


madkaw
Community Member
-
Joined
-
Last visited
Everything posted by madkaw
-
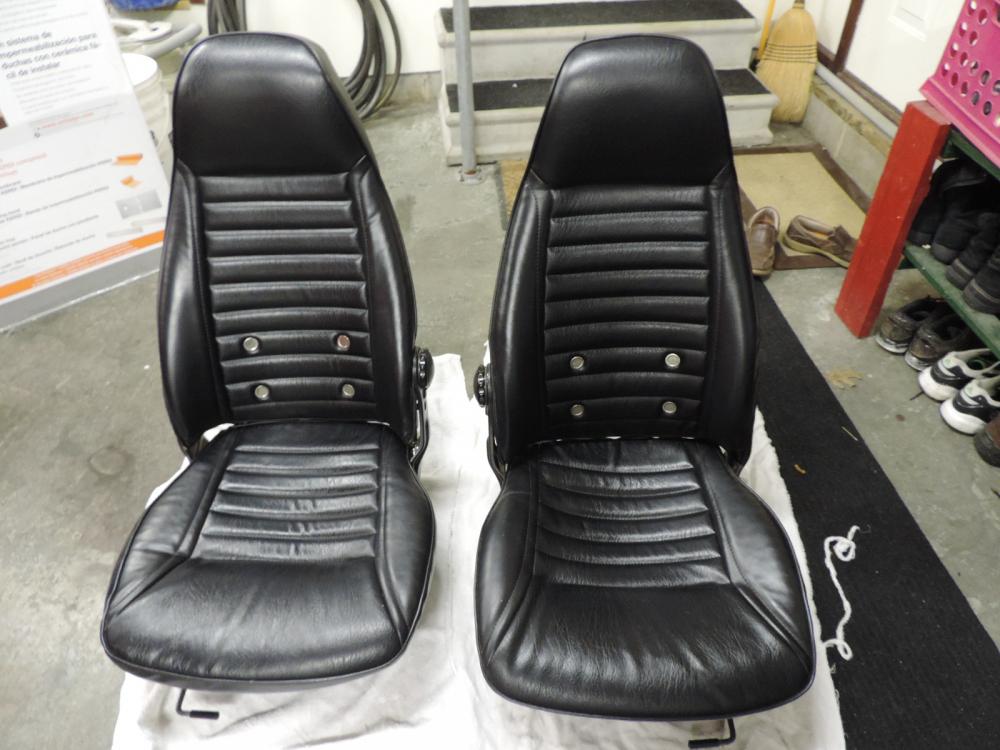
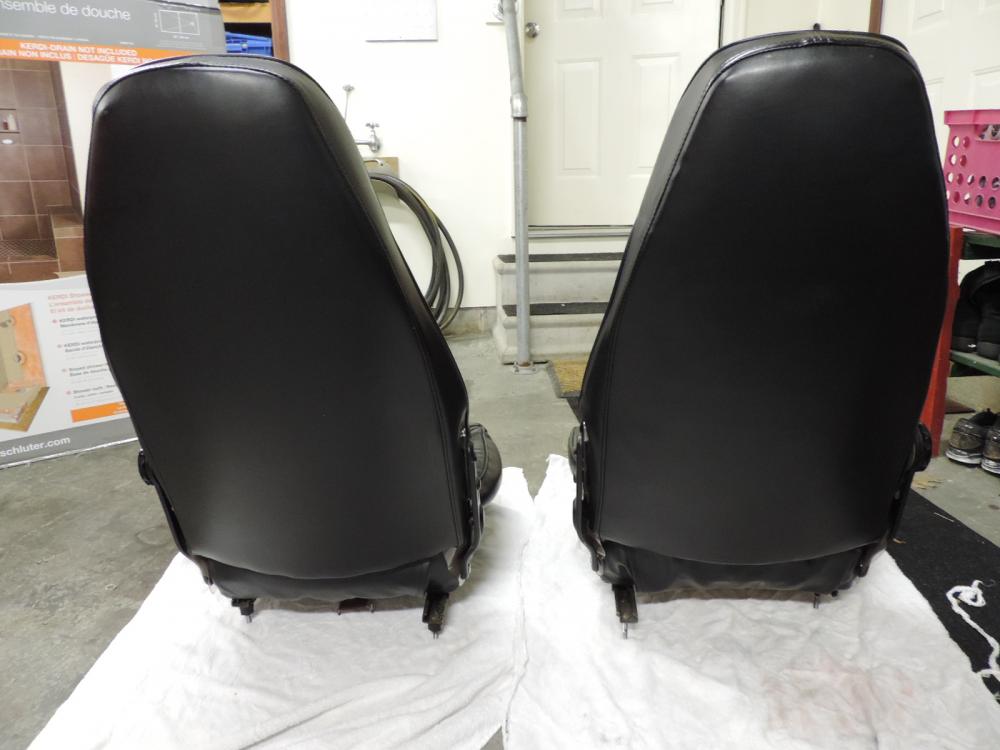
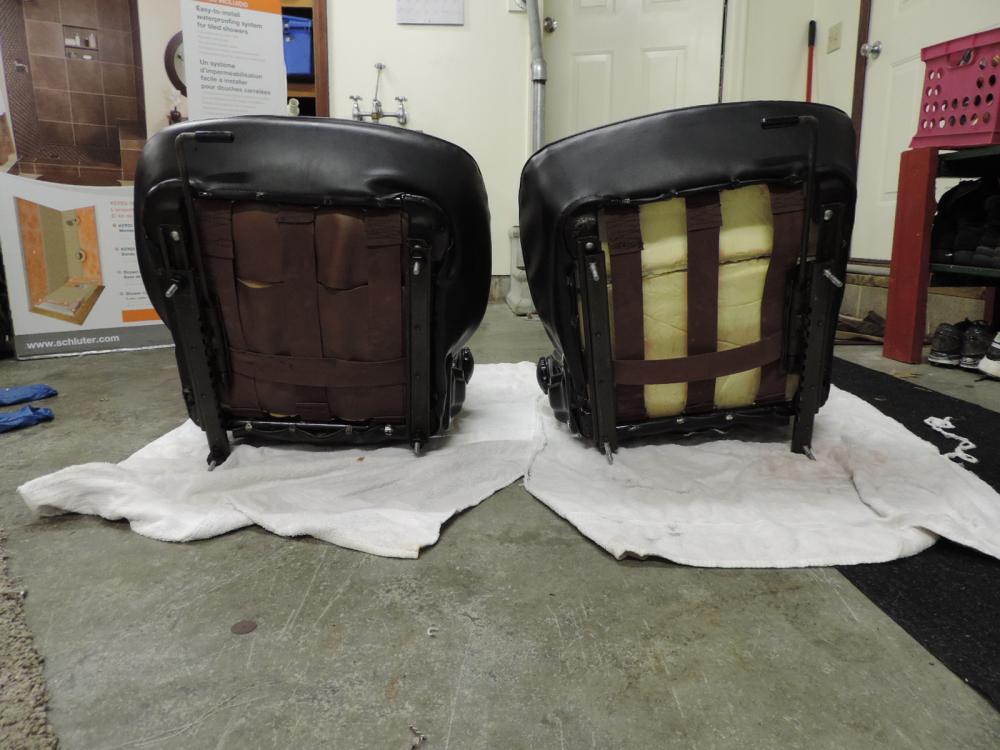
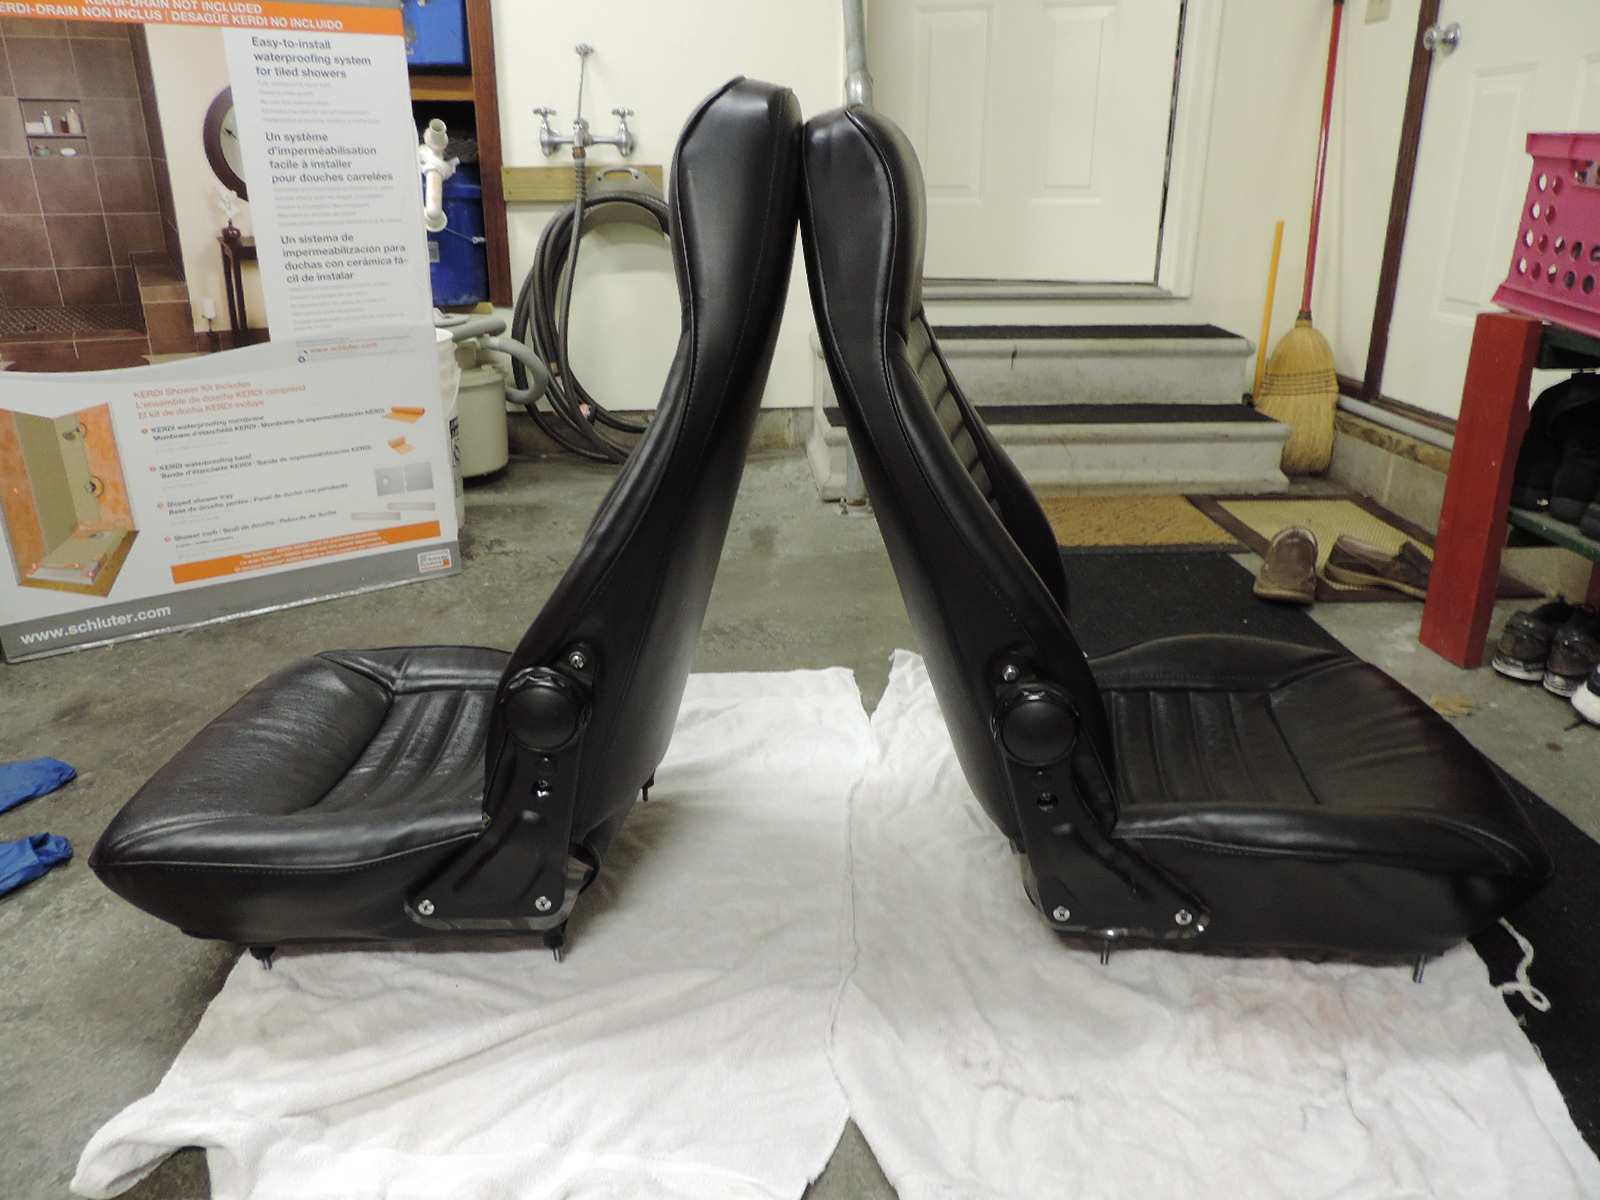
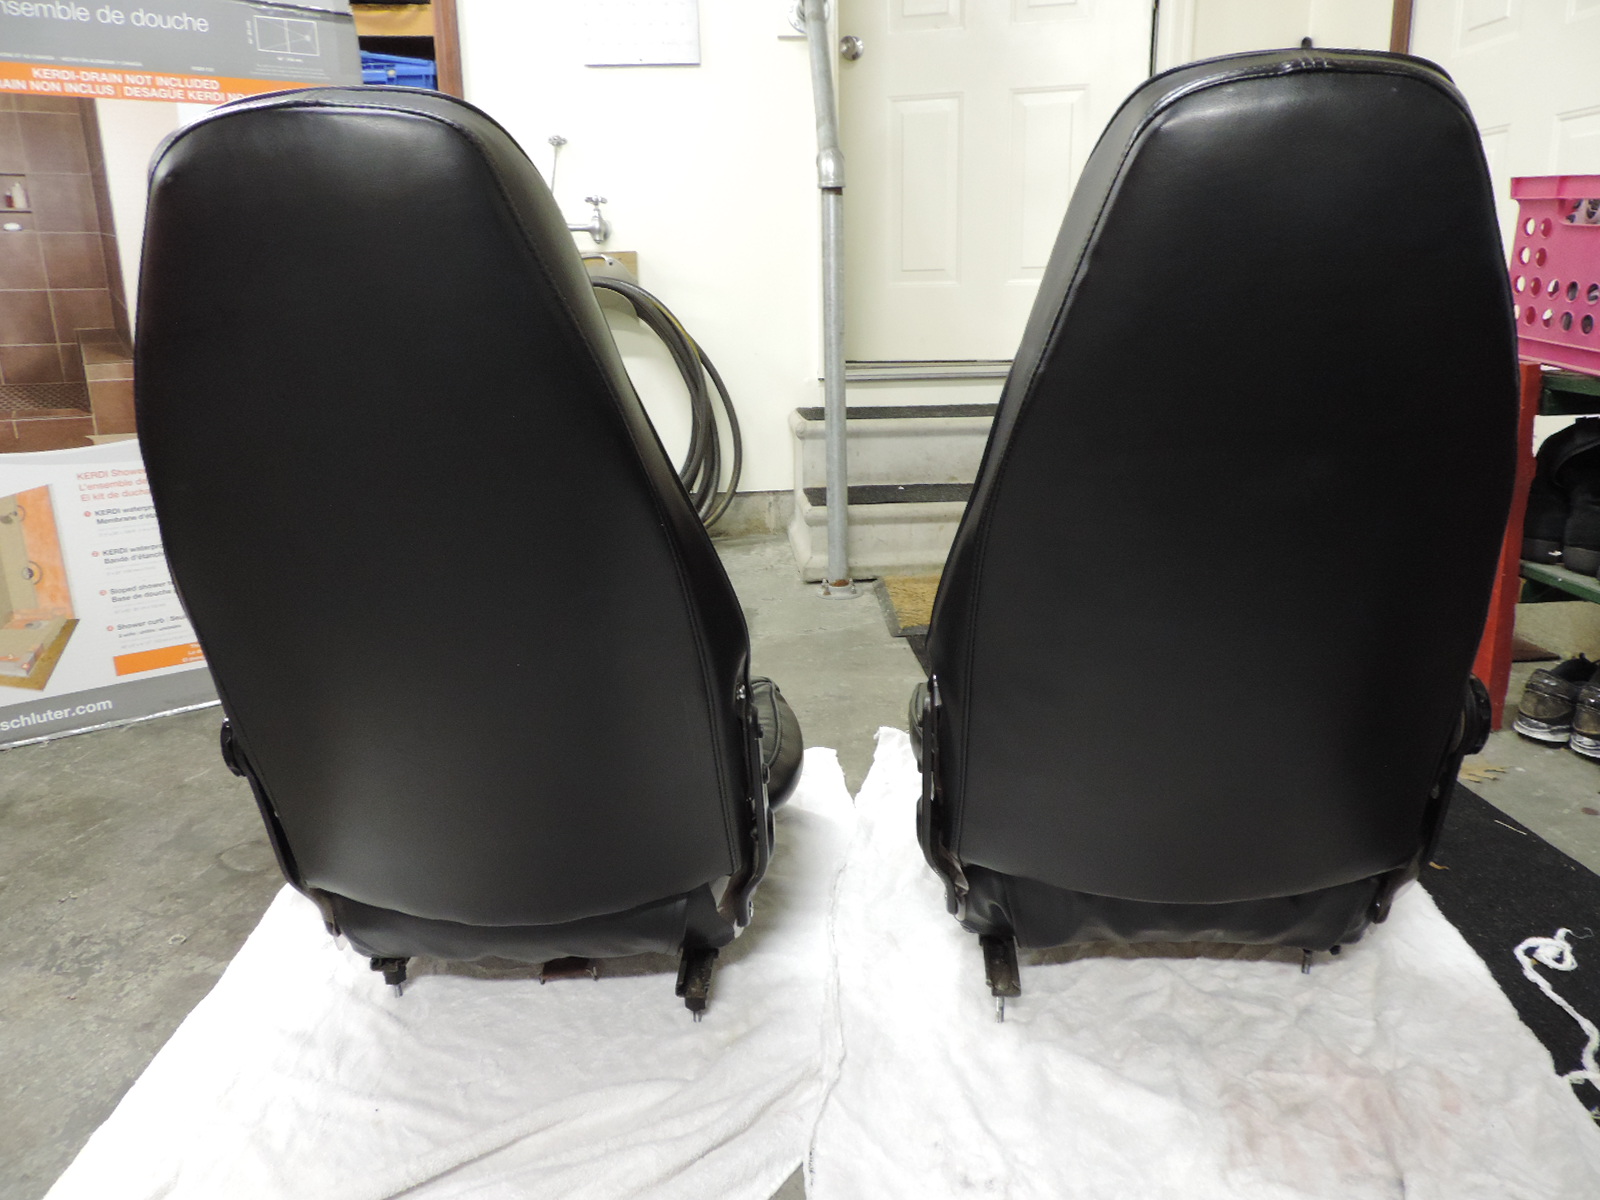
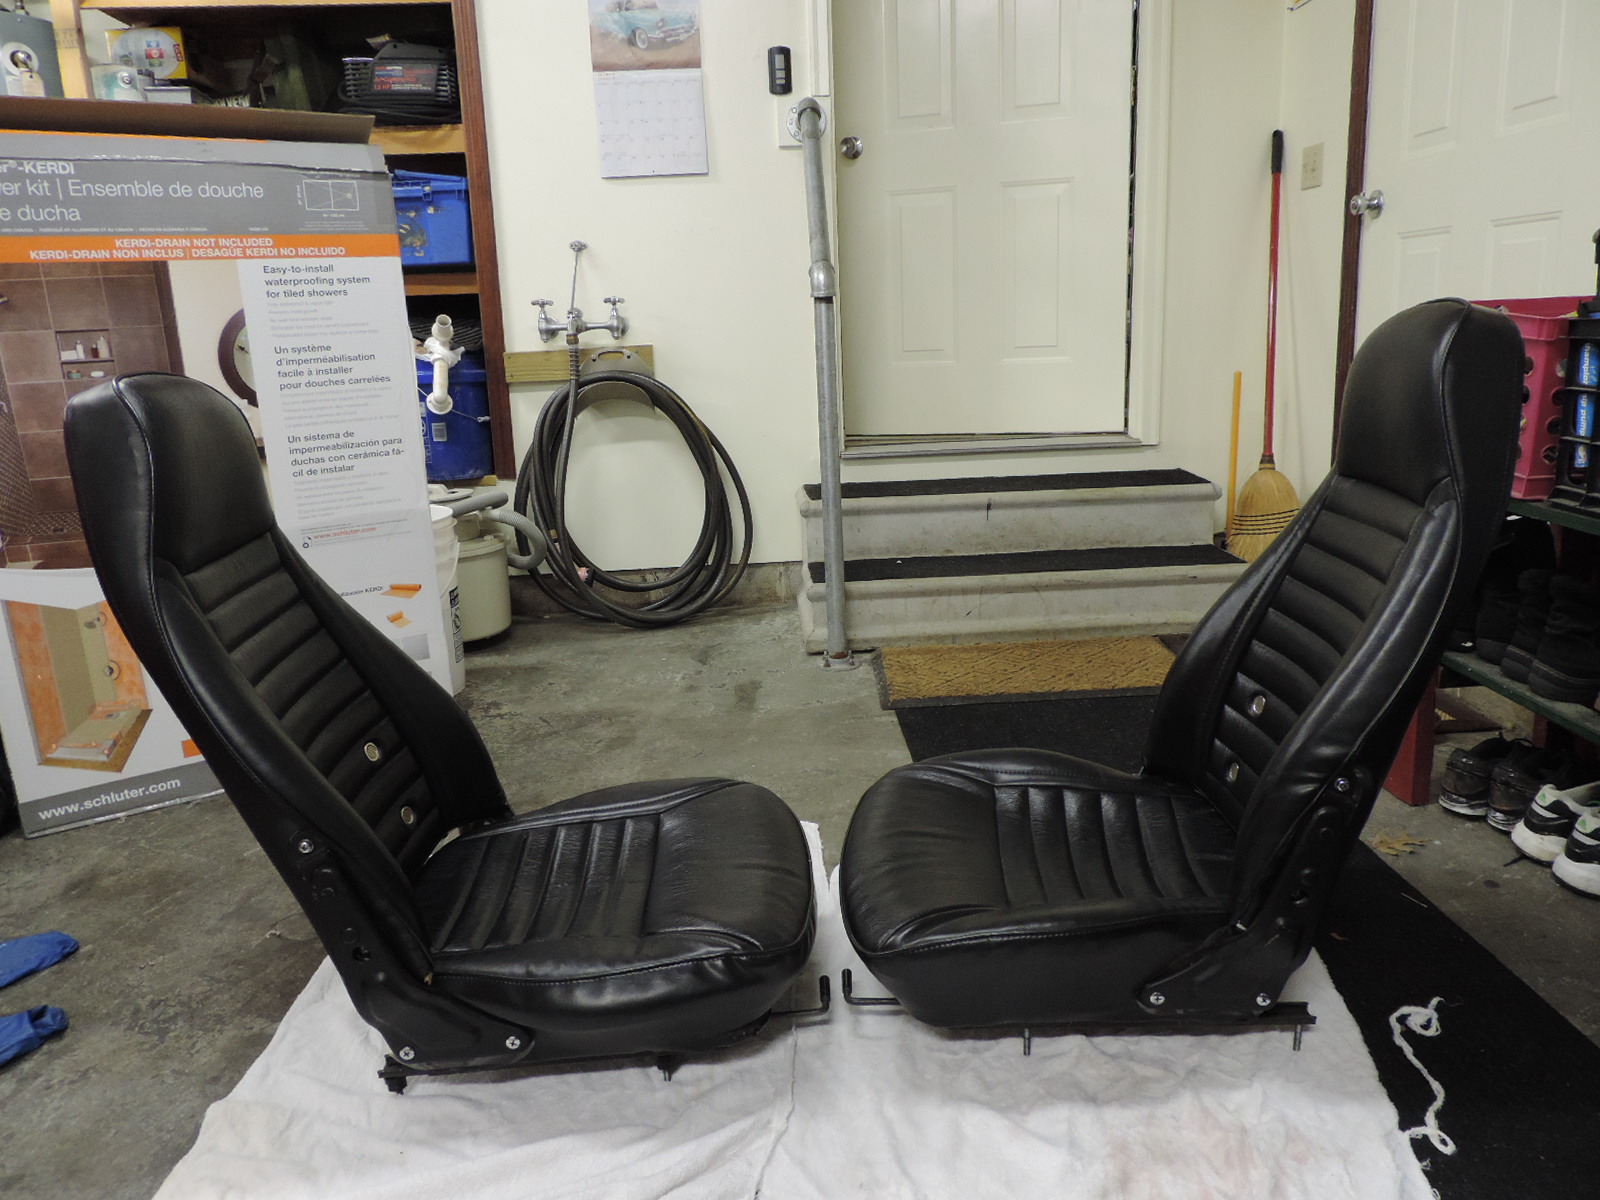
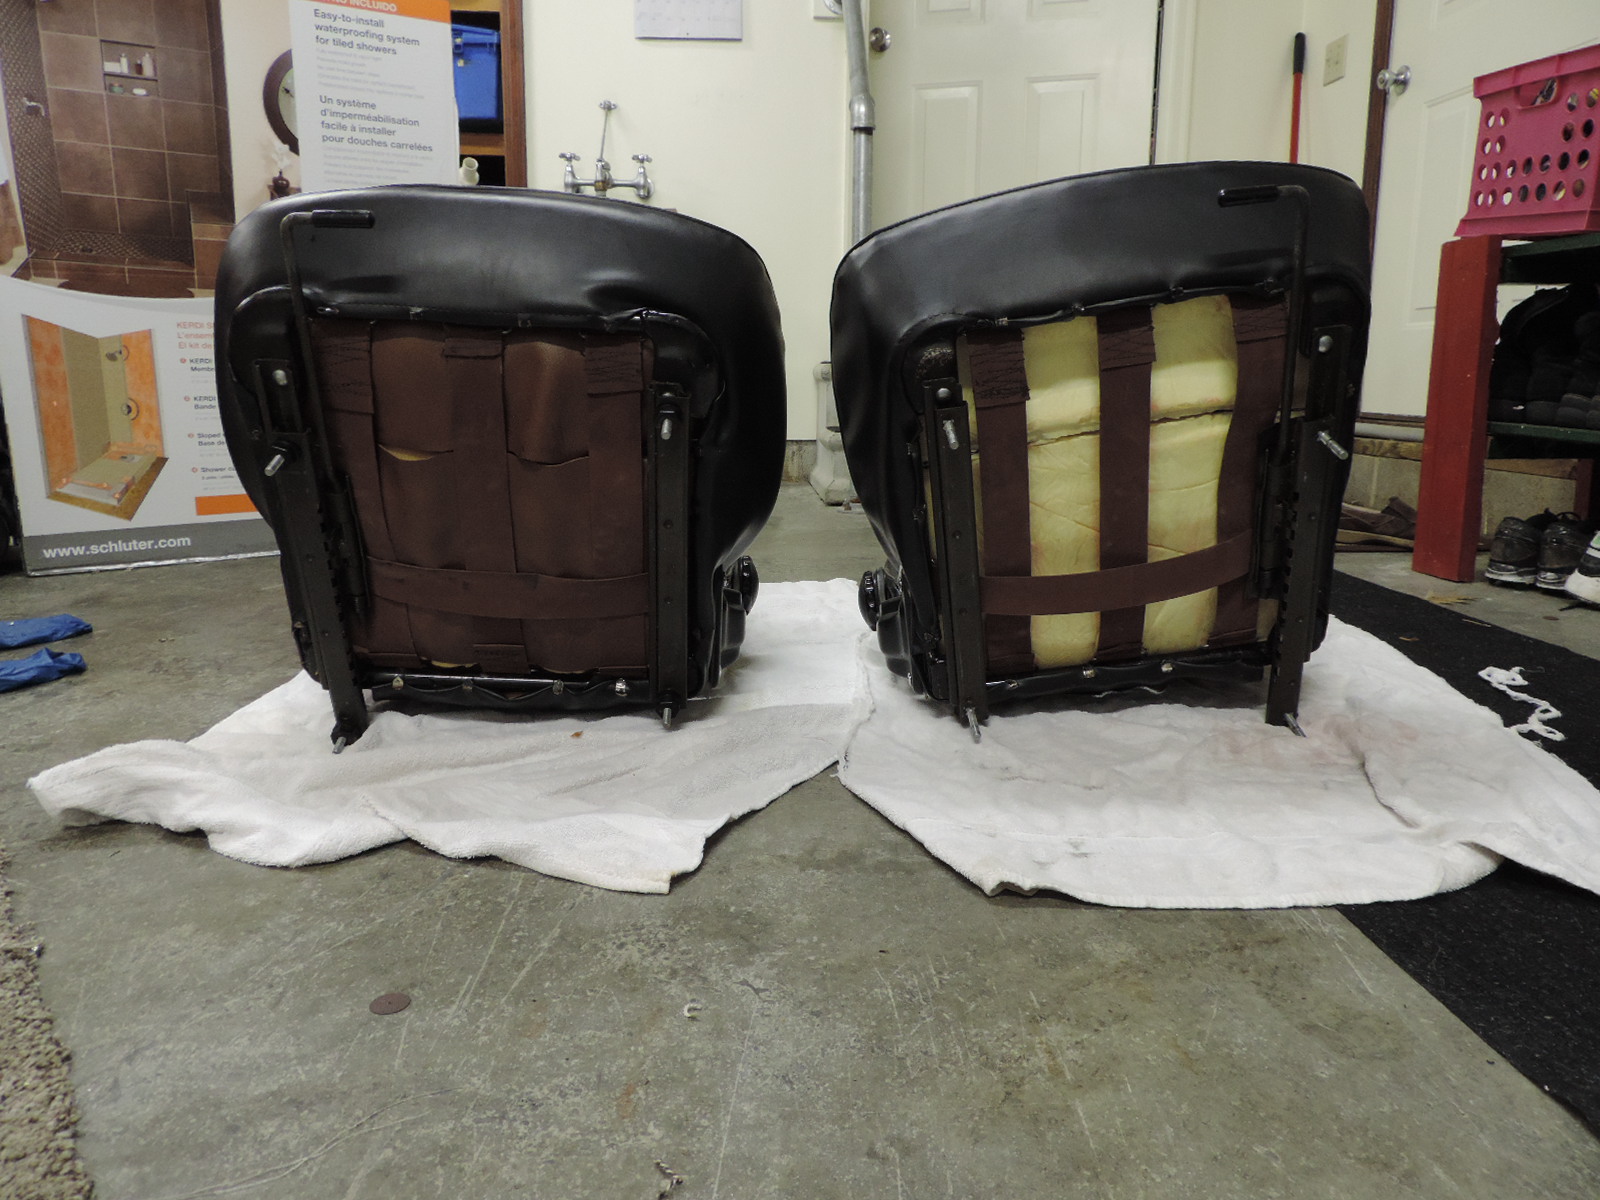
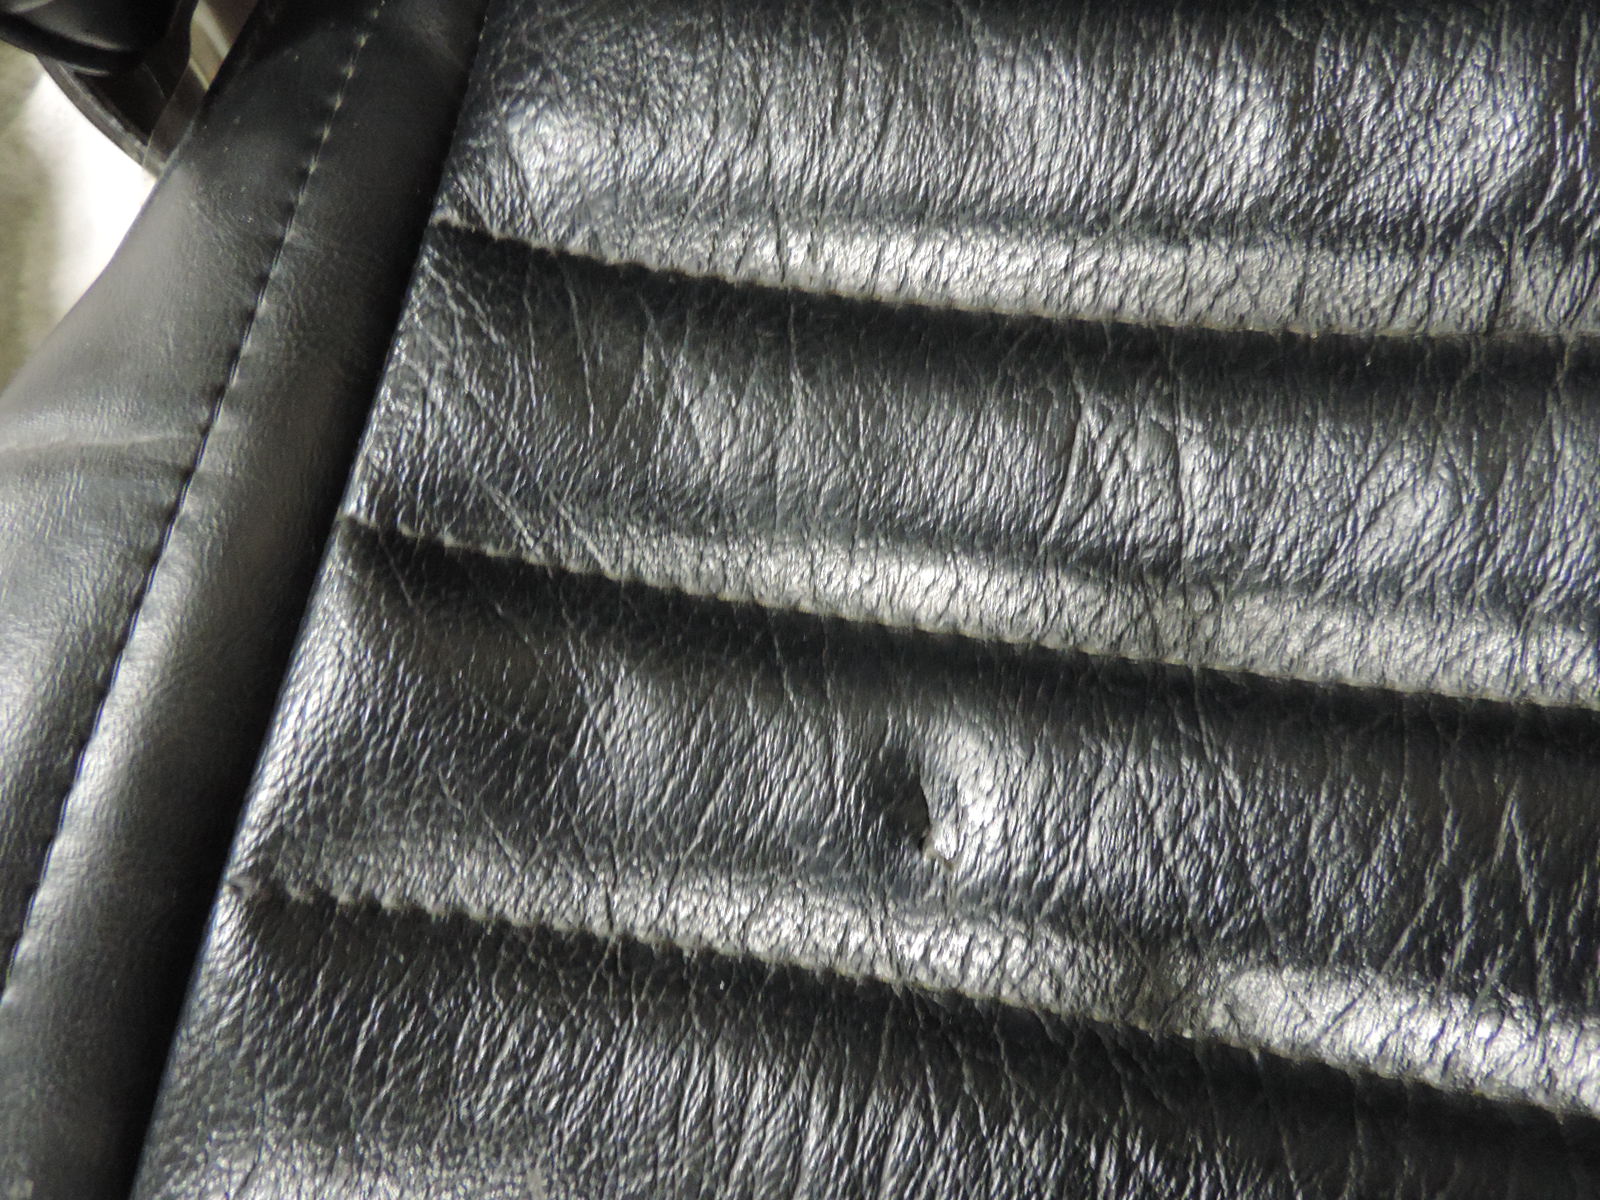
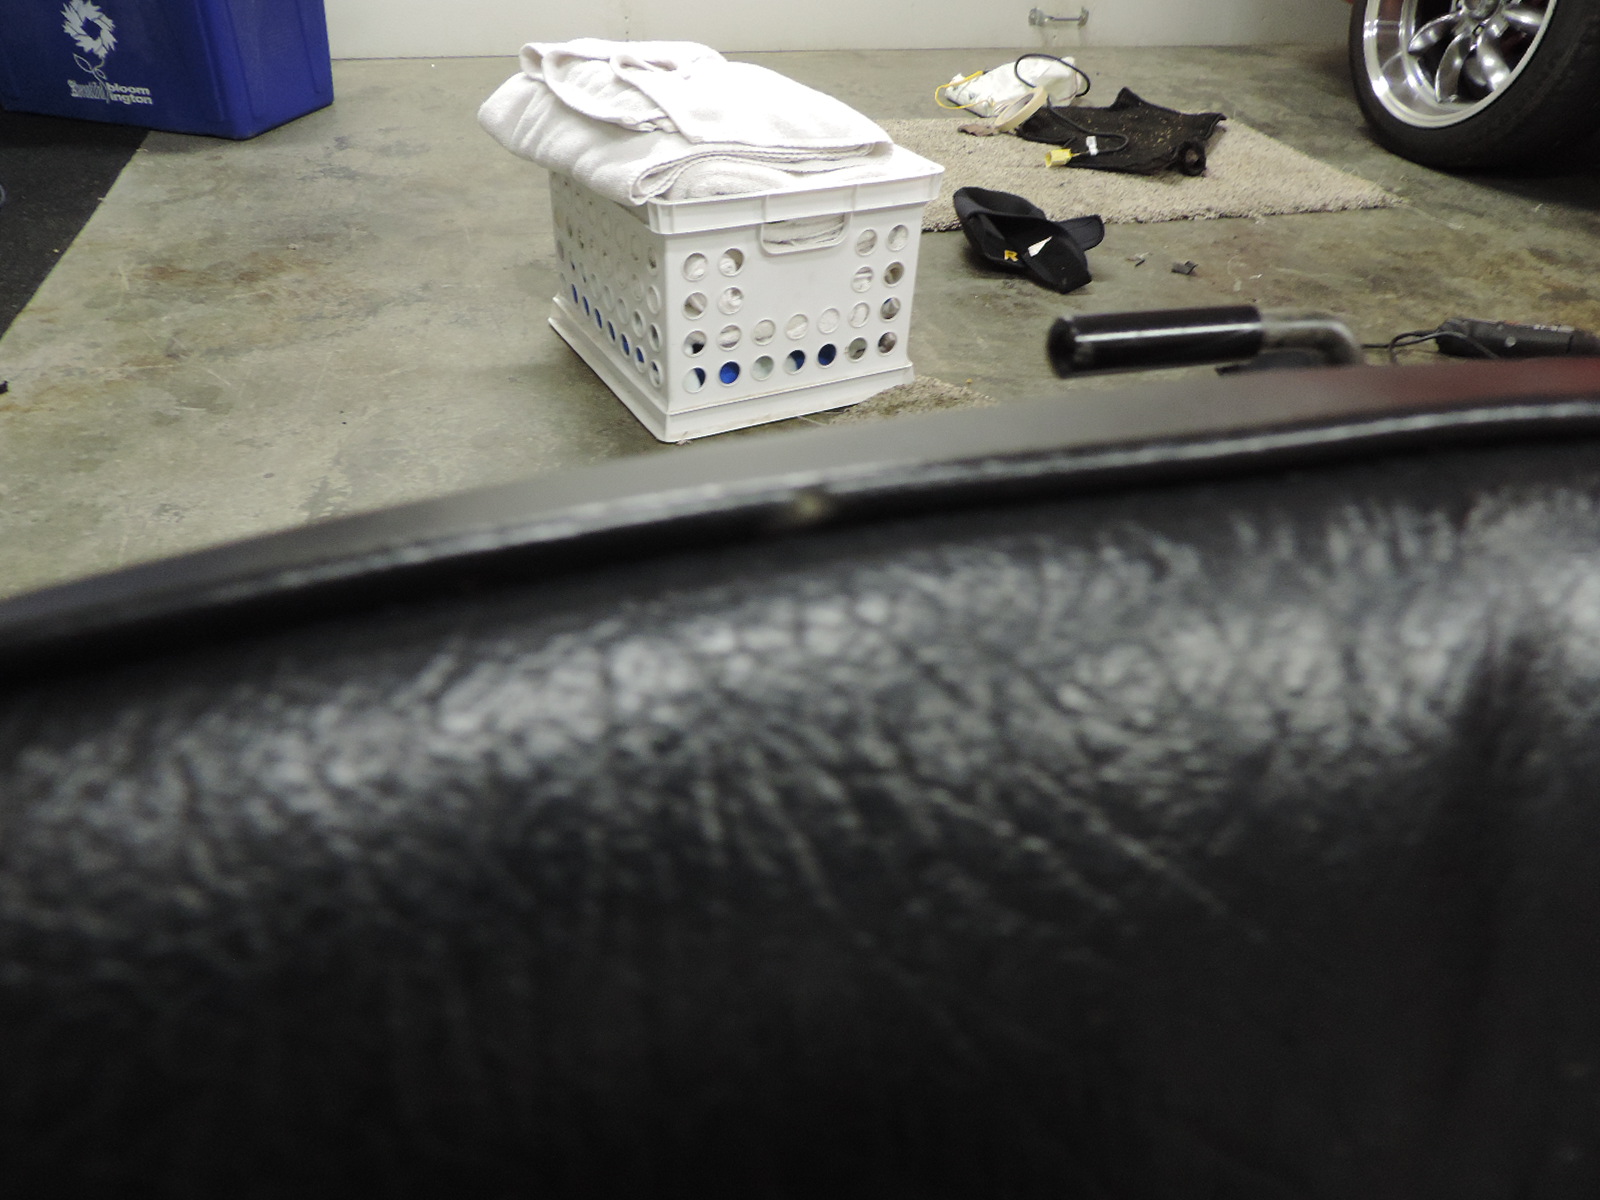
I went ahead and ordered the Wesco belts based on your recommendations guys. It was going to be very difficult to get mine to fit and I need every spare mm for this install. I had to get out the BFH and do some interior body work on the trans tunnel . It gets tight back towards the bulkhead and won't allow the seat to go all the way back. It didn't take much , but it is altering the body which might bother some folks. Other than that its a matter of making the brackets sit as low as possible to maximize head room. Right now the seats sit stock height, but I'm shooting for enough room to fit a helmet.These seats are from a 9/71 . As you can see from the "knobs" on the side of the seats, they are first generation adjustable. These were redone by me years ago, but have only about 10K miles of seat time. These are vinyl kits sold by MSA , I believe. The driver's side only has new foam . I did repaint all the brackets and all the hardware still shines with no rust. There are some nicks and scratches and normal wear. The webbing underneath is original to the best of my memory. I don't know what's up with the brown vinyl on the underside of the passenger side-no memory of that-LOL Defects-The driver's seat has a puncture from the dumb driver keeping a screwdriver in his pocket. I repaired this with a patch on the backside of the cover(like a tire patch). It has been like this for years, but it is there -in the pic. There is also a nick seat bead, also in the pic. I'm looking to get 400$ for the pair-plus shipping--OBO I don't mind shipping, but the buyer realizes the seats will be broke down to ship. I will charge only shipping costs, no handling. Gas is pretty cheap , so I think shipping will be less than 100$ for the pair. Contact me by PM or E-mail s_finnerty1018@comcast.net Thanks Steve


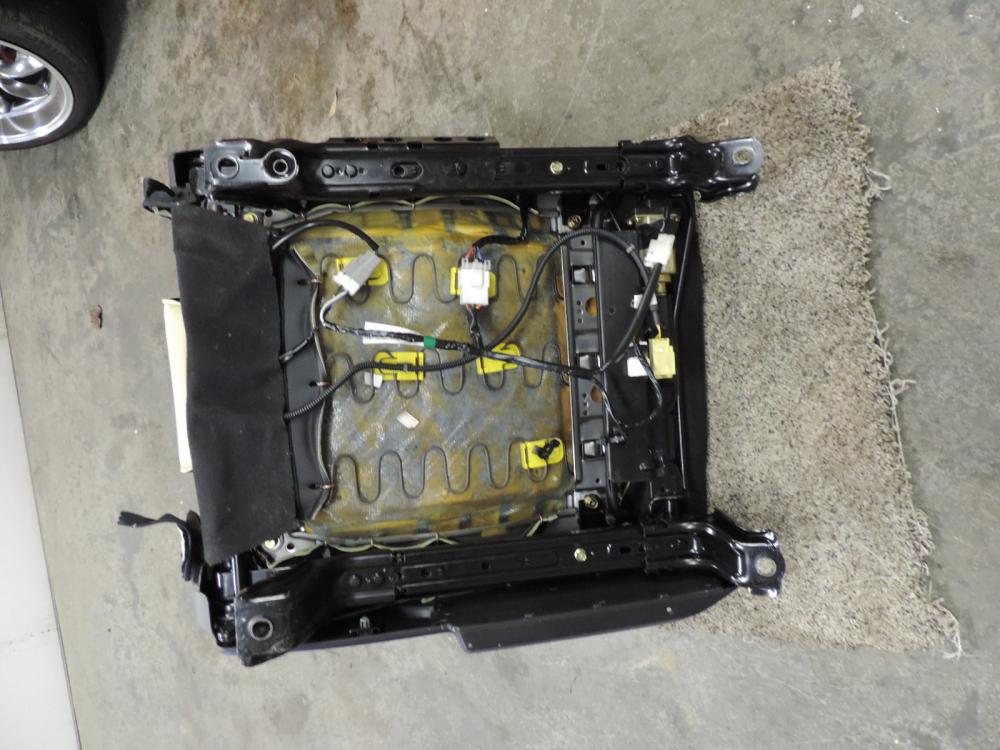
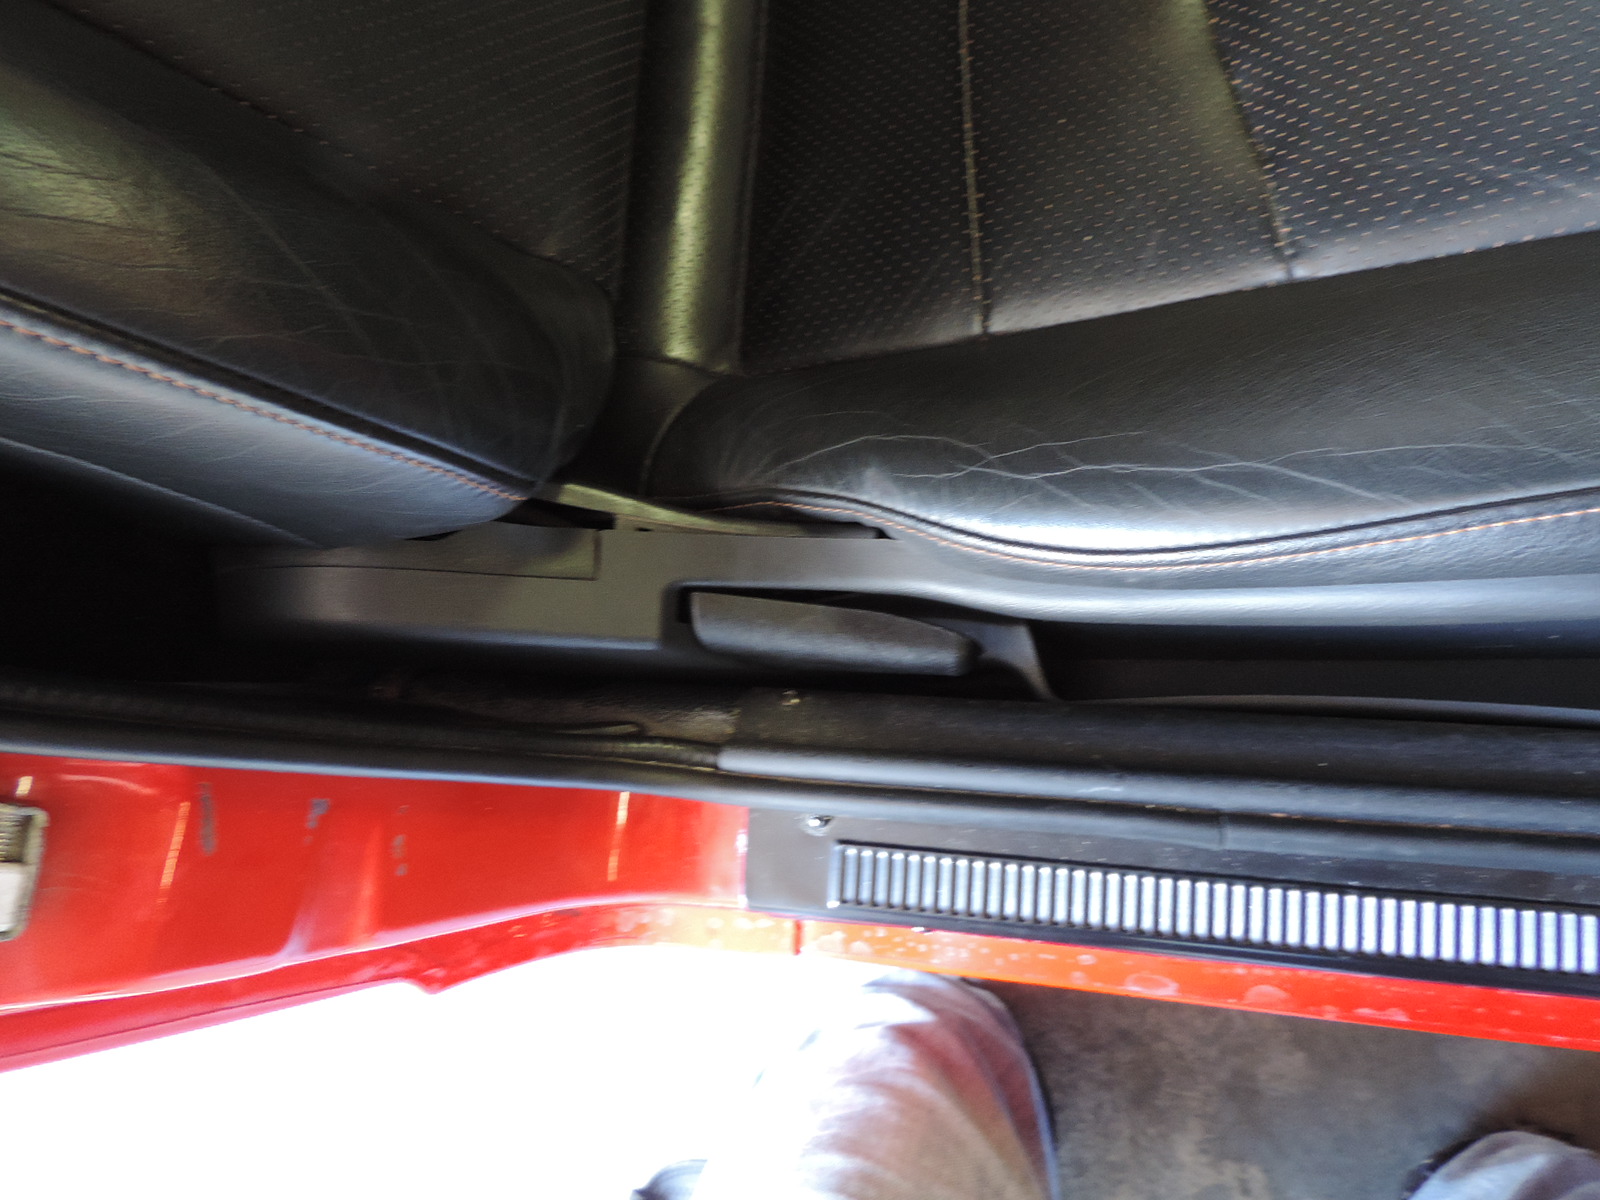
 There's several threads out there where these seats have been installed, but haven't found one using power seats or was there any mention how the seat belts worked with the seats. Non retract seat belts would fit easier, but then I think I would just be stepping backwards with that set up. I like my retracts. I might have to bolt the mechanism to the floor under the seat and squeeze the strap along the side. Seat width is really about the same - actual seat. The mechanism is really what starts making it tight. I took apart the 240 tracks and going to use 1/2 of the slide tracks to keep original bolt pattern. Using 3/16 flat stock to tie everything together puts the seat at stock height.So I started digging into this swap and it's going to be a challenge. To get full range of motion back and forth and still squeeze in room for seat belts will be a challenge to say the least. The wiring will probably be the easy part. The heat and power are all thru one connector, but I will have come up with controls for the heated seat. The plastic covering the mechanism will have to be trimmed, but not sure to what extent. I also noticed that the seat wont slide all the way back before it starts to hit the trans tunnel towards the rear close to the bulkhead. Might have to bash some there if it becomes an issue. It's not much and I probably wont bother for the passenger side. The seat is still pretty far back before it makes contact. The BIGGEST issue will be the seat belts. Being that my 9/71 does NOT have the pockets in the rockers for the retract mechanism, they stick out in the way. I barely had enough room with the OEM seats. I'm using 2+2 retracts for the lap belts now. The only solution I saw was to mount retractor on the floor behind seat on floor, but still seeking options. Might need help from the brain trust guys. Not even sure my fancy cup holder will fit when it's all said and done. I did remove the airbag from the seat which was pretty easy. The seat just unzips in the back.
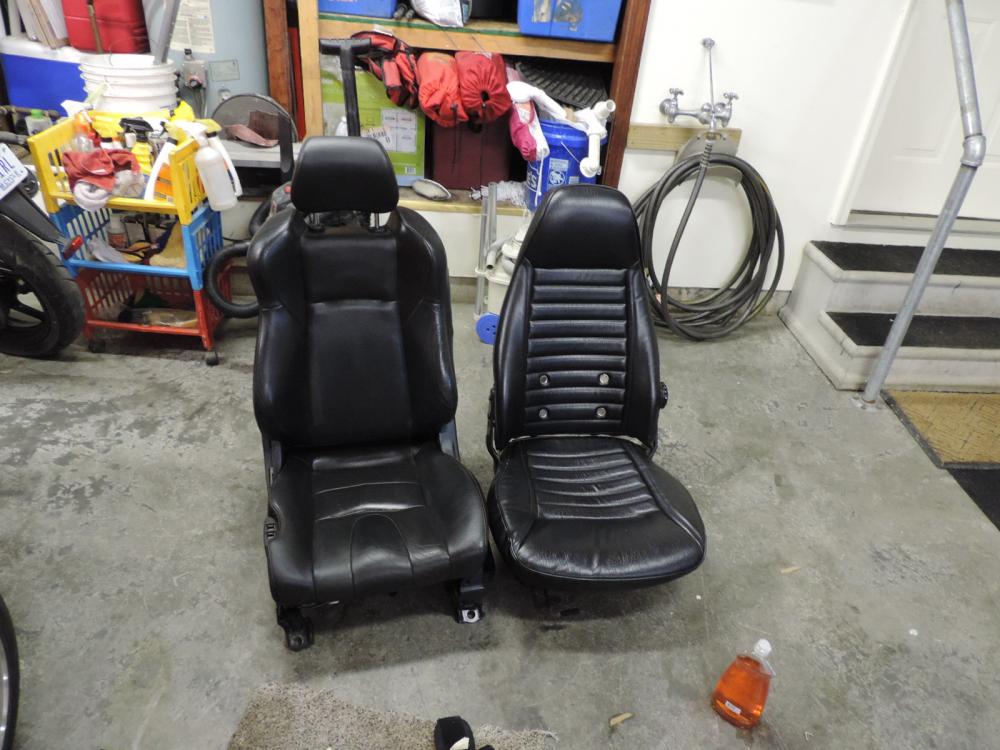

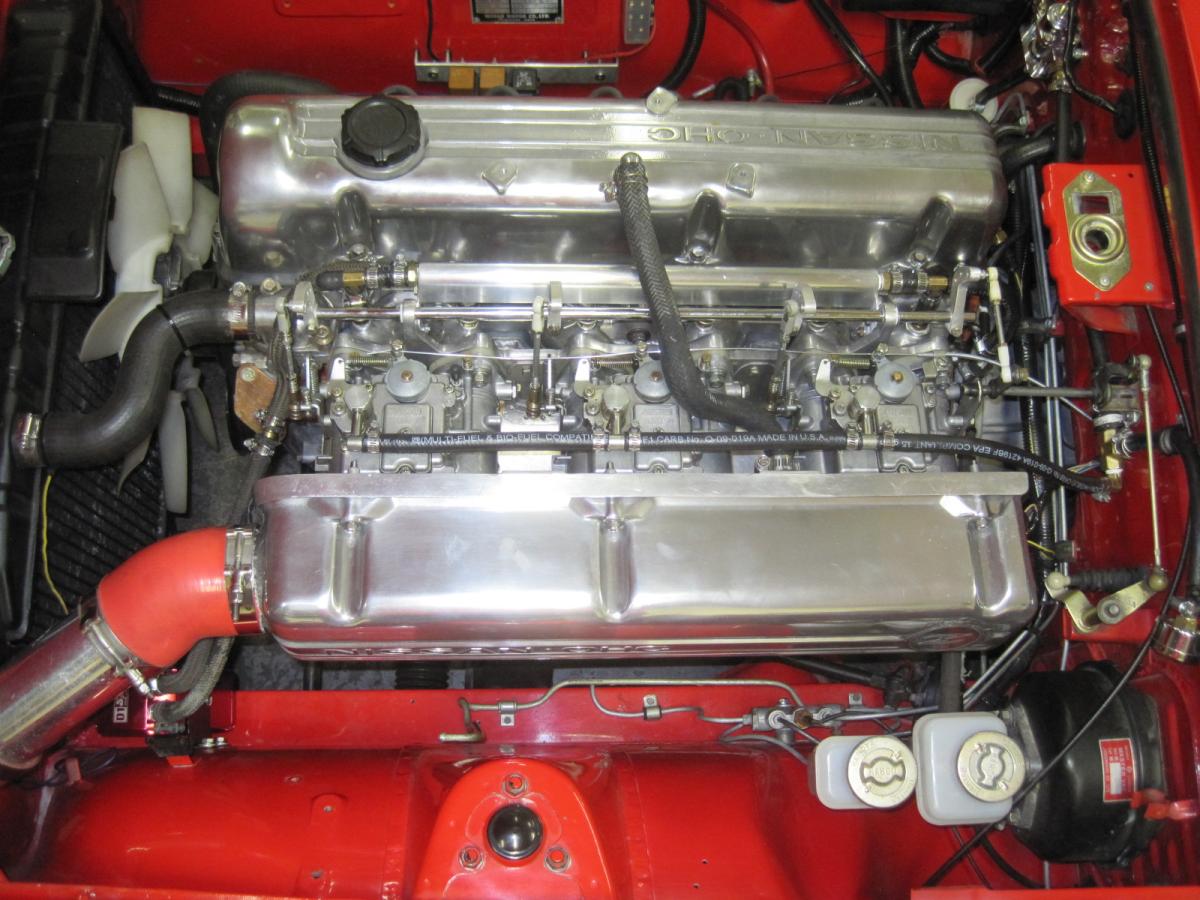
 ....and tidy whity too! they do look decent. Biggest advantage of the 350 seats or anything newer than the eighties is the choice of fabric kits. The Z seats have every option as far as material and color.Stock cam and stock seals?That's from my I phone 6There was a problem processing the uploaded file. -200 is the message I getWell Chris, you will know you like them as far as comfort i would have gladly settled for fabric , manual seats , but these fell in my lap for 300$. They will weigh more than the manuals, but I will just have to add HP to compensate;) Captain, there are threads somewhere showing fitment in the S30. Earlier cars are better for the reason you stated, as far as width. Height can be a problem if you don't keep mounting bracketry low. I like the high head rests .Got a message the other day of someone selling some black leather 350z seats and I couldn't say no. Well I could of, but the price was great. Being they had red stitching kind of sealed the deal- lol. they are power heated seats so I will have wiring to do plus some fab work. Looking forward to having some more flexibility and comfort in my ride. I guess there will be some 1st gen seats on the market soon! well I would have posted a pic but the upload keeps failingMy machinist would not balance my assembly with the stock unit in its condition. I sent mine to Damper Doc and had it rebuilt . No problems so far with plenty of 6500+ rpm pulls. I would rather be running a performance damper thoughPeople are cautious when selecting cams and not getting too big, but these motors do fine and stay civil for the street. I wouldn't recommend anything less than 270/480 and it would be perfectly streetable . love it when a plan(engine ) comes together !!!Don't want to take them outYou are fighting the valve springs and a fresh motor, so maybe you are just over thinking things. It is a little unnerving when you worried whether it's valves clashing or just that tight., I show that head as having 44.7 chambers , according to the Ozdat engine calculator. That puts you at 9.7 before shaving off .020. Something is not right here, unless that's a euro e88 that had bigger chambers. Sure you measured right?I would fret over a 1cc measurement difference. I think that answers your question about what version e88 head.it is.. I would stay conservative on CR with that combustion chamber. Might work on making sure the valves have been unshrouding to improve flow as much as possible. I'm running a stage 3 with 9.5 and it has plenty of pop!late e88http://forums.hybridz.org/topic/109975-turbo-intake-manifold-fabbing/Richard, this was an abandoned project that I bought off of eBay . I'm surprised in my postings on here and hybridz that no one has claimed it. It was a very nice start to a custom intake. The runners on the cannon intake were tapered already from 44mm at the plenum and 37 at the head. All the welding you see was also already done and seems to be done very well. The original builder welded a piece of channel to the intake, and I have been finishing the round "topper " using 4" pipe. the intake also came with 14mm weld on injector bungs which need to be placed. The "nose " was fun to fabricate. In actuality I prefer doing this type of fab work more than any other. Need a TIG to finish this out. I probably will put a 60-70mm TB on this and run it NA . SO MANY PROJECTS- so little time I will post up pics of the head exhaust ports. Not sure anything will come about from removing the liners, but I had a spare head to try. The later MN47 heads had better casting support for the liners, so they retained their shape better and held up longer. If I was staying with a round port head, I wouldn't even mess with the early 47. Much better combustion chamber on the mn47Don't see where the OP said what grand he was running, so how can we give him a recommendation? i like my 3.90 , but I run the BWT-5 , so my OD is tall. I think I'm at about 75 at 3000rpmWell decided, after reading lots of stuff about valve size, to upsize the intake valves to the 44mm . Opinions vary, but it seems that I'm leaving an easy 20+ hp on the table by not upsizing. Found some new old stock valves and seats on eBay for cheap and snagged them. The head is at the machinist now , so I might see it before summer is over. Should give me plenty of time to get my block together . Still haven't got the cam ,but that's next.


Important Information
By using this site, you agree to our Privacy Policy and Guidelines. We have placed cookies on your device to help make this website better. You can adjust your cookie settings, otherwise we'll assume you're okay to continue.