madkaw
Community Member
-
Joined
-
Last visited
Everything posted by madkaw
-
That part is too rusty and nasty to come from your car- might check your other vehicles:)
-
If you read Racer Browns article on cam timing he states that the rather long Datsun chain induces a retarding effect on cam timing- so why not counter act that by advancing the timing. I think a stock engine would benefit most by trying to gain low end grunt
-
I would disconnect the brake booster from the system and anything else vacuum related and see how it runs. Definitely get your timing figured out. You need to get the FSM and check all your resistances. Especially the AFM sinceyou messed with the flapper door. That flapper door is tied into a potentiometer, so you if you bent things around you might have changed things. There are tests you can do witth a mulimeter to make sure it is right
-
Cliff, I'd do it. I think I would install it on #1 hole first, drive it around and really take notice how it runs in every situation. Then flop it to the third hole and drive it again. Once your timing chain is set, it's pretty fast to make an adjustment to 3 hole.
-
You can't expect to get accurate help with such a vague description. You write a post like we all live next door and have seen your car and had a beer with you. History of car? Spark plugs look good, distributor looks good(what does that mean)-- are they putting out spark? Fuel getting to the carbs? Did you just do something to the car, or you just woke up and the car didn't run. Doesn't fire up? Is it firing at all? Did it run before? Fire one up! You see-we are doing a lot of guessing here-help us help you.
-
You know- if you plan on doing a big project like this you should try and get more organized
-
I will add that I have no issues whatsoever with my cables. I have disconnected the terminals from the battery a dozen times and the ends still snug easily will little torque.
-
Just curious if anyones going!!
-
Let me restate that when I originally looked at the gland nut-when I first started taking it apart-I noticed how far it down in the strut tube. After removing the shock I screwed the gland nut back down and it bottomed out on the threads in the same place. That tells me that I can't be sure if the gland nut is actually touching the shock, too close to be sure. So a spacer makes sure -by showing some threads after tightening down the gland nut. As far as a washer, I just found something laying around that worked.
-
When you put the seals in the right way-they don't leak:stupid:
-
Well the only way I realized something waas wrong was trying the gland nut without the shock in there. I mean it wasn't much , But the nut just stop turning in and around that 1/8" gap you are talking about. It may be better advice to say that you can see atleast one or two threads. One washer and I saw atleast two threads. I can't remember now whether I used the nuts that came with the shocks, or the originals. Also, I didn't have any packing for the nut, which might make a difference. I honestly don't know what the packing even looks like, but I wish I had something to seal the shock in there.
-
Welcome to the Z world! First off-there's probably nothing you could think of that hasn't been tried or done on this engines as far as combinations. All you are doing here with this combo is basically making a L26 motor. I would suggest that you search this site and Hybridz to see what's been done. You will be amazed of what's out there and you might be inspired or confused with the amount of info.
-
I have been dealing with a clunking noise in the rear for a while, not to be confused with a diff clunking noise. I have been doing a lot of searching and I kept coming back to the strut loose, so I took it all apart today. Looking at the gland nut it looked like it was seated well, but when I grabbed it ,I could turn it by hand:ermm: Well I knew I found my issue, but why was it loose? After taking out the shock, I screwed the gland nut down on the empty strut I could see that the nut was running out of thread. So I popped in a washer to space it out and bingo, the gland nut is actually doing it's job now. No more clunking over bumps:)
-
I with Carl on this, change out the MC and then change the fluid BEFORE installing anything else. This will flush the contaminated fluid threw the old equipment. When you are doing individual brakes you can plug the brake line so you don't loose your fresh brake fluid. This will also make bleeding easier in the end with having some fluid already in the lines. If you haven't done these drum brakes before, I would do one side at a time or take pictures so you aren't guessing later how things go together
-
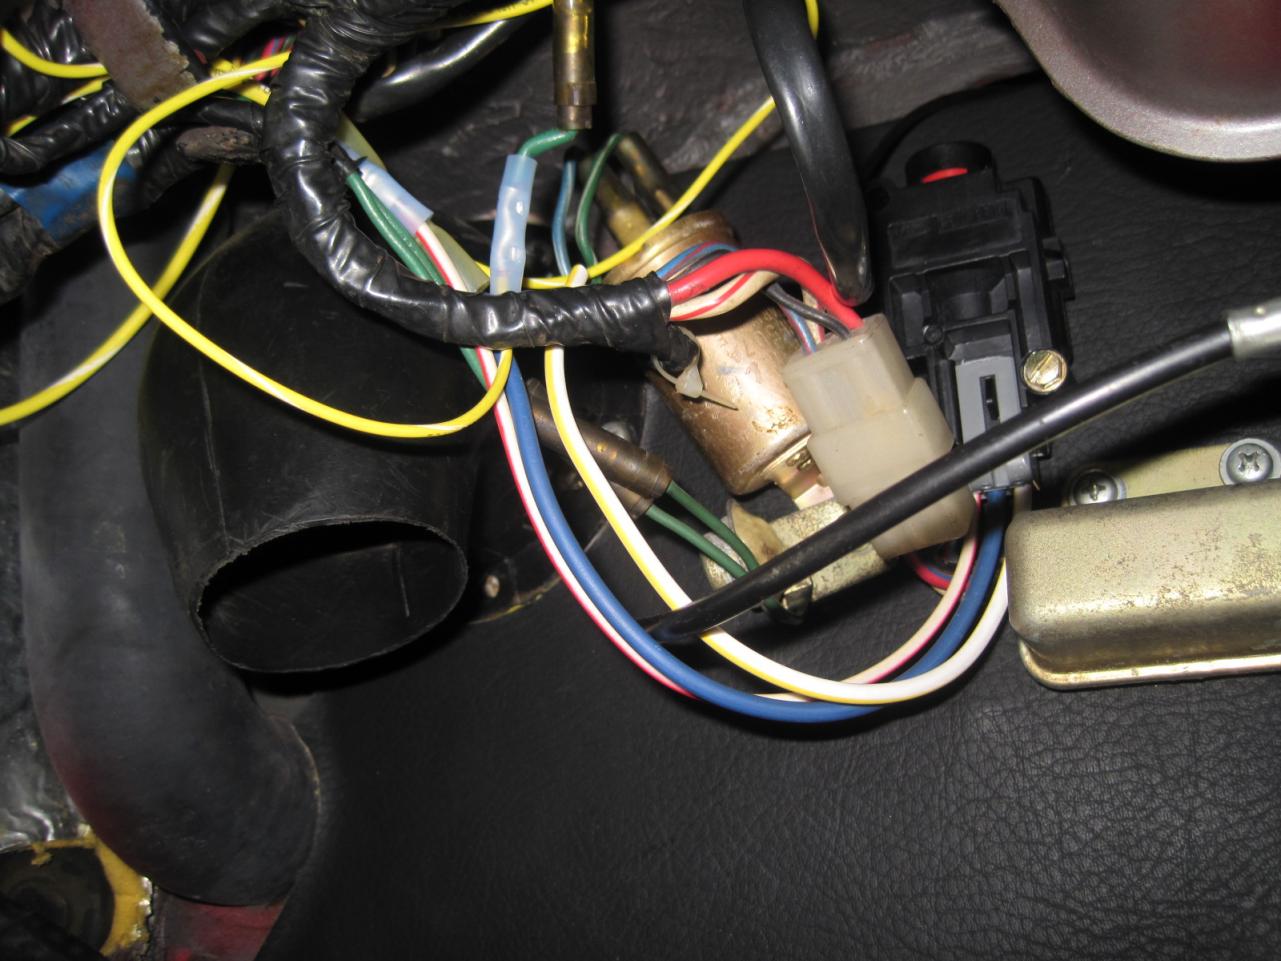
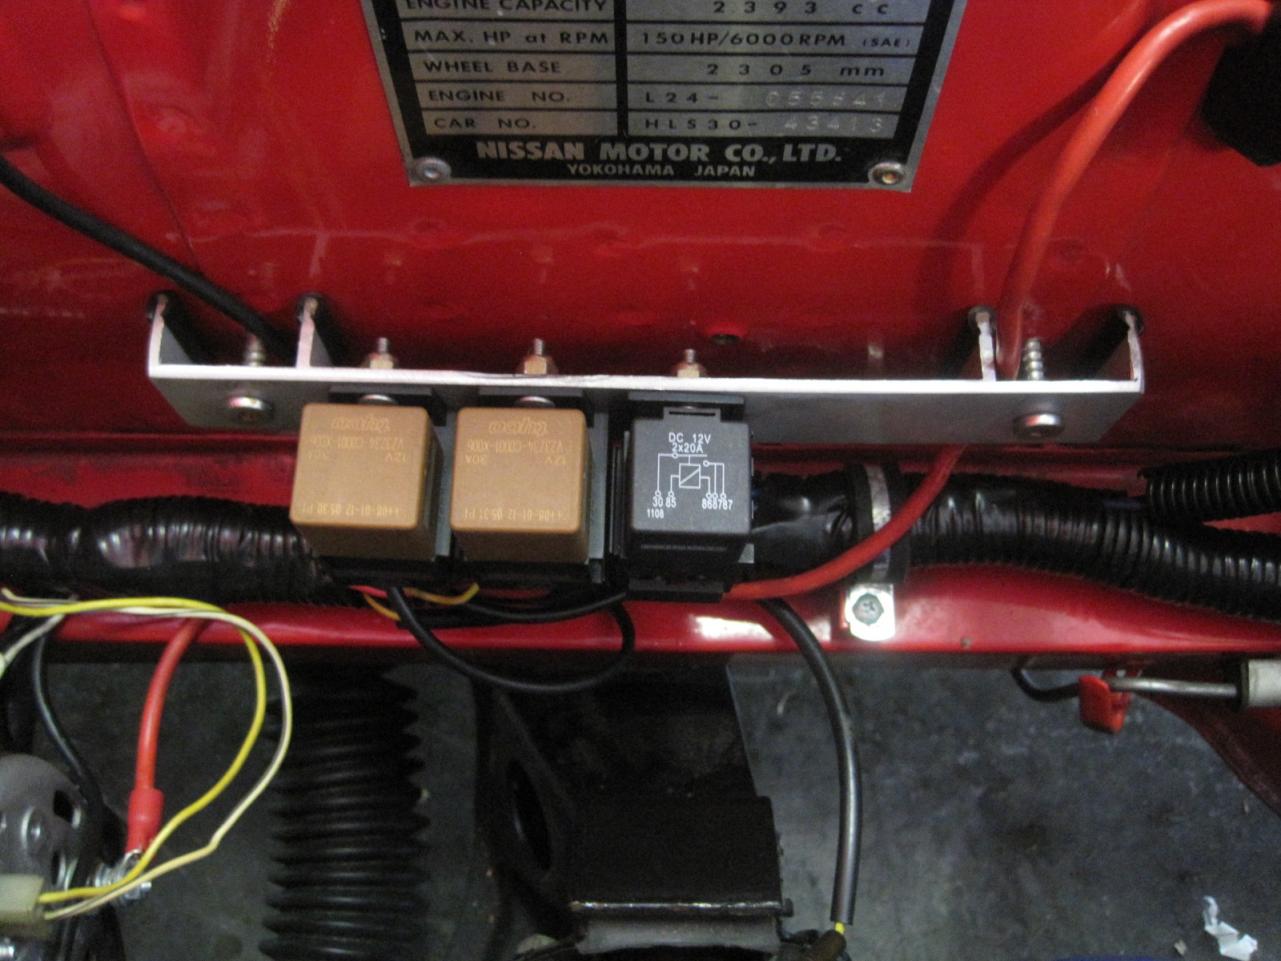
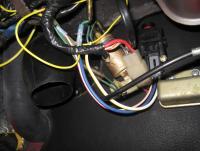
There's probably many ways to wire this, it depends on what you want in the circuit. I wanted a ; on/off switch accessable enertia switch incase of the worst scenerio fuel pump relay fuse I found the black/white stripe and green wire plug behind the heater panel. My car is a 9/71 and was wired for a pump, but didn't use one. This plug was used to tie in a loop circuit that would have a fused link before it went to the pump. I decided to cut off the plug end before it got to the loop and put in a on/off switch. Lot's of advantages here-emergency cut-off, maintenance cut-off, fuel smell deterent. Just the other day I was troubleshooting my blinkers, which requires key-on, I just switched off my pump during the process. Next I found the green power wire above the passenger side kick panel so I can wire in a fuel pump relay and inertia switch. Both items can be found at Summitt or Jegs-I chose a a generic fuel pump relay. I wanted to tie everything in right there at the kick panel. The inertia switch comes with three wires; Normal open normal close ground I tied the power wire coming from the relay to the normal/closed wire on the inertia, and then connected the ground wire on the enertia switch to the green wire going to the back of the car to the pump. The enertia switches are only 25$, and it is a nice safety feature. The relay got mounted next to my headlight relays tied into my fuse block.

-
Sounds like a determination like that might only be seen on a dyno. I know the 32's are recommended for a stock L6, not sure how modified your engine needs to be to warrant a bigger venturi-sounds like a race type scenerio to me.
-
Well shortly after getting my vents fixed(opened up) on my Cold Air box I started noticing the fuel smell that would stink up my garage. I was getting dirty looks from the wife on a daily basis about the fuel. I started looking for leaks at first, and then I just took one wiff around my air filter and realized where the fuel smell was coming from. I was trying to figure a way to remedy this and remember this other Z that had triples and he had an on/off switch rigged into his cab so he could turn the pump off with the ignition on. The owner was talking about the same issue of the fuel smell and what he did was shut the pump off a couple of blocks before he got home to empty the fuel bowls. You know what-it works. It's just a matter of judging when to shut the pump off so you at least make it into your garage:cool:
-
Mitchell, that will be great for those who need a starting point. I started this thread hoping to enlighten folks on what was involved in installing and getting Mikuni's running. I really knew nothing about them before I started, so I'm learning as I go. I'd love to see more dyno runs and postings. i realize that dynos can be different, but there is still useful information there-especially when your AFR's are layed out on a graph. Speaking of learning-what can someone tell me about the venturi's and how they are used in the tuning process?
-
Put a little shine to things today

-
You shouldn't have any problem reaching and lifting the engine with the hoist. Extend the arm all the way out. Think about how high you lift an engine to get it out of the car!
-
Reproduction panels are not the best, so you not only will have to replace, but will have to fabricate too. Like said above, there's more to be found, but I have seen much worse. Depends on your skill level and time and initial investment and sentimental attachment to the car. I spent 40 hours just doing floors and rails.
-
I think I have some good cores- pm me and I will check my inventory.
-
I think one of the reasons the sounds resonate is because the hood IS so close to the valve train. The heat is a consideration though. I wouldn' t insulate the whole underside of the hood if I did this, probably just the " hump" area
-
Did that and it worked to an extent! I guess if I just keep my foot in it I will be fine!
-
That's funny you mentioned that, because that's the only weather strip I didn't install. Now I will install it and see if it makes a difference.