.JPG.cfcada9cf1c1b502df3f5f2f2ca3ff36.JPG)

SteveJ
Community Member
-
Joined
-
Last visited
Everything posted by SteveJ
-
Well, his kids are home-schooled, and his wife is a pretty tough teacher, so that's not a given.
-
Well, from my engineering background, I can tell you that P=I^2xR. And as usual, an engineer provides a completely correct answer that doesn't help you resolve the situation at all.
-
For the fuel pump, the power from the coil is tapped off the yellow wire between the alternator and voltage regulator. I suggest that if you wire a switched source for the fuel pump coil, you also include an inertia switch in the circuit to kill power in case of an accident. The ignition interlock unit uses the black/yellow wire coming off the voltage regulator. When the engine is stopped, it provides a ground for part of the "black box" operation of the unit. Of course, it's a challenge to find a 260Z where the seat belt interlock hasn't been bypassed. Anyway, the VR is providing a path to ground for the unit in addition to the chassis ground that goes to the unit. I'm not sure what would happen if you grounded that wire all of the time. In the FSM it is described as the Engine revolution sensor. See page BE-97. Depending upon the alternator you are using as a replacement, I could probably describe a work around.
-
I'm guessing it utilizes two floor jacks.
-
https://www.ebay.com/itm/RETRO-CLASSIC-VINTAGE-RACING-BUCKET-SEATS-BLACK-PVC-MICROSUEDE-W-SLIDERS-PAIR/123461825398?hash=item1cbee5f376:g:39cAAOSwQGhbIB69:sc:UPSGround!48083!US!-1
-
There should be a ground in the back, on the passenger side, near the taillights. Look for a black wire. You'll need to pull off the back trim panel to find the wiring harness. Look at the mechanical connection and make sure there is not corrosion that would inhibit current flow.
-
Greg Smith Equipment seems pretty reputable to me. https://www.gregsmithequipment.com/ I have owned this scissor lift for a few years now. https://www.gregsmithequipment.com/Atlas-TD6MR-Portable-Scissor-Lift
-
http://zzxdatsun.com/catDecals.php @zspert
-
If you want to use the old stereo power, look for a blue wire. There are actually two that you could use. One is on a 6 wire connector (stereo), and the other is on a 3 wire connector (antenna).
-
I know on the 240Z and 260Z the cigarette lighter has constant power. I will check the 78 FSM to see if it's the same. What is the brand and part number of the FAM? There may be something online saying how much power it draws.
-
When you say that is mounted in the middle of the dashboard, is it replacing one of the 3 gauges? A picture would help.
-
Well, that might reduce the number of scam ads.
-
No. The bezel for the 260Z is the same as the 280Z.
-
I modified my post to make the date more vague since I do not have the references at hand to verify the first deliveries.
-
The first Z cars were delivered from the factory in late 1969. Nissan North America is celebrating the 50th in 2020 (ZCON at Nissan NA HQ in 2020). They also celebrated the 40th in 2010. You can find a previous discussion on the subject here:
-
Ignore them. They are for the coolant lines for an automatic transmission. If you are worried about fluid getting into them for corrosion purposes, fill them with RTV.
-
Meh. I'm just too tired to dig through the FSM tonight.
-
EGR Relay
-
Why do you think the expansion tank is useless? Be careful about plugging up vent holes. The mechanical fuel pump won't pull well on a vacuum. As for the SU vs downdraft, most of the people who installed the Weber downdraft carburetors did so to work around the issues with the 73/74 flat top carburetors, or they didn't understand how the round top SUs work. No advantage for the Webers over round top SUs in good shape.
-
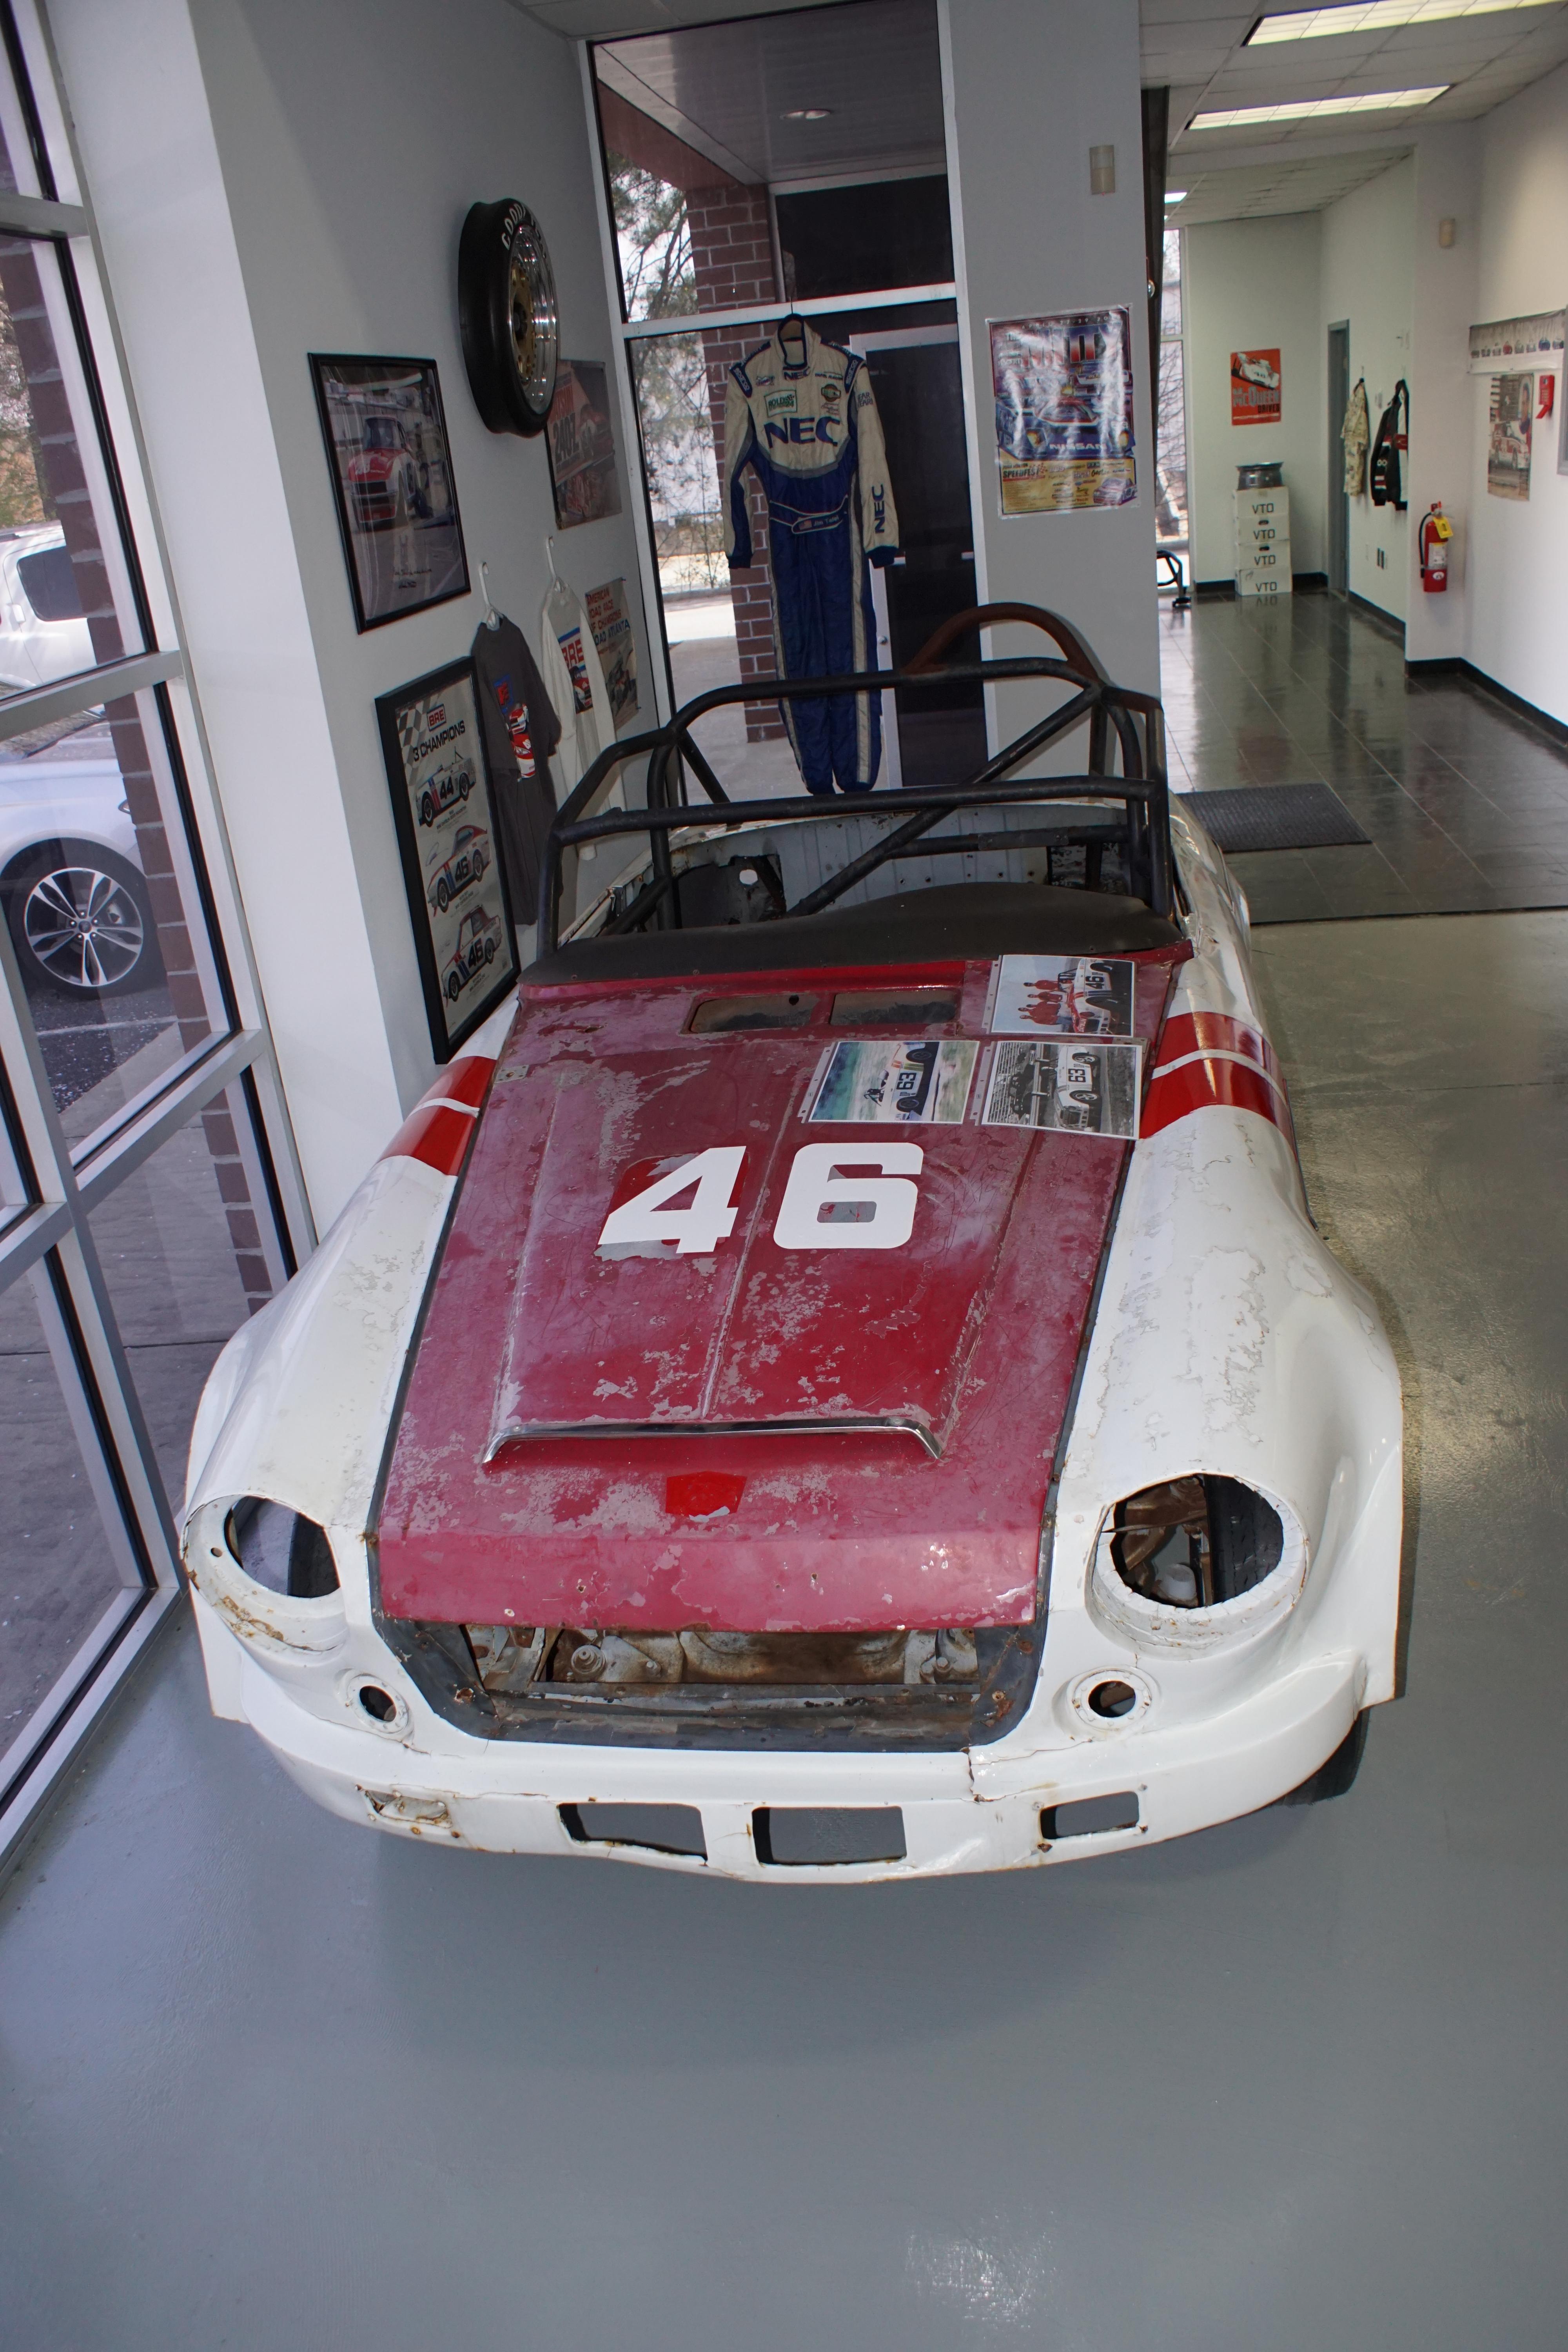
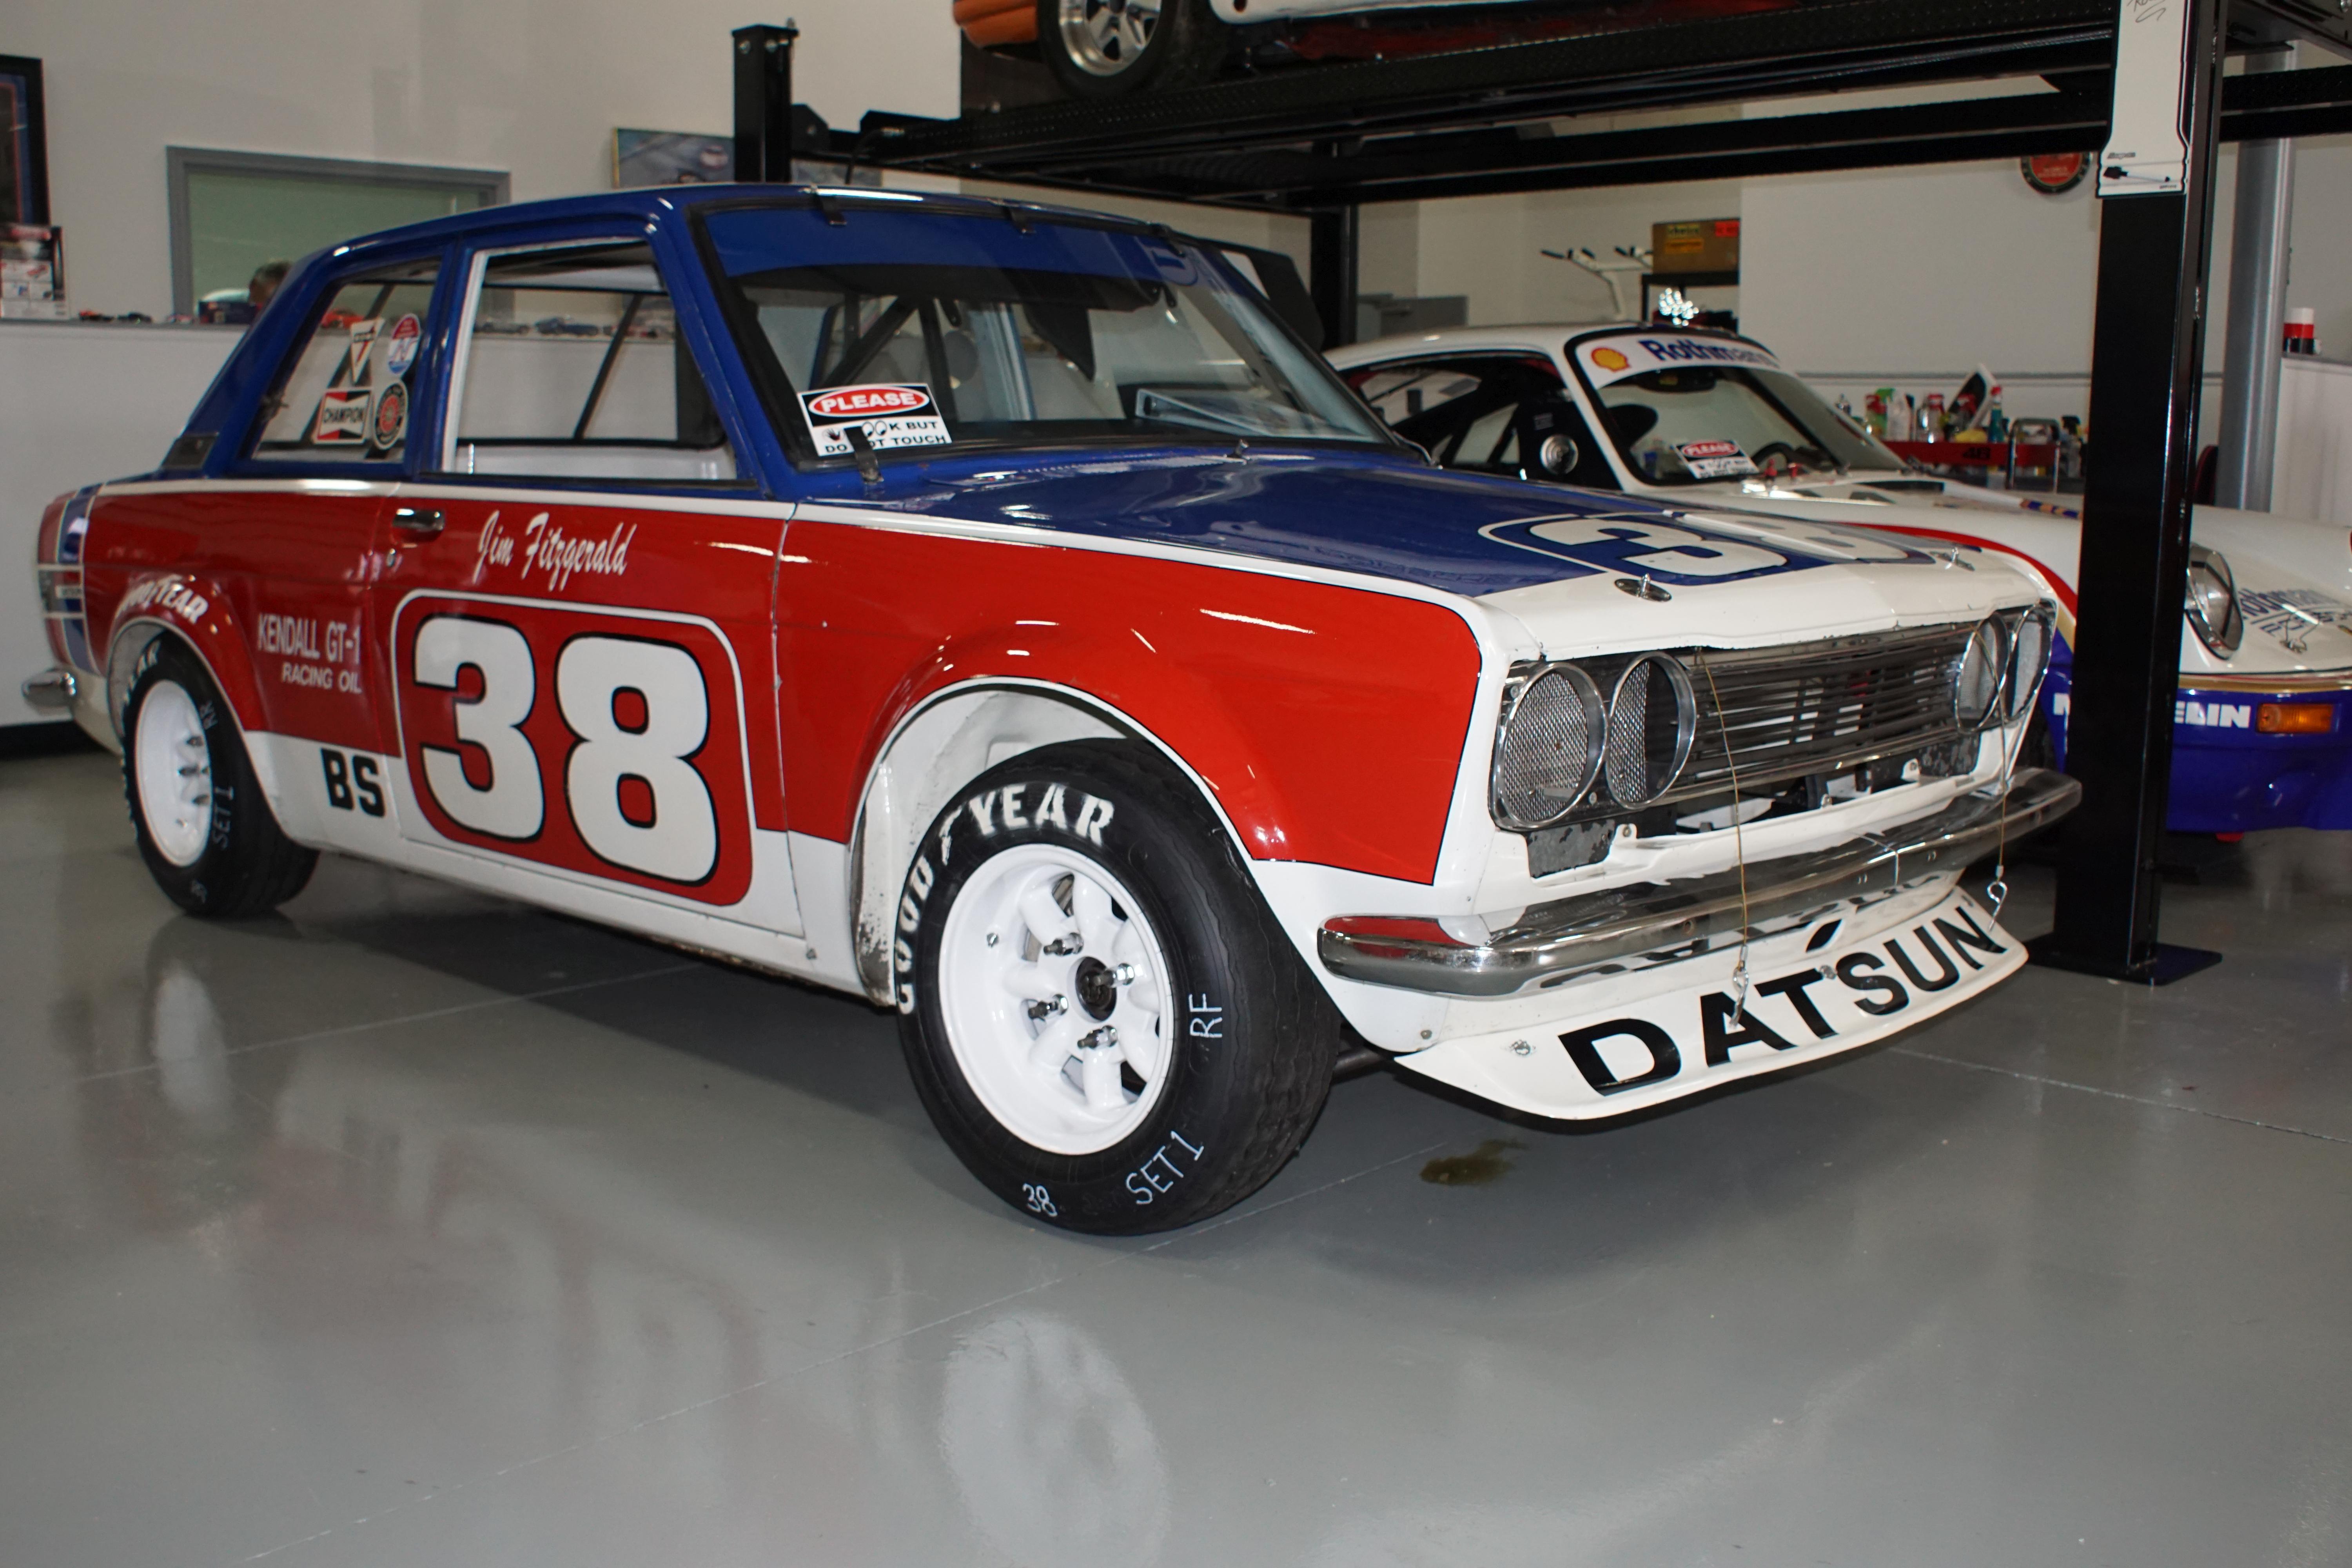
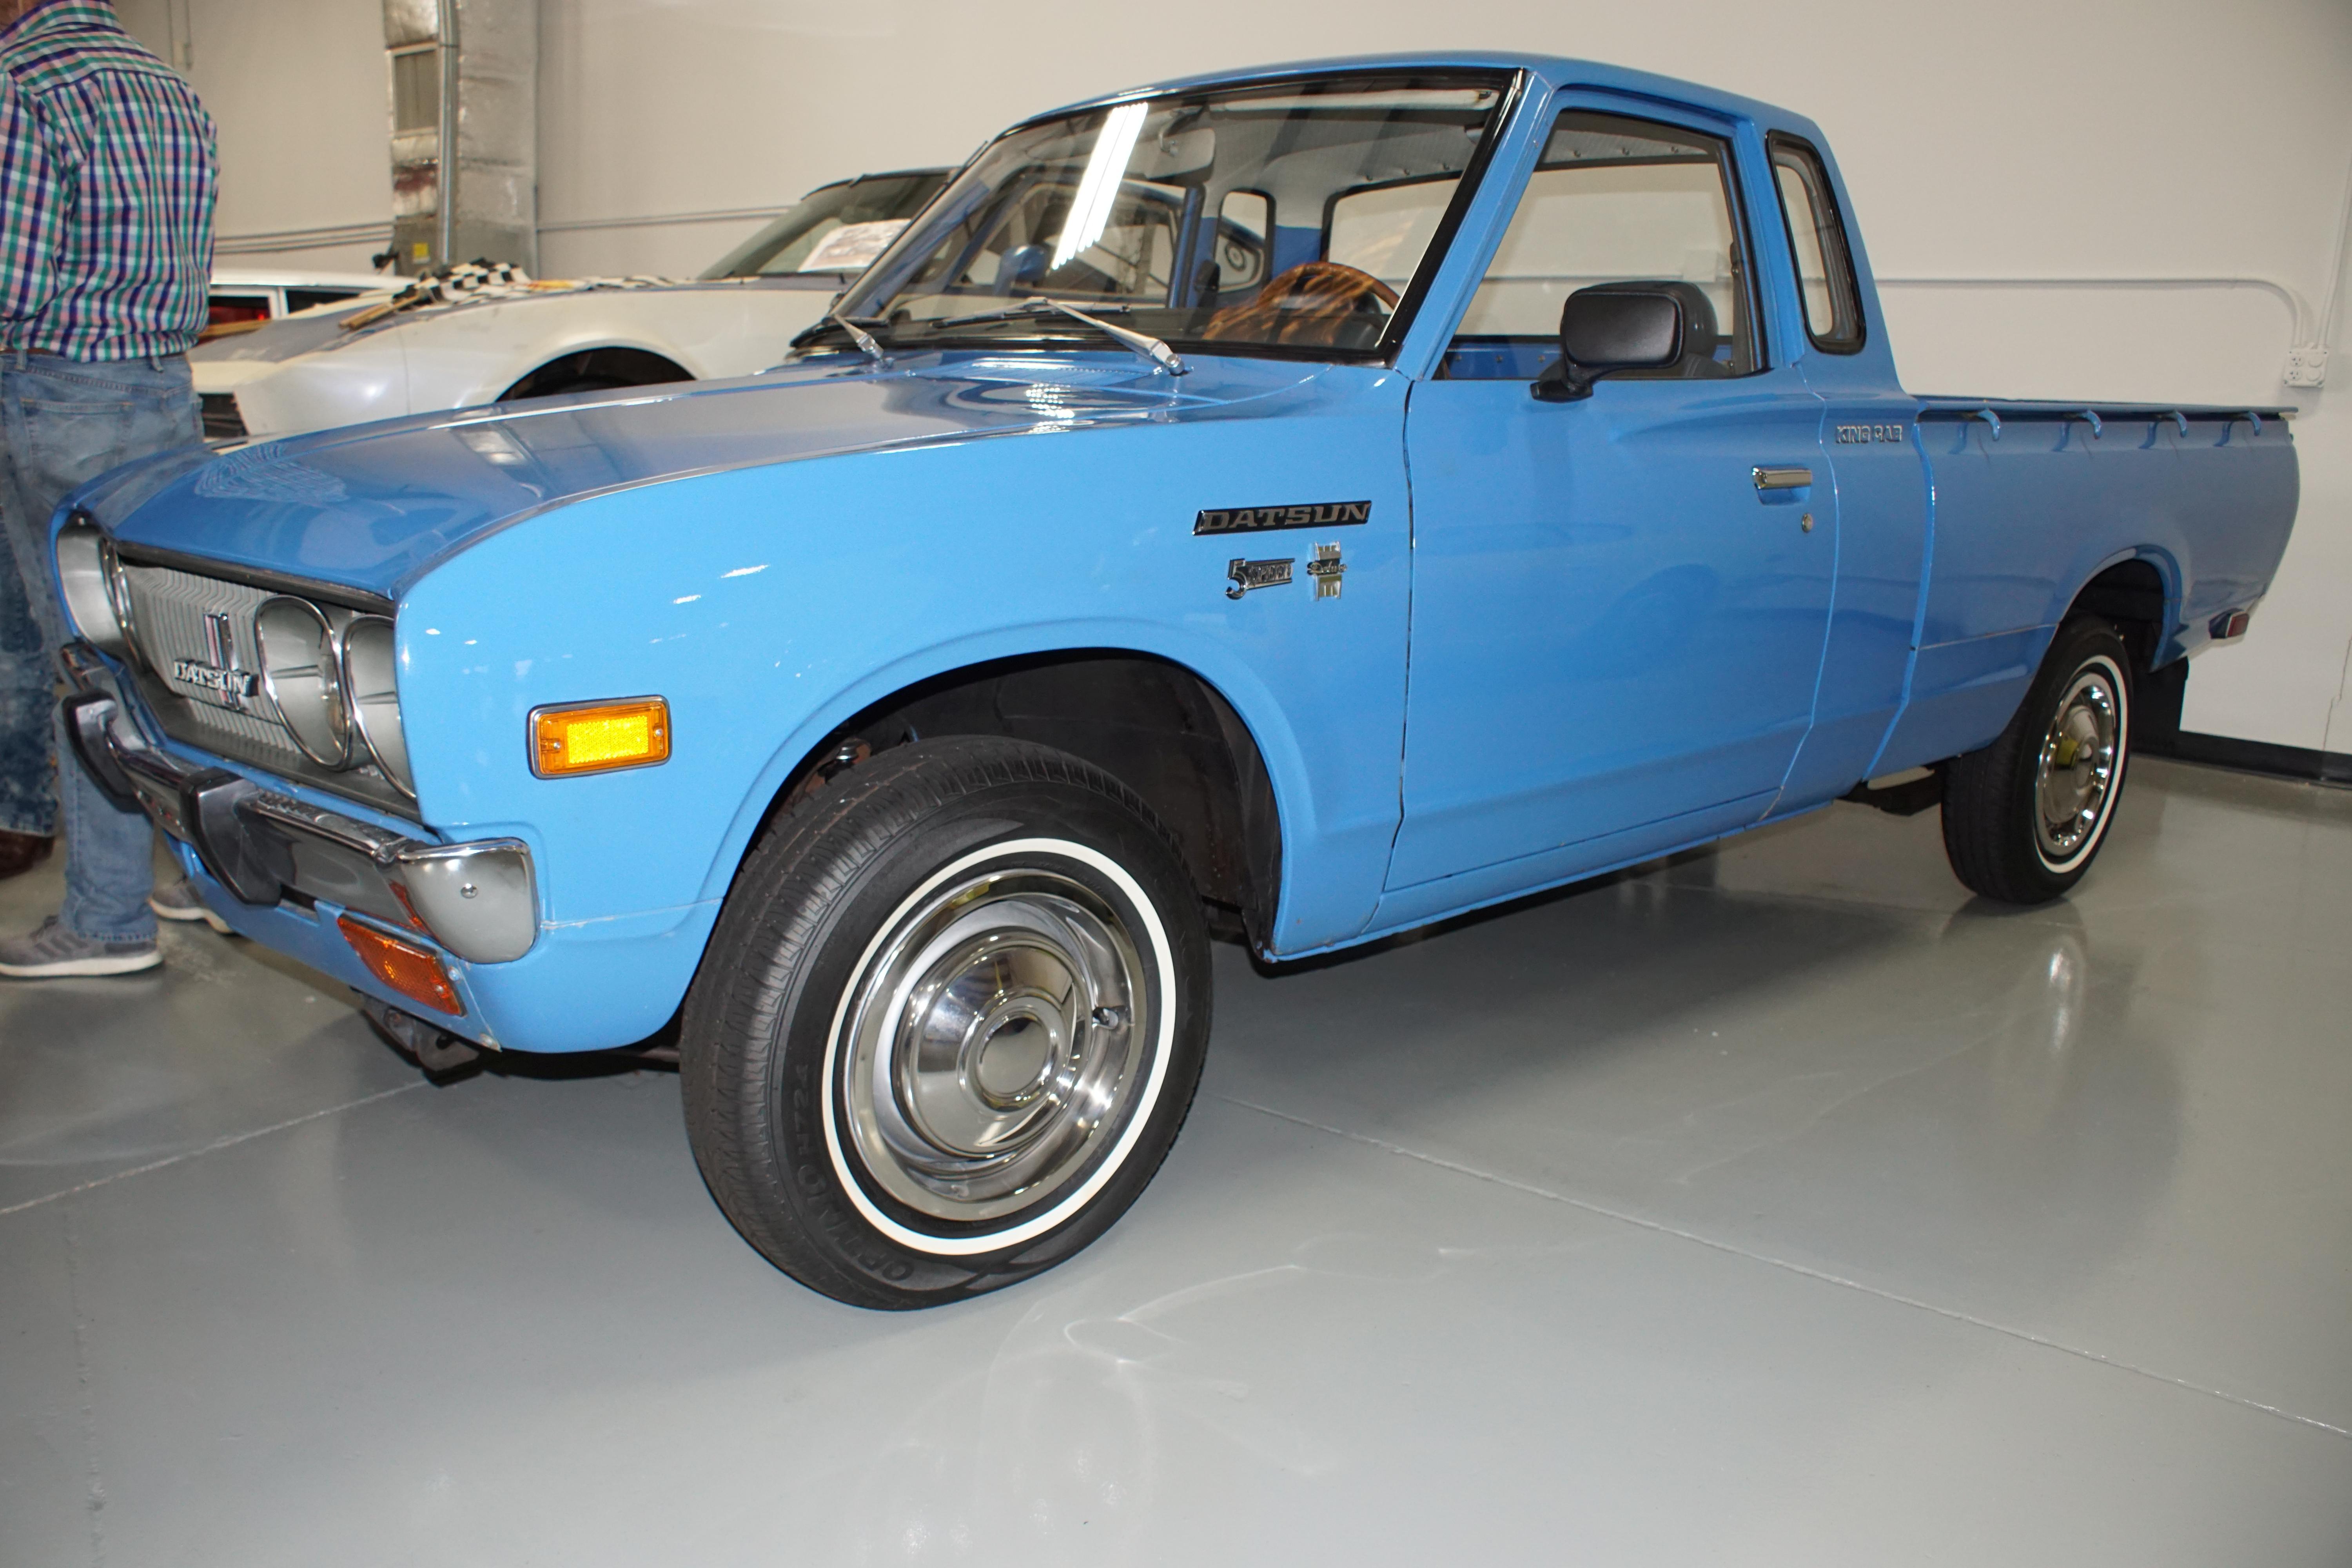
After washing the 260Z on Saturday and going to a Georgia Z Club dinner, Wendy and I hopped into the car again today to go to a wine and cheese event at a friend's warehouse. It's always a good day when I get to drive the Z. Of course, visiting the warehouse has me looking forward to Mitty week 2019 at Road Atlanta.


-
IIRC the 280Z was delayed. This is part of why we talk about early and late 260Zs for the US market. I could have sworn that I read somewhere that the 260Z lasted 15 months in the US market. From that door jamb plate, it looks like it might have been 16 months. Apparently, transitioning the production line to incorporate all of the changes for fuel injection didn't take too long. Besides, CO, Nissan made the 260Z and 280Z at the same time for several years. It's just that they didn't send 260Zs to the US after the 280Zs were online. ?
-
Consider renting a truck and trailer in SoCal and hauling it back. It's not as much fun as driving a Z, but if something breaks down, the rental company has to fix it. Penske and Budget are better options than U-Haul IMHO.
-
Herman, I don't think the people doing the dashboards frequent this forum. You might try contacting Hung Vu via Facebook: https://www.facebook.com/hungdvu
-
Pull off the cap and let us see what's underneath.
-
You would have to have a sensitive meter to measure the resistance. While the red link should have about half of the resistance of the brown, the contact of the meter leads on the ends of the fusible links would probably create more resistance.. Here are the AWG approximations of the different fusible link sizes along with the resistance of those wires in milliohm/foot. AWG mm^2 mOhm/ft Black 16 1.31 4.016 Red 19 0.65 8.051 Brown 22 0.33 16.14