HusseinHolland
Community Member
-
Joined
-
Last visited
Everything posted by HusseinHolland
-
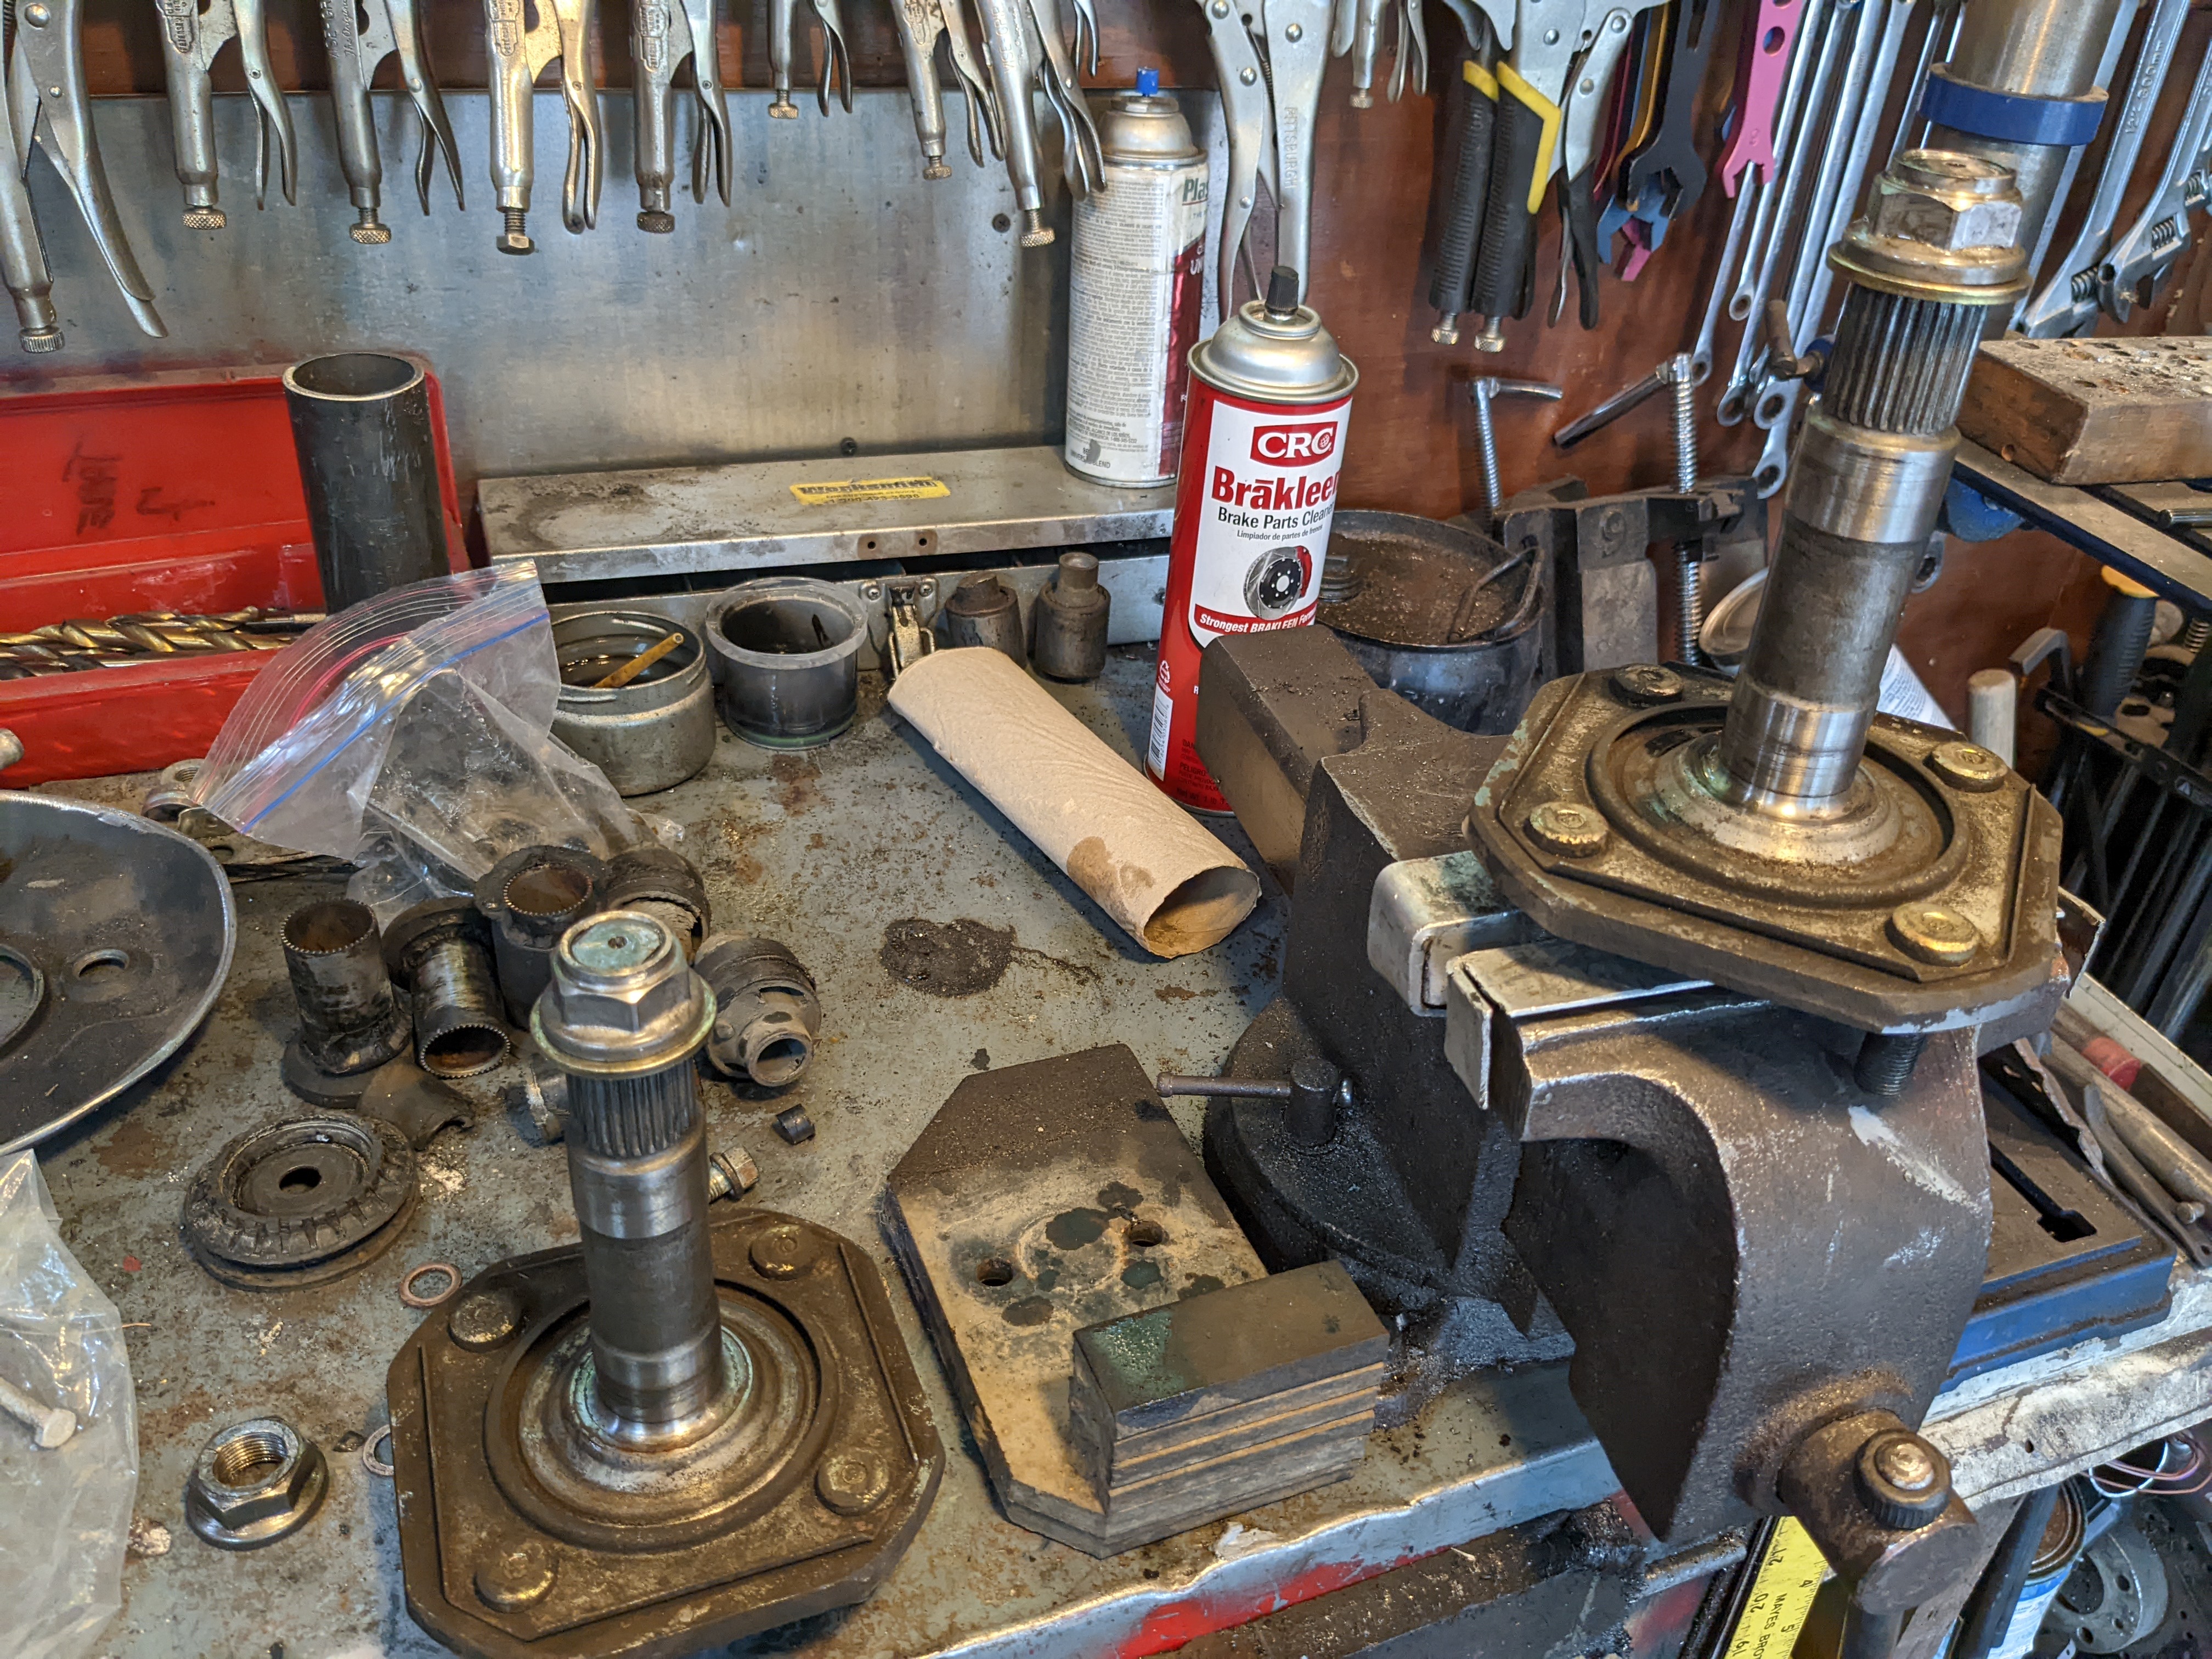
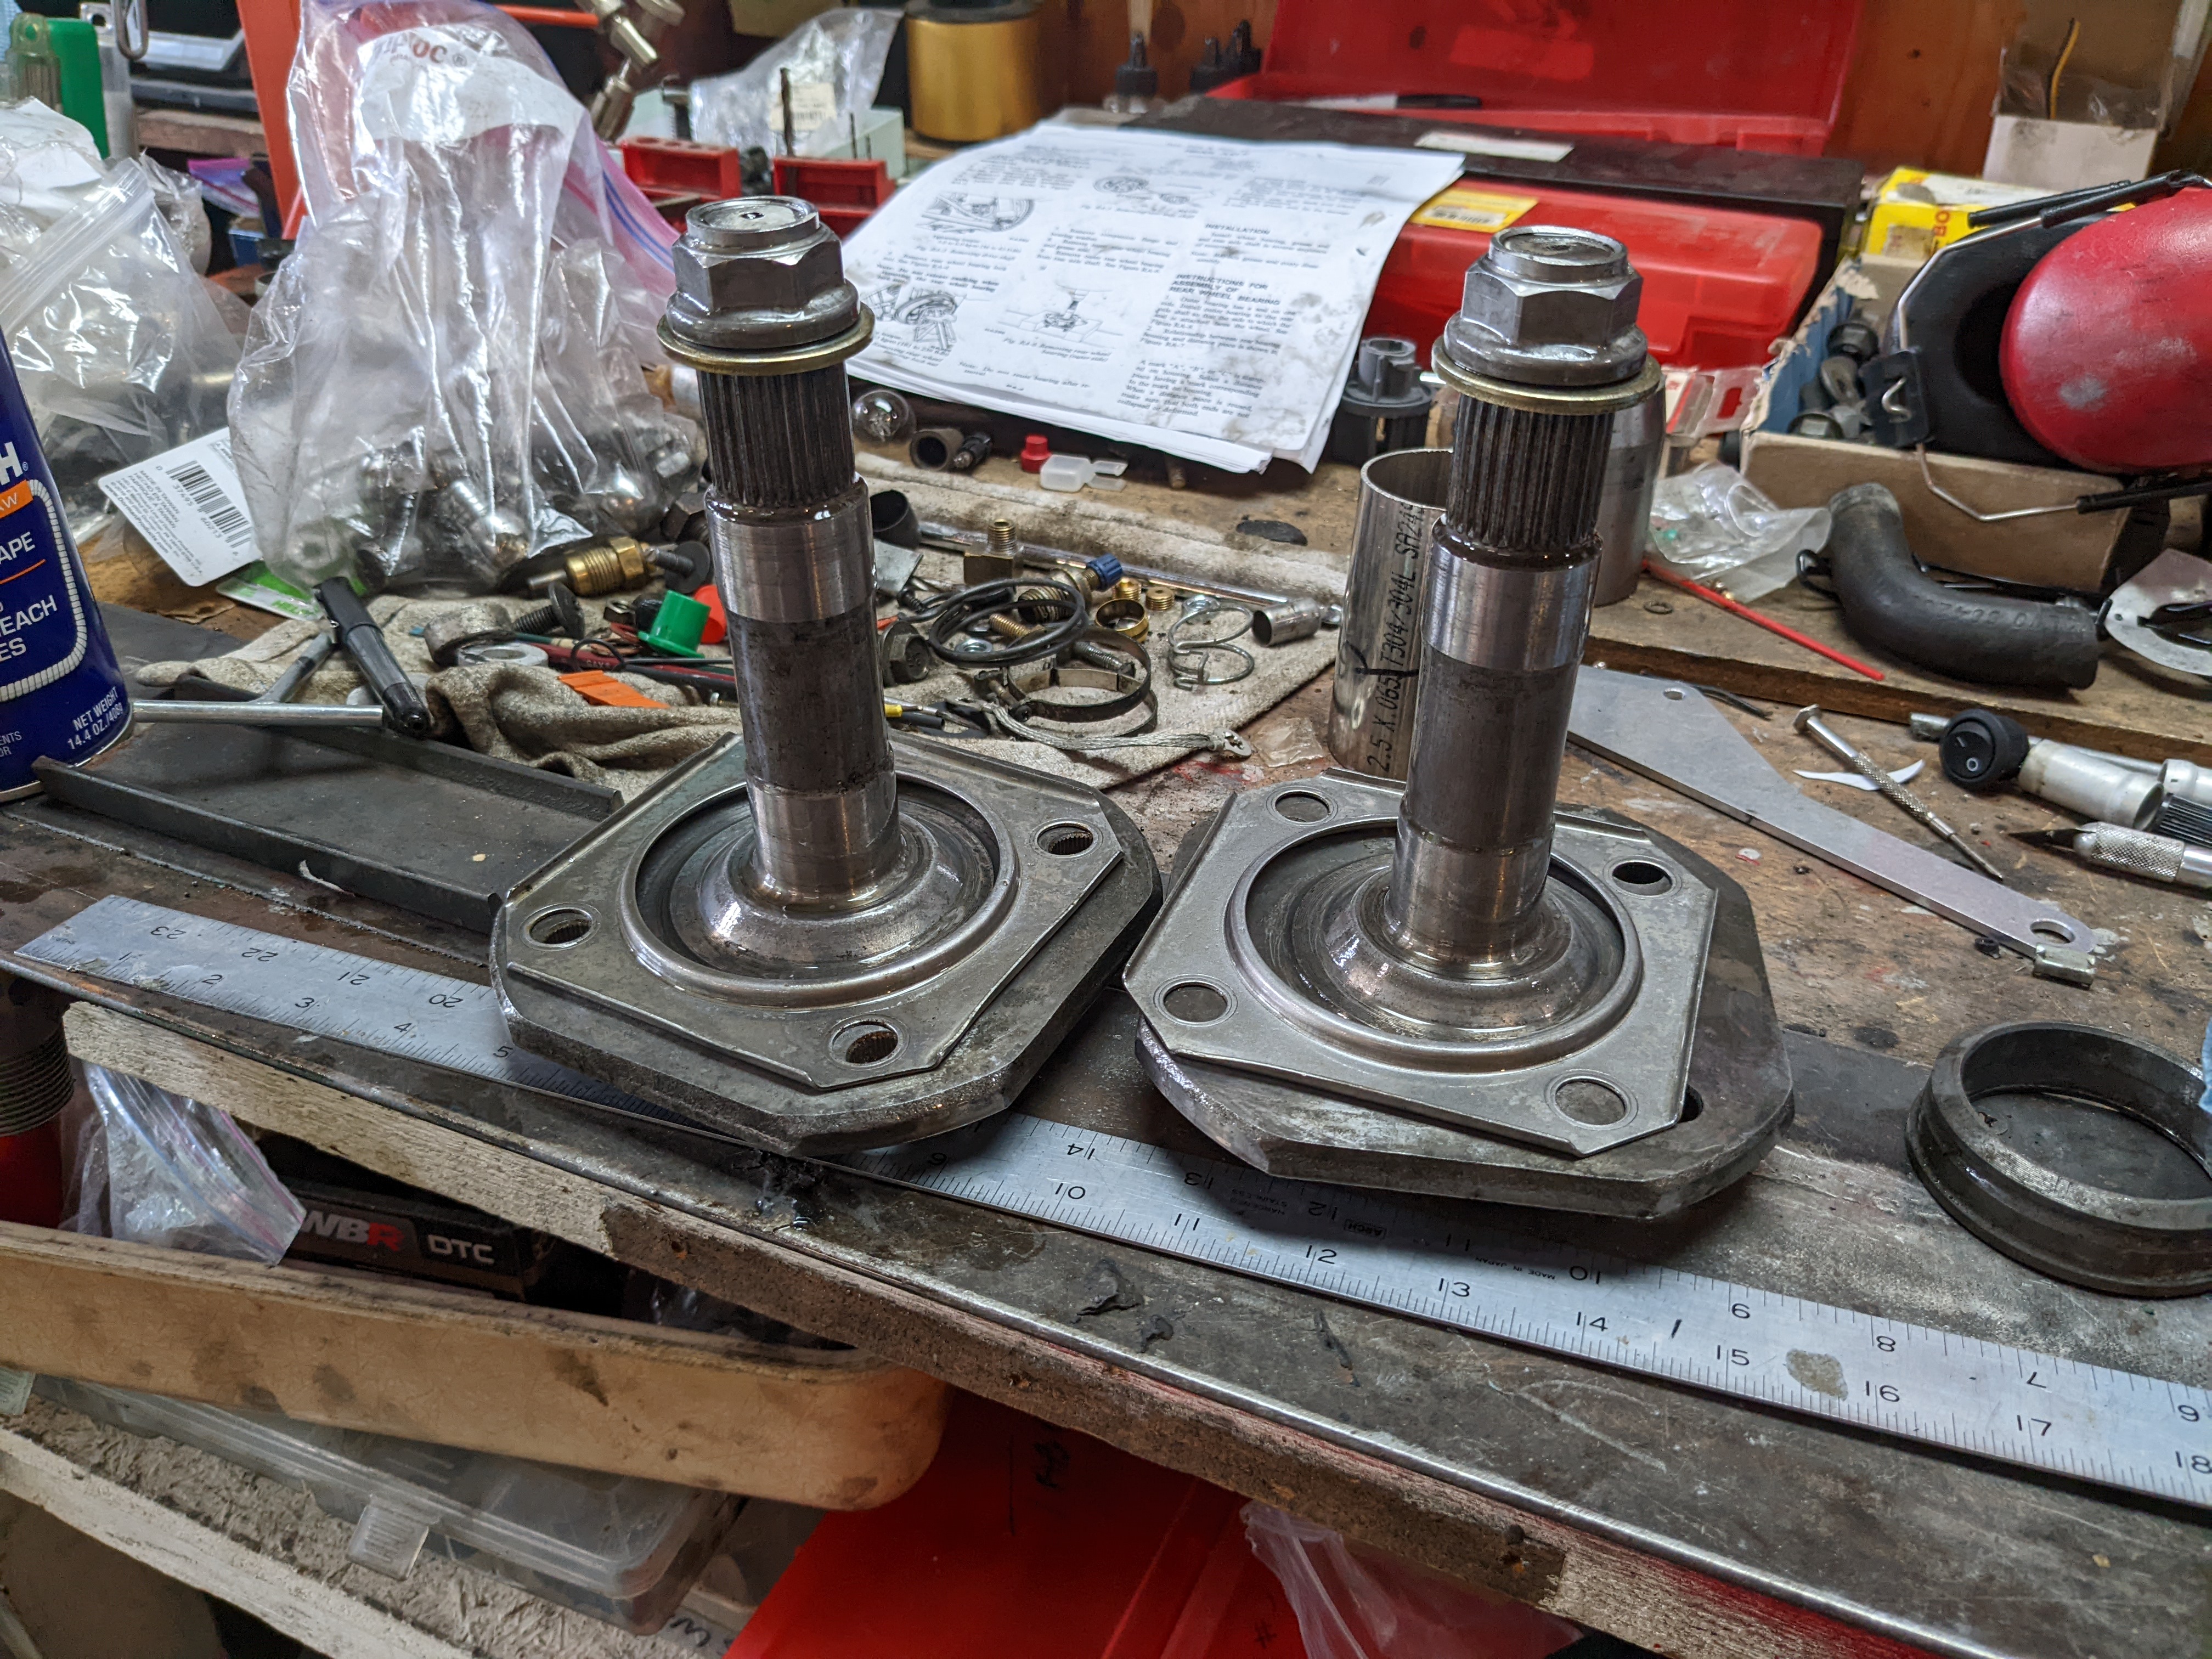
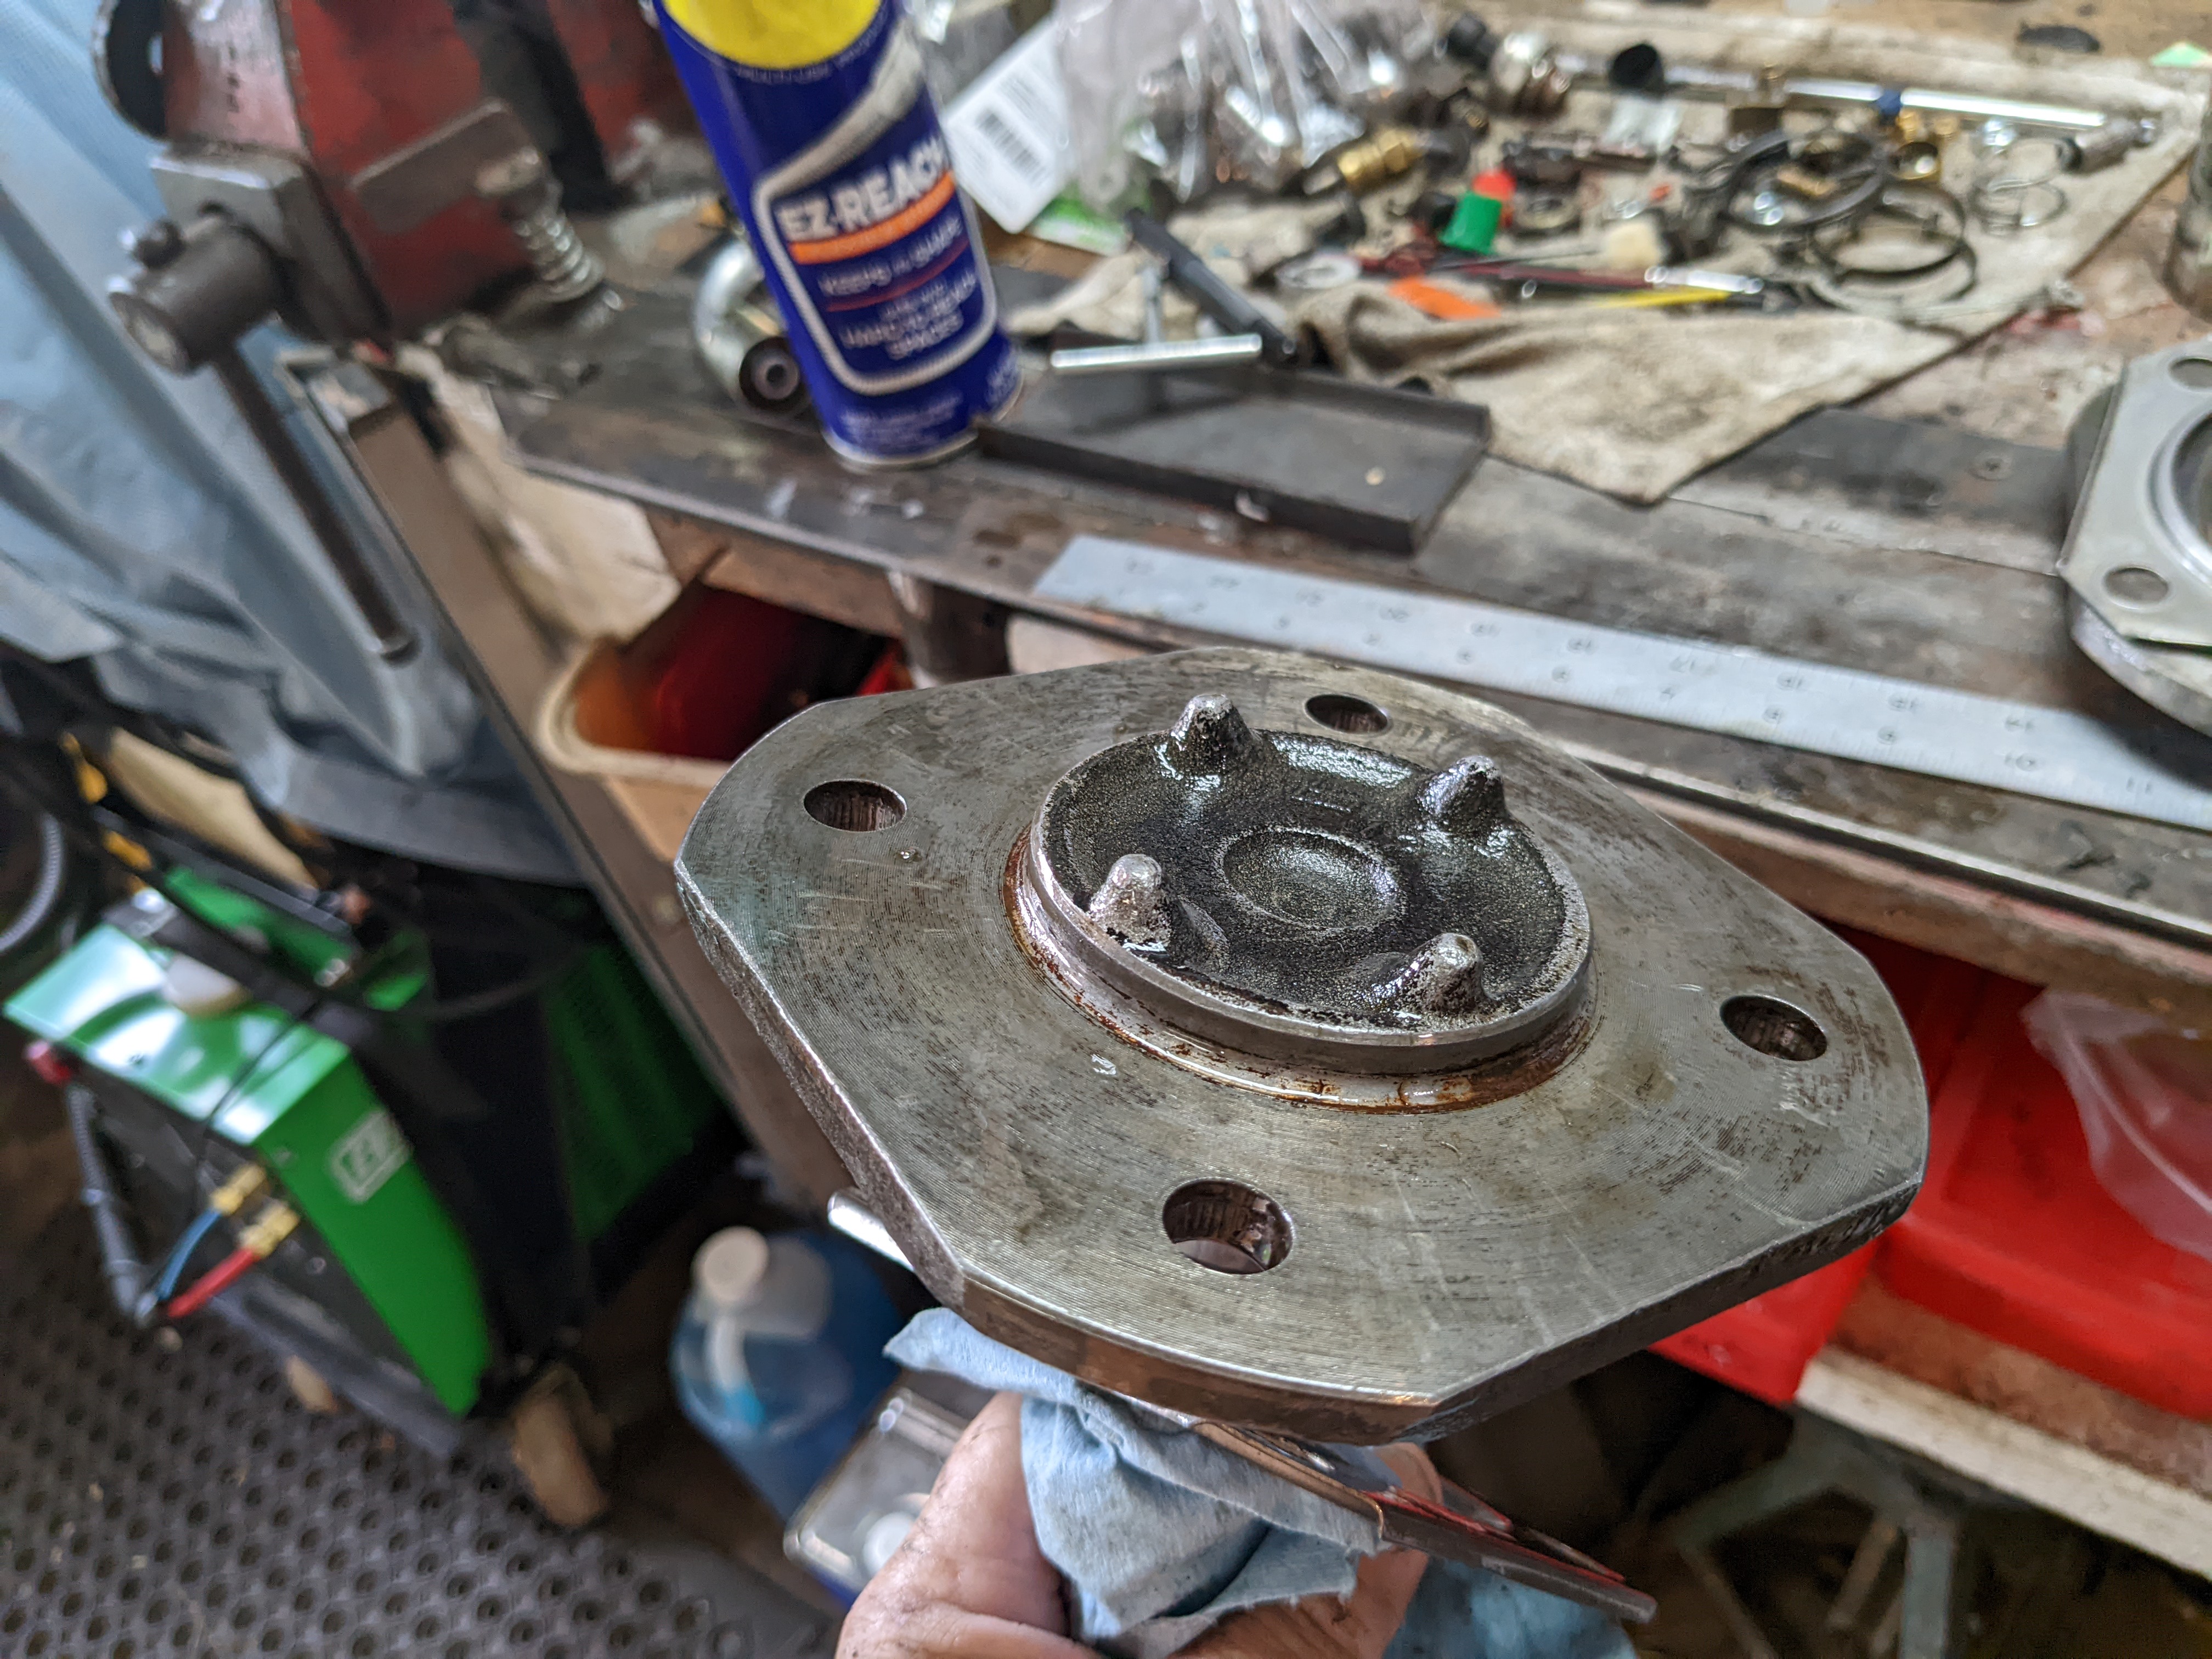
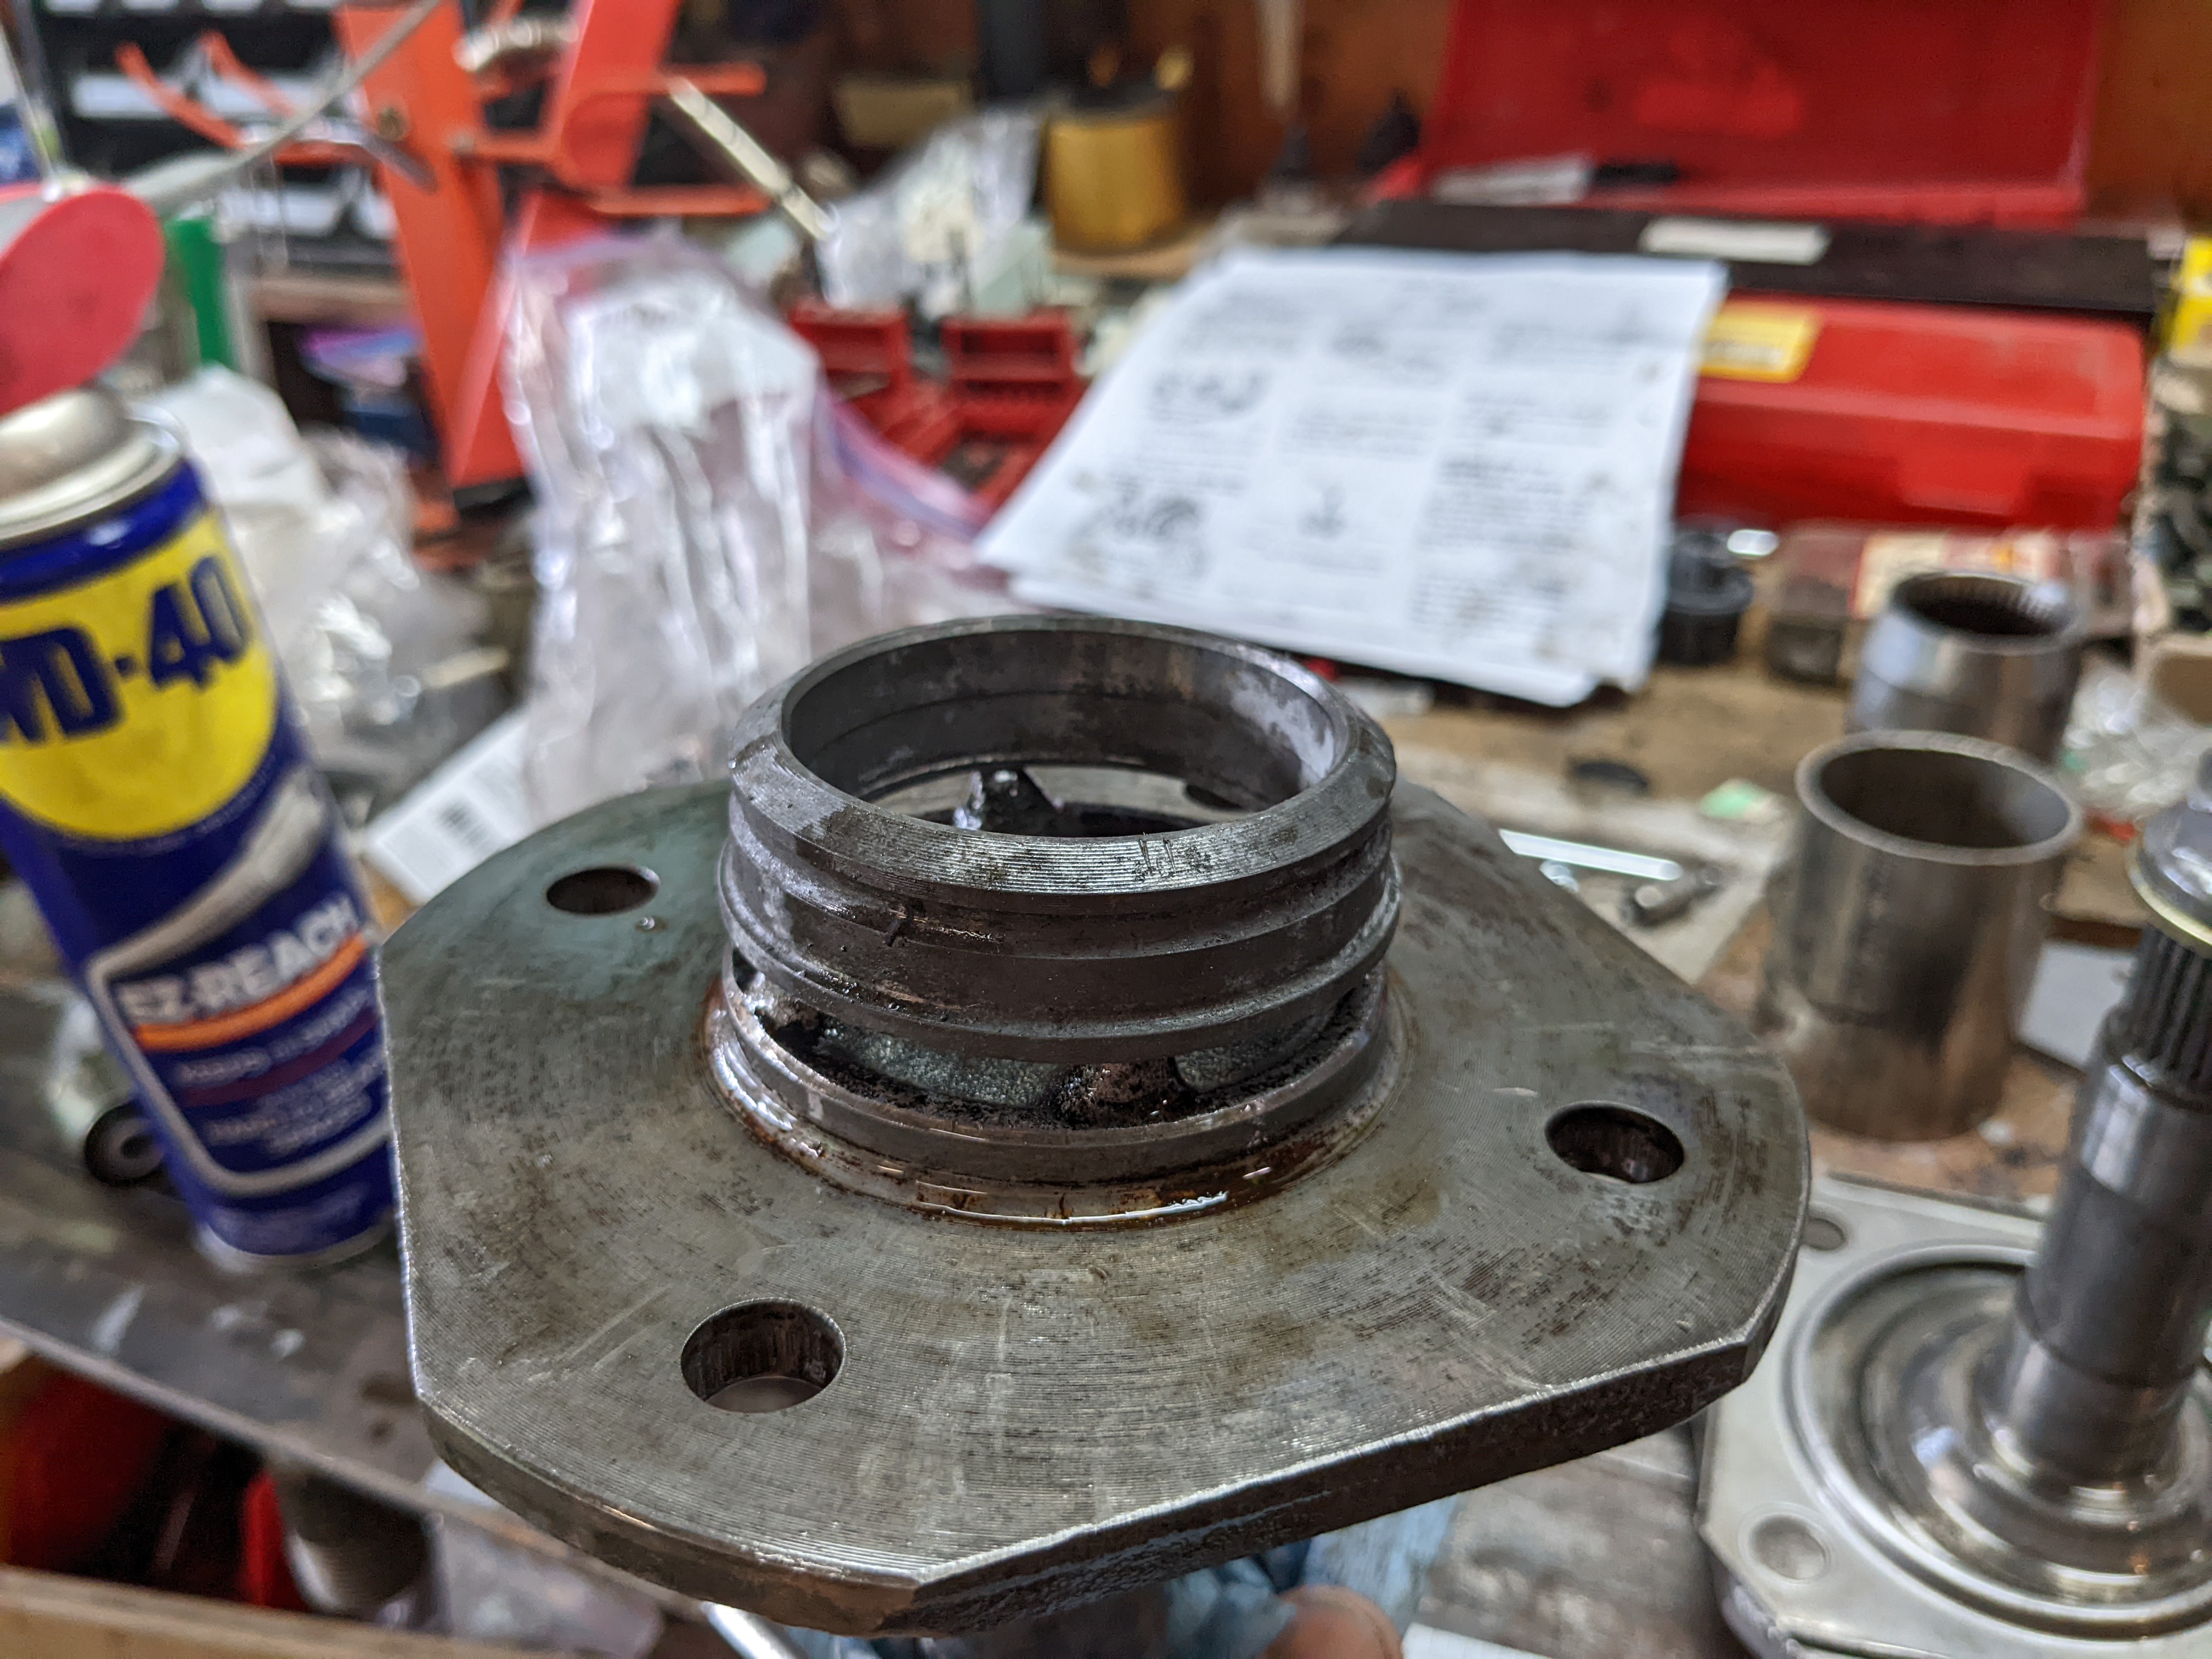
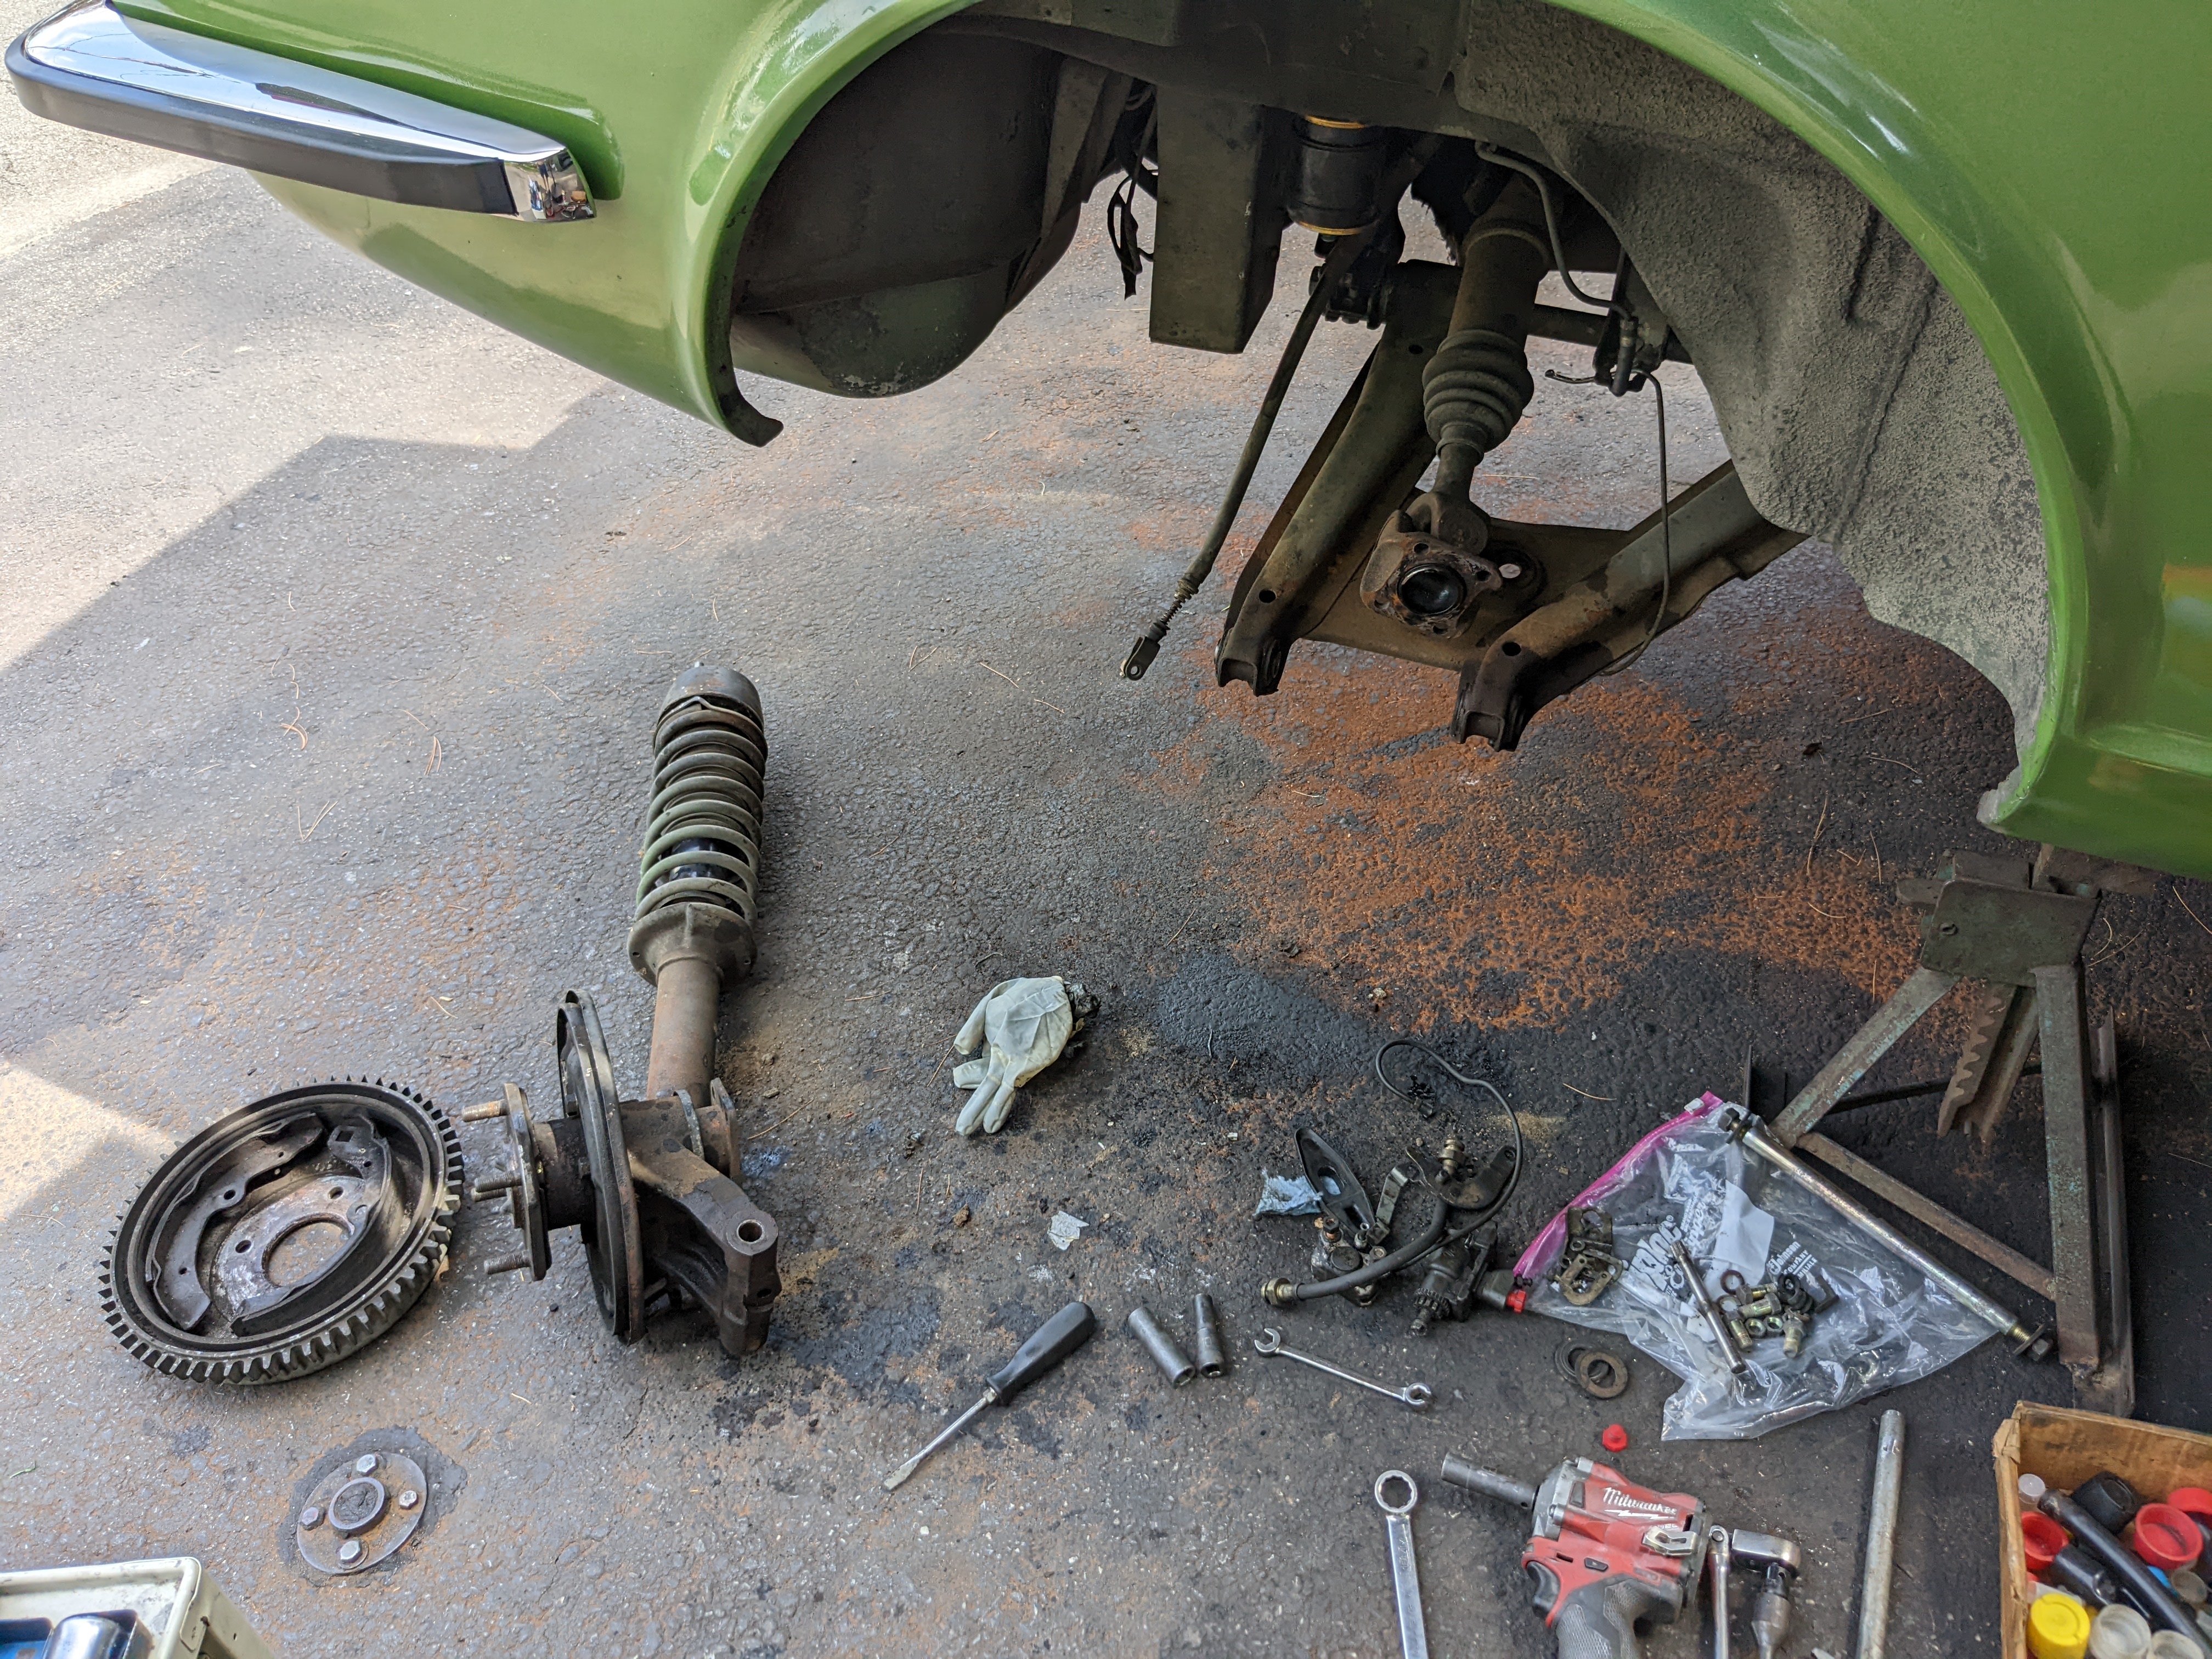
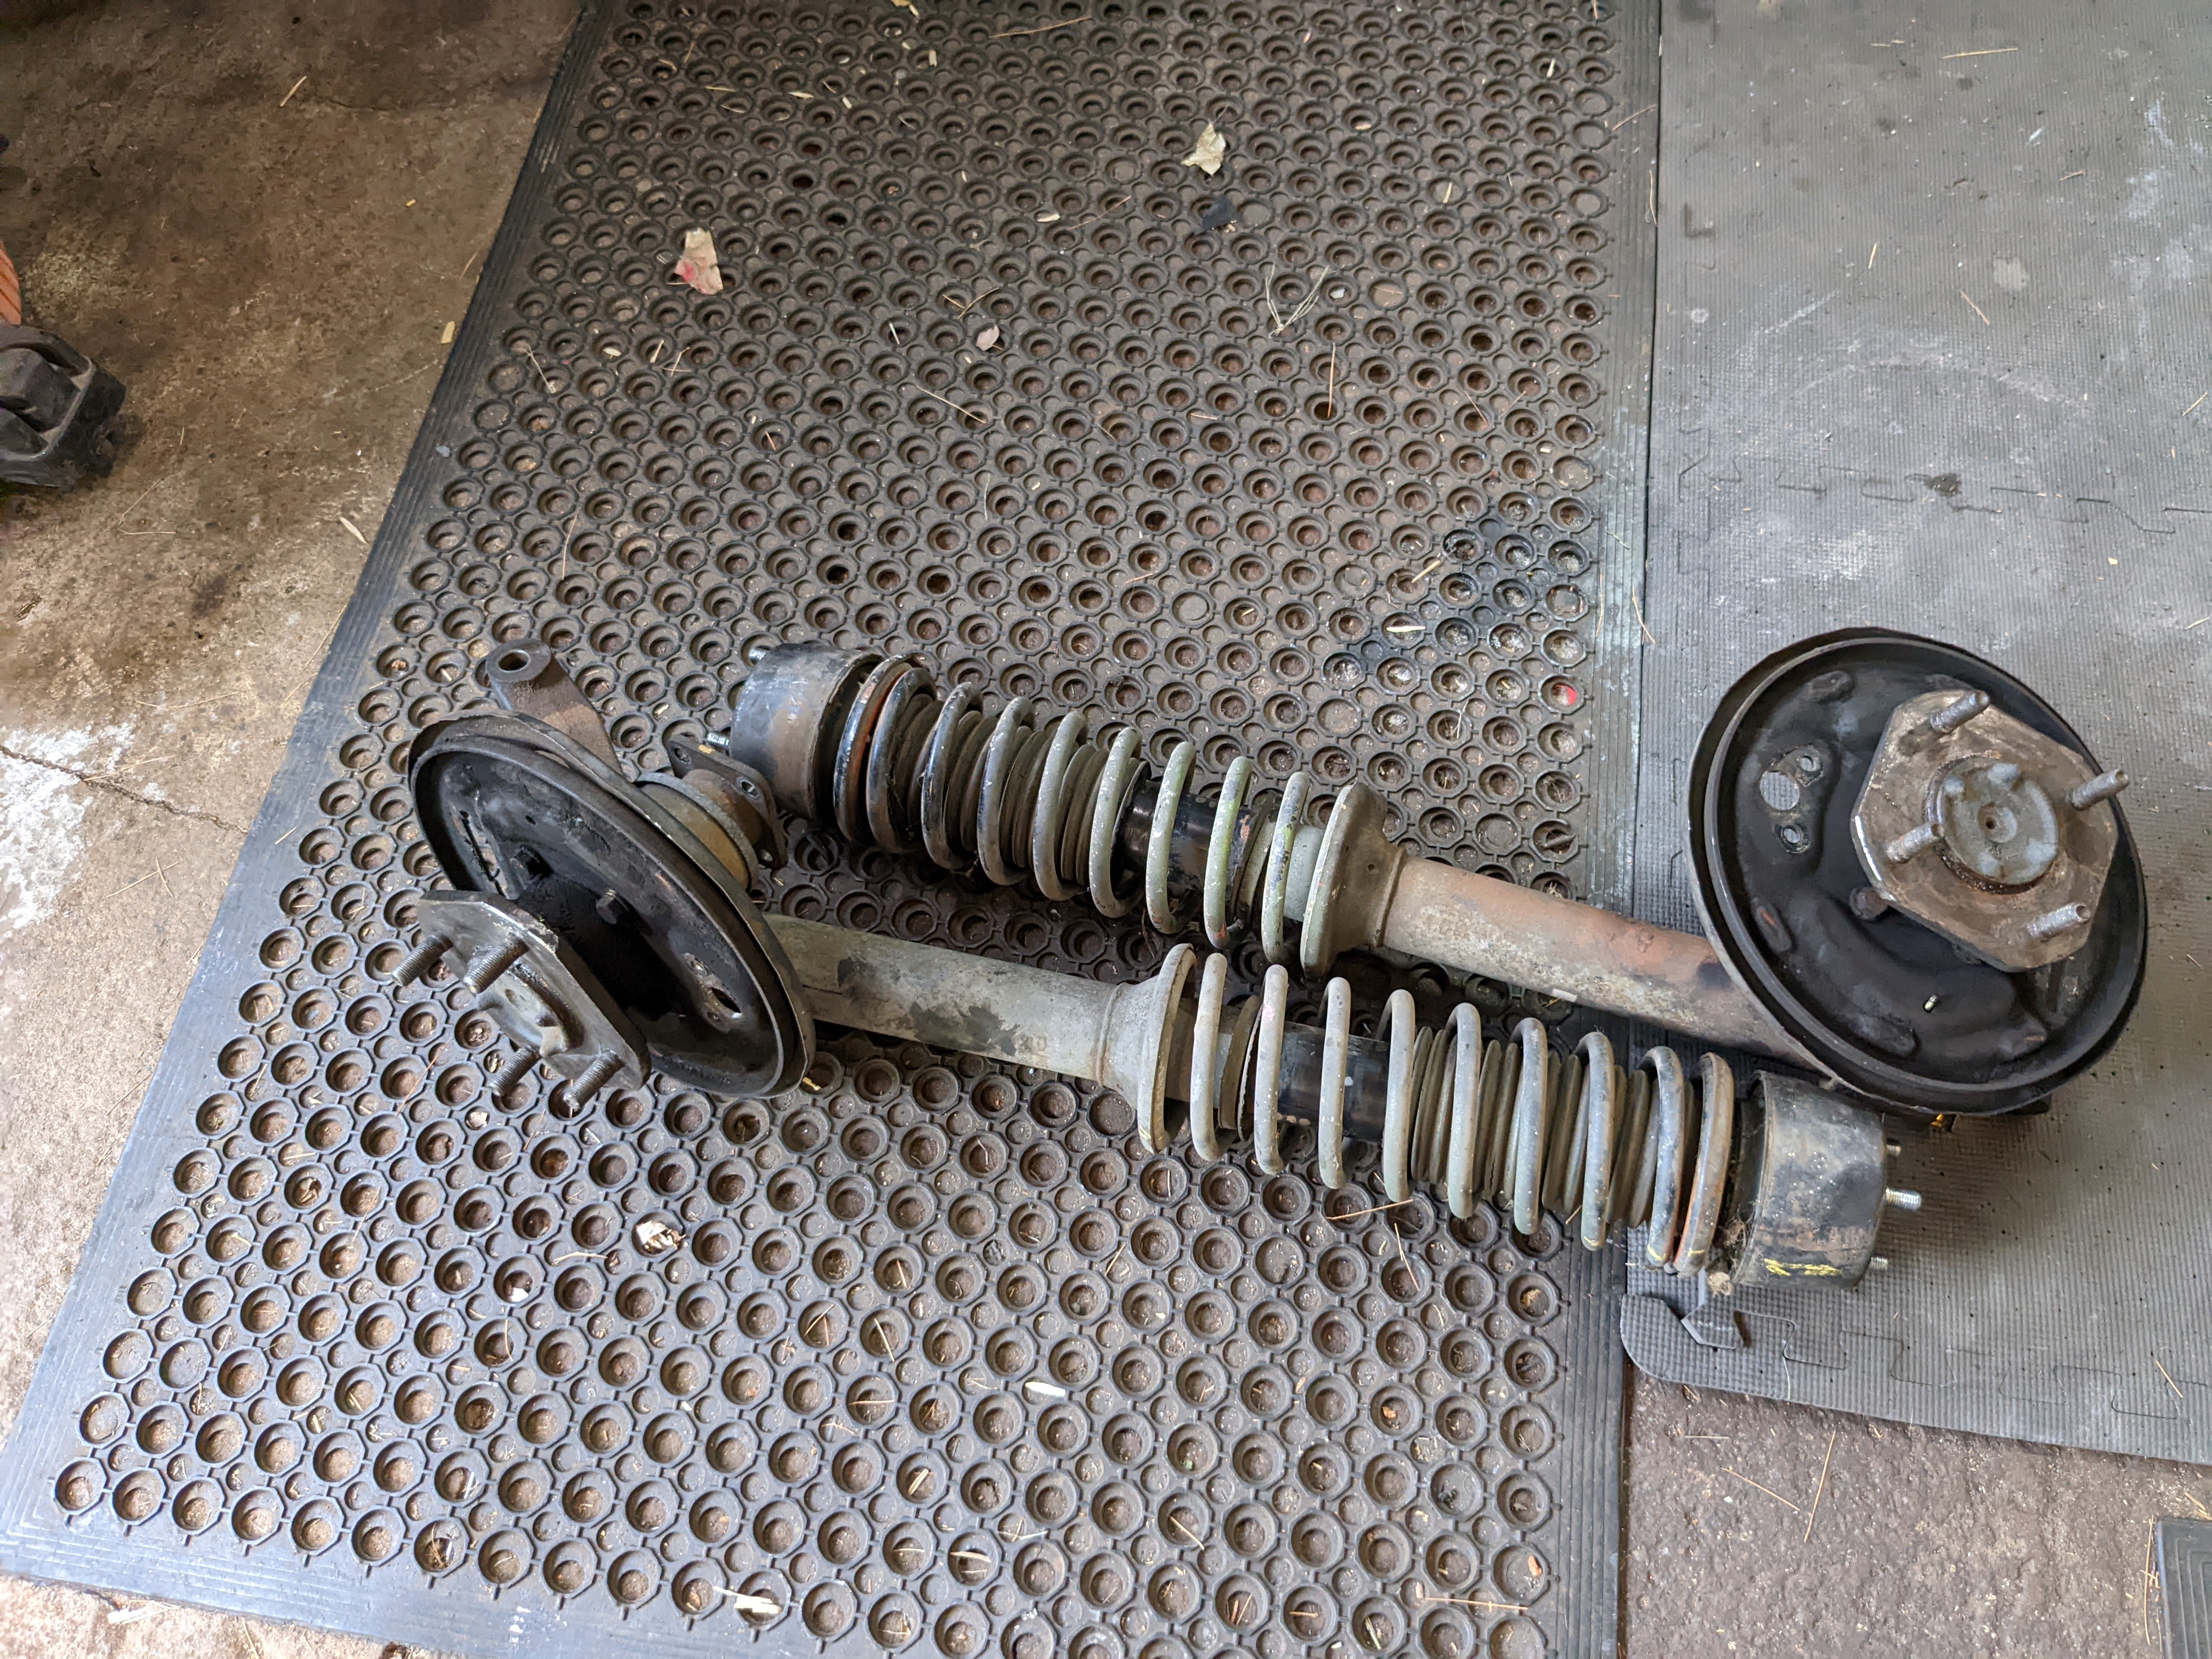
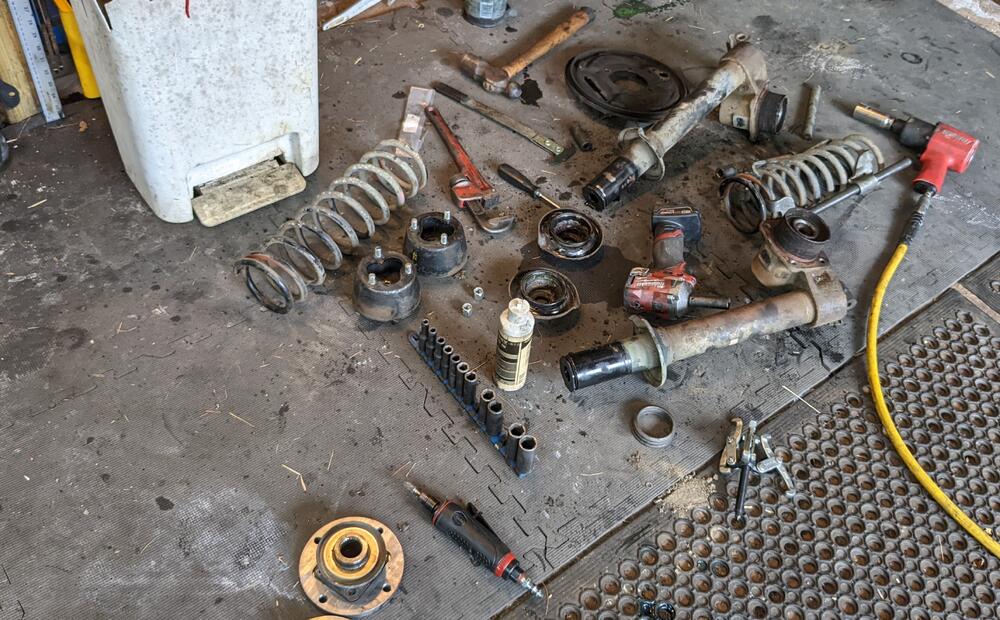
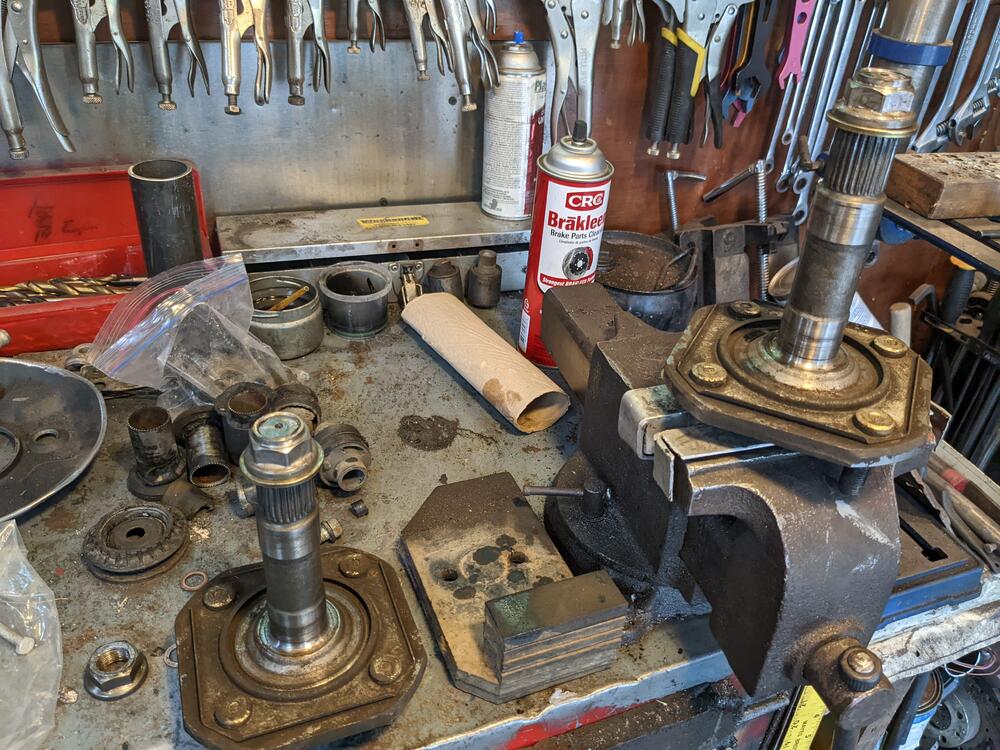
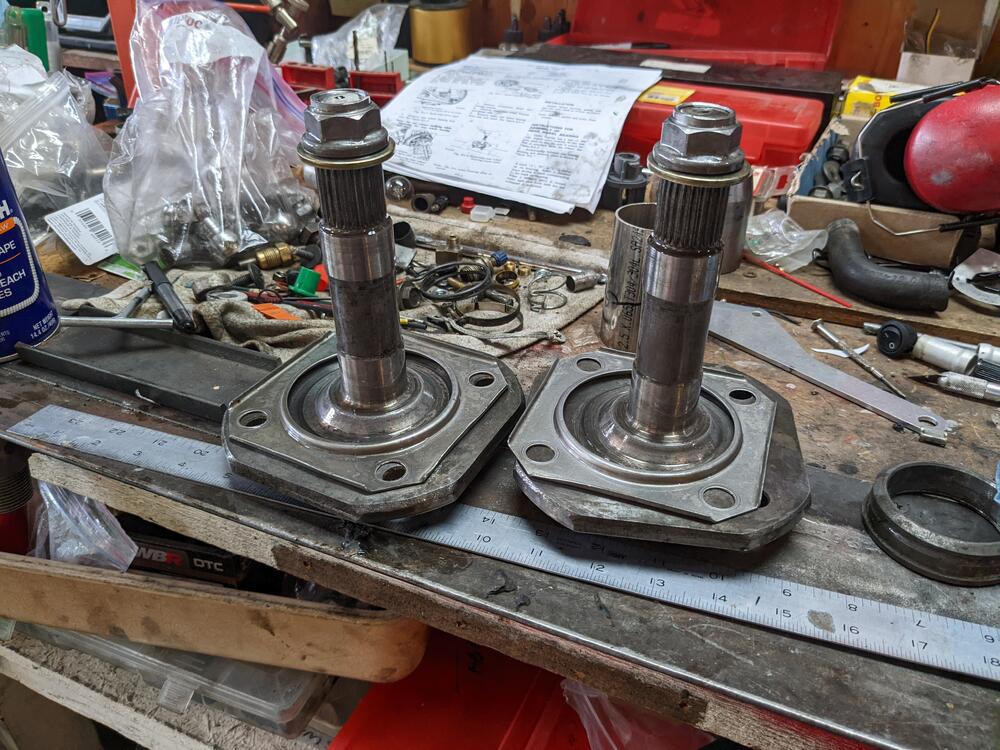
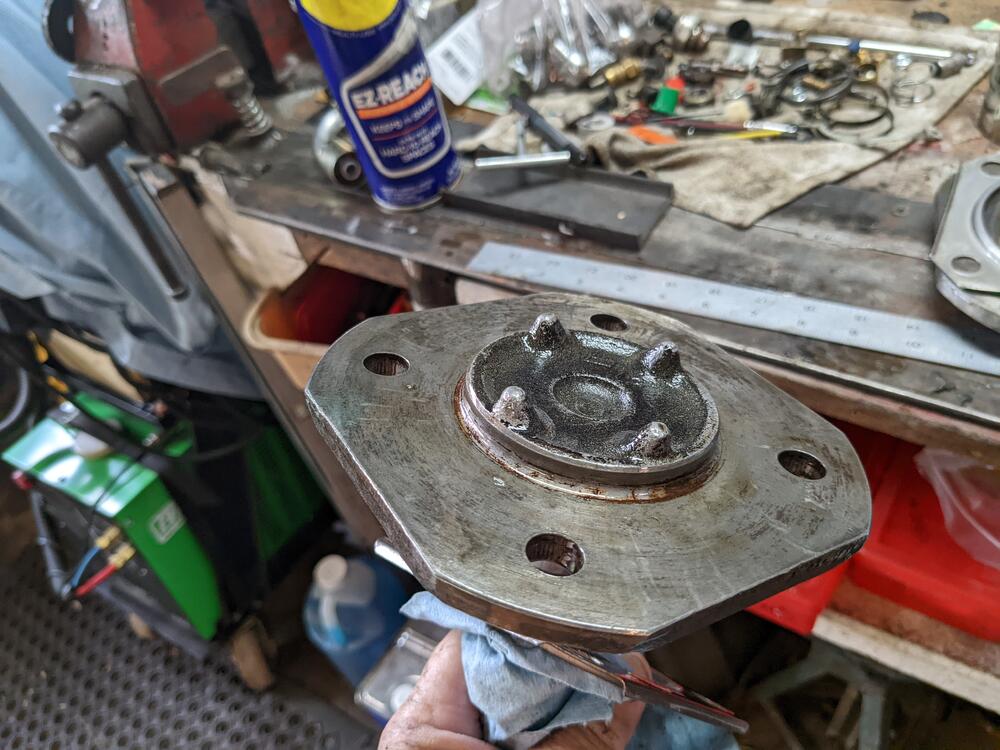
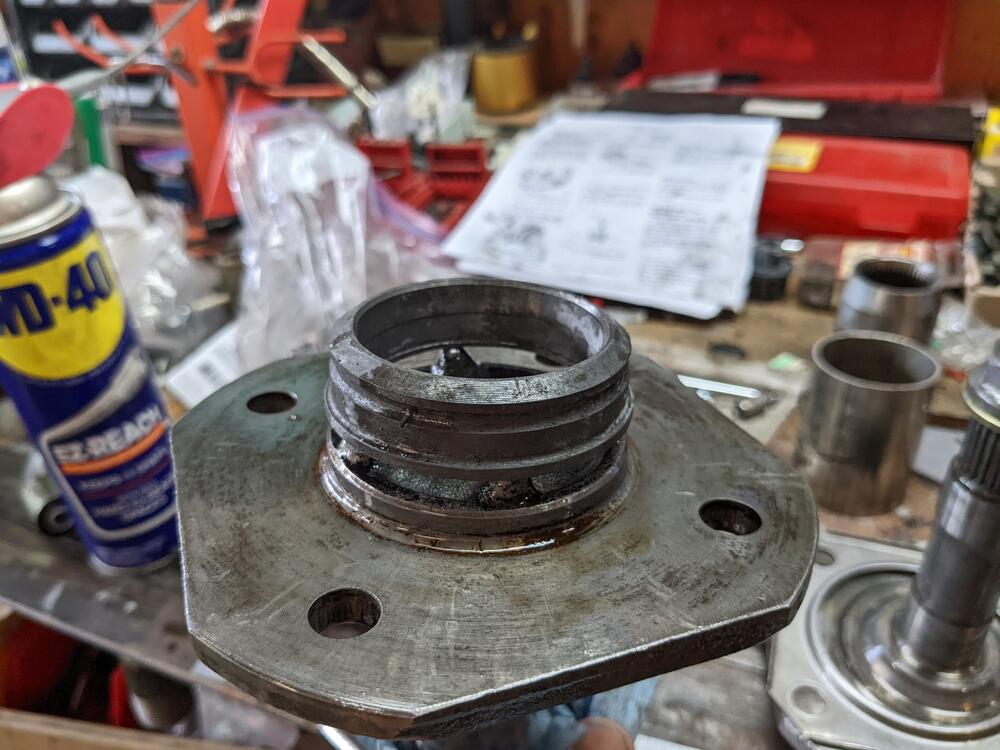
Took the rear struts & hubs apart after doing the Fuel pump setup. Removed the drum brake back plates that are no longer needed. cut down the nub of the spindle, to make sure the Z31 CV cap doesn't hit removed the (too short) wheel studs & cleaned the outer flanges Still not happy with not having a hub seat for the wheels I may weld on a sleeve (cut from a Volvo), that will allow me to use a hub centric ring (65.1 - 73.1) to set the Konig wheels. Have to have the nubs turned down in that case, to get a good seat for welding
-
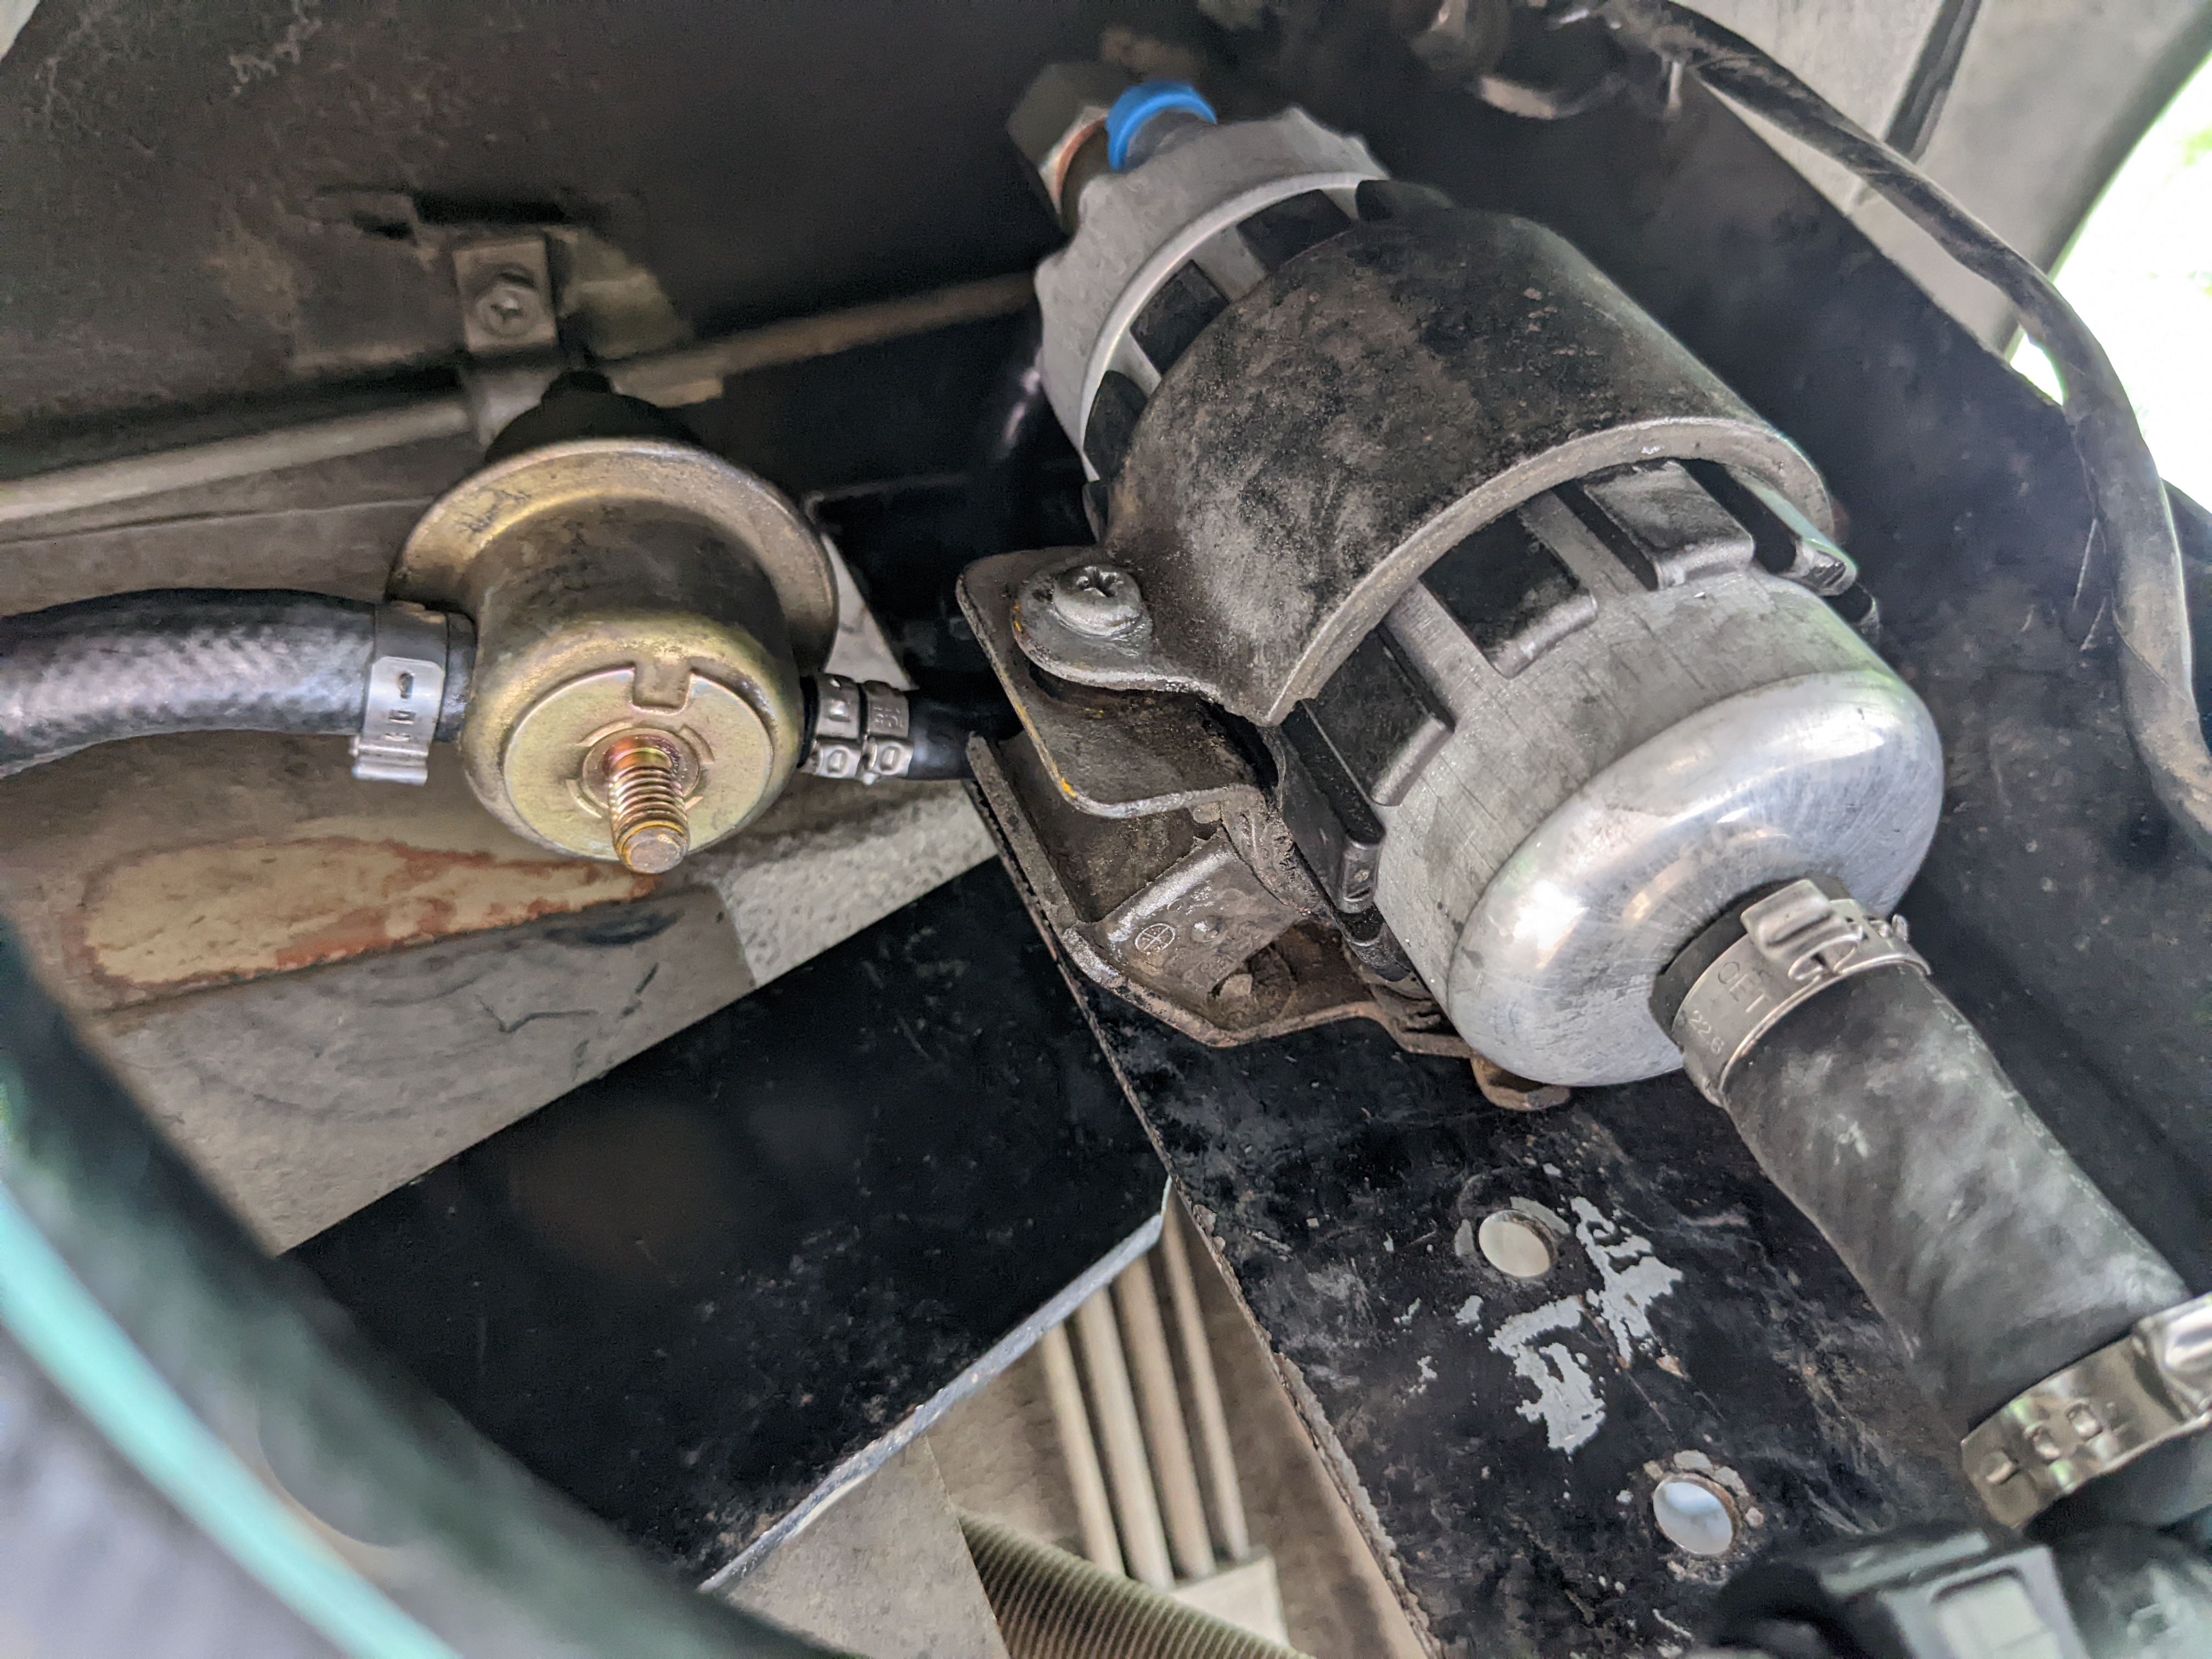
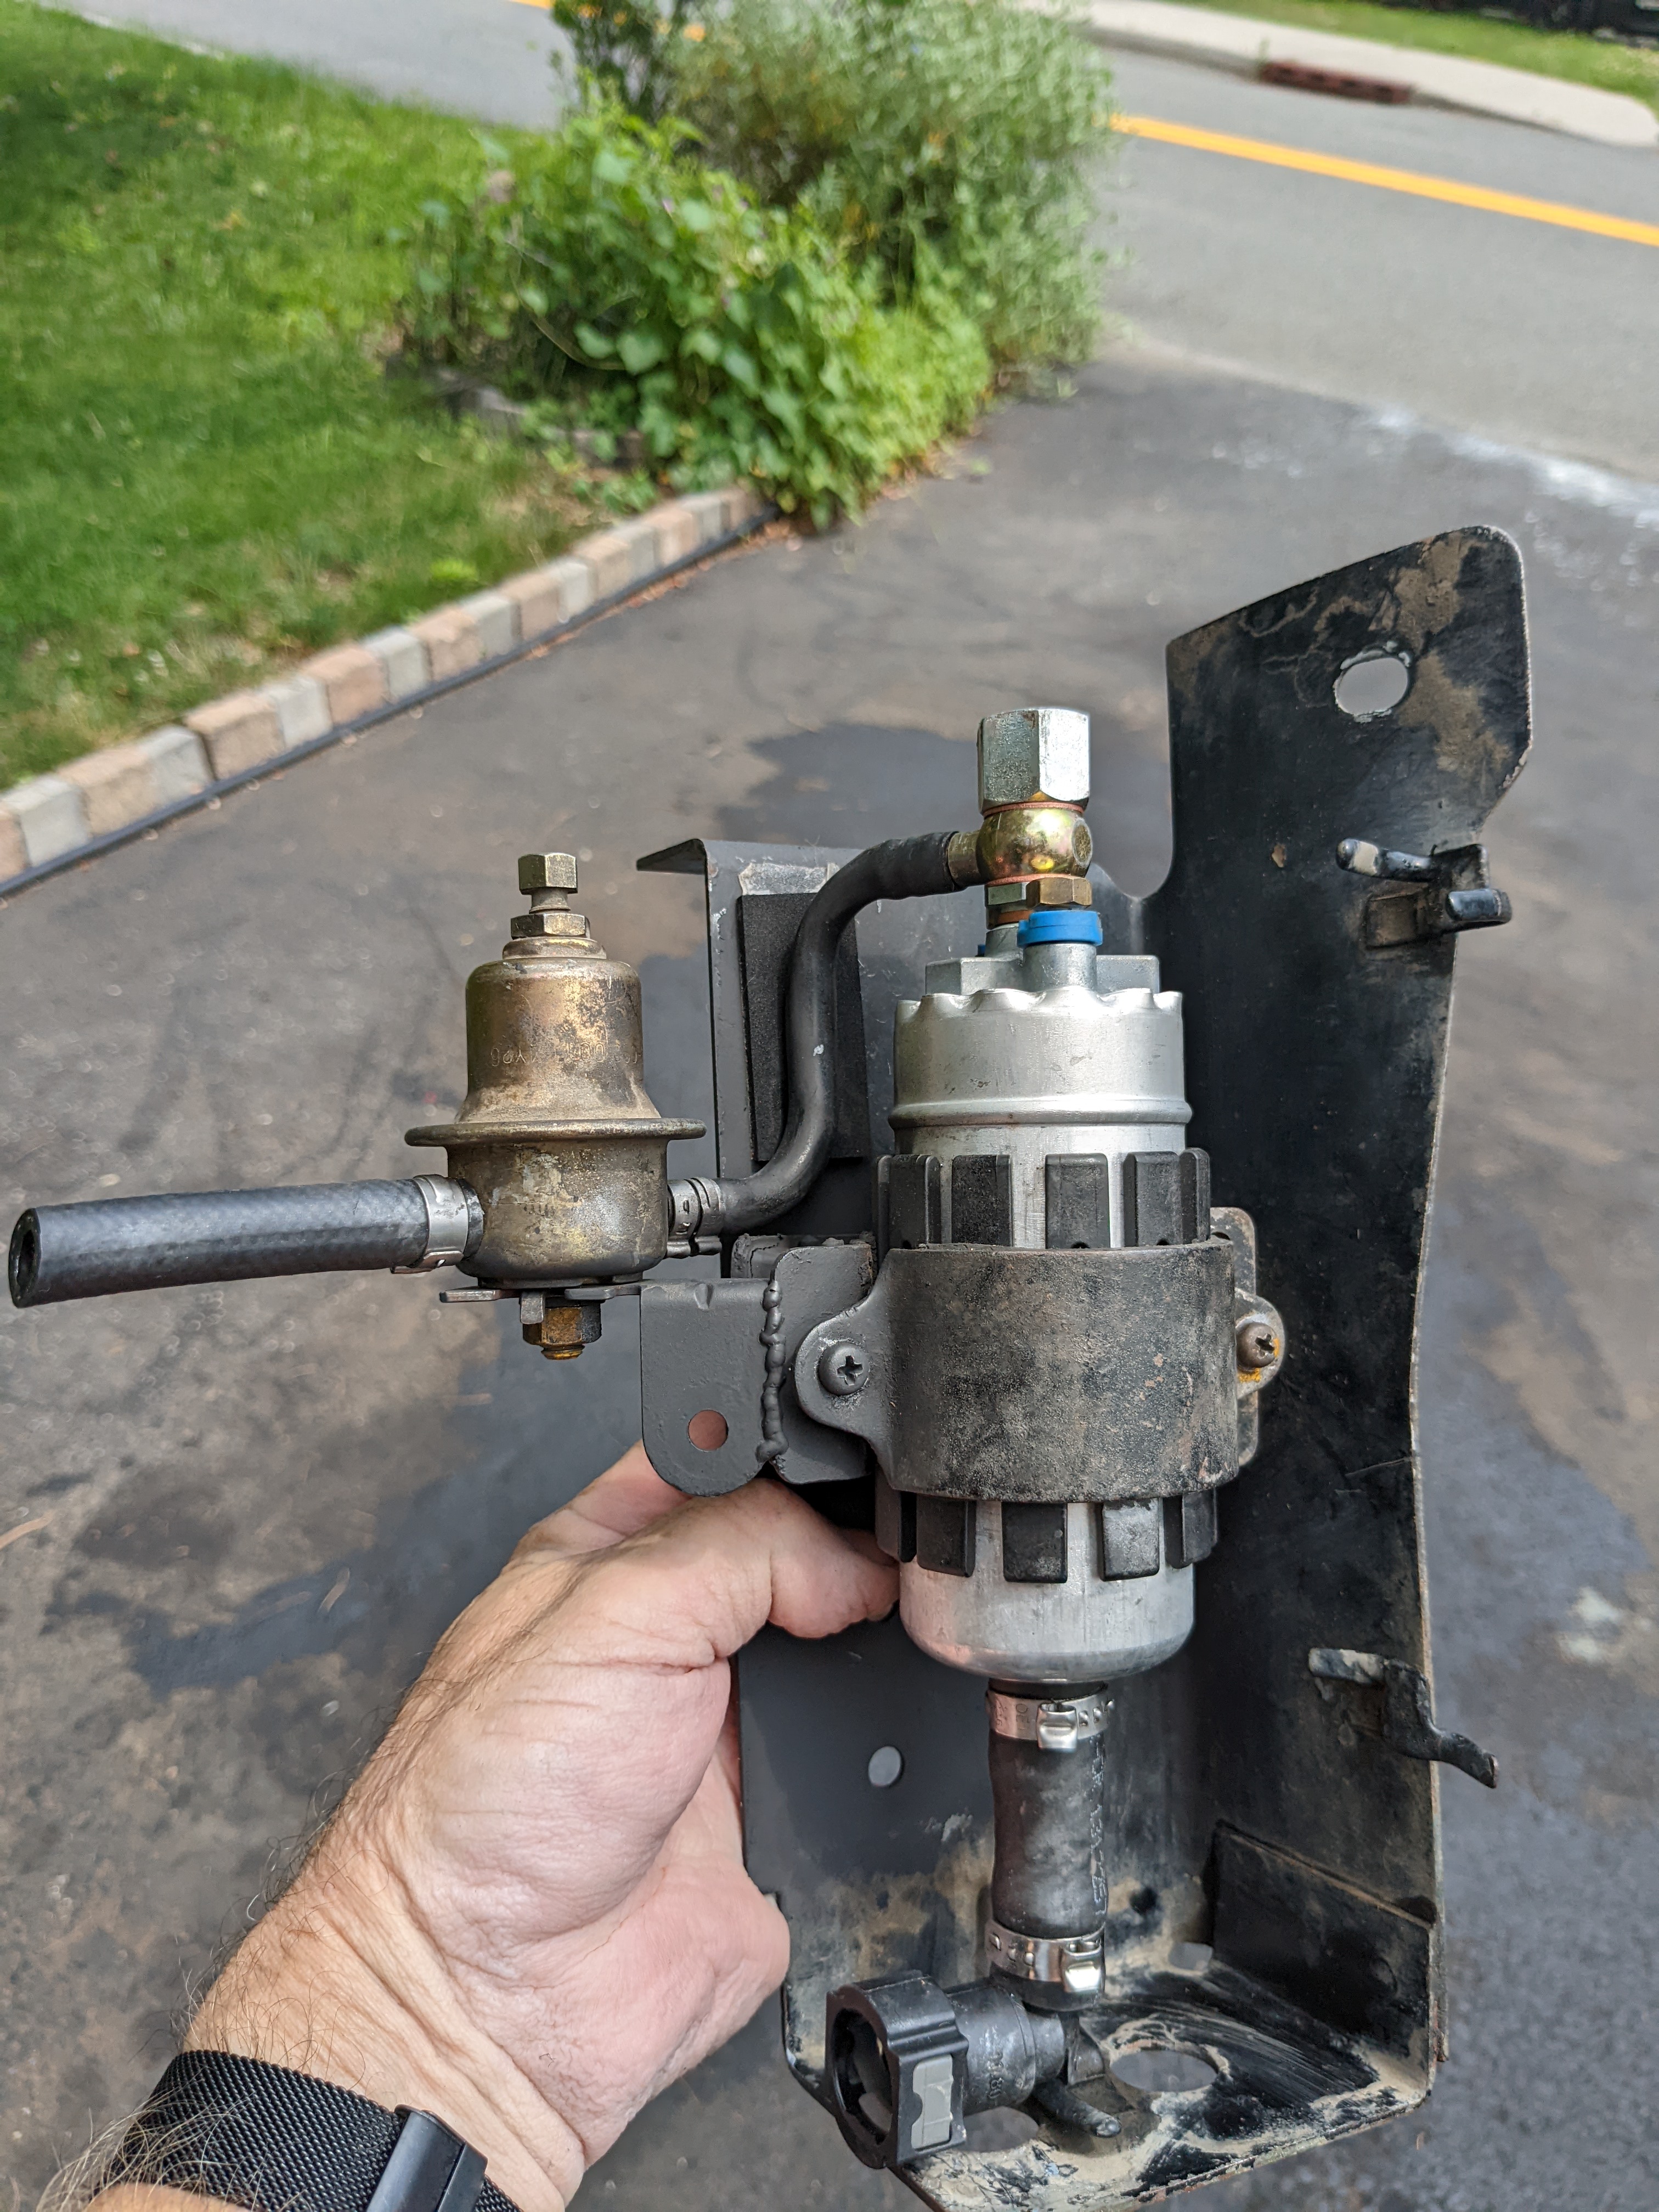
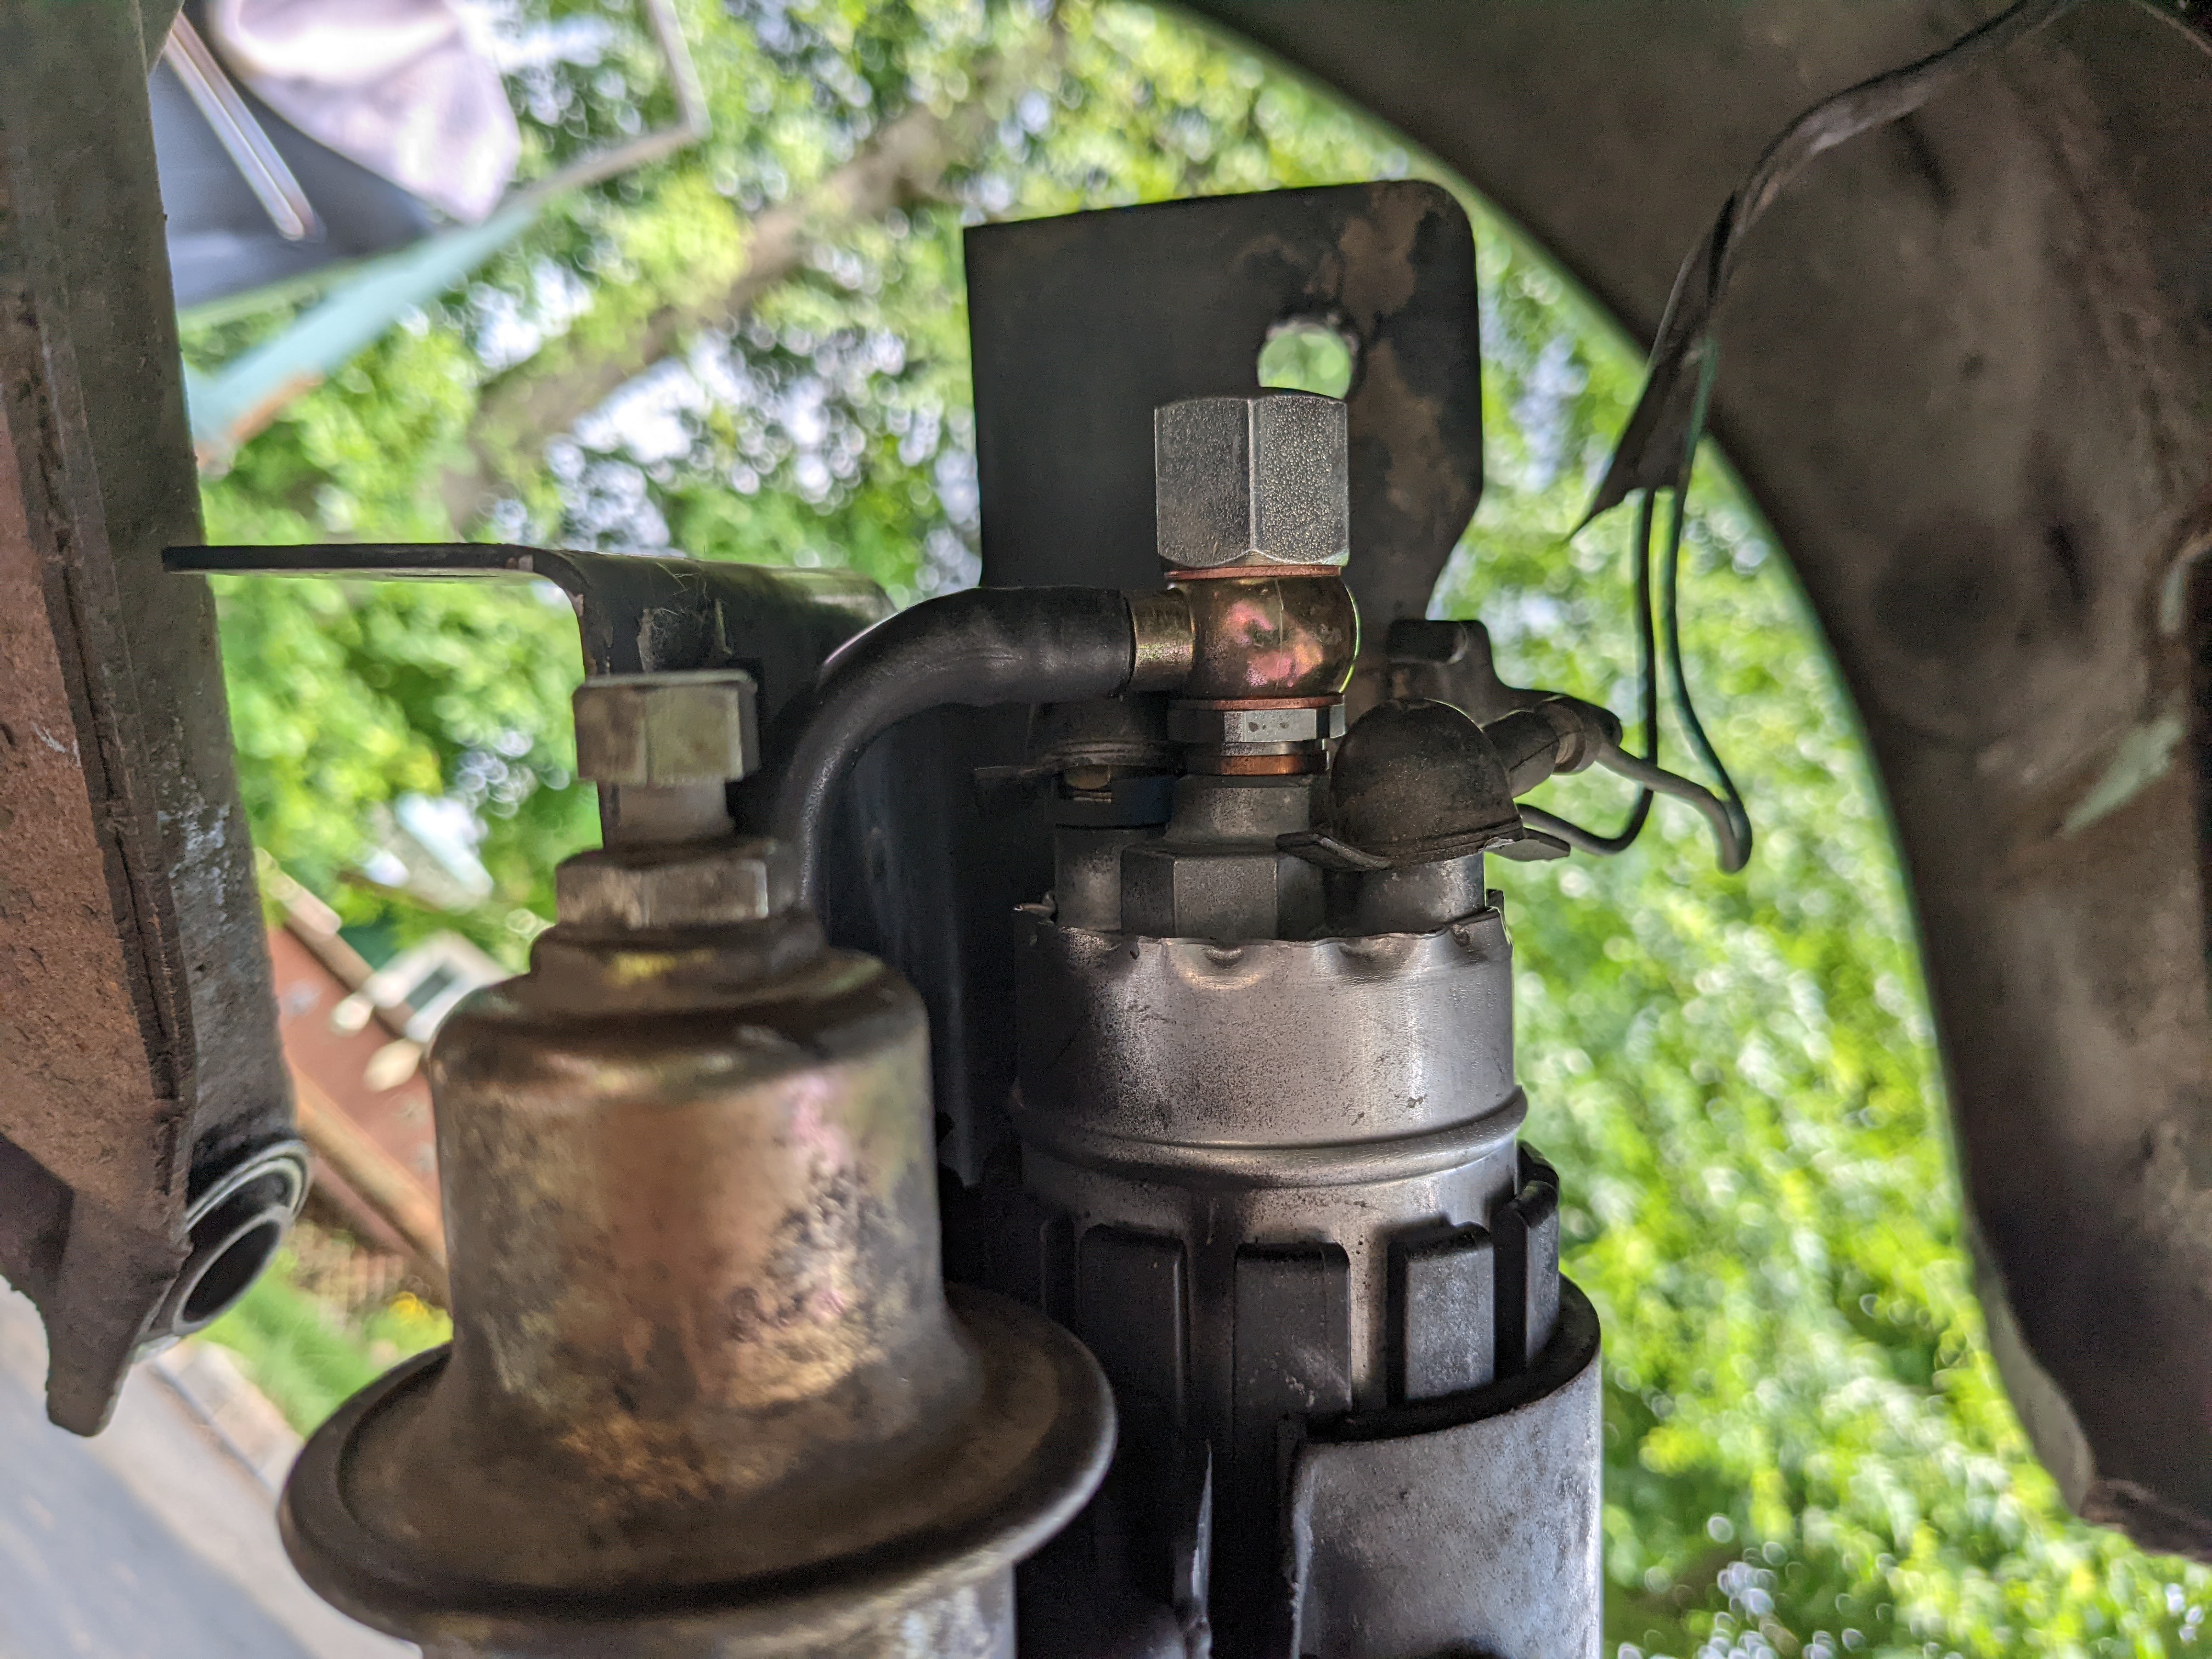
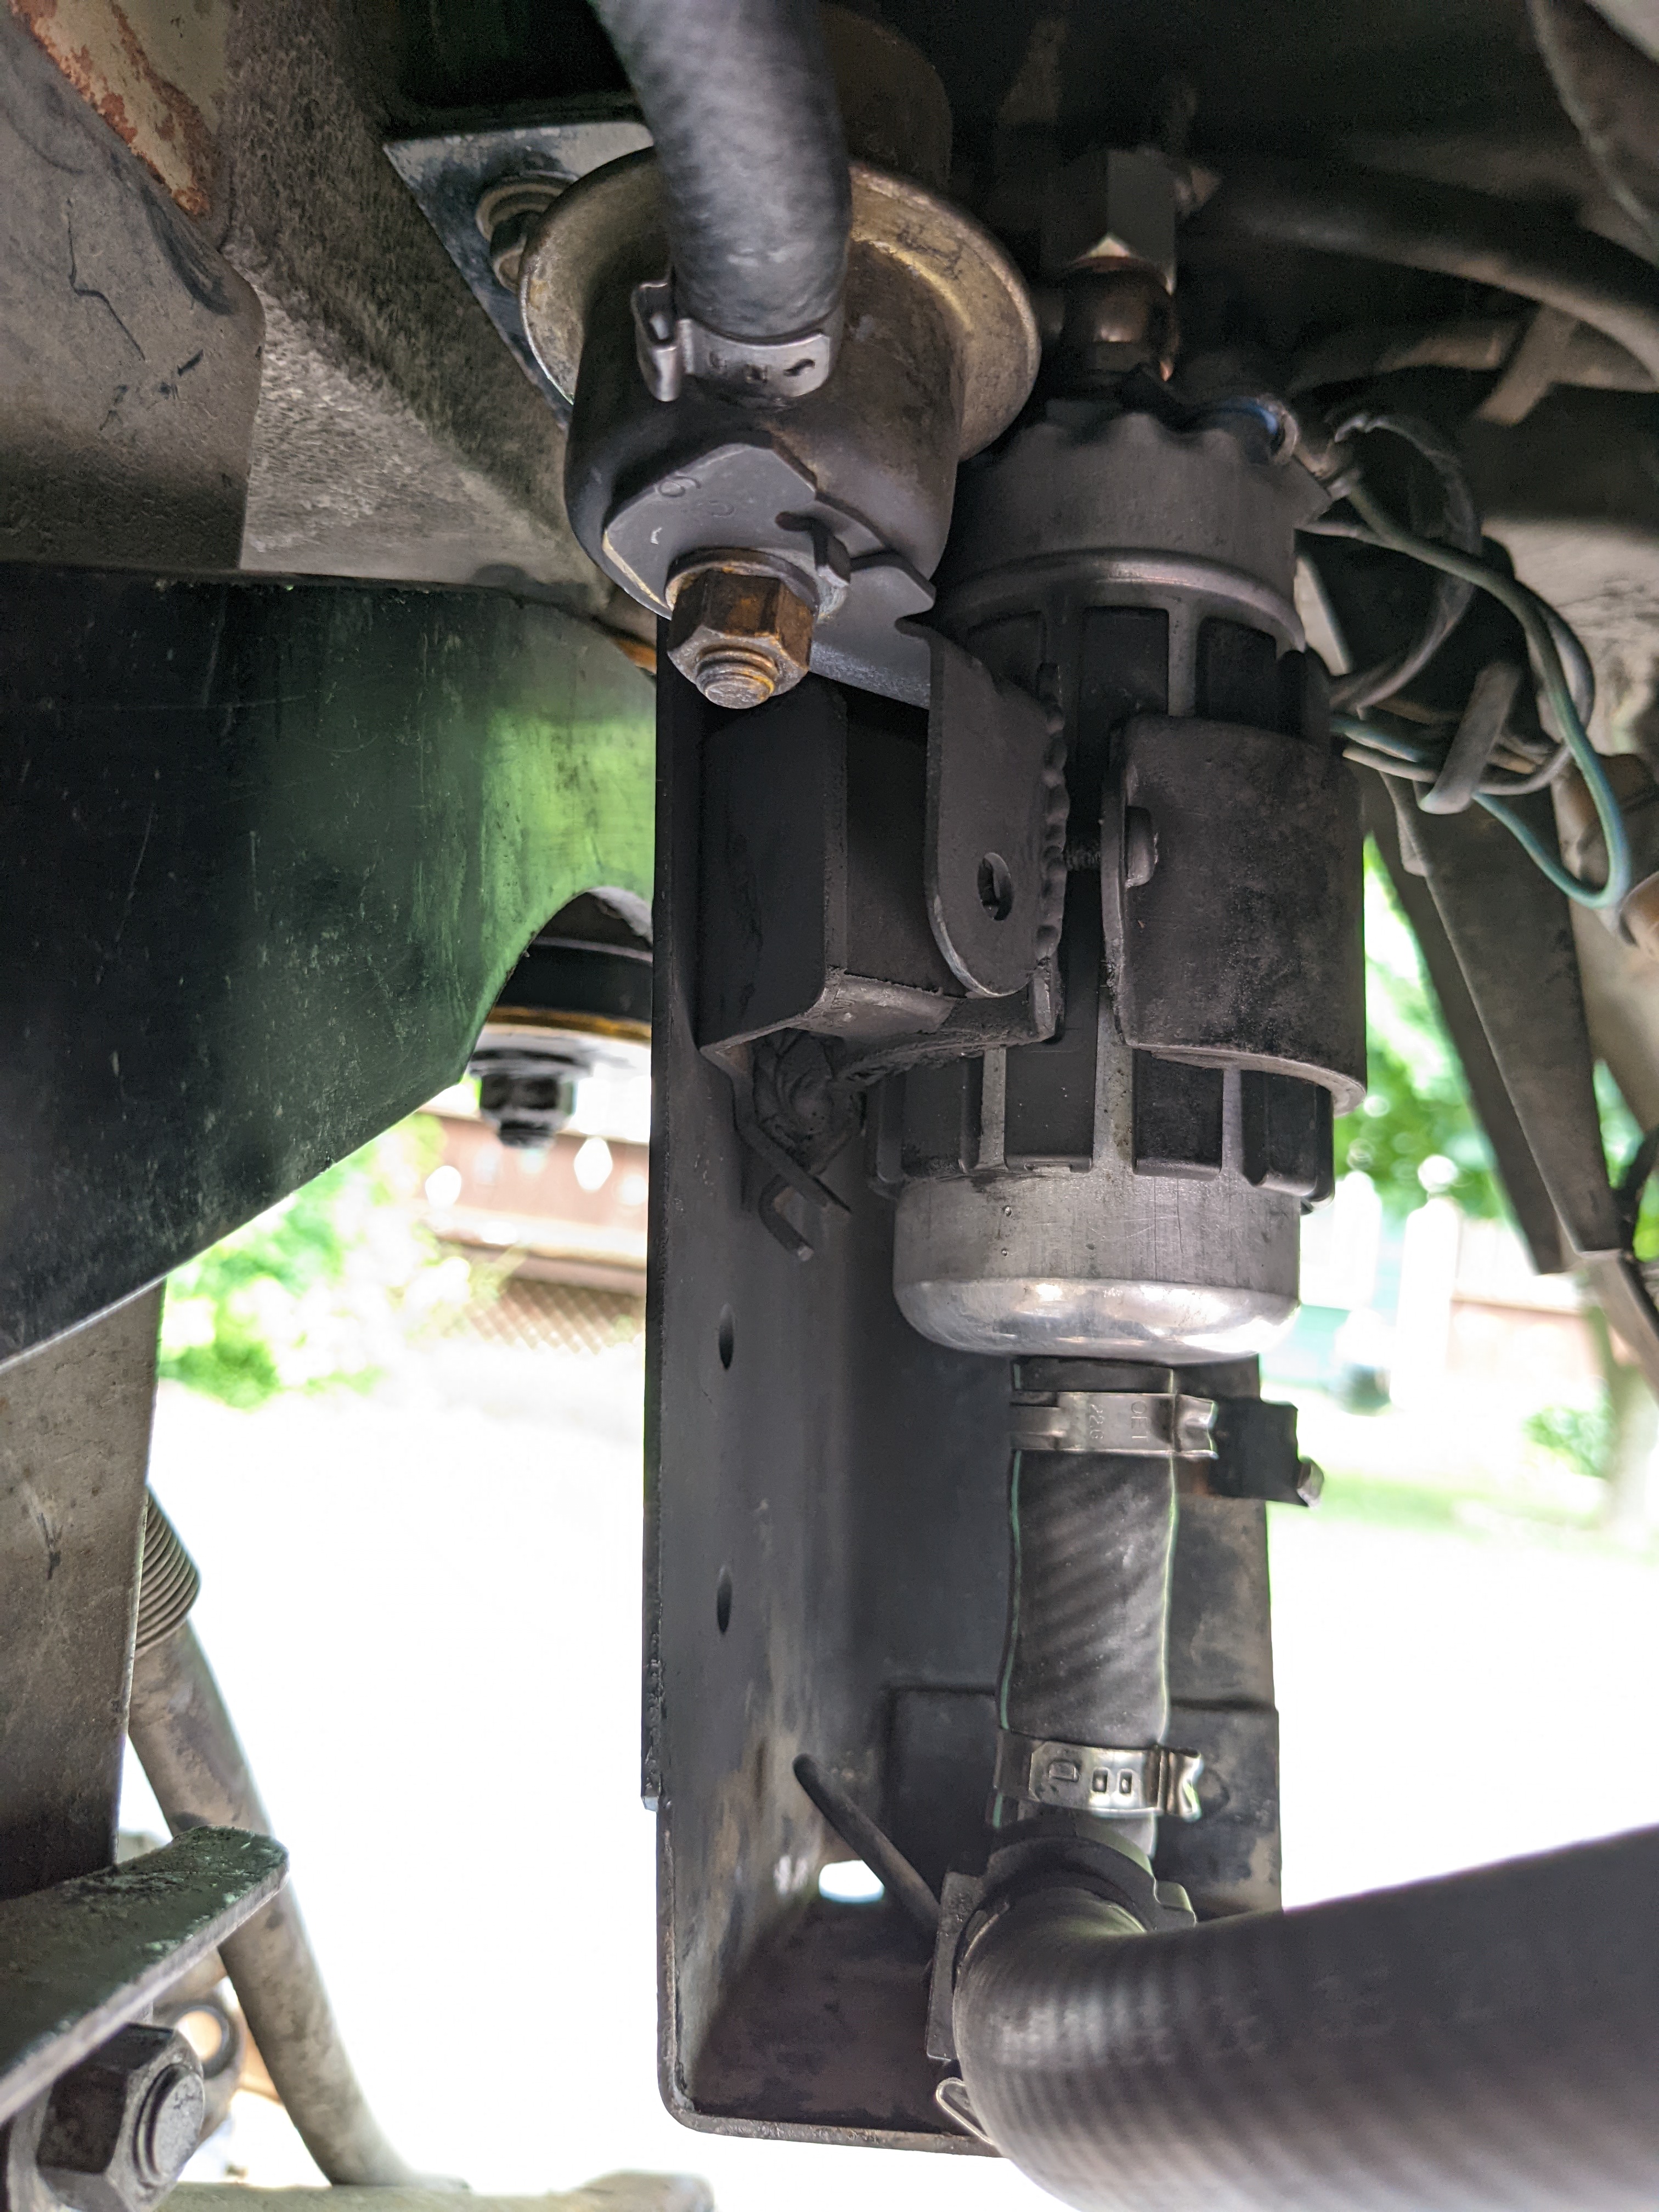
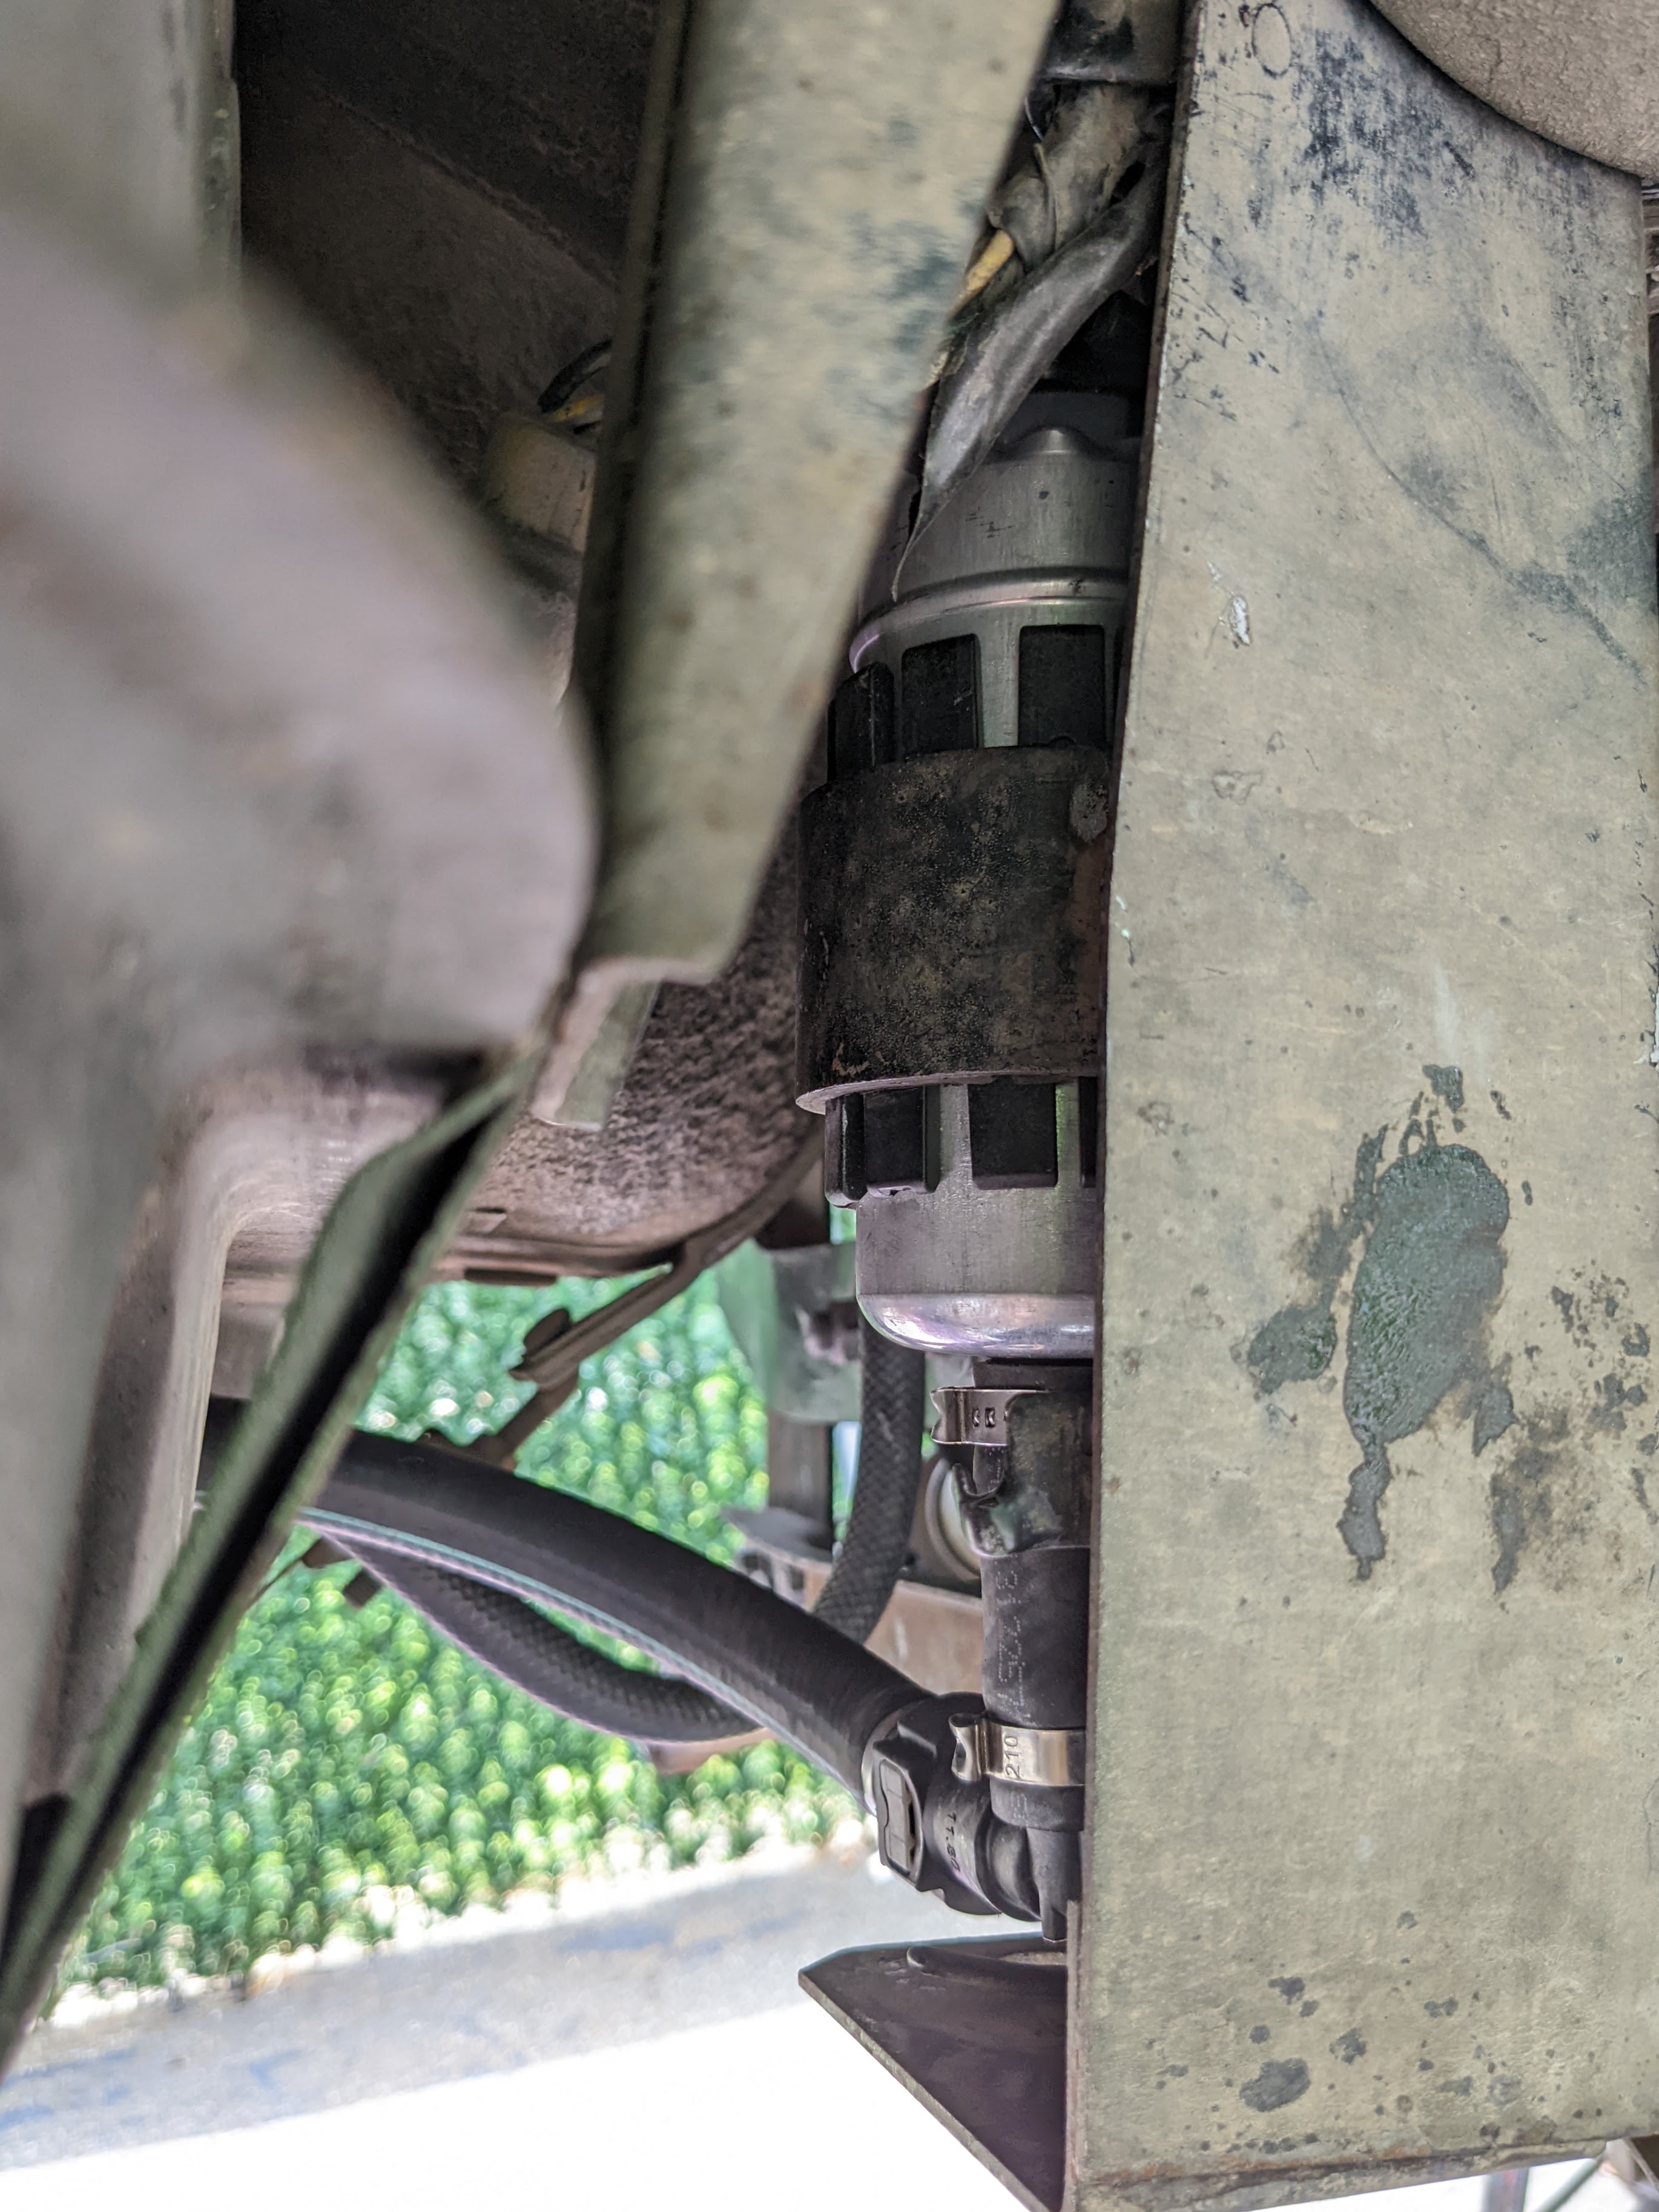
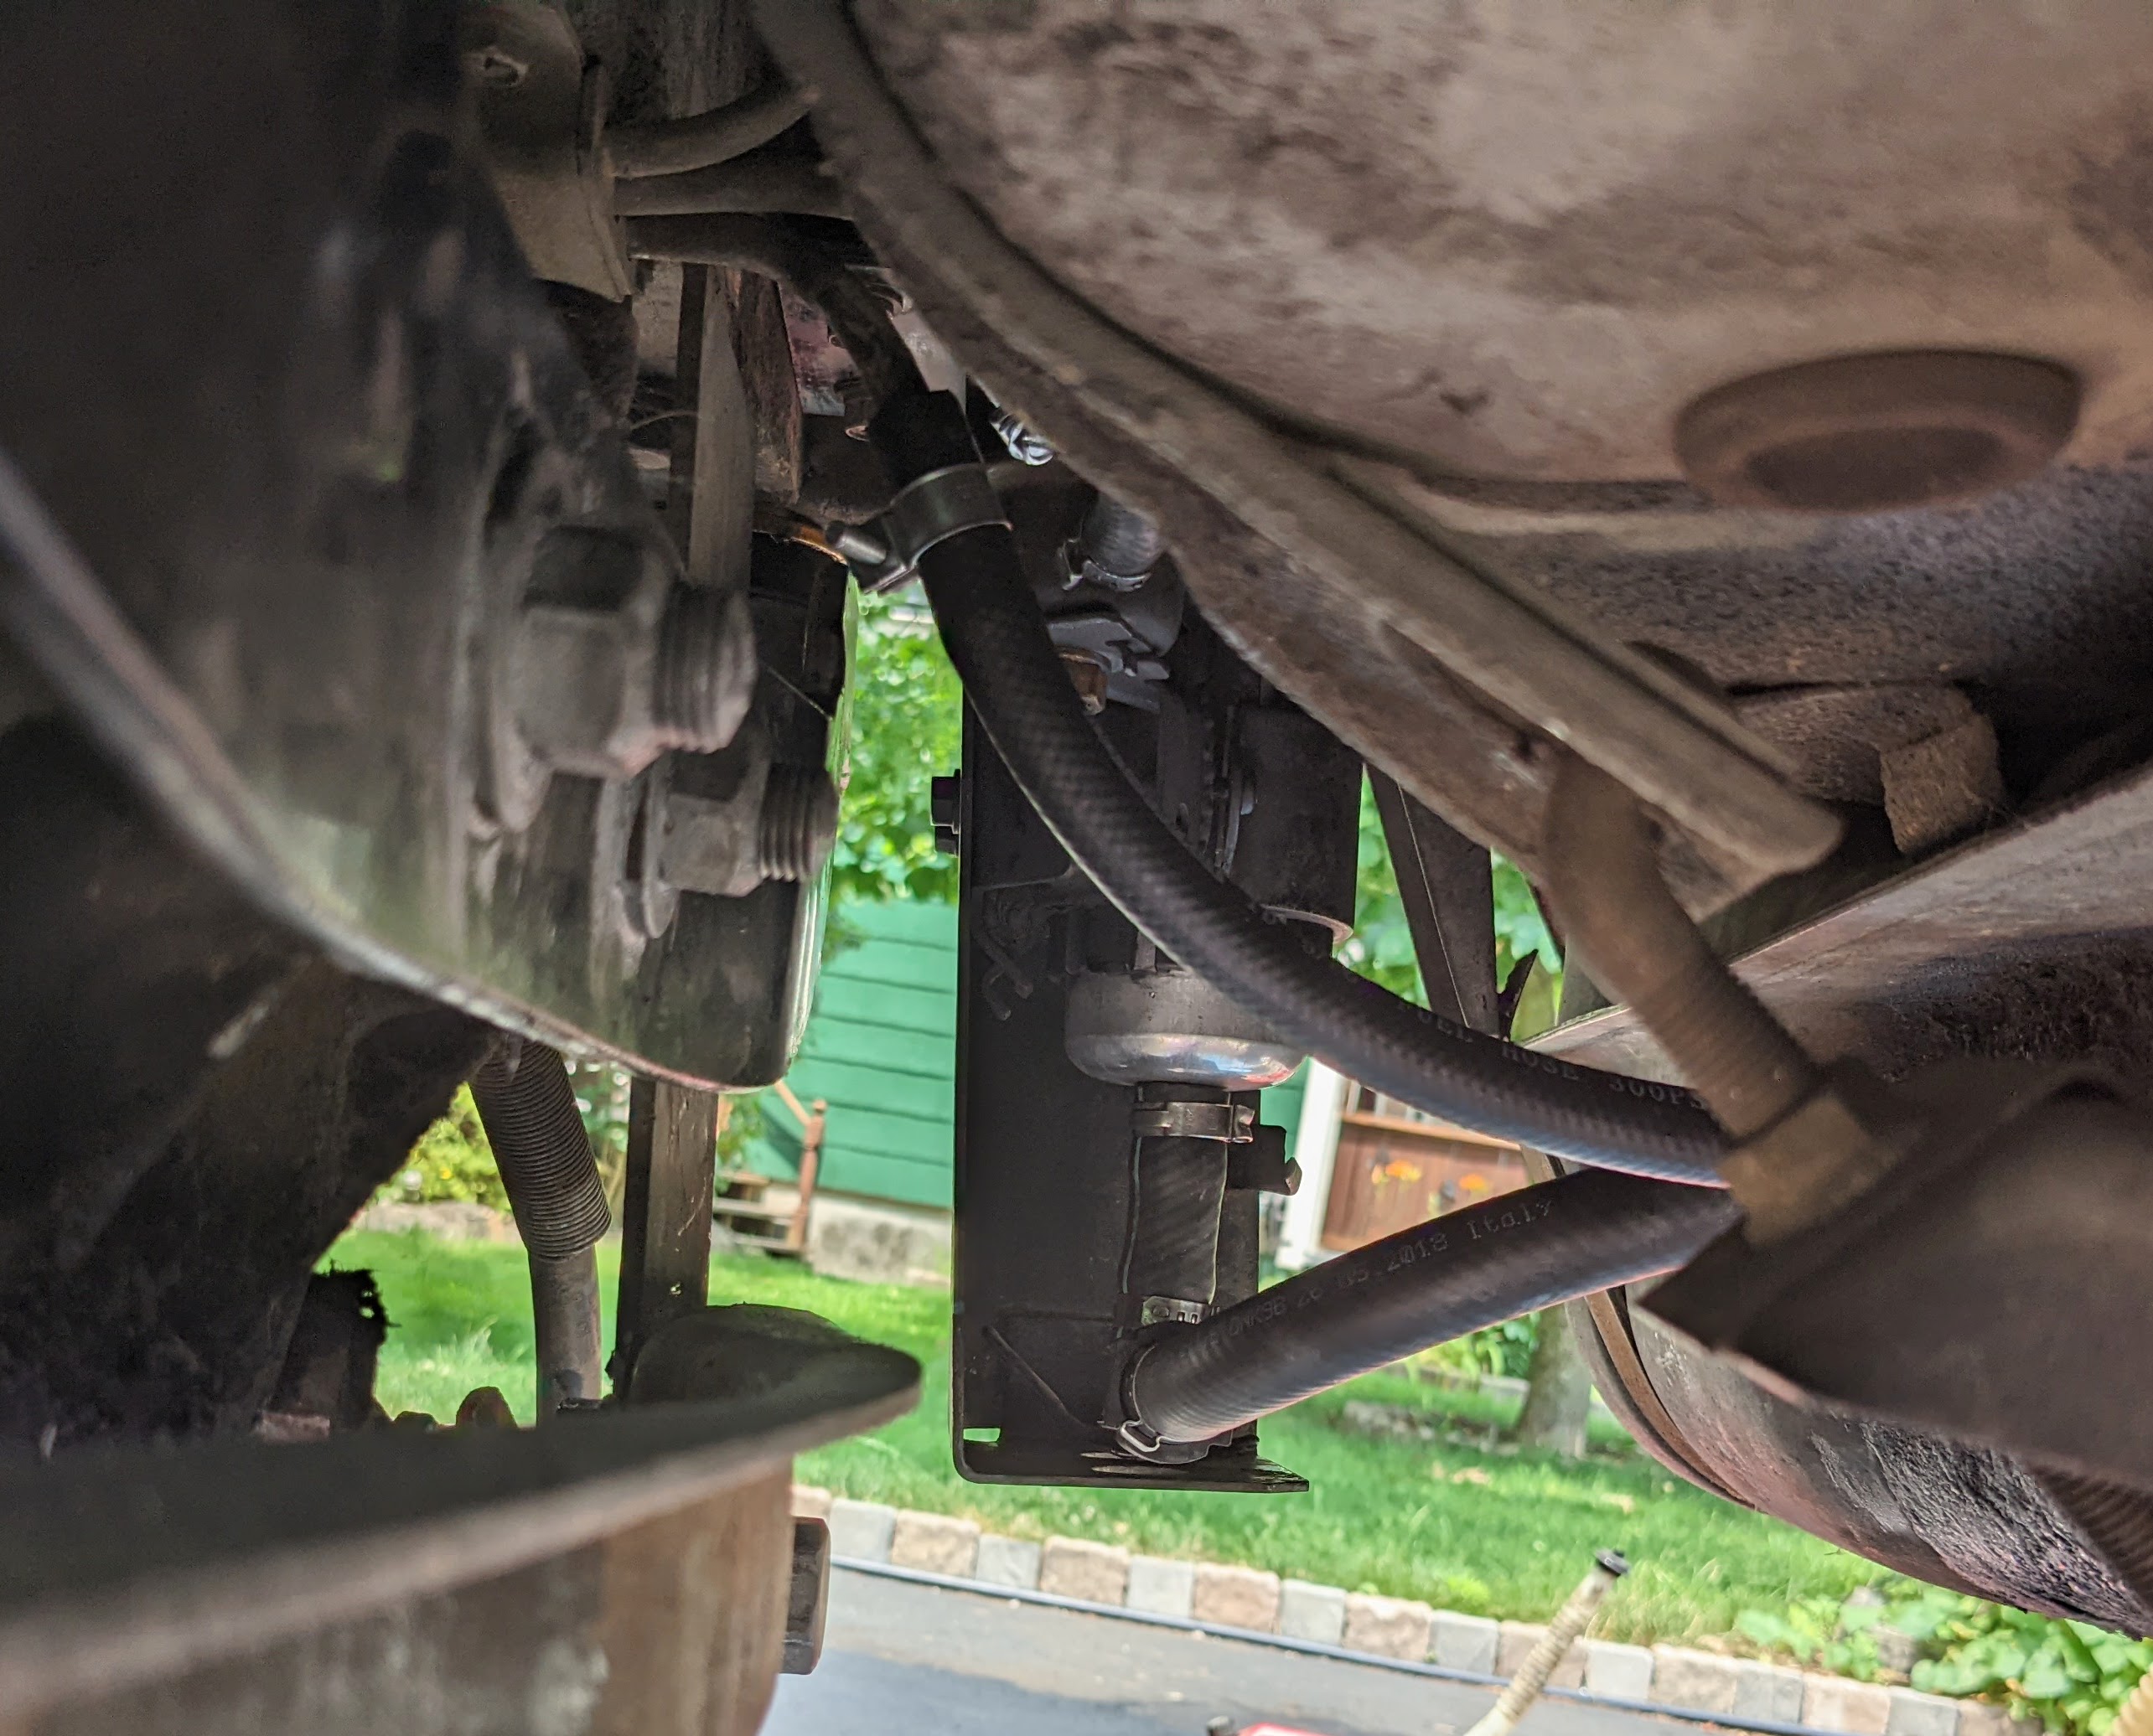
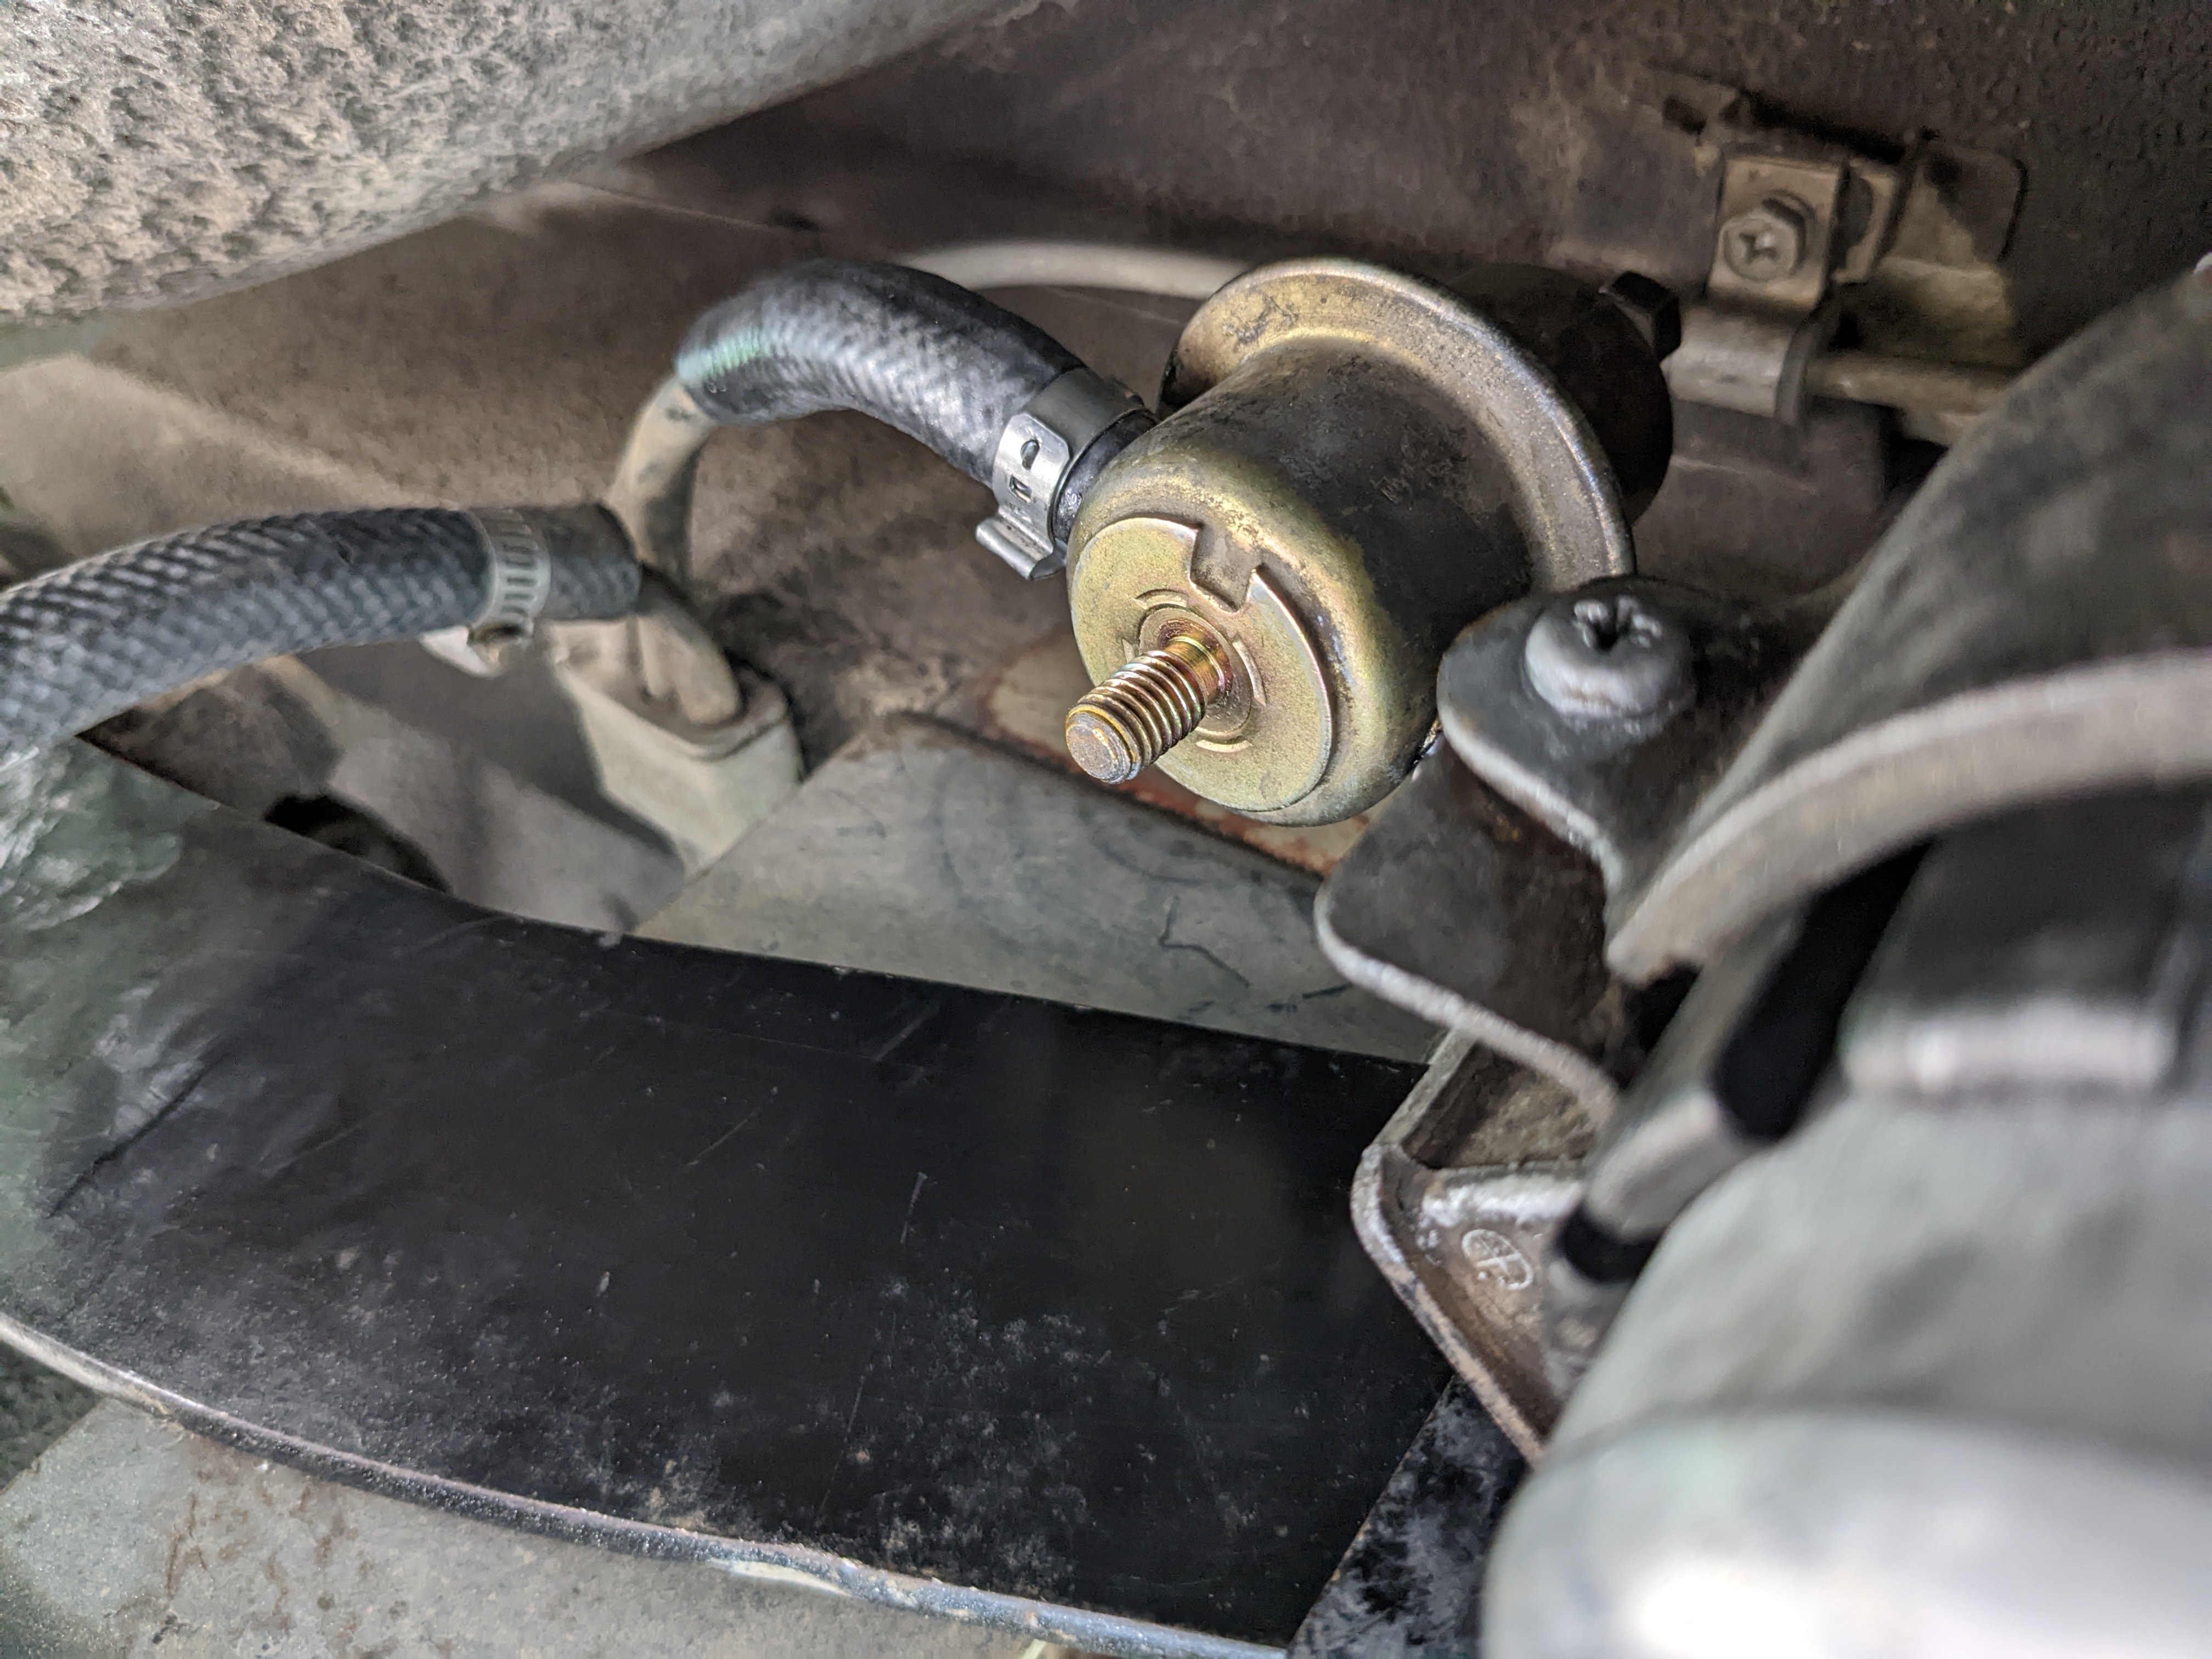
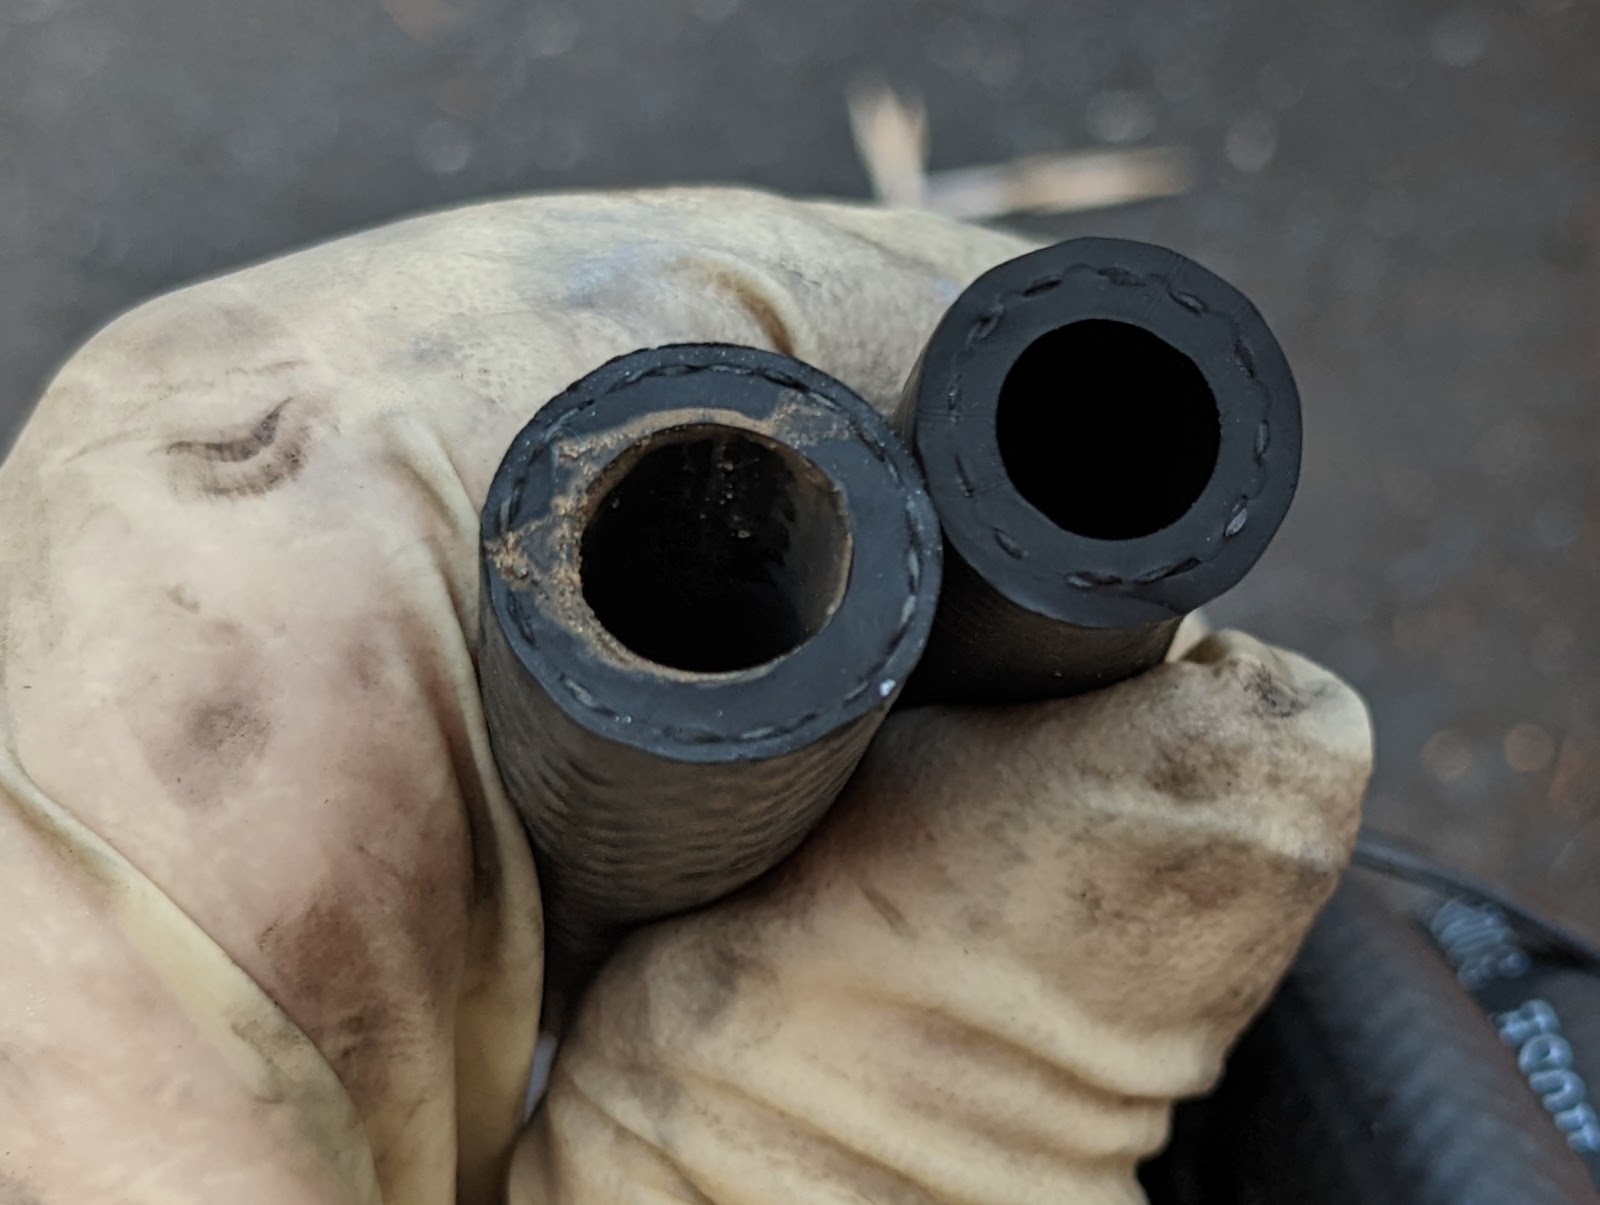
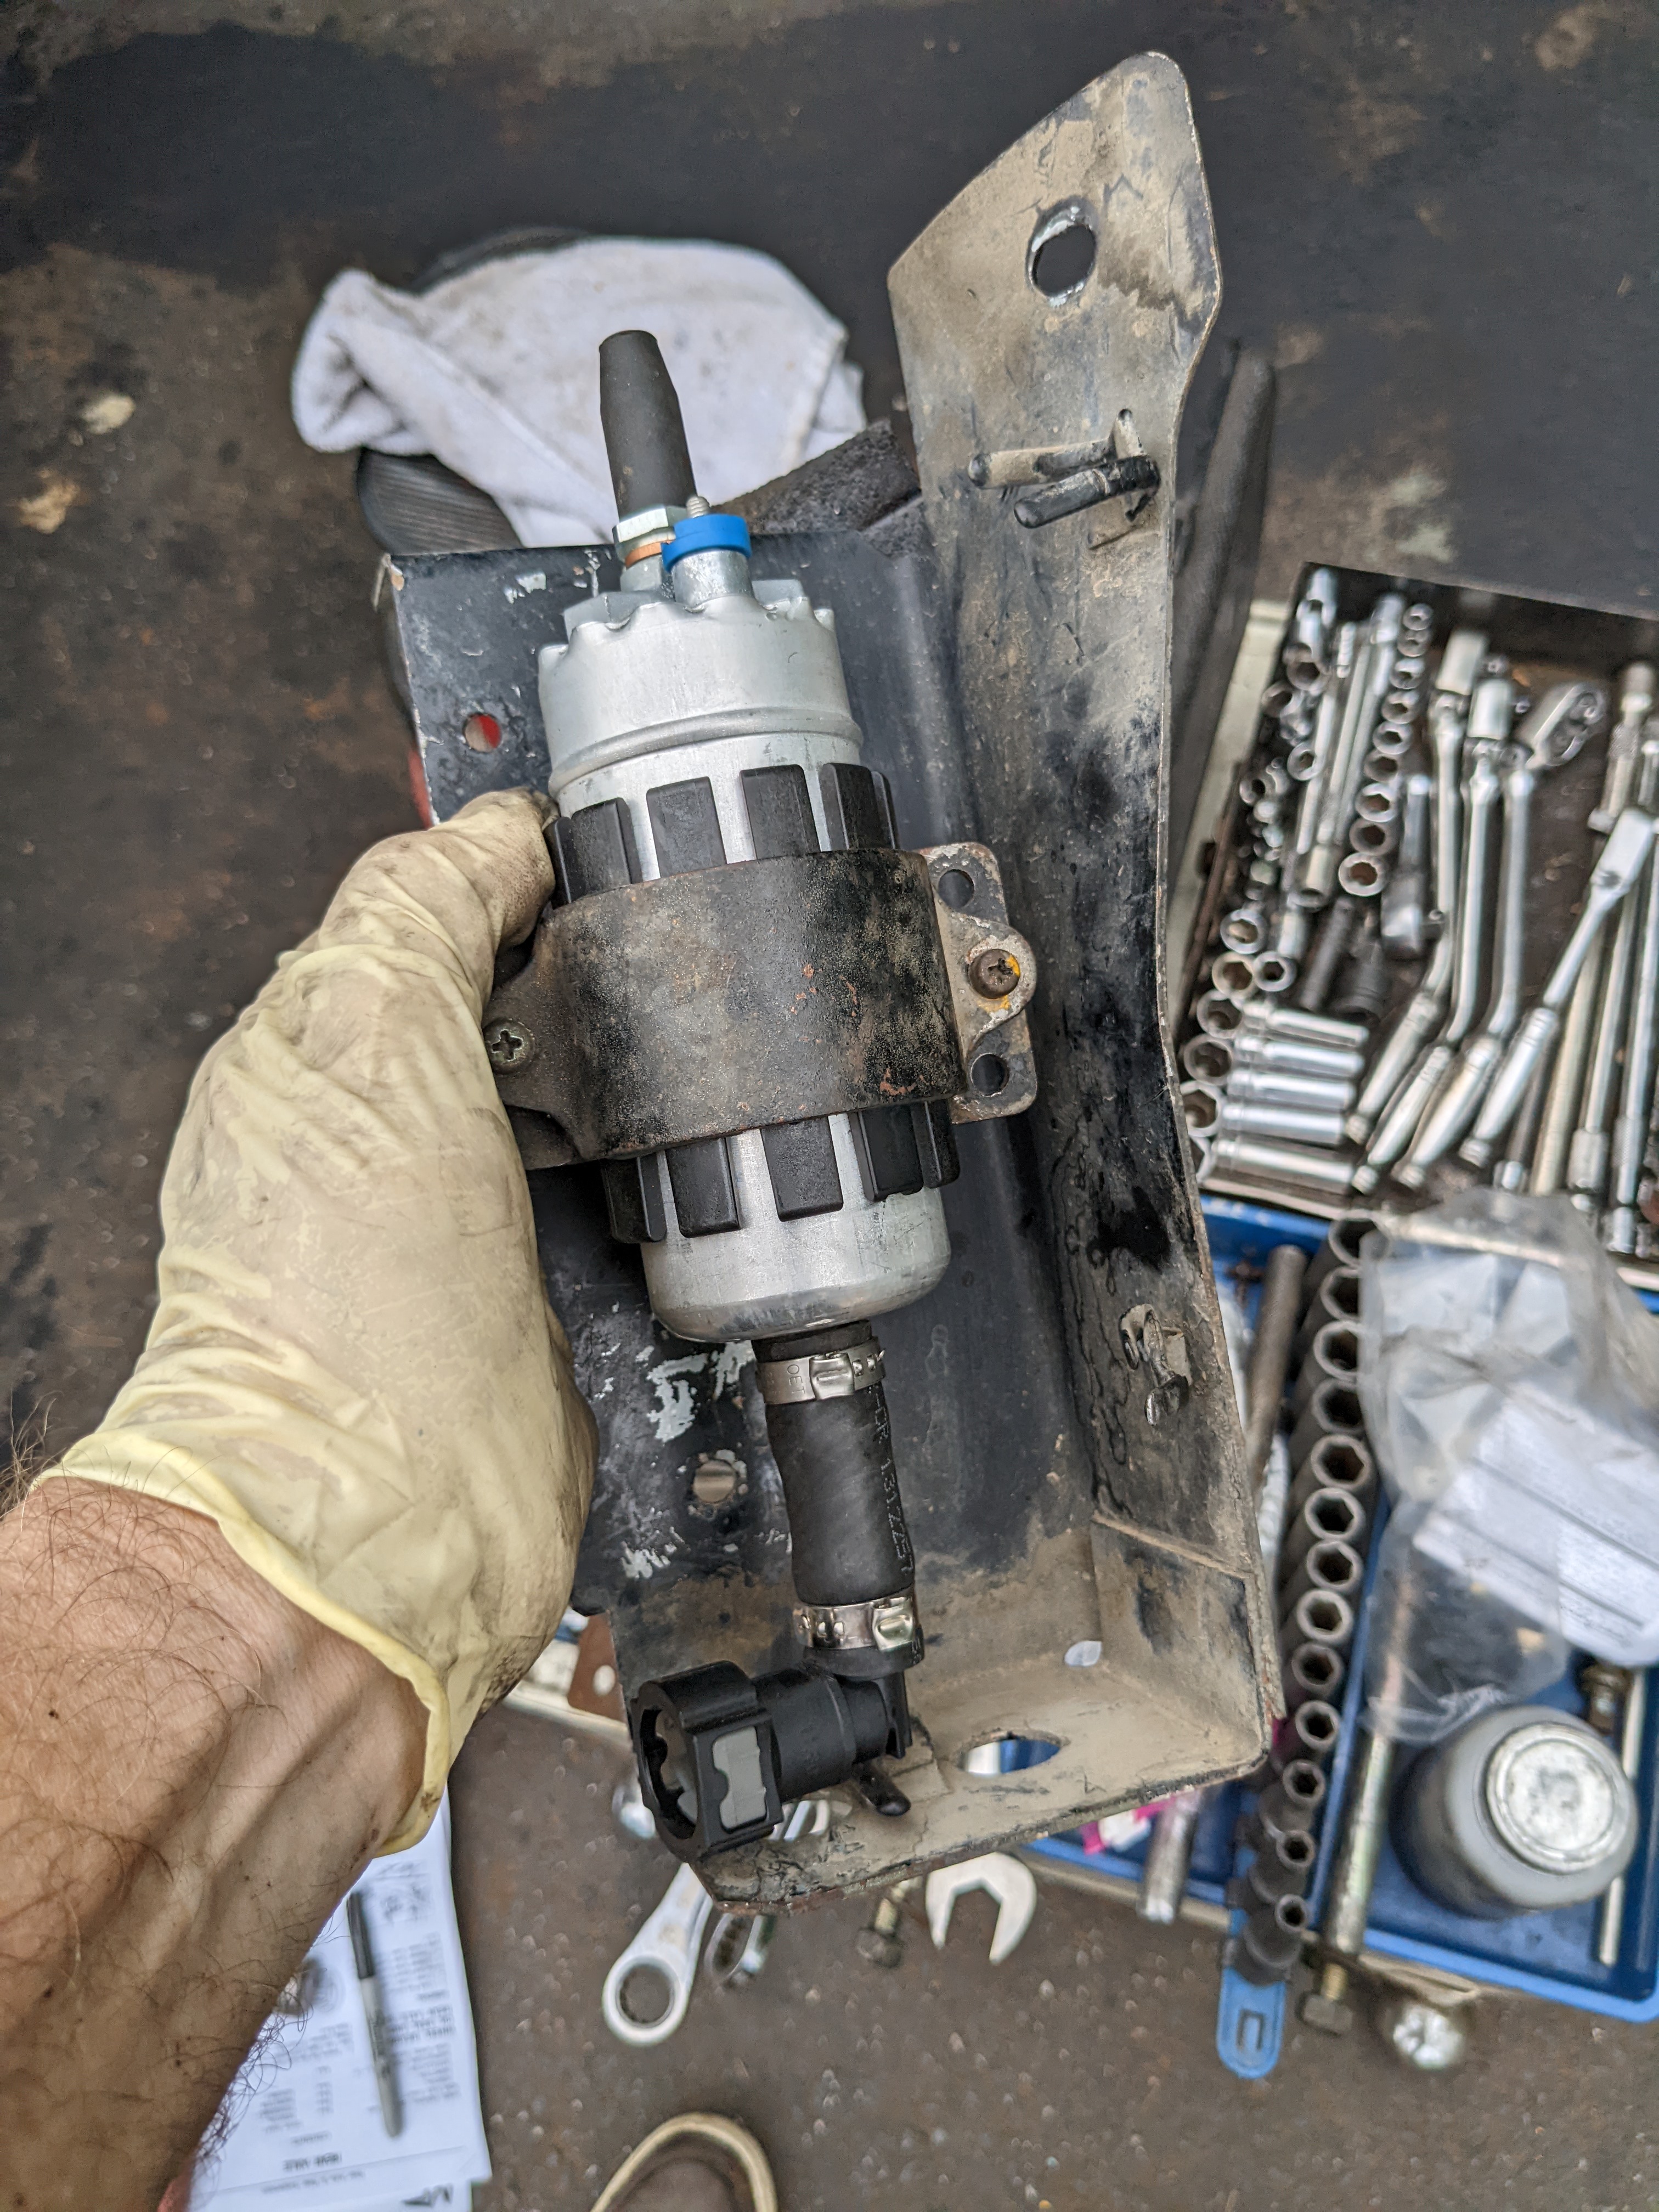
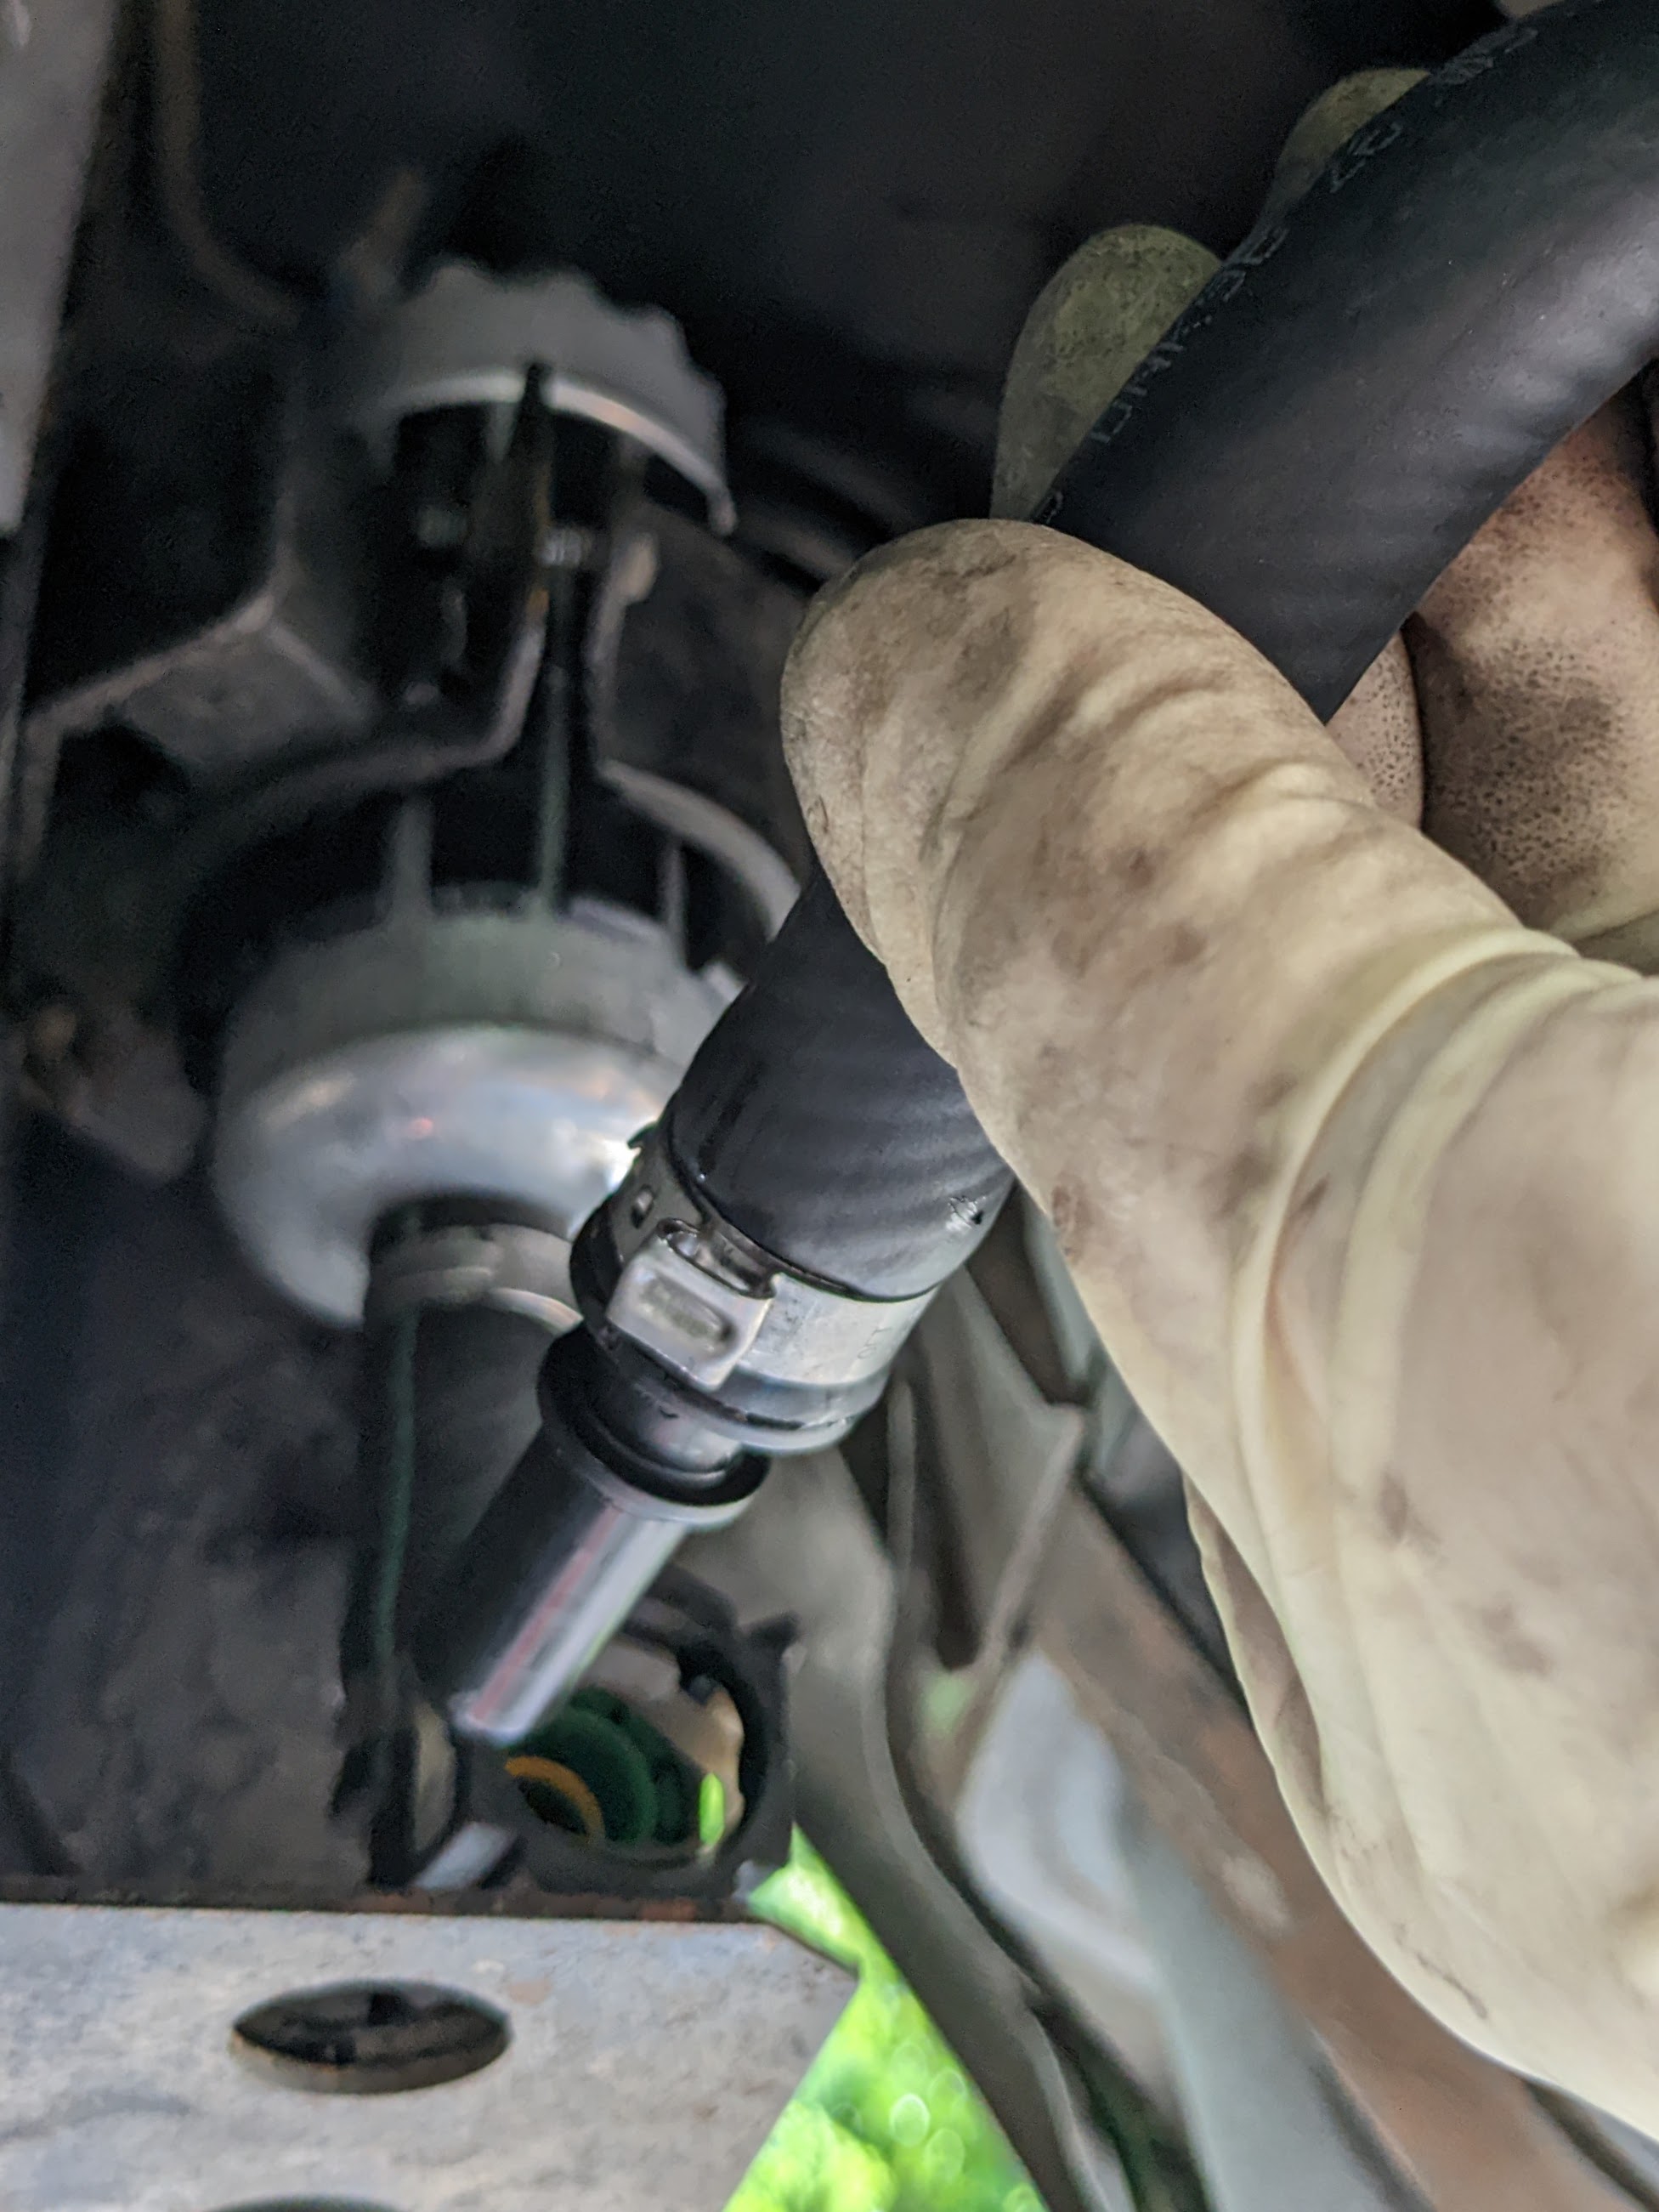
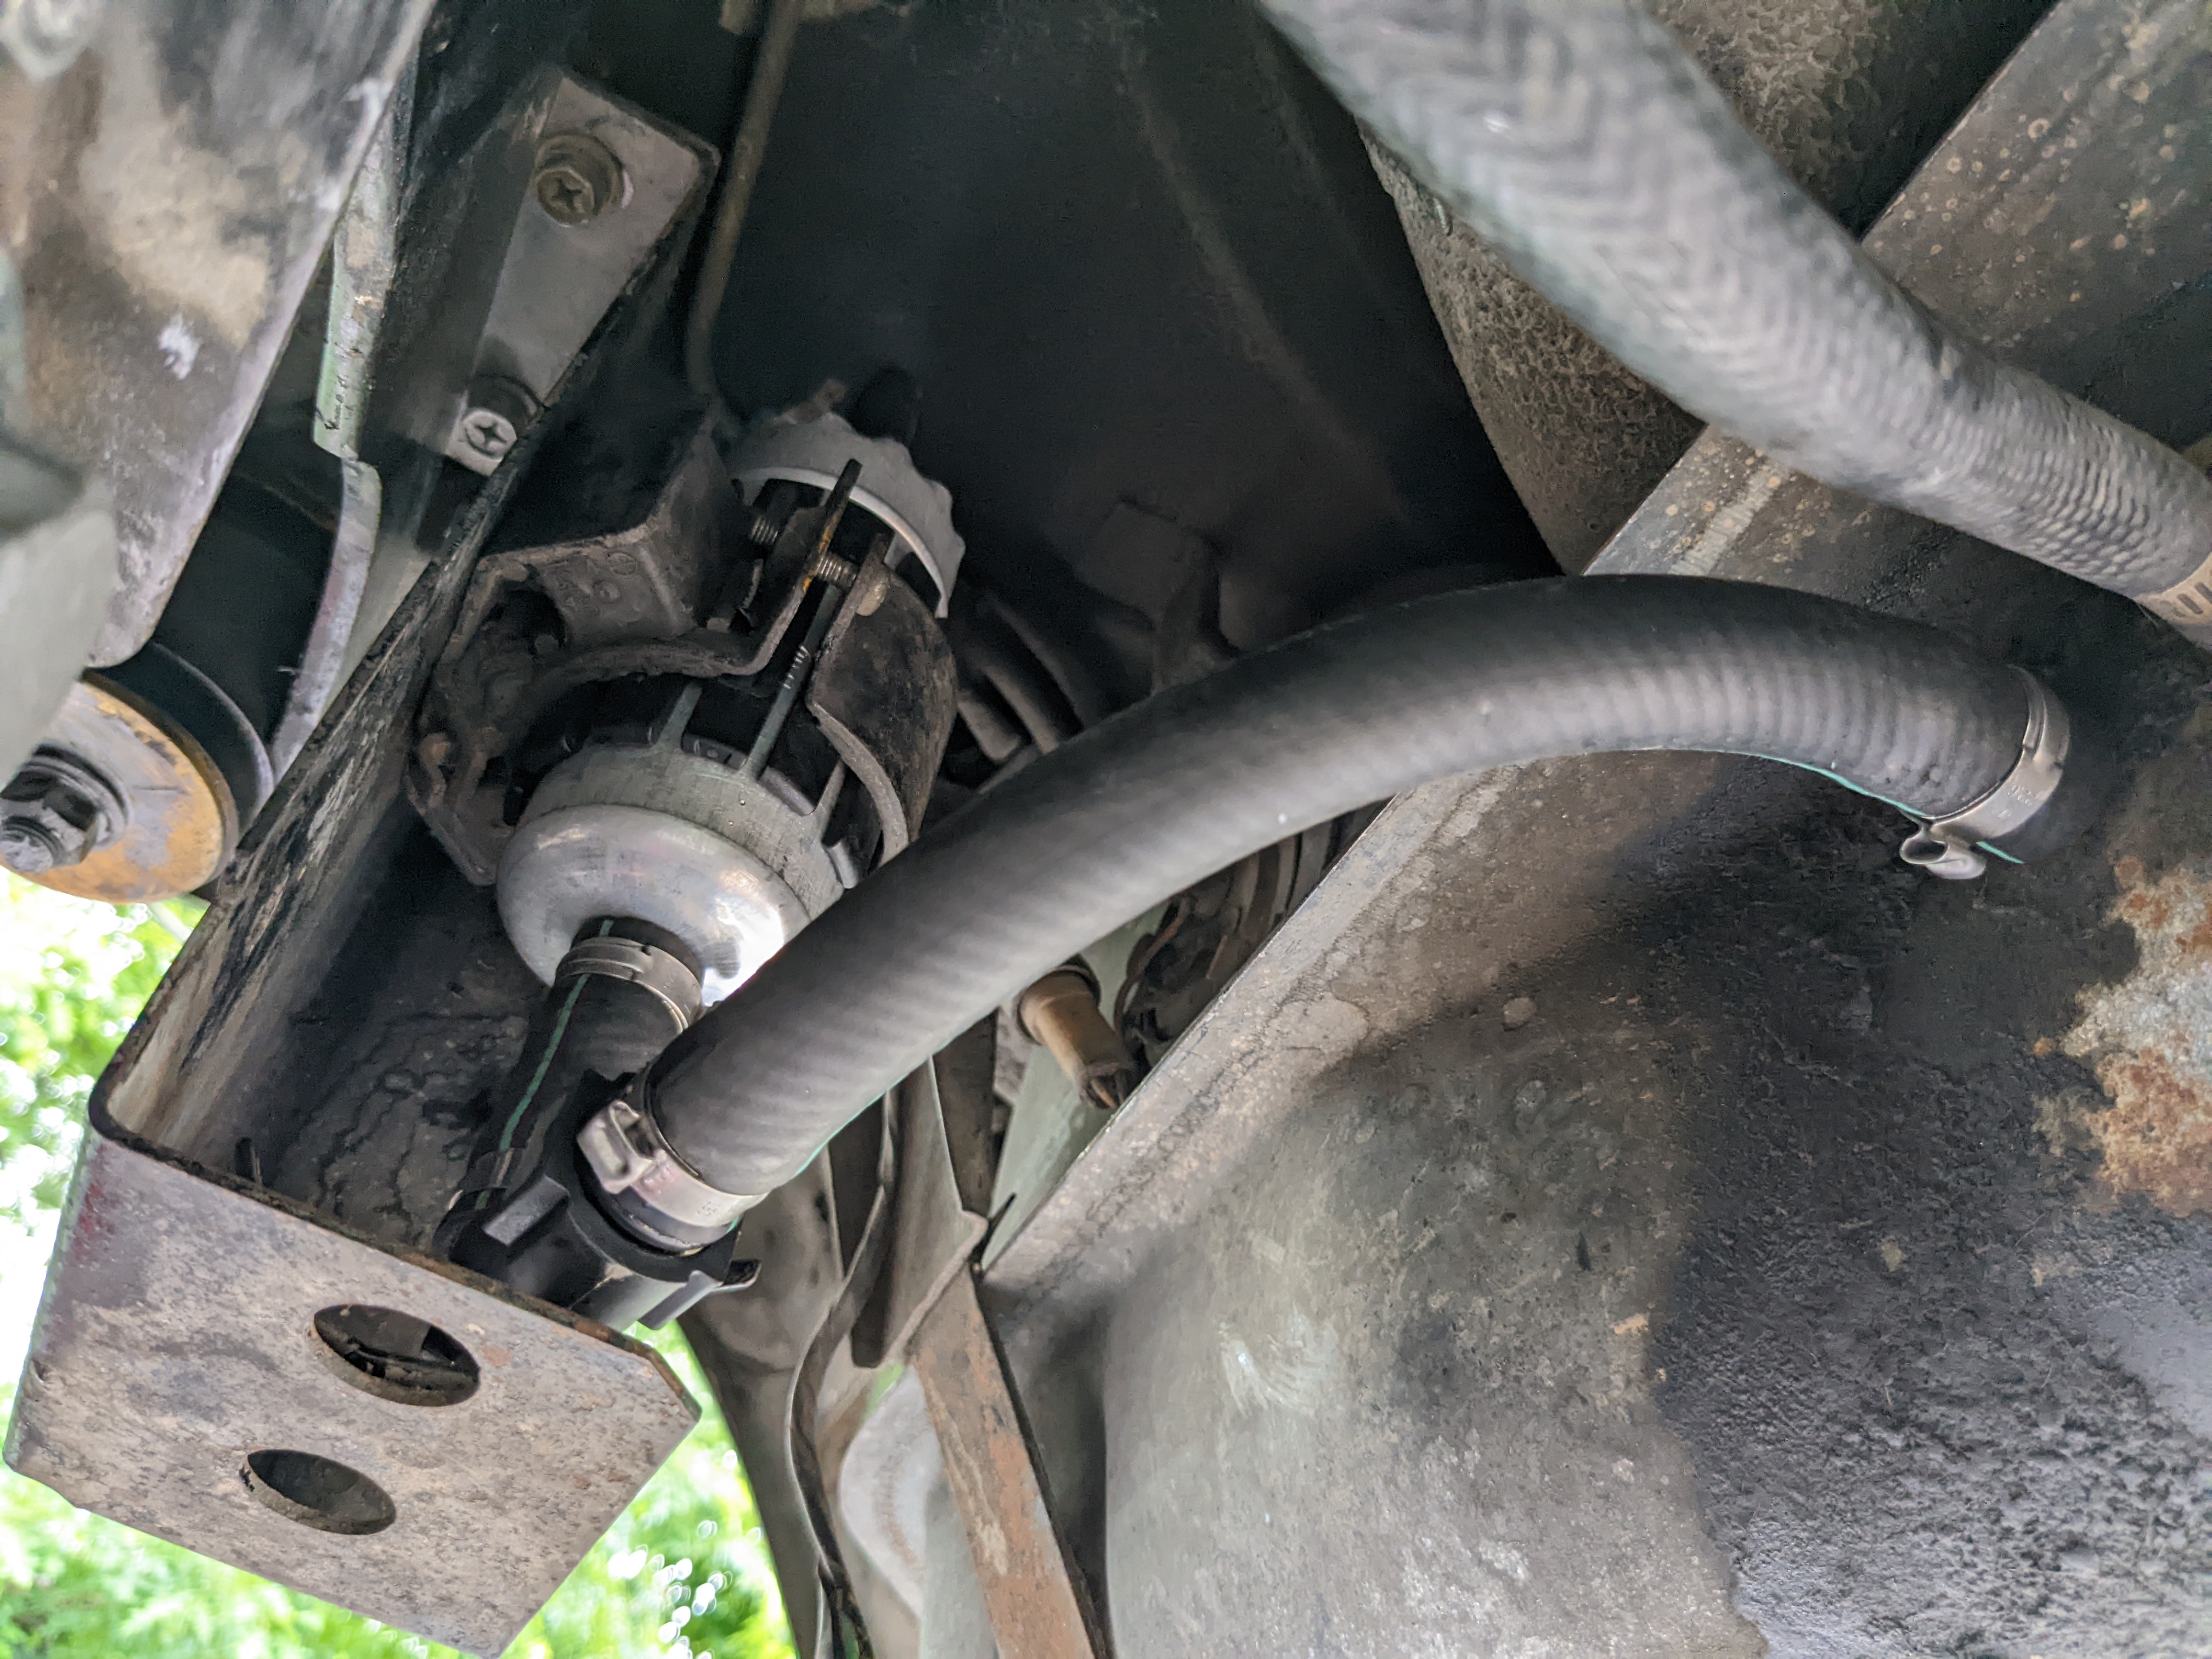
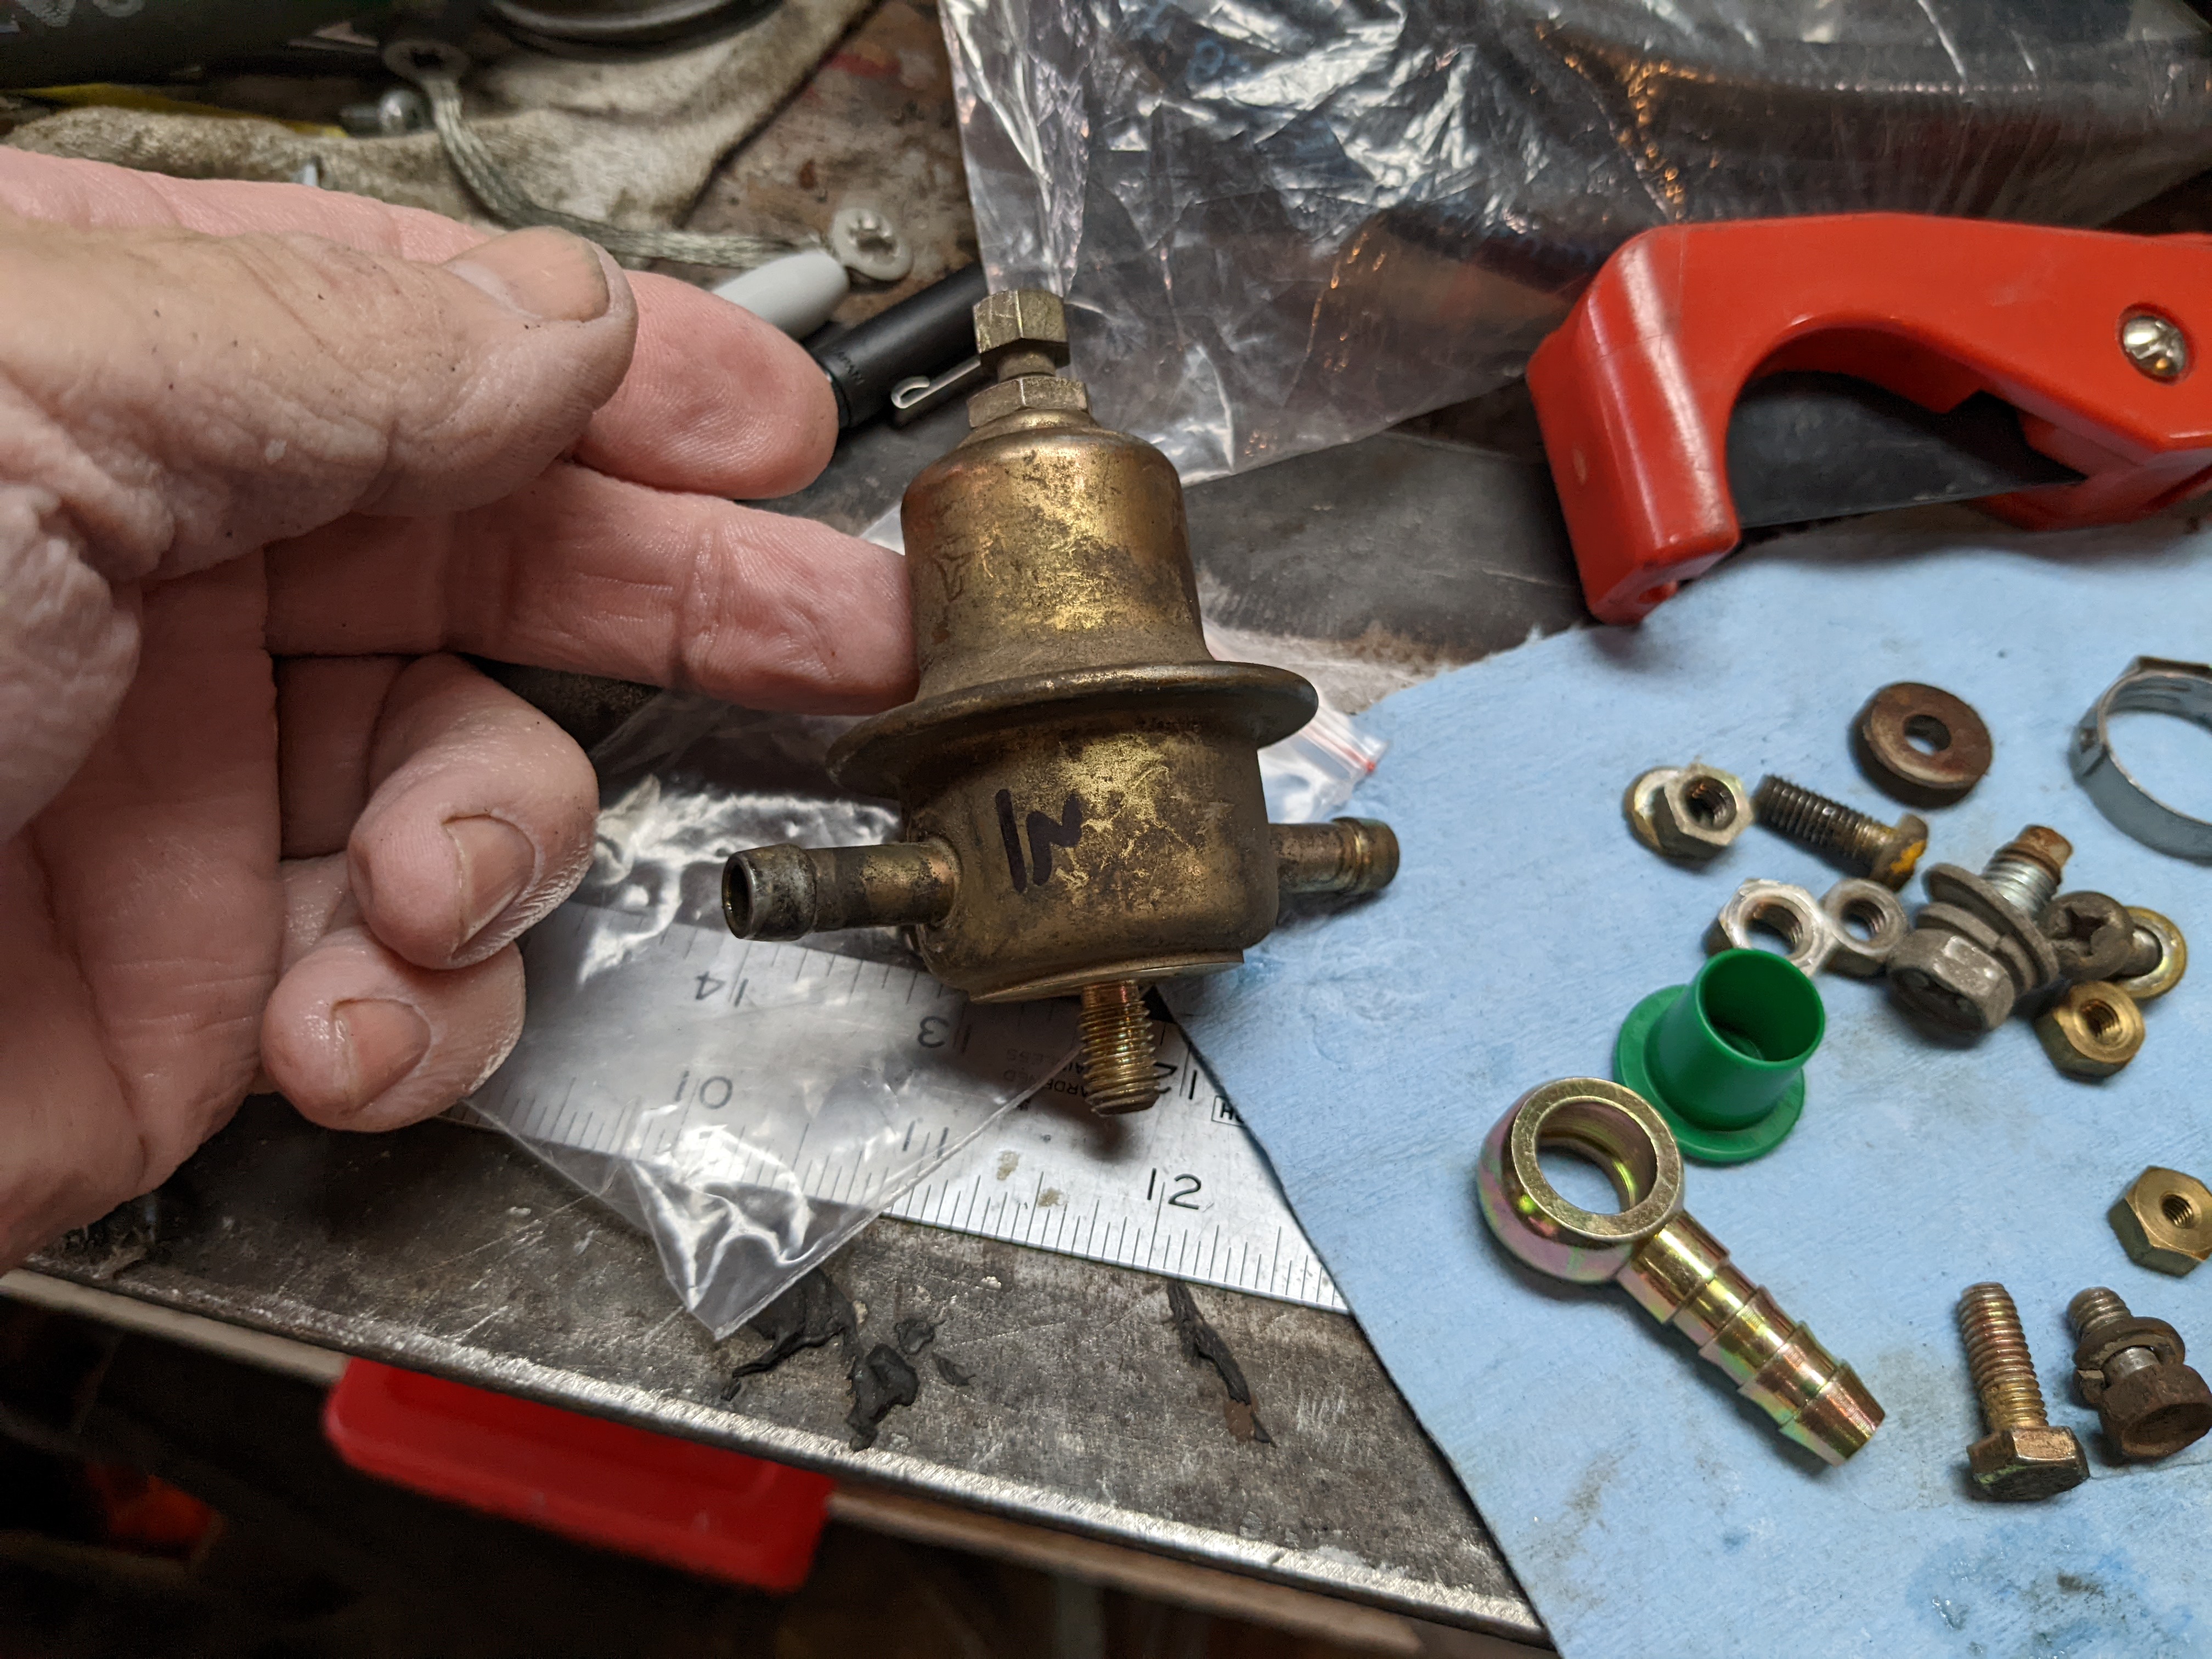
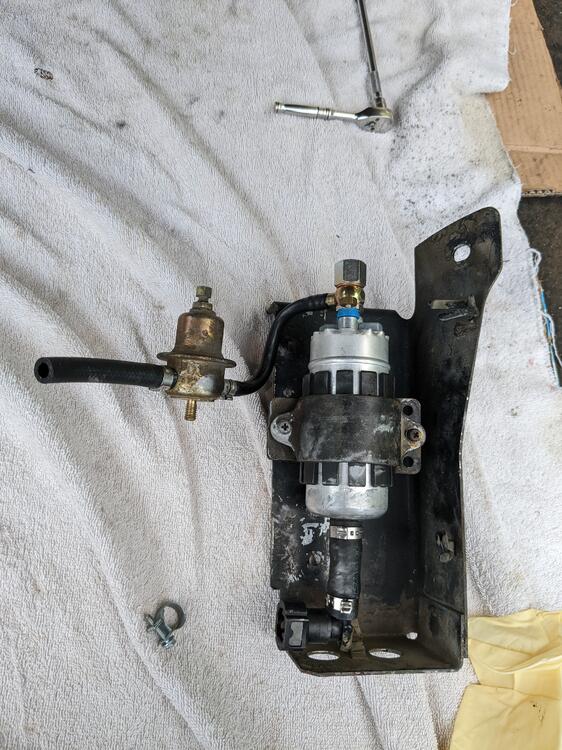
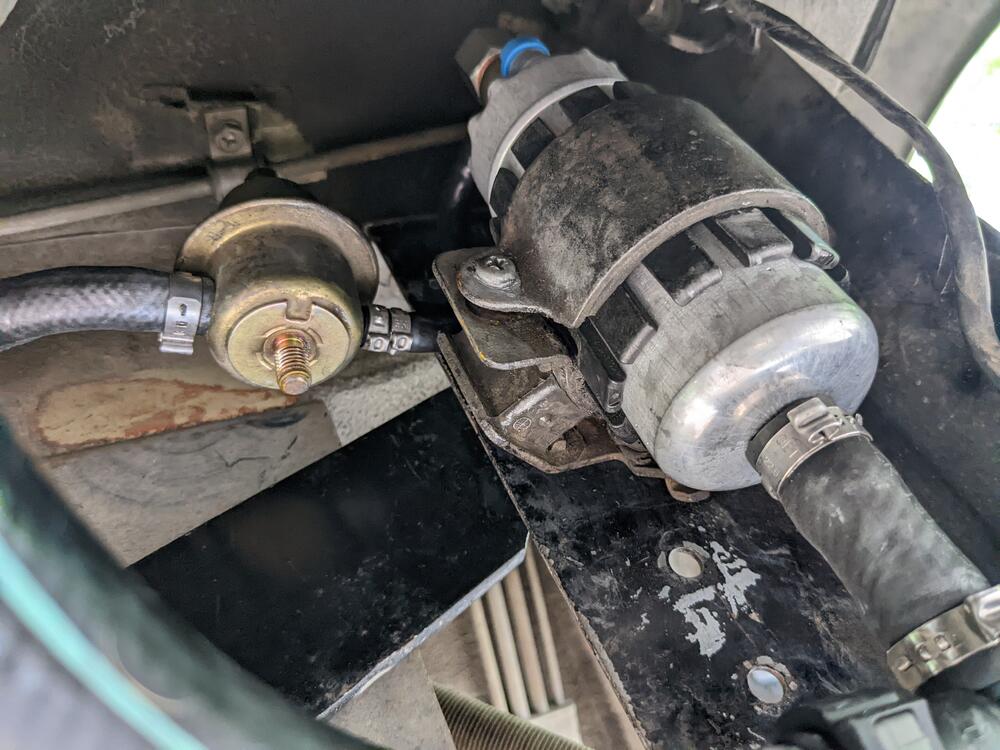
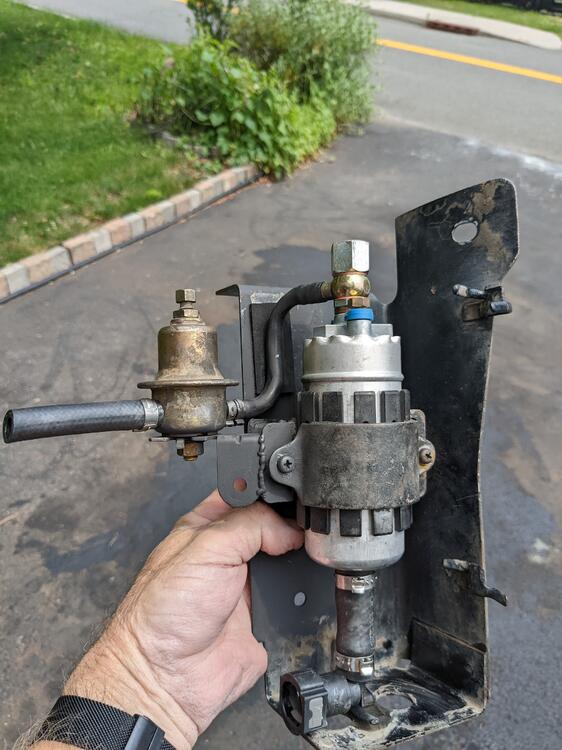
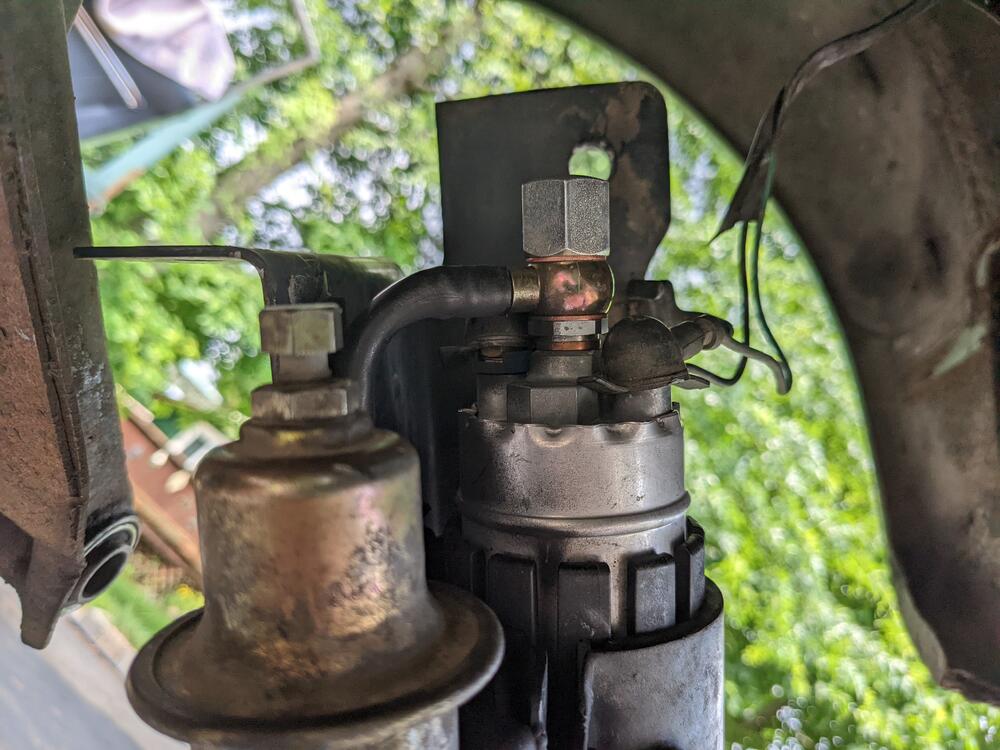
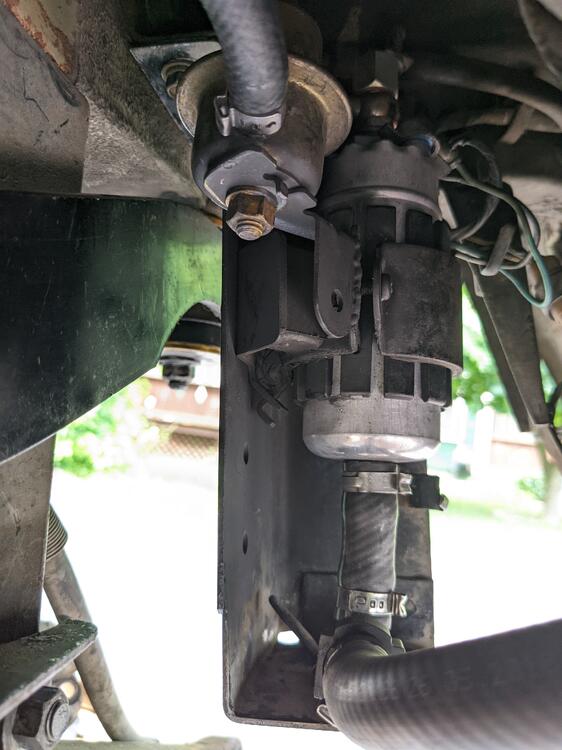
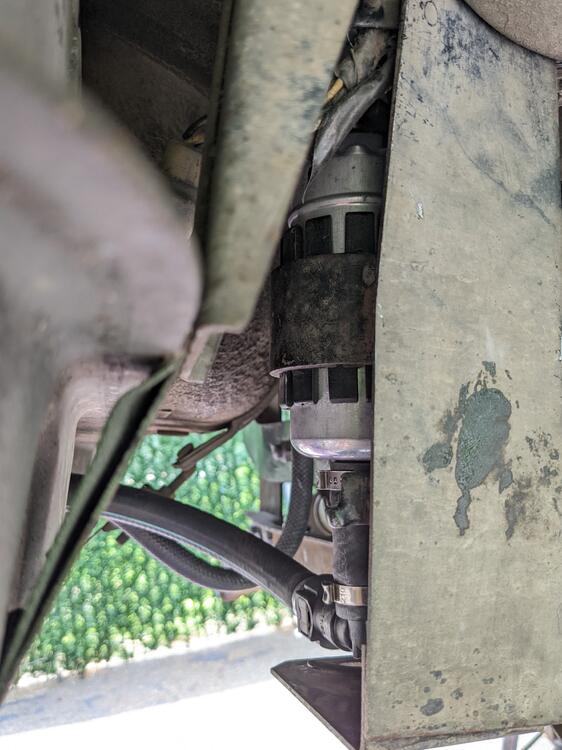
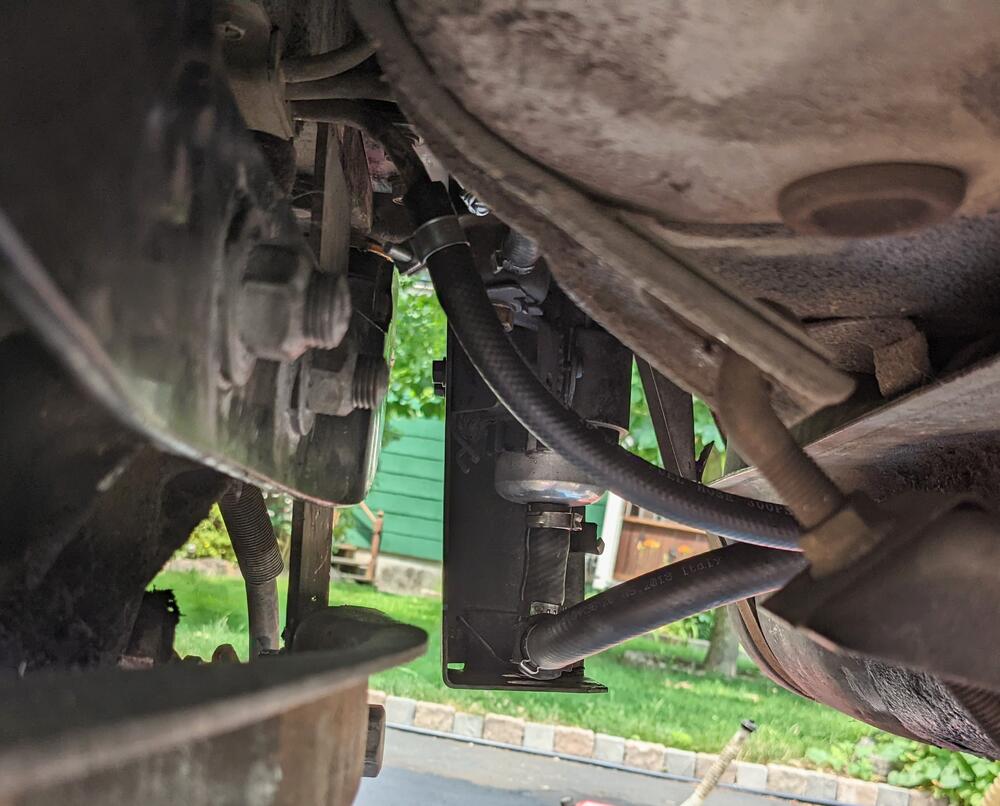
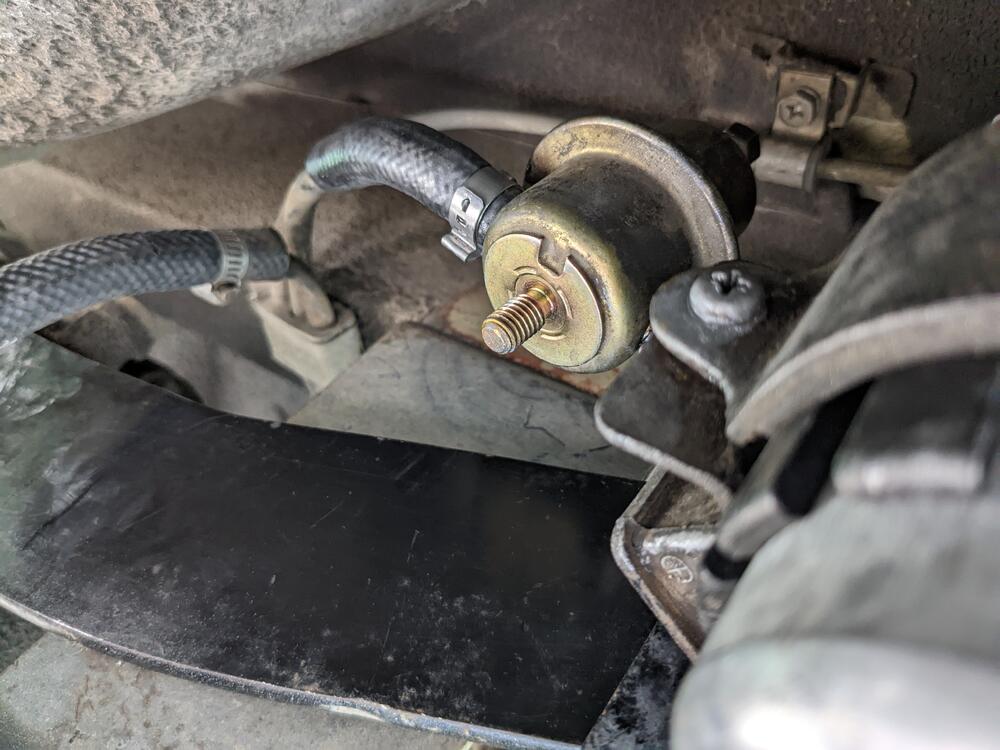
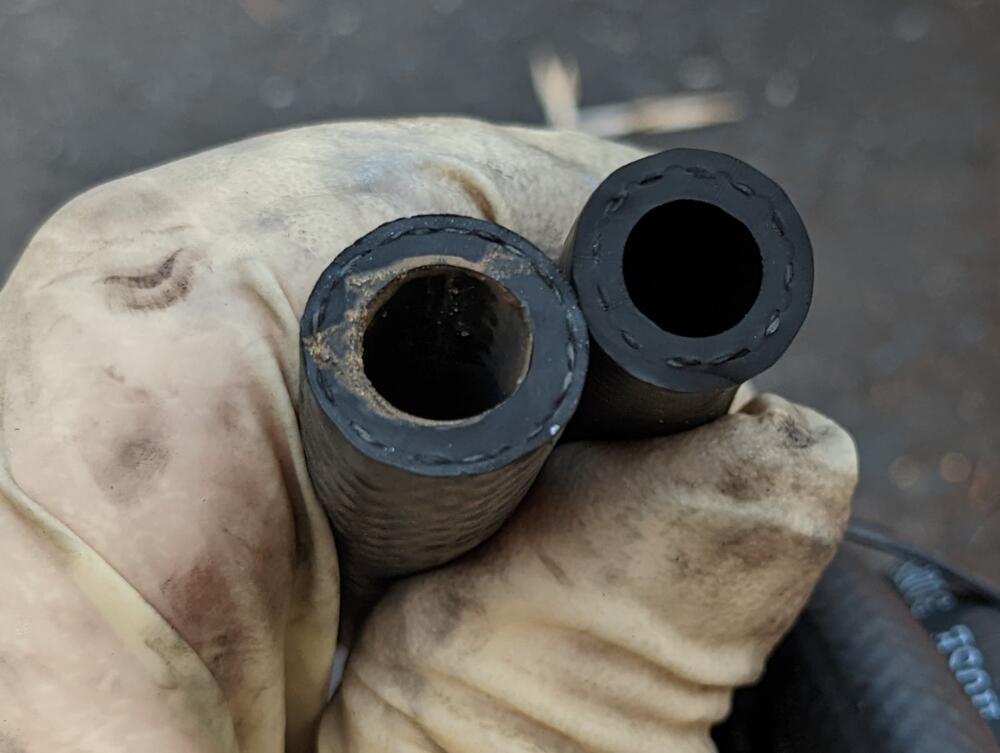
Finished up the fuel pump/pulse damper install today Used some preformed nylon line cut from a Volvo, mostly likely. That put the pulse damper where it needed to be to connect to the feed hard line With that figured out, I made a bracket to support it welded to the fuel pump bracket hook up the pump wires before installing the assembly All up out the way now Installed the correct return line , that was also the wrong ID
-
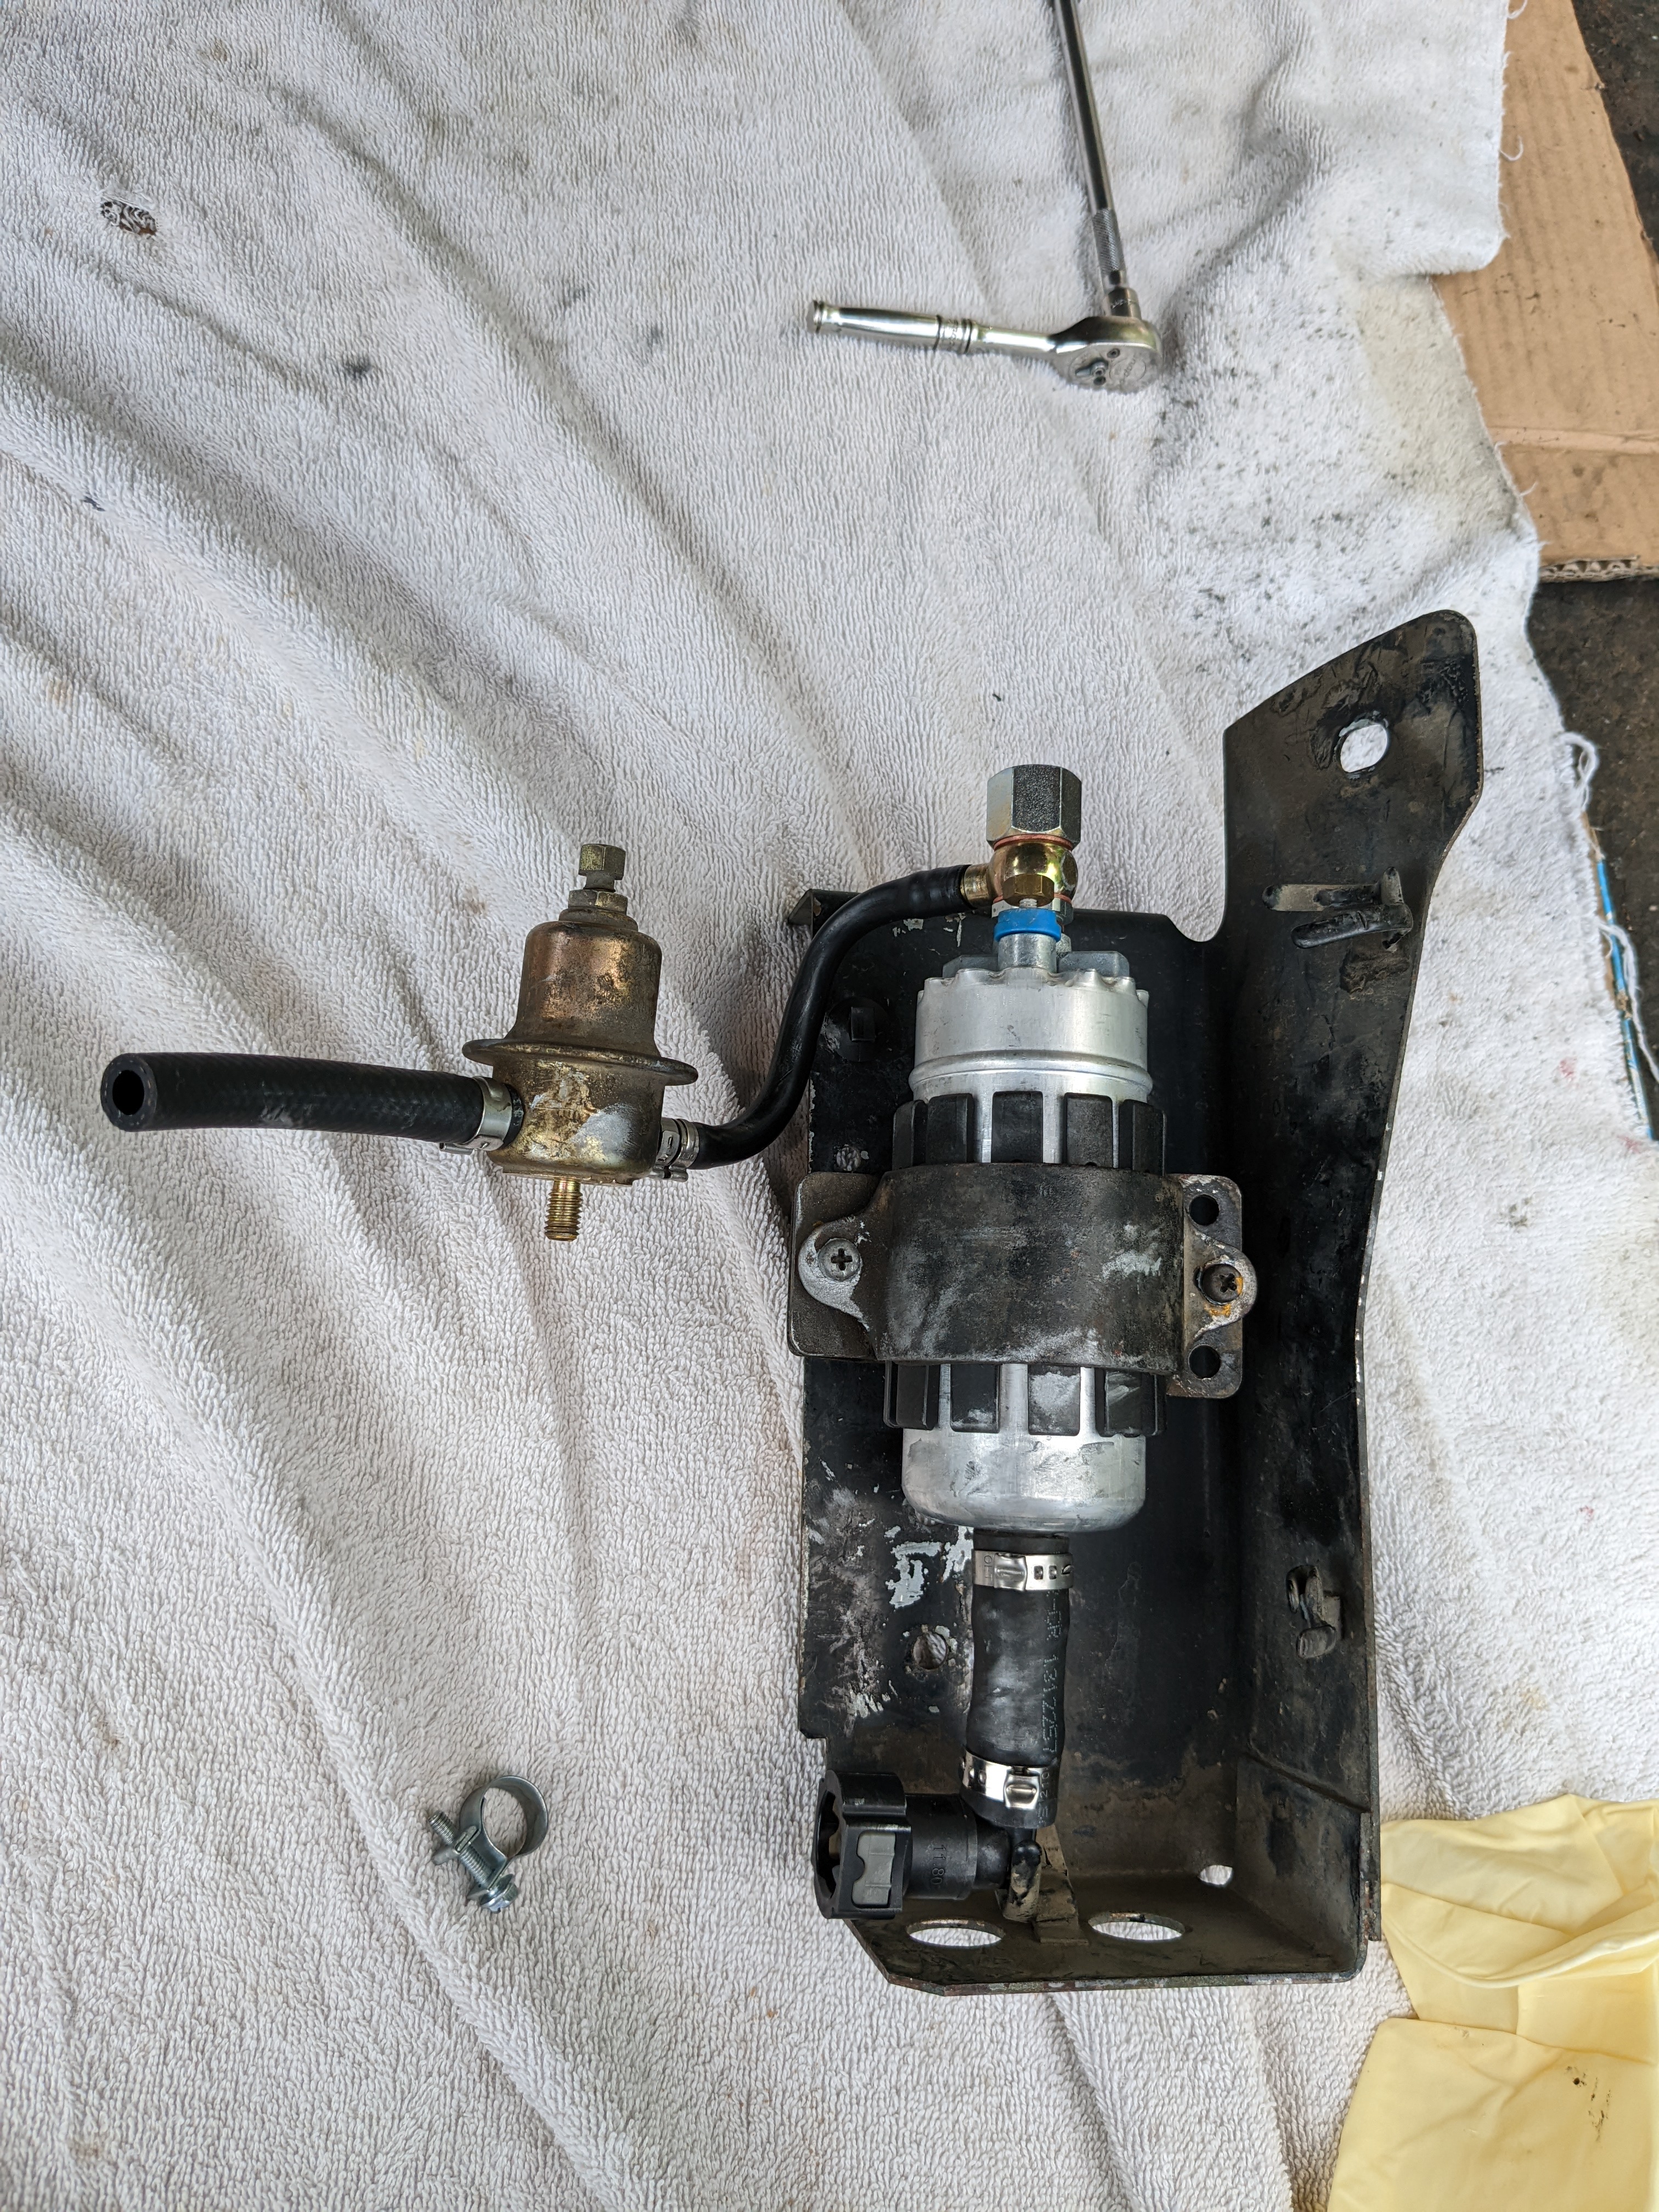
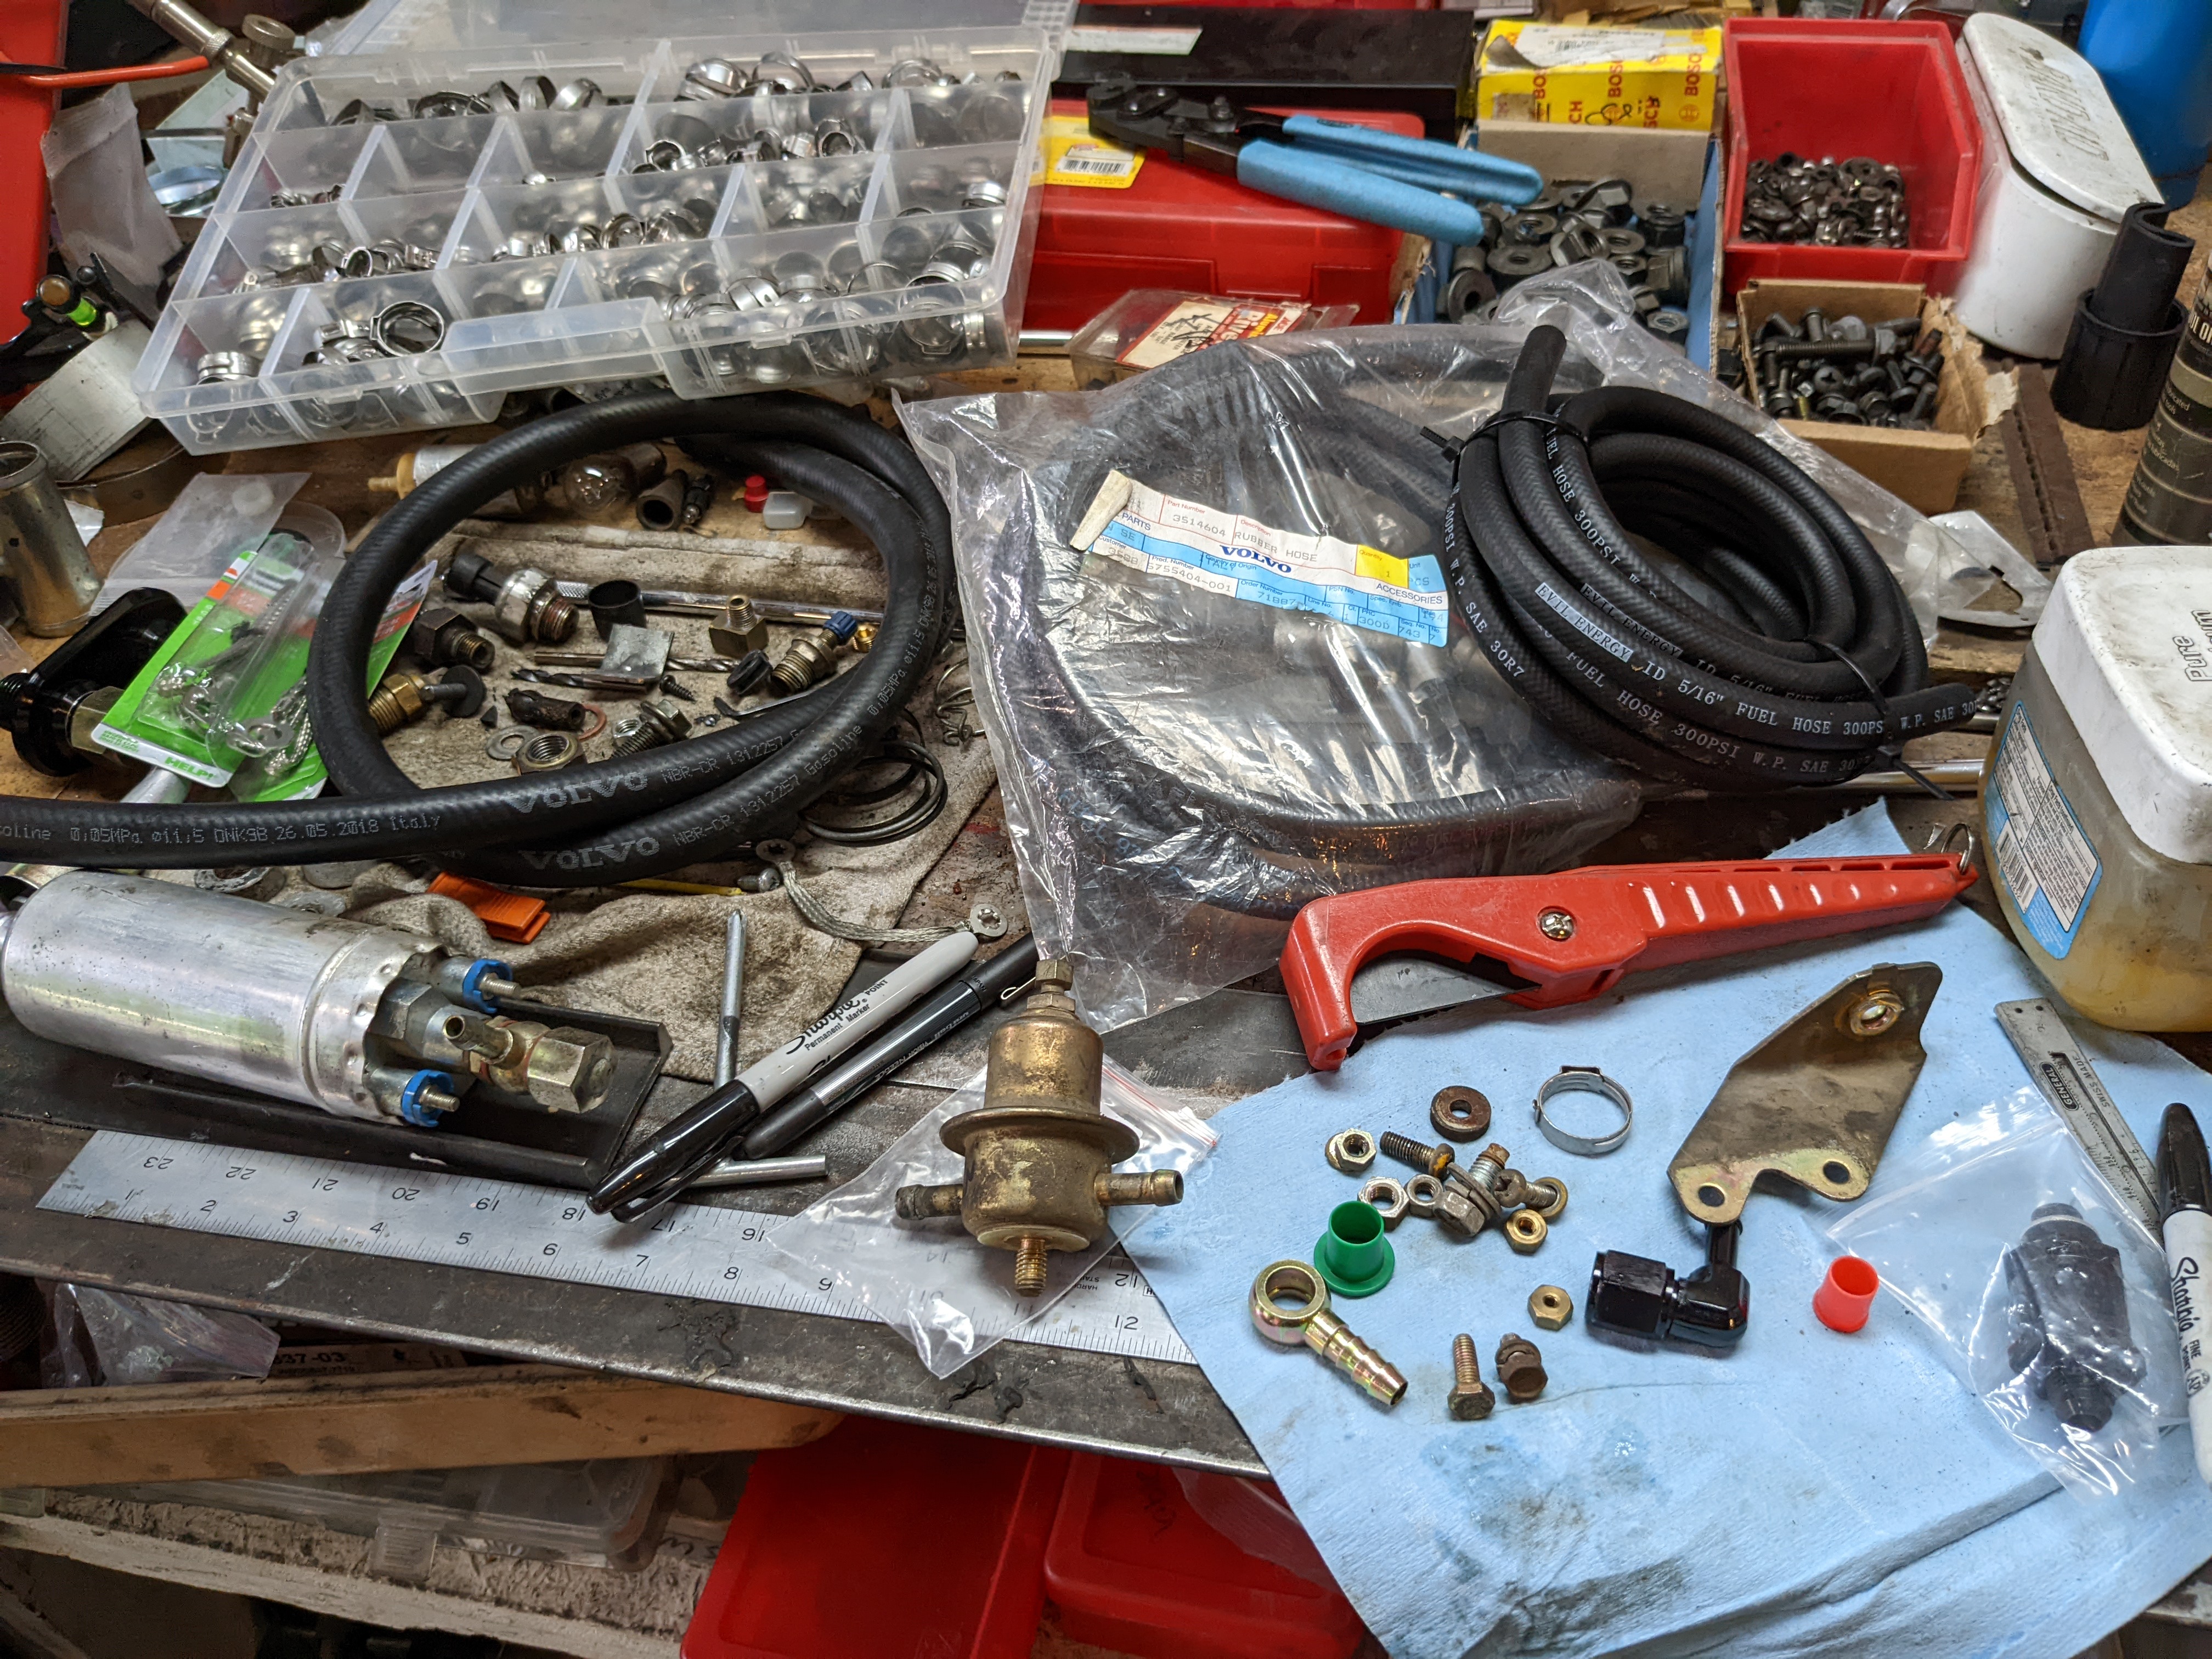
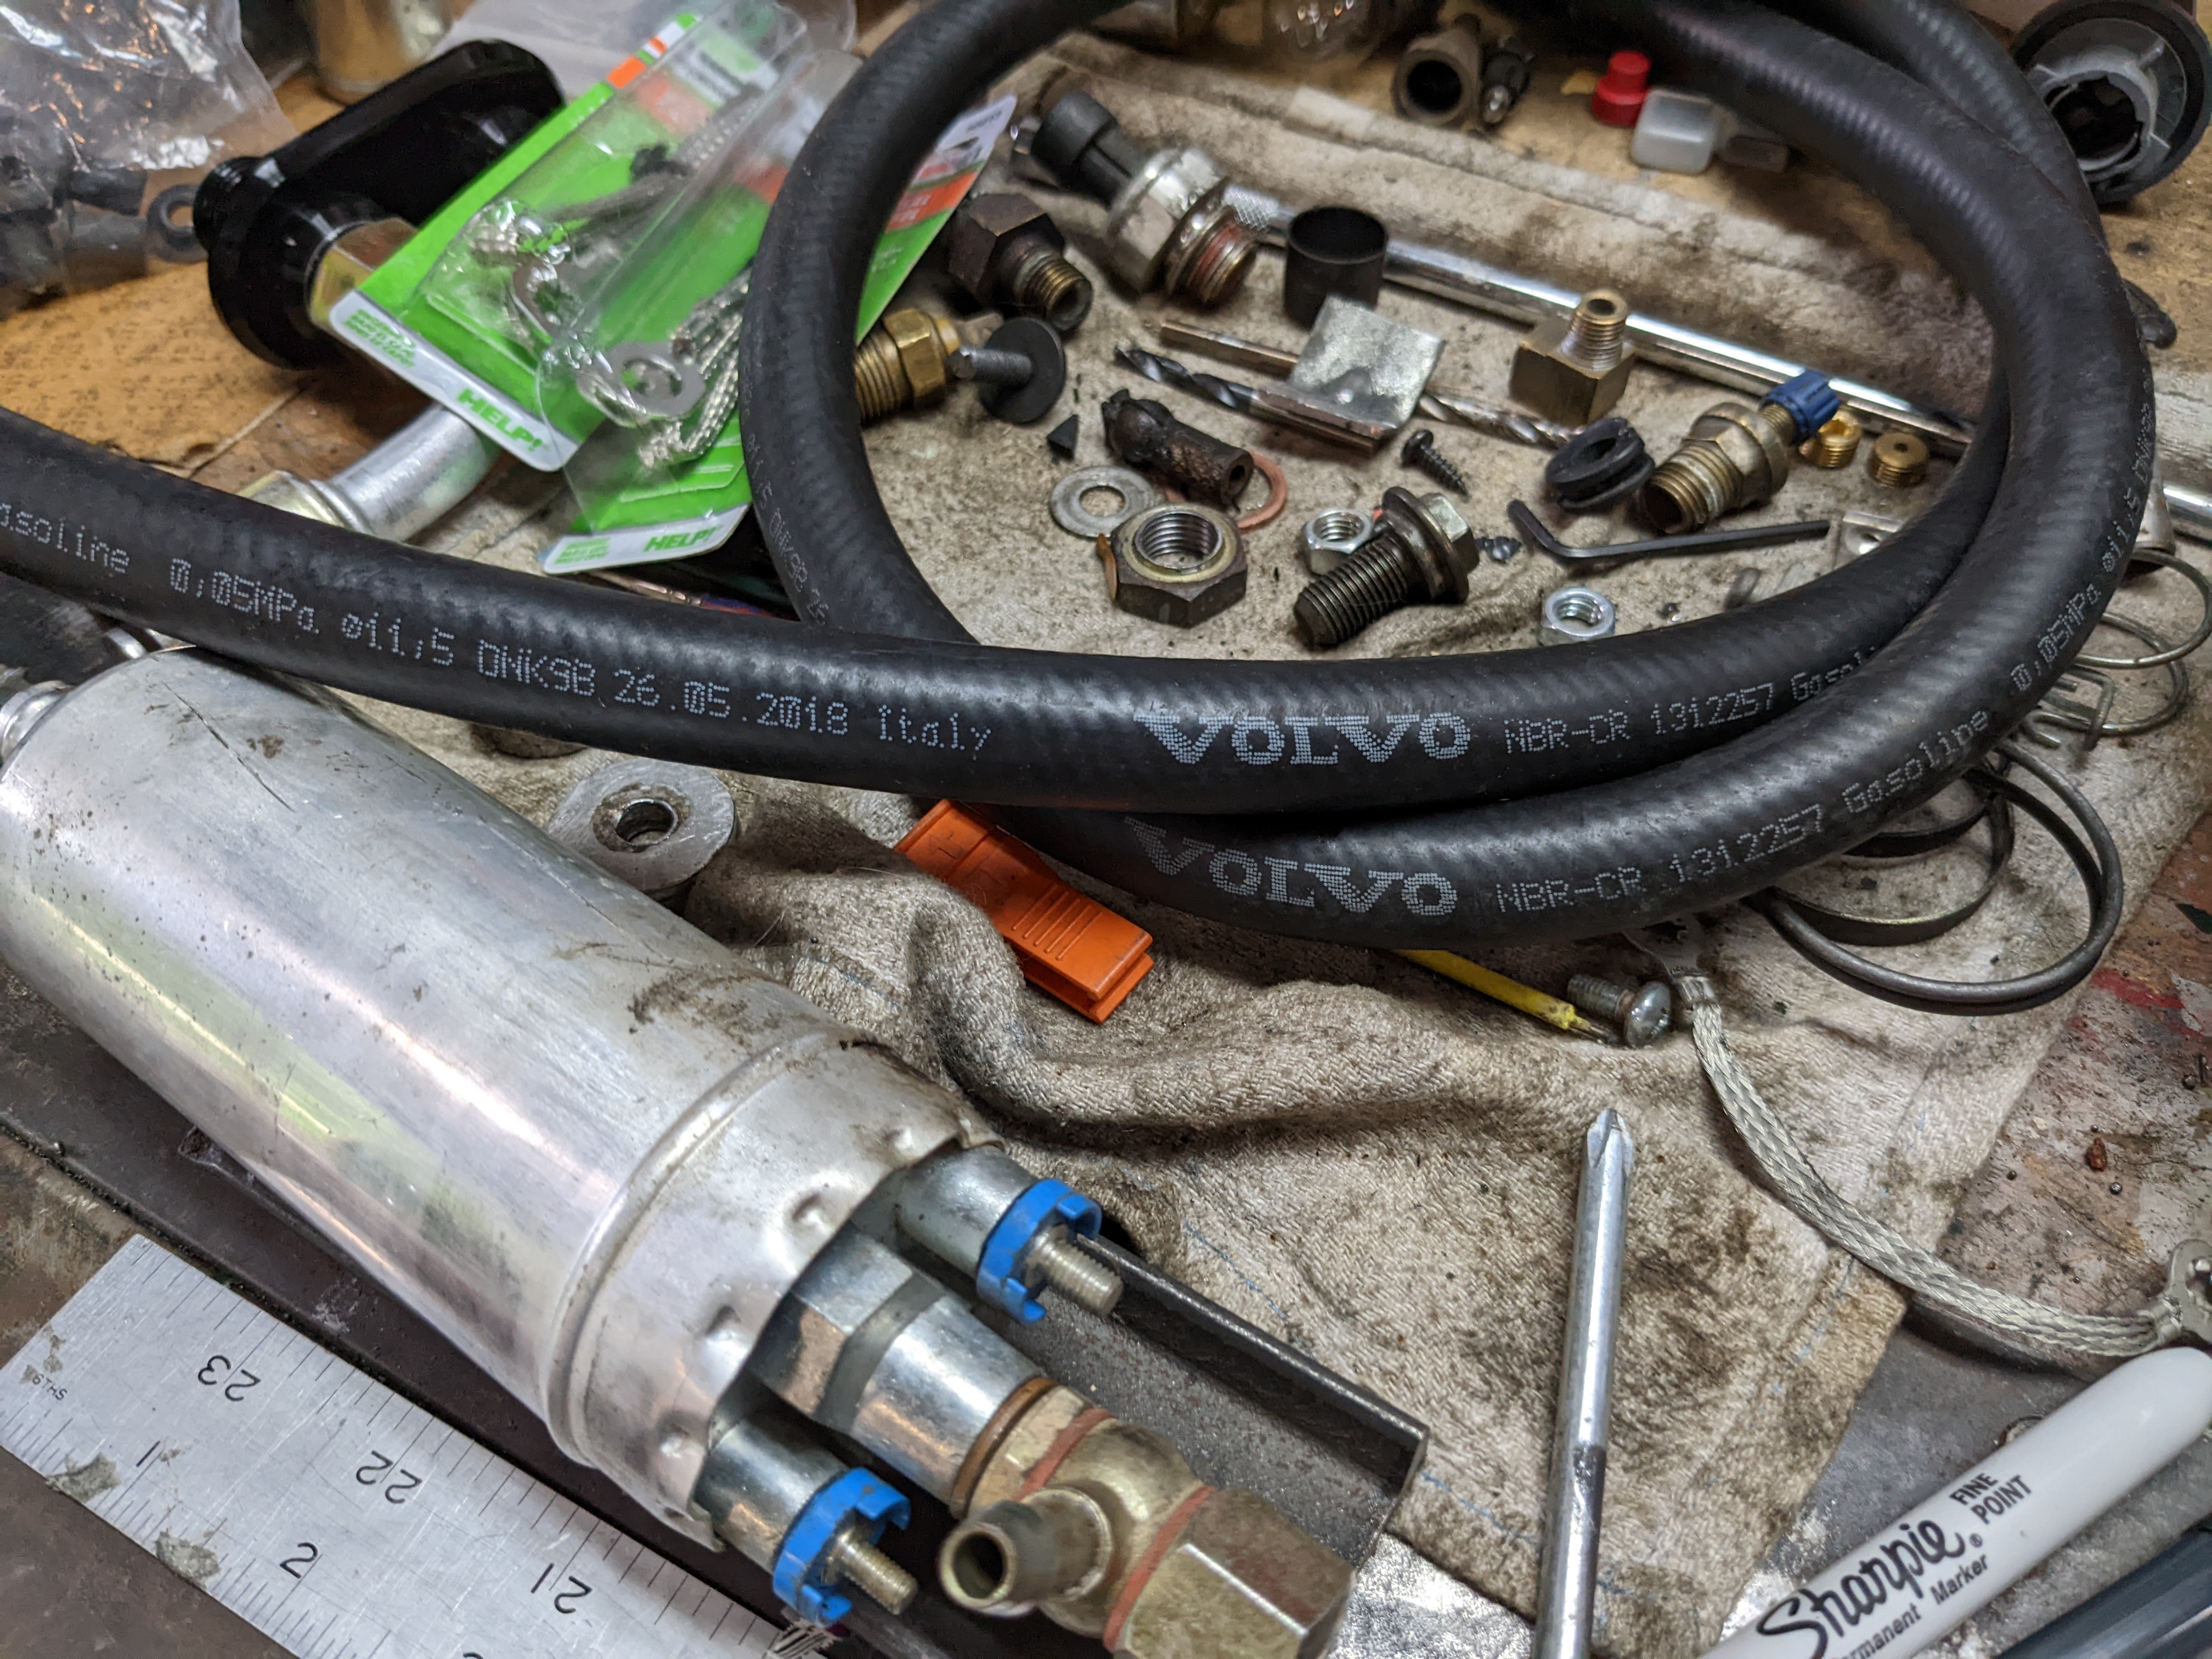
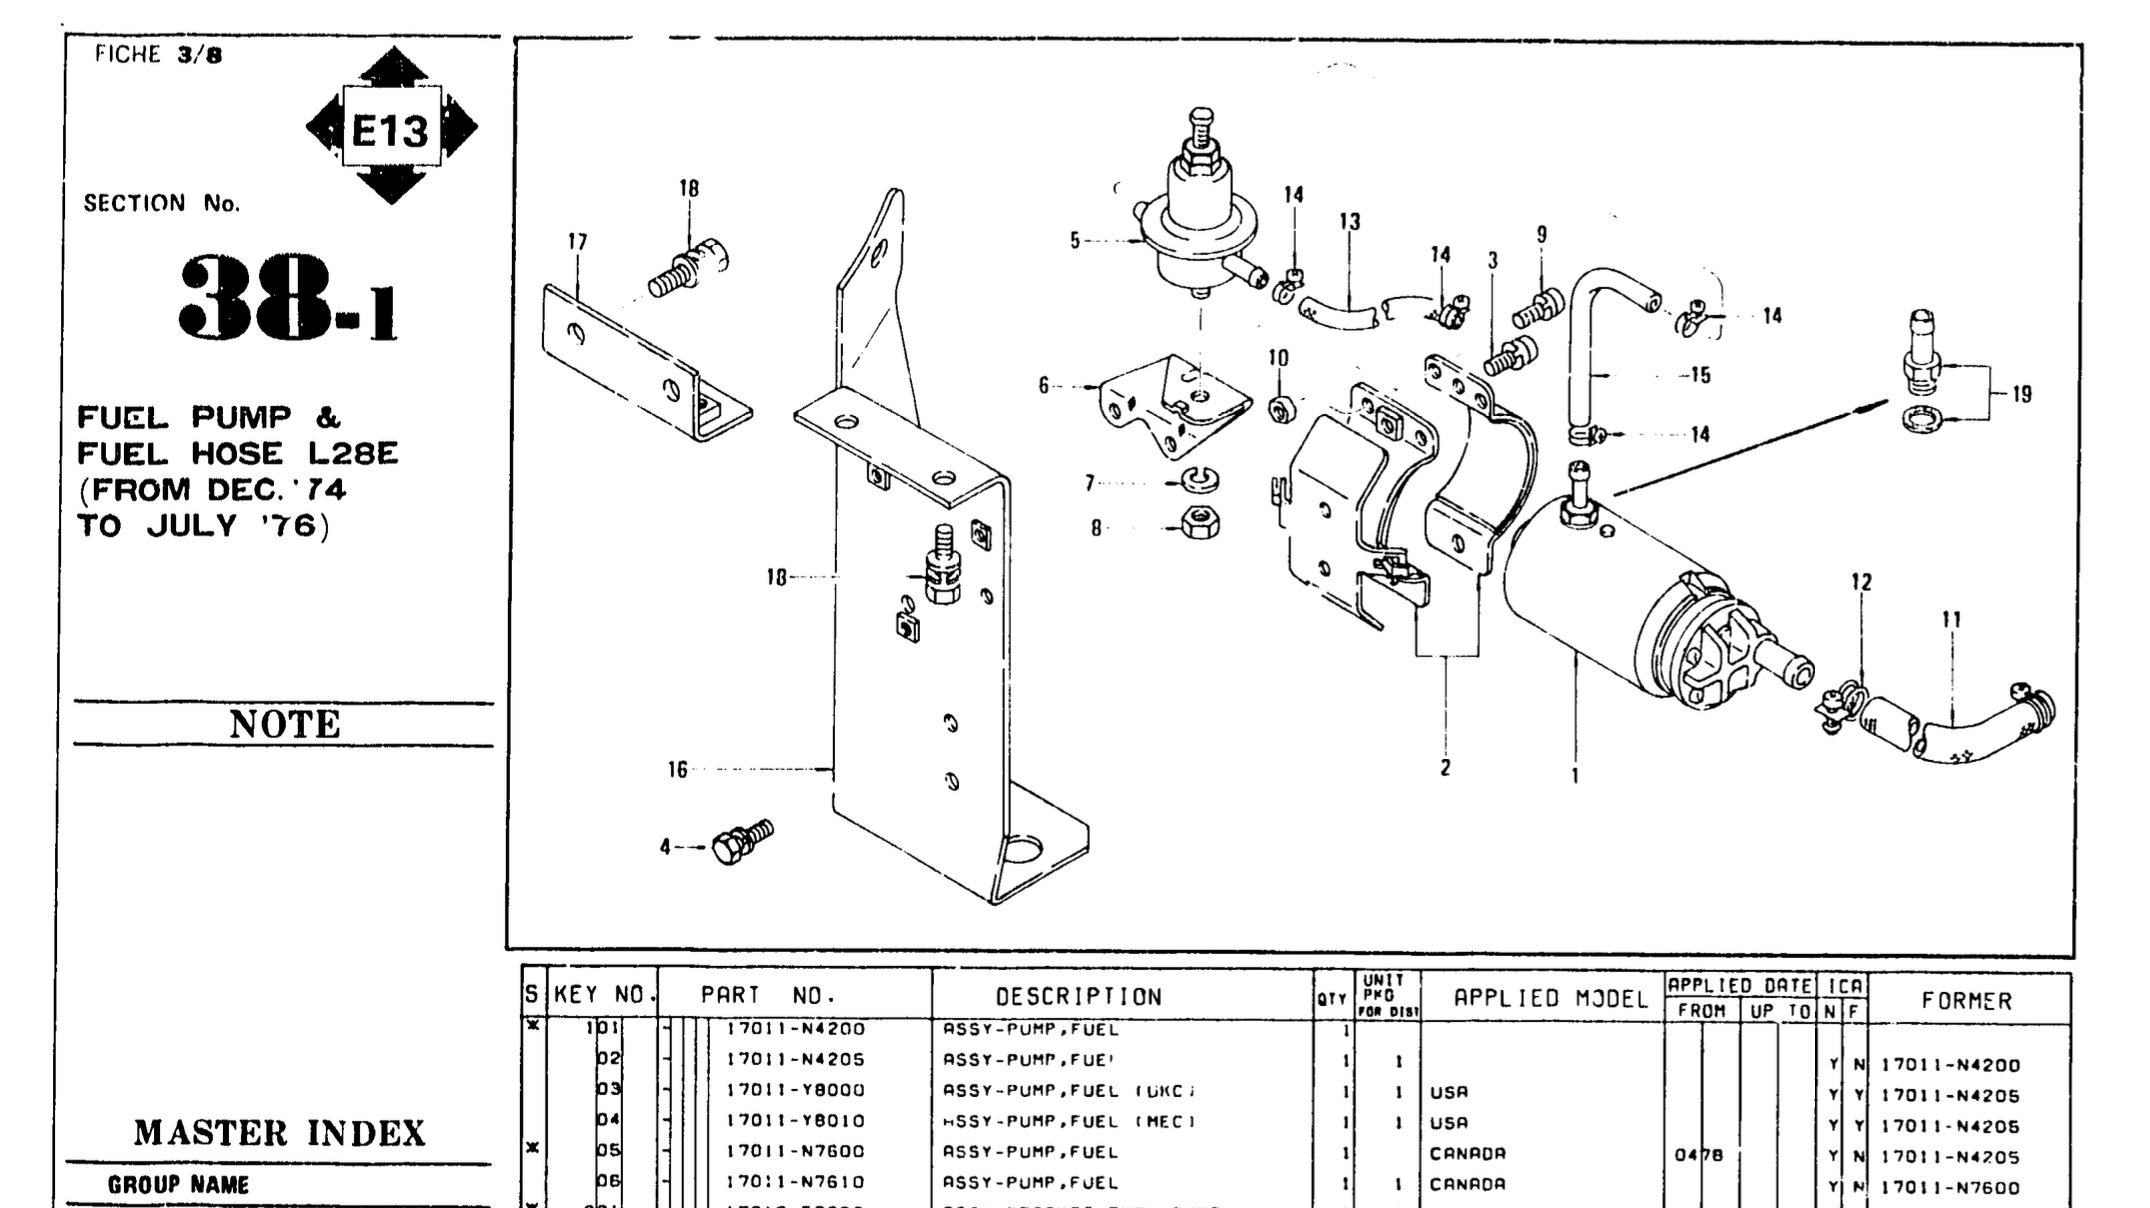
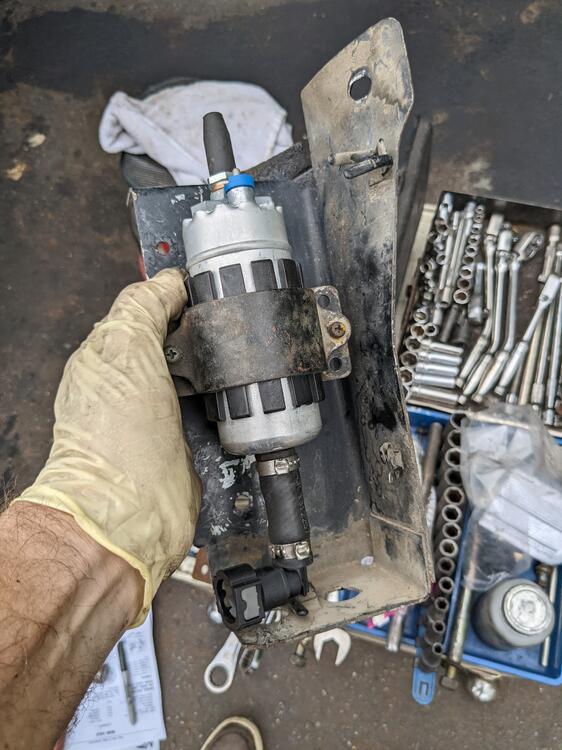
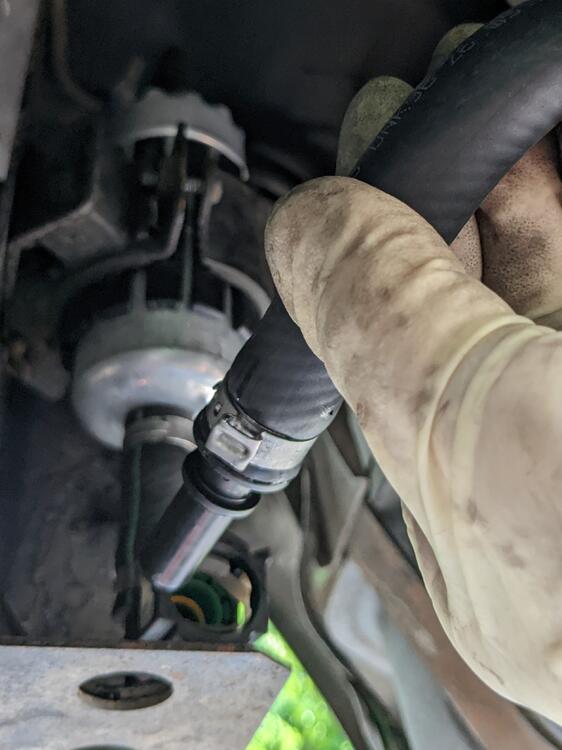
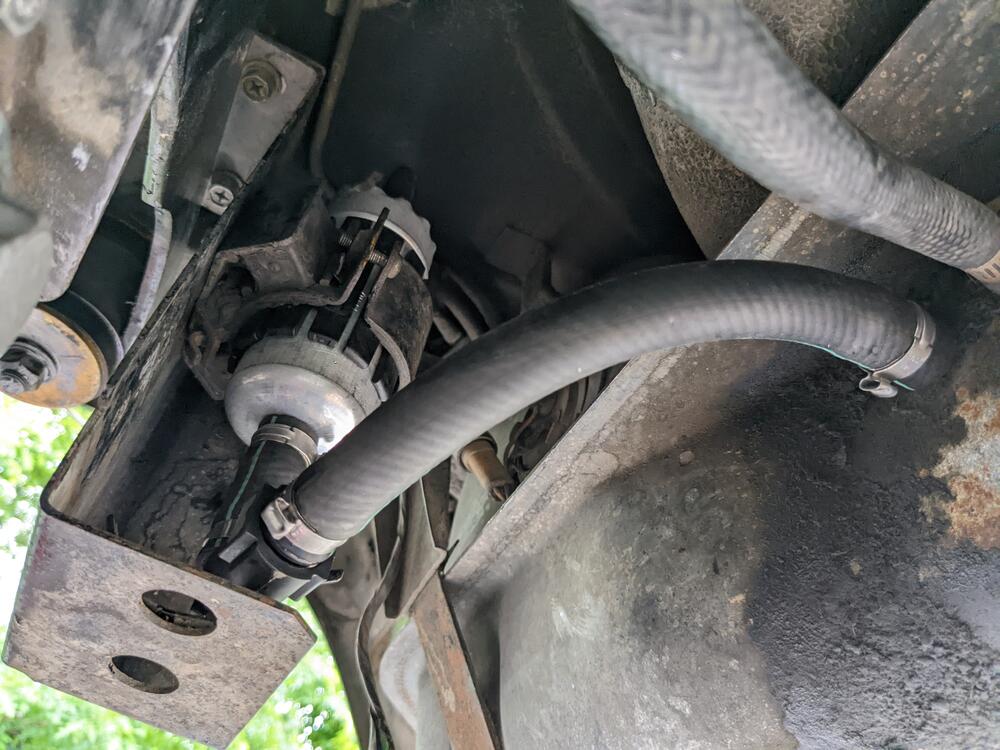
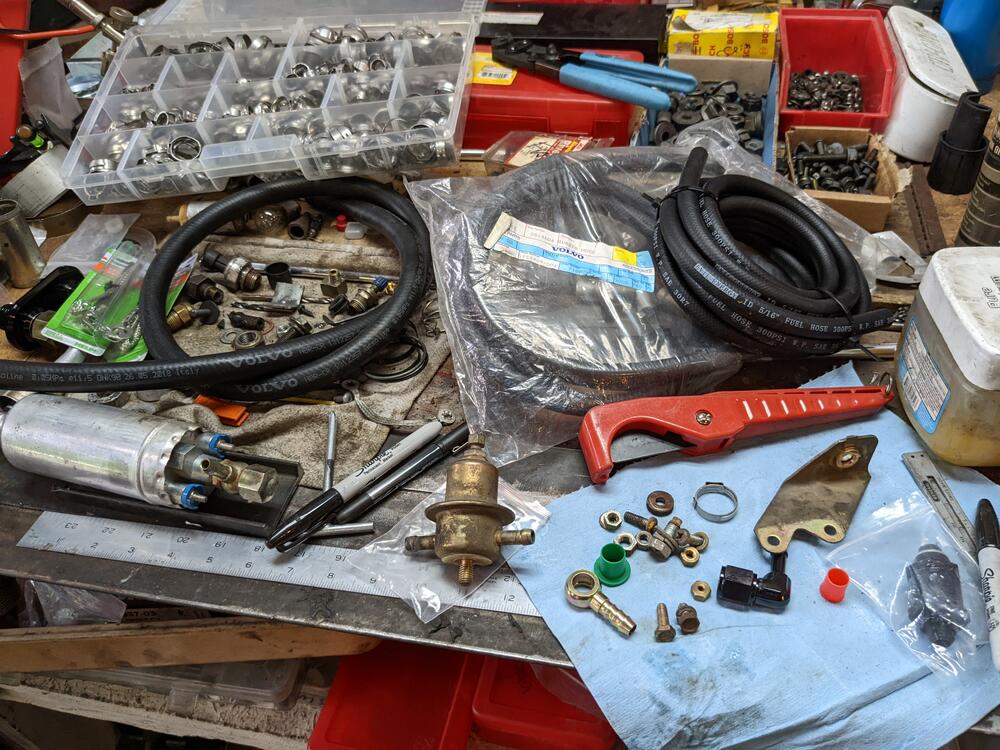
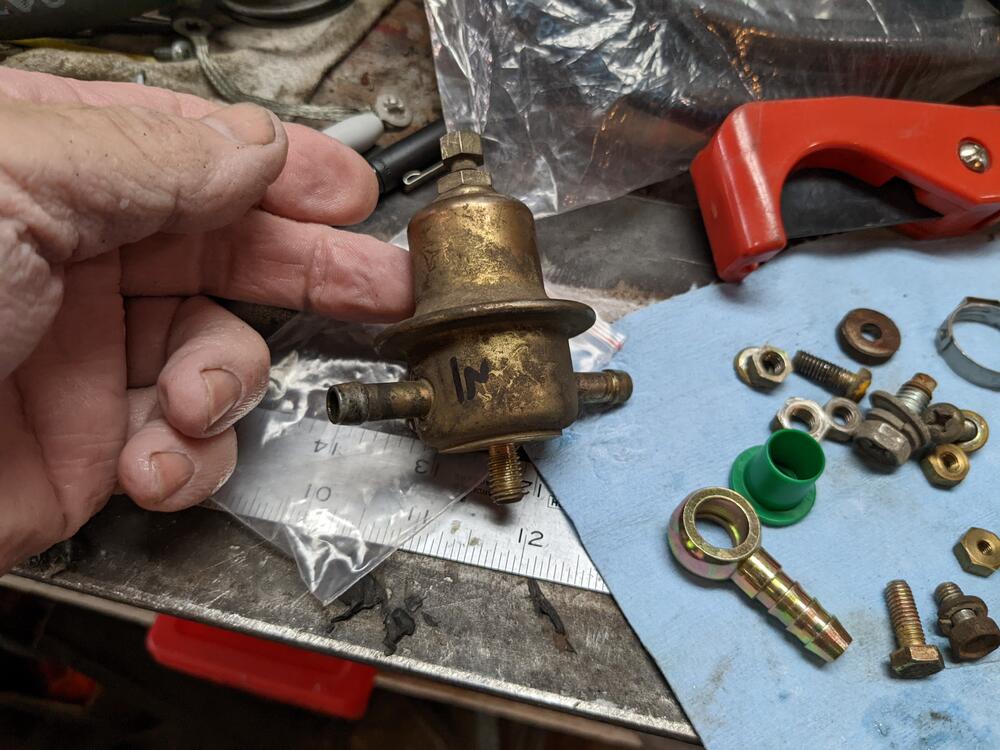
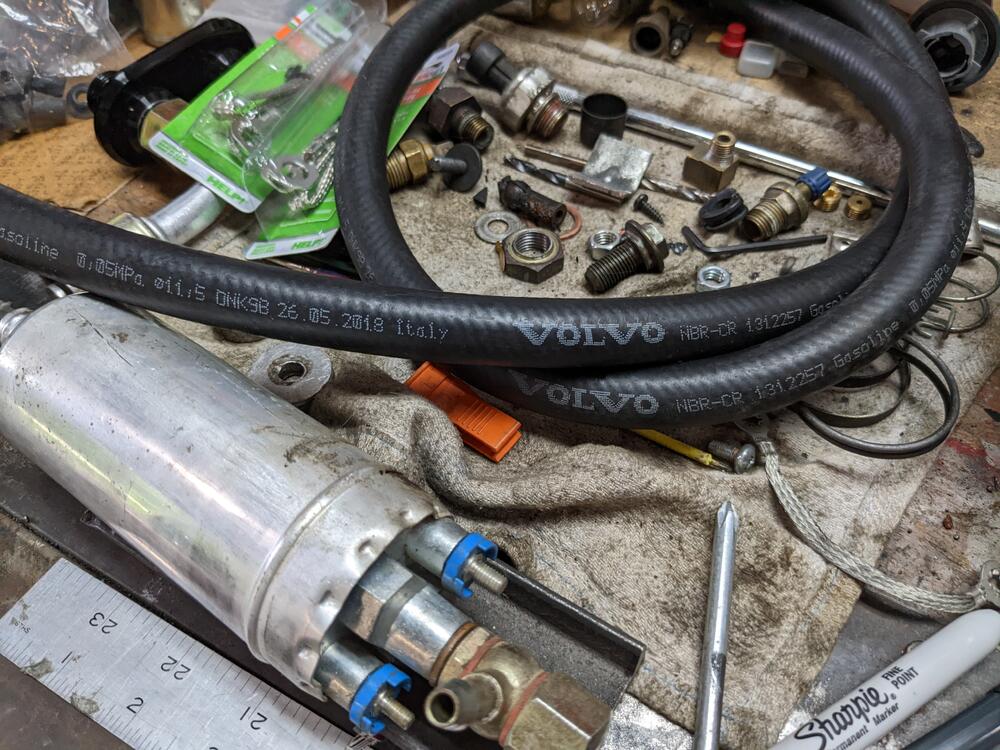
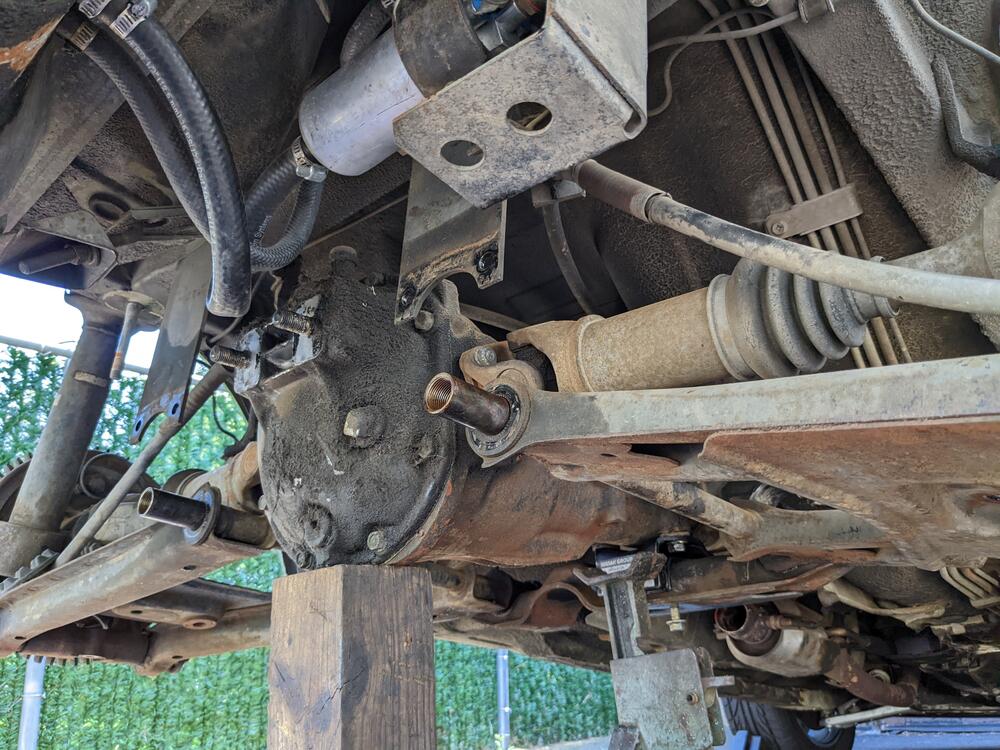
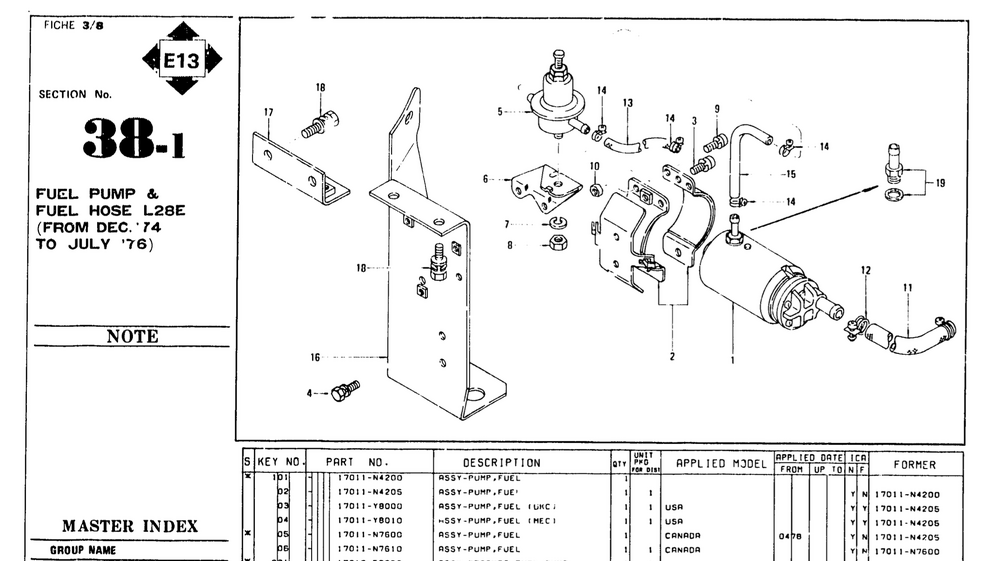
Dropped the (aftermarket) fuel pump & feed hose today. I don't like the way the pump is fitted either. Original schematic of layout redrilled the mount plate to rotate & move the (new Bosch) pump up & out the way somewhat, adding Quick -Release fittings, to get rid of the large loop on the low pressure suction side Volvo fuel hose 1312257 11.5mm ID sold by the meter . I was going to put an inline filter here, however both versions I purchased were less that 3/8 OD, probably close to 5/16 Have to fit the pulse damper above. I won't need it with the VQ35DE install, so I'm going to make it easier to remove
-
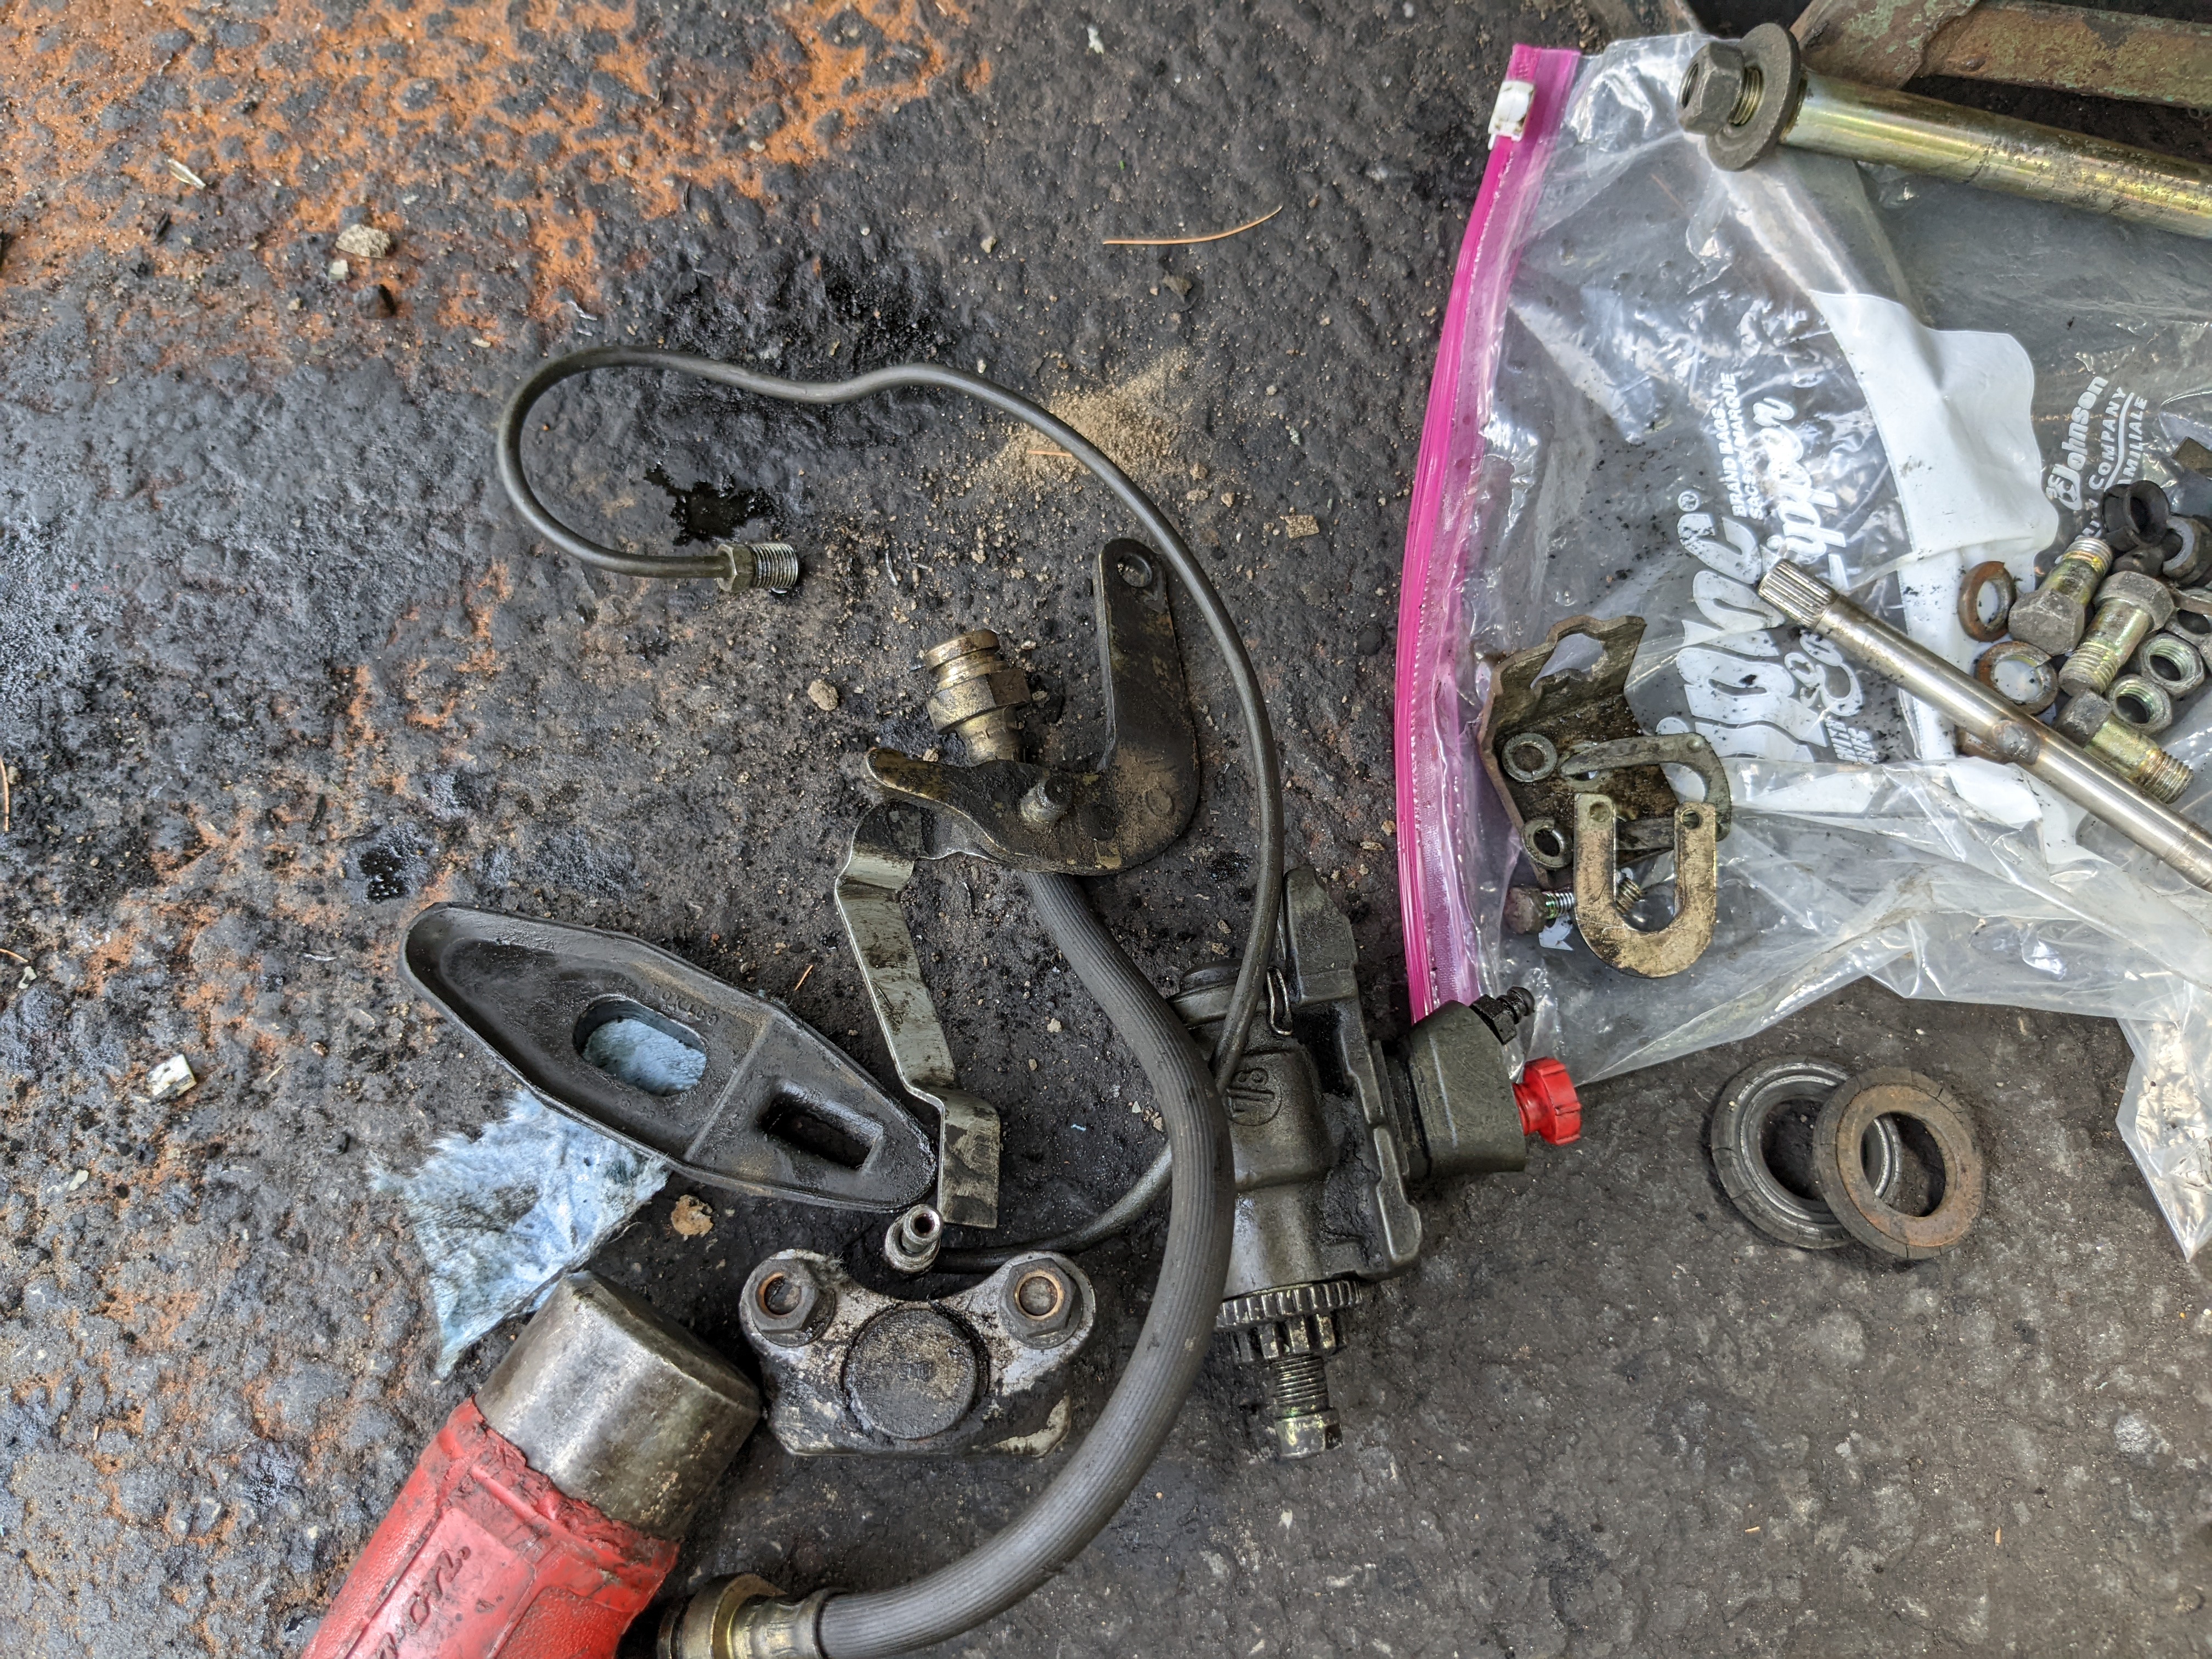
There are plugs to be removed so that grease fittings can be inserted? I was going to hold on to the pair that are not hammered. I figured the brake parts may also be worth something to someone, so I'll clean everything.
-
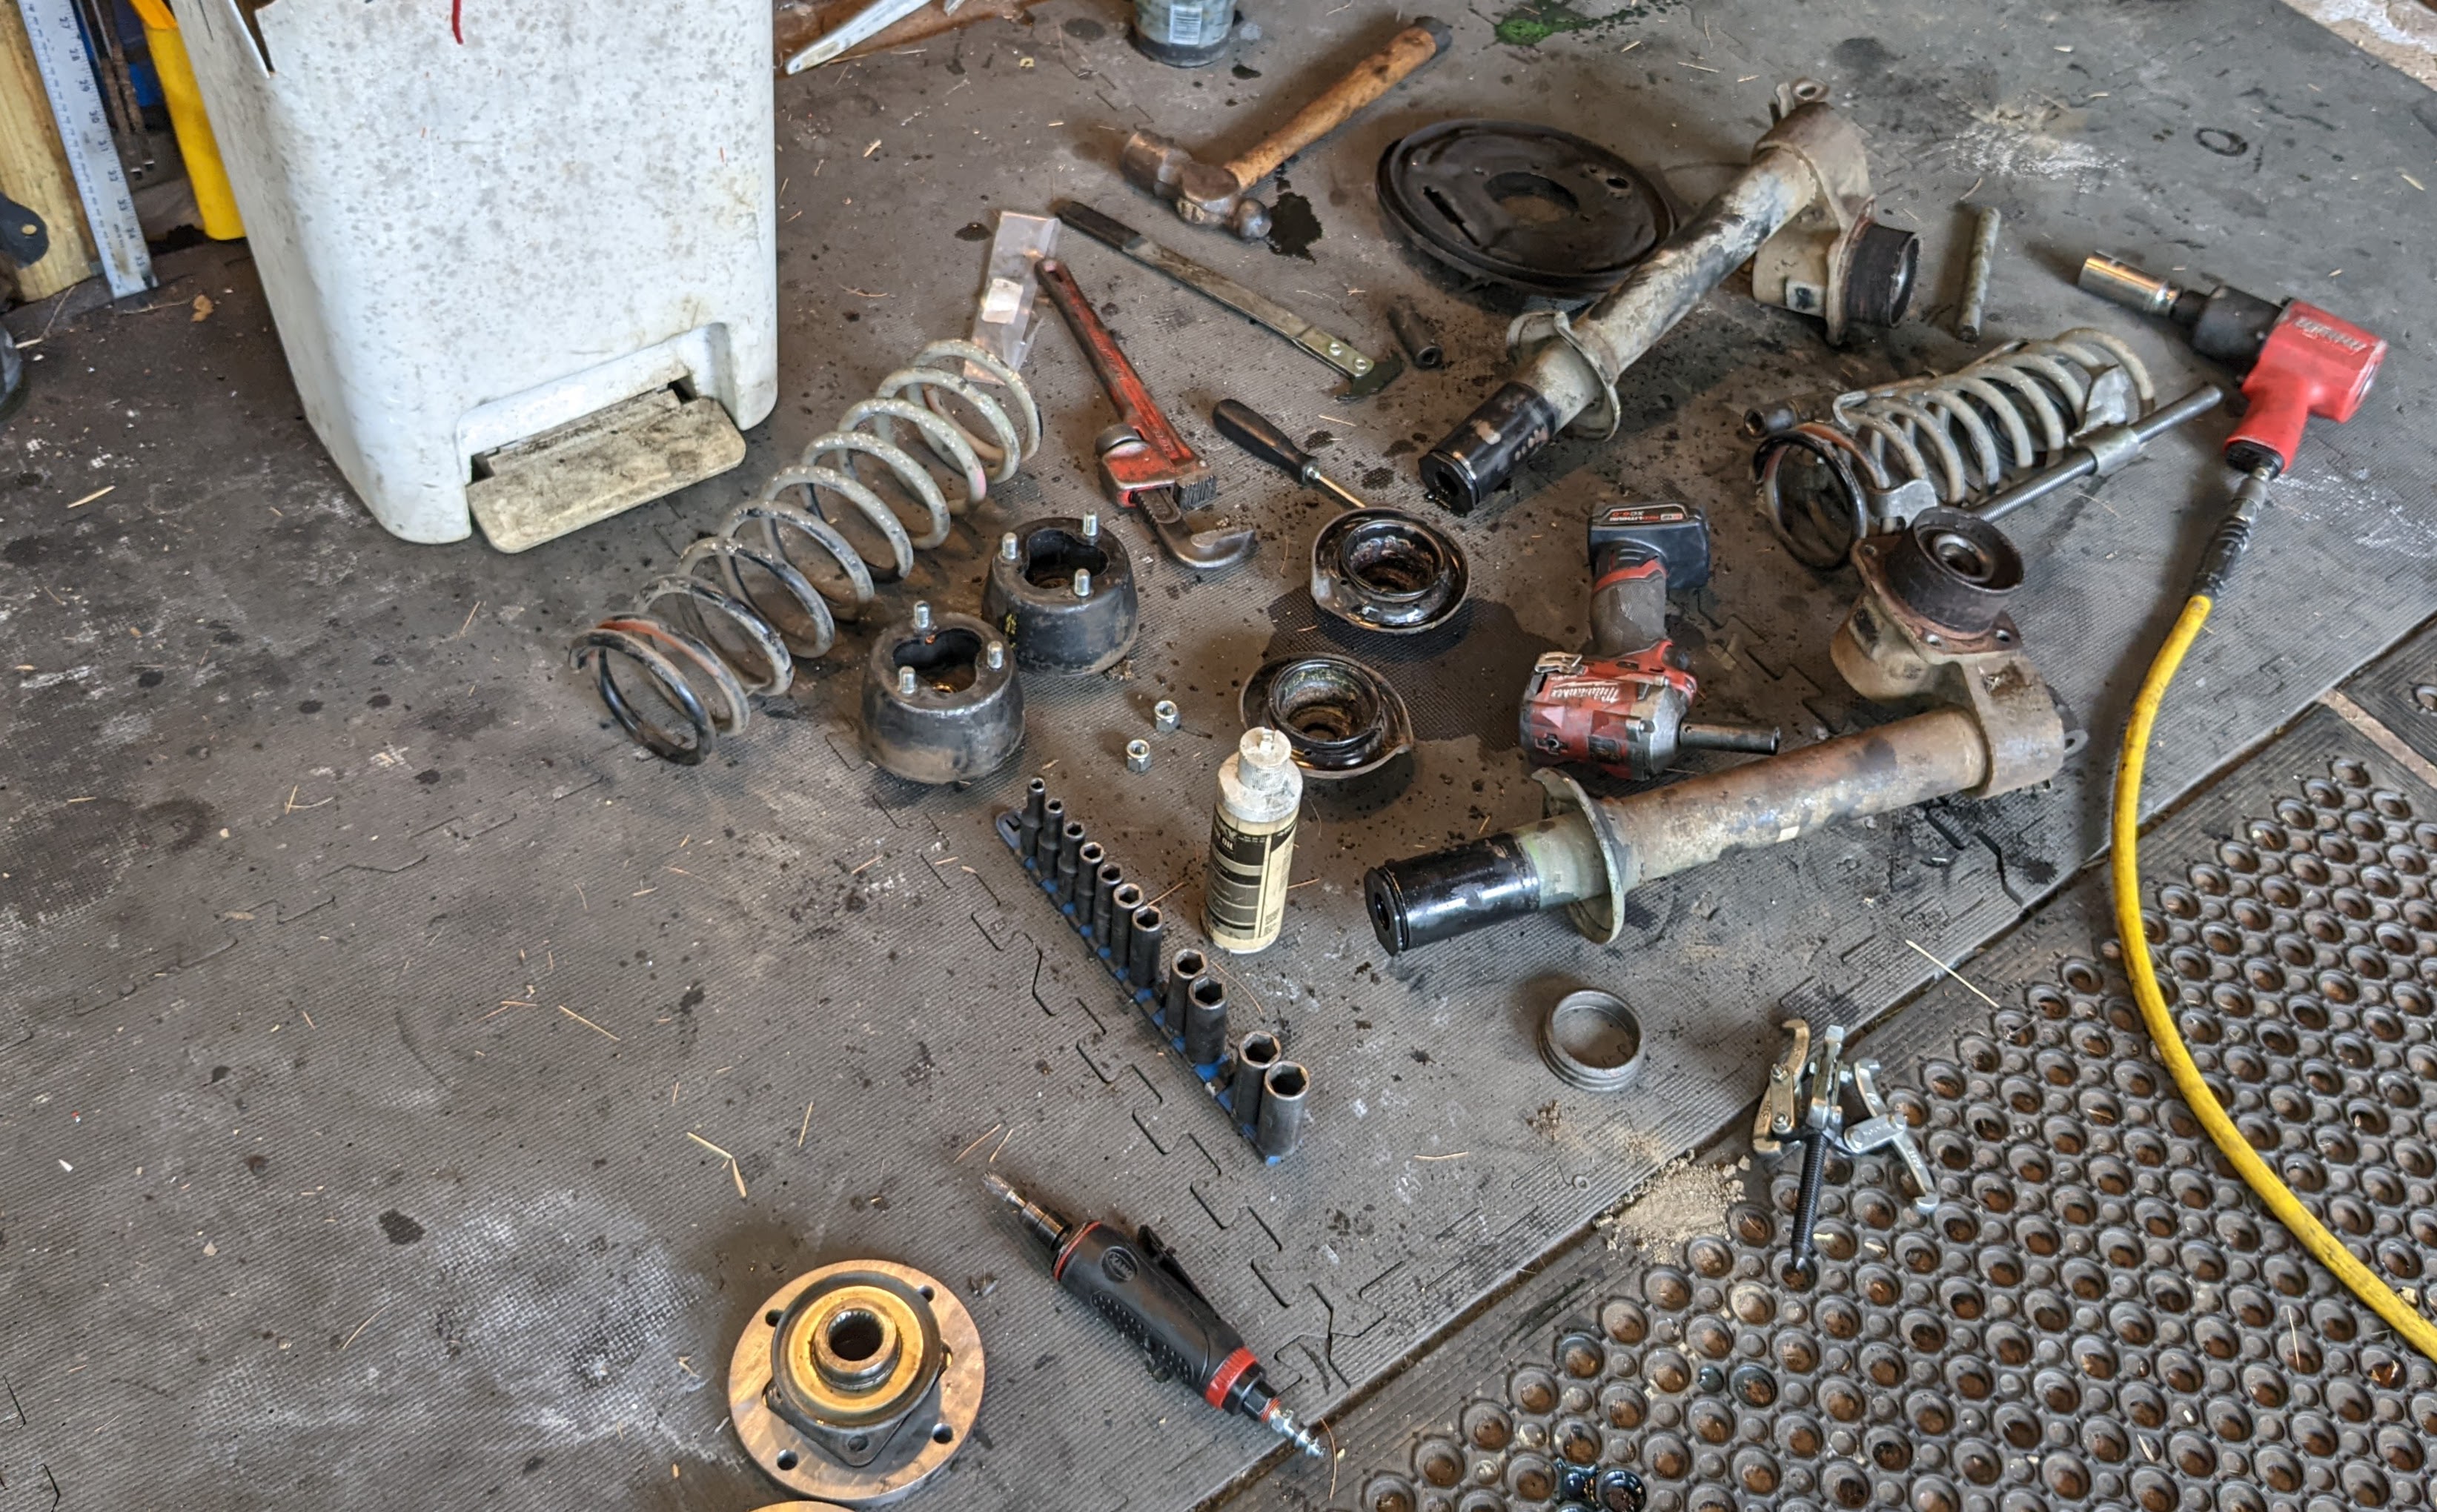
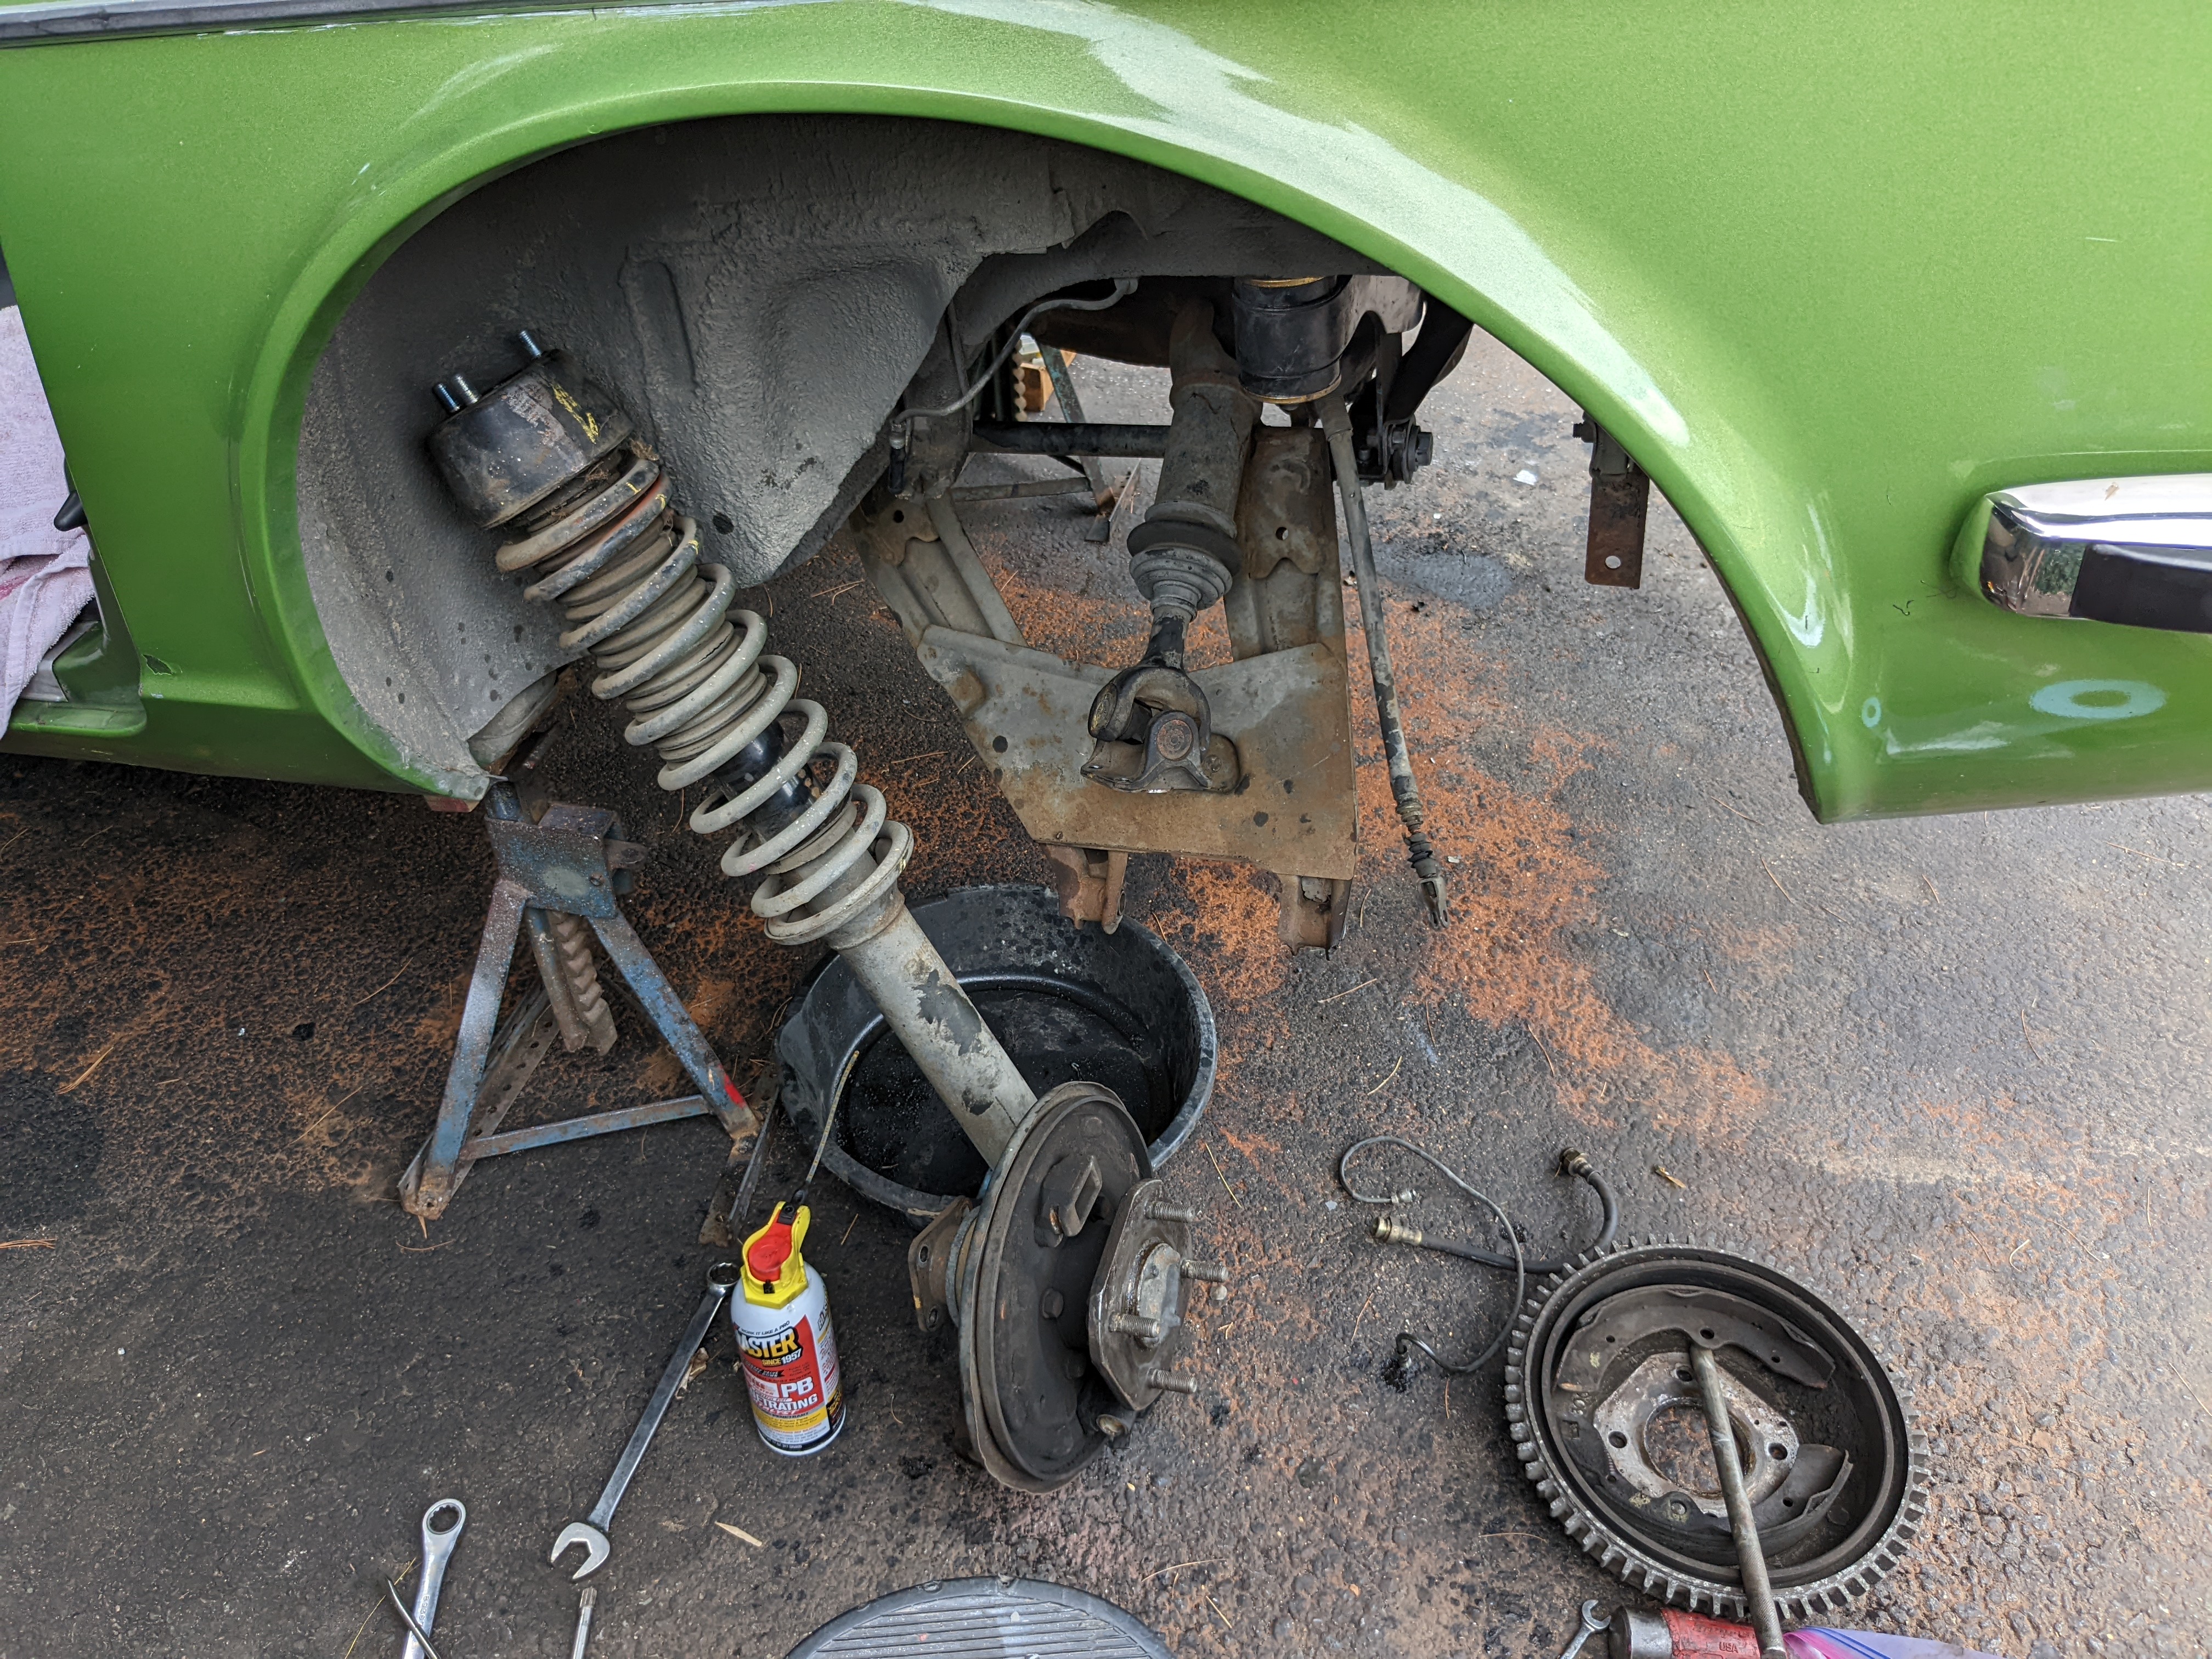
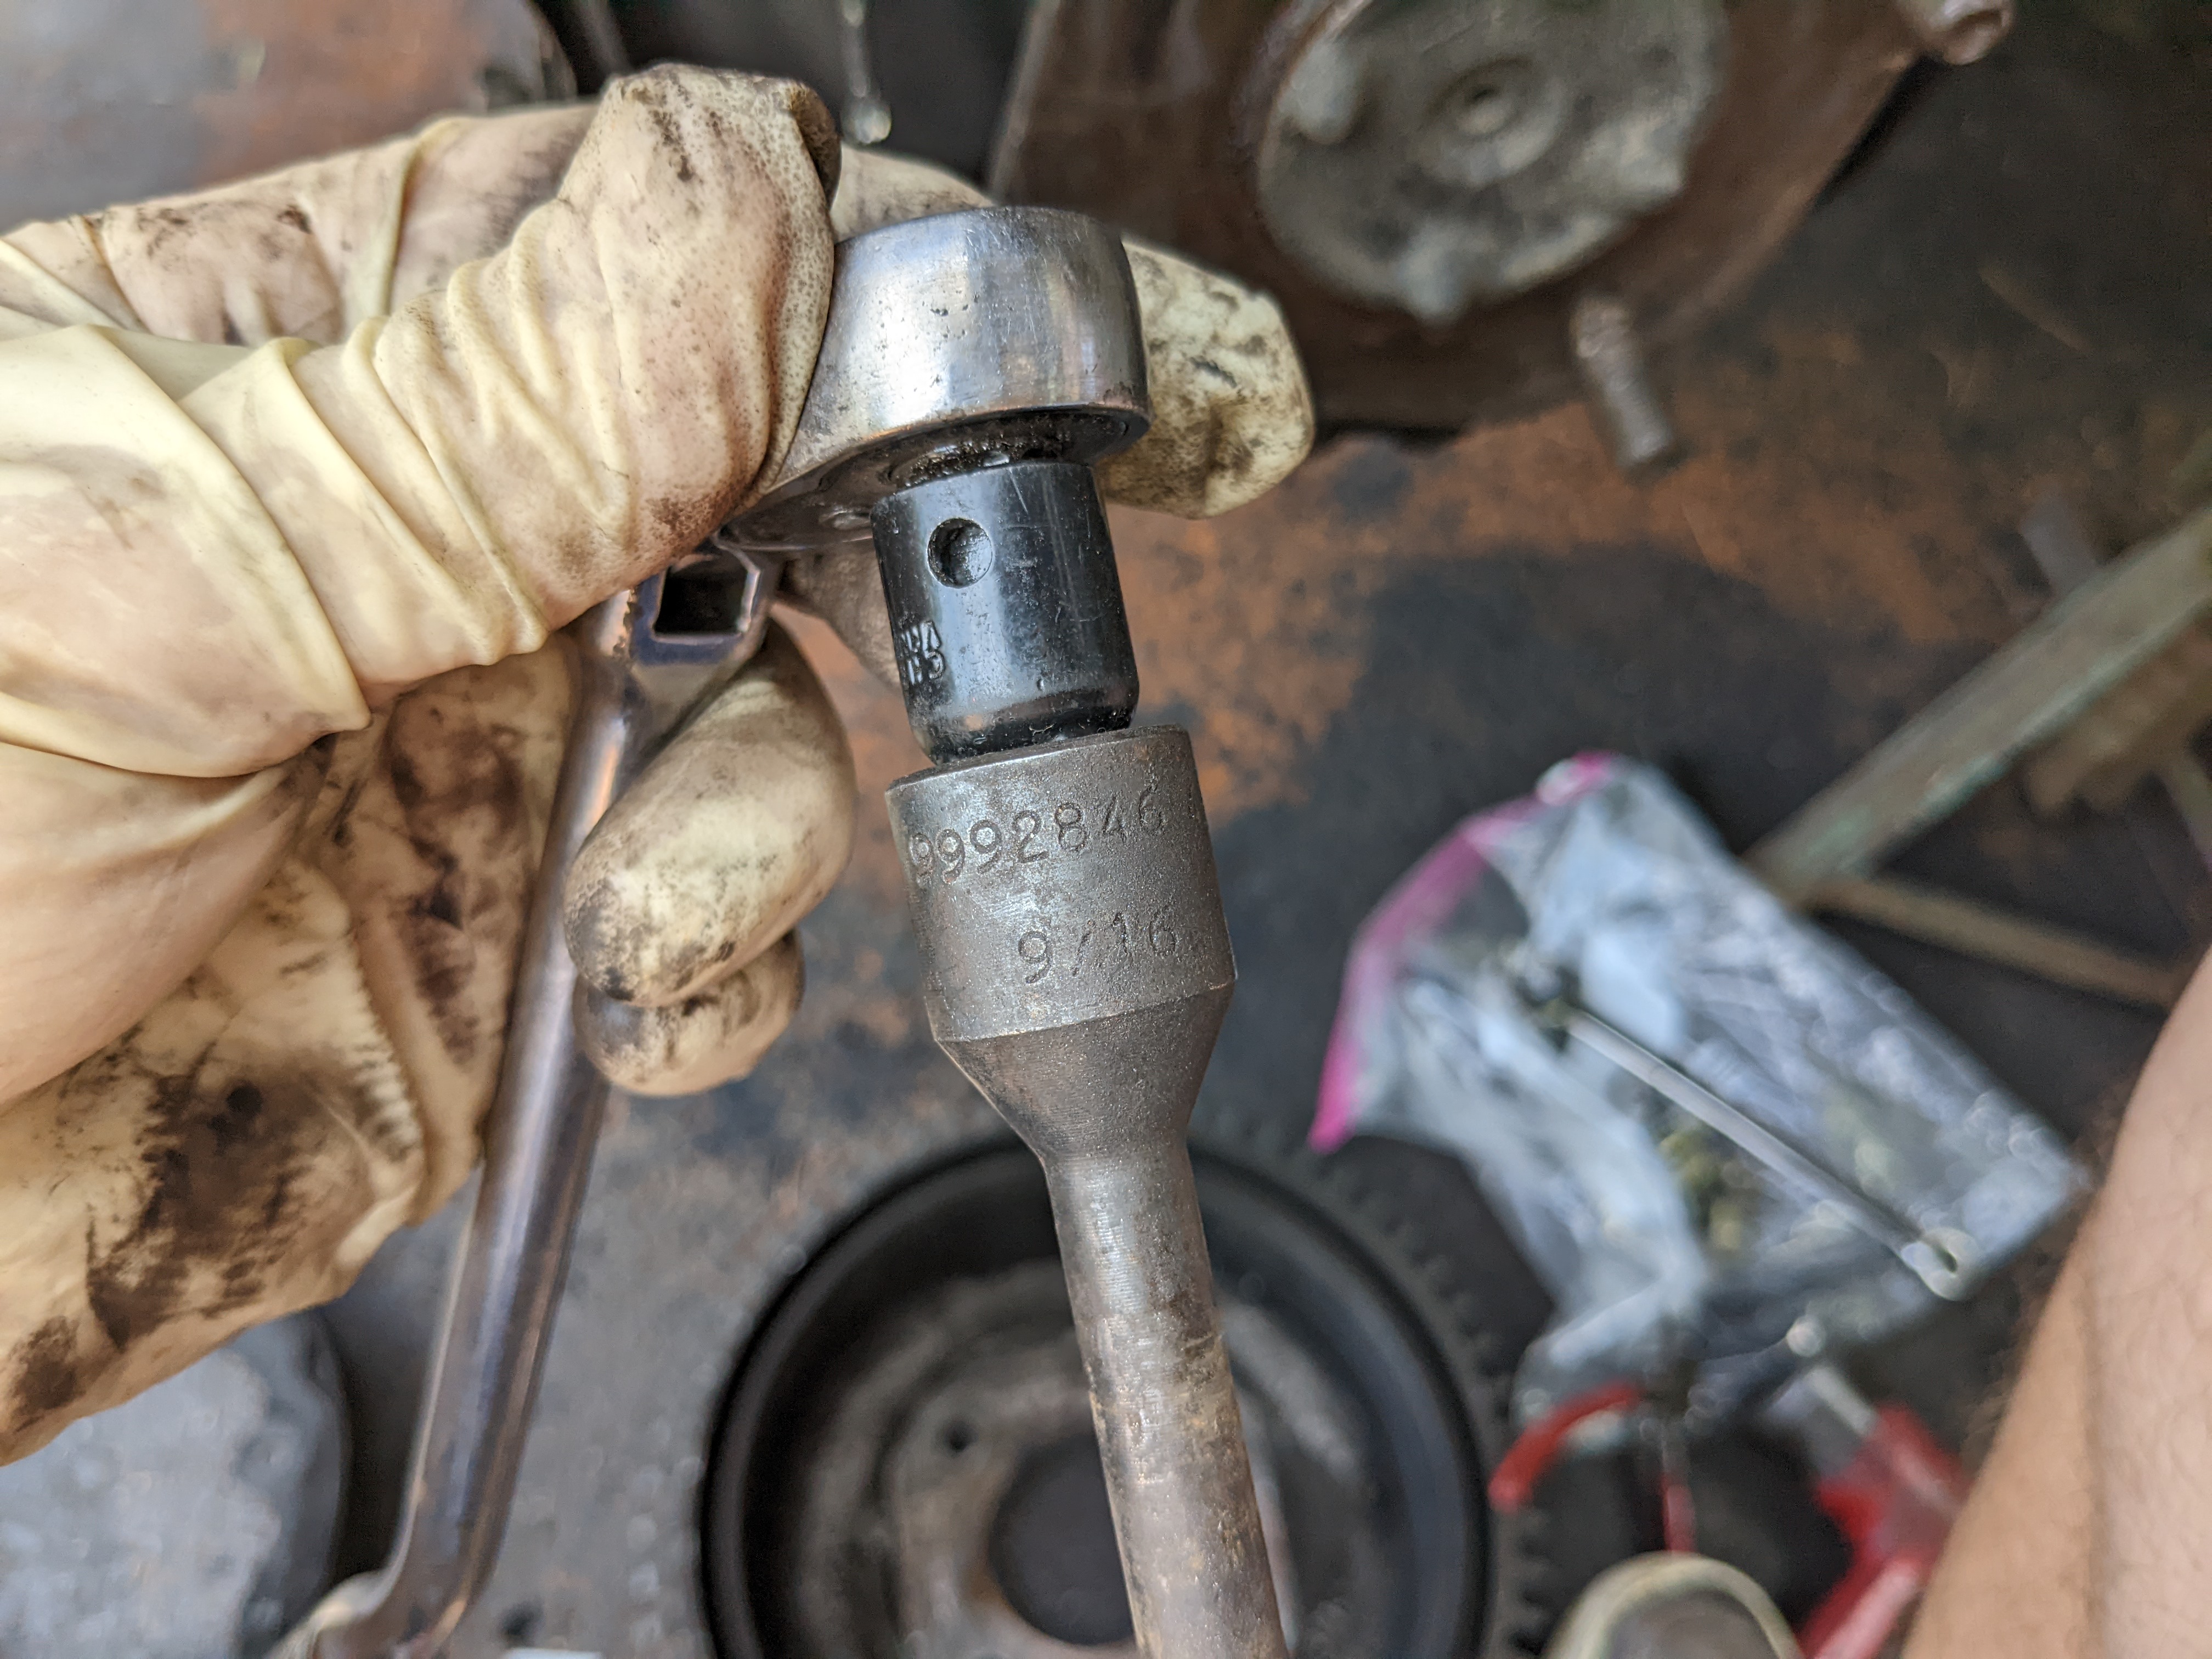
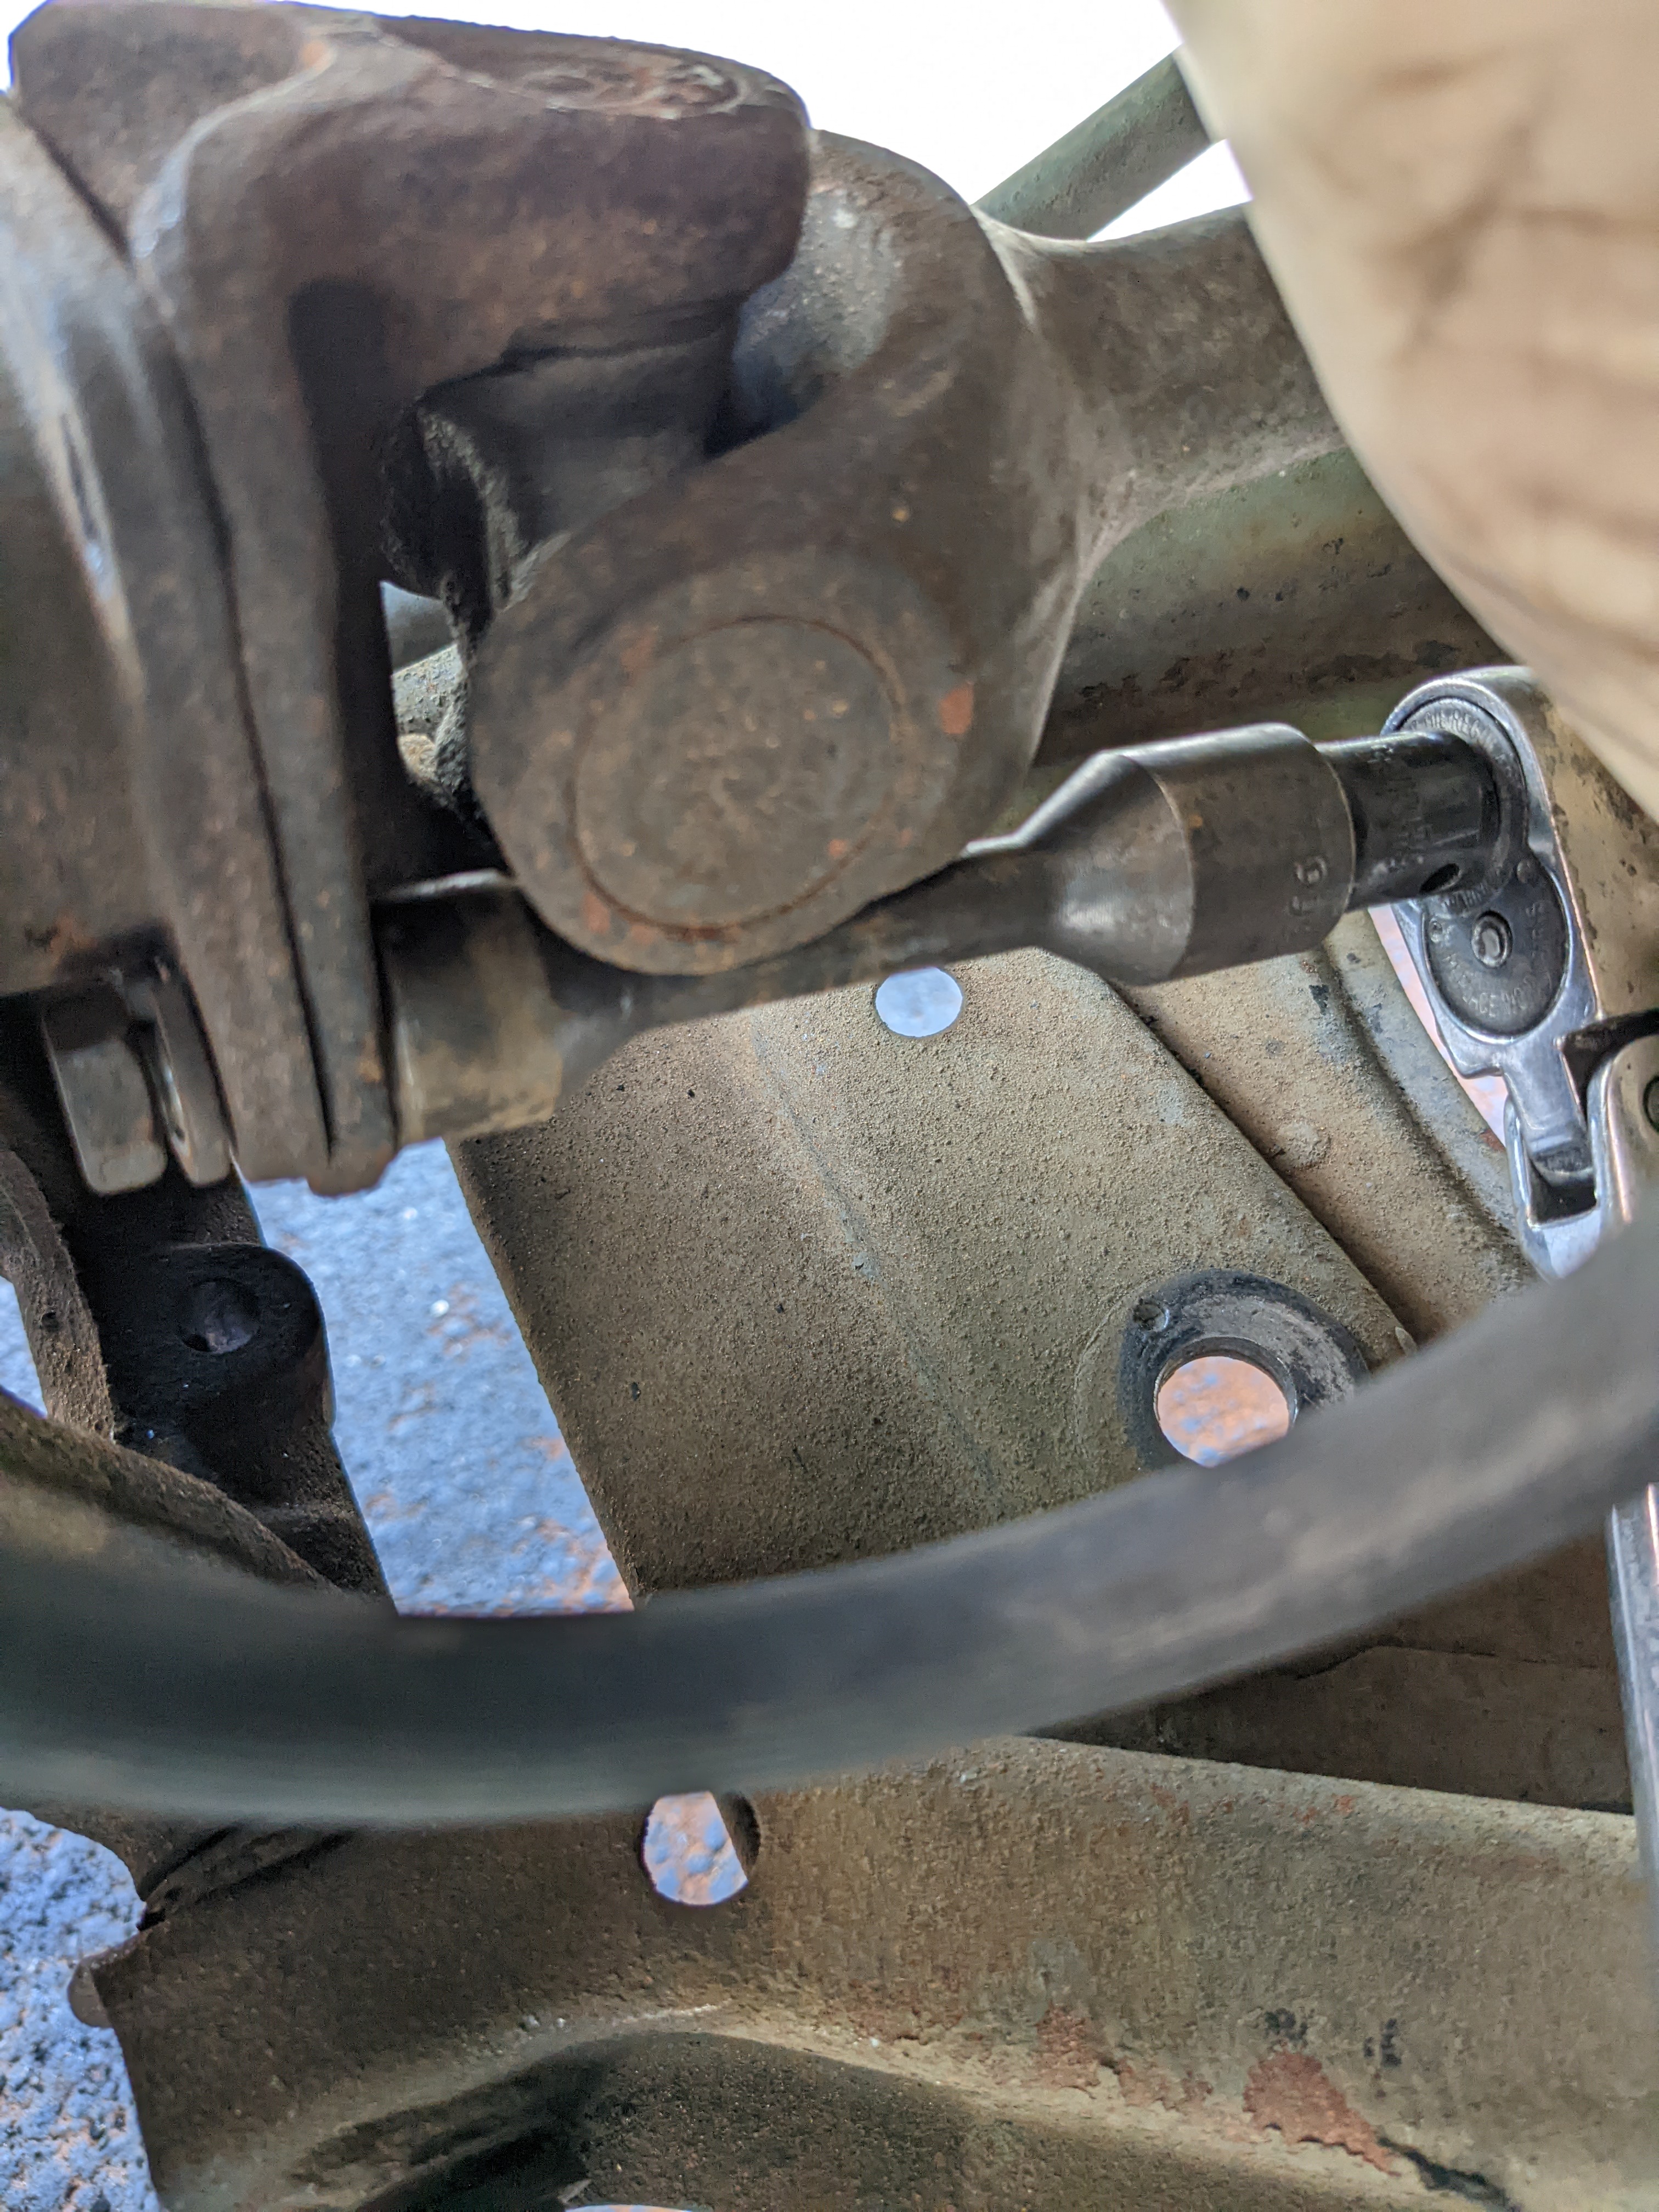
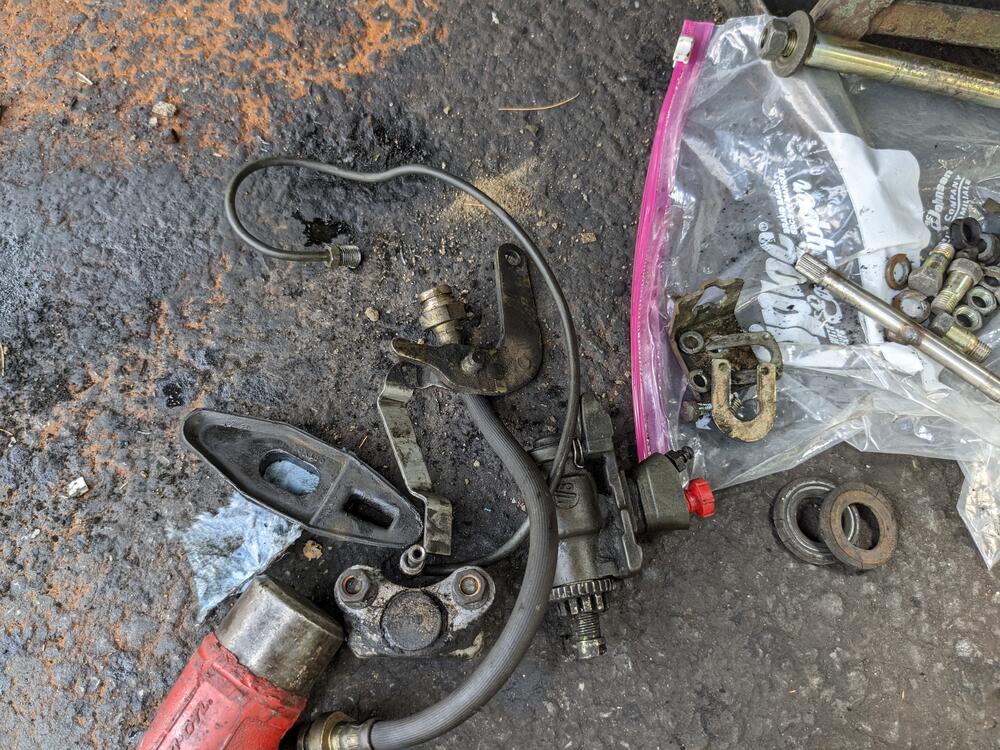
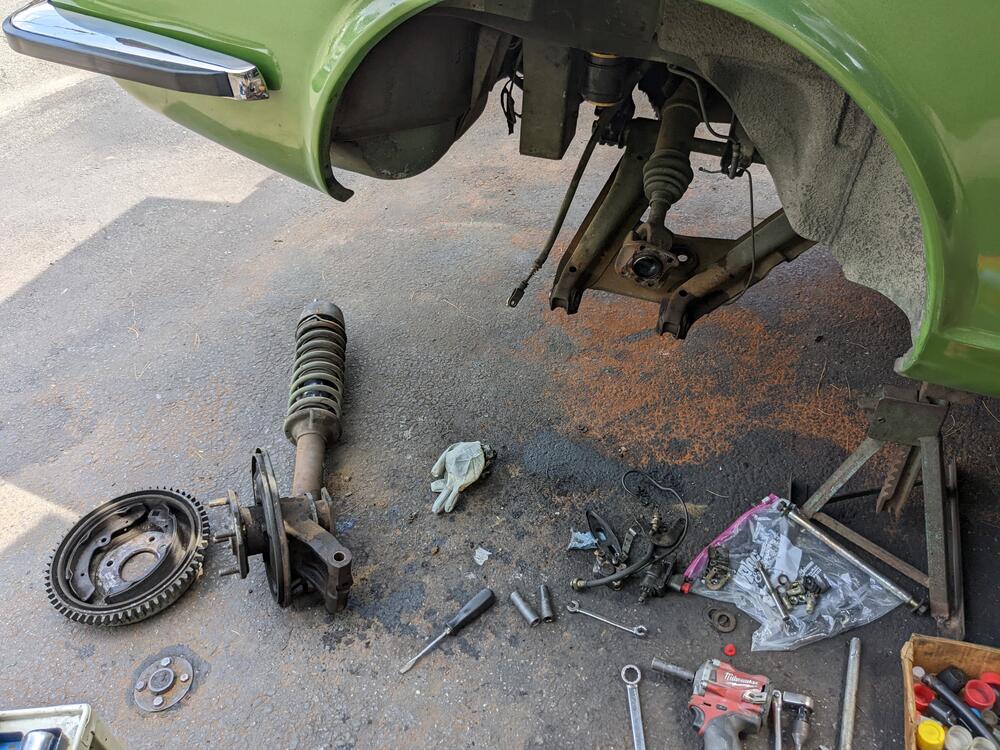
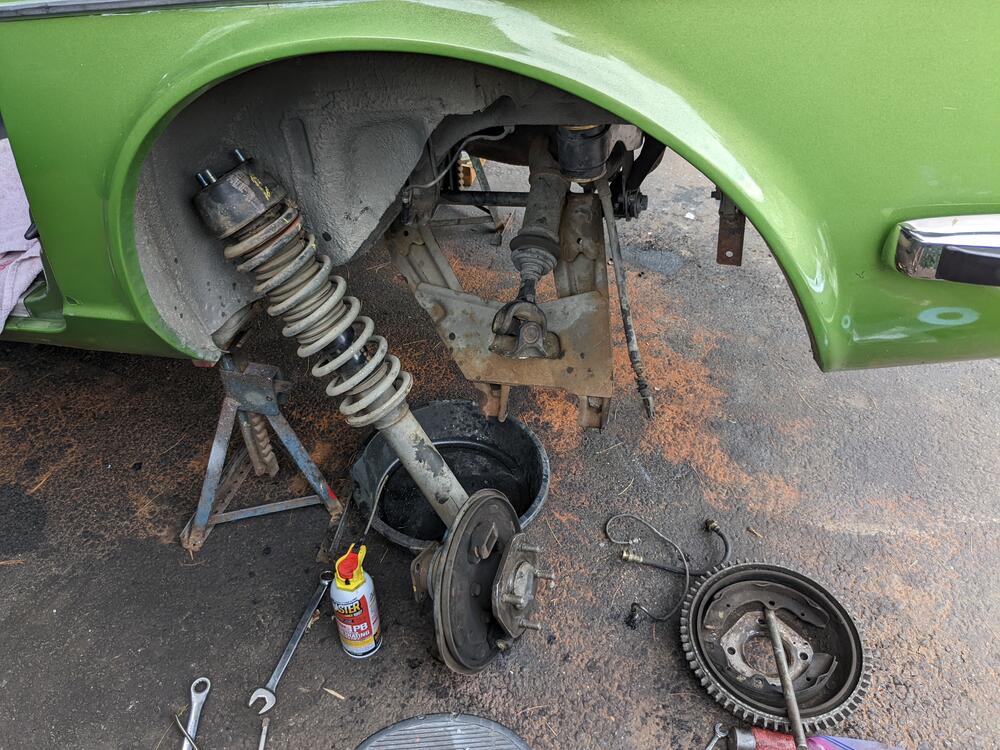
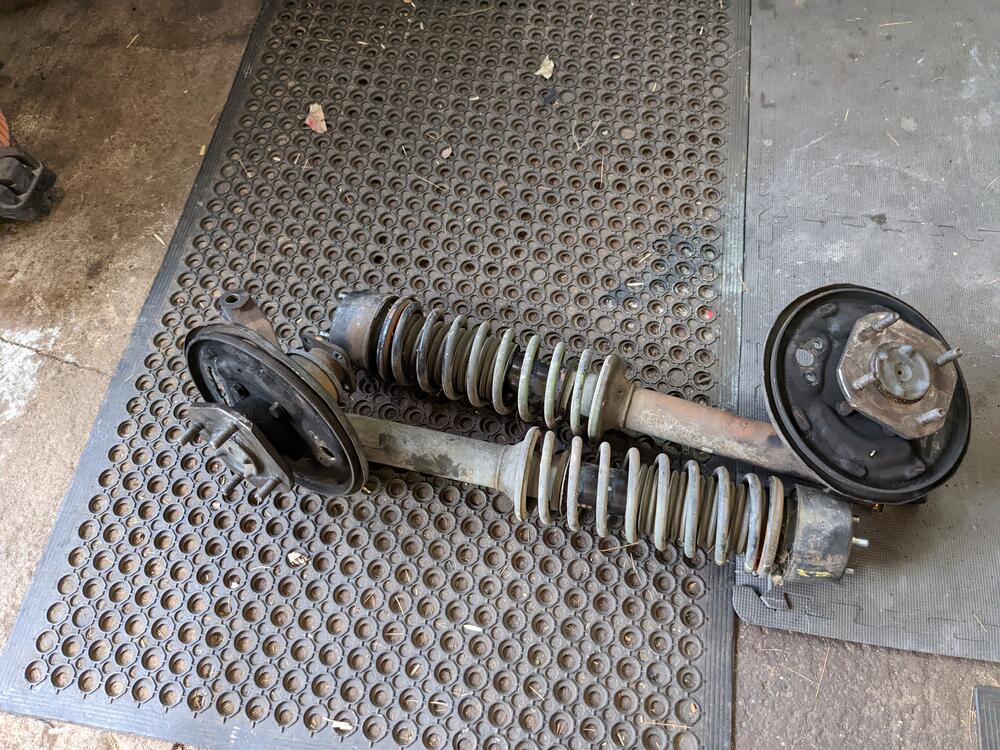
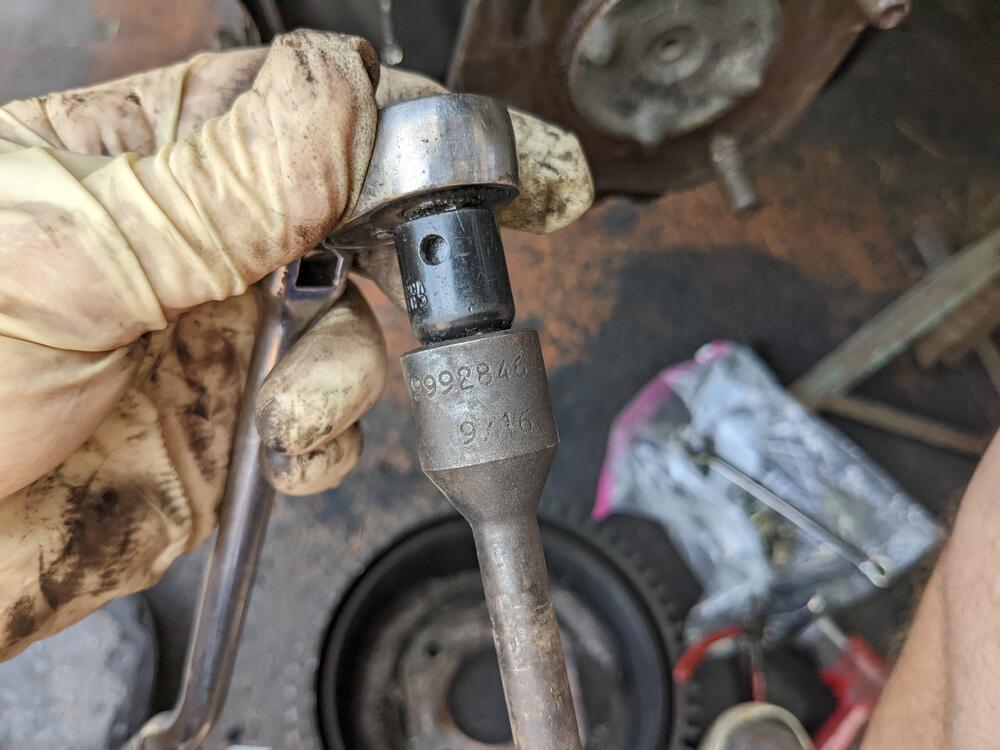
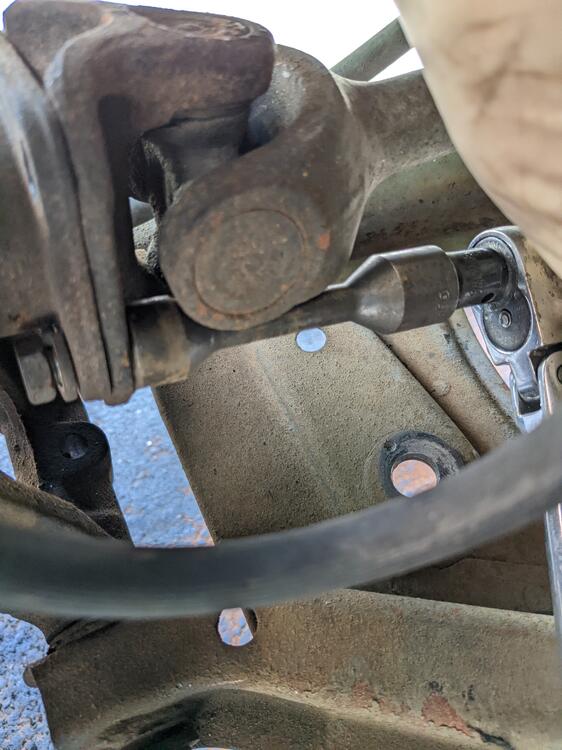
Dropped the struts/hubs after work, no drama. All drum brake parts removed. I don't want to hack up the back plates, so I'm going to pull the spindles. This Volvo tool (999-2846) intended for old RWD prop shafts fit the Z U-Joint Hopefully I'll have the hubs apart tomorrow, and replace the strut inserts and coil springs
-
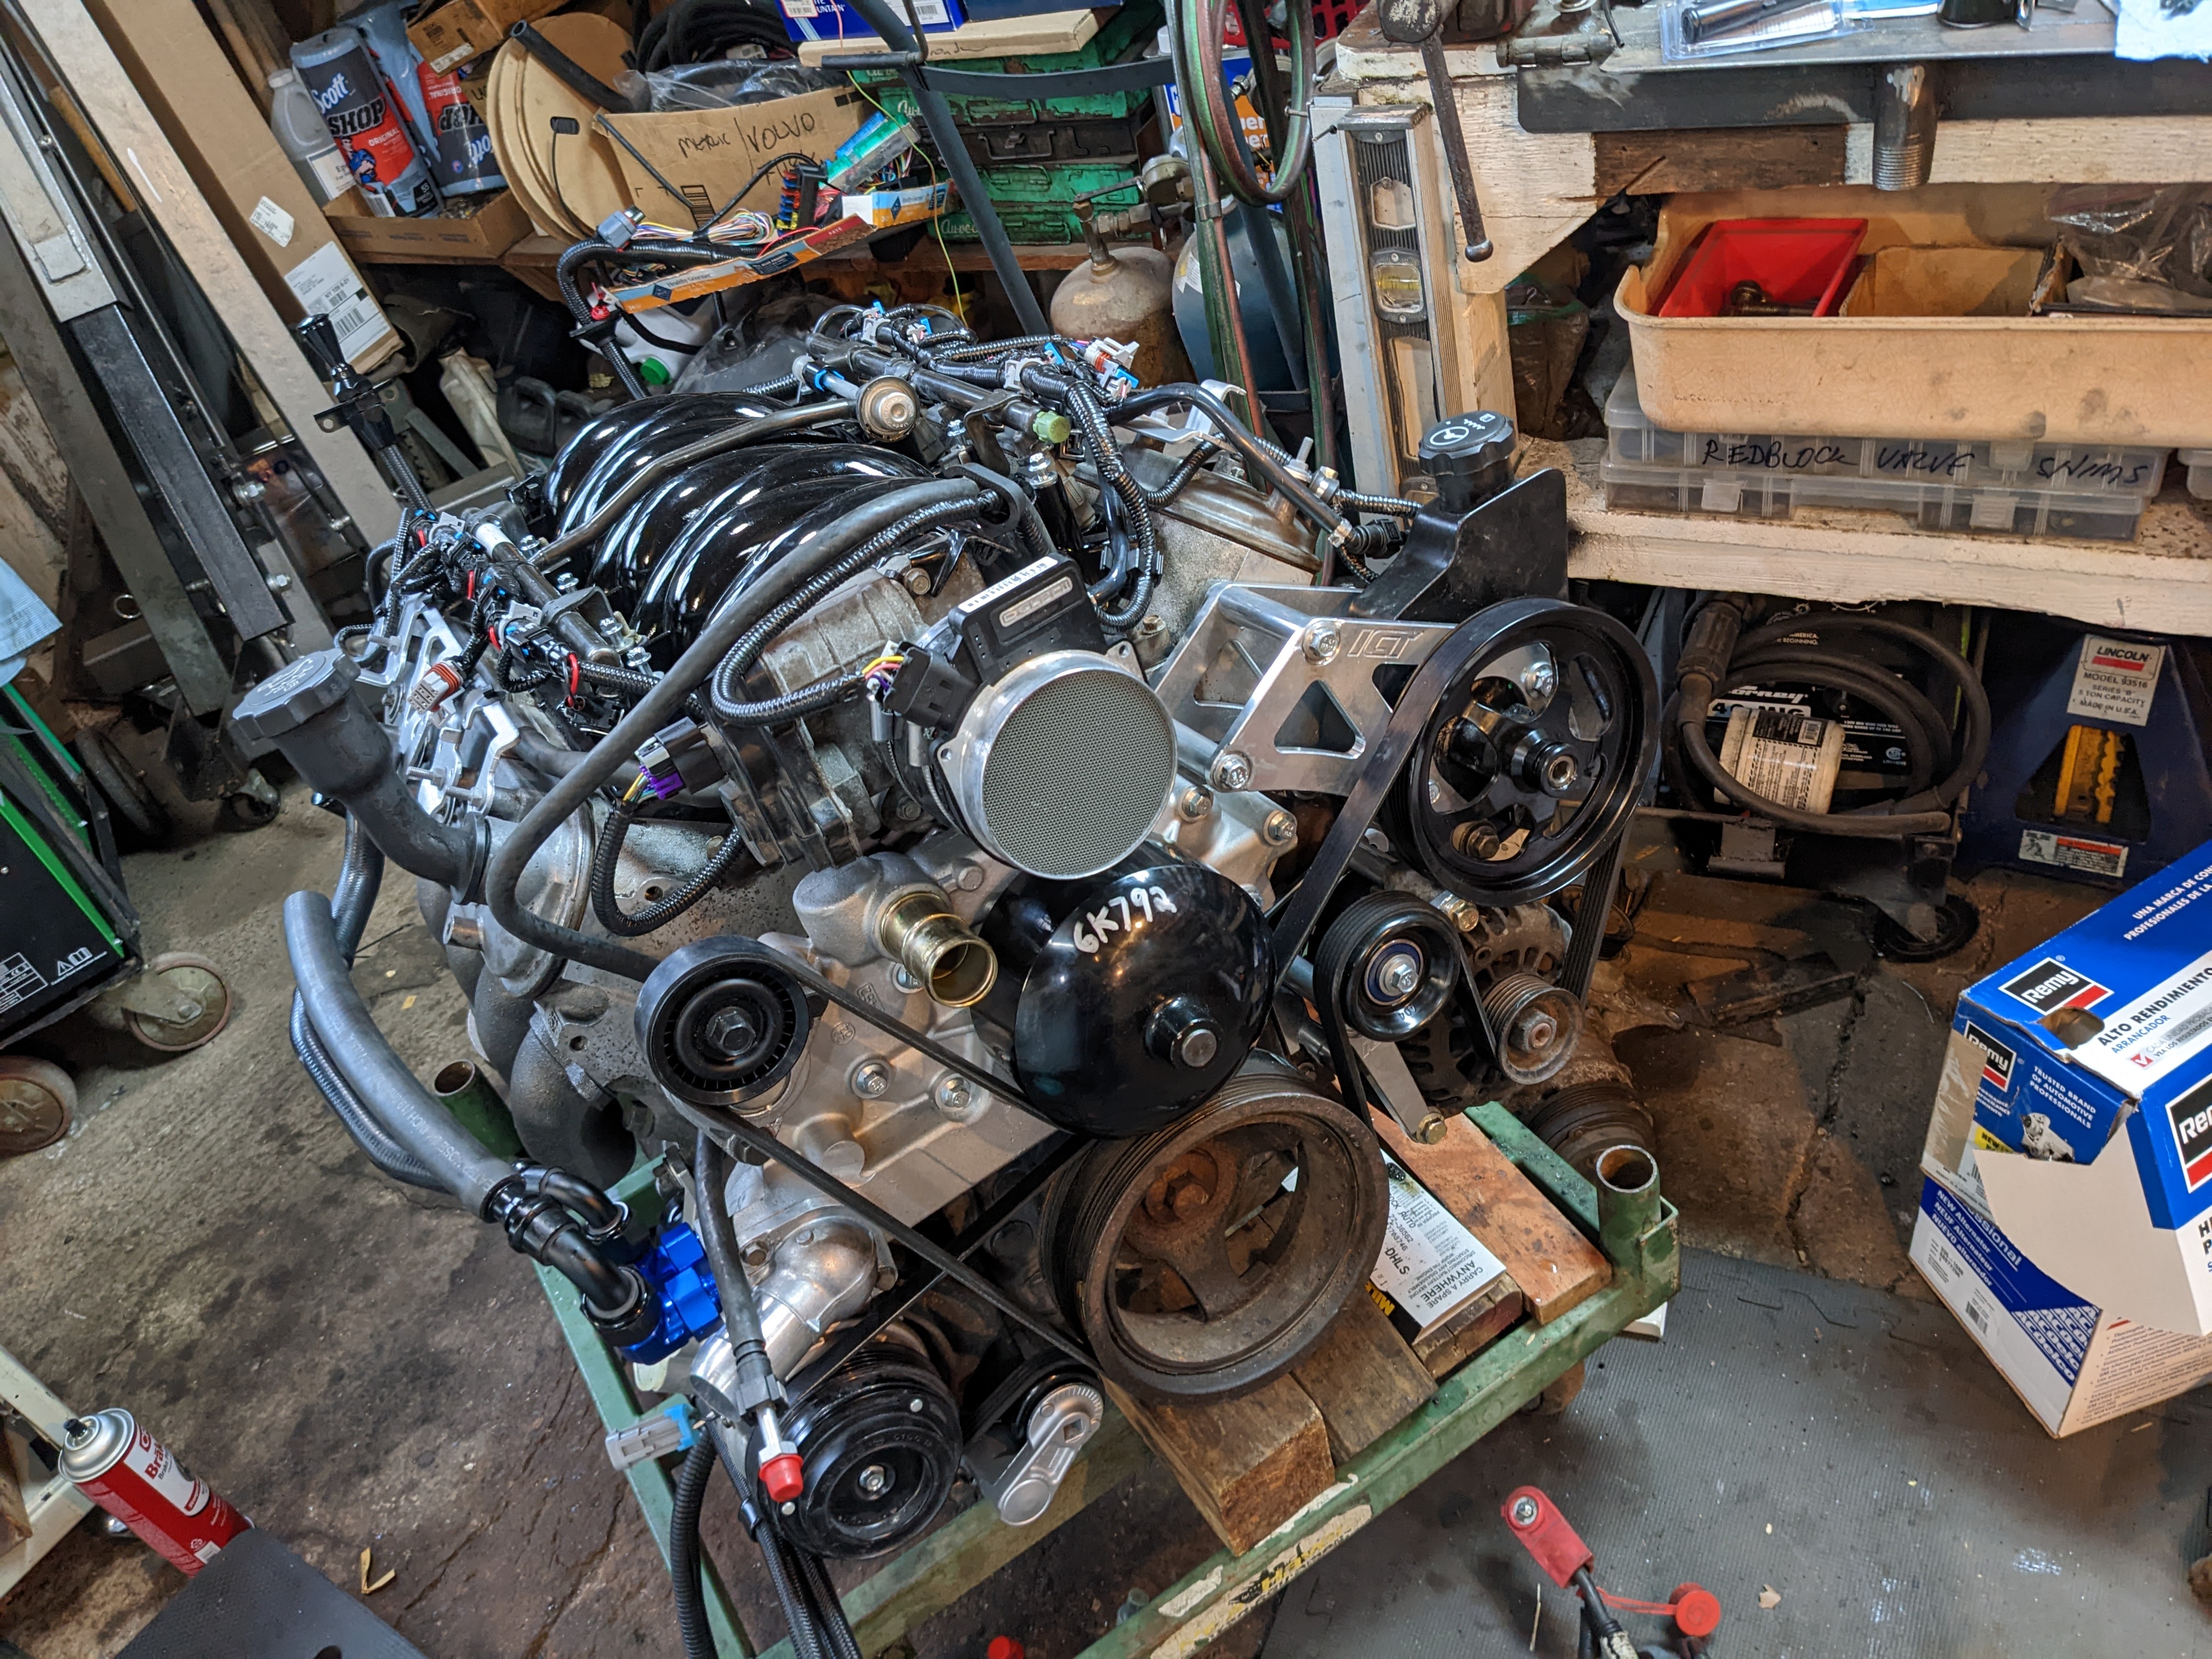
The Chevy V8 (LR4) & 4l60e trans are going in the Volvo wagon I made into a pickup truck last year. I just need the Z safe to drive for now.

-
Did the mustache bar bushings and the inner control arm bushings. If I can't extract the outer c/arm bushings in-situ tomorrow, I'll have to drop the arms entirely. I'll get the trans jack if that happens, I'll need it anyway for the V8/4l60E drivetrain. Forward bushings are longer than the rears. For mustache bar, the original bushing sleeves need to be kept, so I holesawed the rubber out & wire brushed the sleeve of residual rubber rear bushing sleeves came off with just a little soaking old remnants
-
That all just the (cat-related) floor temp monitoring system that CA models had - there are two warning indicators in the center console, one for cat temp & one for floor temp (monitor is above rear muffler in cargo floor) Yeah, all that fuel hose mess is going away. I have an assortment of Volvo fuel hose with the proper rating, I may also convert to quick release & nitrile lines in preparation for the VQ35DE conversion. I'm not going to strip the floors now, just cleanup any loose material & spray fresh 3M Rocker Schutz & undercoat in exposed areas. I'm vacillating on what to do with the exhaust - I may just make a new 2.5" rear section with new muffler that will be detachable ahead of the subframe. That way, when I do the VQ35DE, I can tie into that instead of having to make the entire exhaust from scratch. I don't think I want to go to 3" on the exhaust. I have no use for all that shielding once I replace the exhaust, but I'm still going to clean it up. I think for now I'm just going to do the bushings in place - the axle conversion I'll going to put off as I don't want the car to be down for very long, and getting the companion flanges machined to be concentric for attaching the adaptor flanges is a variable I can't control, time-wise. I need this to be roadworthy so I can take the Volvo pickup off the road to get moving on the V8 conversion. So, just bushings, struts & brakes for now. After that, I still need to make the AC work if I'm going to drive this for the summer & fall.
-
Yes! They (whomever the PO used to take it to in CA) cut it to replace the cat, and the rear muffler, but kept all the original hardware & mount straps, which is kinda cool to have.
-
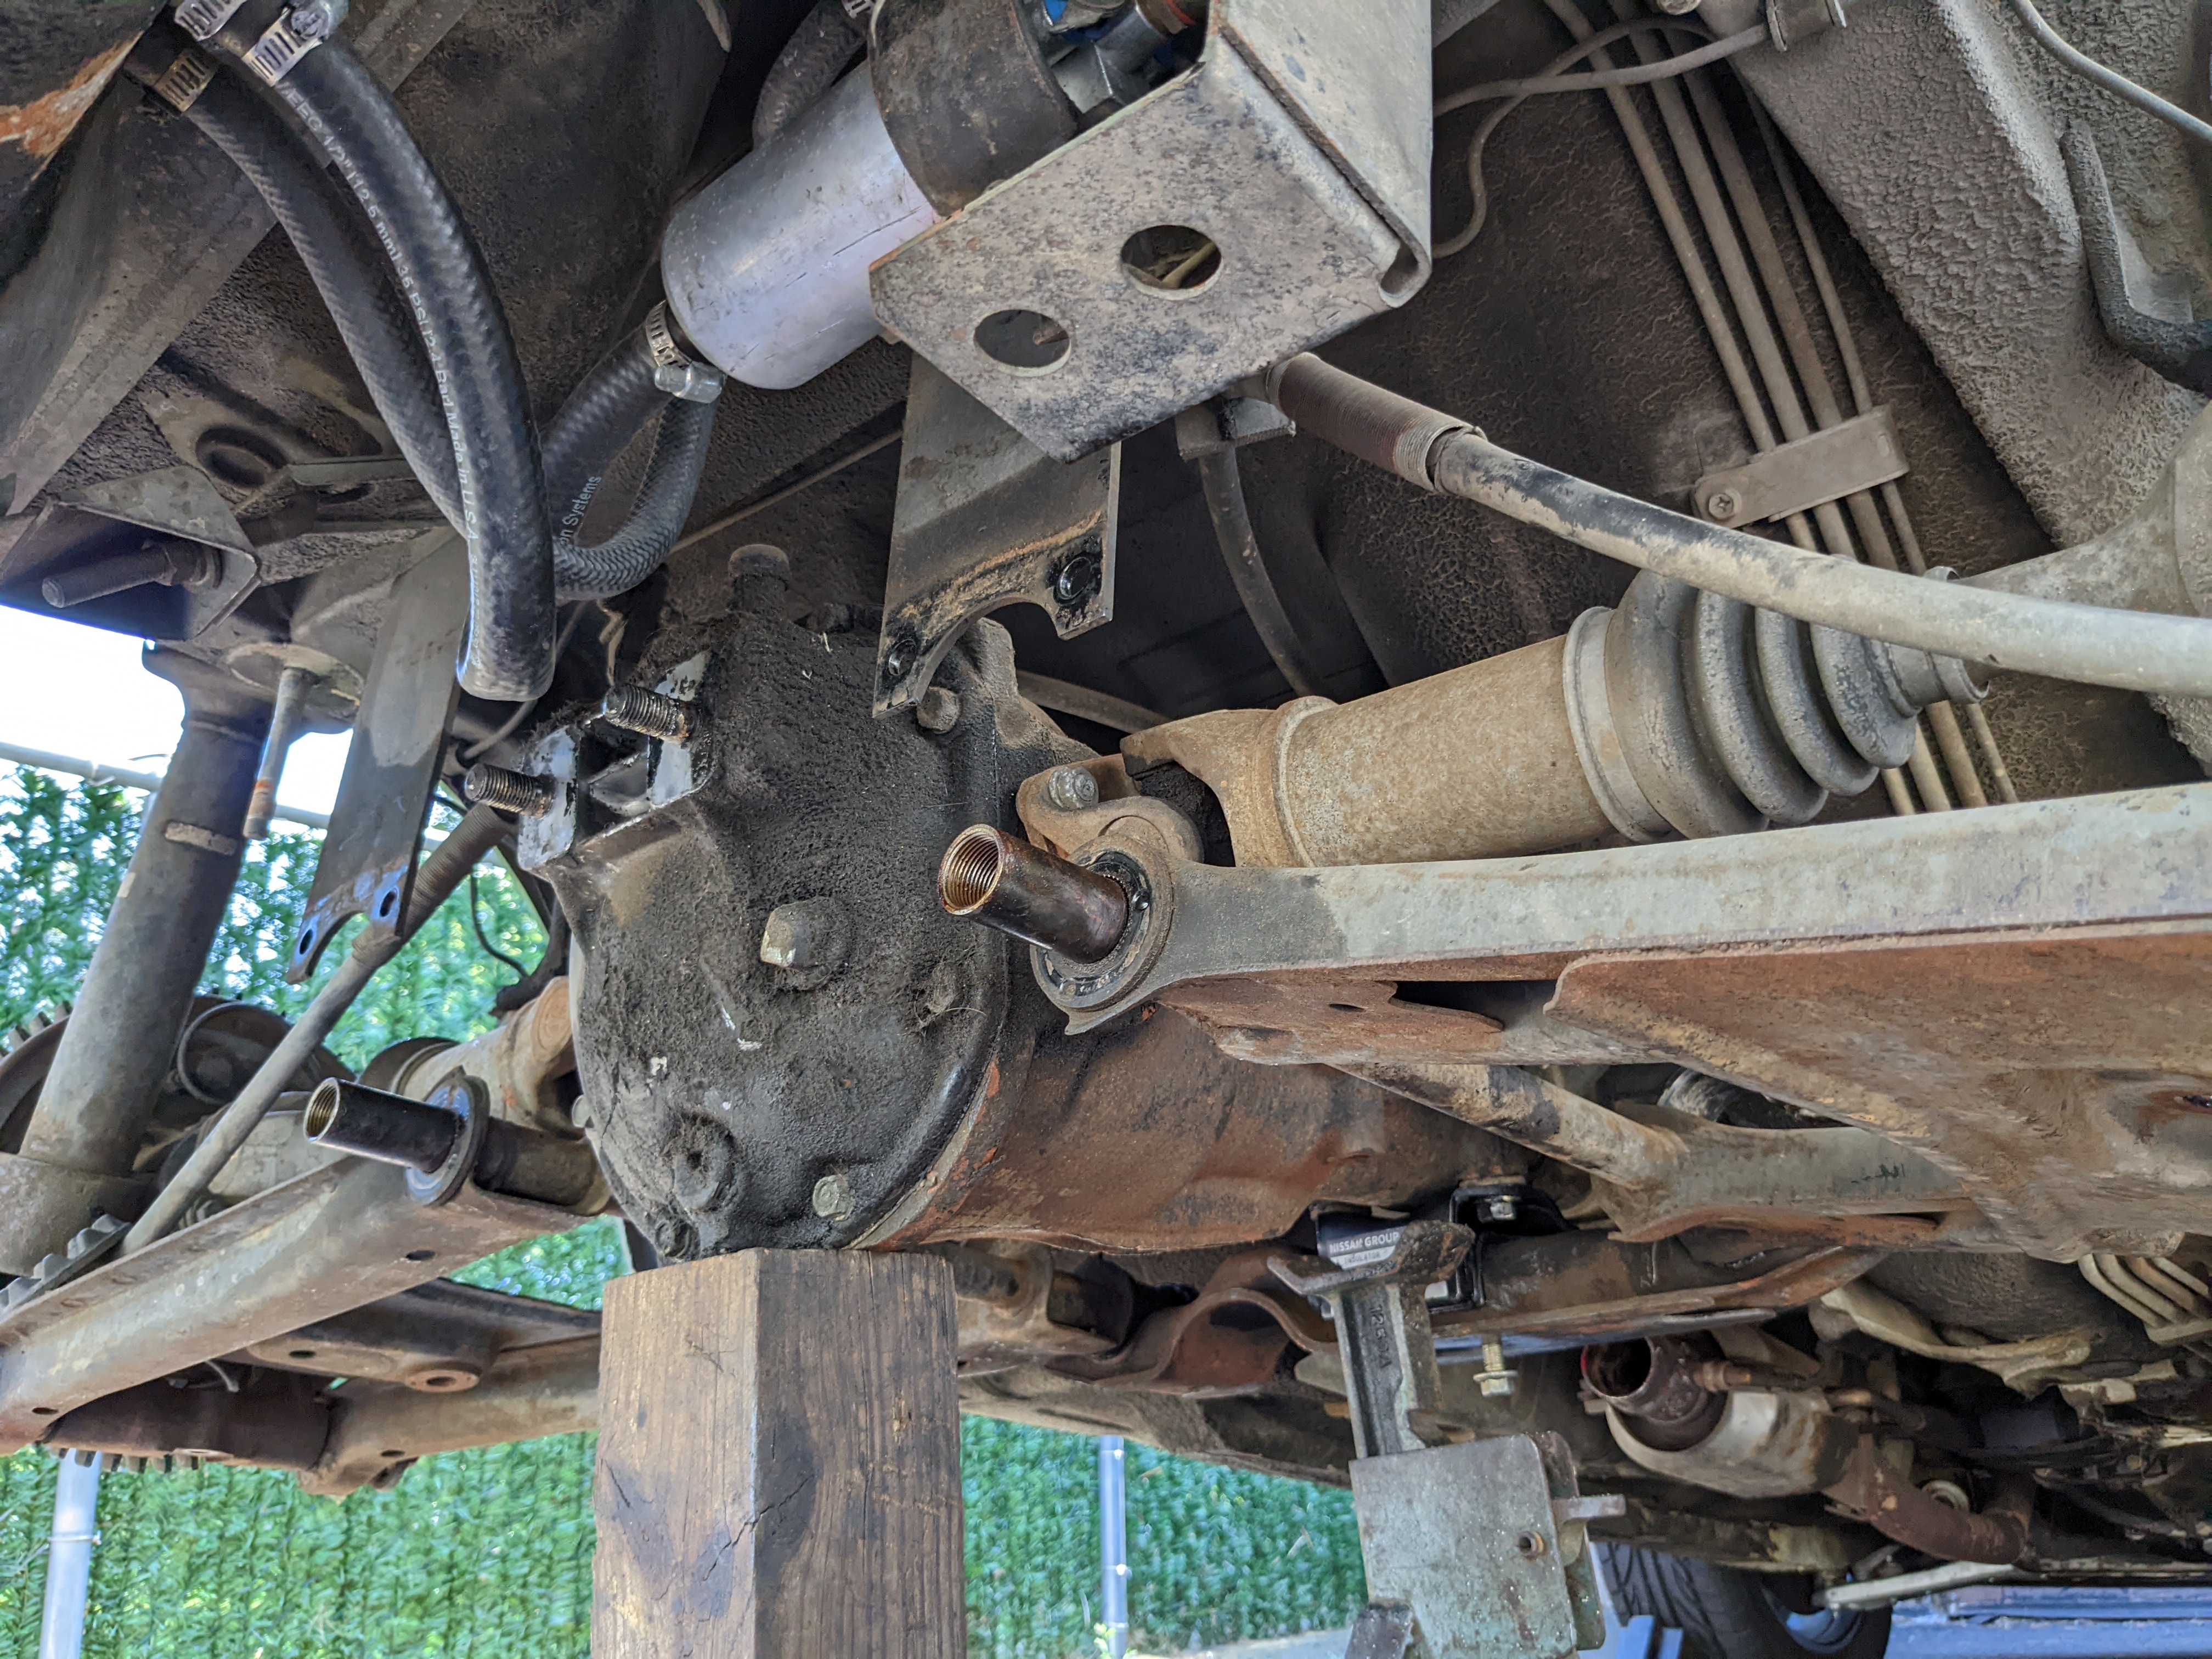
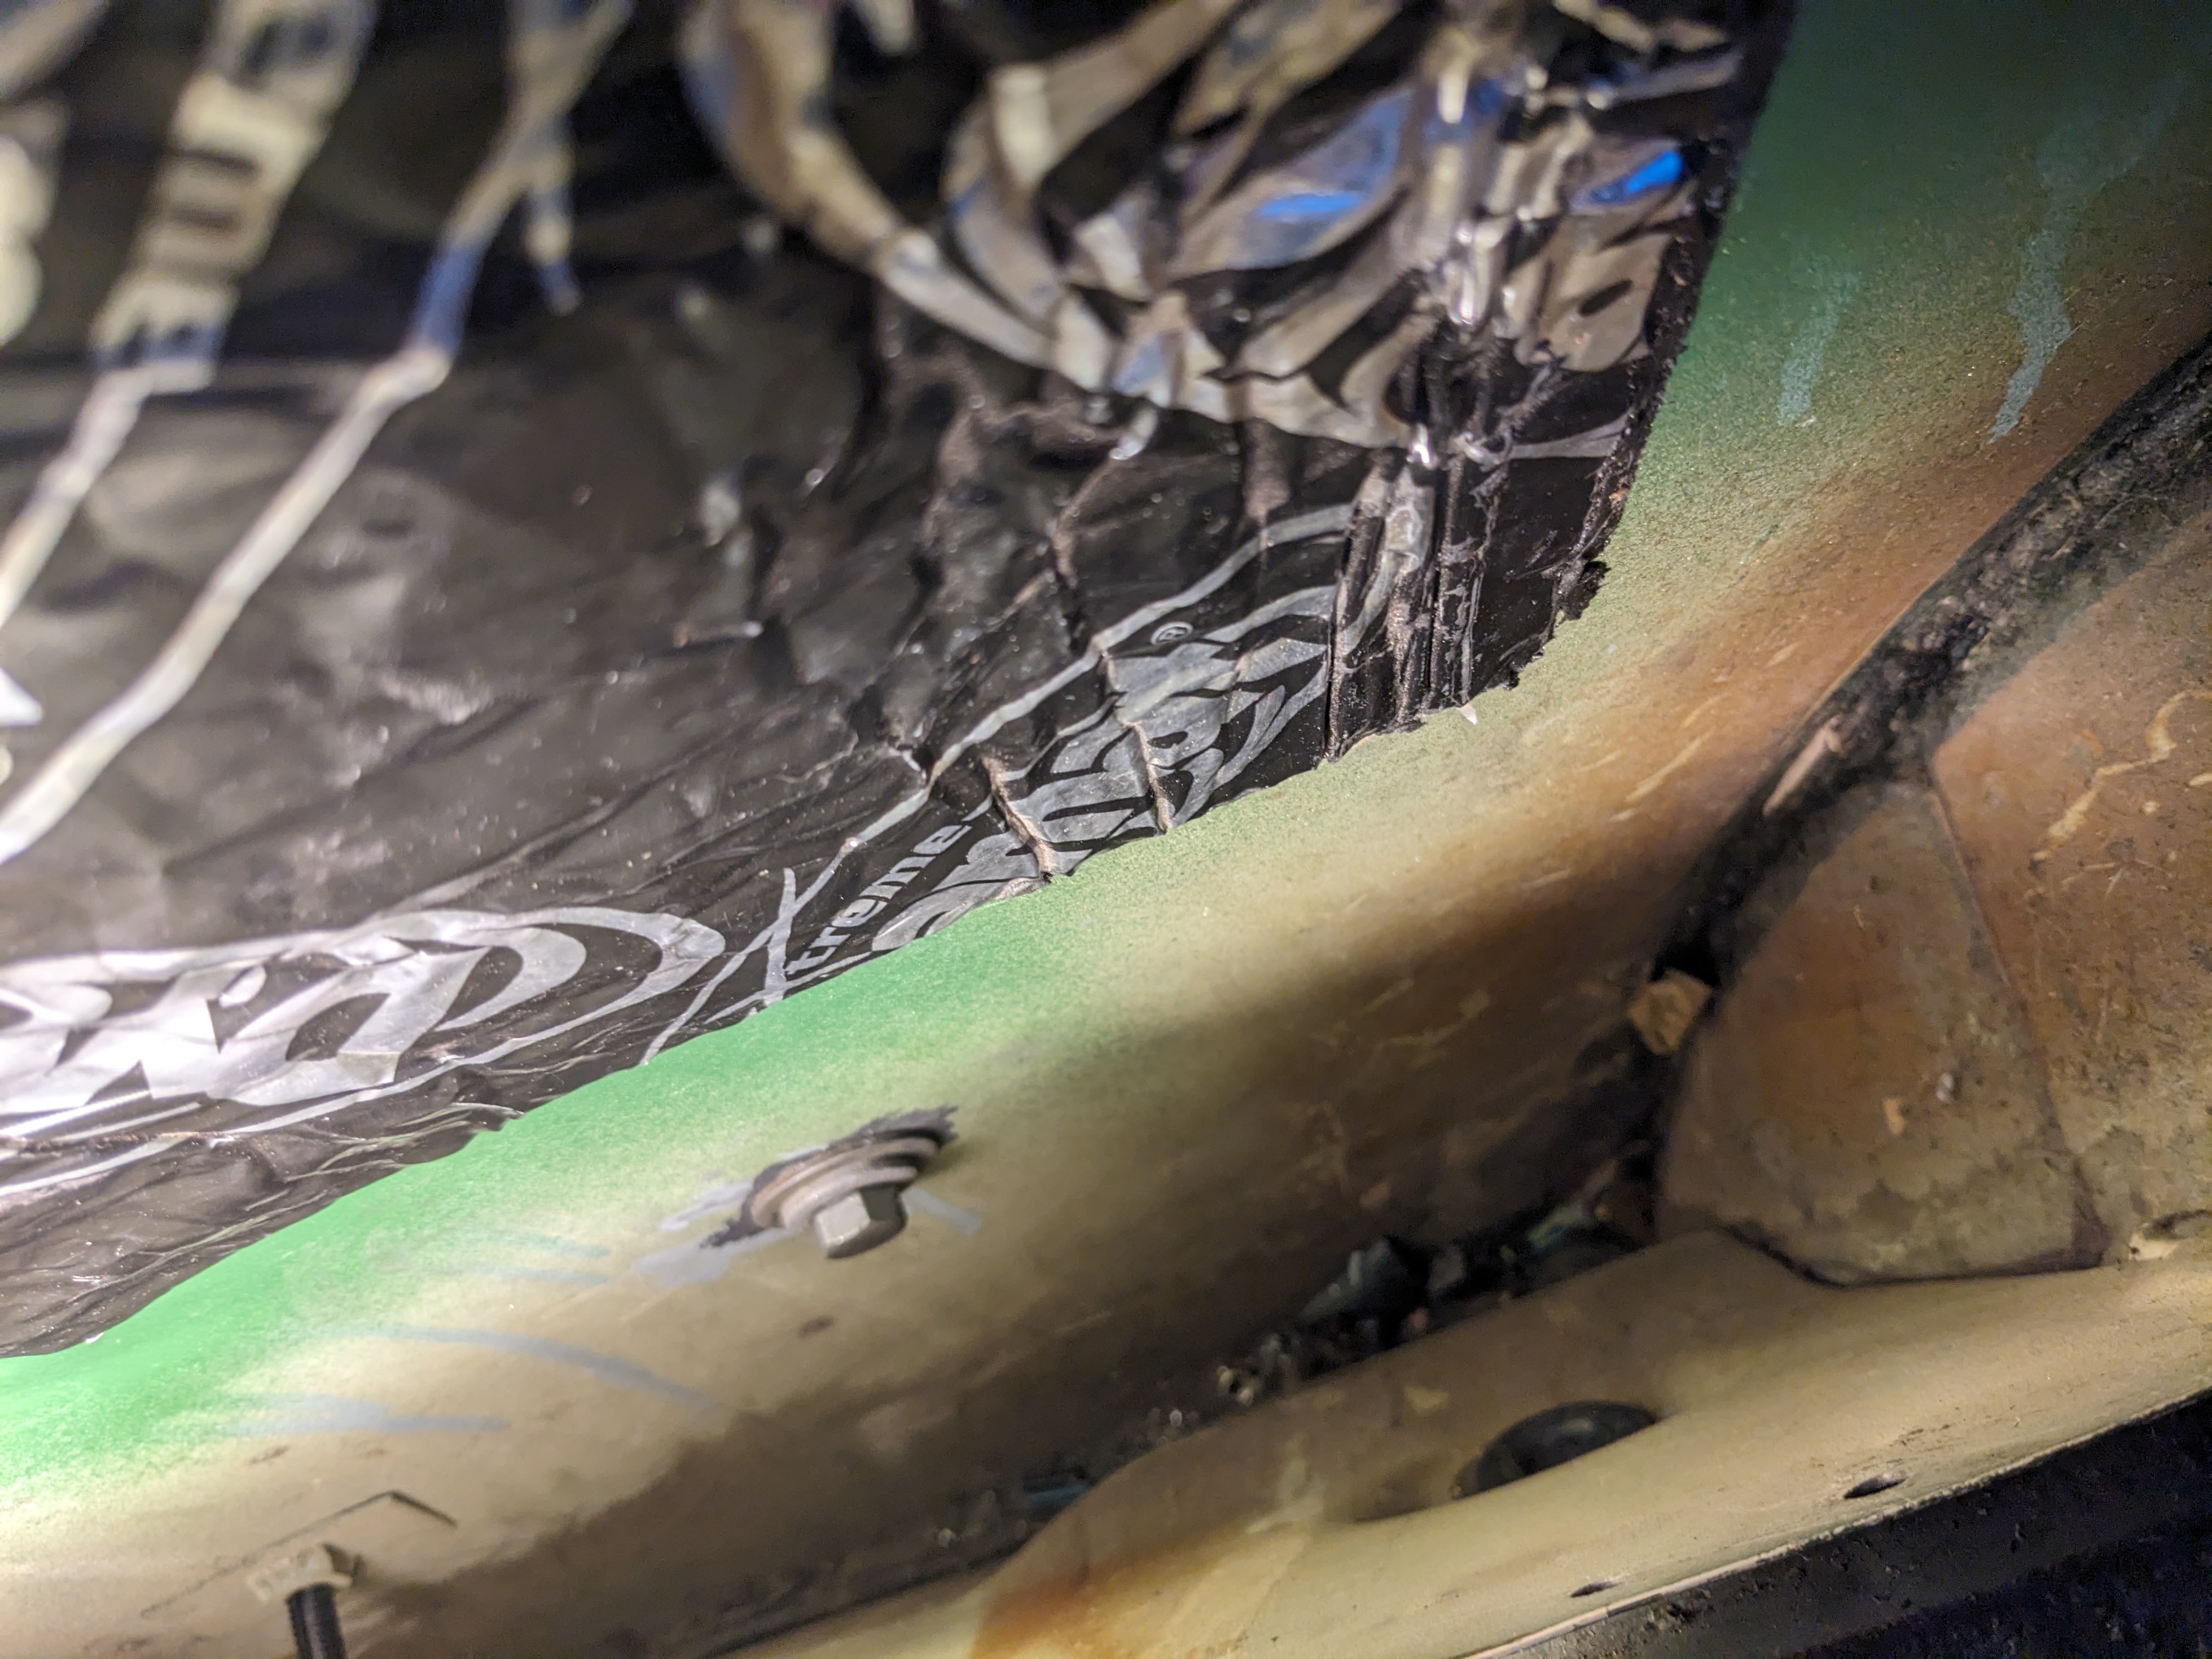
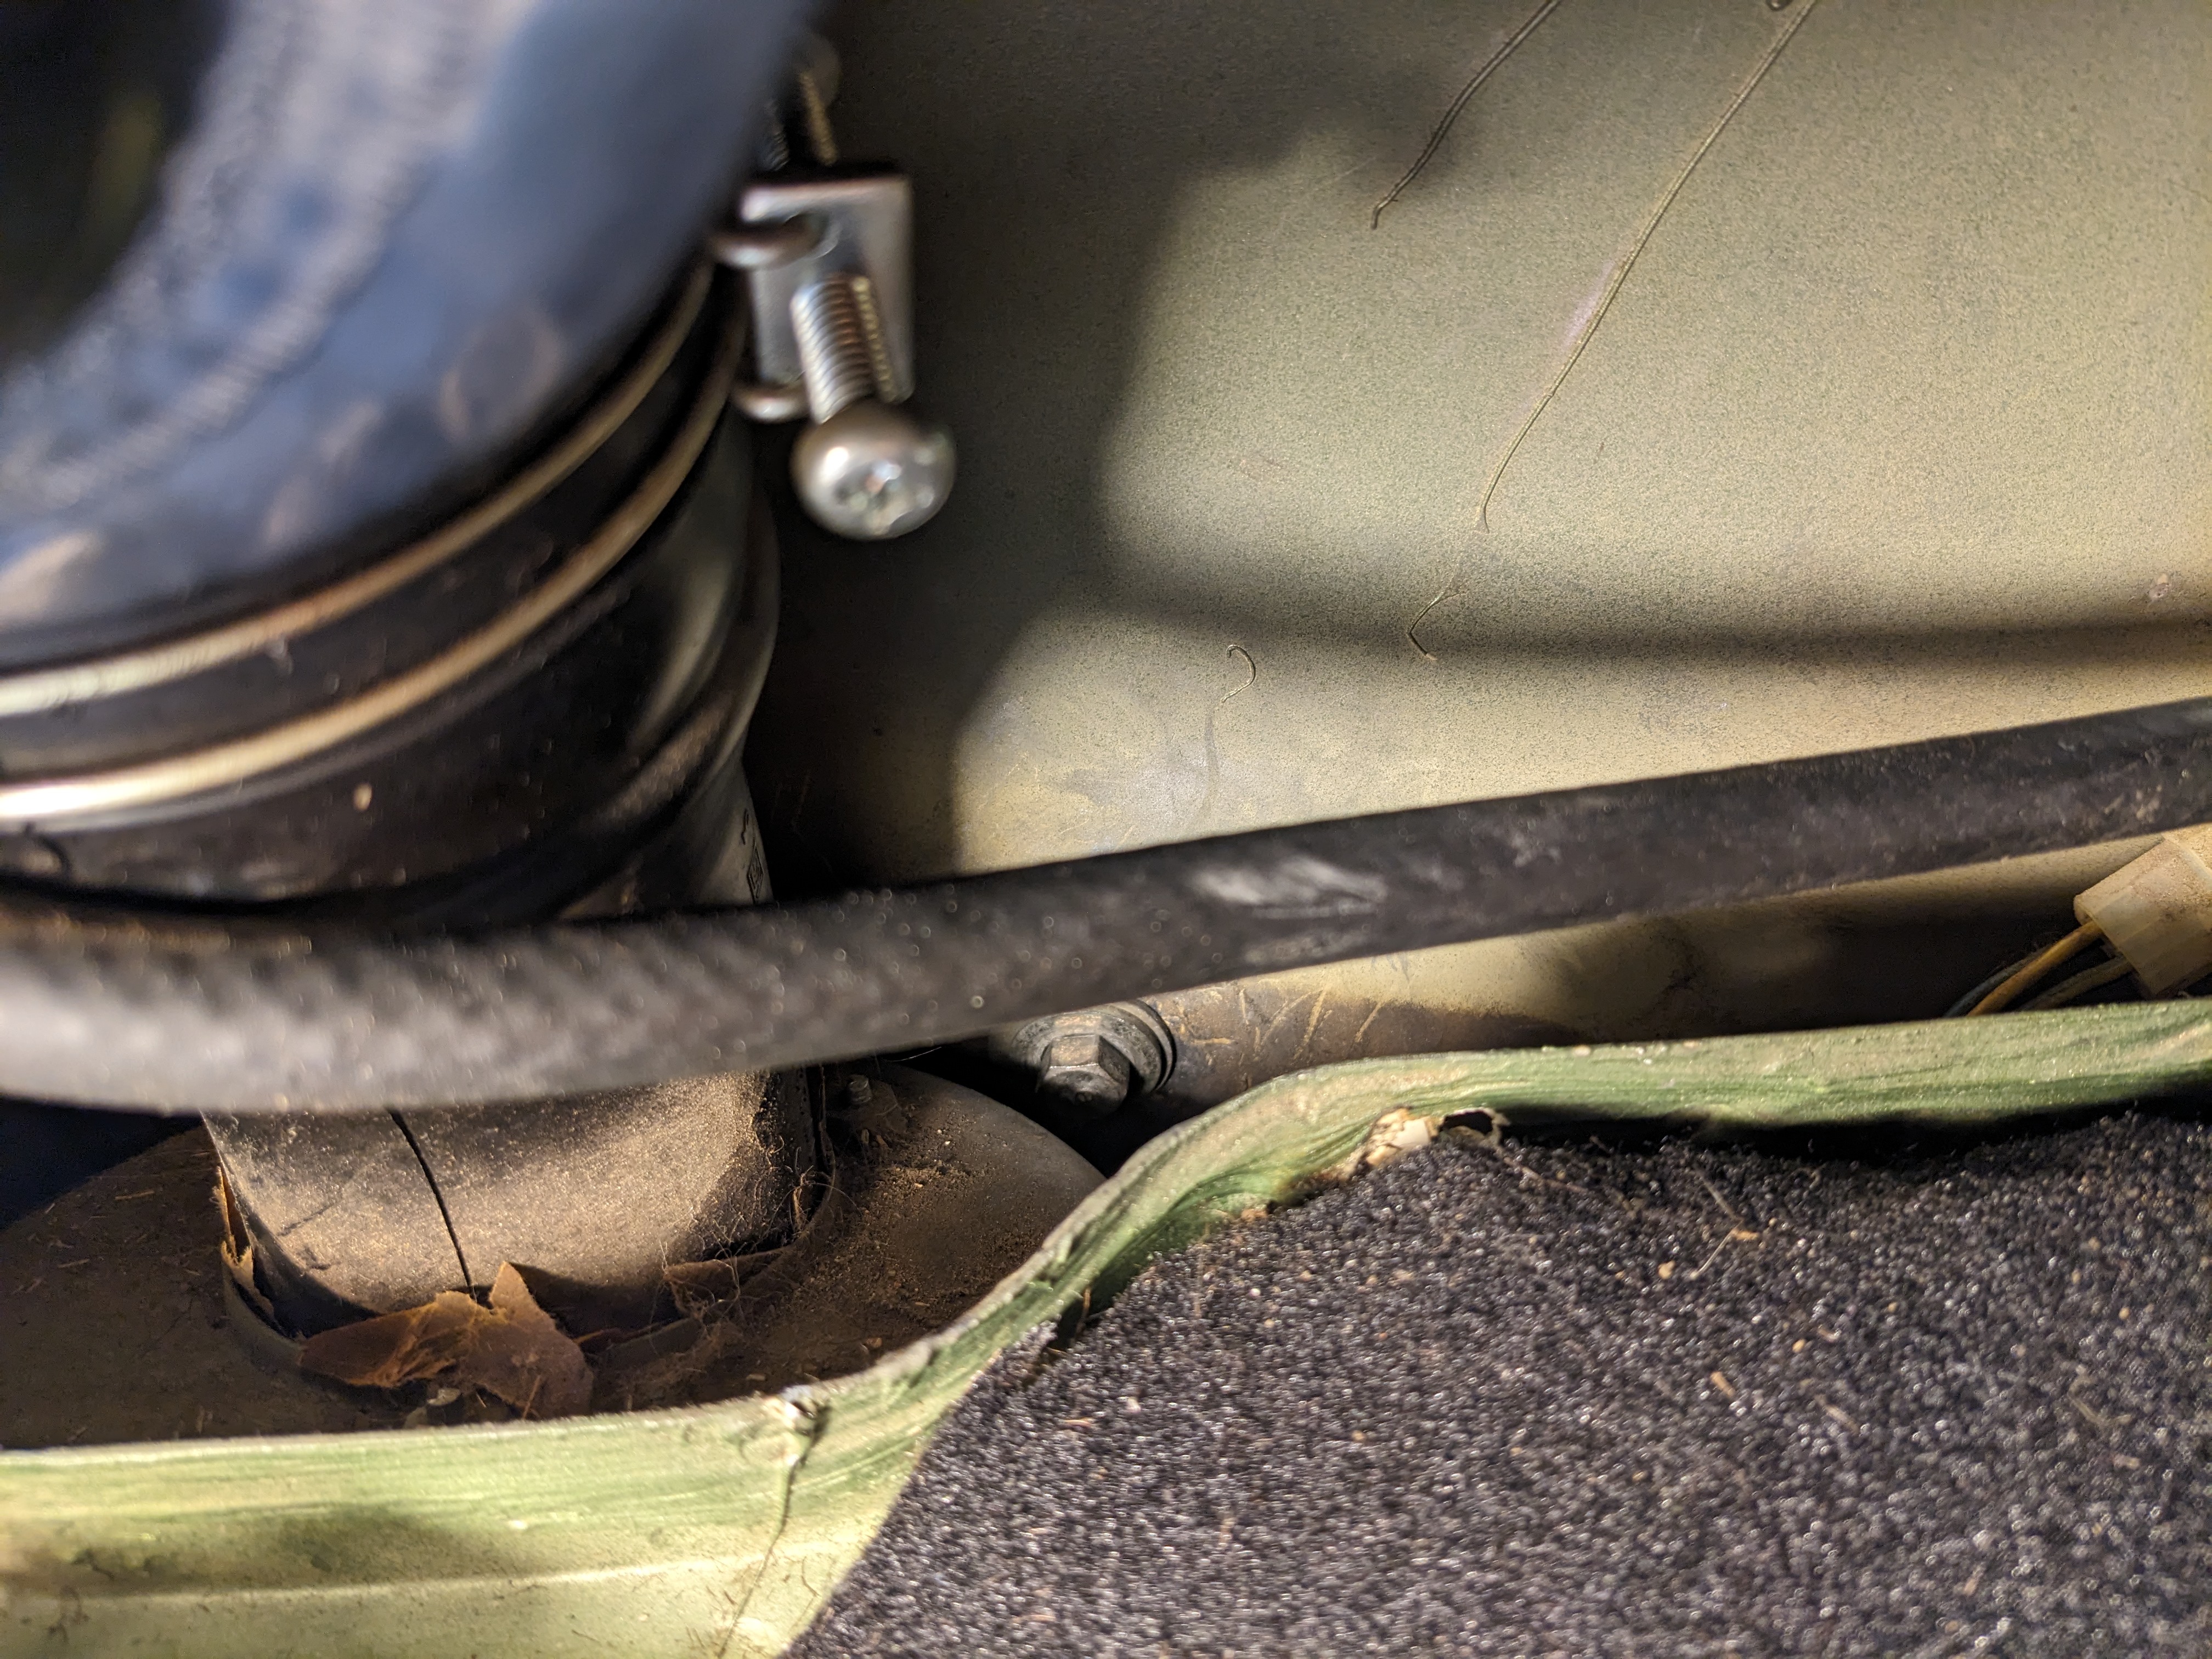
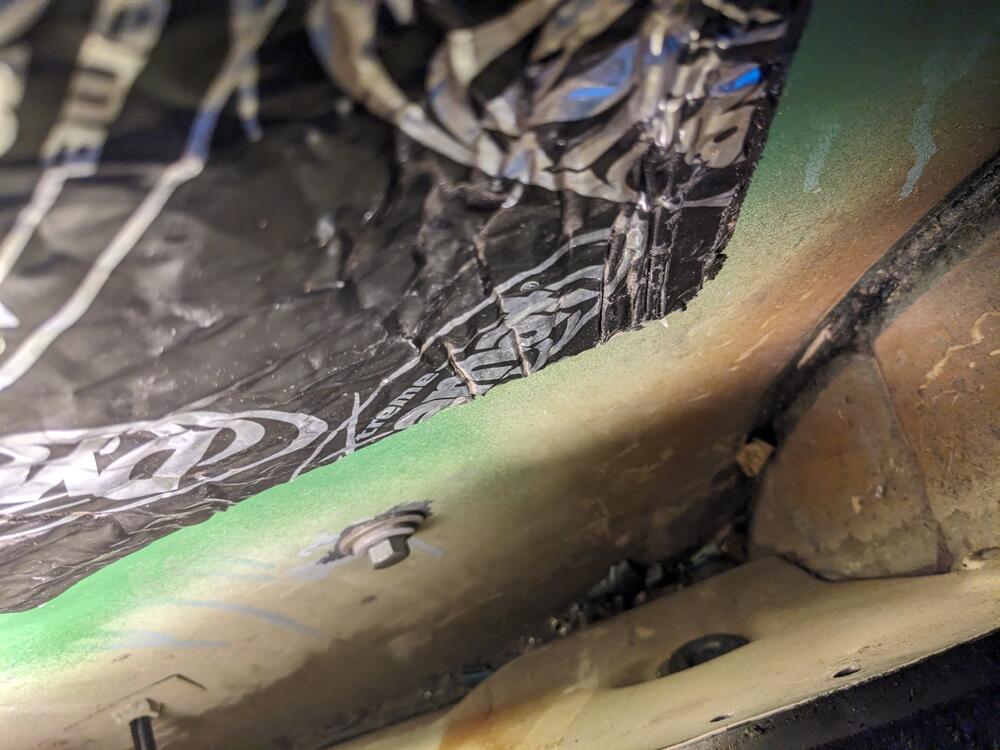
Started pulling apart the rear suspension after work today. Had to remove the exhaust first - since it's all one piece from the DP flange to the tailpipe, I cut it behind the cat. I'll add a junction there - maybe a V-band, or just a sleeve clamp. Ultimately the whole exhaust will be custom with the VQ35DE anyway. Looked over the undercarriage in general since this is the first time I've been under the back end Control arm bushing are all bad Tapered pin that retains the outer control arm bolt They came out without any drama. I had ordered new main bolts & these, as they typically are a problem. Murphy's Law - if I hadn't bought the new hardware, I would have needed it.. Damper on diff mount/control arm forward bracket had stripped bolts The diff mount is an absolute PITA to remove - the retaining bolt heads cannot be accessed with a socket - the lower half of the mount interferes. They also don't thread into the casing -there are 17mm head nuts that have to be counter held. had to re-tap to M10x1.5 , to avoid replacing the captive nuts or helicoils exhaust - still has the original shielding Shield over rear bumper shock original forward rear muffler hanger cut just behind cat Floors Poorly installed fuel feed hose - pretty heavy kink Limiter strap over top of diff snout Hopefully get more done on it tomorrow
-
Seems I may be mistaken - the valve hoses are cold, if I run the car with the heat off, so the heat I felt must have been residual Another thing I had to address while under there - the center console harness connections. All re-pinned added some low temp electrical grease hile under there
-
I recall reading at a couple of ppl have done so - I'm hoping that with a newer ball valve type, I won't need an auxiliary shut off. I could do that if there is no other way around it.
-
That is true - I'll have to check it after more than 20 minutes driving. I had left the valve open for about 20 minutes outbound drive, to make sure there were no air pockets, then drove back with it closed. My experience with other cars is that with the valve closed the hose on the output side of the core will be cooler than the input, the I/O still felt pretty even in temp. I'll check it again.
-
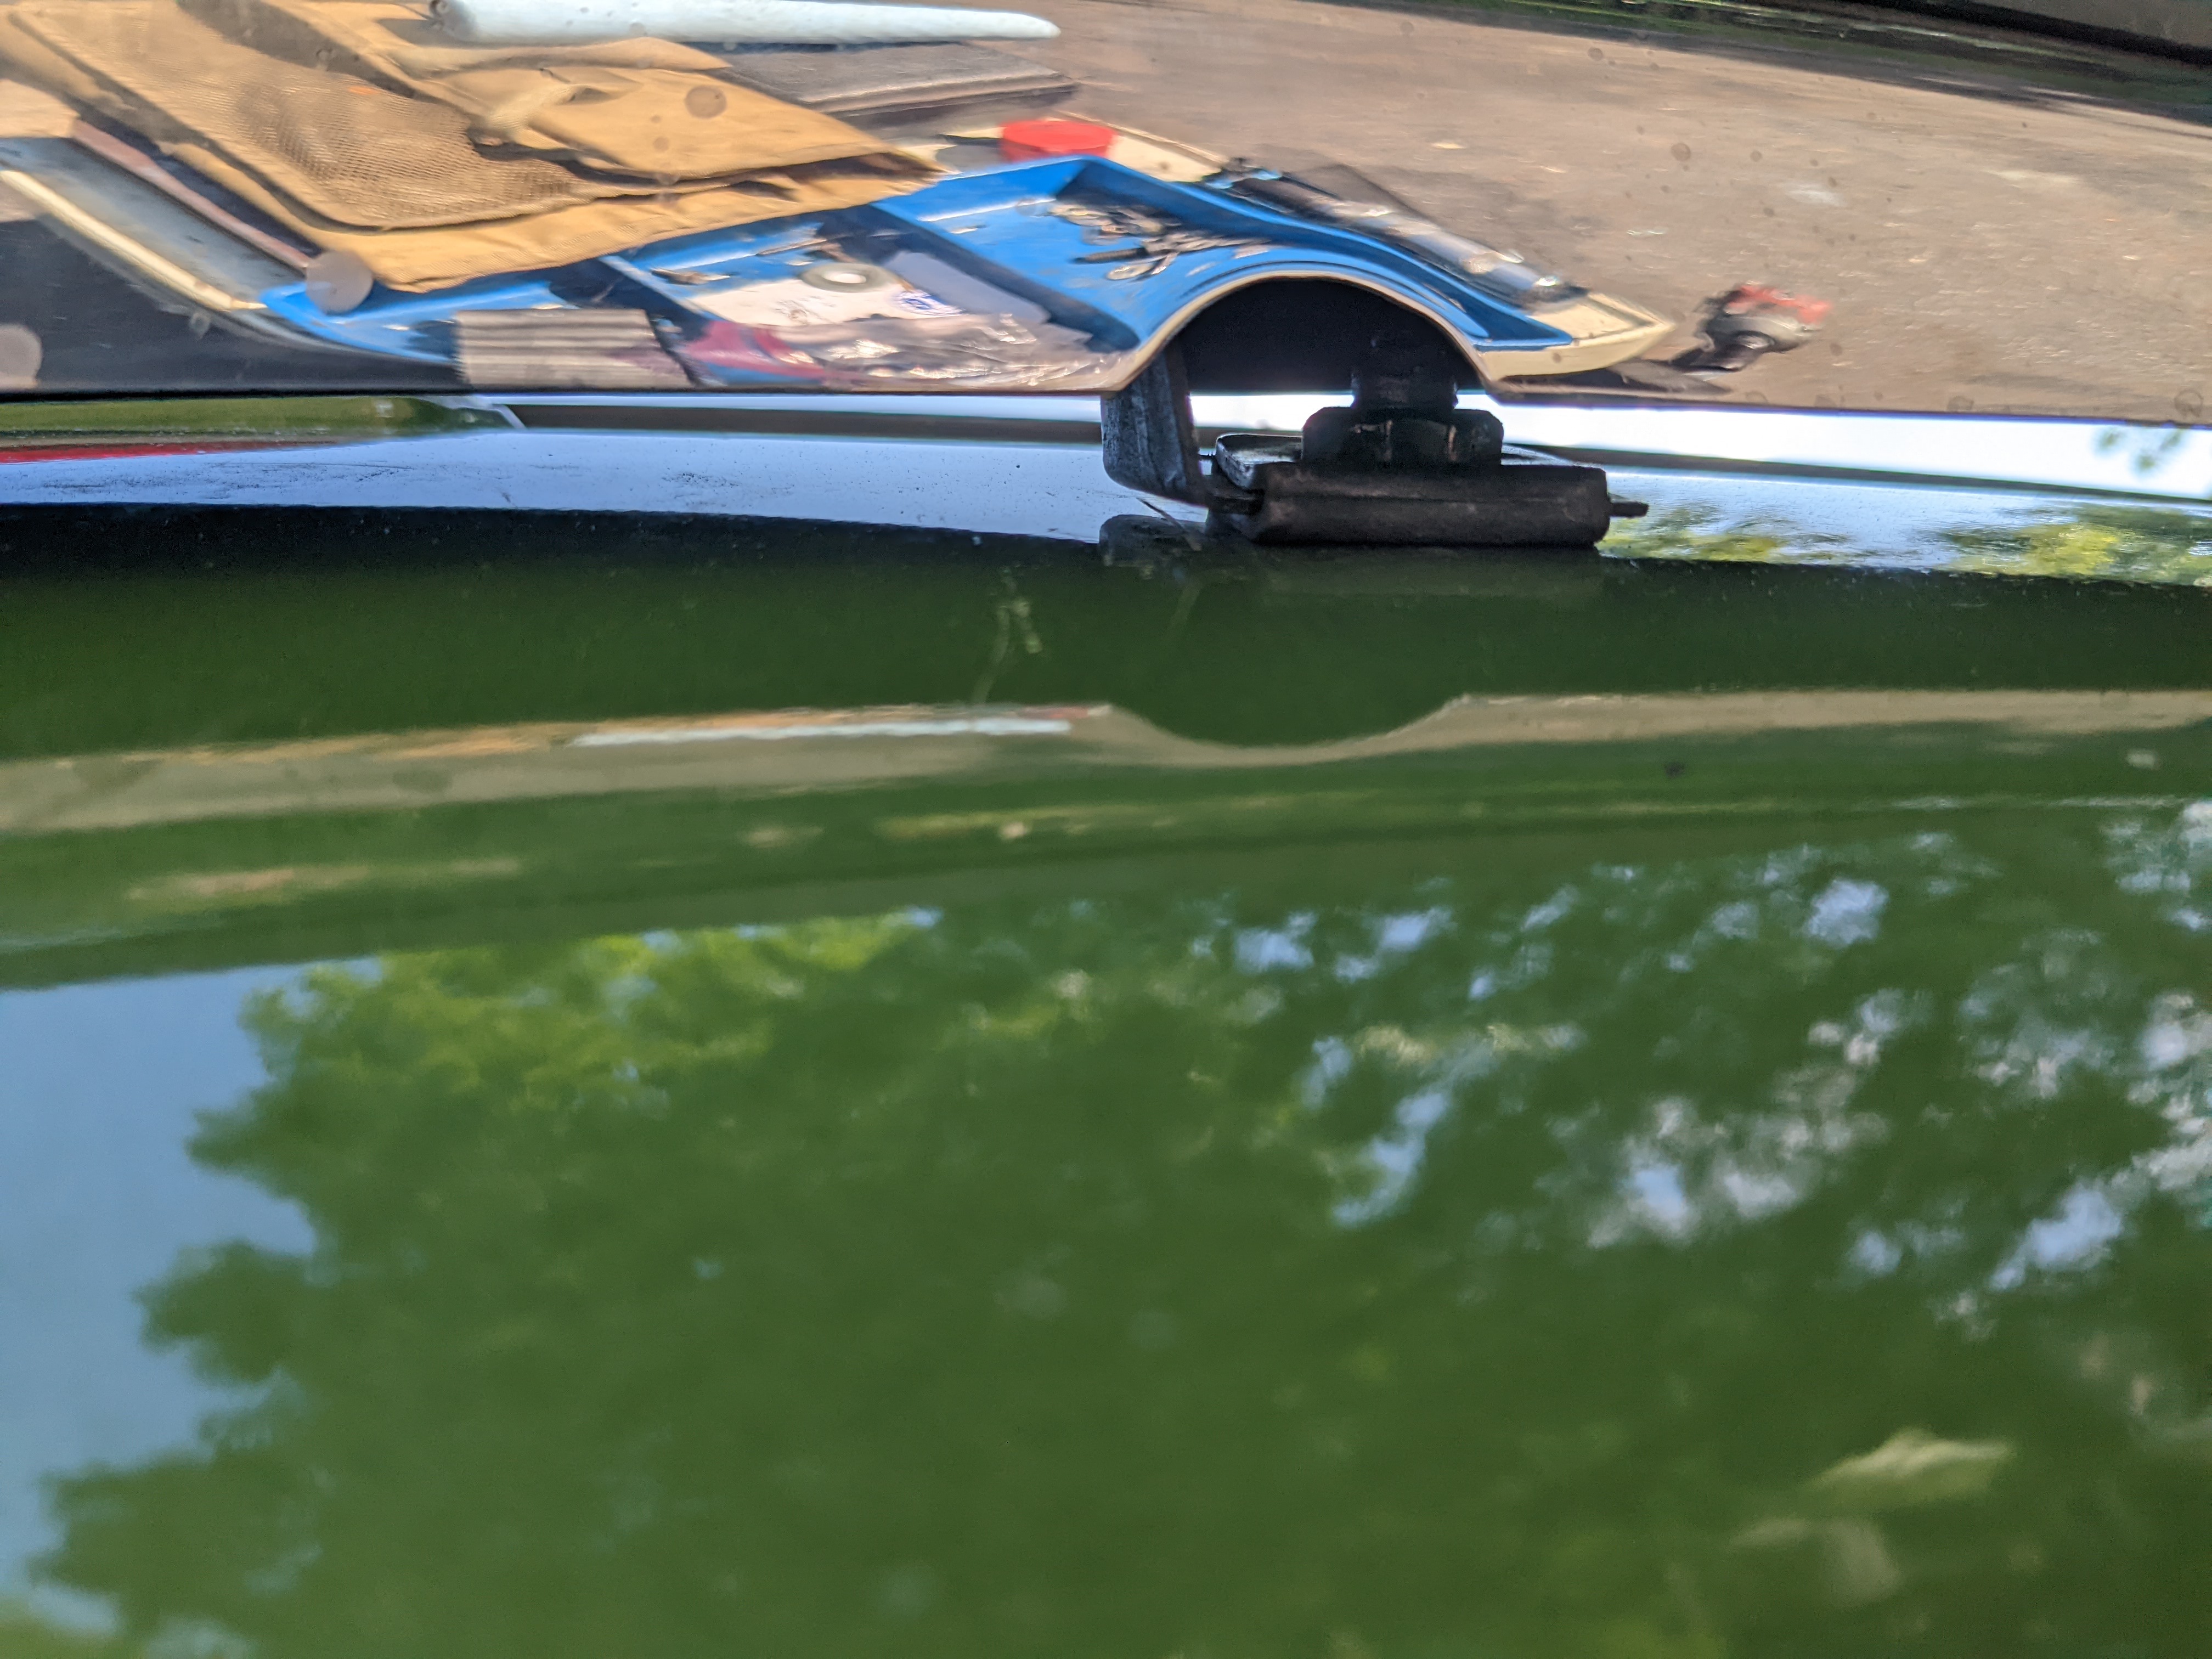
I had pulled the hatch to do the main seals & repair the faded paintwork in the upper trough. My hinges were loosely mounted, so they had pressed into the hinge seals at one spot on each side. I bought new seals from a (eBay) vendor in Thailand. They were not cheap, however less than you paid. I never test fitted them as they came after I had already put everything back, so I don't know if there is a fitment issue with them. I can't see water getting in there with good hatch seals, unless you open the hatch covered in rain & then it will dump into the car anyway.
-
Have to switch out the stock valve - it doesn't completely close - the hoses are still mildly warm, so coolant is still passing. Not going to work for me, will interfere with working AC once I get to that.
-
I had a go at this, since I was waiting for the aftermarket 74627 valve to come. I replaced the body square cut seal with a Viton thick wall o-ring. No external leaks, however the valve doesn't fully shut - the I/O hoses still have warmth to them, indicating some passage of coolant. I'm going to switch it out for the 74627.
-
I had to readjust the latch, but I assumed that was purely due to the extra seal material previously missing. Still have to slam it pretty hard. The doors were the same initially, until the seals compressed somewhat.
-
-
Because I like the one I bought, it's period correct. Still no luck on a hub, so it's a moot point
-
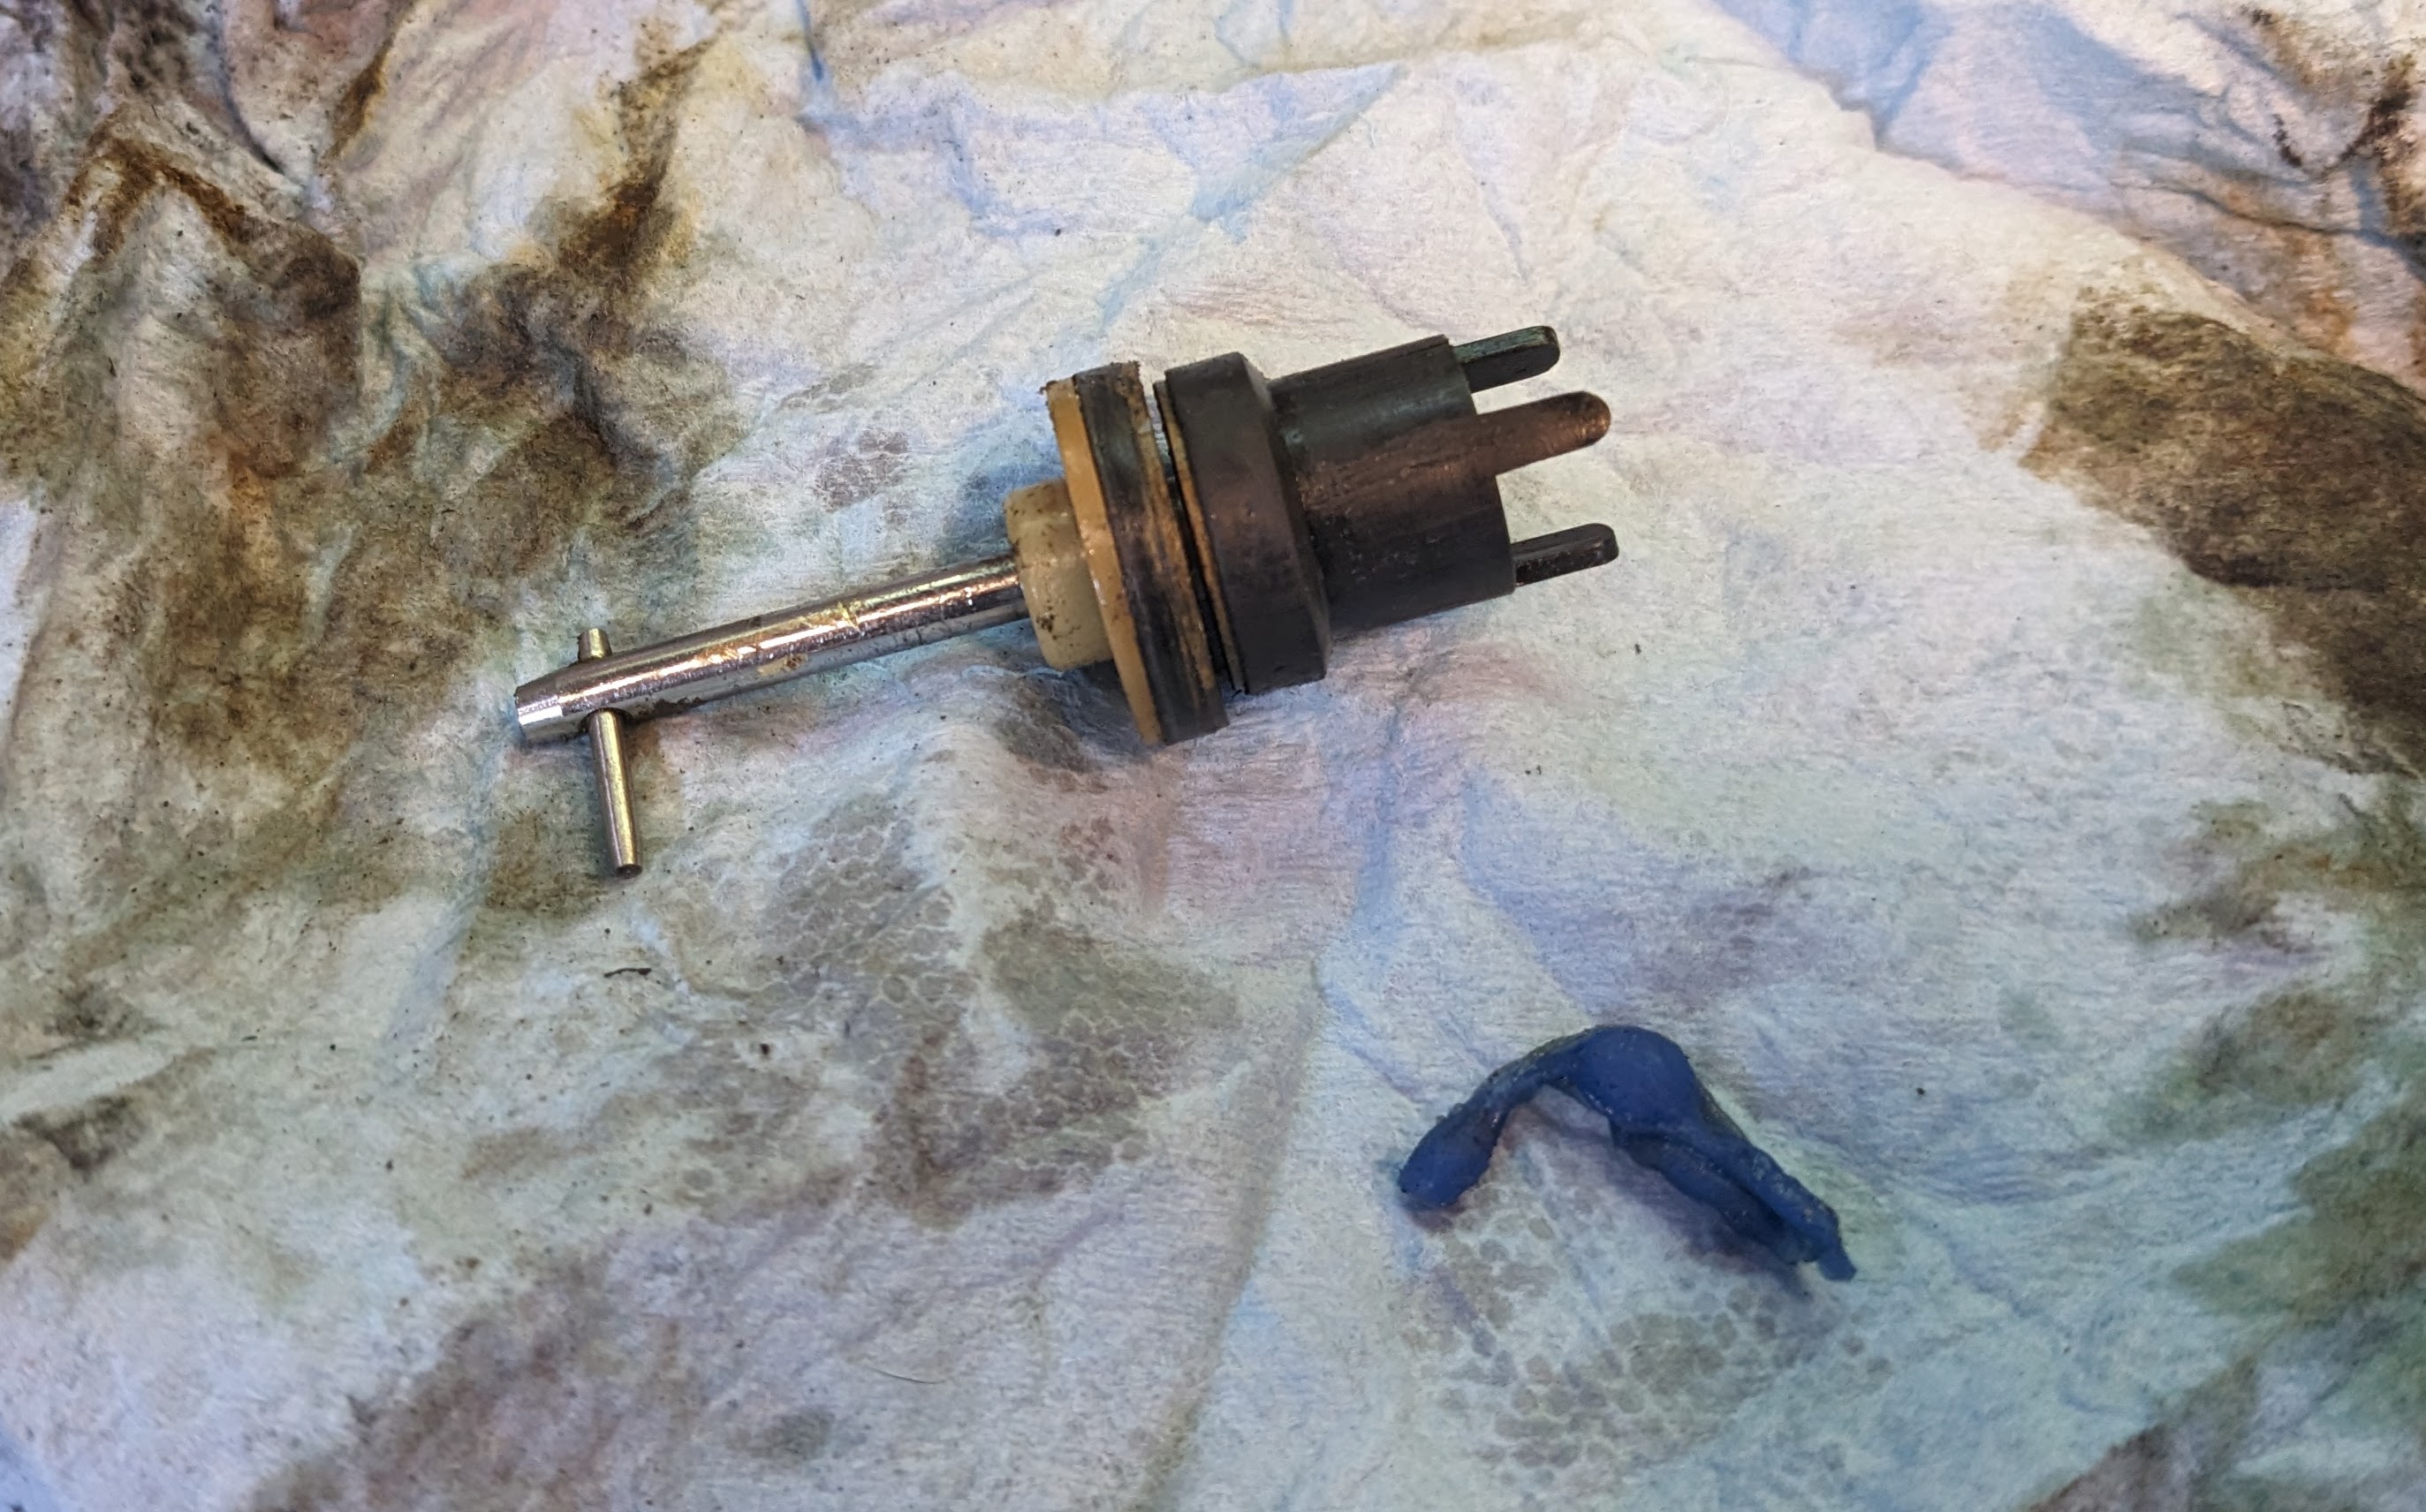
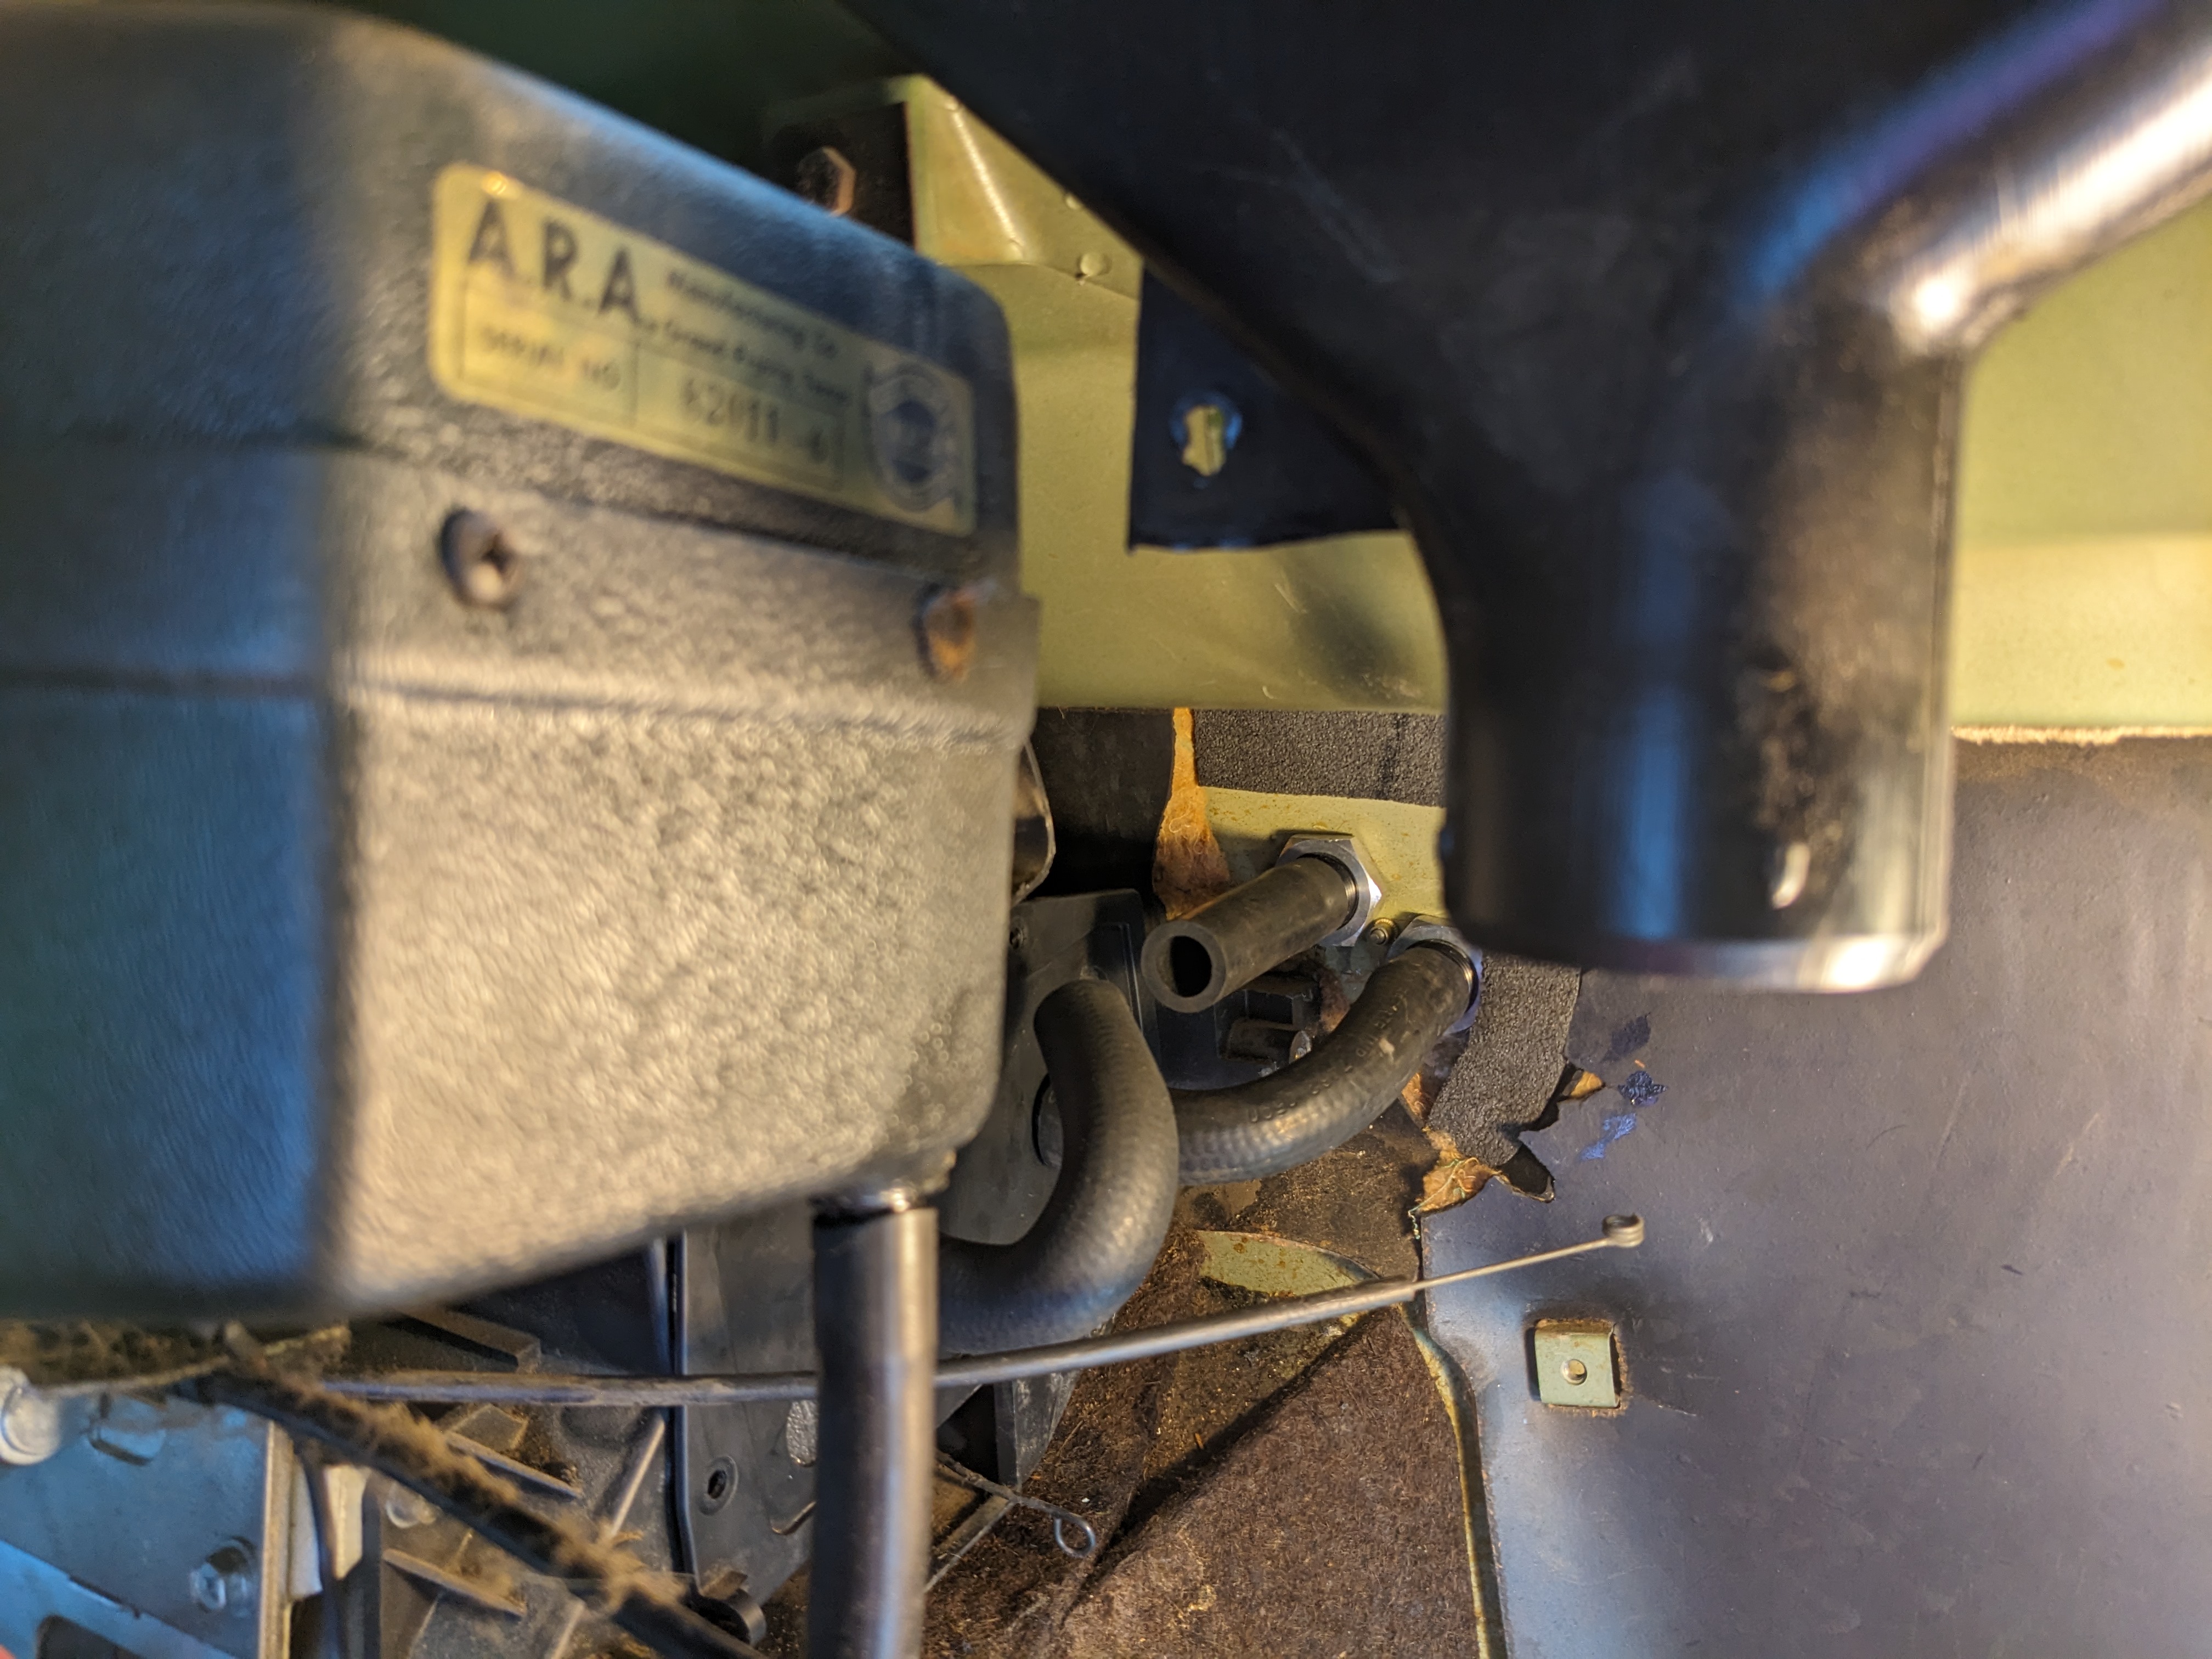
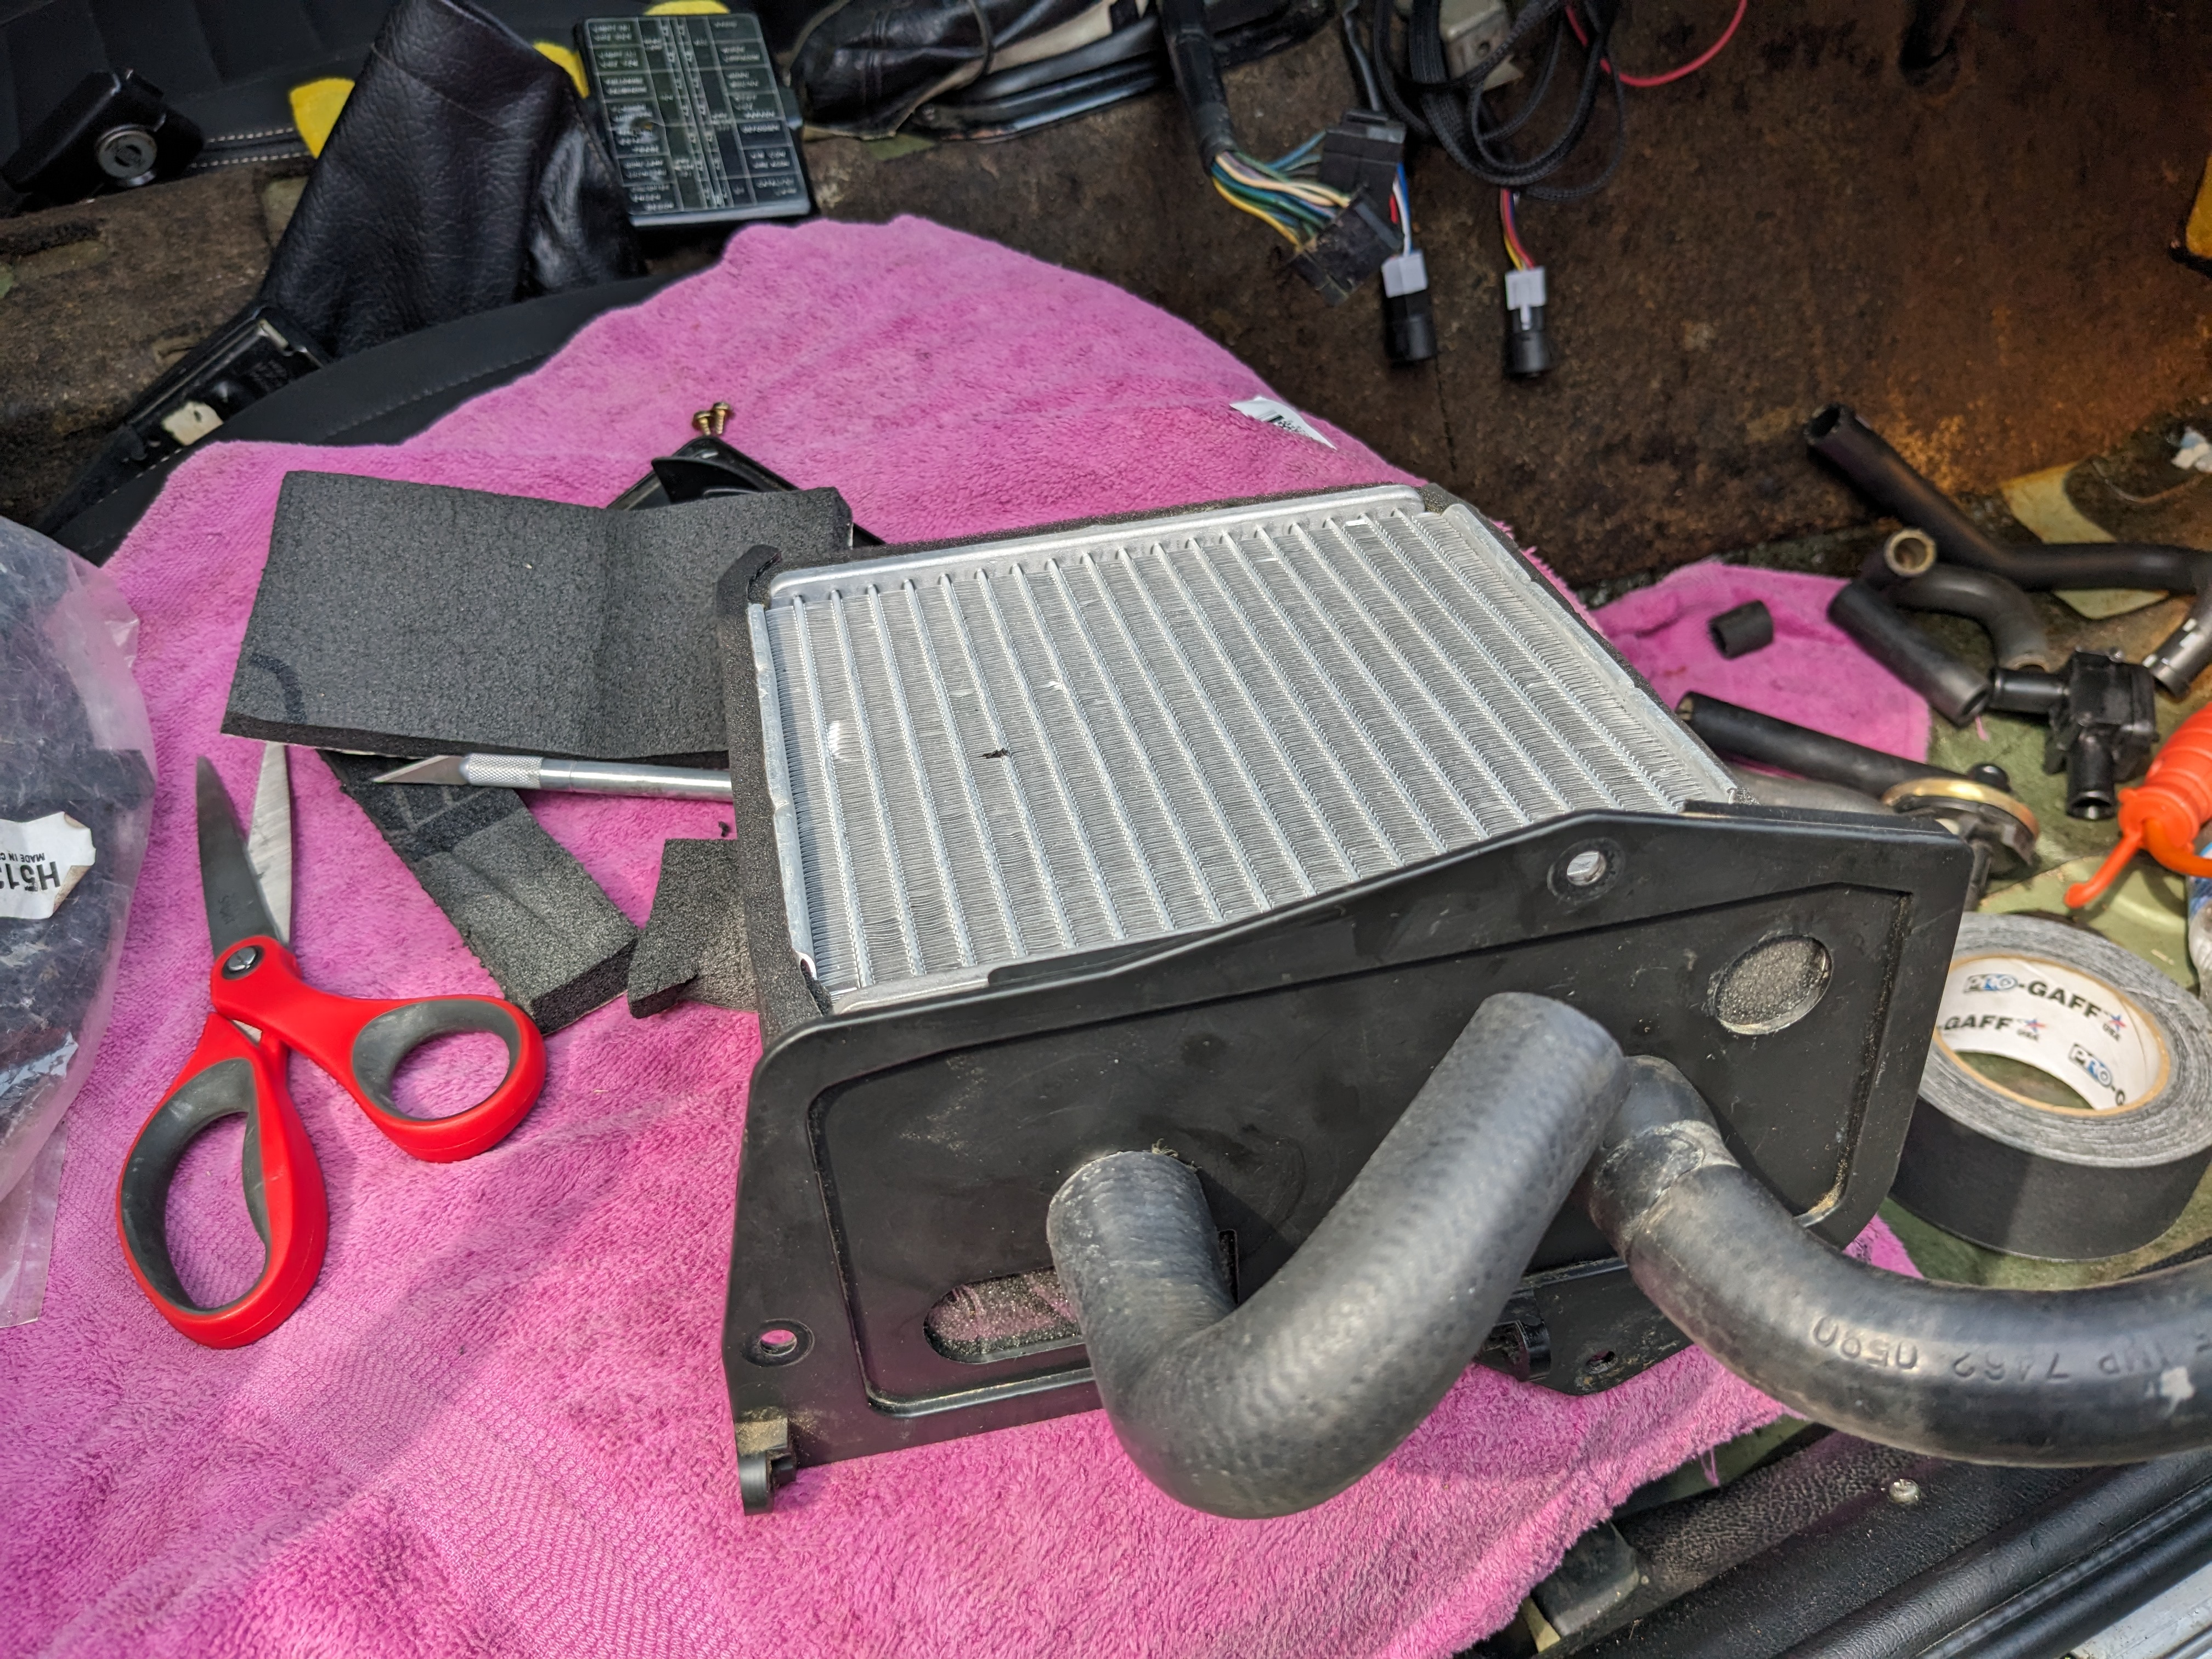
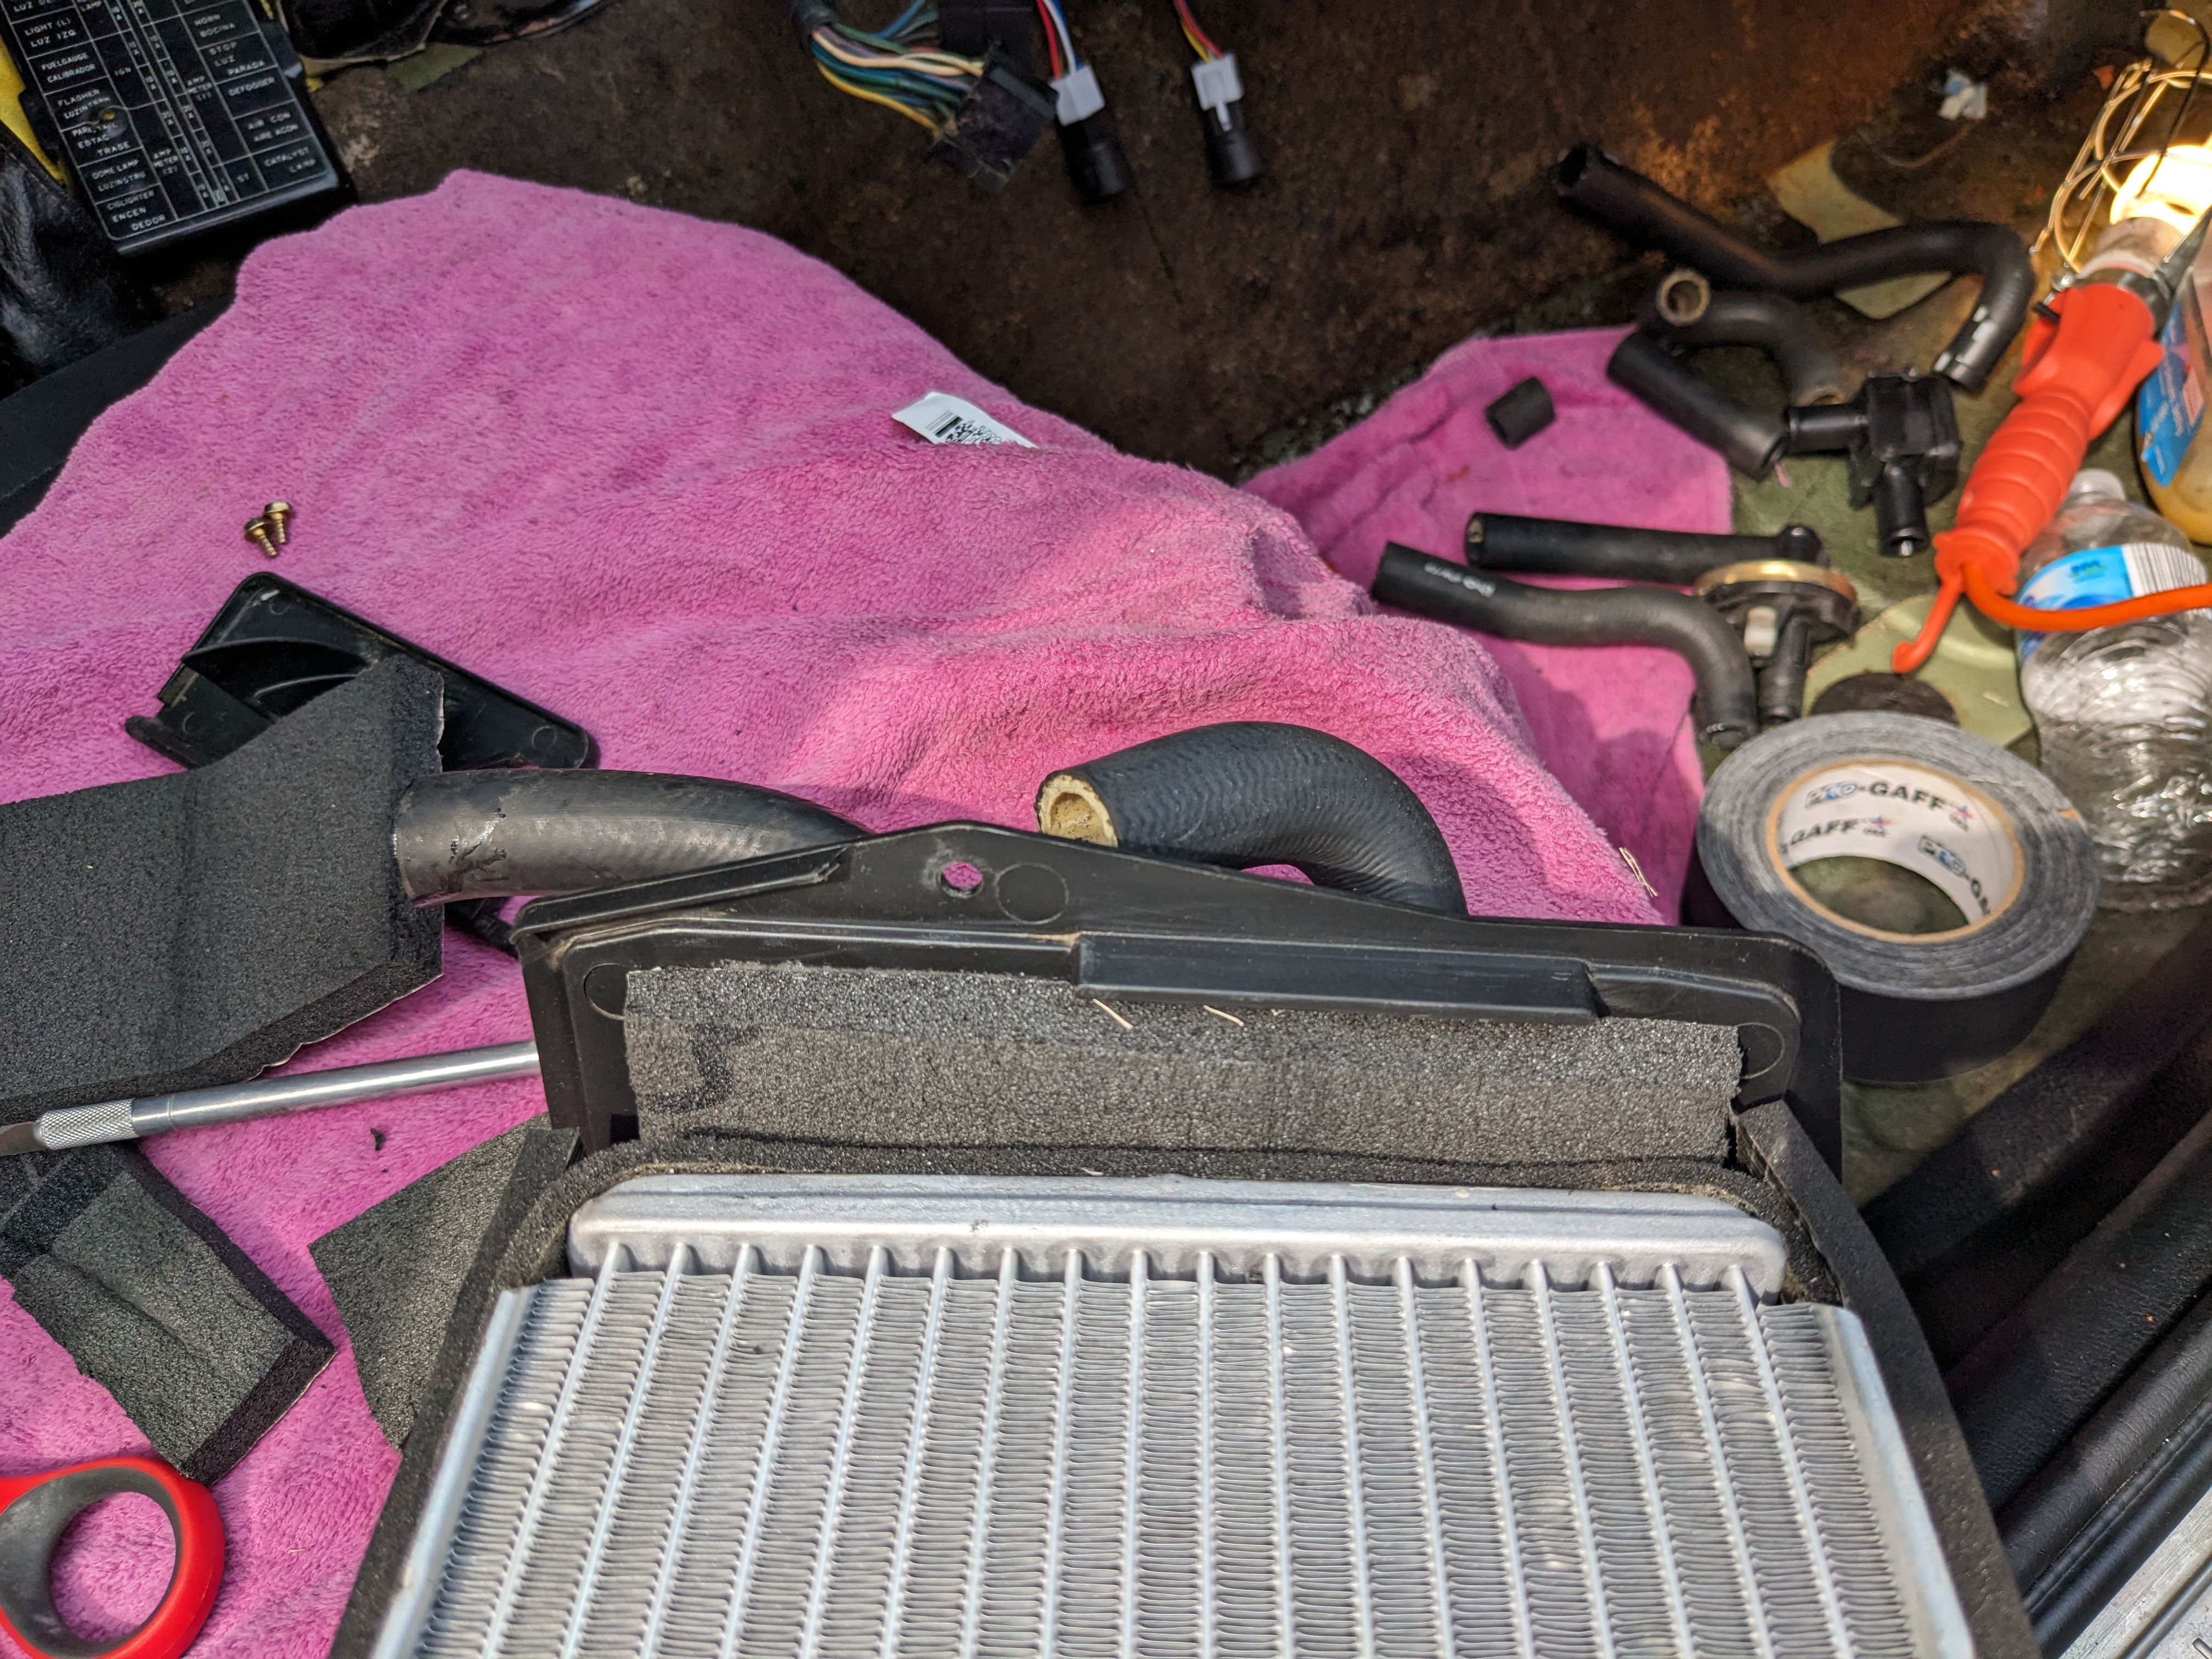
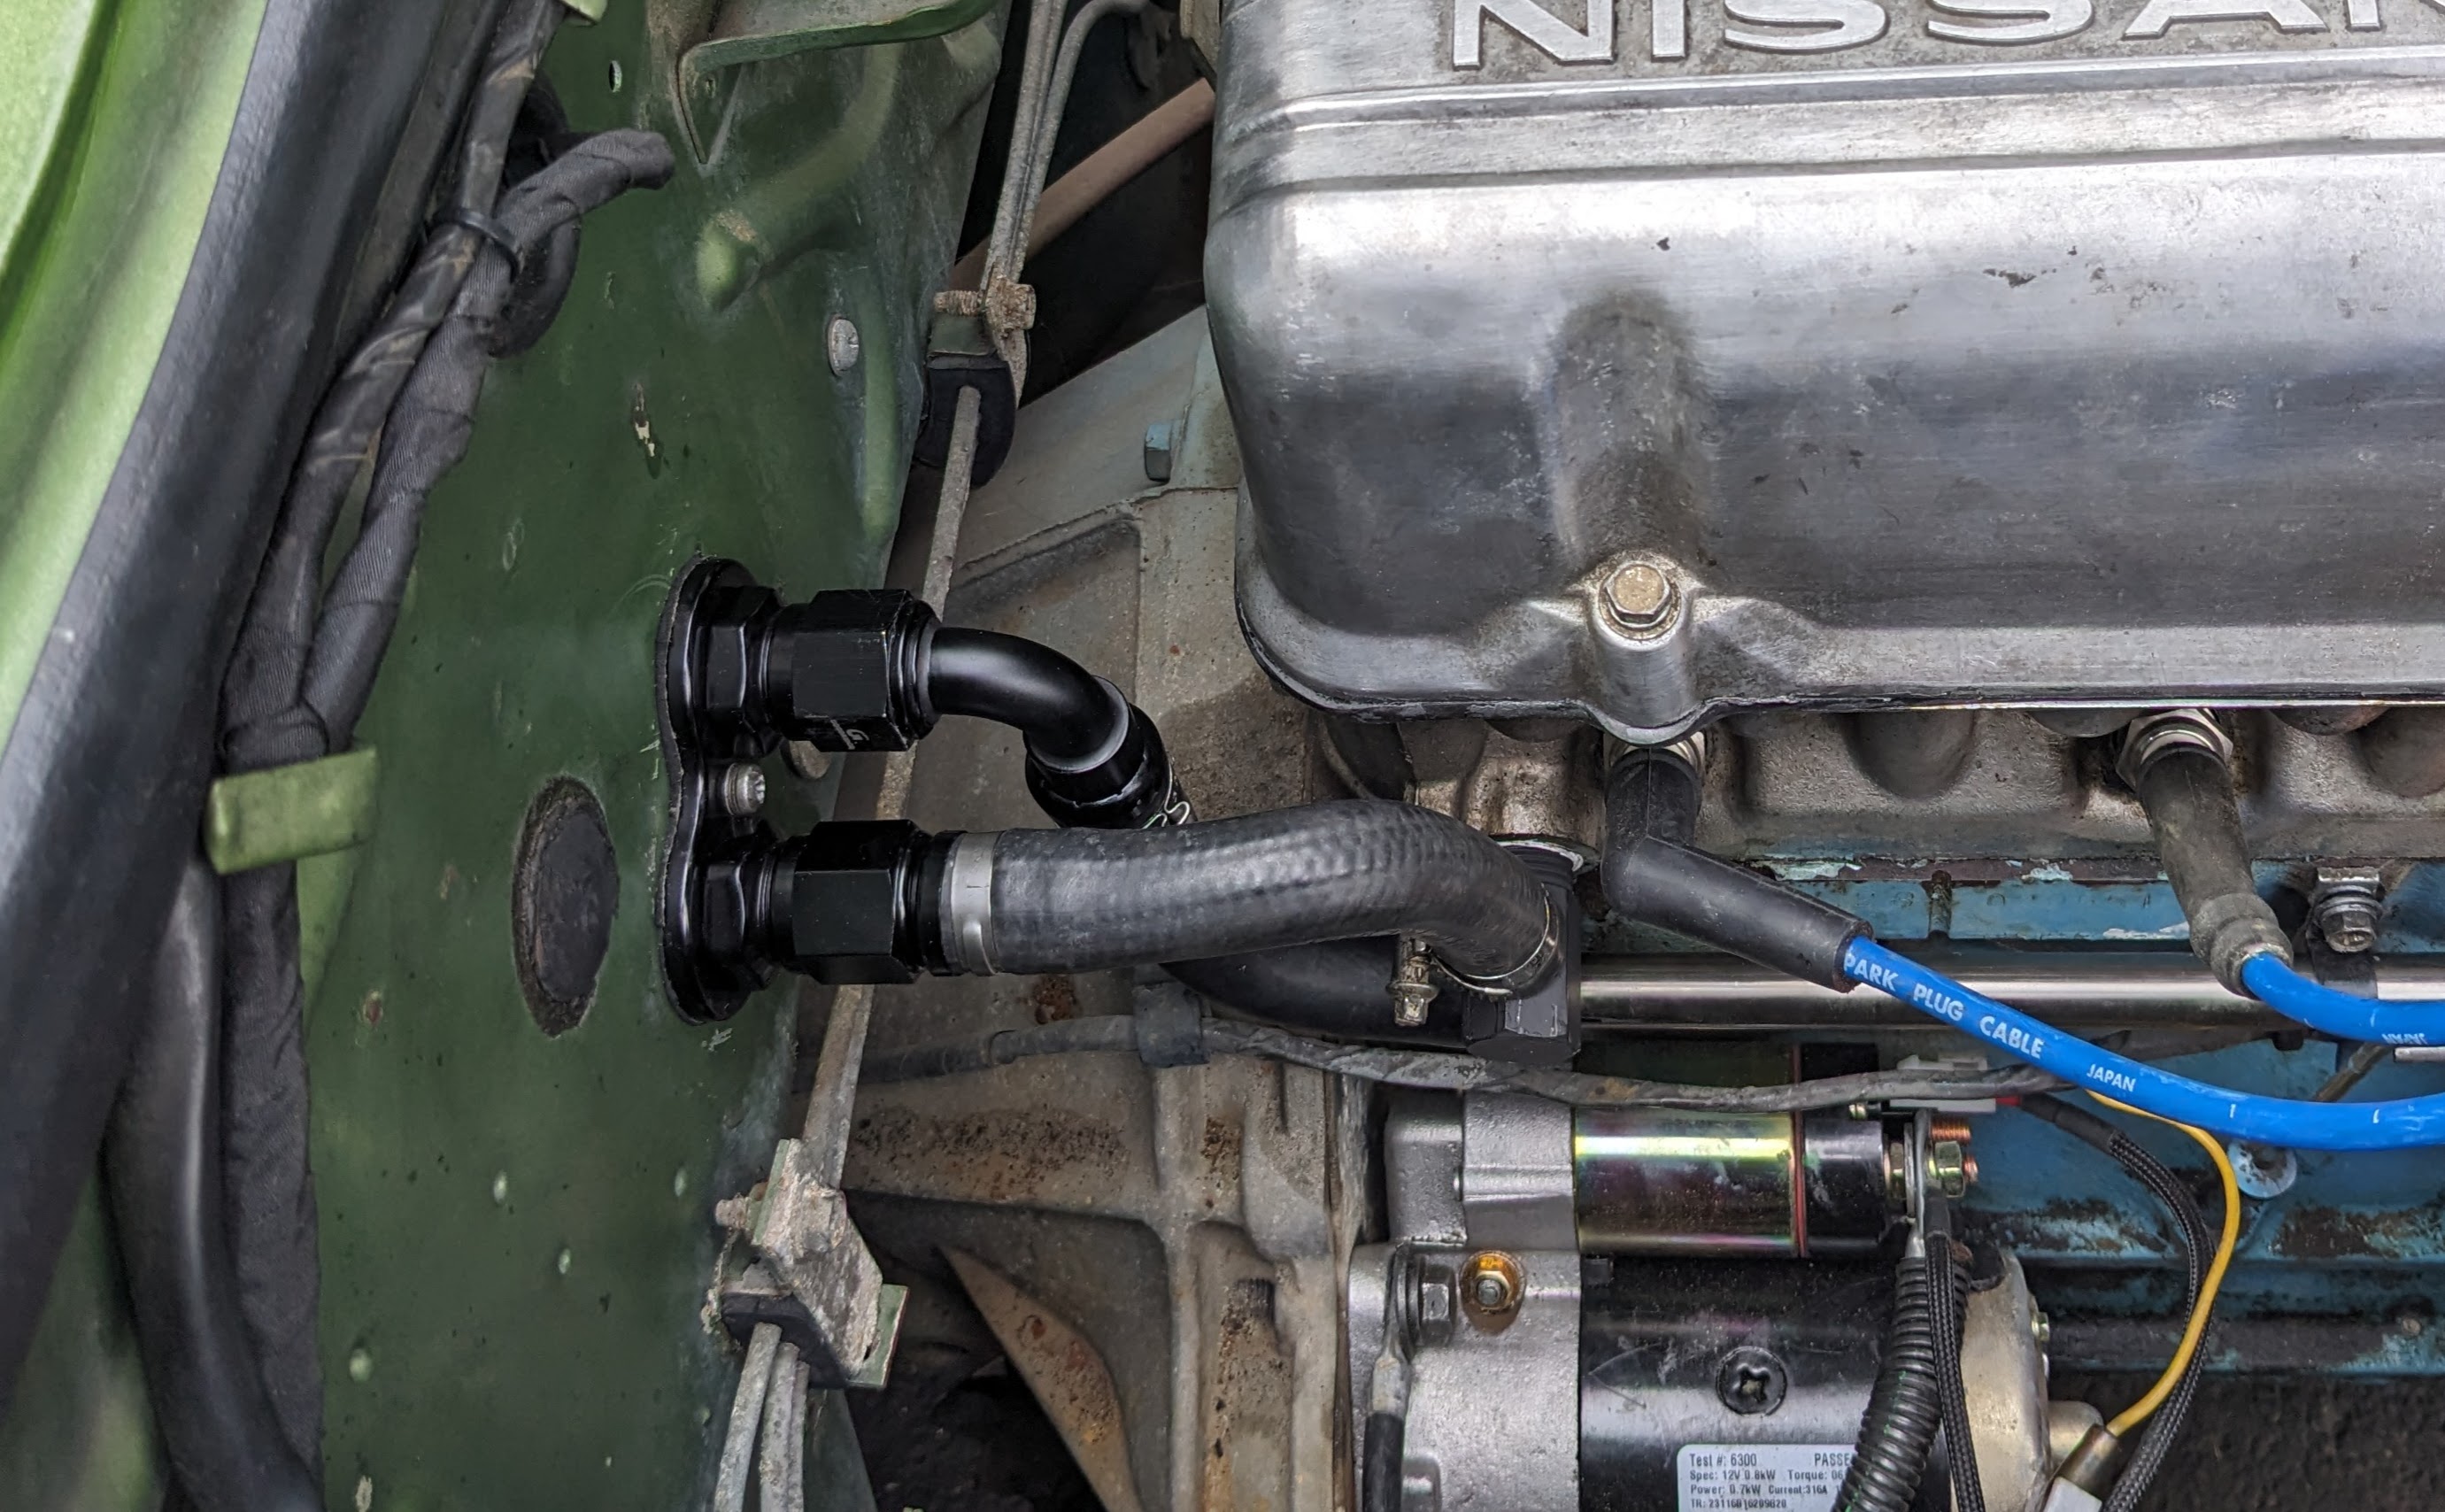
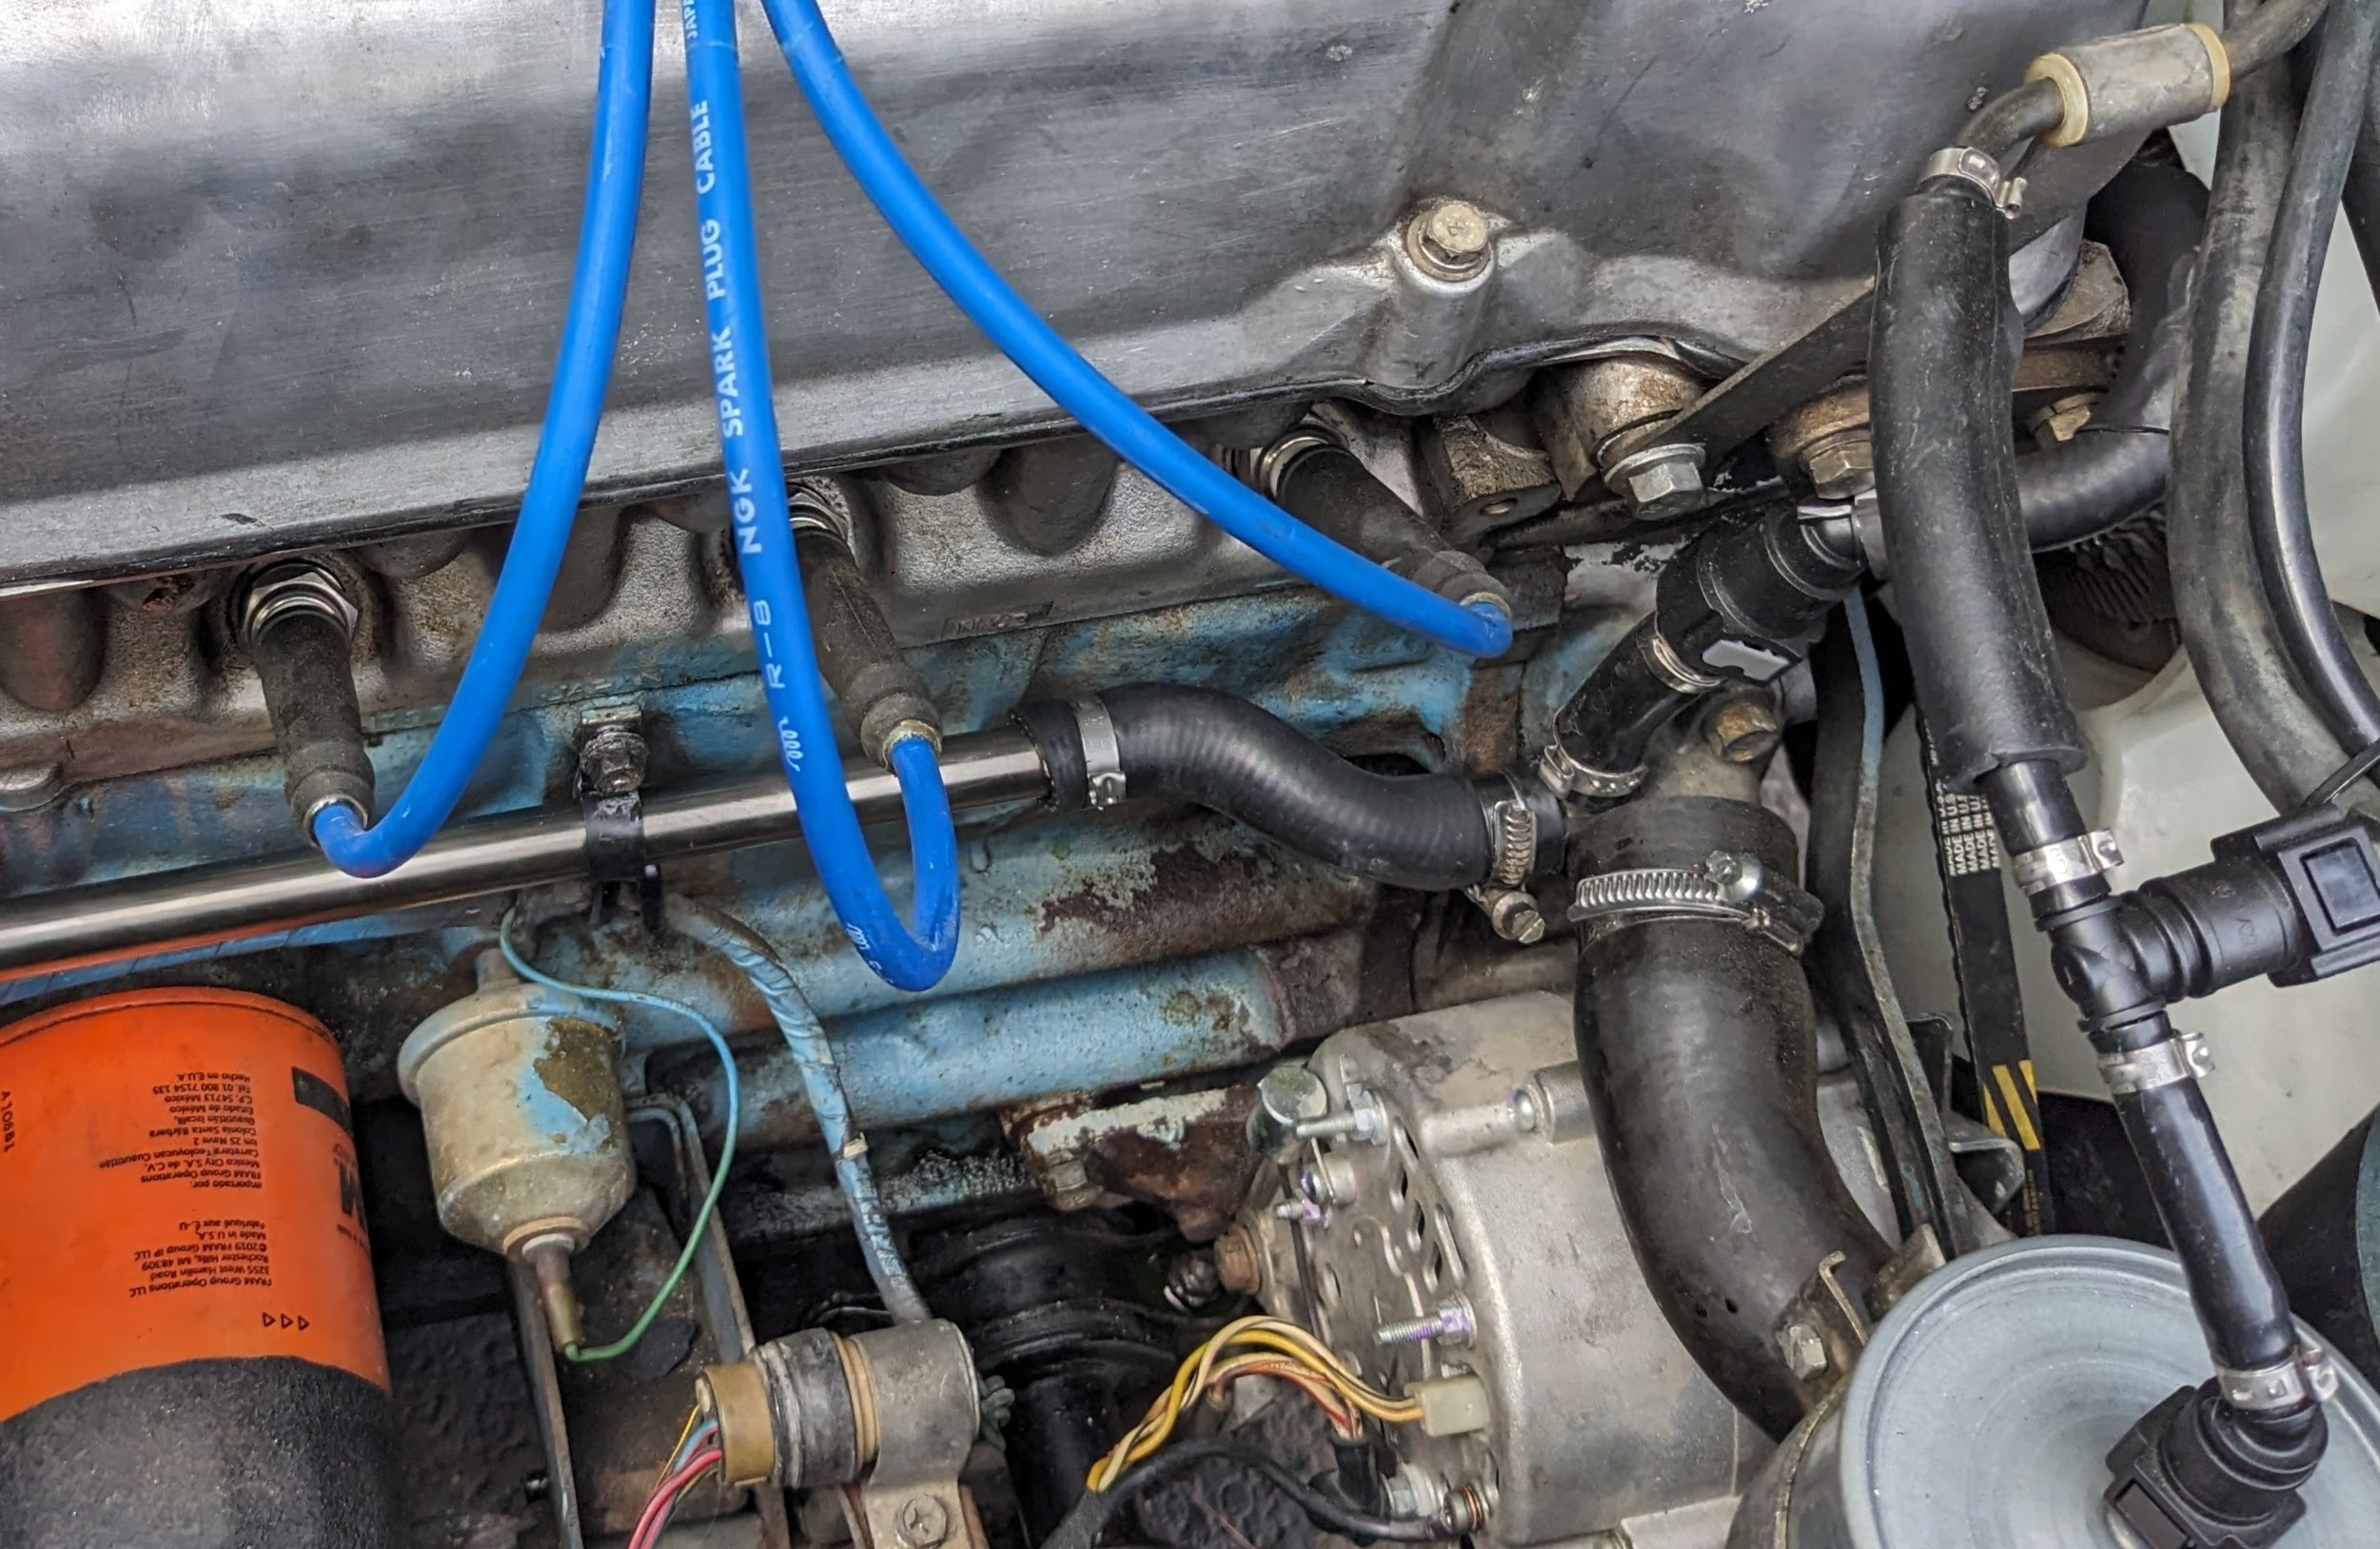
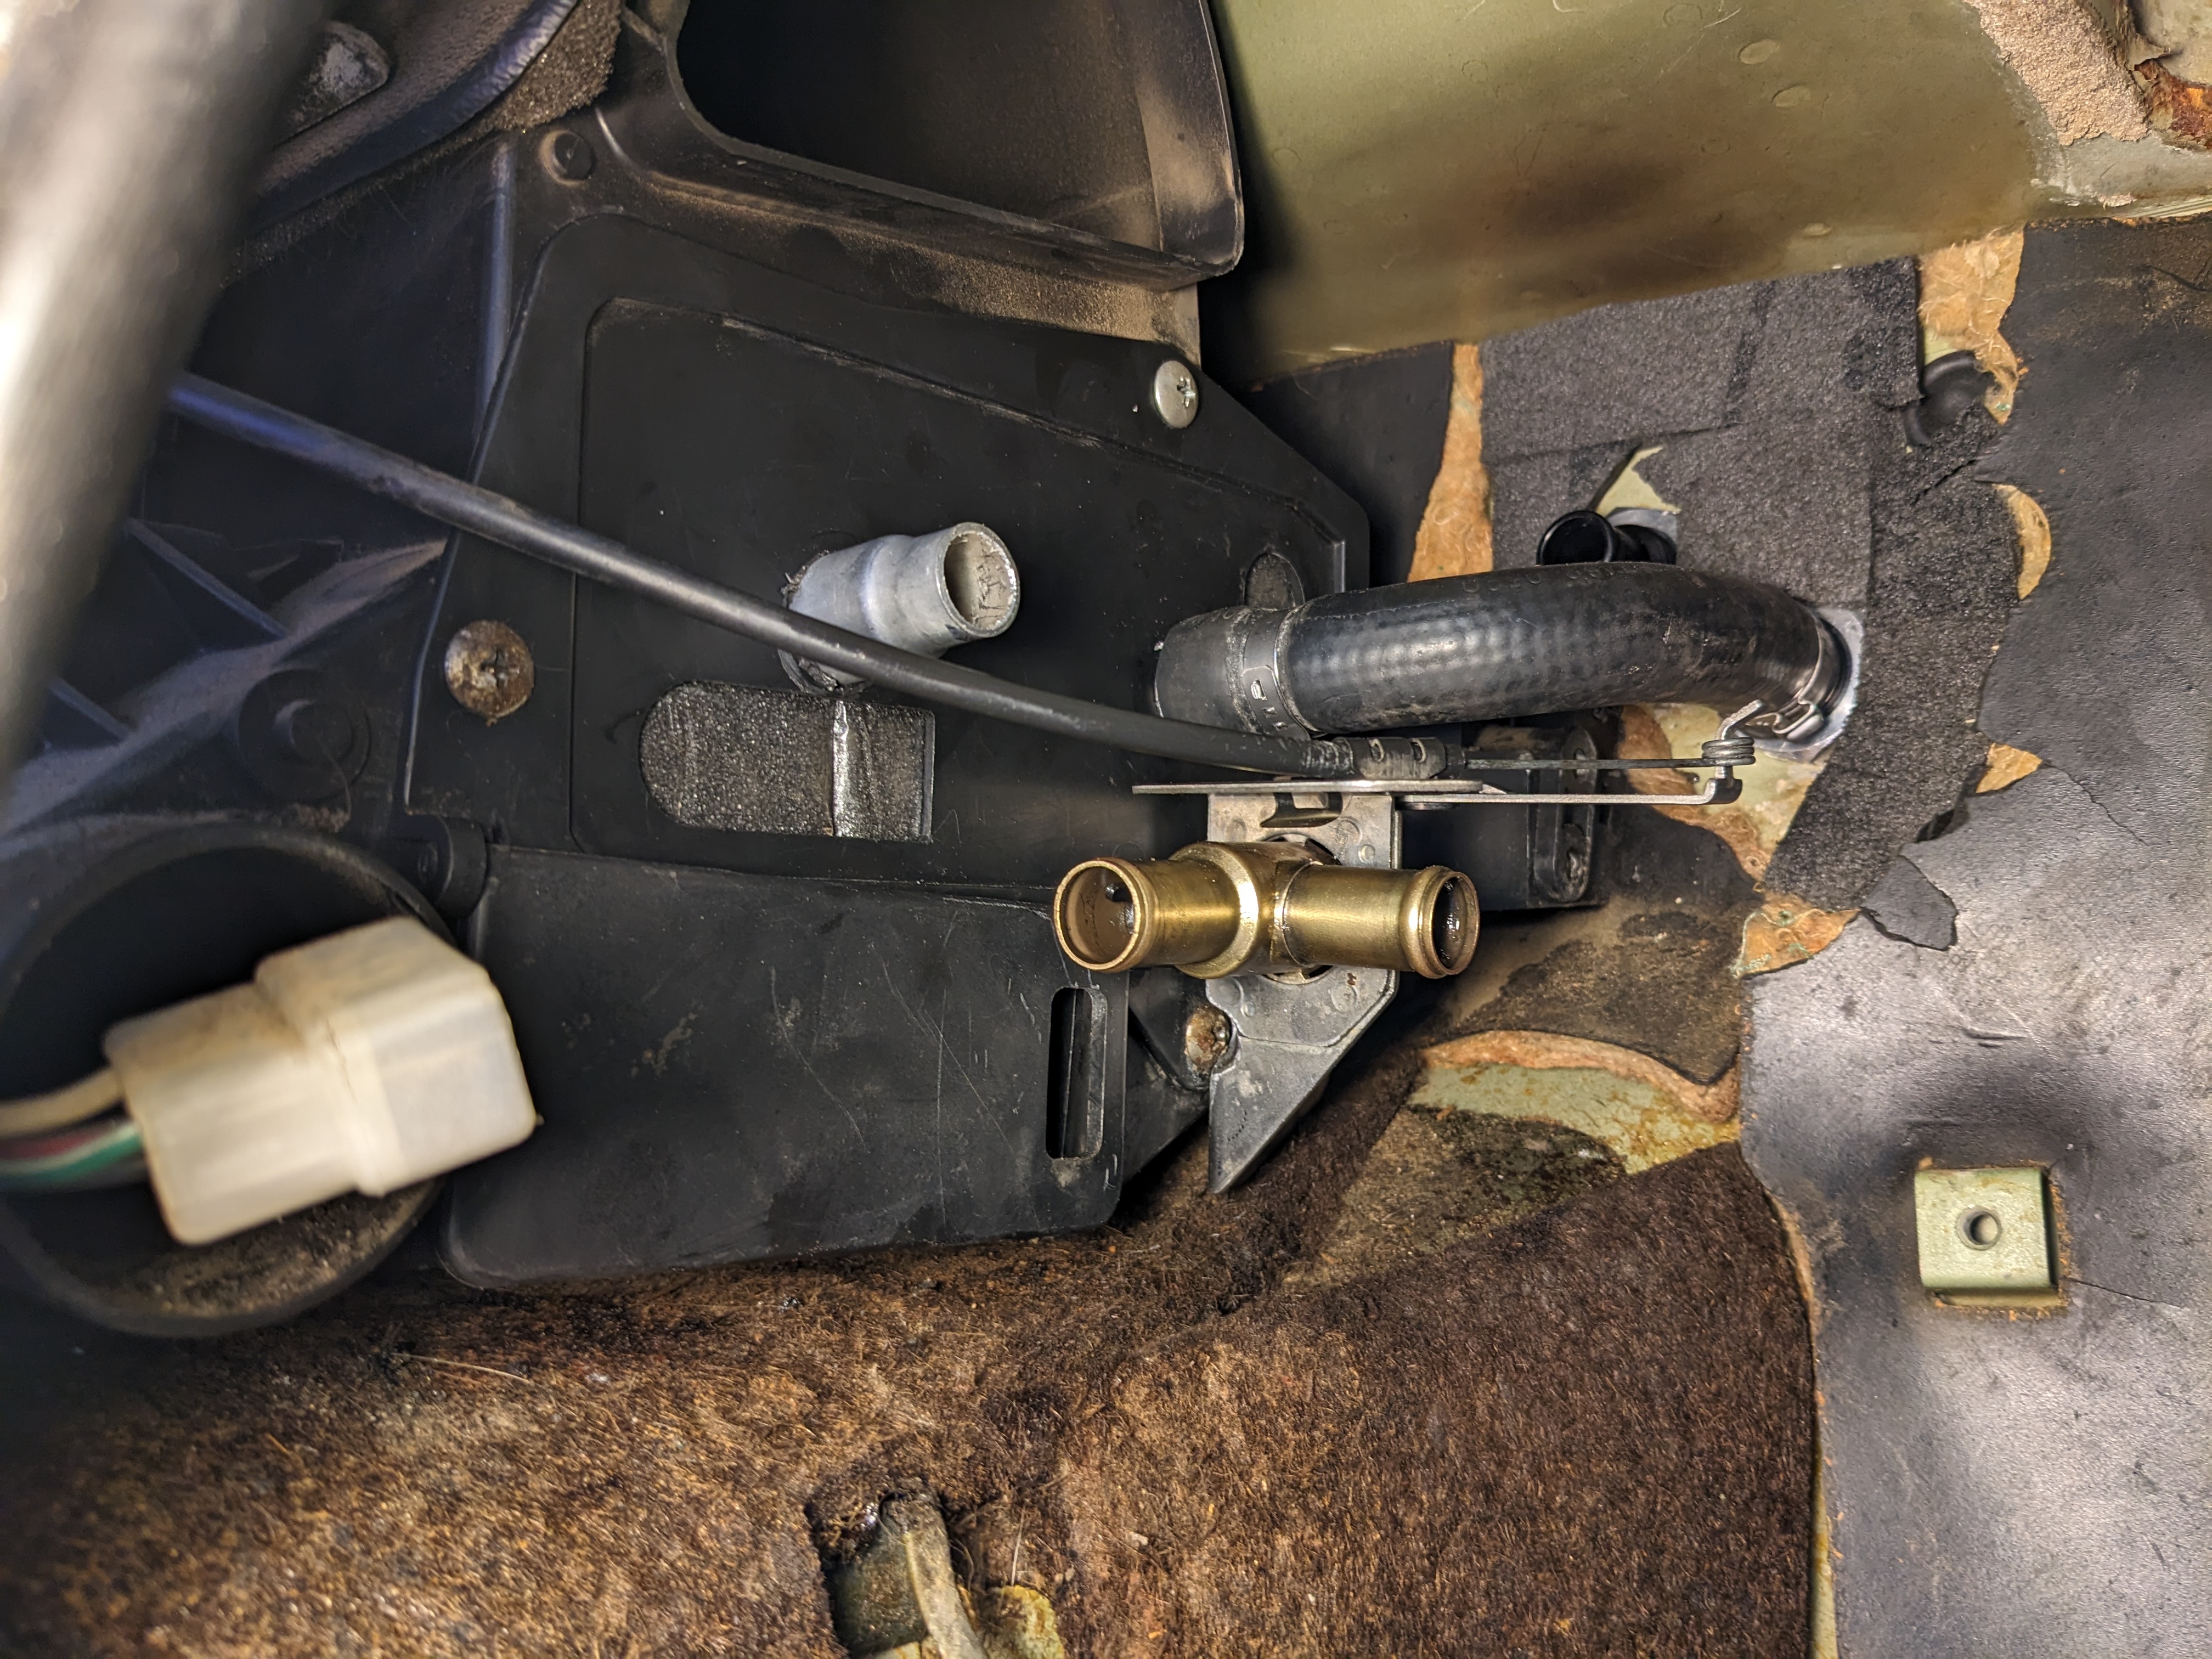
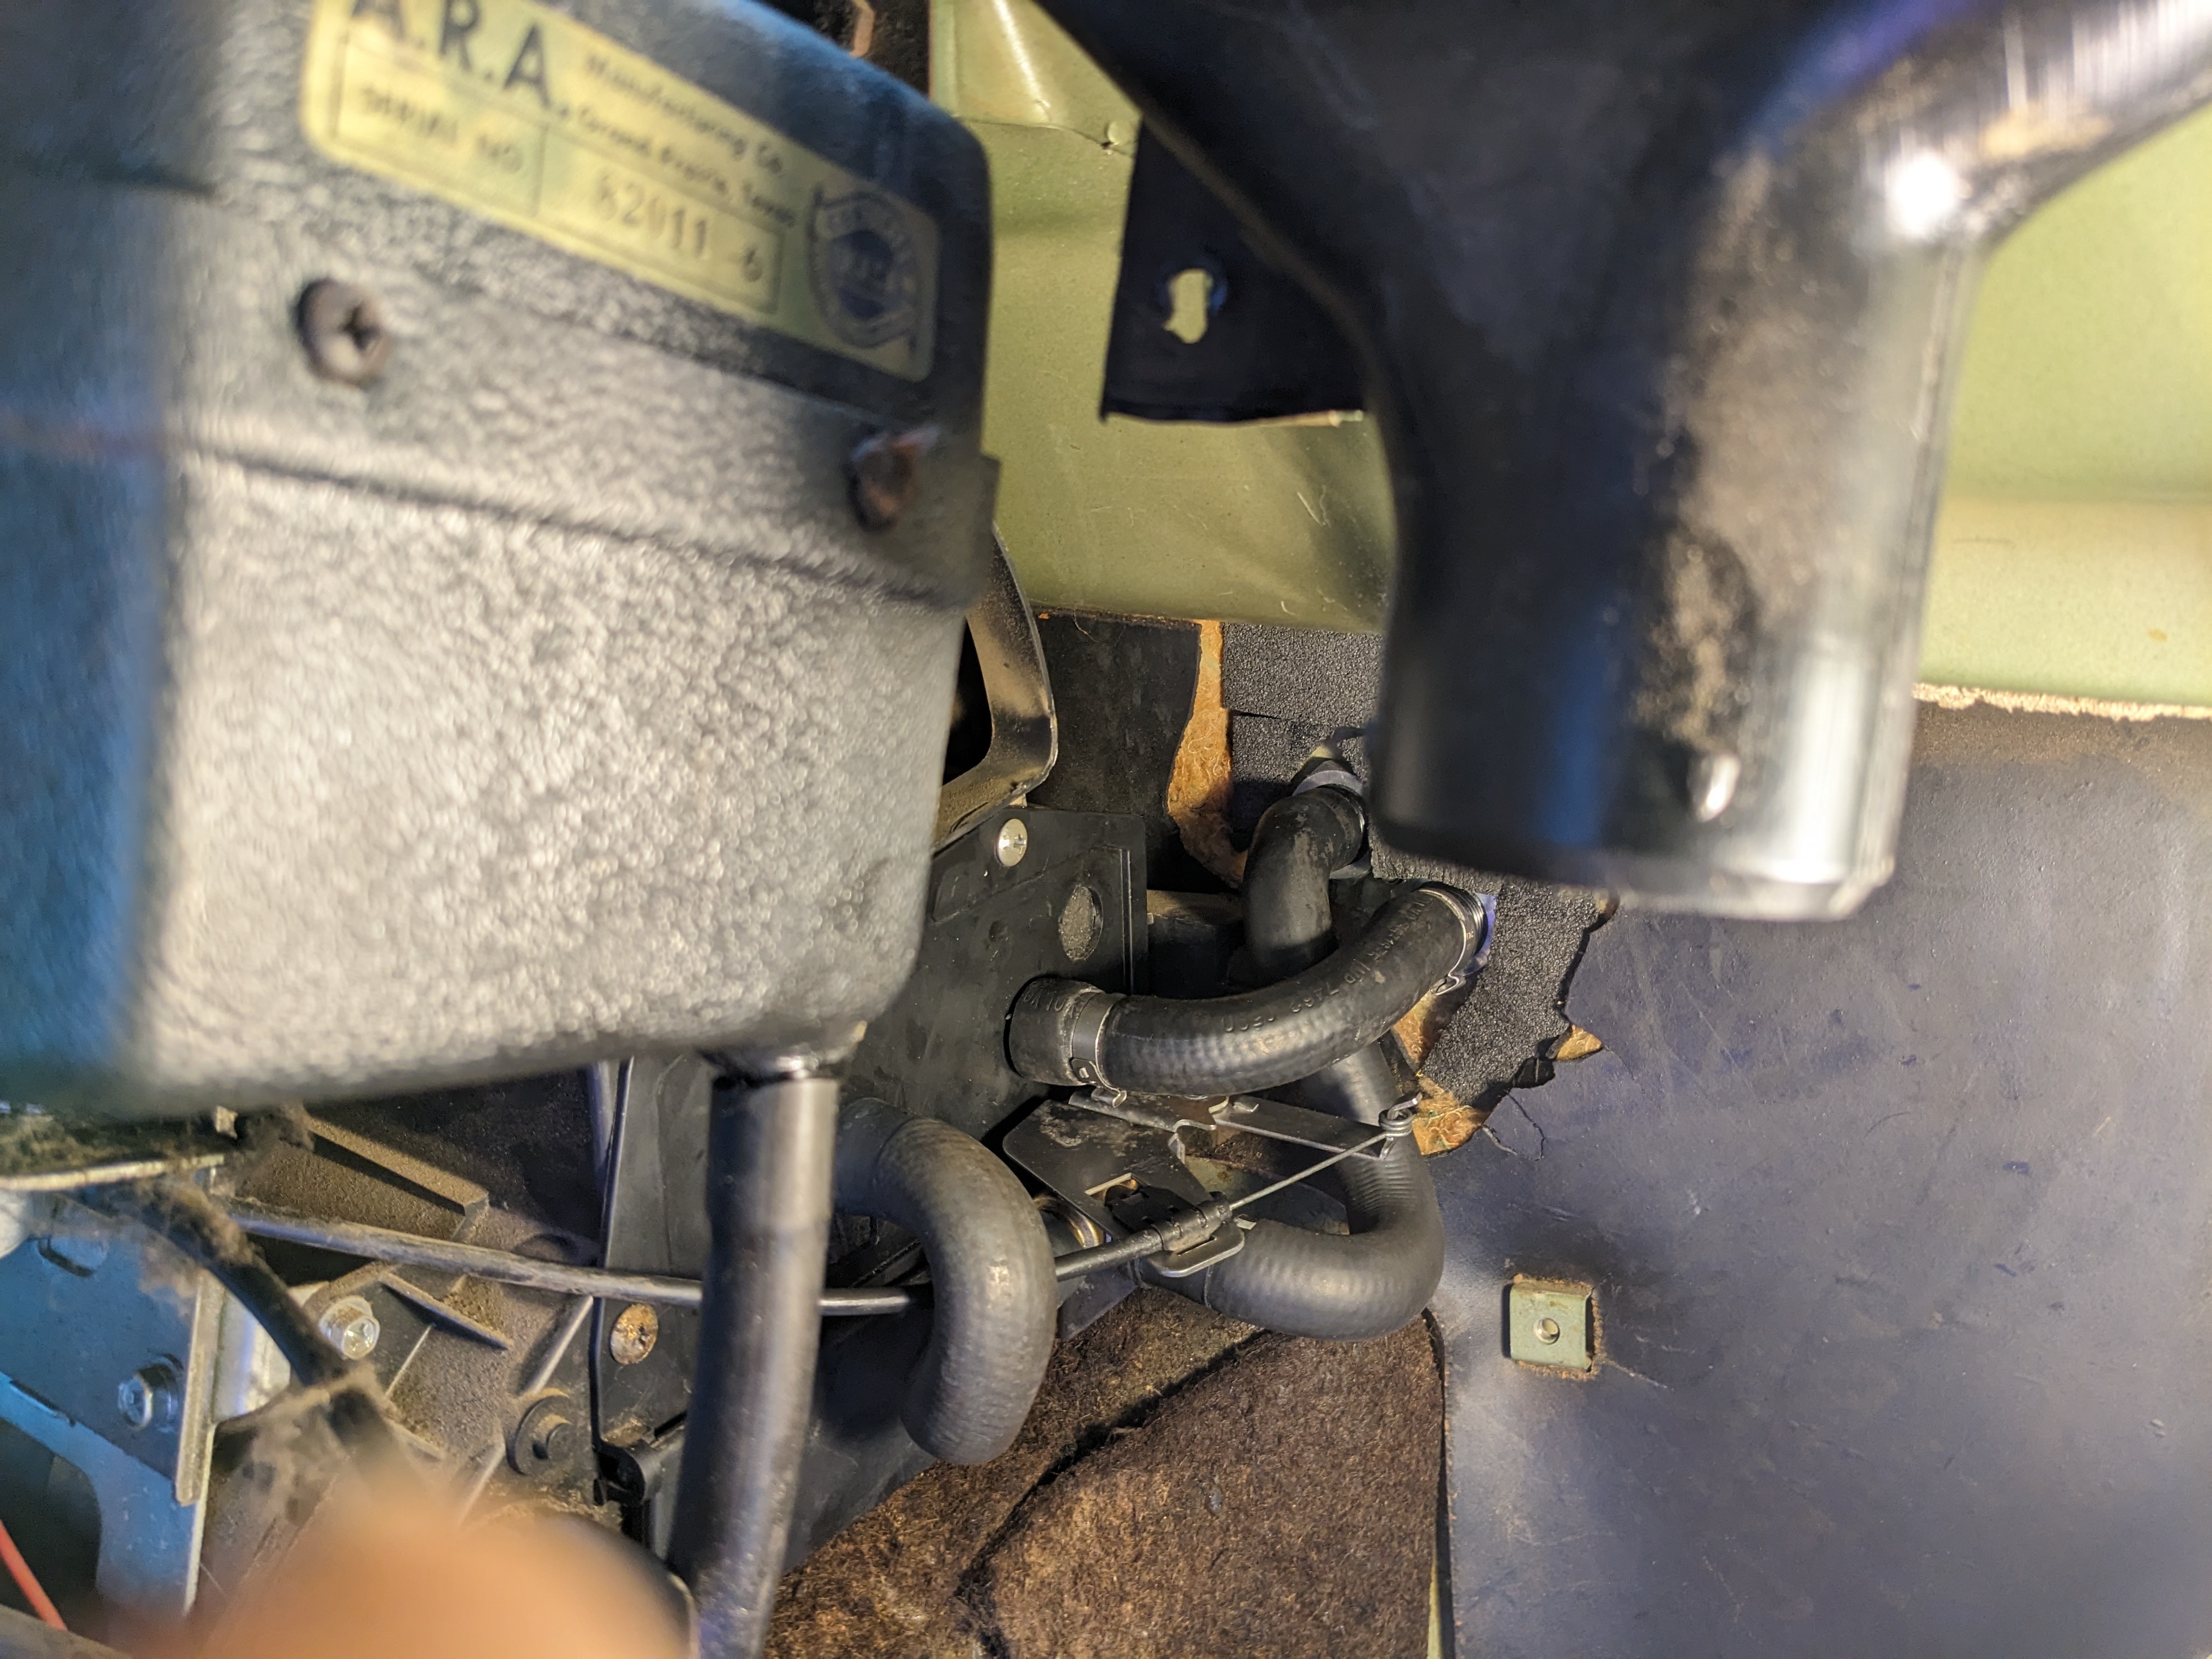
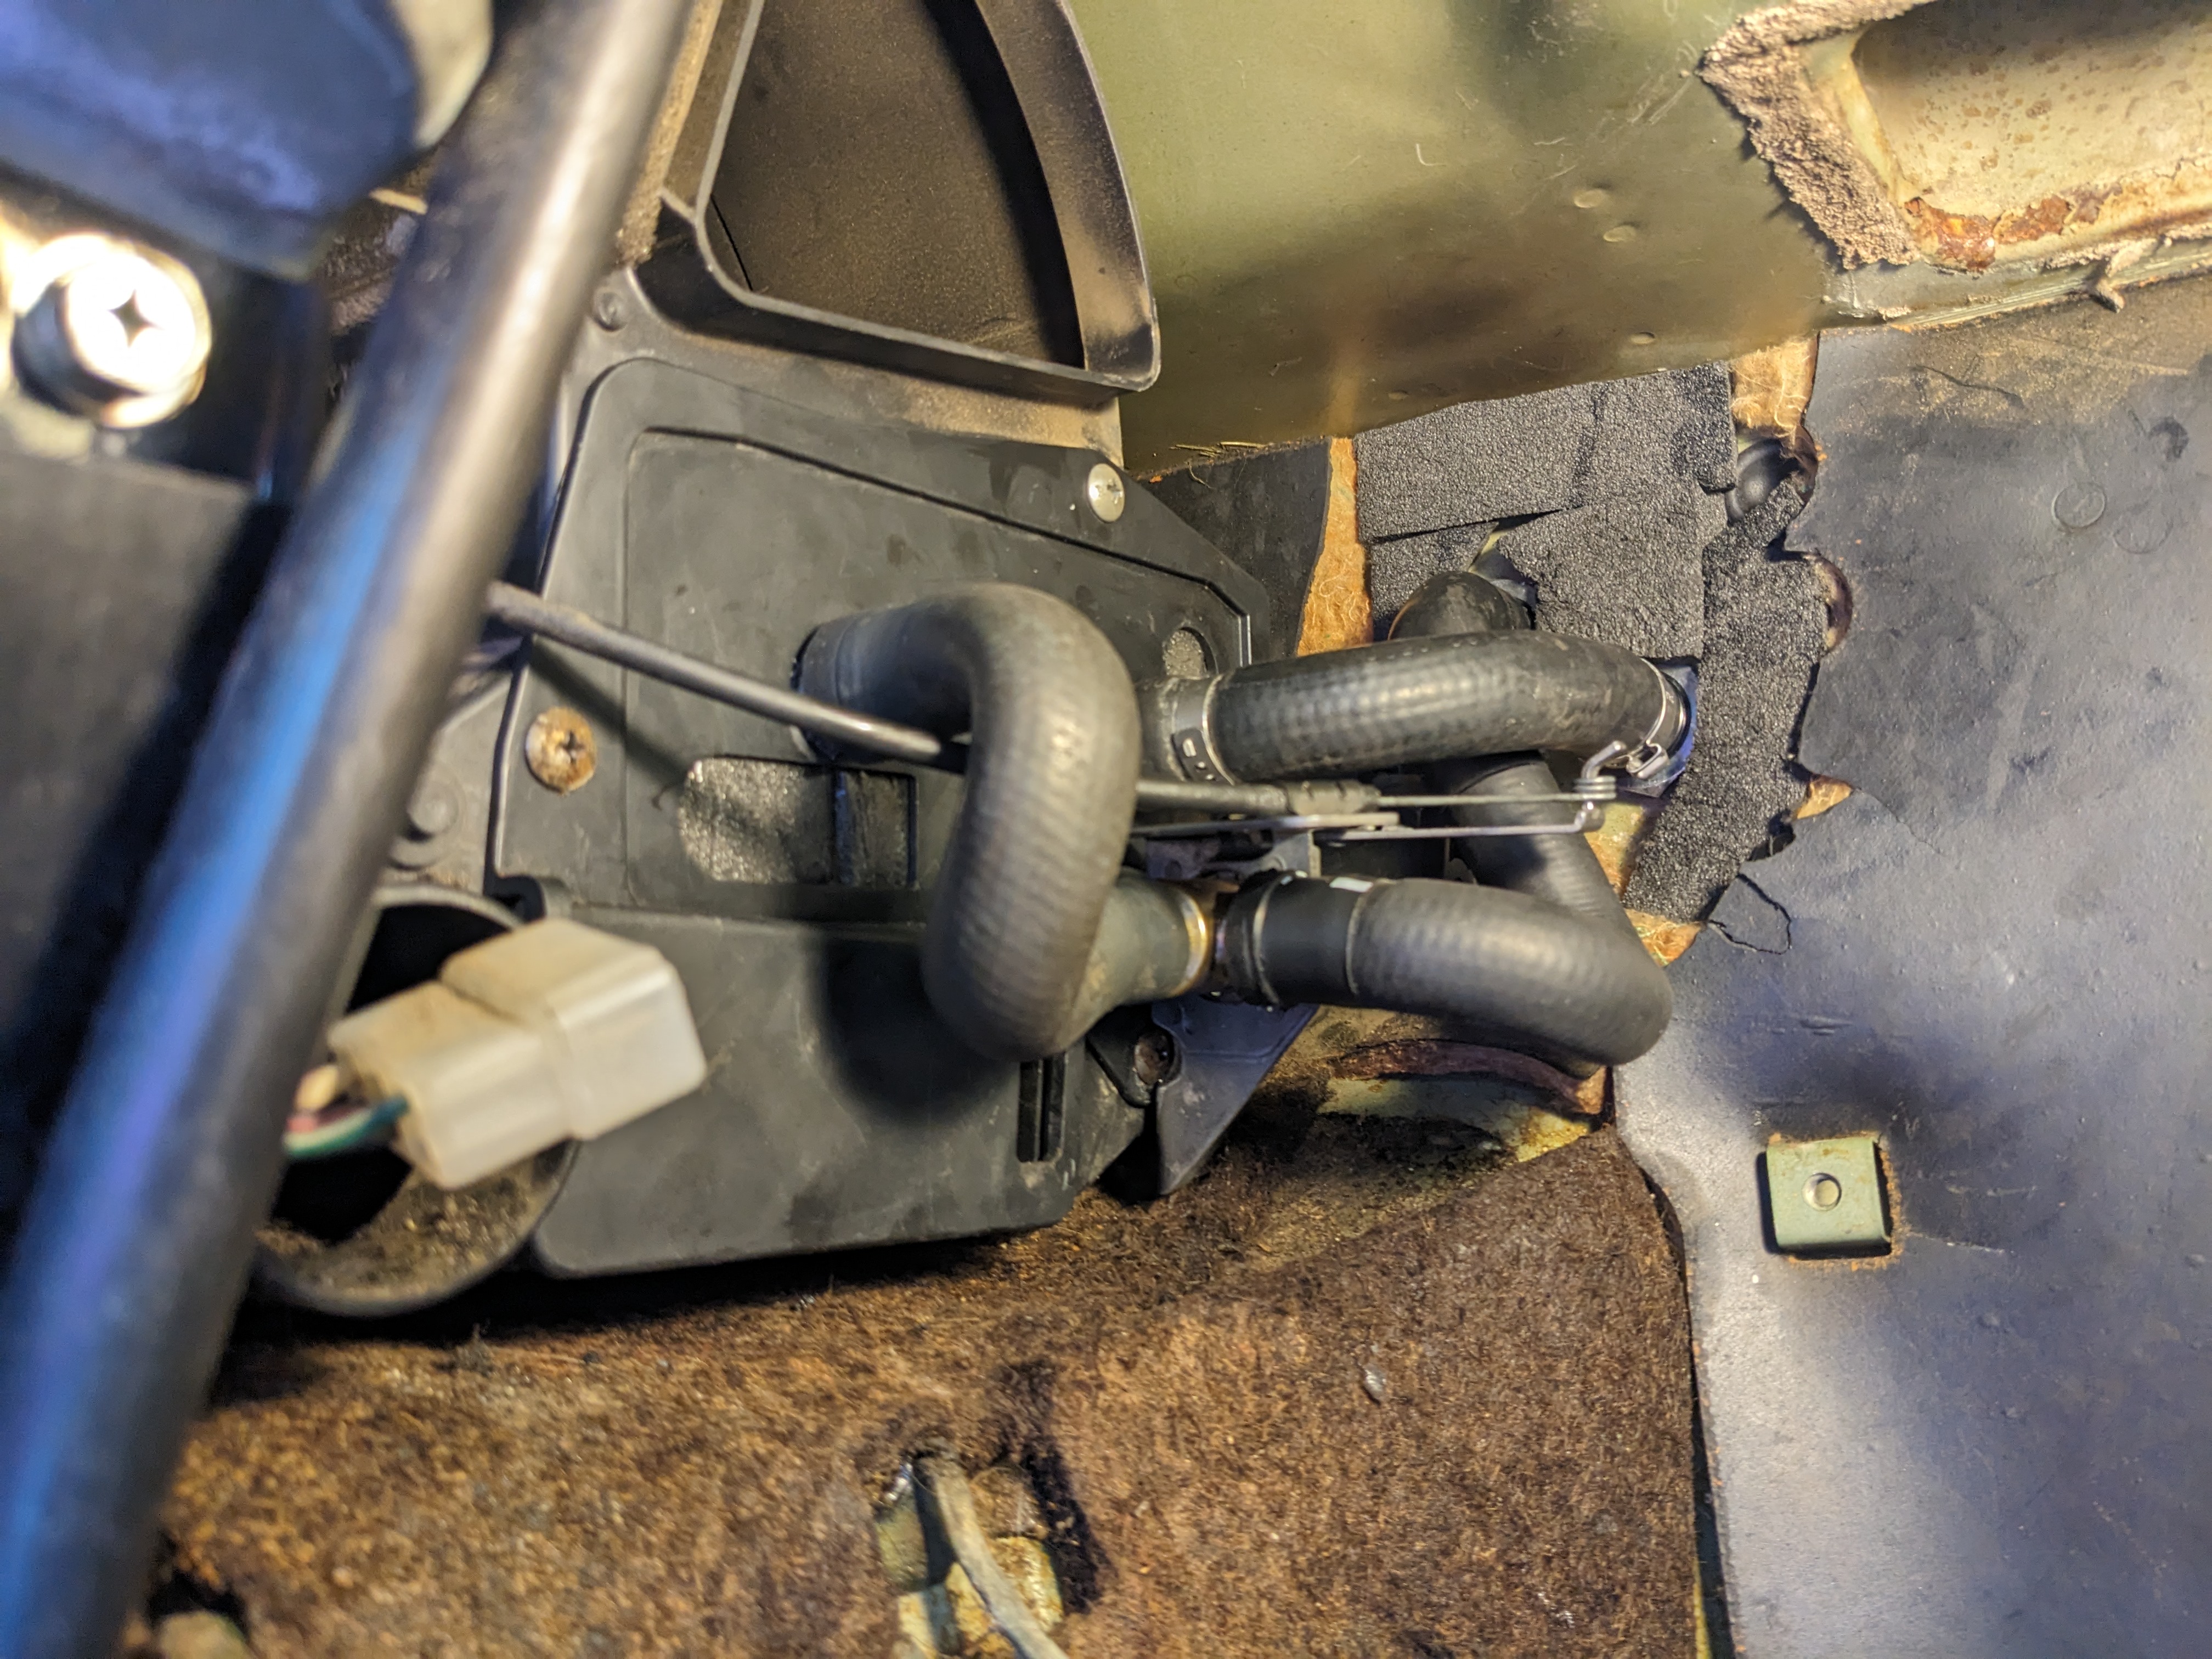
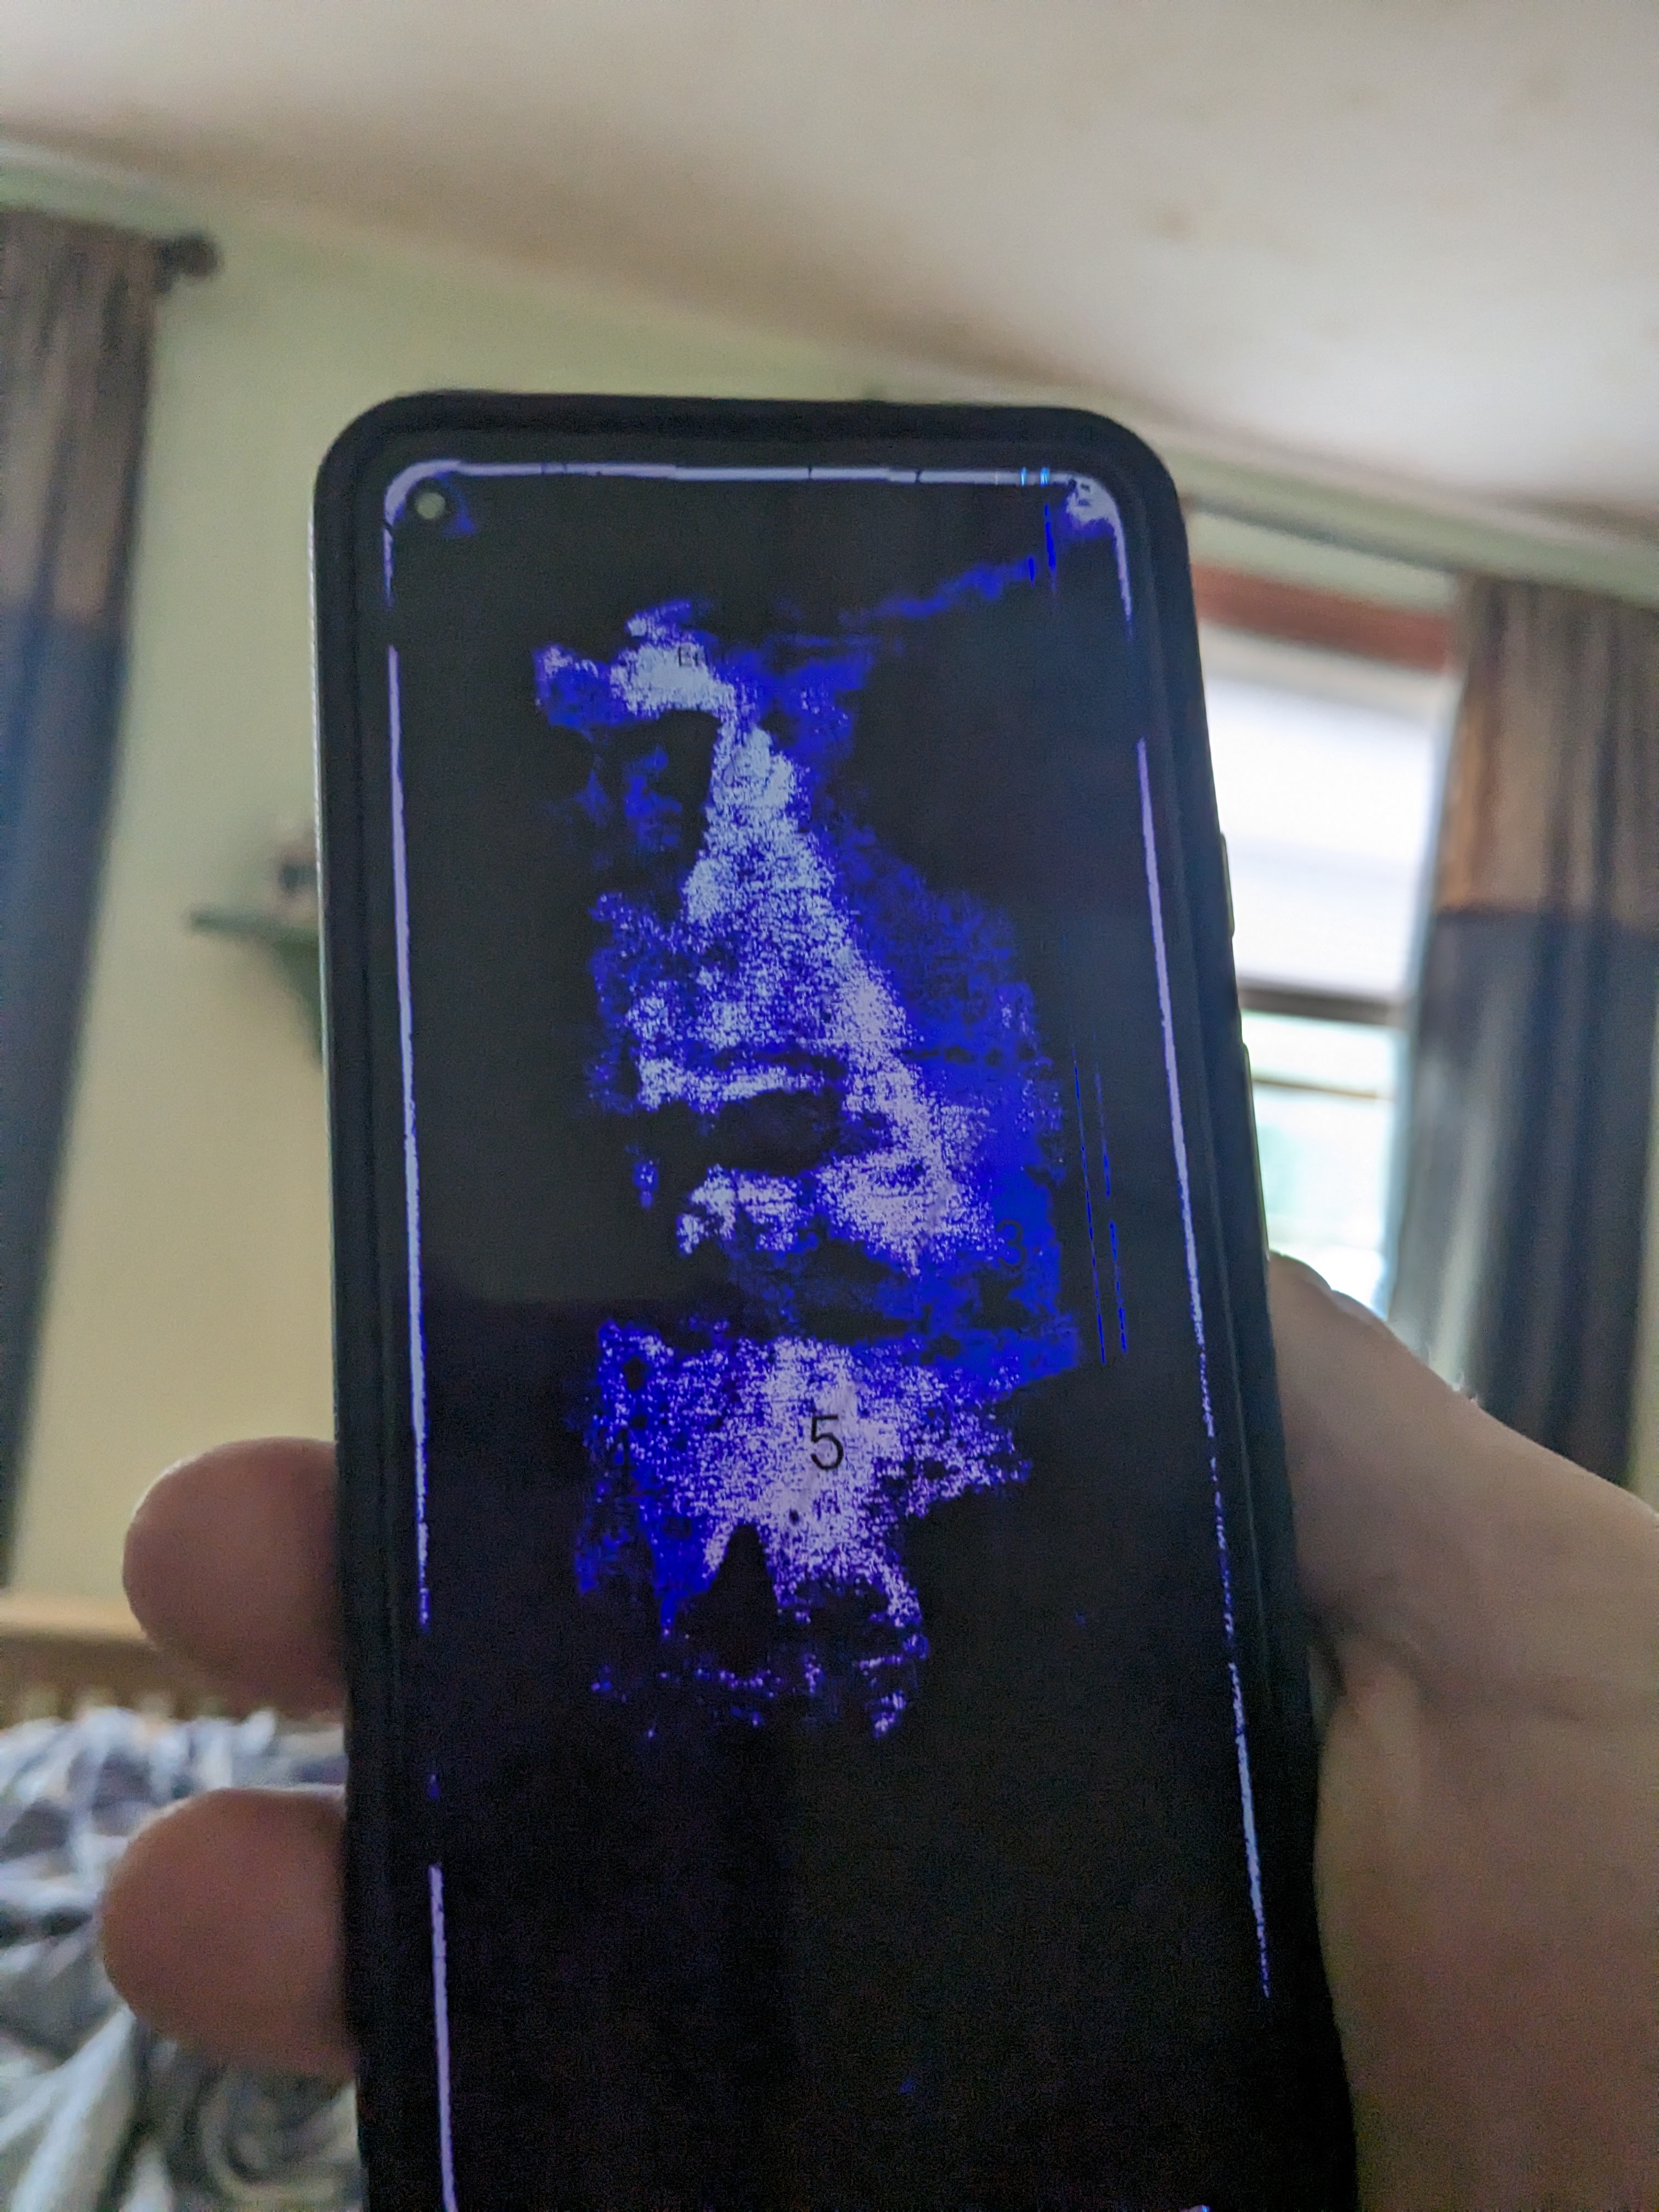
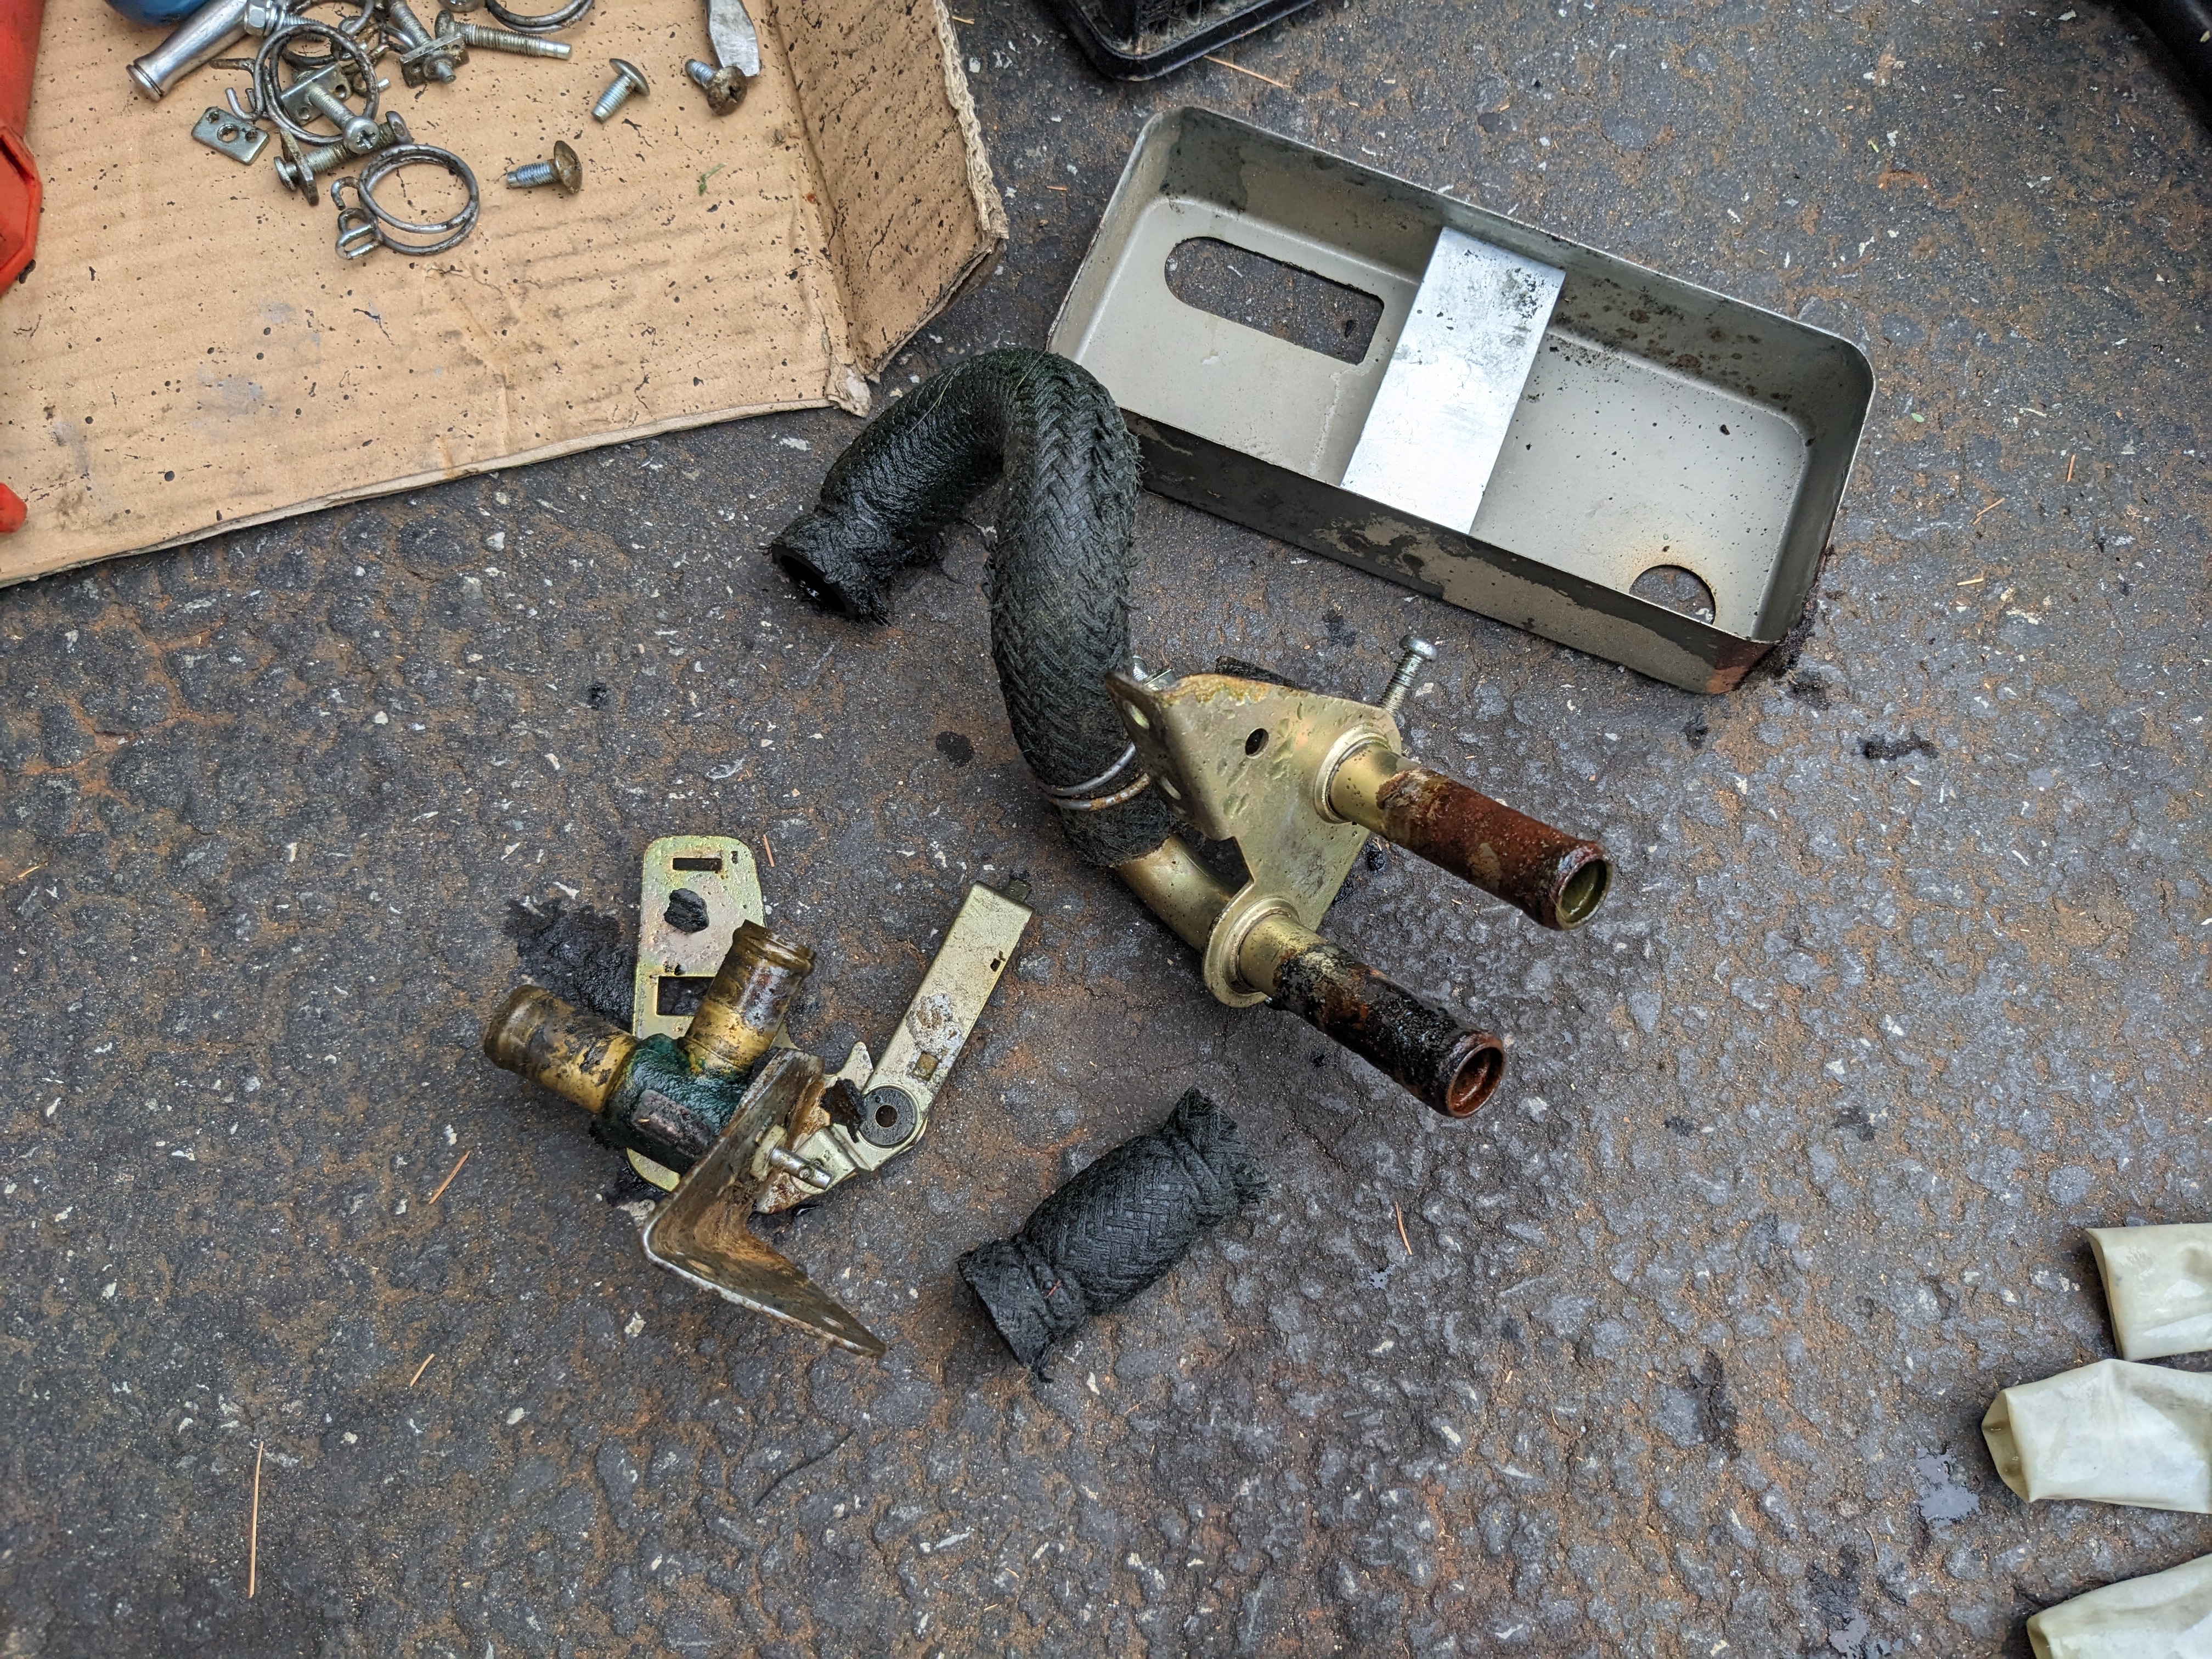
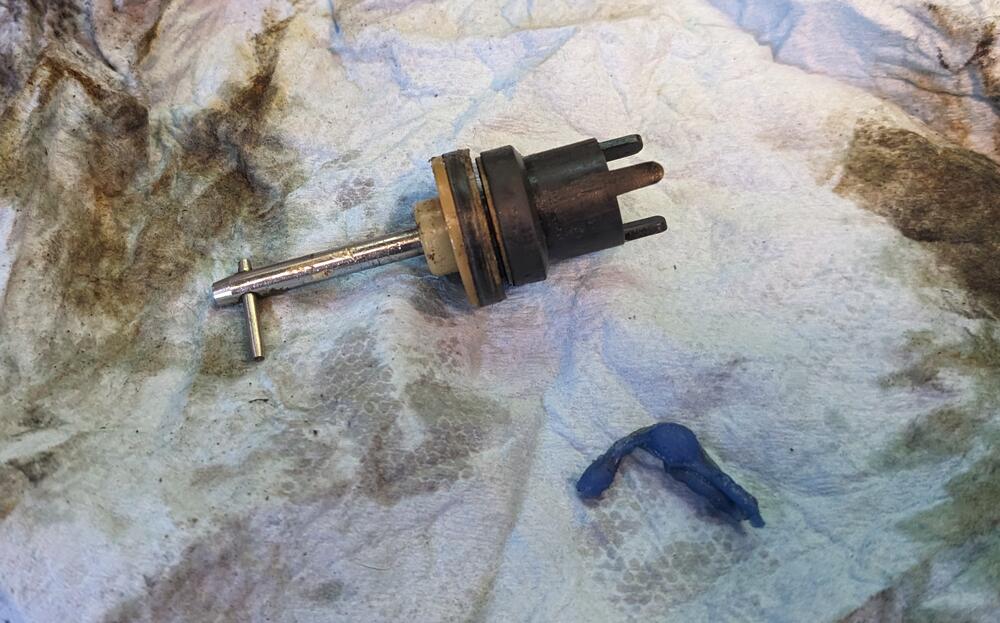
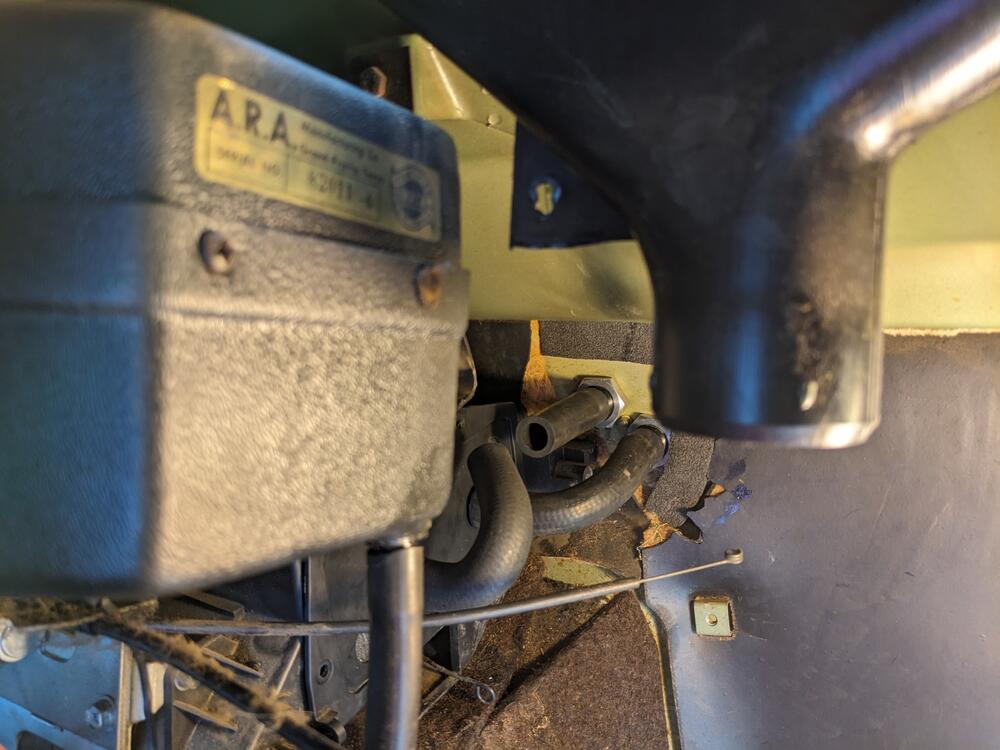
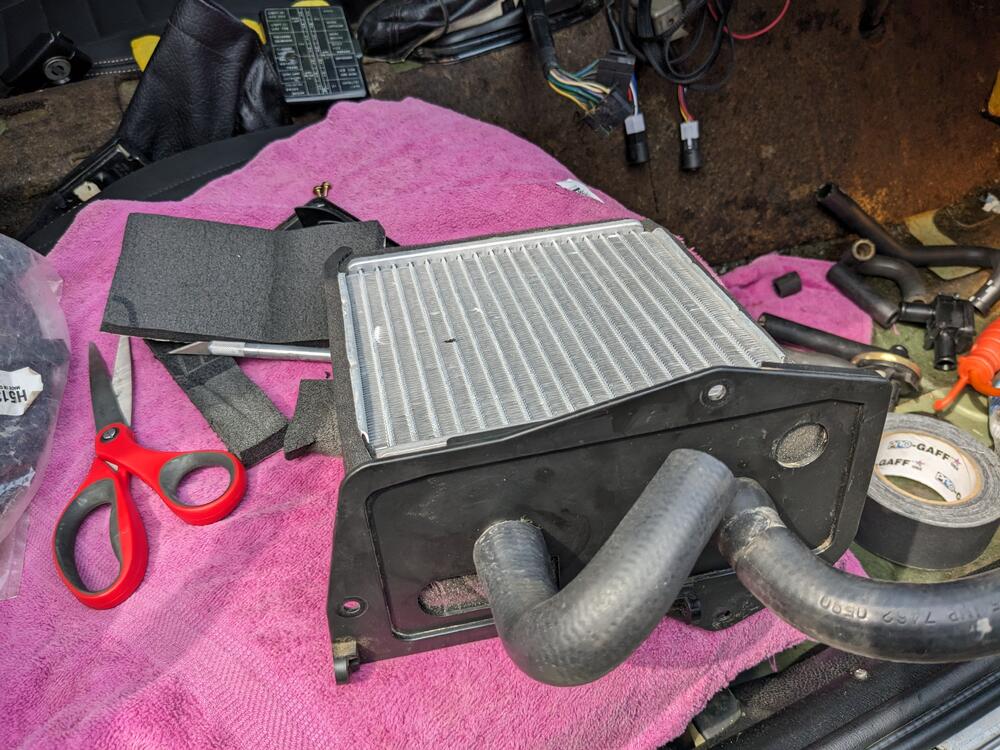
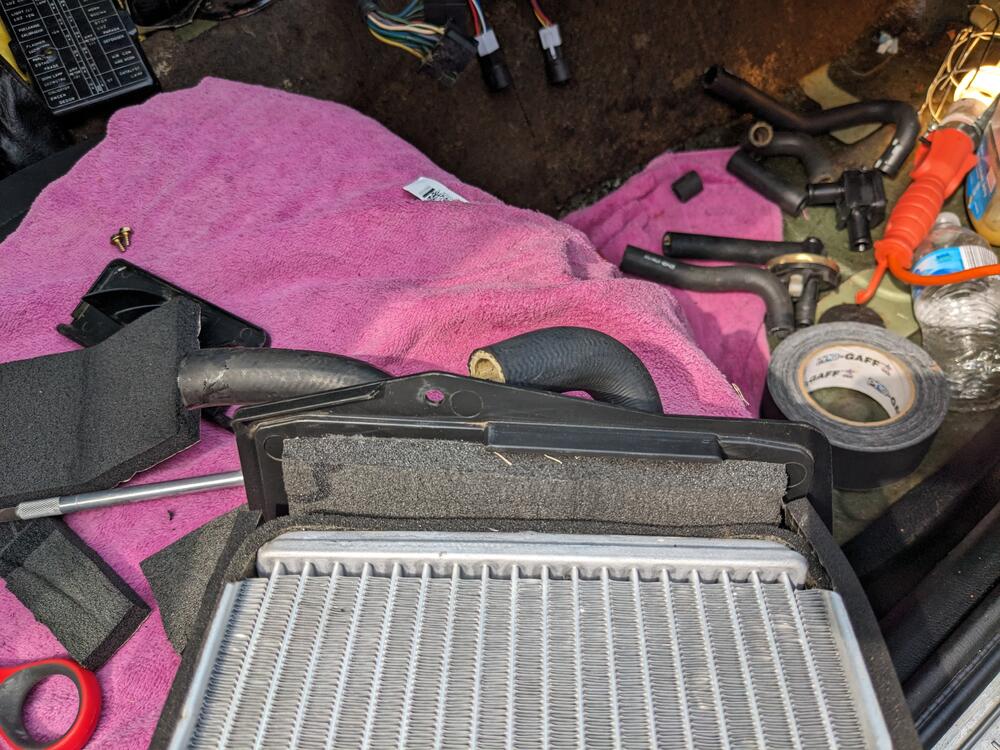
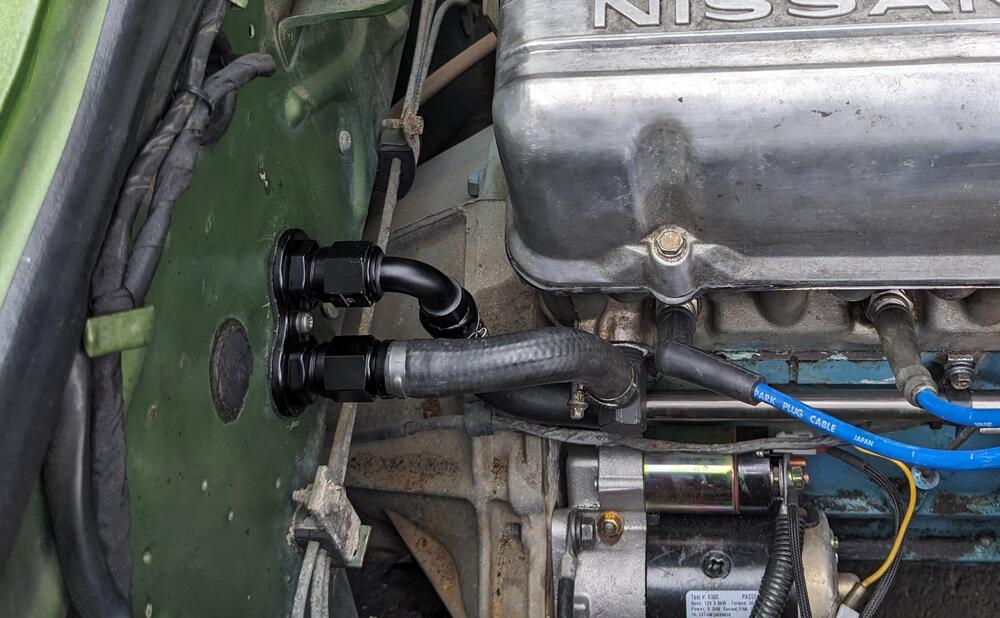
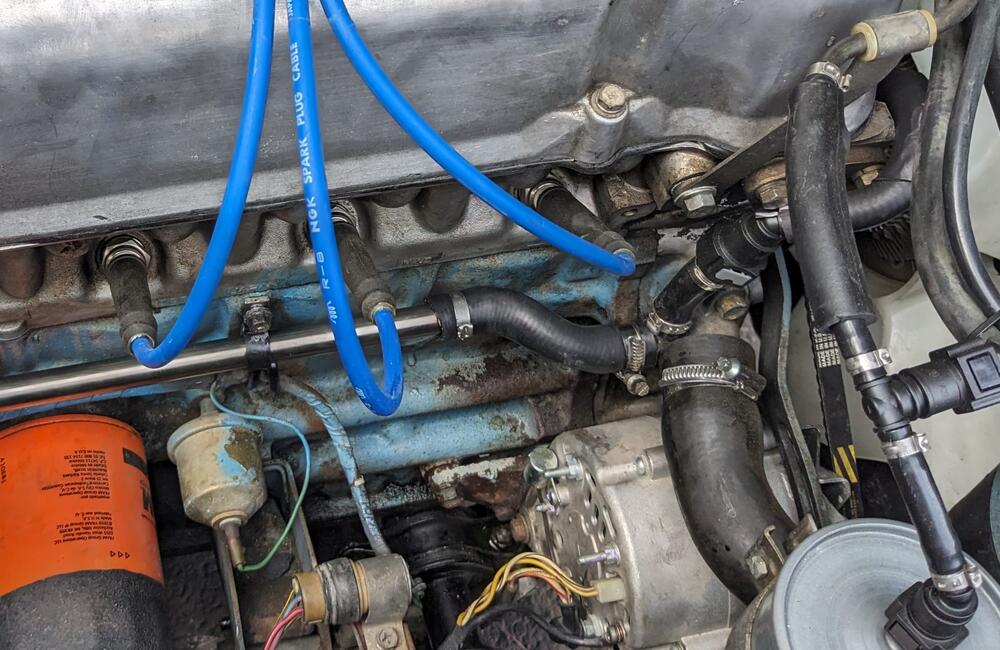
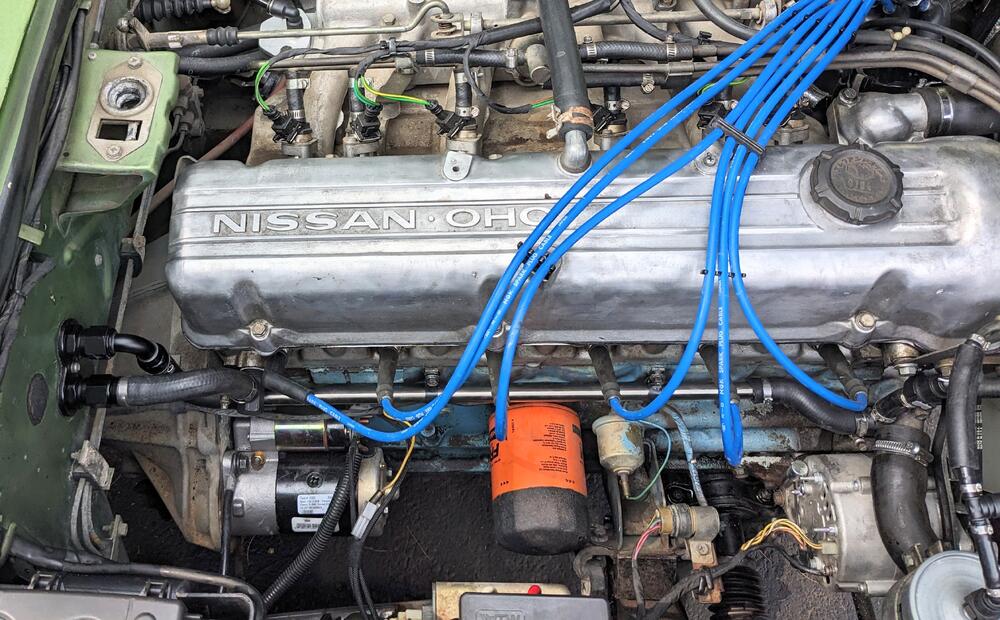
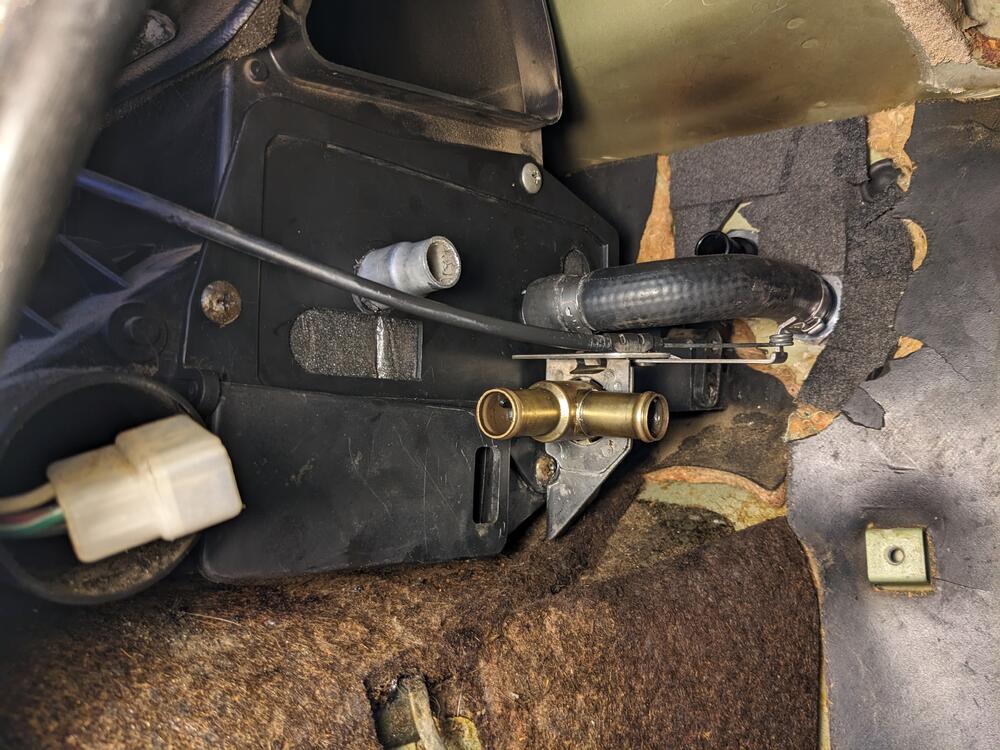
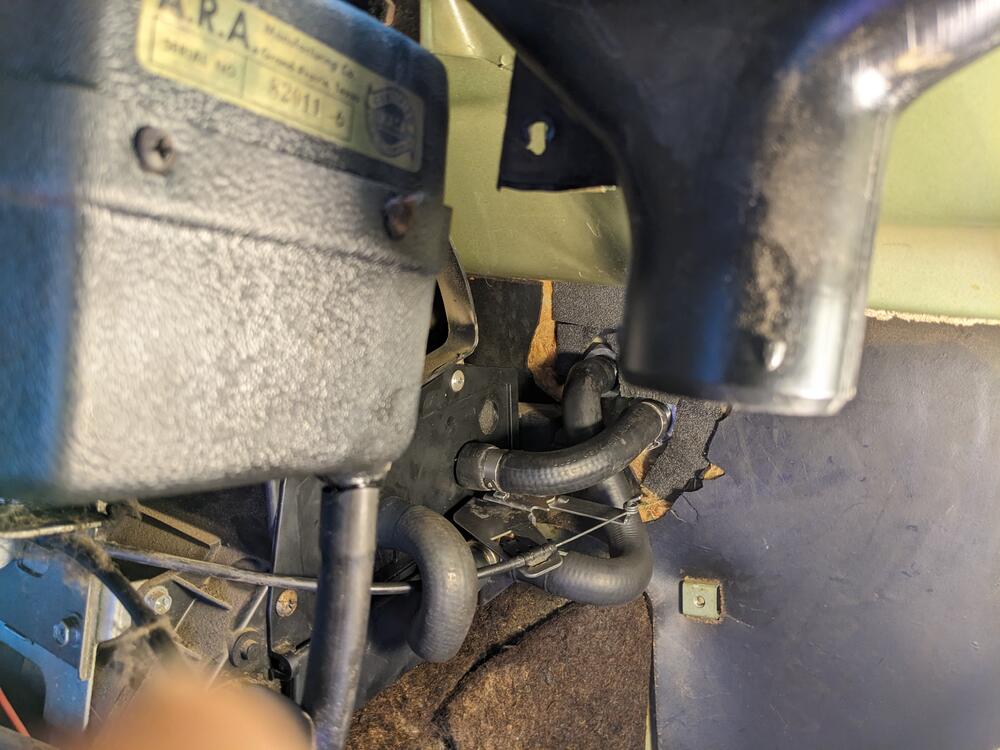
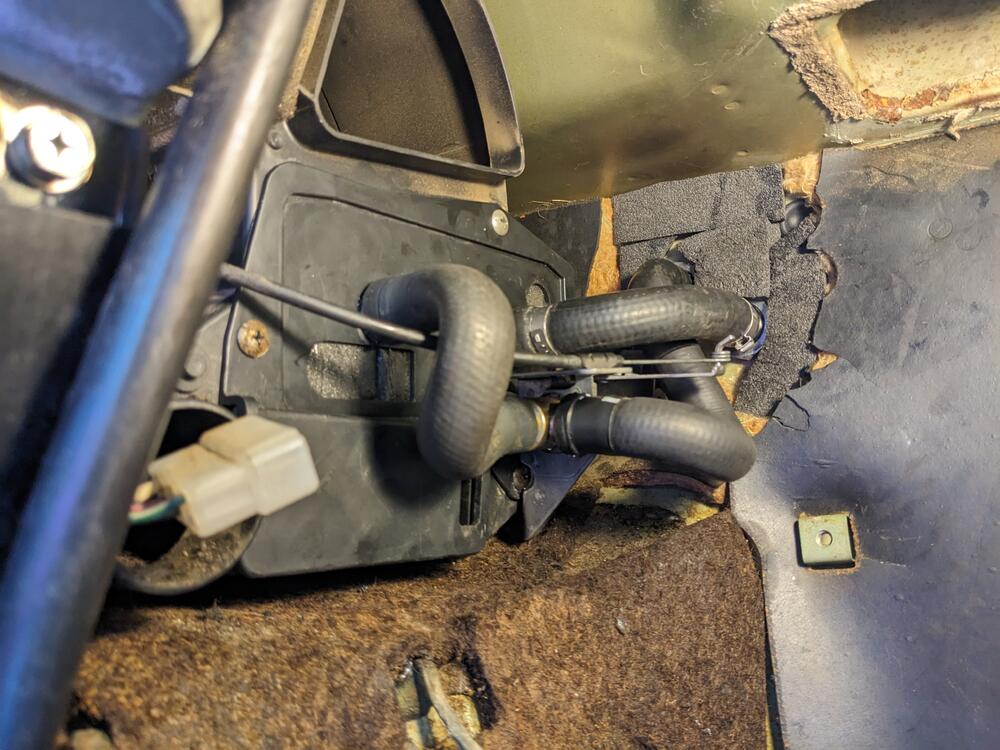
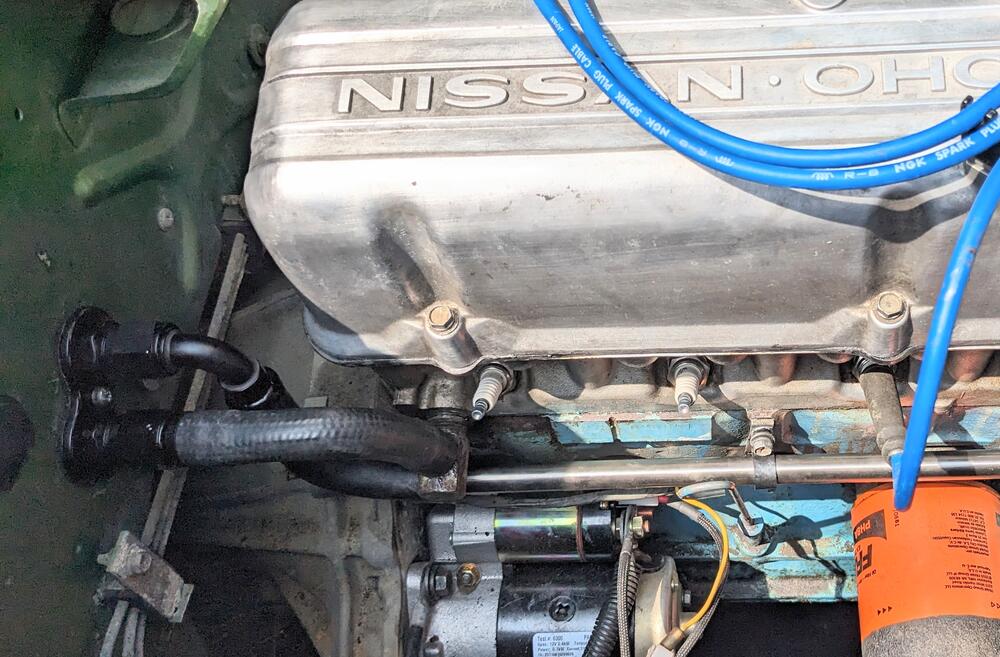
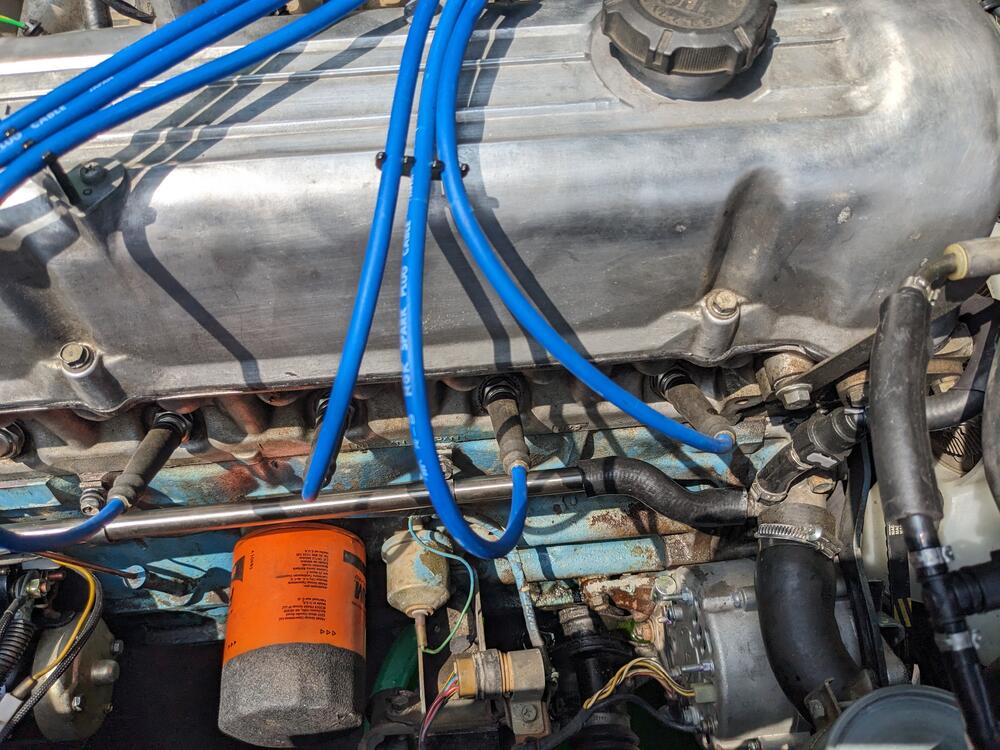
So to continue with my version using the '91-02 Ford Escort heater core (thanks Capt. Obvious!) I ordered the heater valve mentioned by another -4 Seasons 74627 - but it didn't arrive until late this evening, so I dismantled the original & had a go at fixing it following the other thread Think it's pretty clear why the heat never shut off - large chunk of silicone wedged in there I forgot to take pics of the re-assembly, I used a Viton o-ring in place of the square cut outer seal, I left the inner one alone. Left it set on an angle filled with fluid to check for leaks. This is what my phone screen looks like (actually worse now, it's all dark) - so my pics are hit & miss I flipped the I/O for the heater hoses - the bulkhead upper is now the return & the outer/lower is the feed. I did it this way so that the feed is not too short, and the return is a straighter run. and so the inside feed is a plain elbow 90º. Determining hose lengths (cut from Volvo 700 formed hoses) here. SS tubing is 20.5". dogleg for the other end, test fit alignment of pipe & hoses Hoses cut & clamped (head fitting was removed, de-rusted, sealed & reinstalled, slight offset change -more vertical Far end adjusted & clamped With that end out of the way, I returned to the heater valve & core. Eyeballed holes for core pipes, based on the core being centered. Added closed cell foam on the sides to make it snug, and to the front to keep it pushed all the way in & cover up the old pipe holes. Was playing with hose routing - this way was to allow the 74627 straight pipe valve to sit above the feed pipe along these lines I'll revert to this layout if I need to switch to the 74627 valve When it became clear that the 74627 wasn't coming , I switched gears & worked on fitting the original repaired valve - Heater valve fitted using the upper existing mount screw, new hole drilled in plate. Cut a notch in the valve mount bracket to clear the lower screw. Checked that flap can open. Feed hose clamped. Cable attached & function tested. Test fitting (formed, Volvo) hoses to & from heater valve Added oetiker clamps after this. Since I wasn't able to flare the end of the core tubing, I prefer them as the clamping is typically more uniform than a worm clamp of any type.
-
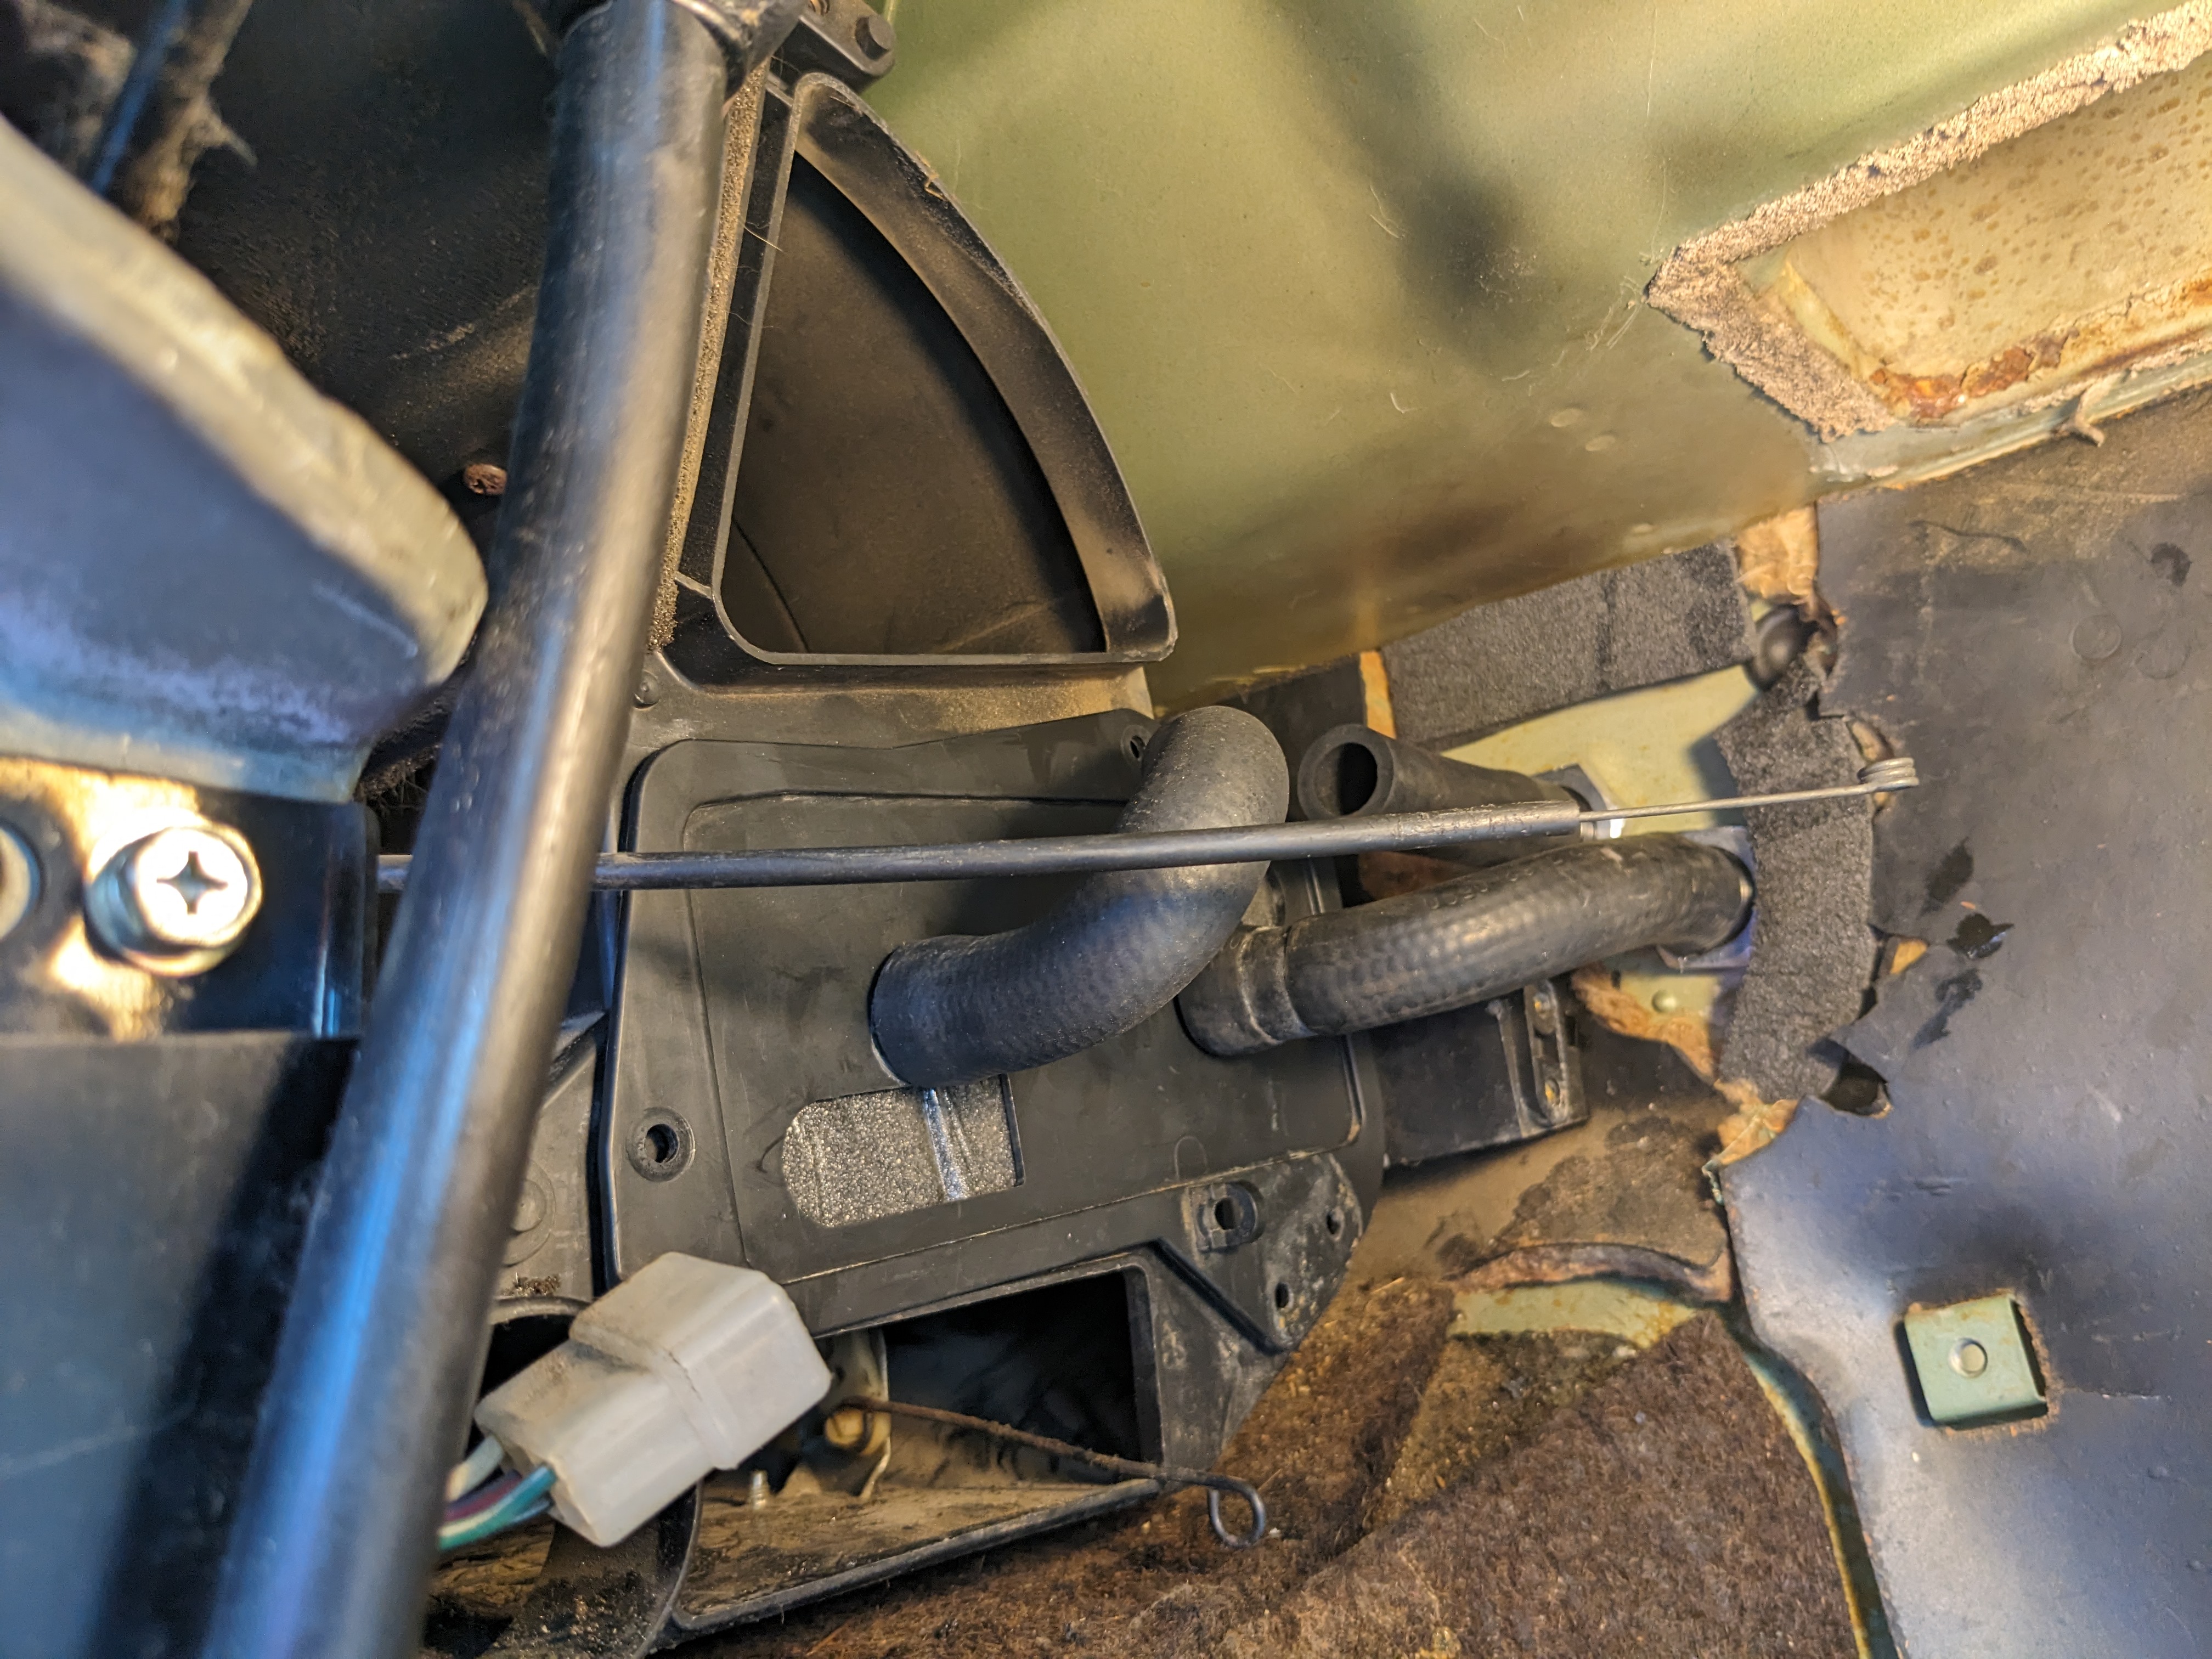
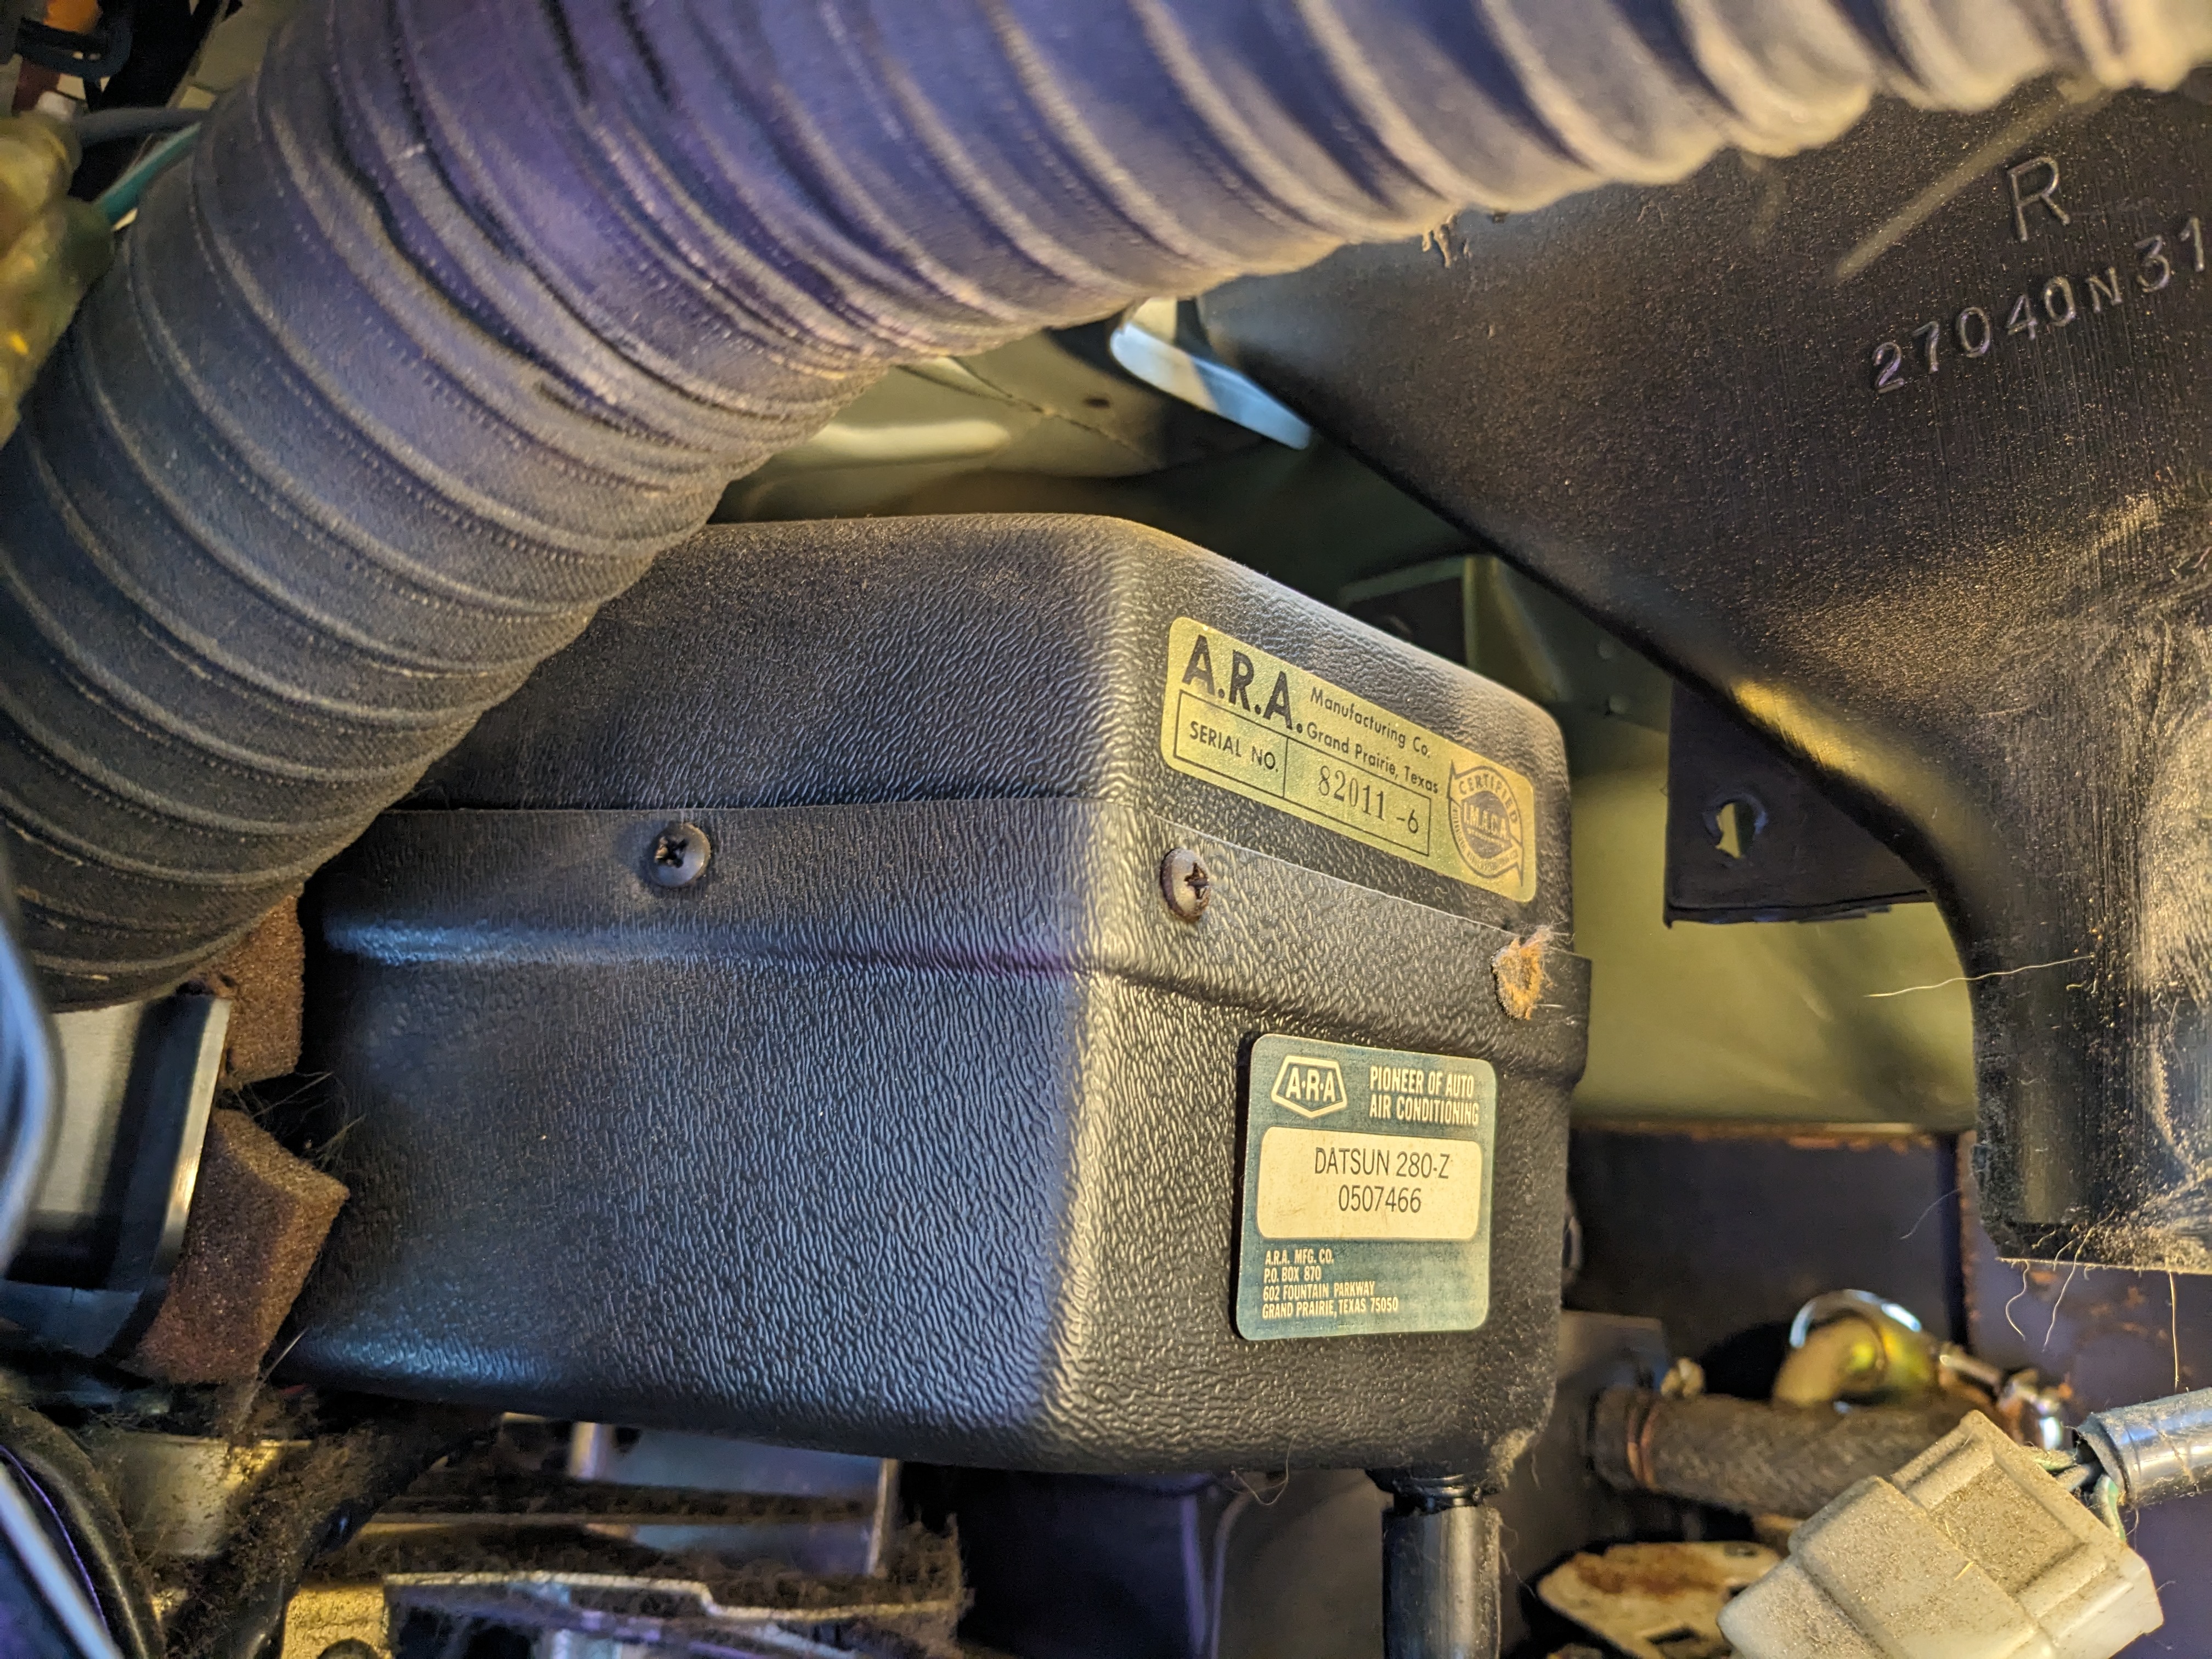
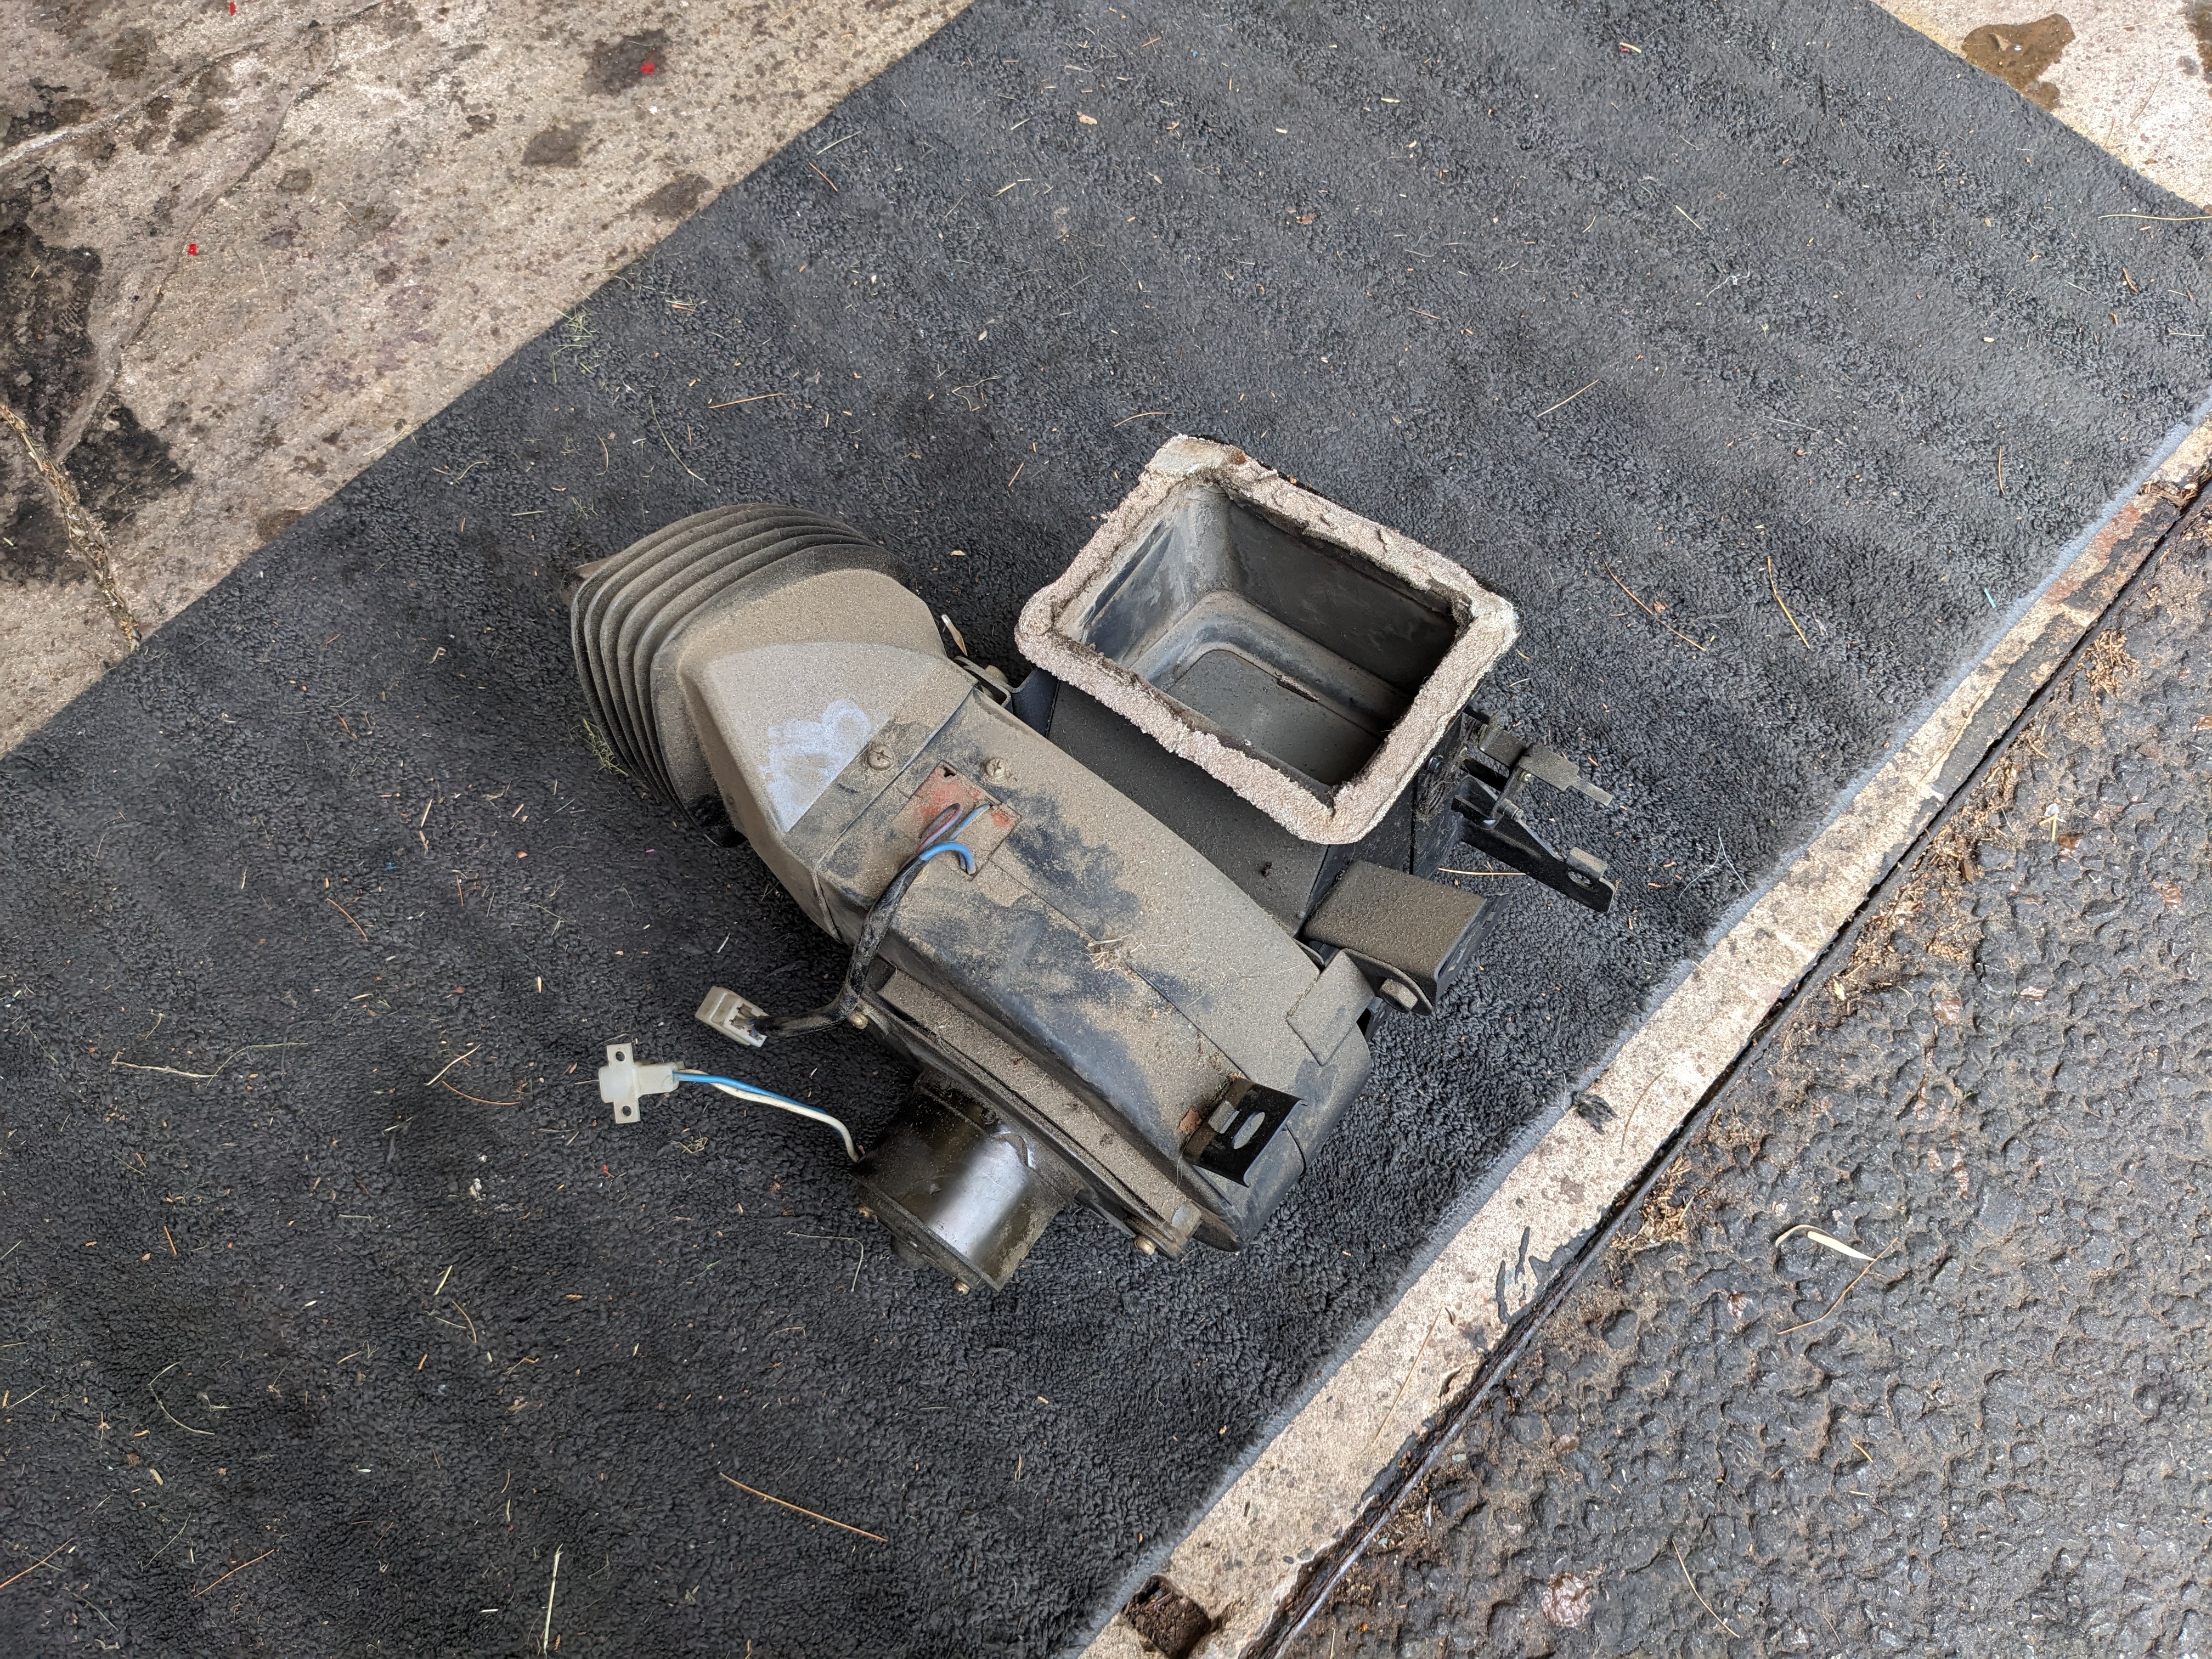
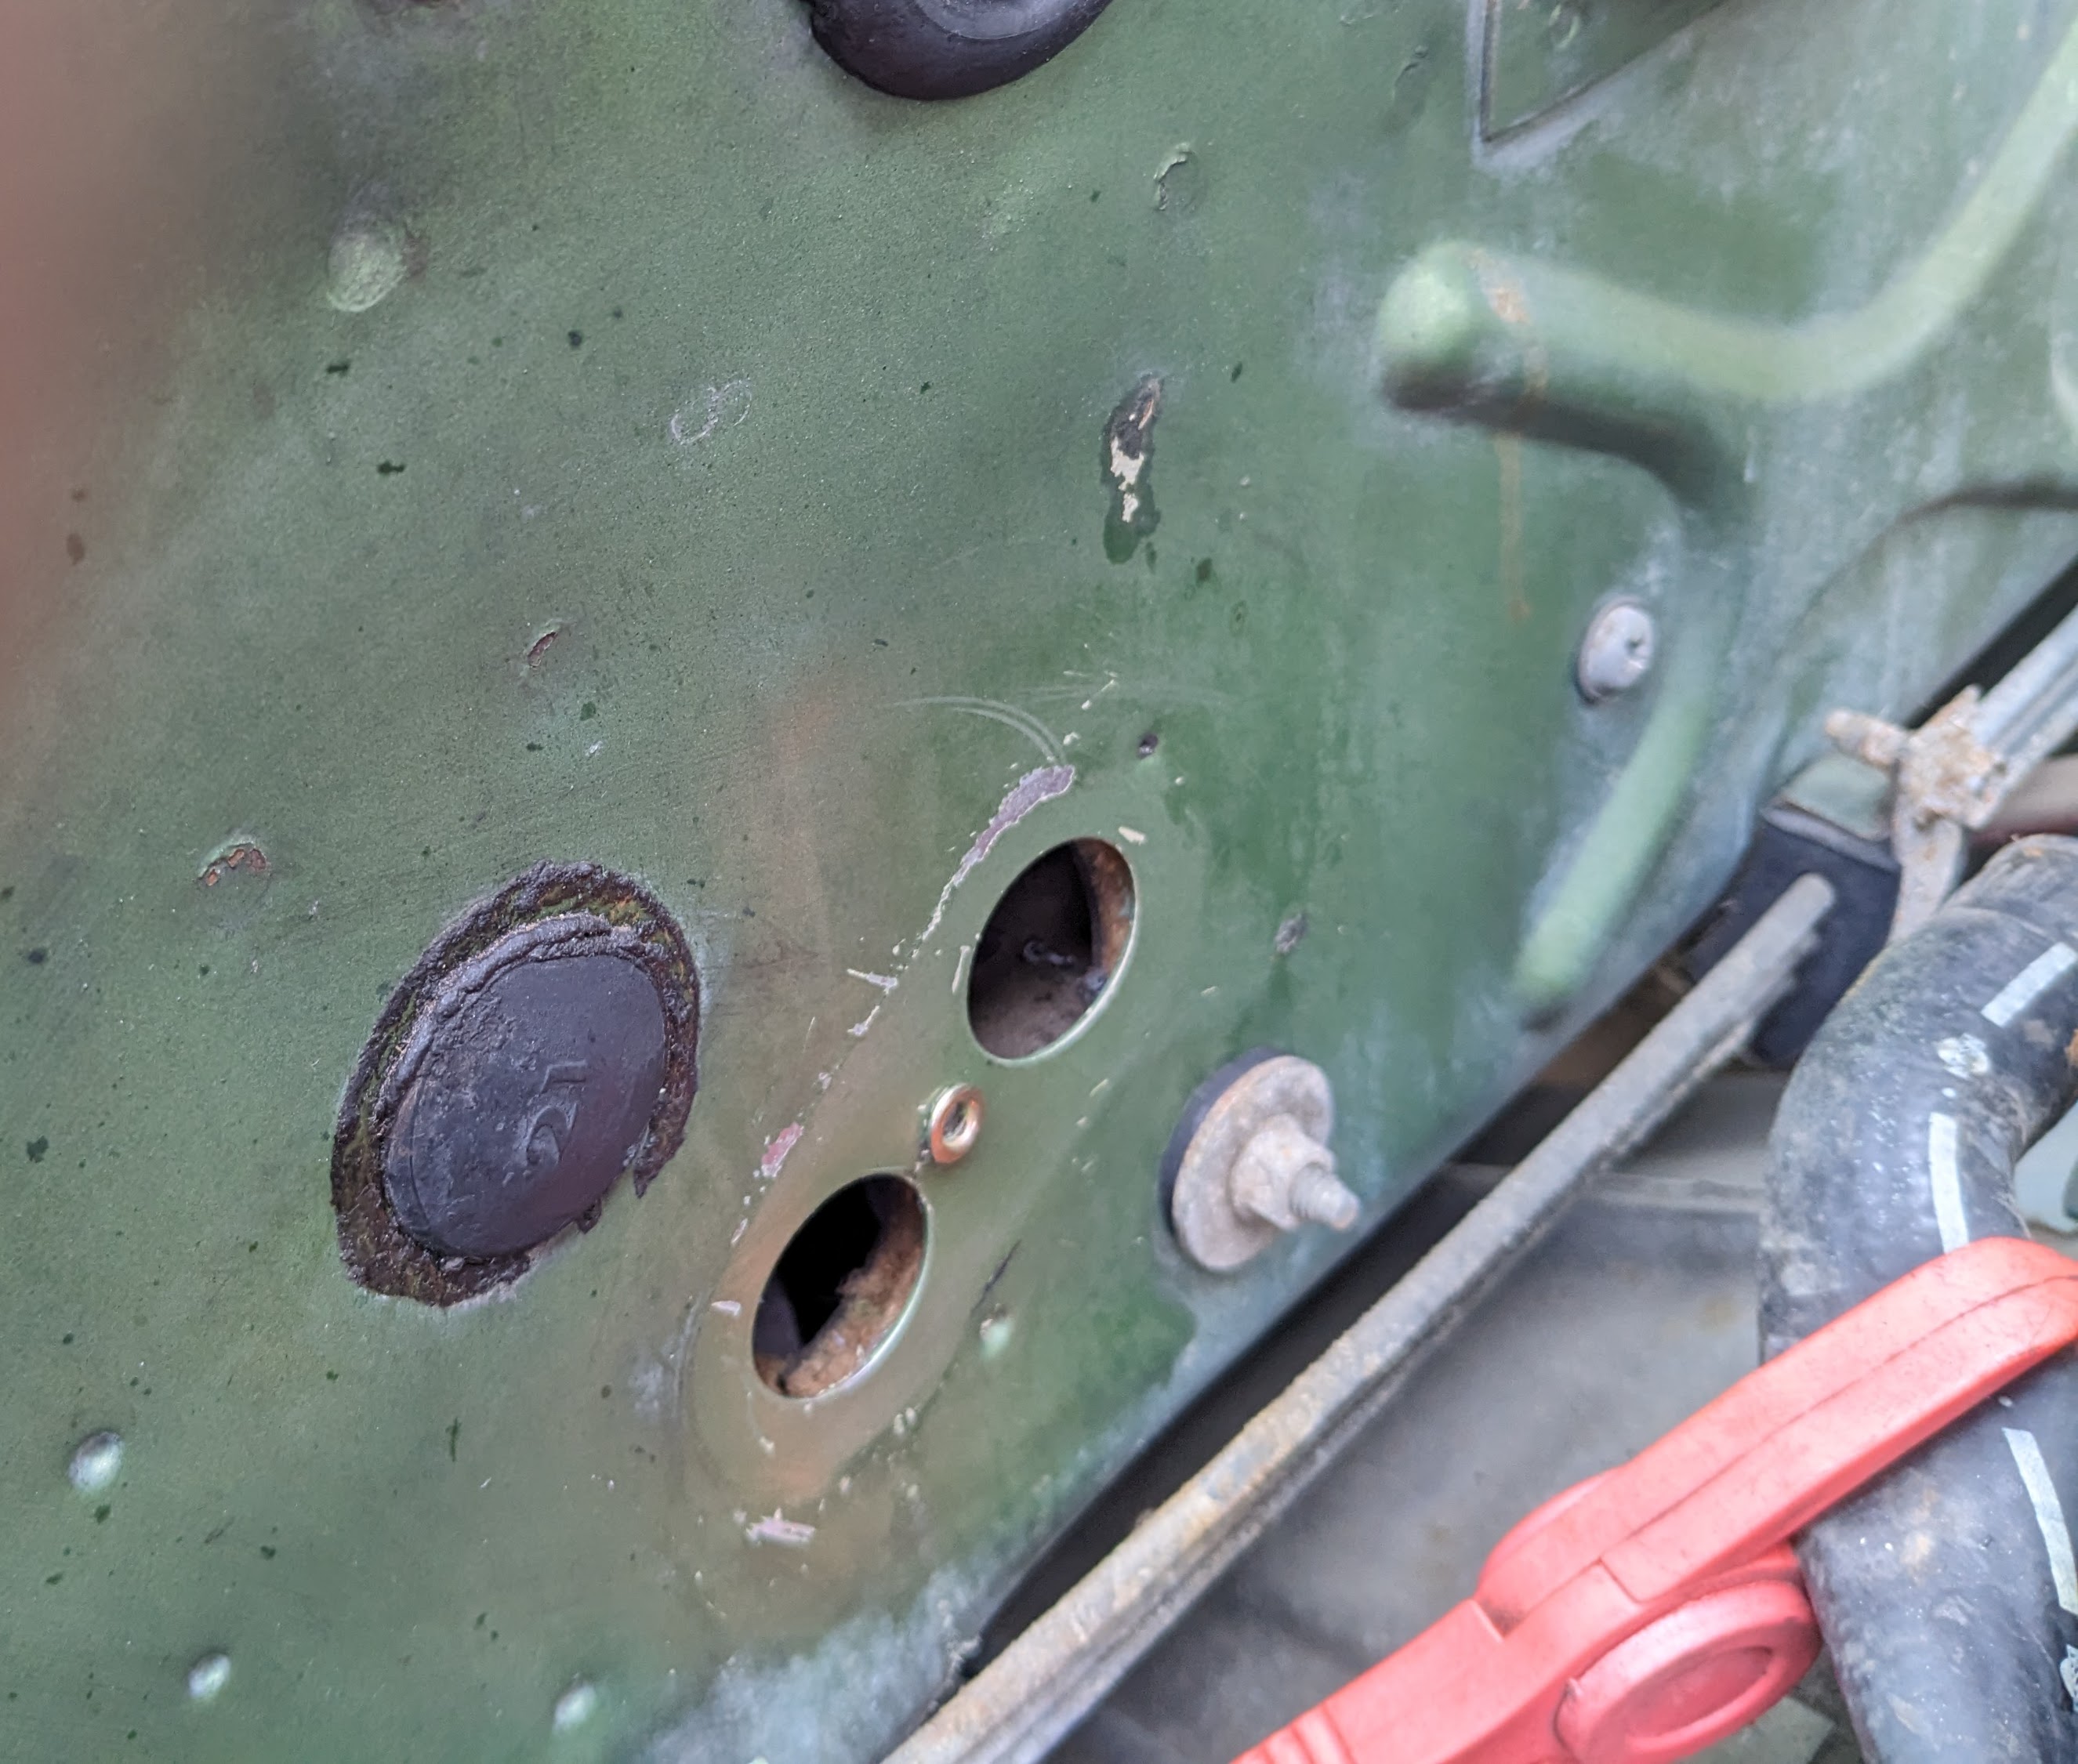
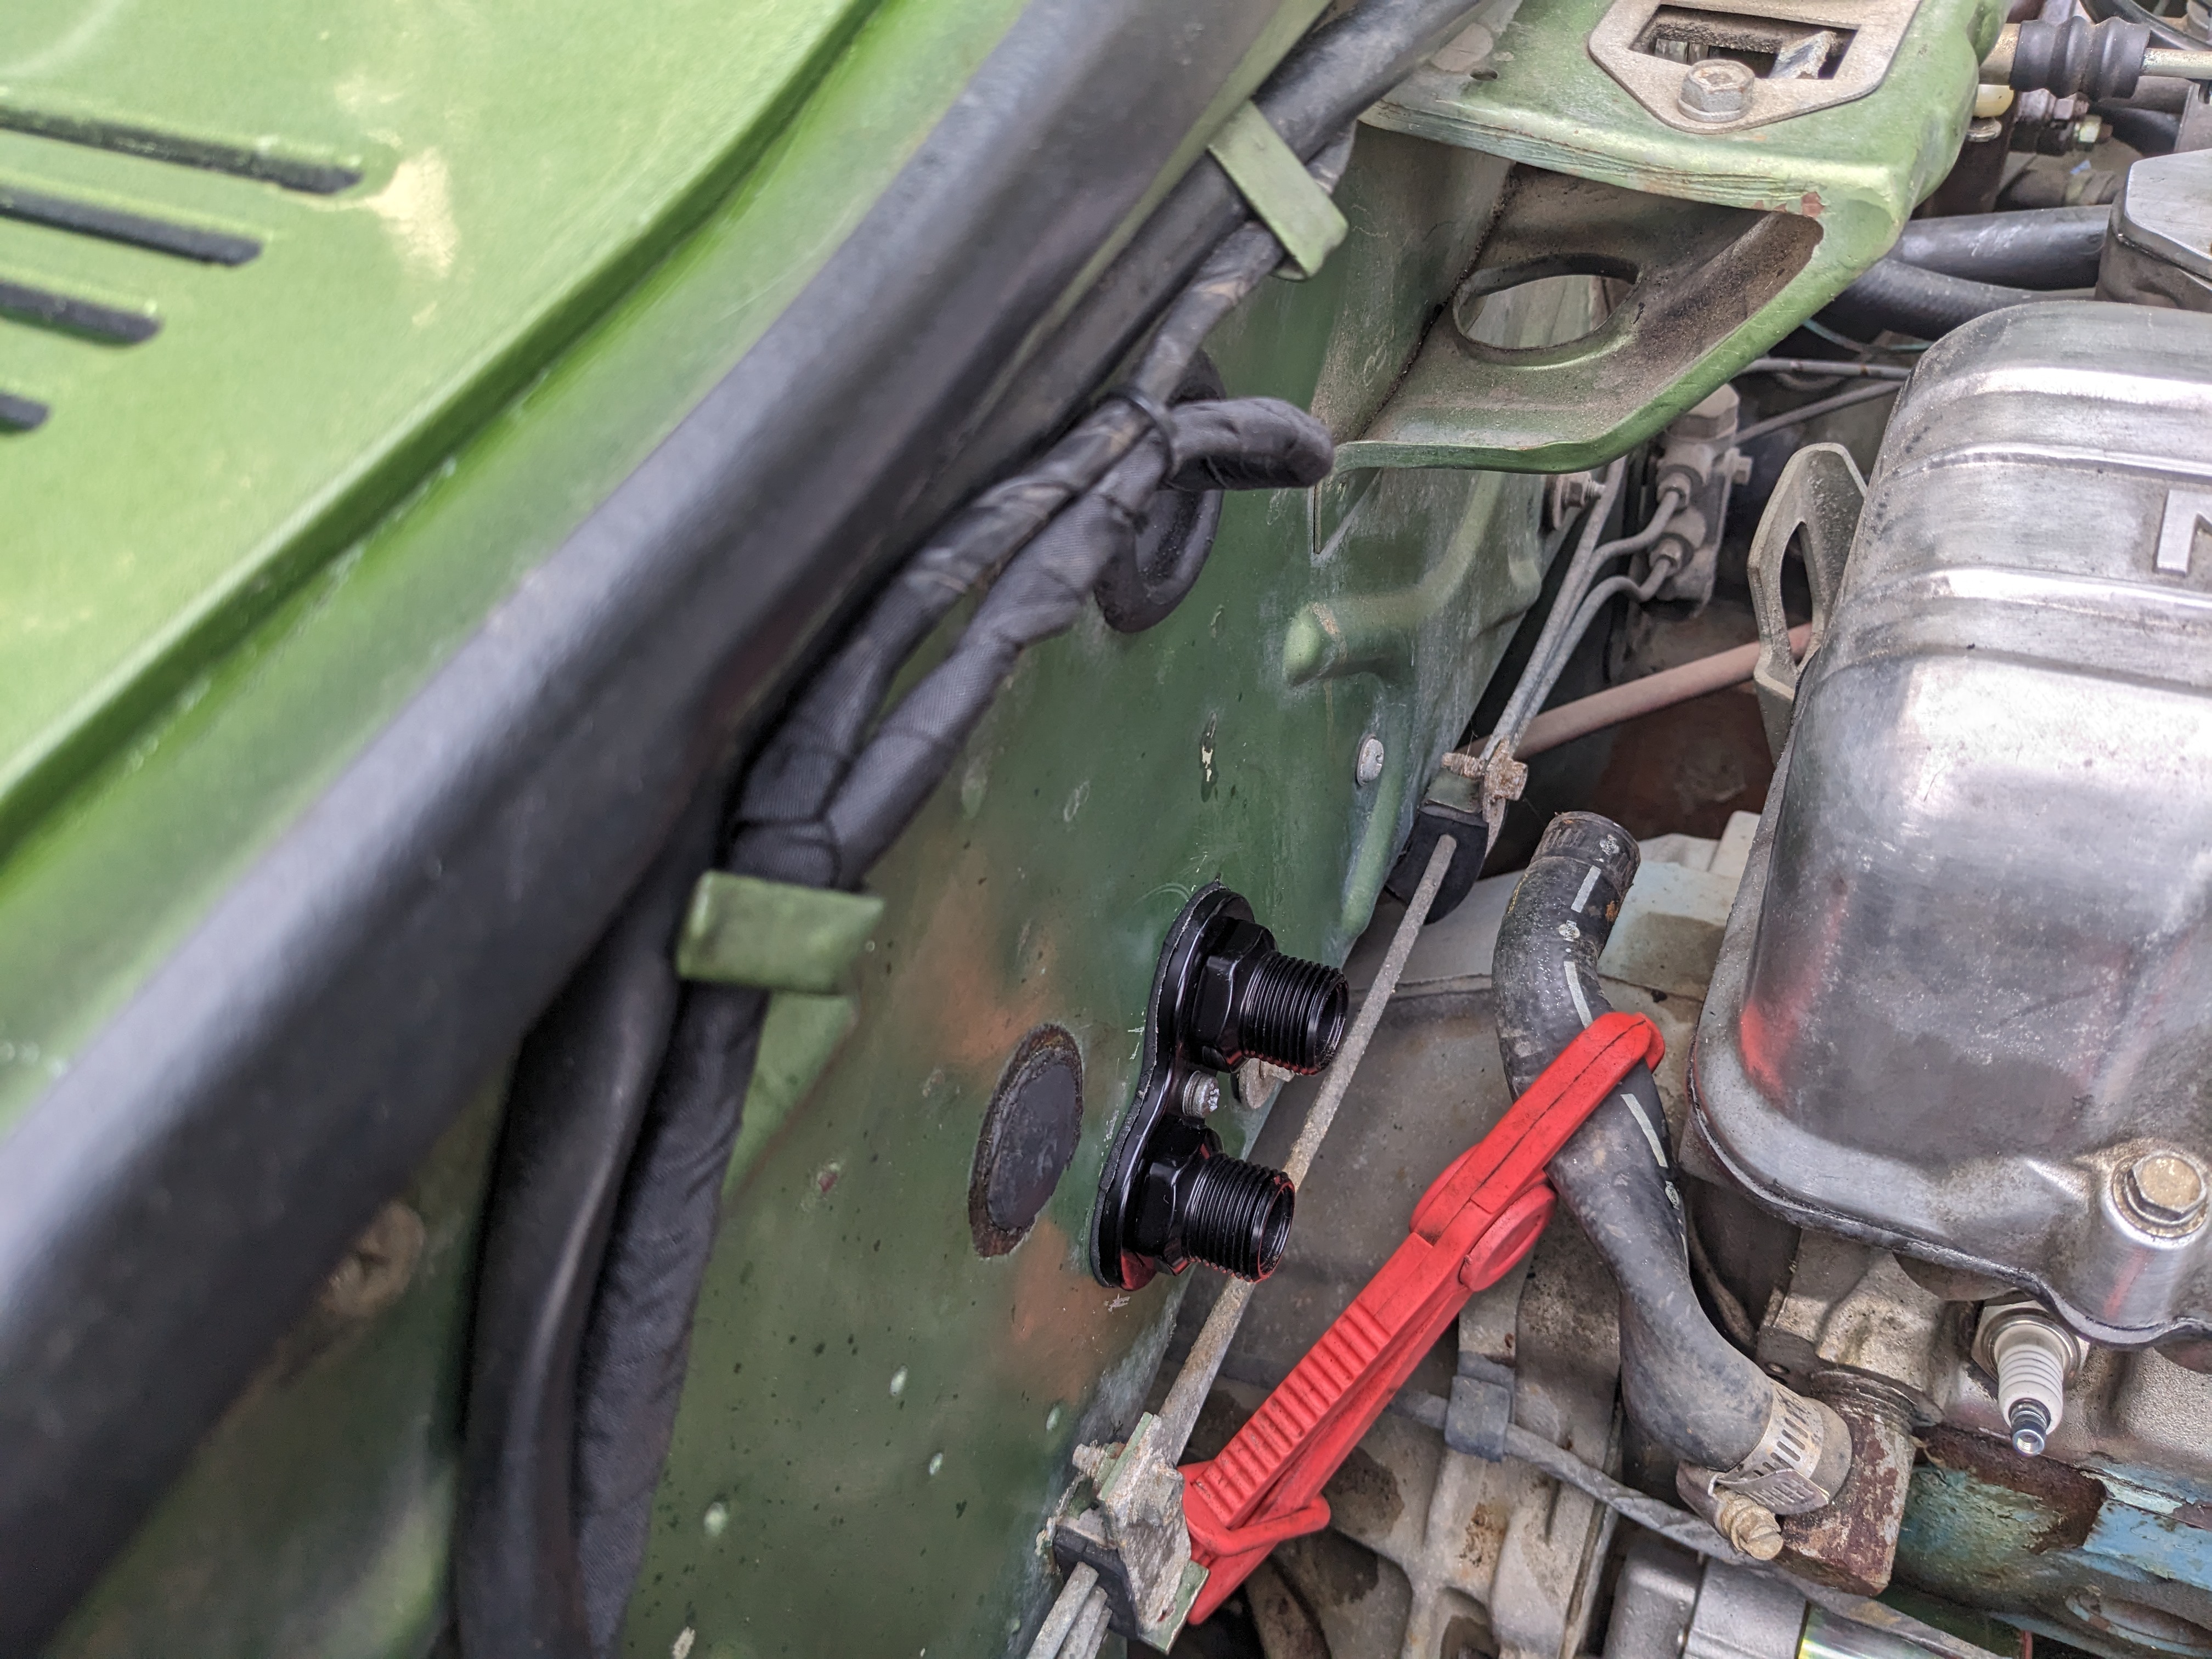
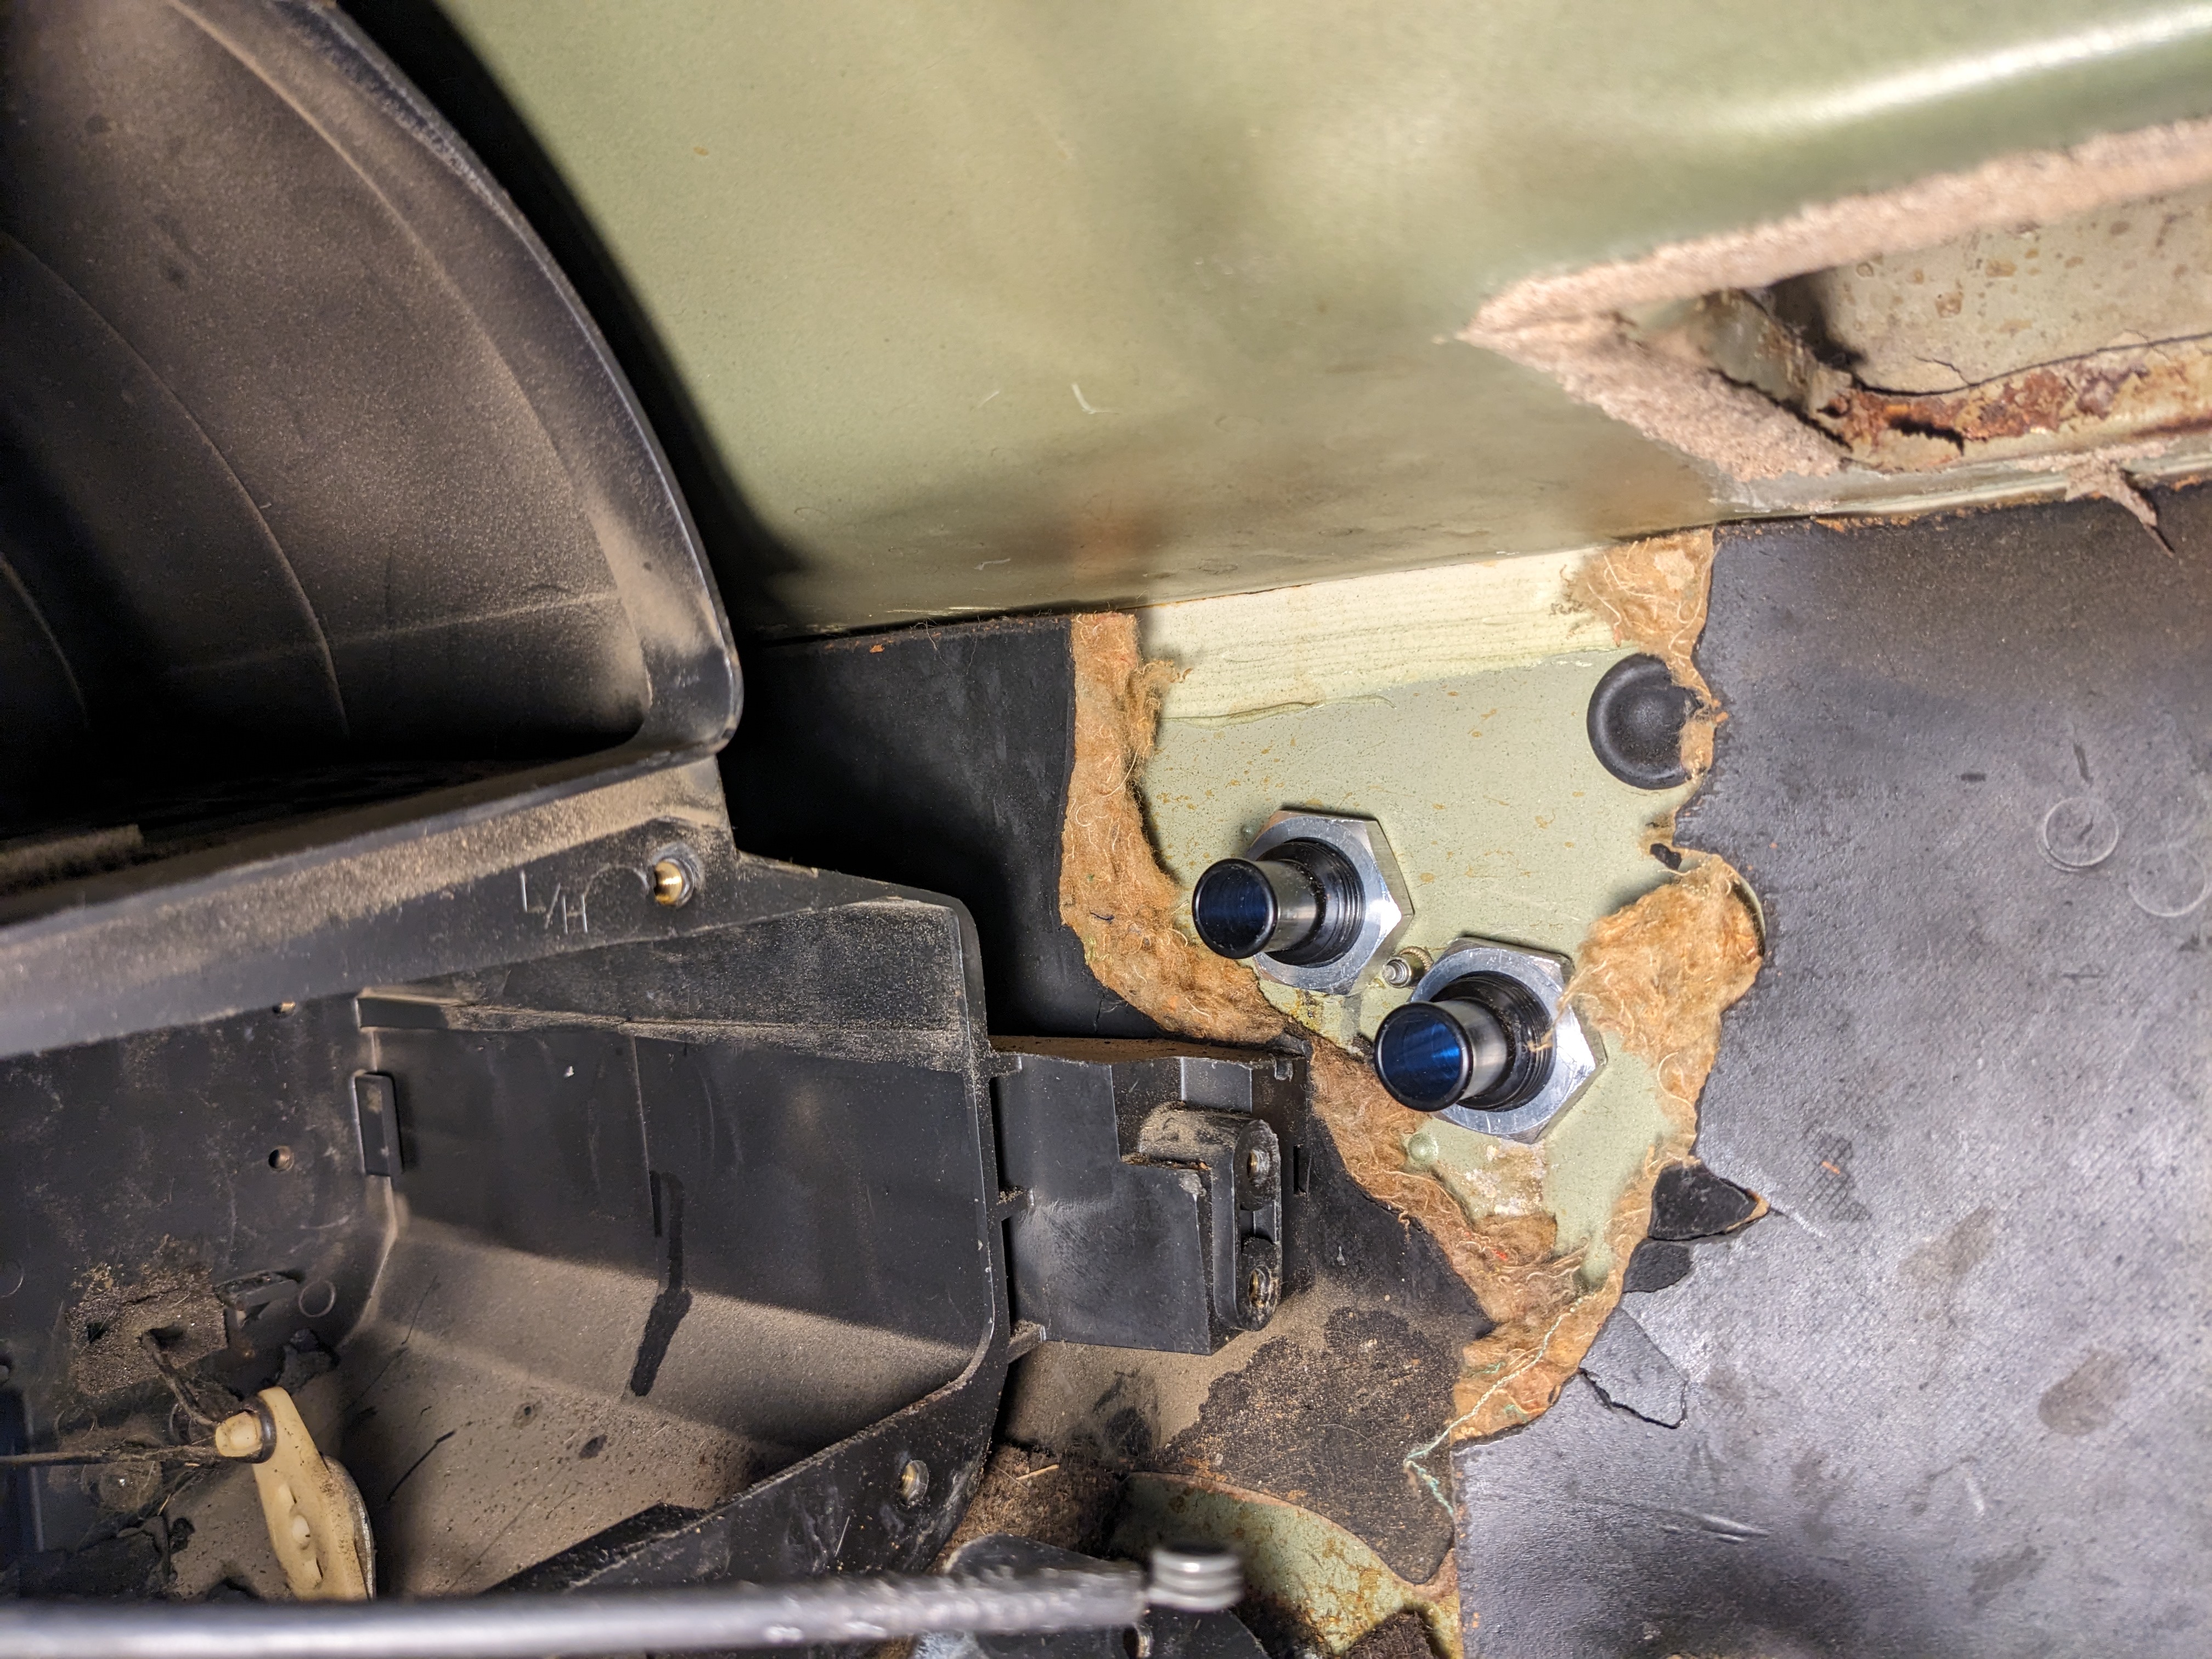
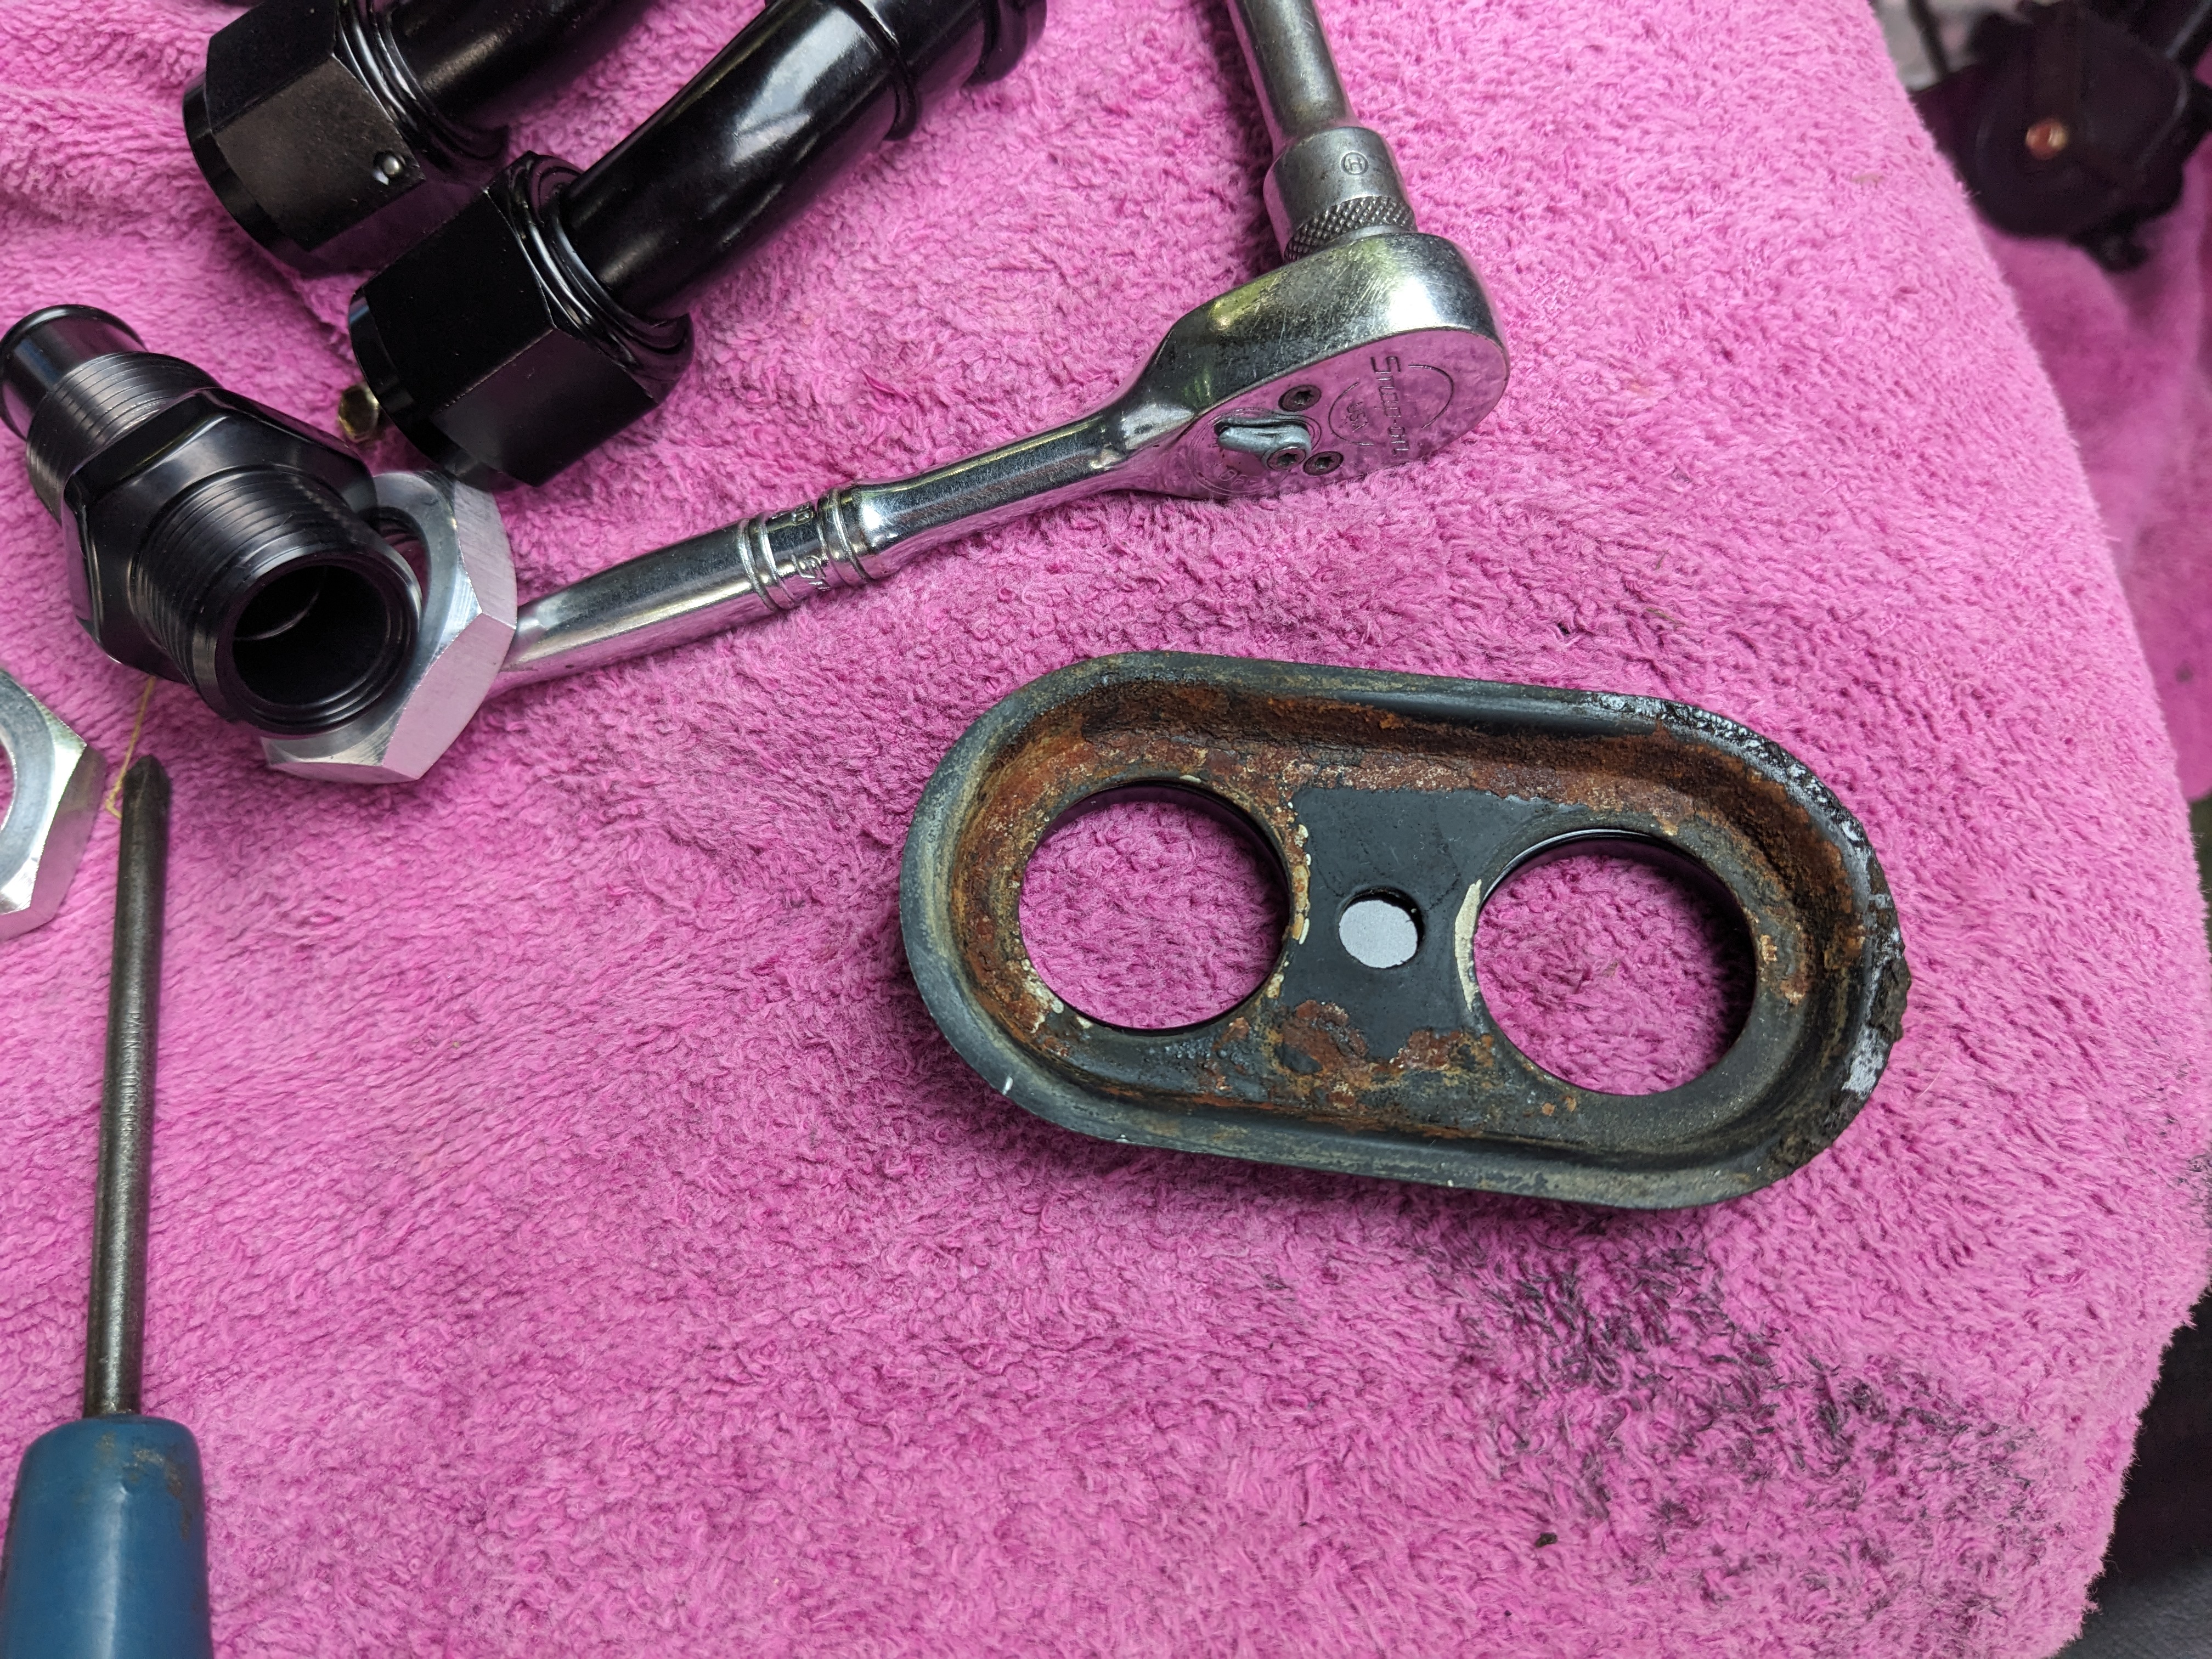
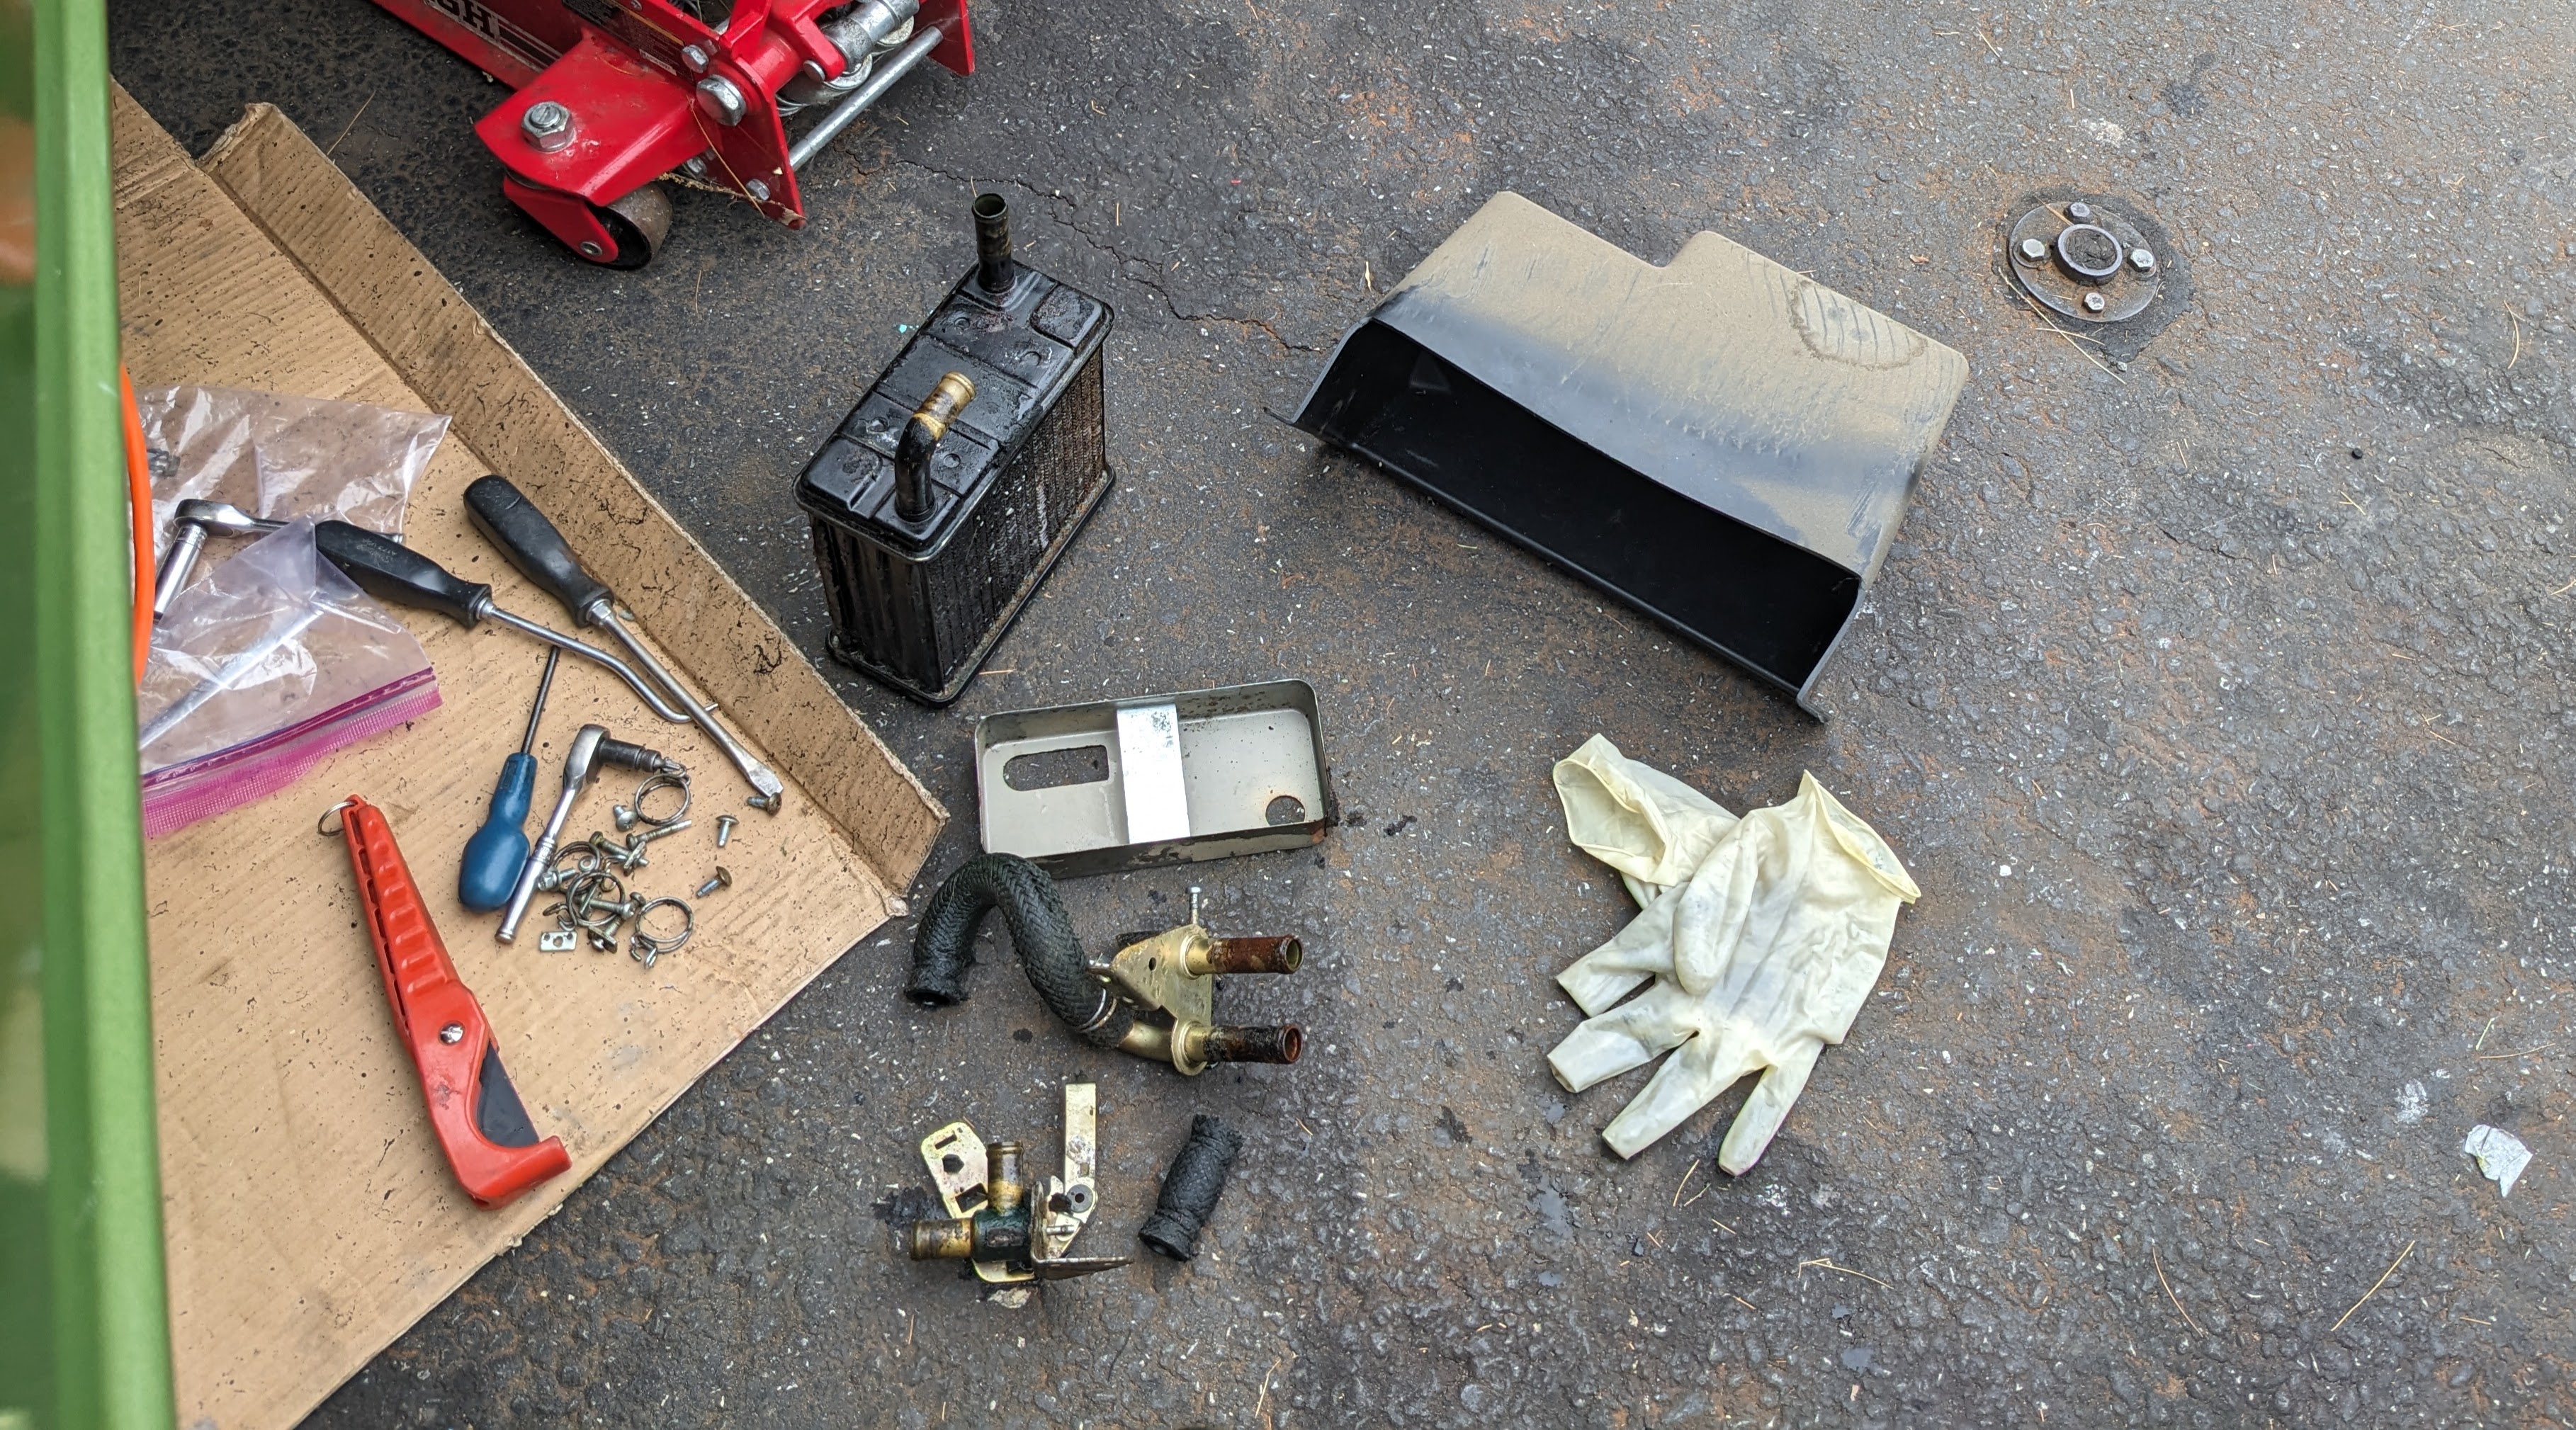
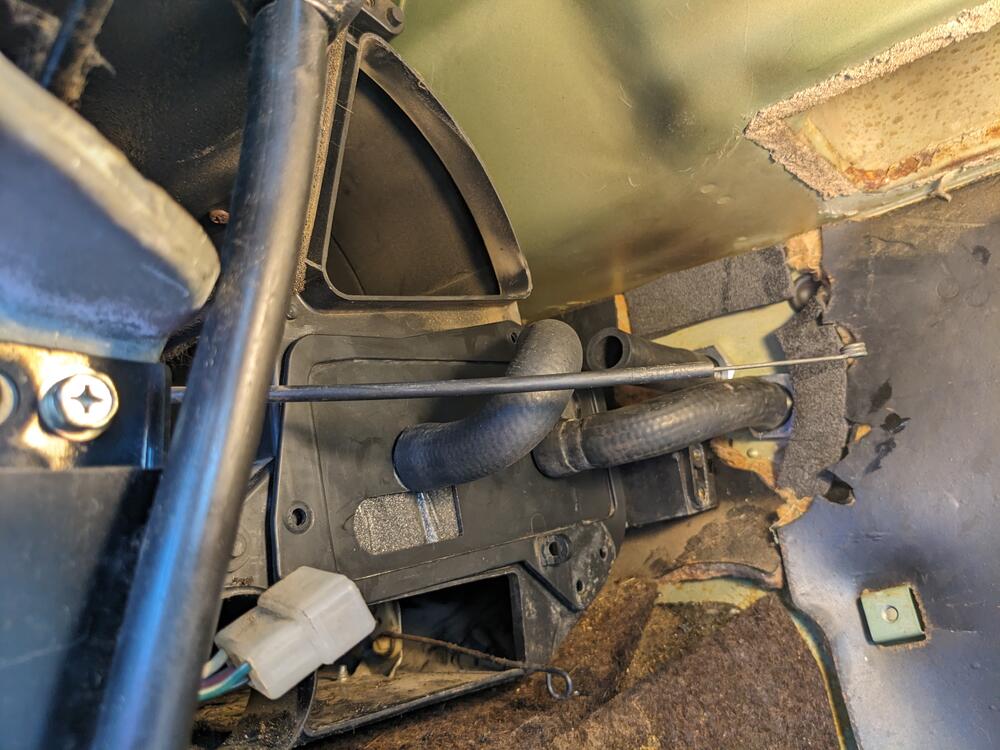
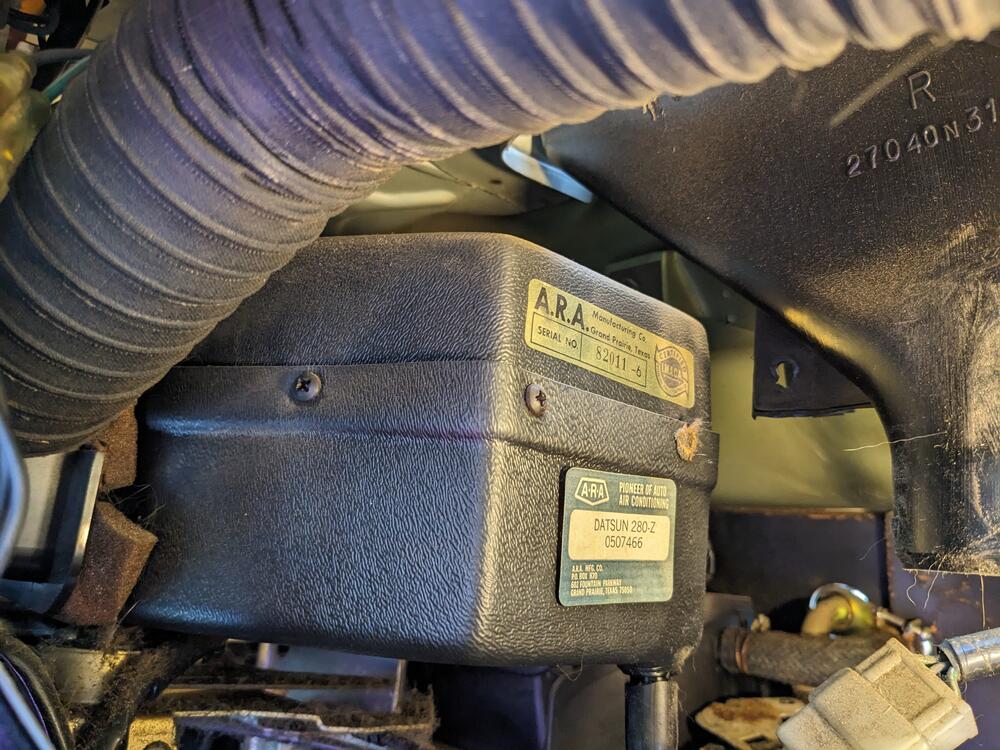
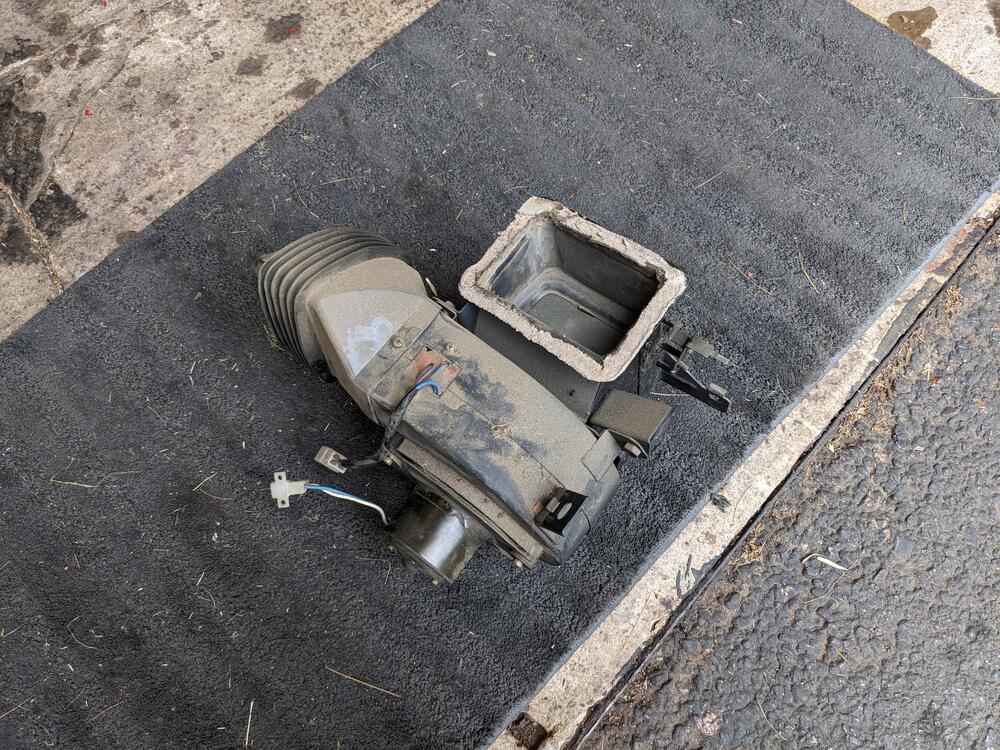
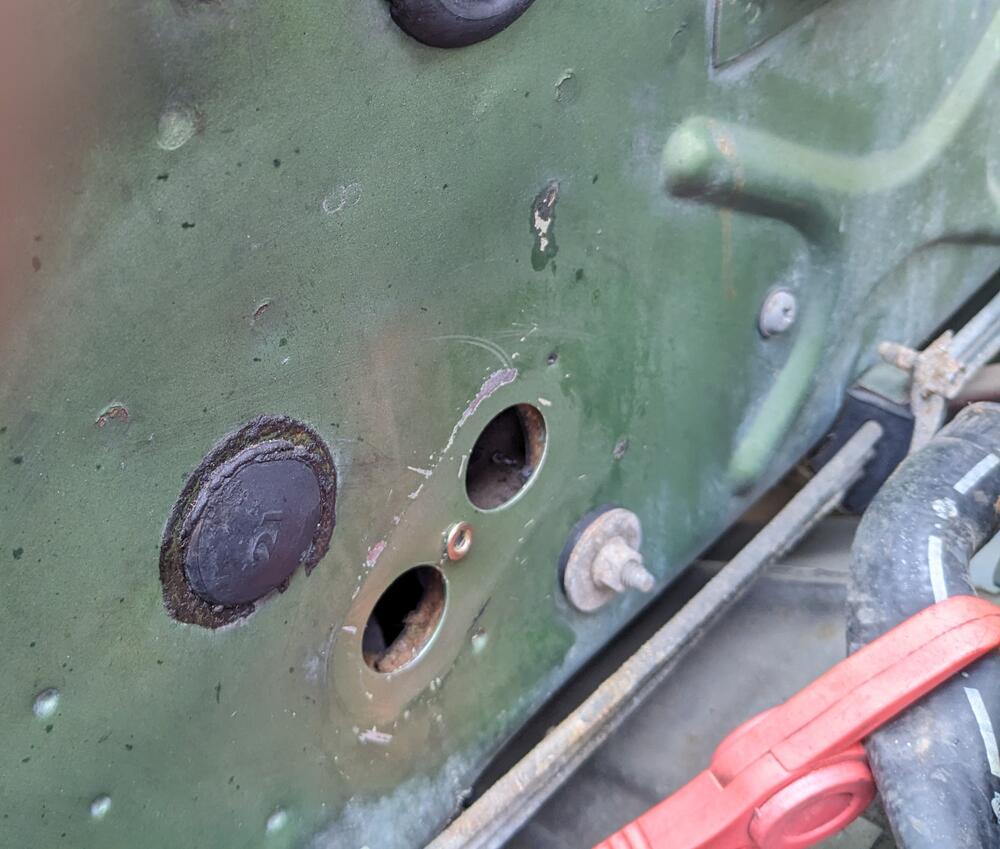
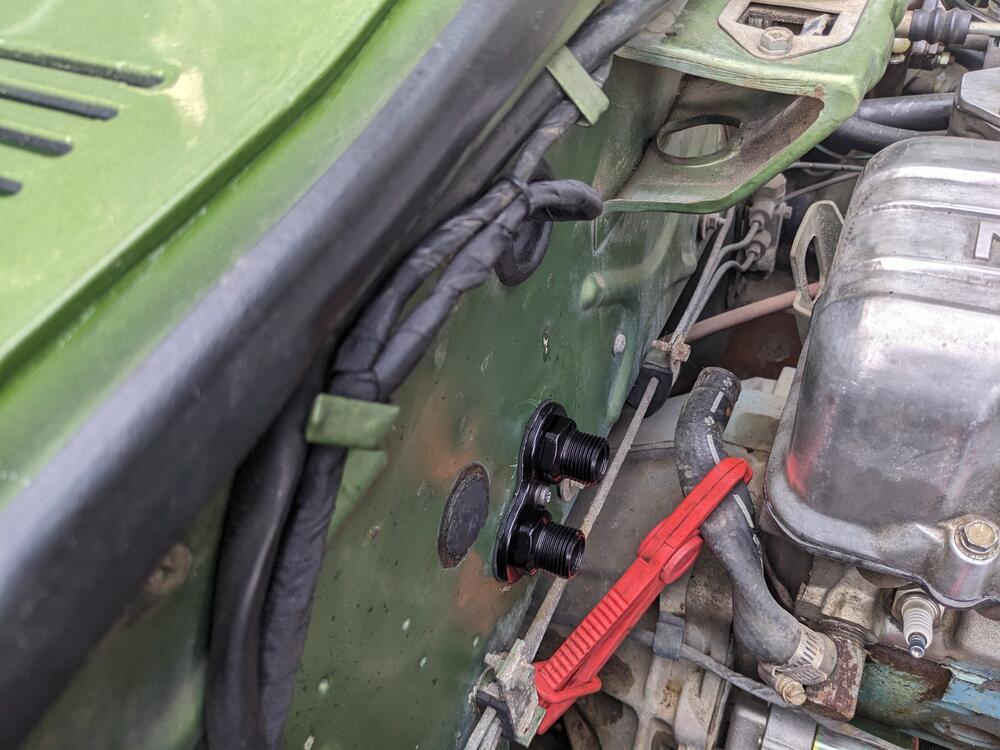
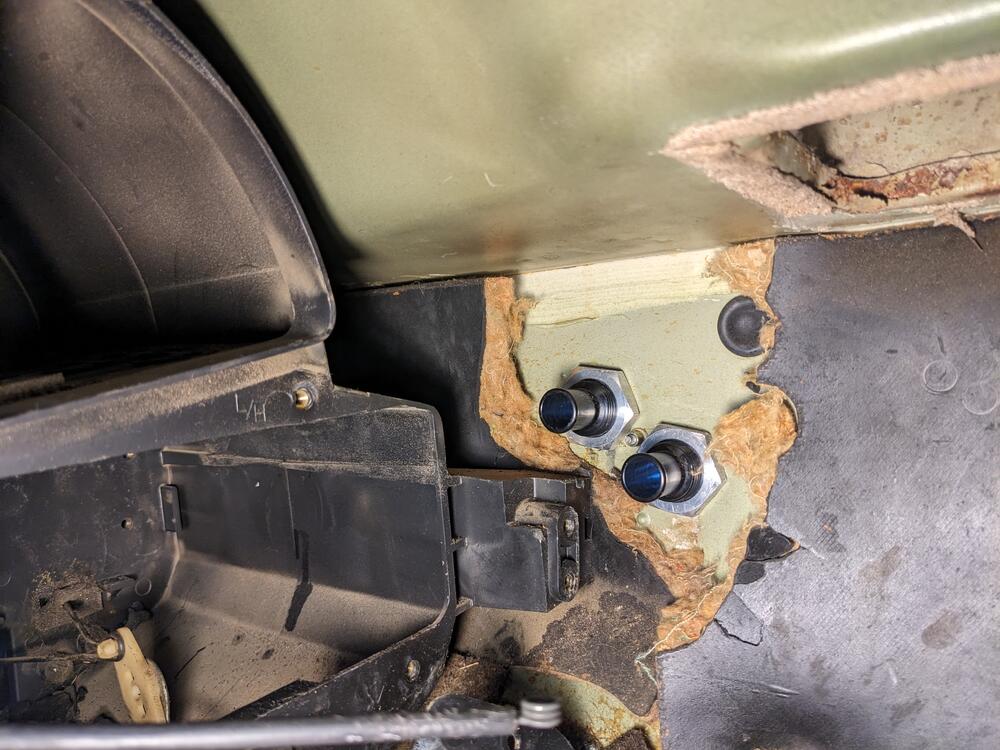
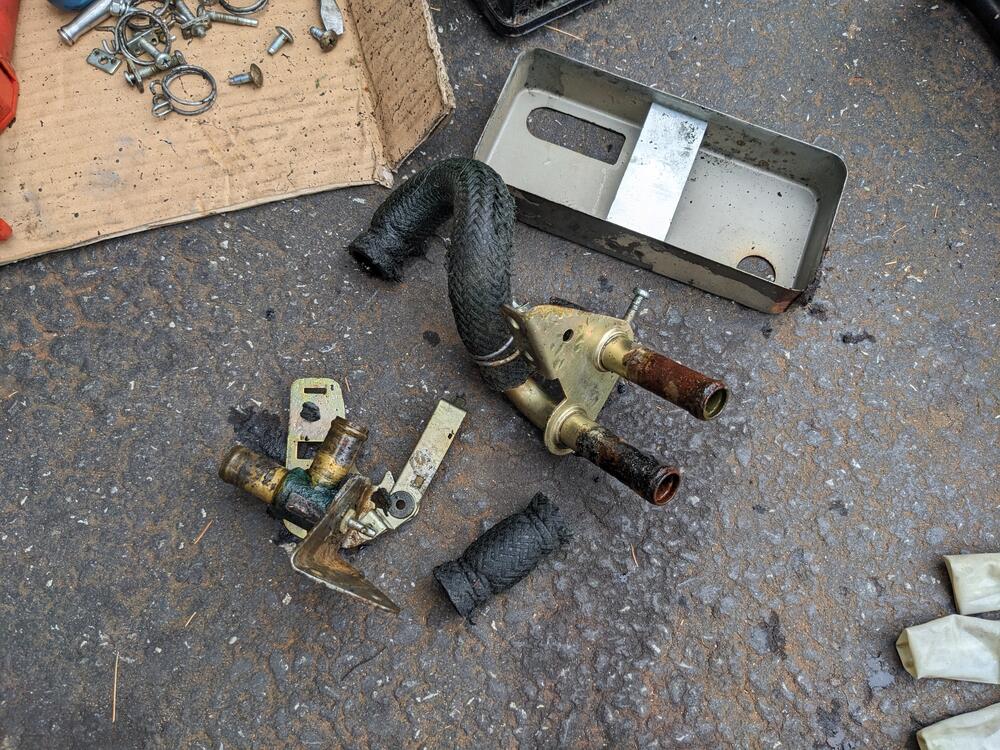
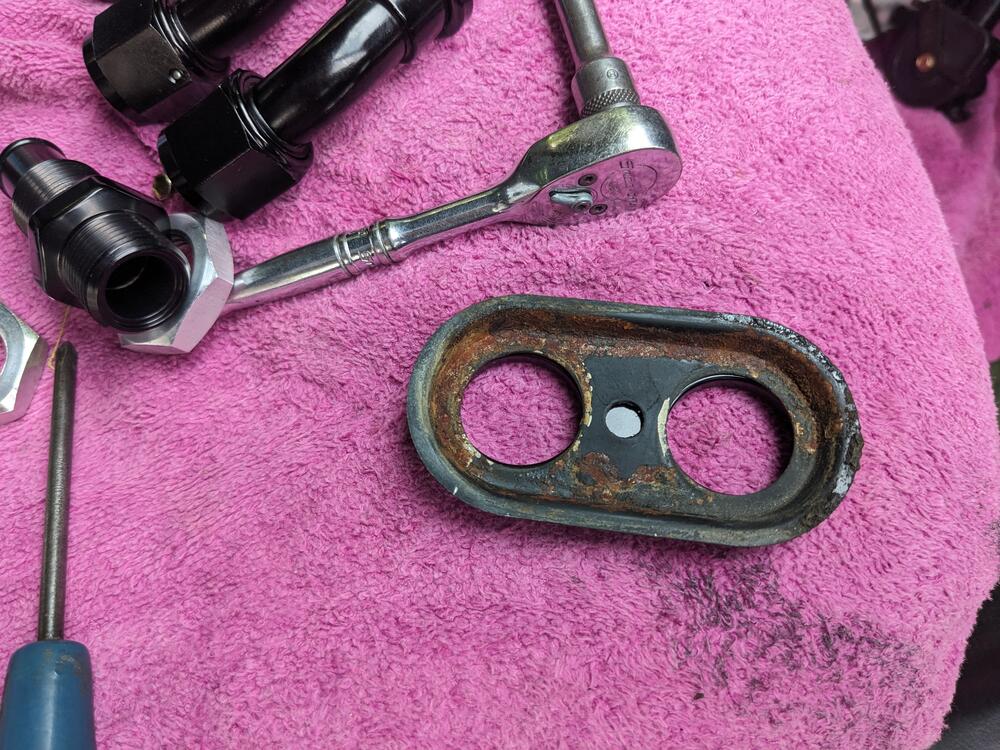
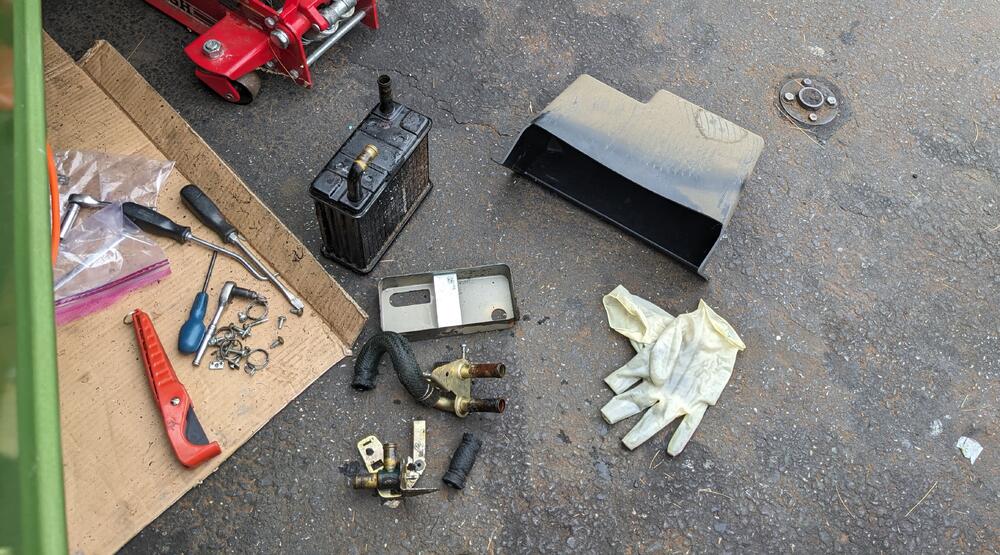
Took out the glovebox today, so I could see what's back there regarding the heater & AC pulled the blower housing, made it very easy to access all the heater hoses. Needs a good clean anyway. Heater core out. bulkhead fitting removed, M4 rivnut in place to retain the AN line fitting turns out the aluminum bracket/fitting has identical spacing to factory, makes things easier. Just have to drill the center hole to match the factory cover plate shown All kinds of crusty 'plastic' laying in the box - it seems the heater core end tanks were encased in it
-
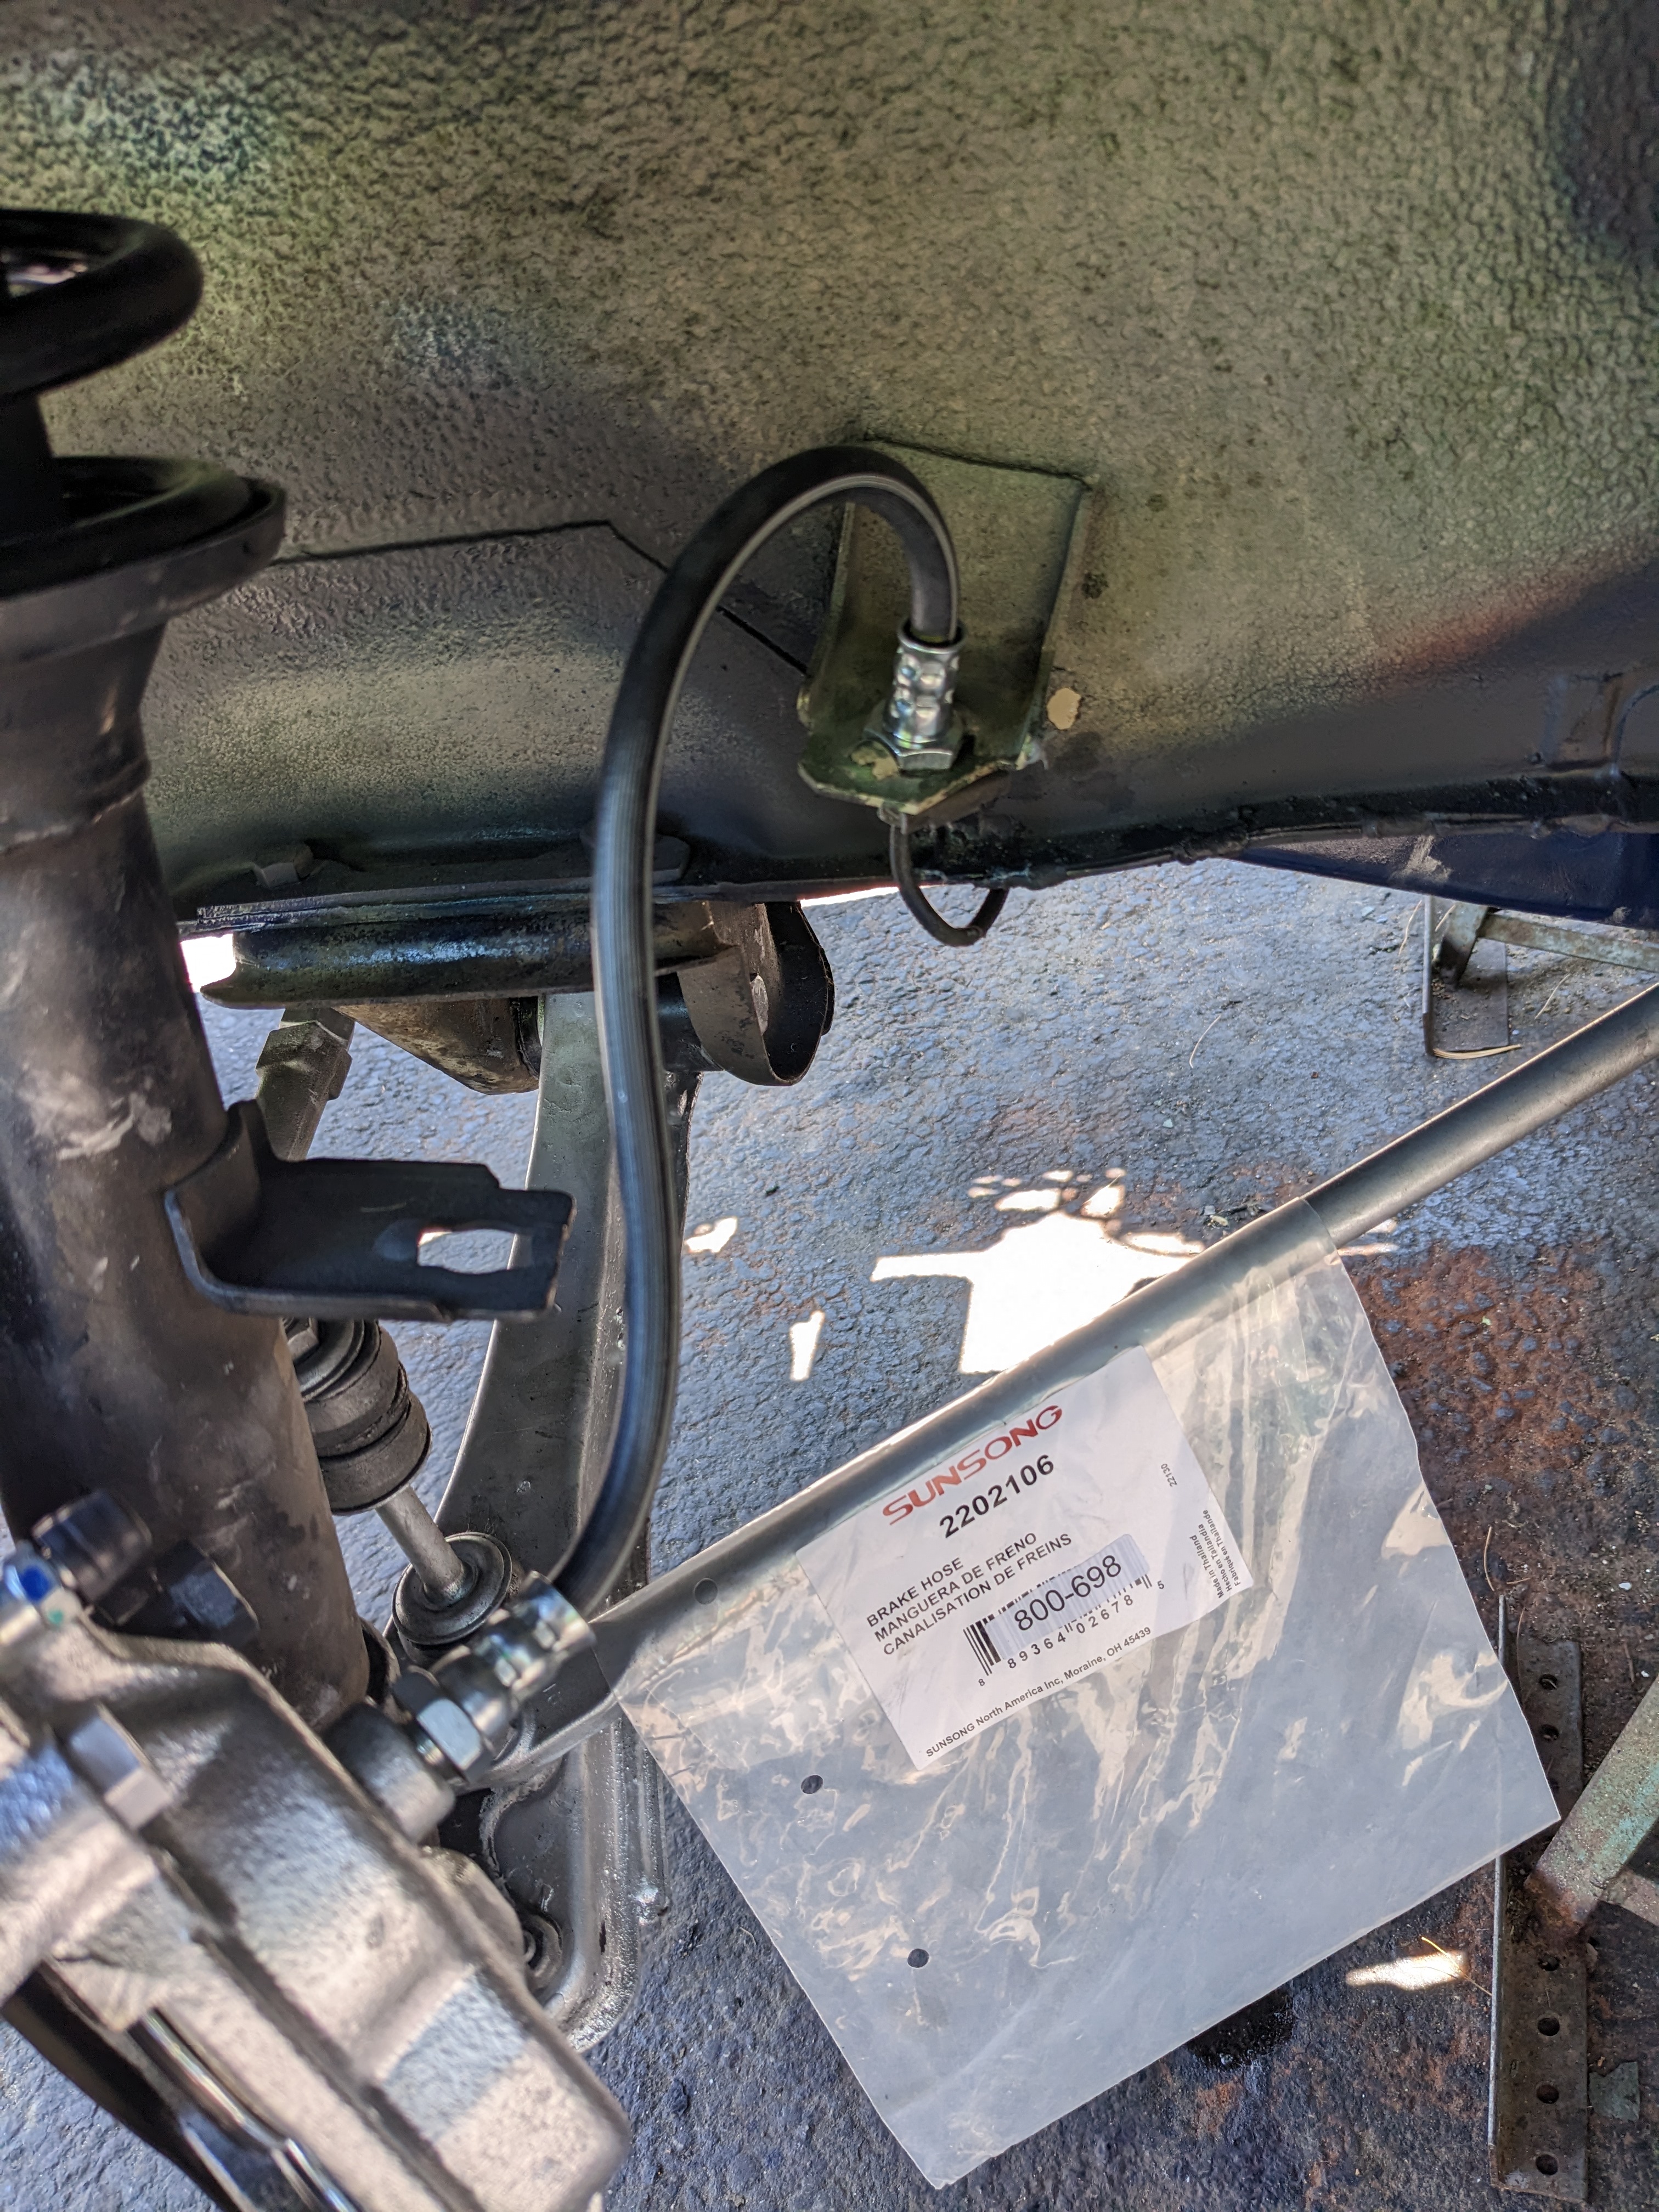
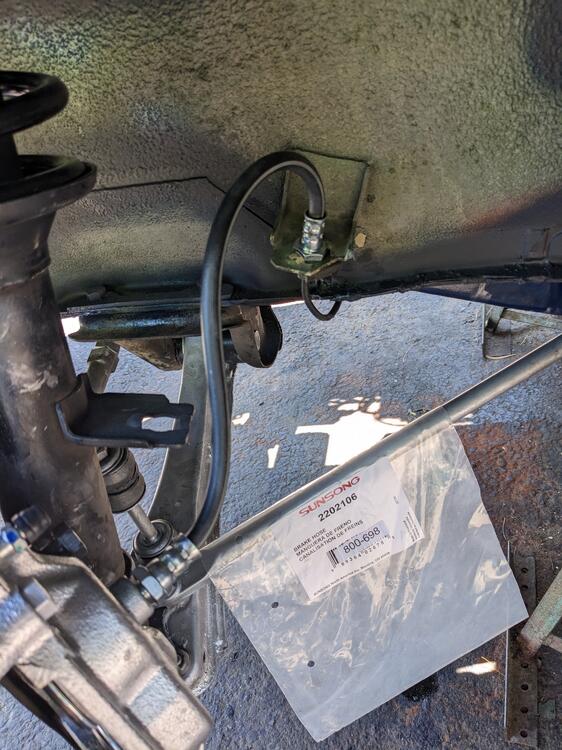
I understand the logic there - and also know from experience how the threads in the fixed fitting may or may not coincide with providing me the proper fitment - I've done exactly the same thing, with brake lines on the Fiat - those rarely come apart without damage, so if it's possible the spin the item off the line rather than undo the fitting, so much the better. I want the hose to end up nice & relaxed as my (one piece) front brake hoses 🙂
-
Thanks Gents - so not applicable to my 75 then. I'll have to figure out which vendor I bought them from. They have the Precision labels, so probably not ZcarDepot.
-
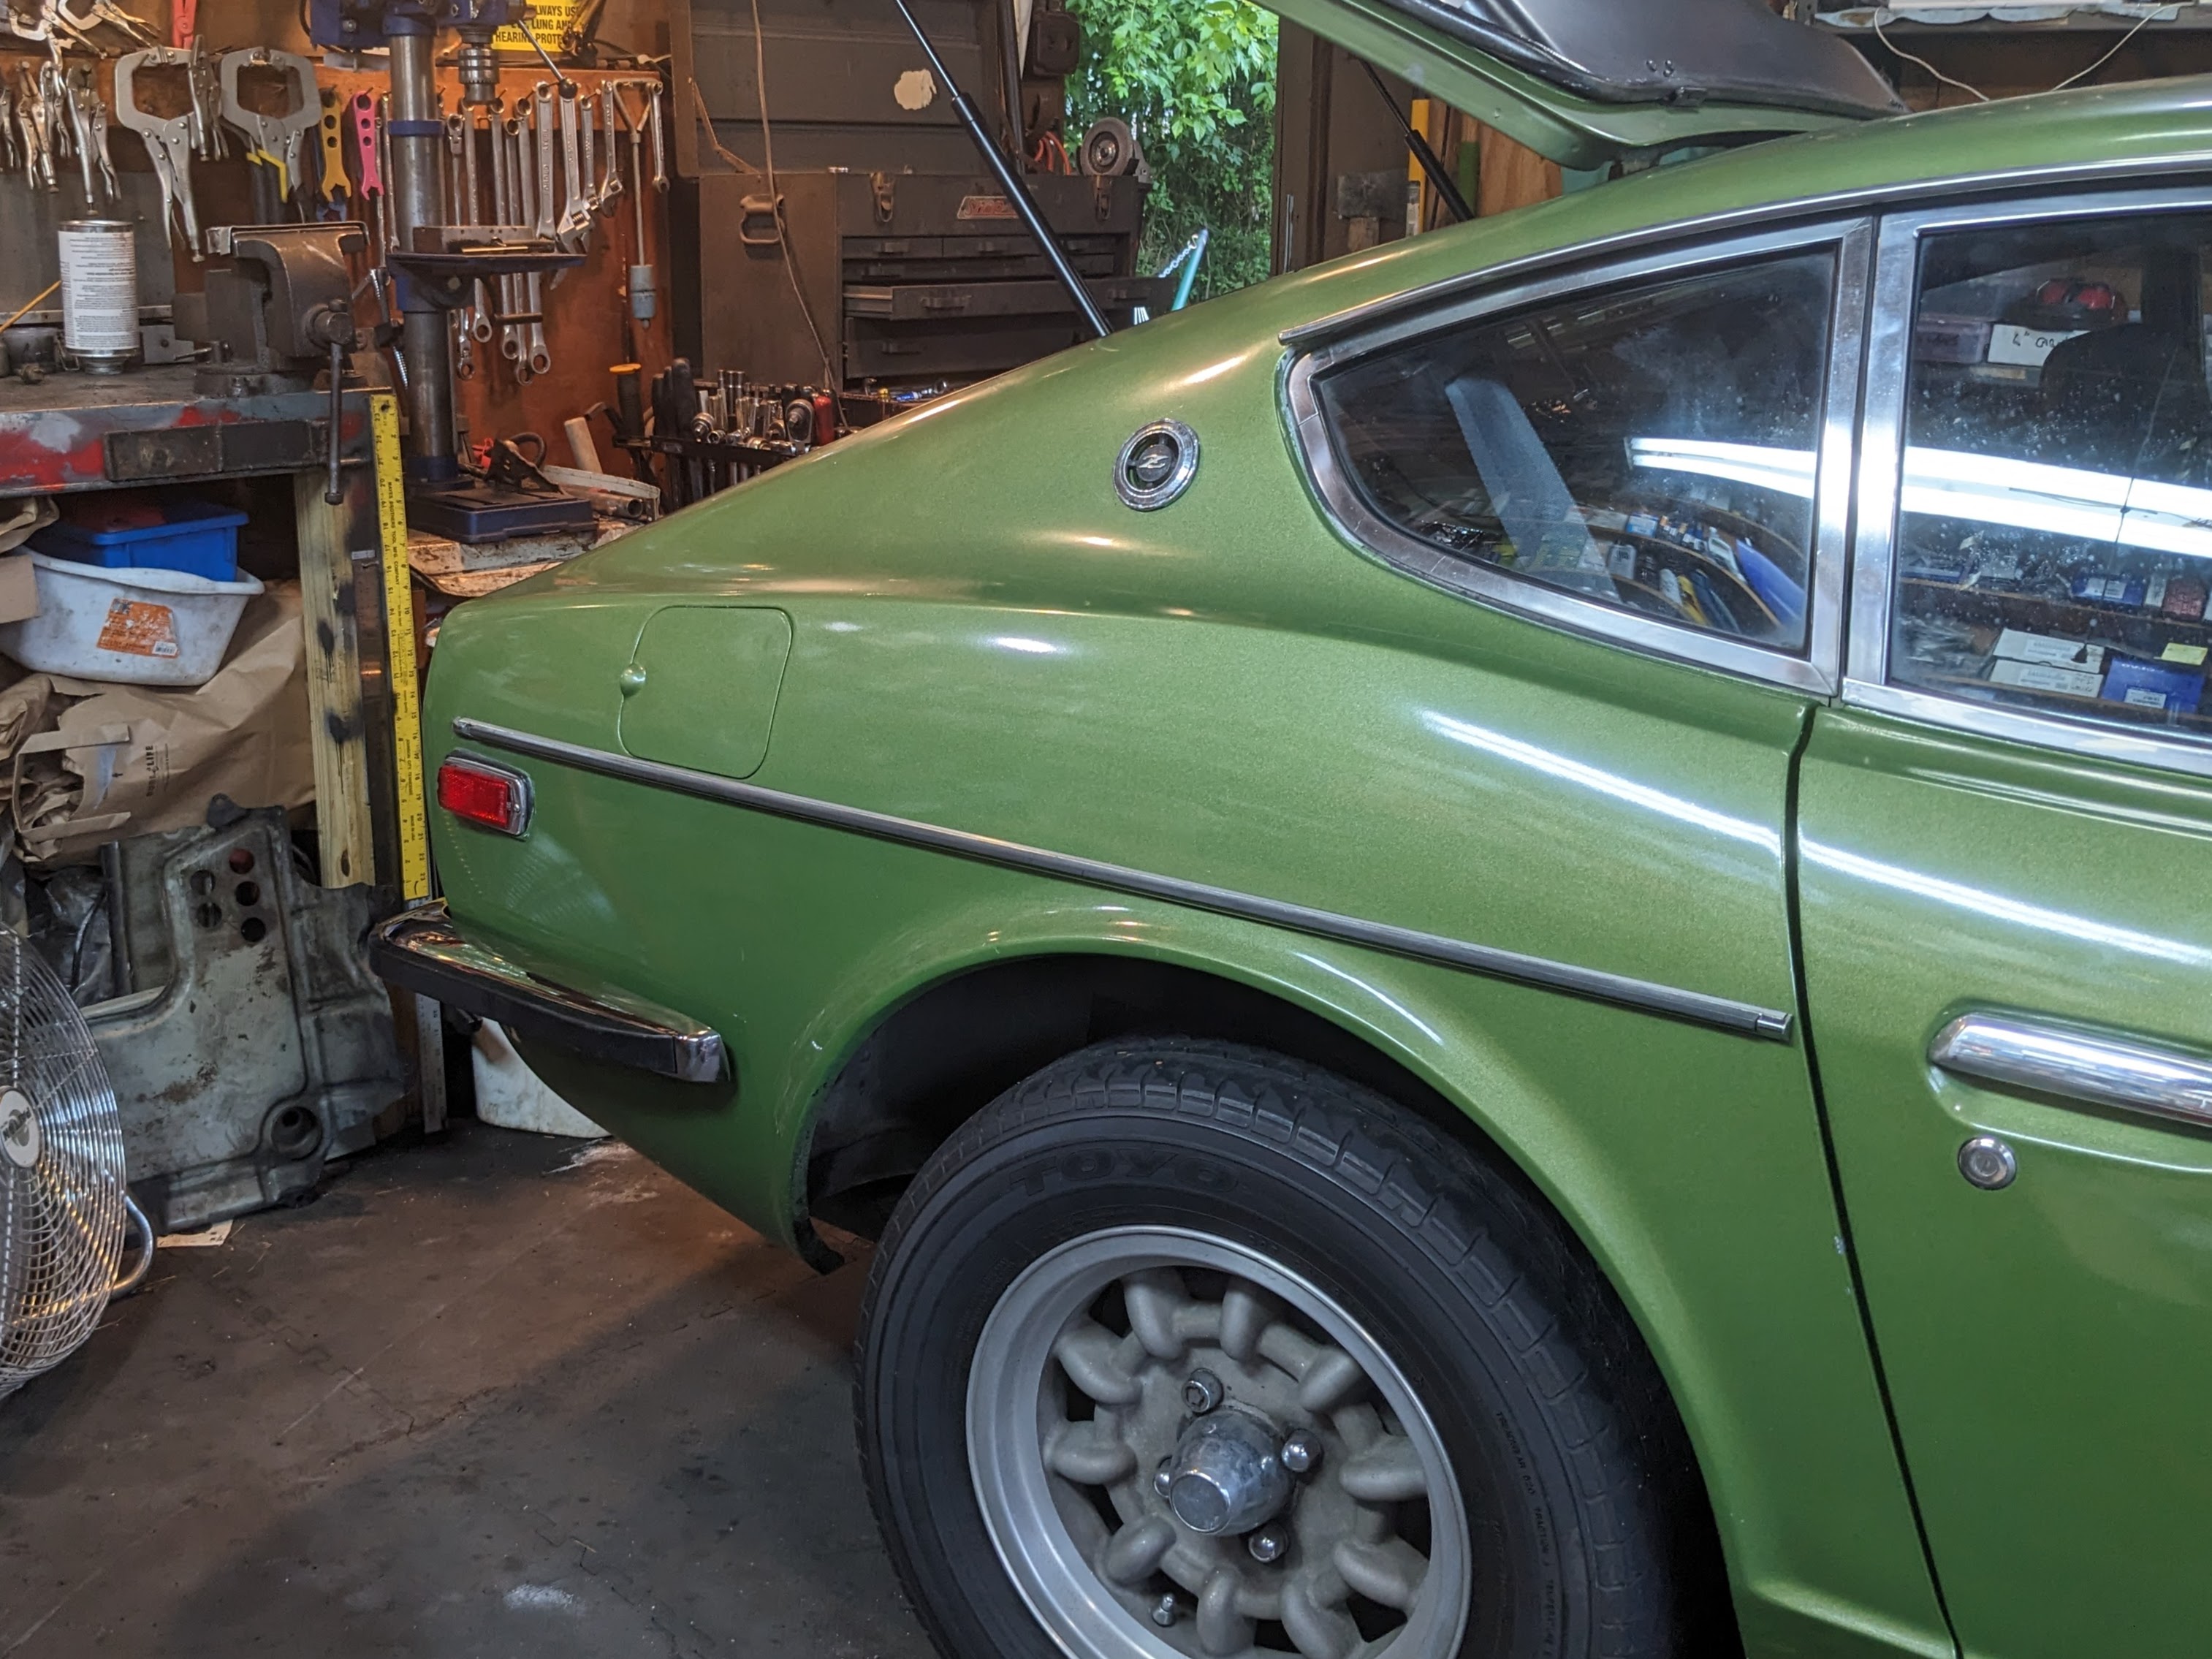
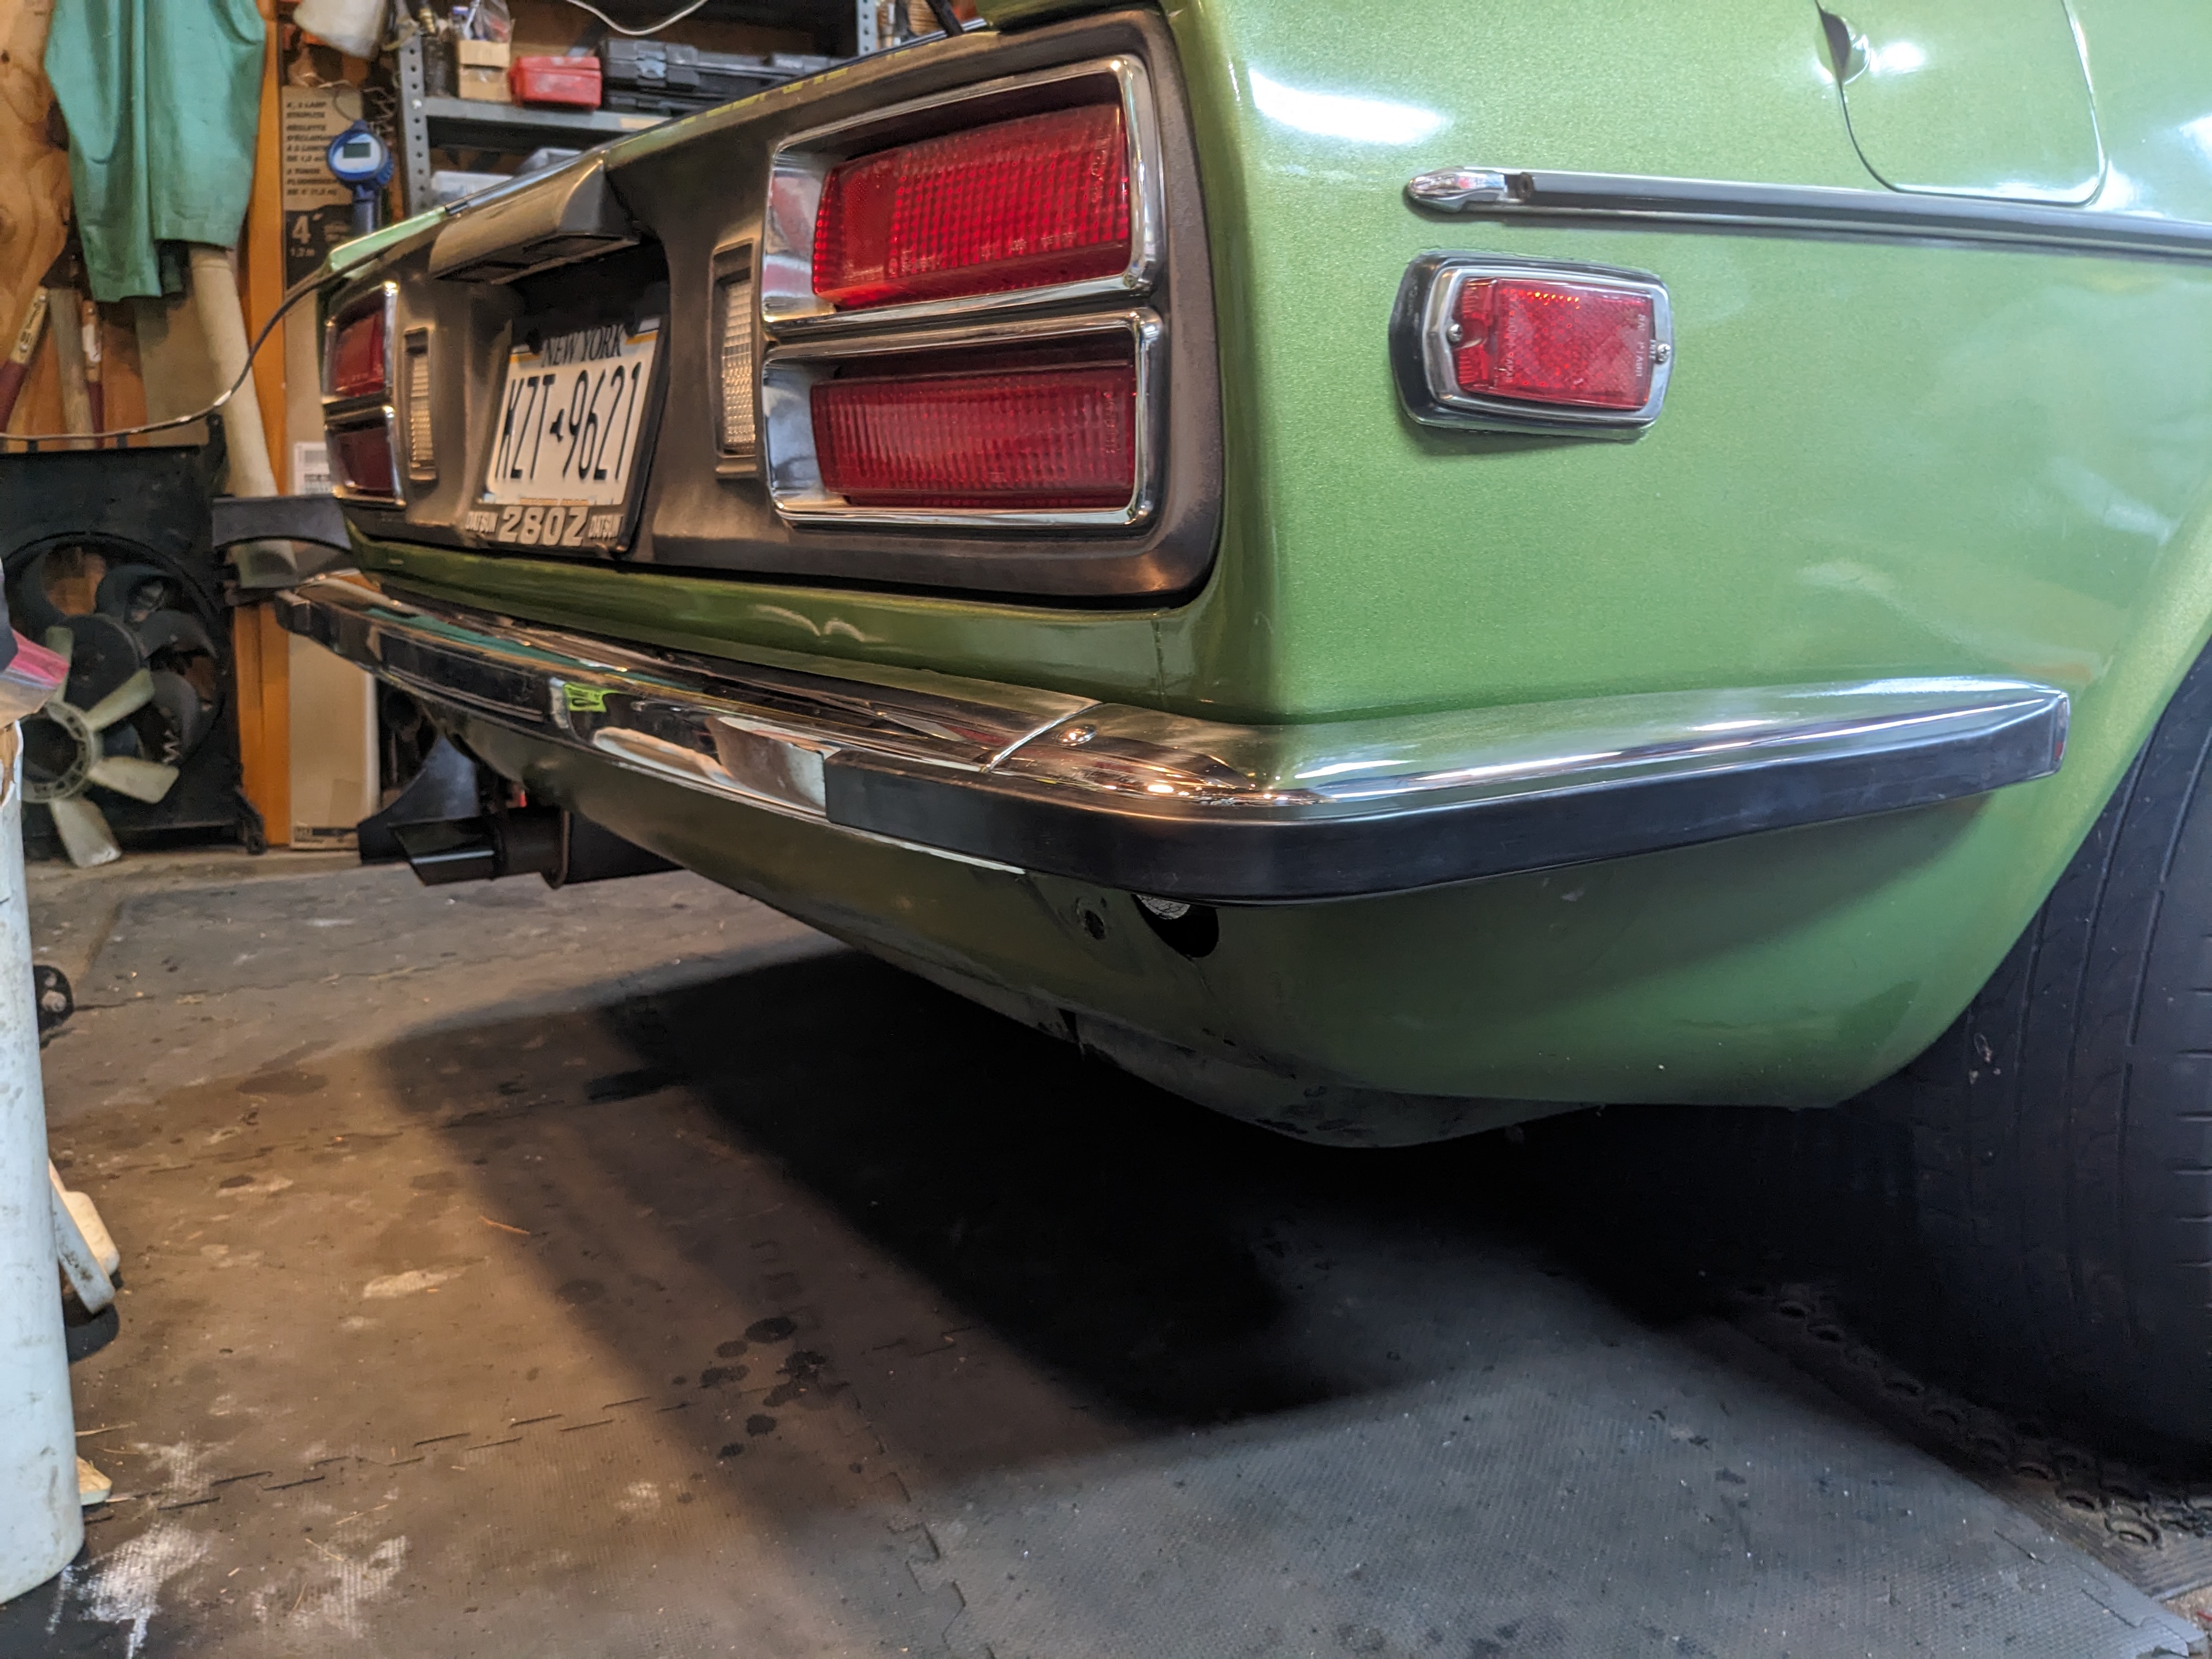
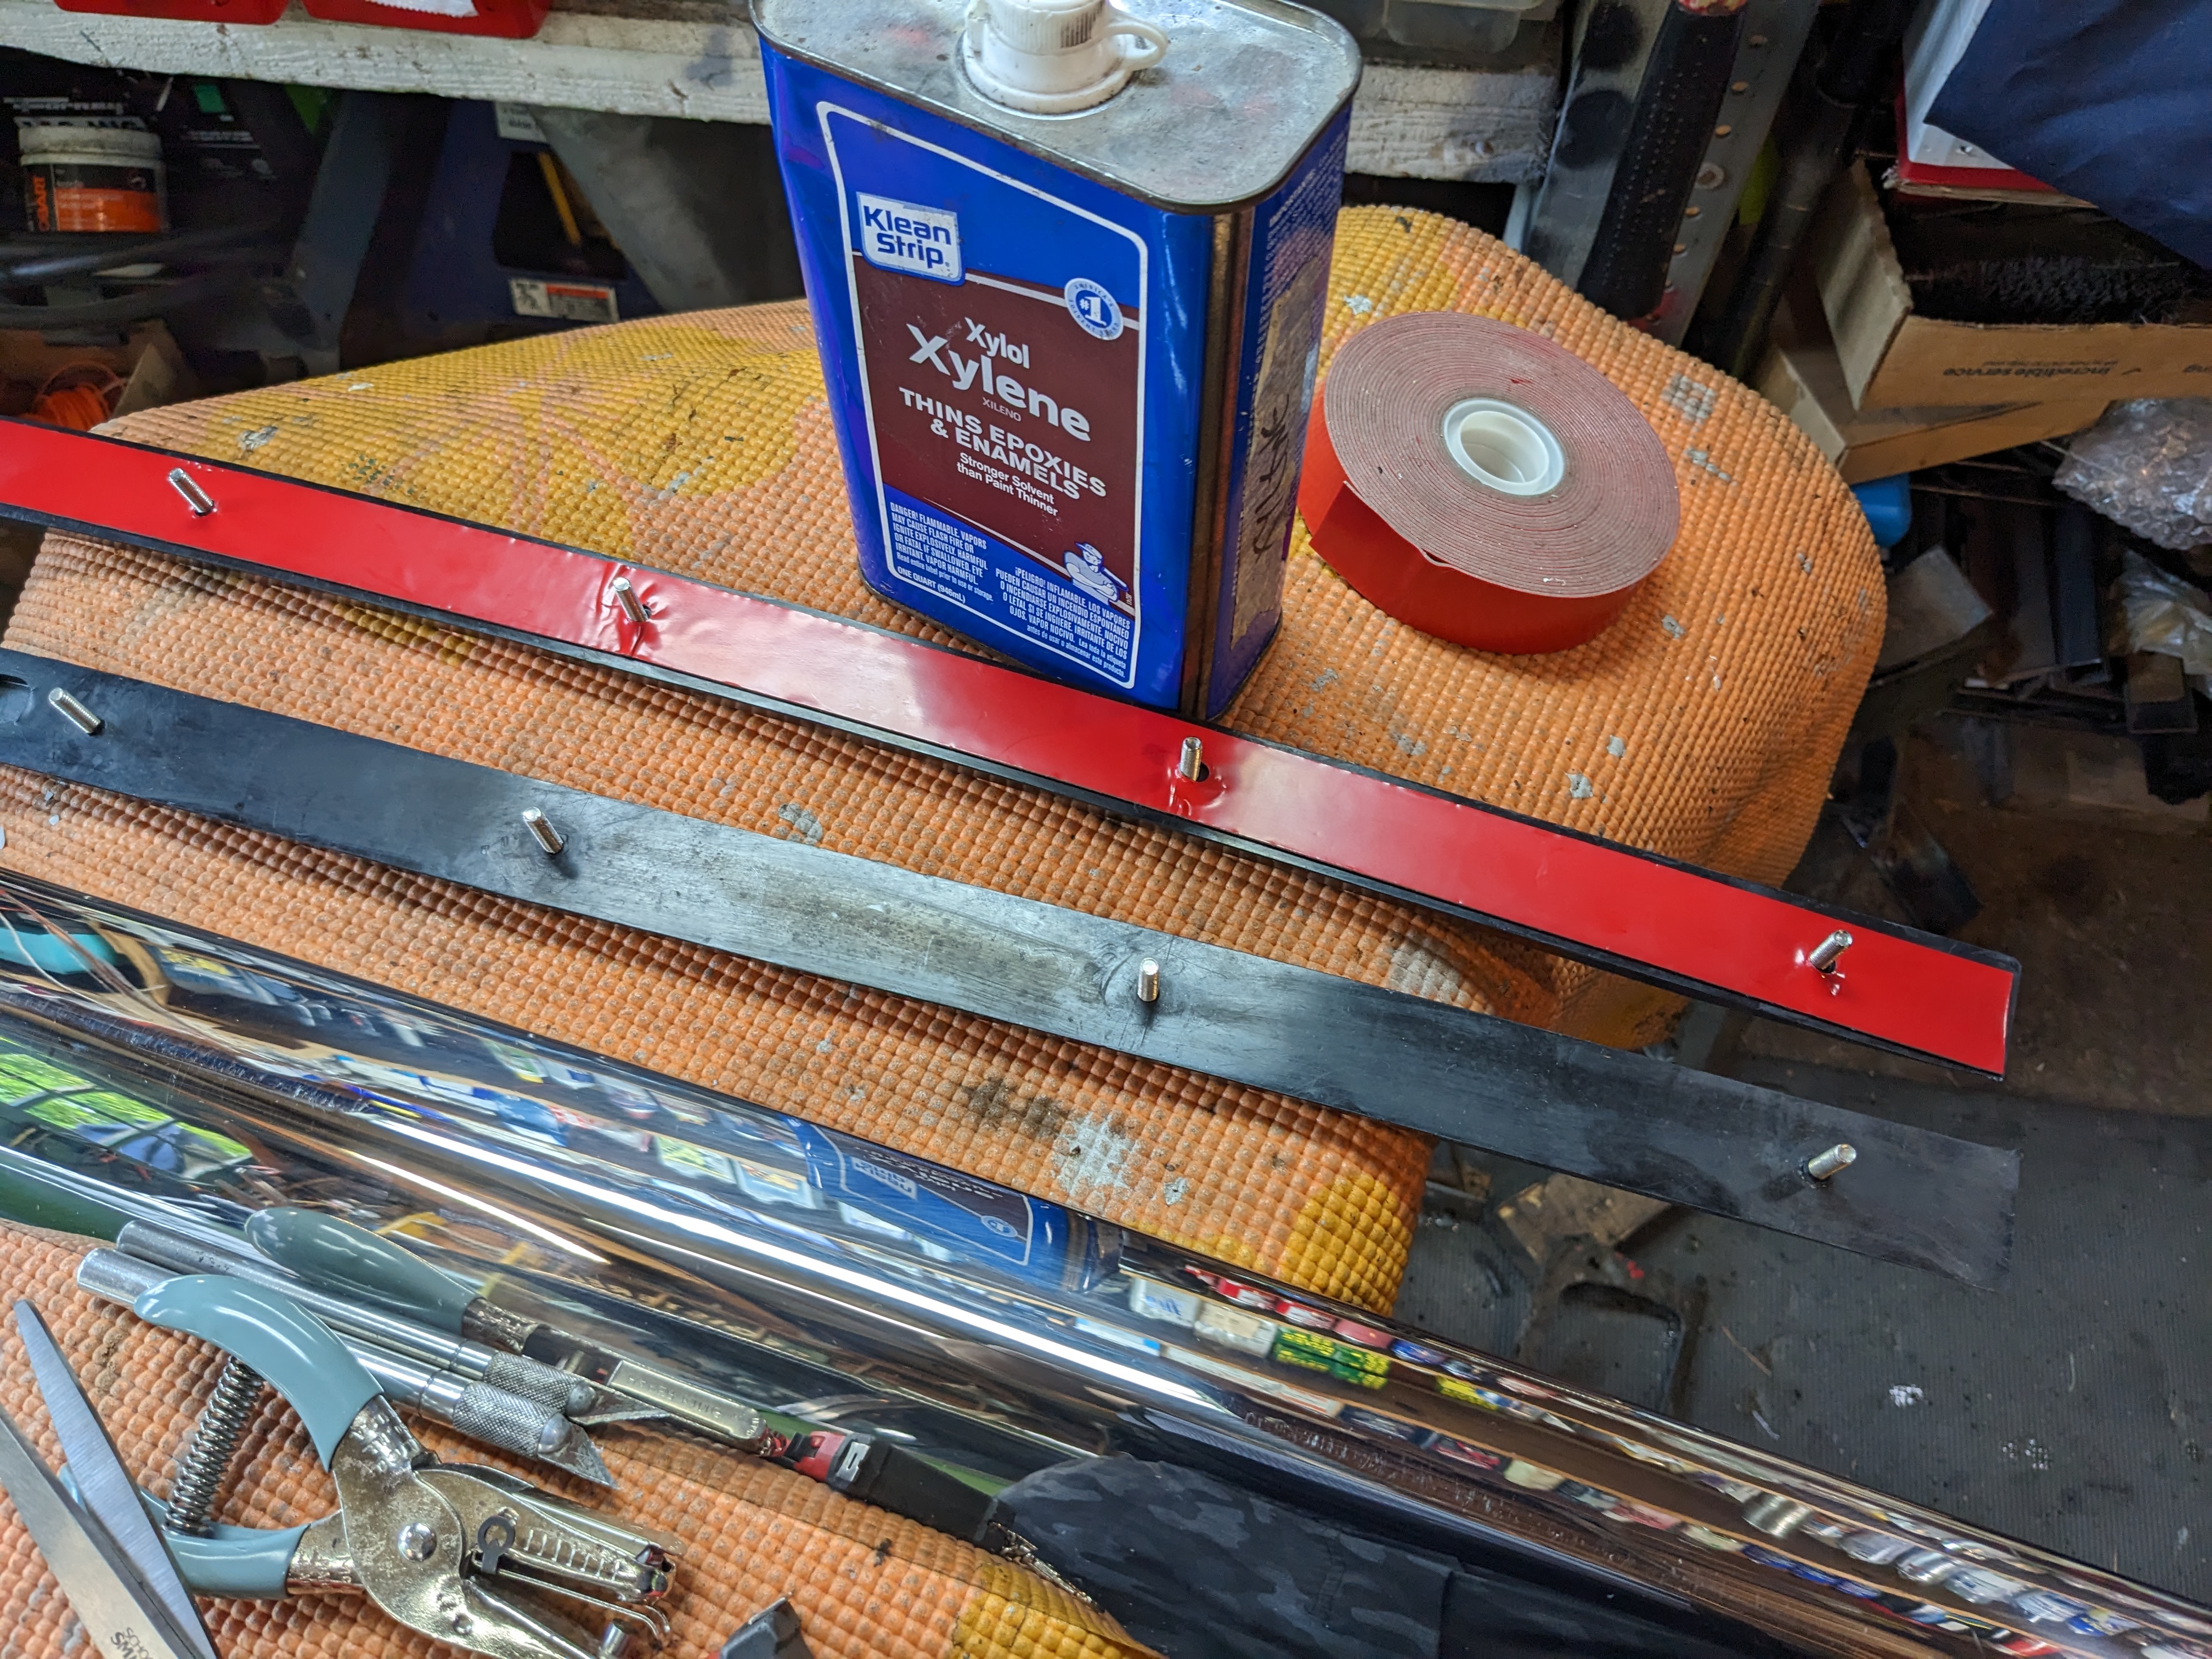
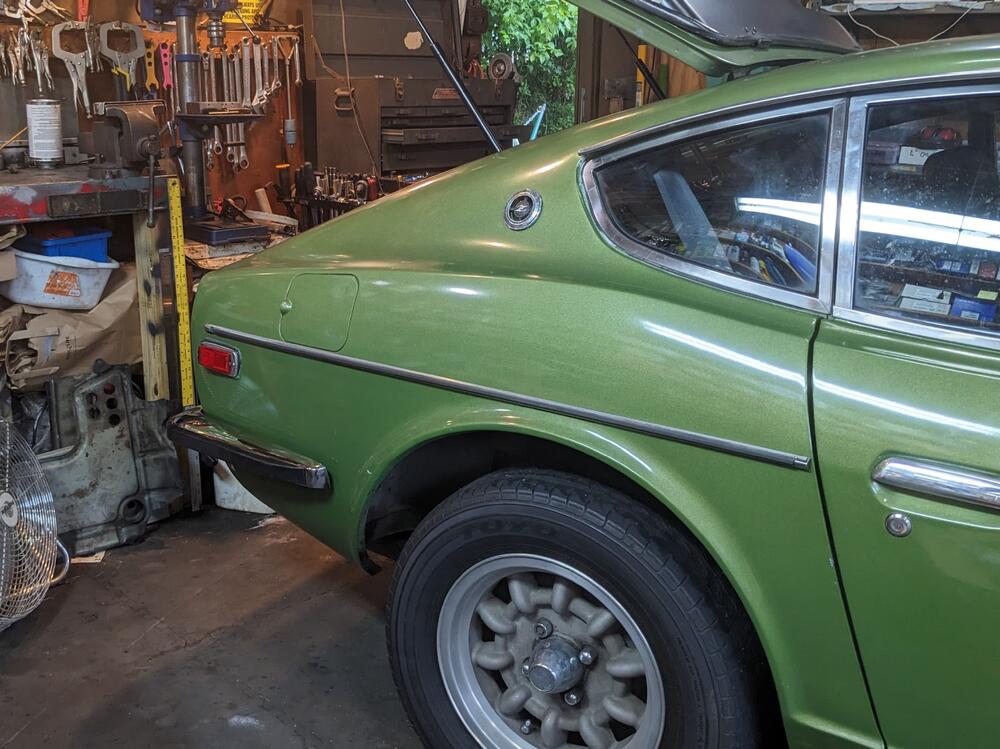
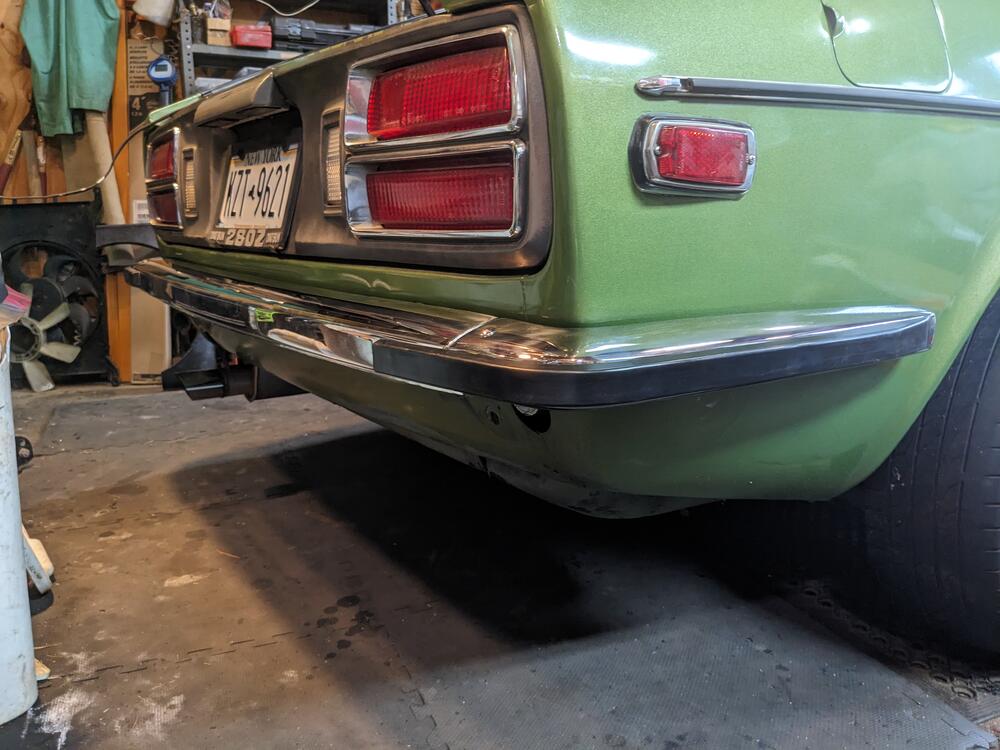
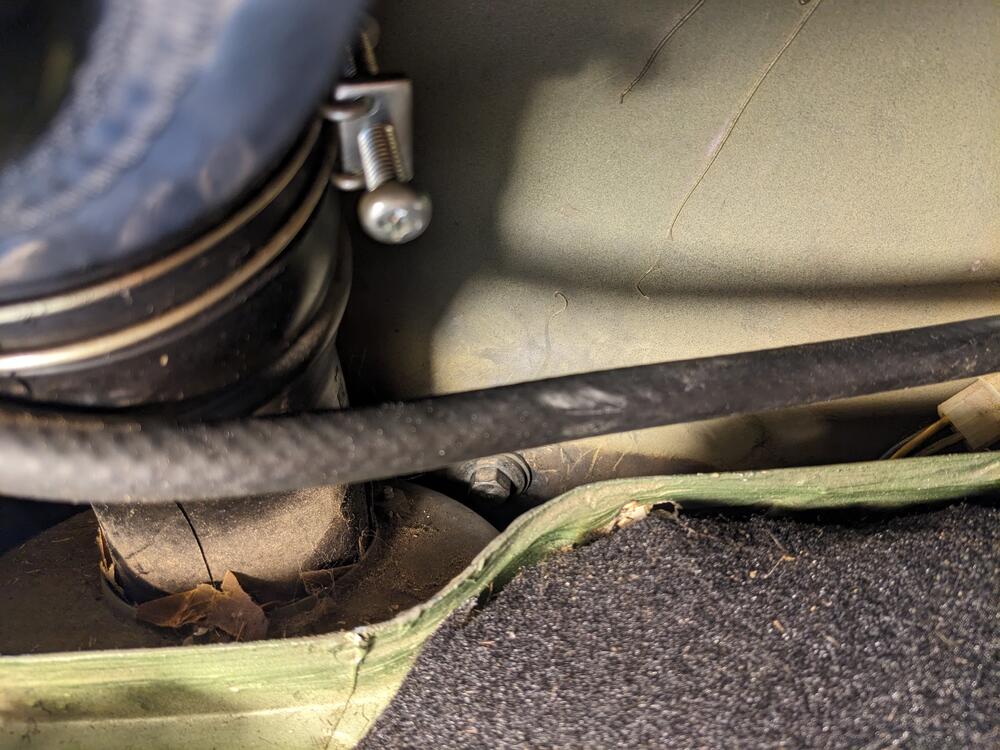
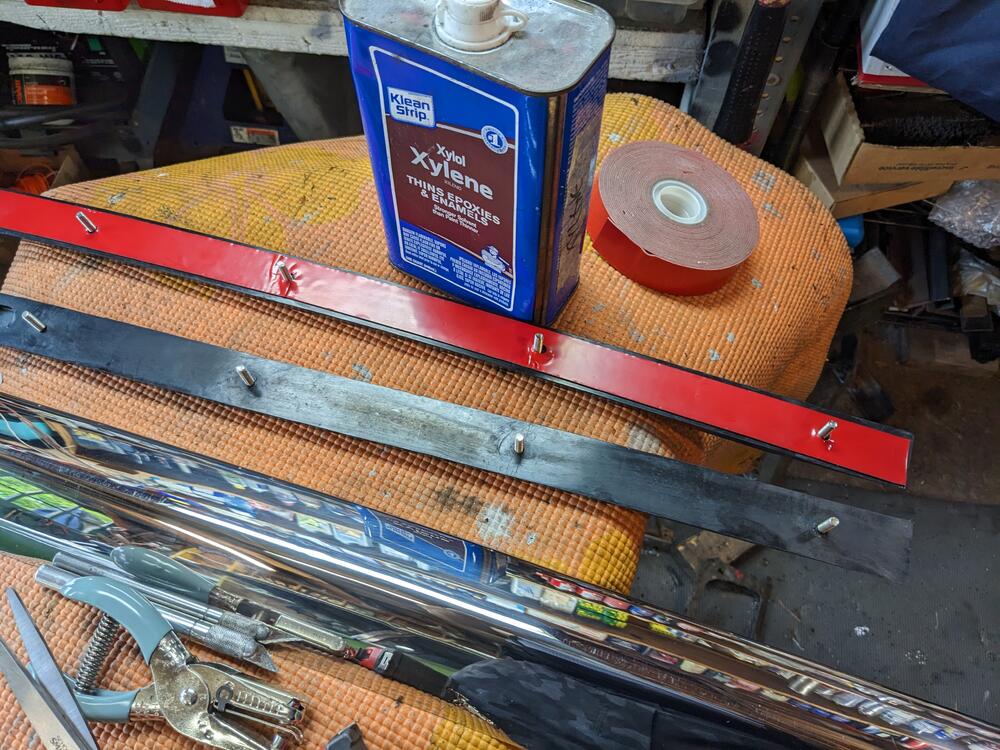
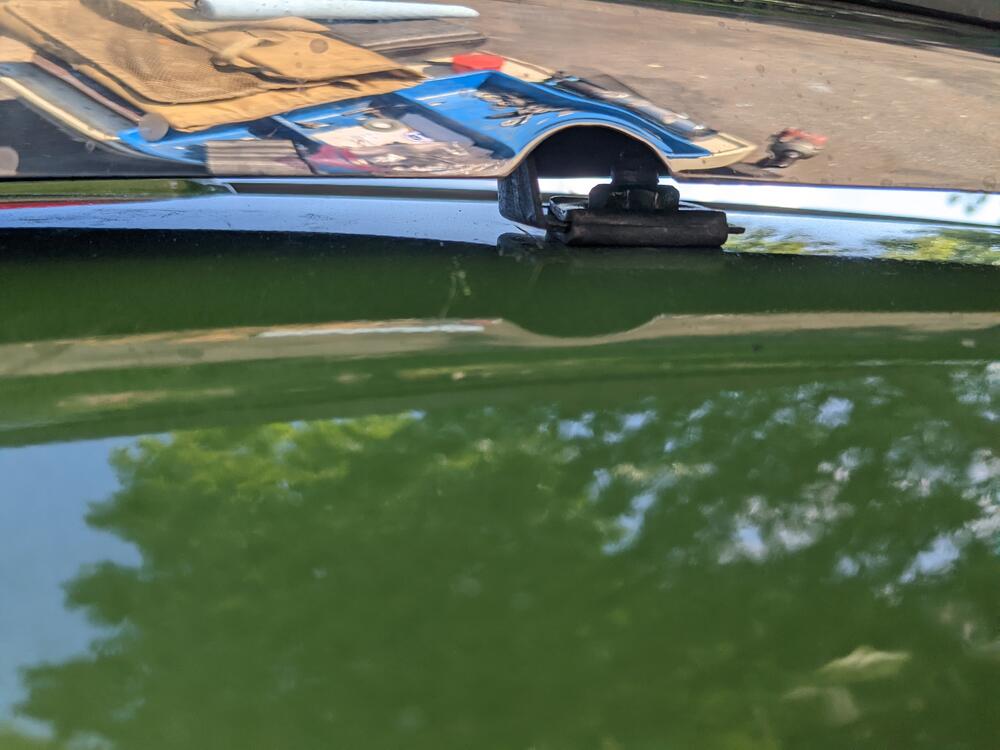
Finally got back to this - assembled & installed the rear bumper today. I test-fitted it yesterday & marked the 2 drill locations for the side attachments. Primed & painted the holes prior to assembly. Had to do it jammed in the garage, it rained all day. I had to retap both the side captive nuts - neither would accept the M12x1.25 bolts. Also had to use 3M VHB tape to secure the rubber strips - otherwise they 'flop' away from the bumper in-between the mount studs. I had removed the fronts & done the same previously. The vendor claims you just have to pull the rubber & then tighten in place. That would work if the bolt holes were elongated, which they are not. The right side I had to shorten the bolt & grind the tip to a point to guide it into the bumper bracket. Not much room given the gas tank proximity Made sure both sides were level - holes were about 9" down from the side molding, and about 5.5" forward of the existing bumper side mount captive nut rubber sleeve over side bracket
-
I have no idea. I've not seen a car that has them, so I can't visualize it. I can't say I've seen a channel groove in my door glass frame that these would attach to, which is how they are described in ZcarDepot's listing for them.