Patcon
Supporting Member
-
Joined
-
Last visited
Everything posted by Patcon
-
Paint thickness might be an issue for me
-
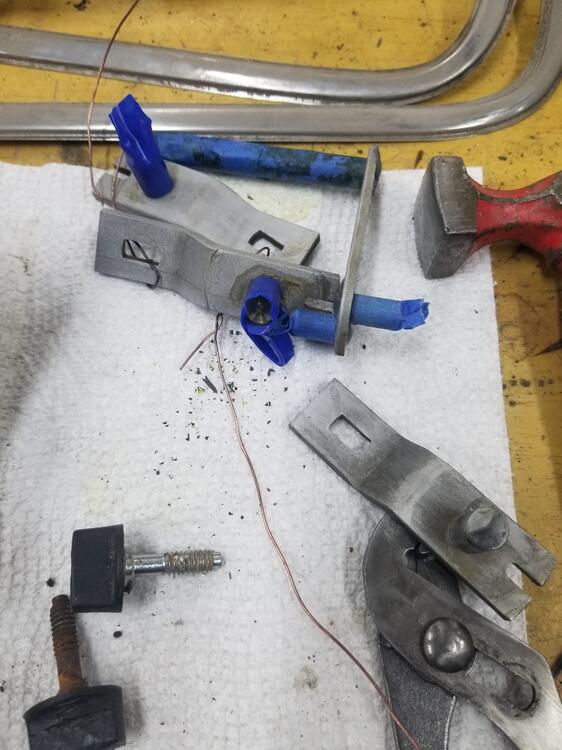
@zKars Any advise on the reinstallation of these pieces?
-
You could adopt me! I'll show an interest 😁
-
I think in your case, you will probably want to wet sand before buffing unless your trim is scratch free. You are working towards a much higher standard than I am
-
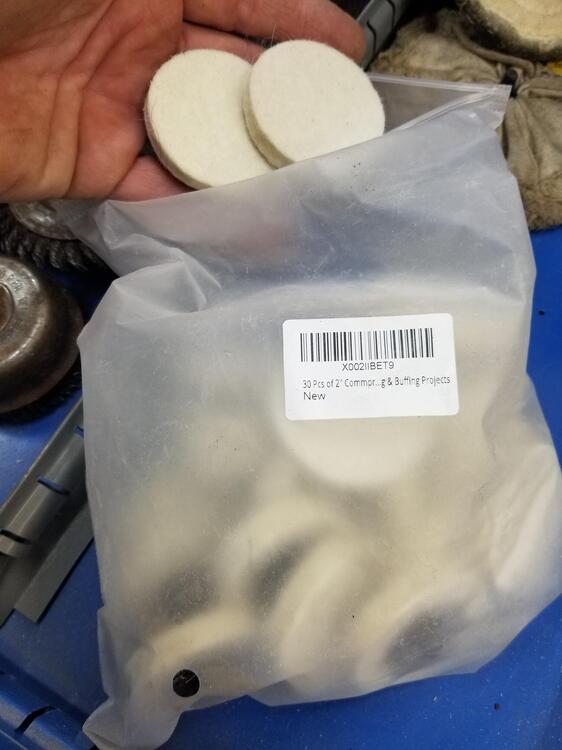
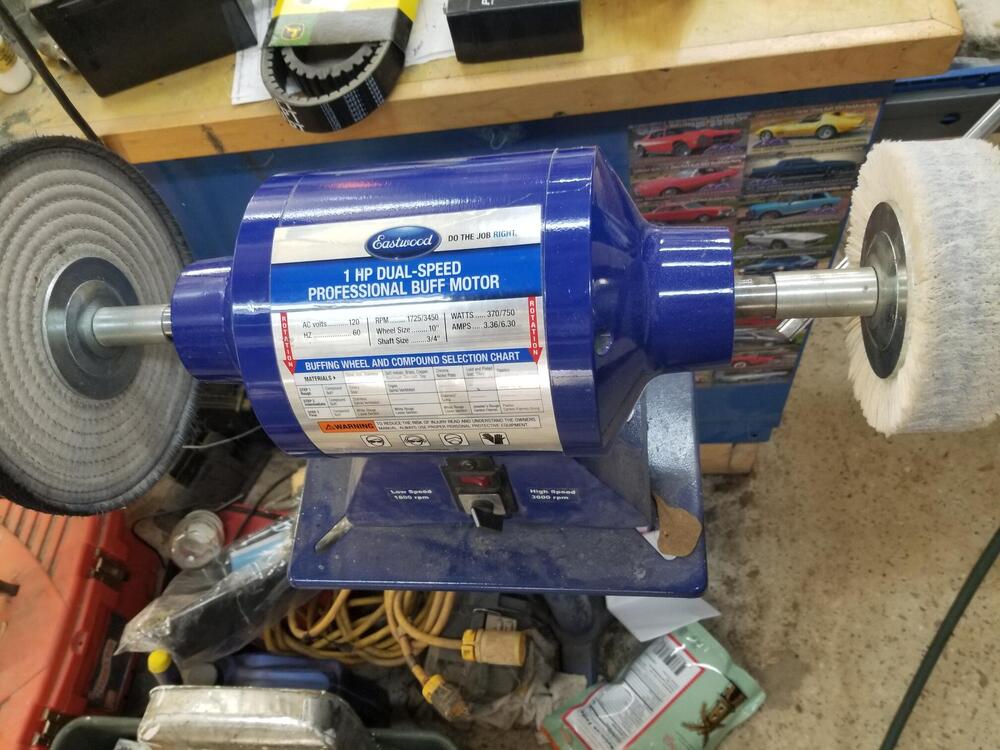
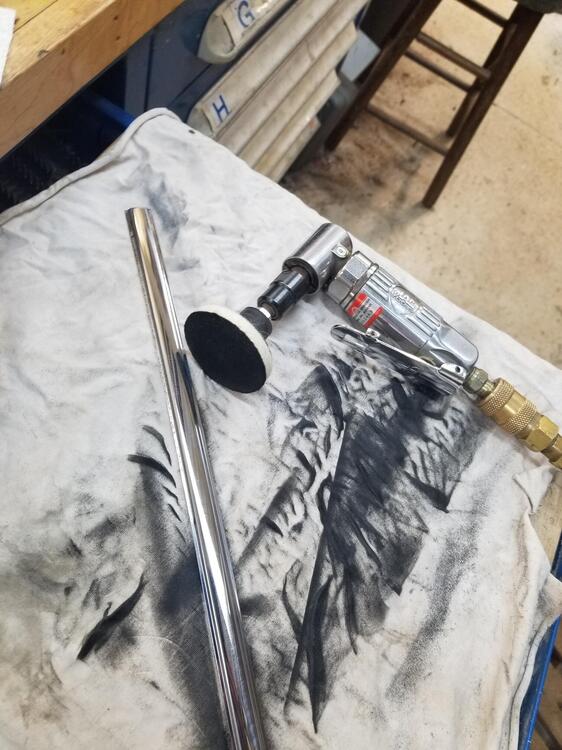
Here are the buffs I bought https://www.amazon.com/gp/product/B087R5HSNB/ref=ppx_yo_dt_b_search_asin_title?ie=UTF8&psc=1
-
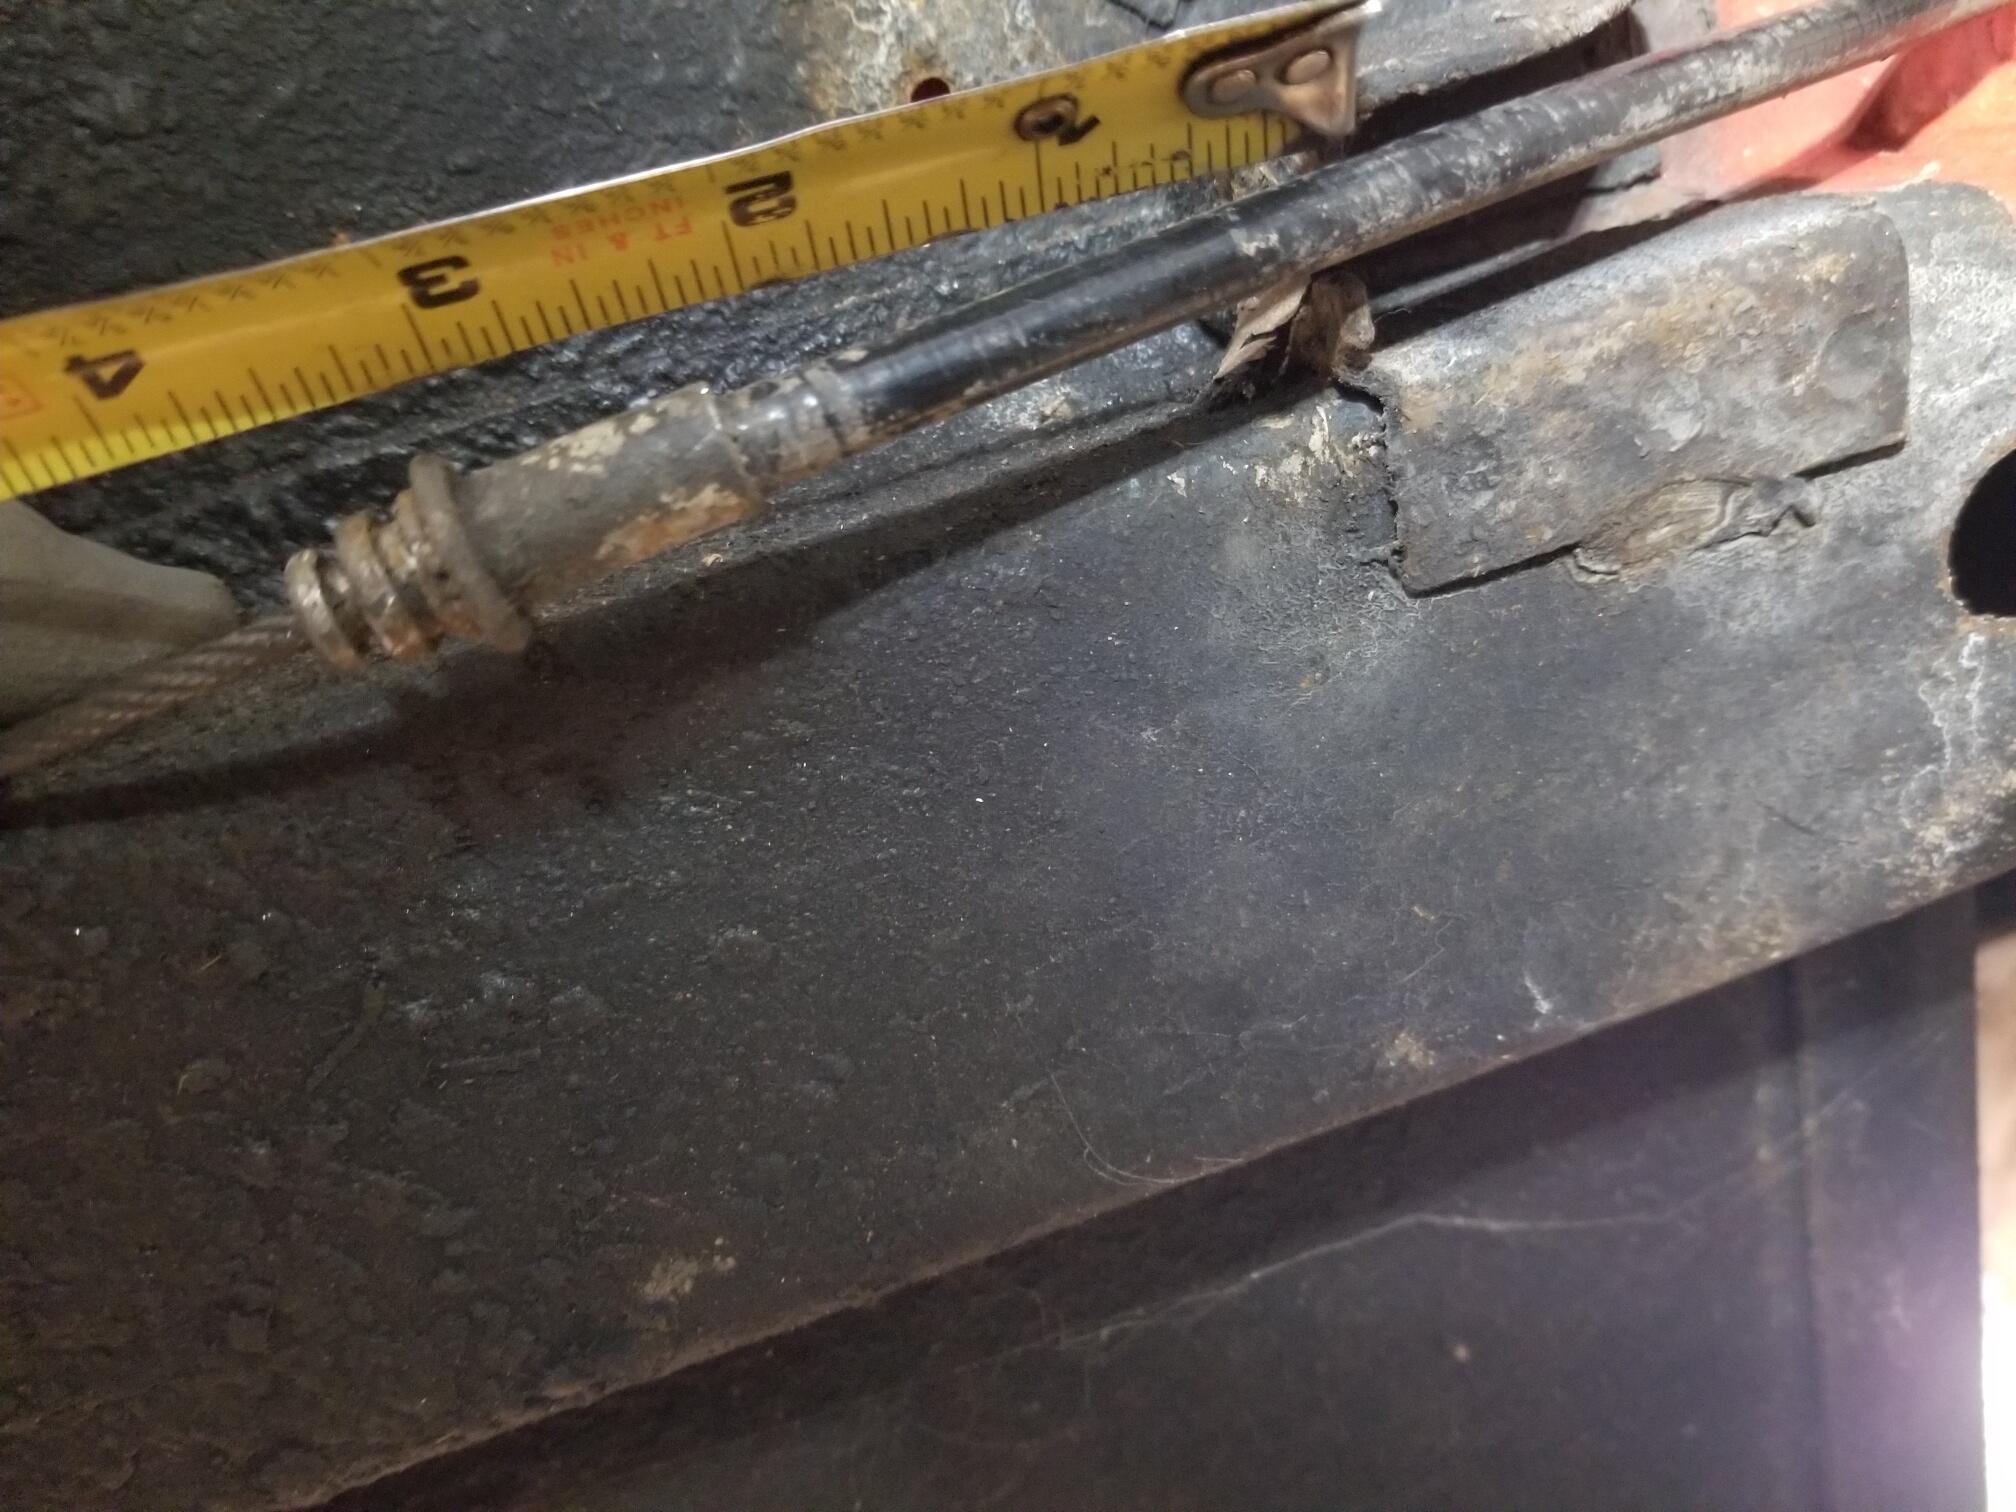
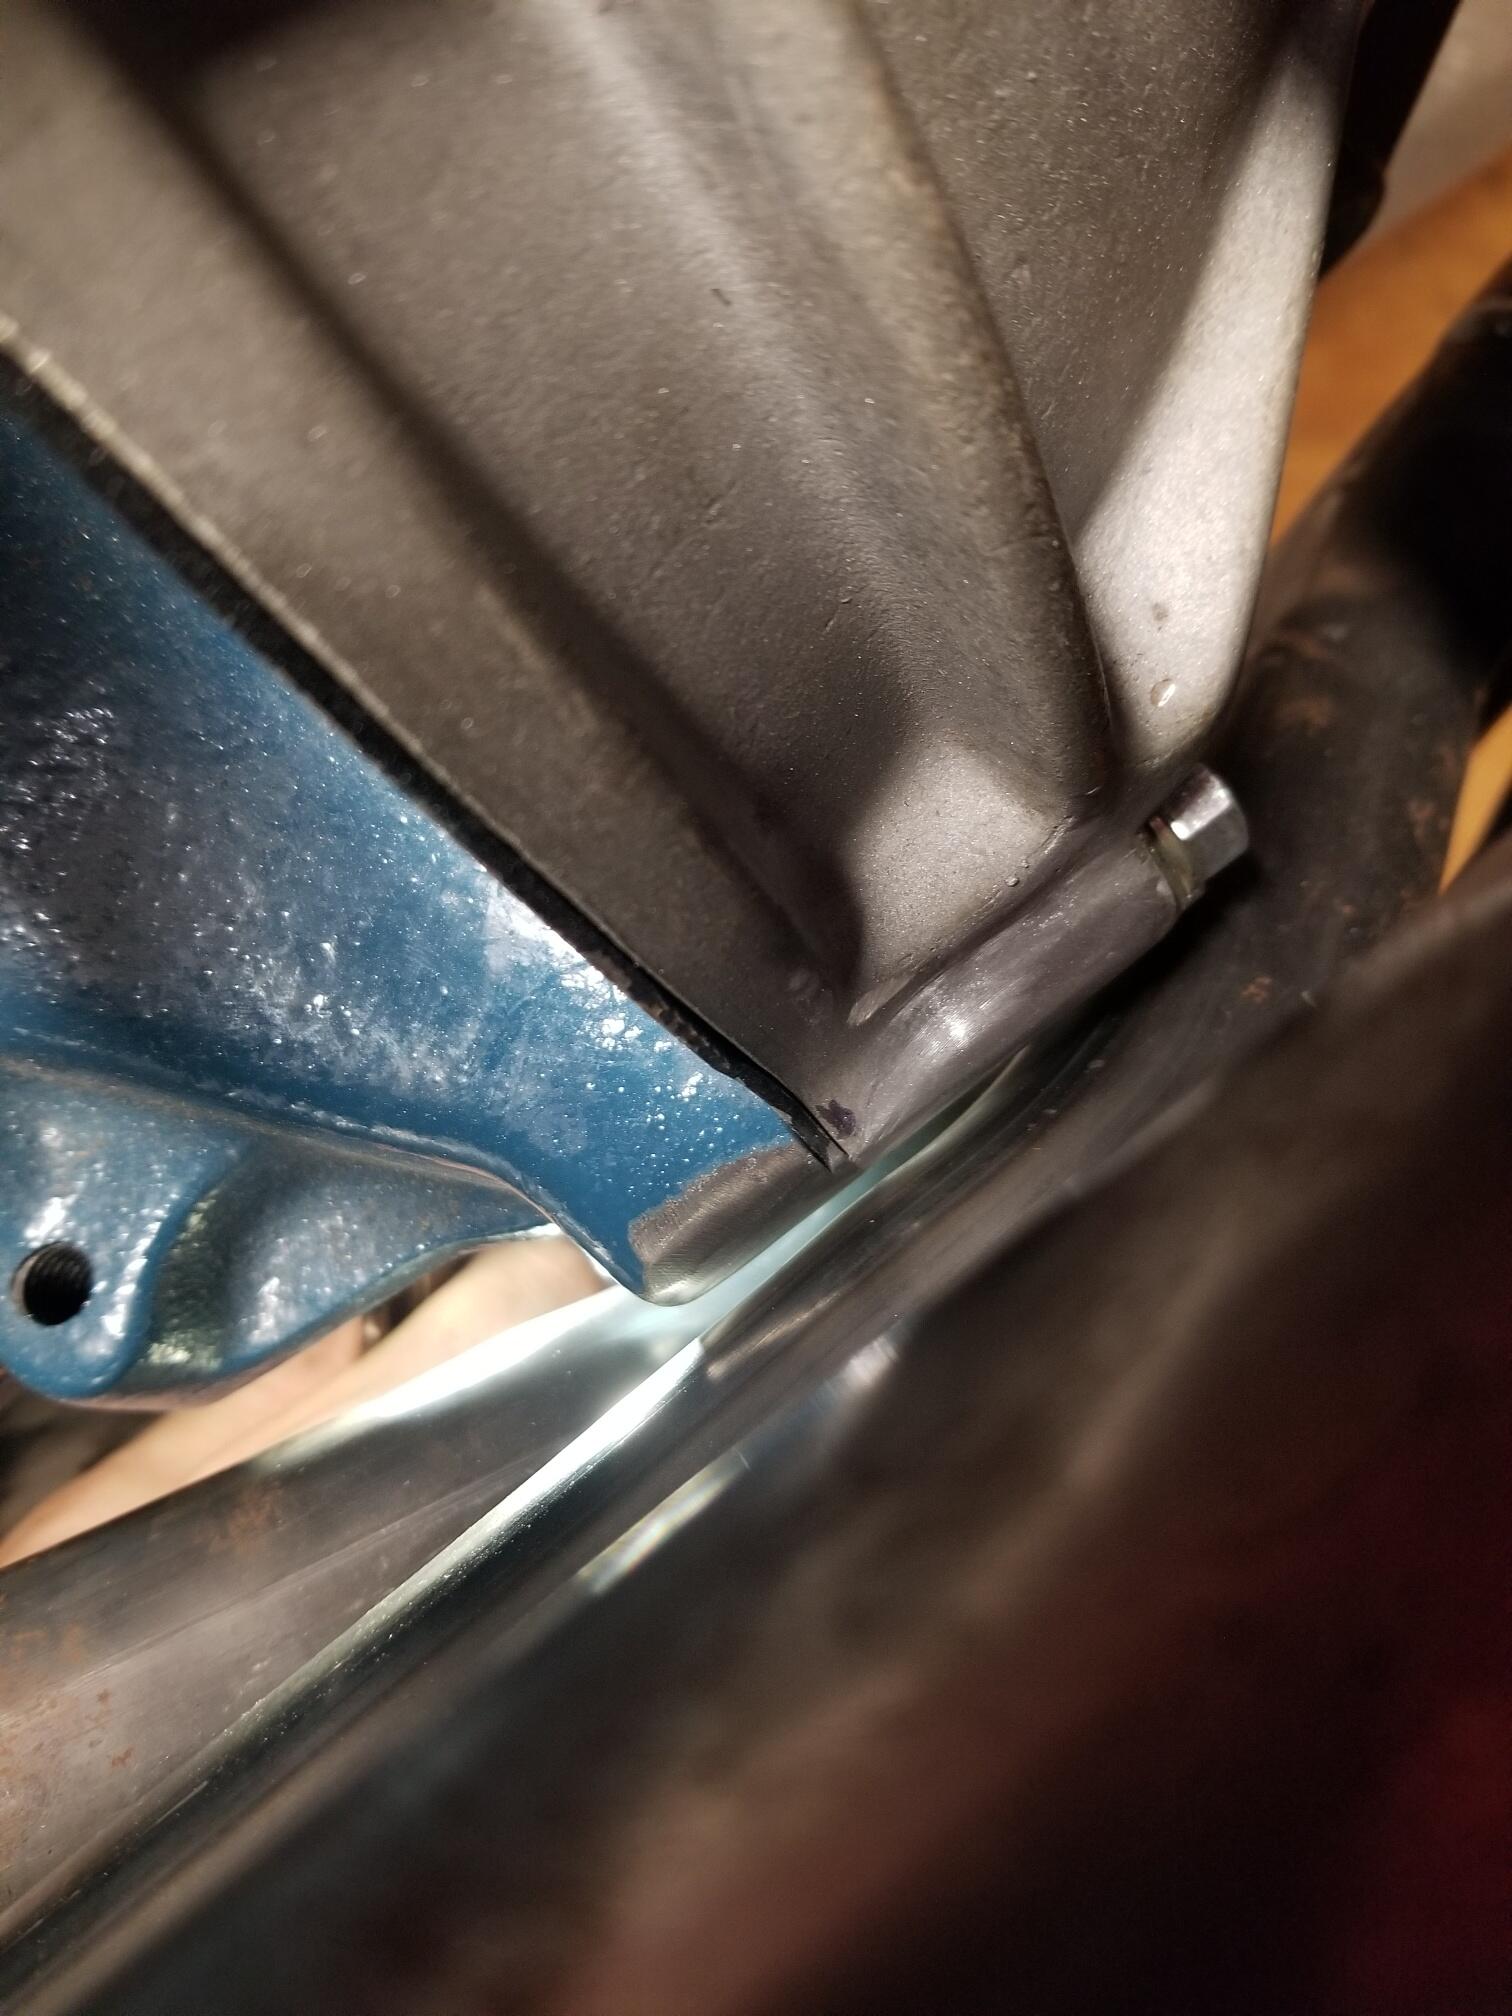
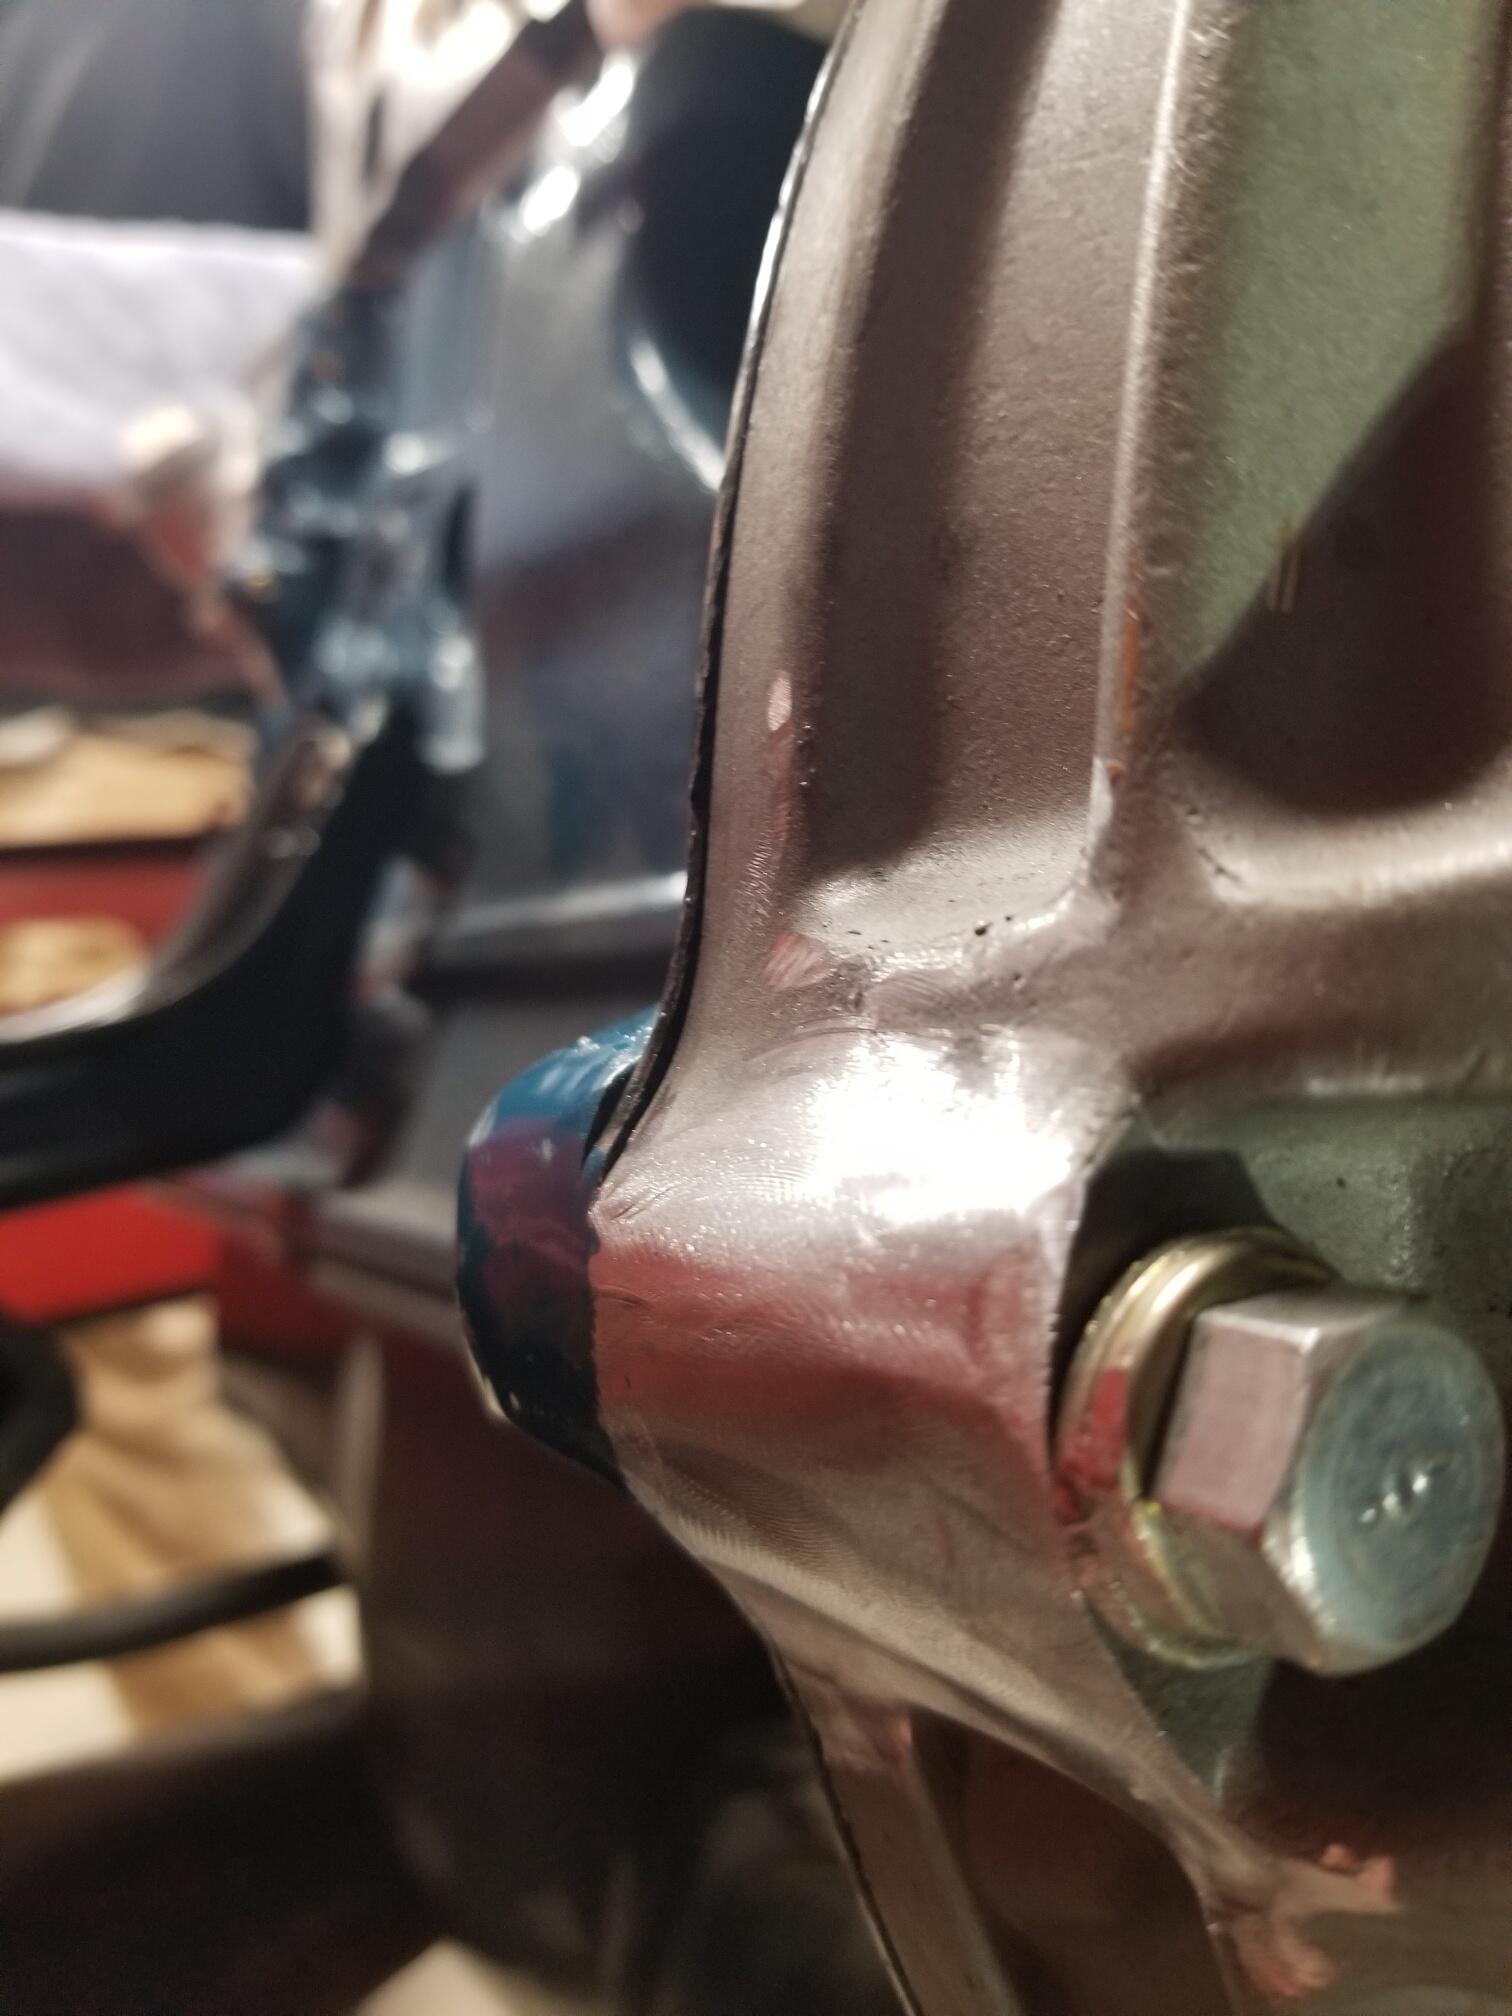
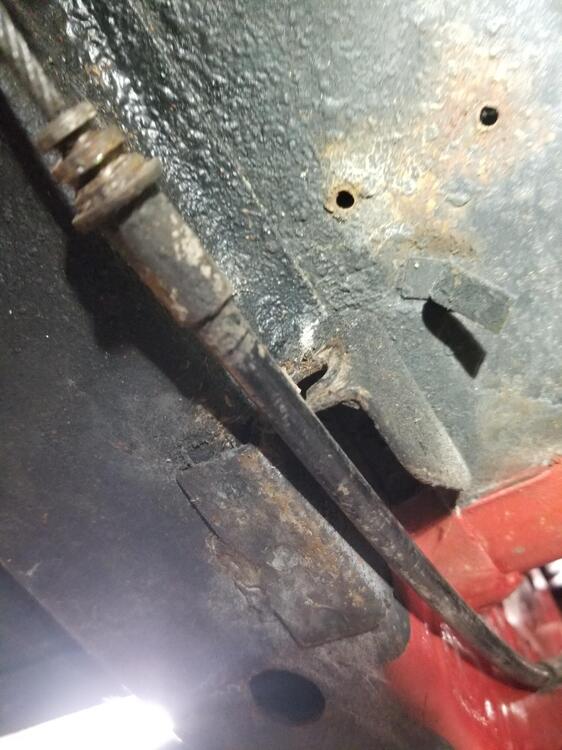
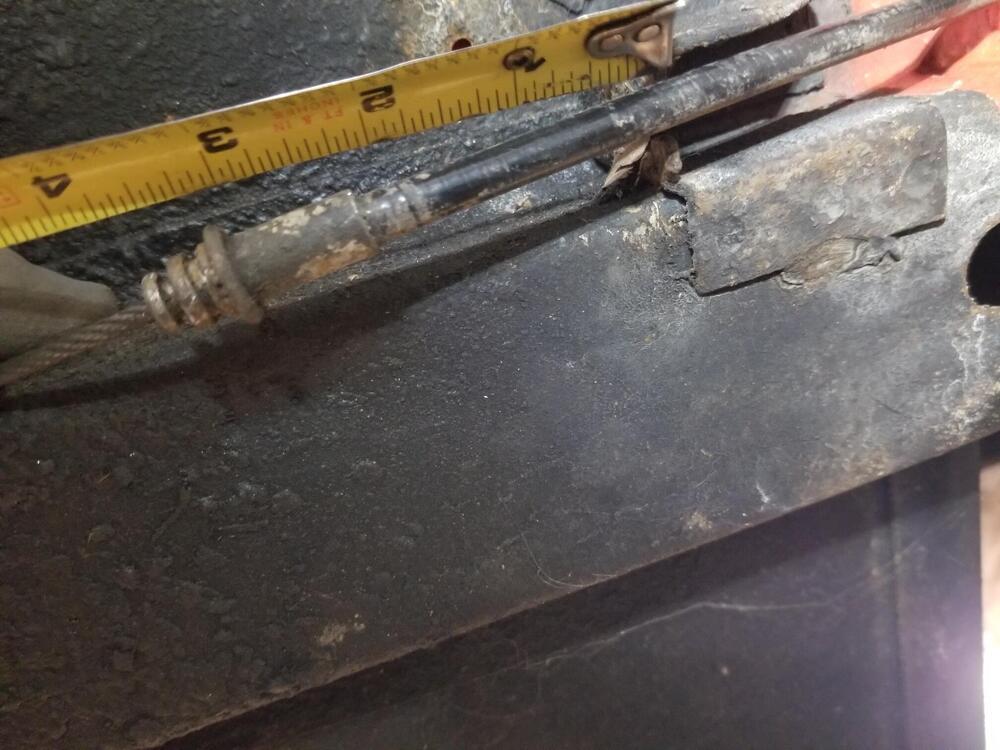
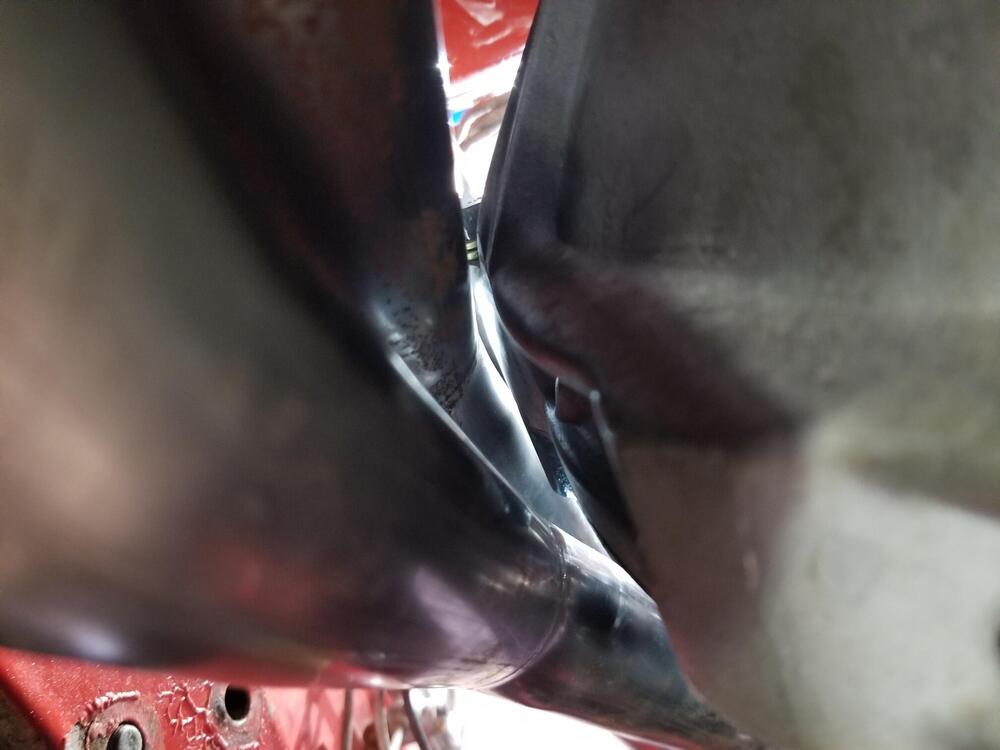
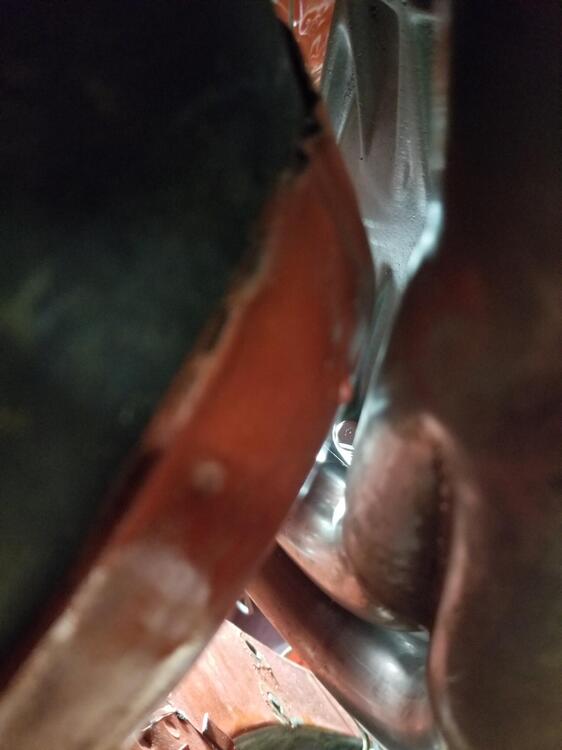
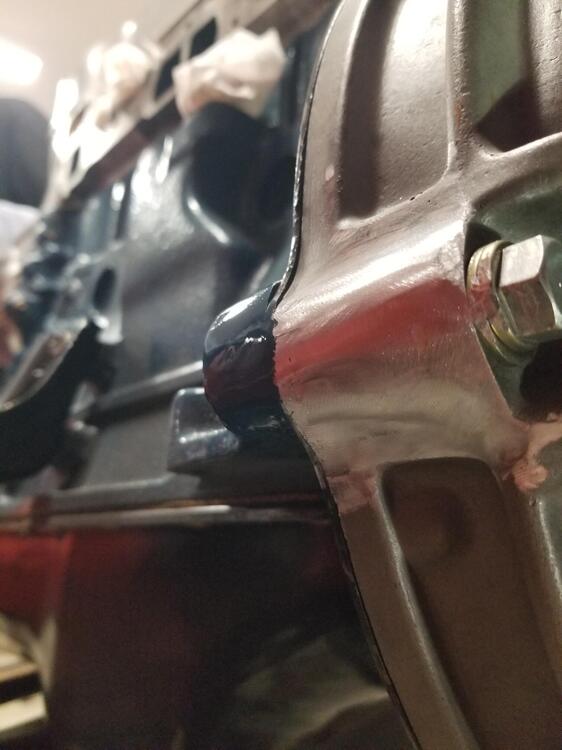
So we worked on Cody's car some. We got the header from Troy Ermish. He was more than willing to work with us on some fitment issues. The header touches the block near the outside edge of the bell housing. We spent some time with the die grinder and clearanced the block and bell housing. It's pretty close to the floor. Hopefully the motor doesn't move that much in the mounts Then I mixed up some blue to touch up where we had been grinding The other issue is the parking brake cable. We need to pull it over to the side but there is too much slack. So we going to try to take 3" out of it We'll see how that goes


-
I love the hardware documentation!! That Is so helpful!
-
If the numbers don't make sense then counting turns is pretty fool proof
-
So, I can't find the source for that diagram. I couldn't find it on carpartsmanual. Is it in the factory parts manual? I don't have those. I was trying to find the part number. Post it up if you can find it
-
-
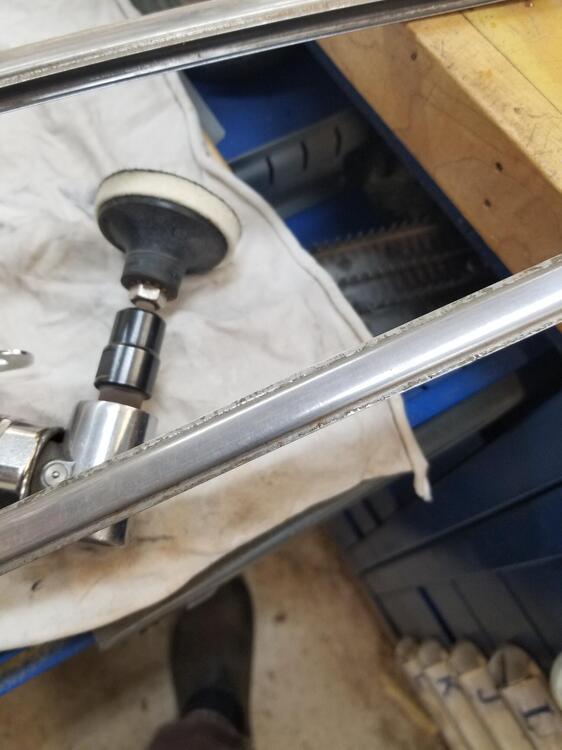
I have had the buffer take trim pieces from me. It happens really fast even on low at 1800 rpm! It would be really easy to get hurt that way and it almost always damages or destroys the trim piece. This method seems much more controllable. I did polish the qtr glass frames on the buffer, but they are much sturdier
-
Sometimes, you have to do exactly that. Fortunately all of the metal panels are available now. That is a fairly recent phenomenon. That makes this repair a lot more manageable. The real problem is you have to sequence the work and be careful to get the car back together straight.
-
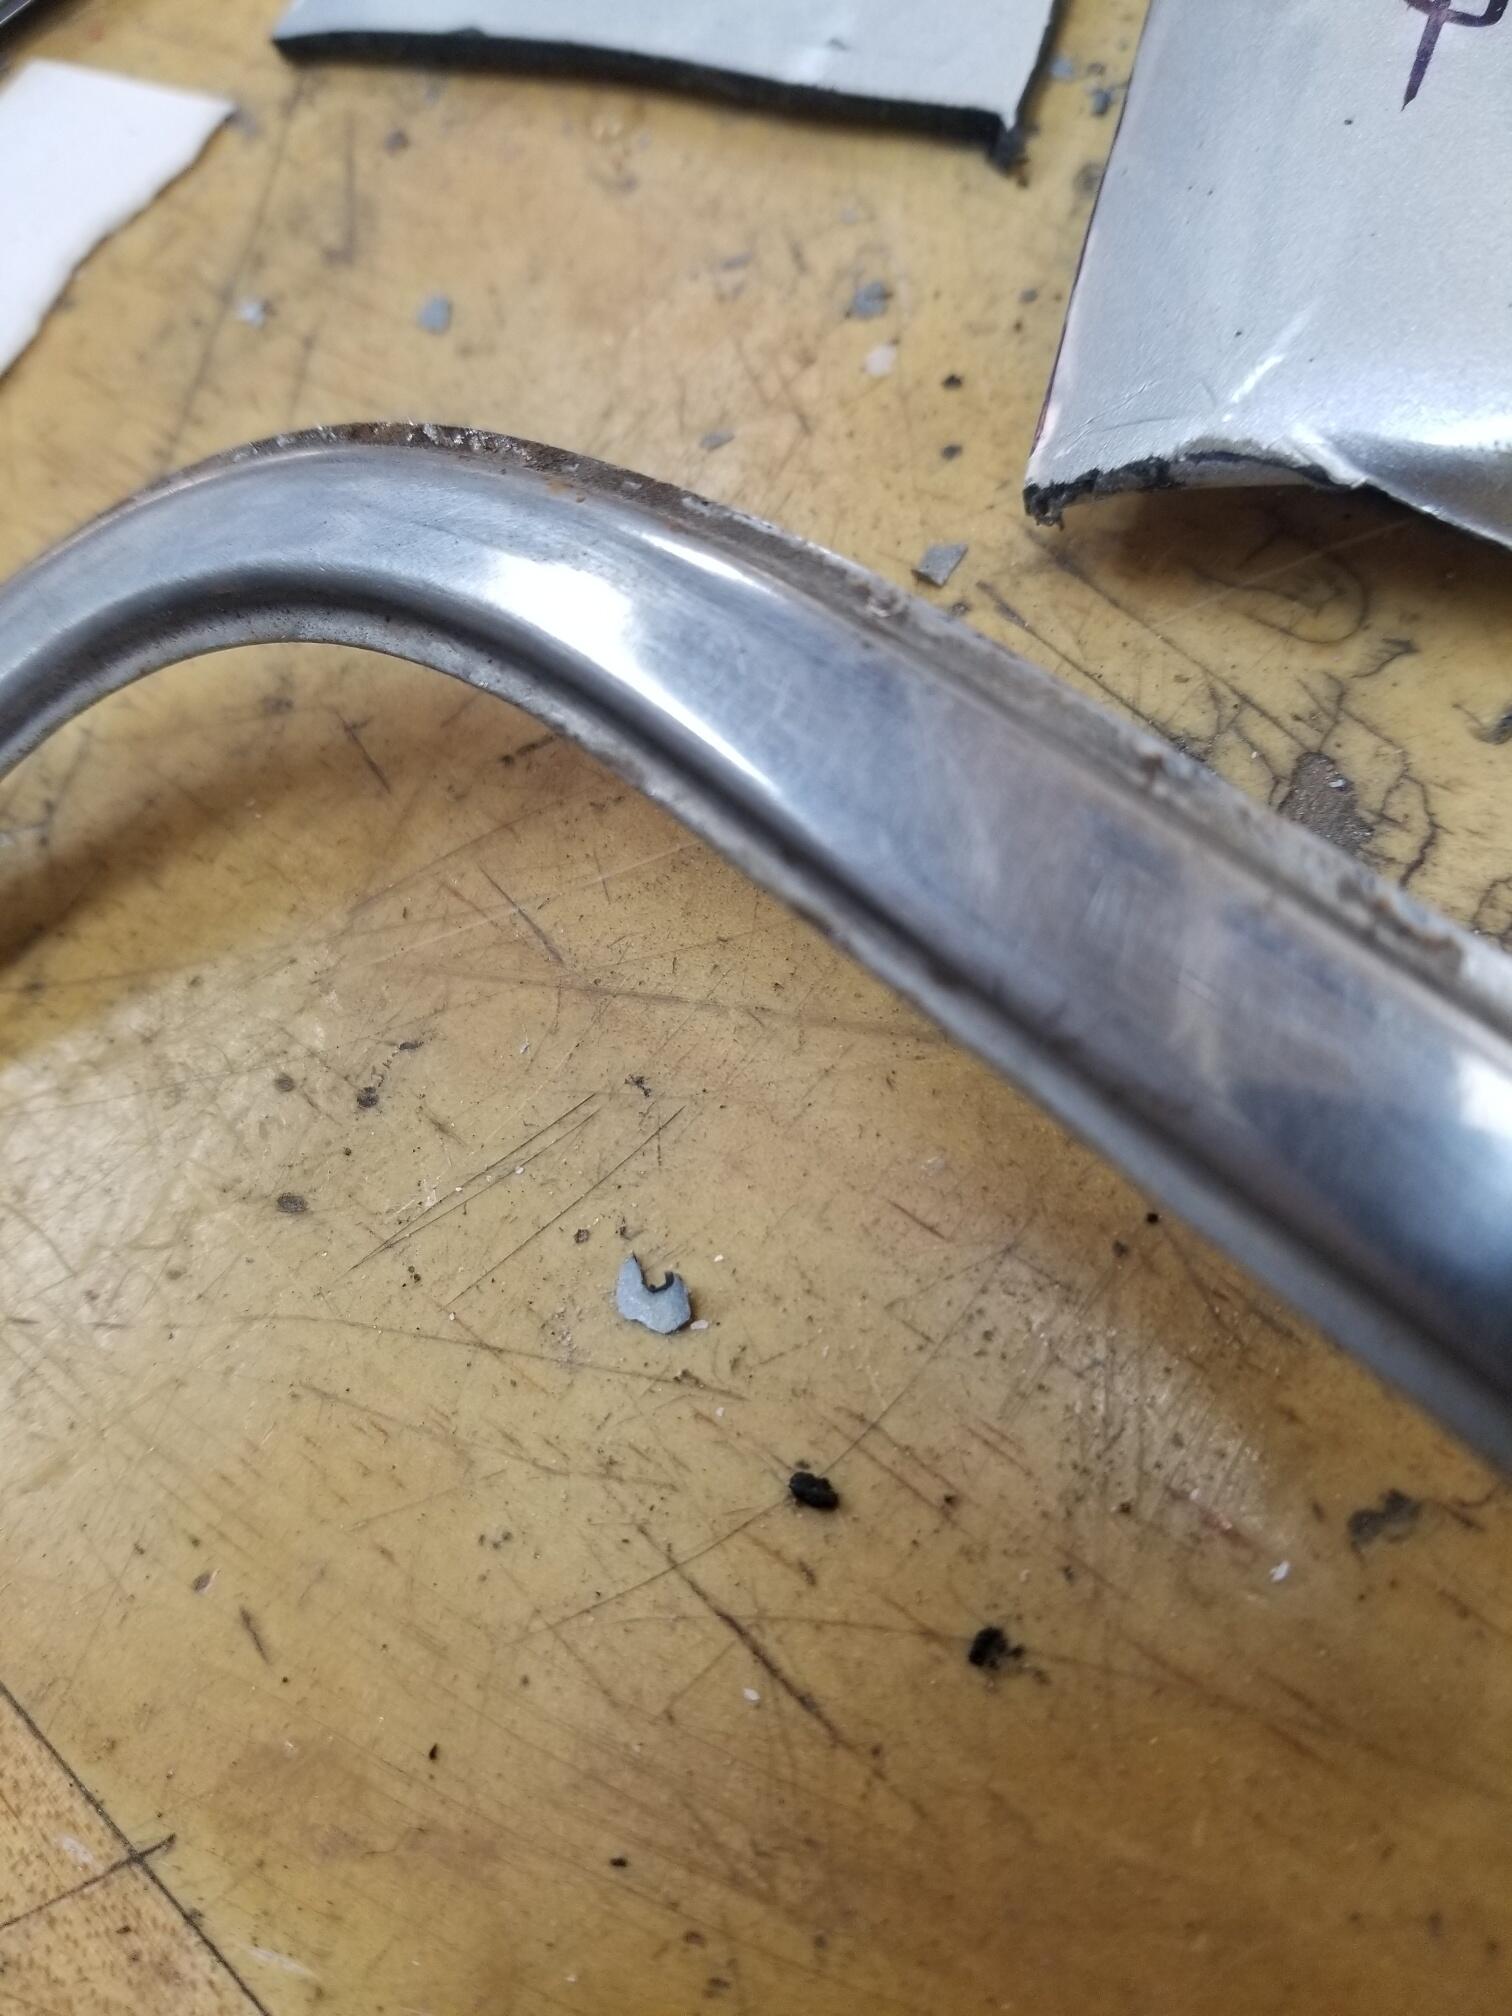
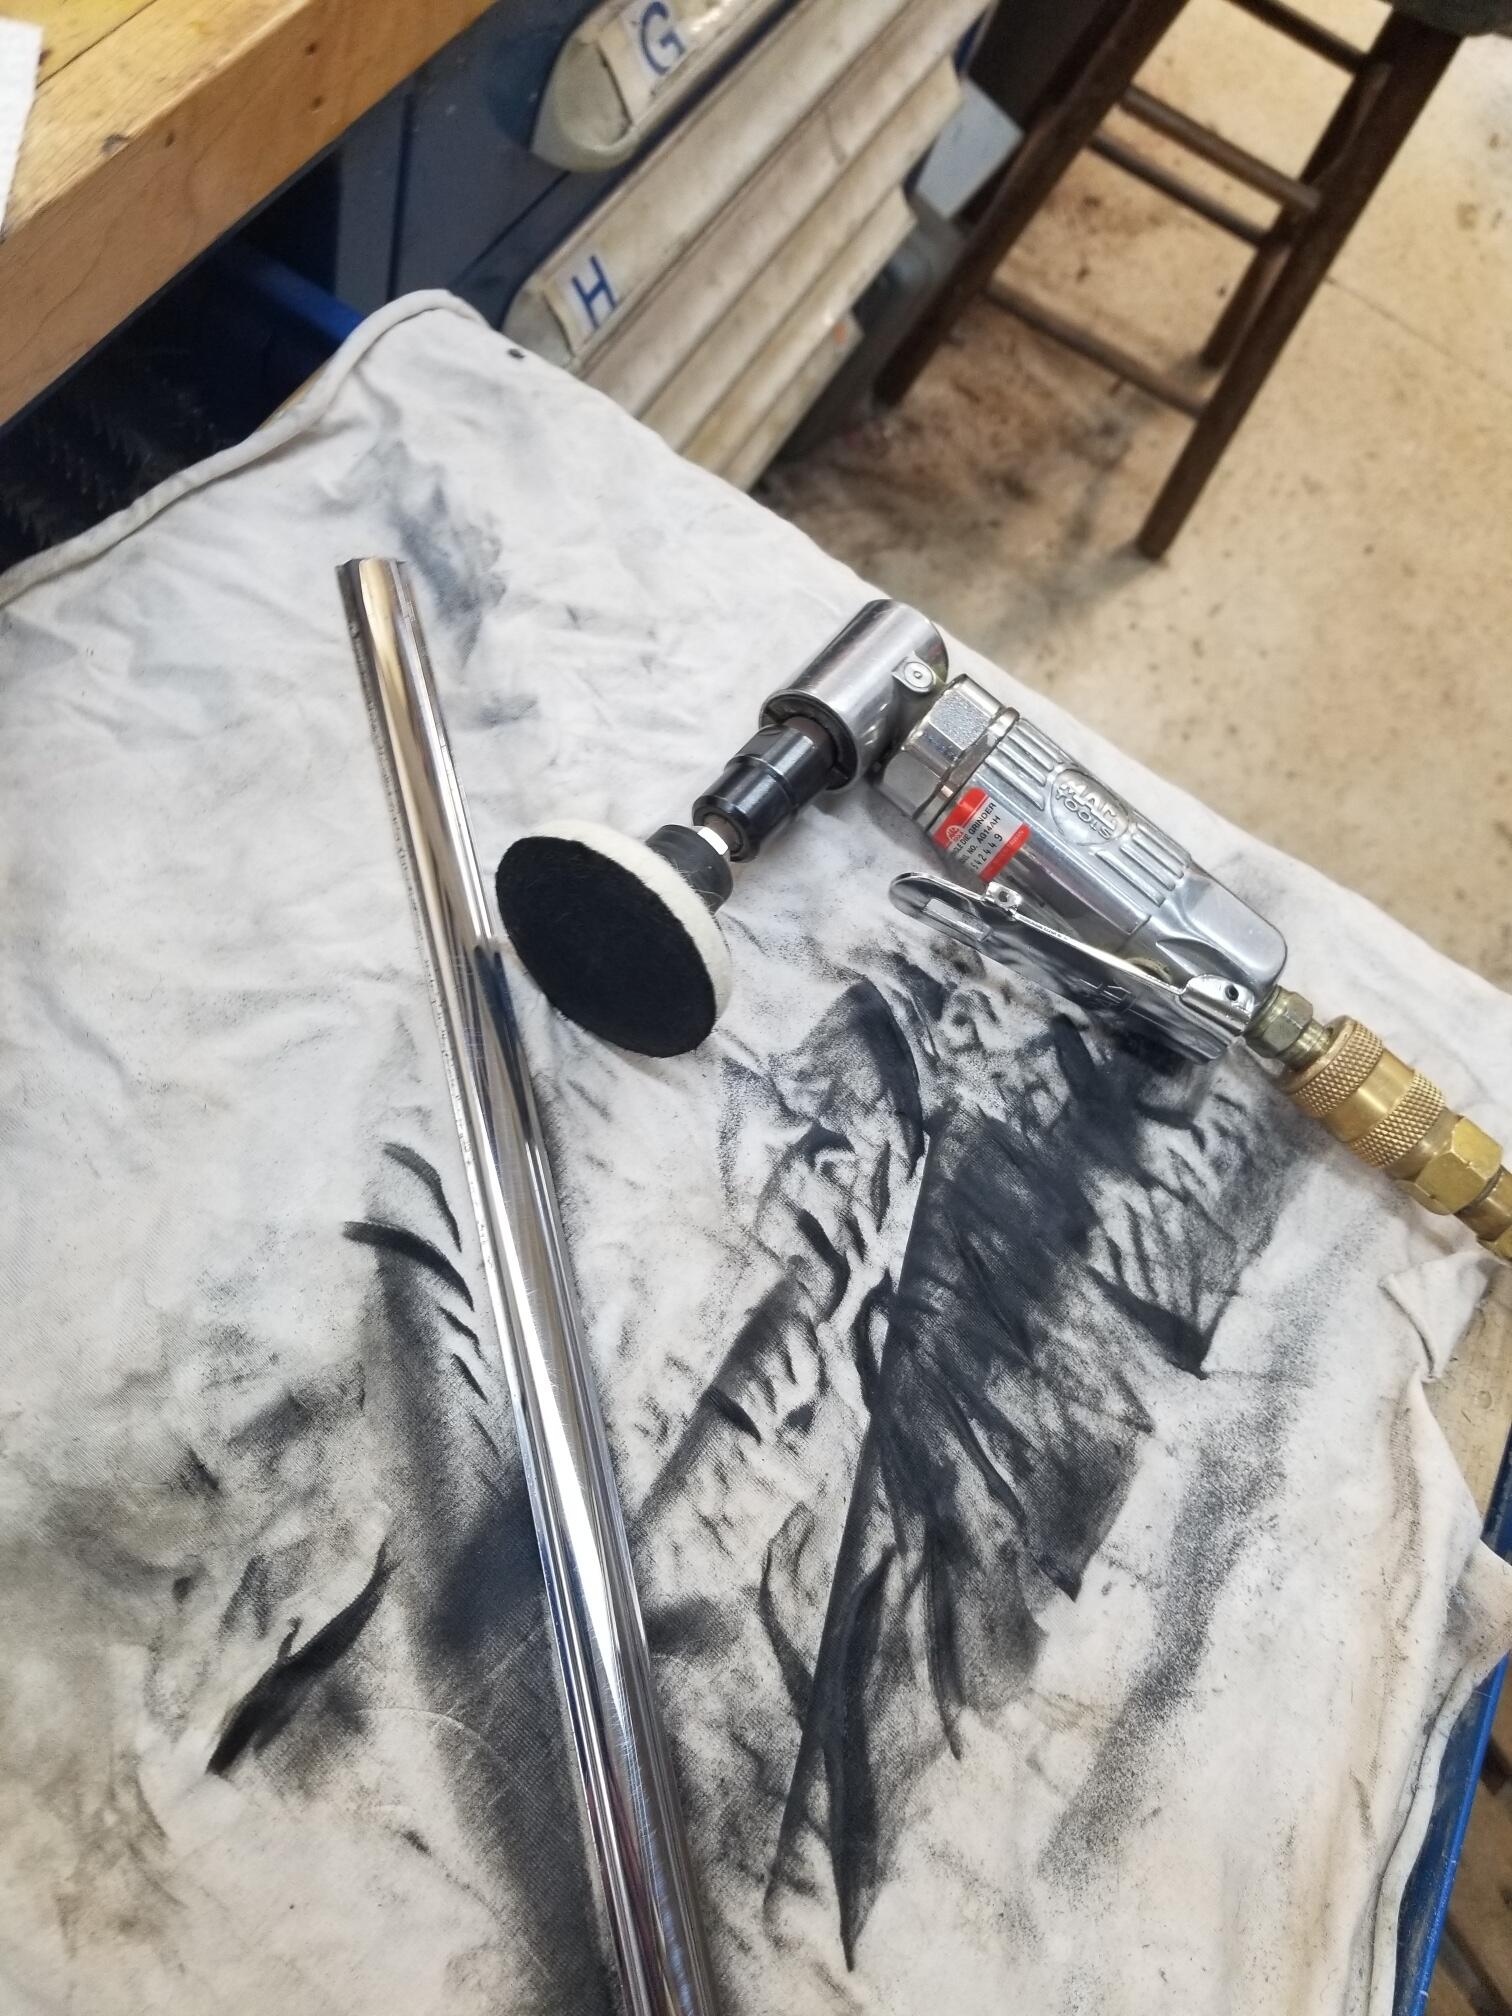
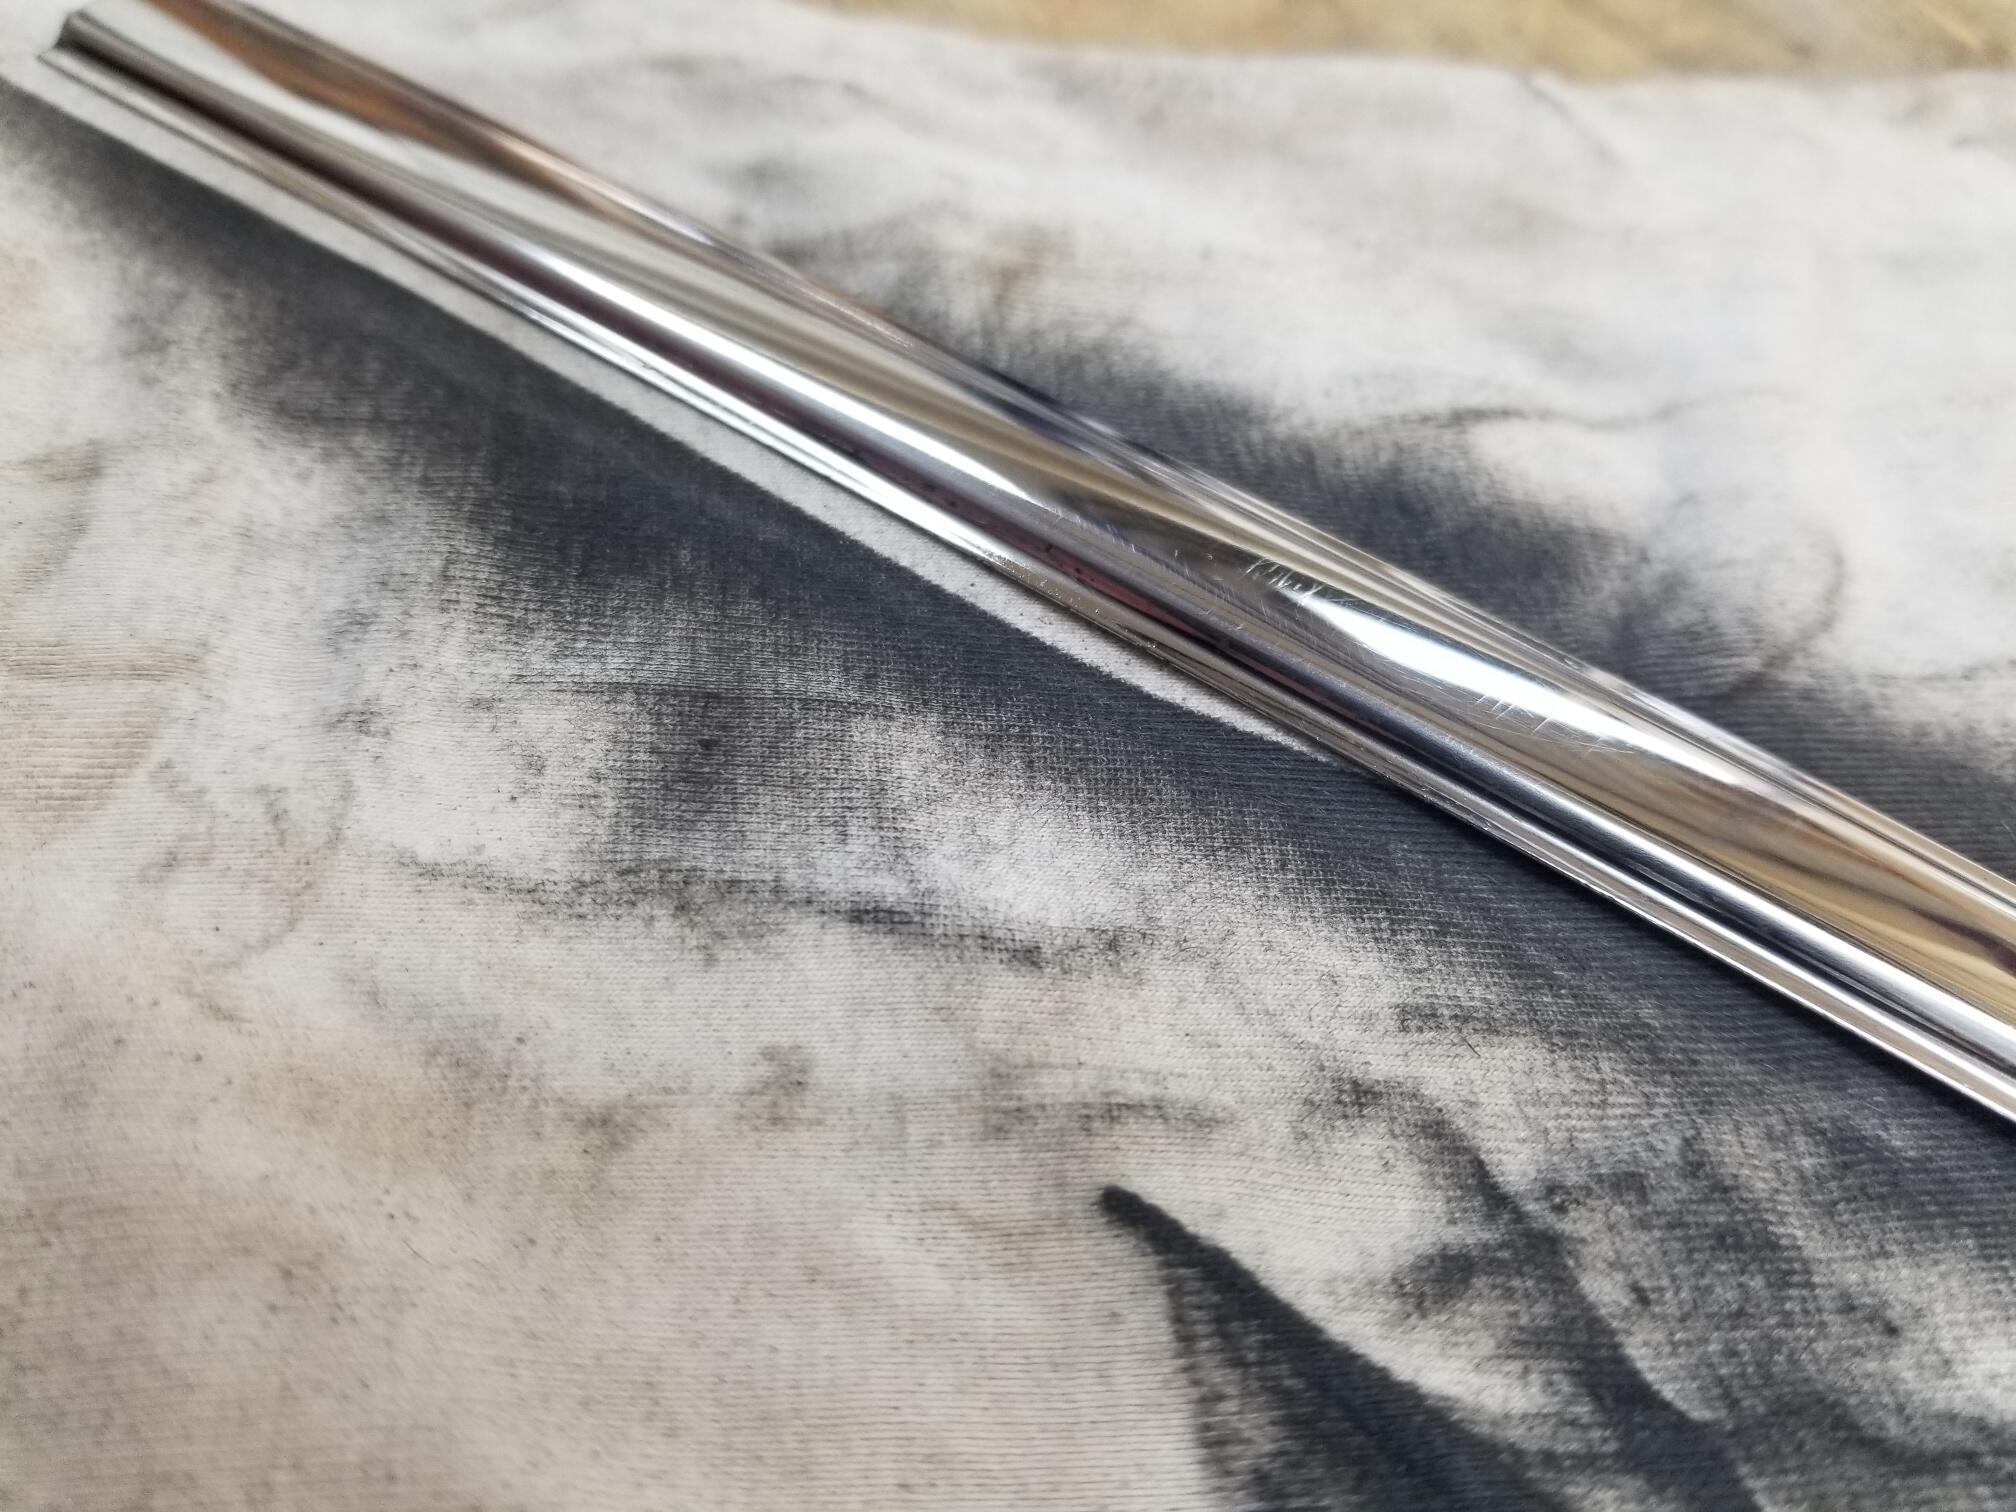
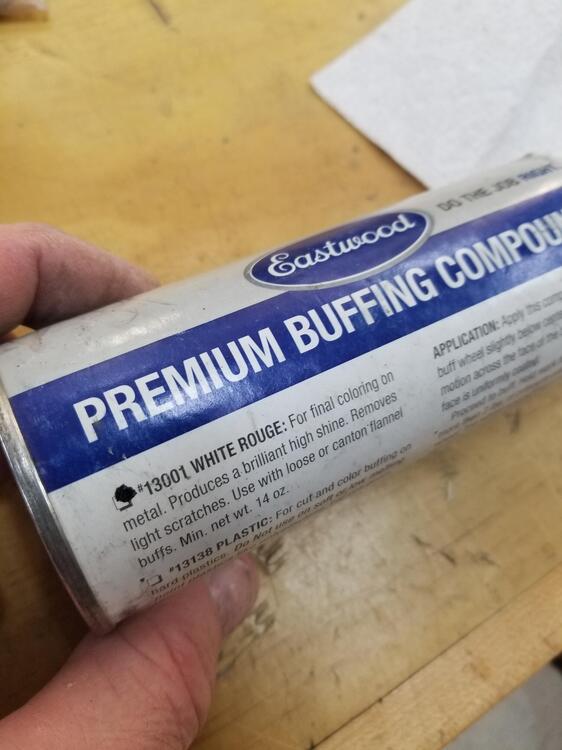
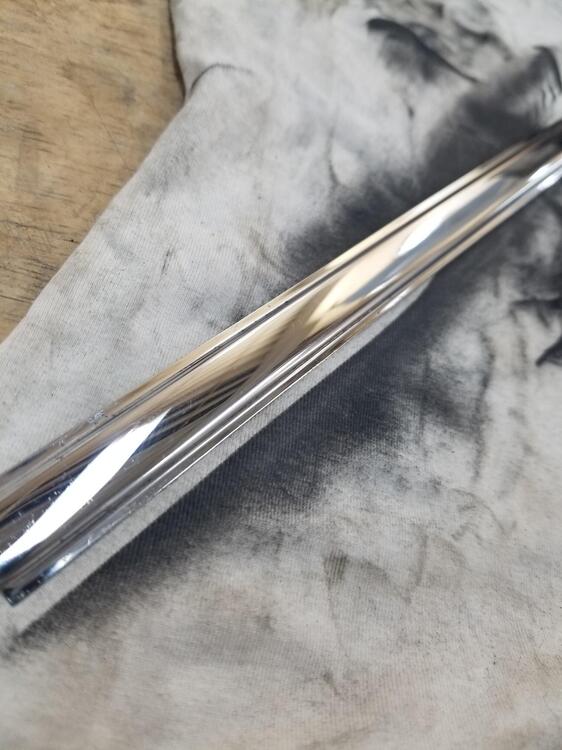
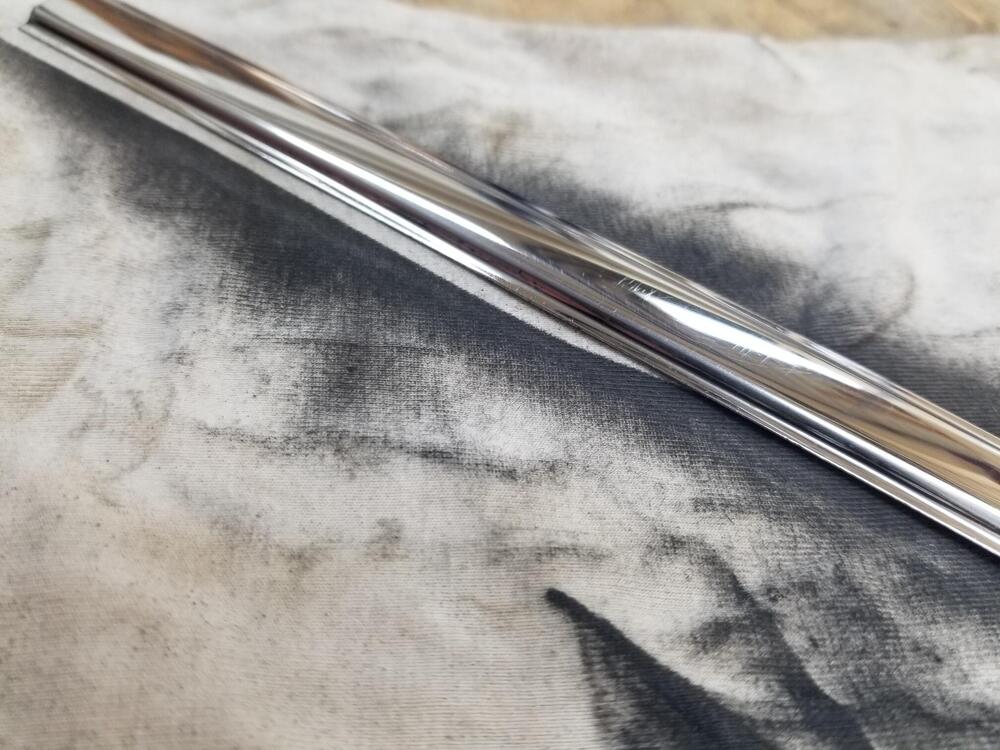
So I worked on the glass trim for the rear hatch glass some I have a nice 2 speed buffer but I don't like polishing these parts that way. If it grabs it they usually get destroyed and they're a little too much like blades to have whipping around you. So I used a buffing pad on a 2" Rolok This is what the finish looked like to start with I'm using white rouge This is after. You can still see some scratching but they will do for now. If I let myself be OCD, I could wet sand starting with 1500 probably and then buff but I don't want to slow my progress down right now On another note, I soaked the blistered yellow zinc in citric acid for a day or too. When they came out they were black. But come to find out that just rinsed right off with water and a toothbrush. Then dried them off. I will bead blast them again before I replate
-
The tail light panel looks pretty rough on top...
-
@the_tool_man
-
I was thinking the window frames were stainless??
-
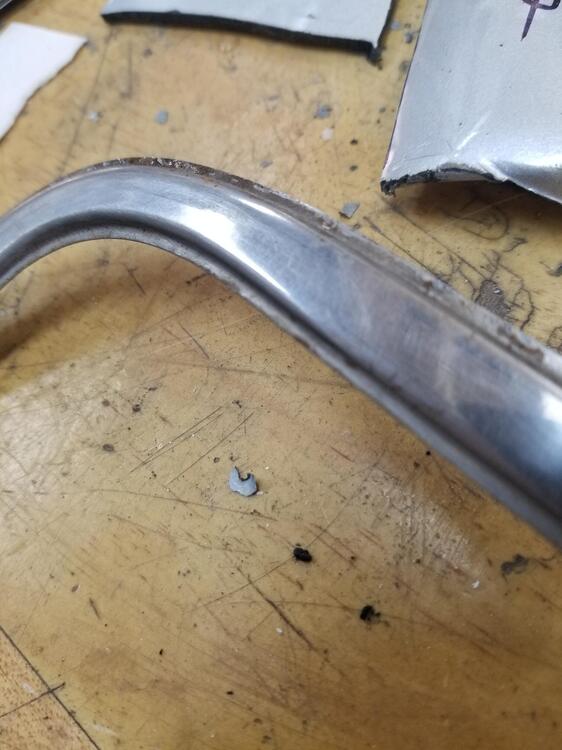
Yeah, thats not an uncommon thing. There is a lot of force right there on the handle. It typically comes from people pulling the handle up too firmly until it stops. If you just pull it up enough for it to unlatch but not hit the stop it shouldn't do this
-
That is the problem with the toyota calipers. It can be difficult to find the right ones. Some will take the vented rotors and some will not. Even though they are marked the same.
-
You really have to wonder who would think that little rail is suitable for picking up the car!
-
I understand It just seems like it would be childs play for you considering all the fabrication you done in the past.
-
How hard would it be to just add the chamfer?
-
I agree an excellent video. I am also curious about his little blaster
-
I would think the pump lever would absorb a lot of the energy that causes vibration but without it installed I would remove it. Now admittedly it has a low mass and a small radius but it shouldn't be very challenging to remove
-
Yes, compound the glass. Scratches probably won't come out but they will get less noticeable
-
I was under the impression that these hooks were used for tying the cars down on the voyage to their destination...?