


Patcon
 Subscriber
-
Joined
-
Last visited
Everything posted by Patcon
-
 This is definitely the most encompassing way to describe Cliff The silver car looks good and the center console in the picture is very clean. It would be my first choice between these two cars. The dash might have cracks, but most Z's do. It might not though if that rug has been on there a long time. Seats are a really easy fix and cheap. Body and paint work is not easy or cheap and it is difficult to do at home. The front right fender on the silver car looks like a different color. So I would look for damage on the inside of the engine bay on the passenger side and the radiator support. the T-tops can leak but they add value to the car too. Mileage doesn't scare me too much on either of the cars as far as mechanicals go. The engines are very durable and so are the transmissions if they're not abused. What goes bad with lots of mileage are all the little parts: window regulators, switches, seat mechanisms, wiper motors, blower motors, etc I would be concerned about rust on the black car and the rear tail light panel will take a considerable amount of money to look right again. I wonder if there is crash damage under any of that, which necessitated the changes. I would be more interested in the silver one over the back one. For the cost of making the body right on the black one you can do a lot of mechanical work. Also the brake leak may not be obvious if the master is leaking into the booster As for buying a car out of Florida, you are better buying one from Texas, as long as you avoid the coast. You could also shop further West. The cars further West should have less rust. Some of the other aspects may be more sunburnt but a whole interior could be bought used for probably a $1,000, for that matter you could find a rust bucket from somewhere else and take anything off it to move to whatever car you find. The condensed version: Buy the best body and paint you can afford, all the other stuff is easier to over come. Paint jail is not and rust is a slow death waiting...
 -
The Caswell product is waterbased and I see problems with cleaning the glass or condensate on the interior surface. You really need to find a solvent based product Maybe one of these: https://www.midwesttech.com/Electrolube-scp03b-scp-silver-conductive-paint-3g/?gclid=Cj0KCQjwz93cBRCrARIsAEFbWsh5v55IRJDBayNKbkamMSkGJajY7W_J1Lpt9YL1ZX0Vm0m6nmgewXsaAkE5EALw_wcB https://www.etsy.com/listing/519528043/silver-conductive-paint-scp?gpla=1&gao=1&&utm_source=google&utm_medium=cpc&utm_campaign=shopping_us_b-electronics_and_accessories-other&utm_custom1=b66cd0c9-ee2b-42c1-98c1-4d27634cbc4f&gclid=Cj0KCQjwz93cBRCrARIsAEFbWsgTmeVGslyQpamHc6pYAtTZE6mN0NNWoSss2Gc1j9cY4iEpD2s0GgMaAjsIEALw_wcB https://www.google.com/shopping/product/9674429714092994981?q=conductive+spray+paint&biw=1366&bih=632&prds=paur:ClkAsKraX2z4DA6QMUsuu51_rStj--GYT7m-VzJZJ1XIXN_UWQhoRrAg2cgiQO-GbvEgCFtJHnHcYJ2_kO5PqO5H2R4AbNlQU5erAjTfs1XHuRffBO6NM-KwwhIZAFPVH71QOWWvgdHBi0RNSblIutnZs4kC_w&sa=X&ved=0ahUKEwj1mOS2hrTdAhUM0lMKHZoODagQ8wIIgwM
-
The front turn signals turned out good!
-
It is a very limited thing and I don't want to advertise for the source...
-
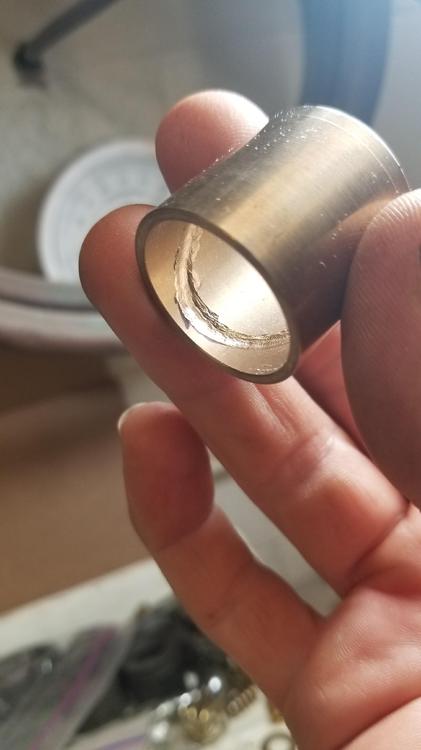
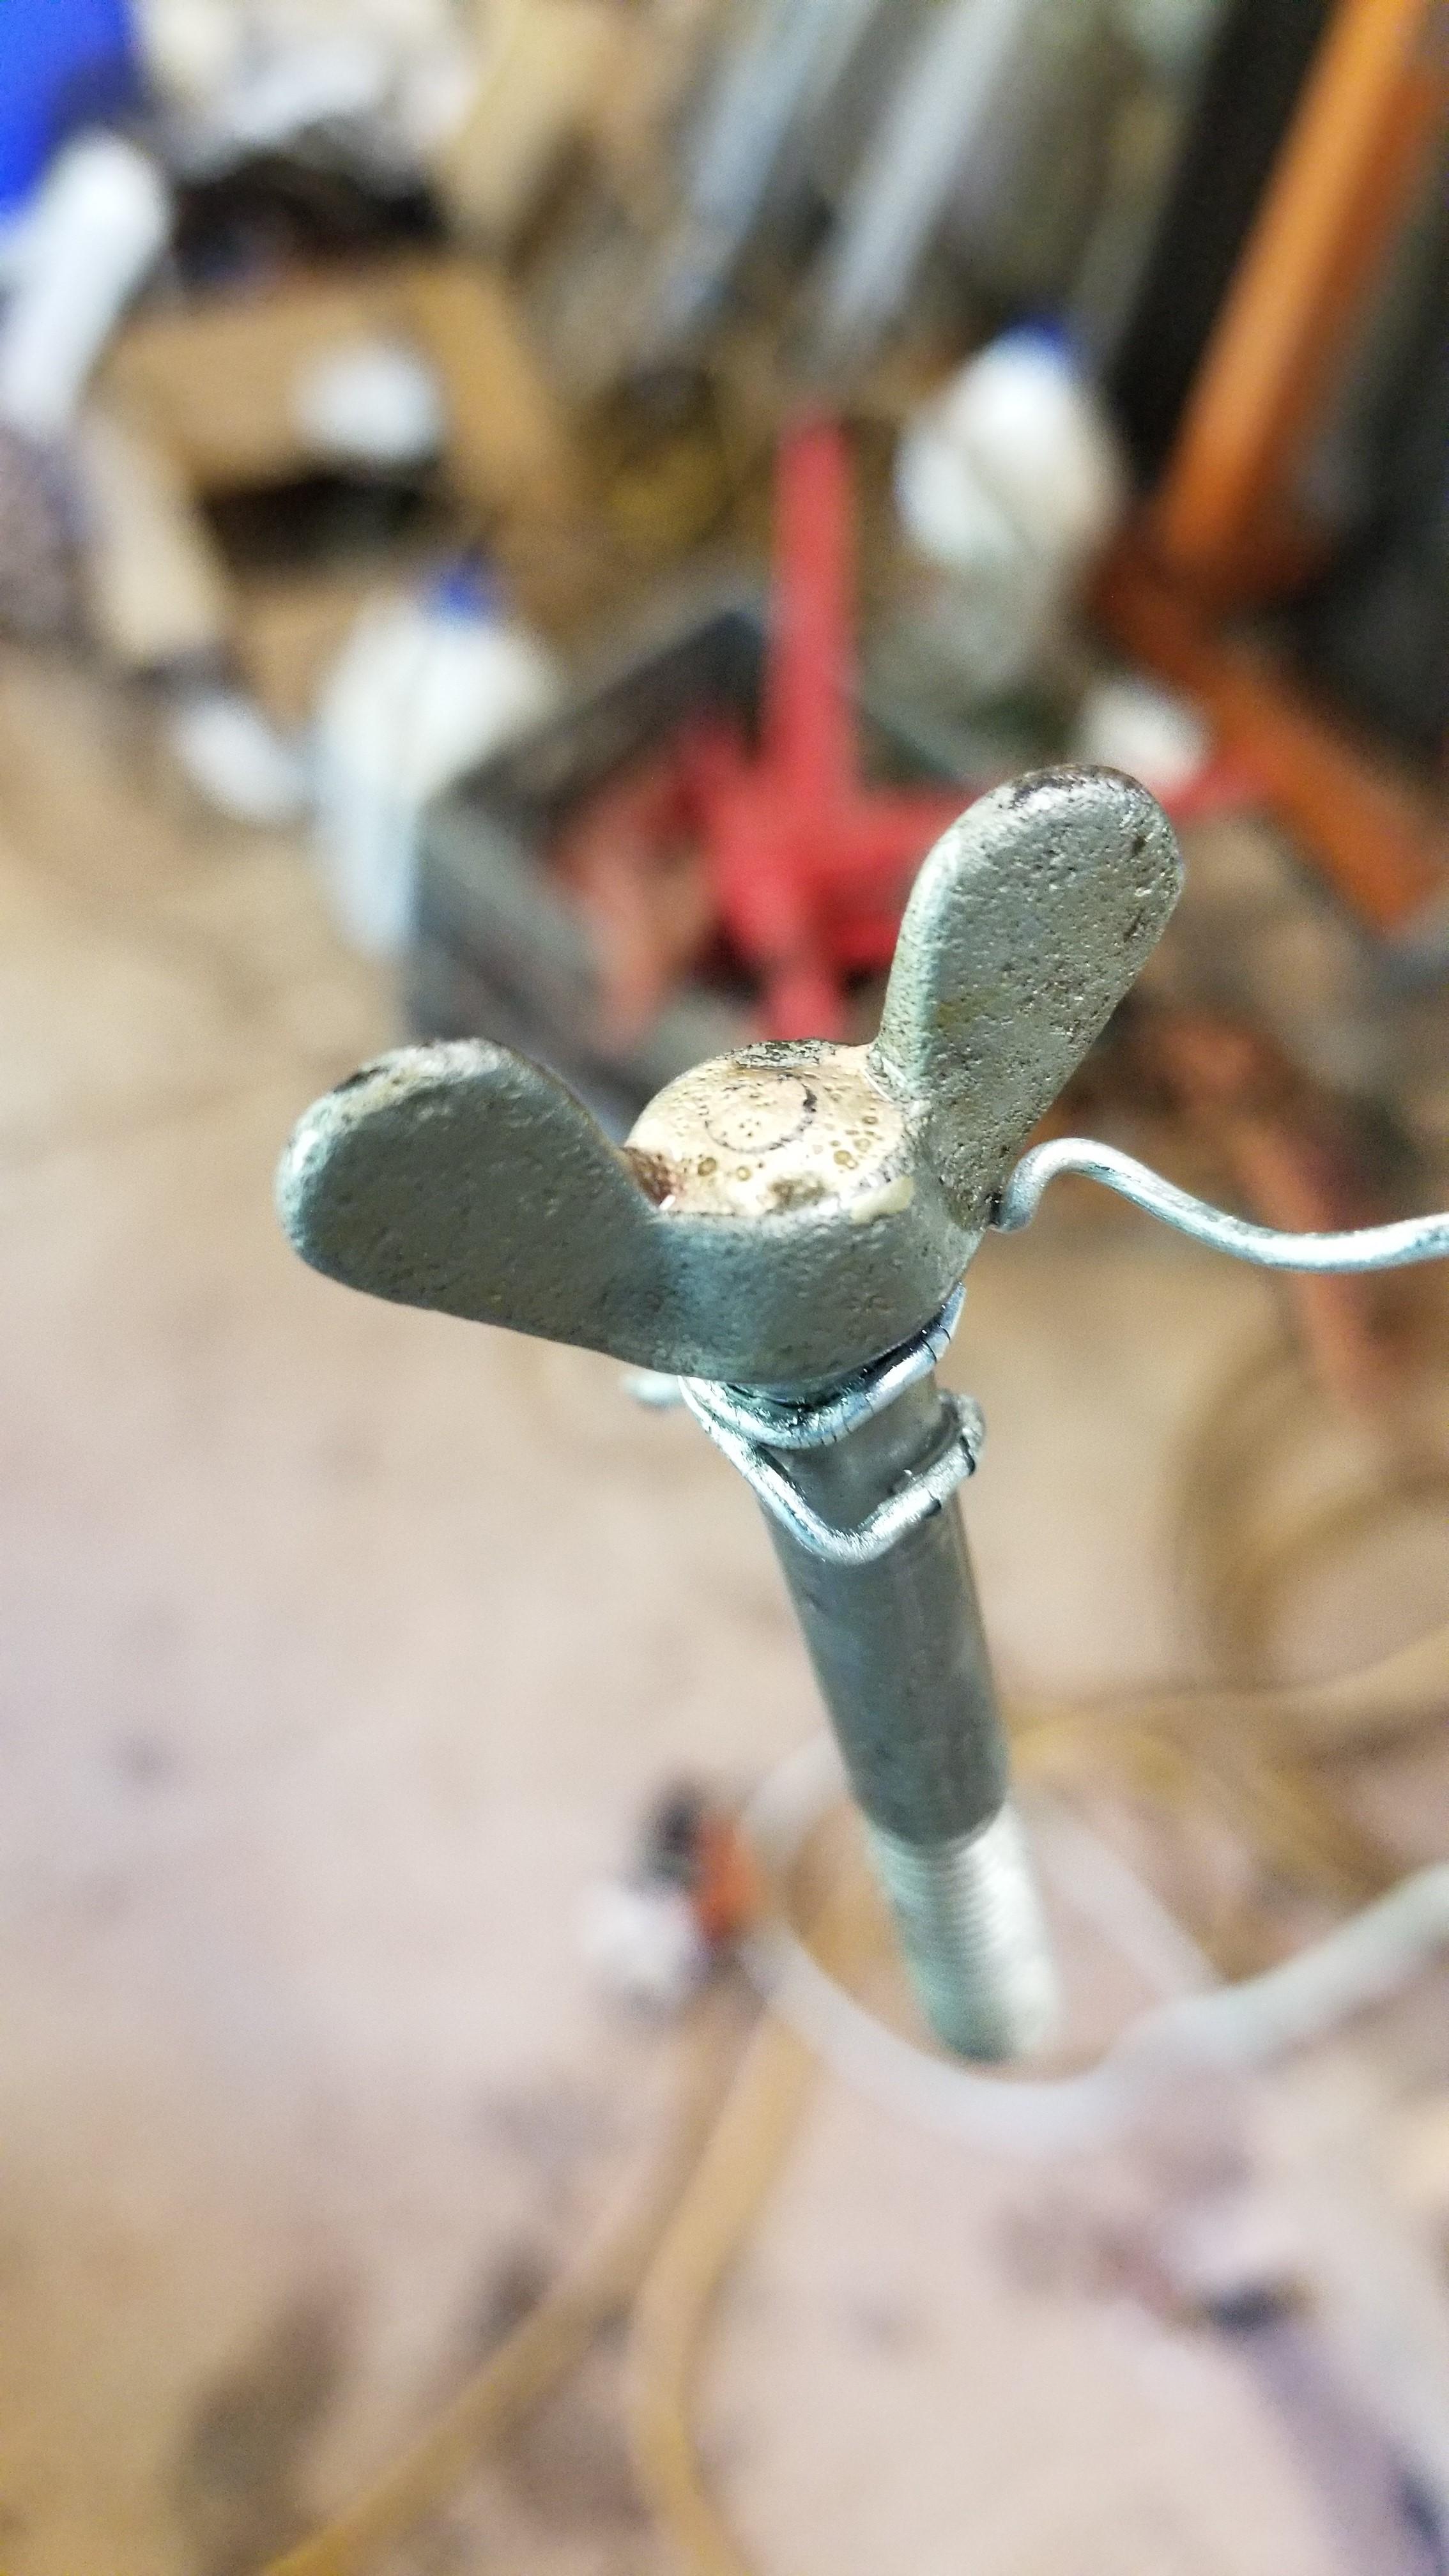
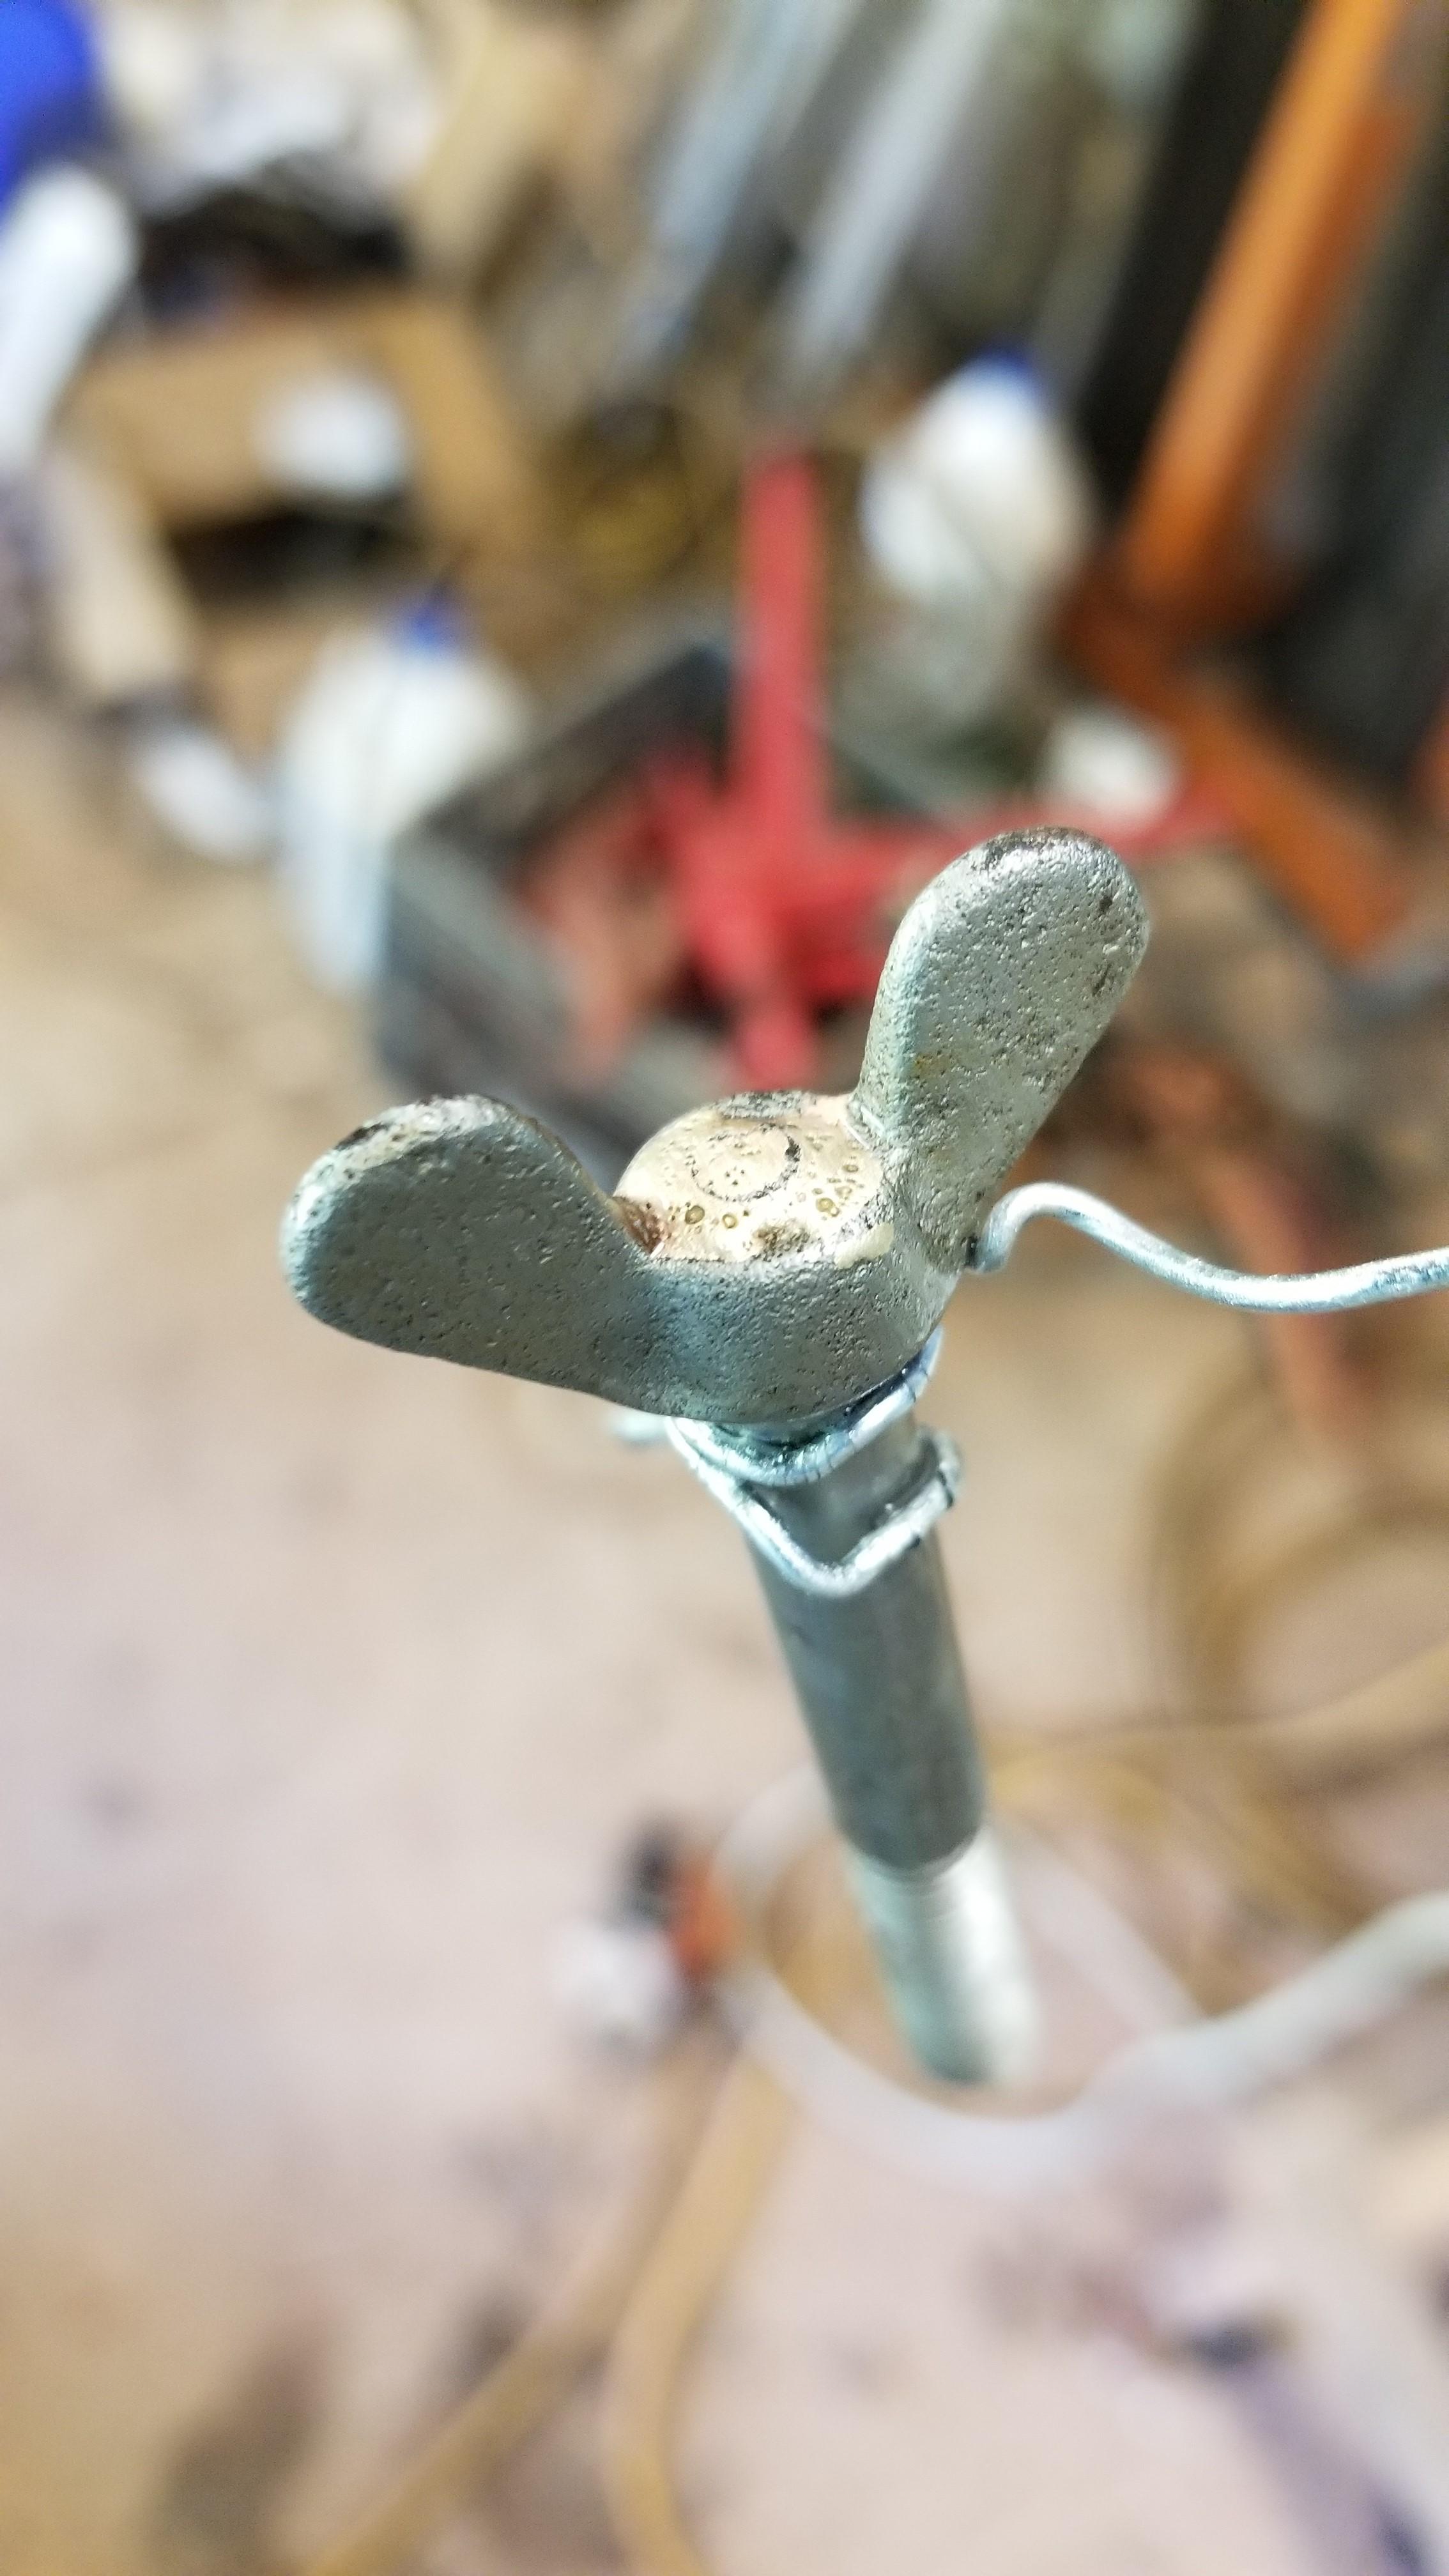
Yeah I need to double check them for being clean, although I would think the brass would yield to the hard steel rack pretty easily
-
Those are a mess. I have learned storing cars out on the ground is the worst for them. Outside on the concrete rust them much slower than in the woods. It's a shame really
-
No other issues between the ZX gasket and the Z gasket?
-
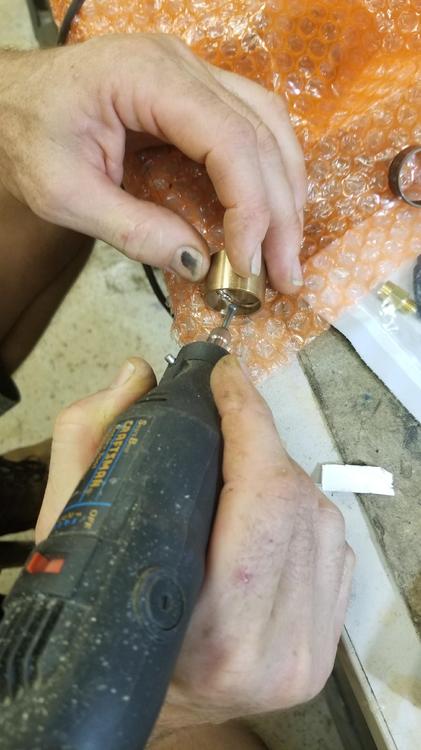
I did some more plating today. I did not realize that the ends of the air filter bolts were brazed on. It might be hard to see in this photo The color and finish is pretty good on these but I don't like how the pitting showed up on the butterflys. I make take these back down and do some sanding on them to minimize the pitting. I am still running pretty high currents right now. So I have ordered some chemical and am going to try to reduce the resistance across the tank some on my next plating day.

-
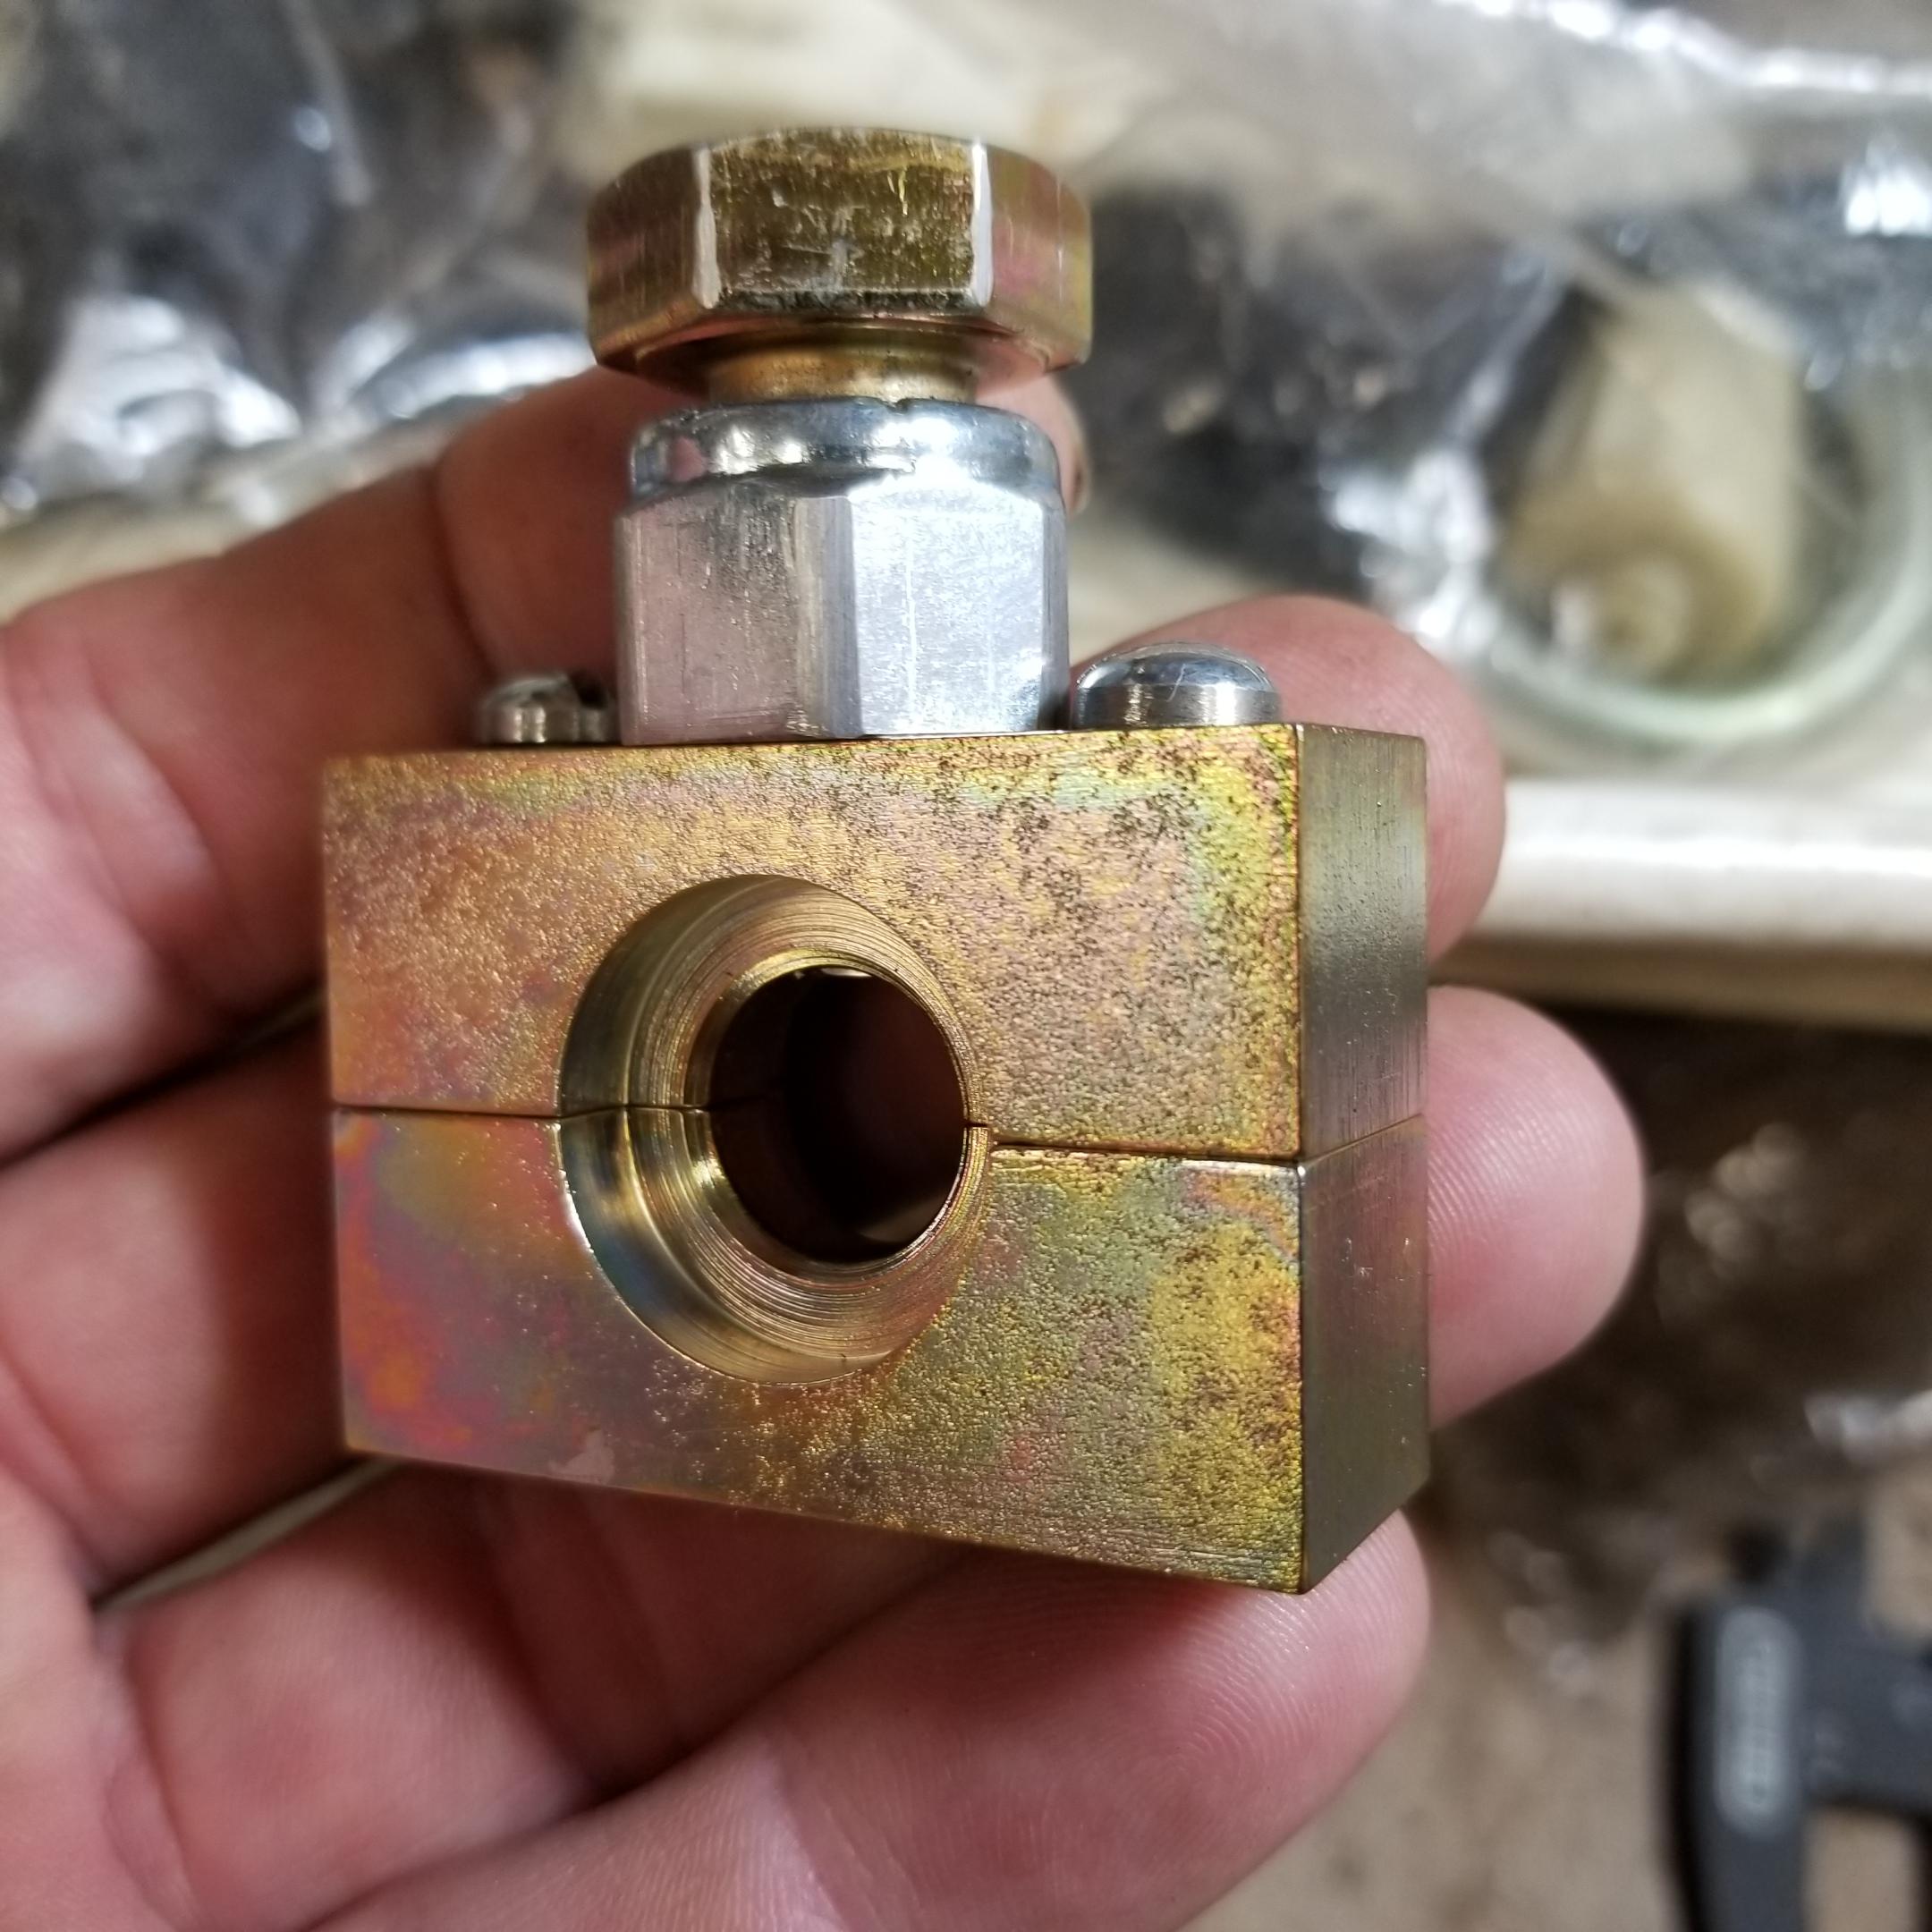
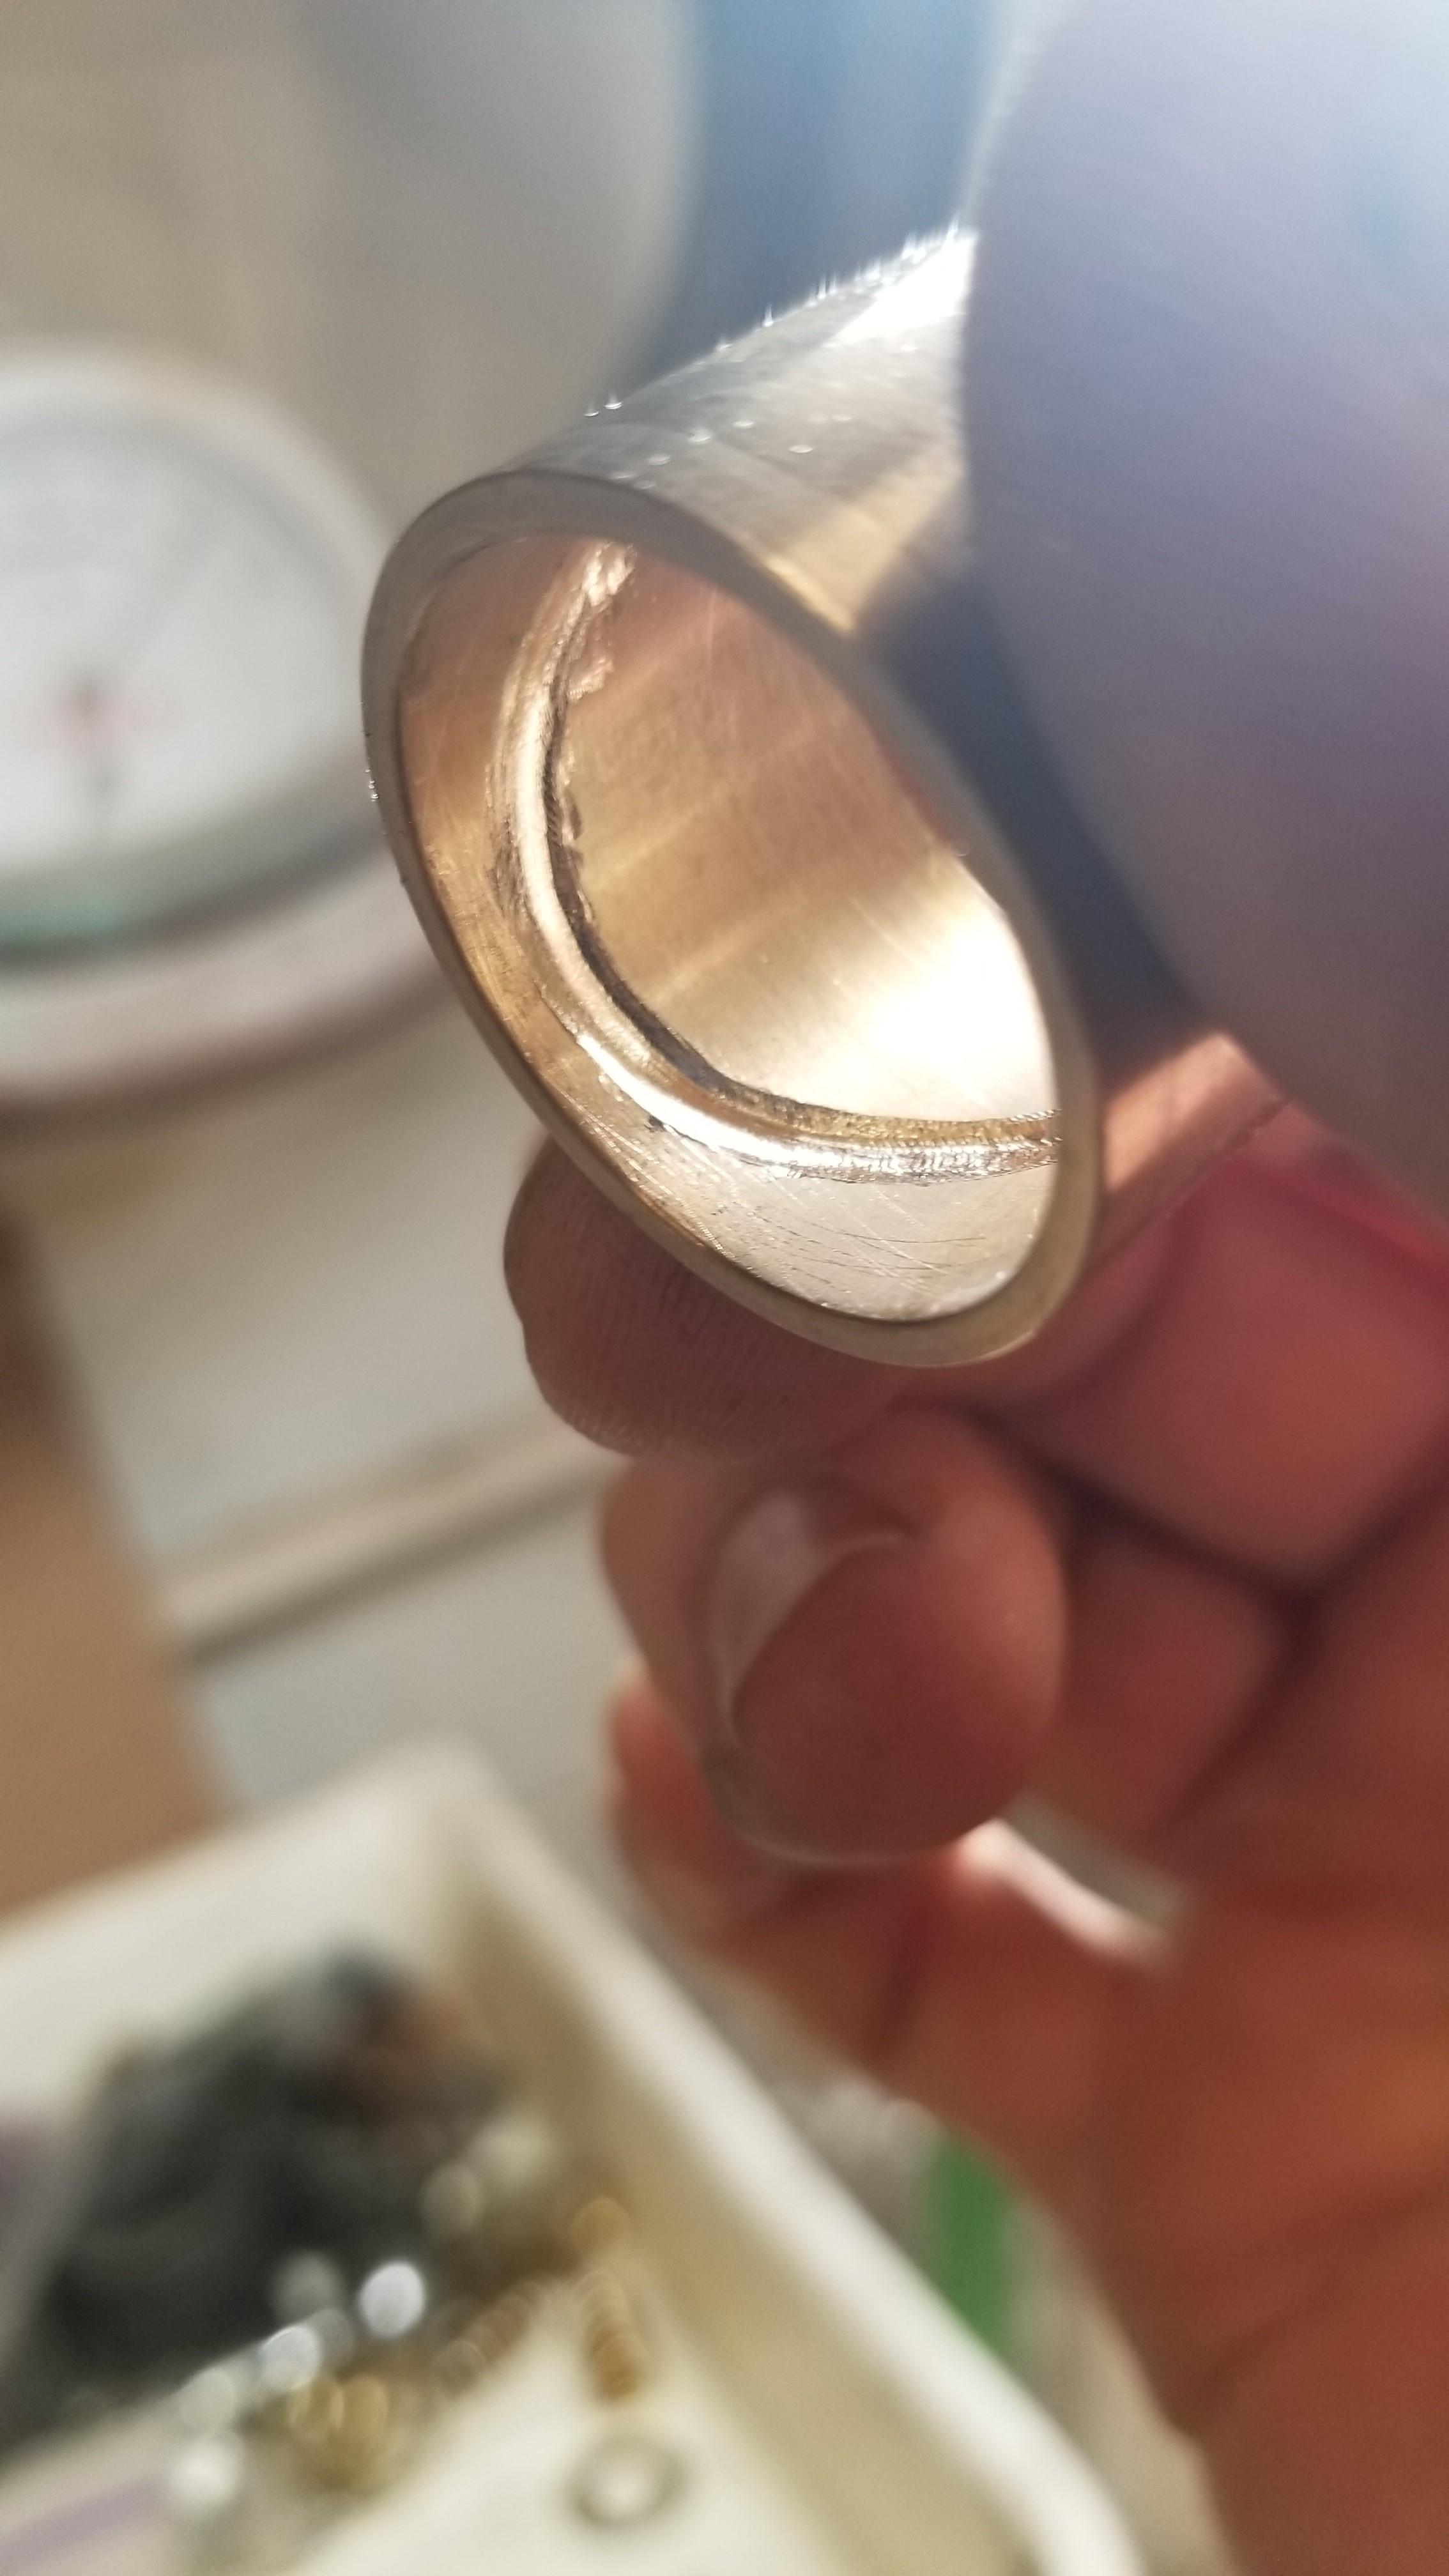
So I did a little bit on the booster rebuild today. I was able to find a micro-manufacturer and the machinist there came up with an idea for staking the plunger end that he said should have been obvious to me. So I got it in the mail the other day. A very elegant solution... The fixture is comprised of two haves that are machined to hold the plunger tip. The halves are held together with threaded screws. Then it has a hole that accepts a punch that reproduces the staking mark on the original plunger end Now the staking punch has a lock nut that allows the depth of drive to be adjusted. So this can be set up in the press and then each stake can be reset to hold the plunger assembly together This is a view of the original stake mark


-
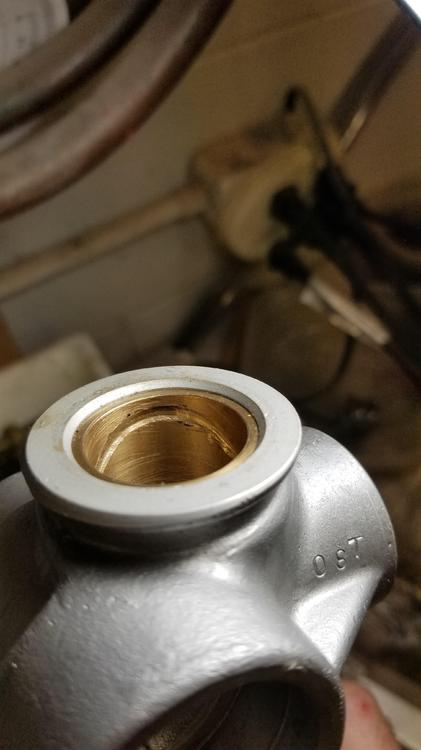
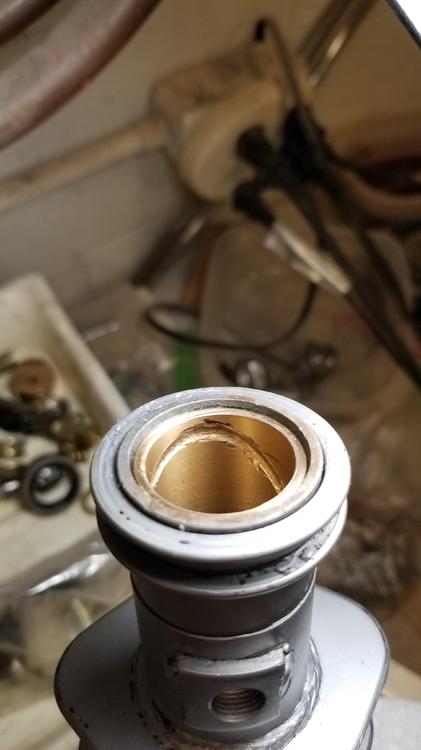
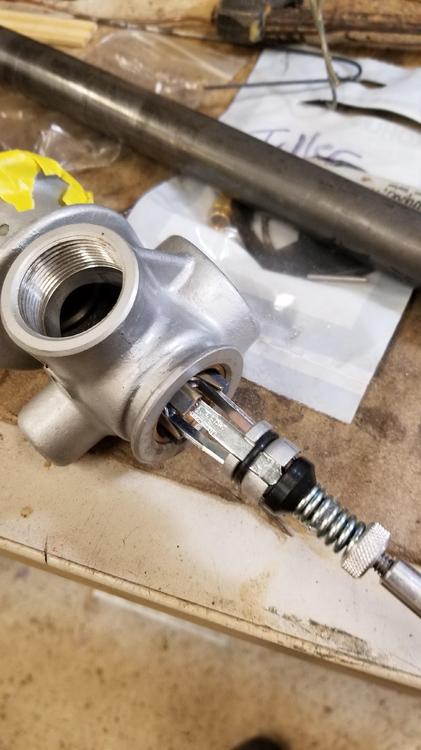
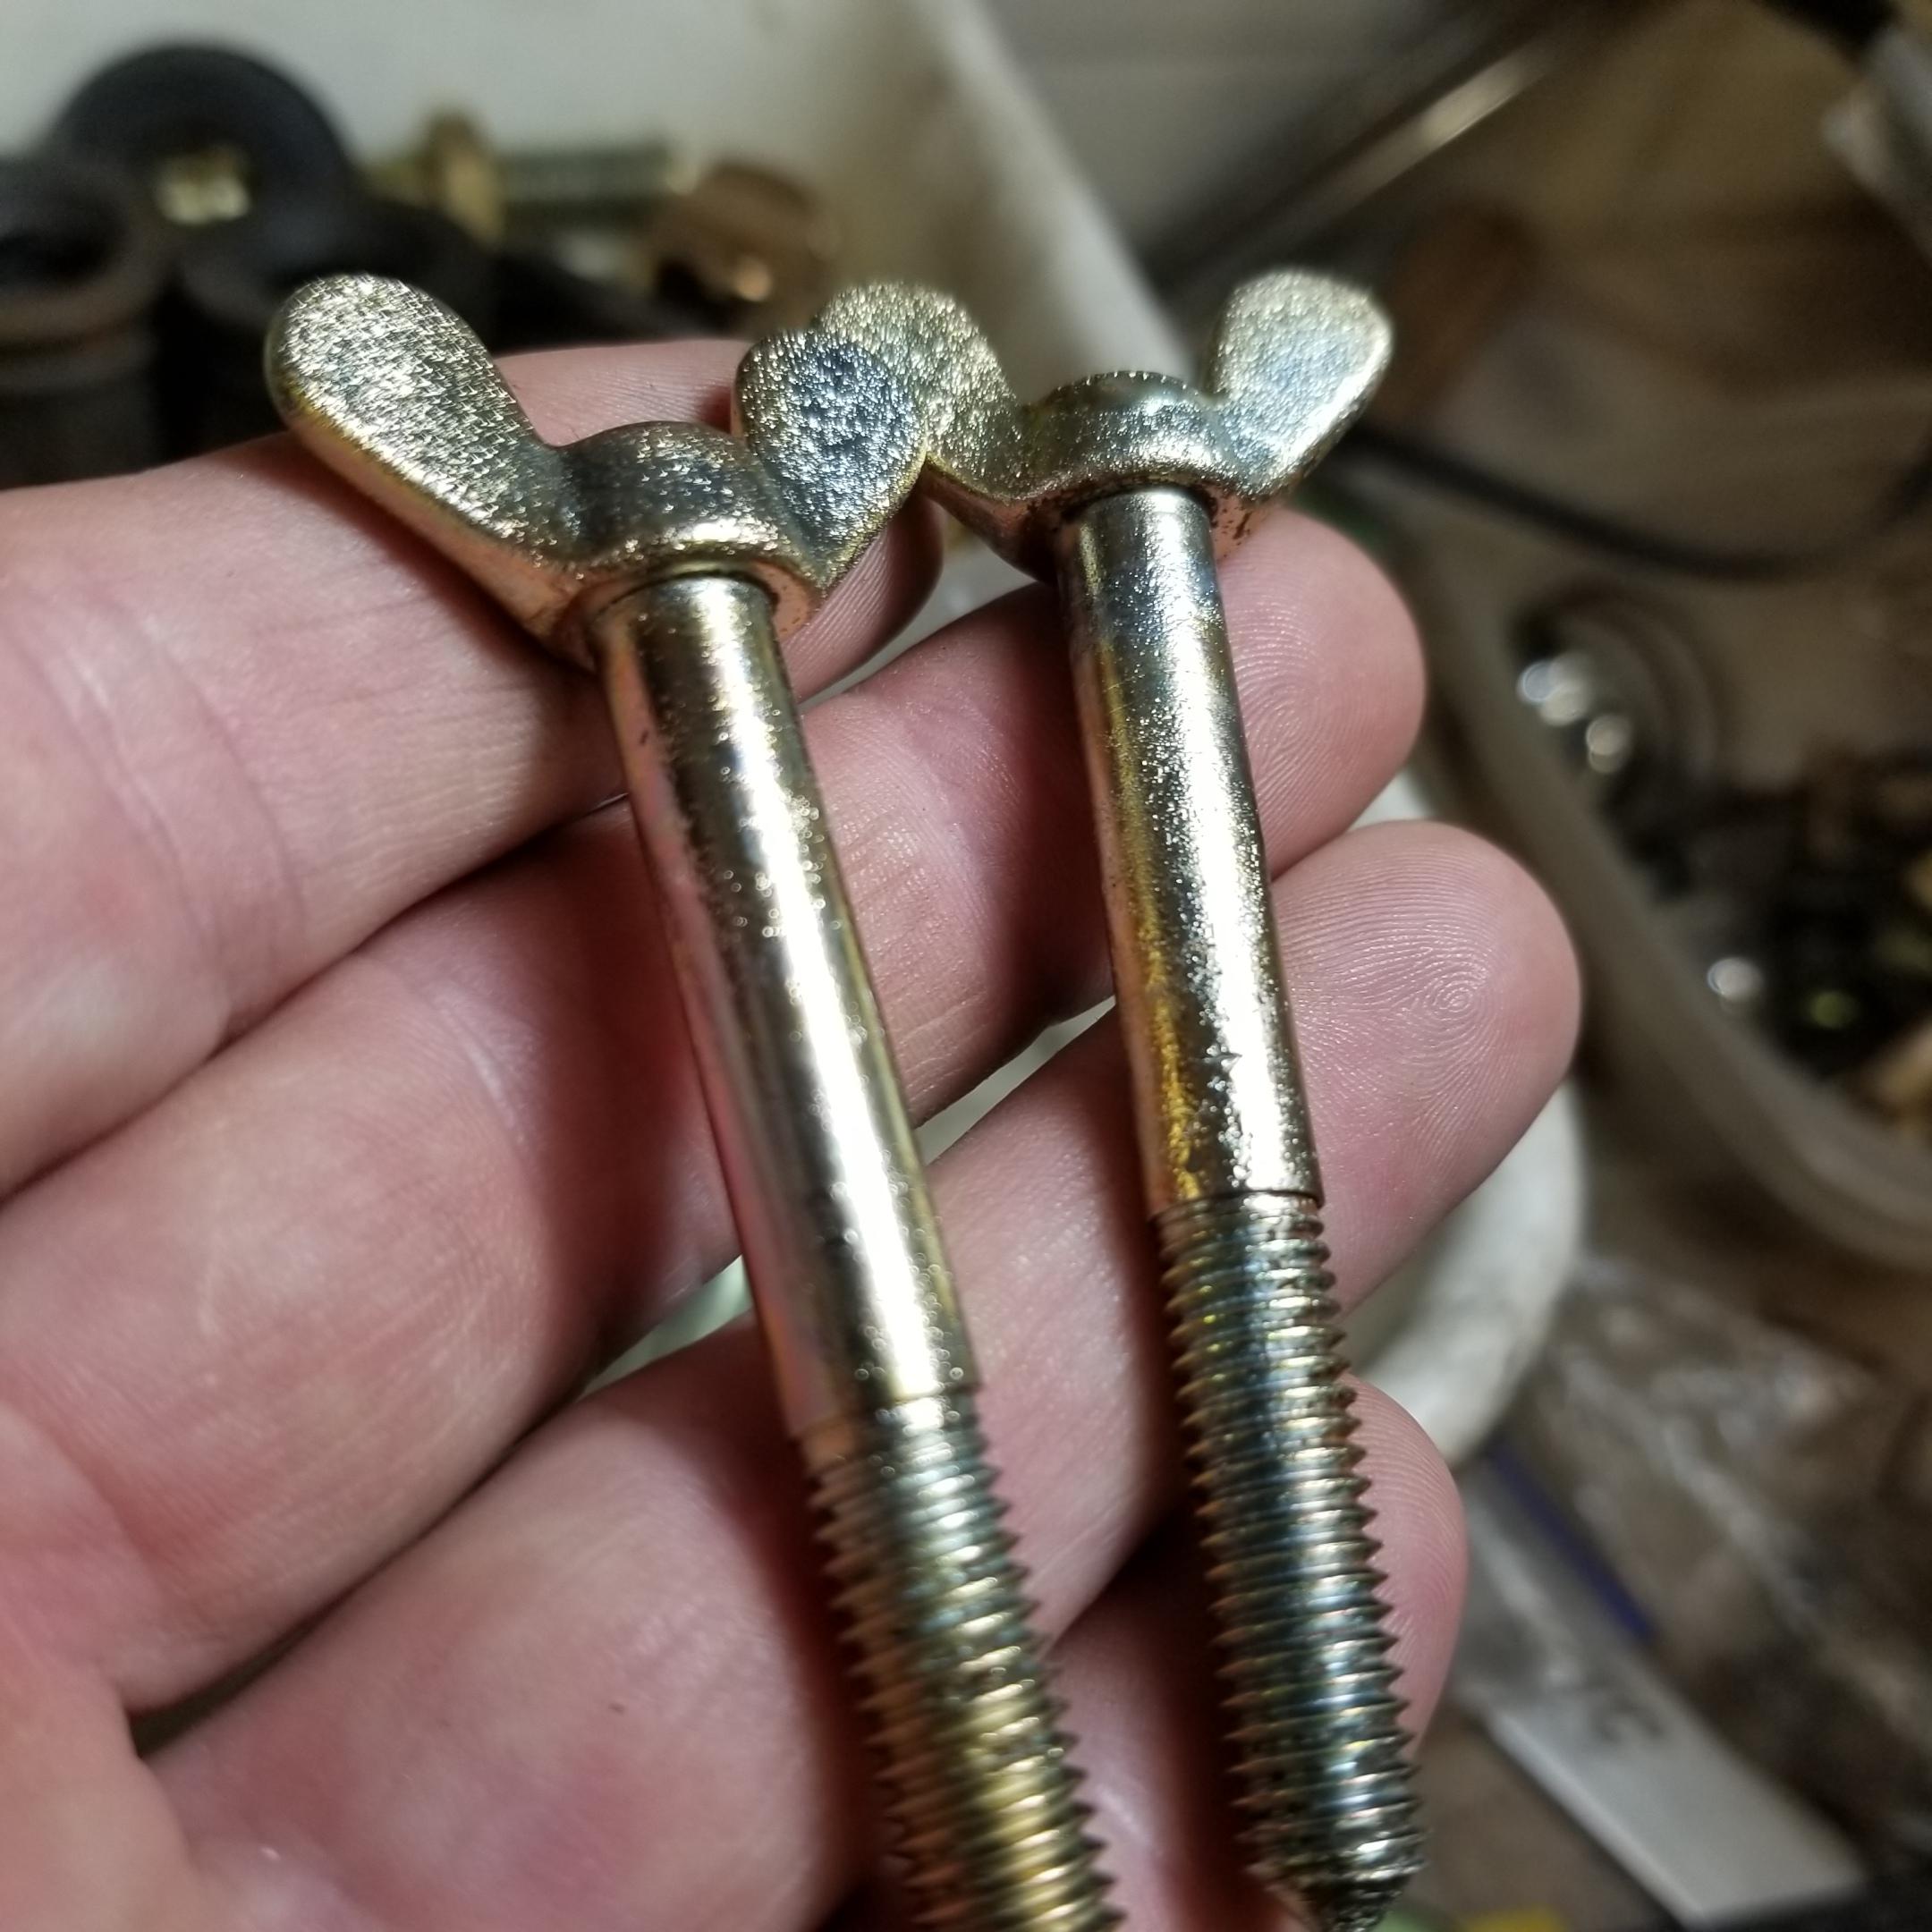
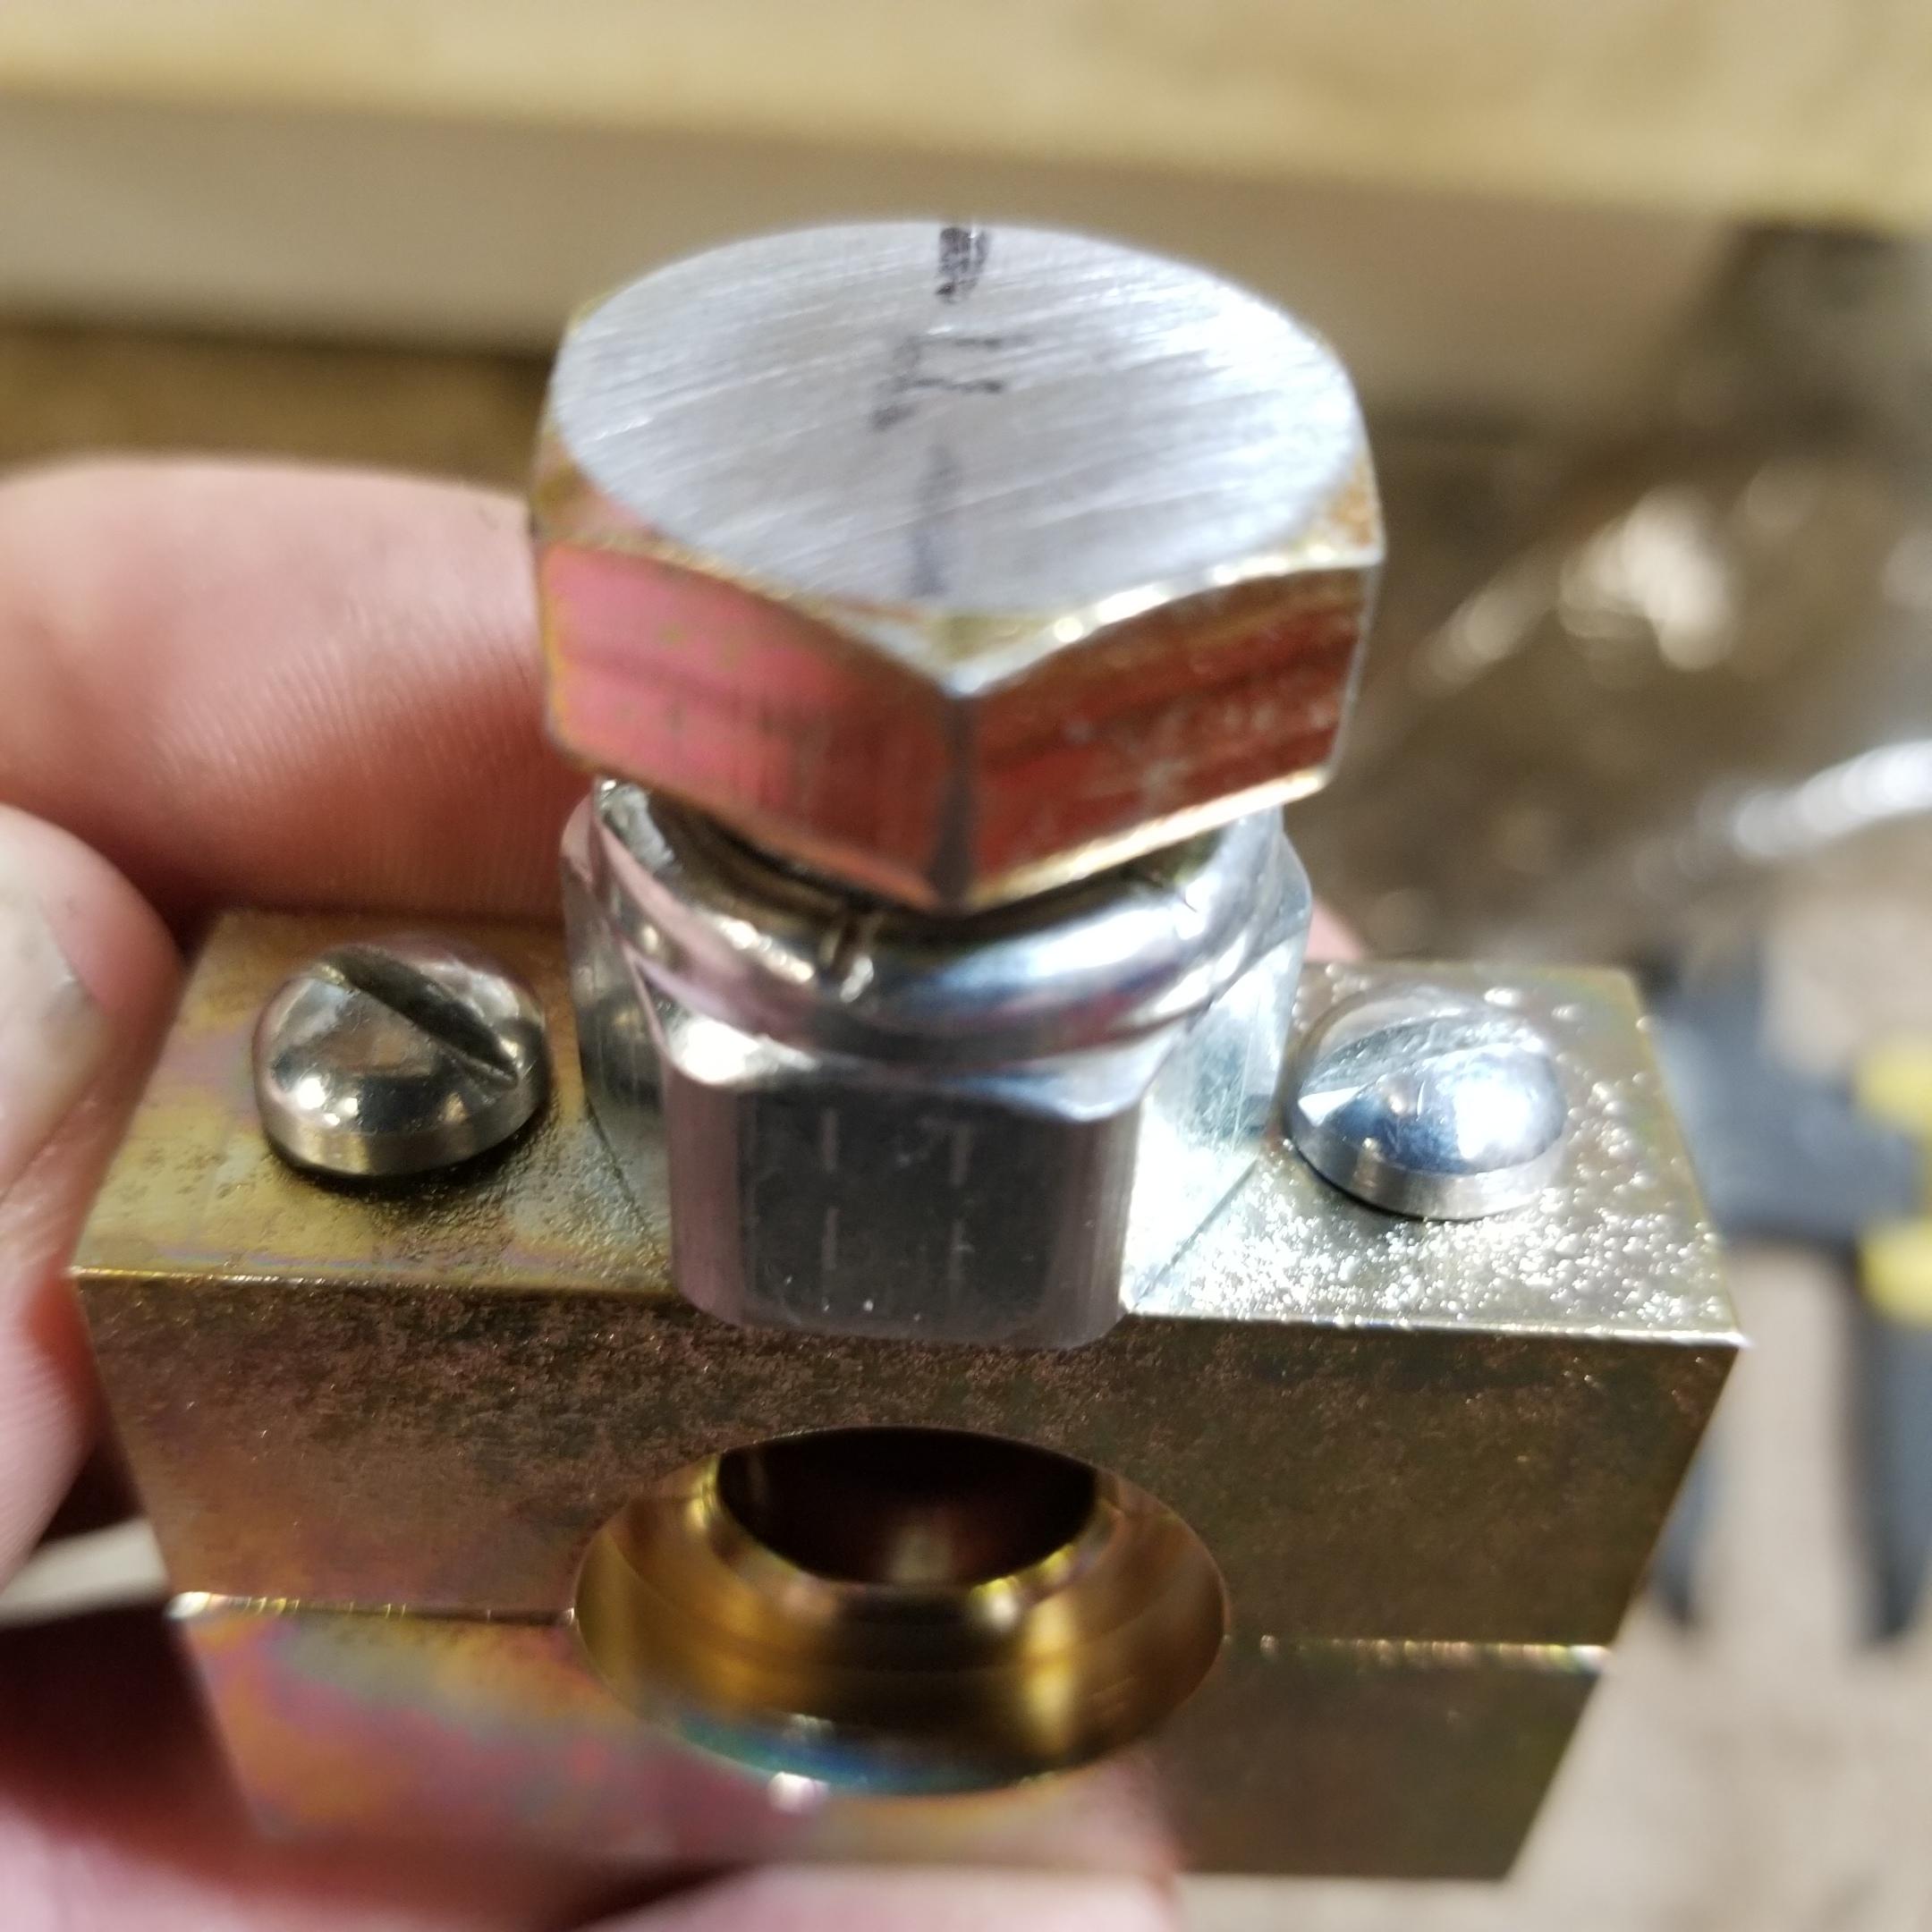
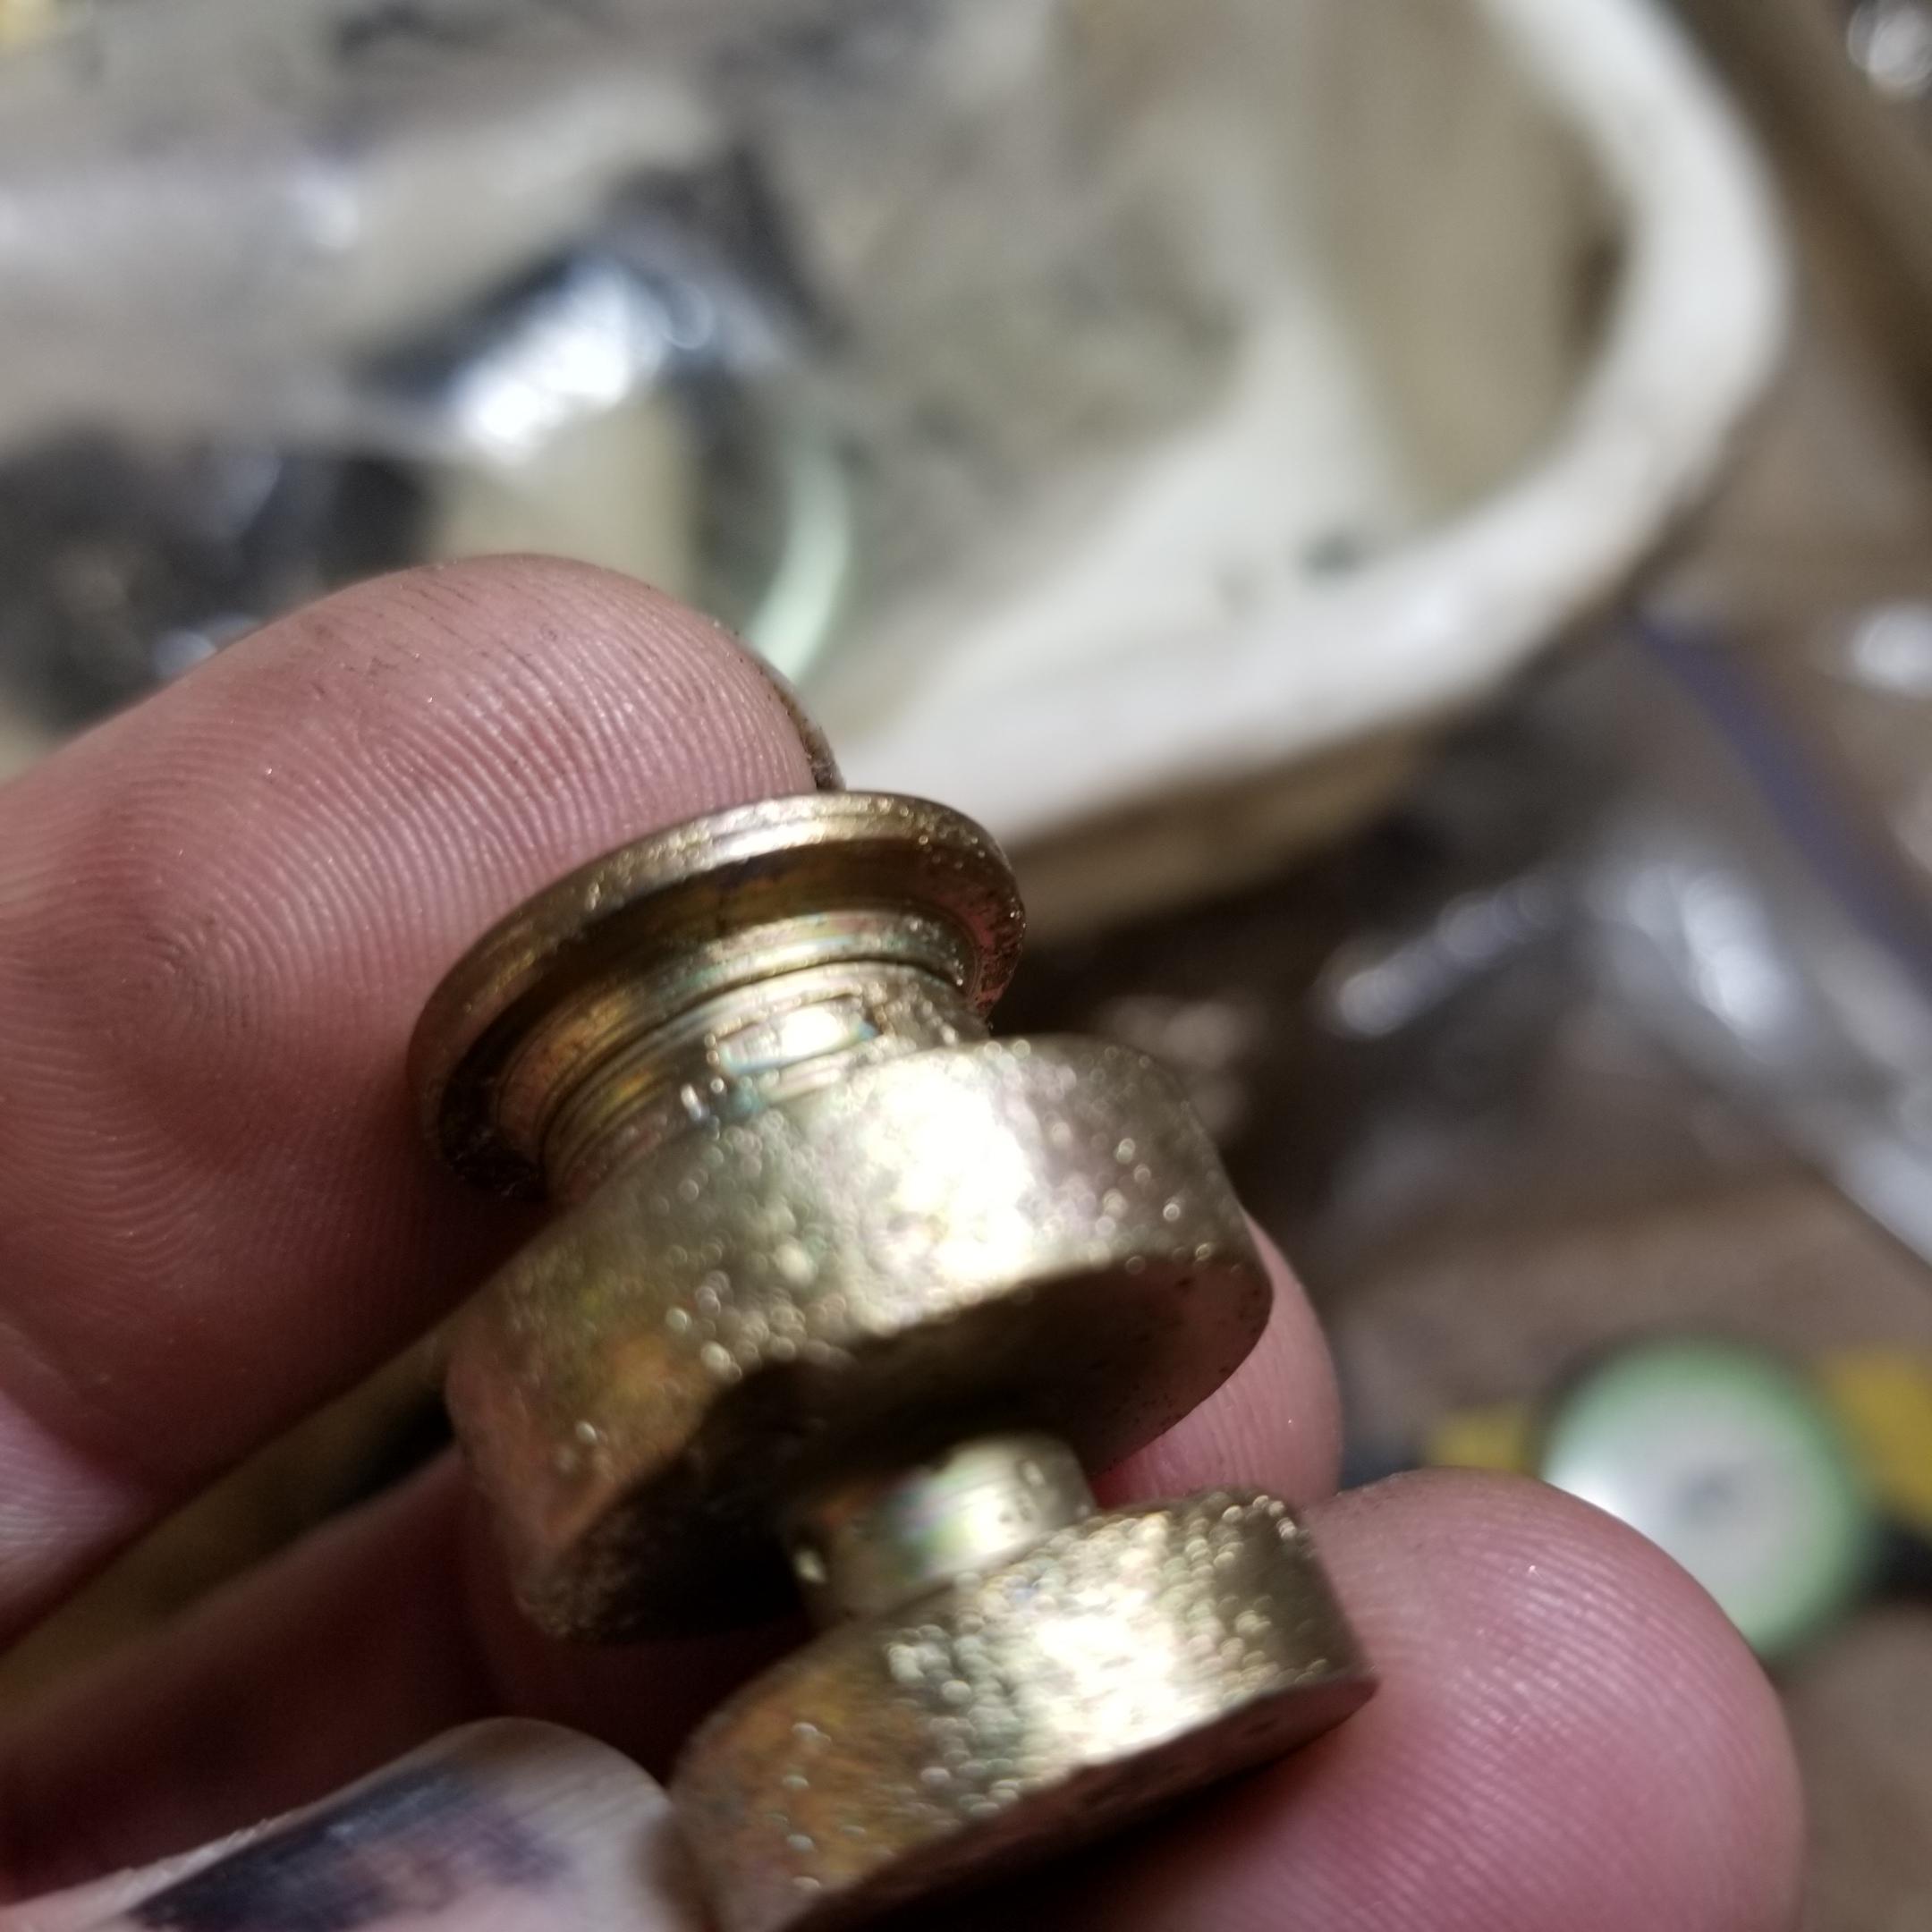
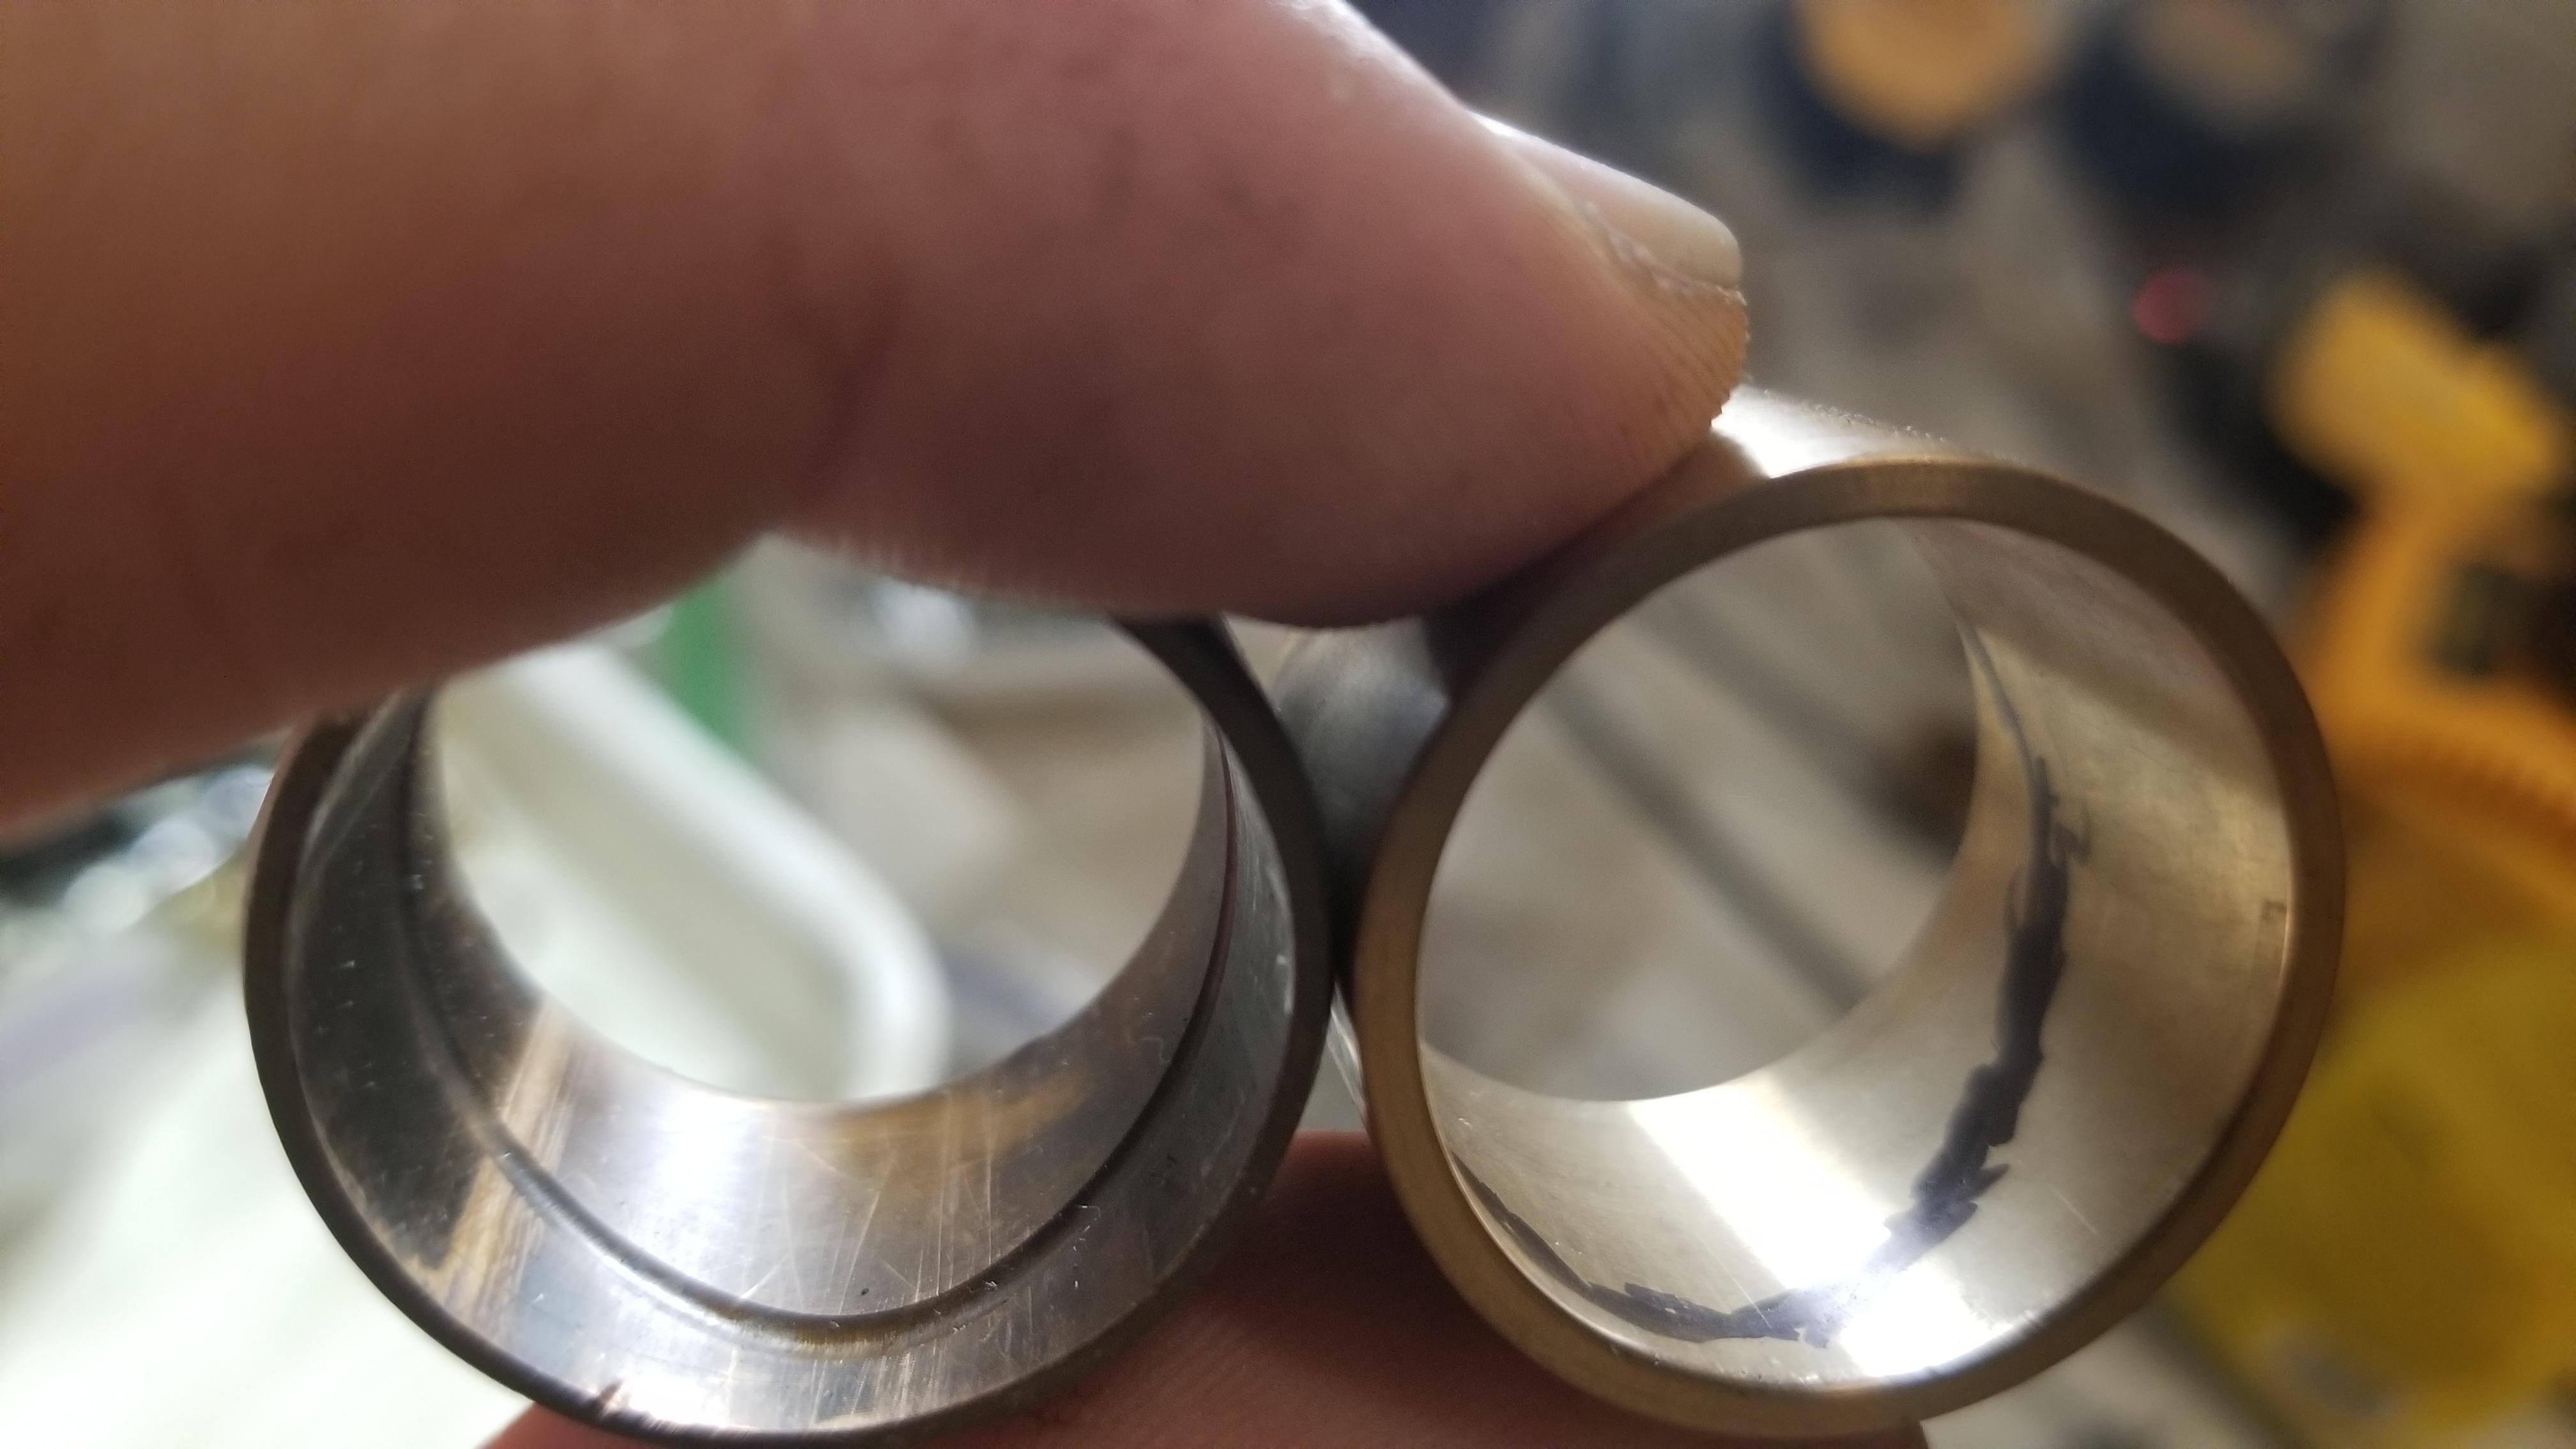
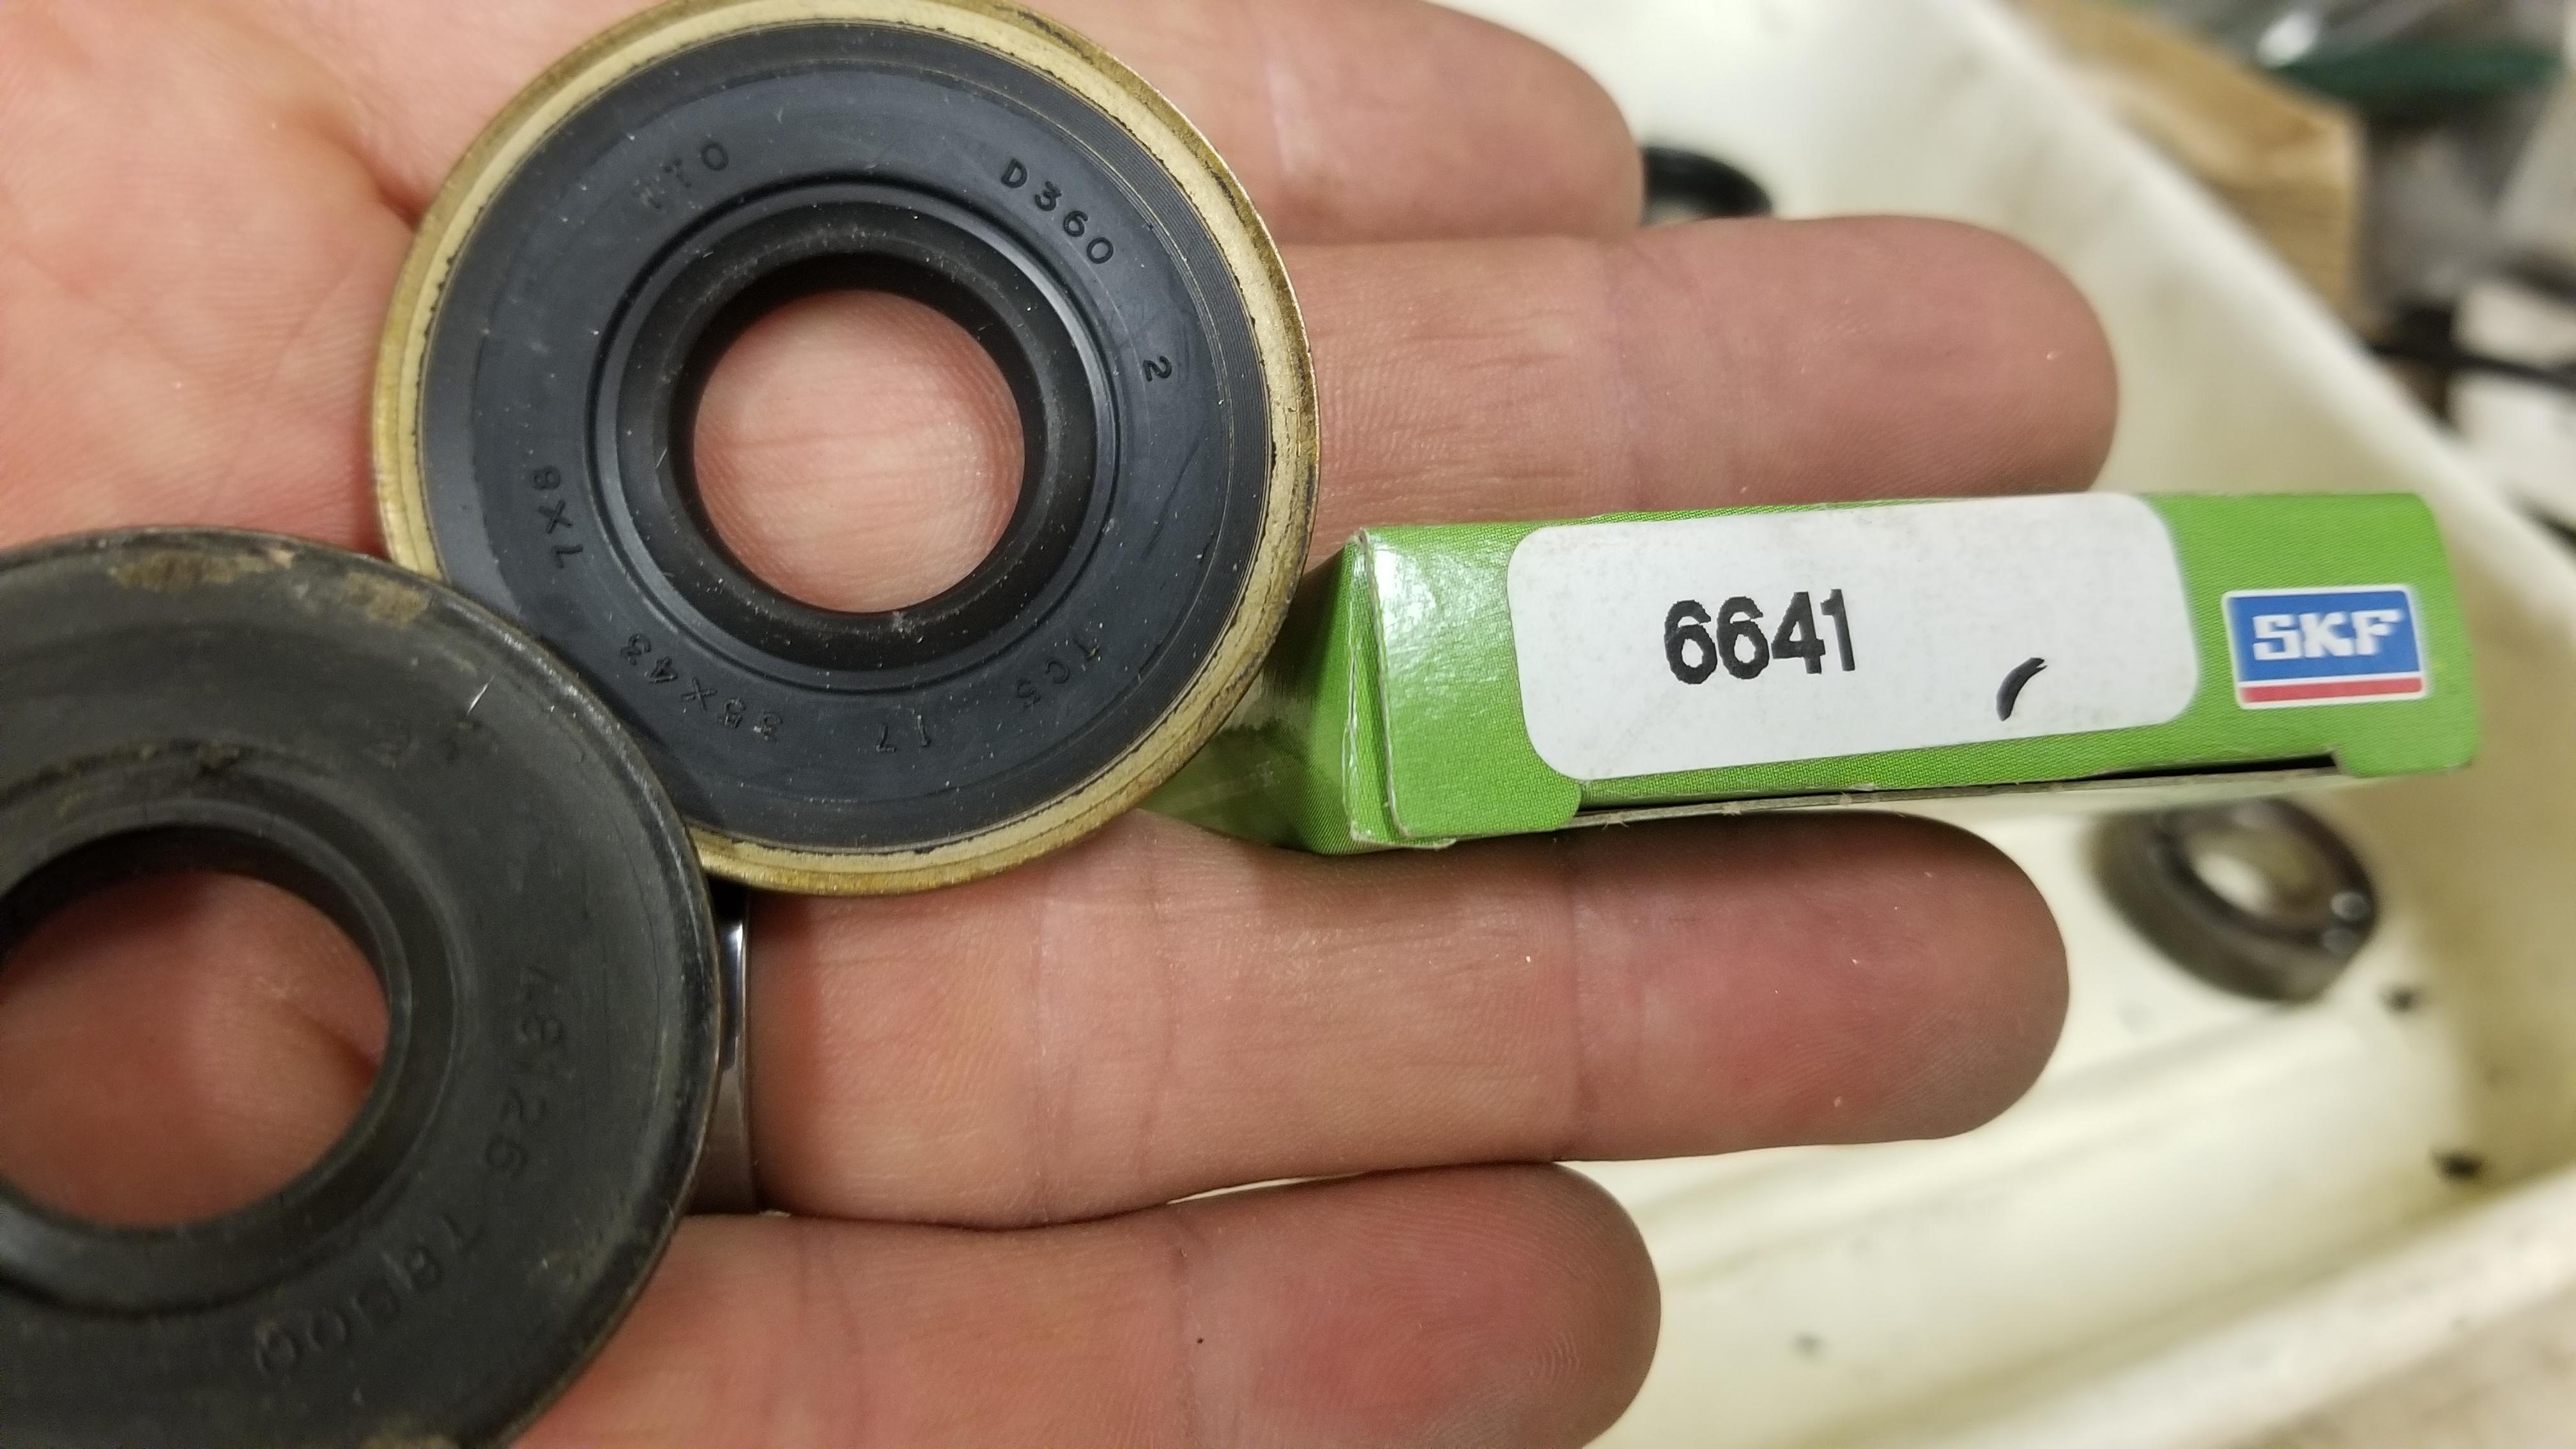
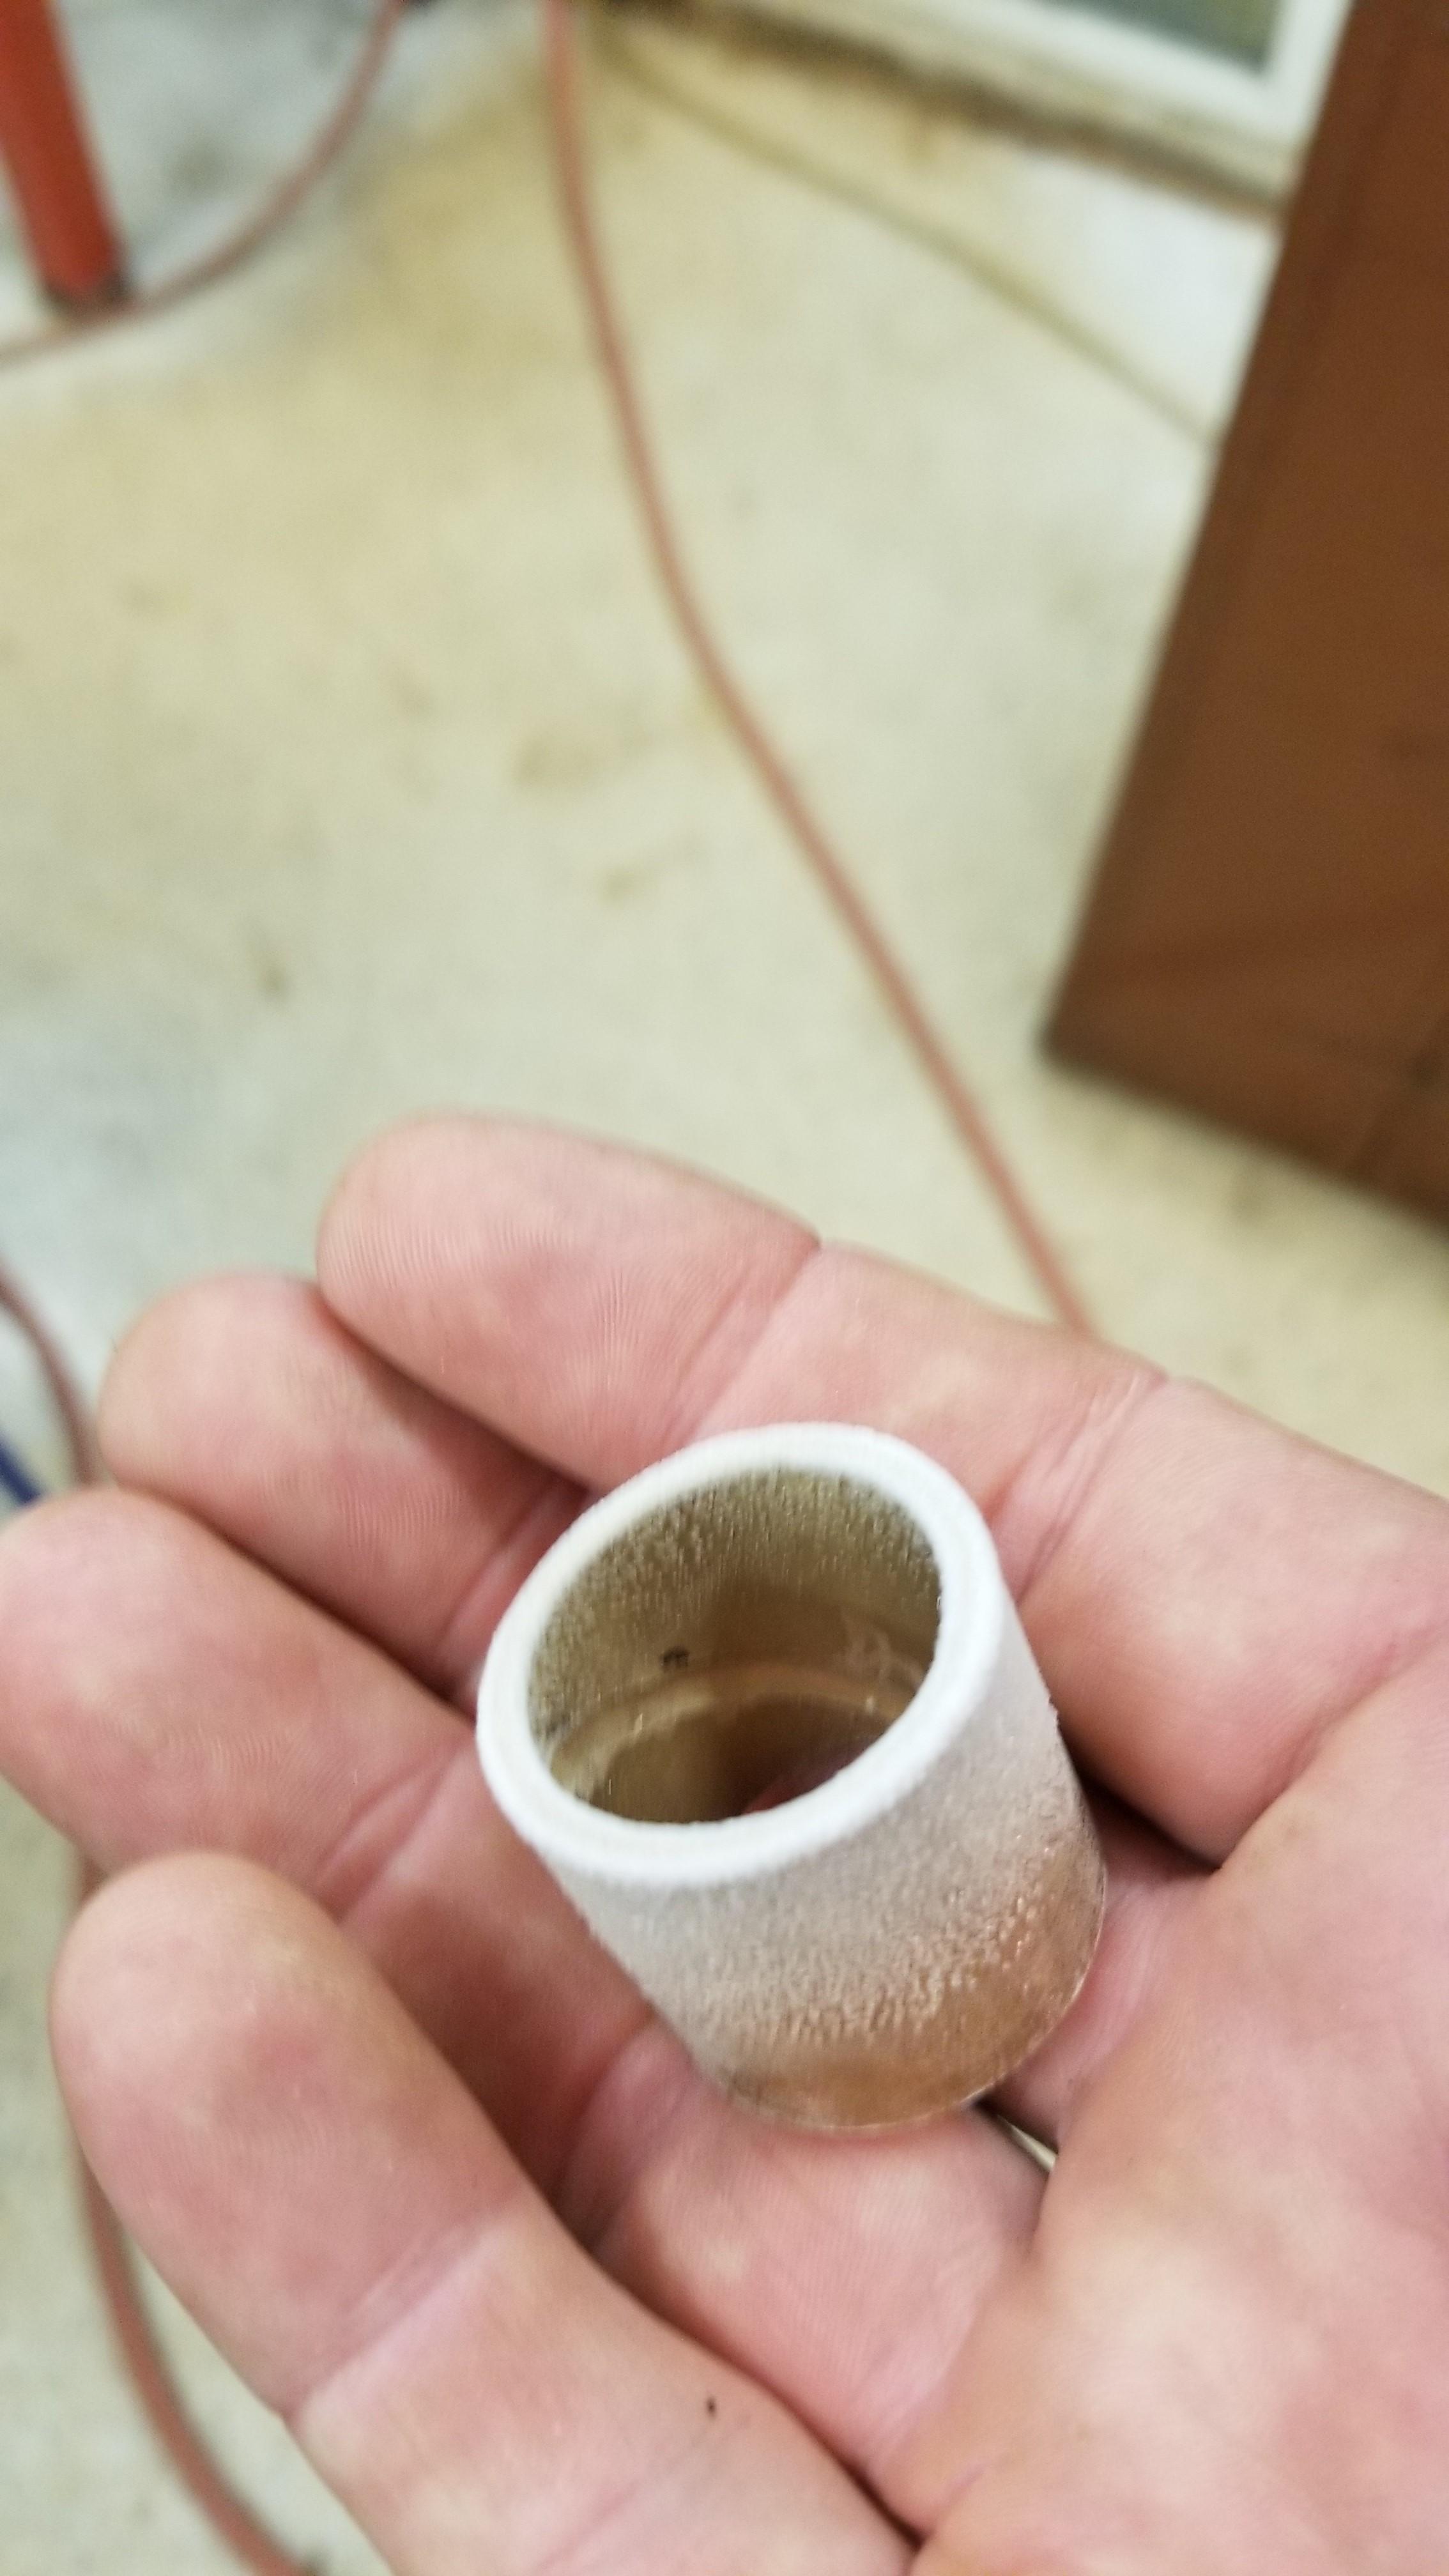
I found a new seal for the steering input shaft for the steering rack. It was the last one shown at Rockauto but should give you a good part number to locate one if needed So I was very fortunate to locate a source for the steering rack bushings. They came from a batch of bushings that had been previously fabbed up for the steering rack application. They looked great but lacked the groove that the stock bushing has. So I took a stab at that I mic'd them to make sure he groove was about the same depth as the original. The bushings are a press fit into the rack housing and then need final ID sizing to accept the rack bar. Once I had them shaped to my satisfaction, they gotten frozen over night Wiped the frost off and tapped them in with a bushing driver and a small hammer. They went in really easy Now it was time to size the ID. They actually got a little tighter after driving them in, so they would always needed sizing post placement. I bought a brake hone the other day. The one I bought will go down to like 3/4" dia so it is perfect for this situation. It took a lot more honing then I thought it would, but after a while I got the clearance right. I also polished the rack rod to smooth some spots where corrosion had started. I hope to paint the housing this coming weekend and get the rack going back together


-
Cool! Small world. I enjoy watching the metal work come along. The construction project is cool too, as that is what I do for a living
-
-
Glad your ok! Is one of those wiper motors I posted the right one? It yours for the cost of freight if you would like it?
-
The quarter was slicked out around the welds with some kind of metal, from the looks of it. Traditionally that would be old school lead, I wouldn't be surprised if it was tin. The work looks really good. Plastic fillers work fine if they are used properly. That means they need to be thin and properly applied. That also means you need to get a good metal man to remove the majority of the dents and waves, but those guys are getting rare. There are very few shops here that make all metal repairs and the ones that do are doing that work on high end cars because it's expensive work. Your cars repairs look exceptional
-
-
Are the grease caps supposed to have an "o" ring? I don't think I have ever seen that. Might help though...
-
Well maybe he will chime in. I hope he's doing well.
-
If I were going to really push a Z on the track. There are a number of places I would reinforce. I would probably seem weld all of the front rails, shock towers and connections to the firewall. I would also weld in Bad dogs sway bar plates and maybe the frame supports. All of which should be done before under coatings. Also some things would have to be removed beforehand or you will have a fire. Ask me how I know... A triangular front strut bar would also help keep the front from flexing
-
Paint looks great!!!
-
Very hard to patch in the front fenders. They are thin and oil can easily. If I were going to start on that dent. You need to work from the edges in. Also the wheel arch will need to be worked as you work on it. I think what I might do is fasten the fender to the car. Then put a come-a-long with a hook in to the wheel arch right at the dent. Put a little tension on it then start dolly work. When you get the dented arch worked out some, then work the front bulge in some. Repeat... Also I would expect to have to do some shrinking work on a dent that is that large
-
Has anybody heard from Rossiz? I hit him up in this thread. Just wanted to be sure he was ok. He never responded. His last post was Dec 2017
-
What is your body man using a filler? Is it lead or tin?
-
Good there is a source but cheaper through other sources. Ed @ Harmon Classic brakes will rebuild a booster for that amount
-
I like it. The paint looks good!


Important Information
By using this site, you agree to our Privacy Policy and Guidelines. We have placed cookies on your device to help make this website better. You can adjust your cookie settings, otherwise we'll assume you're okay to continue.