Terrapin Z
Supporting Member
-
Joined
-
Last visited
Everything posted by Terrapin Z
-
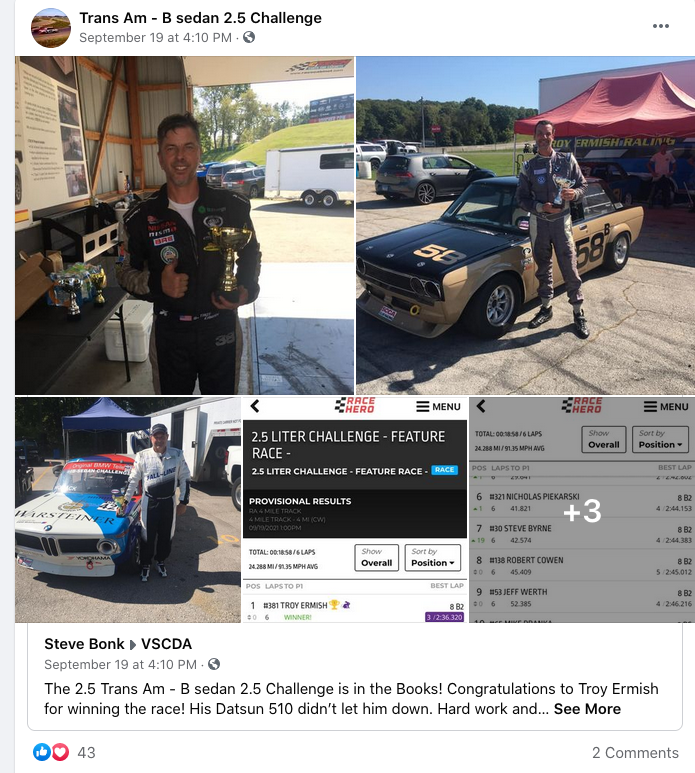
I have a FB account mostly to sell parts. I looked at this page, mostly pic's of races. Some vid's link's etc. There was an eBay link but it no longer works.

-
Ron specializes in Z clocks. https://zclocks.com
-
Or this.....
-
Here you go Mart.

-
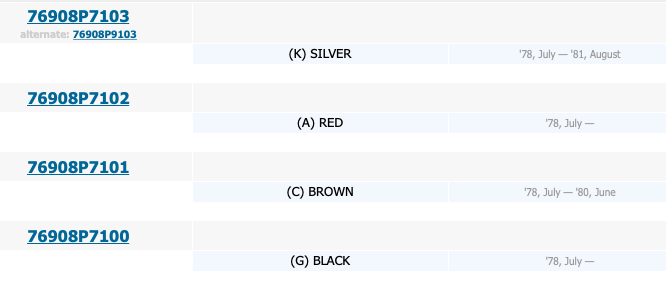
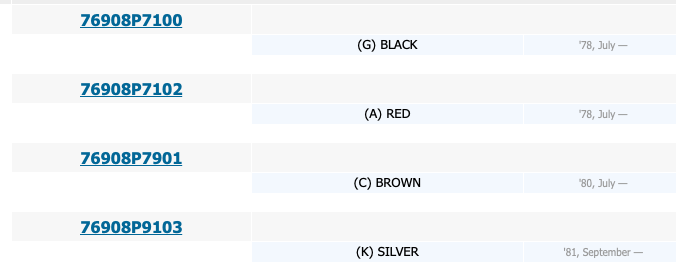
As I was suggesting Mart. The listings are different part numbers that appear to be based on color. This is the 9/79 list This is the 9/82 list The red and black flow through, but the other colors change. Silver has a change but says it will work for either year Just throwing it out there, It is solely the choice of the OP.
-
Yep, looks like there is something in there......
-
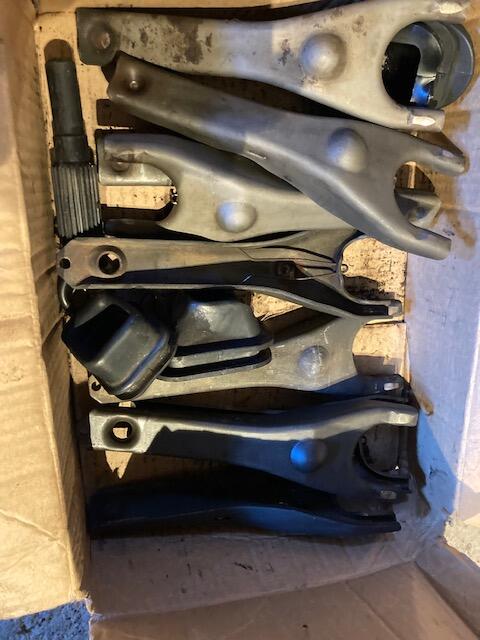
I have a pair from an 82 in the tan color. If you paint a pair they are more likely to look the same rather than trying to match a faded color. Assuming the 79 and 82 are the same shape piece of course.
-
I should have one, I'll check the hoard this afternoon.
-
I might have a used one. Were you looking for early metal or later plastic. I can take a look later this afternoon. I think the ad form is generic and has the "price" line for the sellers. Although some people put in what they are will to spend for a part.
-
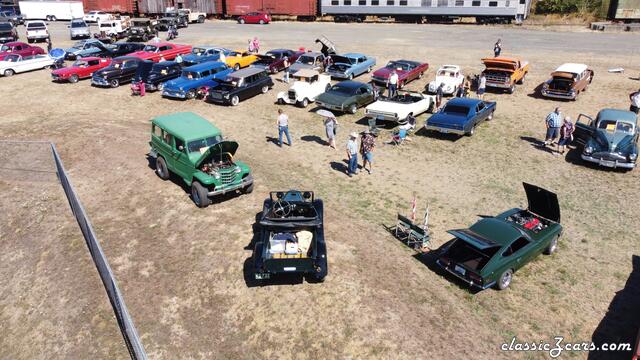
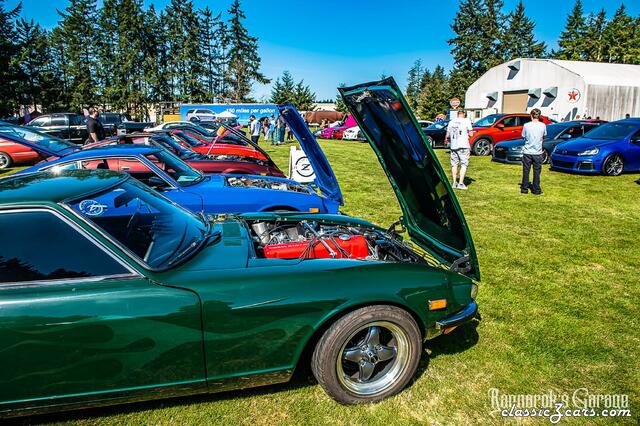
From the album: TZ
Rust Or Shine Drone shot of the lower field -
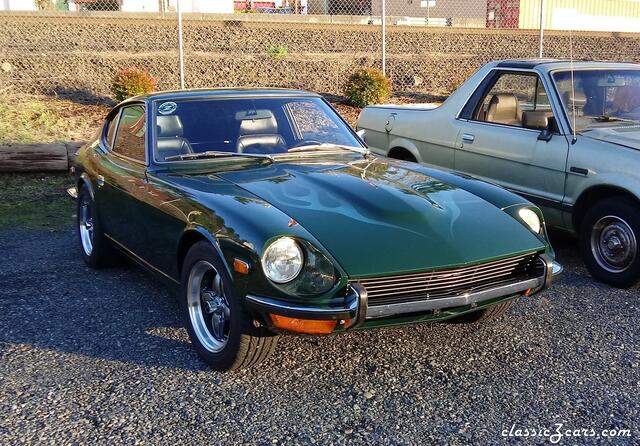
My Z Collection
-
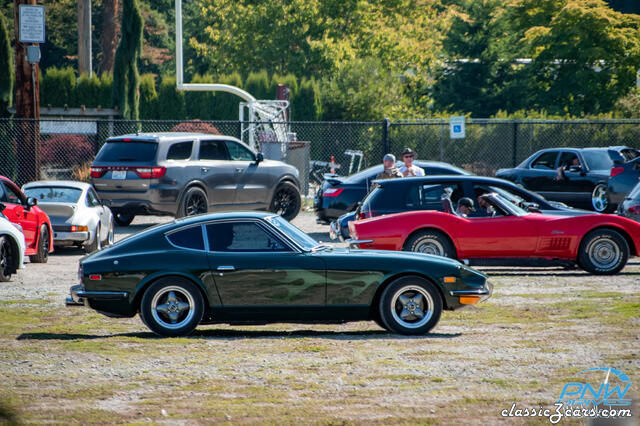
From the album: TZ
PNW Rally to Mt Rainier Start. -
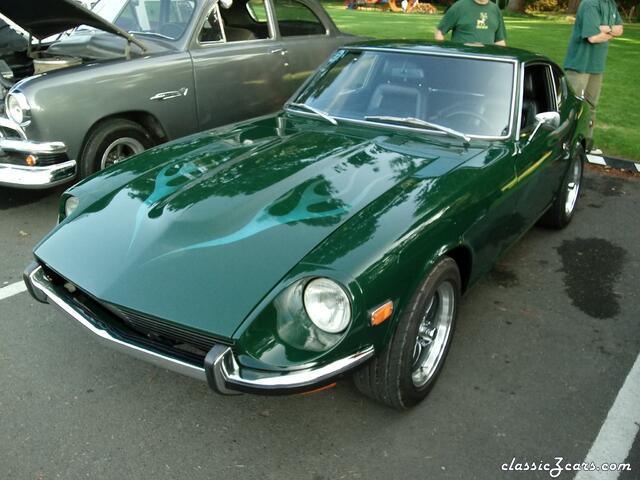
From the album: TZ
Cars & Coffee At LeMay In Tacoma WA -
From the album: TZ
Cruise to Winlock WA -
From the album: TZ
Cruise to Tenino WA -
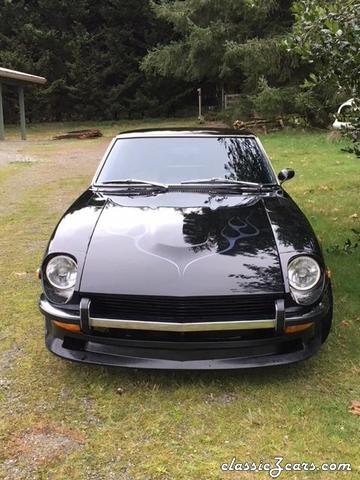
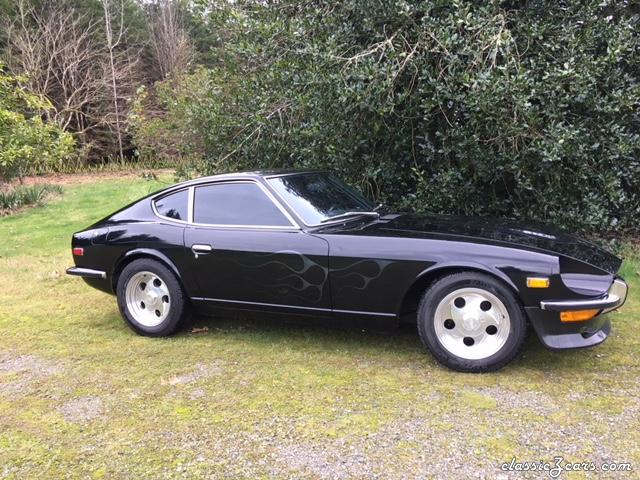
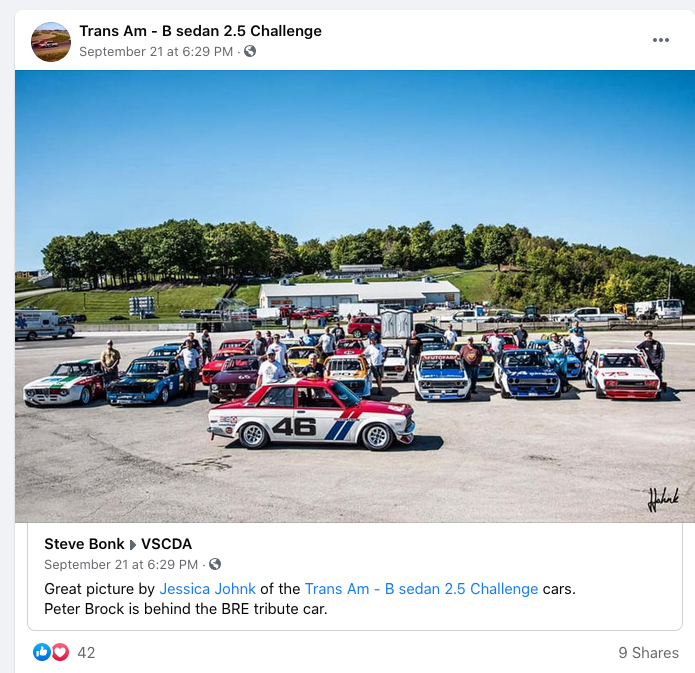
Funny - Pic one and Pic six are the same pic just reversed, but not the 240Z script. Smells fishy!! That car sure is dirty for being in an auction setting.
-
Keep tabs on the reaction disc if you do pull things apart. Beats having to go back in when you reassemble with it dislodged.
-
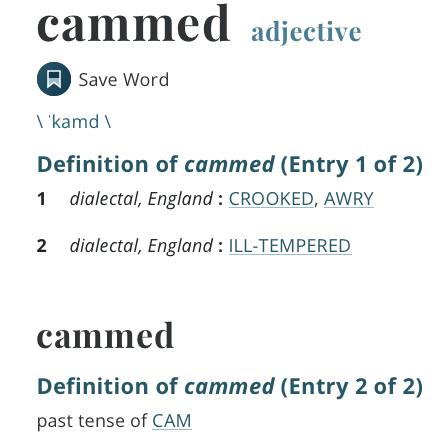
Ha hA😅 ha🤣 HA😂...... Must be a UK thing.......and shouldn't that come "FromThe7Tees"
-
The paper books are cool, I have one. I still mostly use the website for looking things up. It is also free.
-
https://www.google.com/search?client=safari&rls=en&q=280z+online+catalog&ie=UTF-8&oe=UTF-8 I literally googled your thread title. All of these are good places. Check out the fourth on the list. Best of luck with your car. 😬
-
That is "Bill The Cat" from from Bloom County comic strip.

-
That number comes up discontinued here in the states.
-
If the car has been worked on in its life, those lift tabs are often missing, Easy enough to make something similar. The rear one was on the last exhaust stud IIRC. I have even pulled a motor and trans out lifting from the engine mounts with a tractor. (parts car)
-
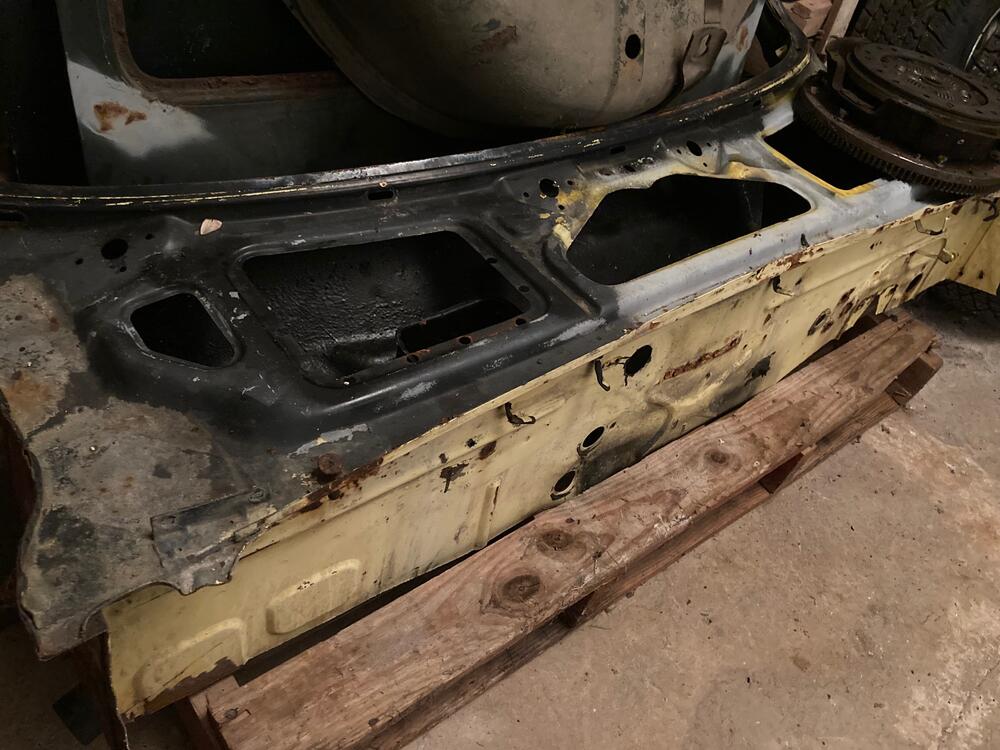
I too scrapped out a few cars that I regret not saving. The rear view mirror is 20/20 as they say. Now I keep everything I can. I saved this off a 70 shell I picked up a while ago, as it was in too good of shape to scrap. I cut the firewall below the spot weld line. Most of the A pillars are there too. The bottom was toast. Getting it to FL might be a challenge, but if you were interested........
-
Agreed, you would not want to cut up a NOS part for just a small section of it. I couldn't see the whole part in you pic. I just thought I would throw it out there. I have a 260Z I am parting as well I PM'ed you some pics of that.