zKars
Supporting Member
-
Joined
-
Last visited
Everything posted by zKars
-
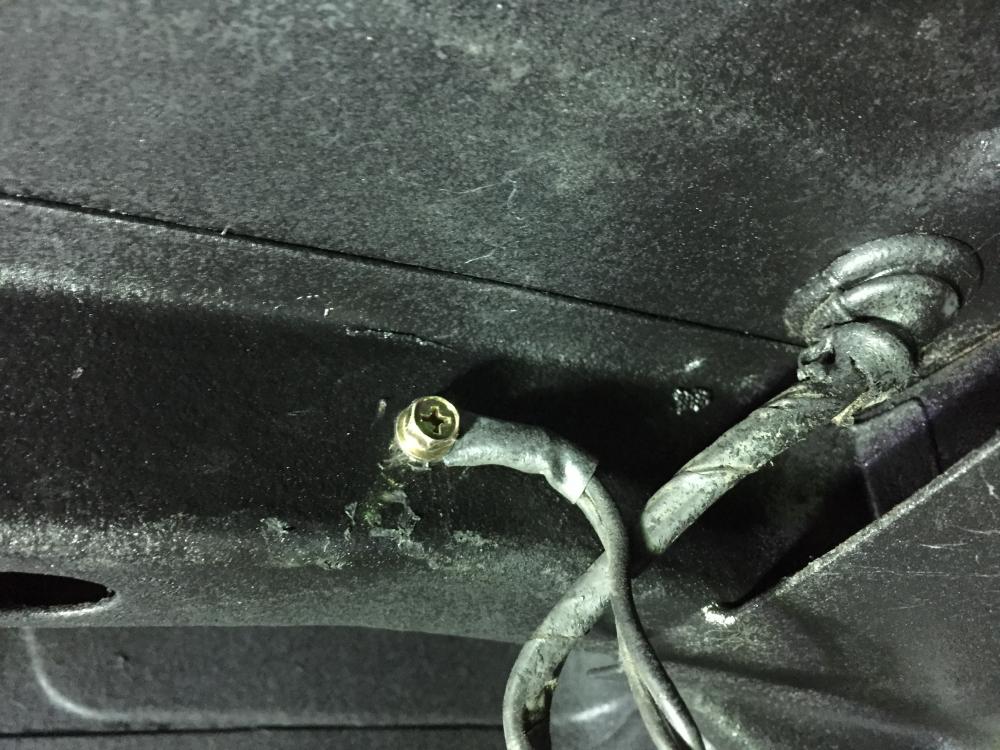
So I finished up all the cleaning, caulking and coating application (bed liner) up behind the tank yesterday and went out this morning to put the tank back in. Got it jacked up in place, back on the fill hose (thank you heat and vaseline for another helpful service!) and started thinking about putting the straps on, then WHAM it hit me.. Forgot to put the ground lug and new bolt back in place...... Take it back down, clean the coating off the lug that got sprayed, ran a tap into the threads to clean it out, and put in a new pretty bolt.. THEN put the tank back in.. Sheesh....
-
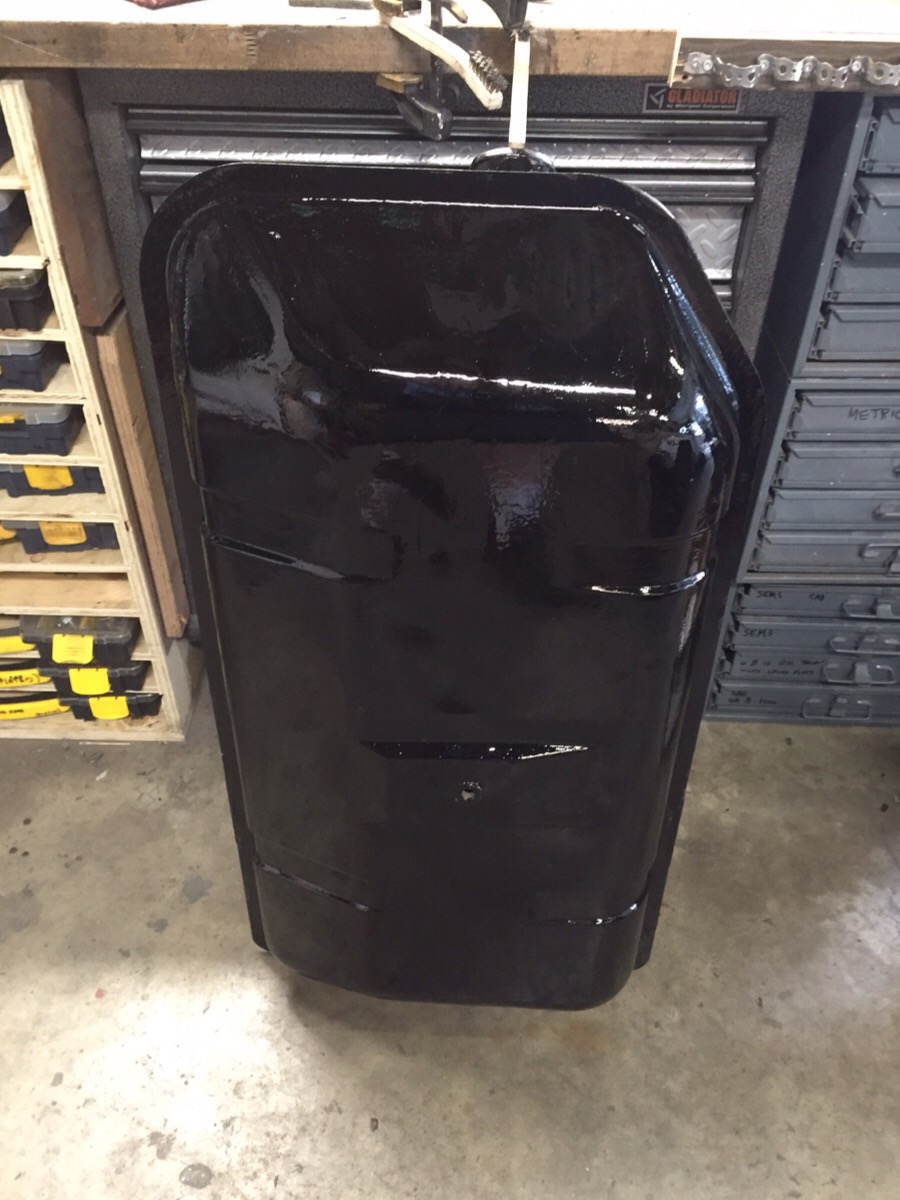
I absolutely agree its worth fixing. I haven't removed all the old epoxy to see just how bad the situation is, but even if I have to weld in a new plate that holds the two tubes, no biggy. We have the technology. I'm just lucky I have spare tanks to use instead. Had to strip this one and put a deleted return line back in (which is a breeze to solder as noted above BTW) and do a wee bit of dent repair, but other wise lovely. Here she is with a fresh coat of Chassis Saver.

-
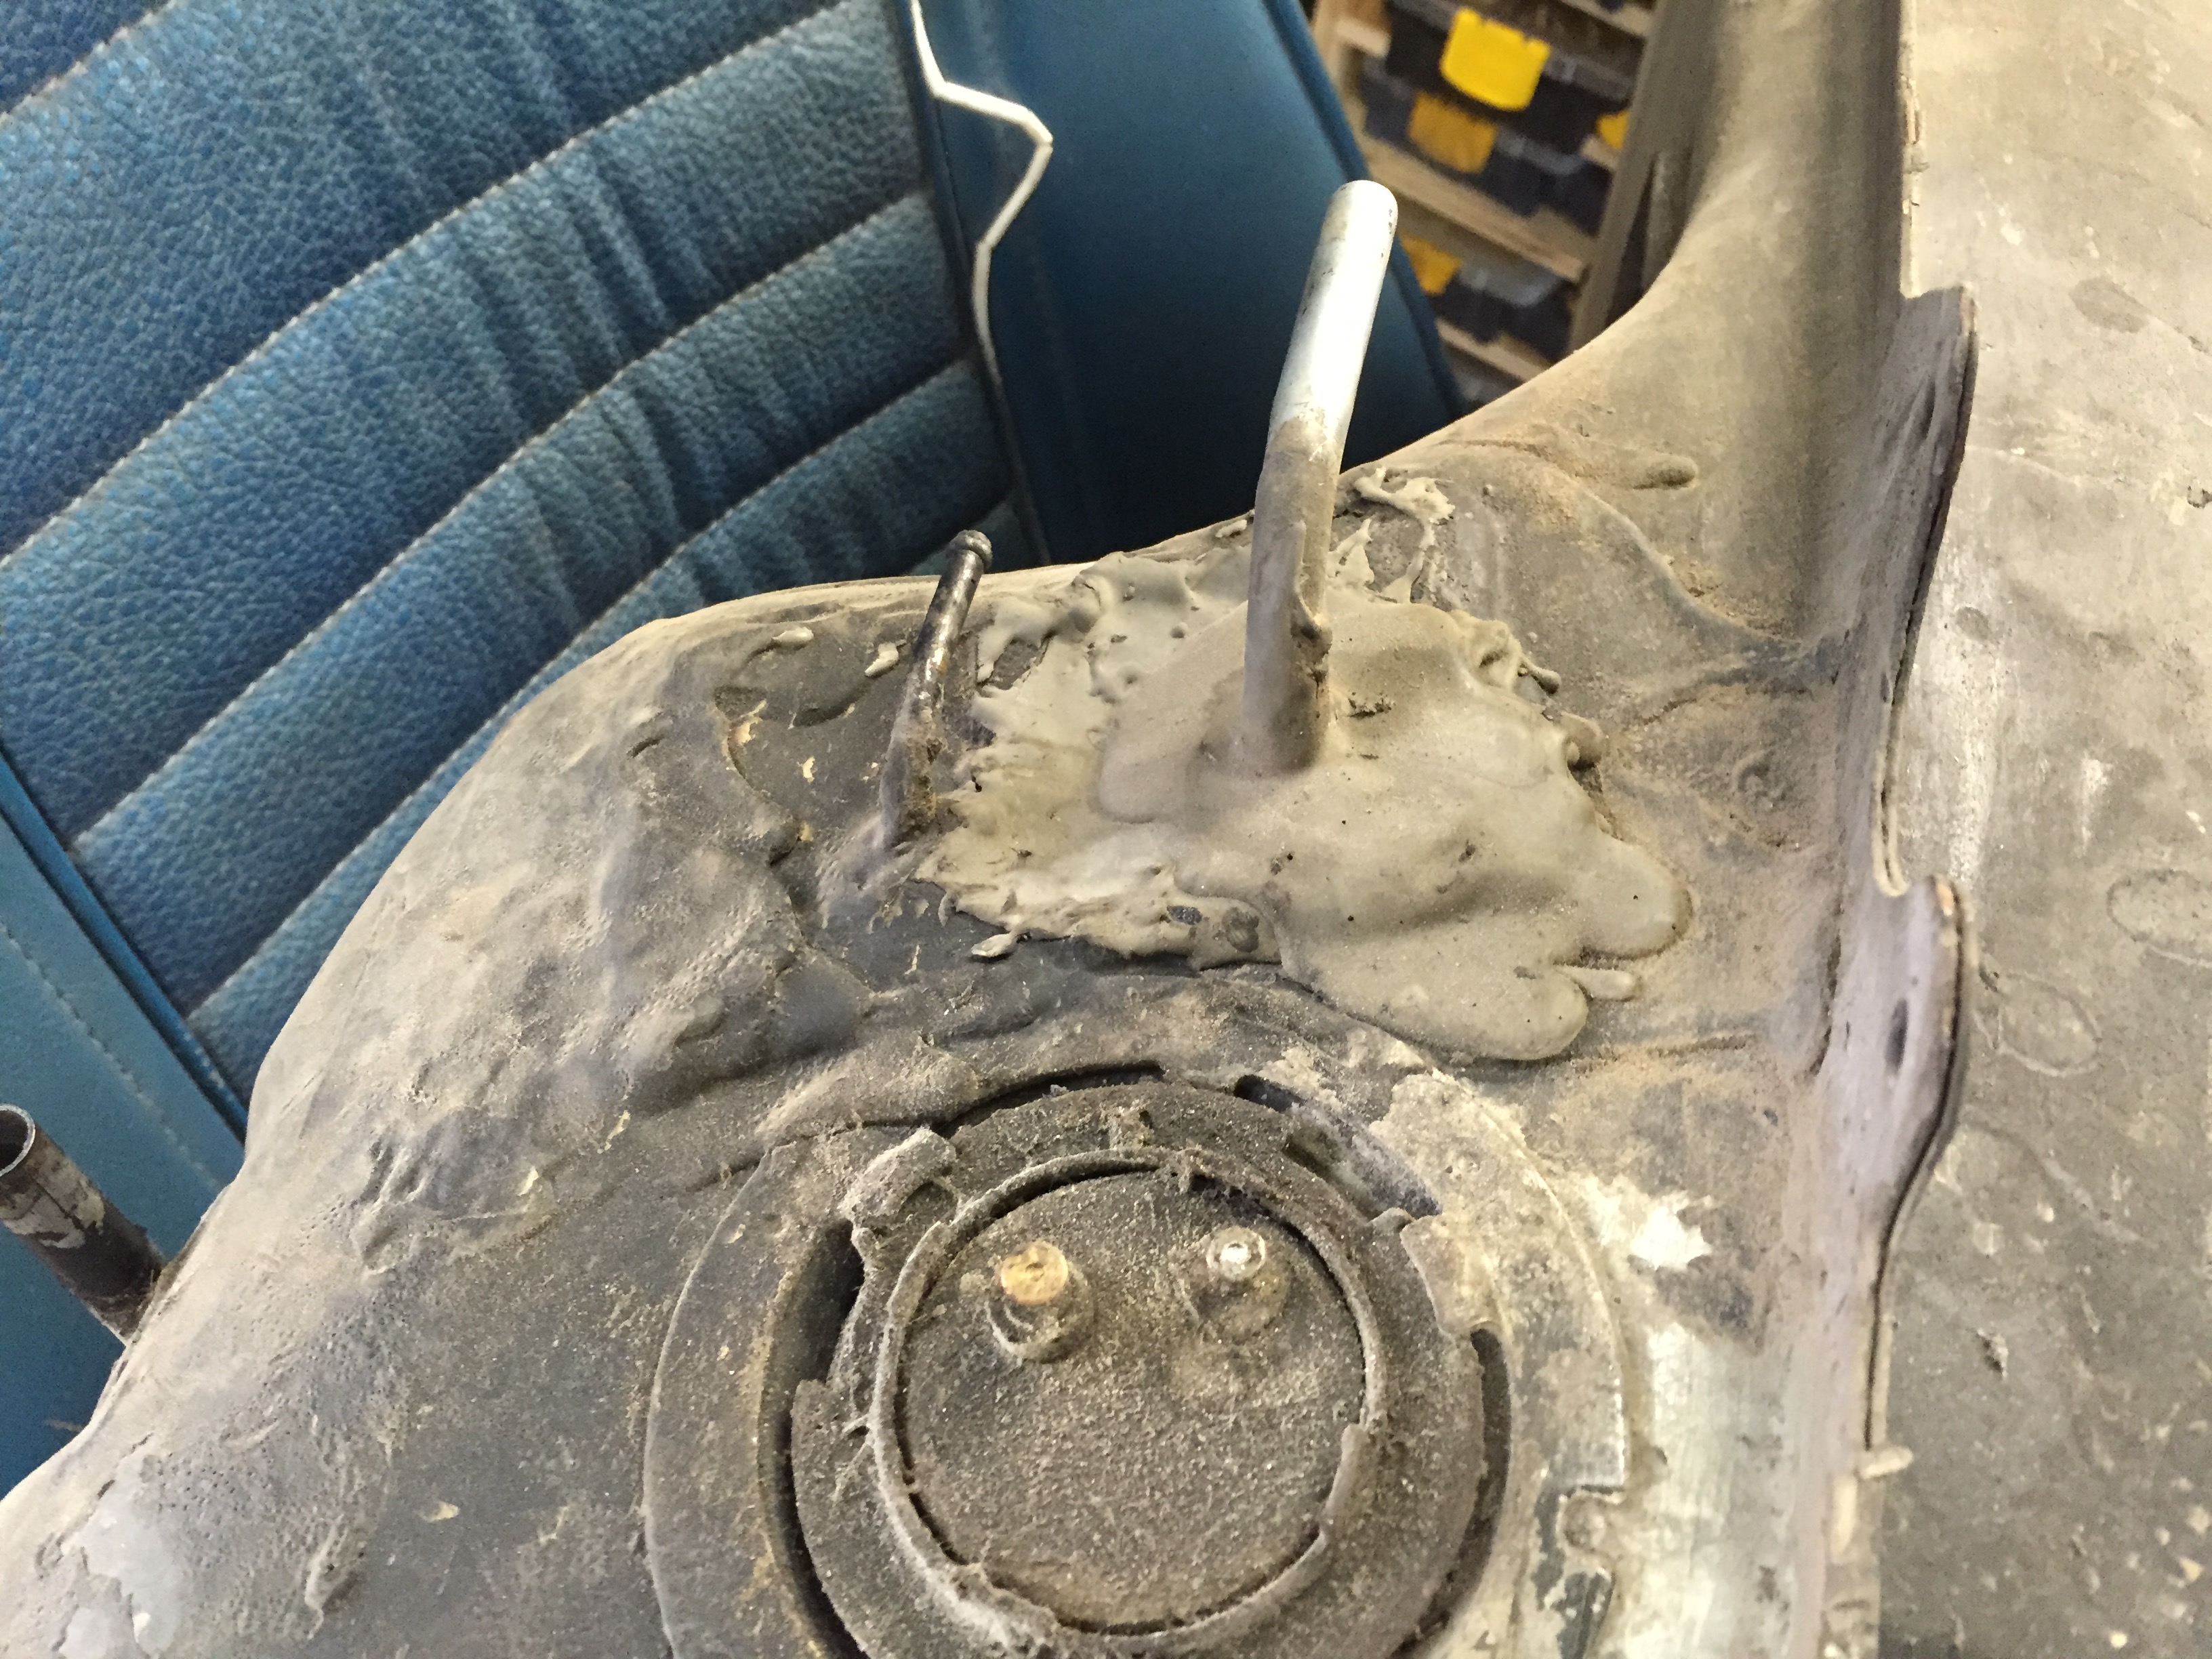
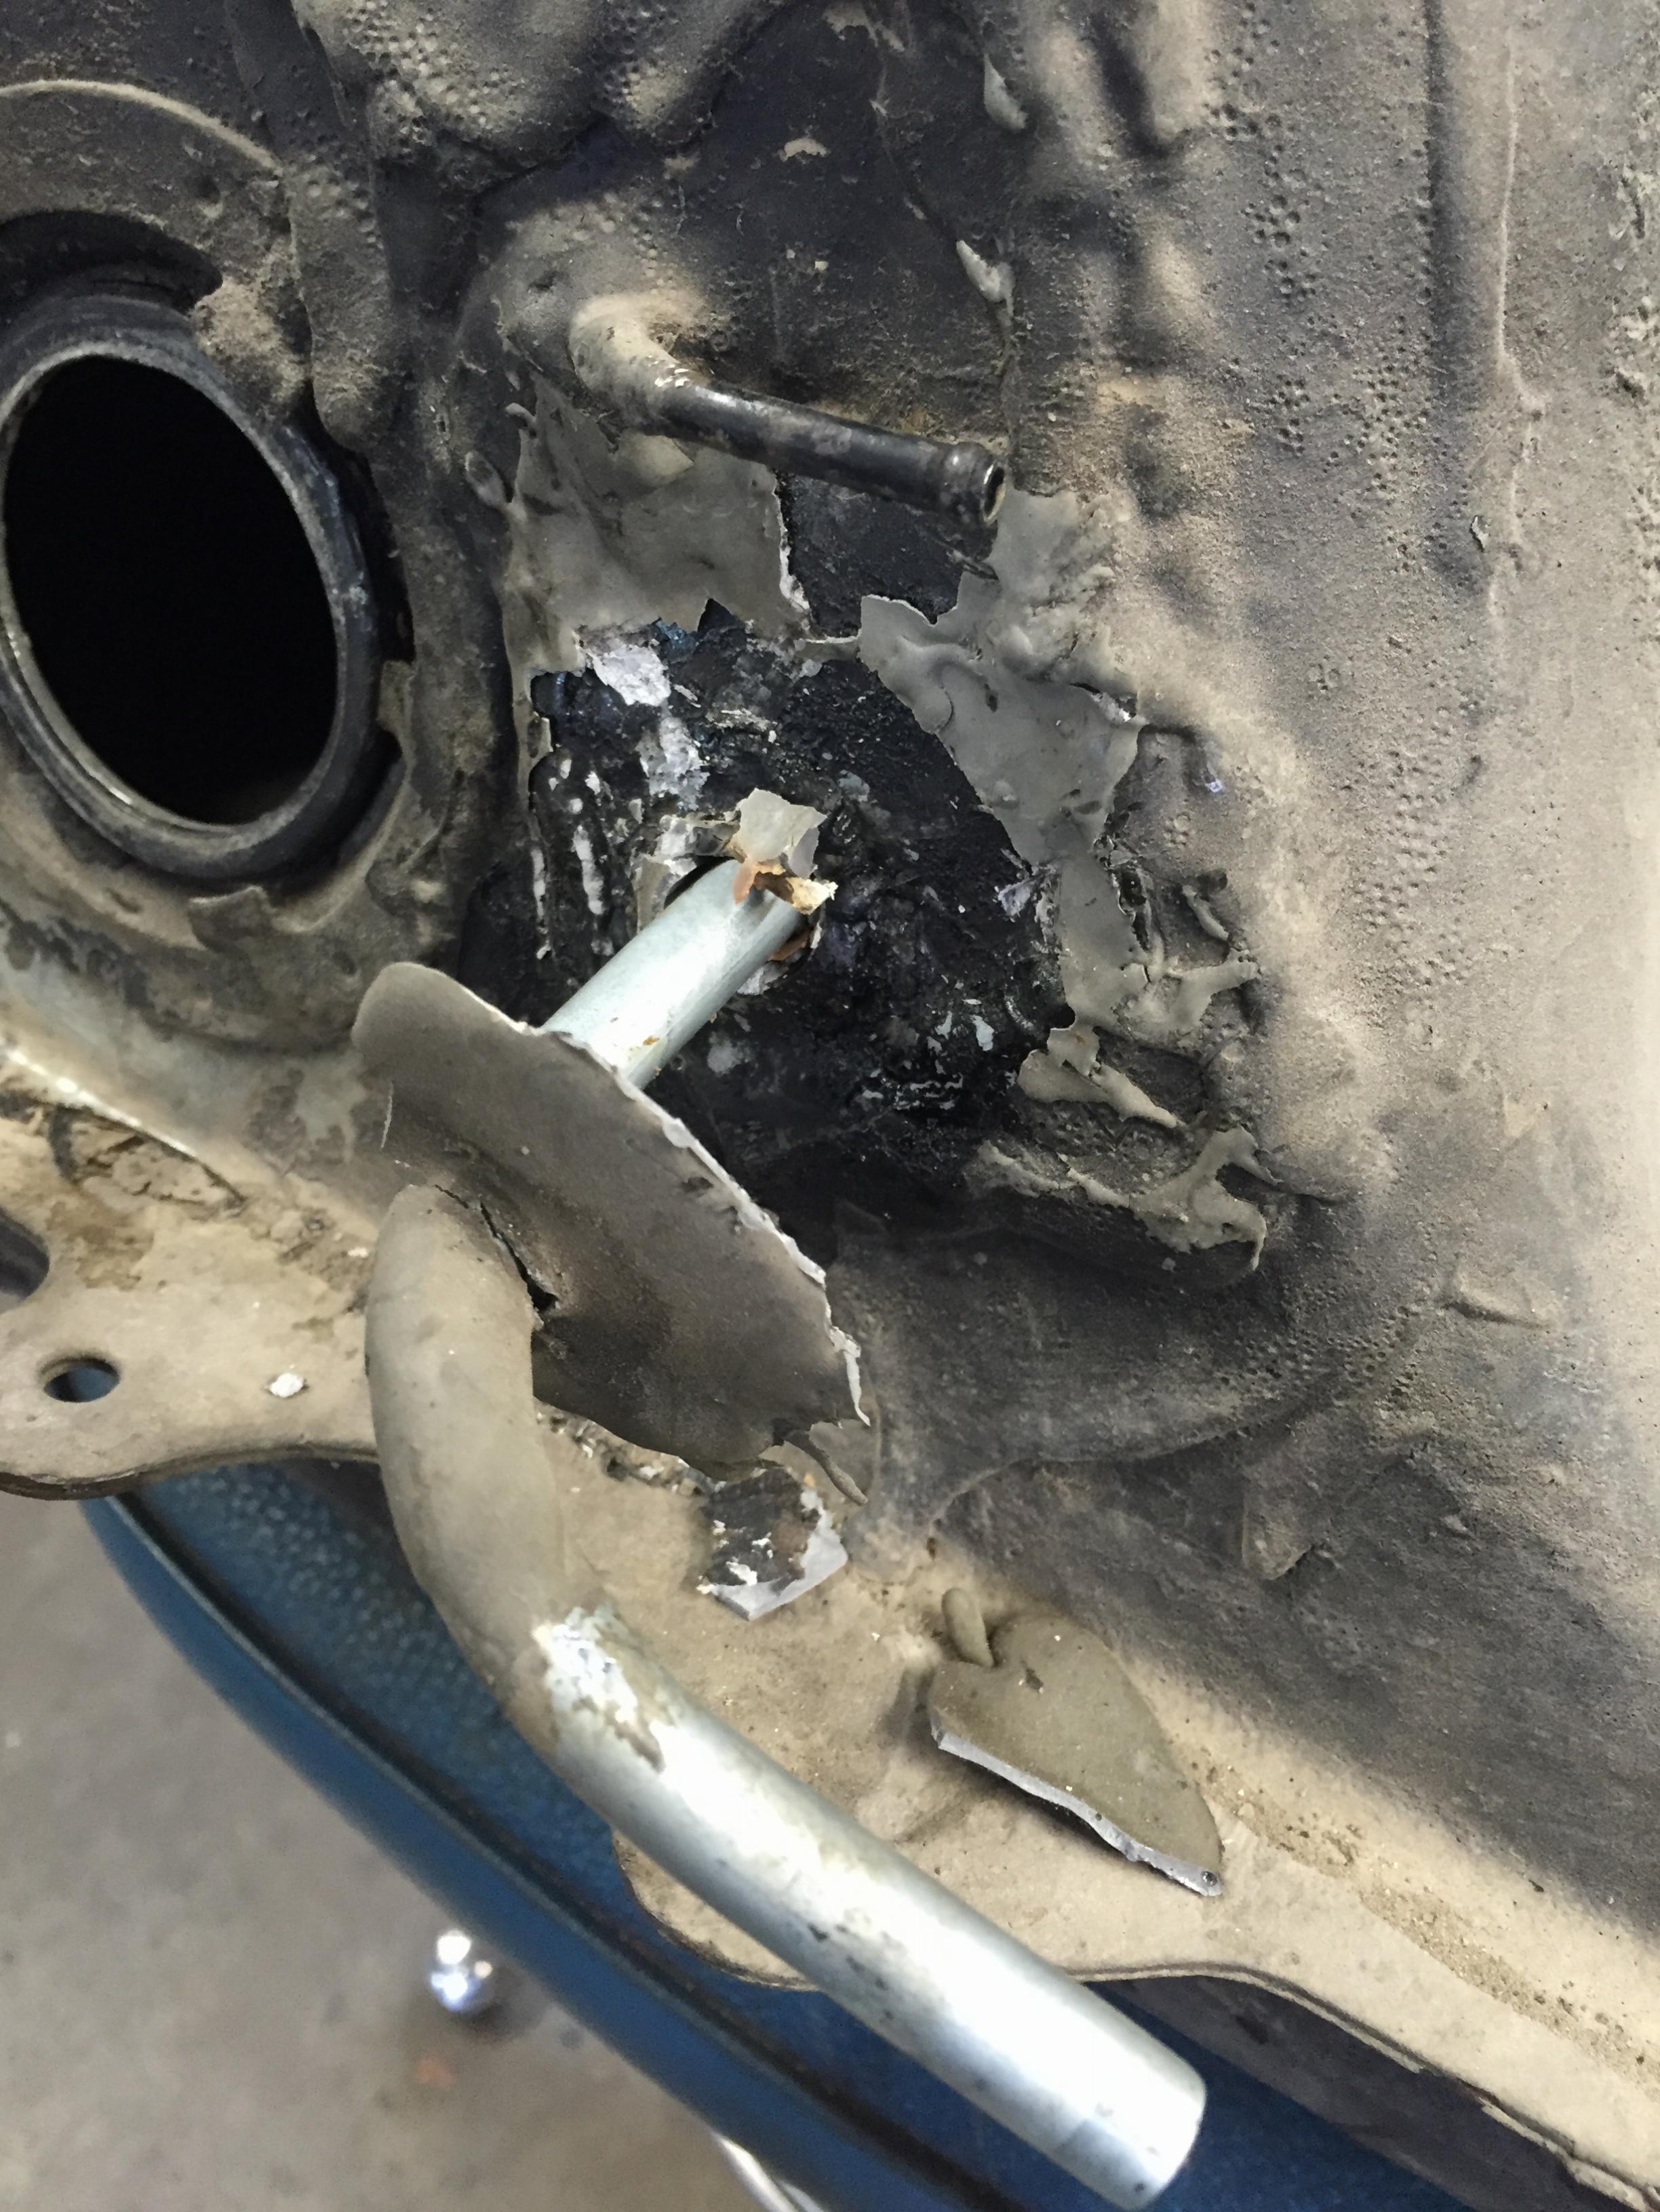
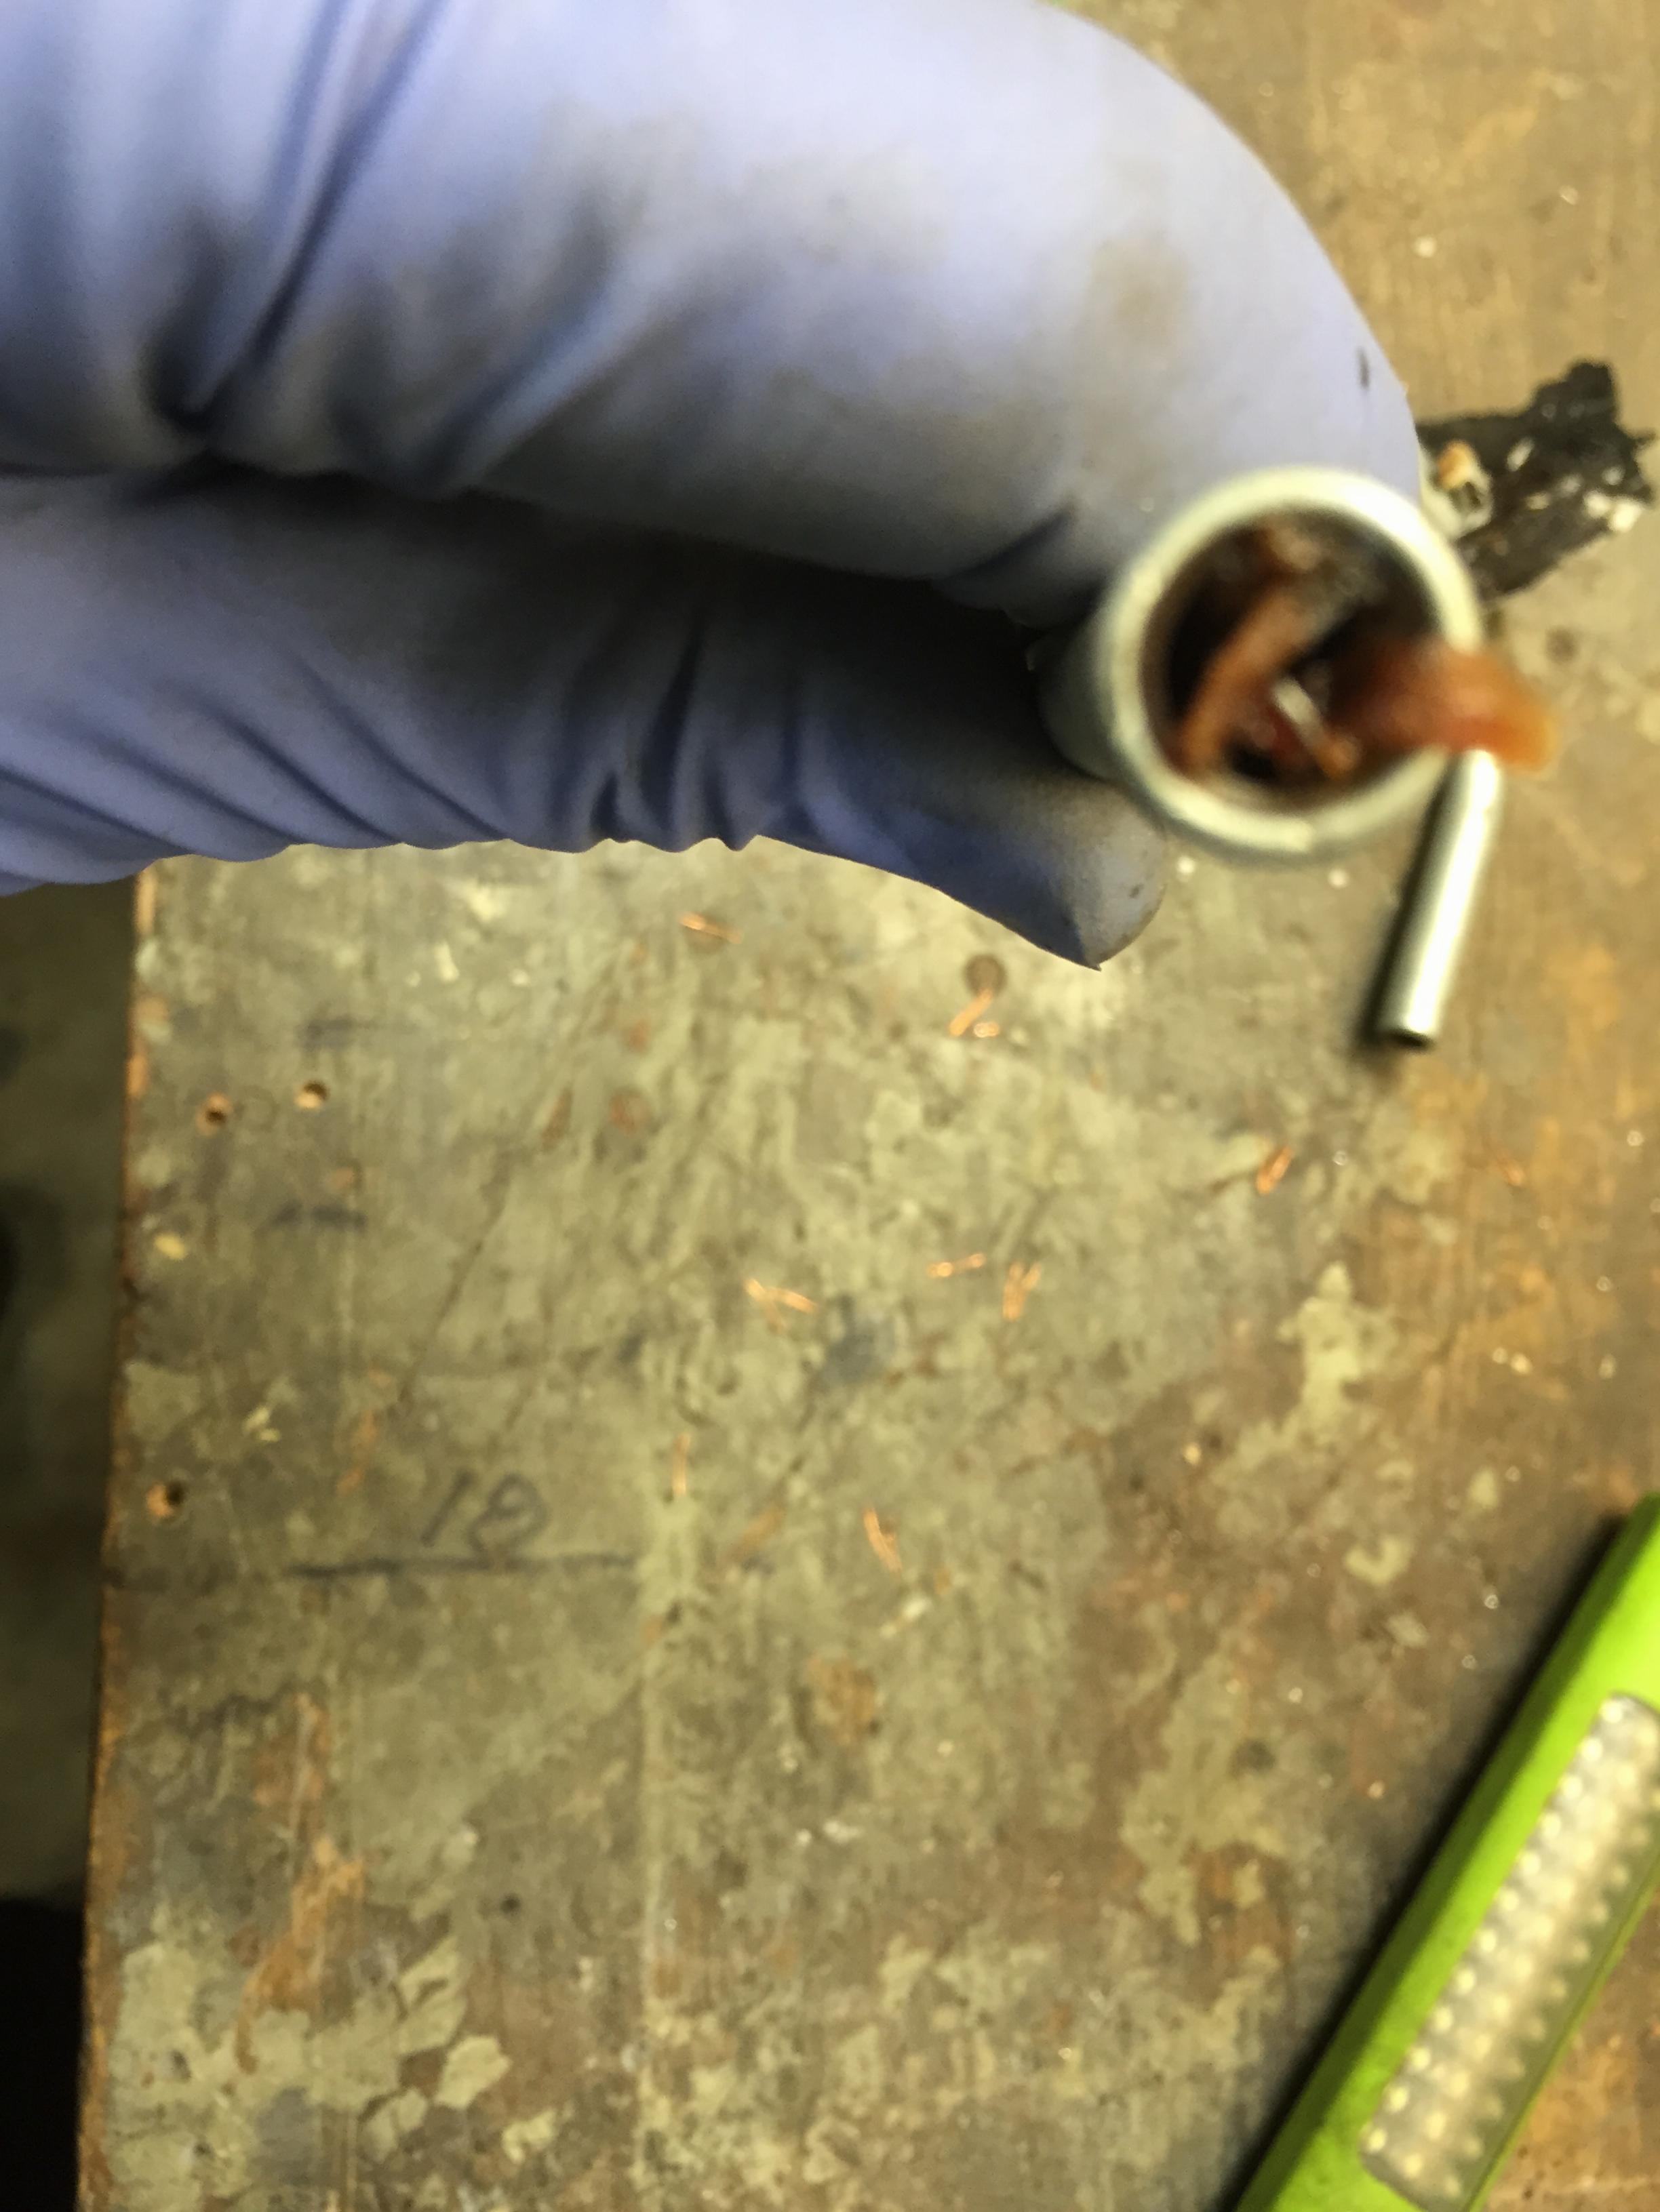
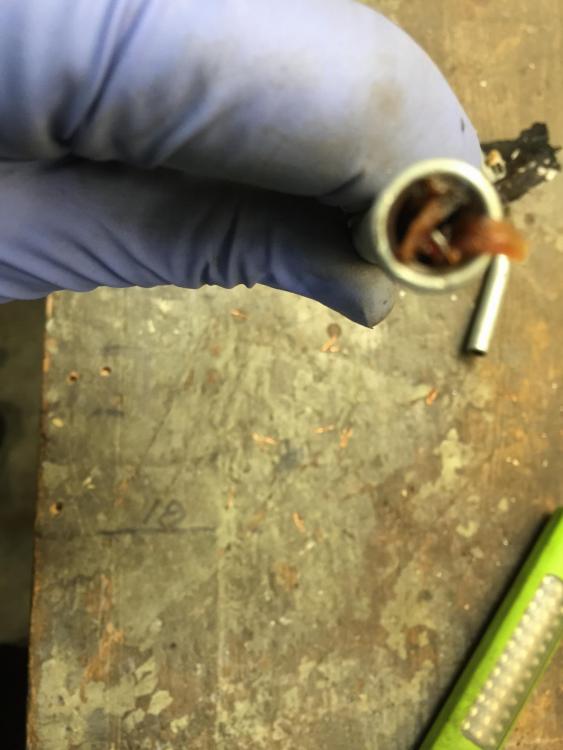
I was hemming and hawing and about taking the tank out of the 71 I'm working on to see what's going on underneath it mostly. This car is so nice and rust free I didn't expect much problem but I needed to deal with plugging off the far left vent line anyway (evap tank delete) so out it comes. Chance to clean up all the bits and pieces back there and make it look all pretty. So I'm undoing the fuel lines and notice something. Is this a bad thing? Did something throw up on my gas tank? how about this? Or even this? That line that's blobbed in with silly putty is a replacement pickup. Check out what's in the end Time to get a another tank and try again. Too bad, the inside is nice is clean, other than the varnish crystals....


-
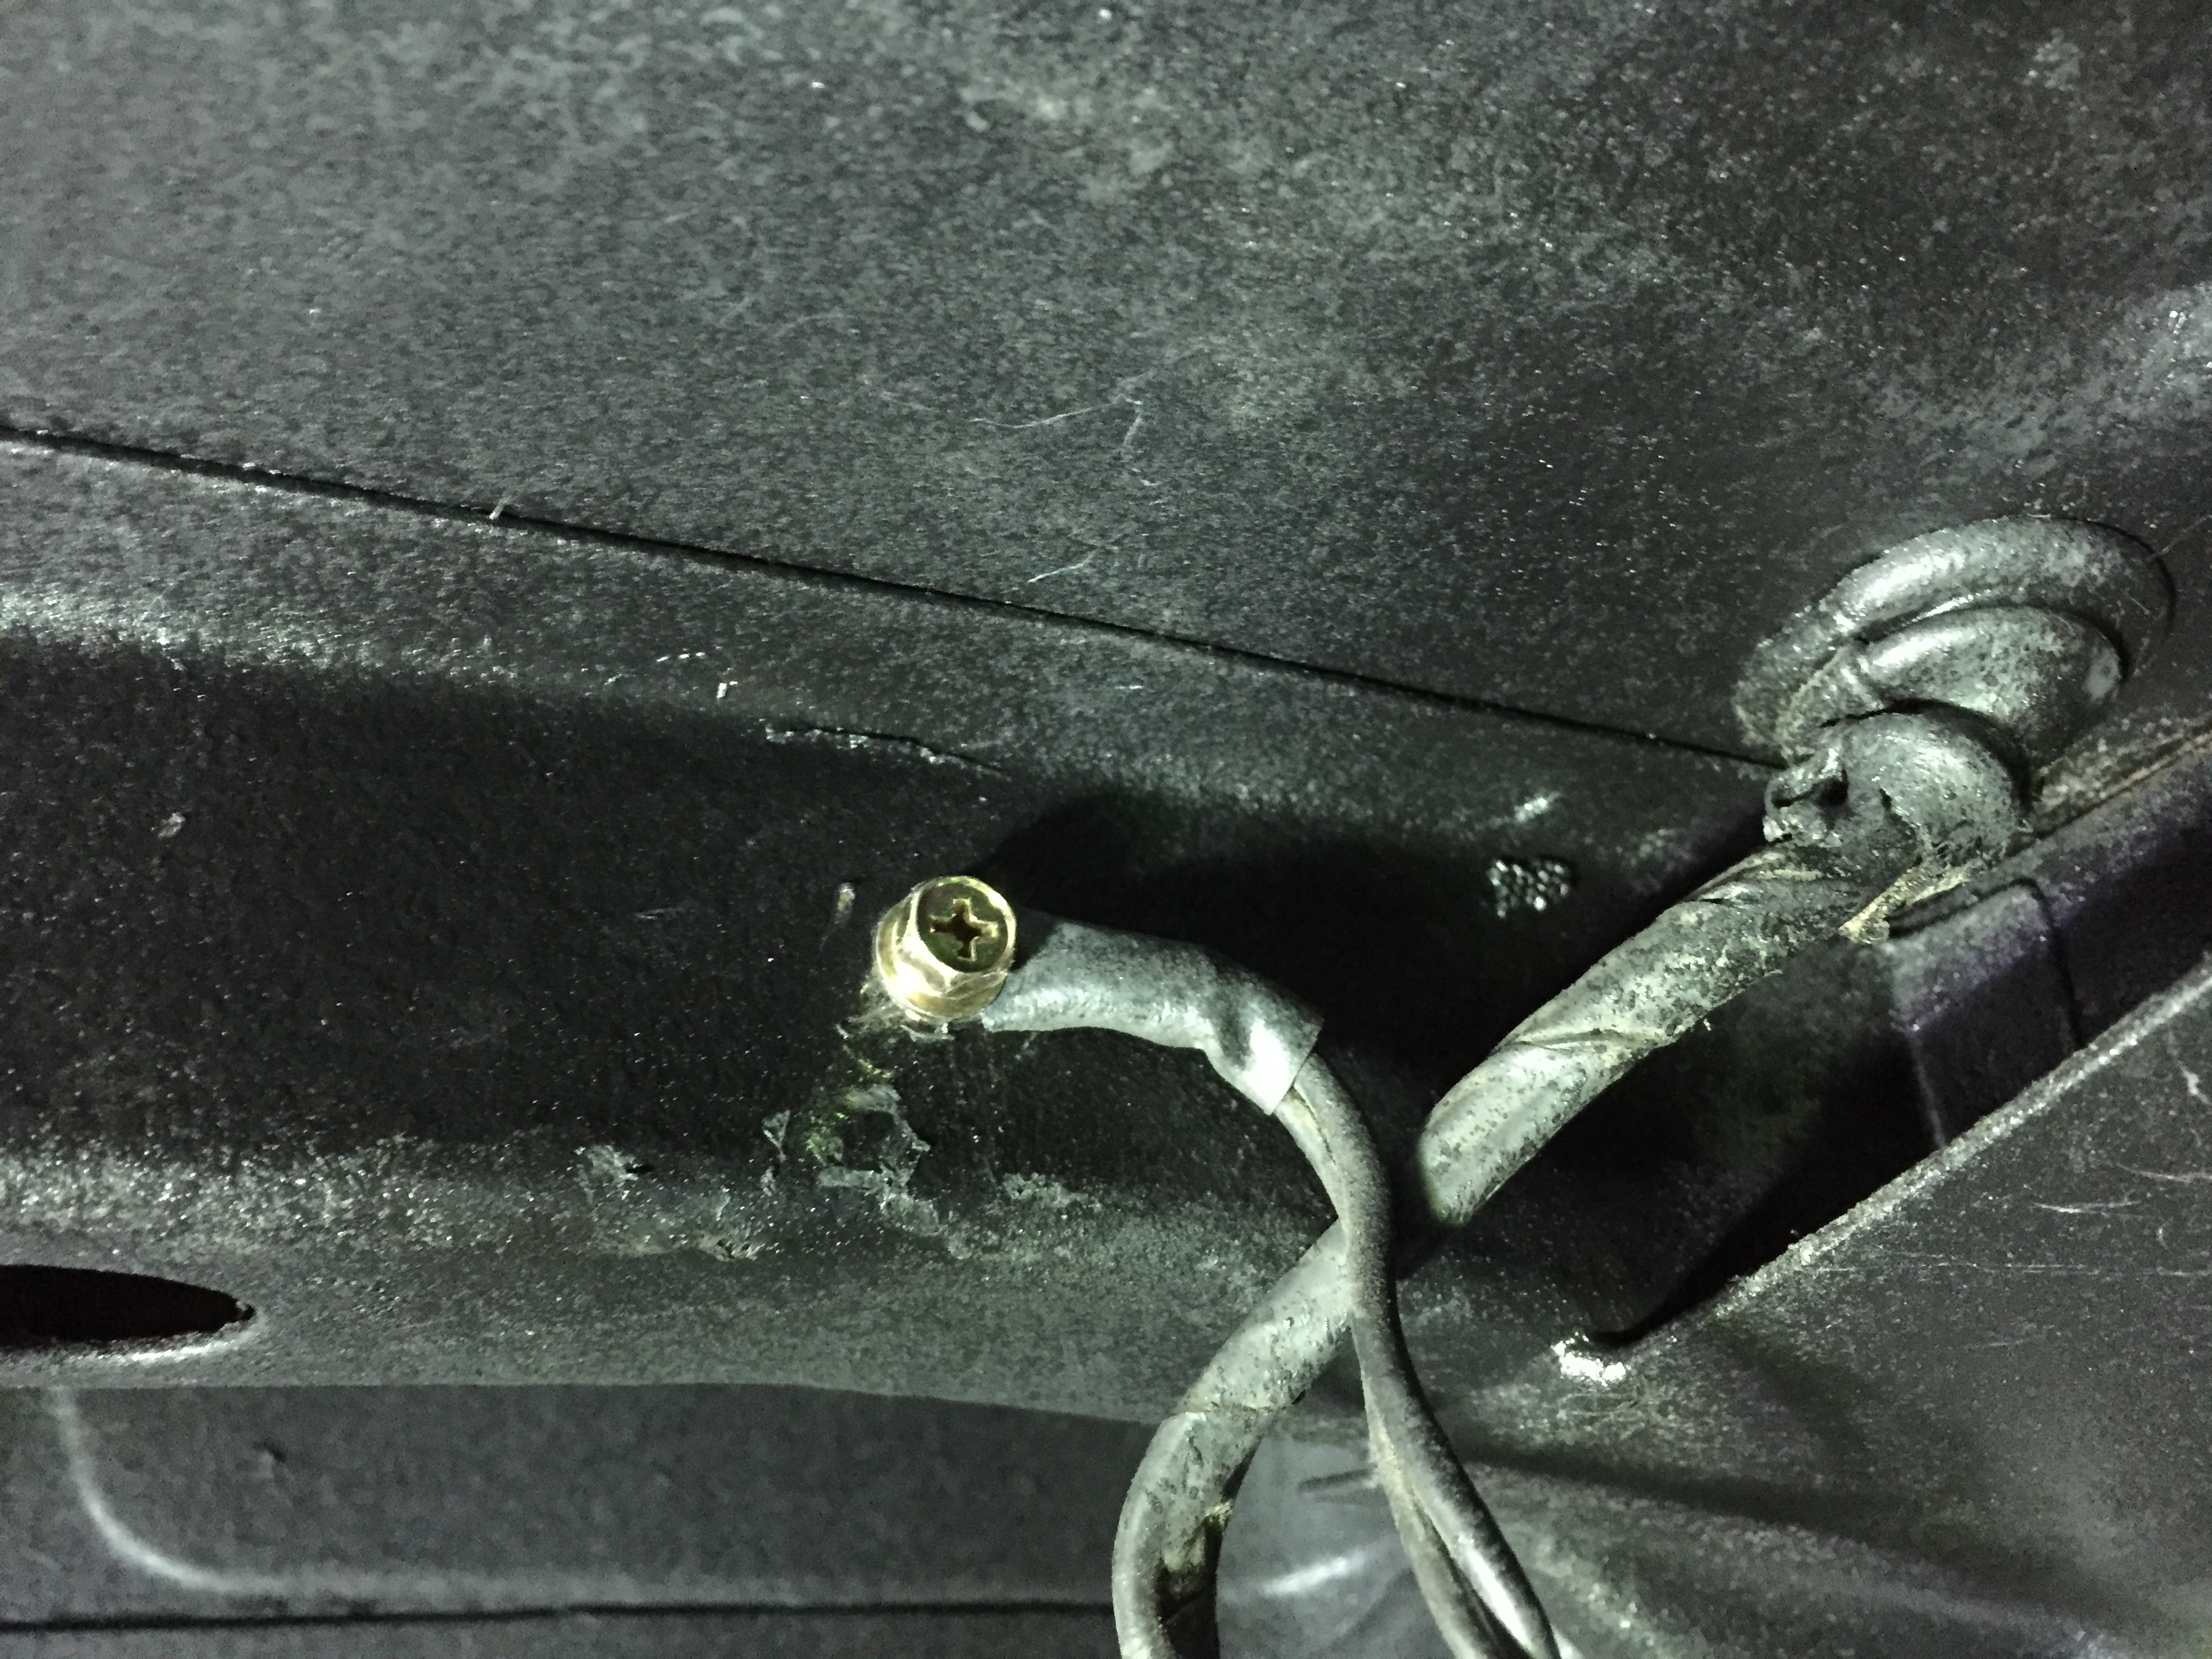
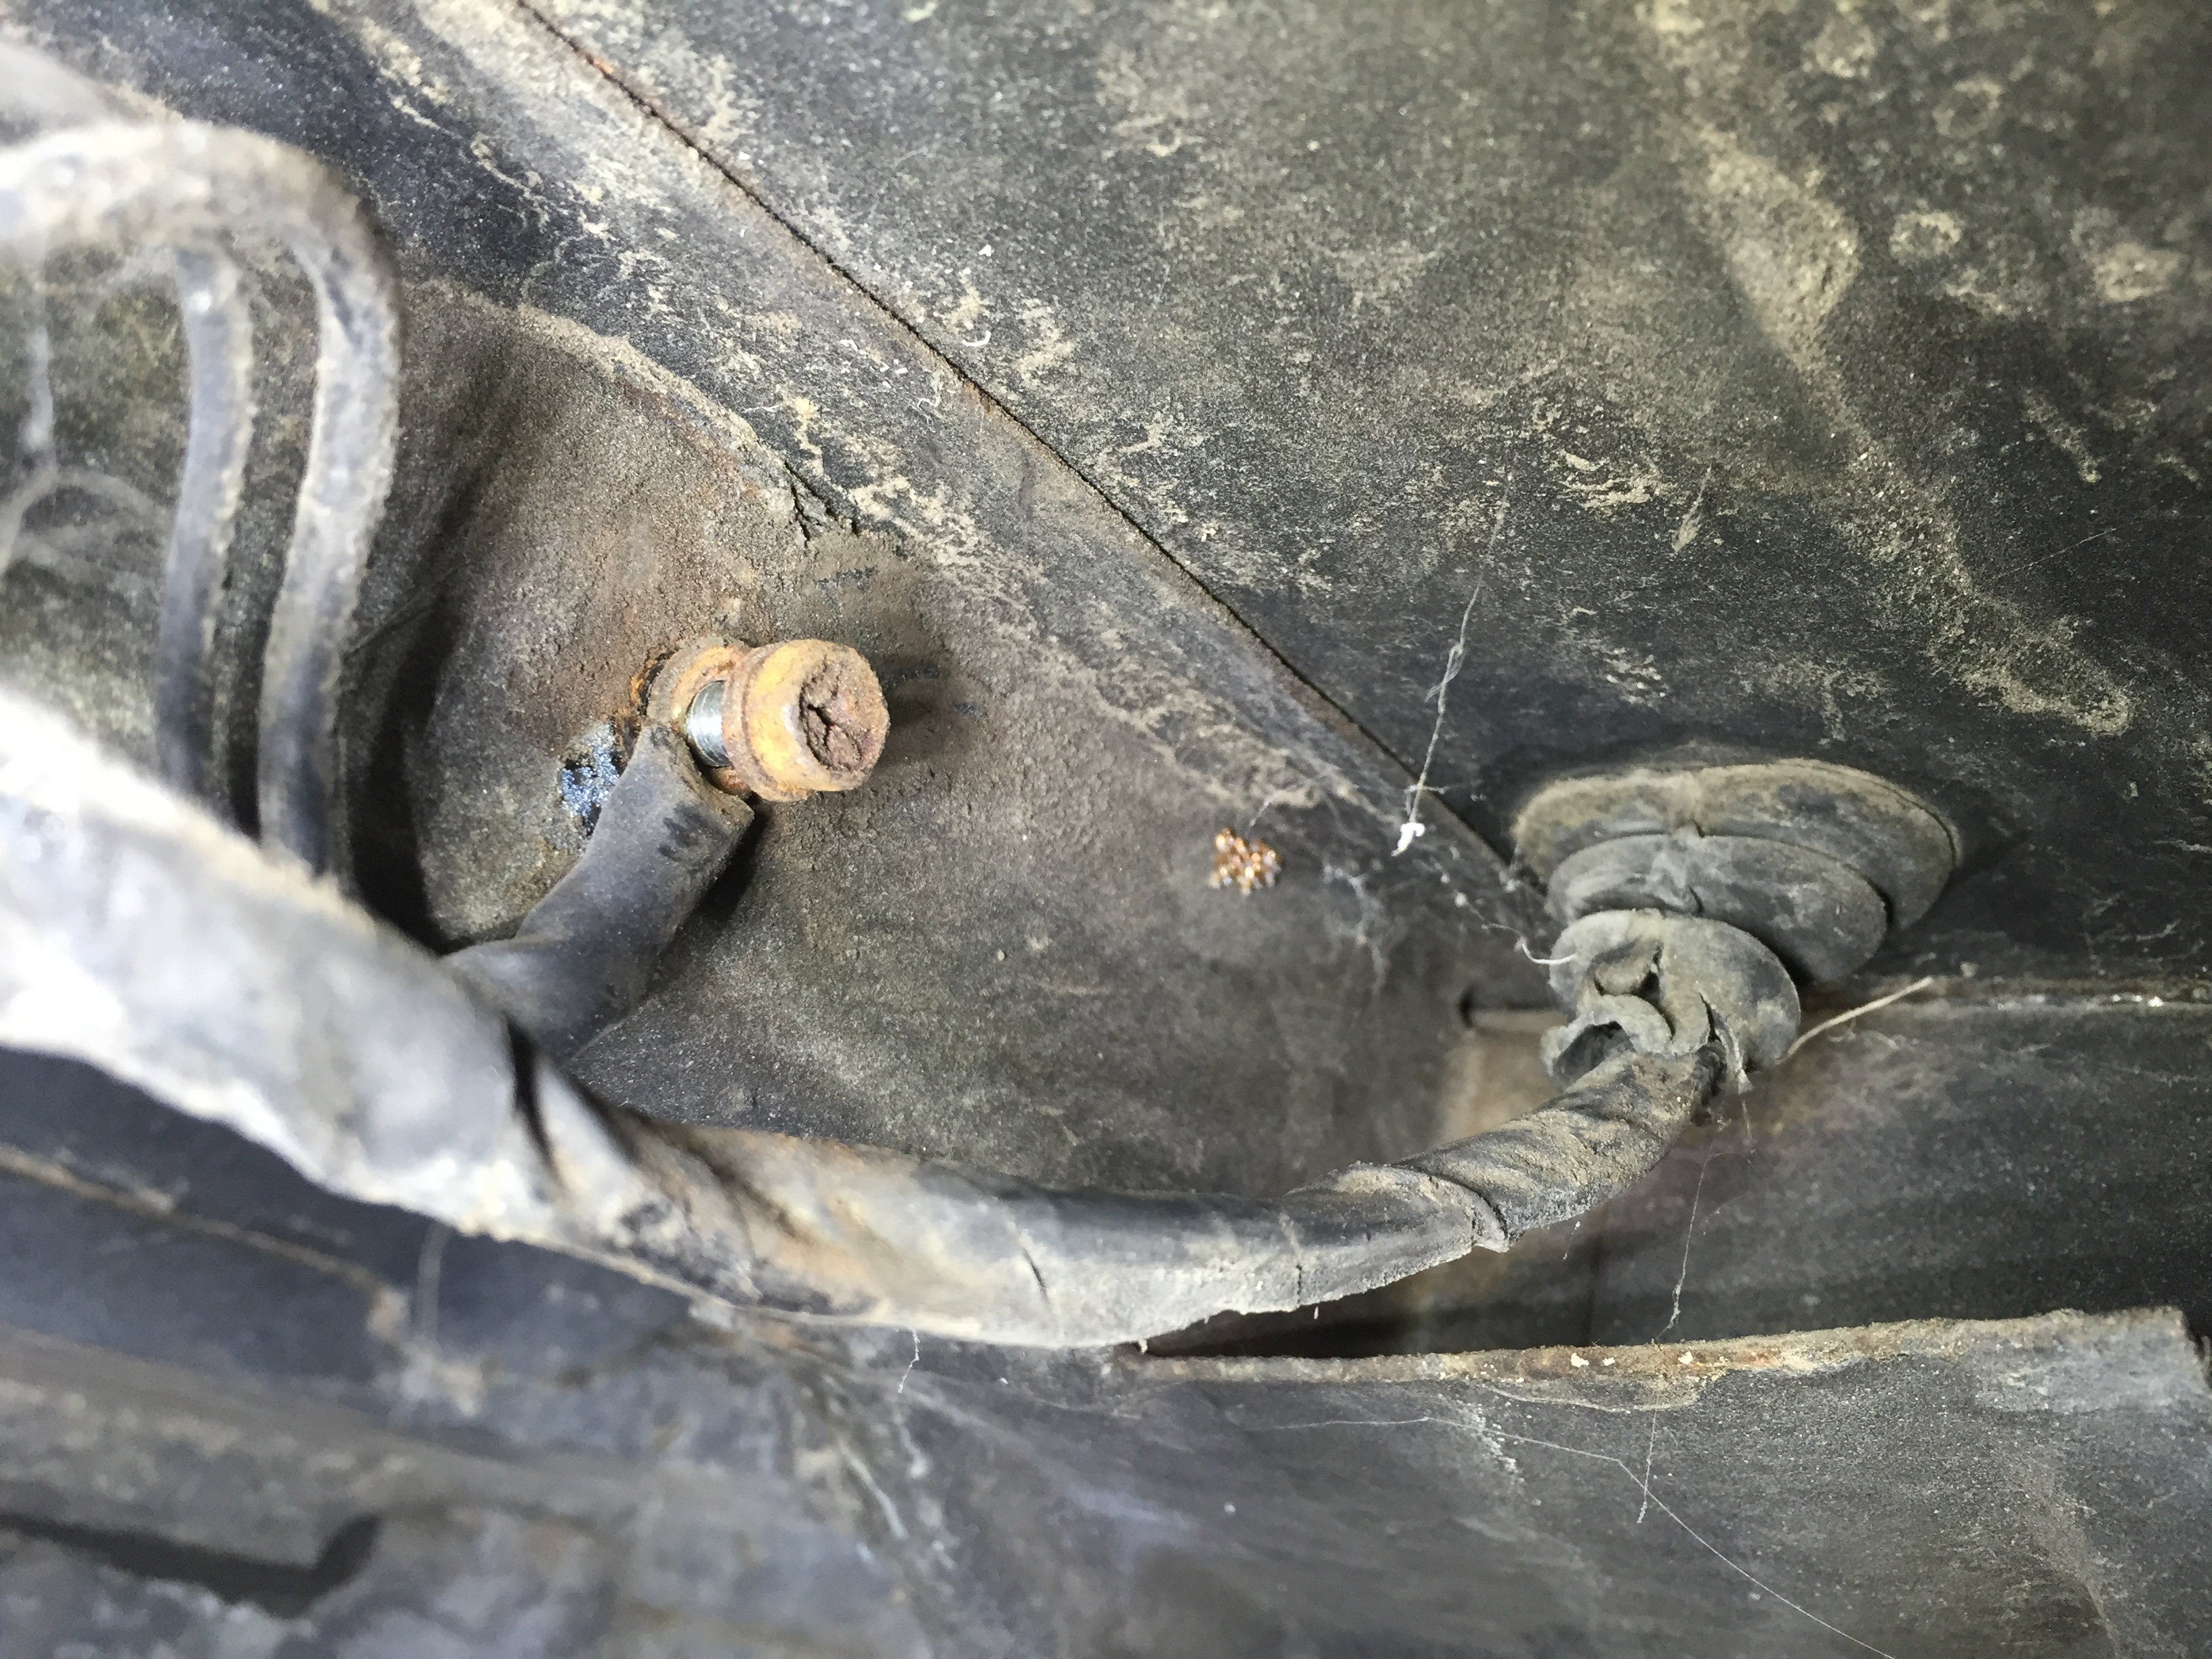
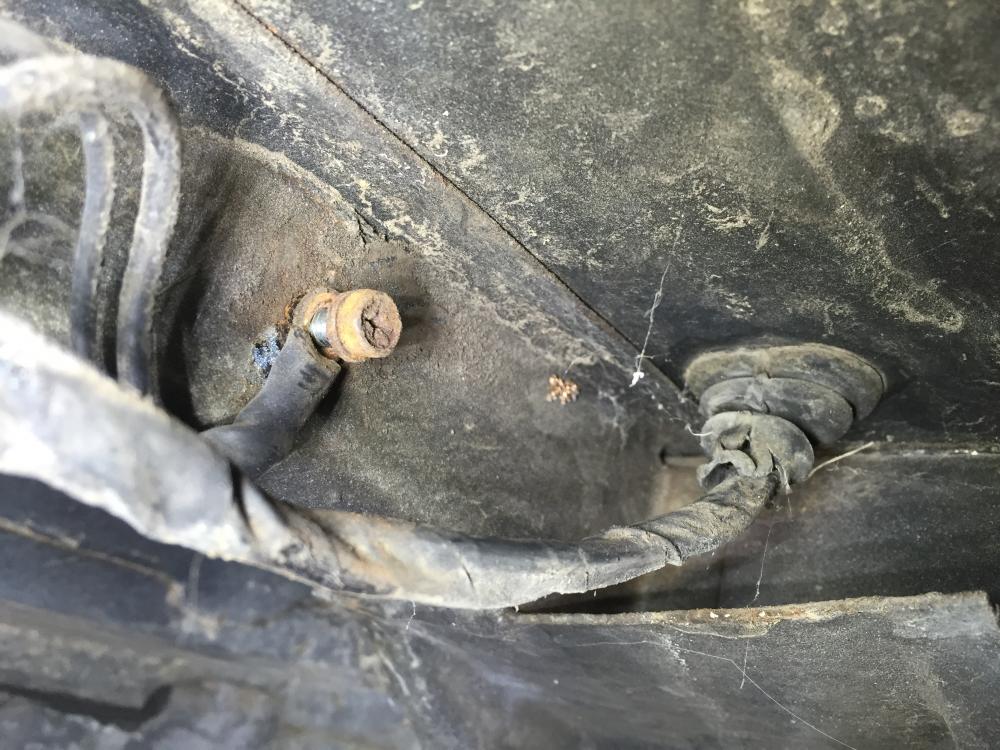
So I happen to have the gas tank out of the 71 I'm working on (a whole nother post on its own....) and remembered to clean the ground point in the wiring harness that is only accessible when the tank is out. Perhaps some of you don't even know it's there. Thought I'd show it's location and how to service it. The wiring harness that runs from the hatch through the floor to the fuel level sending unit and fuel pump is the one we are talking about. After it goes through the floor, the ground wires terminate at a 5mm ring terminal that attaches to a threaded hole on the side of a frame member on the right side. The bolt is a 5mm hex head. Remove it, clean the face of the ring terminal with a wire brush until it shines. My suggestion is to use a new clean bolt and lock washer, stainless if possible, but you can clean and re-use the stock one. Paint it or smear seam sealer over it once you get it backtogether and tight. No more bad ground. Now on to the "while you're at it...." department Exhaust leaks. You have a chance with the tank out to take car of some exhaust leak areas. Notice the state of the rubber grommet where the harness passes through. Repair or replace as needed. Clearly I need to do some maintenance on mine. Run a bead of seam sealer along the seam where the horizontal hatch floor meets the vertical rear valence at the very back. There may be some there now, but on my 73, and on this 71, the factory bead does not run far enough to each side. Others have reported exhaust leaks through this seem in the past, maybe you remember the thread about the smoke machine. I think you can add sealer from the top too, but's real hard to get into the two side pockets from the top. Piece of pie (I prefer pie over cake) from the bottom.
-
-
Need one Steve'O? Now that Chief Doc has his fixed, I can spare ya one.
-
Fantastic! Way happier to hear it's fixed then you have to spend thousands to buy mine! (that's a joke son, relax....) I'd pull that shaft real carefull from now on.. Wait, maybe I should rephase that....
-
Yeah, at least one. Maybe two.....
-
The shaft does not normally come out of the switch body. Since you have it out, pry open the case tabs and have a look see inside. Chances are you will need a new switch but you never know. I'm not close, but I can send you a switch if you get to that point.
-
Dwell is set by changing the points gap. Go with 15-17 initial, make sure your vacuum advance is hooked up and that hose is in good condition. And set that 17 with the vac advance hose removed and plugged don't forget. And maybe its time for an electronic ignition rather than points. If your dizzy is in good shape (bushings and mech and vac advance works correctly) then just stuff in a pertronix kit. Will look totally stock. And Welcome to the club. There are just about a billion bits of information here for you to read and learn from.
-
Windshields are available. Both Asian copies and PPG (I guess PGW now) american glass. I've found the asian stuff in Alberta for the ungodly prices under $100 CDN.. Just keep calling around to different suppliers. Start with the big boys. Also ask them to look under Nissan instead of Datsun. I had that problem with Crystal glass here in Calgary recently. Conversation went like. "Datsun? 71 240Z? nope, just seeing 510, 610.... Sorry can't get it". Whoa whoa whoa...
-
These look great Randy! I've cobbled up my own but nothing this slick! Ok fellow innovators, to me the real holy grail is to contrive a method to adjust the float levels without the trial and error madness of removing the lid and bending little miserable tabs. That together with an external indicator of the fuel level (see post #1) would be pure nirvana.....
-
The keyed door locks need a place on the body for the key thing to lock behind. Only the early "series1" cars had the door knobs and a matching loop welded to the body for the latch to get behind. Jai would have to add something like that inside the door opening for a keyed door to be effective.
-
It makes sense that the fuel filler components didn't change until the larger tank showed up, which I'm fairly sure is a 280 thing. early 260 should be the same as 240.. The fiche showed the 260 being same as 280, but the change is likely late 260. Anything. bolt count is the easy visual check. three early (easy), four late (harder, but do-able)
-
Steve, after three statements of fact, I'm inclinded to believe you, but take a closer look. Are there three or four bolts holding the filler neck to the body? Four is the larger from the backside later filler neck style. The bolts thread through the body and thread into the flange in the filler neck. Yes the fill cap and opening in the filler neck are the same up to end of 76, and look very similar. Can you post a picture of your filler area? I gotta see this. Here is a pair of 2+2 and coupe 260/280 filler necks for later reference. the longer below the body 2+2 one is even marked "2/2"
-
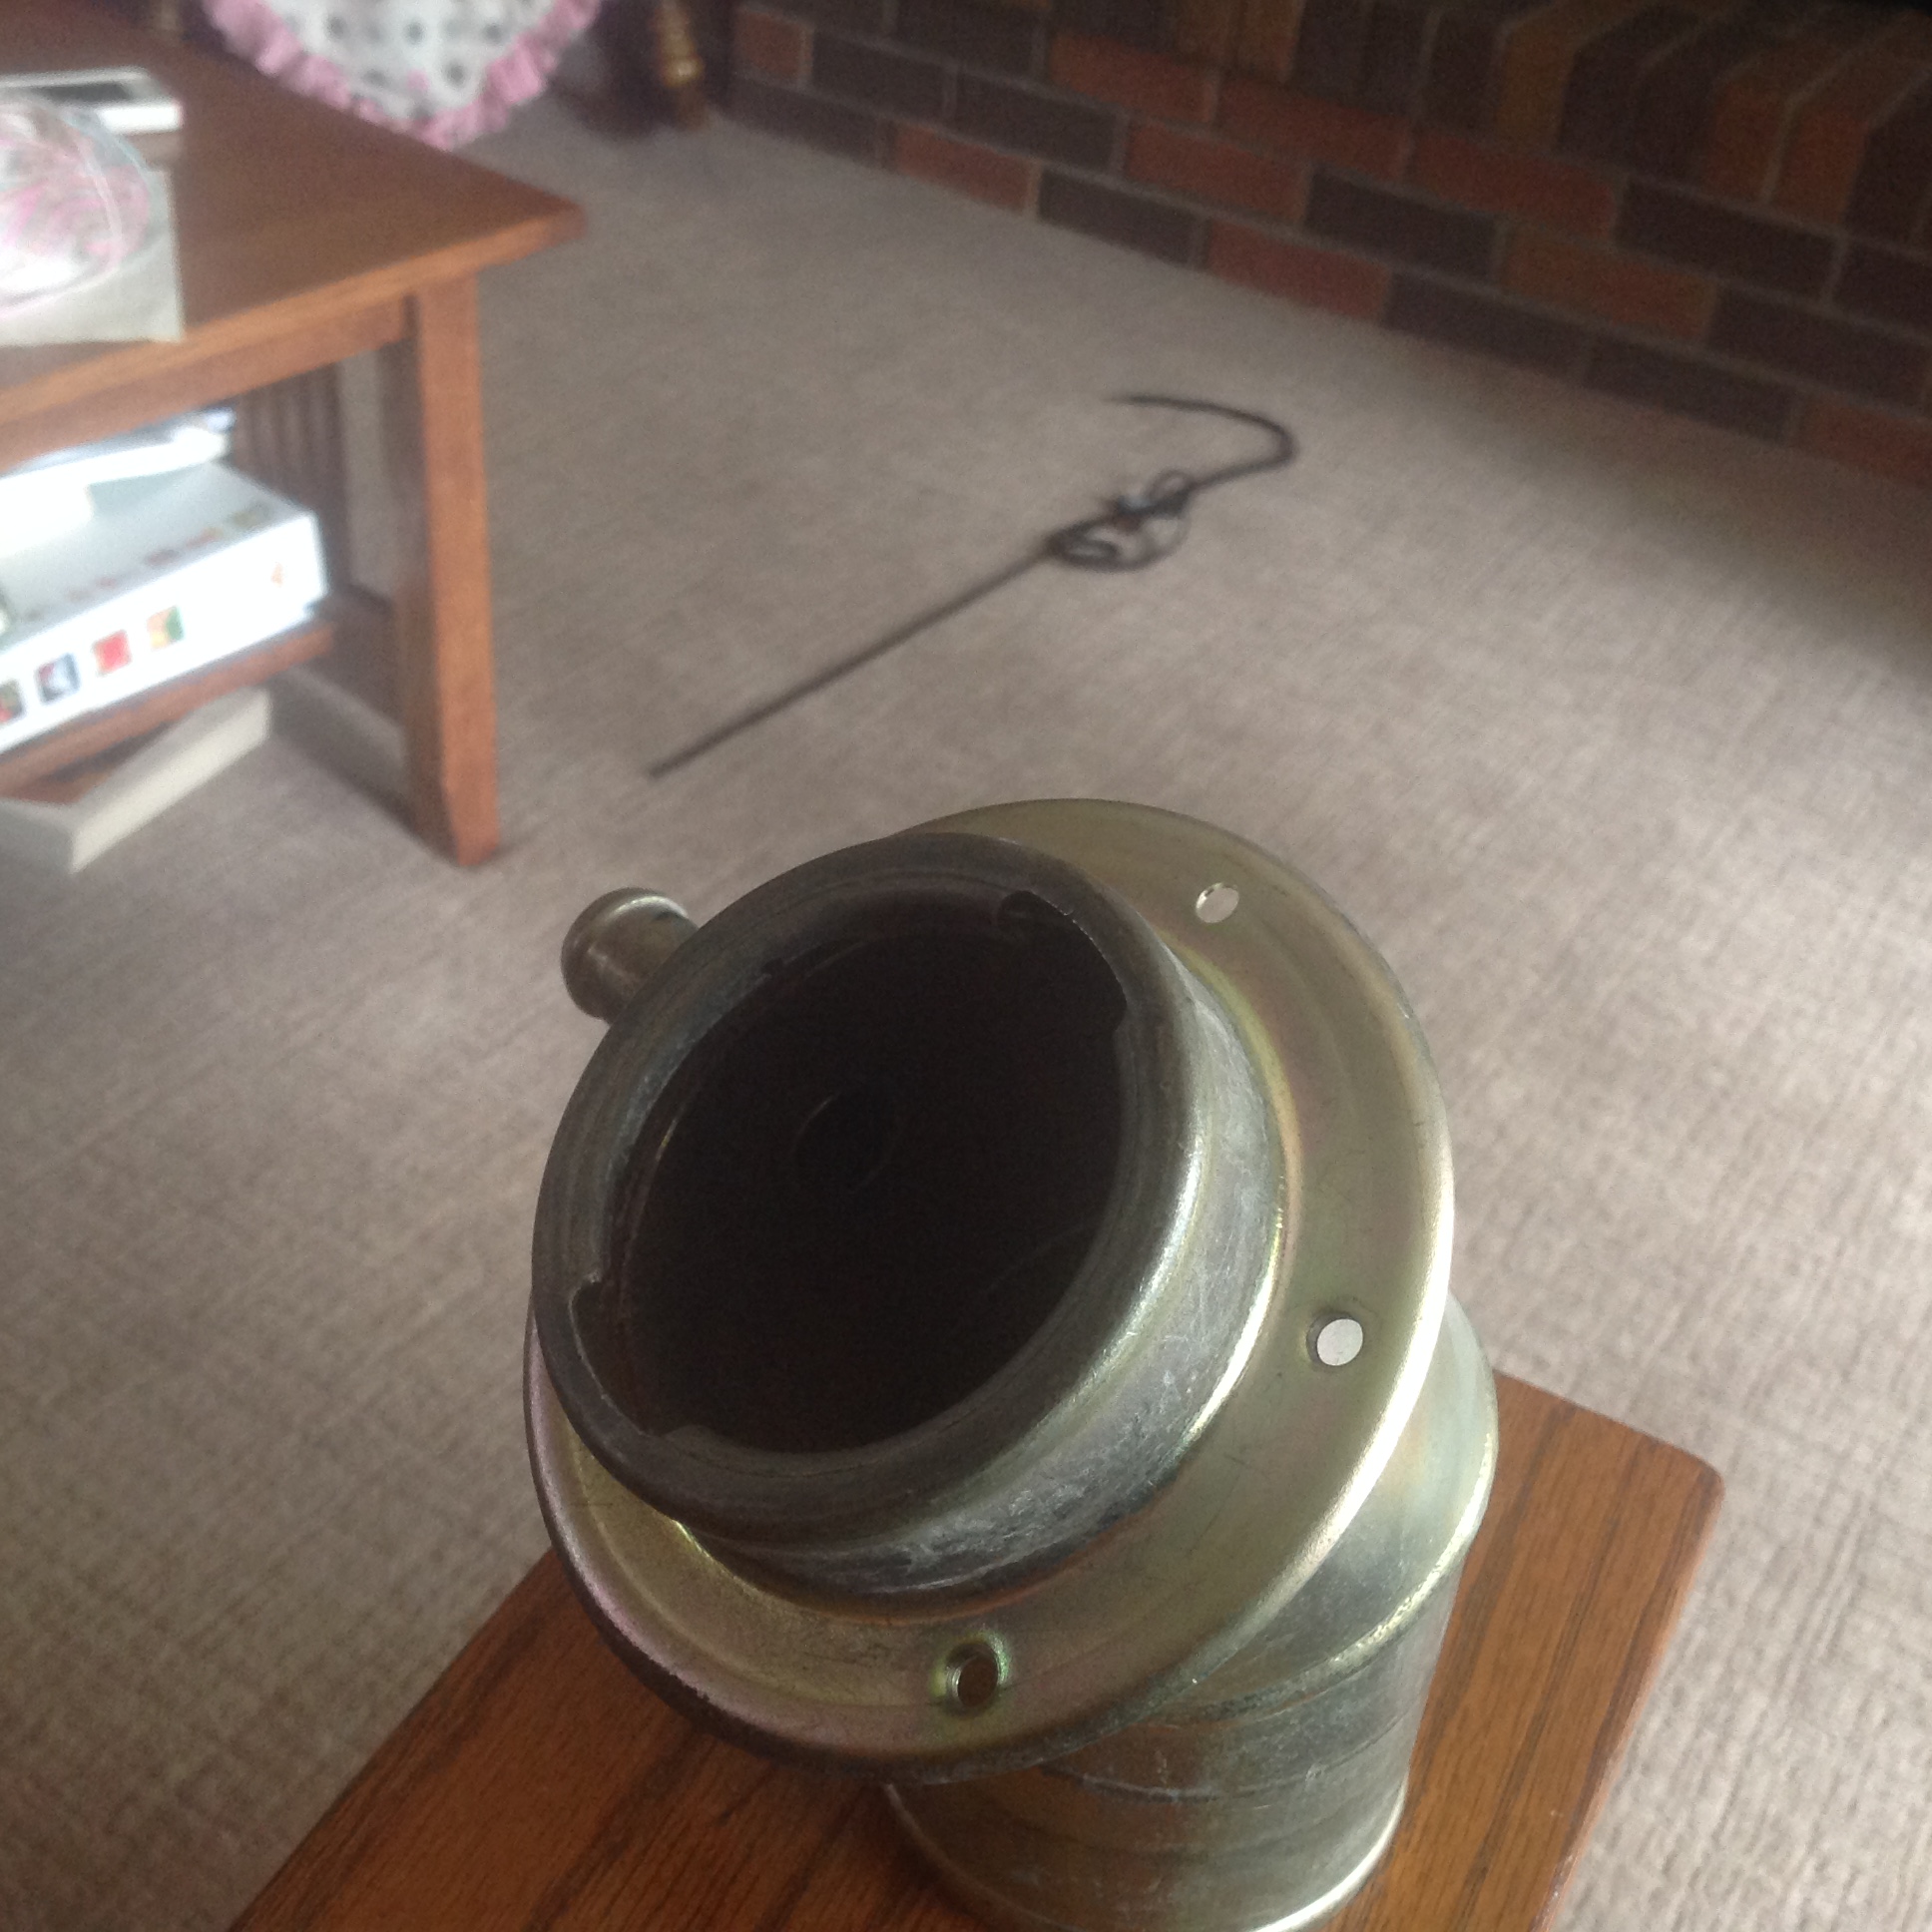
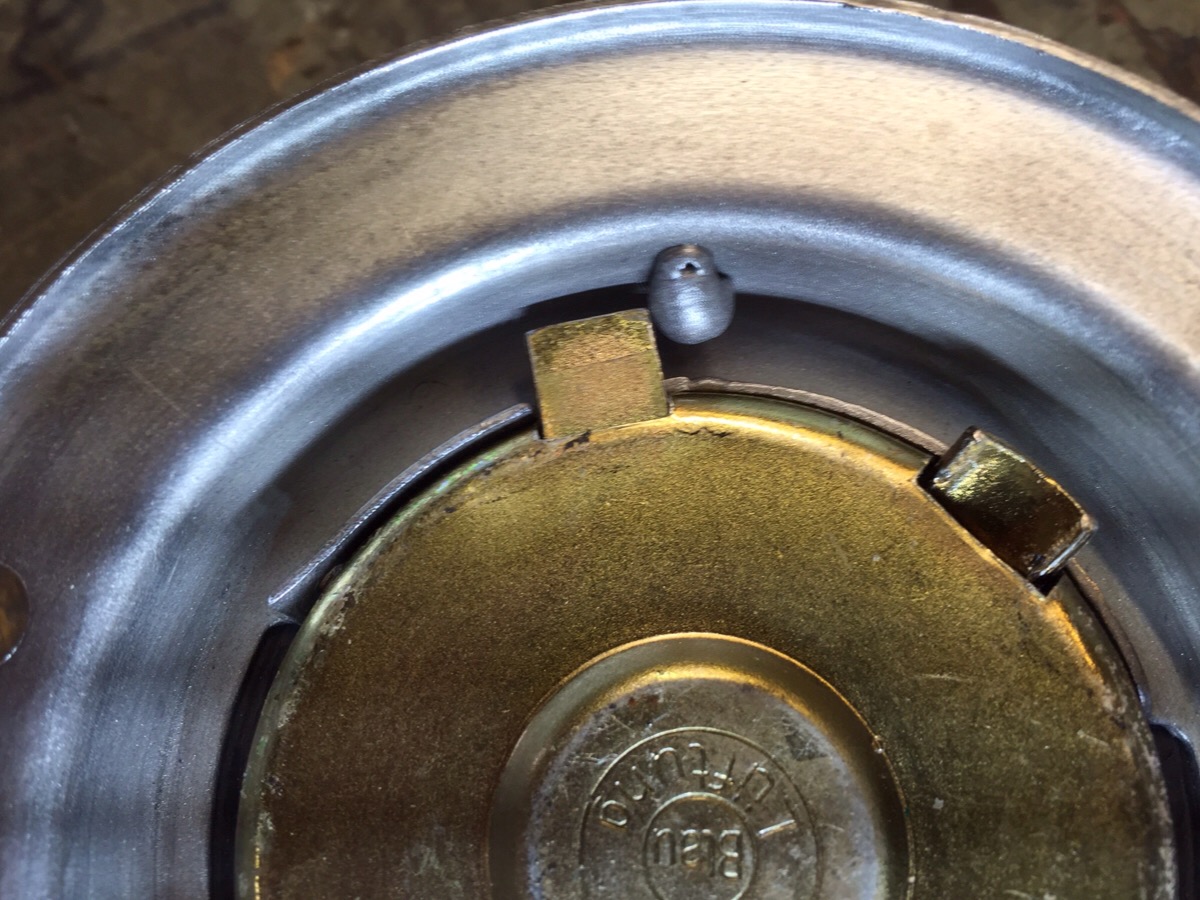
I've just realized there is a considerable fly in the ointment about my little locking cap solution. Only the 240's have that external filler neck ring that is so easy to remove and apply a weld bead to.. 260 and up has a much larger filler neck like this. There is a unique filler neck for the 2+2 according to the fiche, and the 77-78 models are different again, with the smaller cap and no chance at all of a locking cap. Dang. No way to get in from the end and place that weld bead. However there is a way to make this work, I think a screw/bolt in from the side at the right spot at just the right length would accomplish the same task of providing a stopper for the locking caps tang to hit, just like the weld bead. You'd have to seal that bolt in that hole as well to prevent leaks. Little welding for that, or JB weld.... Getting this sucker out of your car is perhaps the most challenging thing. So long story short, if you have a 260/280 and want me to do the mod, you're going to have to send me the whole filler neck. I only have a couple of these, so cores will be required. You lucky 240 folks can just get a modded filler ring off me. Questions?

-
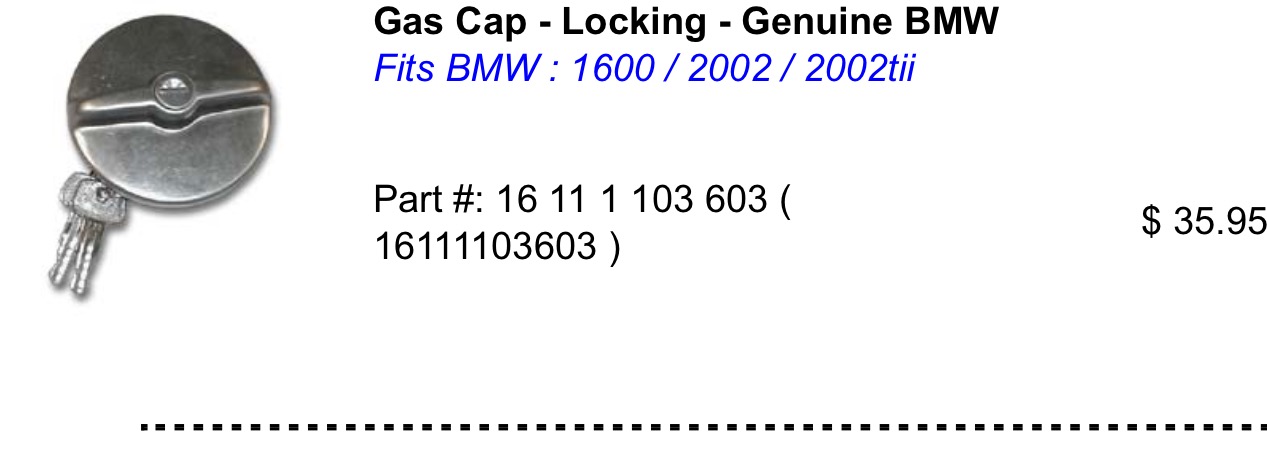
Charles, let's not complicate this too much. Jai, if it's ok, let me send a few rings out for CAD plating, or powder coat if you prefer, then send you one direct. You purchase a locking cap on-line. Please contact me at z240@shaw.ca and we'll discuss details and options with costs. Charles, do you want me to send you a modded ring that you can use for a pattern?
-
I does not store maps within the App, you only have the "Current" map. You can edit the map interactively then store it in the distributor. The map can not be altered when the car is running, EXCEPT for a blanket + or - advance adjustment of the current map in use.
-
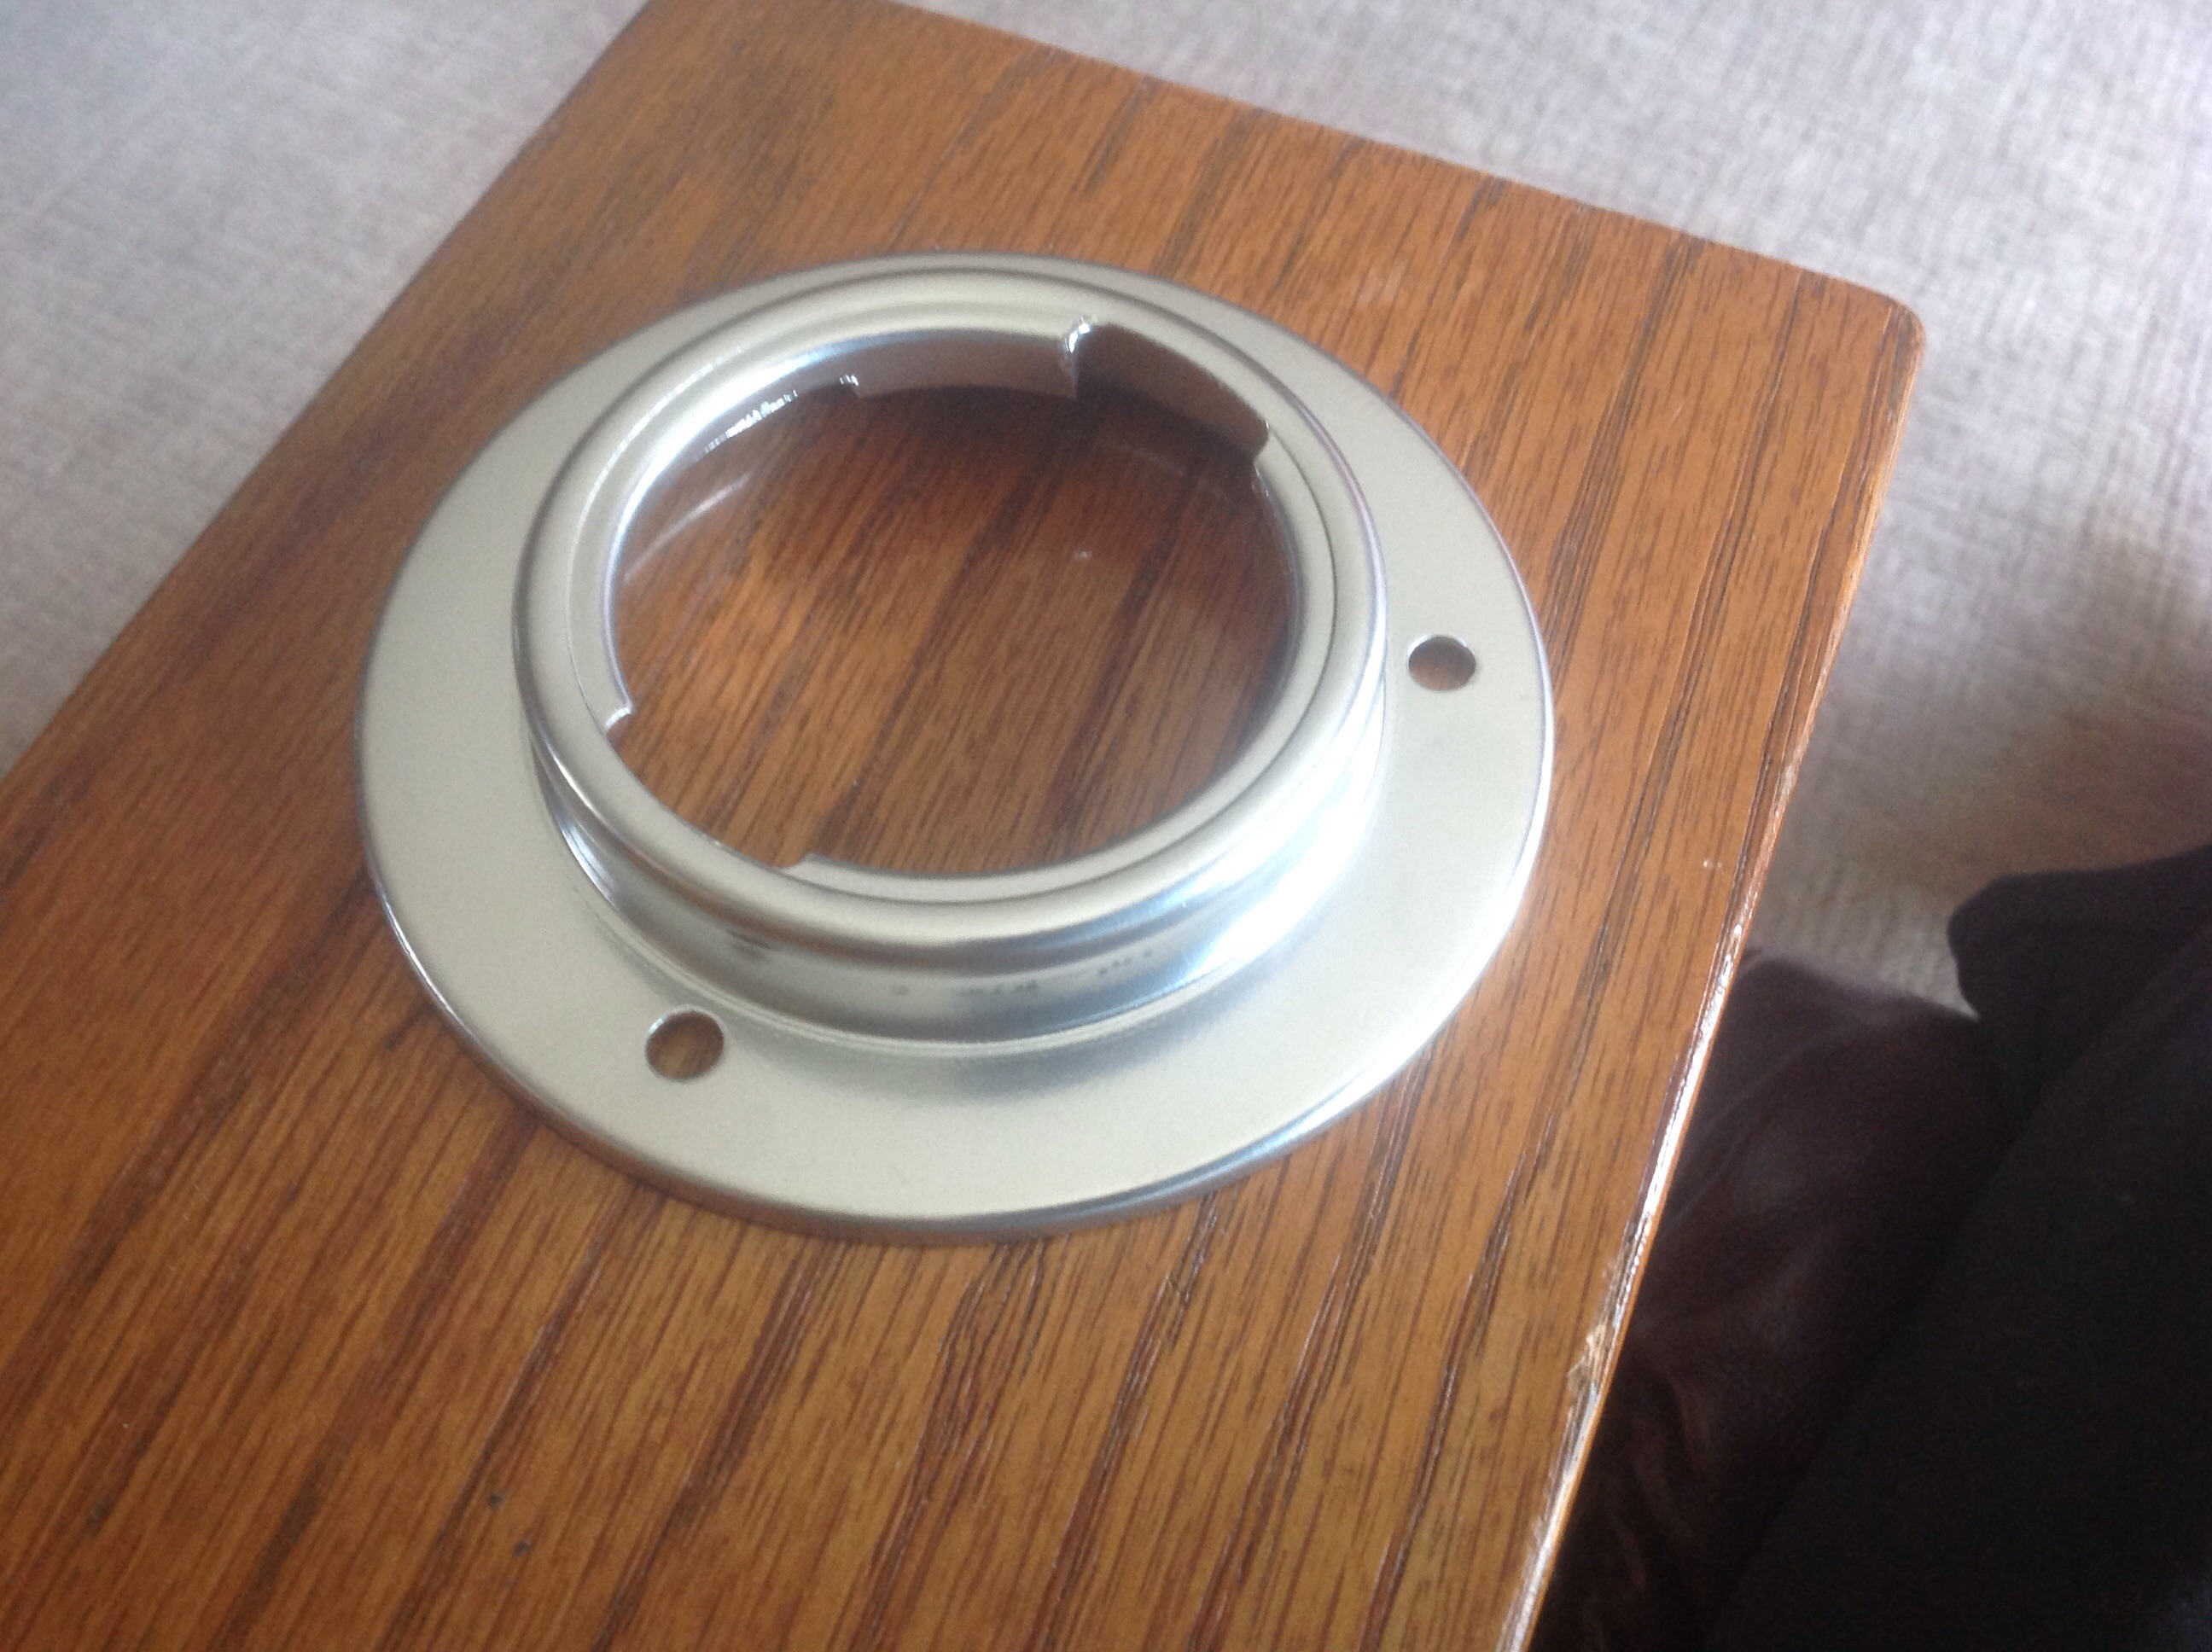
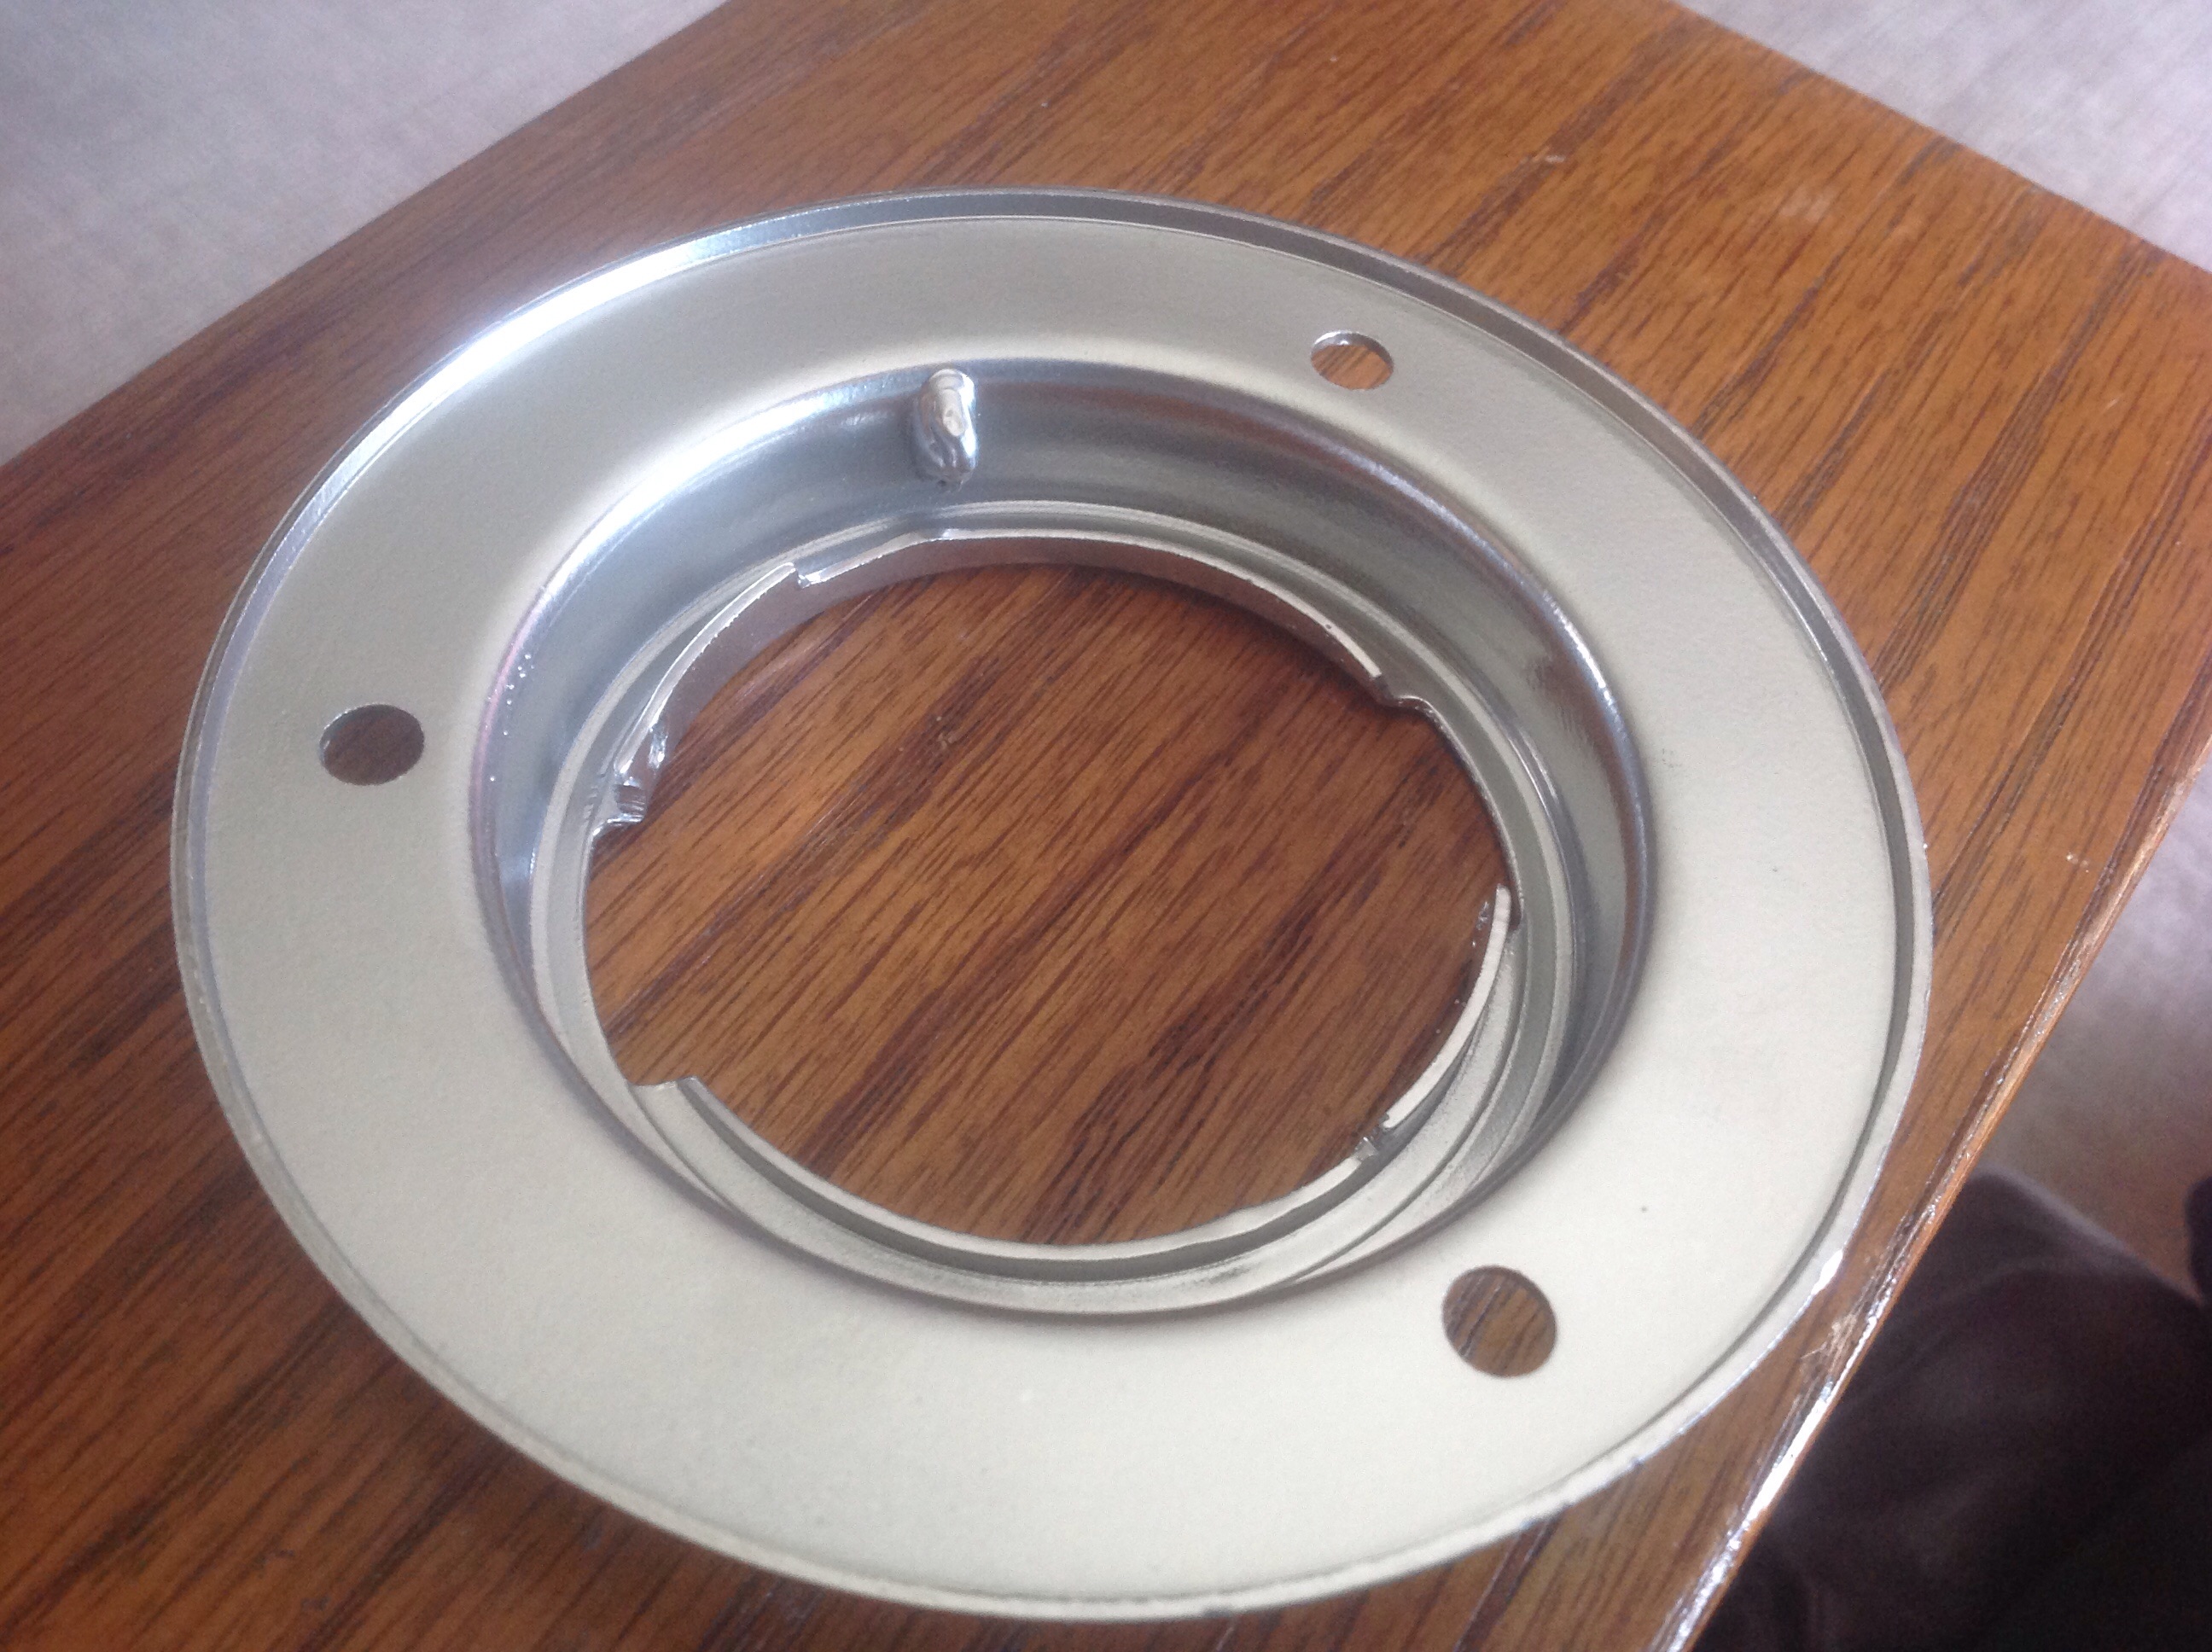
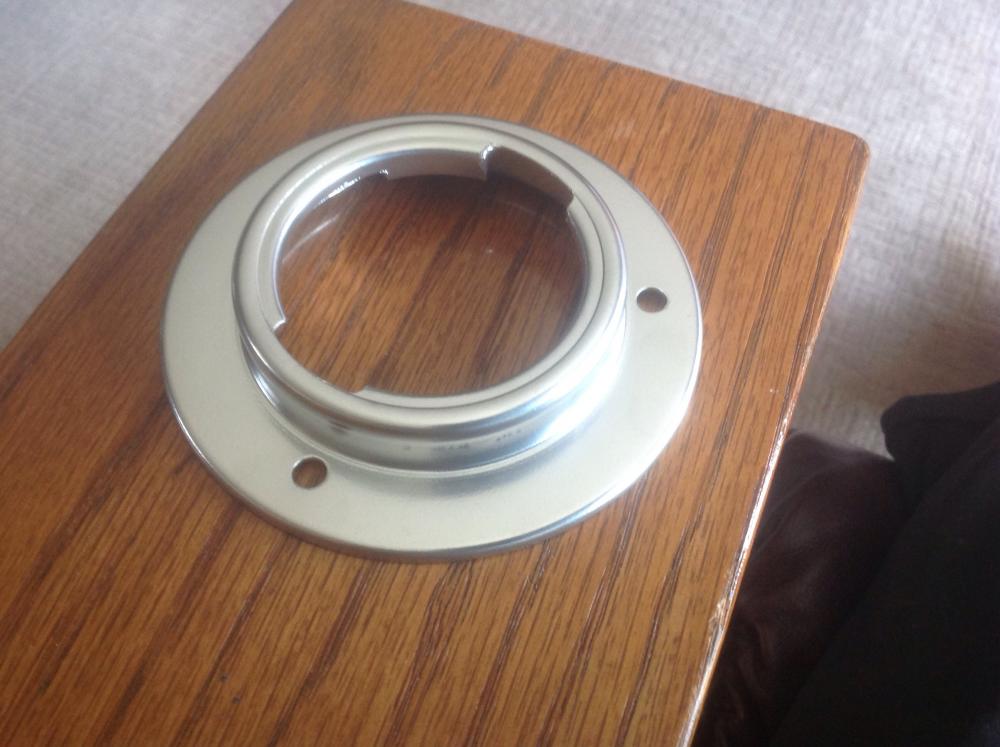
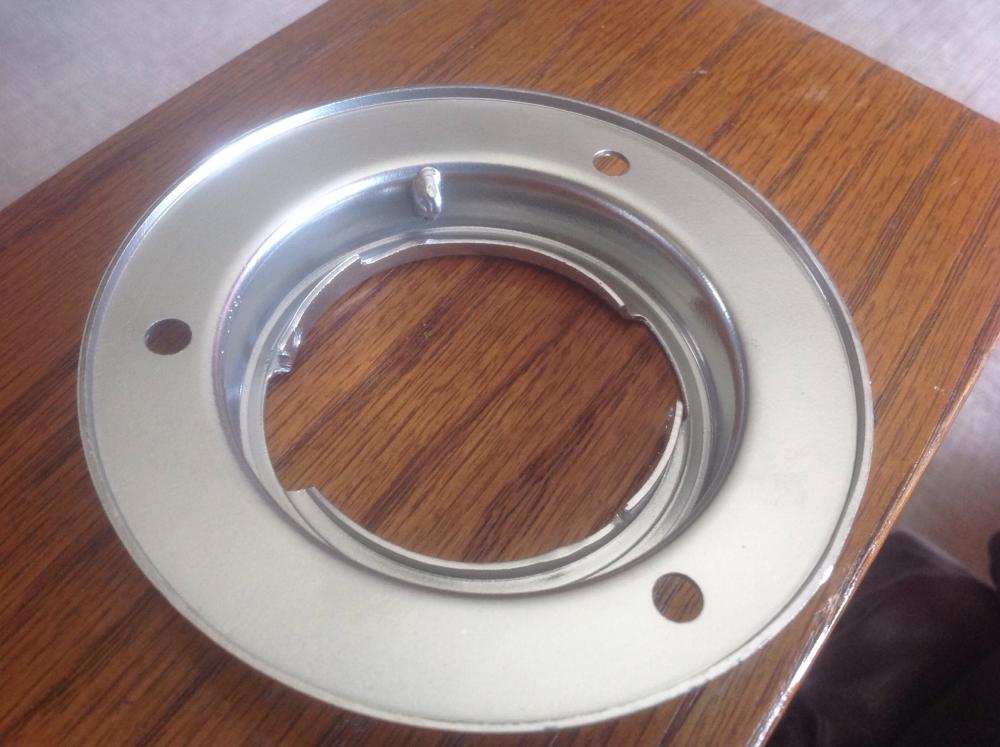
Here is a modded ring with Eastwood's "Reflective Chrome" powder coat. It's pretty darn shiny! If I spent more time pre-buffing the raw metal, this would be darn purdy! This was done with just sand blast then medium wire wheel buff. Goes real nice with the chrome locking cap!
-
Charles that's great idea. Thanks for the free plating offer. Do you have a way to weld that bead before you do the plating? Doesn't make $$ sense for me to ship to you then you to her. Maybe just get Jai's and do the mod for her.. You two are on the same side of the continent!. In the meantime Jai can order up a cap then by the time you're done, she'll have all the pieces. I'll send my modded one to you first if that seems to make sense.
-
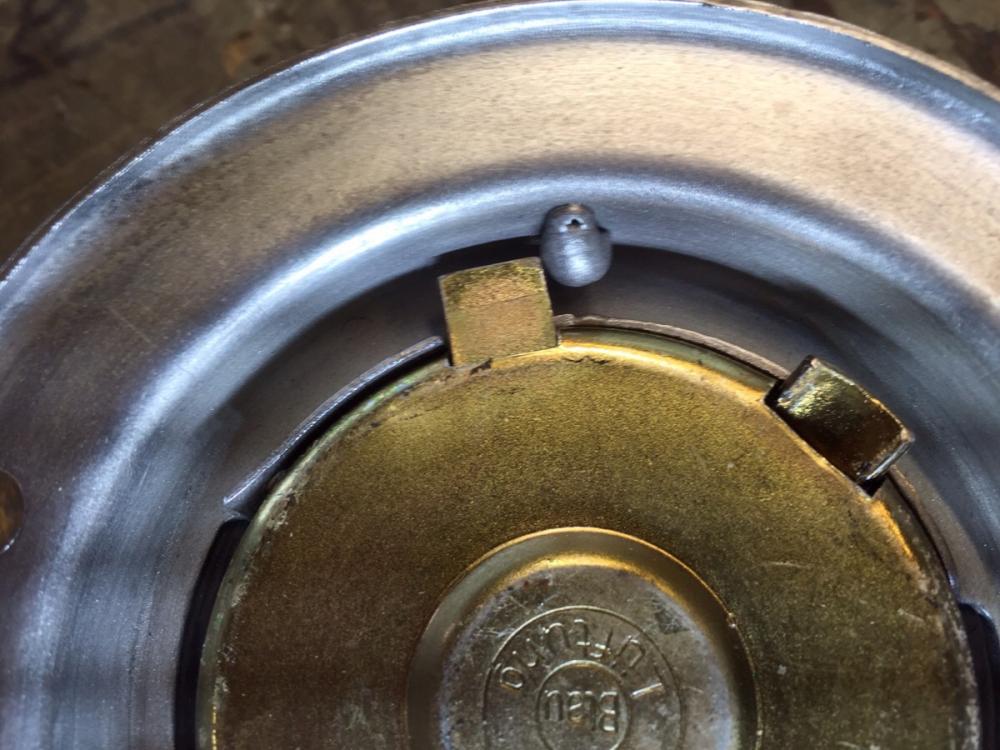
I have a simplified solution now. No more extra piece of steel to weld in, just a weld bead on the side that sticks out just the right amount. Also discovered that a stock cap's tangs wouldn't clear the initial extra bit, but the weld bead works just fine with either.
-
I suppose you all would go gaga if I welded a tiny bracket with a hole on the back of the BMW gas cap to provide a connection for that all-important chain, wouldn't ya? Plainly I need to sell a package of modified locking gas cap, and modified and fitted mounting ring. Maybe even a new rubber flap and bolts?. Naw that's just getting carried away, ain't it?
-
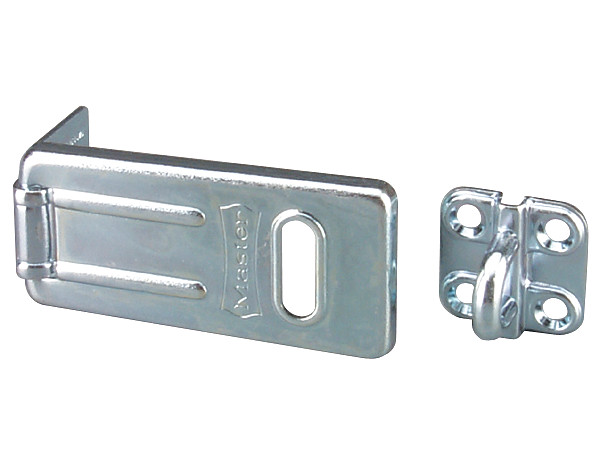
Why not just pop rivet one these over the fuel door? By a good study Master padlock and your set.
-
Several suppliers on flea-bay too. Ok, no need to panic.
-
Google I love you. http://www.bavauto.com/se1.asp?dept_id=51