Leaderboard
-
conedodger
Community Member5Points13,006Posts -

SpeedRoo
Community Member2Points386Posts -

the_tool_man
Community Member1Points223Posts -
ollie
Community Member1Points291Posts


Popular Content
Showing content with the highest reputation on 07/31/2025 in all areas
-
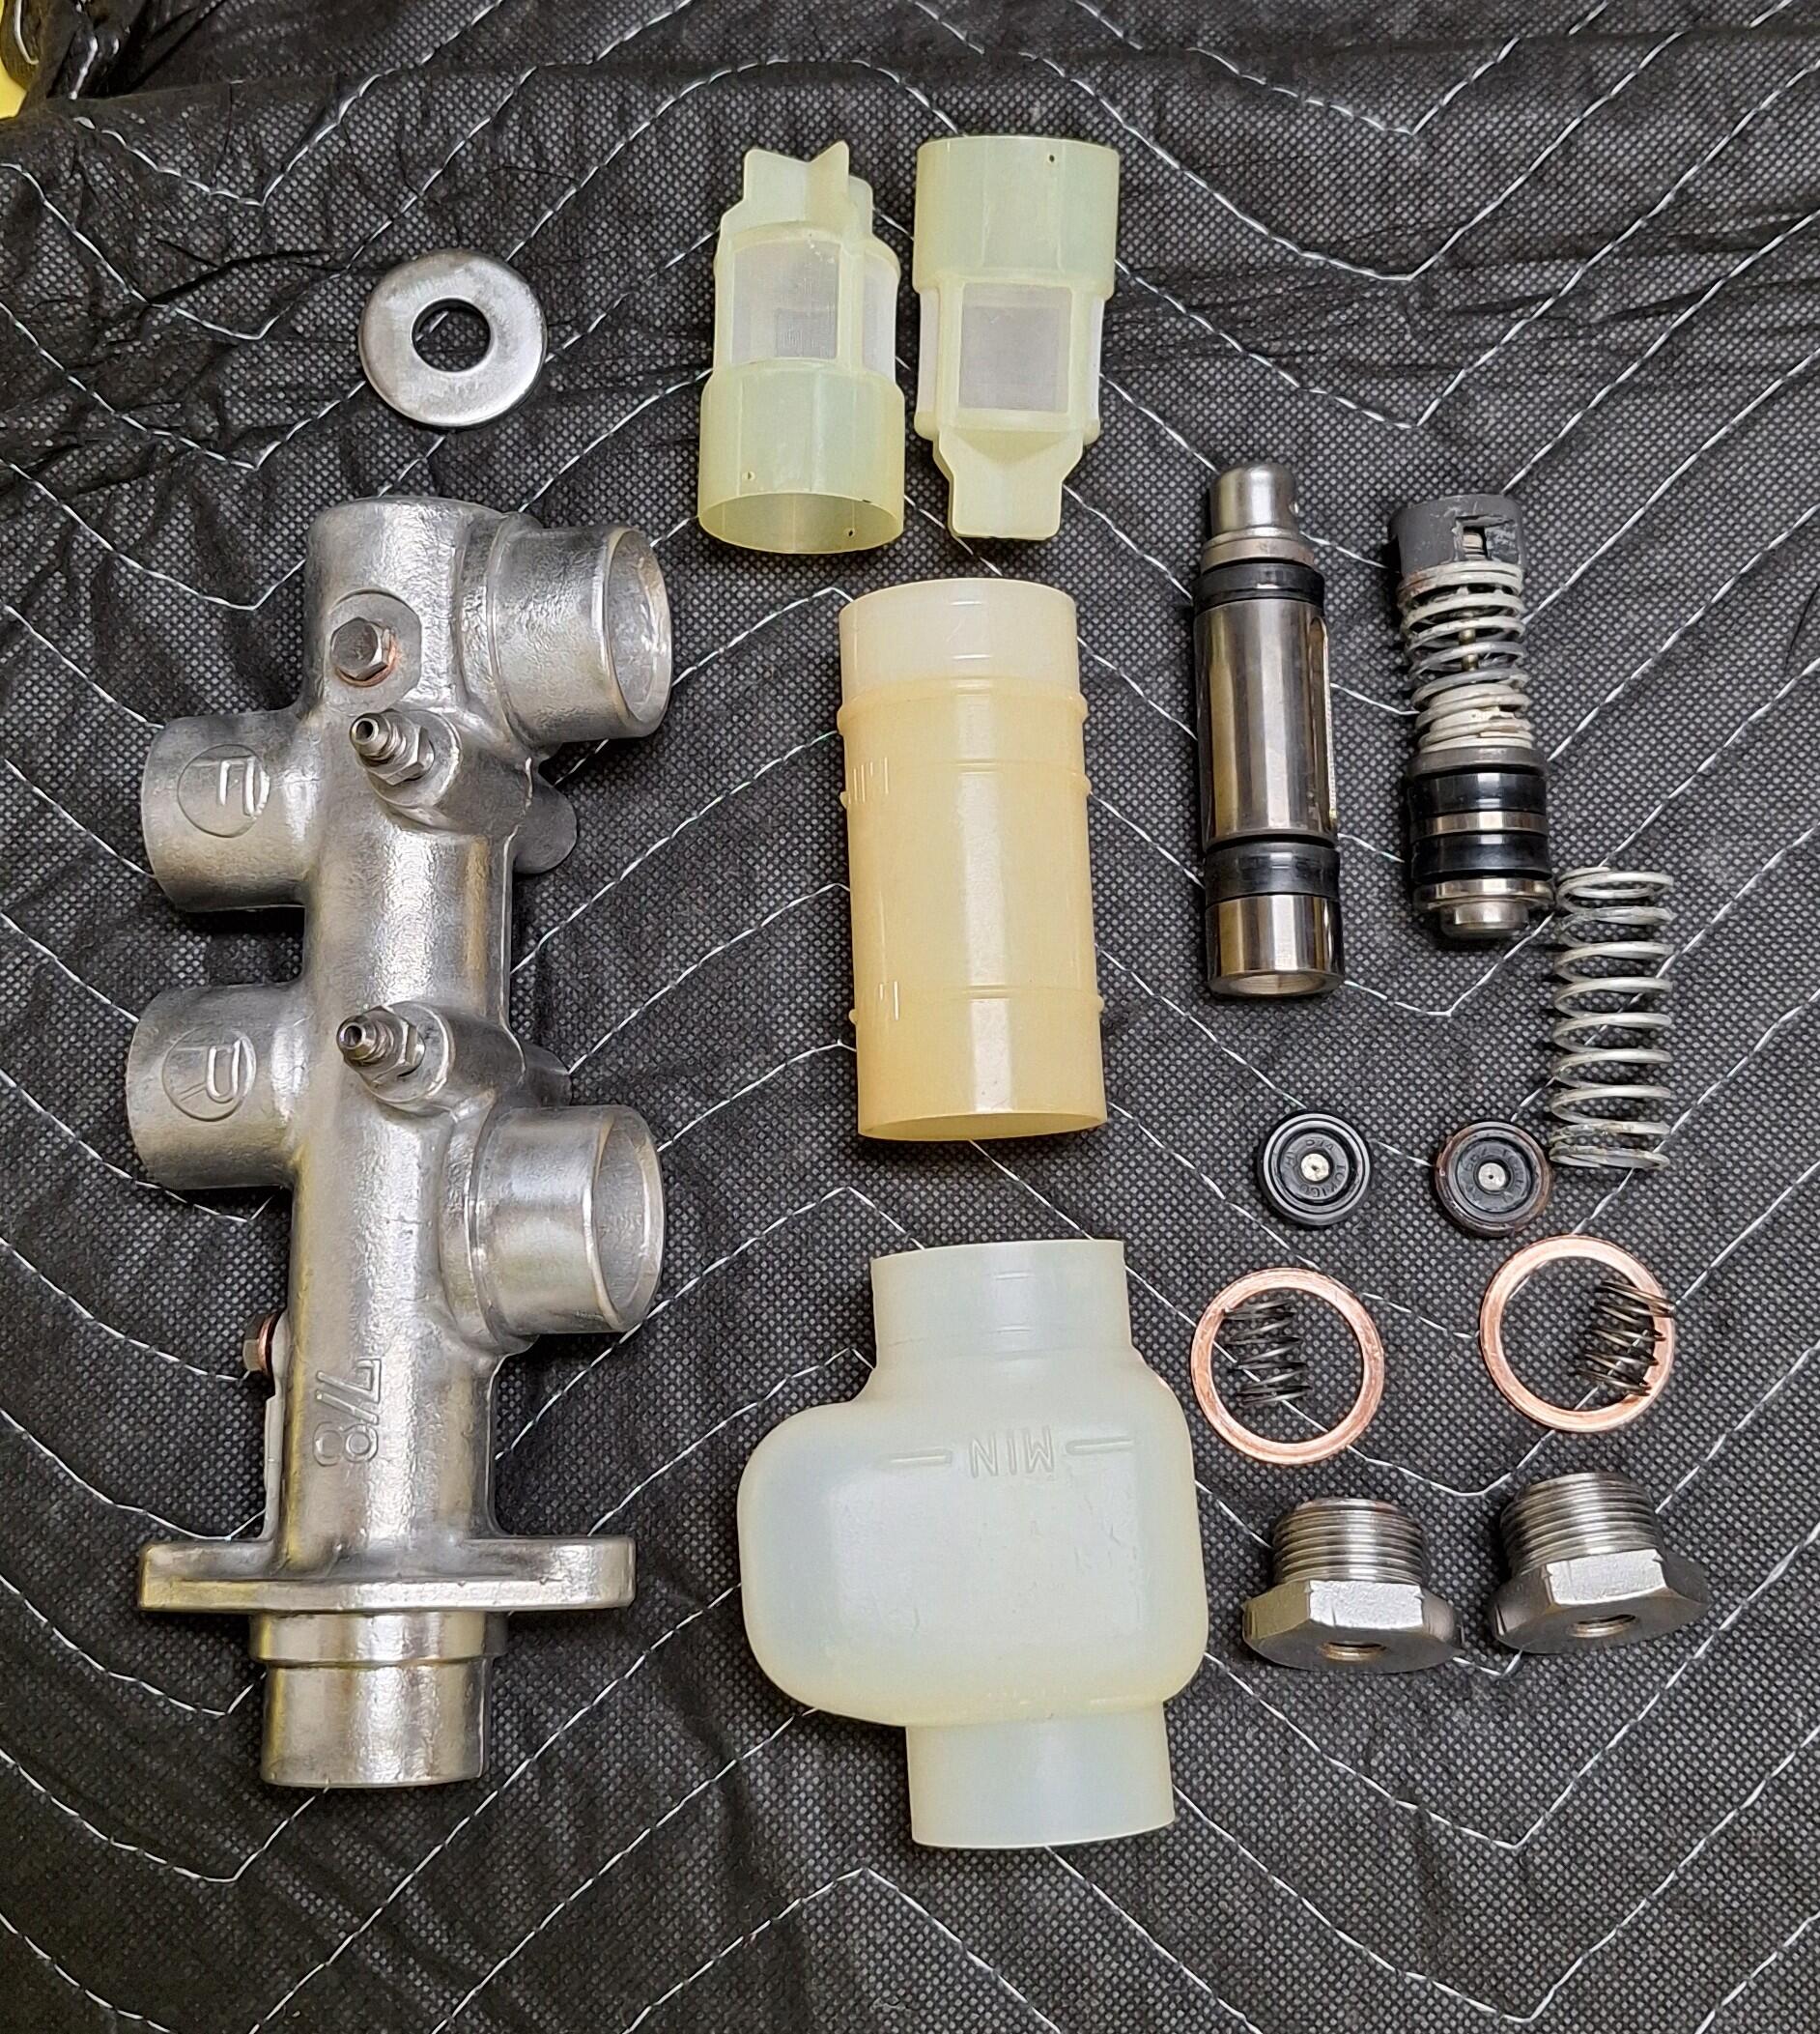
2 pointsAn original early brake master cylinder was also sourced for the restoration. The ultrasonic cleaned it up nicely and I've disassembled it and replaced all the seals with original Nissan/Tokico parts. I just need to bleach the plastic reservoirs so they are nice and white. It should look like this once complete.
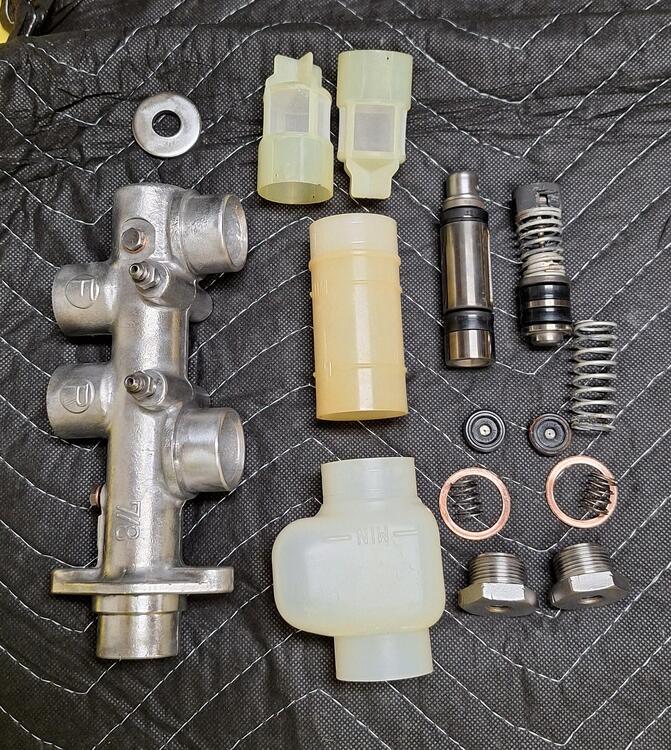
.thumb.jpg.87eb9fd21aedde67e10d3655830517b3.jpg) 2 points
2 points -
I love the claims about patents considering that design is very common.
 1 point
 -
Your hard starting issue sounds like a problem with the fuel mix not being rich enough. Are you using the choke when you start it? Make sure both jet tubes under the carb get pulled down all the way when you pull the choke handle back all the way. Check that the fuel mixture nuts under the carbs are turned down 2.5 turns at least, and that the float levels are correct.1 point
-
1 pointThe smart ones hide, sit back and chill. That's why I'm on here everyday, trying to learn something. 😁 Bugging the $^!# out of everybody...1 point
-
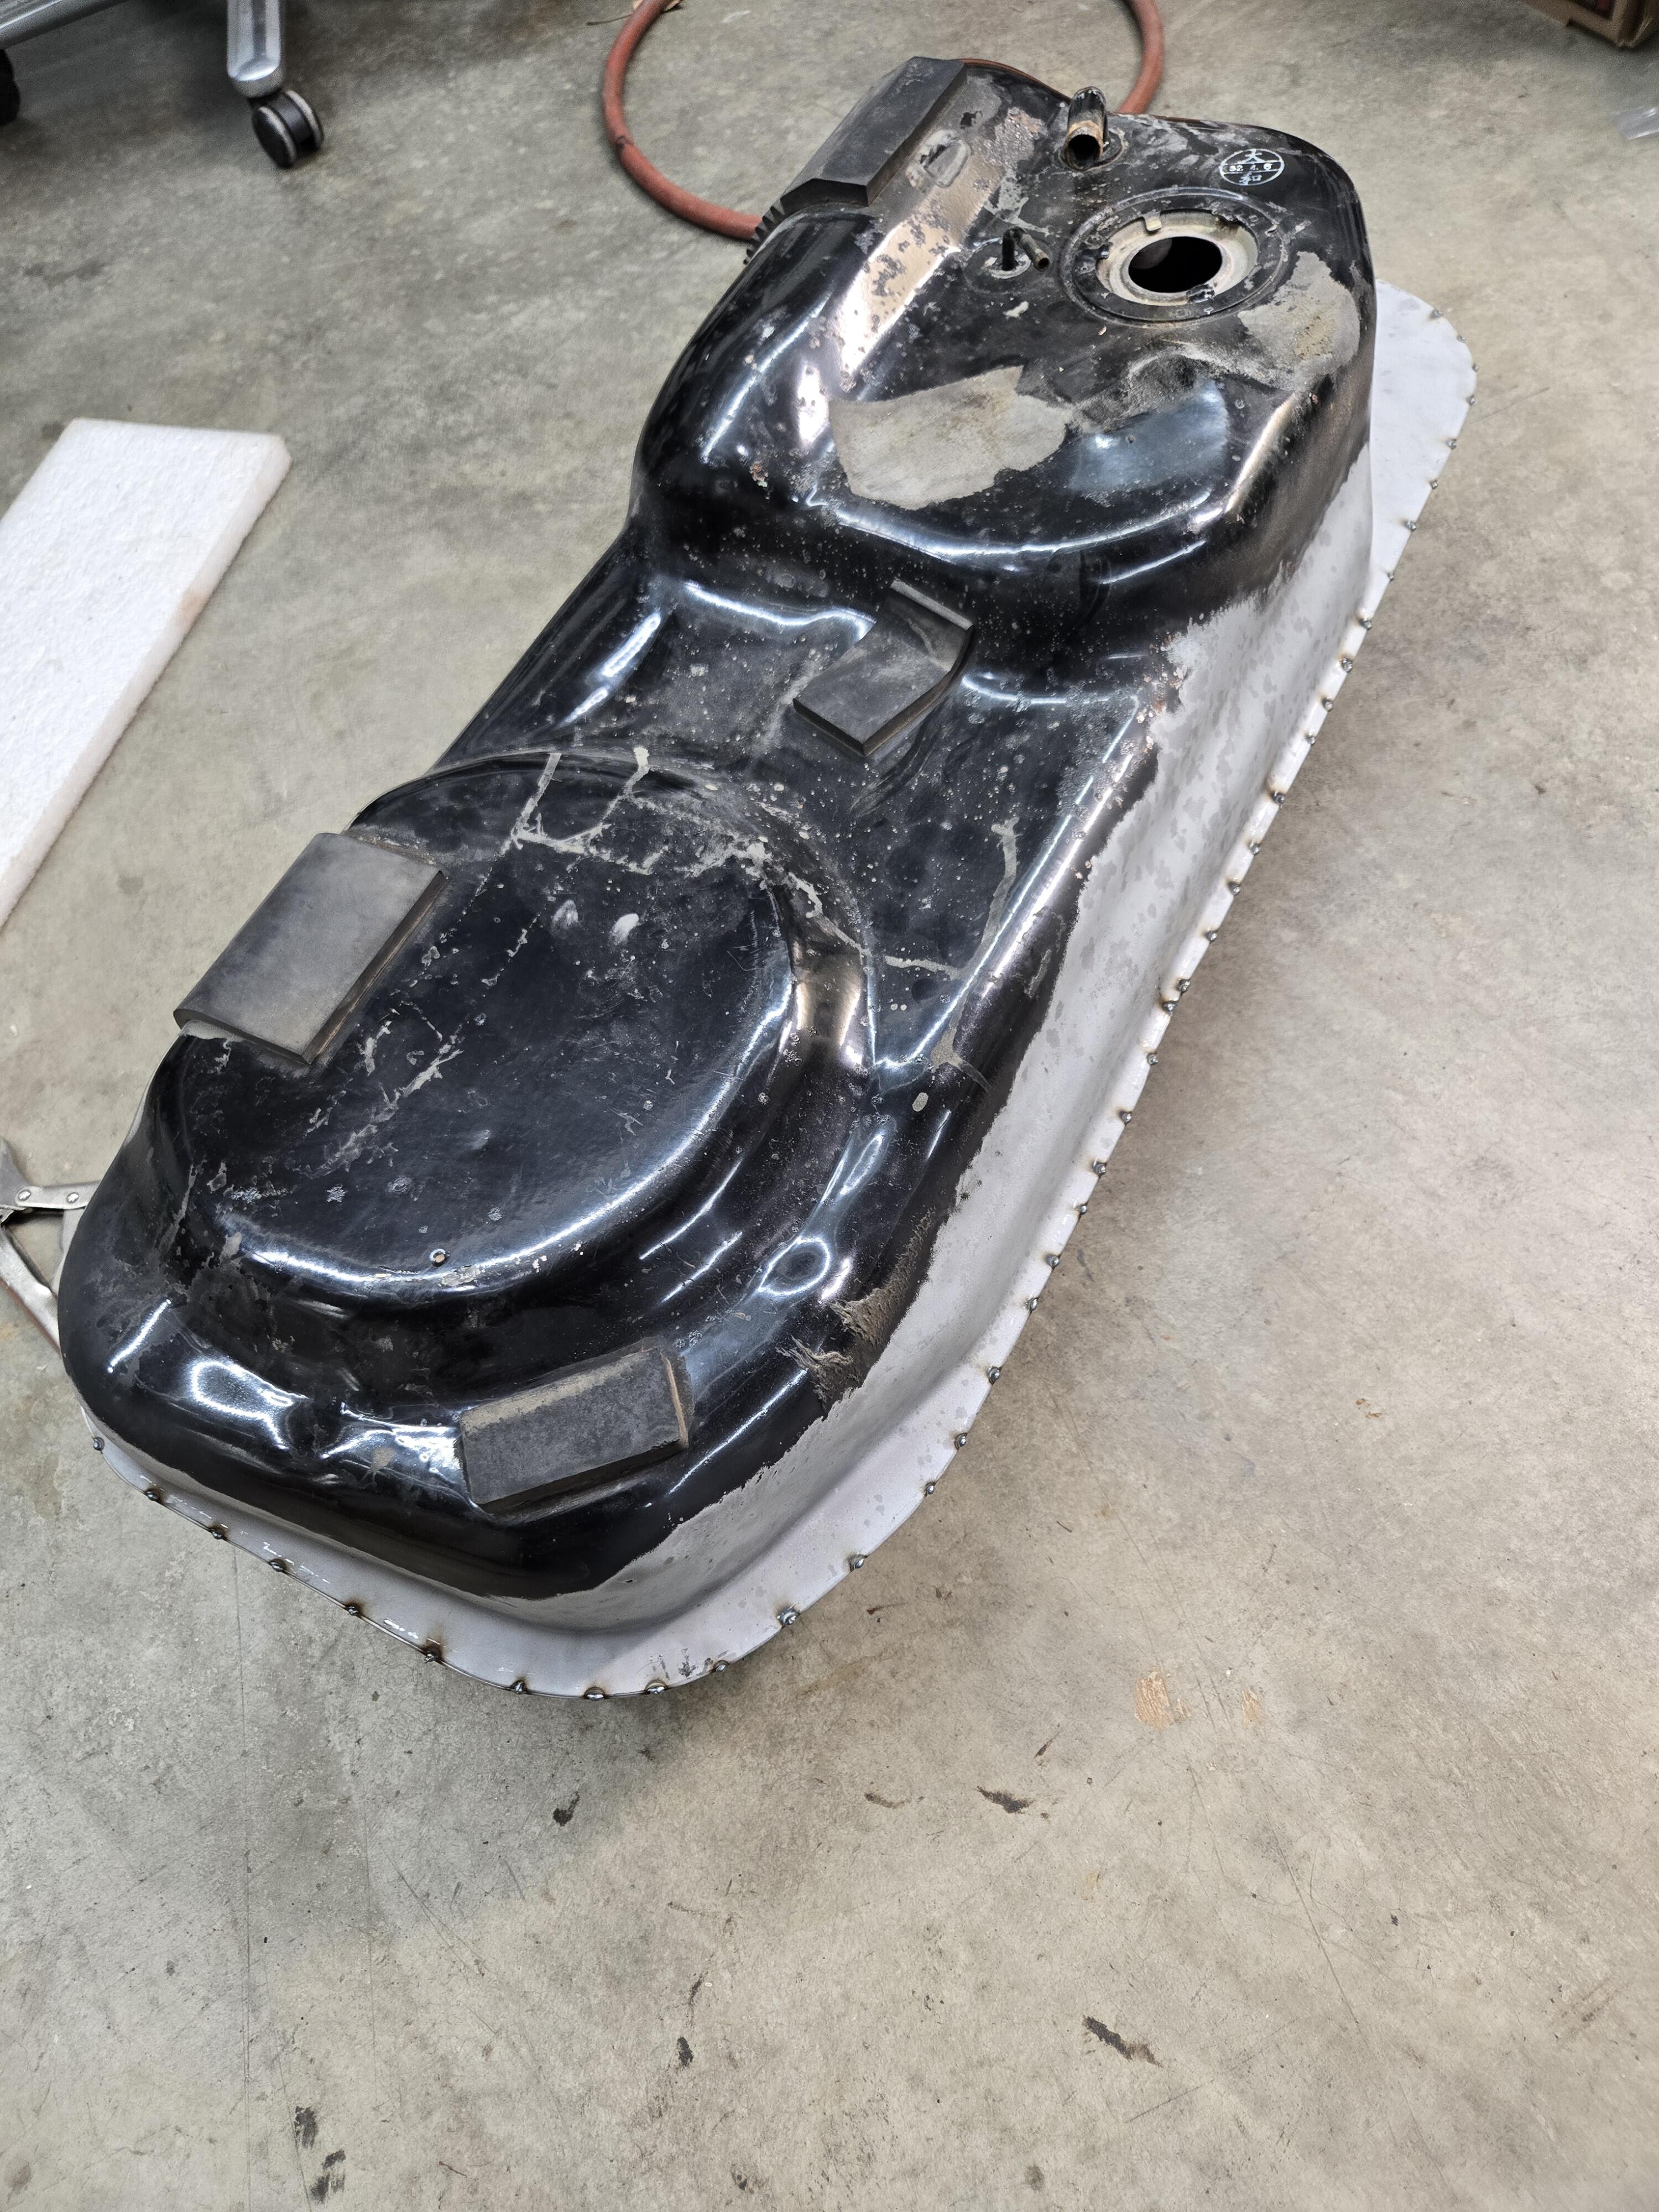
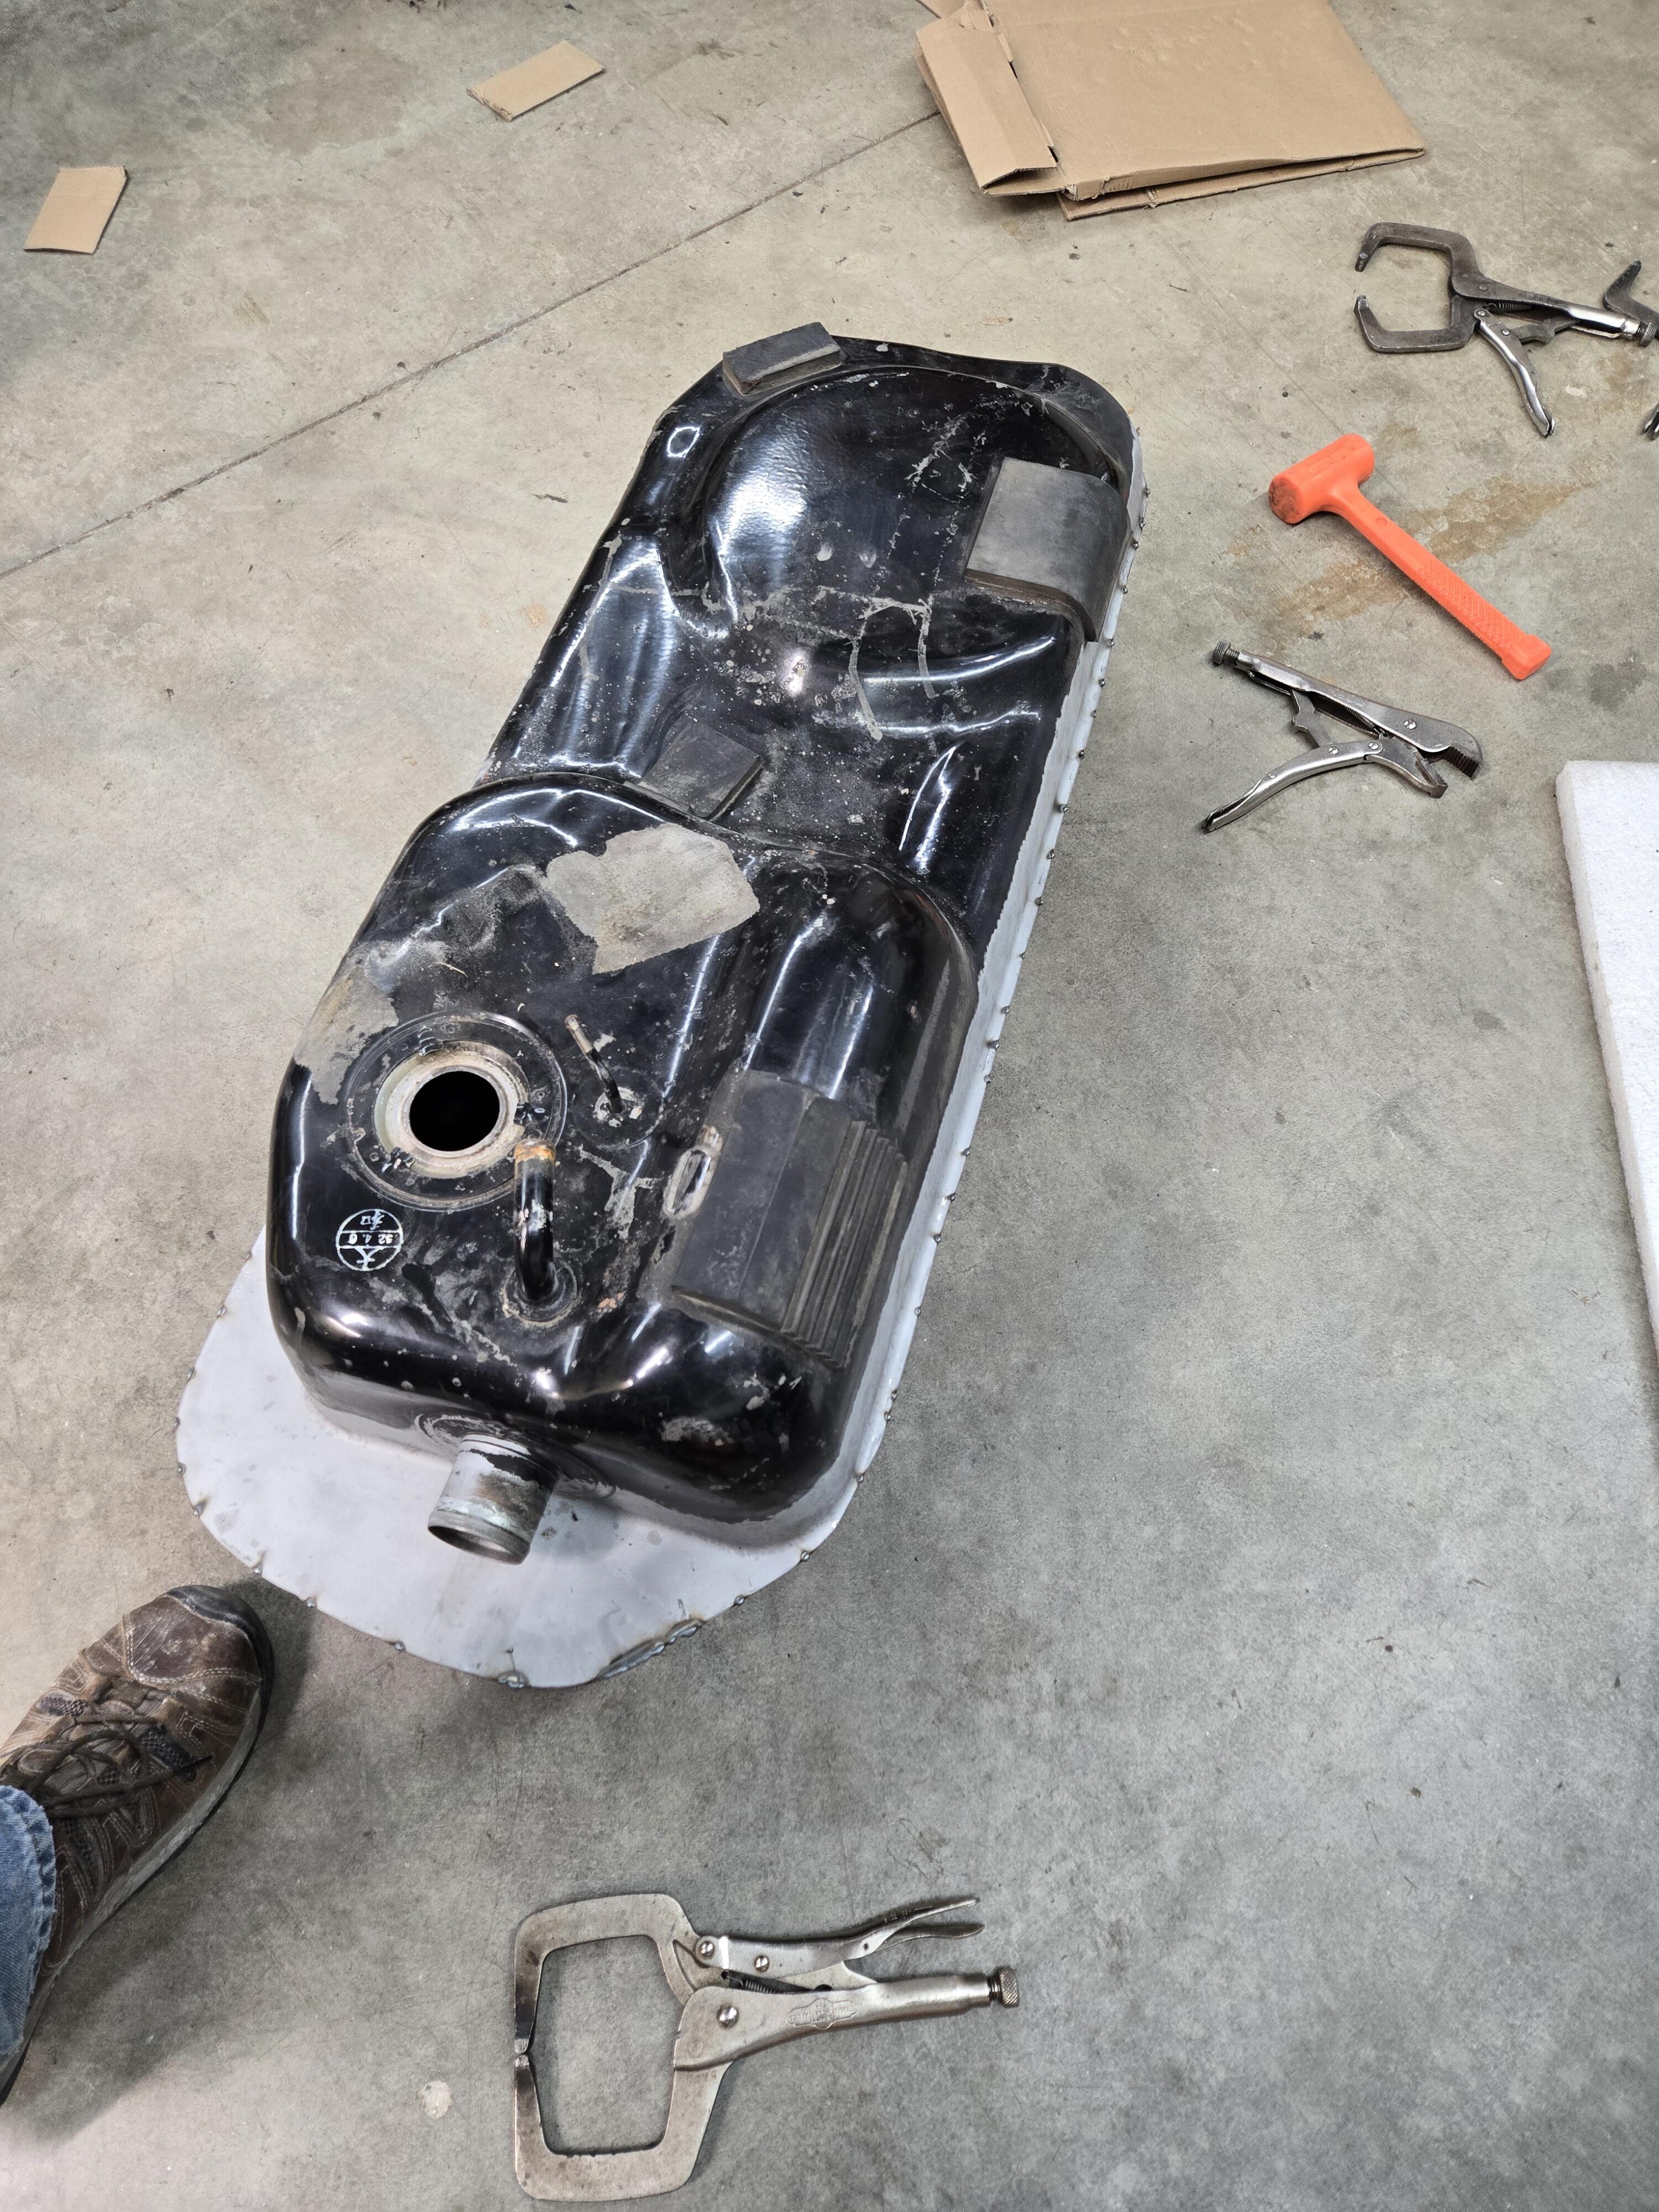
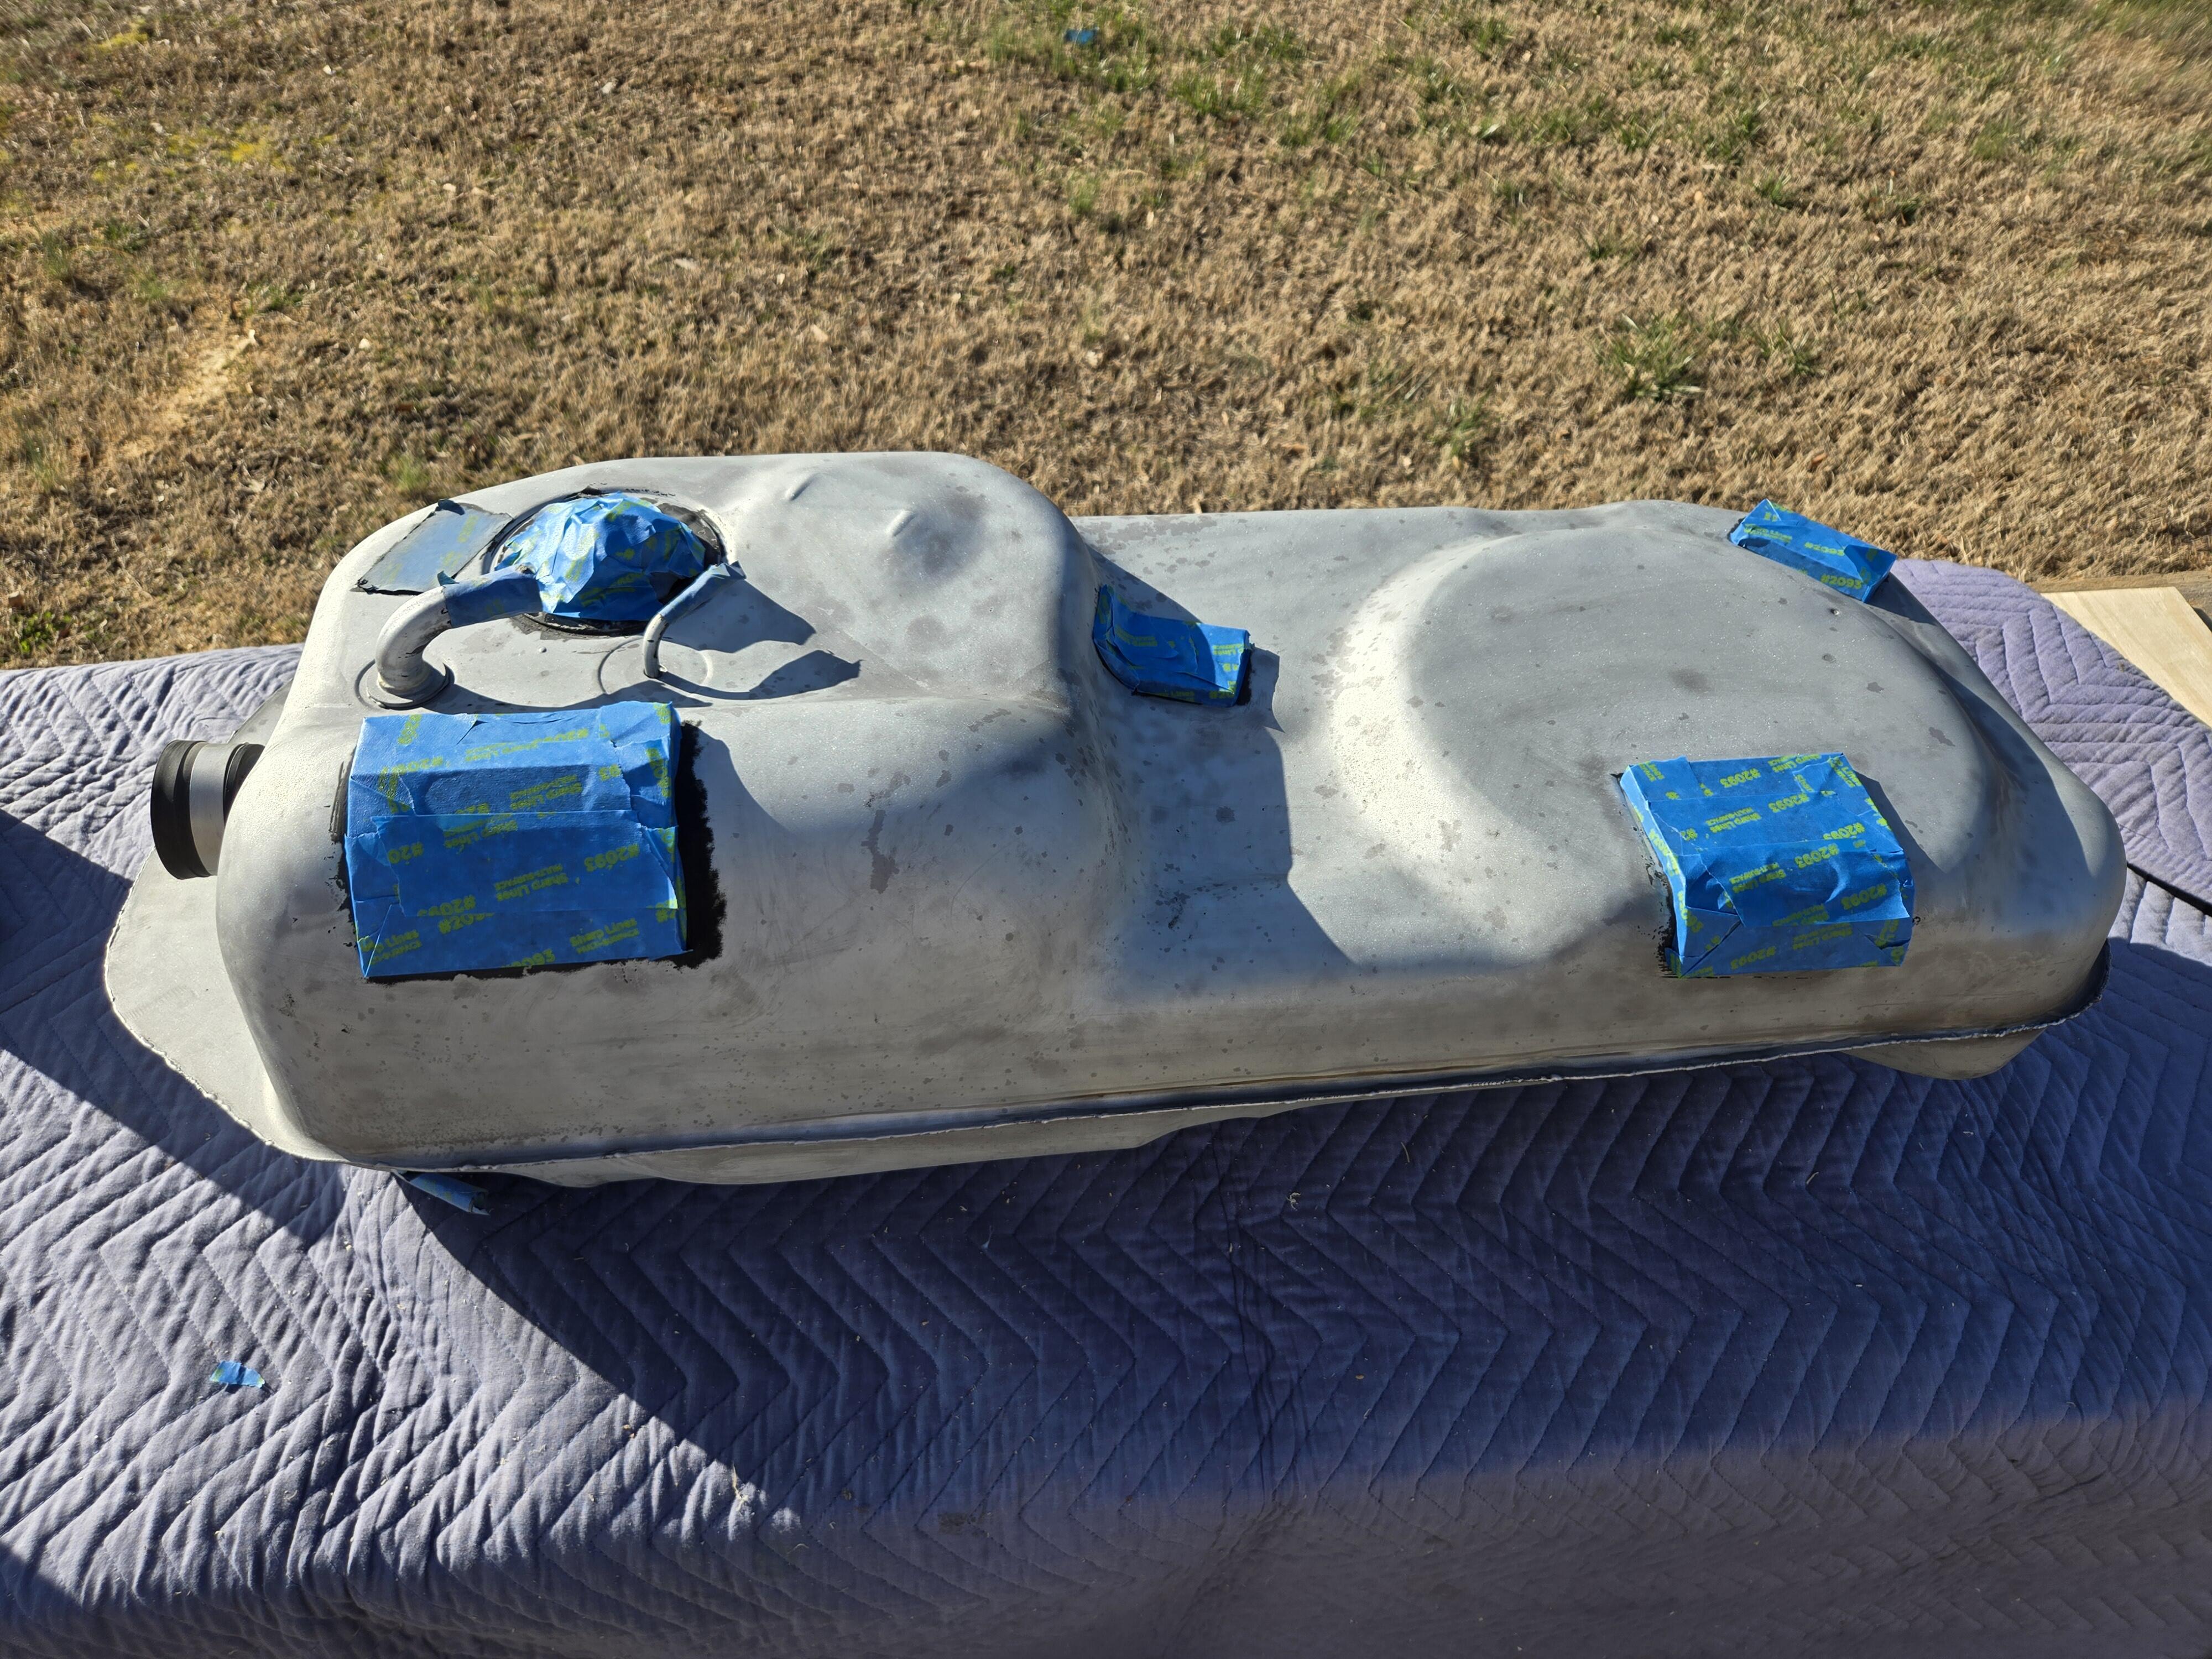
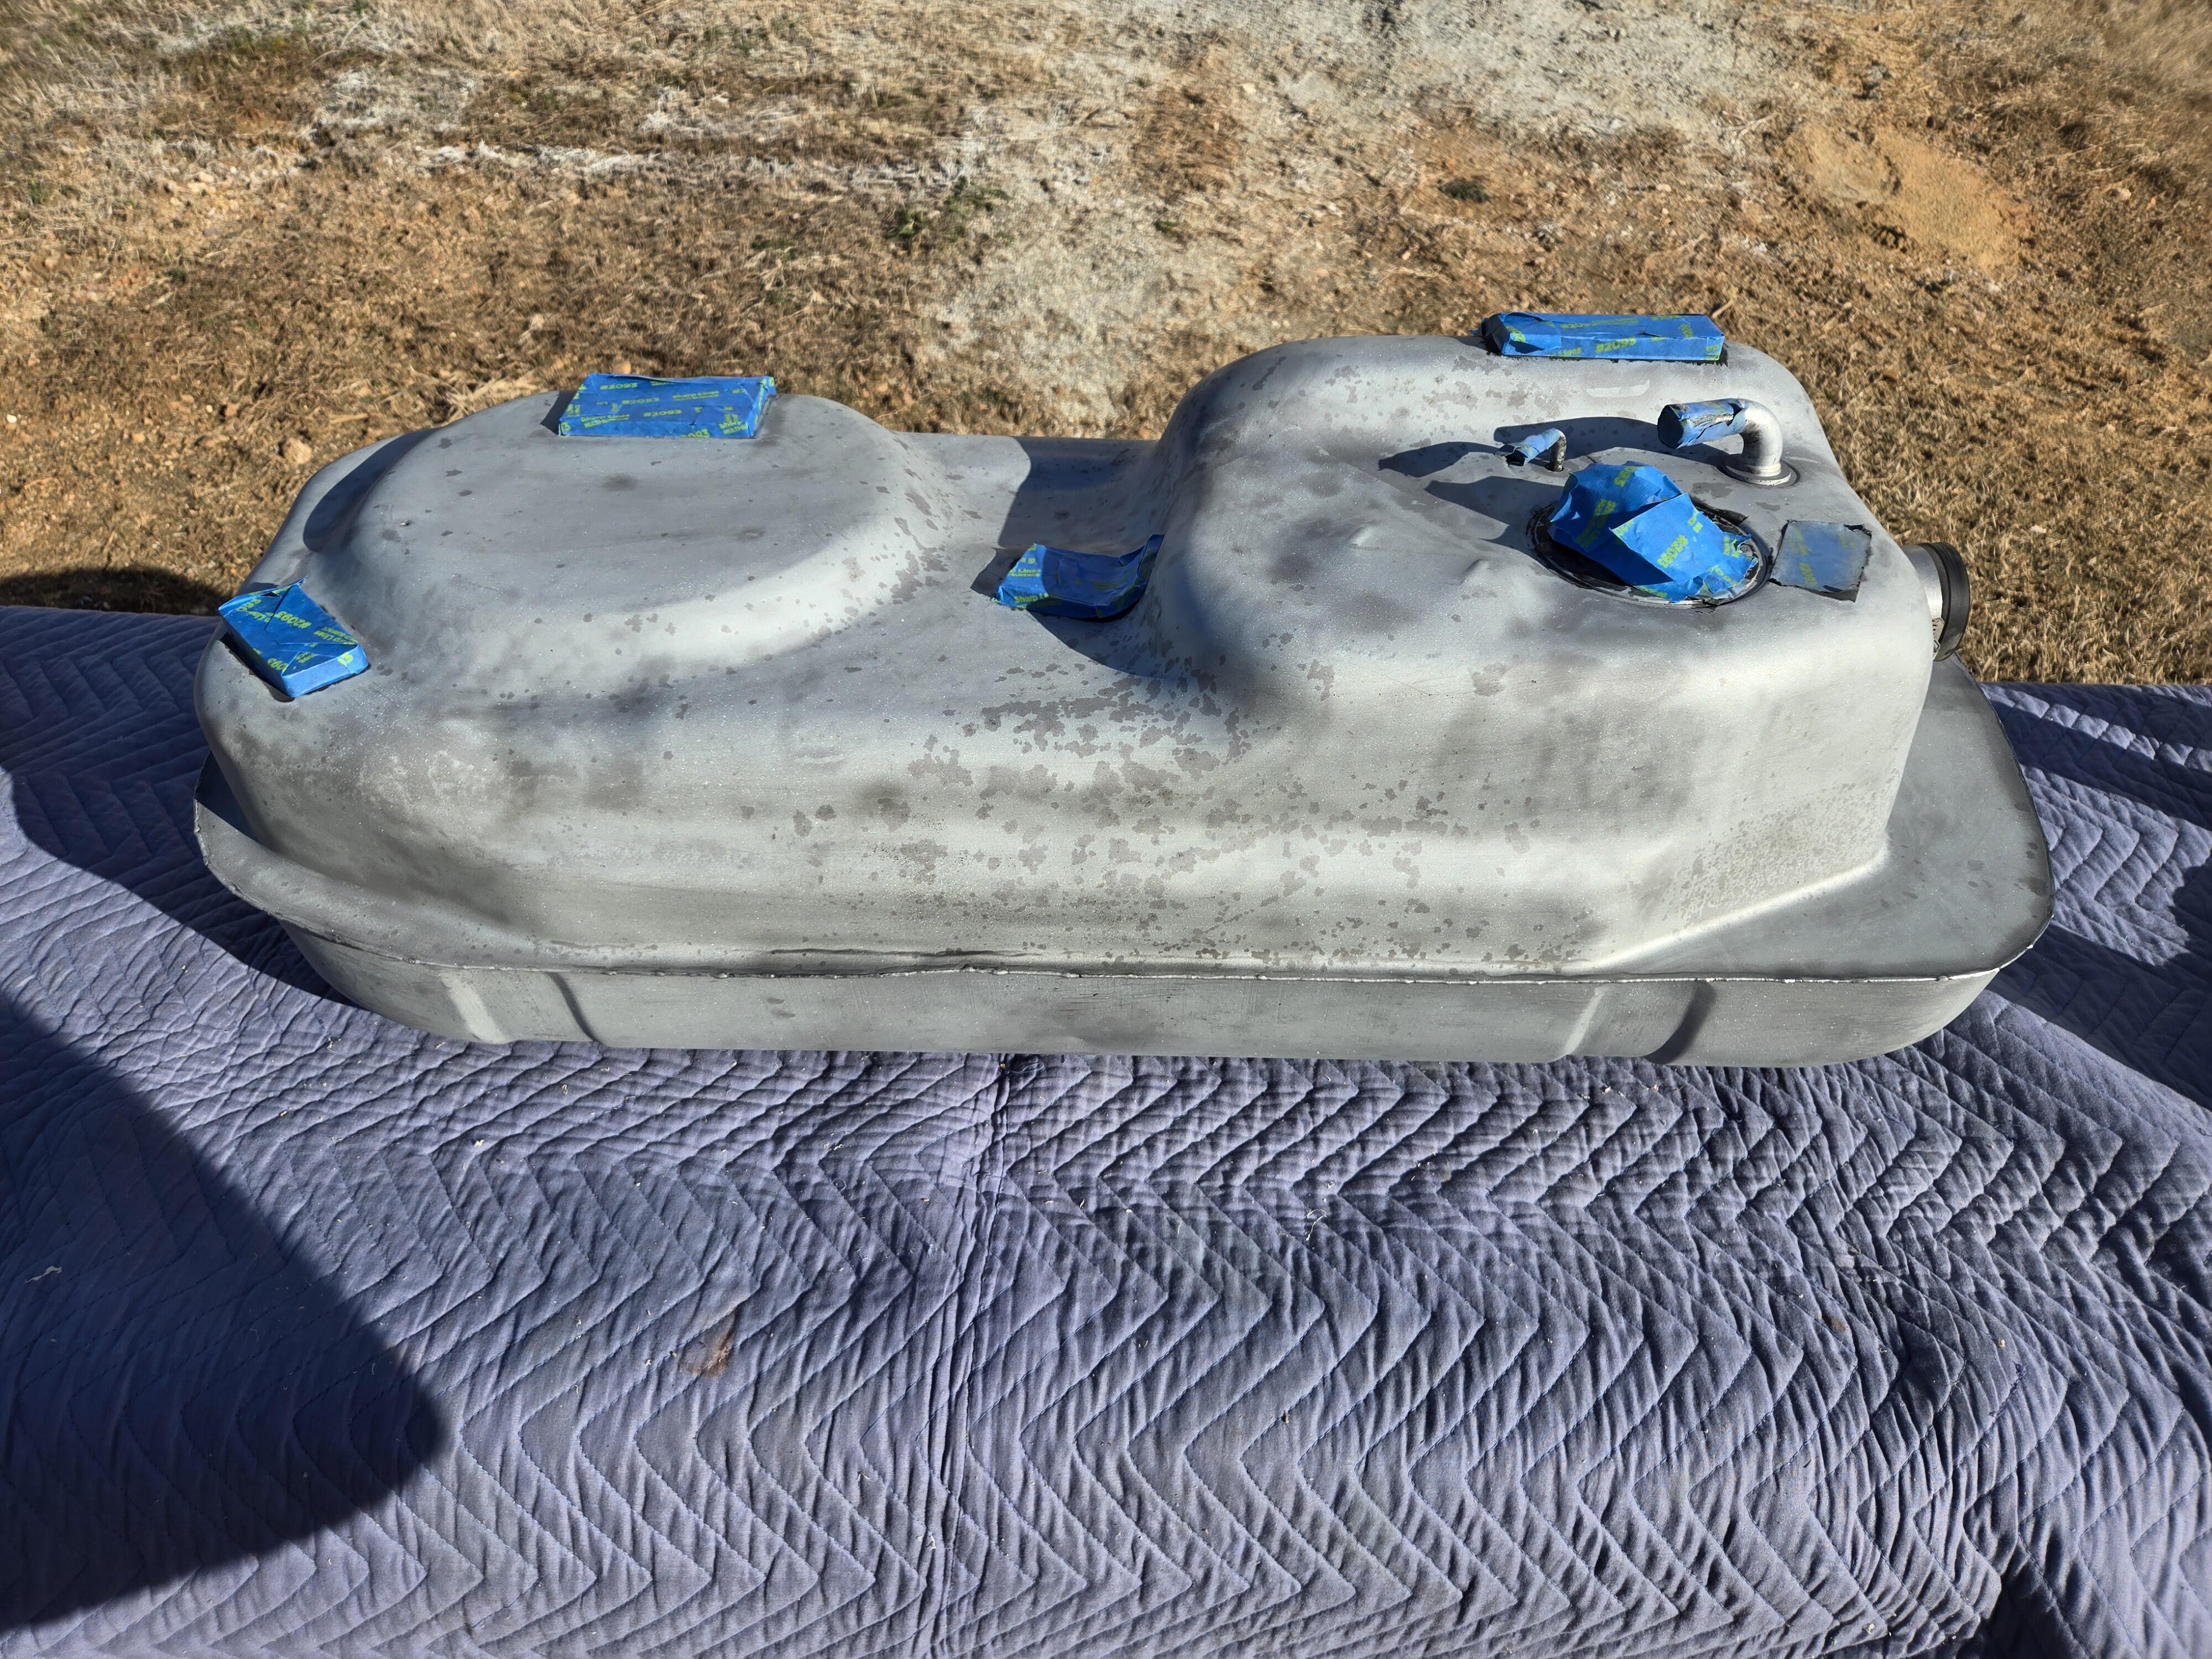
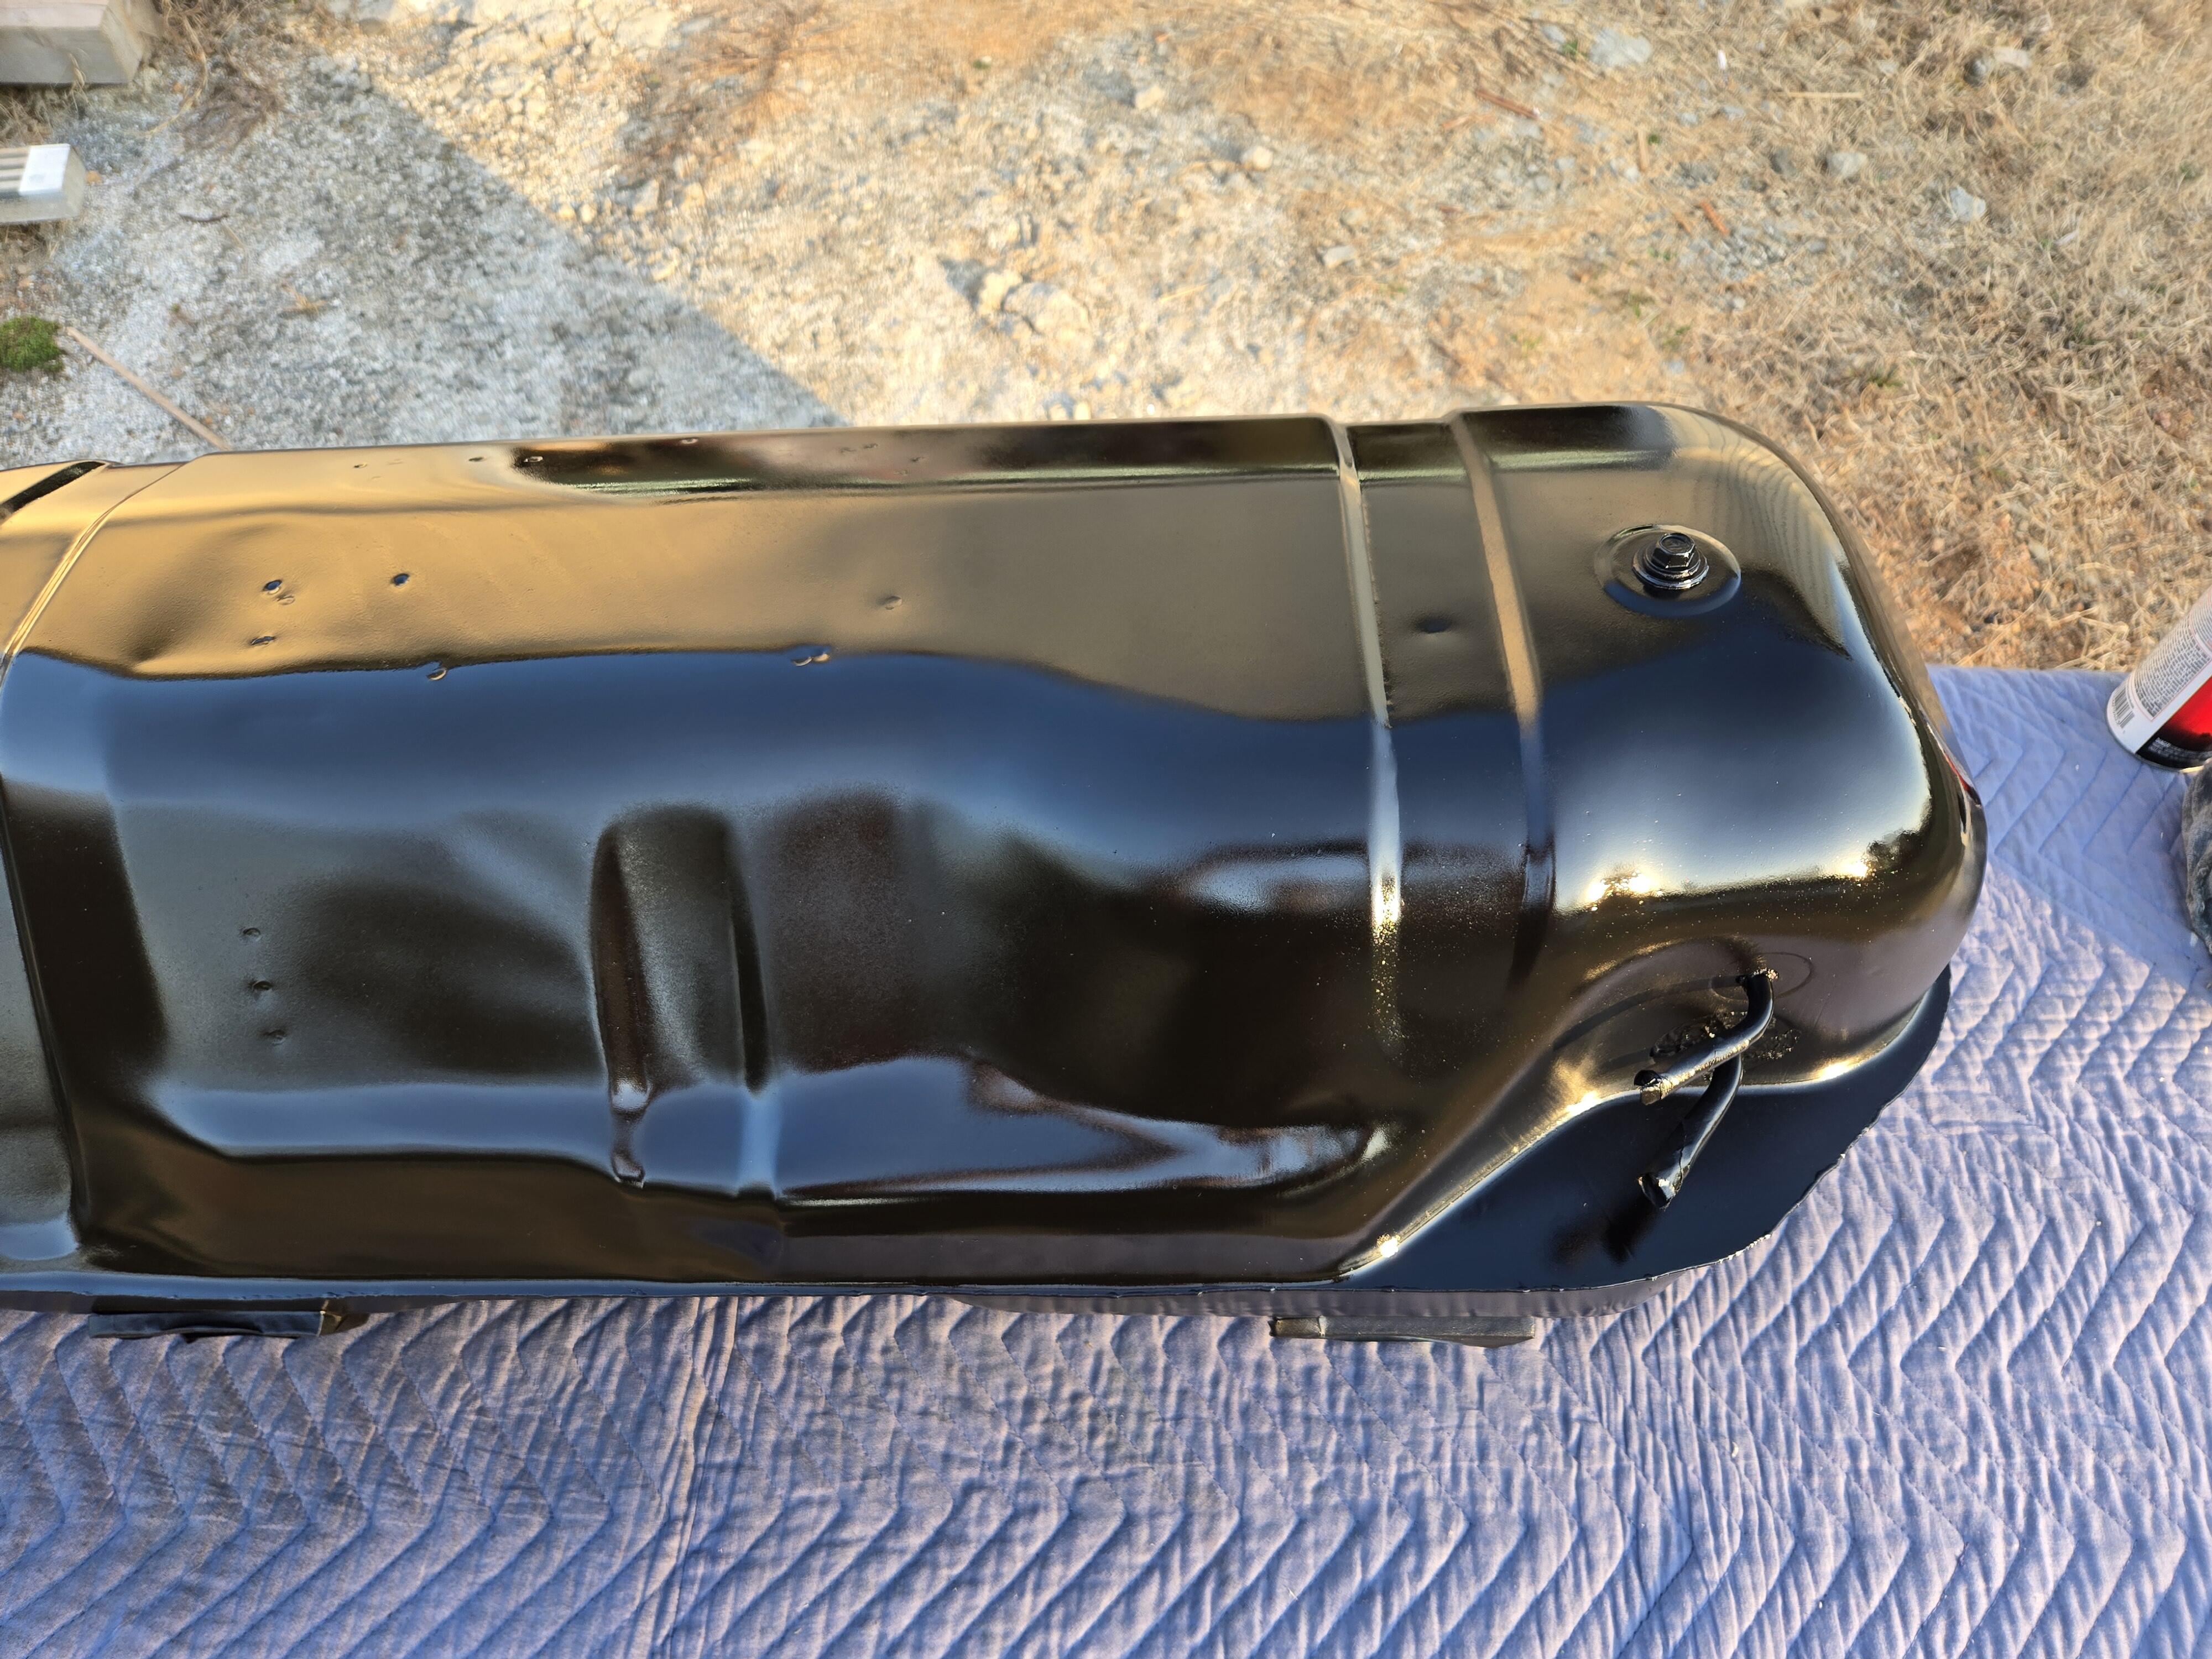
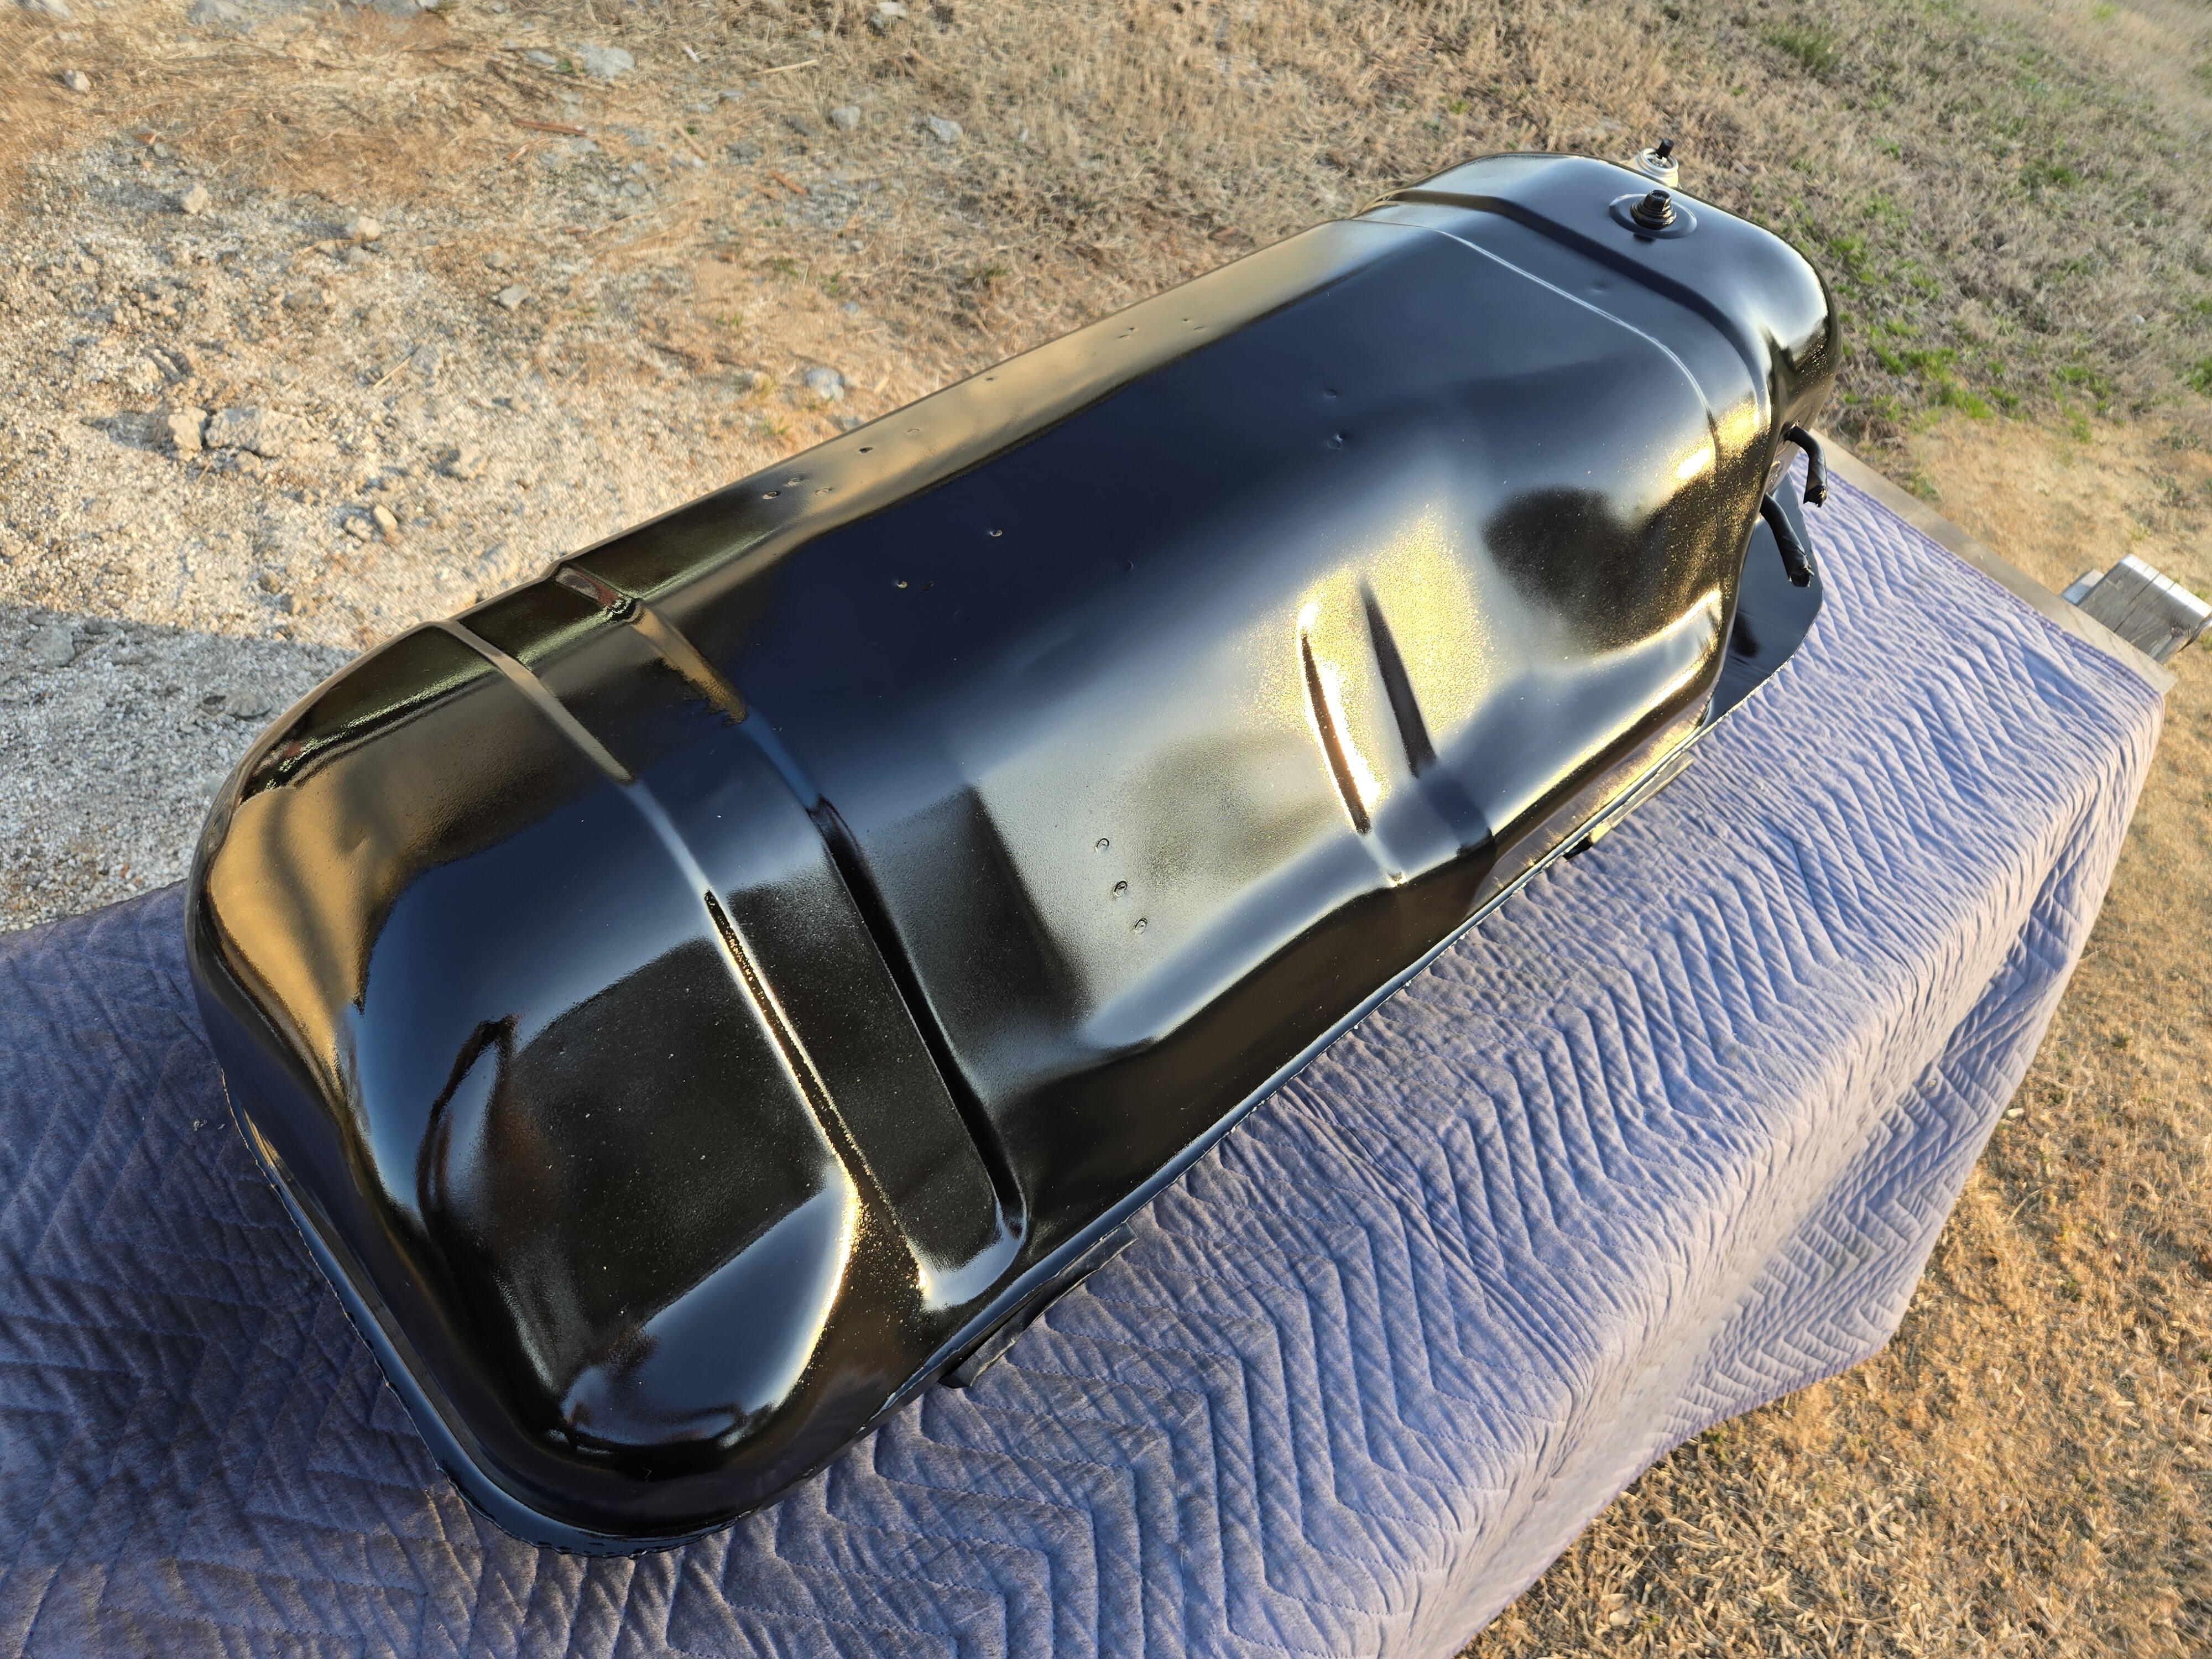
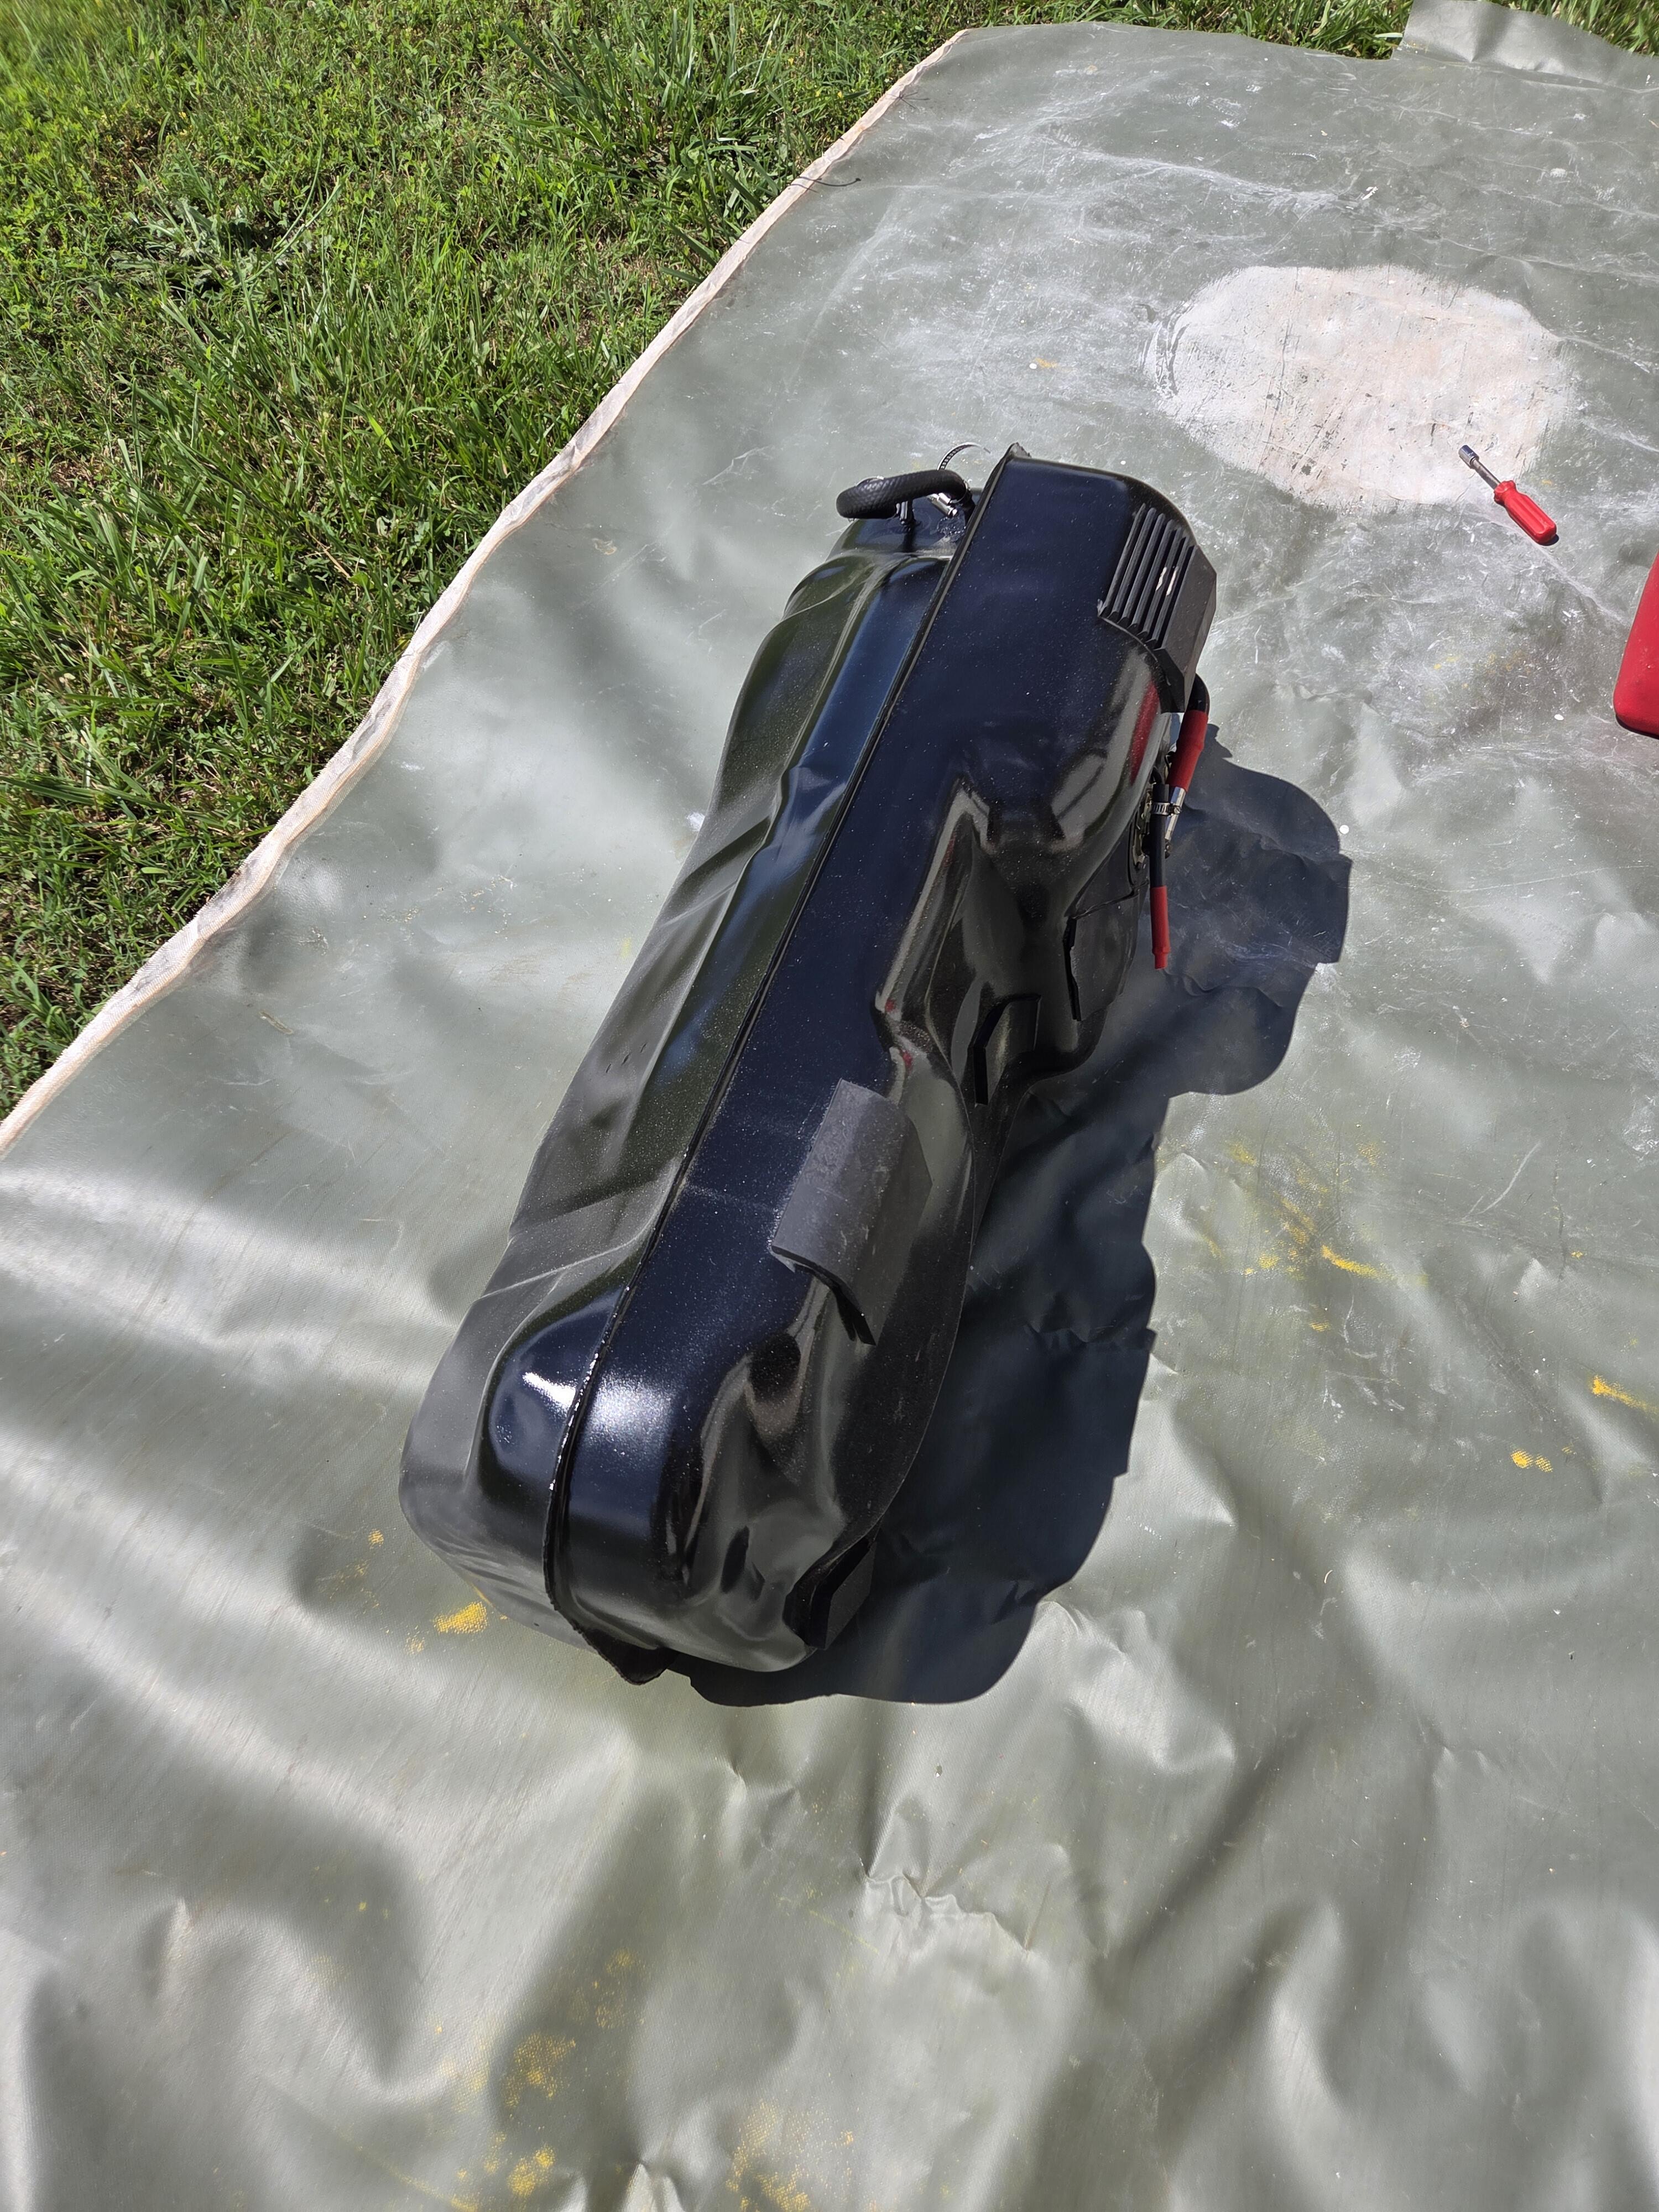
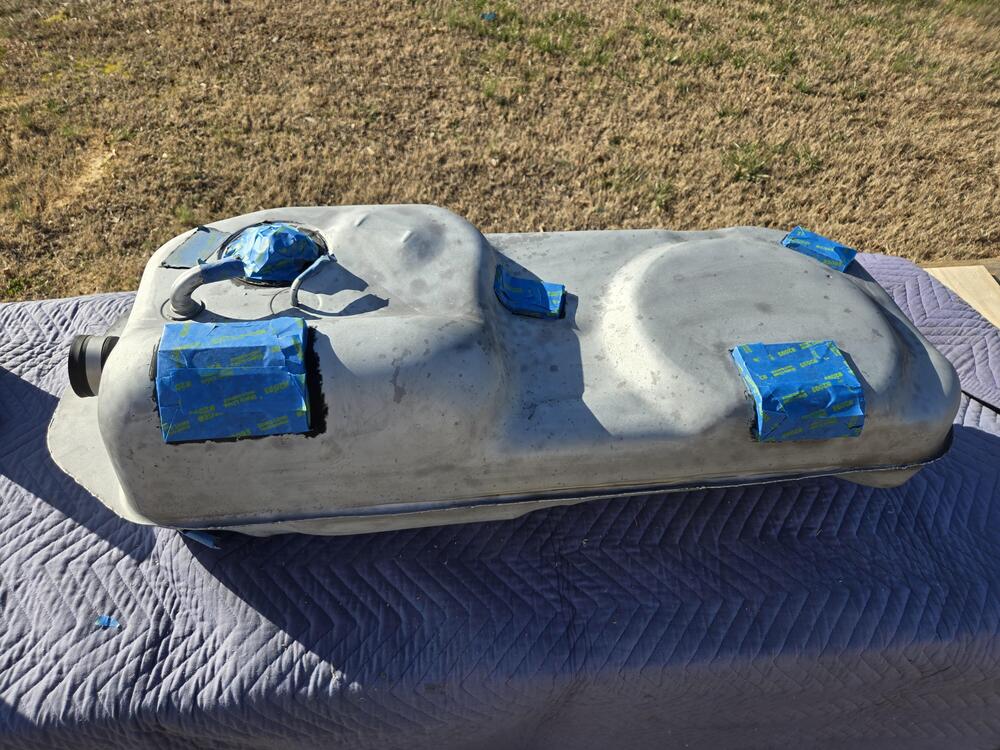
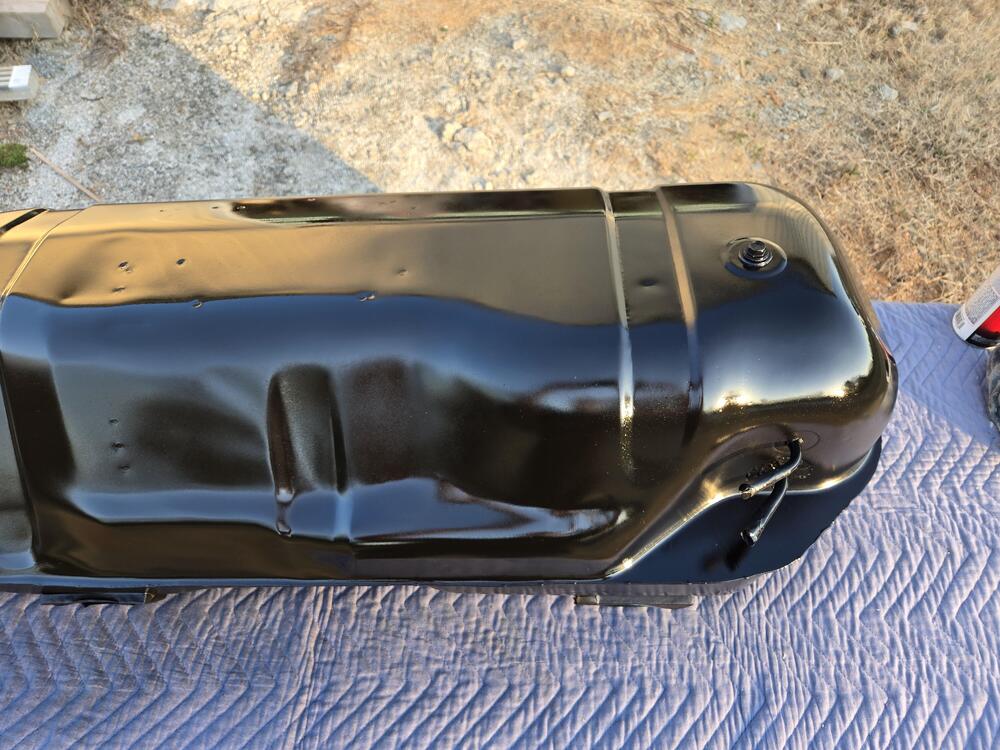
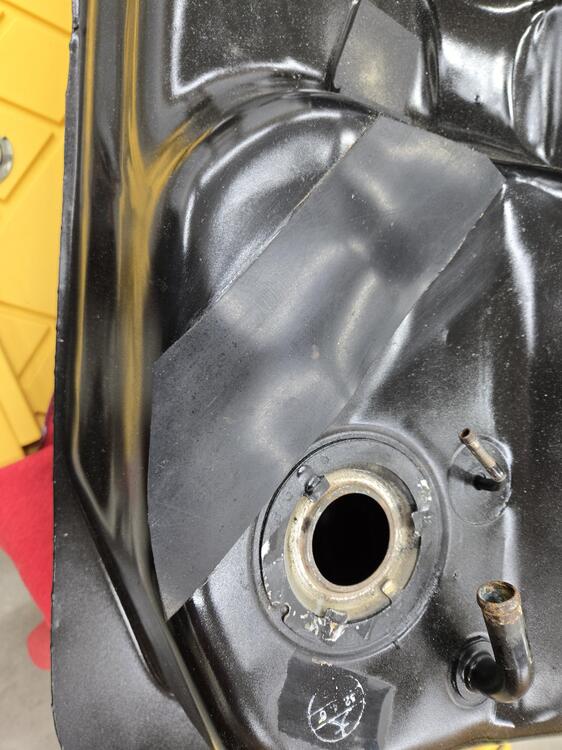
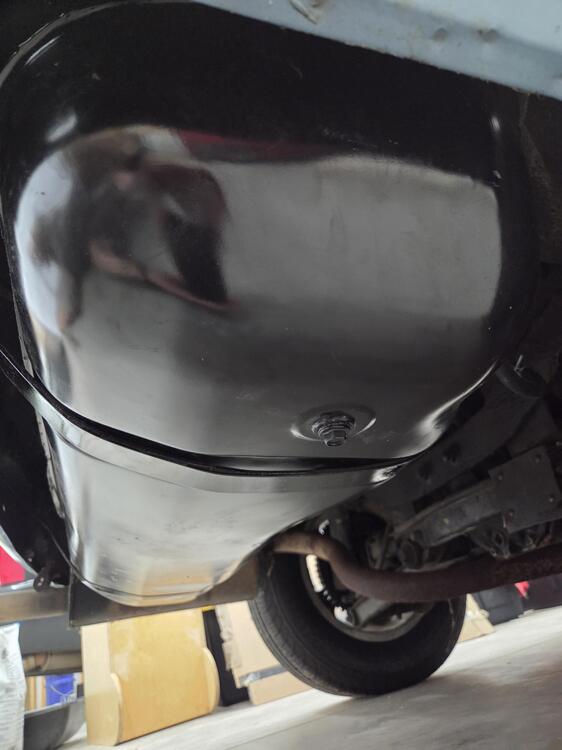
1 pointI didn't trust my ability to hermetically weld the tank. So I assisted a friend while he tacked it together. He then took it to a mutual friend with a TIG welder and finished it up. At this point, I poured more Red Kote into the tank and allowed it to flow over all of the seam. I let this sit for about a month to cure. Then, I sealed off all of the openings and blasted off the remainder of the external paint. Interestingly, there were dozens of small hidden rust spots beneath the paint. You couldn't see them through the paint. But when the media hit it, the paint would flake off, revealing a brown rusted spot. After blasting, ready for paint. I primed and painted it with Rust-oleum automotive paint in rattle cans. It turned out decent. No one will be looking at it. Note I didn't remove the original rubber blocks. They were stuck on really well, and not damaged. I did remove the original foam rubber piece near the sender hole because it was falling apart. I replaced it with a similarly-sized piece of 1/8" (3mm) thick EPDM rubber, just to make sure nothing would rattle. You can also see where I masked off the factory marking, just in case anyone might ever care if the tank was original. Lastly, I leak tested it by putting a few gallons of gasoline in it and allowing it to sit on each edge for 30 minutes. The sun was out, so the tank heated up and pressurized, which was a good sign. I'm happy to report that I've reinstalled the tank in the car, and it works fine. No leaks. And no more plastic gas can bugeed to the rear shelf.


 1 point
 -
1 point
-
1 pointThanks Guys, ya CanTechZ I saw the note, thanks again. I had a hell of a time with my first set on installation but that was definitely a "me" thing so Chris was super kind to send me a replacement of the rubber side. I will definitely have a second set of hands with me to preserve the integrity of the the 90 degree joint, plus I'll move the car into the driveway for way more space. I'm really looking forward to installing these seals, and I also have an S30 fuel tank to install as when I restored mine, I have always felt there is powder coat inside the tank that continually fills my filters way too soon so I went nuclear with one of their reproduction tanks. It looks really nice, too. Cheers1 point
.jpg.9e31a279c45b30b776172e97c43ec927.jpg)