Leaderboard
-
HS30-H
Free Member7Points5,509Posts -
Namerow
Free Member3Points1,551Posts -
JDMjunkies.ch
Free Member3Points637Posts -
Captain Obvious
Free Member3Points10,081Posts


Popular Content
Showing content with the highest reputation on 11/03/2024 in all areas
-
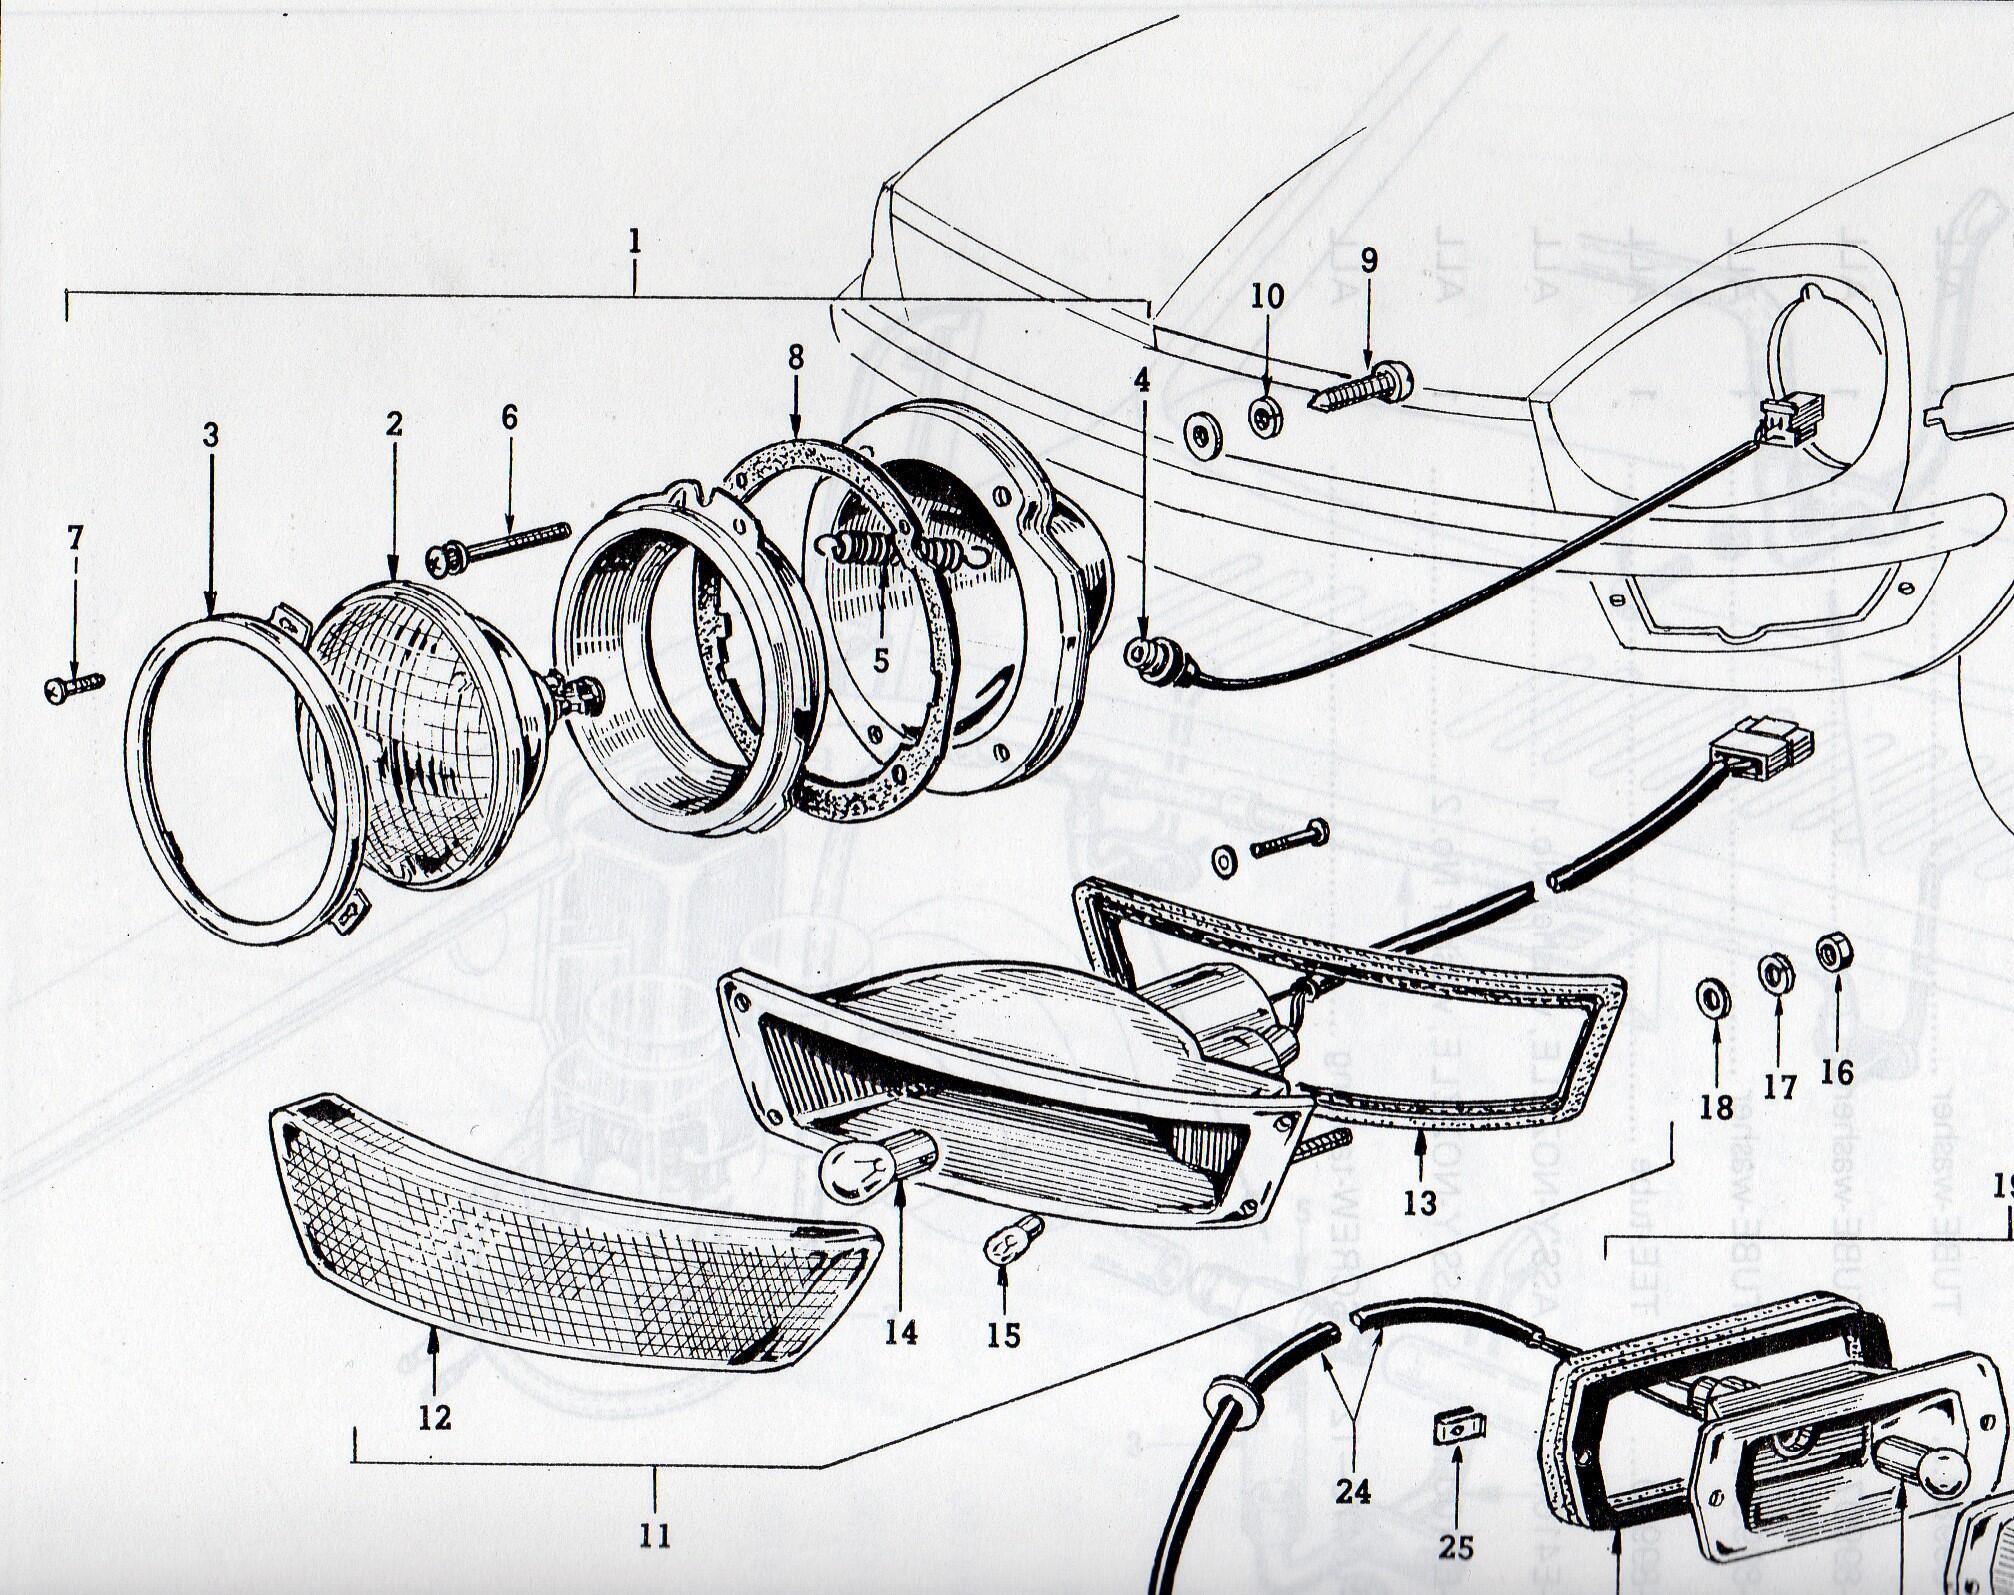
5 pointsFrom 1969 up, Japan. The basic design of the lamp unit incorporates the two bulb holders. Japanese market models used the second bulb holder for the parking lamp system and the designated sub harness hooked it up. . Slightly later, Australian market cars got a two bulb system with a divided half amber and half clear lens and an internal partition.
 5 points
 -
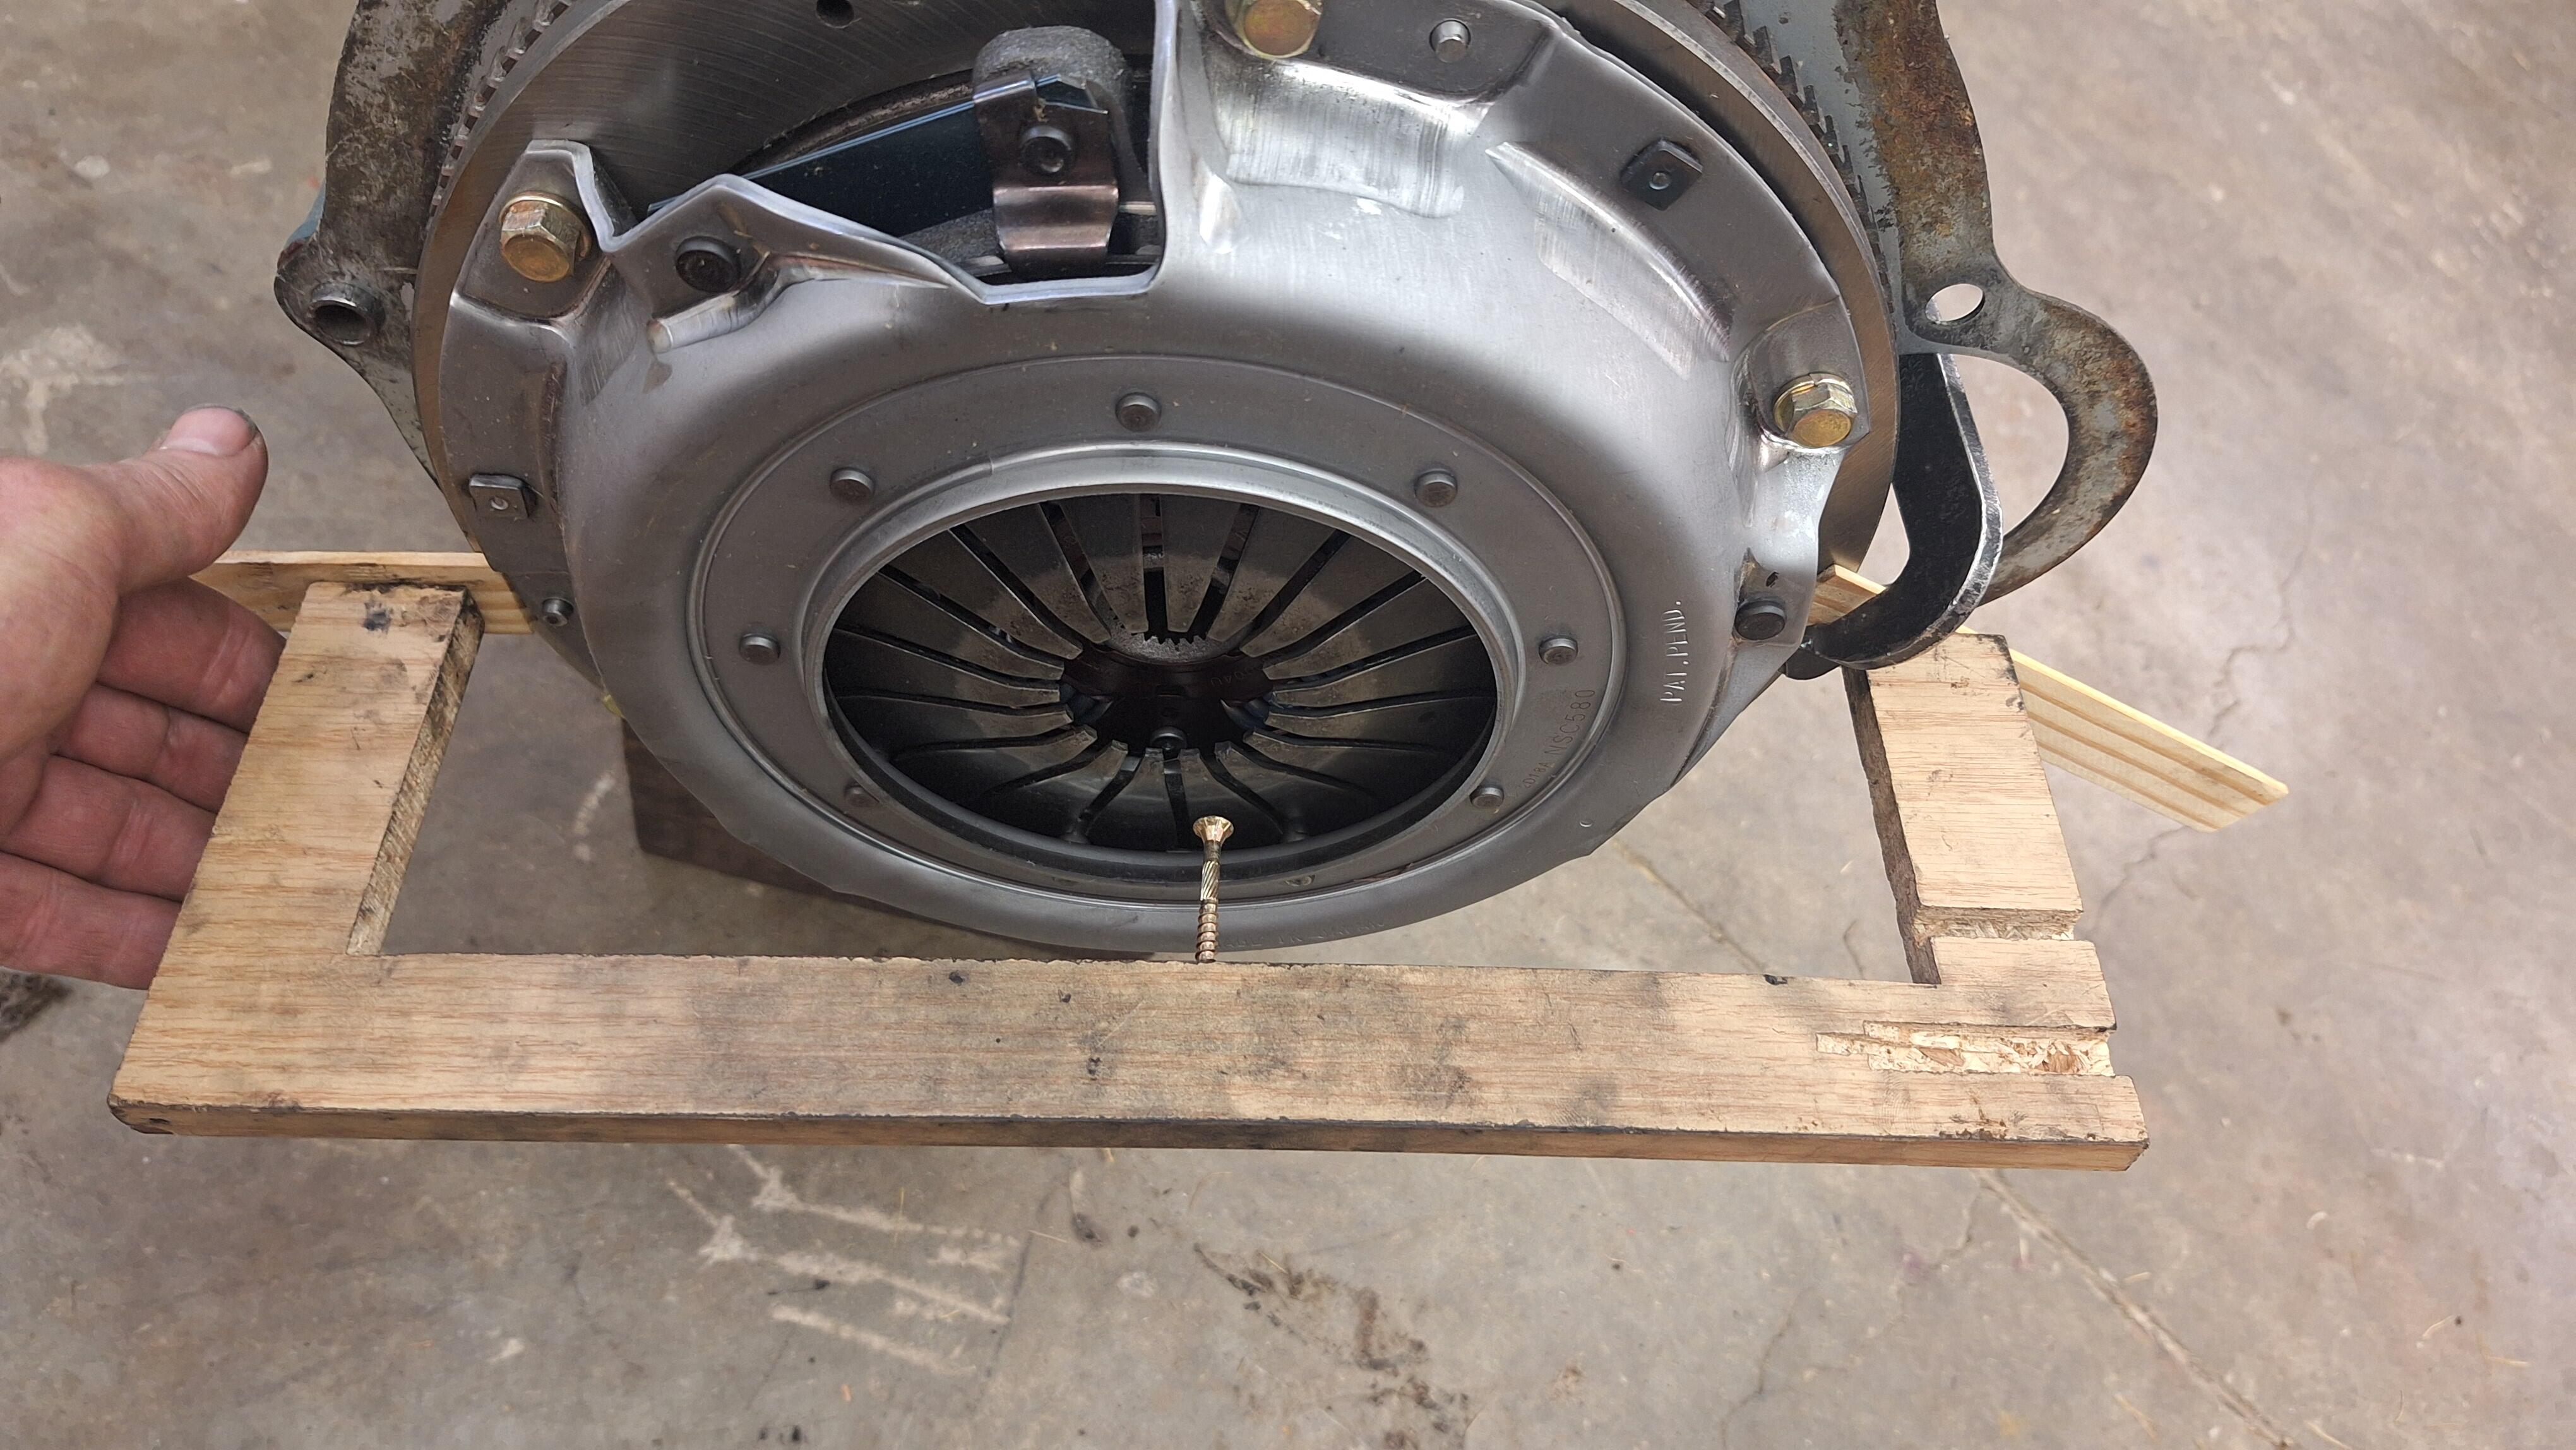
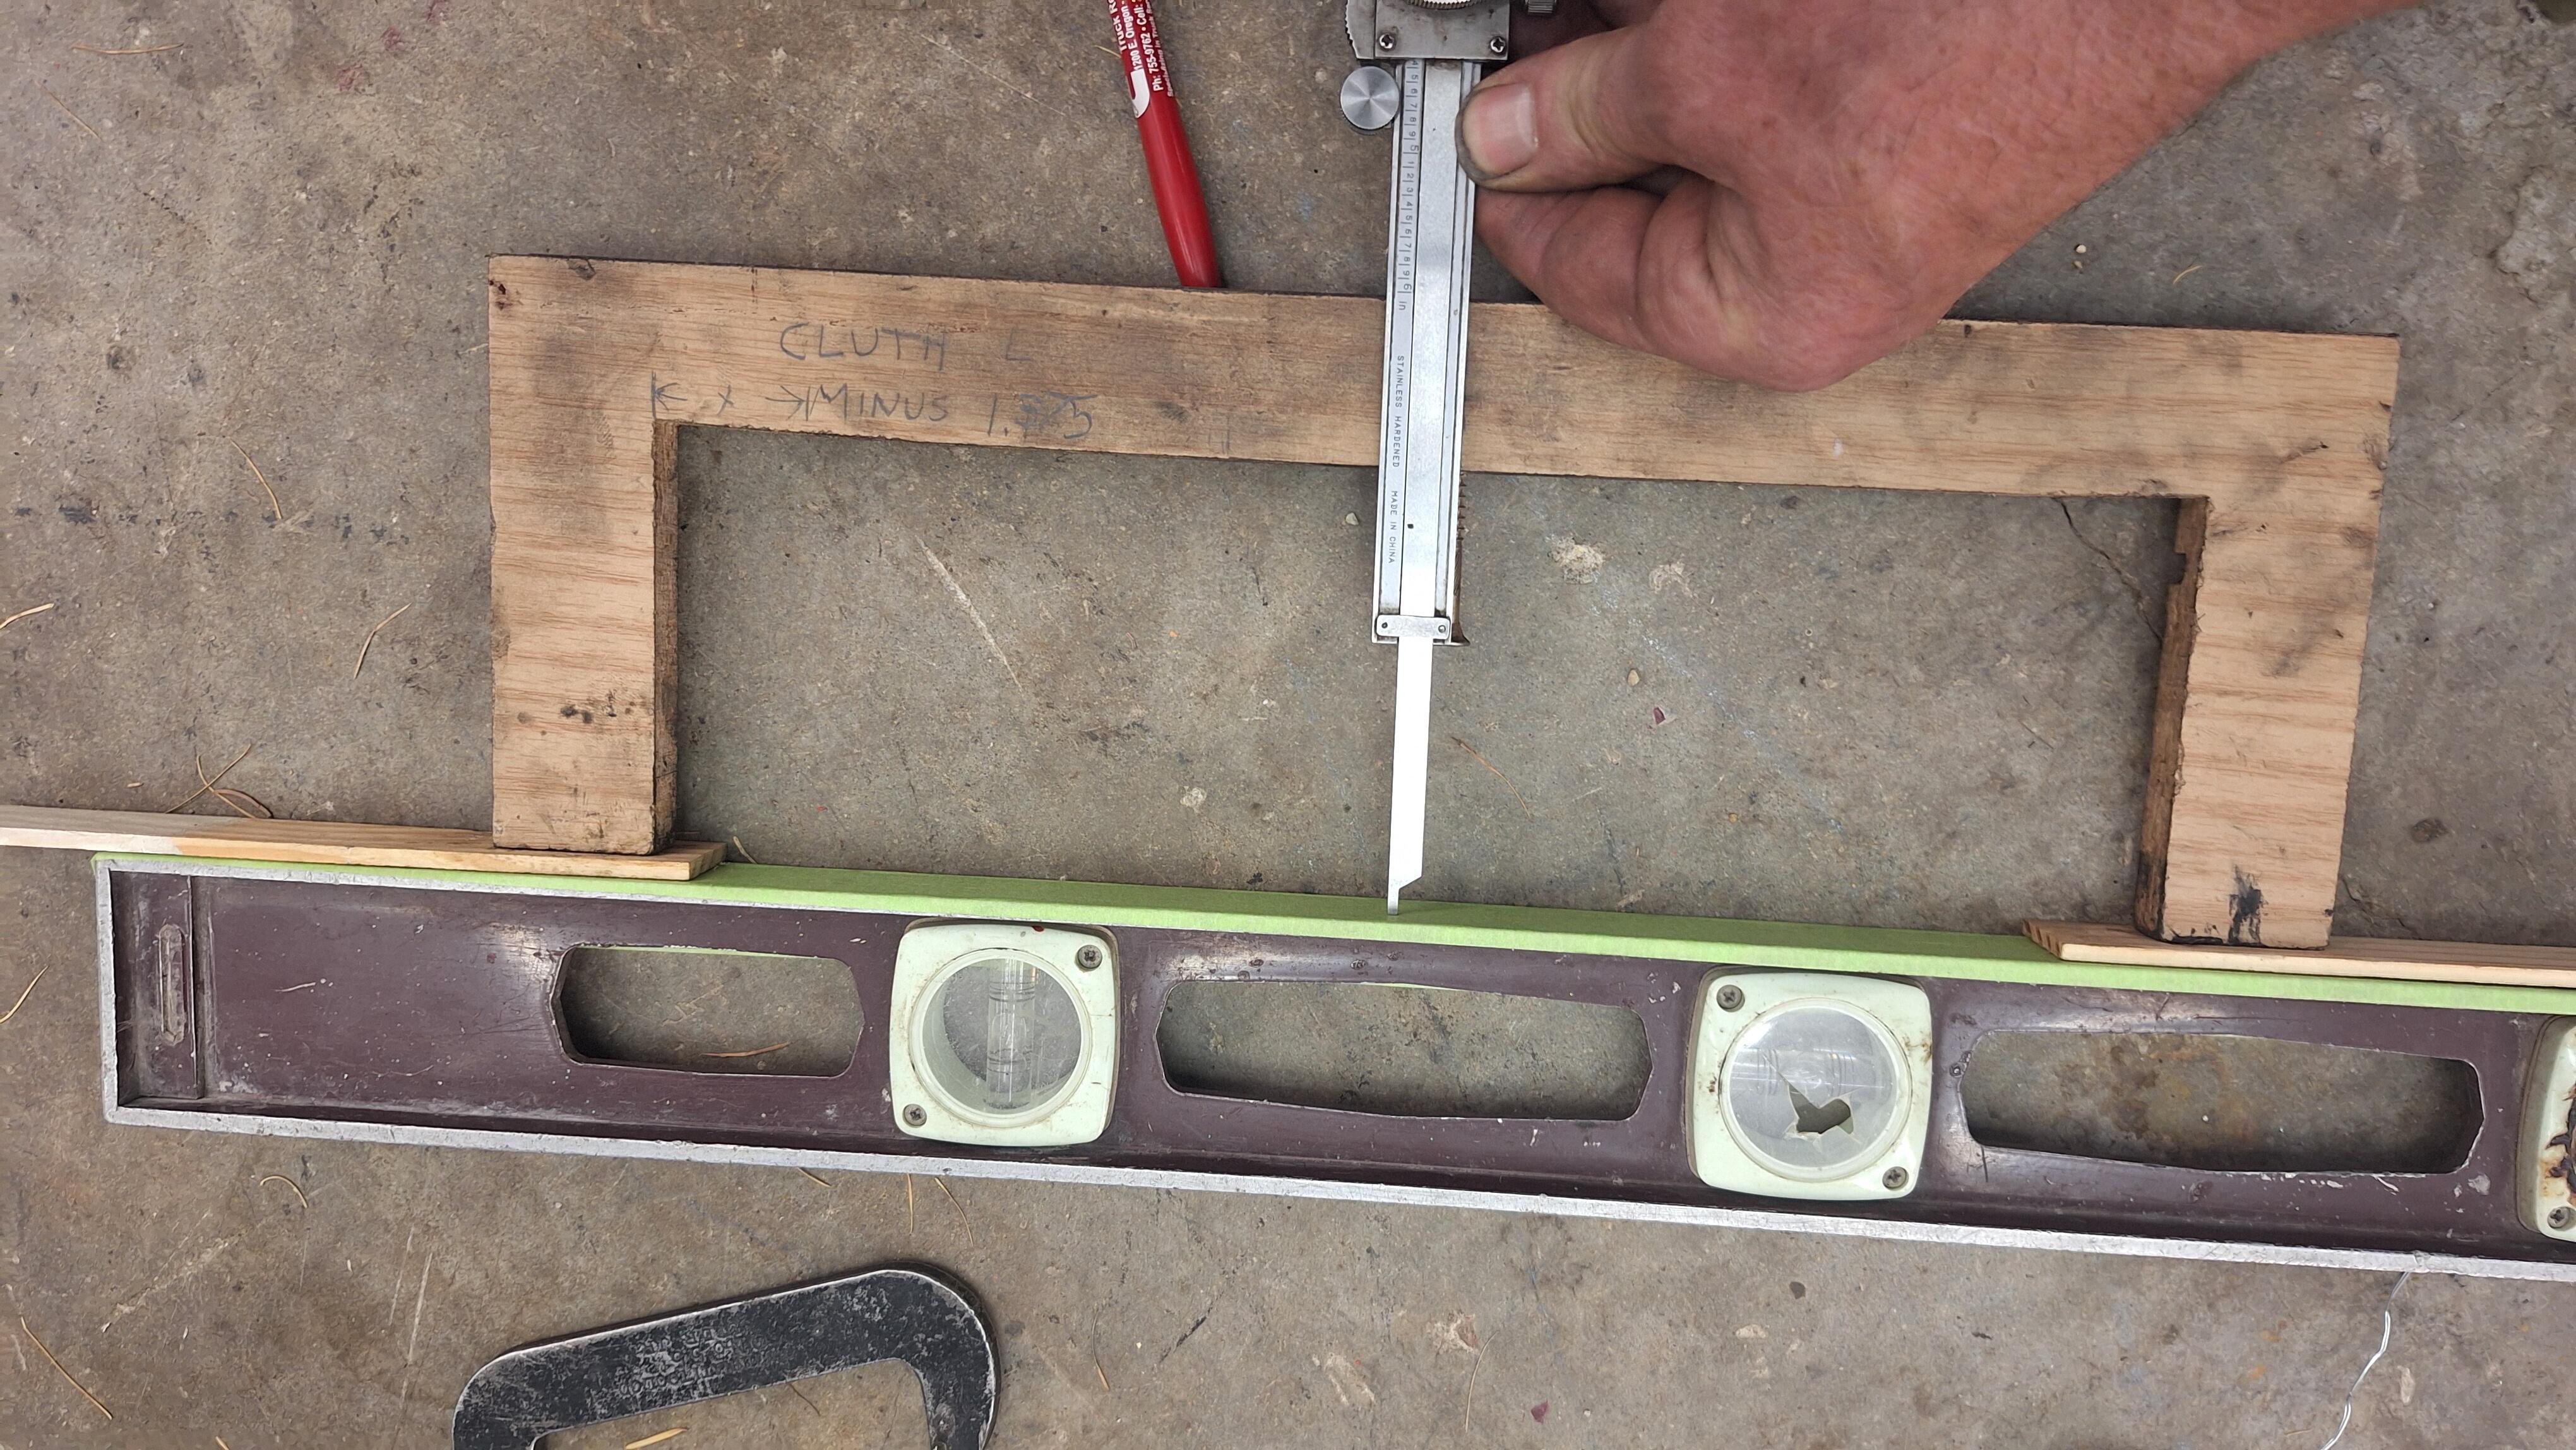
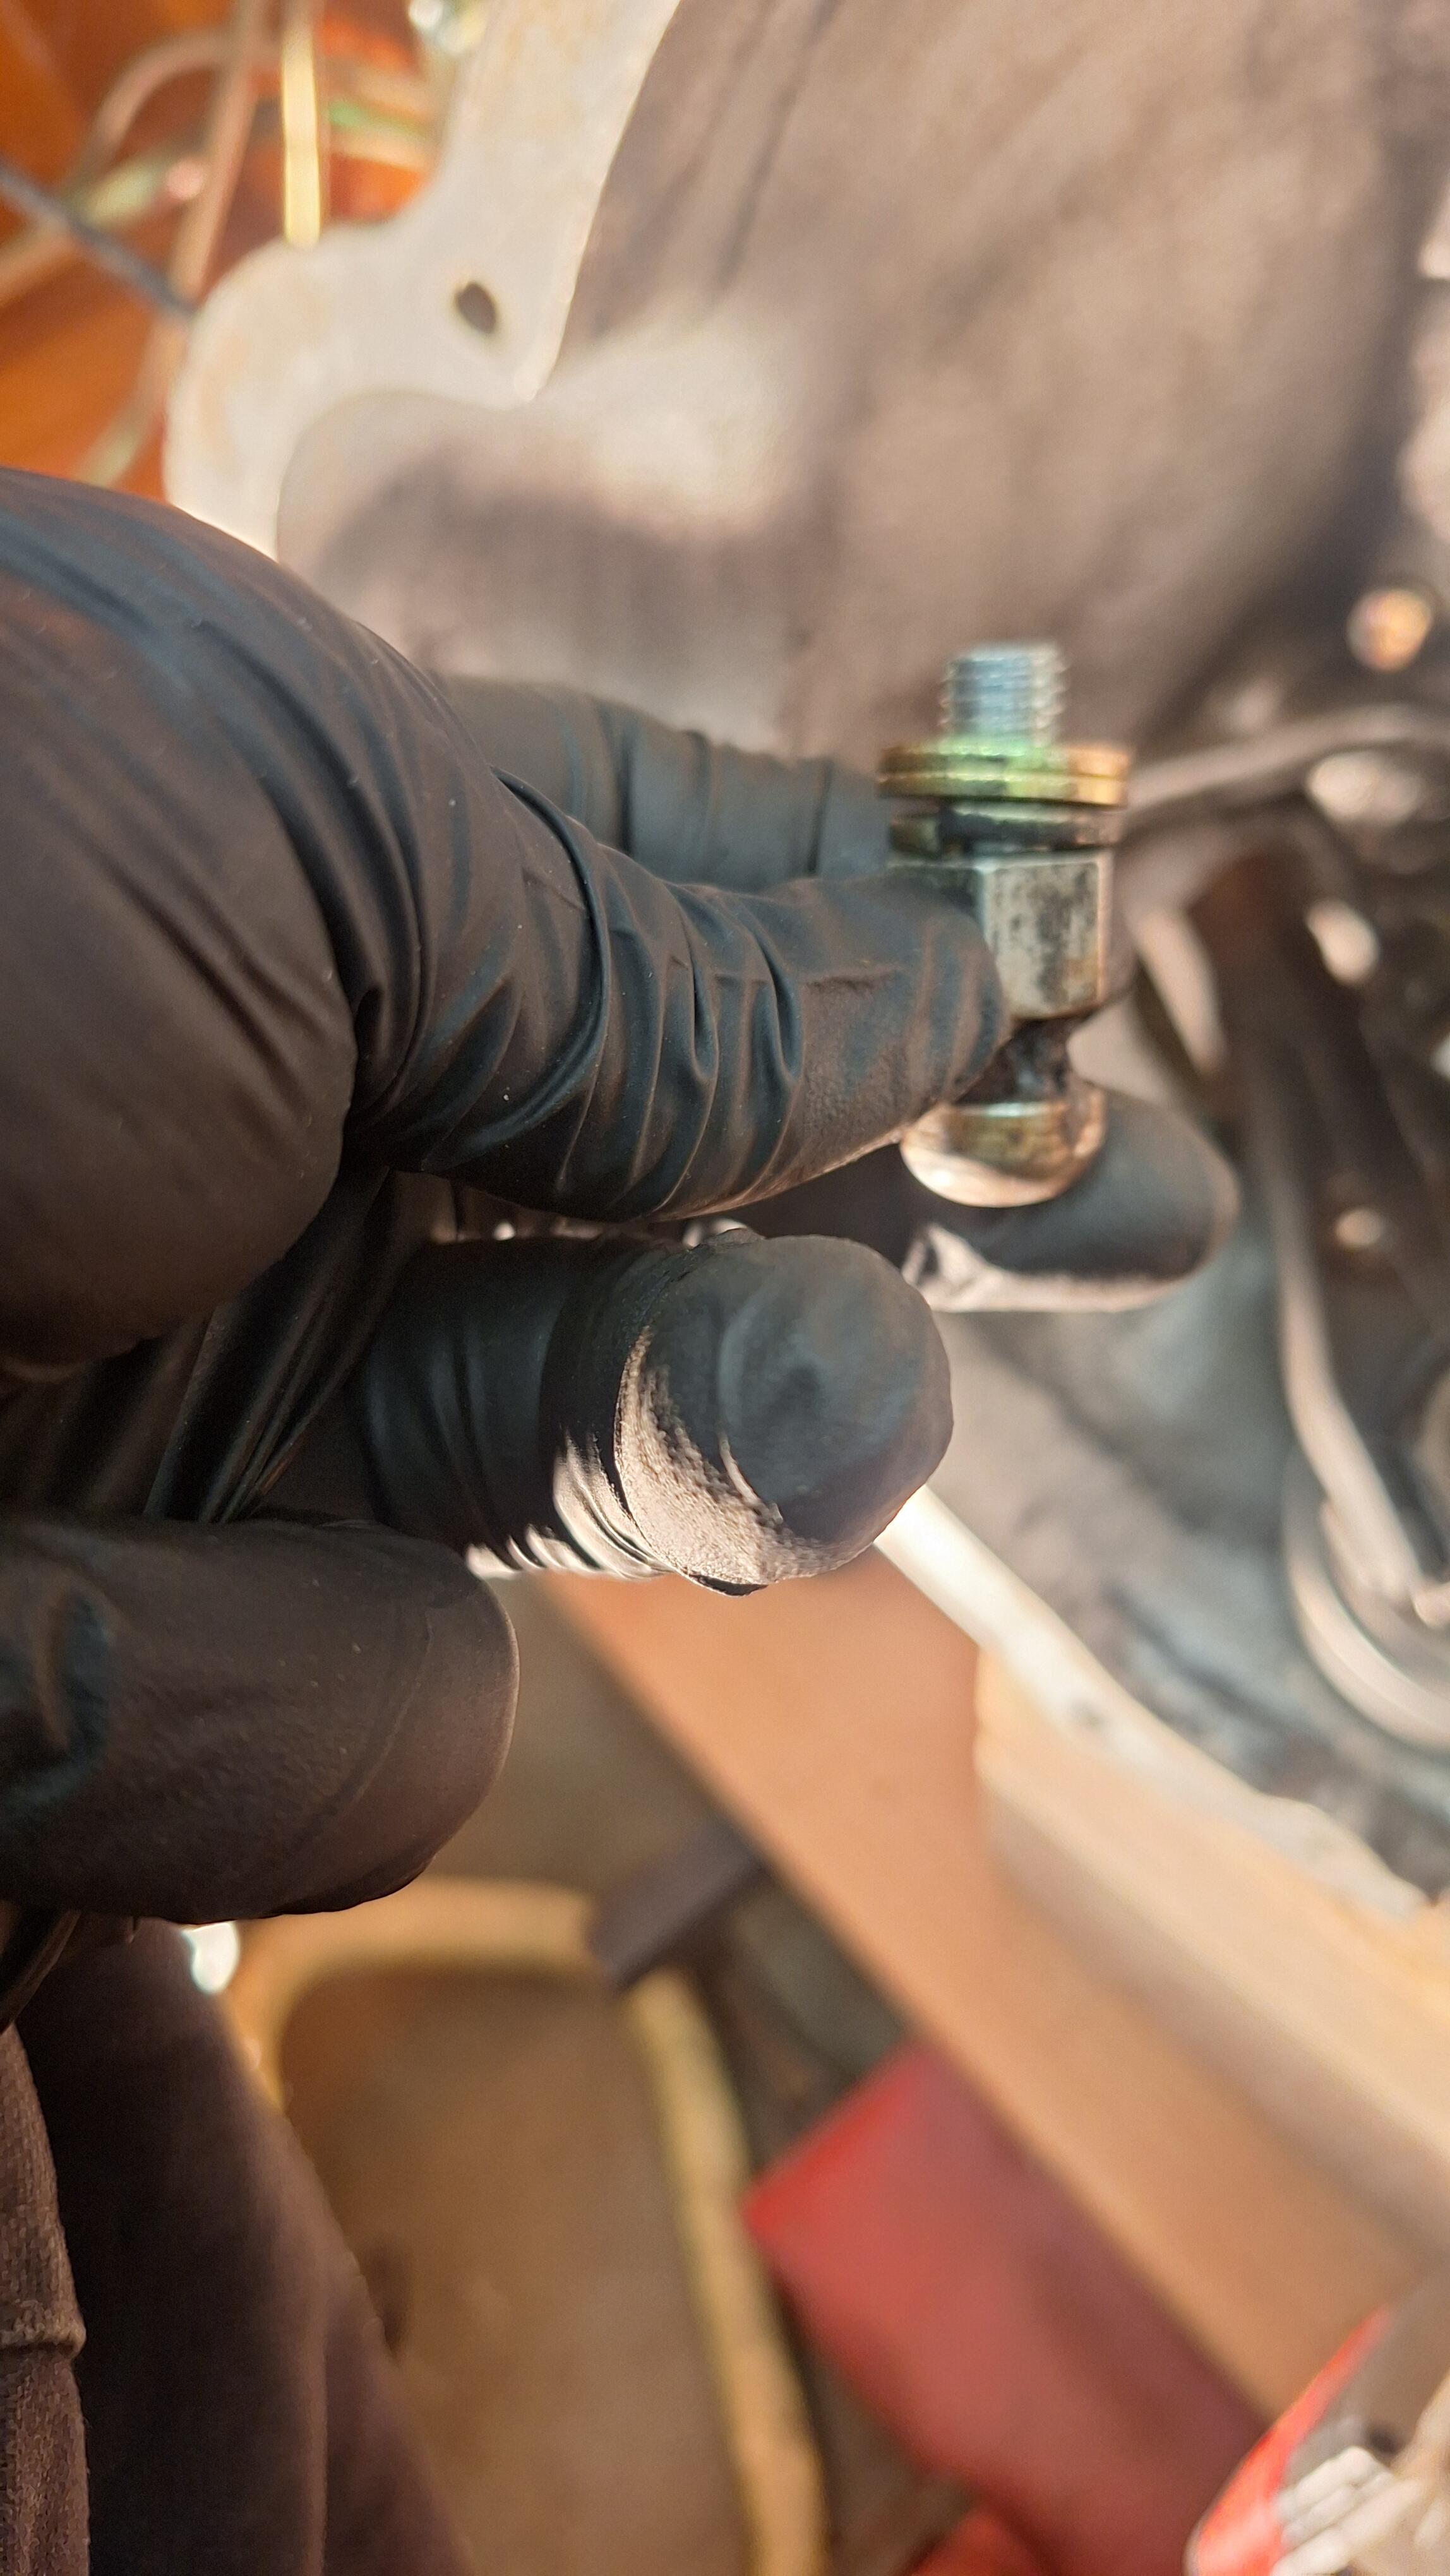
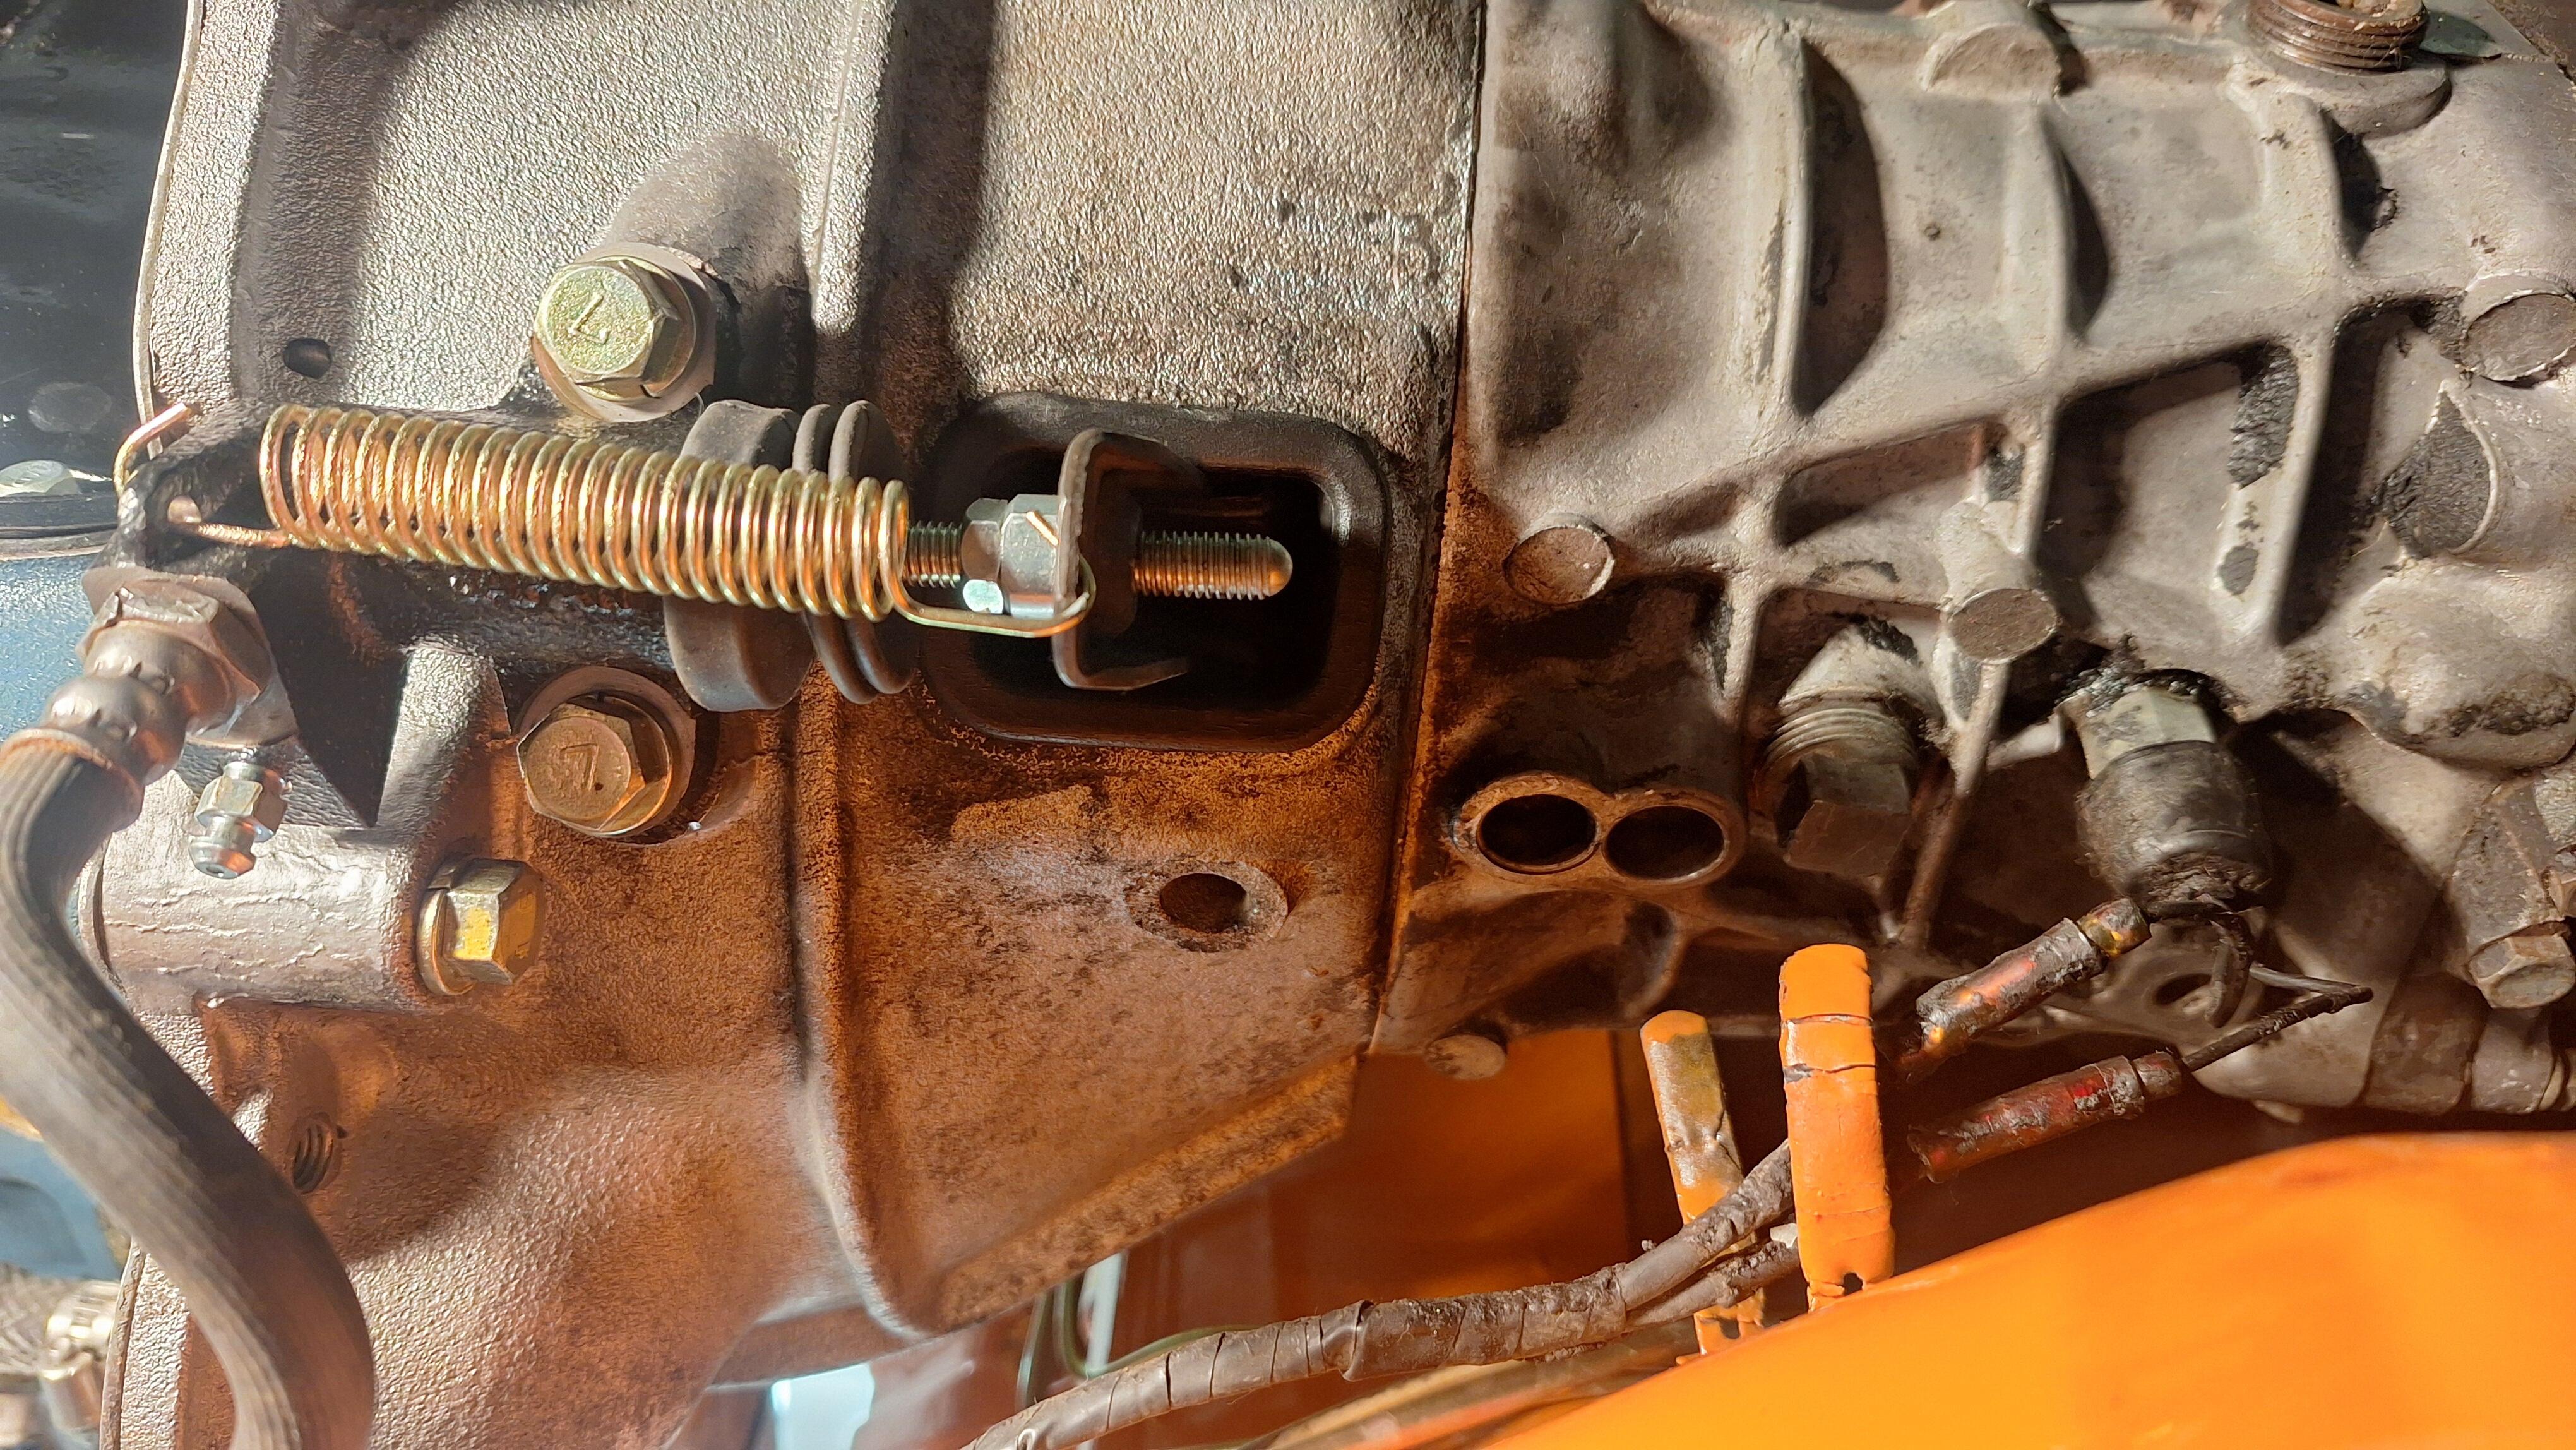
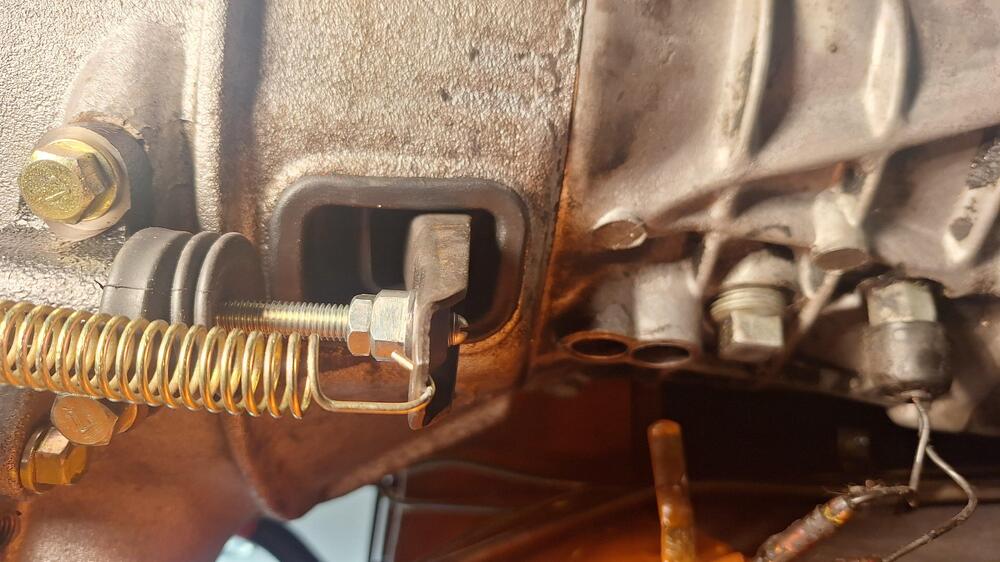
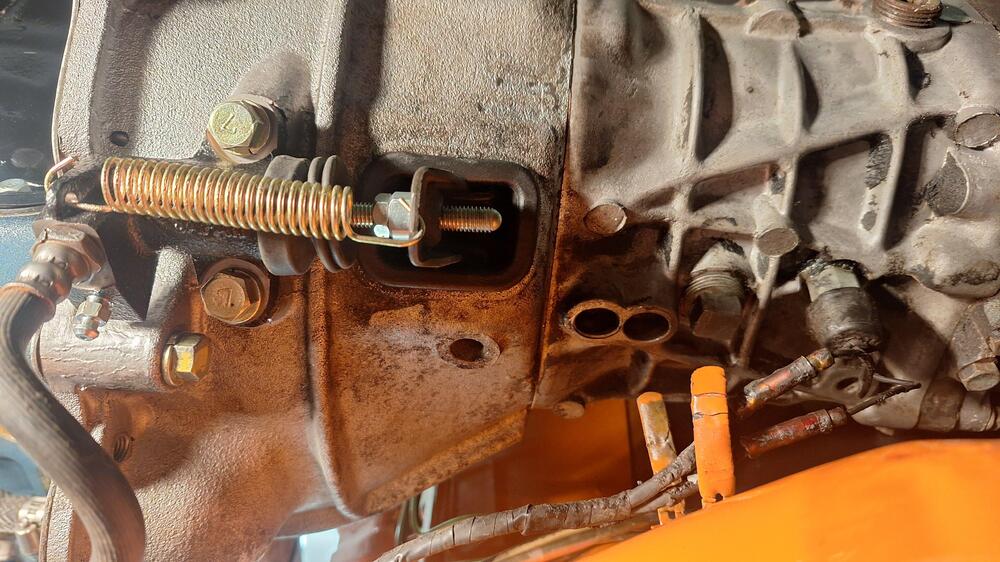
The 'B' transmission's design places the base of the shift lever further forward relative to the front face of the bellhousing, resulting in a number of complications when a B unit is installed in a car that was designed for the A unit... - Base of shift lever hits the front edge of the cutout in the transmission tunnel when 1st or 3rd is selected. - Shifter knob comes too close to the HVAC fascia when 1st or 3rd is selected. I'm curious to know how this issue was handled by the dealer who did the B-for-A transmission swap in your car. p.s. I like the wood cradle that you built to support the car. I know of another Z owner who built a rotisserie from wood.3 points
-
3 pointsThe check valve (if there is one) is built into the master cylinder. Not all master cylinders I've messed with have a check valve. Some of them have a "slows down the return valve", but it's not a full stop. Others do have a full stop below a certain pressure. On the earlier 240Z, there are two "brass devices" under the right rear*. The first is a proportioning valve, and the second one is just a dumb "T" junction point. The feed comes from the master to the proportioning valve, and the output of the prop valve goes to the splitter "T". The part that zcardepot sells is the dumb "T" splitter junction. However, neither of those brass devices contain a check valve. *Closer to the right than the left.3 points
-
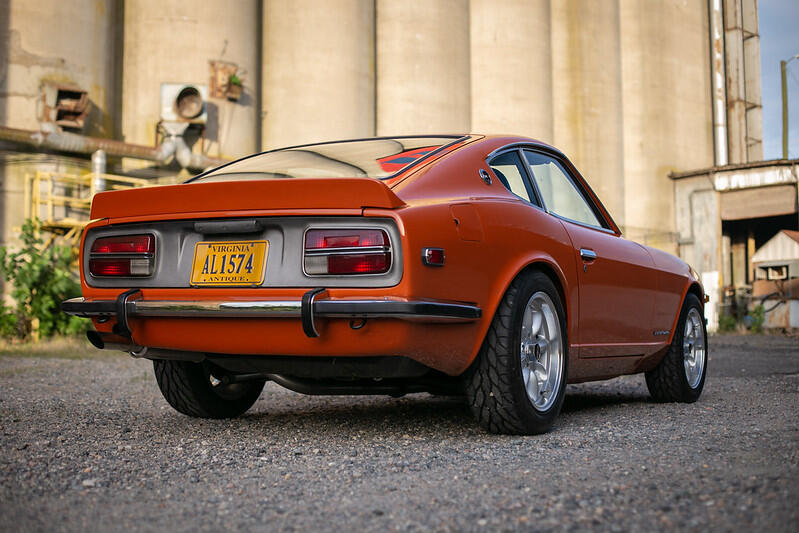
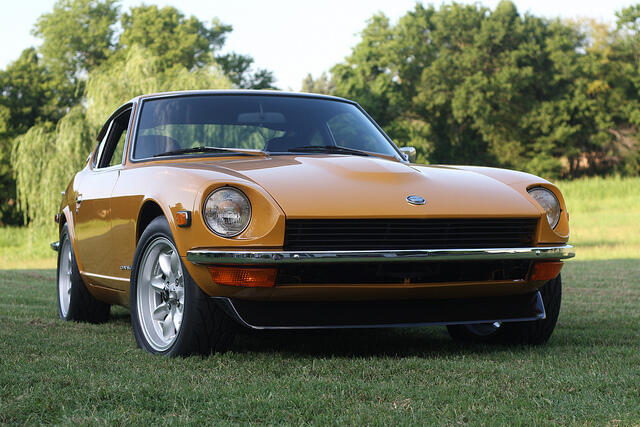
Chuck’s frame shop in Richmond, Virginia is terrific…..a perfectionist that has done many Z’s and Porsches. Here are a couple he did for me.

 3 points
 -
Was very nice to see you again, Nils. I have some pretty good UK/Euro-spec front valances and corners in storage should you be in need of them.2 points
-
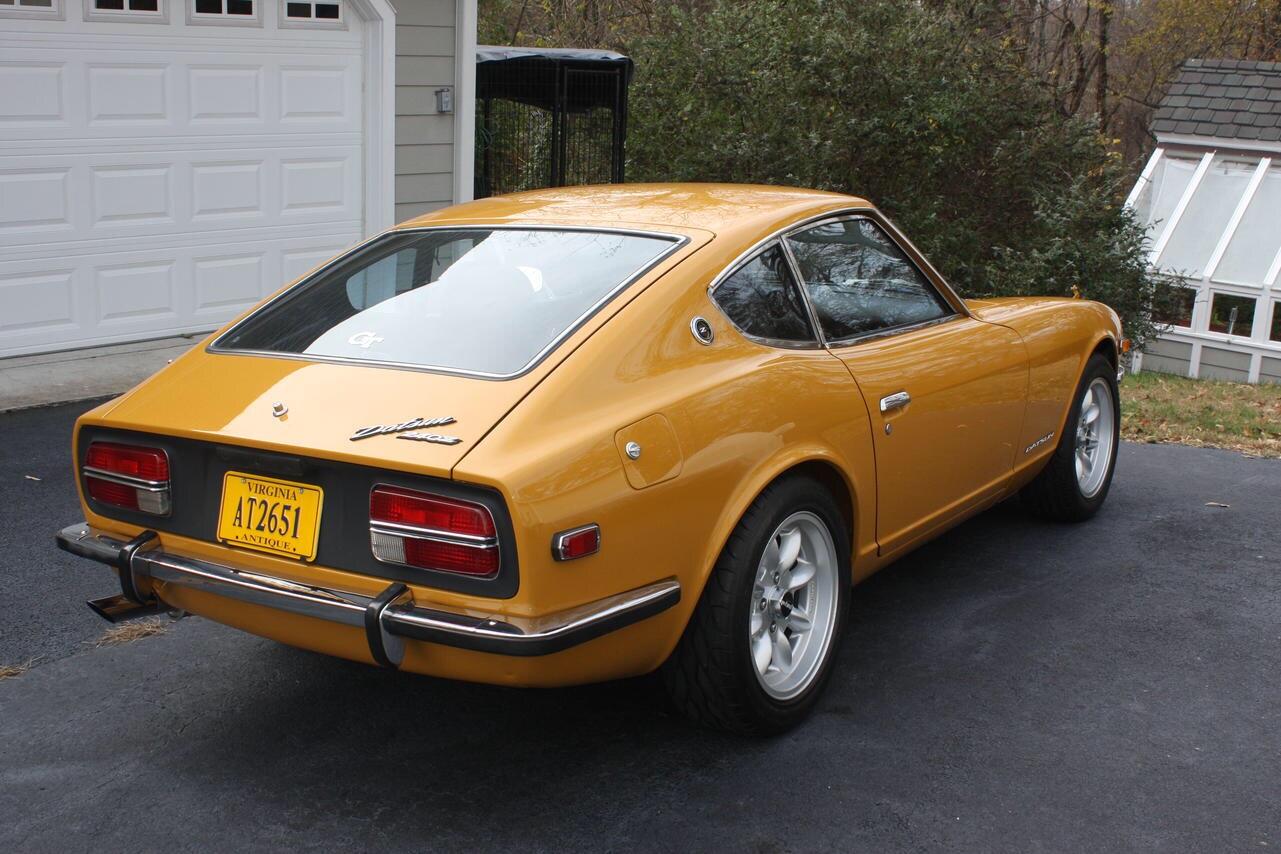
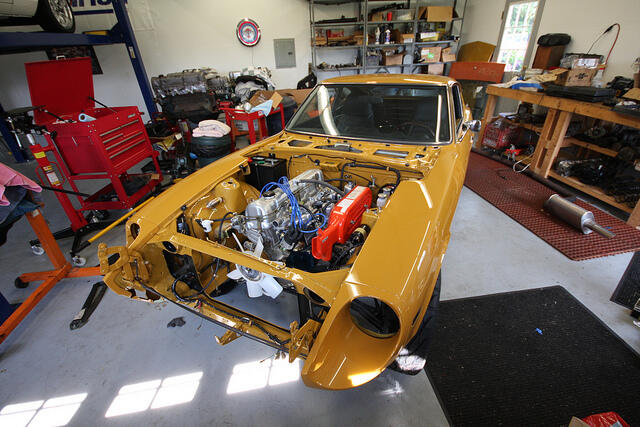
During my recent work at the front fender areas, i realized that the corner where the headlight buckets go on the driver side must have had a hit at some point and the panel was slightly bent backwards: I started to enjoy bearing metal panels with a hammer recently, so i got myself a proper hammer and dolly and started to hammer it straight. Worked out pretty well and i'm happy i didn't have to pay a bodyshop for another 30minutes of work. While doing bodywork anyway, i thought it's time to test-fit the rear bumper. I didn't want to mess up my NOS bumper mounts (i'll save them for the final assembly). I realized that my old ones were pretty messed up. A bit of hammering and bending and things started to look usable Then i recut the threads because the bolts wouldn't fit with the thic coat of primer that ended up in the holes: And last but not least i put some rust-converter on the straightened brackets and installed them on the rear. But i forgot to take photos of that. Then i got a bunch of panels in questionable condition from germany. What is special about those front lower valances you ask? Three of them are specific for European spec cars, with the additional mounting points for the euro-spec front spoiler: Here you can see them with my (very wobbly) front lip: I once had a NOS one, but it seems i sold it a while ago (back then i thought i'd go for the xenon front bumper anyway). and now i hate myself for it. Luckily one of the corner valances seemed to be half-NOS. It still had the original protective black primer and sticker on it, but it also had a bit of rust and remaints of a front bumper that was once attached to it. BTW: those EU-spec corner valances have a closed hole for the turn signals (we got the ones mounted on top of the front bumper) and again holes at the bottom for the front lip: Well. it took me a few minutes to get those rusty old bolts out, but now i have again a complete (albait the center part is not very fresh) set of EU-spec lower valances. Oh and a sea-freight pallette with some nice parts left the Port in Japan last week. so i hope in a few weeks i can show you some nice parts... And then, recently i iwas at a very nice S30 related event in the netherlands (more about that very soon). And there i got some nice gifts. Read more about it here: https://www.jdmjunkies.ch/wordpress/2024-10-26/240z-some-gifts-from-the-netherlands/2 points
-
Here's a starting point: https://www.courtesynissan.com/parts/1 point
-
Hey Alan, it was definitely great to see you again too! Thanks for your offer. I'm currently in touch with a local guy who might have a NOS Panel, but if not i'm happily coming back to you. Thanks a lot!1 point
-
1 pointSo, if you're searching for "clutch fork" damn! This happened to me too. I installed a new clutch for my restoration on my 6/71 240z. Finally got to the long awaited stage of engine installation. It went well, until I got underneath the car to torque the bolts and bumped the clutch fork and thought why is it so loose?? It was almost at the end of its throw before the throw out bearing contacted the clutch springs. That's when I searched for "clutch fork" Exactly the thread I was looking for. So, I've installed many clutches in John Deere forestry equipment. The manuals always give you the distance from the flywheel to the diaphragm springs. These springs are adjustable. You bolt your pressure plate down, measure the distance, and if adjustments need to be made, you unbolt it, and adjust, until you get it right. After reading this thread, I realized I had to pull the engine out and see what's up. I adapted my Deere gauge for this Datsun, measured the distance from the flywheel to the diaphragm spring. I reinstalled my old clutch (1981) and measured that. I installed my old pressure plate with the new disc and measured that. The problem is in the service manual they use 'distance pieces' instead of a clutch disc. I do not know how thick those are. I should have measured how thick my new throwout bearing is and my old one, but I didn't. I ended up putting the 2 washers behind the pivot ball and am happy with the results, but still don't know why I had to. Is it the combination of resurfacing the flywheel and the new throw out bearing where I lost the distance, I don't know.


 1 point
 -
1 pointI have the 240sx calipers with the the ZCD adapter plates. You can email Matt and he can tell you if the brackets are the same. At one time they sold both conversion kits.1 point
-
1 pointFinally some good news.. She’s running after much quality time. Thanks to all for the tips. It’s been a few decades since I’ve had to work on electrical issues.. Pretty sure I over complicated this. -The distributor shaft/rotor turns fine, no issues there. -Yes, hot wiring the coil does bypass, everything else, (should have figured that out earlier). Still getting good spark at points, but only intermittent spark to plug. - Ground/short, unknown. Started from scratch this morning, rechecked everything. Found the following: after swapping out the 2nd coil, I had reversed the coil wires (blk +, blk/wh -)🤬. This caused a couple of hrs of wasted time. Remote starting still seemed to get good spark at points, still got Intermittent spark at plug. Swapped out main coil/dist lead, and replaced points, car fired and started. Put everything back together, turned key car started right up. So it appears the replacement coil was bad, and possibly bad points or dist lead. The removed points look fine.. Will test coil and dist lead. Still a bit puzzled what the cause was.1 point