Leaderboard
-
conedodger
Free Member8Points12,513Posts -
HS30-H
Free Member4Points5,509Posts -
zspert
Free Member2Points382Posts -
emccallum
 Subscriber
 2Points428Posts


Popular Content
Showing content with the highest reputation on 06/25/2024 in all areas
-
Hitoshi Uemura told me that the vented quarter panel design update saved both manufacturing time and parts costs, deleting the complex vents & drains in the tailgate which were made up of many individual components and which took time to assemble. The vented quarters function was pretty much achieved at the metal stamping and spotwelding stage, with just a push-on vent/emblem on the outside (popped on after paint) and simple holes in the hard plastic interior trim. A neat solution.4 points
-
2 points
-
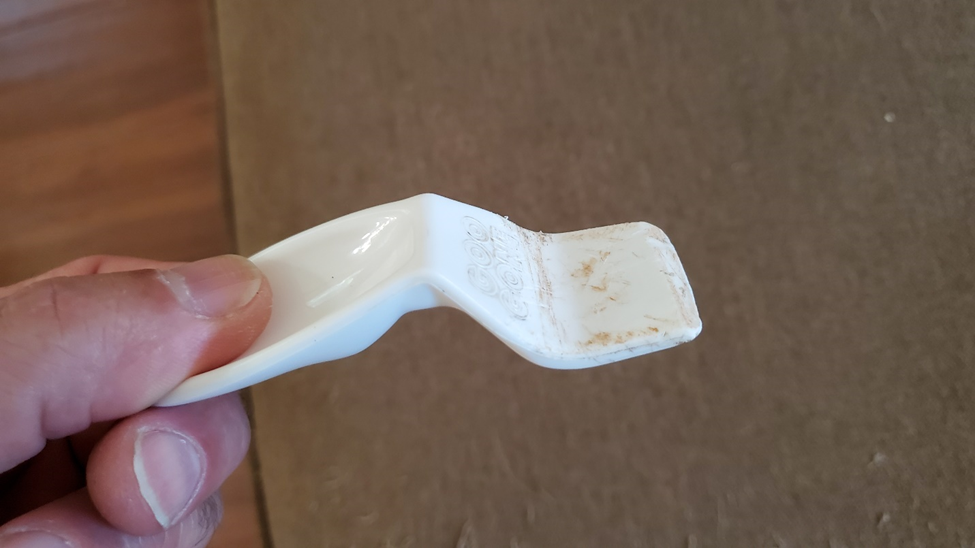
Interesting to note - The deck lid vent system used in the early Zs is the same system used in the 510 wagon, a rather complex, multi part, system.2 points
-
2 pointsThat is a problem with restoring a car. It may look great to others, but you know every flaw and its hard to unsee them! There arent a lot of people out there that can completely tear down and rebuild an entire car. Dont sweat the small stuff it looks great and you will have more fun with it out of the shop than collecting dust worried about a mismatching body panel!! At least thats what I told myself 🙂2 points
-
1 pointI would have the steelies checked for "true" (runout) before painting or mounting tires. I put 195/70/14 on my original wheels...too wide of the spare tire well. Just sayin'...1 point
-
1 pointOther than fitting through the tunnel and letting you get to each gear without hitting the hole or console, you have to use one of the shorter tipped shifters or you won’t be able to get 5th gear with that transmission. Many have been caught with this issue. You “think” it moves into 5th when you’re on the floor testing it, but once under power, you find out “NOPE”1 point
-
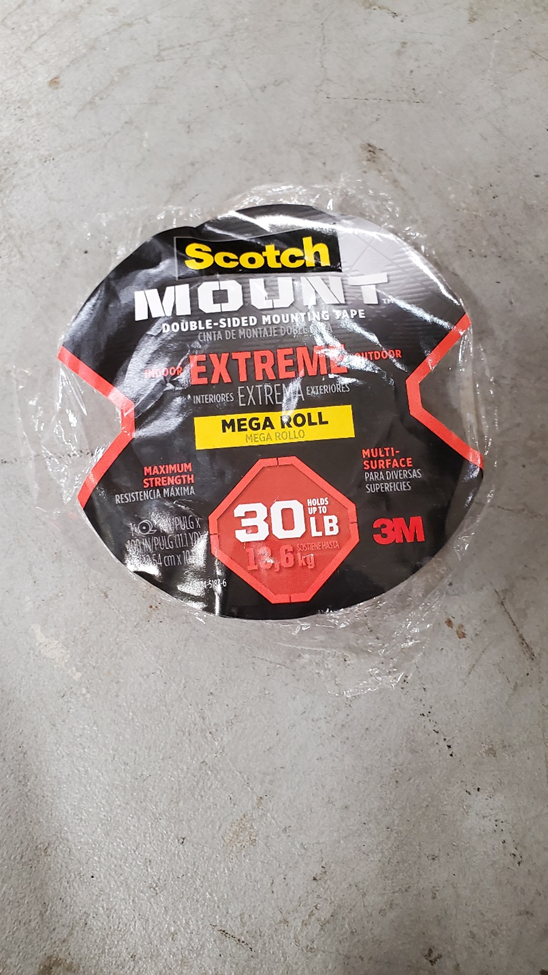
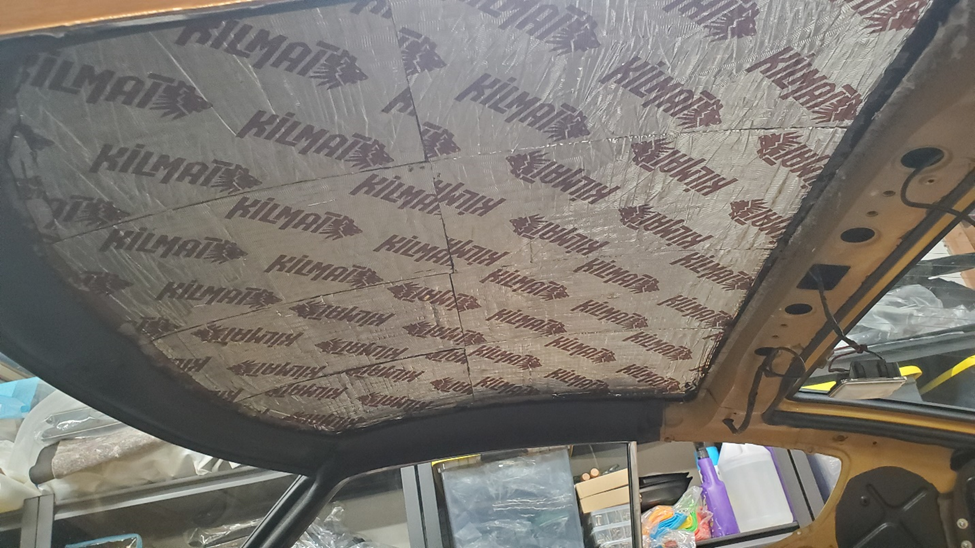
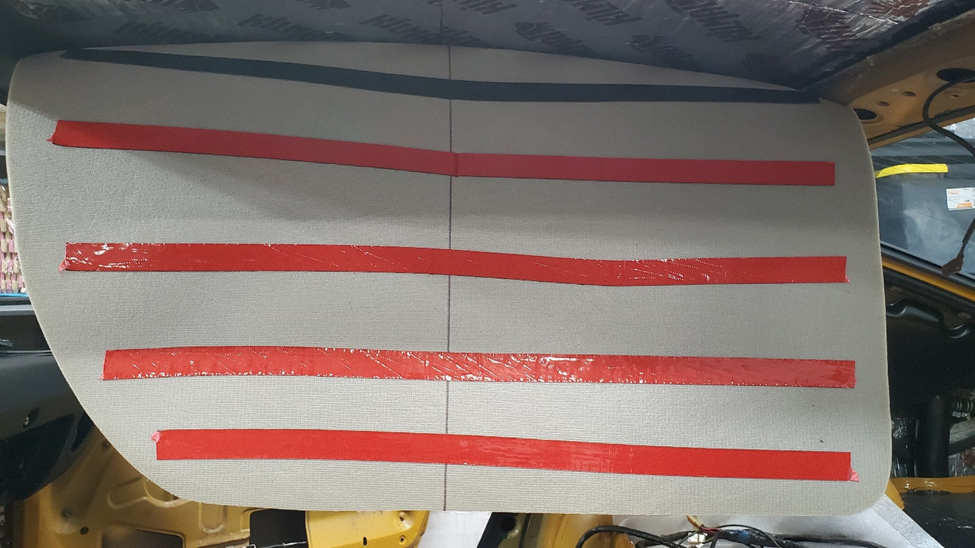
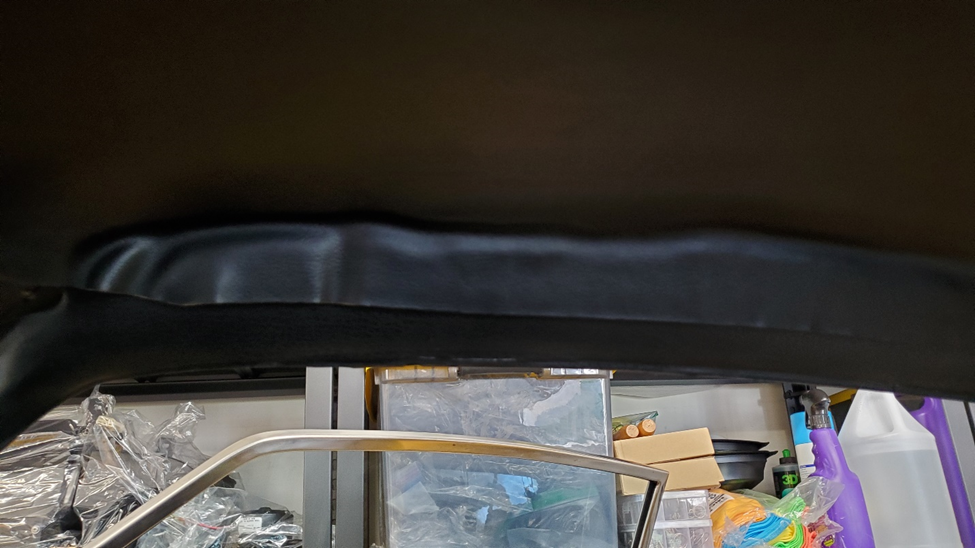
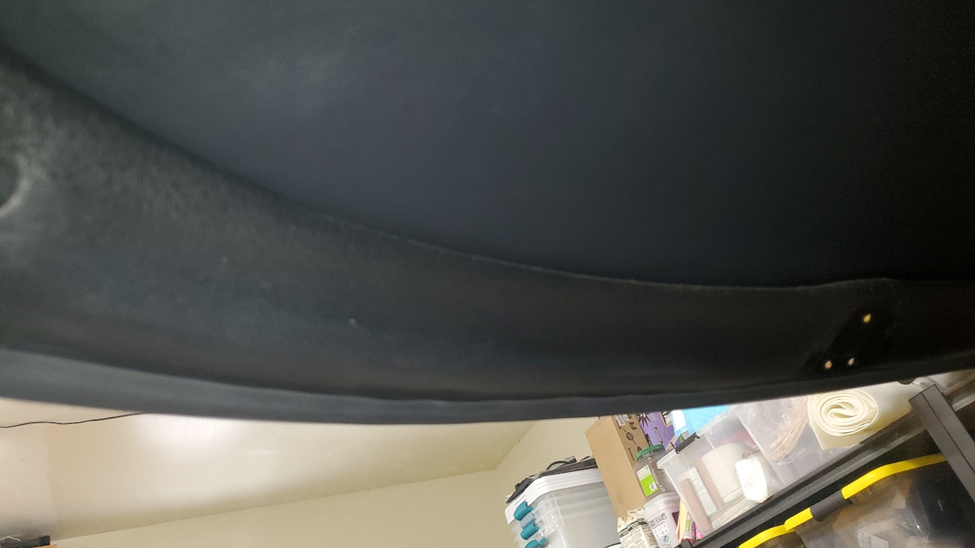
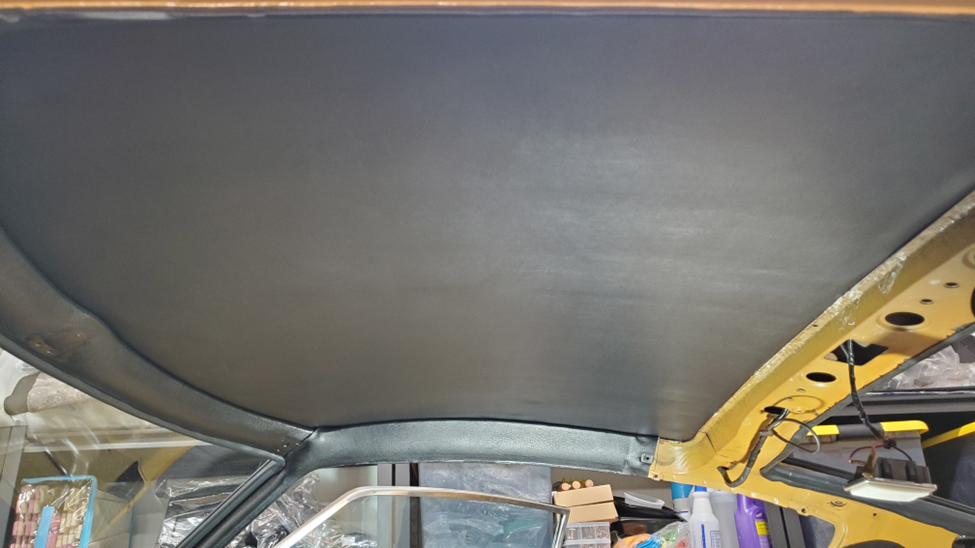
Things are coming together quicker than expected and I got to the headliner today. I had purchased one from the z store almost two years ago but was severely delayed with the project. It came with the typical spray on glue but before IO went to tackle this i had a moment of hesitation. I still have the dash in the car and the thought of over spray and drippings of that glue (its 104 today in Roseville) really had me pause. I was thinking about the recent dynaliner experience with the peel off backing and thought why not do the same for the headliner. So I went to the home depot near me and after looking around decided on this since it was the stickiest, had a high temp resistance, and was relatively thin compared to others of the same strength a single roll ended up covering the entire liner in strips from front to back about 3 in apart. I made sure not to get too close to the ends on all 4 sides since I knew I had to tuck under the edges. TIP - Make sure to draw center lines in both directions and place some painters tape on the vinyl side to match so you can see the tape when attempting to stick to the ceiling. This allows for easy orientation with the center of the mirror mount and the lamp light cutout. I started with by doing the soundproof (highly recommend, the roof now is like a modern car After laying out the tape on the back of the pad I used the same 1 inch roller that I pressed down the soundproof to really press down the tape onto the back of the liner. I made sure it wouldn’t peel up without some real tugging. Once I was happy I pulled the red backing from the center line only and attached it to the roof right down the center line using the painters tape as guides I then worked on the passenger side first removing all red backing and carefully working from center towards door fram pressing the liner up onto the ceiling. Was very happy with how smooth and easy it was and did the driver to match. When I was done I had about 2 inch of material exposed on the doors frames and an inch or so on front and back. TIP – DO NOT BE TEMPTED TO TRIM, it will all fit with gentle tucking The front is the most visible so I decided to start dead center with a tool for scraping glue from windows I was surprised how easily it tucked under the front and went from center to edge in both directions in maybe 45 secs I then went down each side to the turn at the back and finally across the back. Finished product looks factory new! Time will tell if I took an easy way out and this droops from heat or deterioration of the pad but I feel it was the right thing to do considering my circumstances and doing the least amount of harm to the dash 😊 Total install was less than 20 mins, way faster and less messy than spray or roll on adhesive in my opinion.

 1 point