Leaderboard
-
conedodger
Free Member9Points12,513Posts -
inline6
 Subscriber
 4Points1,282Posts
 -
Terrapin Z
Subscriber3Points1,333Posts -
Yarb
Subscriber2Points1,935Posts


Popular Content
Showing content with the highest reputation on 06/14/2024 in all areas
-
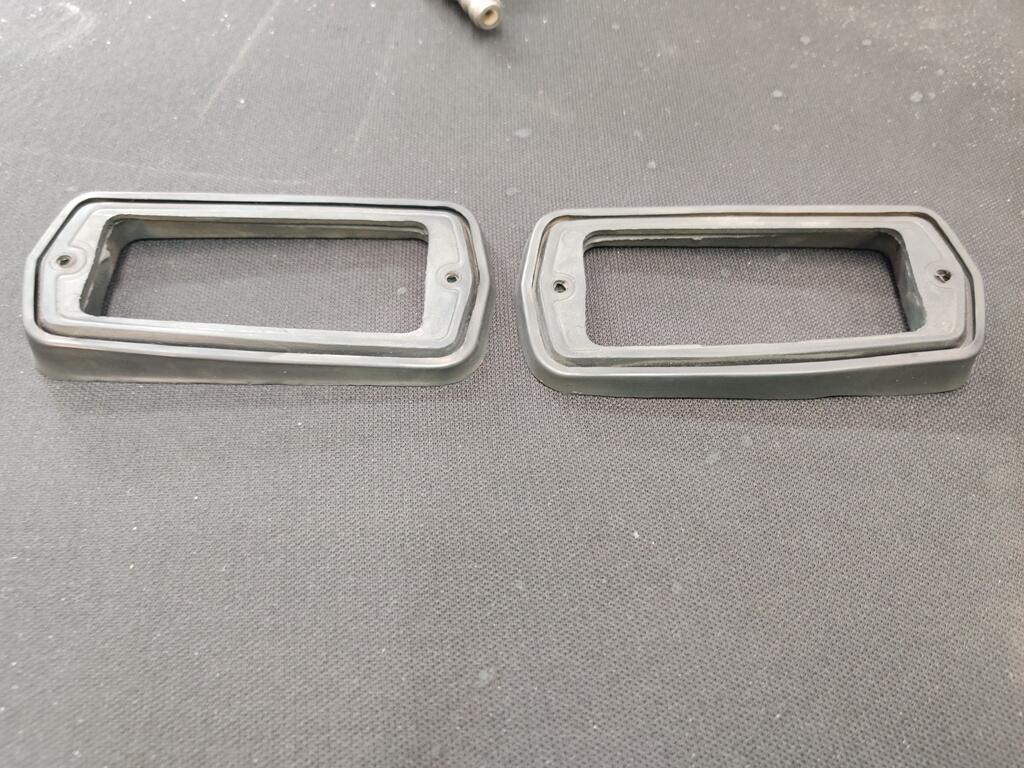
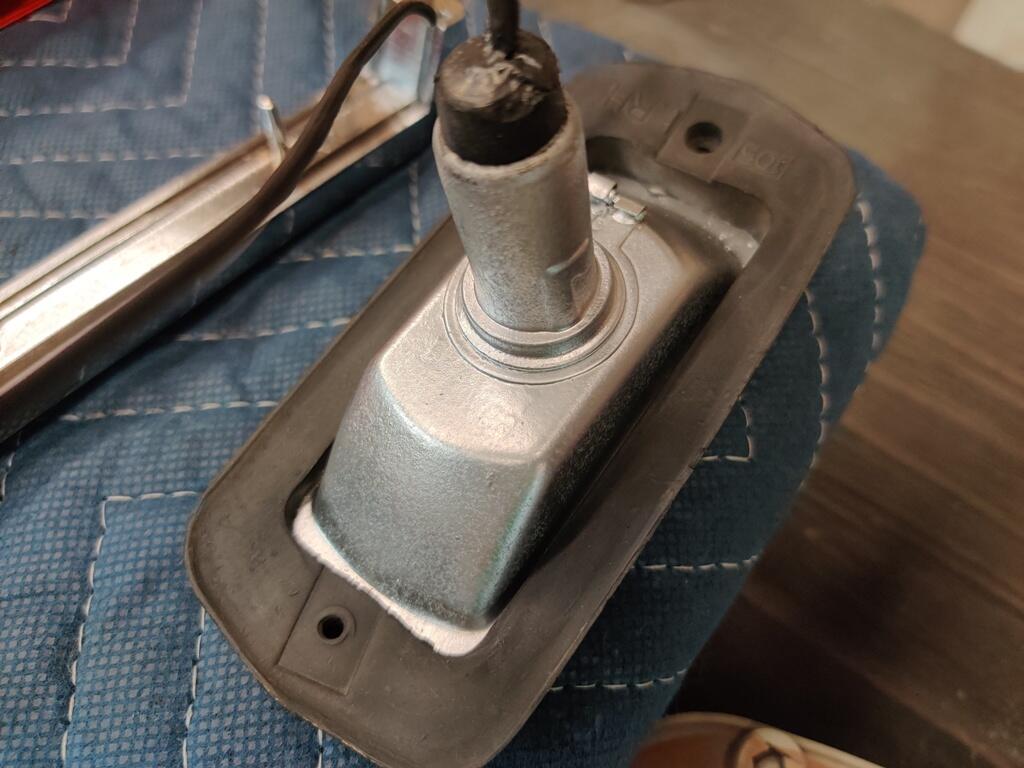
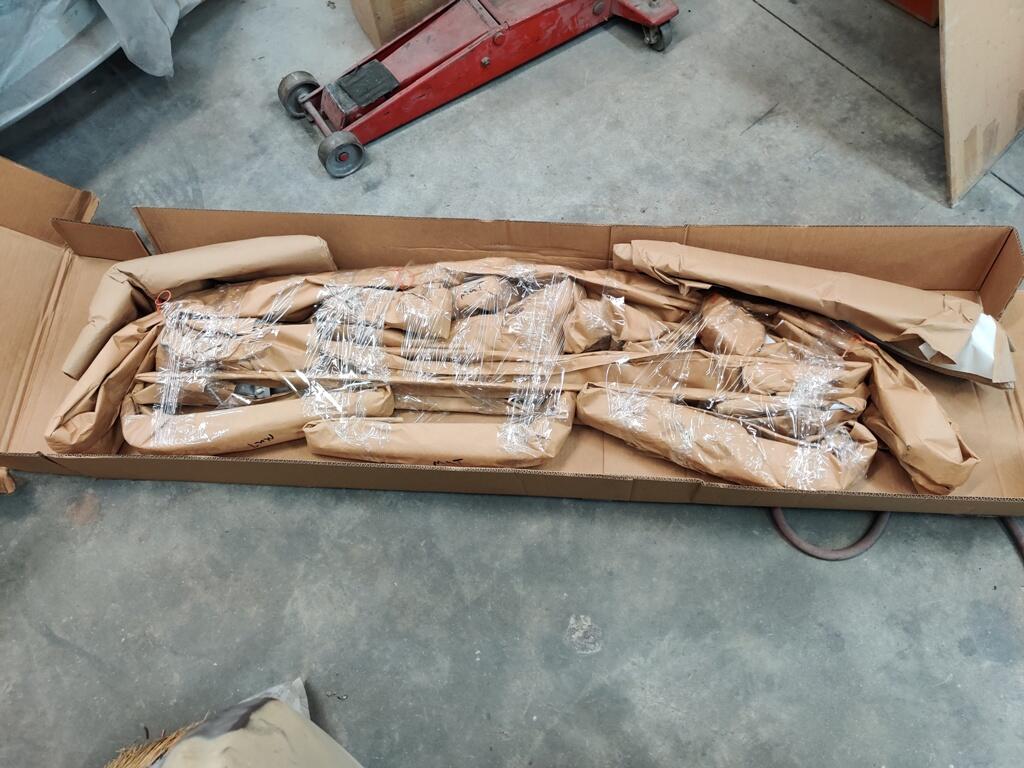
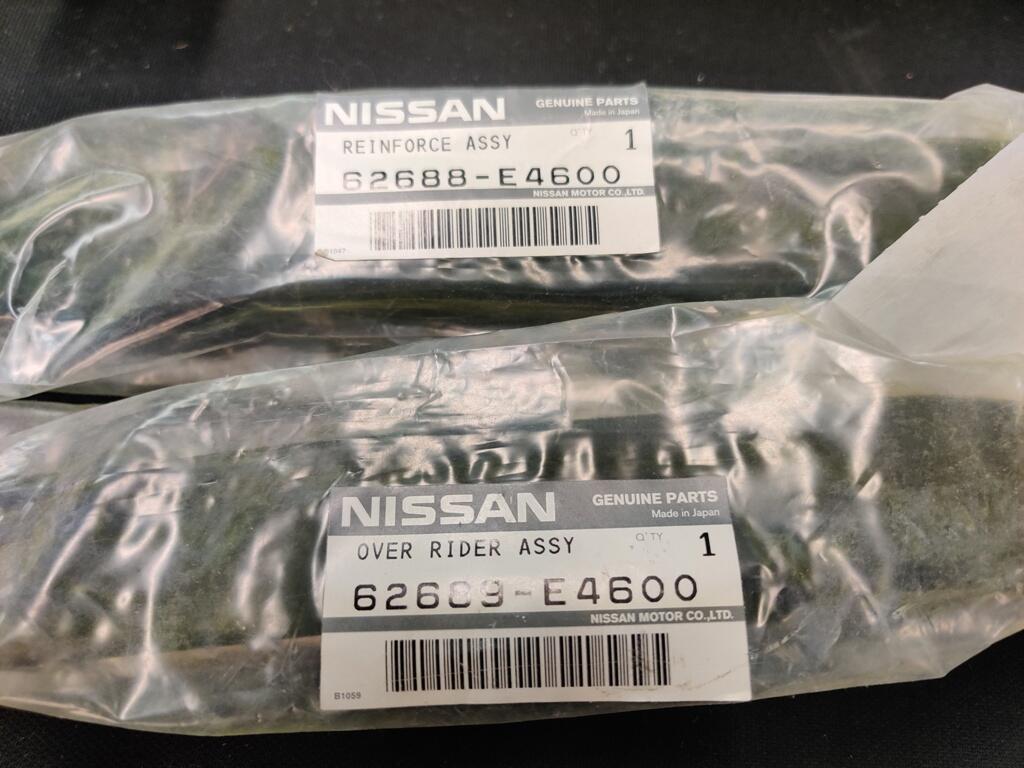
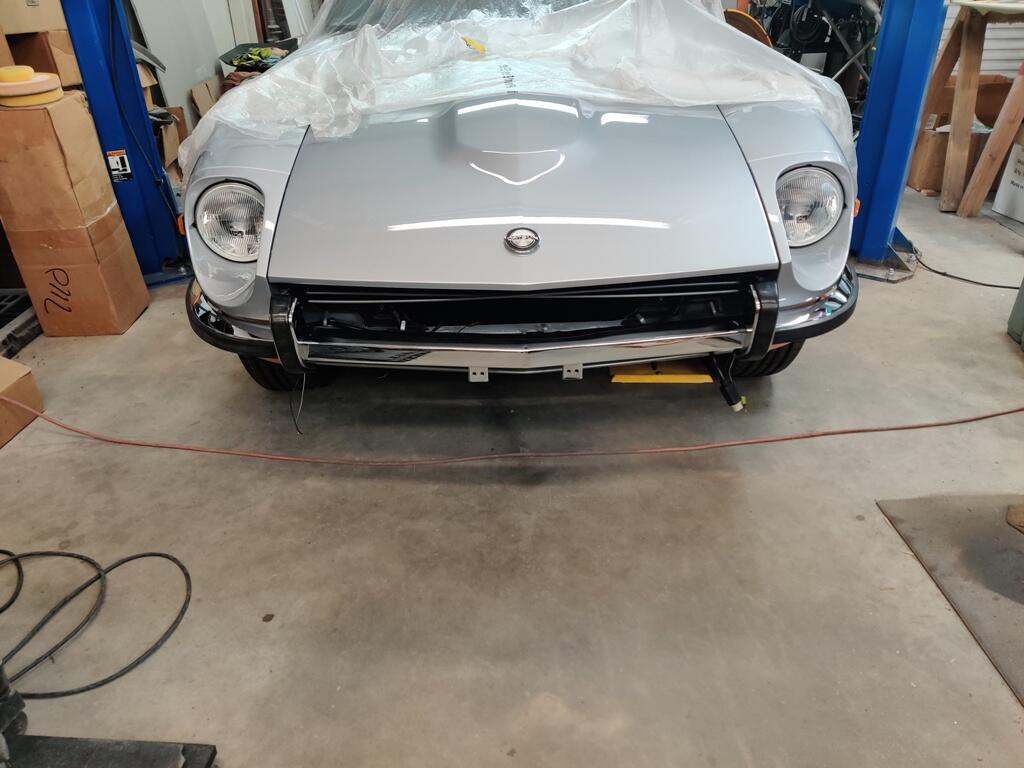
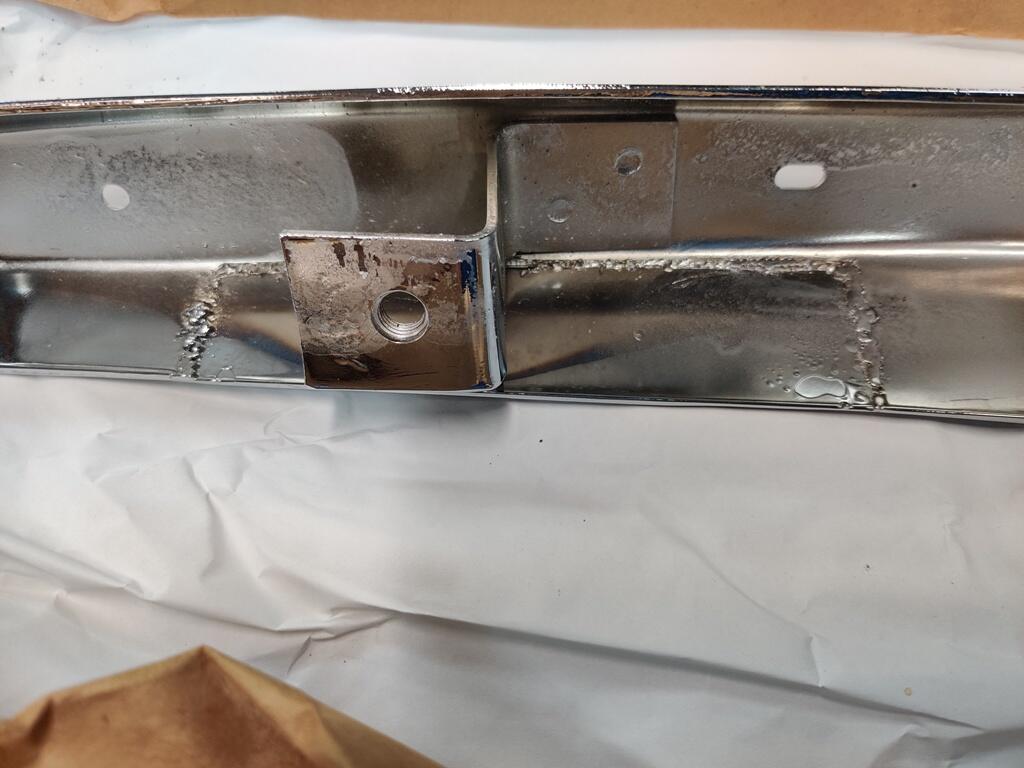
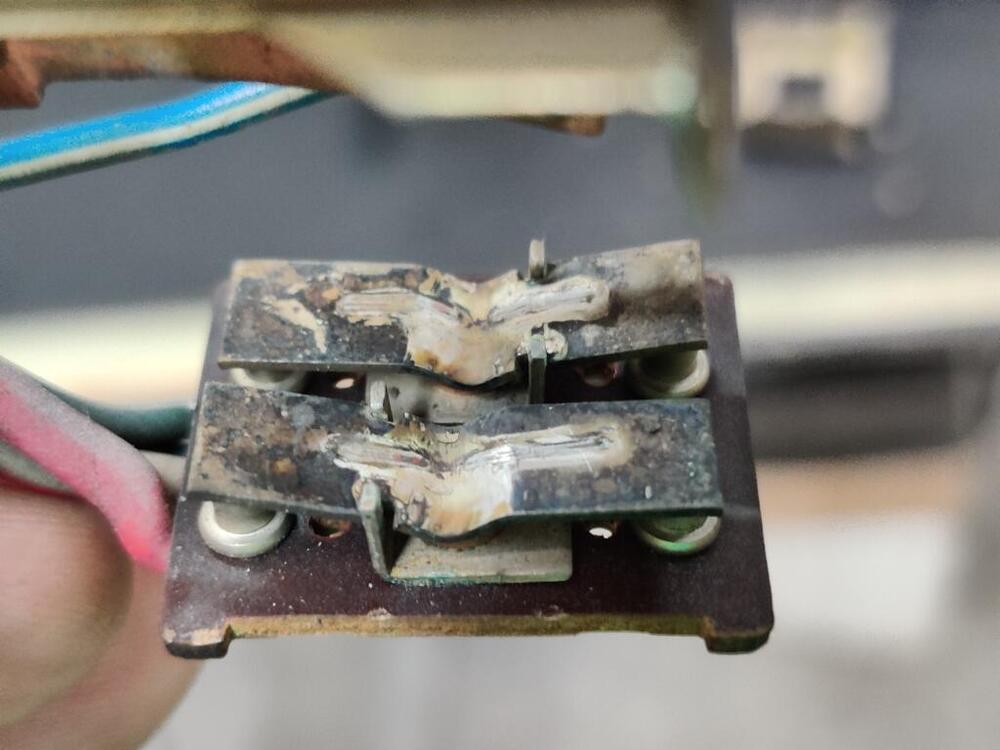
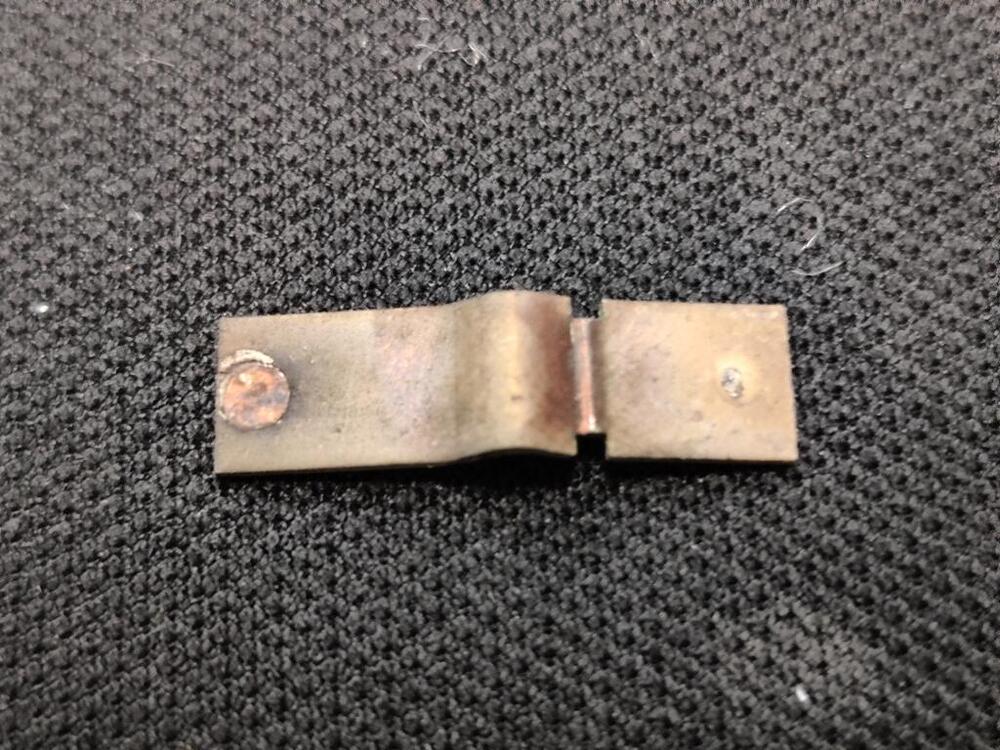
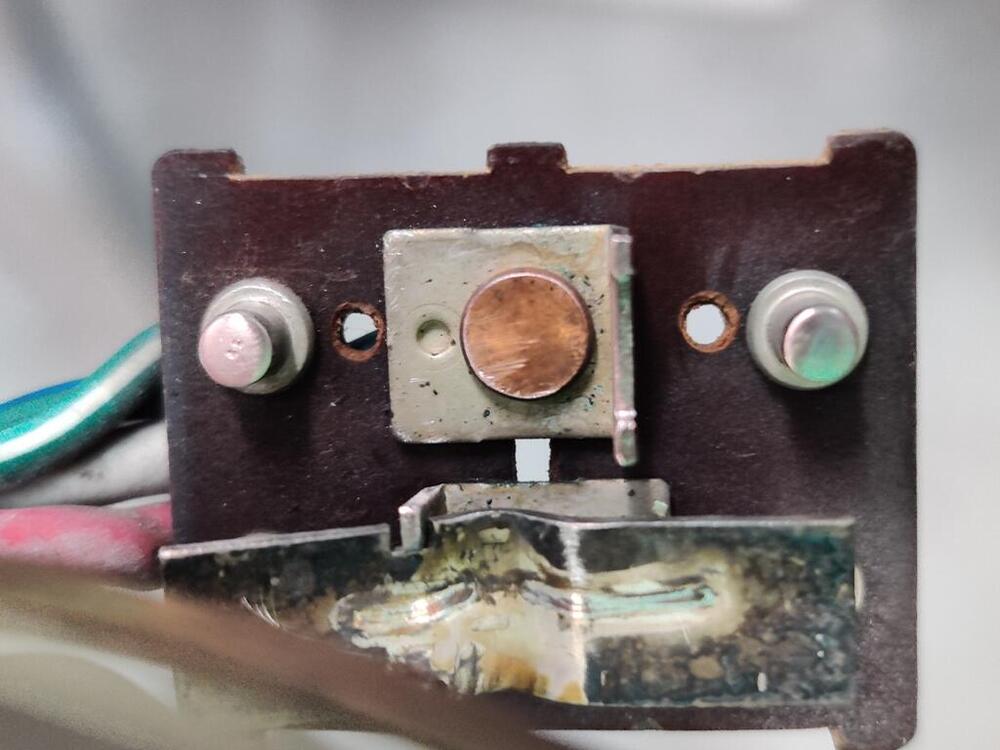
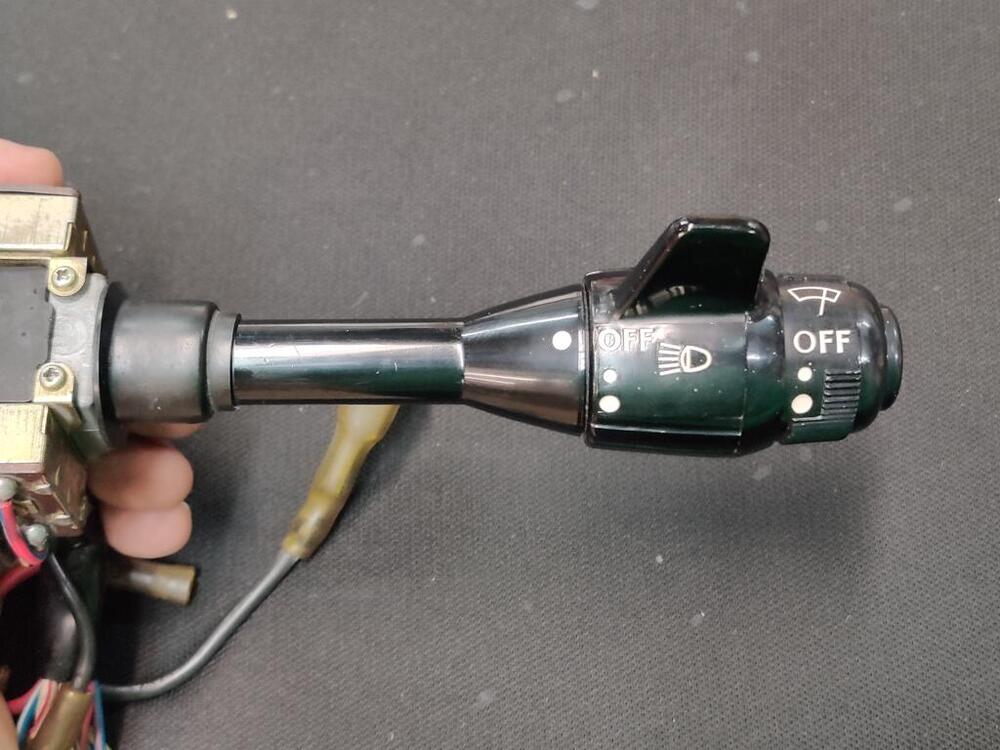
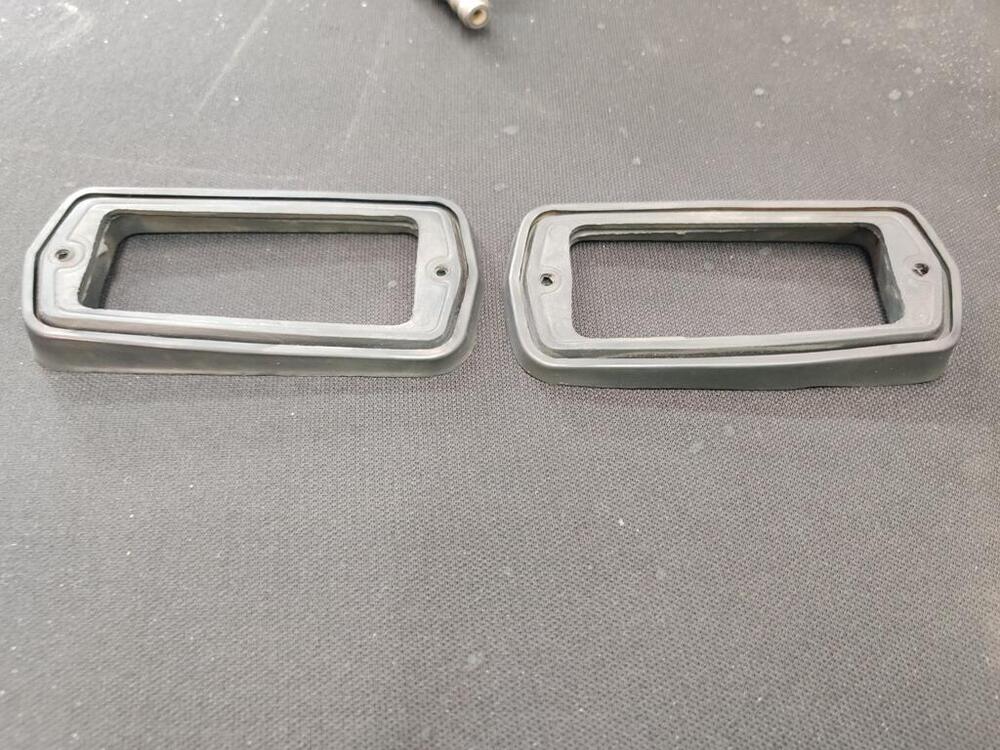
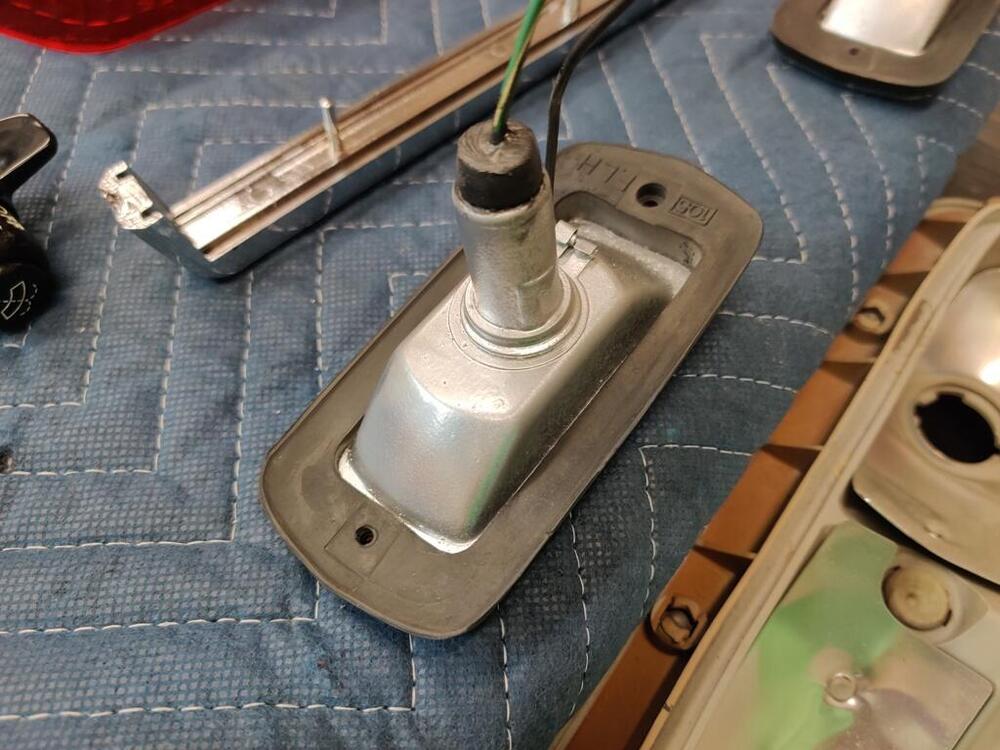
Today, the bumpers arrived back from Tri-City Plating. I spent some time putting the front one one together with some NOS factory rubber: Mock up: I am pleased with the results for the most part. I sent them one front and two rear bumpers, and one set of each, front and rear over riders. One of the rear bumpers was NOS and one of them was original to this car. The original one was damaged when the car was hit in the rear. The center section had a wicked twist in it, along with many dents, some deep scratches, etc. I spent a lot of hours working on it. I found that my hydraulic press was handy for some of that work. I got most of the twist out of it. And I got it relatively close to the same shape as the new old stock one. From talking to a few shops, it became clear to me that they have some expertise with straightening bumpers. So, I decided not to put more of my time into the center section, hoping that with the NOS center section also on hand, they could make the original one match its shape. That... didn't go well. I am not pleased with the final shape of it. I am glad I bought the NOS one and had it re-chromed as well. I am pleased with the work they did to that one. They did good work on the front bumper and the front and rear over riders as well. So, for this car, I have a complete set that are good quality. Inexplicably, on the NOS rear bumper ends, where I had asked them to fill in these half moon cutouts... they cut about a 6 inch long section out of one of them and welded in a replacement section to address this issue. And for the other bumper end, it appears that they stitch welded material into the half moon cut out until they had filled it with... weld. ??? I will share pictures of that nonsense when I put the rear bumper together and put it on the car. Other work I have done on the car this week included tear down and rebuild of the headlight/wiper steering column switch assembly and the turn signal stalk assembly. The electrical contacts for the headlight do wear. As I understand it, there is a high level of current going through the original circuit. I think tends to make arcing a thing on these contacts. For each, I removed the fulcrum portion, hit it with 600/1000/1500 sand paper grits and did the same with the "posts" they contact. Above, just getting started - you can see the depth of the "divot". Plastic parts were cleaned with soap and water and then buffed to restore some luster. I went through the turn signal lever assembly as well. I took it all apart, and removed any dirt and old grease. Then put it back together with new grease in appropriate areas, sanded down and repainted the turn signal stalk, etc. I also took apart all the side marker assemblies this week. I sanded and polished each plastic lens. I cleaned each stainless frame, straightened the areas where the screws contact them, and sanded/polished them as necessary to restore luster. For the front side marker light assemblies, for which, unlike the rear, the backsides are exposed to the elements, I also stole some rubber grommets from Datsun 510 rear side markers that I had on hand. I used those, as the original rubber seals disintegrated on these front assemblies long ago. Without these, water comes inside through the bulb socket backside. I used black silicone to ensure sealing of the transplanted seals here. And, I lightly glass beaded the backside of the front side market assemblies, primed and painted them silver to protect them from future corrosion. My preferred method for removing old paint from side marker gaskets is using the glass bead cablnet. Finished fronts:


 4 points
 -
2 pointsI am Seriously Disappointed that you had only 15 Fan Blades in stock! Pick up your game a bit!! 😂😂😂2 points
-
2 pointsSo it looks like I have about ten 8 blade and only four 7 blade fans. Seems to me I have an 8 blade in my 70 with a stock radiator and a metal shroud. Works well. I will PM the pictures and discuss a possible transaction there.2 points
-
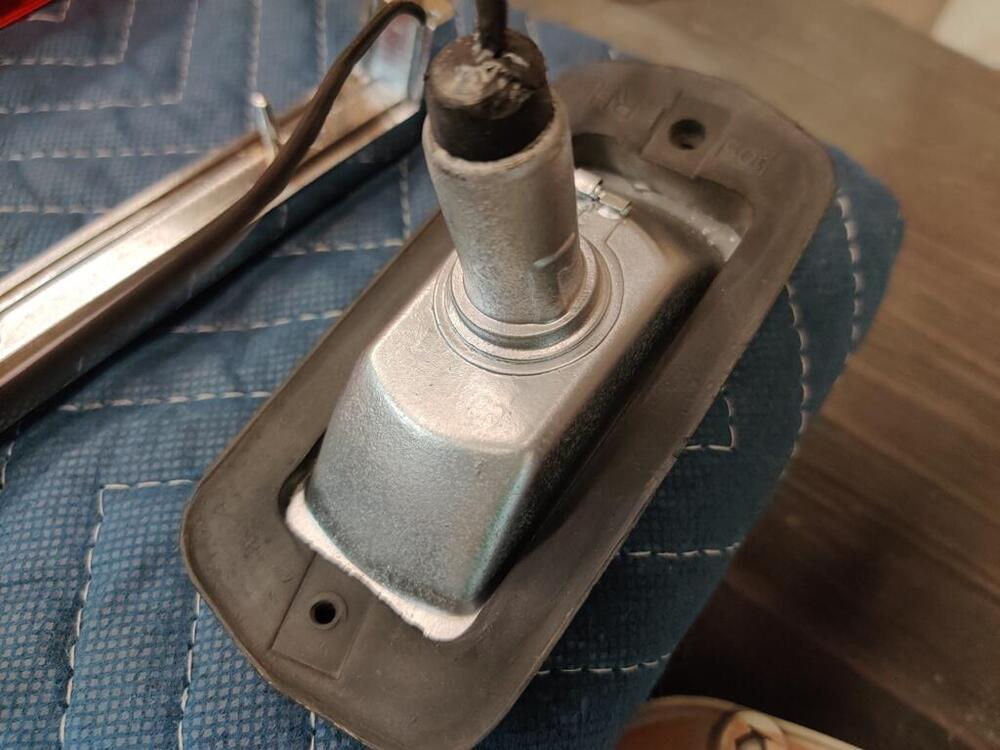
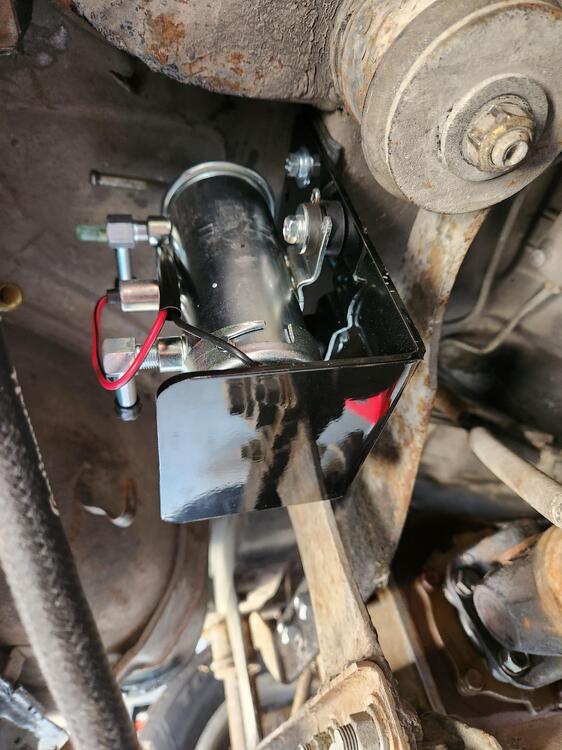
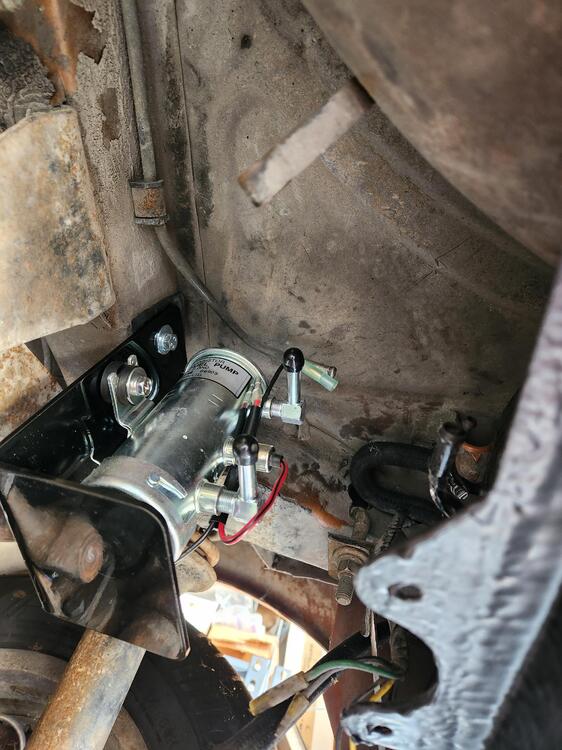
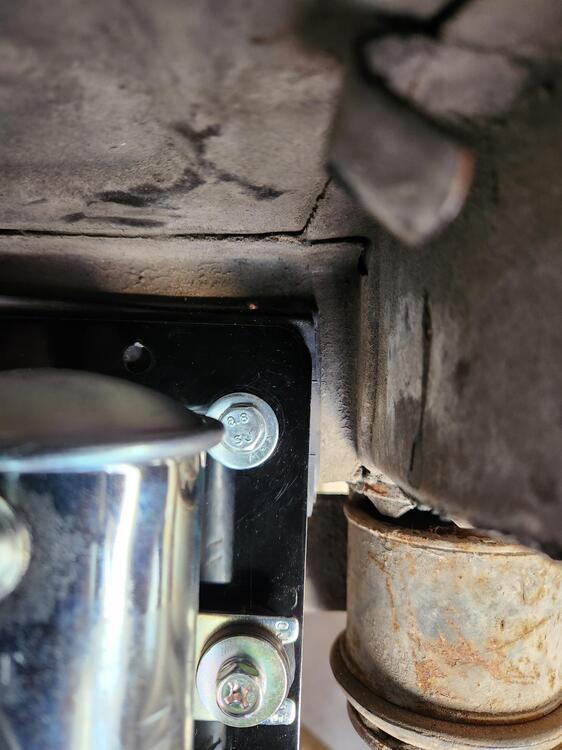
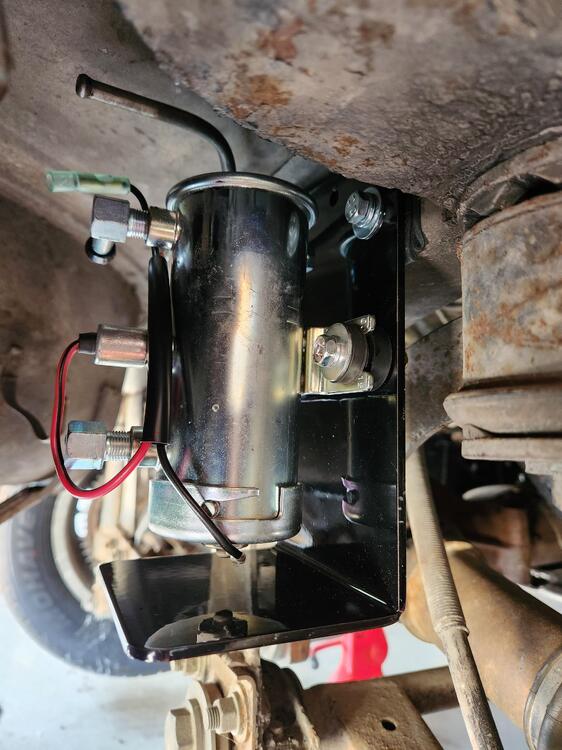
I finally got around to sliding back under the car to take pictures.


 1 point
 -
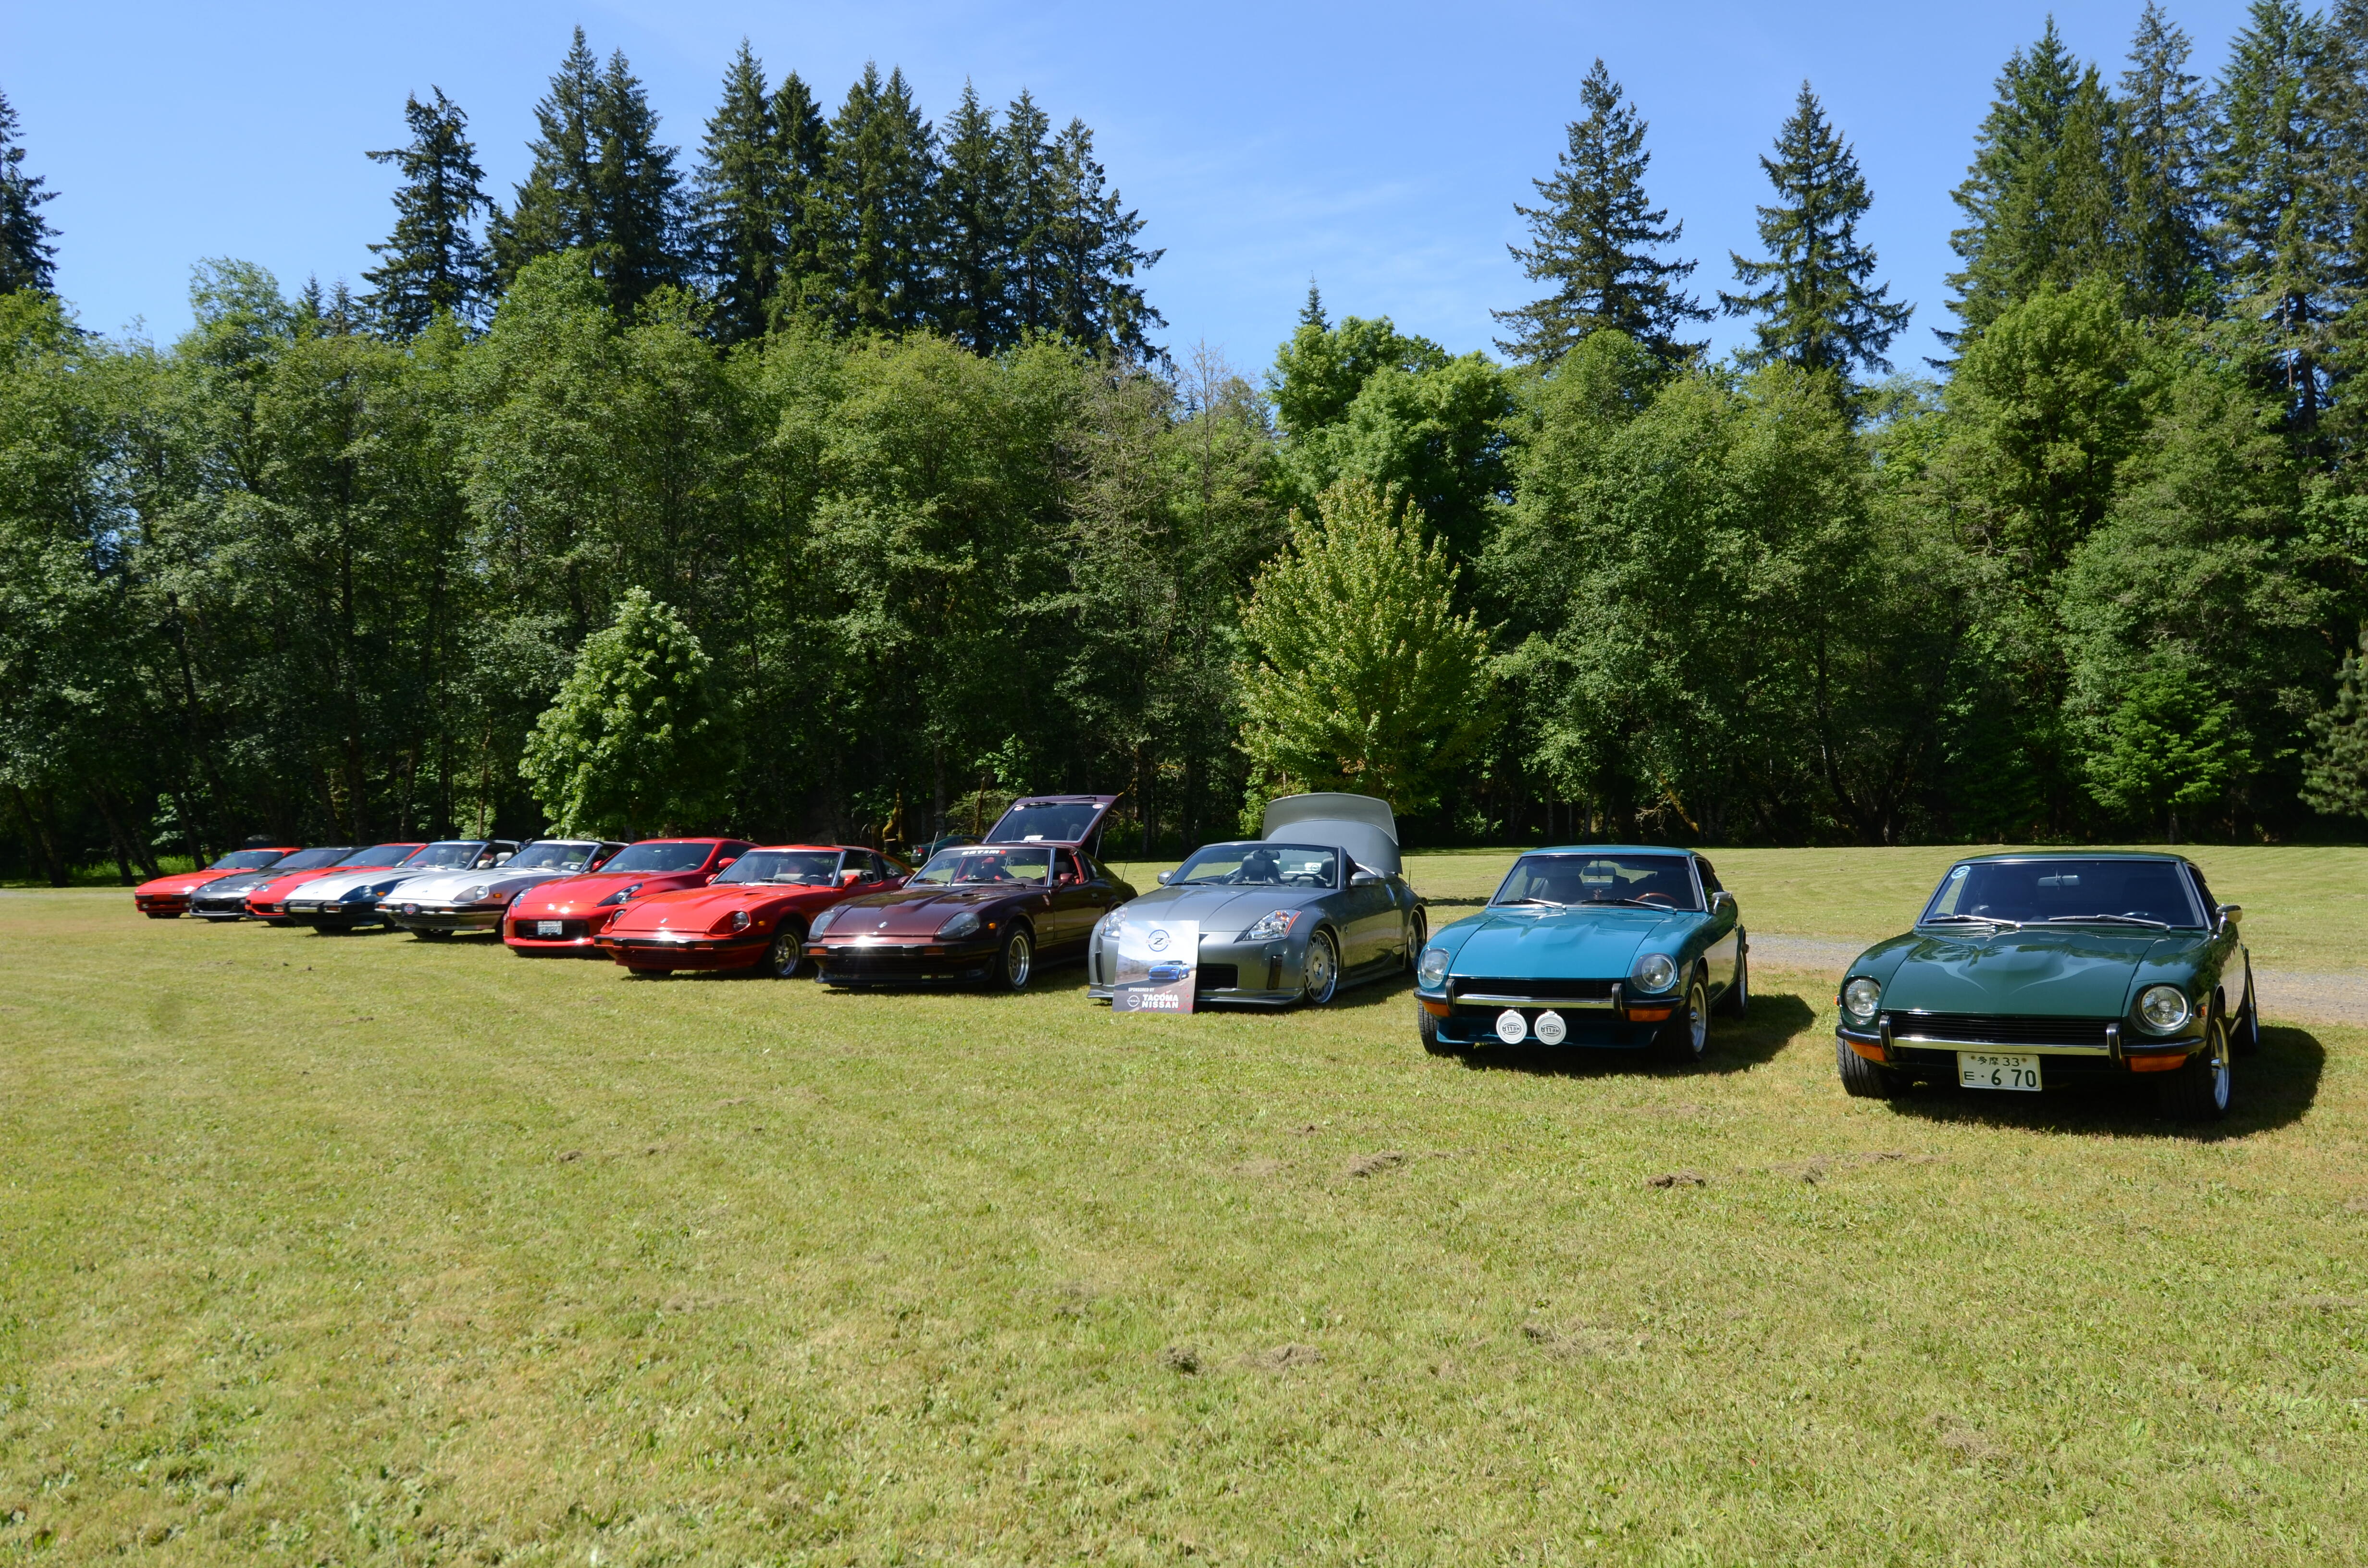
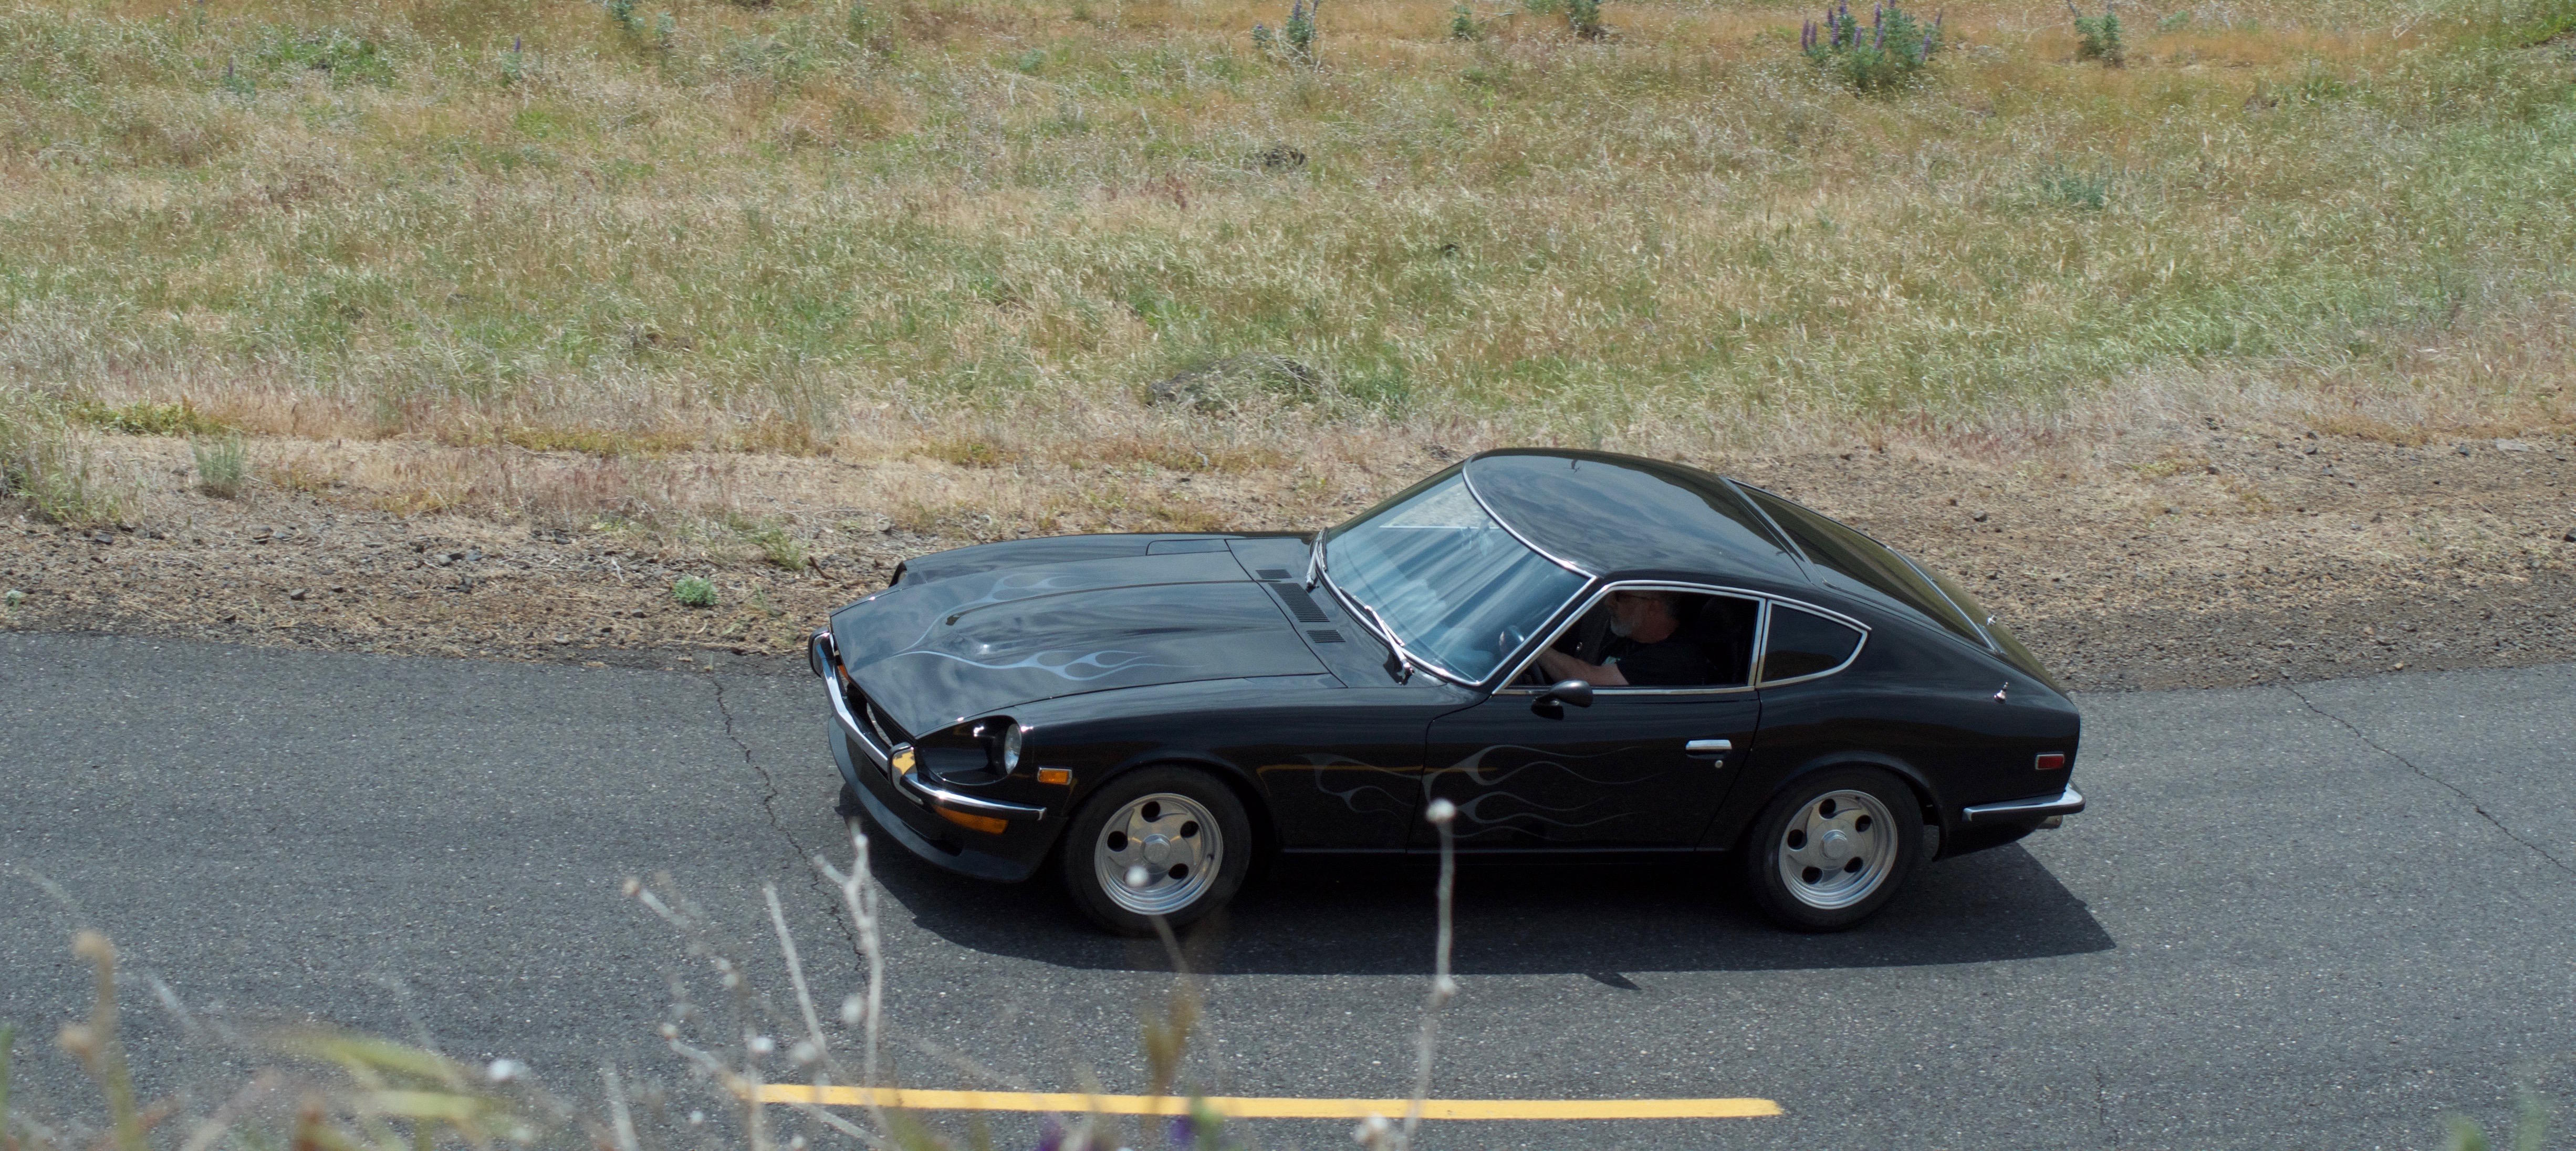
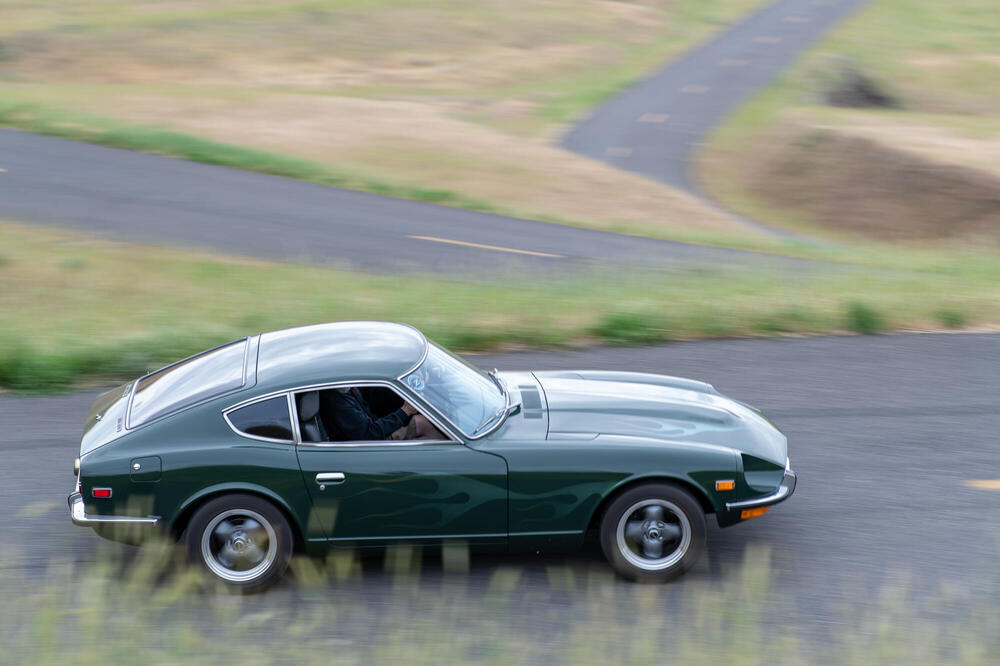
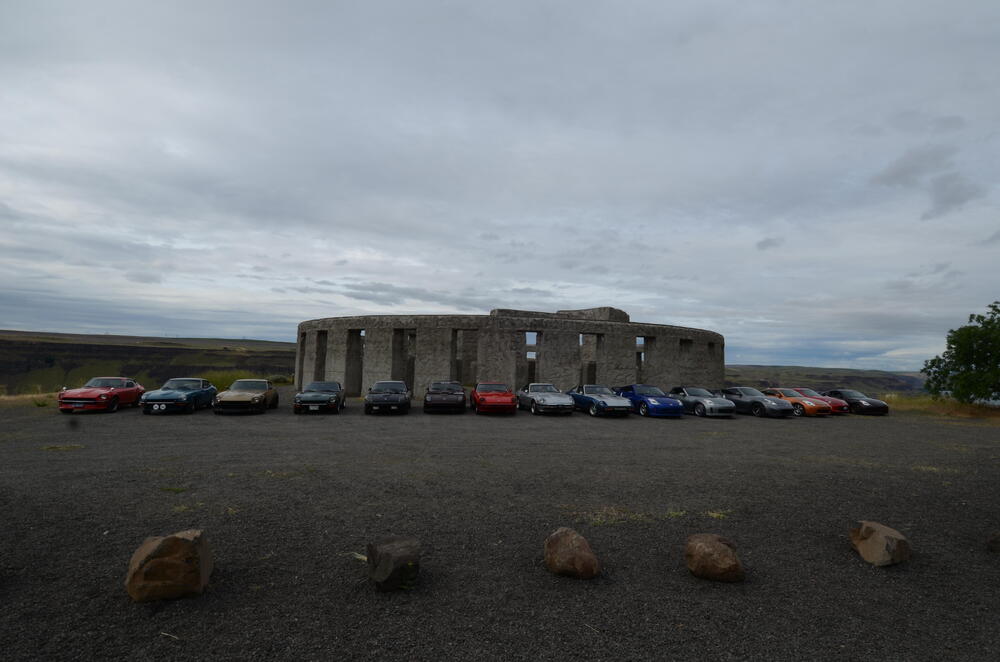
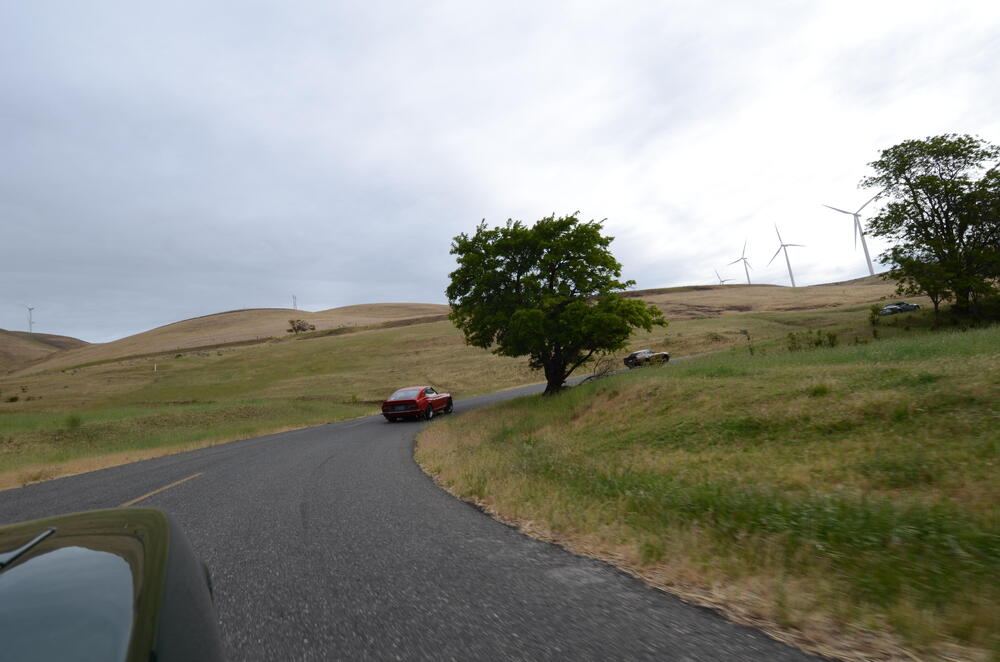
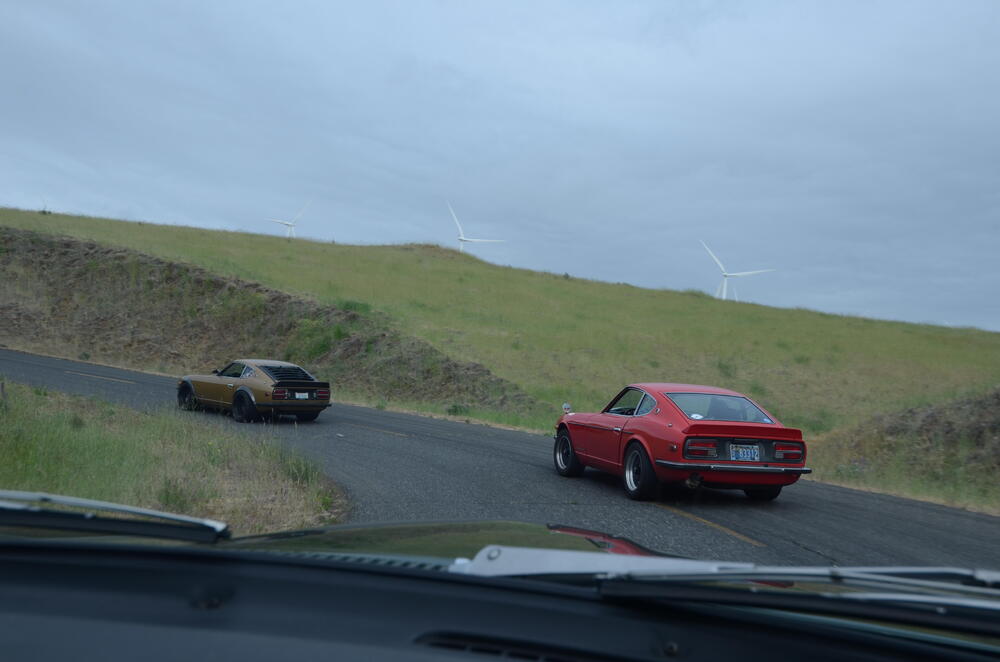
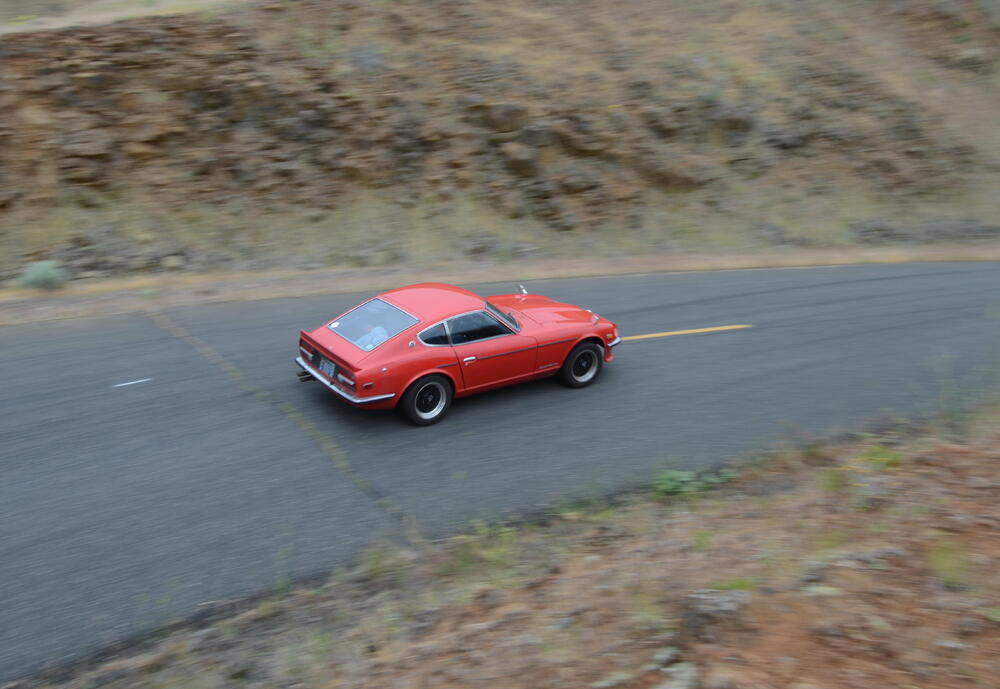
1 pointI don't see to many "drive" posts on the forum, it seems to be more technical. I thought I might add a post from a recent ZCCW drive. We rent out Maryhill Loops Rd. and drive up and down all day with no worries of cars coming the other way or the like. A fun weekend for sure. https://www.maryhillmuseum.org/outside/historic-maryhill-loops-road Skate boarder's fly down and cars fly up. Interesting story about the origin it in the post above. Here are a few pic's and one video from the weekend. Out there having a blast in my 6/70 driver. We normally only have one car at time, but I talked the officers into letting me follow the other early (71) S30 up the road for a video shot. Reuel and I going up.mov


 1 point
 -
1 point