Leaderboard
-
conedodger
Free Member5Points12,513Posts -
grannyknot
Free Member4Points5,158Posts -
Patcon
 Subscriber
 3Points11,142Posts
 -
inline6
Subscriber3Points1,282Posts


Popular Content
Showing content with the highest reputation on 03/20/2024 in all areas
-
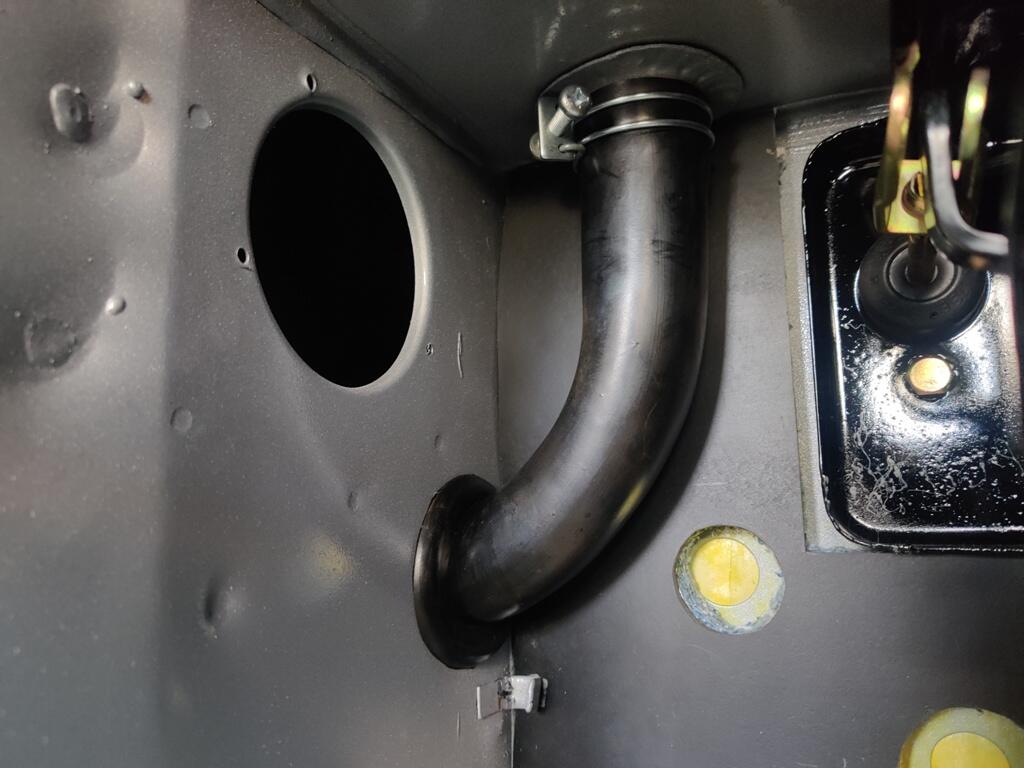
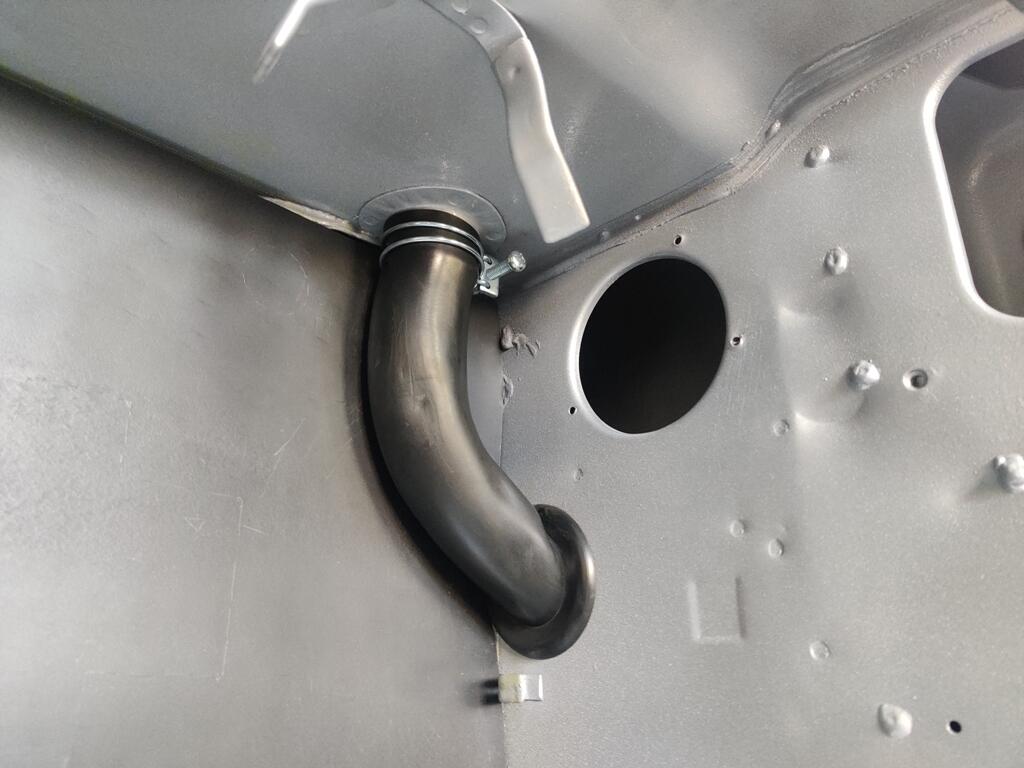
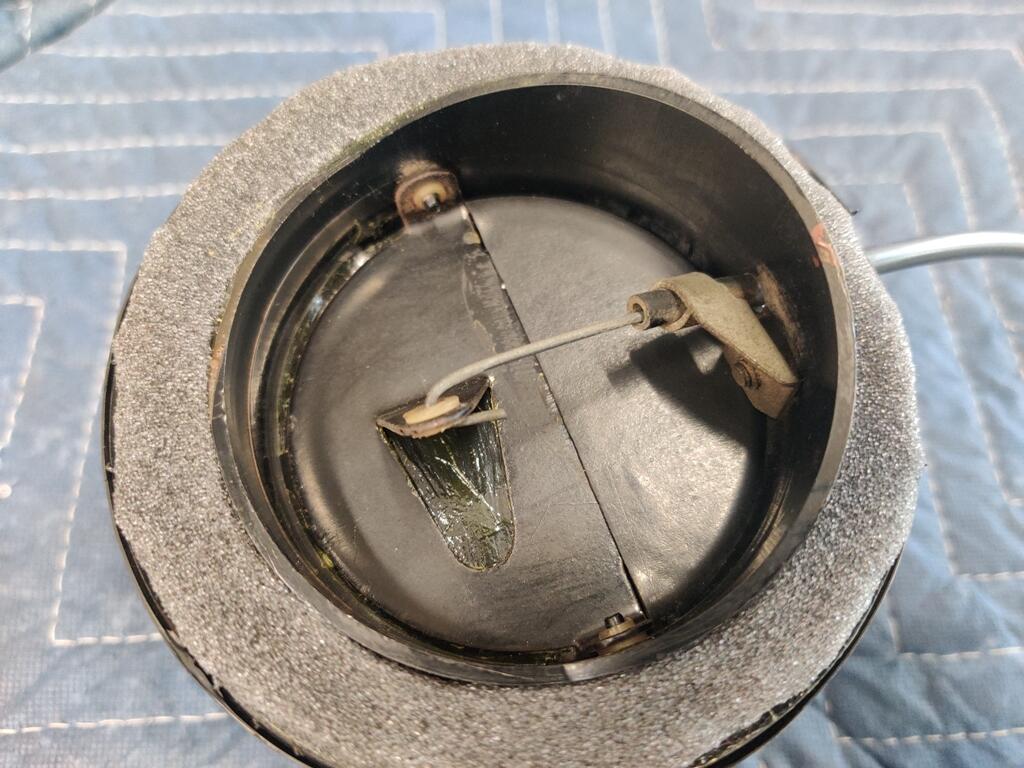
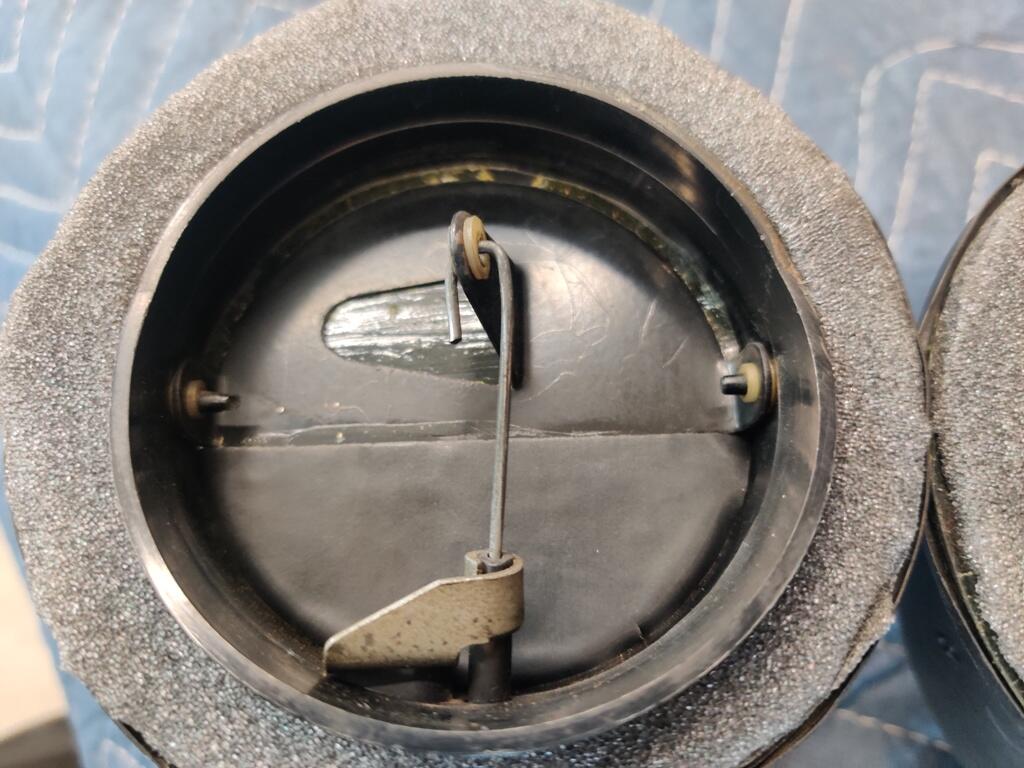
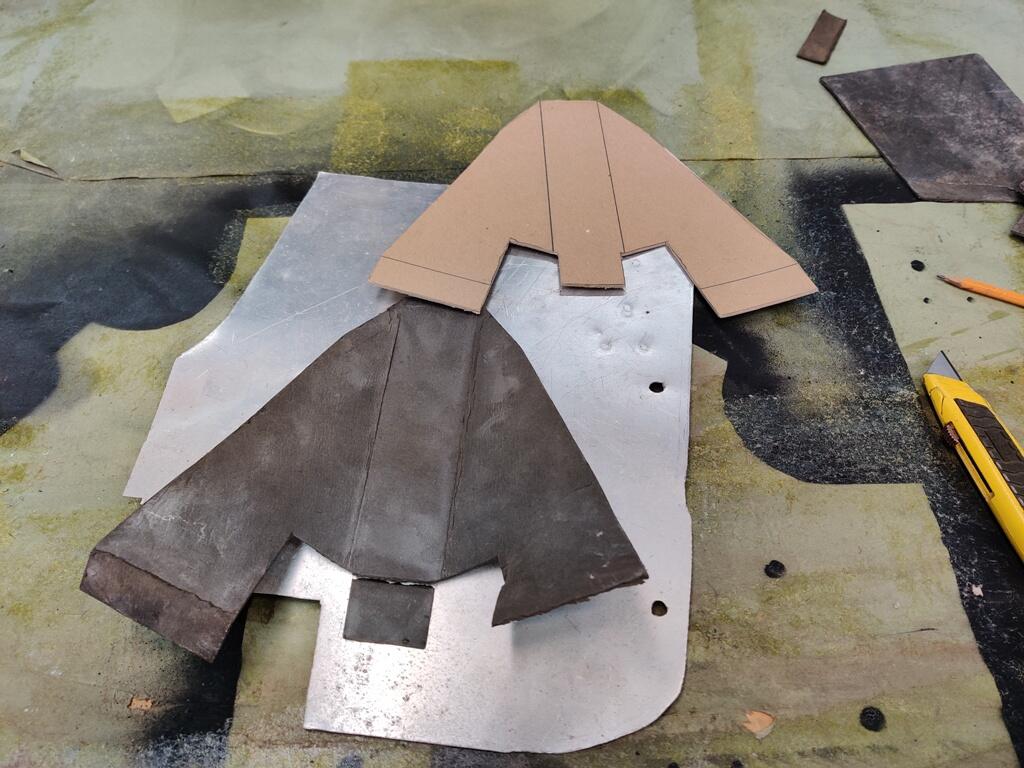
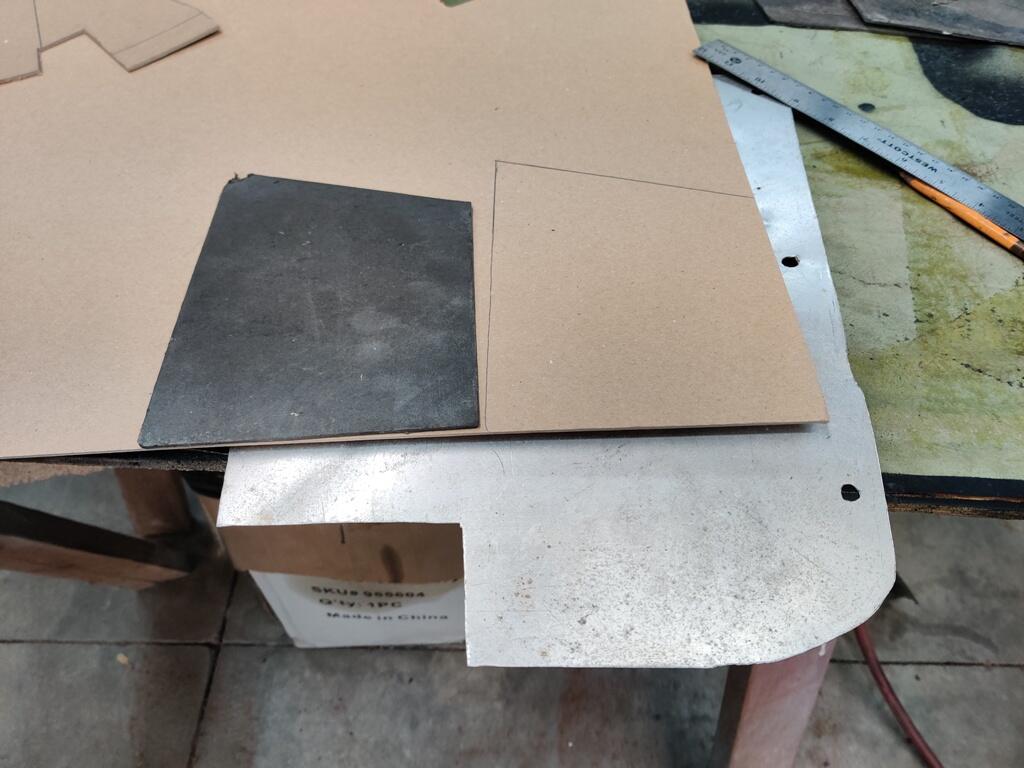
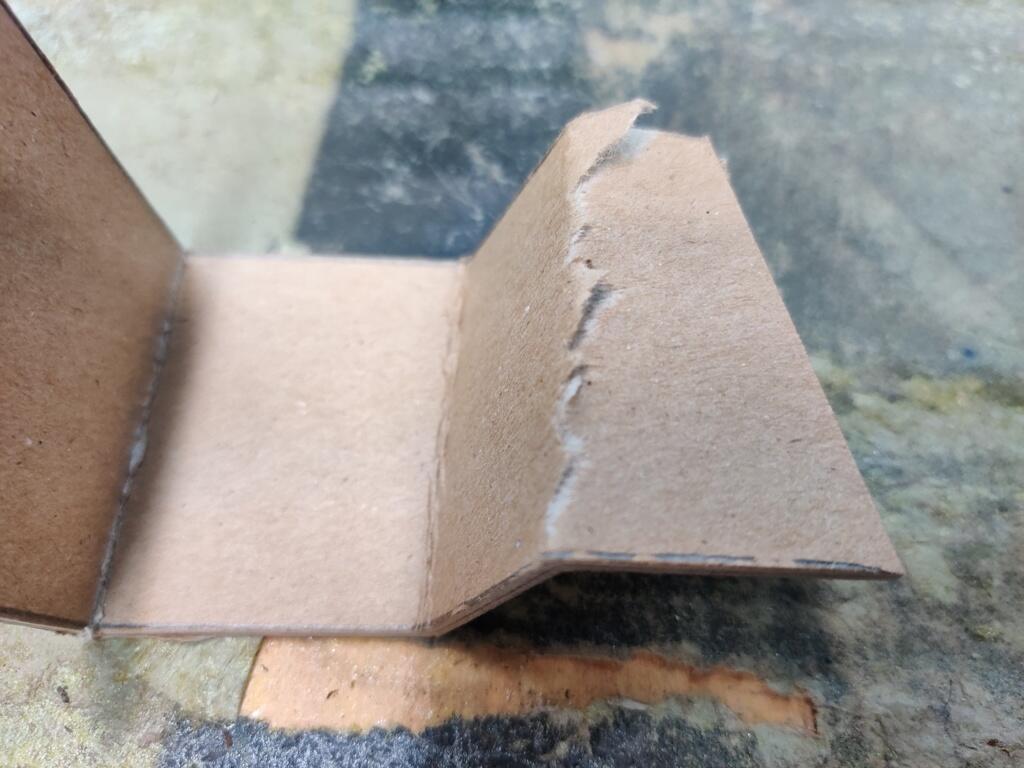
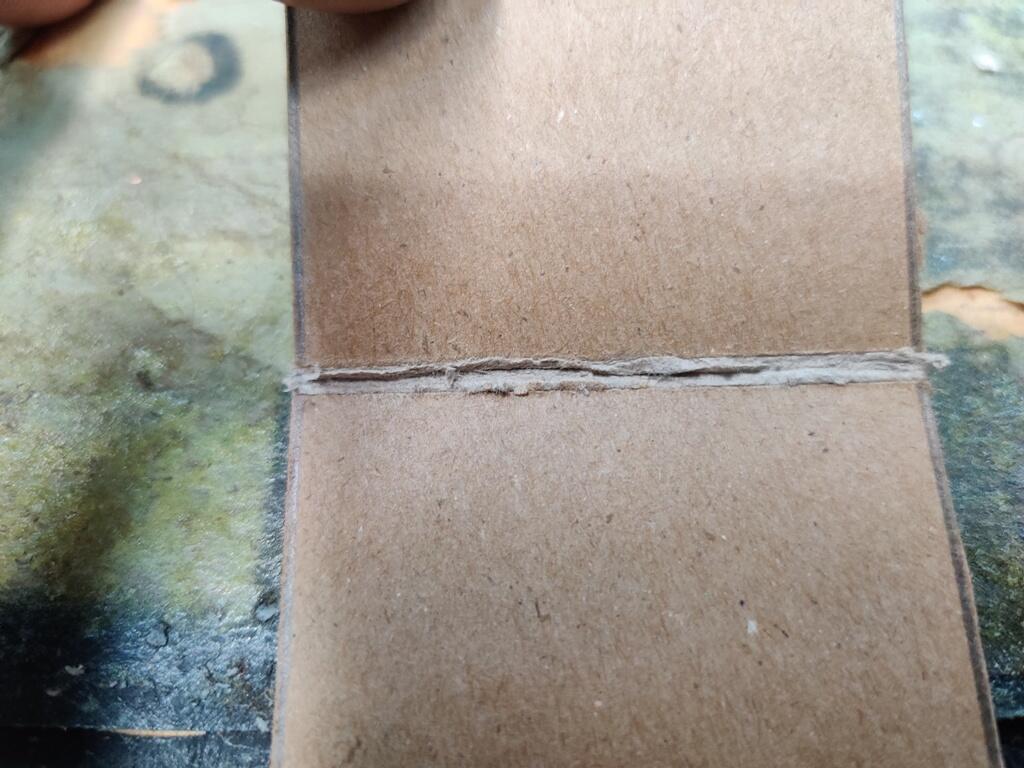
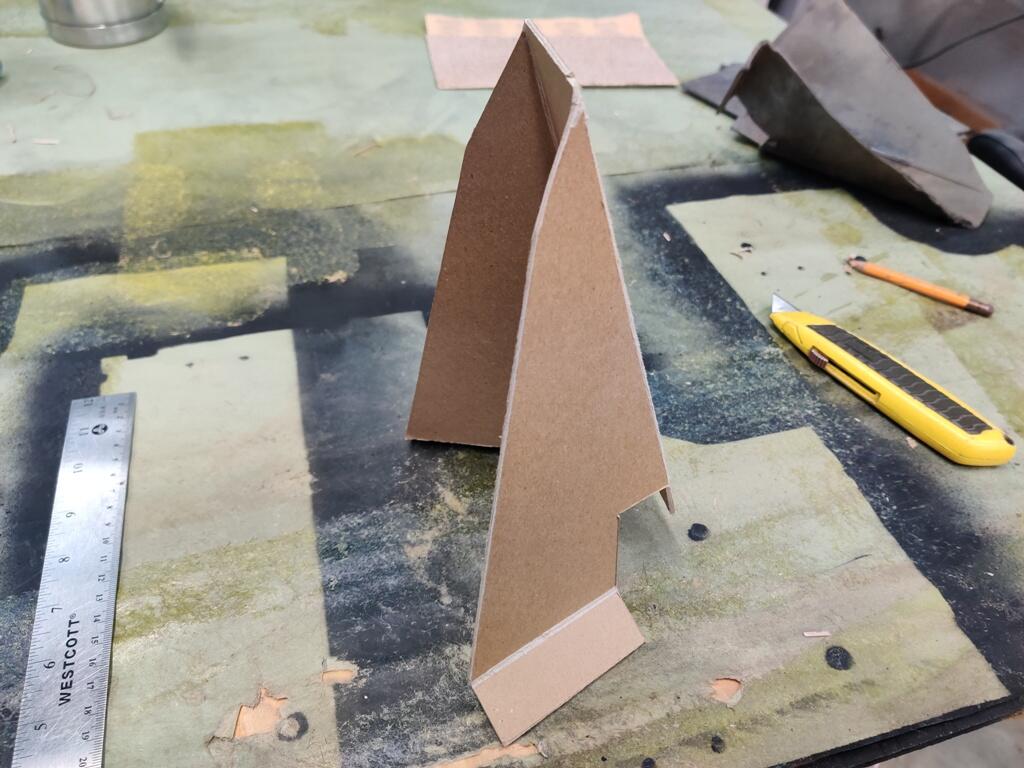
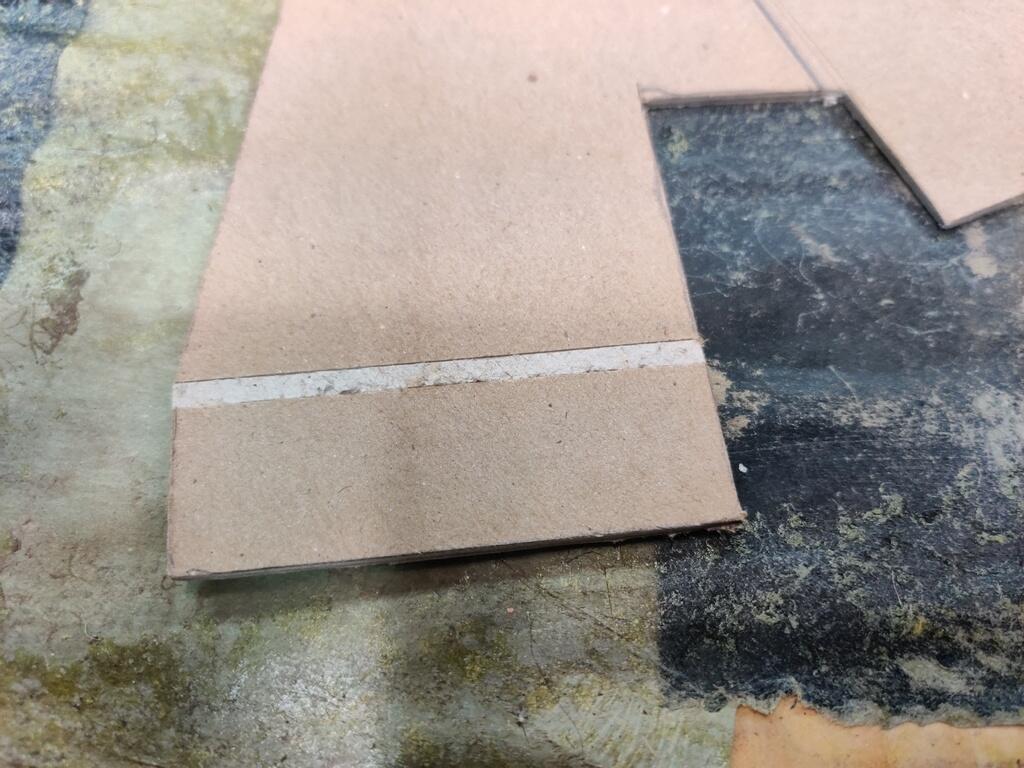
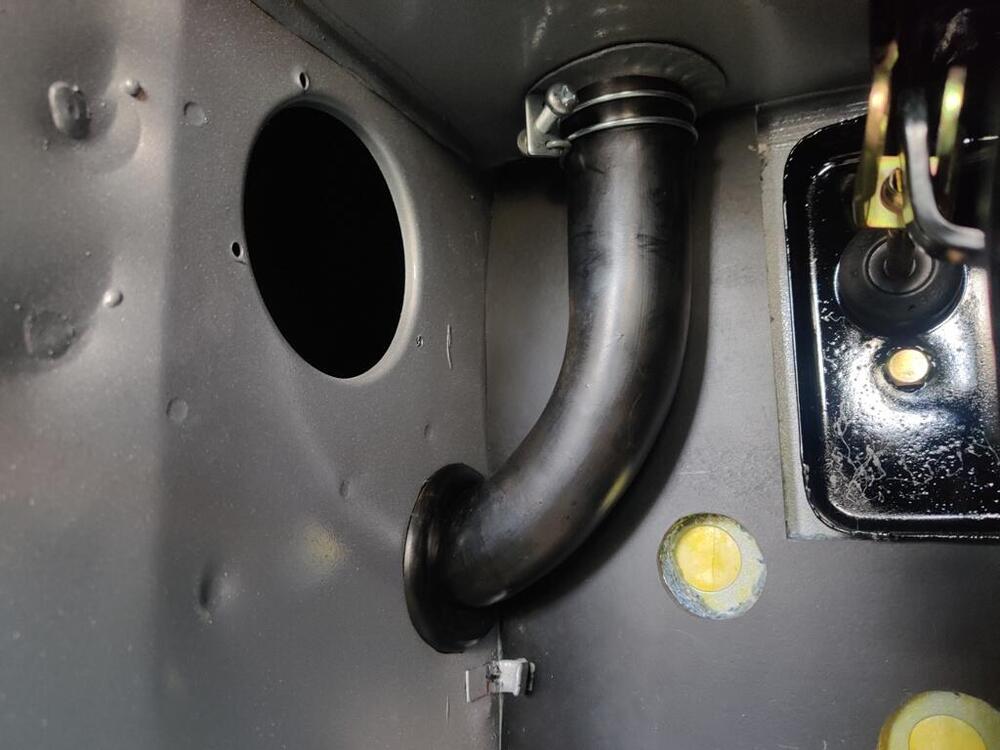
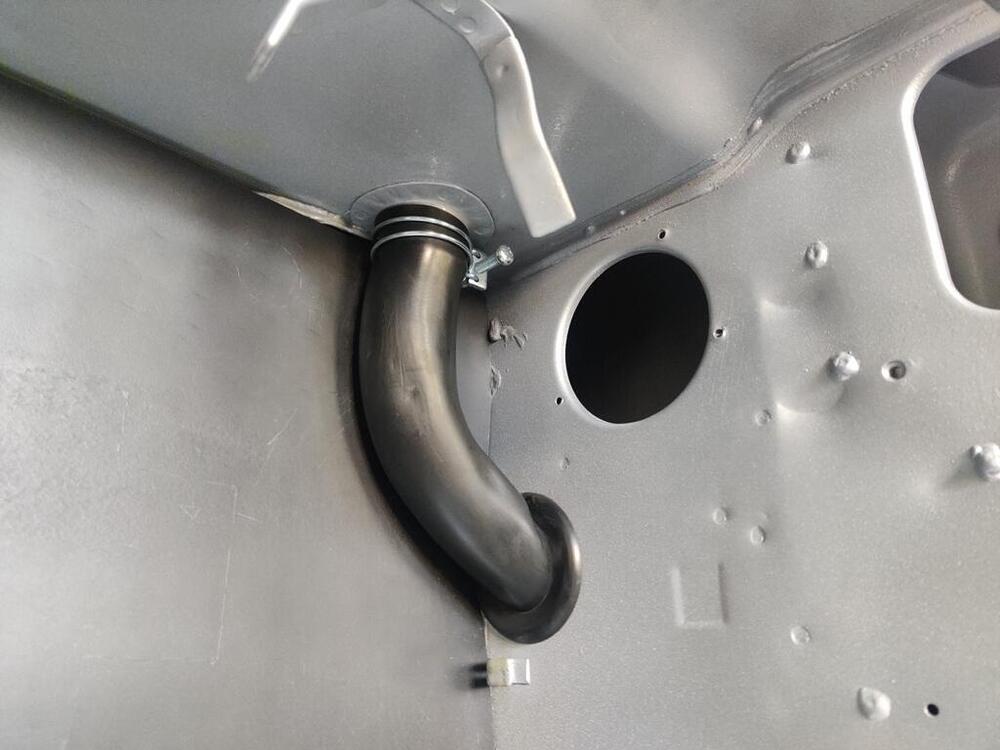
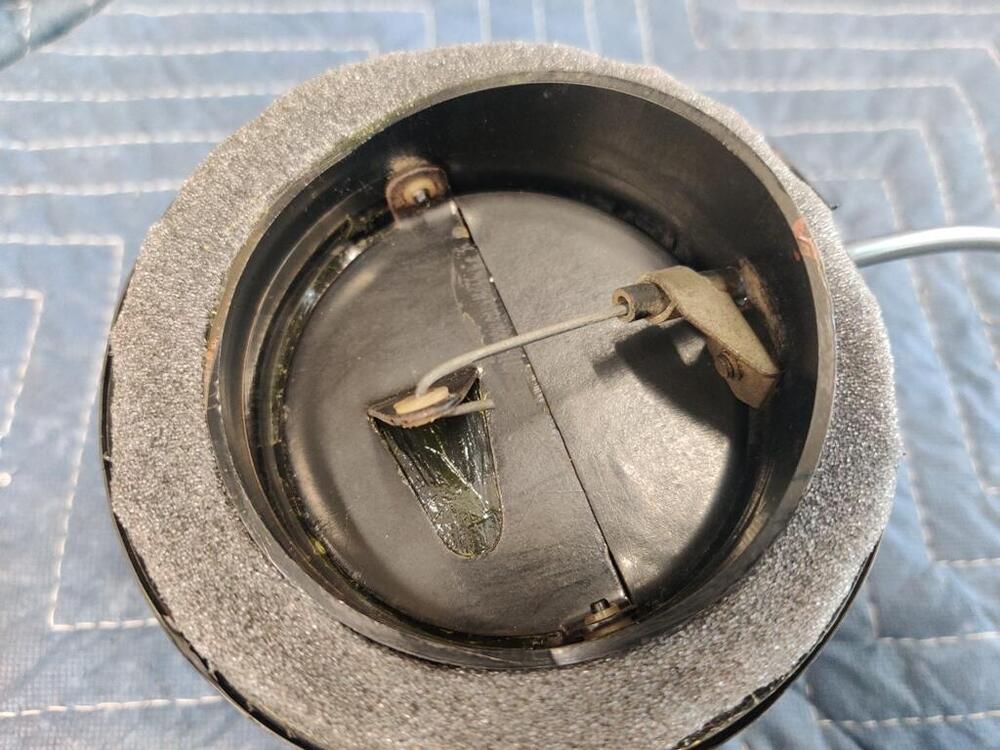
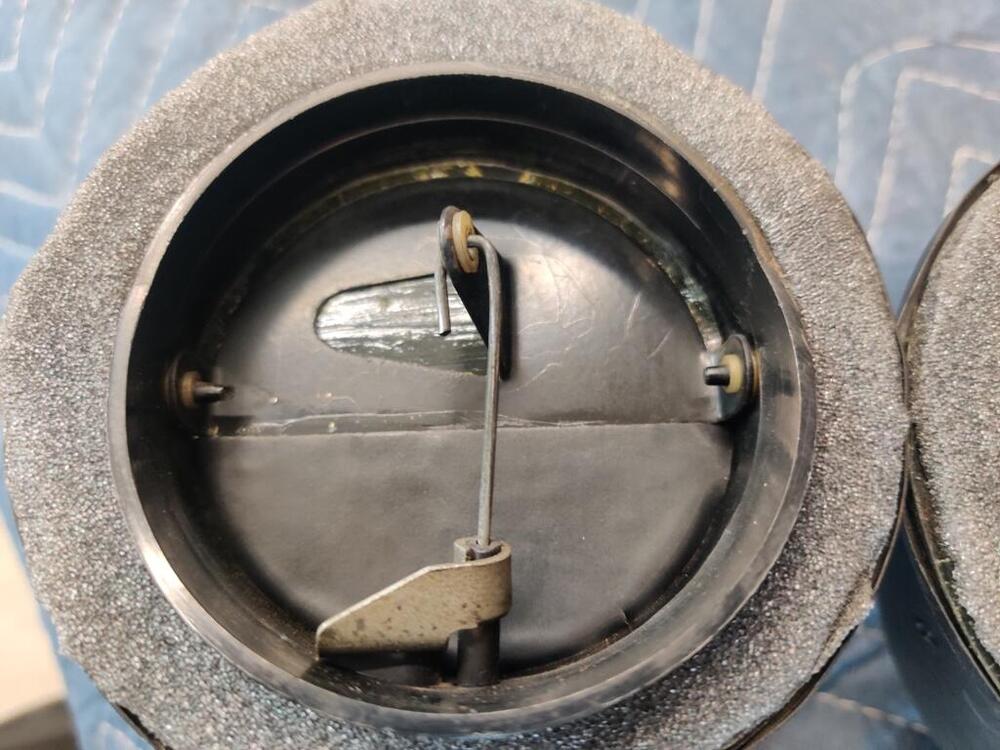
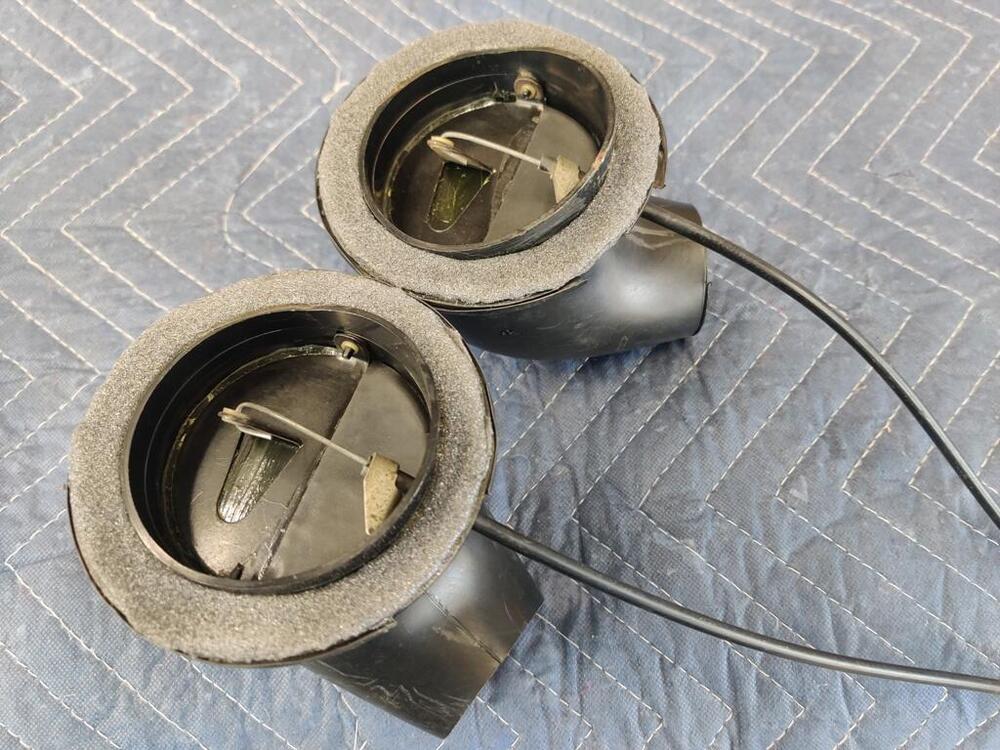
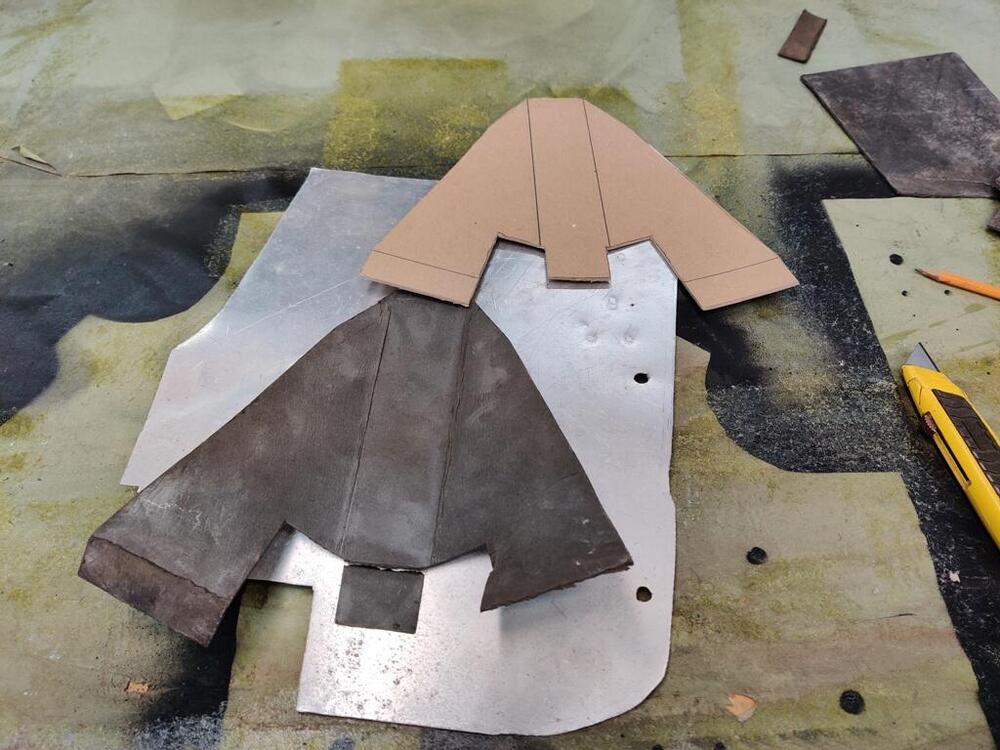
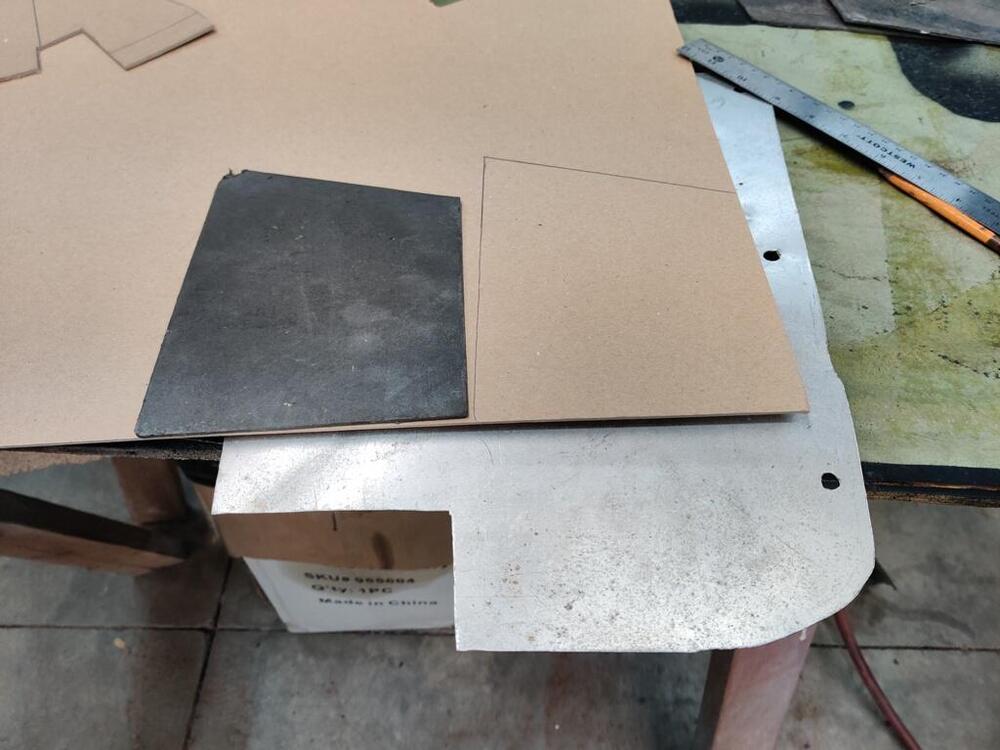
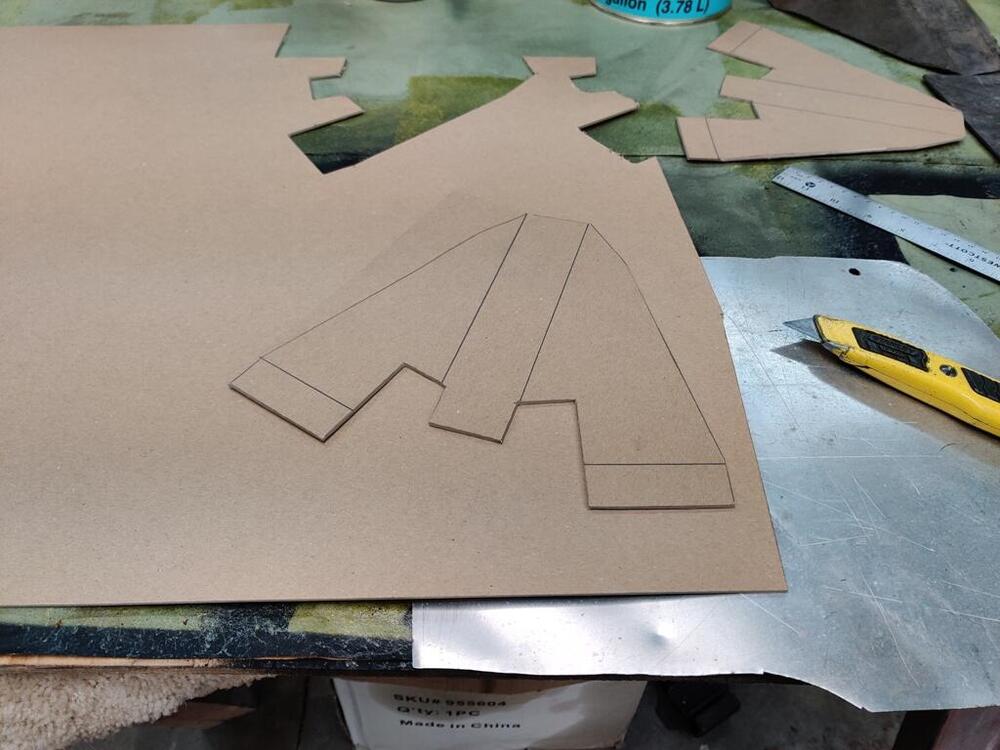
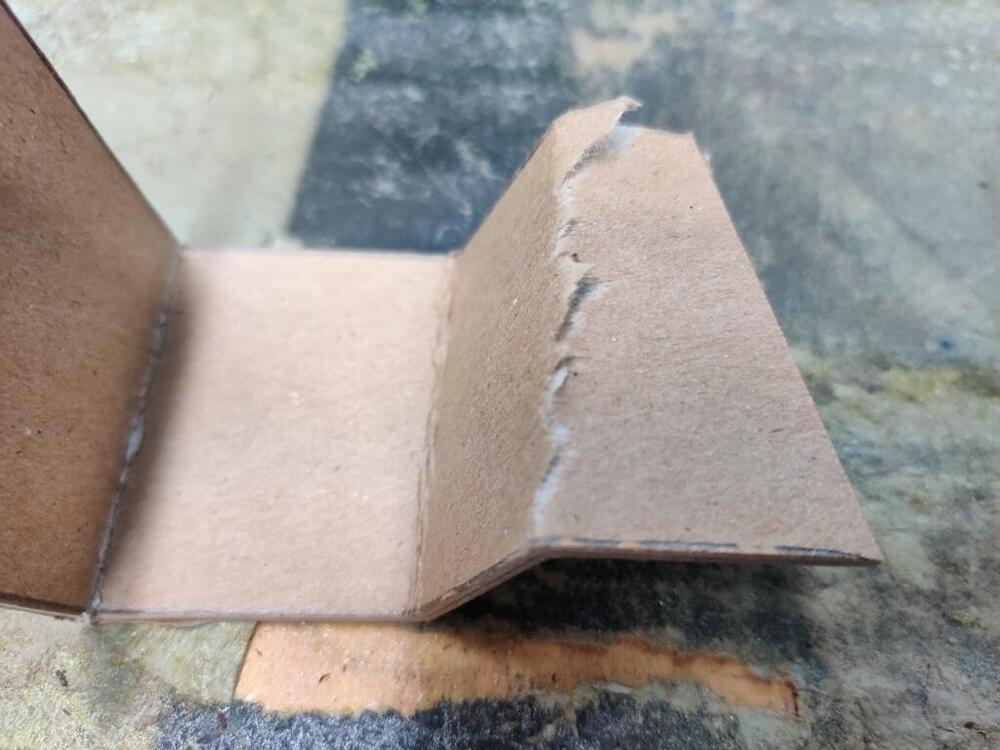
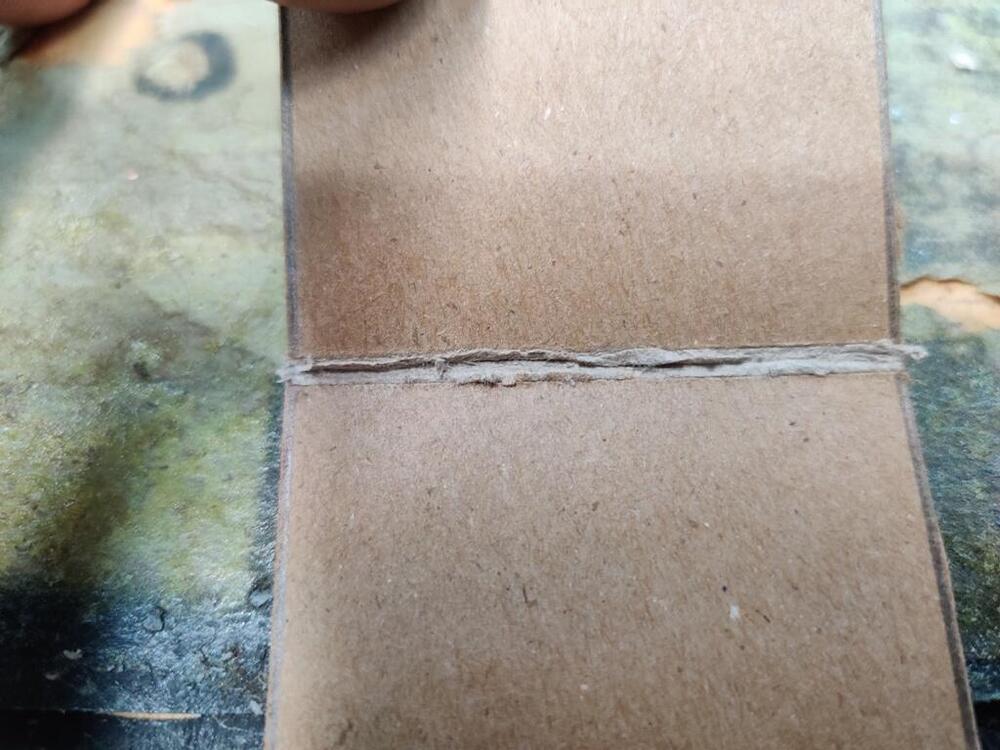
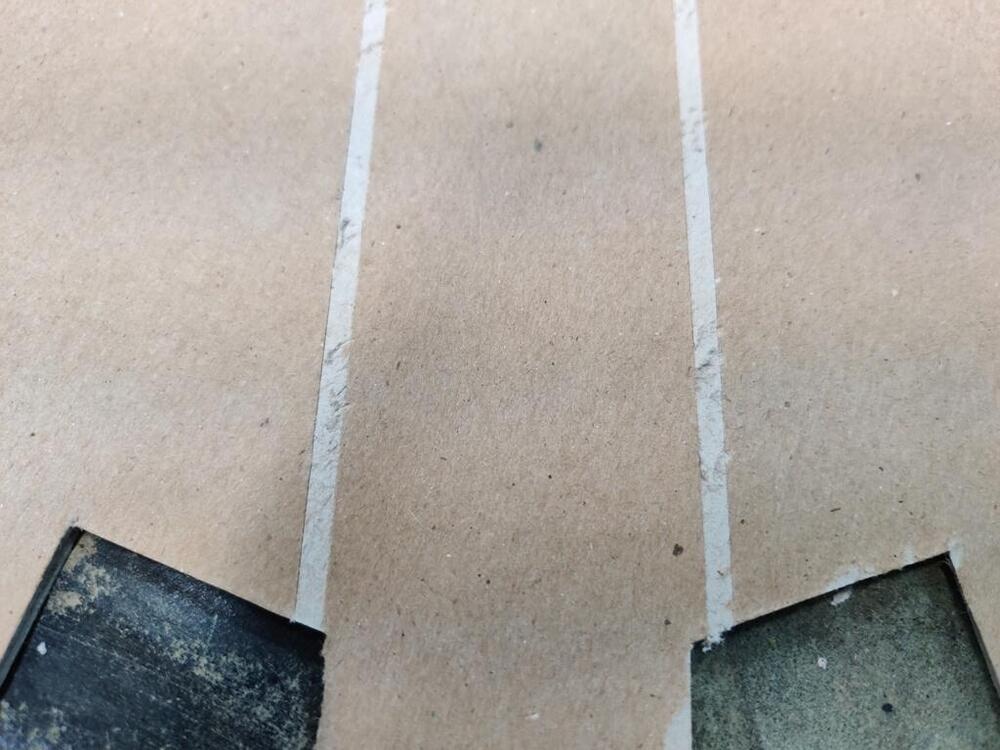
This past weekend, I rebuilt the side vents - the ones that are opened/closed via the knob underneath either side of the dashboard. The rubber parts that seal around the edges of the disc that moves to close/open were dry rotted, but intact. I thought about installing them as they were, but when I poked at the rubber, it crumbled easily. These vent mechanisms are actually pretty difficult to remove/install, so I decided to rebuild them. I have some thin rubber sheet I got from McMaster-Carr some time ago. It comes in handy for making gaskets, and applications like these. For each vent, I had to first remove all the old rubber material. Then, I cut two semi-circular pieces a little over size so that the edge would fold over seal against the ID of the housing. I then used the contact adhesive I have been using to glue them into place, one on one side, and one on the other. To finish up, I cut some 1/8" this open cell foam which seals the vent housing to the car body. I also cleaned the cowl drain tubes and installed those: Before I can glue other diamond vinyl pieces into the car, I needed to make replacement cardboard supports for the rear strut areas. I had good luck using the cardboard from old three ring binders in the past. This time, I was able to look online for a suitable material, and I found "Upholstery Cardboard Panels). These (I ordered a pack of two) look to be identical to me. Using the original ones as templates, it is a simple exercise to mark up and then cut out using a metal straight edge and a sharp blade in a box cutter. I use a piece of soft aluminum (3003 I think) as backing for the cutting part of the exercise. I experimented a bit with folding the cardboard. Scoring the surface layer helps to create a smooth outside corner. I found that on the inside corner, it helped to remove about an 1/8" wide channel of the surface material. Not that it is needed, but the core material was accepting of folding to 90 degrees and back many times without tearing or getting noticeably weaker. So, the inner material has some resilience. To finish these up, I will coat them in a black rubberized spray paint.


 3 points
 -
3 points
-
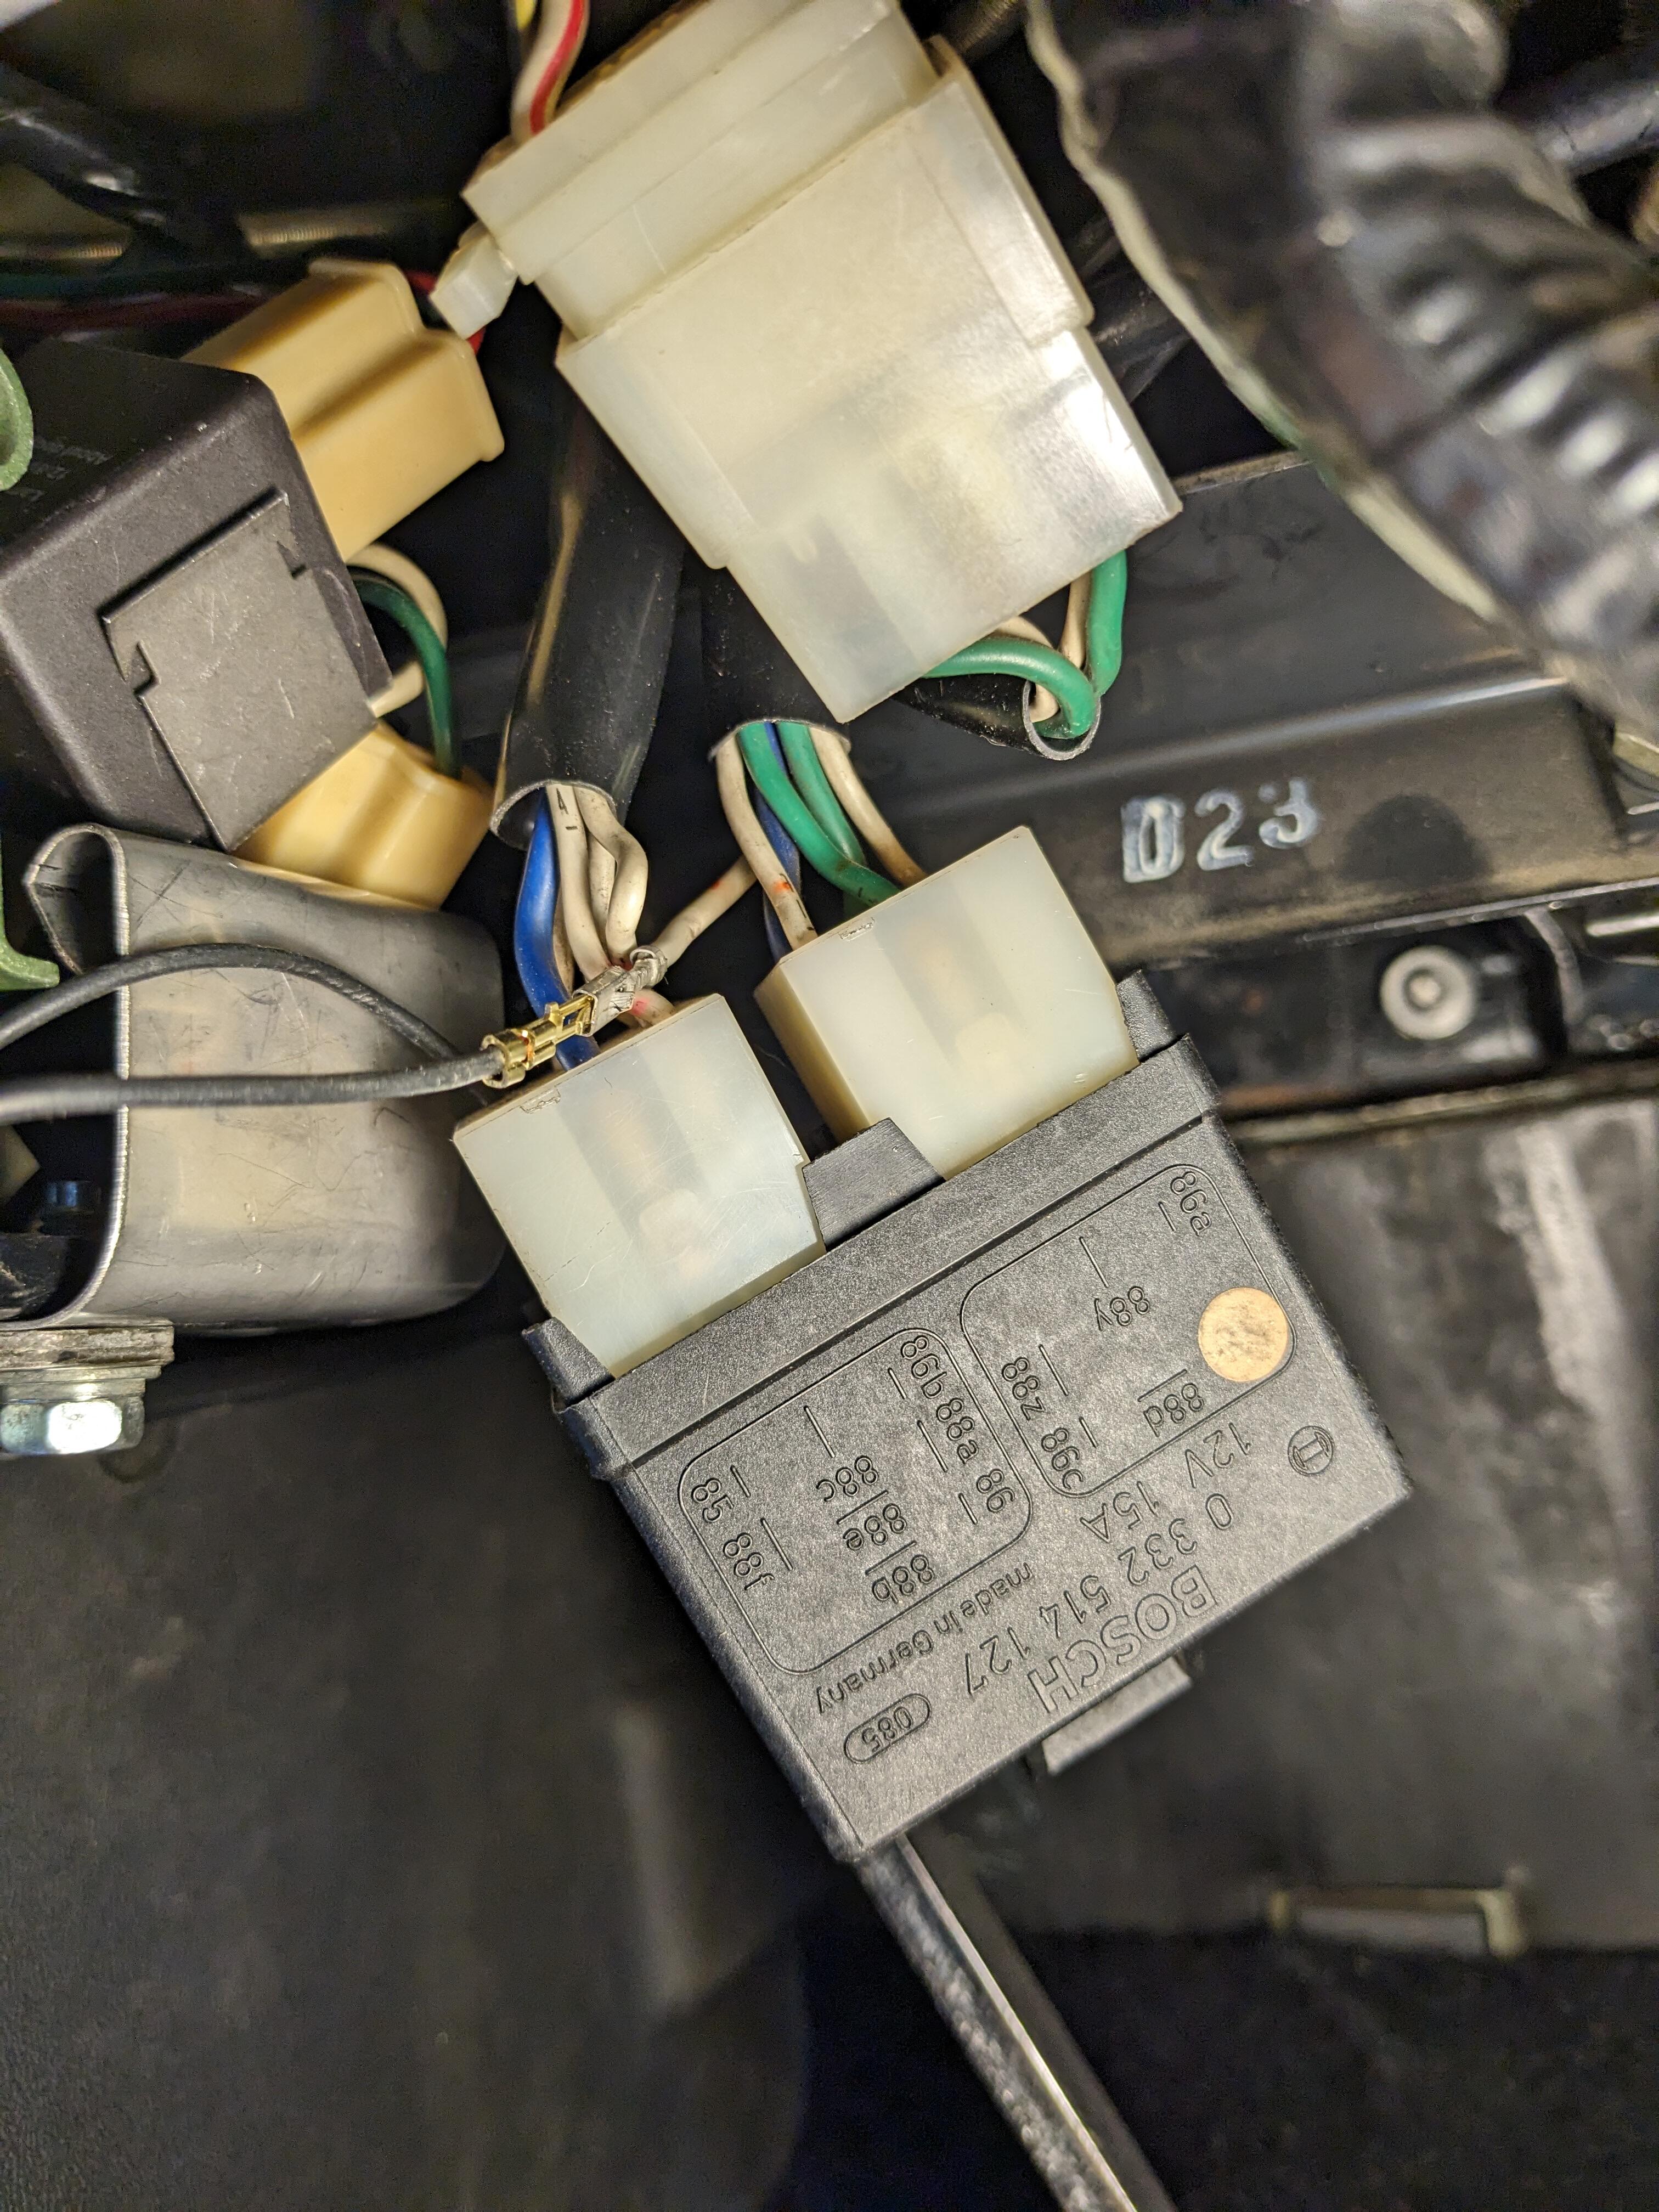
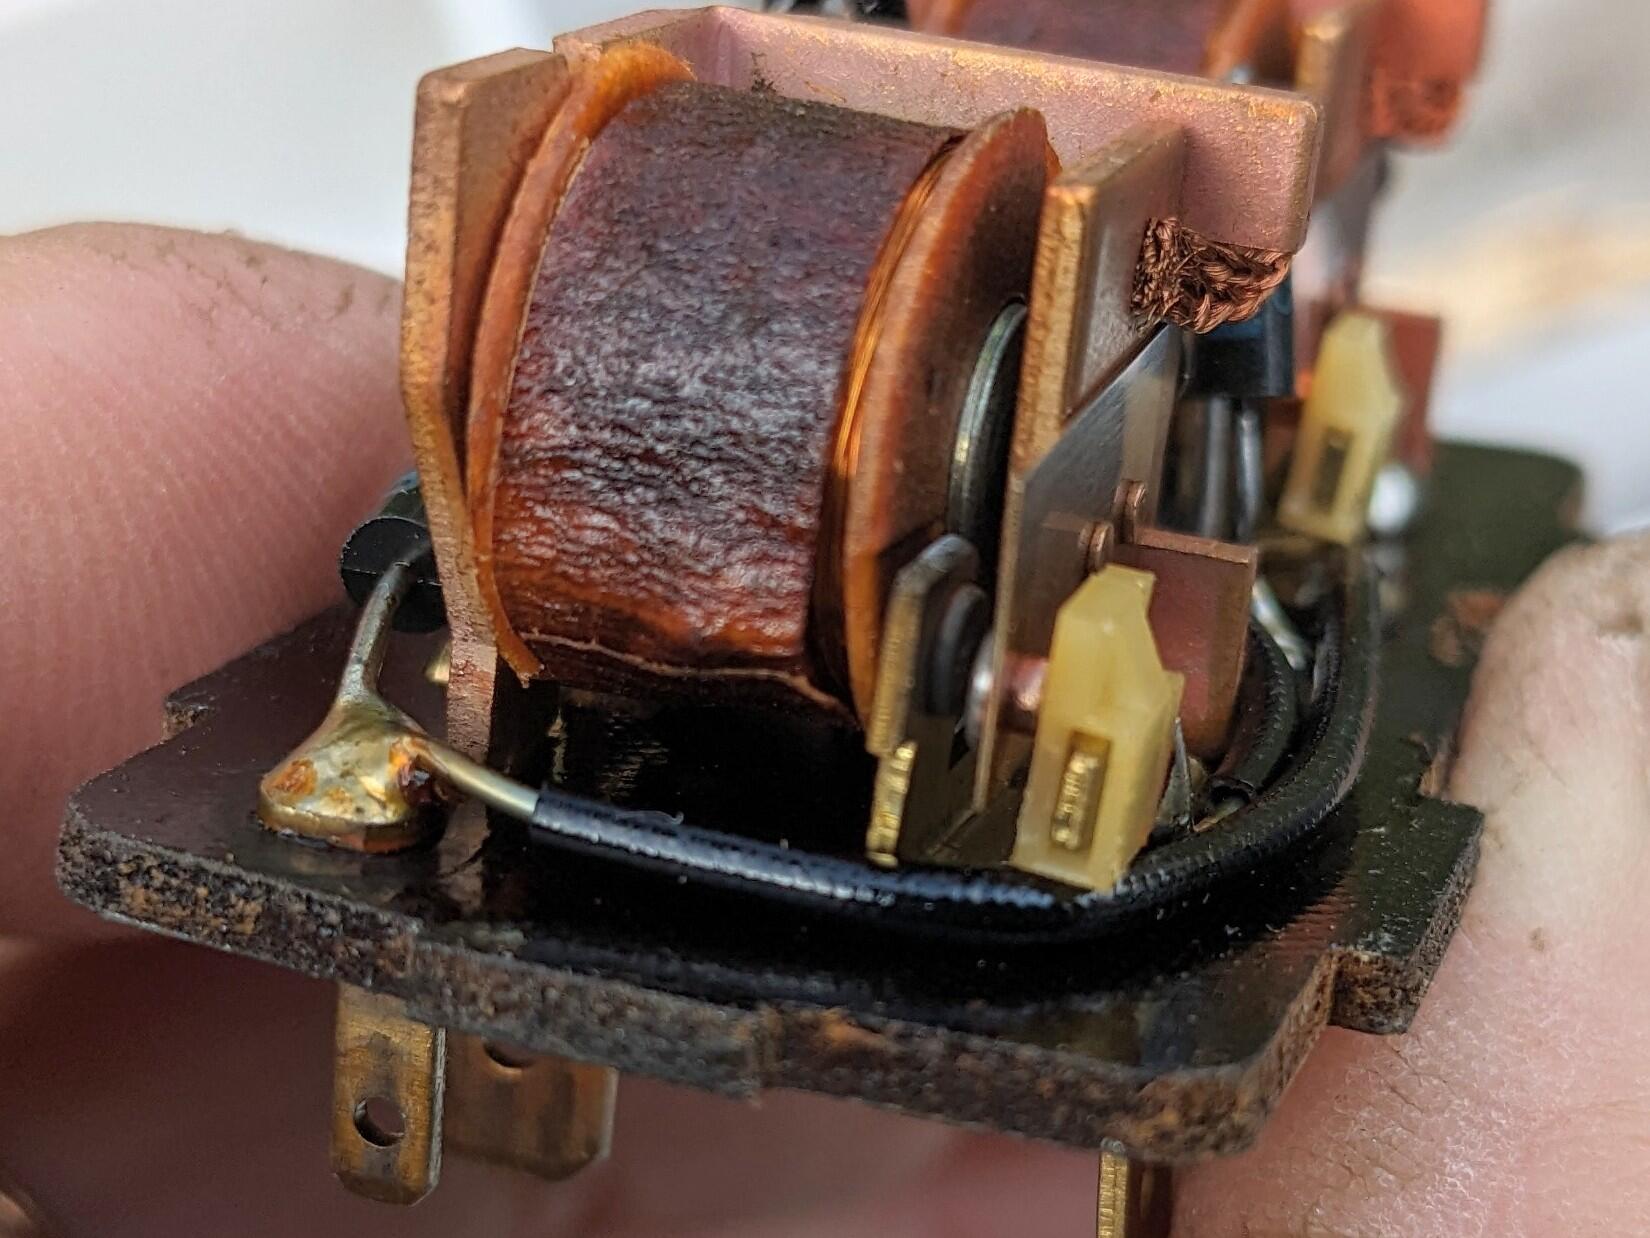
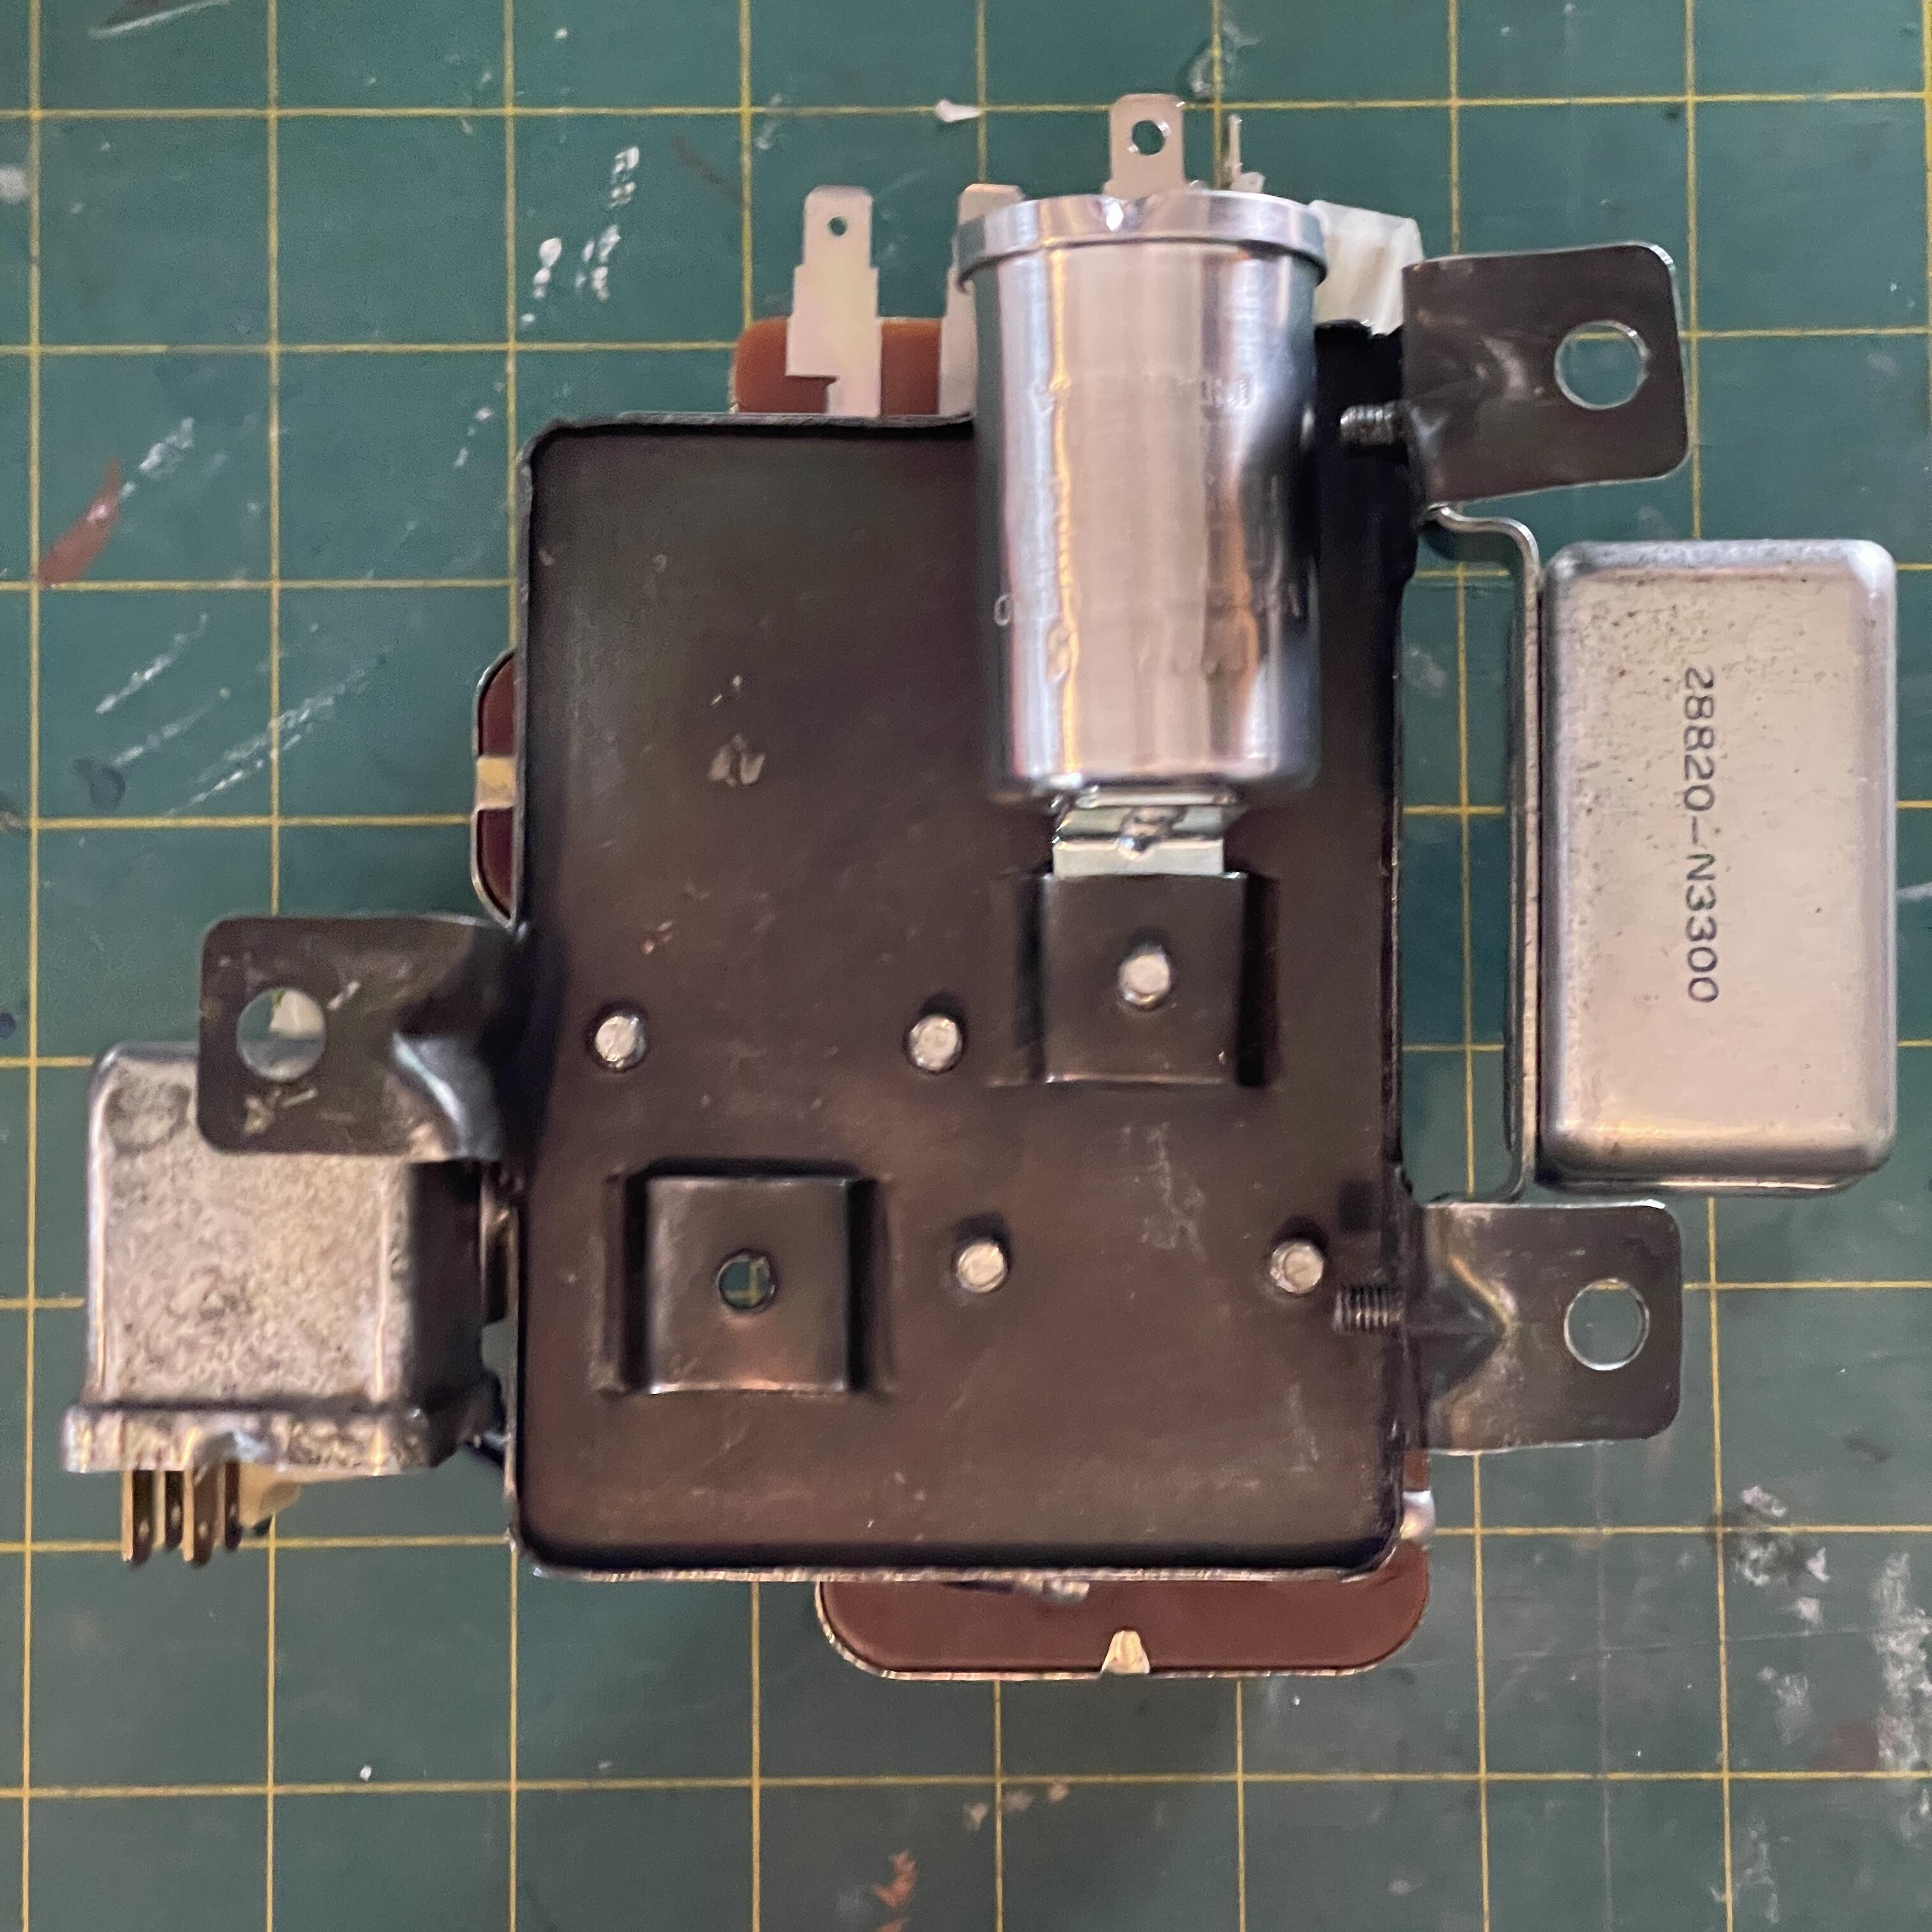
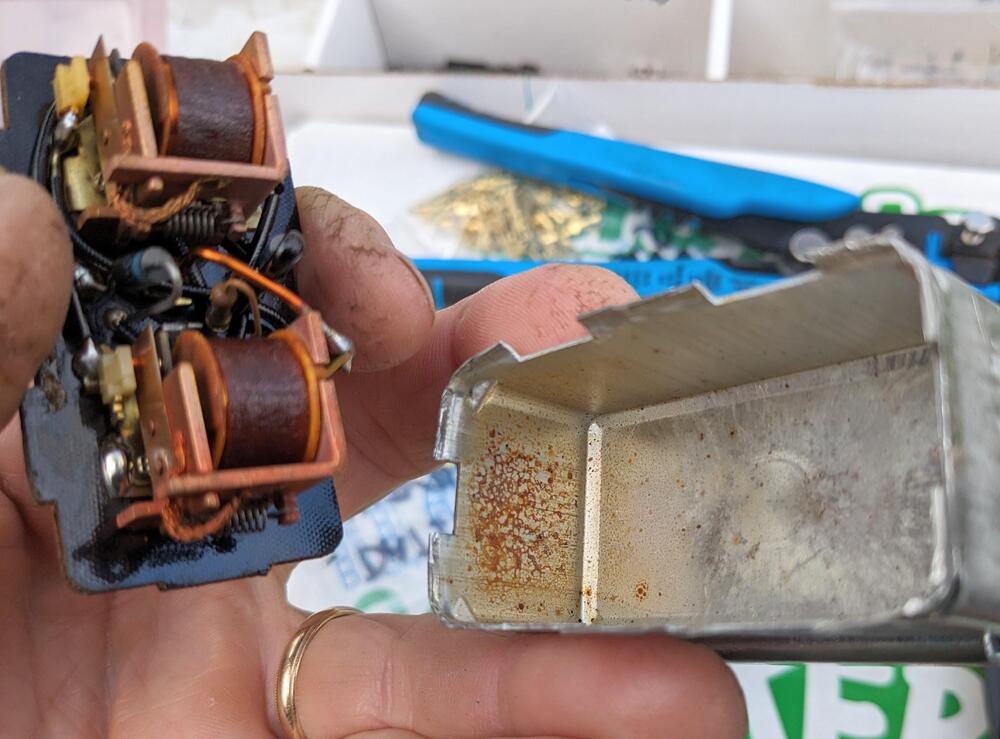
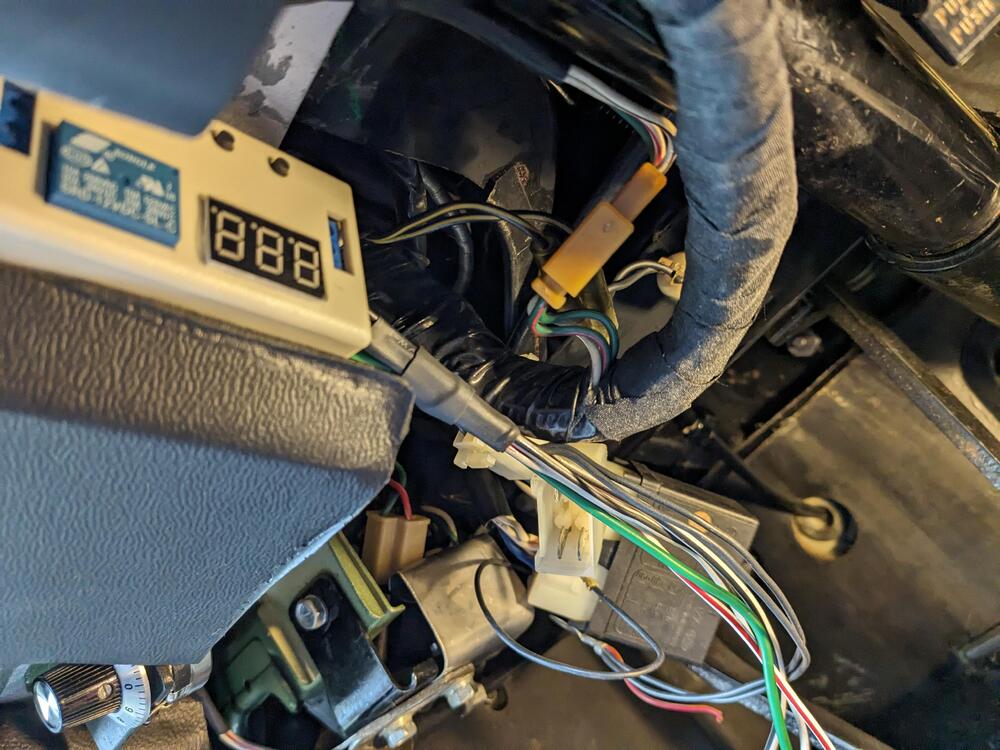
Swapped out the stock relay for the Fiat one, after moving the 85 pin to the other relay socket Thanks again, @Zed Head for sharing your experience with the relay failing. Took the old relay apart, to see how it looked inside: Contacts are crusty, definitely didn't smell as cooked as I thought it might, given how it was cutting in and out. The contact plate definitely looks rough. Since I was under the dash, I started figuring out the wiring for the pump primer circuit. It will tuck nicely up under the steering column, and I will make it insertible, so I can remove/delete it without harming the factory harness. Started right up & hasn't faltered since. I do need to add a pulse damper back, as it doesn't sound as clean as it did at idle before I removed it. Instead of putting the stock one back, I ordered one that will screw into the ORB-8 fitting on the protunerZ fuel rail.


 2 points
 -
I believe the speedo end is just a square end on the cable. If it pulls through easy, it should go back just as easy. Now when it gets to the top you will have to rotate it to get it into the the speedo drive hole. As long as the inner cable comes out at close to the right angle it all aught to go right back together, Worst case you have to remove the cable from the speedo and then reattach by feel. It's do-able...2 points
-
I've removed the cable only from the transmission end. There was a frayed wire in the center of the cable. You'll have to turn the cable while pushing on it to get it to line up with the speedometer connection.2 points
-
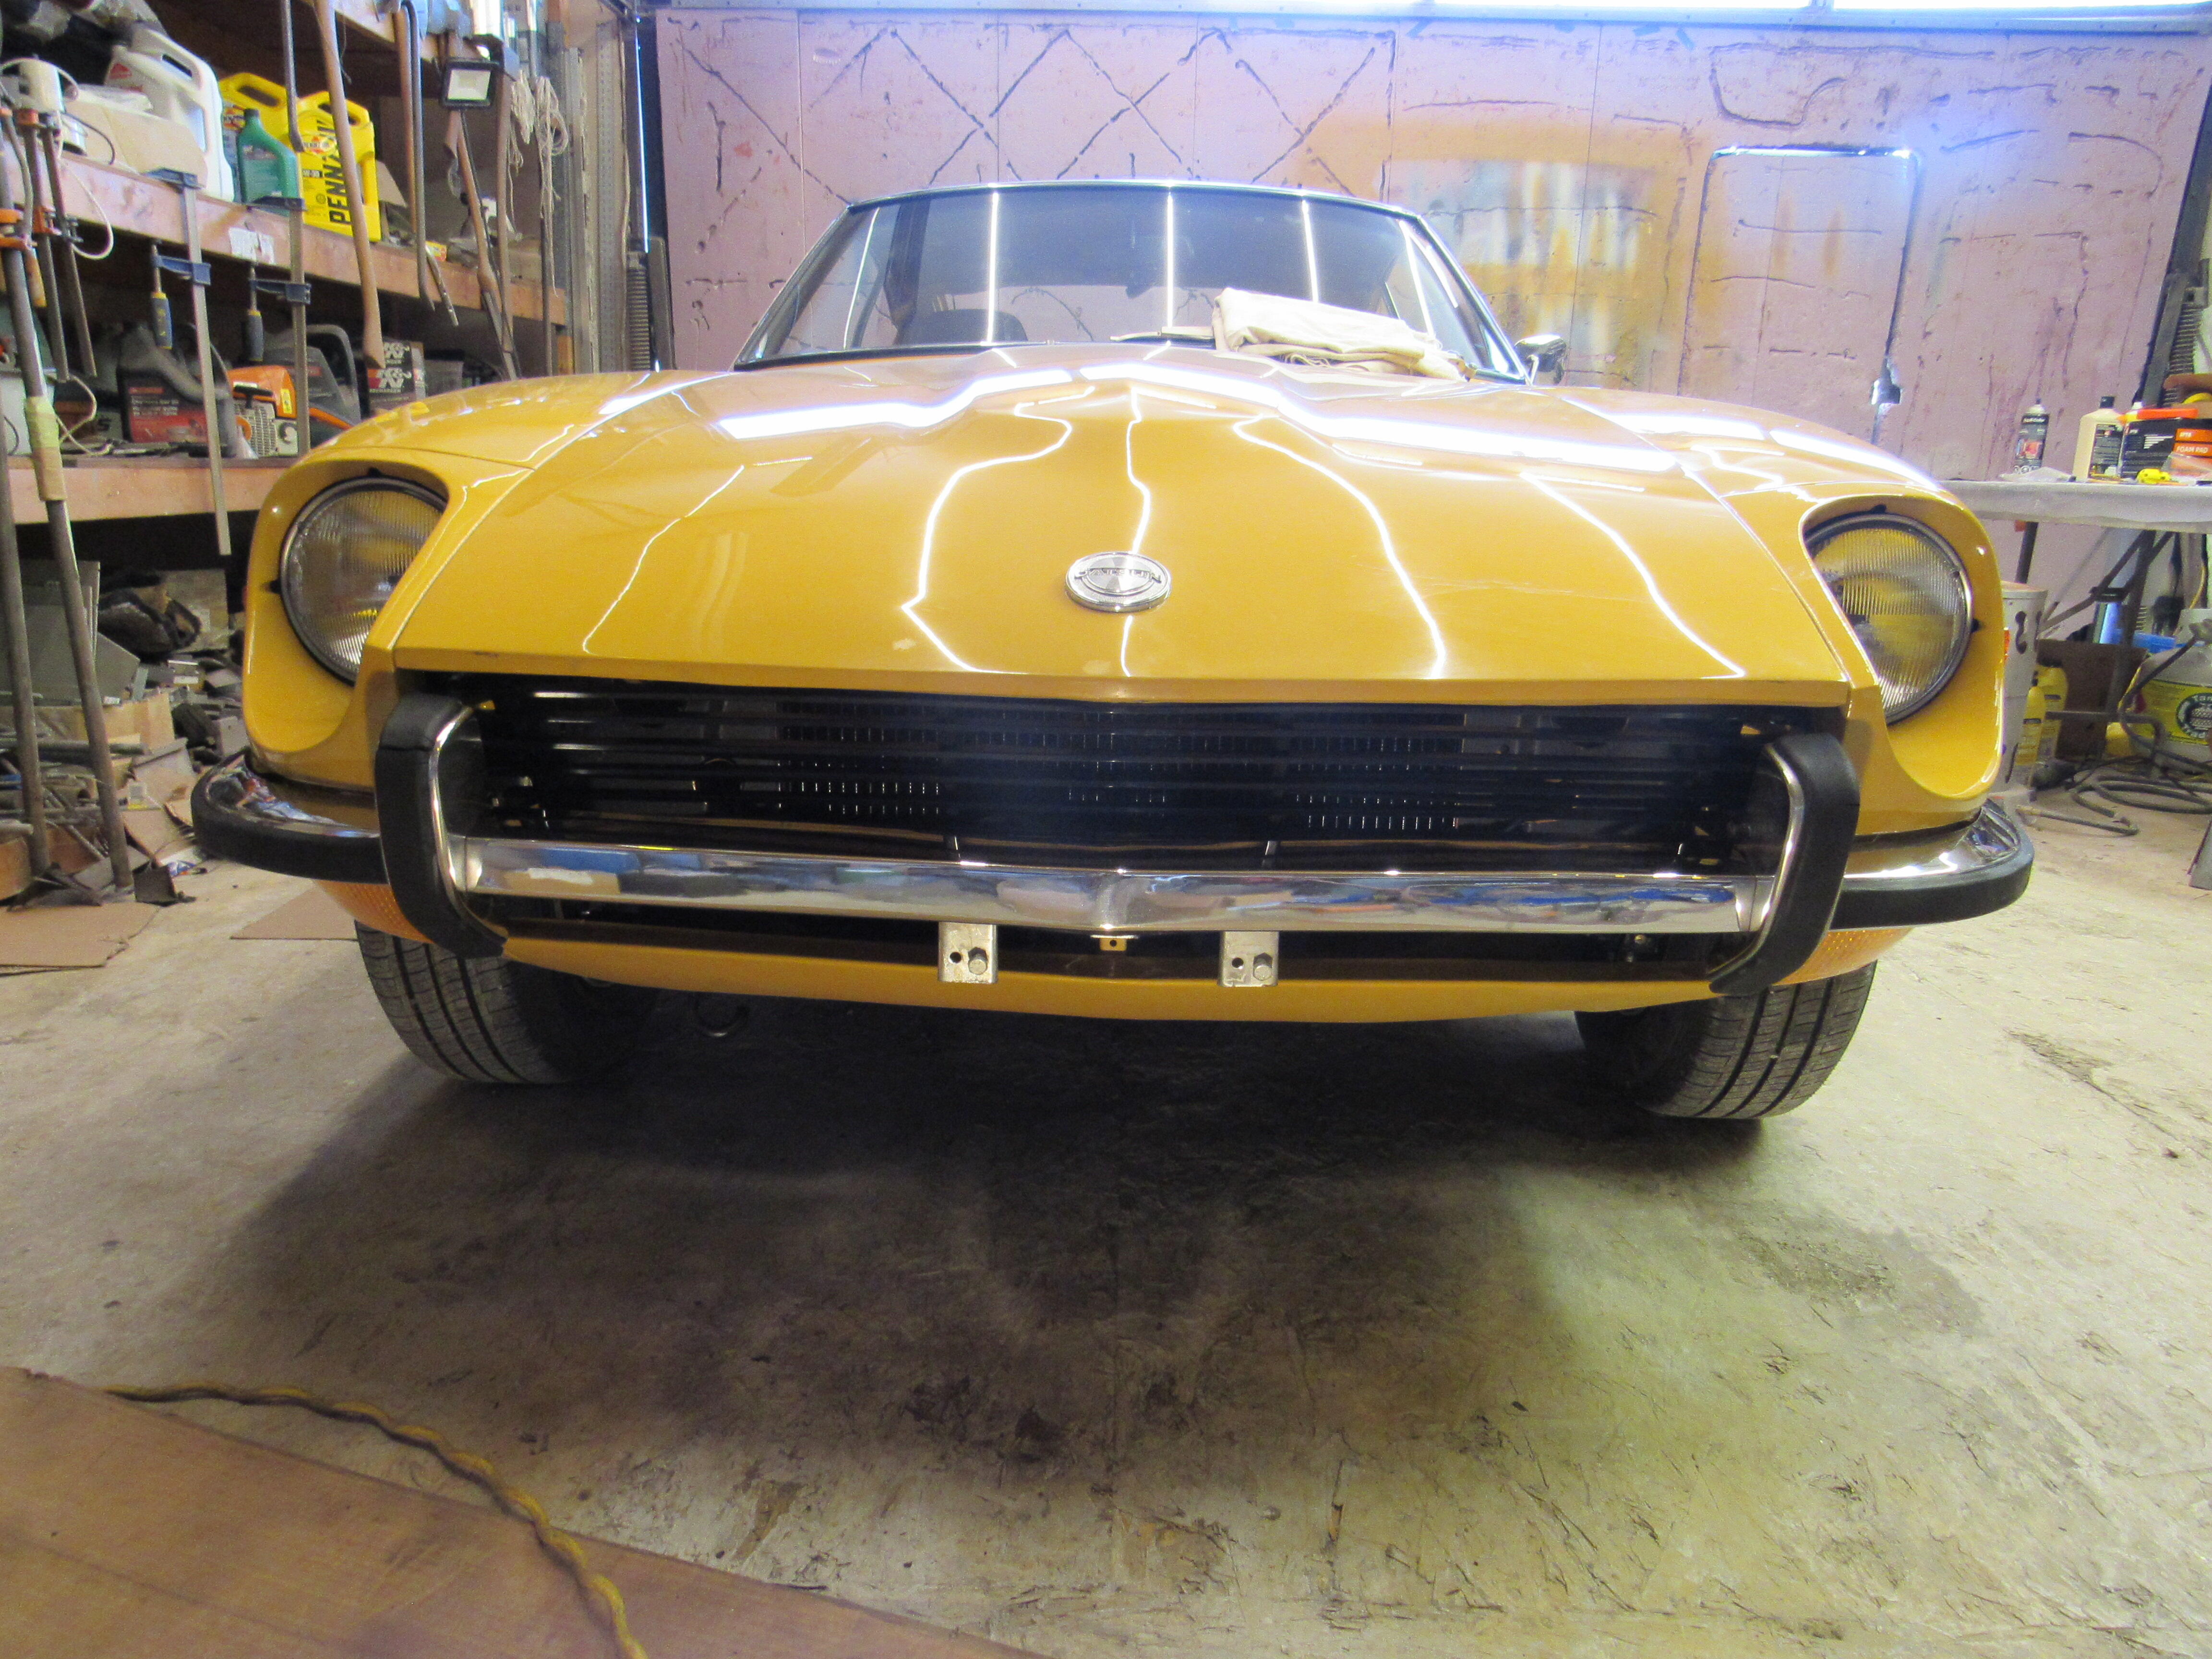
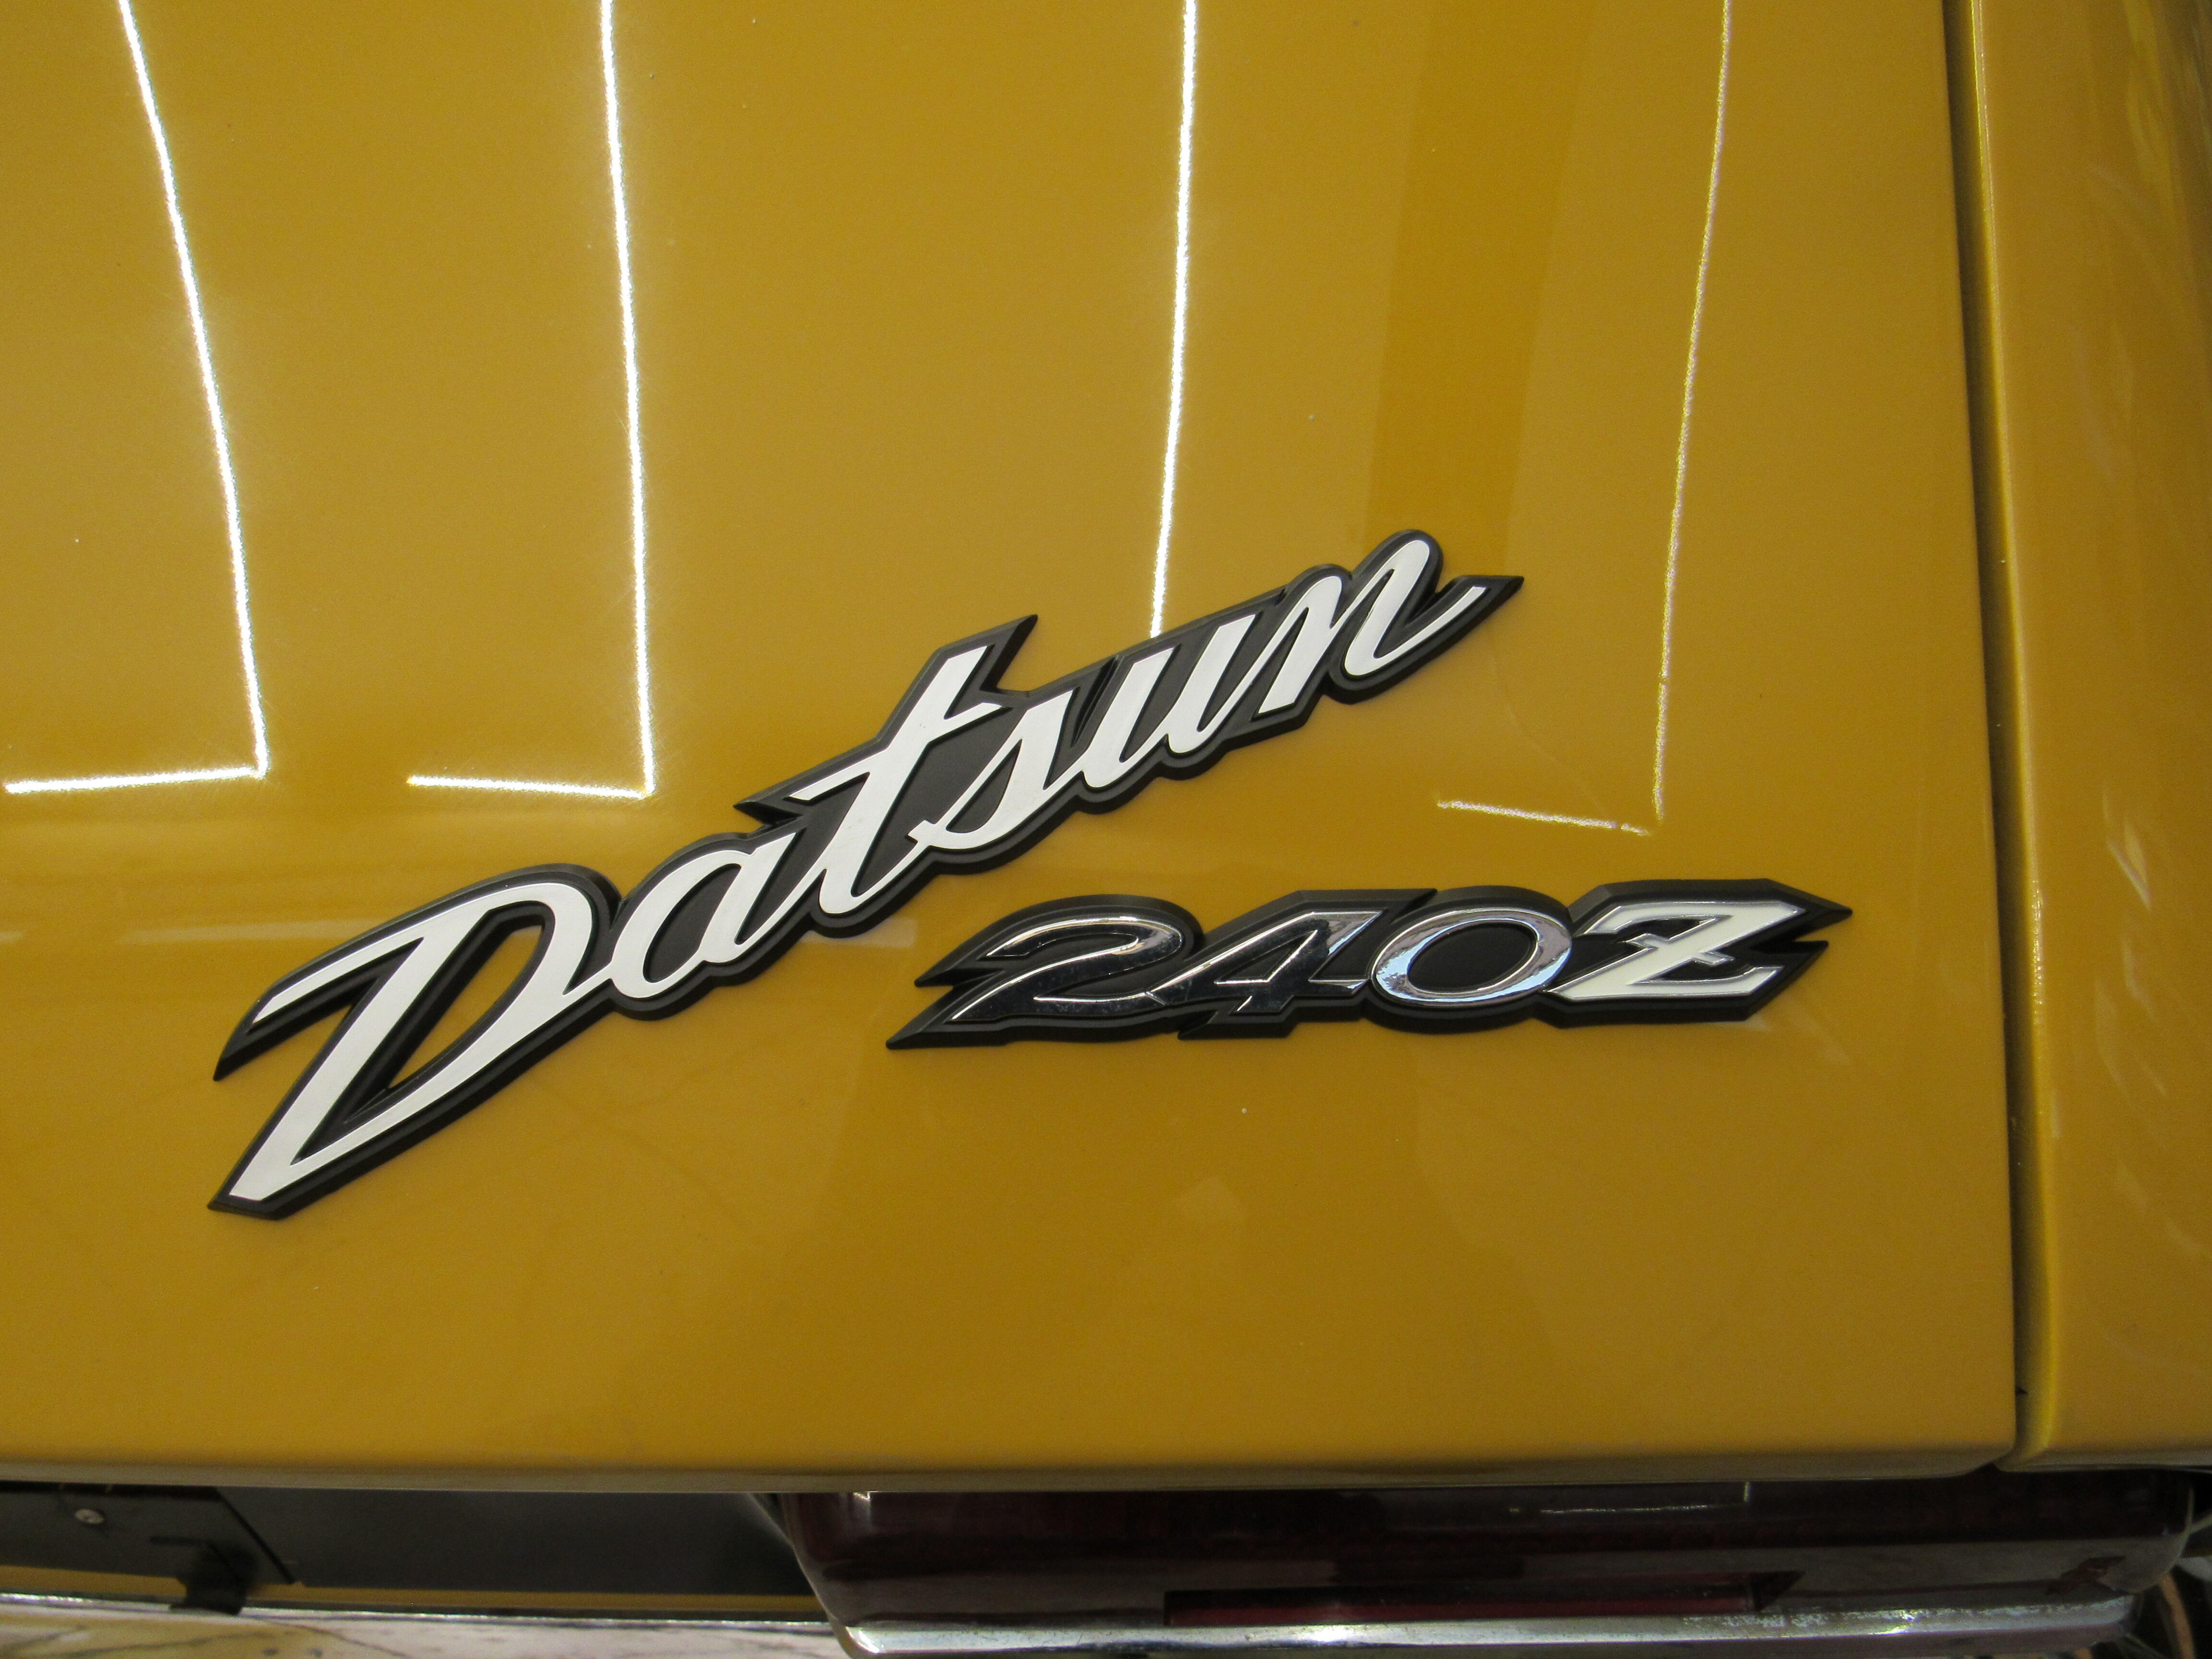
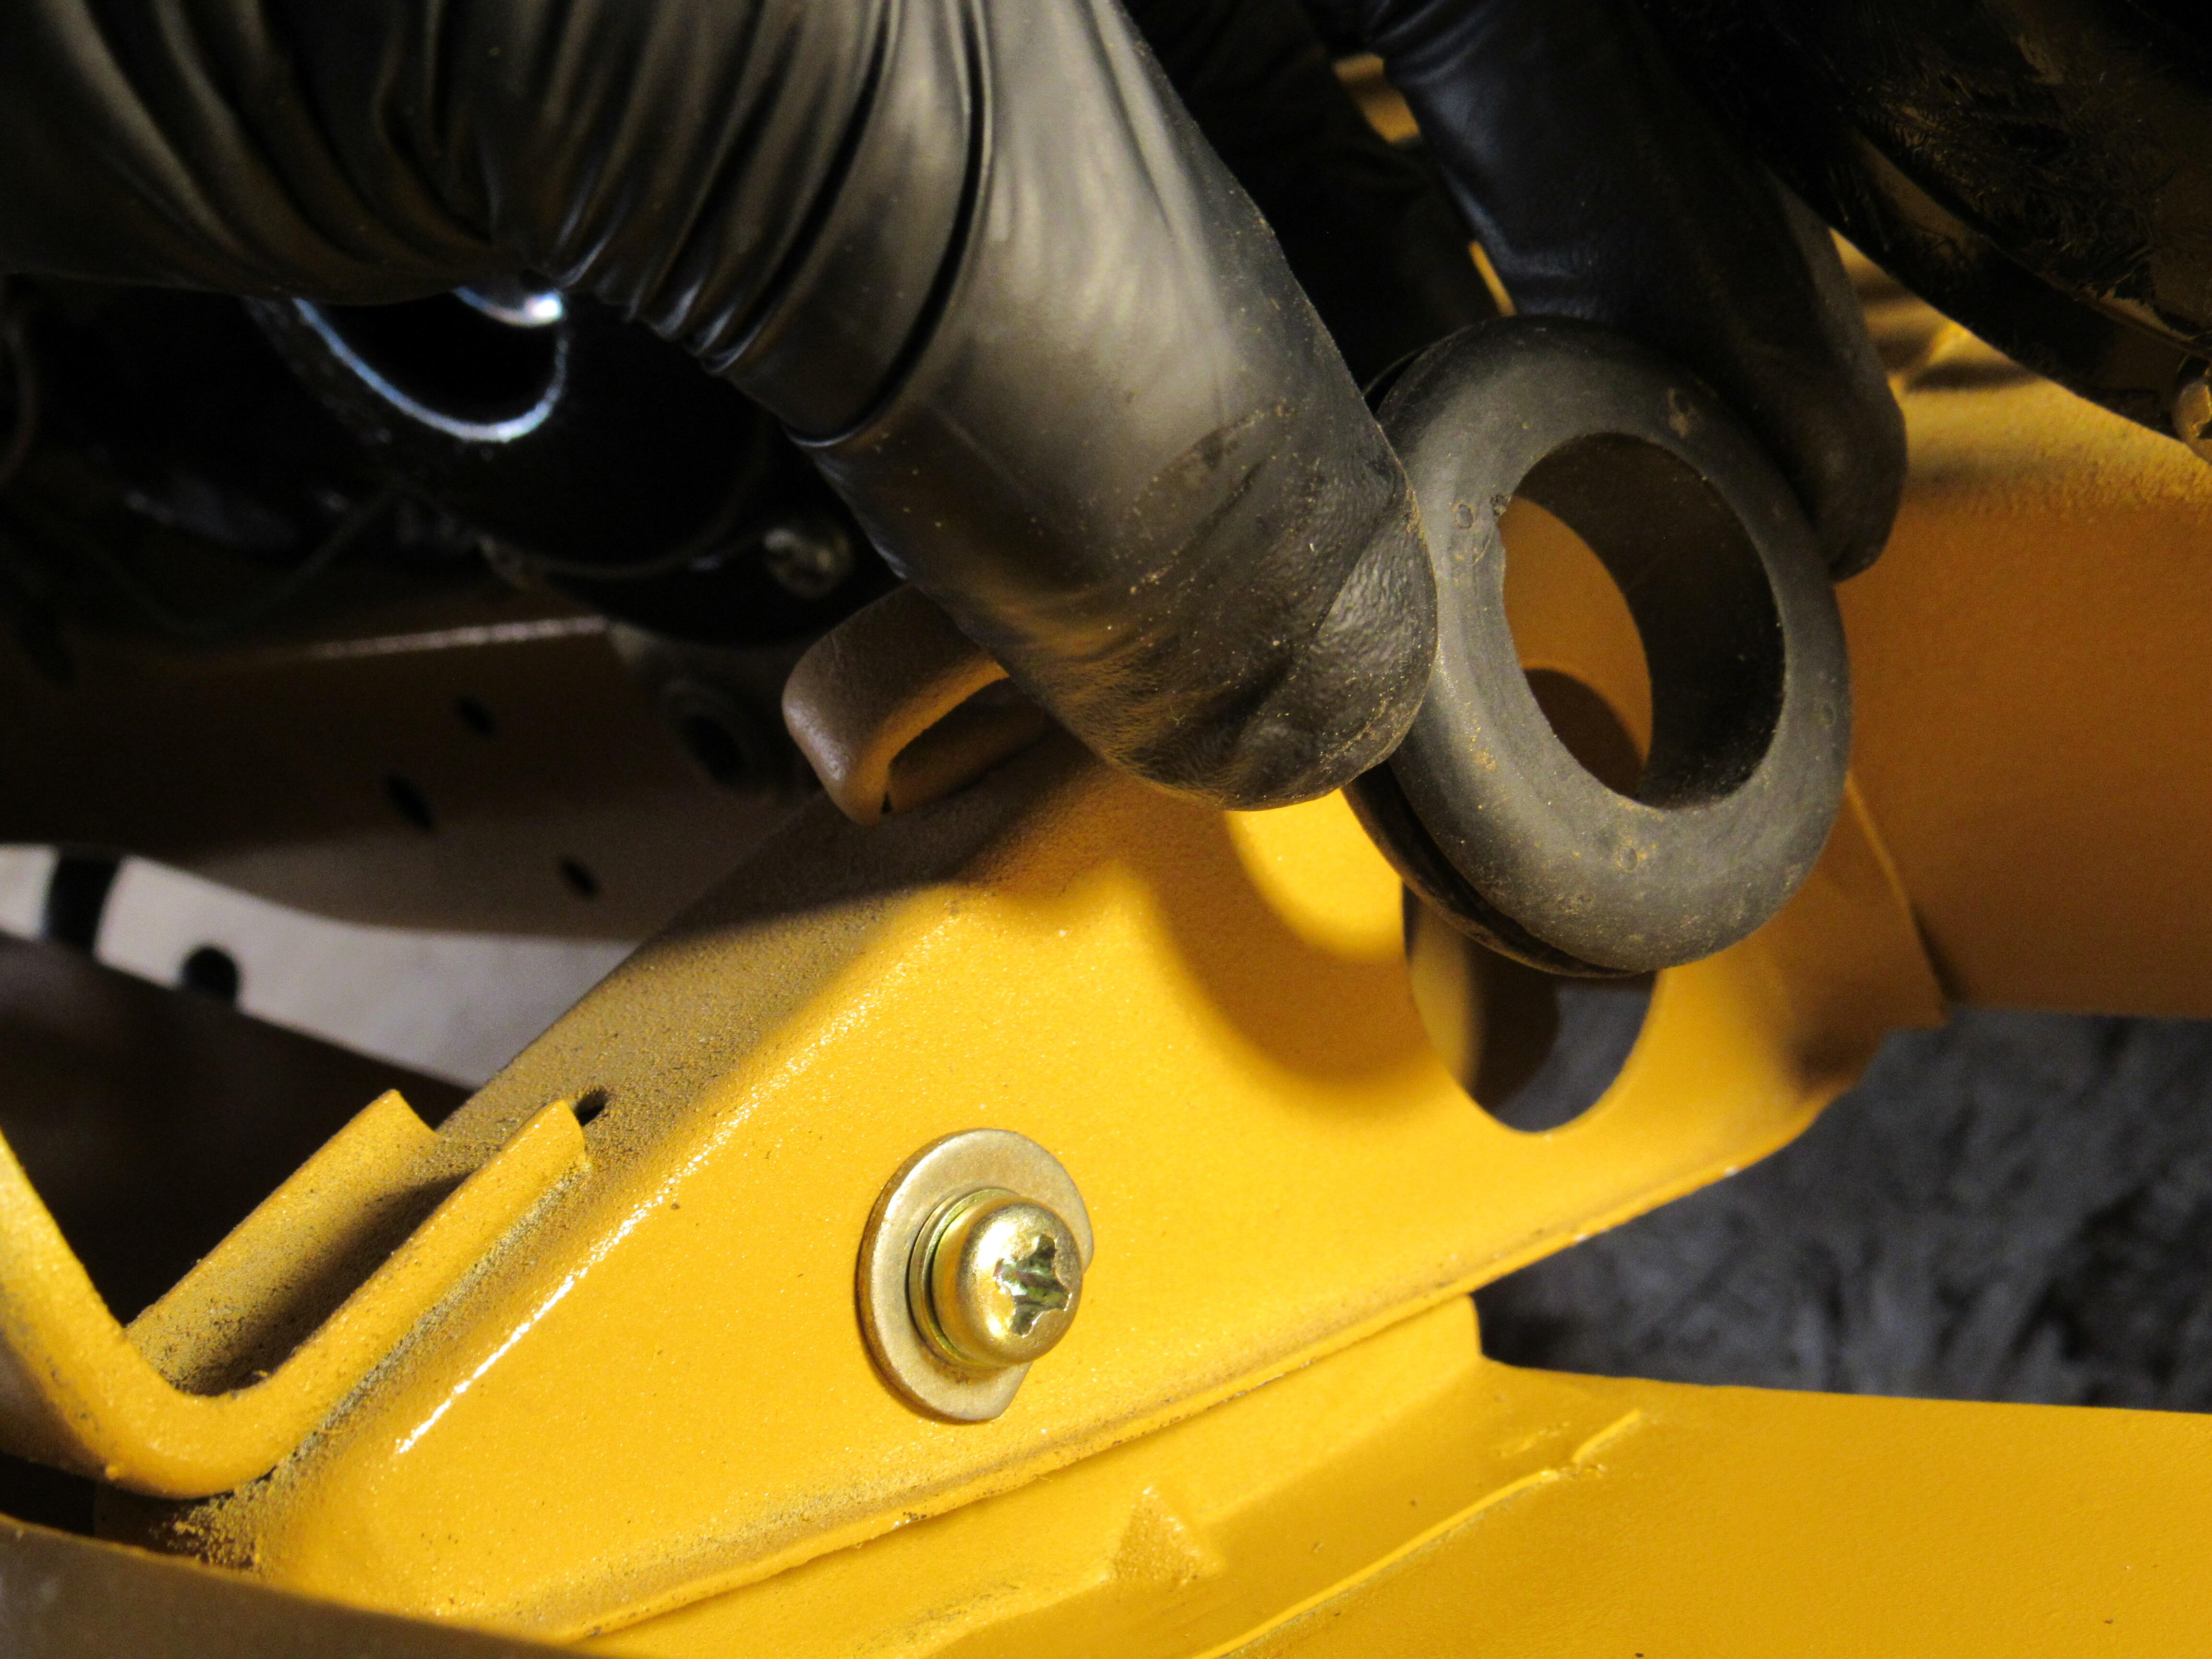
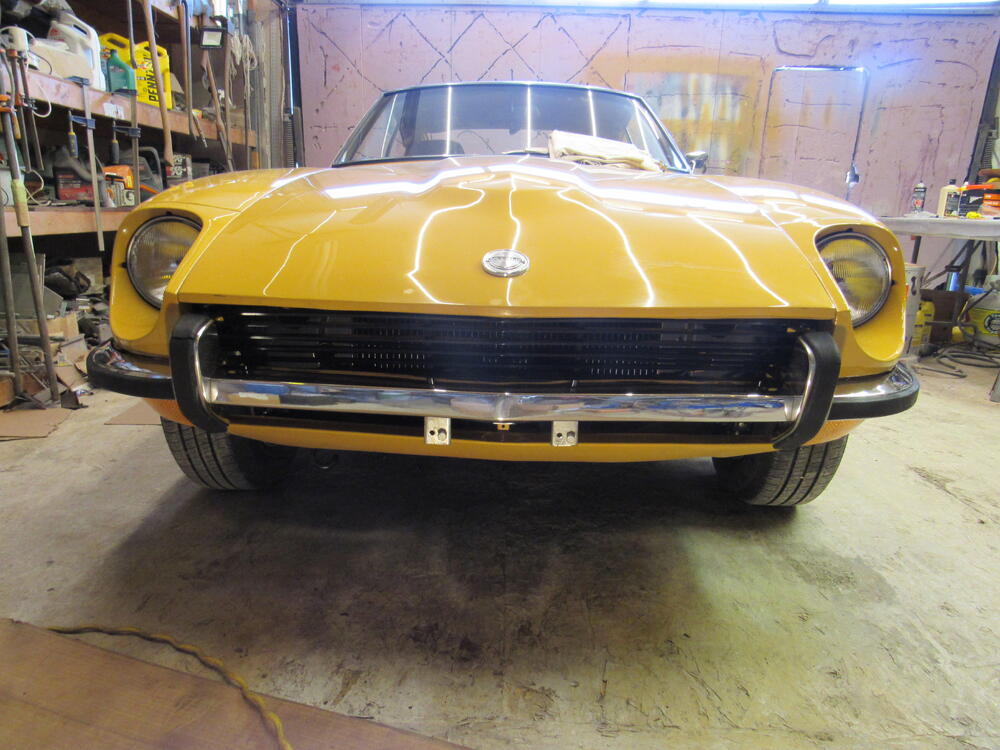
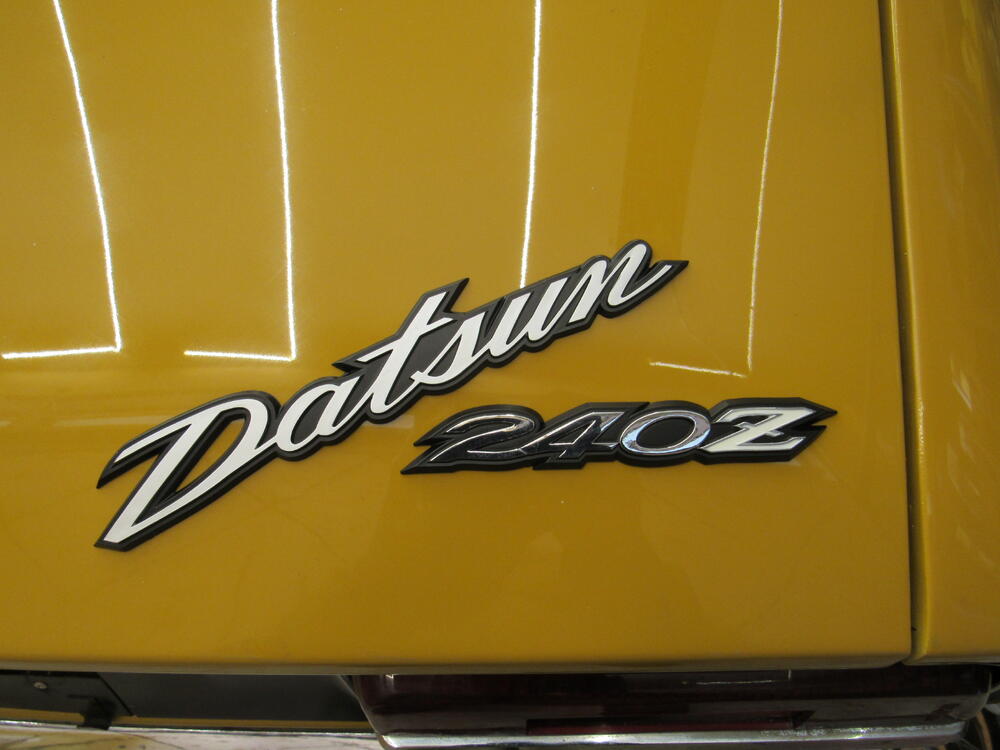
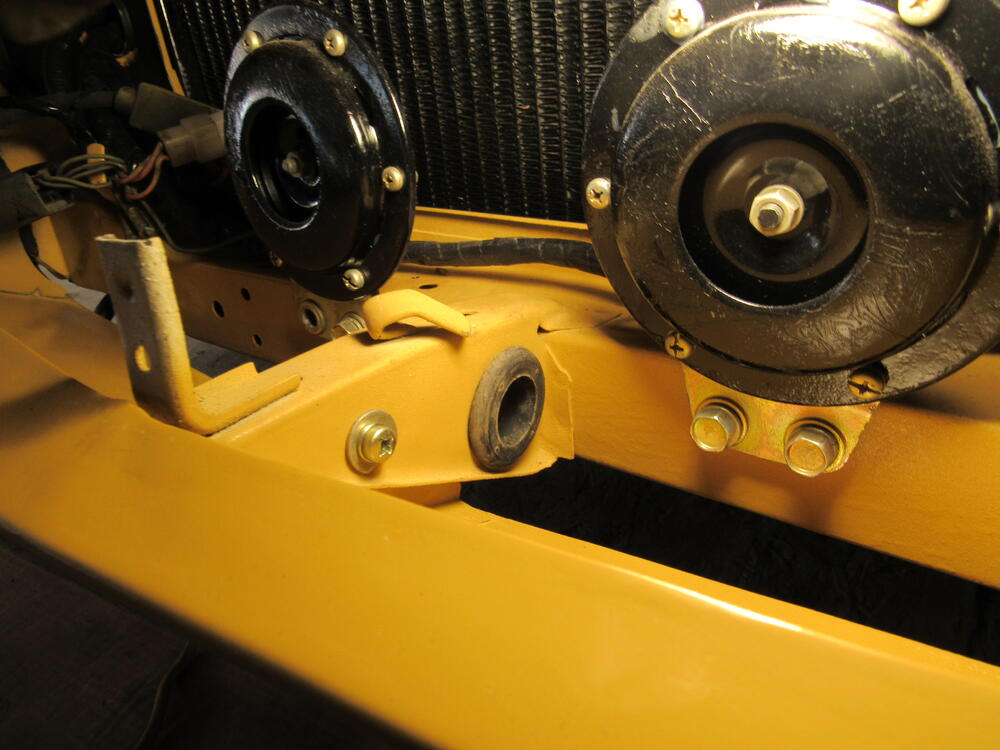
1 pointThe new headlights arrived so that let me finish of the rest of the front, also some new badges. I did find the home for those 2 rubber grommets I mentioned back in post #239, there for the front wiring harness.

 1 point
 -
I suspect the rubber seal on the vent flap is gone. When it's intact it adds friction to the closed position so it won't open up on it's own1 point
-
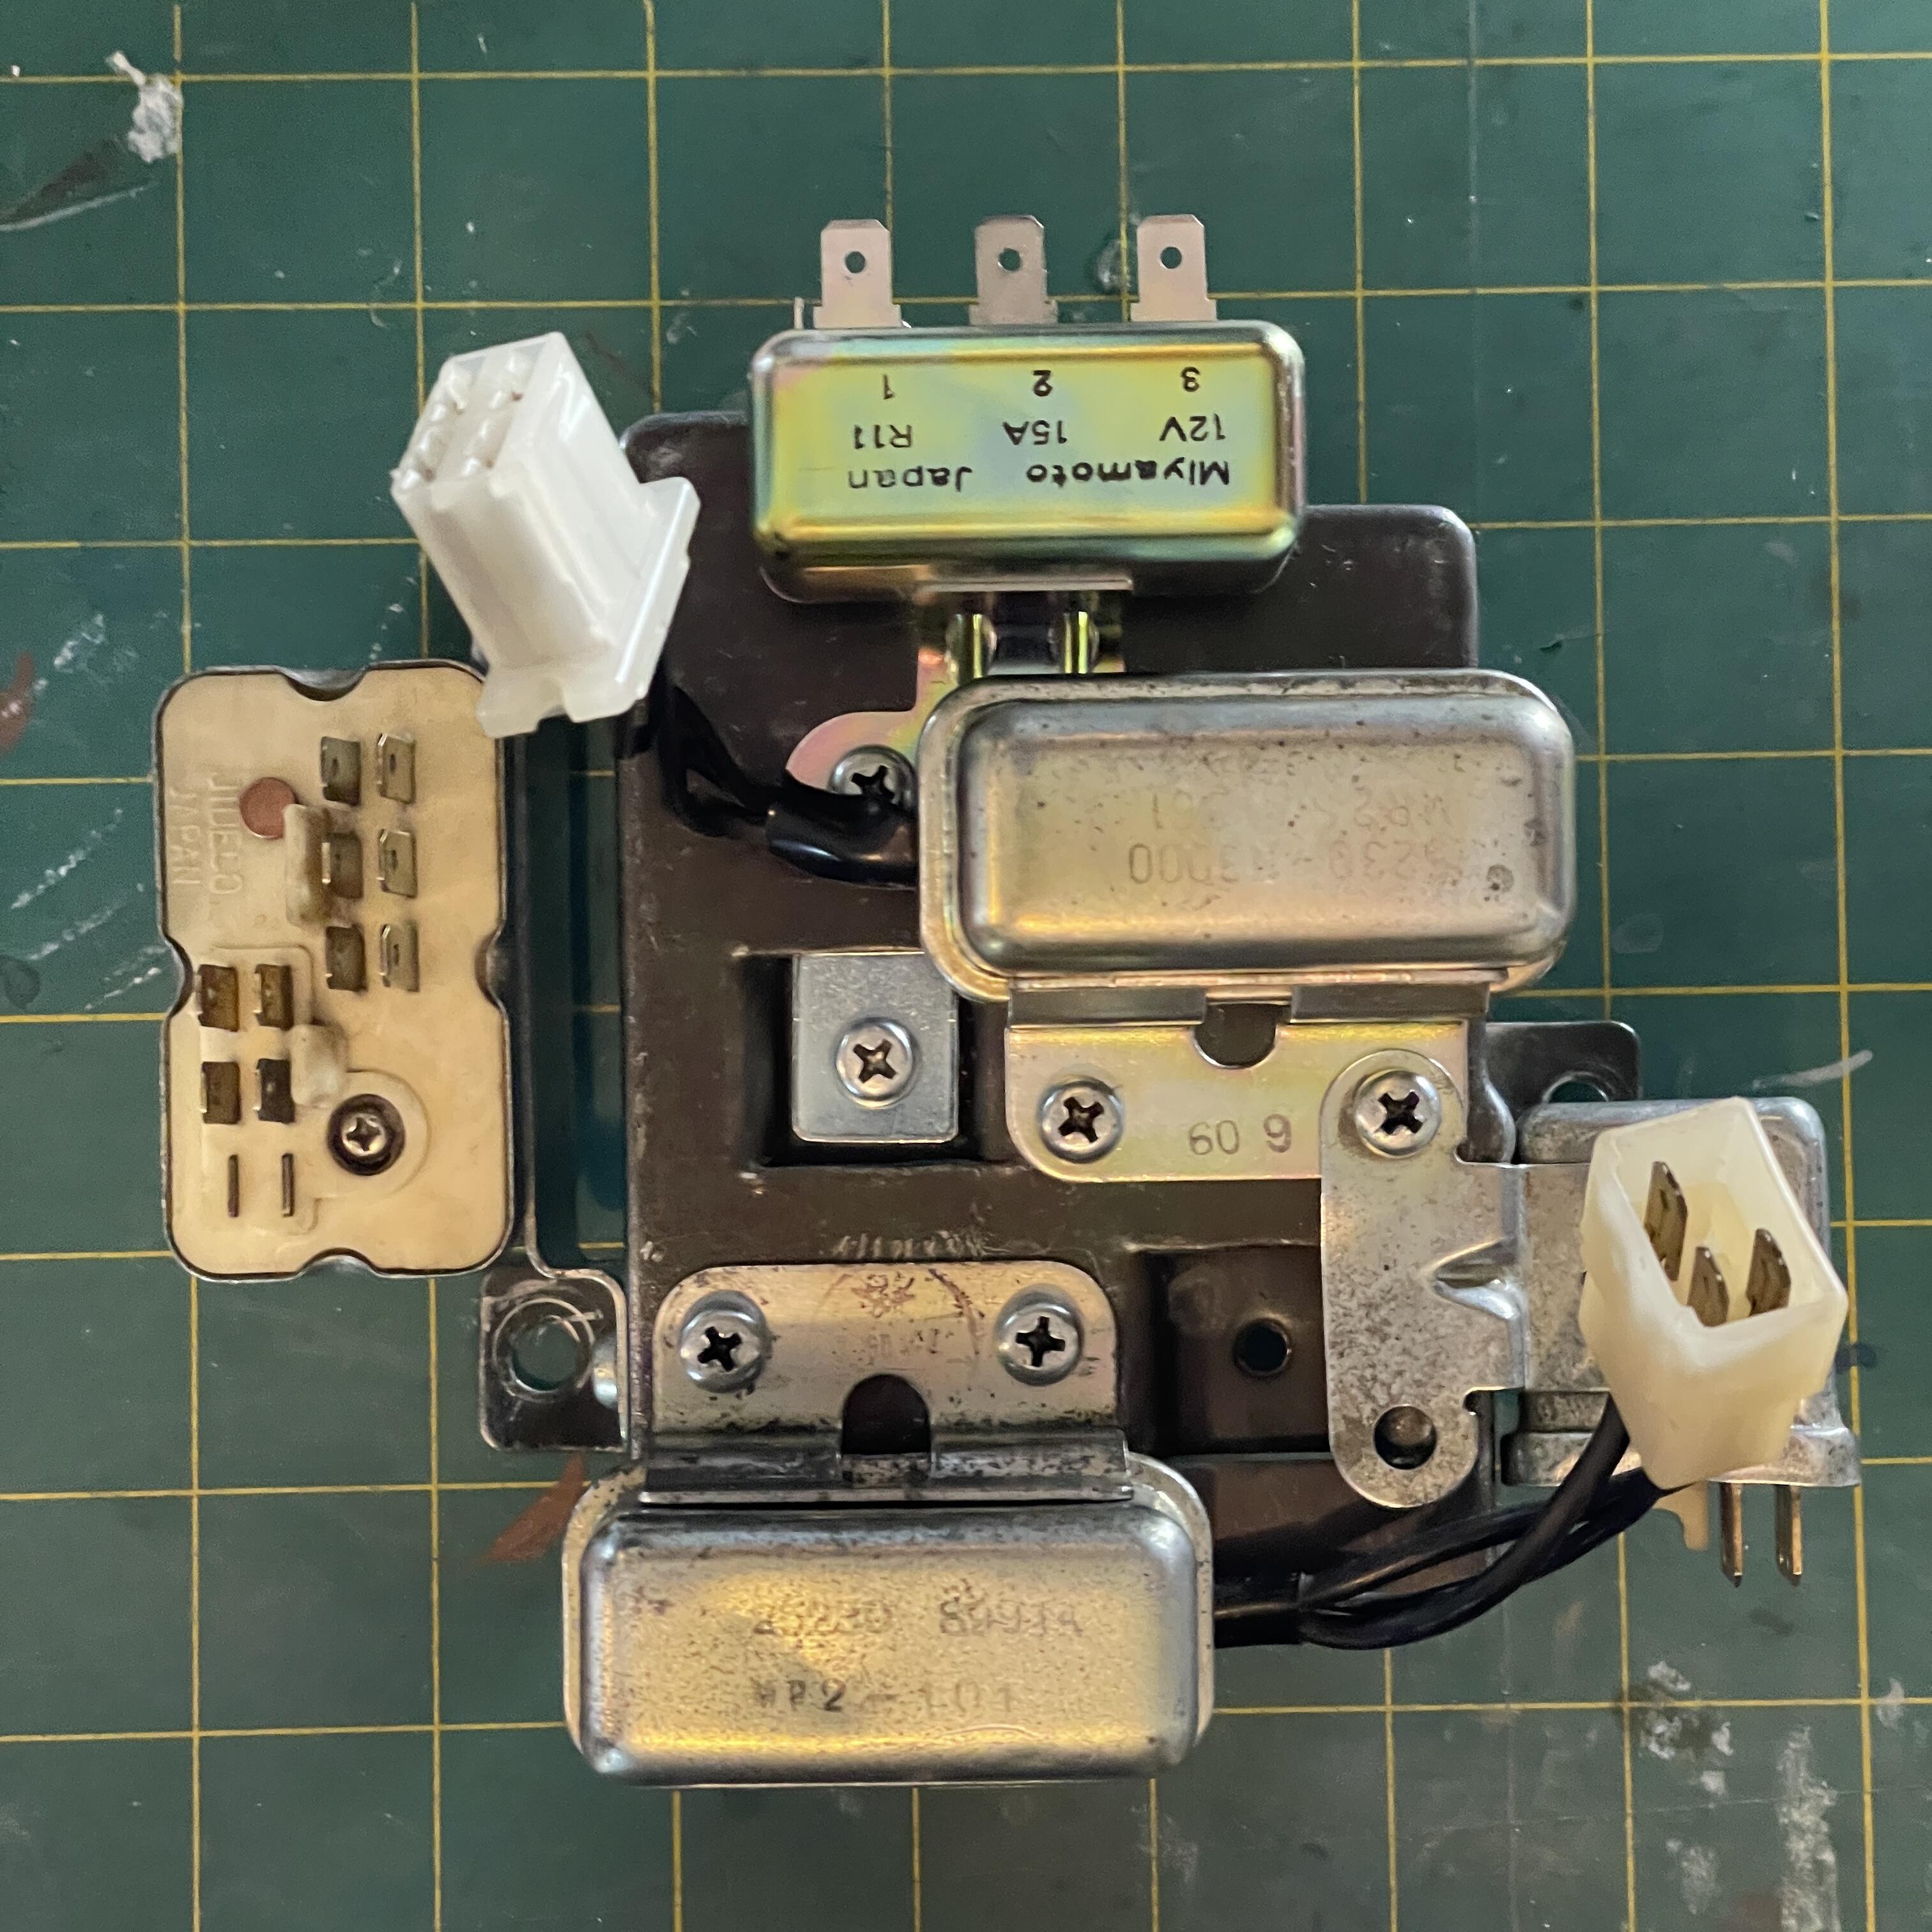
I’m not 100% certain all of these relays are good (still testing), but I cleaned up the best looking pieces from my pile assembled them today. 🤞🏻

 1 point