Leaderboard
-
Richie G
Free Member7Points254Posts -

wheee!
Free Member6Points4,607Posts -

siteunseen
Free Member5Points15,115Posts -
HS30-H
Free Member3Points5,509Posts


Popular Content
Showing content with the highest reputation on 01/05/2024 in Posts
-
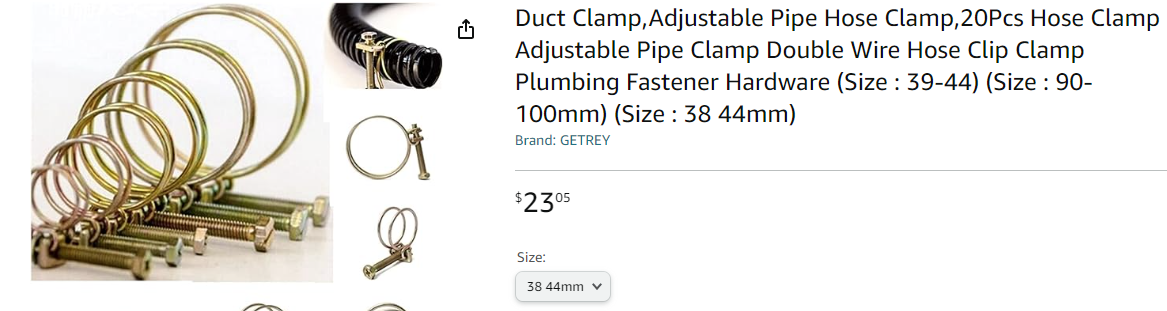
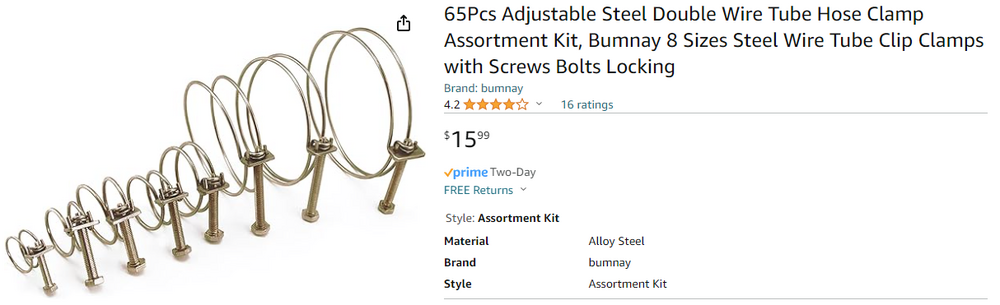
4 pointsOK, here's another update. I started sorting these against the hoses I am going to start with and see a gap in the size range forcing me to buy an additional item from Amazon for the radiator hoses. https://www.amazon.com/gp/product/B0CJR8W51N/ref=ppx_od_dt_b_asin_title_s00?ie=UTF8&th=1 and also keep one of the previous ebay kits i started this thread with to cover some of the pcv hoses This may be useful for someone. I matched up these sizes to the hose kits I recently purchased from resurrected classics Coolant (12) 18-22mm (2) 25-29mm PCV (3) 18-22mm (1) 25-32mm Brake Booster (4) 13-16mm Smog (2) 25-29mm (2) 18-22mm (6) 23-29mm Radiator (4) 38-44mm The leftovers from these three kits will also be used for all the remaining vapor and fuel hoses as needed. I'm sure I have all remaining size ranges covered except maybe float bowl if memory serves. Once I get around to doing that work I'll try to remember to come back here and complete a full list for the entire engine bay.
 4 points
 -
In Alabama we call siphoning a "Georgia gas card". In Georgia they call it "stealing gas". 😄4 points
-
The car is - clearly - modified. Stock fitment on this car would have been triple N40PHH Mikuni-Solex carbs. The triple Weber 45 DCOE-9 carbs were a Nissan Sports-endorsed upgrade (Nissan even gave a part number for the kit) of the period. I have 45 DCOE-9s on both of my S20-engined cars. It is not all that unusual. No. 'Correct' (stock) fitment would have been the same wooden 5-speed knob, as seen on other 5-speed equipped cars of the period. The shift knob currently fitted is the 32865-RN200 'Datsun' branded, leather-bound NISMO anniversary edition item. Matching the... ...of the NISMO anniversary edition re-pop 'Datsun Compe' steering wheel.3 points
-
3 points, it was still cold. I was just happy to hear it run so smooth! The OneSixIndustries CAS replaces the distributor. This is also the new Colt C542s cam shaft that replaced the overly aggressive Norris monster that was on the old stroker.3 points
-
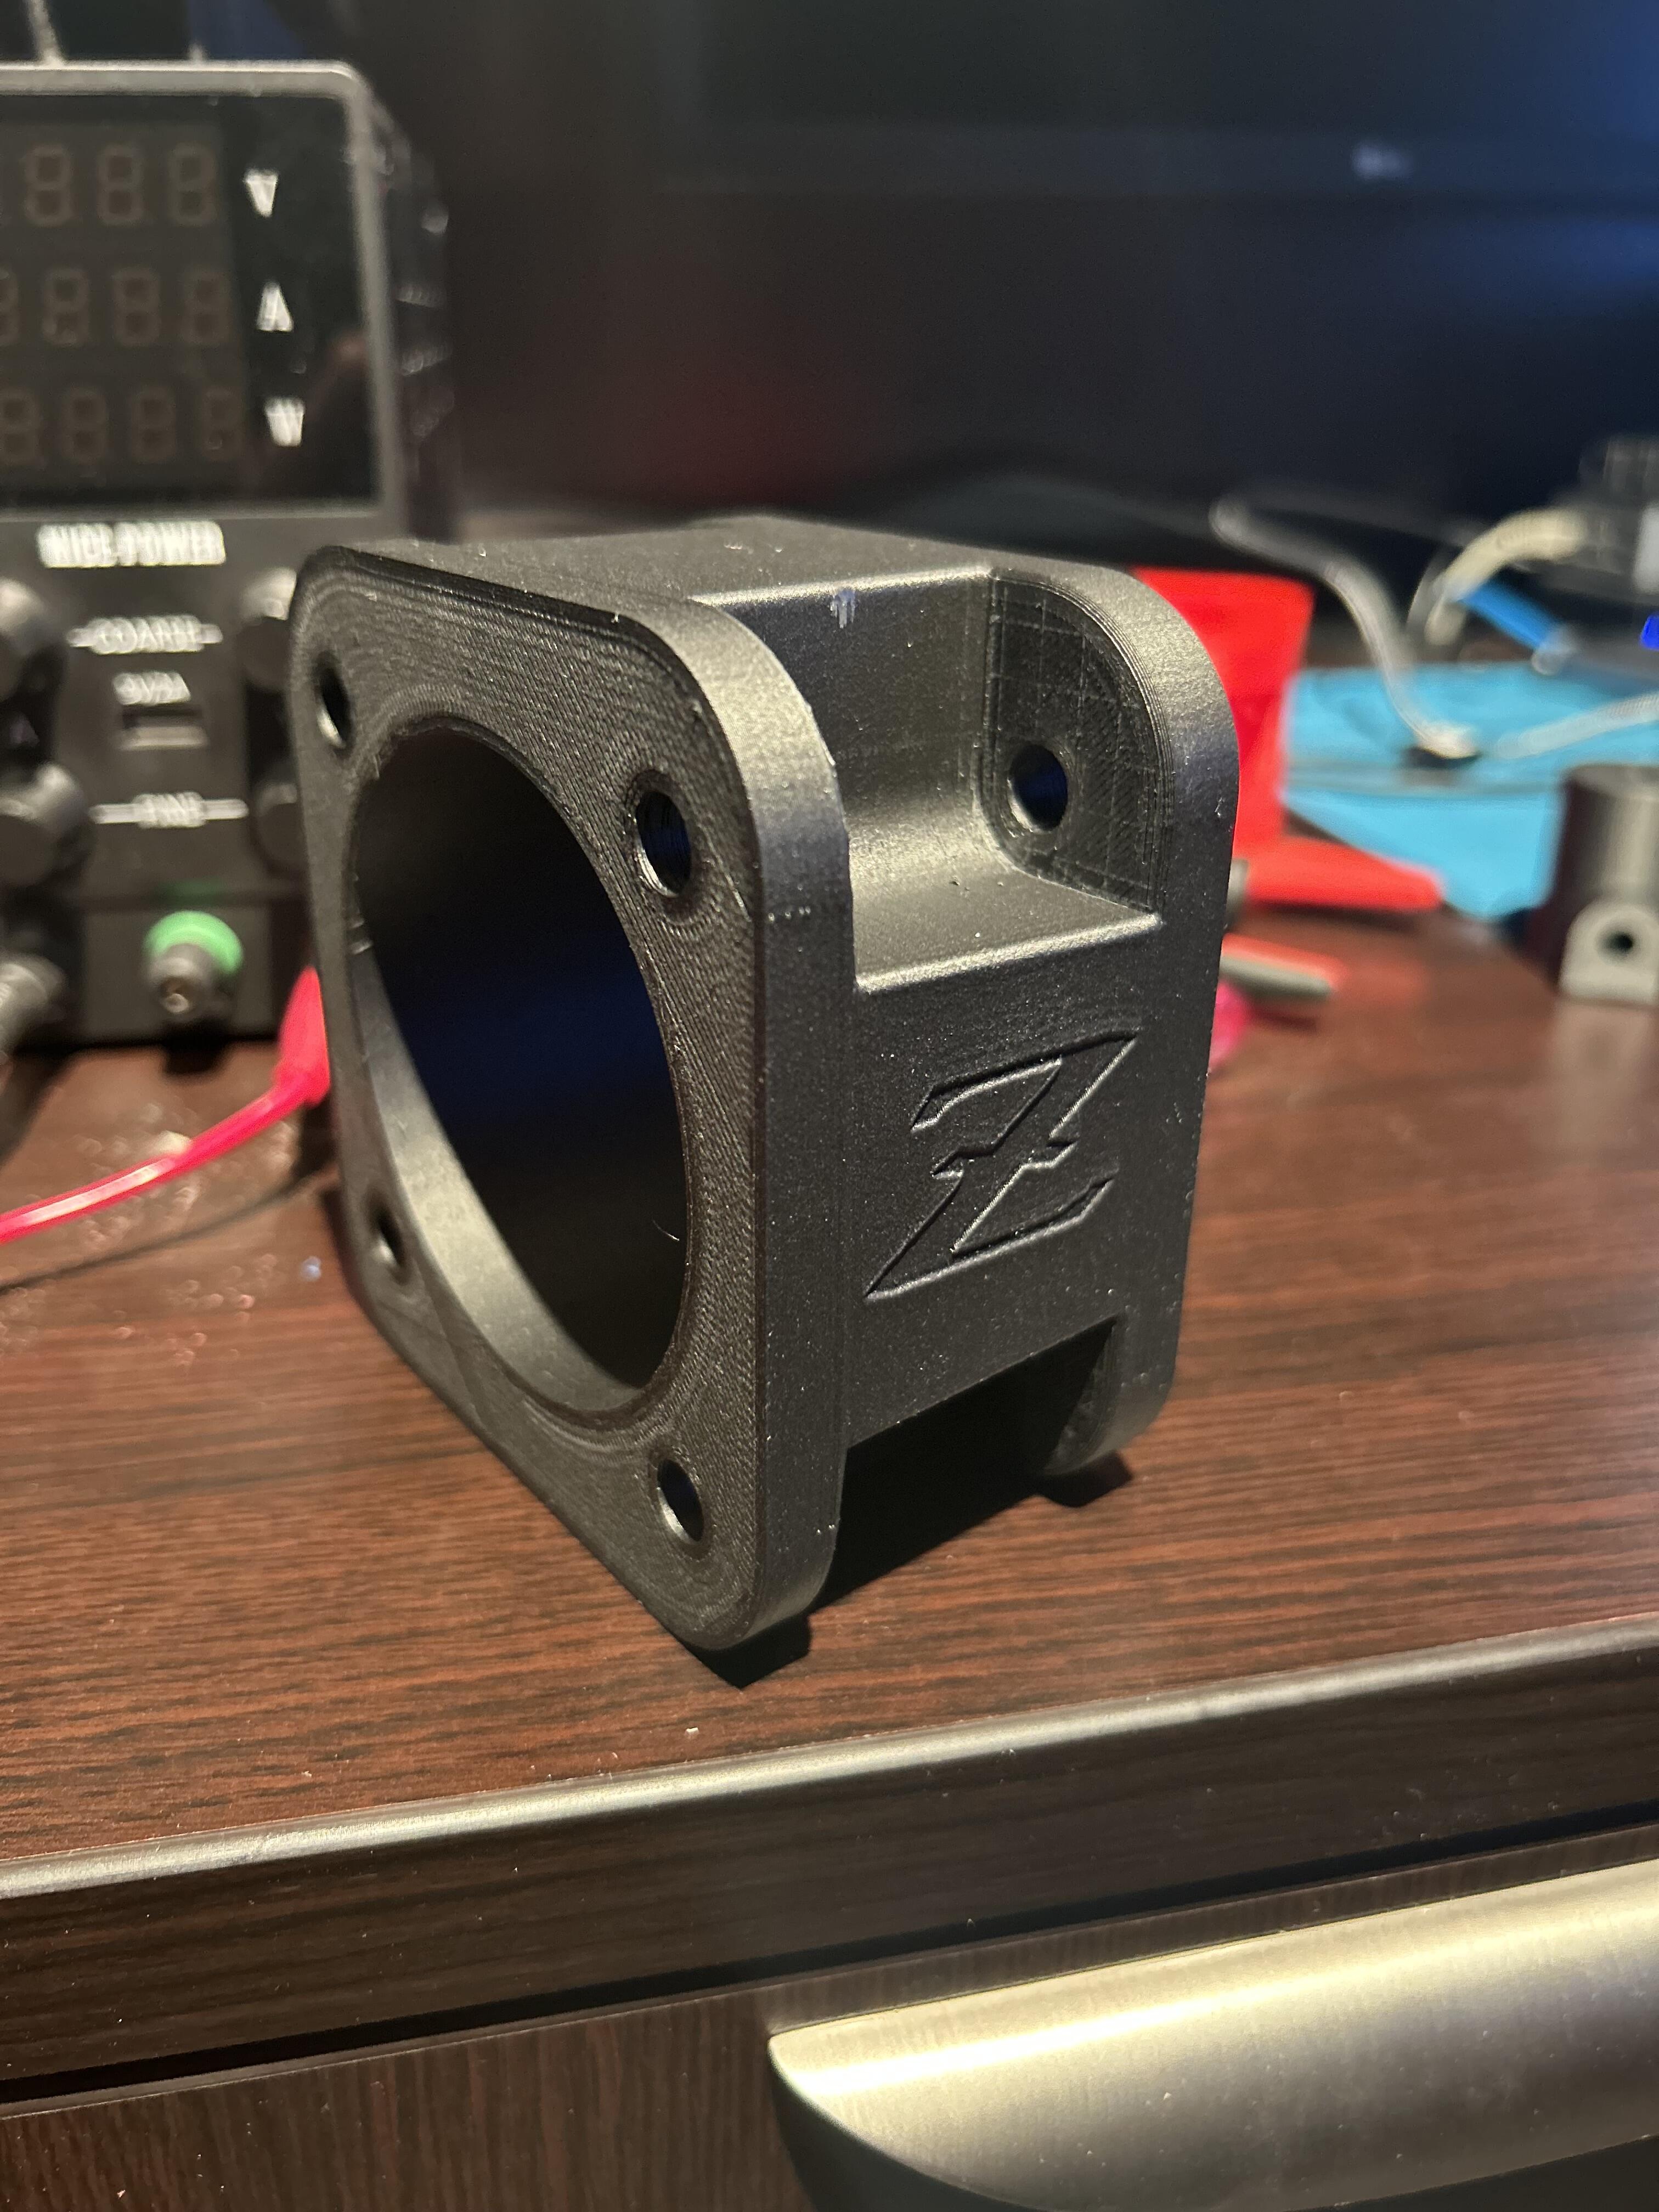
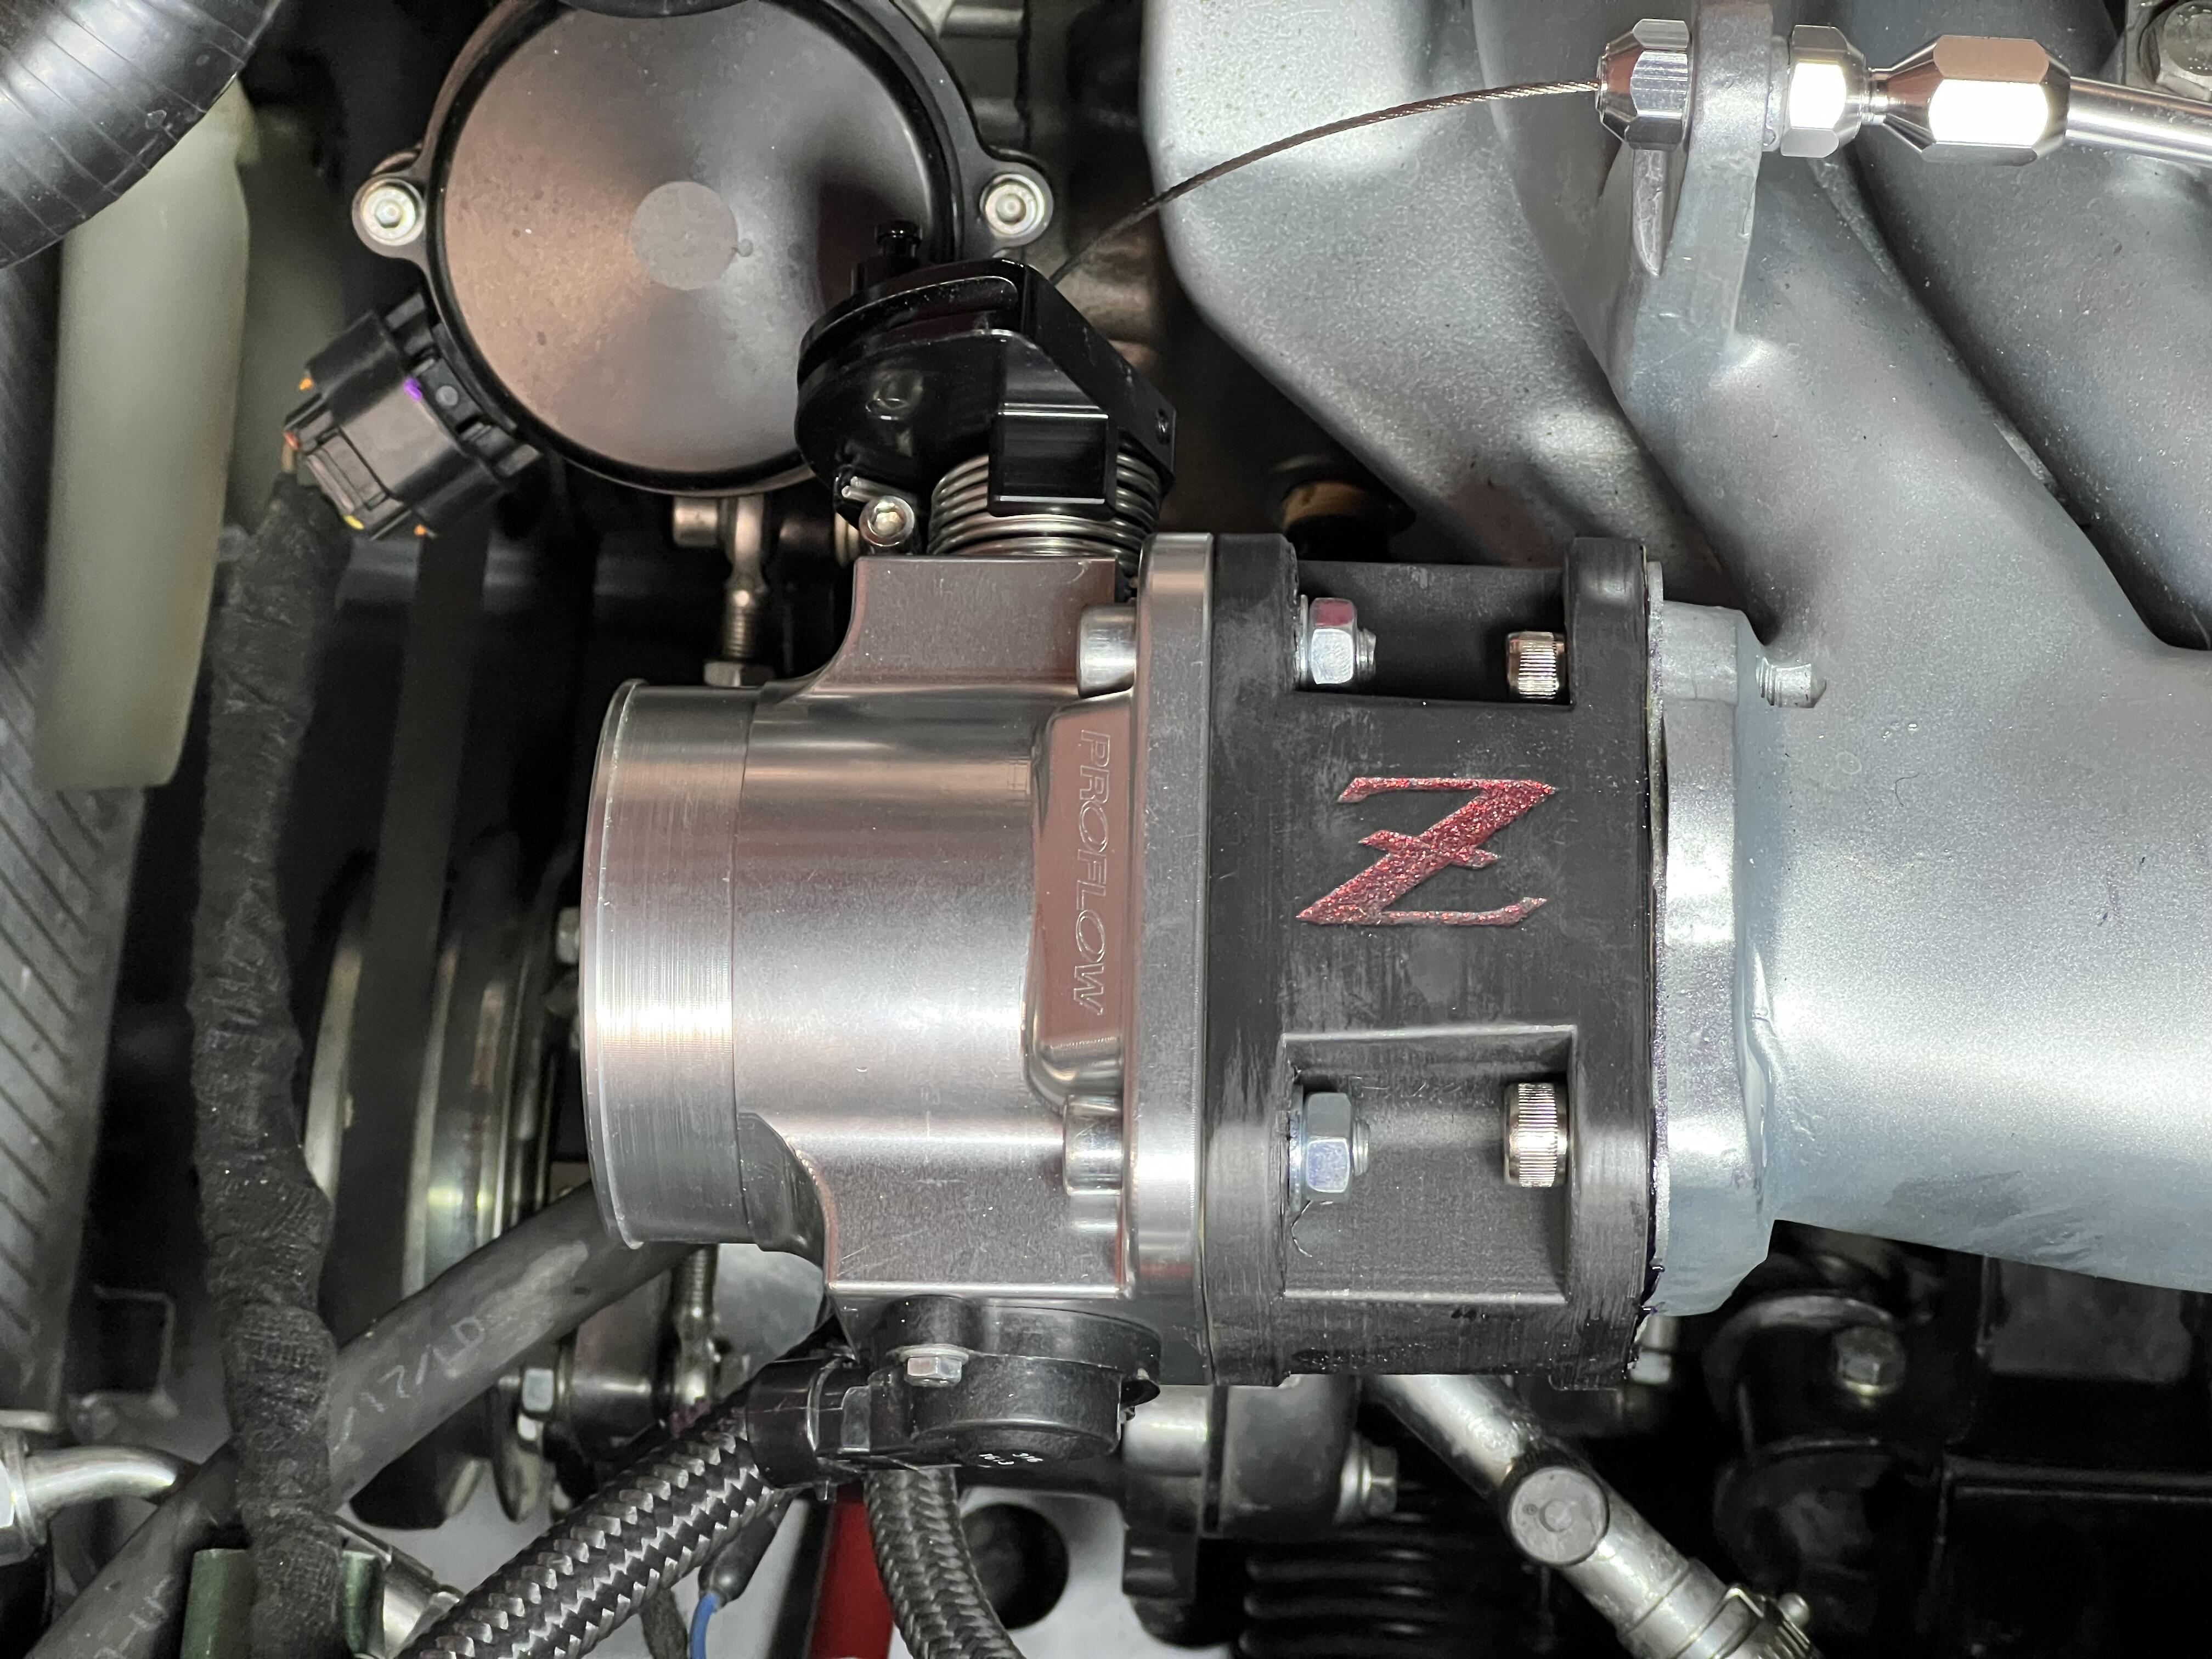
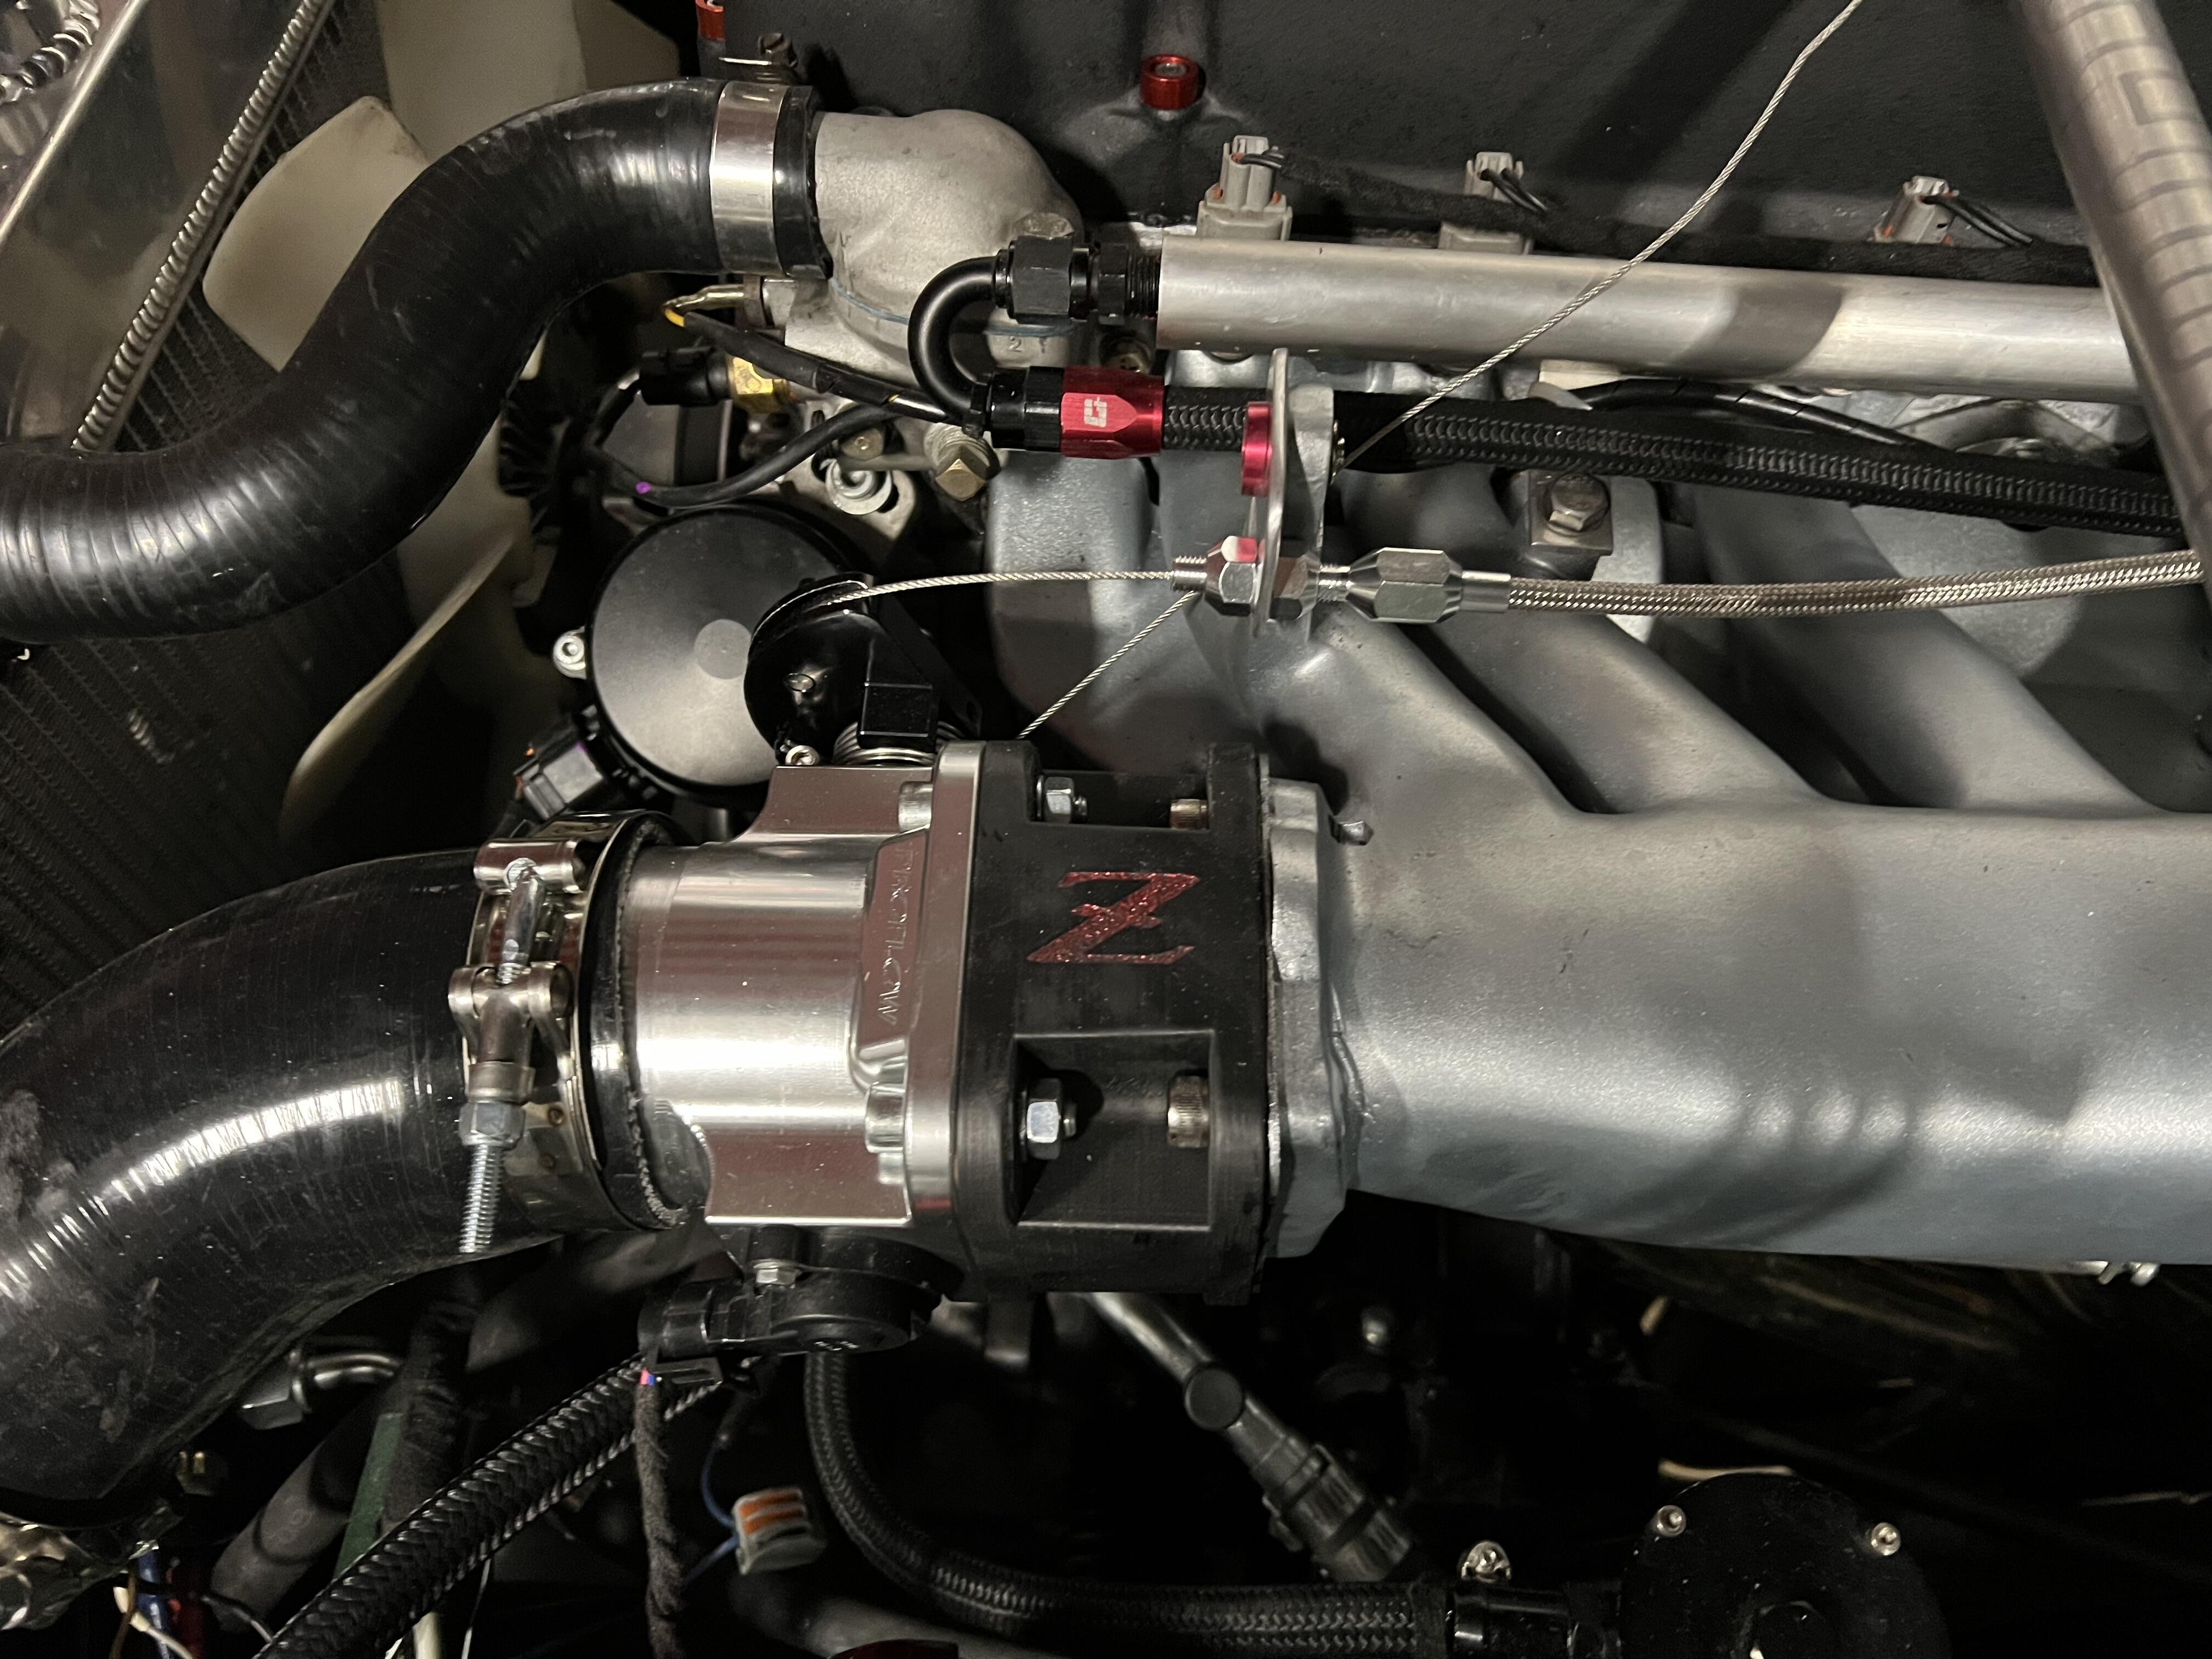
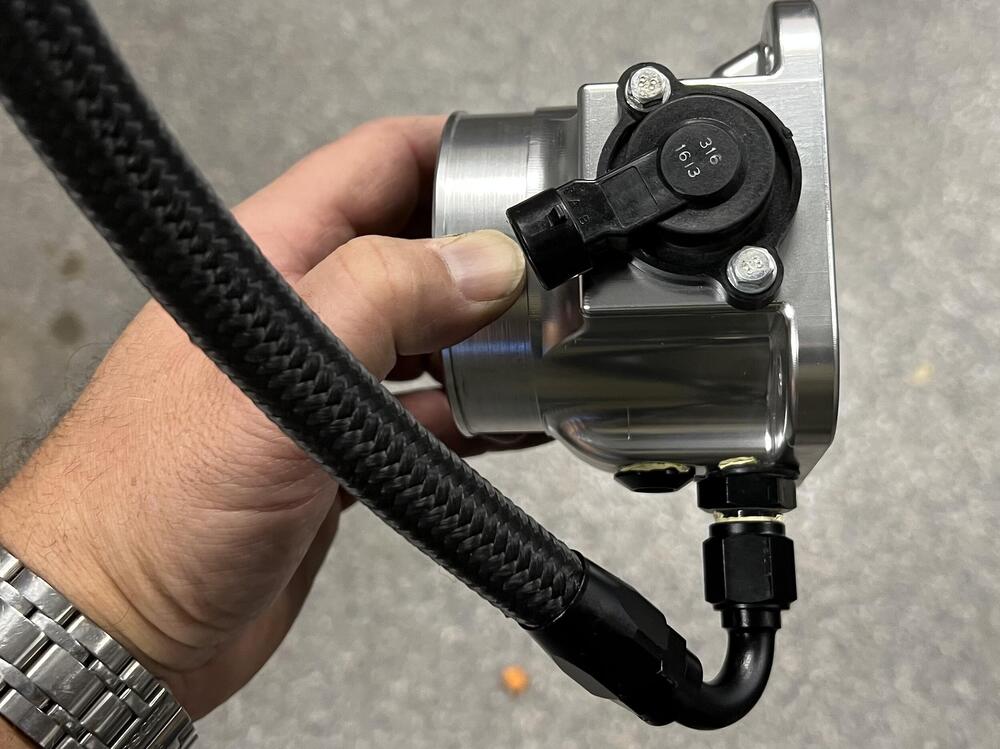
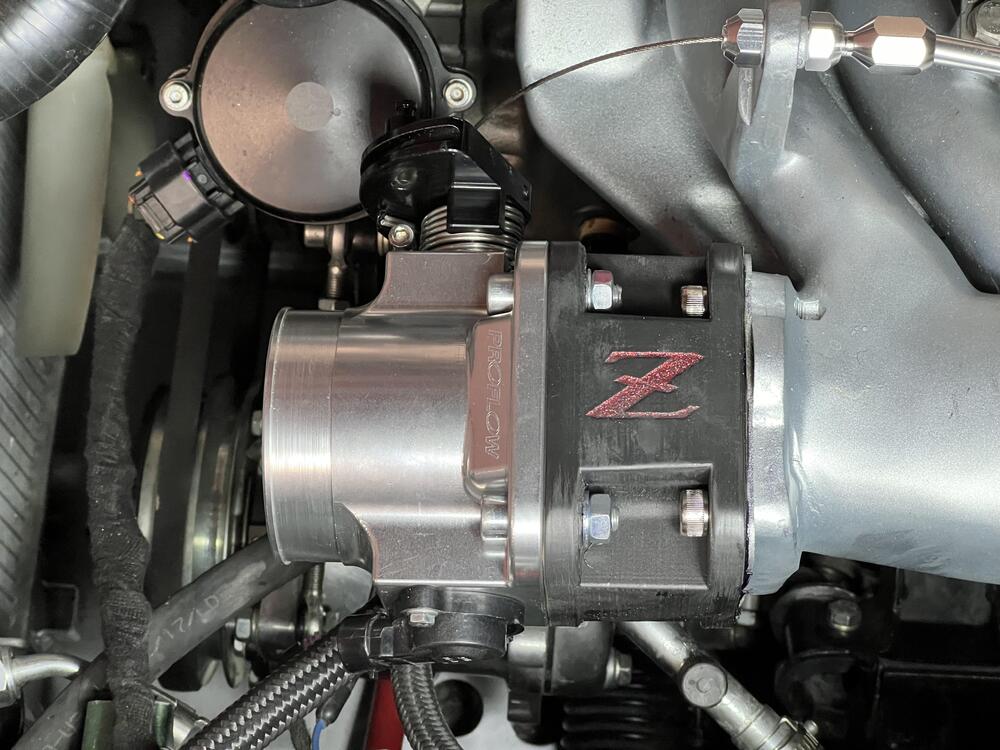
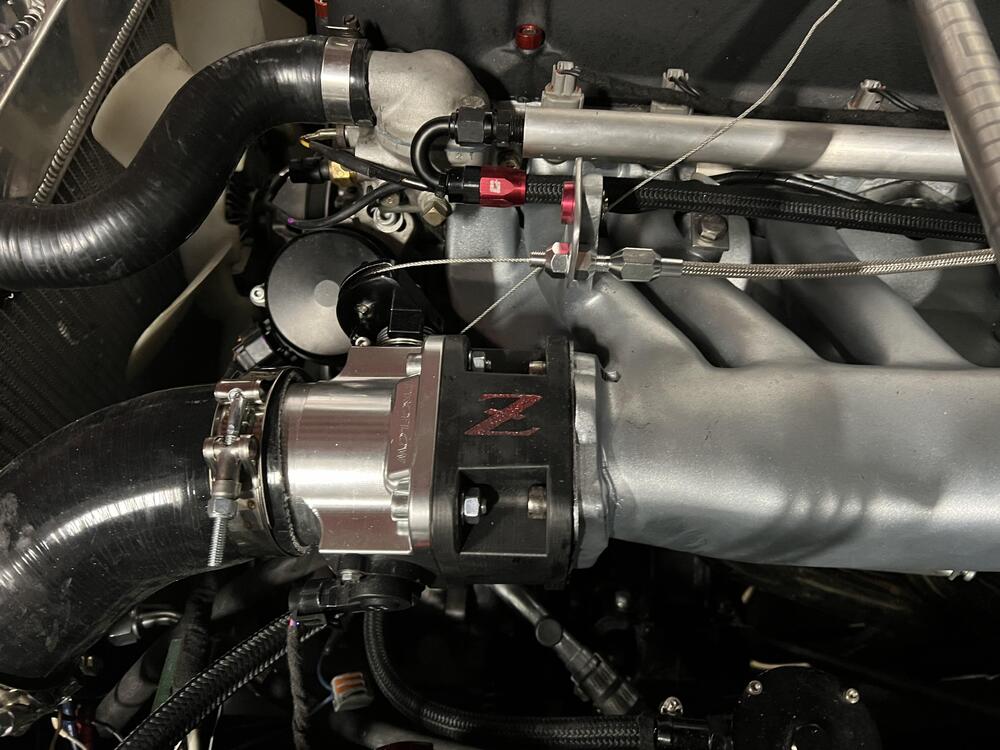
3 pointsCompleted the install with the CF infused adapter. Gave the Z a little sparkly red bling just because… 😉 The install went smooth. I replaced the existing throttle cable with a new one, which is always fun working on the under dash and gas peddle. Routed the cable overtop of the manifold versus under and built a nice throttle stop out of aluminum. Immediately noticed a performance improvement with the new throttle body! Steady idle, snappy returns, smooth revs… everything I was looking for! I have ordered the billet adapter to be cnc’d as the test piece is proven effective. Plumbed in the IAC line to the Bosch unit with some nice AN fittings too.


 3 points
 -
Hmm. That shaker siphon system looks interesting. I may have to try a PVC valve in my siphon hose.3 points
-
2 pointsThat's one good looking belly lol. Jealous I'm still at the point where the previous owner sprayed gobs of undercoating and dealing with eventual removal and hopefully not too many surprises.2 points
-
2 pointsI used them in lock down to clamp onto the fuel tank - they are great quality!2 points
-
2 pointsA shrinking disc works really good on high spots. Then dolly the lows up2 points
-
1 pointWhere's the throttle blip?! You were right there, reach out and do it! Looks good. Can't remember what's under that "distributor" cap.1 point
-
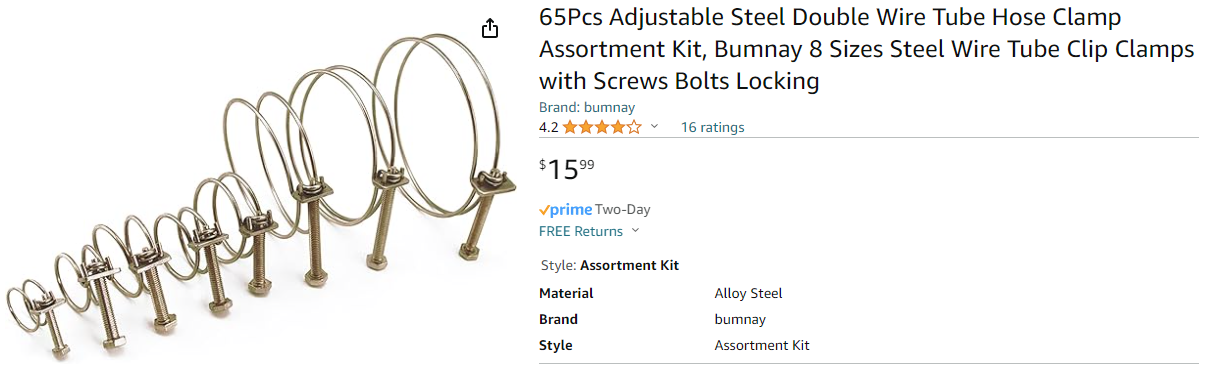
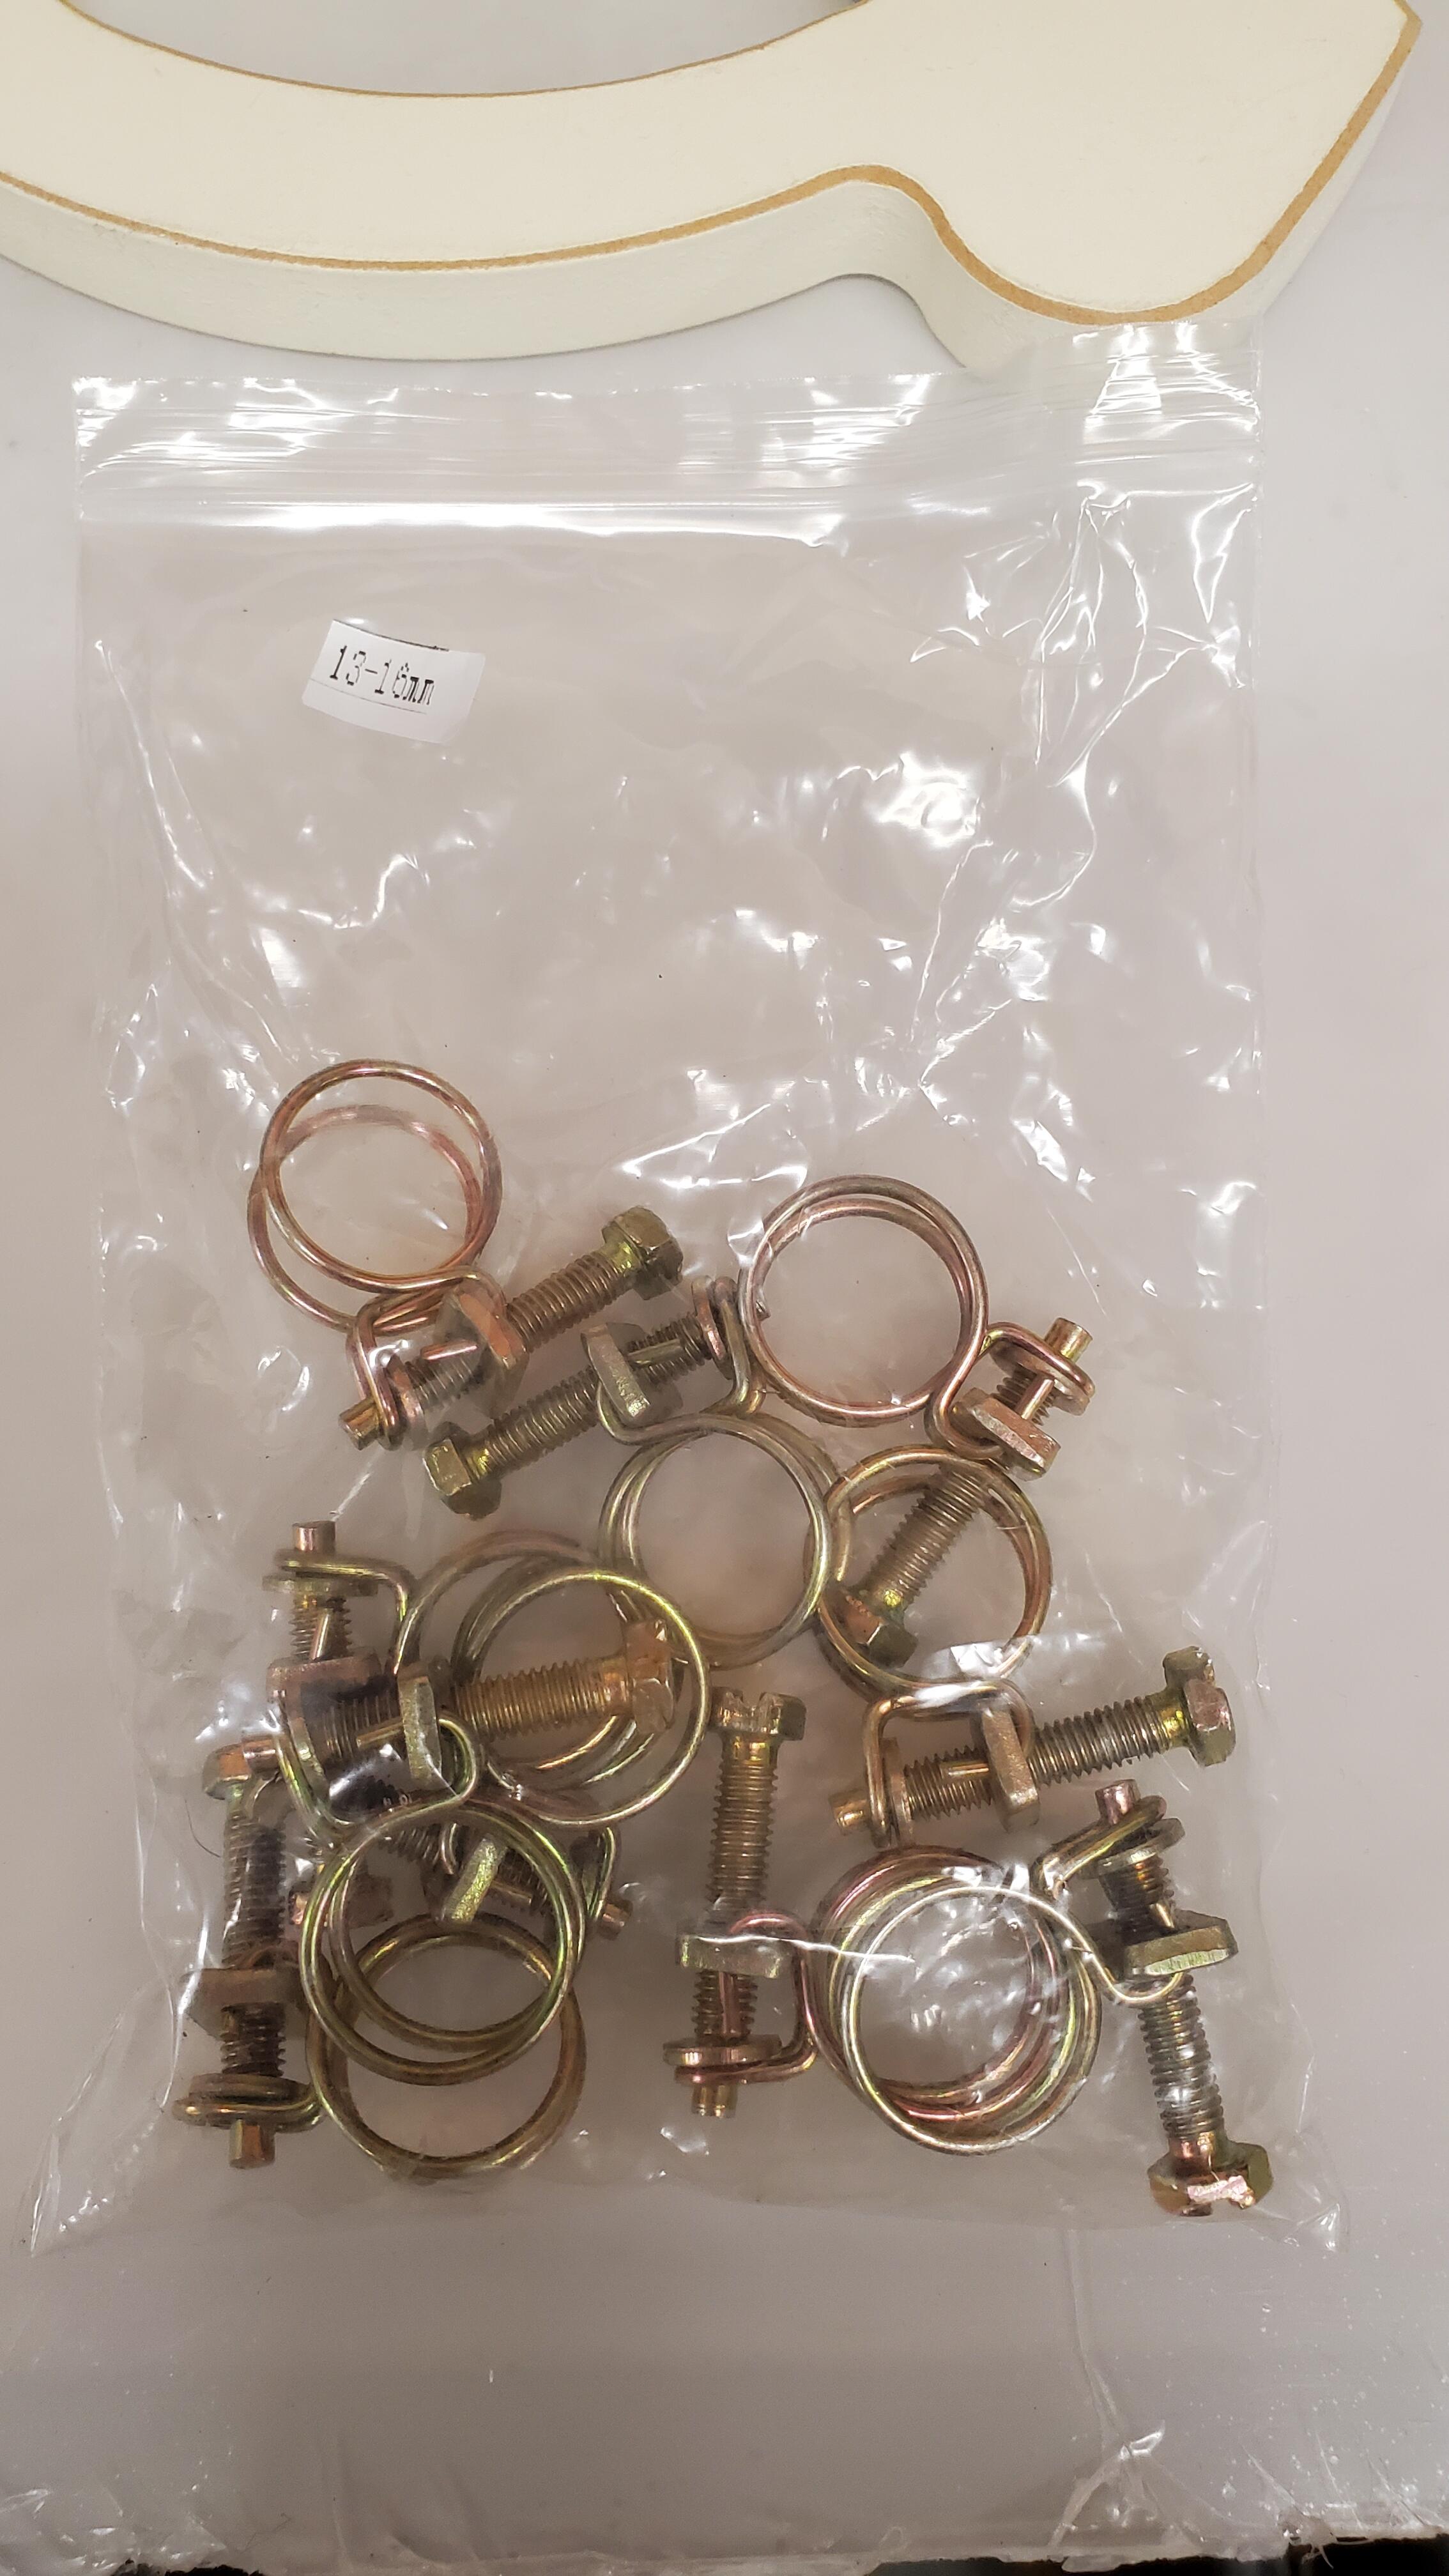
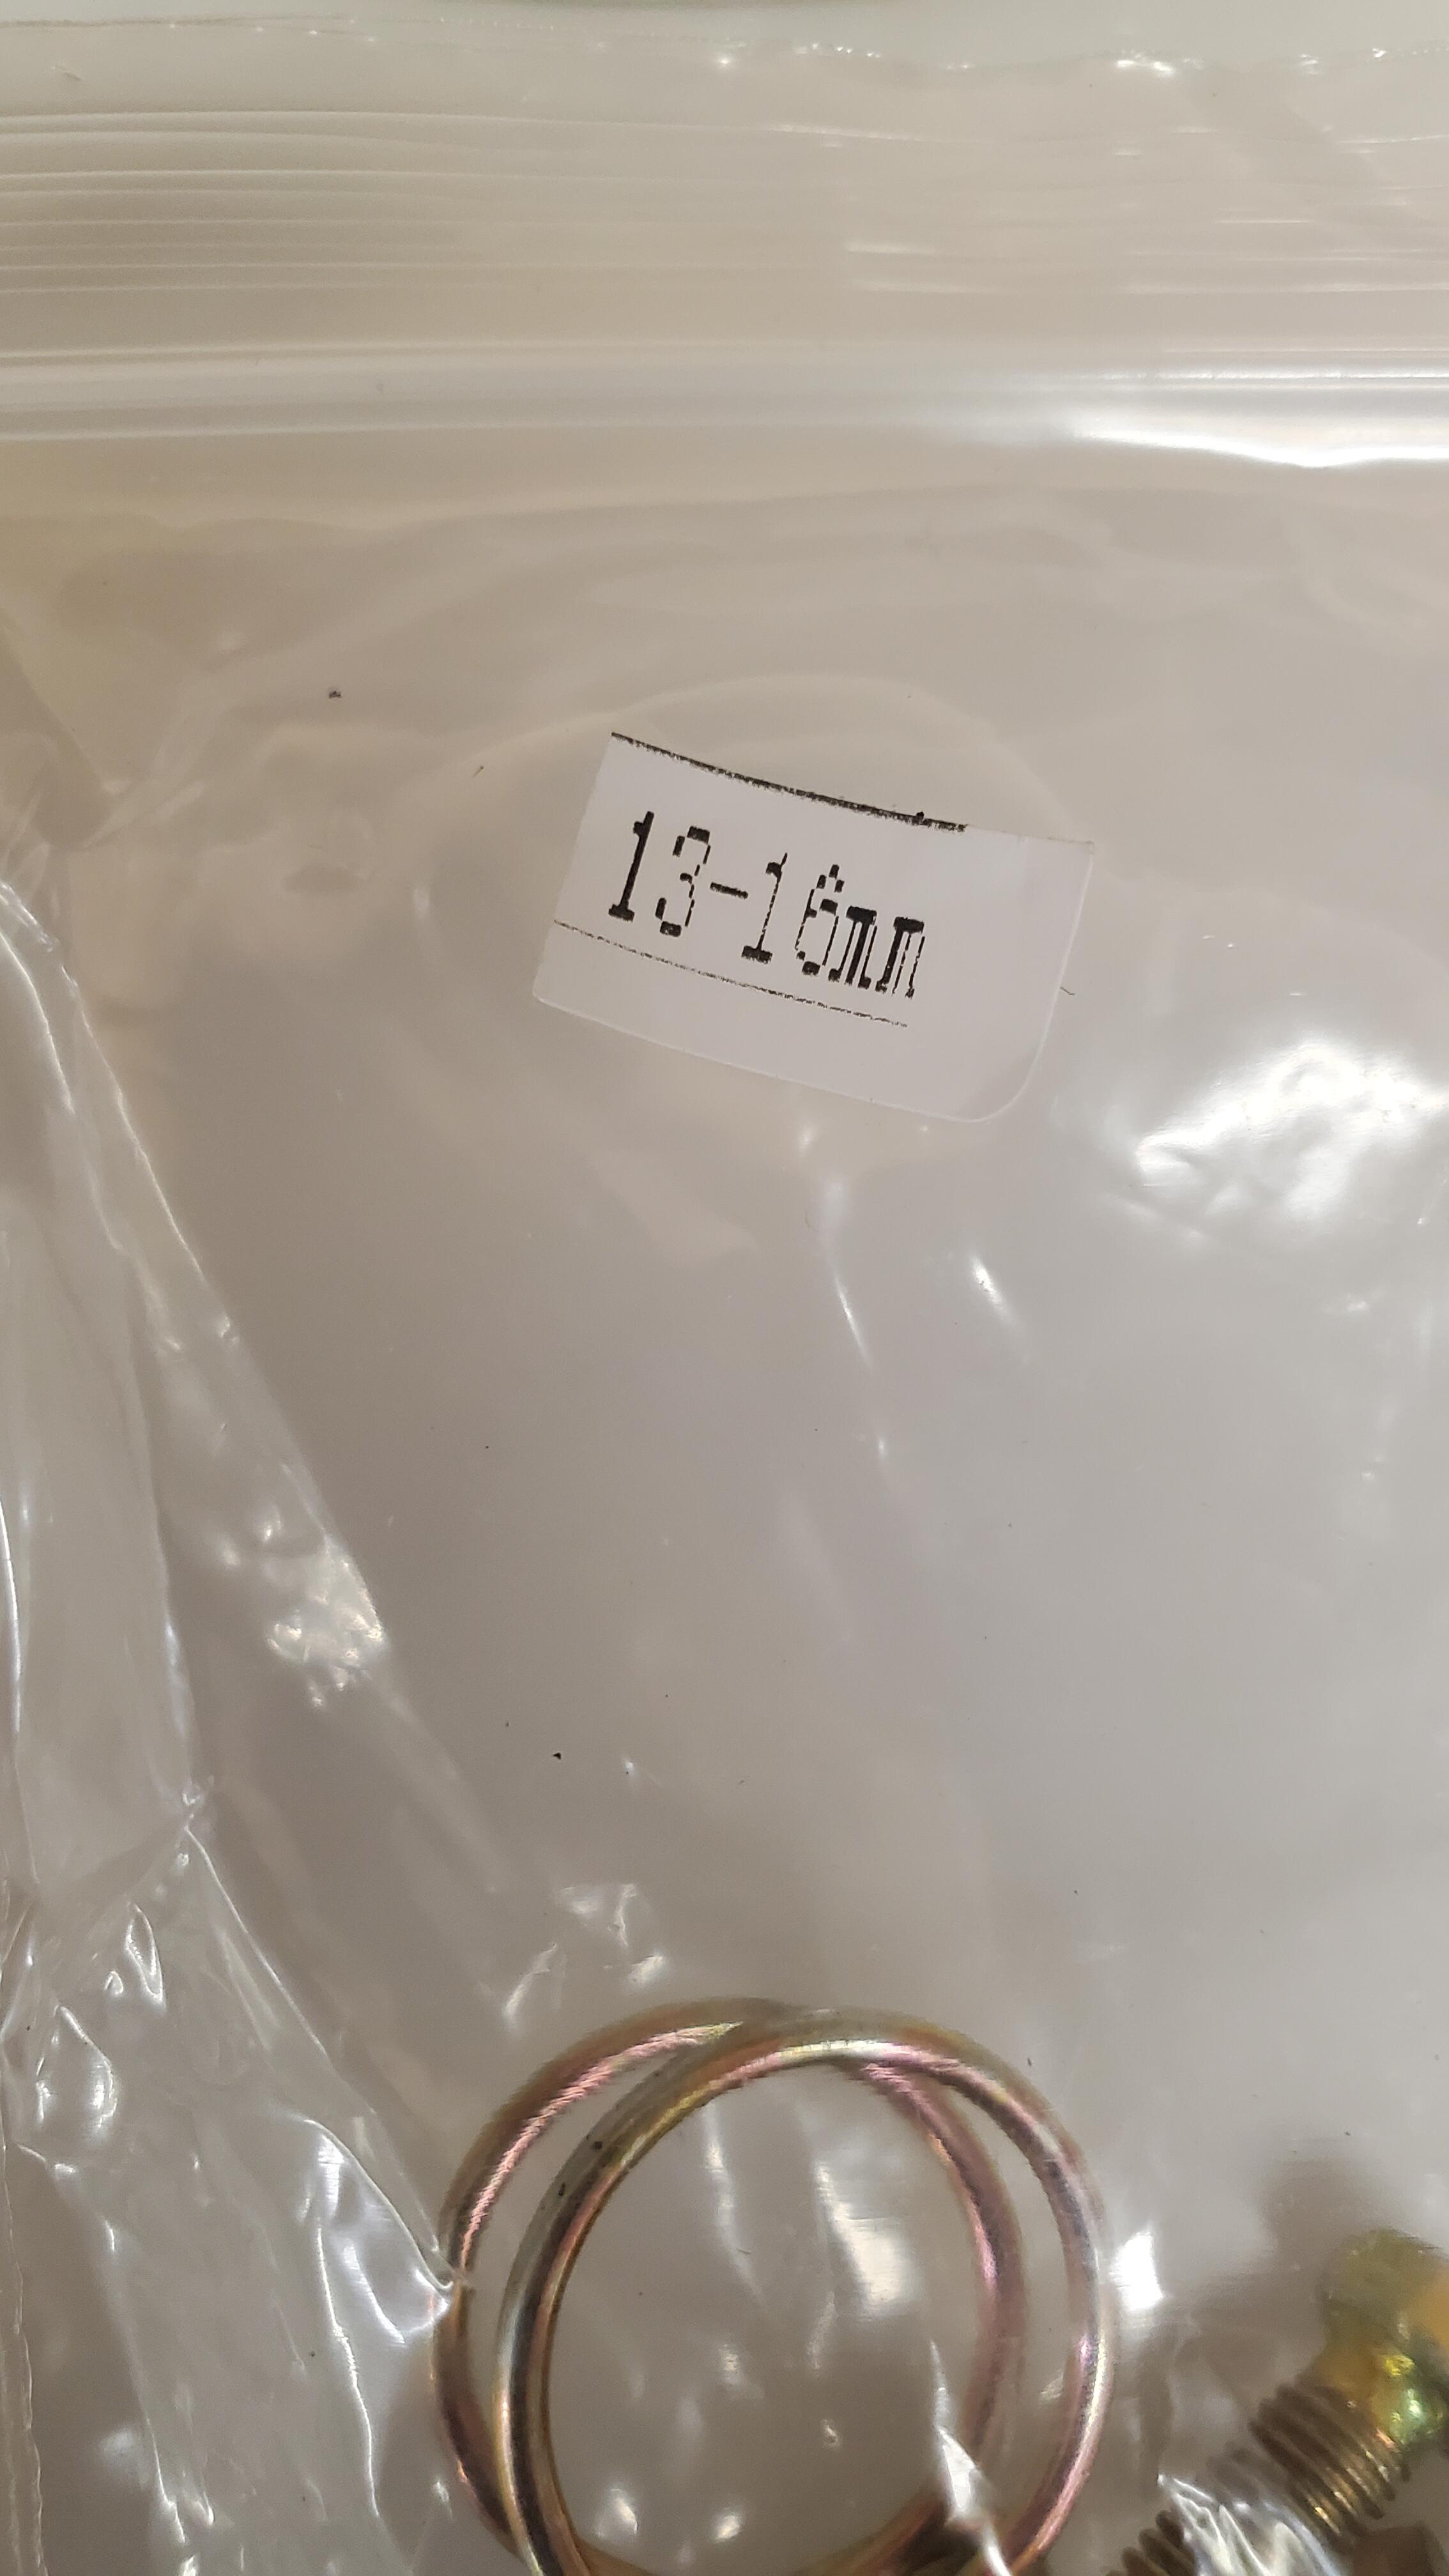
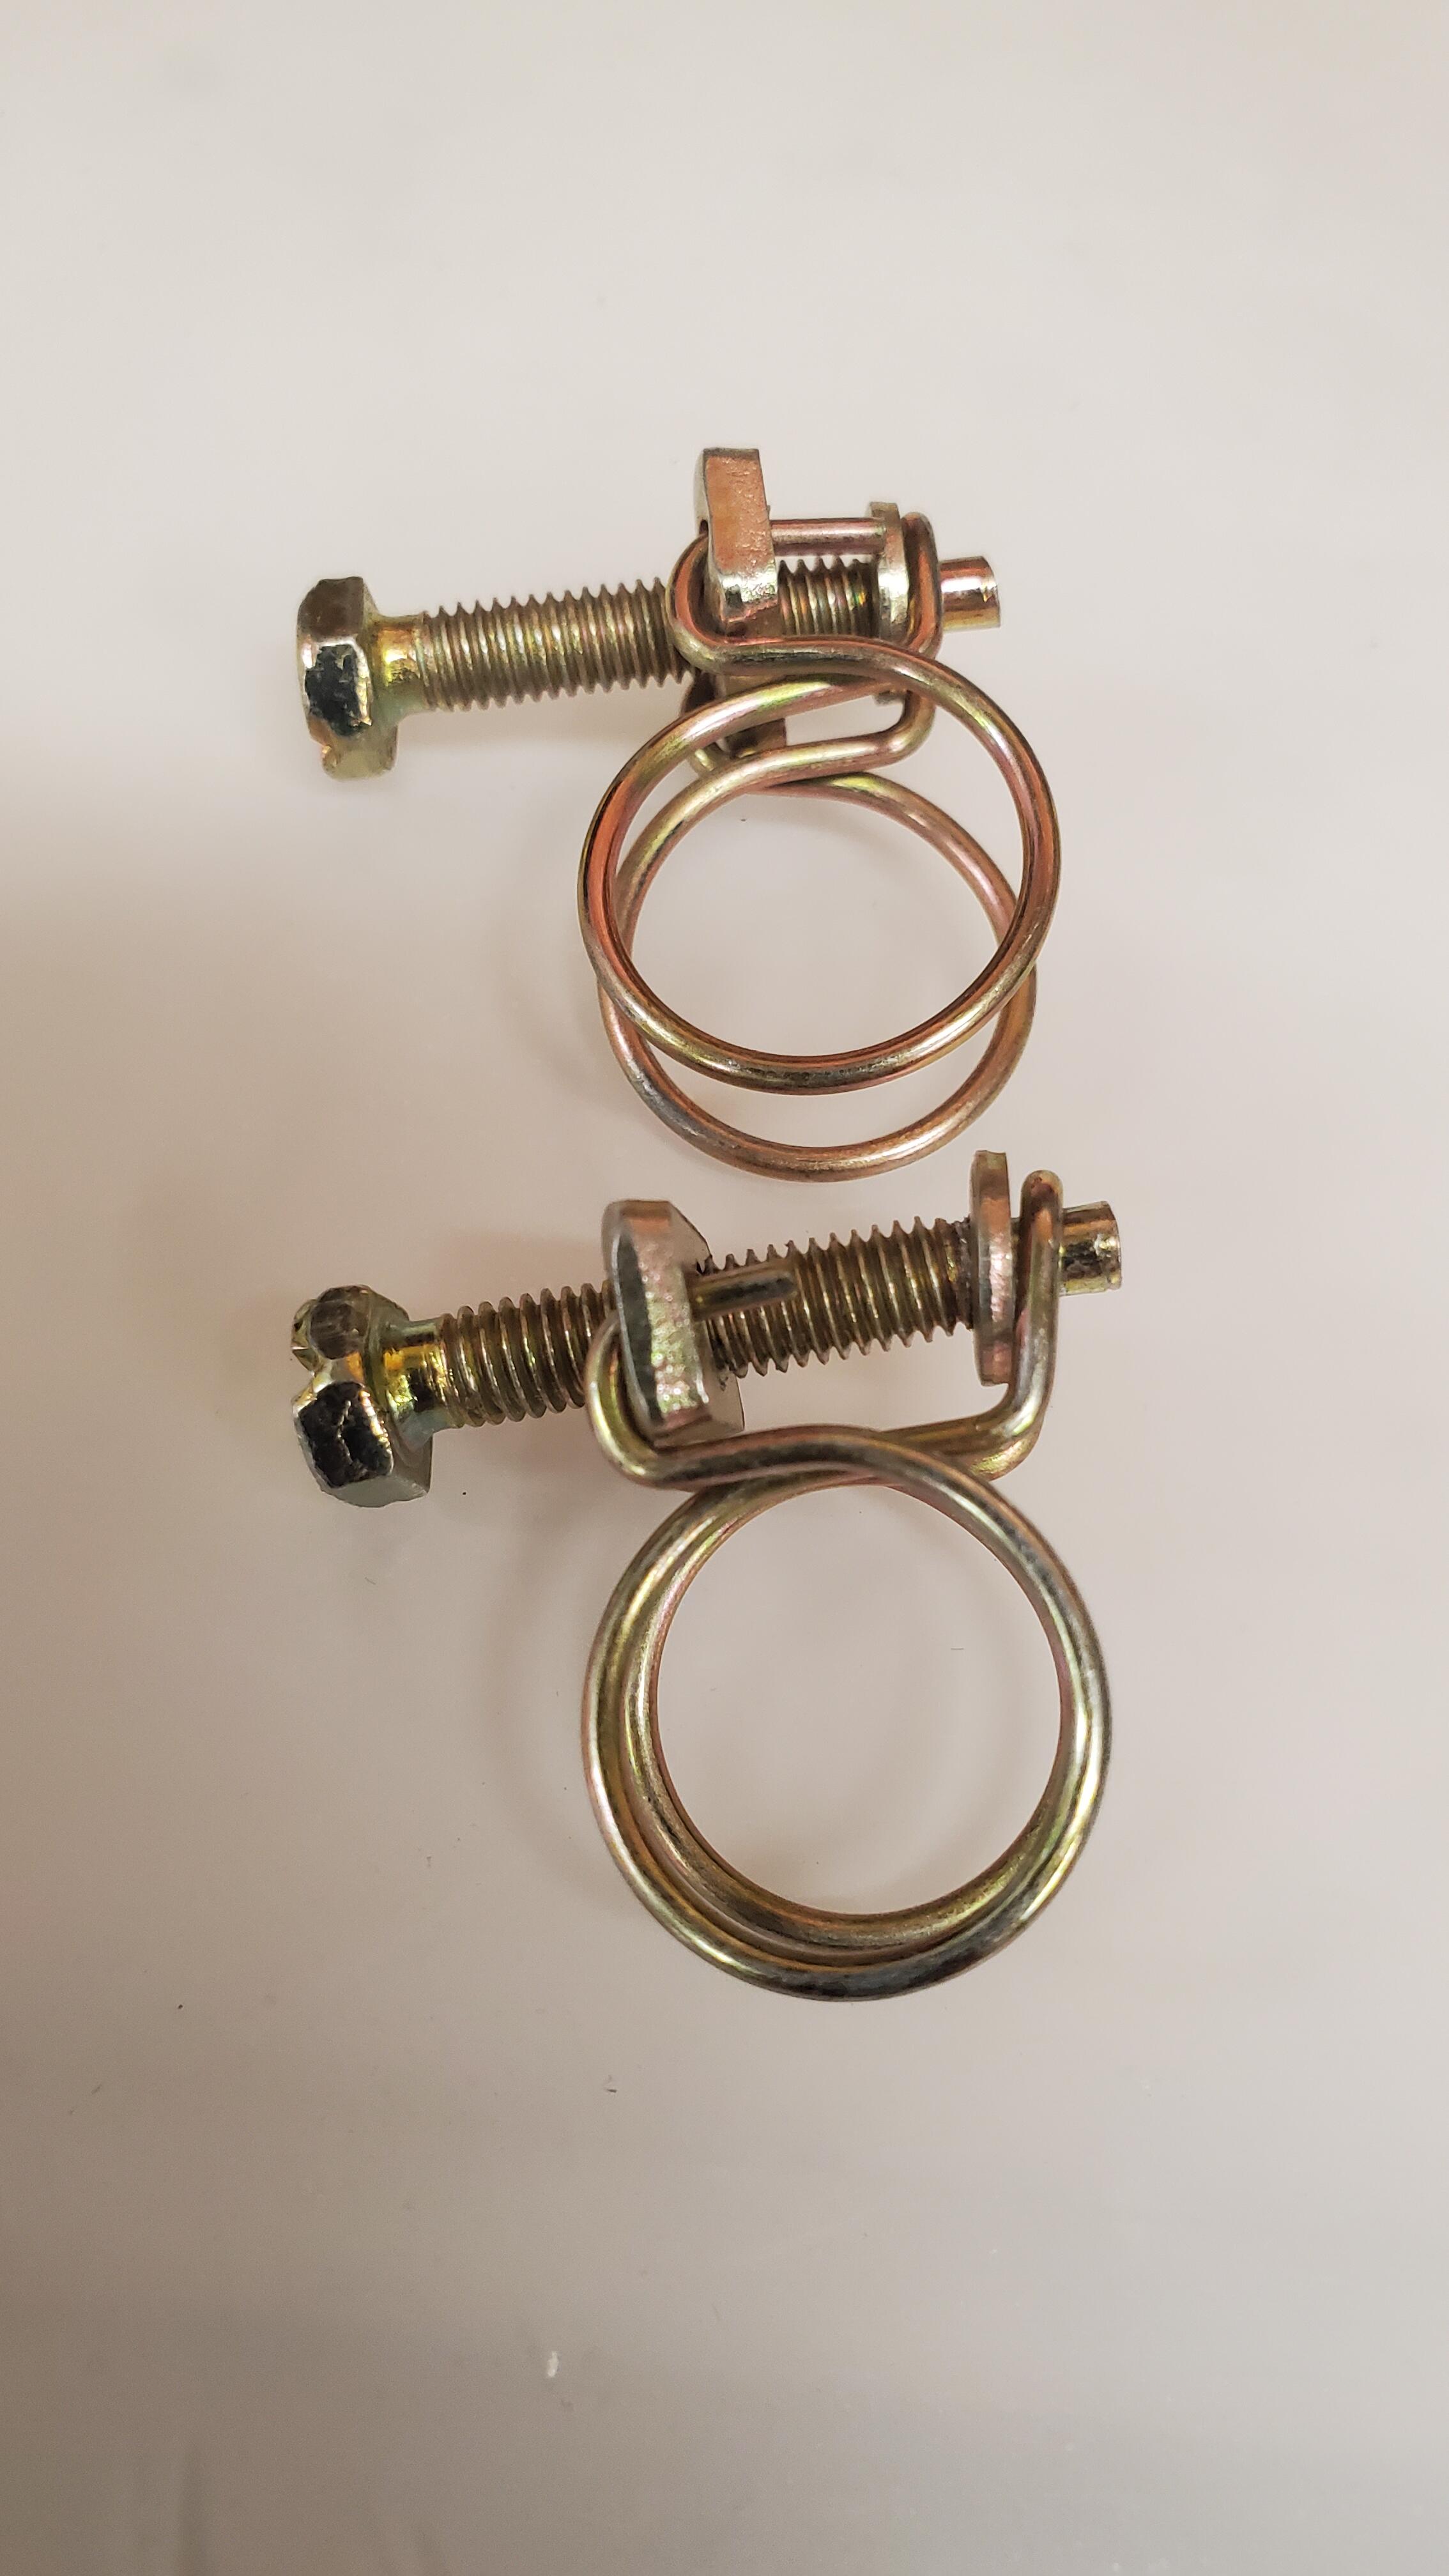
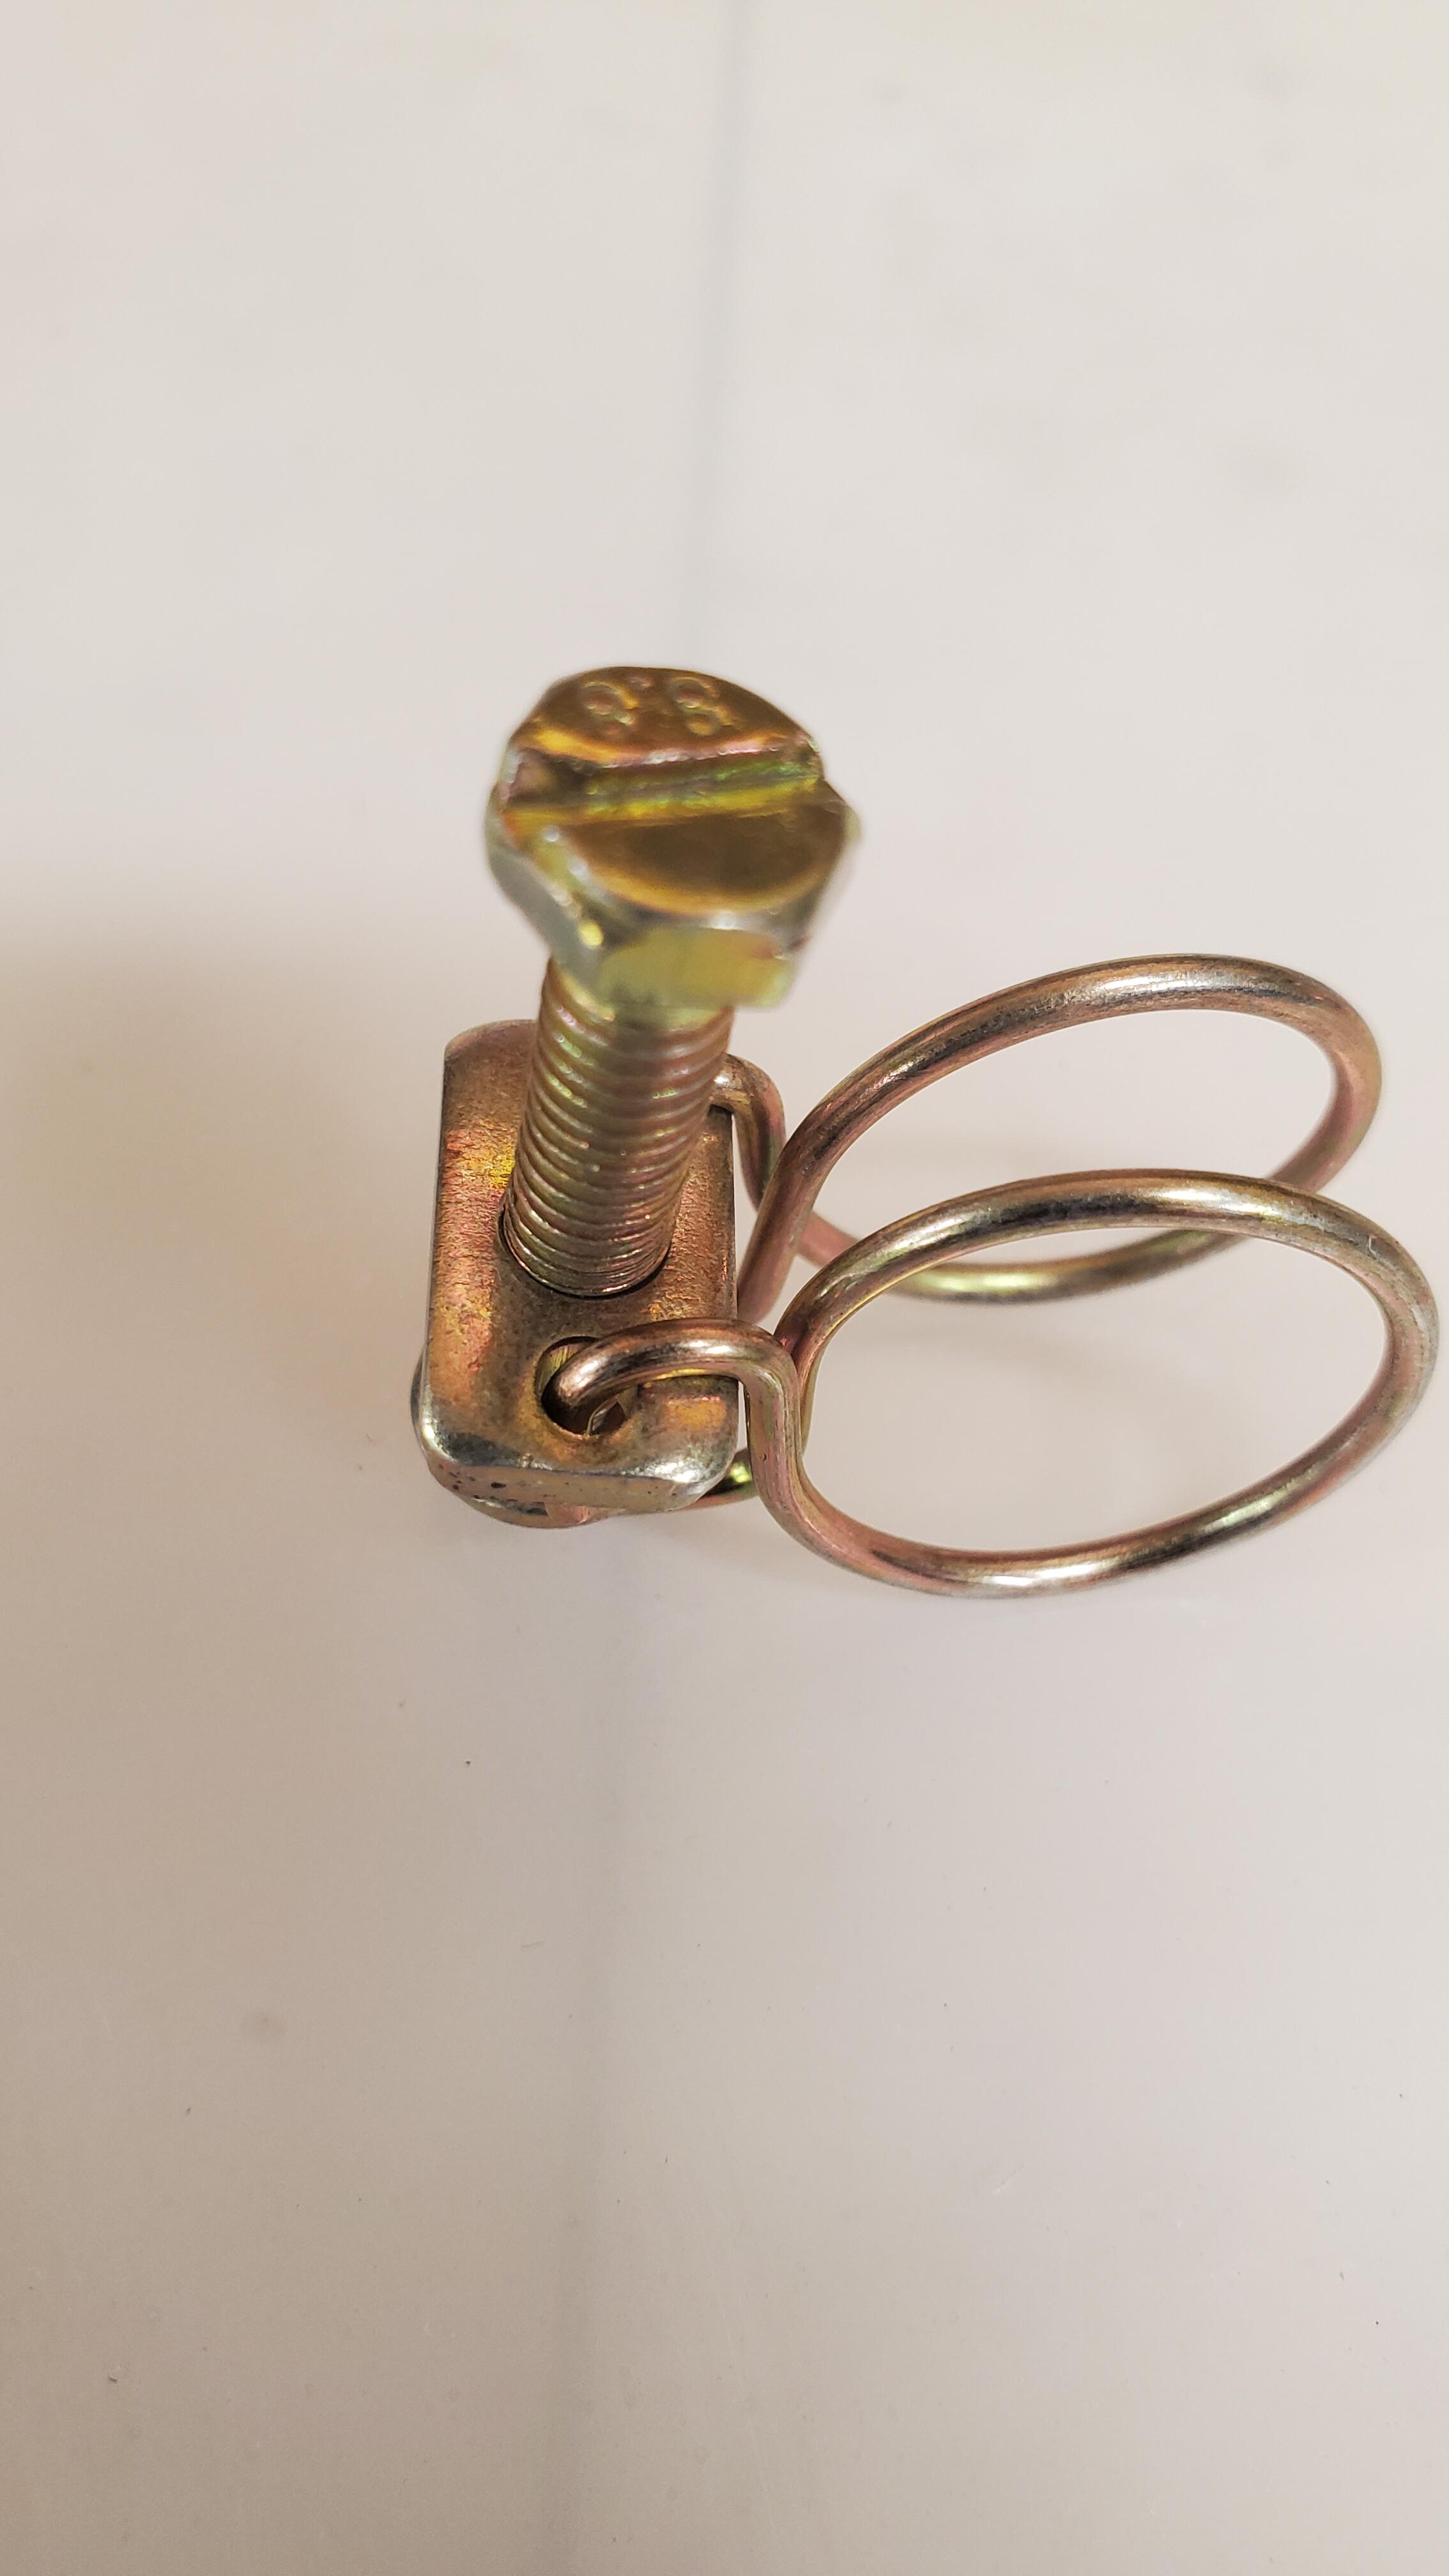
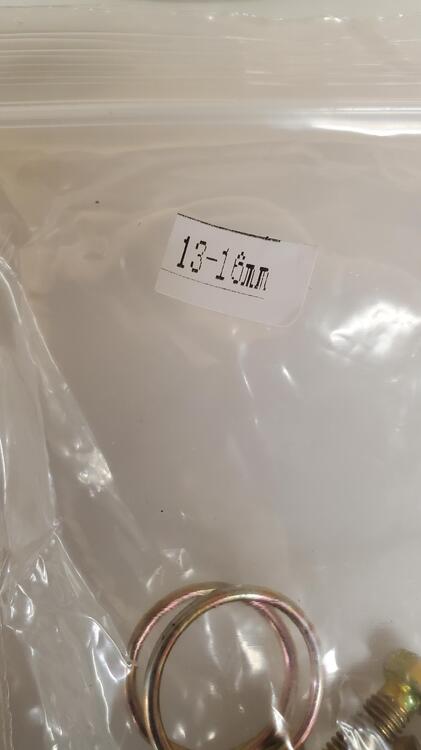
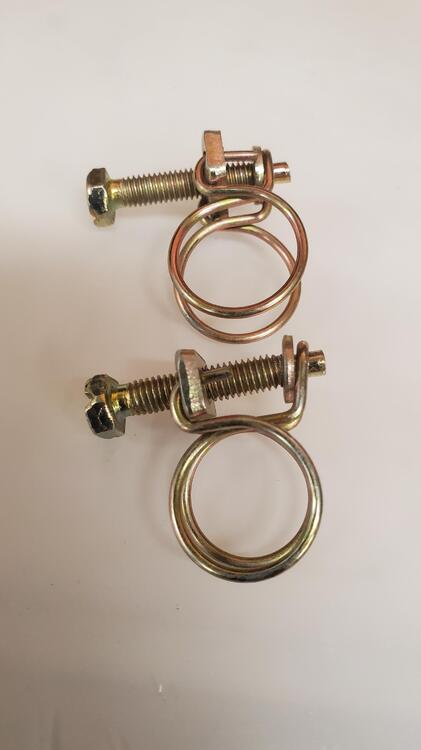
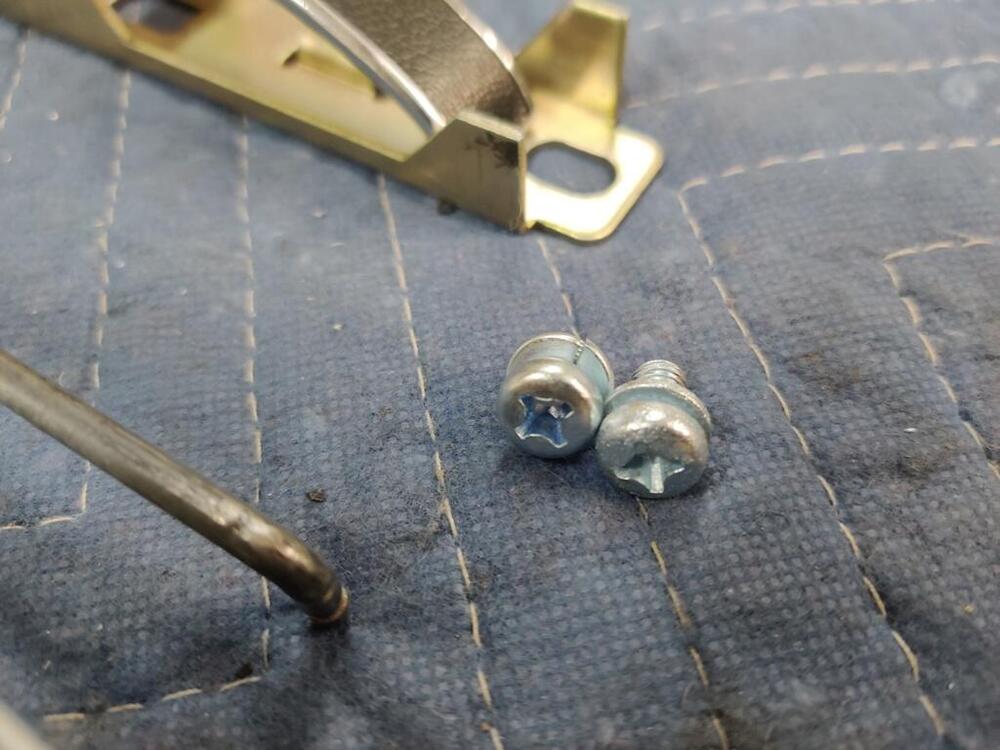
1 pointQuick update. I haven't yet received the original purchase but stumbled on these at amazon and took a shot since they had free returns and the deal was far better than the one from ebay. You get more pieces, a better range, and they are half the price from the ones i bought on ebay. I'll be returning the ebay ones shortly. https://www.amazon.com/gp/product/B0BM93WN31/ref=ppx_yo_dt_b_asin_title_o00_s00?ie=UTF8&th=1 They arrived today and boy they are nice and I highly recommend. They have the same "issue" in that the head isn't OEM but they fit nicely into an 8mm ratchet and that's what i prefer anyway. This kit has them in individually wrapped bags sorted by size range The plating seems very consistent in color and application and they really hold the shape nicely as you close them Head shot, don't like the flat head screw but as mentioned will use the ratchet instead.

 1 point
 -
Learned something new today! Thanks Charles, I'd never seen one of those before.1 point
-
1 pointI returned tranny for a full refund. You guys should never listen to me for any 240Z advice! [emoji23]1 point
-
1 pointYeah, as much as you can see in the second pic of the last post. The red oxide primer never comes off with a scraper, the striping discs are the only thing that will remove that stuff.1 point
-
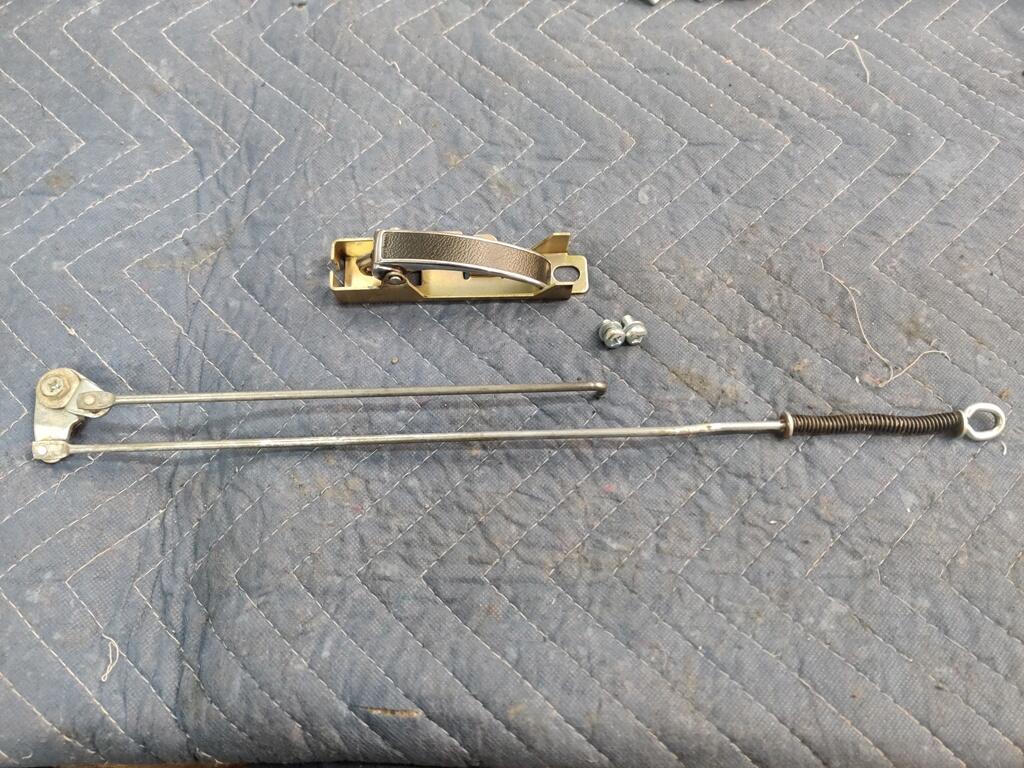
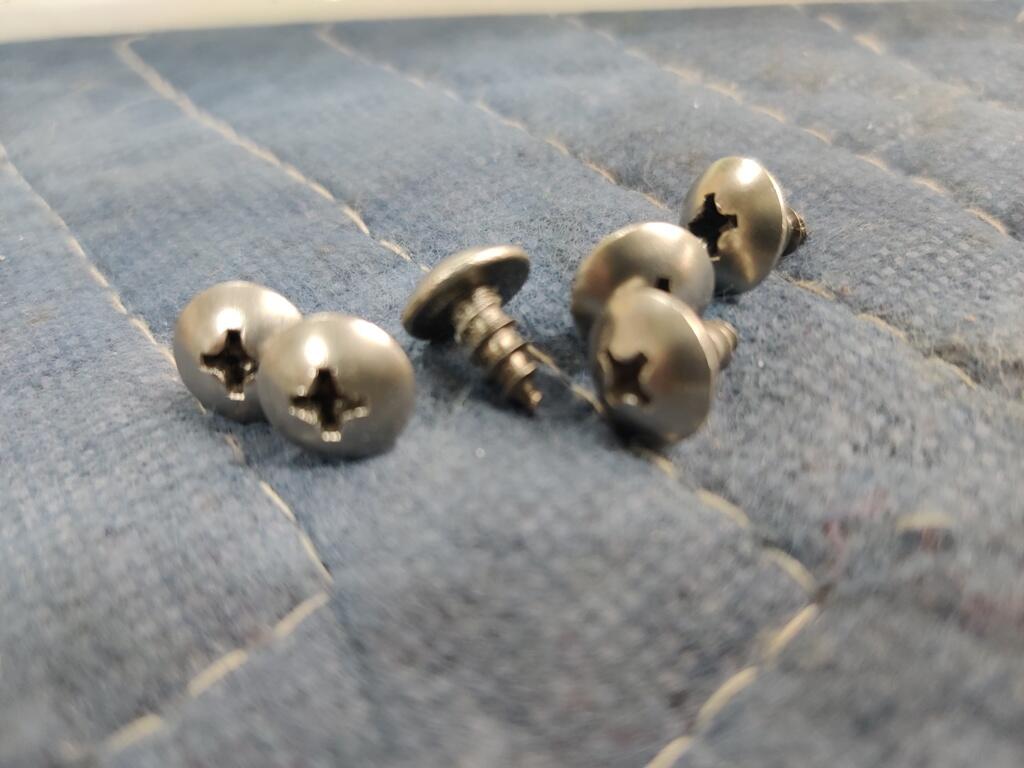
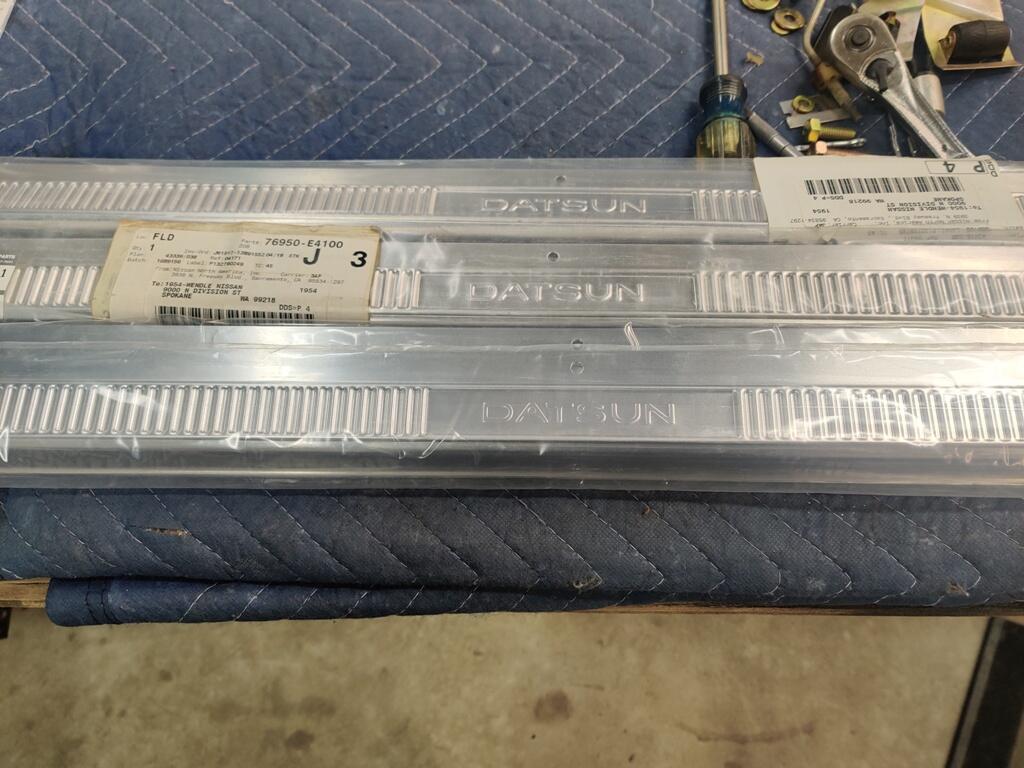
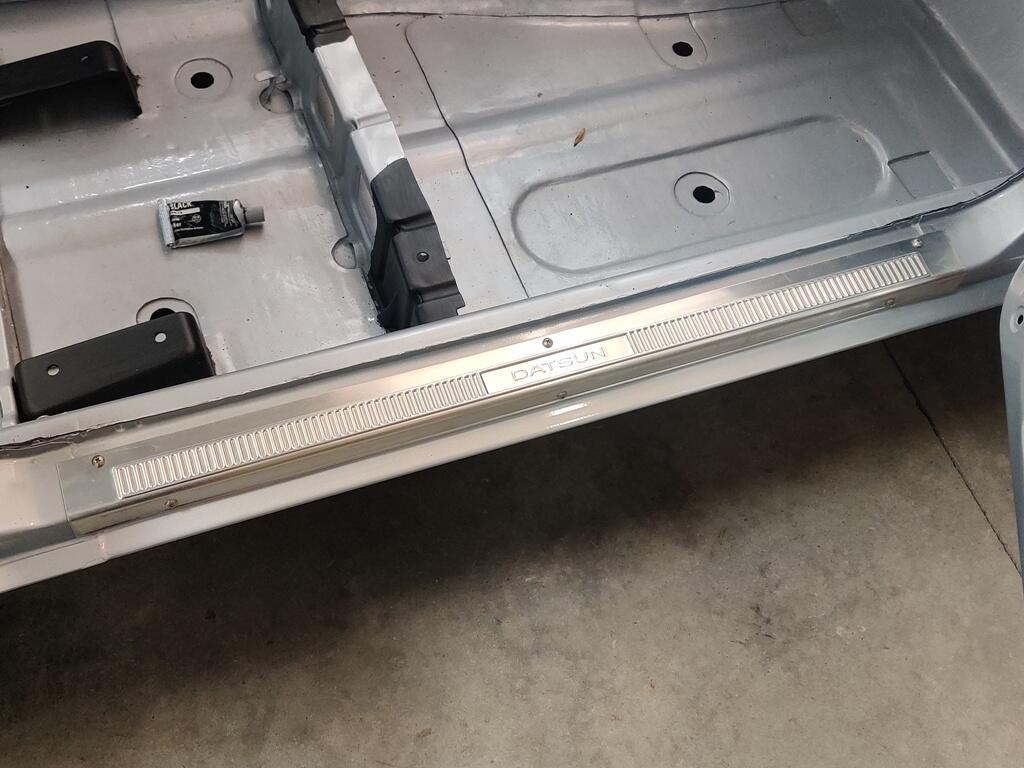
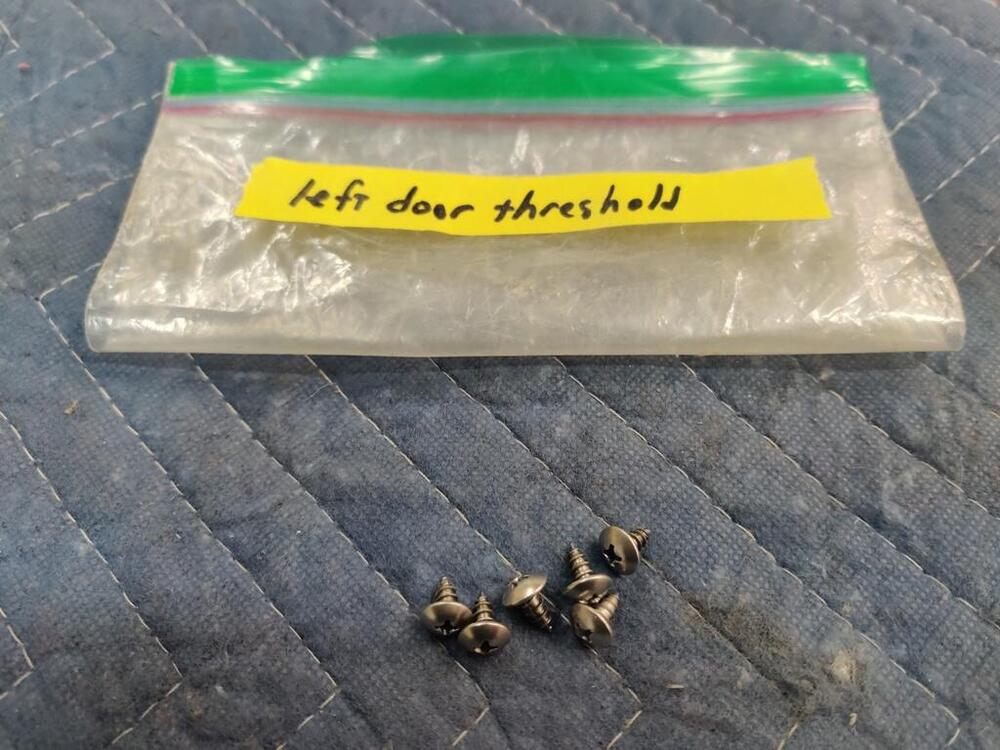
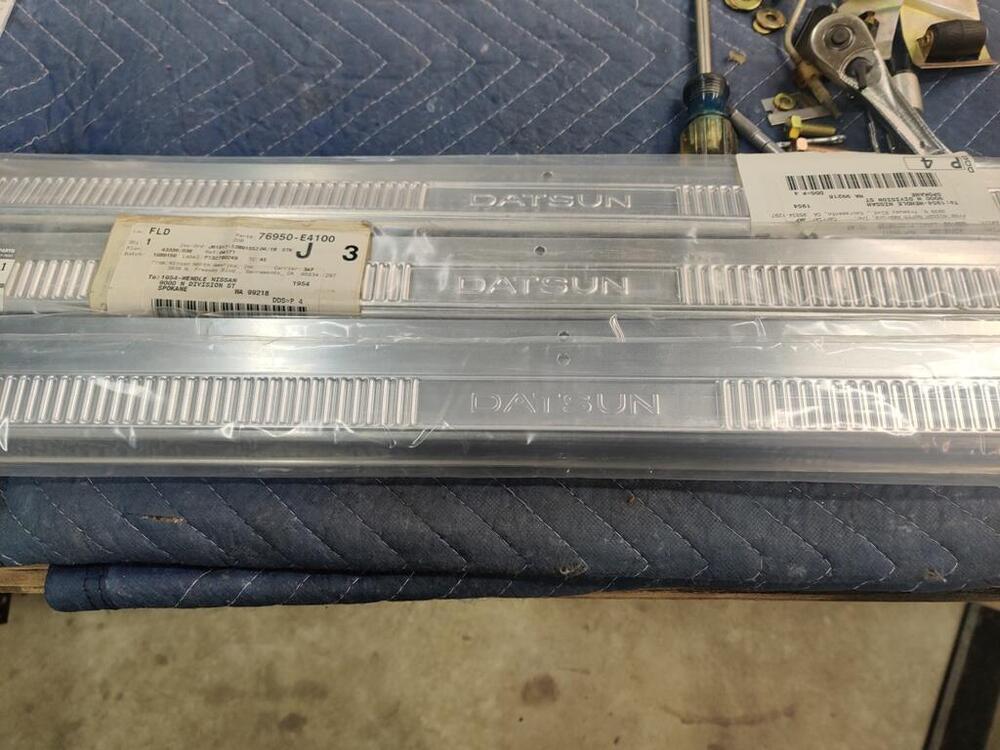
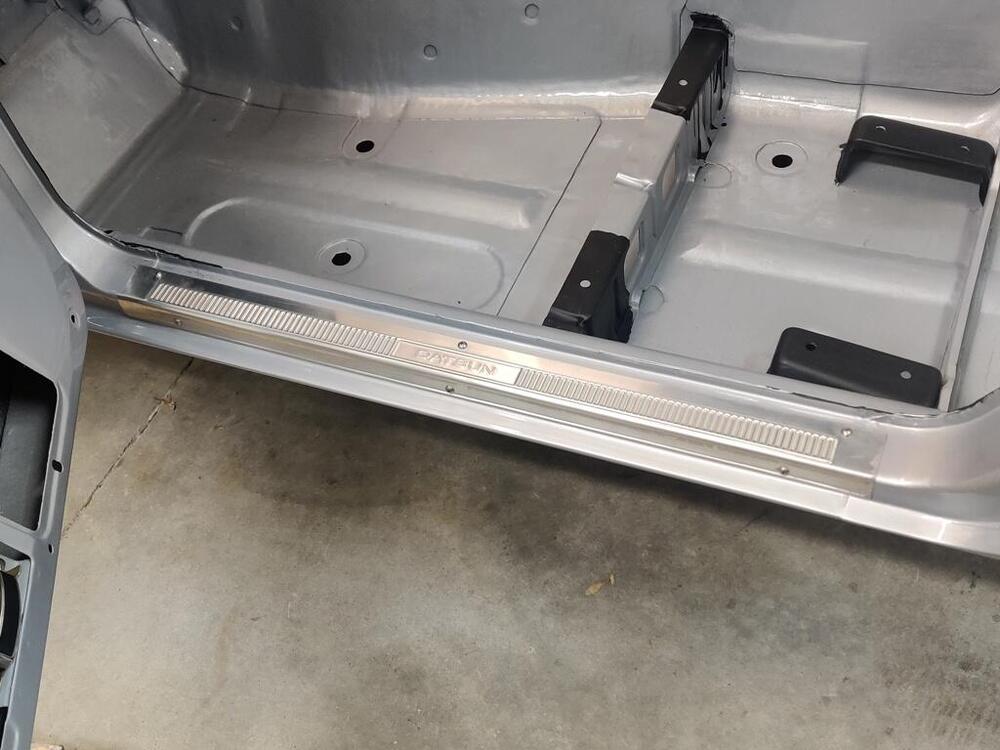
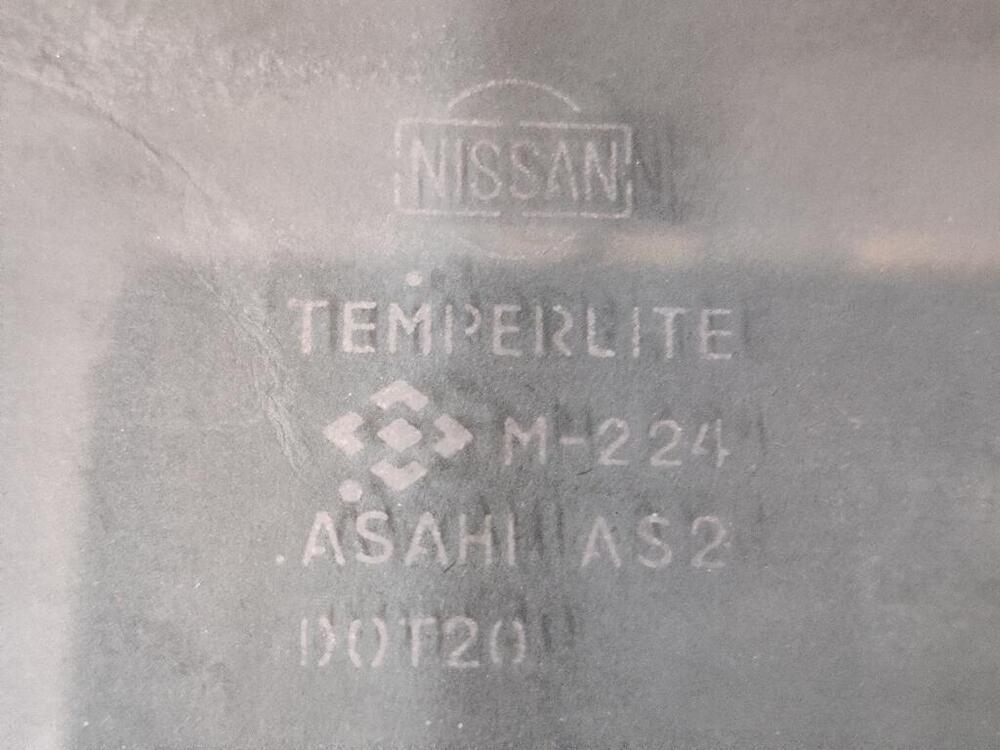
Thanks for the tips - keep them coming please! Yesterday evening, I ran into quite the puzzle of an issue. Tonight, I remained stumped for quite a while but I think I figured out what the problem is. So... I installed the driver side window glass last night. Like @jfa.series1, I could not put the window in without taking the frame out. No big deal, as I just put that in, so easy to take out. I put the window in and then the front guide, then the regulator, then the rear guide. Immediately, I ran into problems with getting the window to move up and down without excessive force. Things were not happy. I fiddled with adjusting the front and rear guides for quite a while. Nothing was helping. And with the window at full up, one of the wheels for the regulator was coming out of the track. I quit for the night, but kept thinking about the wheel coming out of the track at full up position, and the difficulty. I also found this in the archive, and read it before I went to bed. Today, I went to work pulling everything back out of the door. I had thoughts that perhaps the front guide was bent or worn, and perhaps some part or parts of my window are from a later car. The article gave me that idea. I should have just checked the window first, because that is looking like my issue, but I messed around with comparing guides and regulators from both sides of the car for quite a while first. Here are the etchings on the glass for the left and right sides respectively: Given this thread from @kats I think my left side door window assembly is from 9/1975. I am not quite sure how to read the one for the right side door window, but I believe it is indicating 4/1971 for my 6/71 car. Taking some measurements, there are clearly differences in the metal stampings that hold the glass and that the regulator works in conjunction with. So, for now, I am calling the replacement door window my problem. So, do I need to source another window, or just another window support structure? I will see what I can find. A few more pics of other progress: By the way, the factory door sill threshold screws are aluminum. Middle pic shows the slight difference between the original sill plates and the reproduction ones. The reproduction one is on the bottom below two new original ones. The "DATSUN" is not as pronounced.


 1 point
 -
1 point