Leaderboard
-
grannyknot
Free Member6Points5,158Posts -
HusseinHolland
Free Member4Points1,031Posts -
Resurrected Classics
Free Member3Points9Posts -
jfa.series1
 Subscriber
 2Points2,733Posts


Popular Content
Showing content with the highest reputation on 08/04/2023 in all areas
-
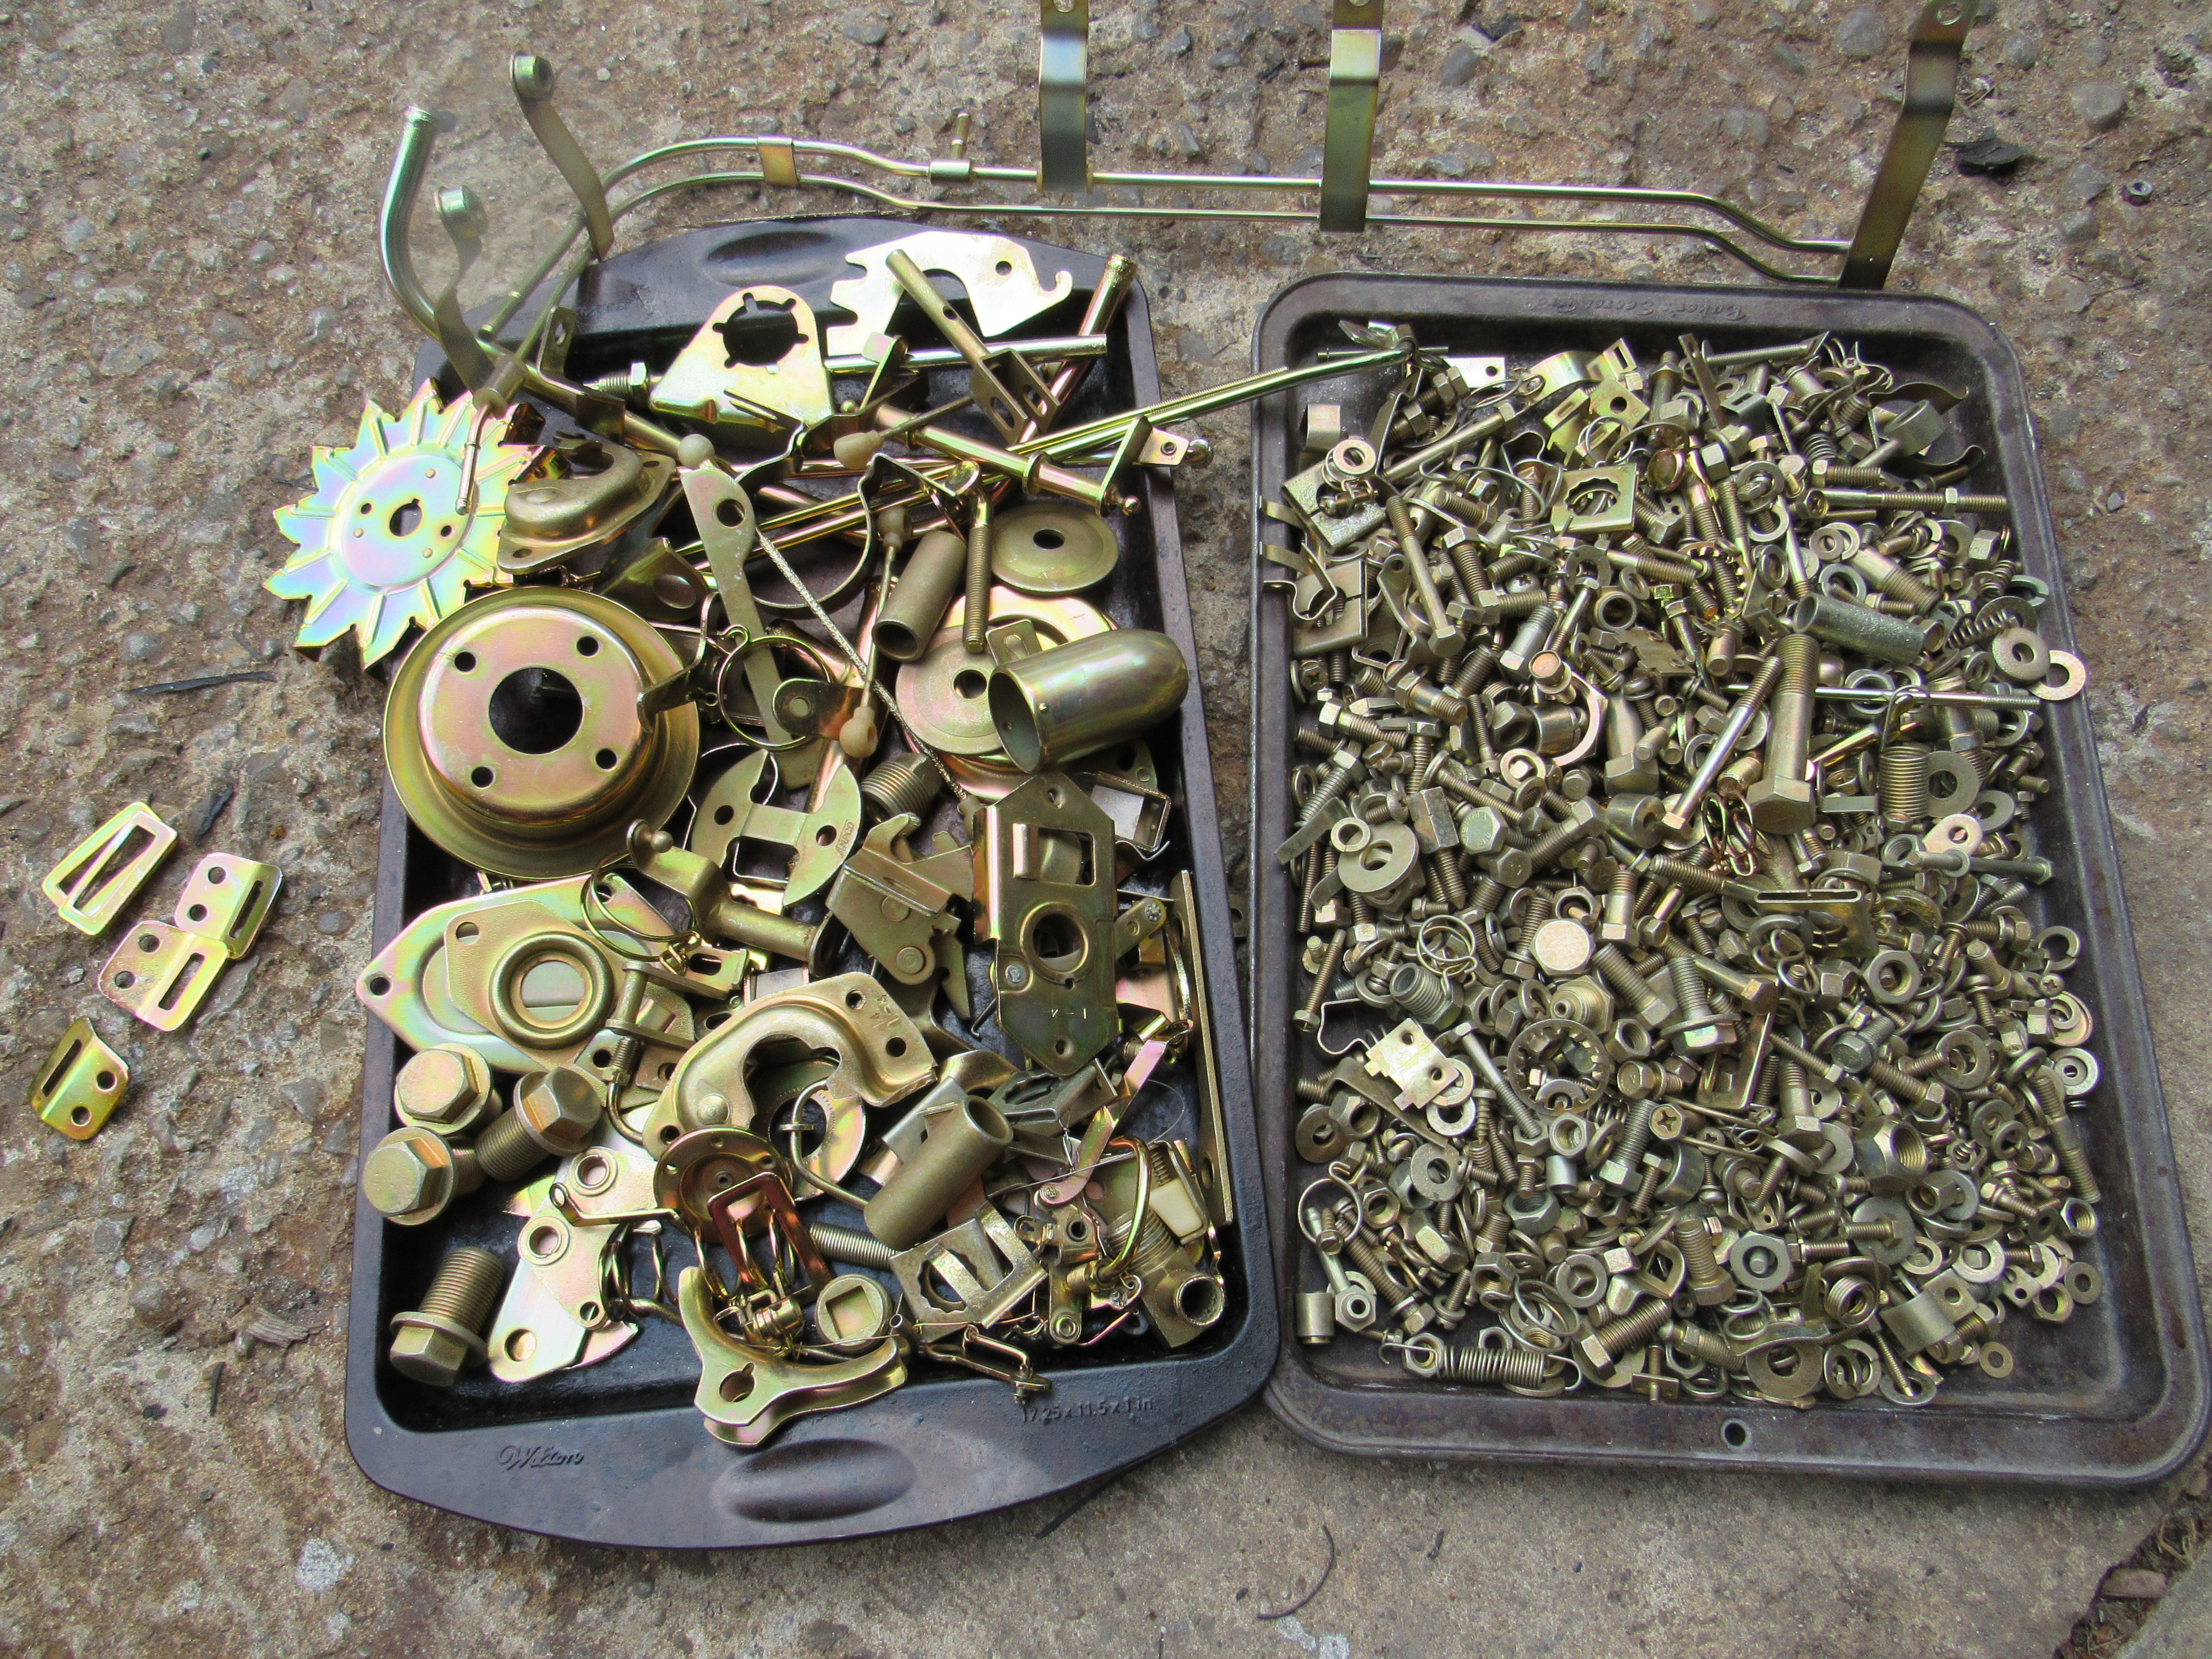
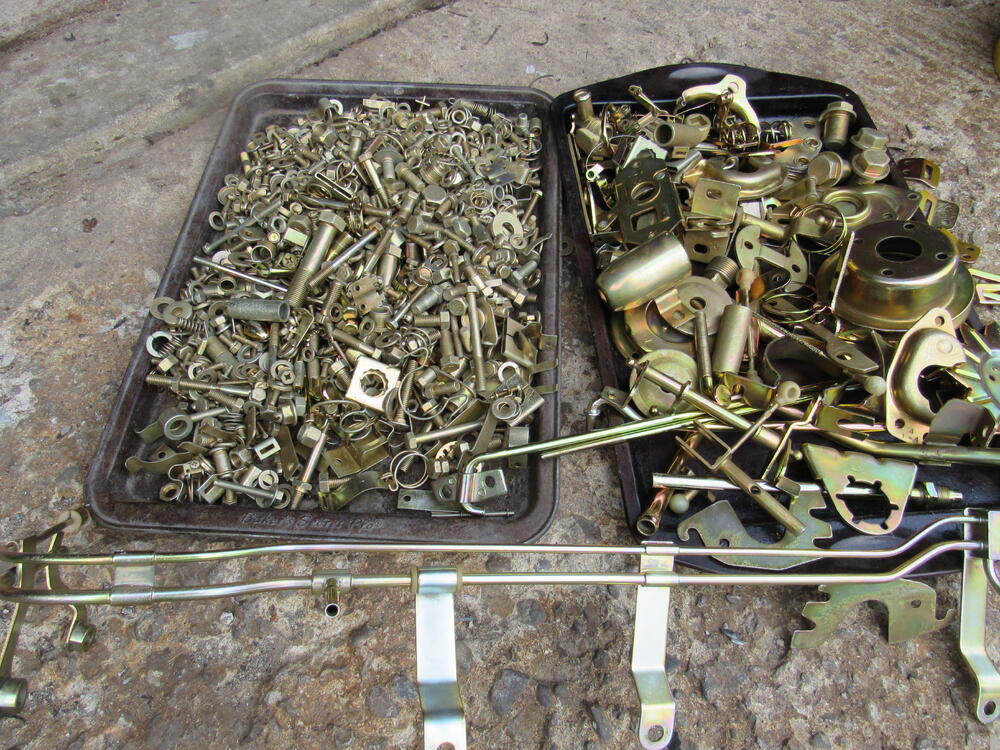
3 pointsAs Darren McGavin says "Mind Power"😄 Everything that isn't a fastener goes on one cookie pan, then after sorting, the second sheet only has threaded pieces and then the sandwich baggies come out. All the lock washers in one baggie, flat washers in another, 3/4" M6 in another, etc. One baggie will be oddball and specialty fasteners that don't fit in other categories, it takes a couple of hours to do the sort but saves lots of frustrations later on. Also sometimes I take pics of the part just removed with all the fasteners arranged next to it. After doing so many of these cars a lot of pieces on the cookie sheets look so familiar I just pick them out and put them where they belong and best move I ever made was buying that rusted out green 240z years ago that I parted. Every fastener on that car went to the platers and is now part of the "slush fund" so if I'm missing something or it's too badly damaged I can draw from that box.3 points
-
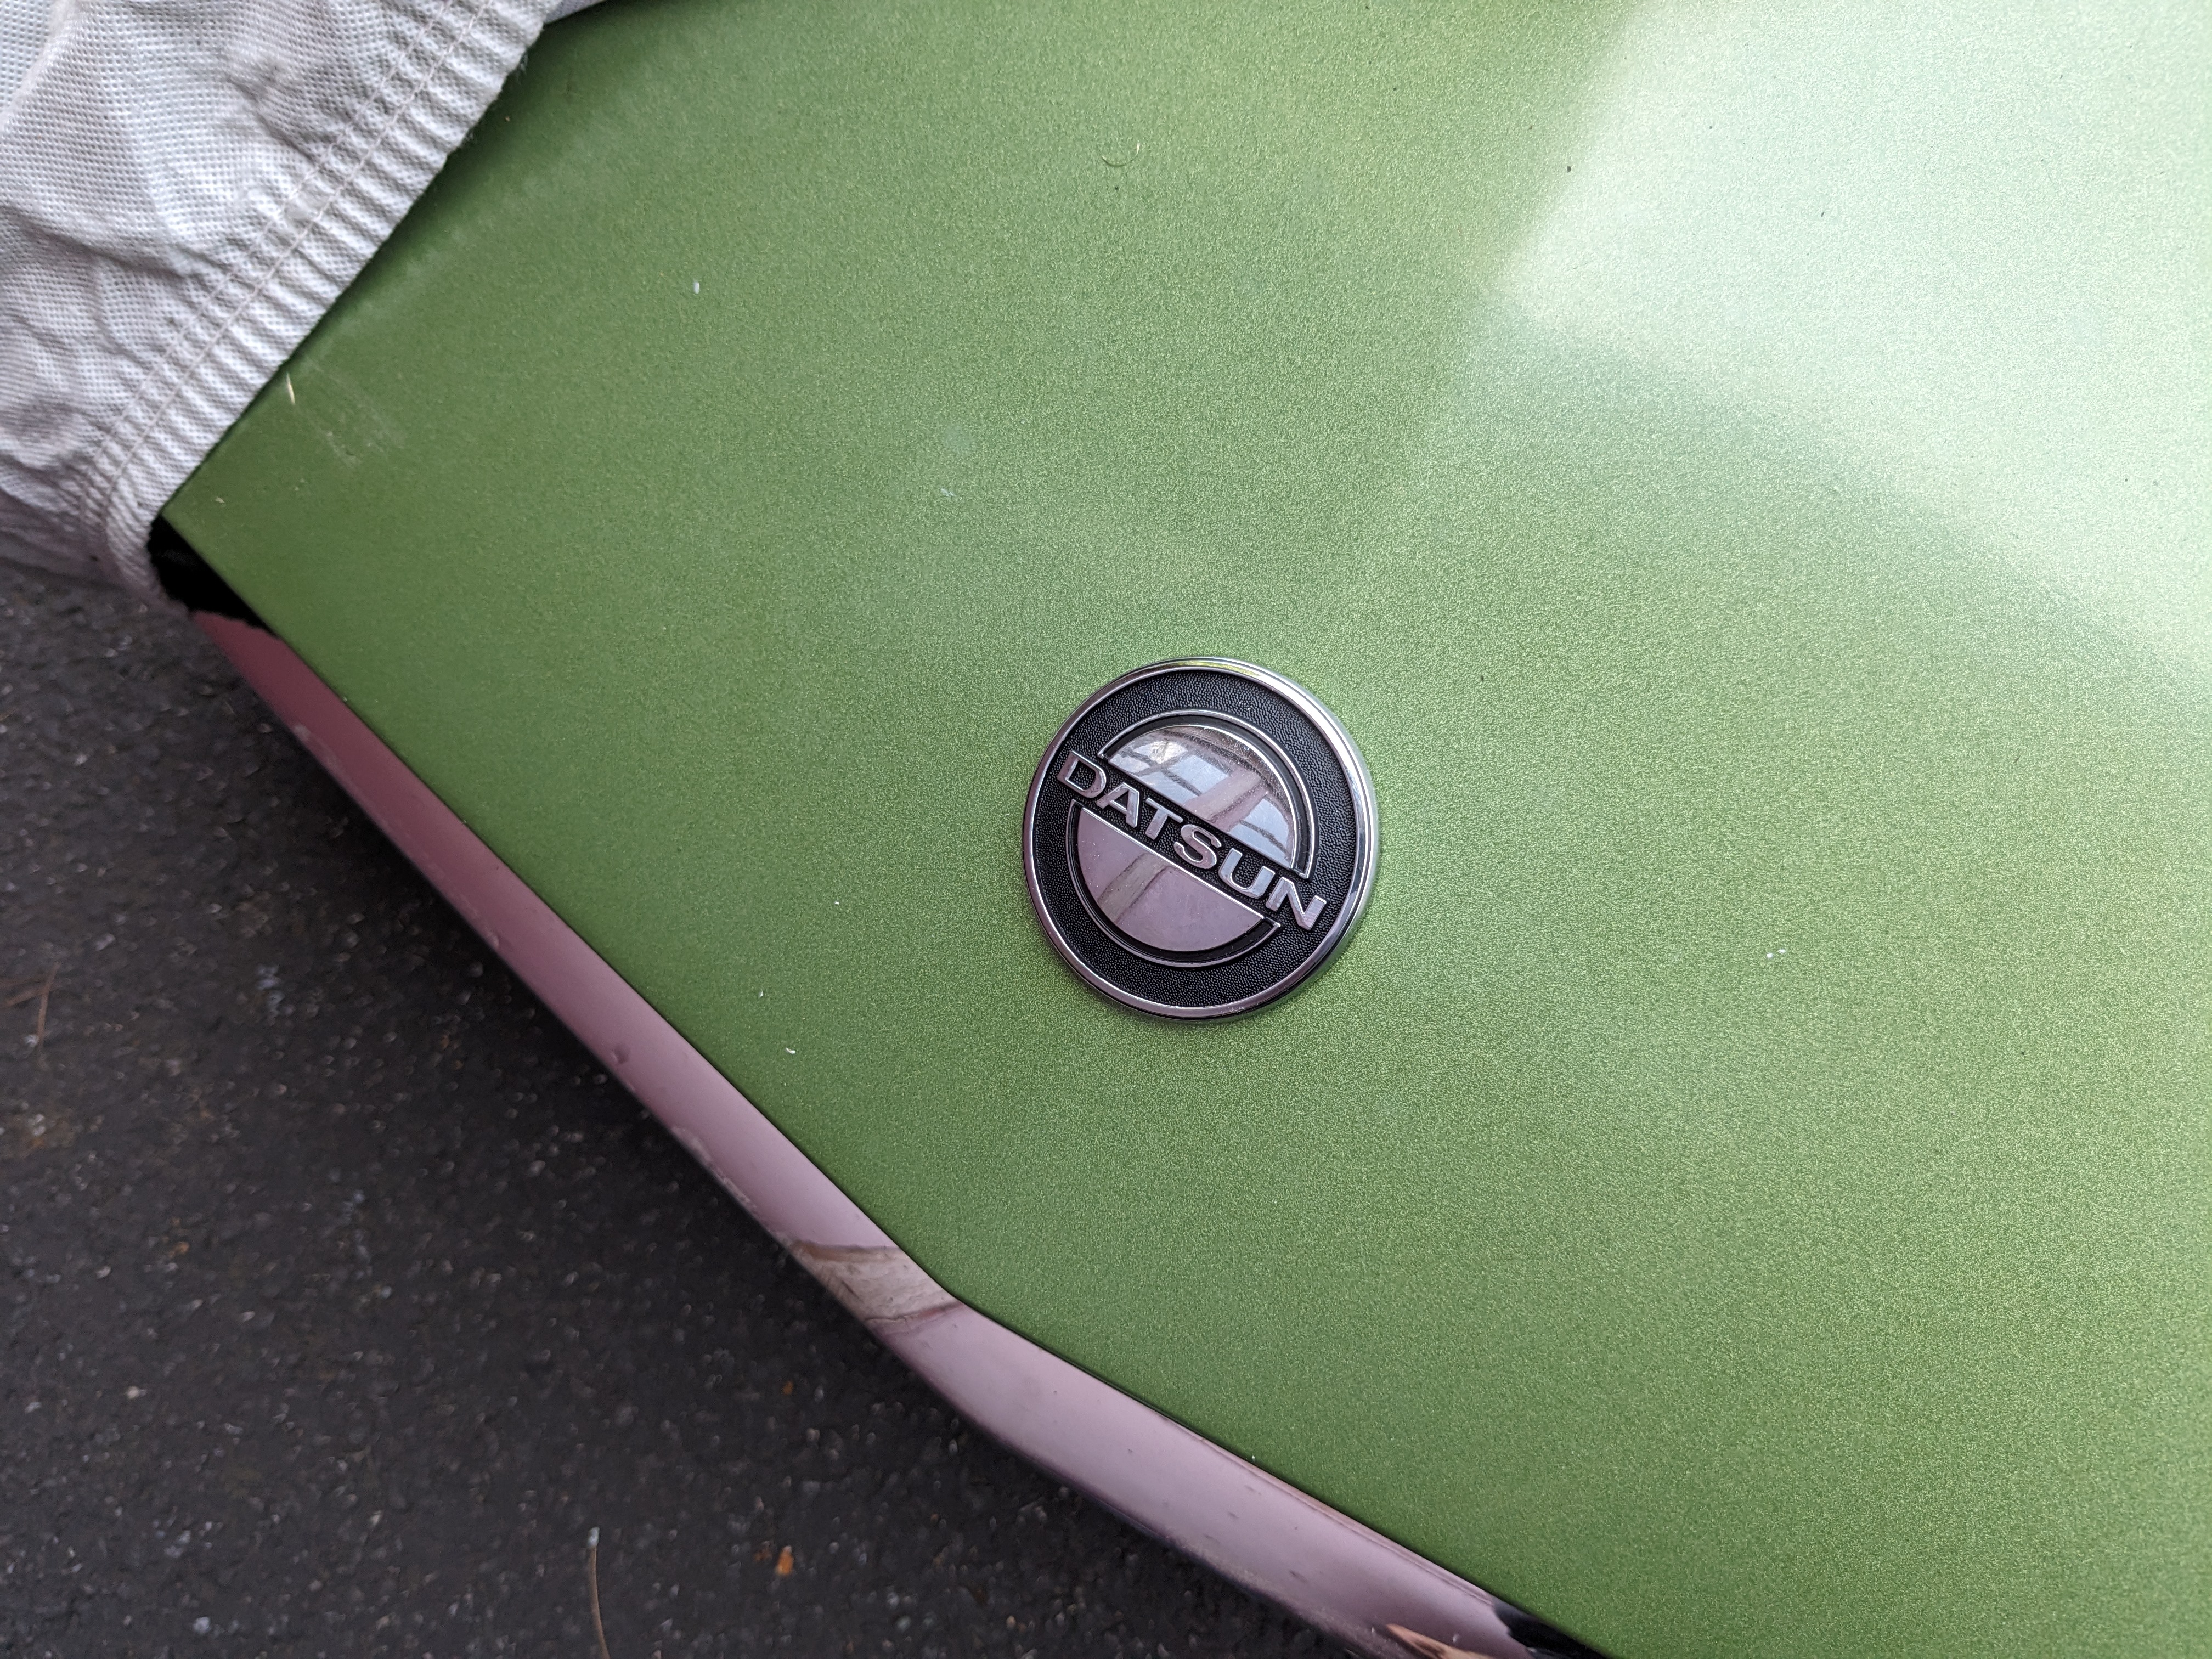
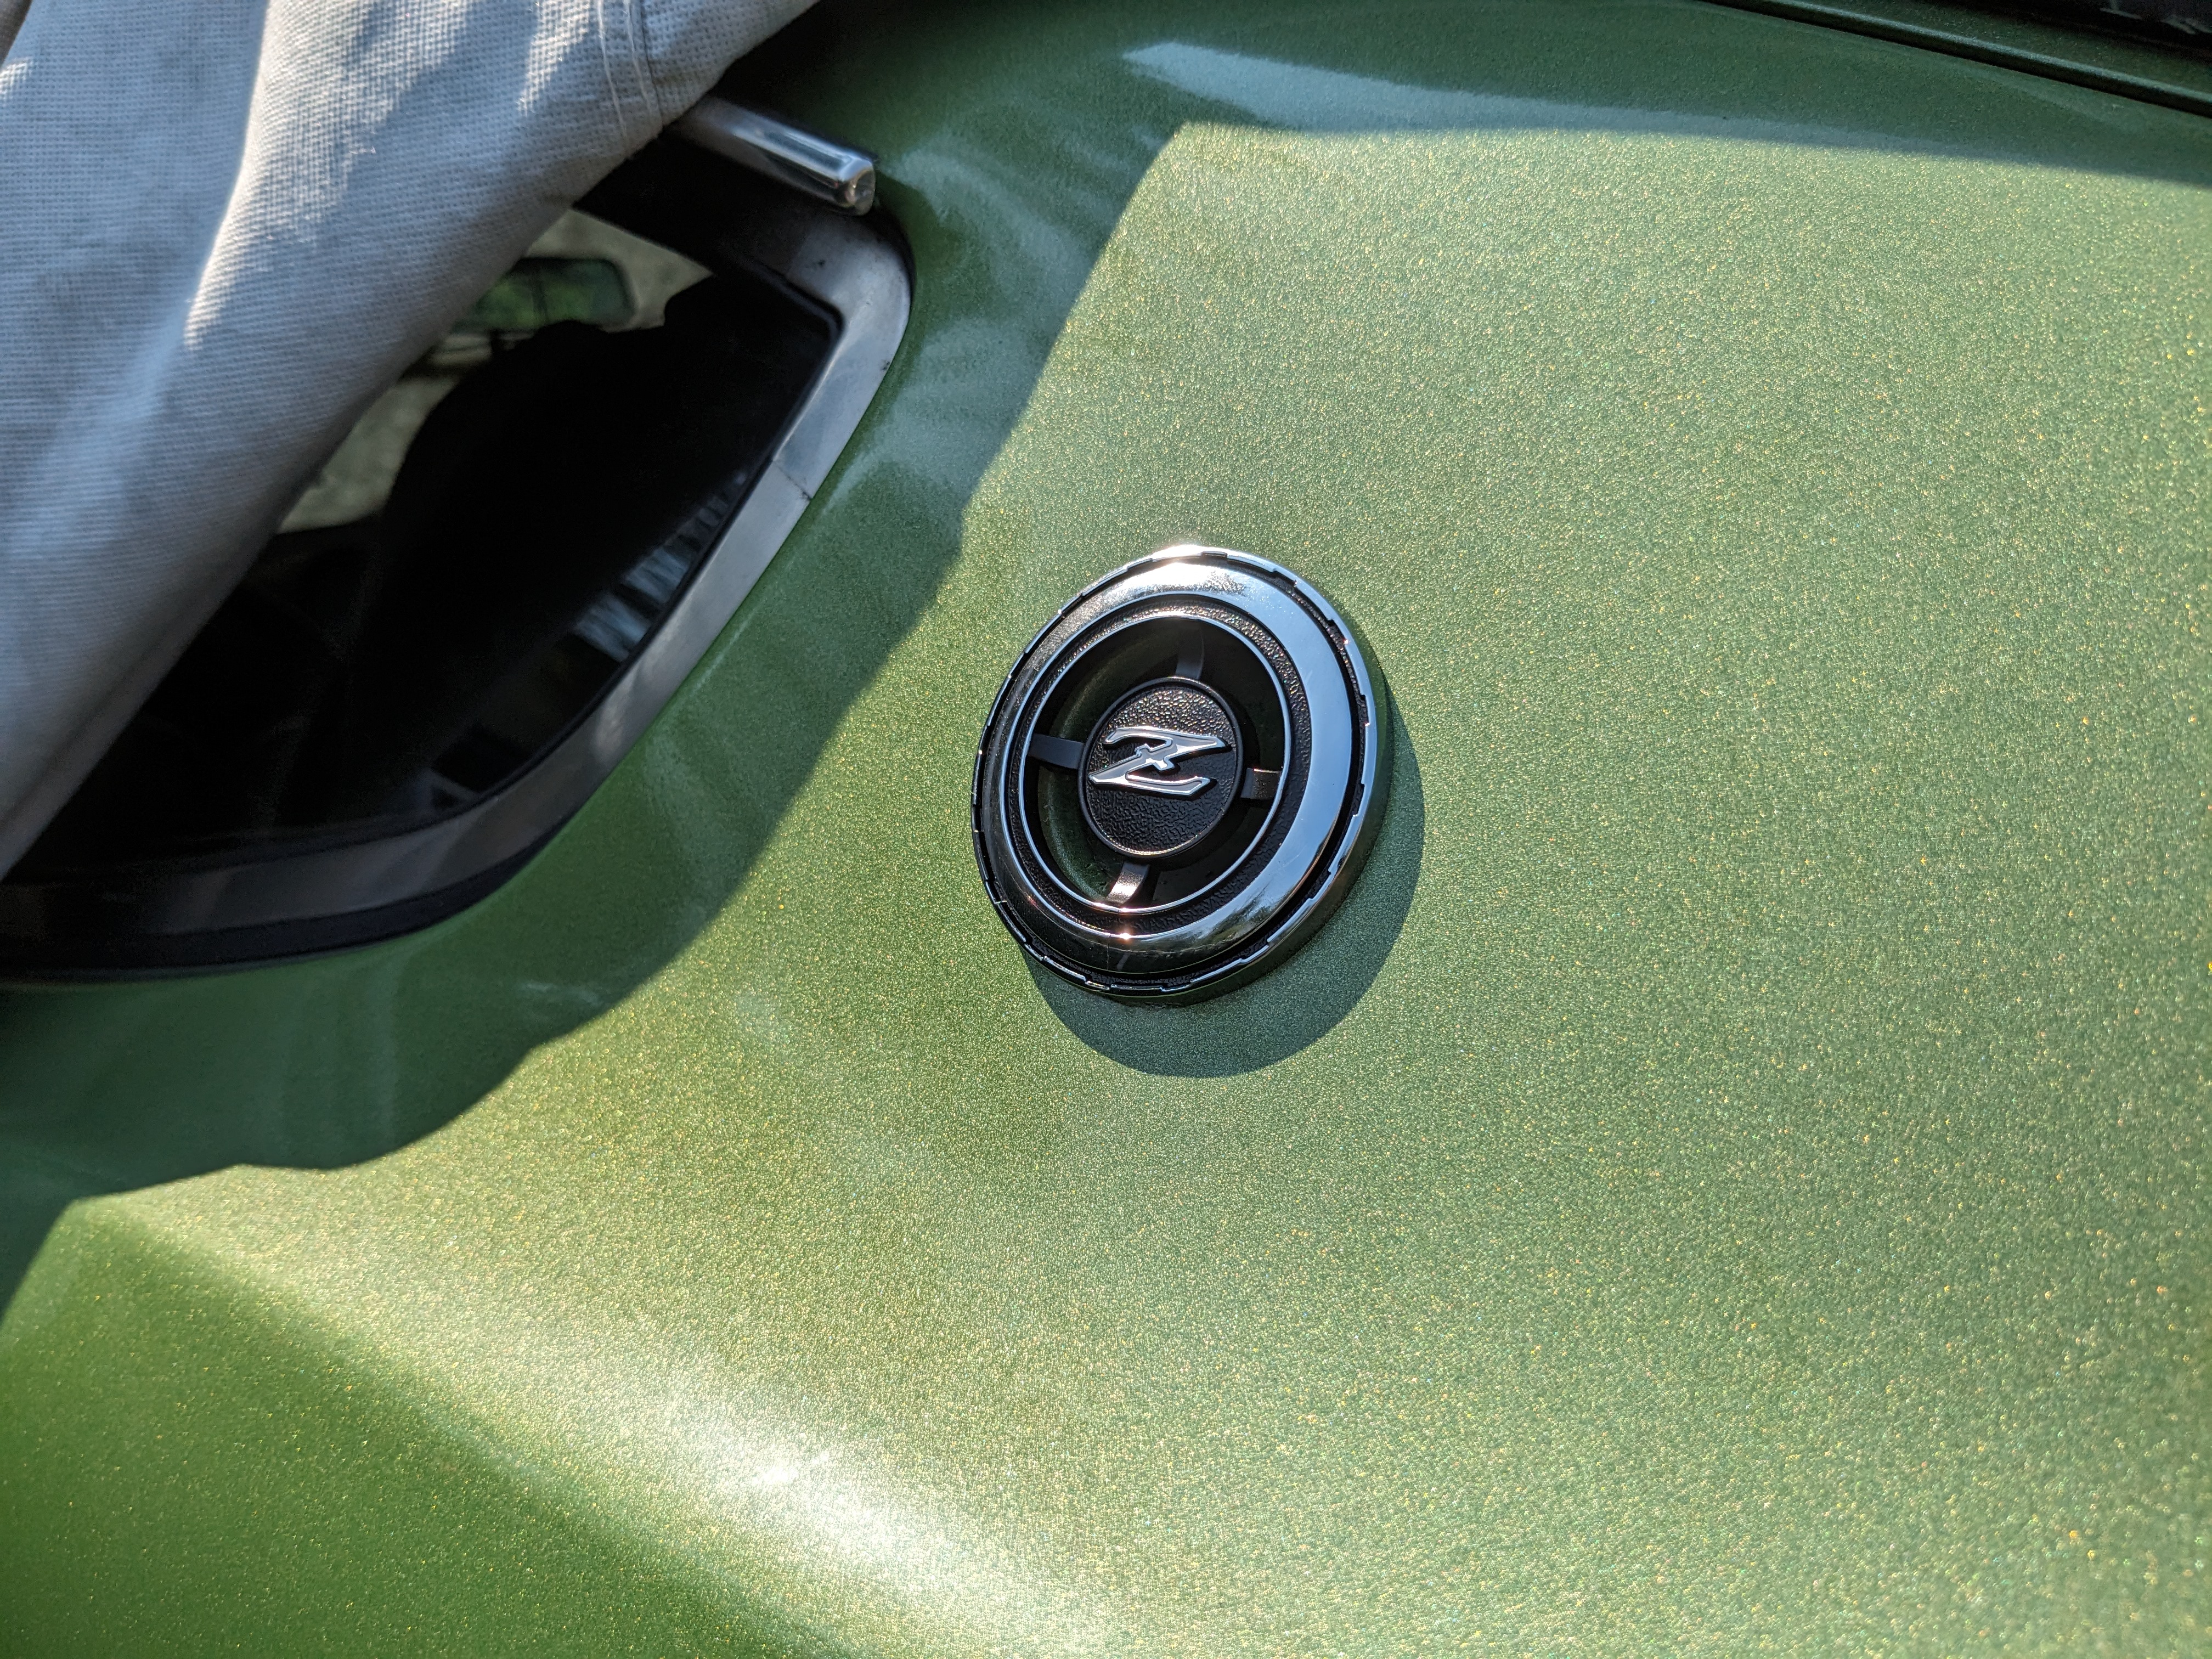
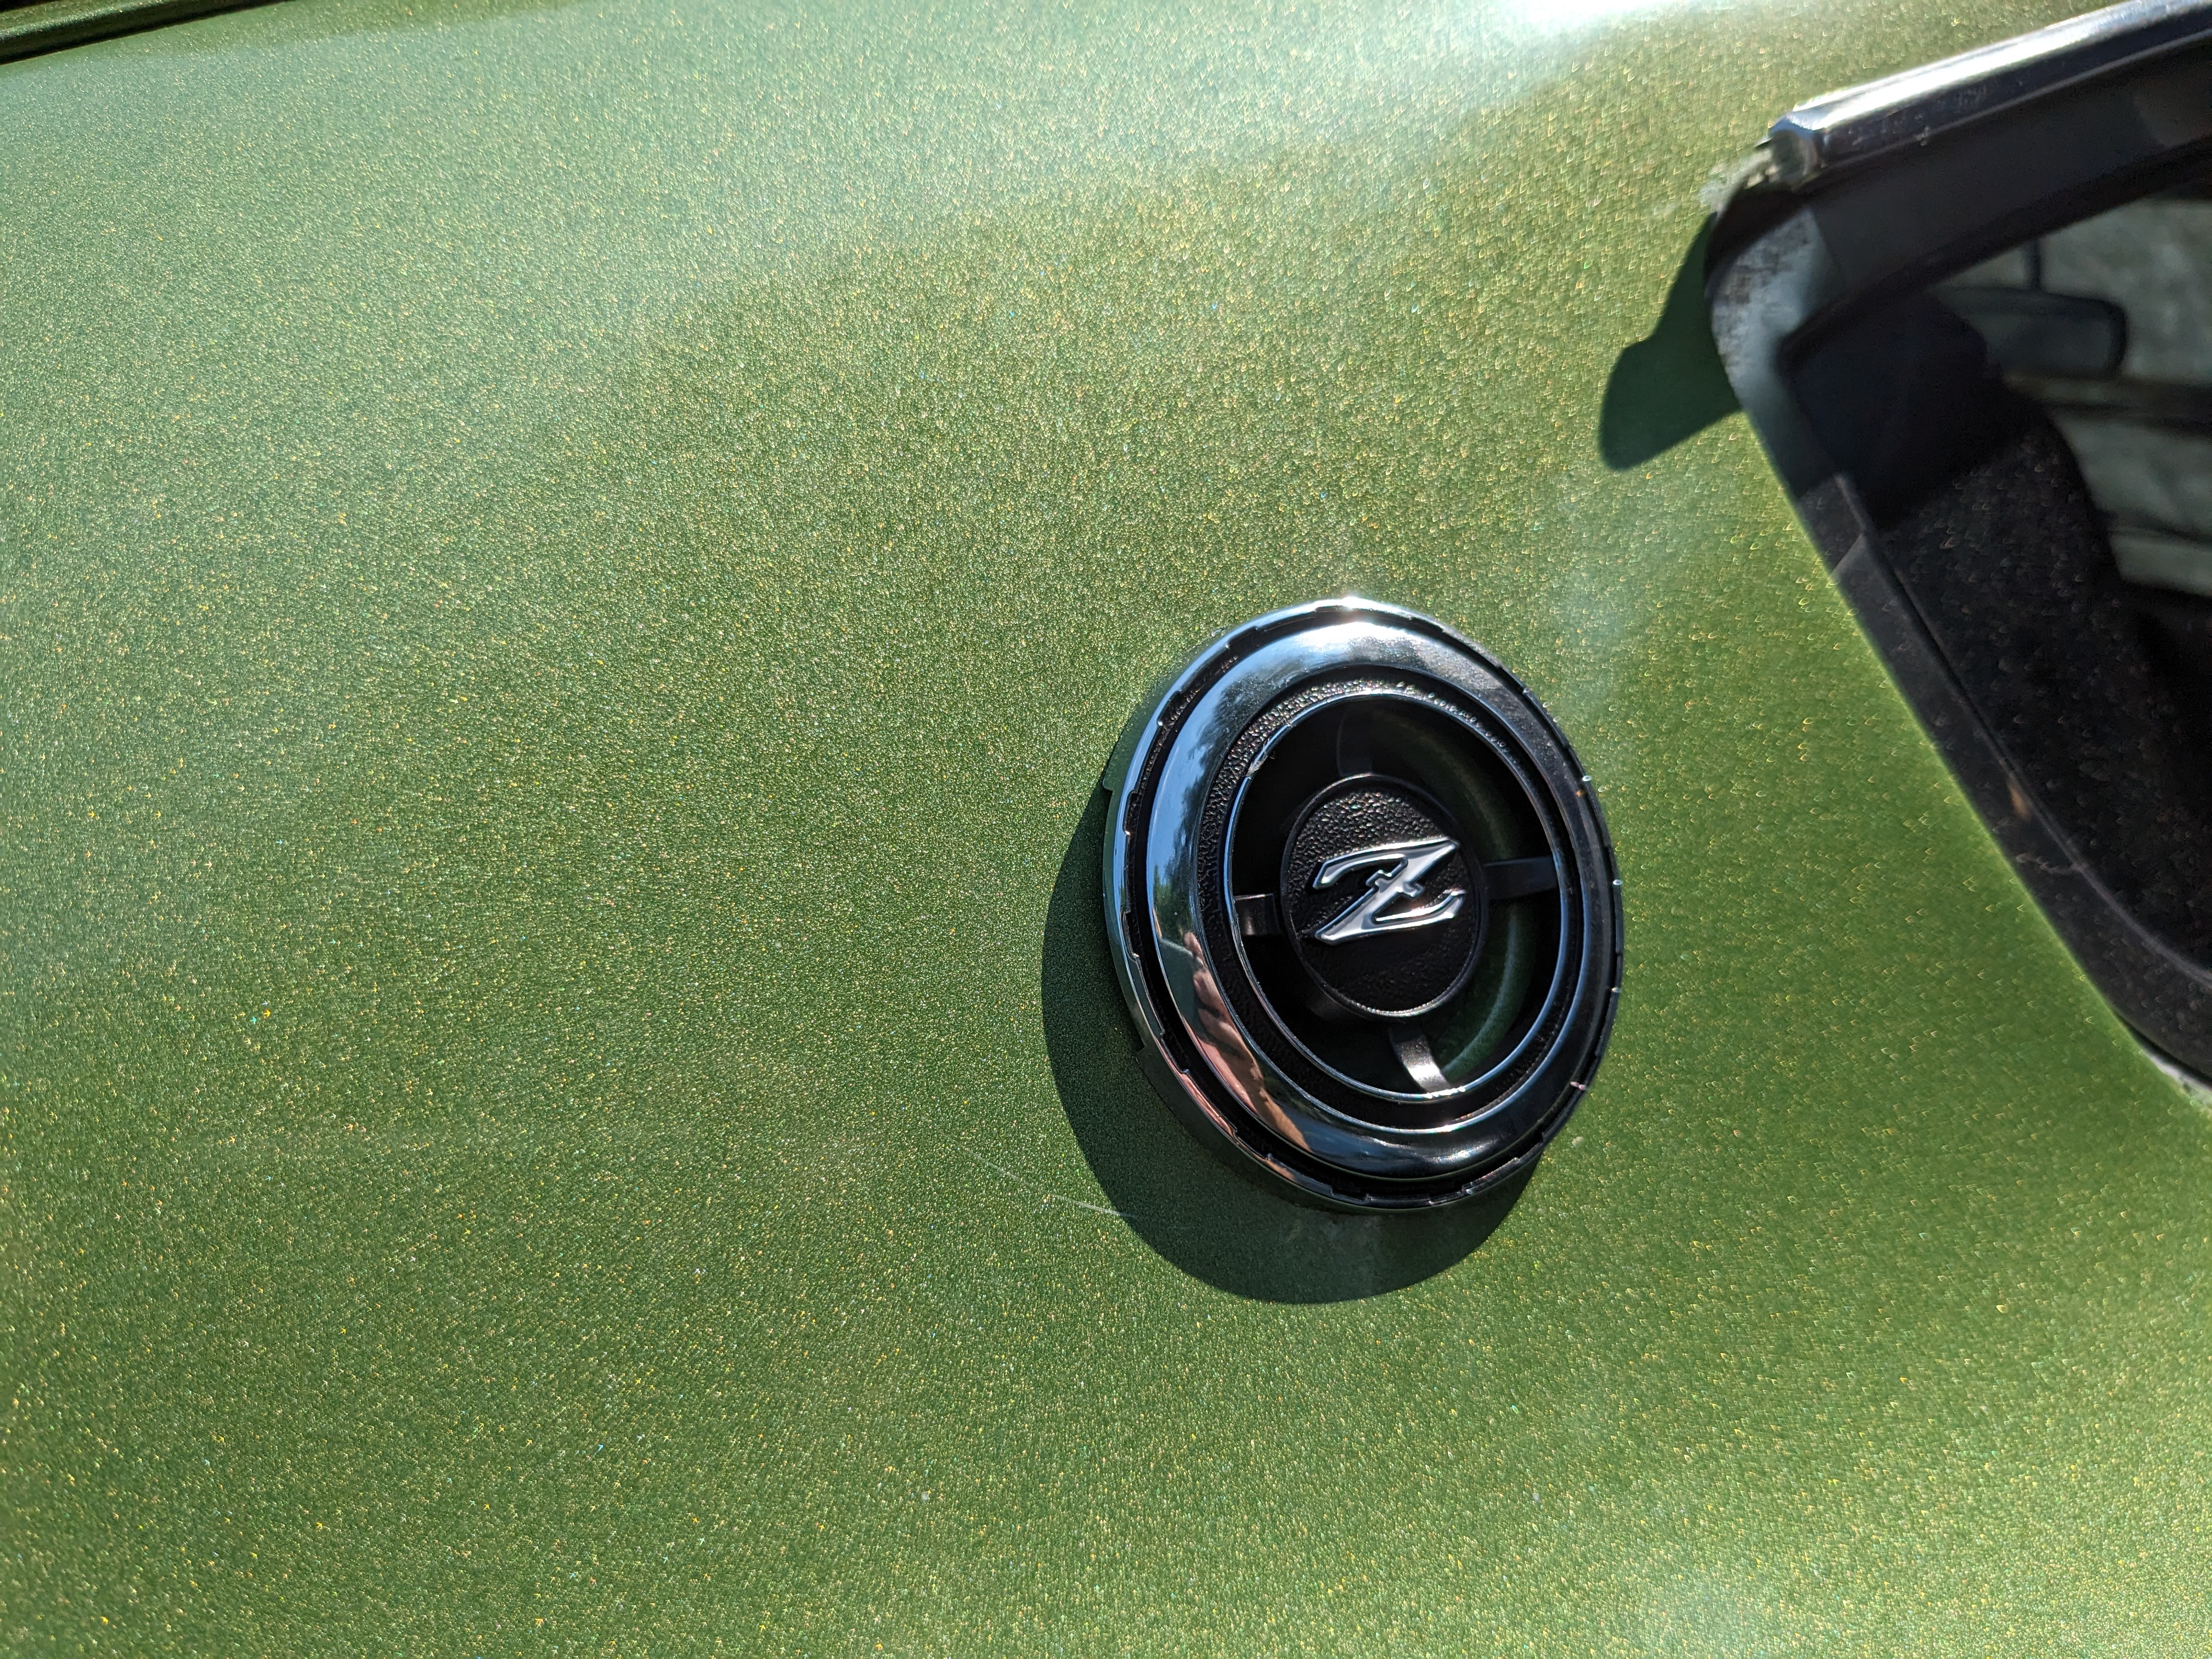
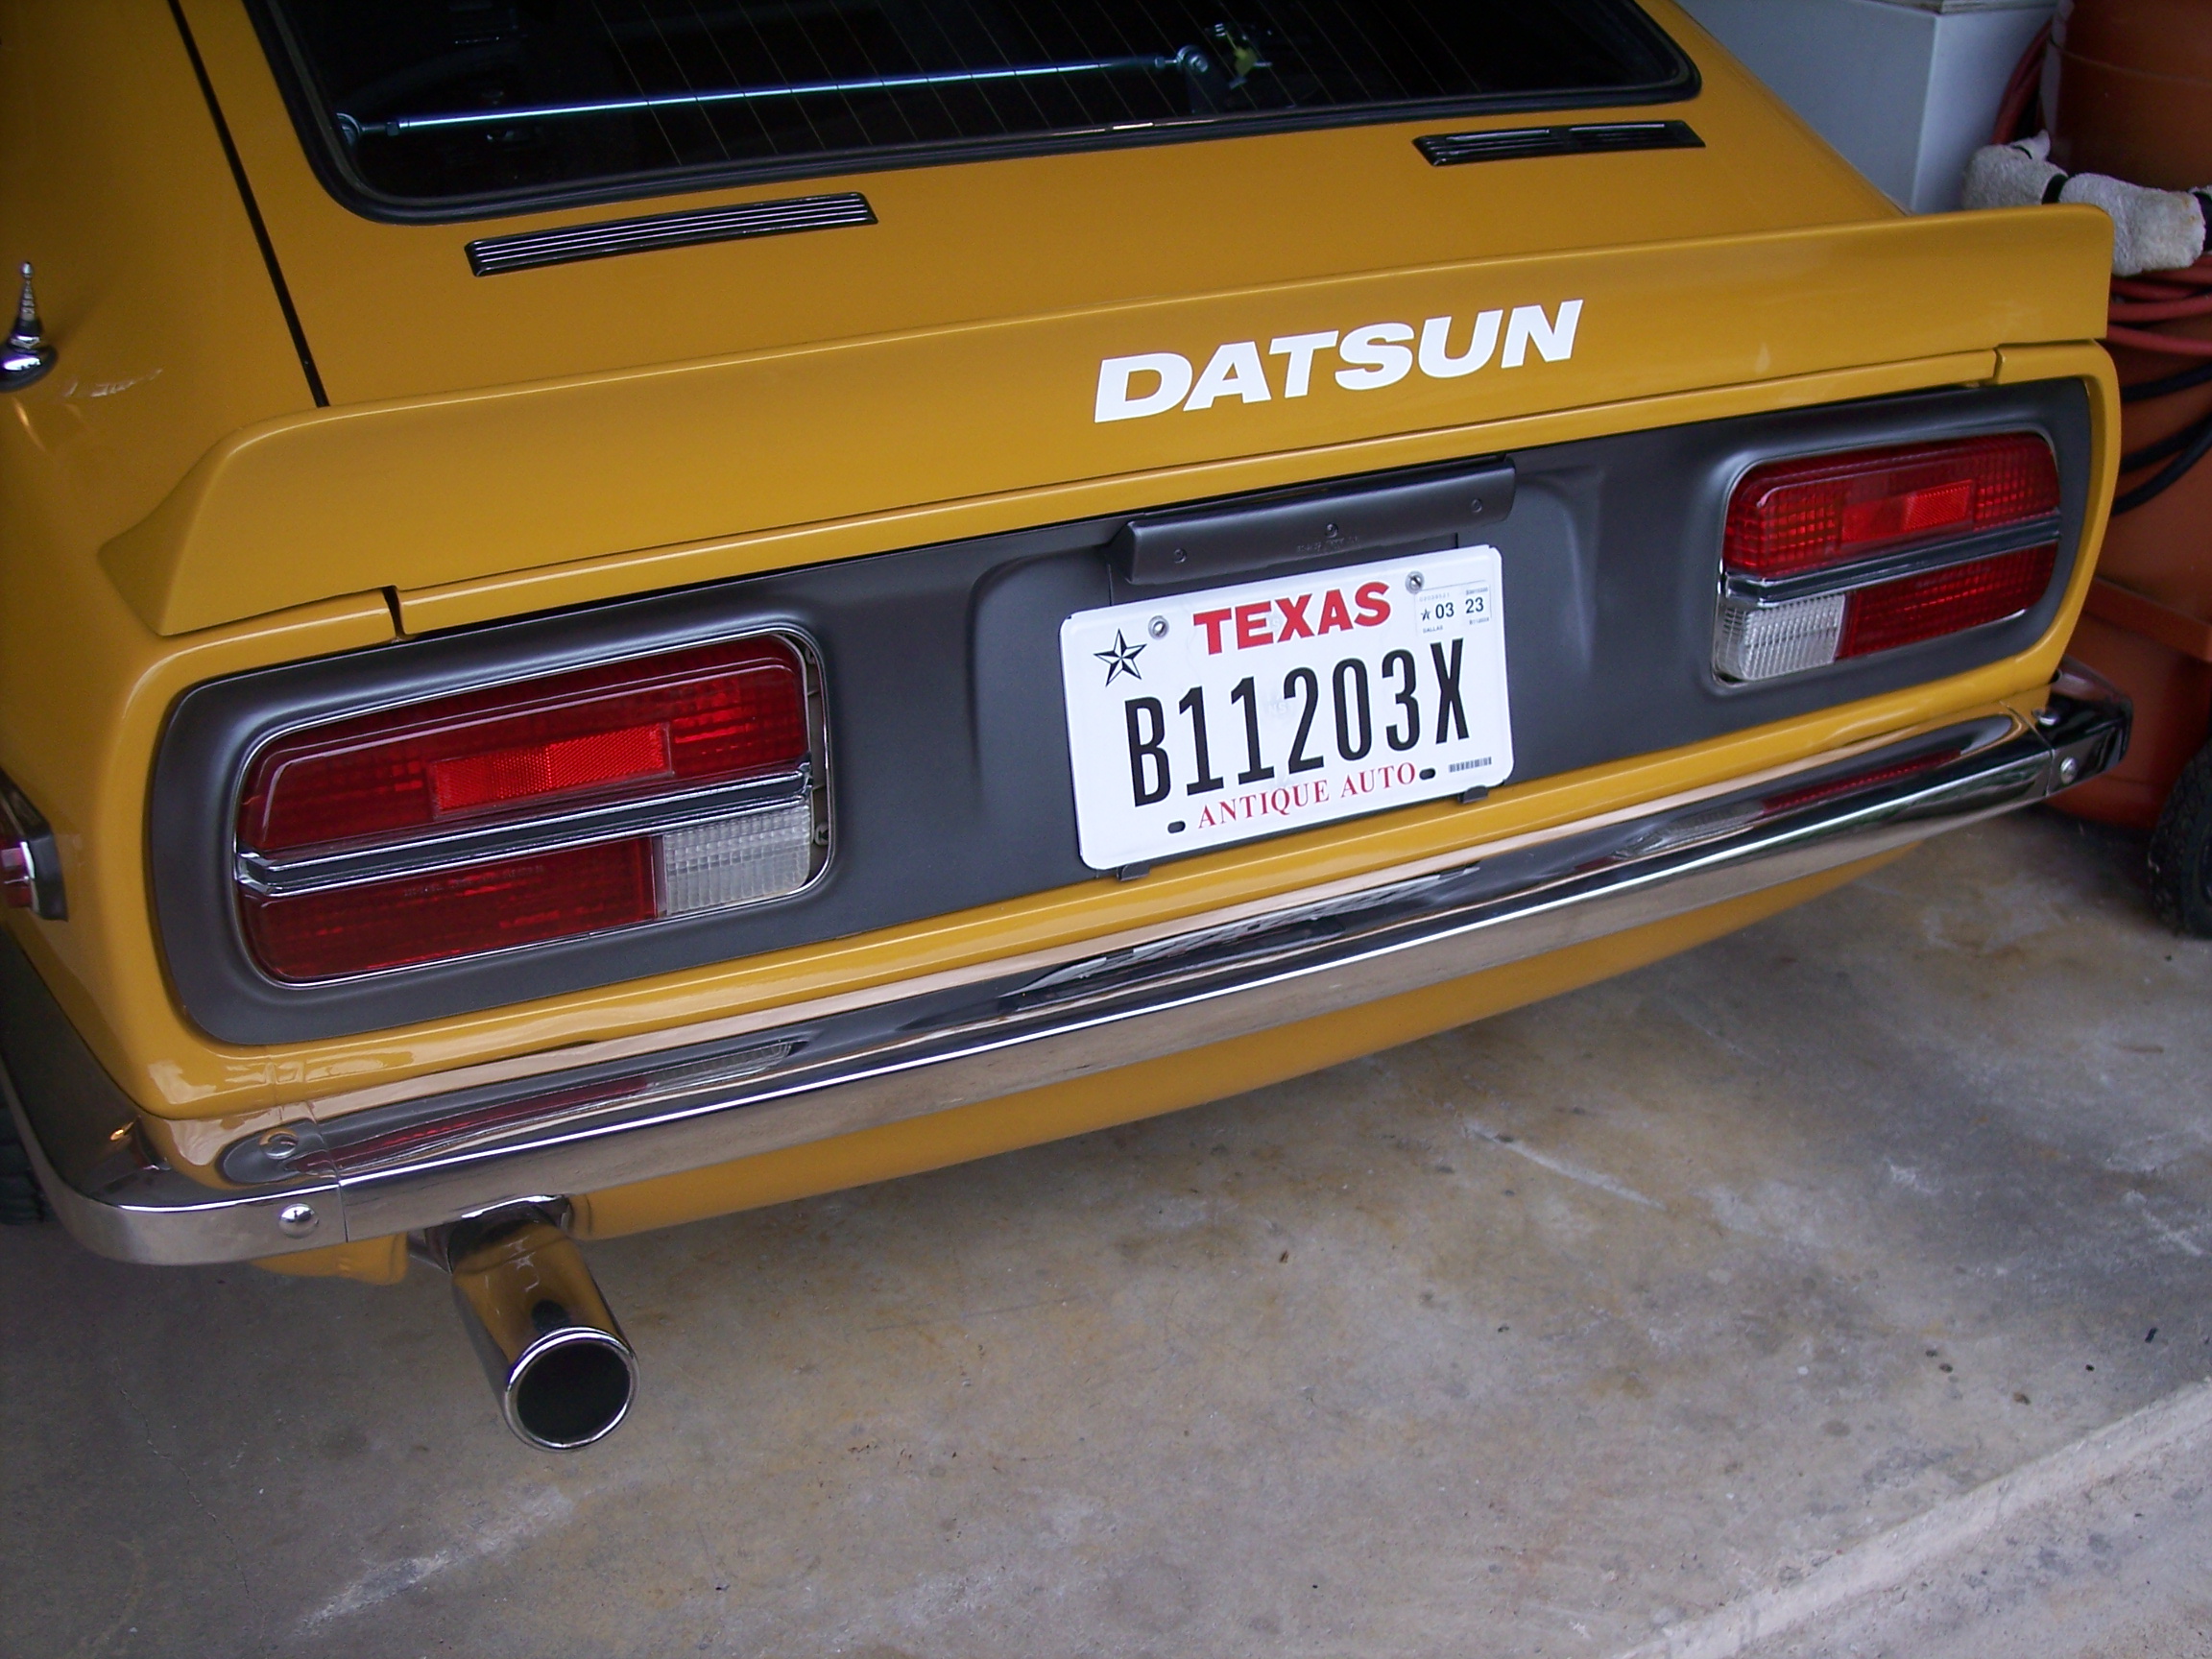
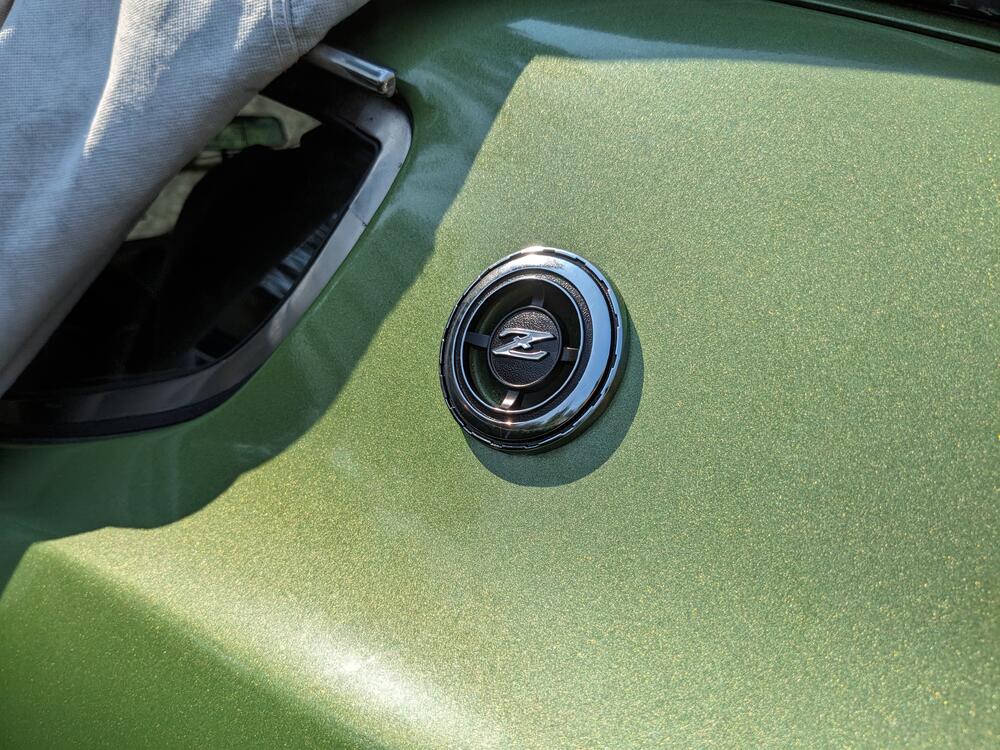
After I got the nice new seals done, I realized I really couldn't stand looking at the 47 year old side emblems - so I got the 2 sides & the hood emblems from Resurrected Classics - by way of the Etsy site, the shipping was less that way for some reason The fit & finish is spectacular

 3 points
 -
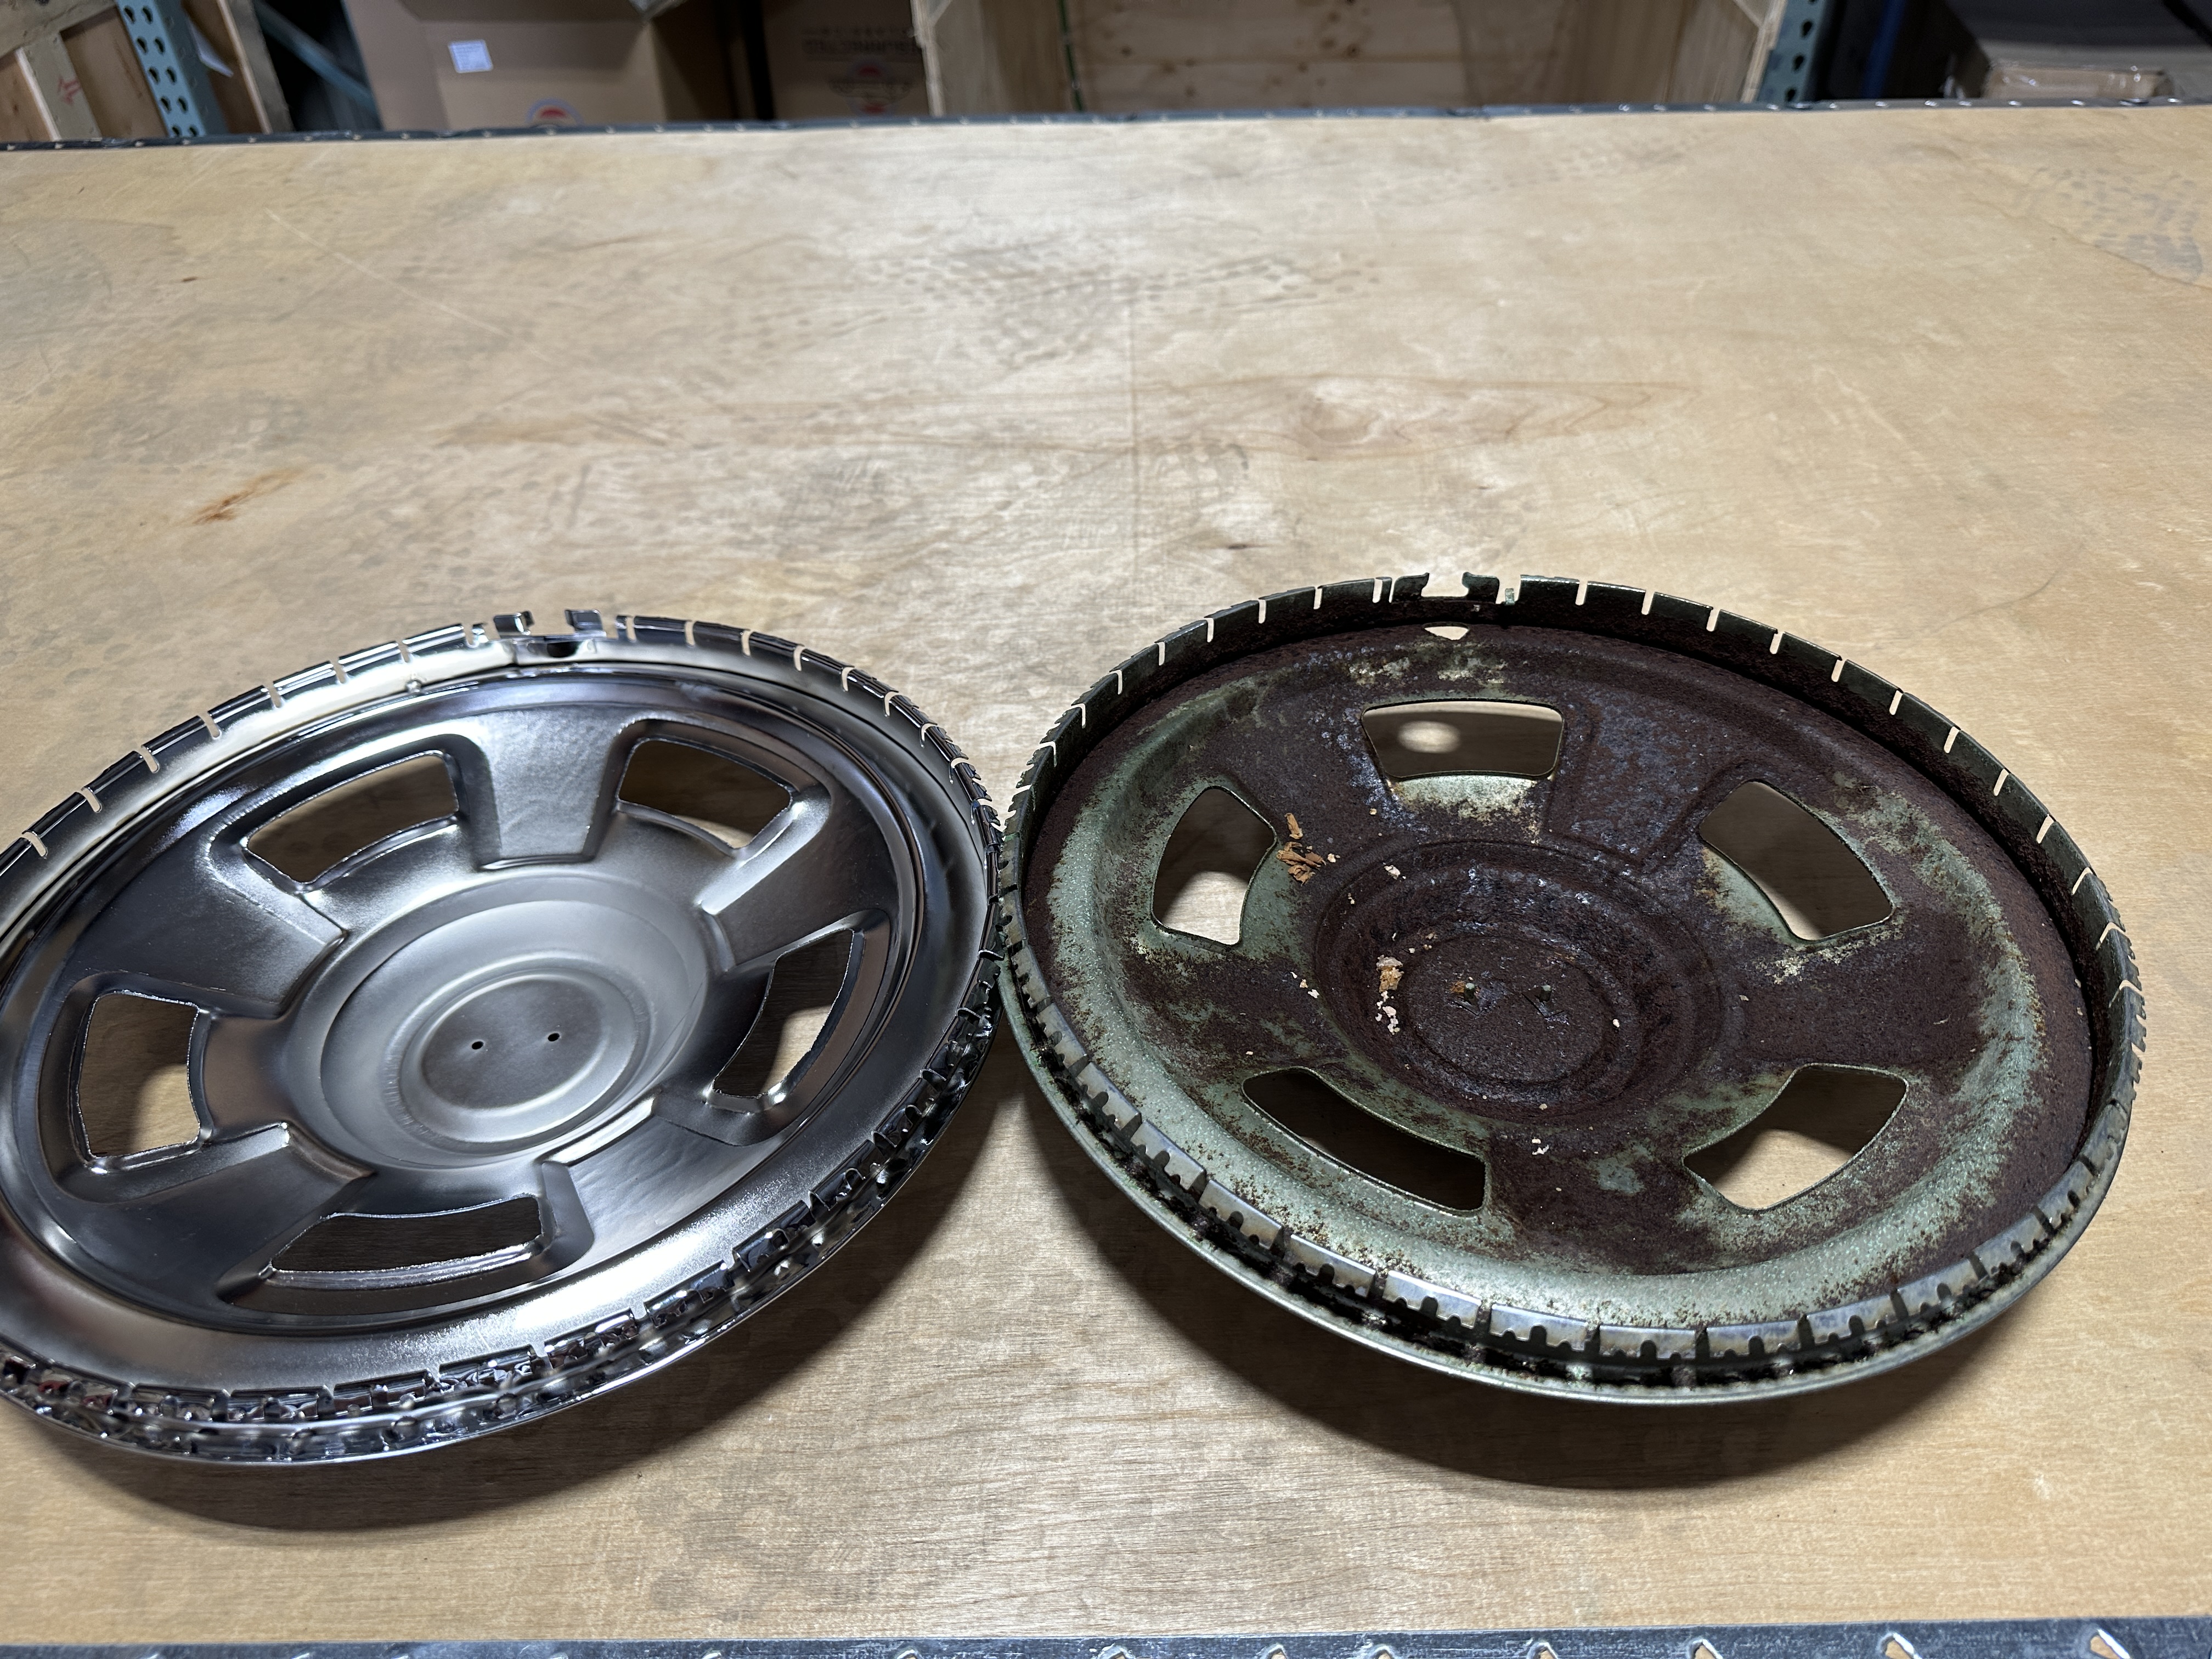
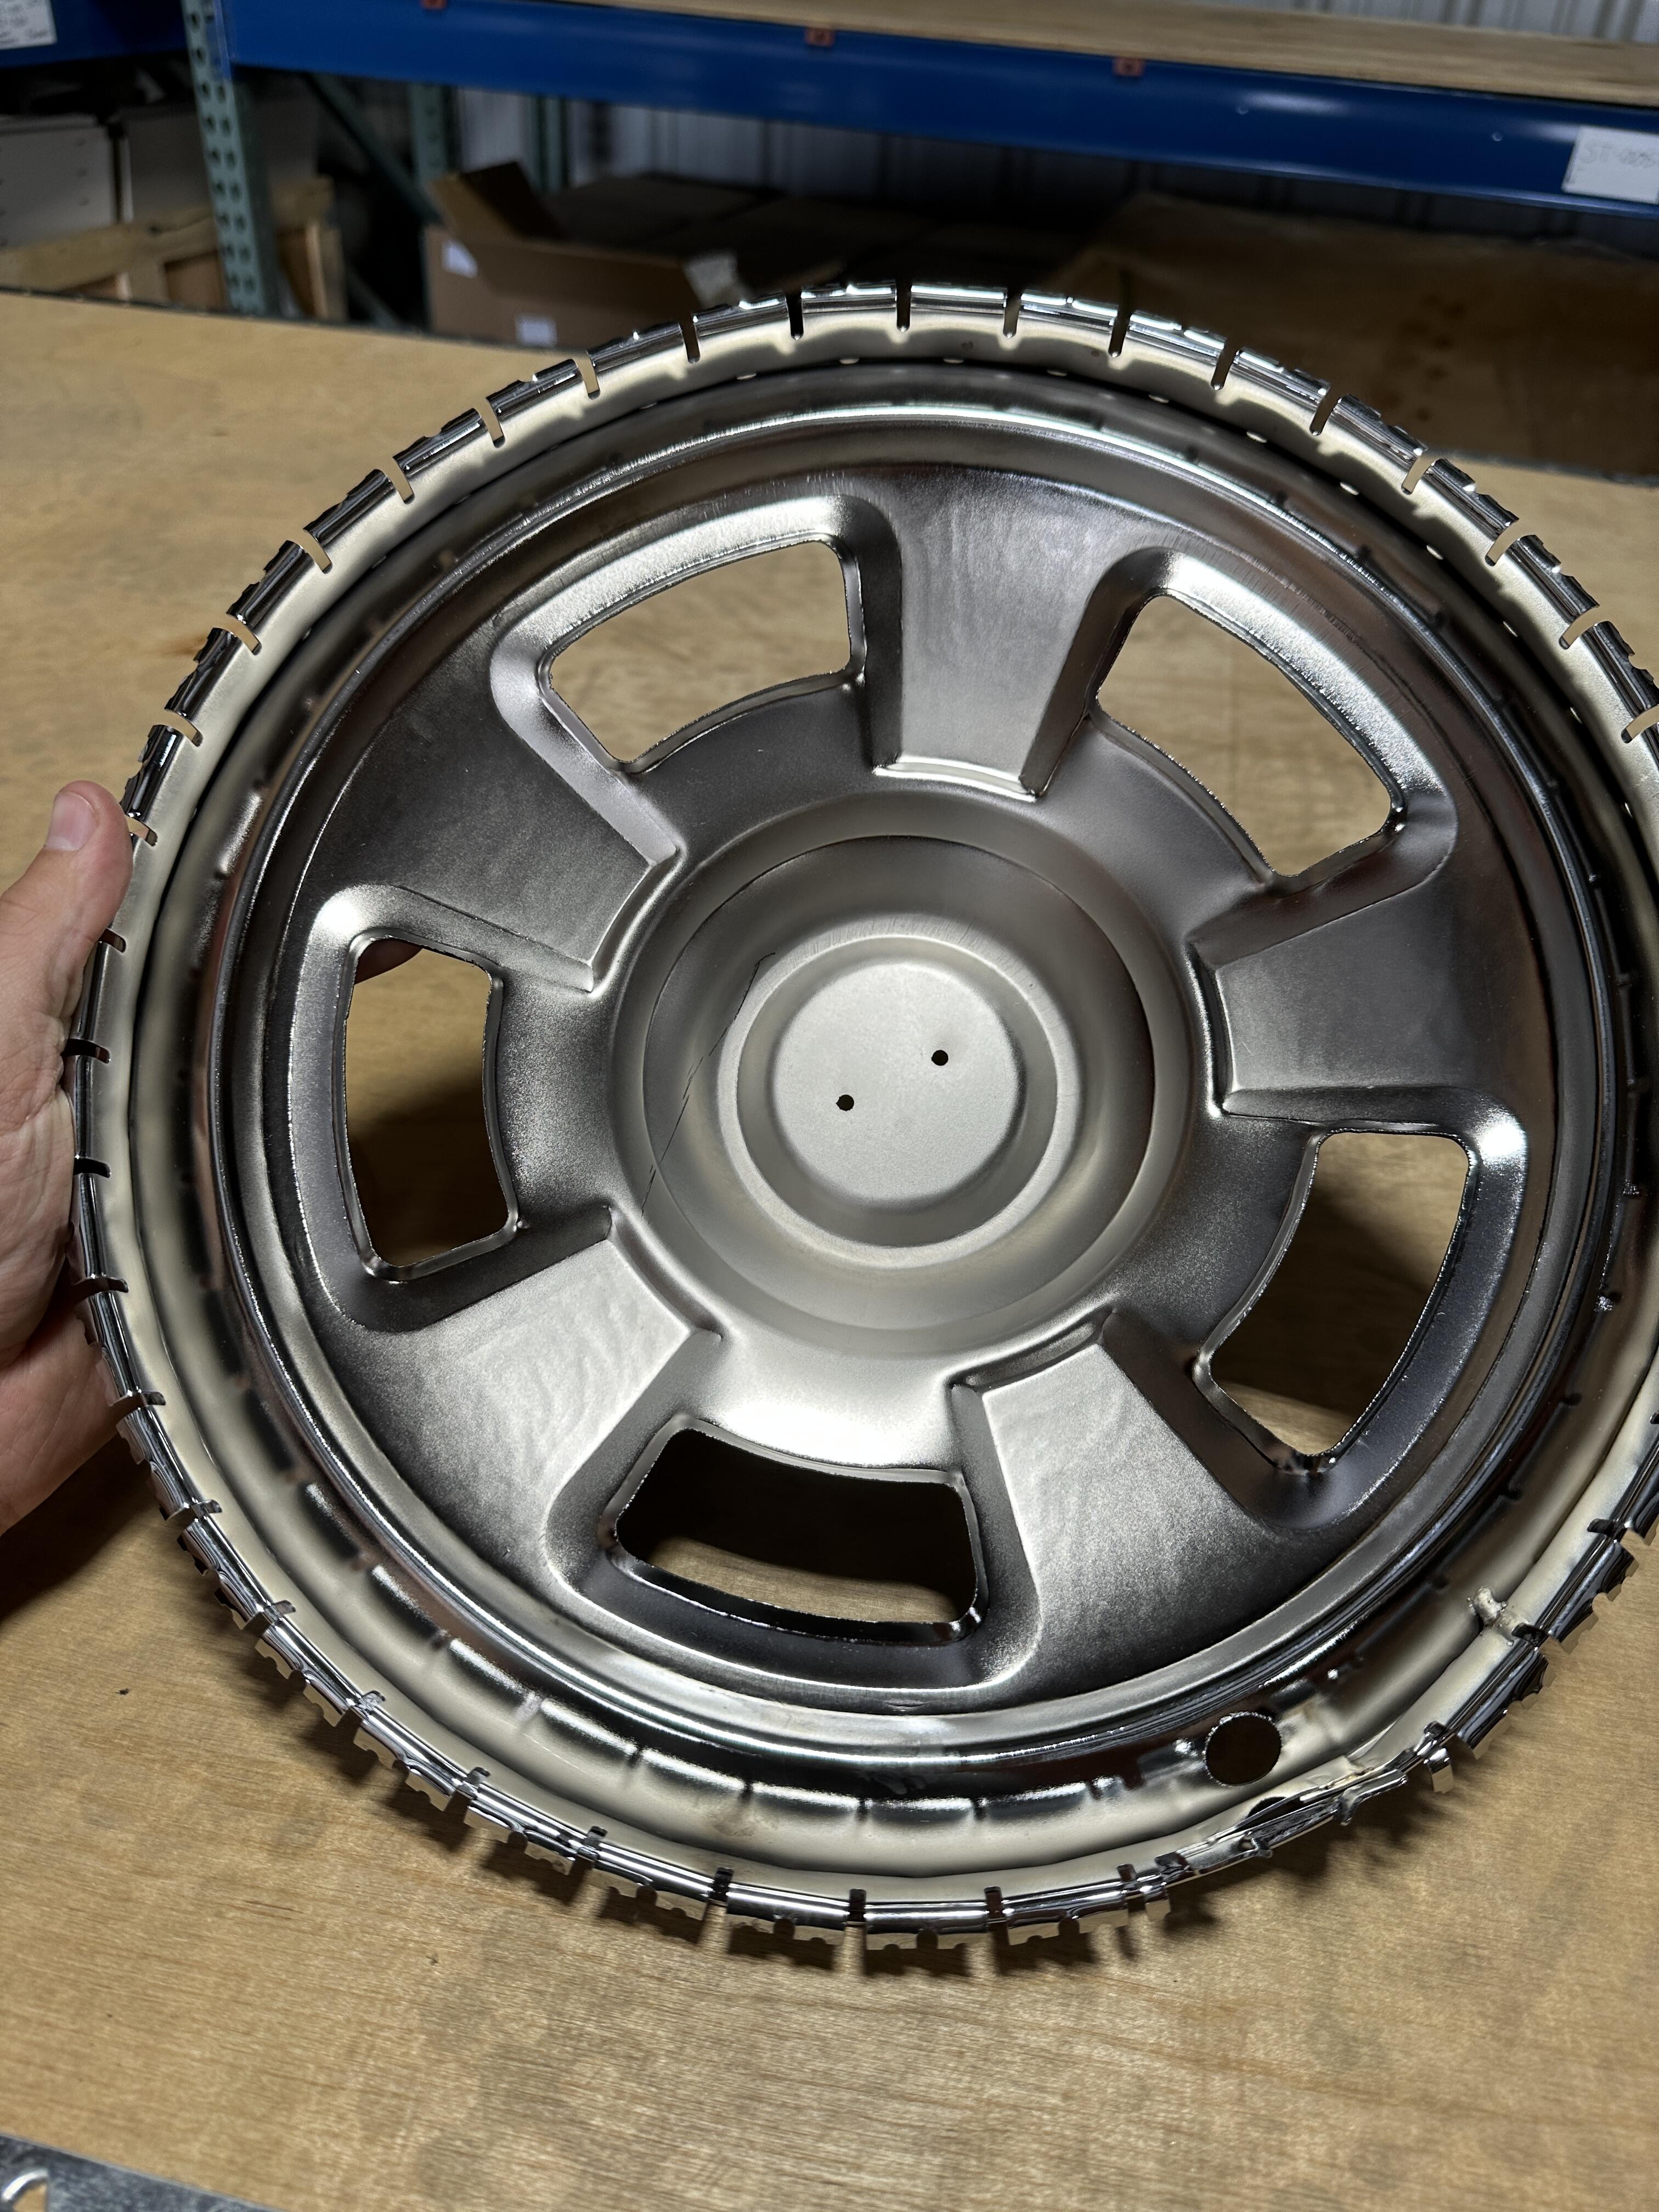
3 pointsIt's always a good day when the plating comes back, makes all those hrs at the wire wheel worth it.


 3 points
 -
3 pointsHello, here are pictures of the backside, I don't know why I didn't think to upload these but I will add them to the listings as well. They are very accurate reproductions and the paint and chrome look great, we also make the emblem centers as well which are included. Please contact me on the site or on my website if you guys have any questions, thanks!

 3 points
 -
In a recent discussion about safety measures, a friend pointed out that the Tension rods on the Z tend to snap, espepcially on lowered cars with hard bushings, as the tension gets too high. You can either switch to an adjustable tension rod kit, or as an alternative, use an Oldschool Bearing kit, which allows the T/C (Tension Compression Rod) to have a slight movement and therefore reduced tension. Today i got one of those kits. This kit is an vintage NOS item which was made by Kontrolle Automotive products in the USA. But i think they were made by different manufacturers and MSA still has them on sale new. Allthough they currently don't ship to switzerland: https://www.thezstore.com/product/6551/tension-rod-tc-kit-70-887-zzx At one point even Nissan USA sold them under the Part number 99996-TKIT as shown below in the 1998 Nissan USA Motorosports catalogue: The part number indicates that it was not a product from the Nissan HQ, but a local market item by Nussan USA only. and i guess it was sourced from one of those suppliers like Kontrolle. Here is the full installation manual: And here an' illustration of the assembly that goes over the TC-rod instead of one of the bushings:2 points
-
2 pointsWell it was most definitely 17mm. So I got the smallest pulley I could realistically get onto our alternators (47mm OD 40mm PCD) and bored it out to make it fit. I took a little too much material out of my first attempt - broke as soon as I tried to flex it! ;) It’s sorted out my discharging at idle issues and the voltage is a lot more stable. With the ATi damper and pulley (70mm) I now get a 1:1.5 ratio meaning my alternator is actually generating at an idle of 1k rpm. Now to find a new belt as it’s right on the limit of the adjuster.2 points
-
2 pointsThanks. The base/color coat is Dupli-Color BFM0360 Dark Shadow Gray - a Ford color. Credit for the research and development of this process goes to our very own member @CanTechZ and I have used it on several sets of panels, including the ones on my car. The pics I included are part of a set currently posted in the Classifieds if you want to see more images.
 2 points
 -
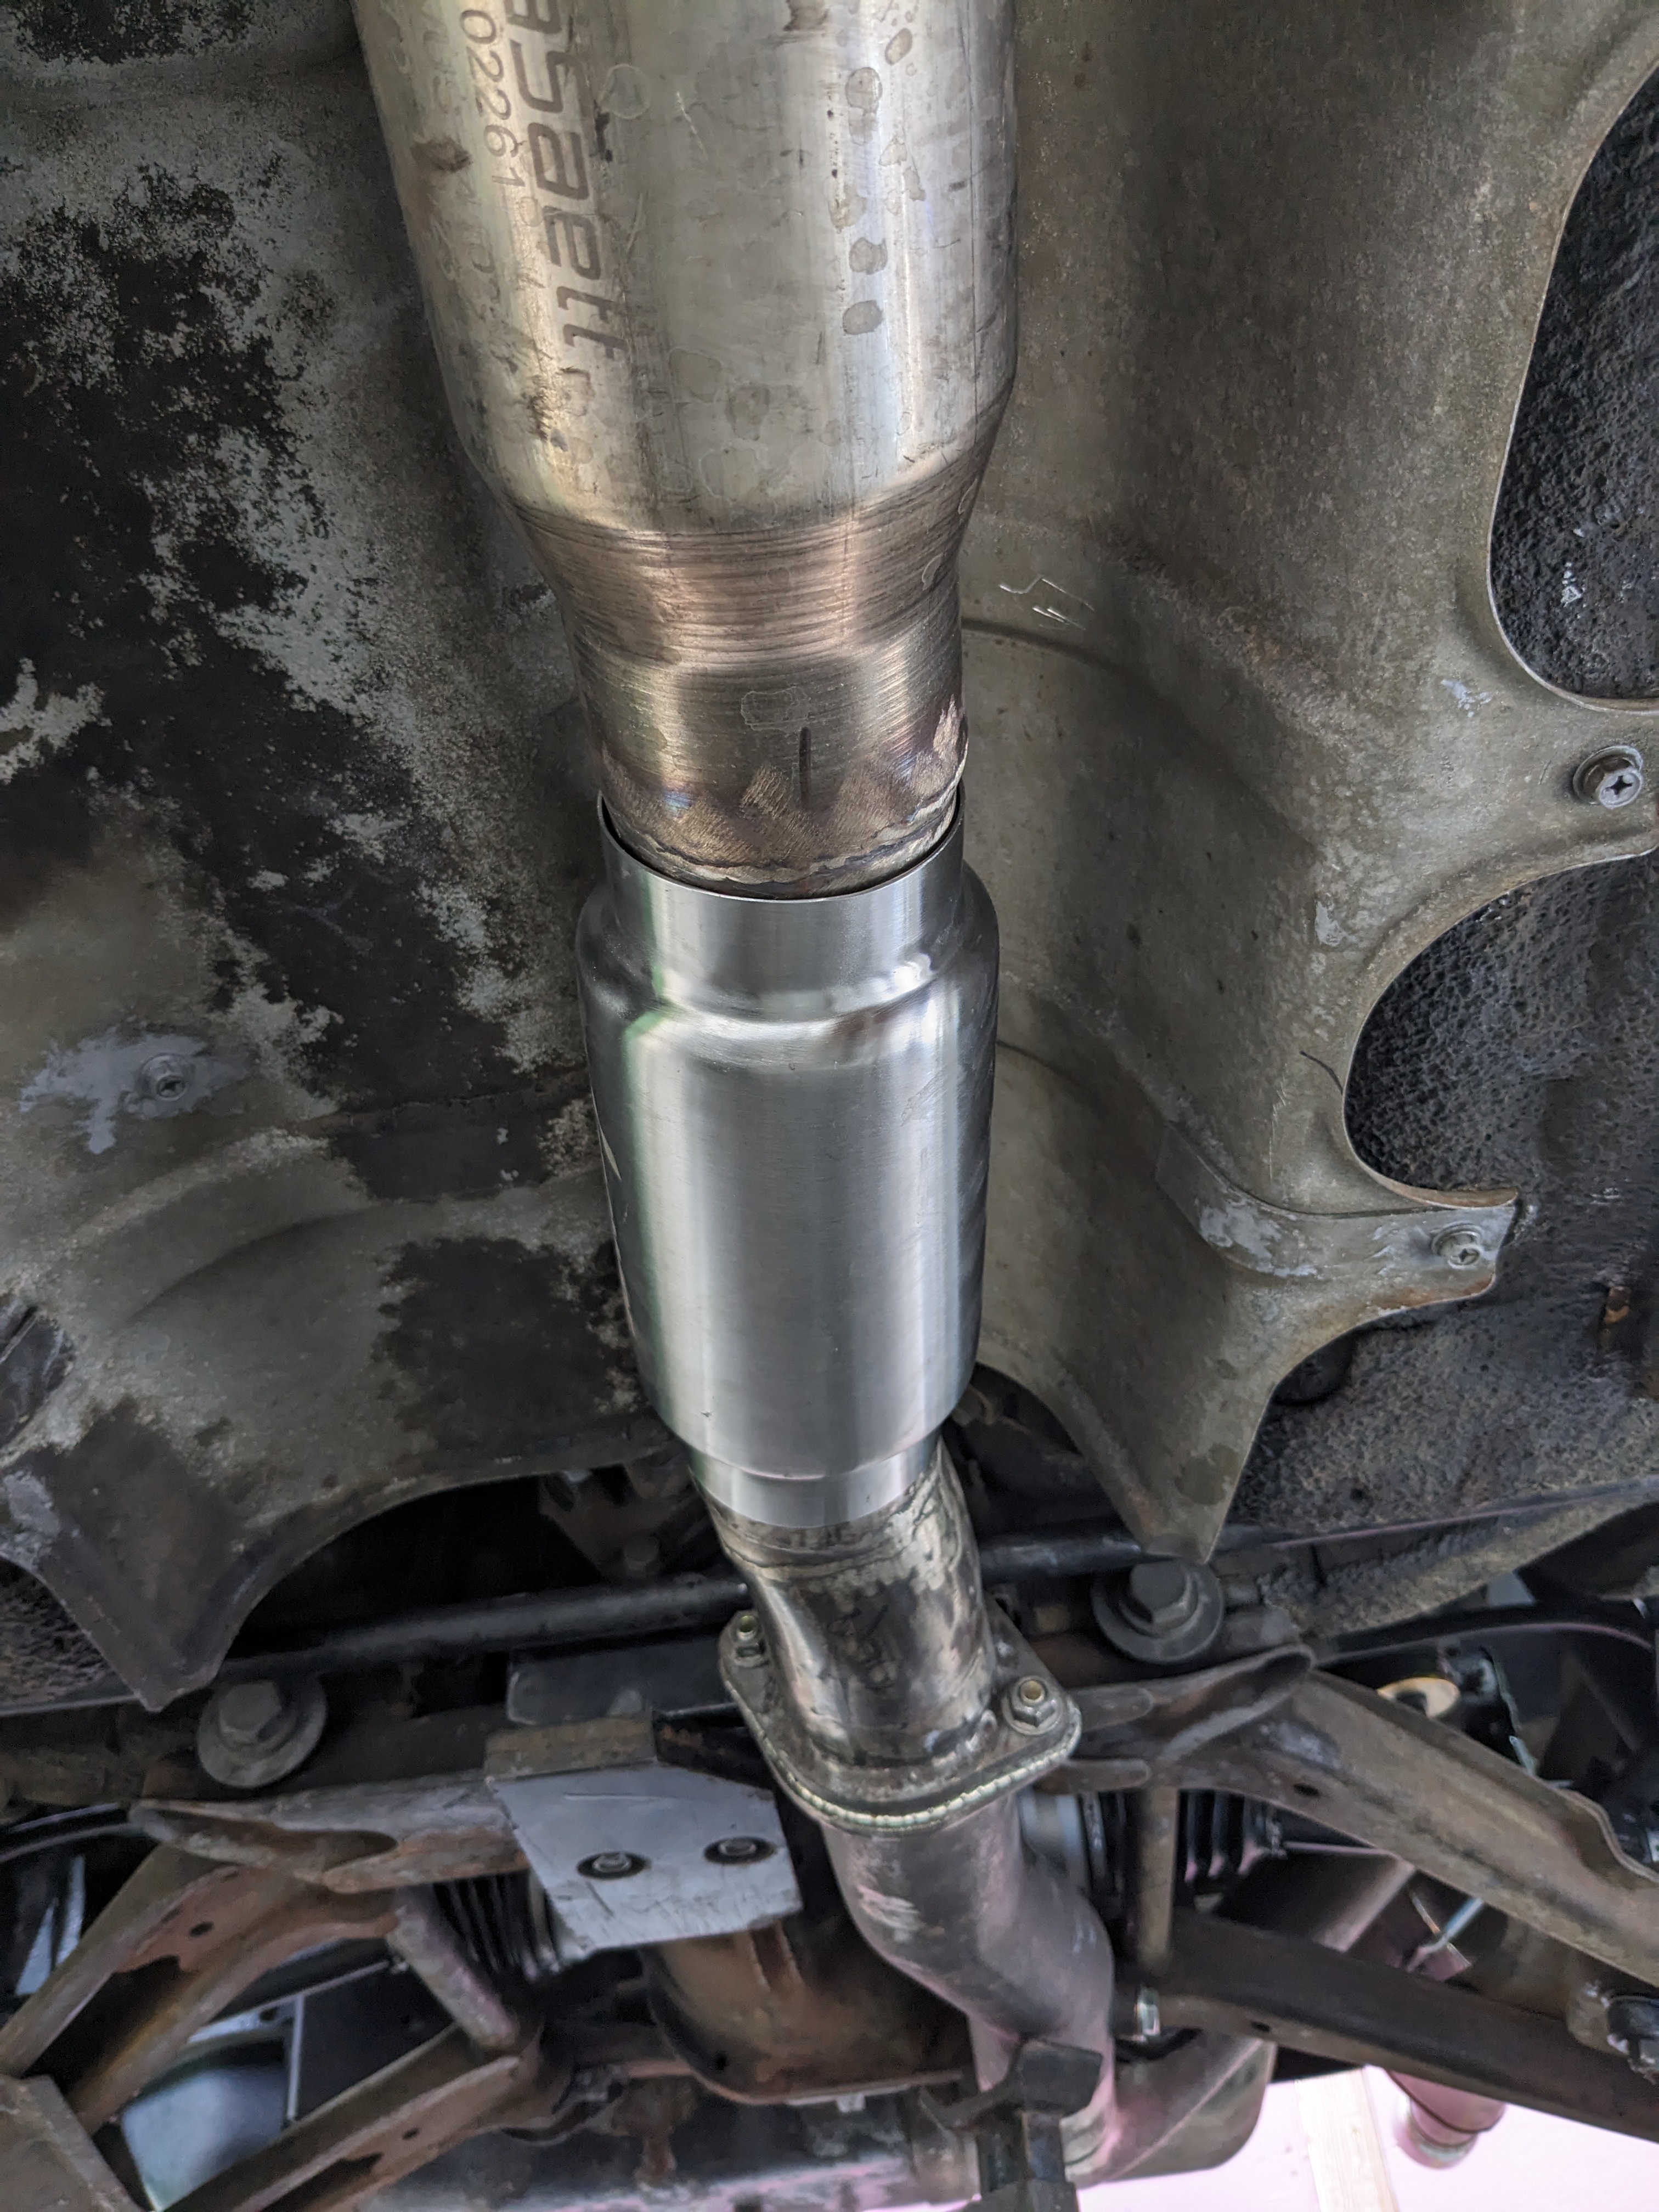
Put the resonator in today. Helped with the drone, but still need a quieter muffler. I have a new Solo Performance Stealth 25 from my X1/9 K24 build, so I'm going to swap that out next
 1 point
 -
1 pointHappy to report that after much frustration, got the sliders to work, which allowed me to shove the seat all the way forward and tighten the rear fasteners securely. The crux of the problem was that the heads of the fasteners that secure the sliders to the chassis mounts were too tall, interfering with the slider mechanism, but only when the seat was installed. Took several trips to my friends mill to thin them down from ~10mm to ~5mm, which was necessary for the sliders to function smoothly. Thanks for all the suggestions!1 point
-
Hi Paul, It's a pity you're having issues with the TIU mod. I ran mine from 2014 up to October last year with I had the good fortune to buy a 280ZX unit. A couple of suggestions. You are running a 0.3 ohm flamethrower coil with the resistor. That coil should have 12 volts, the HEI has a current limiting function to get the maximum out of the coil. The blue wire should go straight to the negative post on the coil, or via the end terminal on the resistor, if you want to keep the original look. Not mentioned in the instruction, but check the reluctor air gap. That is crucial for the HEI because the HEI needs 0.5 volts to trigger and too big a gap will quickly drop the cranking volfage to 0.3 volts. The other thing that can give you problems is the reluctor in the dizzy. If it is old and the insulation is starting the break up, it will not generate the voltage required to trigger the HEI. When you crank the engjne, it will generate 0.5 volts and will reach around 28 volts a high rpm. That high voltage can bridge poor insulation and cause your problem.1 point
-
1 pointI sent Max a message telling him you're interested in seeing the back side of the hubcaps.1 point