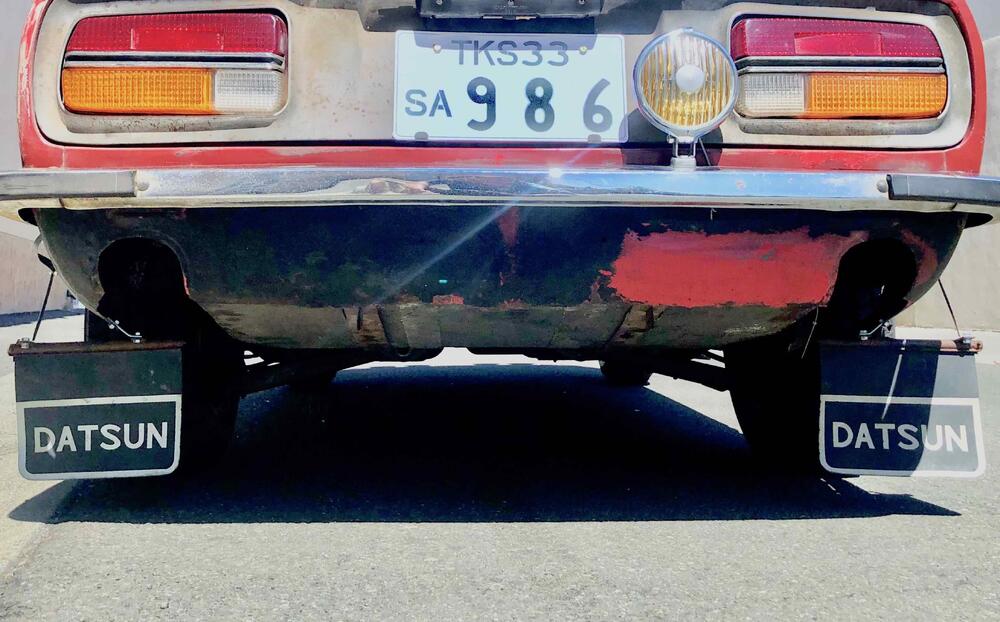
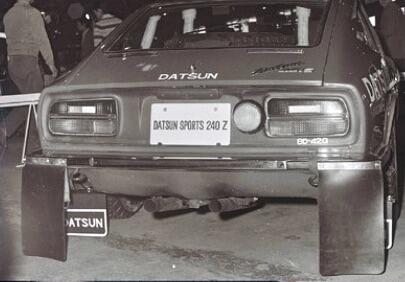
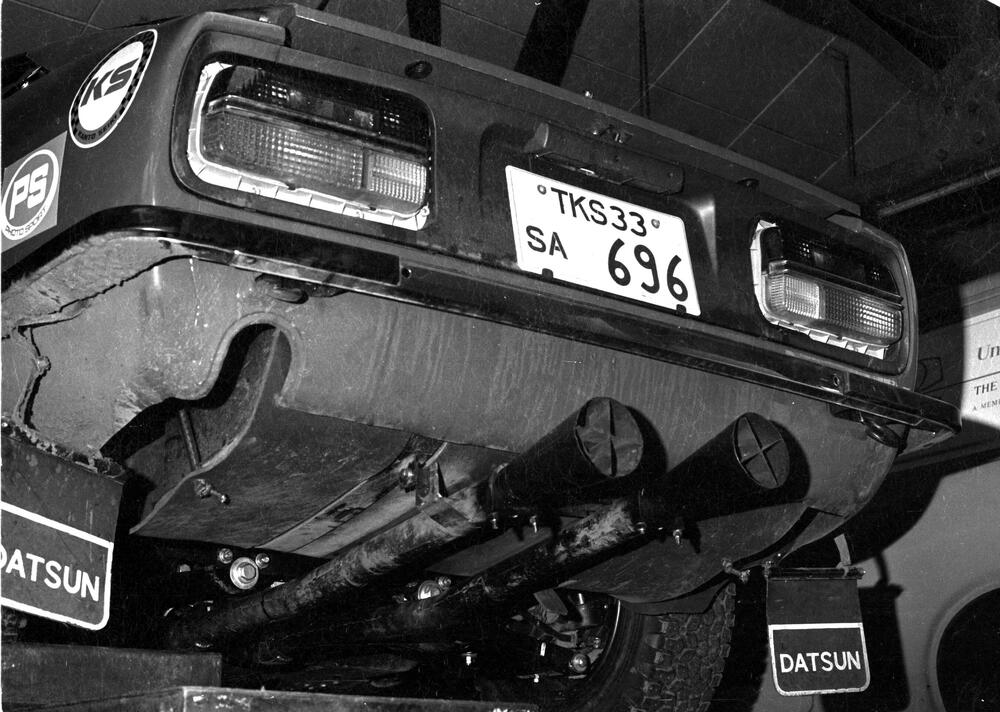
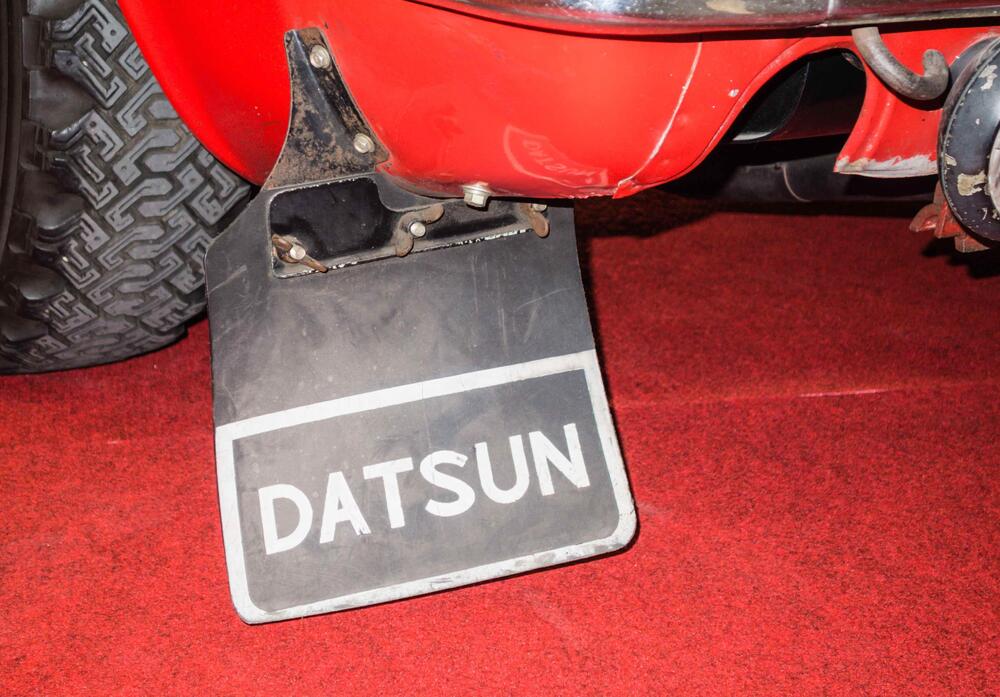
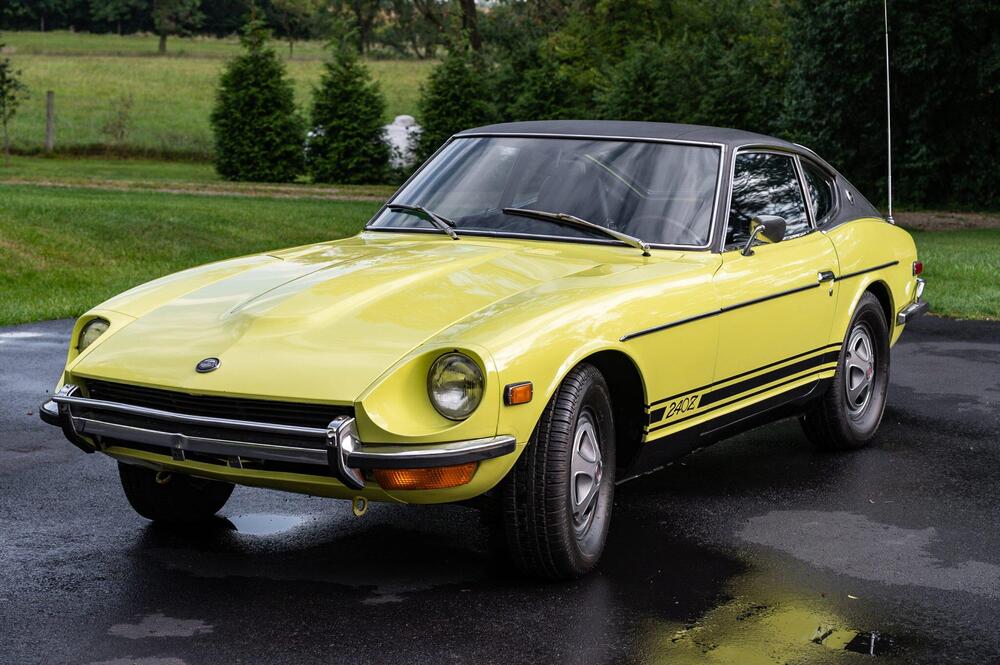
986 used the early-style mud flap system. I received a set of period-correct mud flaps with the car in 2014, but no mounting hardware. So I set about scouring period photos for some details on how they were assembled. The setup I went with was my best guess, given the information at hand.
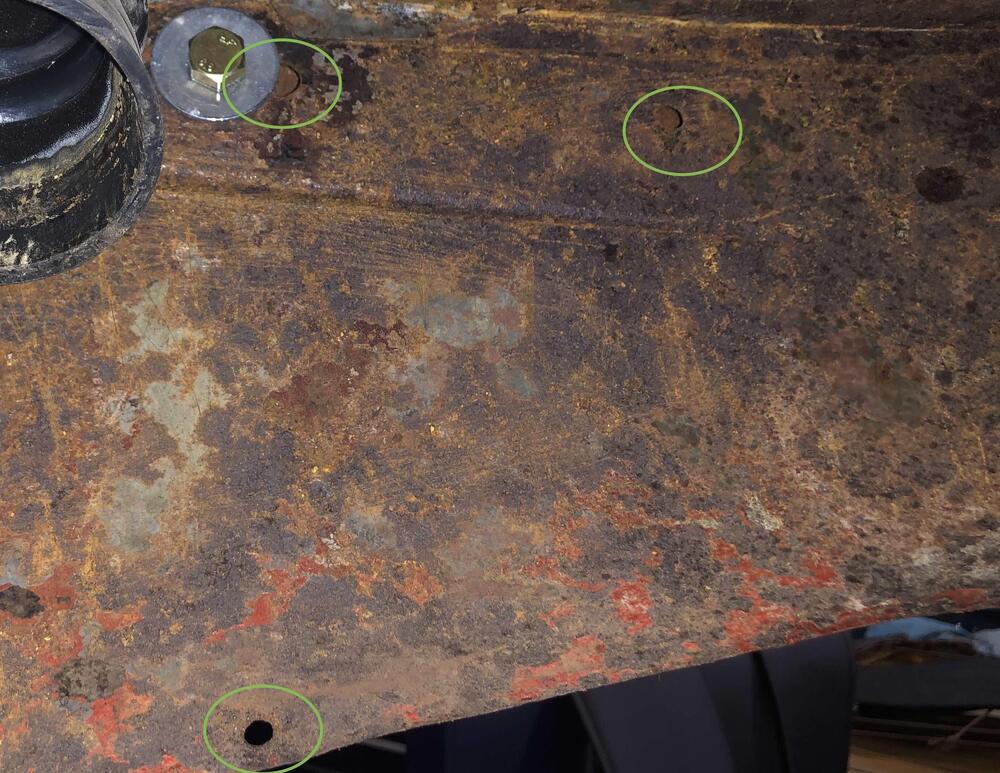
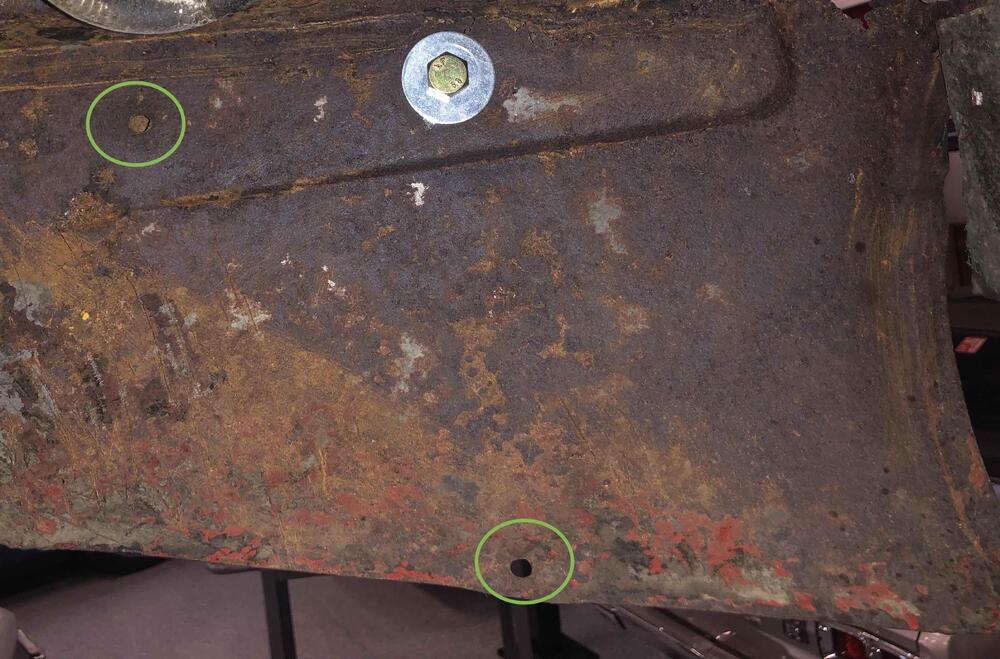
Thankfully, the job was made easier by the simple fact that the mounting holes were clearly visible, making locating the flaps a breeze. I chose 5/8" galvanized strap material for my outer brackets. This strap appeared to be roughly the right thickness - it was wide enough to drill a 7mm hole through, which was a ballpark guess as to the approximate size of hardware used. For the inner bracket, I chose a 1/8" thick steel bracket from Ace Hardware, which I bent into shape, making sure to leave the "Ace" stamp outward, for all to see! These materials were clearly not original, as I'd expect the real brackets to be made out of metric stock, but it served it's purpose for showing the car with the mud flaps in their approximate positions. I'll likely go over the choice of materials again during restoration, as I think I made the rear outer "spring-strap" slightly too short, giving it a "too straight" appearance.
Also note that the right-side photo appears to have an extra hole by the bumper mount - my early assessment is that this is potentially just a random bumper mounting hole (or otherwise a hole used for other purposes, given it's size relative to the other bracket holes), as there is no corresponding hole on the left side. So I did not use it to mount the outer bracket. Instead, I hung the outer brackets by drilling a larger diameter hole in the strap, and affixed it between the bumper and body using the existing bumper bolt. I'm not yet 100% certain that this is the correct method, but it was close enough to make the flaps hang properly, so I went with it for the time being.


