Leaderboard
-

240260280
Free Member5Points4,442Posts -
motorman7
 Subscriber
 4Points2,228Posts
 -
Reptoid Overlords
Free Member3Points805Posts -

siteunseen
Free Member2Points15,115Posts


Popular Content
Showing content with the highest reputation on 11/01/2019 in Posts
-
3 pointsAfter a few hundred more miles my oil consumption issue seems to have stopped. I've added a People's Liberation Army oil catch can and can't get it to smoke anymore either. Sent from my Coolpad 3310A using Tapatalk3 points
-
2 points
-
2 pointsI've used the copper spray on every head gasket I installed with no problems.. even on lawn mowers and snow blowers. Belts and braces when ever possible.
 2 points
 -
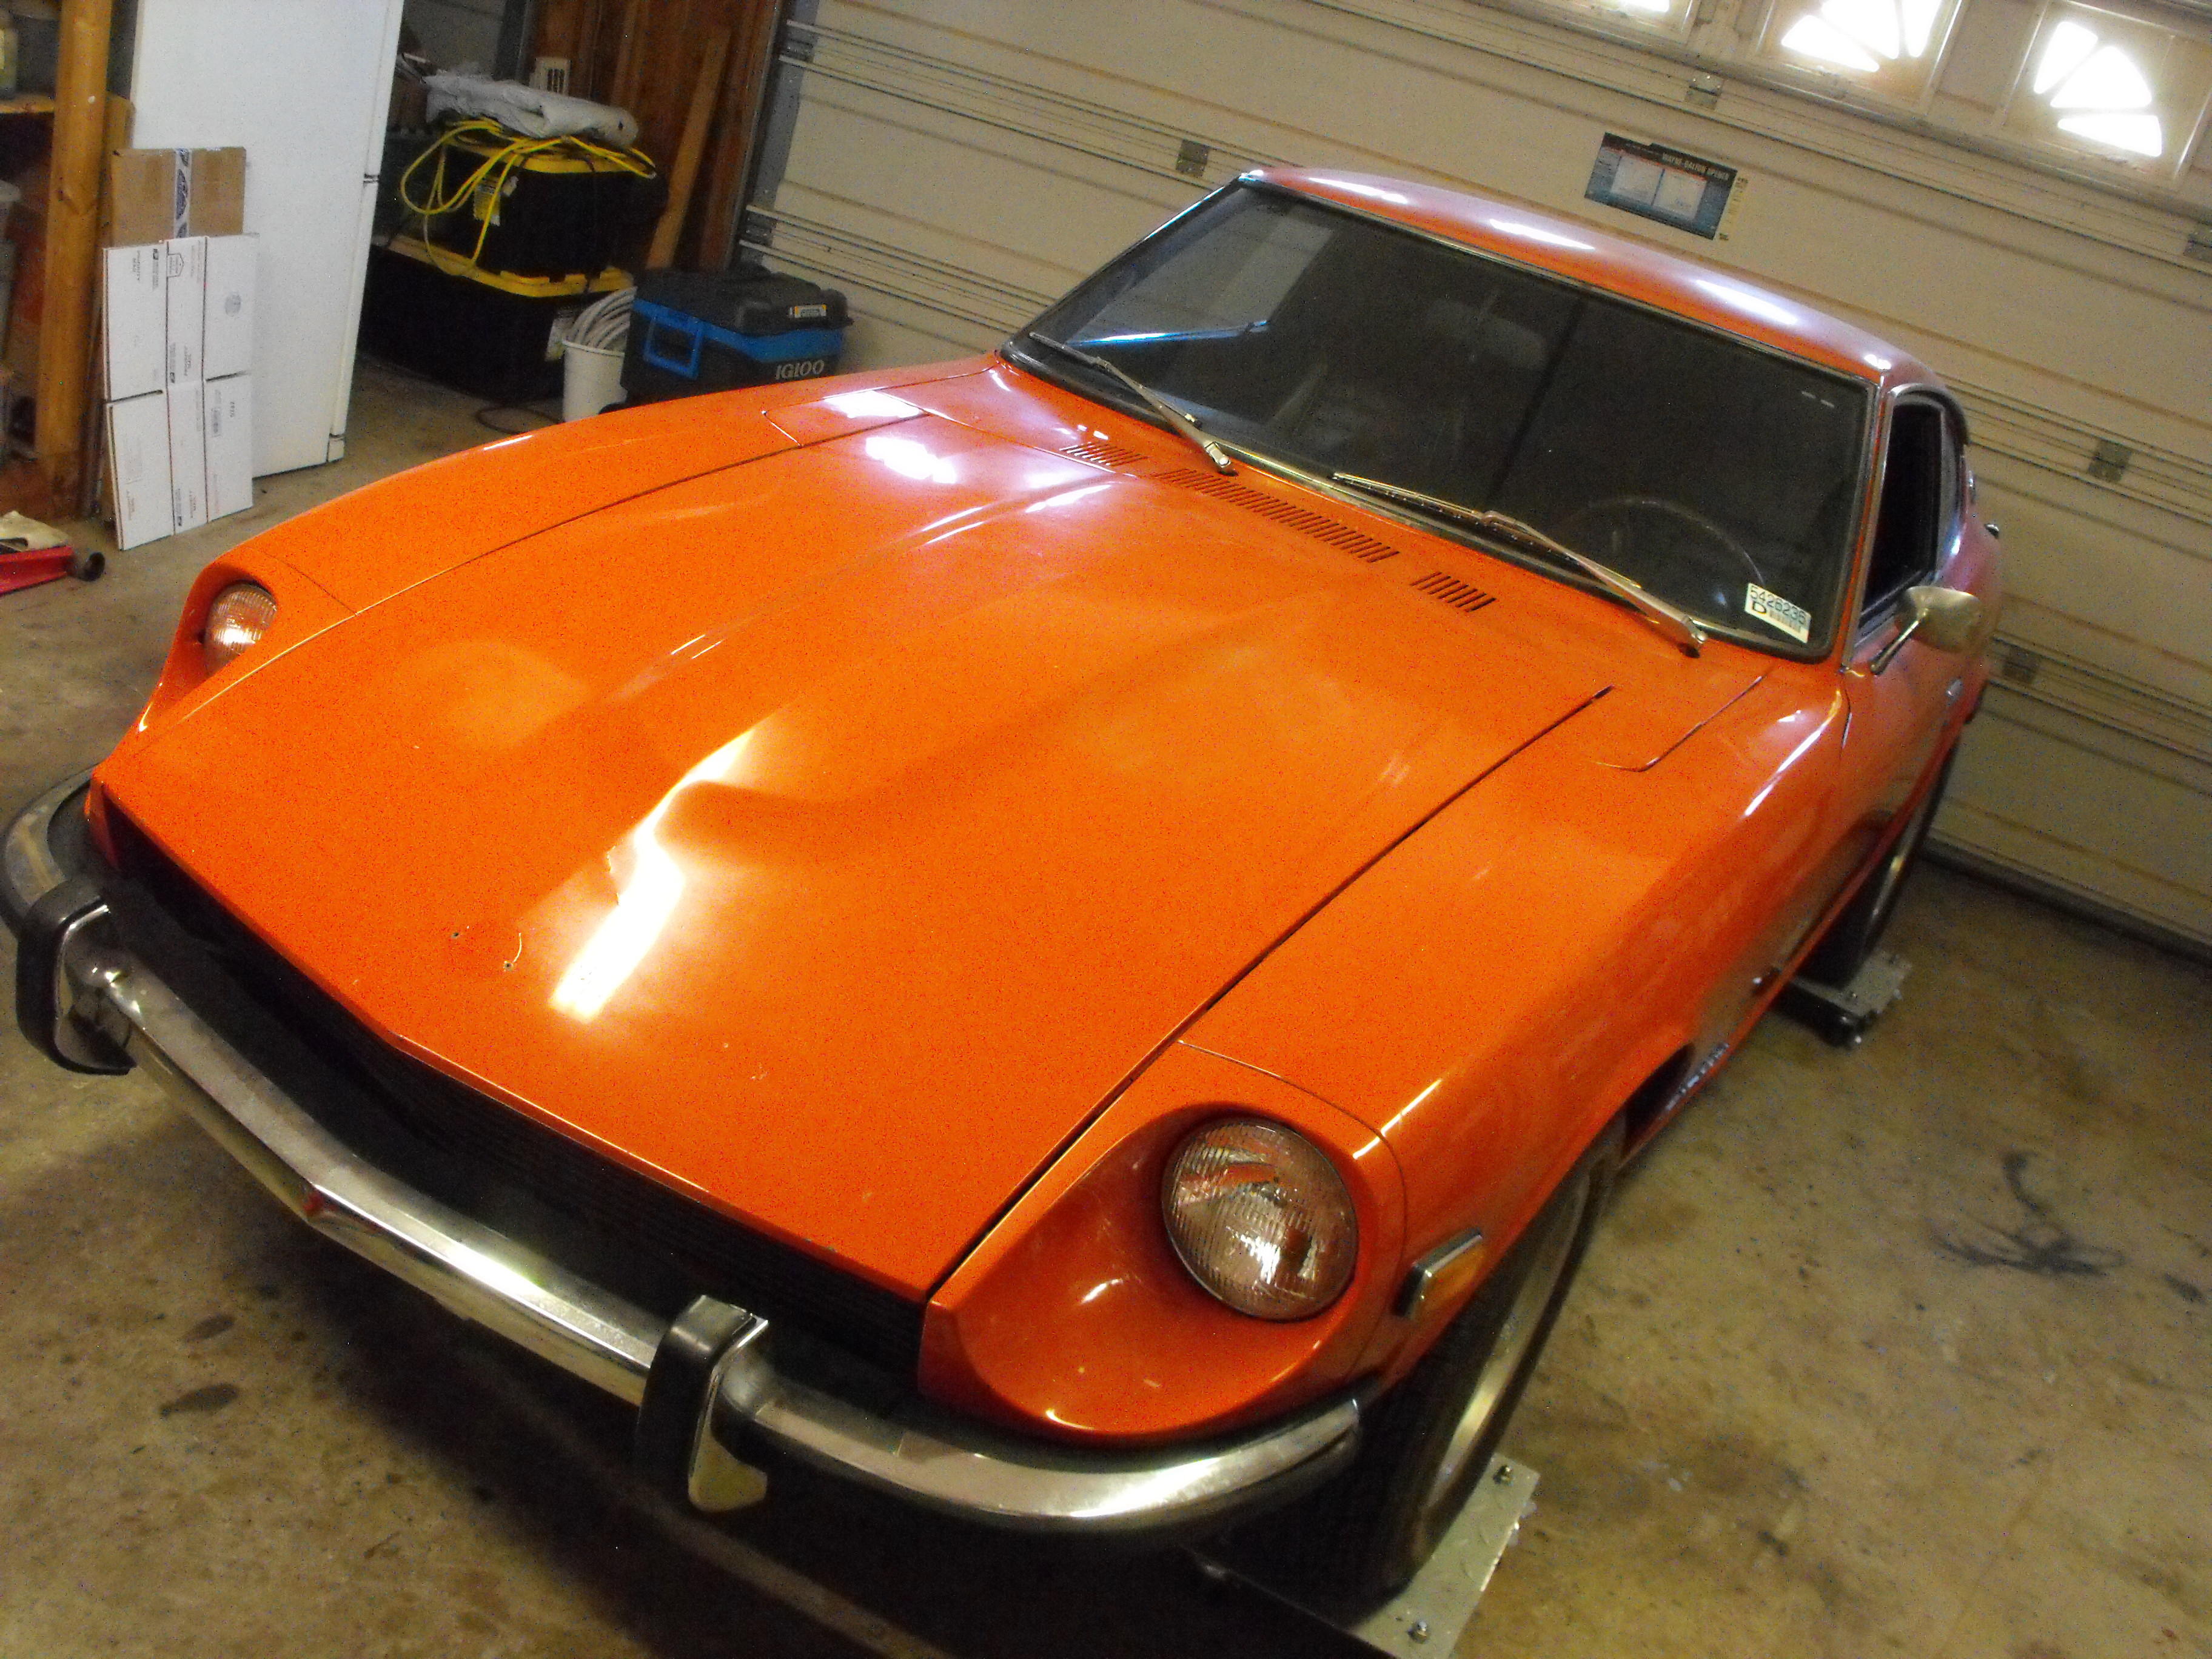
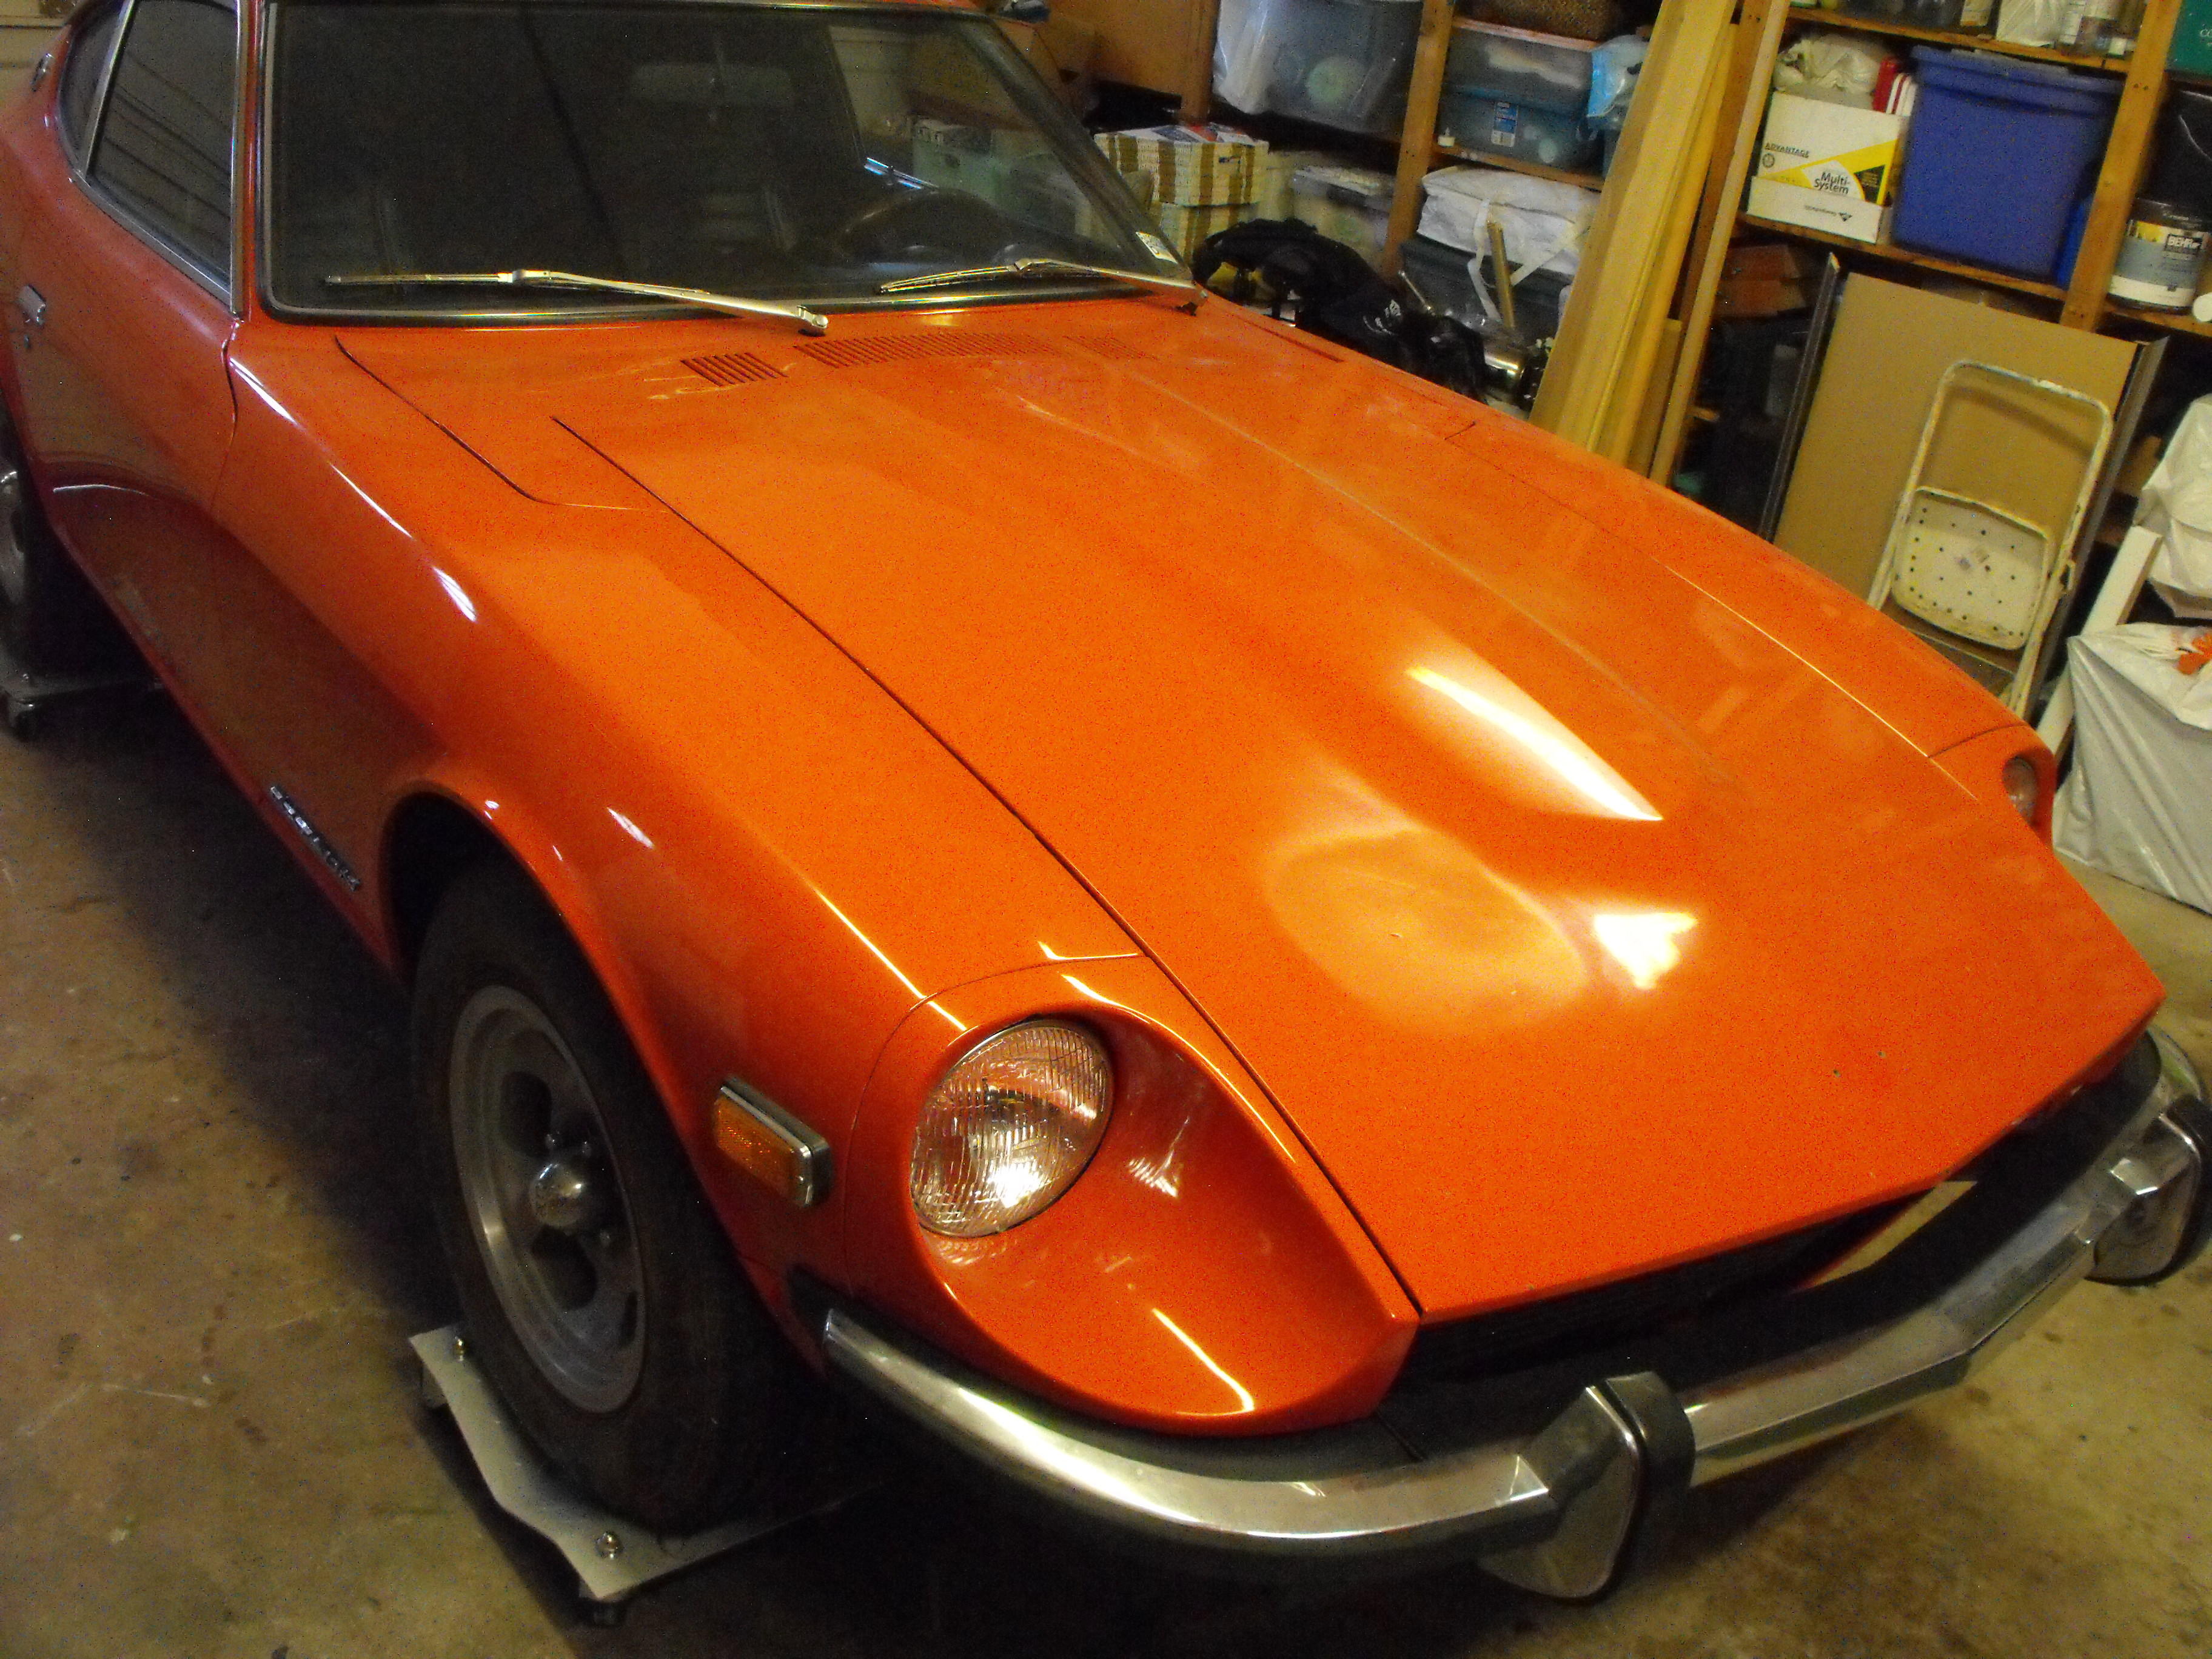
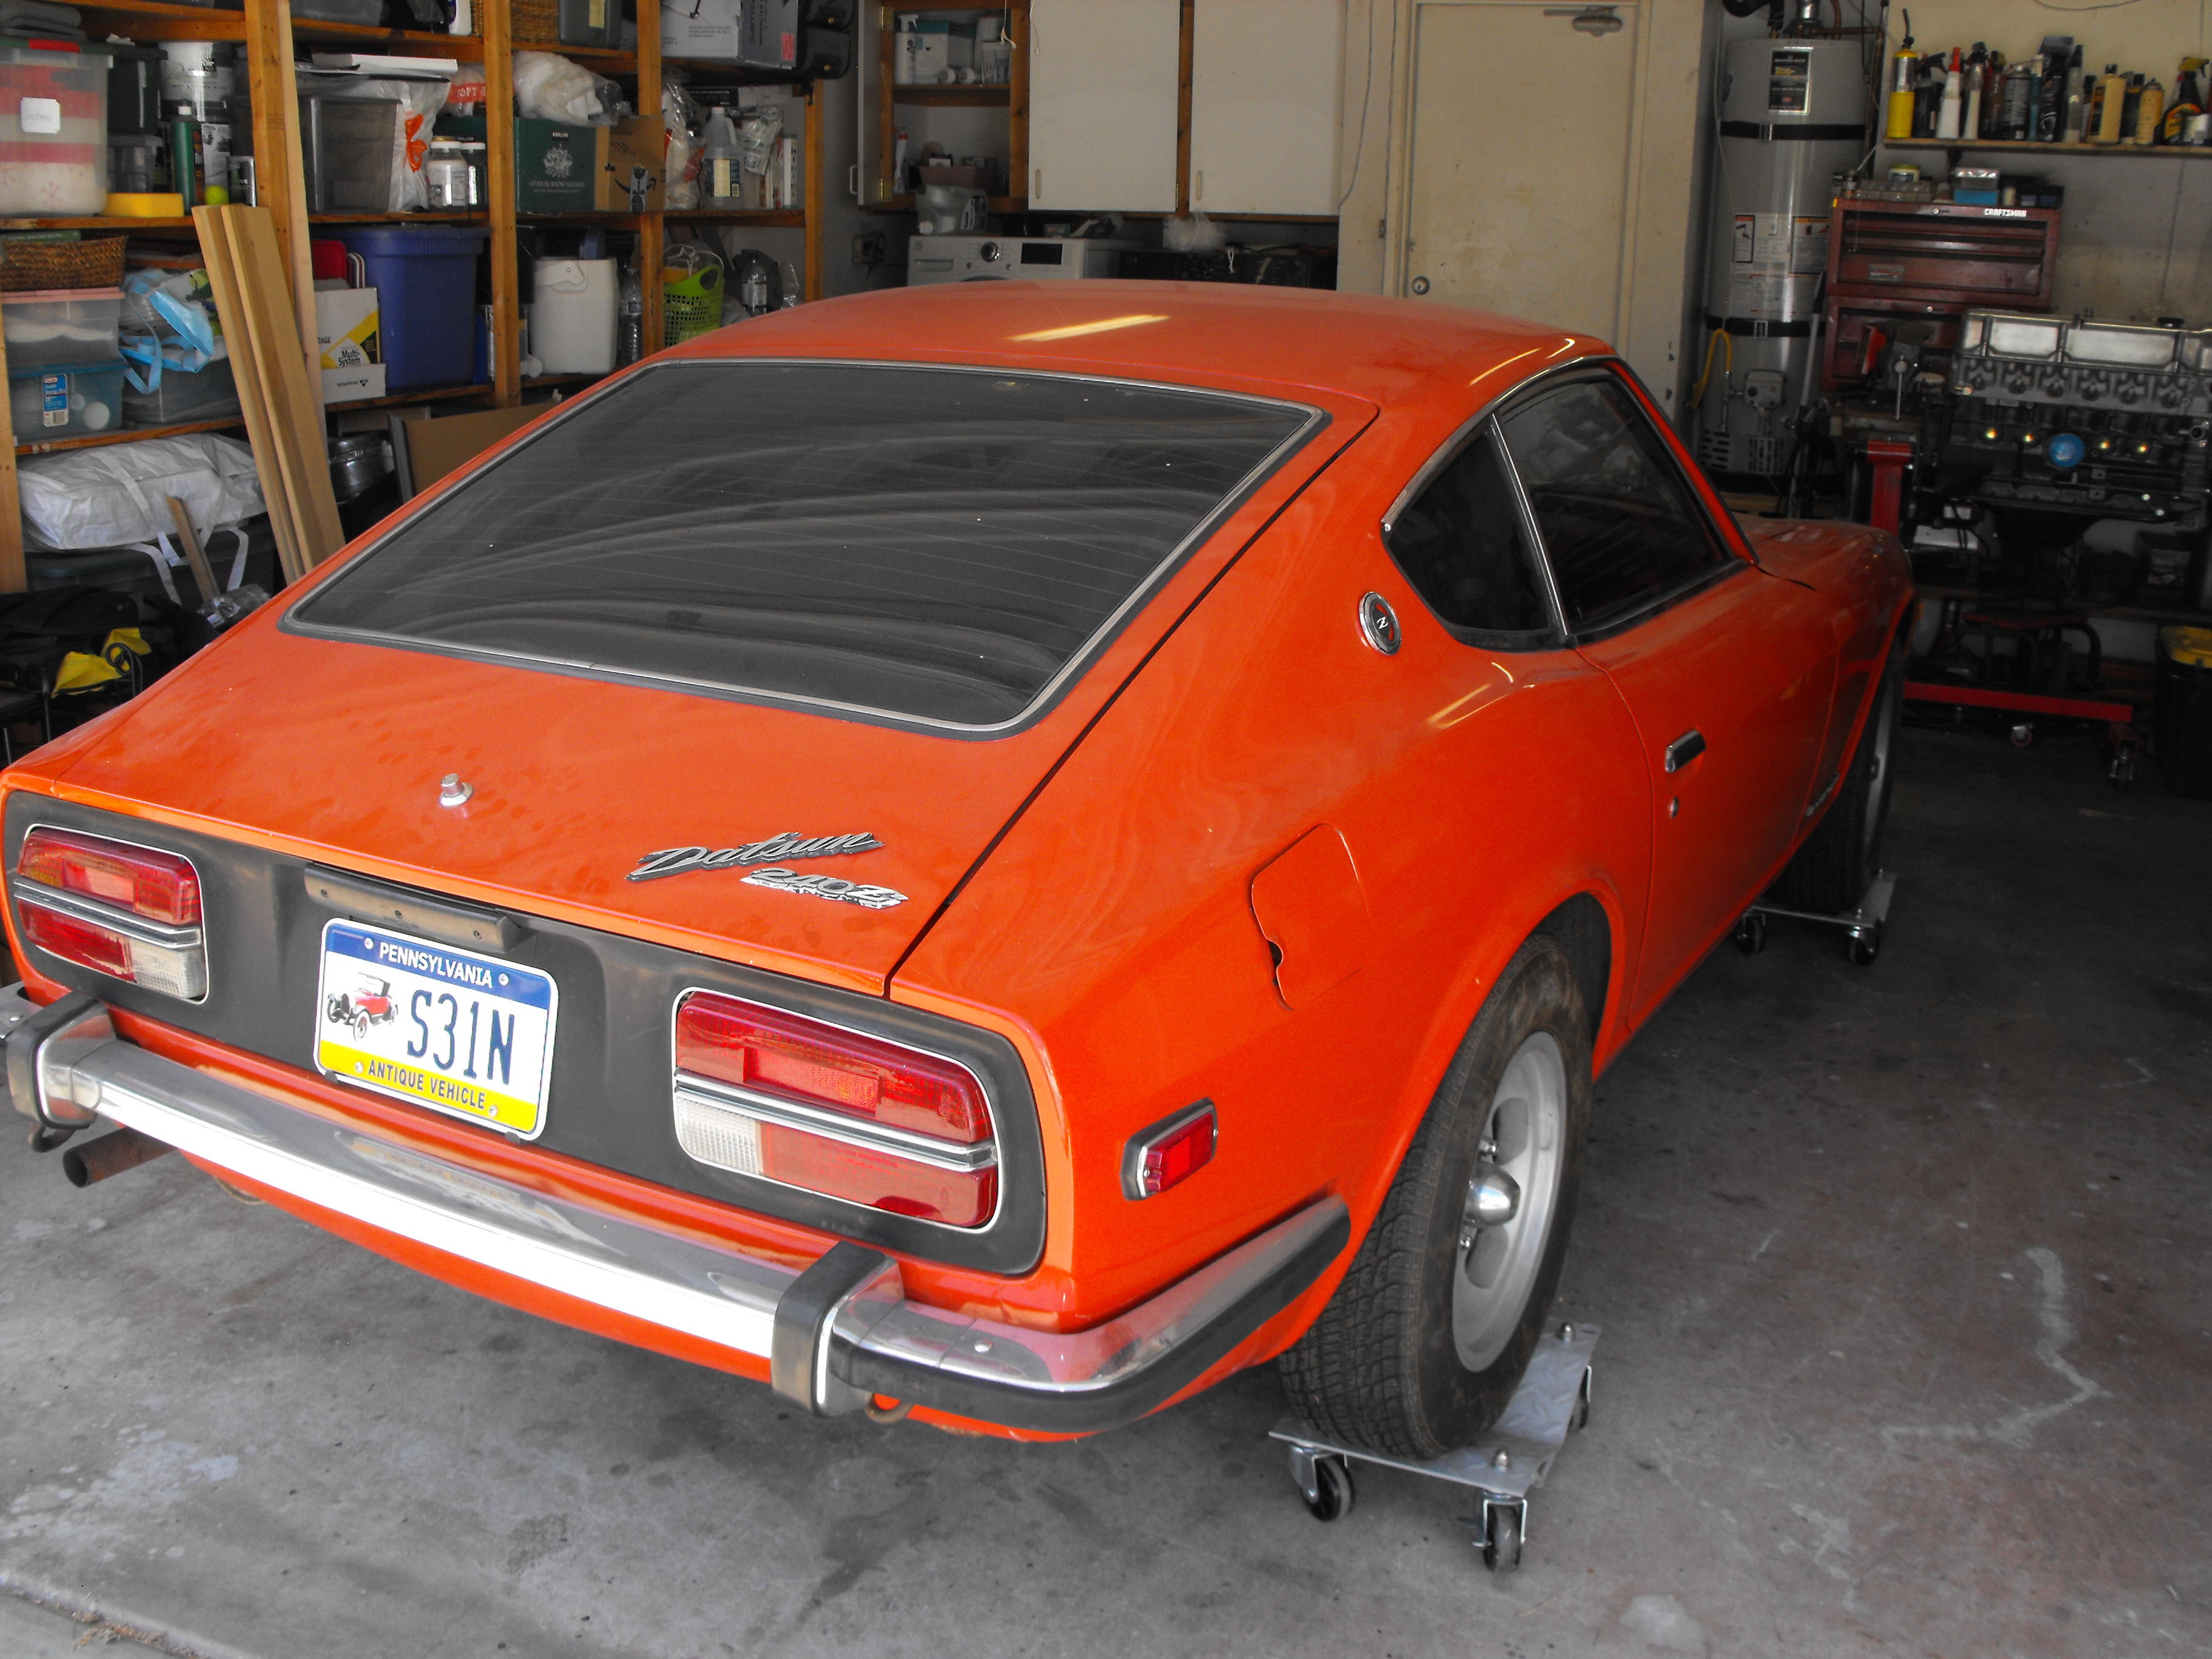
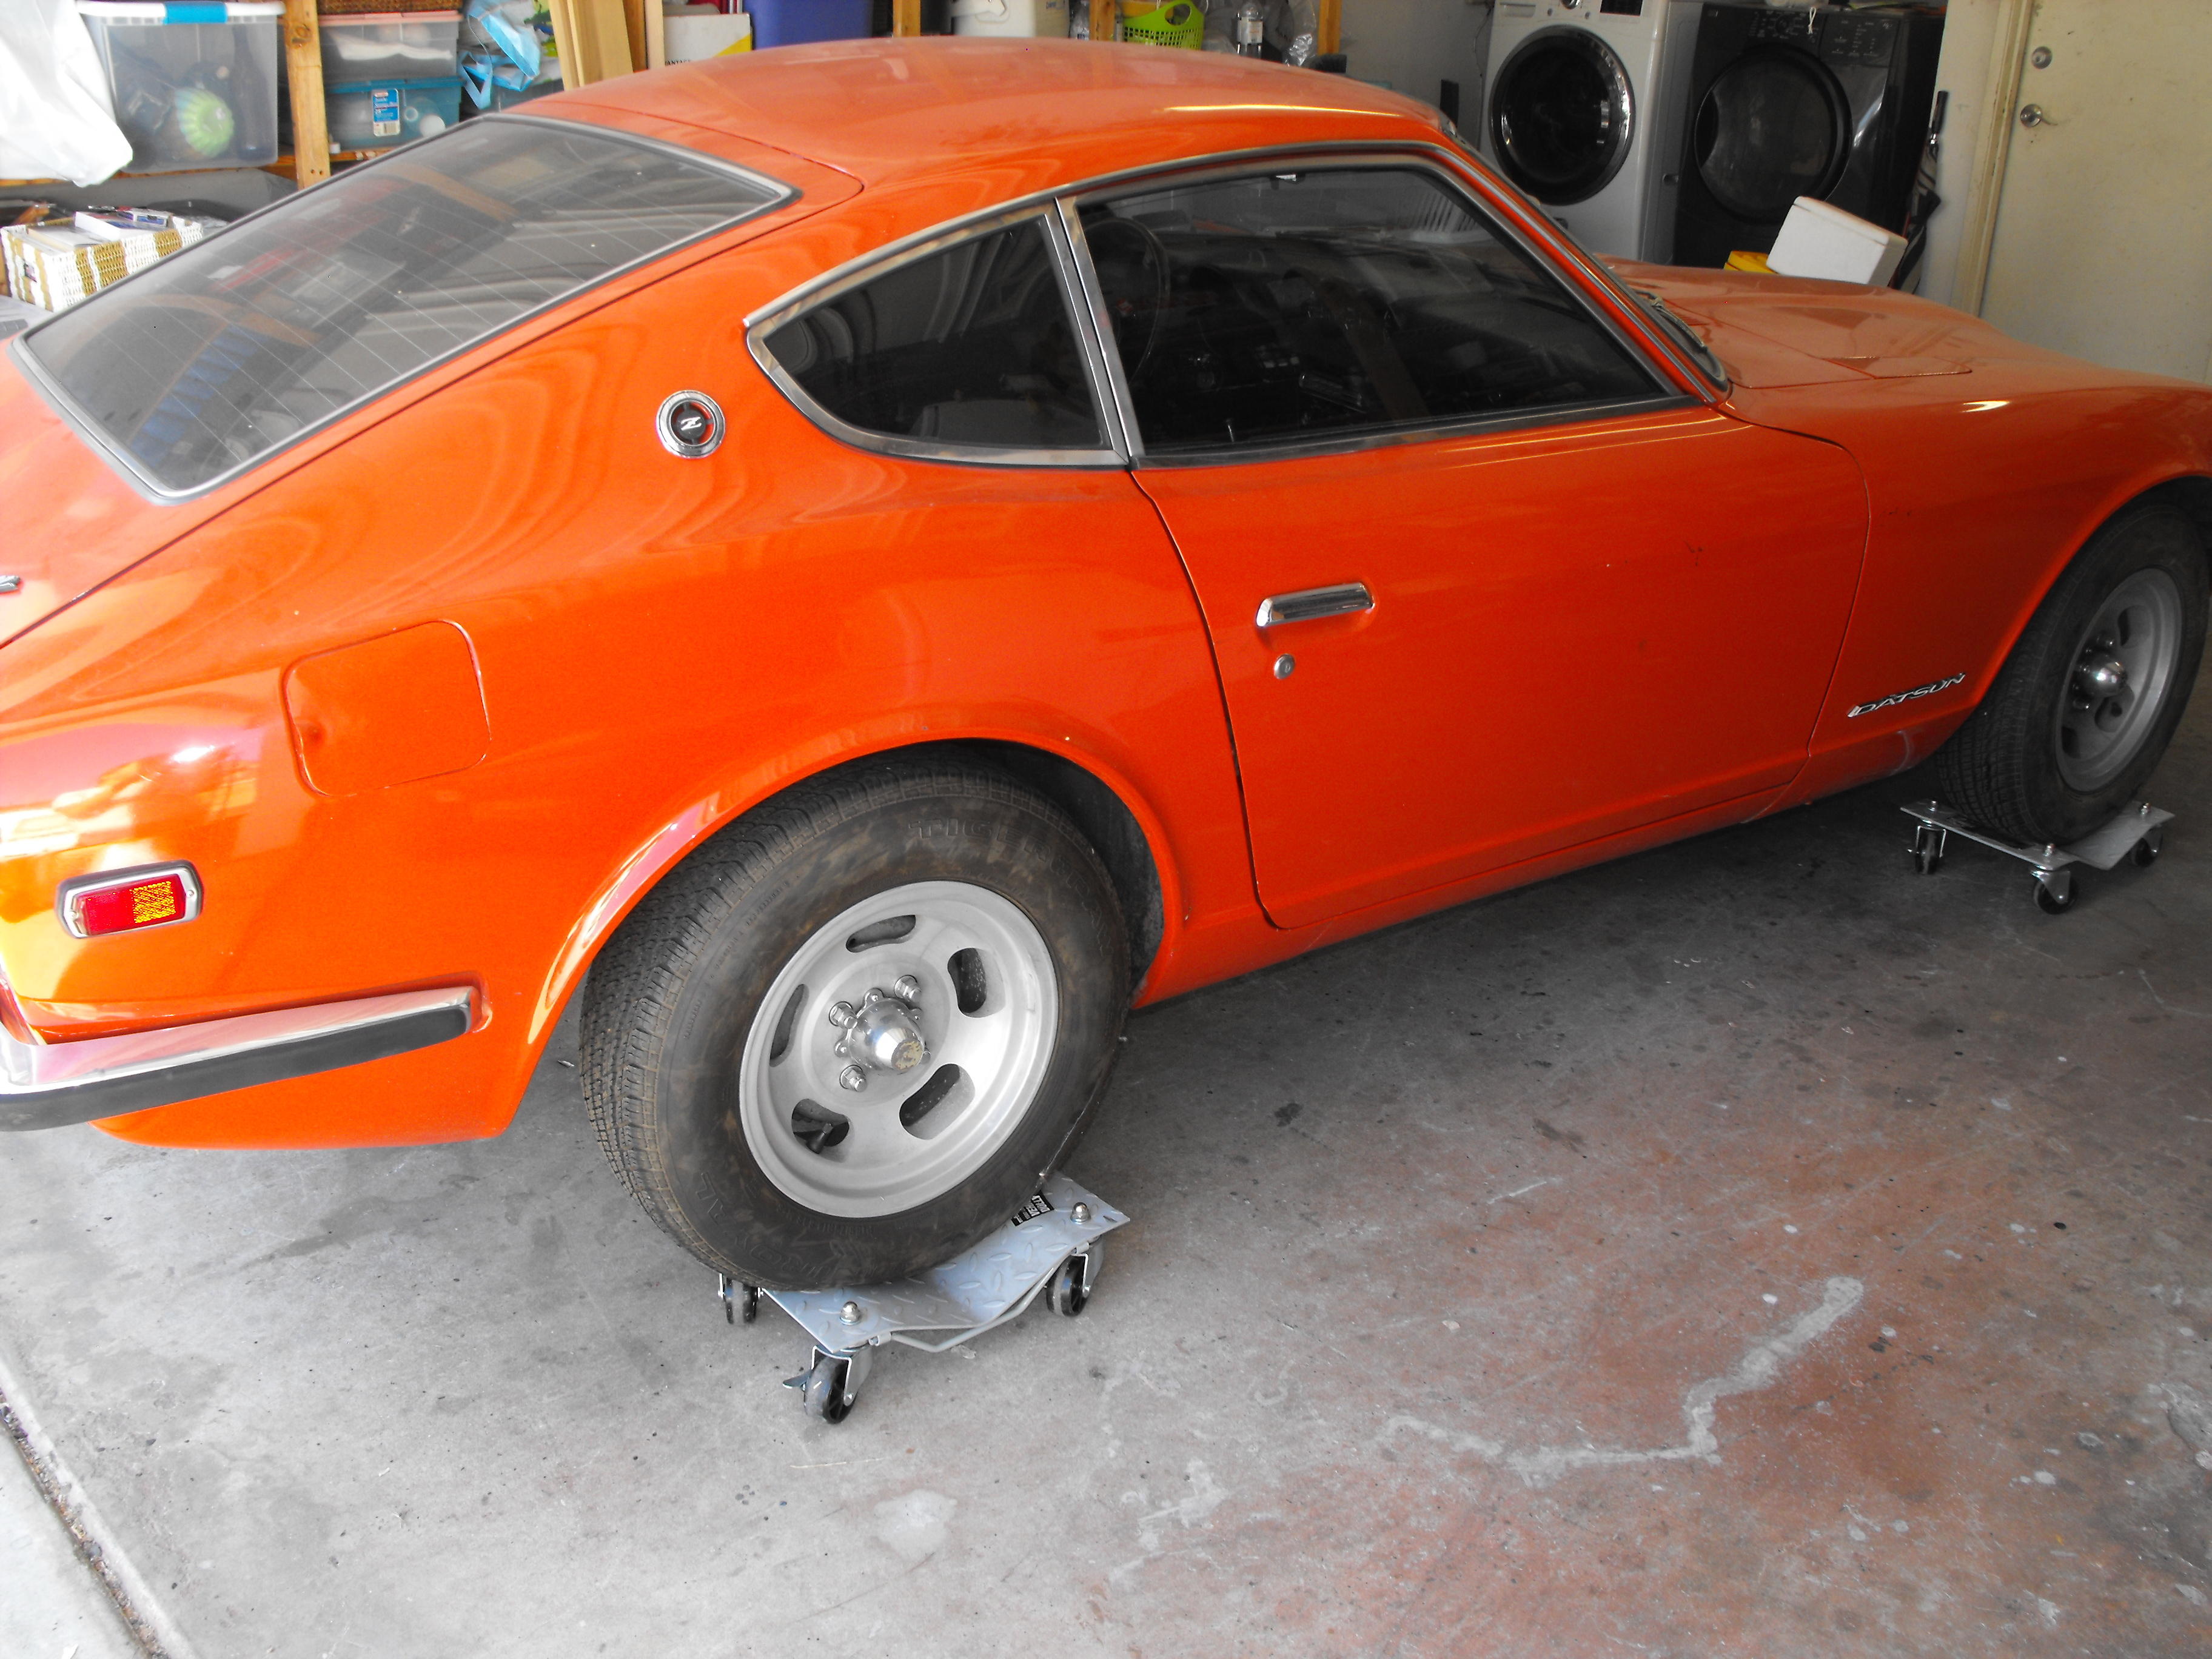
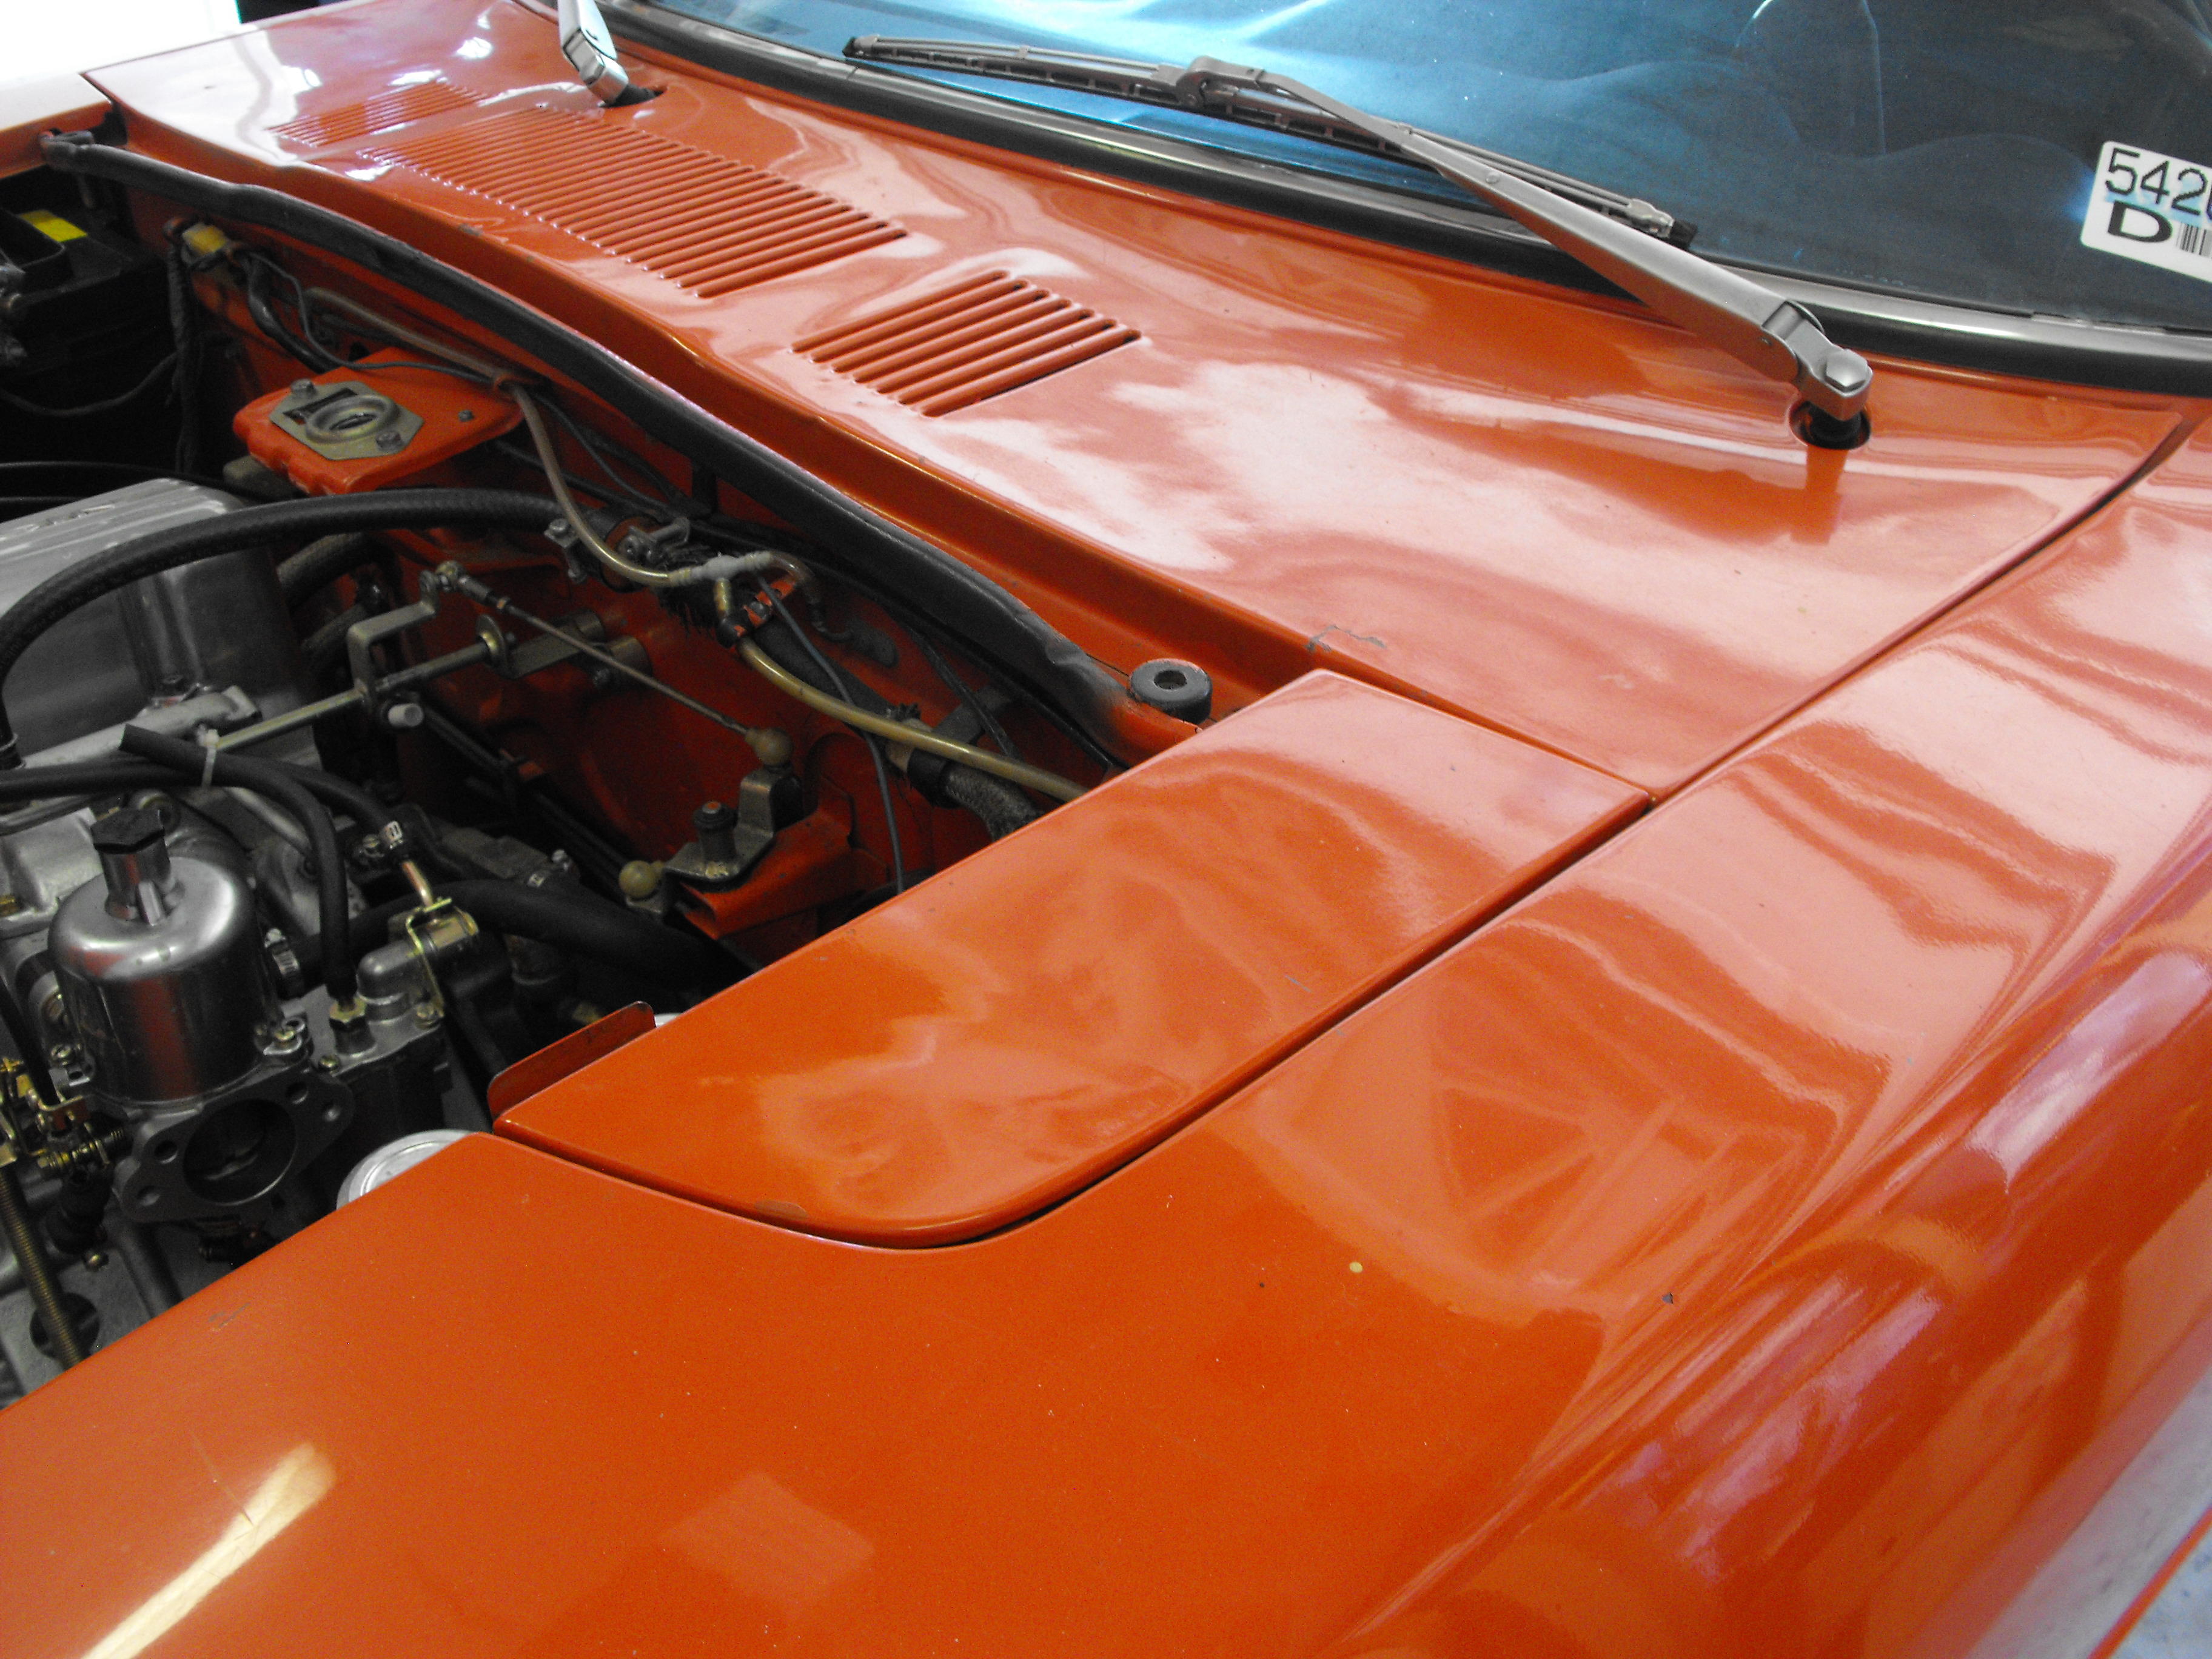
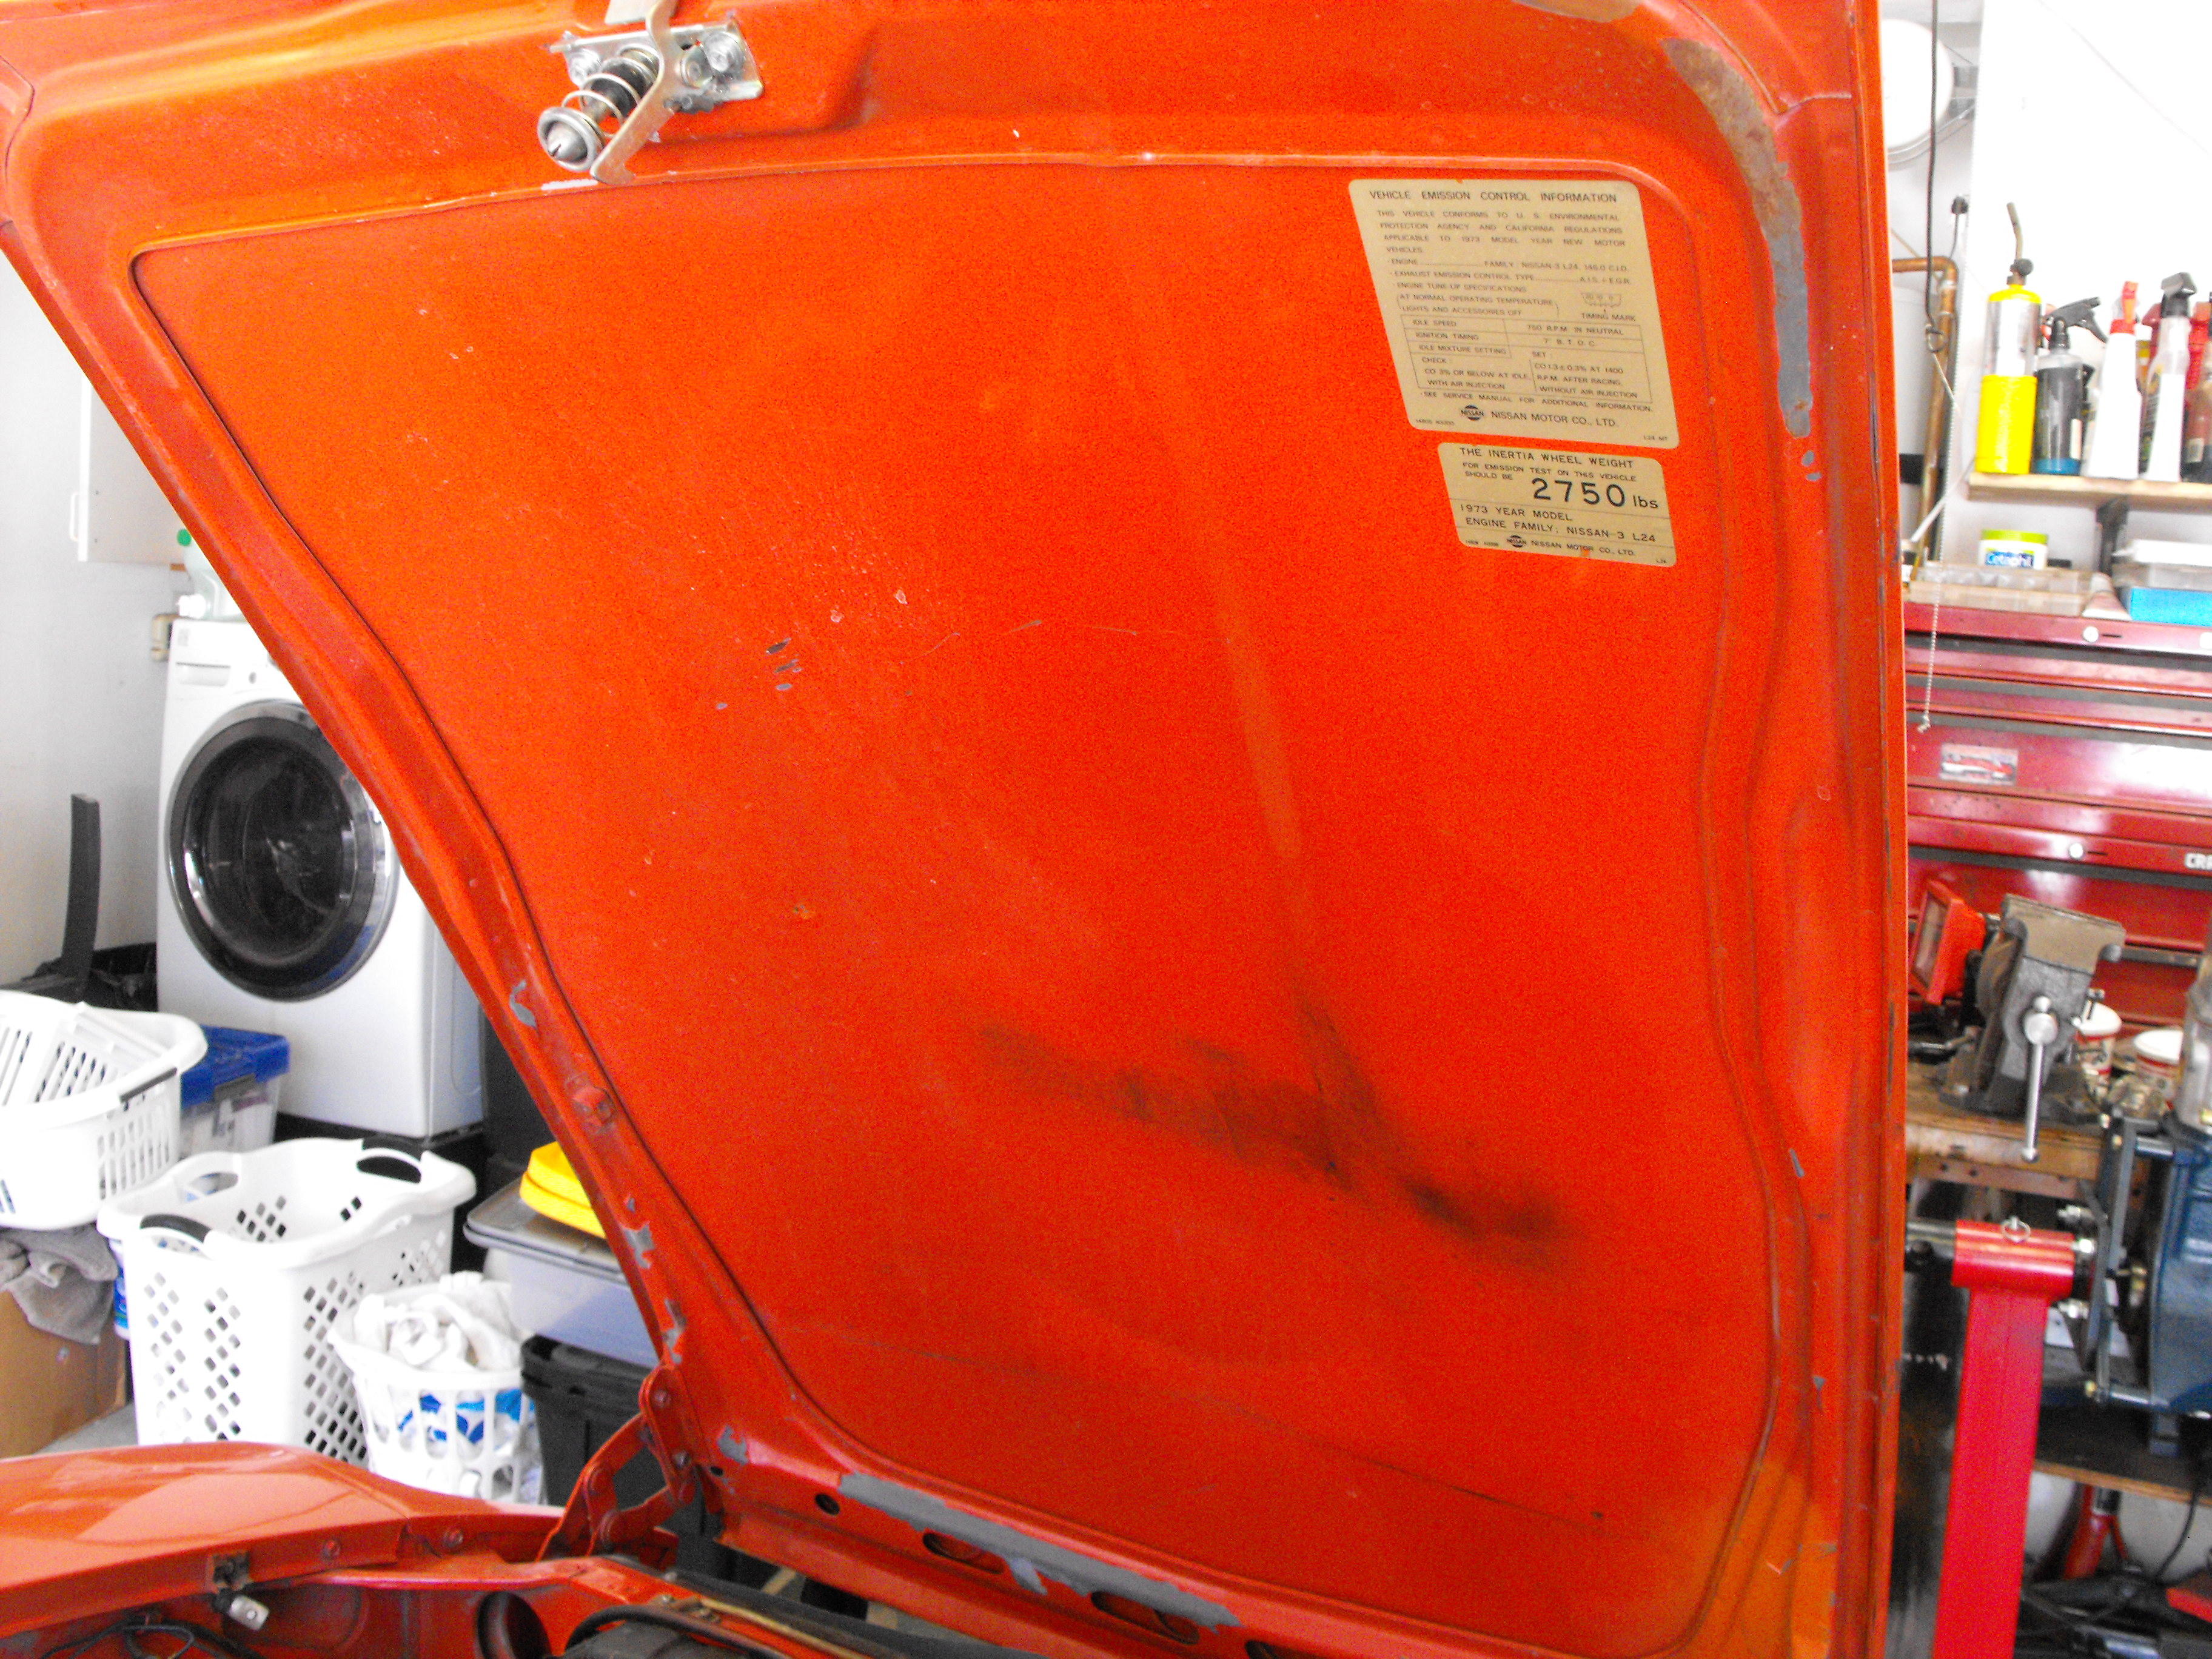
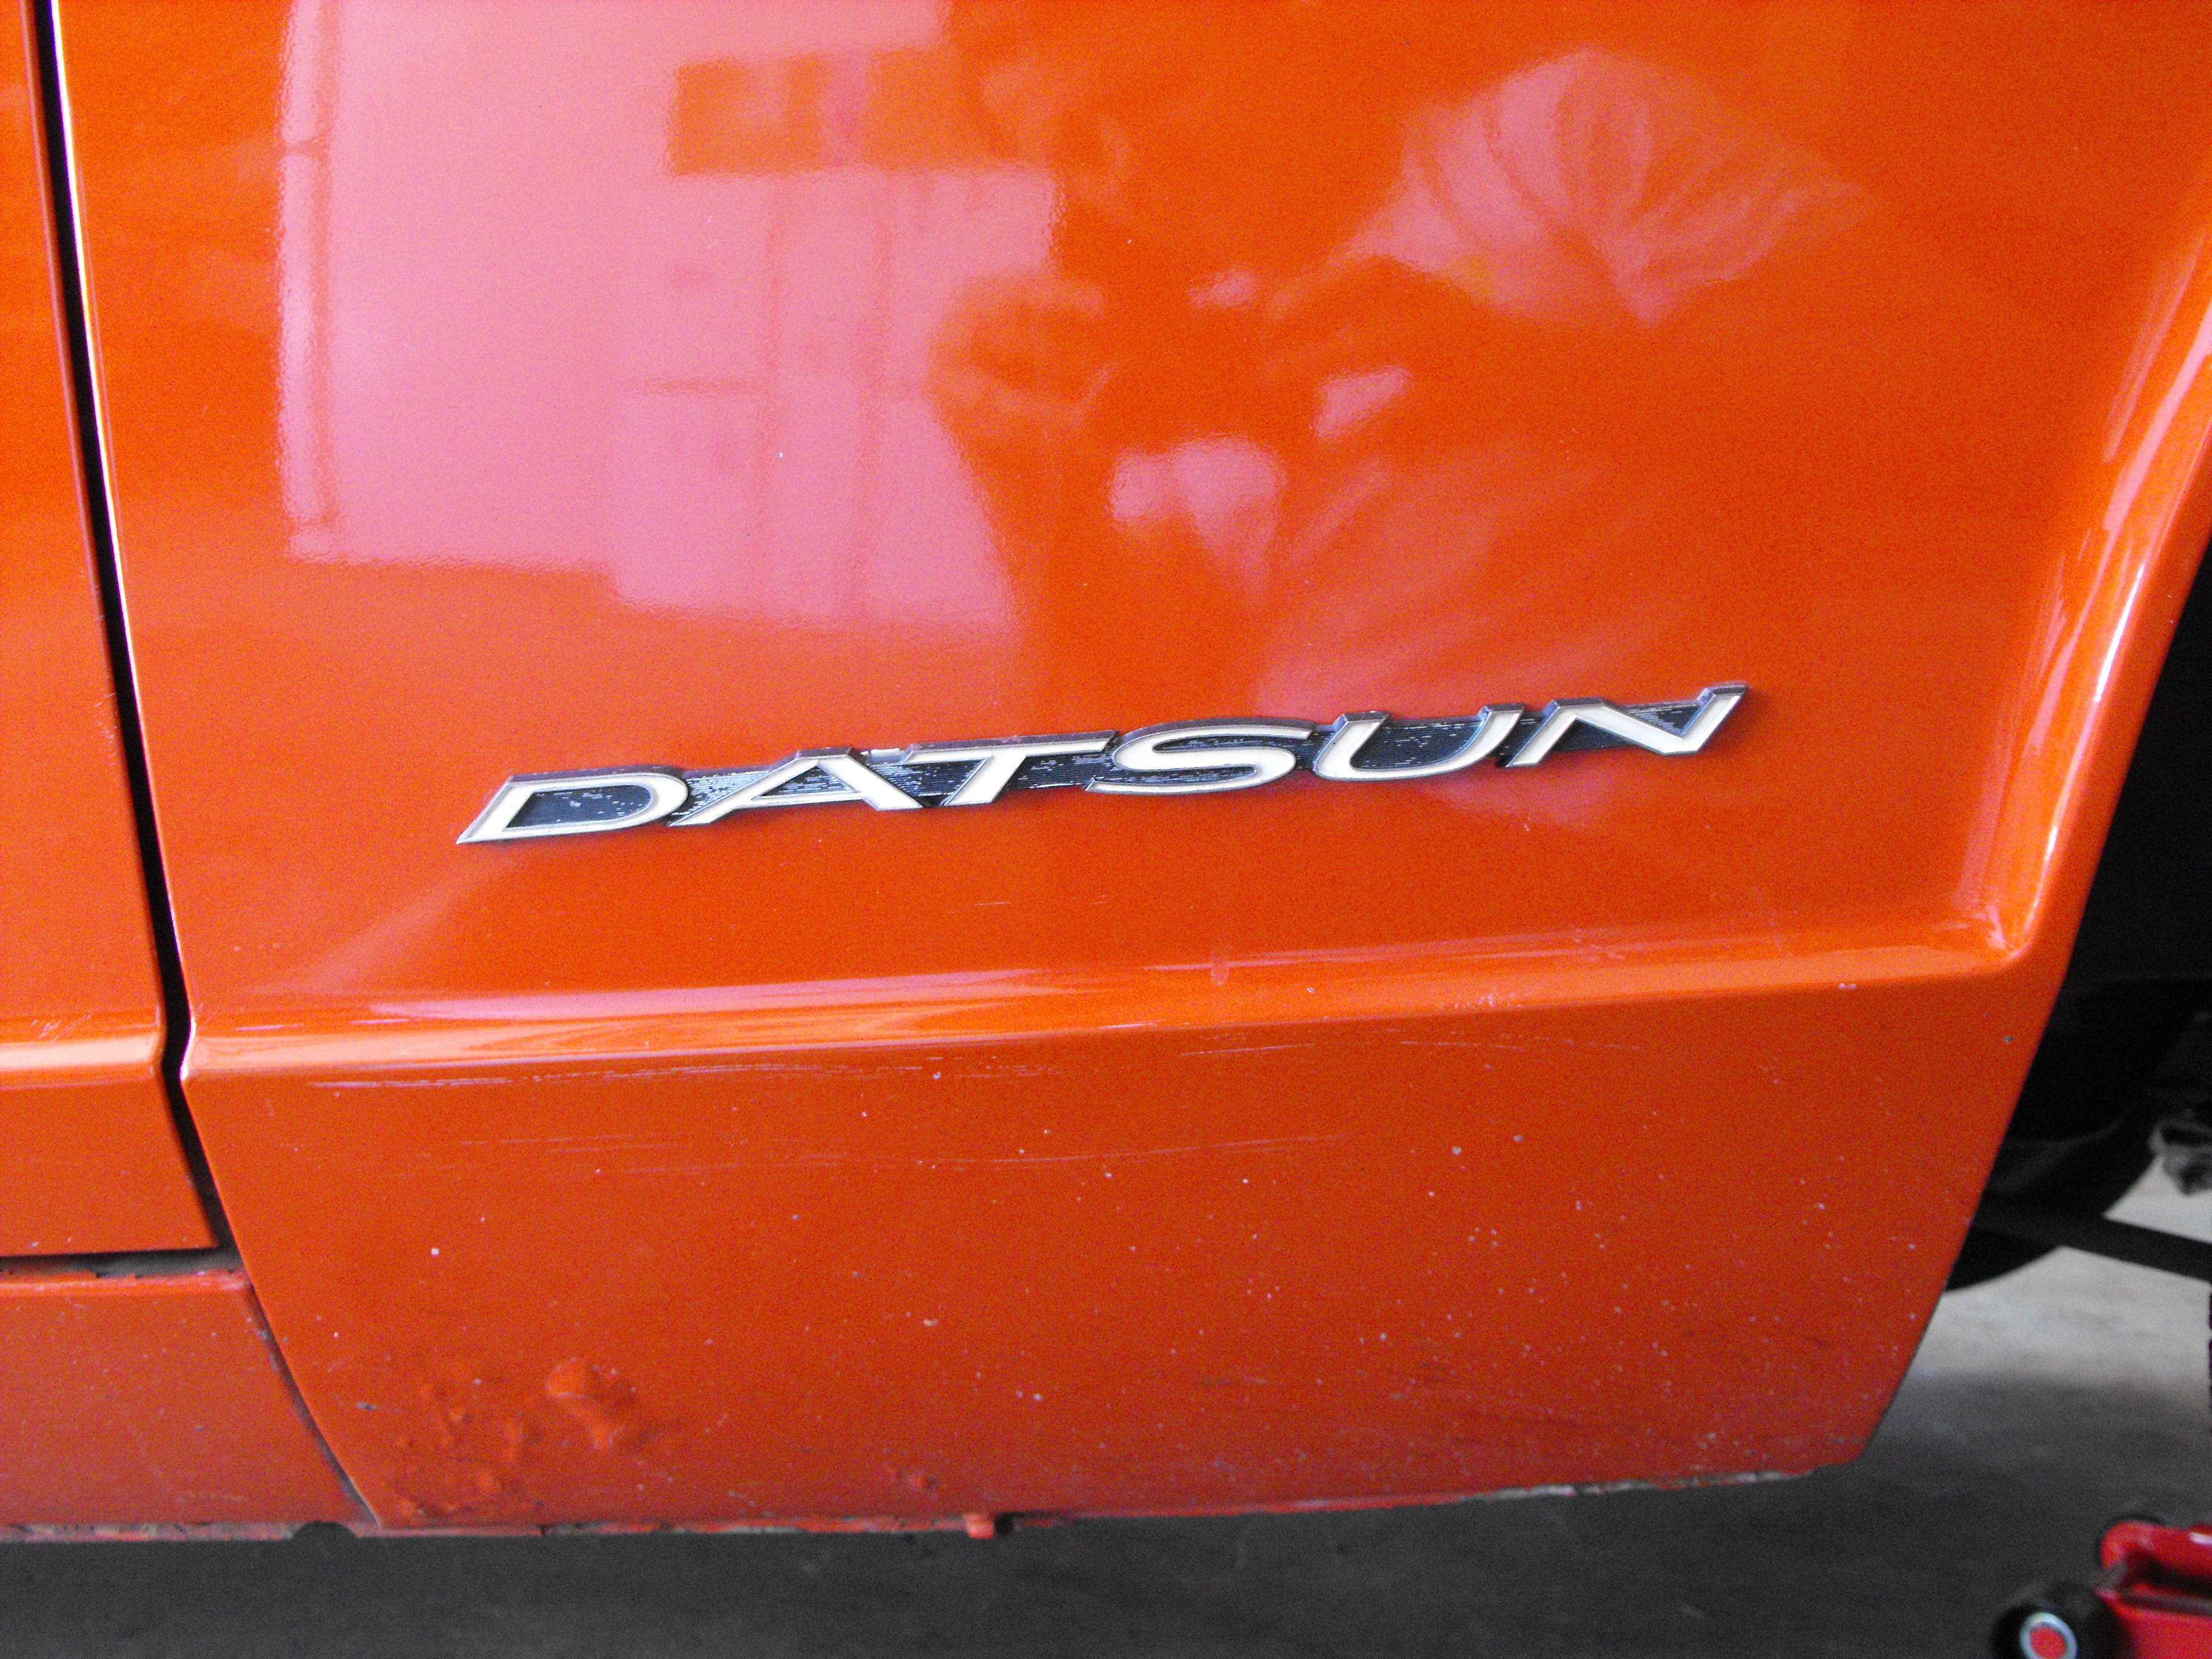
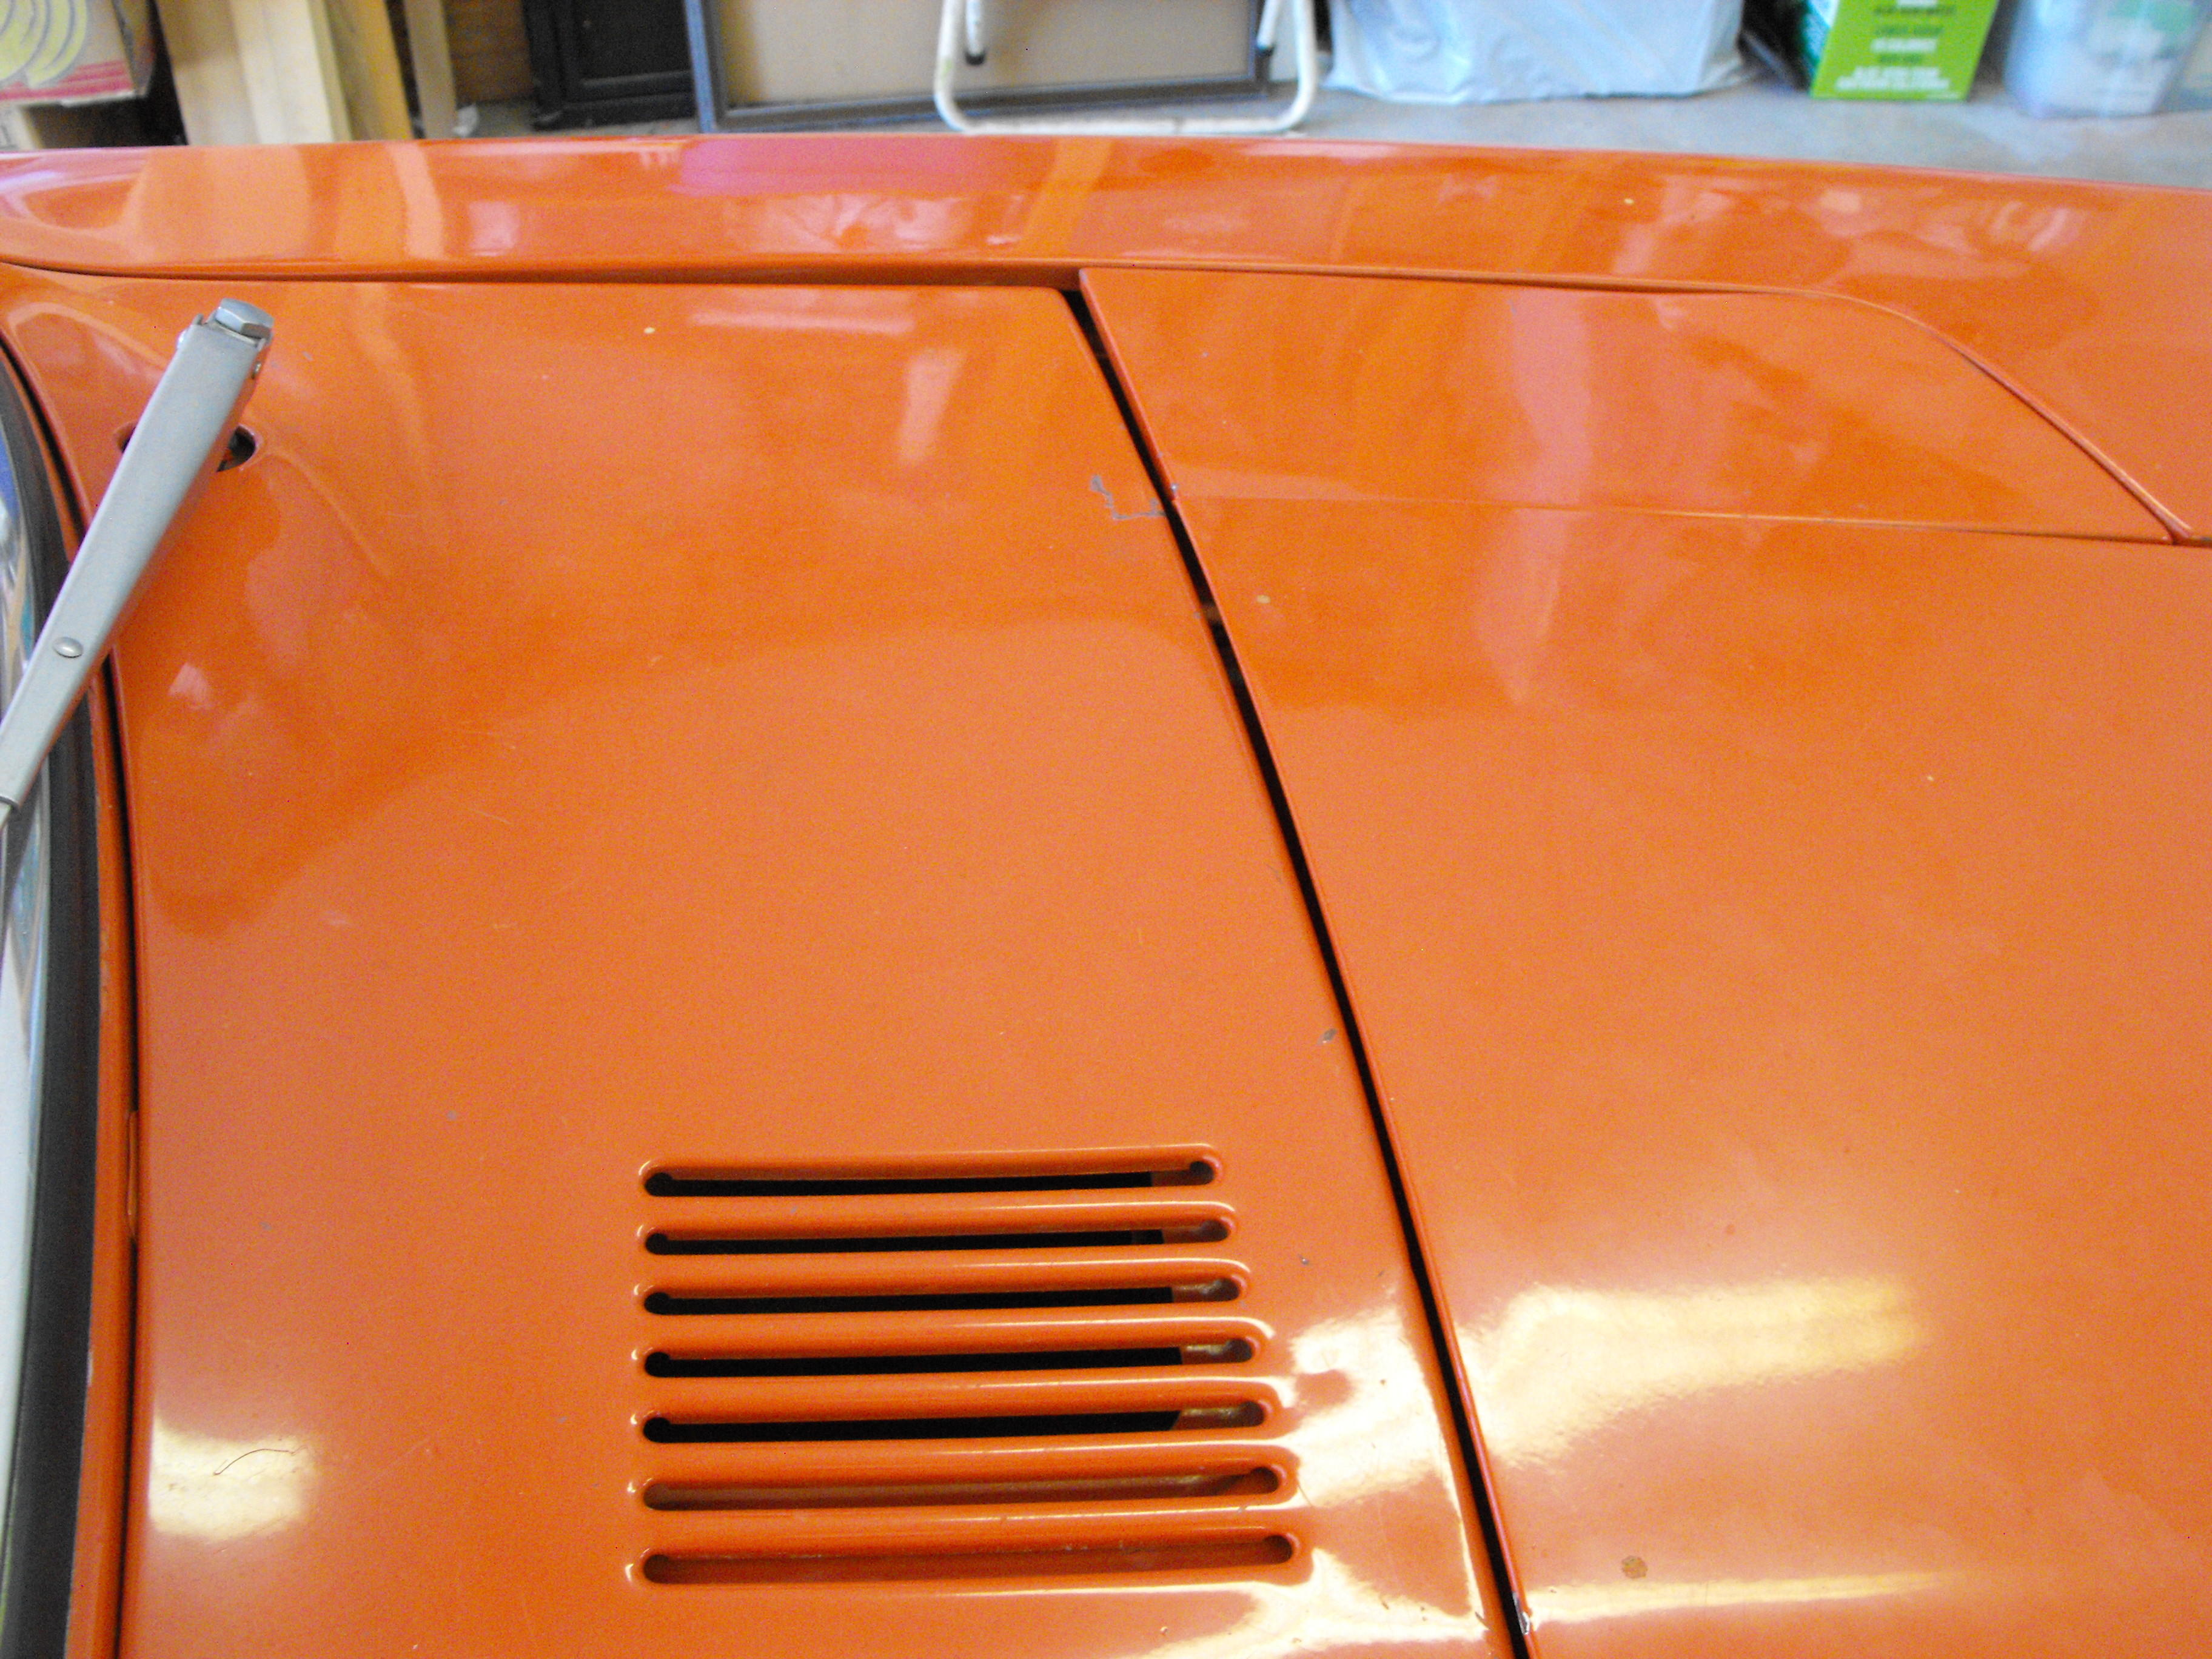
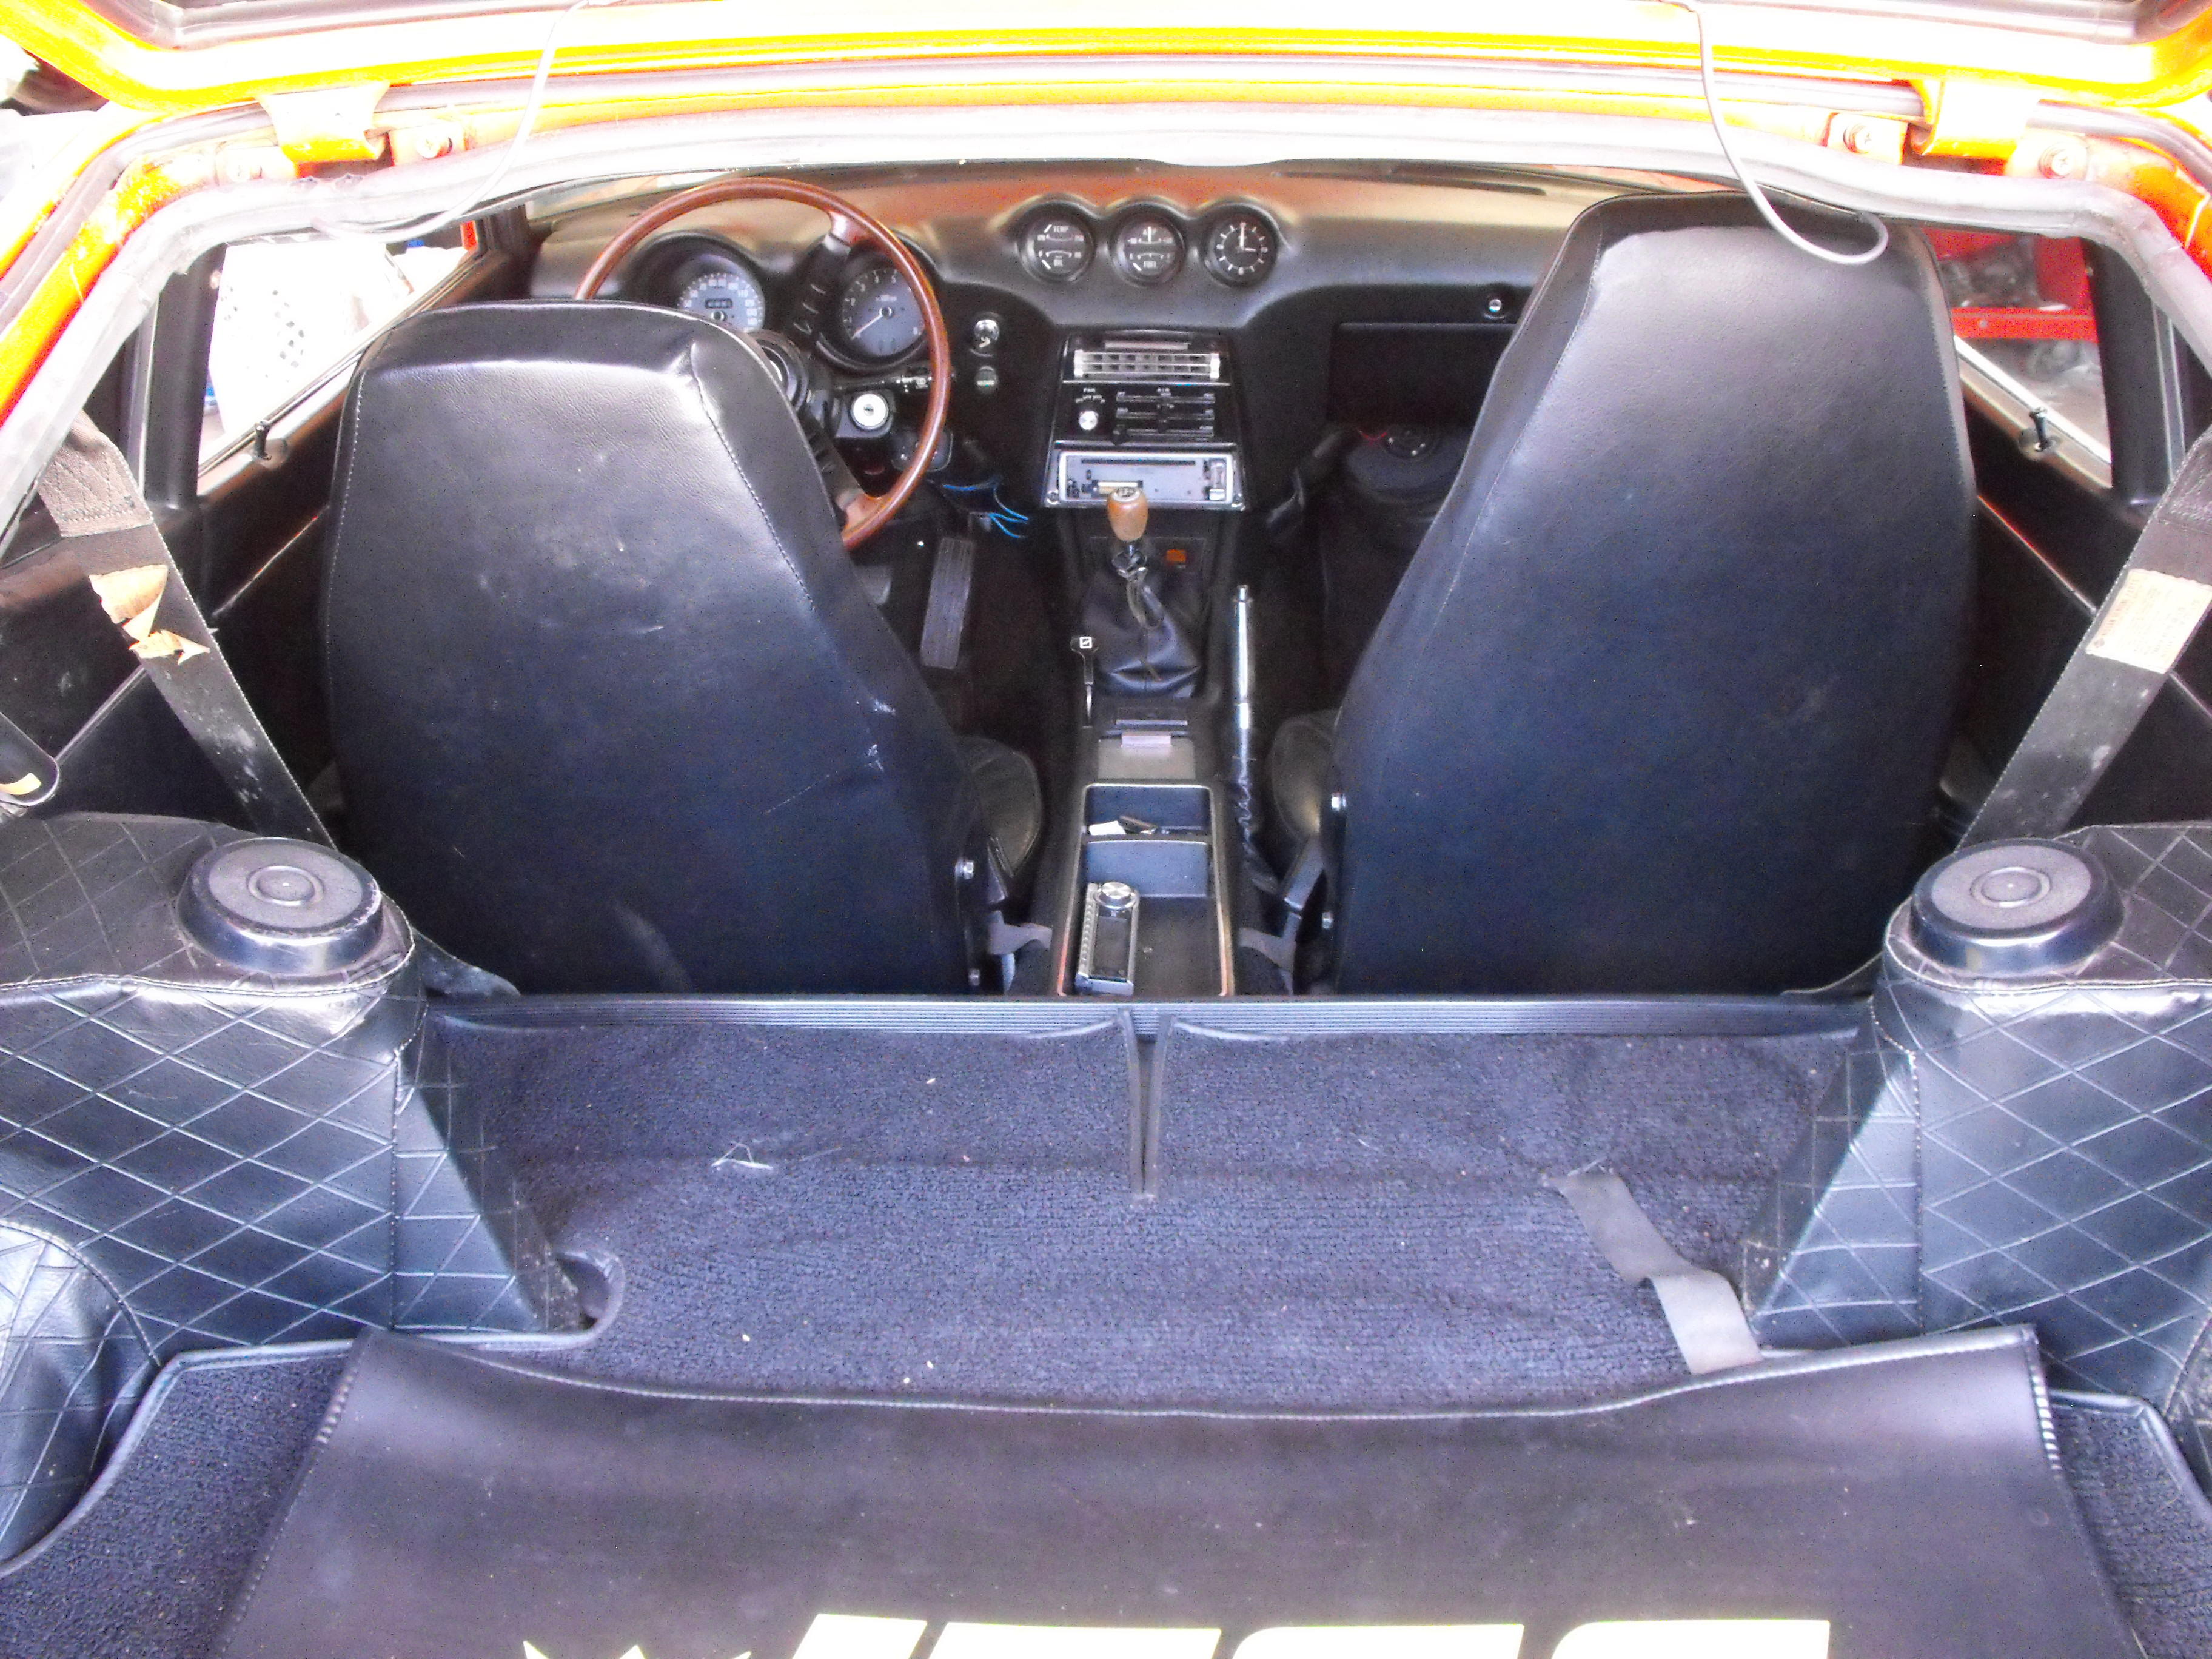
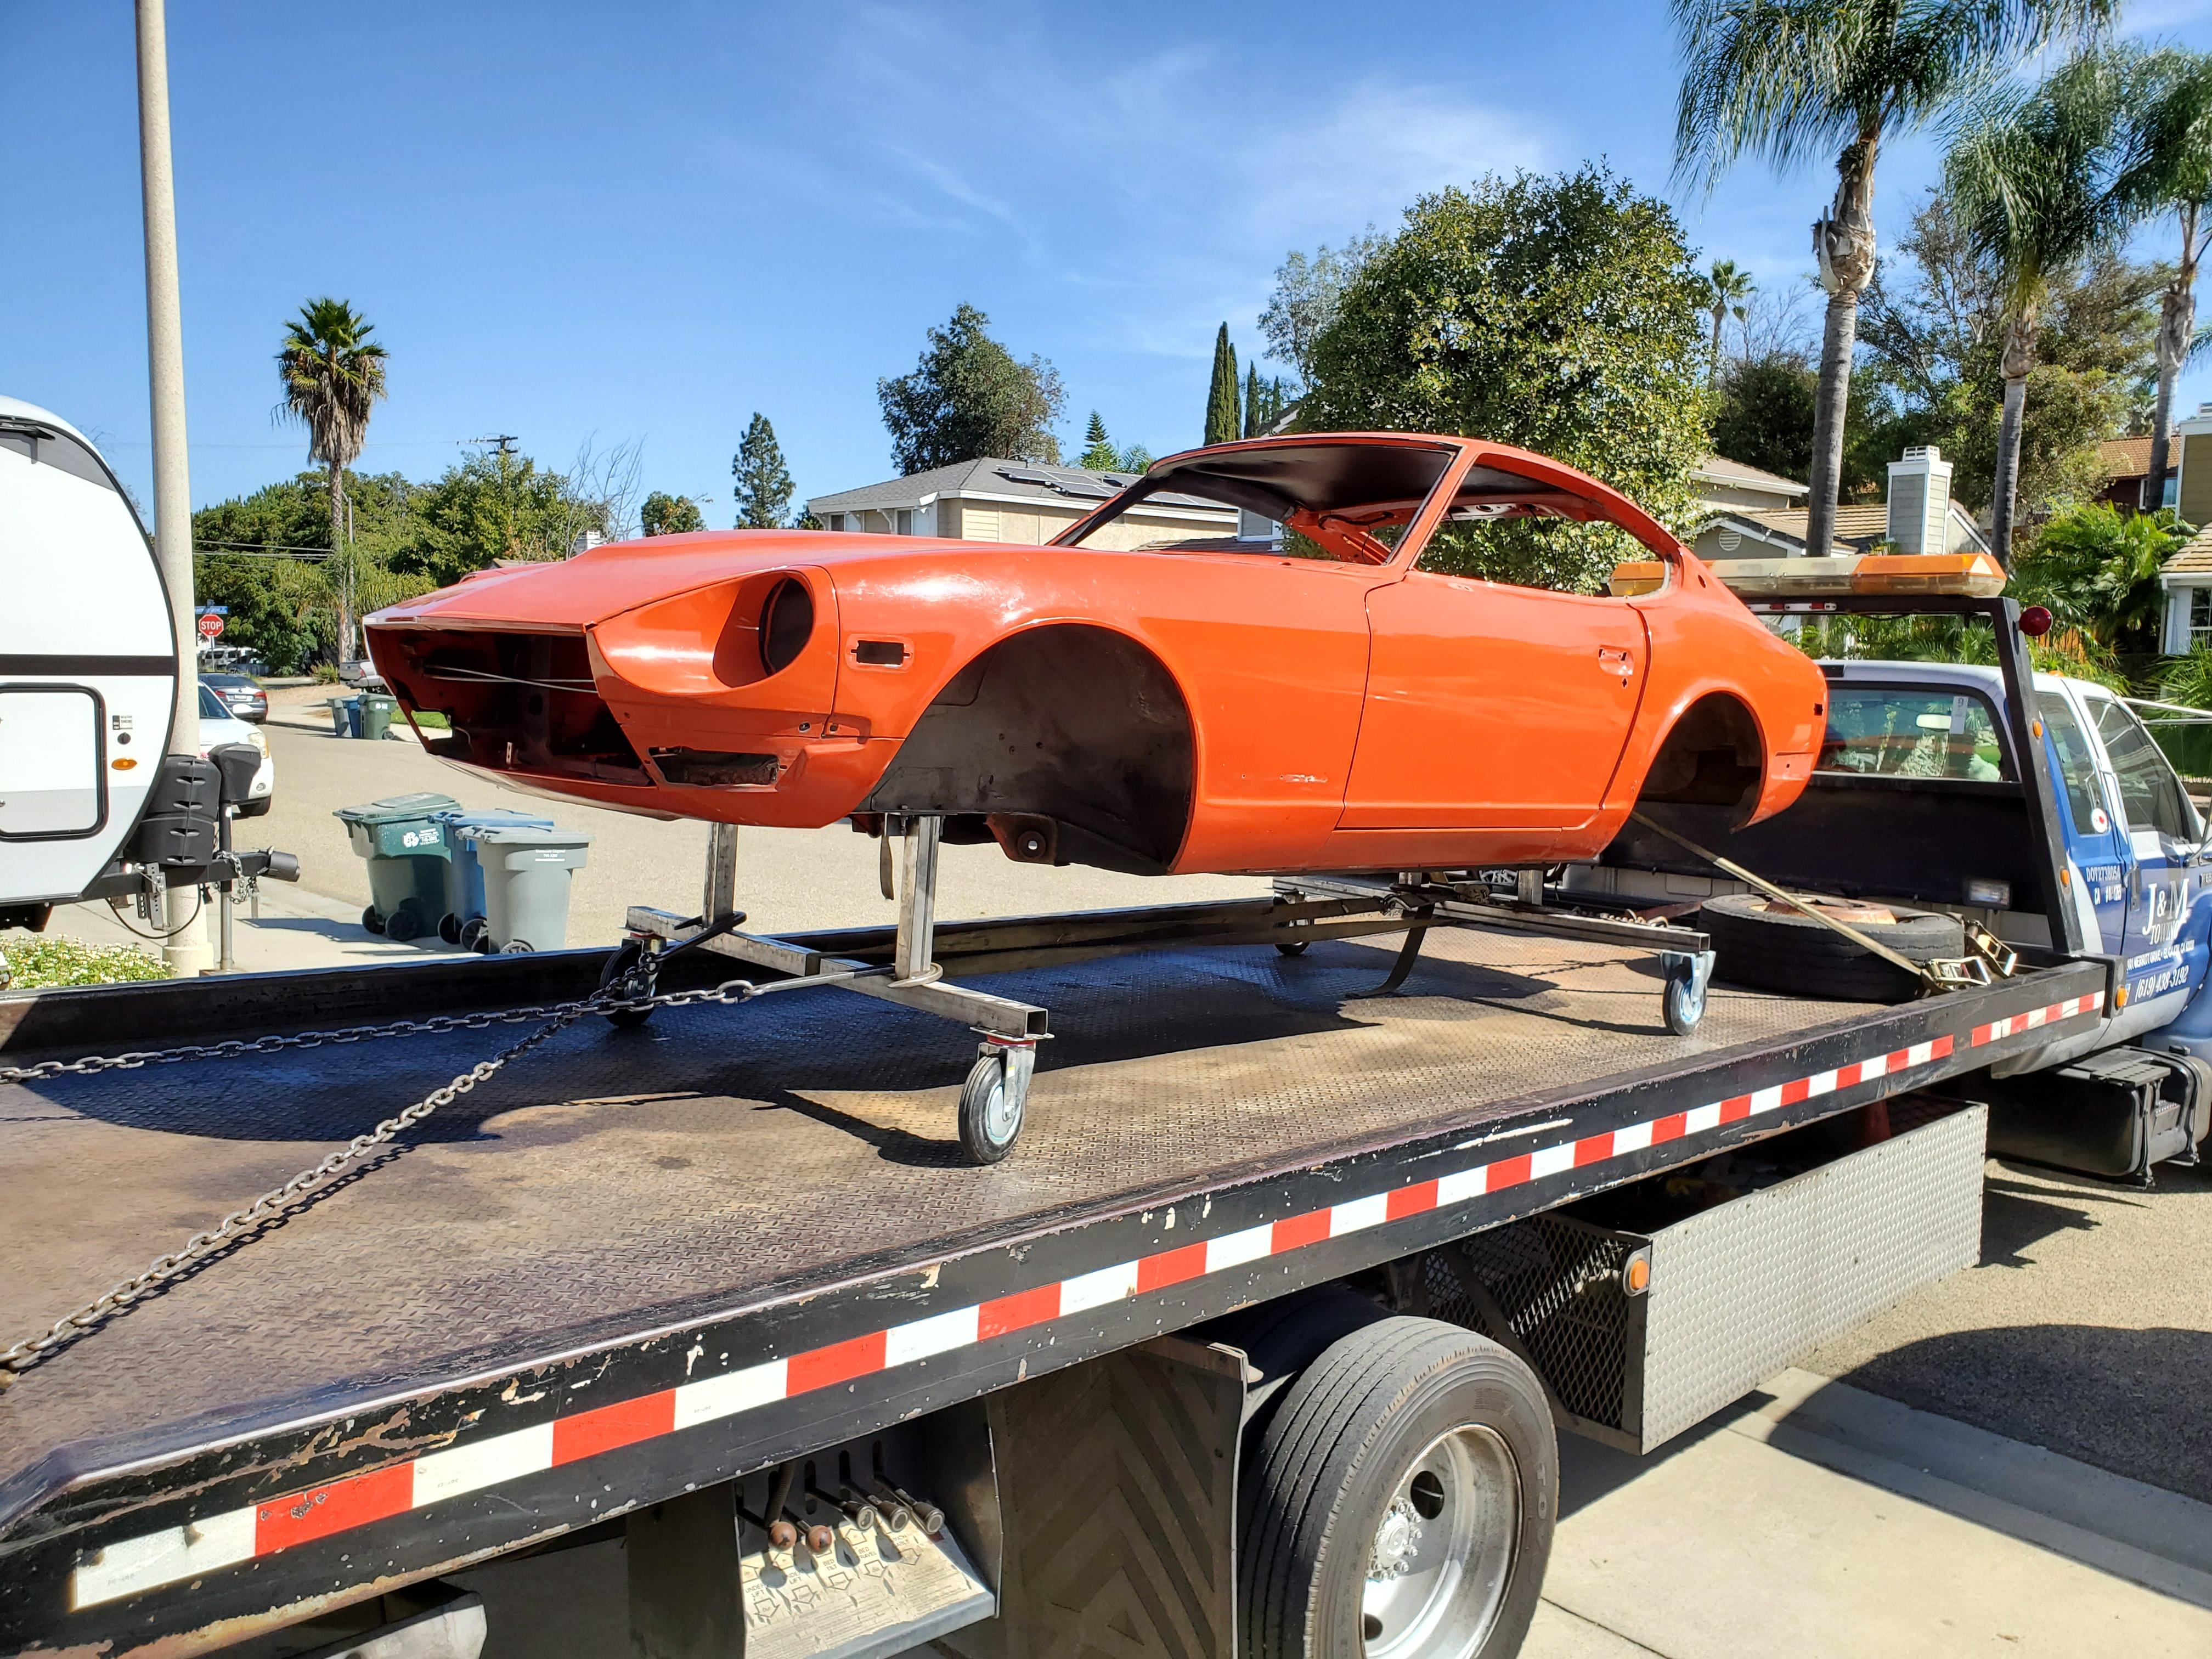
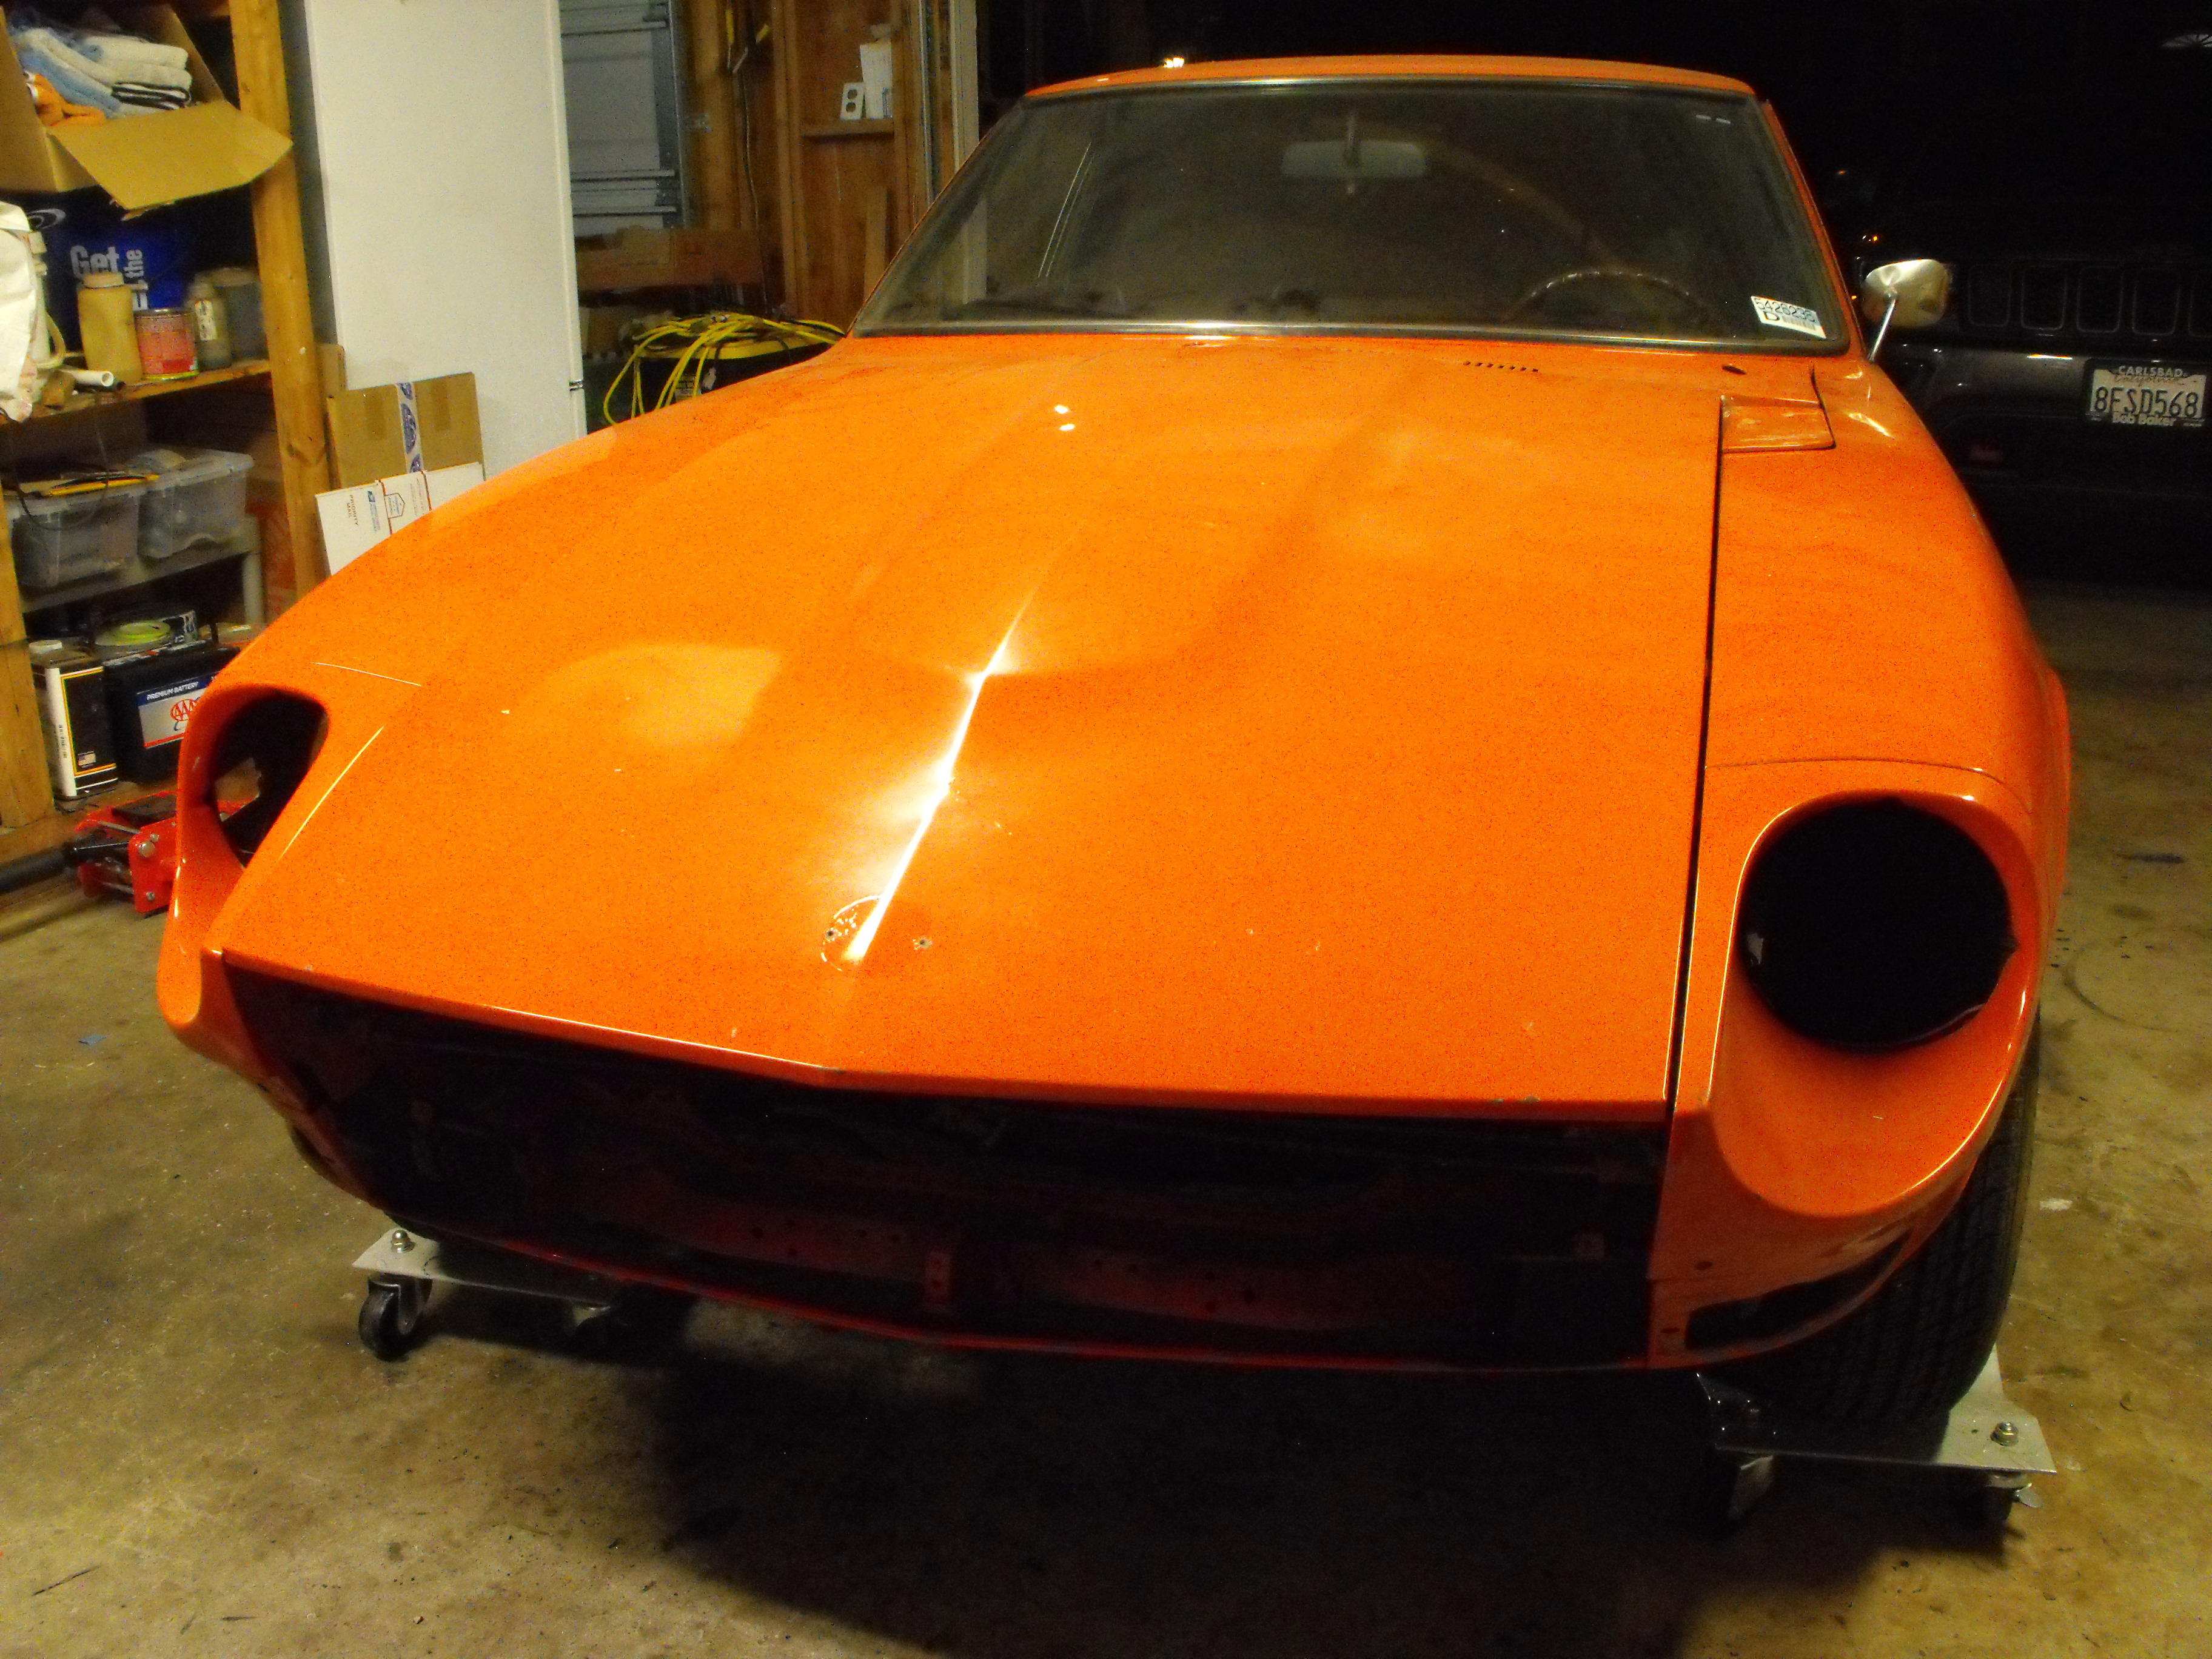
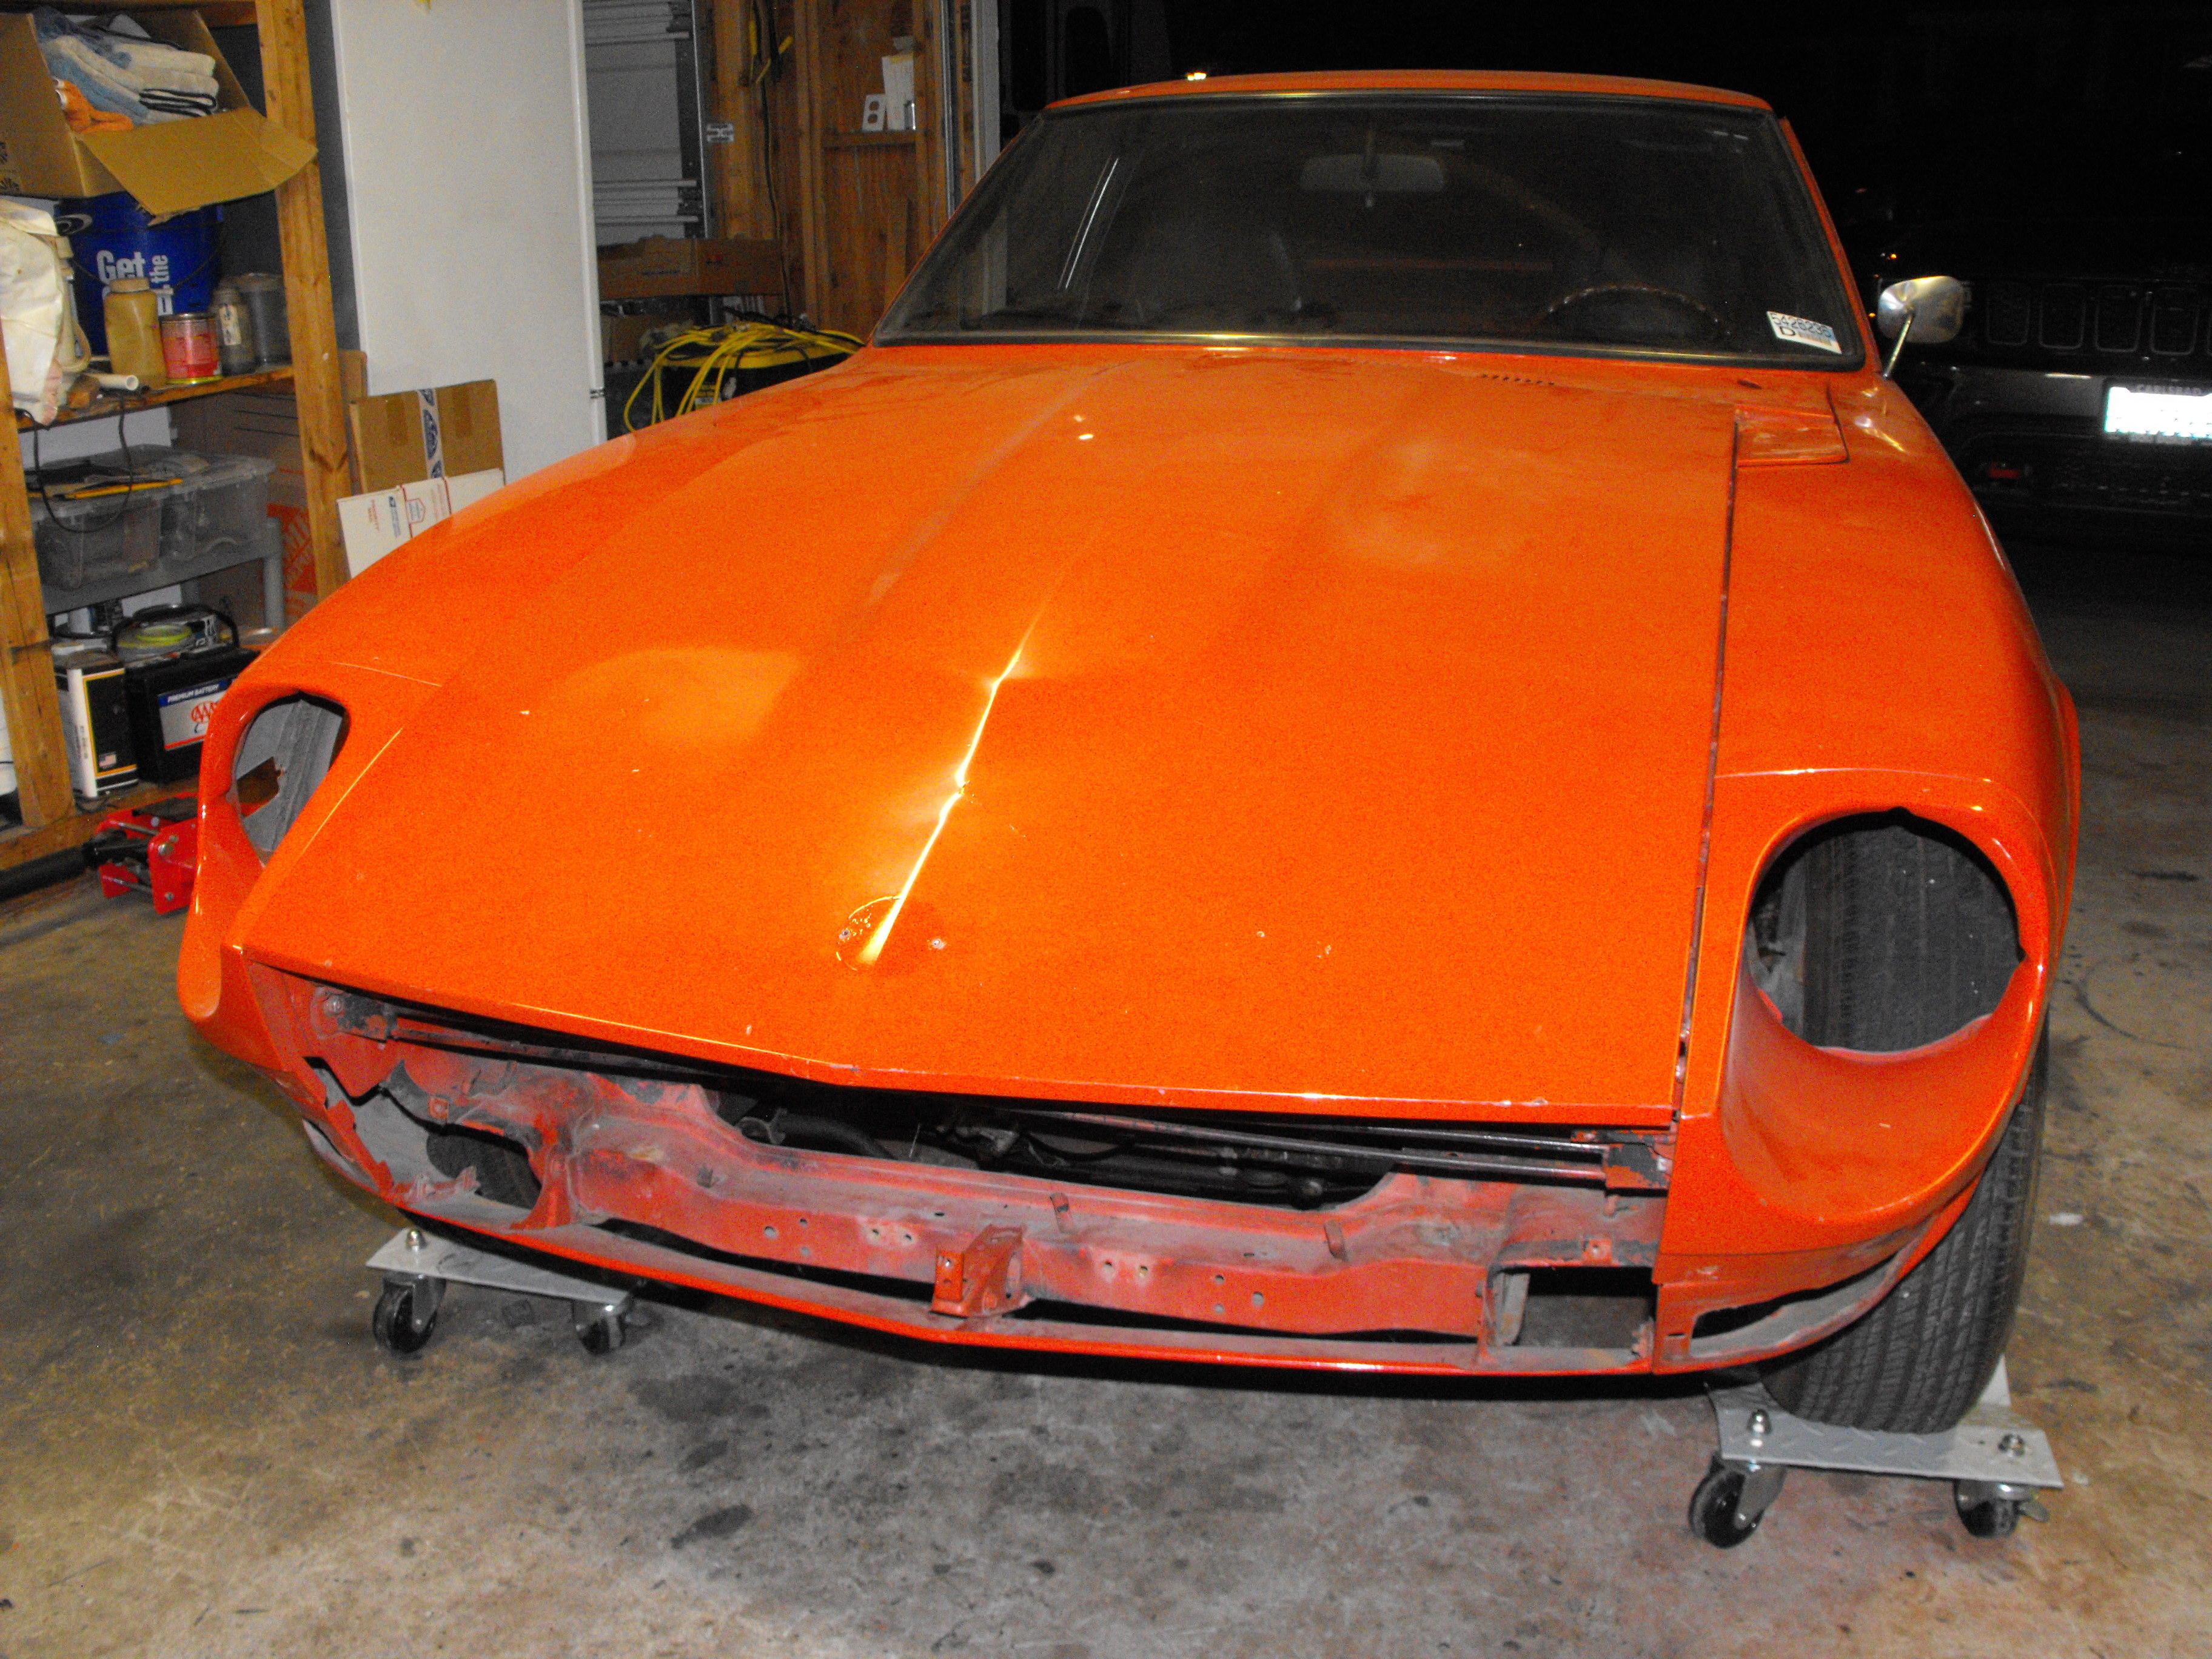
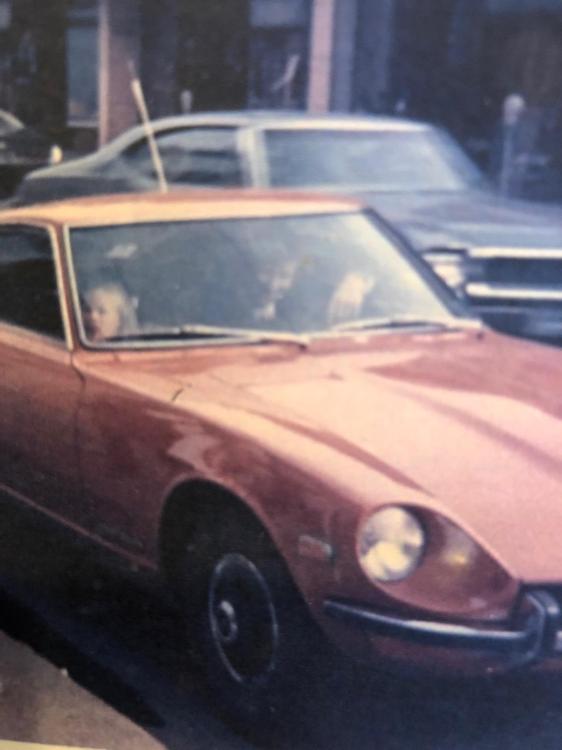
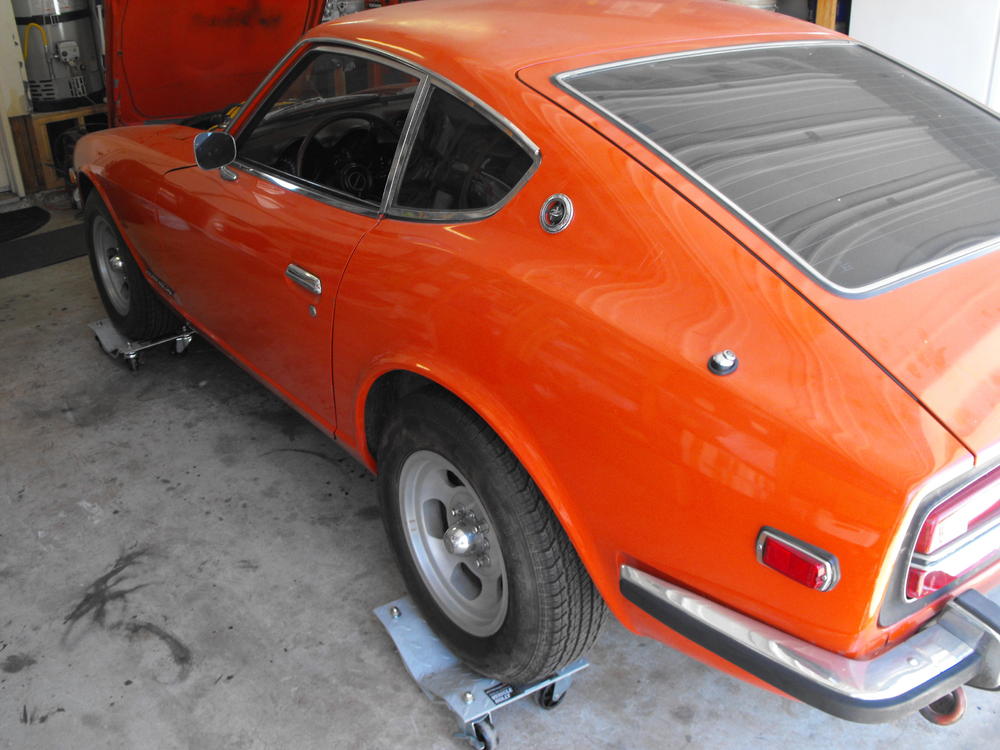
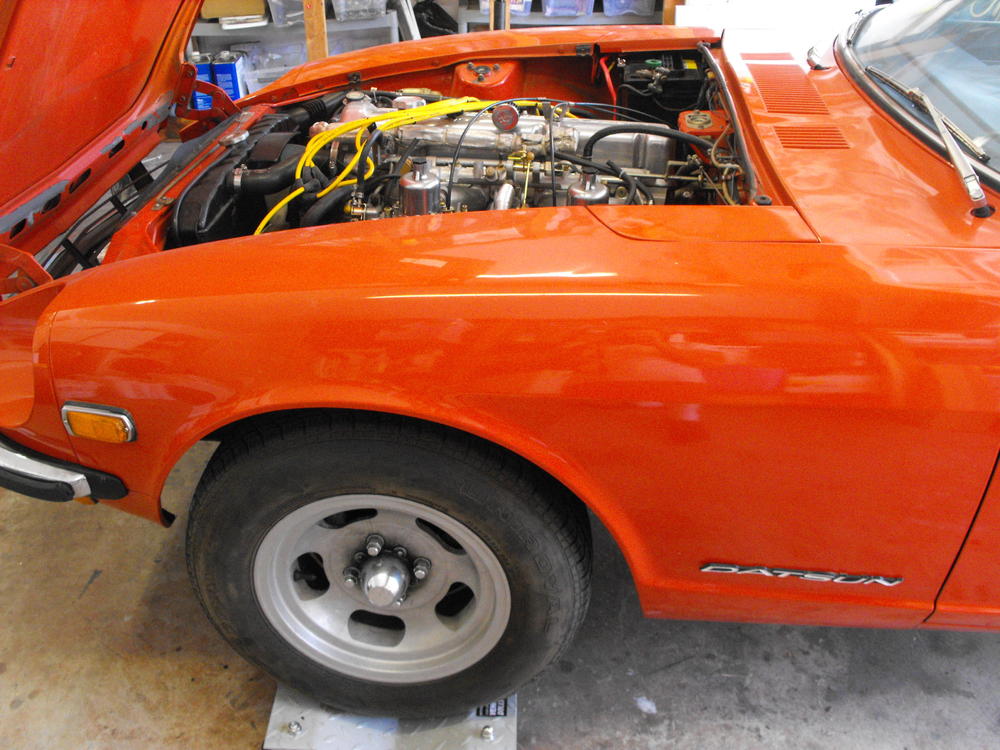
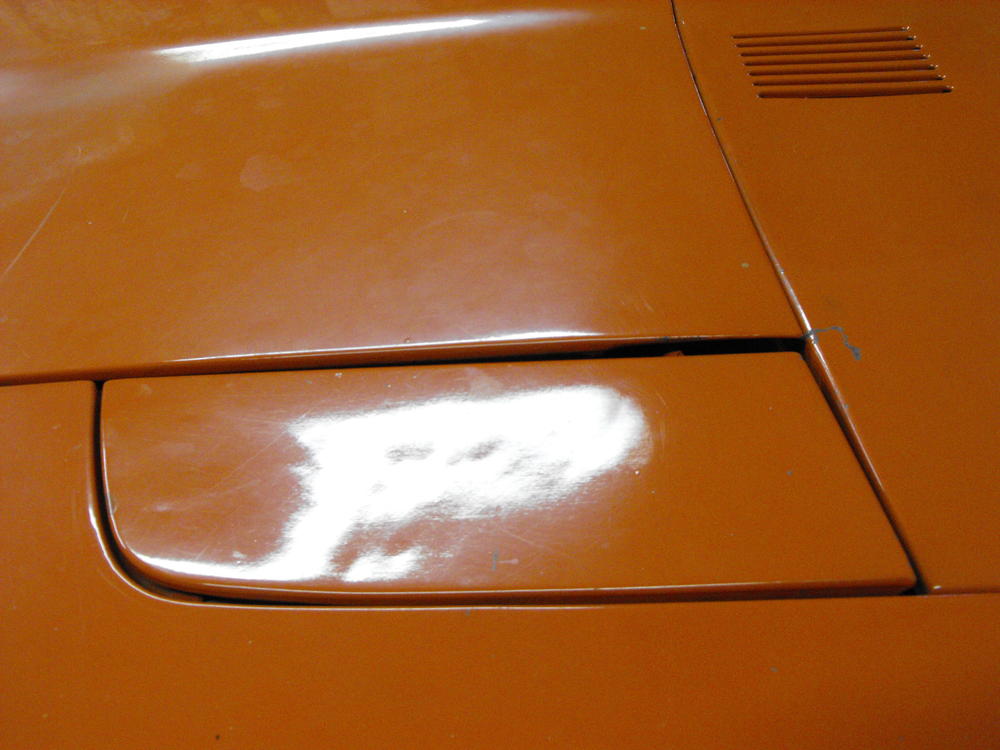
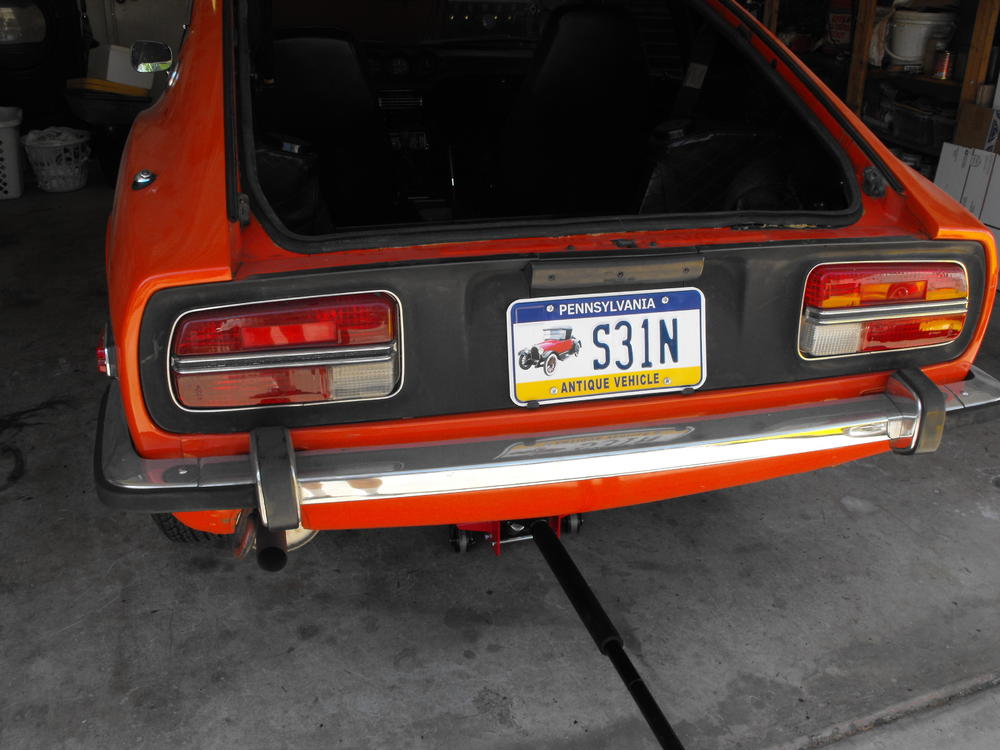
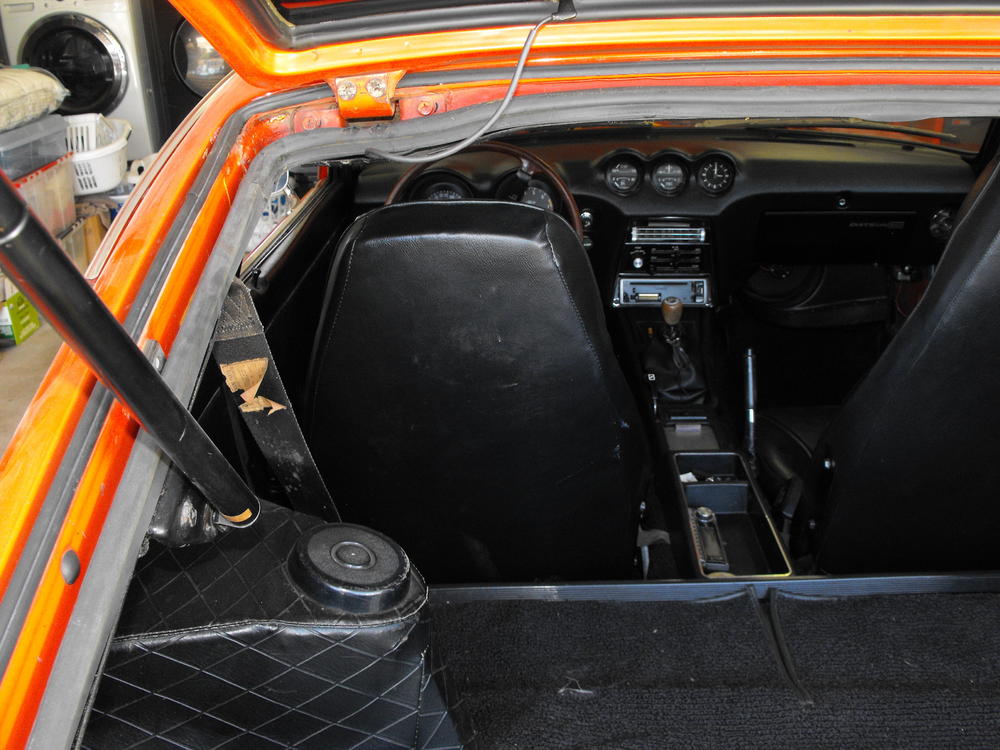
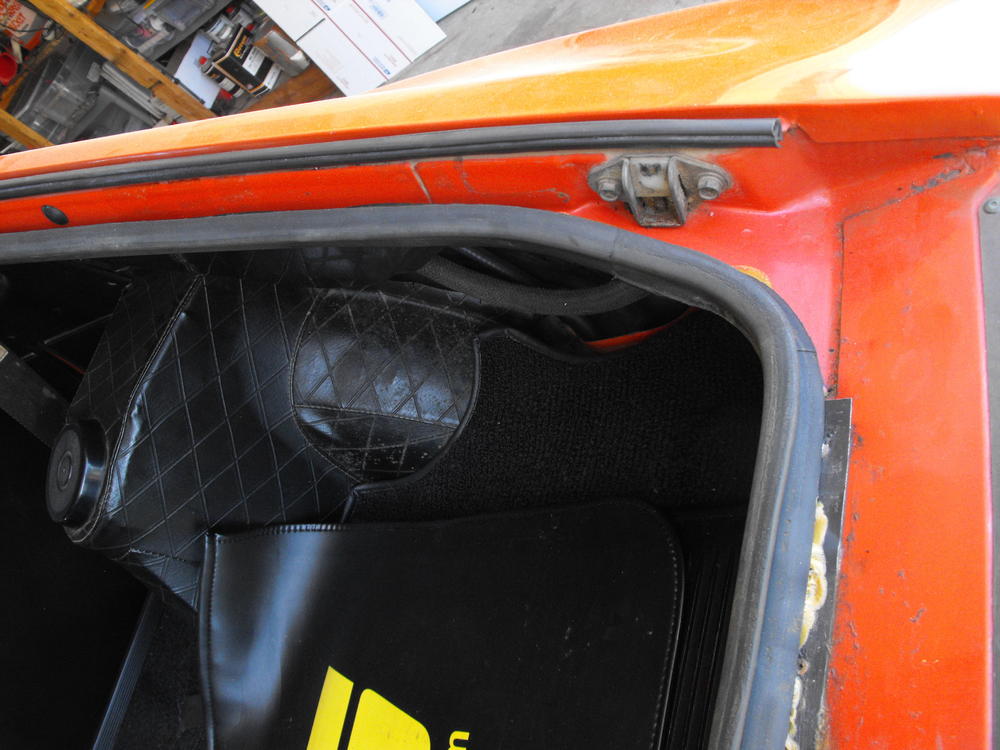
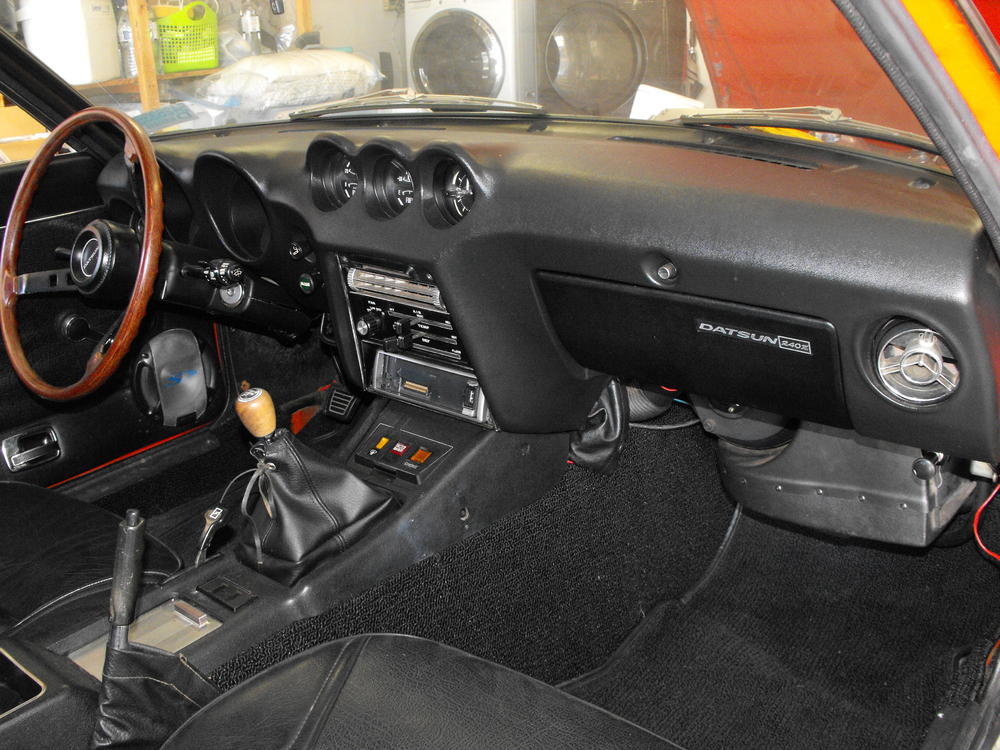
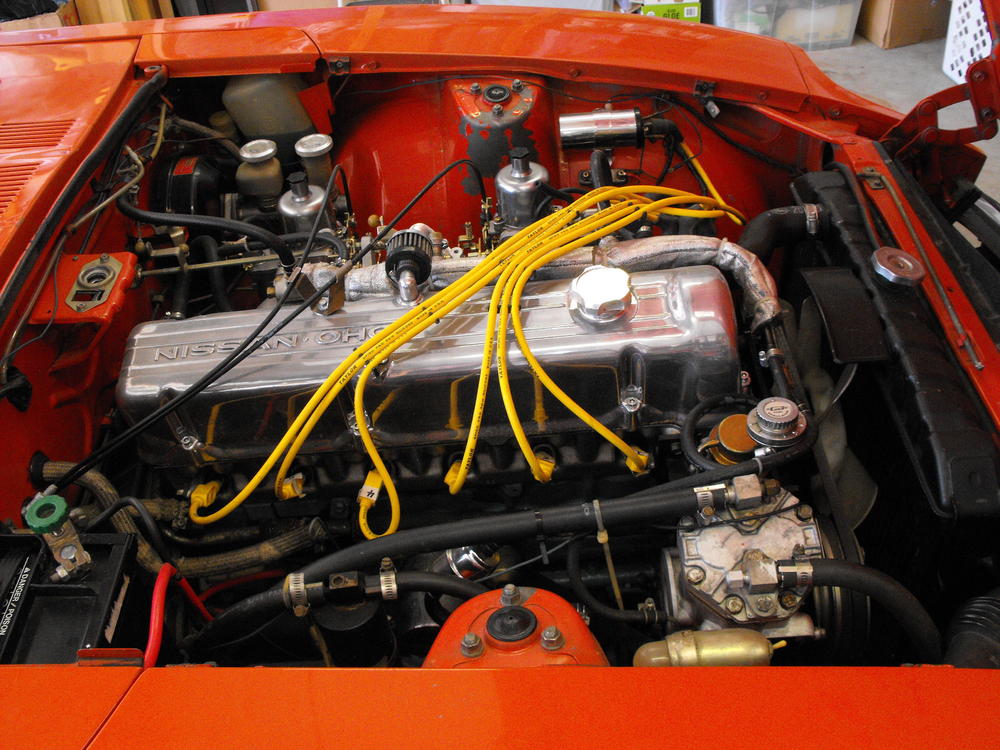
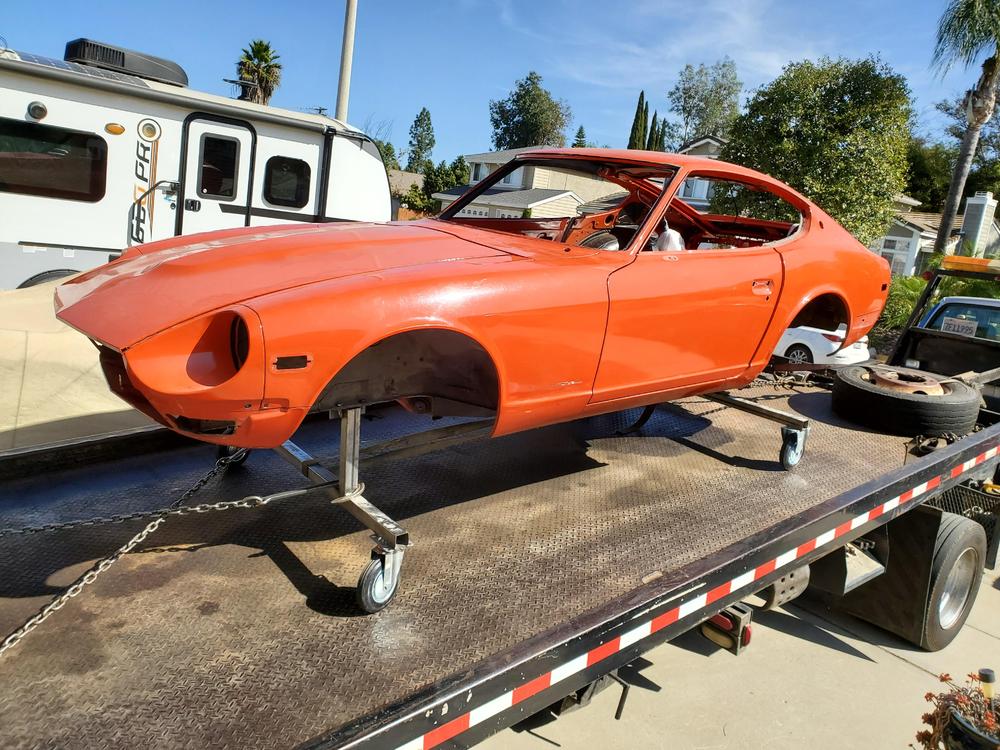
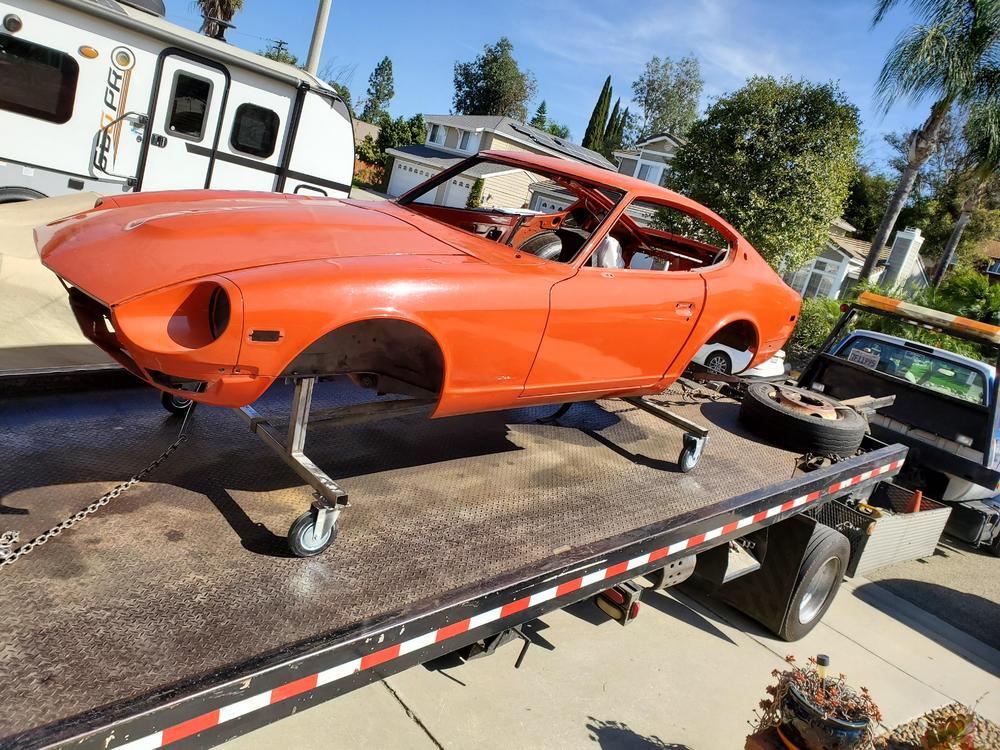
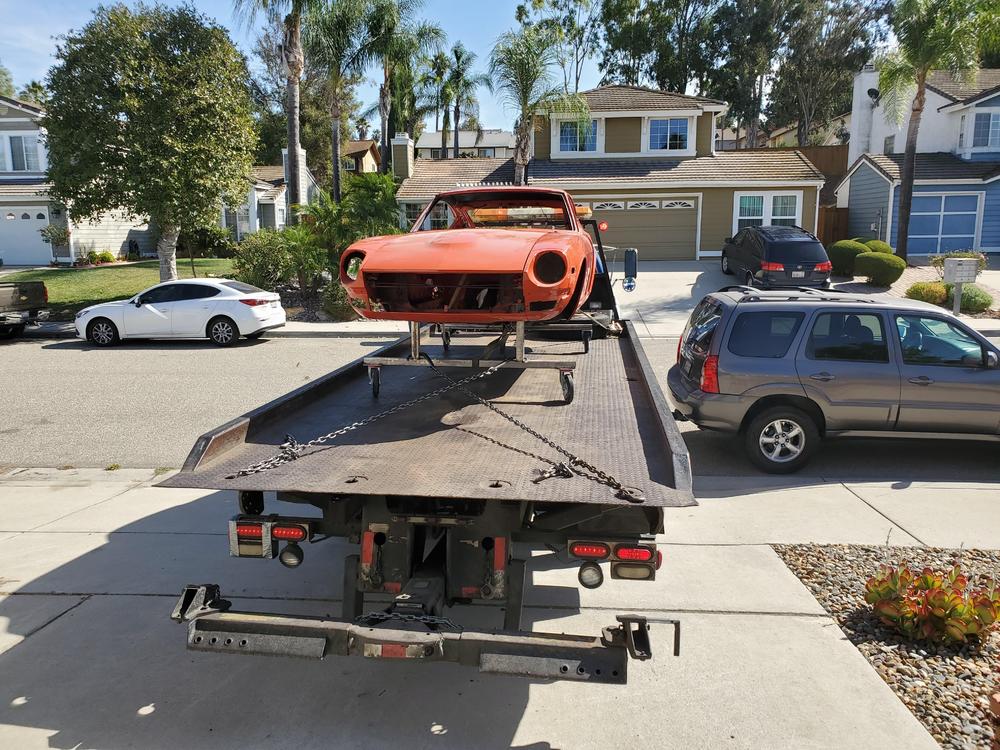
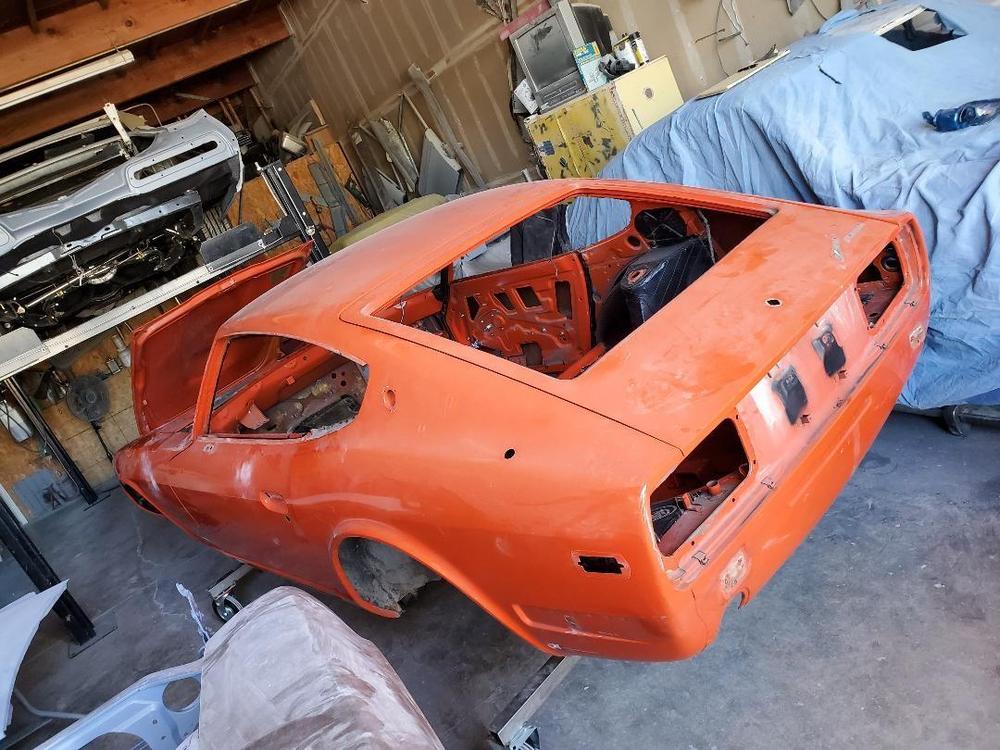
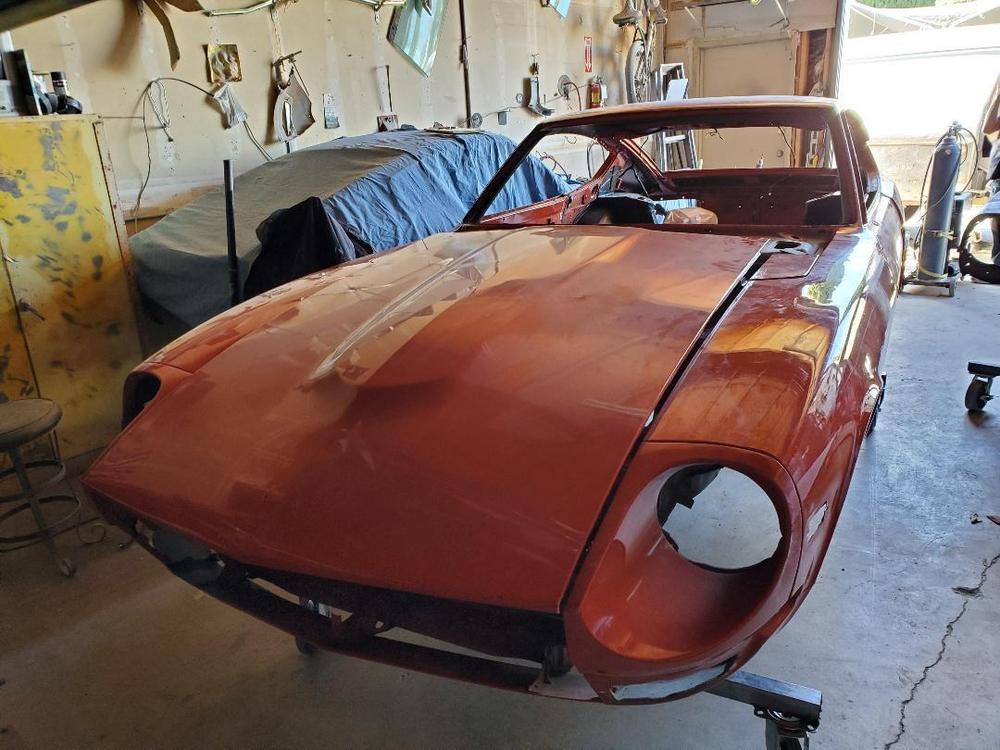
1 pointI am starting a new restoration for a local owner. This one has a good history,so I am looking forward to the build. The brief background is that the owners family had an Orange Z (looks to be a Series 1) growing up and apparently the car was sold some time later (Not really sure on that part). The family referred to their Z as "The Orange". To make a long story very short, The dad, the original owner, retired and the kids bought him this orange Z for him to work on in his retirement and bring back the memory of his youth. Gee that sounds familiar. Unfortunately, part way through the restoration, the father passed away and the Z is now owned by the daughter, shown in the first picture here. The owner contacted me and asked me to finish the restoration ( I will fill in a bit more background on this later). So anyway, the plan is to finish the restoration that the father started. And of cou rse, we will take this to a very nice level of restoration, similar to my previous two cars. We still have some decision to make on the AC, and we will most likely stick with the mags and the round tops, but otherwise we will keep this very stock. Below are some pics of the car. Other than the body, the car is in very nice condition and was derivable. Also, car has an original uncracked dash and a nice assortment of restoration parts to be installed later. Also, the passenger seat is original and in great condition. That is pretty rare. So, Lots of pics of the car are shown below. Will document the build here as things progress.


 1 point
 -
1 pointOkay, the fried egg sandwich and tater tots hit the spot. Thankfully, I found a photo on my computer so I don't have to go out to the garage. I'm getting old and lazy. You can find it here: http://www.zzxdatsun.com/catWiring.php. It's part number WH-03.
 1 point
 -
1 point
-
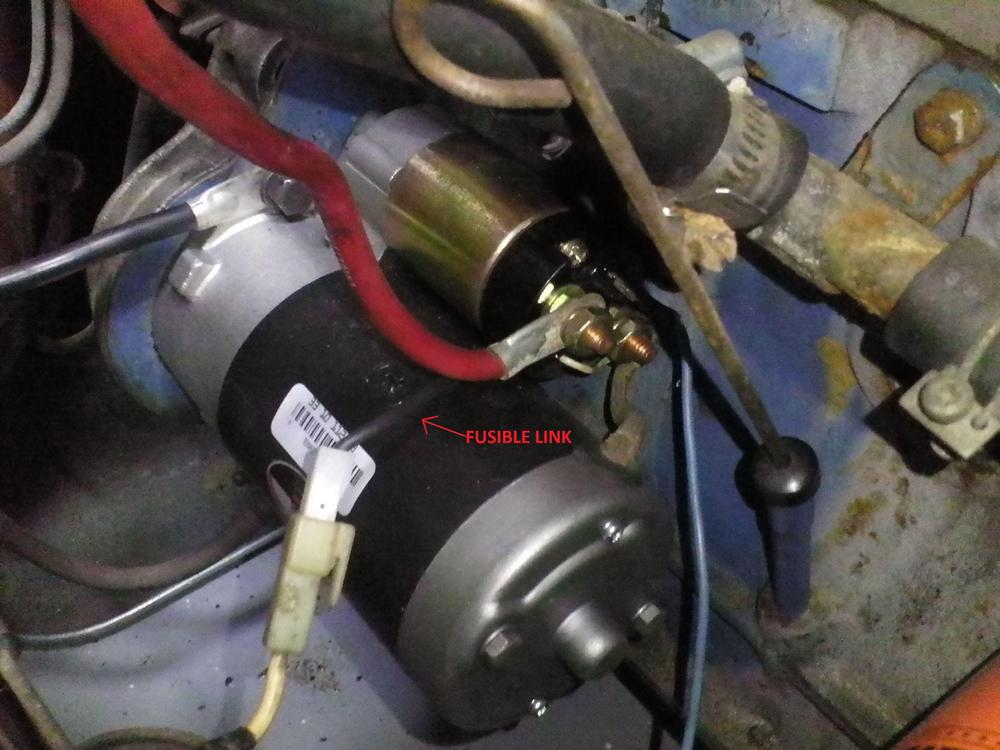
1 pointCheck your fusible link. I will post a photo later. It's suppertime.1 point
-
You can check for power across the links, and measure resistance of the links. Confirm that they're bad before you buy new parts. The two green links are the EFI links as you thought, but the wiring job alone might be the problem.1 point
-
1 pointAt least you got it out. Probably better it broke than get used and cause problems later1 point
-
1 pointI concur. A little JB Weld "spackle" in those divots should be fine. I like the chain of lakes analogy. So I've never used that copper spray stuff... Is it "authorized" for use on head gaskets?1 point
-
1 pointI enjoy the comradery here. A great bunch of misfits.... all of us! ?1 point
-
1 pointI will suggest googling "240 bumpers on 280 Eurodat classiczcars.com". Probably the best current thread we have. Also he has a '77 like yours. And they're in a large shipping box. If your travels take you anywhere near you could pick them up at his business.1 point
-
1 pointfutufab.com does a Black Friday sale. That's what I did. Dave Patten is good people.1 point
-
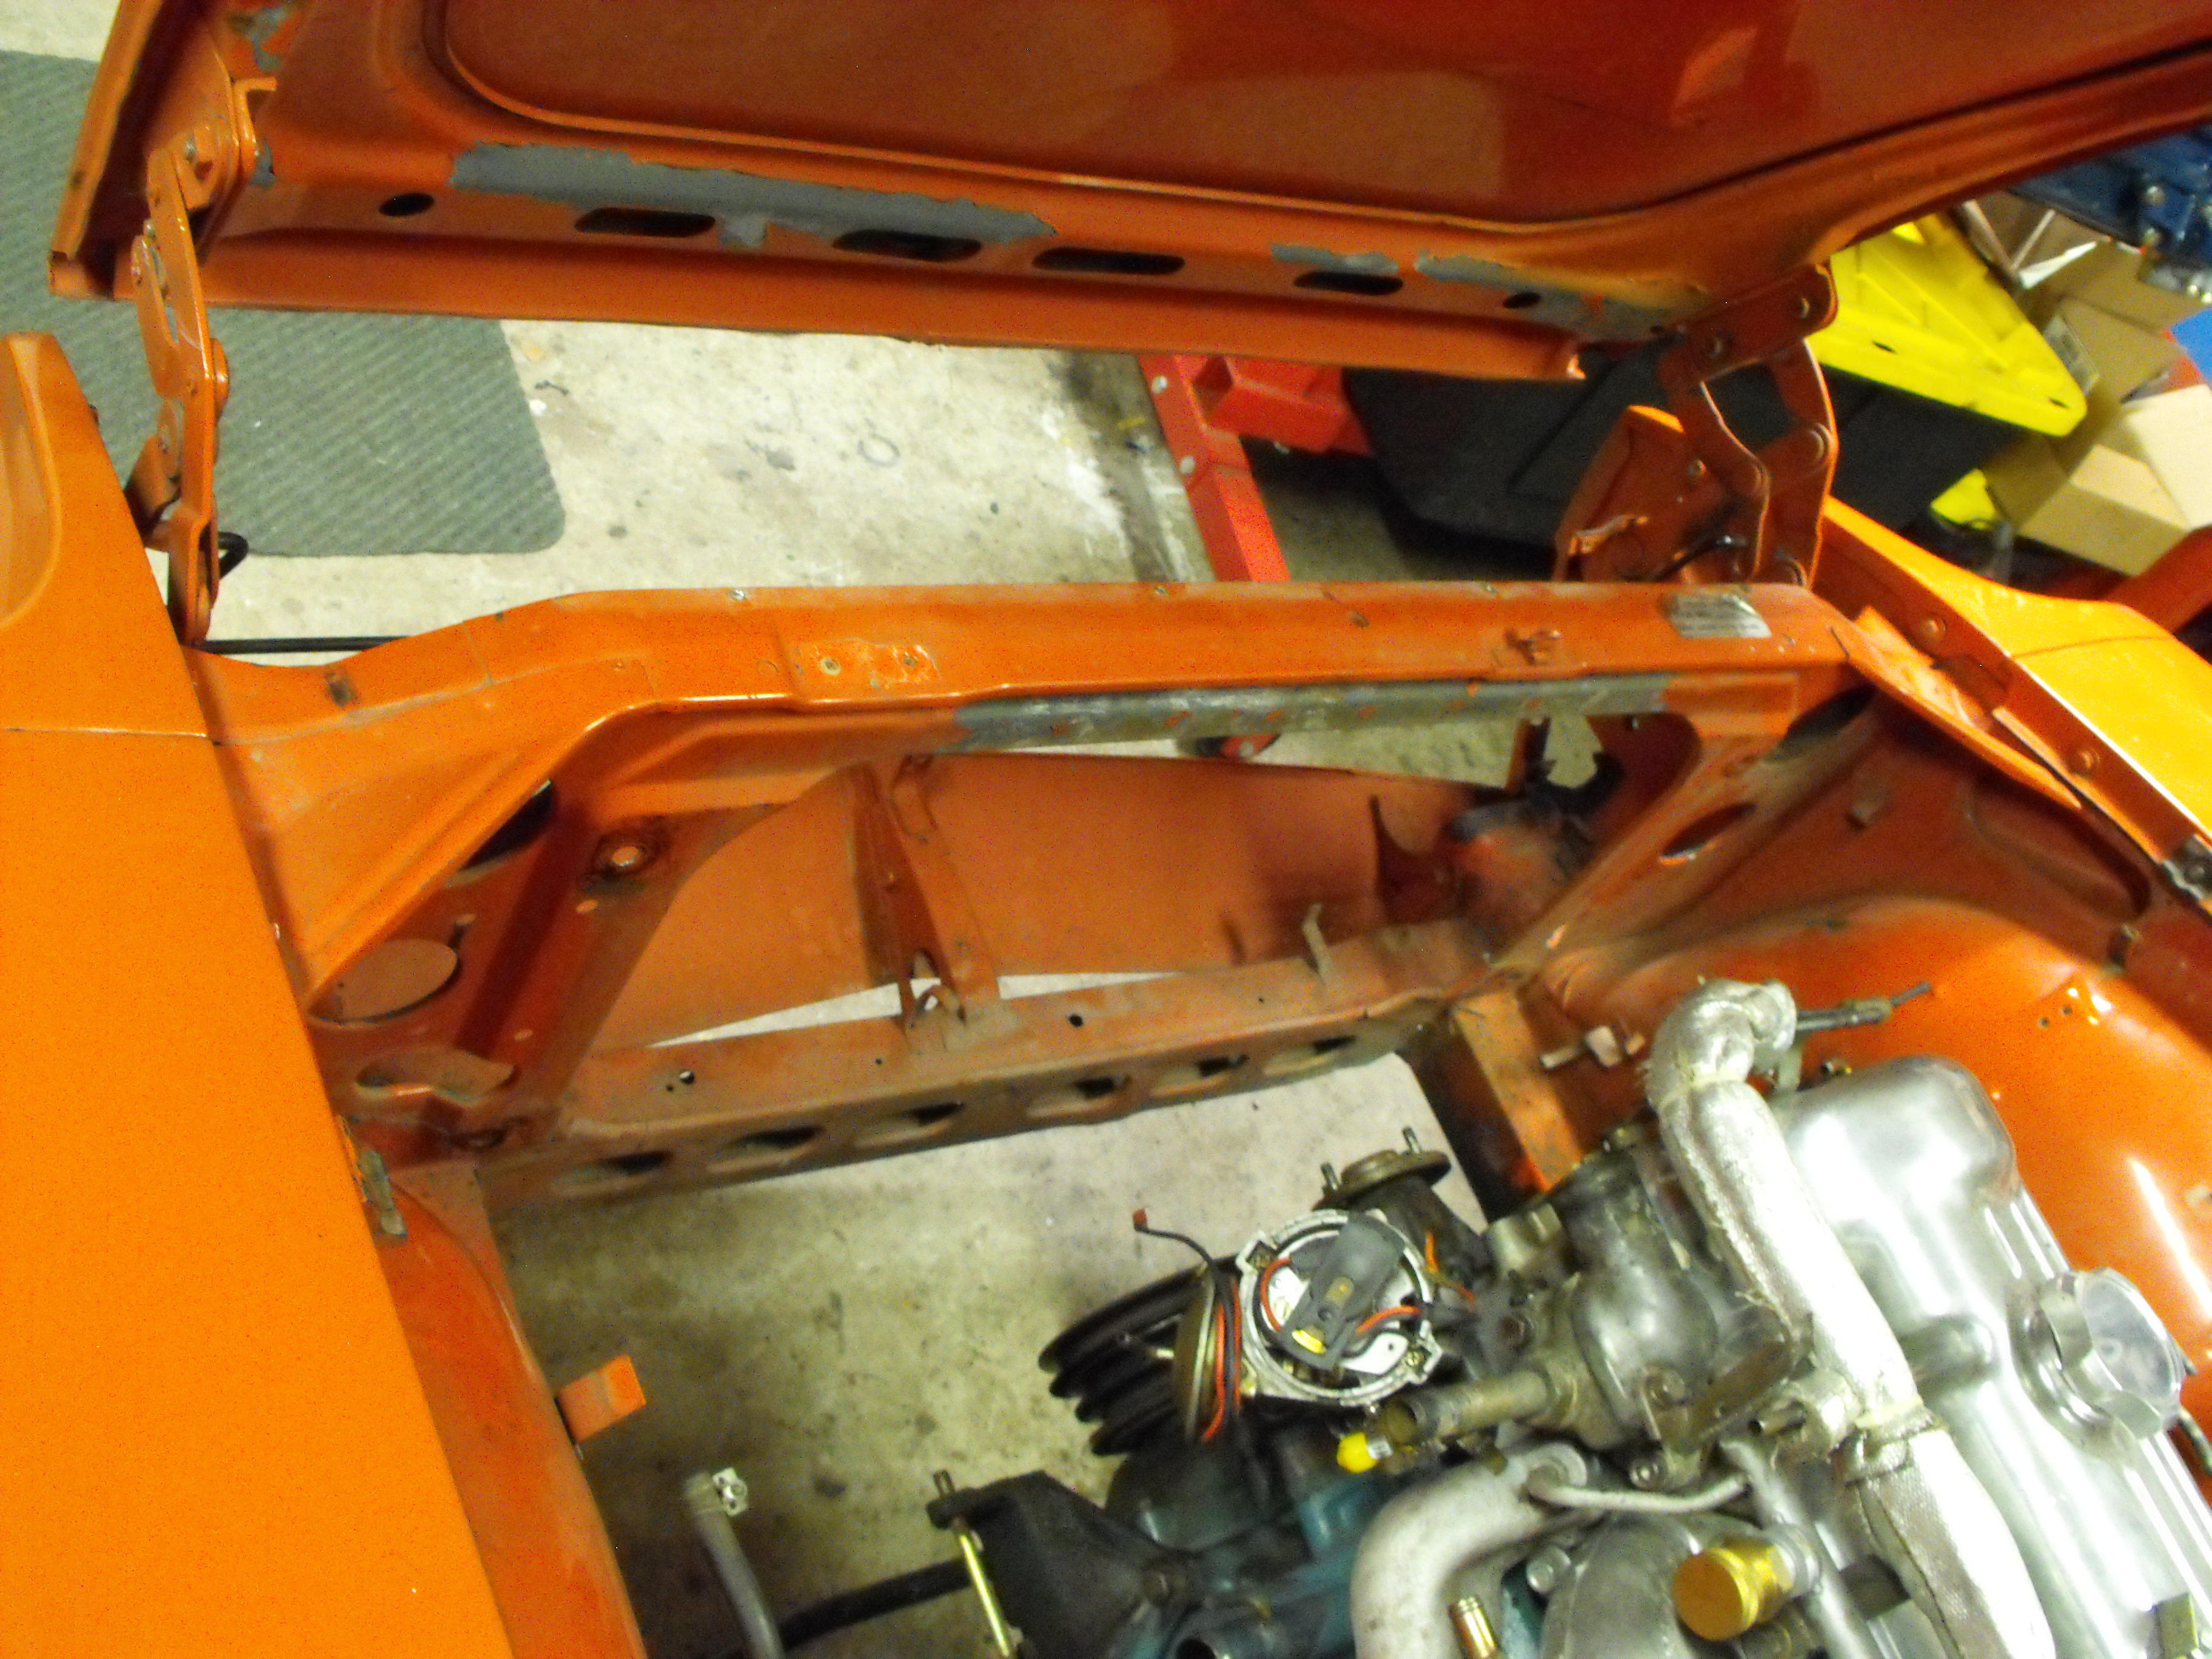
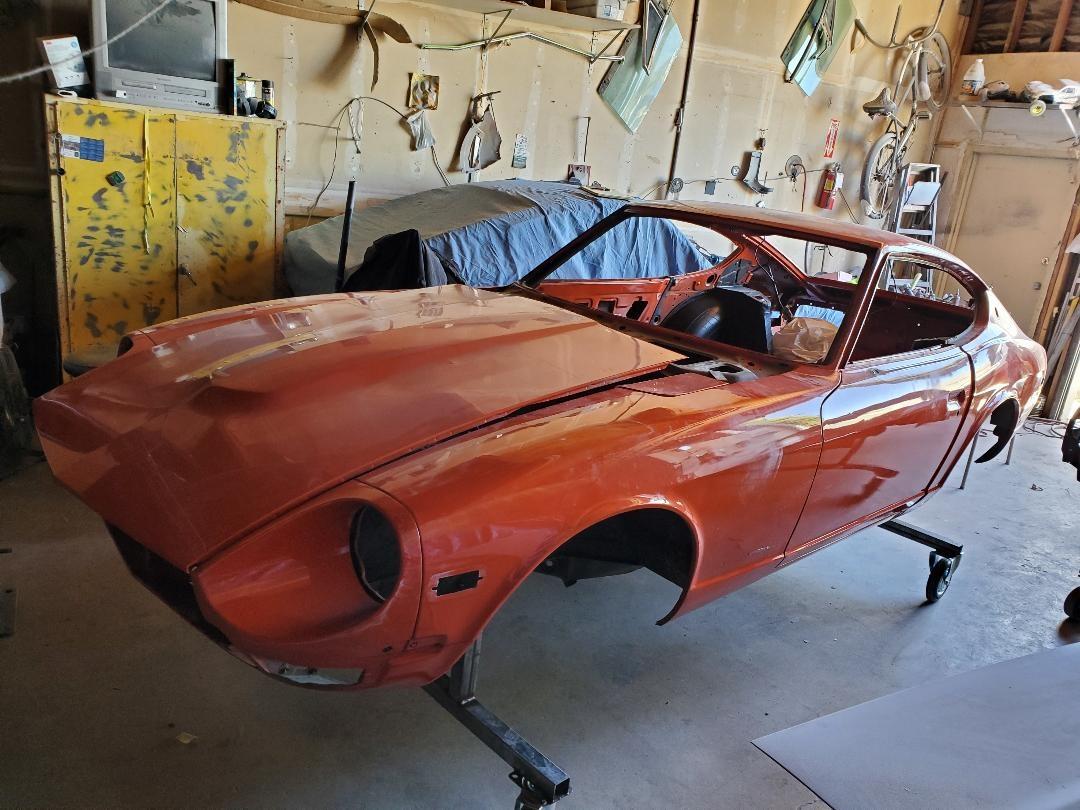
1 pointAnd she's off to the paint shop! Will switch to part detailing here while Miguel starts work on the body.

 1 point
 -
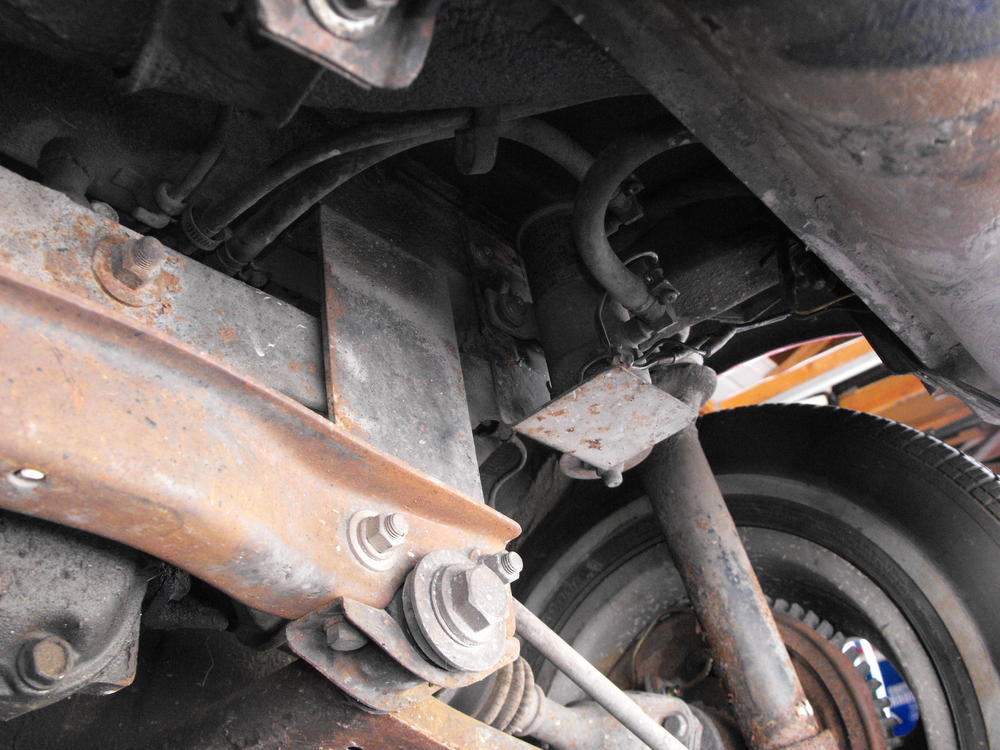
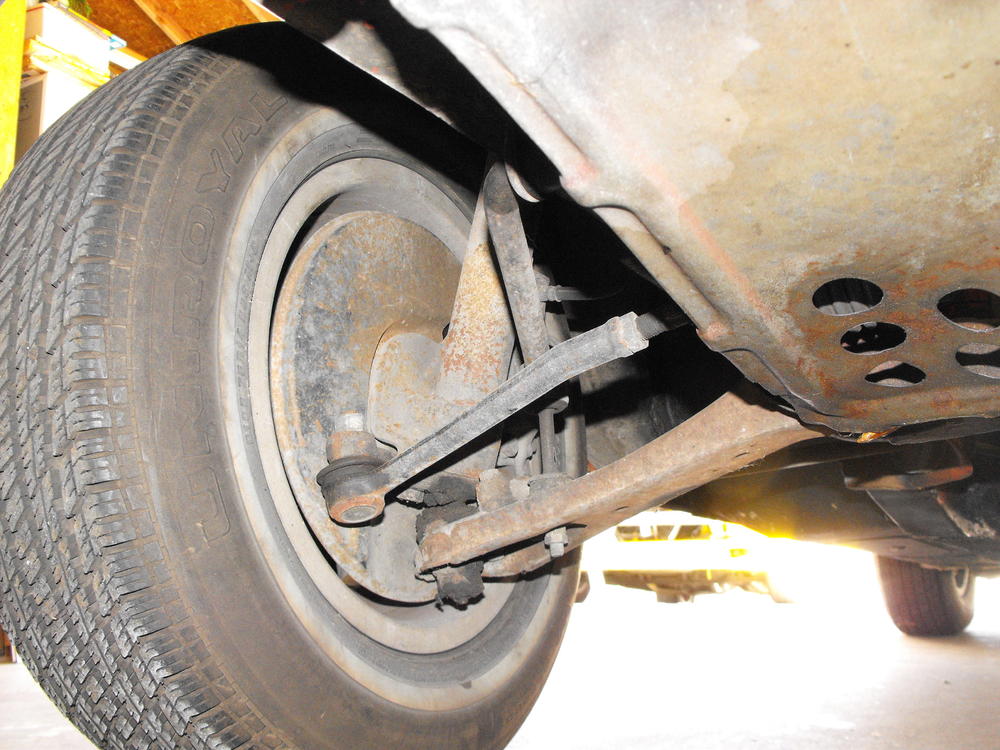
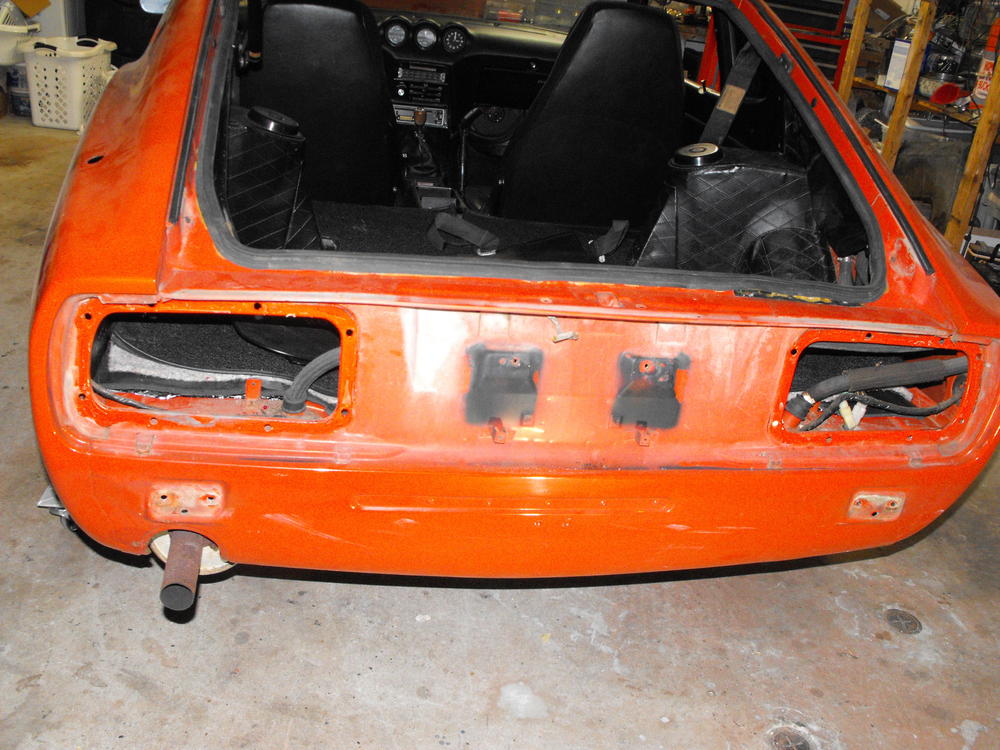
1 pointContinued parts removal. Got the bumpers off, grill, rear panels, wiper assembly and all the lights. Also removed a few more parts from engine bay.


 1 point
 -
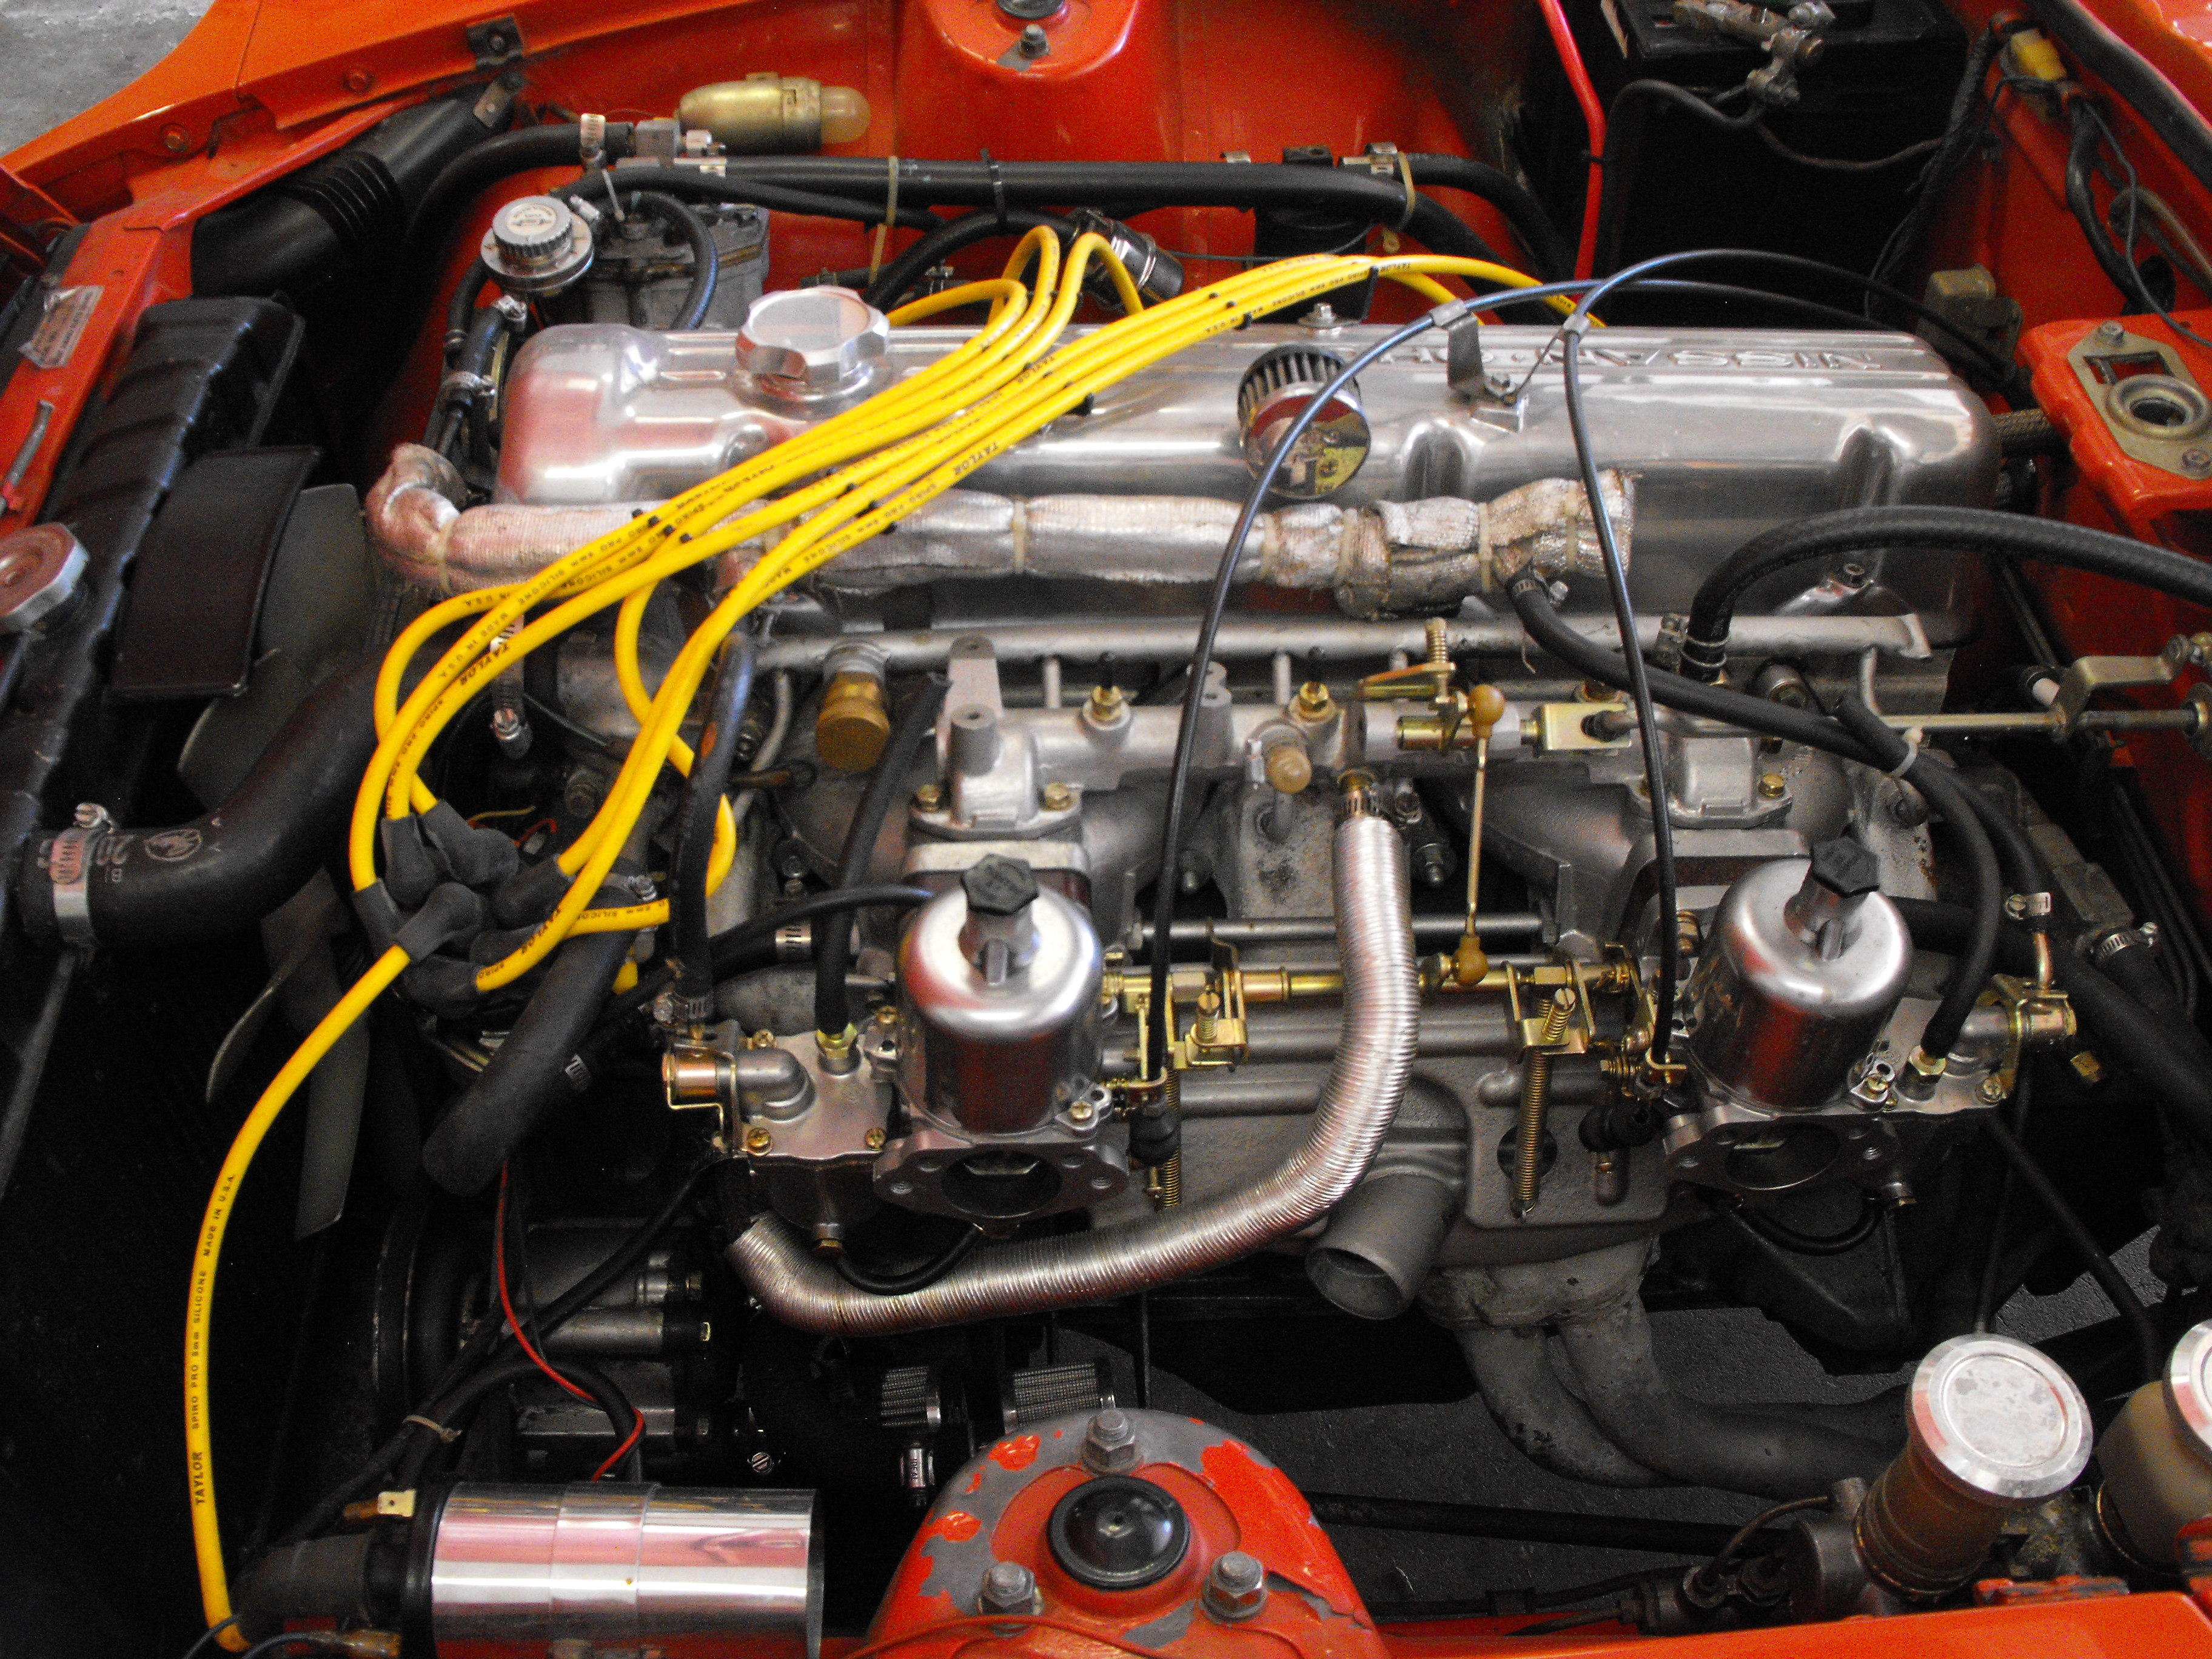
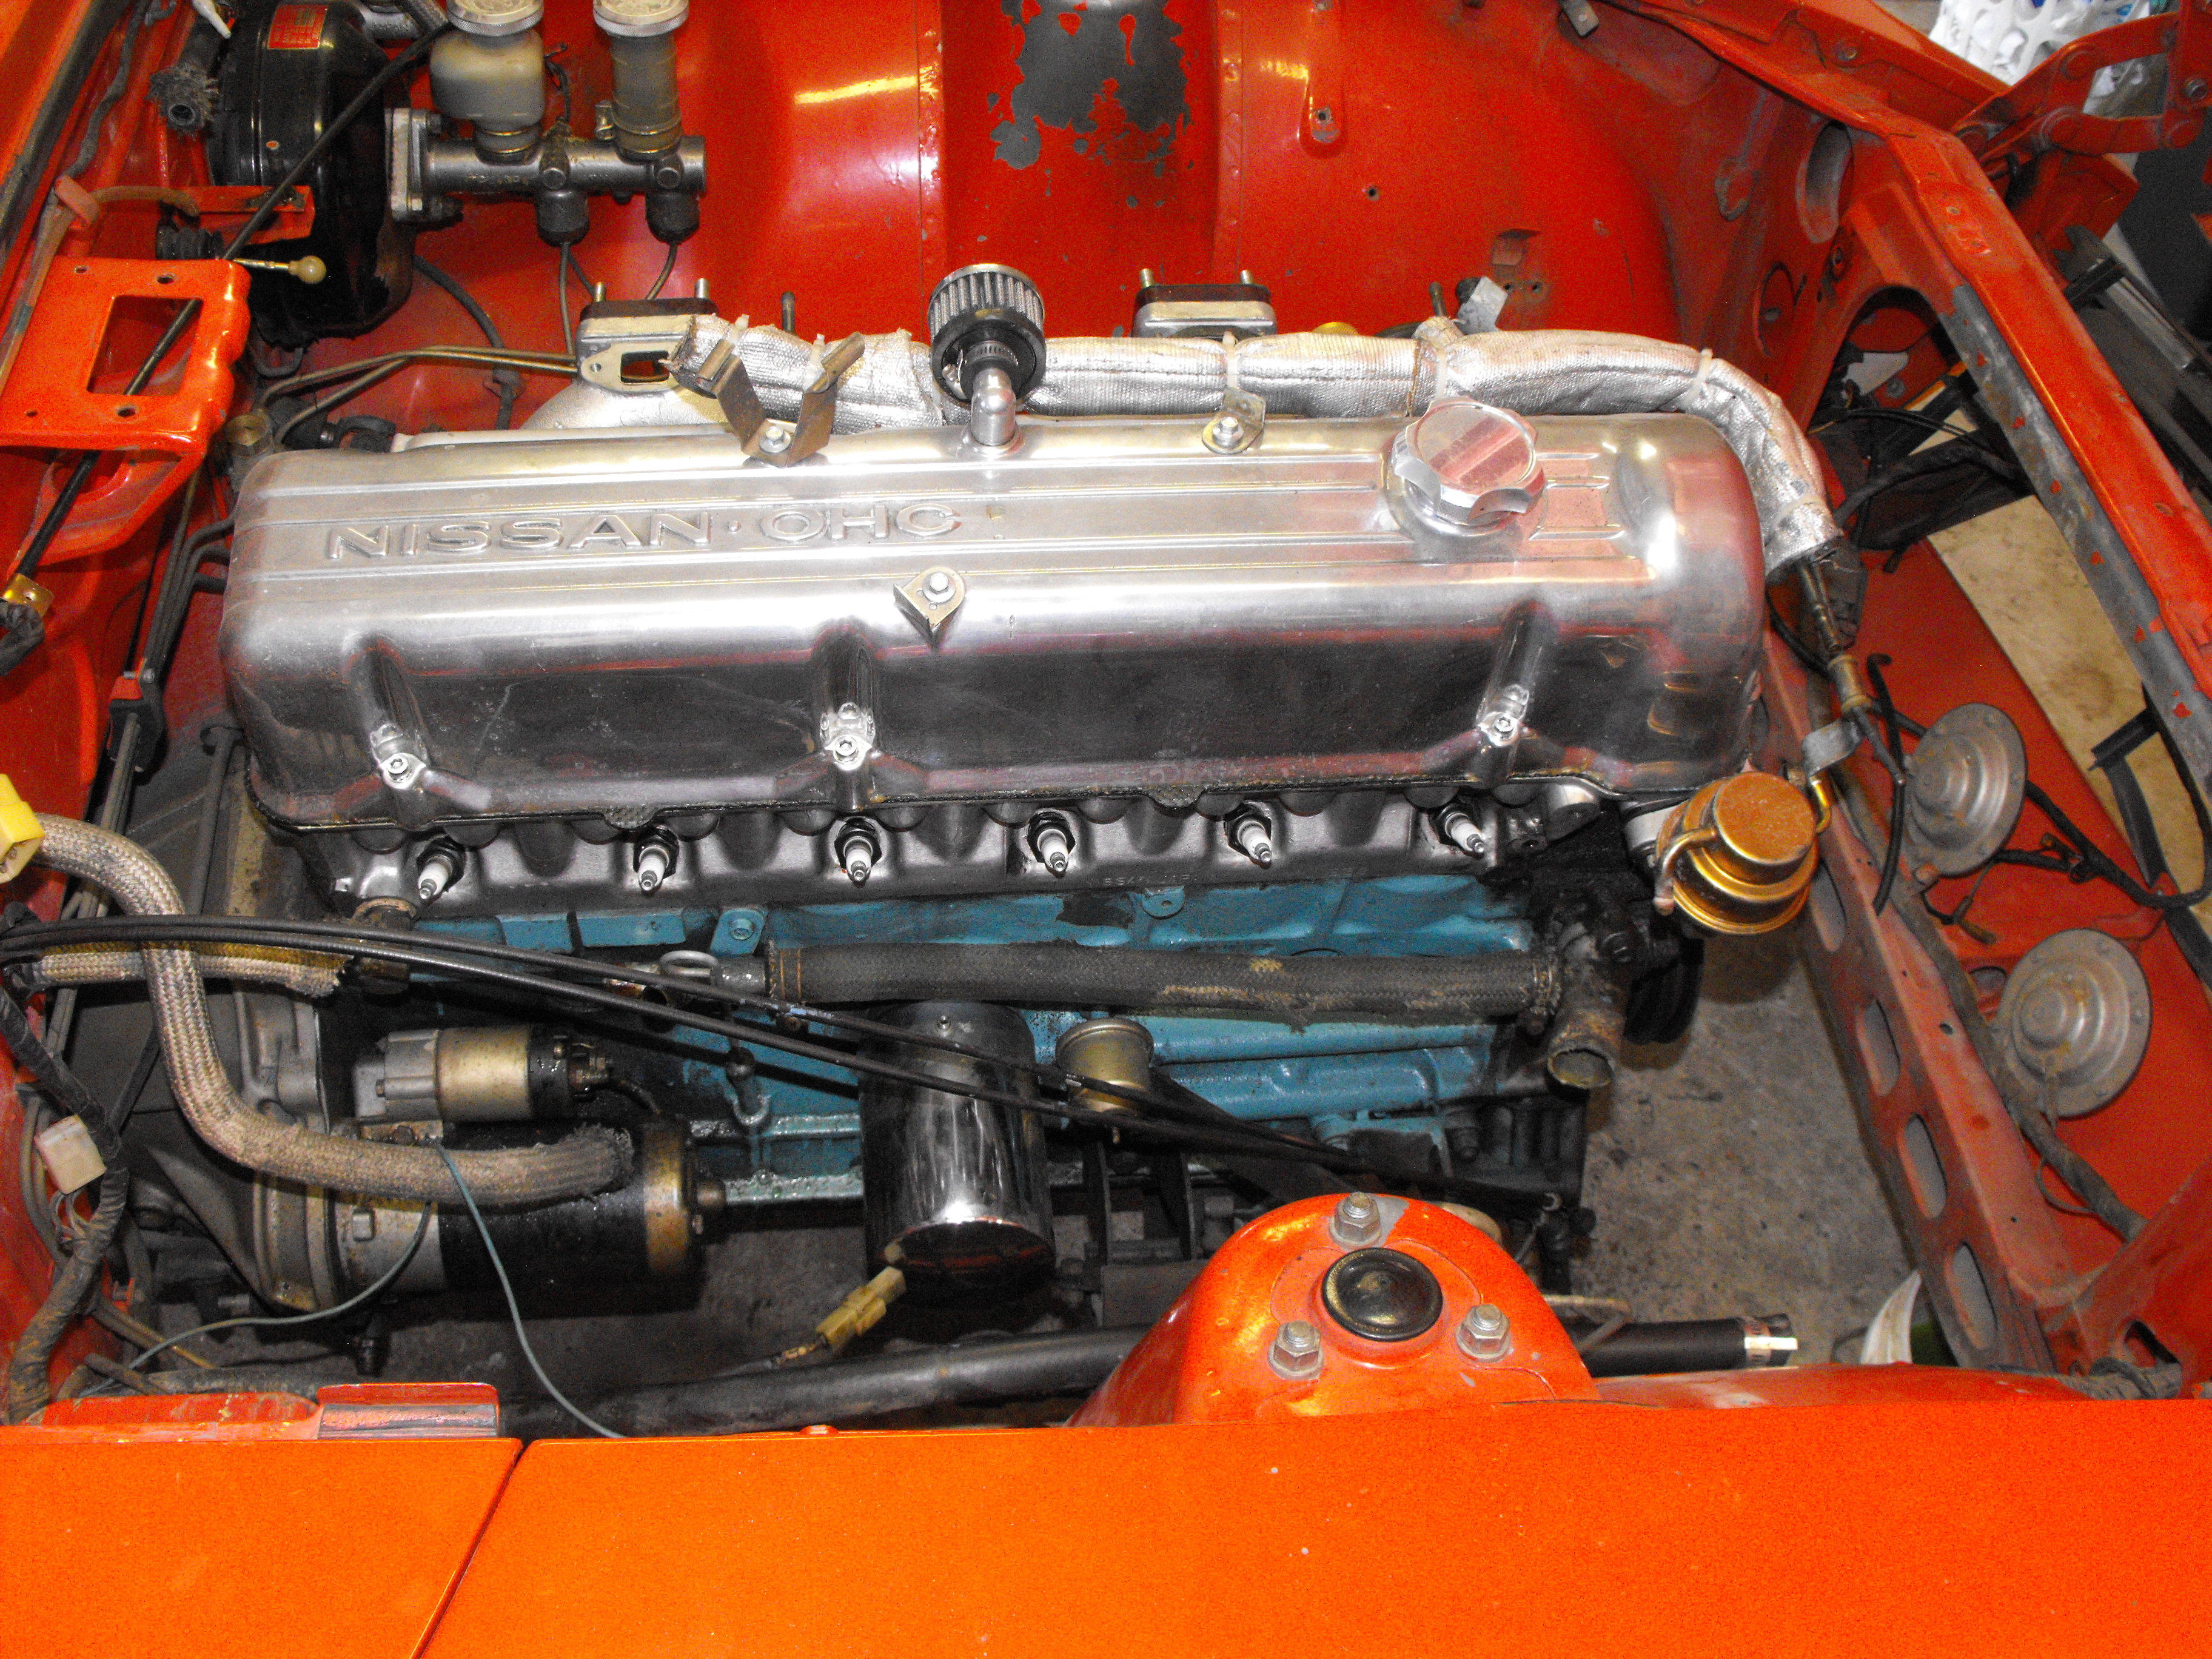
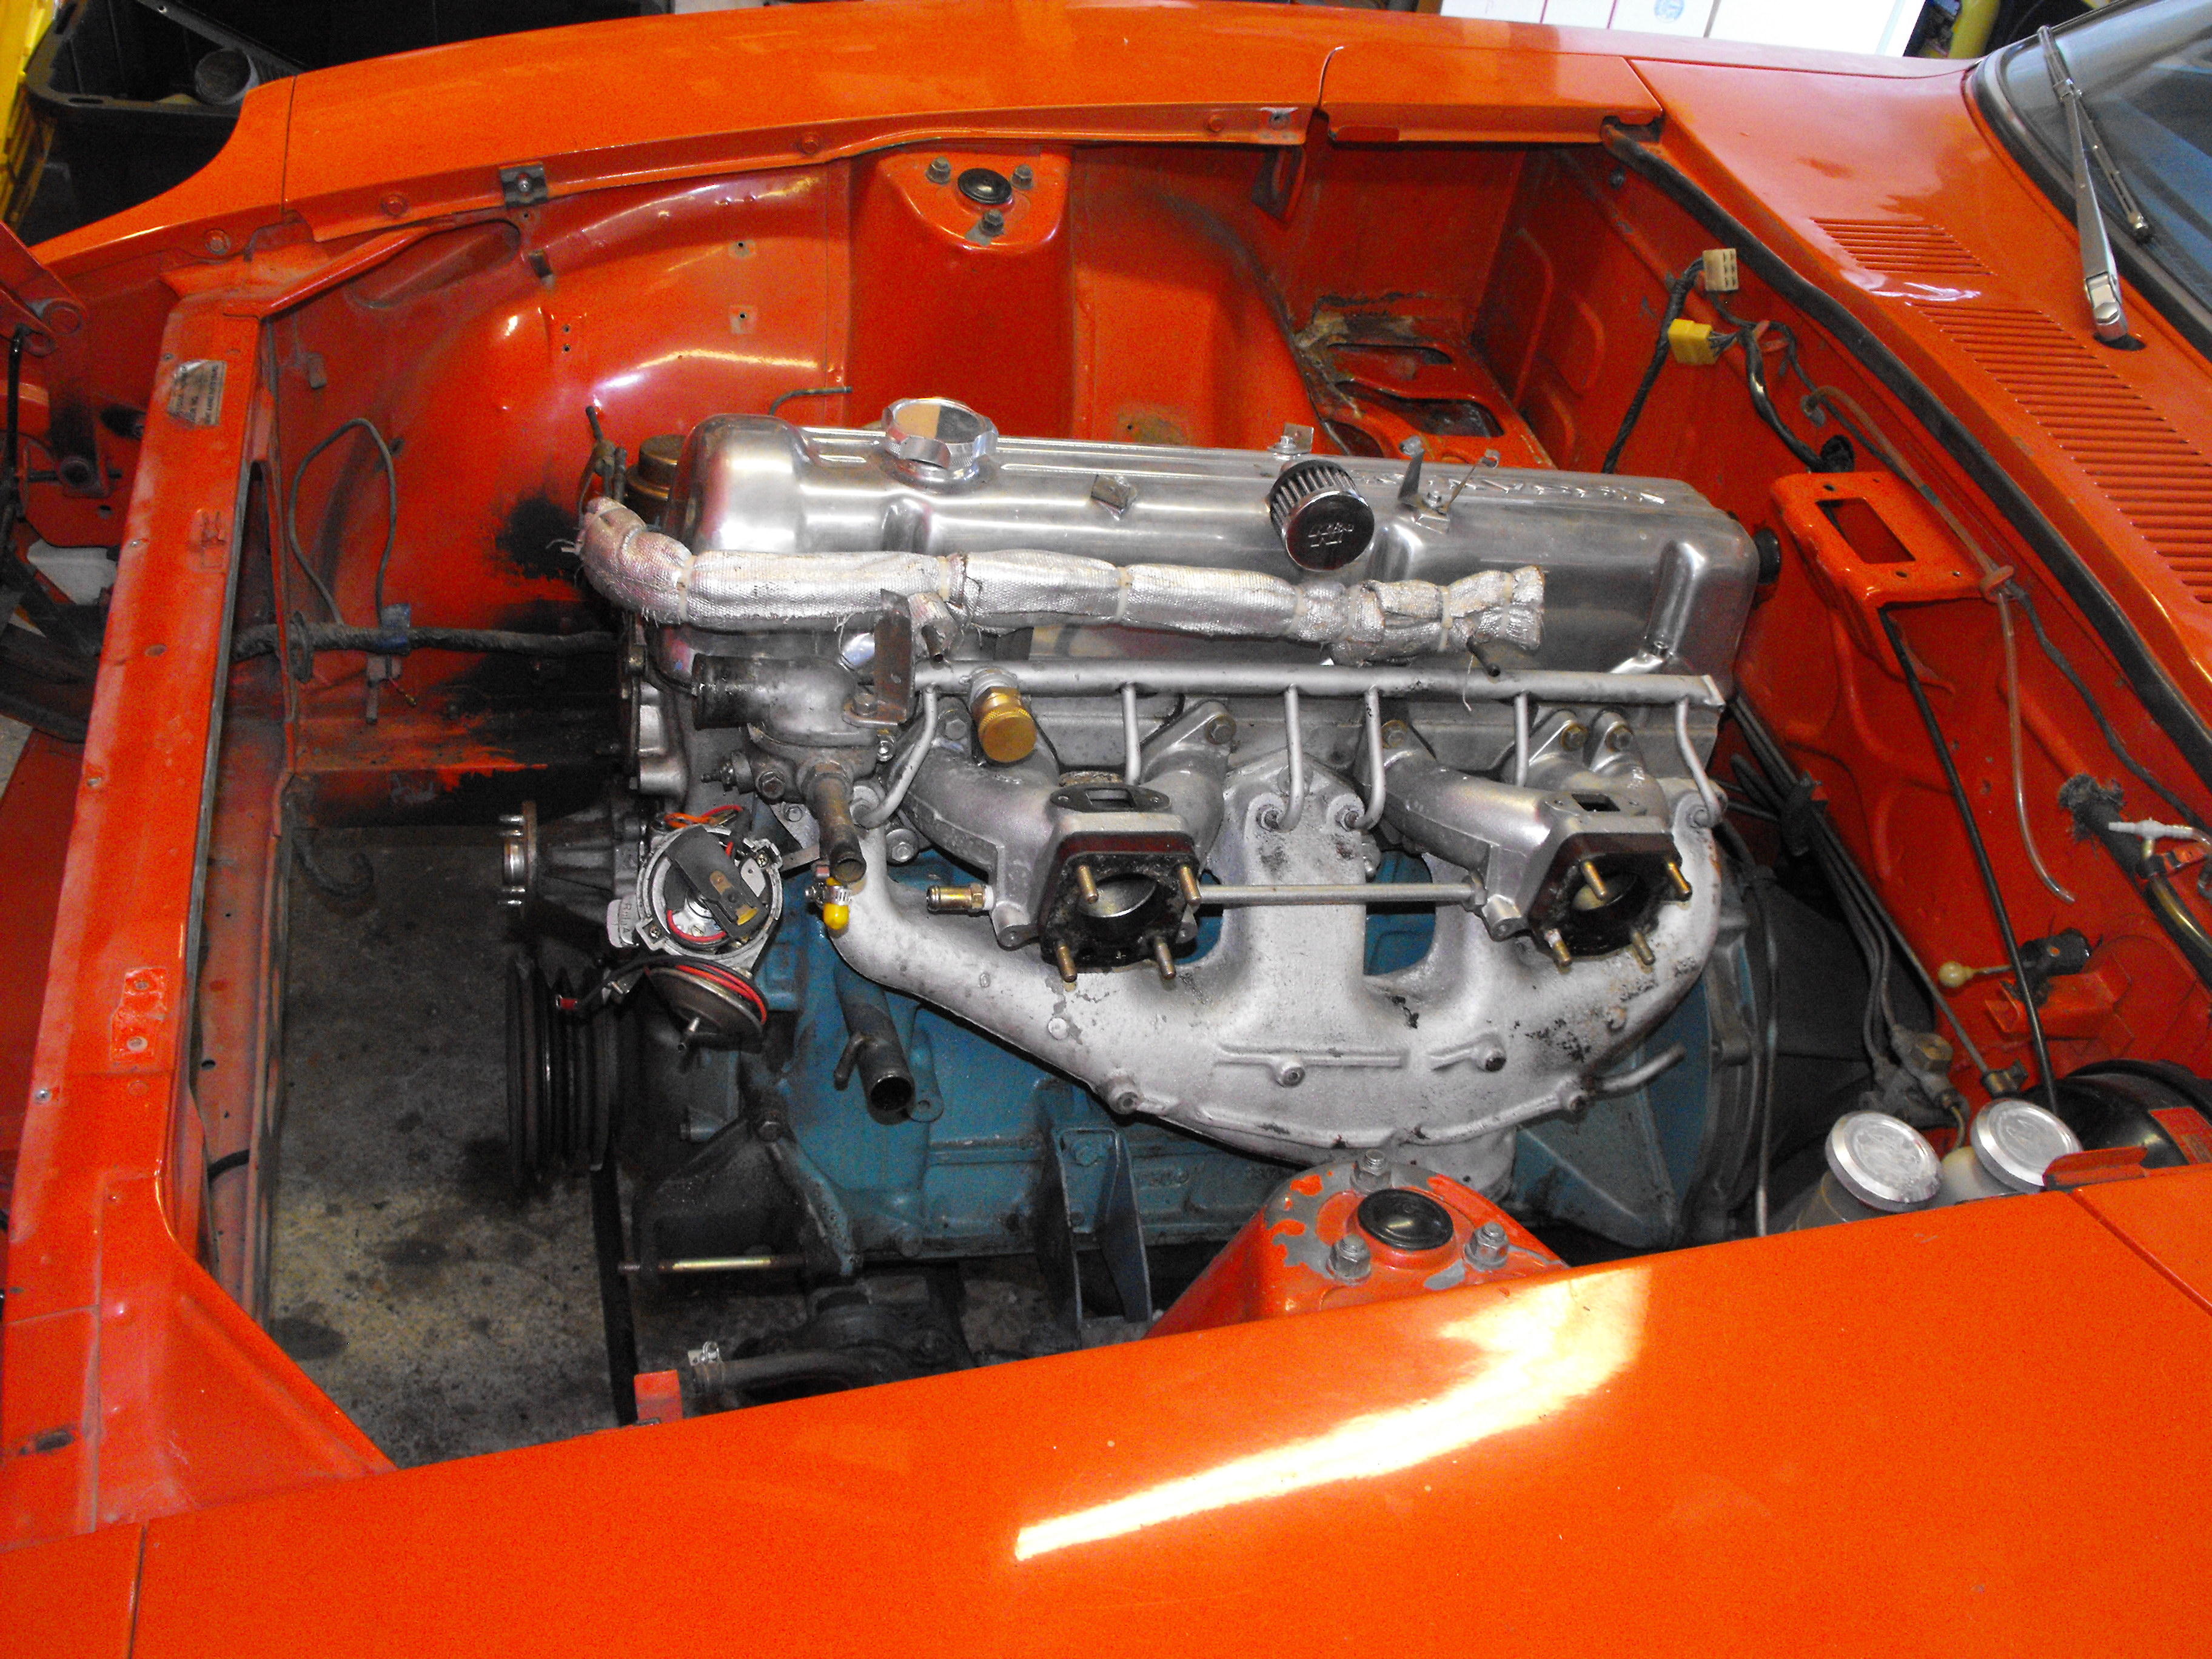
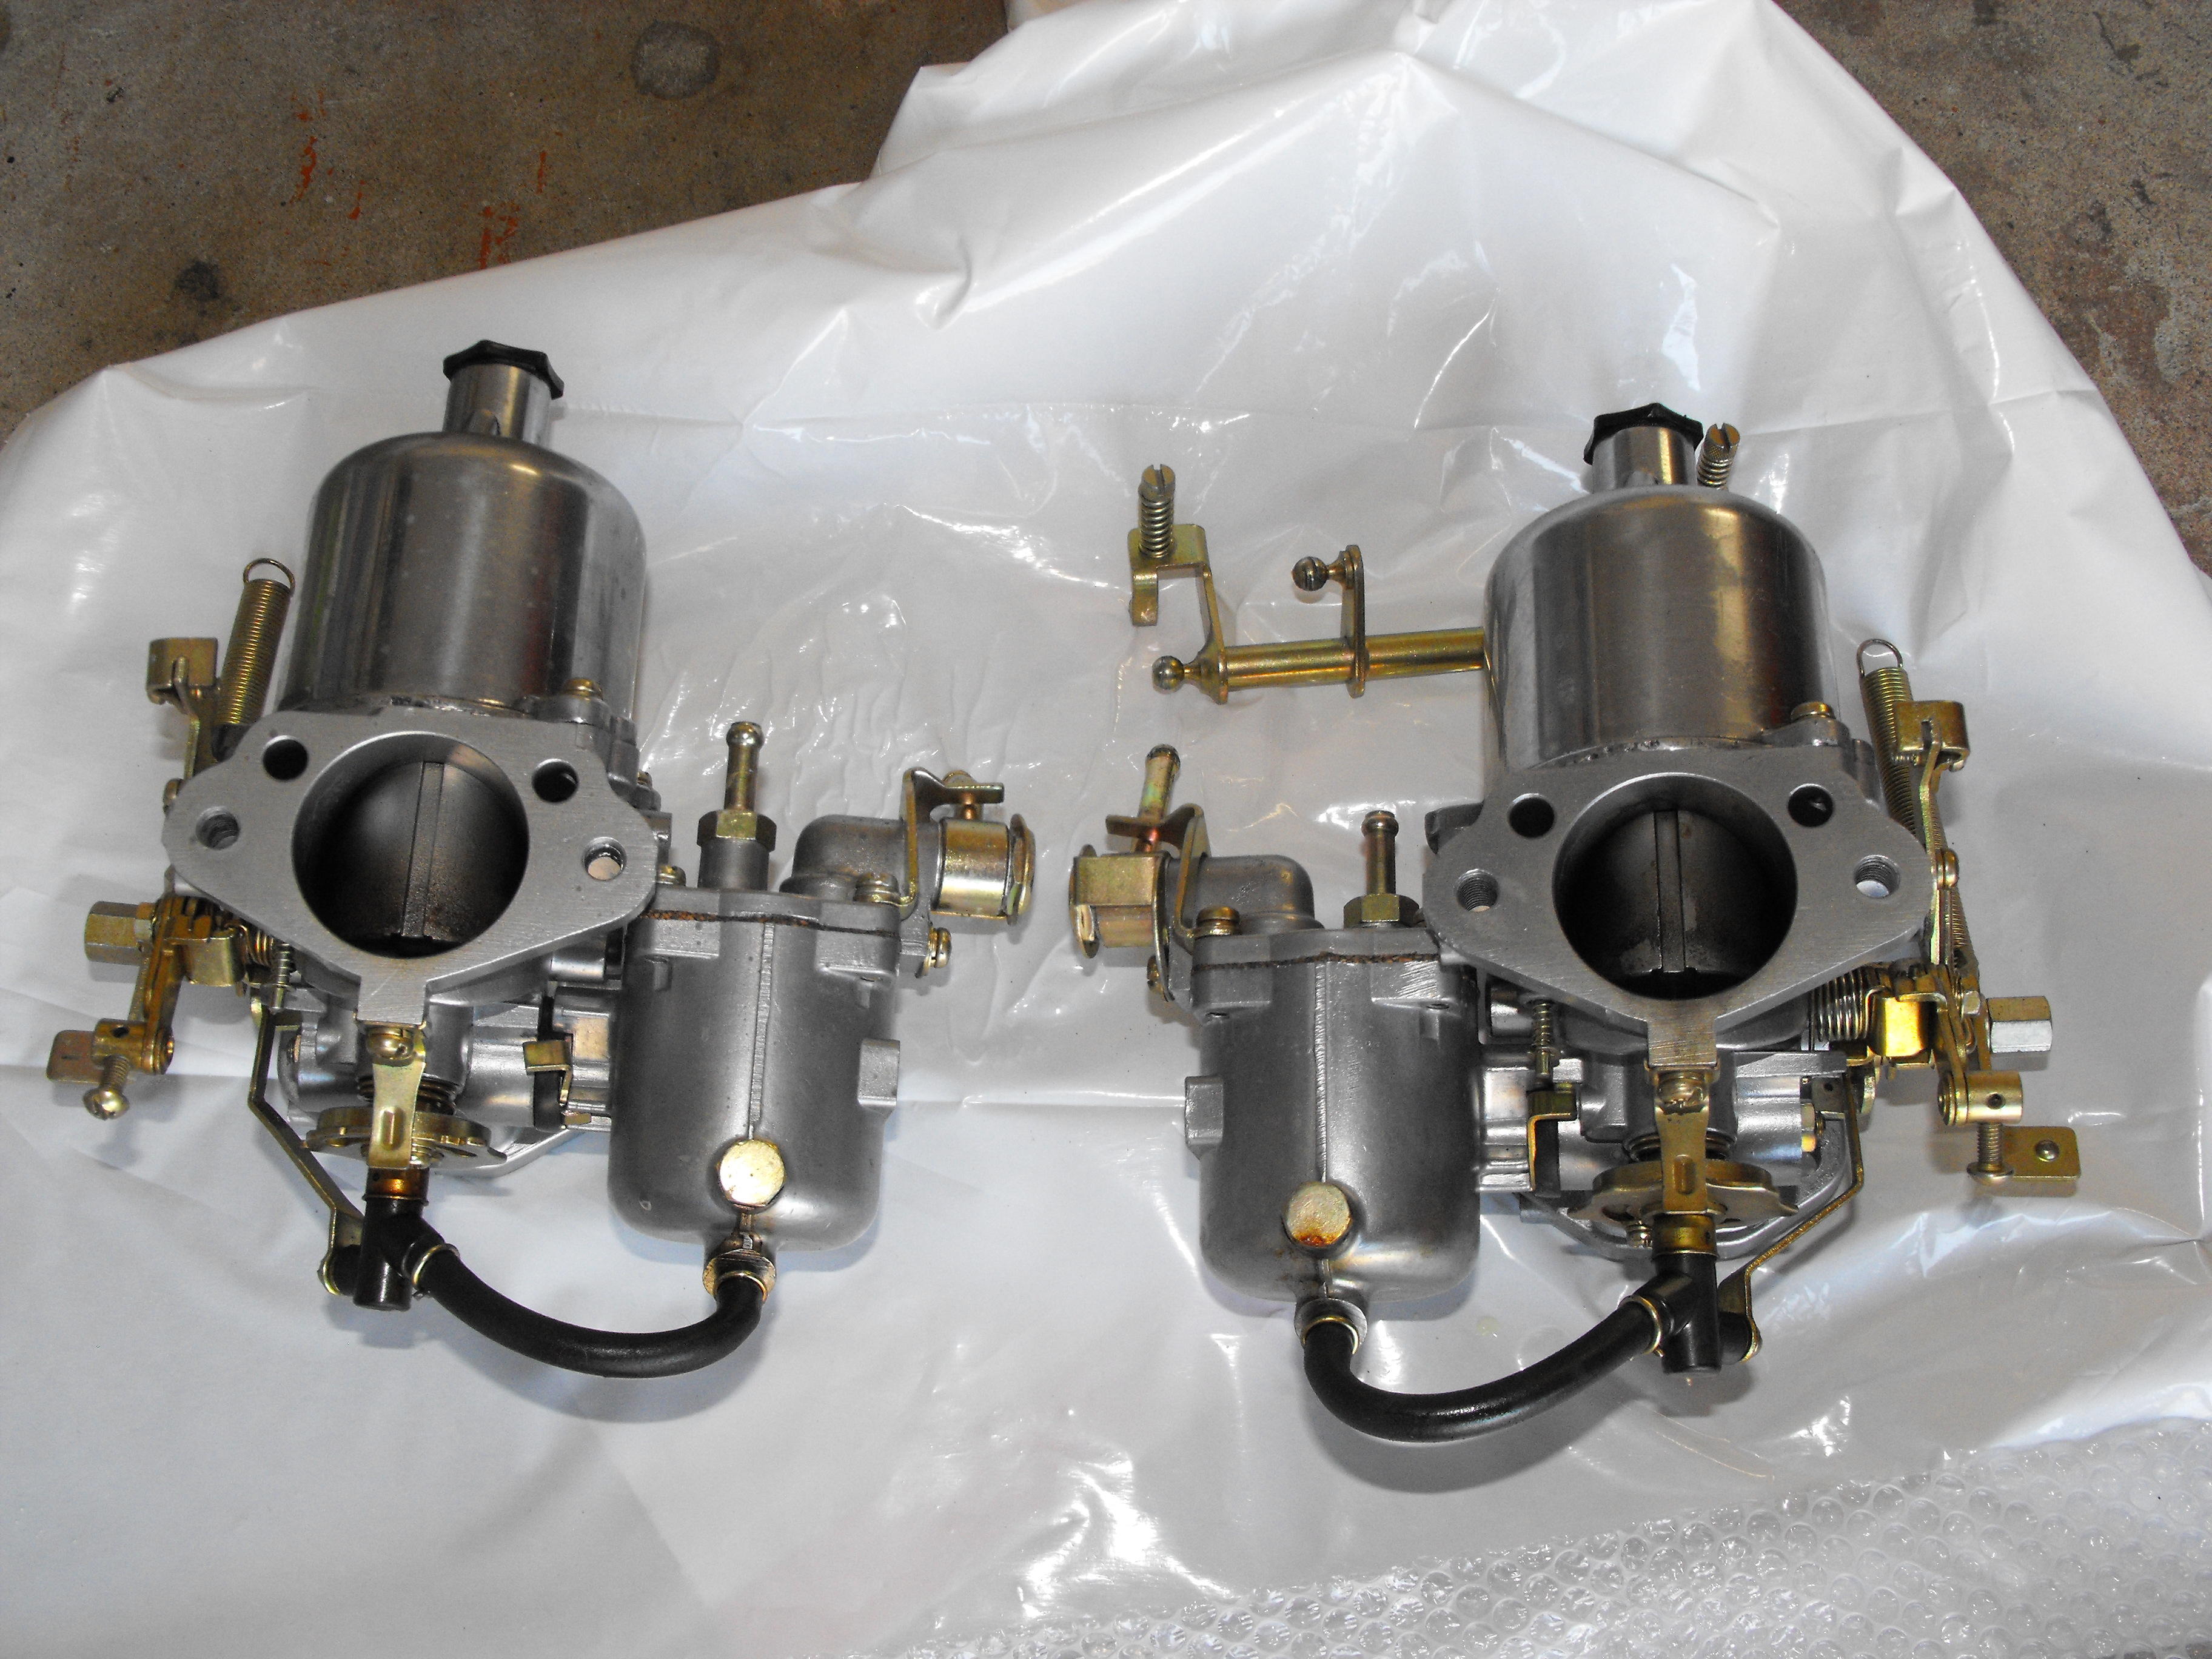
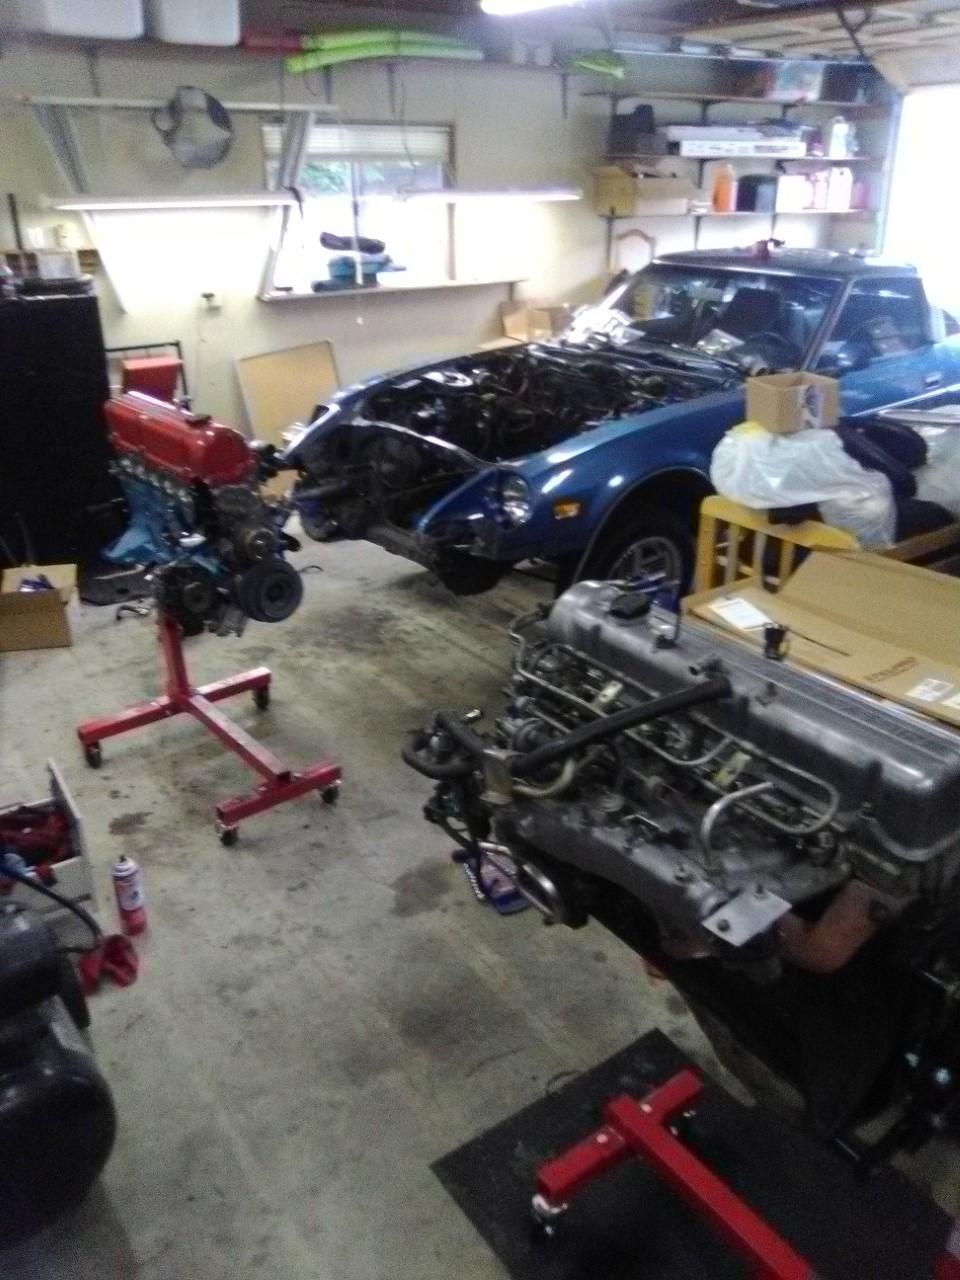
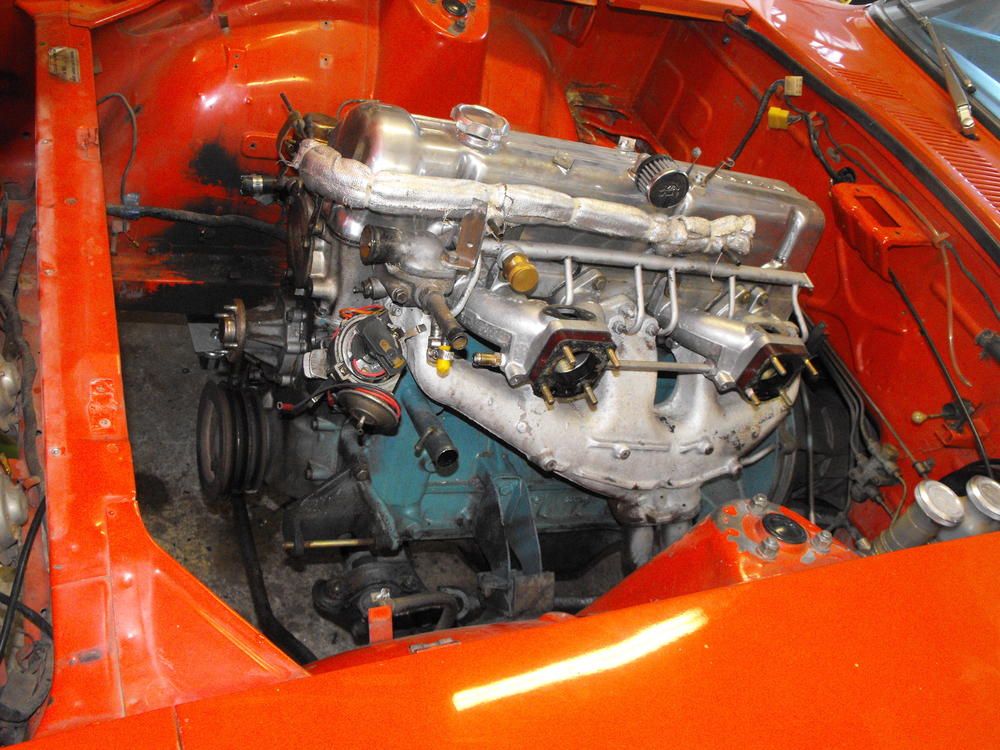
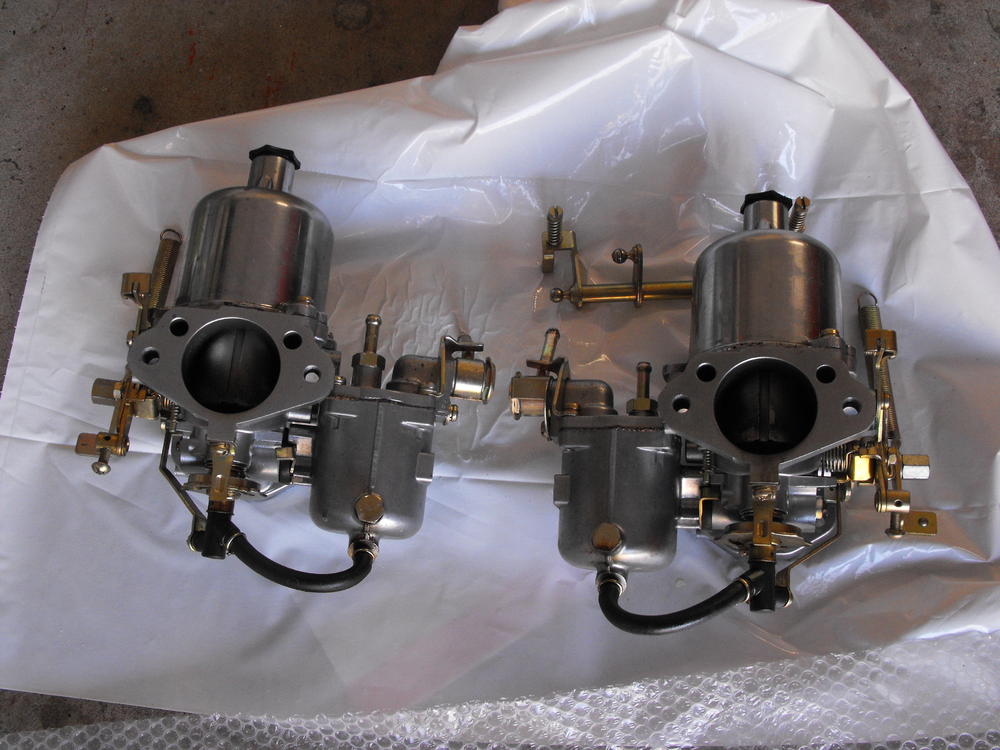
1 pointEngine is about ready to come out. Will probably do that next weekend. Wrapped those carbs in bubble wrap and set them aside. No need to touch those or the balance tube.


 1 point
 -
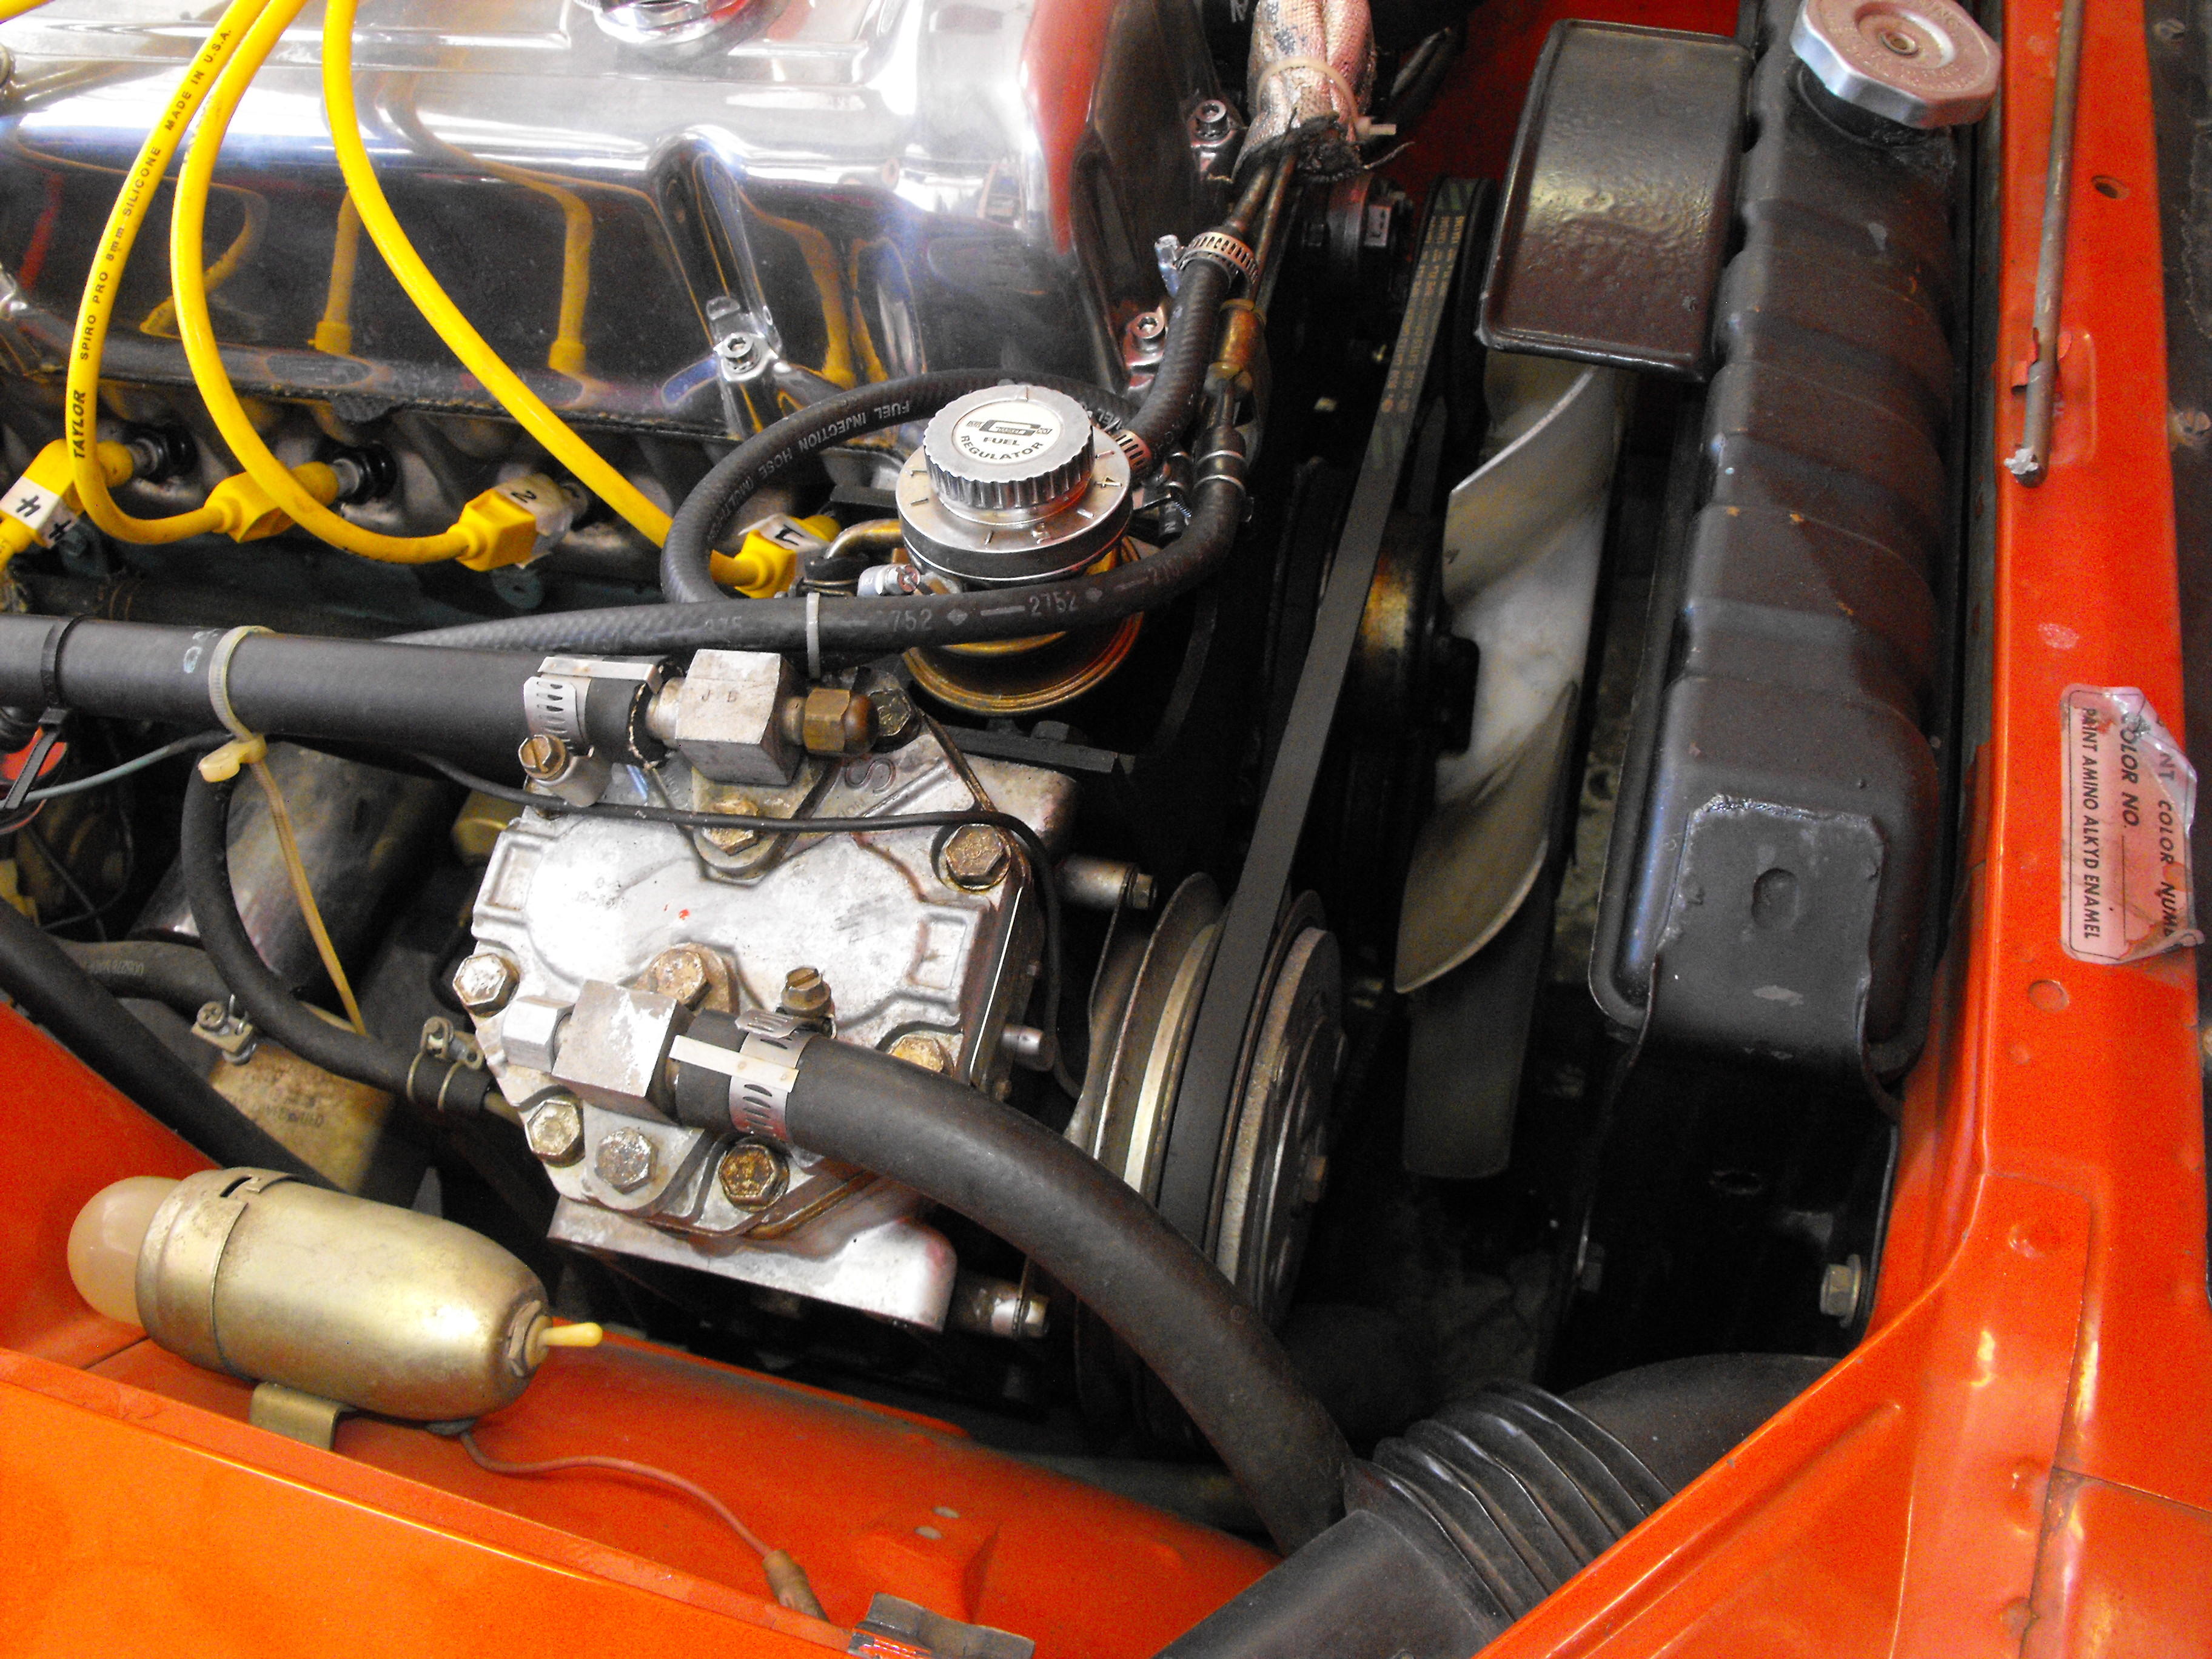
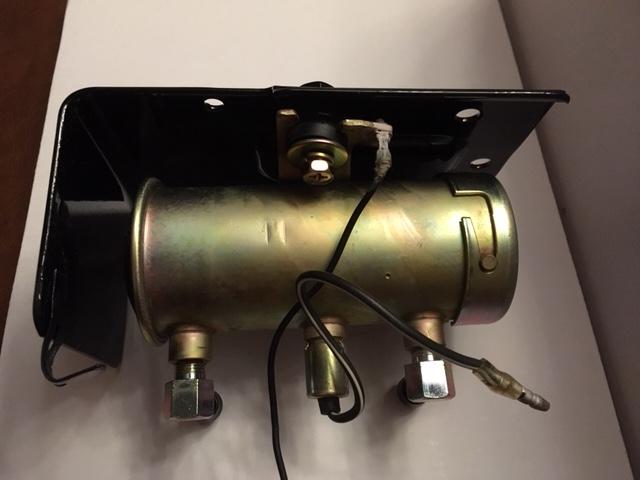
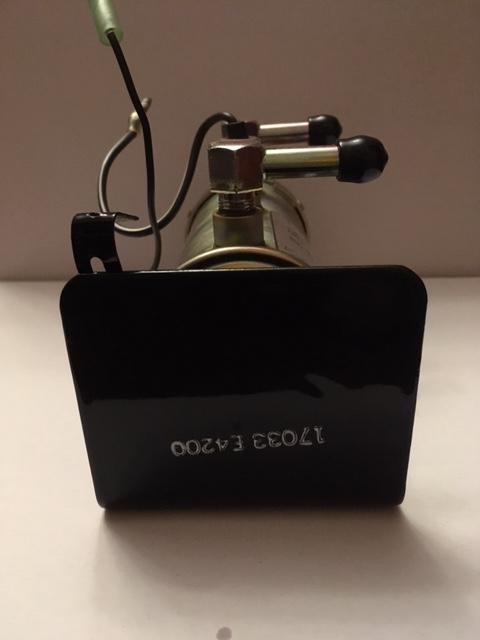
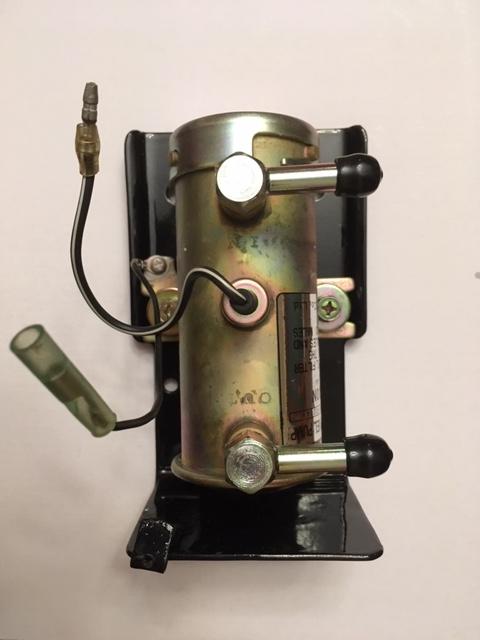
This is another interesting NOS part that I recently acquired. Electric Fuel Pump upgrade.
 1 point
 -
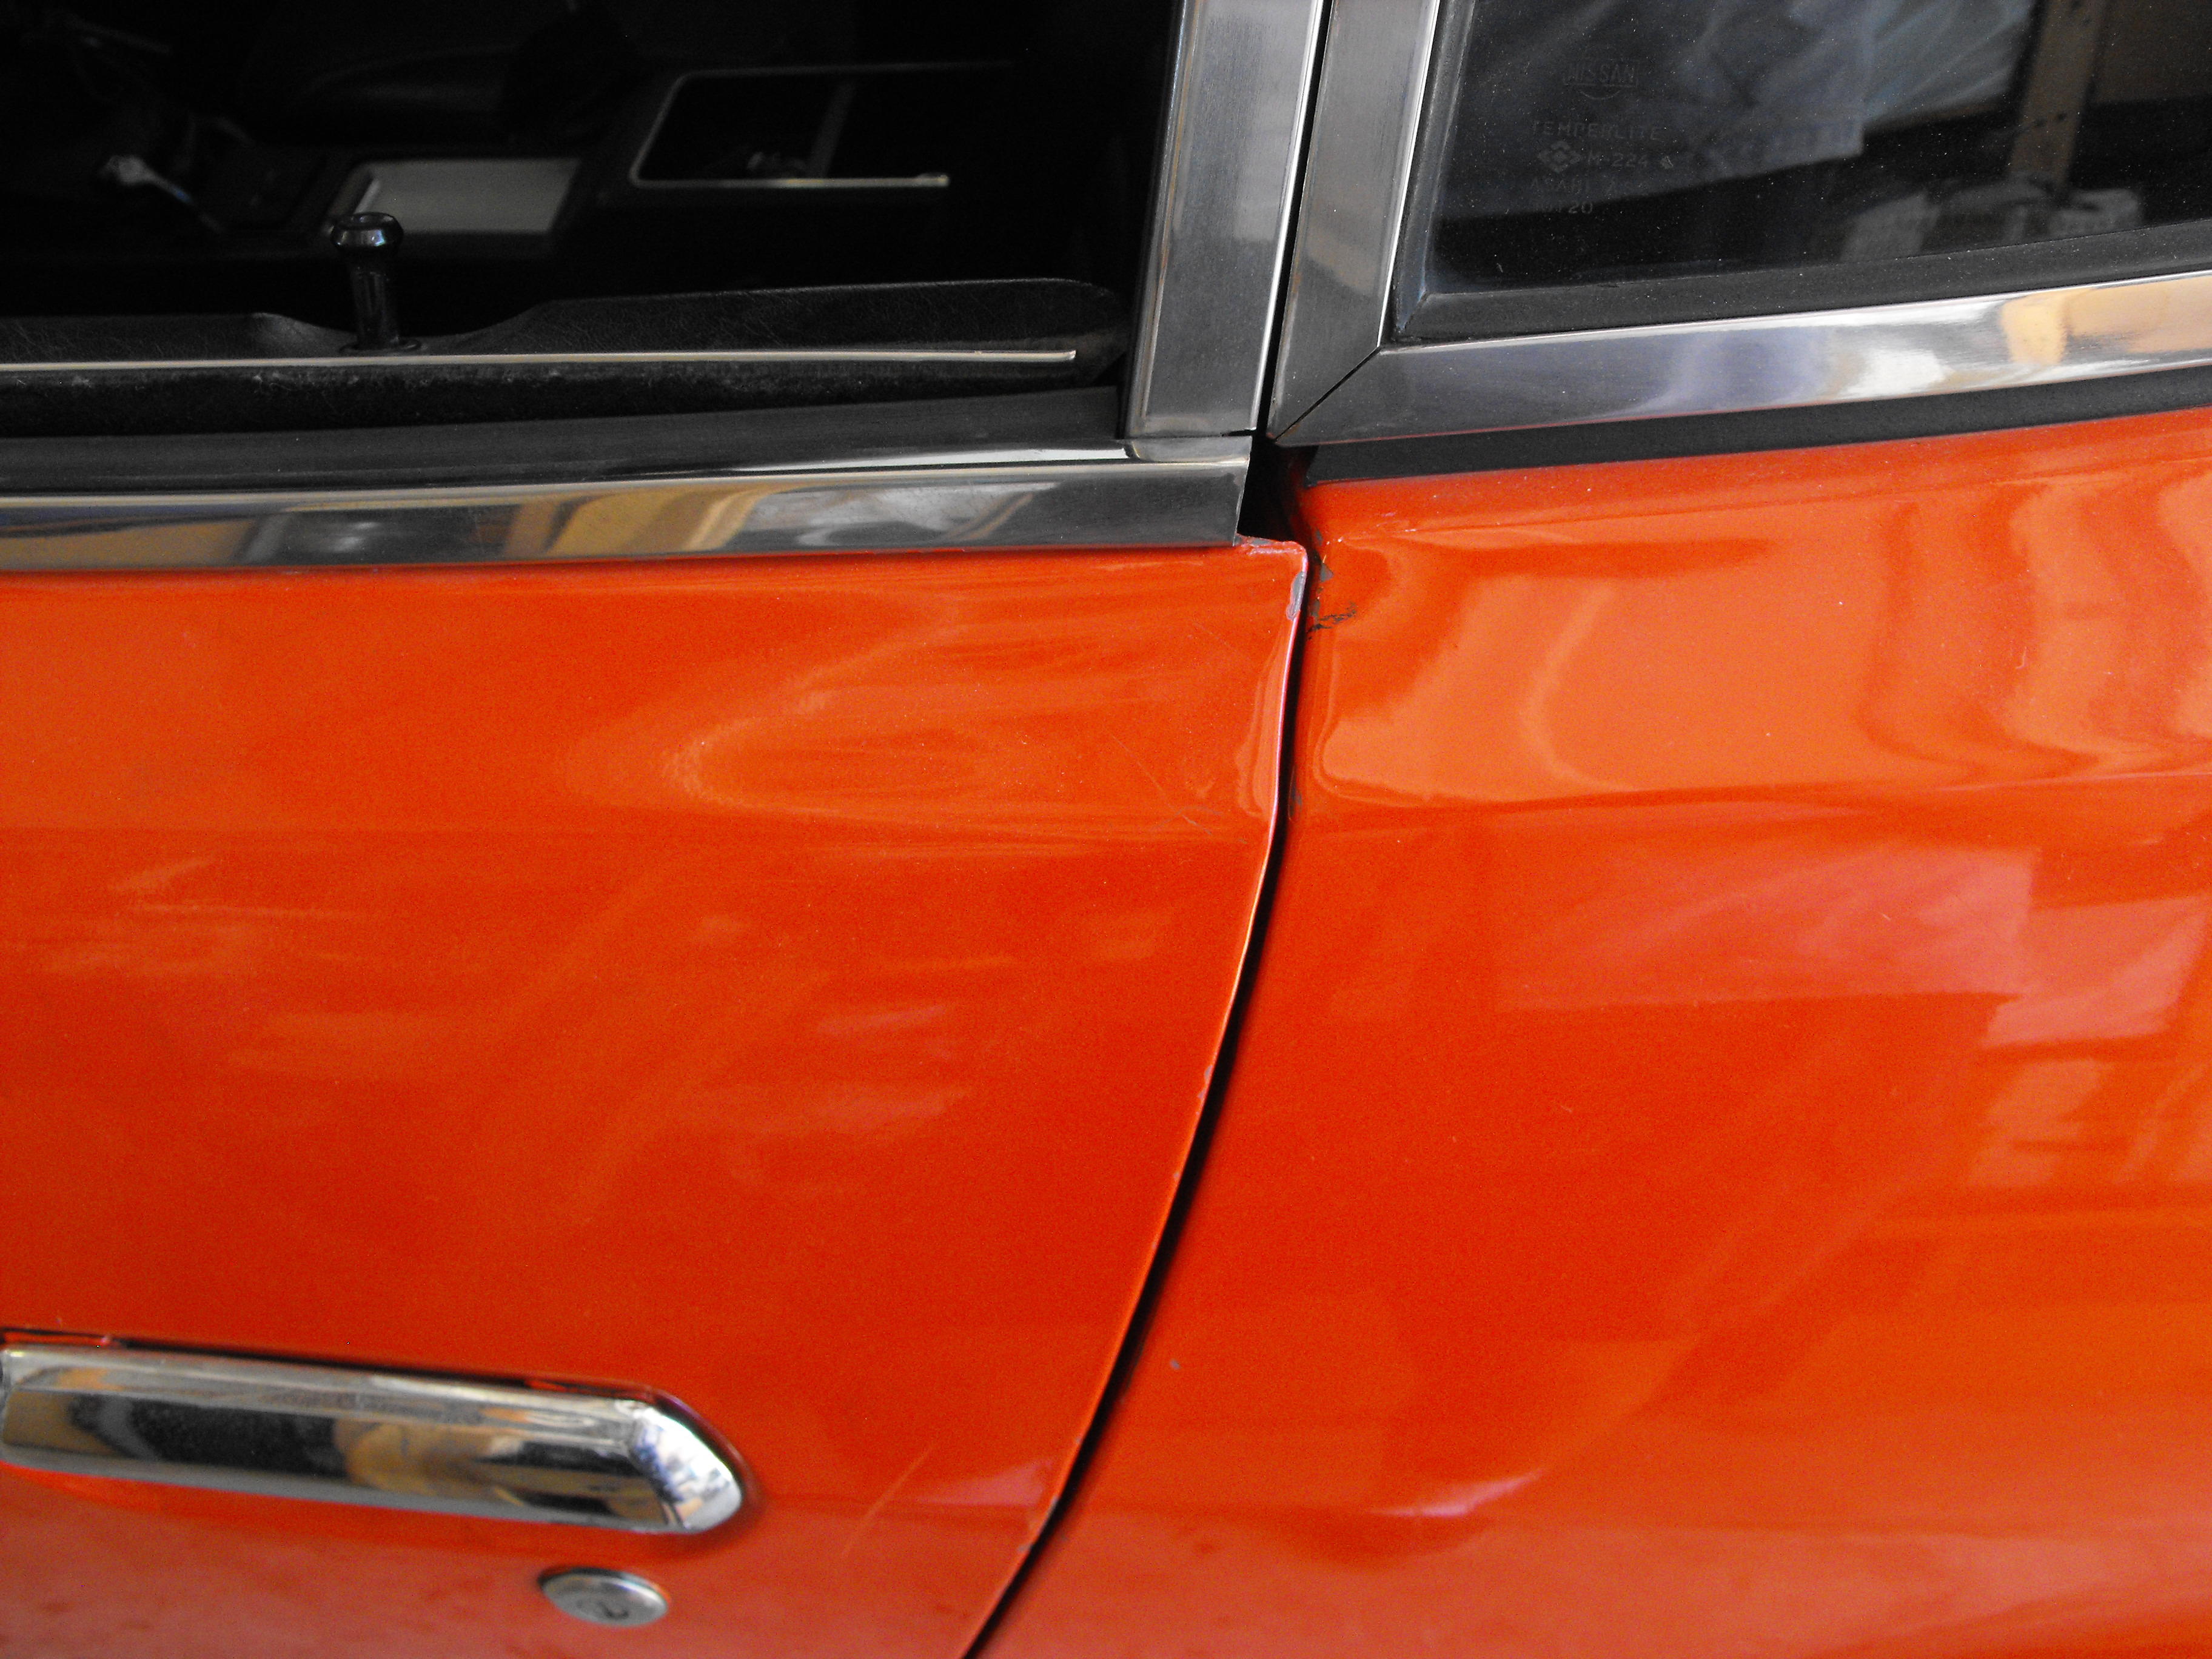
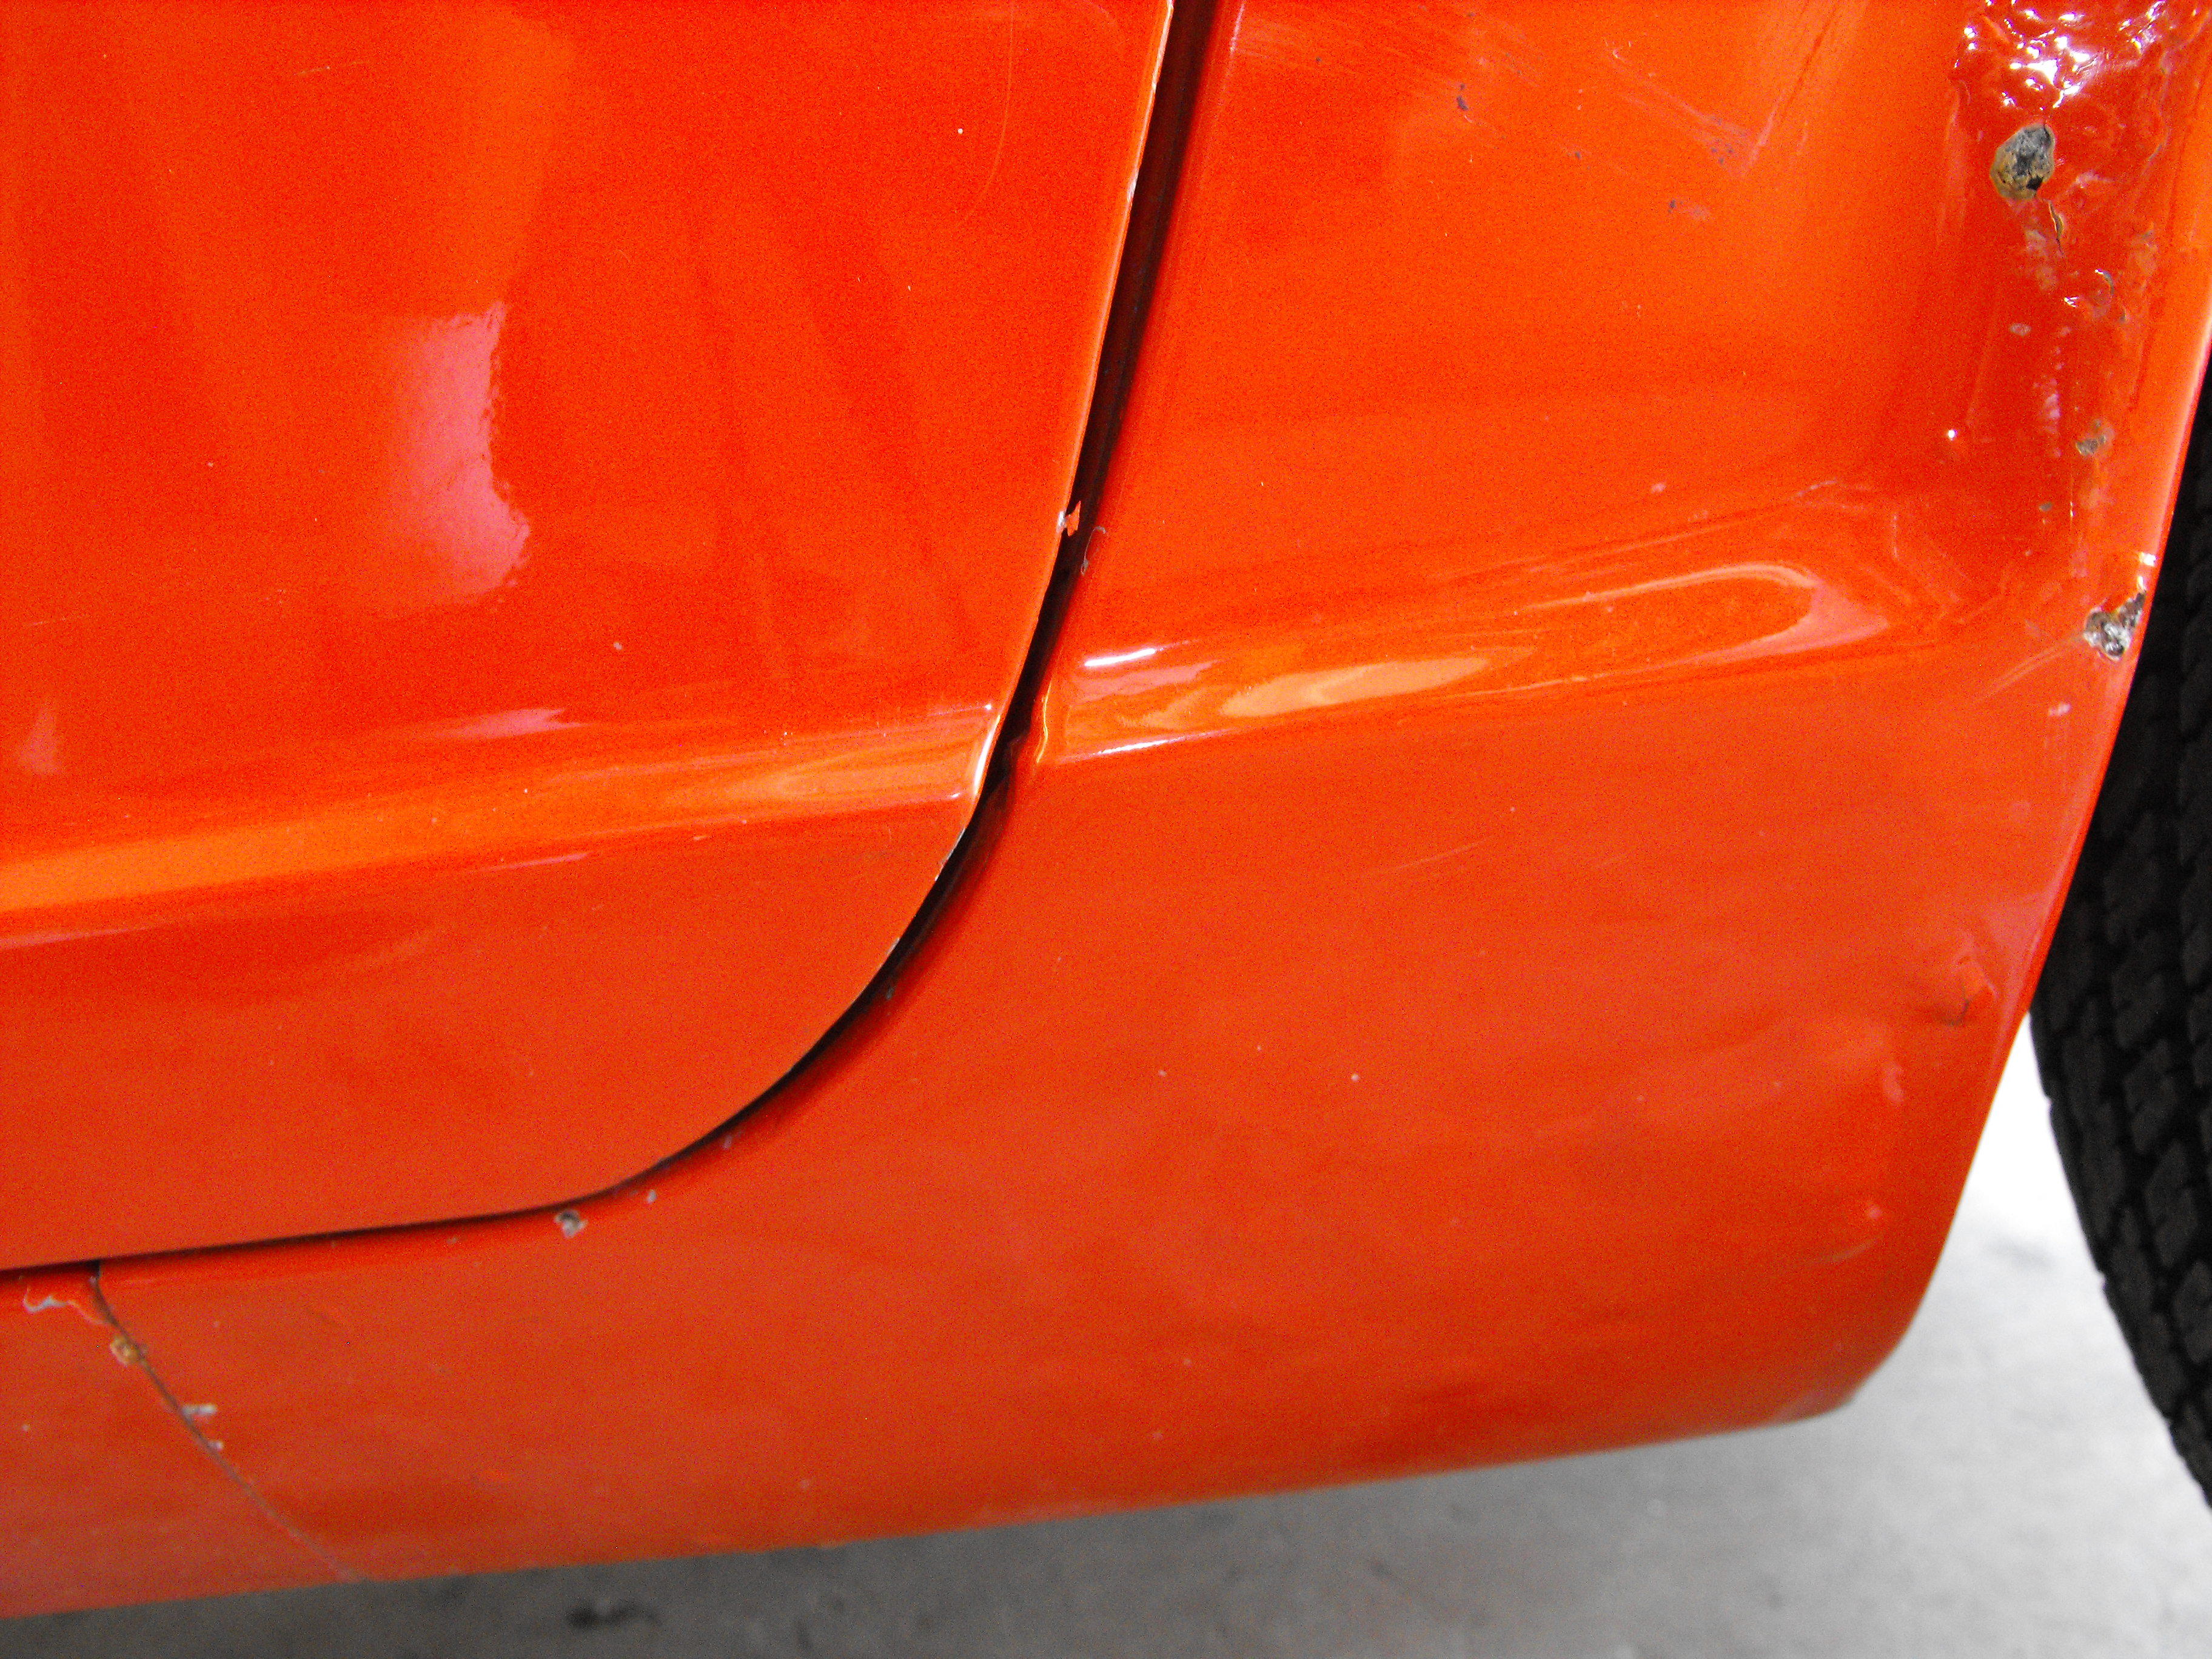
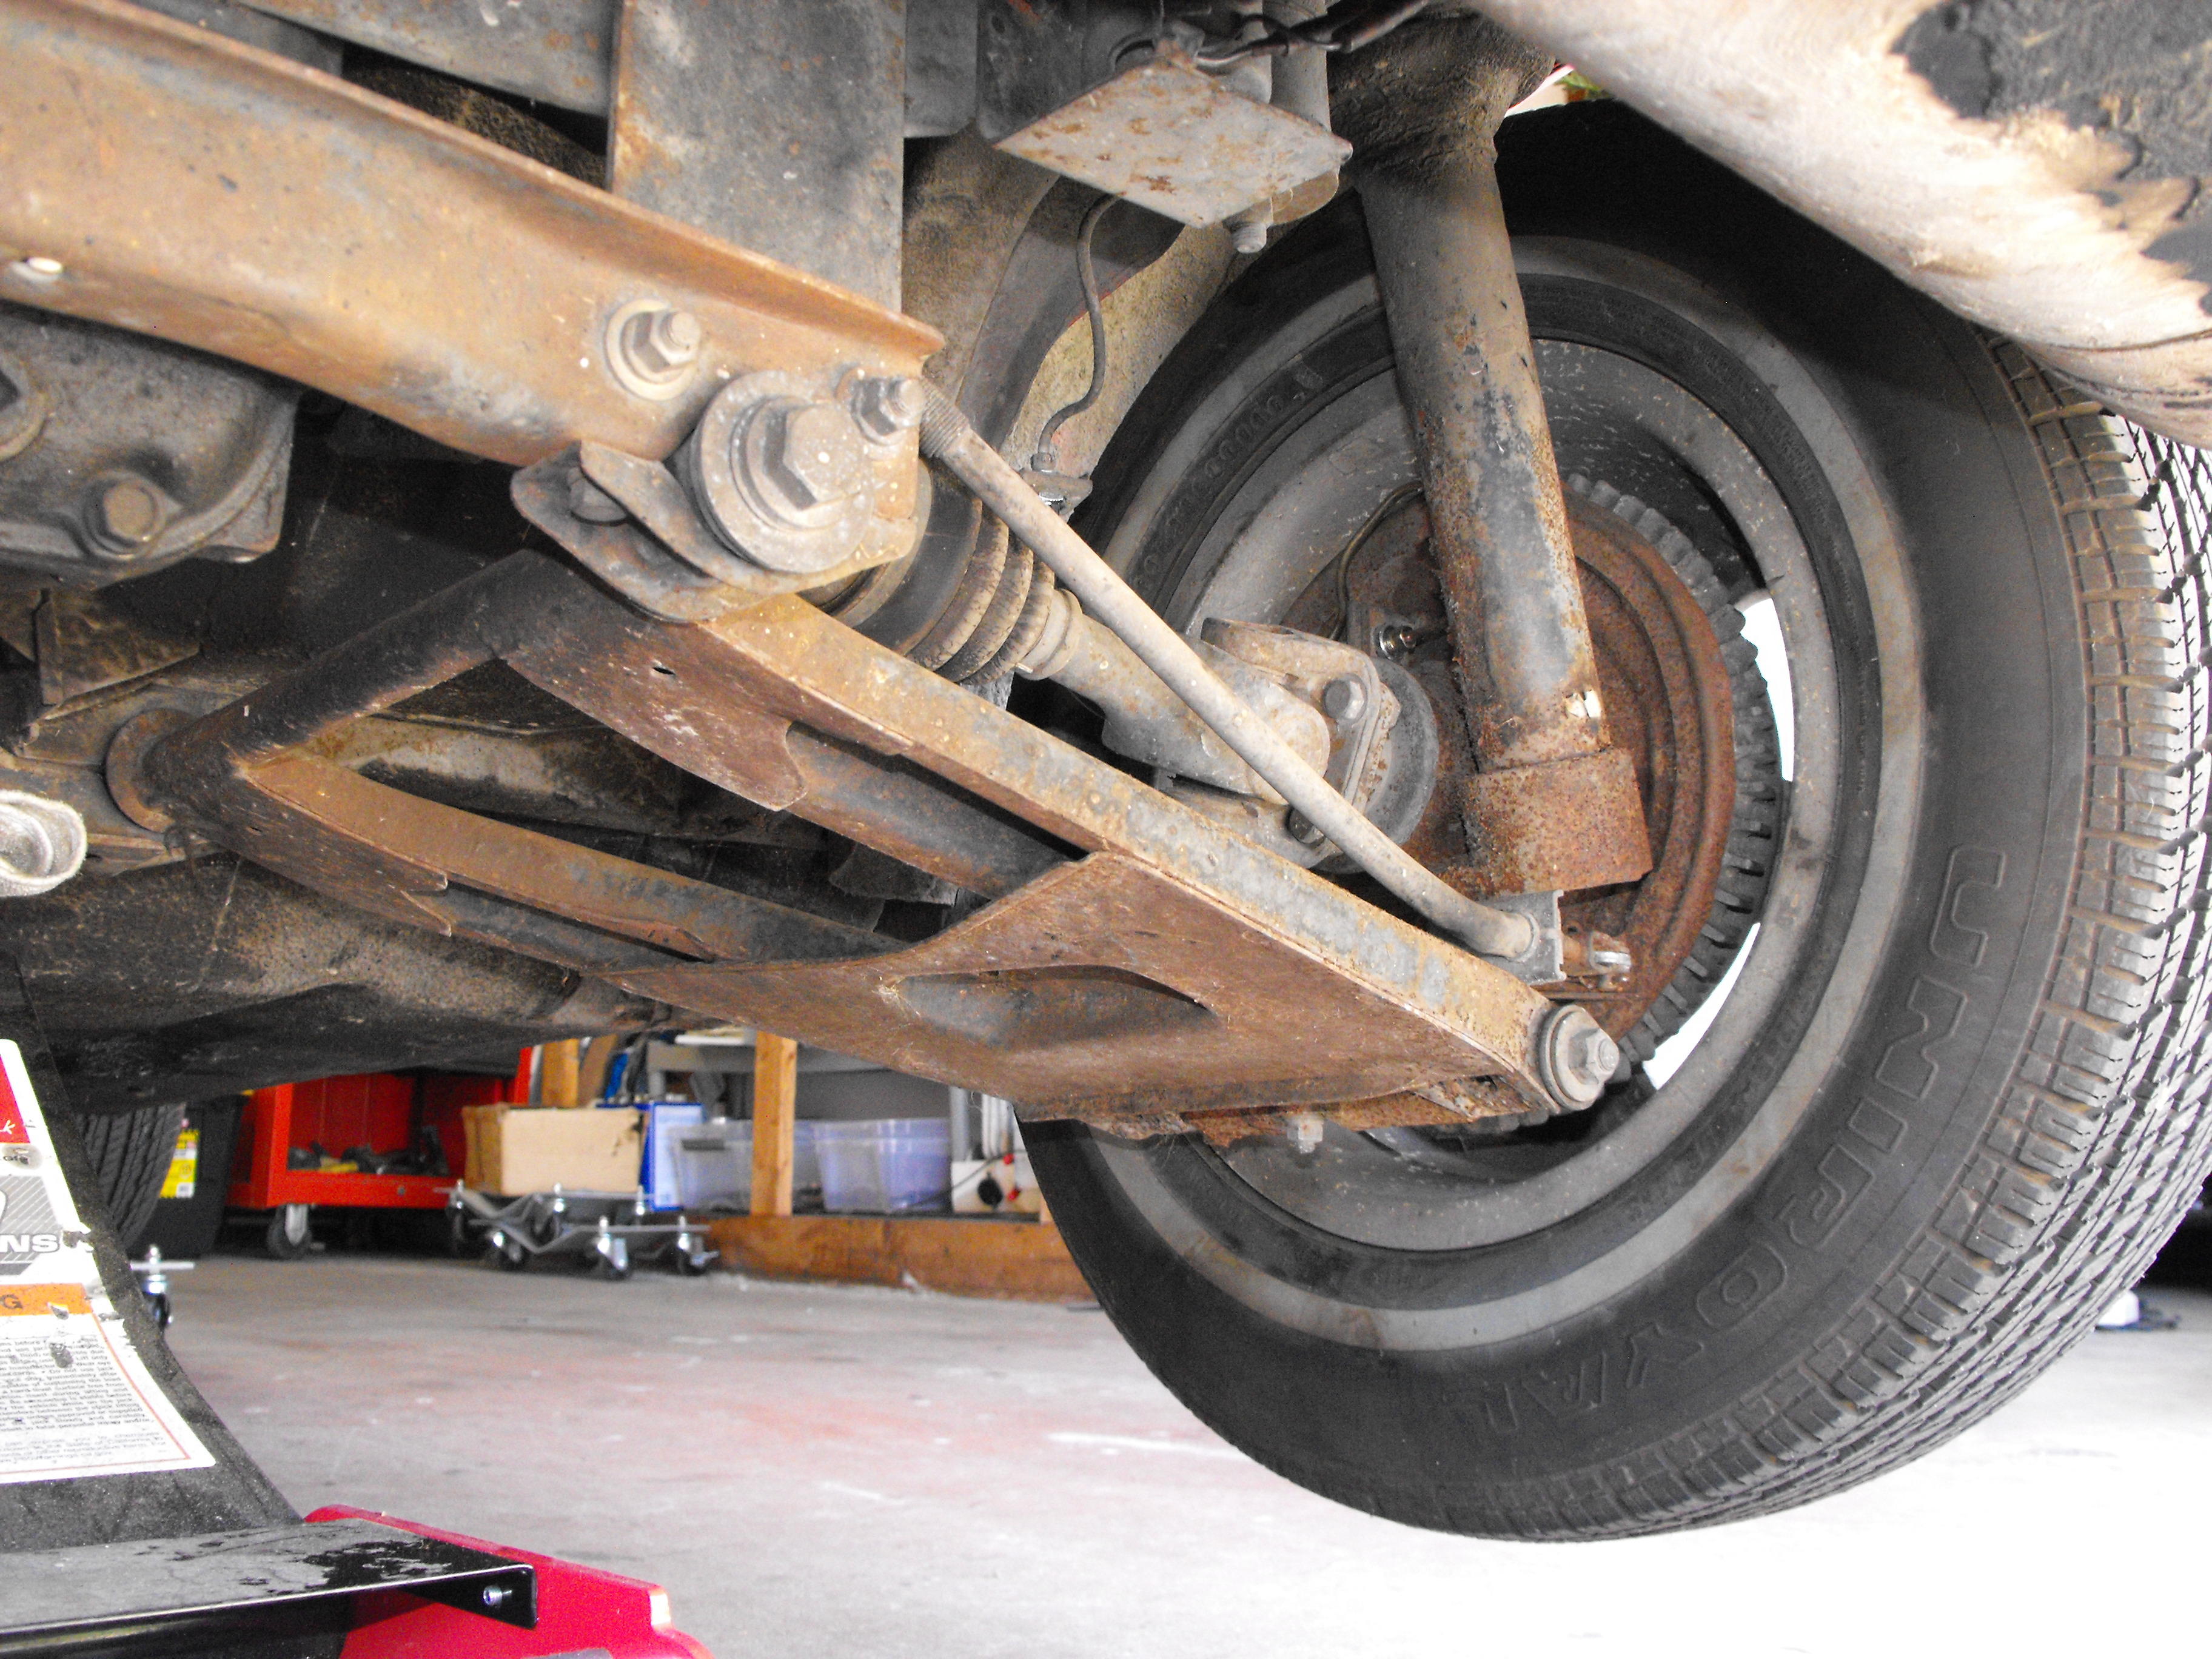
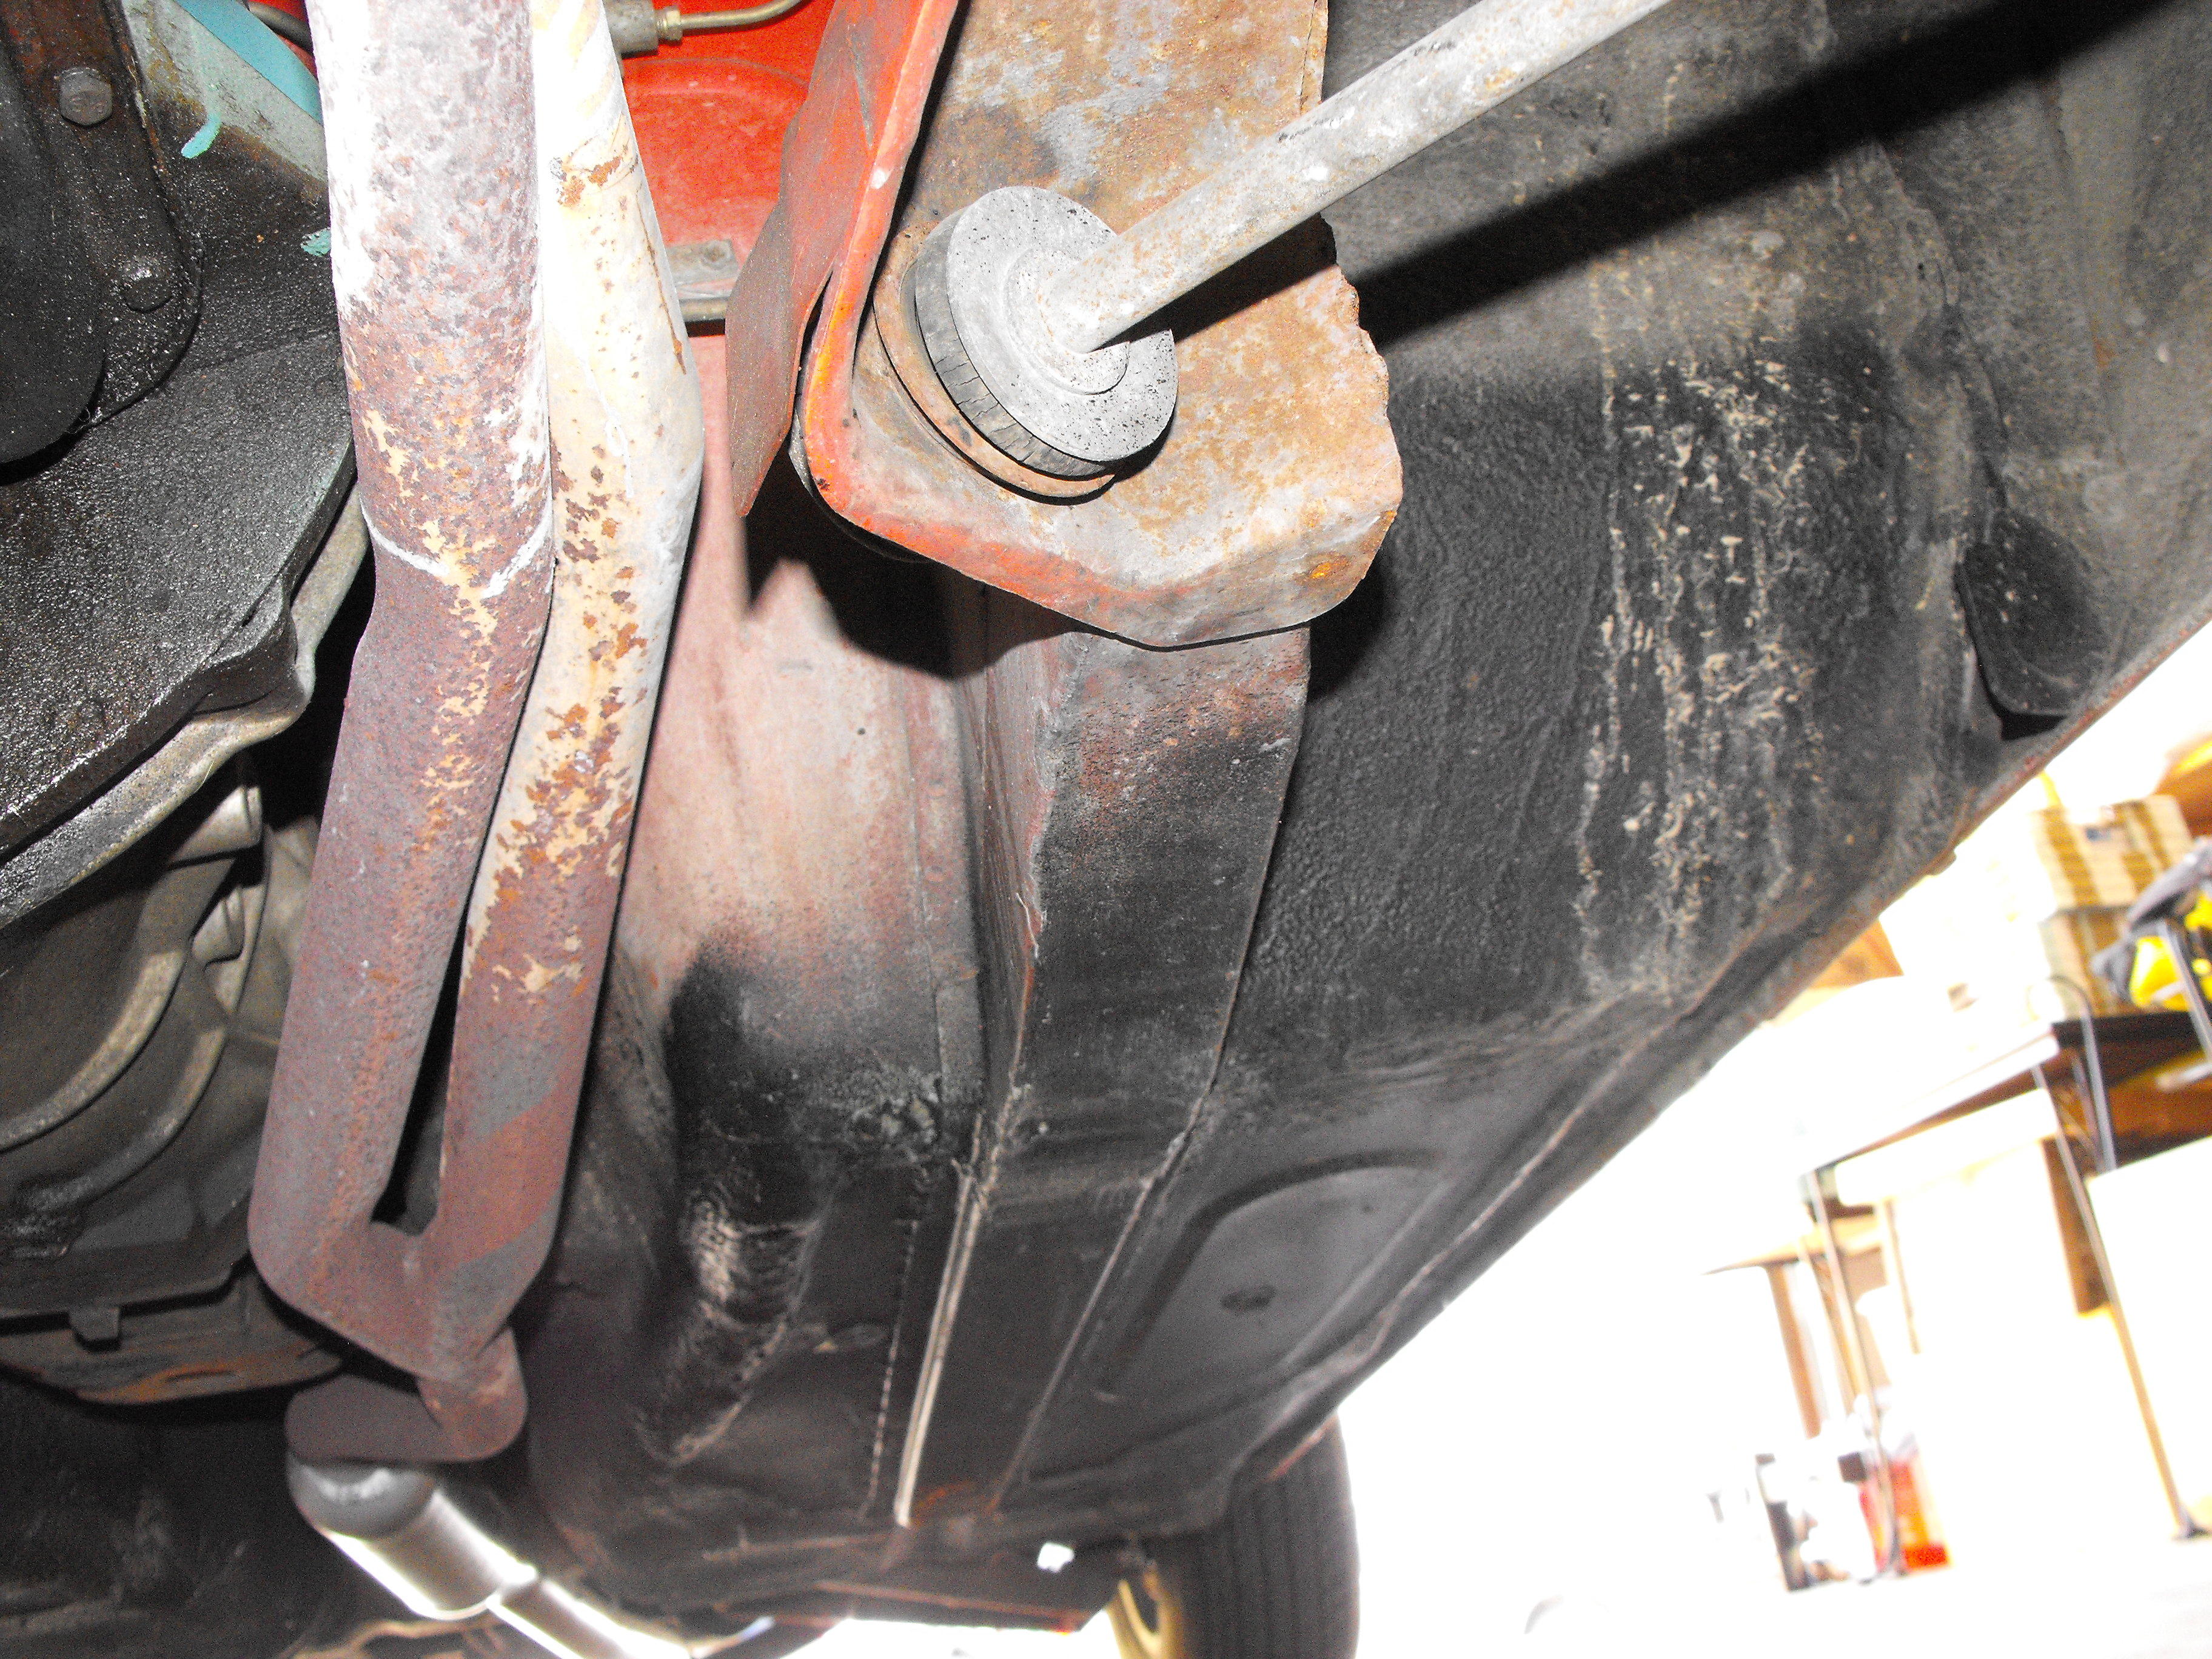
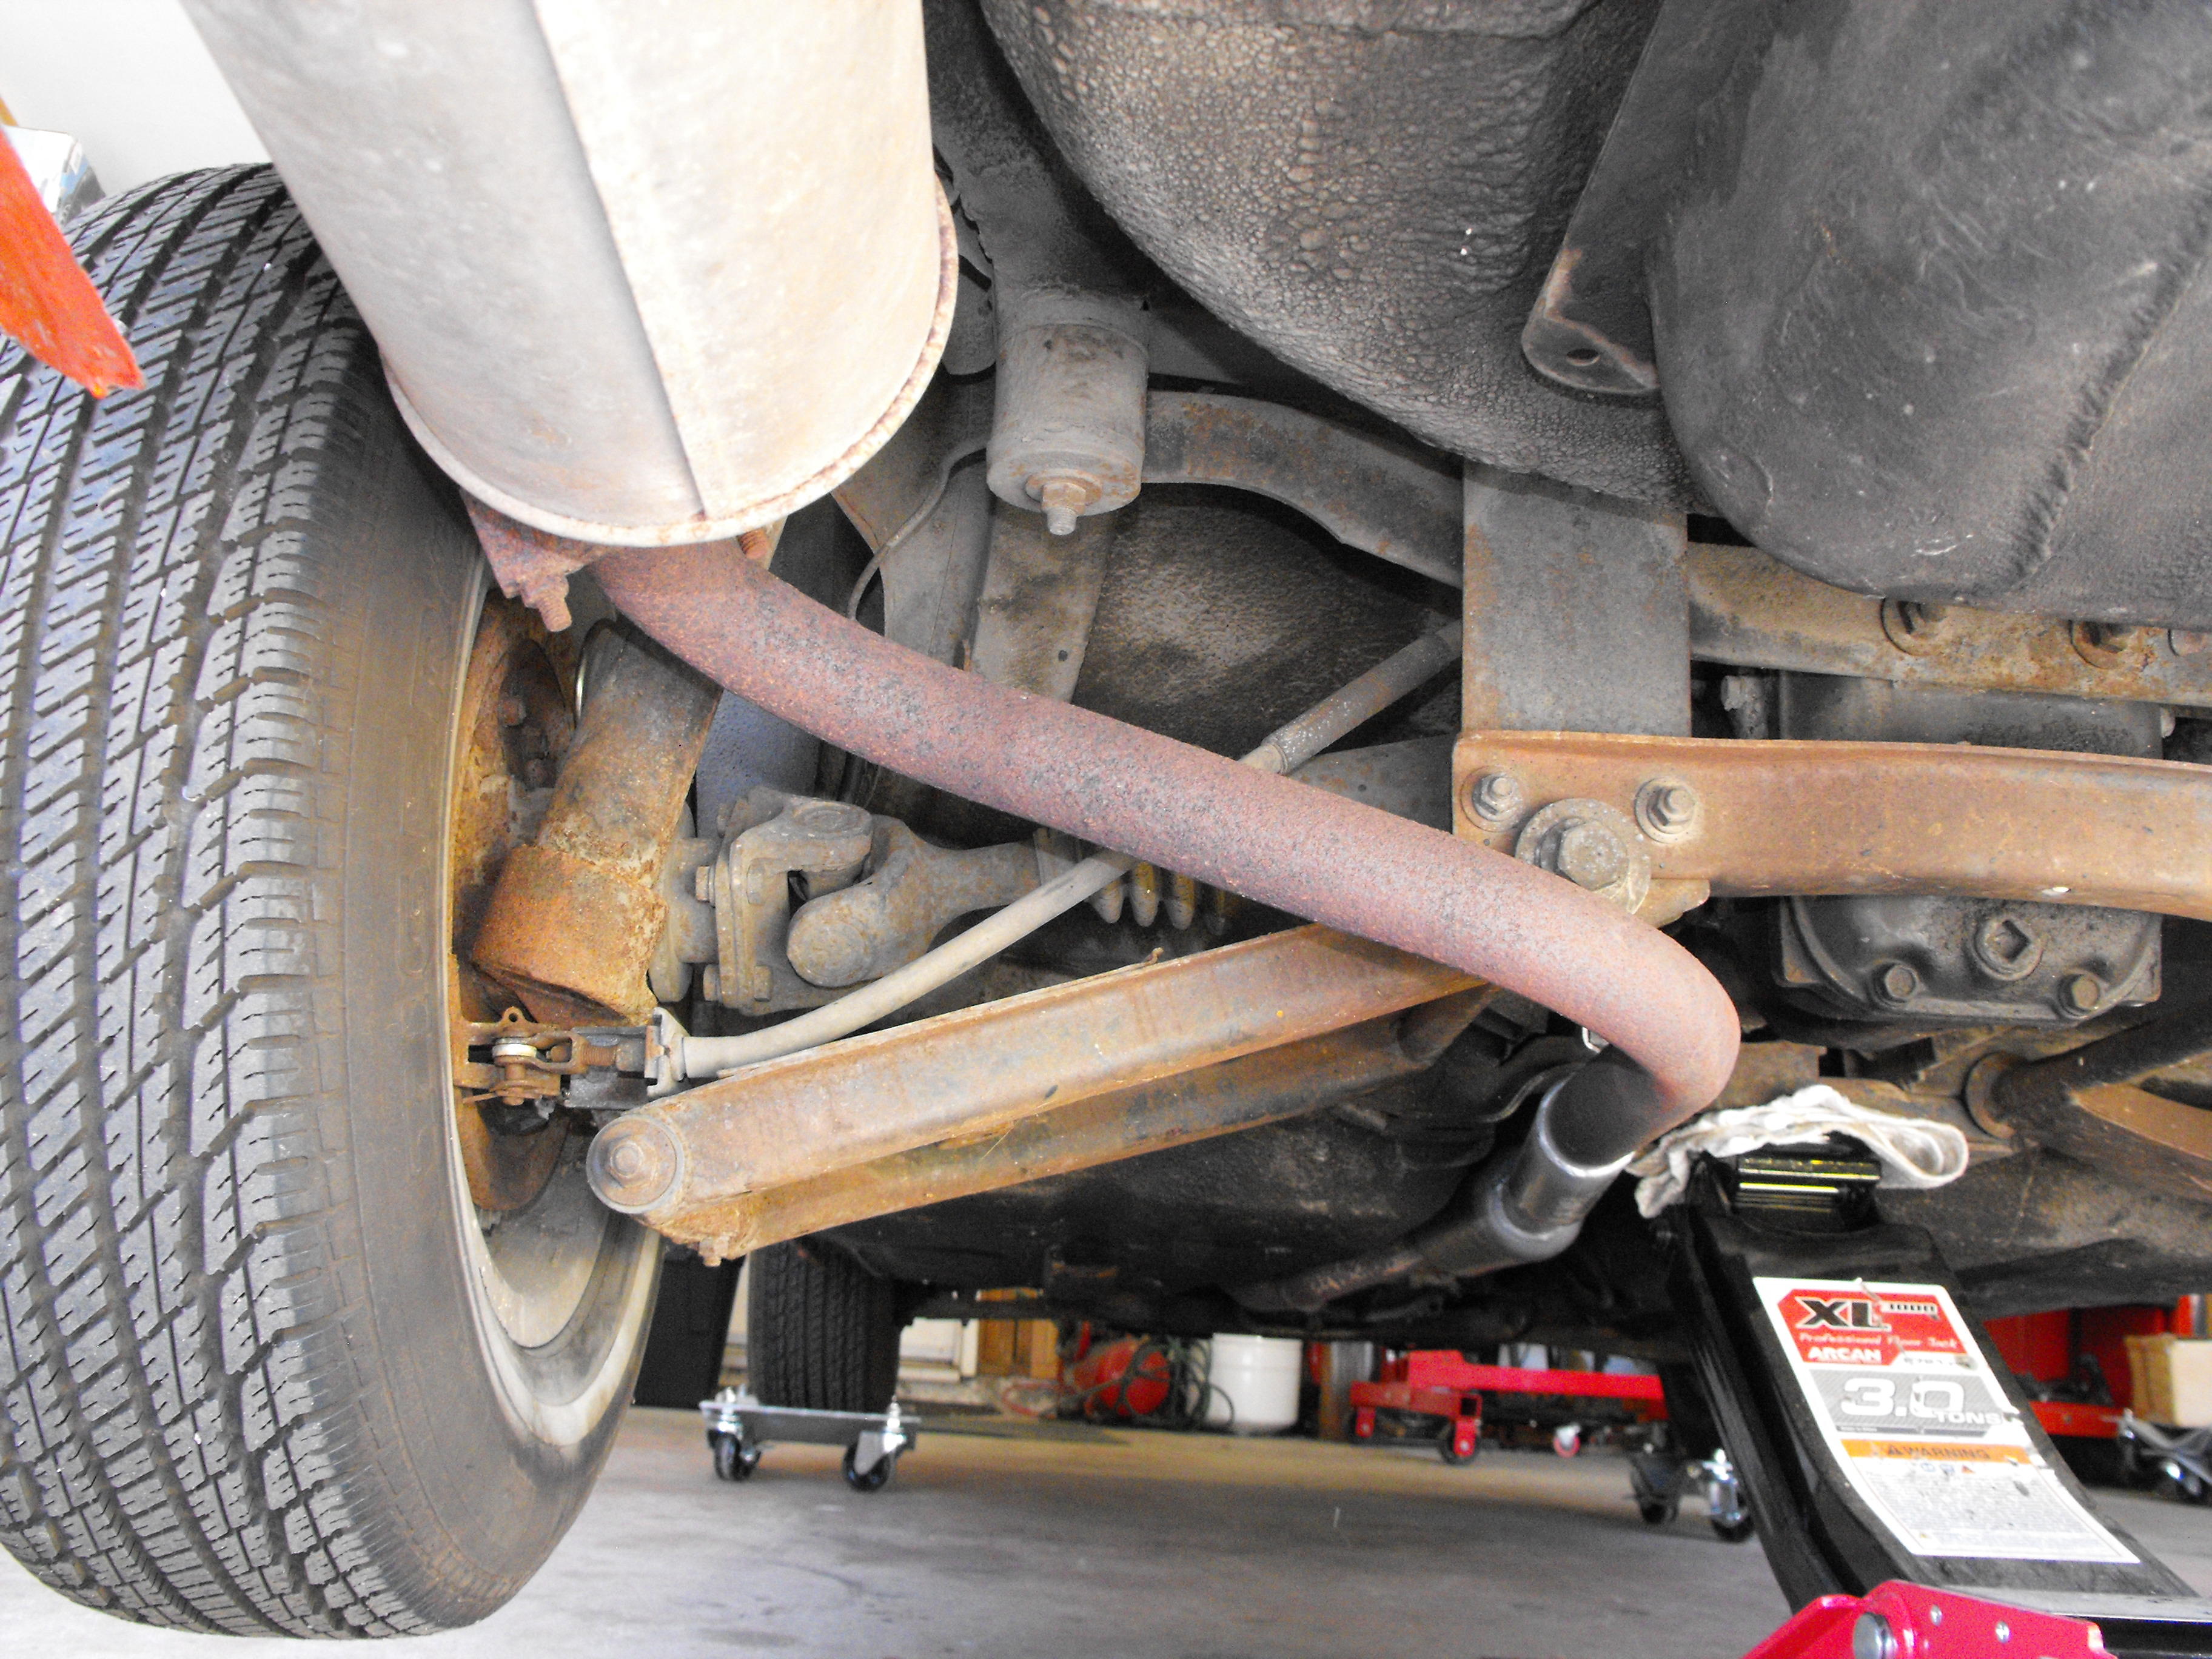
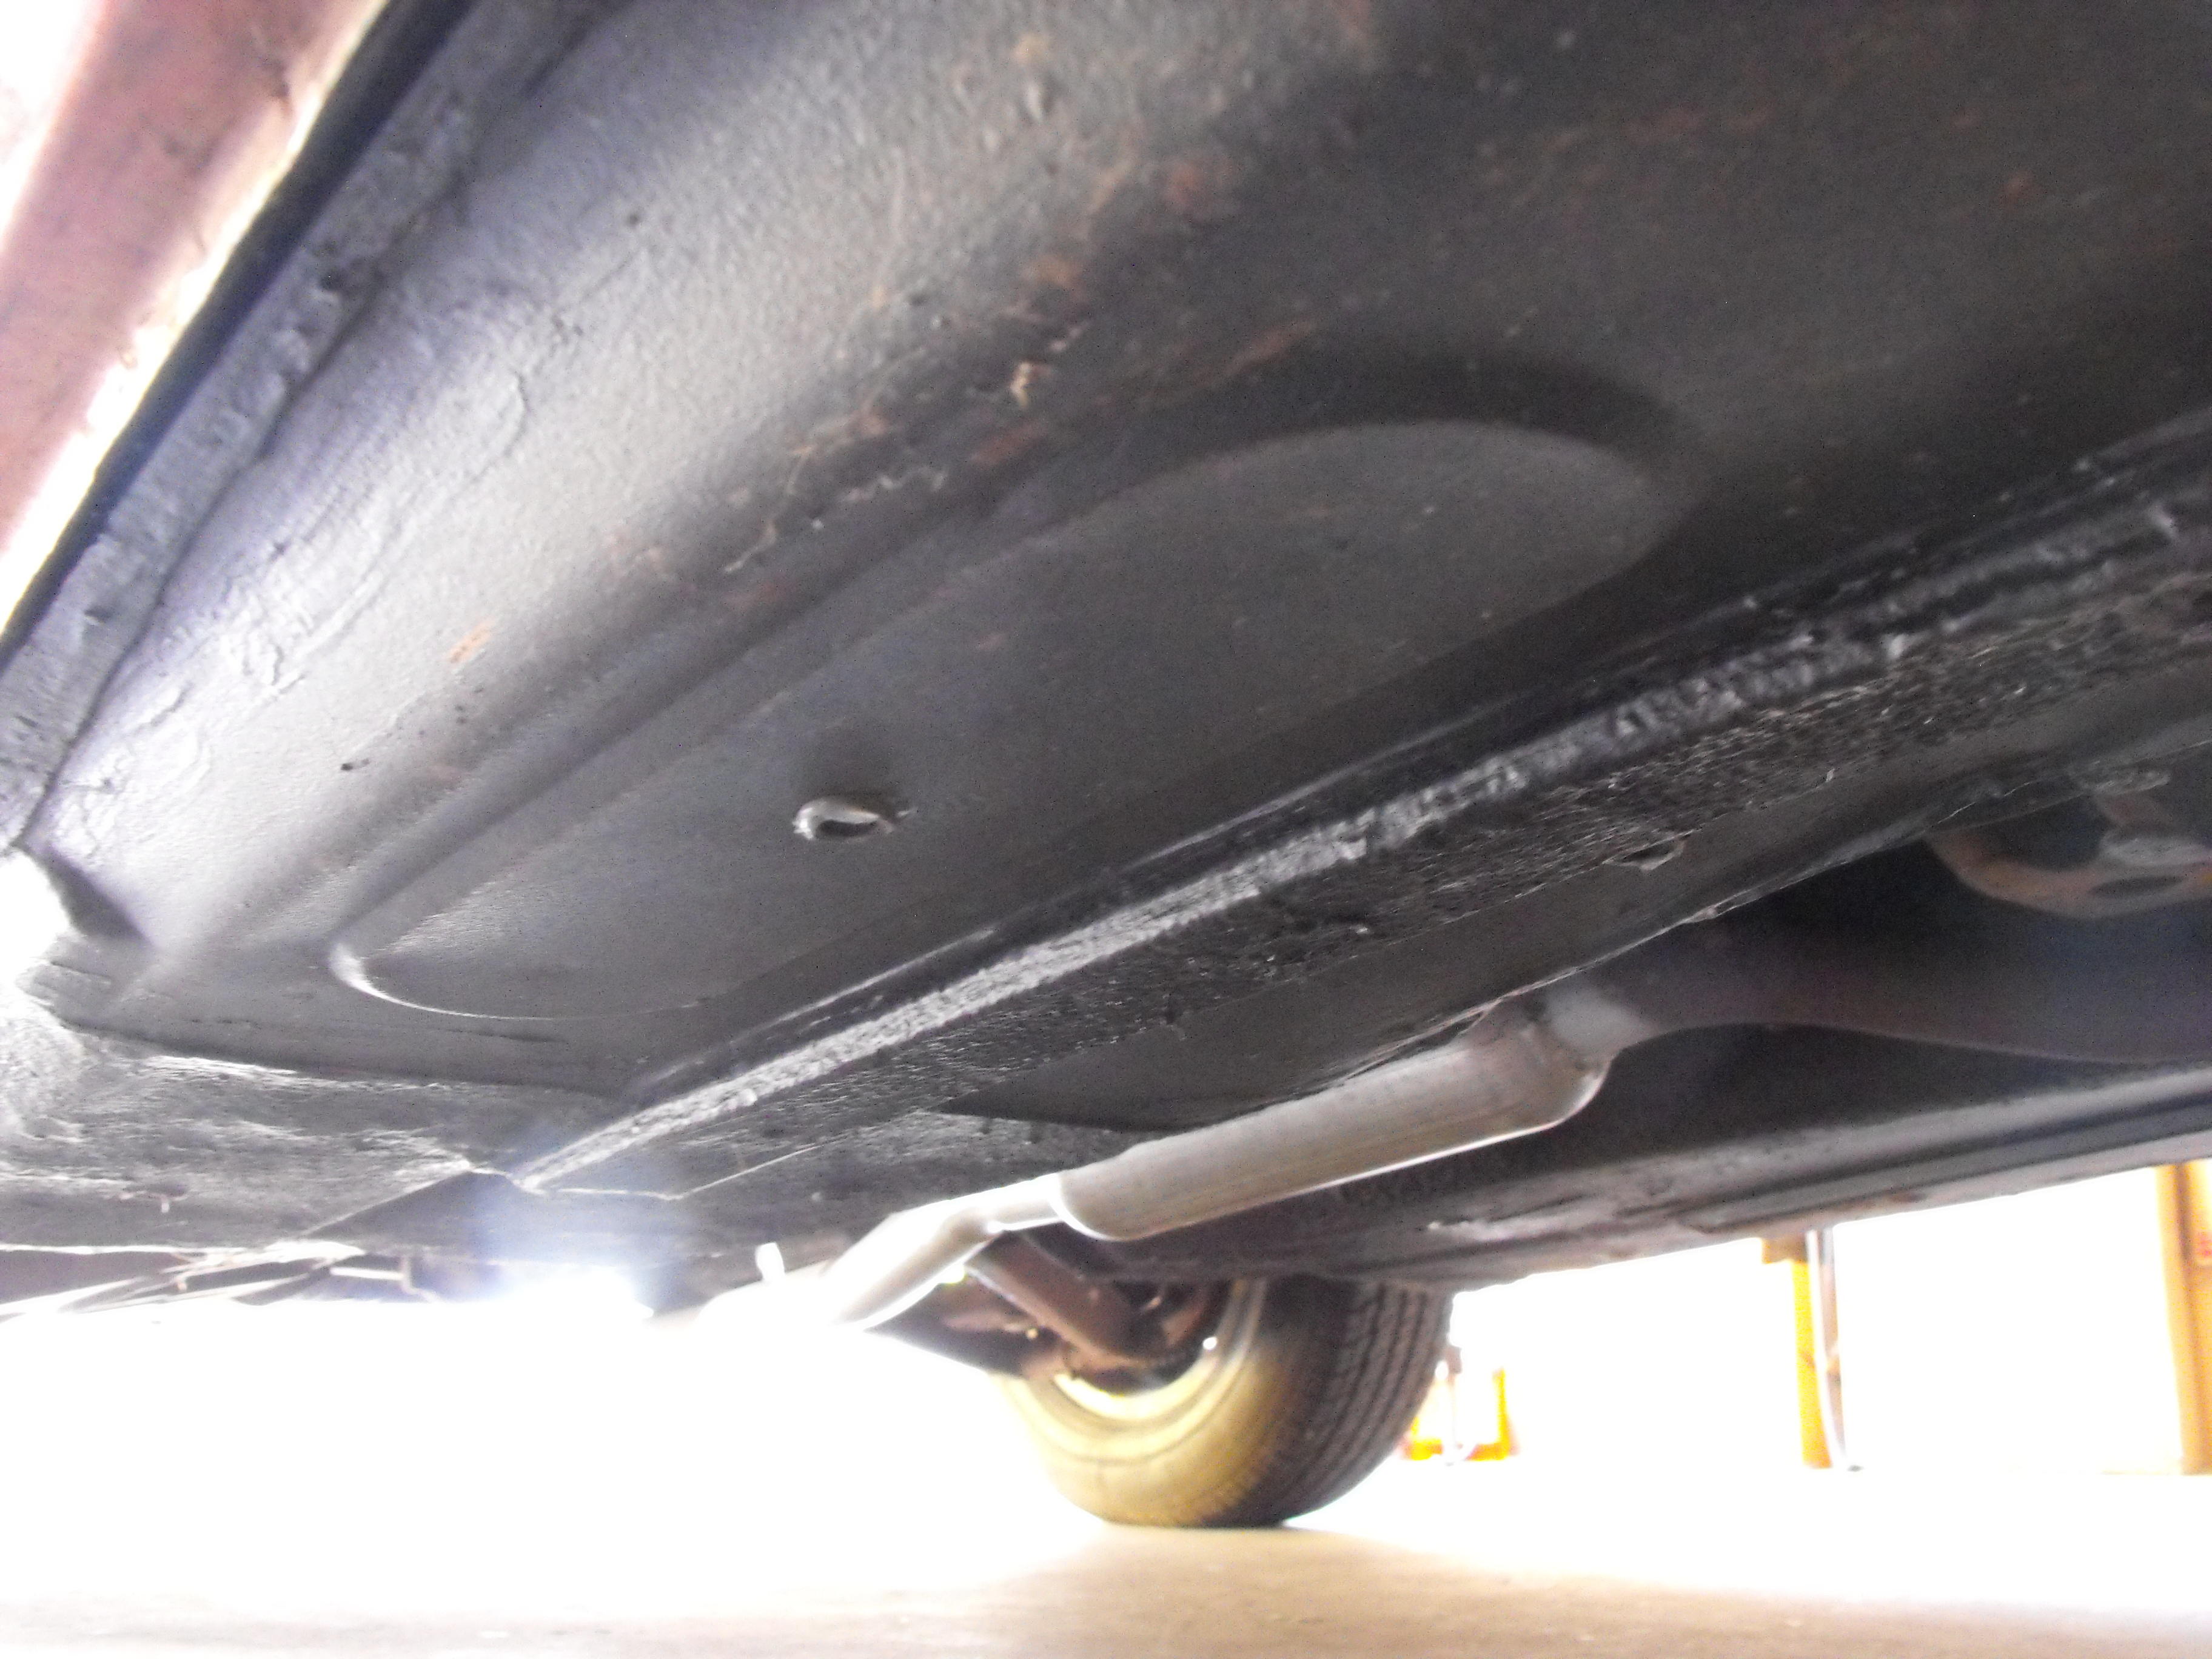
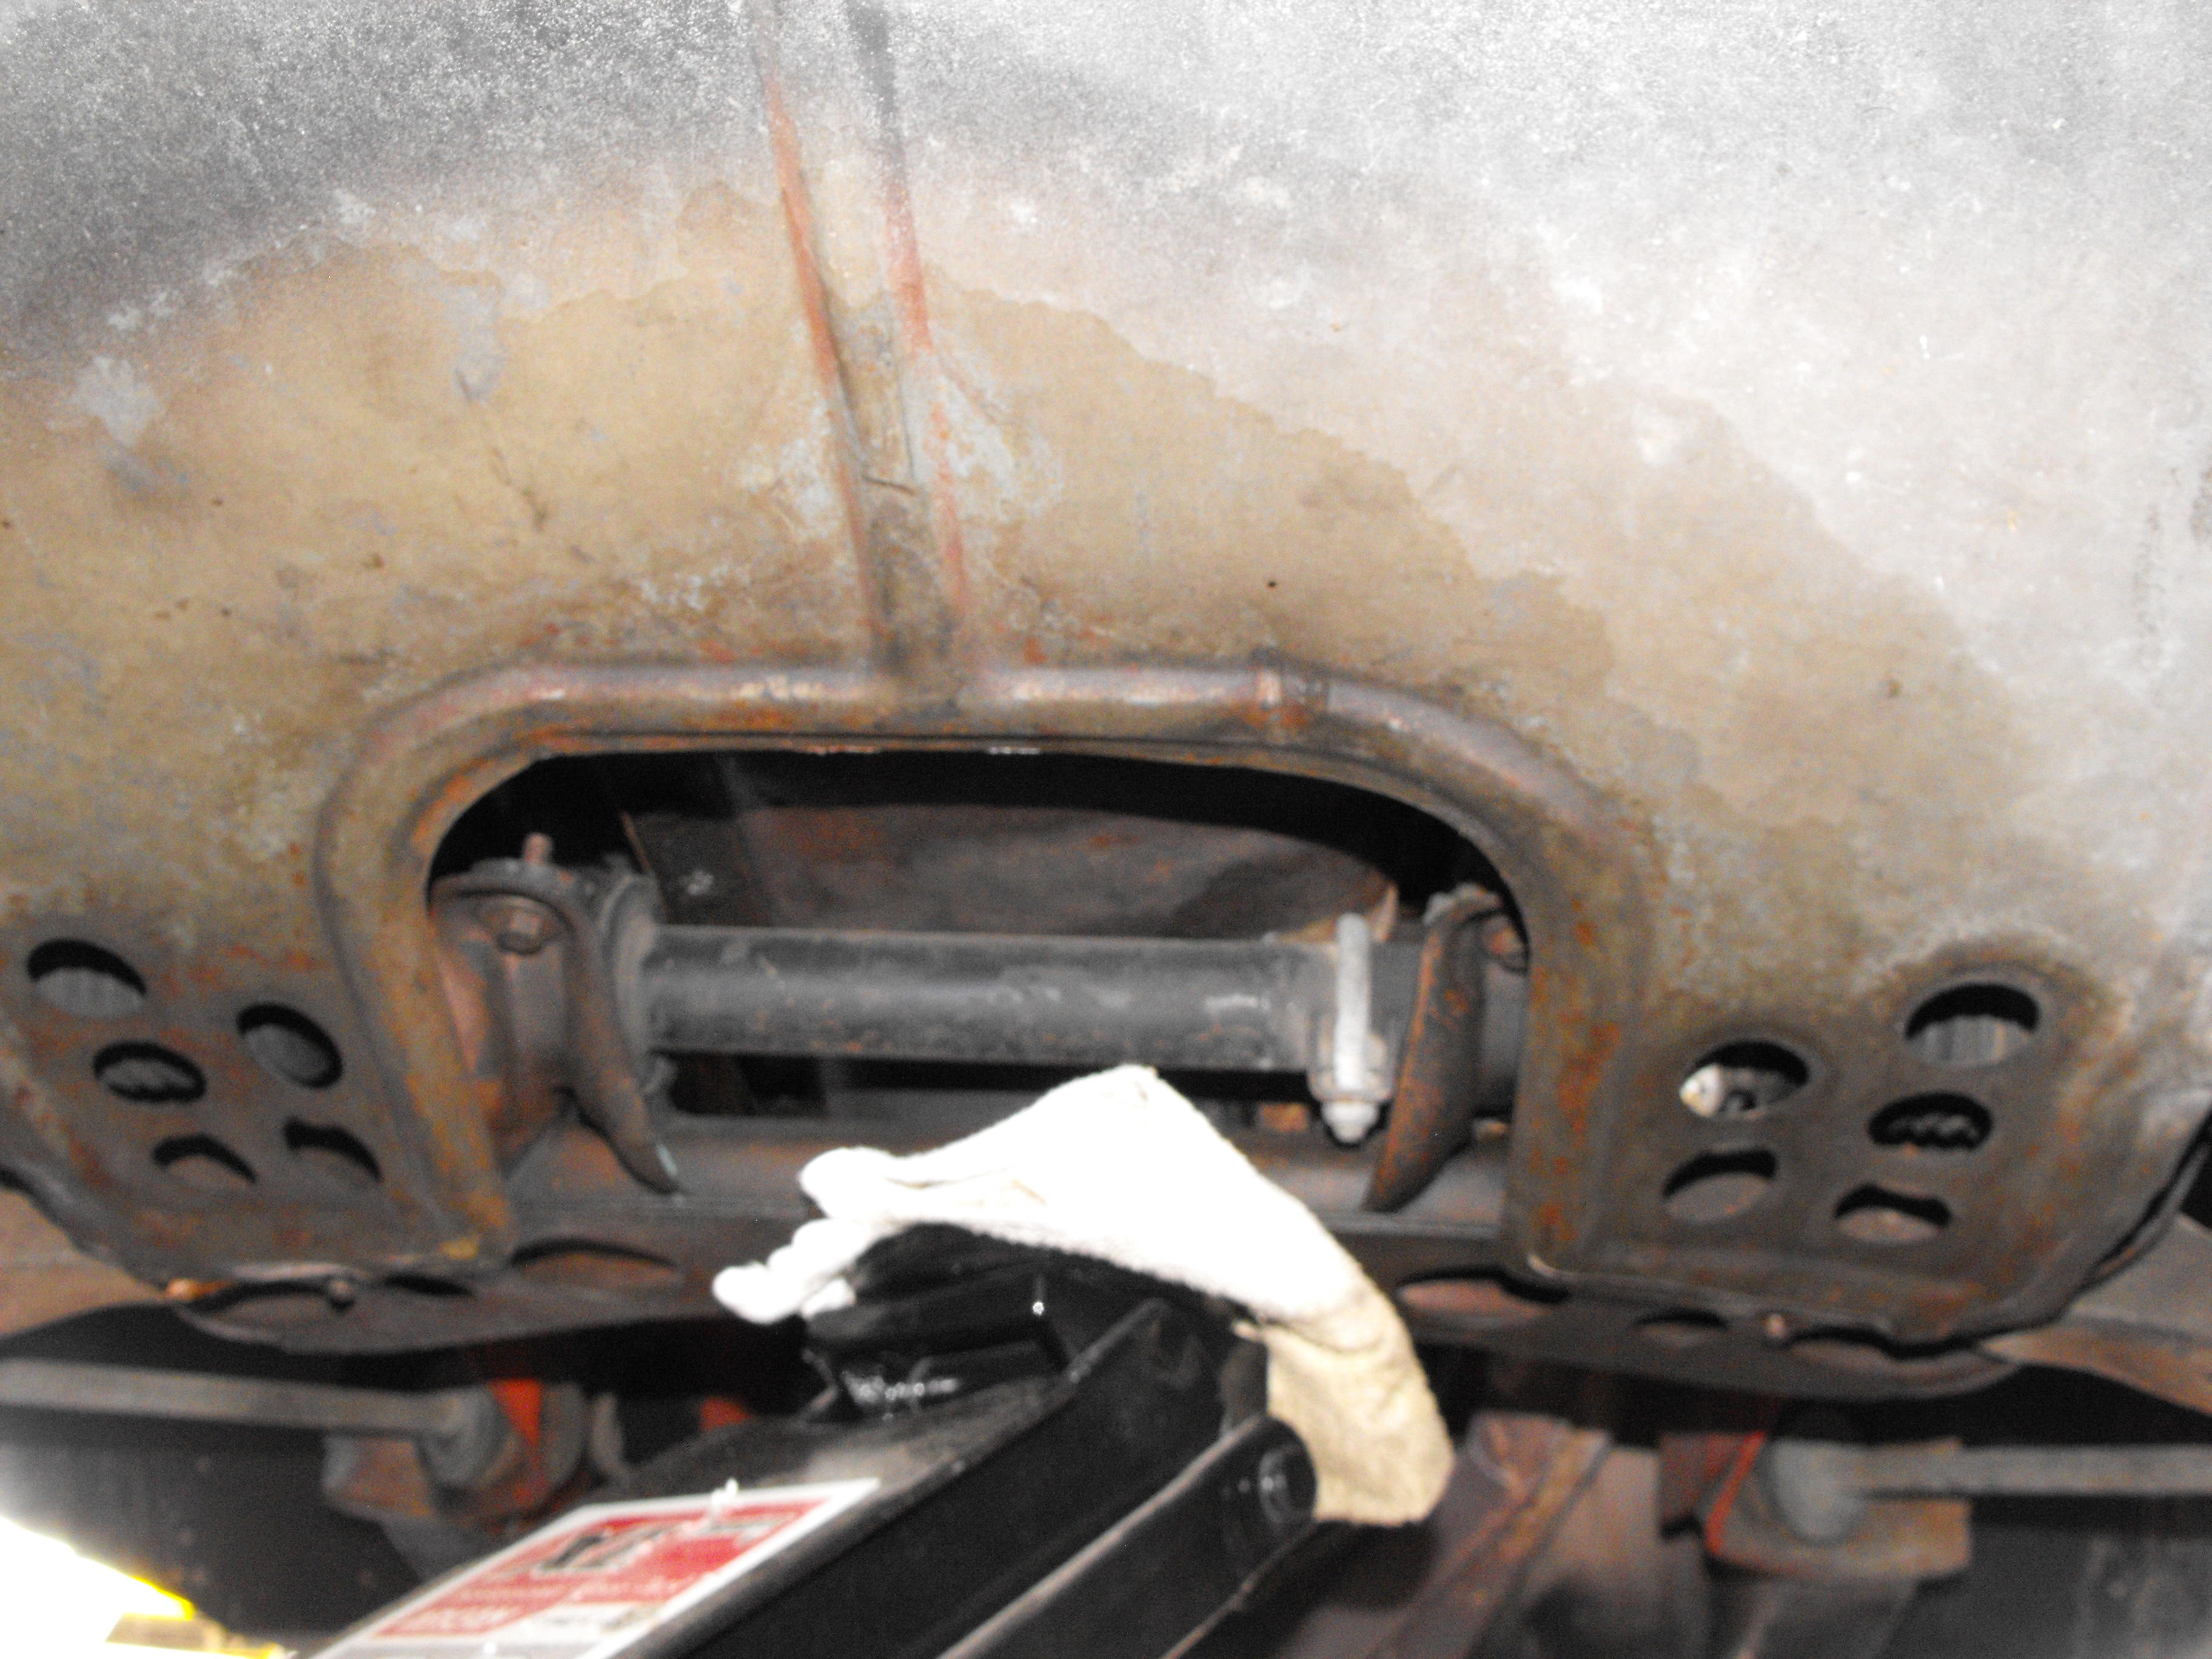
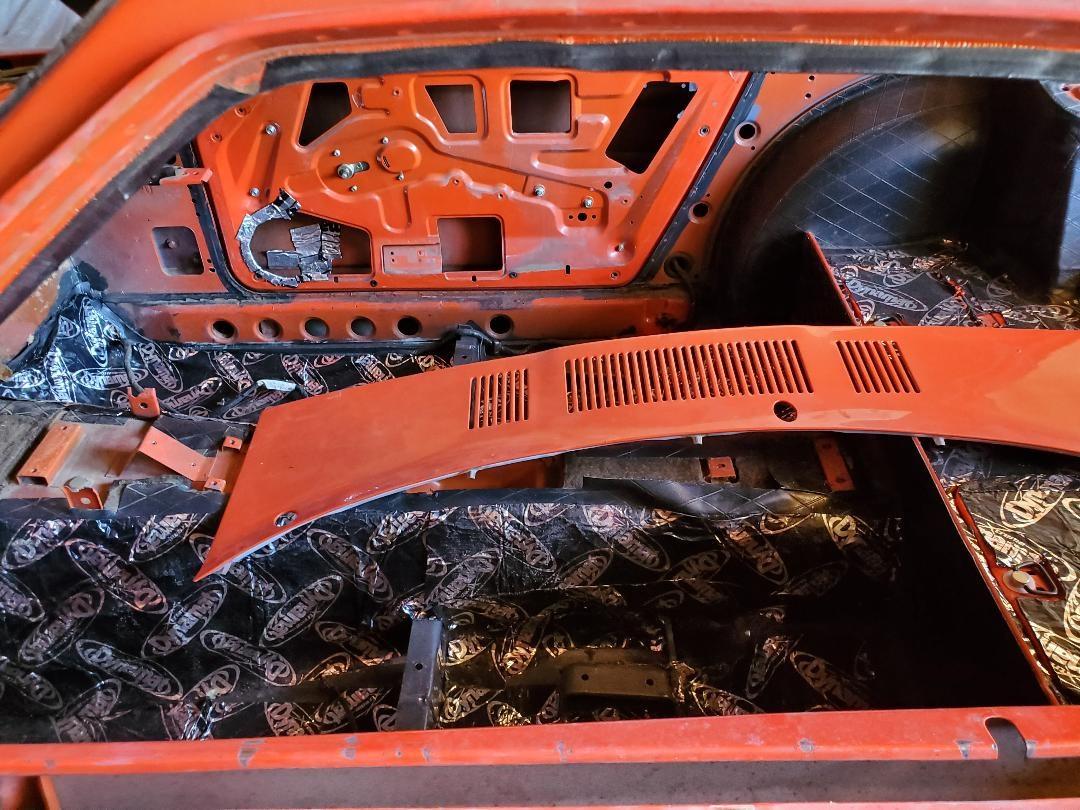
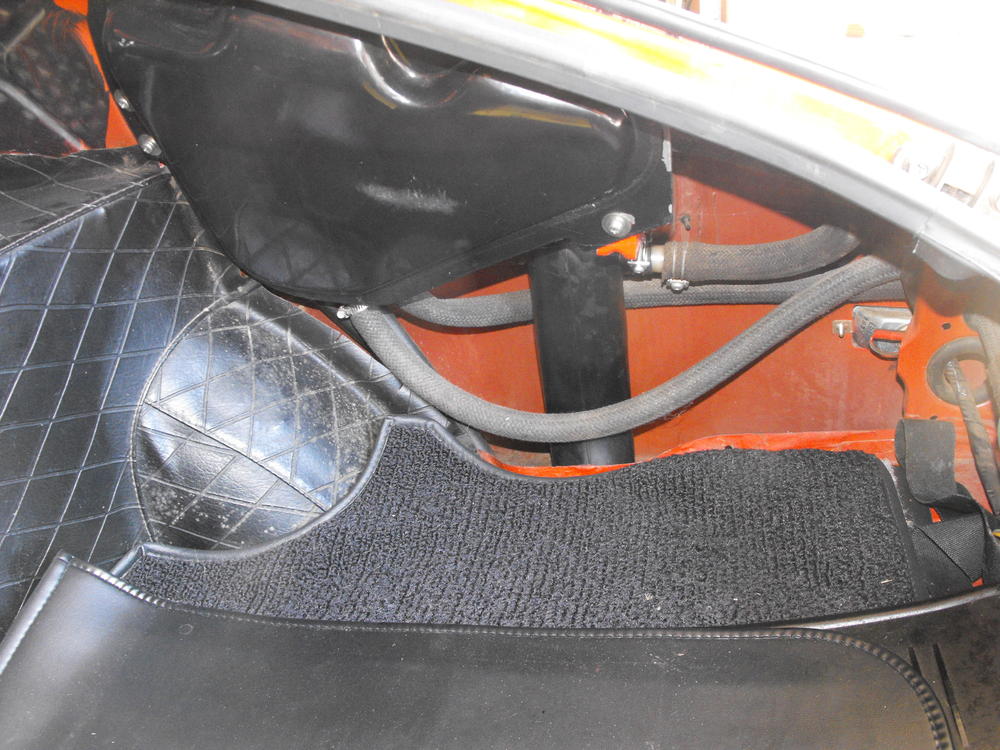
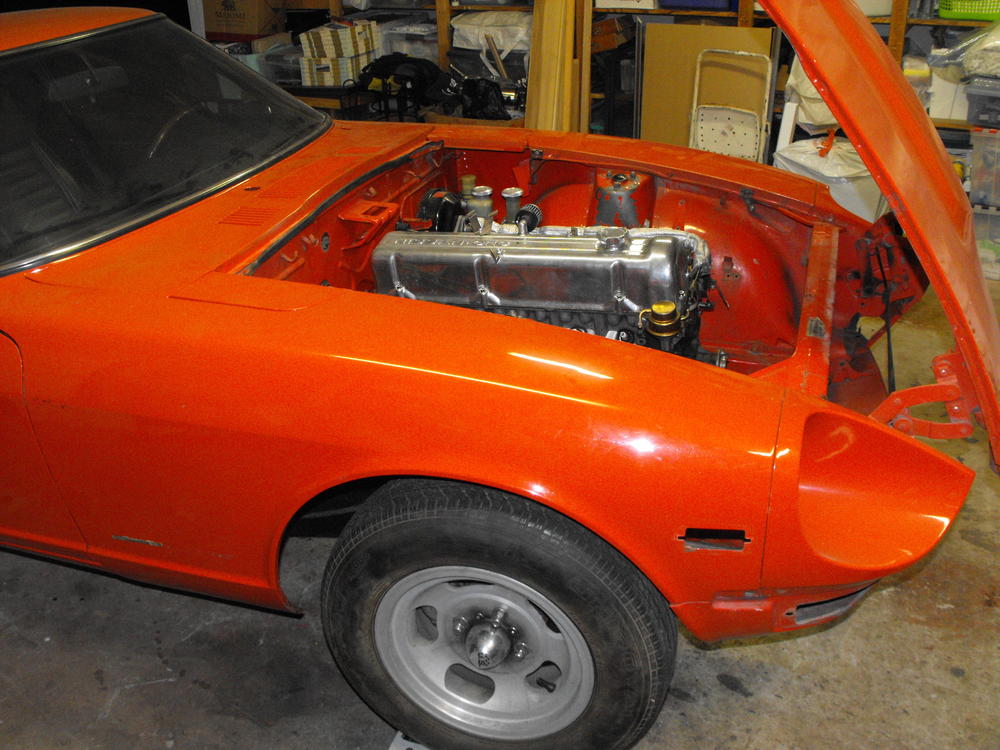
0 pointsHere are a couple pics from the shop. Went over the car with Miguel and discussed the plan with the body. Ironically, he said the body looks pretty reasonable with rust in the typical areas which was good to hear. However, the floor was not as nice as I had thought. Apparently the nice flat floor is new and was welded in on top of the existing floor. Will know more once the Dynamat is removed from the drivers and passenger floor and the car comes back from sandblasting. In some of the earlier pics that were posted, you can see where the original undercoating was removed (It's very thick) and the newer area is thinly coated.

 0 points
 -
0 pointsI had an “Oh Crap!” moment today installing the crankshaft. Was almost finished and torquing the main caps down. Followed the book exactly. While torquing cap #5 it happened. When the bolt goes from tight to loose all of a sudden. Yep, she broke. Torque wrench was set to 38 ft lbs. book says 33-40 ft lbs. I opted for something in the middle. Only good thing was there was enough threads sticking out after removing the cap that I was able to grab it with a vise grip and she came out easily. No tapping required. So, I’m at a work stoppage. I’ve lost confidence in the rest of the bolts so I’m ordering a new set. http://datnissparts.com/ld28-main-cap-bolts-set-of-14-for-datsun-l6-l24-l26-l28-240z-260z-280z-280zx-810-910-maxima-12293-v0700/ Planning on buying these. Yes, I confirmed the torque setting, wrench is new and high quality and I didn’t miss the break point inadvertently. Sent from my iPhone using Tapatalk0 points