


Leaderboard
-
zspert
Free Member6Points382Posts -
Datsunbat
Free Member4Points68Posts -

Zed Head
Free Member4Points19,236Posts -

Jaymanbikes
Free Member3Points333Posts


Popular Content
Showing content with the highest reputation on 12/29/2018 in Posts
-
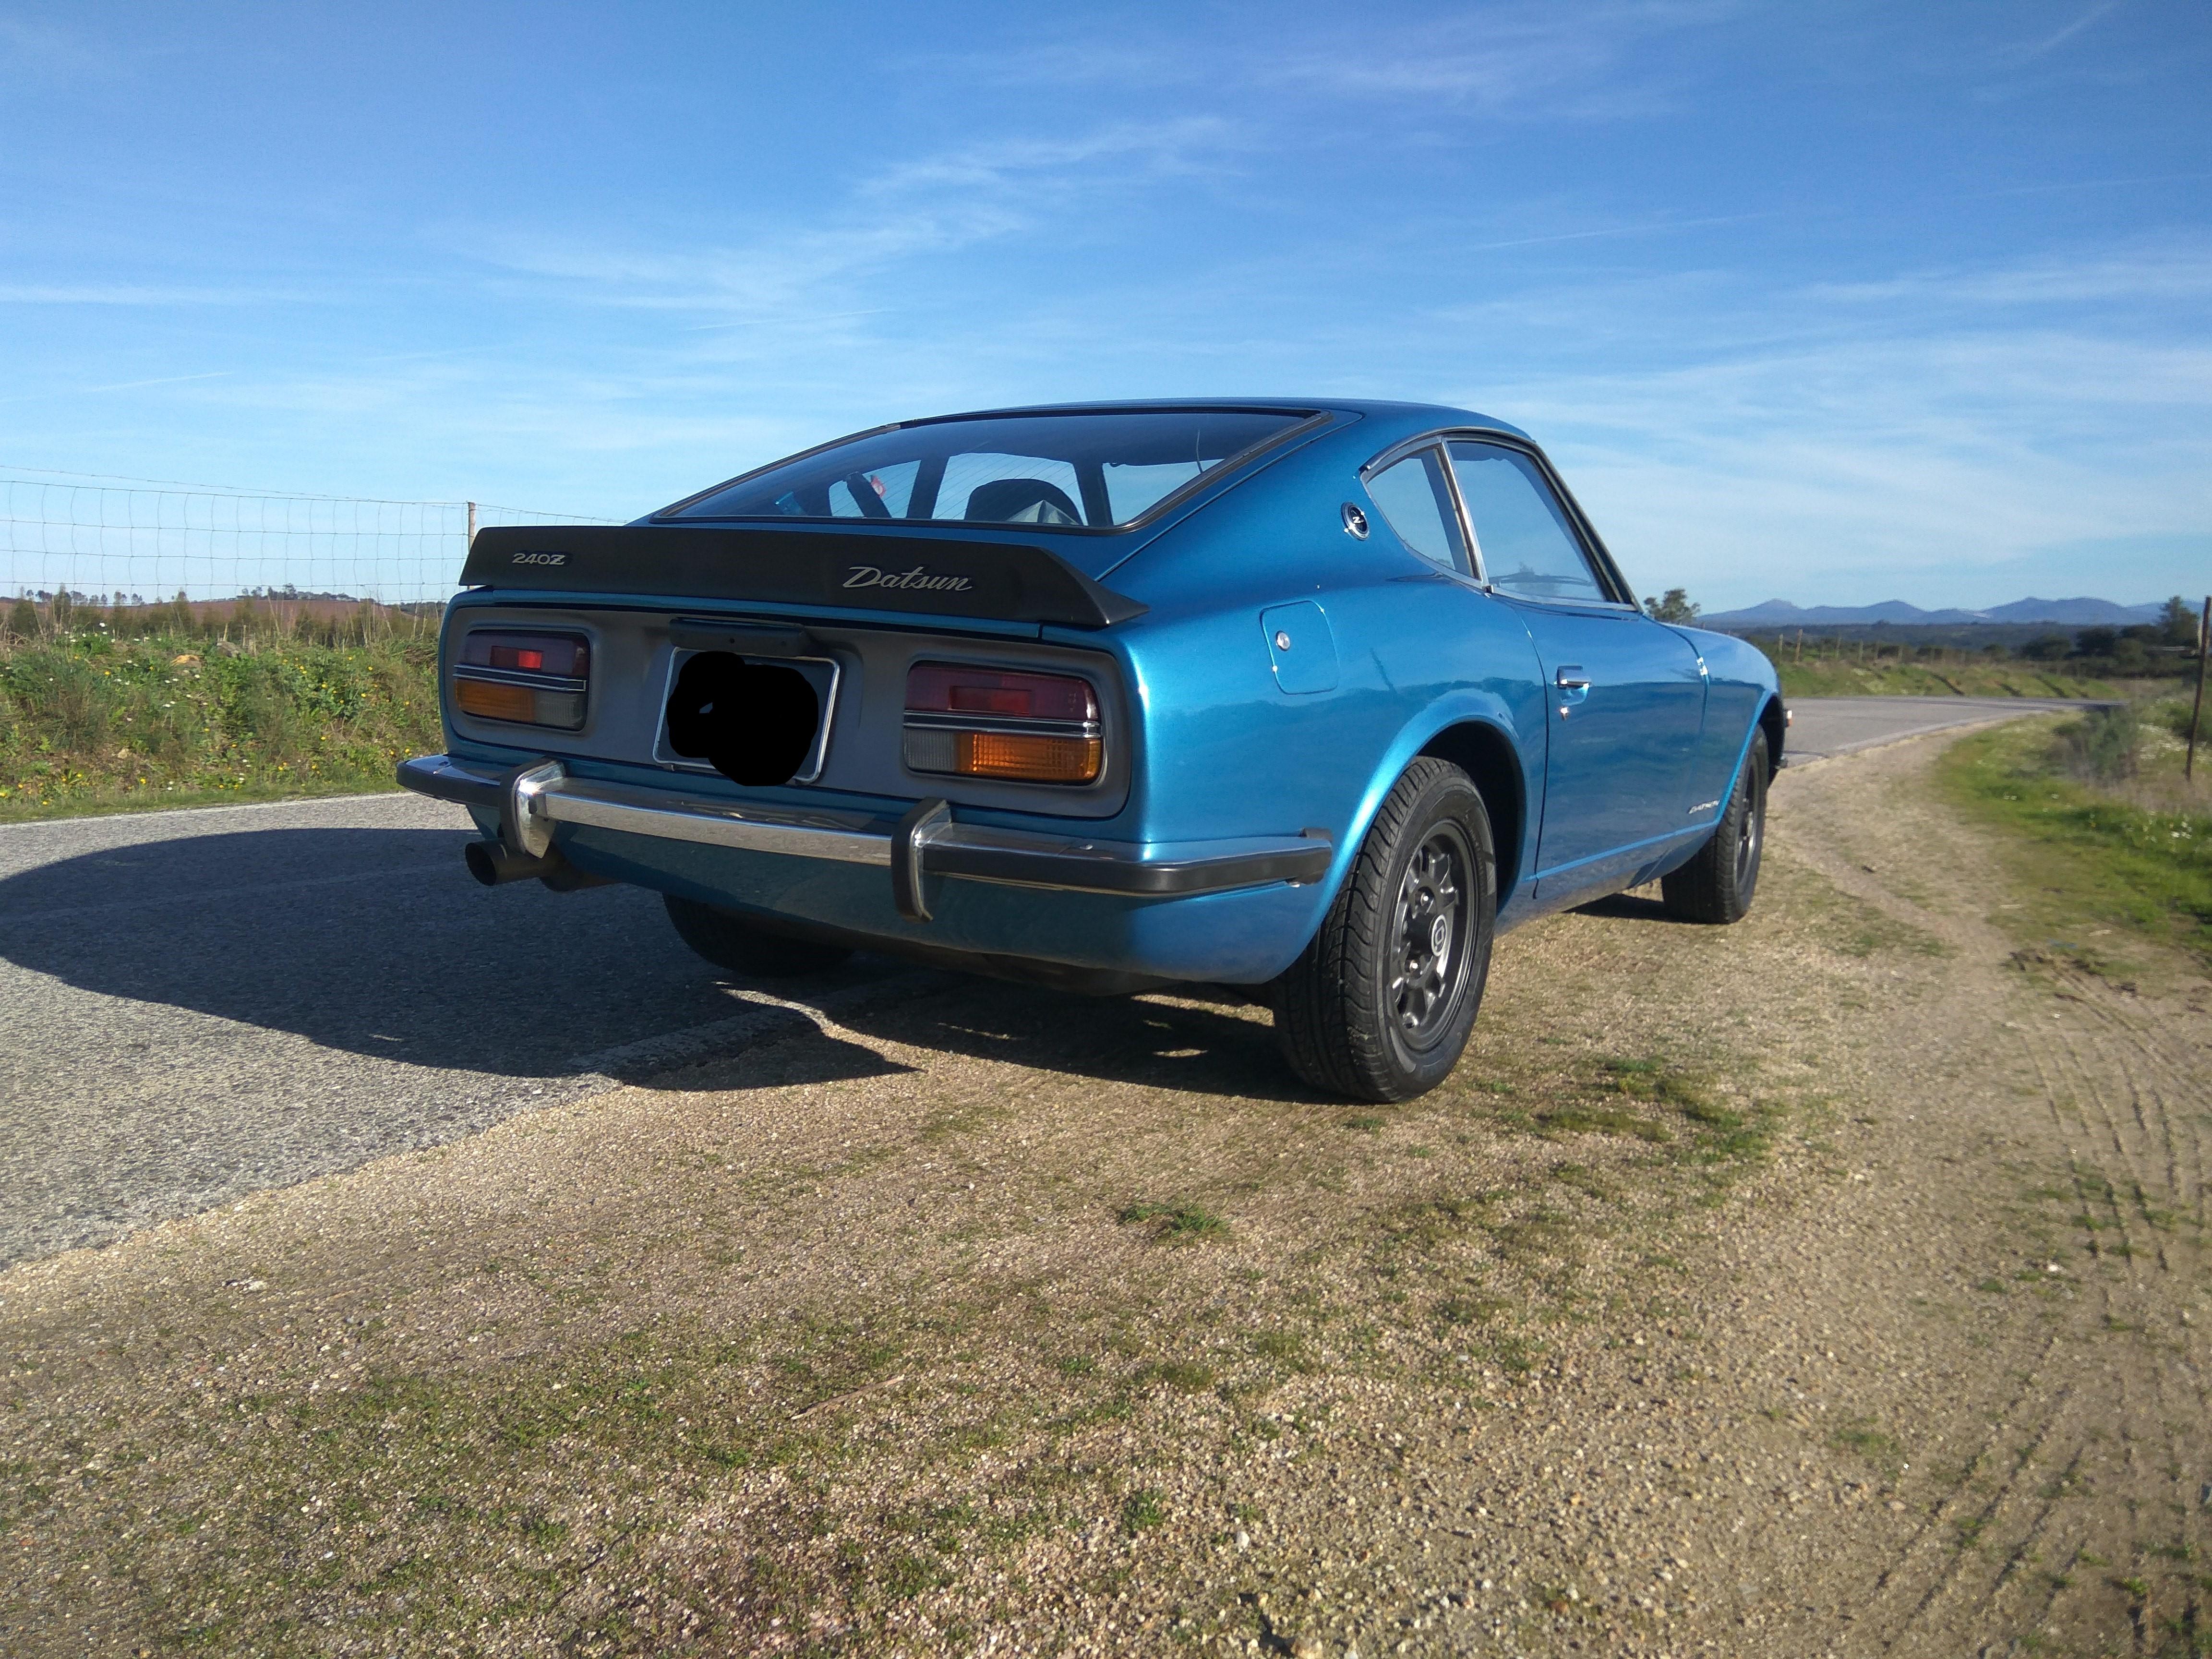
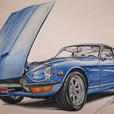
3 pointsHello my friends, Some more parts intalled during this week! I wish I could finish it before the end of February…let’s see if it’s possible! Right now the issue is to assemble the engine and clean/paint the members under the car. The next task is prepare the car to receive the engine and ear box…I’ll take the hood and fenders again. Let’s see the photos… Relay…I don’t know where to install it… New rubber a cleaning… Installed… The resistanse installed too Water bottle and the famous piece… Installed… Painted in it’s correct colour… installed Seats covers…it’s excellent…love the final result. First seat mounted… A picture of me seated on the new seat inside the car… New symbols… Belt hooks… Brake pump got cleaned and polished,,, Final result.. Getting ready on the engine bay Then…Datsun 1200 take me home….eheheheh Hope you enoy this good news!!! Regards Mário3 points
-
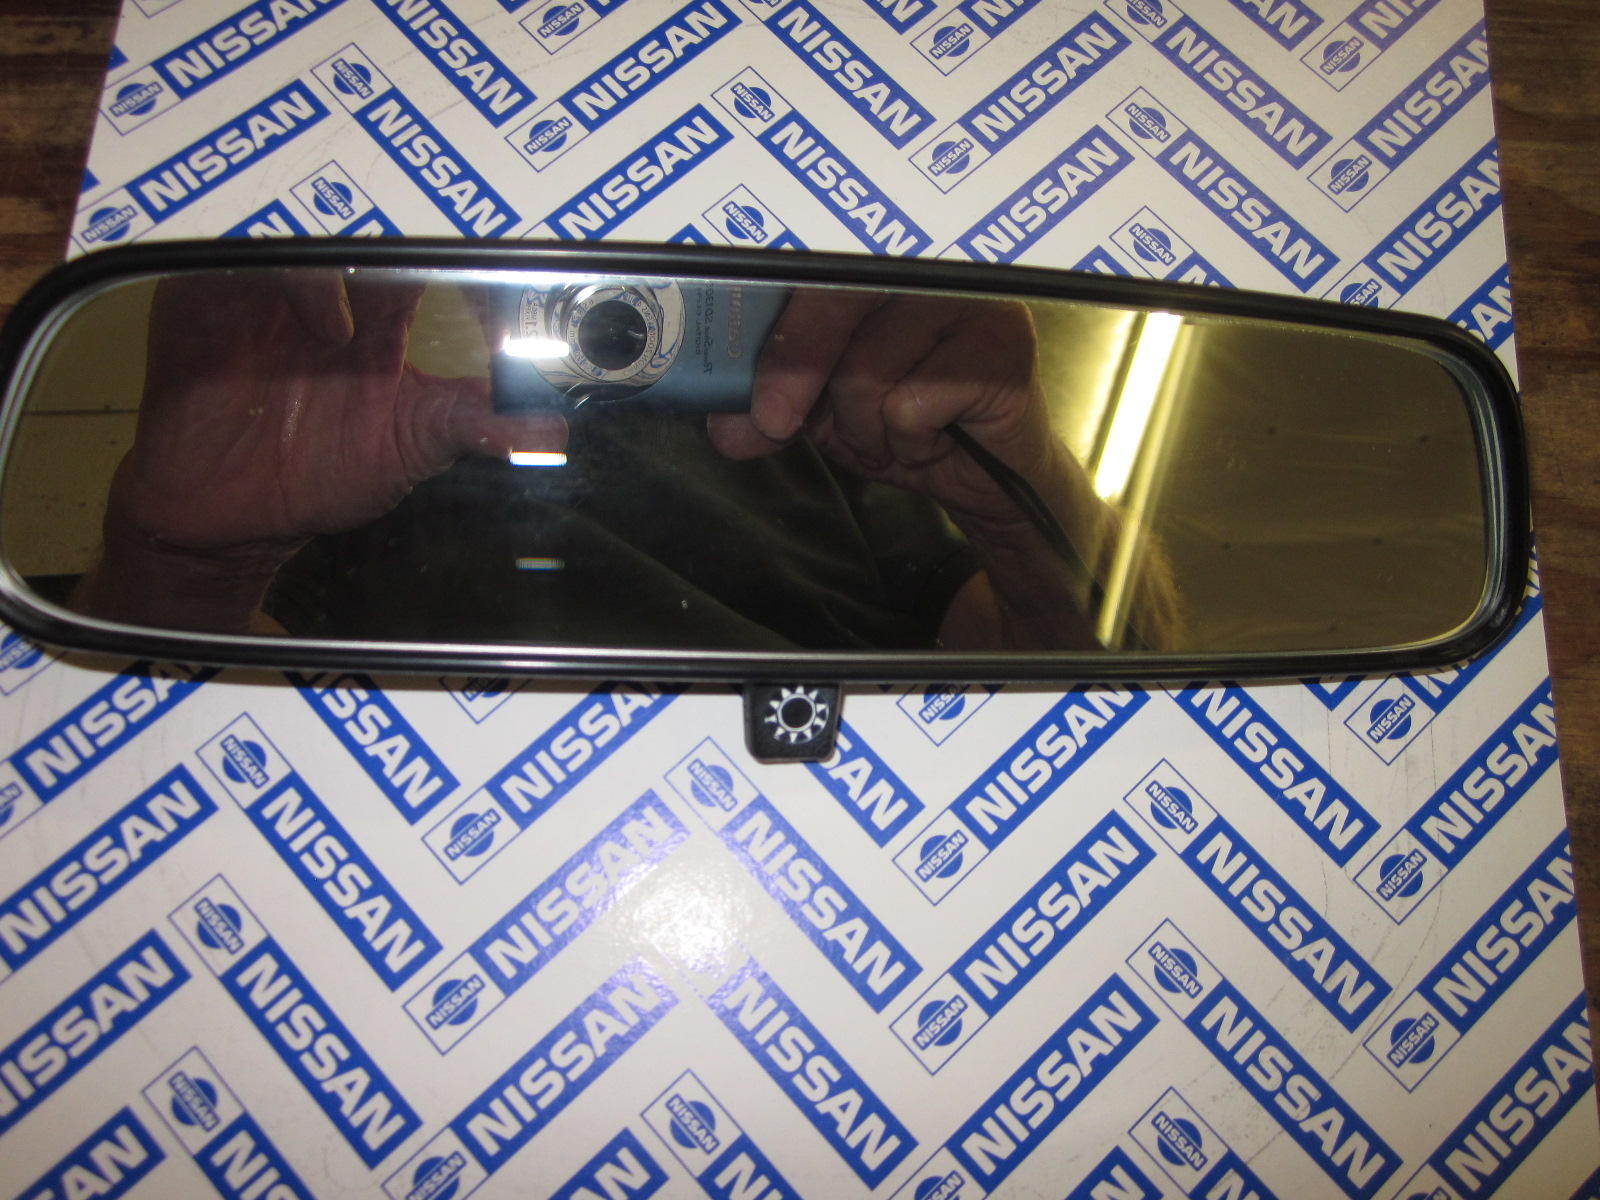
2 pointsBanzai Motorworks now offers an excellent reproduction Ever Wing interior mirror
 2 points
 -
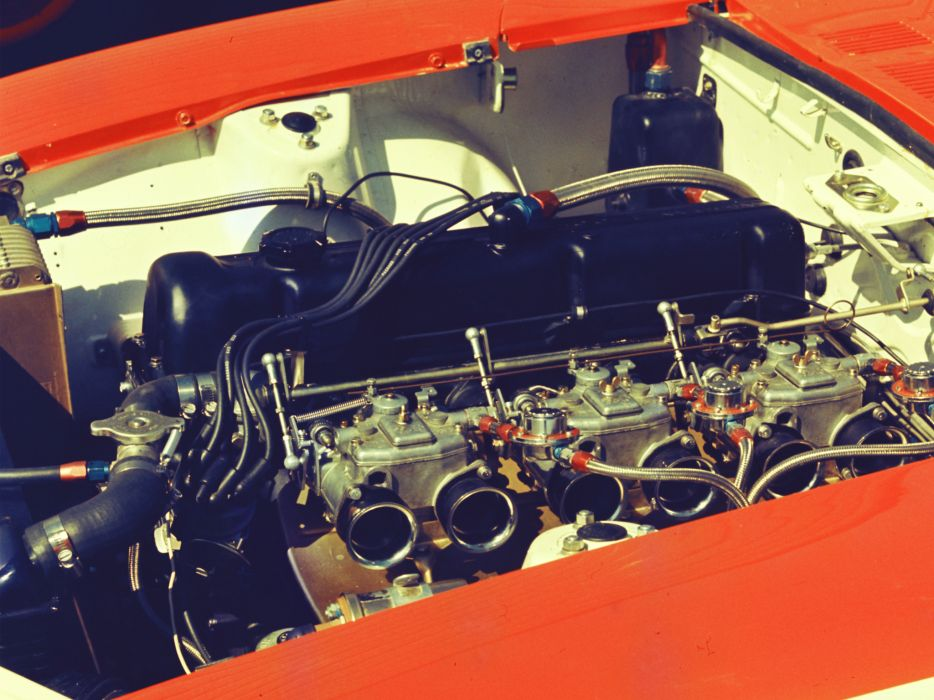
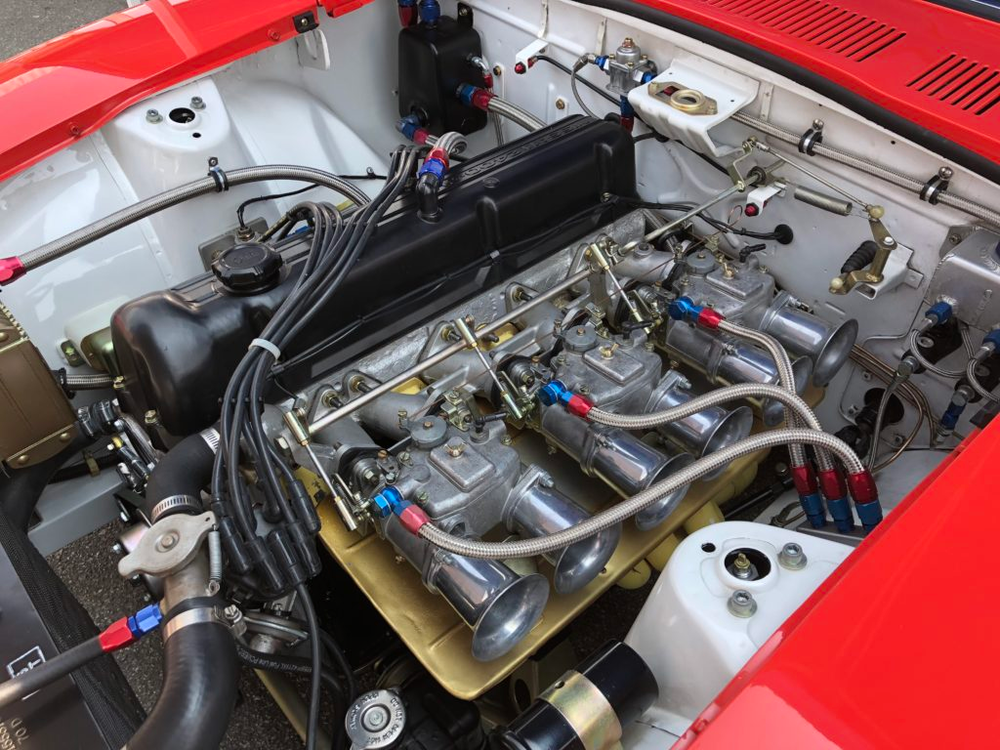
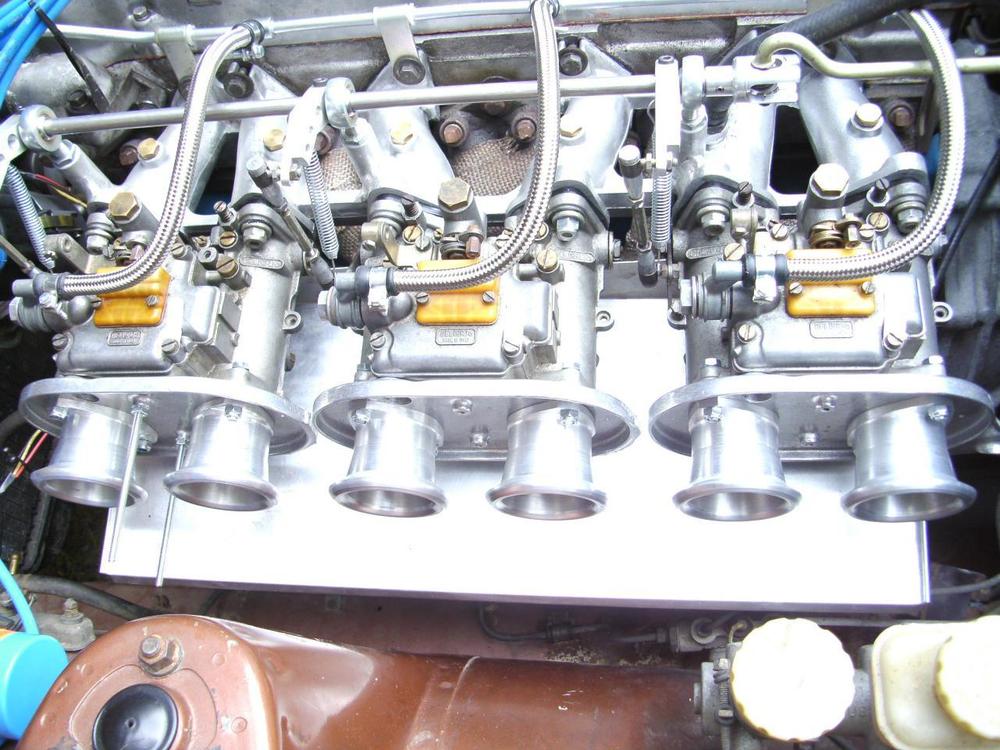
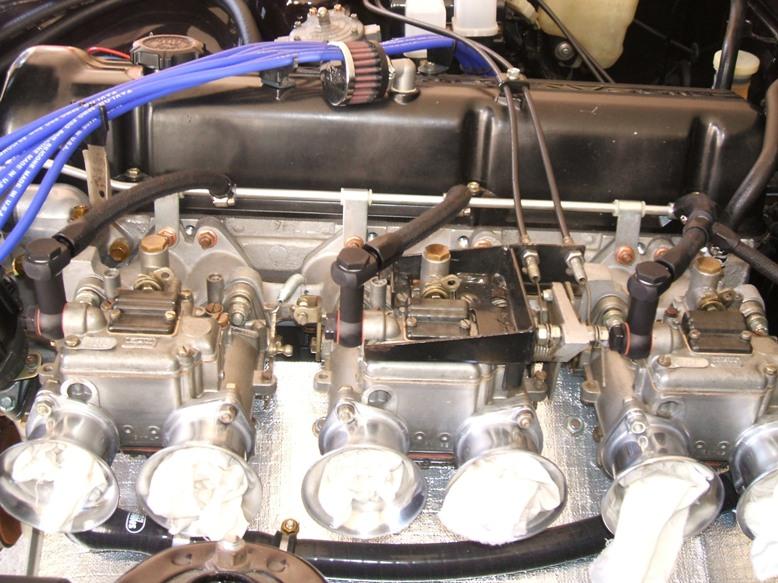
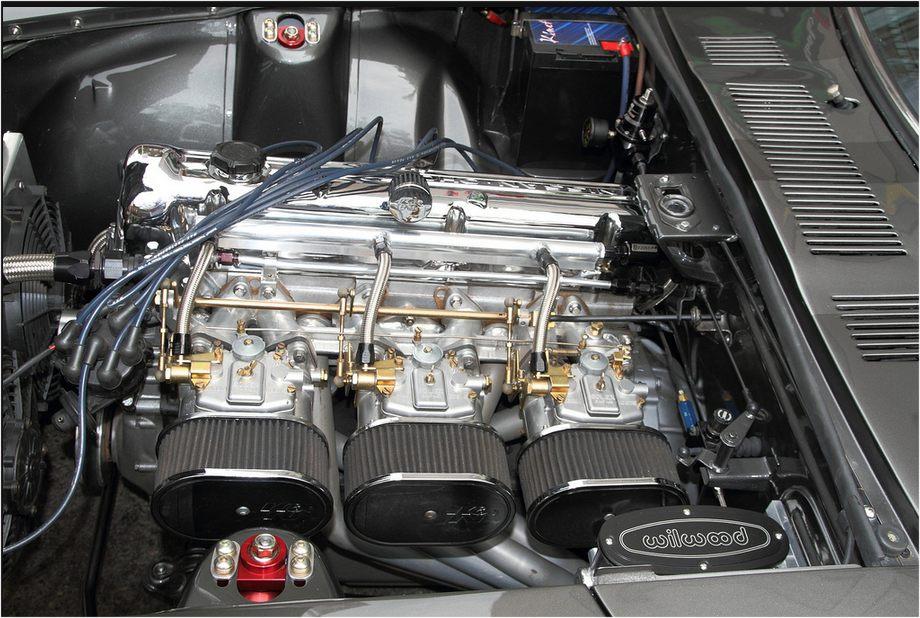
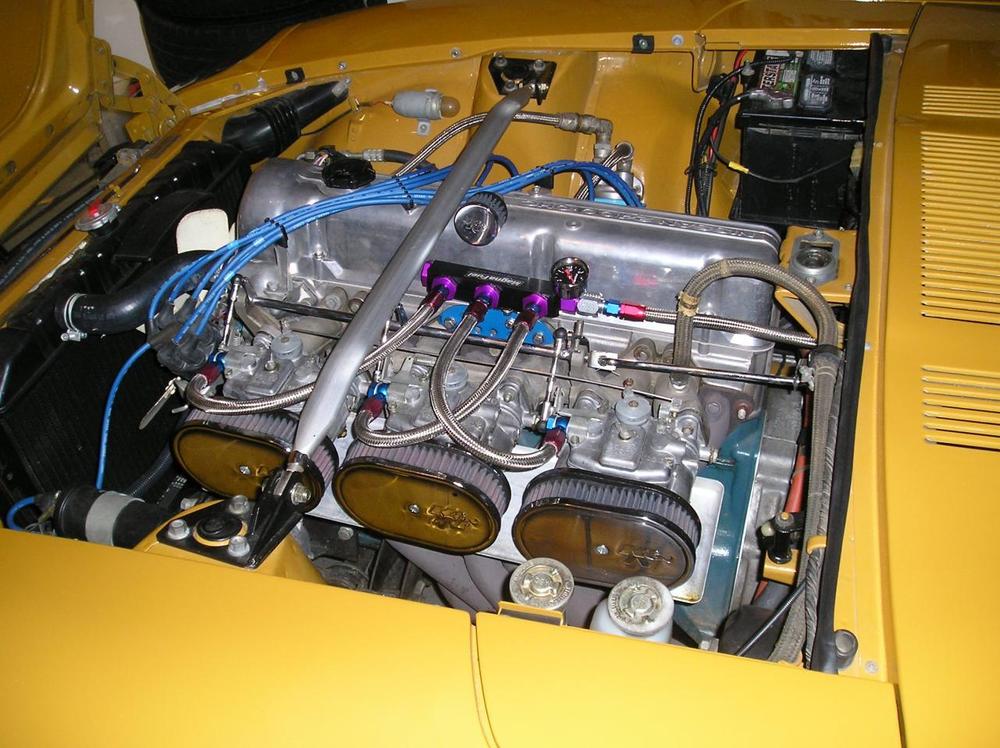
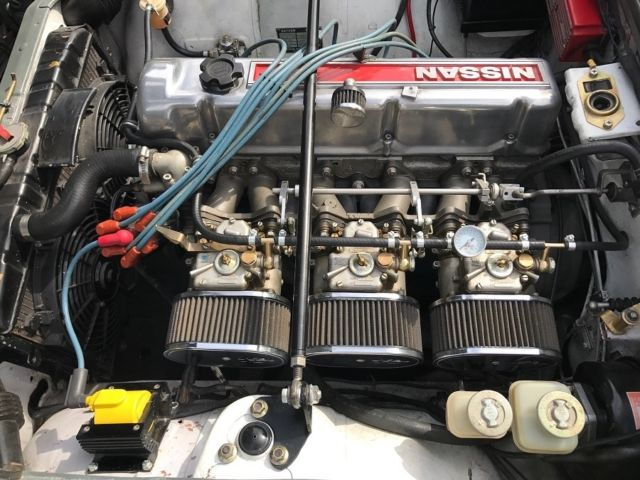
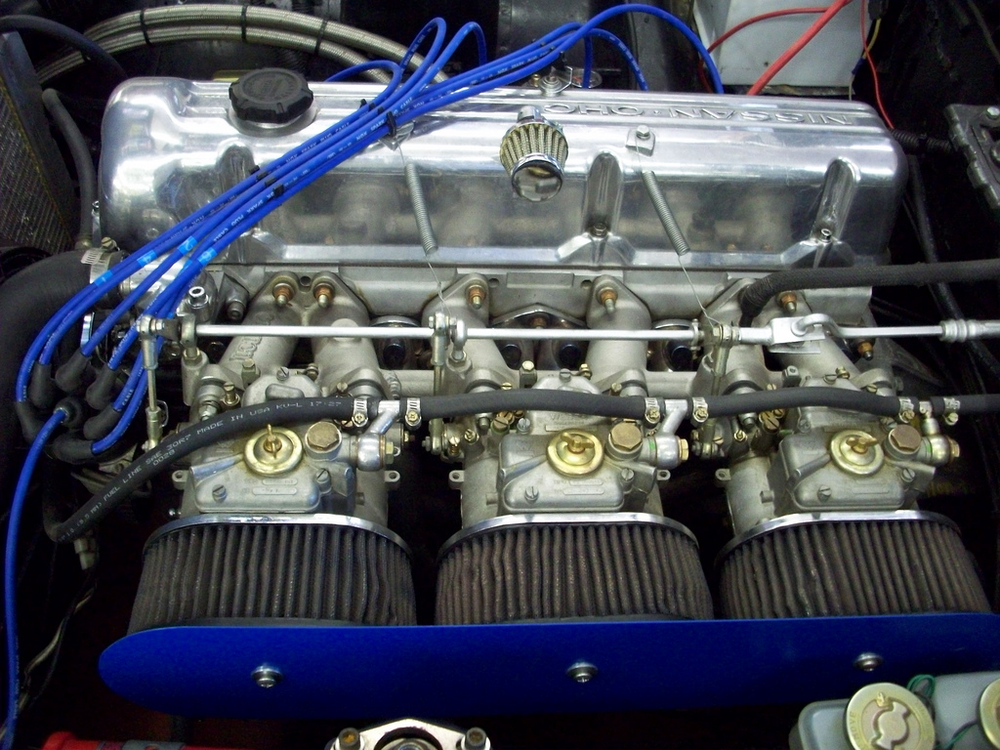
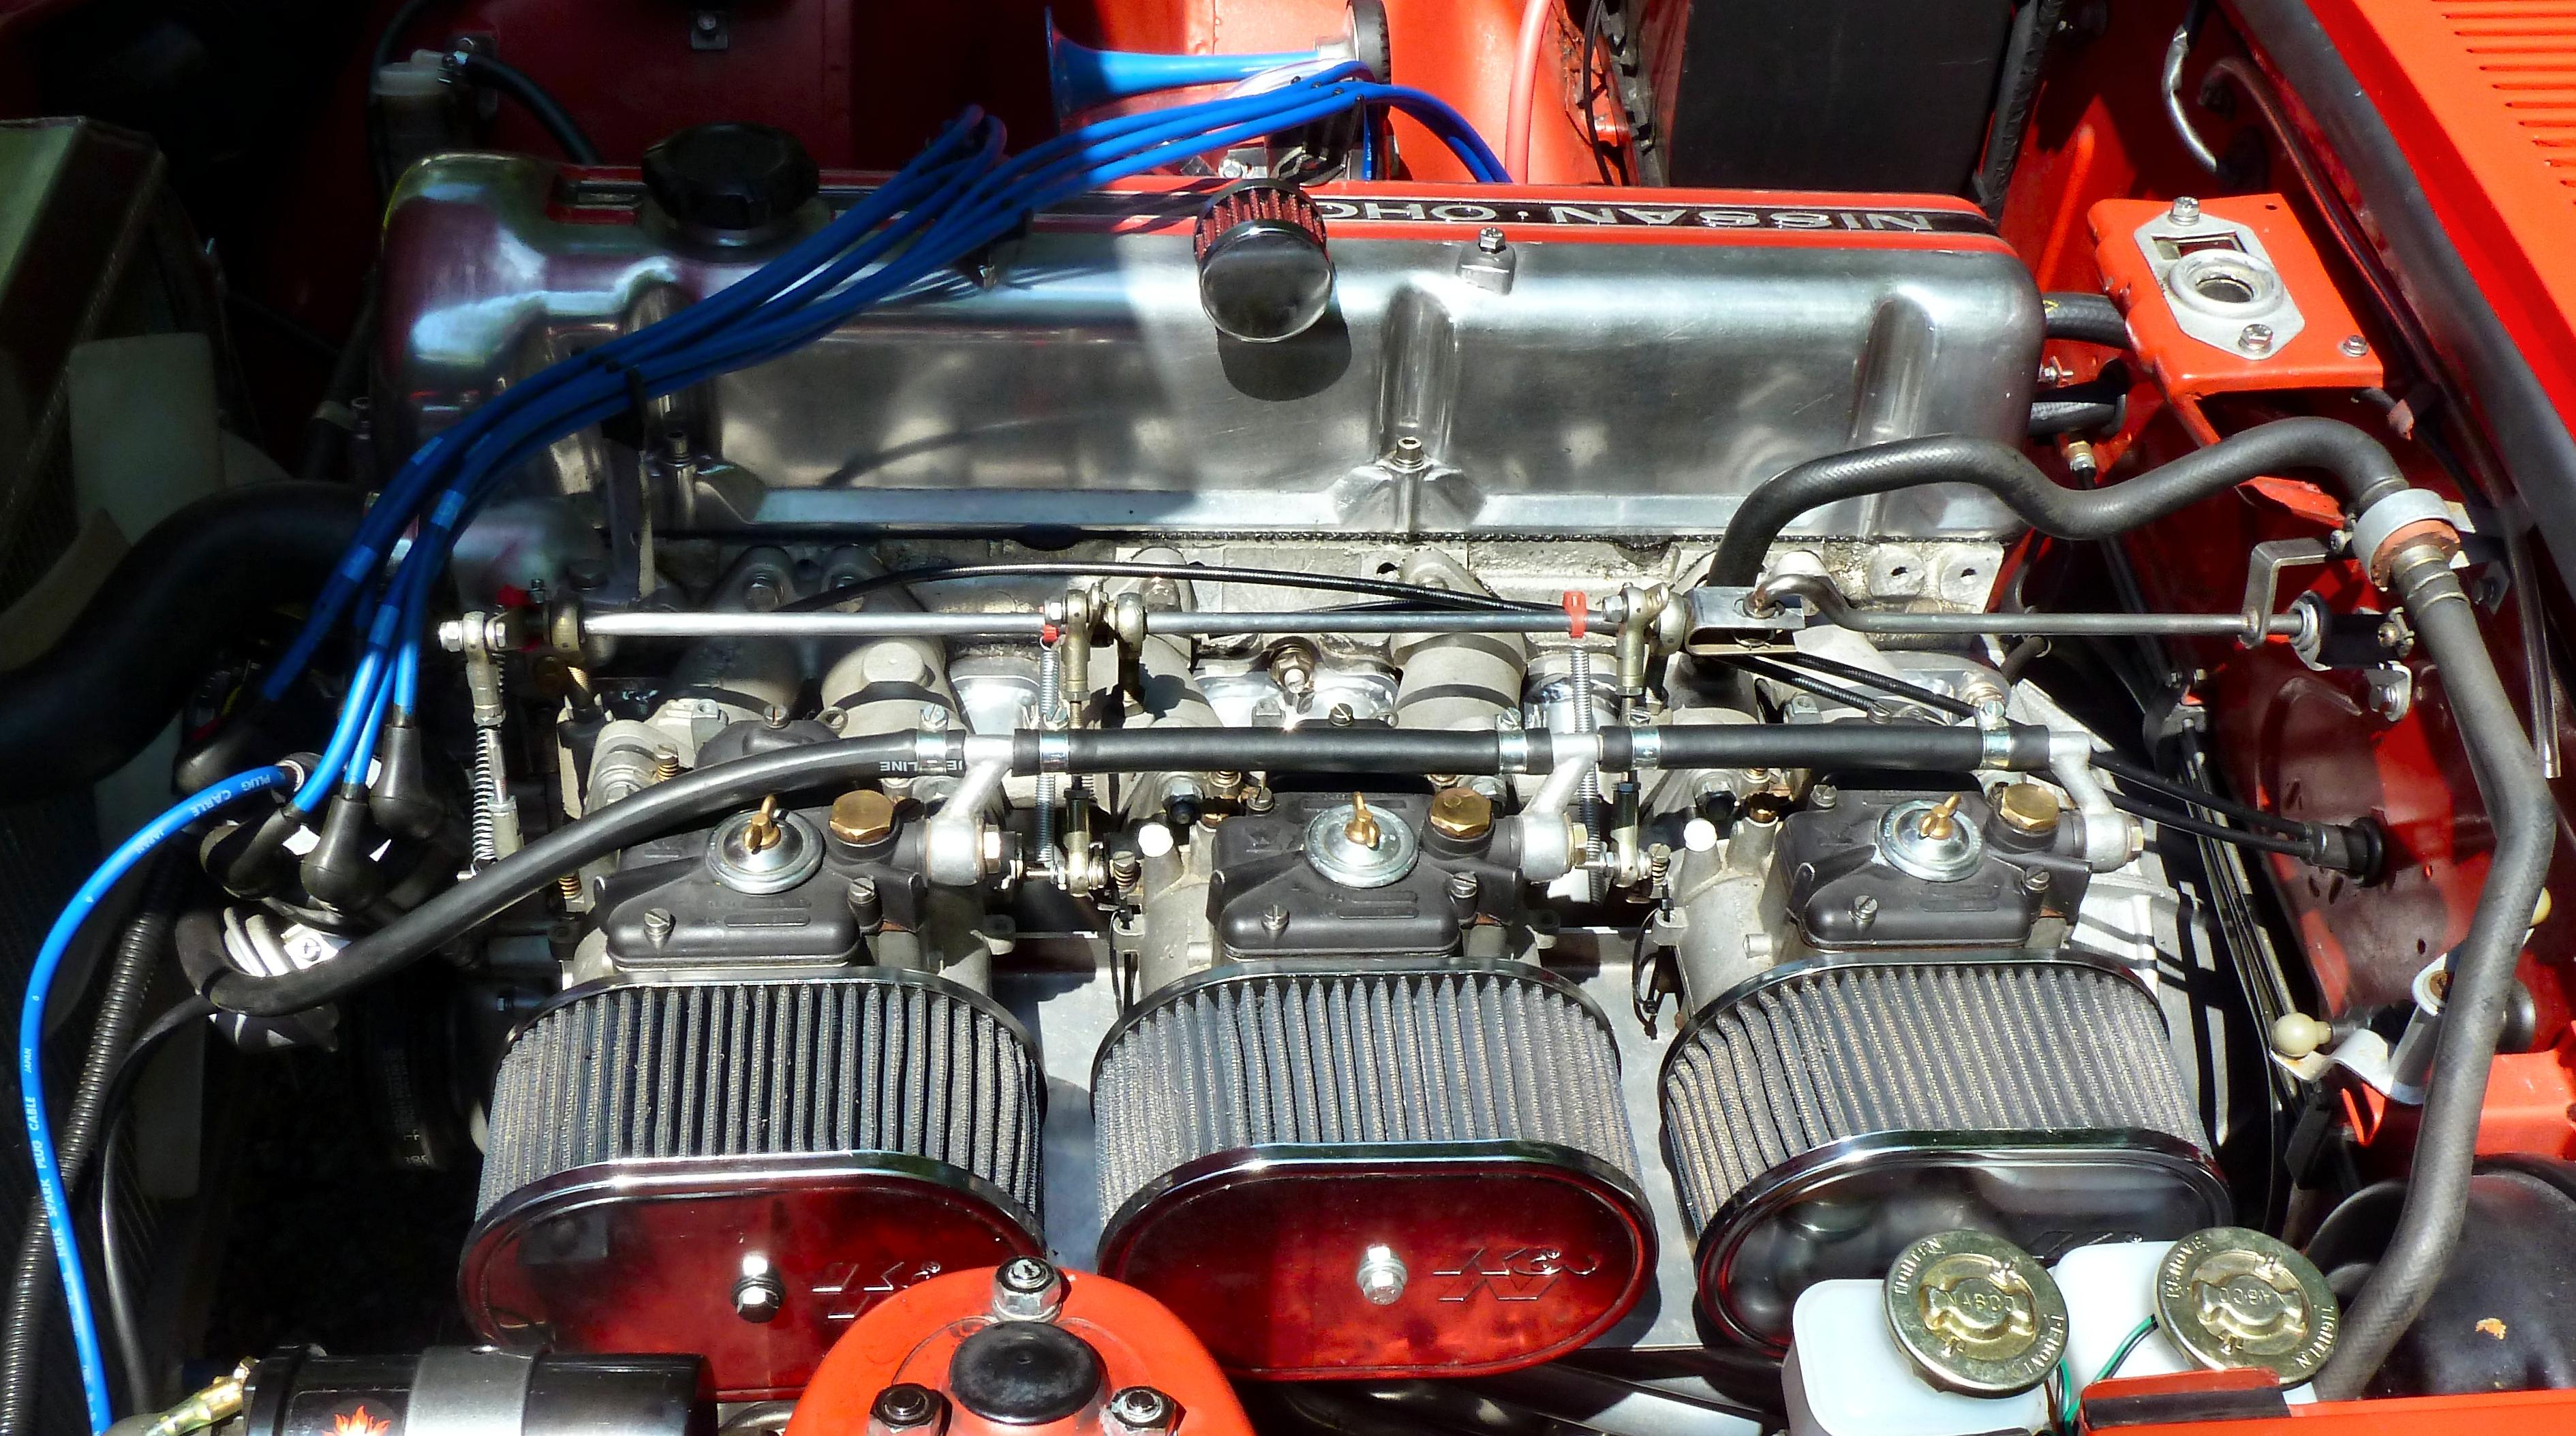
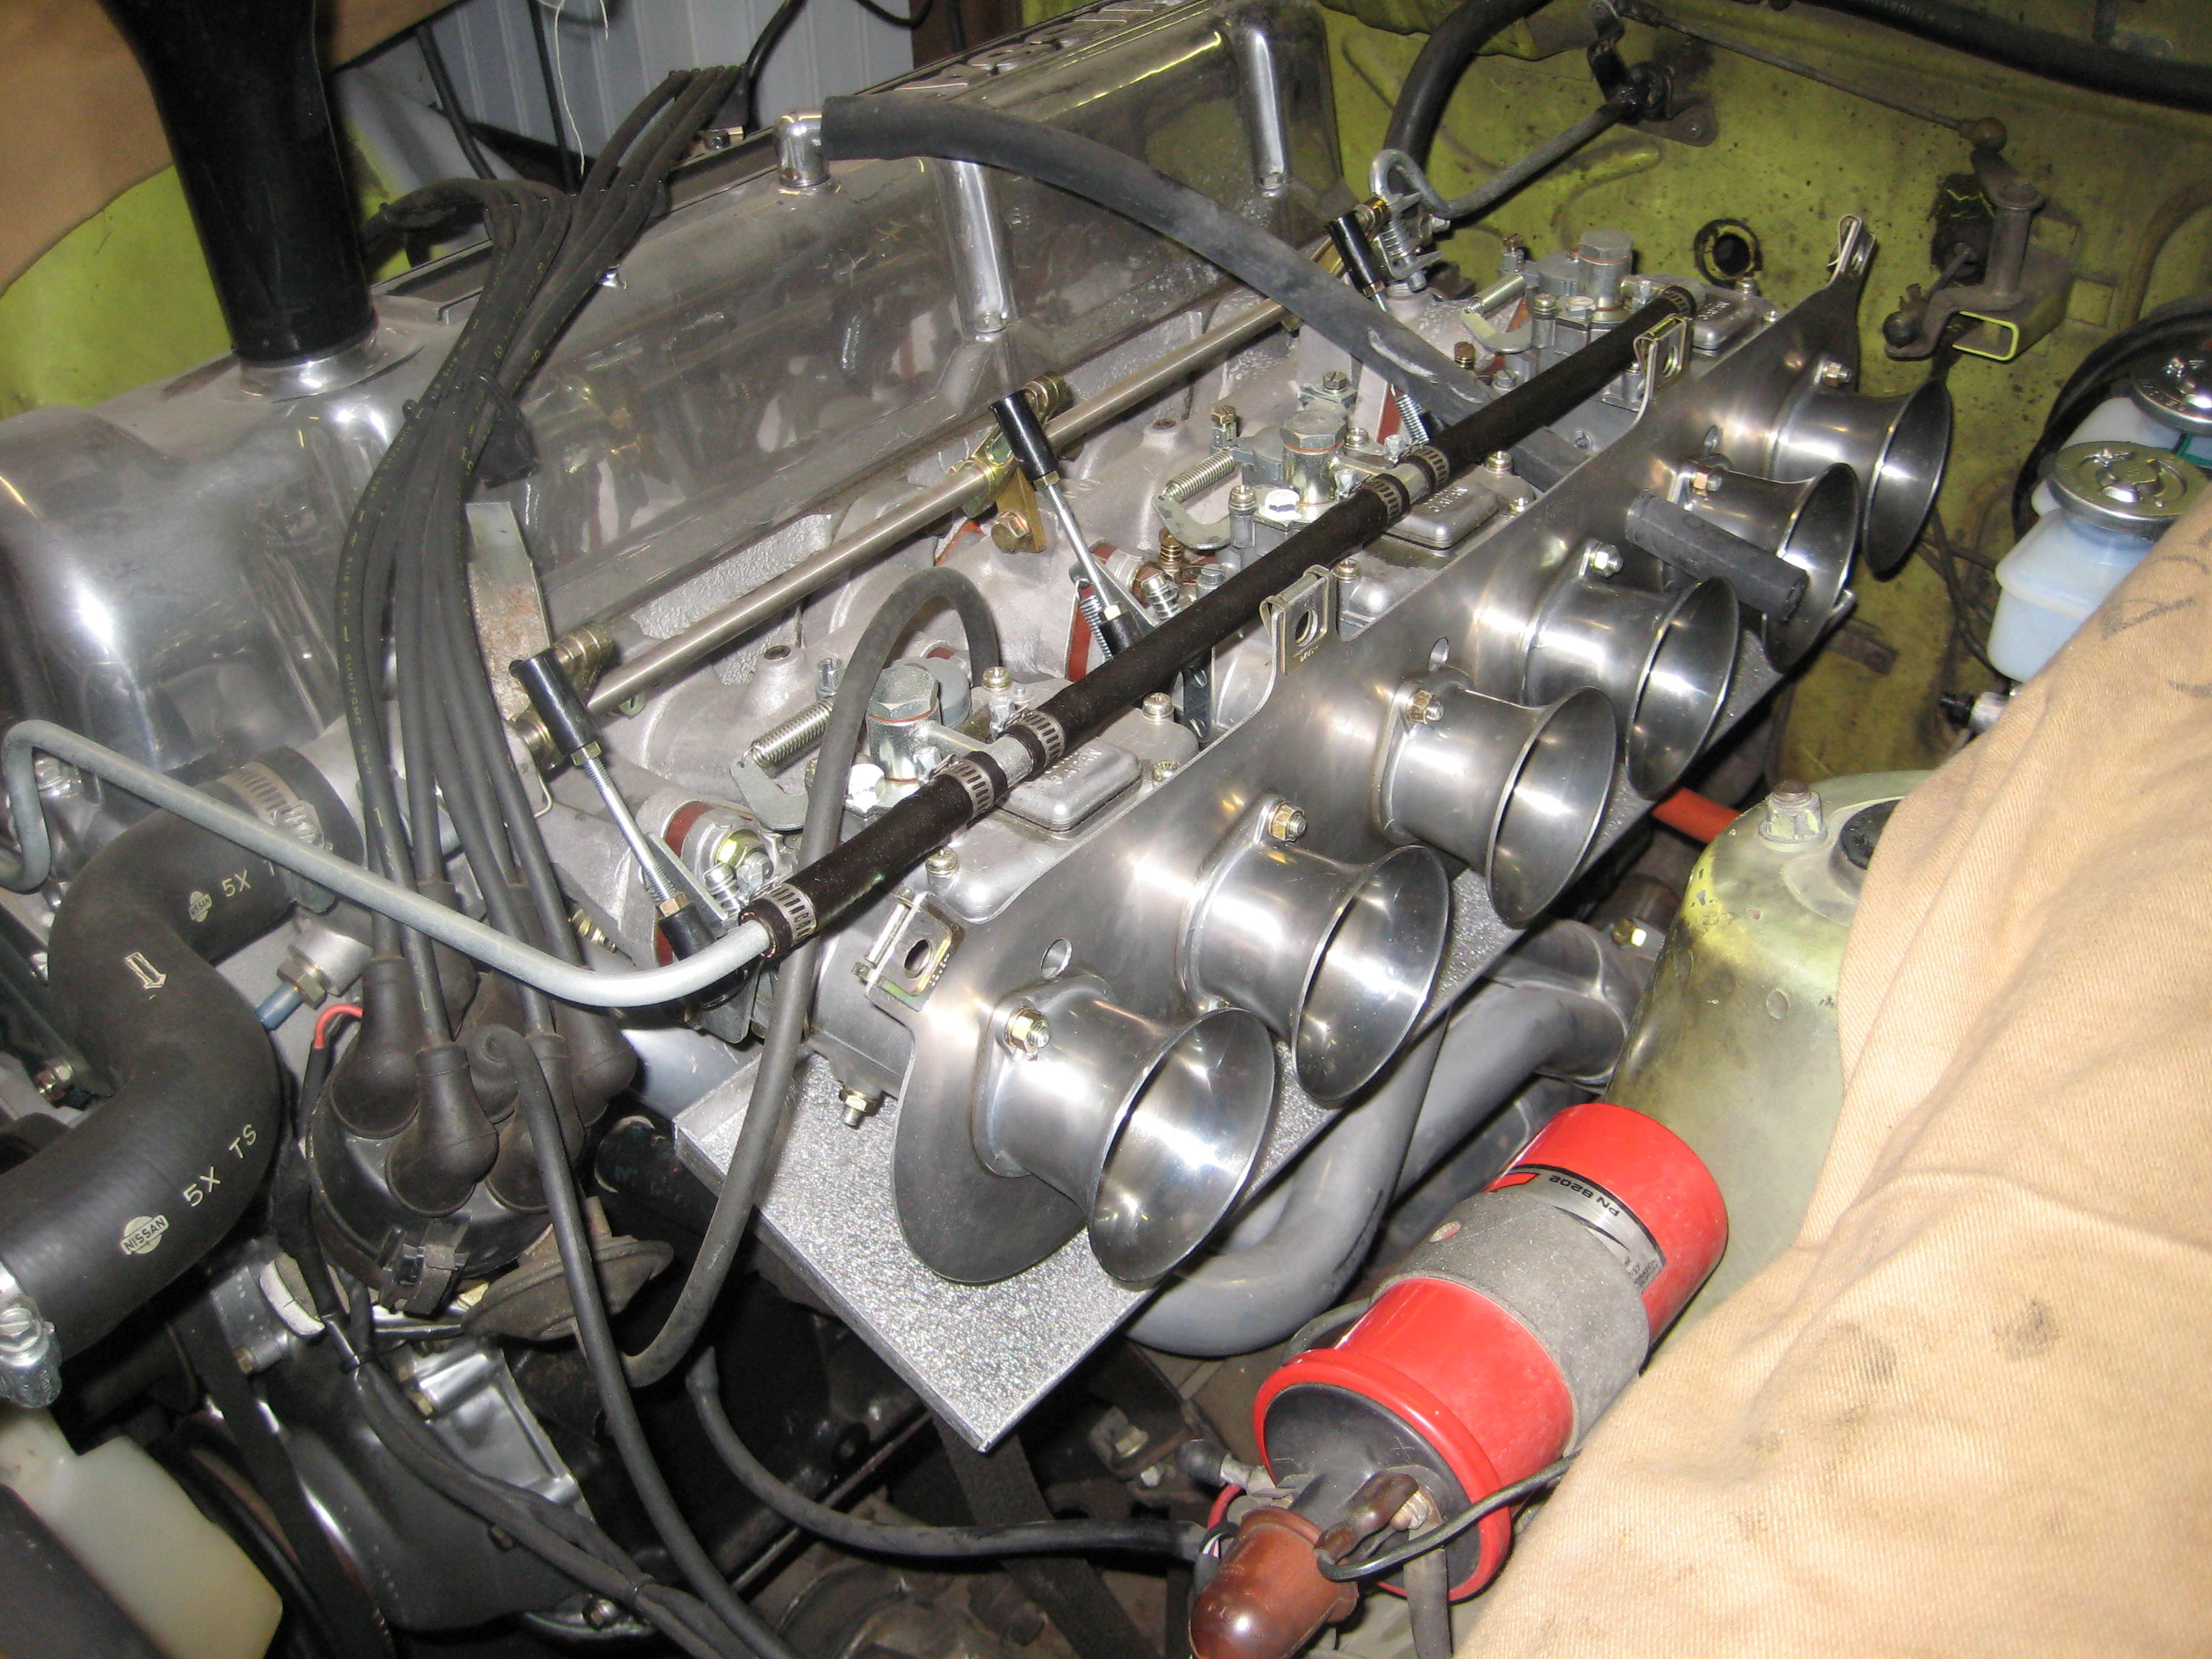
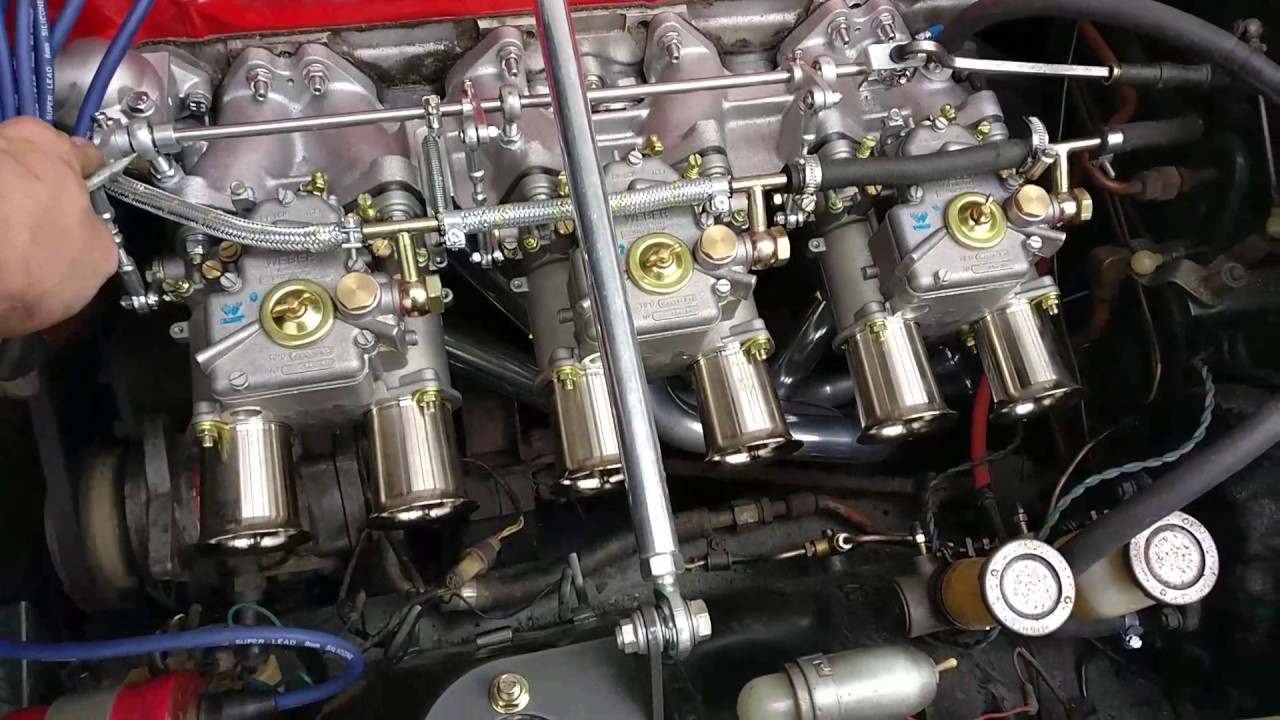
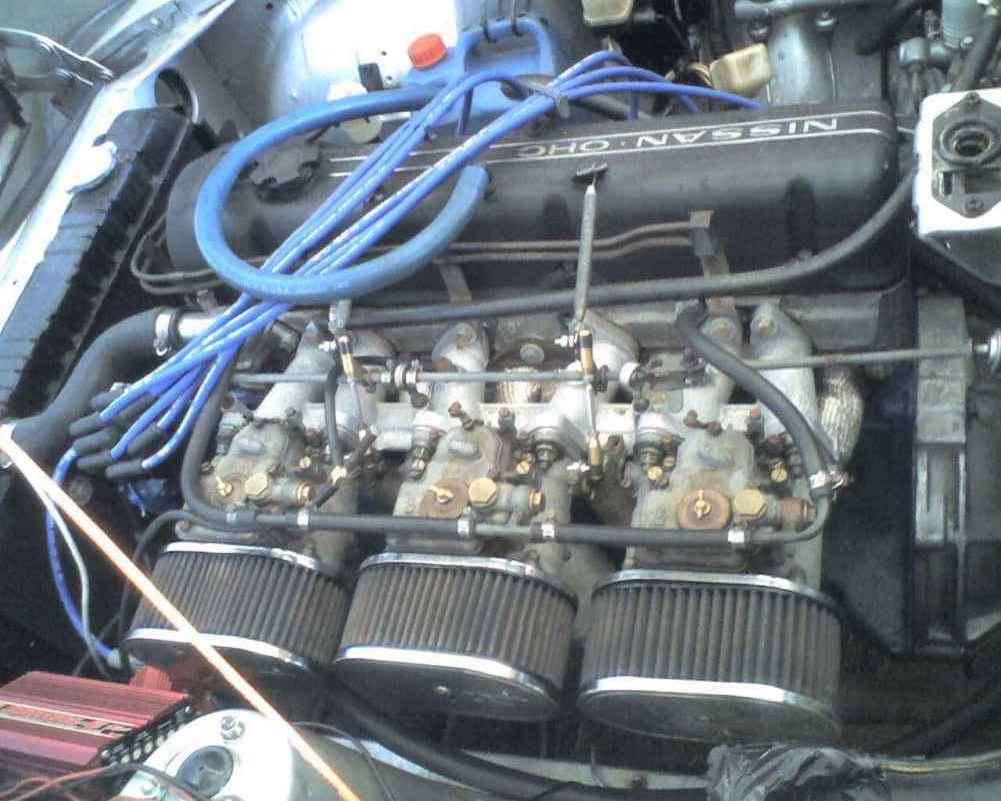
2 pointsQ:Jeff "Return line?" A: Return line allows for better cooling of fuel. Fresh cool fuel from the tank will always be present and available. This is not needed but you may suffer a little heat soak starts on hot days. I recommend running dead head at first and modify to use the return in the future if you have heat soak problems. Here are some common fuel routings: BRE 1970 with individual FPR for each carb /they lost in 1969 (AARC) due to fuel starvation so this was knee-jerk belts and braces reaction). BRE Racer 2018 240z Triple Weber Deadhead USING RETURN


.thumb.jpg.24f95c09321f3749168cd4c4f6ed8385.jpg)

 2 points
 -
2 points
-
1 pointAlso Jeff, the part you refer to as the proportioning valve below the master cylinder is actually a brake failure switch. It will light the brake light on the dash if you have a circuit failure. The proportioning valve for the 240z is in the rear of the car. It is a small brass part that acts as a tee connector for the two rear brake drum lines. If you add a hand valve remove the stock proportioning valve in the rear of the car.1 point
-
And odd for the next one up. Three in one. Just collecting.
 1 point
 -
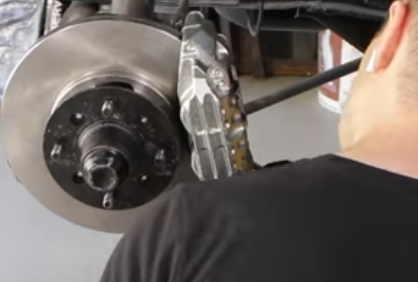
1 pointSome posters on the youtube channel pointed out that you have the bleed valves on the bottom, for the "upgrade". The calipers are interchangeable, side to side. Pretty common mistake. You'll never get all of the air out with them that way, the air bubble is at the top. From 12:39 in the video. Bleeding from the bottom. p.s. the weight difference over stock is 1.7 pounds, for just the calipers.
 1 point
 -
1 point
-
1 point
-
1 pointThe 21595-M0206 switch was used on other models as well, found these specs on the Datsun 1200 site: http://datsun1200.com/modules/mediawiki/index.php?title=Electric_Fan The stock Datsun B310 fan Thermo switch specifications: * Part Number 21595-M0206 * Nominal ON: 85-90C * Spec ON: 83-87° C (181-189 F) * Spec OFF: 78-81° C (172-178 F) * used with 82C thermostat (88C optional)1 point
-
1 point1 pointHere is a link to the page on carpartsmanual.com http://www.carpartsmanual.com/datsun/Z-1969-1978/engine-280z/motor-fan1 pointWhile having all the grille pieces disassembled, i thought i better take advantage of it and straighten all the pieces before i have them zinc-plated. So i pulled out my best (nonexistant) panel-beater skills and hammered the parts as straight as i could. A few examples: Before: After: Before: After: Before: After: .1 pointGas Tank and straps should be gloss black. Gas tank drain should be yellow zinc.1 point1 pointbtw a fuel pressure from 2.5psi to 3.5psi is fine. Don't go over 4psi or it may overwhelm the floats ability to hold it back.1 point1 pointThis week I finish up the Toyota big brake upgrade on the 680g.1 point1 pointSorry folks, not trying to sound like a jerk, sorry. I'll get back to everyone next week with details about the fan system. My fiche reader is at my shop and I'm off until Wed. Happy New Year.1 point1 pointI'd install them while the diff is out. Much easier to test both ways. They should snap in firmly with a rubber hammer or block of wood and stay in place, then take some effort to lever back out. The axles are designed to have them (edit - the rings) in place in the diff. You should be able to install and remove them (edit - the axles) multiple times. I think that I've seen people use a socket of the right size to push the rings in to the groove. The hard part is getting them started. @jmortensen knows how to do it I think. Might have better luck on Hybridz. I've seen people have some problems with that.1 point1 point1 pointNo offense intended zspert. I thought it was a humorous way to acknowledge that you've been a member for 15 years, and that your last two posts (50% of your content at the time of my post) were in 2013. Then you posted two within minutes of each other. In person, it might have been "dude, where have you been?!". Which some people probably would think is rude, if they were present. Humor can be a complex subject. Welcome (back) to the forum. You can probably add a lot, with your experience, if you want to, and can stand an occasional joke. Not all of us have the microfiche. So, if anyone wants to share, feel free.1 point1 pointIt is REALLY disappointing that some members choose a negative approach to replying to members. Do I KNOW or have met @zspert ? No, But do I have a suspicion he DOES know what he is talking about.1 point1 pointI've found that the easiest way to deal with dim dash lights is to simply replace the bulbs with stock. 30-50 year old bulbs are indeed dimmer than new by a LOT.1 point1 pointThe AFDB (Aluminum Foil Deflector Beanie) >> https://zapatopi.net/afdb/ Construction instructions here >> https://zapatopi.net/afdb/build.html But the basic principals shown below: Also available in pdf format. I've had a copy this on my bulletin board for quite some time: https://zapatopi.net/afdb/afdbdiagram.pdf1 pointHi friends, Here I come again to show some updates ... because I'm on vacation Z is growing with another rhythm, but still go slow ... Mr. Victory is enjoying holidays ... In the last 3 days I have cleaned more pieces than in a year of restoration !!! bolts, nuts, washers ... clean, polish, paint ... the luck is that as I was the one who disassembled the car and got everything labeled... in the midst of my disorganization is not going badly...so far… At the moment I am waiting for the pieces of the galvanized process, they must arrive on Wednesday and unexpectedly I have to buy some pieces, I am missing two details that possibly the car no longer had, the central plate of the license plate and two black aluminium scuff plates that are in the inside the car. Possibly they were removed by the previous owner. The mechanics should come in January and until then we will build what we can !!! Let's go to the photos: After a cleaning and a polishing were very good! After it was applied with new screws and new rubbers, the old pieces were miserable. In this photo we can see the missing part ... Let’s see if I can find one quickly! I also installed the windscreen wiper motor. Tough task, I never thought it would take that long. I was afraid to scratch the car ... eheheeh The door locks were painted in the old car colour, I still thought of having zinc, but chrome is funnier and the result is very curious ... I like it !!! Here already applied ... The Z hook was in need of a good turn ... They were like this ... Here applied on place... I opened two new parts ... the tailgate supports ... And along with new and original screw and washers ... here we have them in place. Rubber from the doors already in the place ... Cleaning the clutch pump, and polishing. I'm new to this, but it turned out well !!! Here it is already on the place... I started by putting some pieces inside ... the "dogleg" already there! There are a few details missing ... especially stretching the vinyl ... let’s see if I can do it myself !!! I put the first symbols ... I had to take out the spoiler, but the result was very good! Here is the original color ... it was black ... but it should turn to grey ... I've been cleaning it for more than 30 minutes ... during the day I was just treating some pieces and going to the car on the next visit .. maybe Sunday.. I hope you continue to like the result, I would like to finish it before the end of January ... but it will be very hard. Regards Mário1 point1 pointGet yourself some Cleco’s , it will help you very much in this endevour . I posted a thread many moons ago about installing the pans - it might help1 point


.jpg.11e2e5f9d3ea111da3f7d97940b4d8f5.jpg)


Important Information
By using this site, you agree to our Privacy Policy and Guidelines. We have placed cookies on your device to help make this website better. You can adjust your cookie settings, otherwise we'll assume you're okay to continue.