Leaderboard
-

Diseazd
Free Member5Points3,362Posts -
Captain Obvious
Free Member3Points10,081Posts -

kats
Free Member3Points2,215Posts -
NVZEE2
 Subscriber
 1Points3Posts


Popular Content
Showing content with the highest reputation on 03/17/2018 in Posts
-
4 points
-
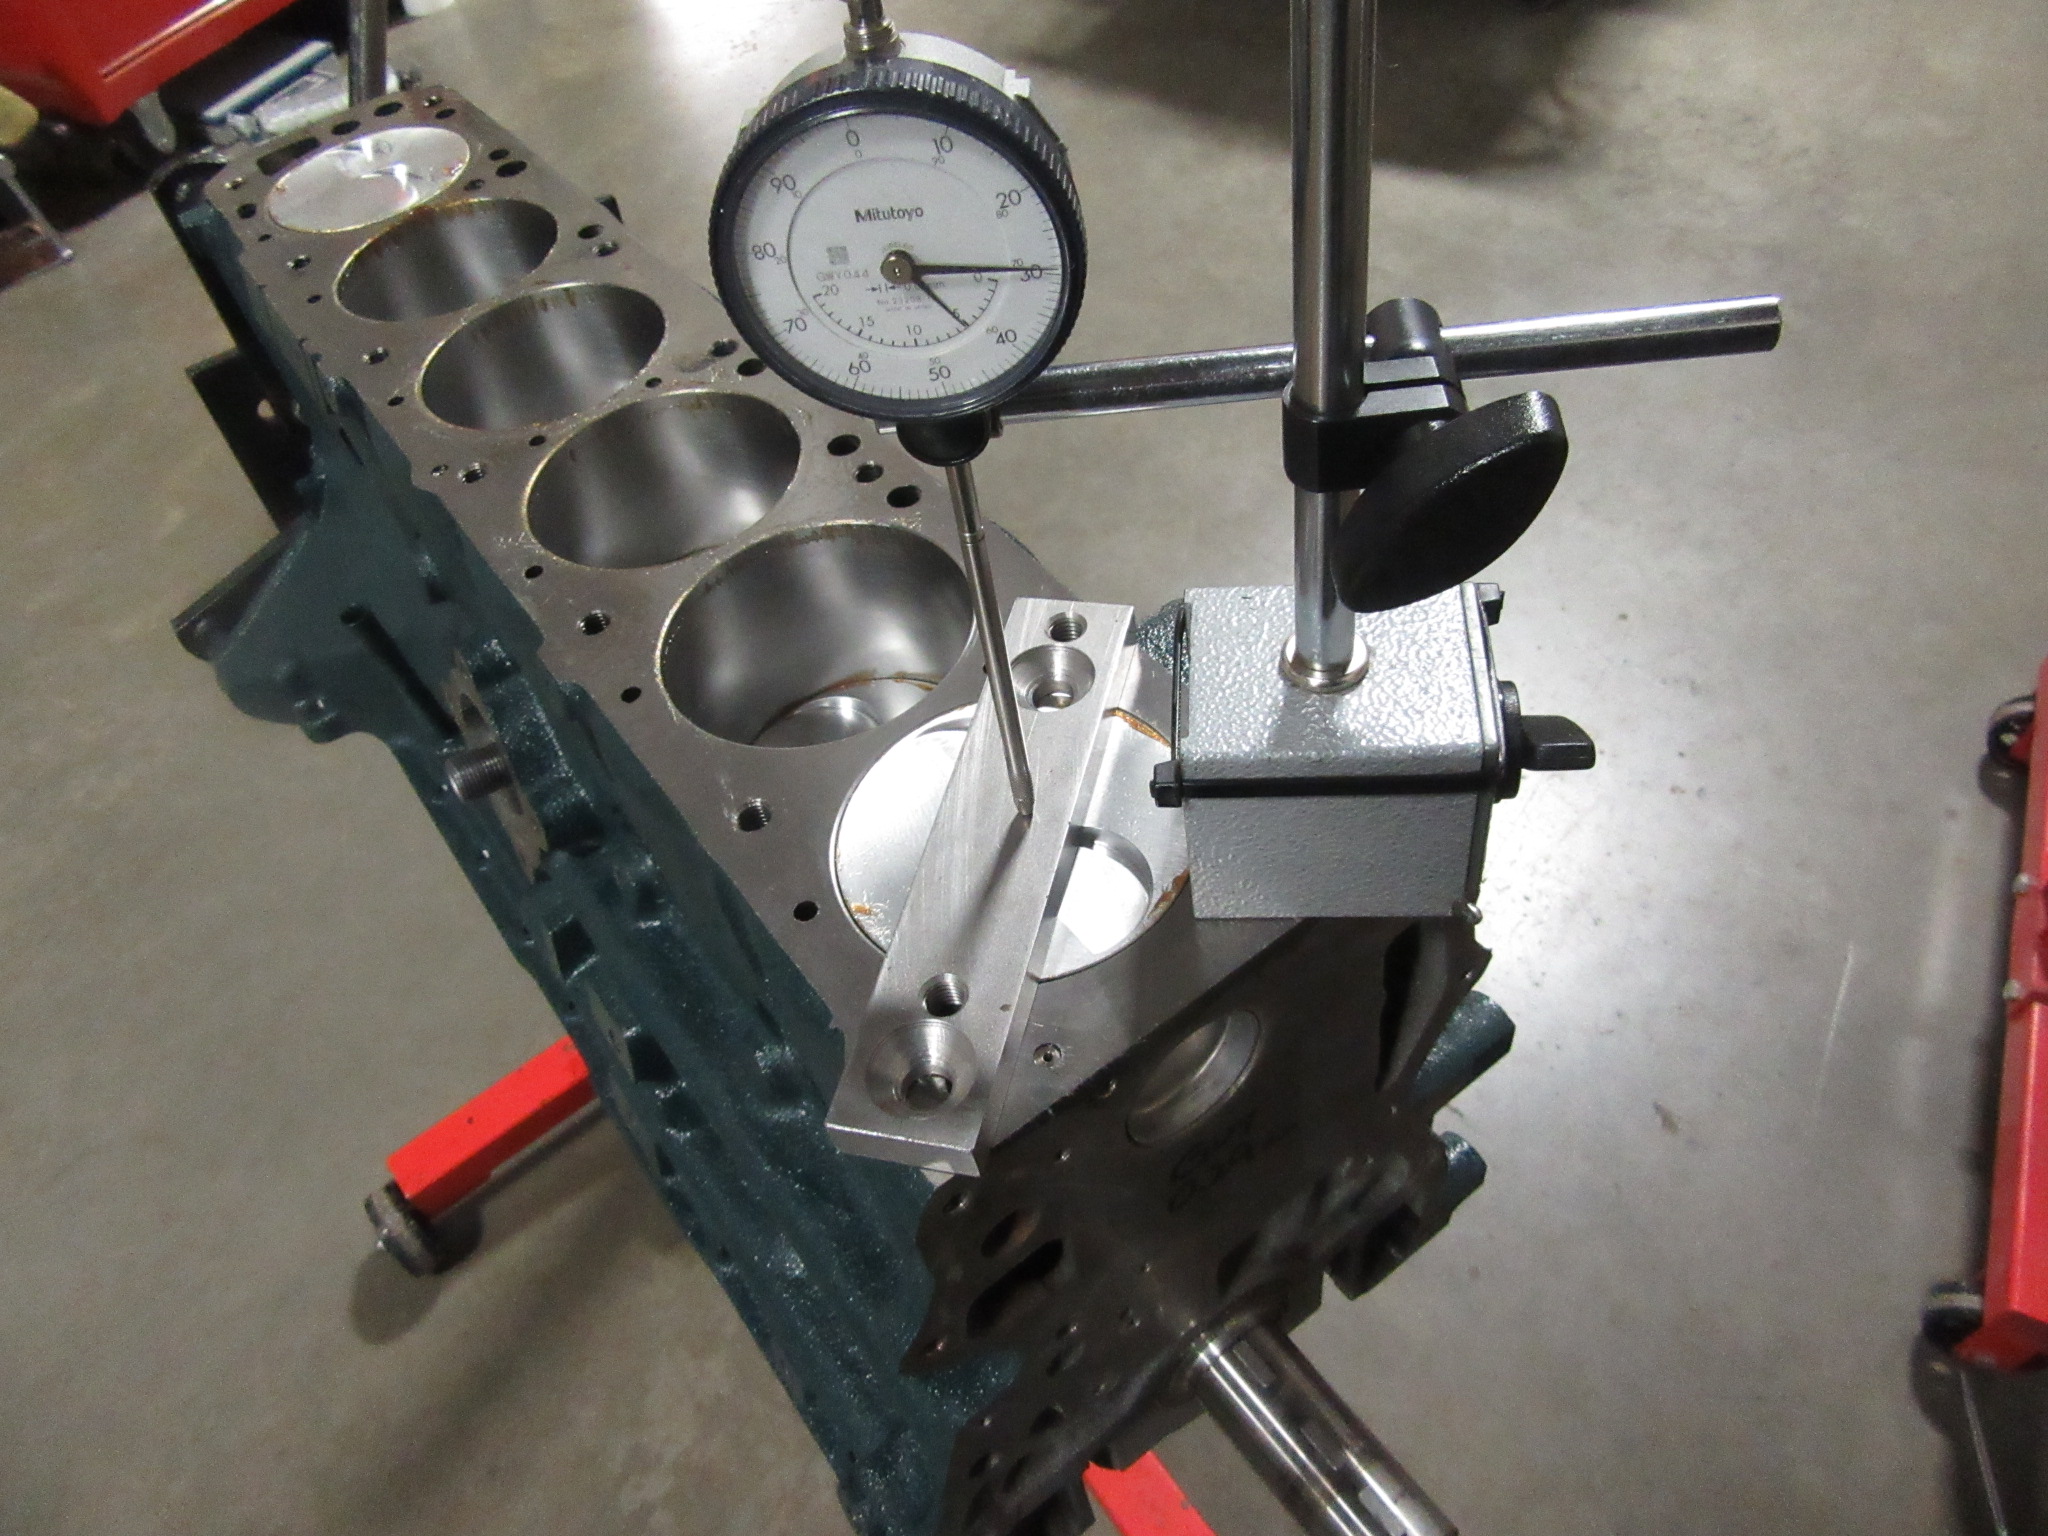
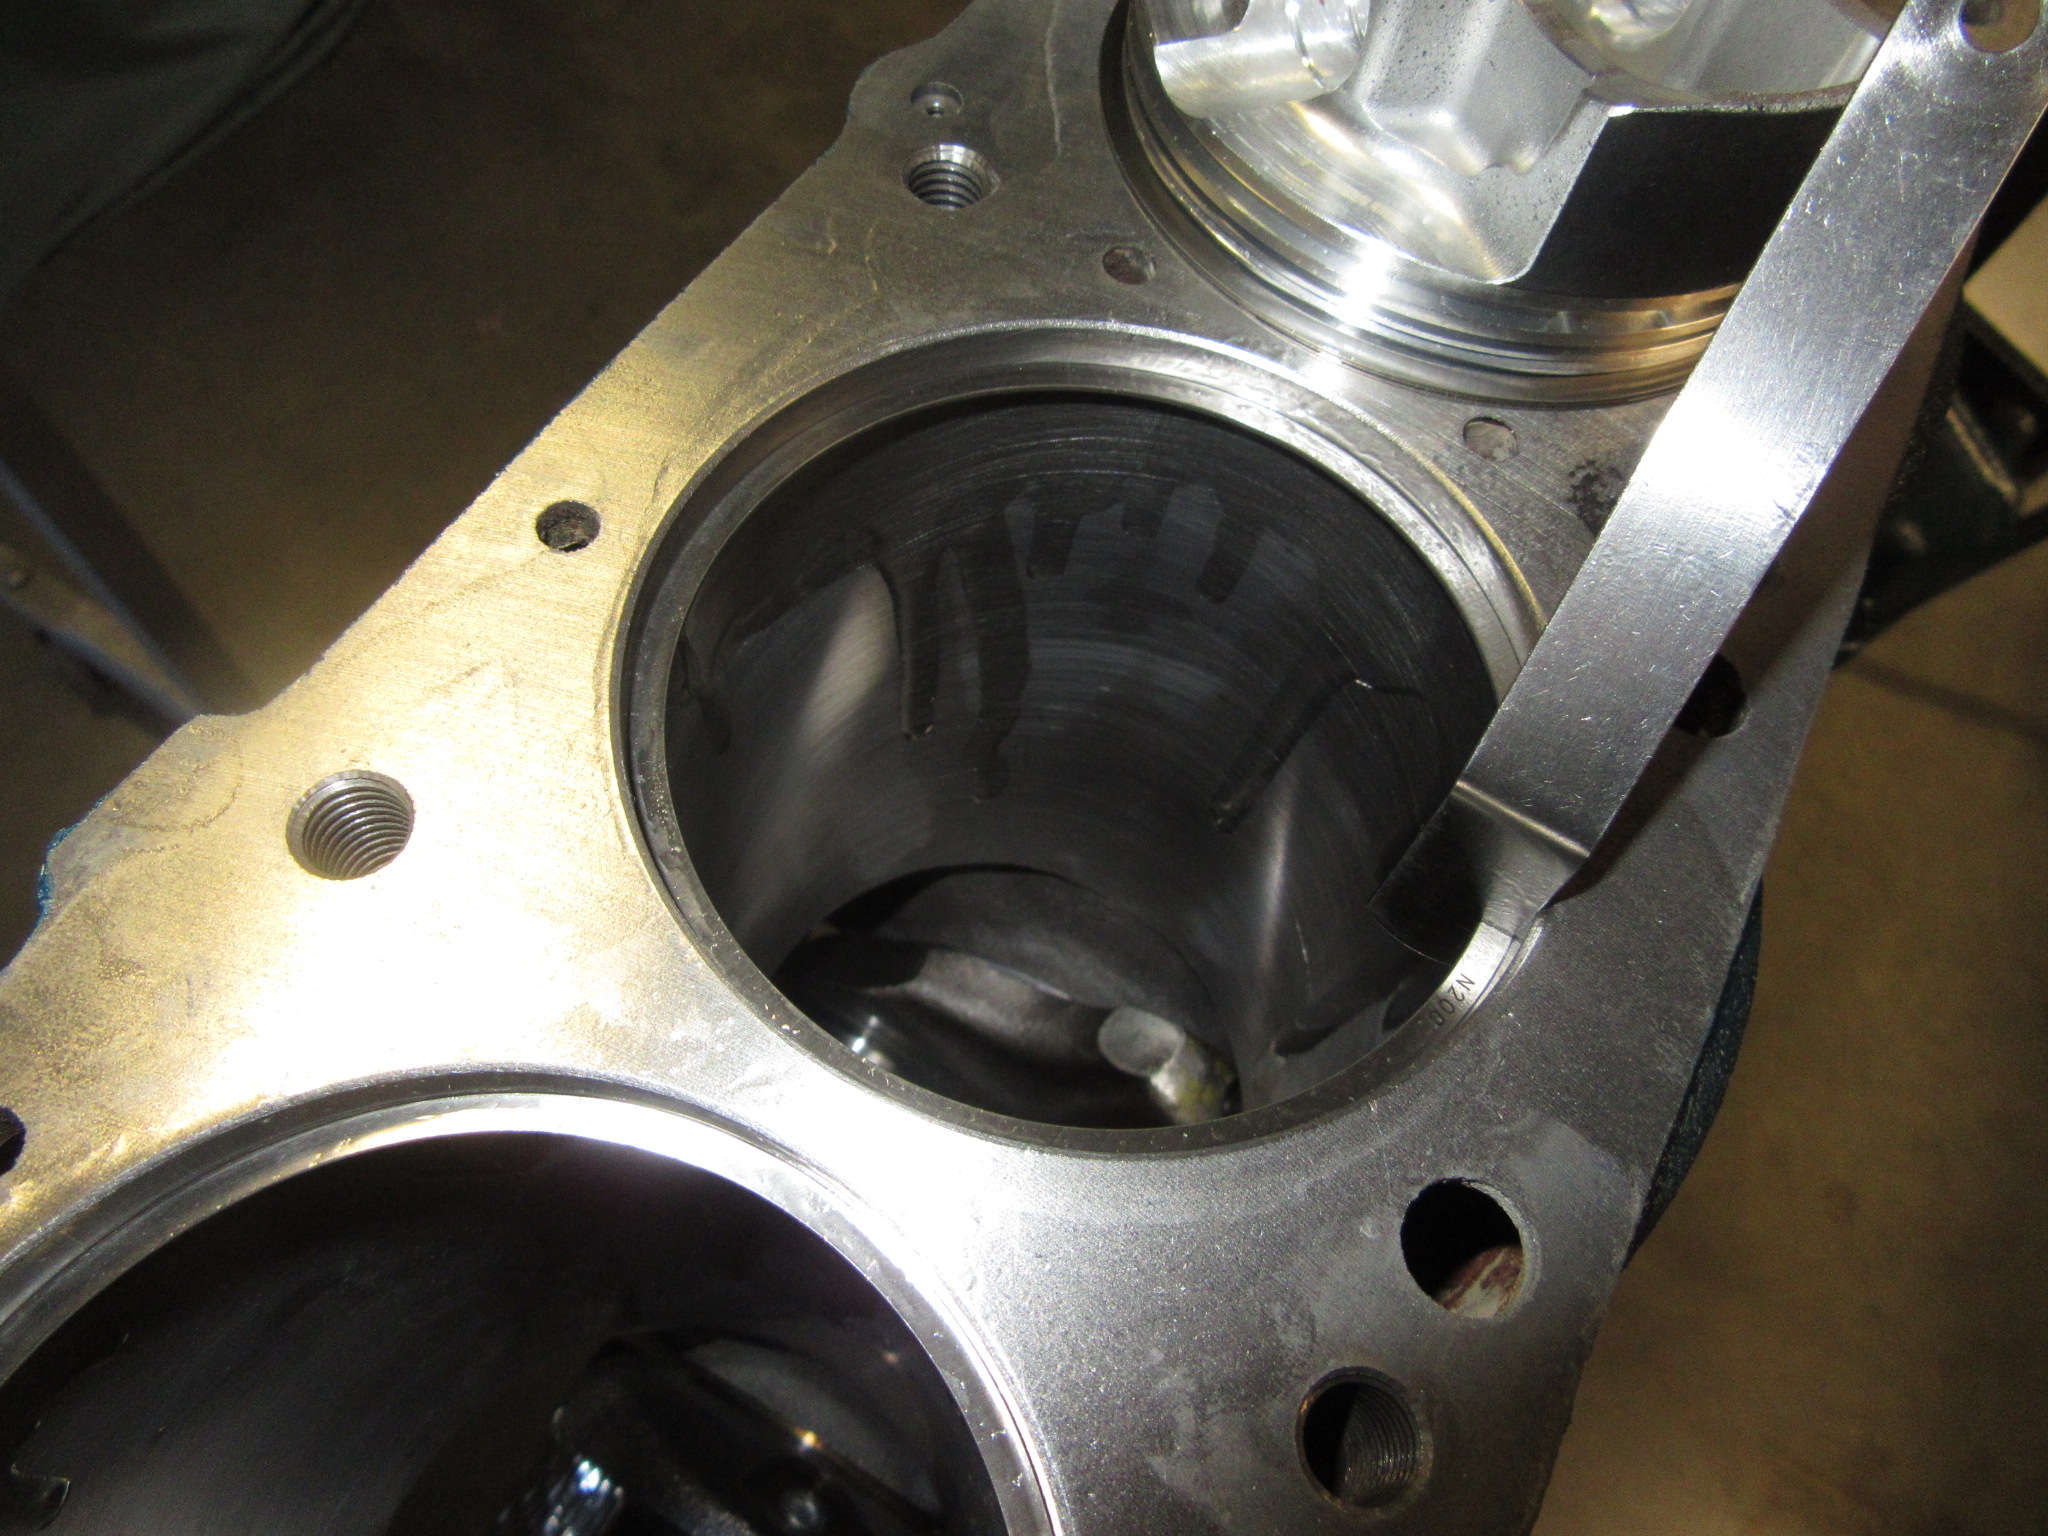
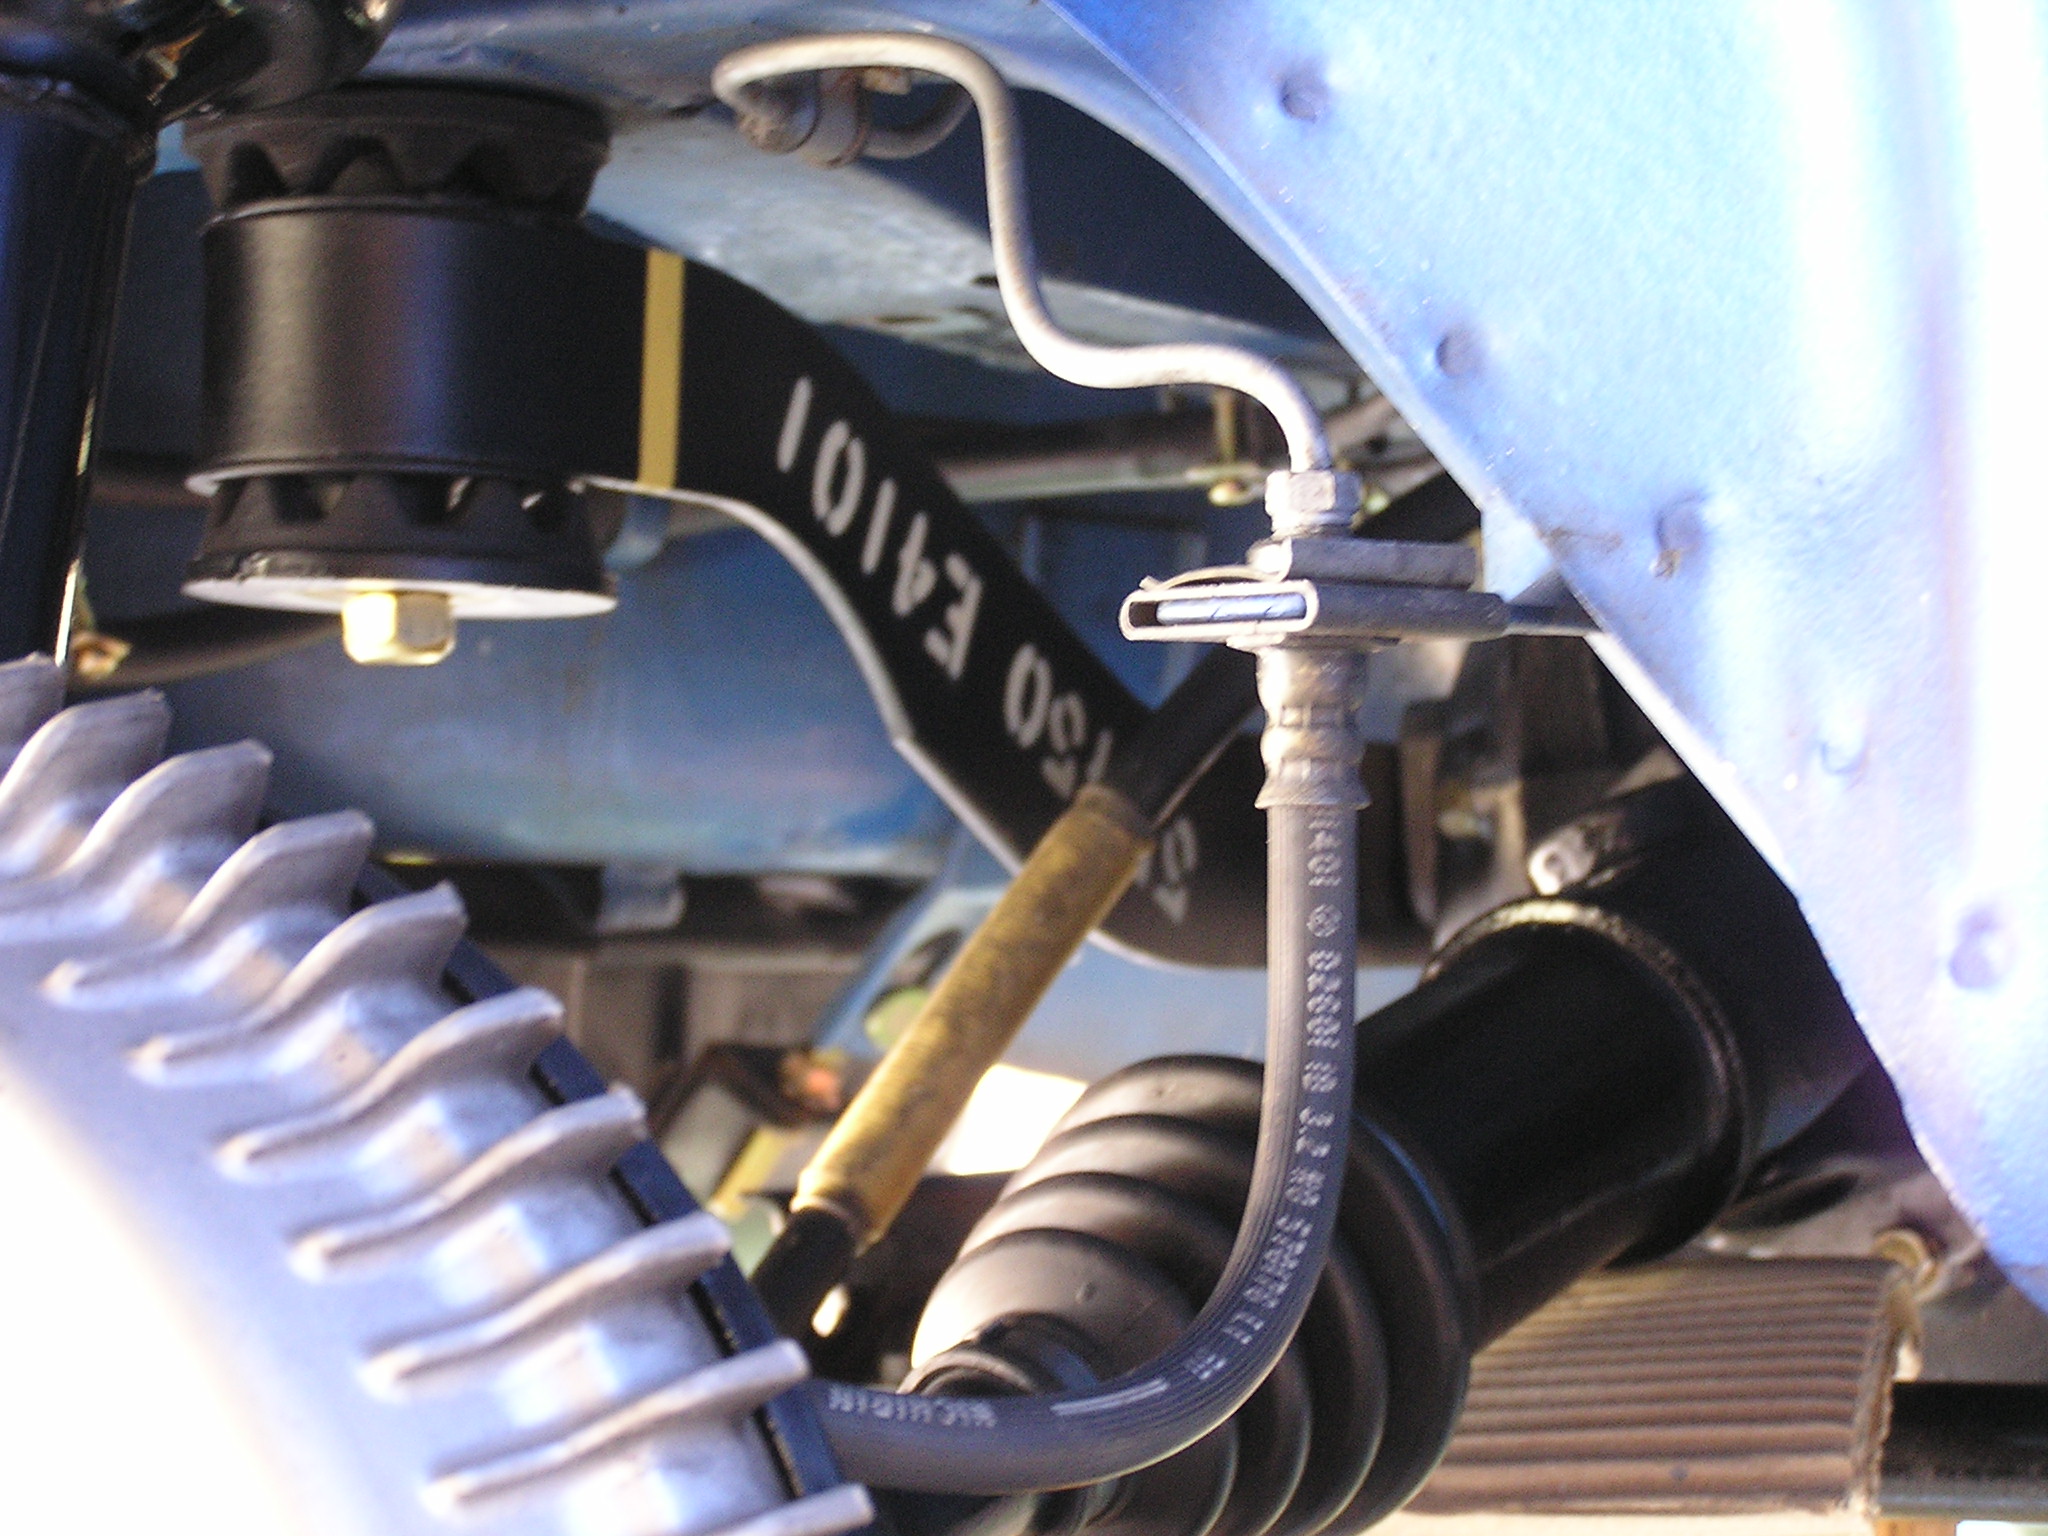
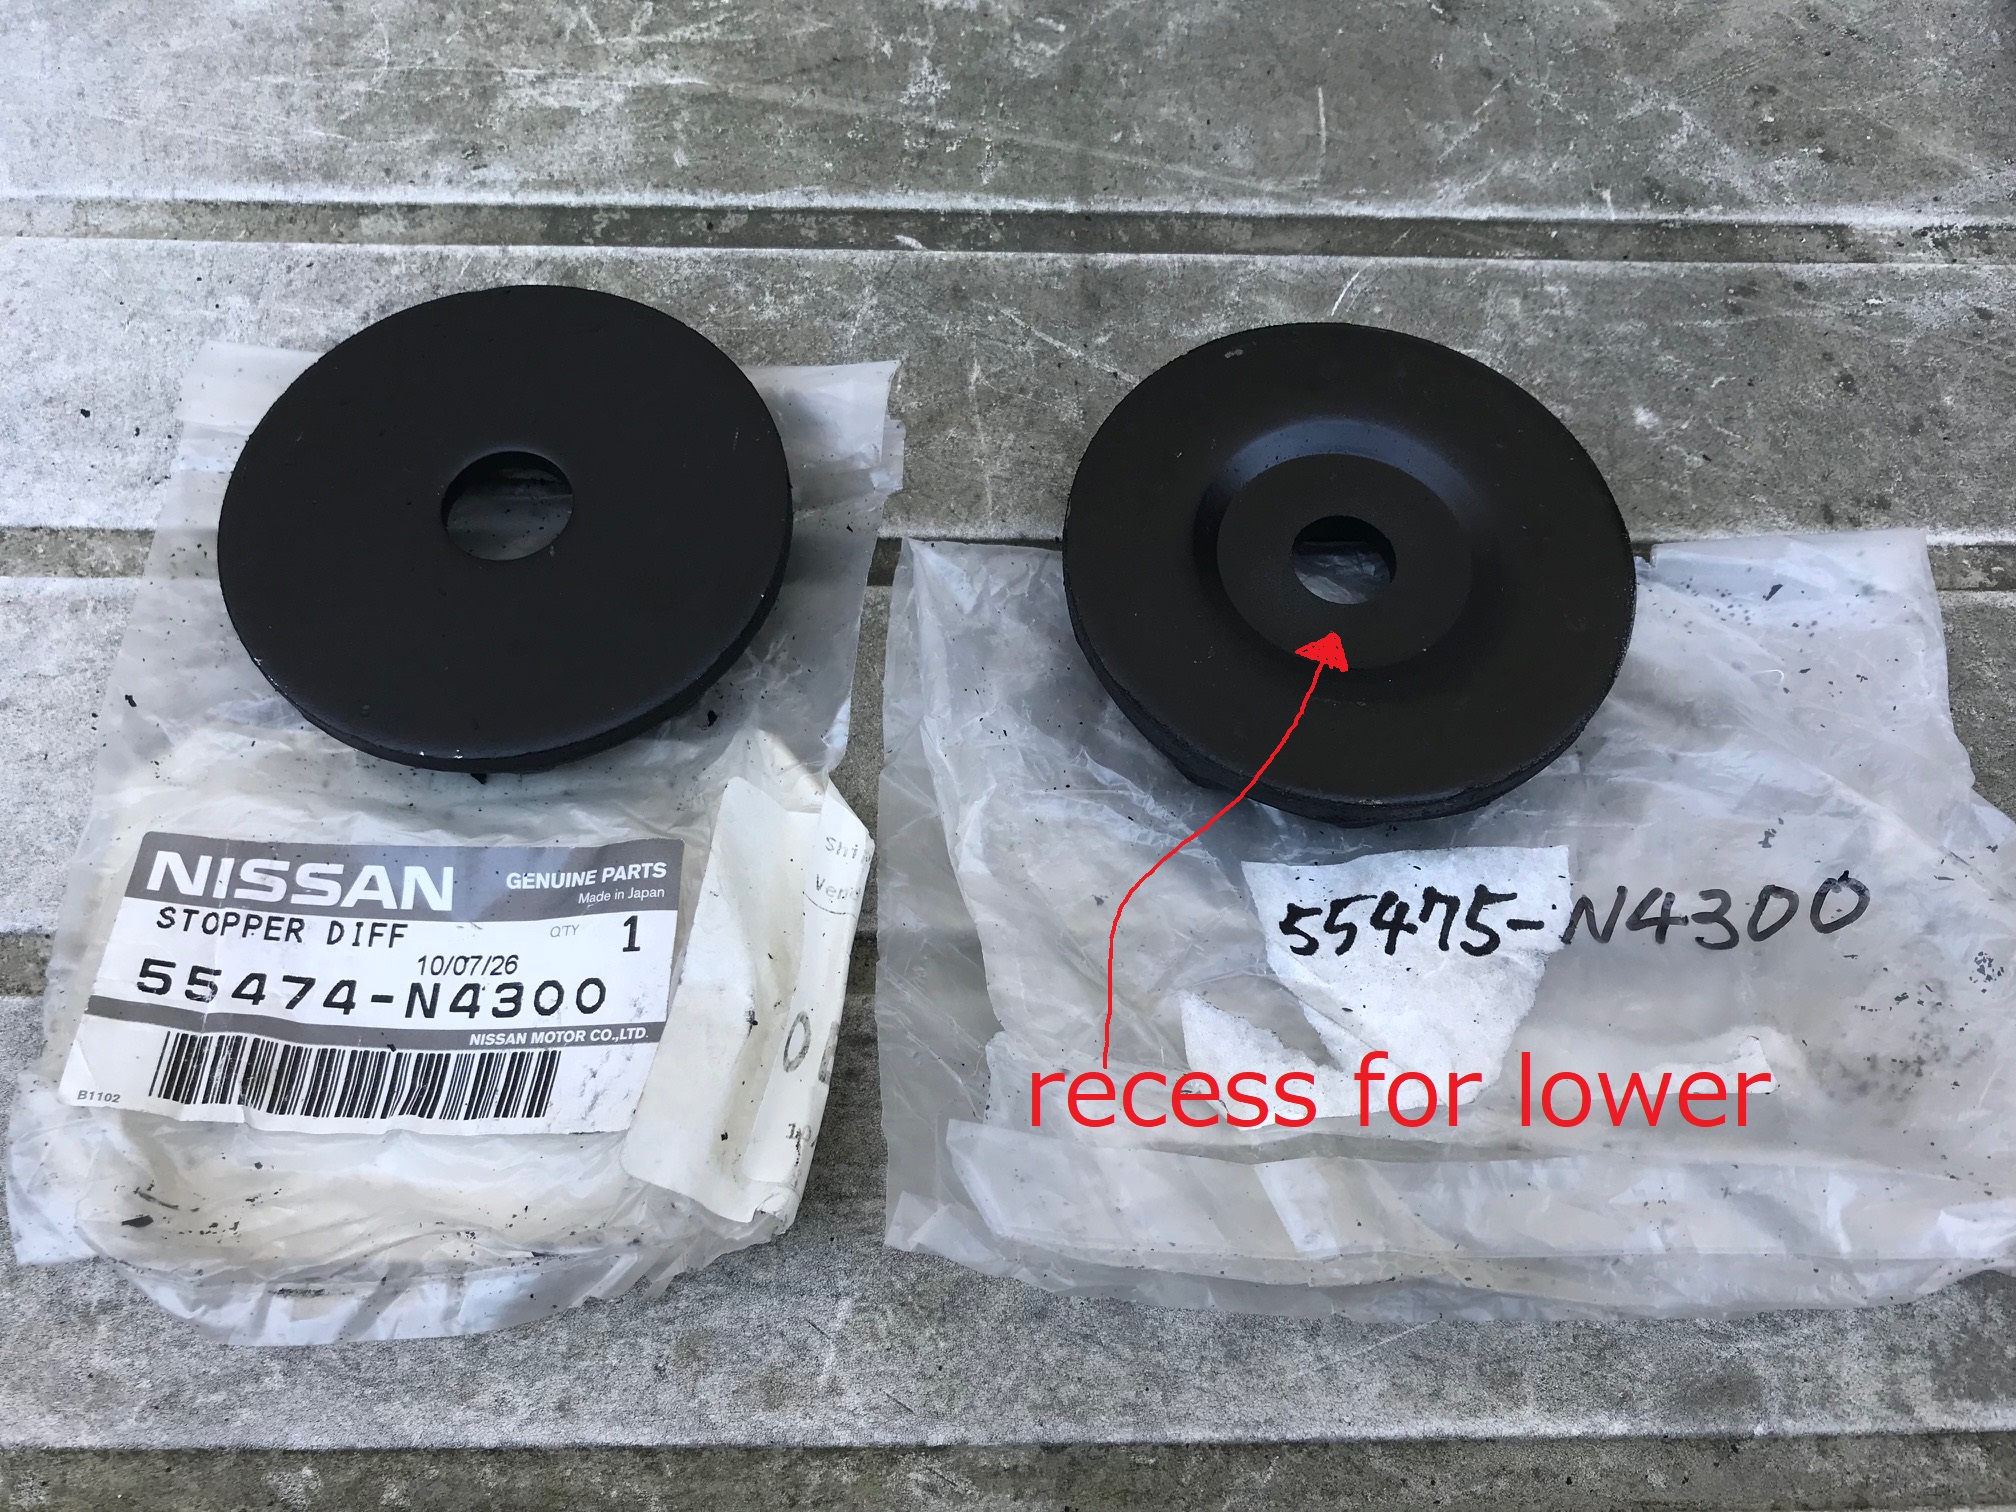
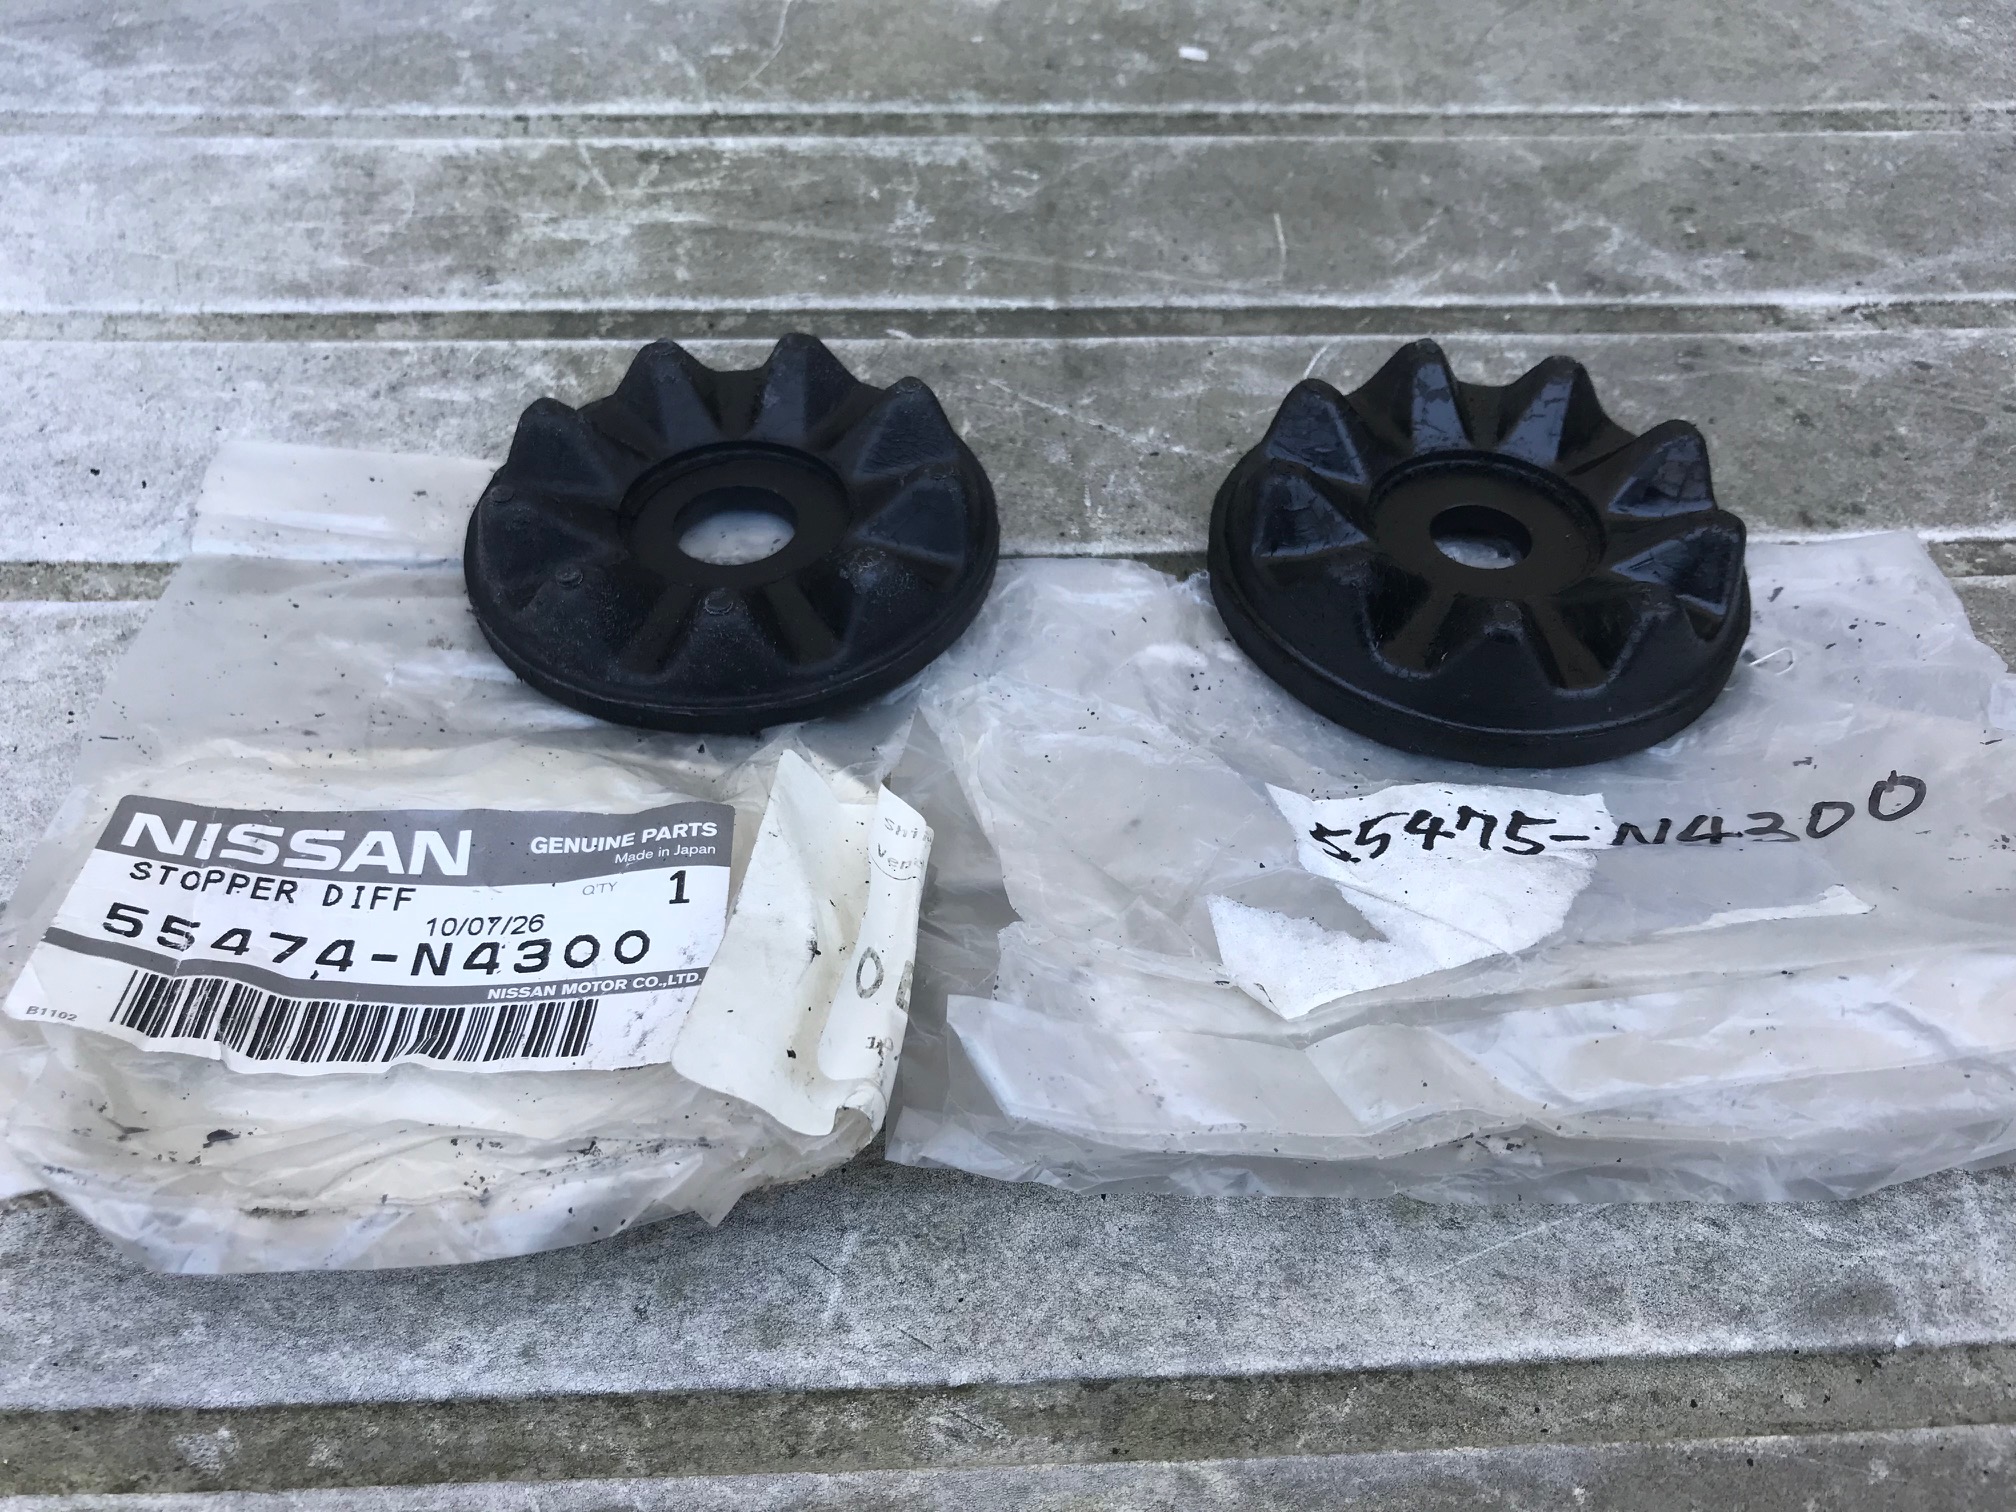
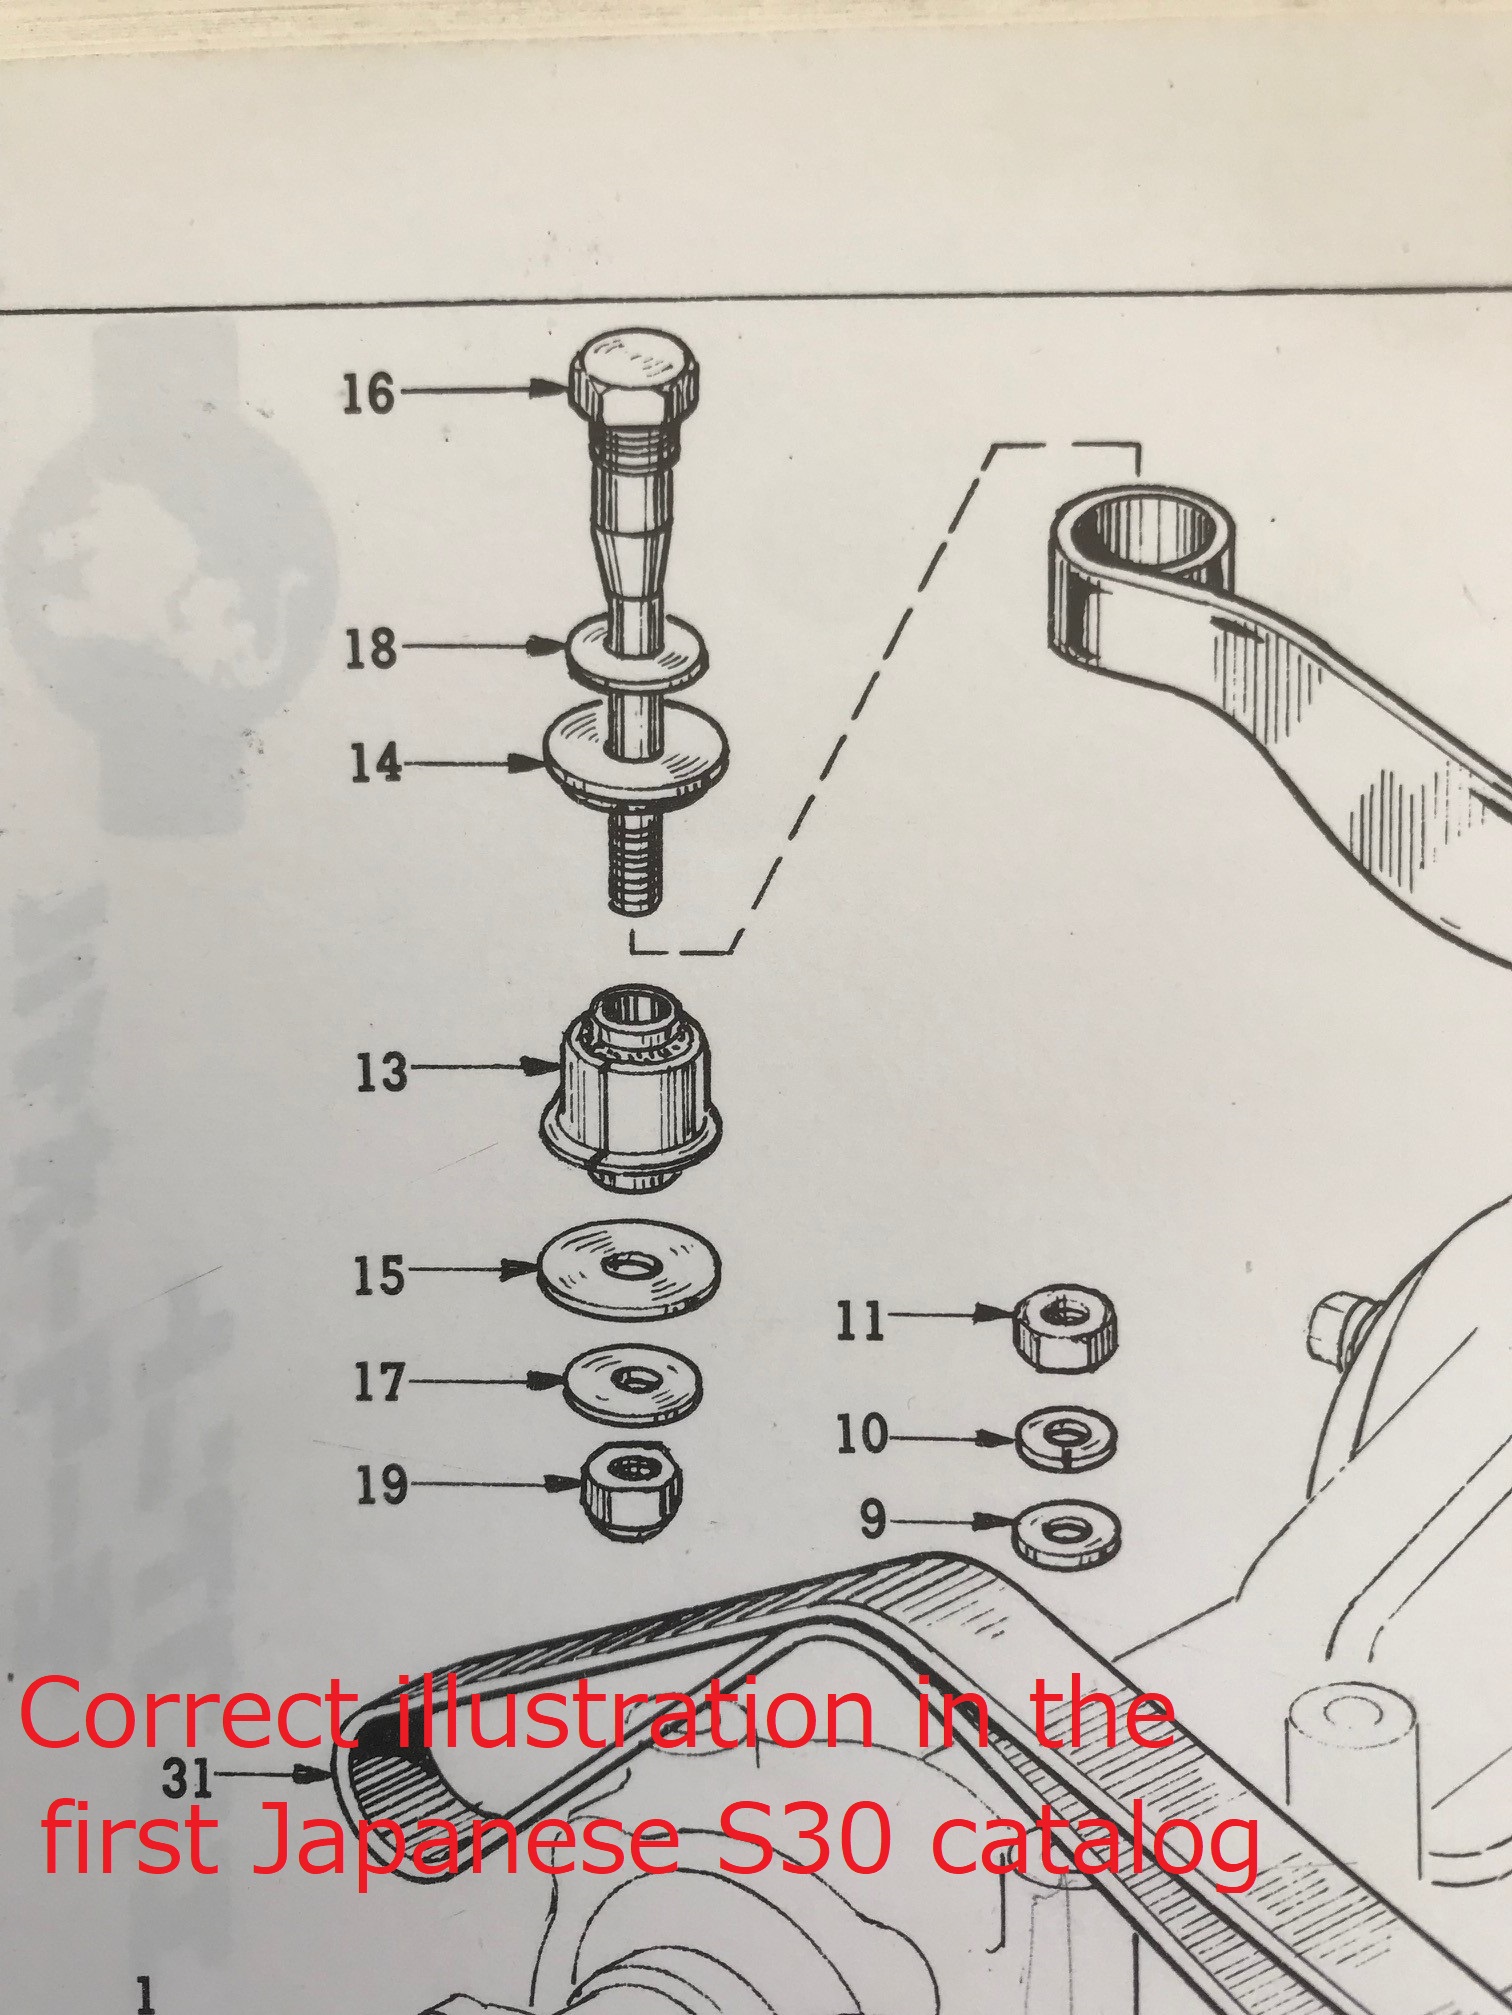
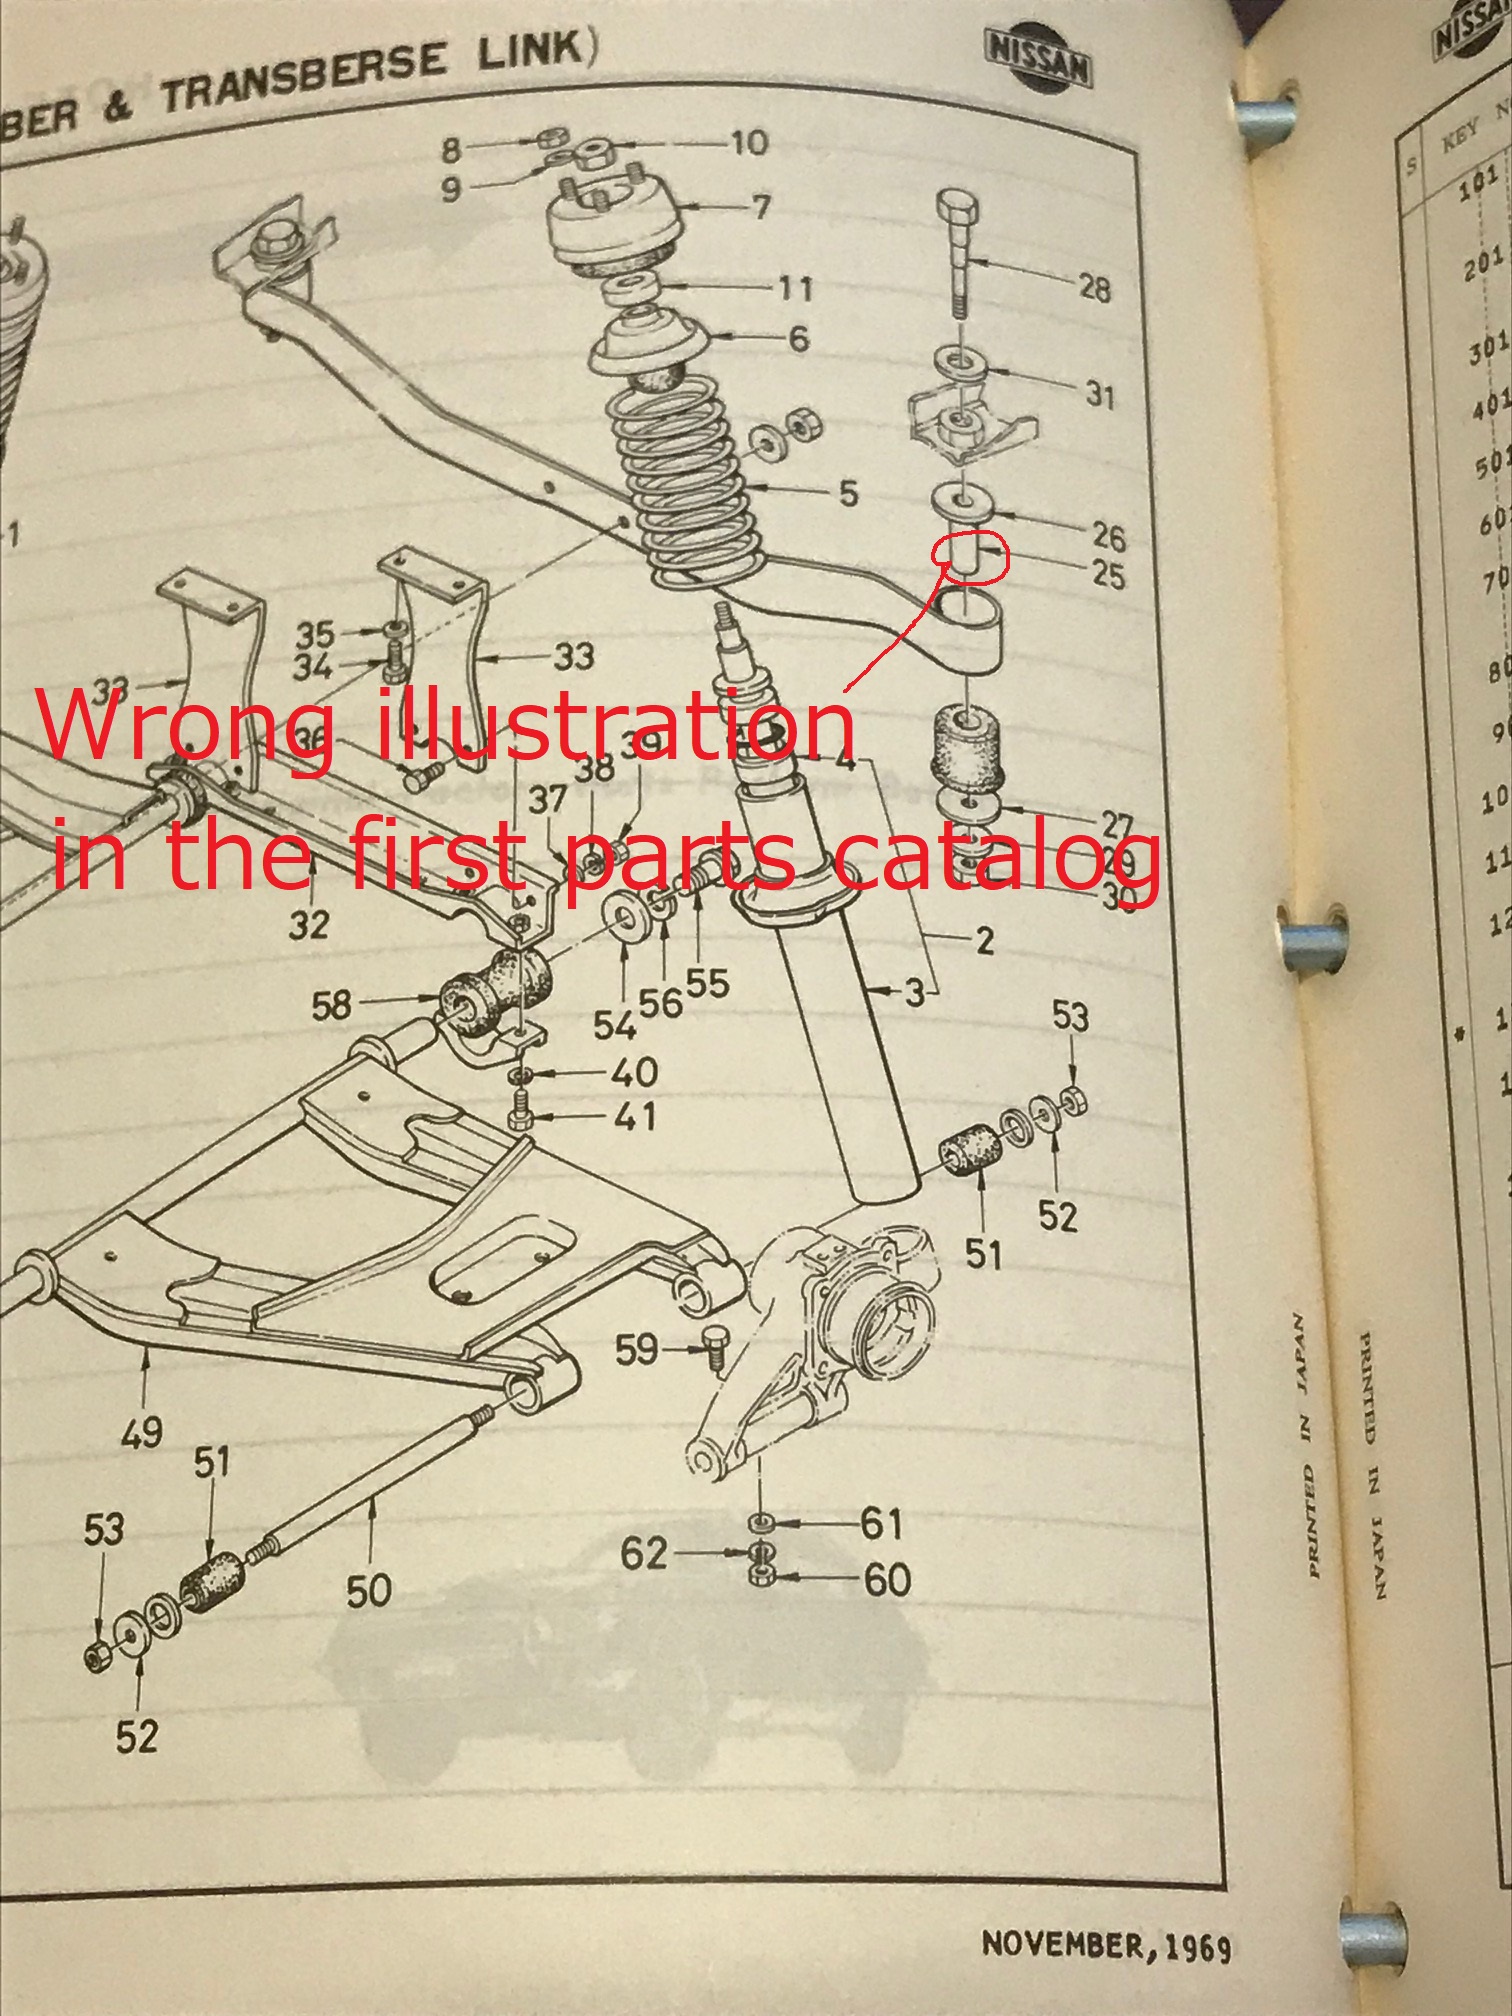
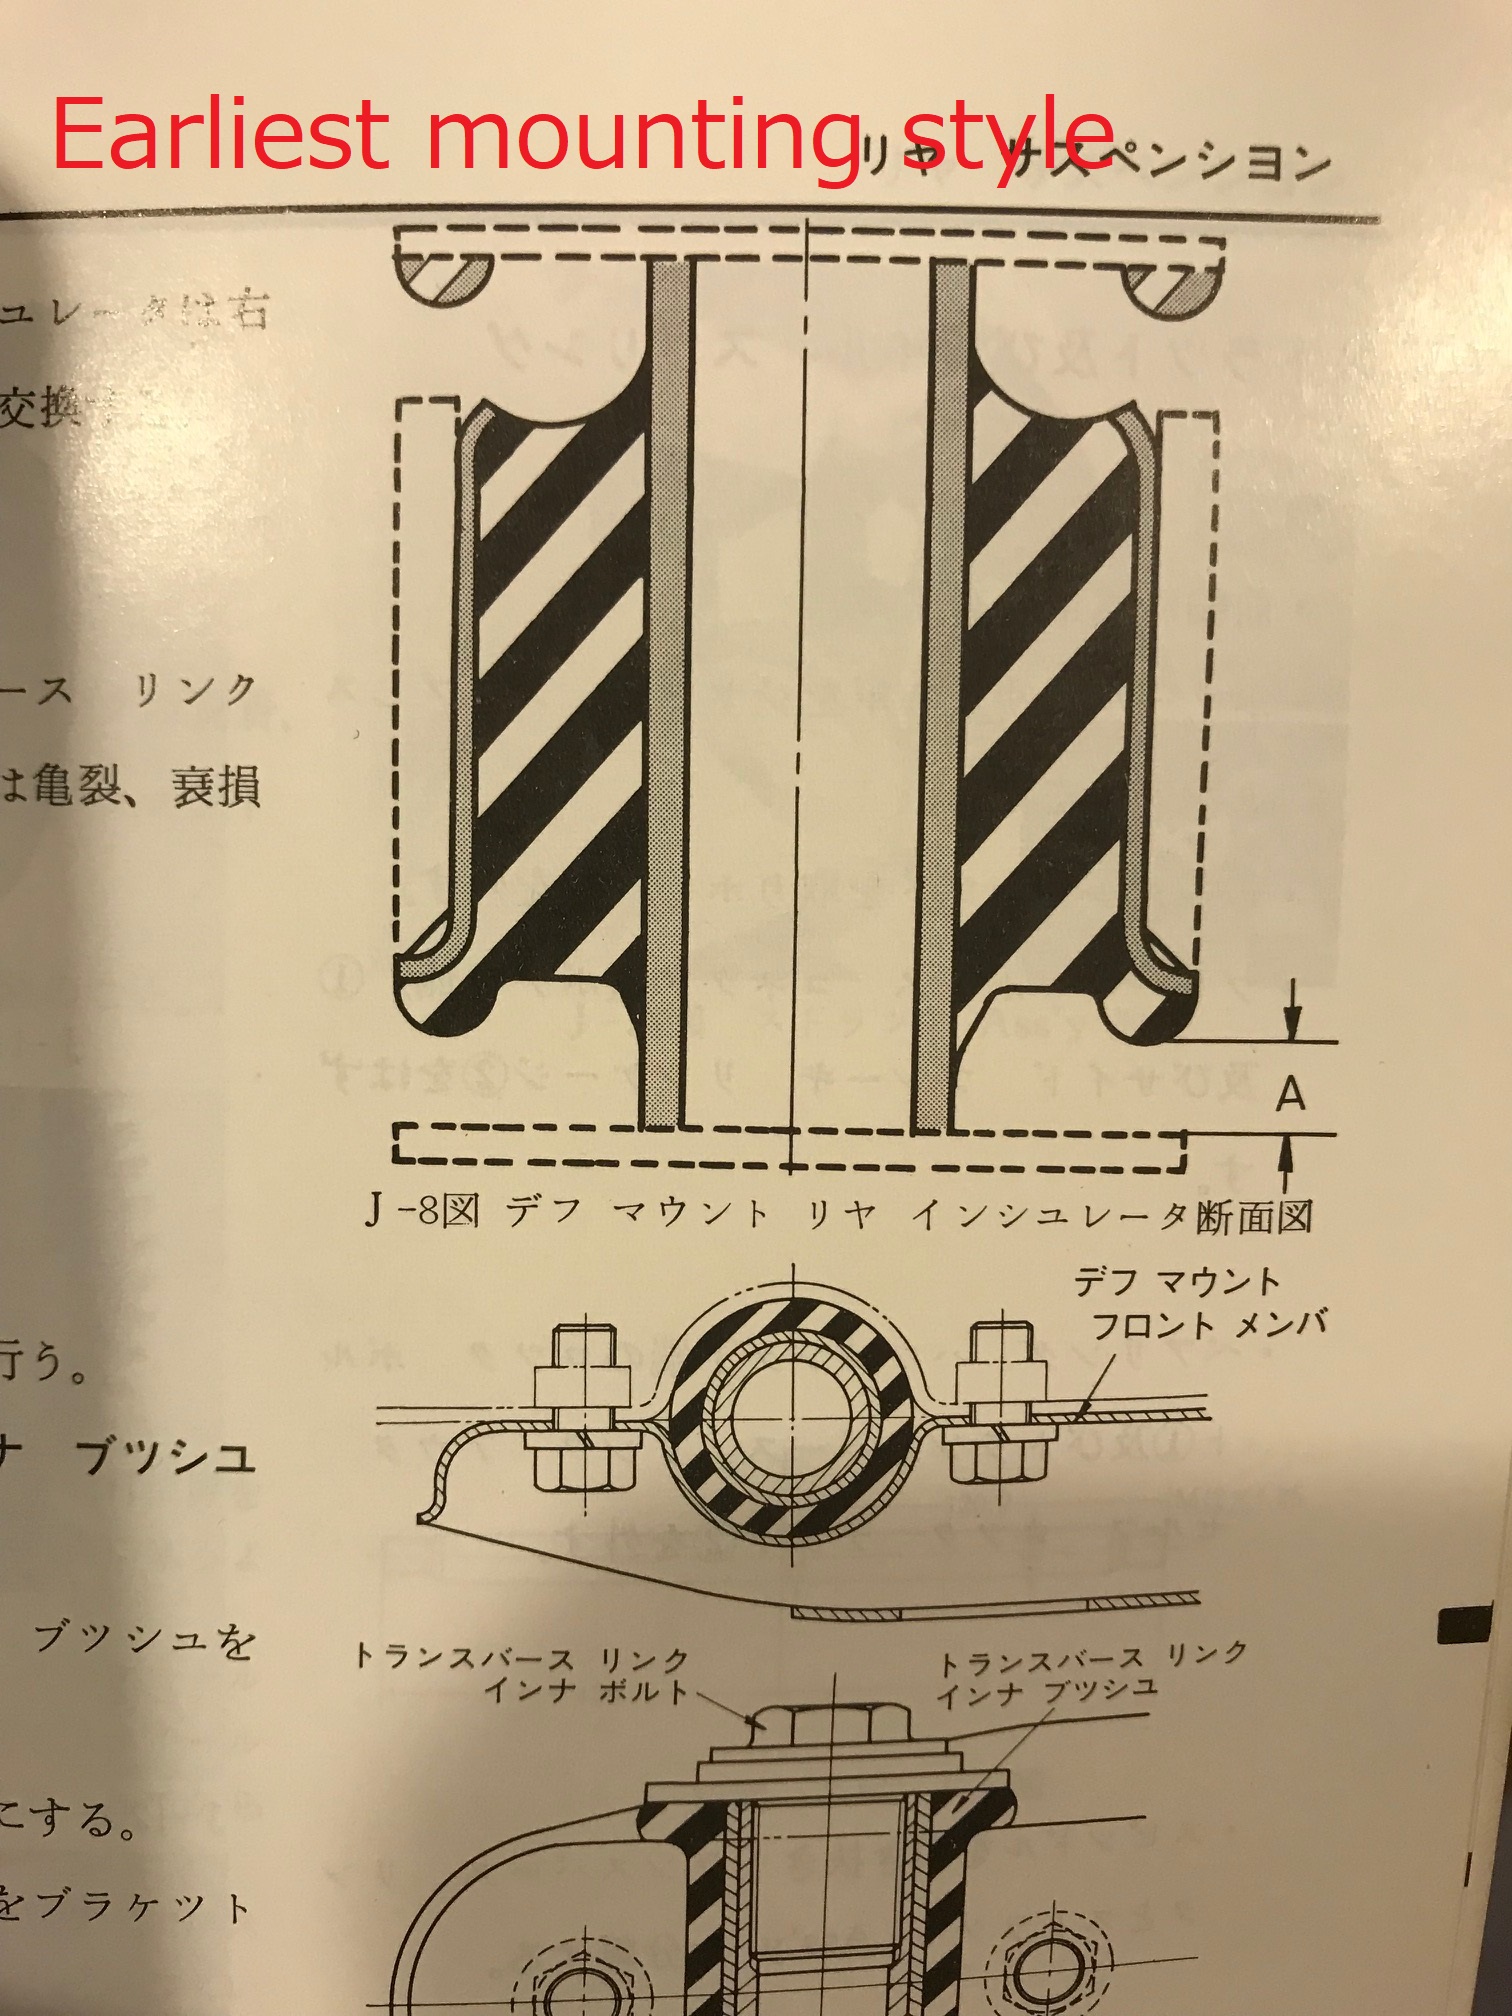
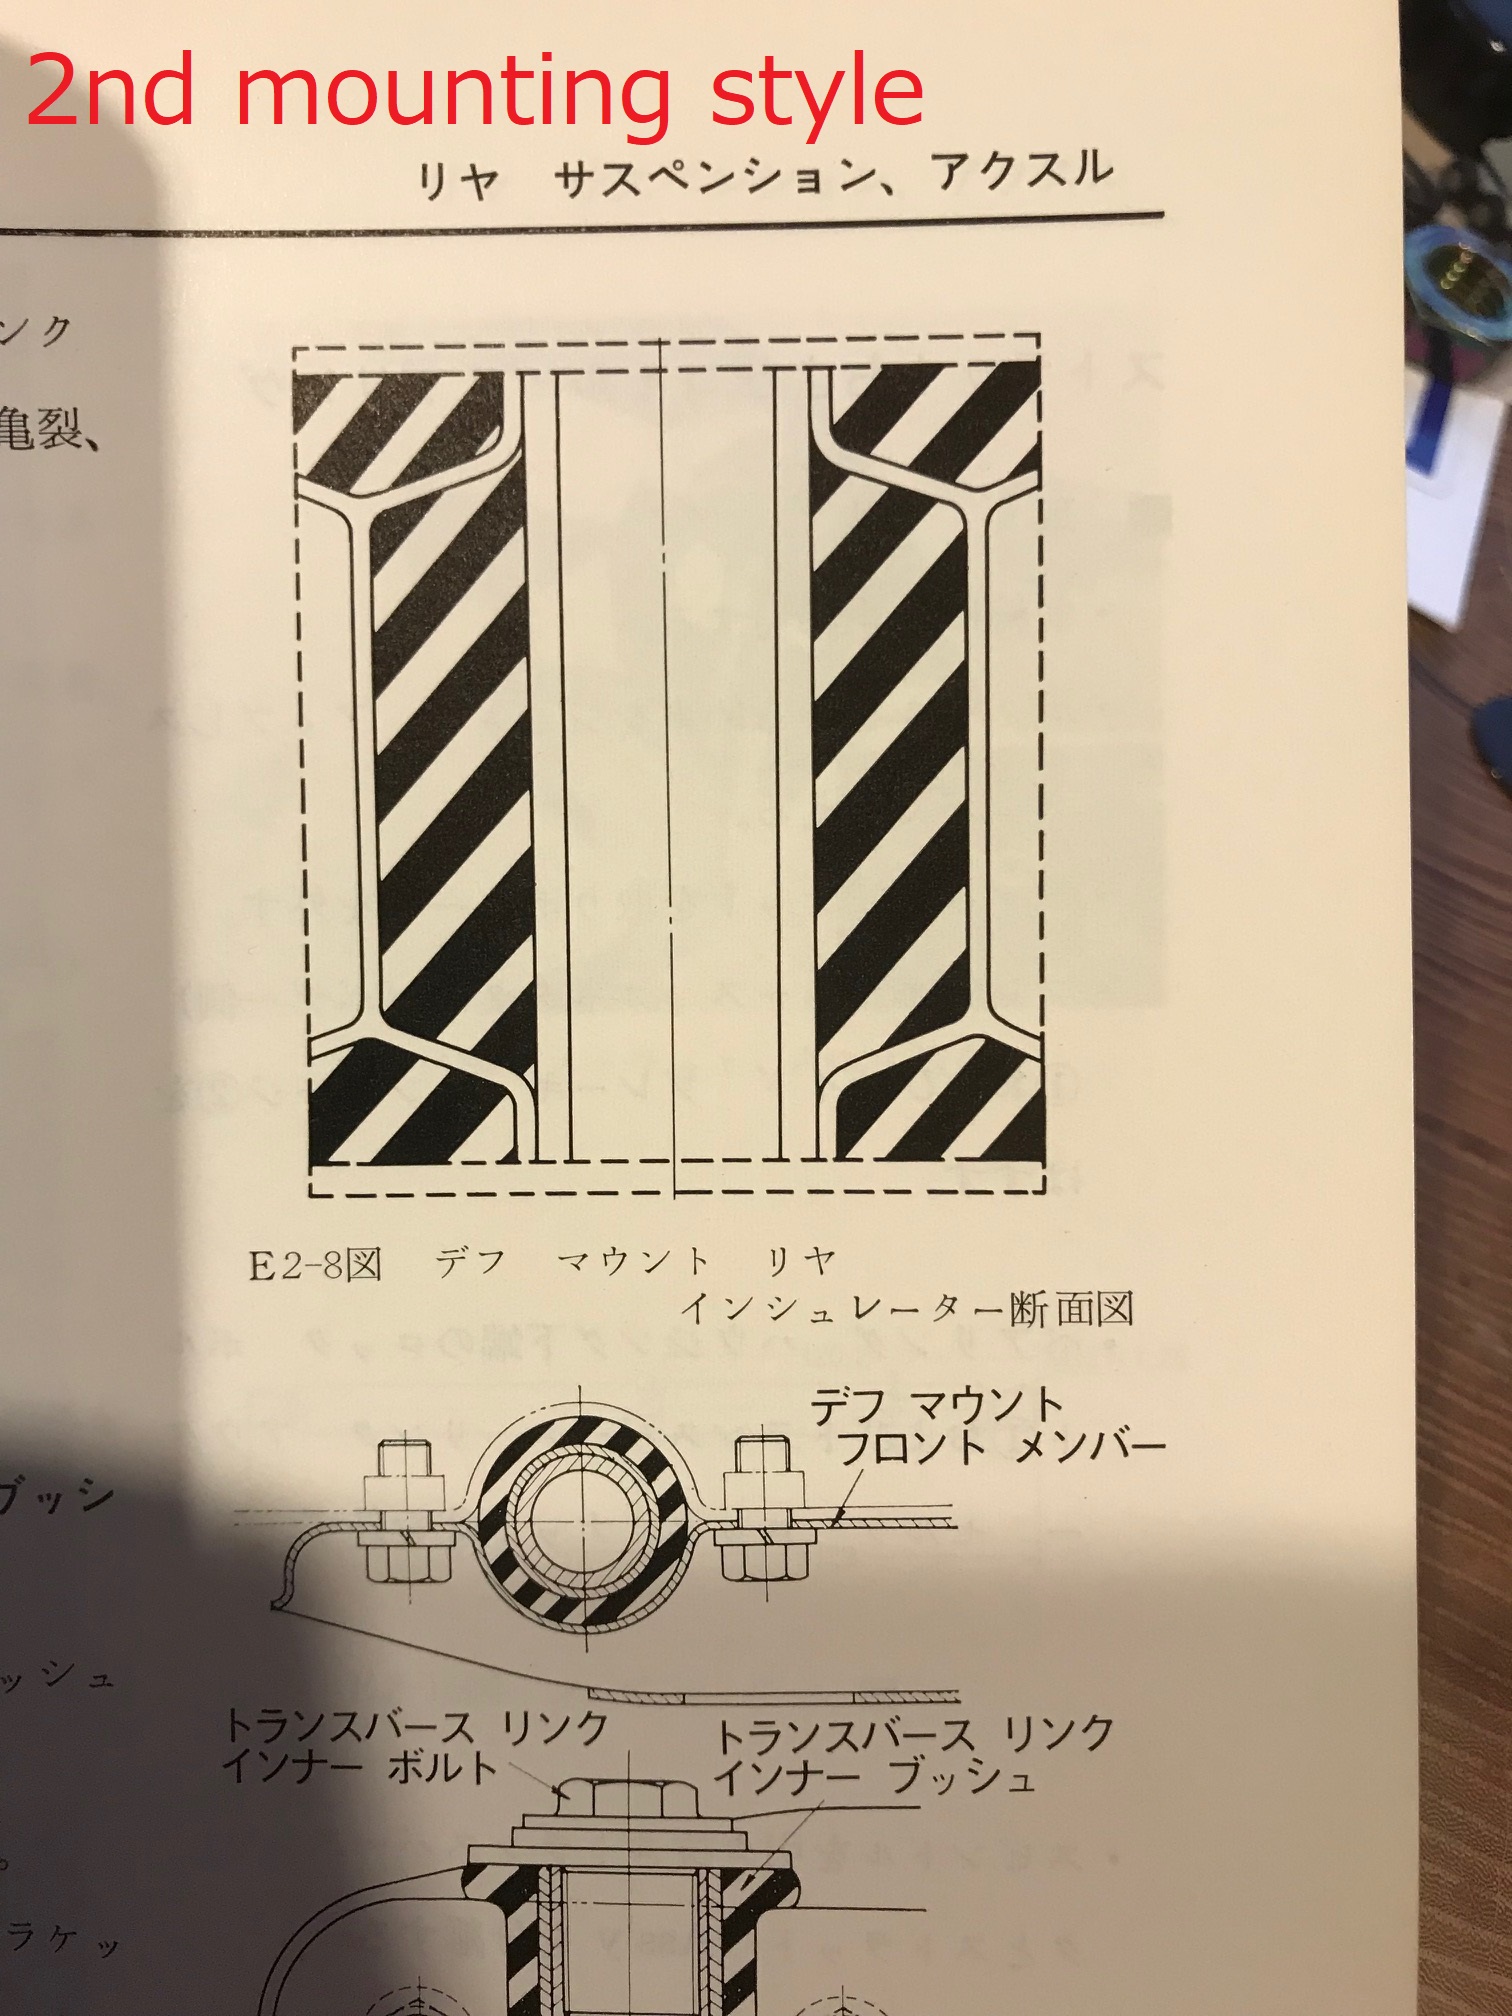
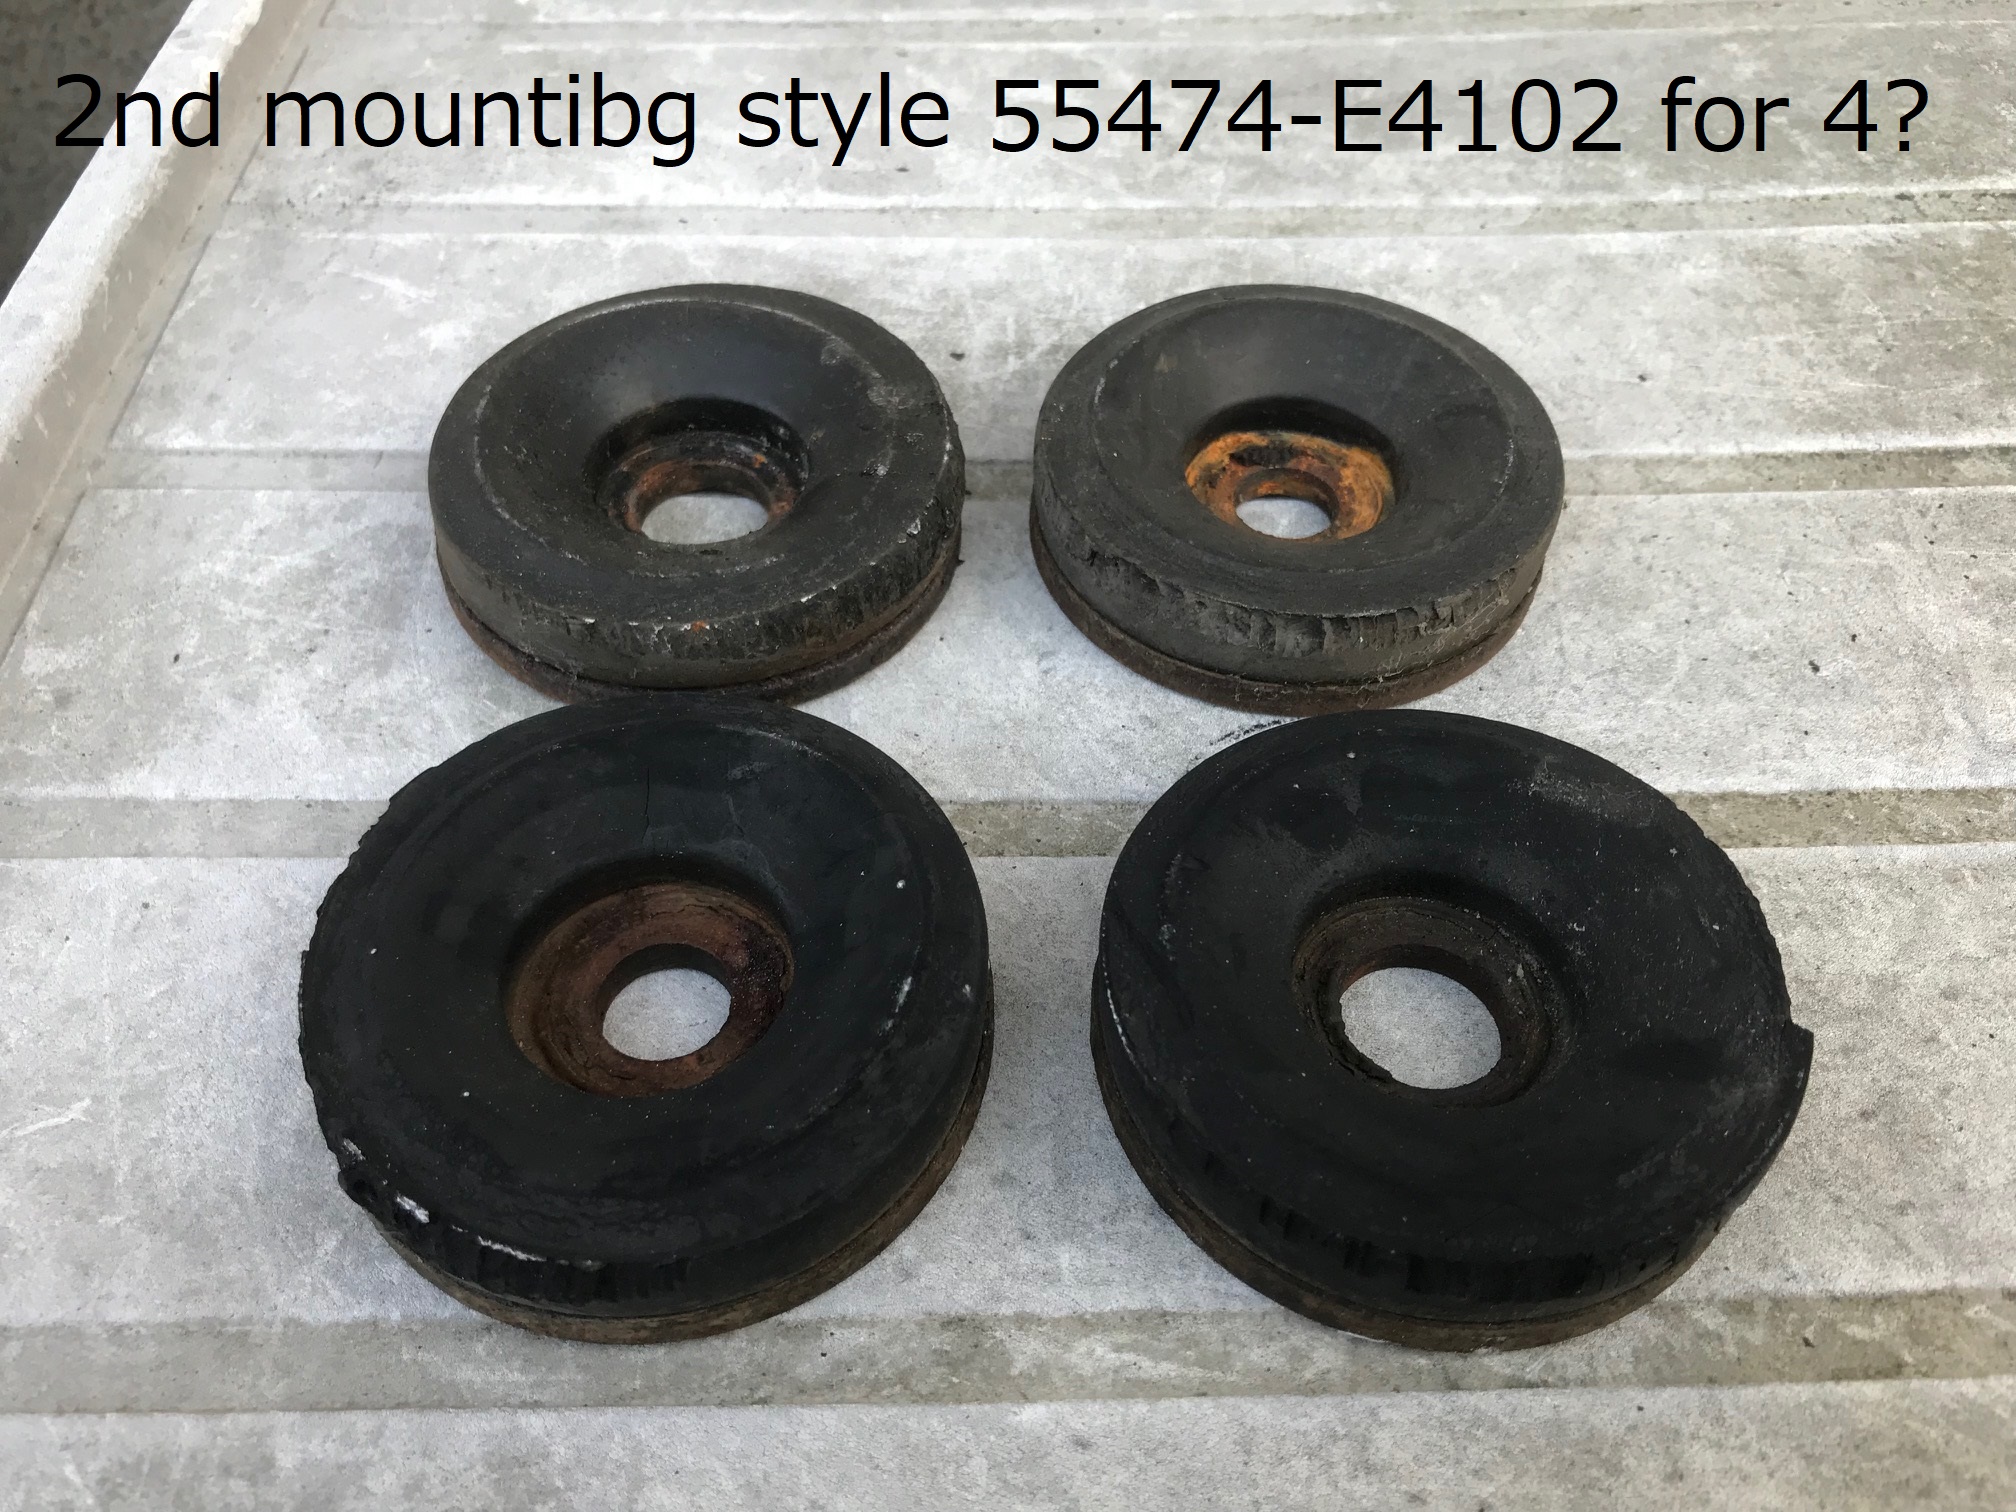
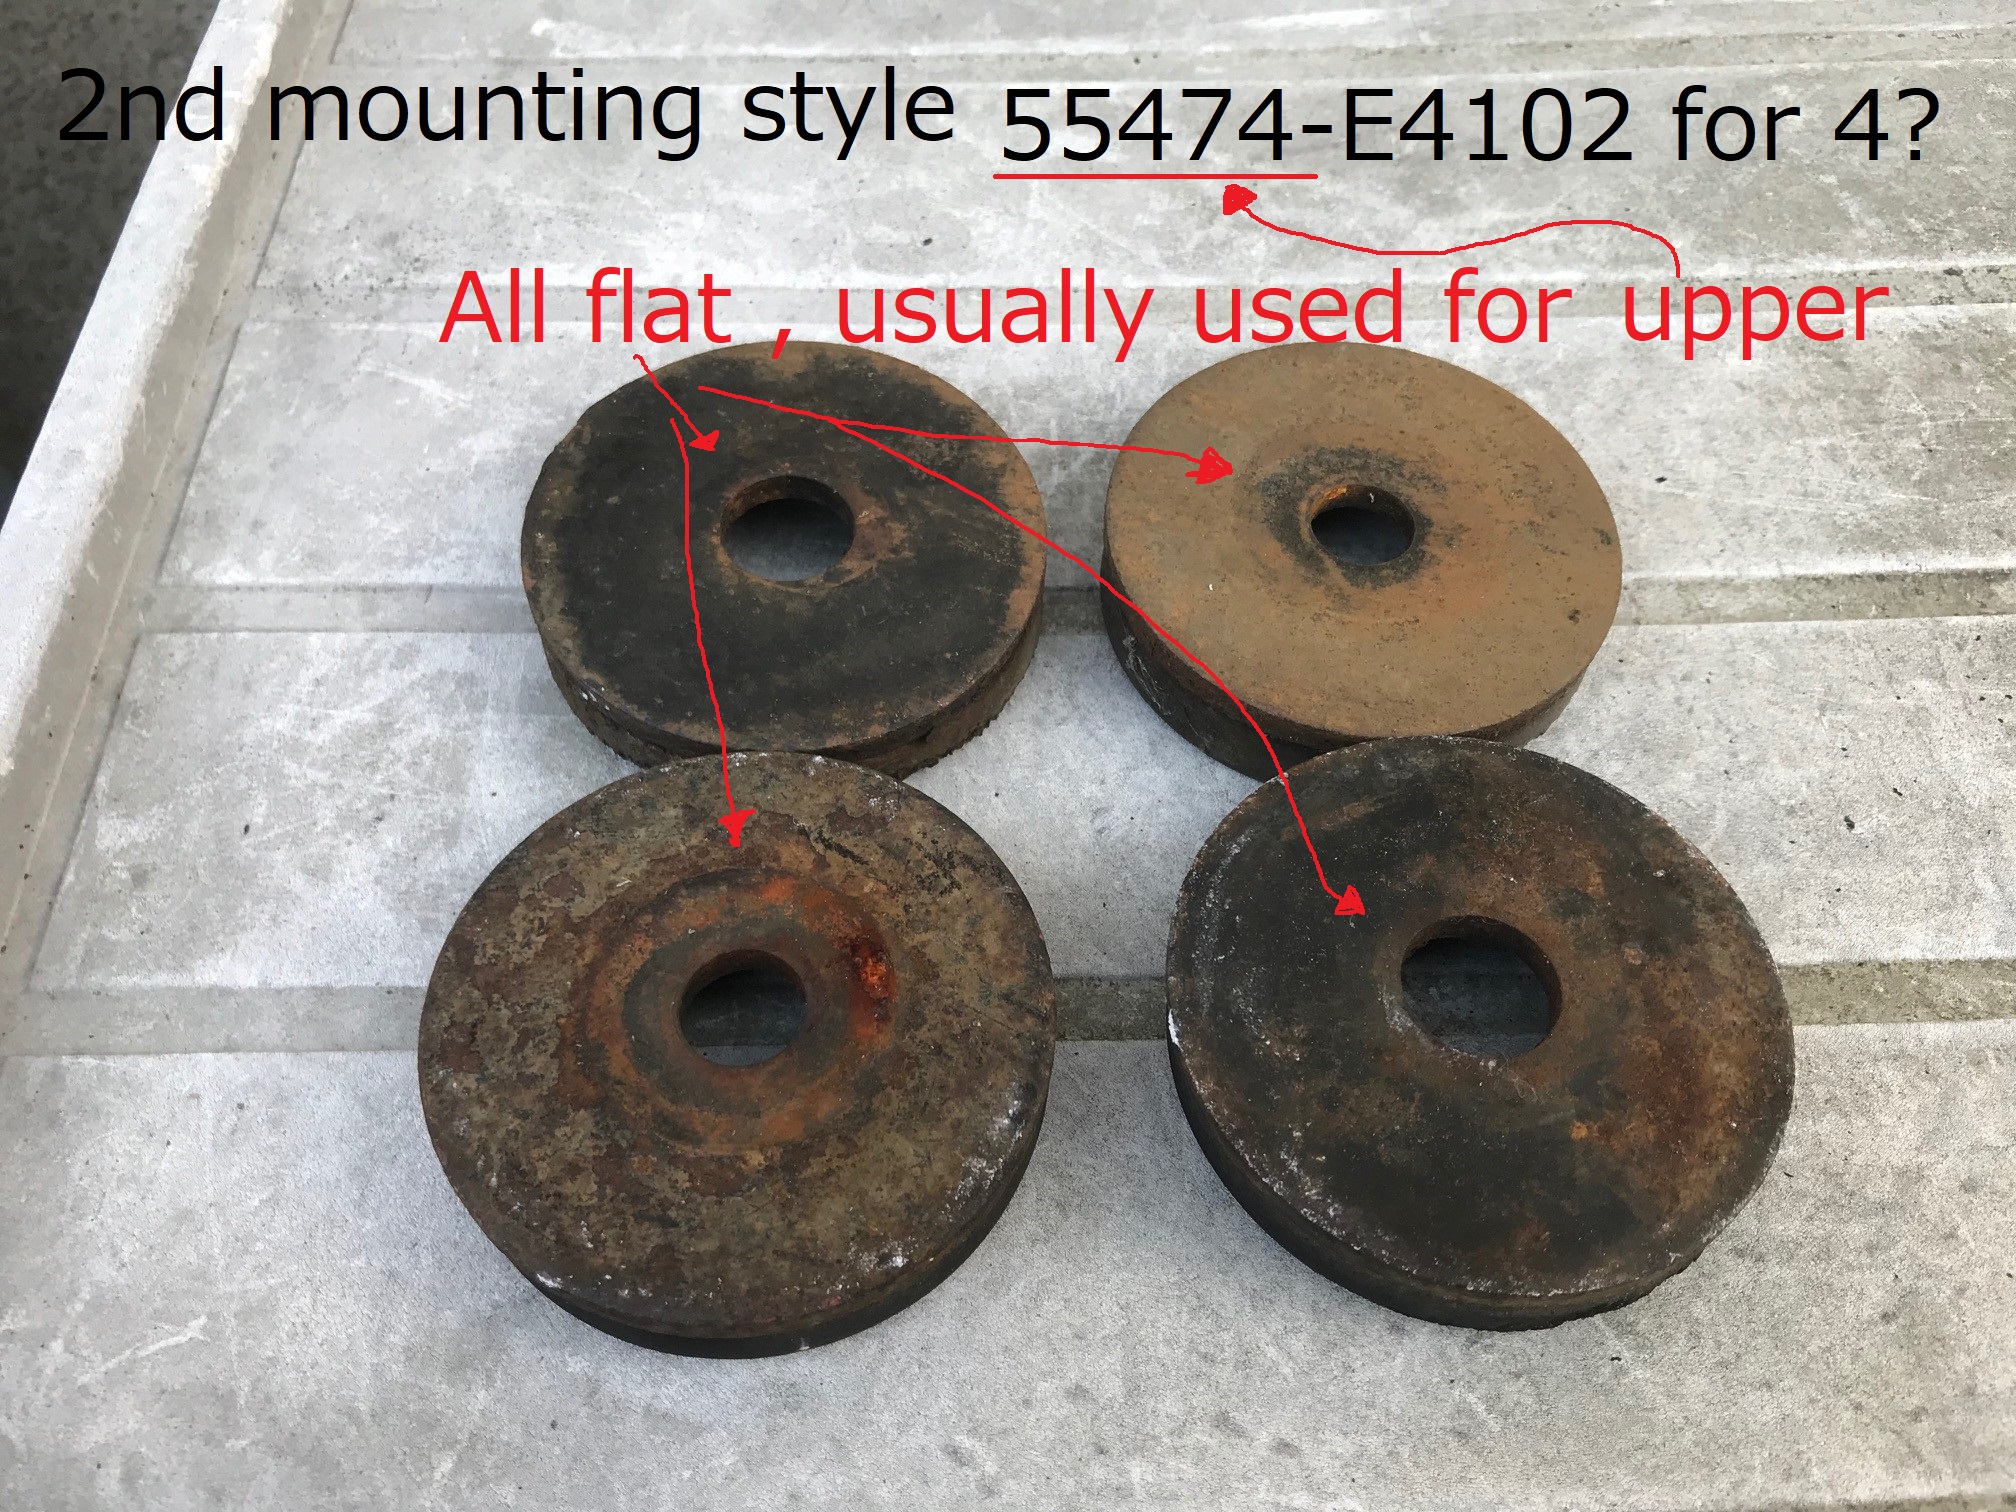
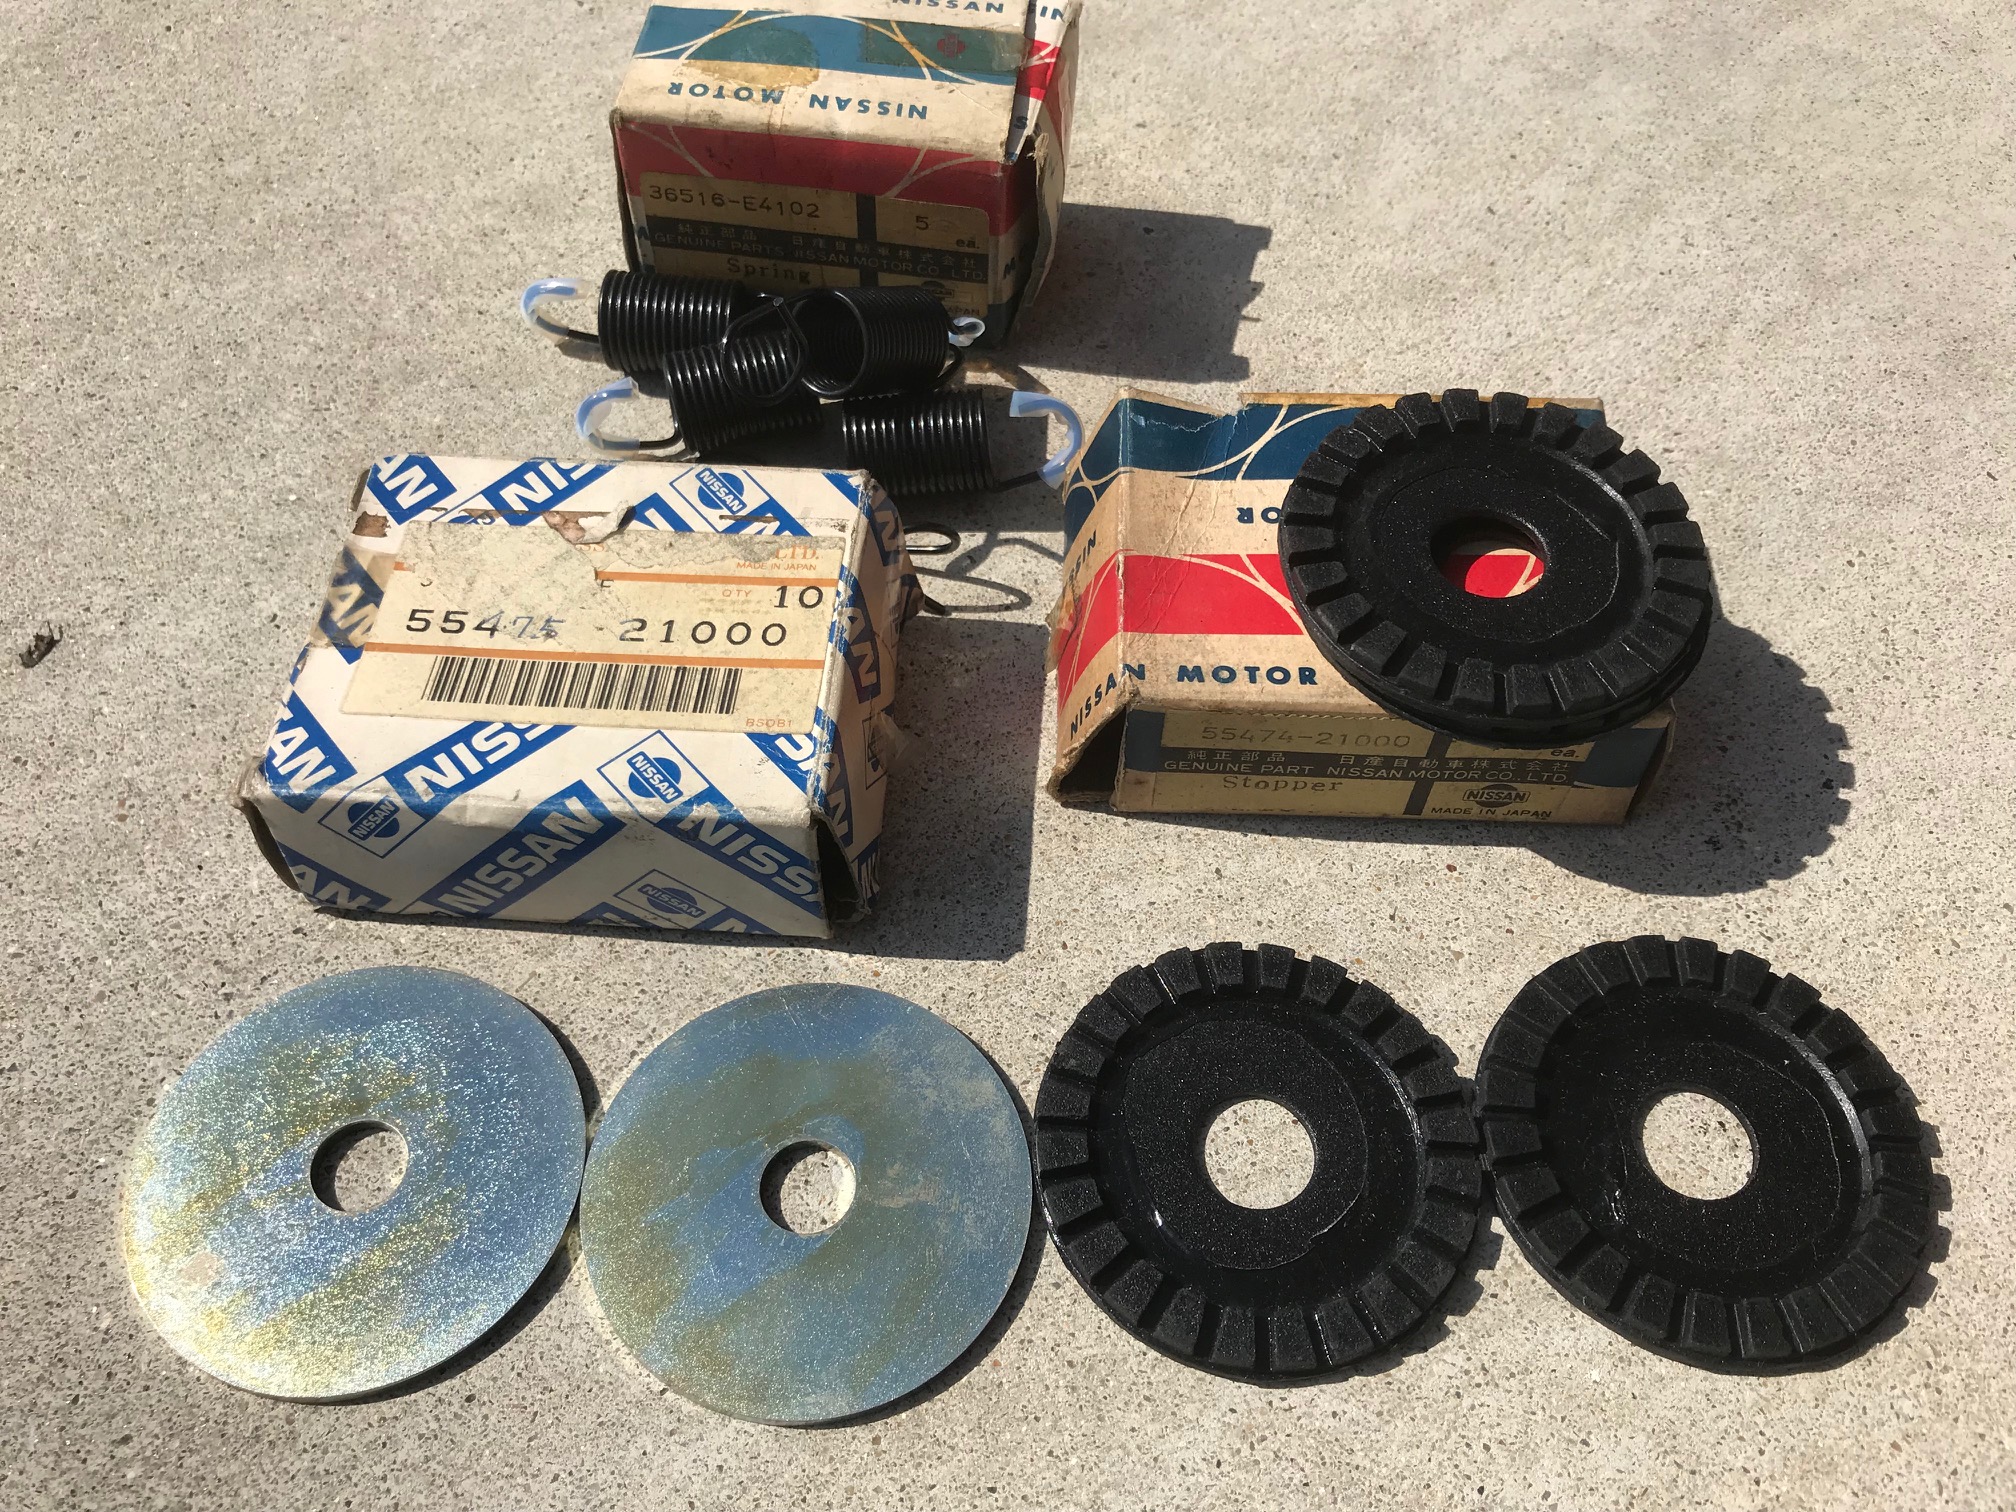
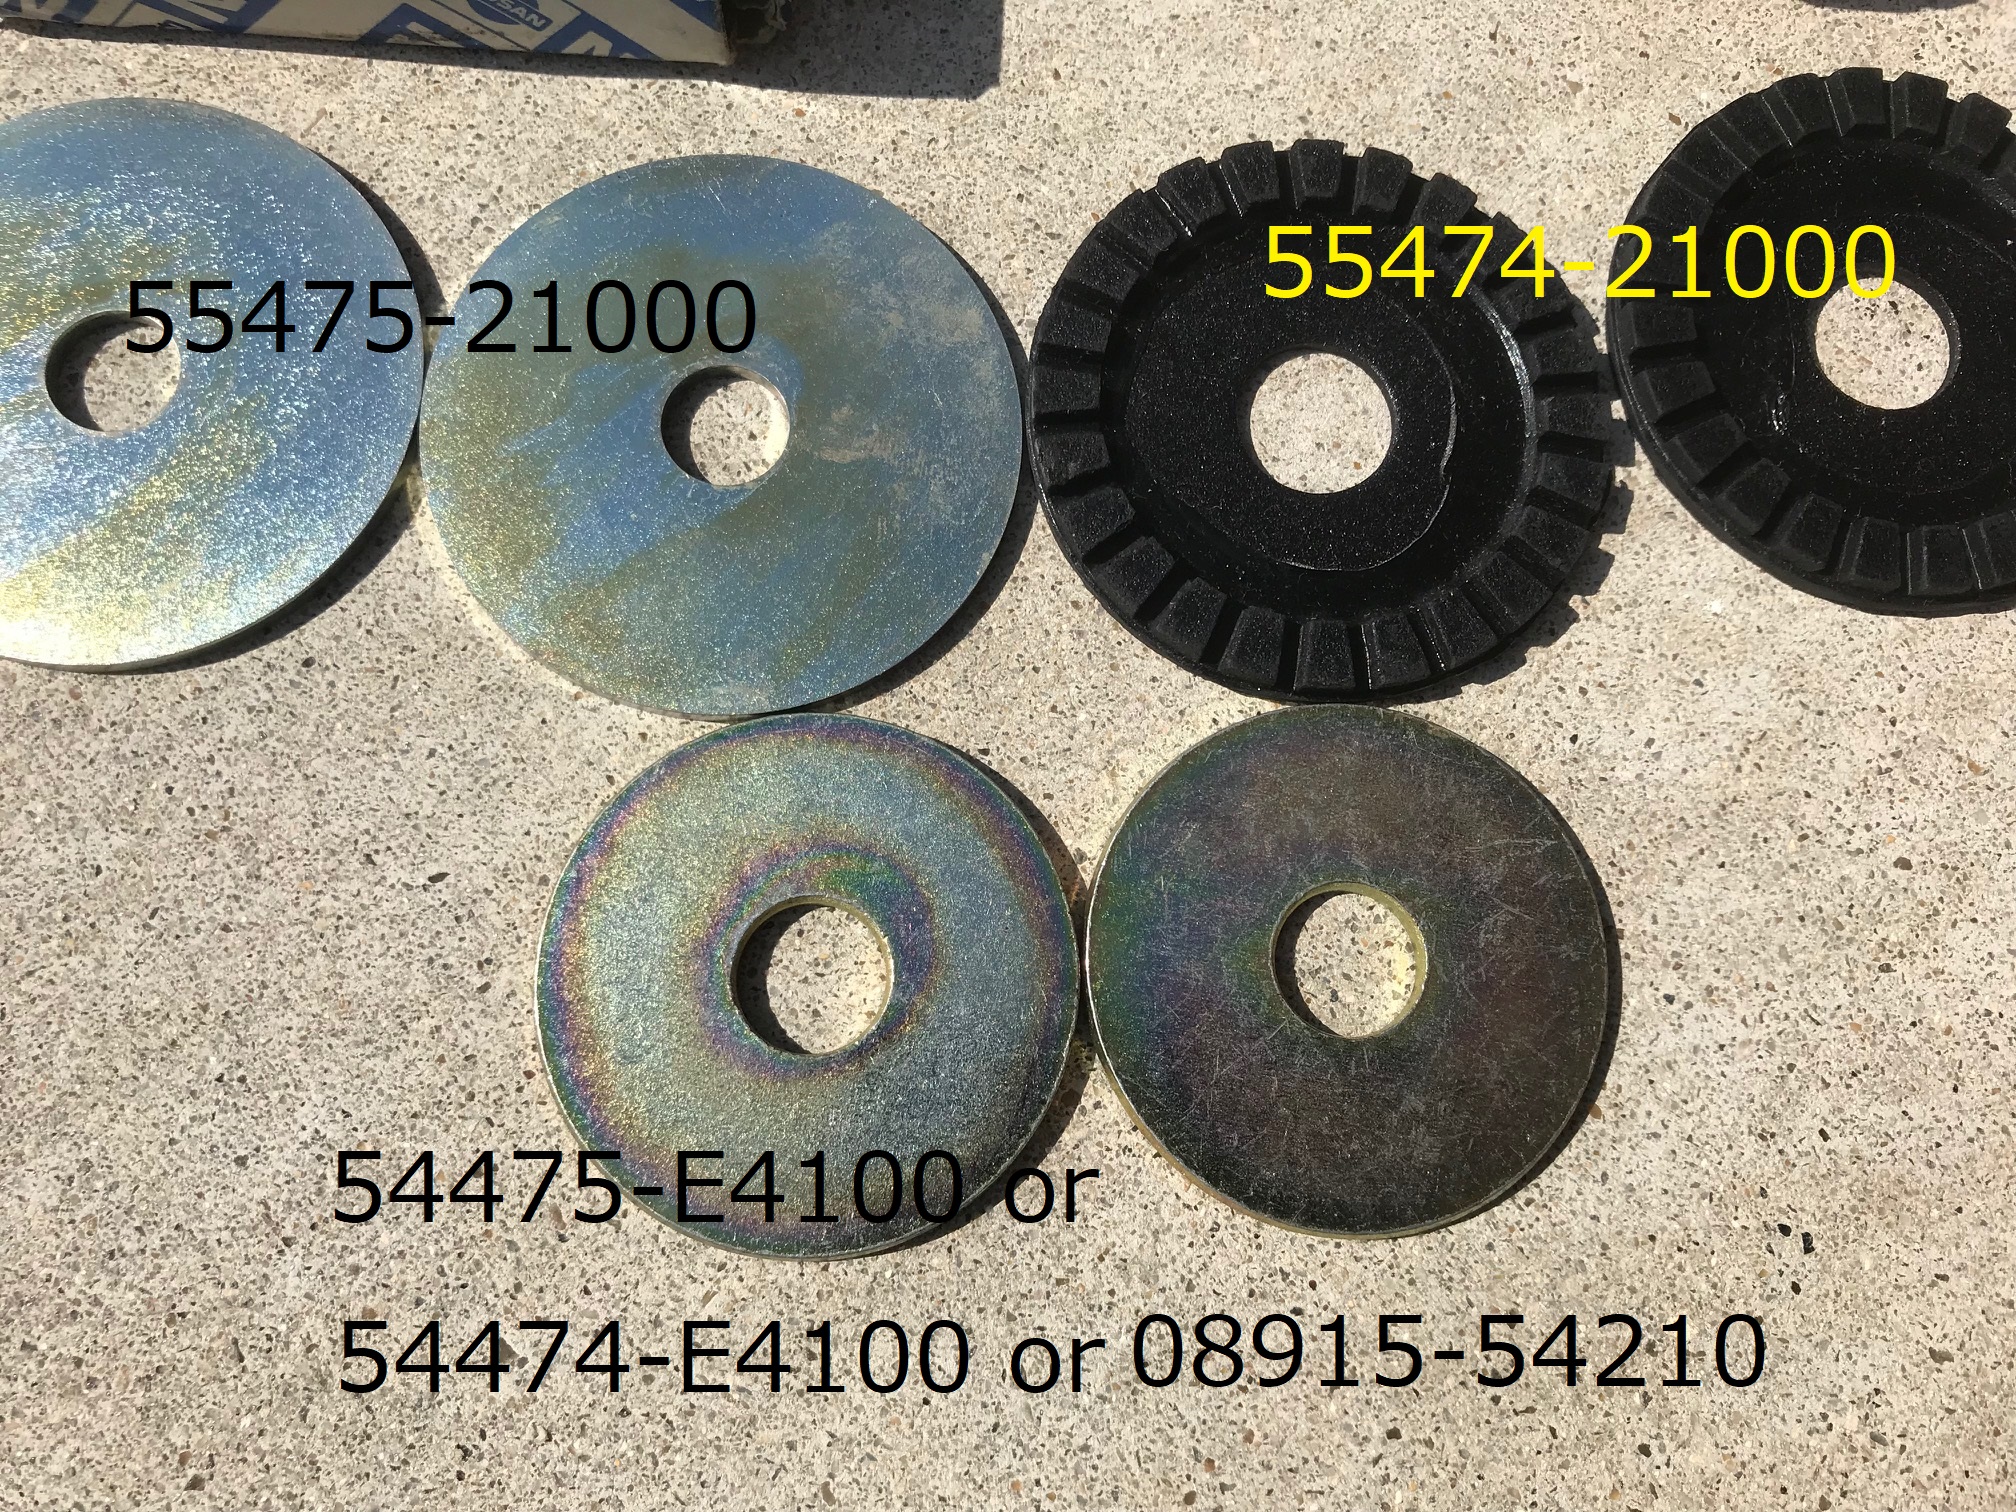
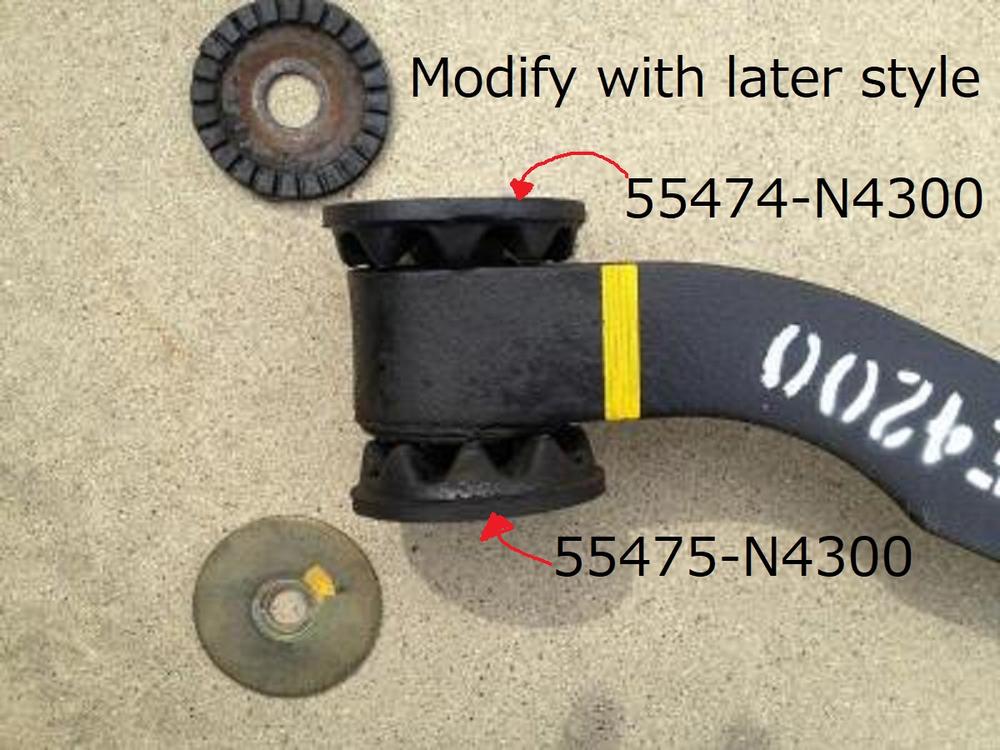
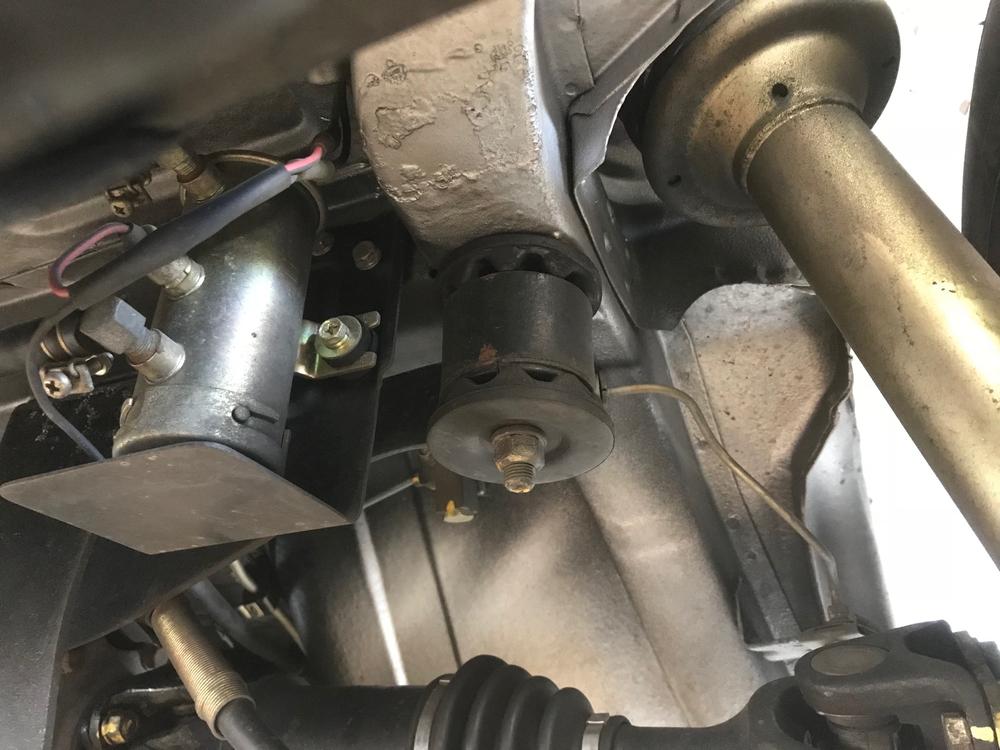
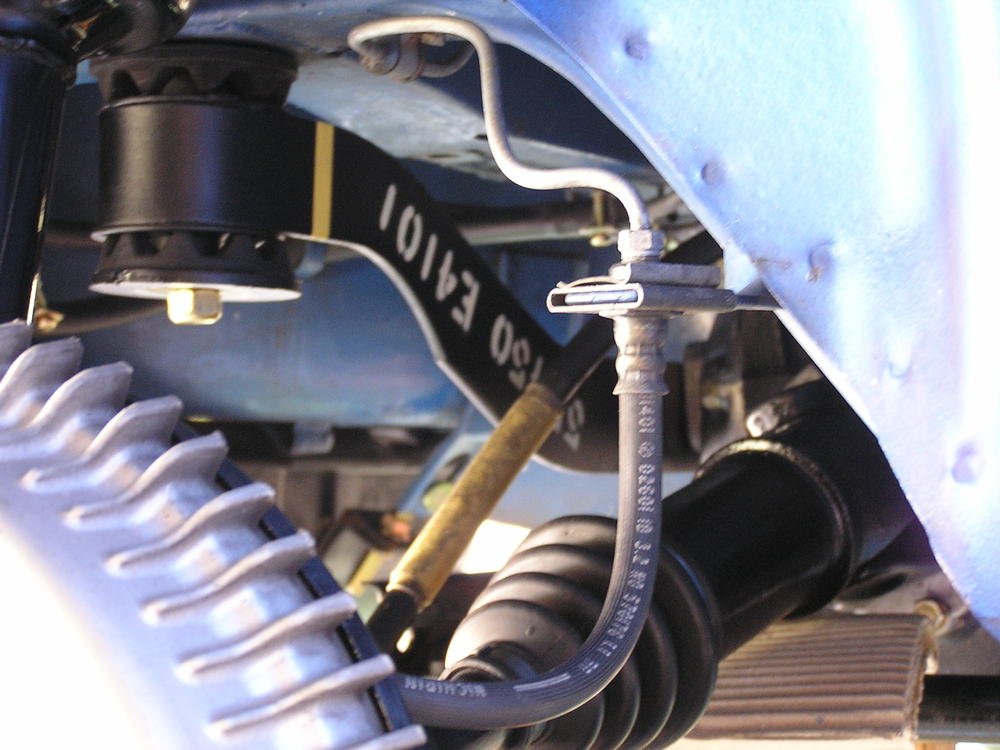
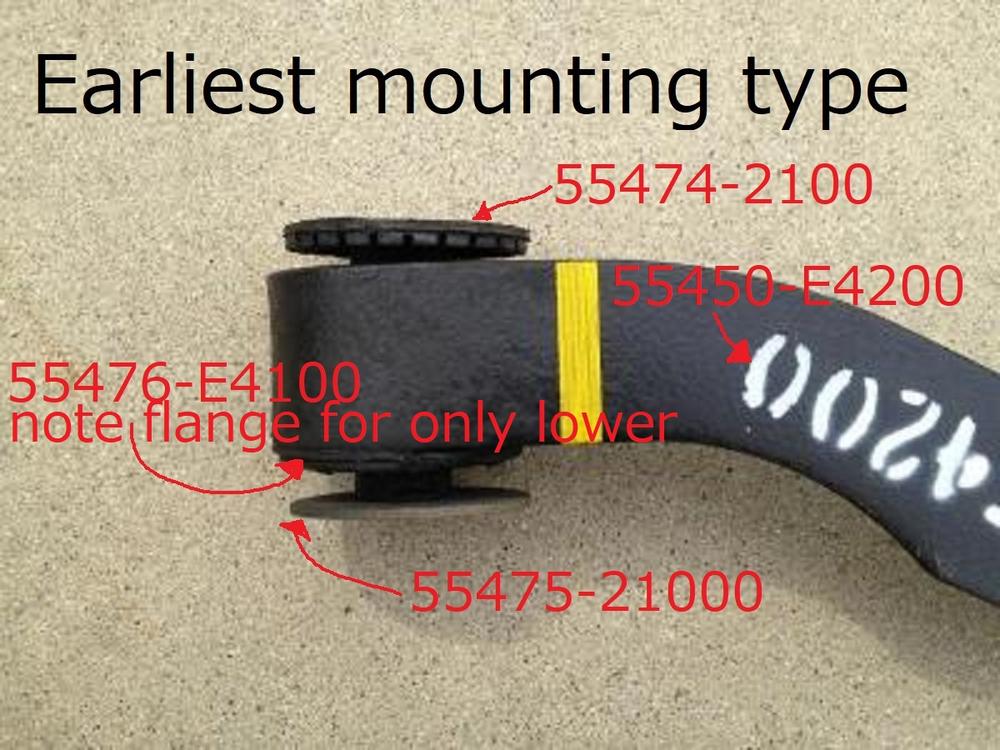
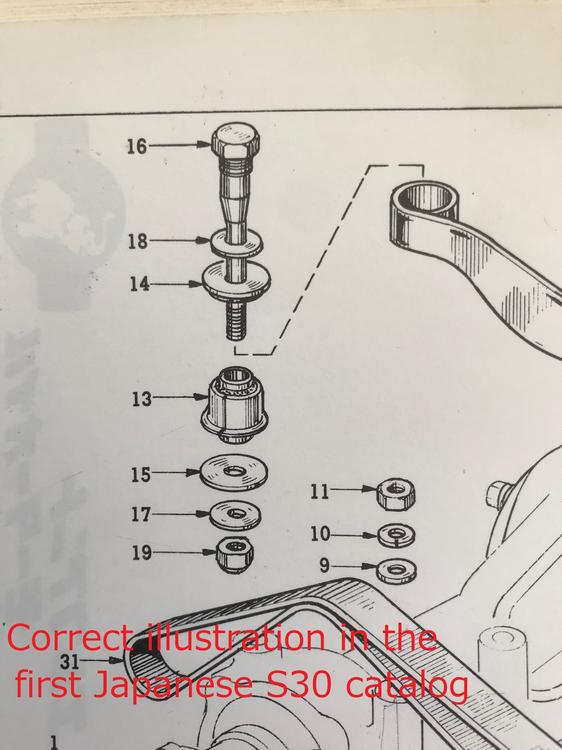
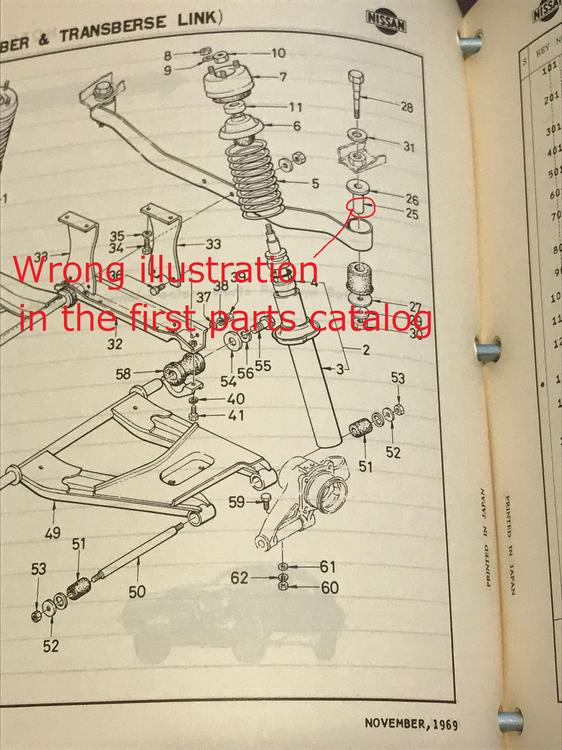
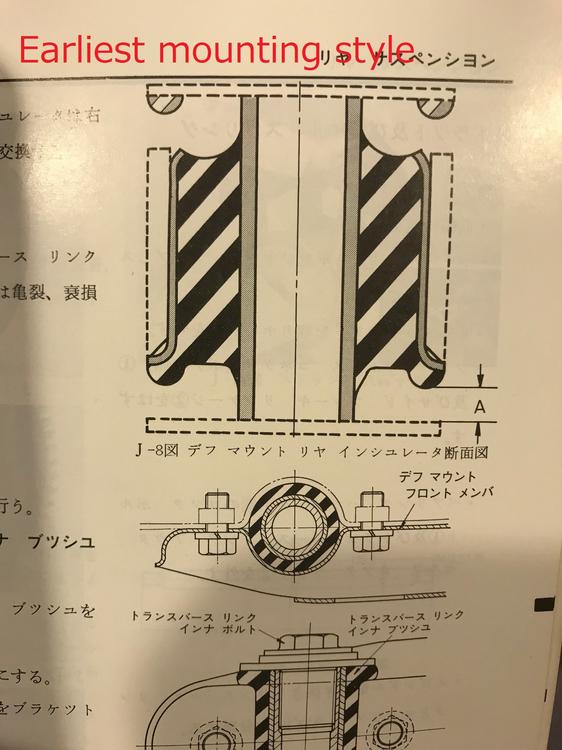
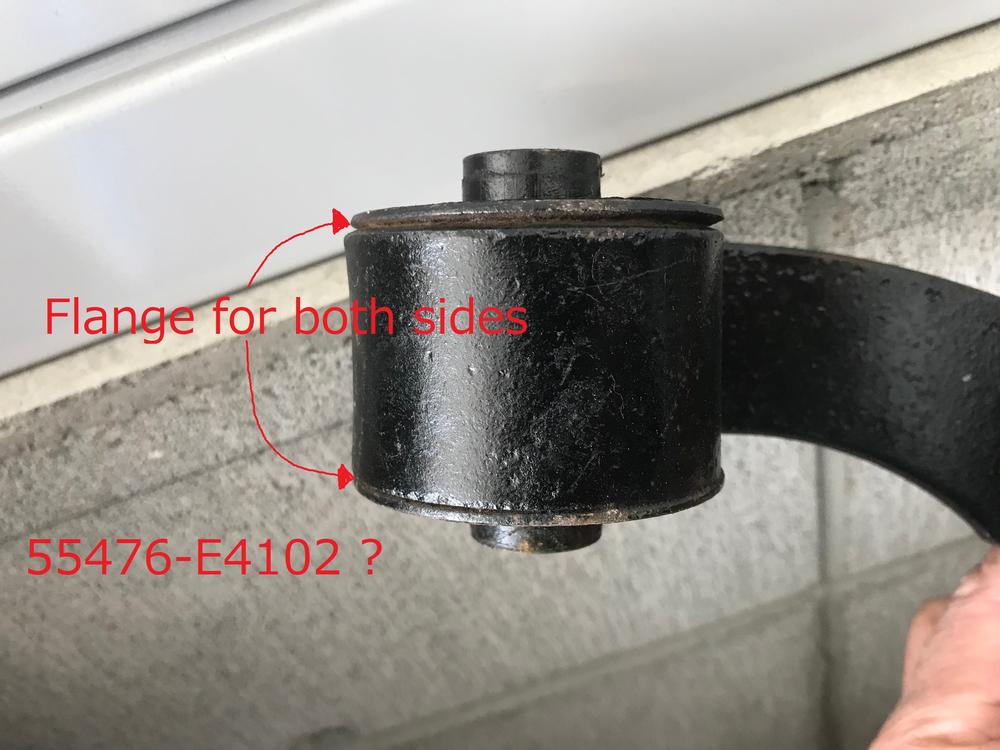
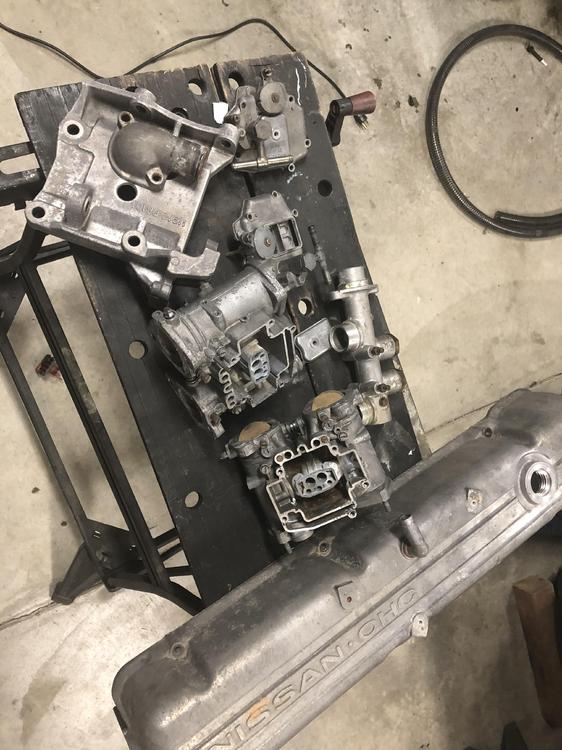
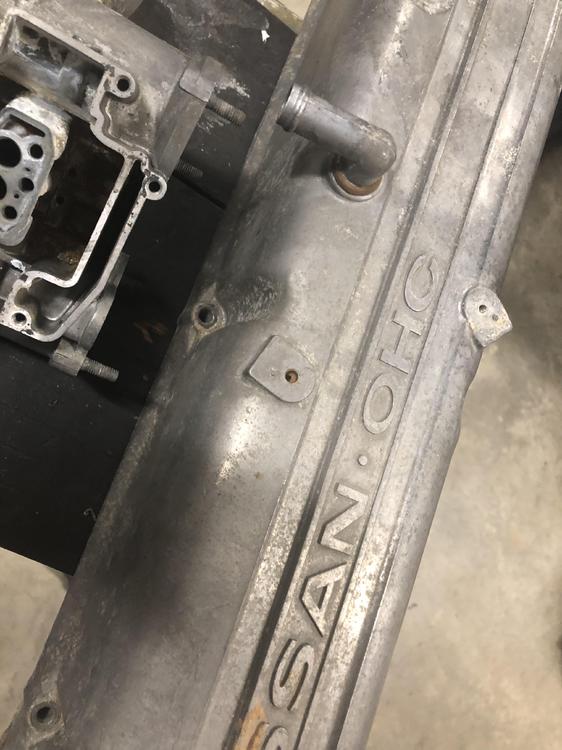
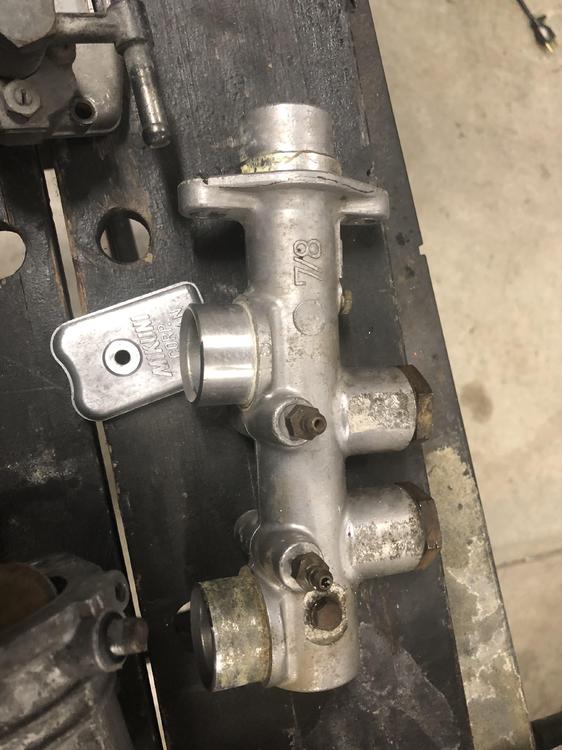
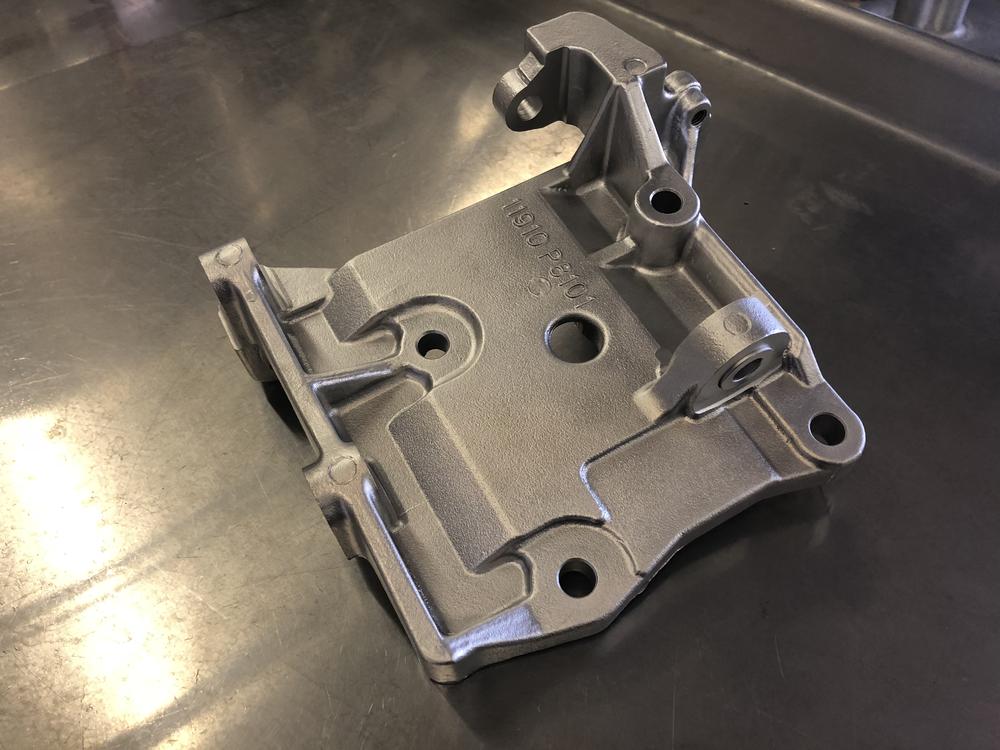
3 pointsHi Acemon, I am thinking same thing, I hope some one can recycle rubber bushing, same for all the mounting parts like for engine , transmission, rear final drive etc. Sorry for uploading many pictures, they are my questions and studies. My 1970 Z432 and 240Z, both have later style upper and lower stopper for the bushing, this is not original but I took this solution because it worked quite well for deleting noises and vibrations. Kats


 3 points
 -
This promo video from a collision-repair equipment manufacturer just happens to feature a 280ZX for the initial demo sequence. The ZX has structural damage to the left-front and panel damage to the left rear. The video offers an interesting perspective on how our cars' structures respond to this kind of straightening operation. Everything you see here was probably done on a hurry-up basis and strictly by eye, so as to focus on demonstrating how the equipment works rather than the niceties of procedural details. Or, at least, I hope that's the case!1 point
-
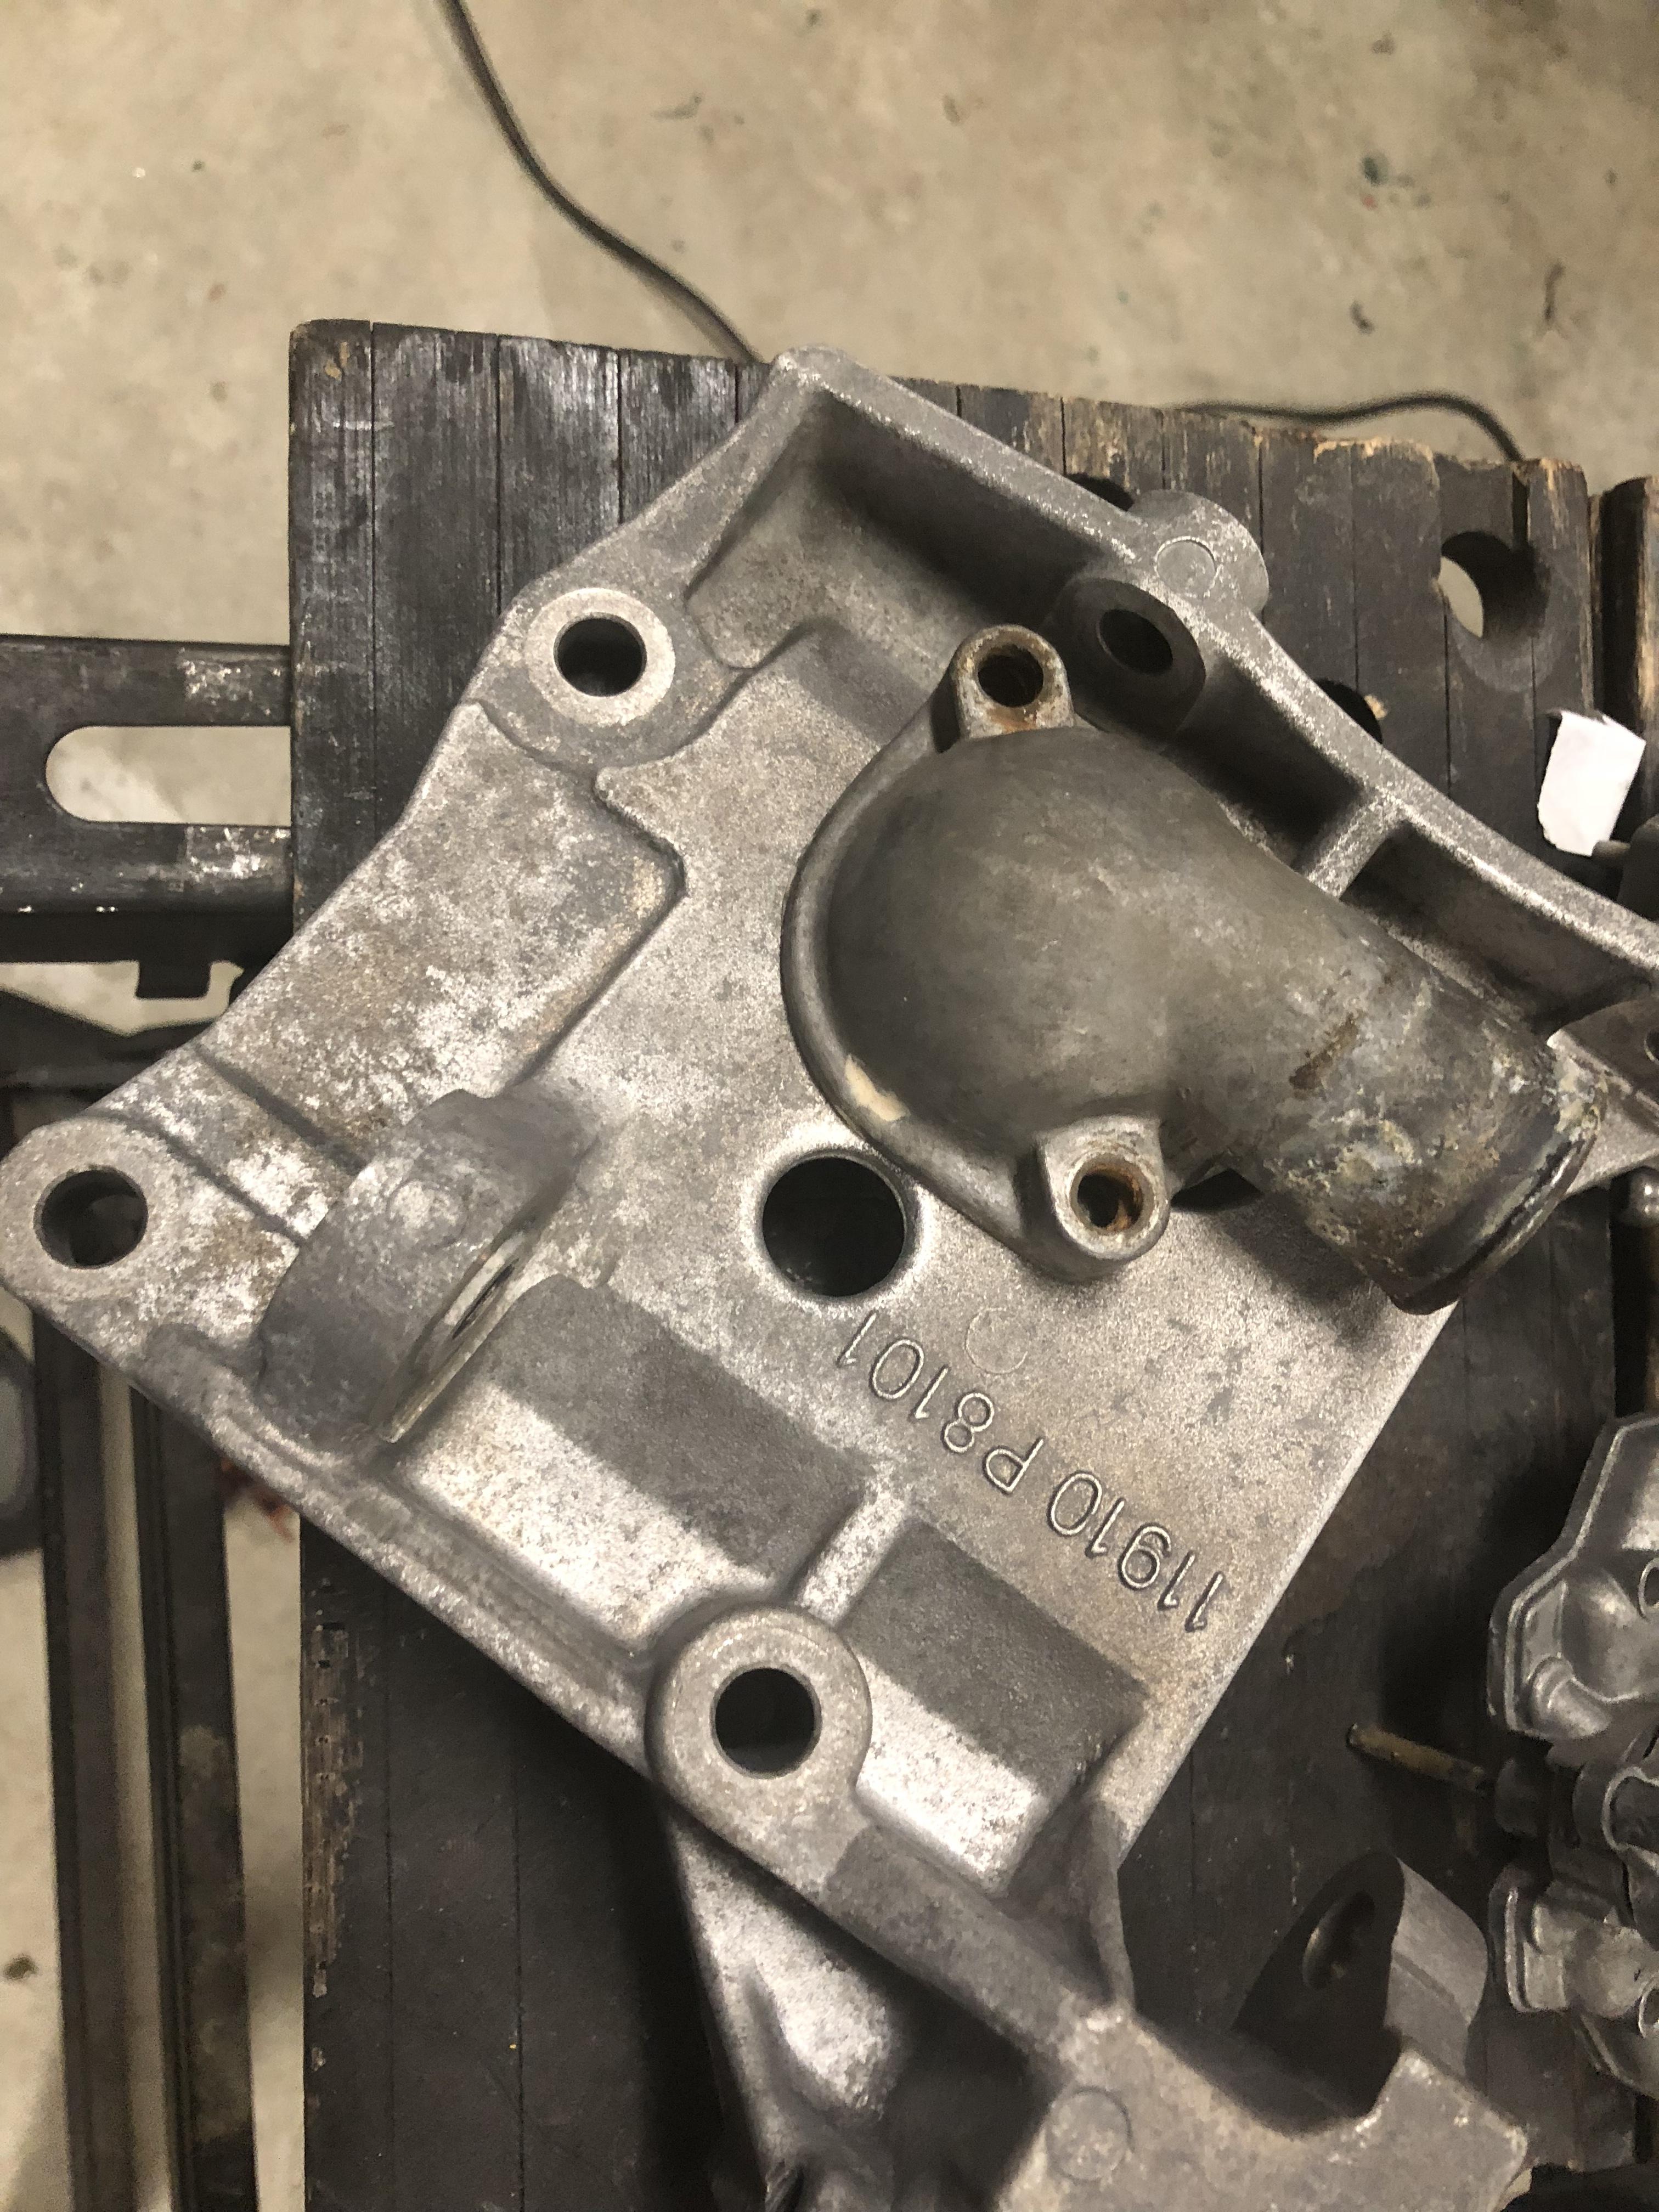
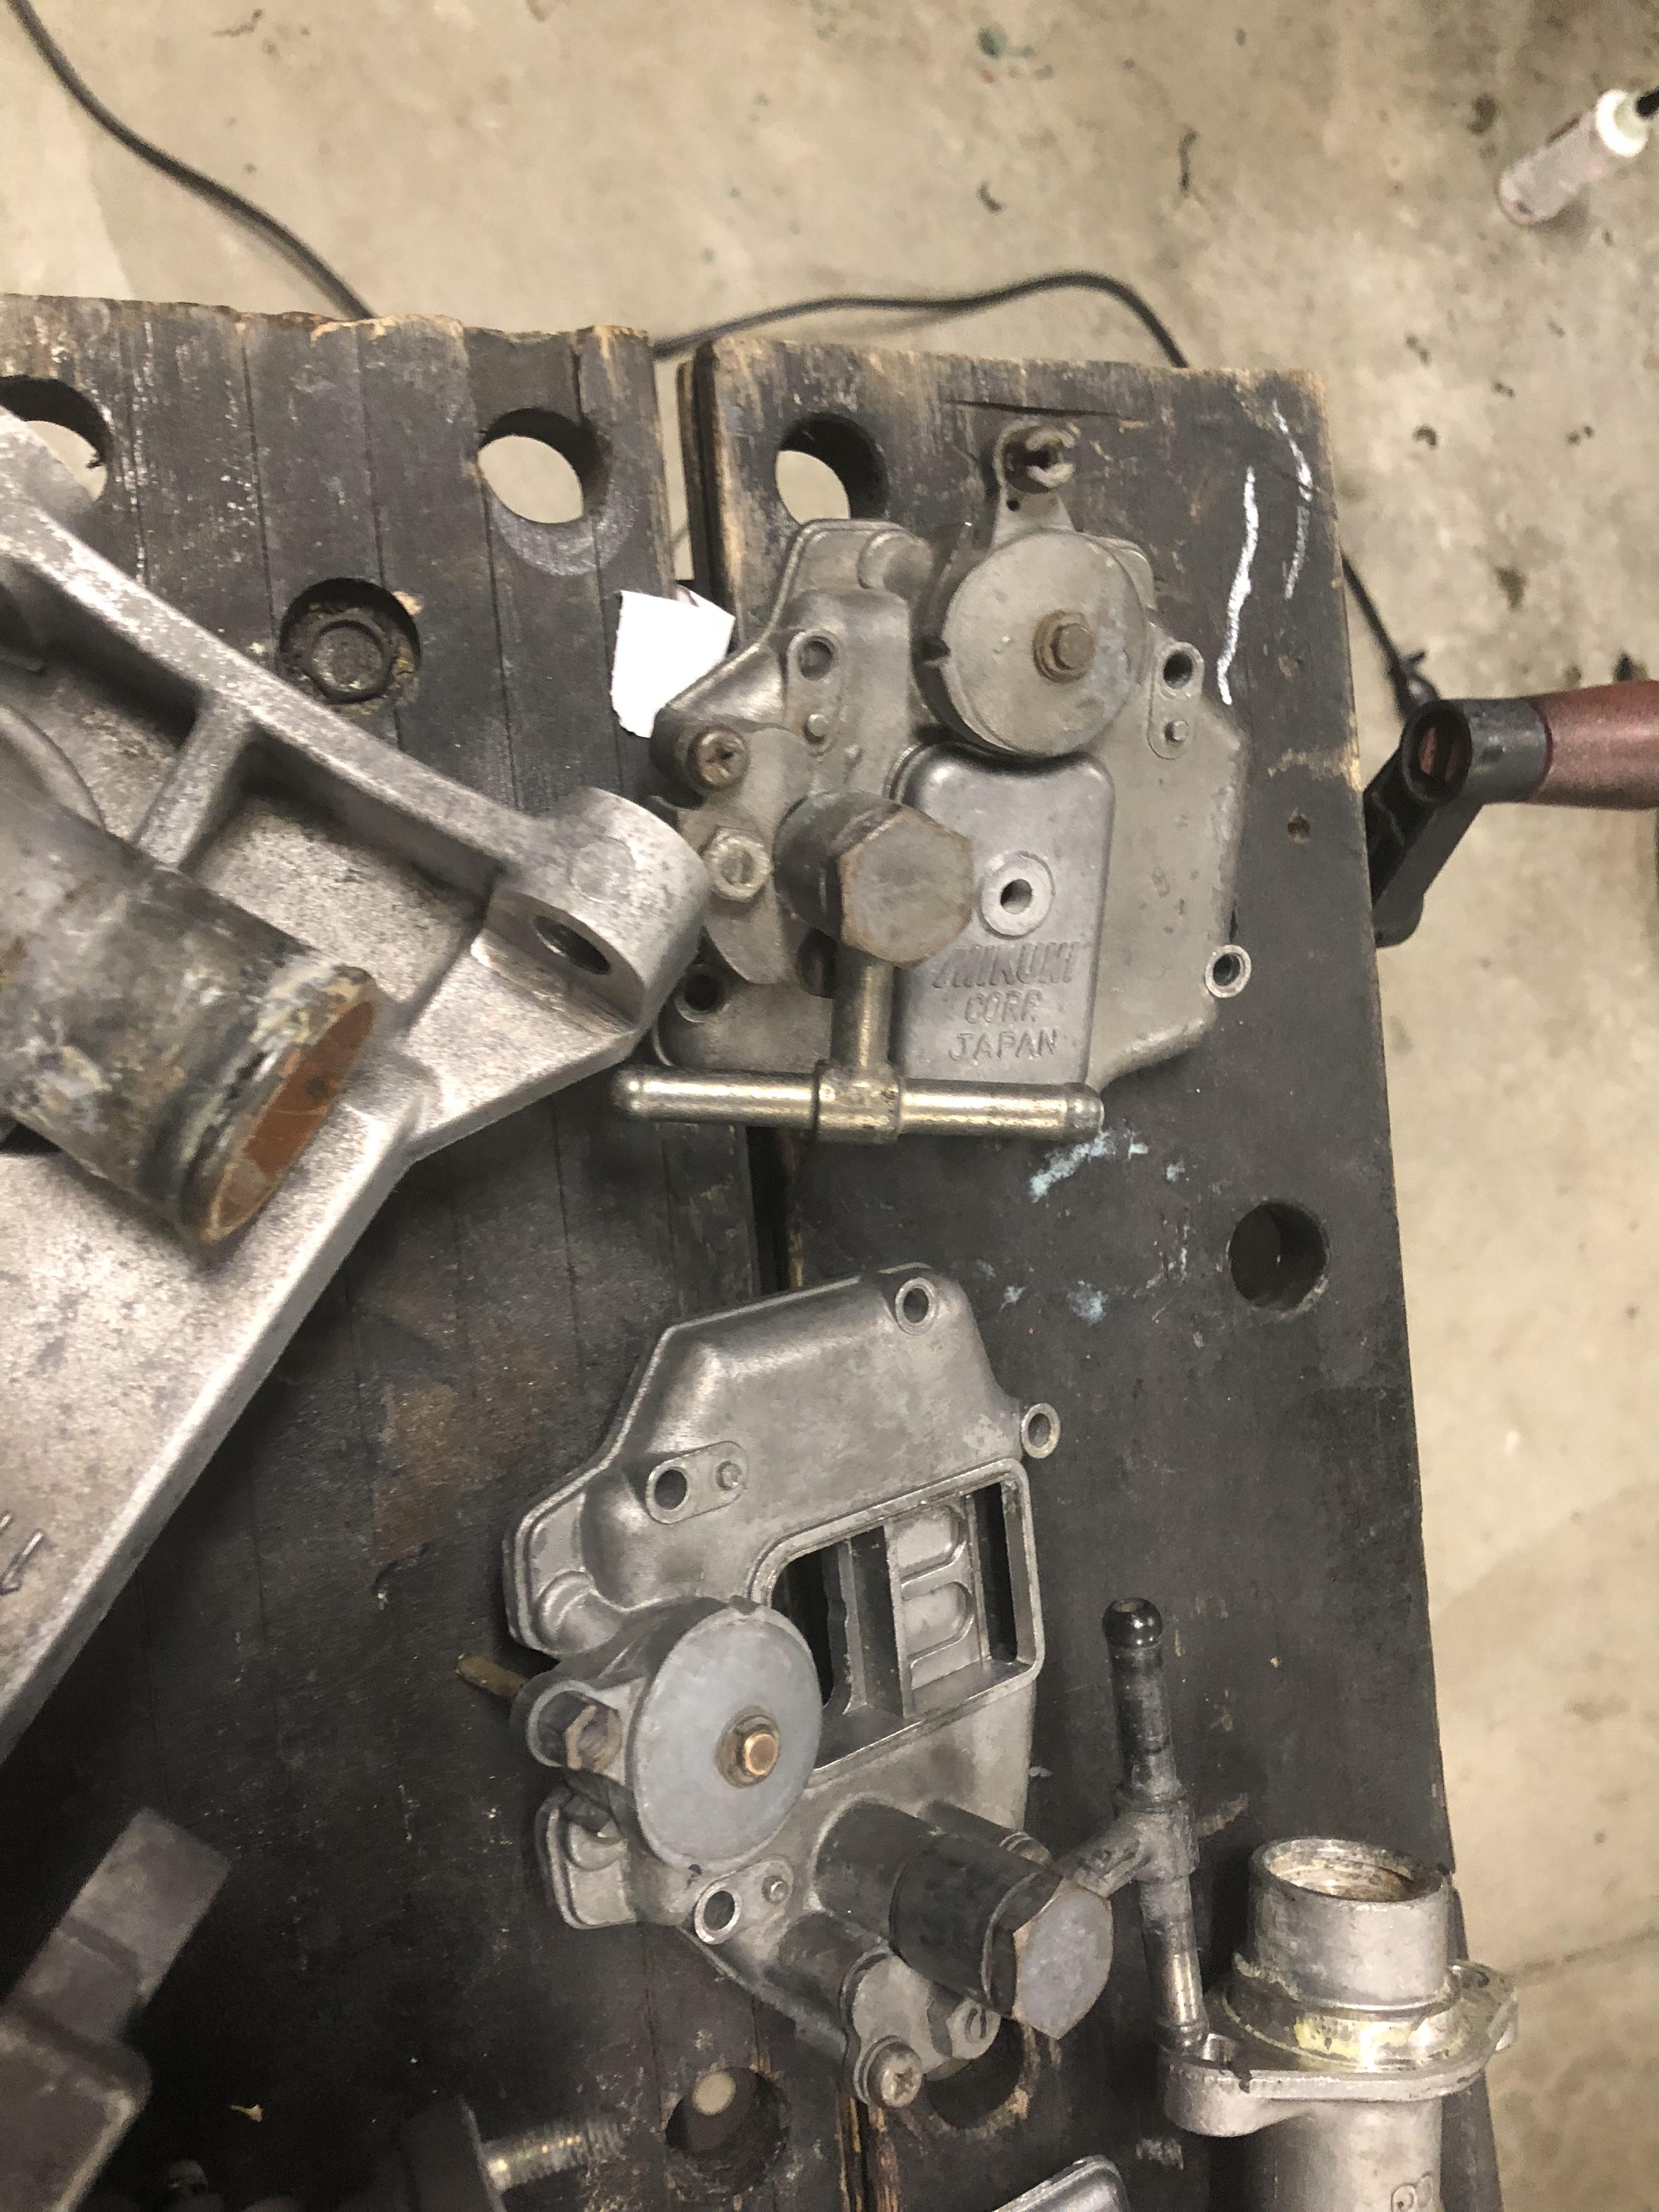
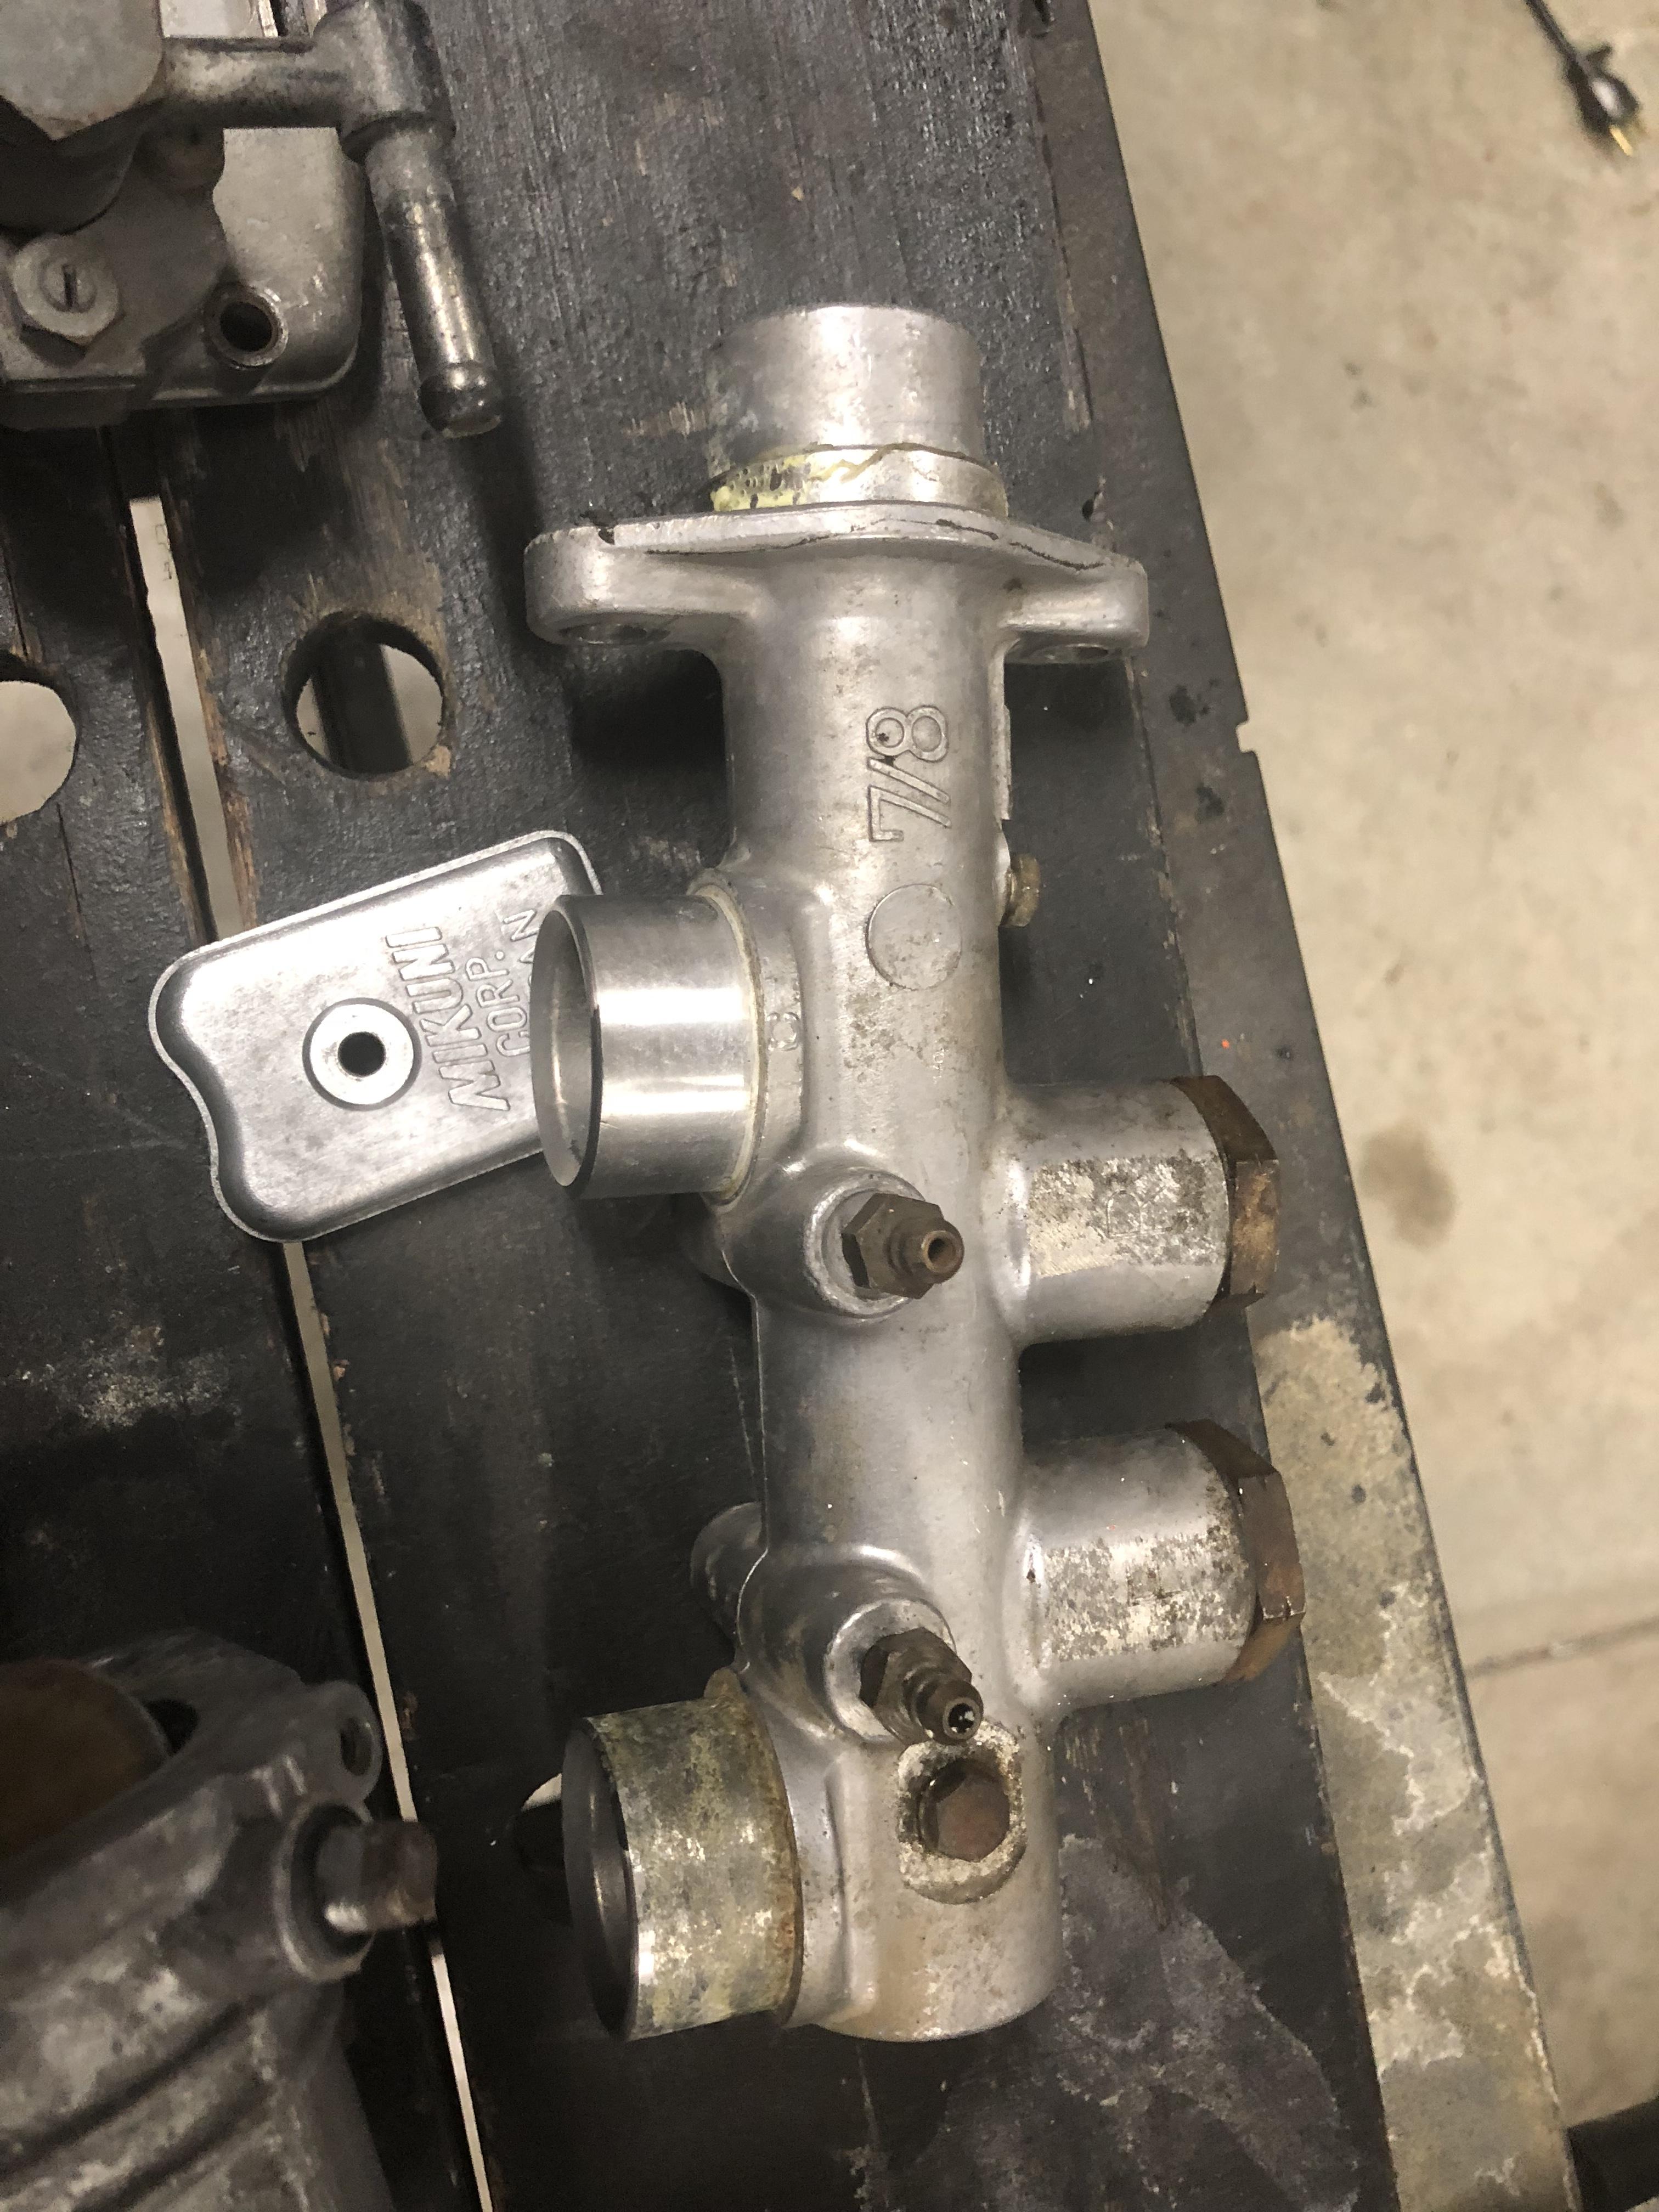
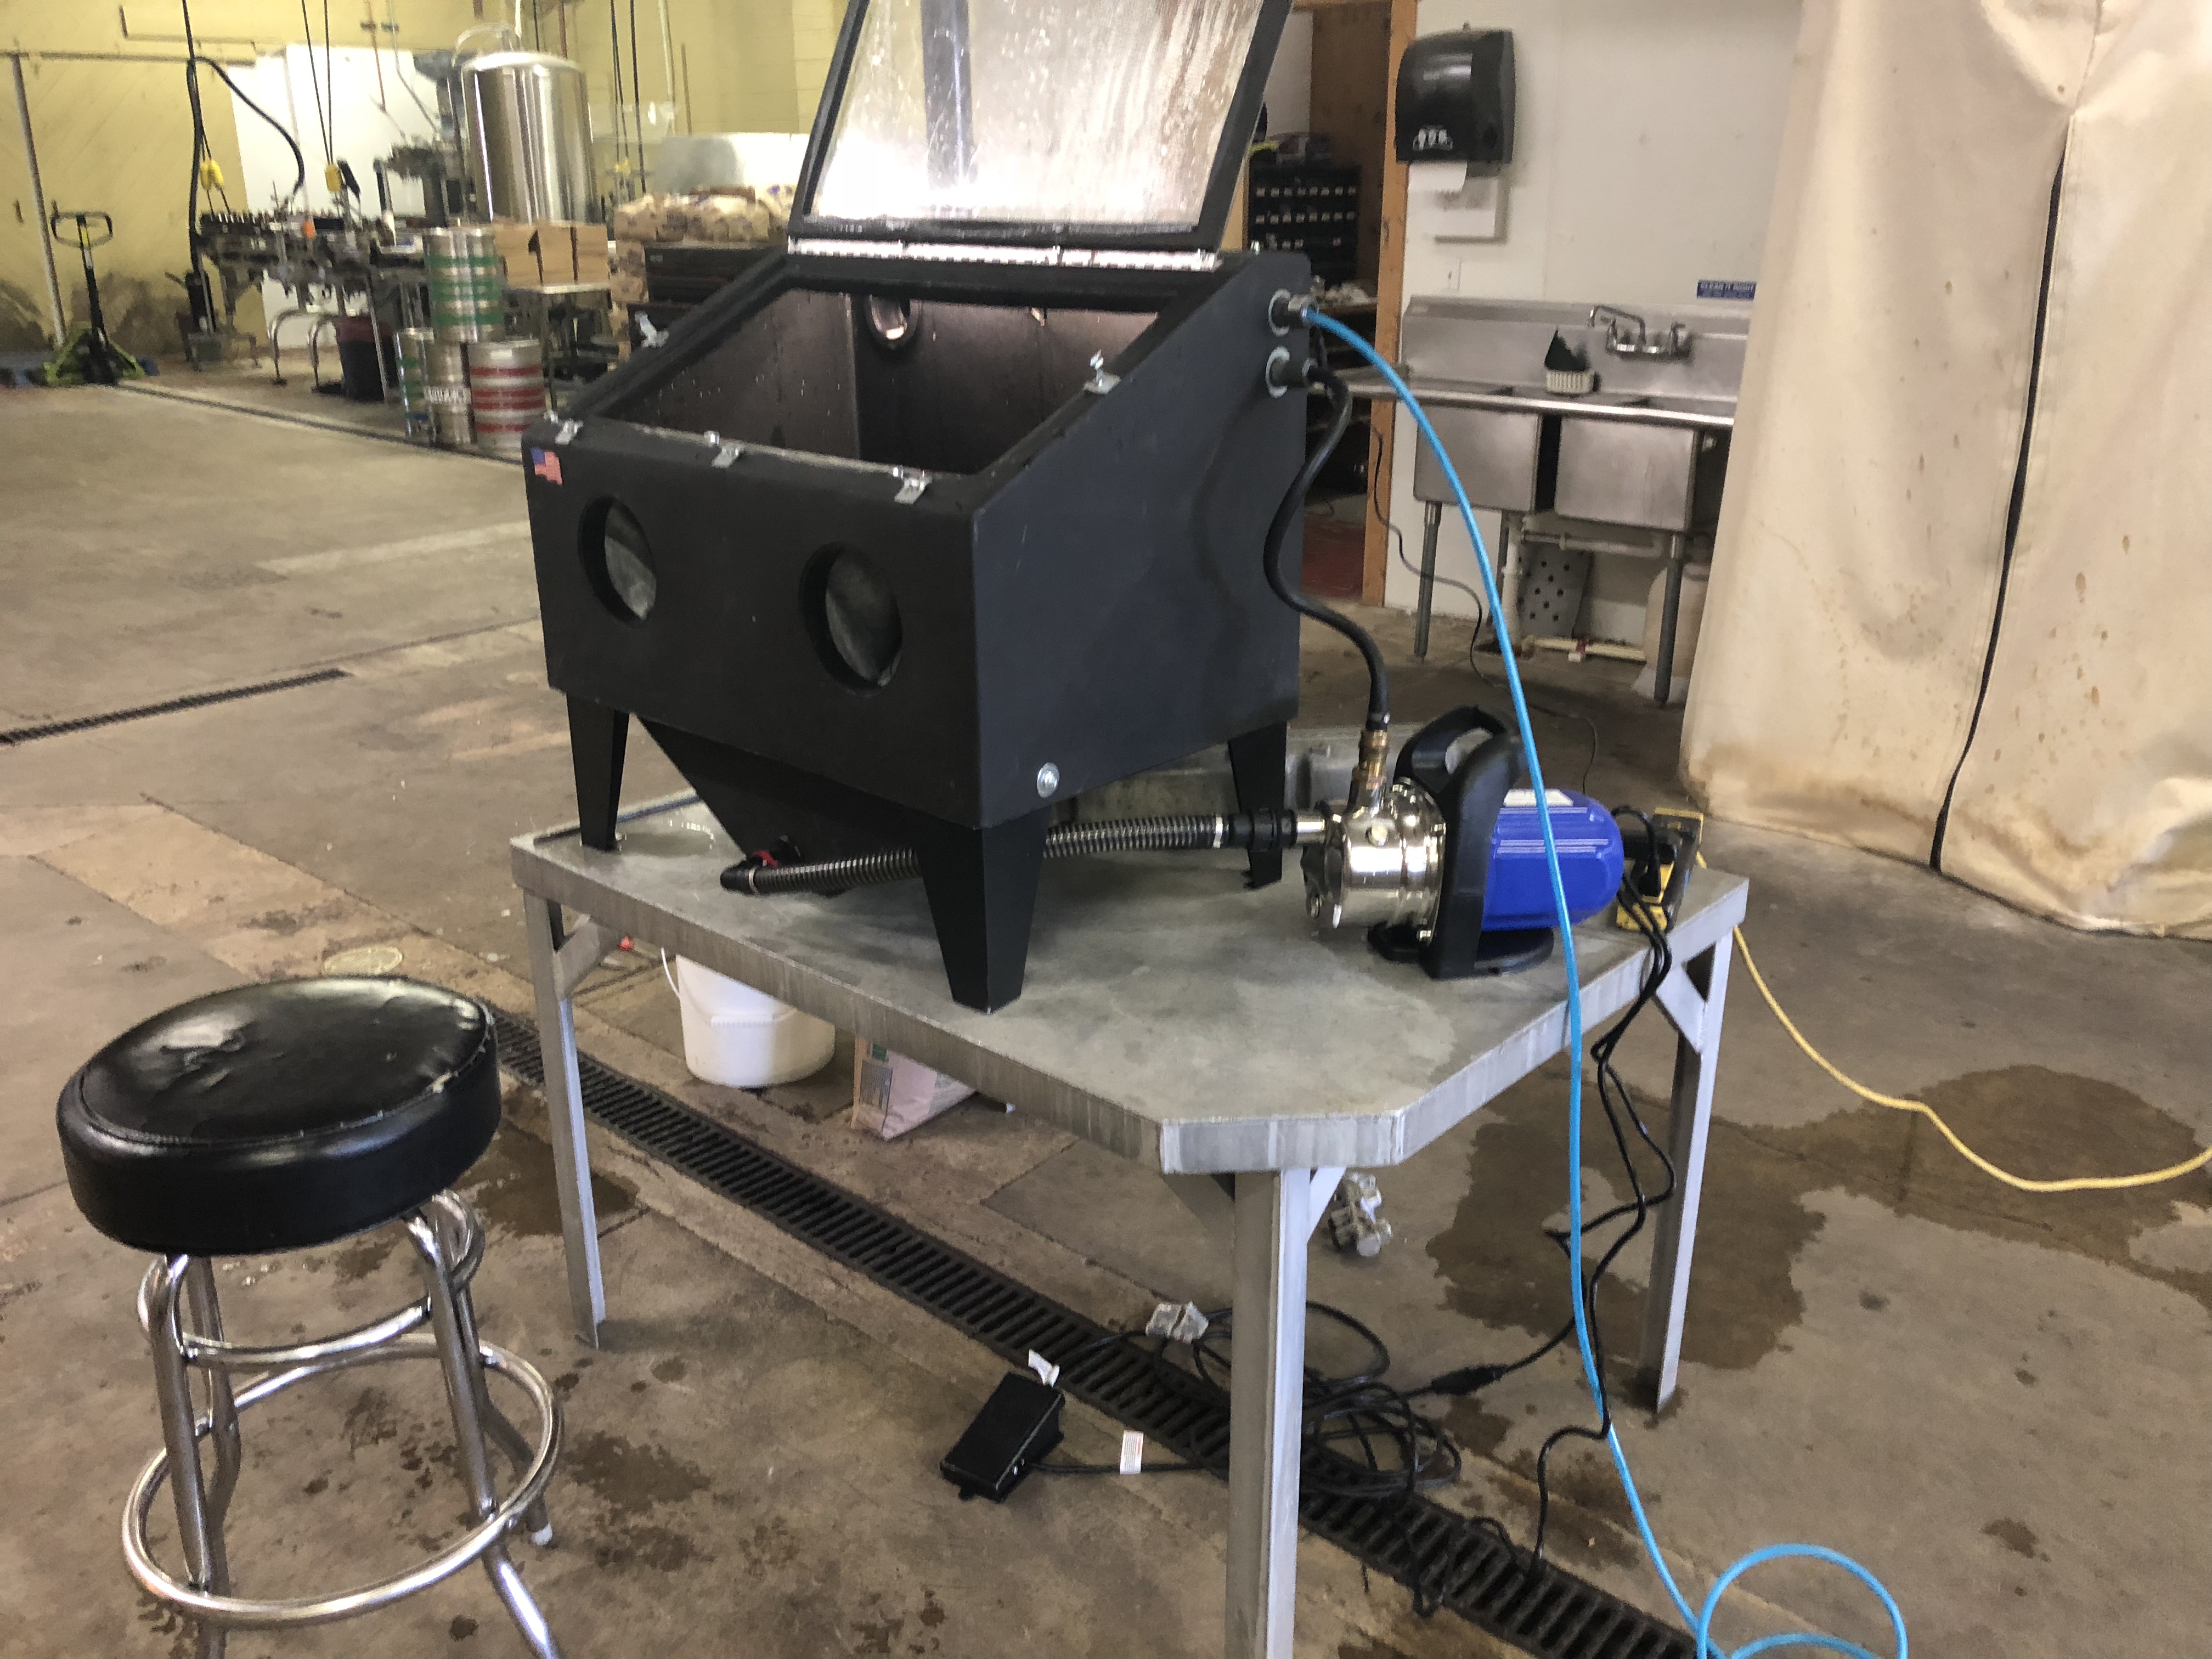
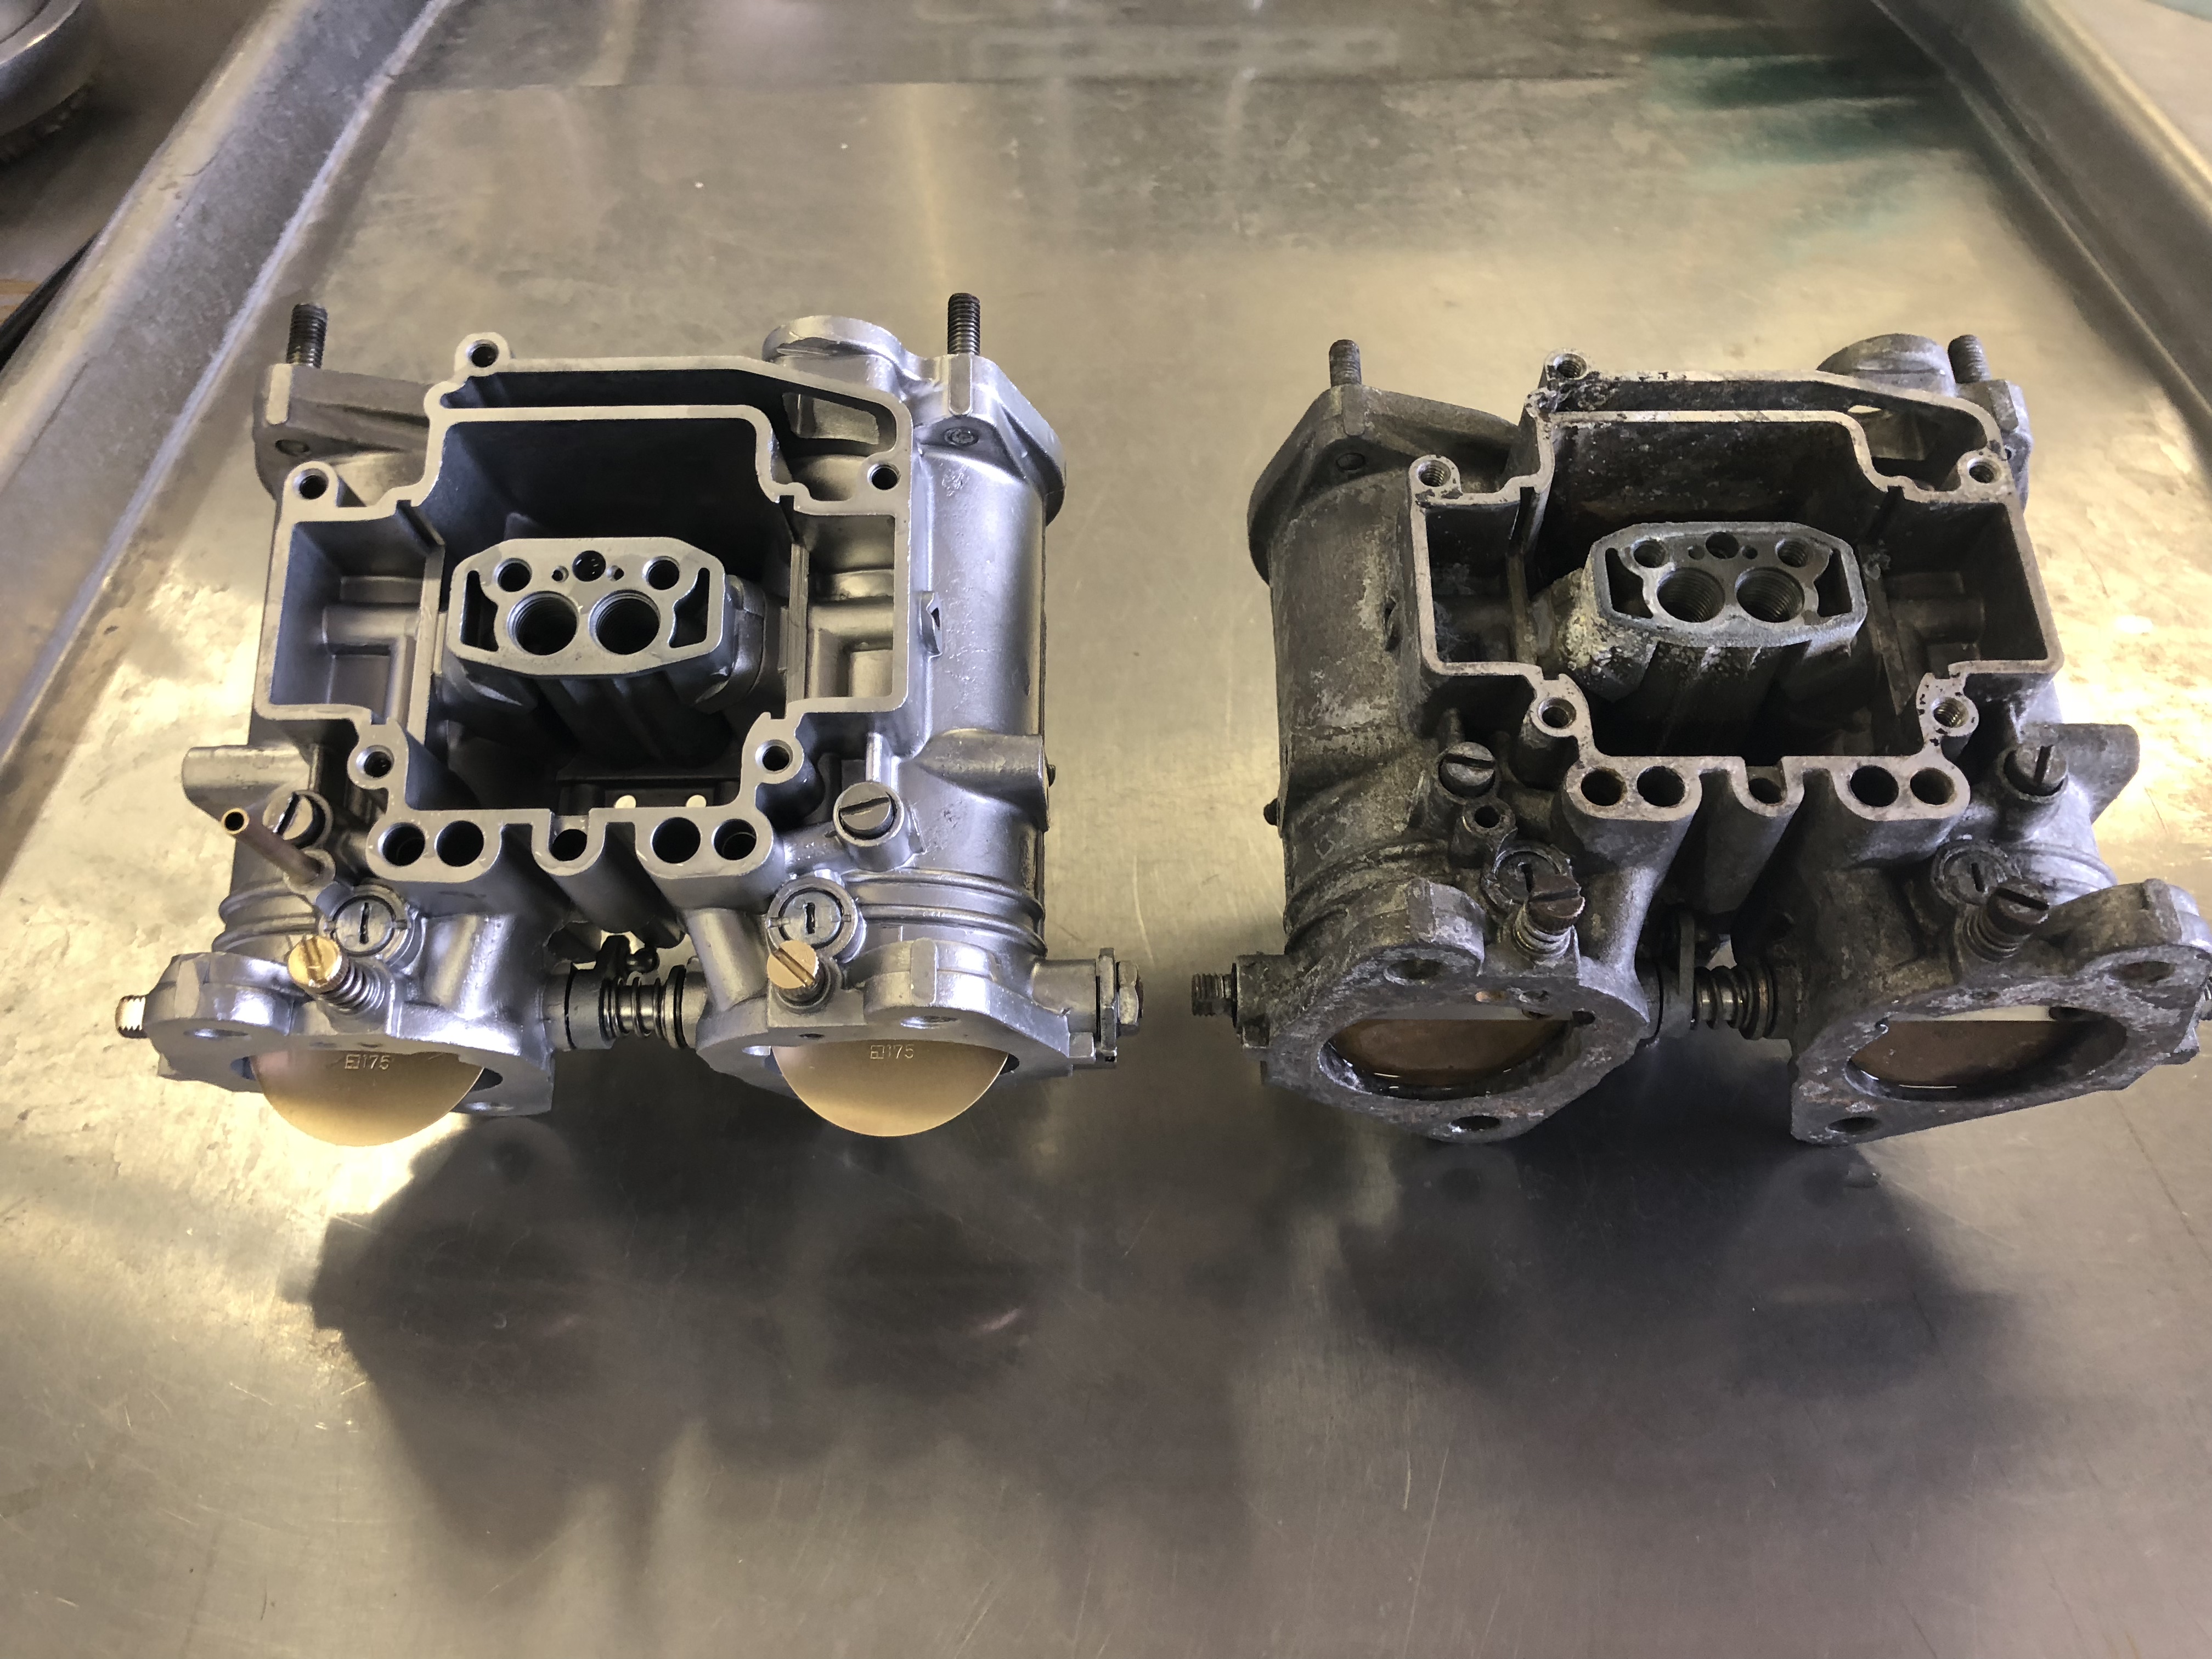
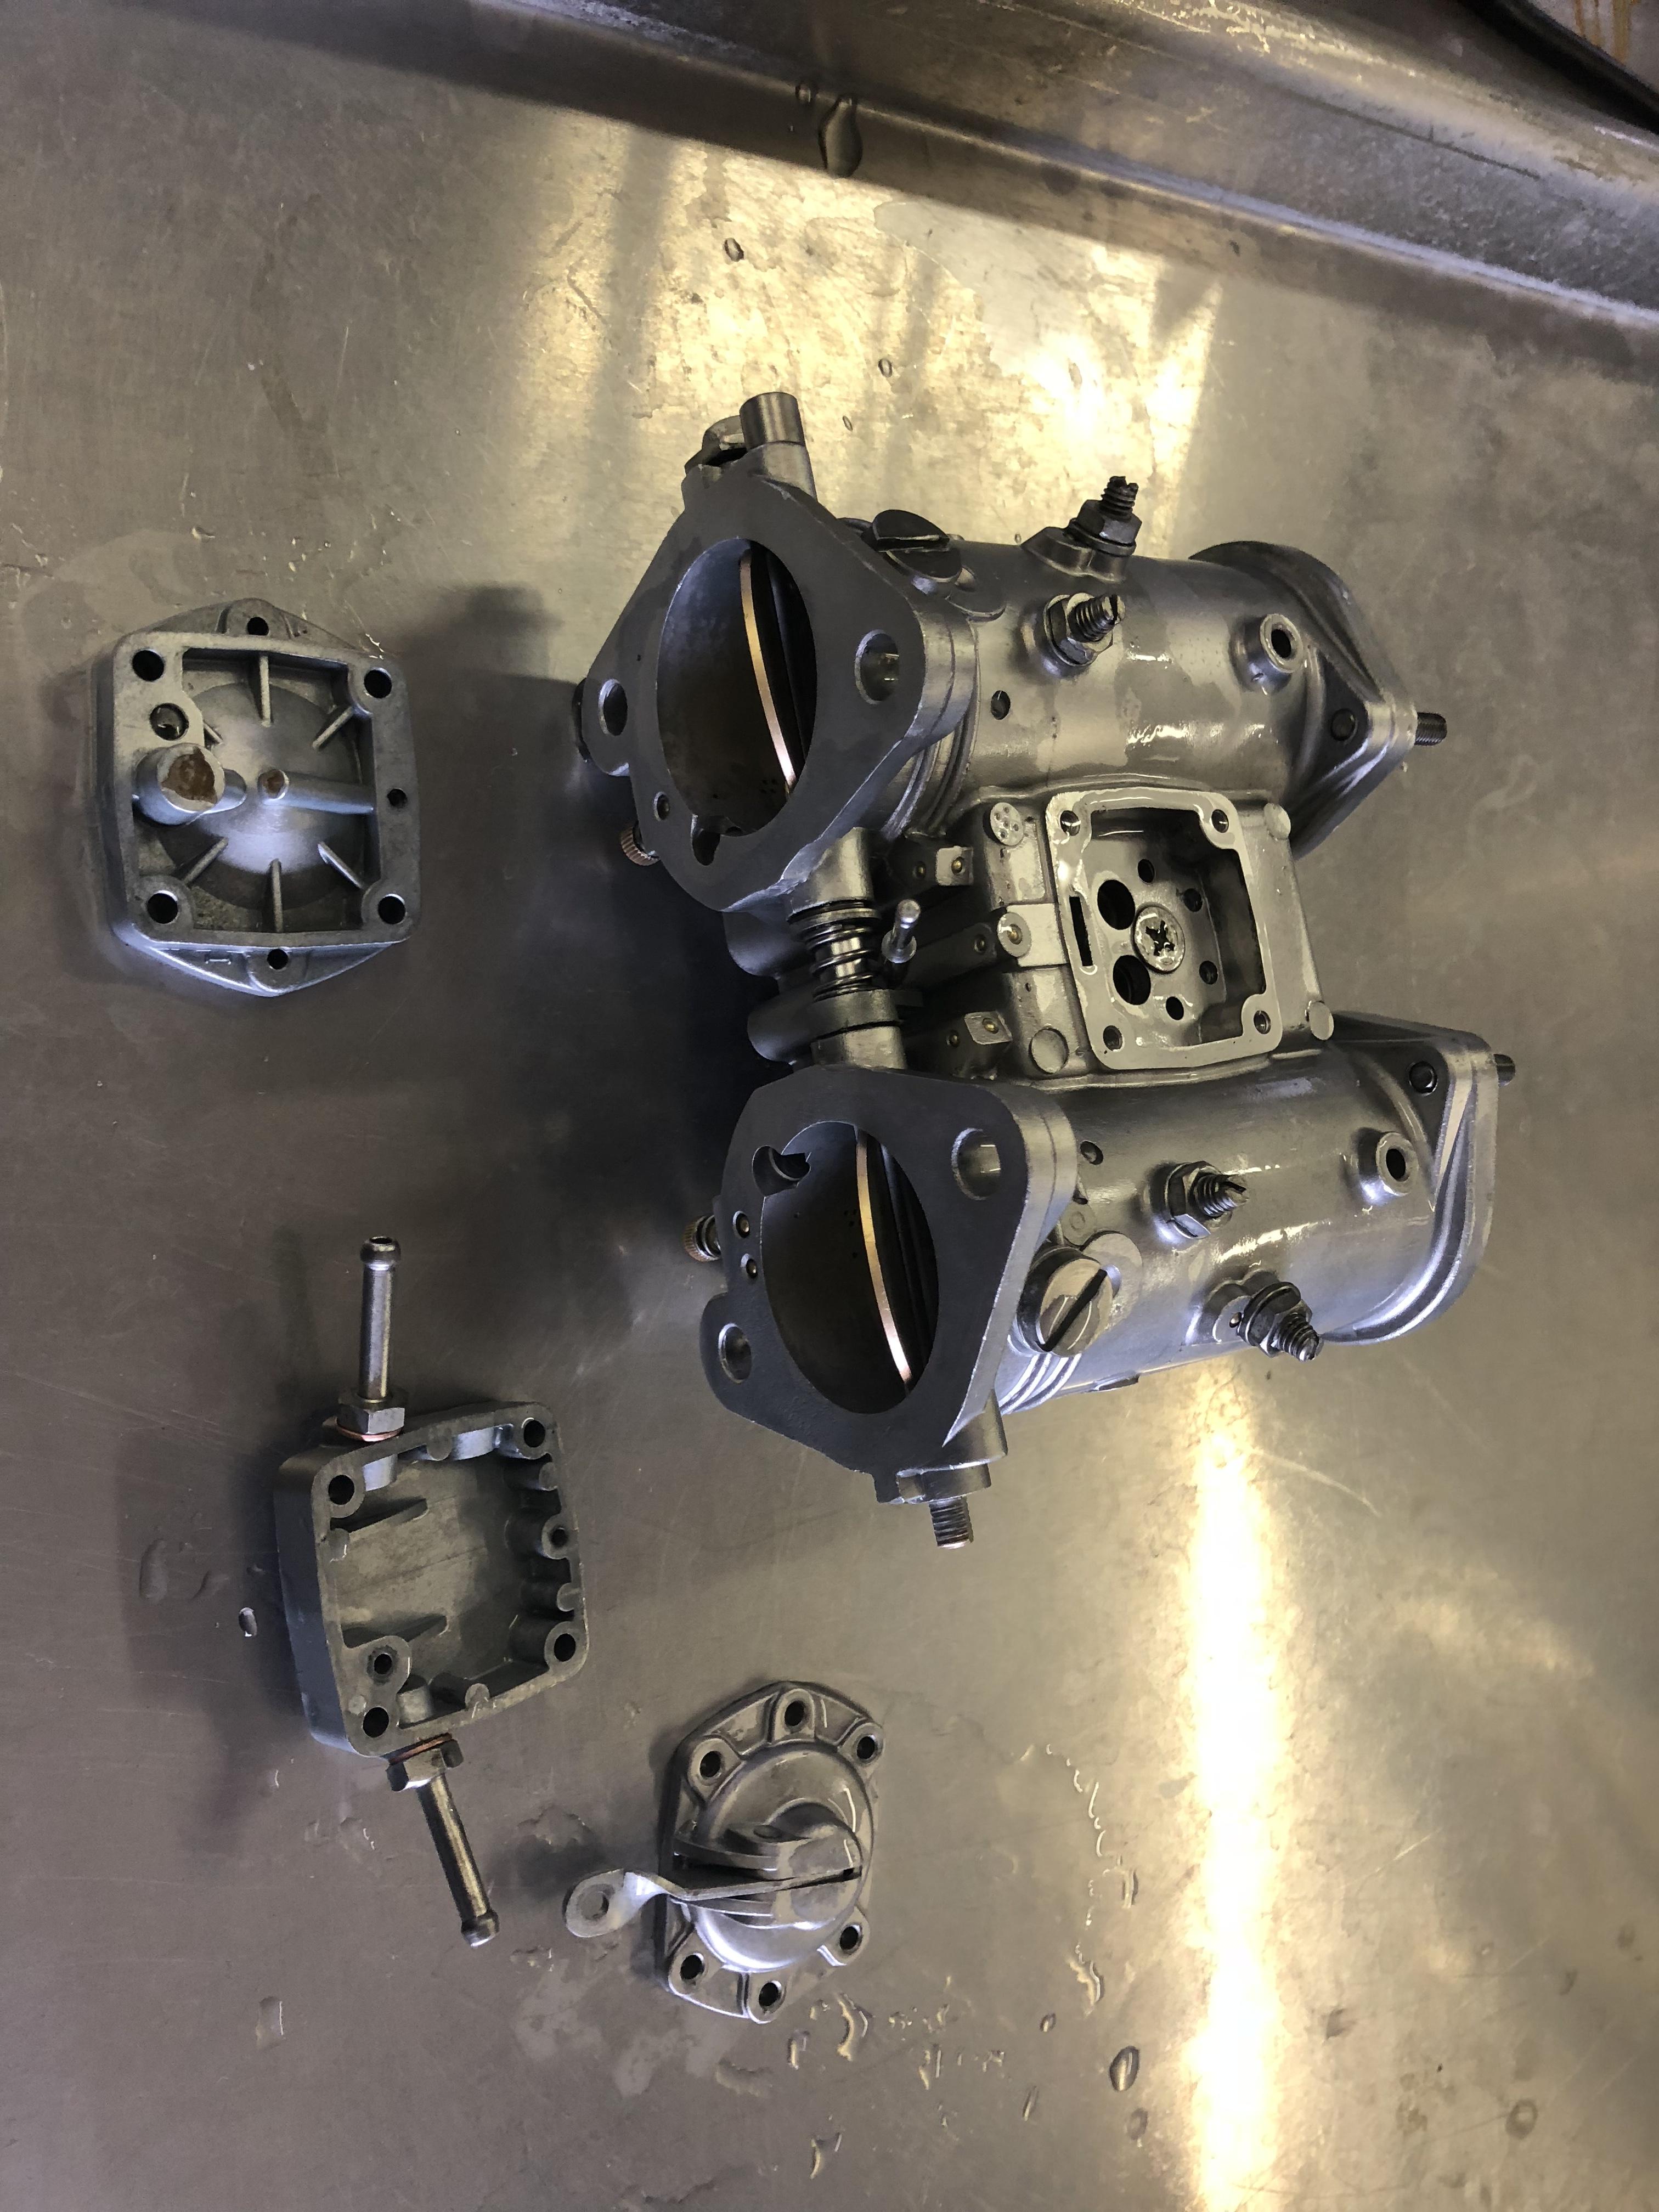
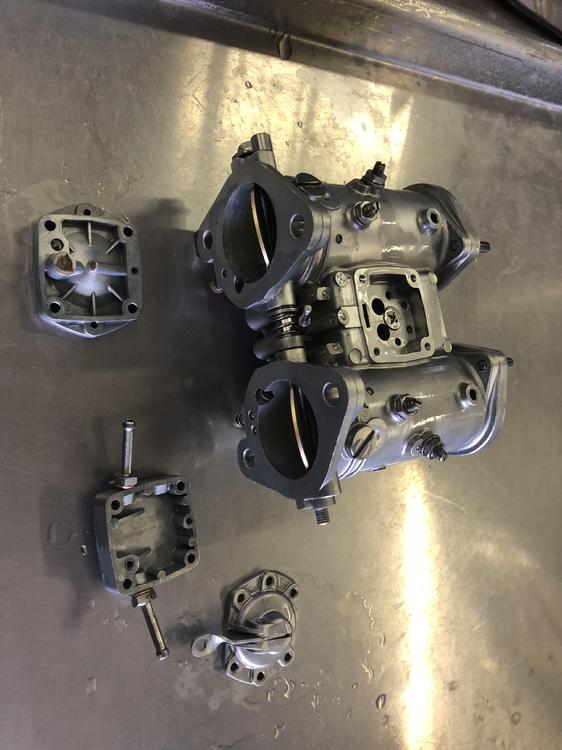
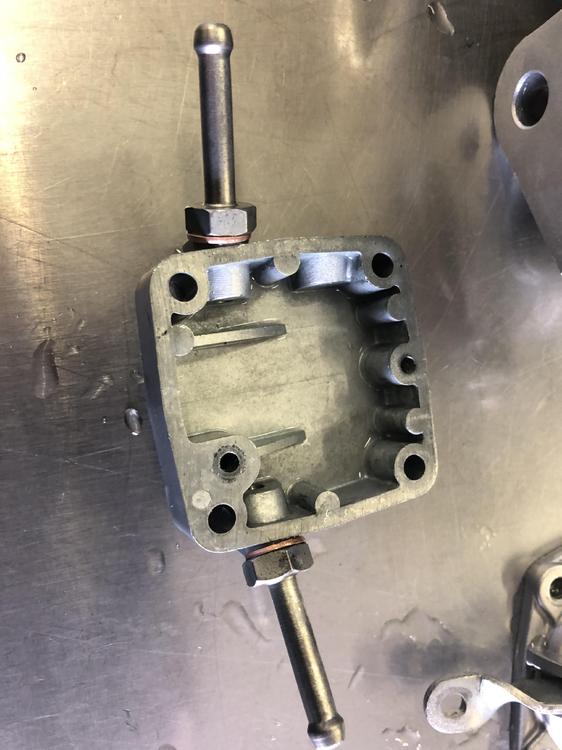
Well my home built vapor blasting cabinet works awesome. Uses a ton of air. So I had to bring it to my work. So happy! I don’t need as much glass to water. Maybe 25% glass.


 1 point
 -
1 pointThat's what I think too Captain. Close is good enough then fine tune them with the nozzles or "equally crappy" as 240260280 says. Getting the choke cables right was harder for me than the floats.1 point
-
1 pointI didn't want to hijack the recent thread about Shell Rotella oil that had started moving away from the Op's topic. So I thought I would ponder this in a new thread. About 3 weeks ago, i switched from modern conventional 10W30 oil to Valvoline VR1 conventional 10W30. This oil was added at the same time i replaced my clutch and replaced some engine oil seals. I'm wondering if the higher ZDDP content of this oil and it's added friction reduction properties have contributed to the drastic improvement in gas mileage or the more efficient(new) clutch set is the culprit. At the time of clutch replacement, i noticed it slipping only once, at which point i removed the trans that evening. It is possible that it was slipping unnoticed until I noticed it that day. The stock flywheel was resurfaced at a local machine shop, but not lightened to the best of my knowledge. But I imagine the resurfacing process inherently takes some weight off. The engine is stock except for EGR delete and Cat delete with 208.000 miles on the clock. I can see no evidence of past rebuilds. Gas mileage went from approx. 17 MPG to 20 MPG. Can this oil improve gas mileage like that? Or is it more likely that the new clutch and slave/master cylinder are responsible?1 point
-
1 pointI've been thinking the same thing. It's very "un-Datsun" like for them to give a spec that is actually unusable and unmeasureable in reality. I've been thinking there may have simply been a dimensioning mistake there. I mean, it's clear that the documentation is not without error... For example, on that very same page (EF-25 of 72 manual), they say "dimension "H" in Figure EF-46" while it's clear that's a typo and they actually meant "Figure EF-47". So I take that "inside of the lid" dimension with a grain of salt, but without factory confirmation (which will never happen), it's all we got. When I set my floats, I accounted for about two mm for the gasket and the thickness of the lid casting and set mine at 25 mm down from the OUTSIDE TOP of the bowl lid. My car ran great. YMMV. Contrary to a lot of the discussion between you guys above, my experience is that the float bowl level is not that super critical to the overall operation of the carbs. 23 mm down, 25 mm down... Didn't seem to make that much difference to me on a stock engine. Of course, I had gone over the rest of the carbs and everything else and was confident that everything was working as intended. If that's not the case, you end up chasing your tail. No short cuts. You either have the skills to do it yourself, or if not, you take it to someone else who does. Or you sell the car and buy something more mainstream. Something that has a local following of experts in your area.1 point
-
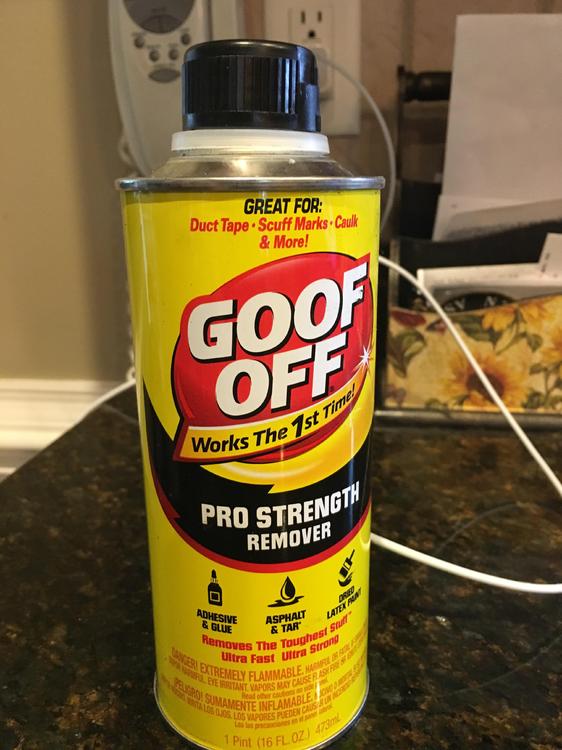
Patcon.....I got around to removing the glue from my windows. I masked everything off and put down drop clothes and used this stuff with 000 steel wool. Only took an hour to do all 5 windows.....ammonia will work, but not nearly as good as Goof Off. 000 steel wool won’t scratch the windows.....several layers of removal followed by window cleaner. My windows have never been cleaner!
 1 point
 -
1 pointWhite lithium grease is more forgiving to rubber however Sylglide (silicone grease) or dielectric grease (similar) would be fine to use as well.1 point
-
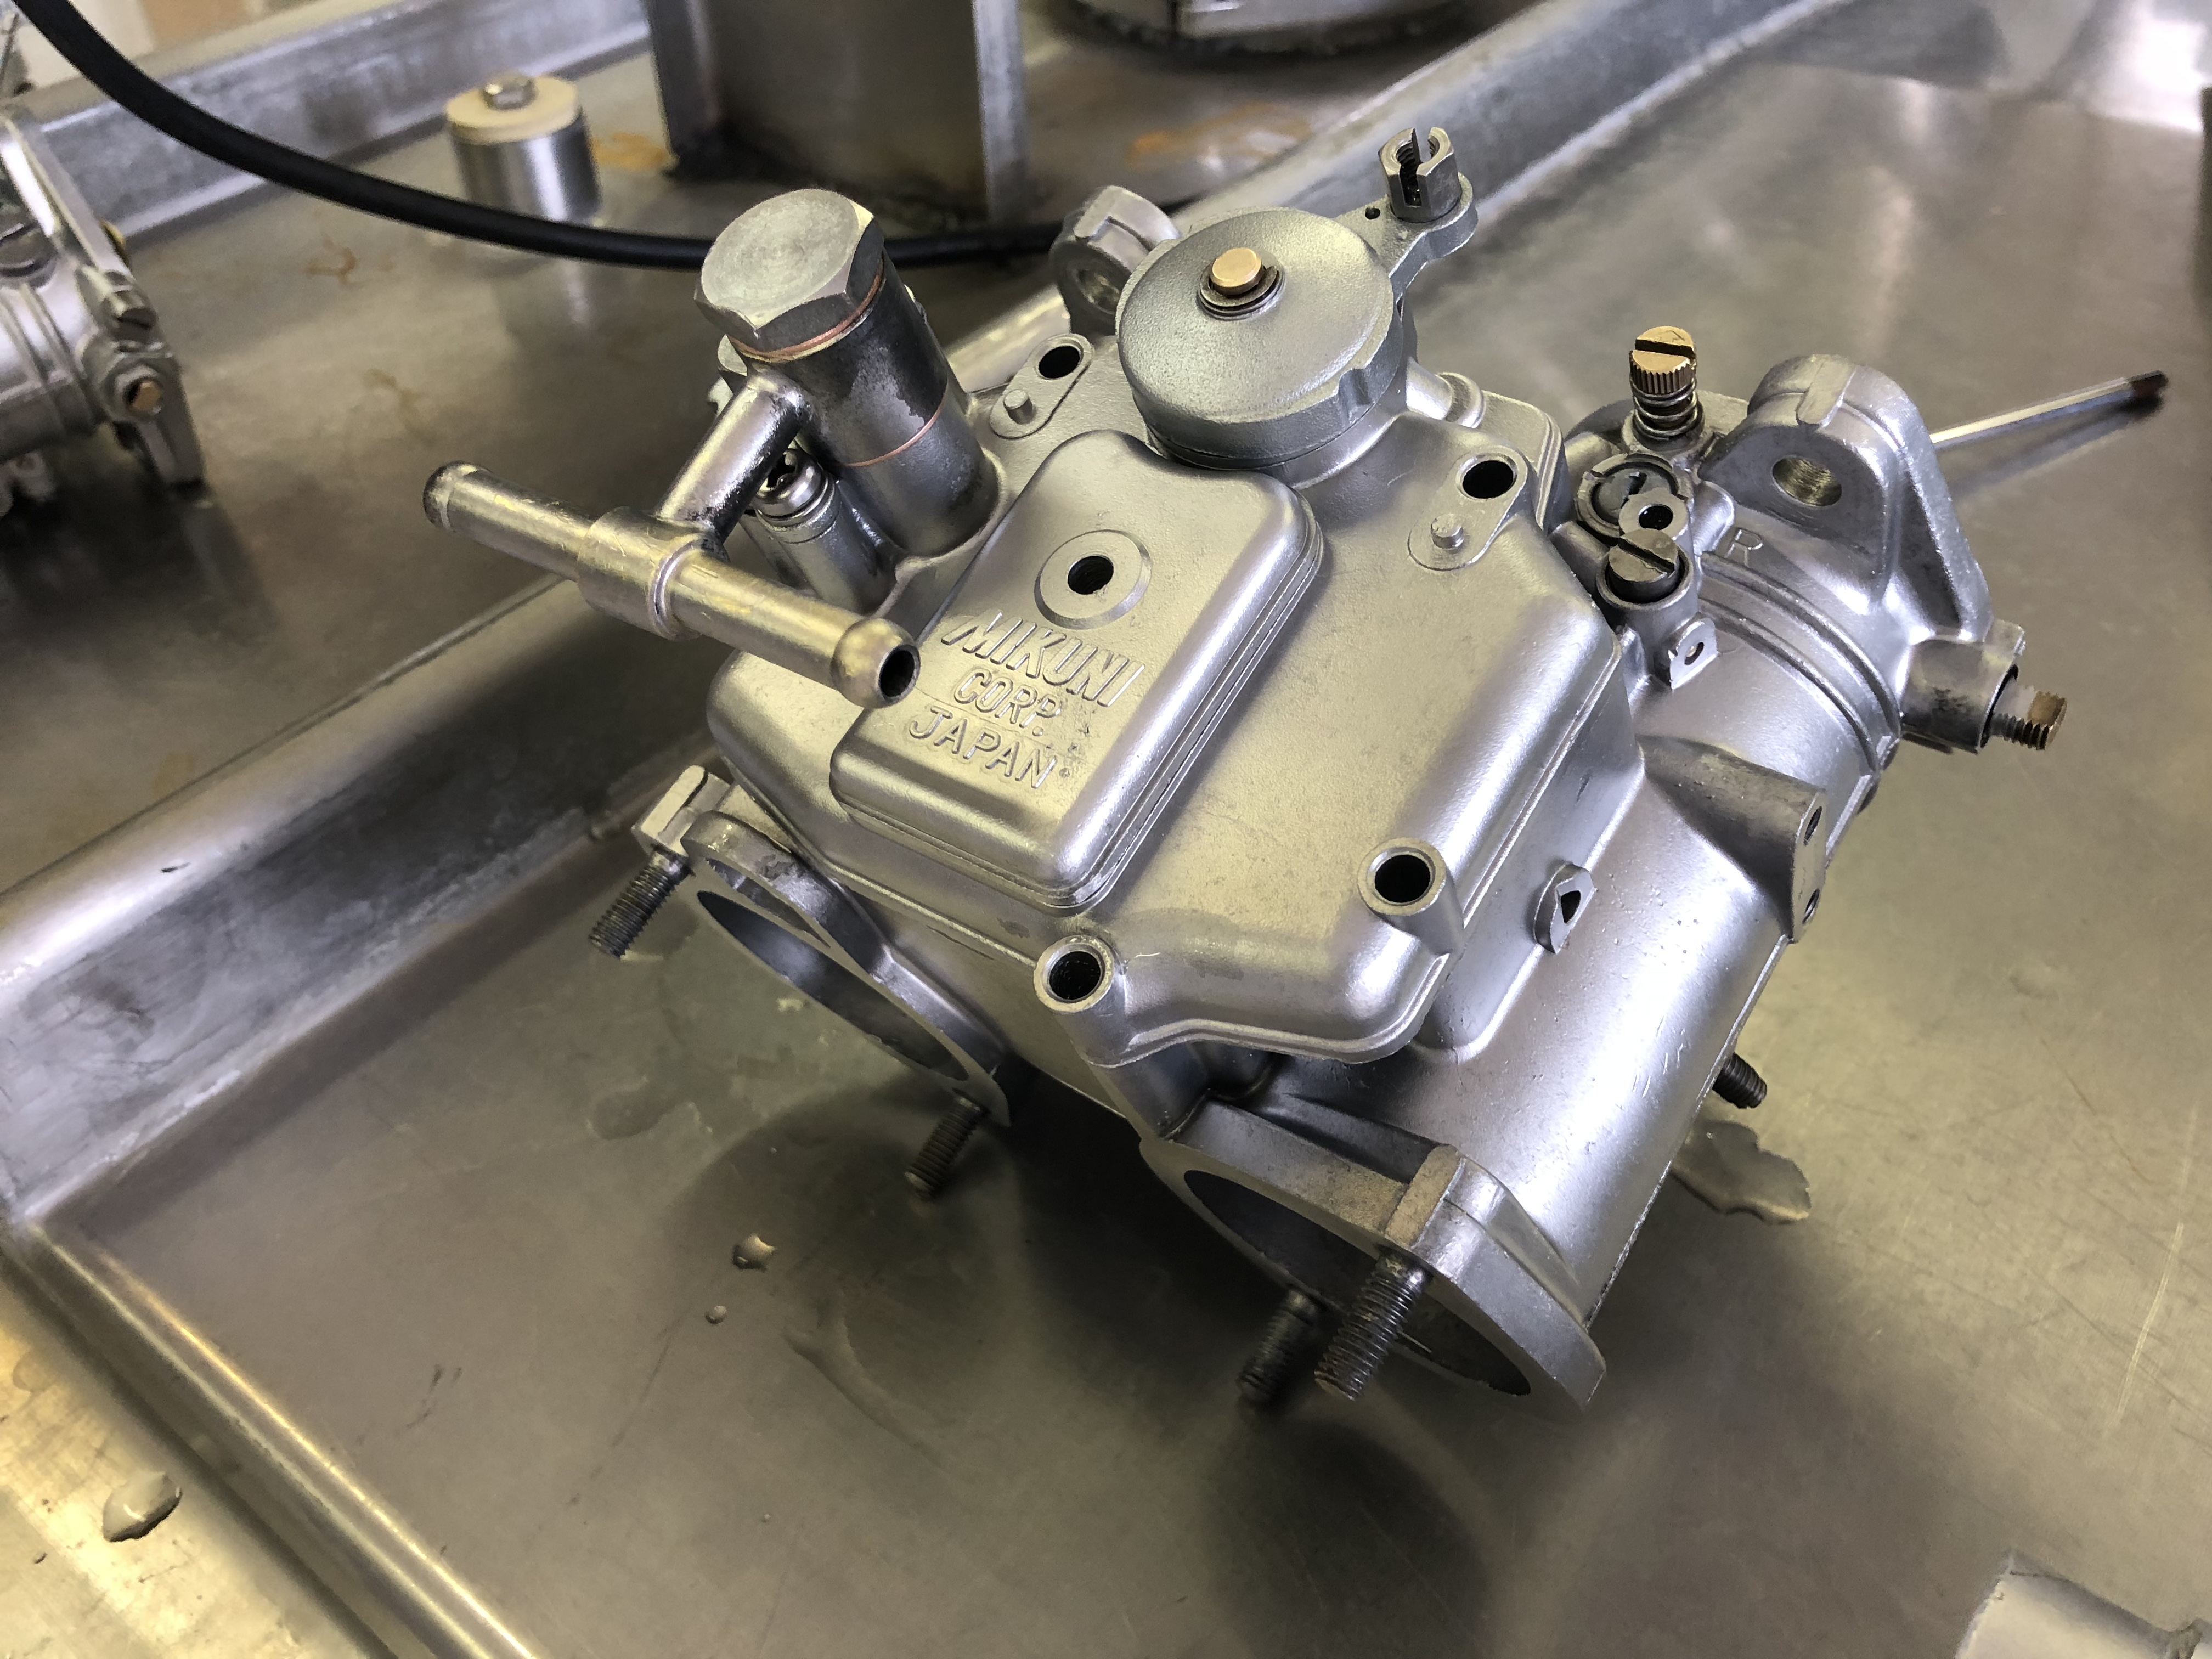
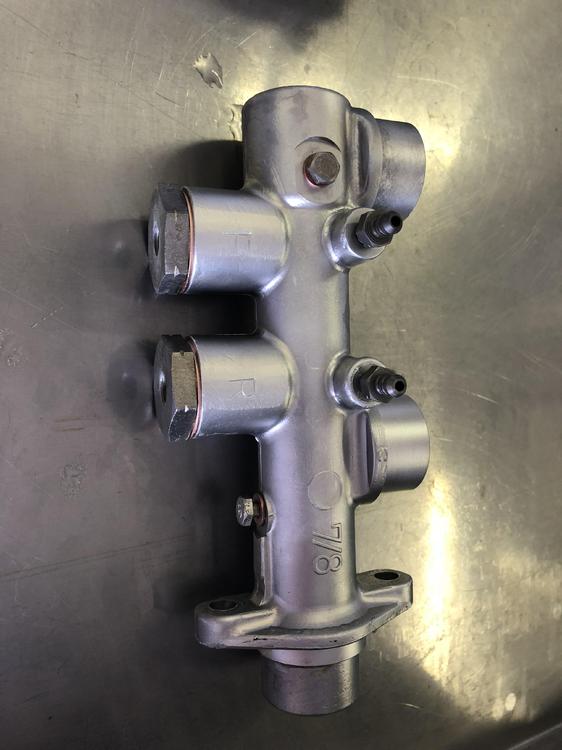
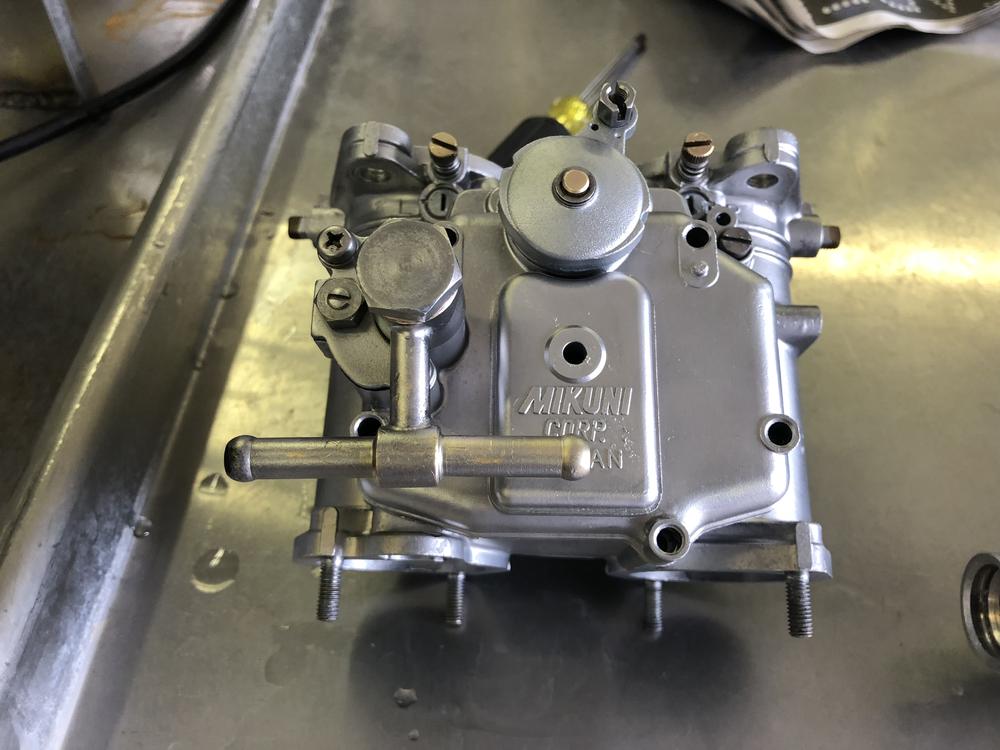
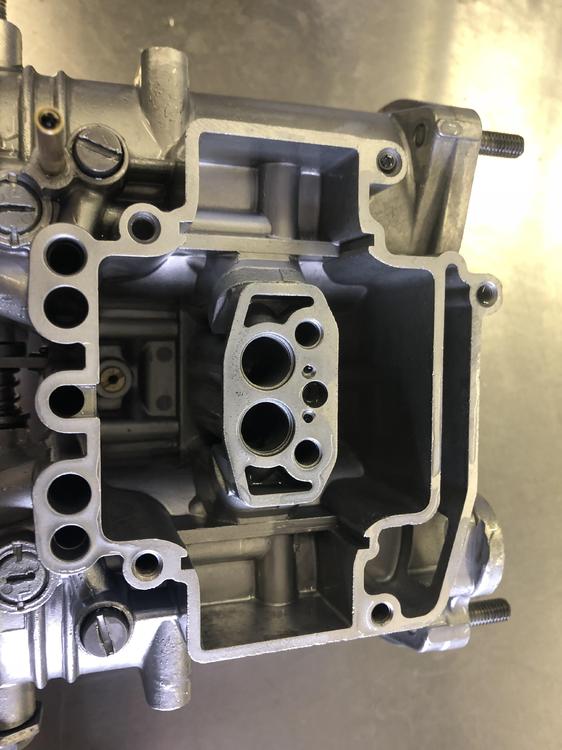
1 pointMy new fuel pump is putting out more fuel pressure than the old one and I want to see if it's affecting the float bowl levels. Will try the sightglasses first, then check by nozzle method. I'll use the magnifying glass for the nozzle method since I doubt if I'd be able to see fuel level in the nozzles well enough without it. I don't want to complicate this topic since it's already sort of complicated but .... the drawing in the FSM shows that 23 mm measured from the underside of the middle of the lid, not at the rim of the lid. There's no easy way to measure from the underside of the lid. Others have measured from the underside of the lid to the edge as 3 mm, so that makes it 20 mm down from the edge disregarding front / rear difference. We all assume the drawing is correct. But how do we know that ? Maybe the 23 mm was supposed to be measured from the edge and the engineer that drew it got it wrong. I trust the FSM but not 100%, especially a oddball measurement like that. Sorry in advance.1 point
-
SW/12 with no slots or holes rotors. Those I had cyro and REM treated.1 point
-
I suppose you do not have a build sheet with the springs they used. Did you notice if the cam towers have been shimmed and if the springs were shimmed to match? Weather you call Schneider or Isky, either is good, tell them your cam and get their opinion if that cam is even usable for the street. It would be interesting what they say. Also let them recommend a spring. Do not just buy some yourself and guess.1 point
-
1 pointSo what about this ten turns down thing? What's that all about? The ten turns down method is an alternate method of checking the fuel level instead of using a clear tube. Brian claims to have taken some measurements with a straight edge and believes he has determined (unconfirmed by me) that when the fuel level in the bowl is 23 mm down from the inside of the lid, then it should also be 1 cm down from the top of the nozzle when the nozzle is adjusted all the way up (zero turns down). He also contends that this might be not only more convenient a measurement technique, but more accurate. That's what he was alluding to when he says this: "HOWEVER: Even though adjusting the floatbowl levels to 23mm down is a factory setting, it doesn't guarantee that the fuel levels in the carbs are the same." What he's saying is that even if you have set the fuel level in the bowl to be 23 mm down from the inside of the lid, it doesn't guarantee that the level will be in the correct level at the nozzle. The REAL important level is where the fuel is inside the carb, not inside the bowl chamber. So if there is something wrong with the bowl mounting or the bolt holding the bowl to the carb is bent or something, you could have the level in the bowl "to spec", and still have the level wrong inside the carb body. So to combat that, he's suggesting that it may actually be even better to directly measure the level inside the CARB instead because that's what's really important in the end. And to do that, he believes the correct level INSIDE THE CARB is 1 cm down from the top of the fully raised nozzle. Doing the math using the pitch of the nozzle adjustment nut and all that yields the following: A FUEL LEVEL IN THE CARB THAT IS TEN TURNS DOWN OF THE NOZZLE, SHOULD BE THE CORRECT FUEL LEVEL AND SHOULD ALSO CORRESPOND TO APPROXIMATELY 23 MM DOWN FROM INSIDE THE BOWL LID. Finally, after you have used the ten turns down method the check the fuel level, you should put the nozzle level back to it's ballpark setting of 2 1/2 turns down. His not mentioning that is clearly a simple oversight. Check the level ten turns down, and then put the nozzles back where they belong when you're done.1 point
-
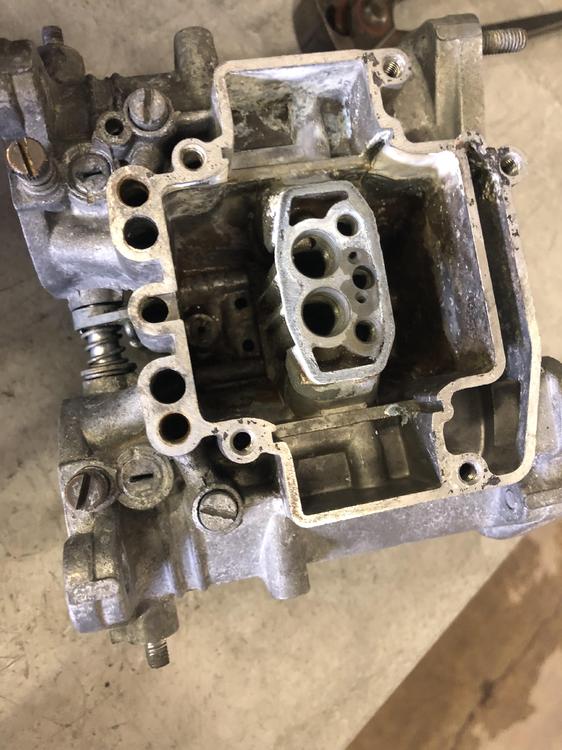
1 pointThe FSM documents the correct fuel level as 23mm down from the inside of the float lid. And to verify that level, you put a clear tube on the bowl outlet and check it. End of story. But as easy as that sounds... It's not. One problem with that spec and check procedure is that since the spec is referenced to the INSIDE of the bowl lid, you cannot measure it directly (because the bowl lid is not transparent). You need to measure or estimate the gasket thickness and the bowl lid recess depth and then measure down that amount to a dimension on the OUTSIDE of the bowl. Bunch of detailed indirect measurements like that... Not impossible, and you can do it accurately enough, but it's a little finicky. Another problem is that if you are replacing parts, like putting in a new float or float valve, you have no guarantee that your new parts are the same as your old parts, so you won't have any idea where the level is going to end up. So... The FSM describes a procedure for adjusting the float level based on mechanical float position only. That's where they talk about the 14 to 15 mm dimension "H" between the float and inside of the lid when the tang contacts the valve tip. But what they were not clear about is THAT IS A PRELIMINARY "BALLPARK" MEASUREMENT ONLY JUST TO GET YOU CLOSE. The final (and only important) measurement is the fuel level 23mm down from the inside of the bow lid. SO YOU USE THE 14-15 MM "H" MEASUREMENT ONCE, JUST TO GET YOU CLOSE. AND THEN YOU FINE TUNE TO 23MM DOWN FROM THE INSIDE OF THE BOWL LID AFTER THAT USING THE CLEAR TUBE METHOD.1 point
-
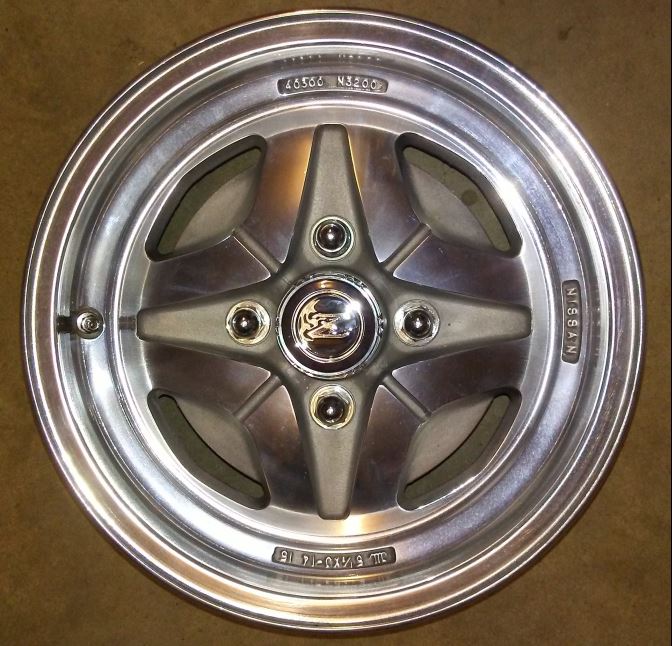
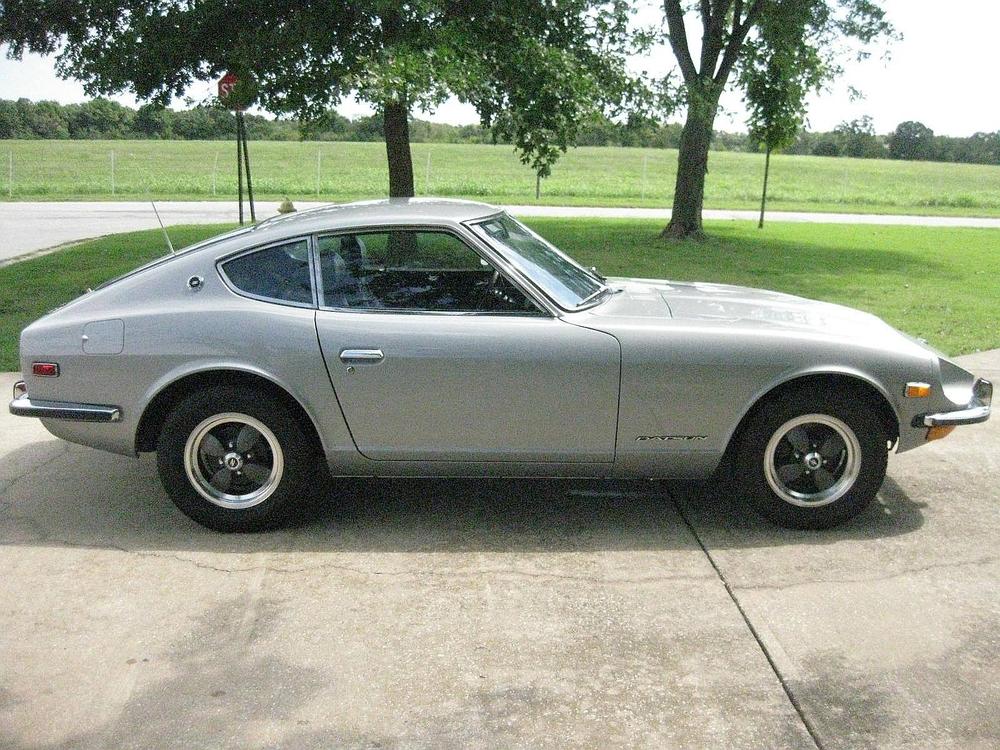
Being a "4 spoke 'old school' fool" for wheels---- I had been intrigued for some time by this statement from Eric Neyerlin on his website: "This wheel (pn 40303-N3200) is the only OEM wheel that Nissan specifically produced for the 70-78 240Z-260Z-280Z (S30) models world wide. Nissan parts catalog shows a 4/73 production date for this design. Though common to most S30 models sold in Australia, Canada? and Europe this wheel was not offered stock on any US imported Z cars except for one year on the 1977 Black Pearl special edition model. Now, 46 years after the 240Z models were first introduction, this rare factory wheel is increasingly regarded as the the only true, period correct, vintage factory aluminum wheel to put on a meticulously restored S30 model, apart from original, model year correct, steel wheels and hub caps common to US models." Well---OK--- I'm in------- This is one of the set of 6 that I recently purchased. All of the wheels are in truly incredible condition, extremely clean inside and out and 4 of them are polished very well. I had a NOS set of center caps on hand from years ago that were destined for use on a set of "iron cross" wheels I owned at the time. The caps fit perfectly on these wheels and I've always liked the factory Nissan "acorn" style lug nuts with the captured washer. A substantial nut with positive fitment between the wheel and the lug. If the stated original production date of 4/73 is correct, then it is entirely conceivable that my 6/73 240Z could correctly have worn these in that same year. As period correct as I can get for this car and I don't have to risk losing my hubcaps-----been there and done that. I love the American Racing Equipment "Libre" rims currently on my car, but they are an American aftermarket rim. Seeing the "Nissan" stamp in the metal makes this "all right".
 1 point