Leaderboard
-
sweatybetty
Free Member3Points1,119Posts -
Patcon
 Subscriber
 2Points11,140Posts
 -

siteunseen
Free Member2Points15,115Posts -
7tooZ
Free Member2Points1,038Posts


Popular Content
Showing content with the highest reputation on 06/11/2017 in Posts
-
1 point
-
1 pointThanks, Mark. Based on your comments, I tried the vice-and-socket routine again and this time I was able to get one of the cups free -- from the shaft-side yoke. But that was it, so out came the cut-off wheel (fortunately, the spider had shifted far enough to one aside to let me get the cut-off disc into the gap without damaging the inner face of the yoke). After using the cut-off wheel, I was able to separate the shaft from the splined yoke, which made subsequent work a bit easier. I had to cut both legs off the spider to get it out of the splined yoke. Even after I'd extracted the remains, there still was one cup that refused to budge more than about 1/32" in either direction. Sixty seconds with a MAP torch got the yoke hot enough so I could tap out the cup with a punch. Additional comments for anyone else trying this: For each of the two yokes, I found that one of the two cups would not move inward (and, yes, all the retaining clips had been removed). That meant that my press-out efforts with the vise and sockets would only work in one direction. Even in the successful direction, there was a loud 'crack' before the cups started to move. Instead of using an oversize socket on the exit side of each yoke, I ended up grabbing some 1x2 hardwood scrap and drilling a hole in it (11/16" drill, if you do this). Thew wood piece could then be propped up inside the vise jaws to the right height and then sit there without needing a hand to hold it in position. It was then much easier to juggle the combination of the other socket, the steering shaft and the vise handle while trying to get everything aligned and the vise jaws tightened down enough to hold everything in place. I think I'm going deep-freeze the new spiders and cups and then use a torch to get some heat into the yokes before I try re-assembly with my new Kawasaki U-joint kit. The cups look like they'll be really easy to get cocked a bit sideways at the start and I don't want to risk chewing up the bores.1 point
-
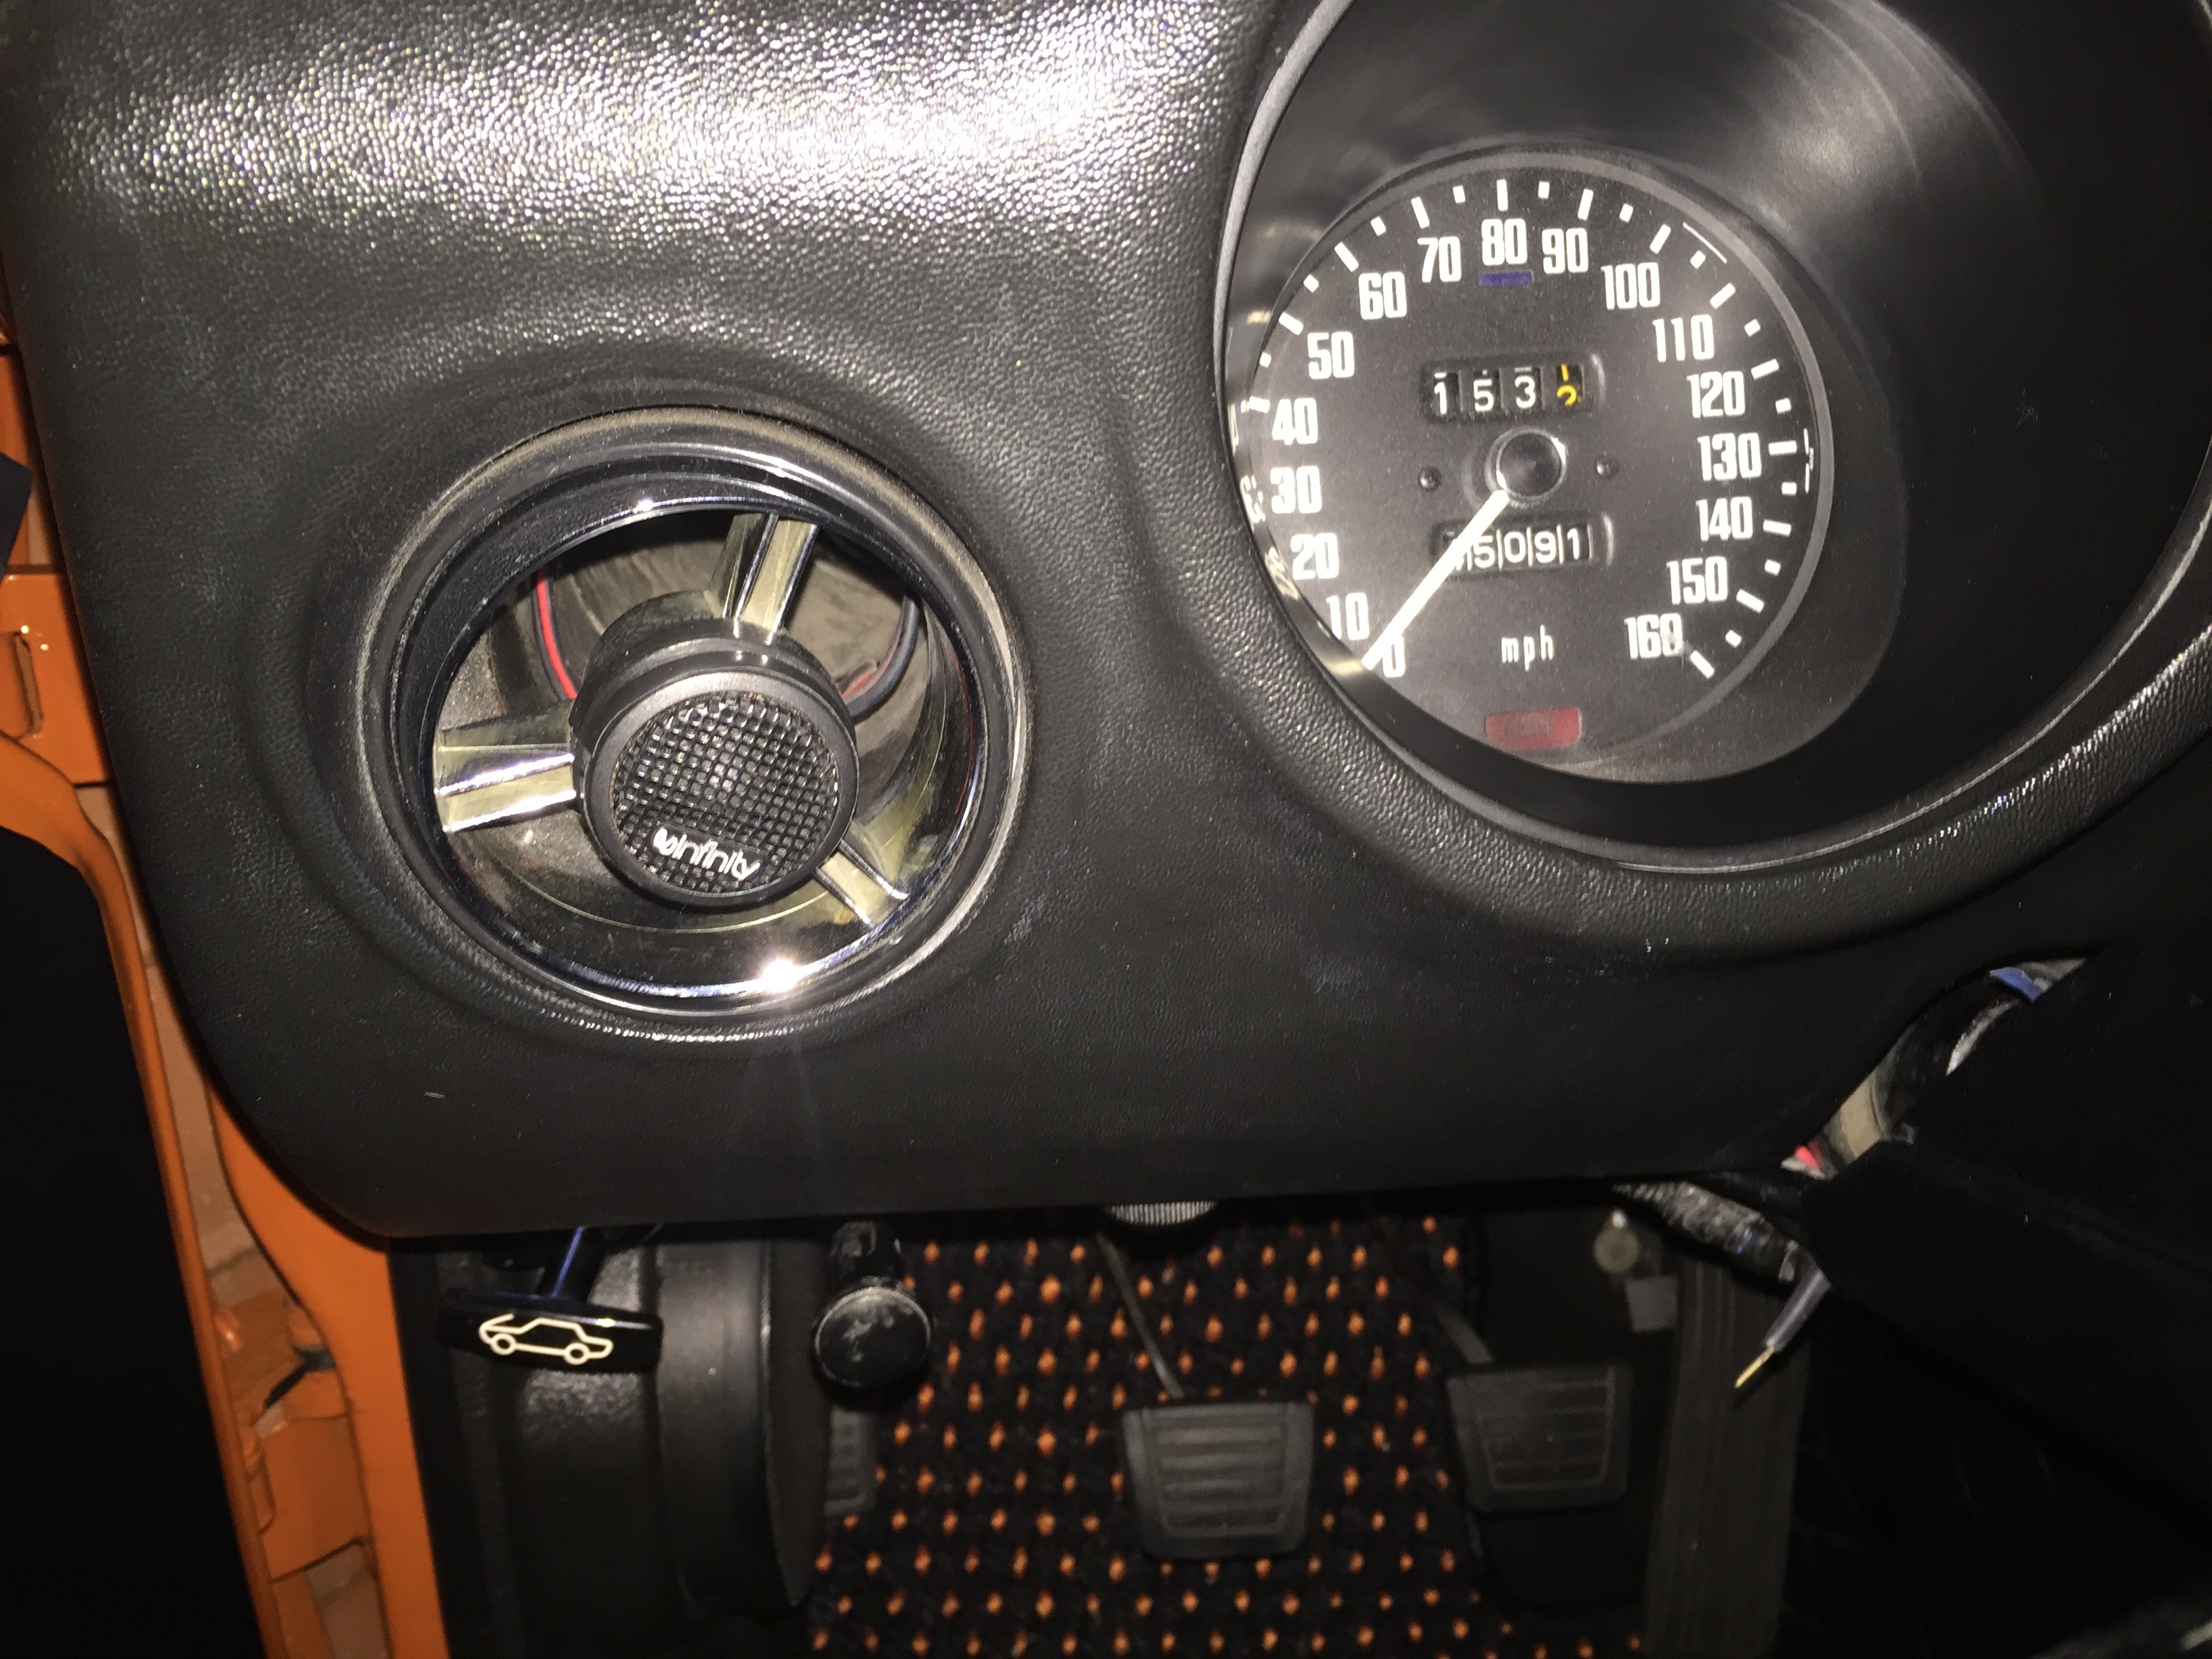
I paid $395.00 without the blue tooth adapter. Same vendor did the same conversion earlier this year on a Wonder Bar radio for 62 vette. This gives me a completely stock look with both AM/FM search and ability to attach my iPhone to play Pandora or stored music or pod casts. Or attach iPod..etc. Capable of driving four speakers without an amp. I currently have speaker kick panels with Tweeter mounted in the Air Vents for directional control. Planning to add an 8 inch amplified sub under passenger seat and two rear speakers.
 1 point
 -
1 pointFinished the install and made it to Club Dyno Day https://www.dropbox.com/s/atdkd1xu6adso4r/Dyno Run II.MOV?dl=0 Dyno Run II.MOV1 point
-
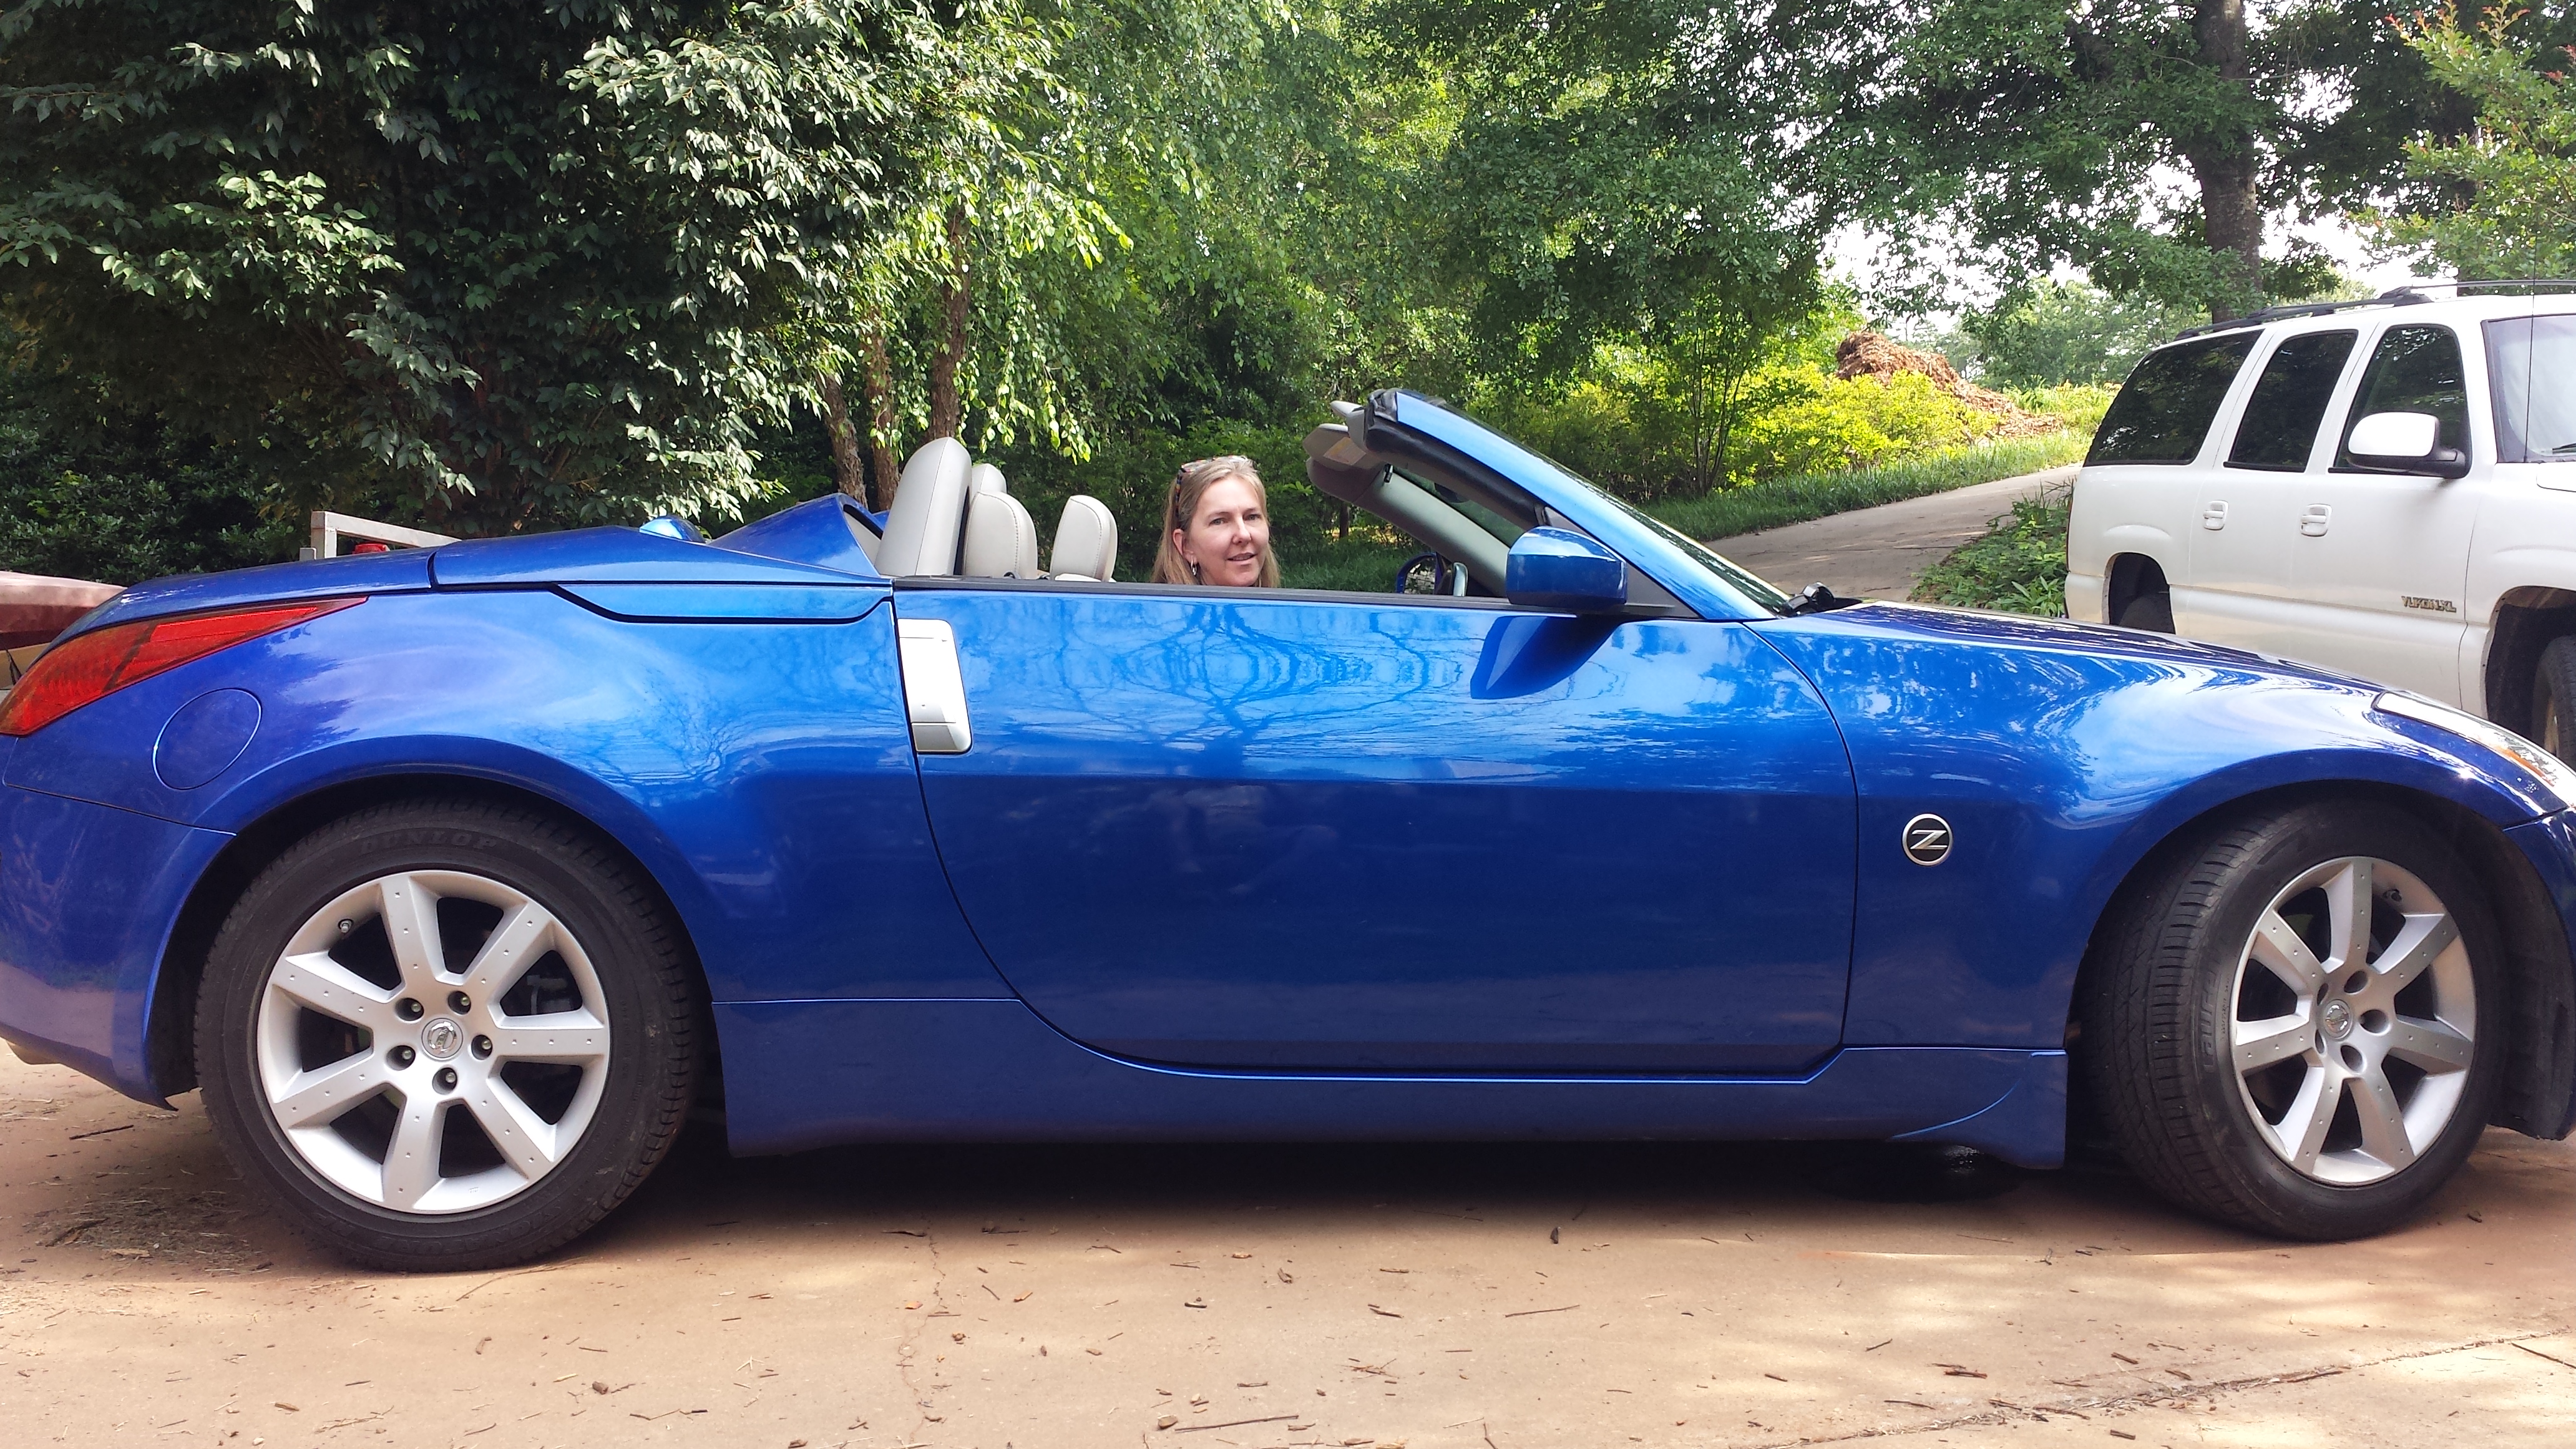
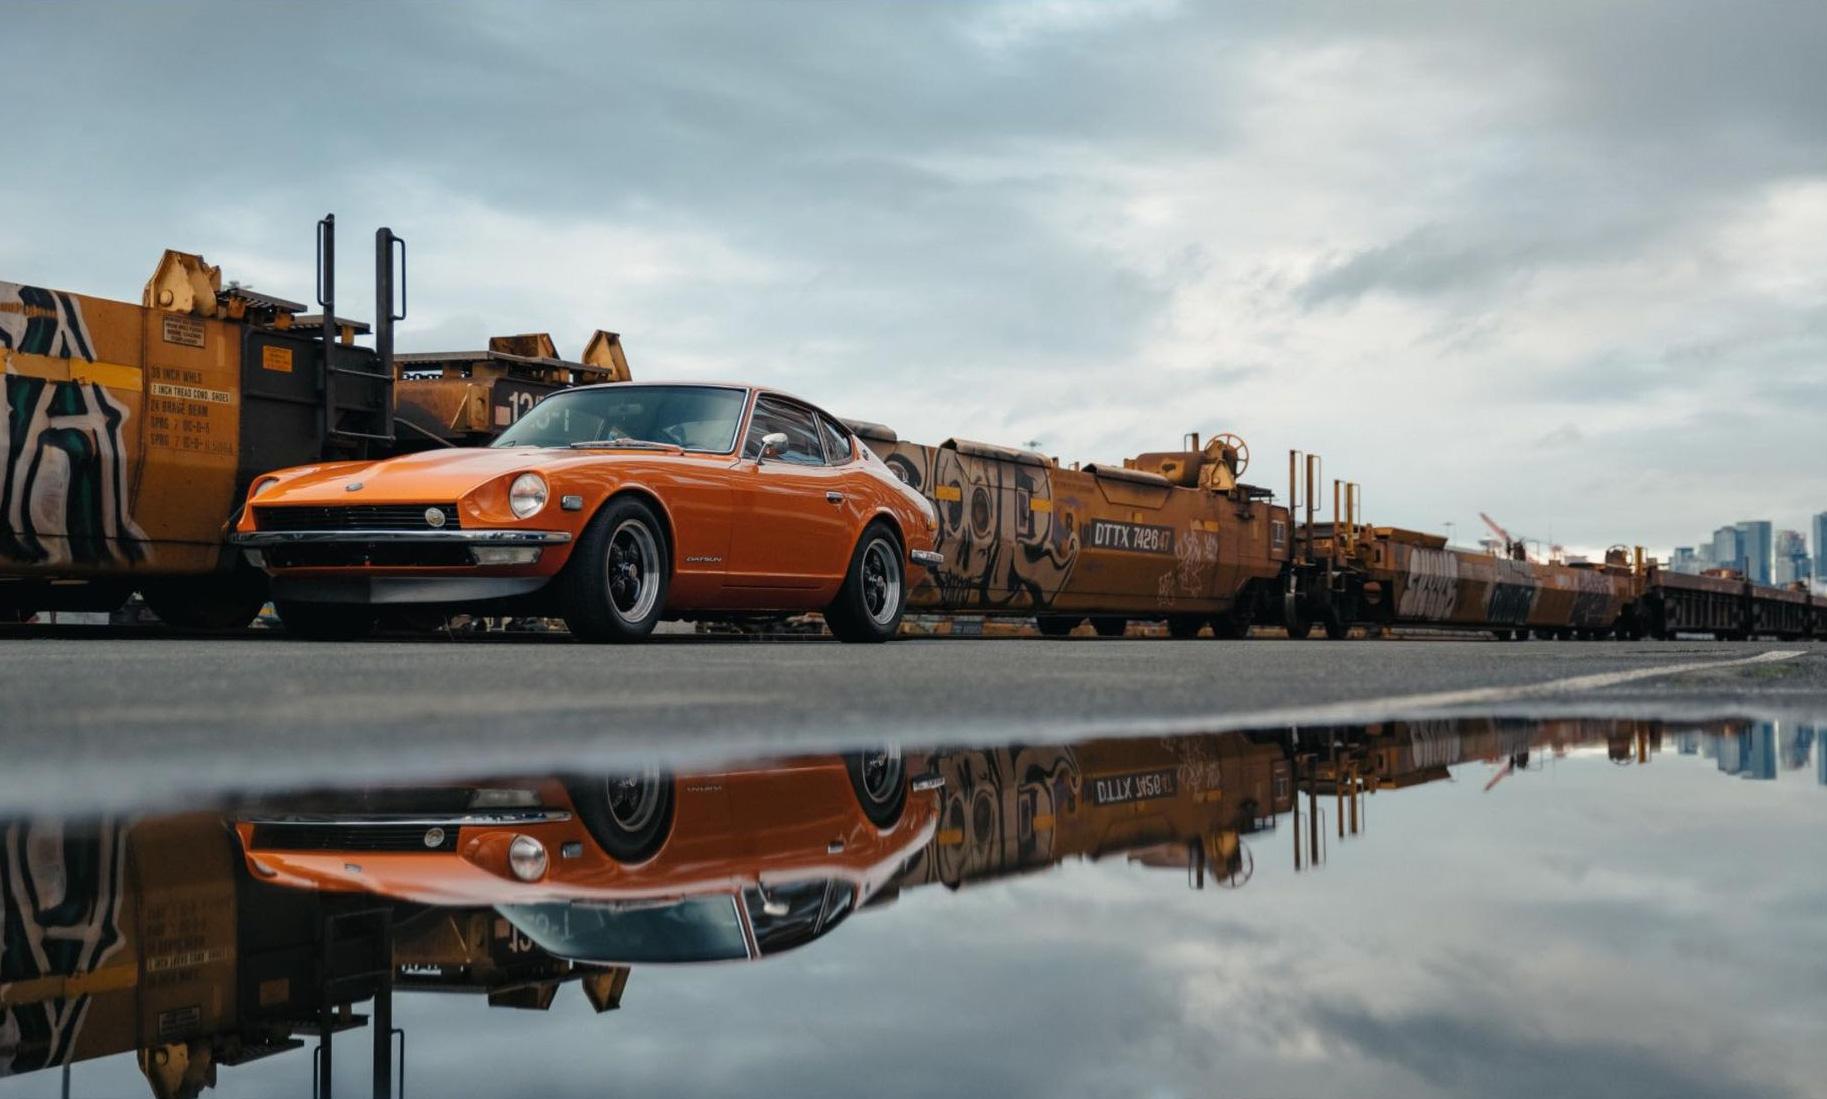
1 pointWe needed another car because one of my girls will be driving soon, so we got this. It will be Shelley's daily and it allows me to actually have a running Z... Win, win1 point
-
1 pointIn my case, there was never that much $ around. BUT makes me wonder just where the priorities were? Again in my case, he was much admired in his own eyes. You know the "me first" attitude. I lived thru that, and his getting a Lotus Elan when he totaled our VW. The final revenge for me was when I got the '71 Z, that he had been drooling over. Doing it with no financial assist from anyone, while raising his son alone. Doing well for myself I think. Mu ha ha ha... P.S. He never did get a Z. Snarf!1 point
-
SUCCESS!!! Blazing hot defrost/heat that I won't use one month a year. Now to celebrate with nurse Ratched's little paper cup full of jelly beans.1 point
-
1 pointI think this Tuxedo/Kernel rotisserie is going to be just fine for home use. The real question ended up being how to mount it. I bought a few sets of brackets but ended up not using everything. Here's how it went... First, I had read that the Auto Twirler mopar valence mounts attach to the the 240z front bumper mounting holes. This is not the case. I tried turning them 90 degrees and fitting them to the tow hook mounting spot just under that, but I did not think this through correctly and drilled the brackets in such a way that the Tuxedo valence arms could quite reach the brackets. I ended up drilling the silver Tuxedo arms to mount to the tow hook mount point as a solution. This meant a small set of holes for the bolts in the top and a larger set of holes underneath to get the socket in (see previous post). I was concerned about the potential for mushrooming, so I drilled some of the Tuxedo valence plates to act as a washer to spread the pressure and hopefully mitigate that. Next I made some plates to go between the Auto Twirler Mopar rear bumper brackets and the car. I drilled these plates and the brackets, then welded them together and ground them down to fit into the cavity for the bumper brackets. Last was just mounting the brackets and lining up the T-arms with the brackets. I tightened it all up and now the car is hung! The next steps are to remove the suspension and balance the car on the rotisserie. Then I'm in business.1 point
-
1 pointGive Brian my best and hope he recovers soon. I have backtracked through a bunch of posts in which he was involved and have learned a lot from his responses.1 point
-
1 point
-
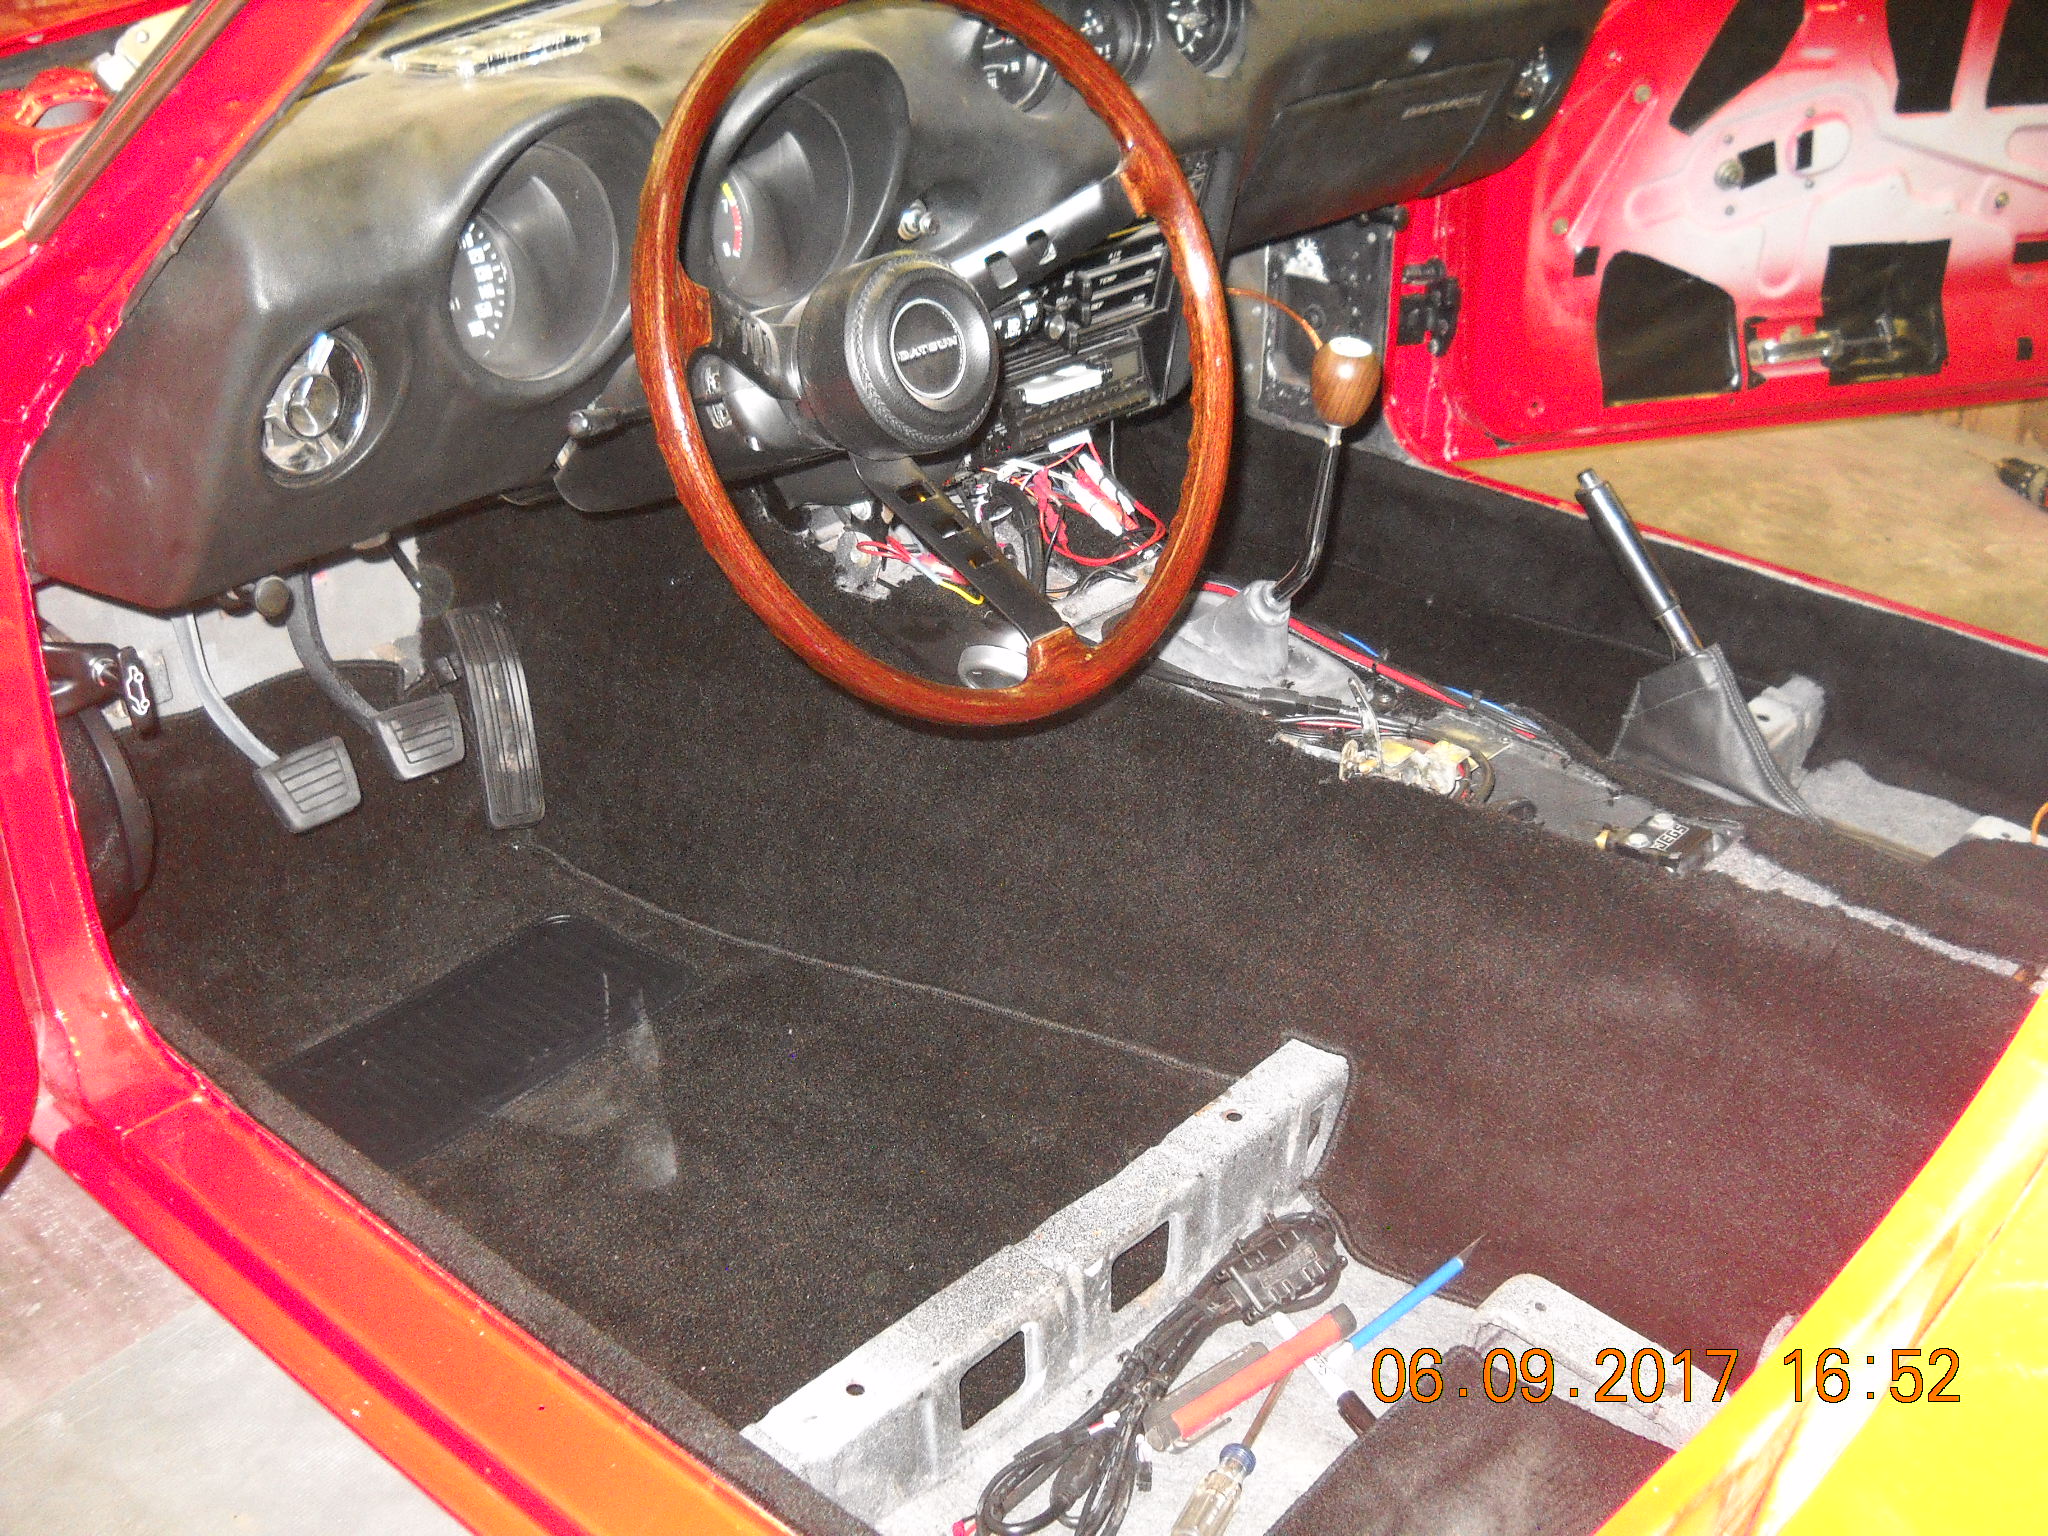
1 pointa little more progress. sealed all the holes in the doors. i used flextape https://www.youtube.com/watch?v=0xzN6FM5x_E very sticky stuff! another tire shot and the carpet installed. i need to buy a few small pieces to fill in under the seats and up the firewall, but overall, the kit i bought fit nicely. very little trimming, and plenty of over-lap. plastic trim and weatherstripping goes in this weekend. a question: do all the shifters sit so high? im thinking of cutting a couple of inches off
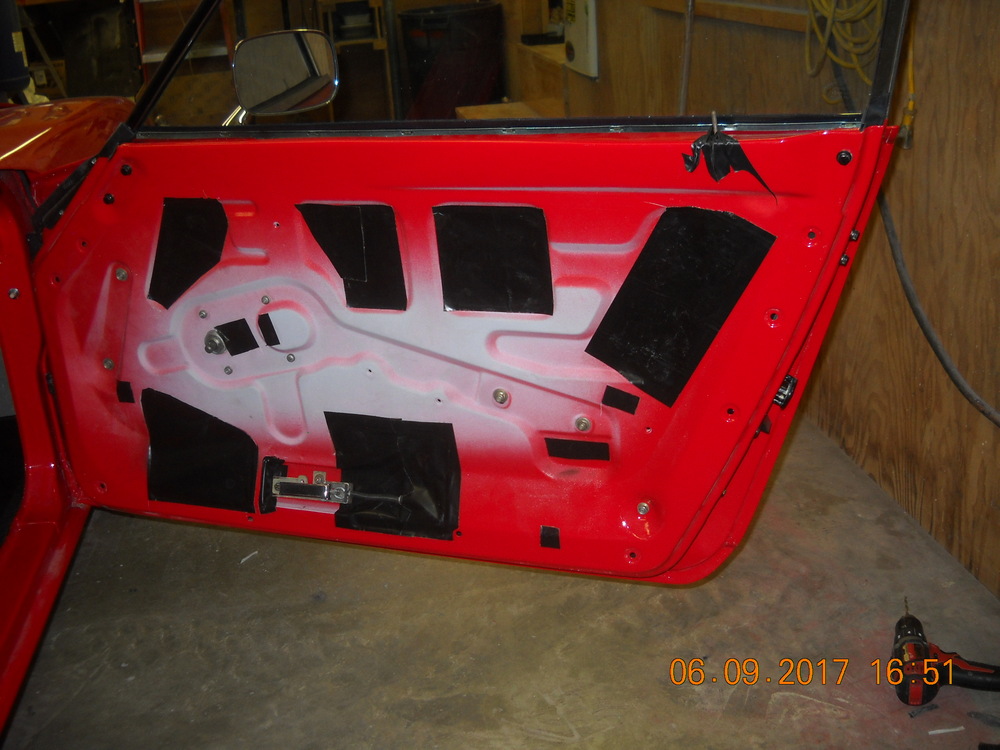
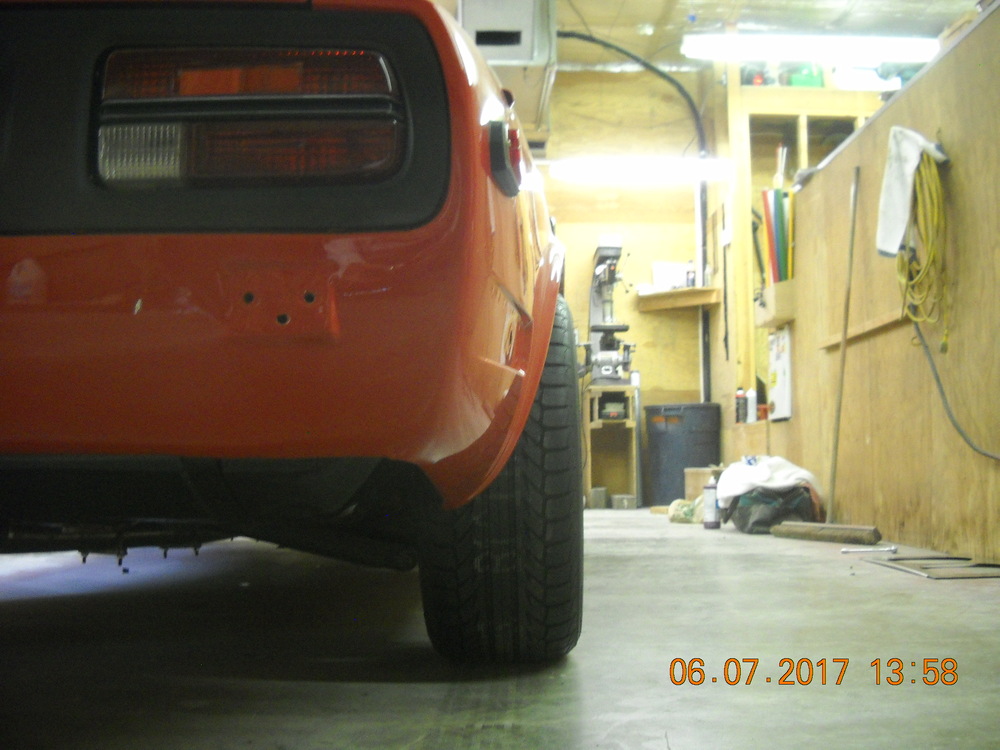

 1 point
 -
OK, lets see if this works, <iframe width="560" height="315" src="https://www.youtube.com/embed/dR8bHf6C-Qc" frameborder="0" allowfullscreen></iframe> Nope, lets try this,1 point
-
the only problem i see in the captains post is the valve should (in my opinion) be before the heater core.1 point
-
1 pointNo better way to troll a crowd than to let your ignorance hang out! What few Japanese friends I have on Facebook are celebrating. I would imagine he's a national hero for the moment.1 point
-
1 point
-
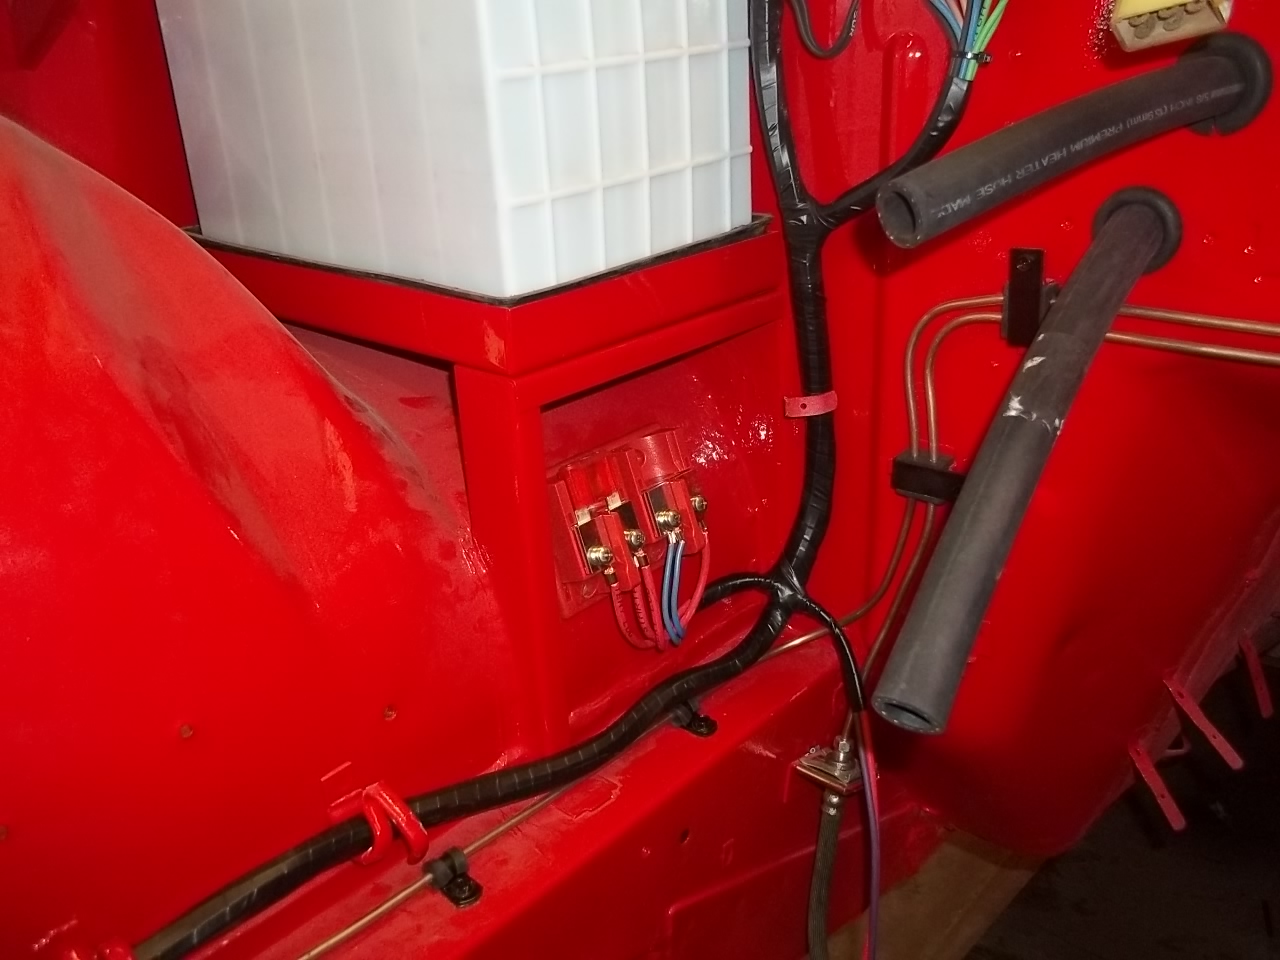
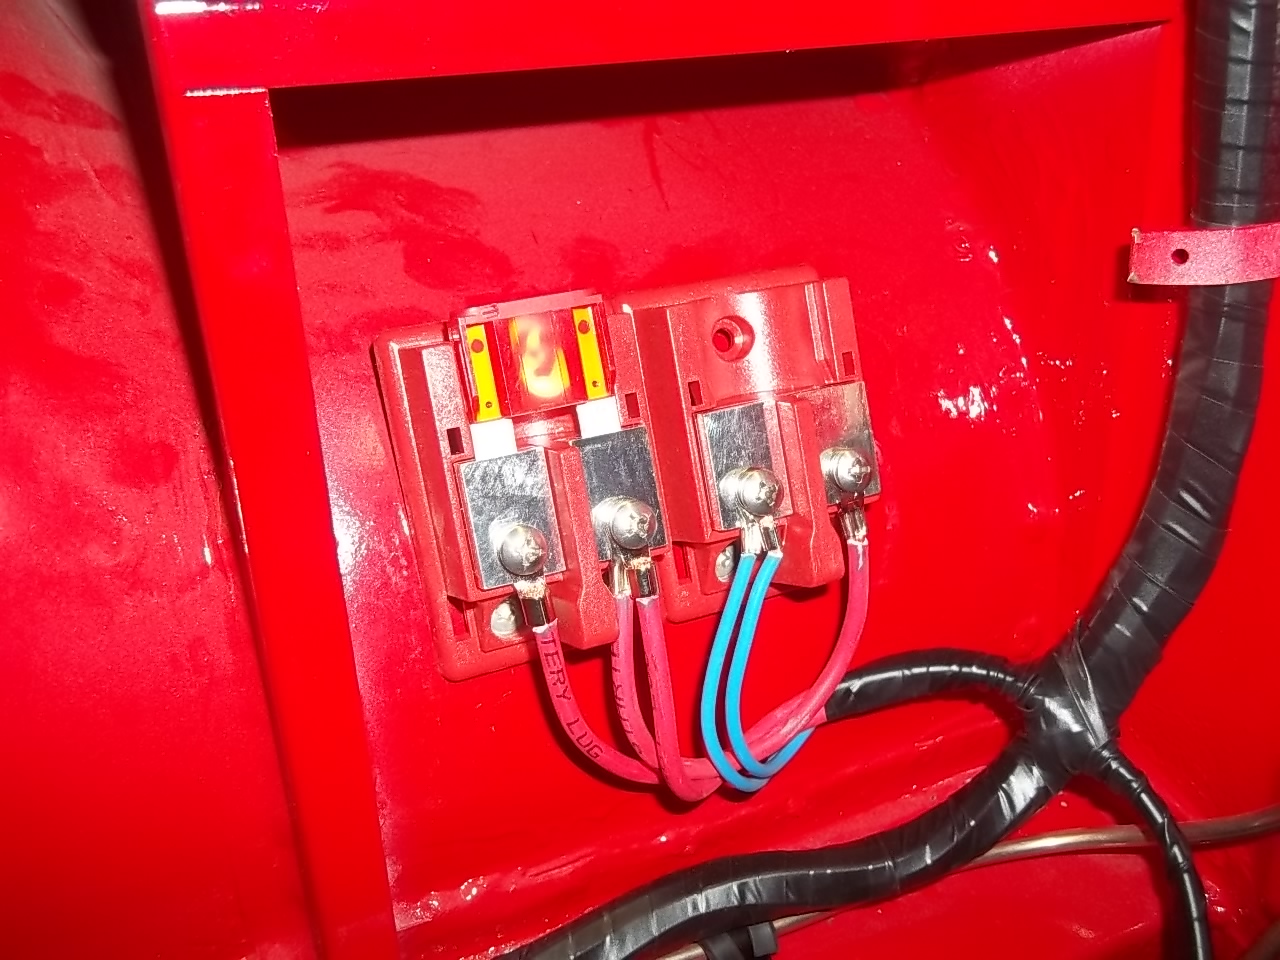
1 pointthese pics are of the fuse holders that will hold auto-reset circuit breakers. one holds a 50 amp fuse that is the main power from the battery. the other feeds the head and tail lights

 1 point