Leaderboard
-
Captain Obvious
Free Member3Points10,081Posts -

siteunseen
Free Member3Points15,115Posts -

Zed Head
Free Member2Points19,228Posts -
sweatybetty
Free Member2Points1,119Posts


Popular Content
Showing content with the highest reputation on 02/05/2017 in Posts
-
2 points
-
1 pointHey Jim, New wheels are $600-$800. Here in NS a set of slotted mags would be $200-$400 ($50 USD lol). I bet you could get $500-$600 if you do them to the same standard as your car and get them balanced w/o tires (just grind a bit on the side opposite to where the wheel balance machine says to add weight). This extra step would add marketing value when you sell. It would set them apart from the pack. Philip Janet says hi to you and V!1 point
-
I agree with most of the above. The alternator only supplies what is needed, and the advantage to a higher amperage capable alternator is that it is CAPABLE of supplying more amps to the system if asked. The original alternator was sized in relation to the expected needs of the original car, and in theory, anything larger than that is not necessary. But, if you go adding an electric fan on the radiator, fog lights, electric windows, a rear window blower defroster fan, or a huge bass thumping stereo system? You may need additional capacity. Contrary to opinions above, I don't think adding H4 headlights should be a significant change from the original system. You're replacing one high current draw item with another one of similar draw. As for the wiring... since the alternator only supplies what is needed, if it's just an alternator capacity change and you don't add additional accessories, the wiring will not know that anything changed. But if you go adding those high draw accessories, you need to really study the current path(s) involved and make sure the wiring is up to the task. I haven't looked, but I suspect availability could be an issue. In this day and age of more accessories is the norm and bigger is better, the higher capacity alternators may be cheaper and easier to find (up to a point).1 point
-
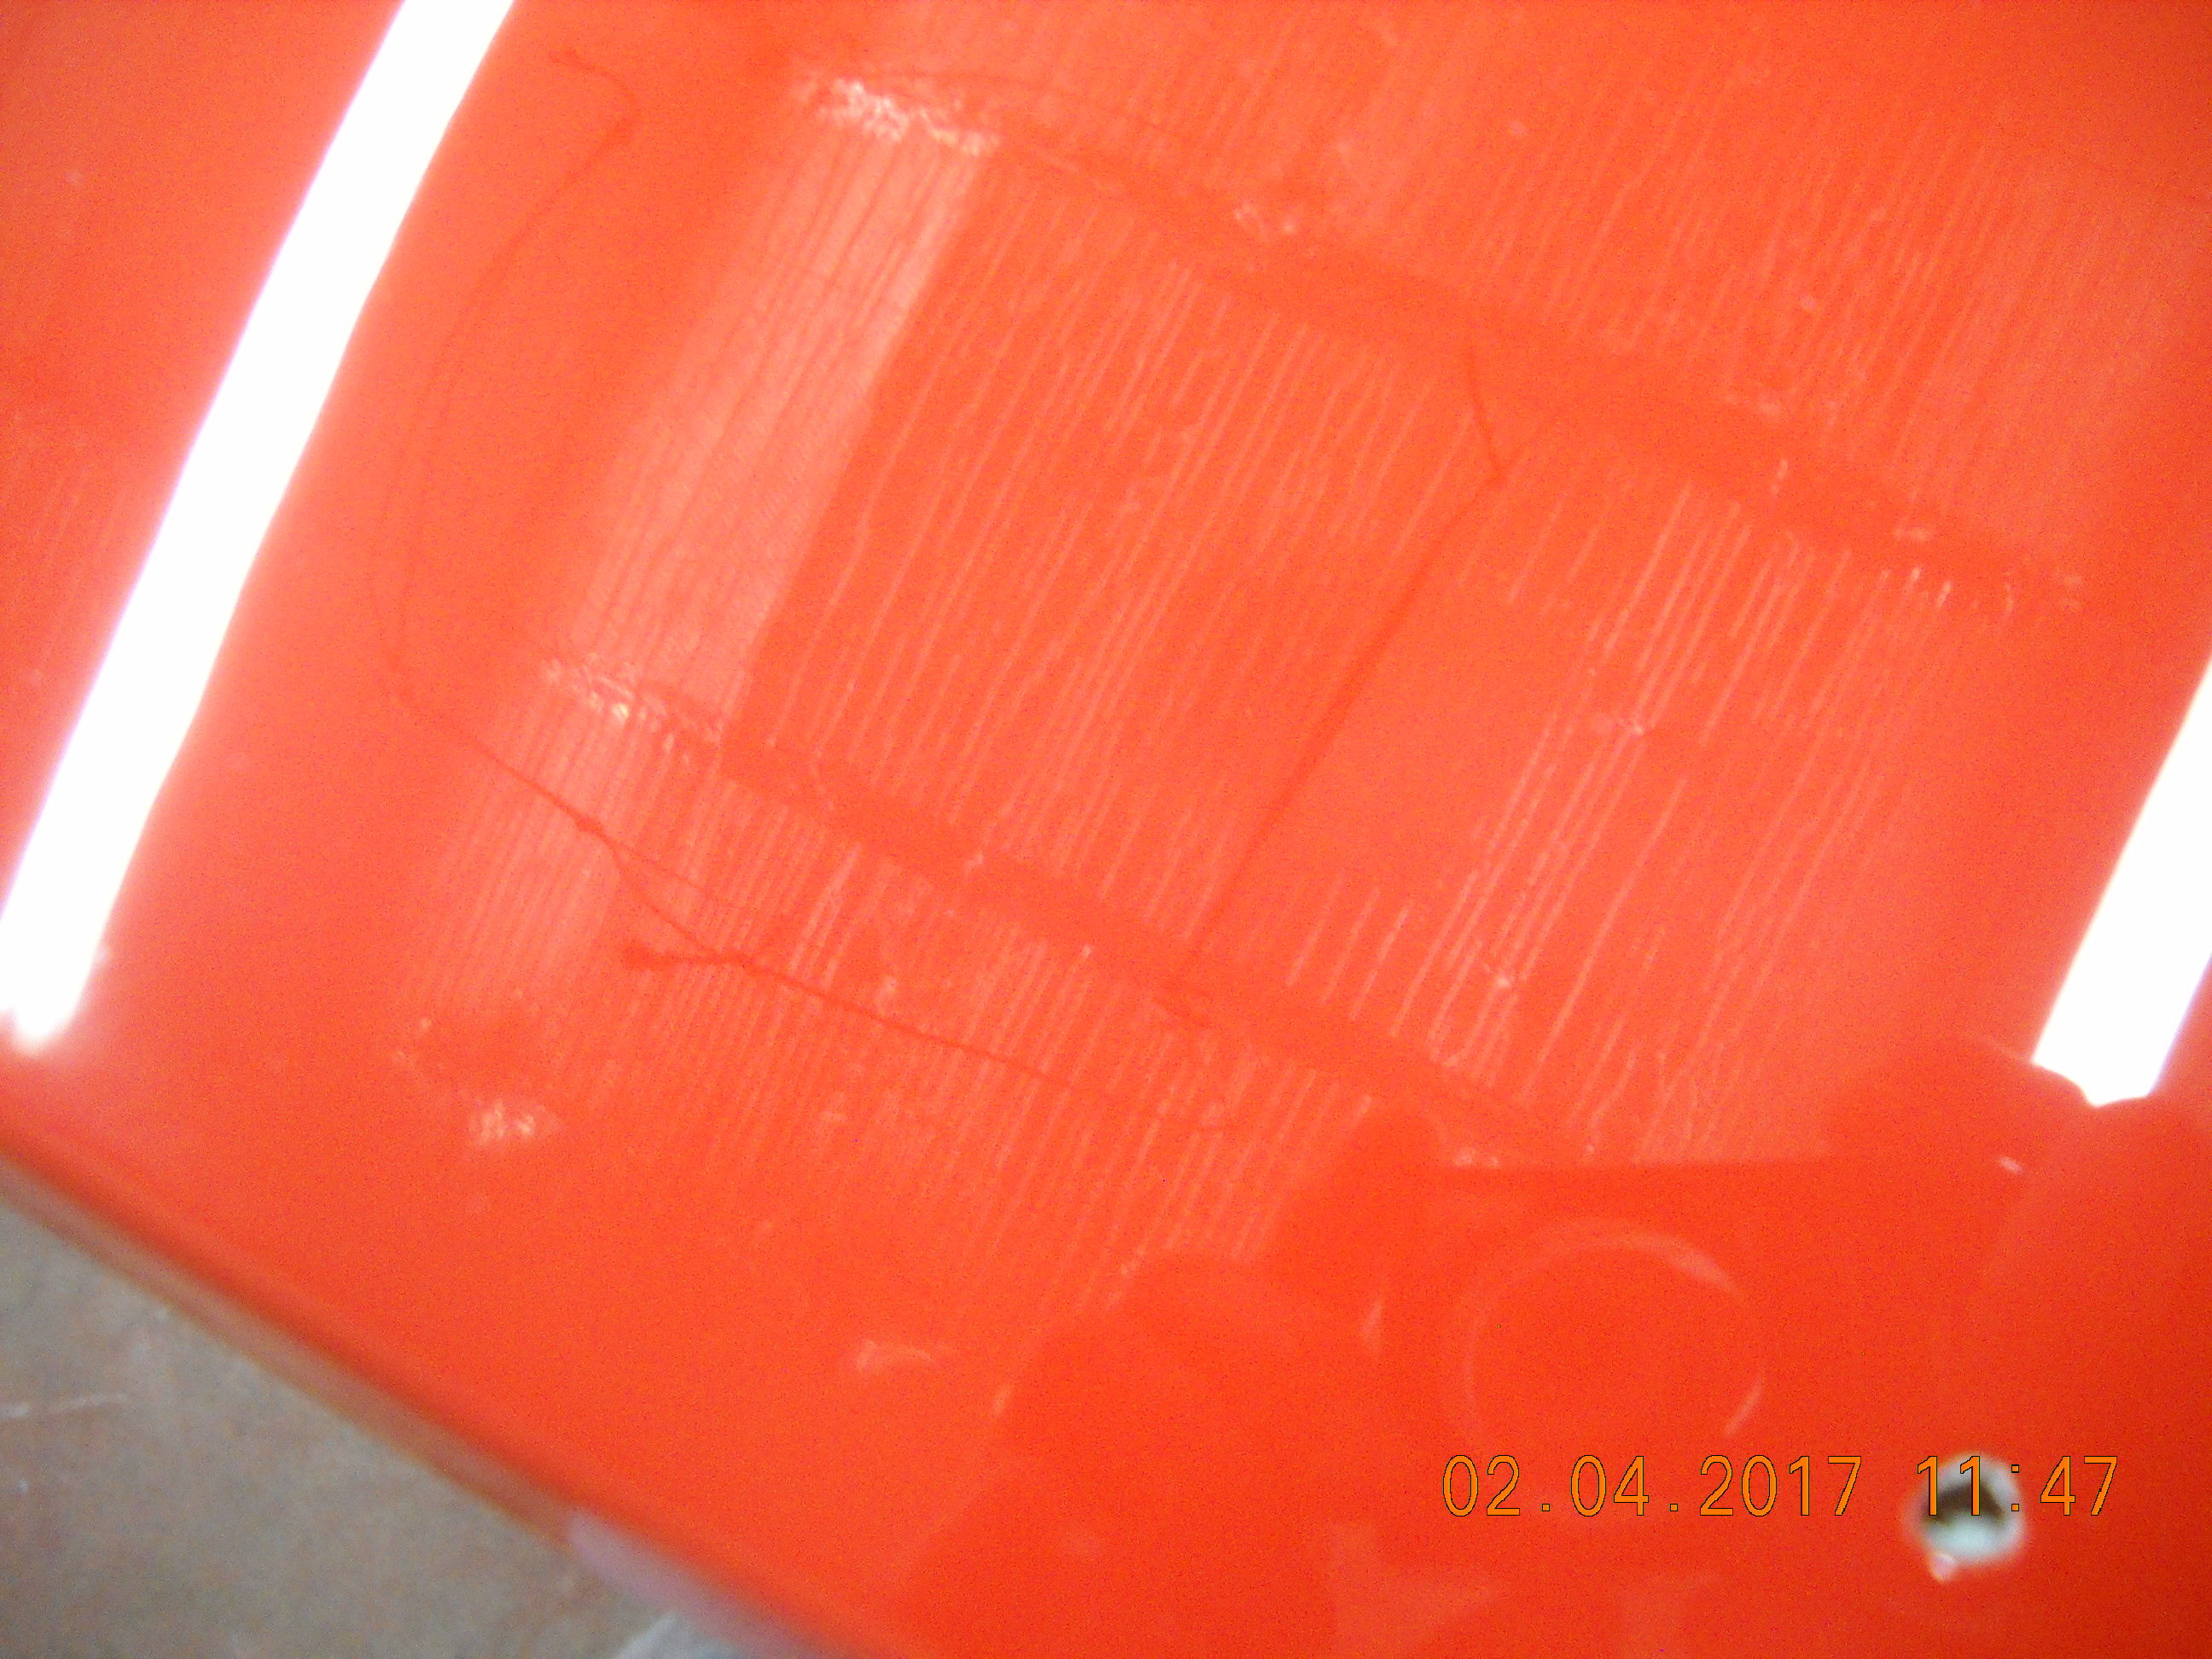
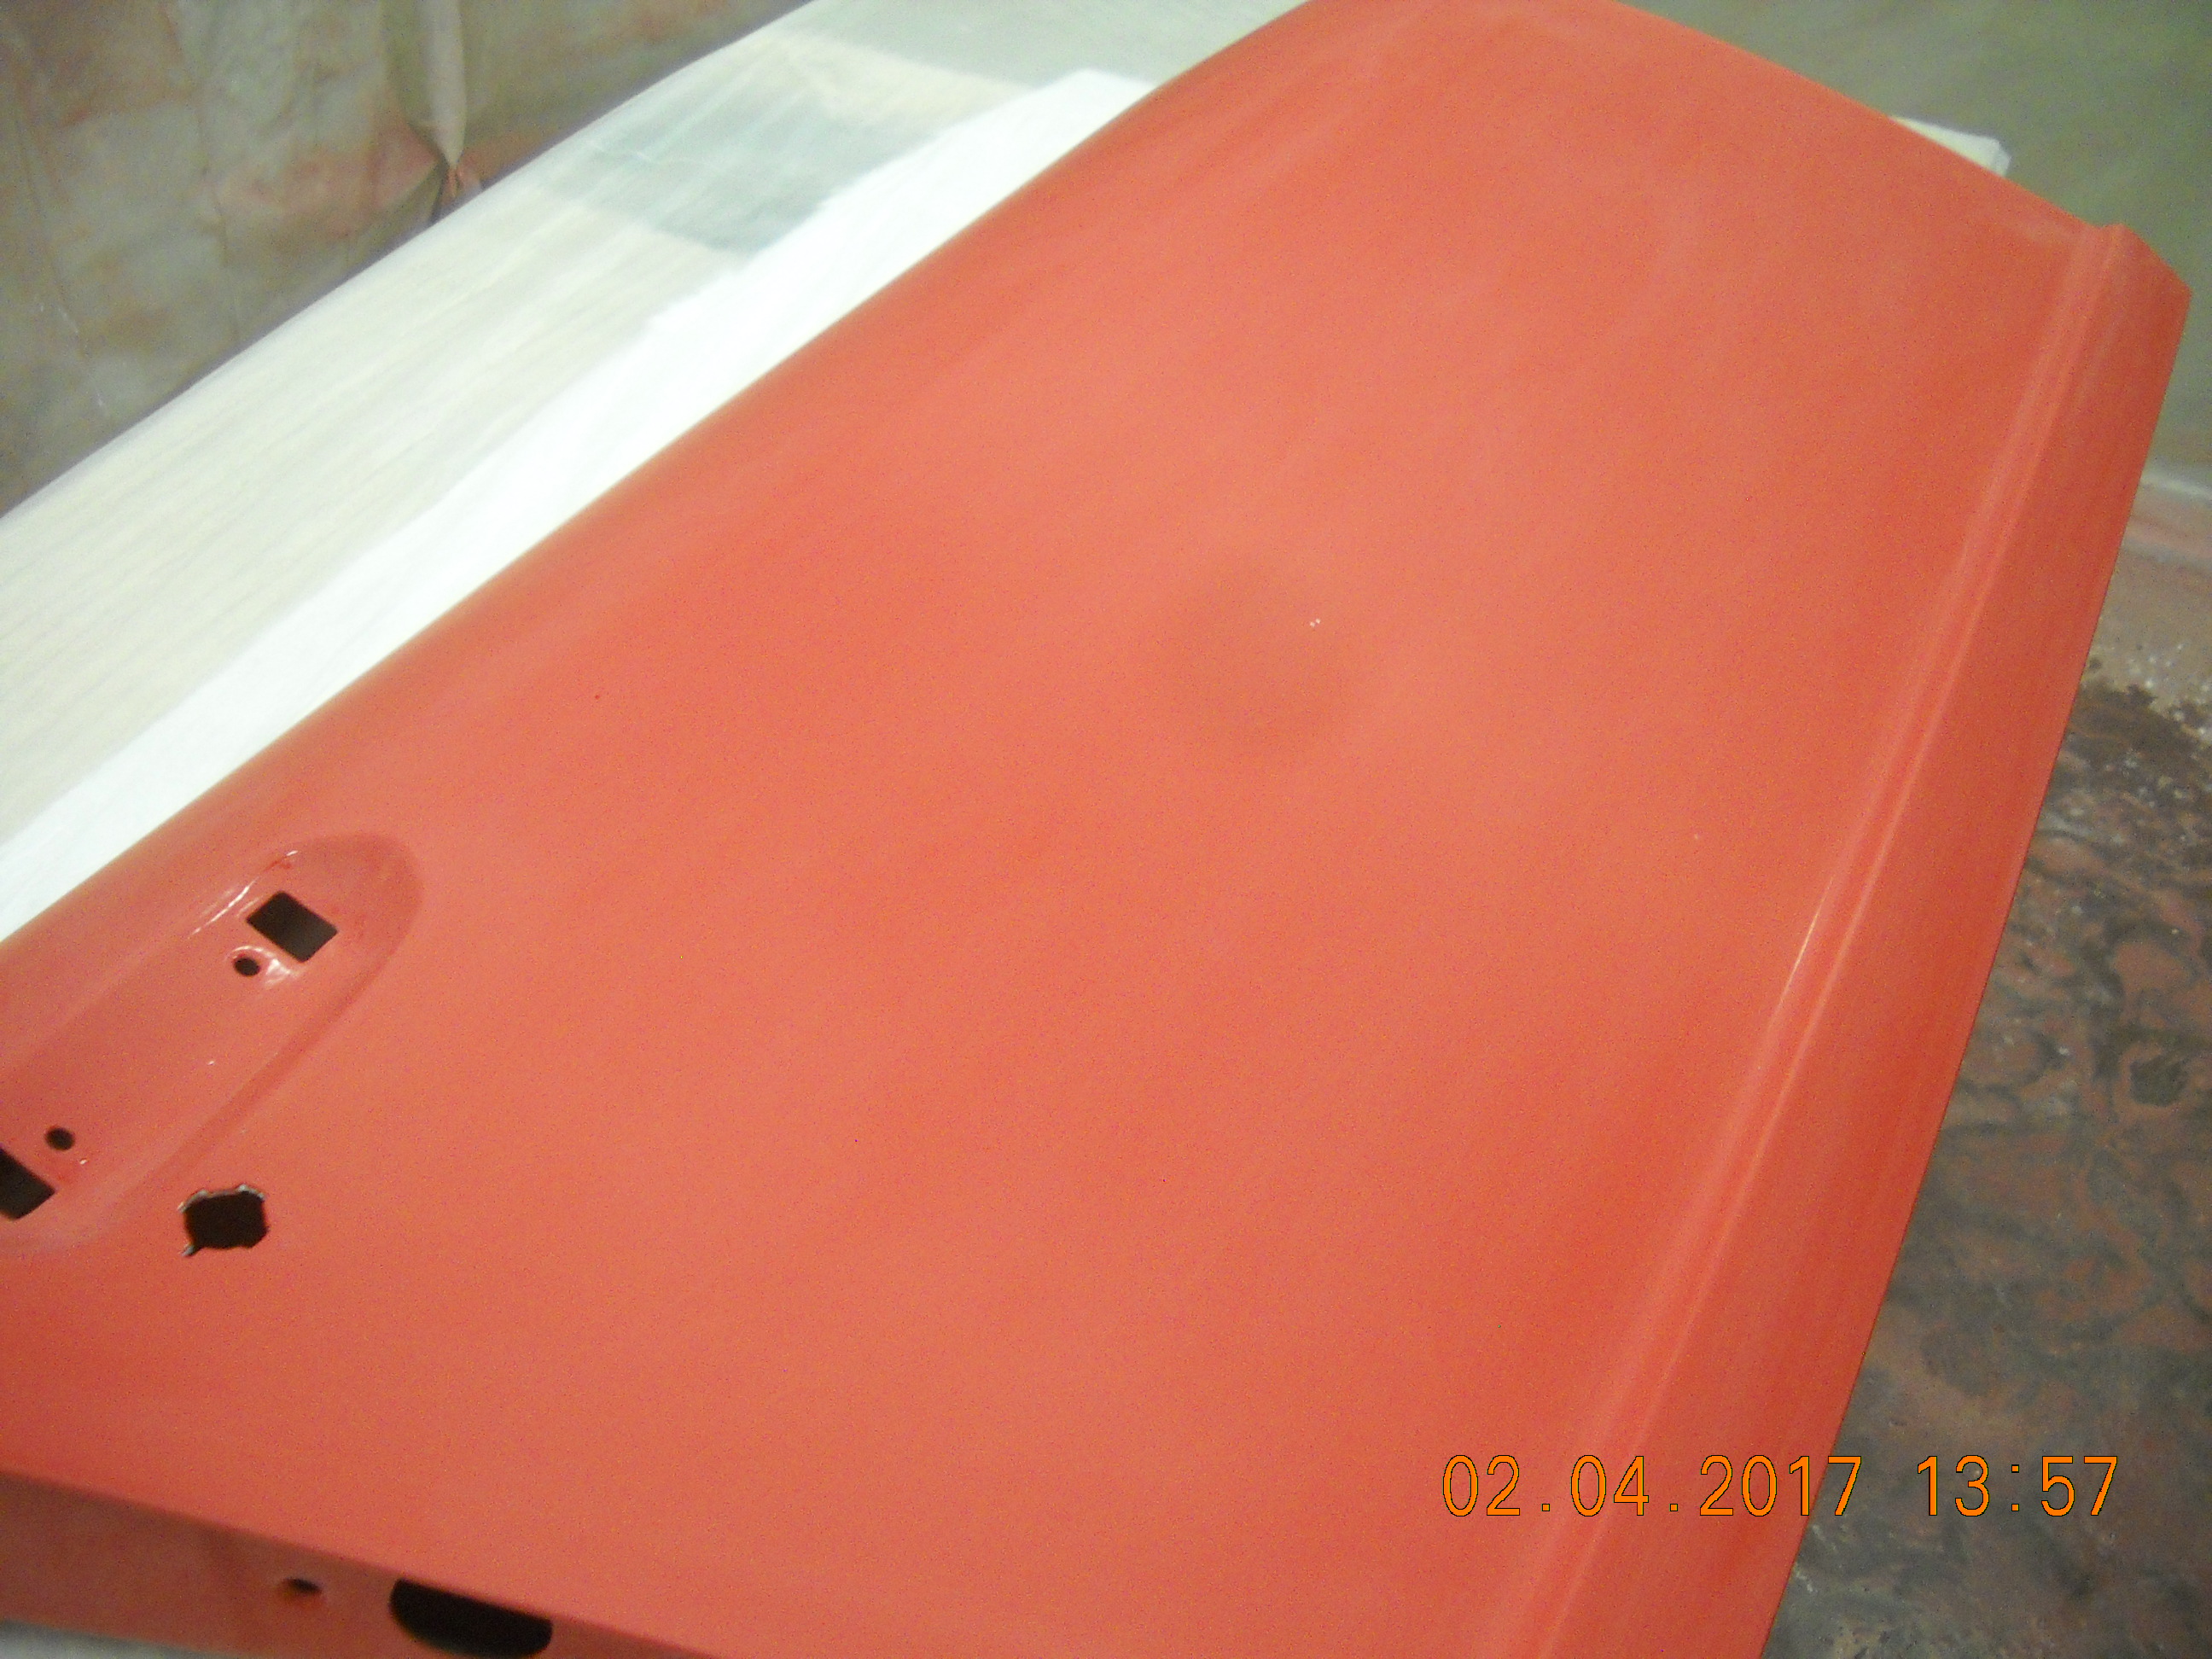
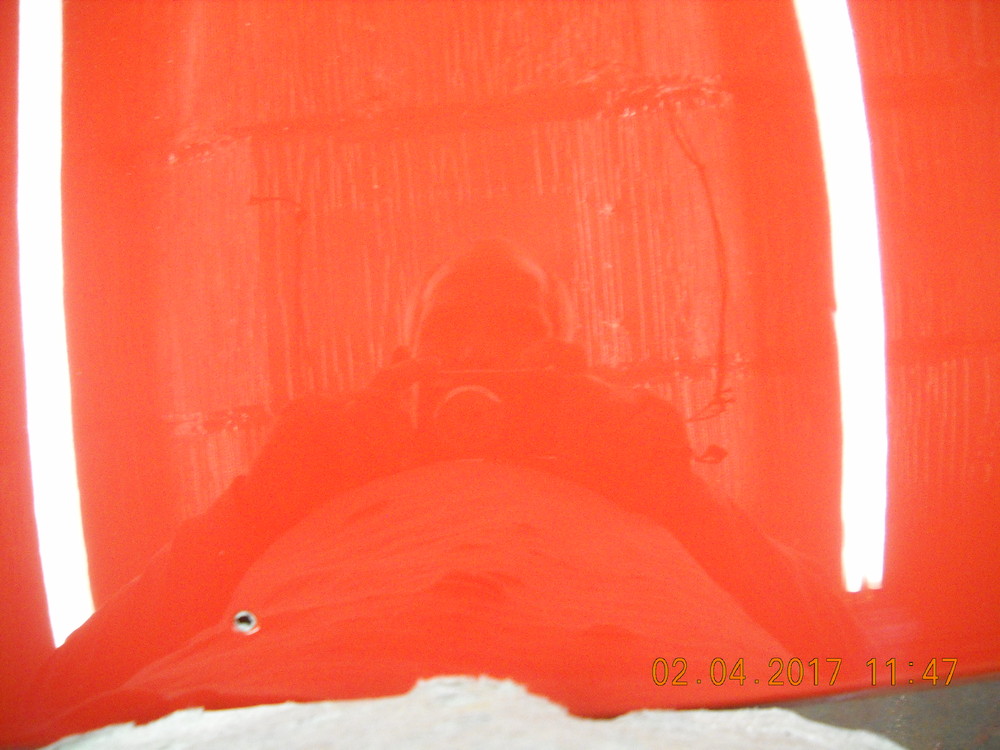
1 pointgetting a little more color on. here is the hatch after a 2nd coat of clear, and cut and buffed. i am getting quite a bit of dust in the clear coat, so i end up sanding down with 1500 then 2000, then rubbing compound and polishing compound. looks very nice hatch after sanding, cut and buff installed passengers door ready for the 2nd coat of clear, which just got sprayed tonight.i should have it cut and buffed tomorrow


 1 point
 -
1 pointHaha! Well need I remind you that I'm not a professional, so just keep that in mind with any advice I may espouse. May I offer you the use of my surface plate? My project du jour is replacing my original throttle body bushings with Delrin bushings, and I whipped the granite out the other day to check the mounting surface. (Actually, I just took the plate out to take a pic, but it looked wrong naked, so I plopped the throttle body down on it for the pic): I don't foresee needing it again until the spring at least, so it's yours if you would like to borrow it. Like I said, it's no Starrett like the nice one I'm sure you used at work, but it's good enough for the home shop work that I do.1 point
-
1 pointThe dimensions are also in the FSM's, by car and year. Same info that site provided though. How many people are going to have some valves, out of the head and available to measure, for which they know the part numbers? Google says that they might not be 240Z valves though - https://www.nissanpartsdeal.com/parts/nissan-valve-intake~13201-a1100.html and https://www.nissanpartsdeal.com/parts/nissan-valve-exh~13202-n0401.html You might find the FSM's at http://www.nicoclub.com/datsun-service-manuals1 point
-
Yeah, I knew you were coordinating things for ZCOT for the Autorama. I wanted to make sure Dave made your acquaintance most of all.1 point
-
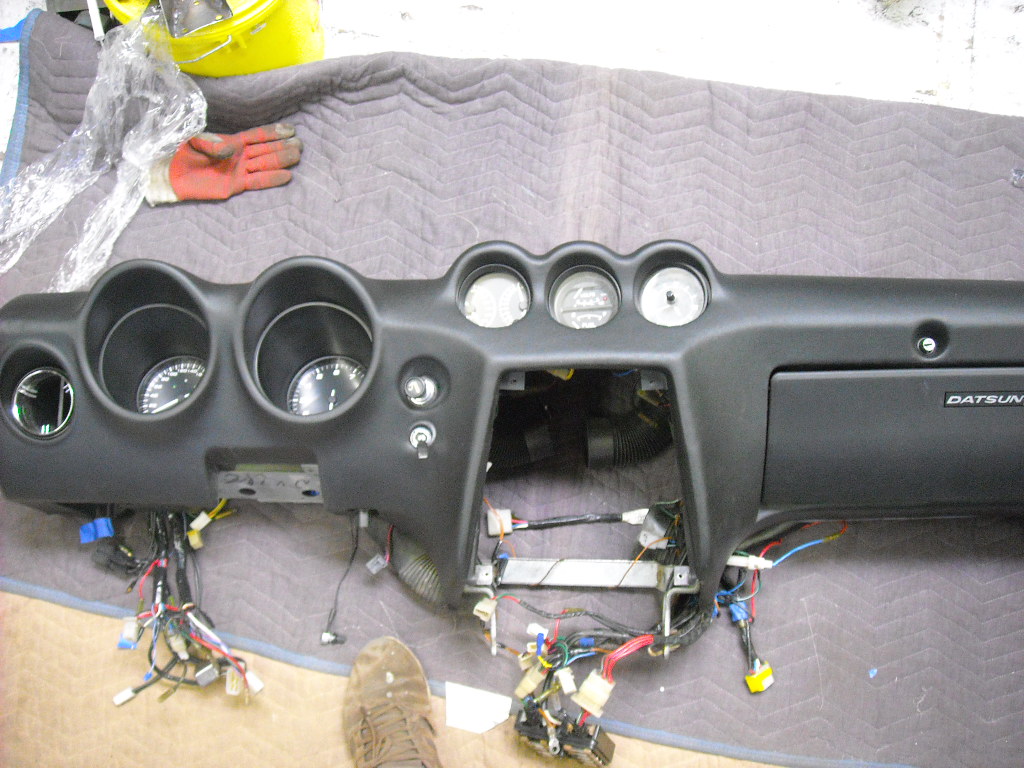
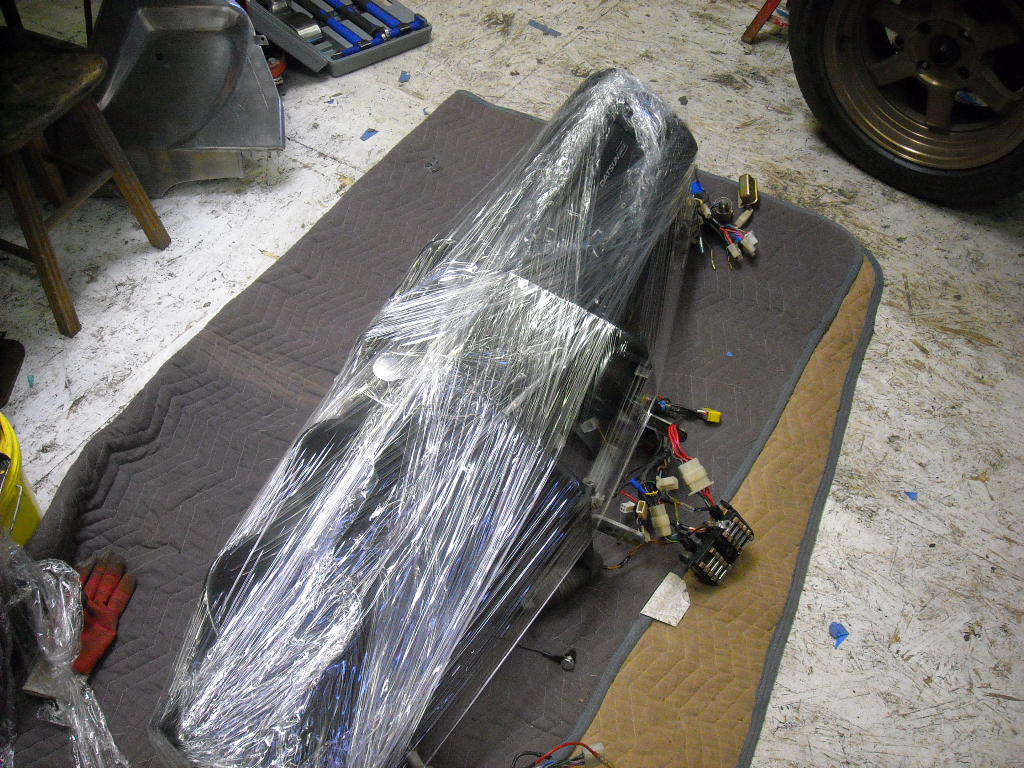
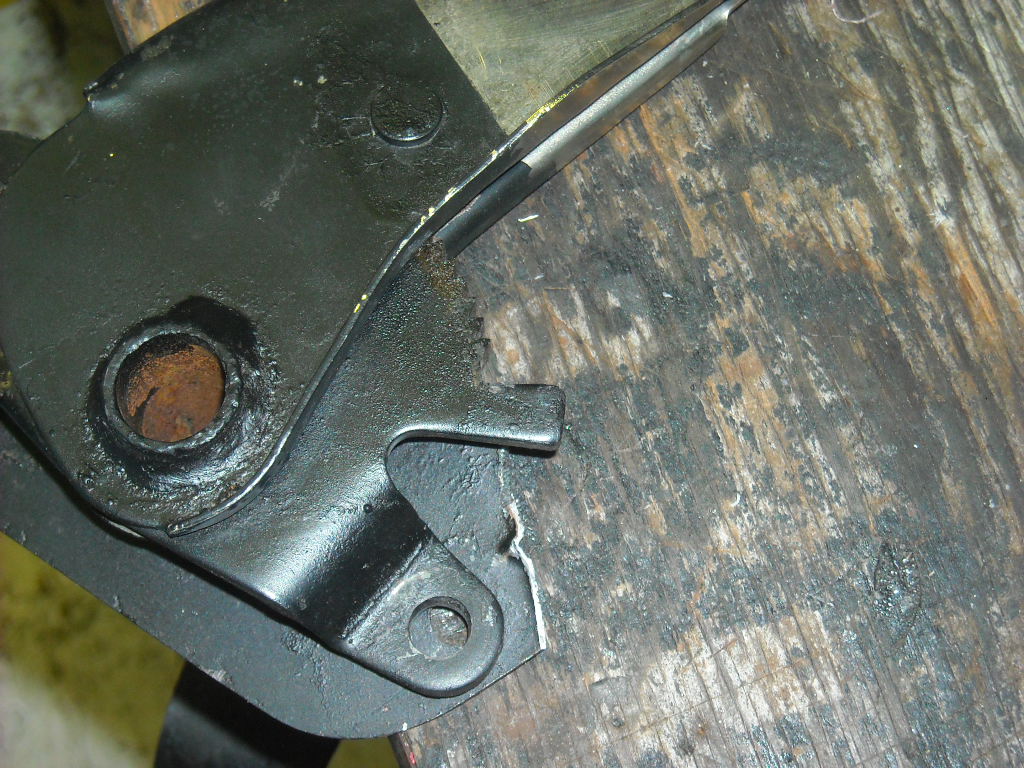
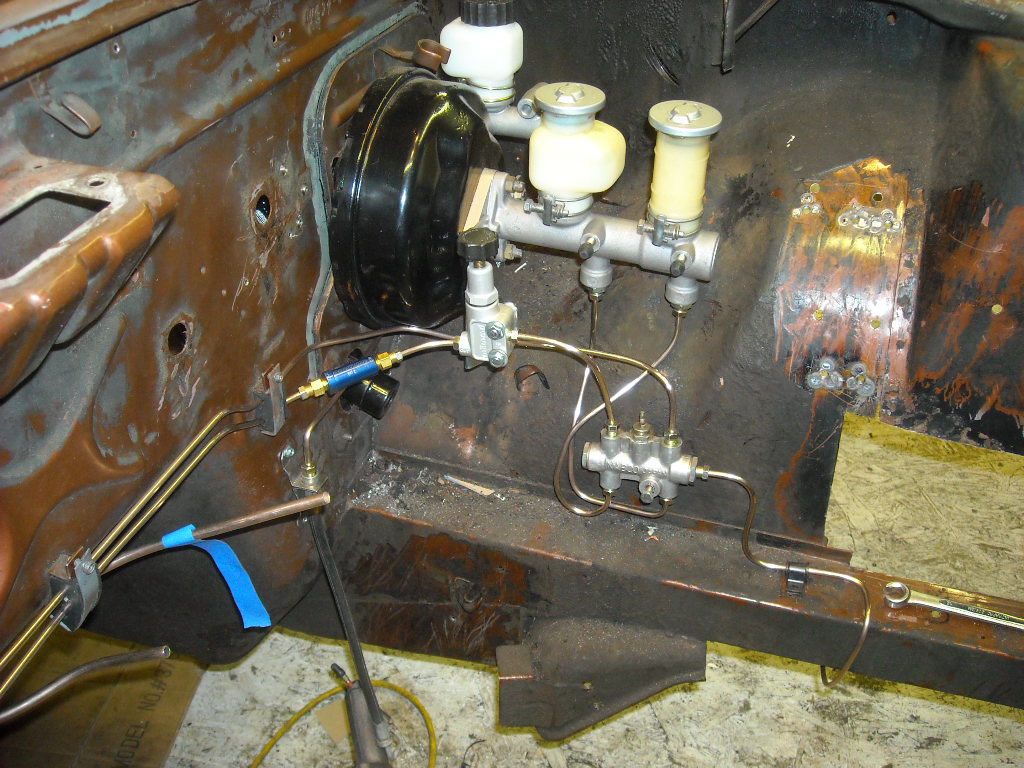
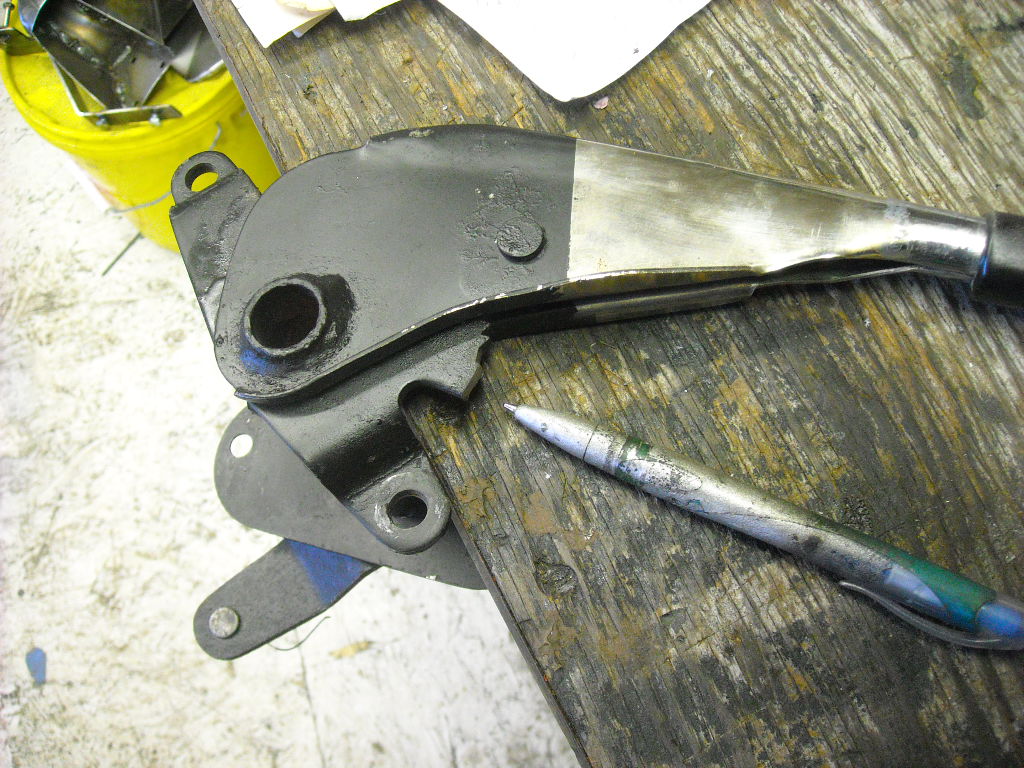
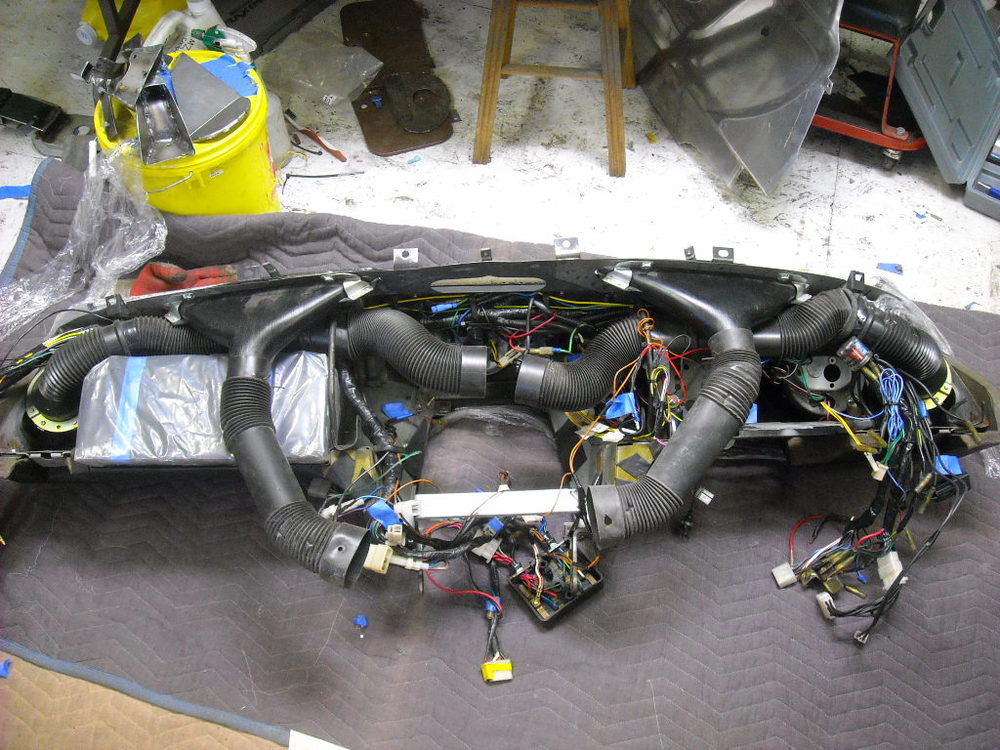
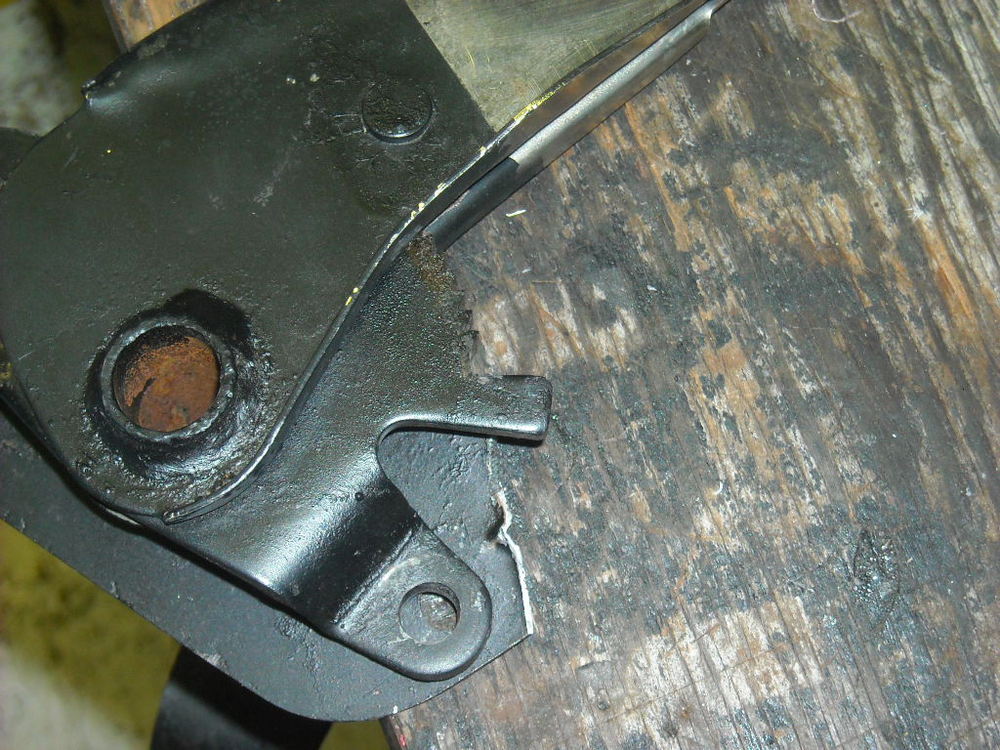
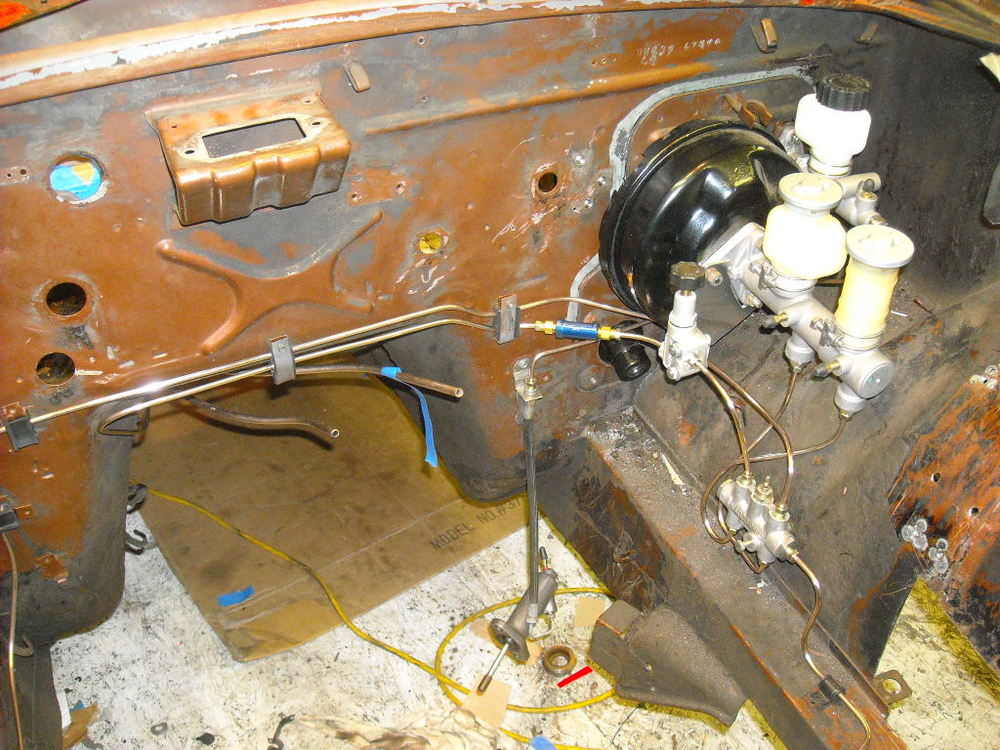
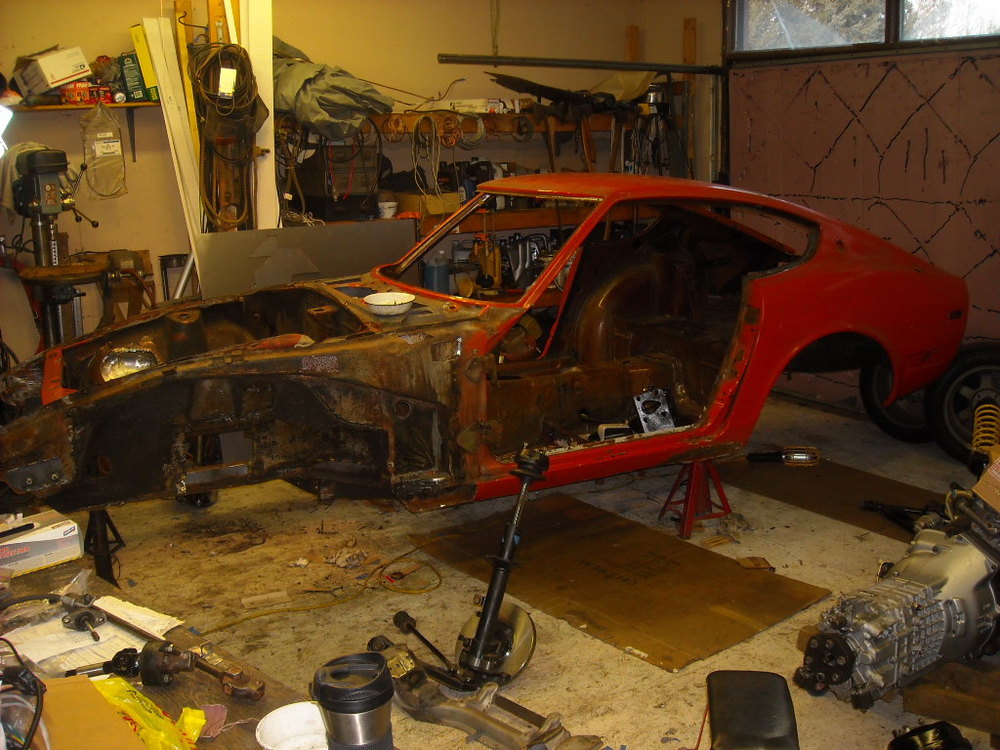
Reached a milestone to today, all pre-chemical dip work has been completed now. All new brake, clutch and fuel lines have been made, fitted and removed, also finished building the rotisserie so when the car comes back from the dip I can start working on right away. I couldn't find a better place for the Megasquirt ECU than the glove box so before installing it I covered it with thick plastic sheeting in case of a leaking windshield seal that I don't notice in time. Captain O, I think I figured out what you did to lower the hand brake, with this little tab cut off the hand brake handle drops about 1.75" Here is all the new brake and clutch lines, you'll notice a Wilwood 2lb residual pressure valve I installed just after the proportioning valve for the rear brakes. After reading many threads about the lack of good a parking brake when you convert over to rear disc brakes I did some measuring and found the rear pistons only move 1/10th" when fully engaged, this is plenty enough movement to hold the car but only if the pads are right next to the disc. The 2lb residual pressure valve is going to eliminate one of the possible causes of parking brake woes. Here she is almost stripped and ready to go, hopefully the next photos I post will be be of her being lowered into a boiling acid bath.


 1 point
 -
1 pointTakhli, I recommend that you get yourself a small granite surface plate for that kind of work. Haha! I'm no machinist or engine builder, and I have one. And despite the picture of that beautiful Starrett that you and I would both probably love to have, I'm not suggesting you need to spend big bucks. But I do think seventy dollars would be well spent to purchase a small import. For $67 plus shipping, here's a 12 x 9 x 2 thick example from MSC. "Shop or Toolroom Grade, 0.0001 Inch Unilateral Tolerance, Includes Certification": http://www.mscdirect.com/product/details/00150003 That would be large enough to do things like adjust thrust bearings and check main caps for flatness, etc. And according to your claims about your door, it would certified to be at least twenty-five times more accurate. Matthew, I'm a little reluctant to go into any of the other stuff above because the storm that I ignited seems to have passed and I certainly don't want those clouds to come back. But I wanted to explain that as a fellow Z enthusiast and member of this forum community, my loyalty is to you. With that in mind, I saw a questionable tool being used by someone in your employ for something important to you, and as your ally, I thought it would be a good idea to suggest the correct tool. It's easier to get good results using the correct equipment in good condition. It's the less common guy who can get the same good results from sub-standard equipment by making up for shortcomings with understanding, expertise, careful technique, and of course... Time. Based on the workmanship details posted so far, I suspect Takhli actually IS one of those less common guys who has a true understanding of the concepts behind what he is doing and can get the same results from sub-standard equipment. But even with that as a possibility, I just want to make sure you are getting what you're paying for. It's also potentially future trouble for other people trying to use the same alternative tools without having the understanding and expertise necessary to achieve the desired results. In other words, I don't think the phrase "Hey, take this over to that door over there and make sure it's flat." should become common workmanship instruction in the world of engine building. nor do I expect to find that suggestion in engine building instruction literature. But the bottom line is that I want you to be happy with what you get, and was just trying to help achieve that end1 point
-
1 pointI think the image link of your car broke because I'm not seeing it (although I see it in your signature when I use my laptop), but yes that's the same car. I stumbled upon that series of photographs when I was looking for a 911 project can and it pretty much convinced me there and then to drop the Porsche hunt and go find a Z. I really wanted one when I was a kid, but somehow I totally forgot until I saw this.1 point
-
1 pointOh, and a question: Do I use synthetic to break in, or switch after a couple of hundred miles? A lot of people have been breaking in their motor gentle, but a website I saw when doing research on hybridZ said hard acceleration after warmup within 20miles really settles the ring. I'm sure that I have to pull plugs, crank to get oil, start the thing and warm up and tune the carbs. But what next? Go on the streets and do hard acceleration? Or slow acceleration and engine break? Keep the rpm under 5000? Or blast it? Change oil immediately after 20mile? Or 500? What's your opinion on breaking in? Sent from my iPhone using Classic Zcar Club mobile1 point
-
1 point
-
Here's a bushing list I worked up a few month's ago for a '72. The Nissan P/N's were all priced from Courtesy's site and probably still available. Non-Nissan P/N's were typically priced from Rockauto. I agree that the Zcar Source price is way out of line! Bushing List.pdf1 point
-
1 pointGuy I'll get those photos ASAP. "Crazy" is very kind way to describe mine, I normally use different words. He's almost a year old so I've got one more to go. He has recently figured out I'm the one that turns the door knobs. 180 from my female that passed away, not necessarily bad but completely different.1 point
-
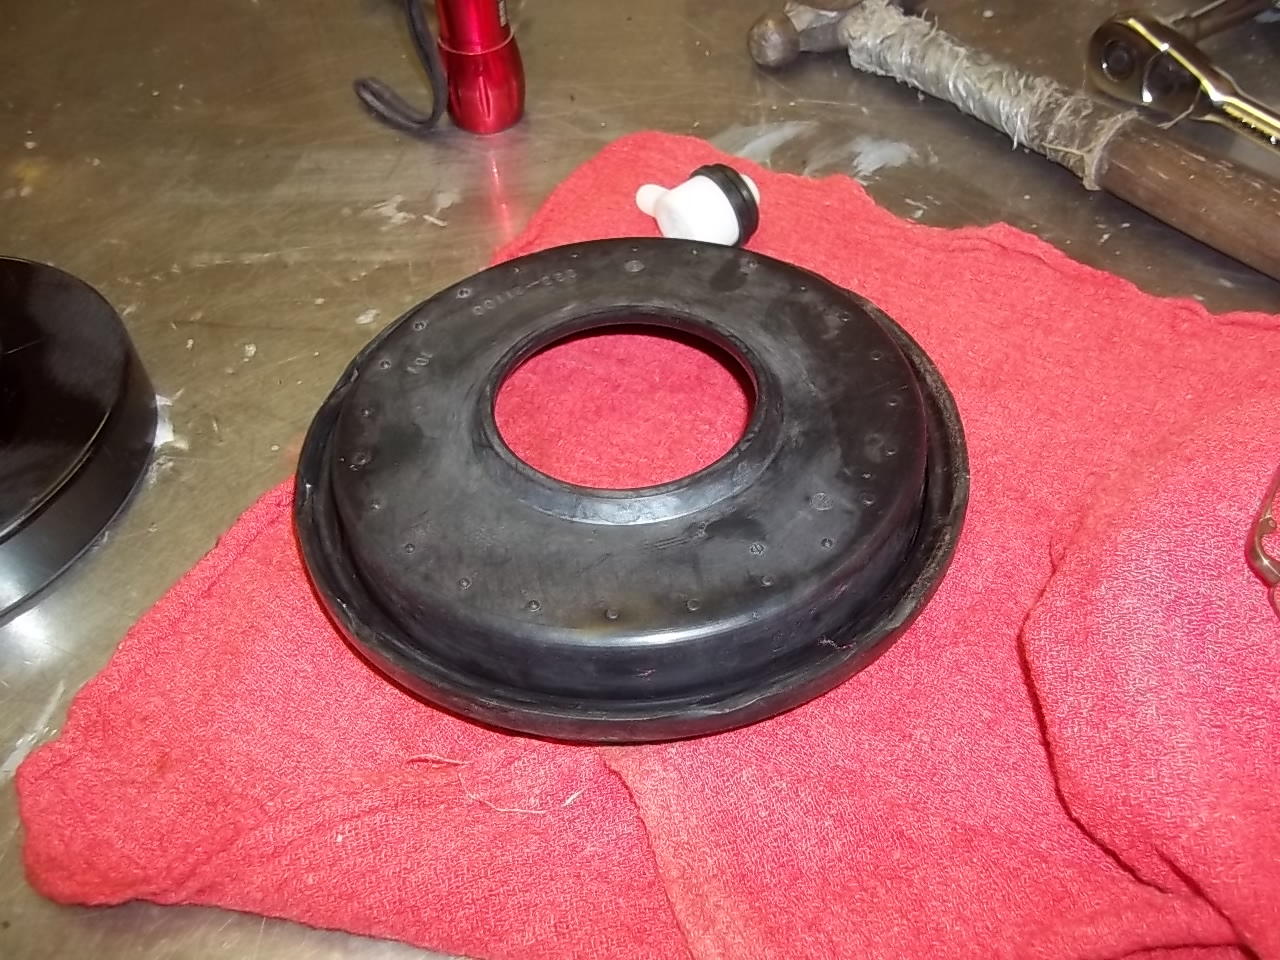
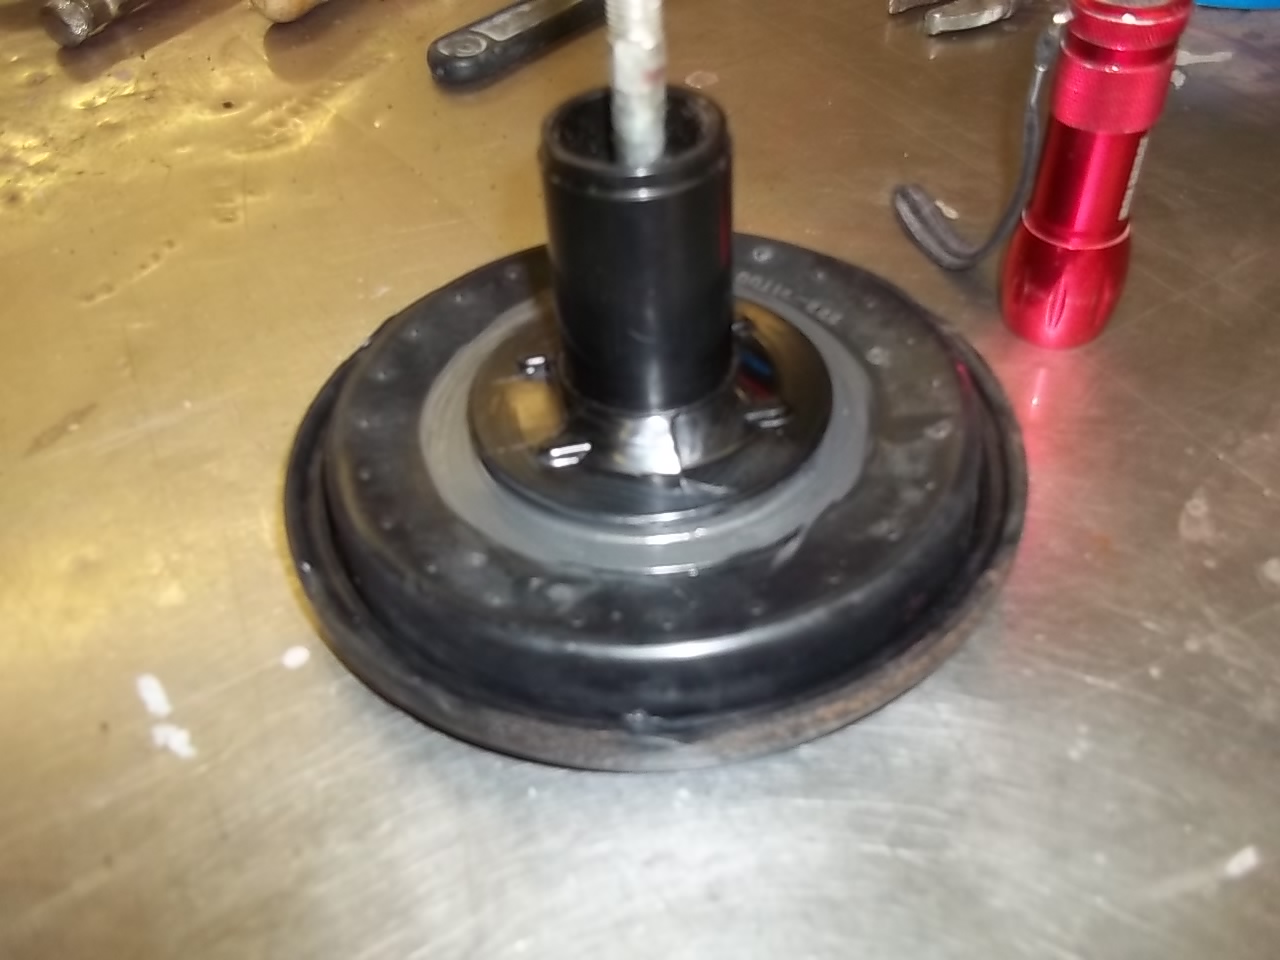
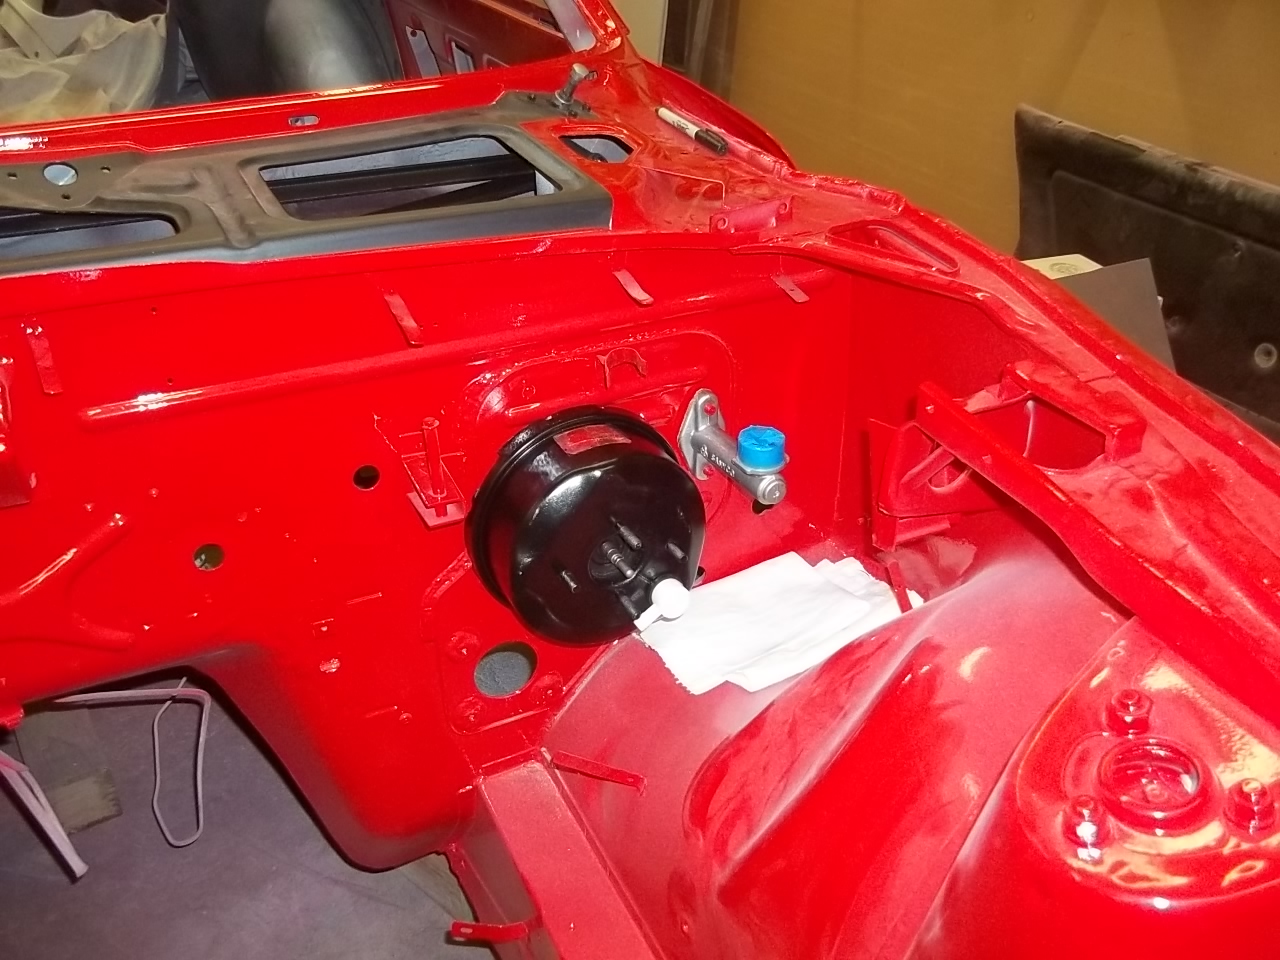
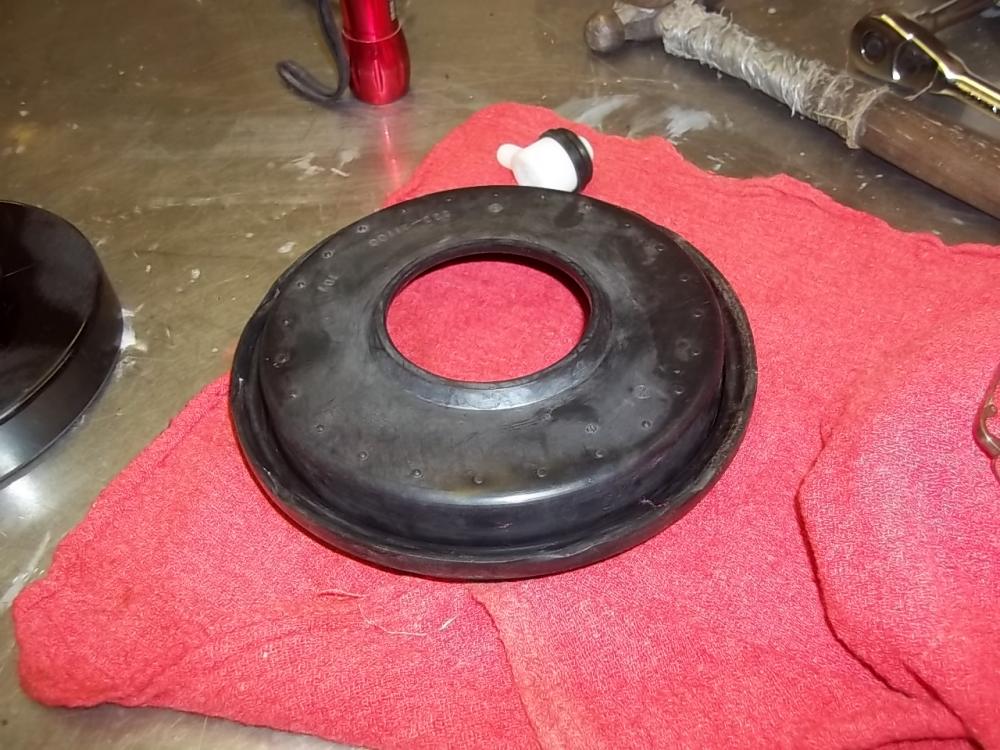
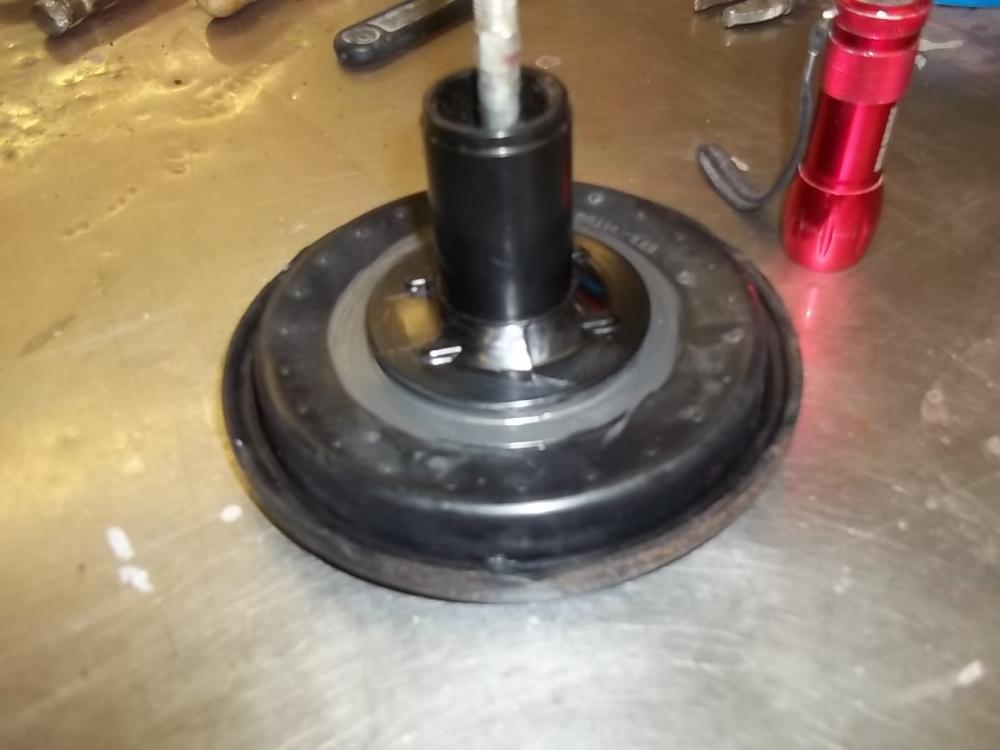
1 pointyesterday i started to repaint the brake booster and found that it had a leak. so a tear-down of that and some new paint and good as new! the hardest part was getting it opened up. once that was done, a couple of cans of brake cleaner, some sand blasting time, and everything looked like new here is the rubber diaphragm the leak was between it and the black "piston" a little black silicone sealer and the leak is fixed all back together and fresh paint. i also added a vacuum check valve, this way i can eliminate the in-line factory valve. it is kind of hard to see, but it is on the lower right where the hose fitting was
 1 point
 -
1 pointThat's what I thought you were thinking of. I have a set of 2+2 280Zx CV's in the garage and the companion flanges, from a diff I bought as a spare. But I have a 280Z so they're not much use to me. The 300ZX Trubo shafts are longer than the 280ZX turbo shafts, I believe. I don't think the 280ZX shafts have the length problem. Guess you'll find out.1 point
-
1 pointFor anyone who read this, I called the guy that sold me those CV halfshafts cause they are exac same lenght from flange to flange so lenght from diff to companion flange are exact same. but yokes are 1/4 inch different. I dont know how this fits on a 300zxturbo but i know it cannot be direct fit on S30 as some would say here and there on the internet and swithching left to right will do nothing. only that the clip in the diff will be 1/4 inch to far to hold the yoke in place. So i am now in the process of having custom shatf made for those CV's. Z mod is a journey sometimes cost a little more then anticipated.1 point