Leaderboard
-
moelk
Free Member4Points661Posts -
disepyon
Free Member3Points121Posts -
Patcon
 Subscriber
 2Points11,136Posts
 -
240260280z
Free Member1Points5,426Posts


Popular Content
Showing content with the highest reputation on 11/06/2016 in all areas
-
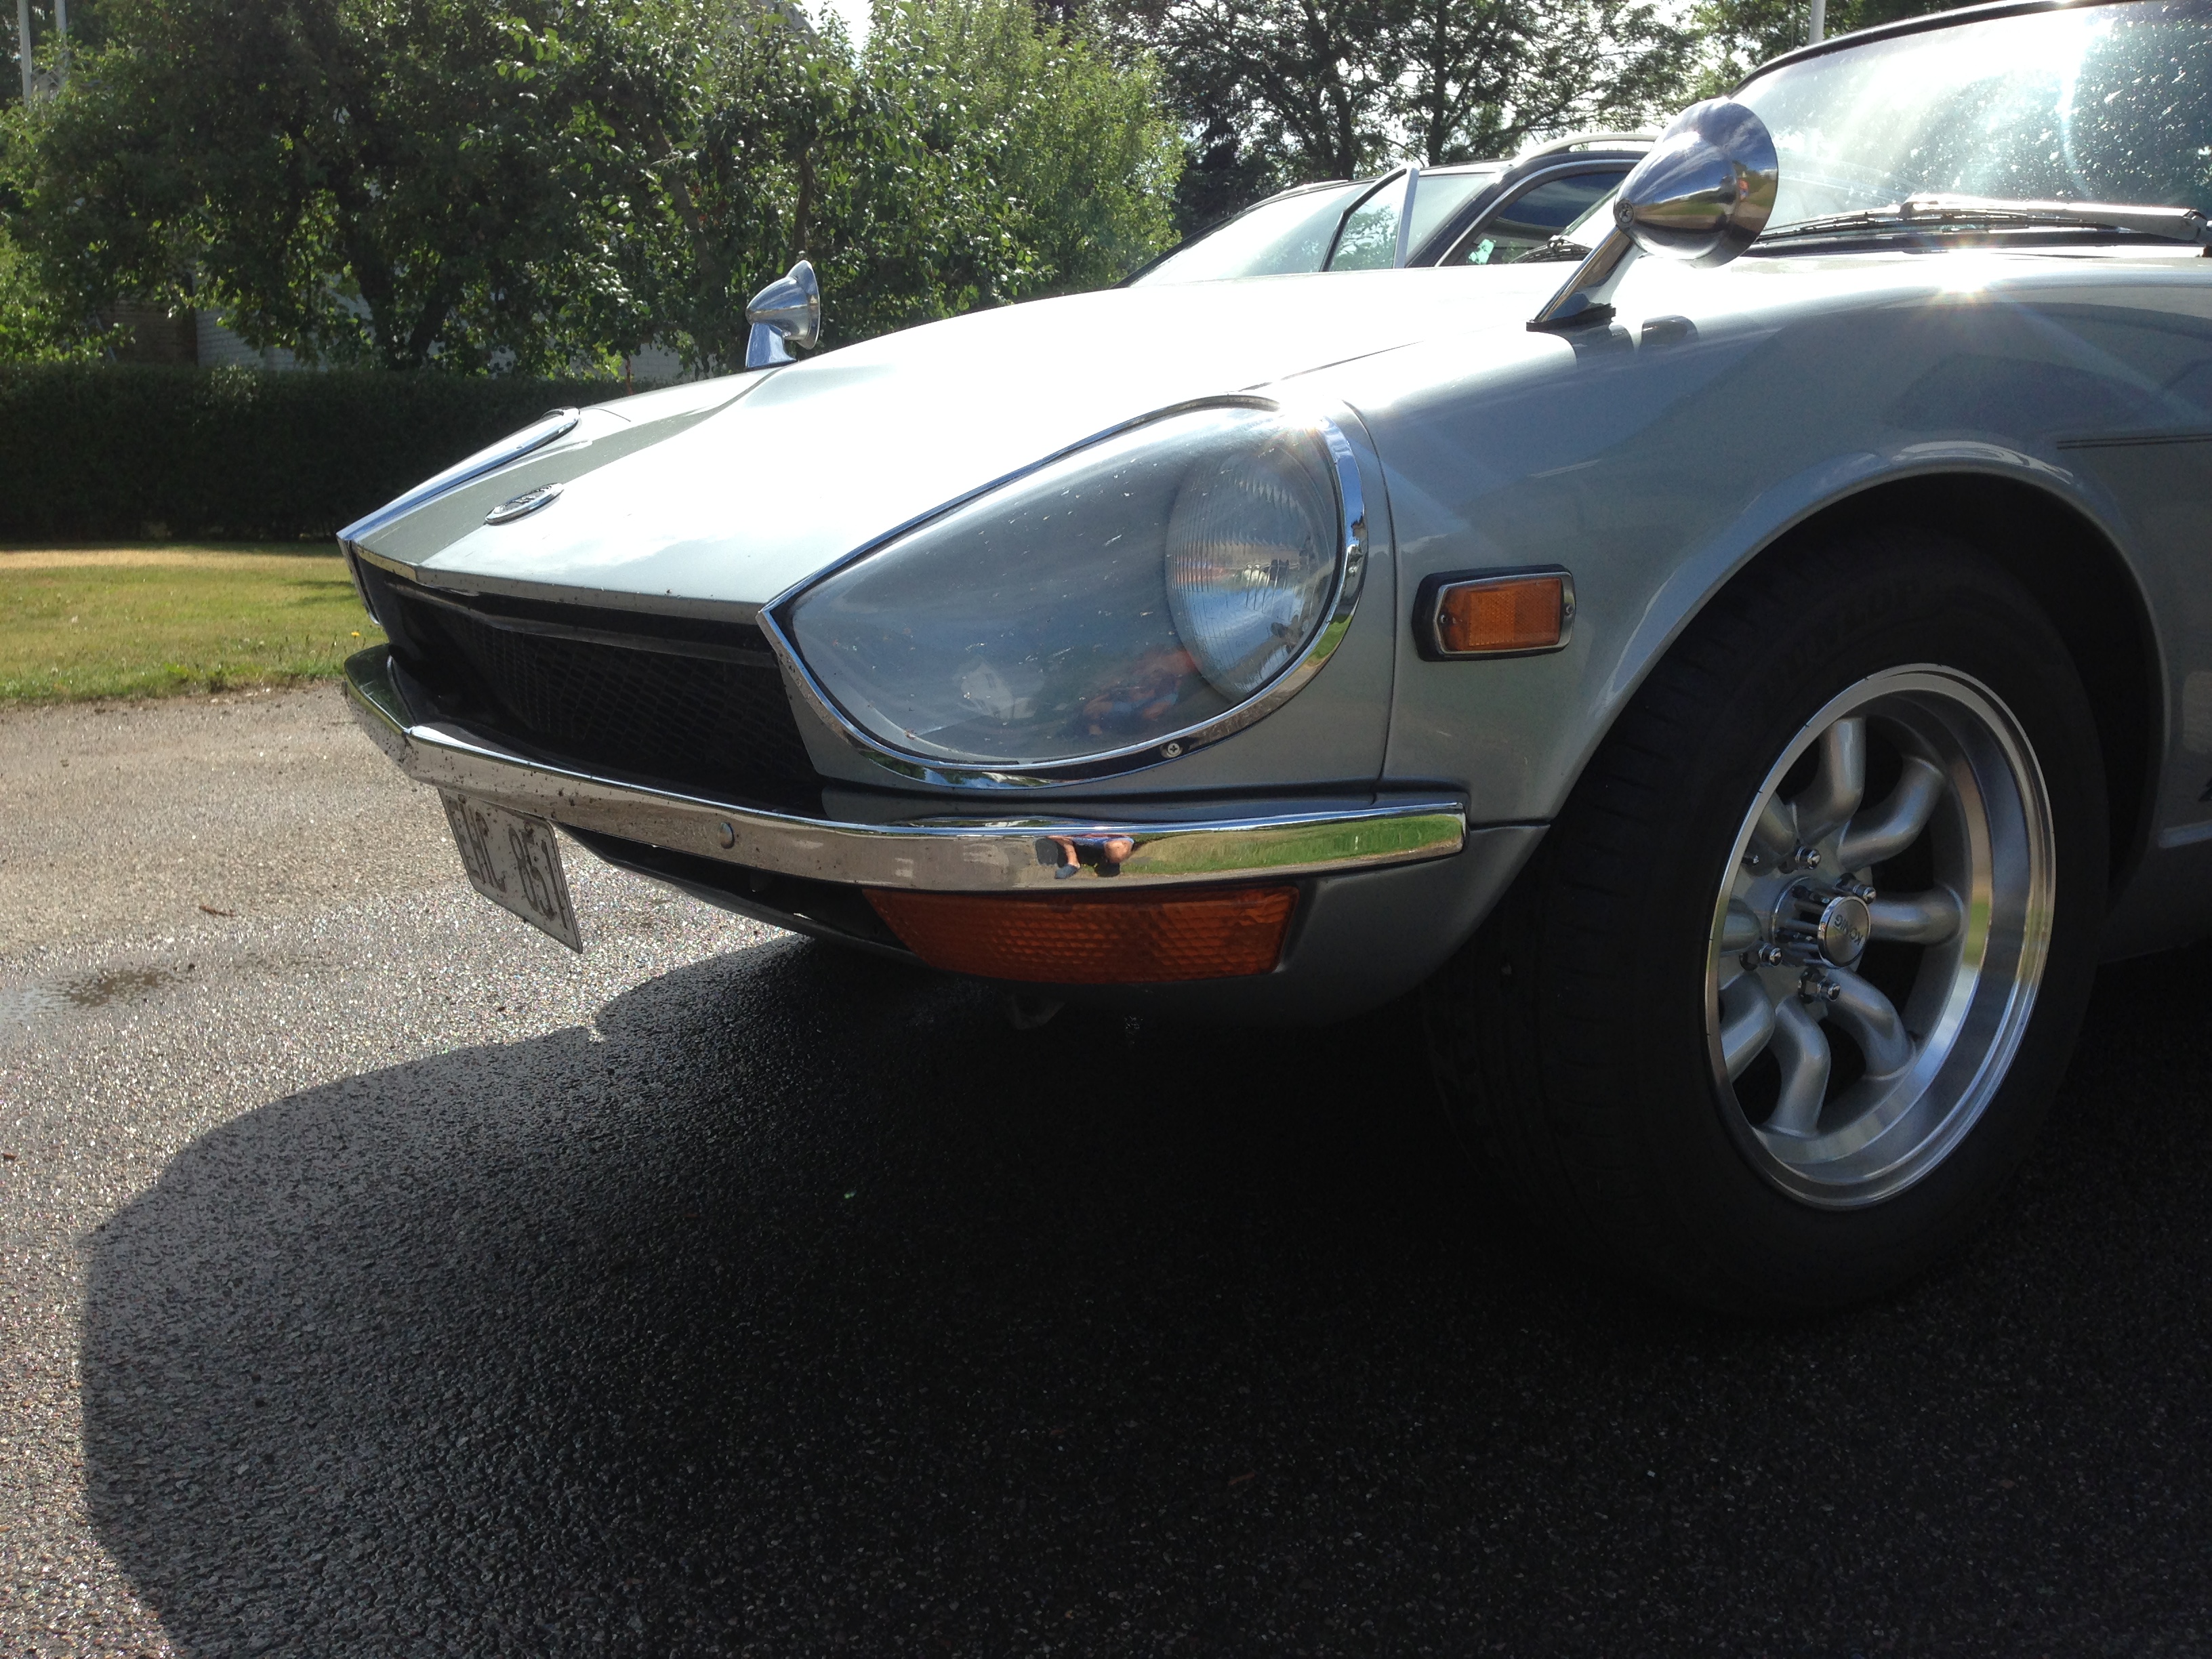
Finally got hold of a rear bumper without rubbers to go with my rubber free front bumper. Looks great! Big thanks to Jim (jfa.series1)for a great deal.
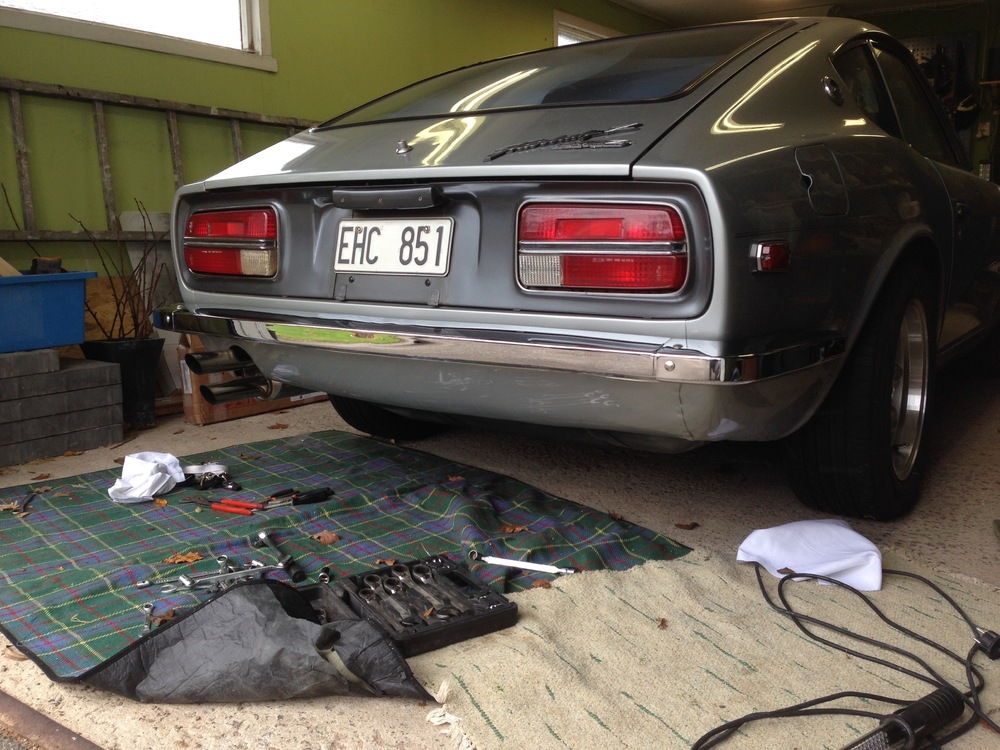
 4 points
 -
1 pointI would enjoy seeing all the pics LS1 or not. You have really good fabrication skills, so seeing how you solve the different problems would be good. Also the car you are doing would have gone to the crushers if you hadn't saved it! So if you want an LS1 after all this work, by all means do it.1 point
-
By the way Jai neither of these are real easy to get to. Do able but not easy1 point
-
The Hazard flasher is the one above the ECU. The turn signal flasher is above the steering column. I think both flashers have to work in order to to retain turn signal function. You can unplug the connectors and check for corrosion or just change the flasher modules for new ones from your local auto parts store. I hope those pics help. Dave1 point
-
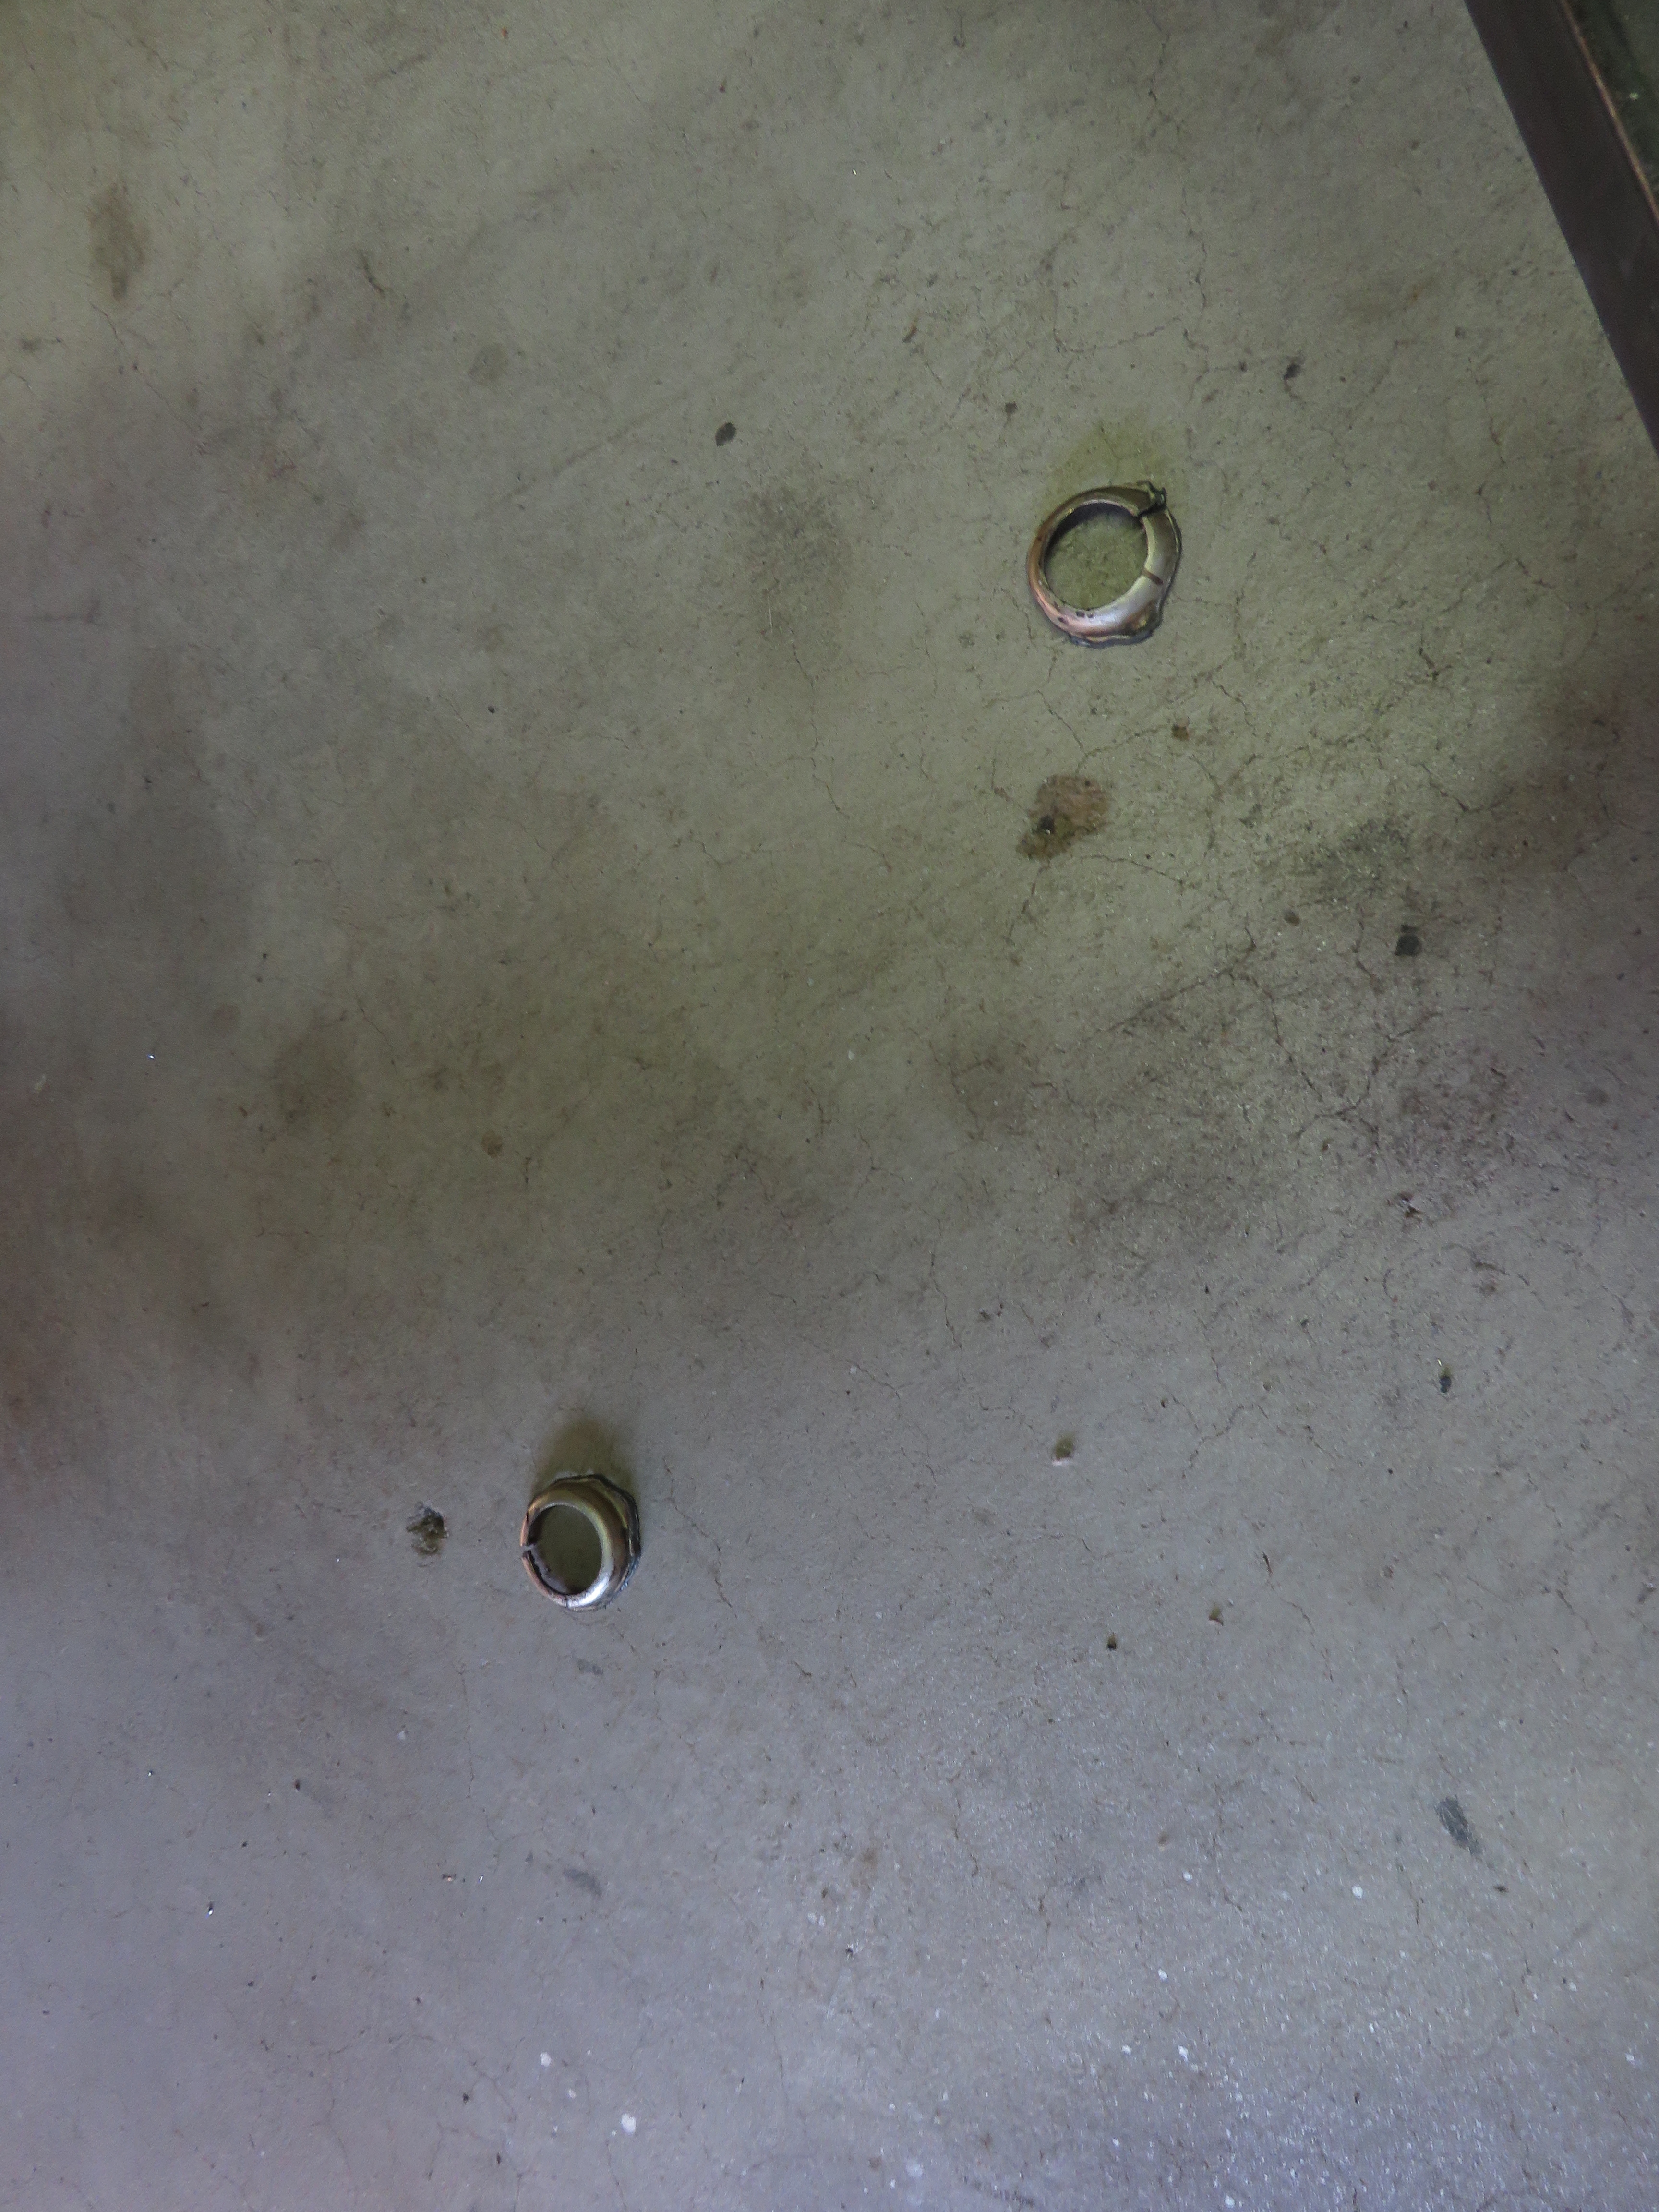
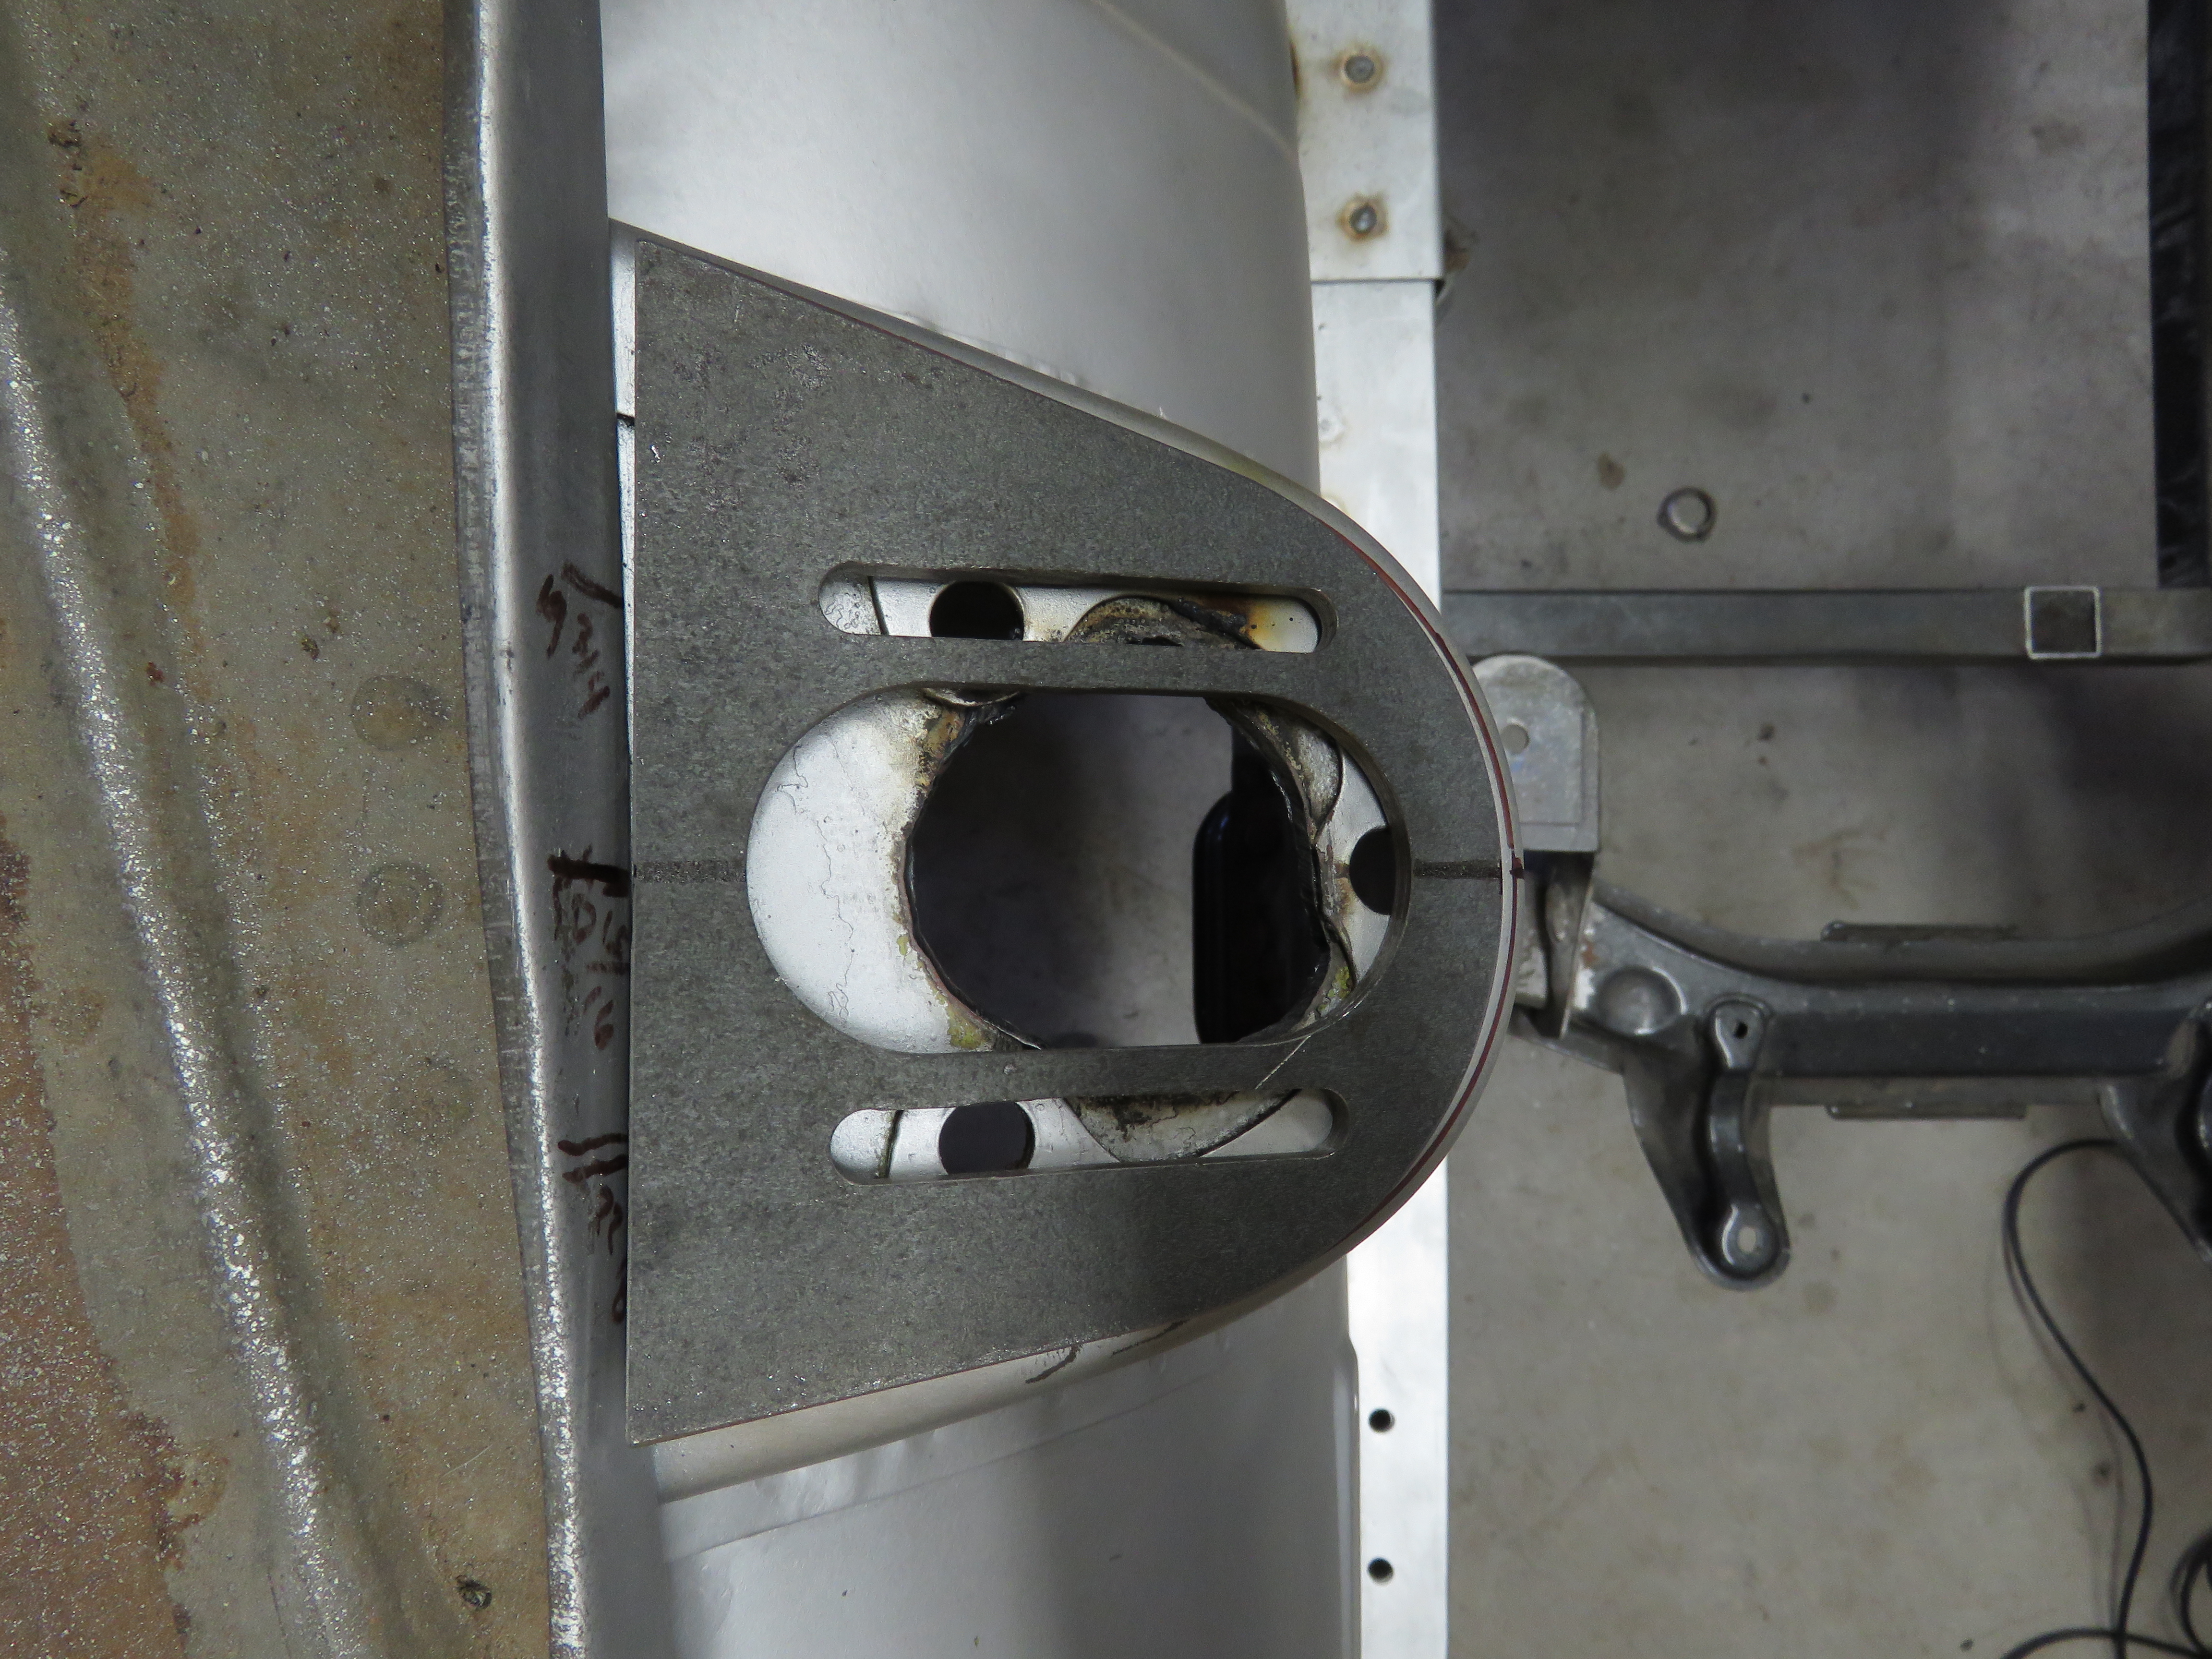
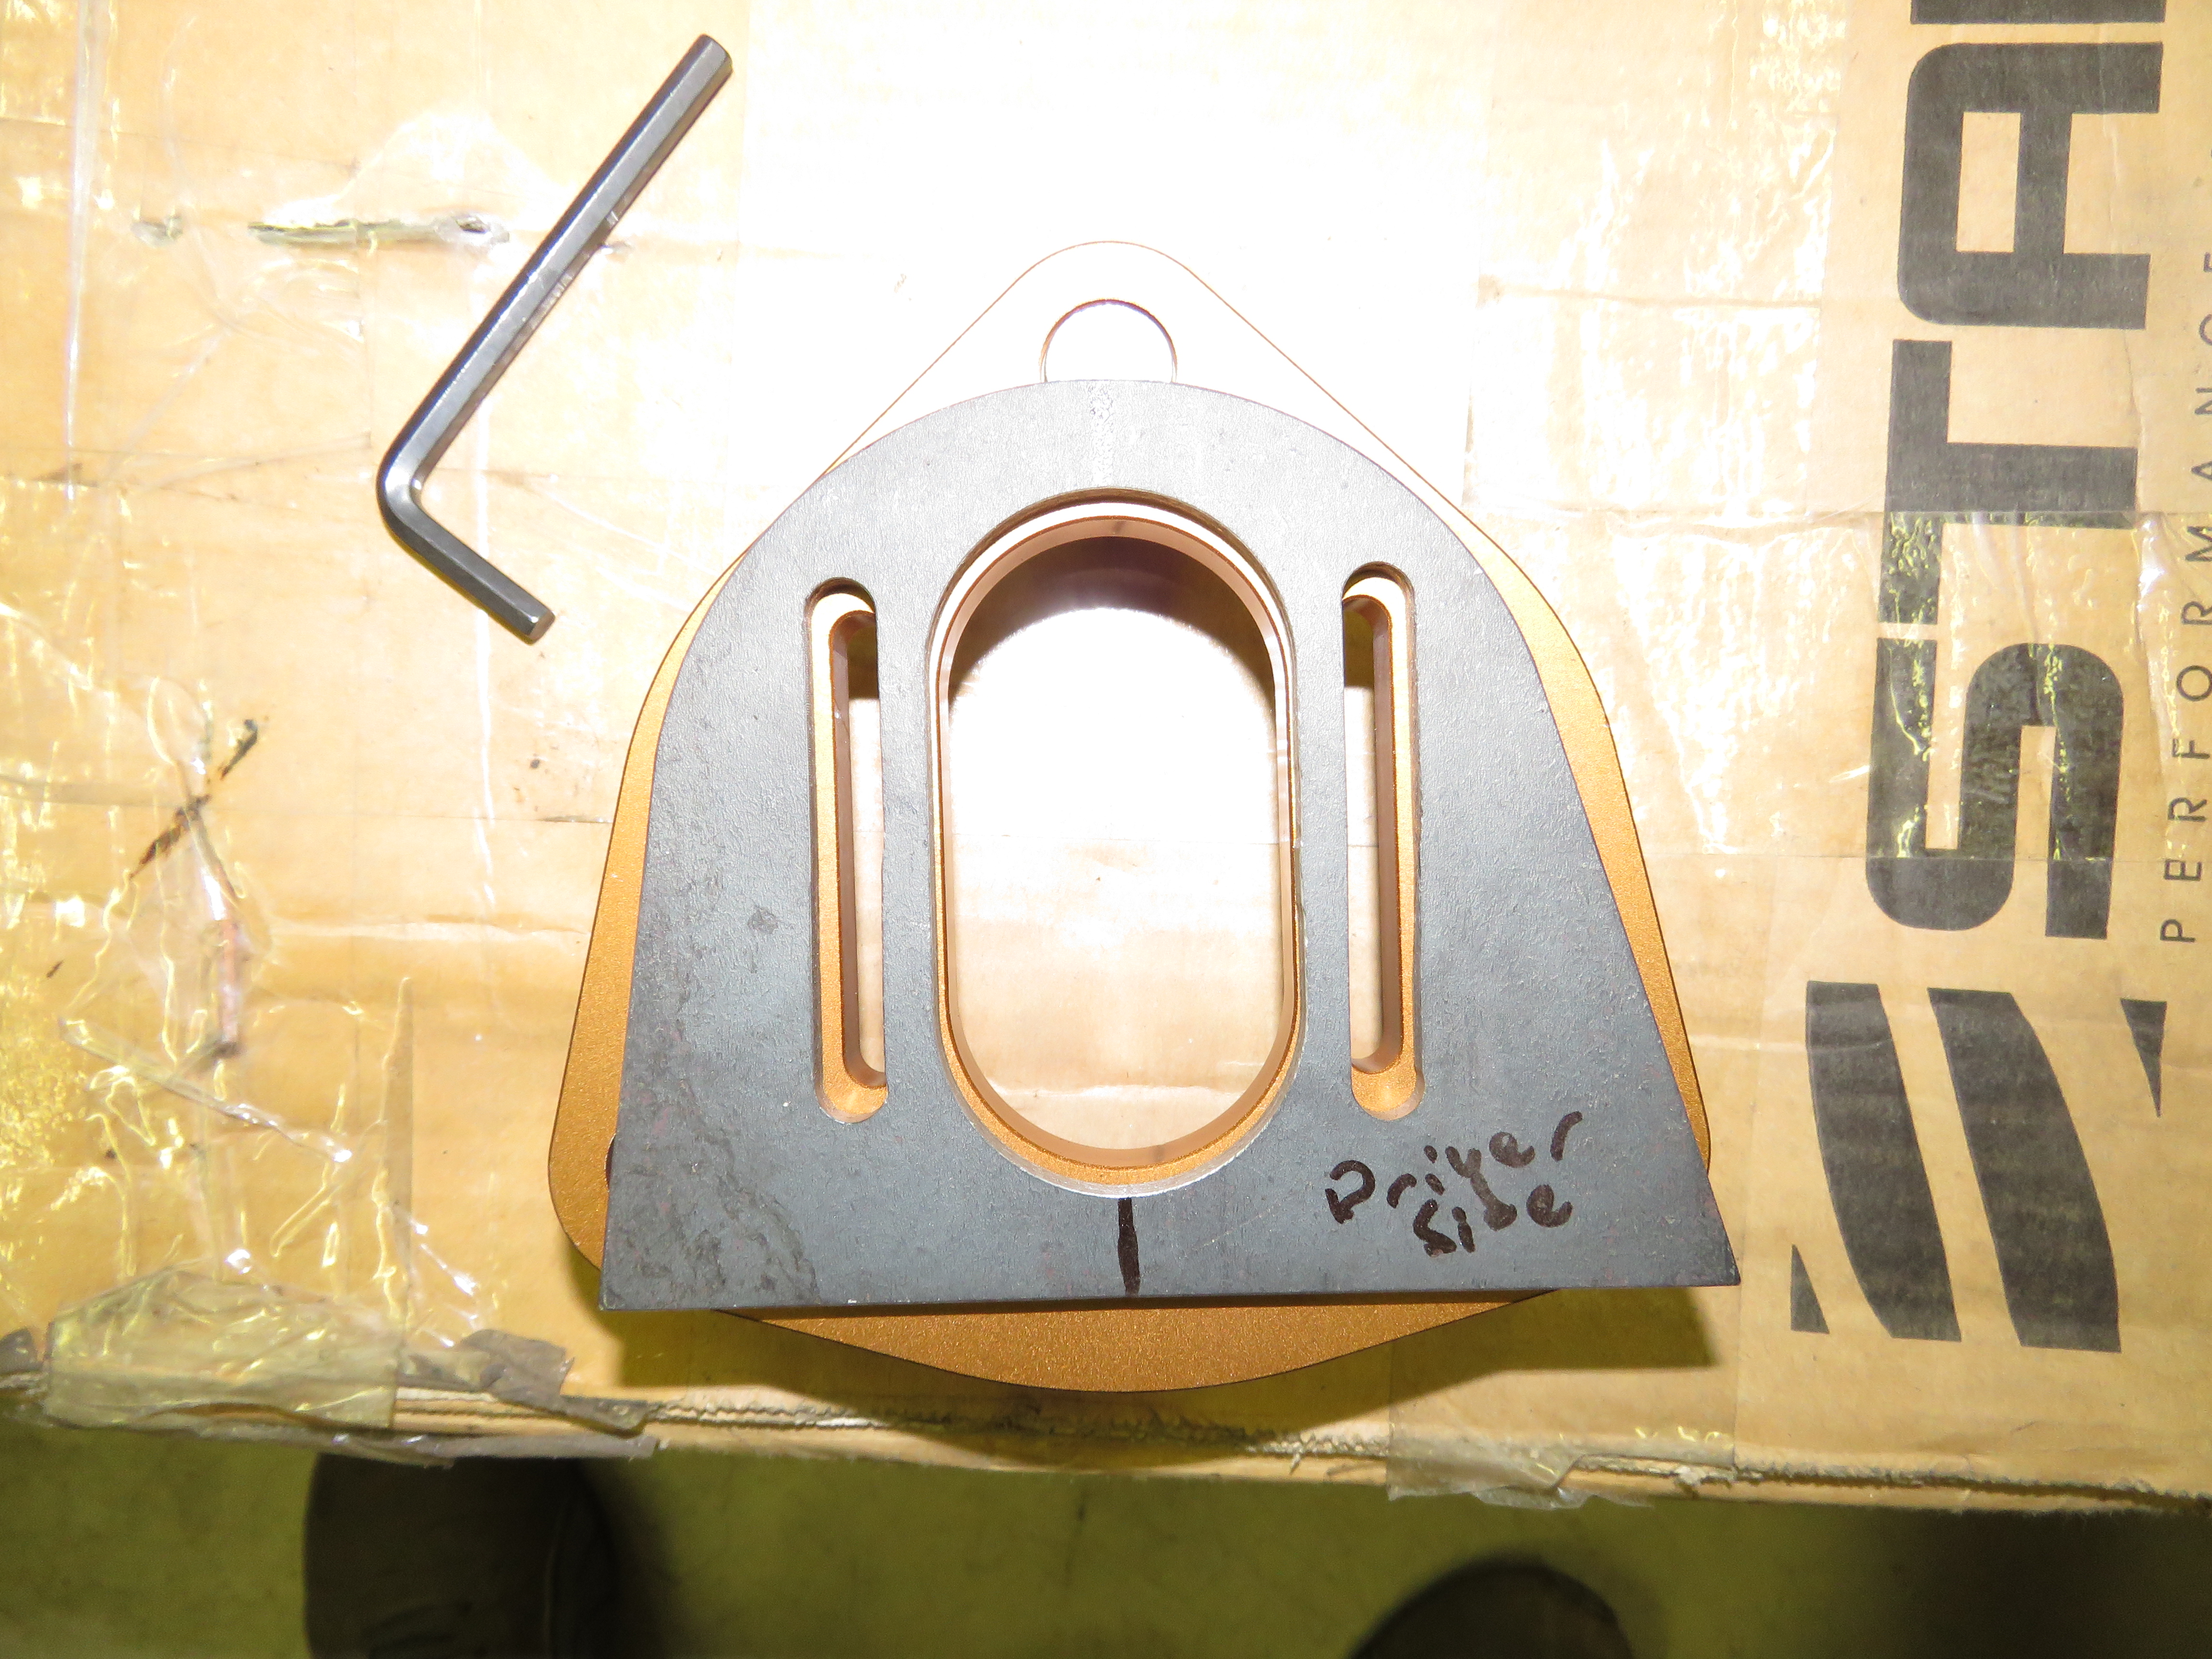
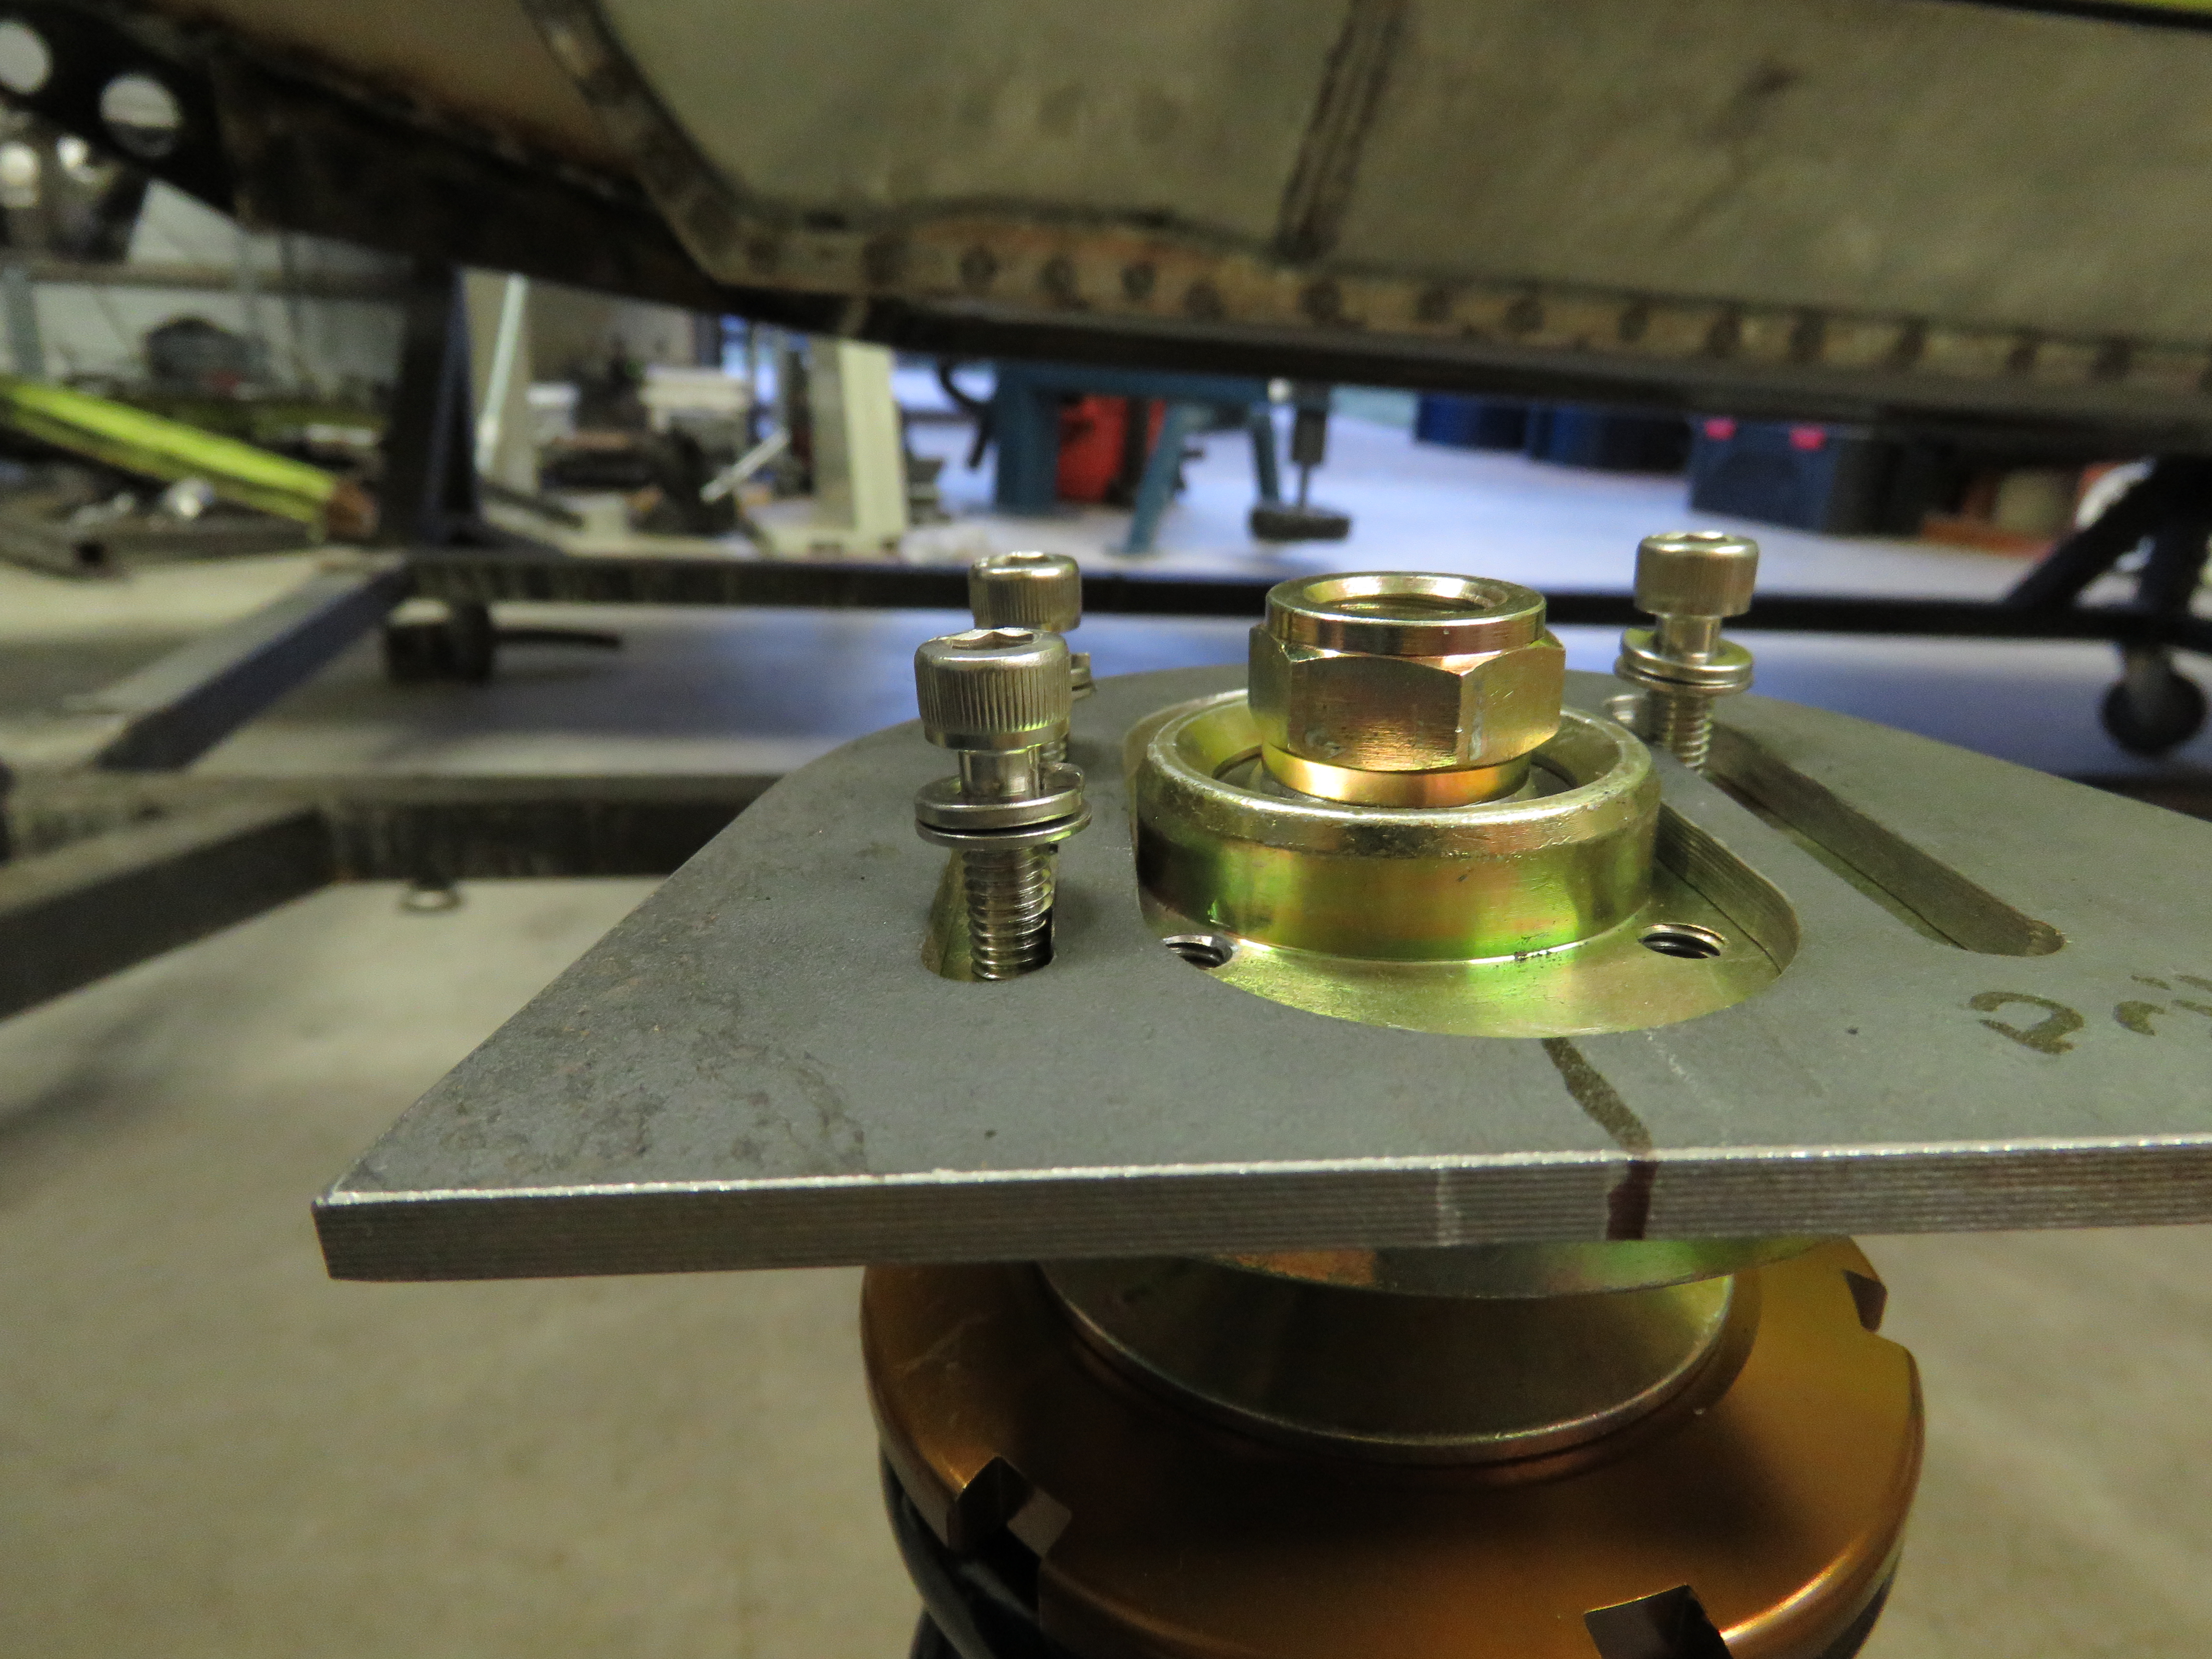
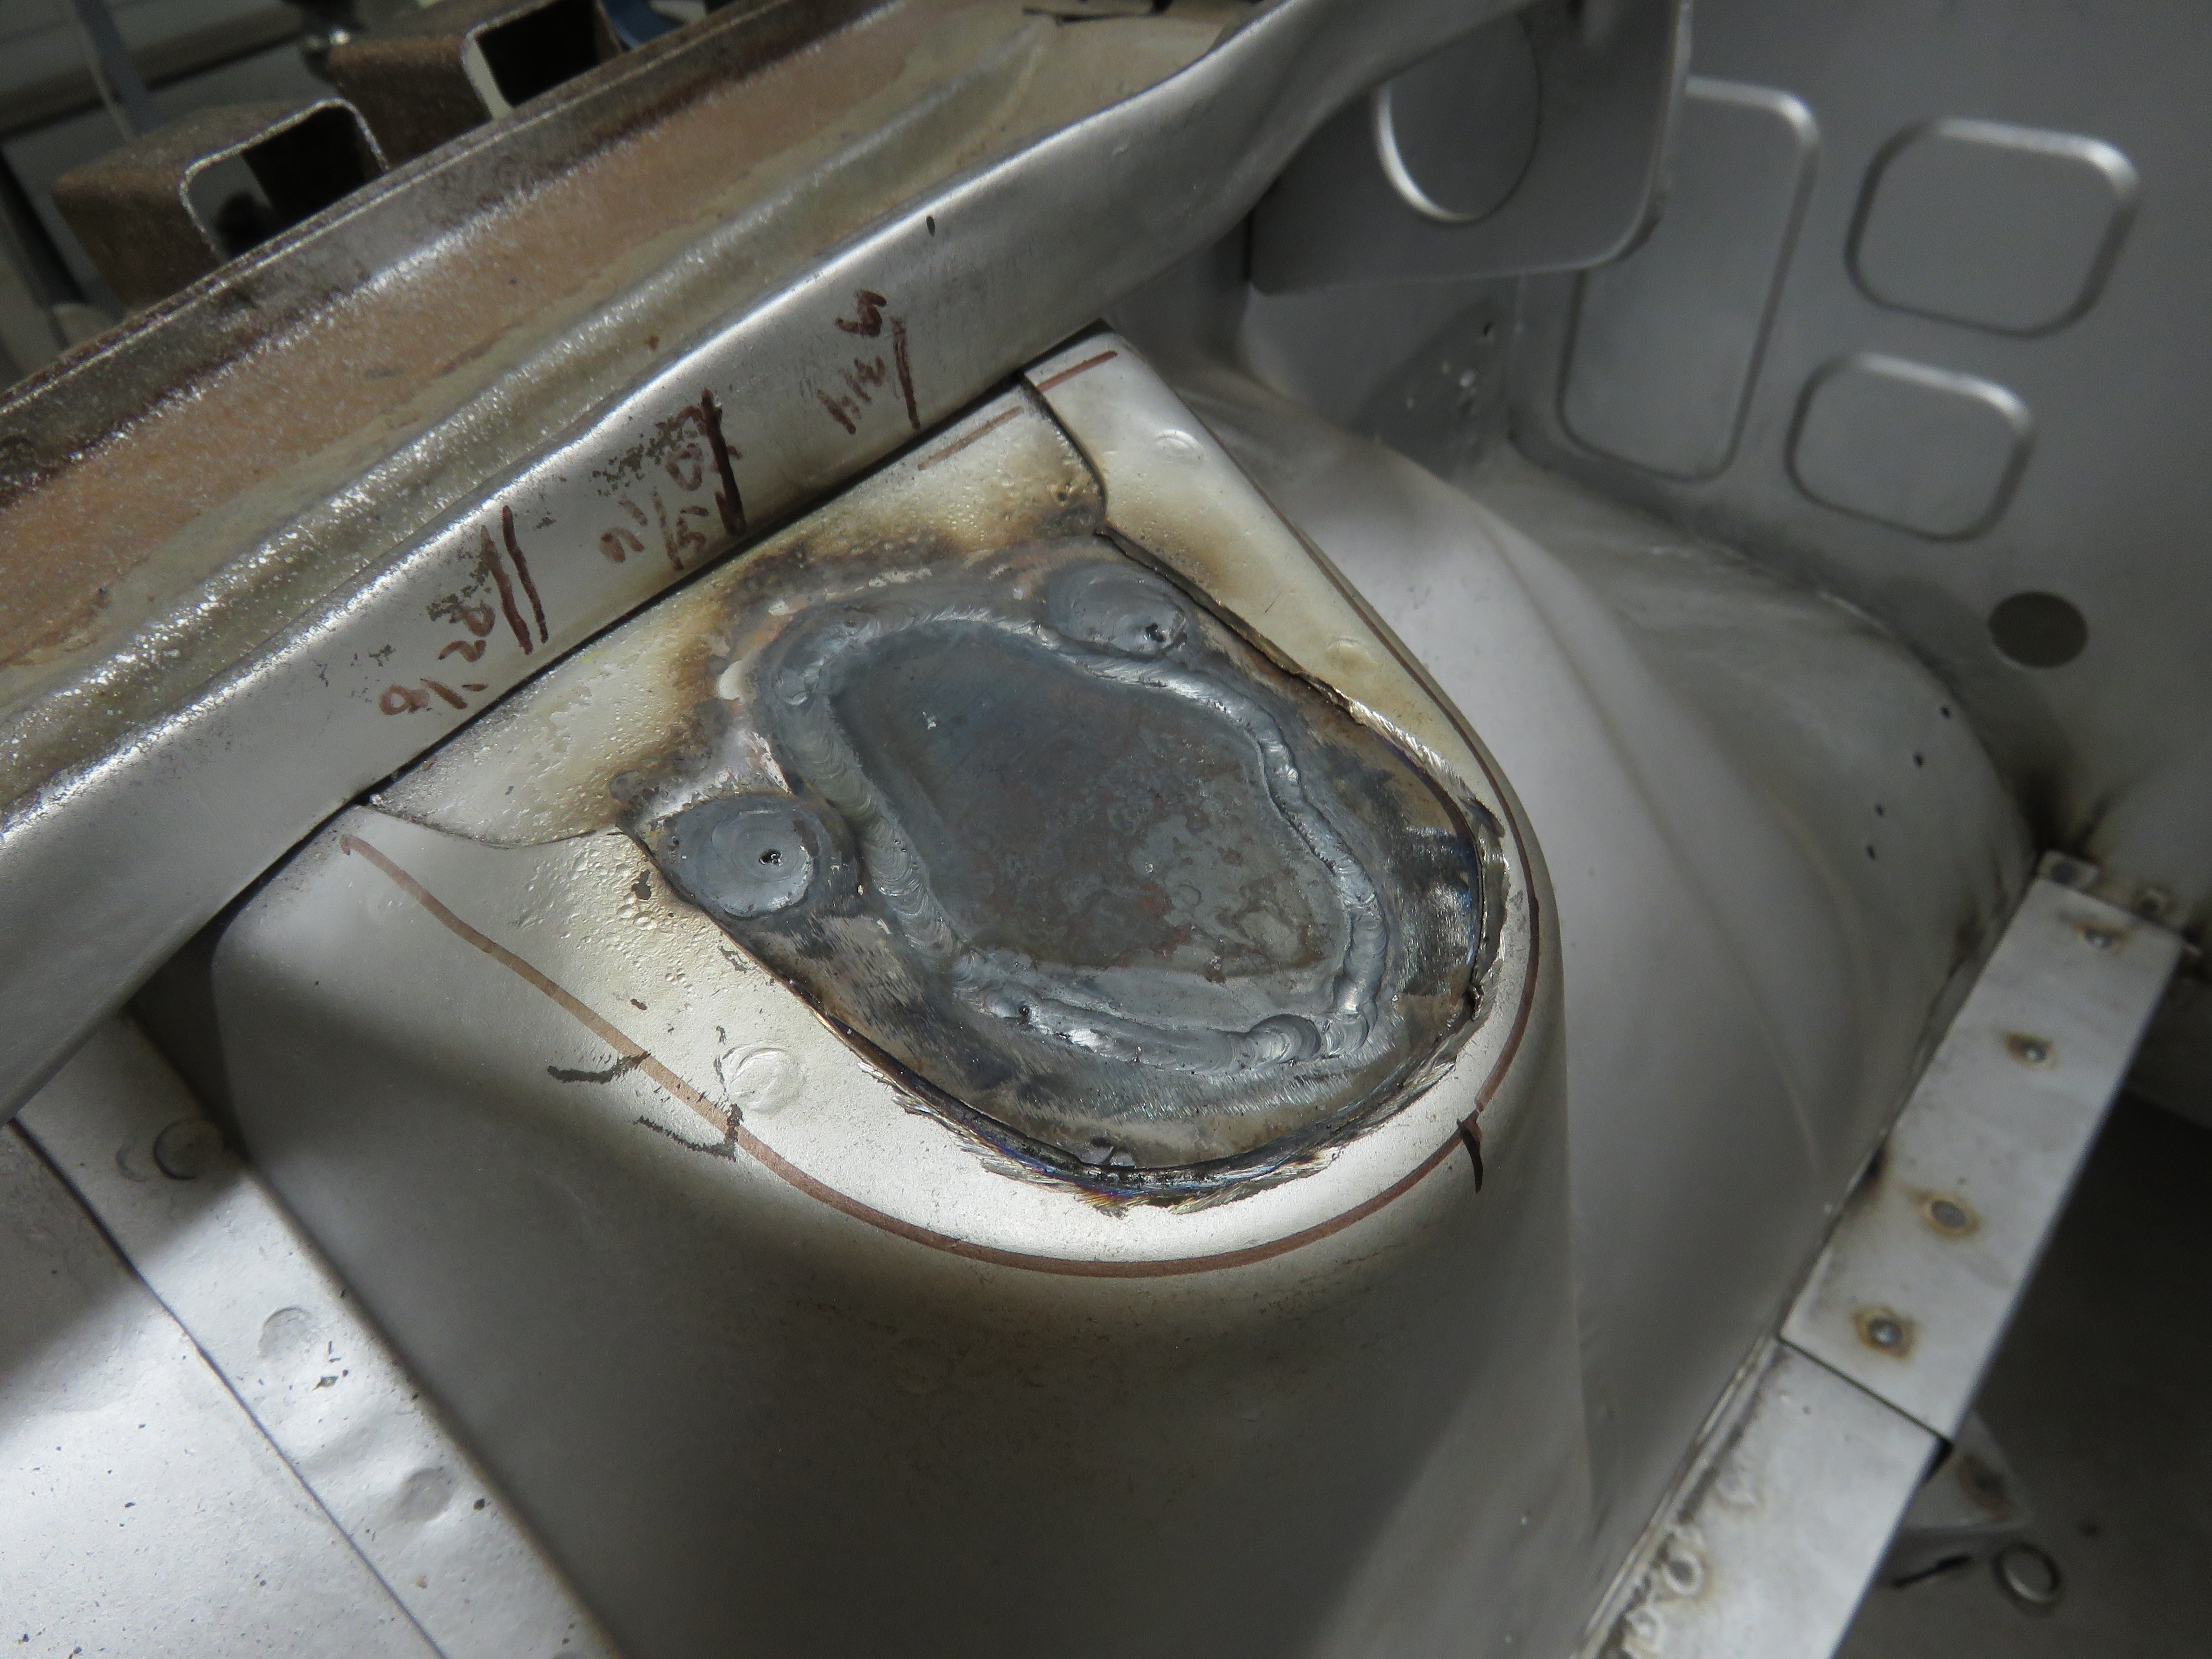
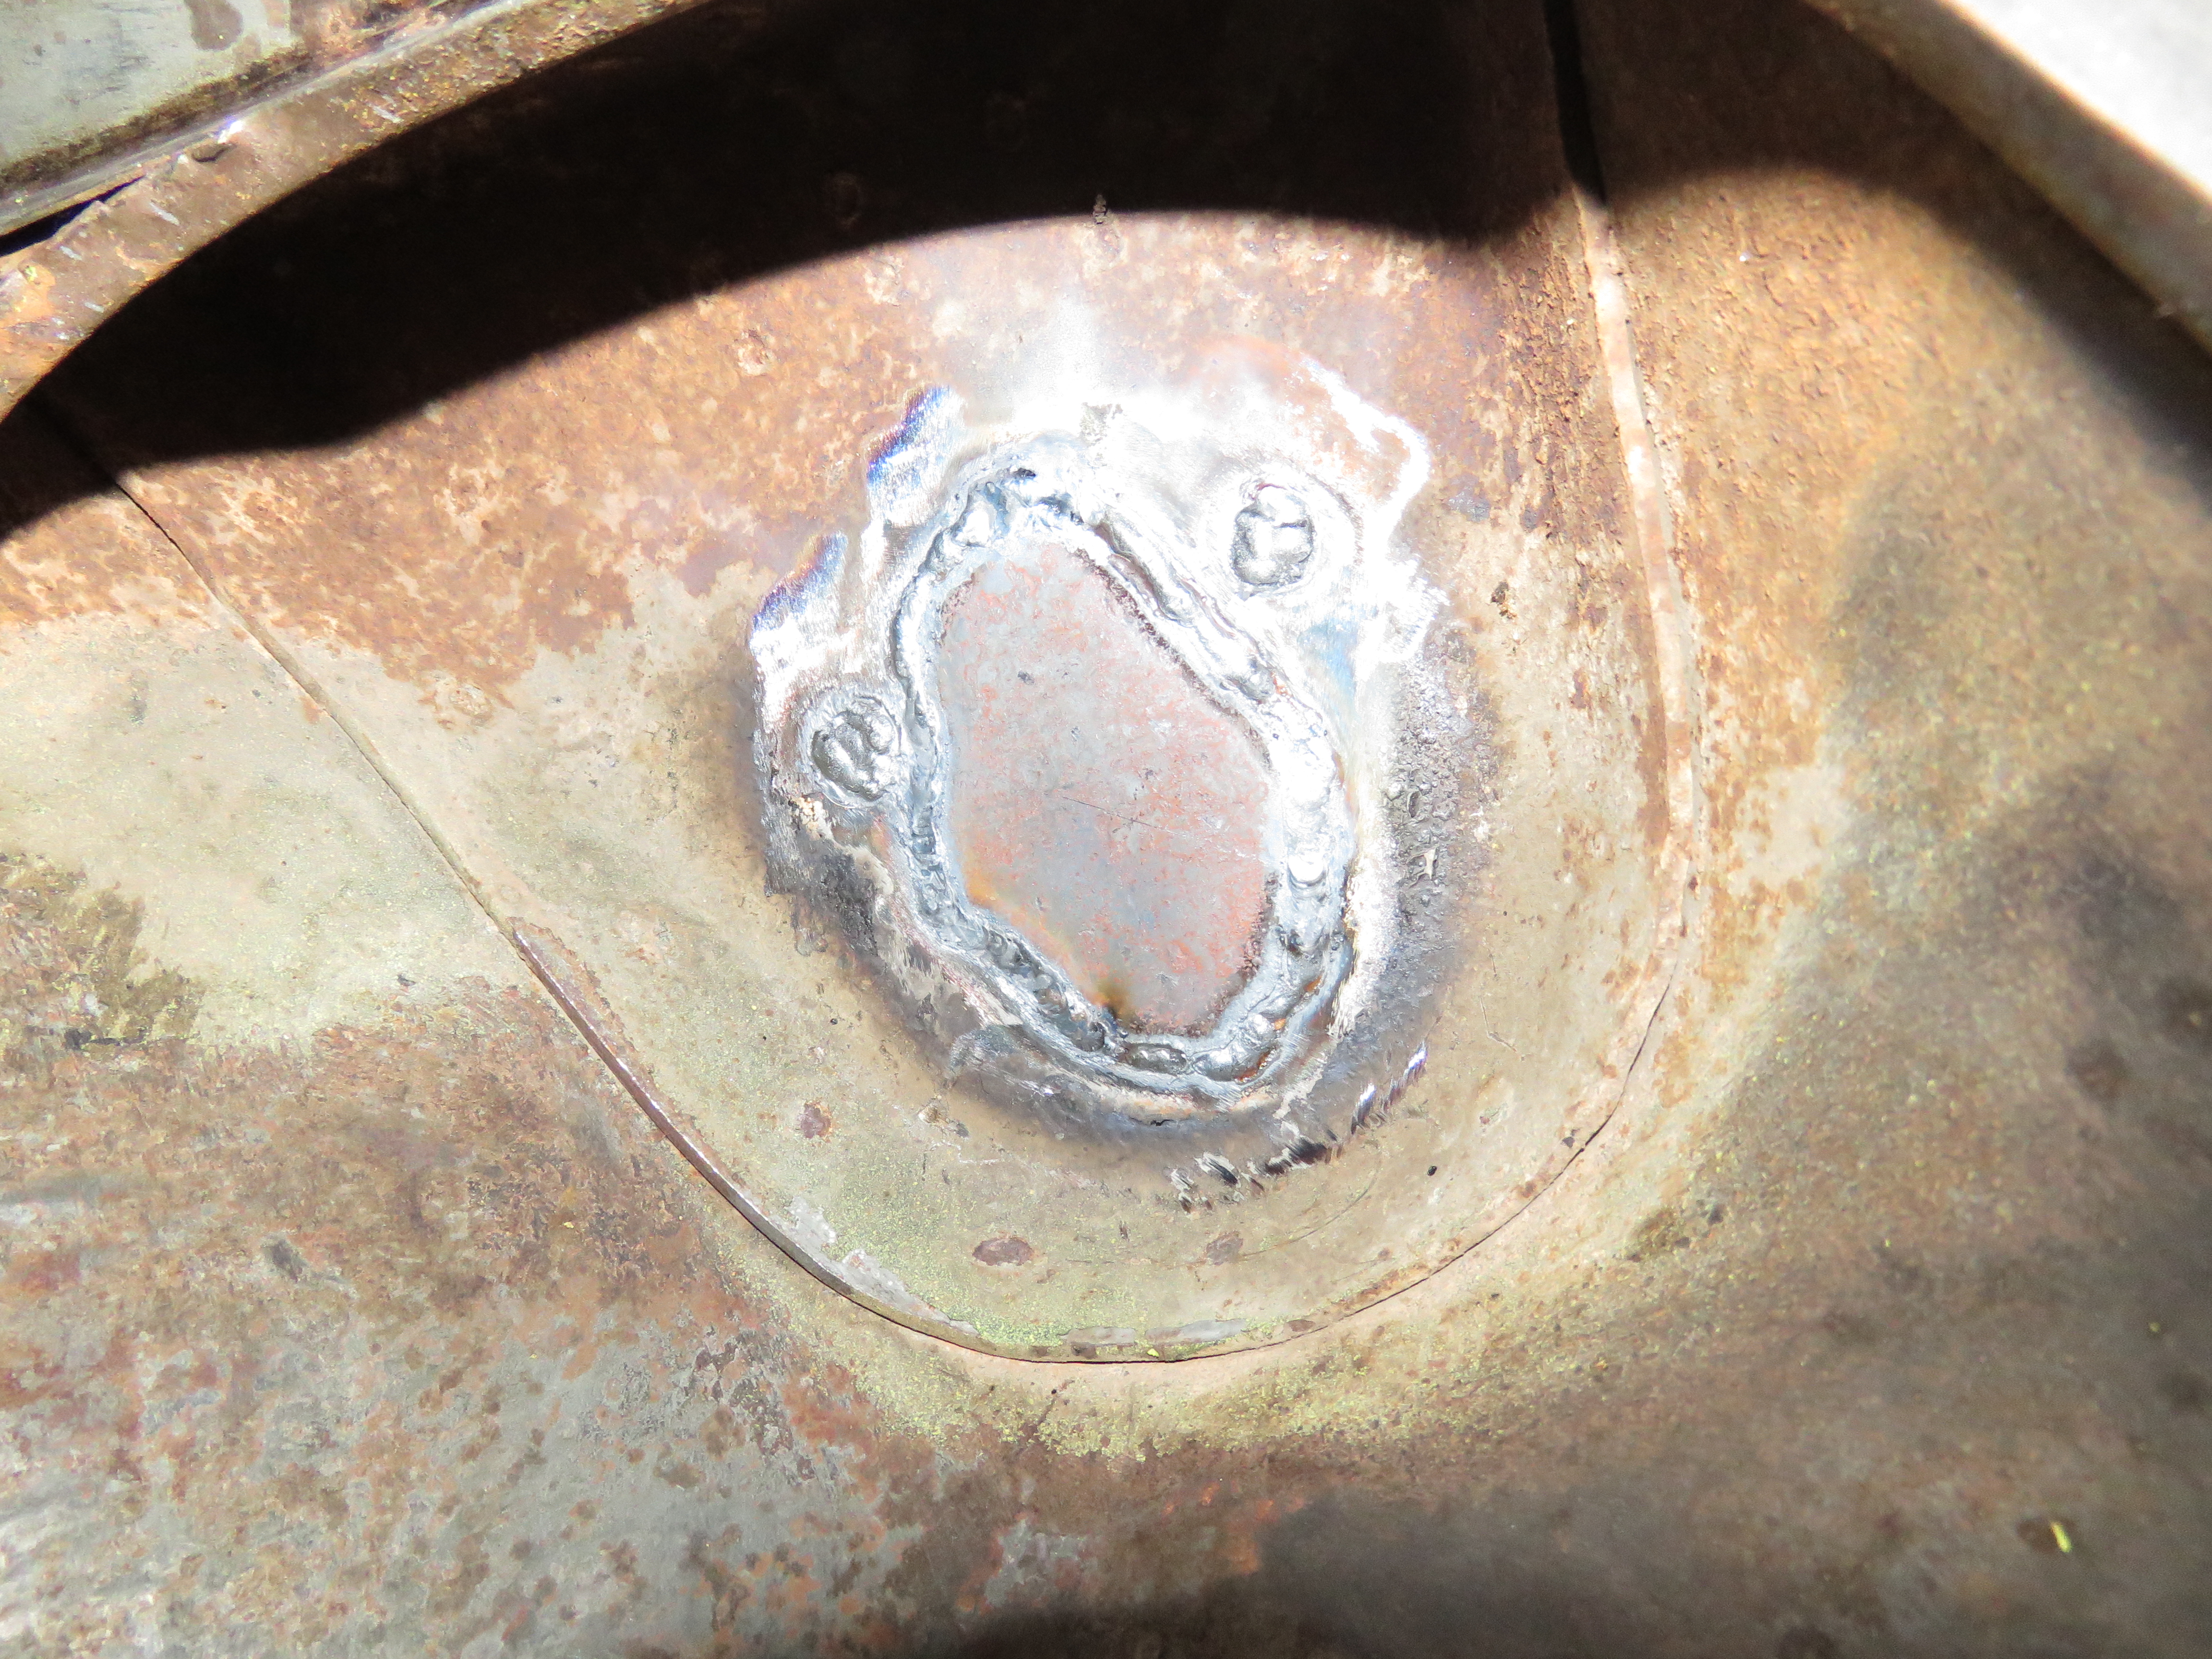
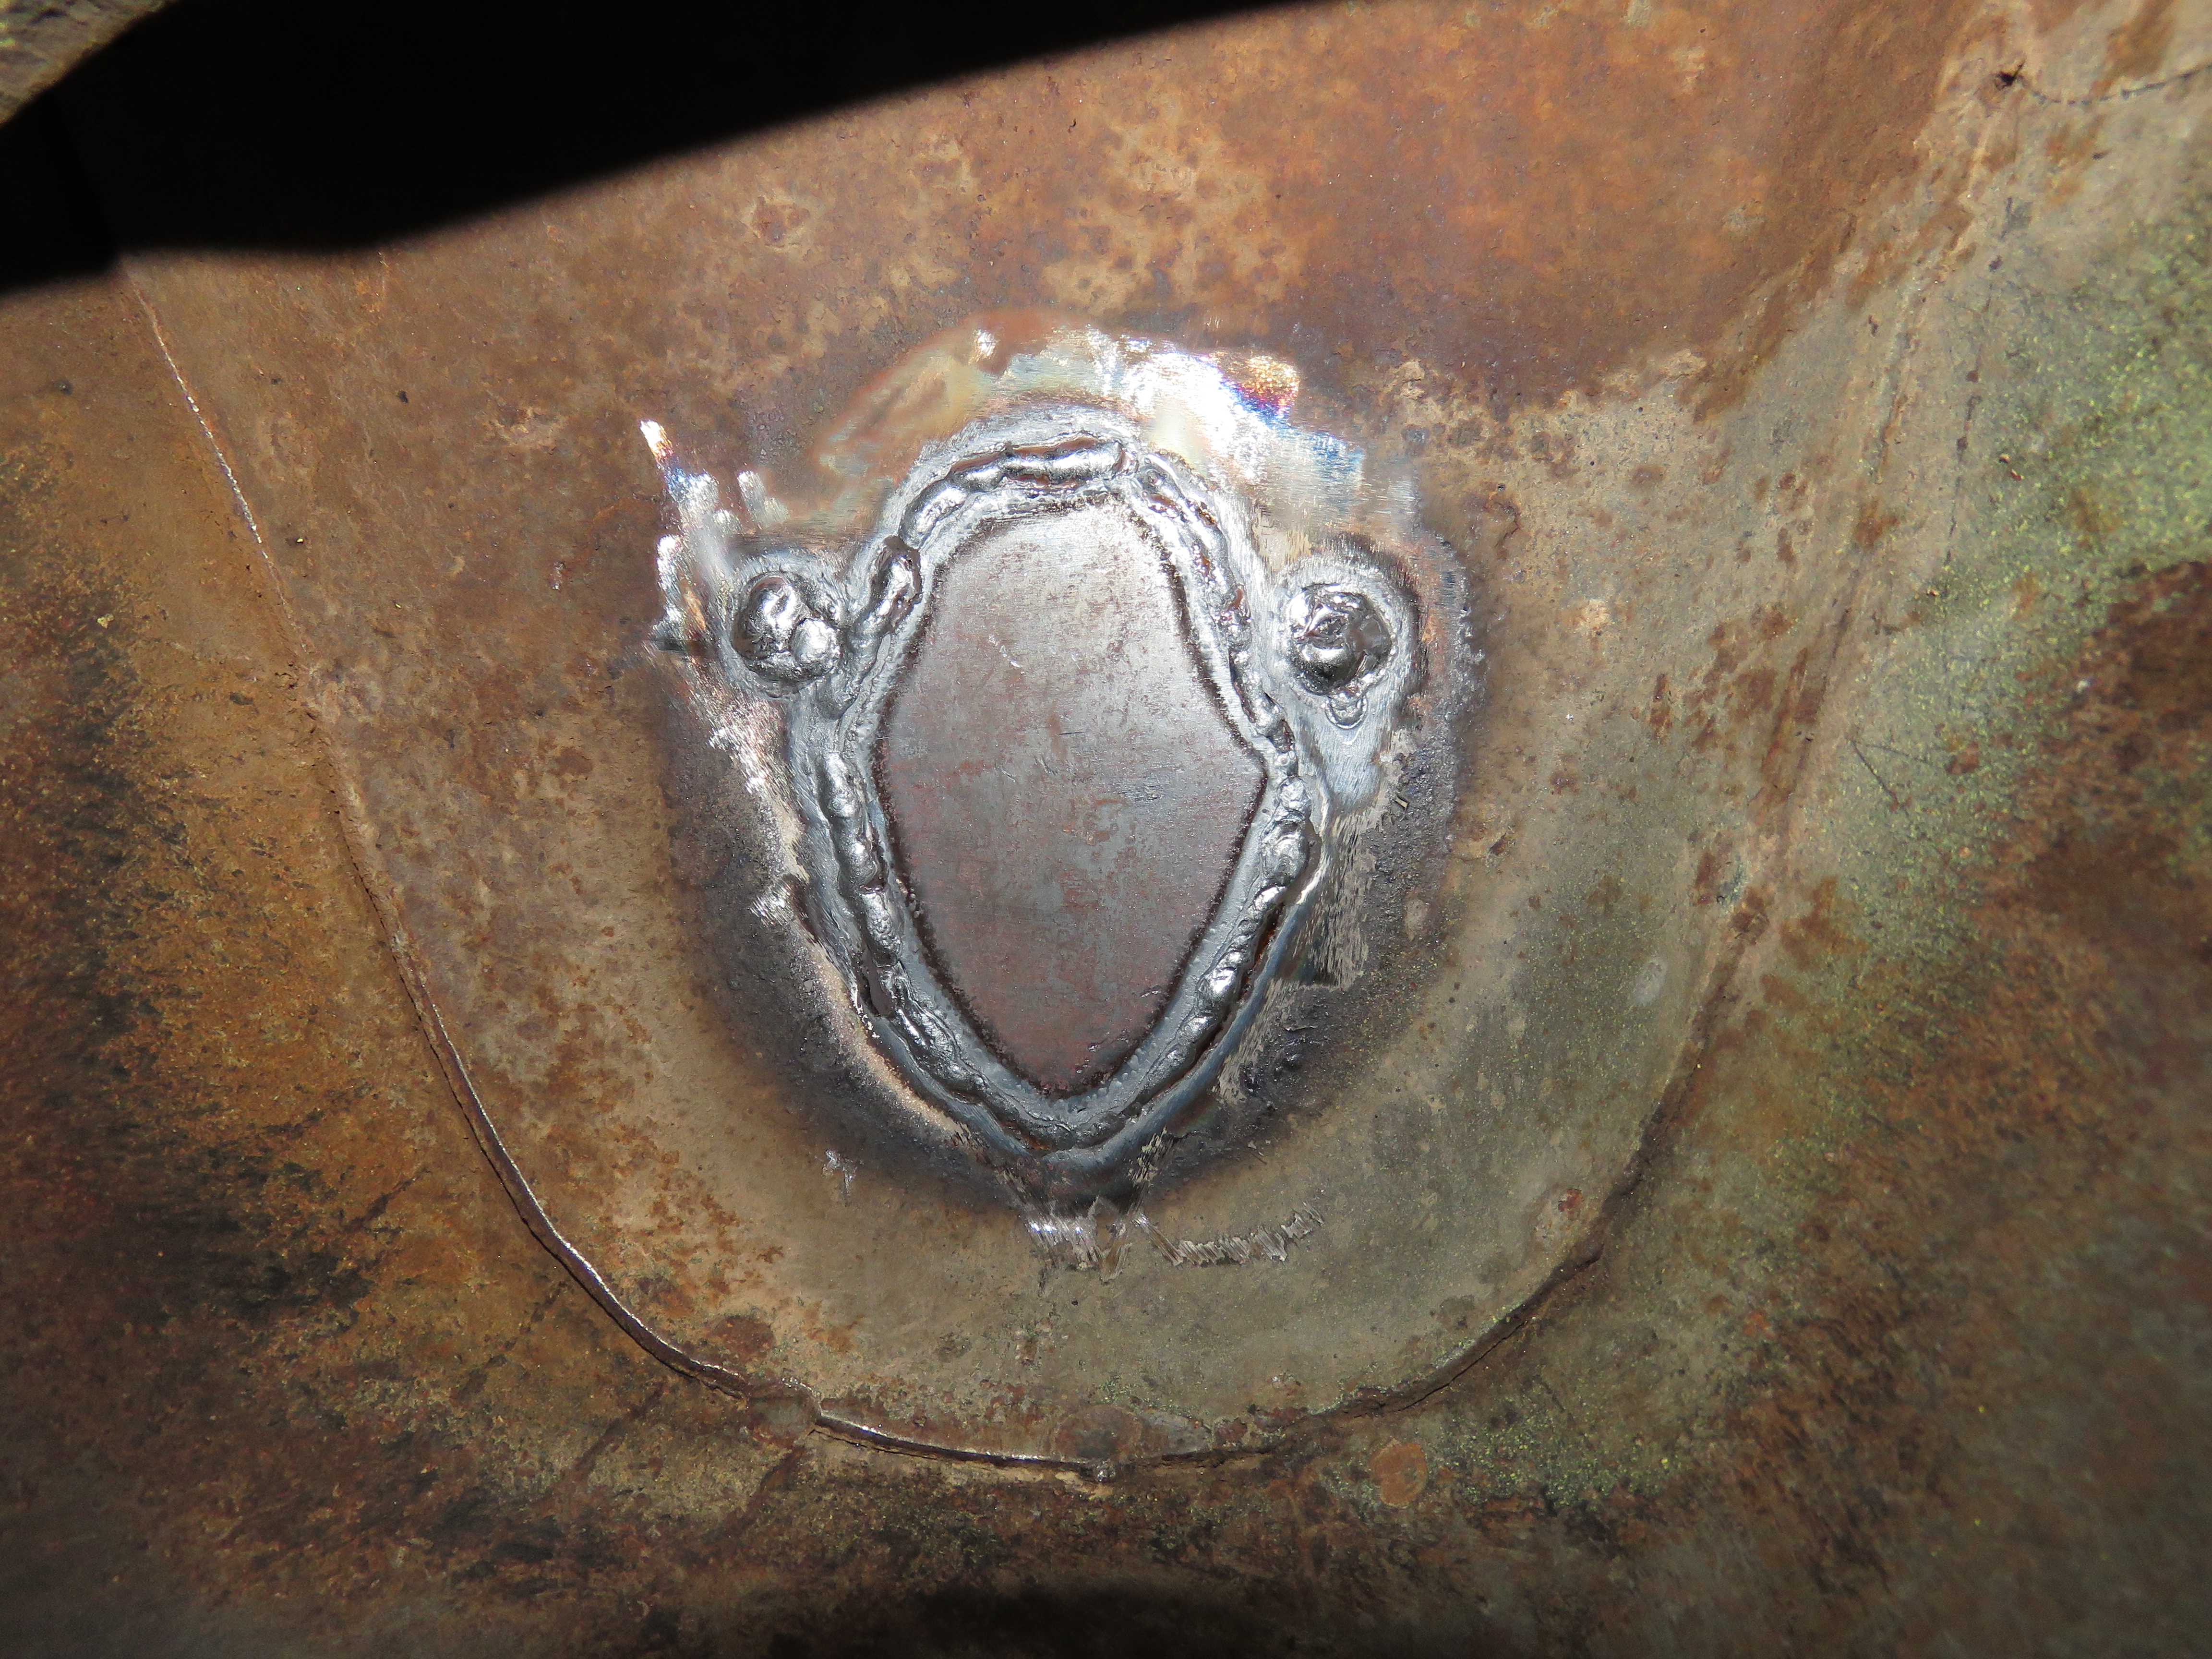
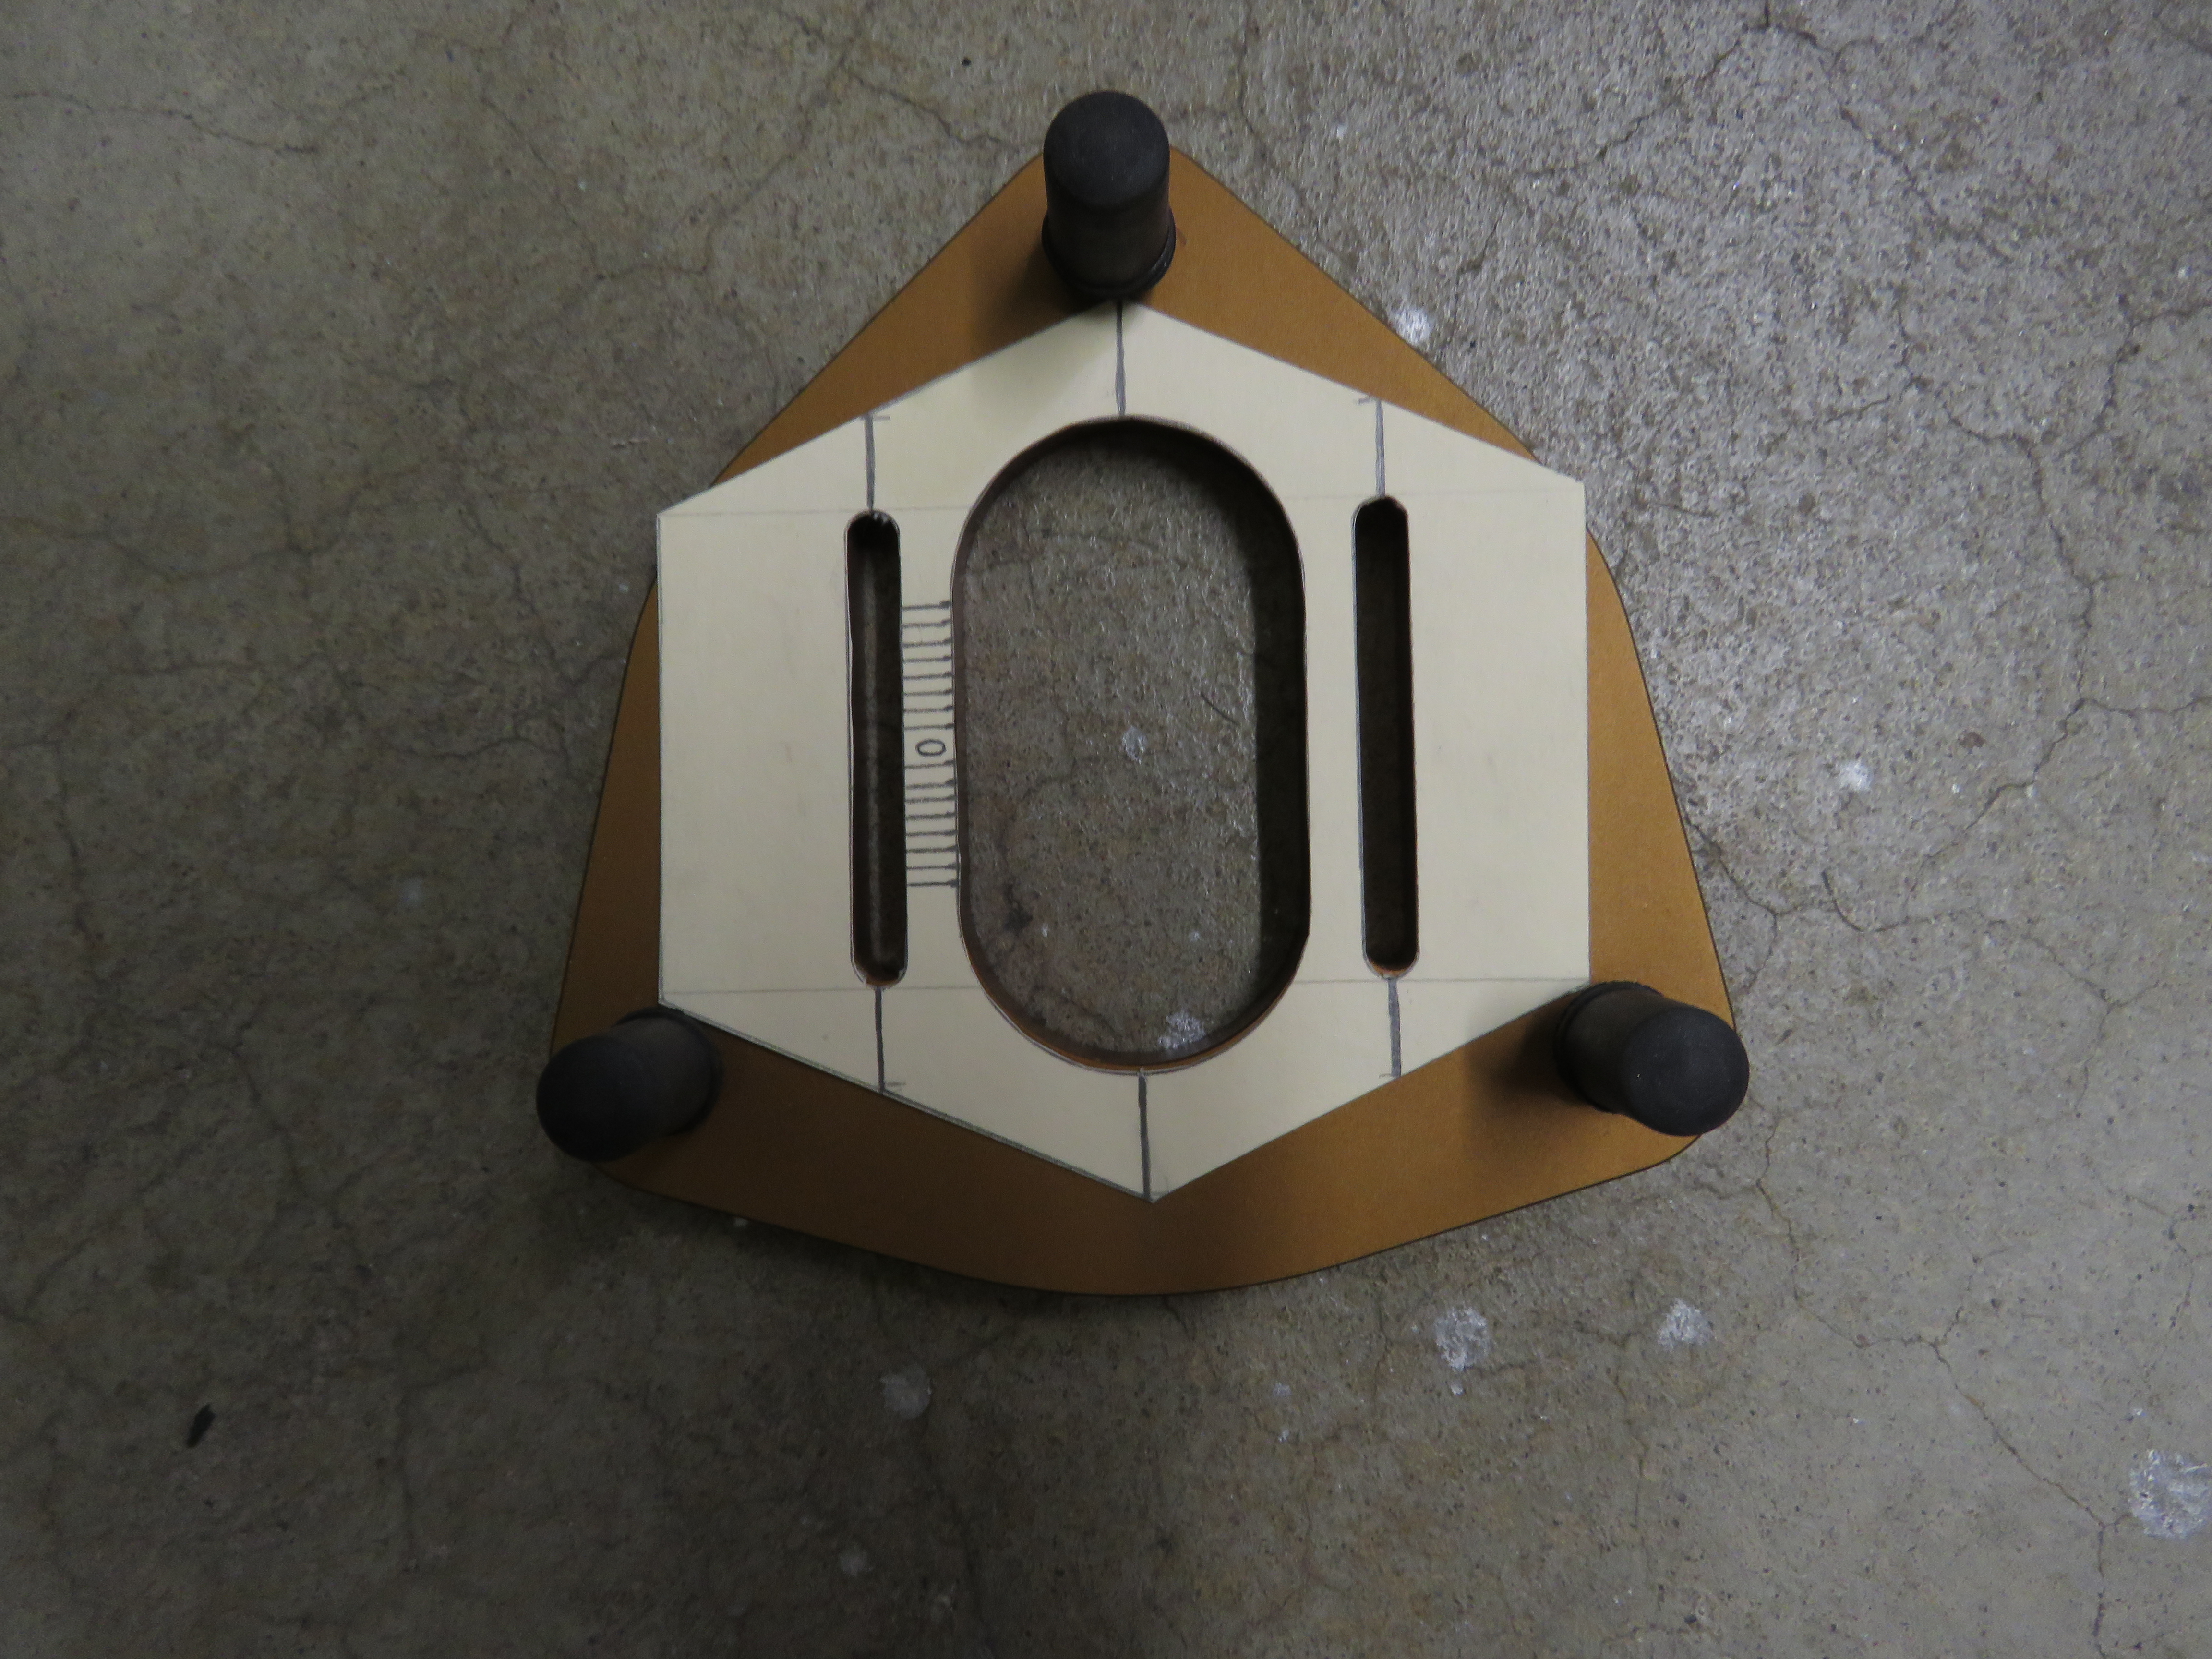
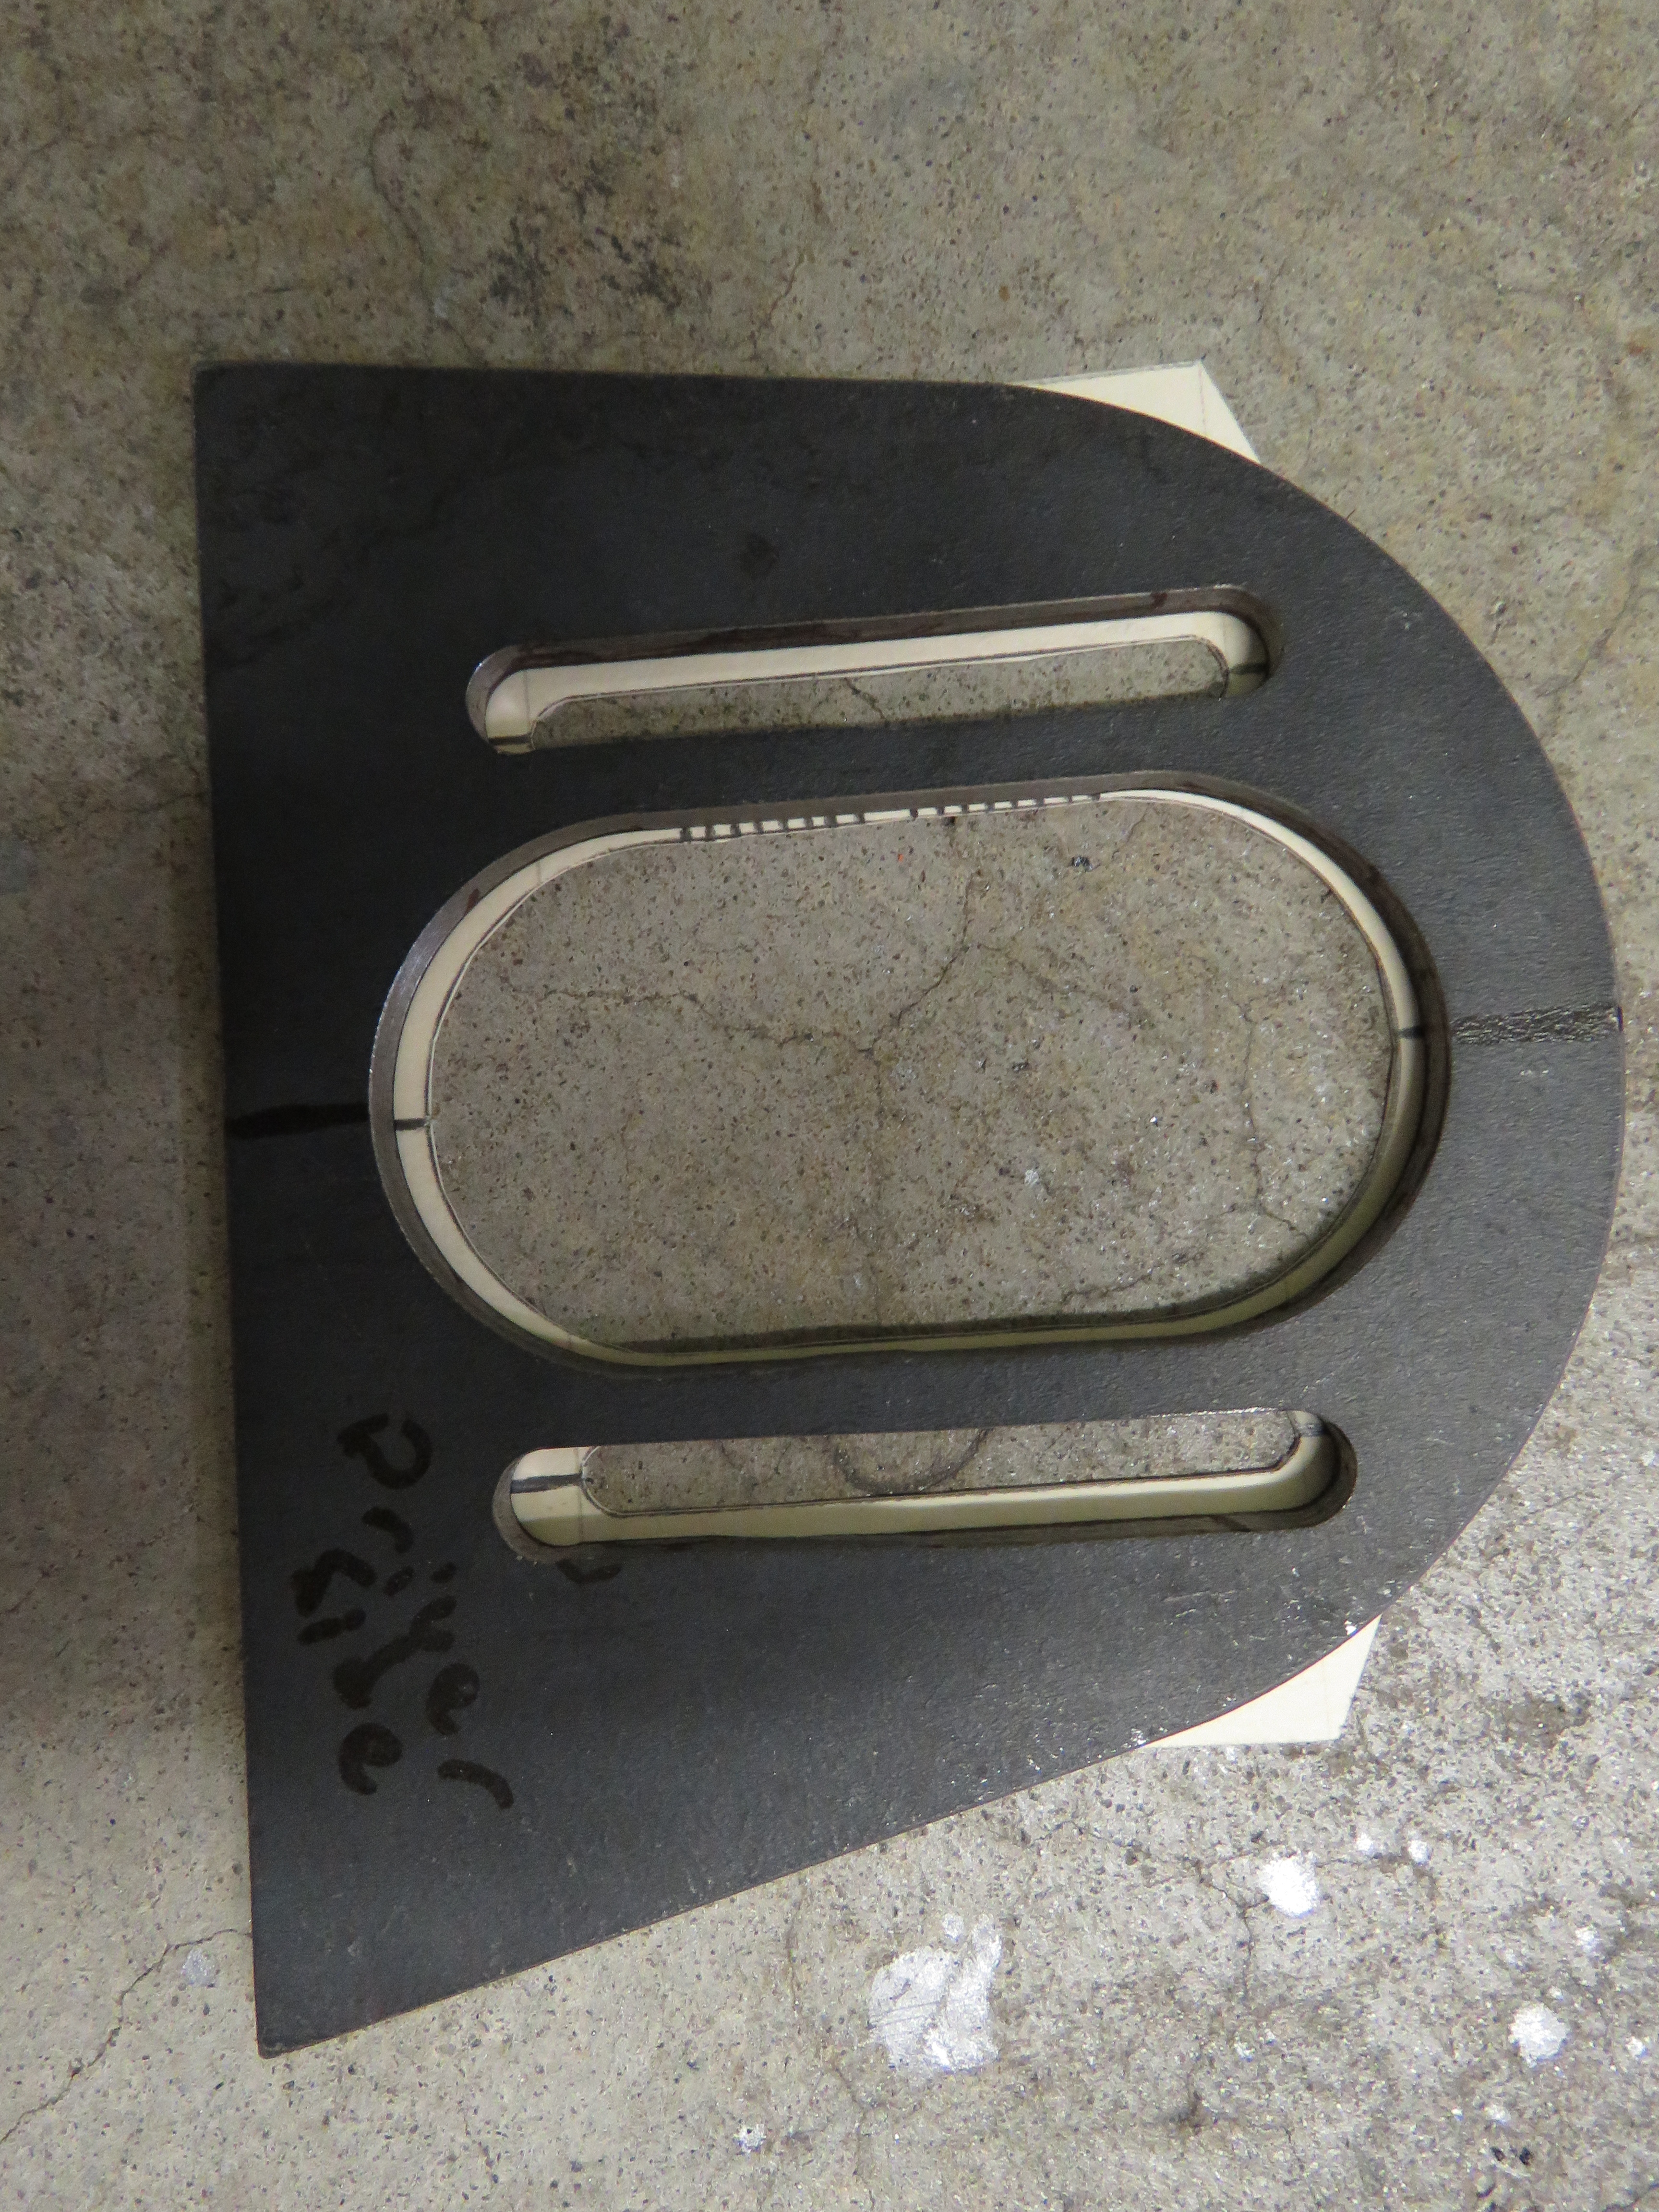
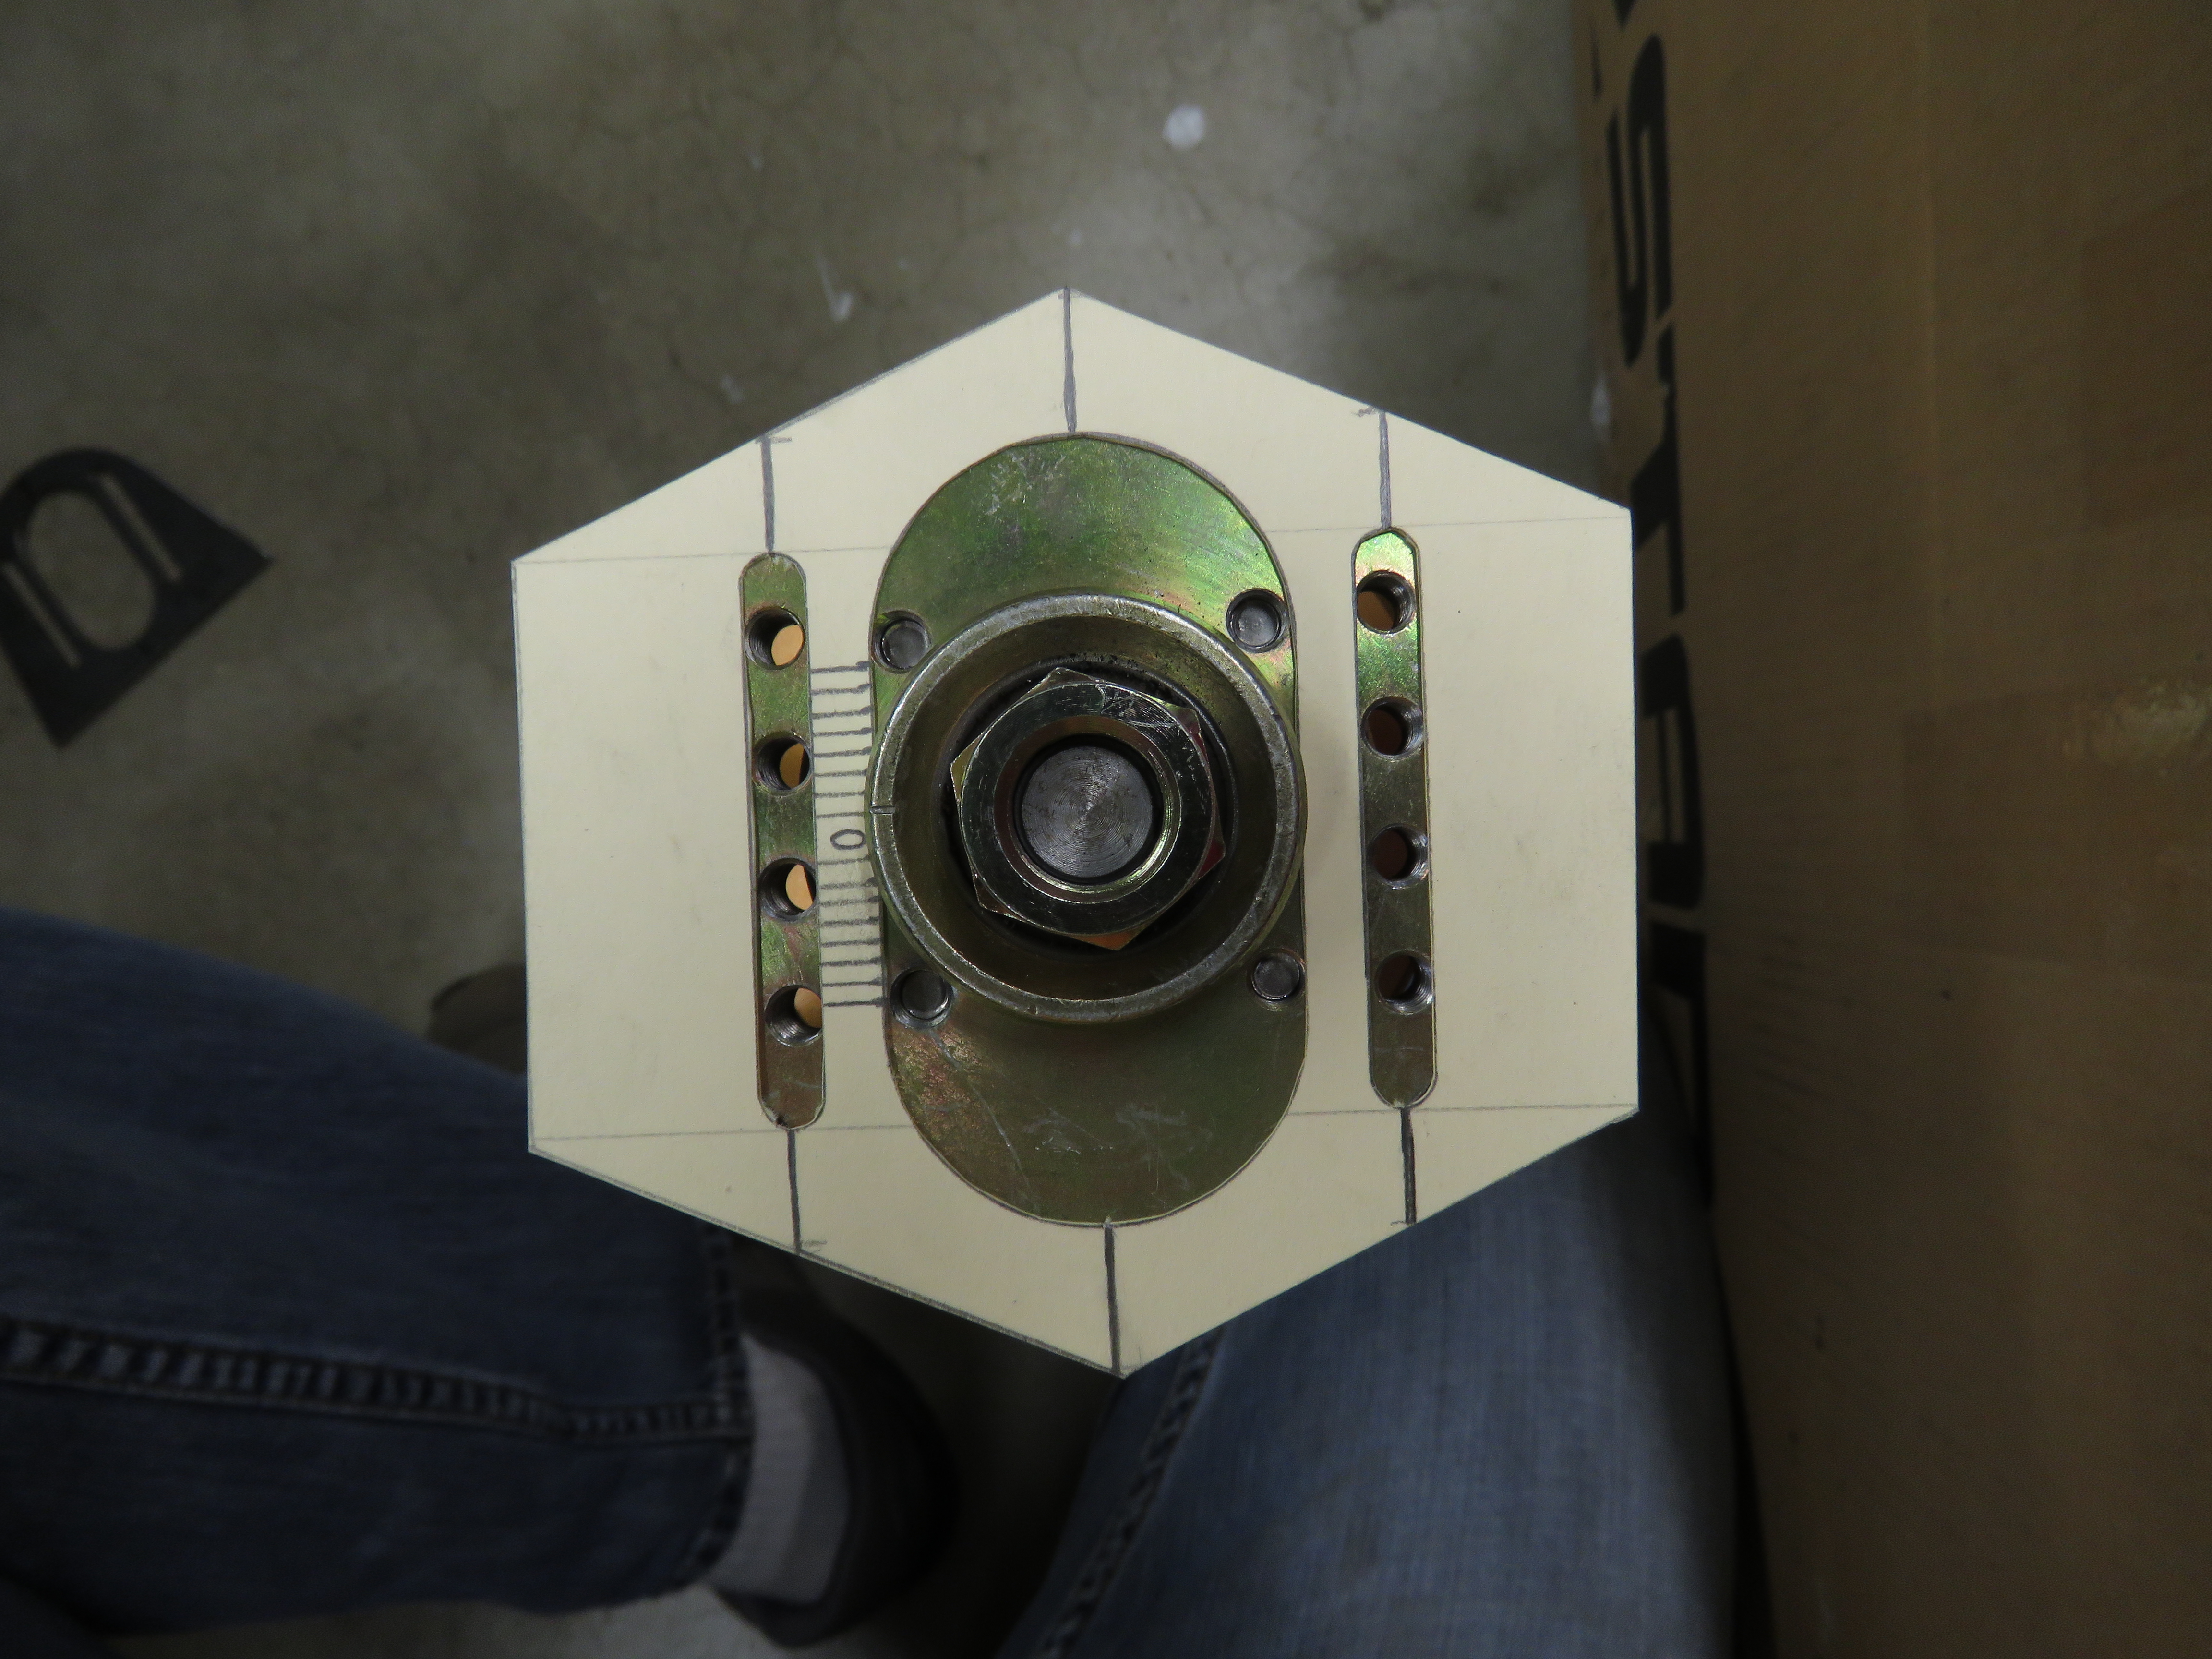
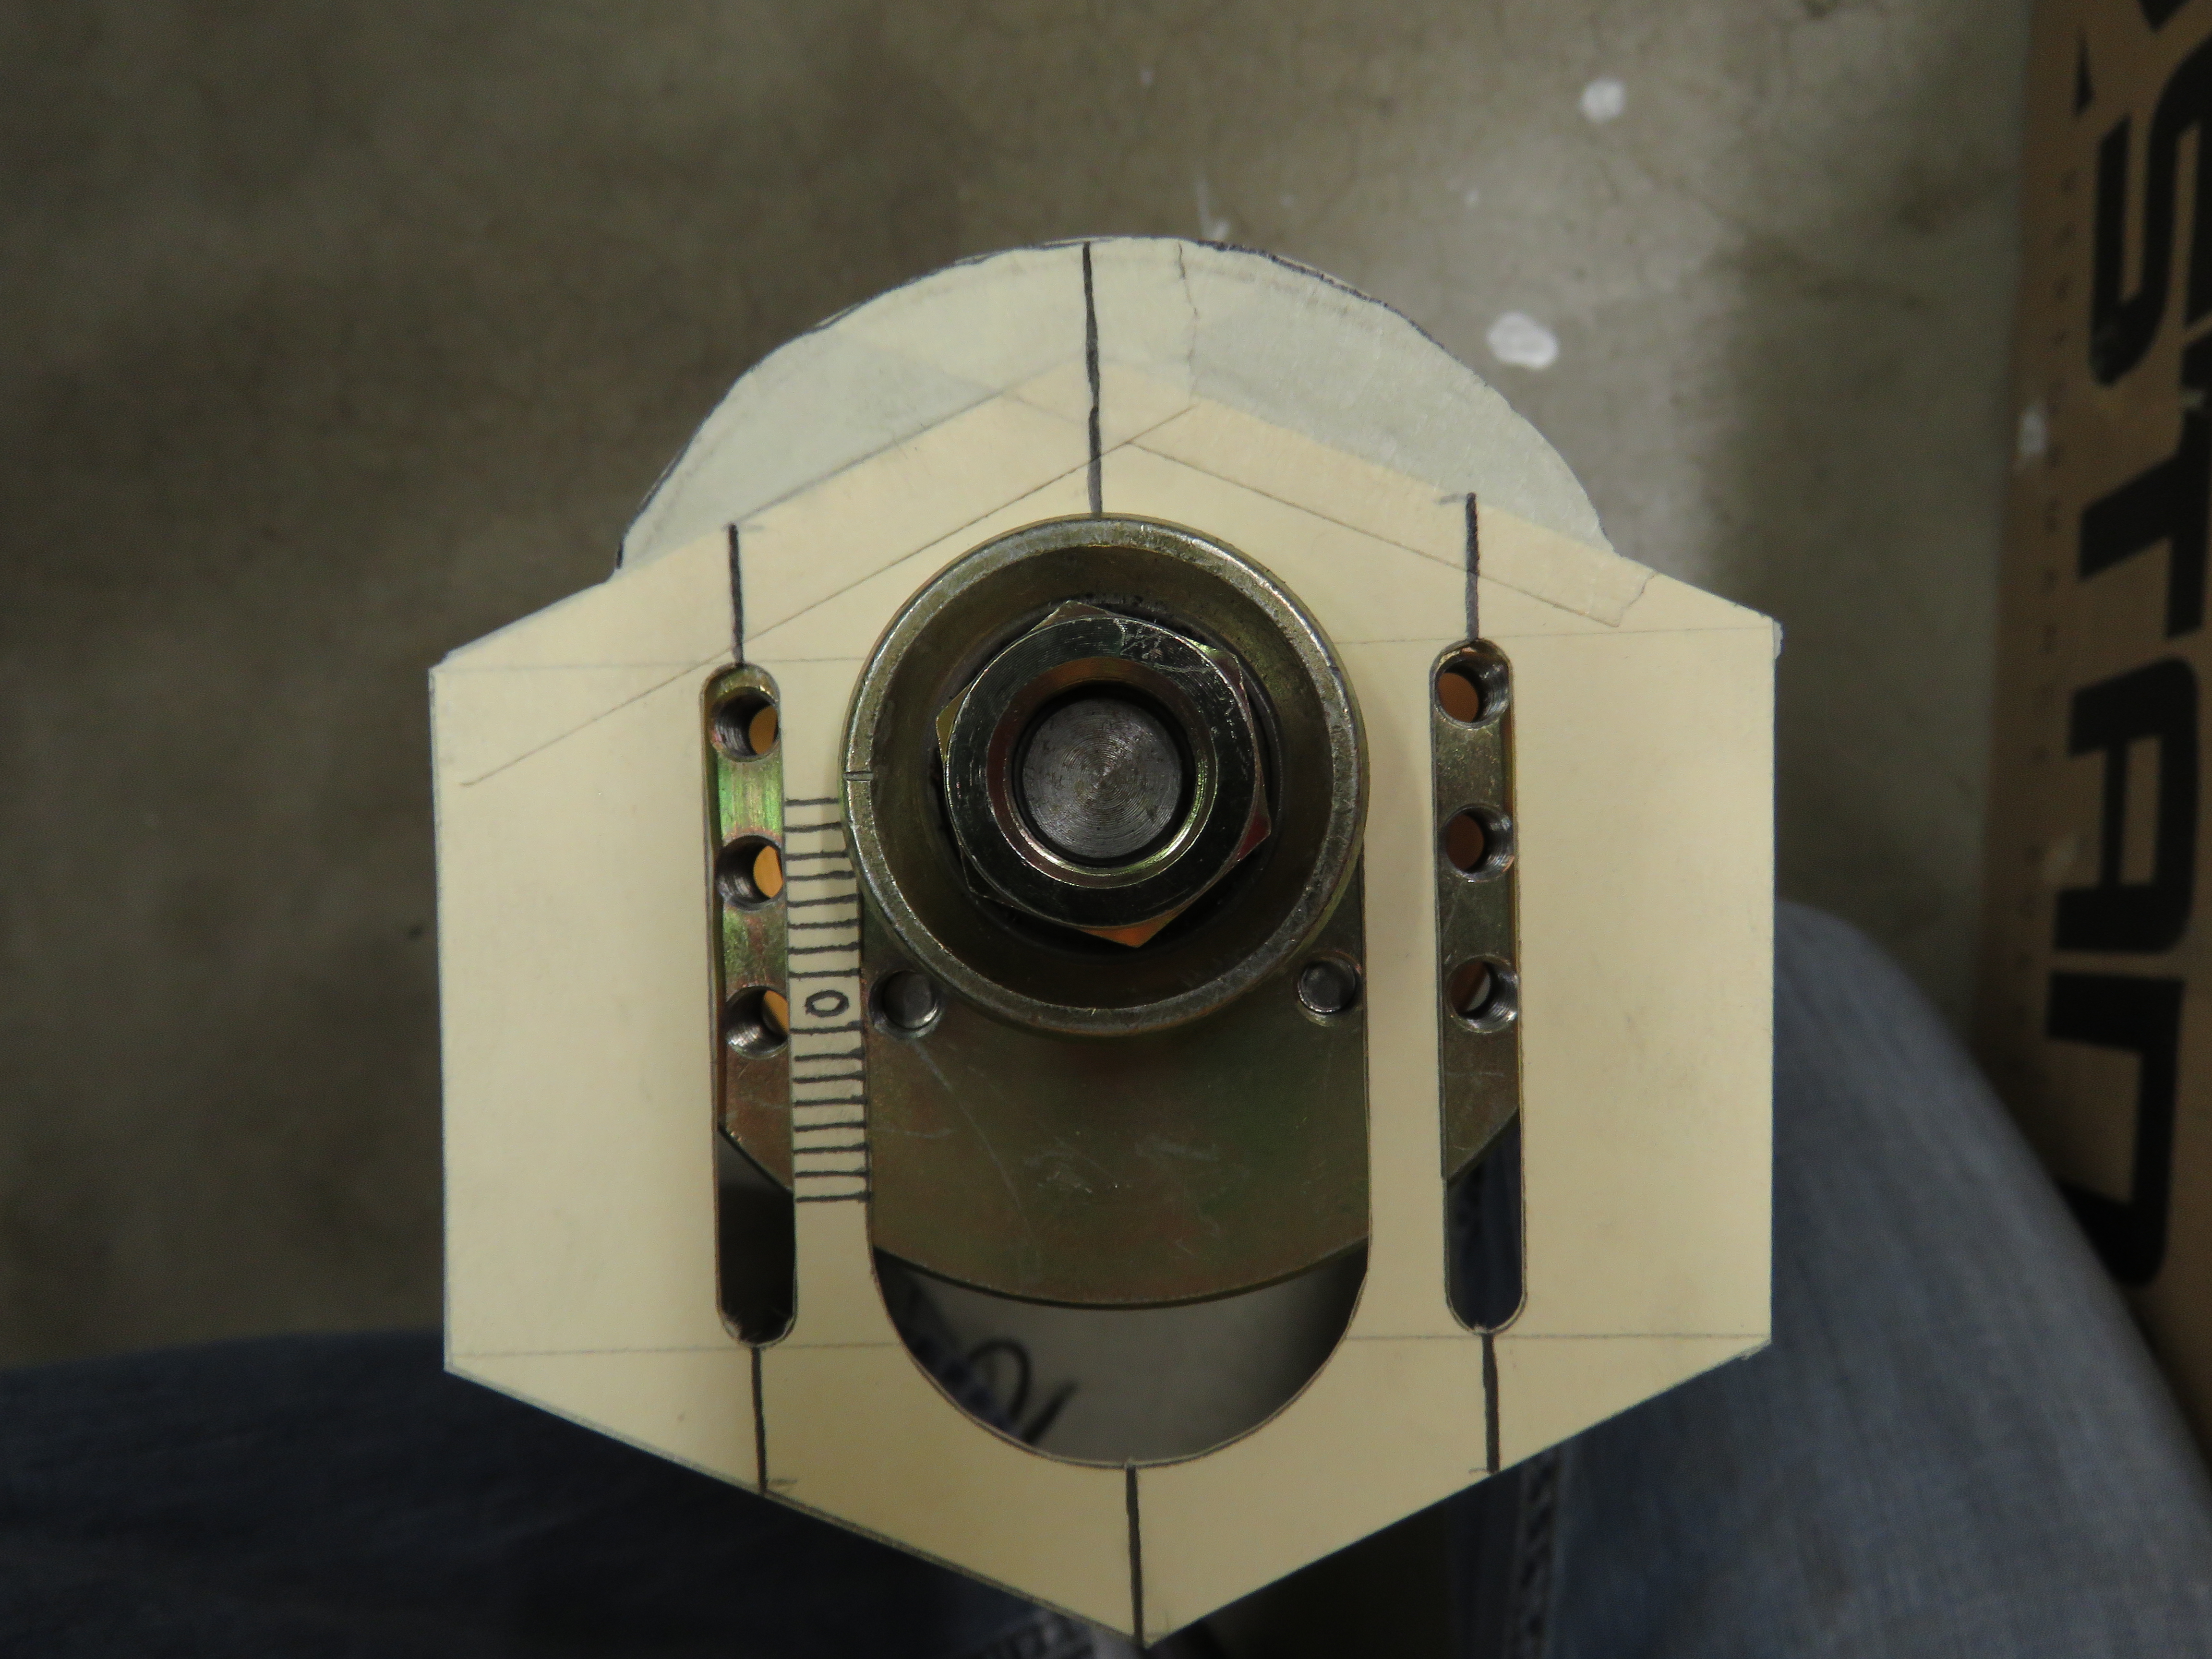
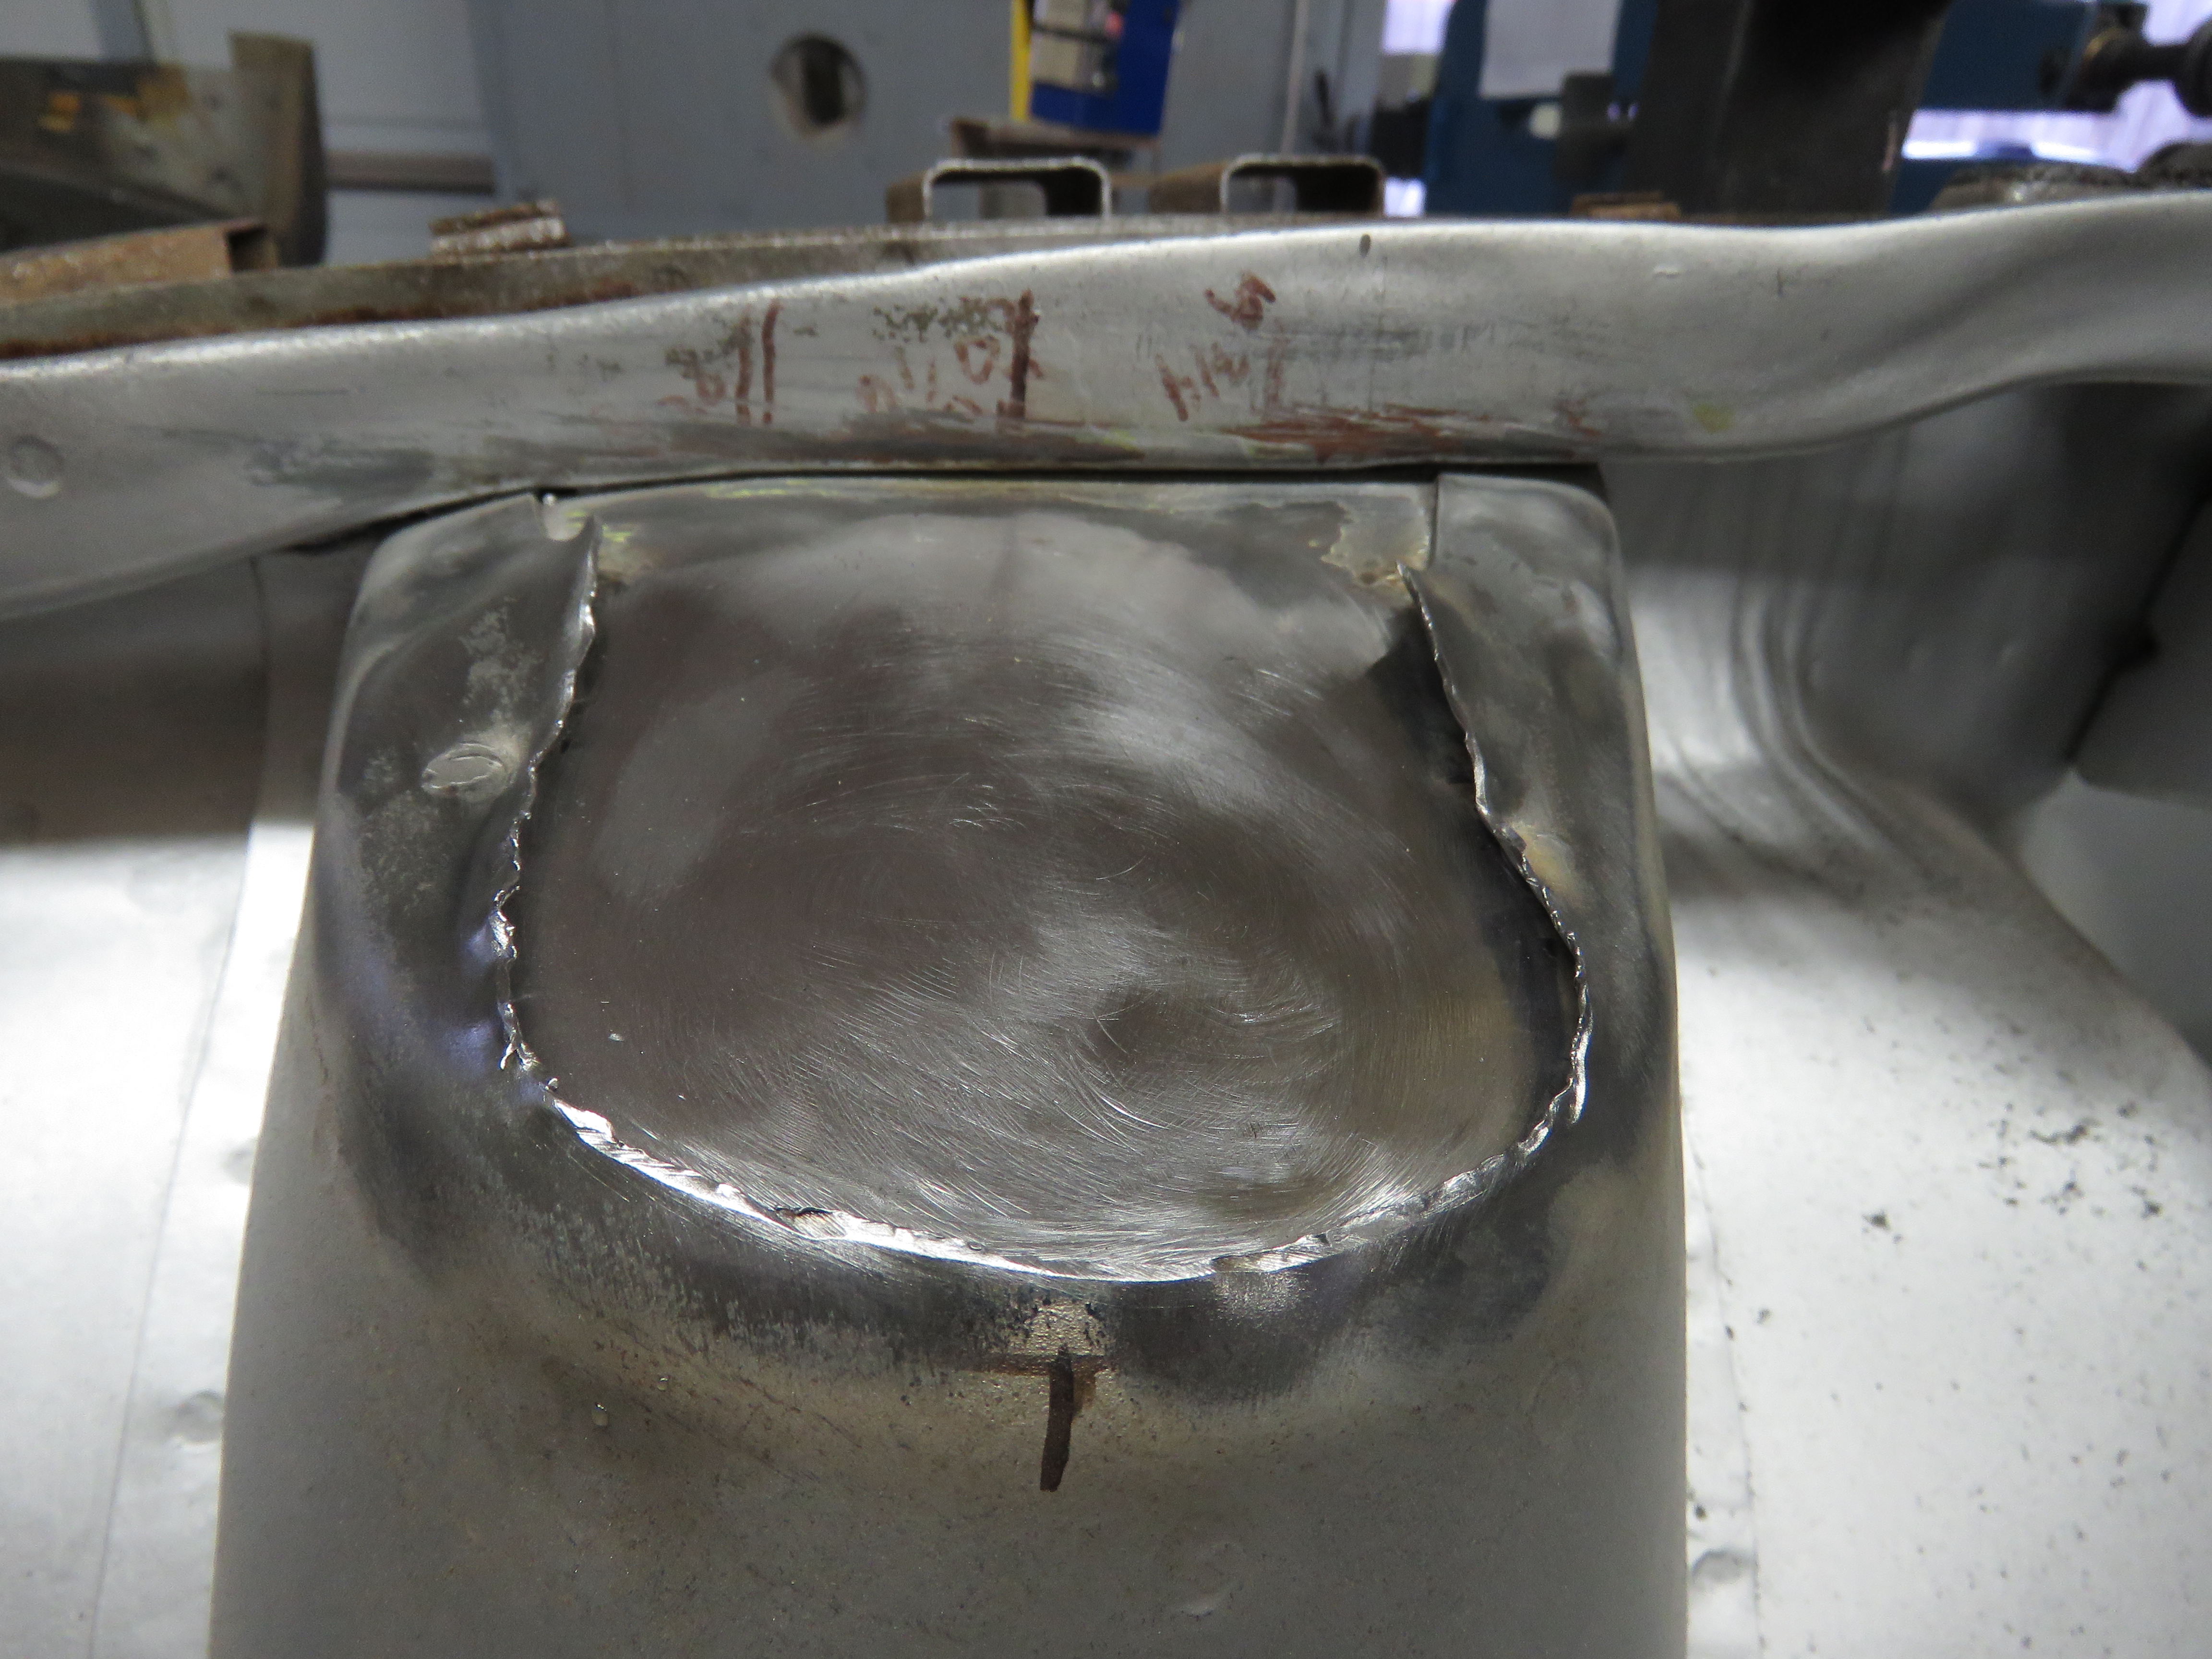
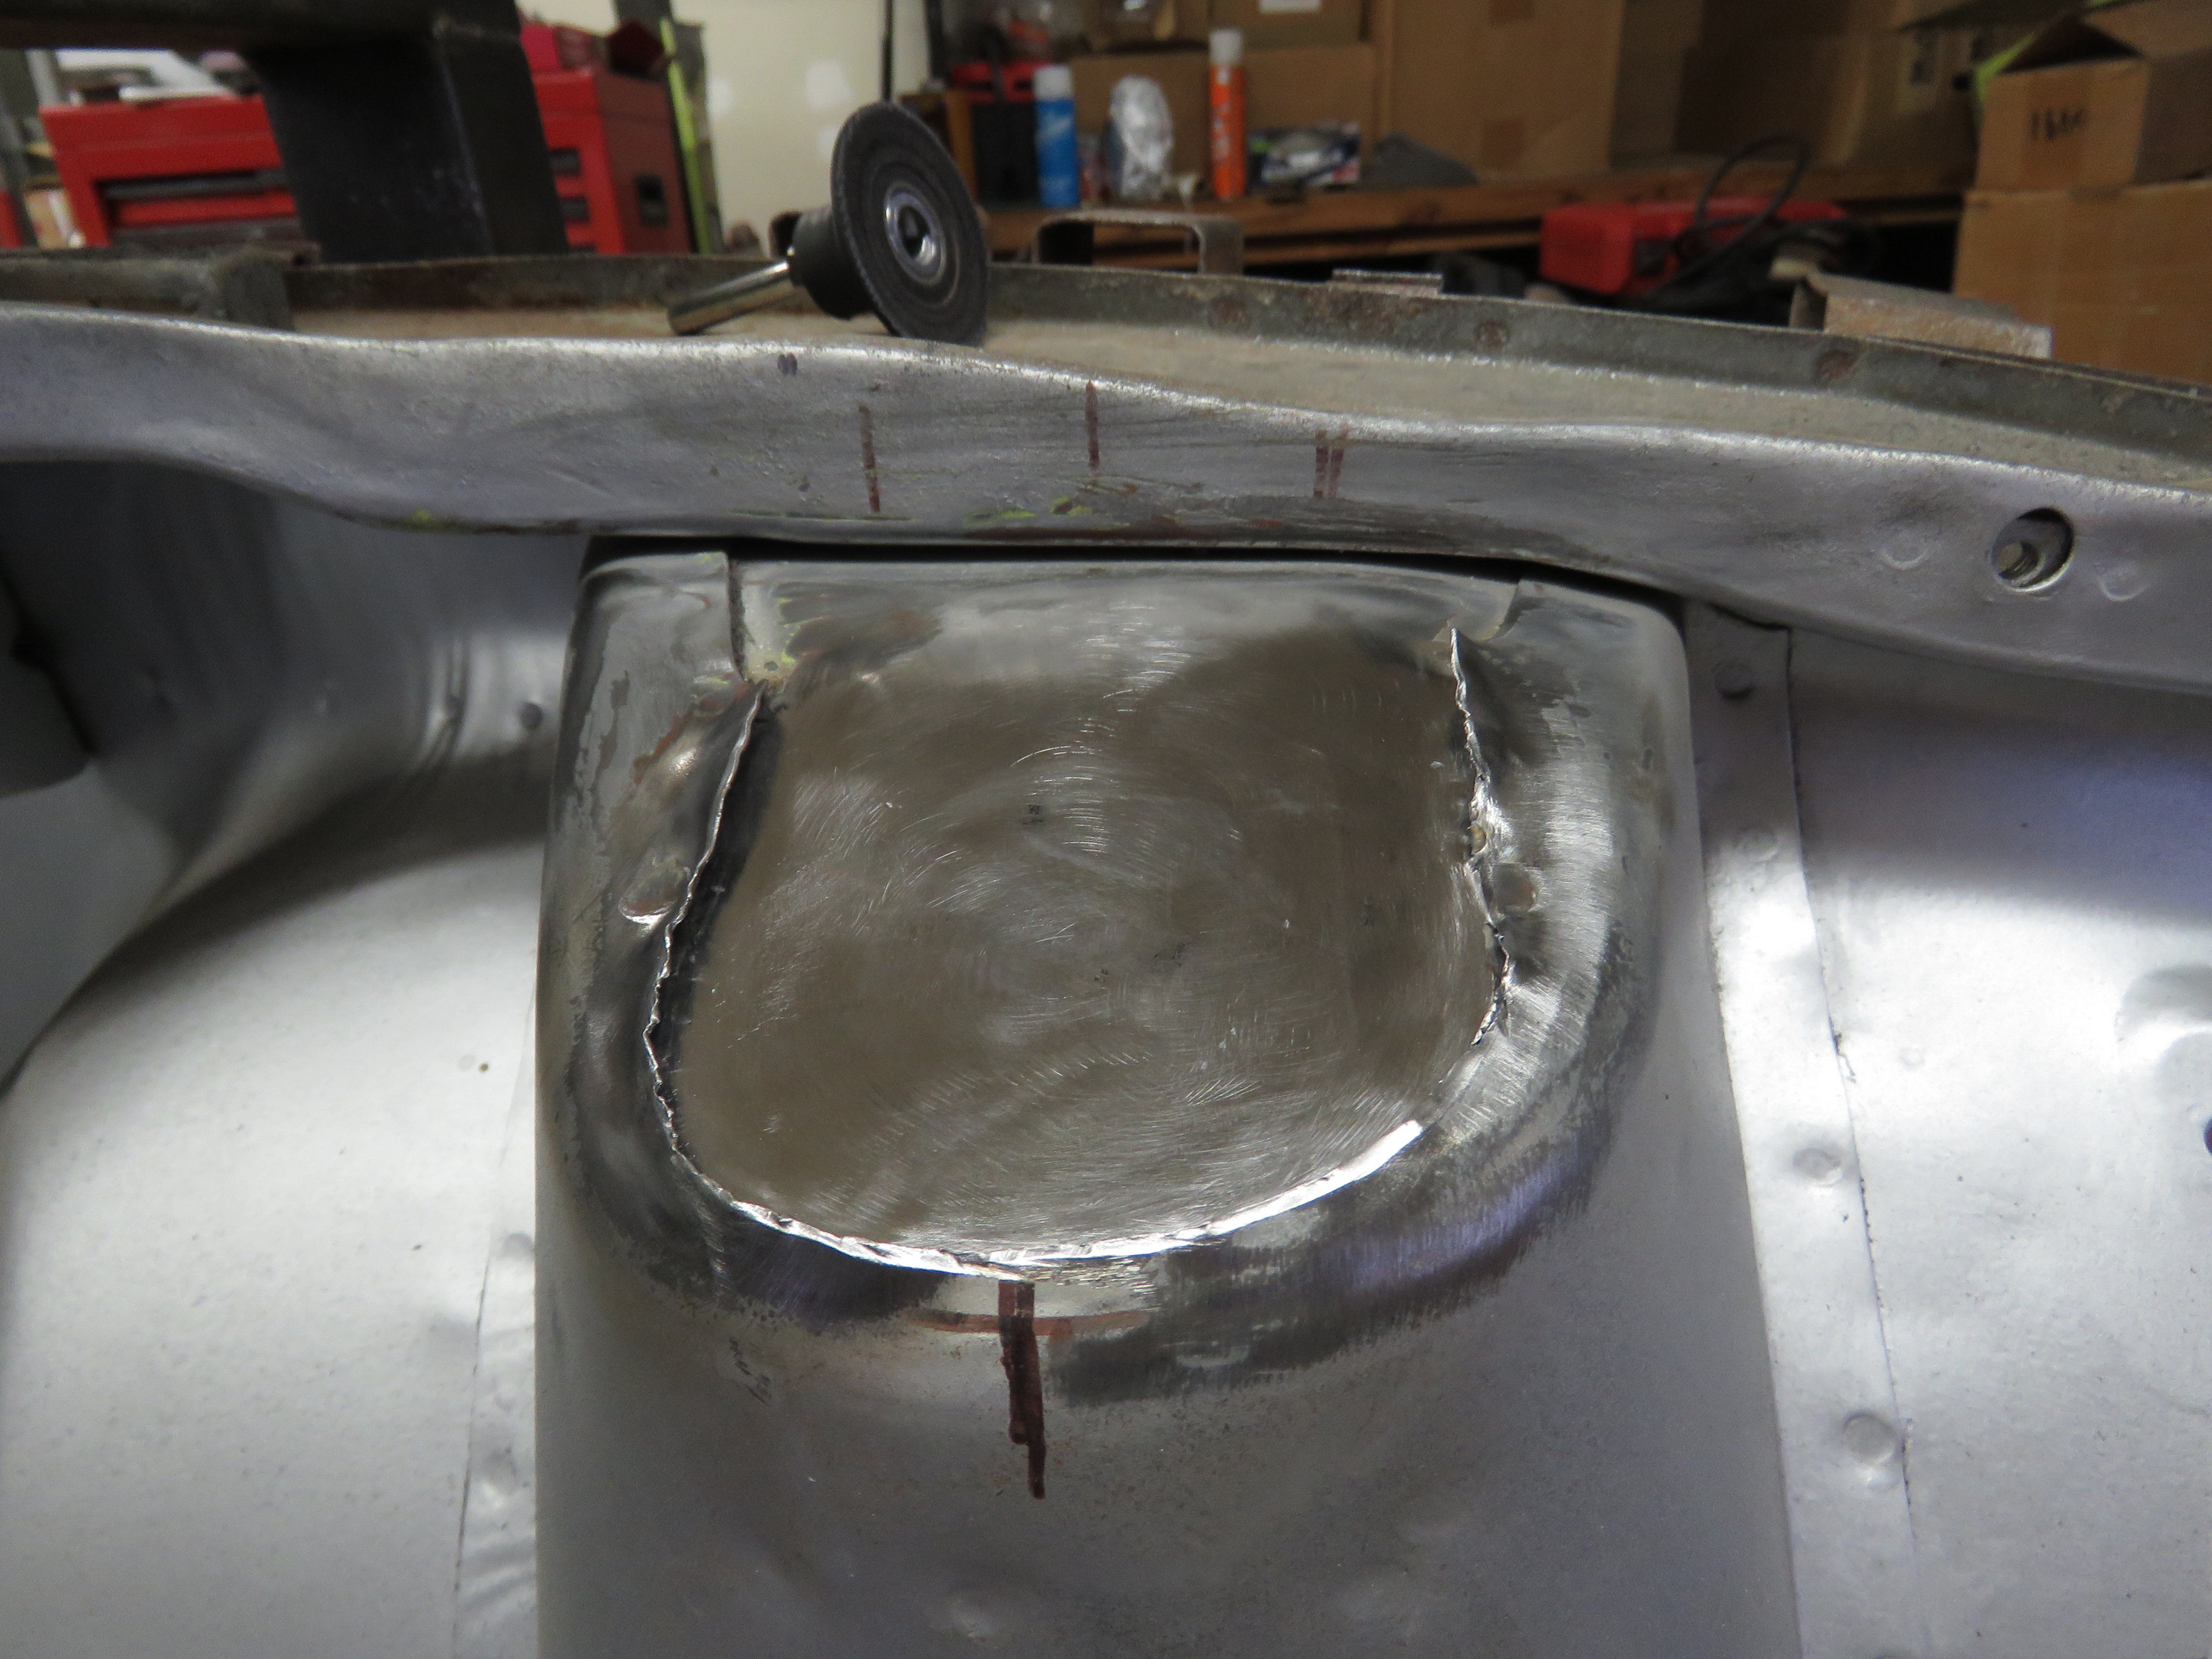
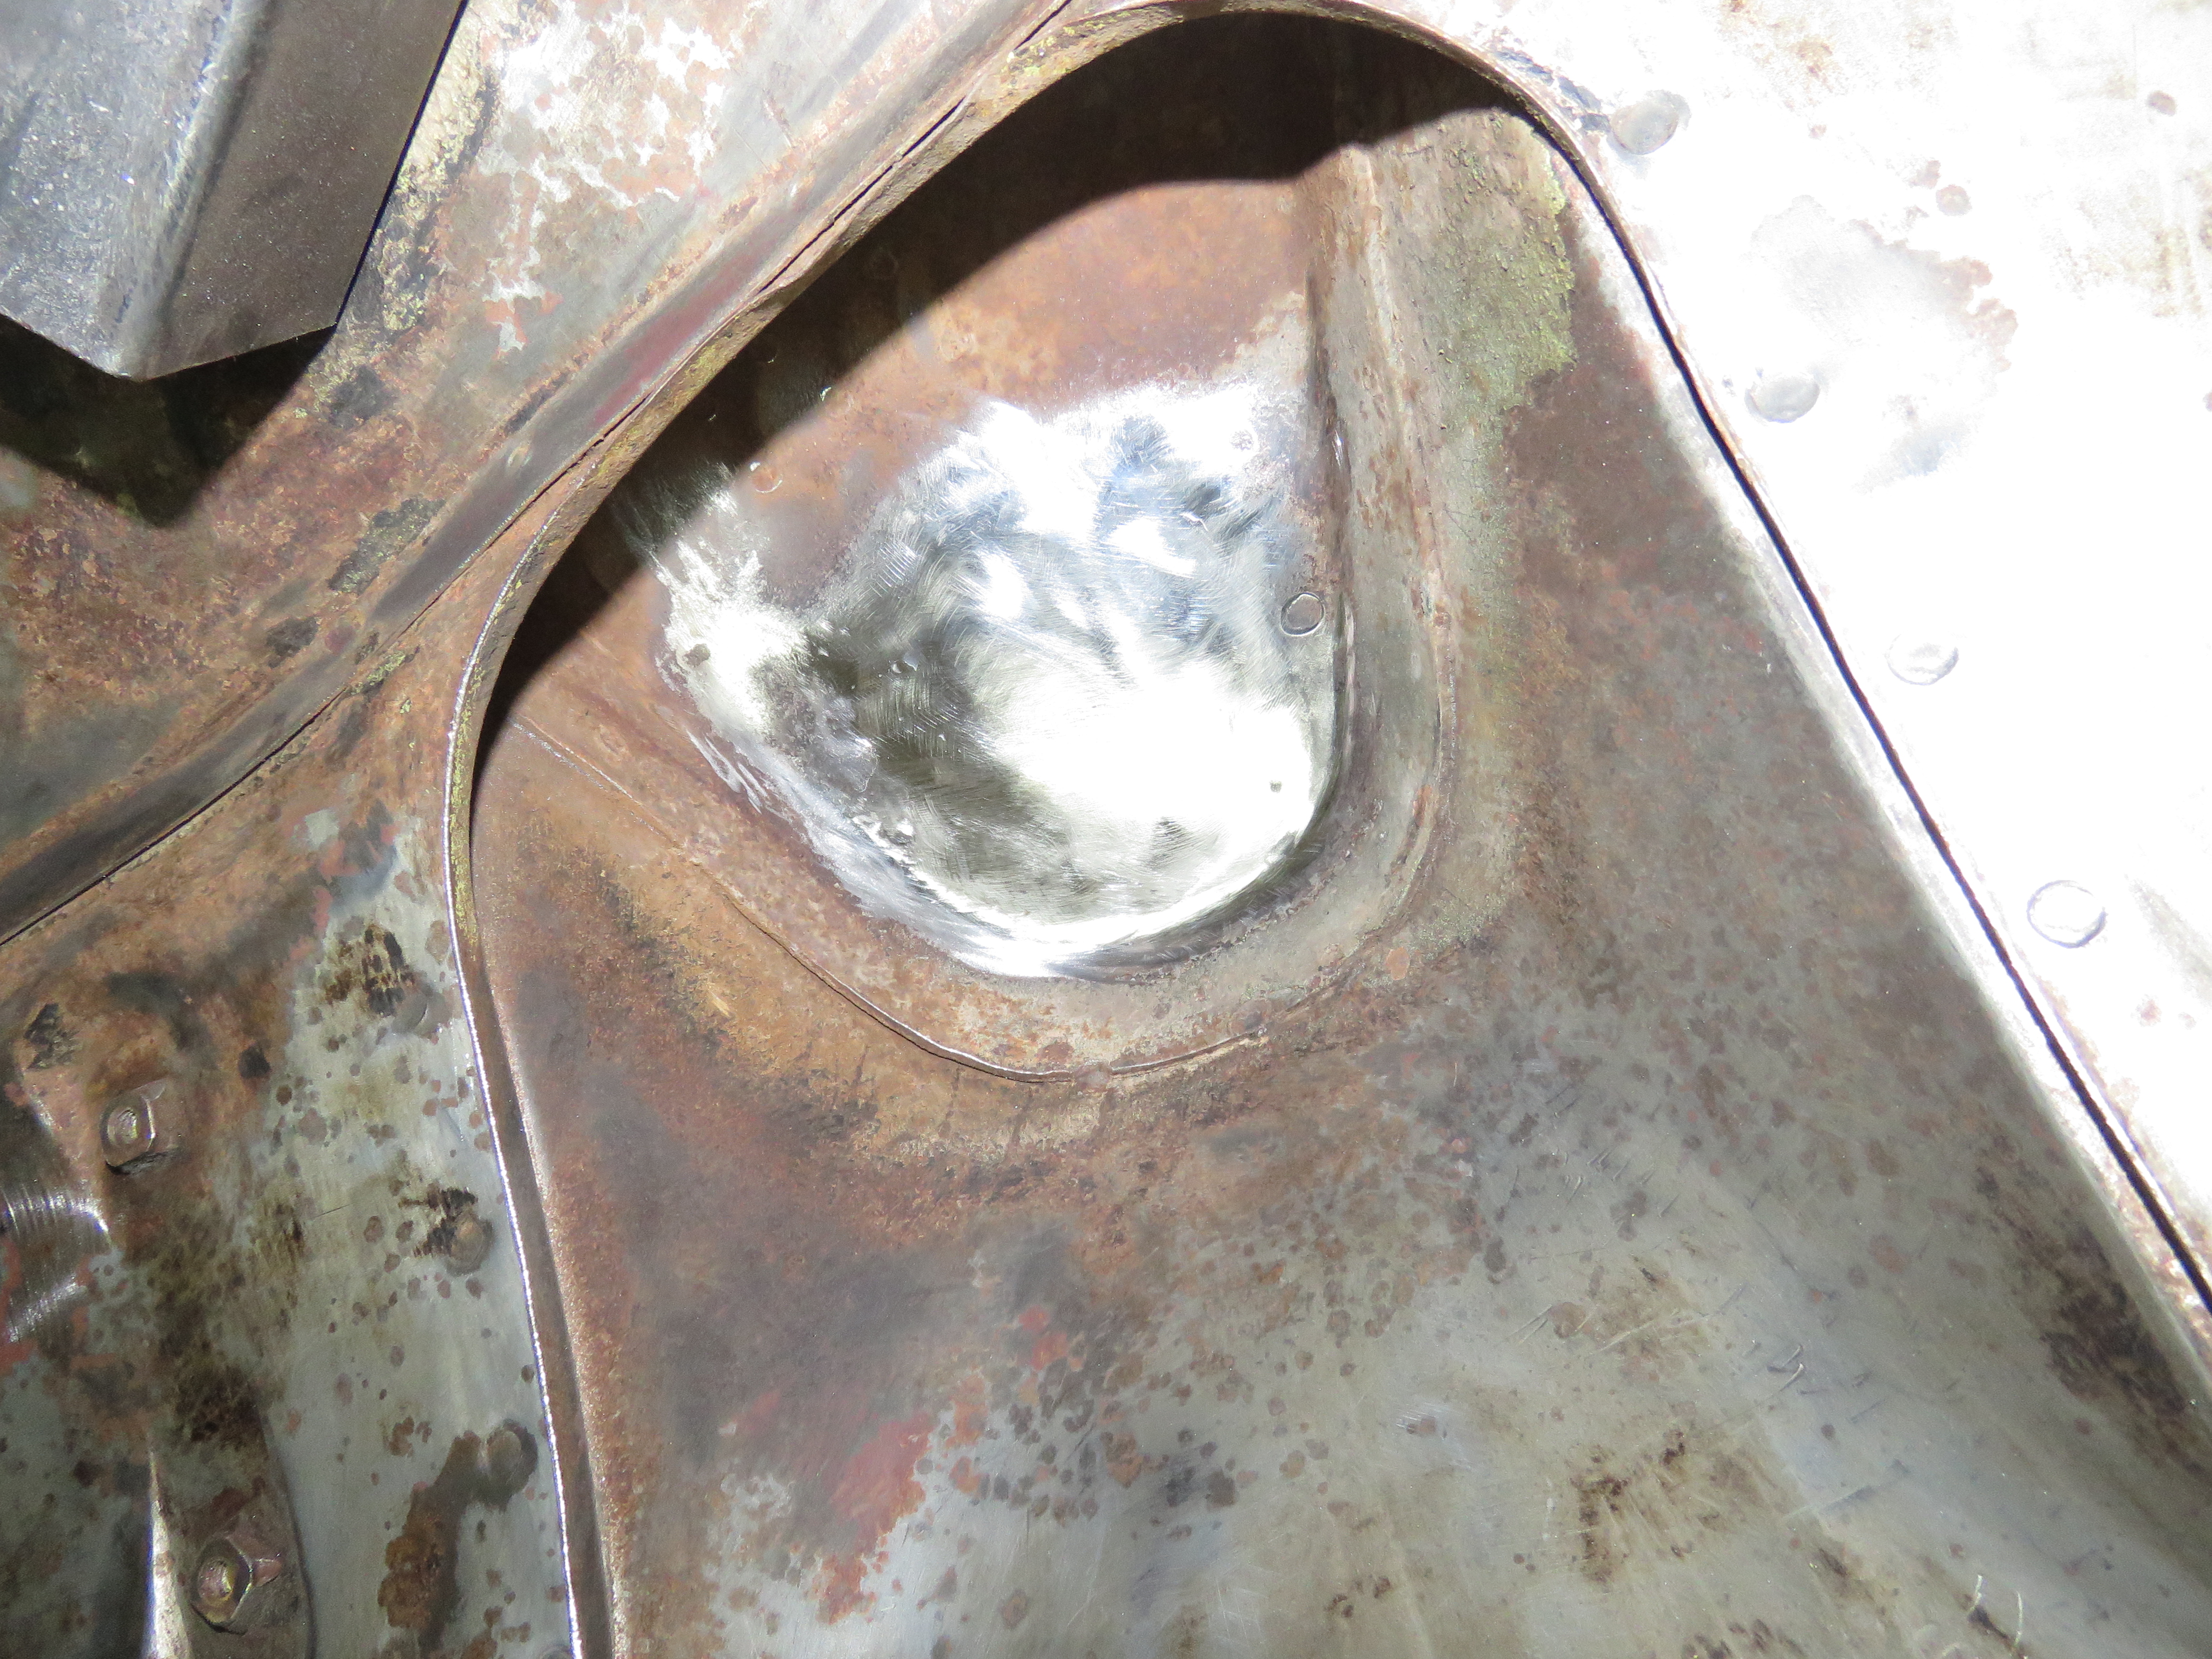
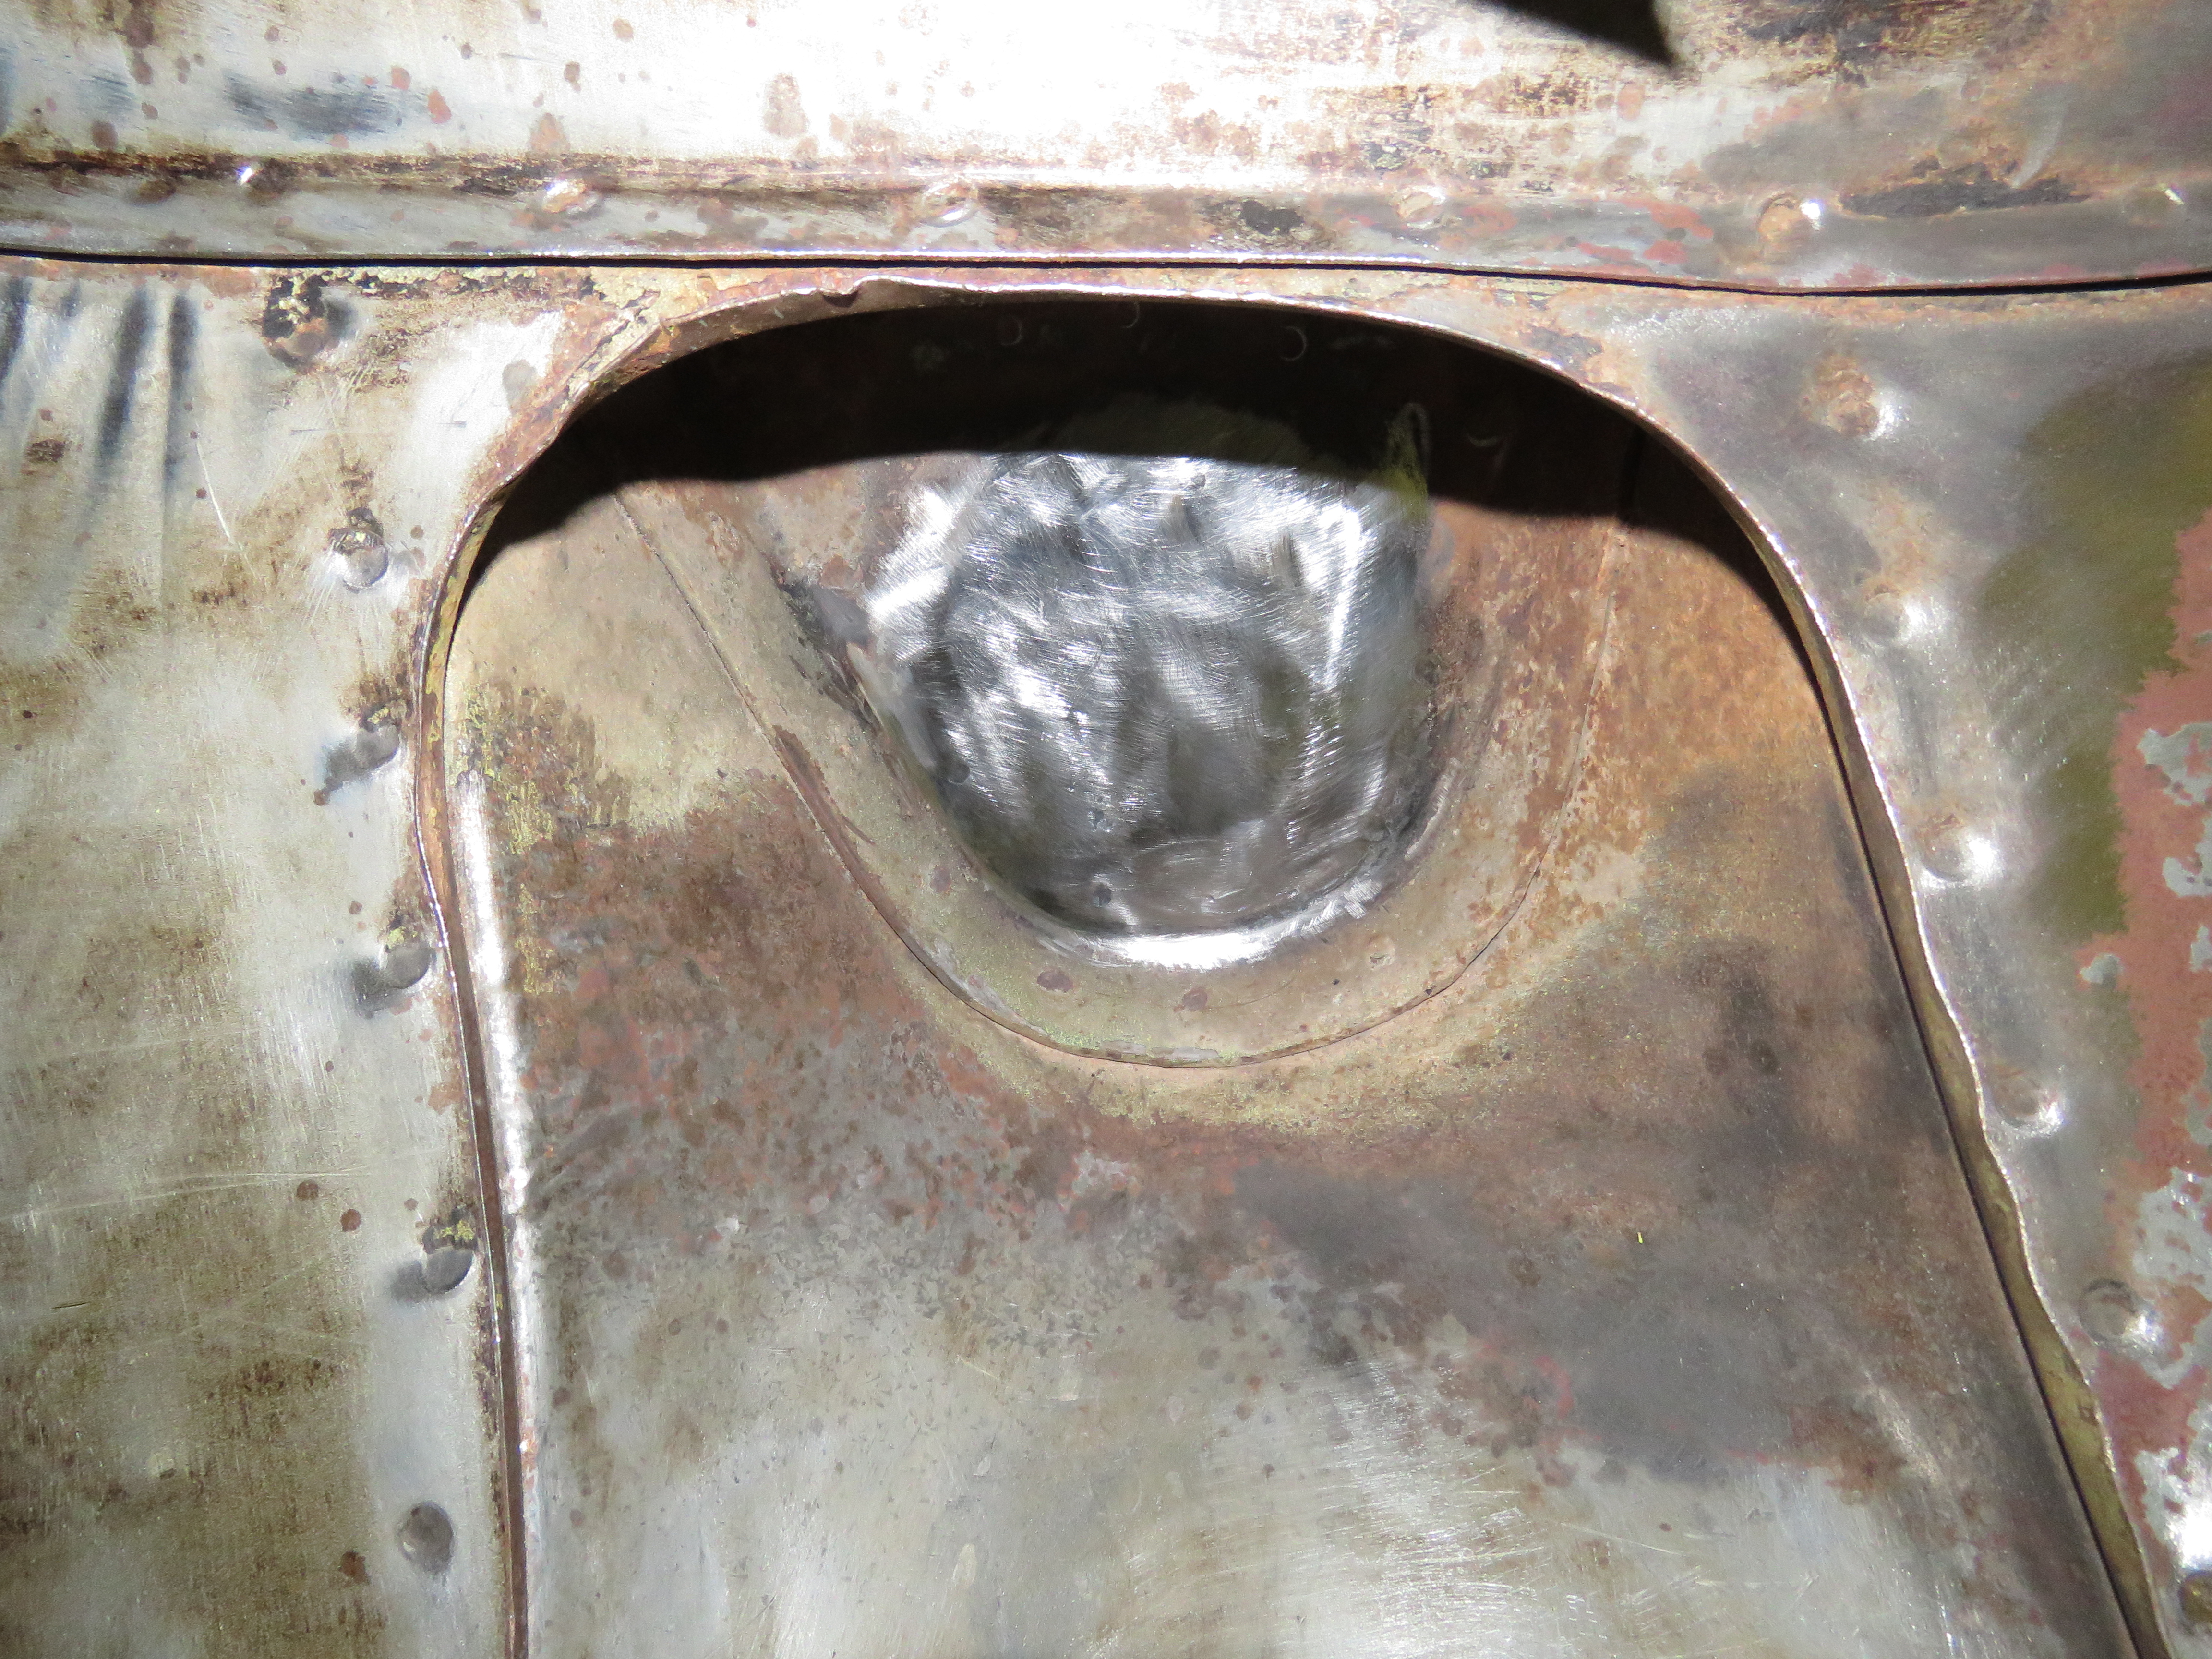
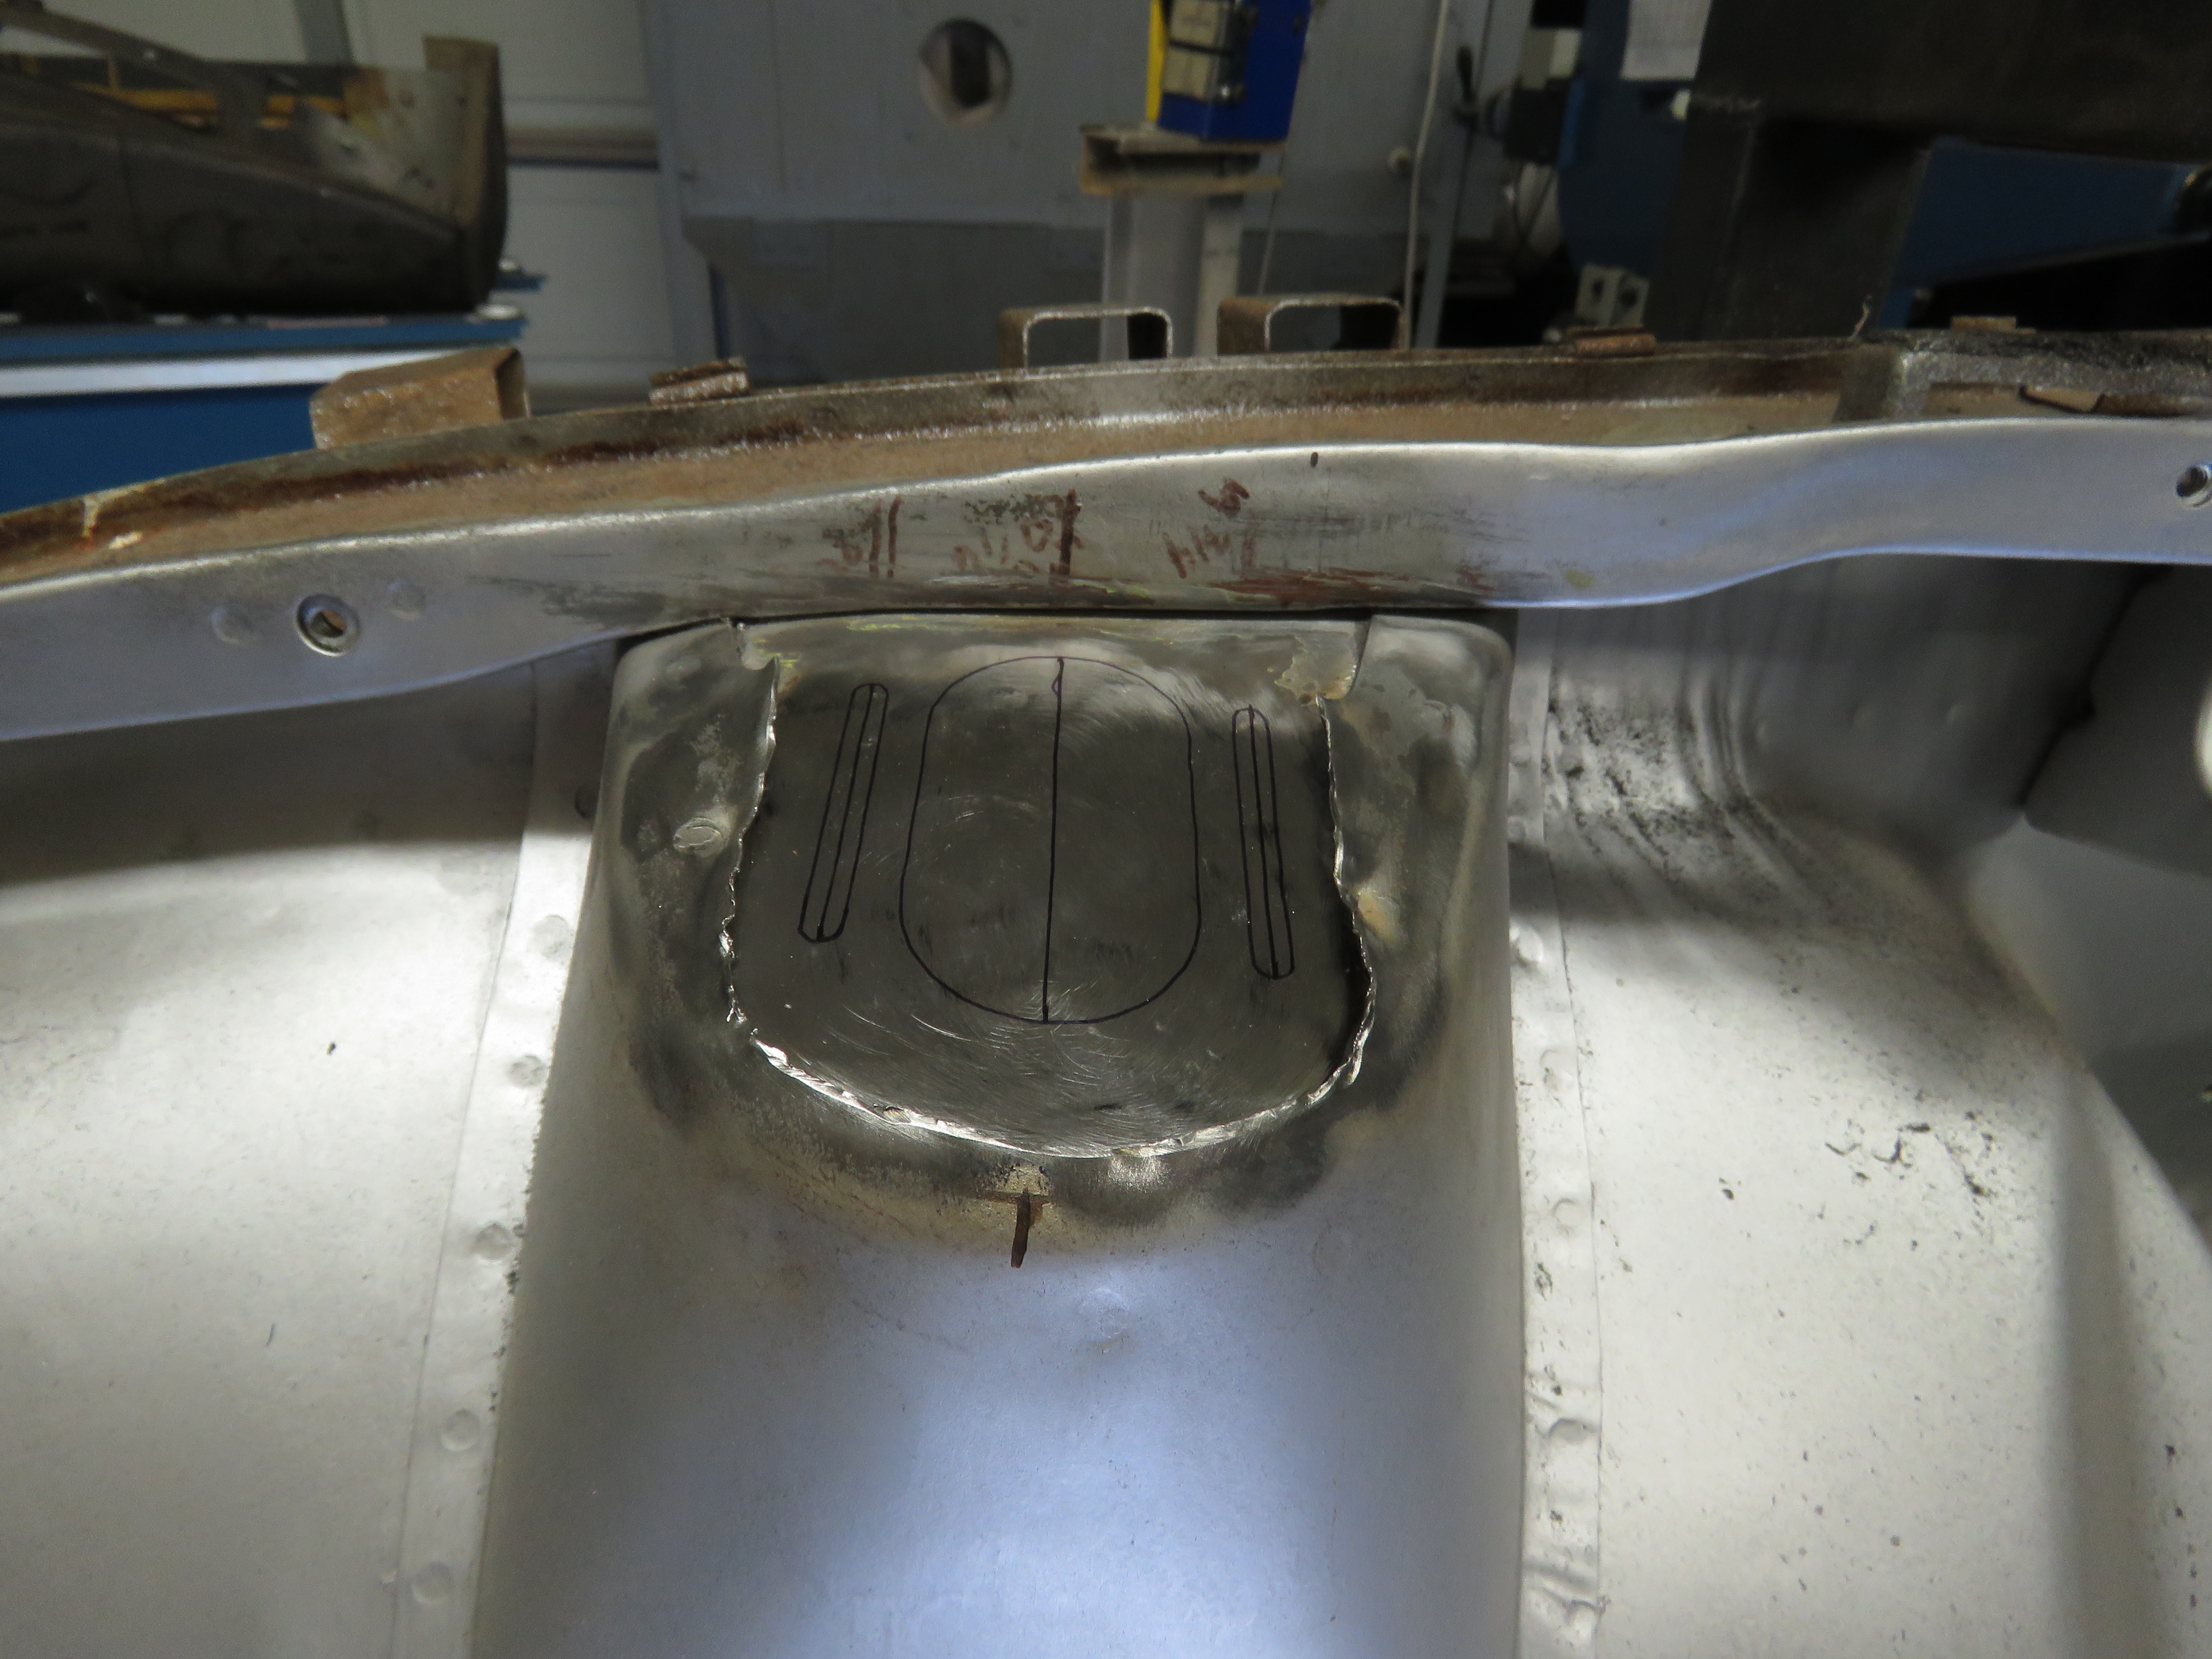
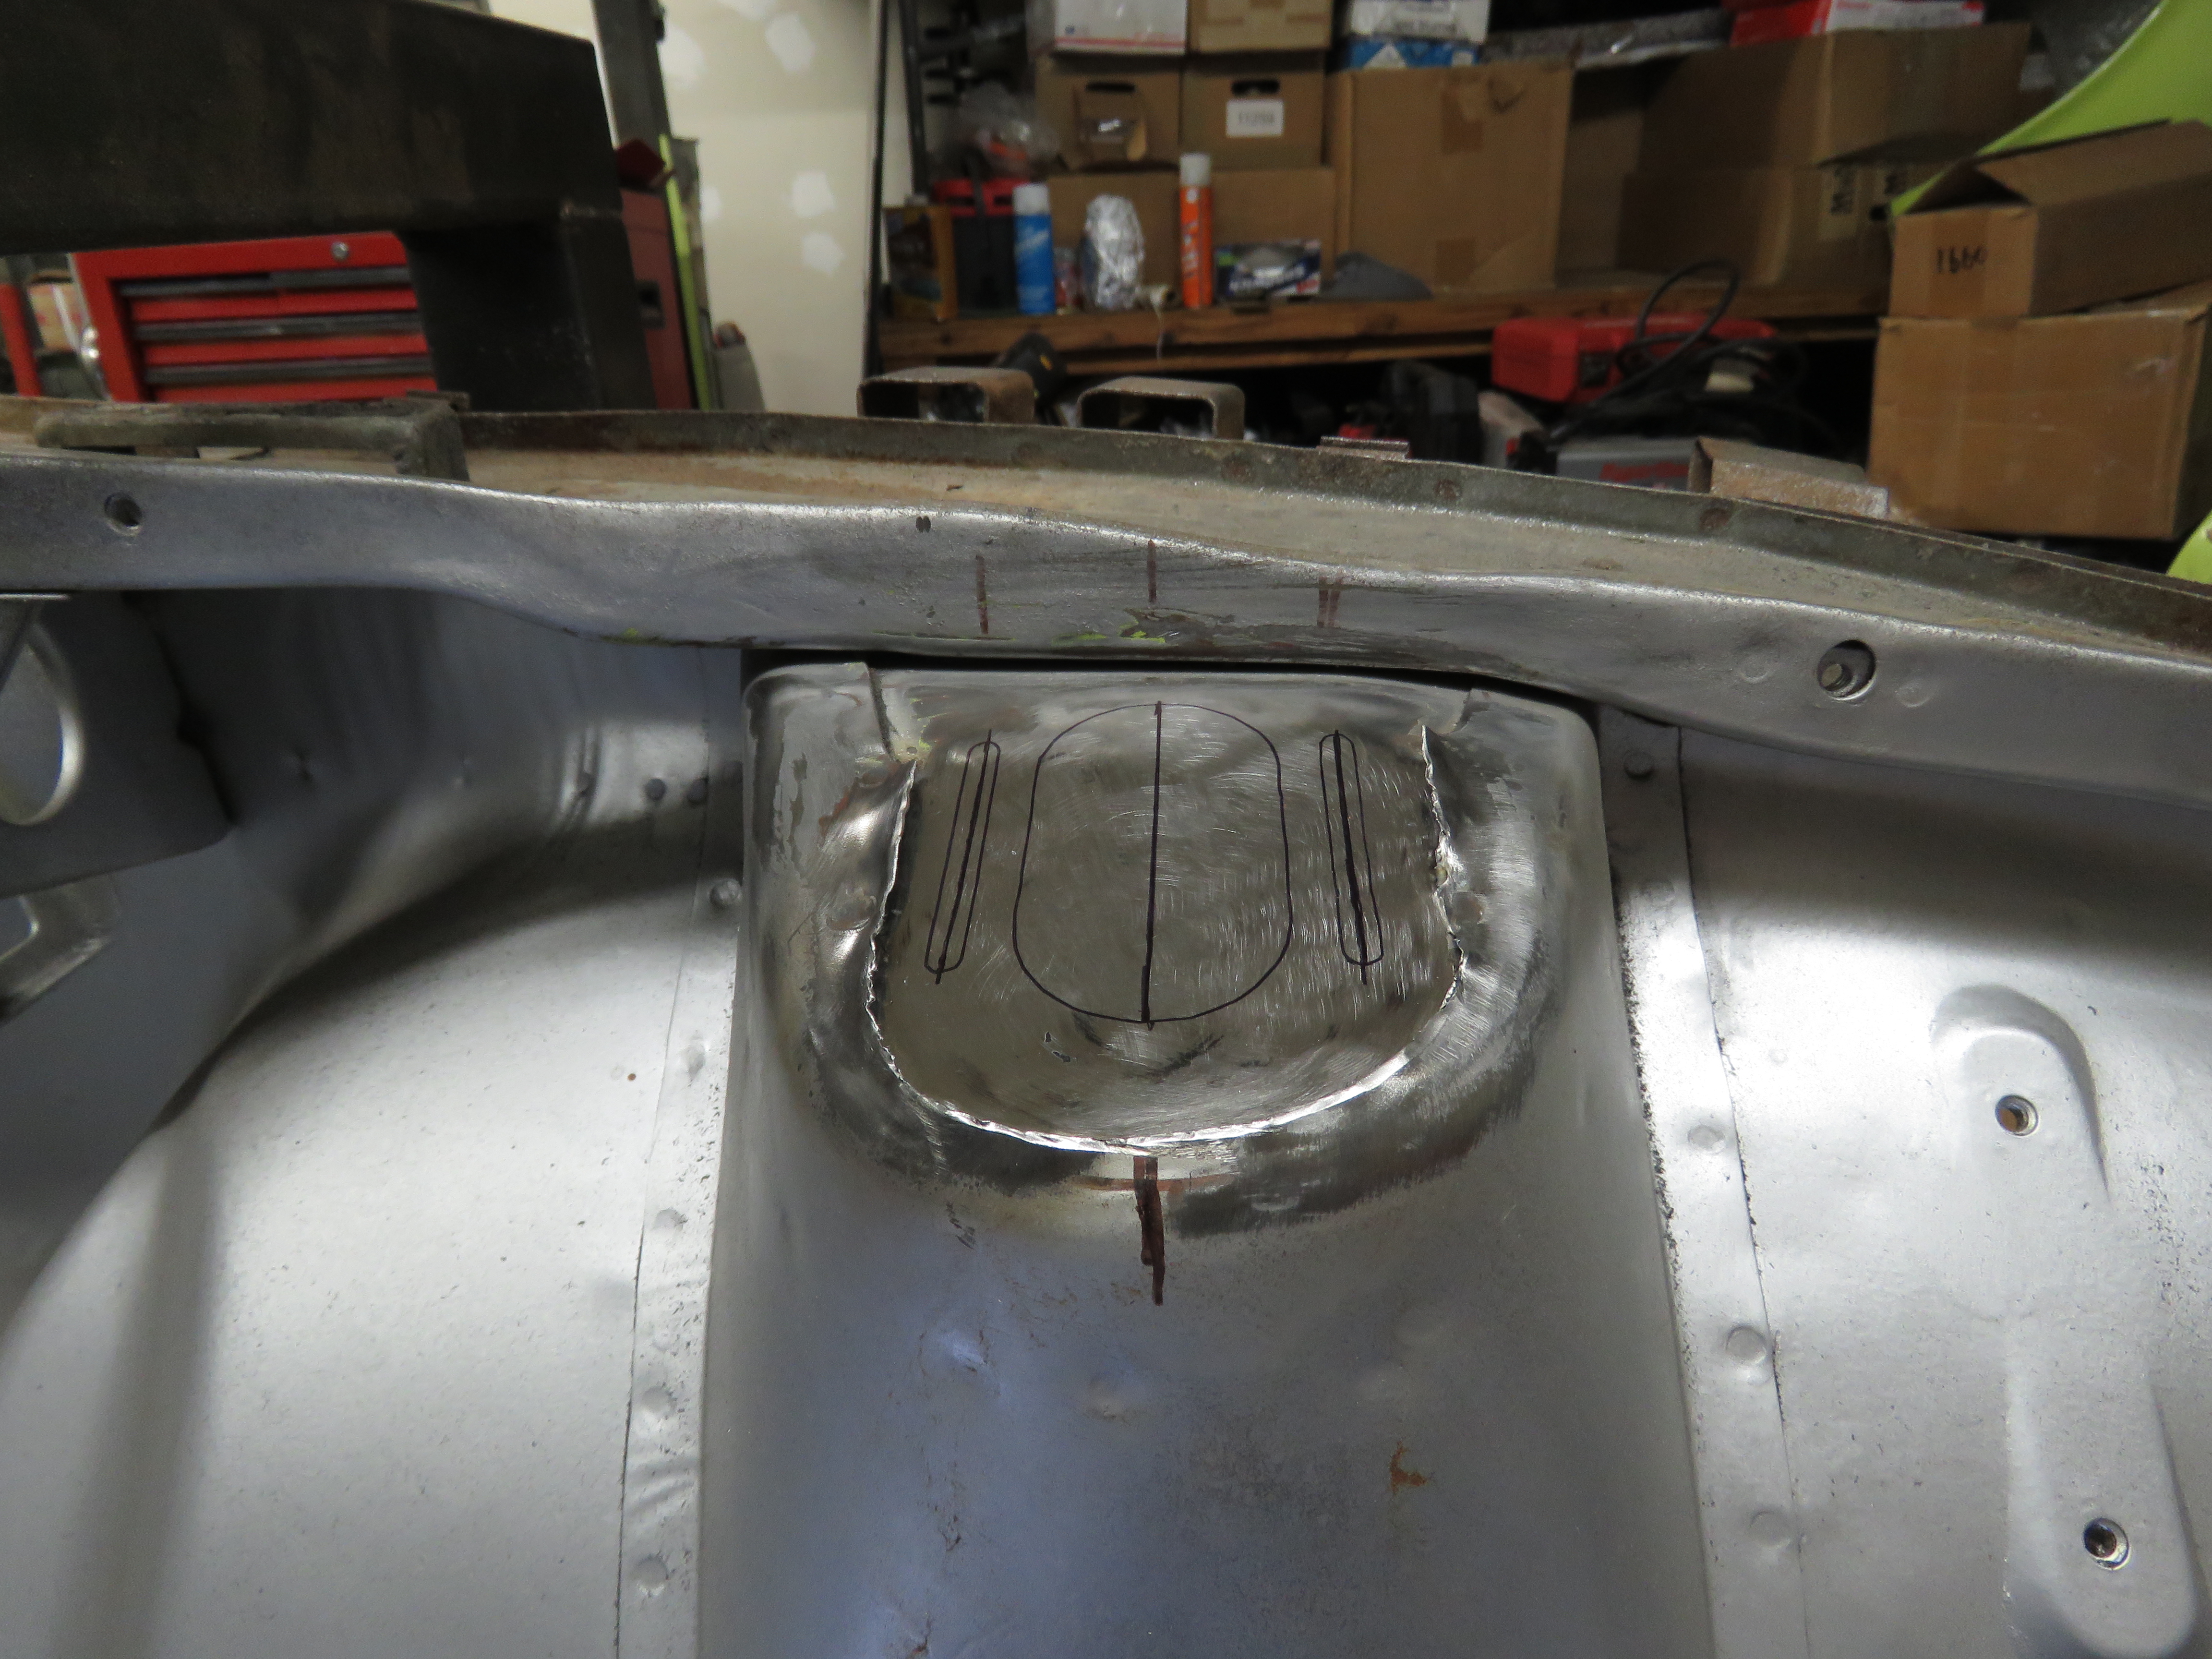
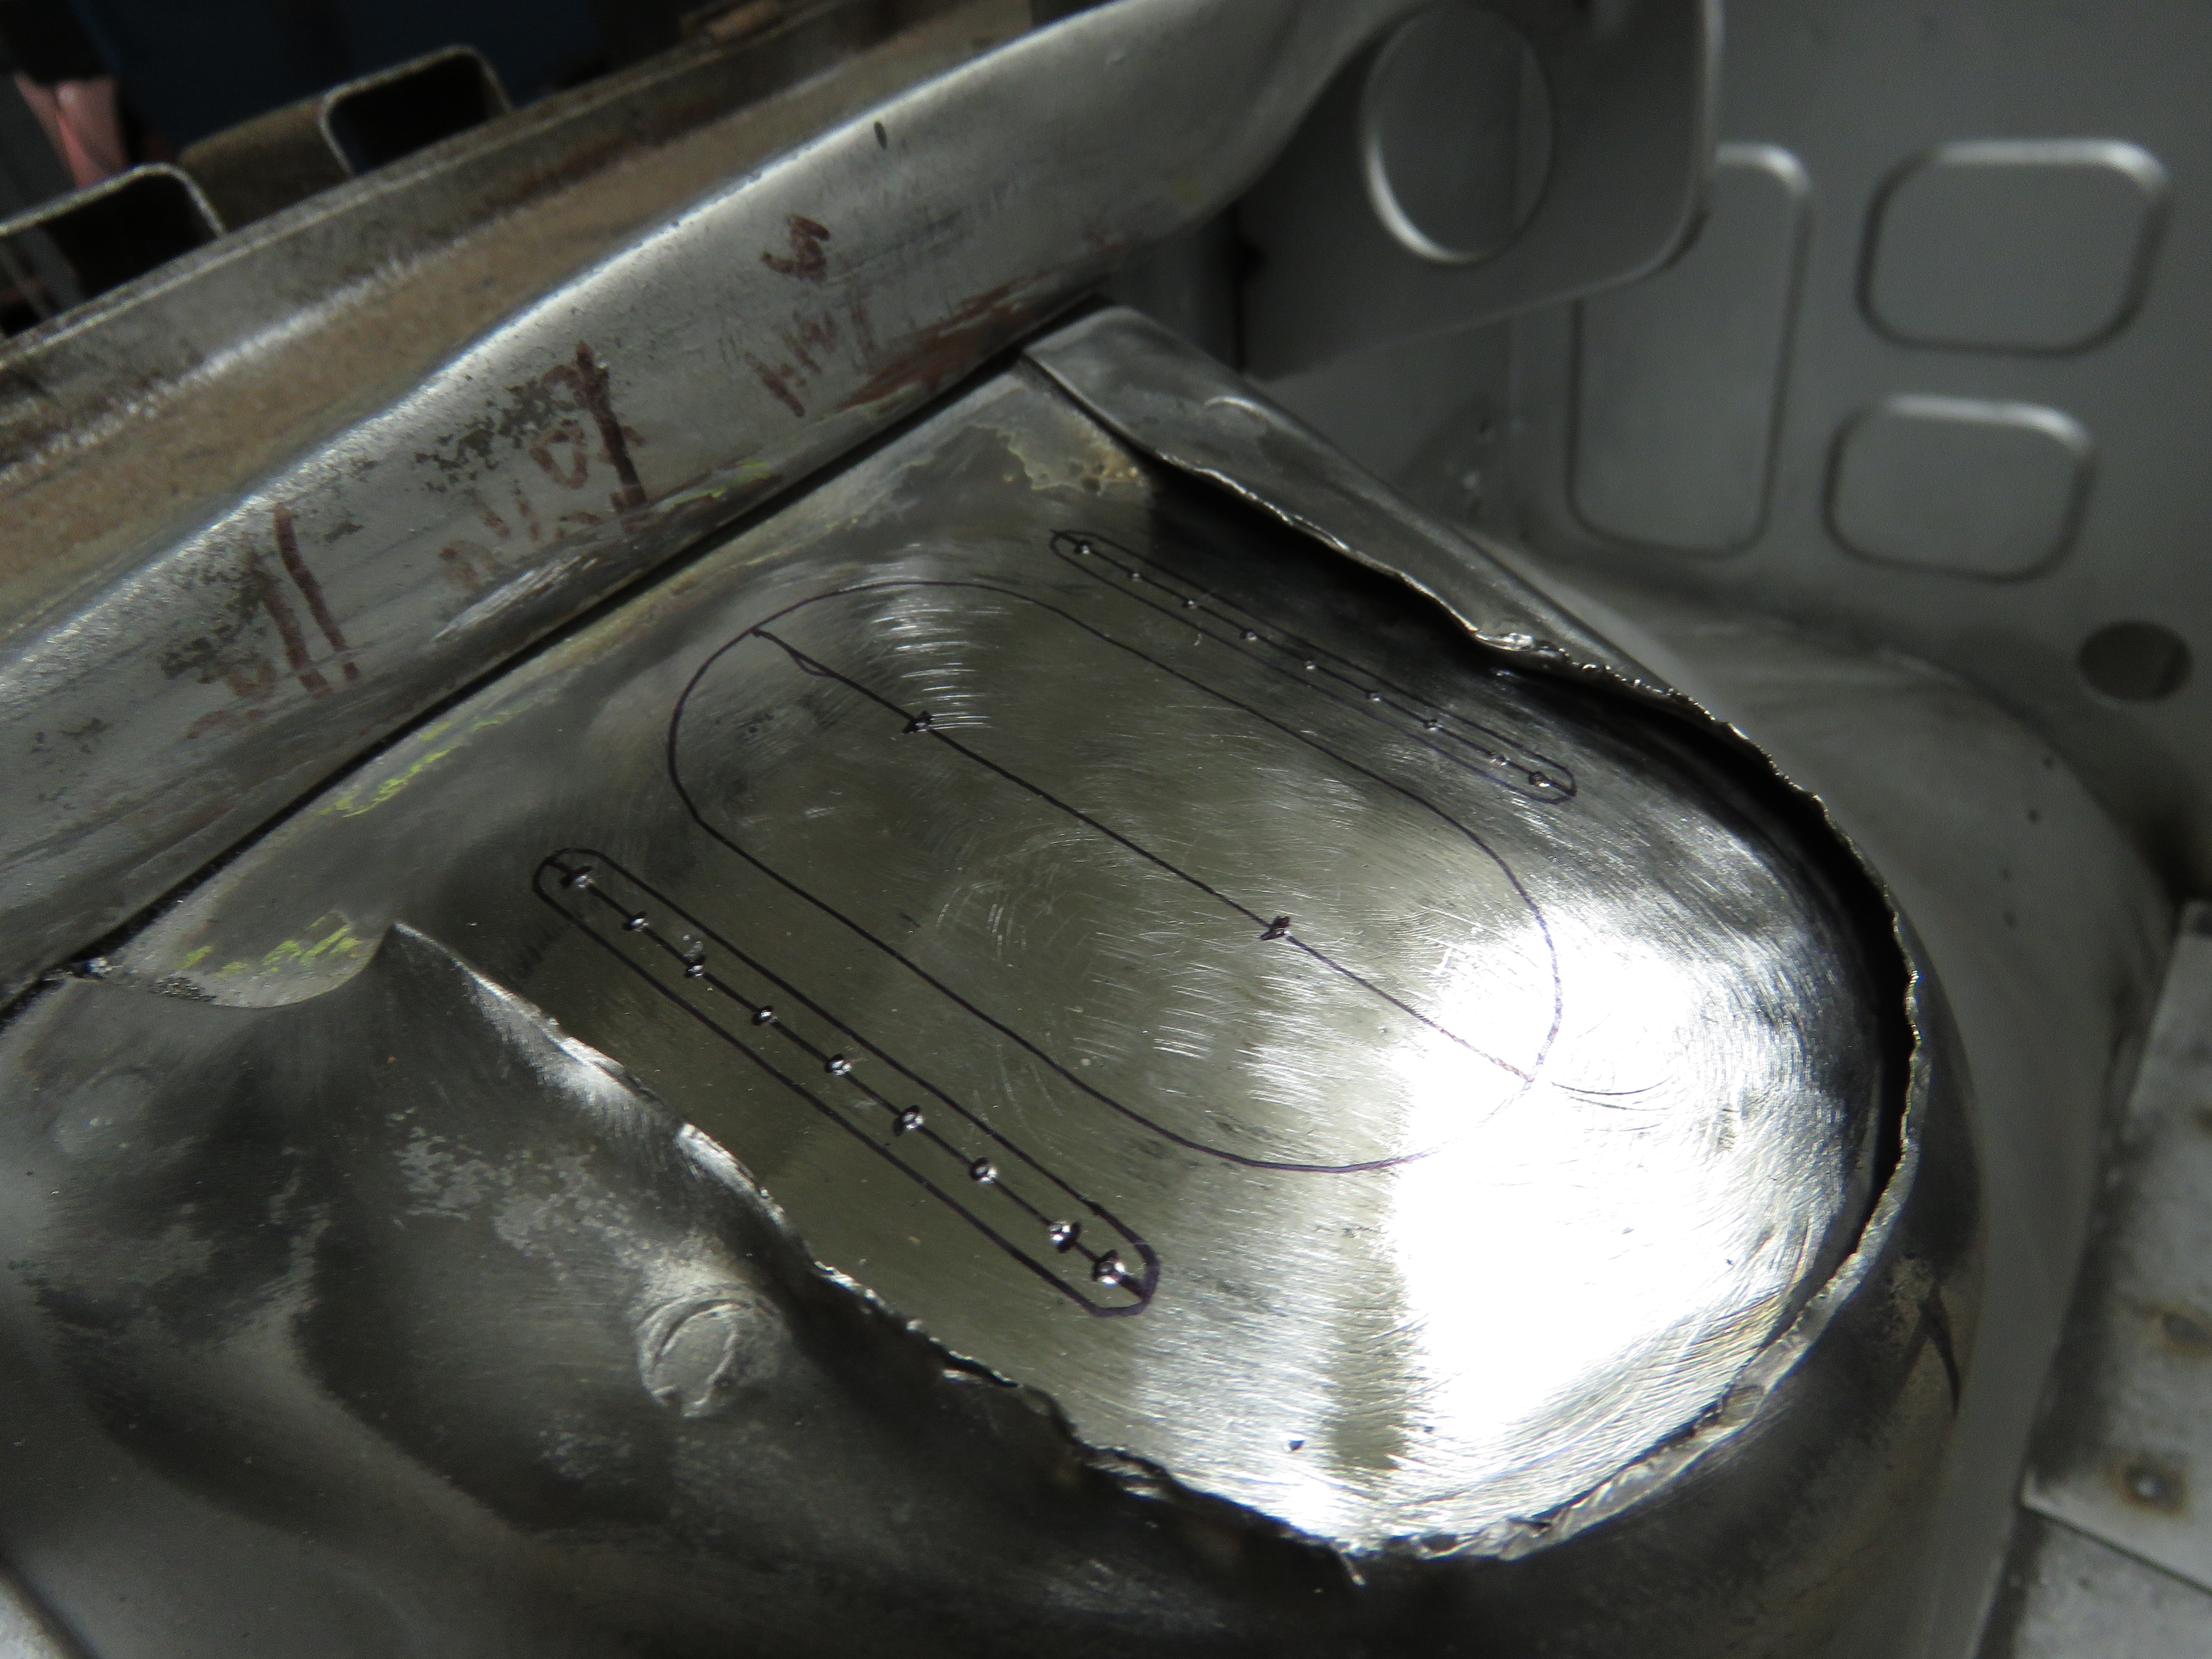
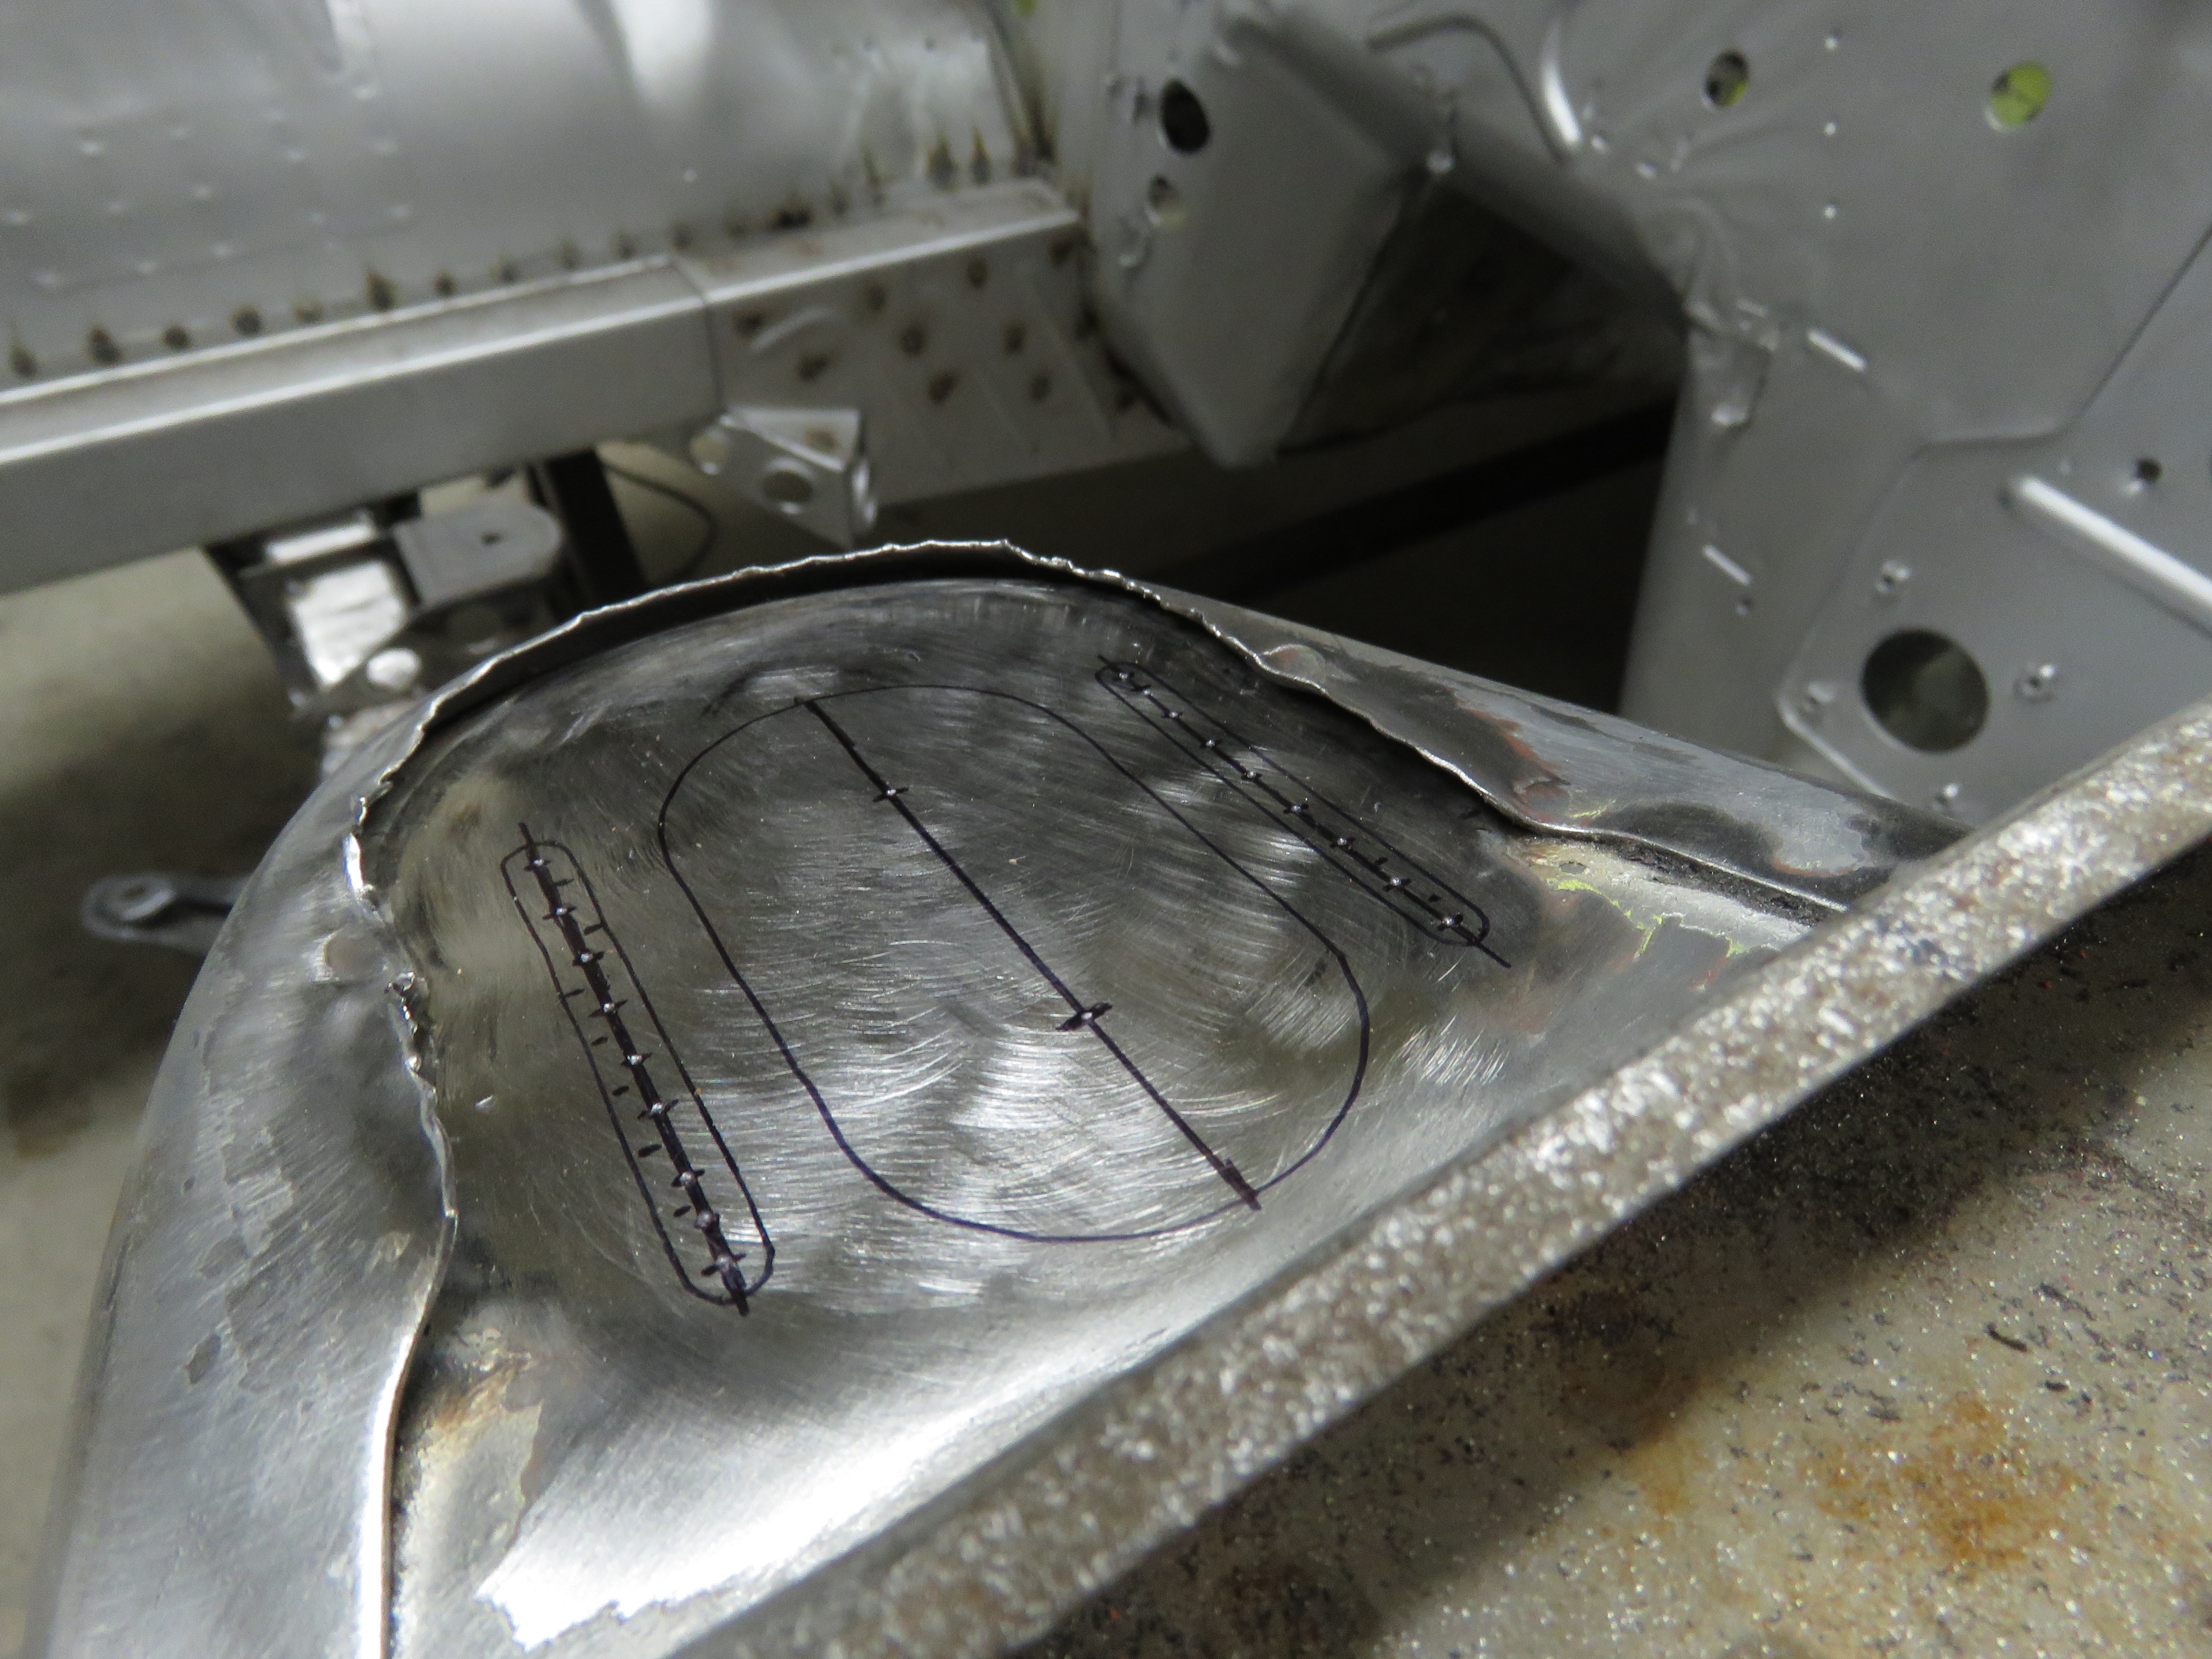
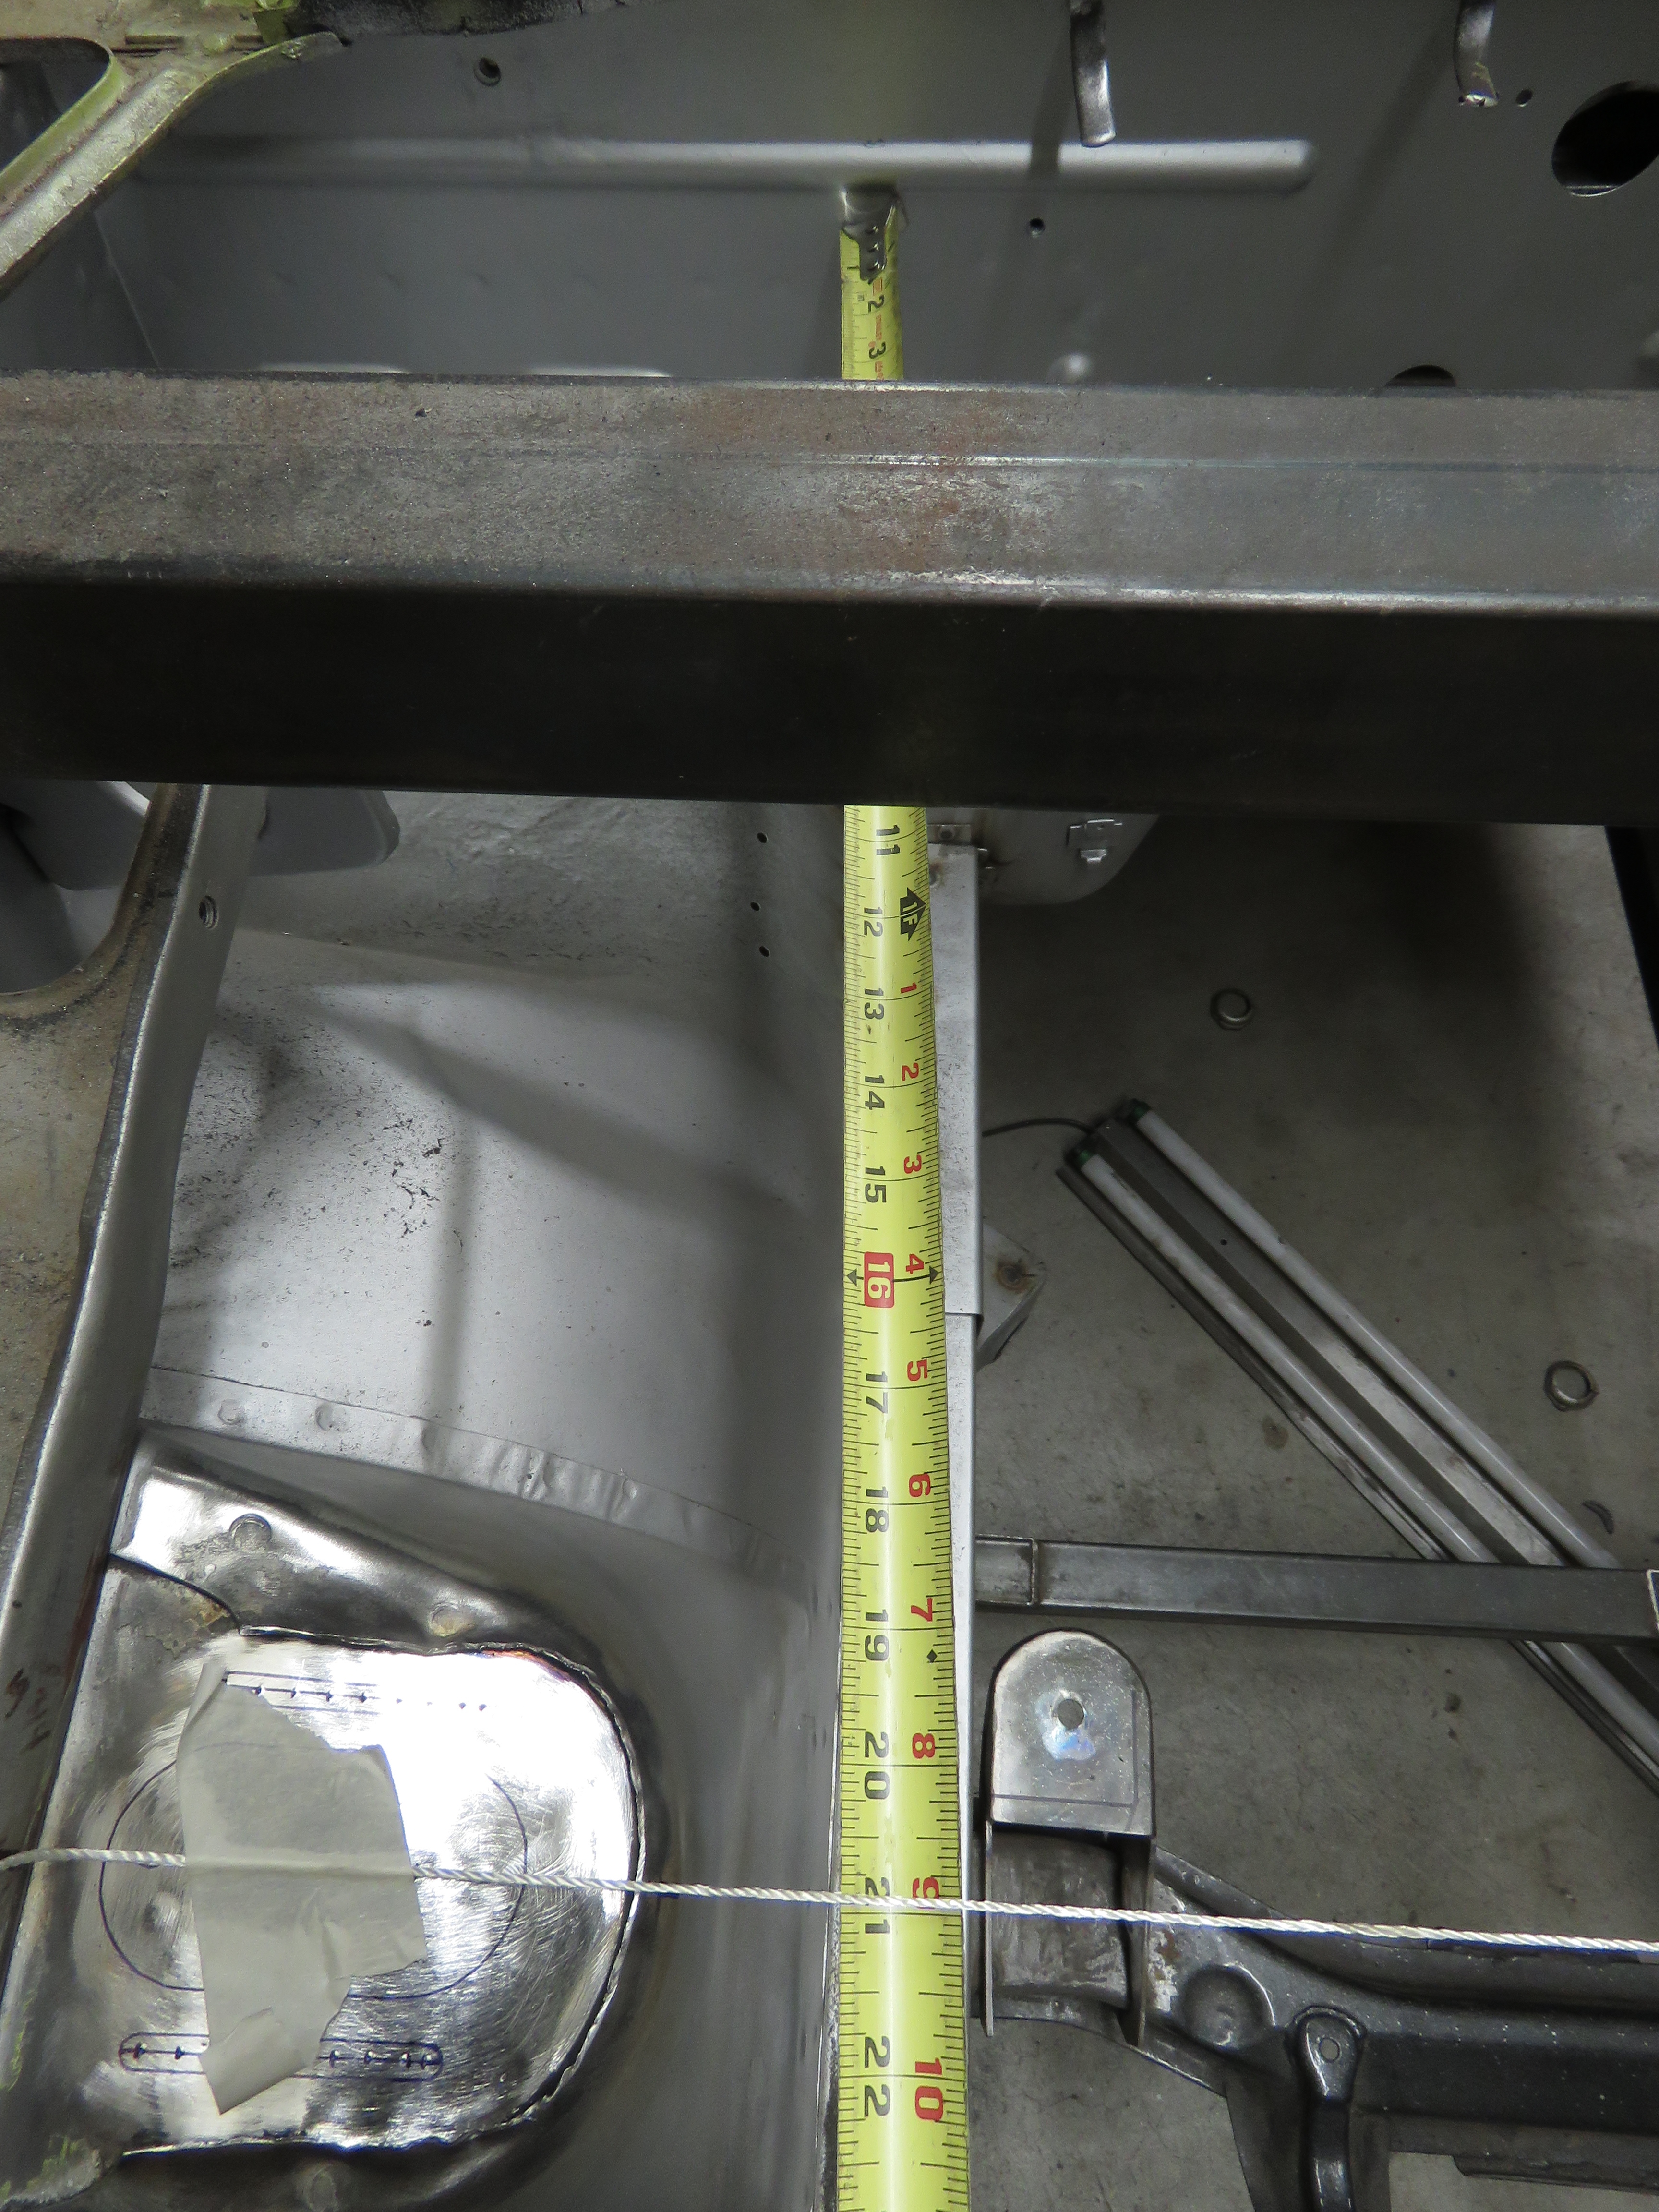
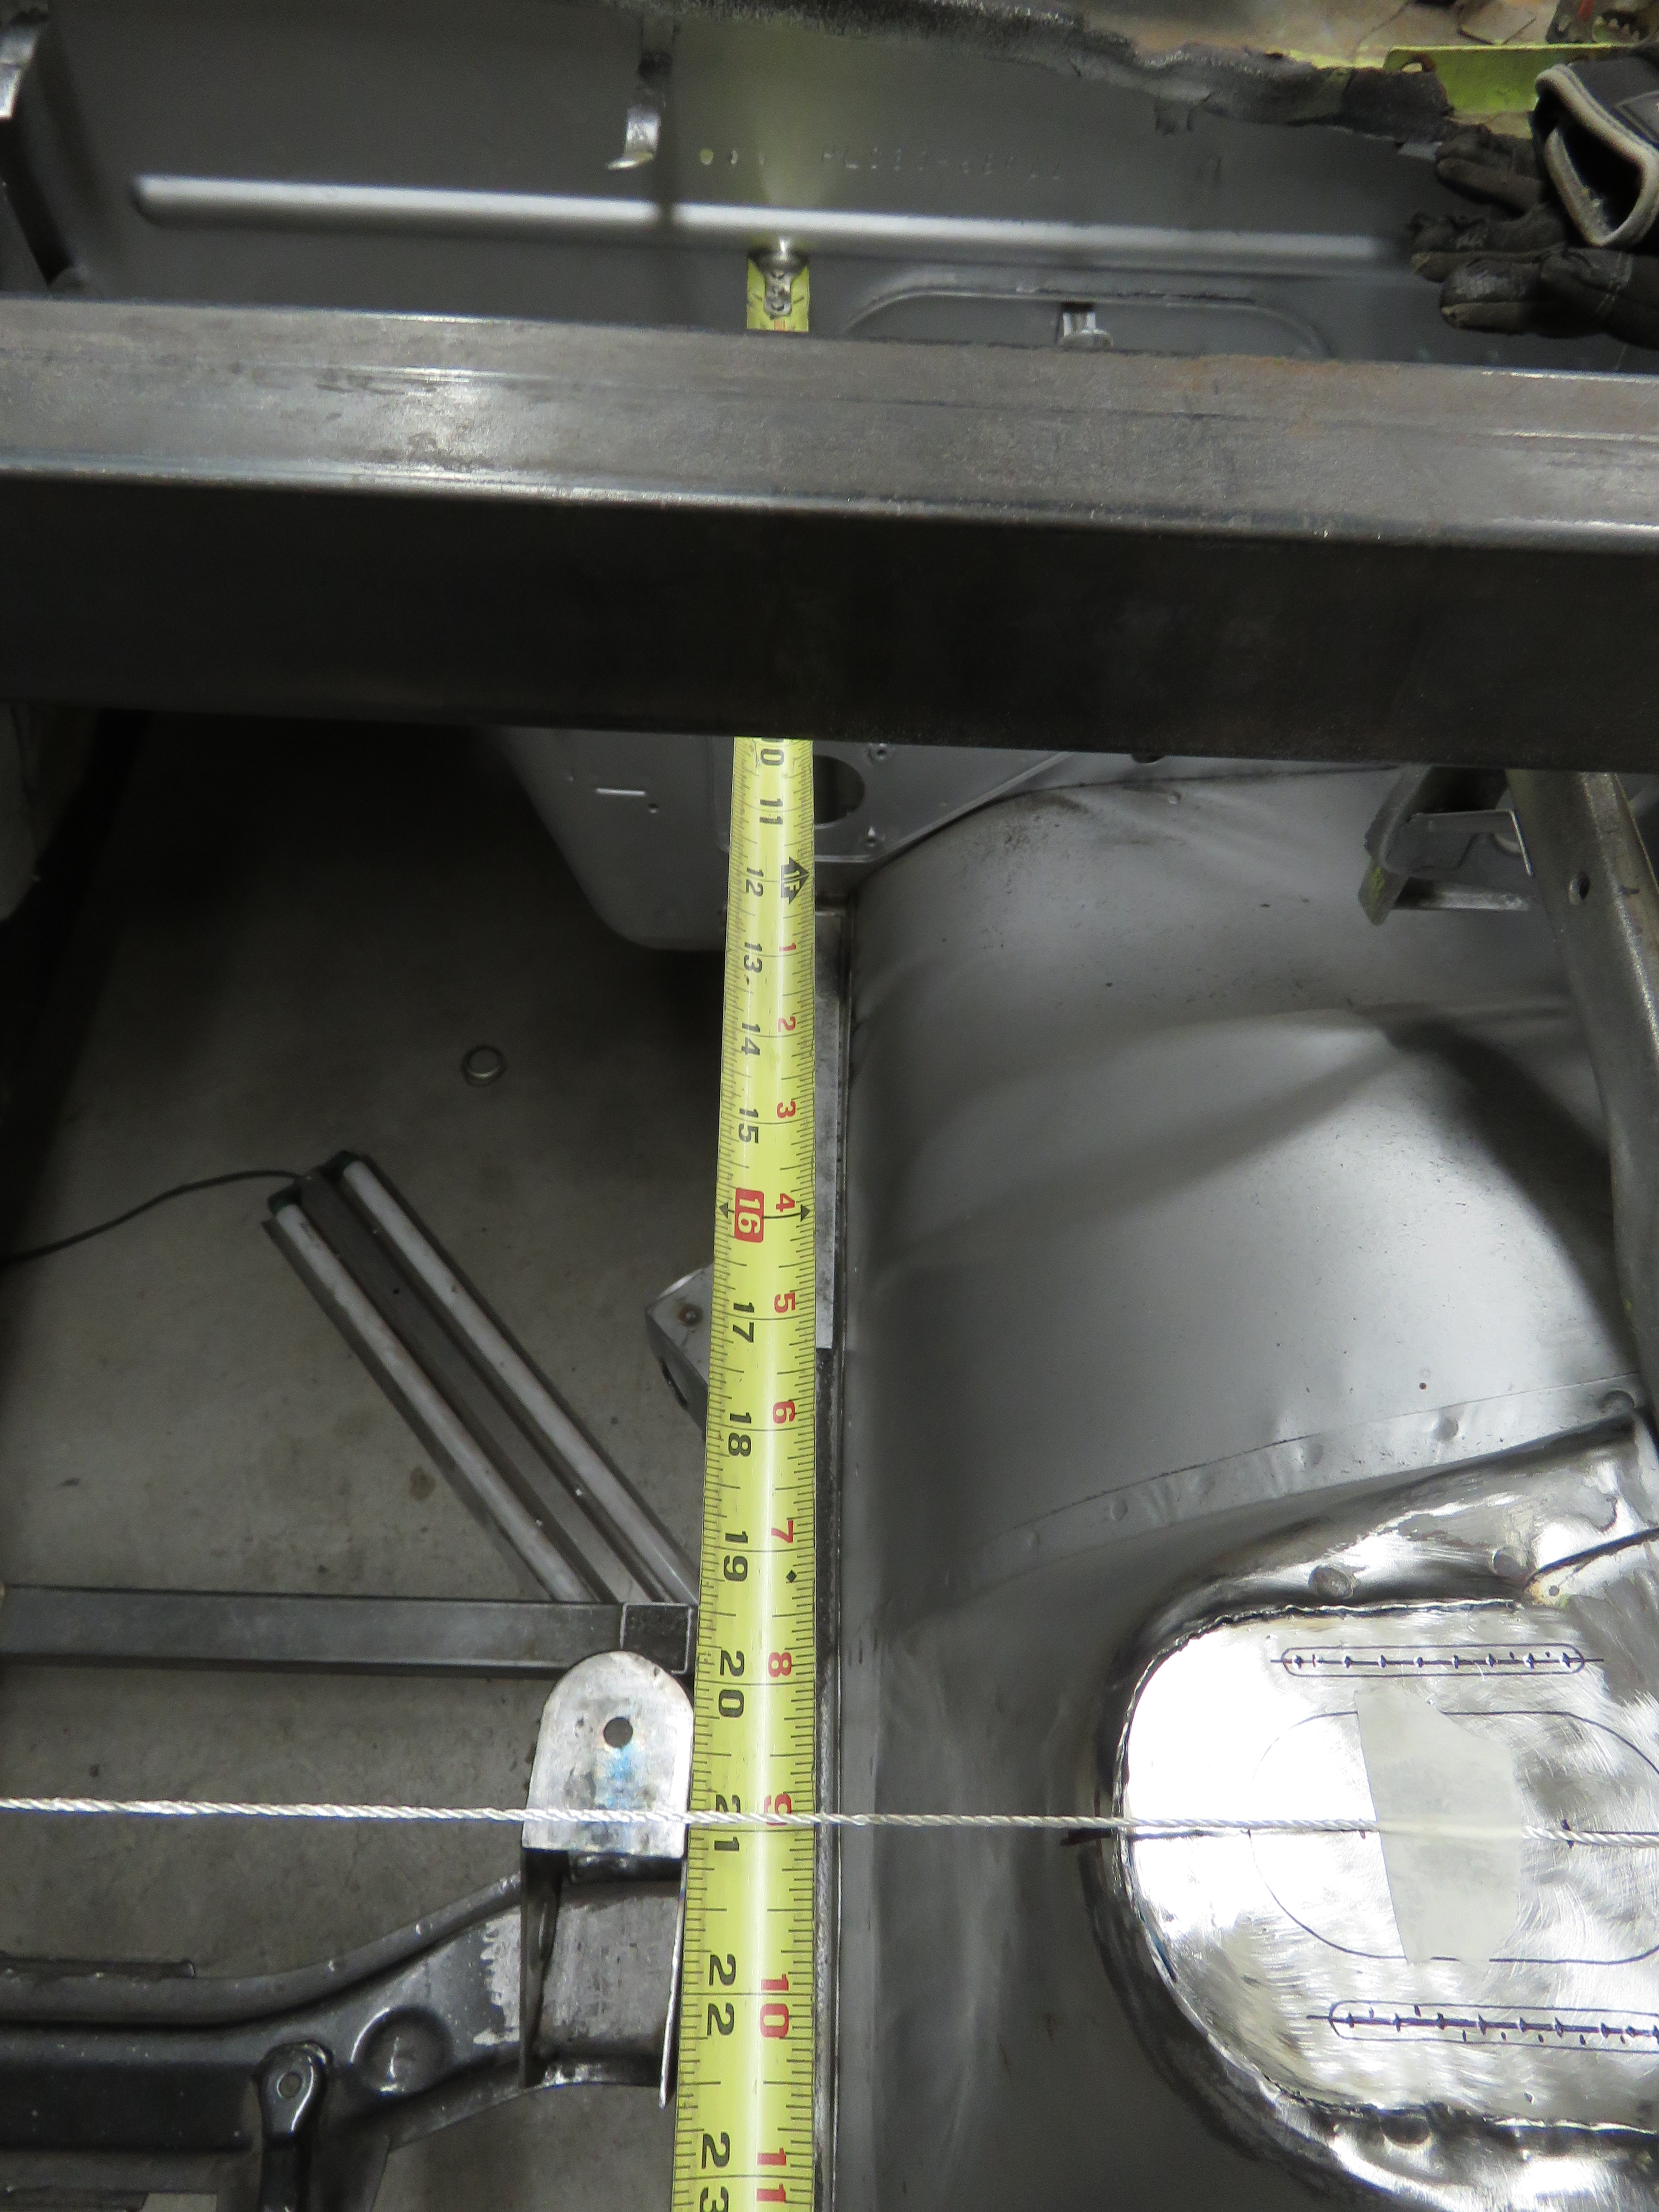
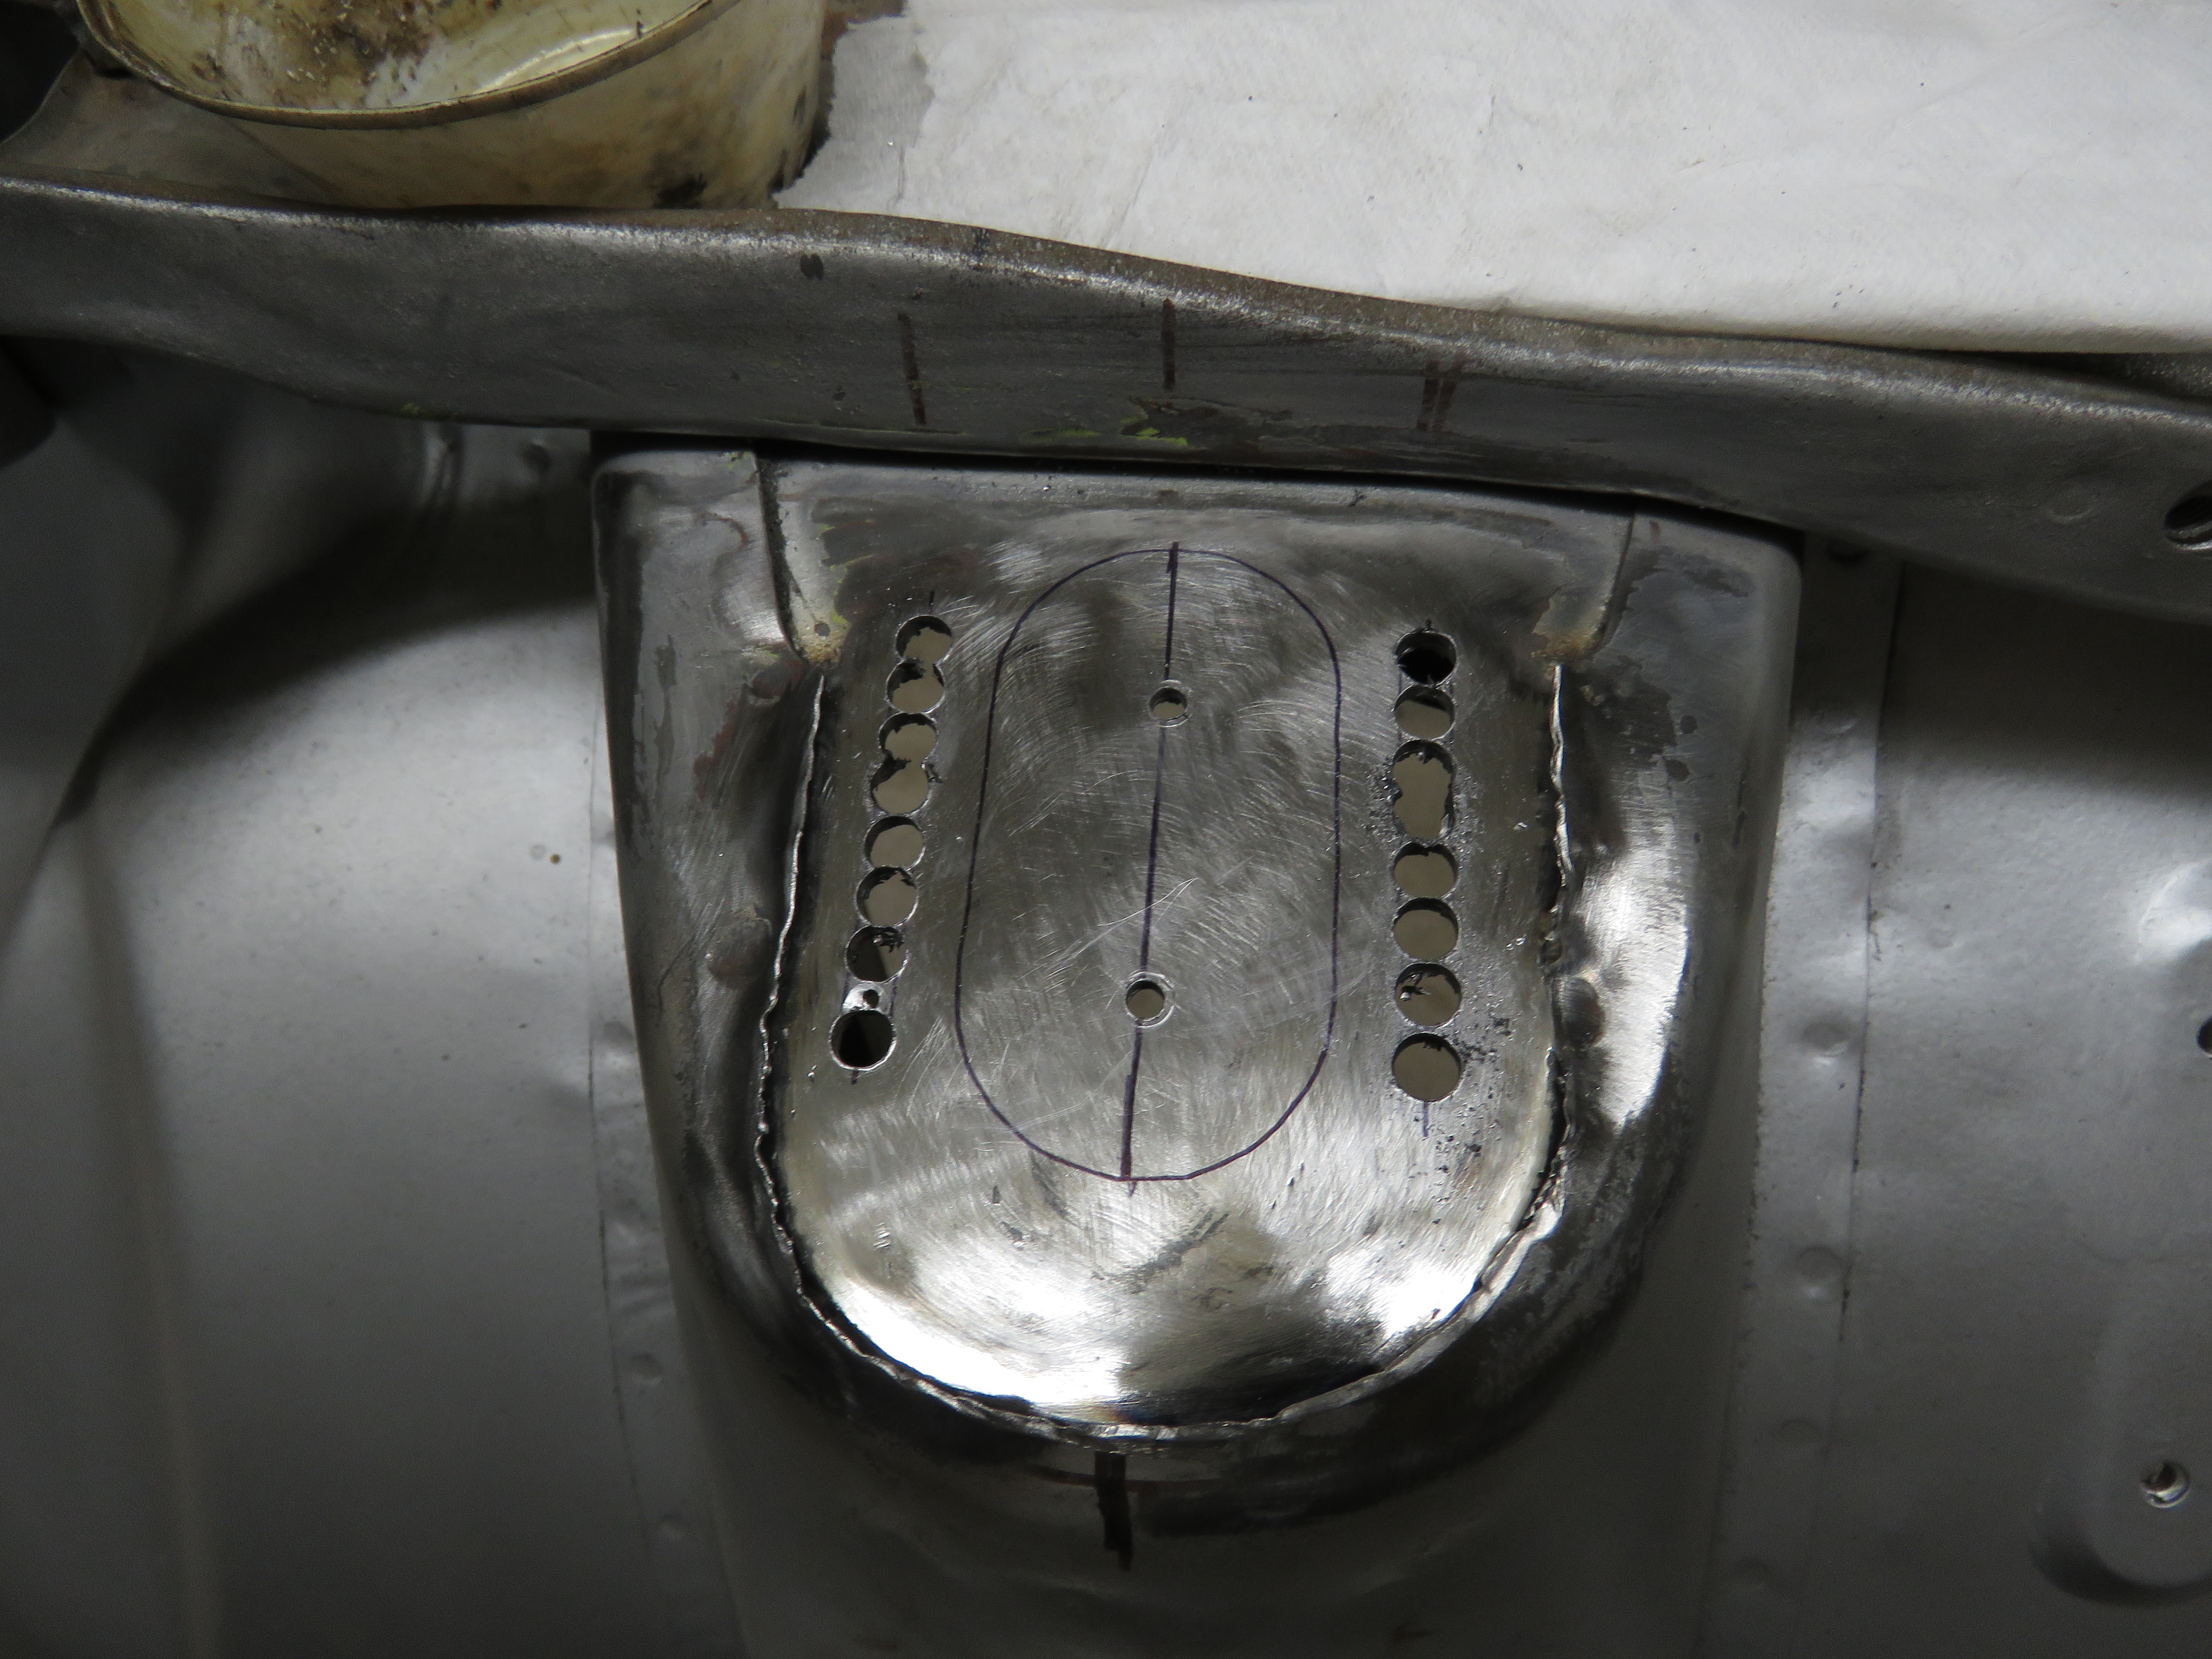
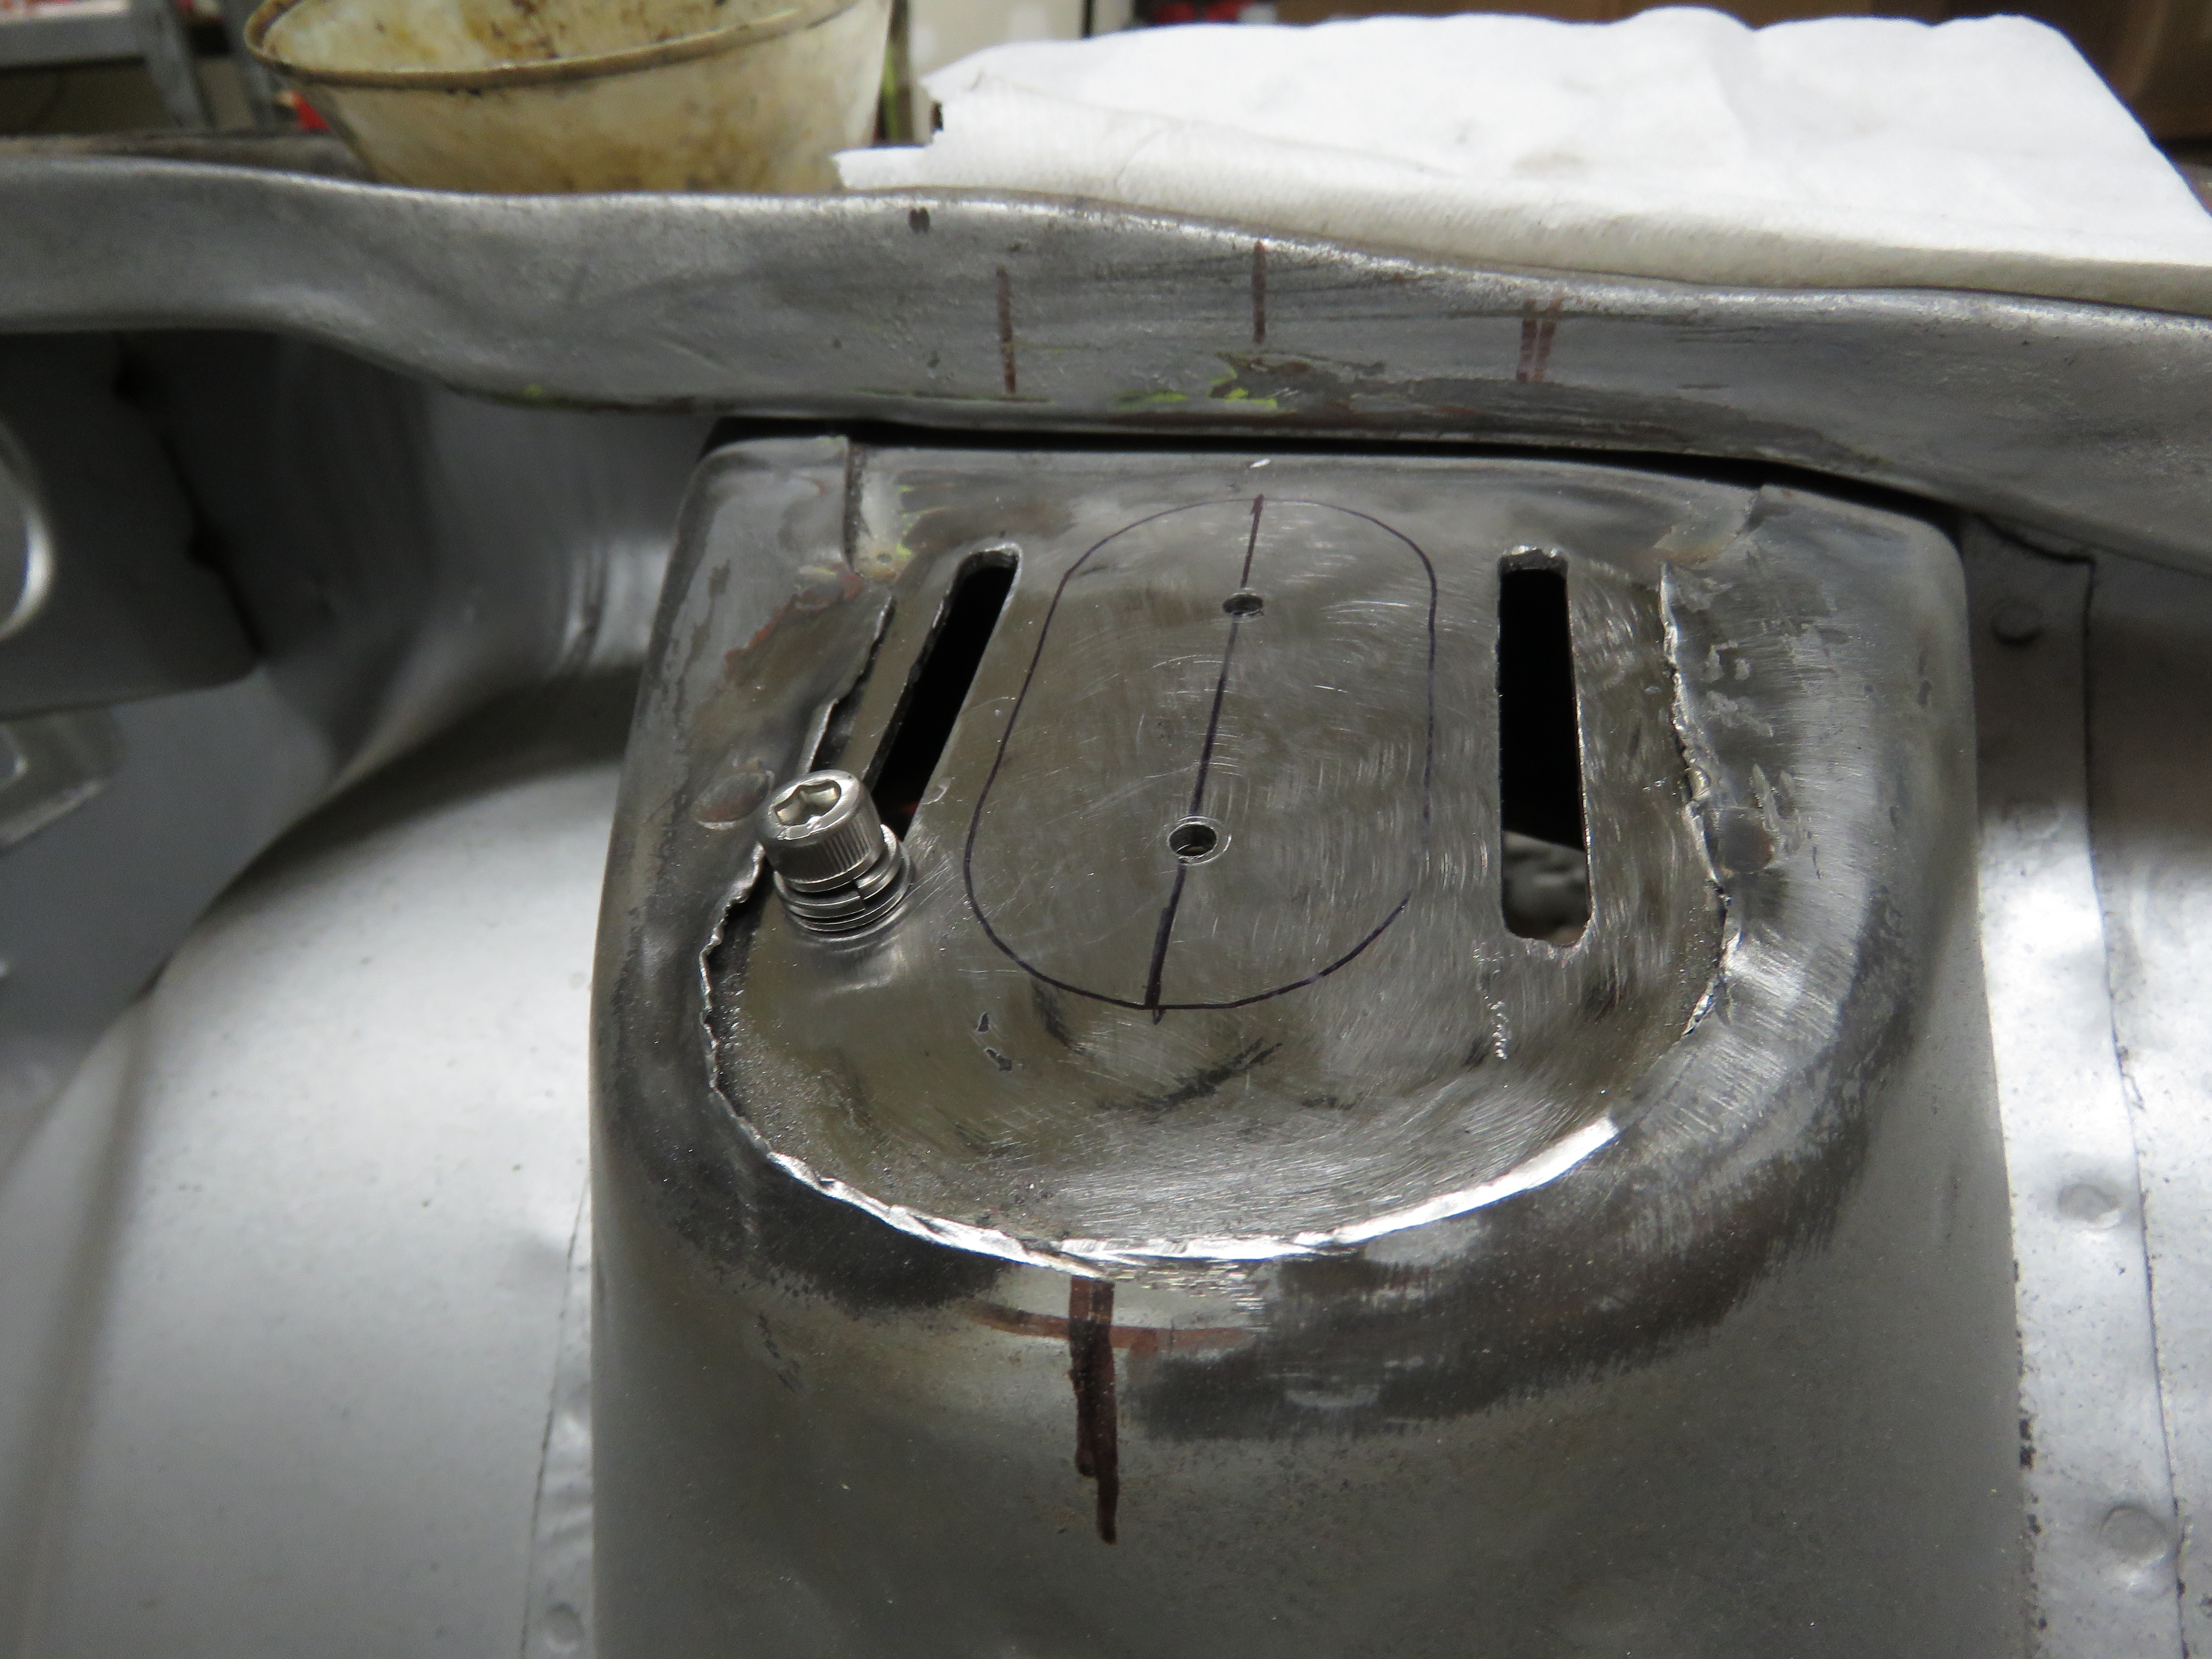
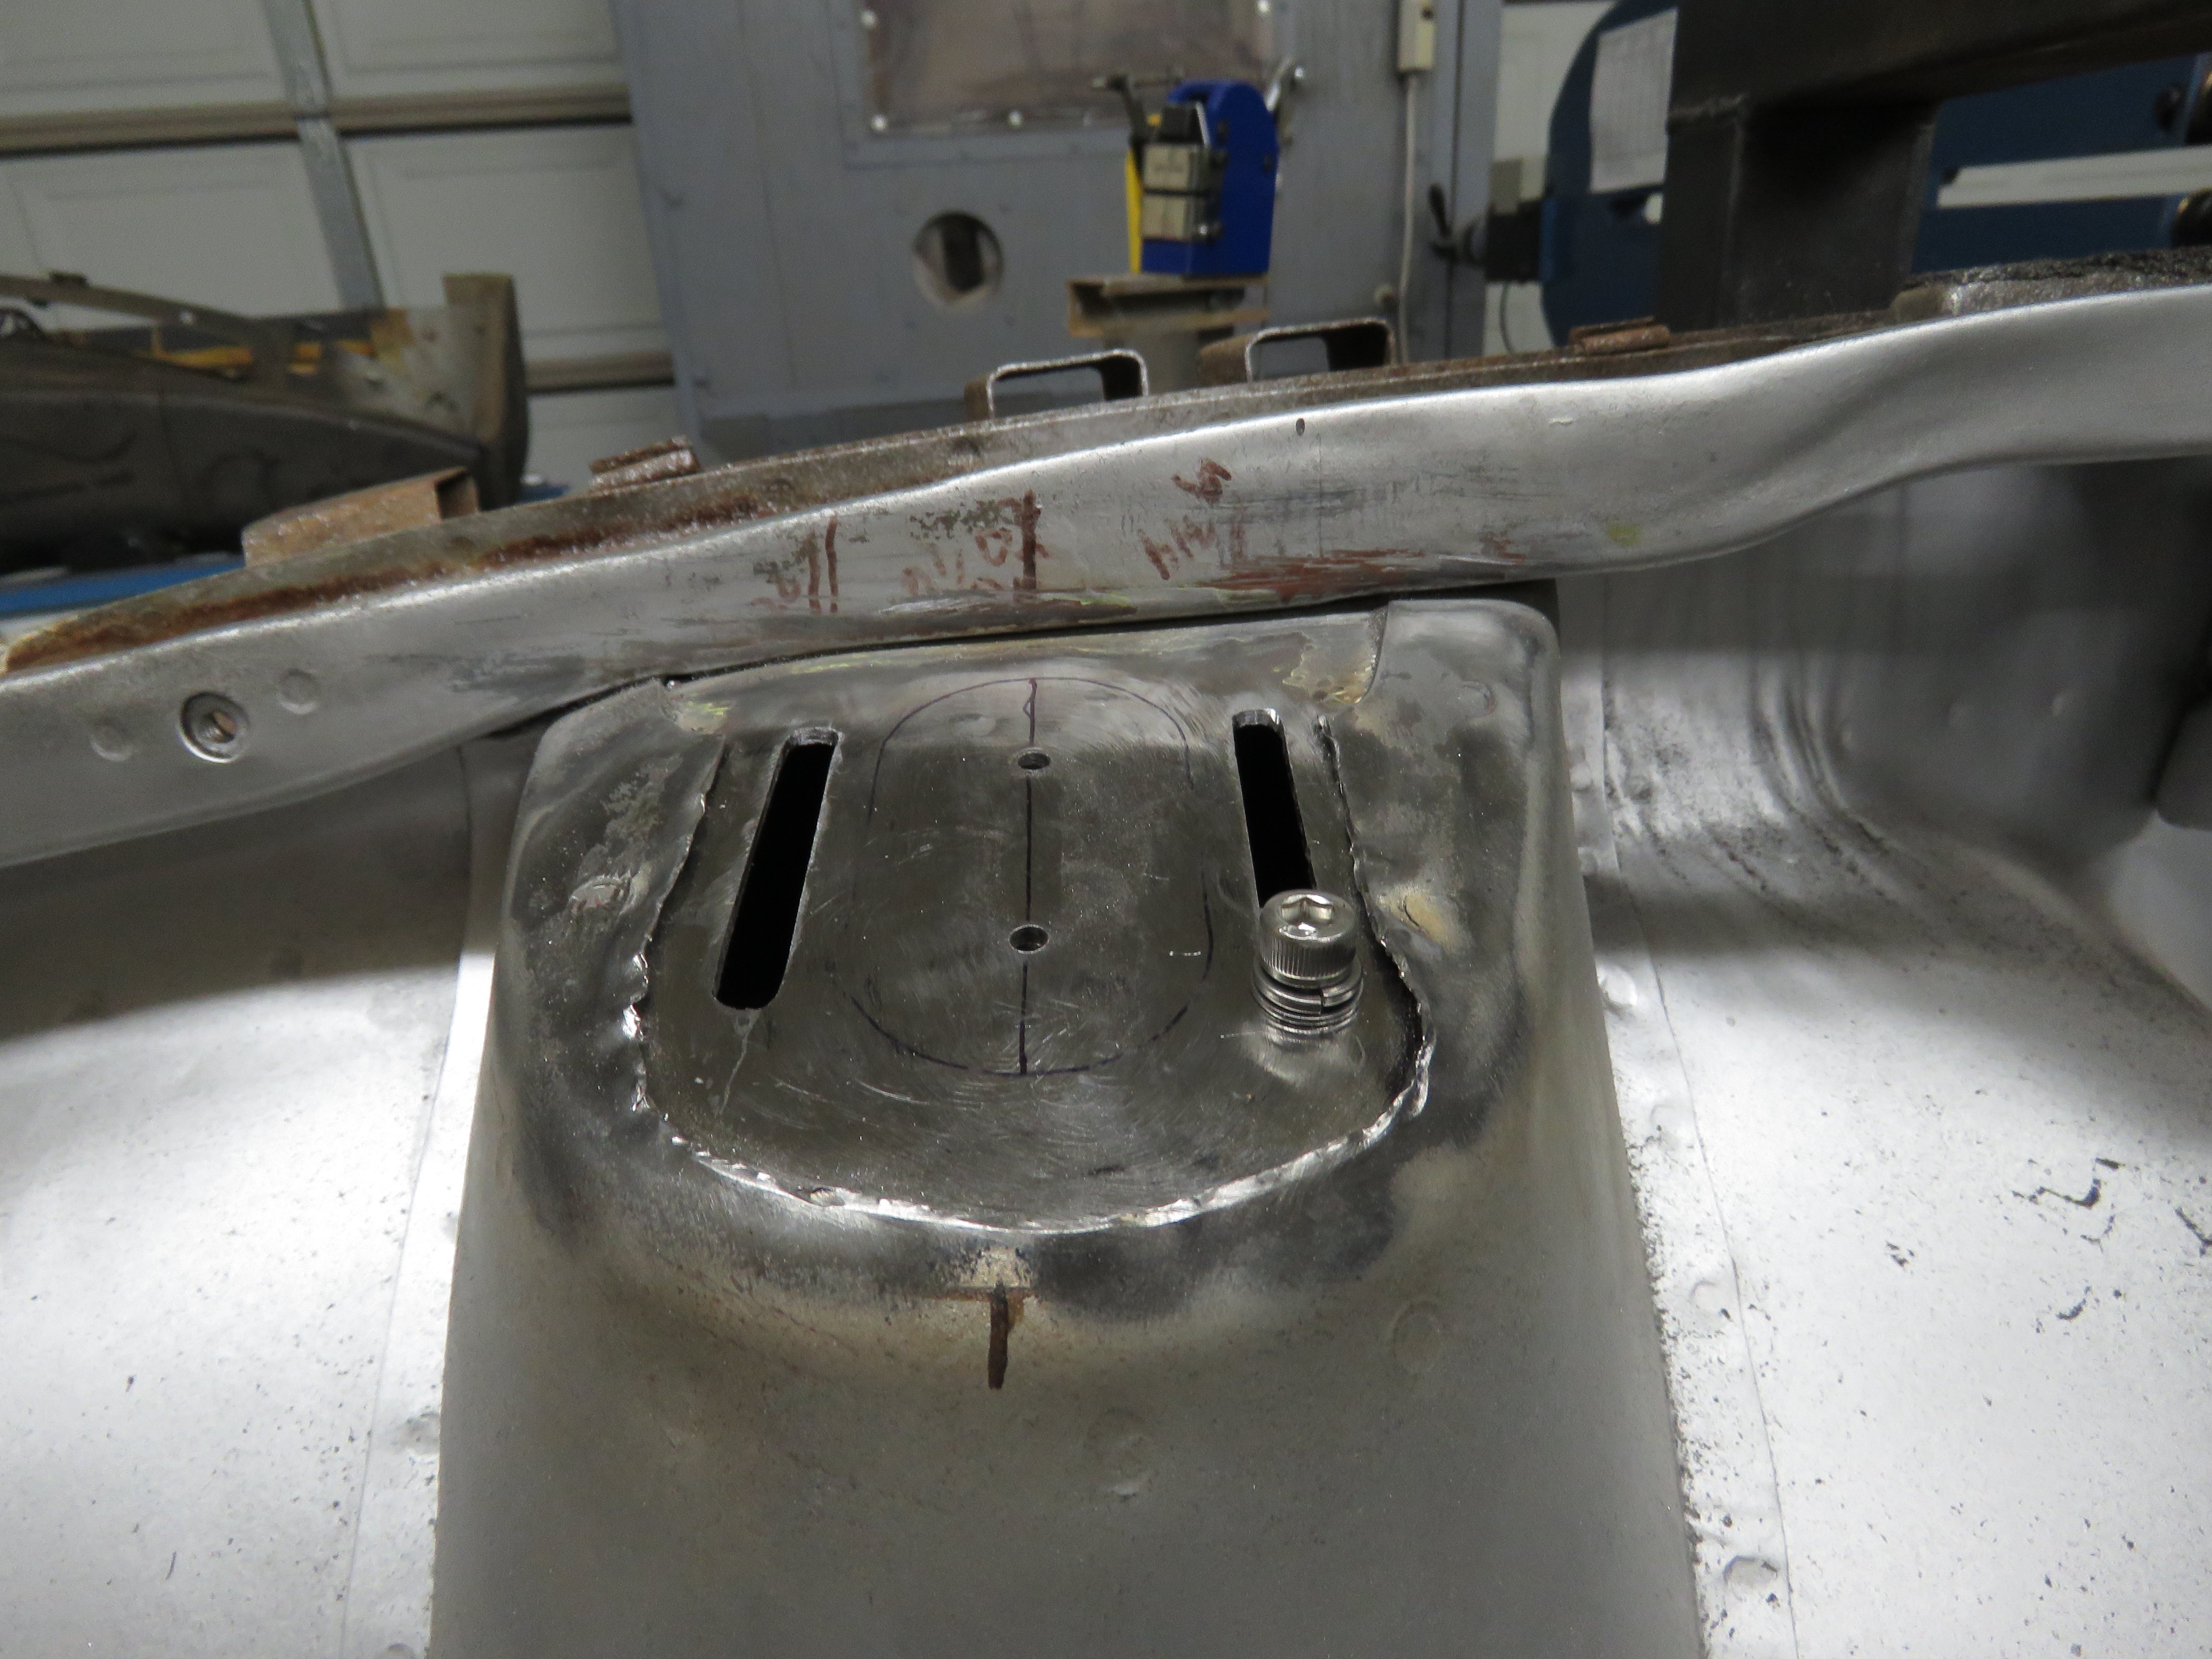
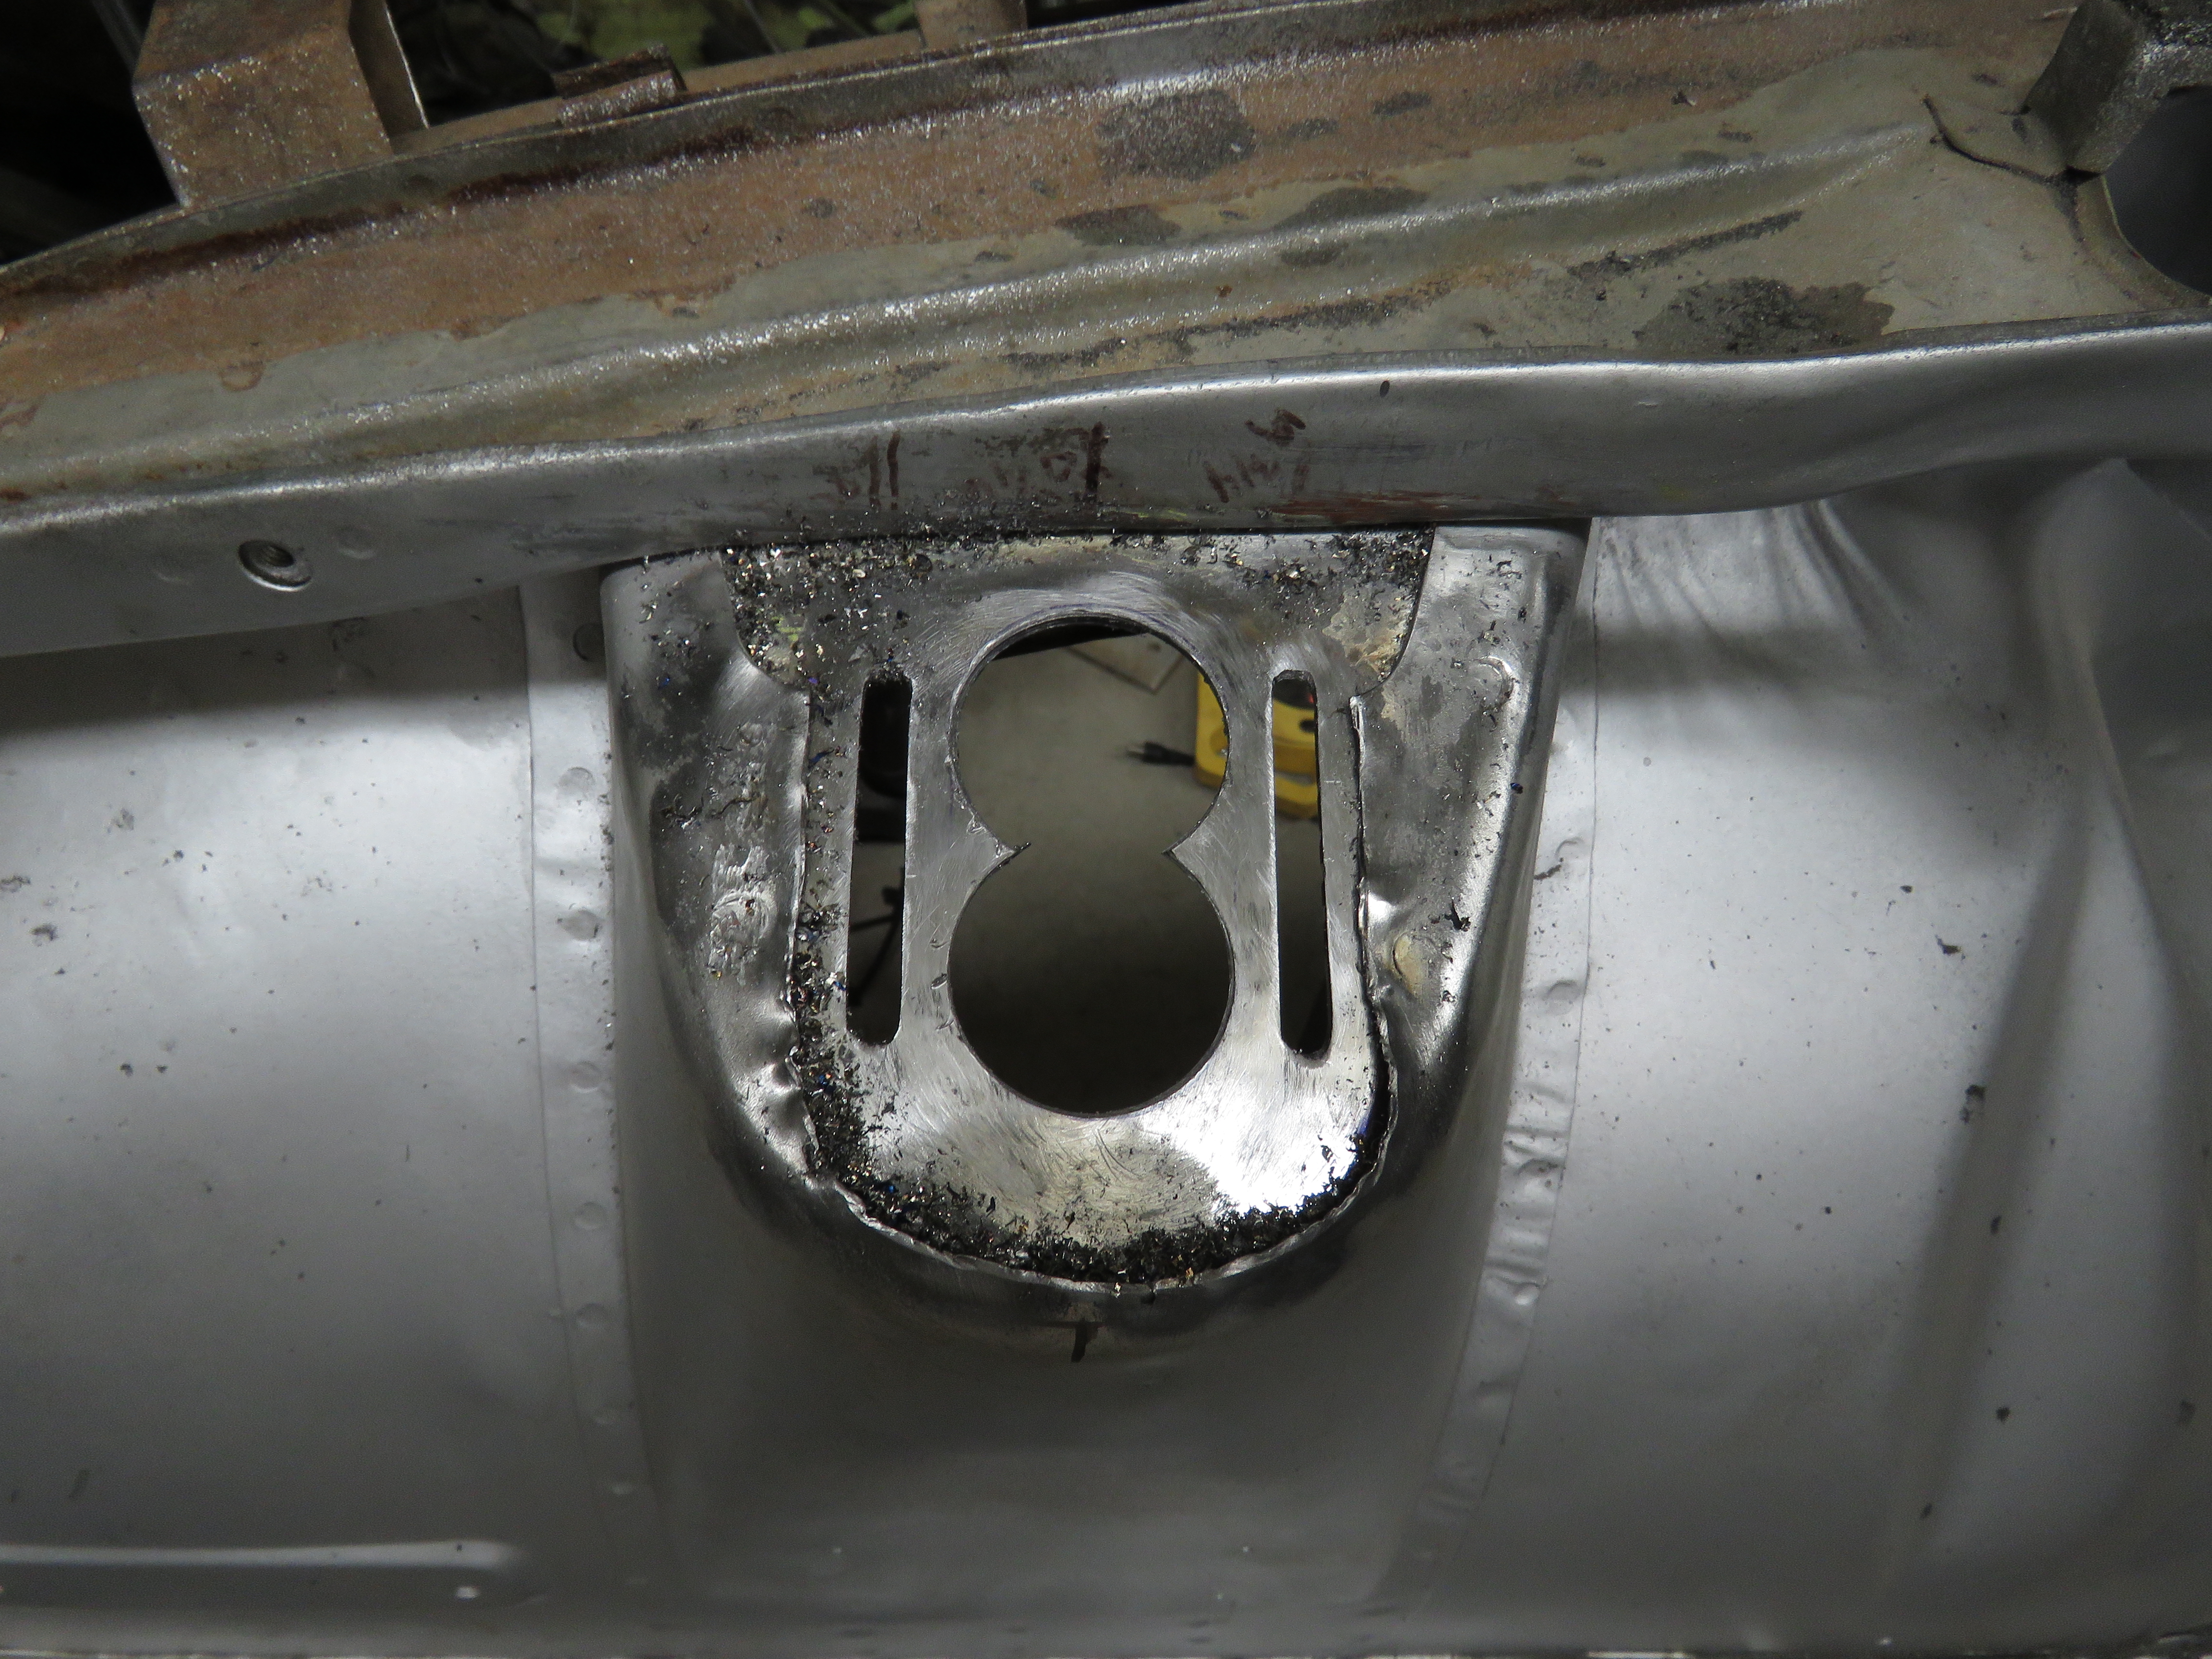
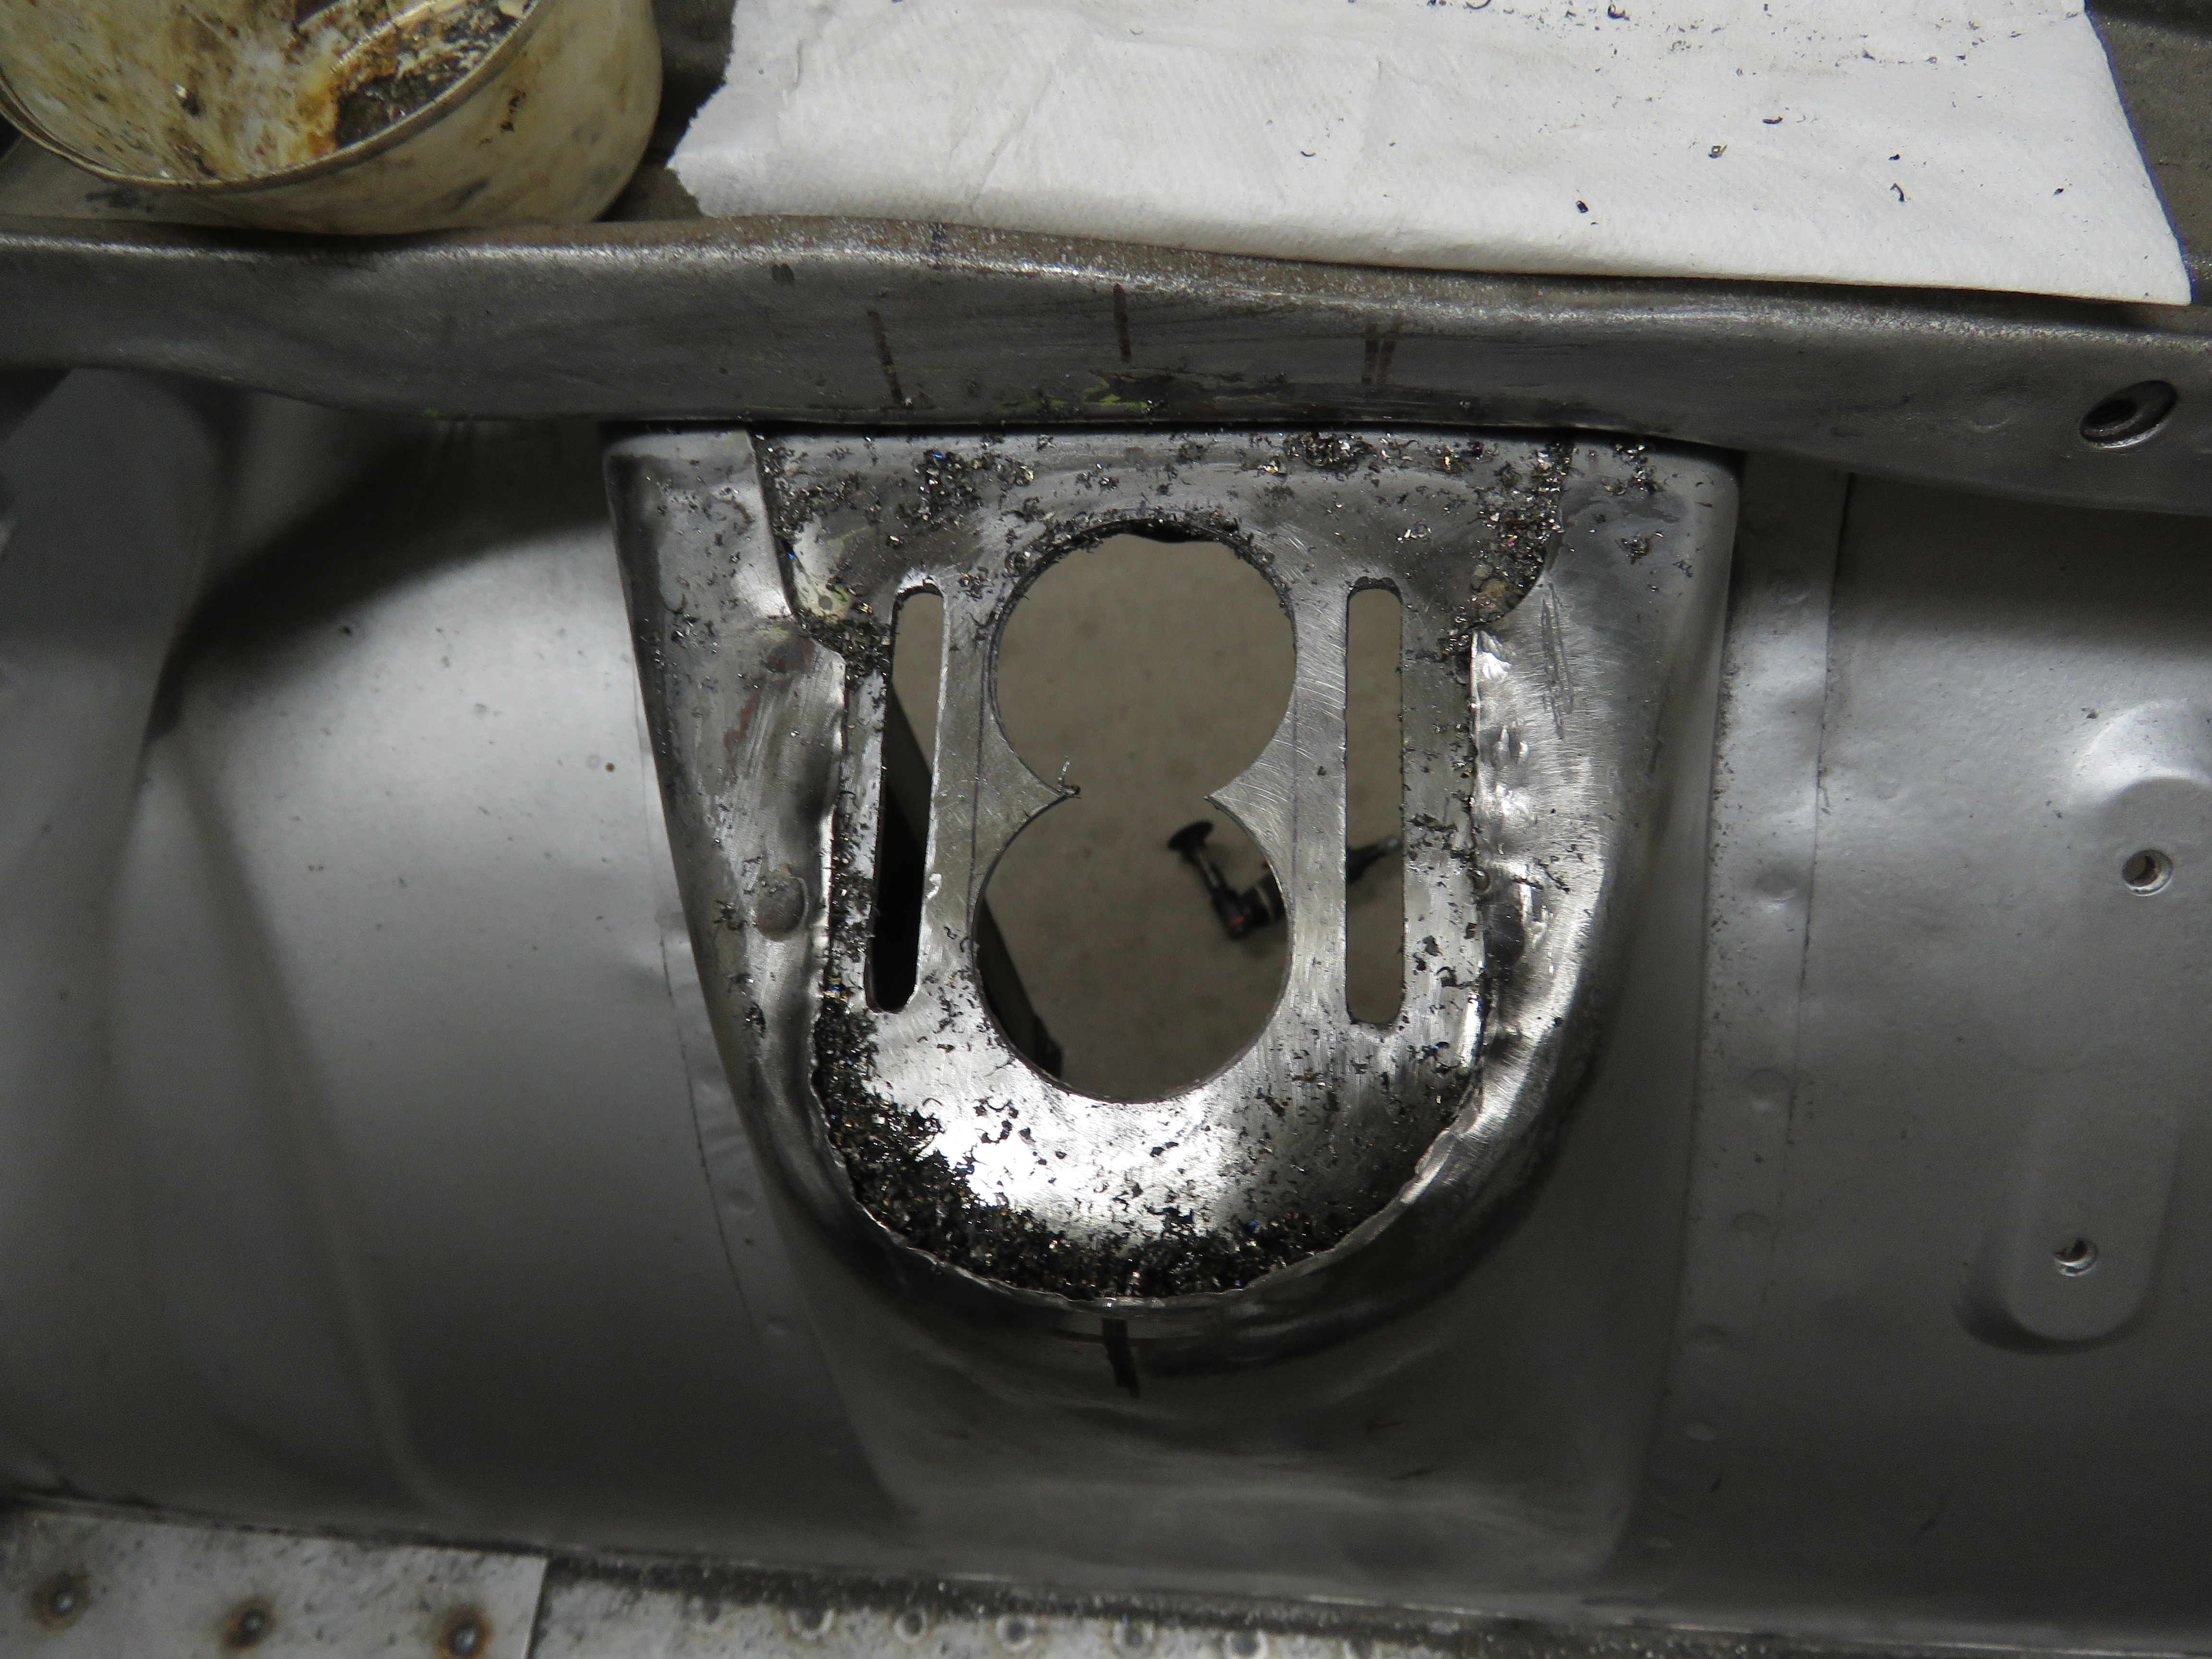
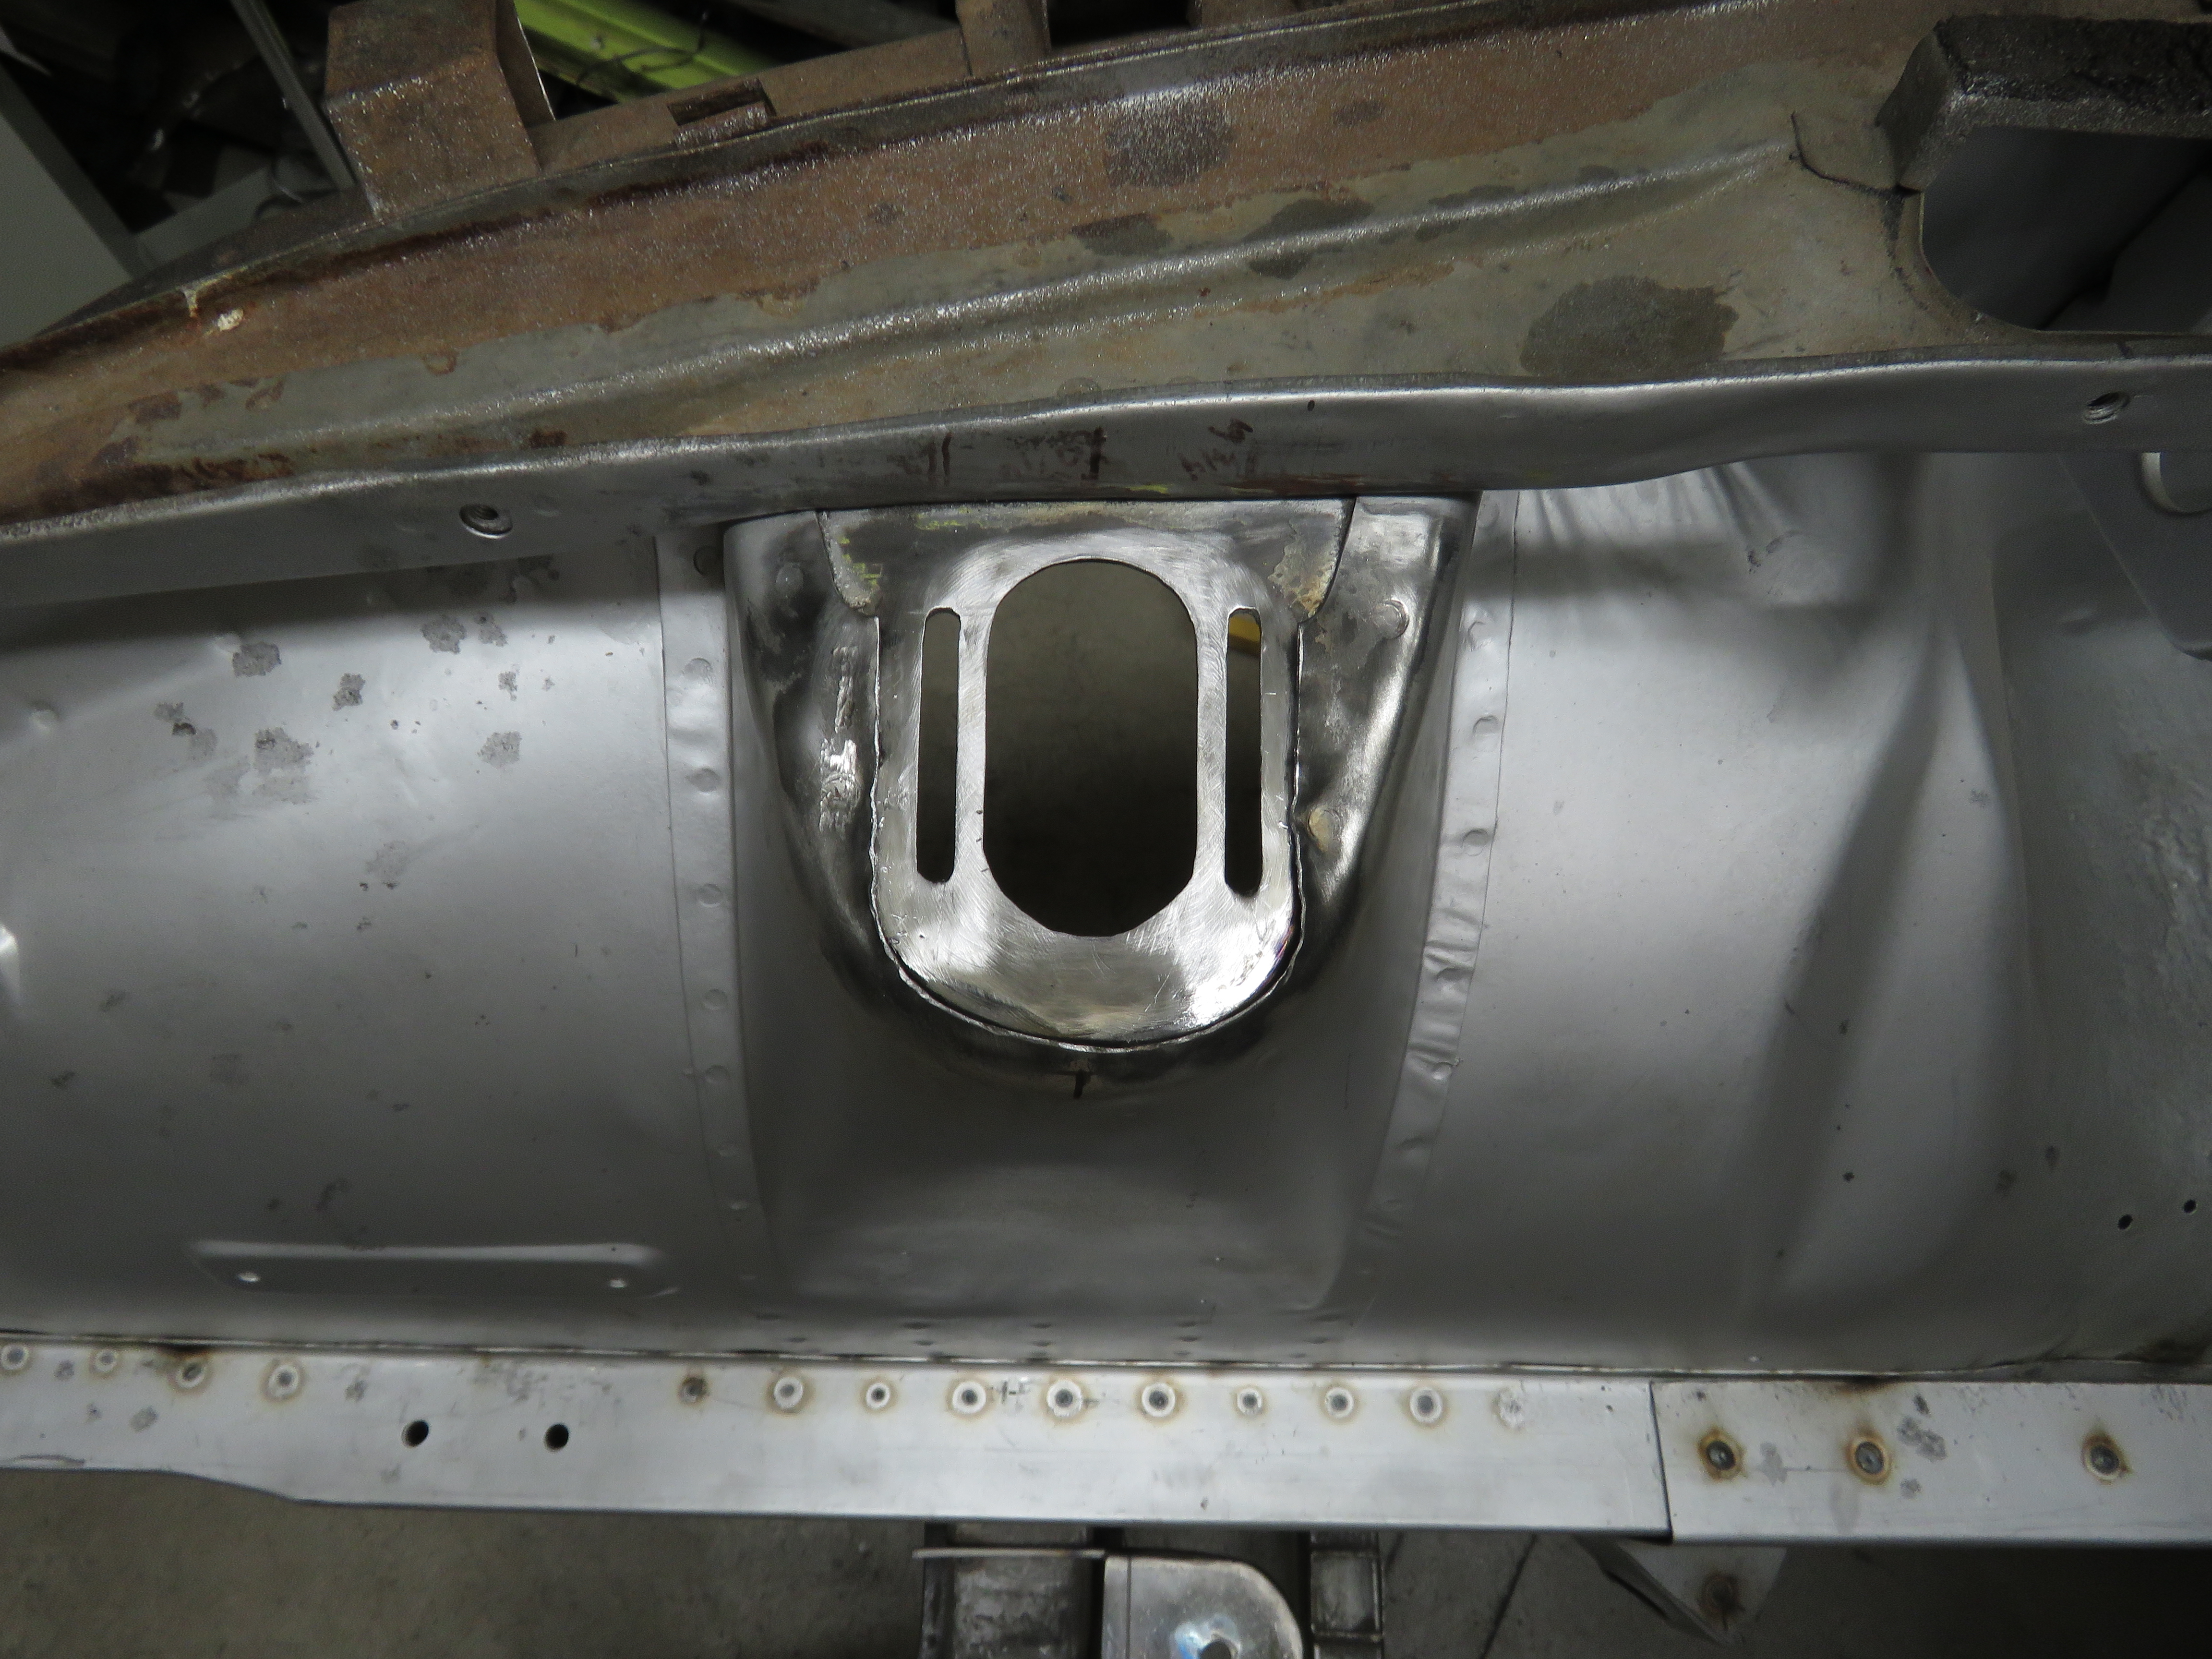
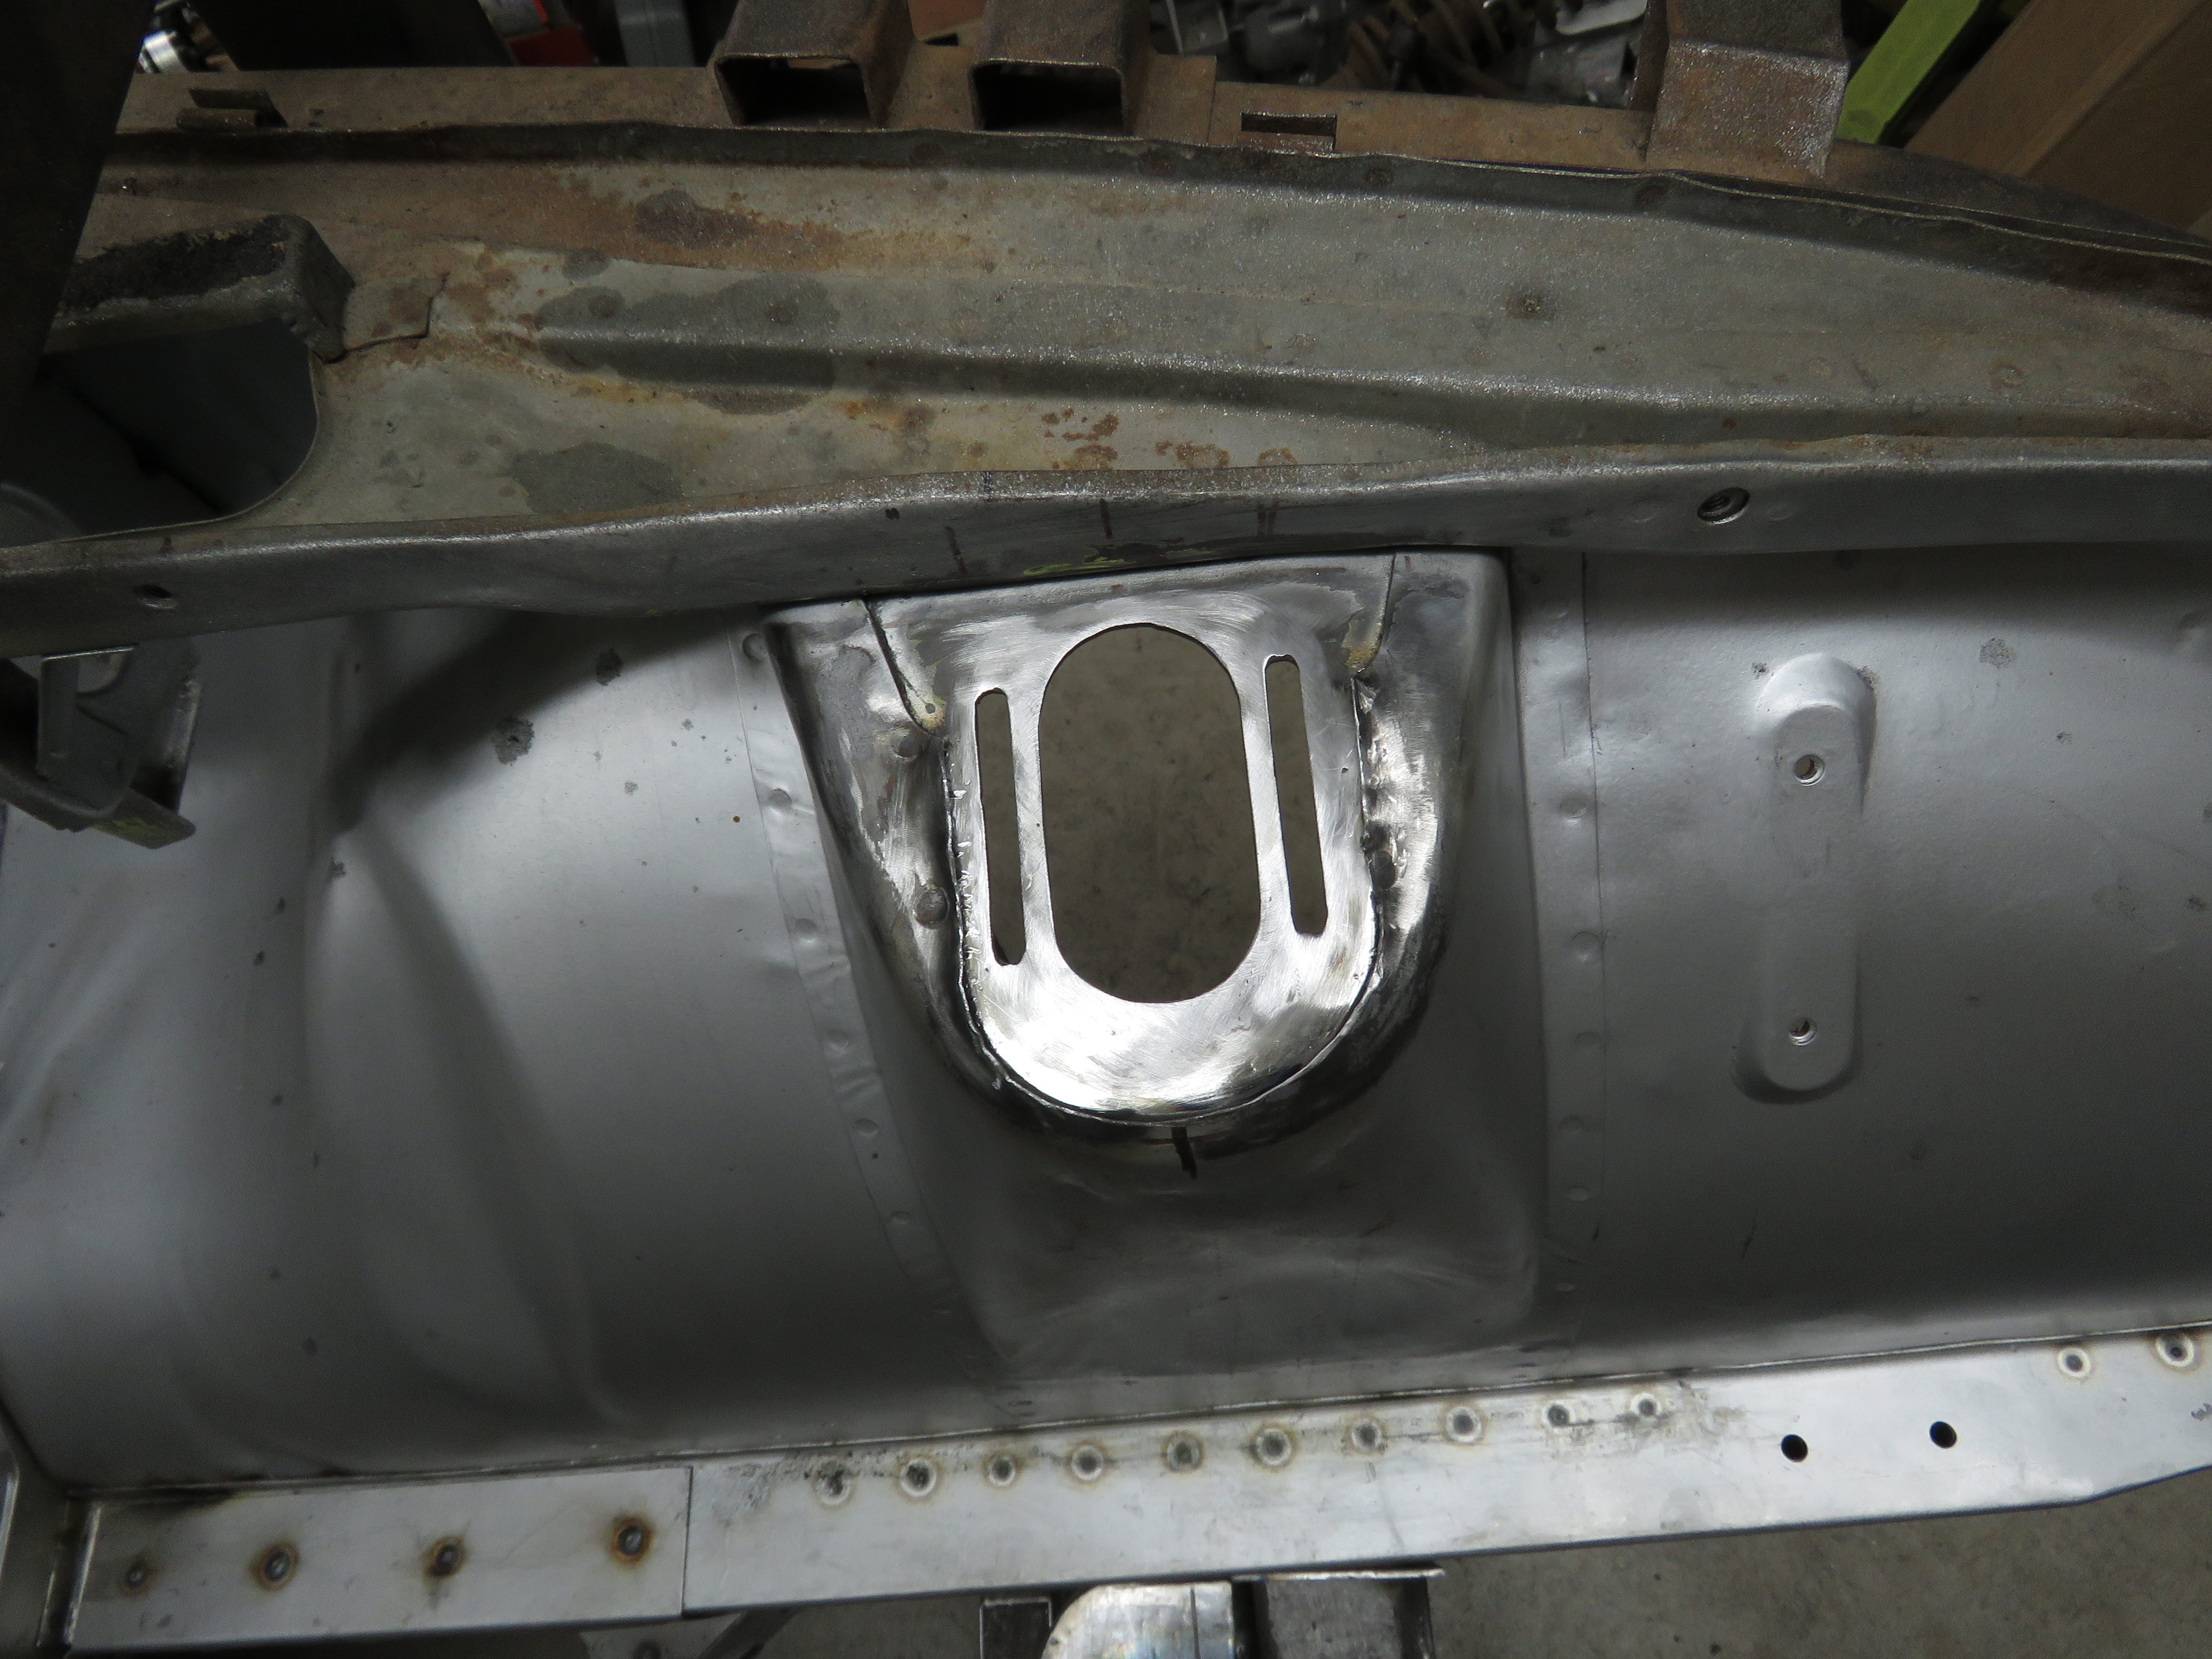
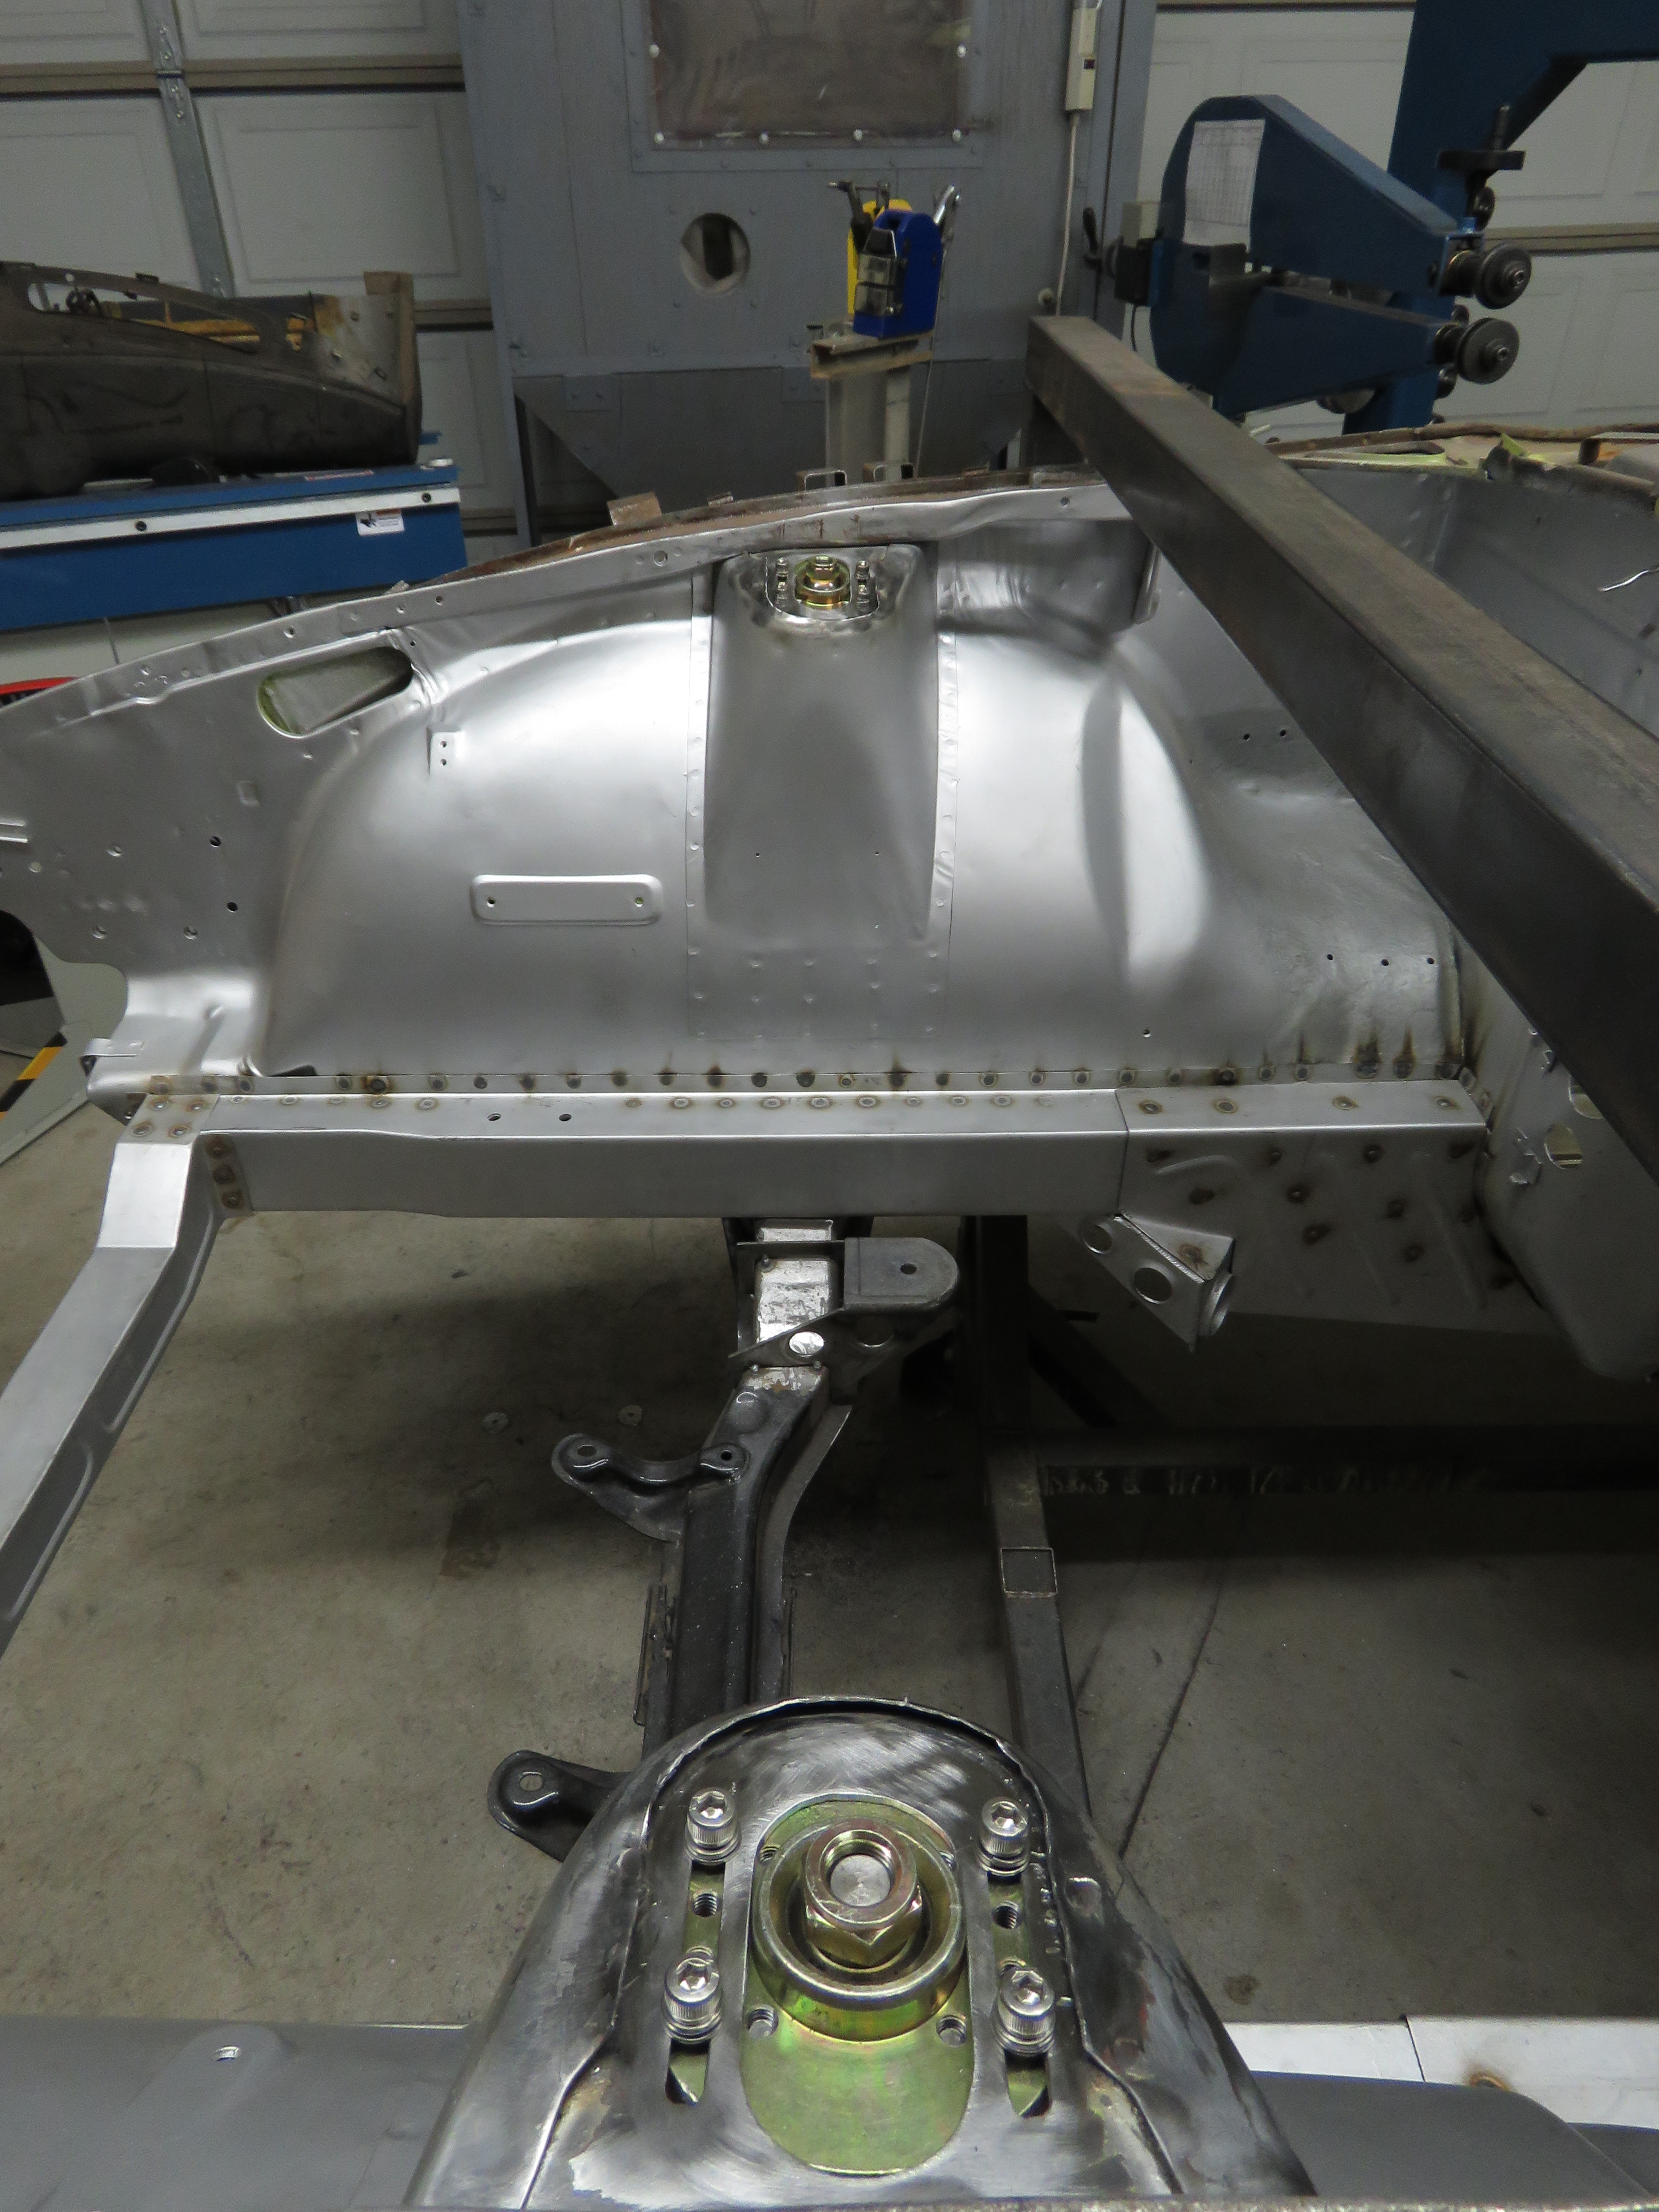
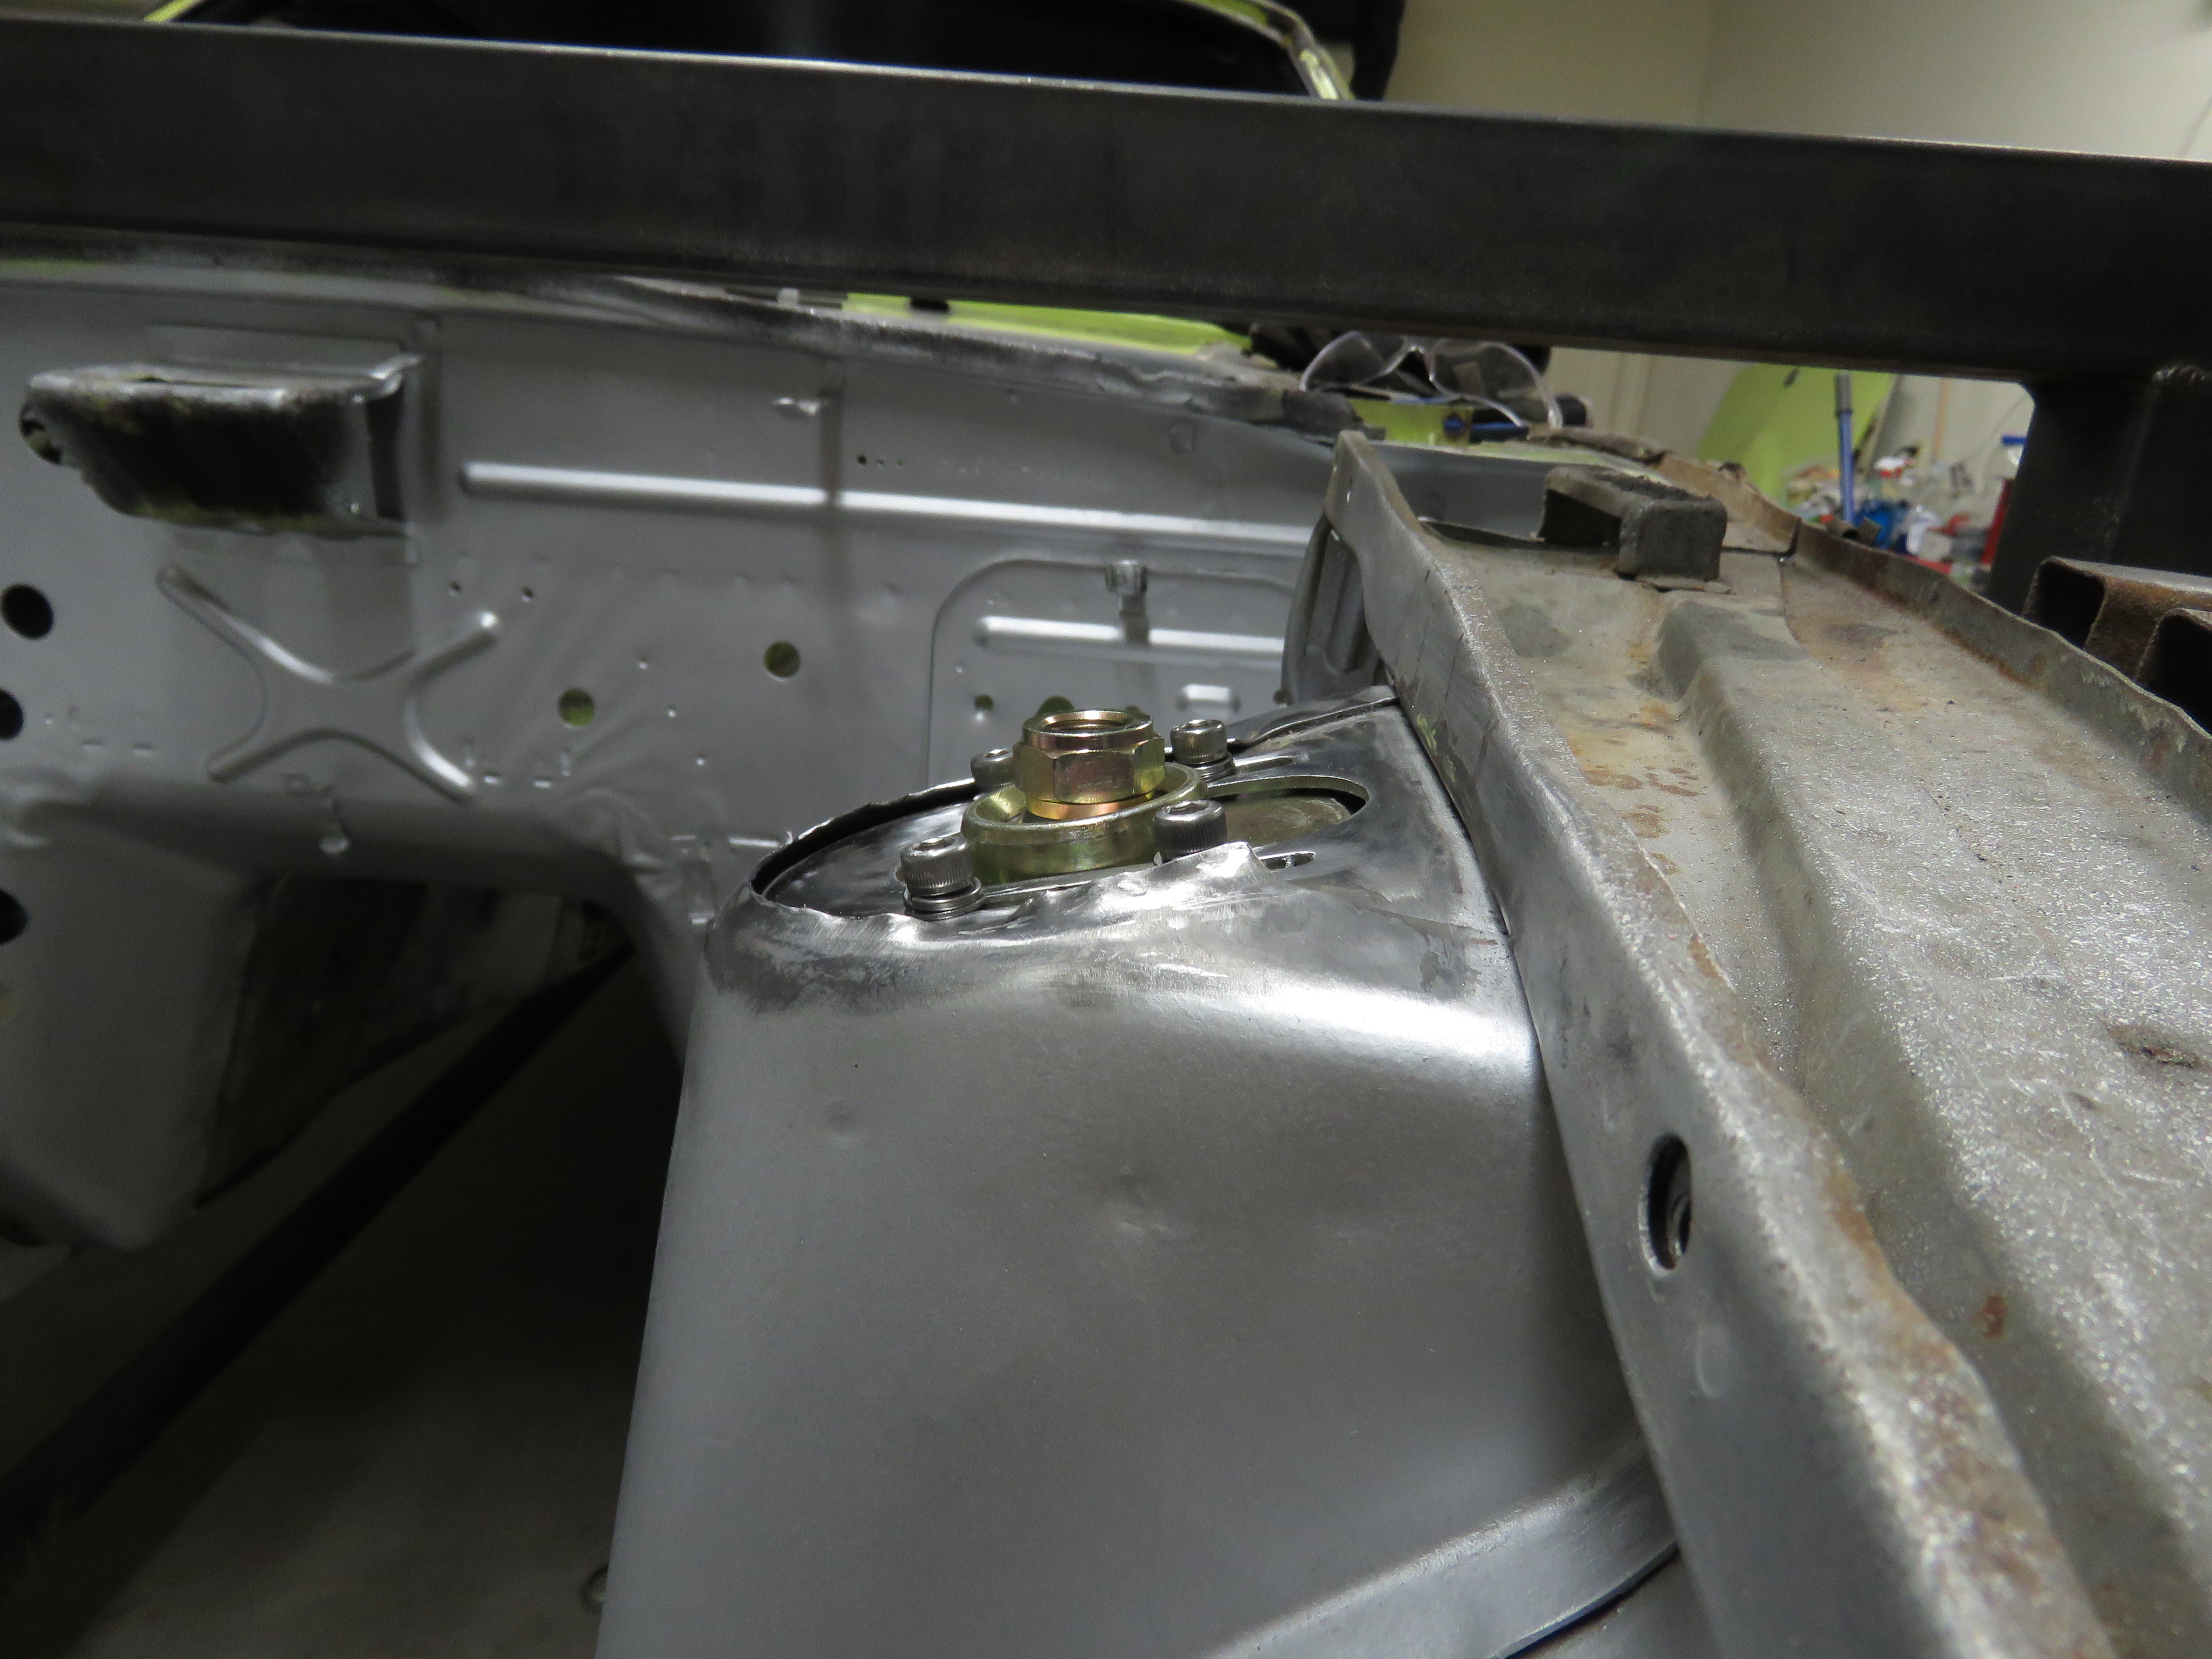
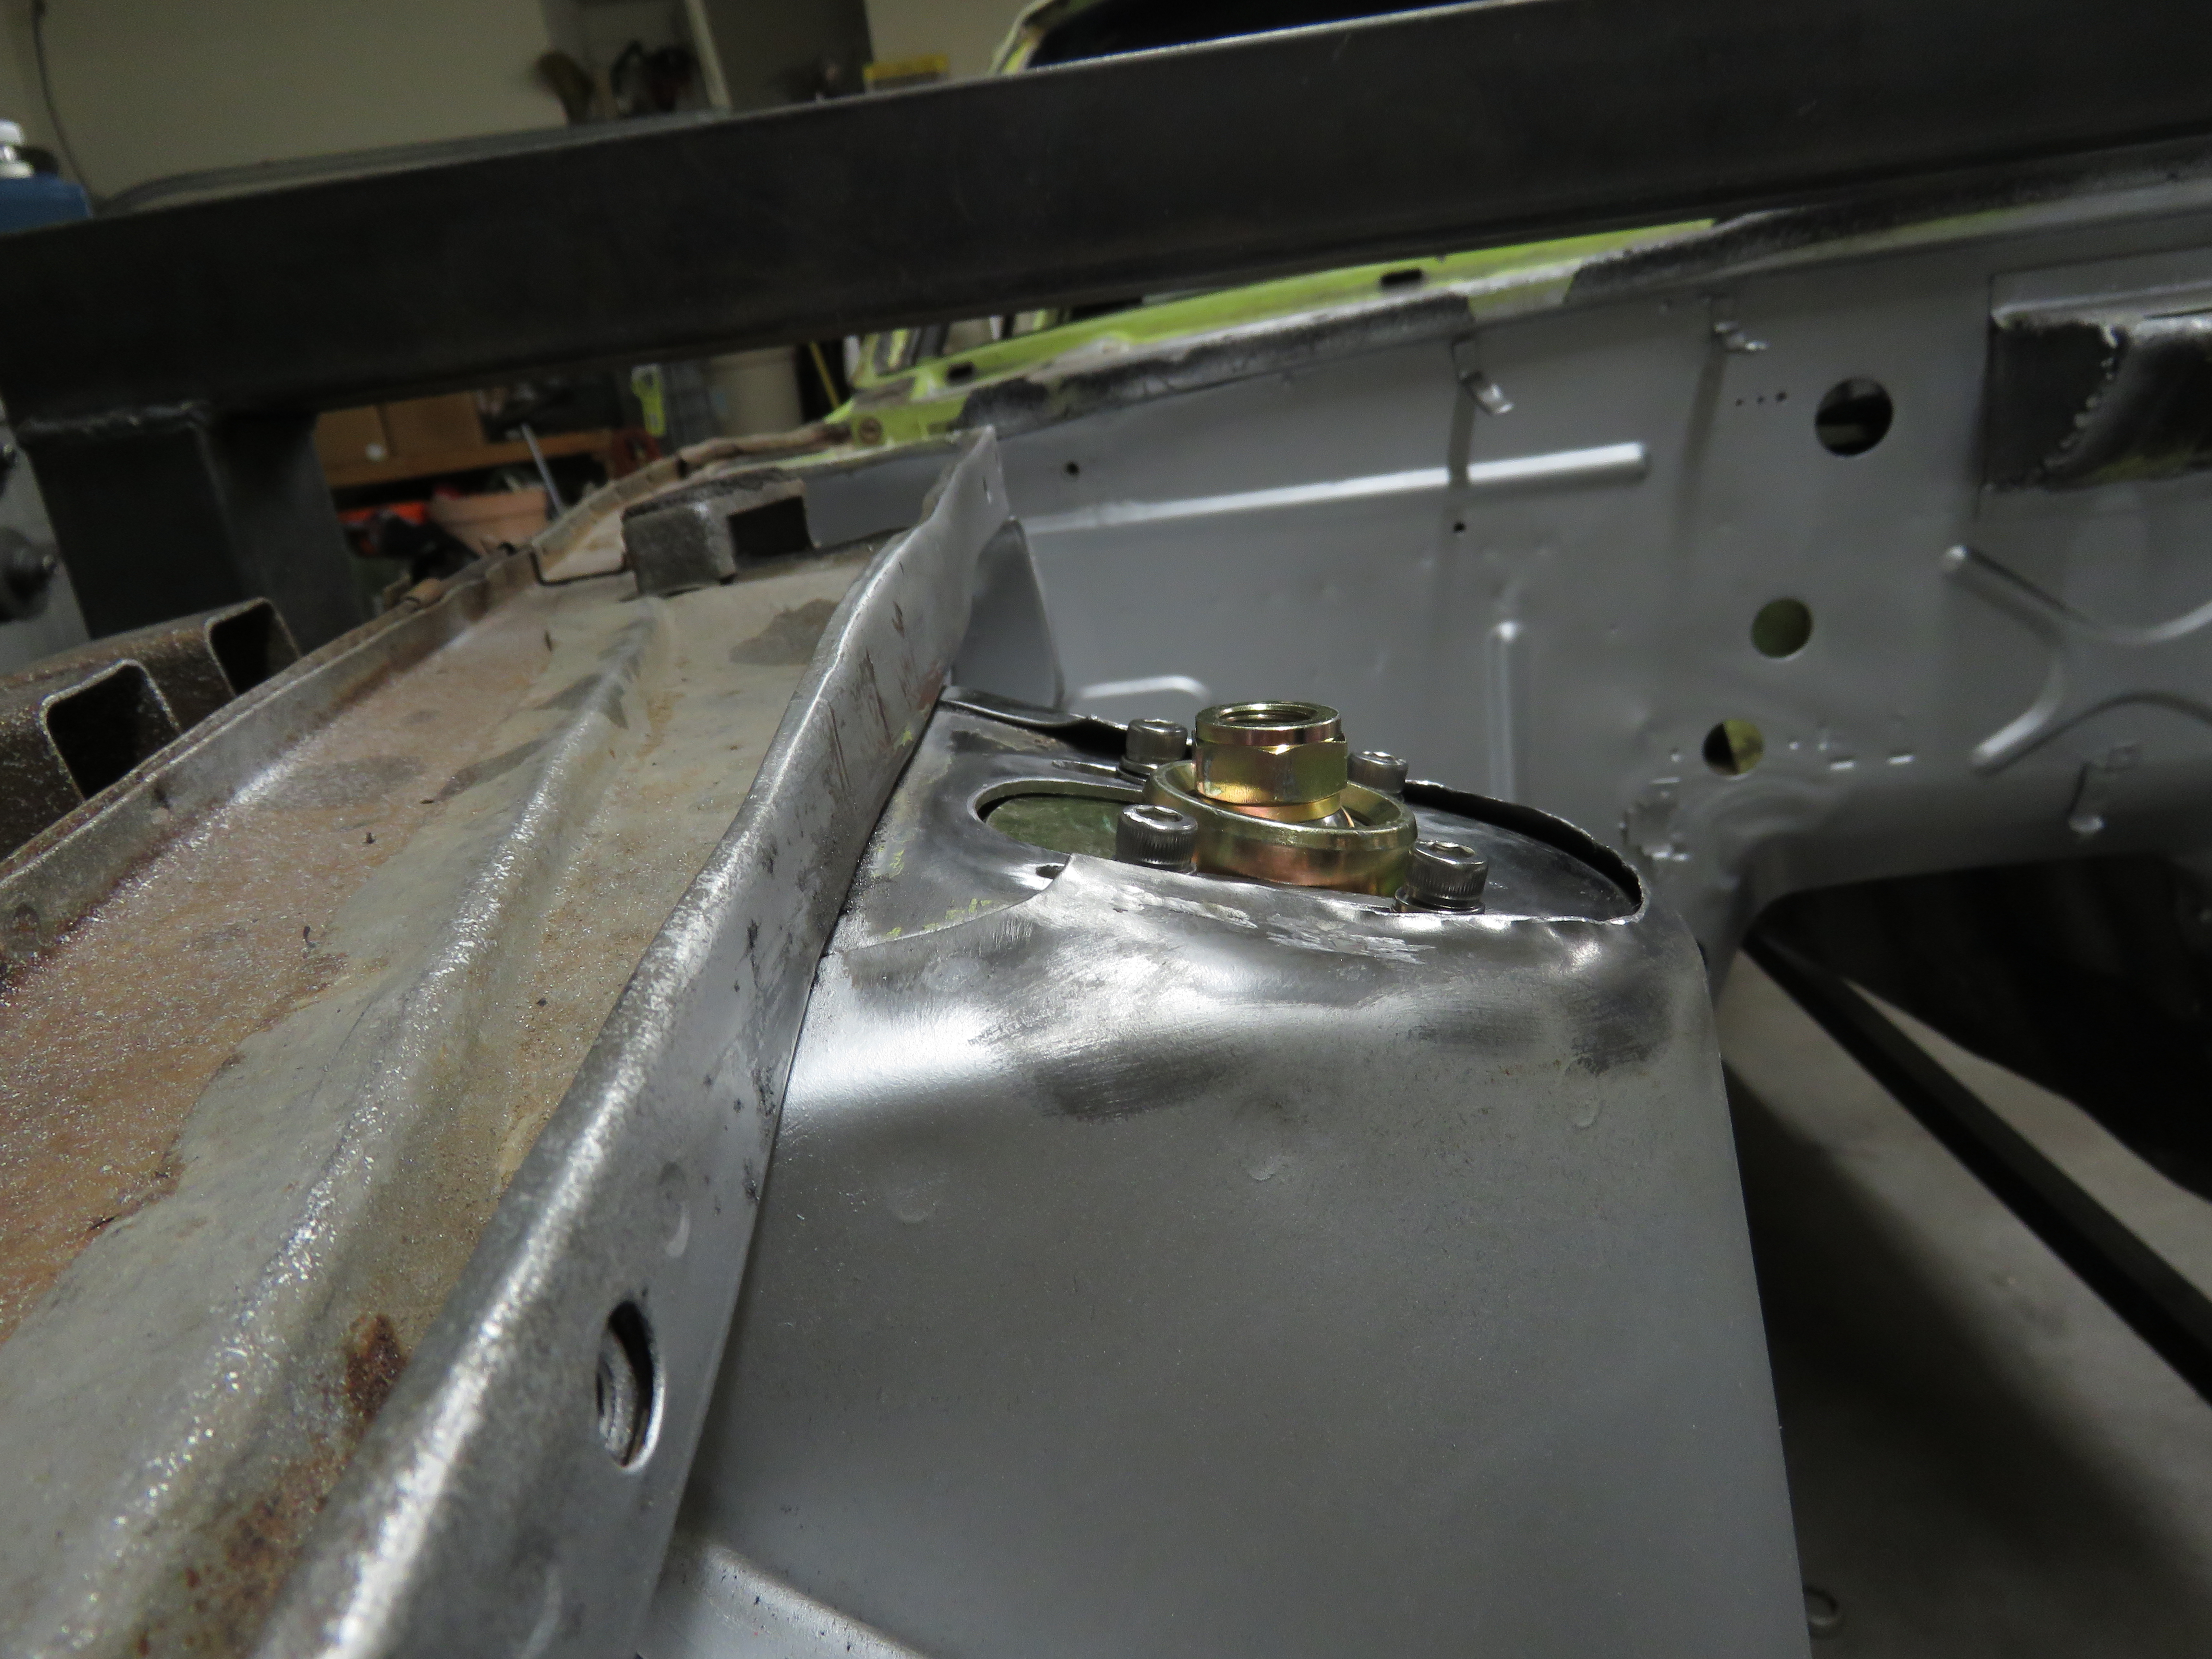
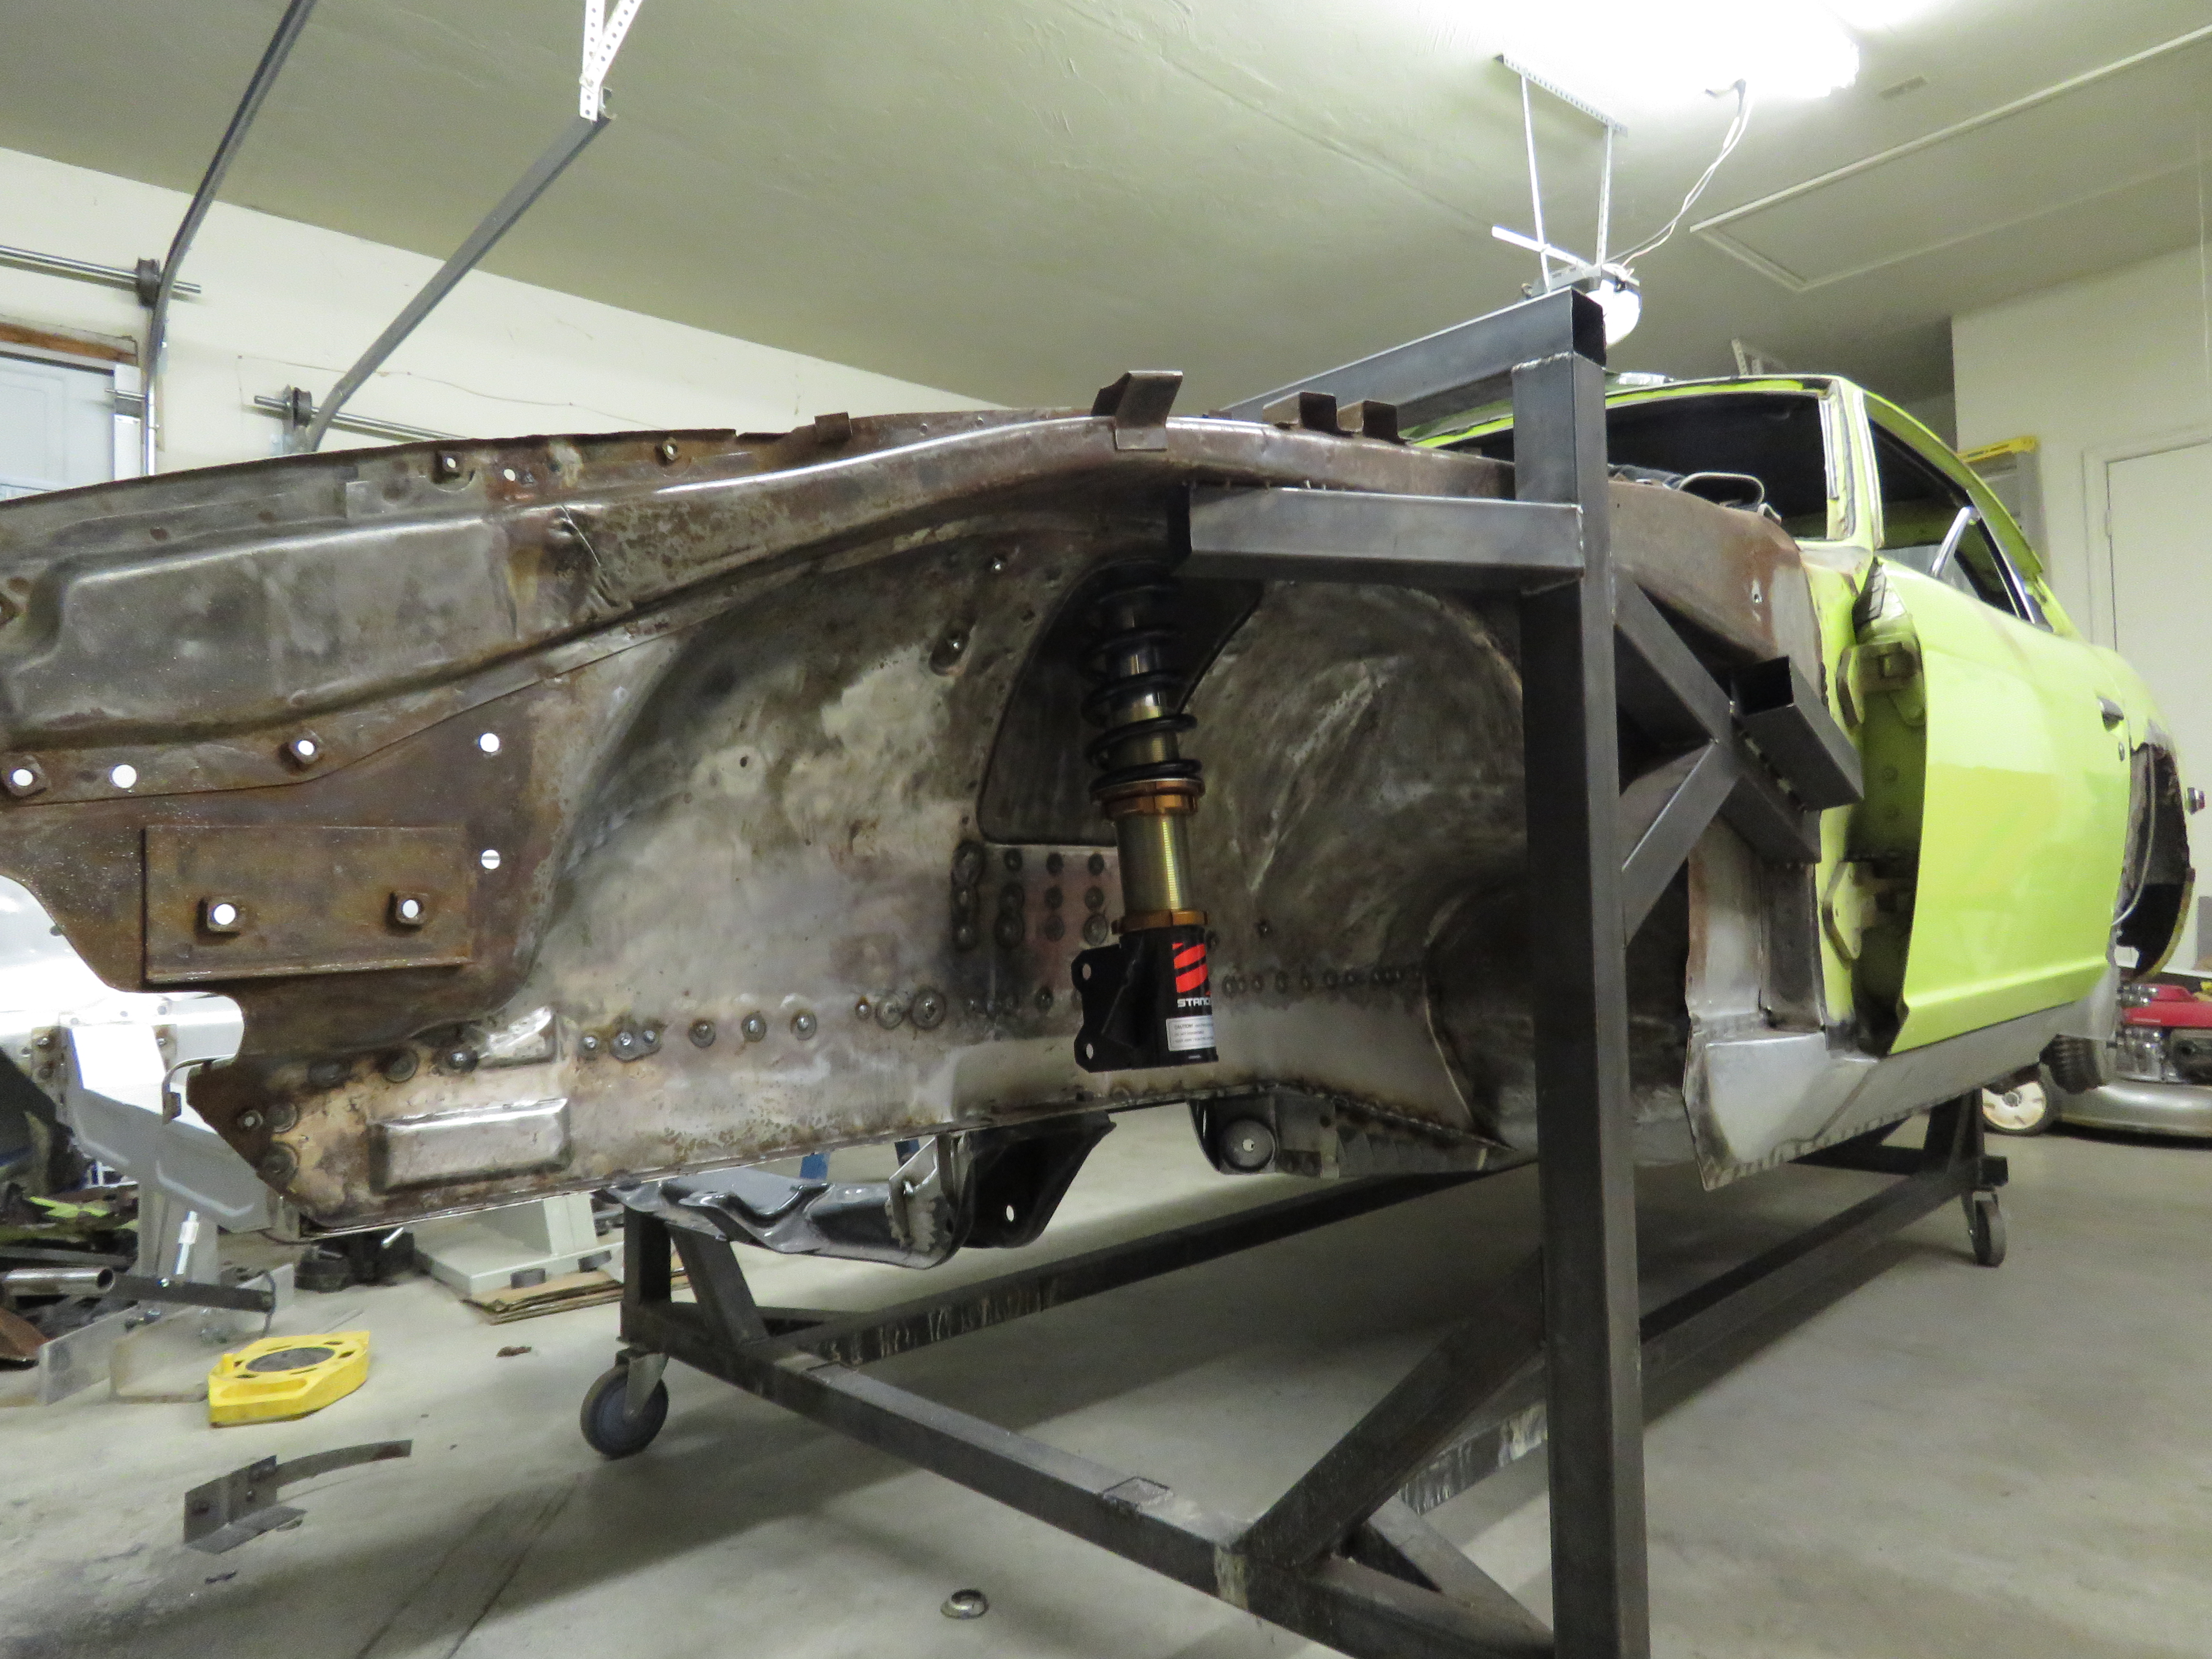
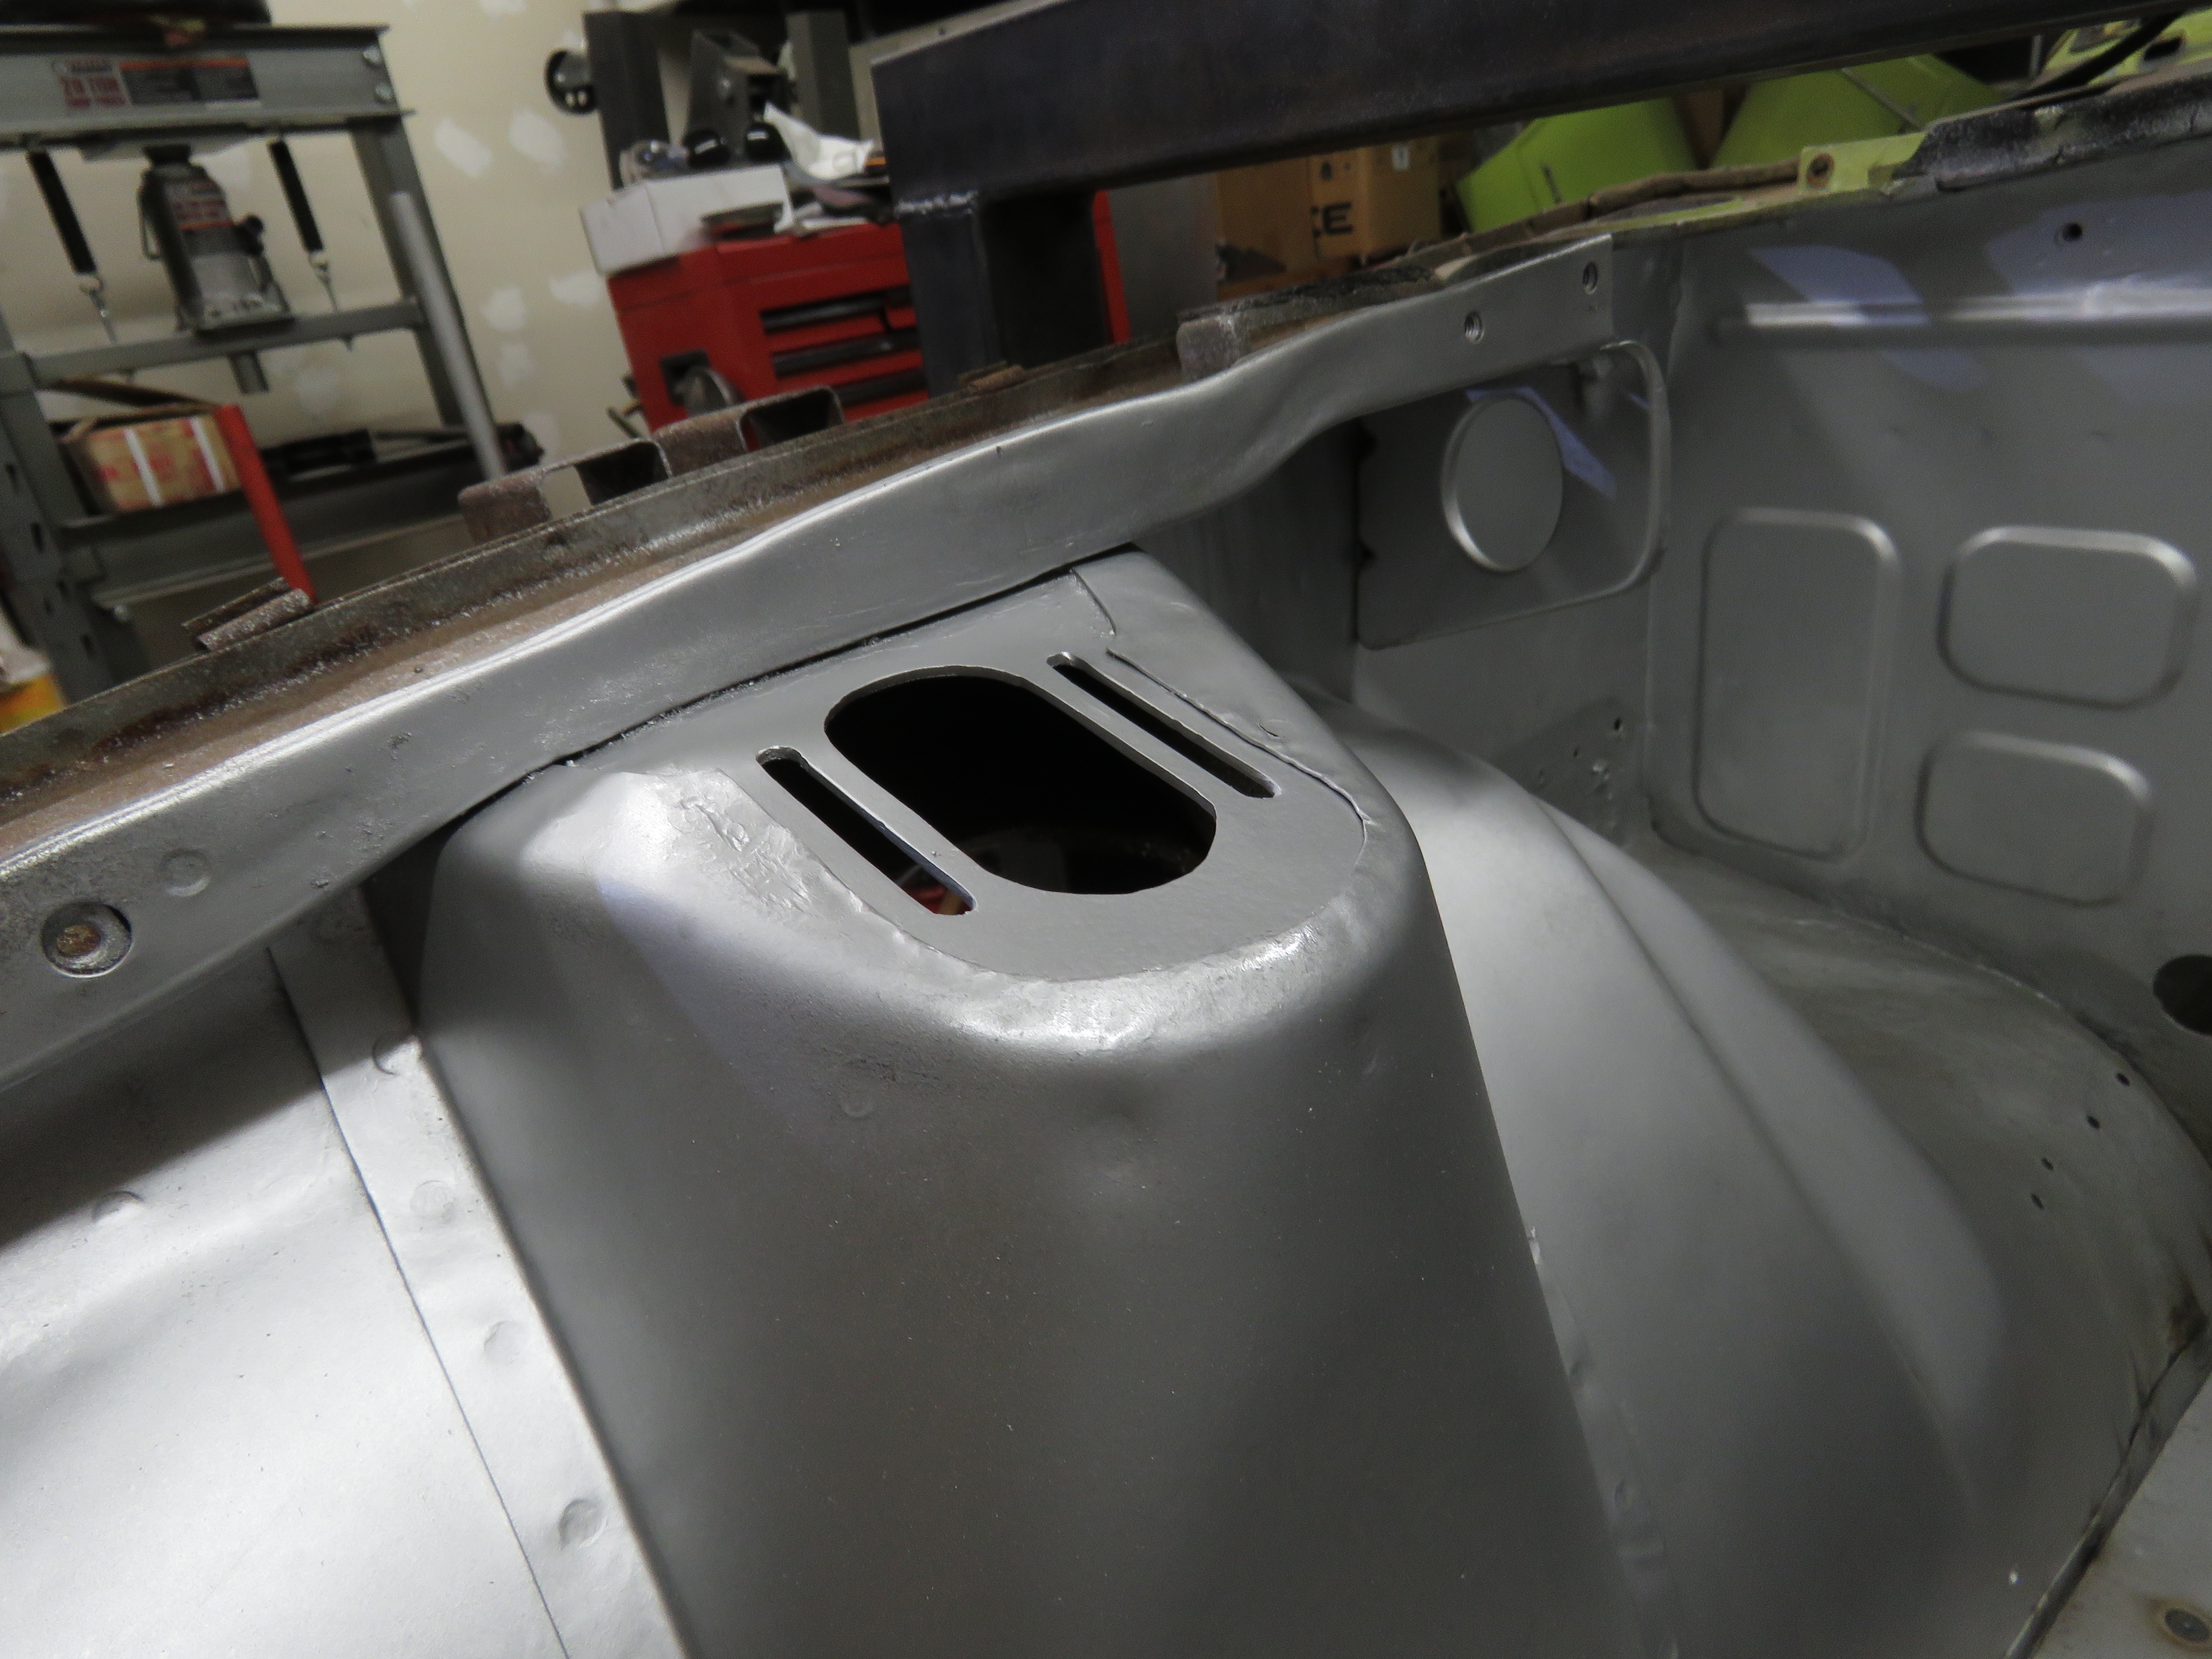
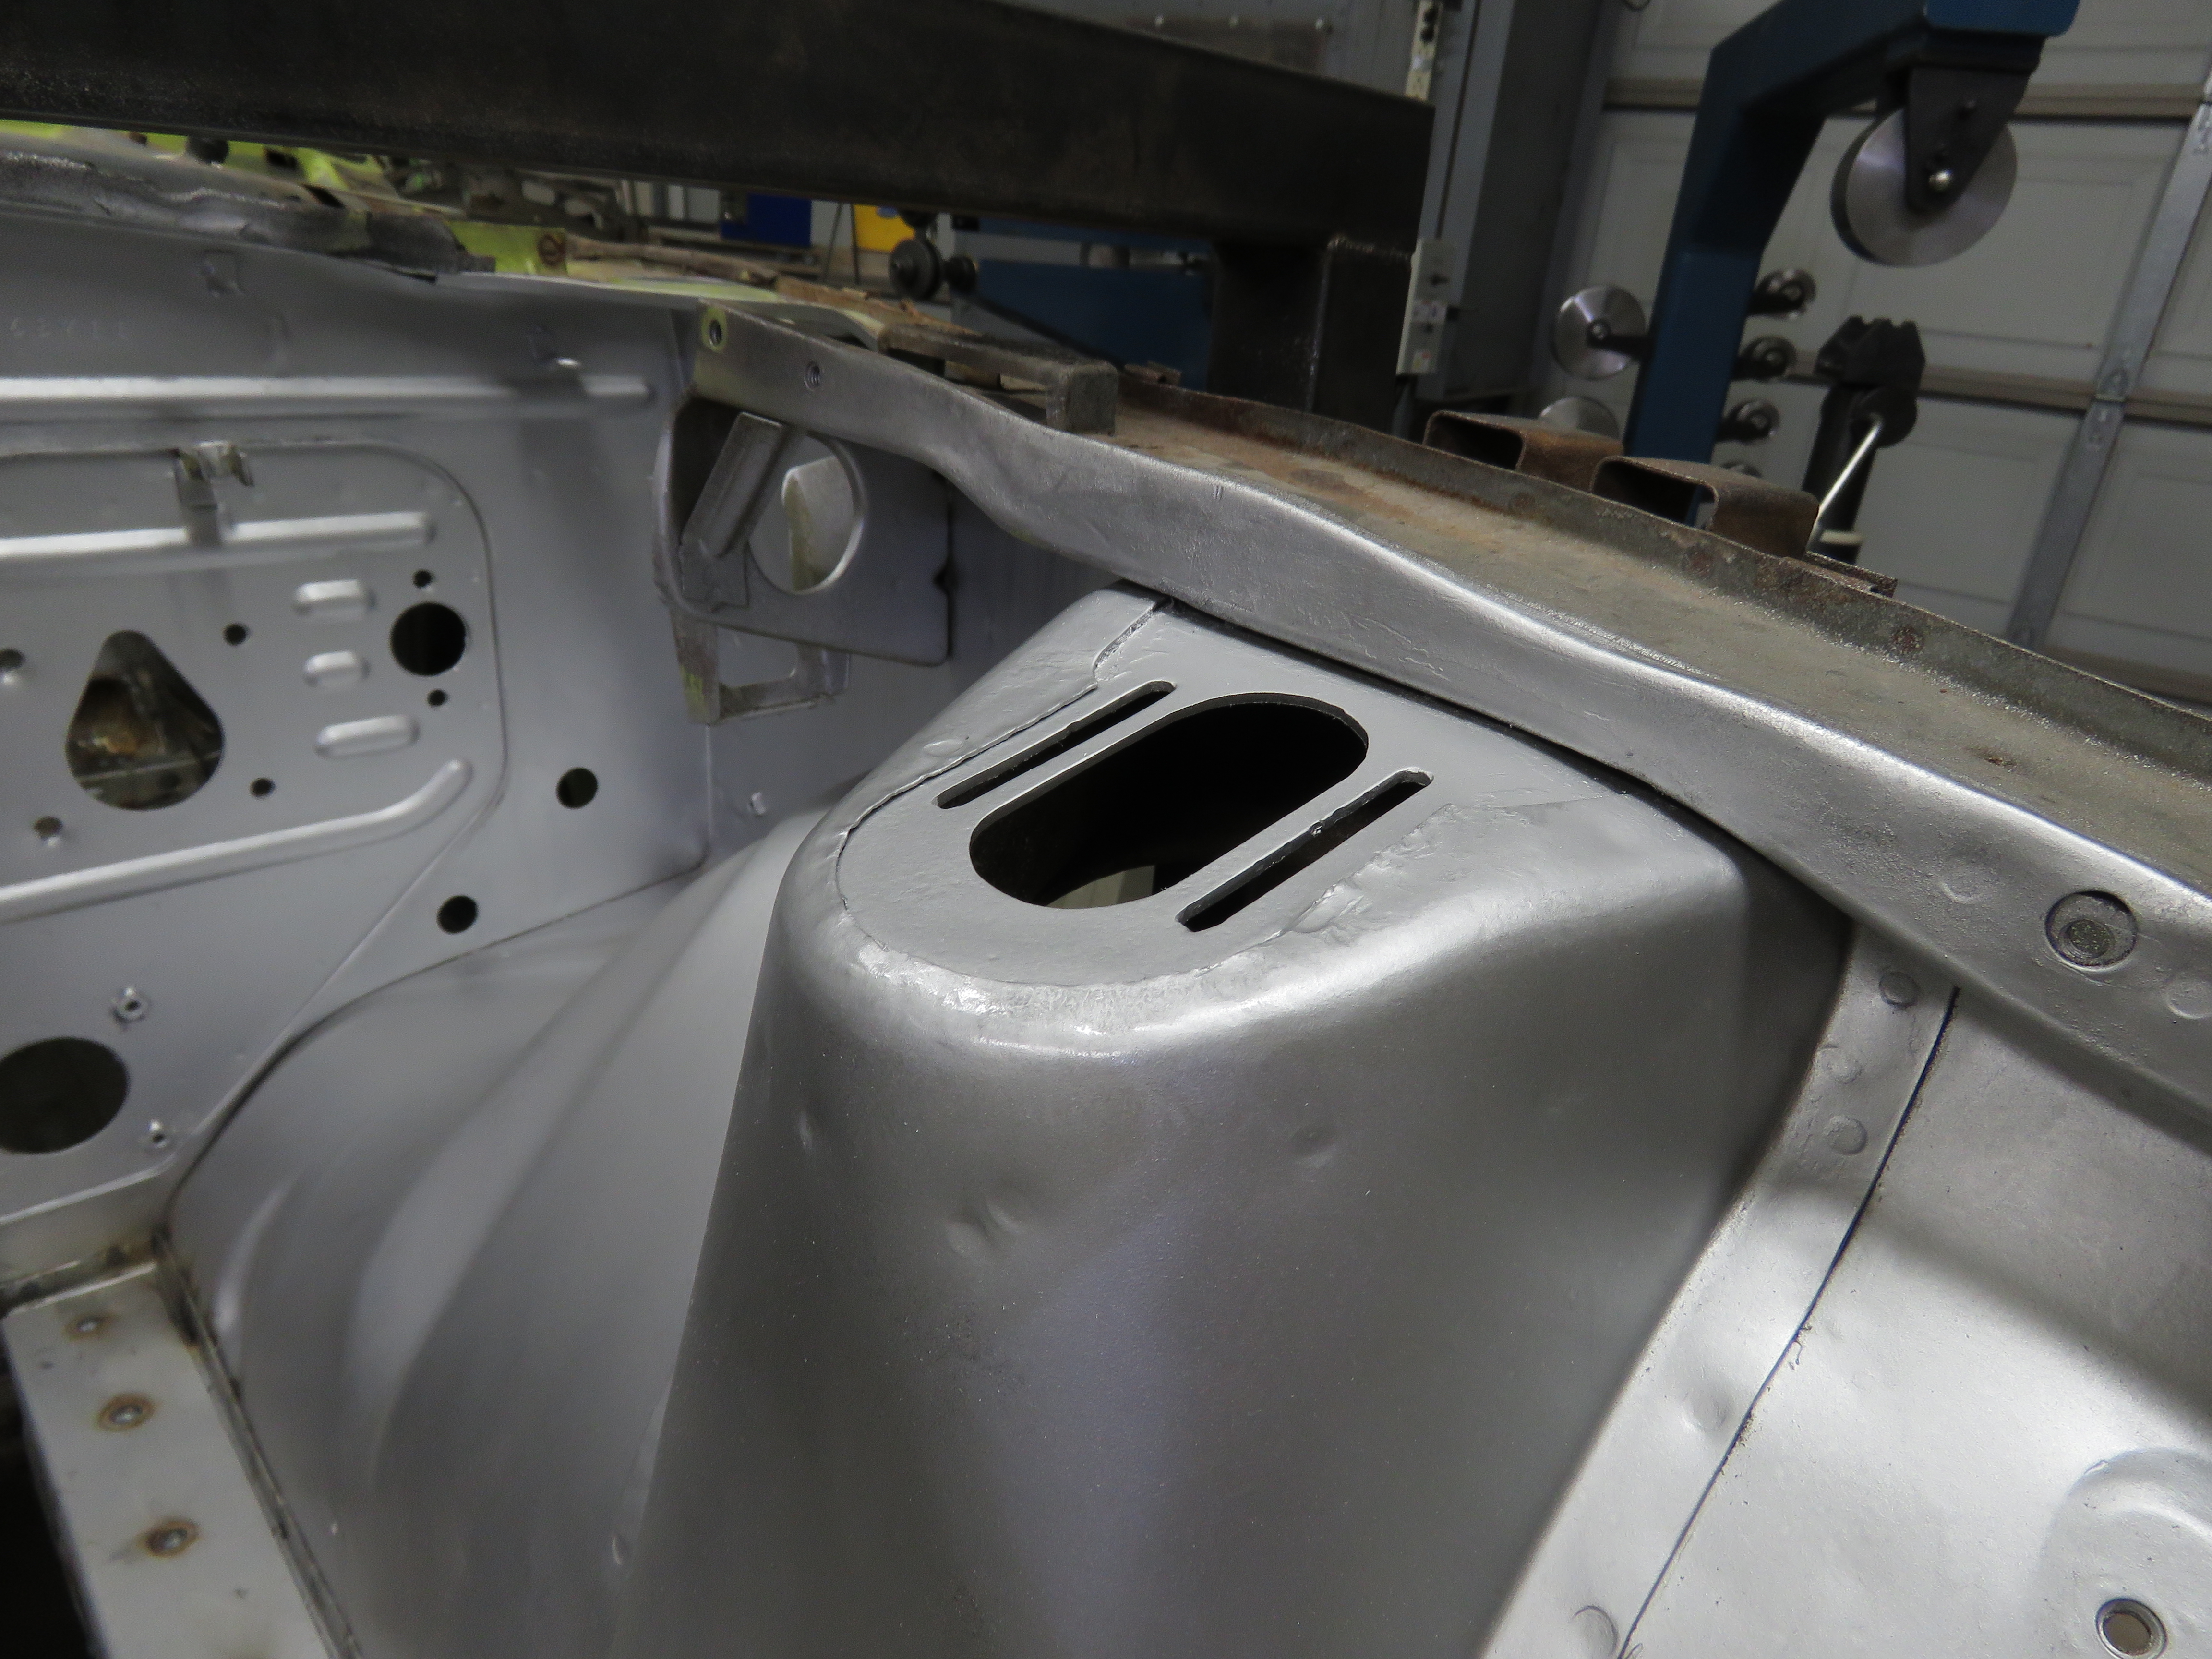
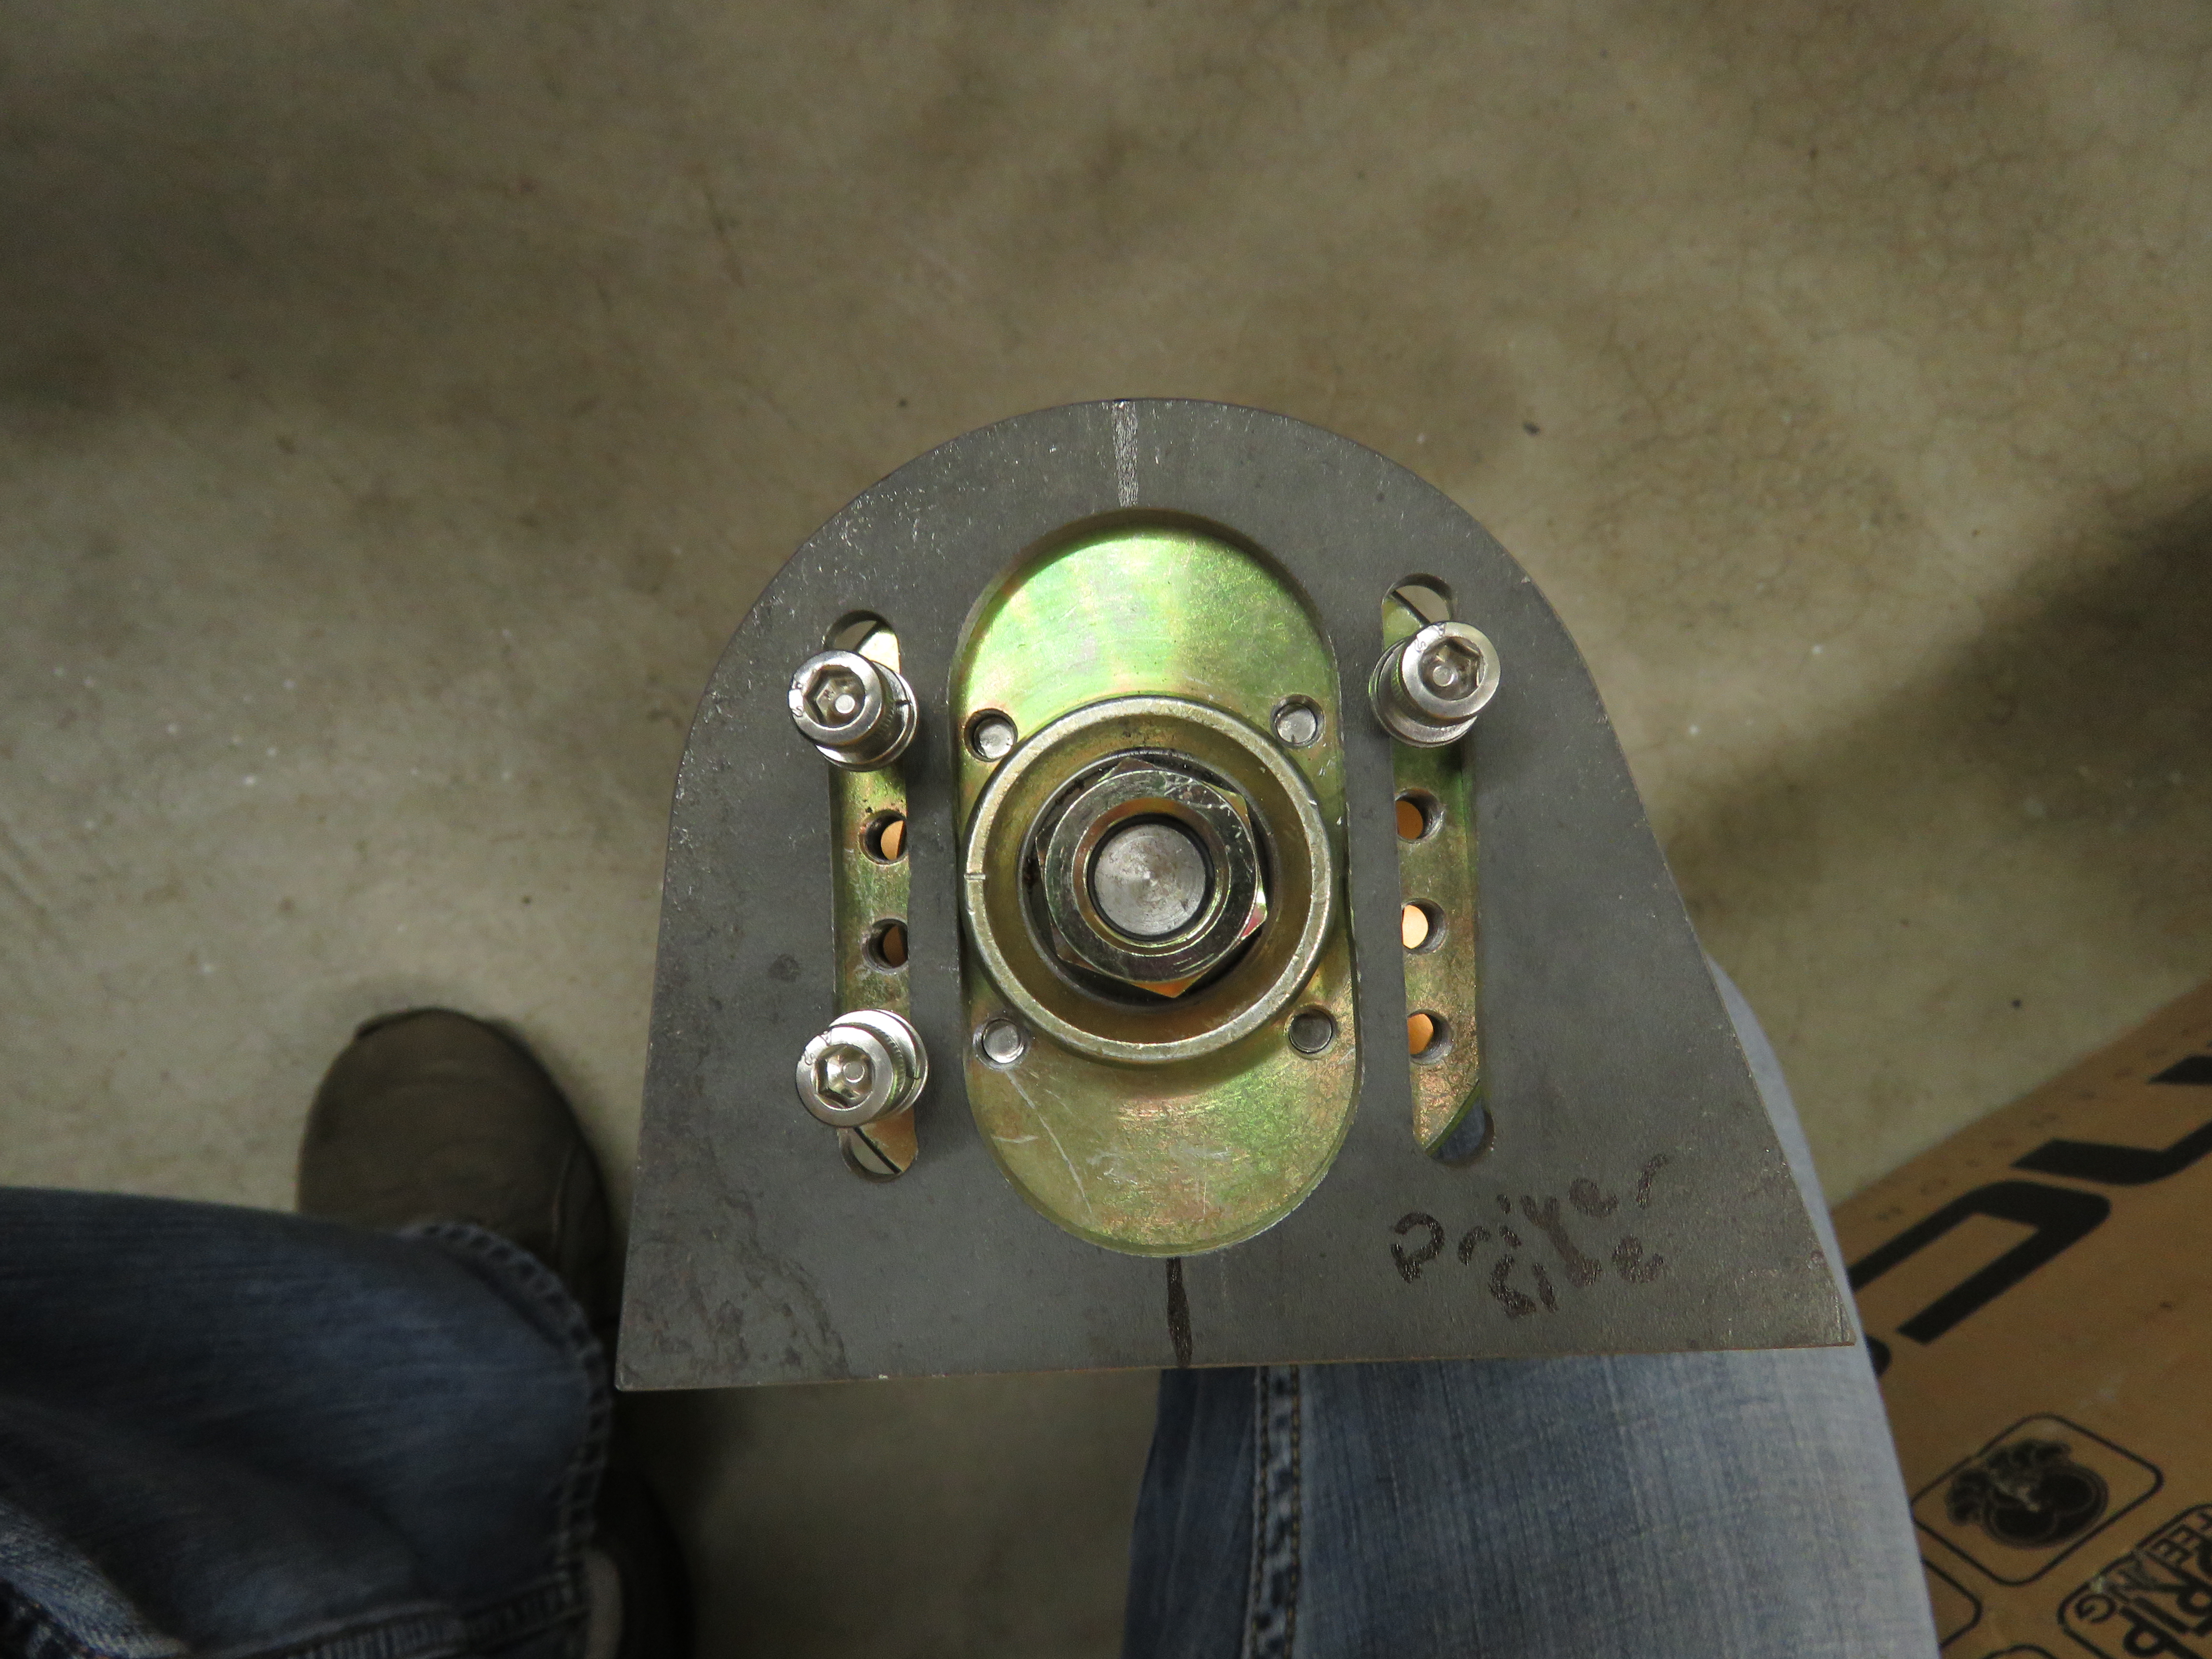
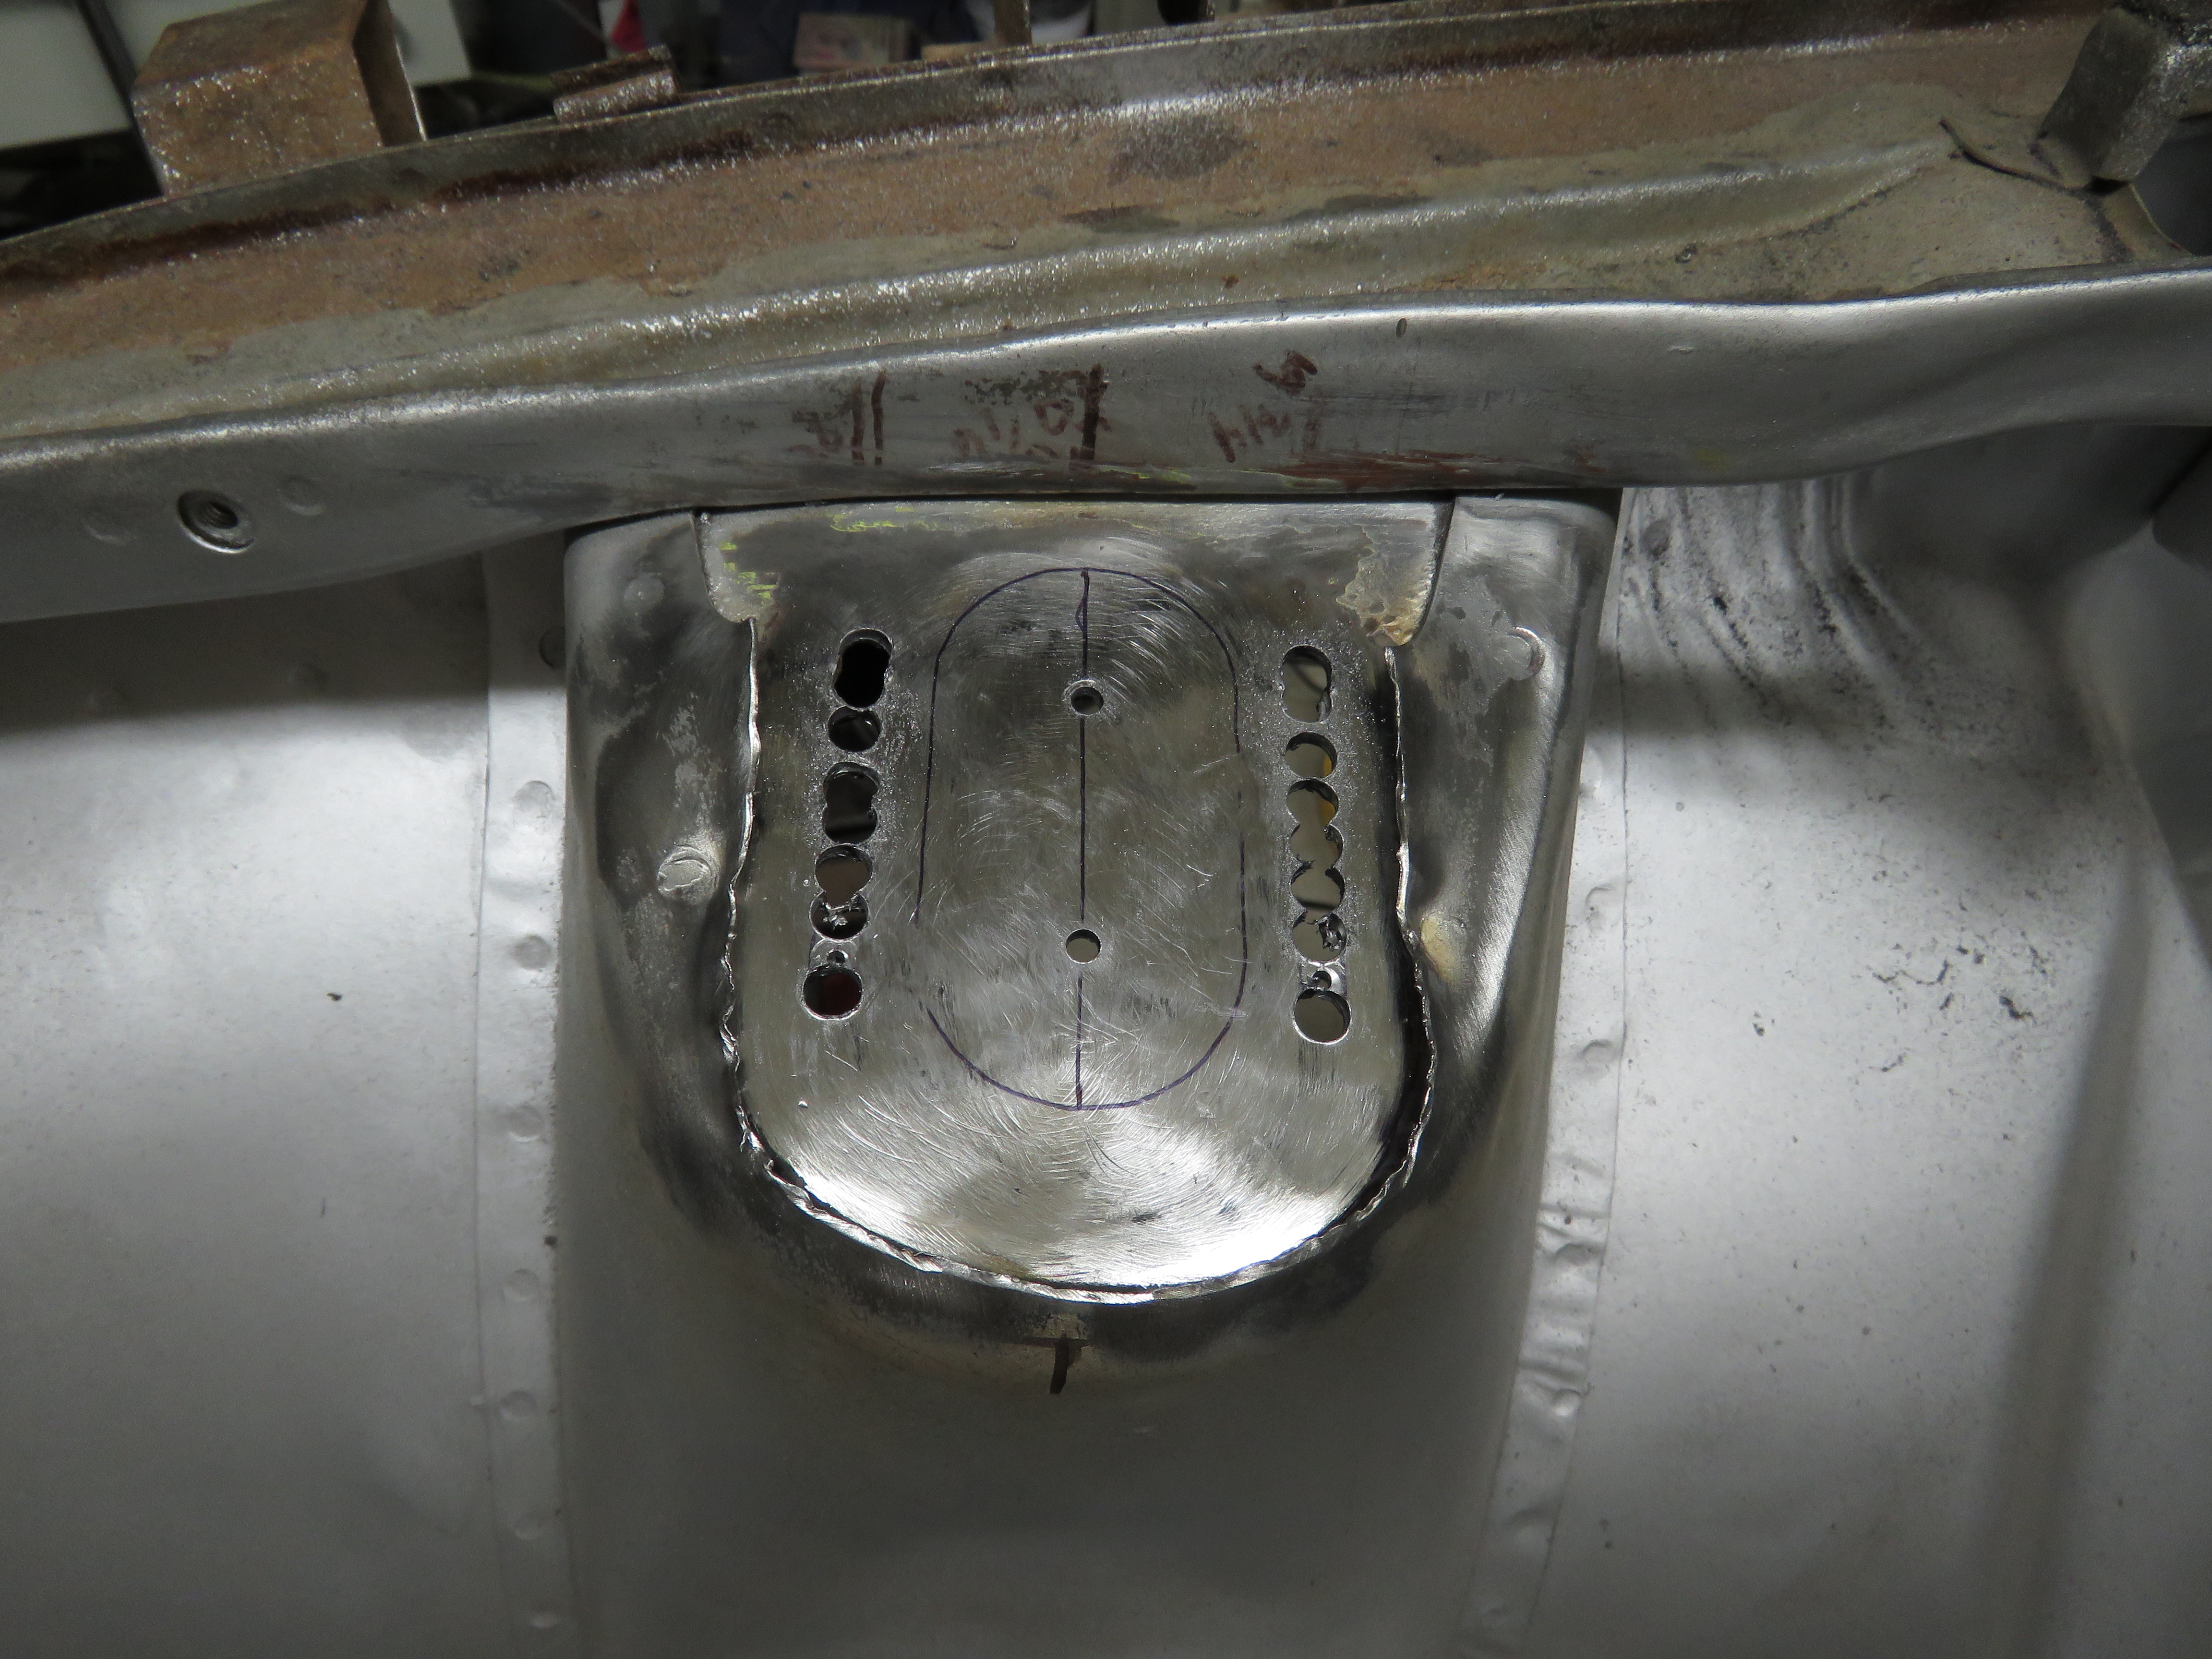
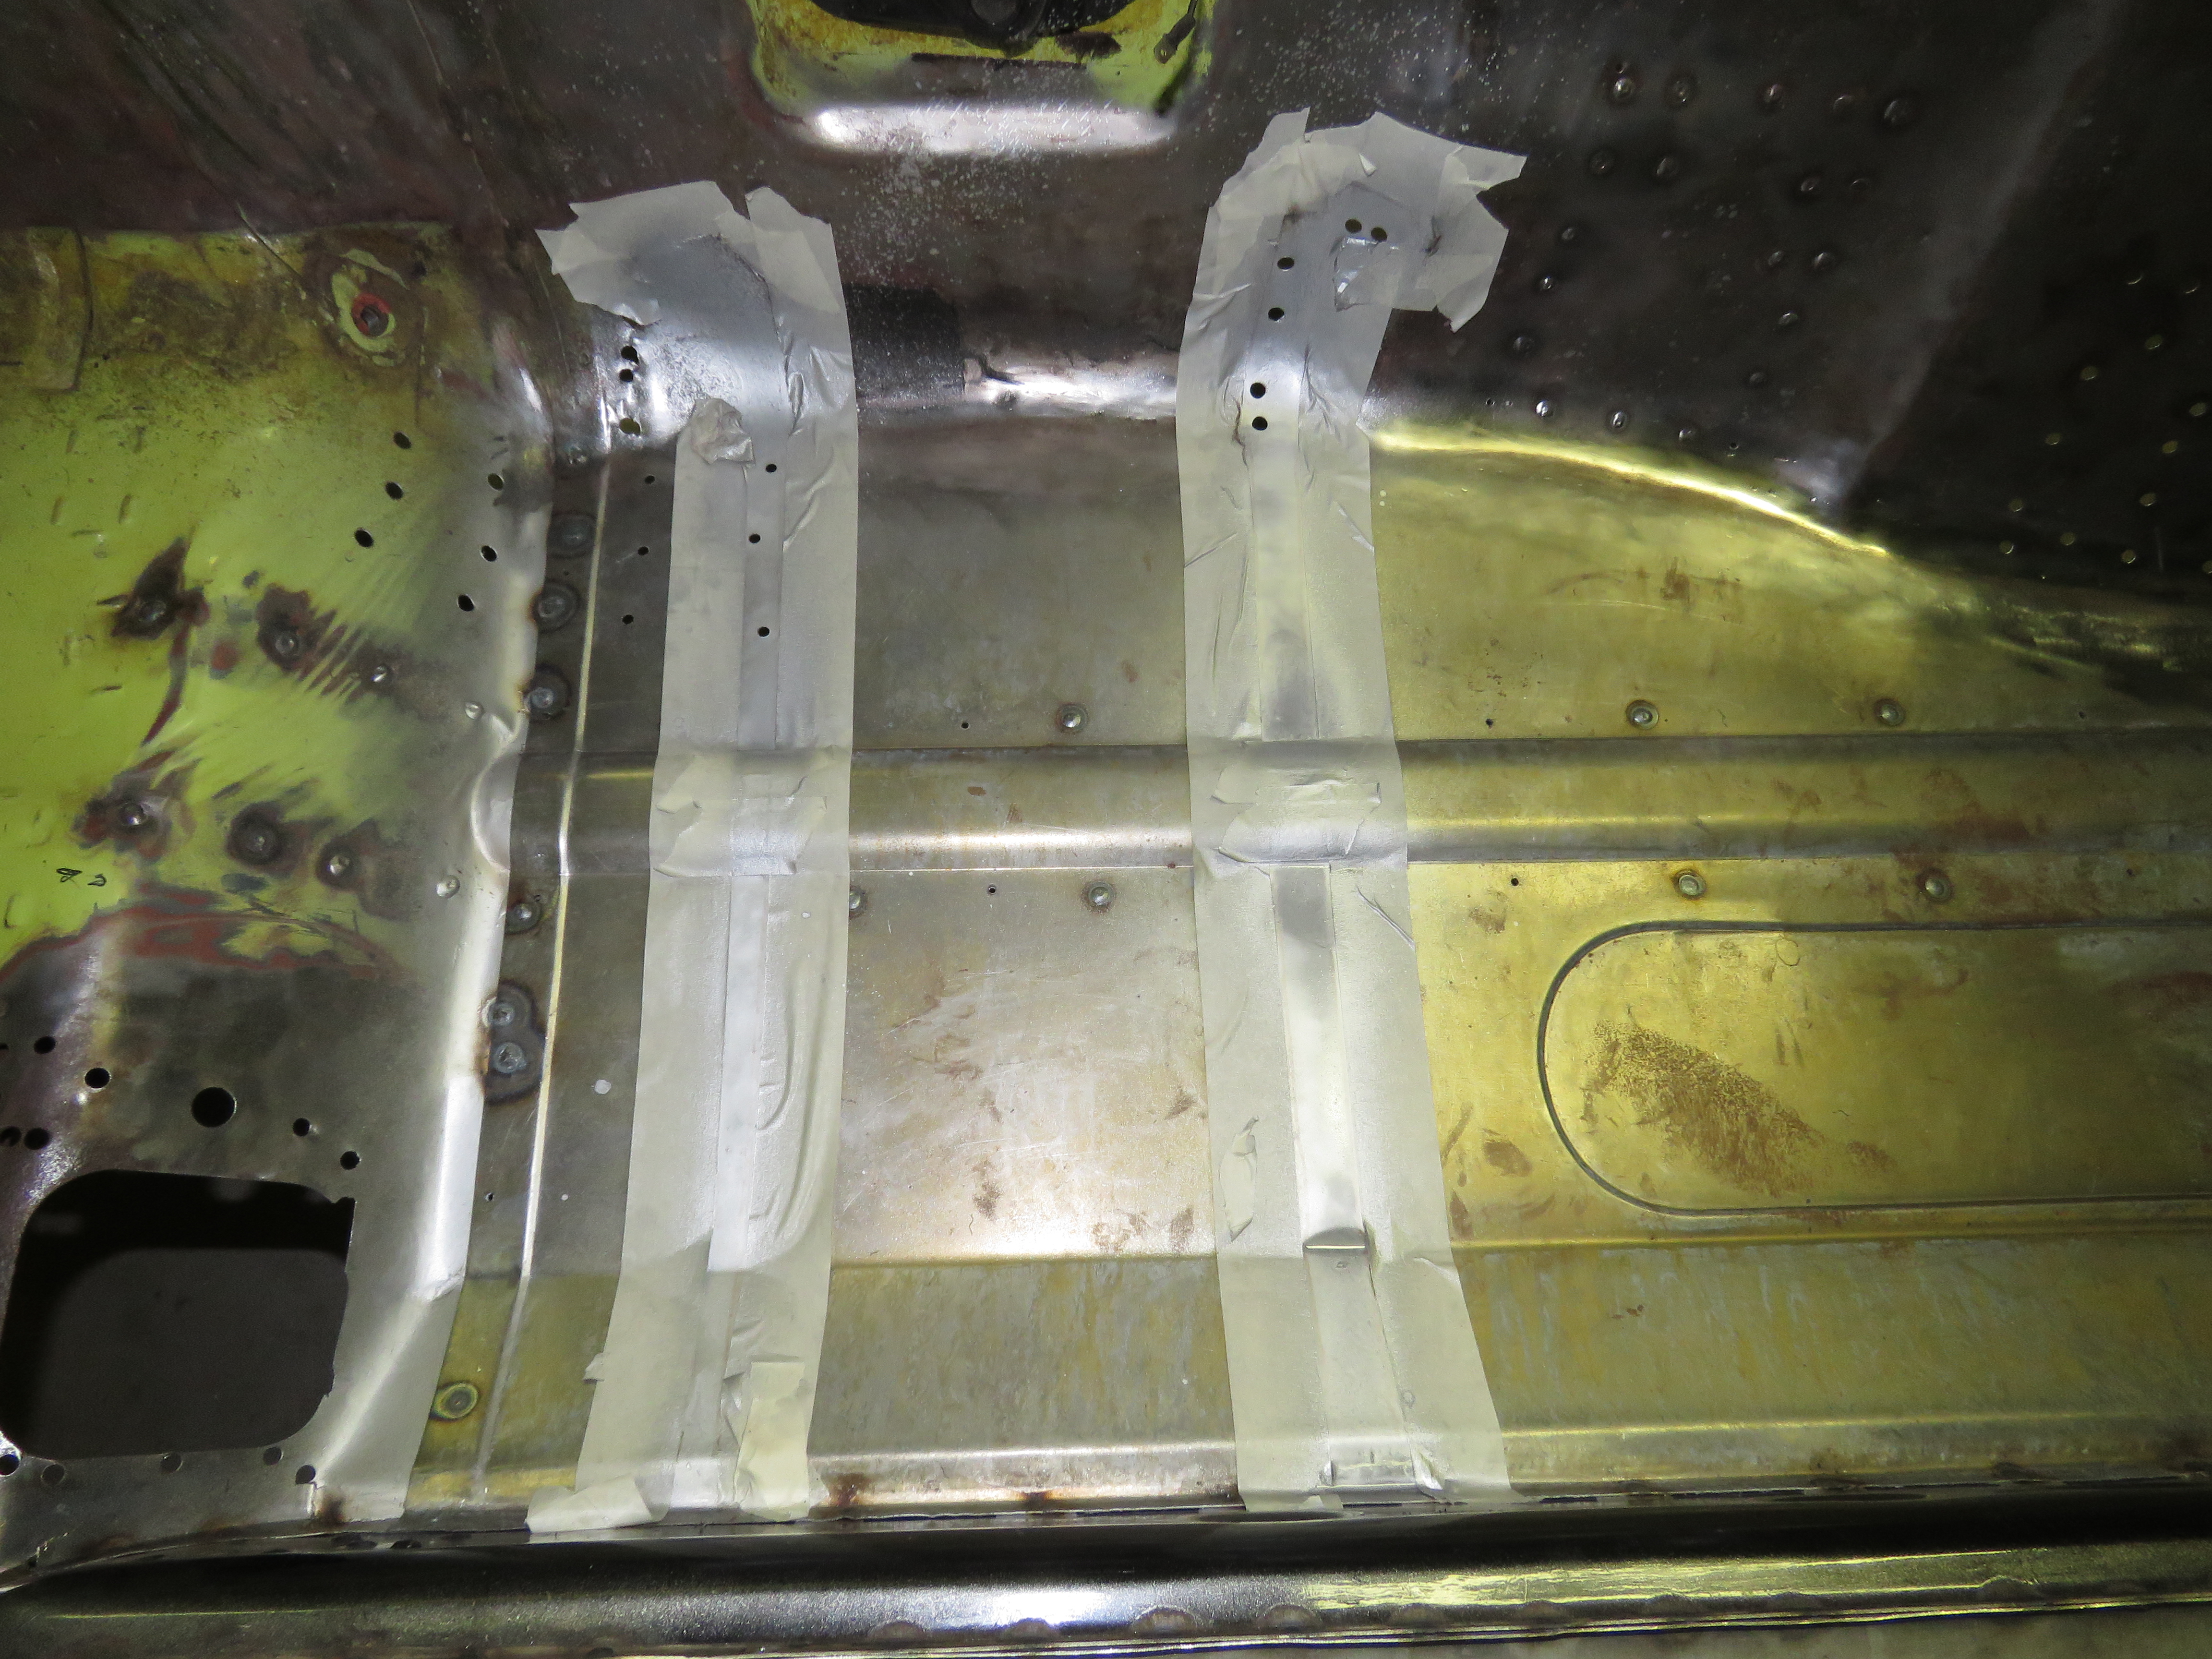
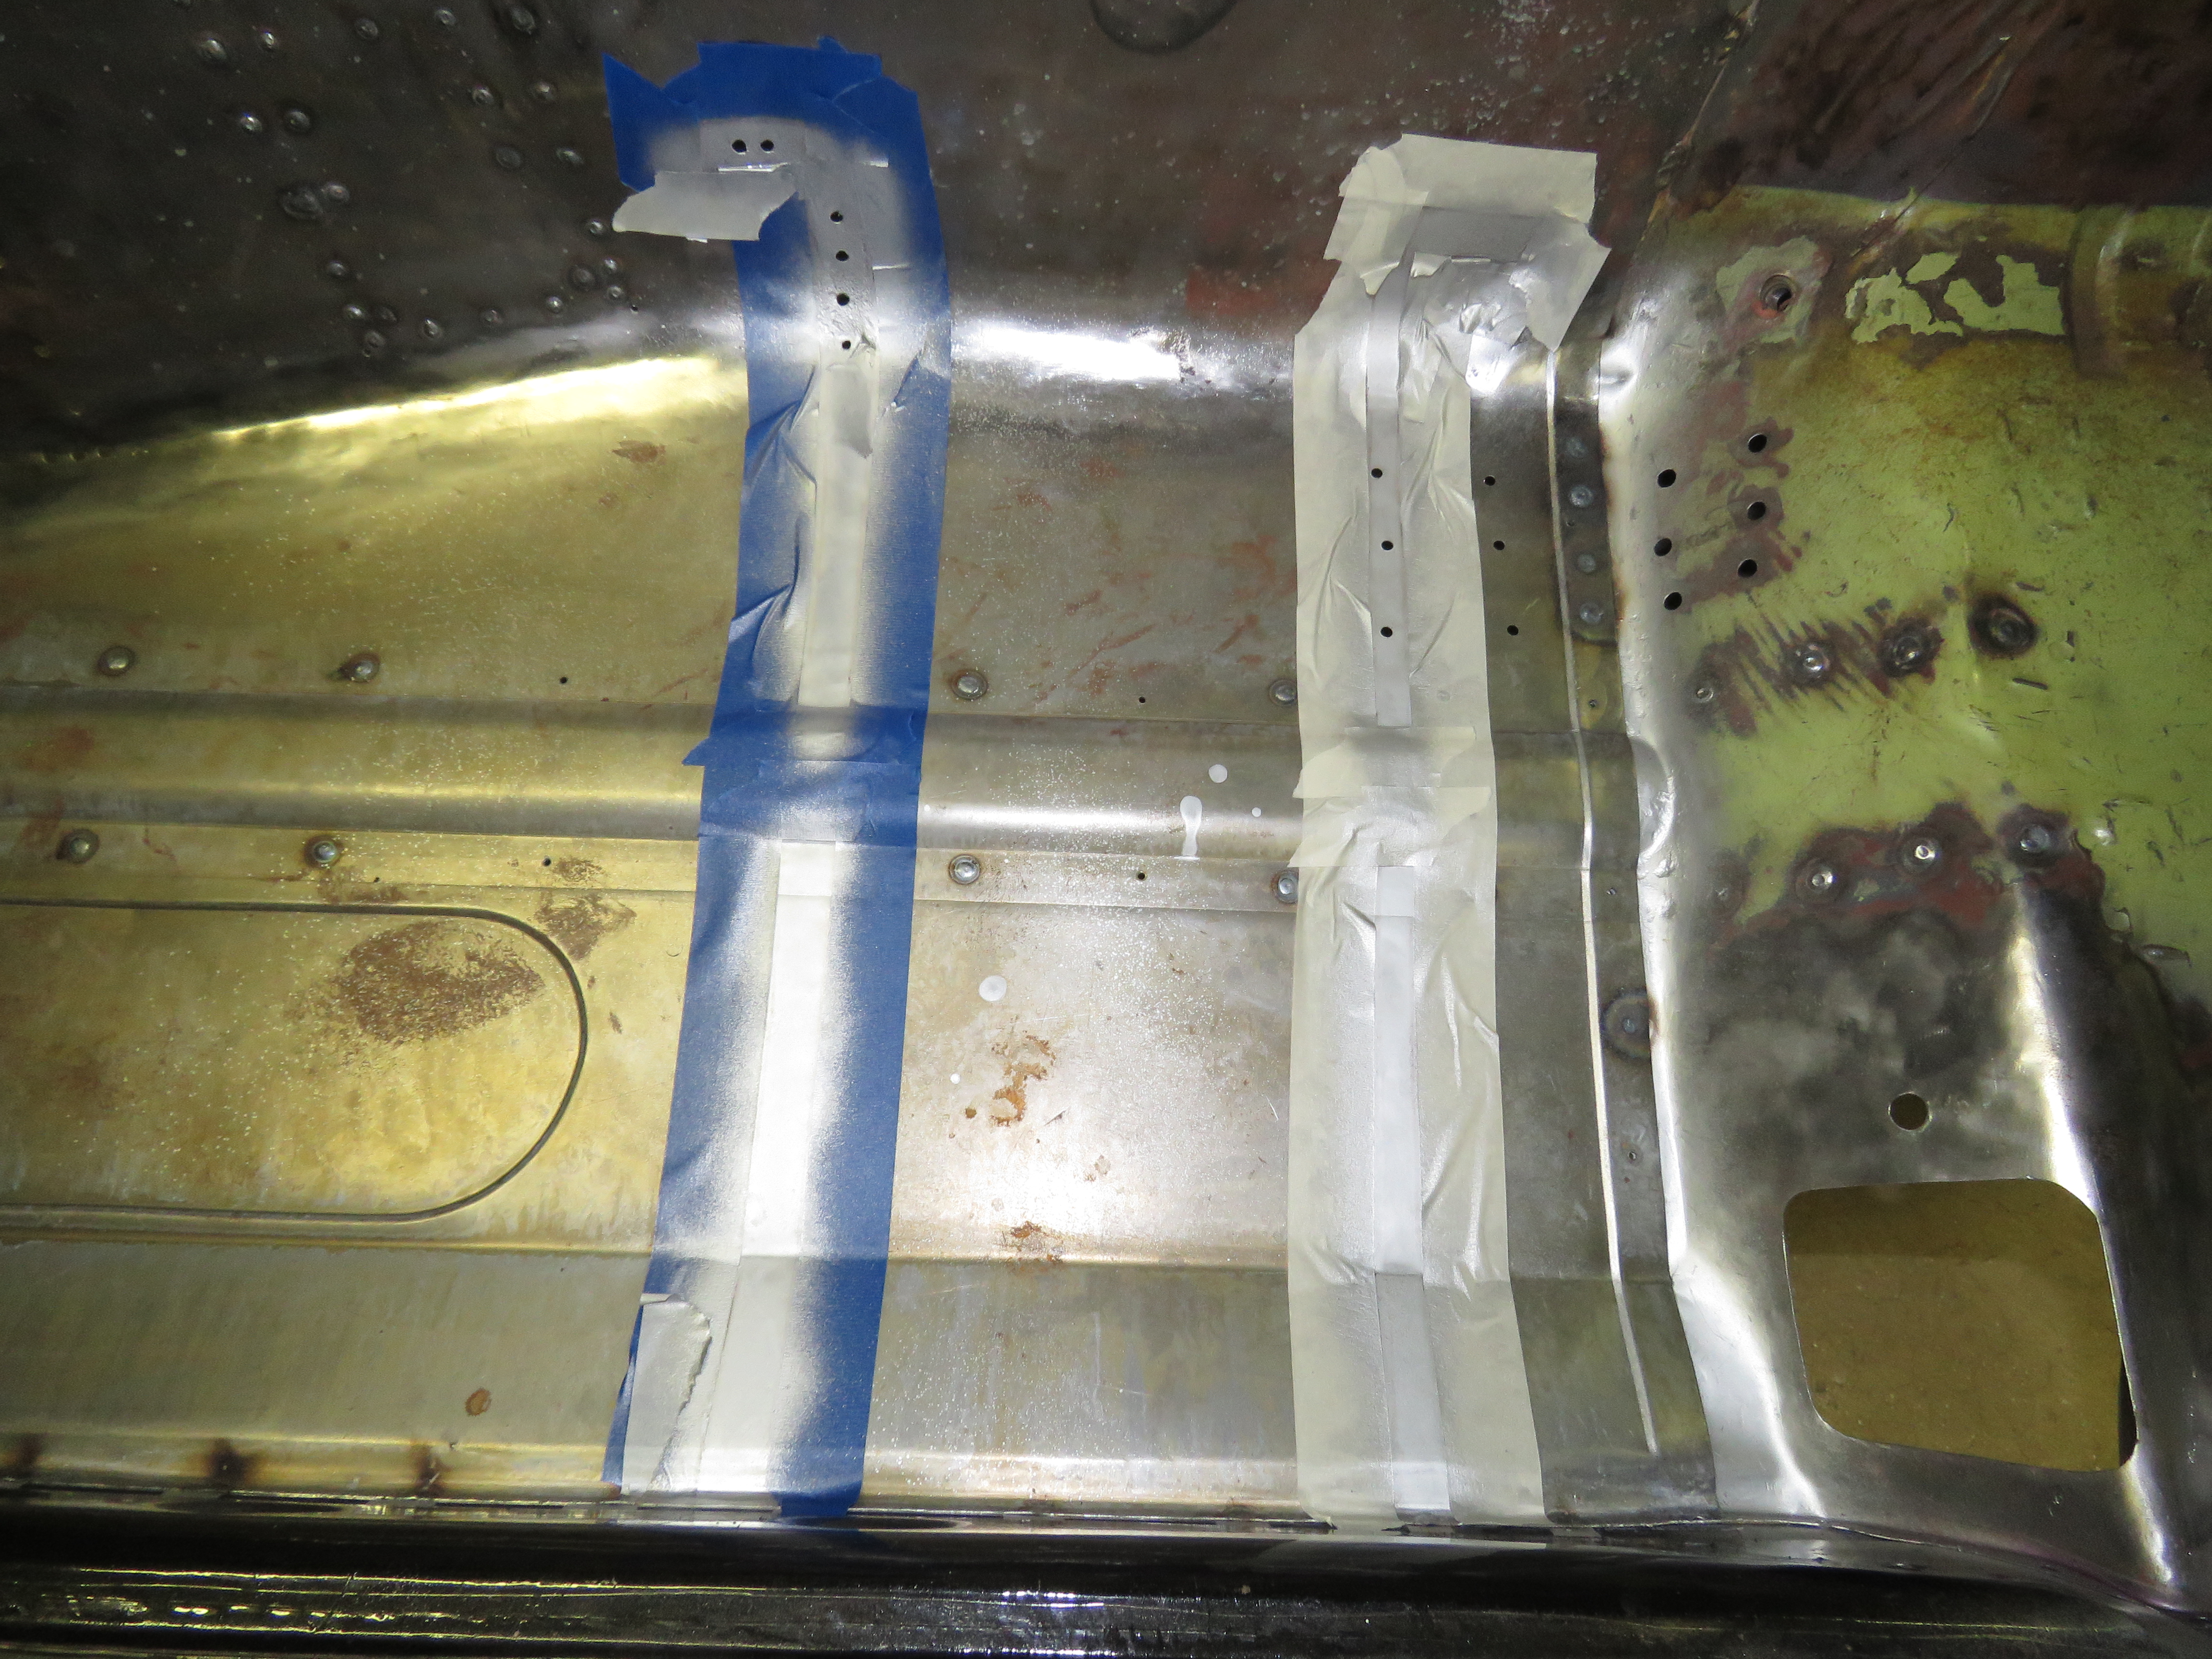
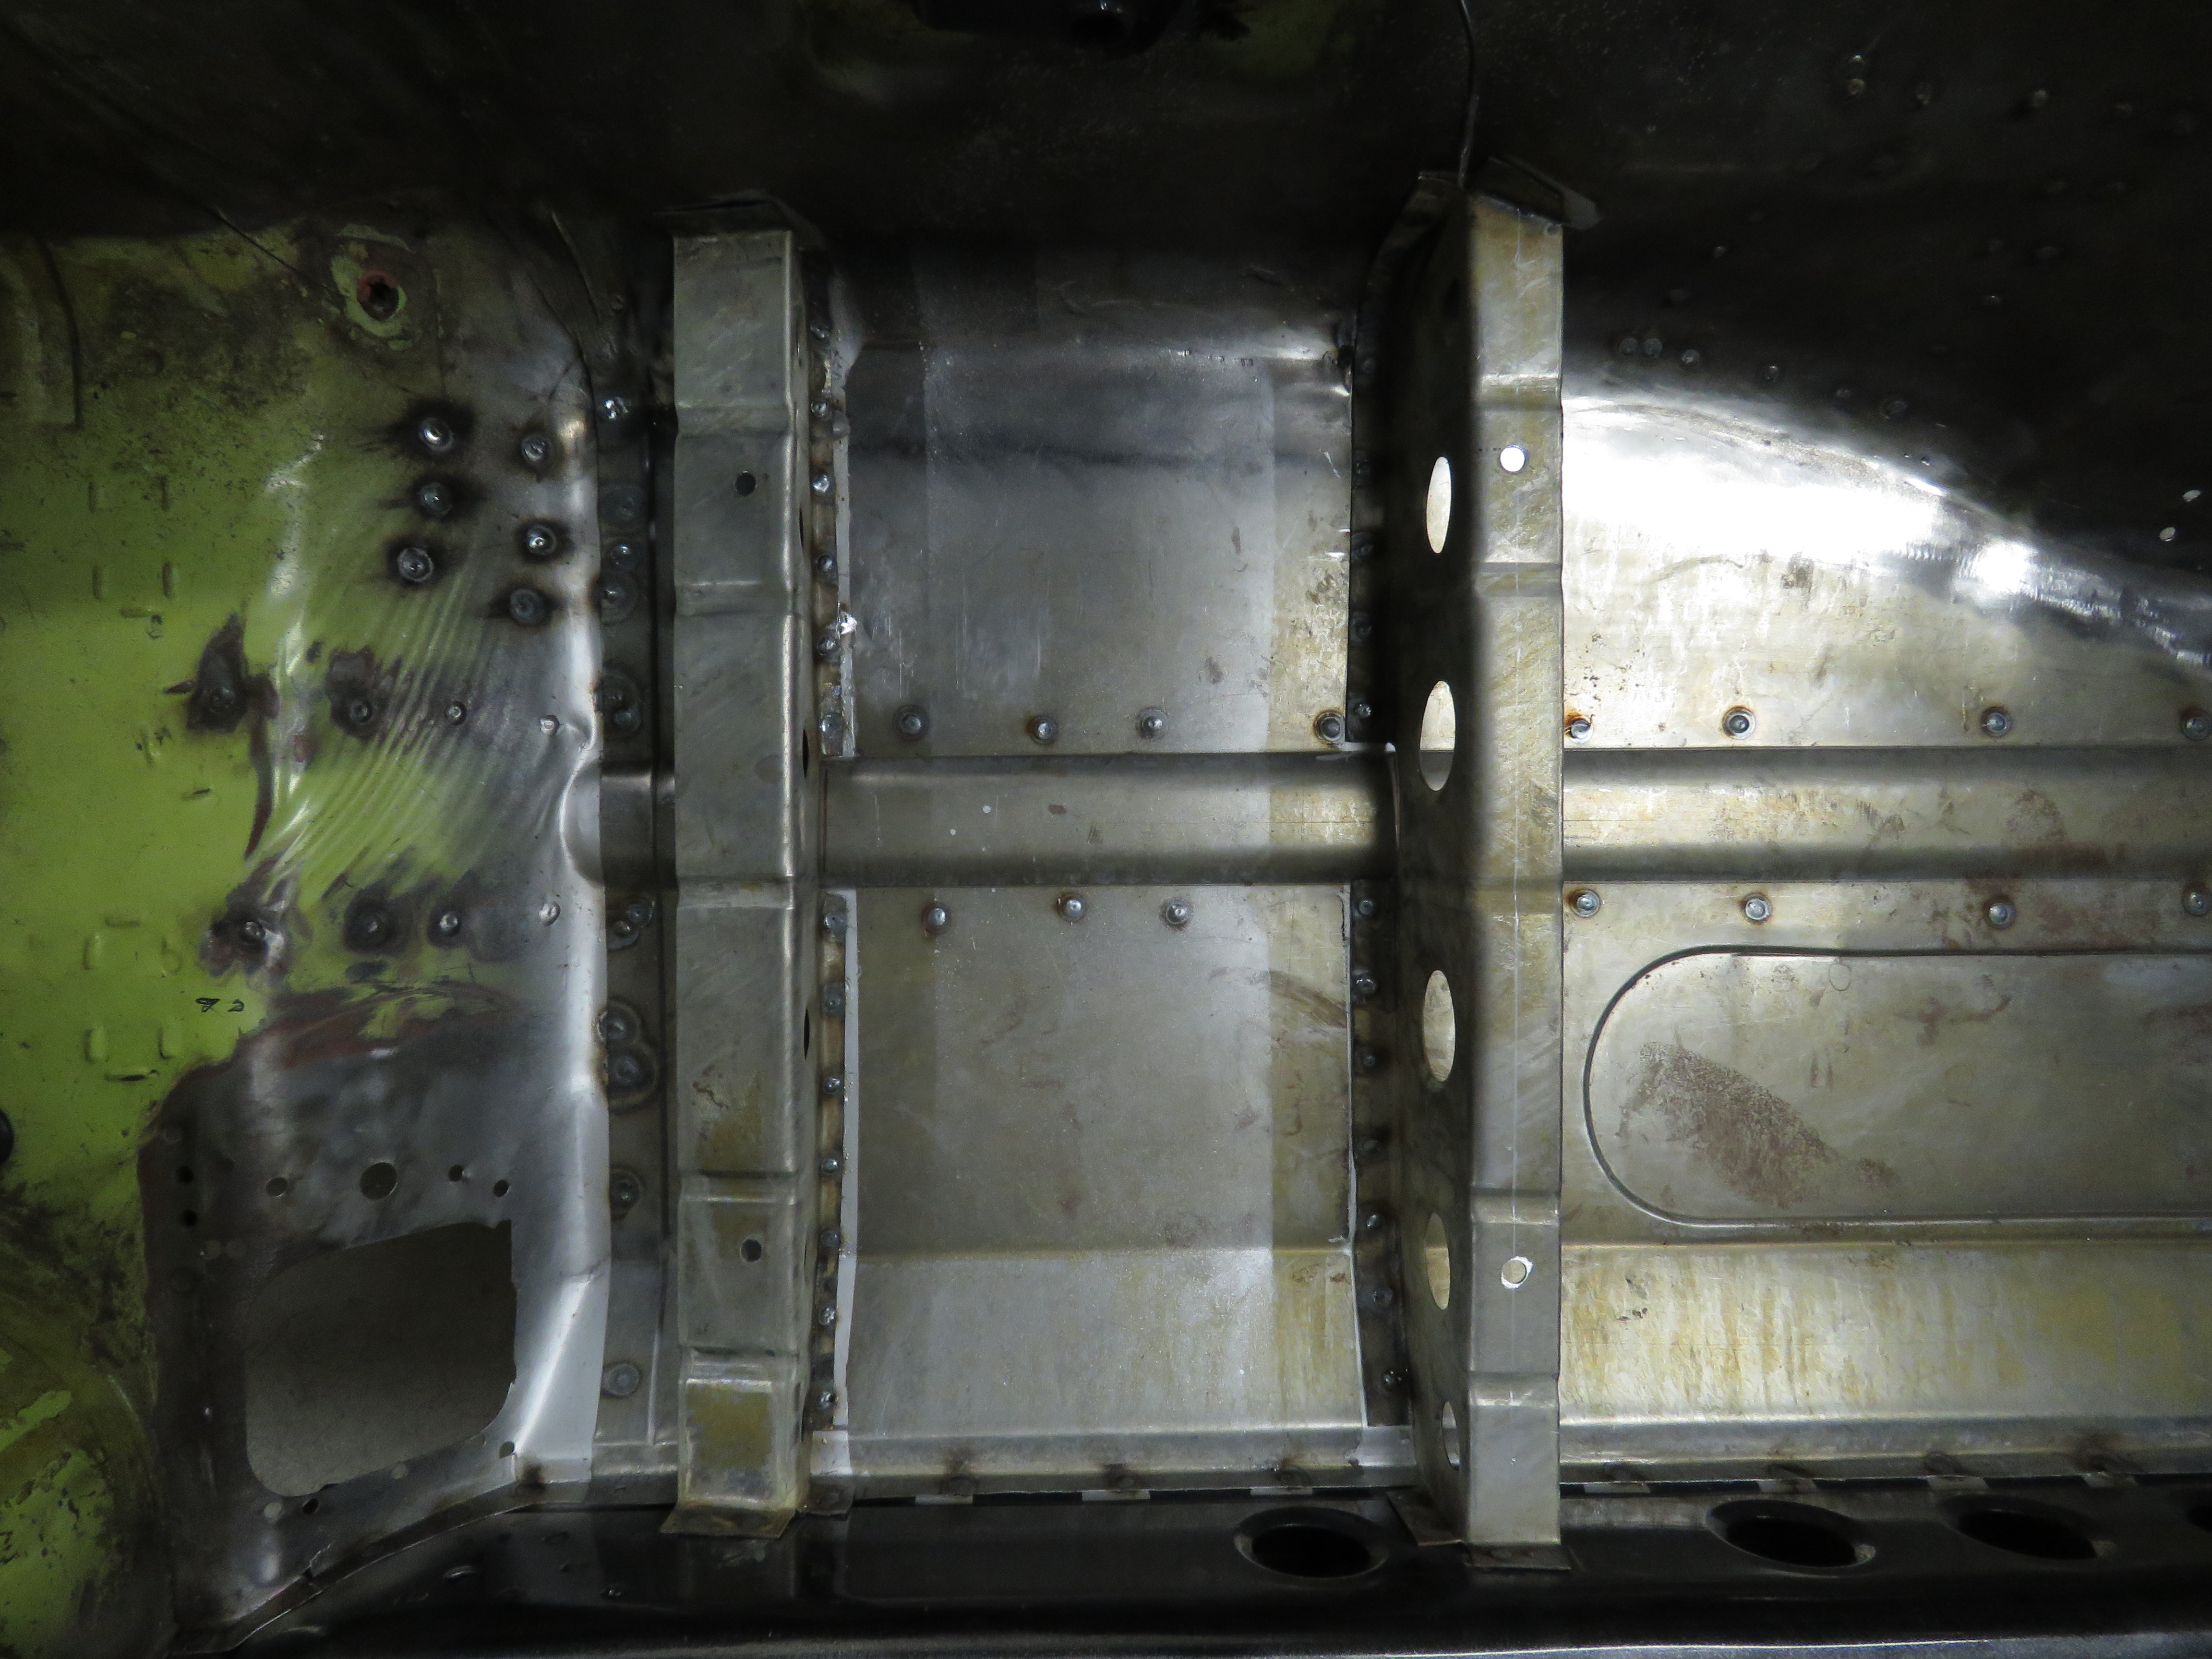
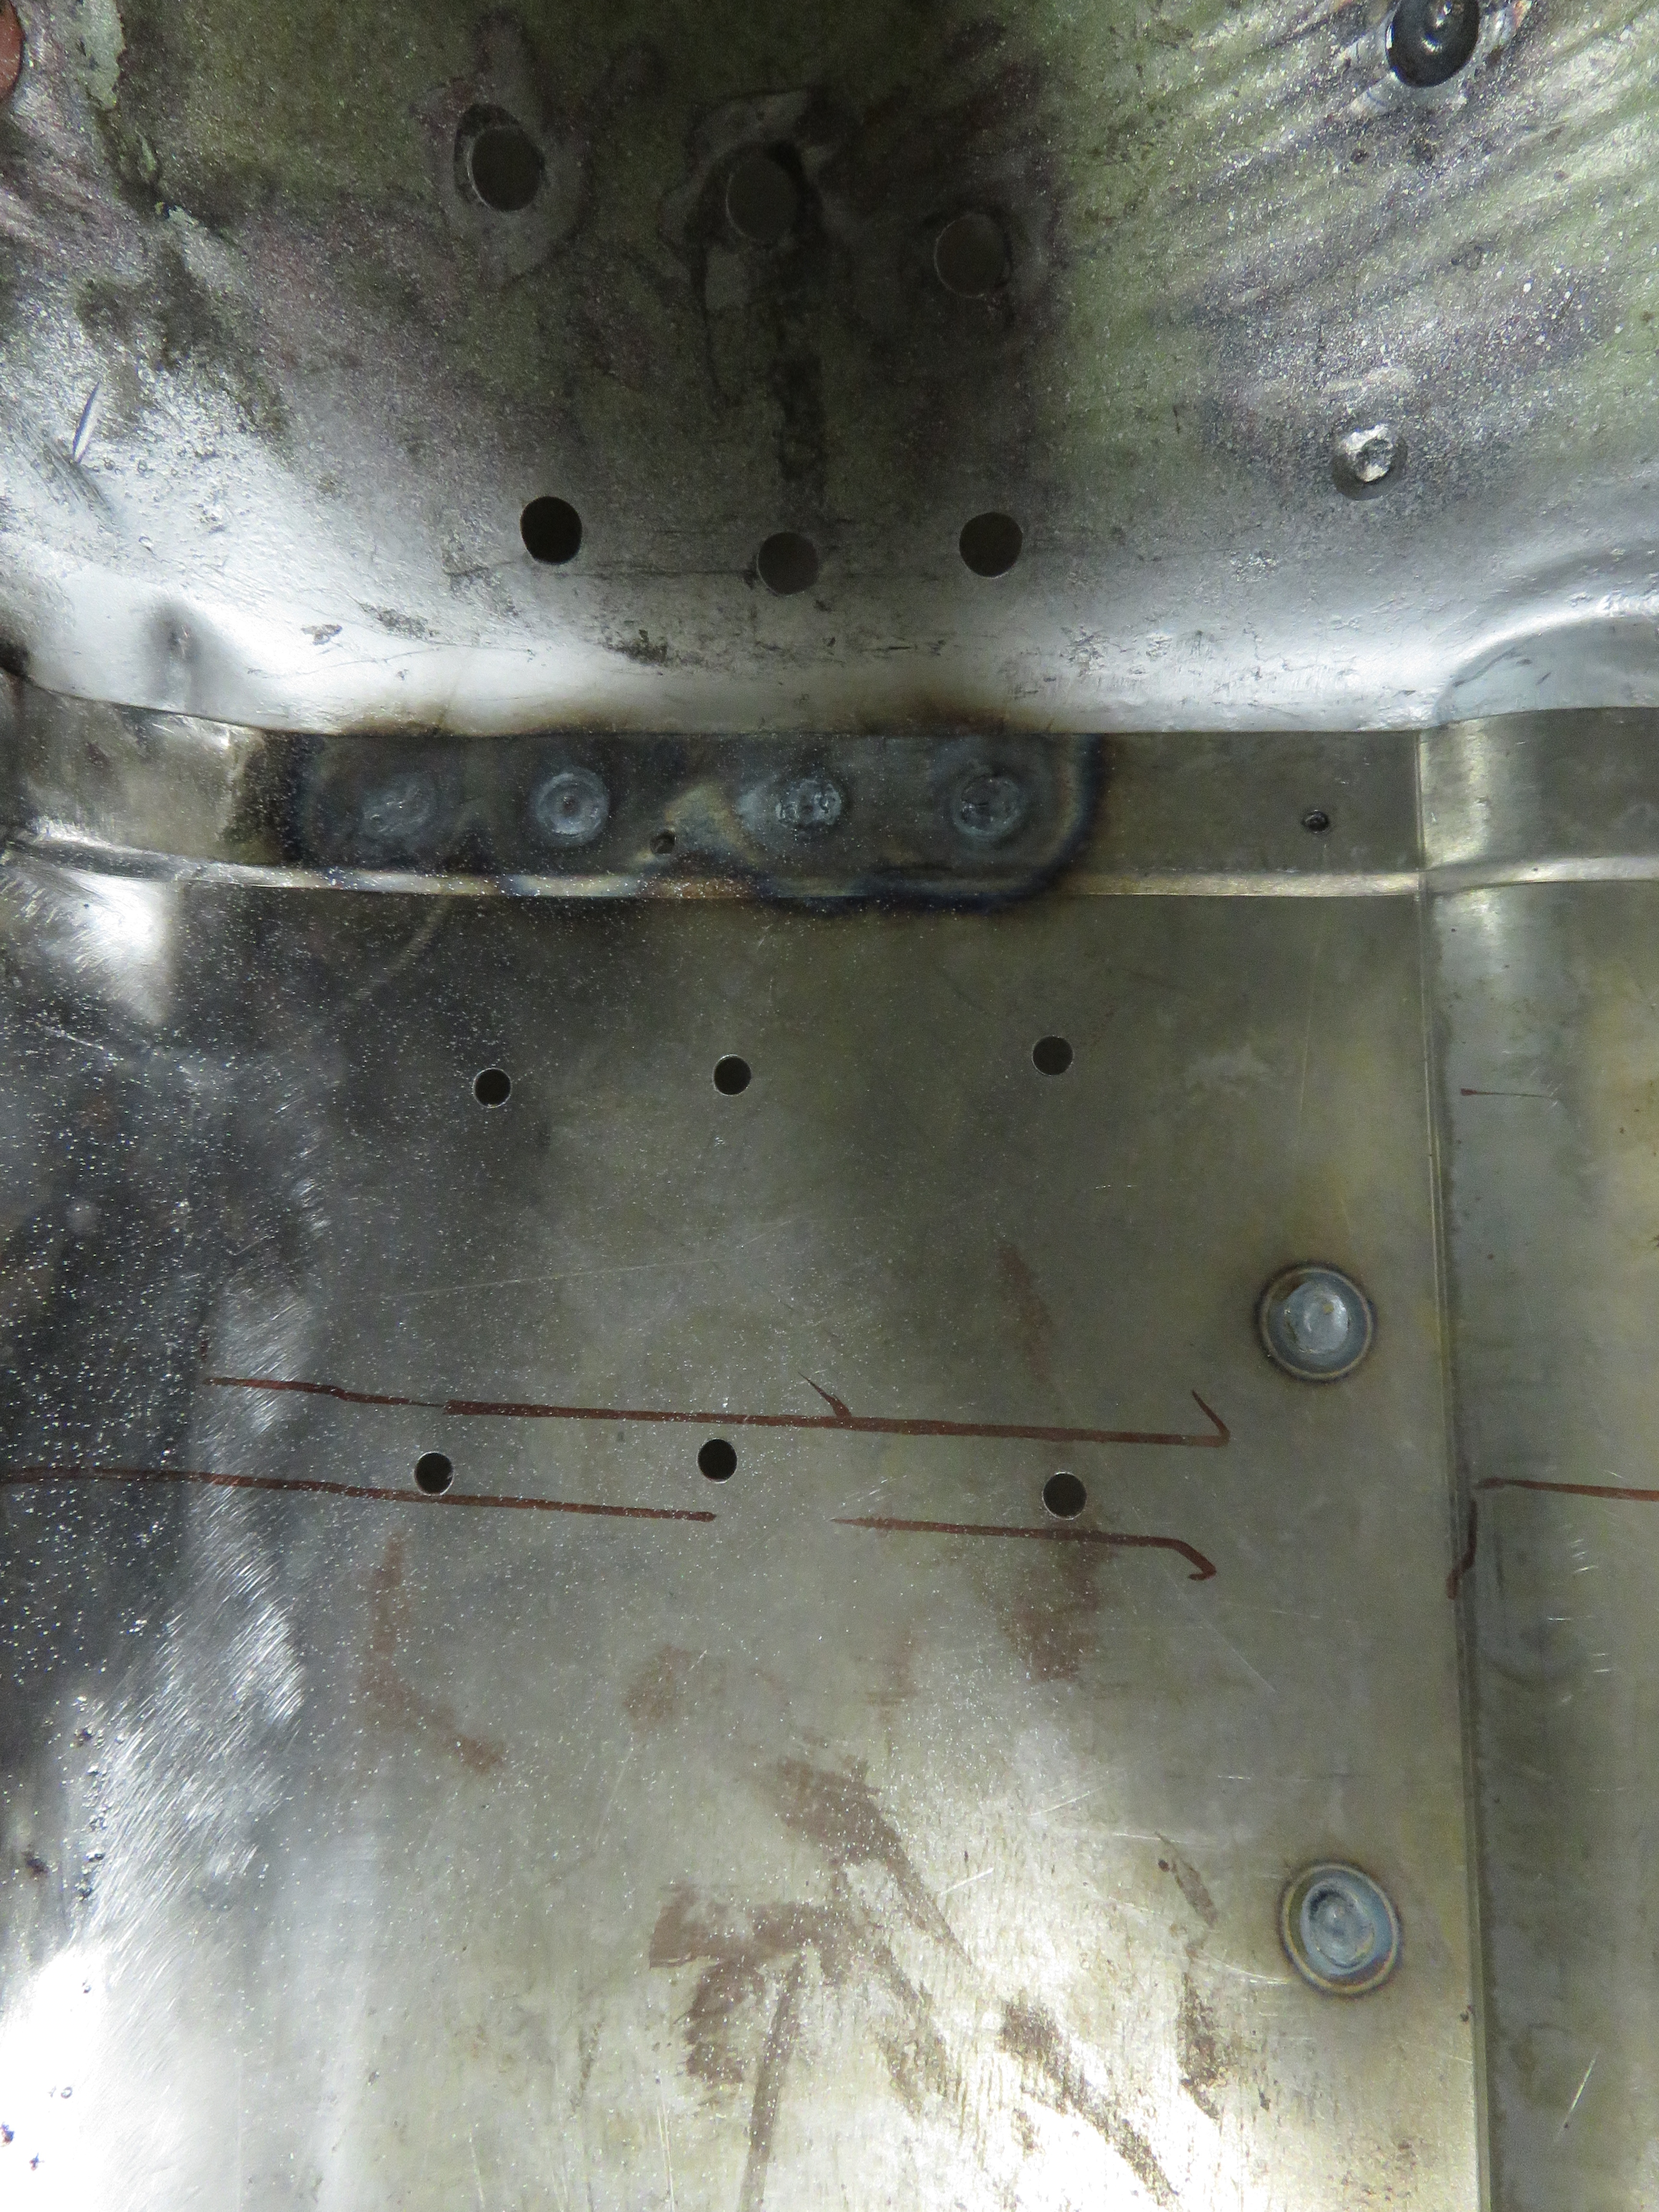
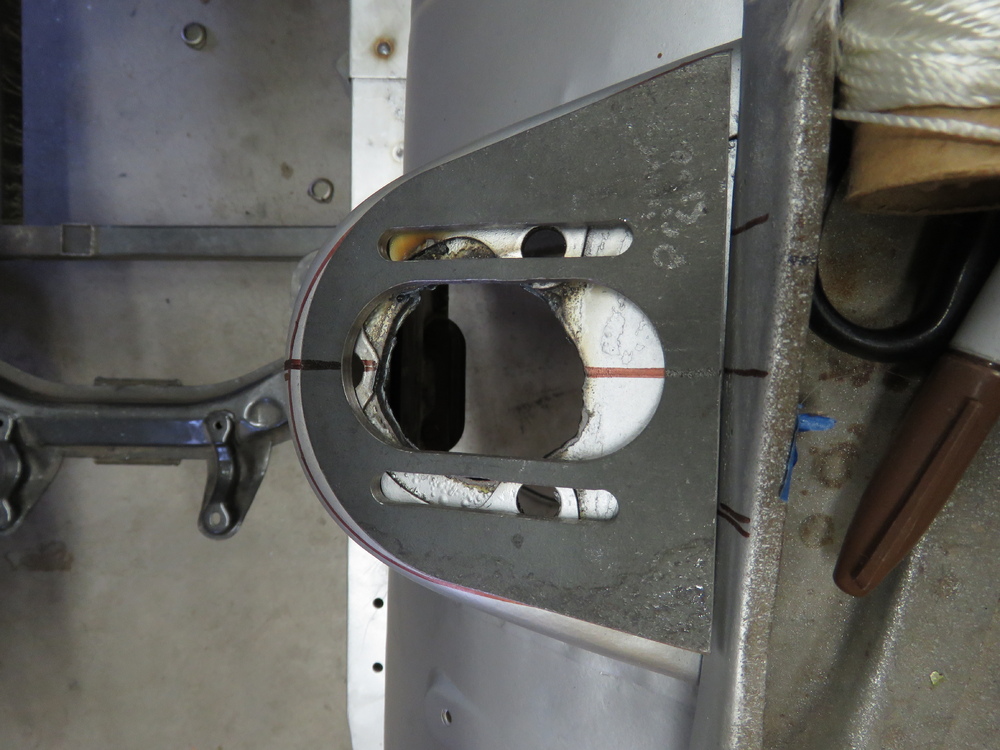
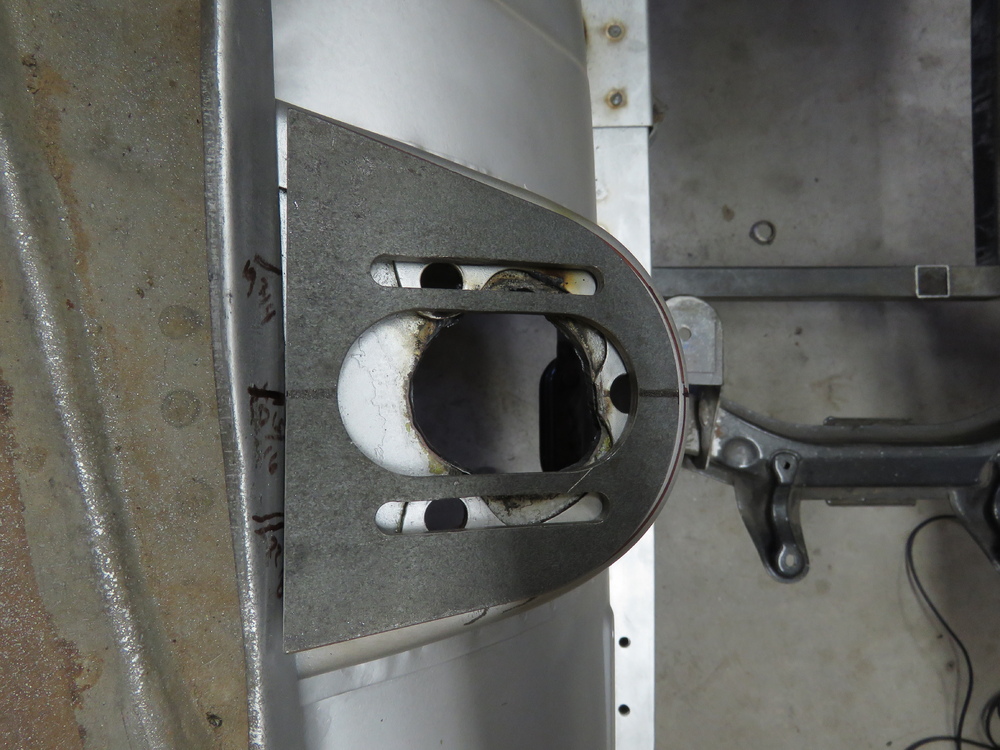
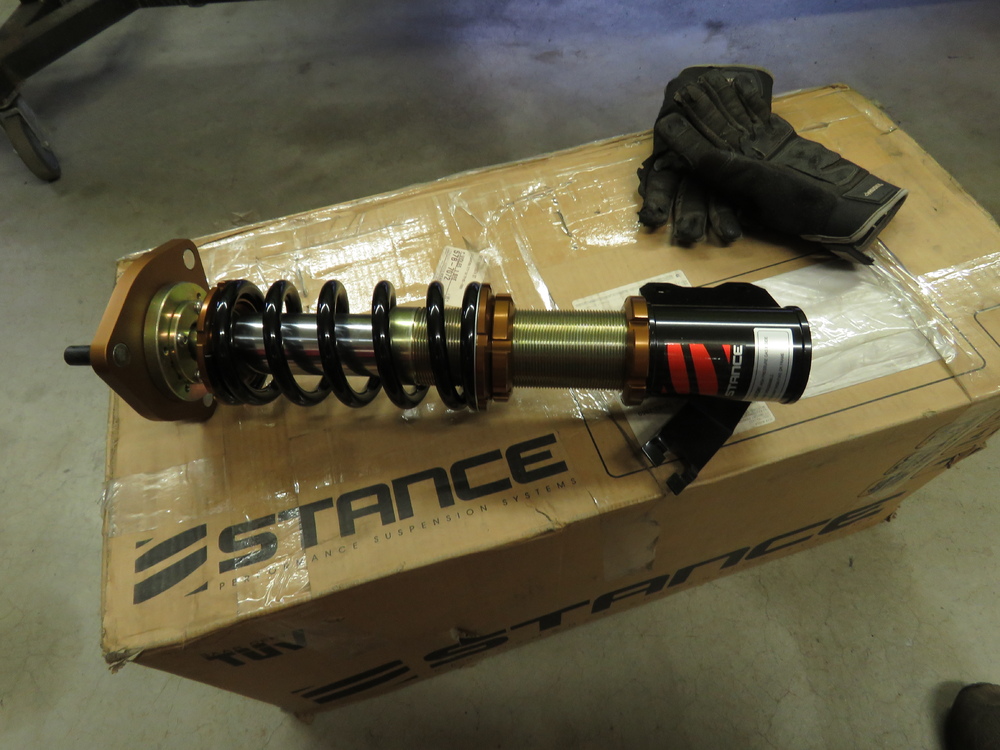
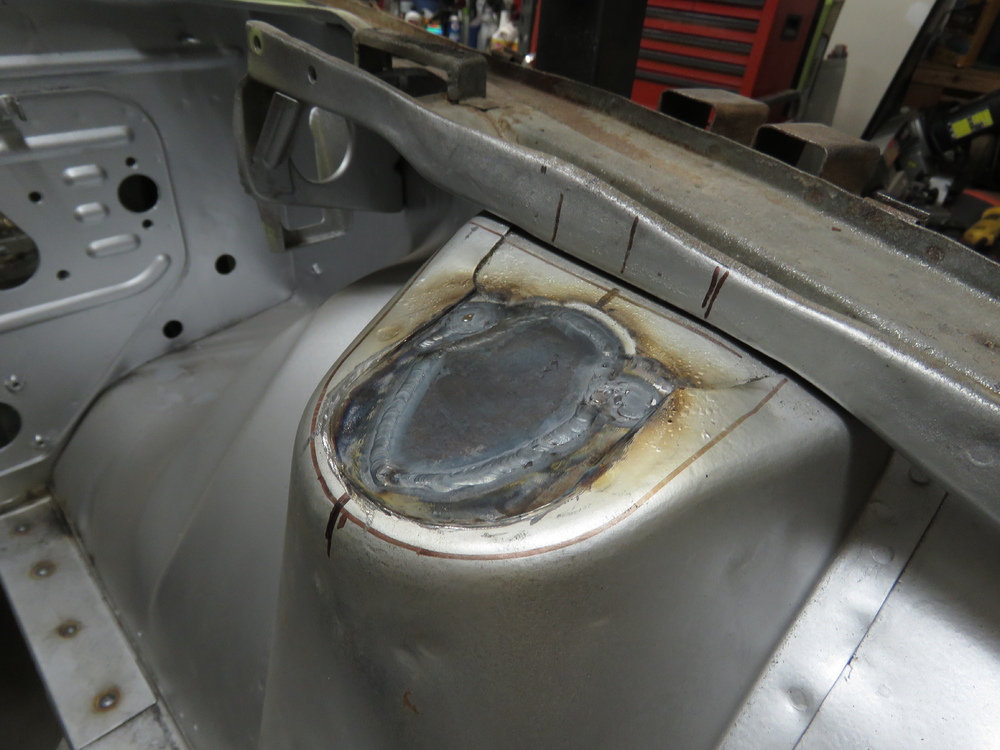
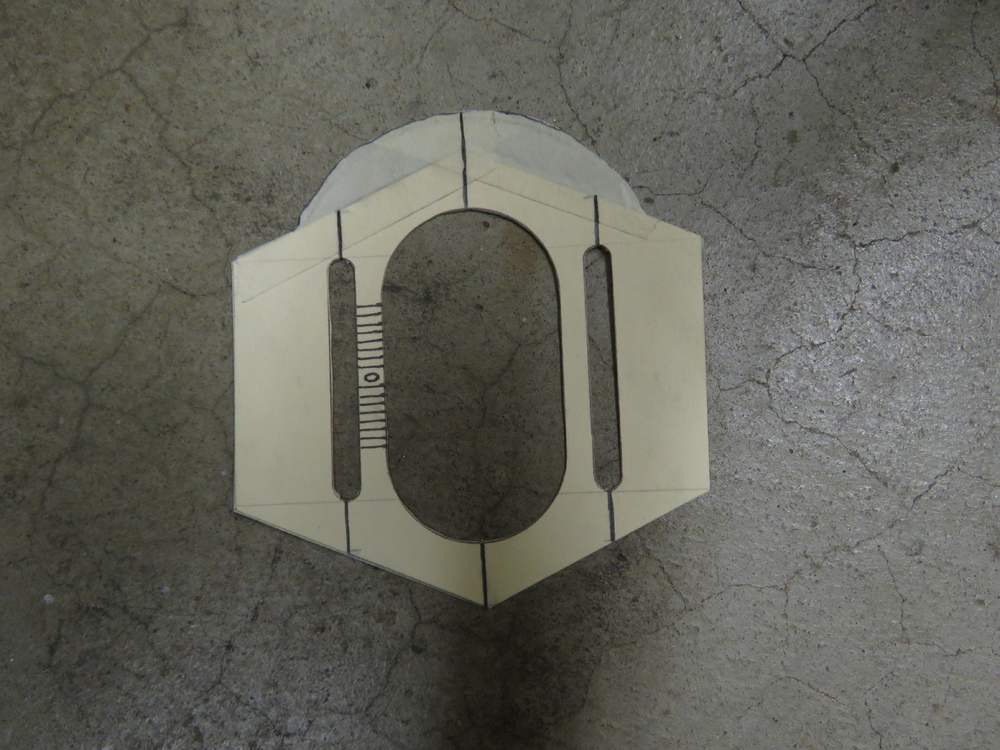
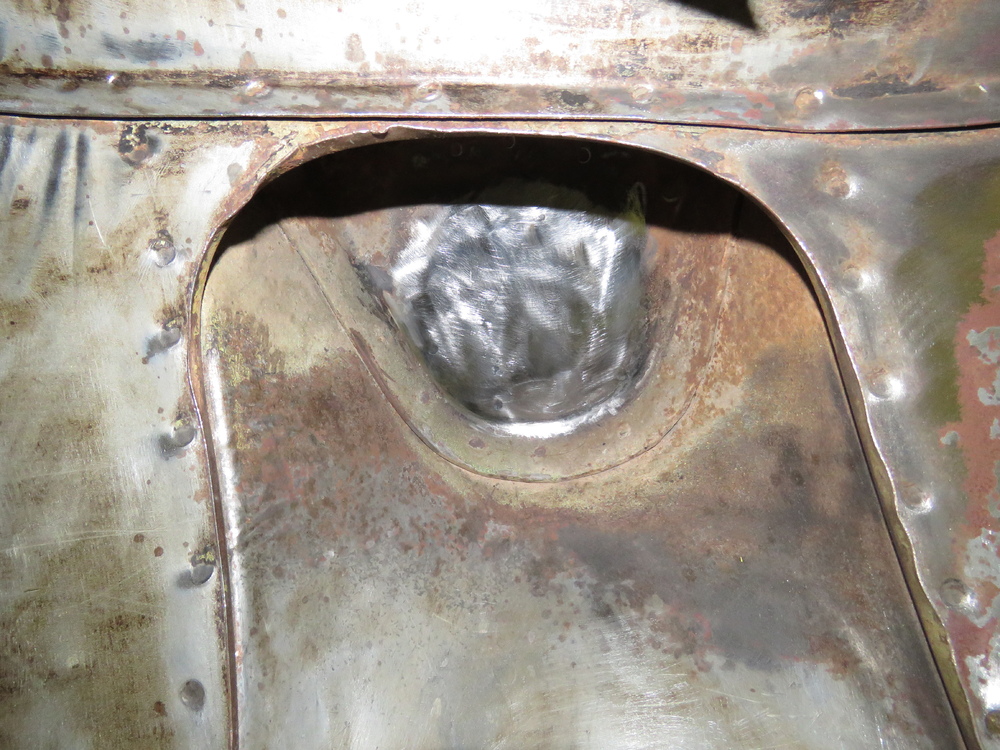
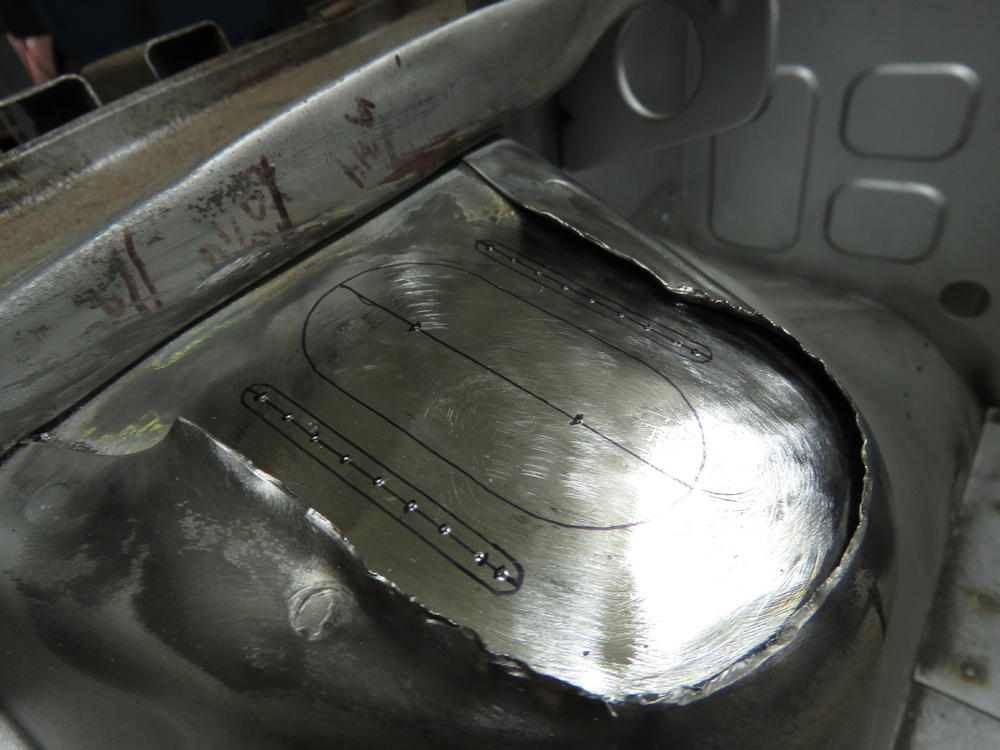
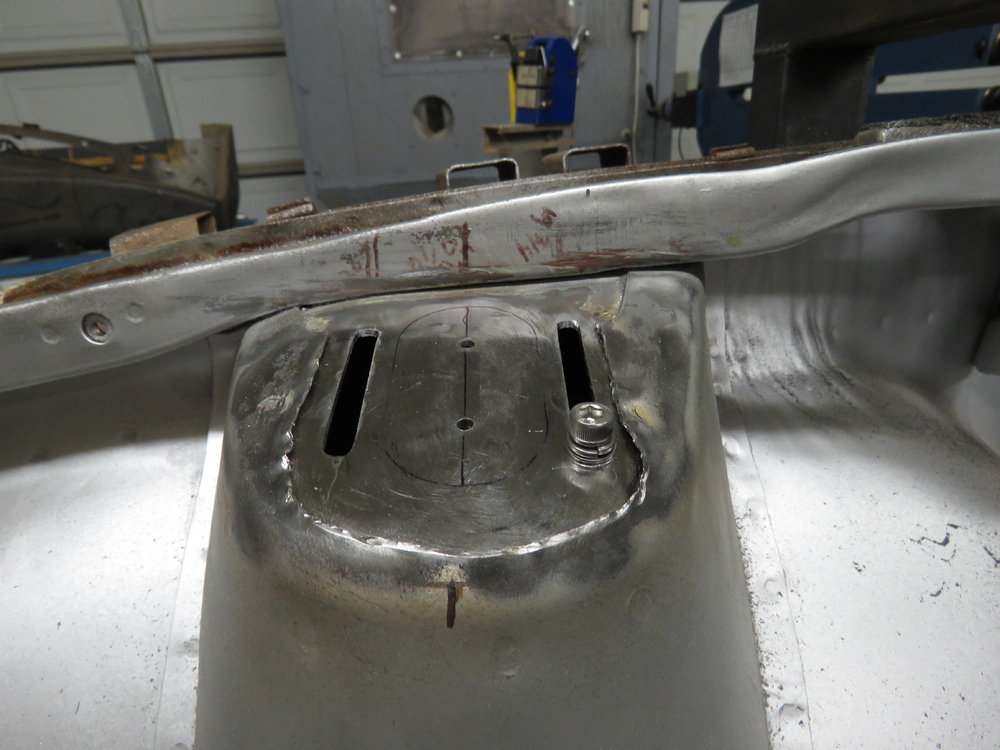
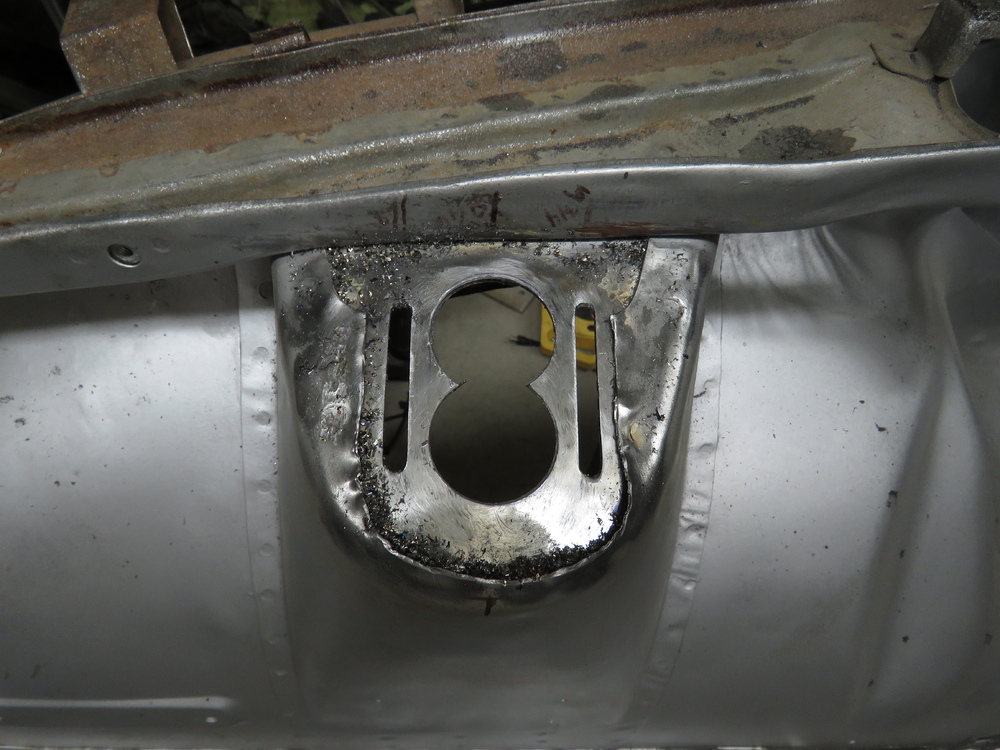
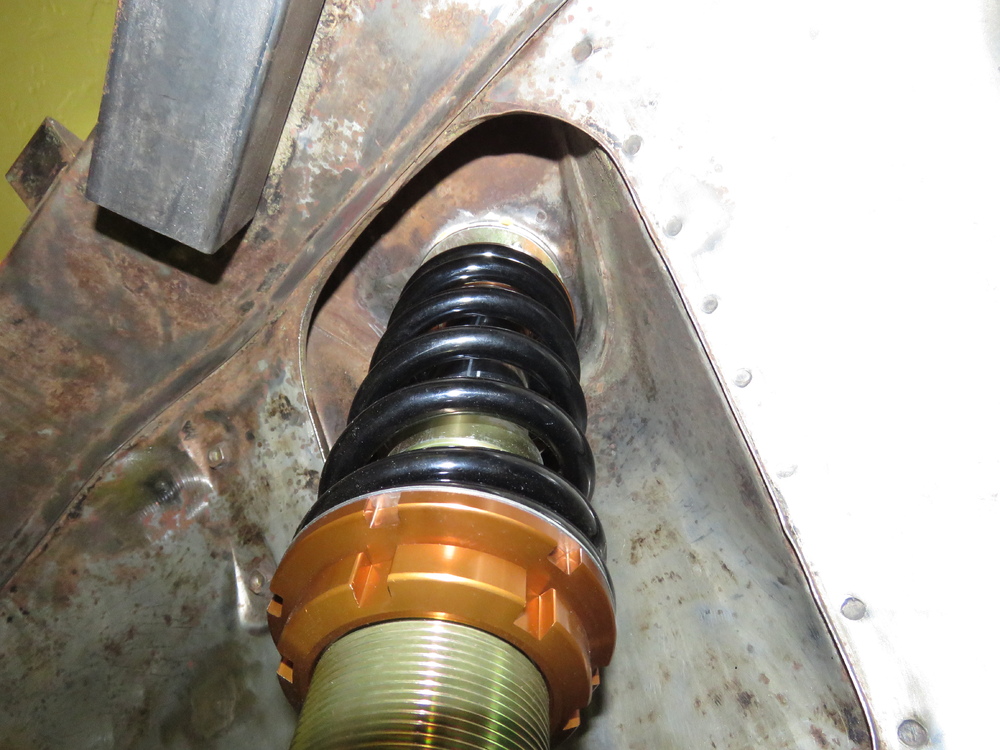
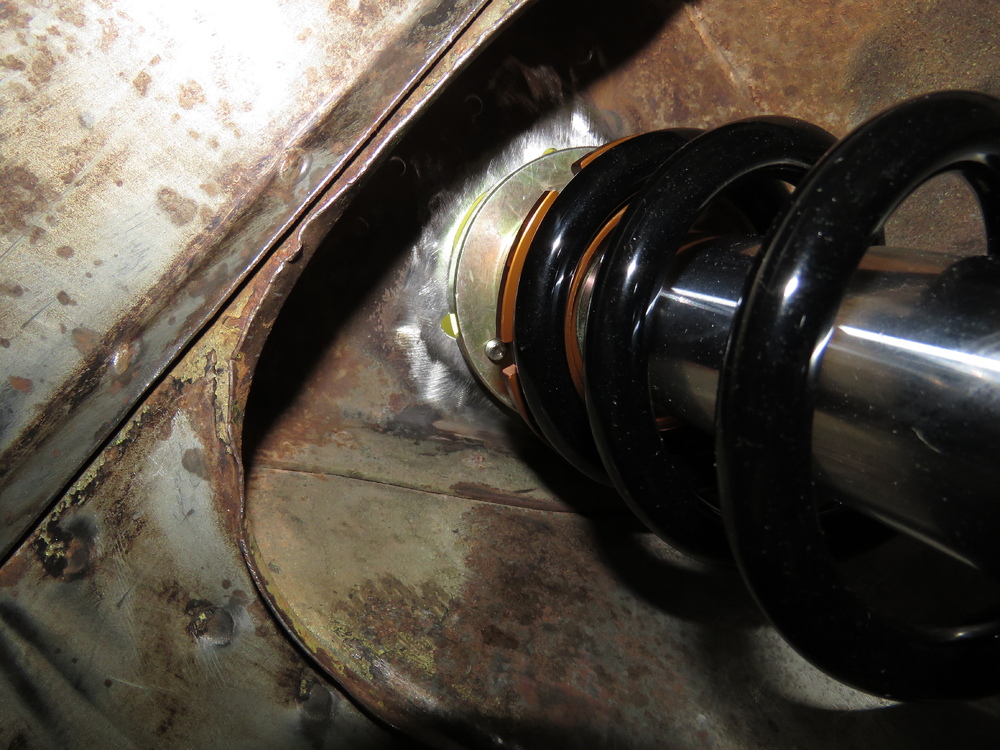
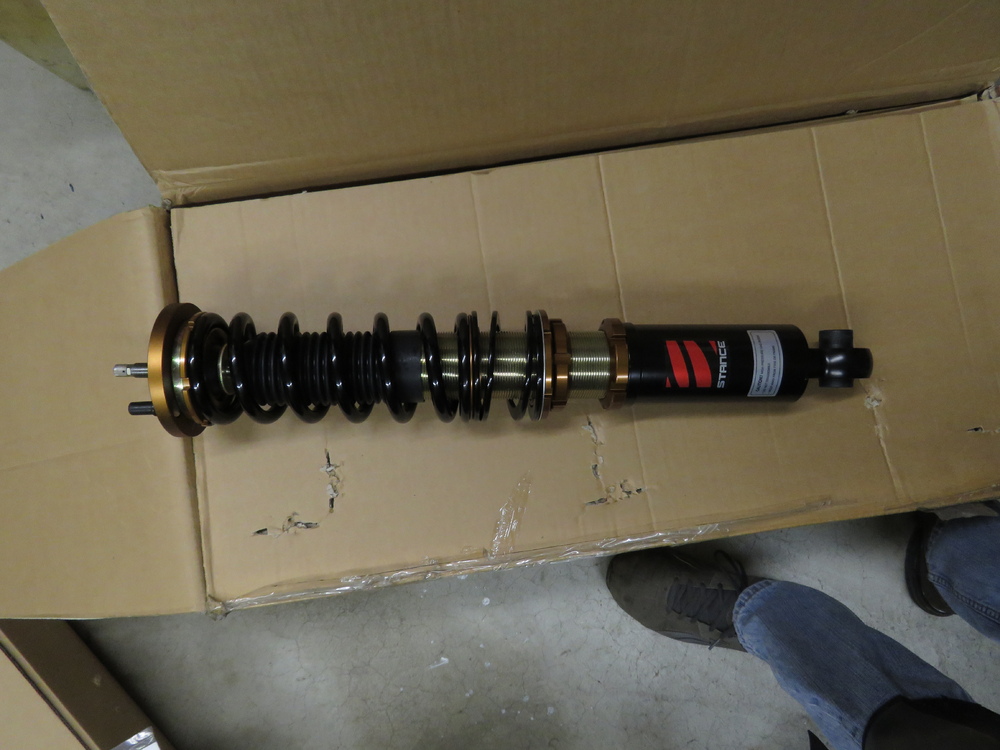
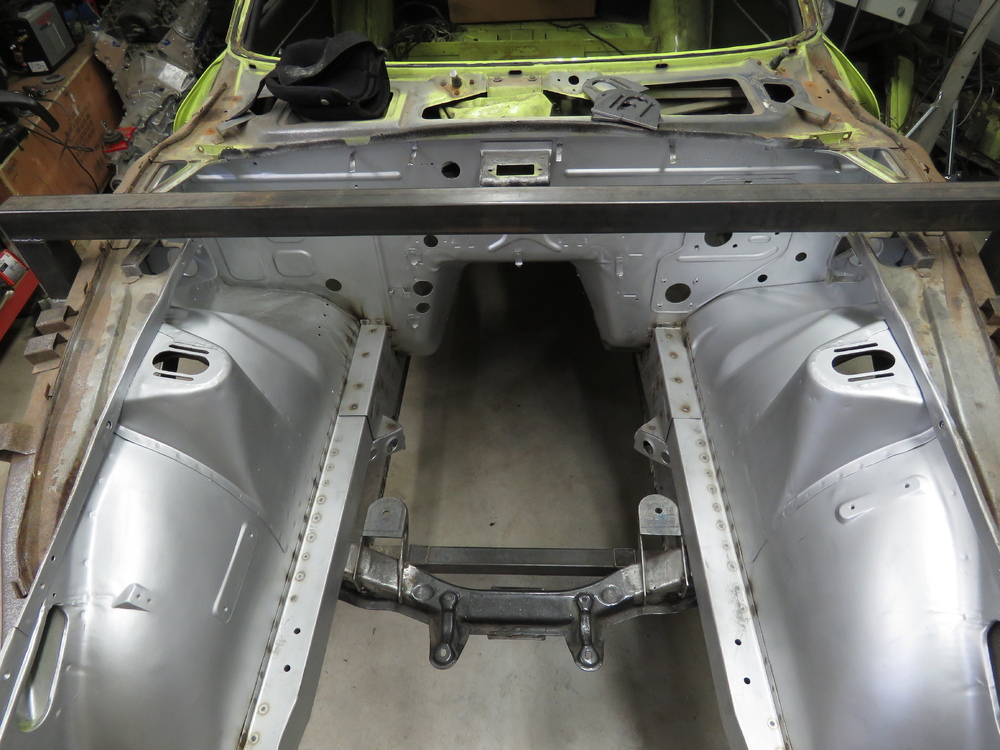
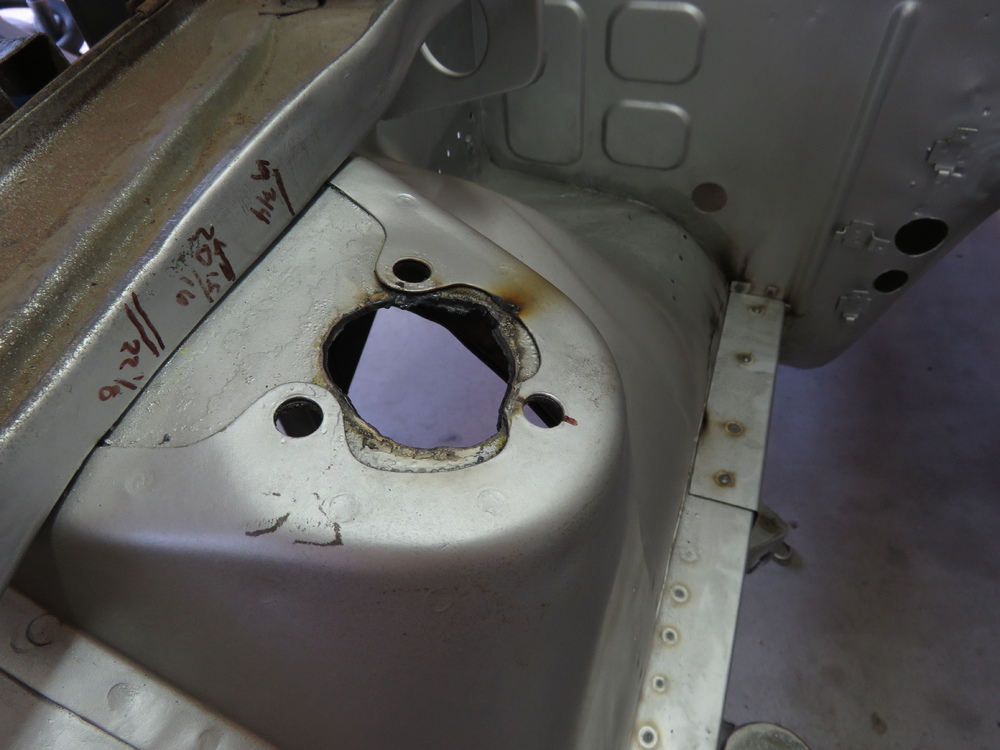
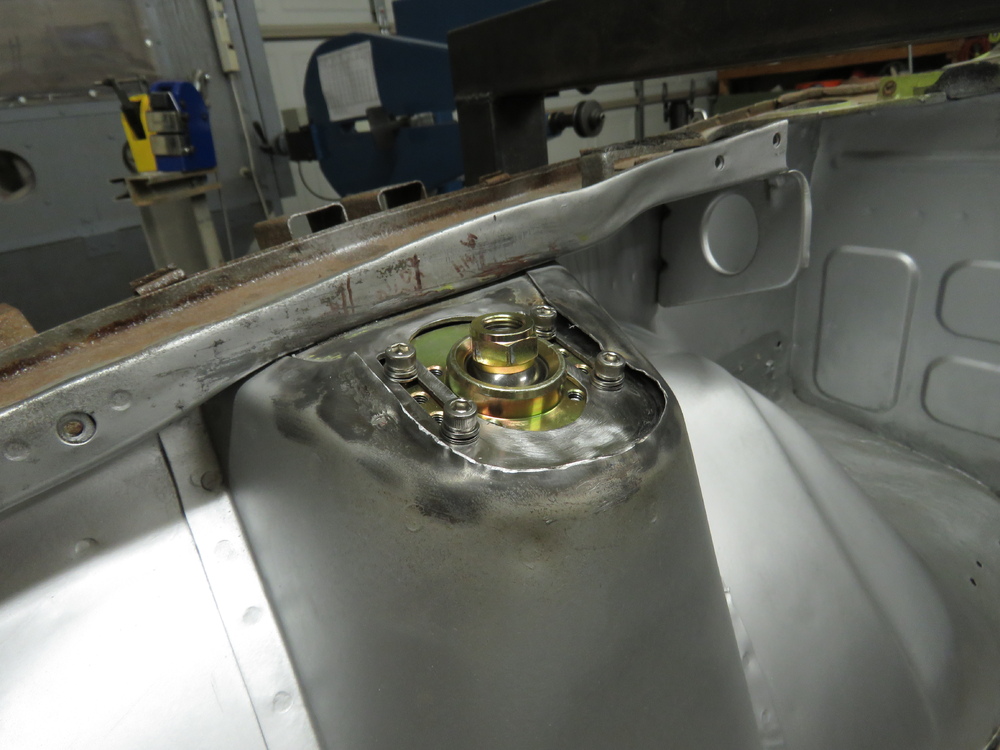
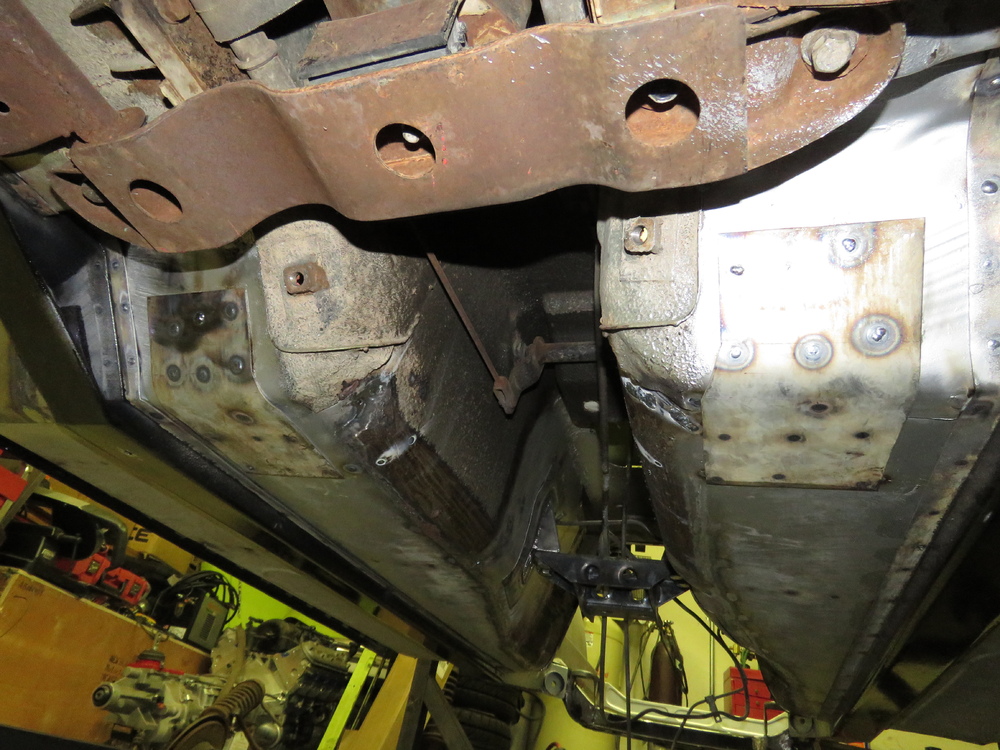
1 pointKeep posting updates in your thread, I really enjoy looking at other peoples process and ideas, Its how I got started. Great to share around. There are times where I dont post updates on purpose because with all the pictures I have, I feel like others get annoyed when they keep seeing my thread pop up, haha. Than you sir. Well finally got the camber plates dealt with, however its not what you would of thought... Started with cutting out the bulge in the strut tower top plate using my plasma cutter. Another look at the camber plates I had bought from ZCCJDM.com on the strut tower. Discovered that they dont fit my Stance Coilovers. Reason I think is because these are probably for the Megan coilovers. Comparison picture of the camber plate to the stance camber plate. As you can see the bolt holes dont align, and the main center hole is to big on the ZCCJDM camber plate. The forth bolt wont go in, I can force it, but shouldnt ever have to force a bolt in. So I decided to ditch them as I didnt like the fitment, too tight and loose in areas. Also bothered me that the preferred method of welding these plates on is to weld them on top of the sheet metal of the tower wall/cover and not directly onto the stock upper plate as this is thicker and more structurally sound. But I guess that method was proven buy numerous of Datsuns to work. Plus I wanted a factory look for some reason. Here is how I did it. Keep in mind that I will later on be adding in strut bar mounts. Havent thought about how I will do it, will need my LS1 engine in place to see how much room to work with, but hopefully after I get the strut bar mounts welded in, the camber plates will much stronger and more connected with its surroundings. Played around with the idea of trying to make the stock top strut tower plate to work with out having to do a lot of work. Bad Idea, haha. ended up just welding a plate in to close up the holes and start with a fresh canvas. Got to do things right otherwise you will get a crappy result. Holes closed up with tig welding plates in of similar thickness as the stock plate. Made damn sure I got penetration all the way through, purposely gave my welds loads of filler rod. Sanded down. Made a template from the Stance coilover camber plate. Comparison to the ZCCJDM plate. Template test fitted on coilover. Though for full adjustment locked all the way positive and negative, added some tape on and cut it out, this will make sure I dont place the template too far in/forward on the tower considering the limited room to work with underneath the strut tower. Lines marked. Since I dont have the proper bits/tungsten carbide bits or whatever to make life easier in making an elongated straight hole, I opted for the drilling of multiple holes and then used a cut off wheel on my air dremel tool to blended in the holes. Centers punched in for drilling. Checking the alignment one last time, always good to check constantly. Started with drilling the bolt holes first. Holes blended in. Probably would of been cleaner with a thinner/smaller cut off wheel. Oh well, it works. Then off to work on the middle hole. Used a 1 1/2' hole saw. used my air belt sander (one of my favorite most used air tools) to blend them together. Coilovers test fitted. Finally coated with paint (for temporary purposes) and hammered down the lip of the tower wall cover or whatever you call it. Will need to spot/plug weld the lips later on, but will wait till I get the struct brace mounts figured out. Doesnt look like much of a noticeable change from stock... Thats it for now, stay tuned!! Forgot about this picture. This is what the rear coilover looks like.


 1 point
 -
Installed a new Black Dragon front bumper on my 73......much better look!
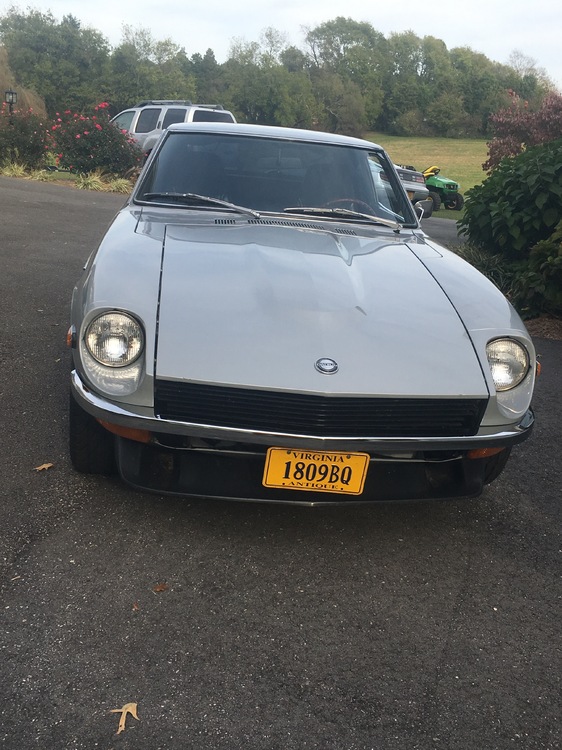 1 point
 -
1 pointThat's funny! Reminds me of my Dad saying remove the radiator cap and drive another car underneath it.1 point
-
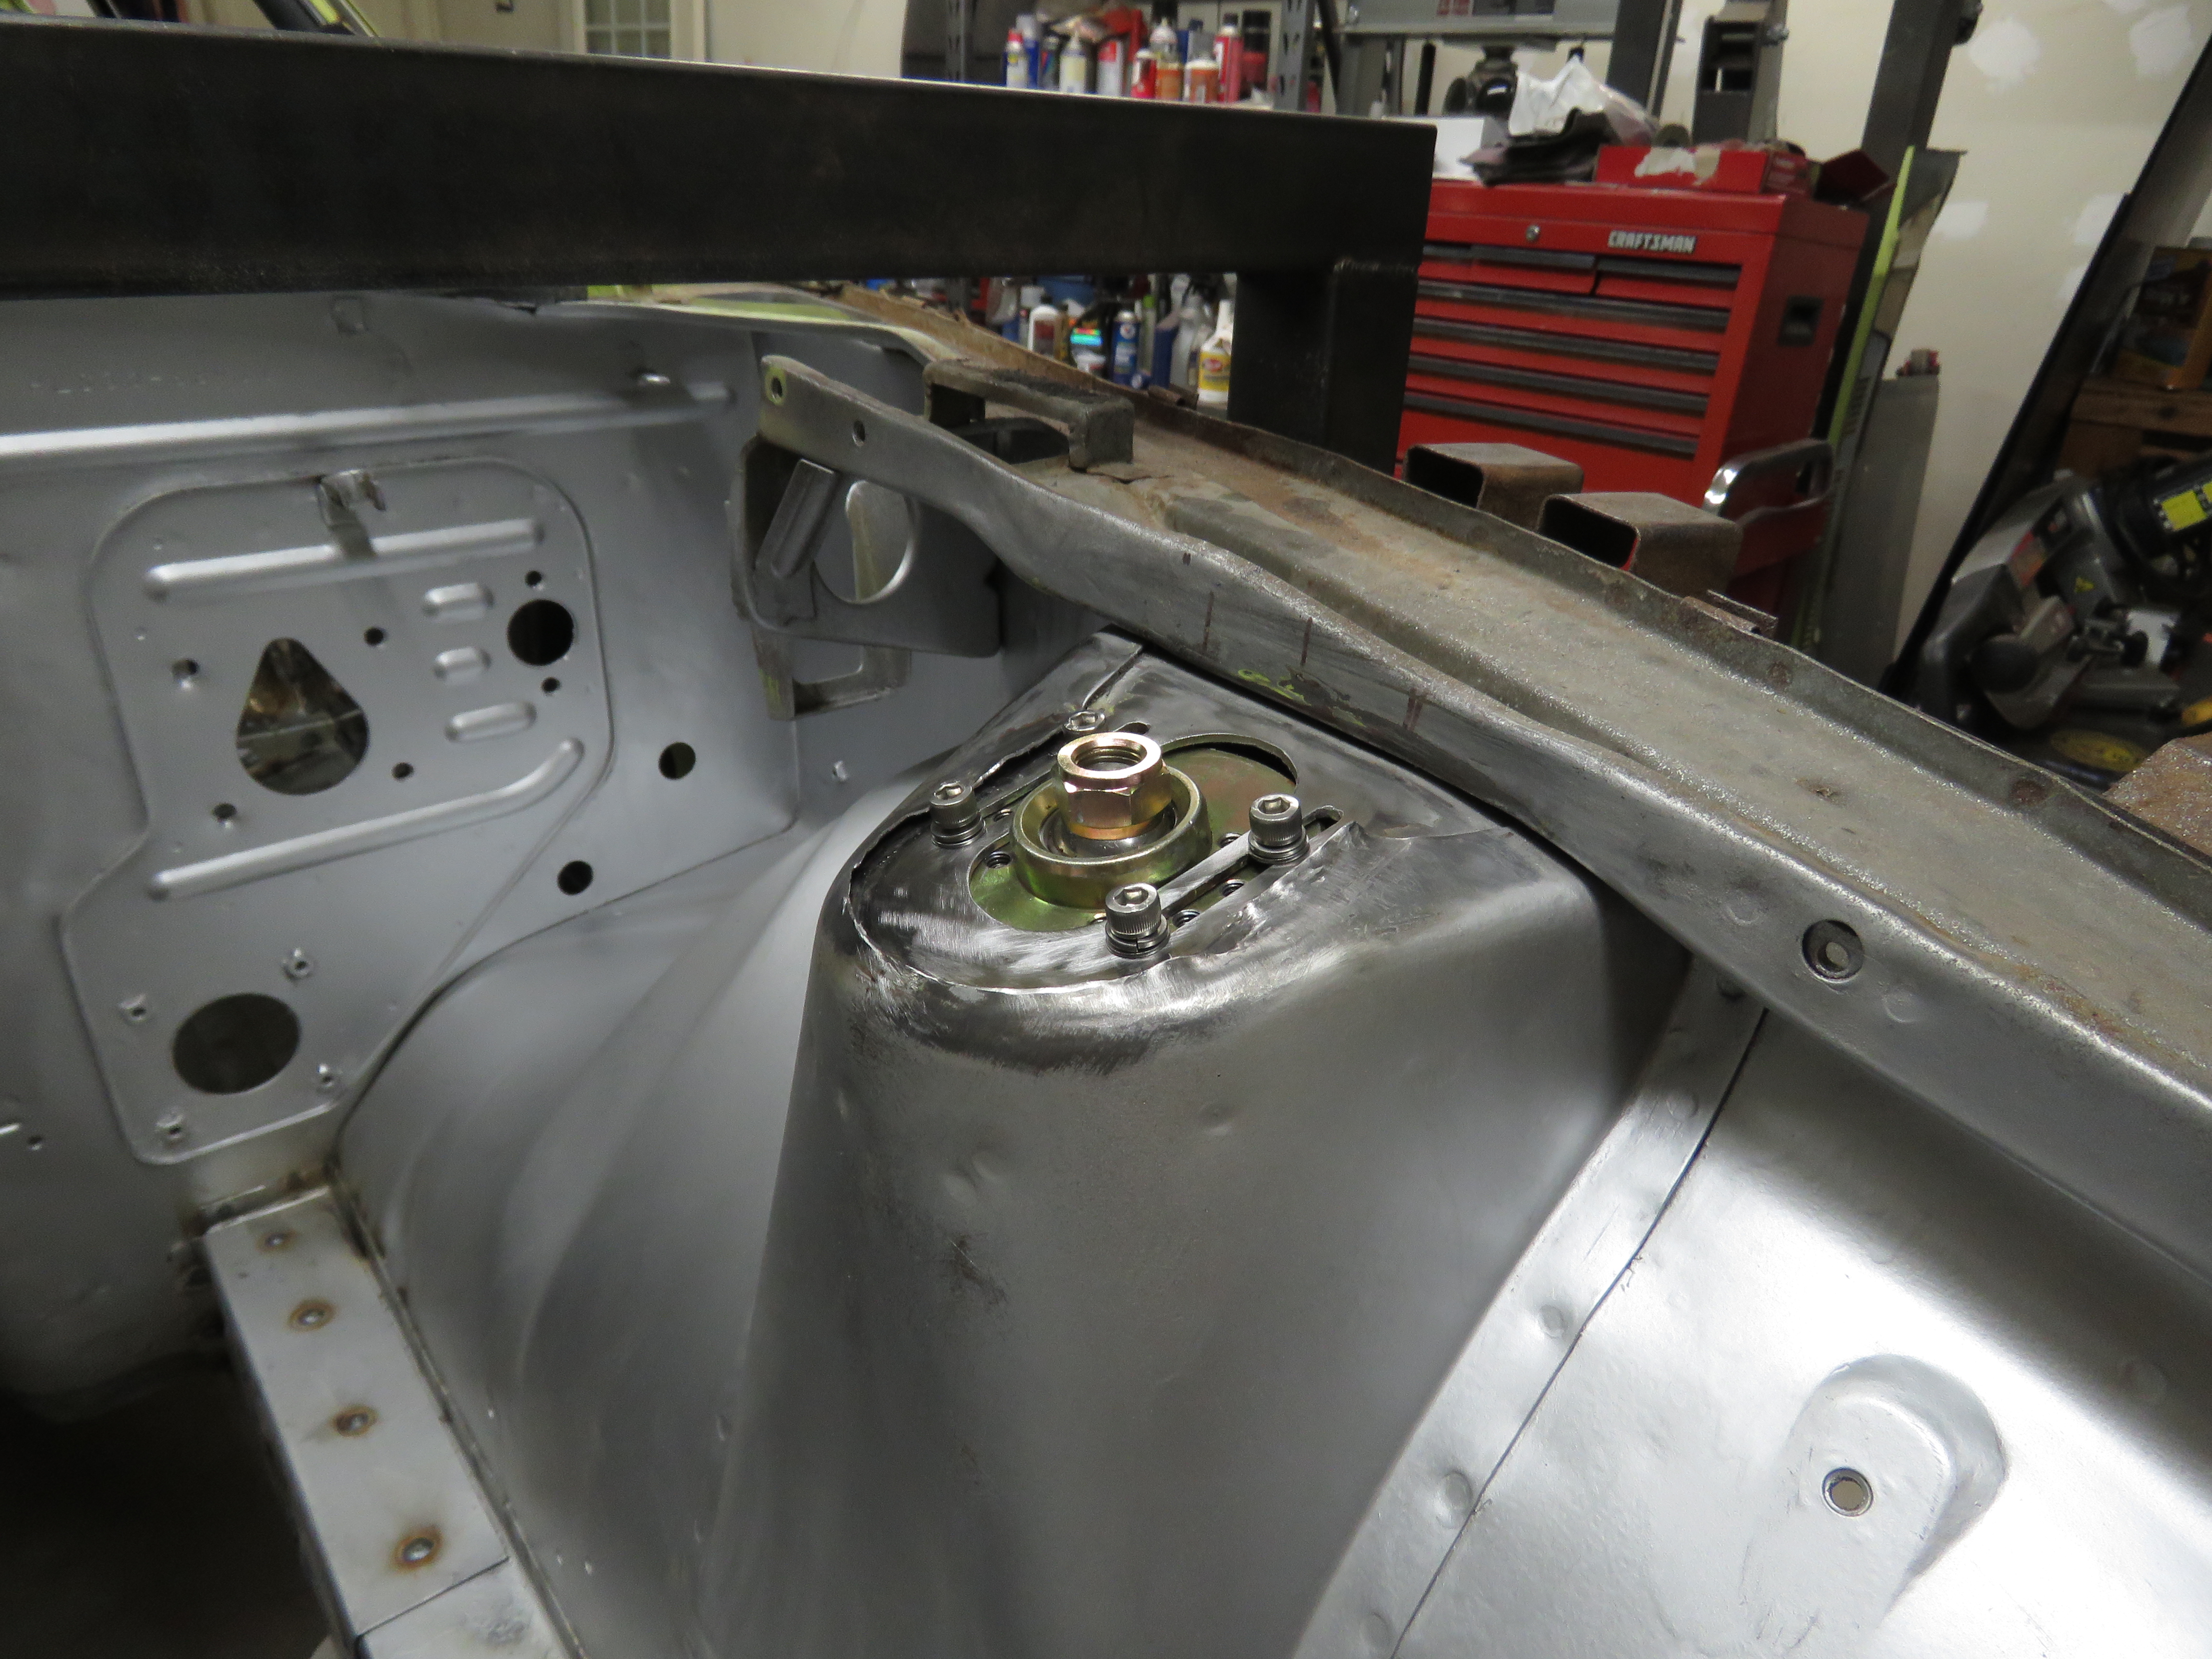
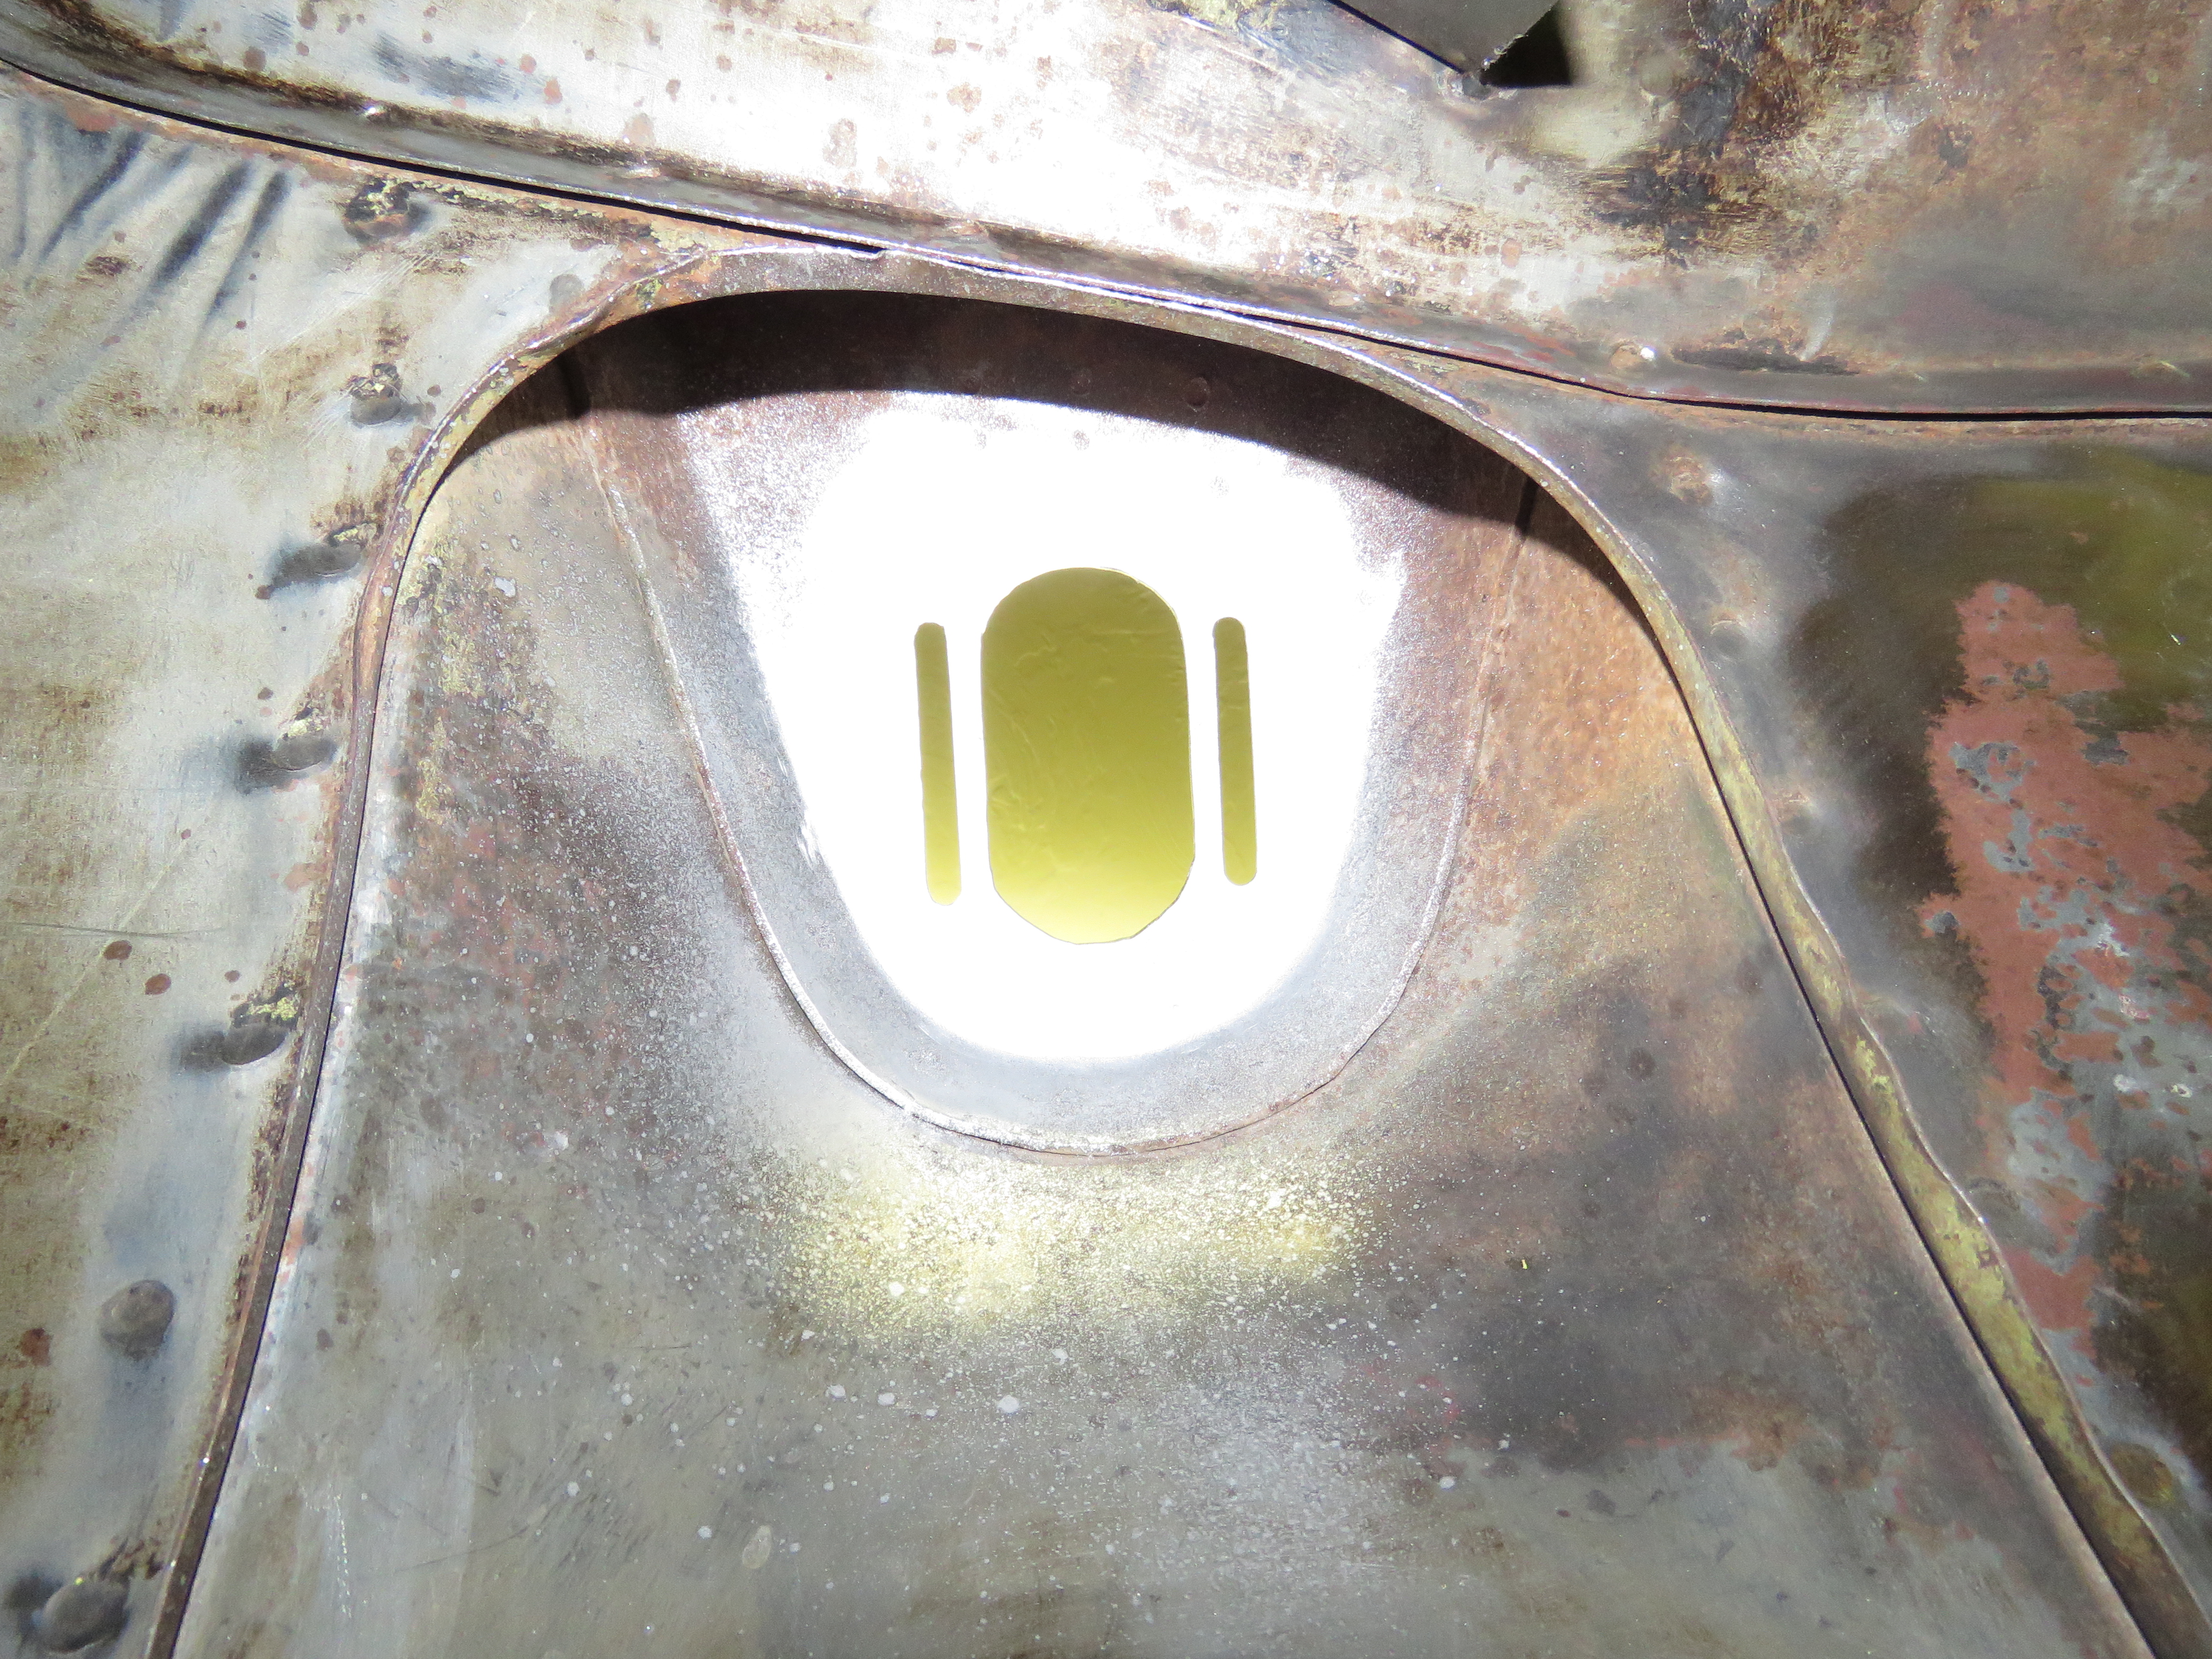
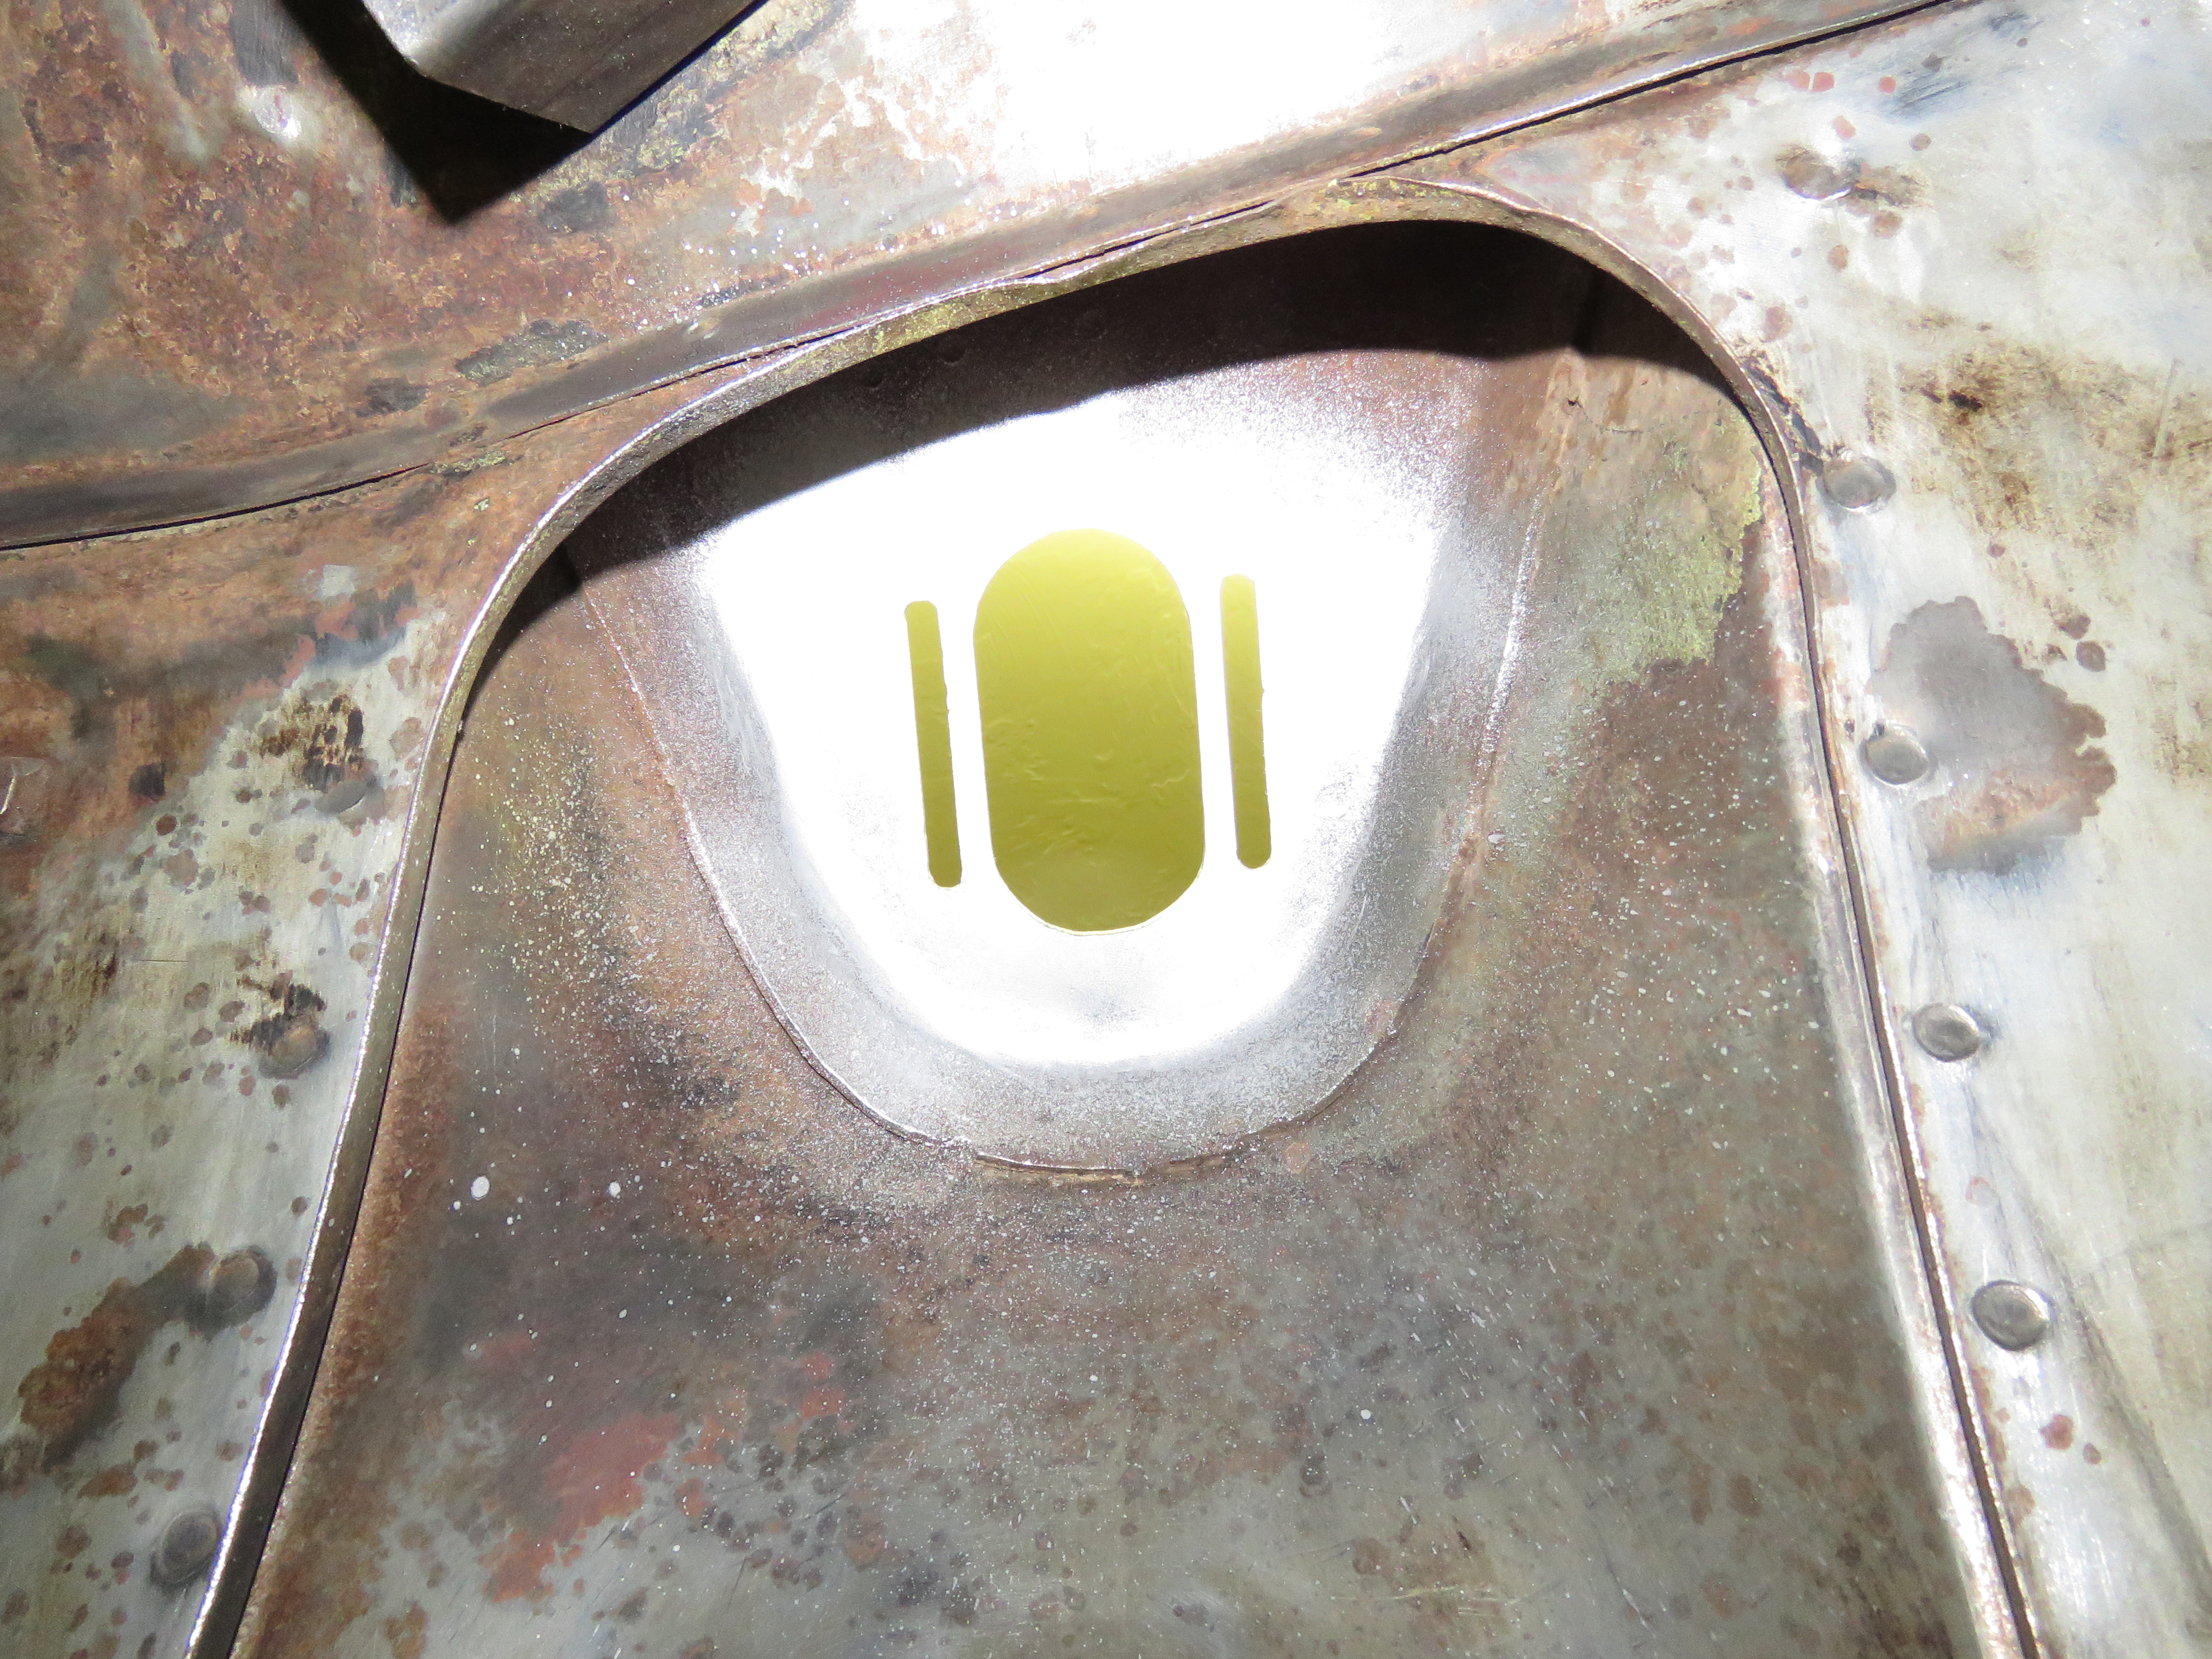
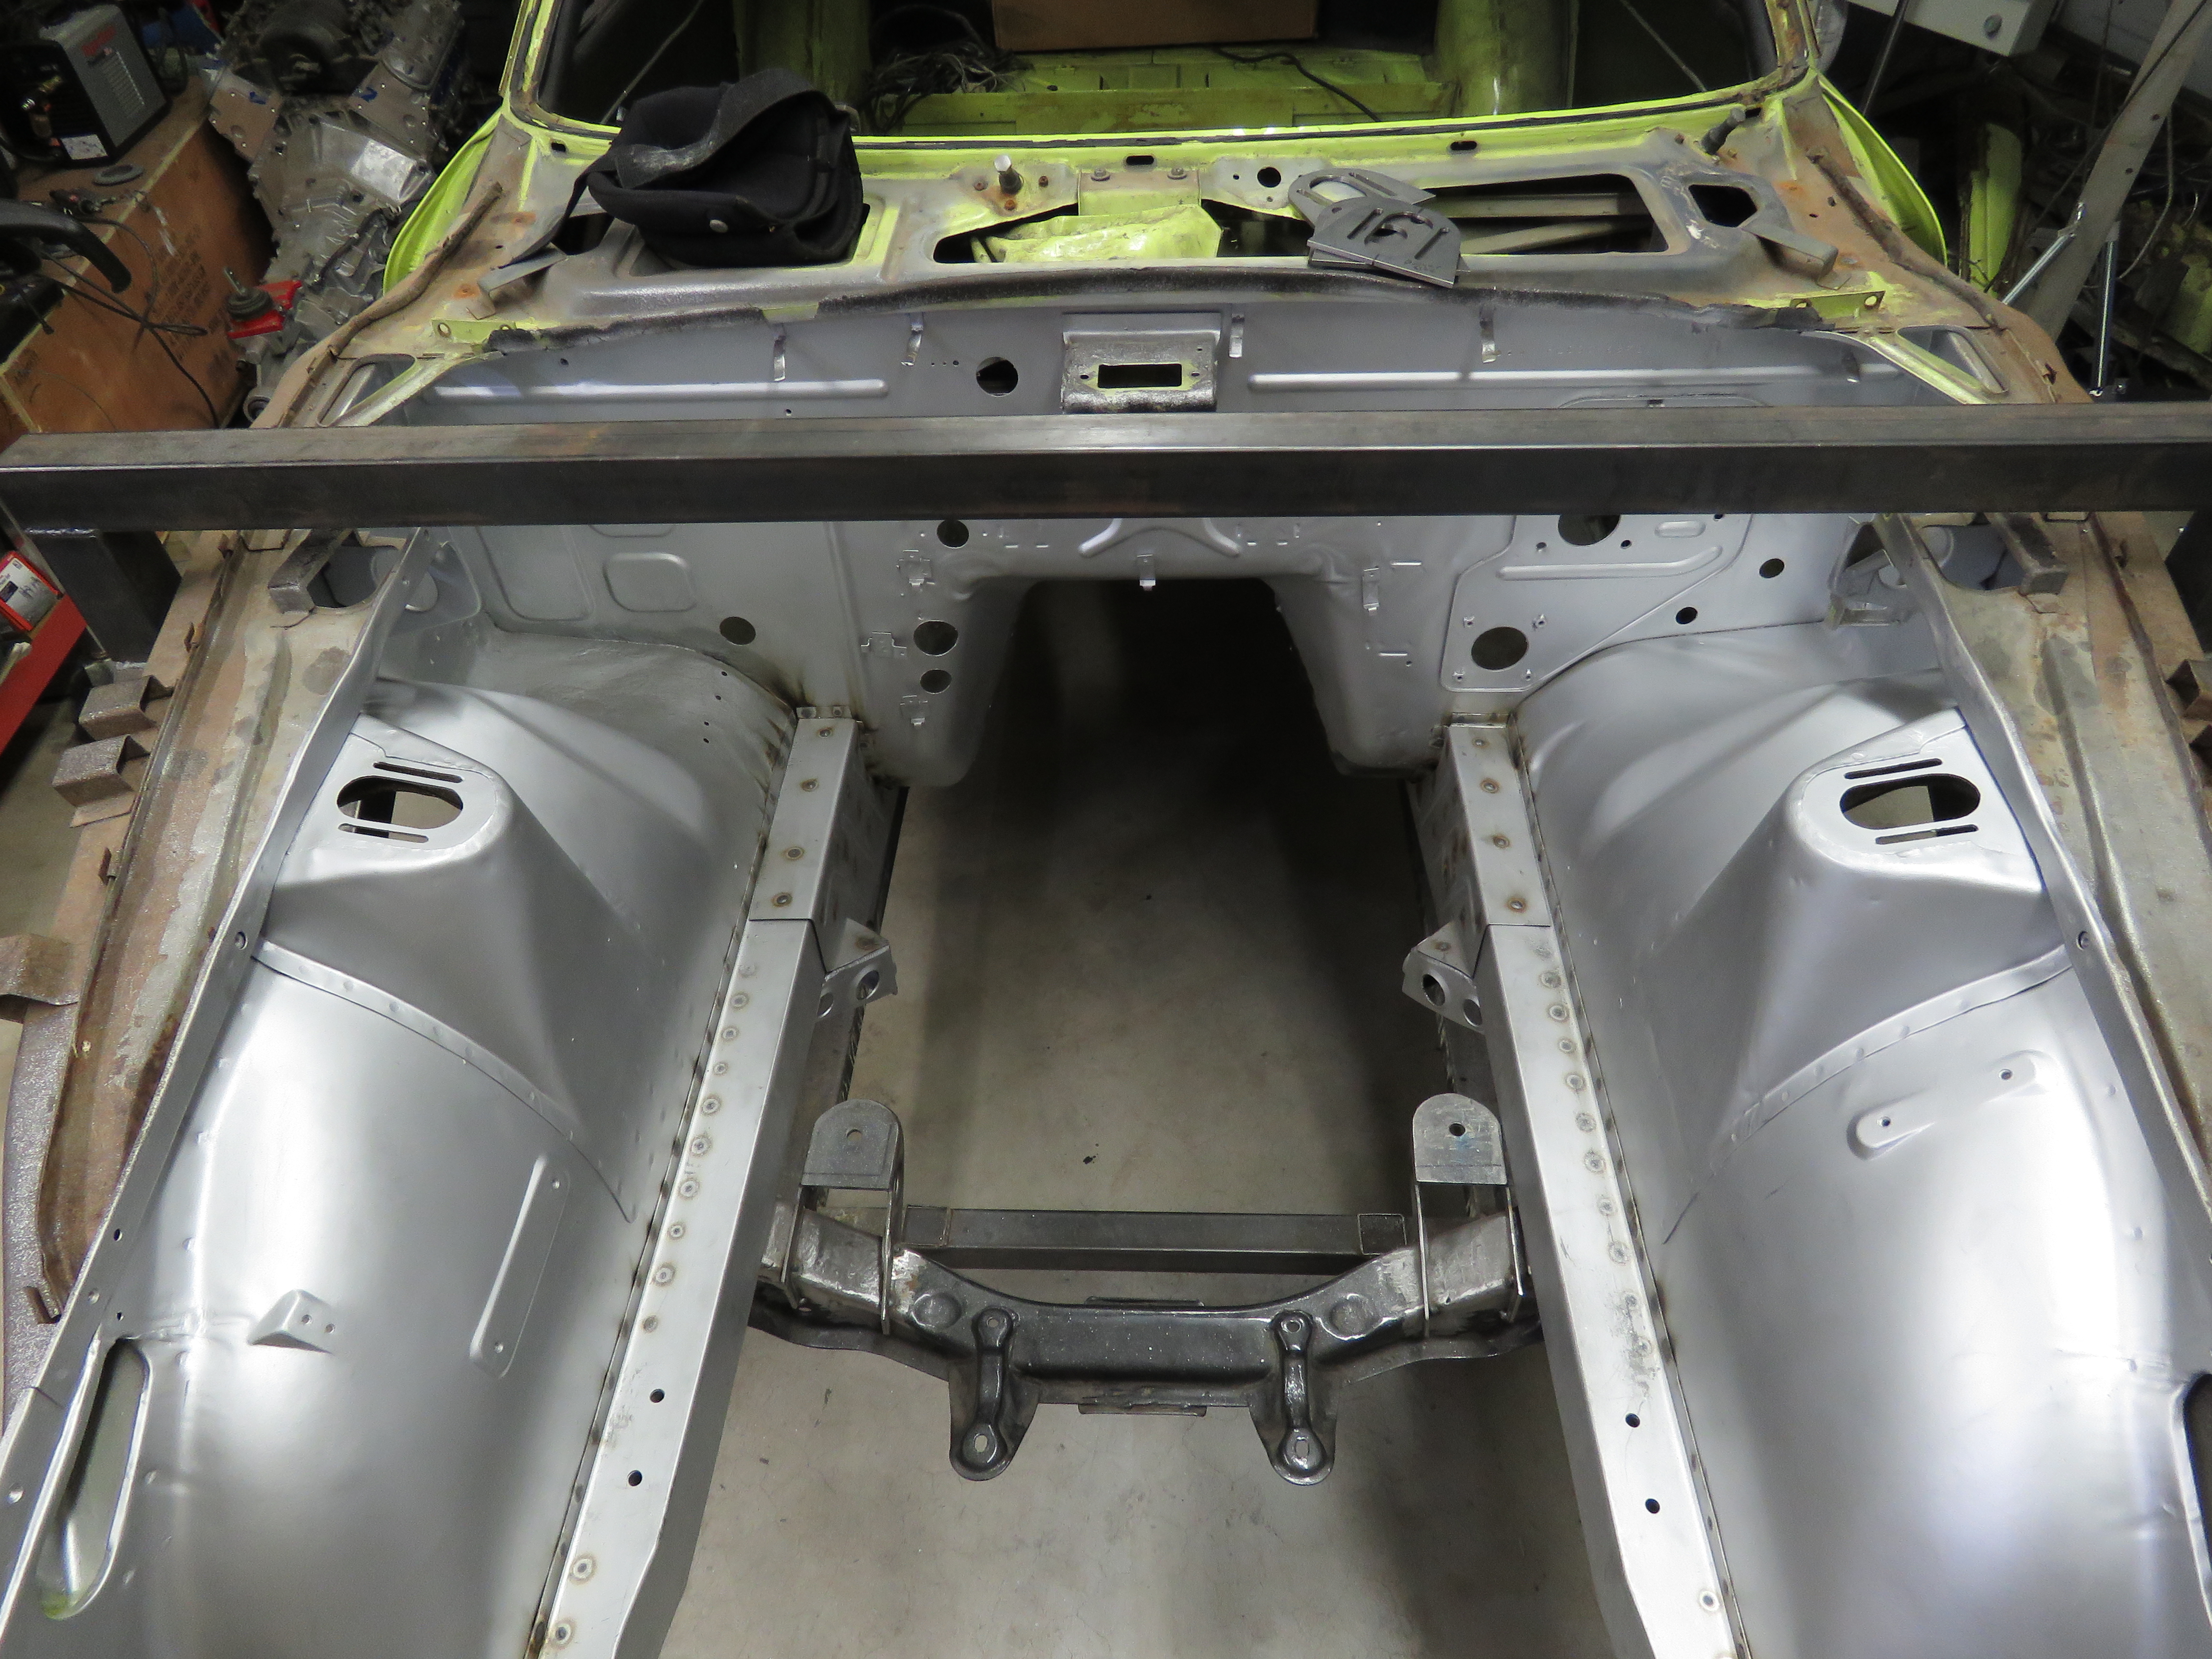
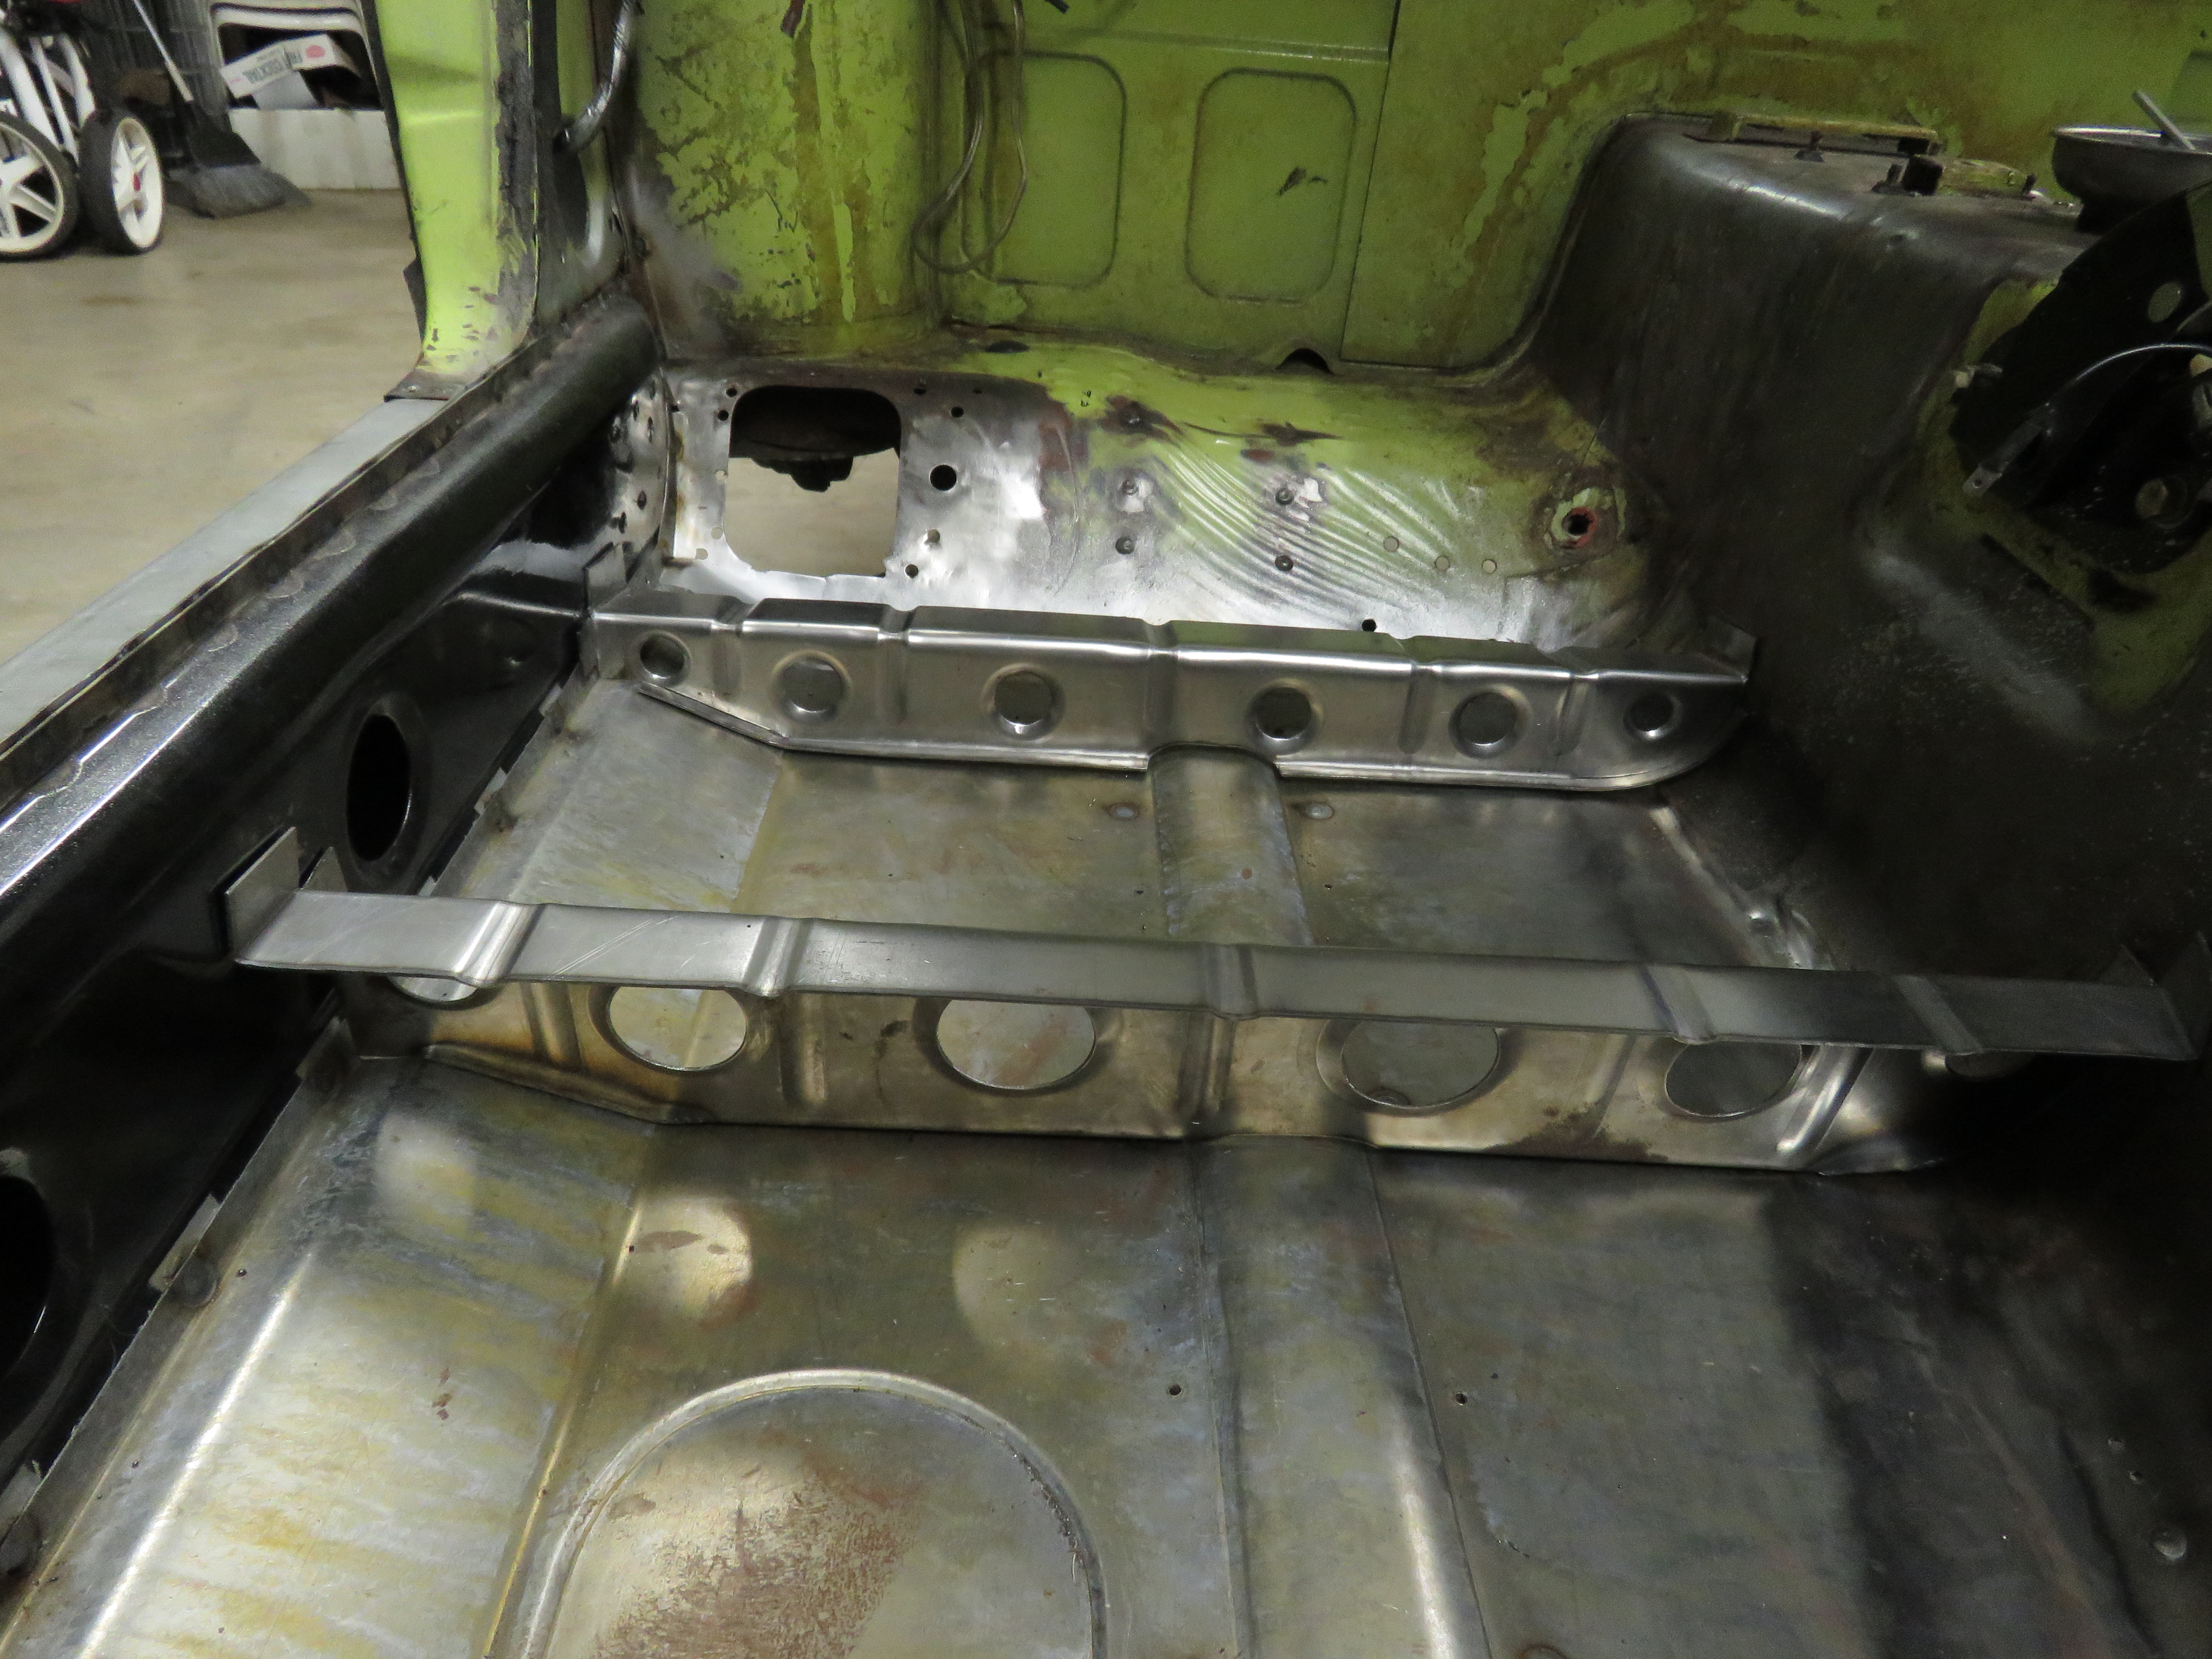
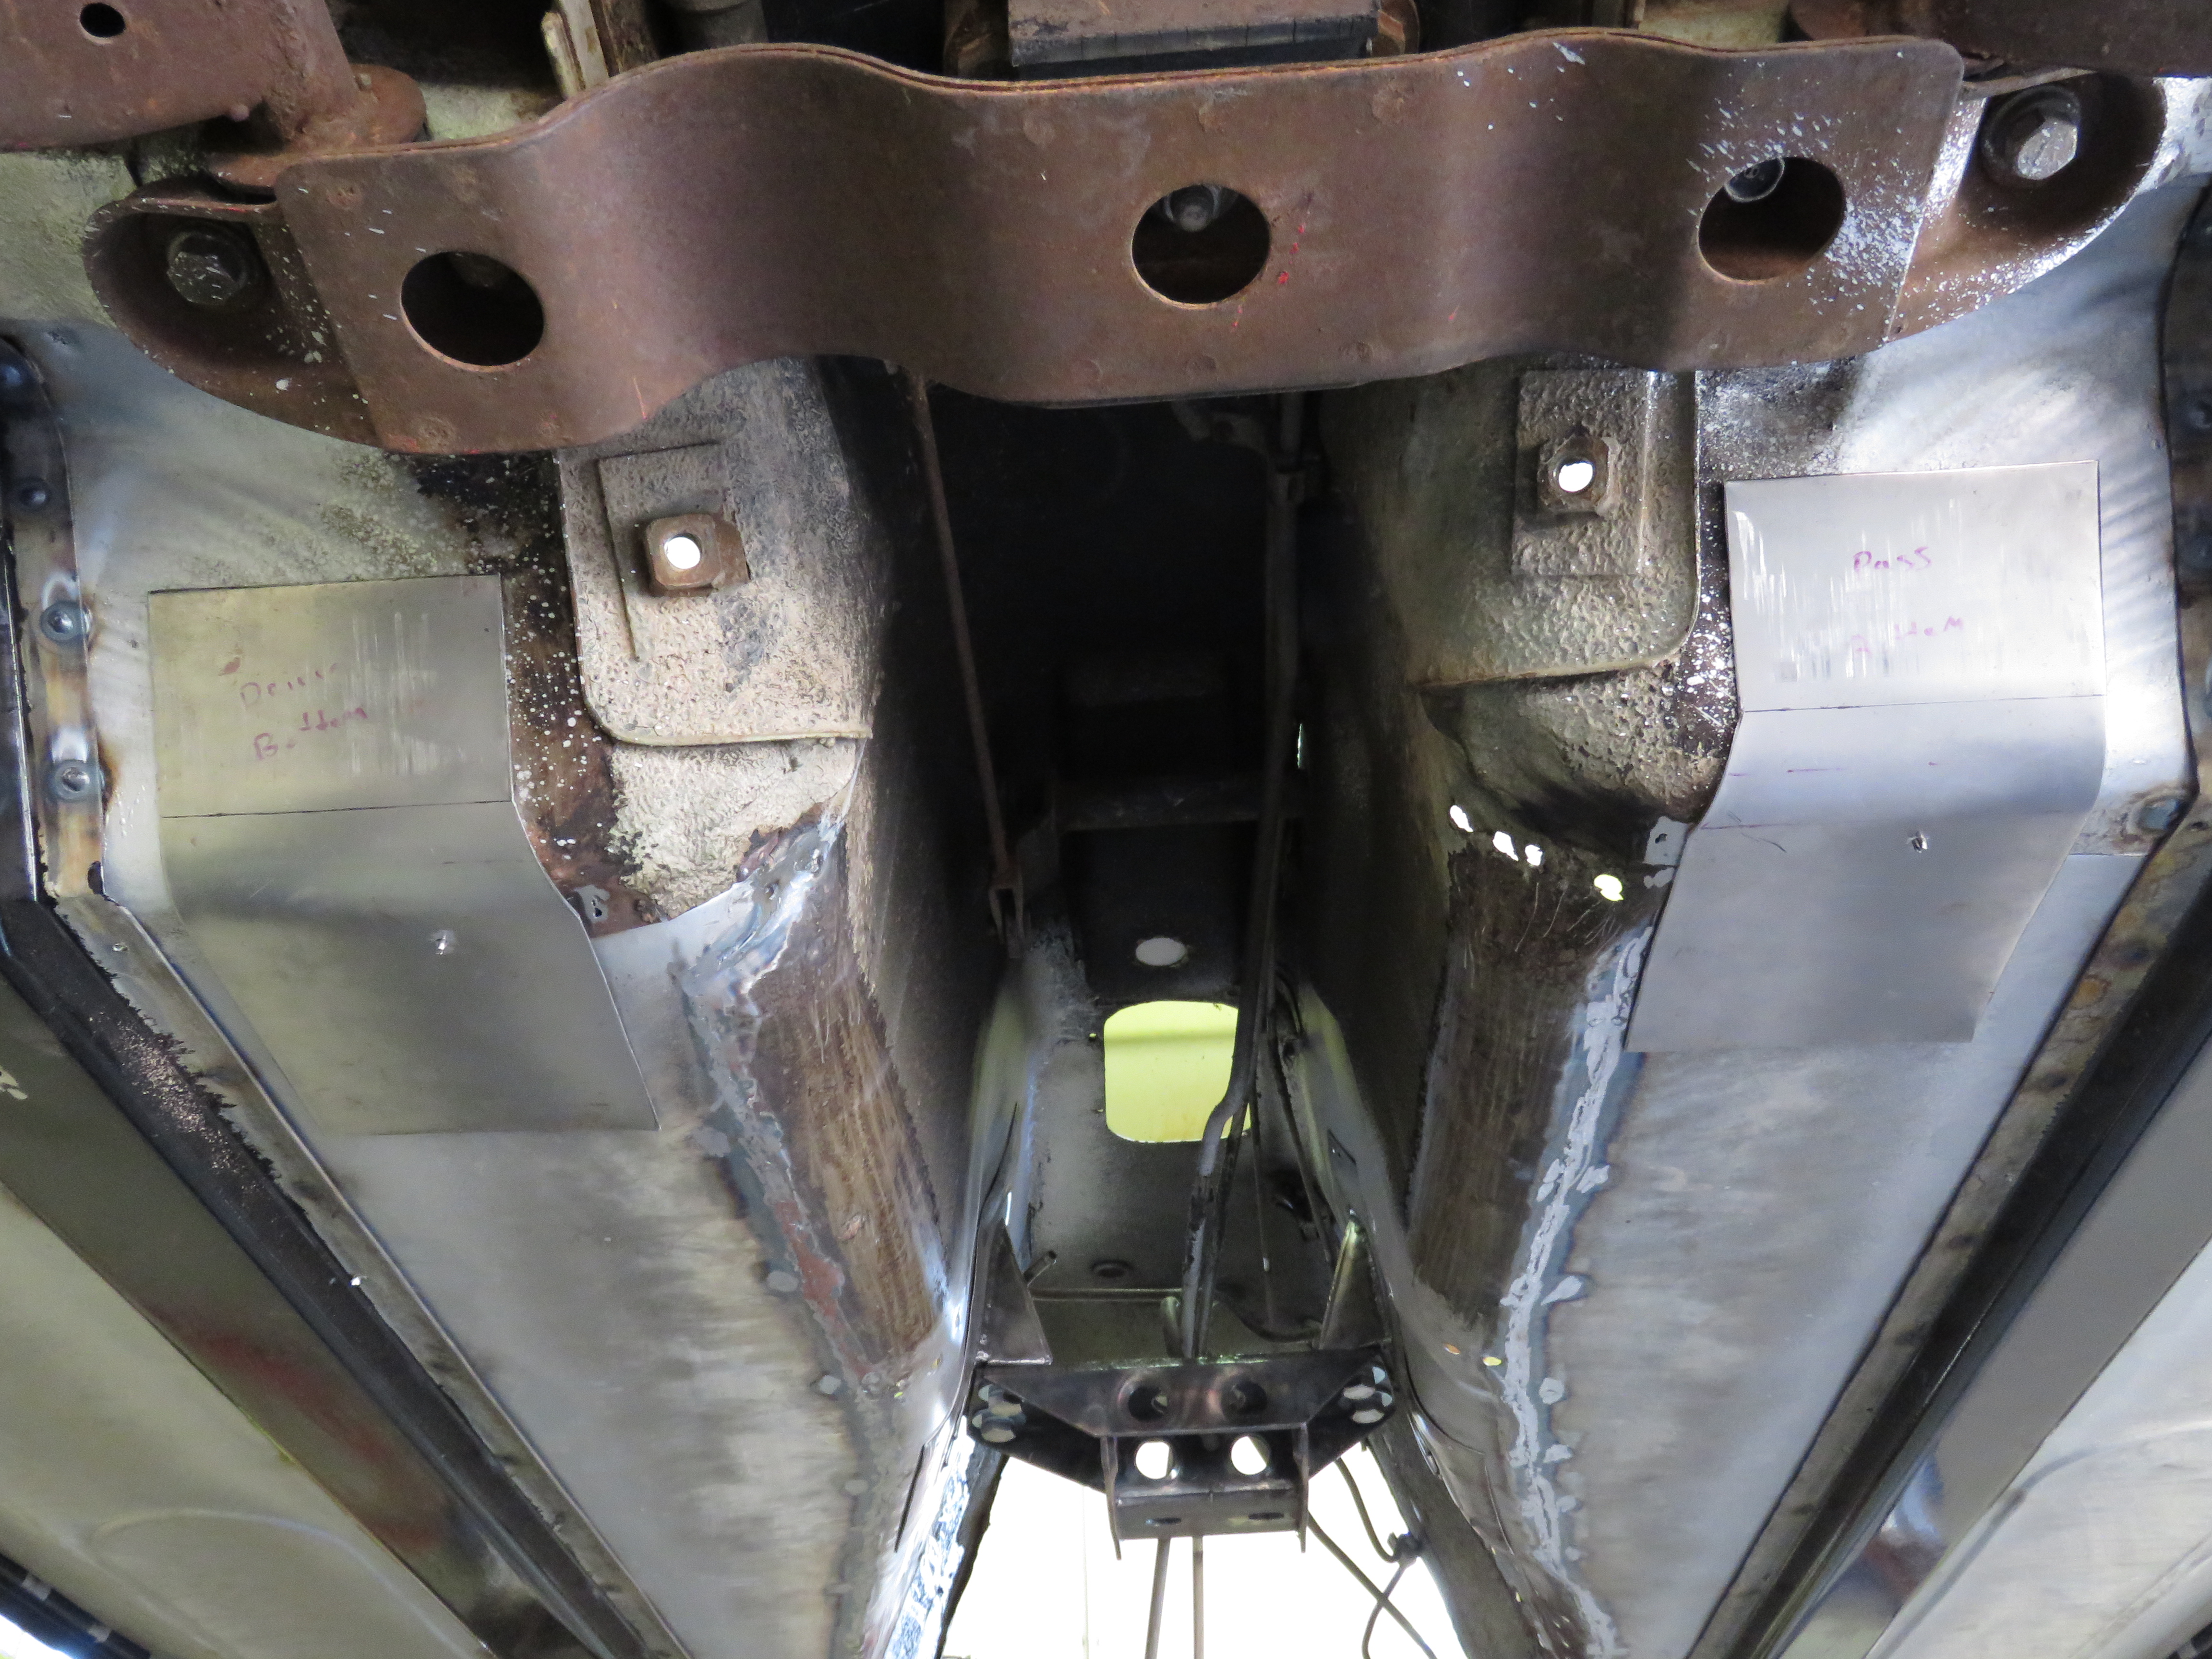
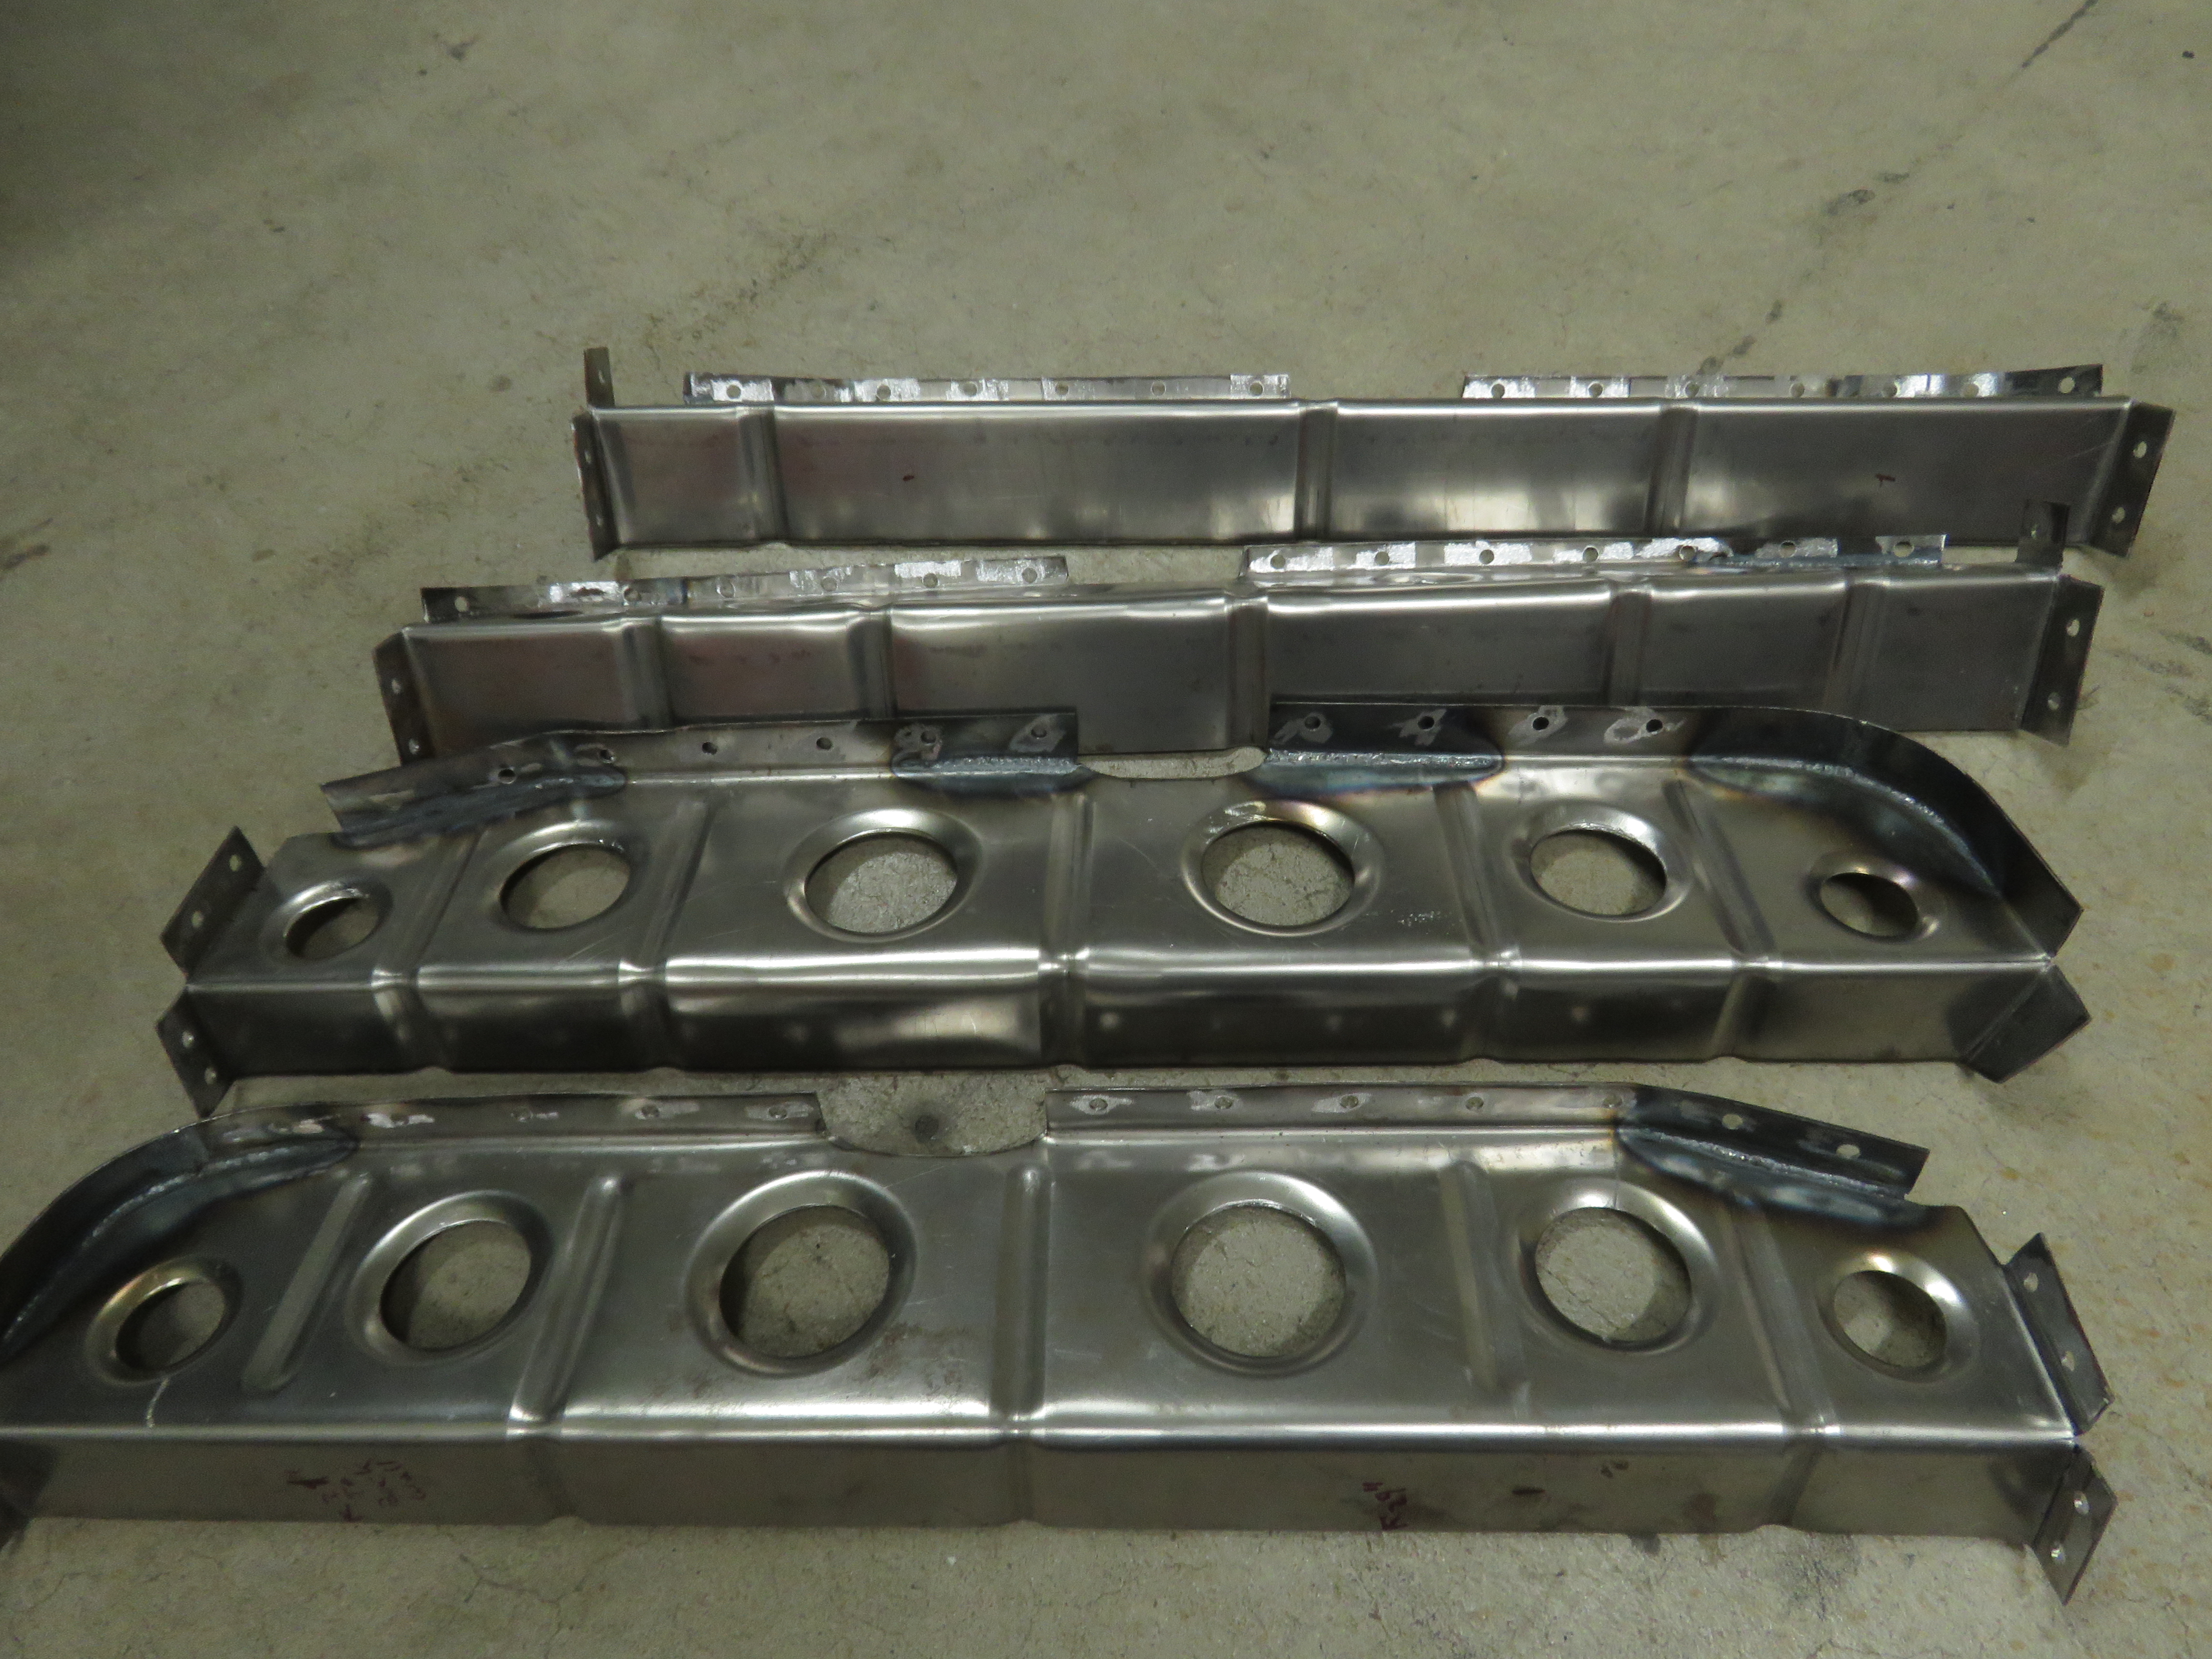
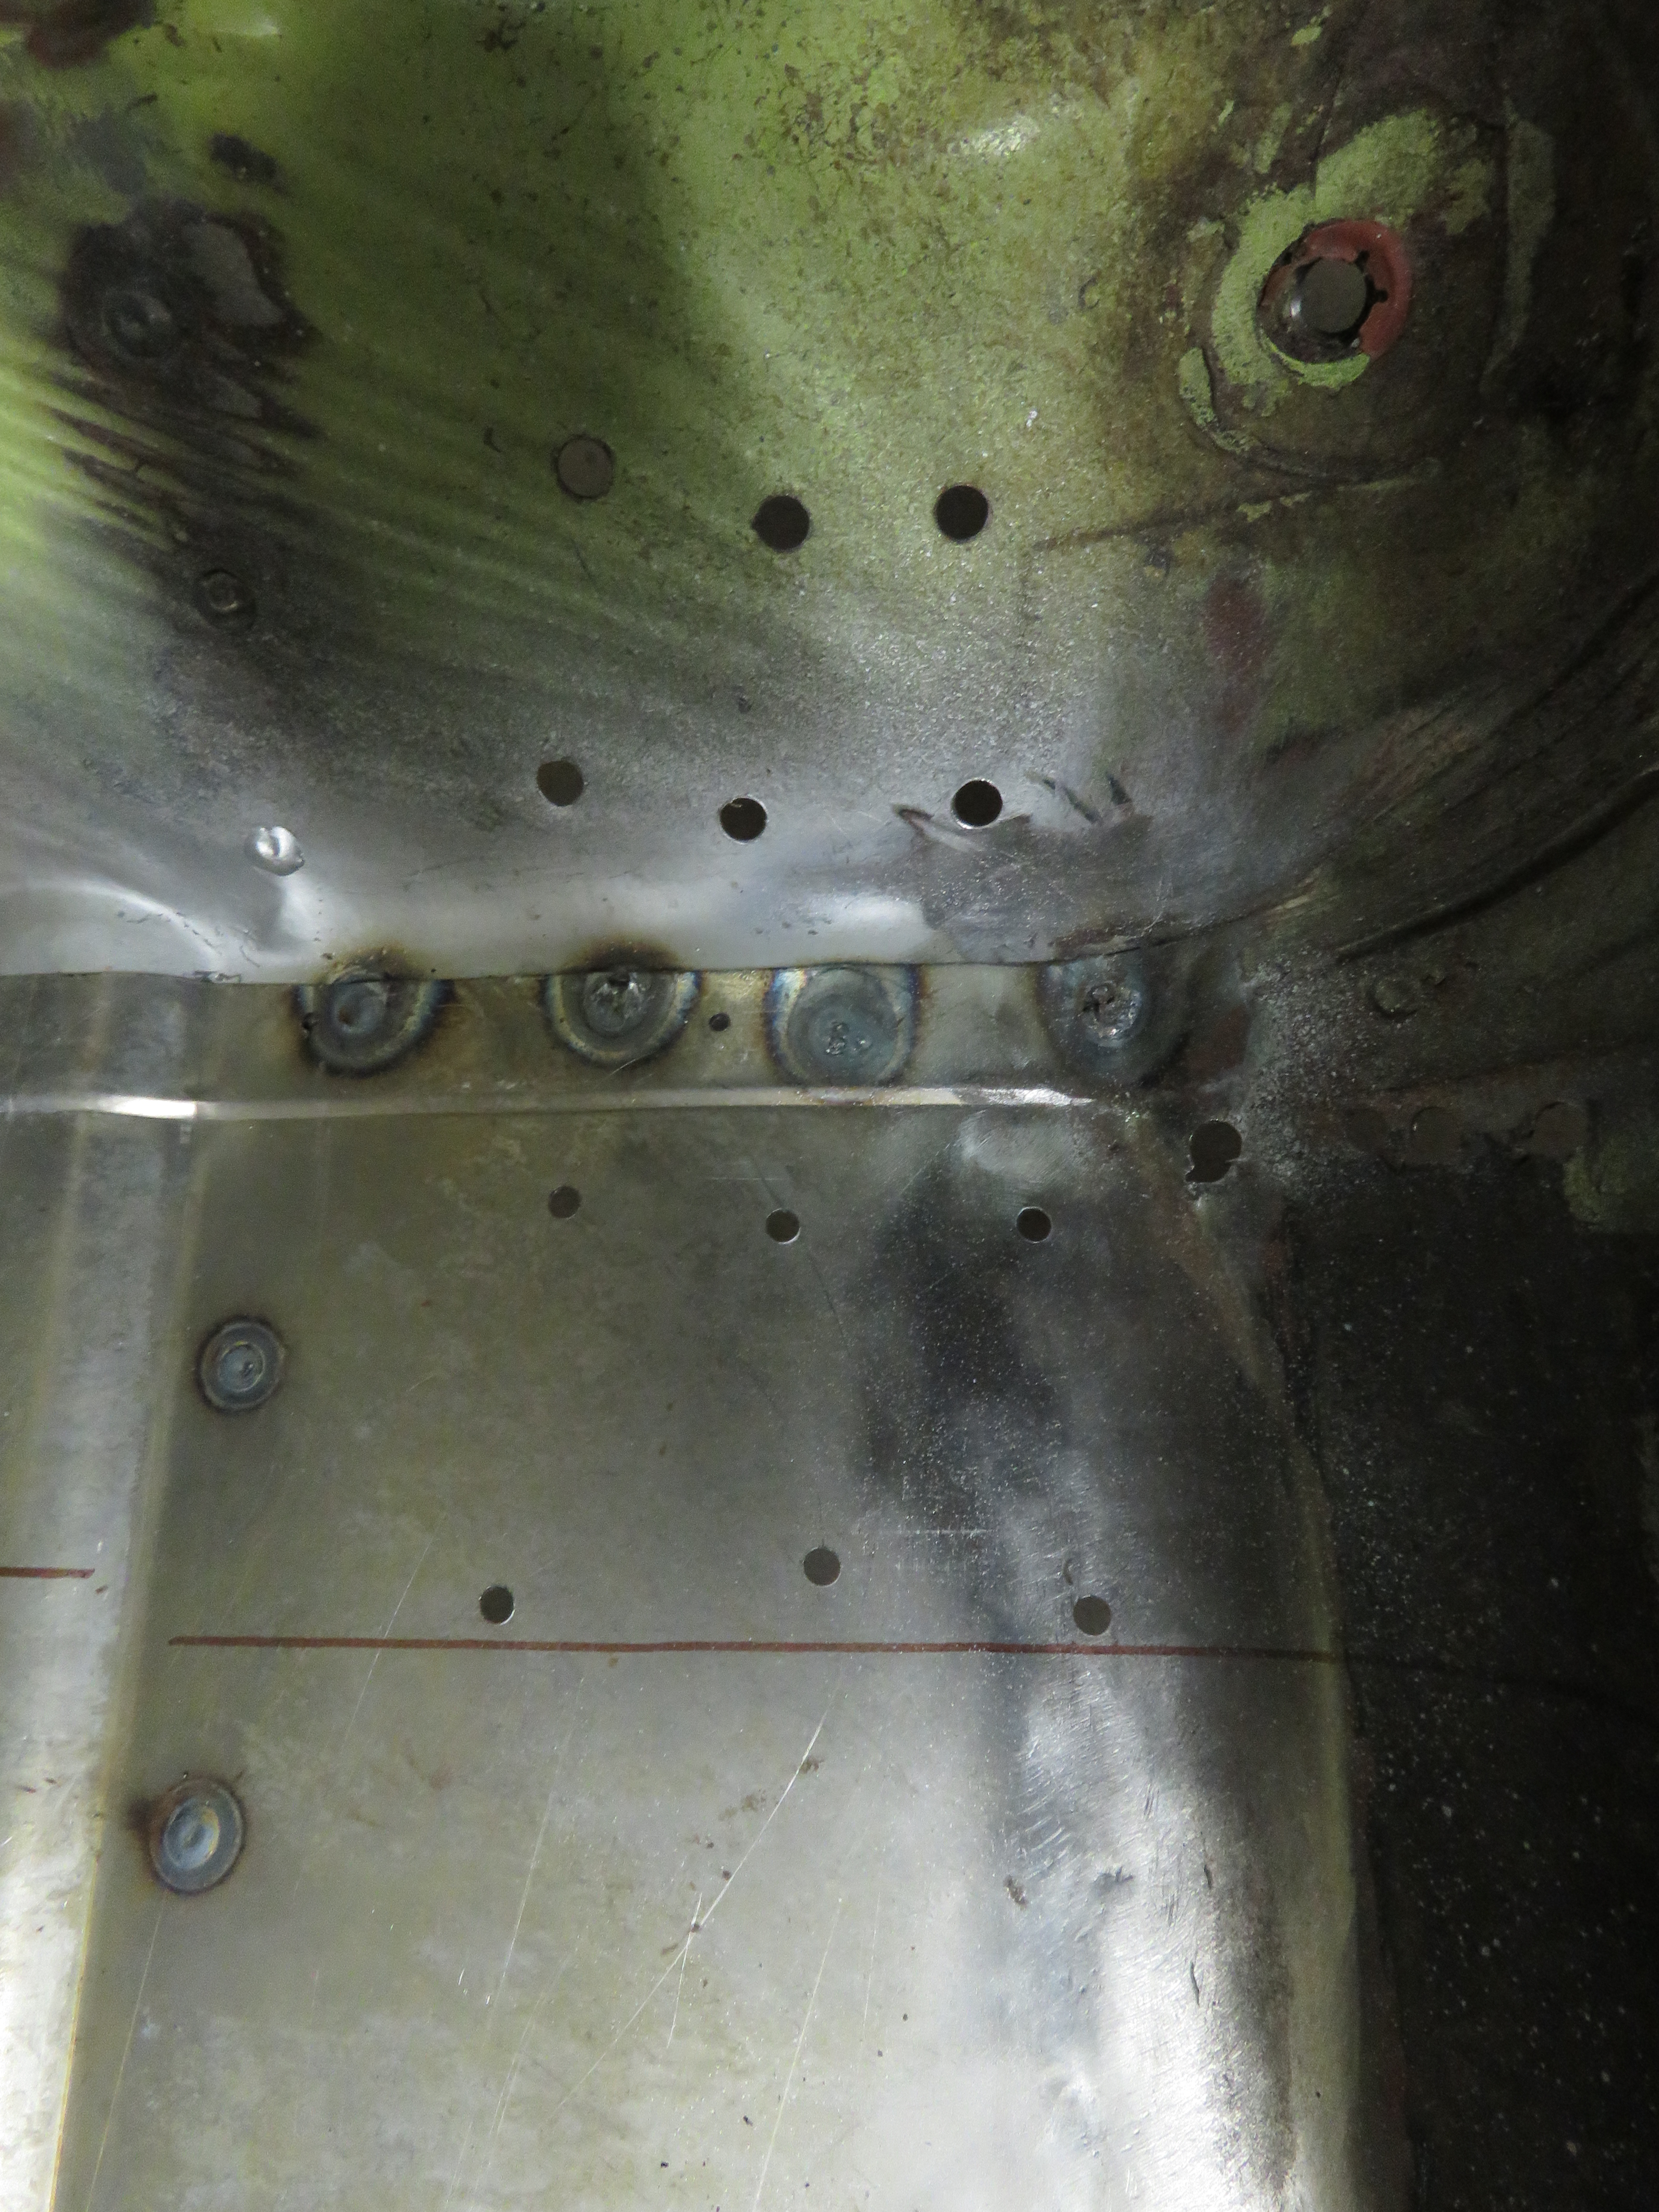
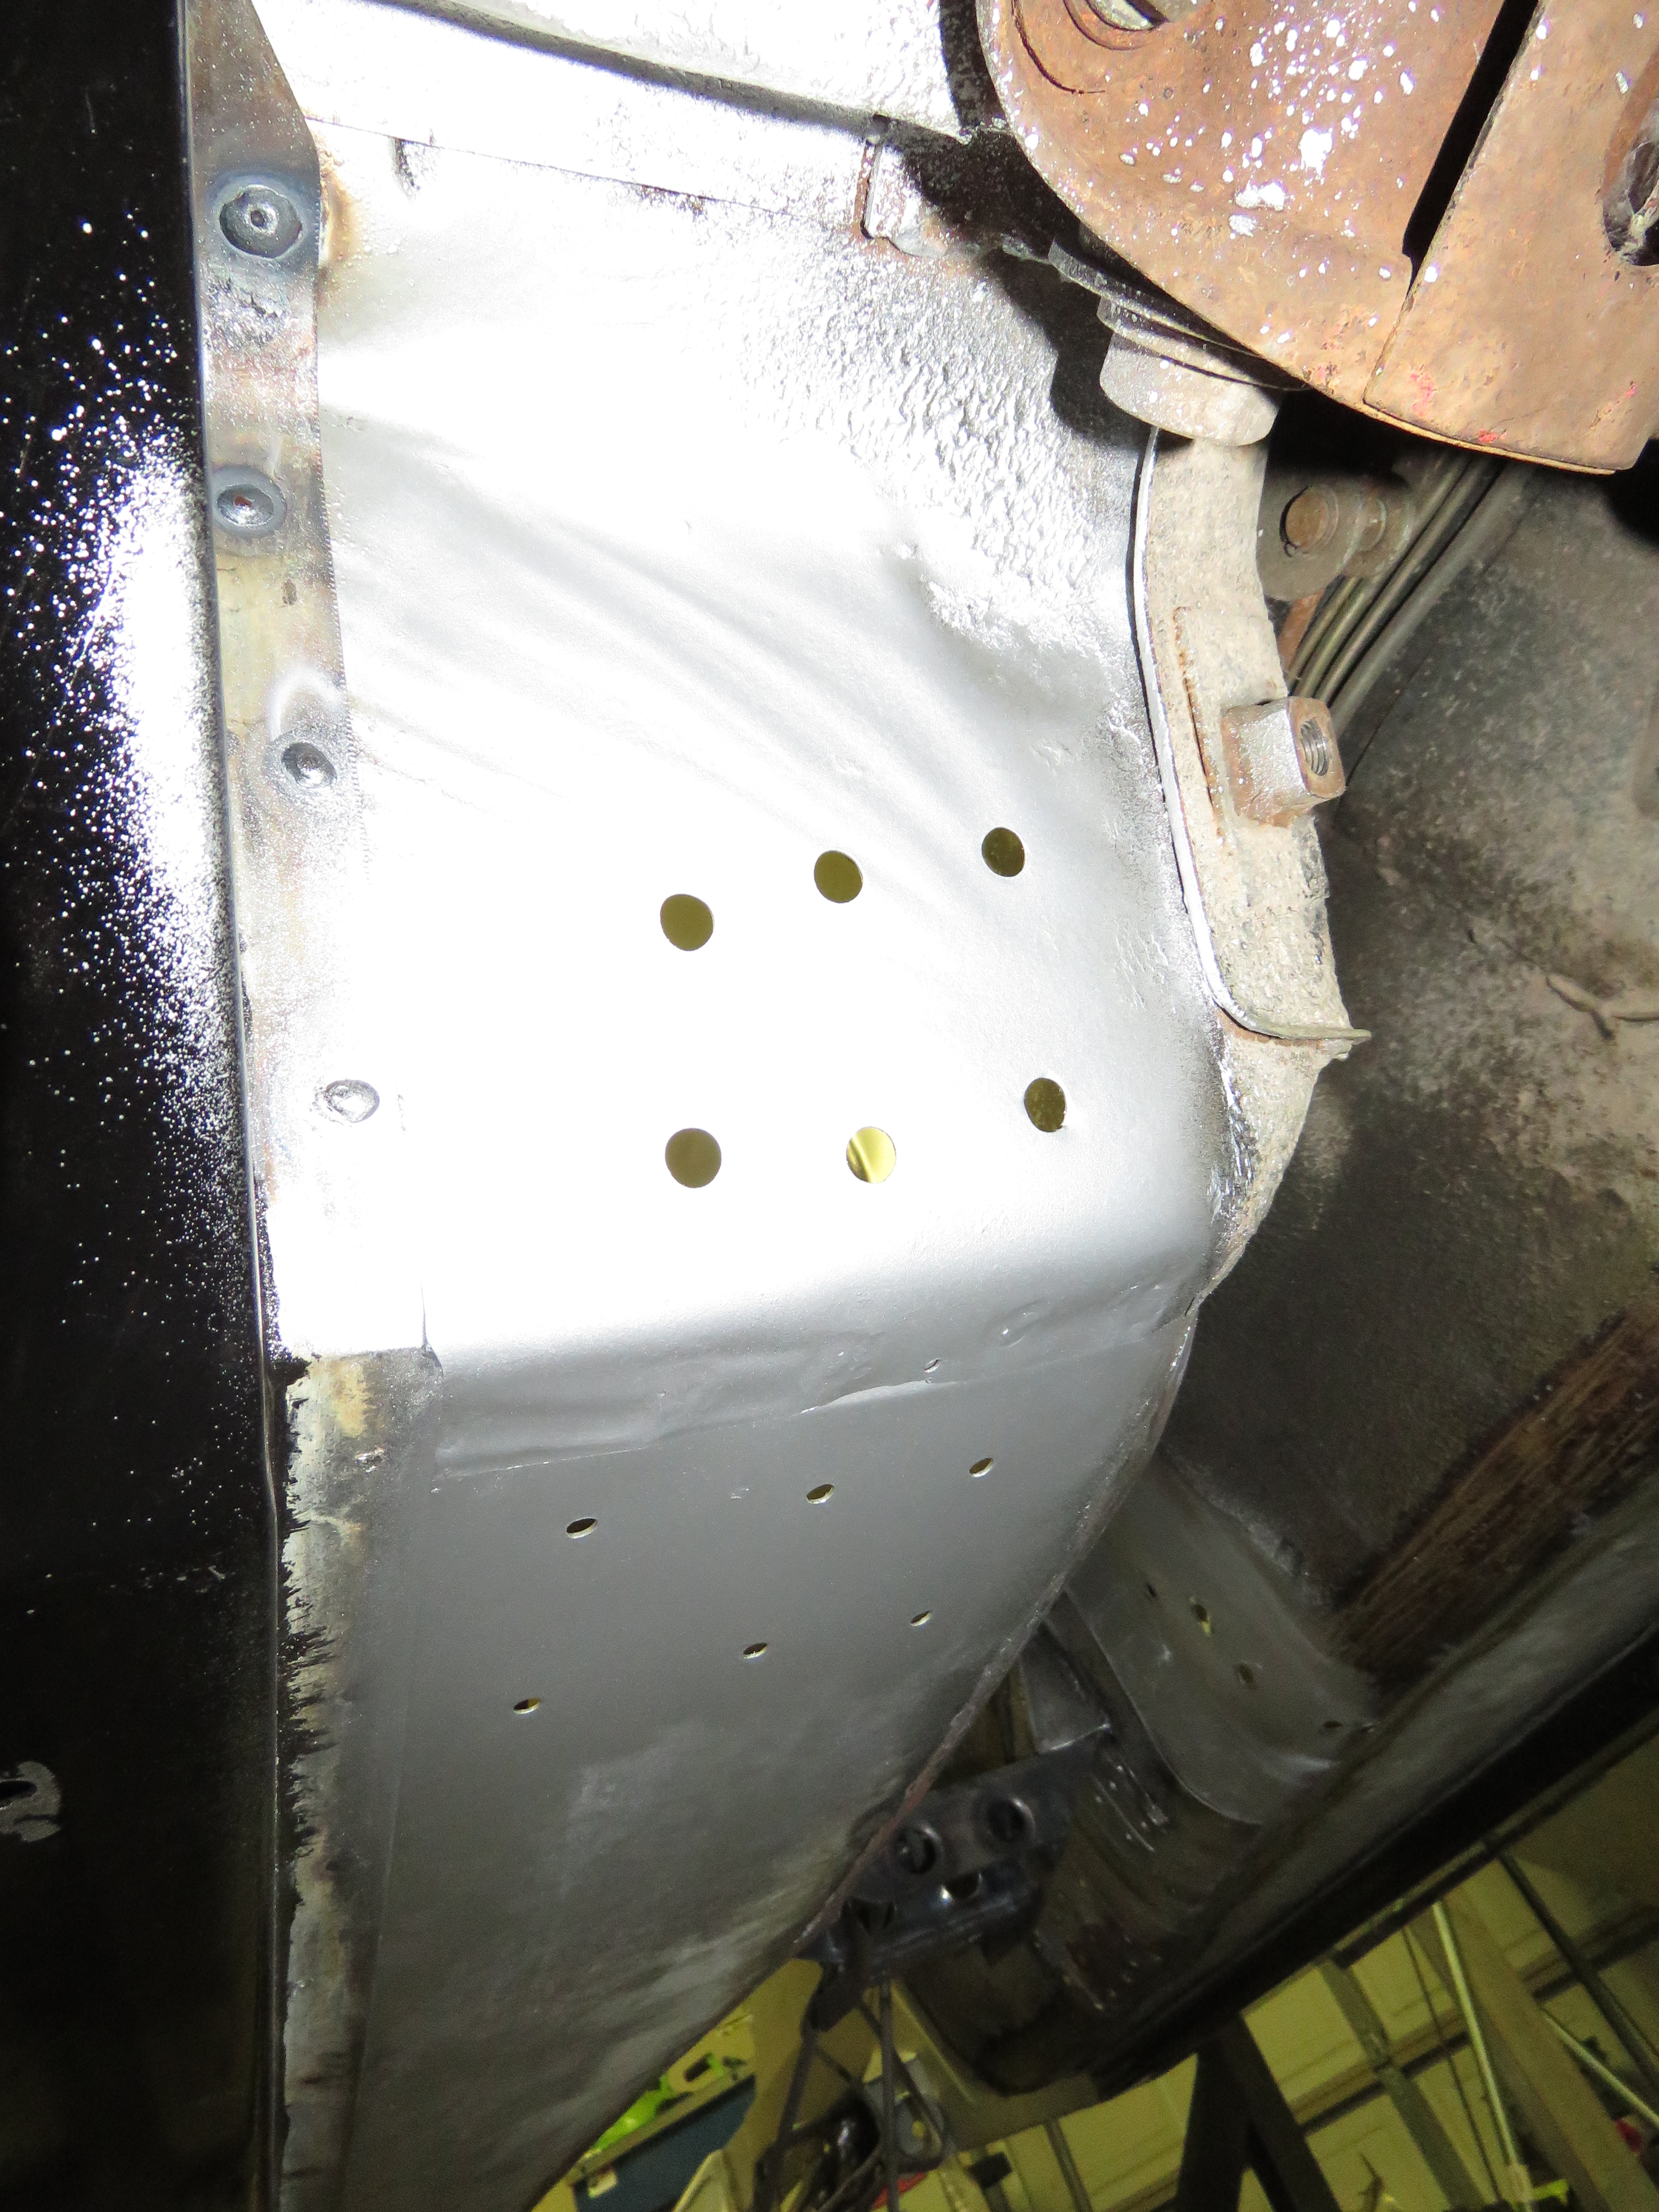
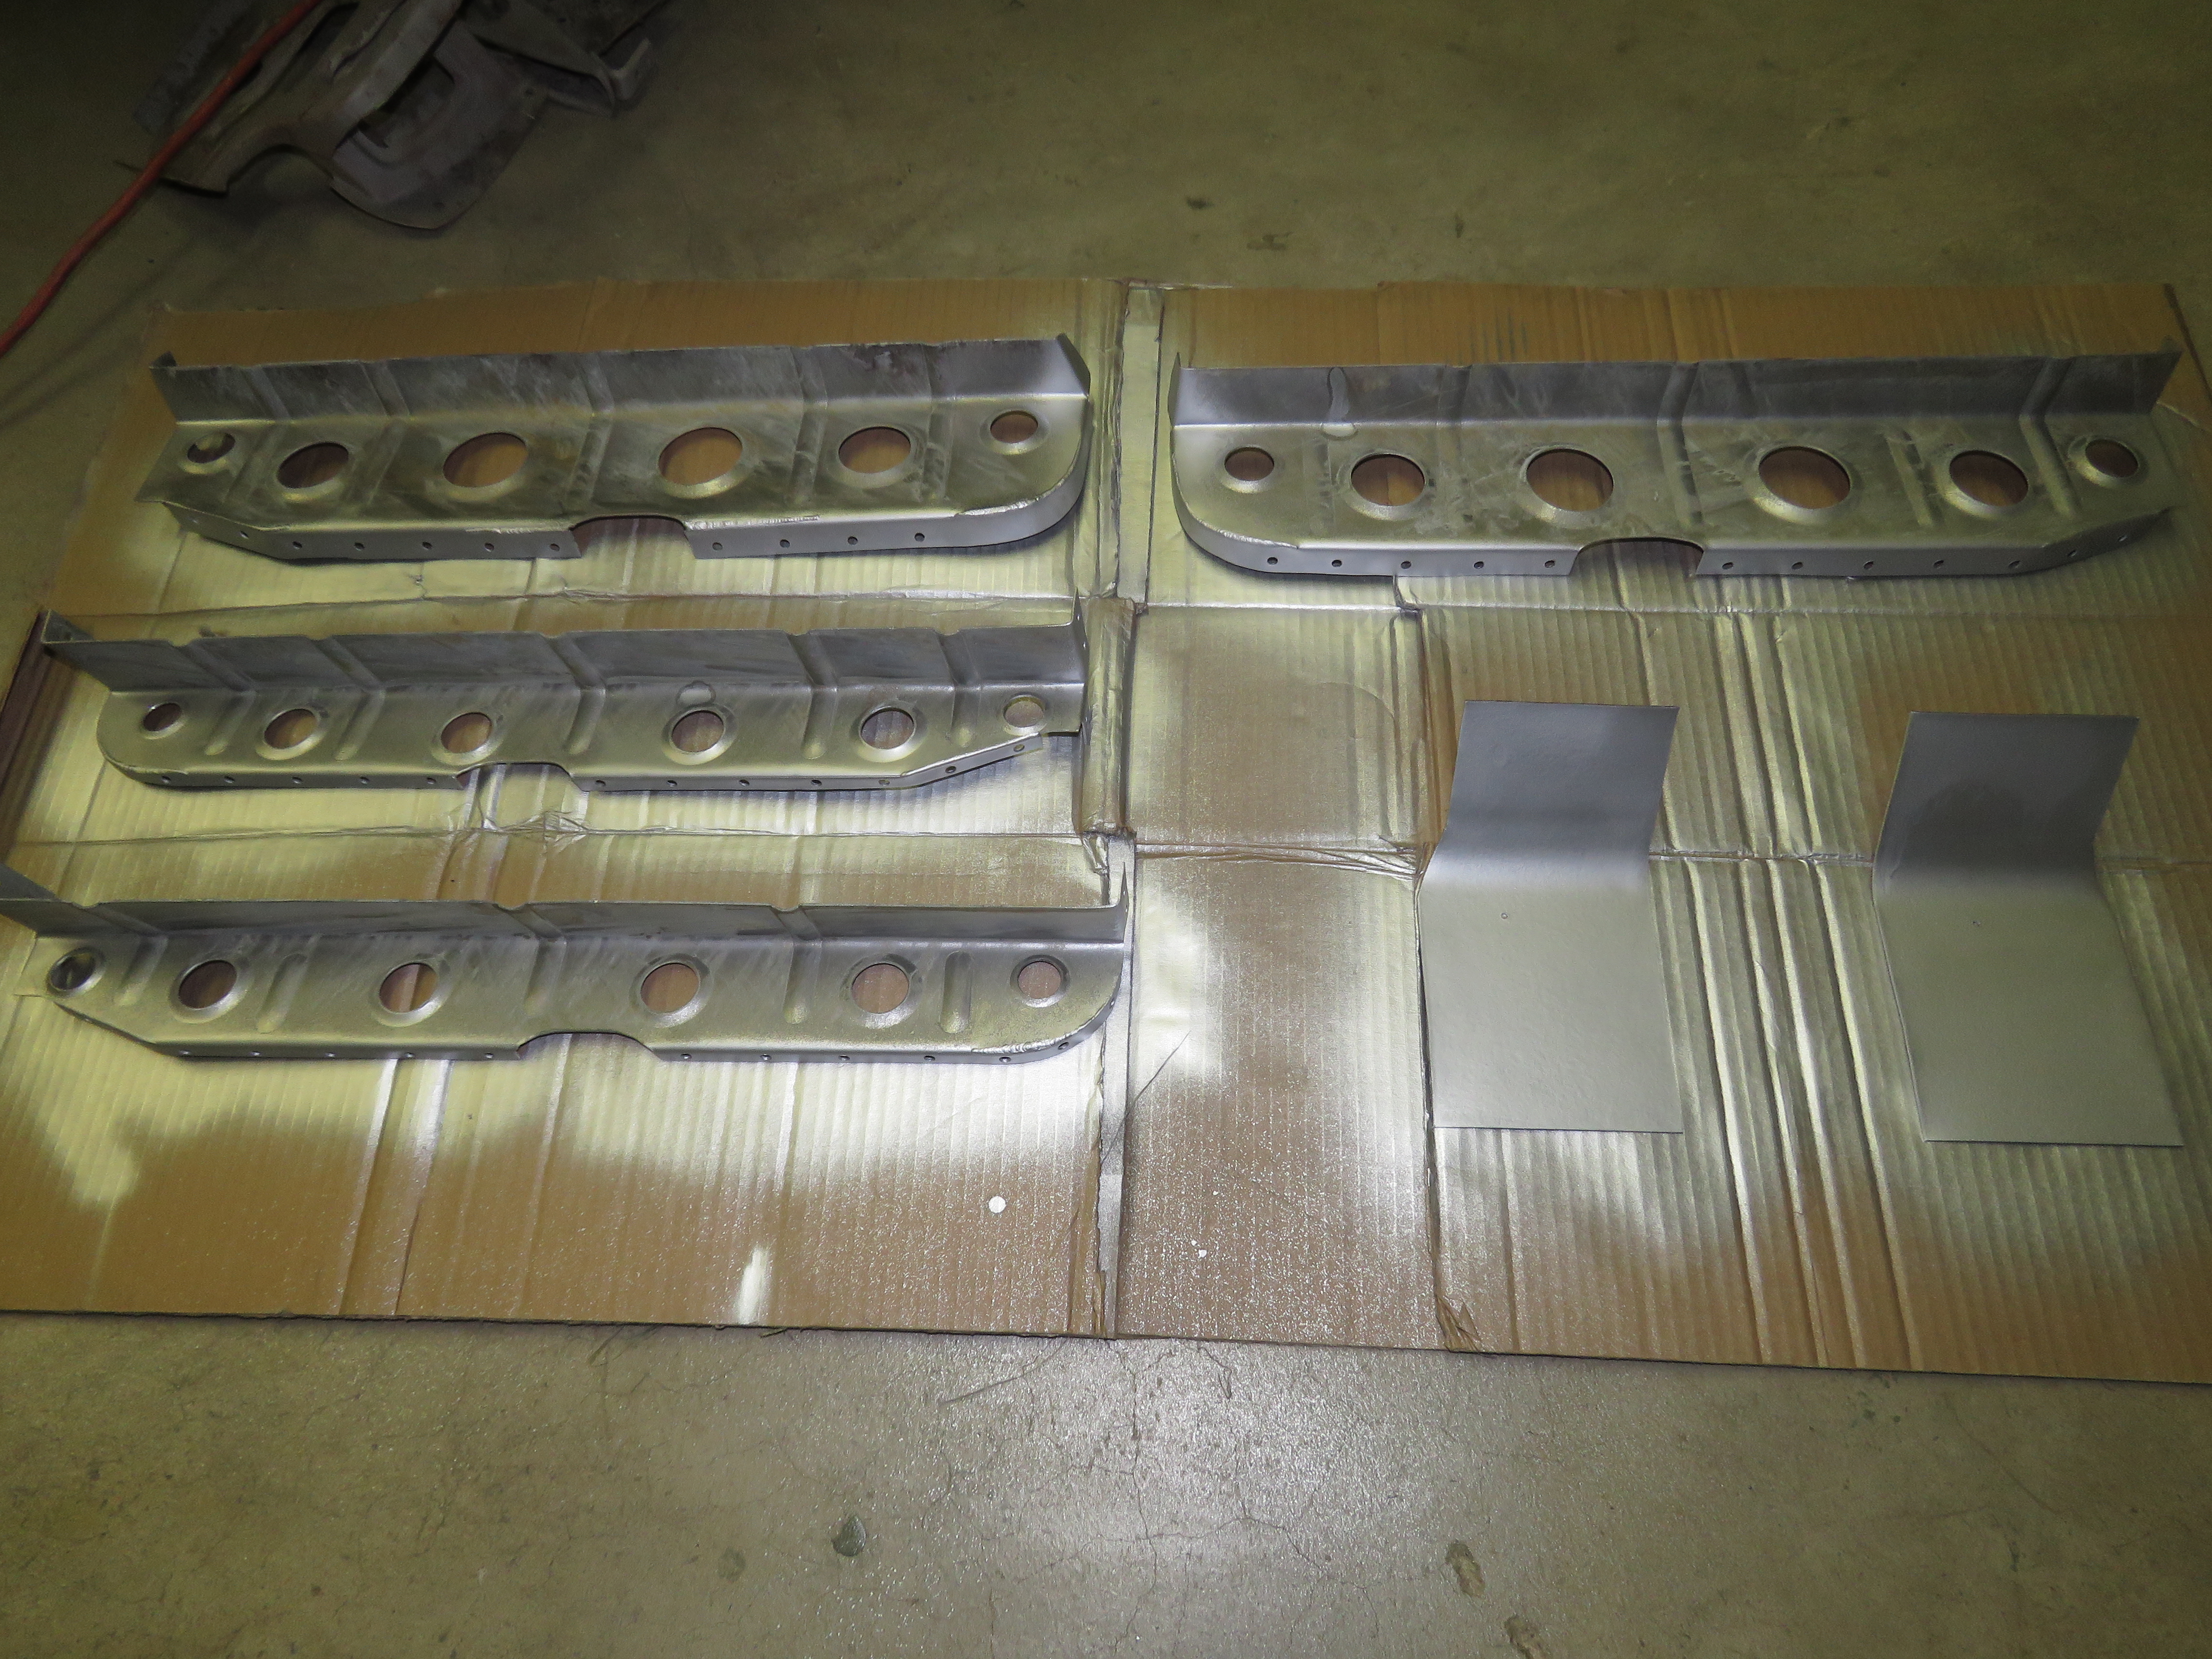
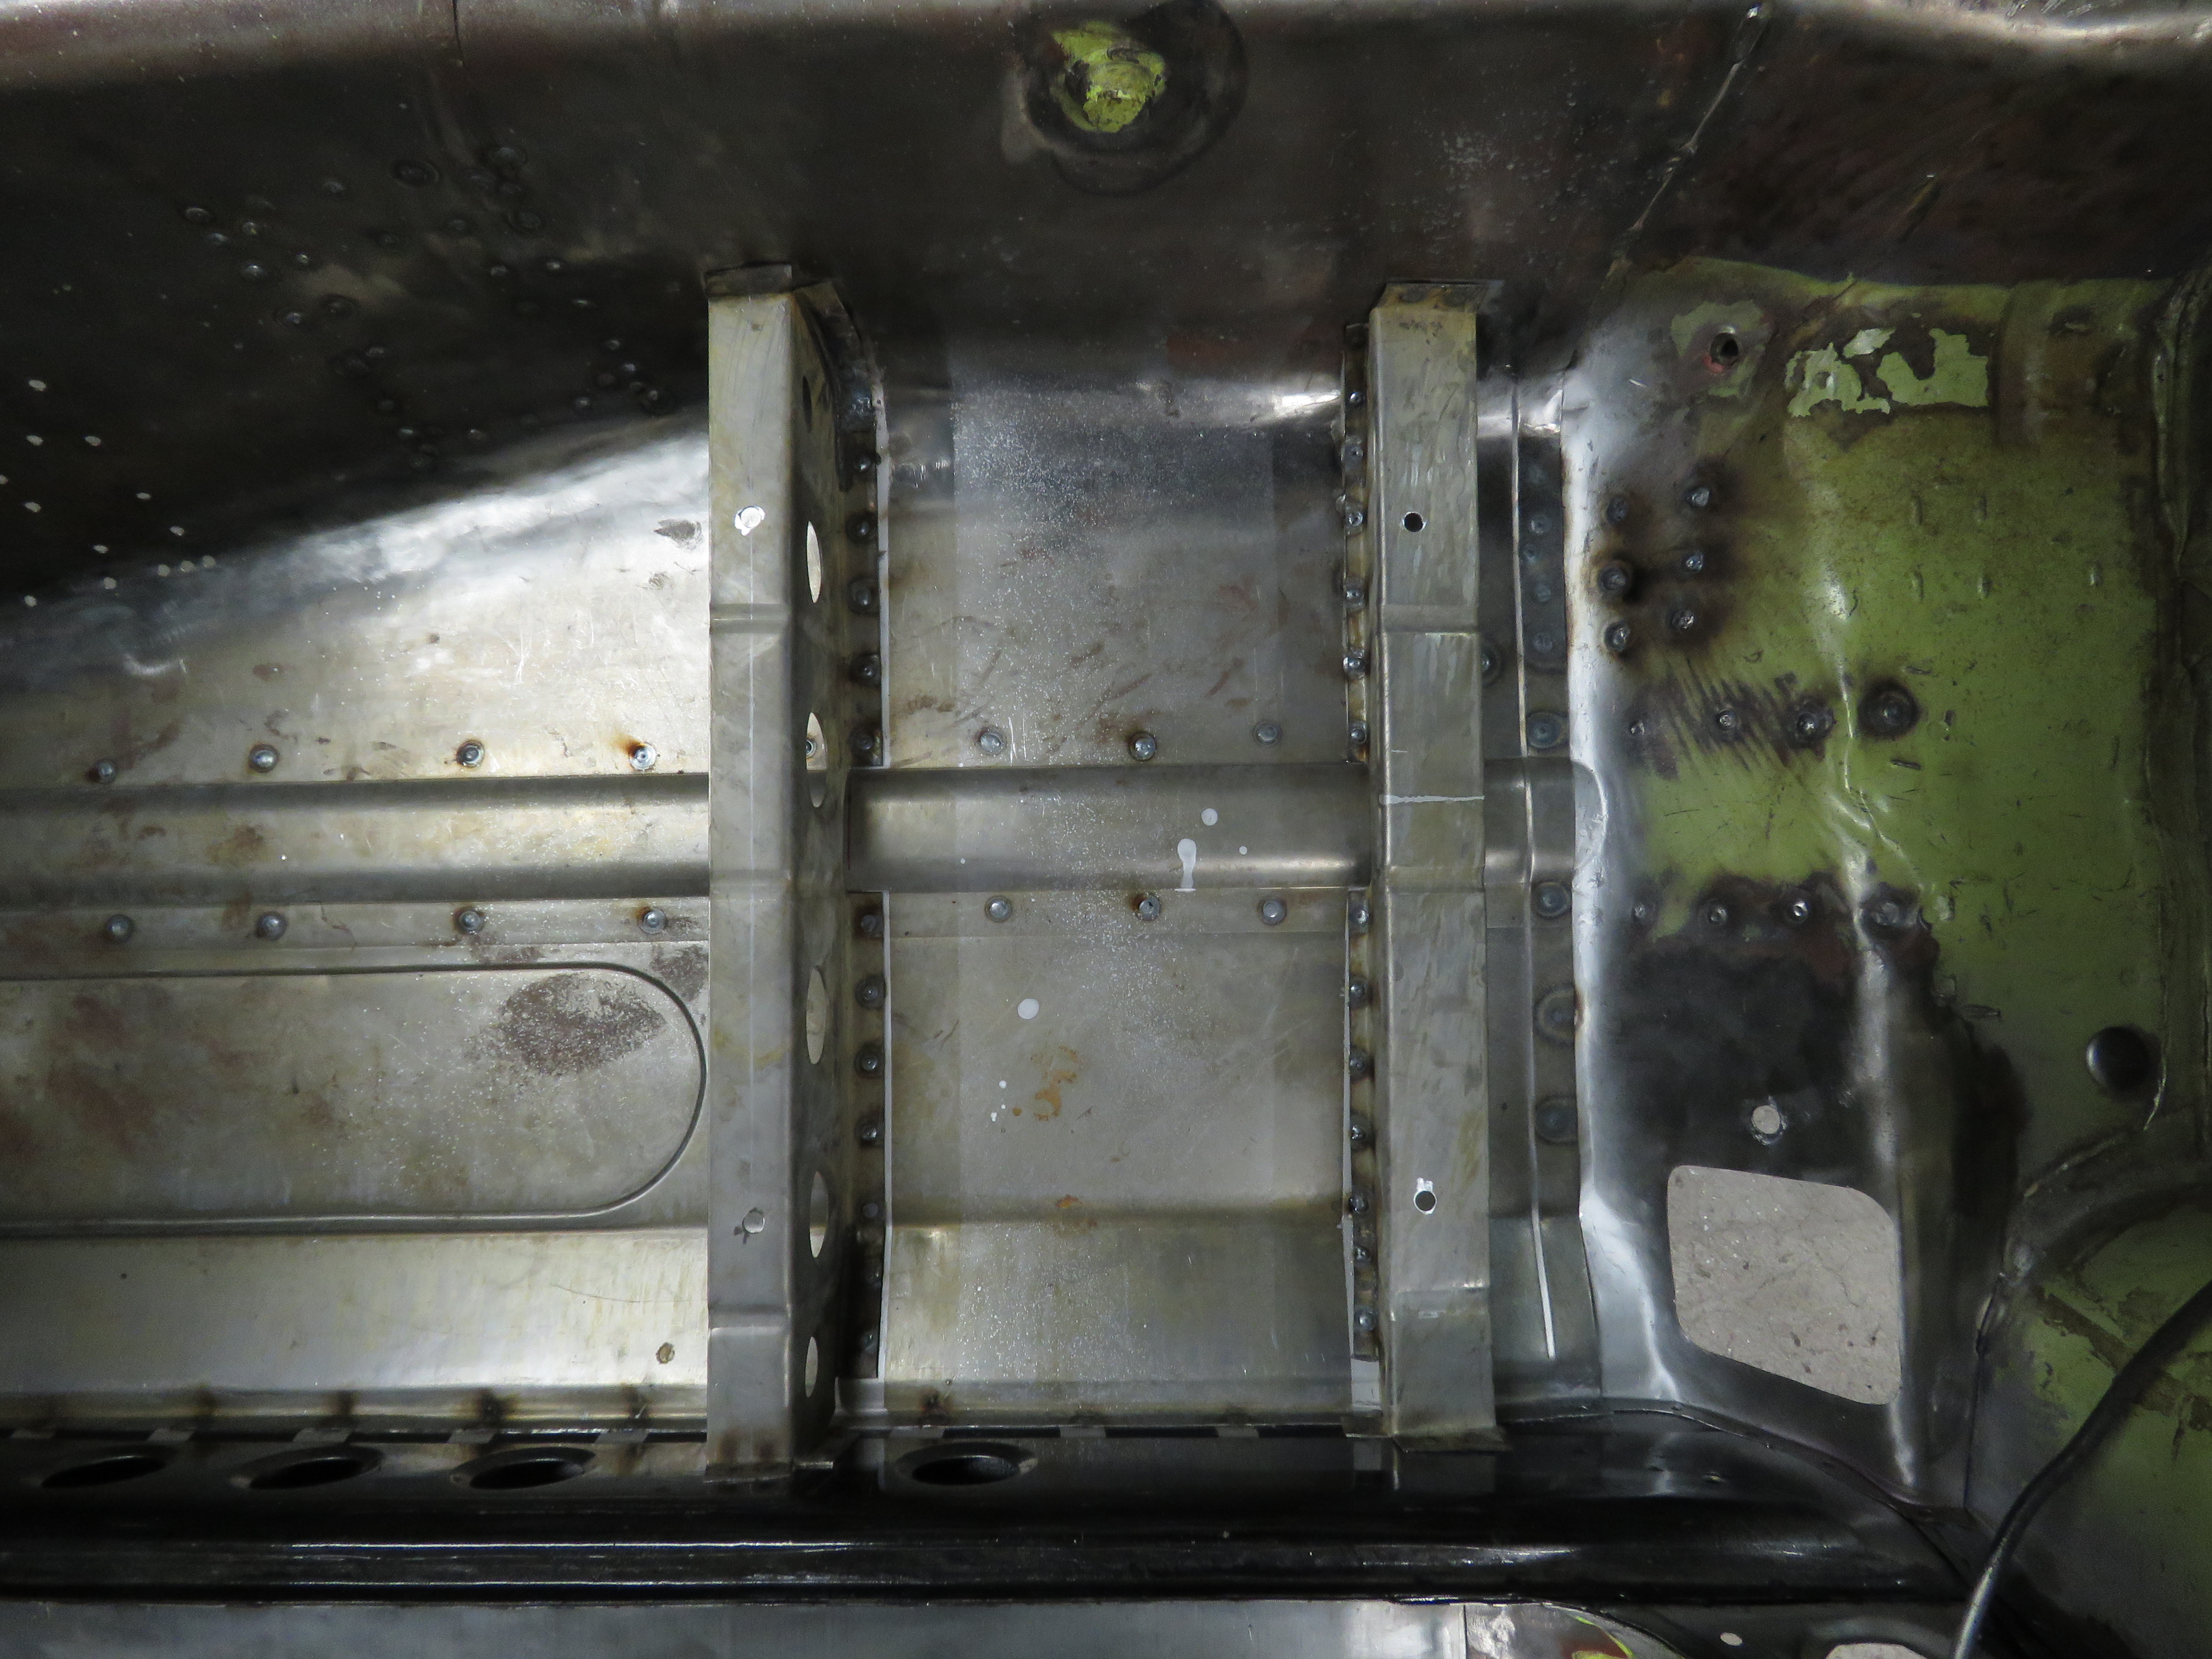
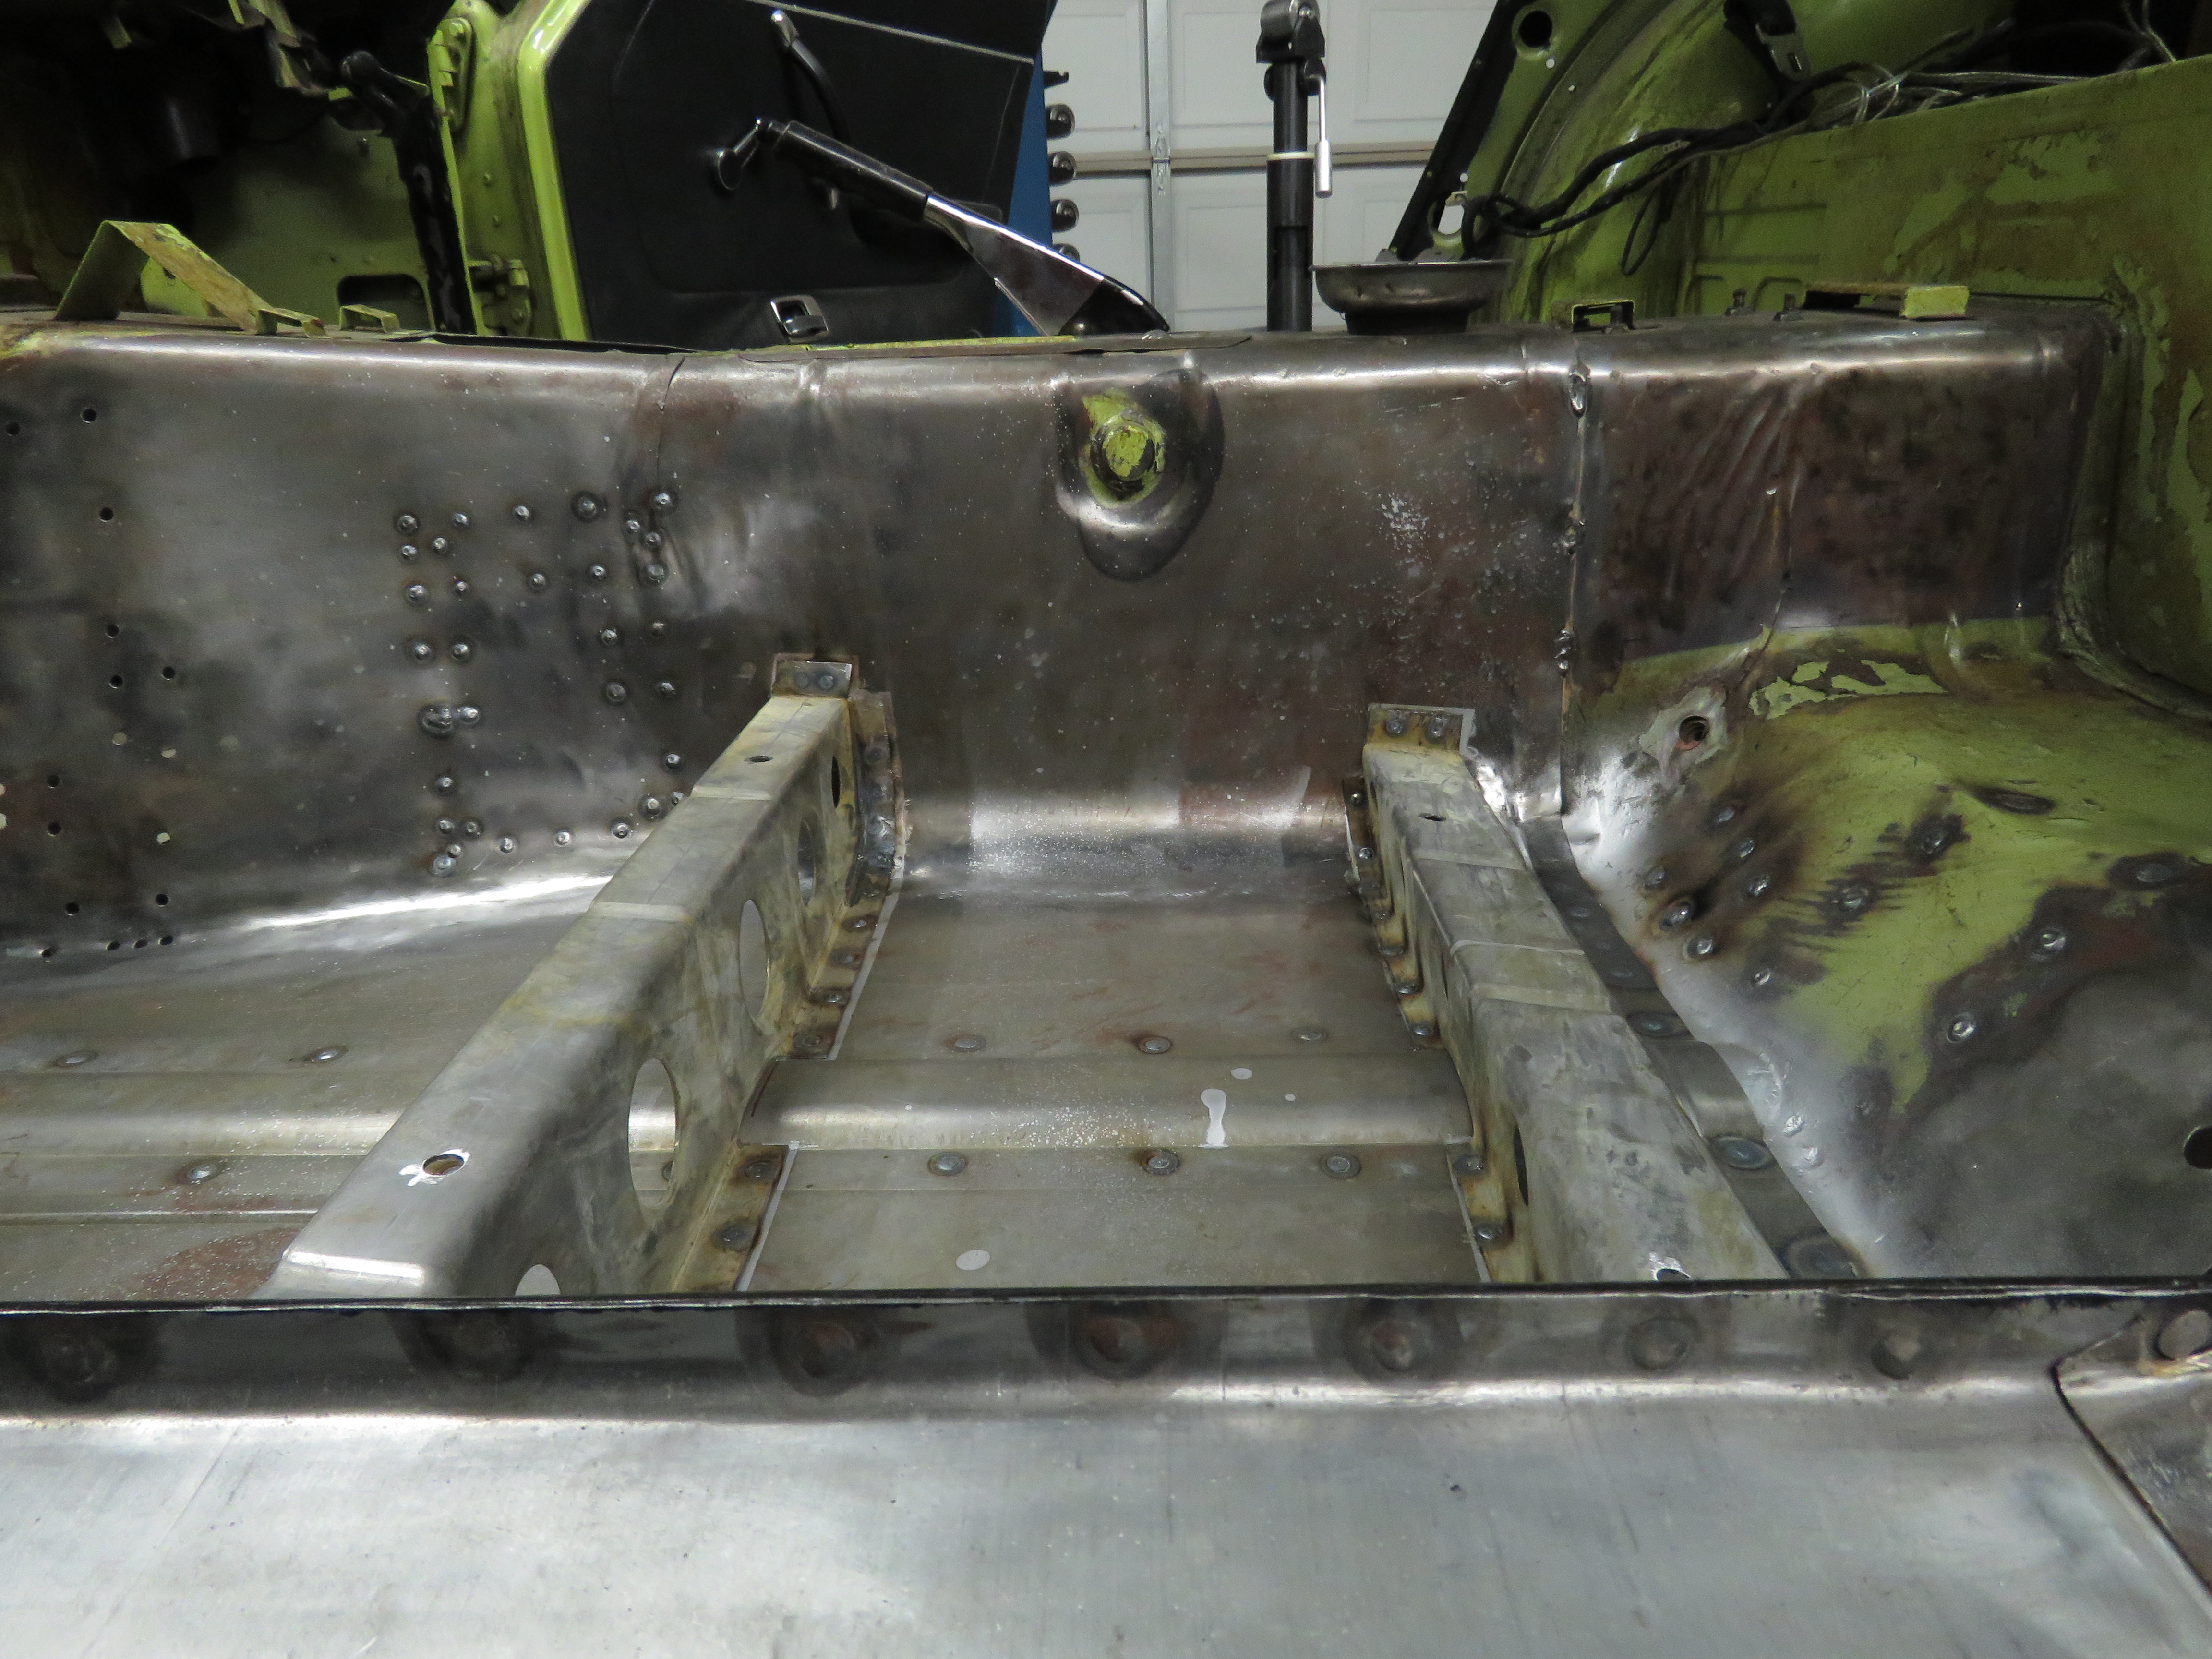
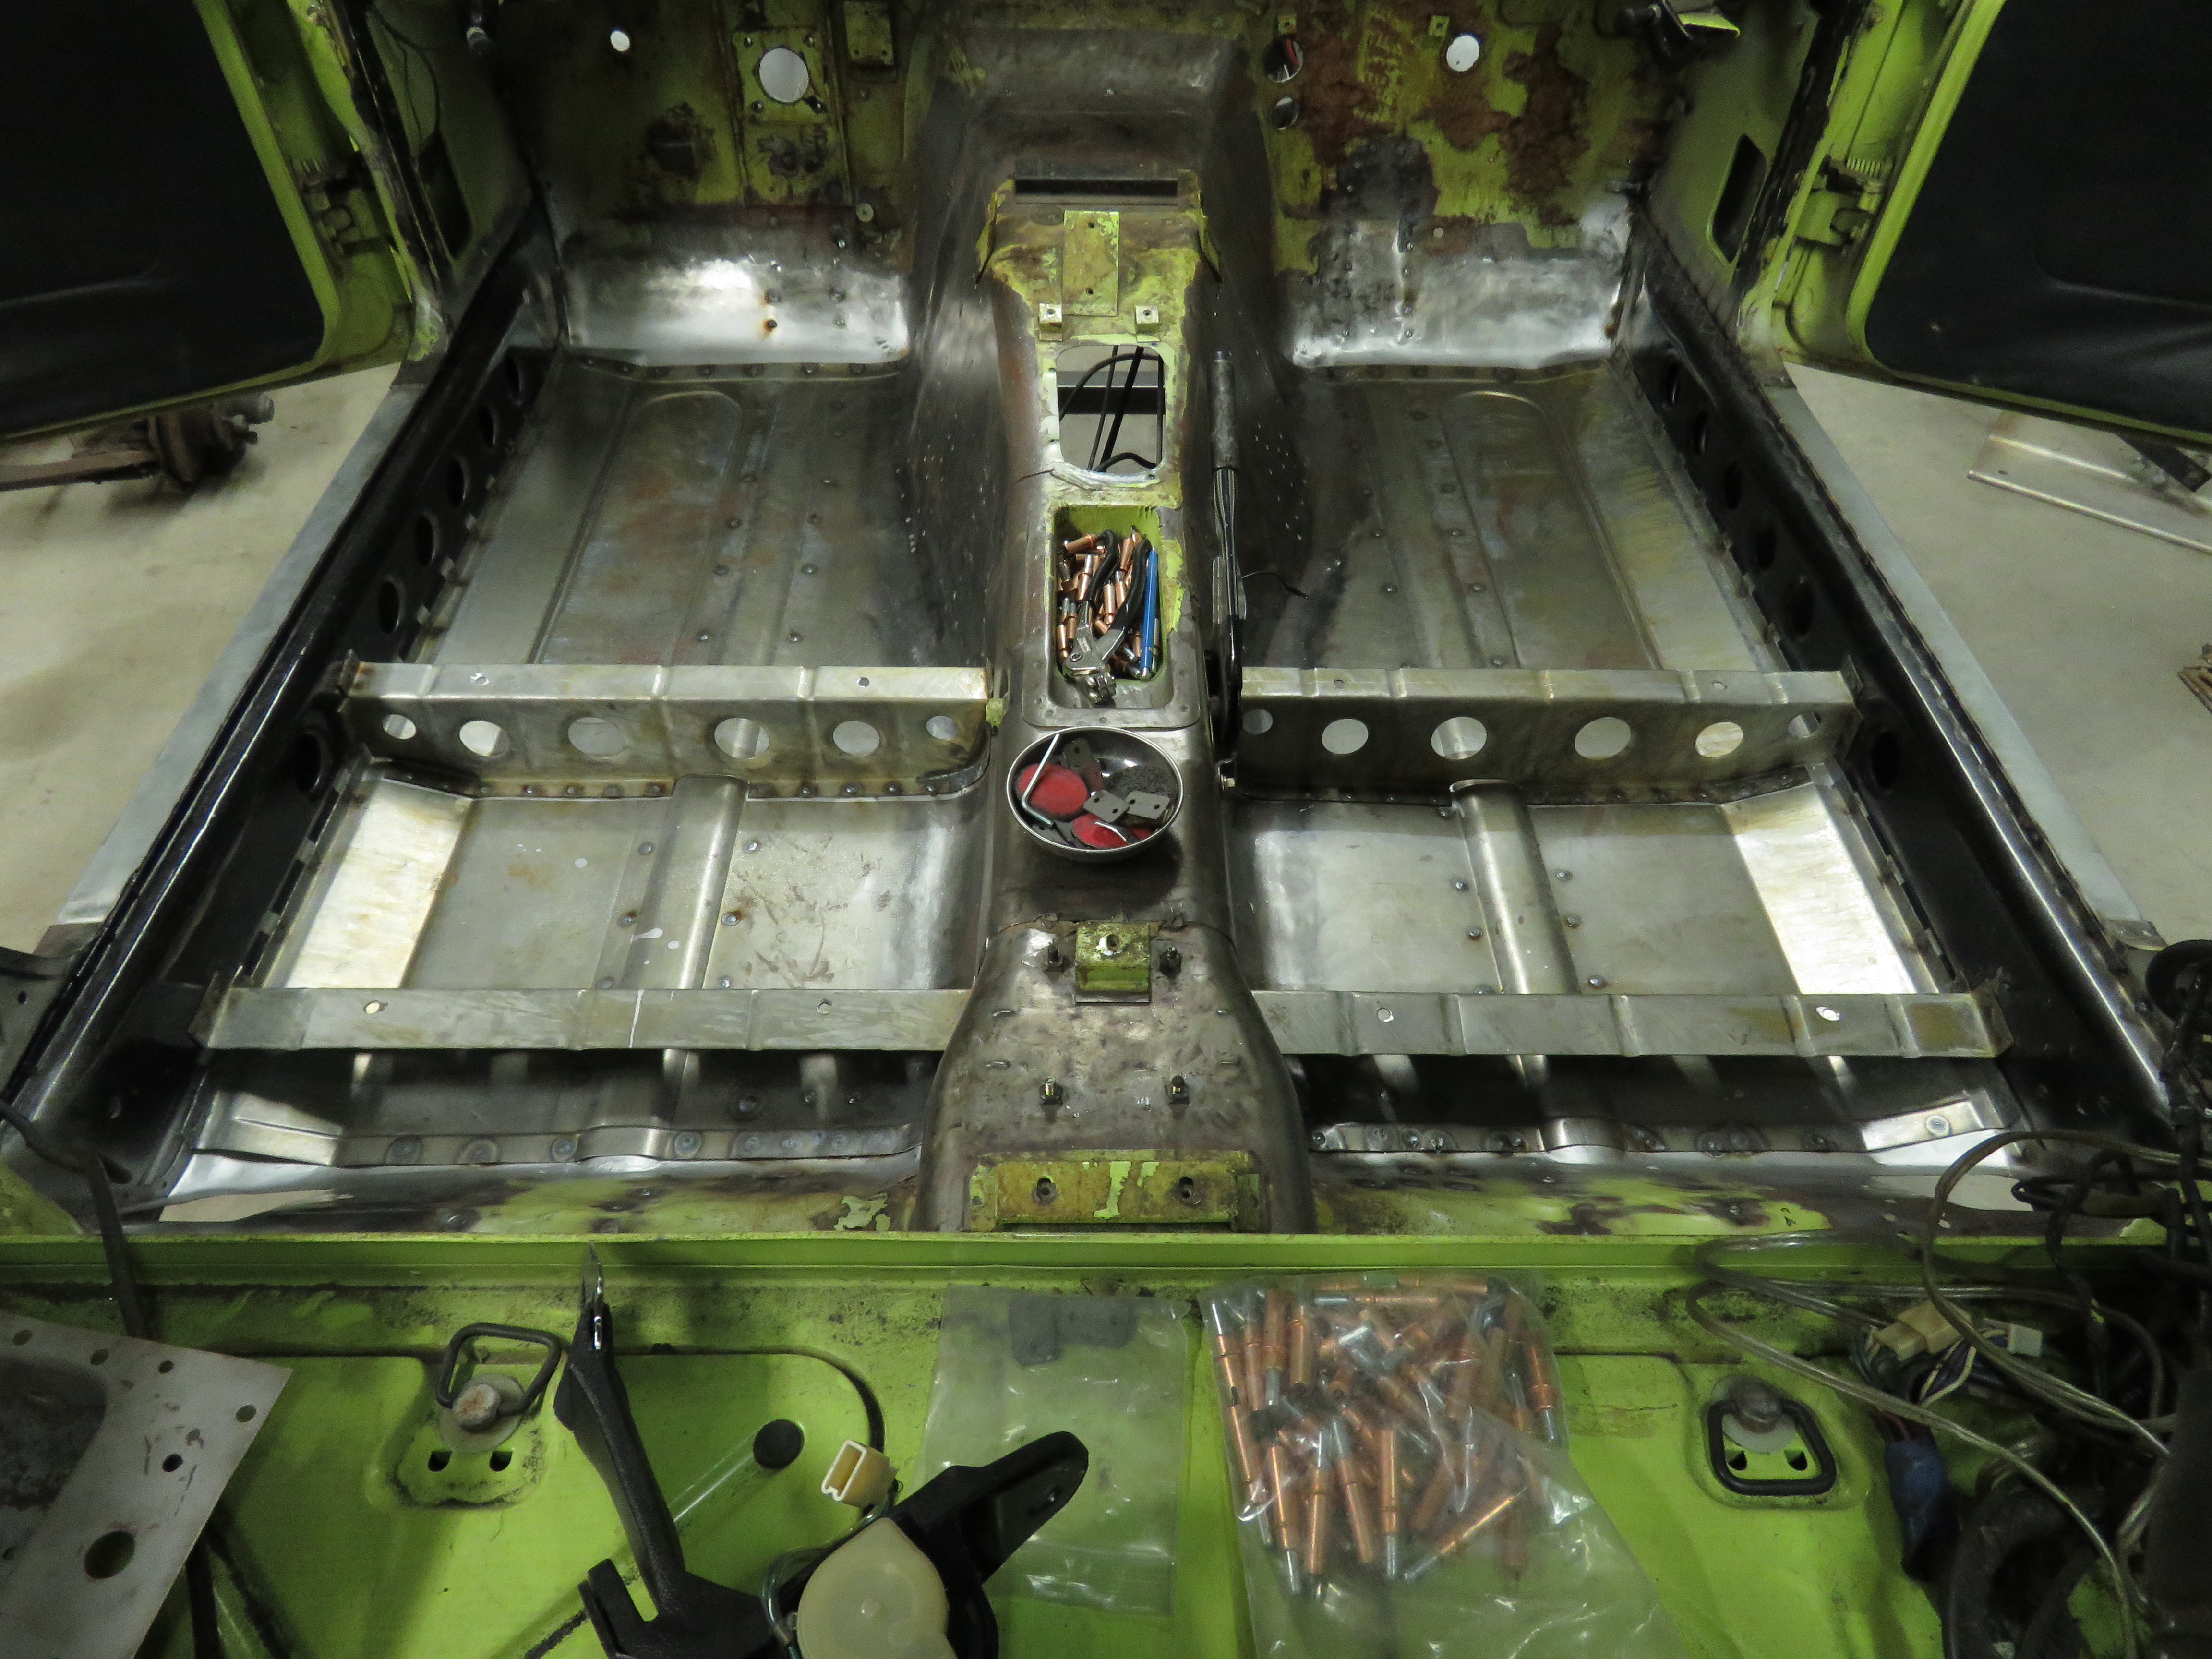
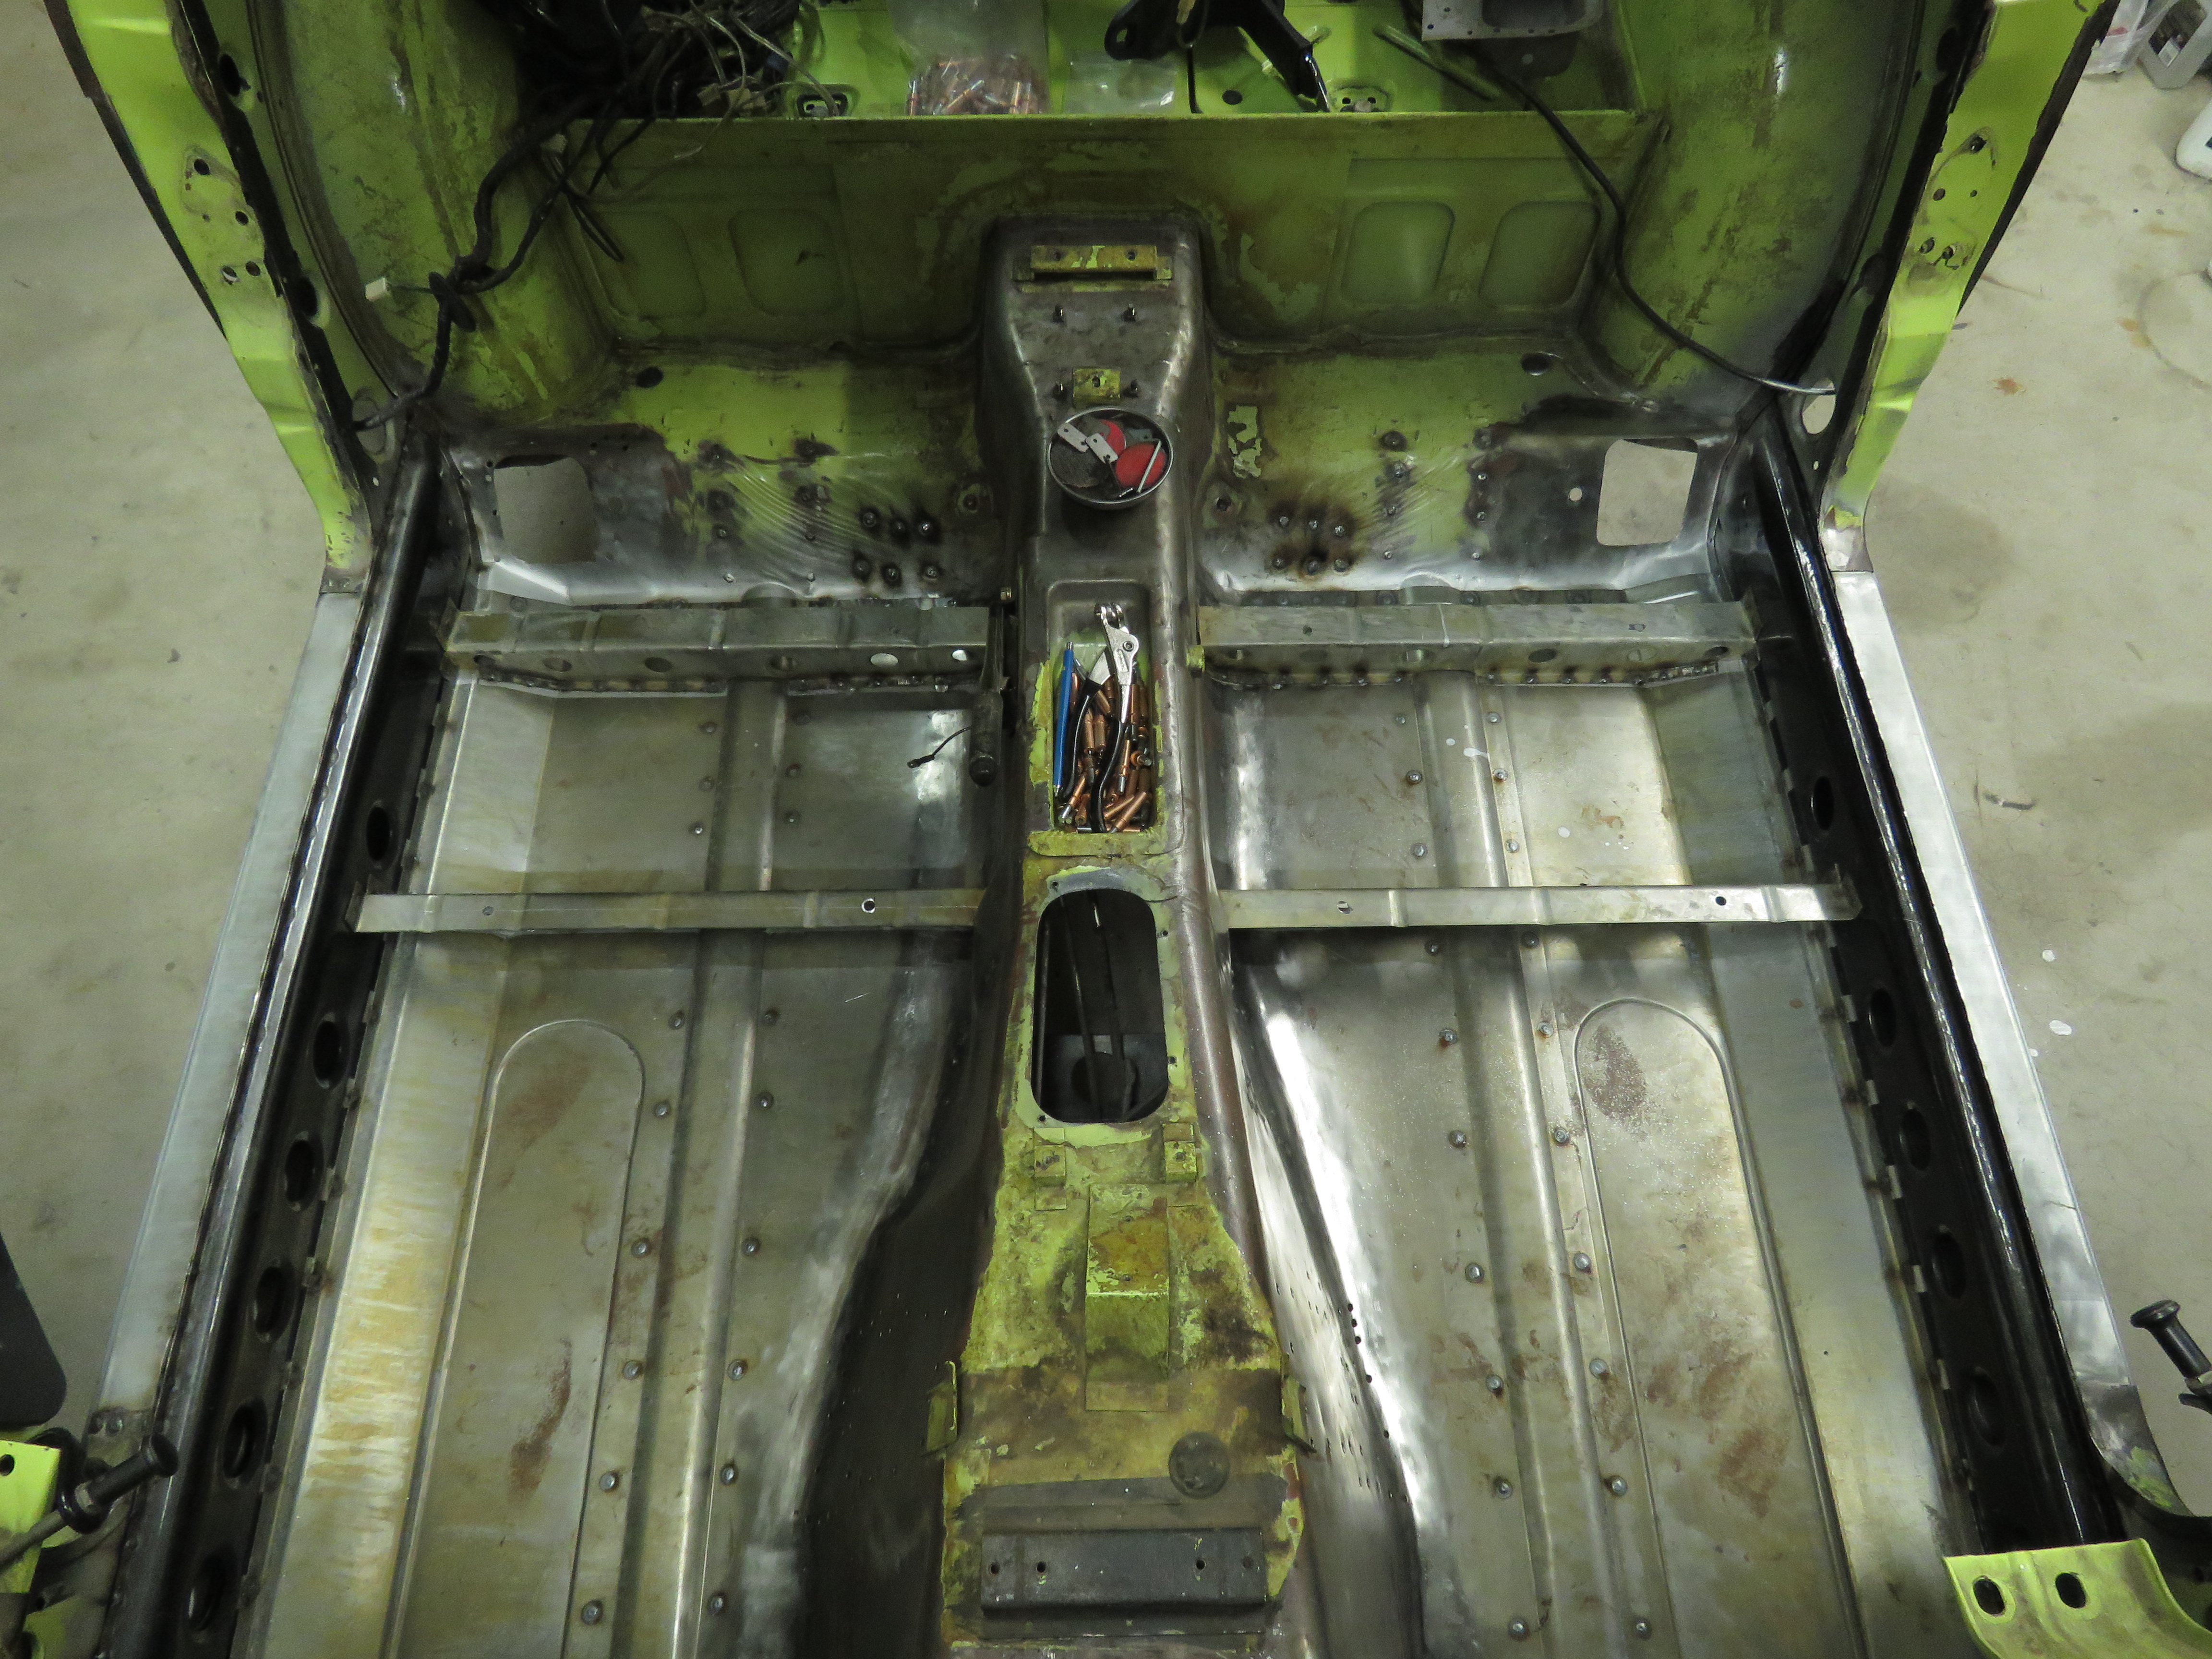
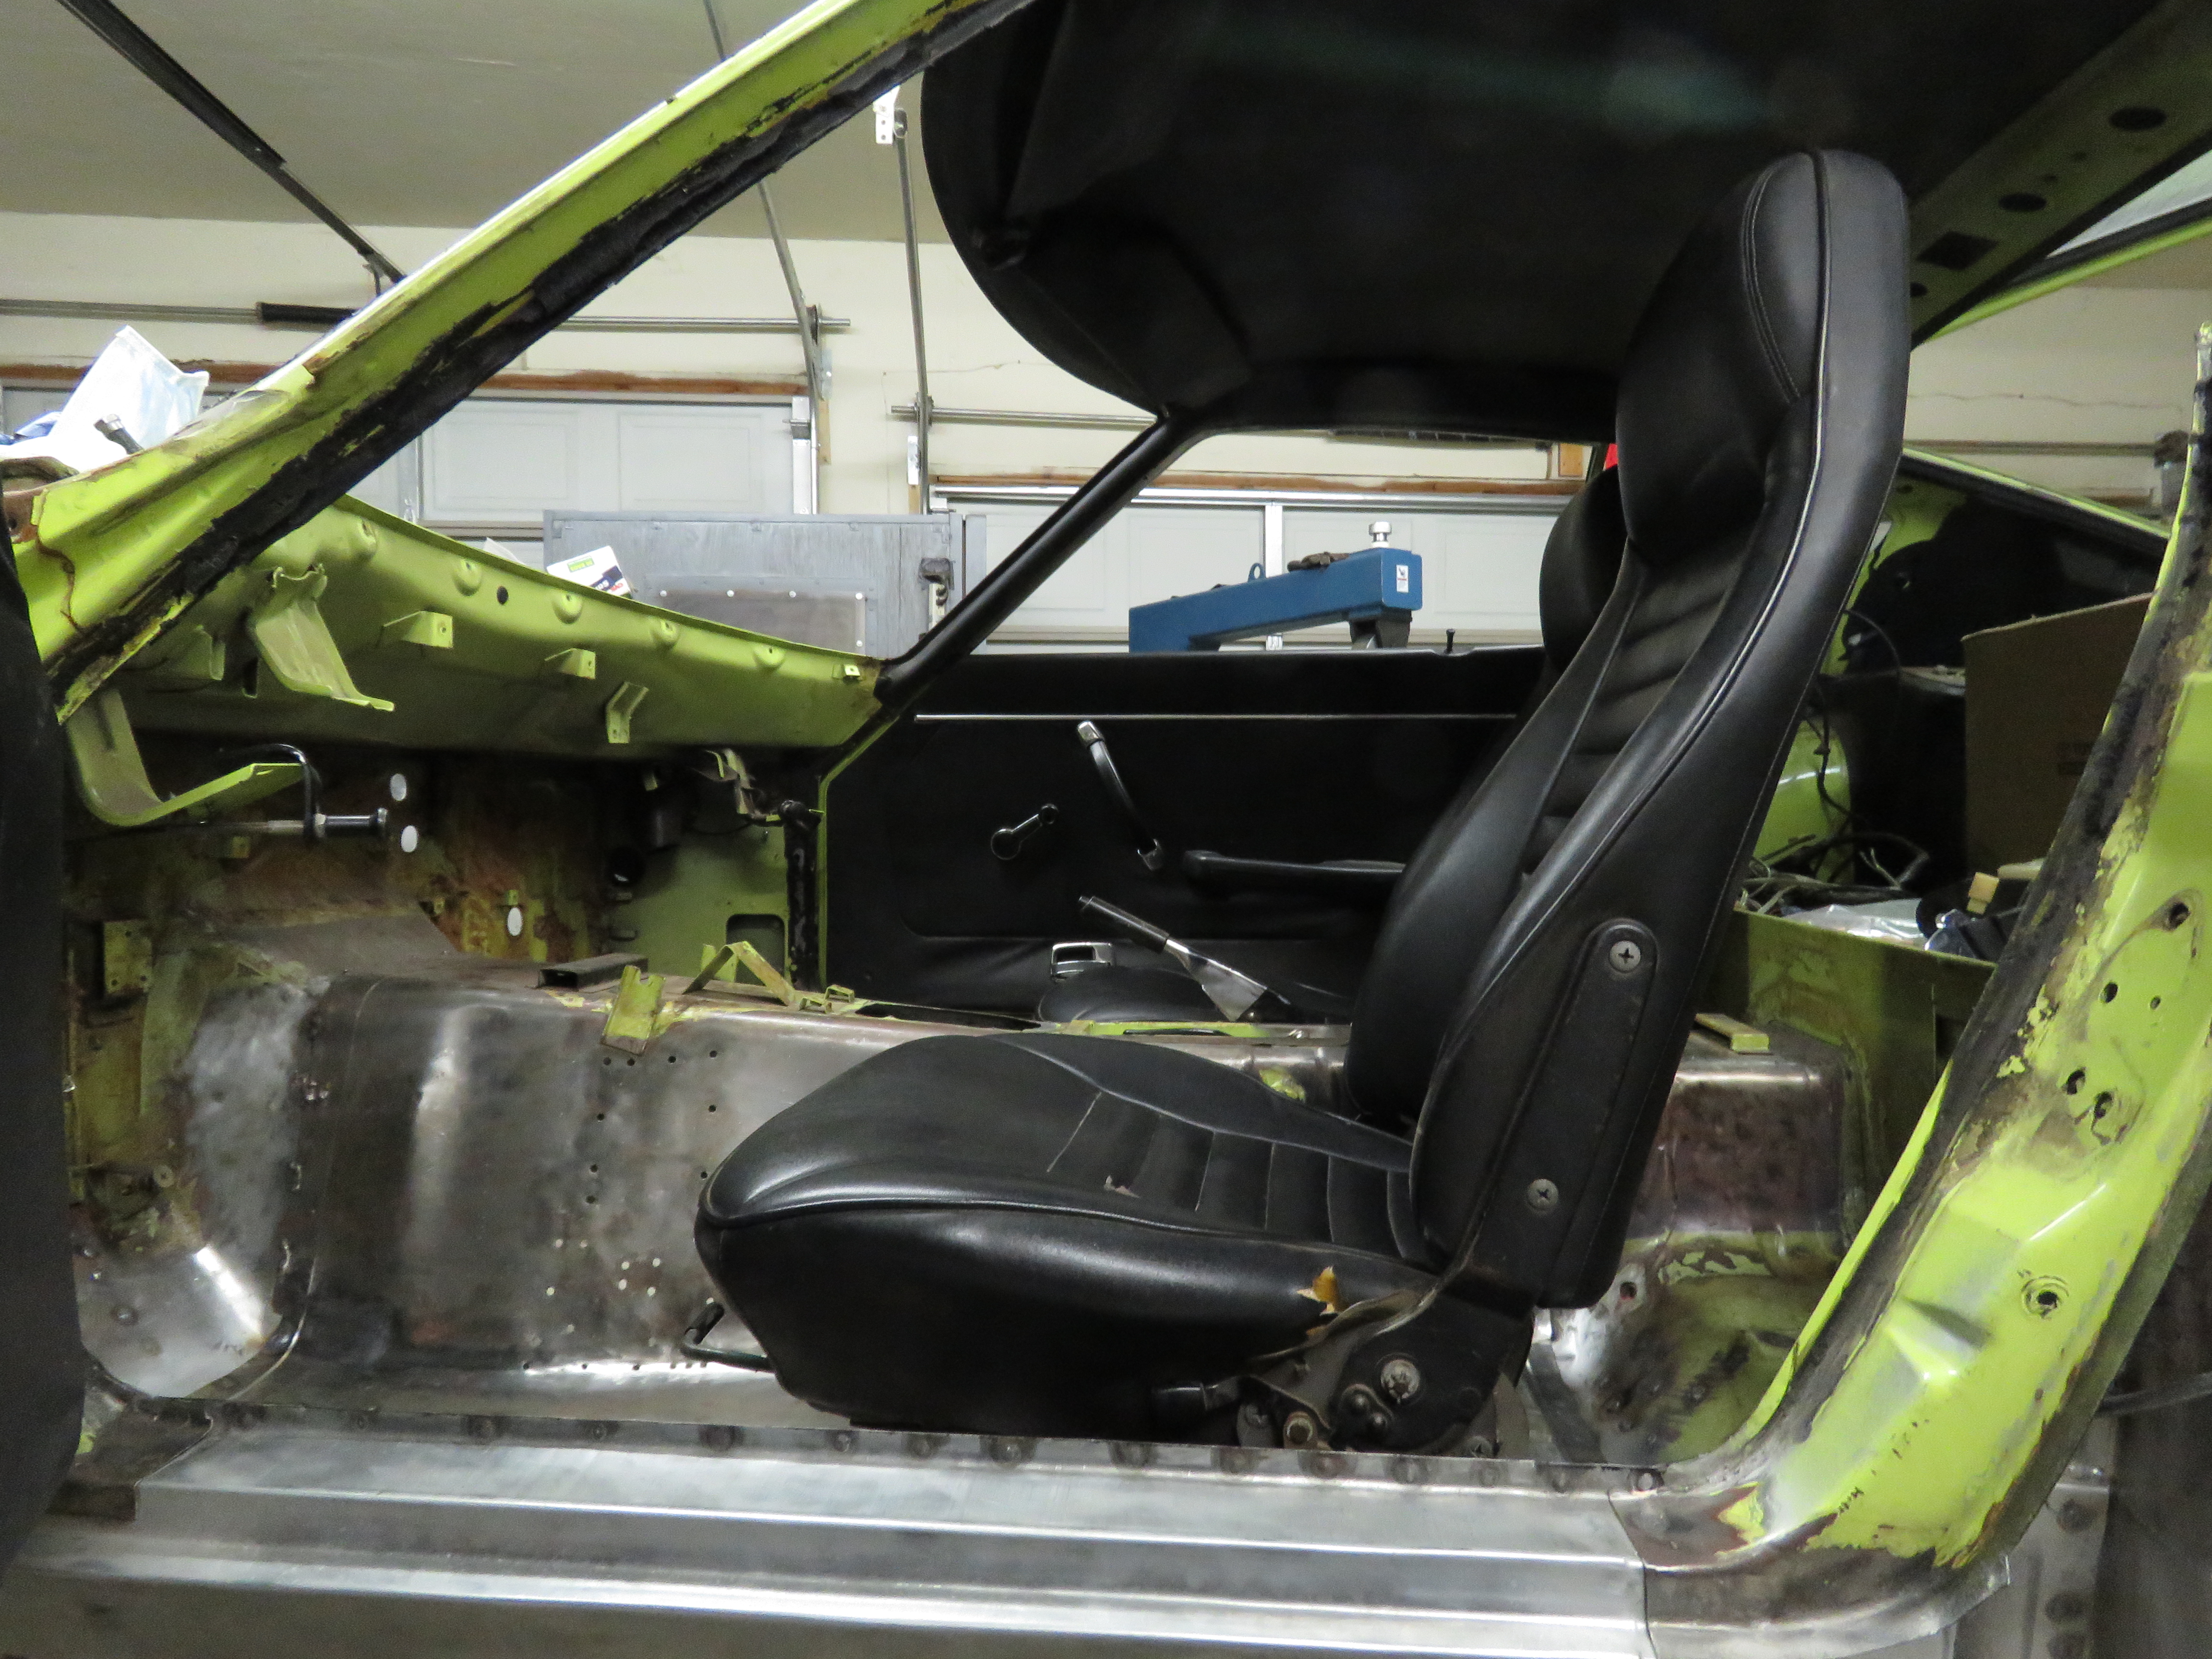
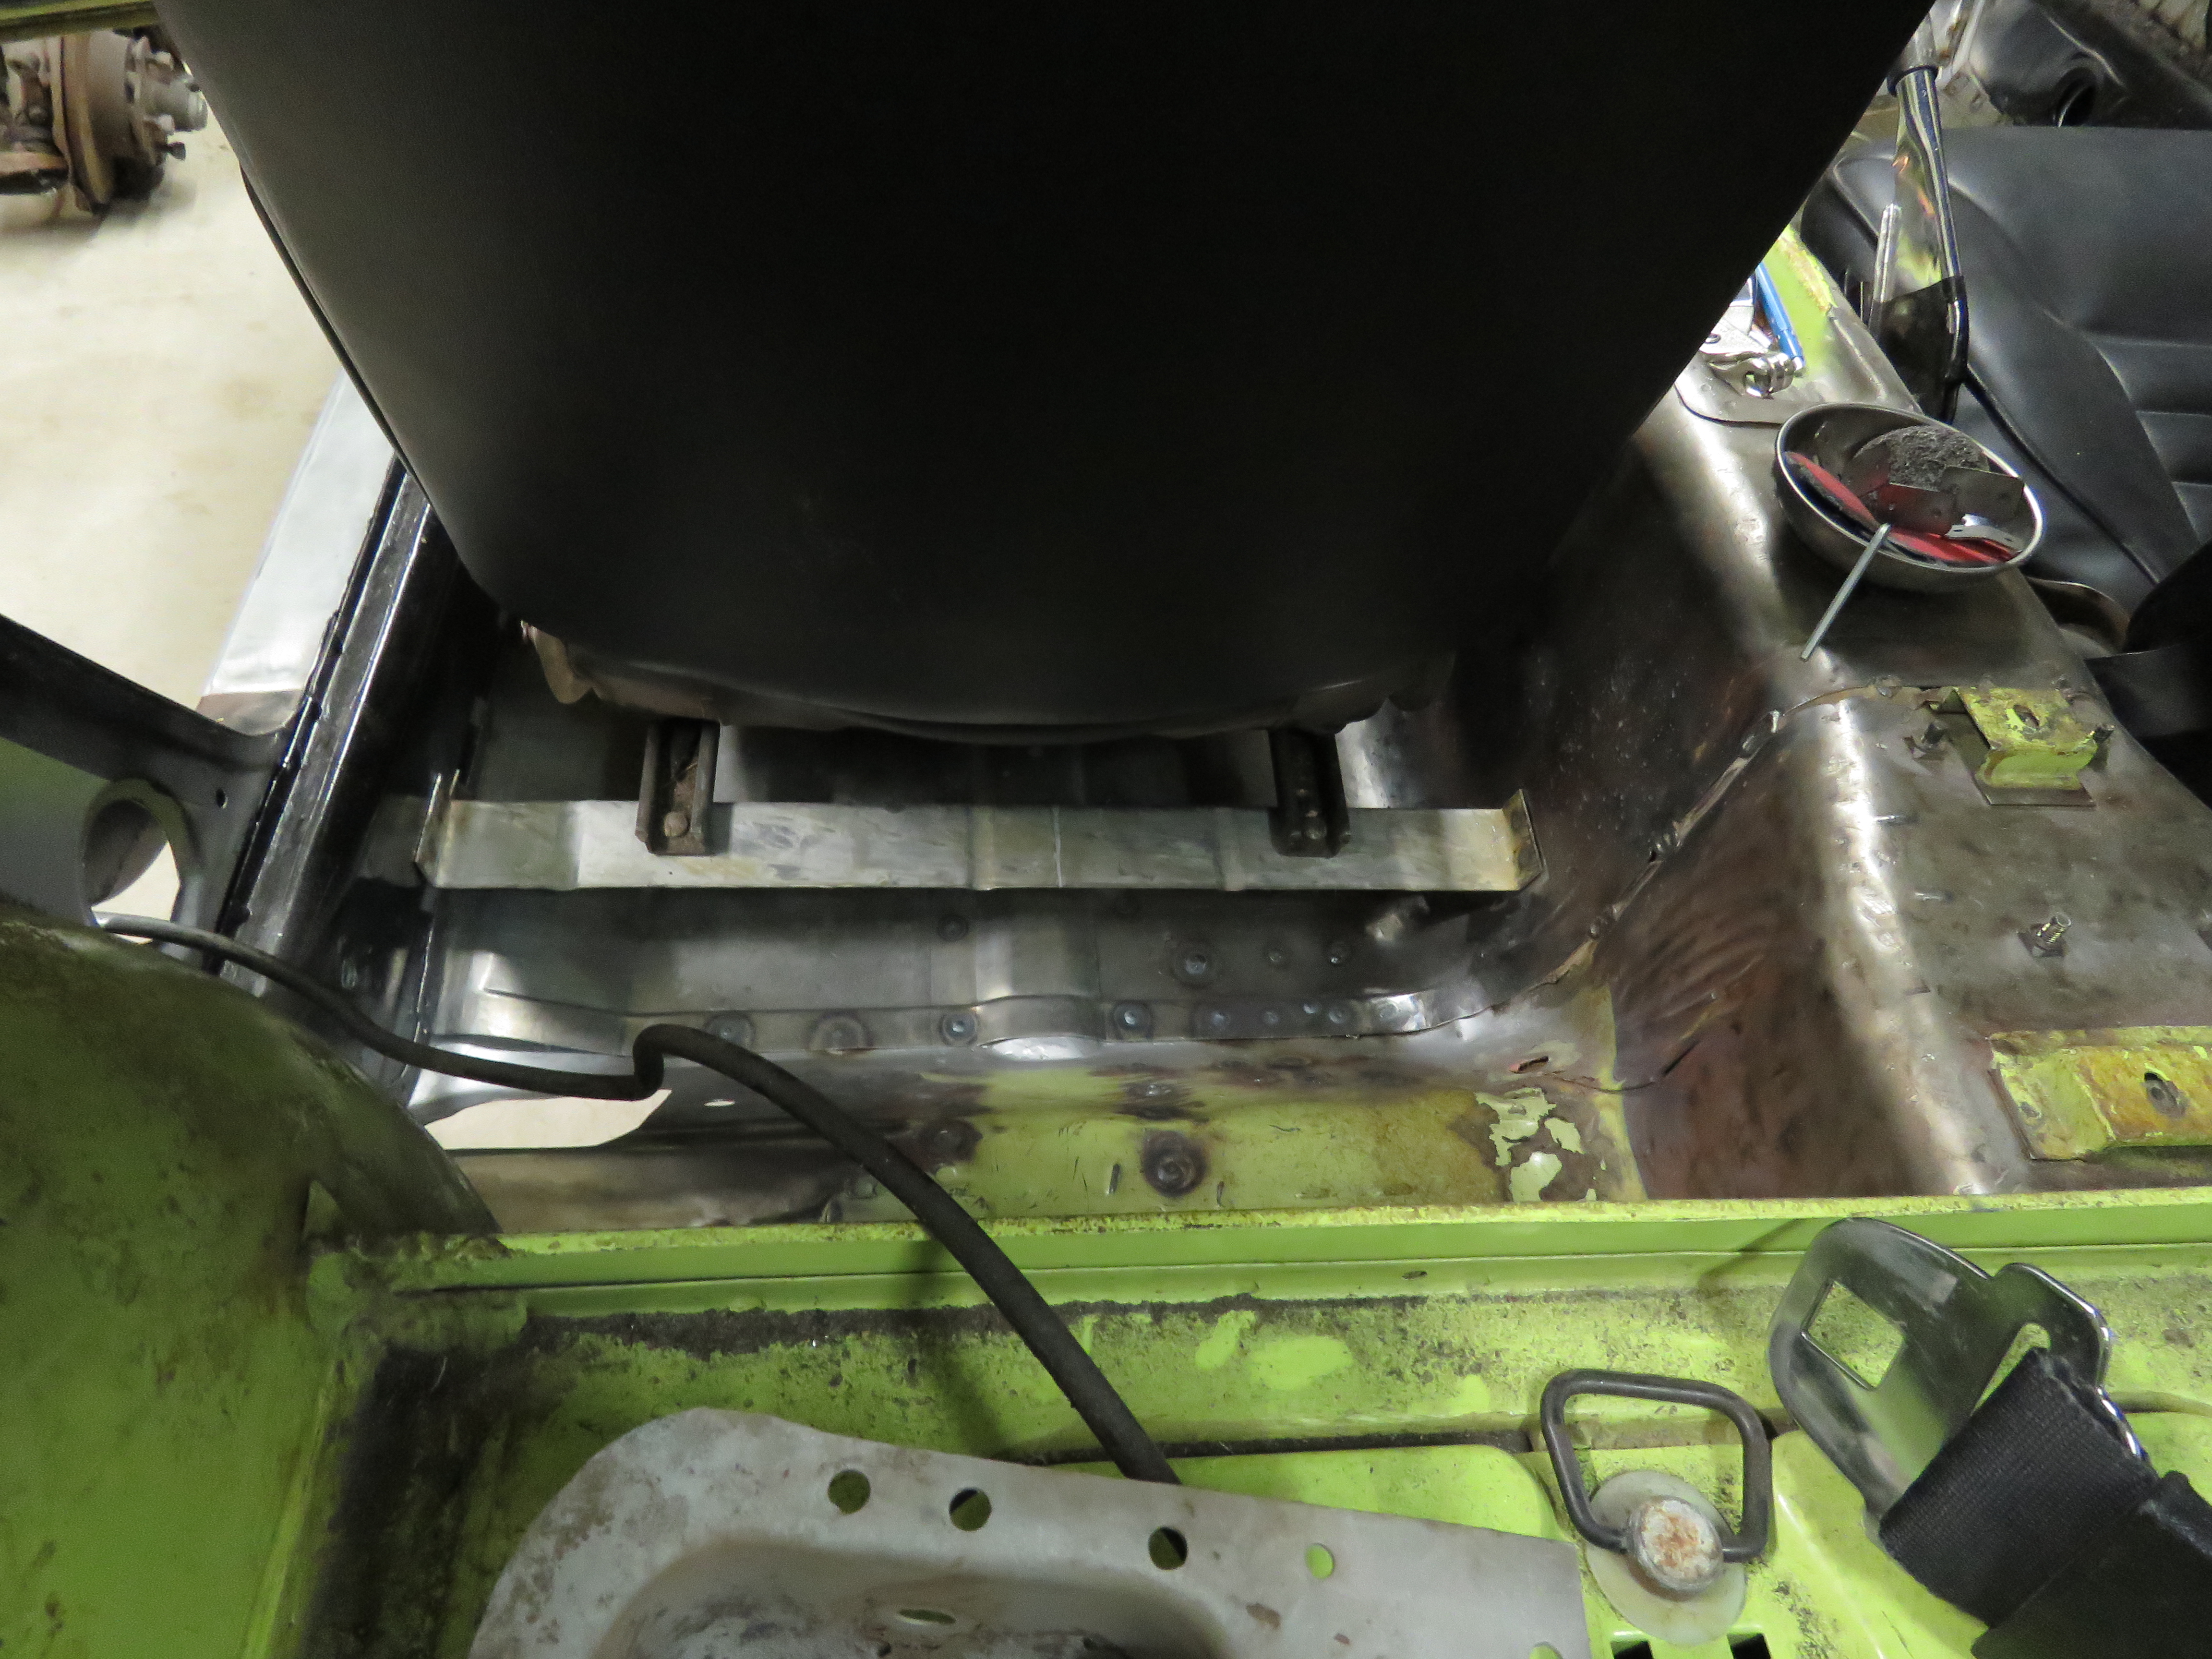
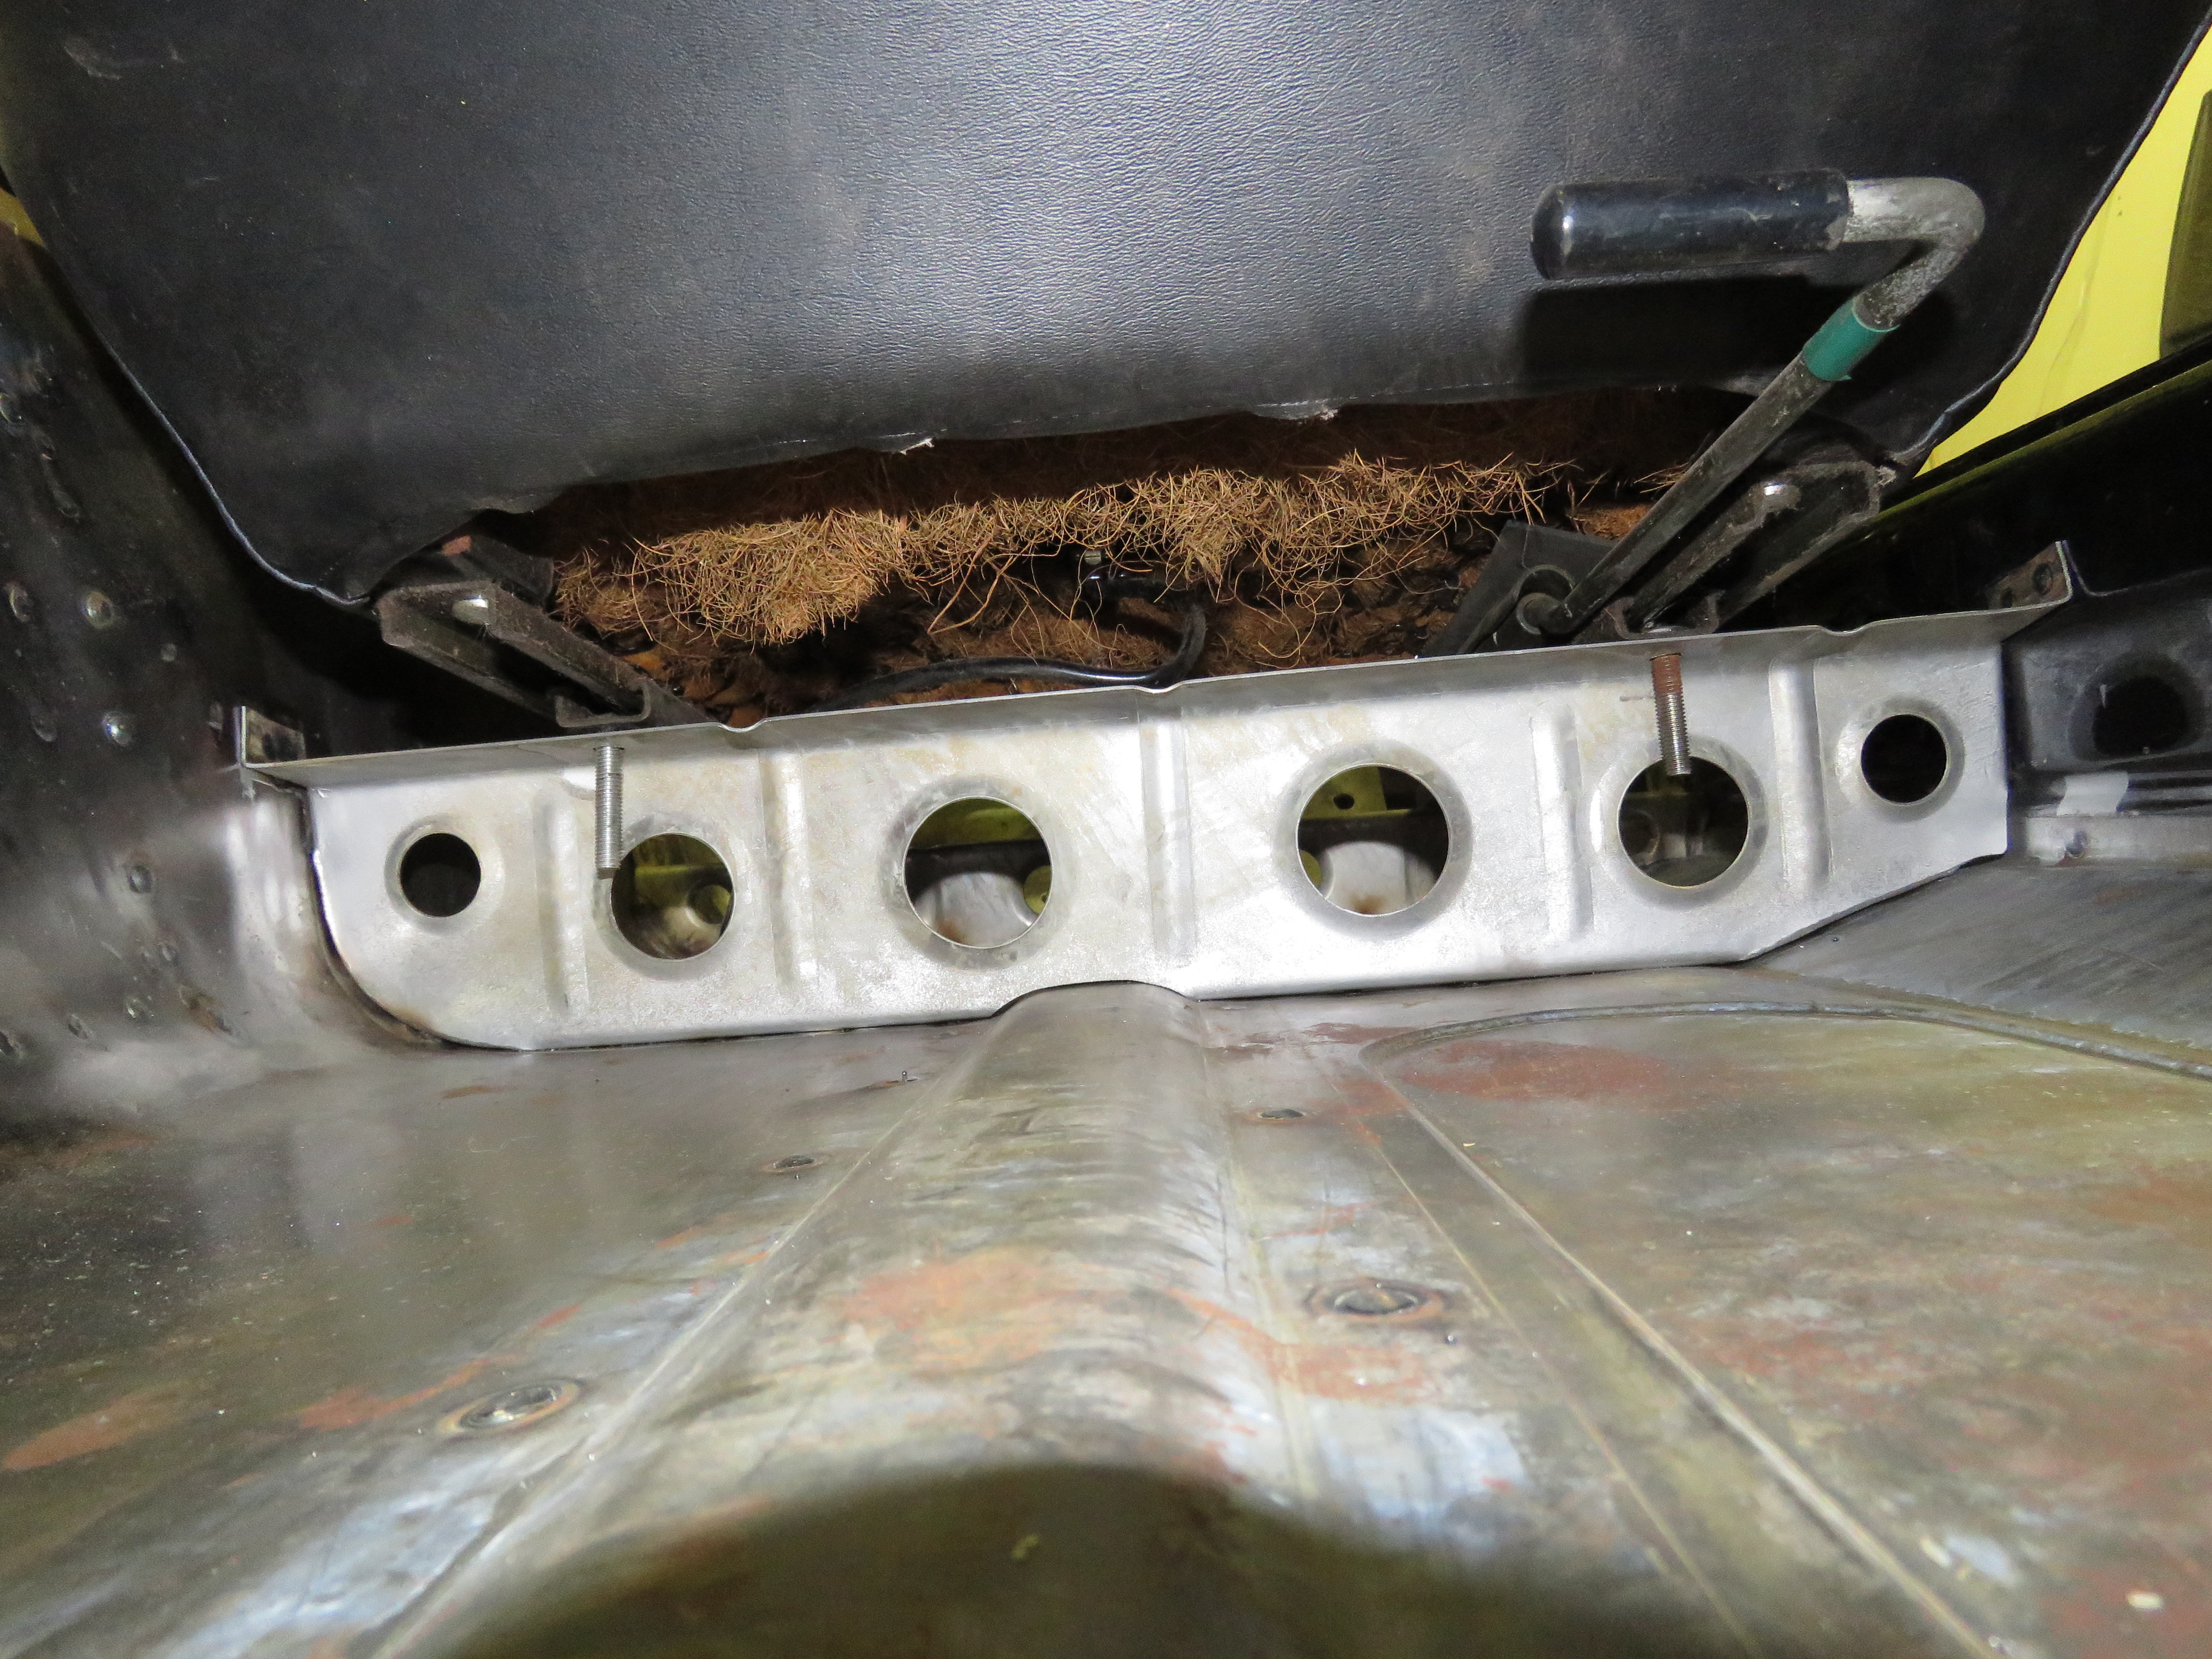
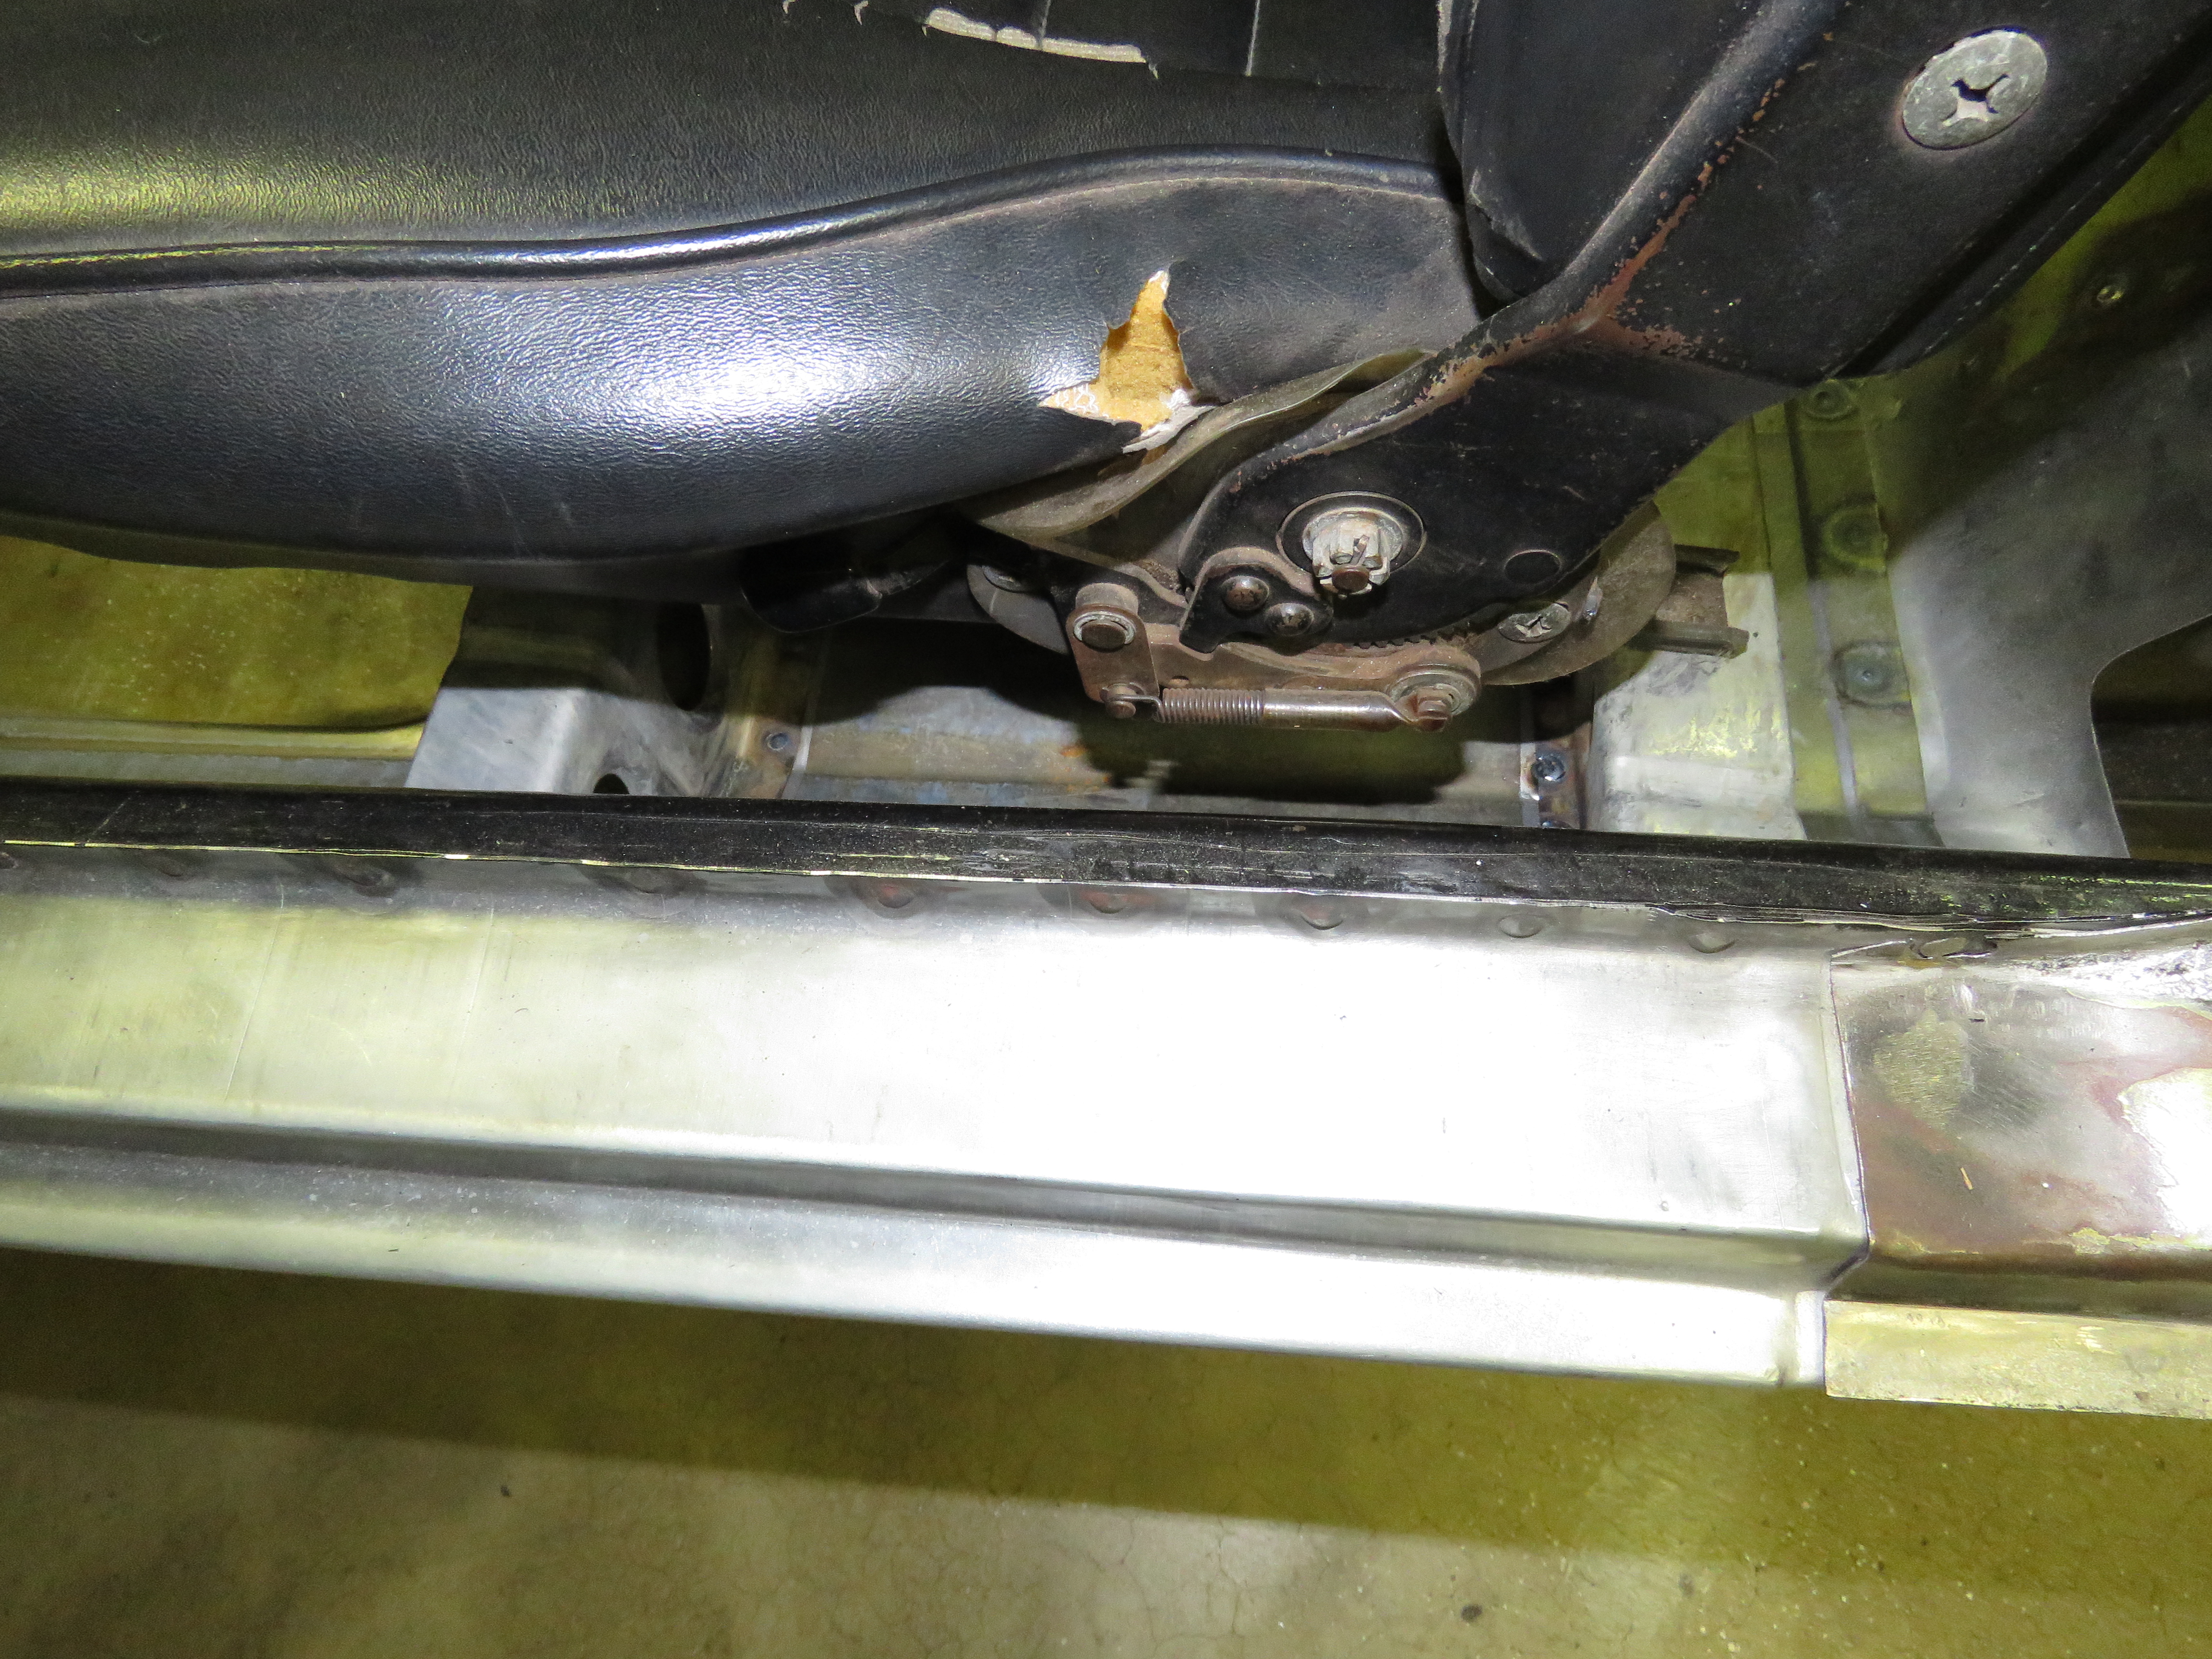
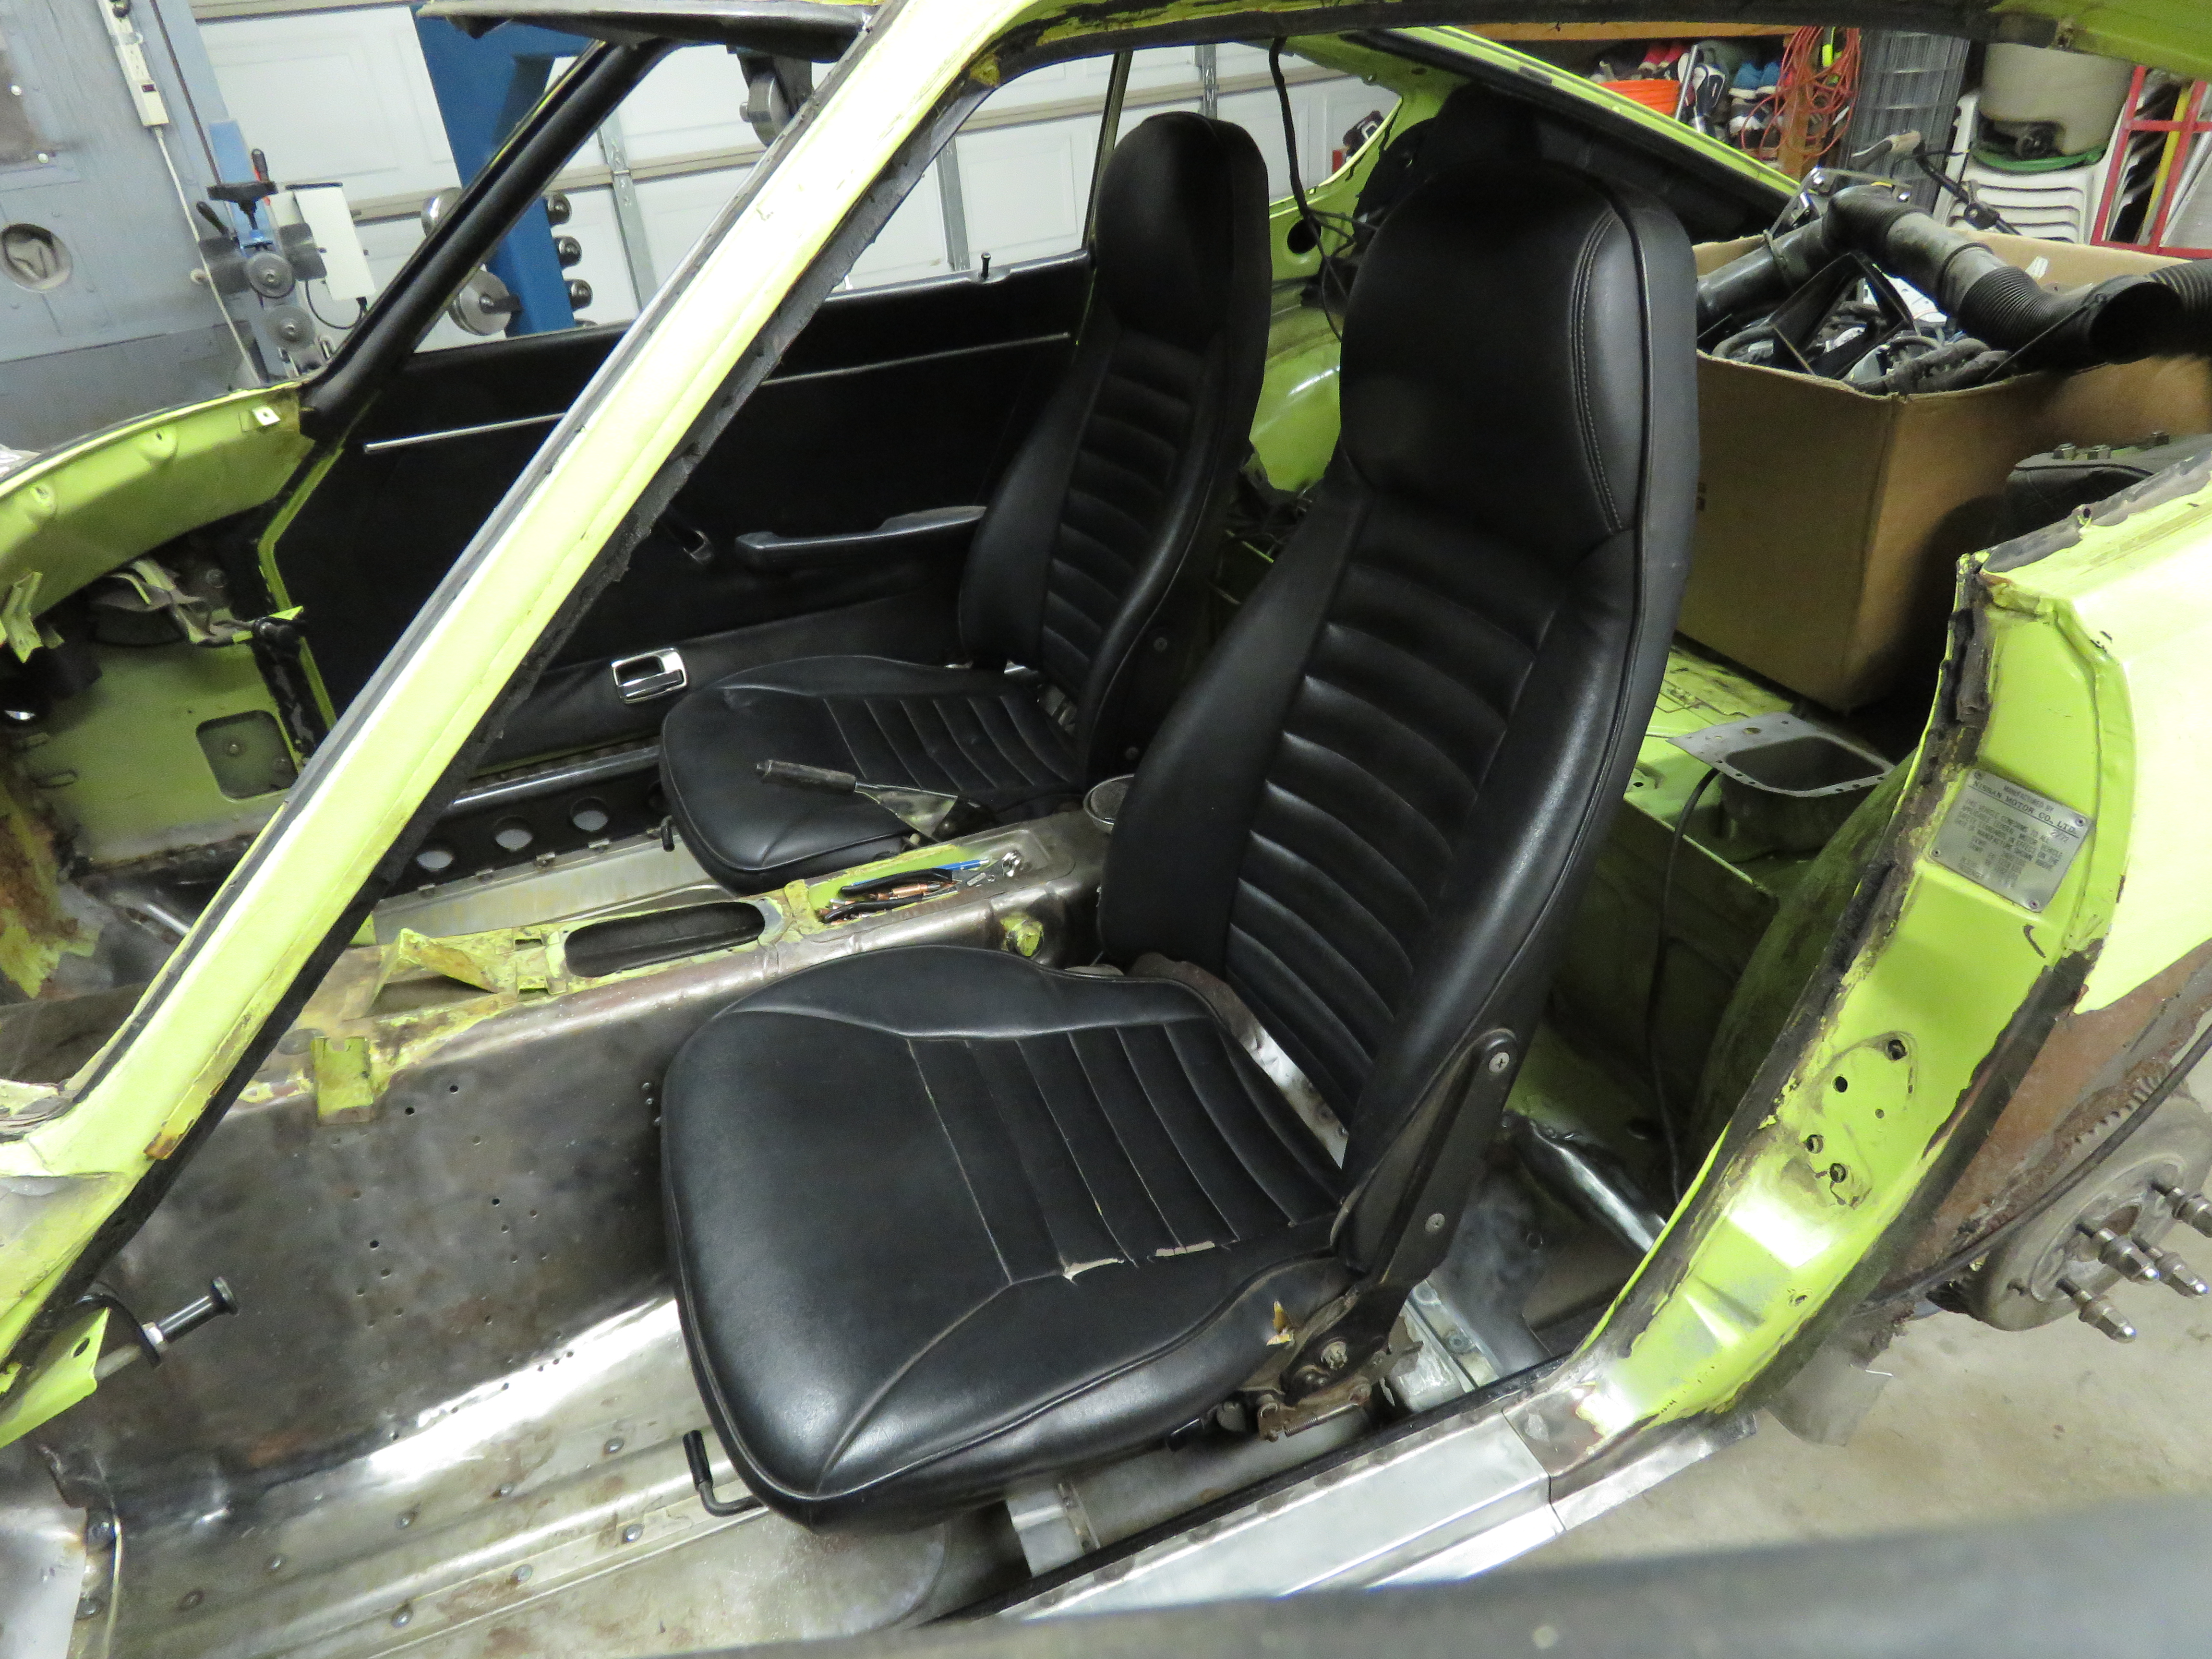
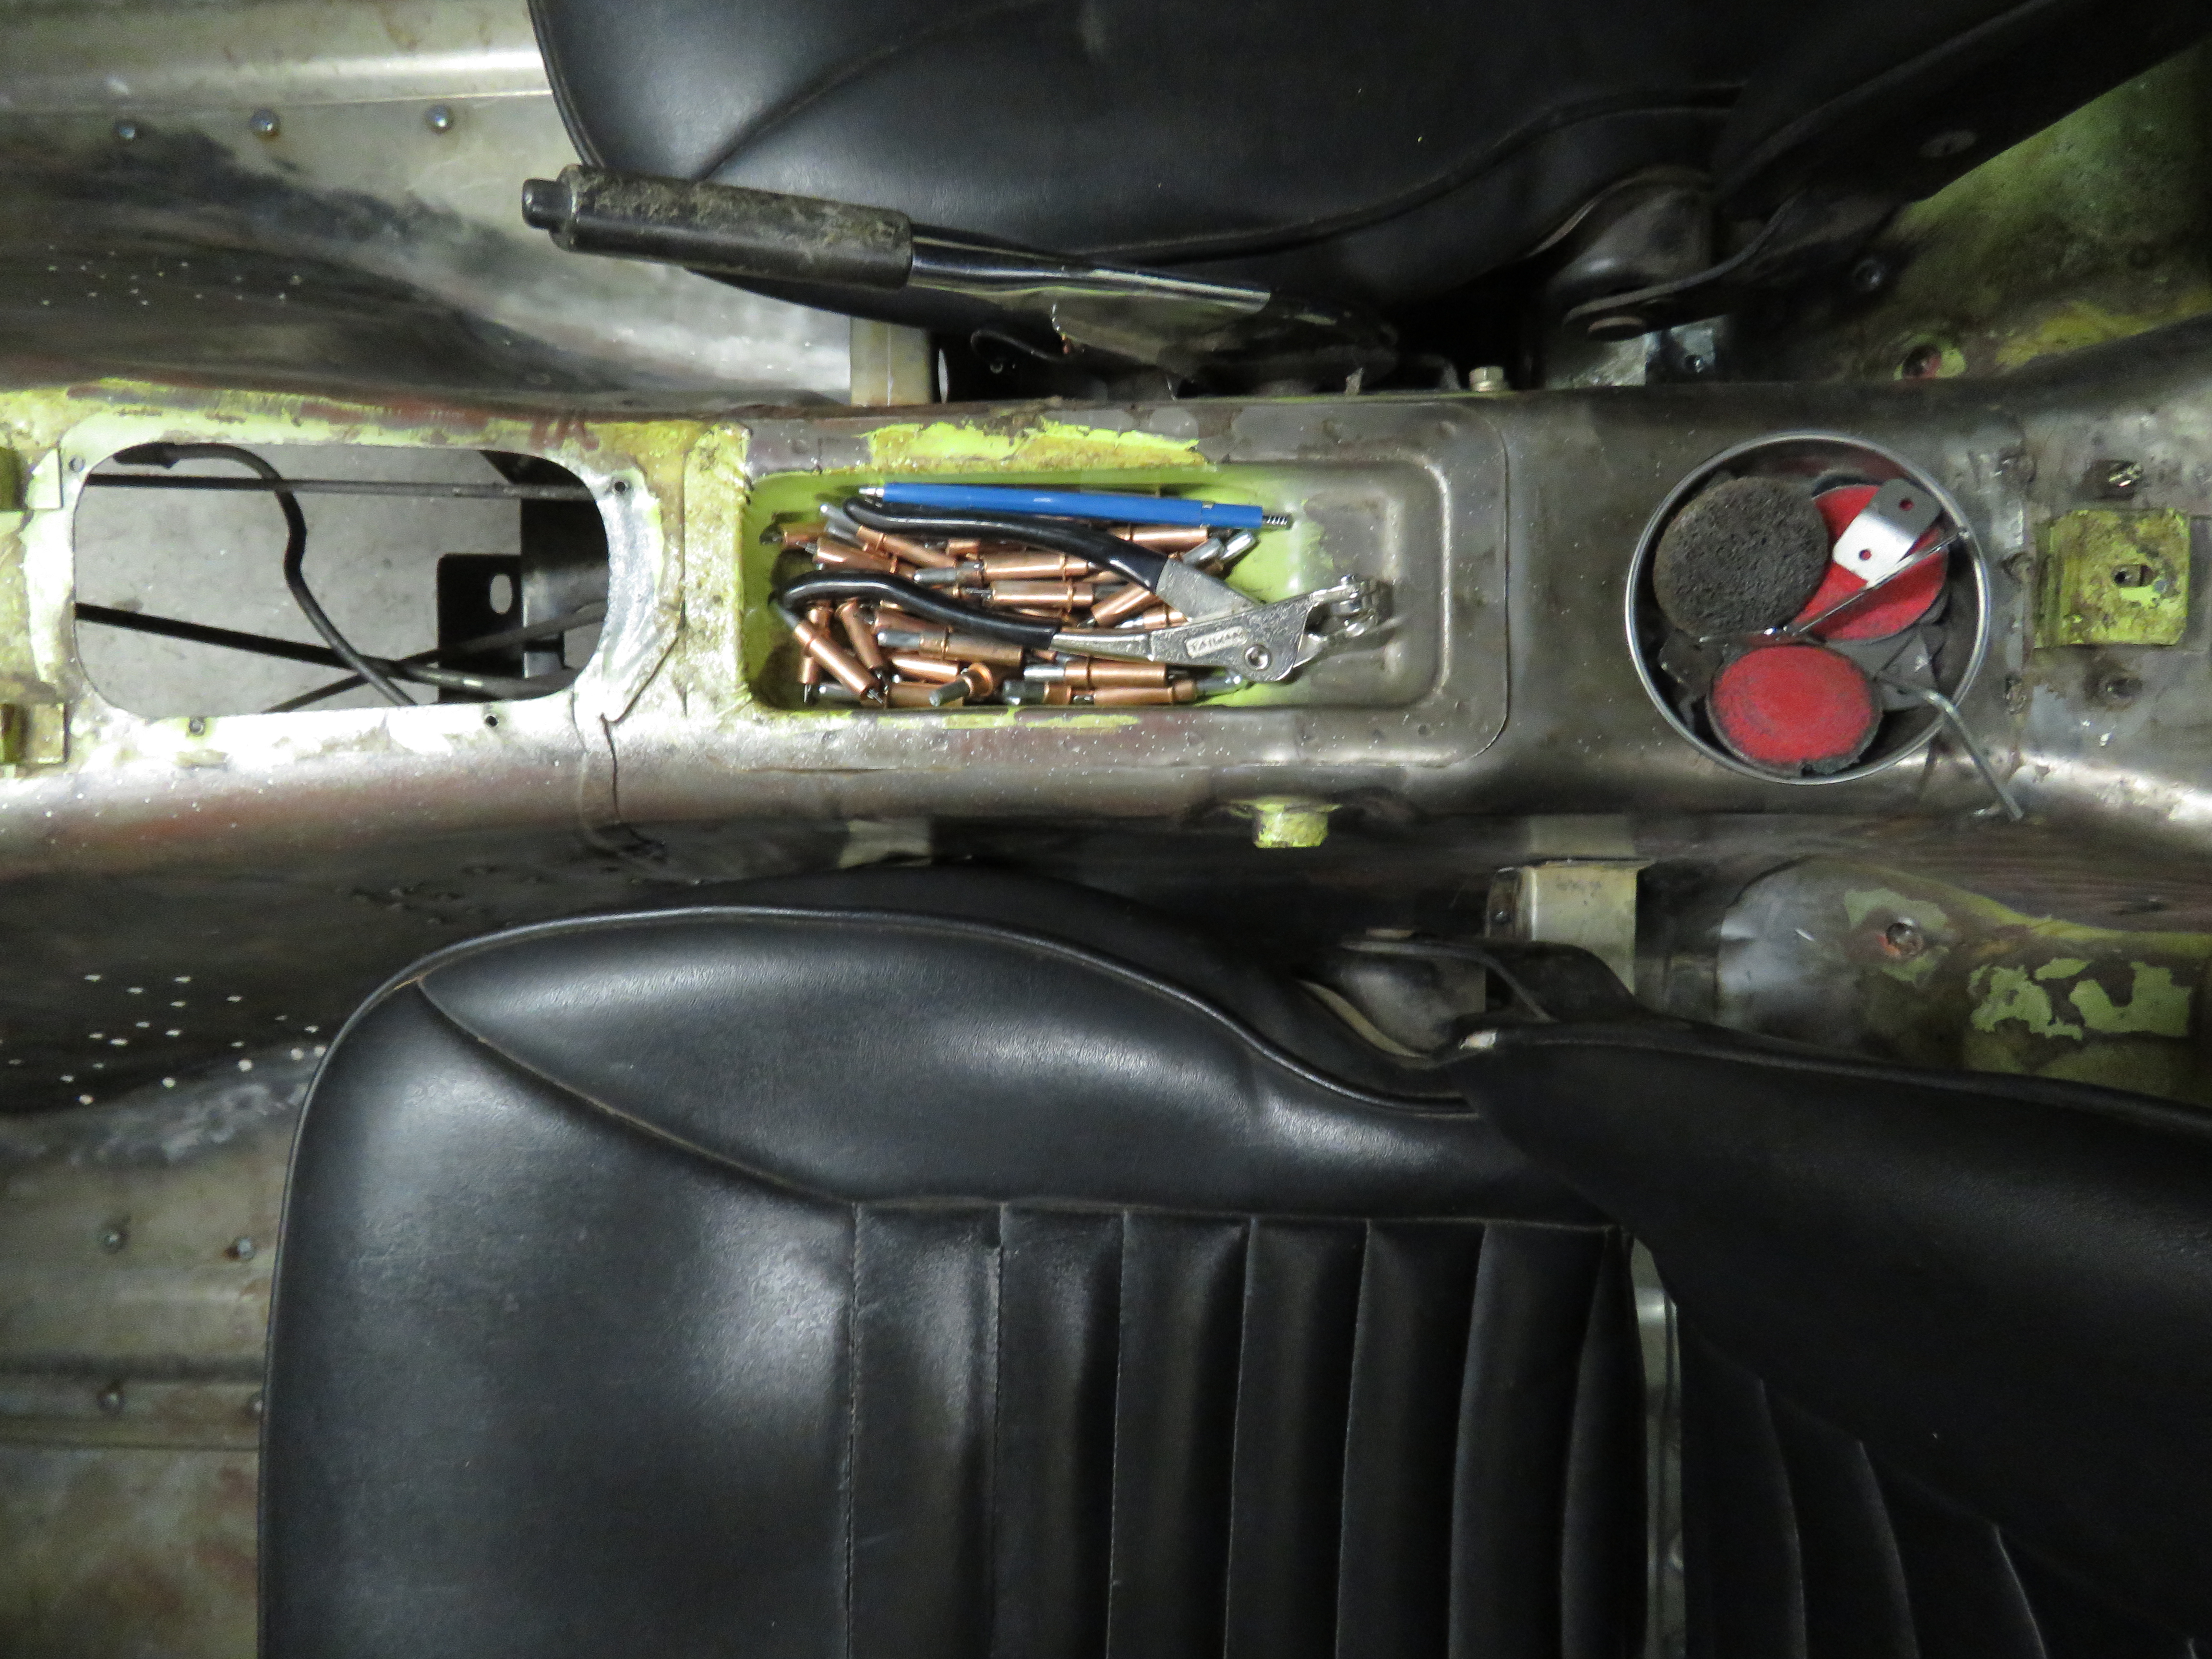
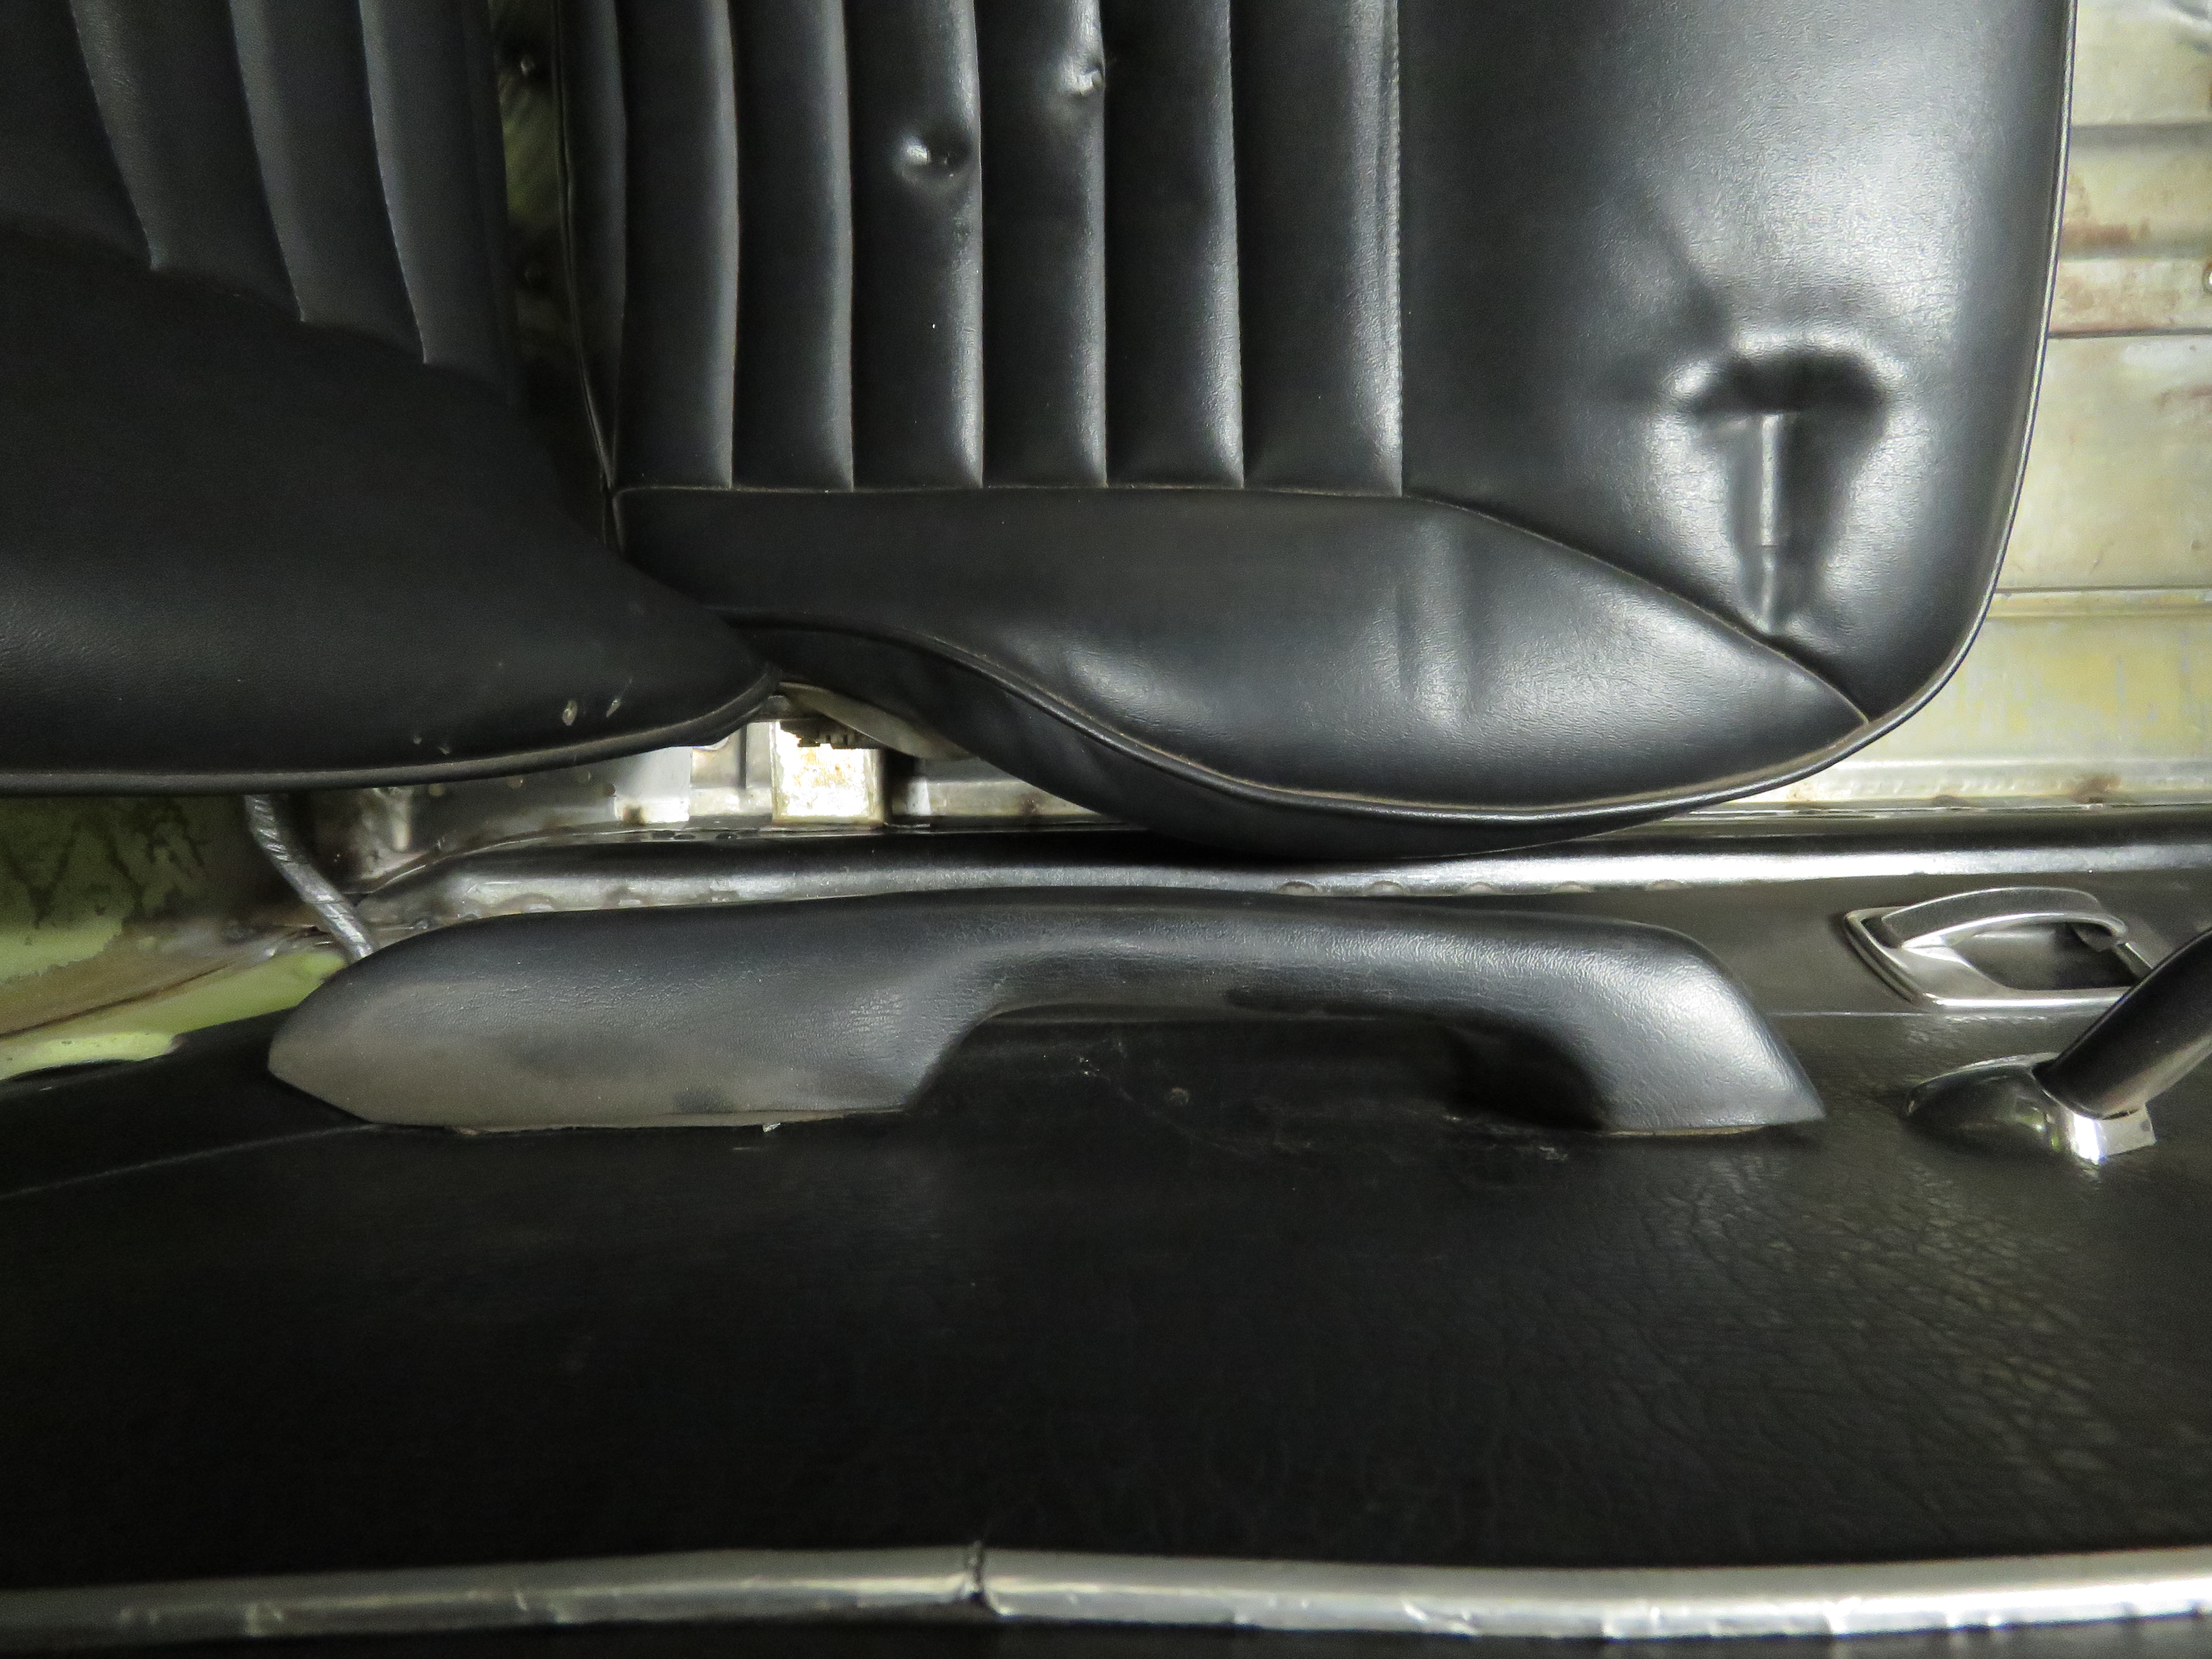
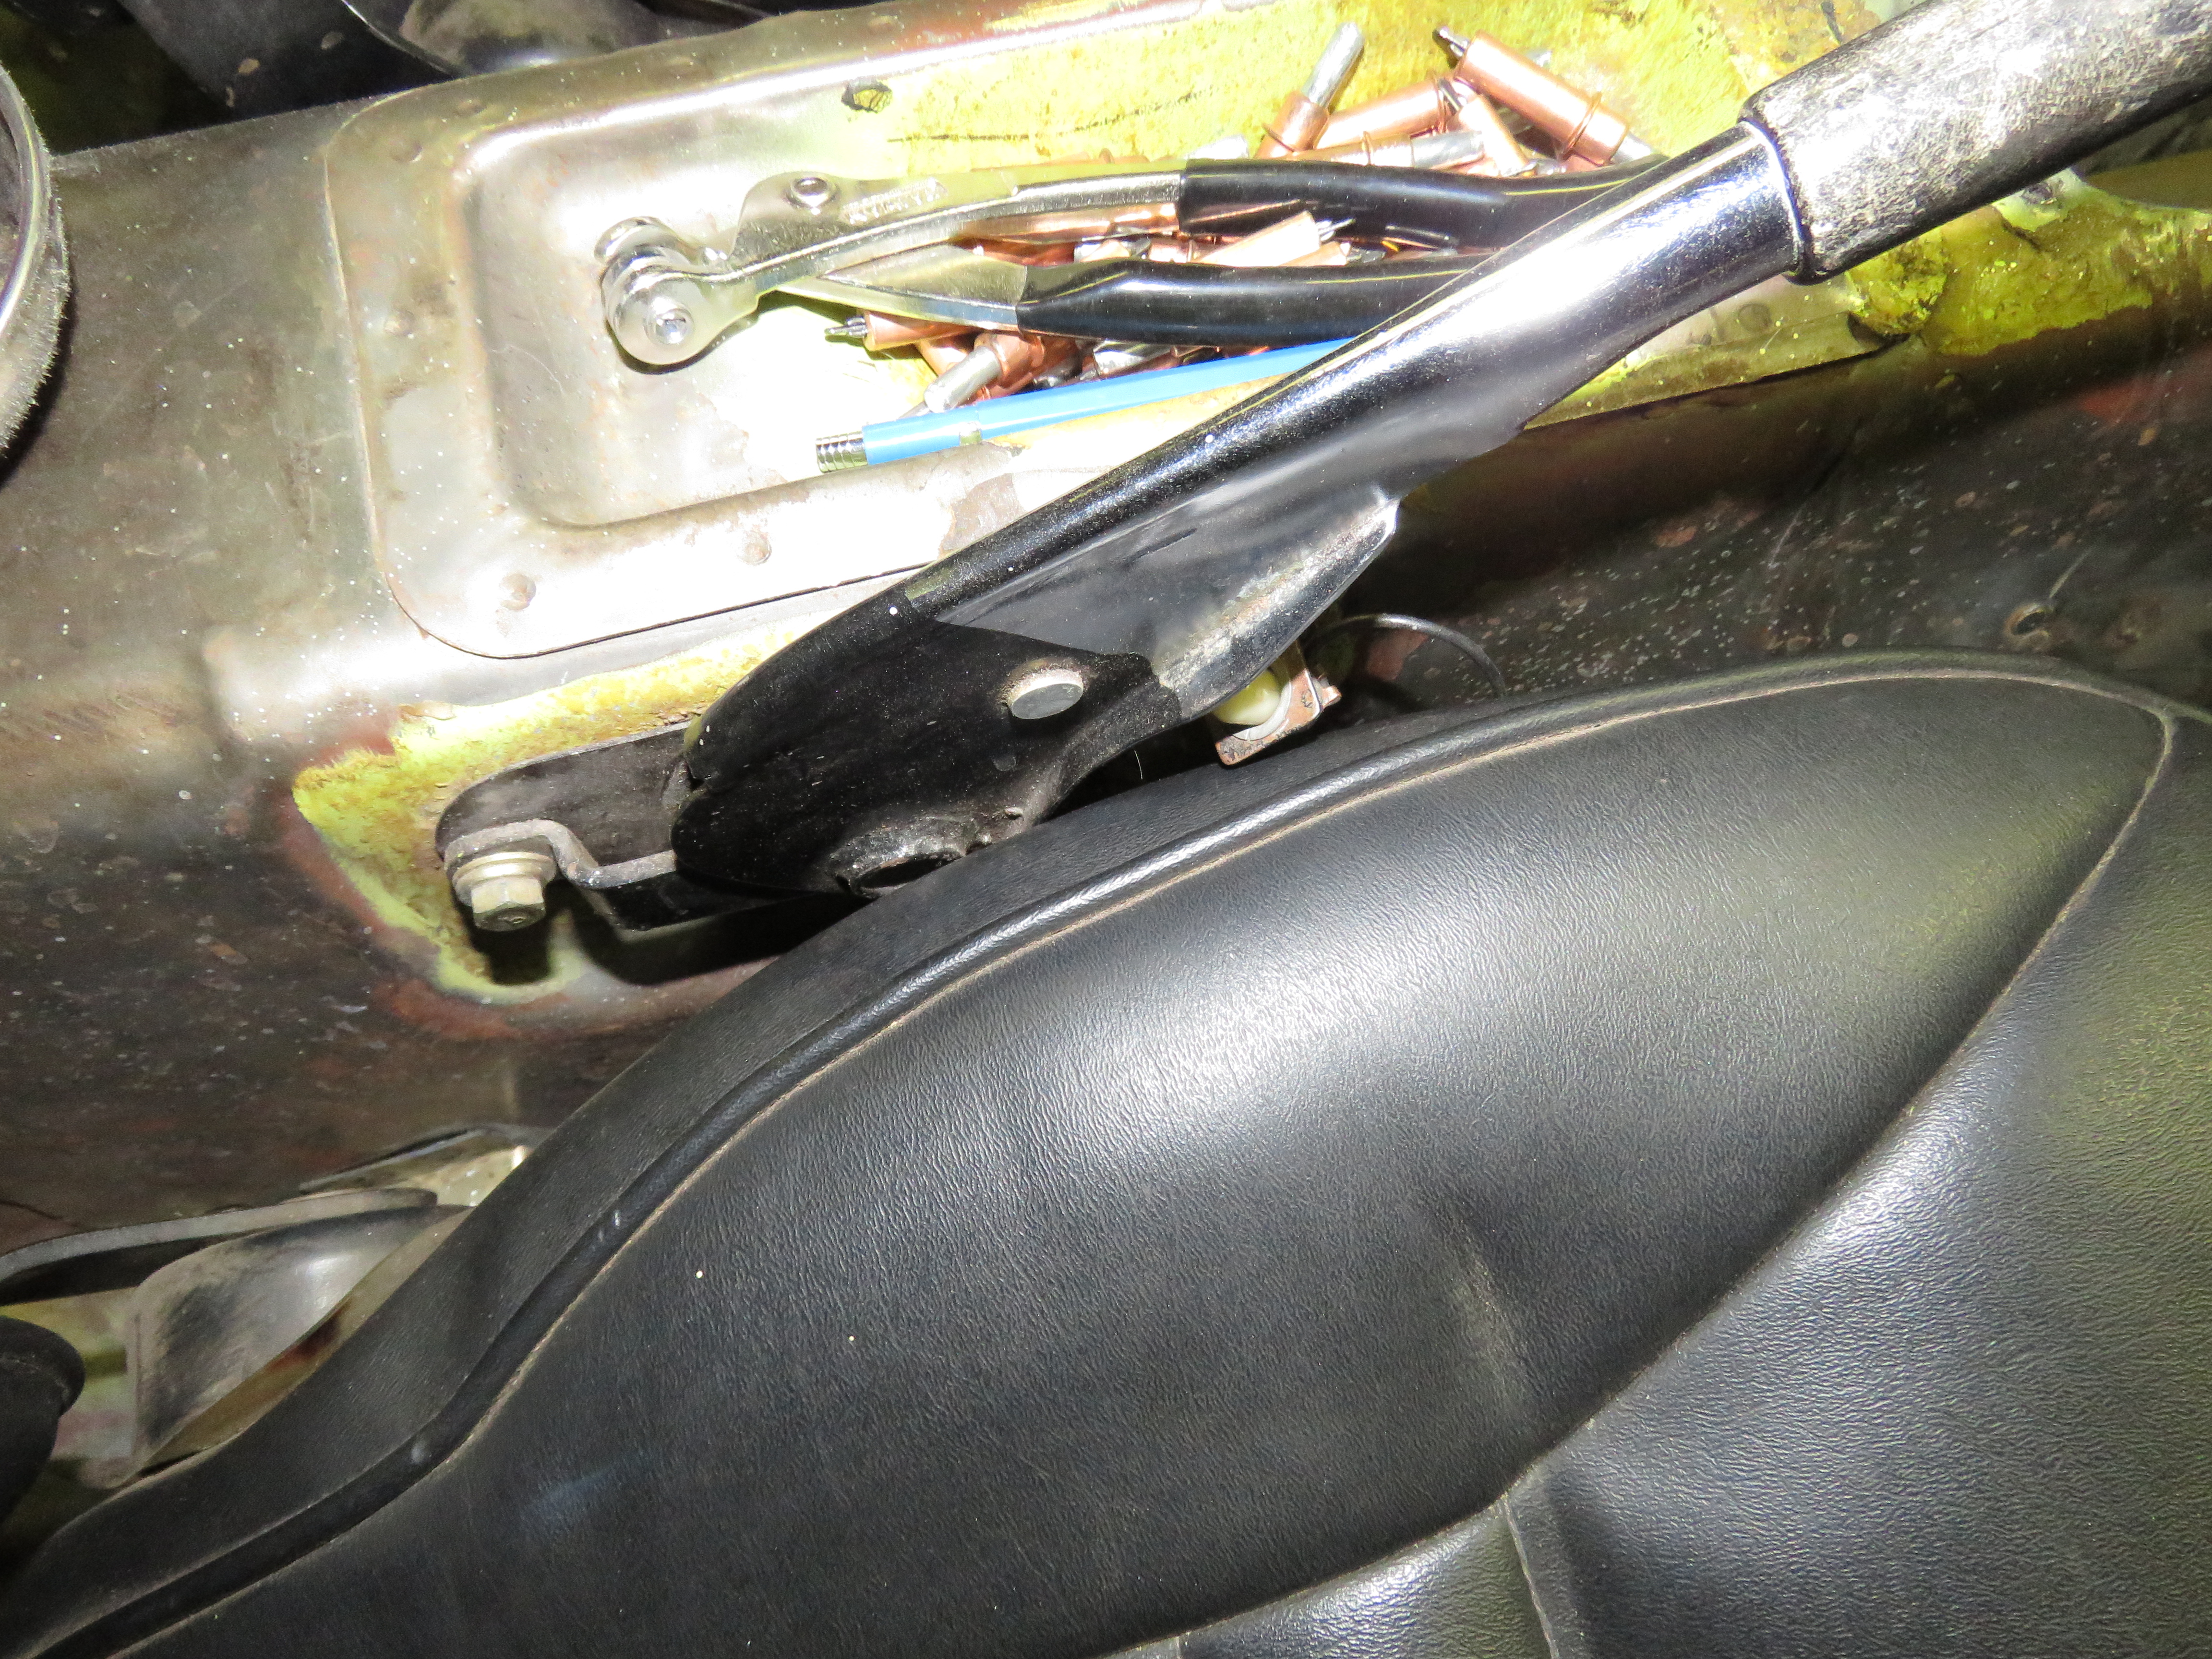
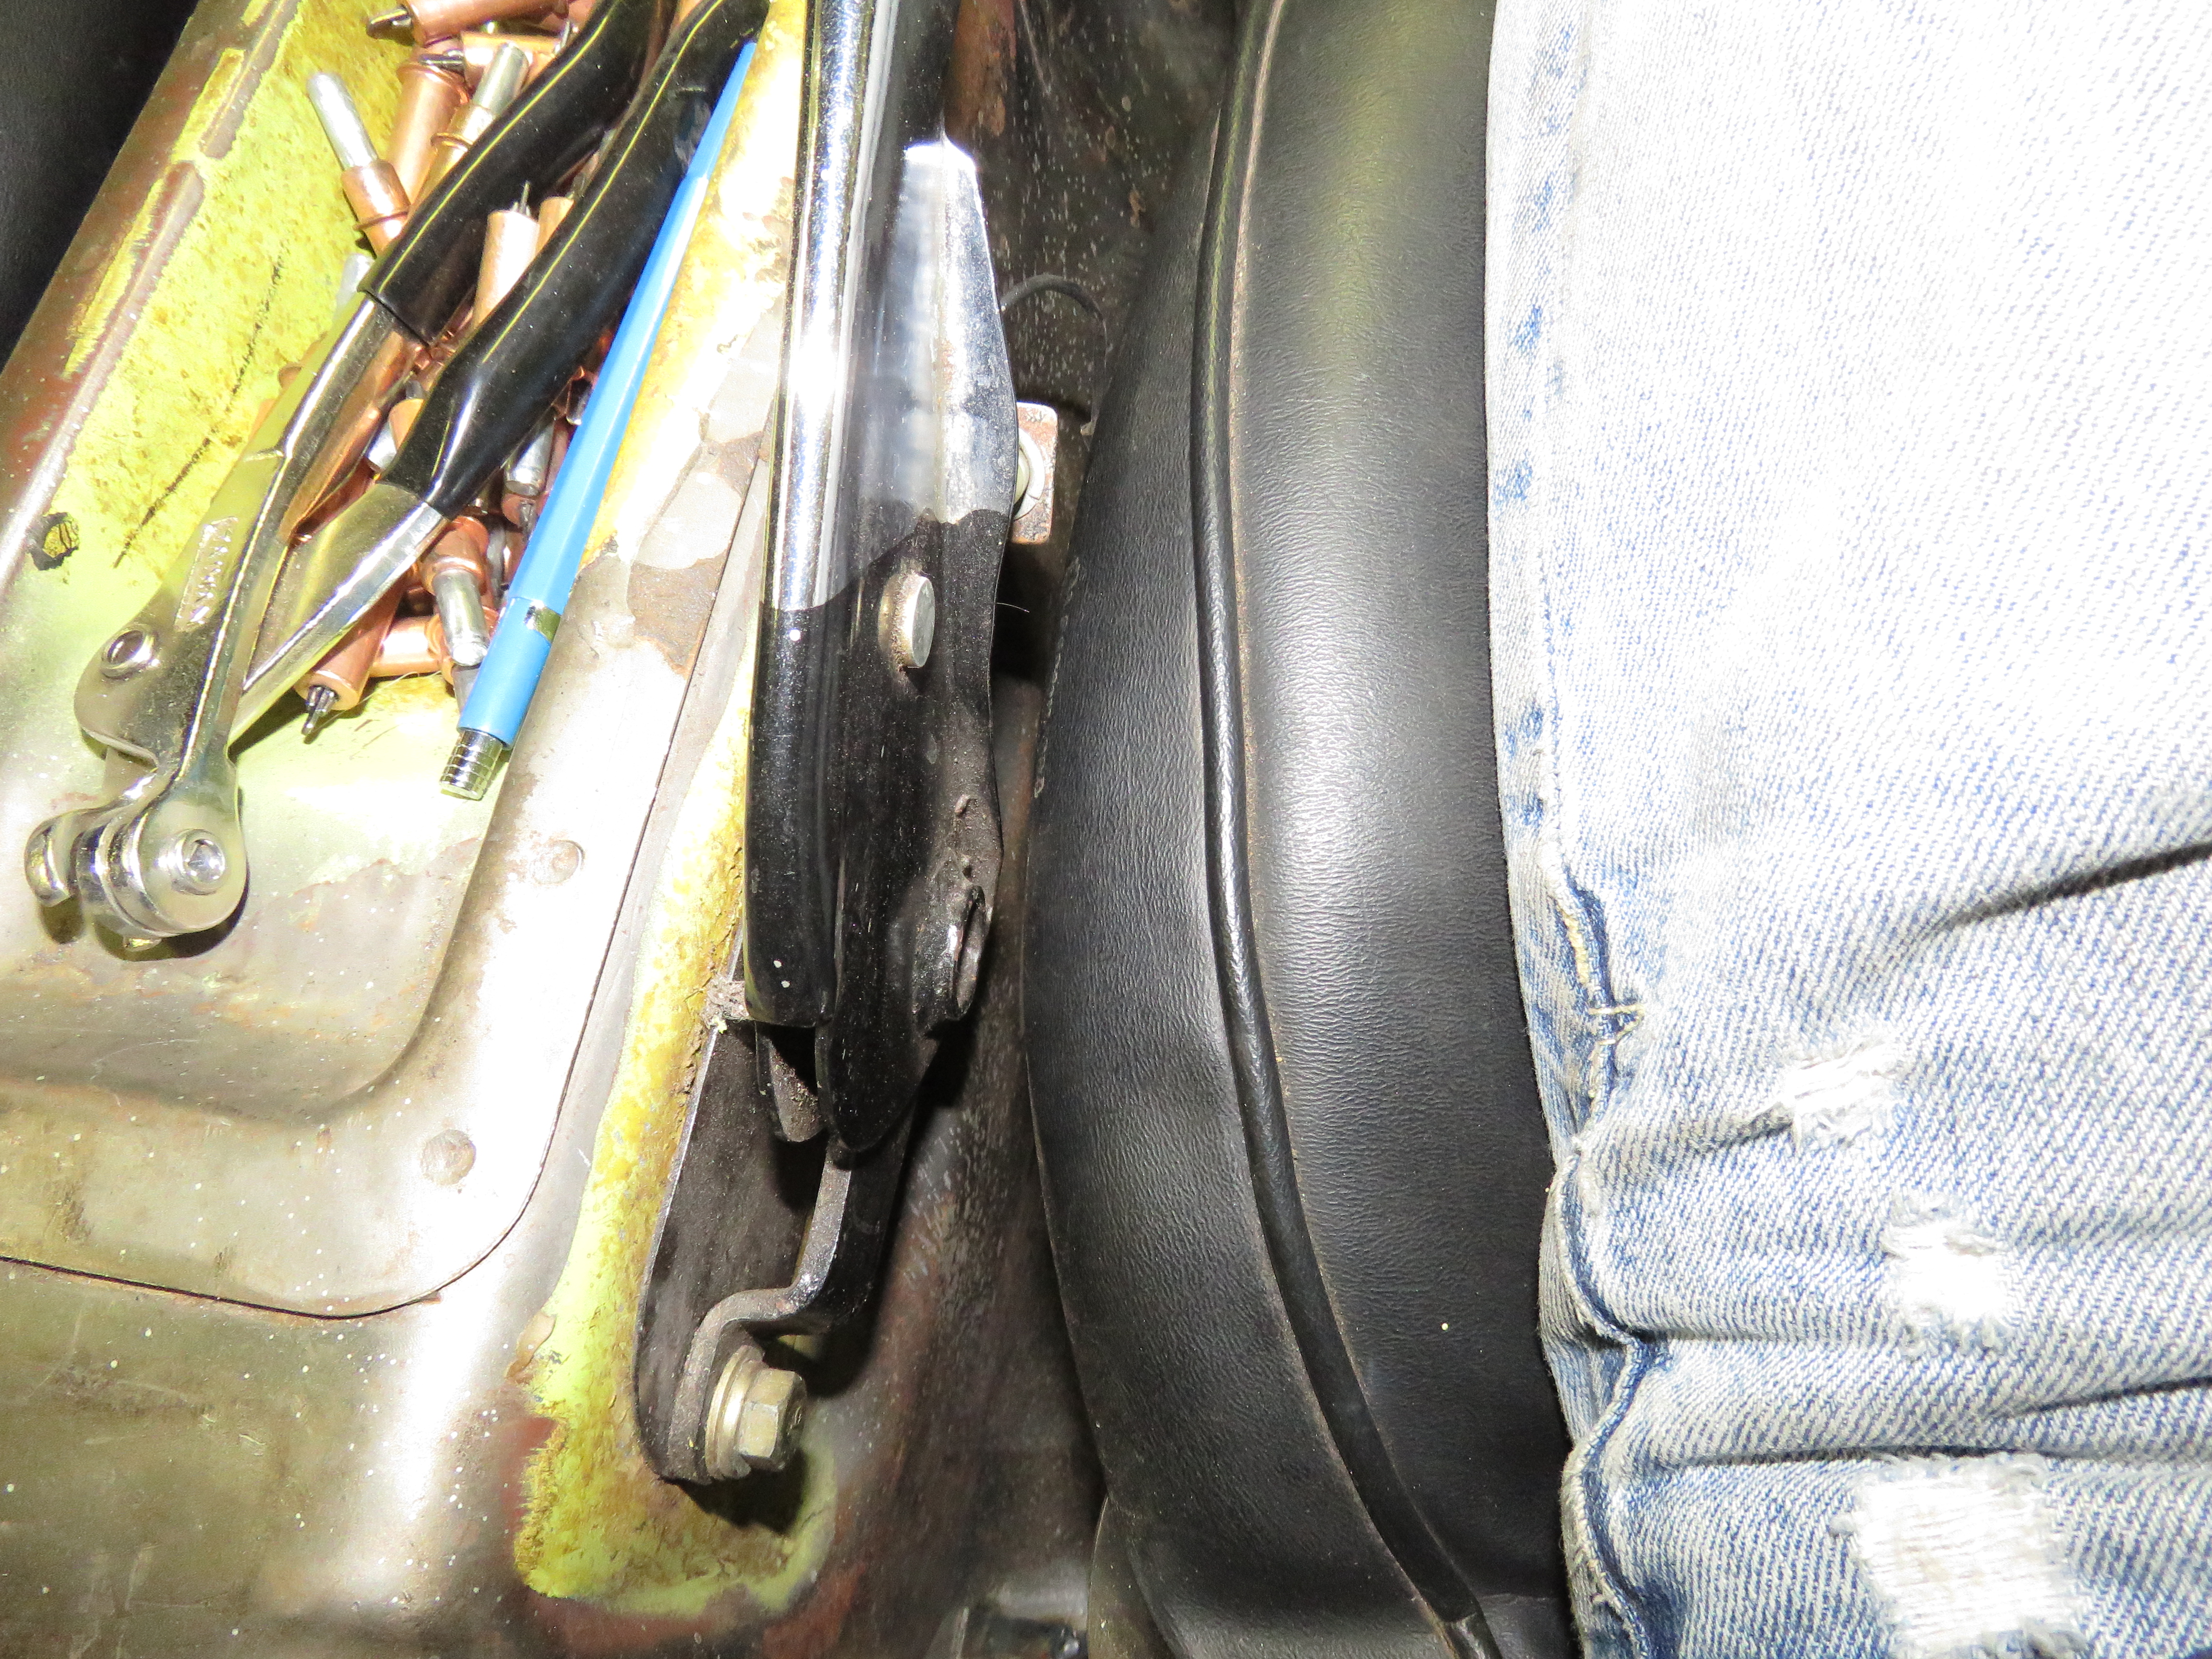
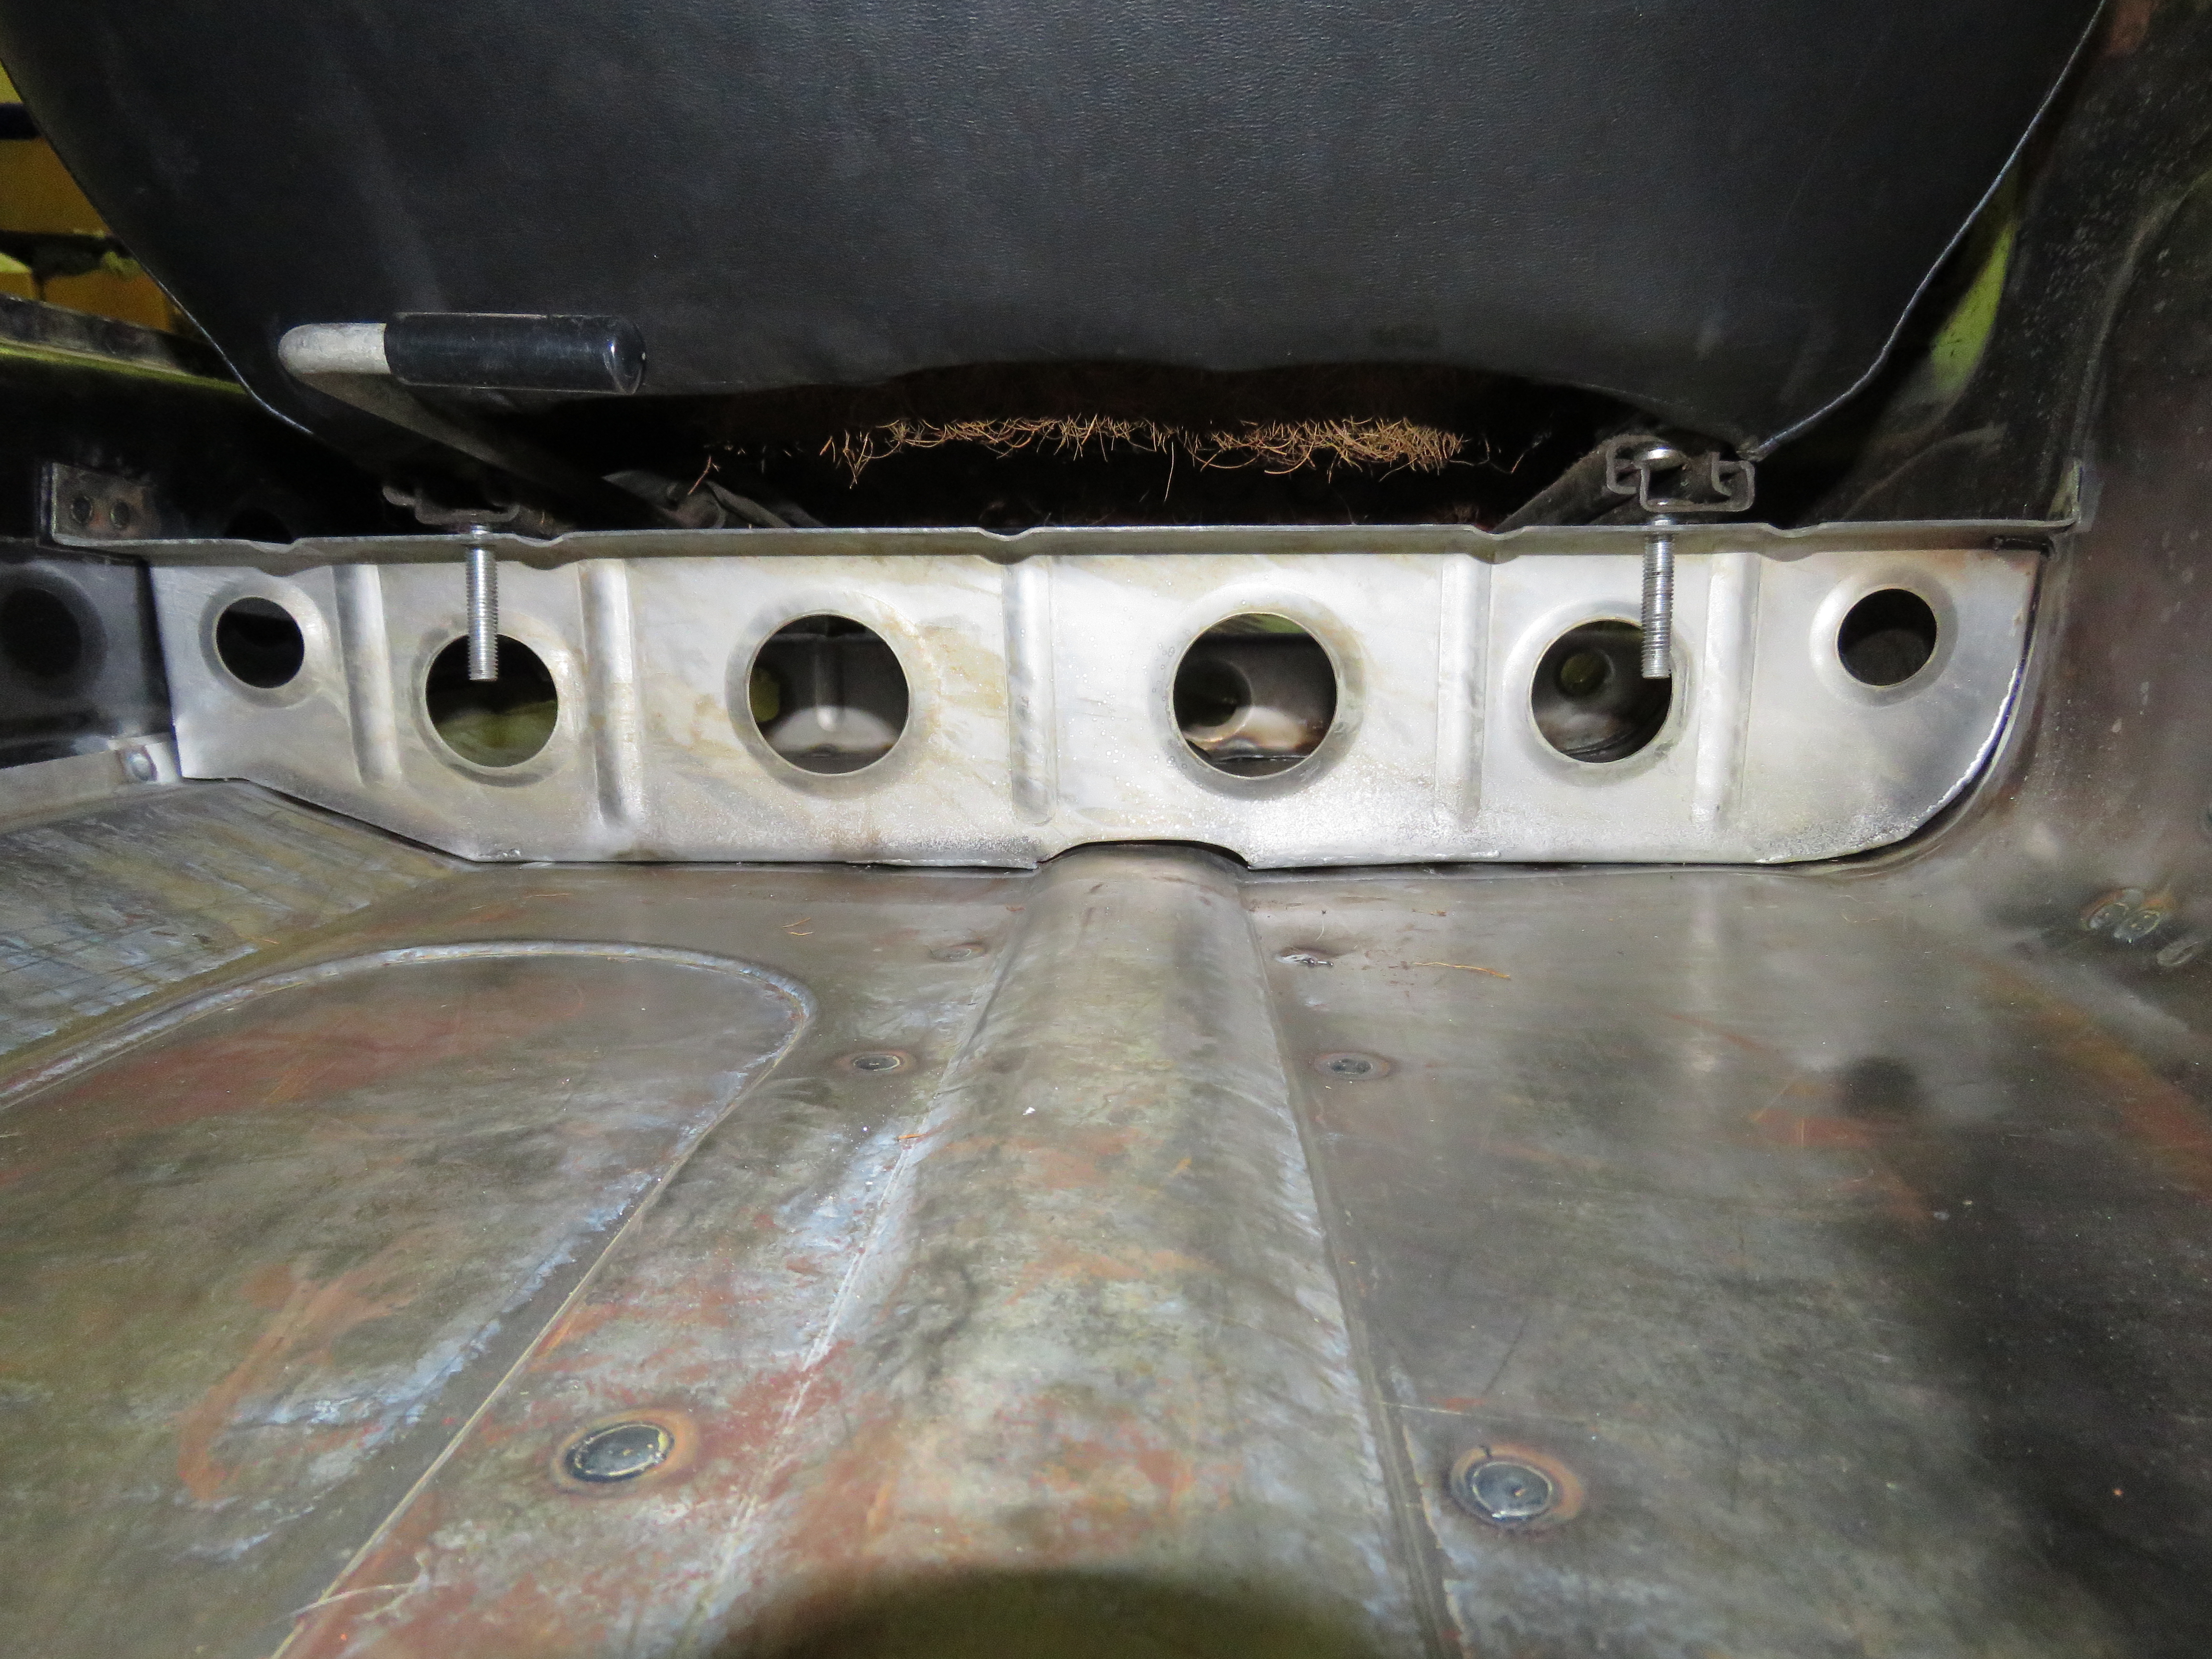
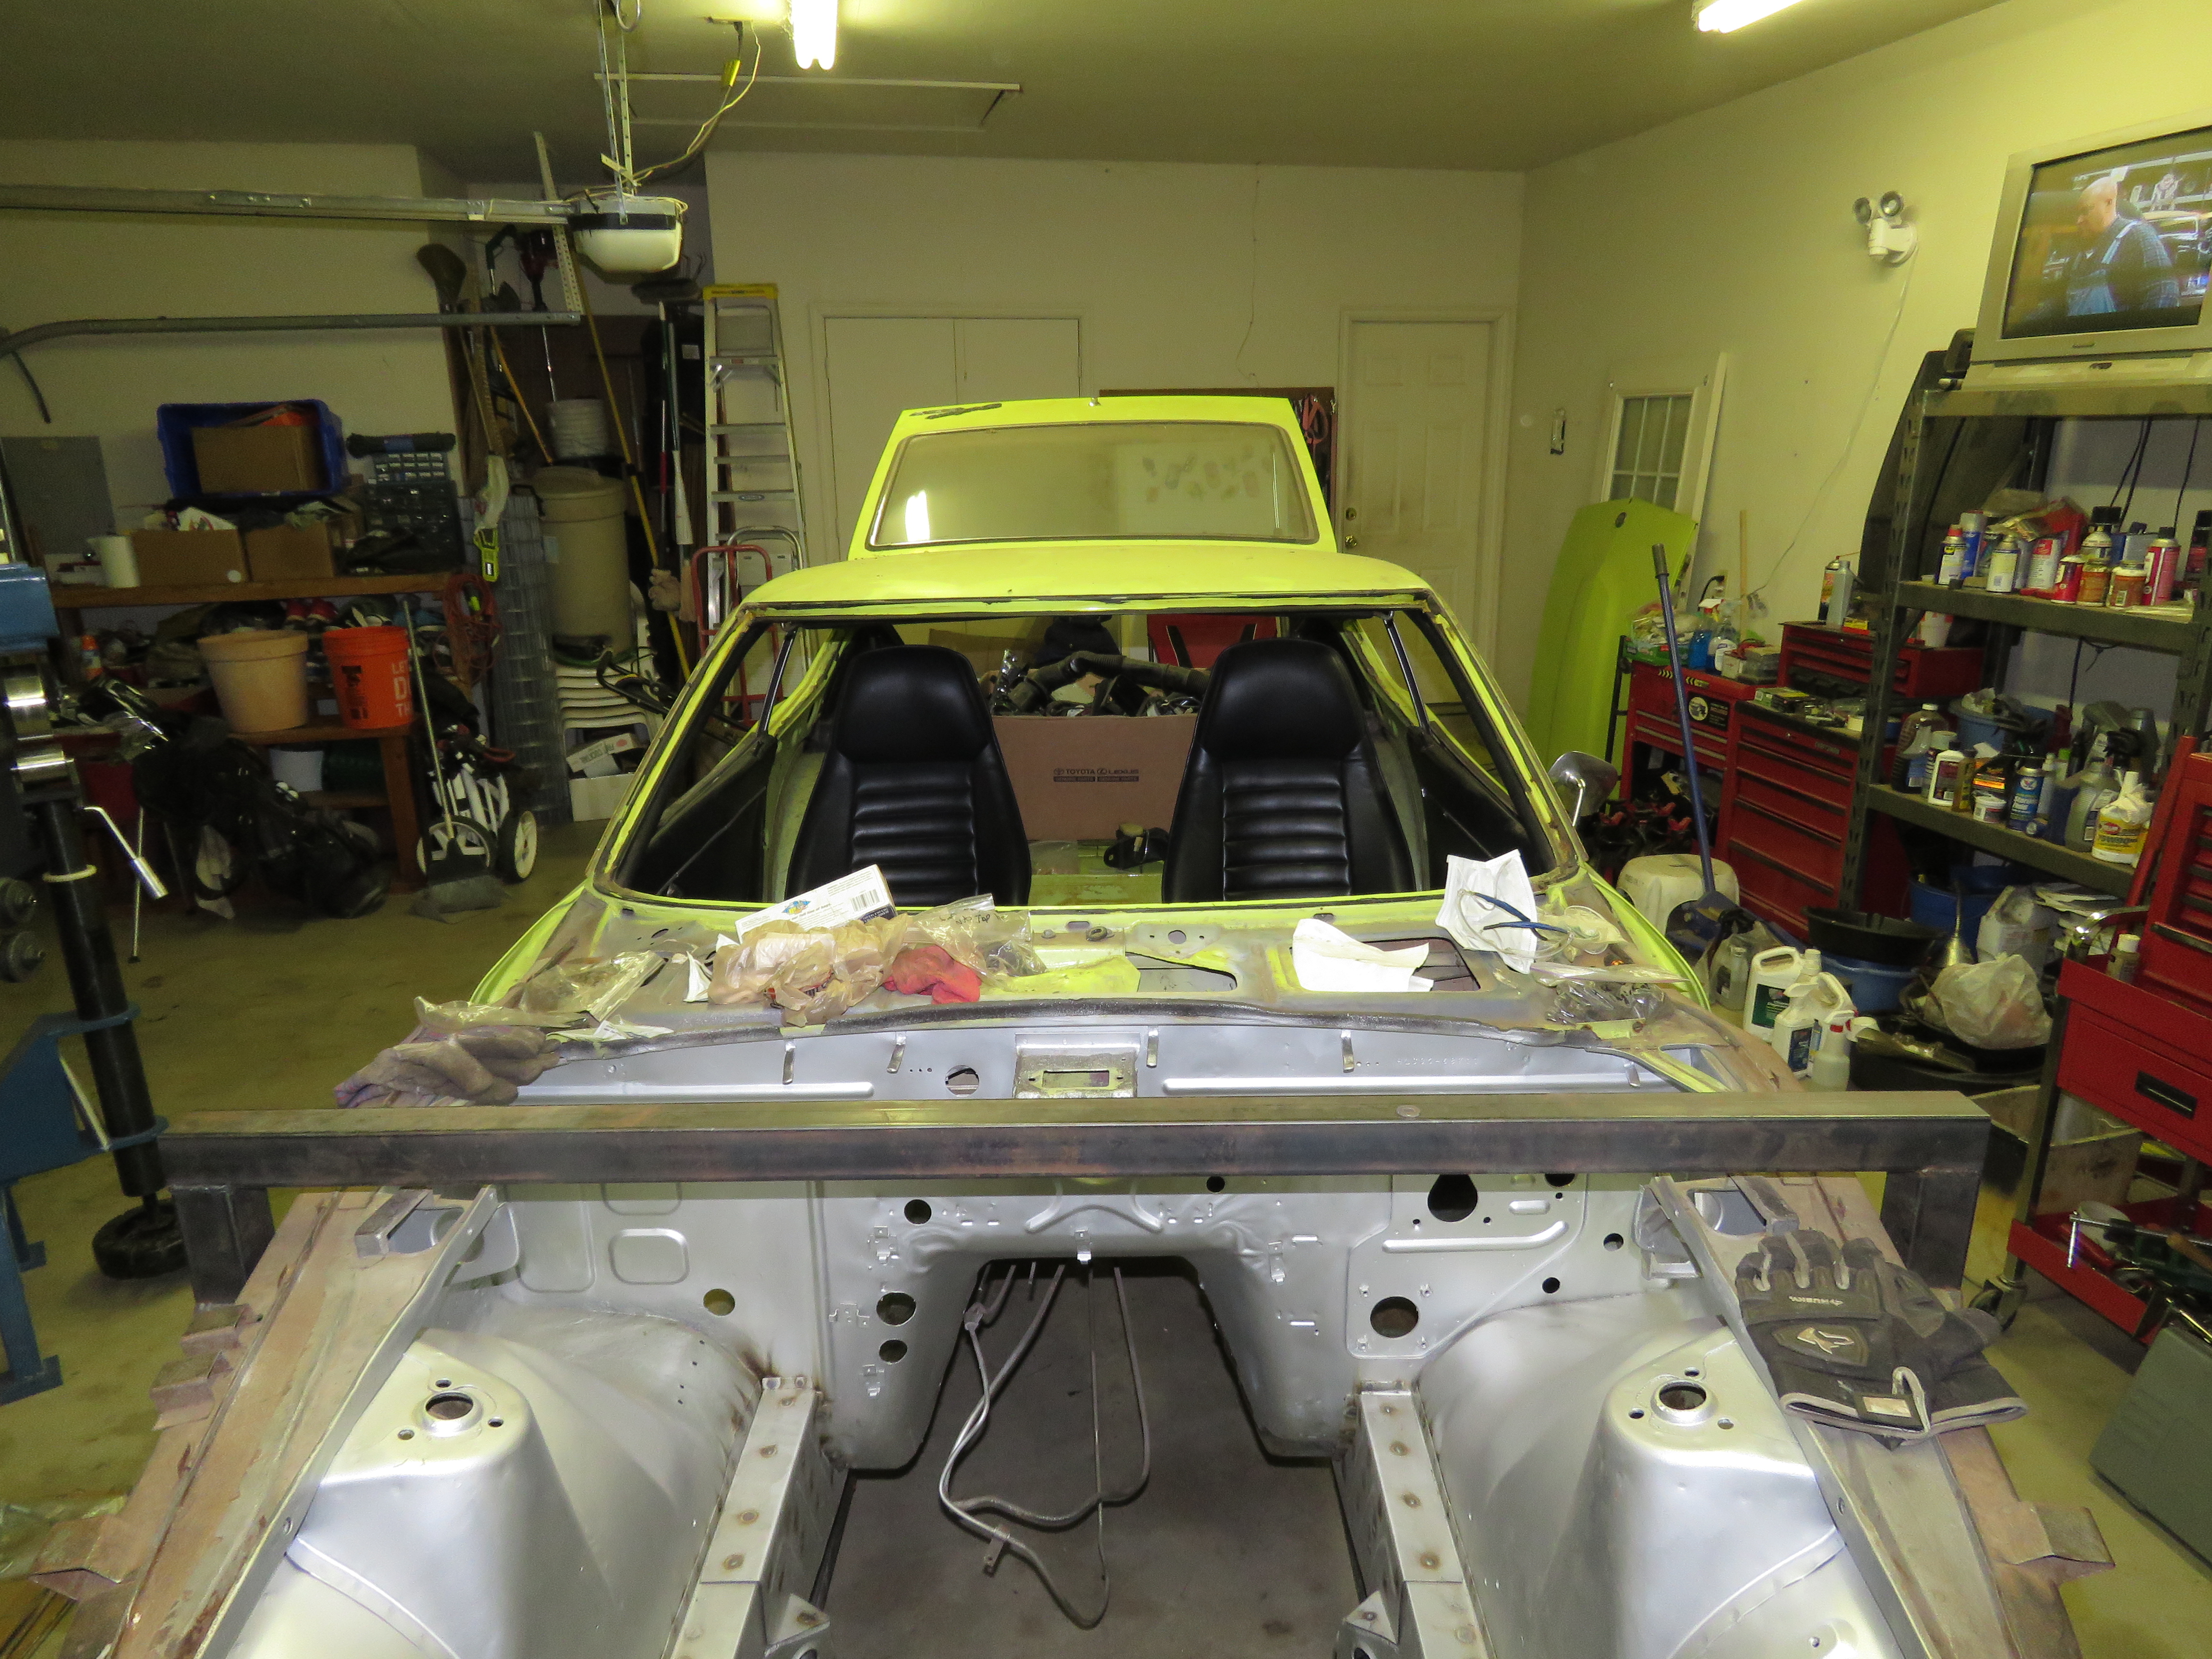
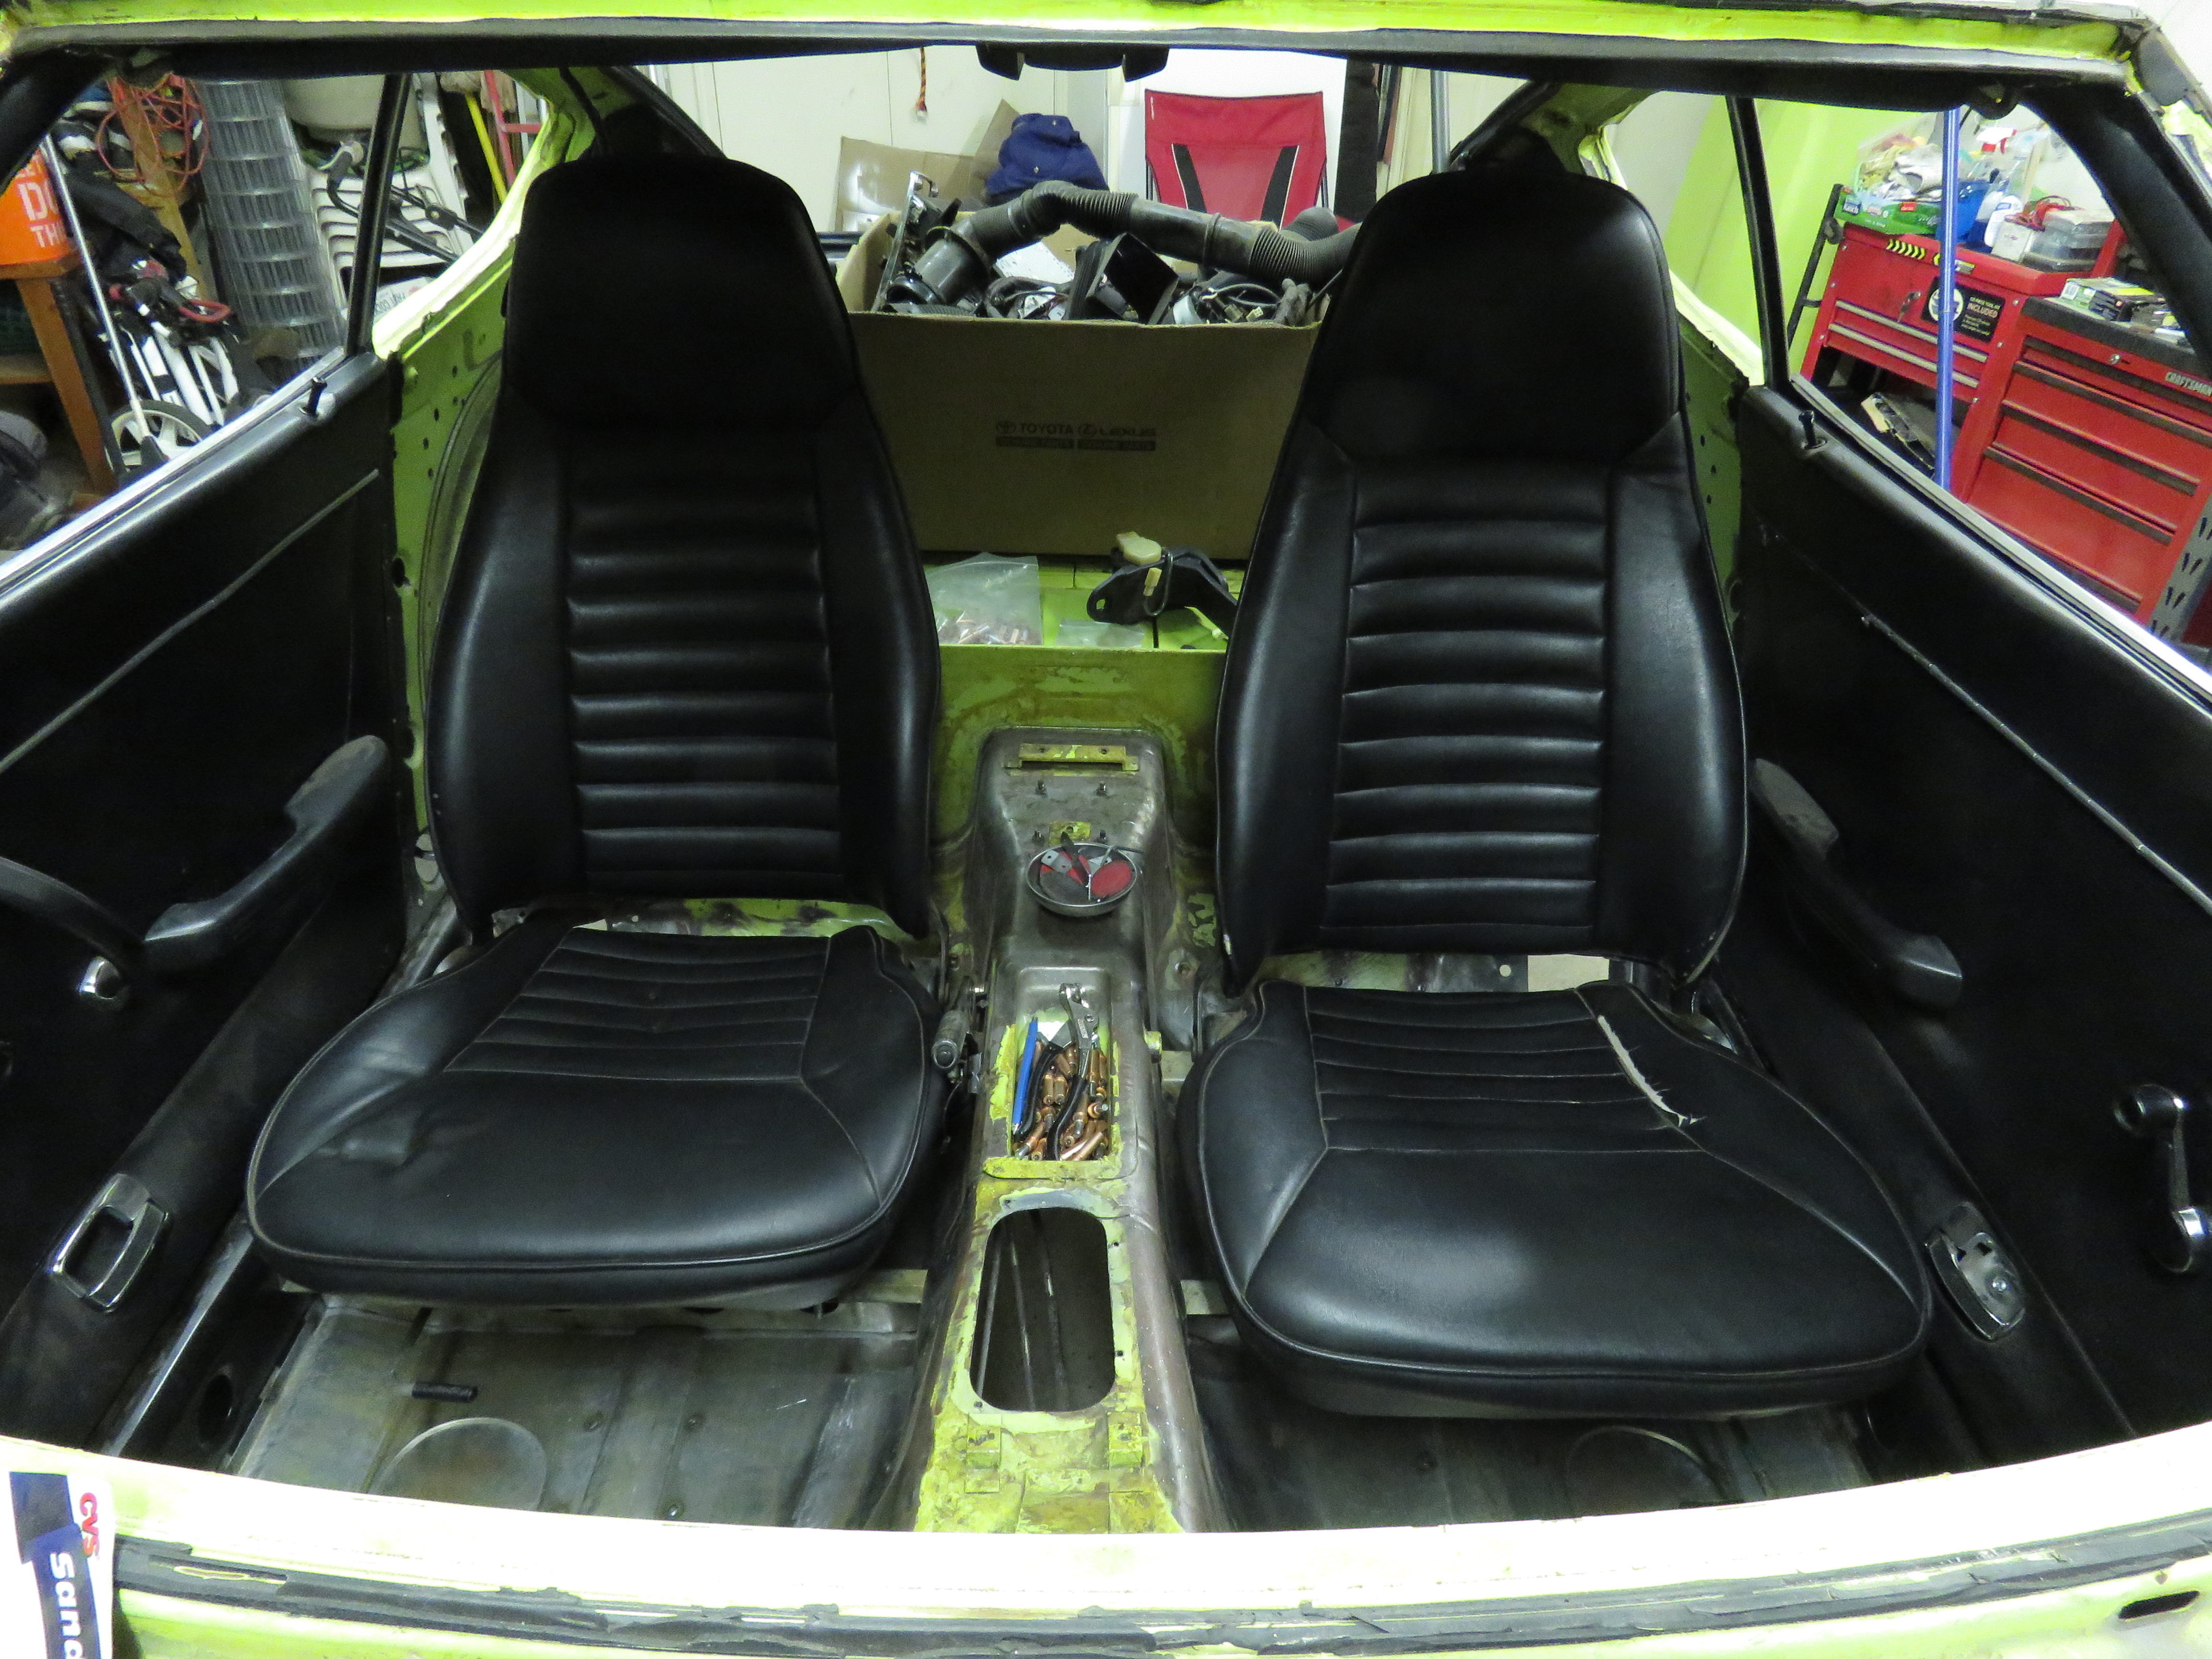
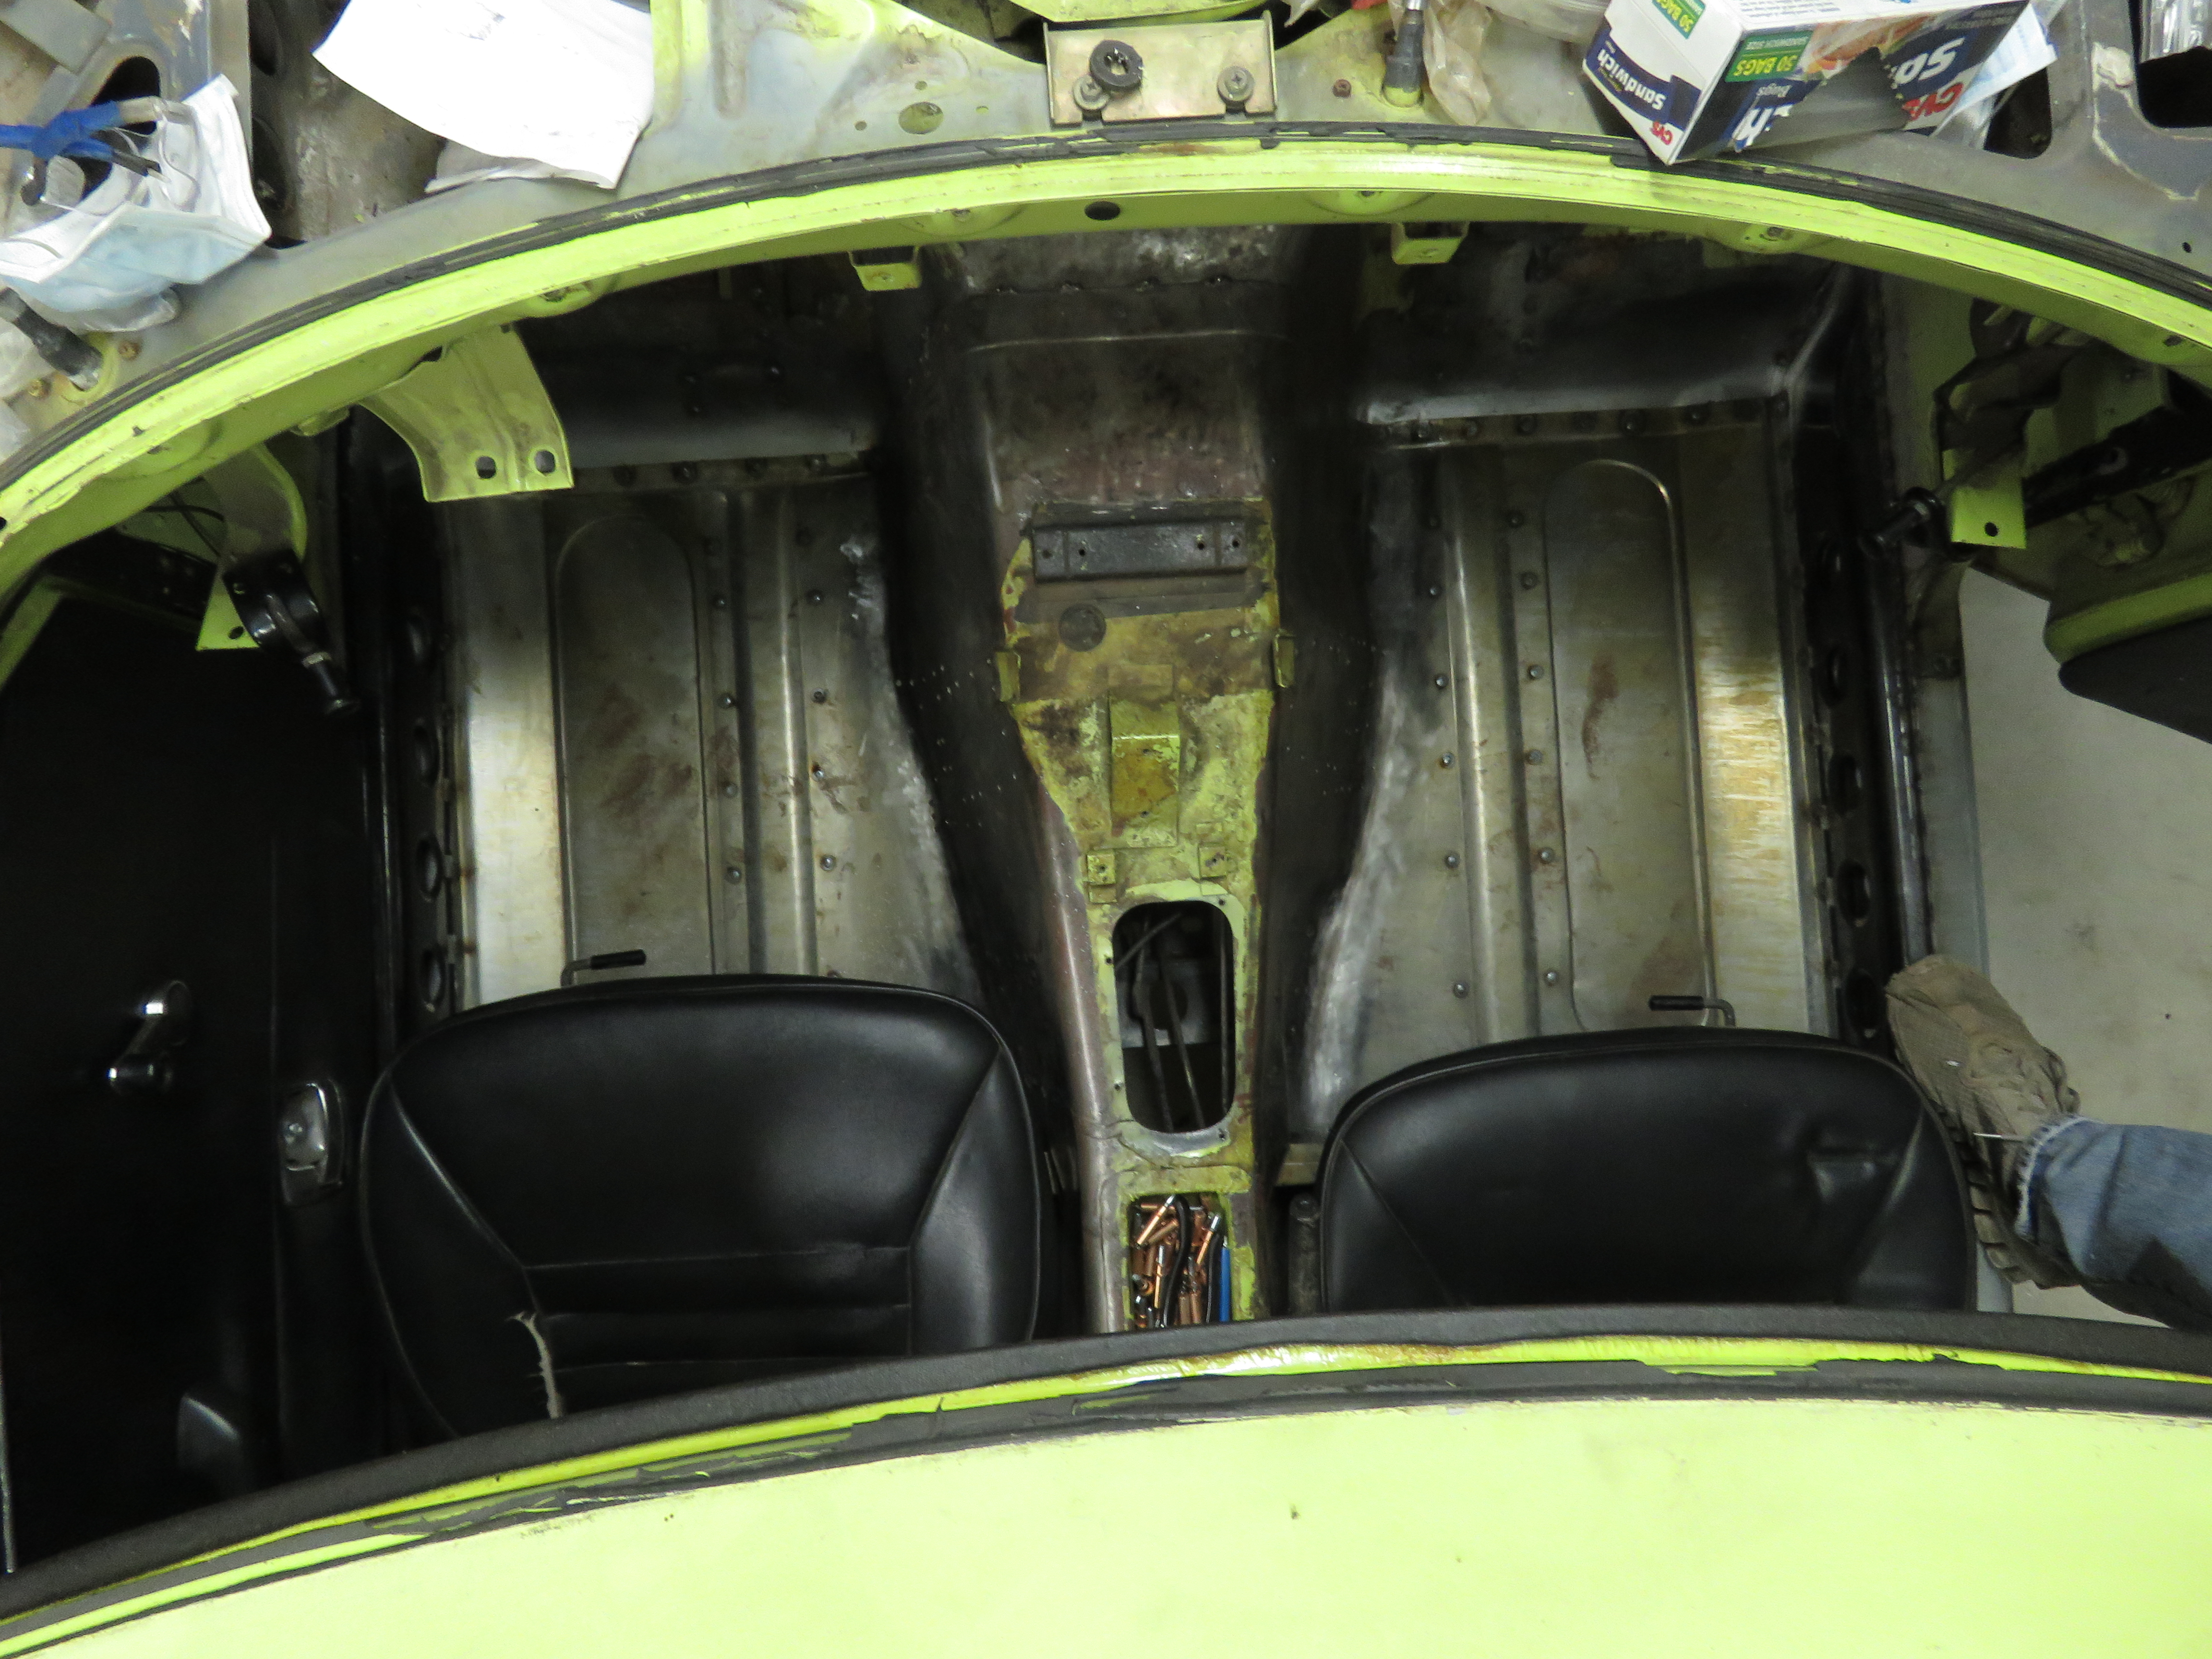
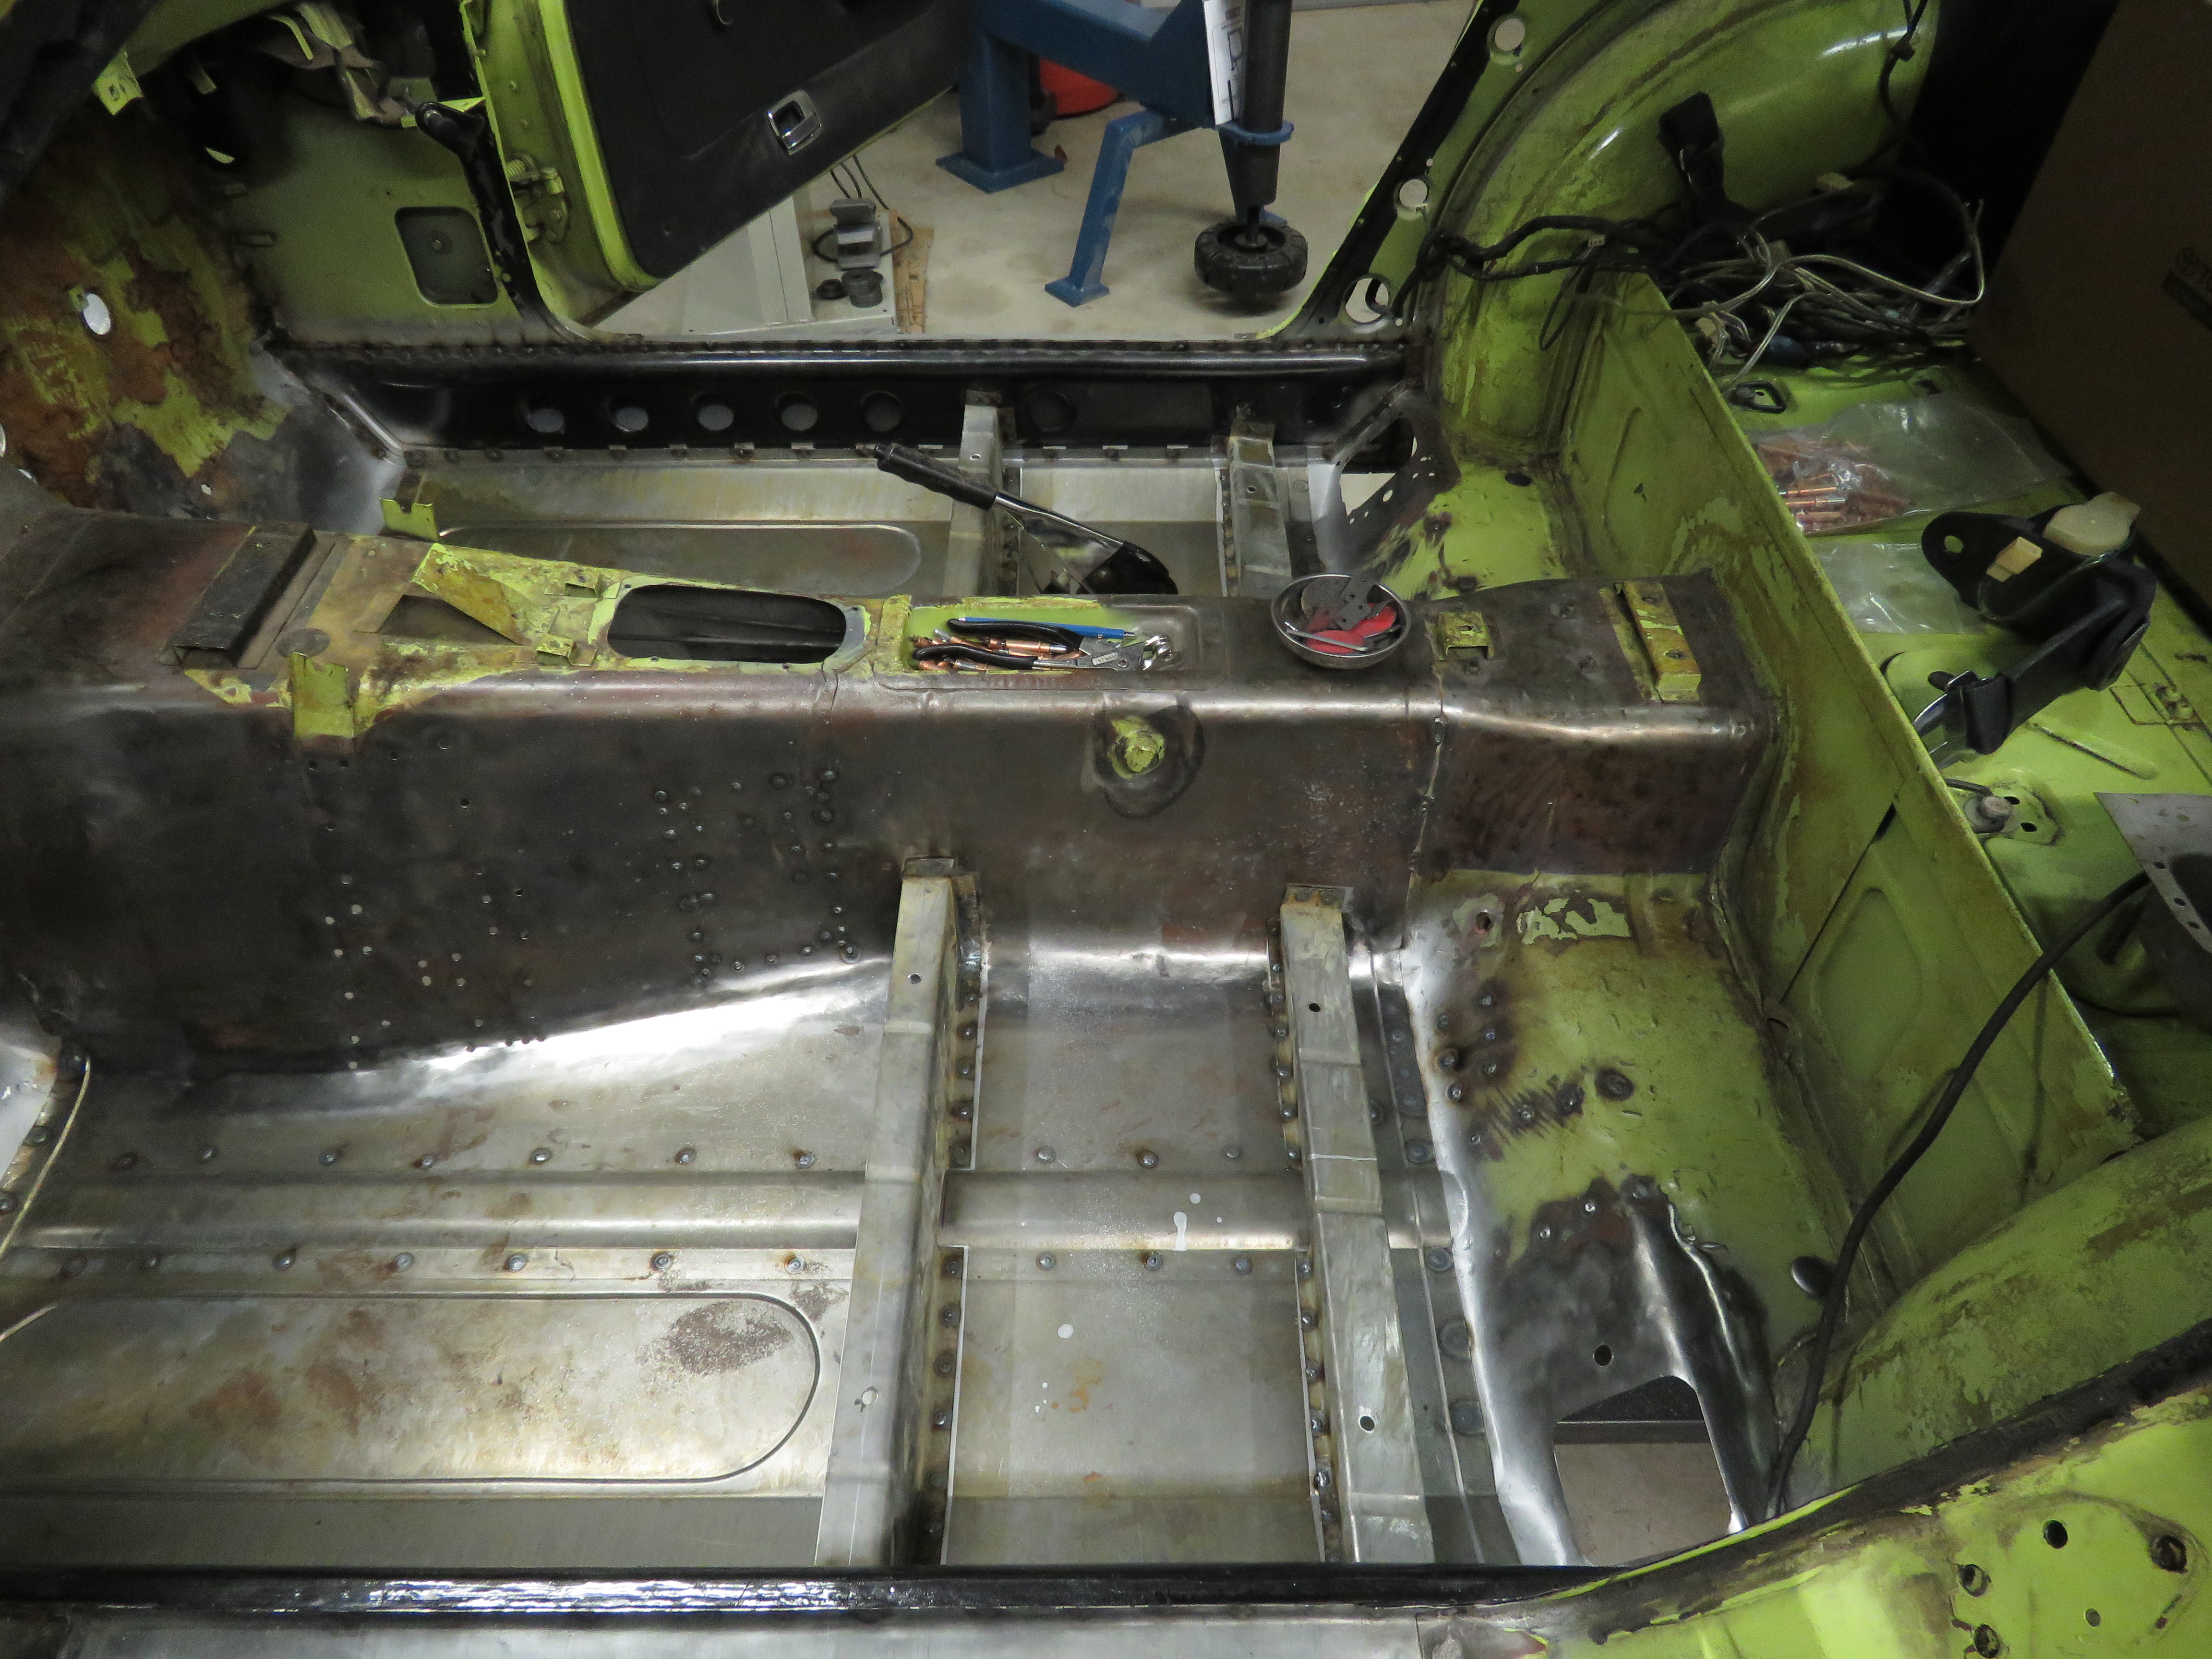
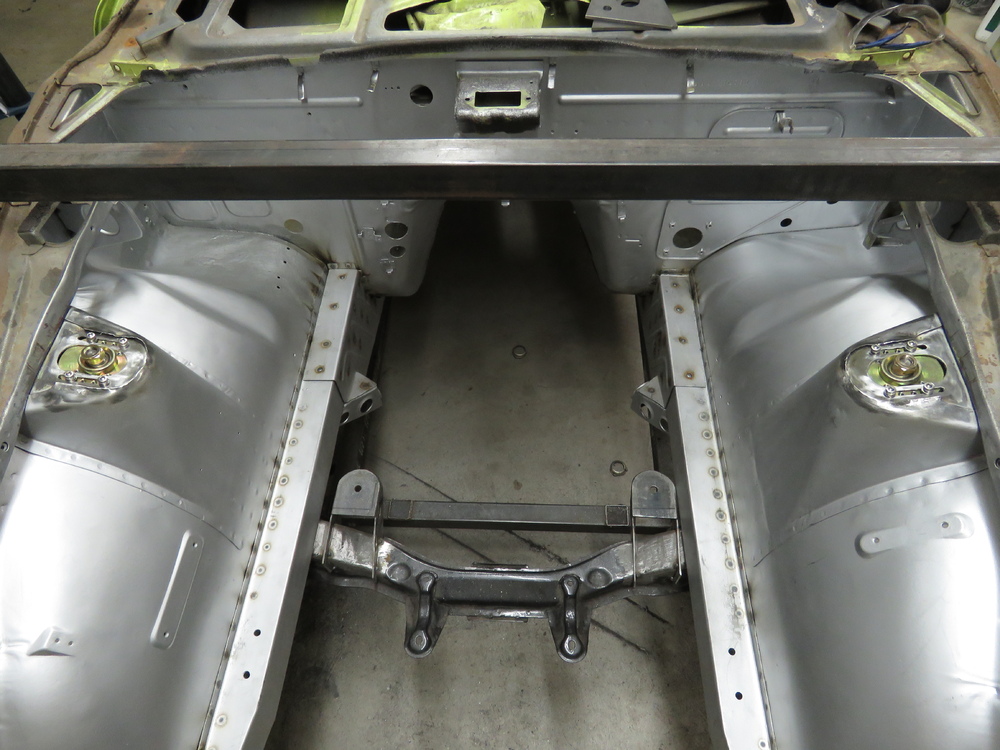
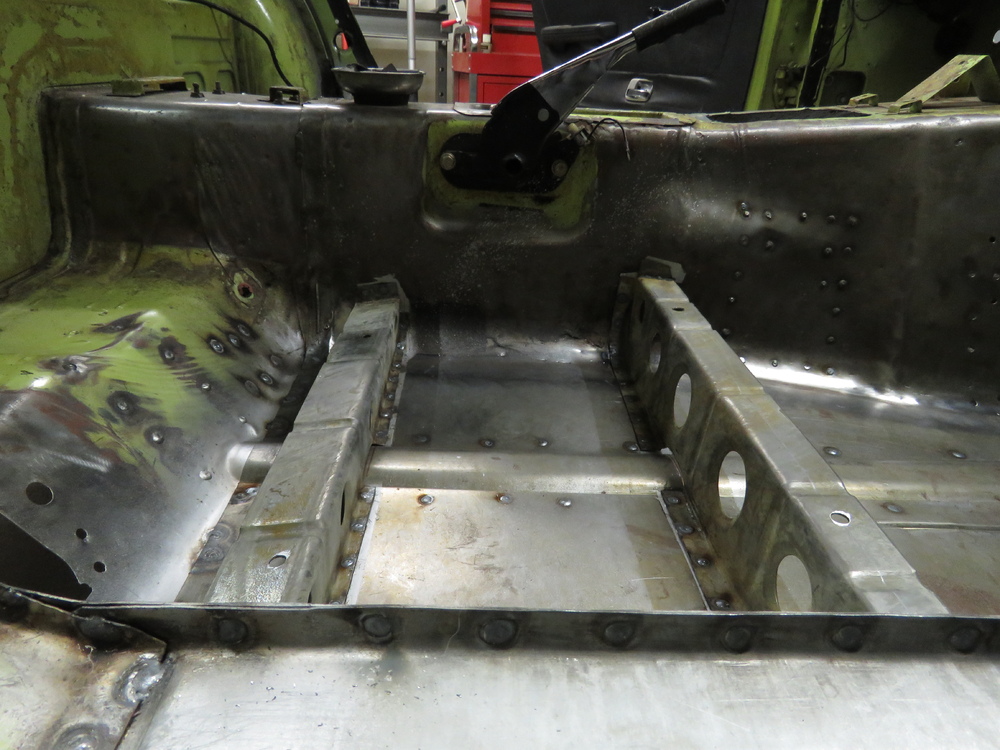
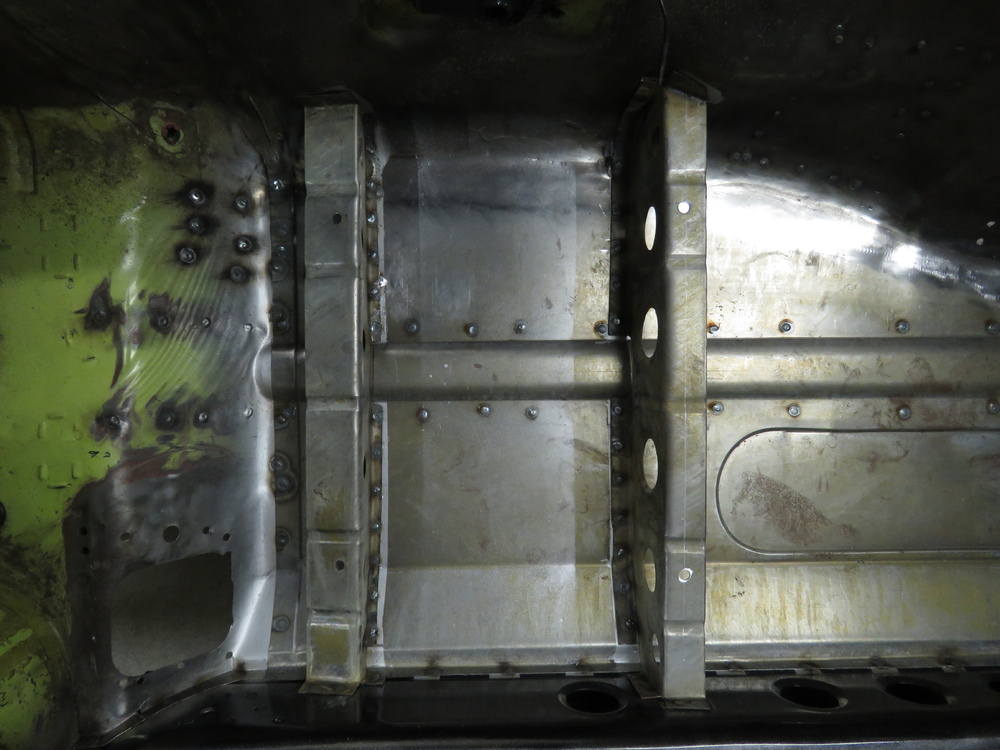
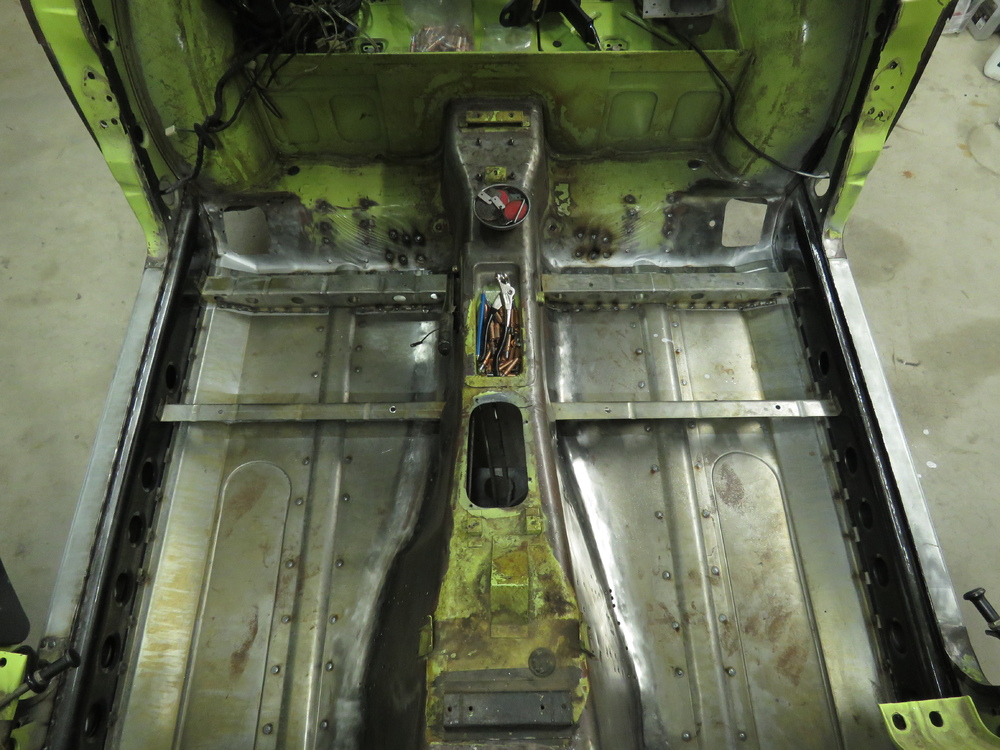
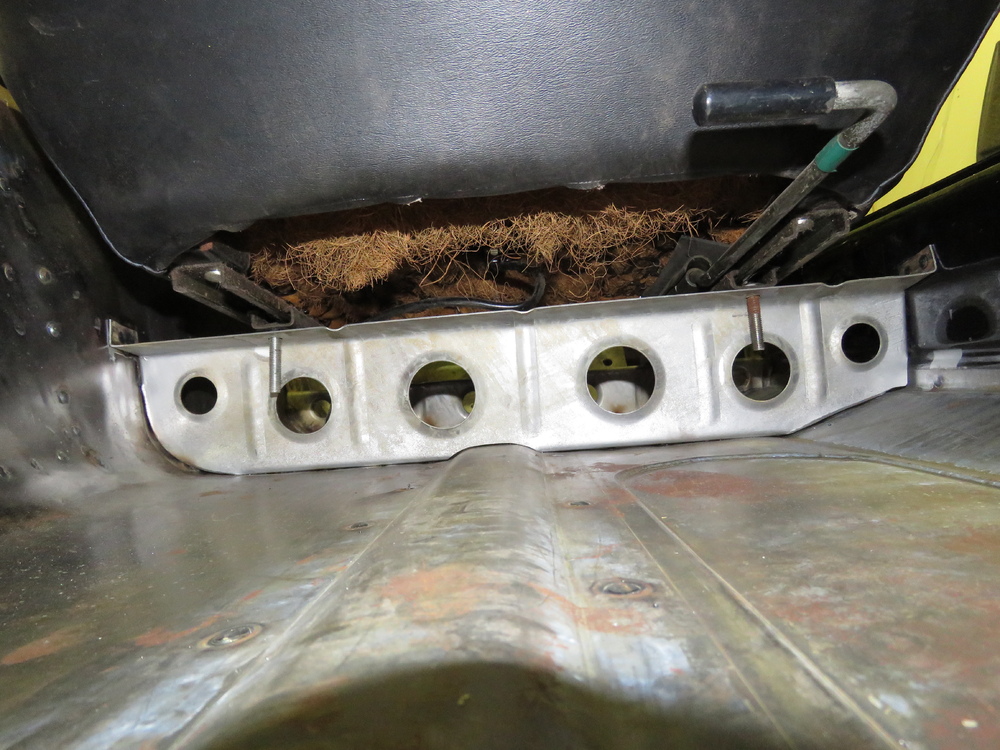
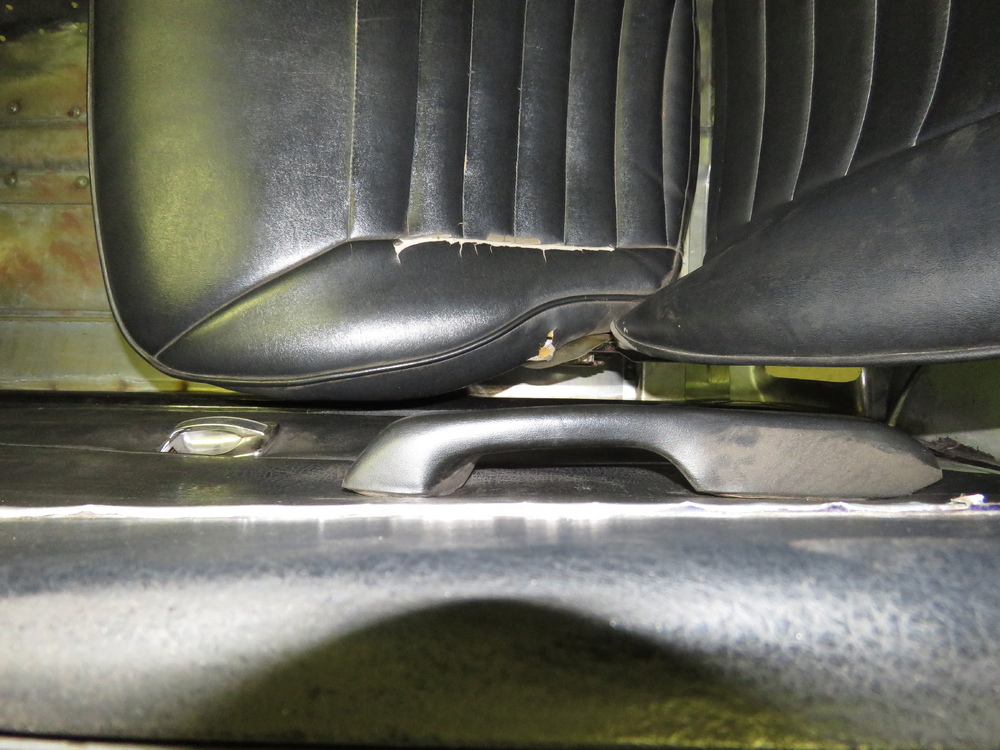
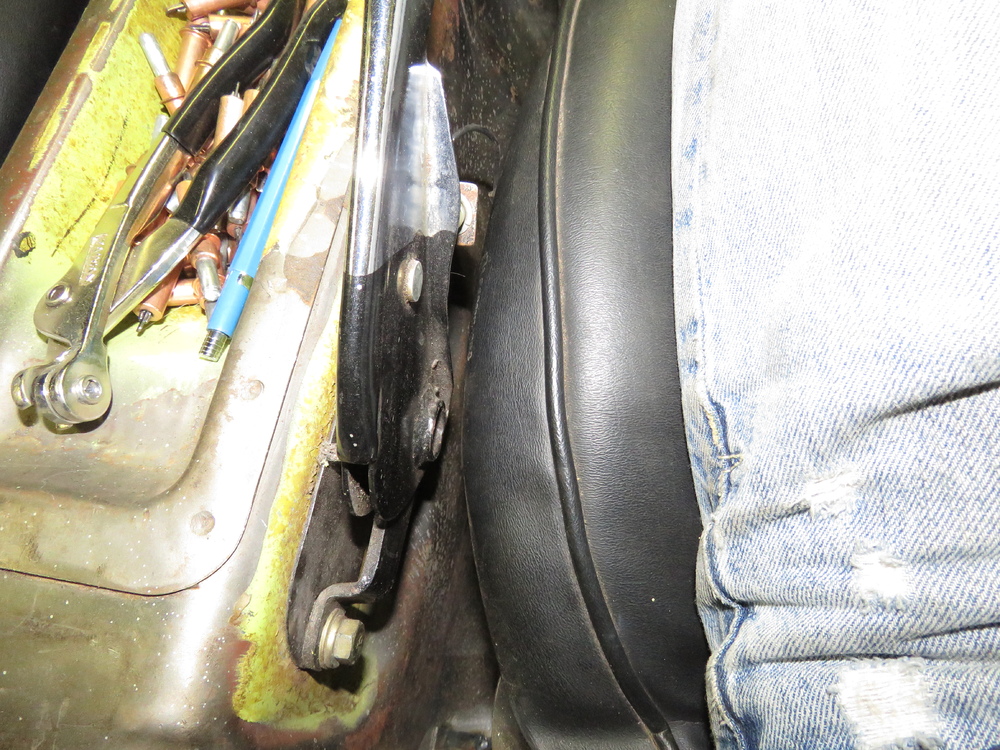
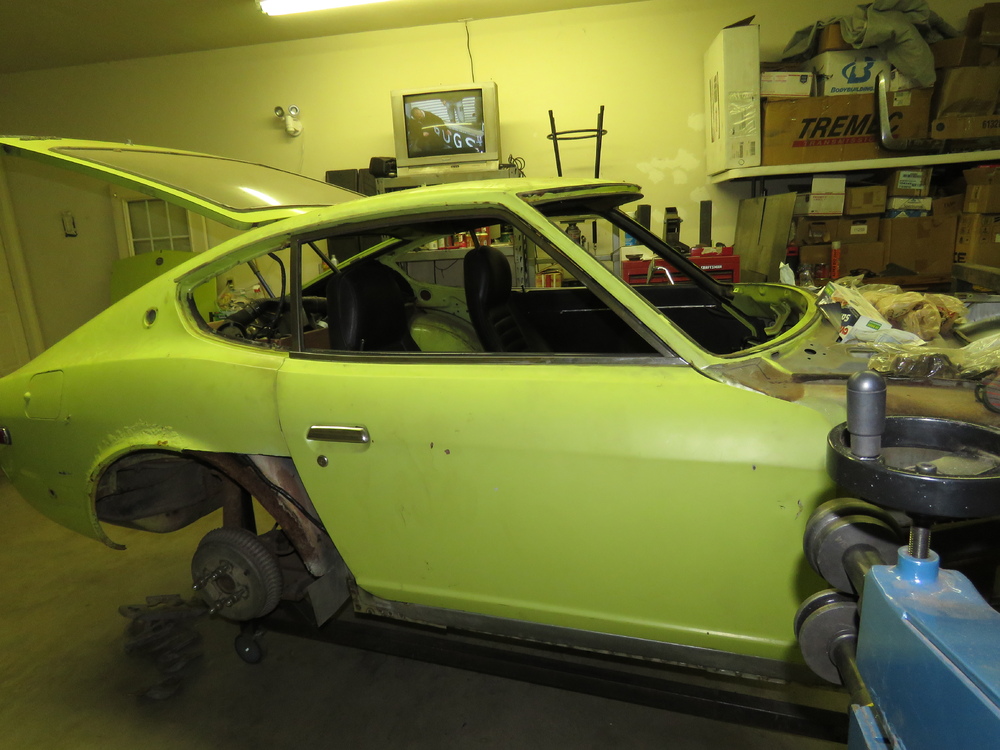
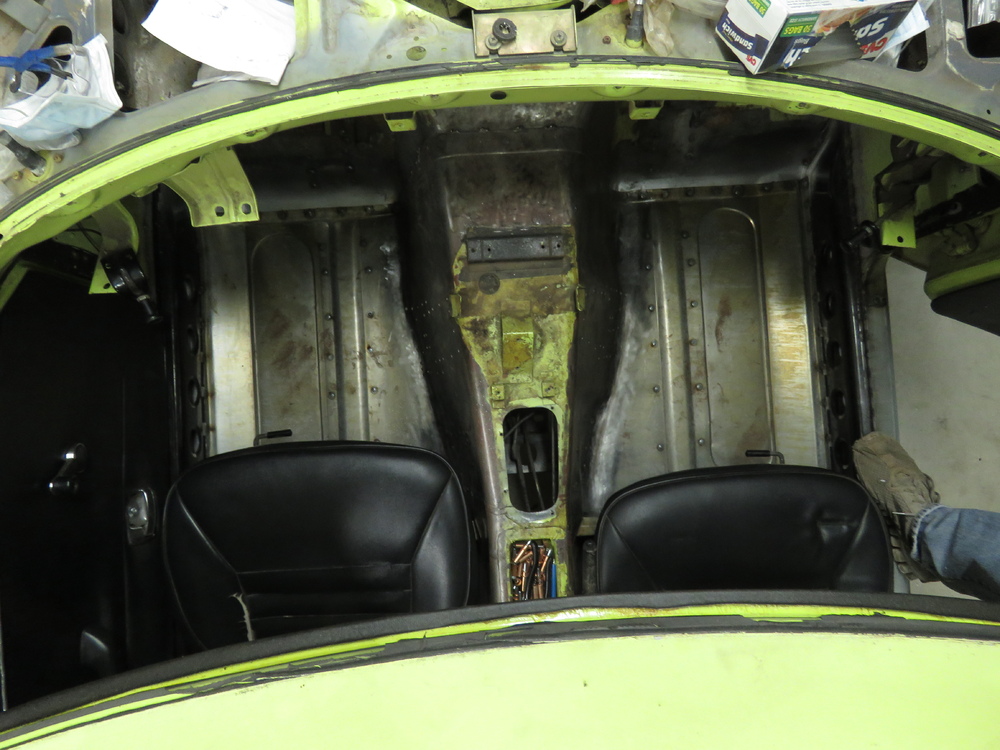
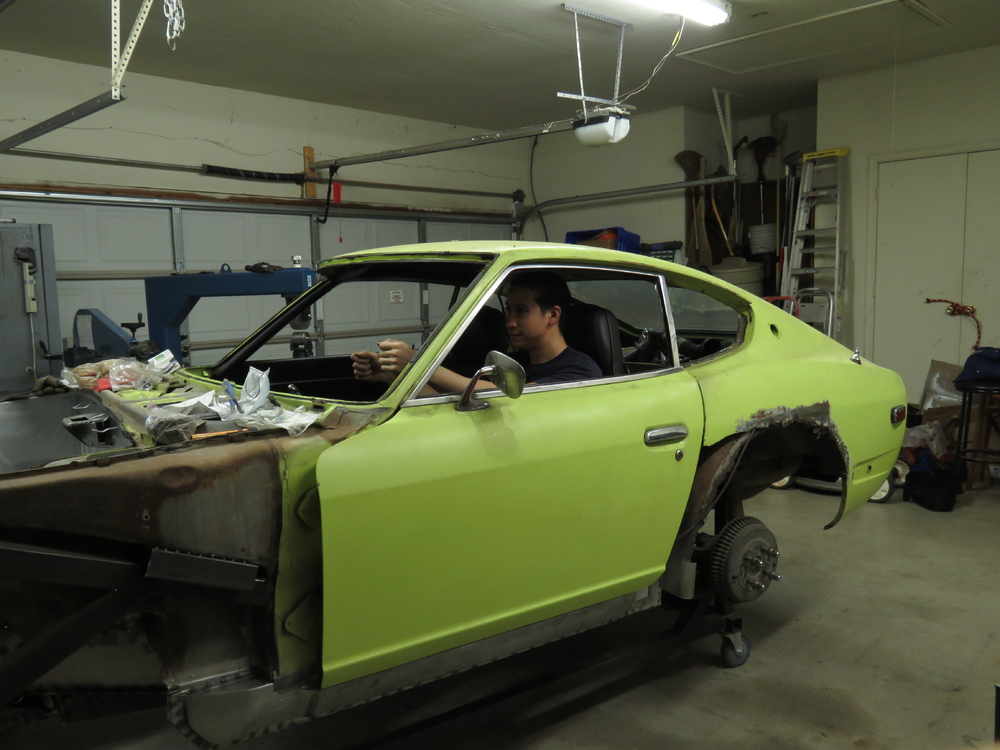
1 pointRear seat brackets made and both front and rear brackets welded in. Loosely fitted in place to give you an idea of how they will look. Front and rear brackets close up comparison. Holes drilled for welding. Decided this would be a good time to install the tie in plate underneath the floors close to the tunnel side. Holes drilled in the floors. Painted the flanges and area of the floors with weldable rust preventative primer. Also sprayed the seat brackets and tie in plates with POR15 degreaser and prep and ready to prepare it for paint. Seat brackets welded in. Seats test fitted. Passenger seat slightly touches the ebrake. however once somebody is seated, the cushion on the side collapses in a way to distance itself away from the ebrake. Tie in plates welded in. Me wishing my car was done and driving, hehe. Thats all for now. Bout time I actually start working on the parts I sandblasted.
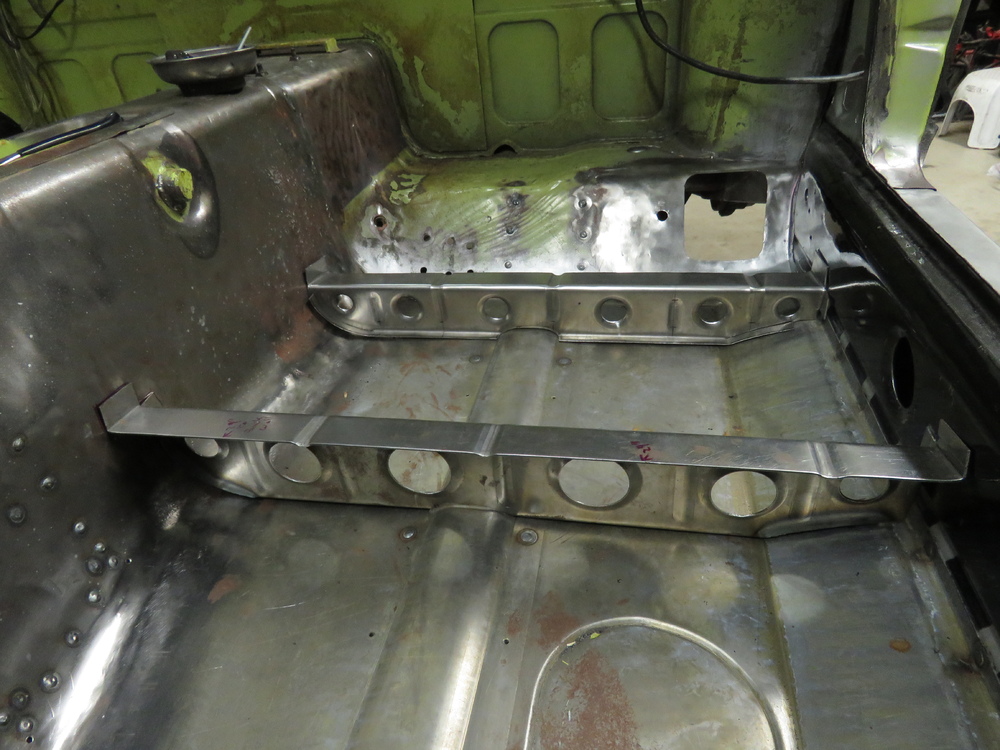
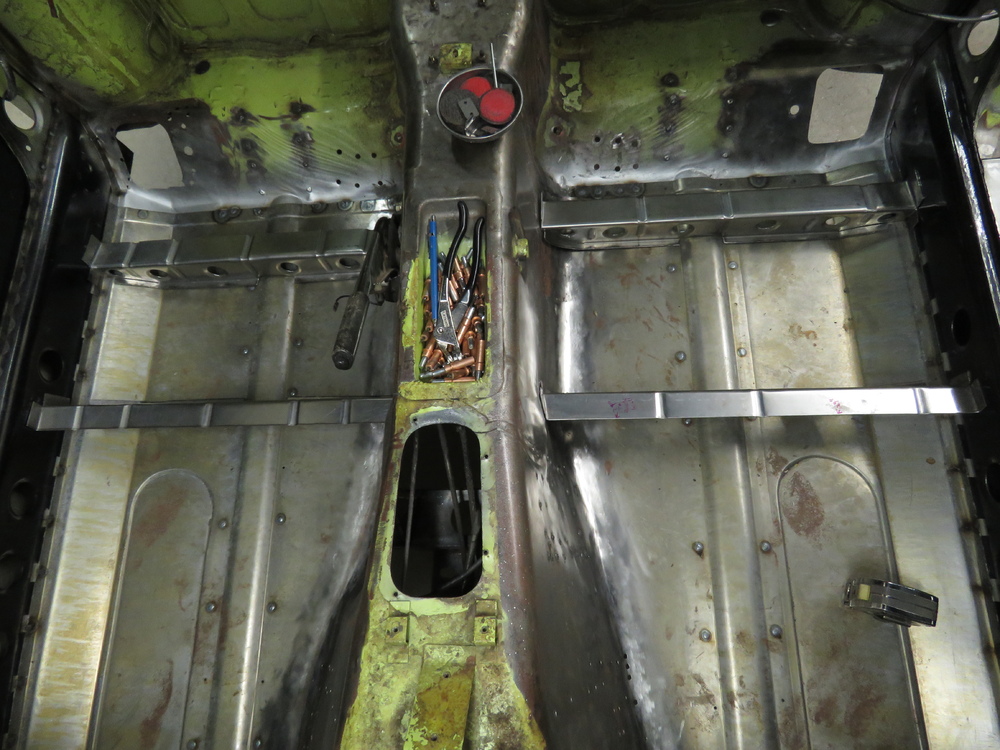

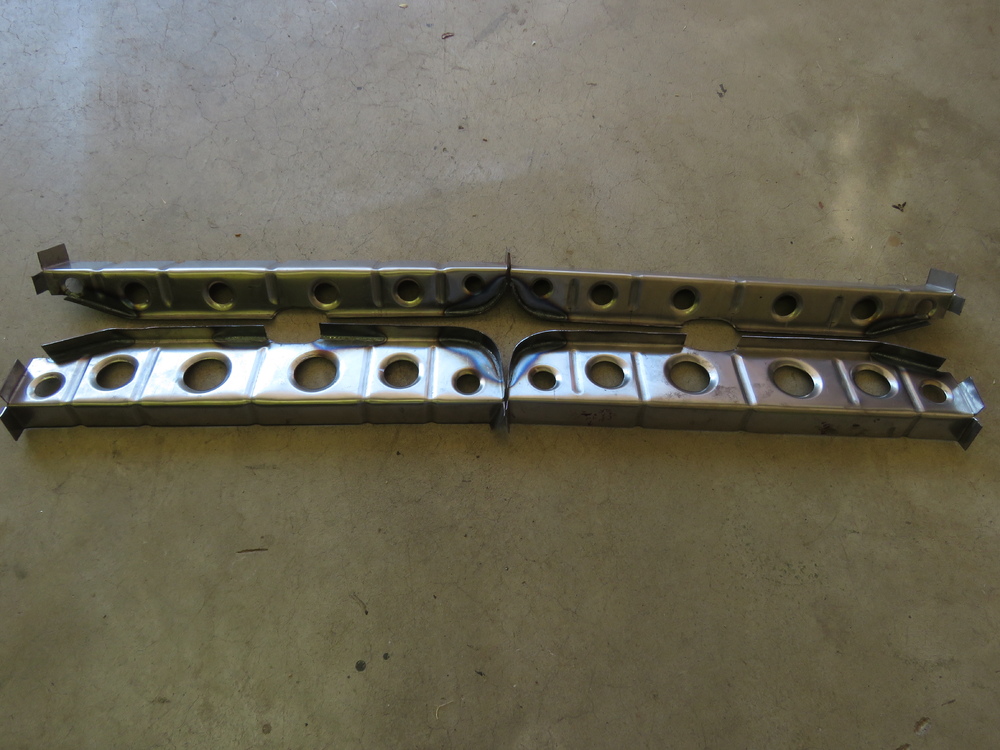


 1 point
 -
1 pointI though the same thing after I finished the driver side. Luckily both doors fit just fine and are aligned really well. Correct, Lots of youtube videos and reading online helped me a whole lot. I actually just got that wheel a couple of weeks ago. Ended up ordering a 3x8 upper wheel and some specialty lower anvils from Hoosier Profiles Inc.. Thinking they will arrive sometime end of this week. I actually wasnt impressed with the quality of the Baileigh English Wheel, for anyone thinking about buying one, I would advise another brand. I actually complained about it to baileigh and they pretty much blew me off and said it is the way it is. Because of my experience, not sure id buy baileigh again. Thanks all for the comments. Probably would had been better to buy a better shell and ditching this one, but couldnt do it.1 point
-
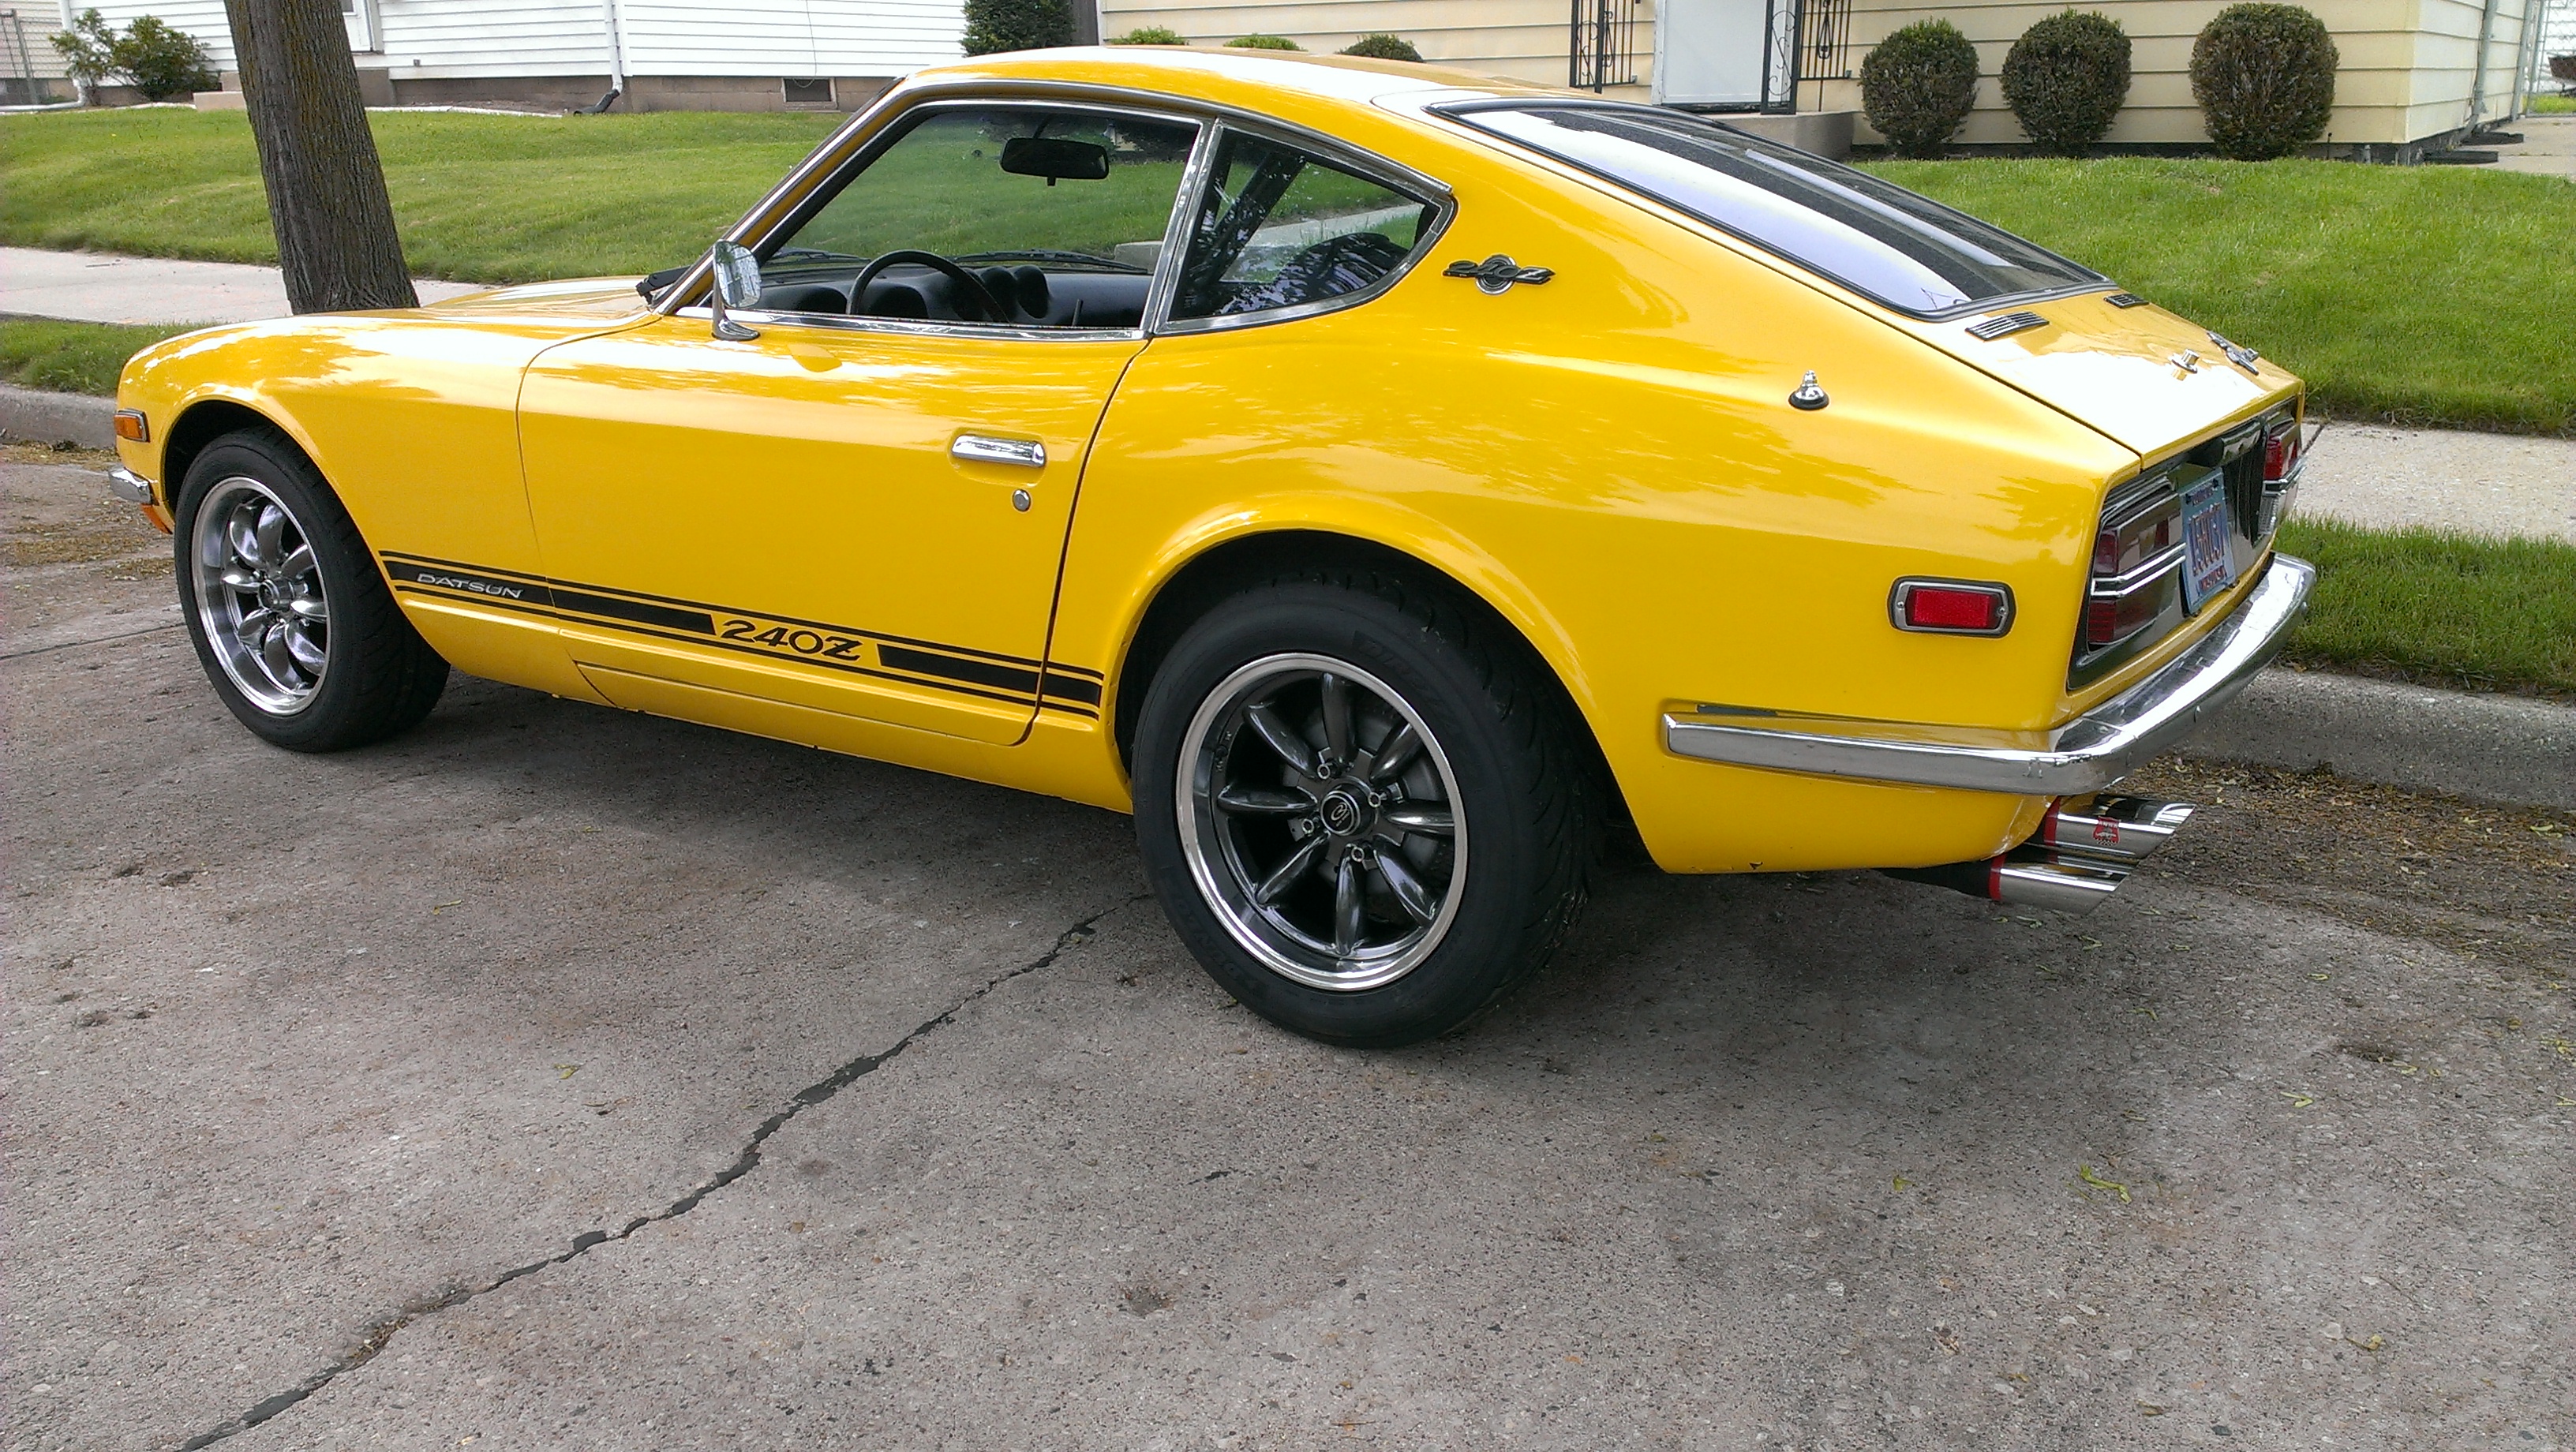
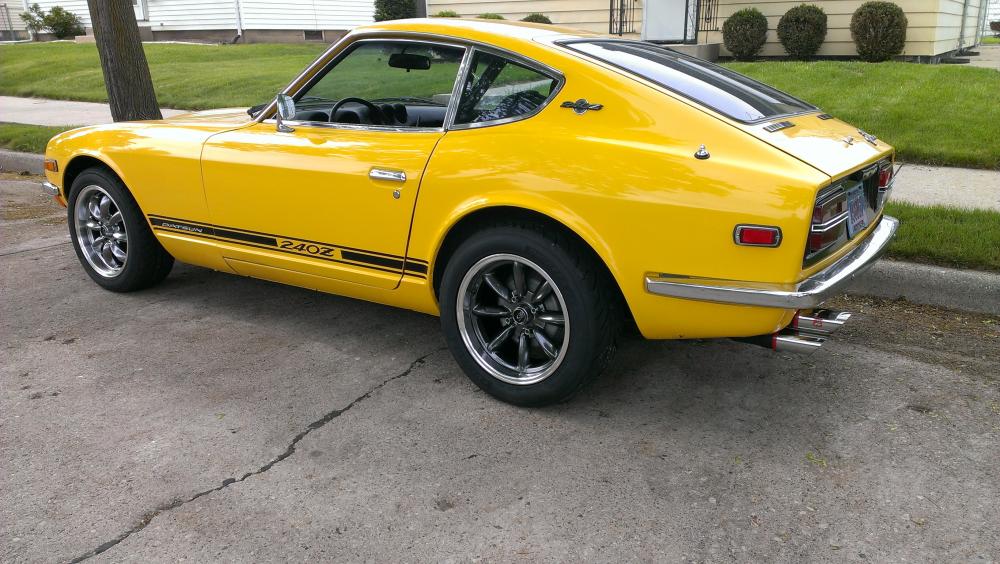
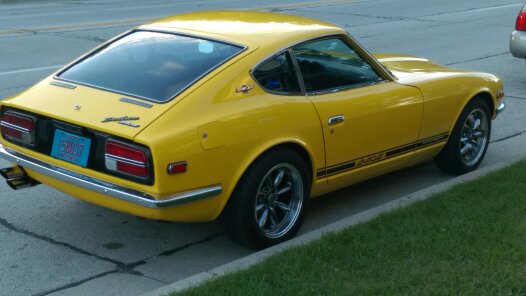
1 point1970 240z hls3001300 Lots of recent upgrades, A solid Southern California car now in Milwaukee, WI. gm 1 wire alternator, upgraded fuse box, h4 headlights, center force dual friction clutch, aluminum flywheel, 5 speed out of a 79 280, bronze shifter bushings, new heater core, bead blasted heater box painted, Honda blower motor upgrade, schneider performance cam, 6-into-1 alumacoated header, custom ansa exhaust 4 row radiator, billet water pump, triple weber DCOE40MM, Mallory fuel pump, return type regulator, quick steer steering arm knuckles sway away strut bars front and rear, kyb struts, new rear axle u-joints, new brakes, new wheels, new tires Dunlop Direzza zII 205/50r16 225/50r16 4X 4" clarion speakers wired to center console brand new JVC cd player in box Runs and drives great. $22500.00 obo. hotroder502@hotmail.com 414-403-1687 Mike
 1 point
 -
1 point