Leaderboard
-
grannyknot
Free Member5Points5,158Posts -
gwri8
Free Member3Points1,385Posts -

Mike
Administrator3Points23,065Posts -
Patcon
 Subscriber
 2Points11,136Posts


Popular Content
Showing content with the highest reputation on 06/24/2016 in Posts
-
3 points
-
Just wondering if people find the chat room helpful. It's not a big deal to keep it going but I think a chat room could be used for some pretty cool things. Help with a Zcar technical challenge, for instance. Would it be a good idea to set up some kind of regular chat session so members can jump in and ask questions? It might be kind of fun. FYI, I added a block to the main page called "who's chatting" so you can look to see who's in there before you jump in.1 point
-
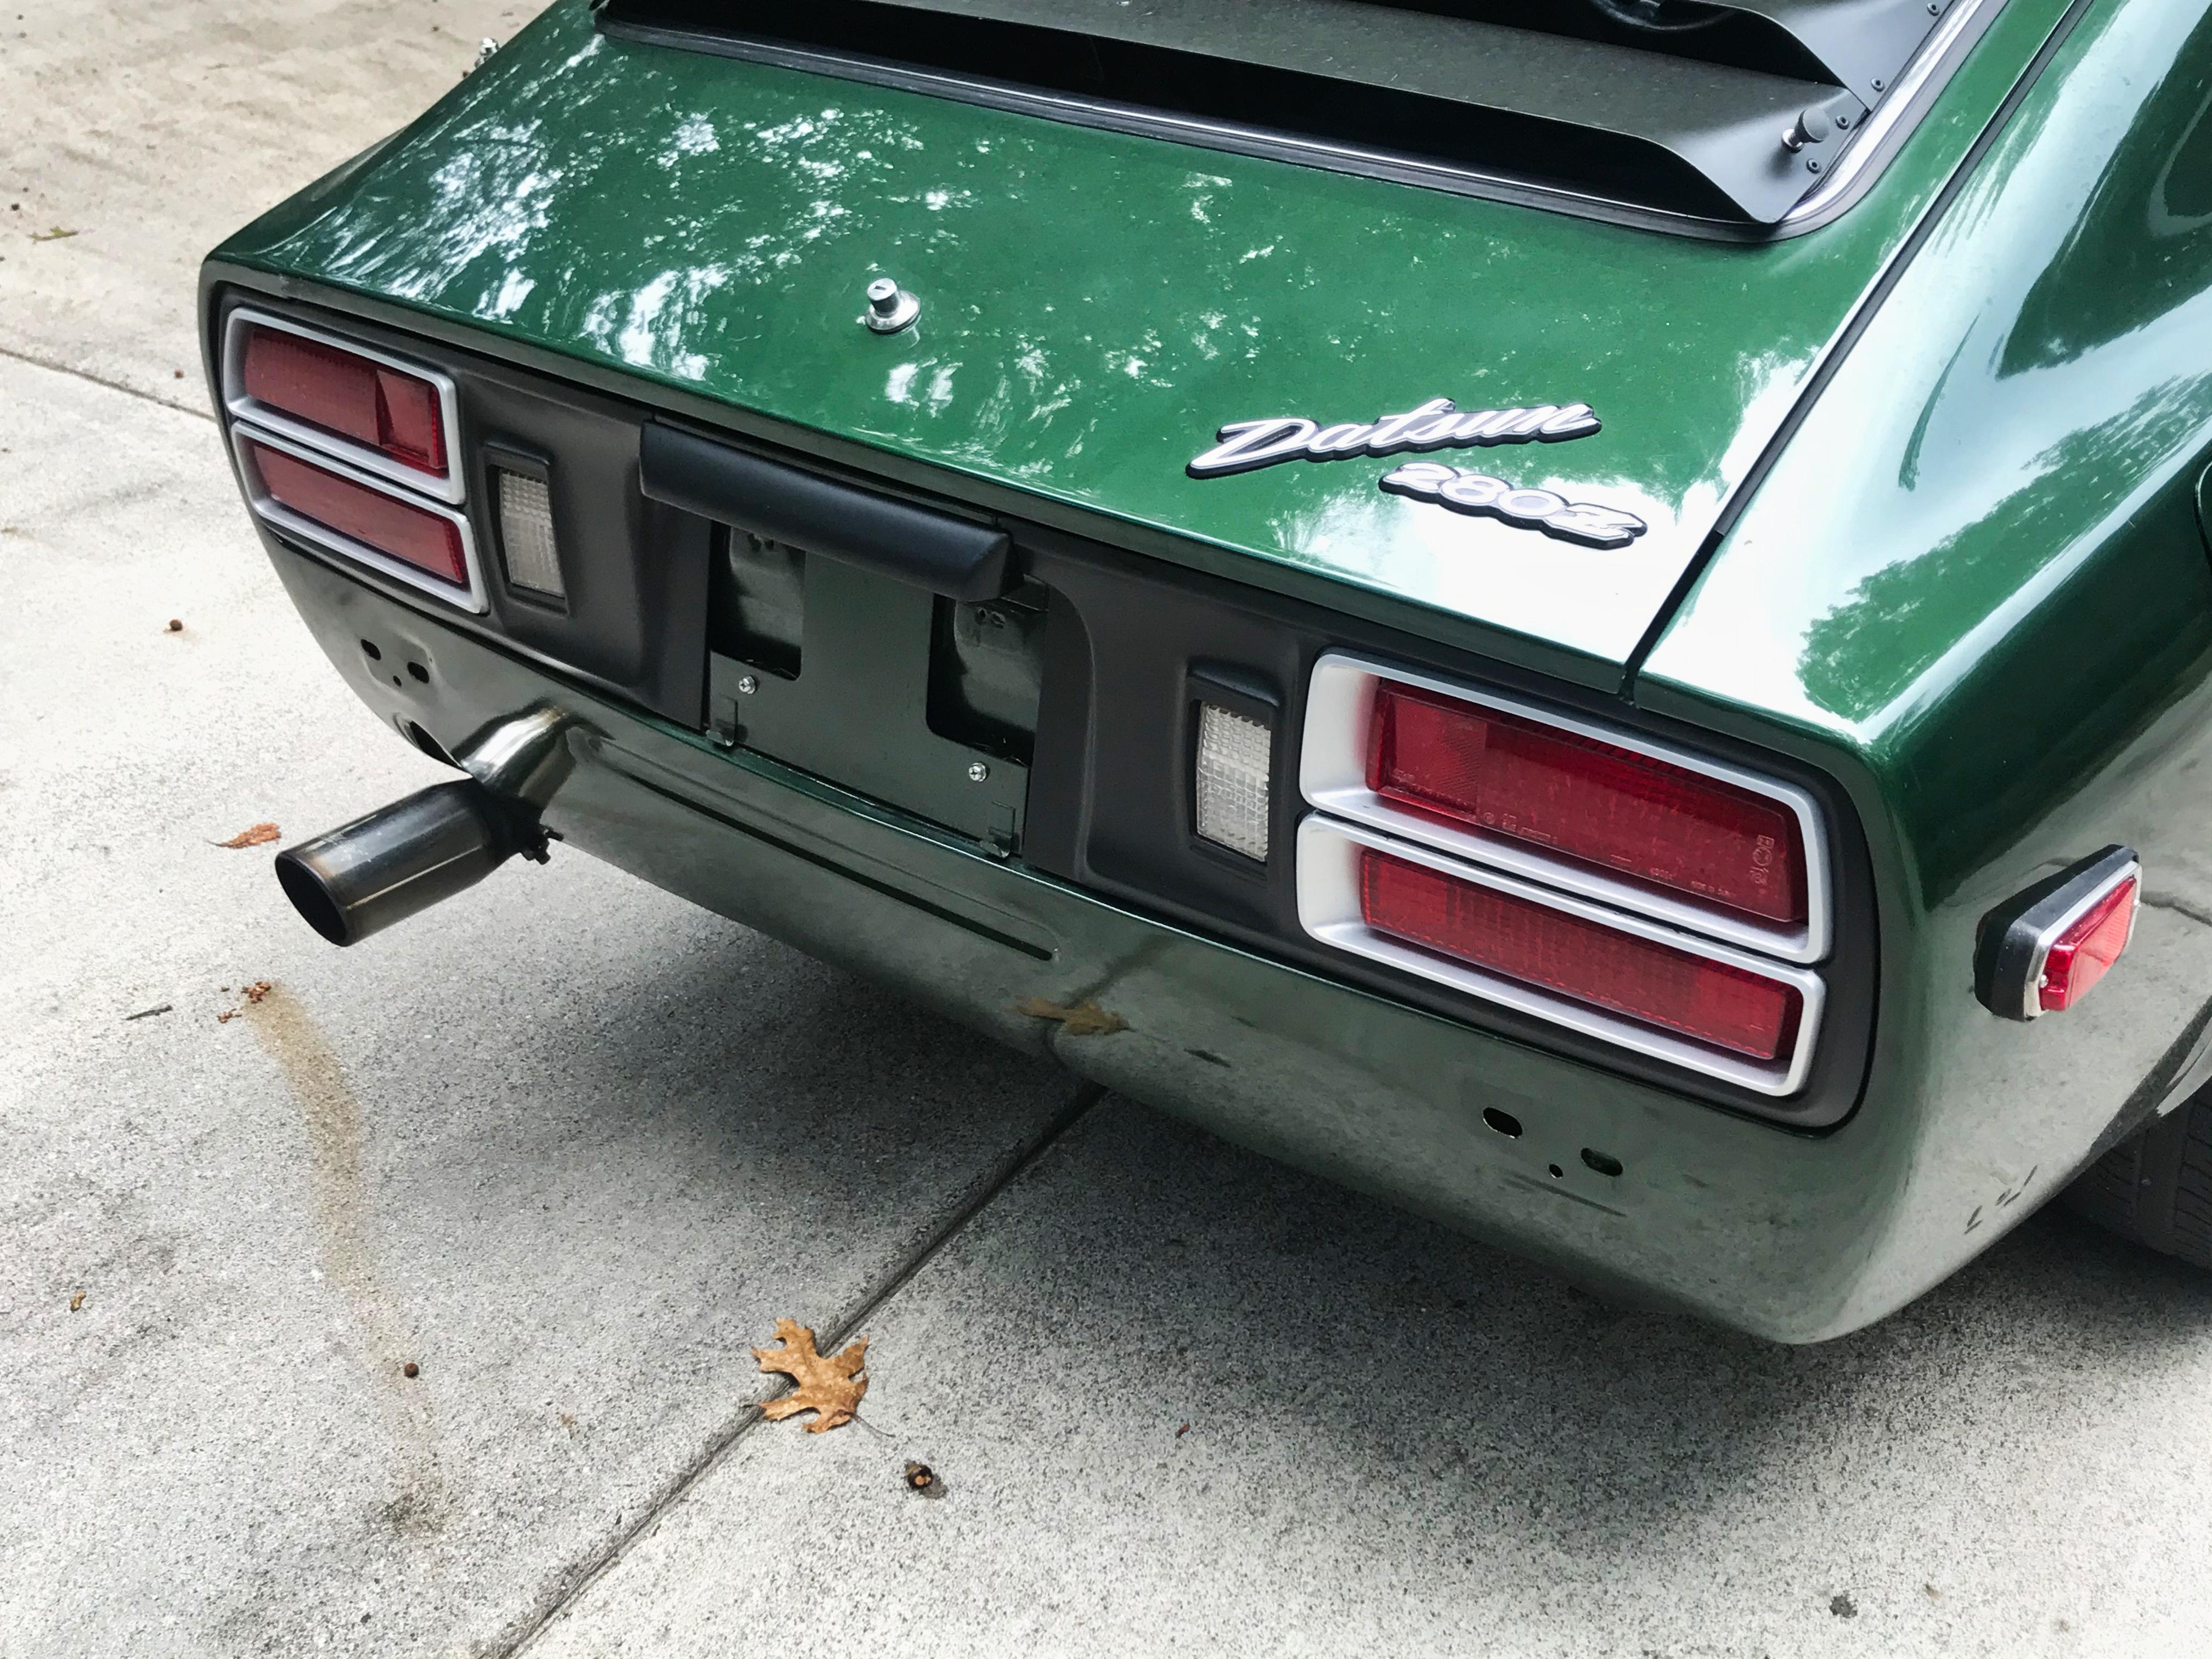
Cliff the fit of the exhaust tip is perfect but aren't you concerned the heat may curl or crack the paint around it?1 point
-
Those jack stands are awesome. Must find some. They let you set the height exactly where you want instead of 2 inches up or 2 inches down. Exhaust looks great too. Congrats.1 point
-
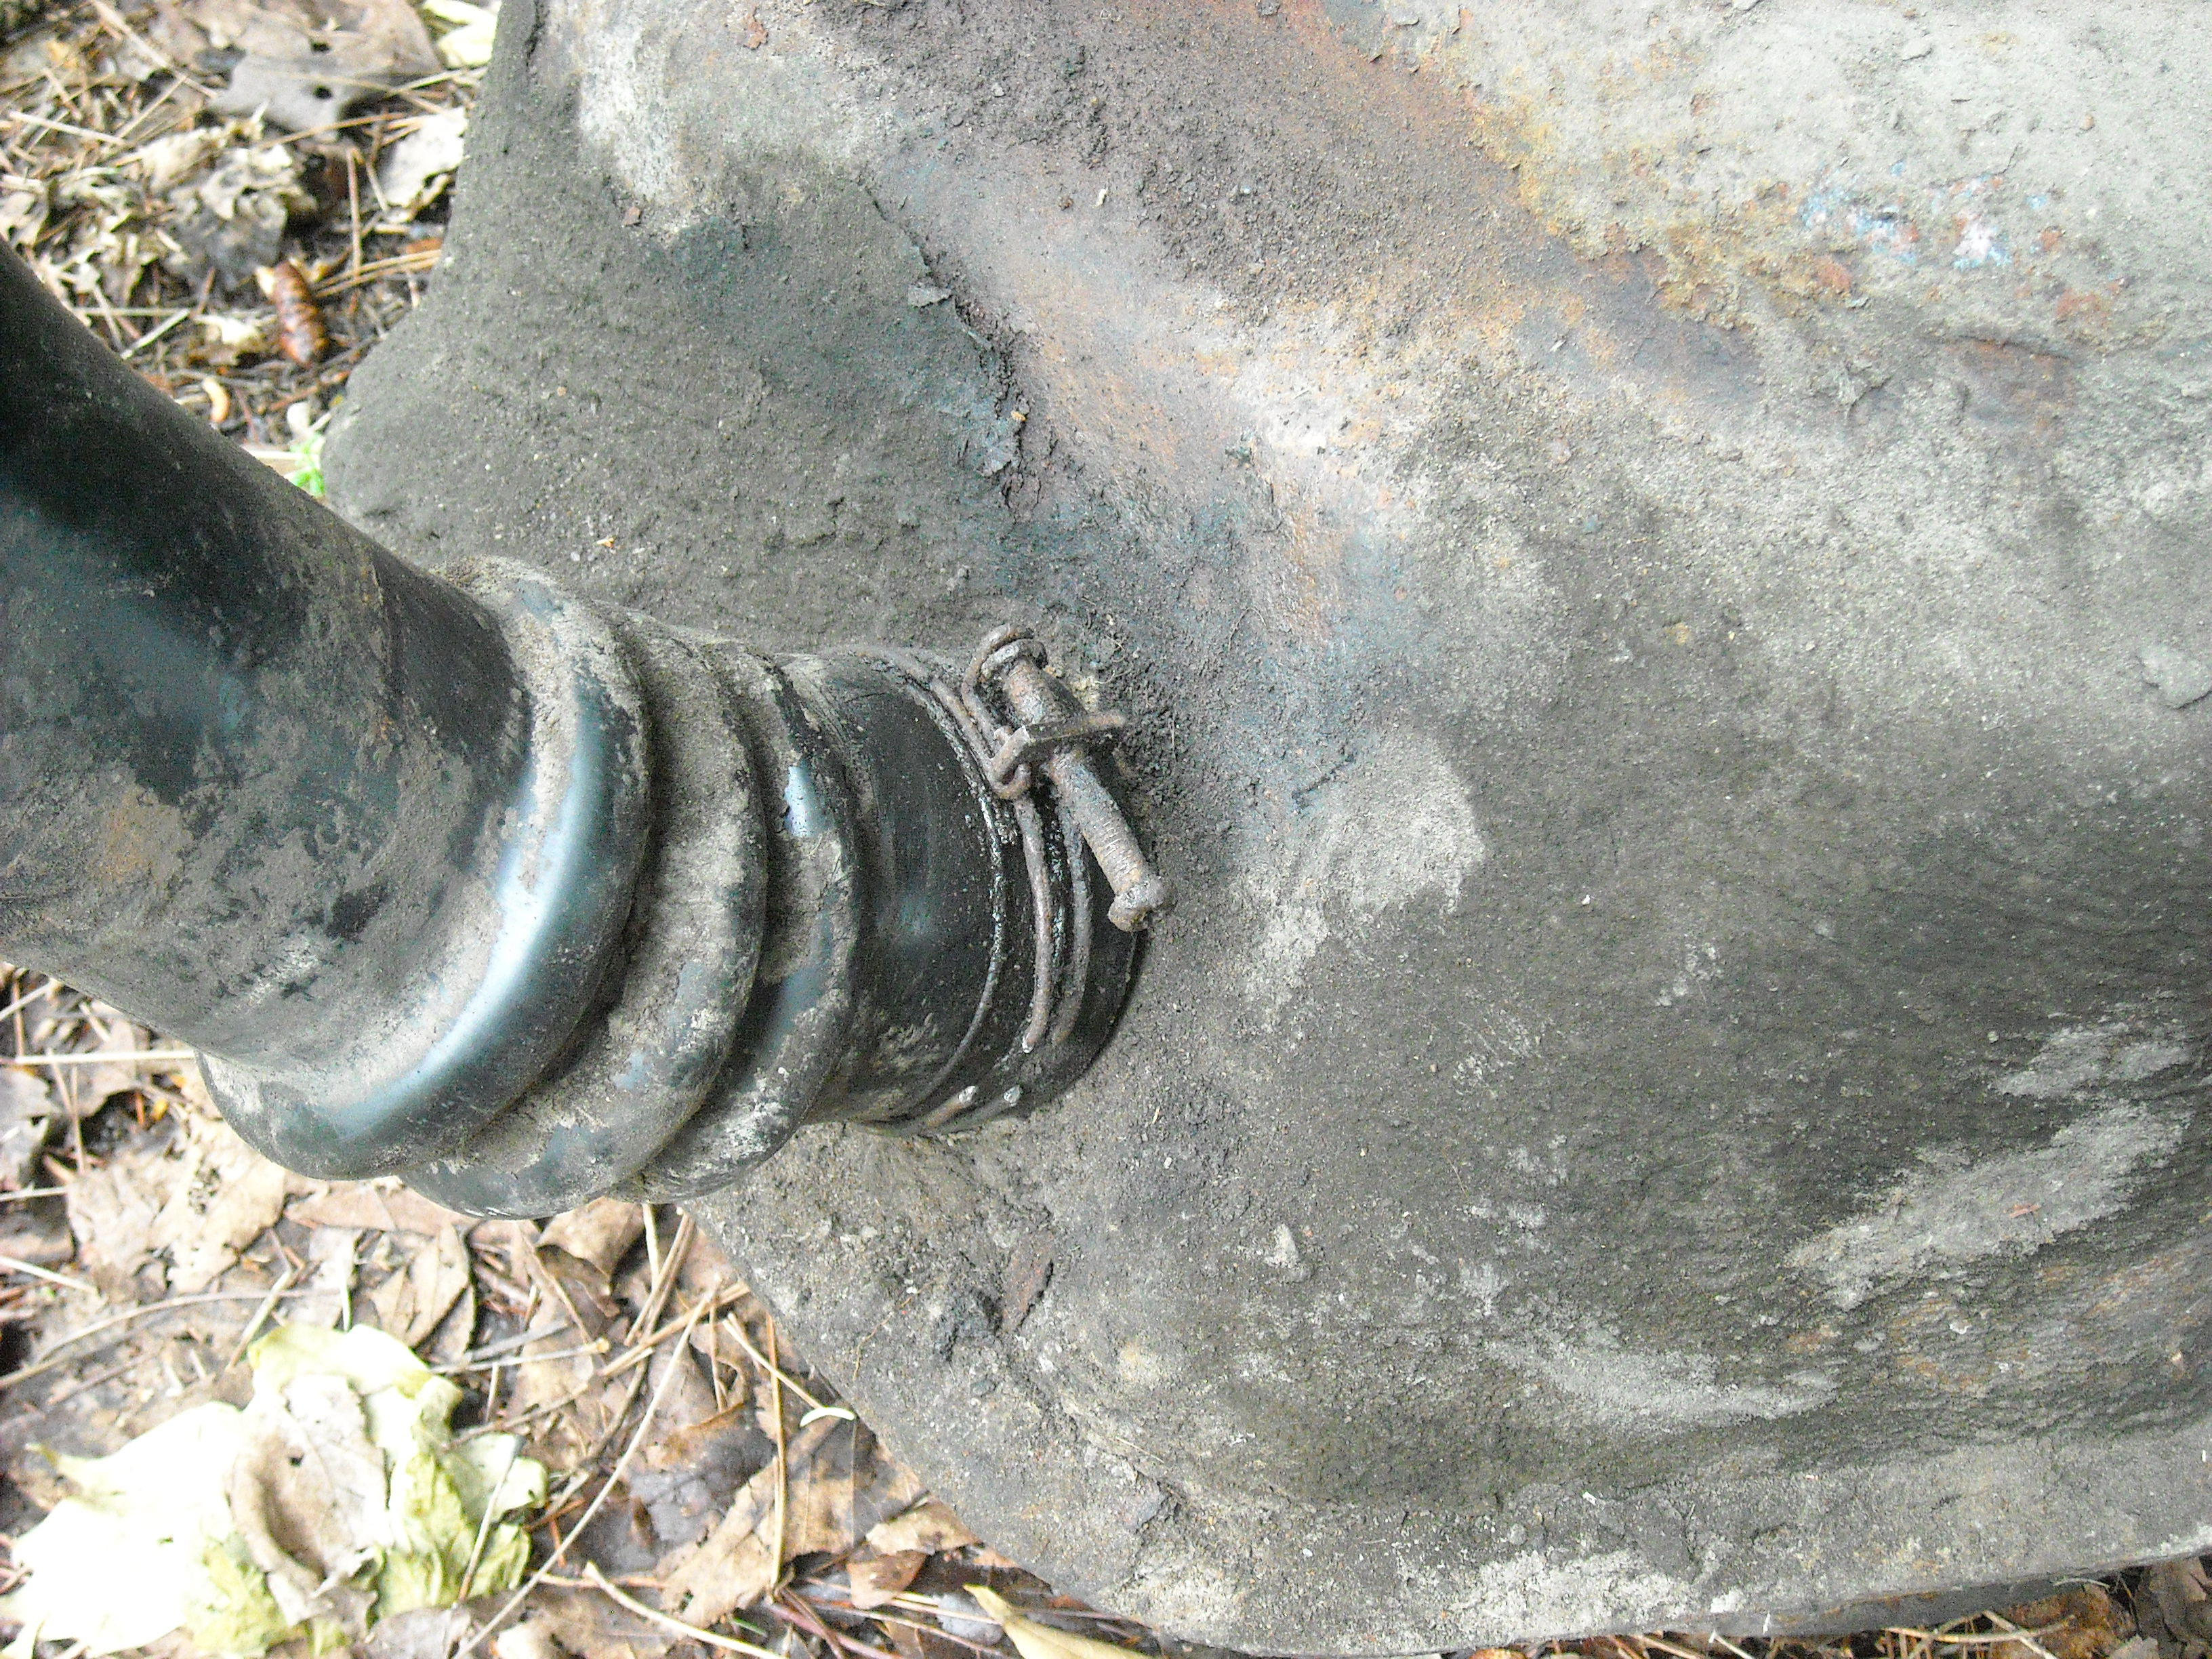
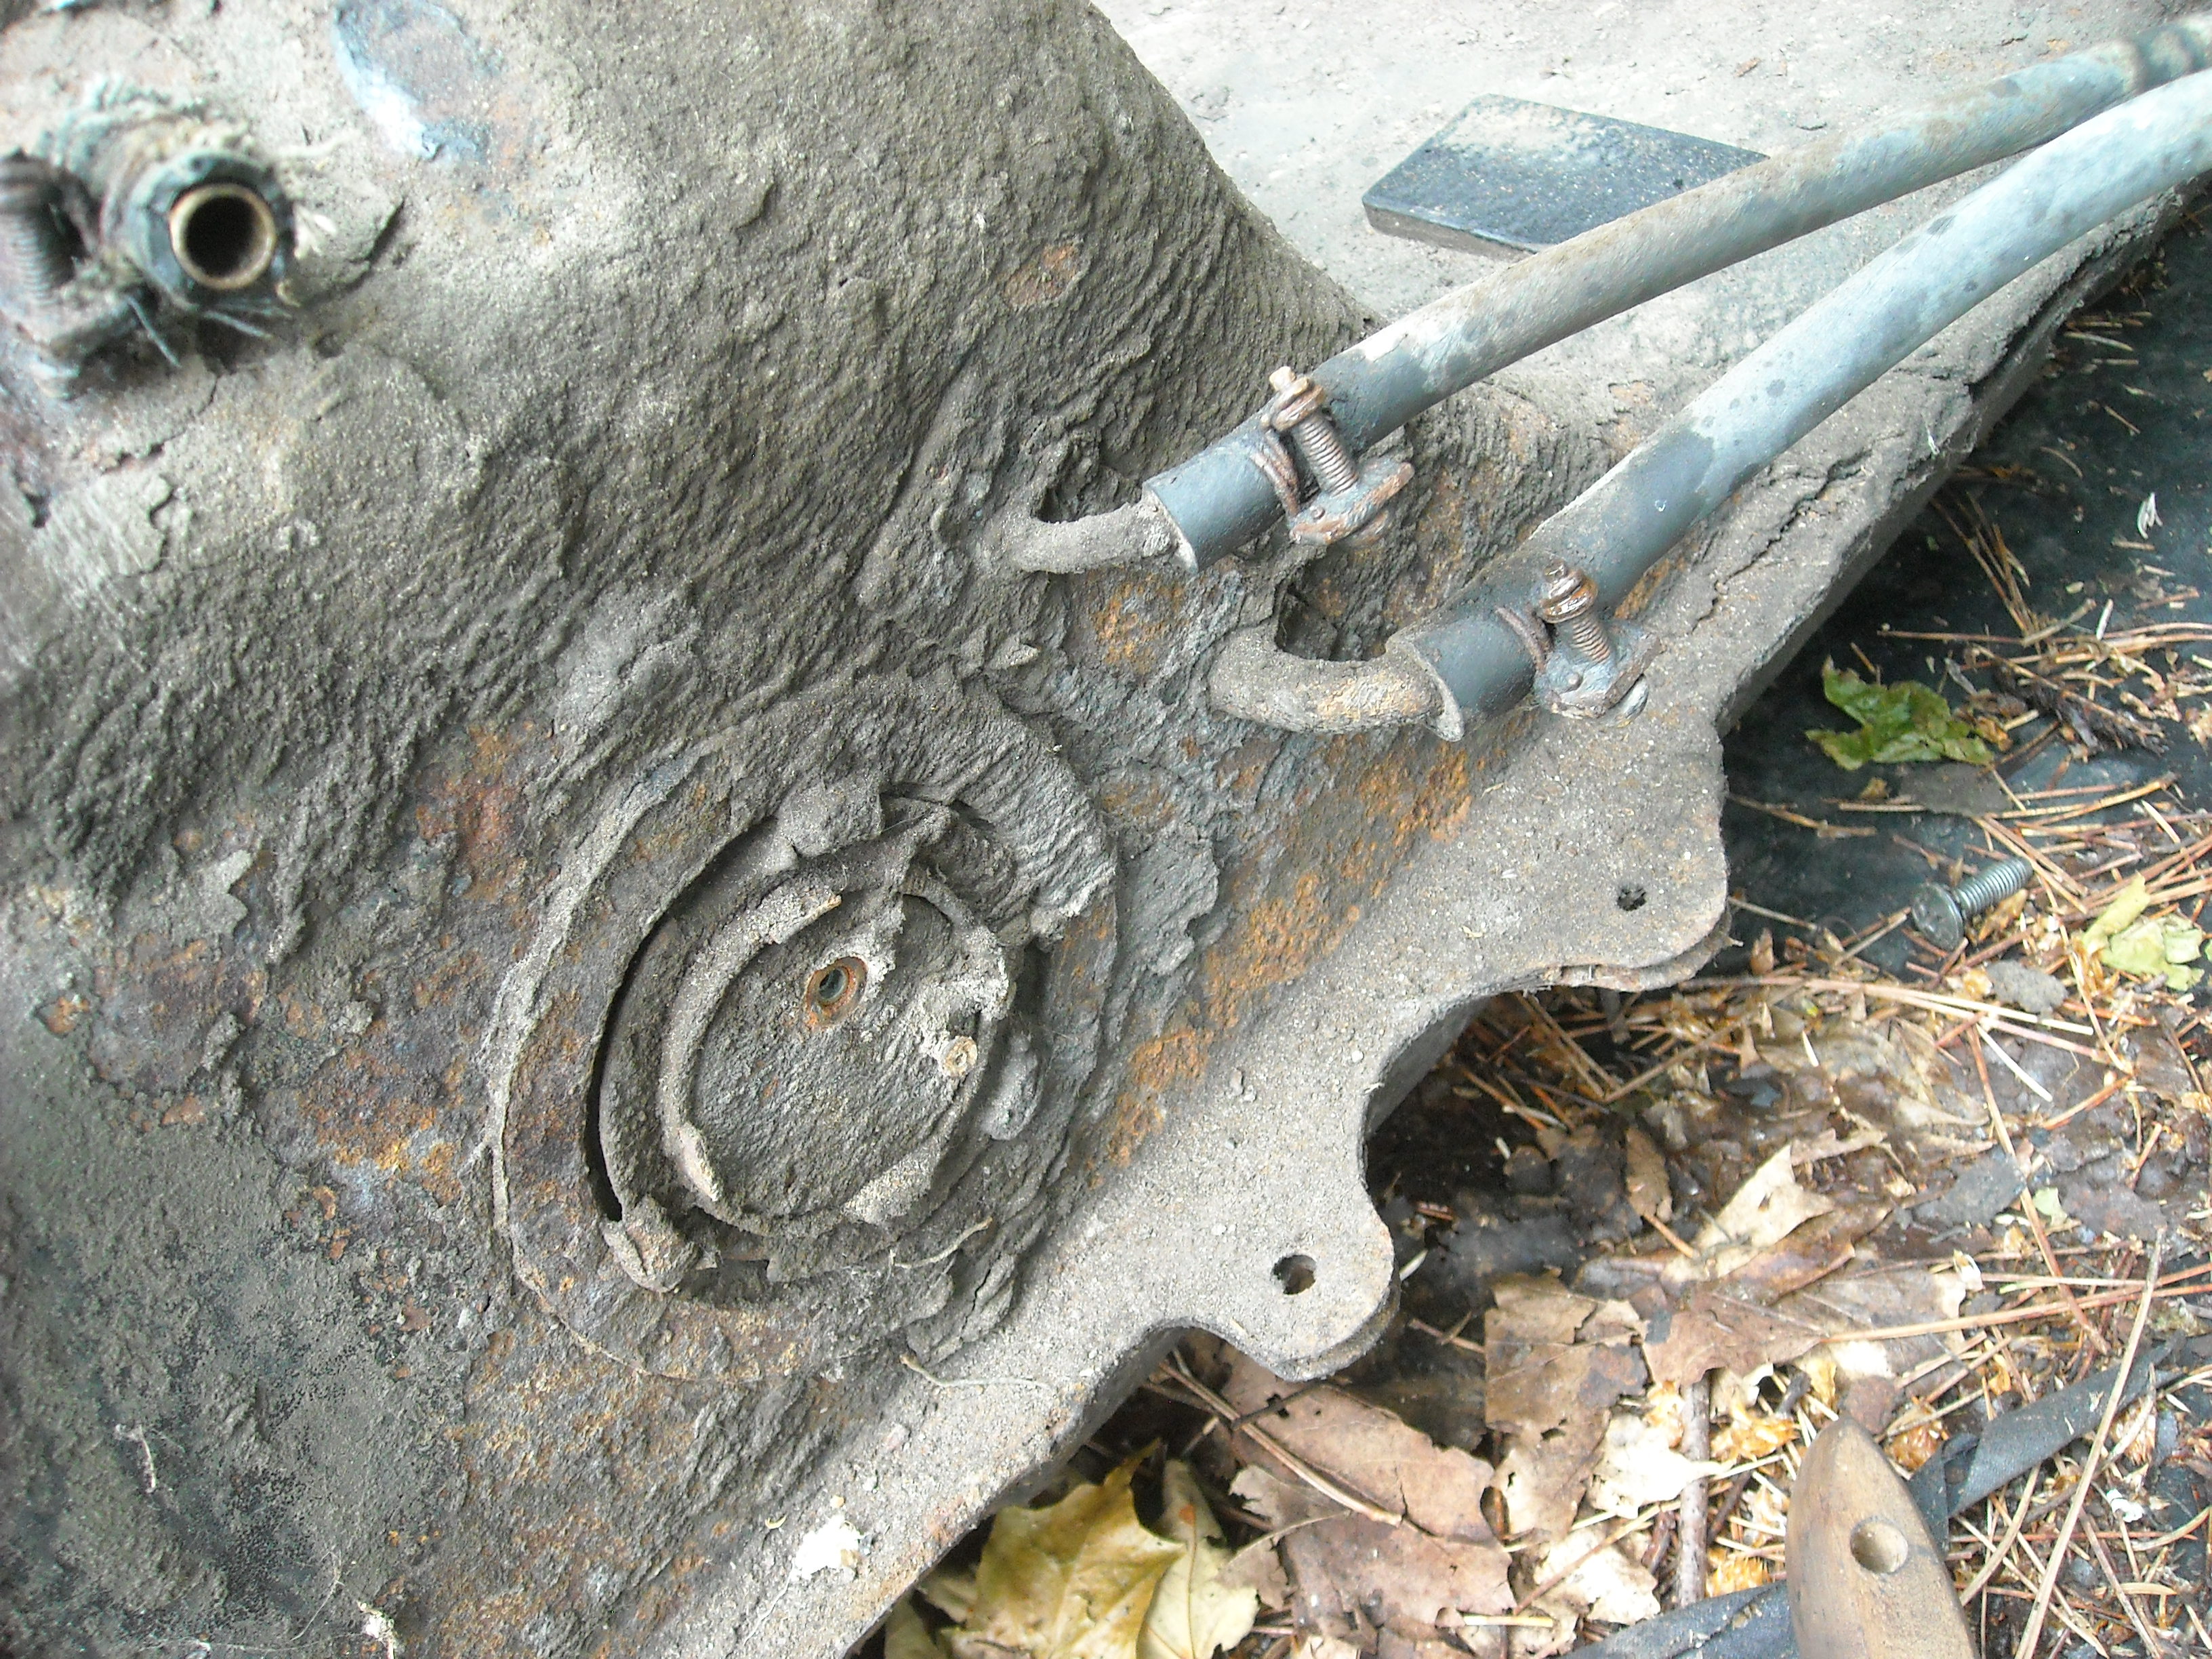
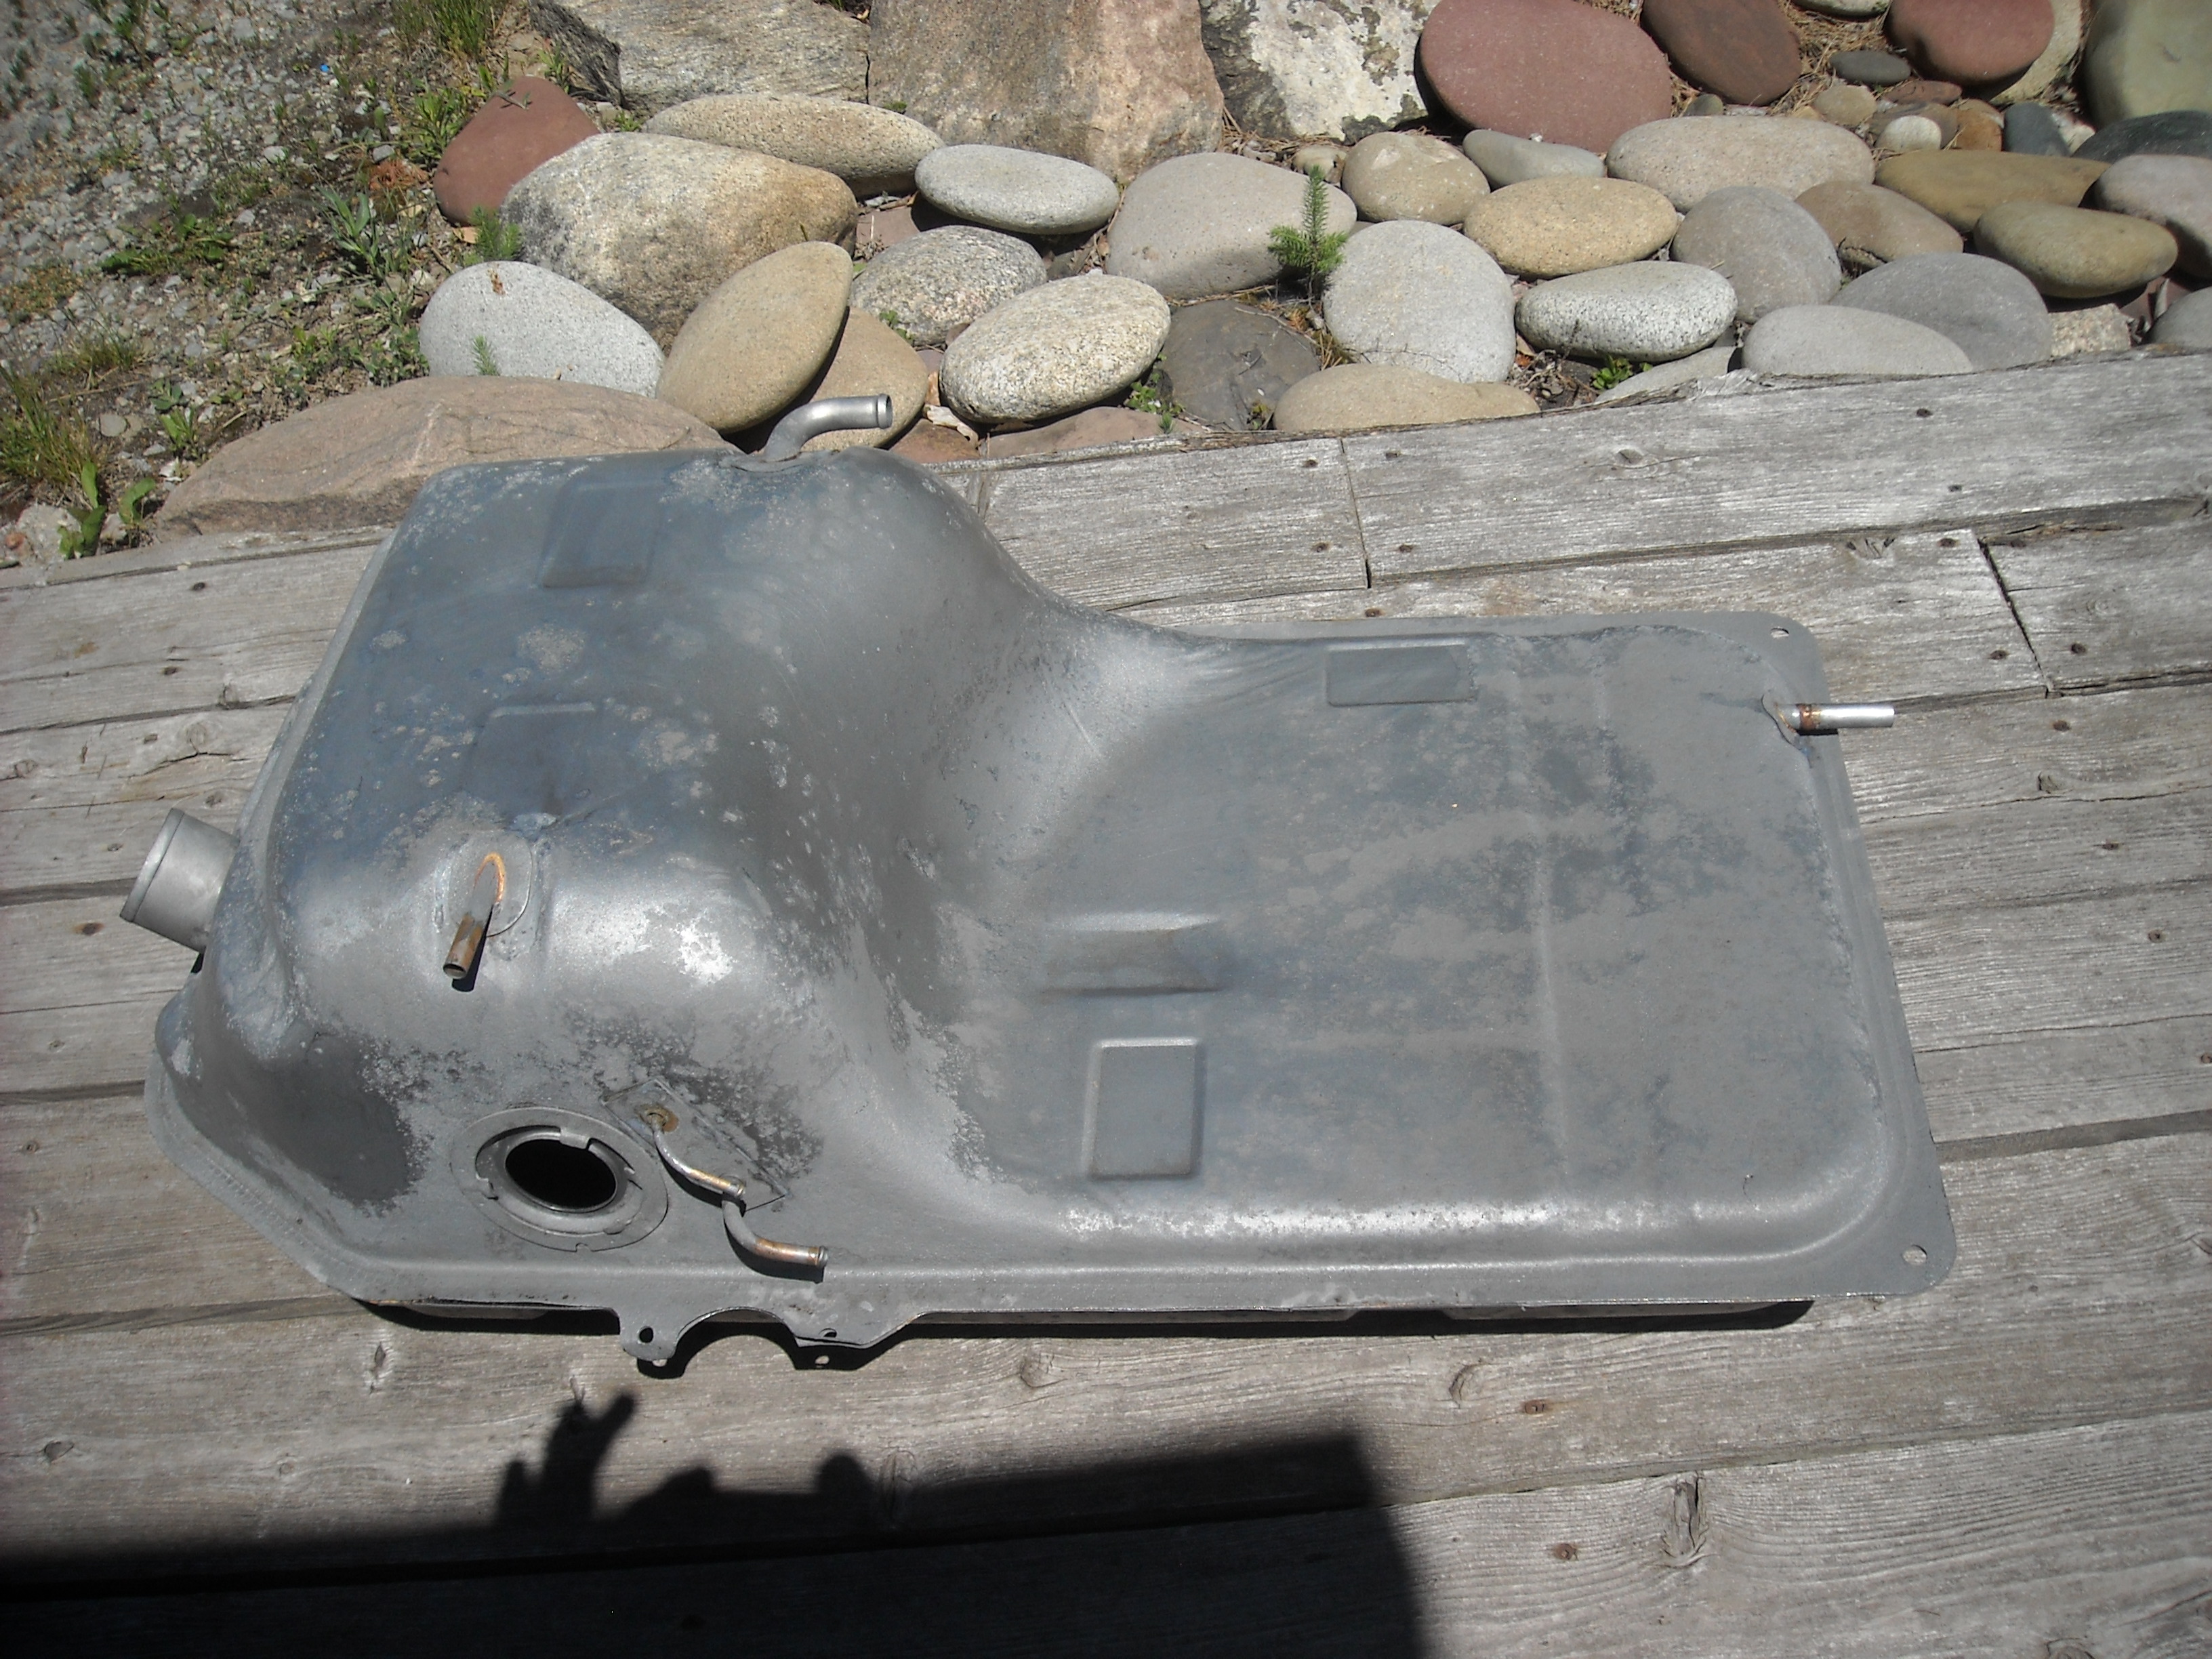
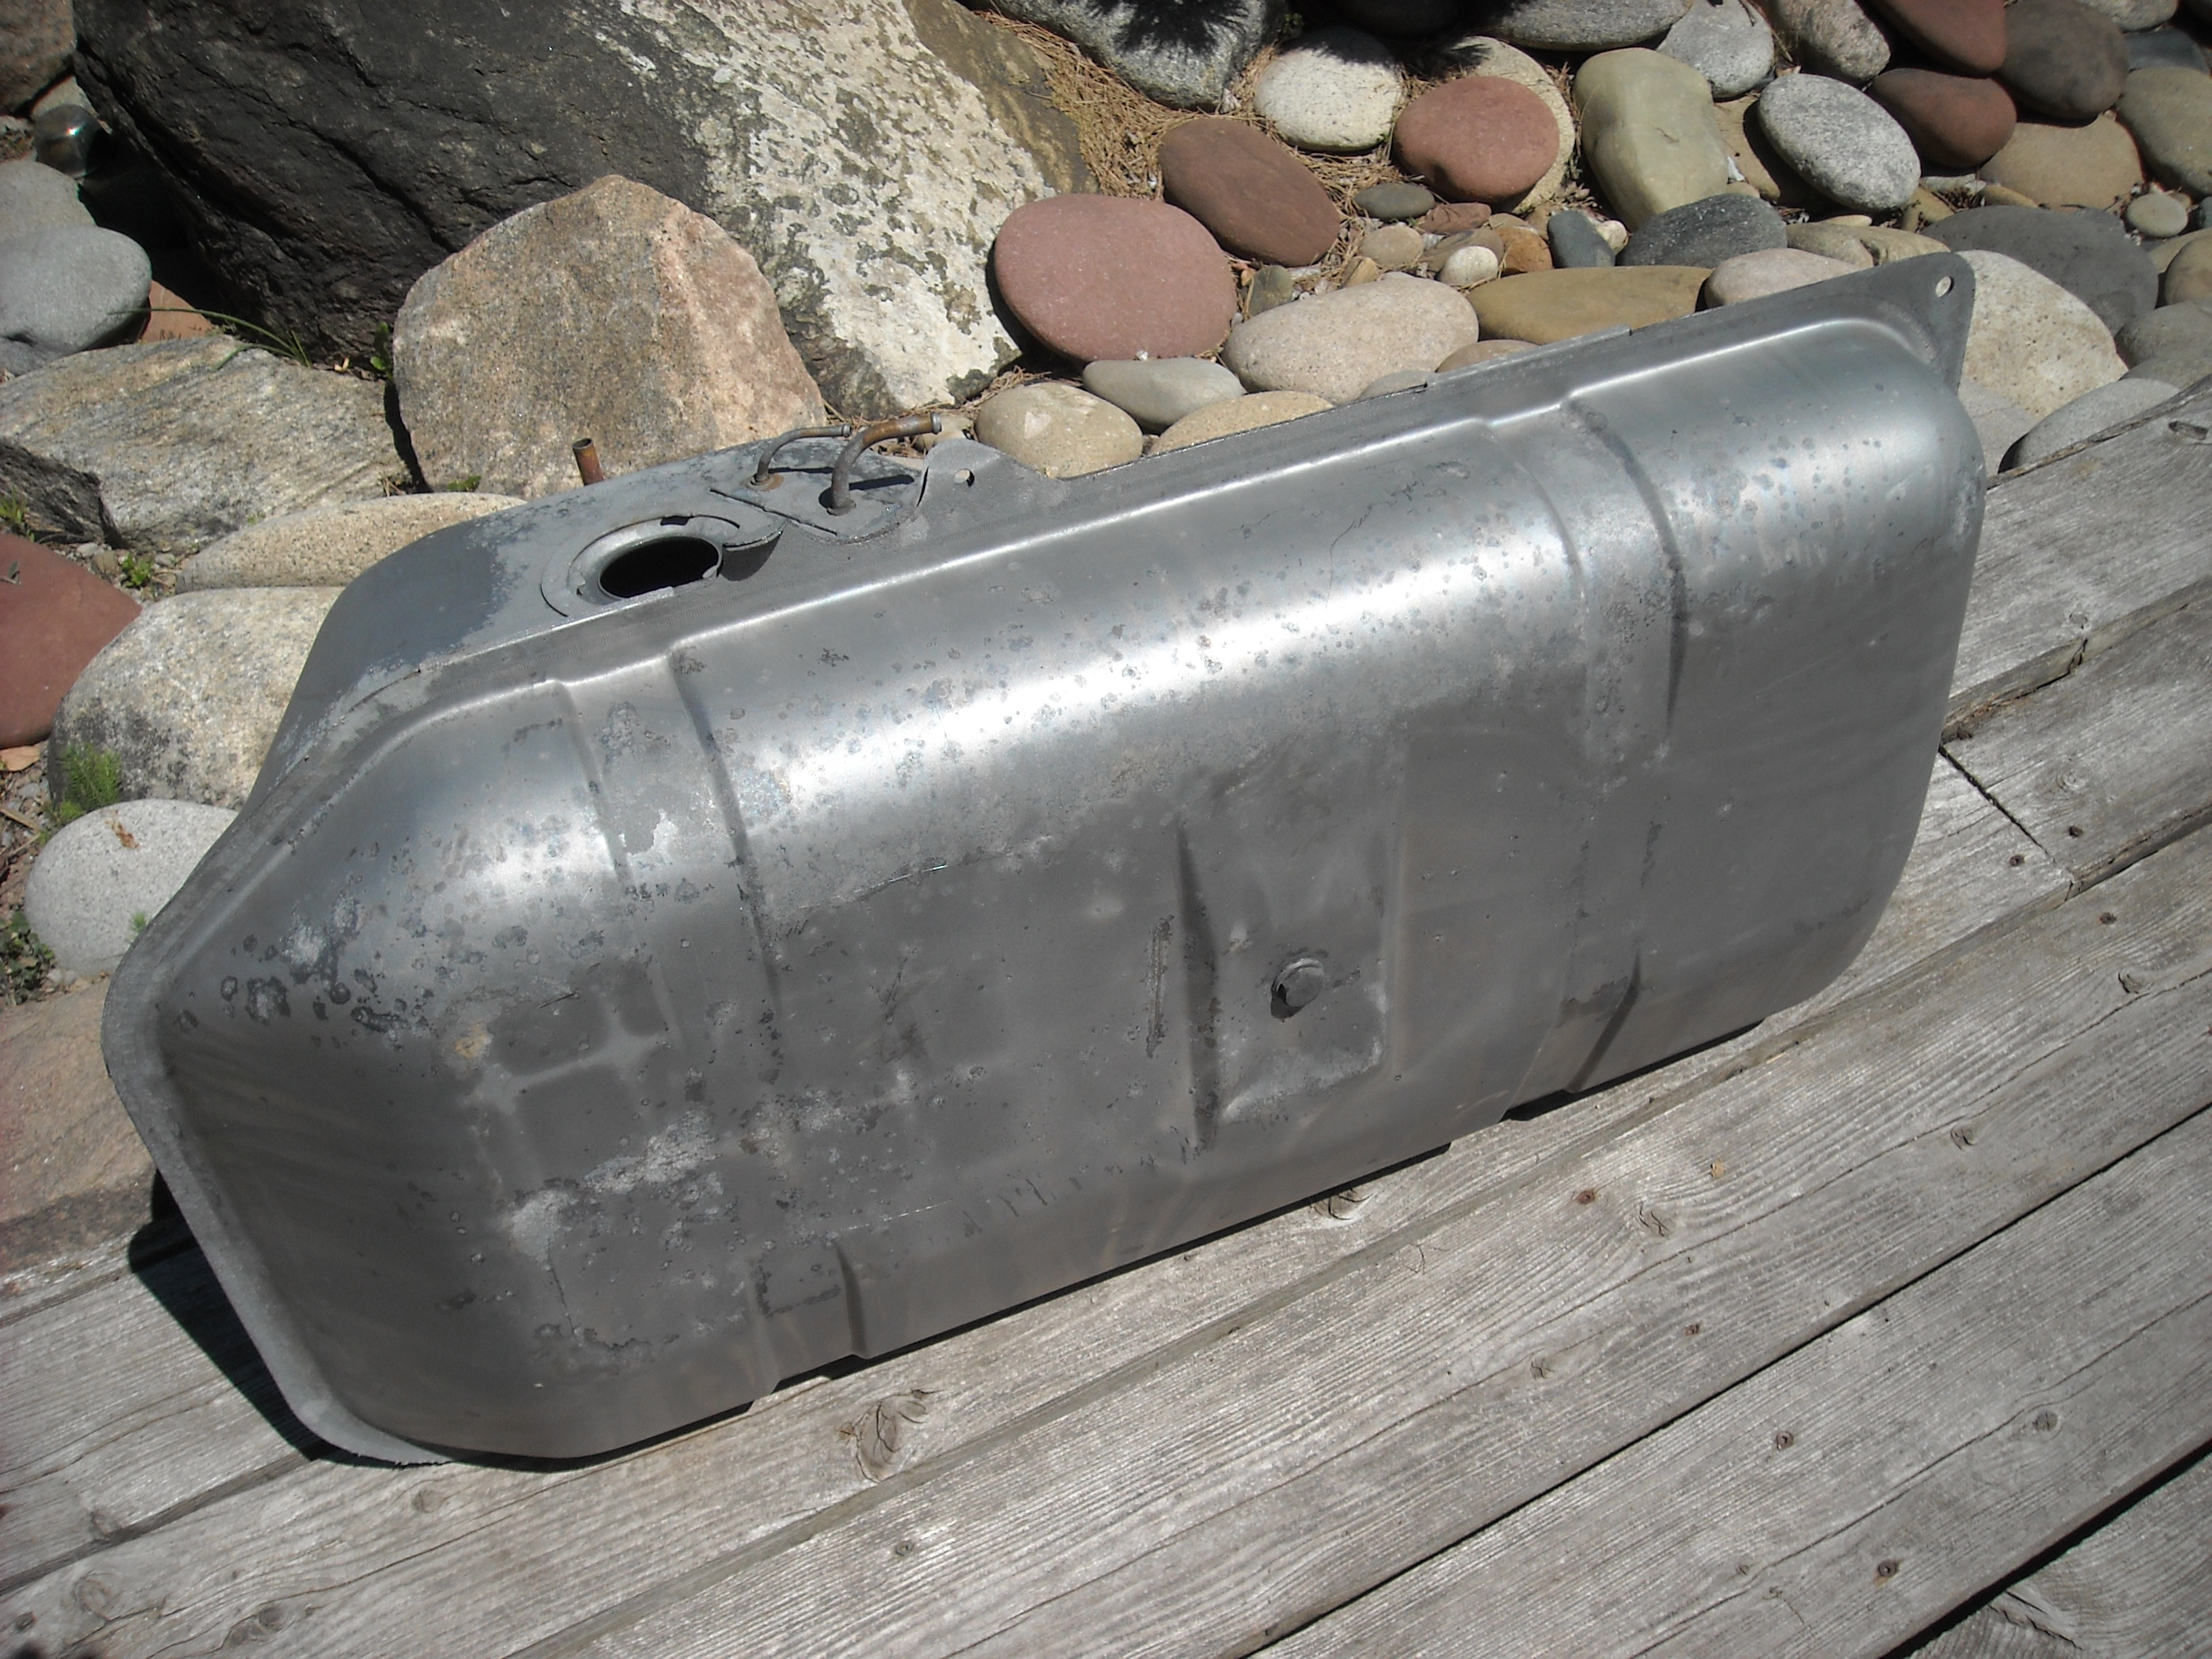
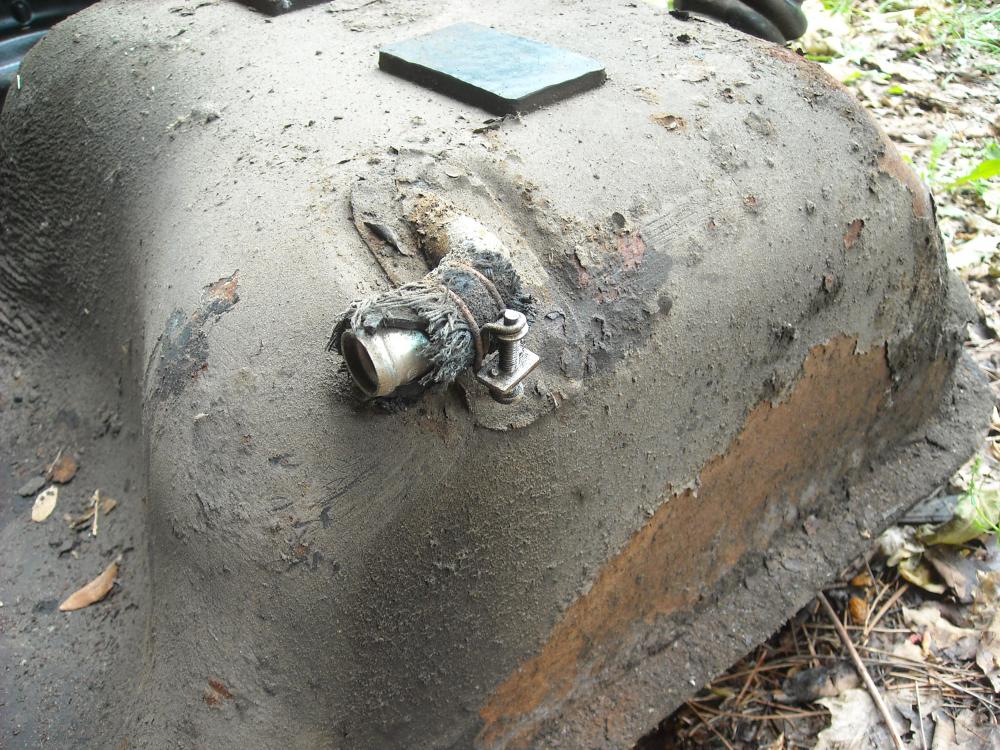
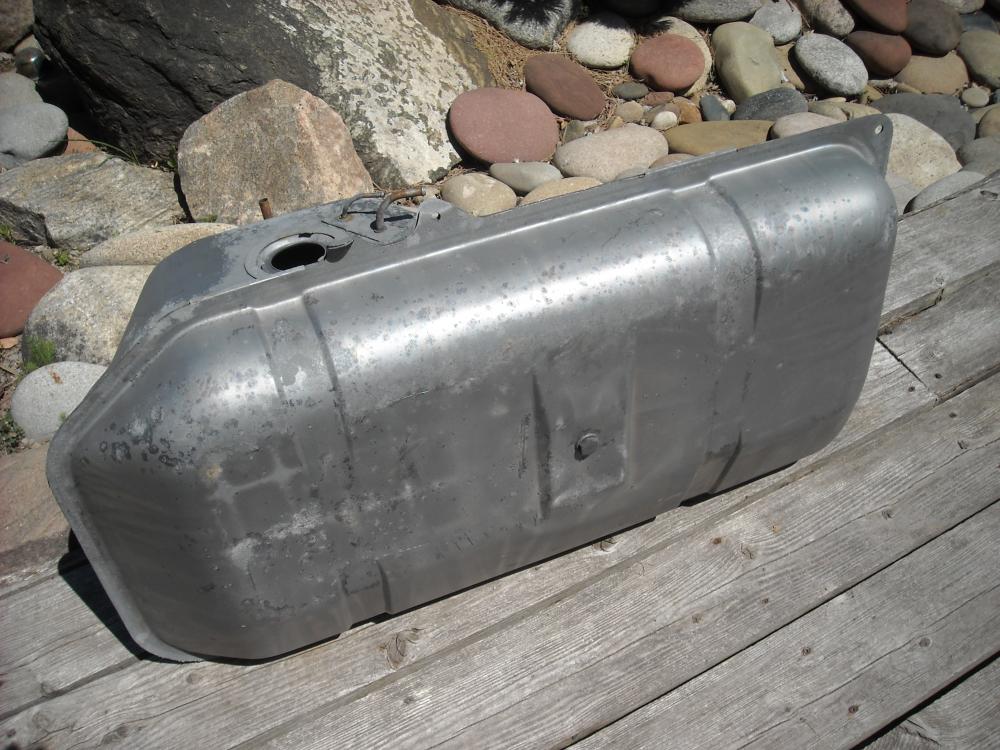
1 pointI took it to Techno strip, a chemical dip company in Etobicoke south of me,http://technostrip.com/restoration.html they have these chemical vats 20ftx8ftx6ft. Mostly they do industrial stuff but they also do brisk business in auto restoration. They can put the whole vehicle in at one time, grease, rubber,seam sealer, paint and rust are gone. All you get back is clean metal with a water soluble rust inhibitor sprayed on. So far I've used them for the frame of a Triumph TR6 and this gas tank, both came back perfect. Once I get the Z torn down it's going to them for the big dip, I'll be taking lots of photos.1 point
-
1 point
-
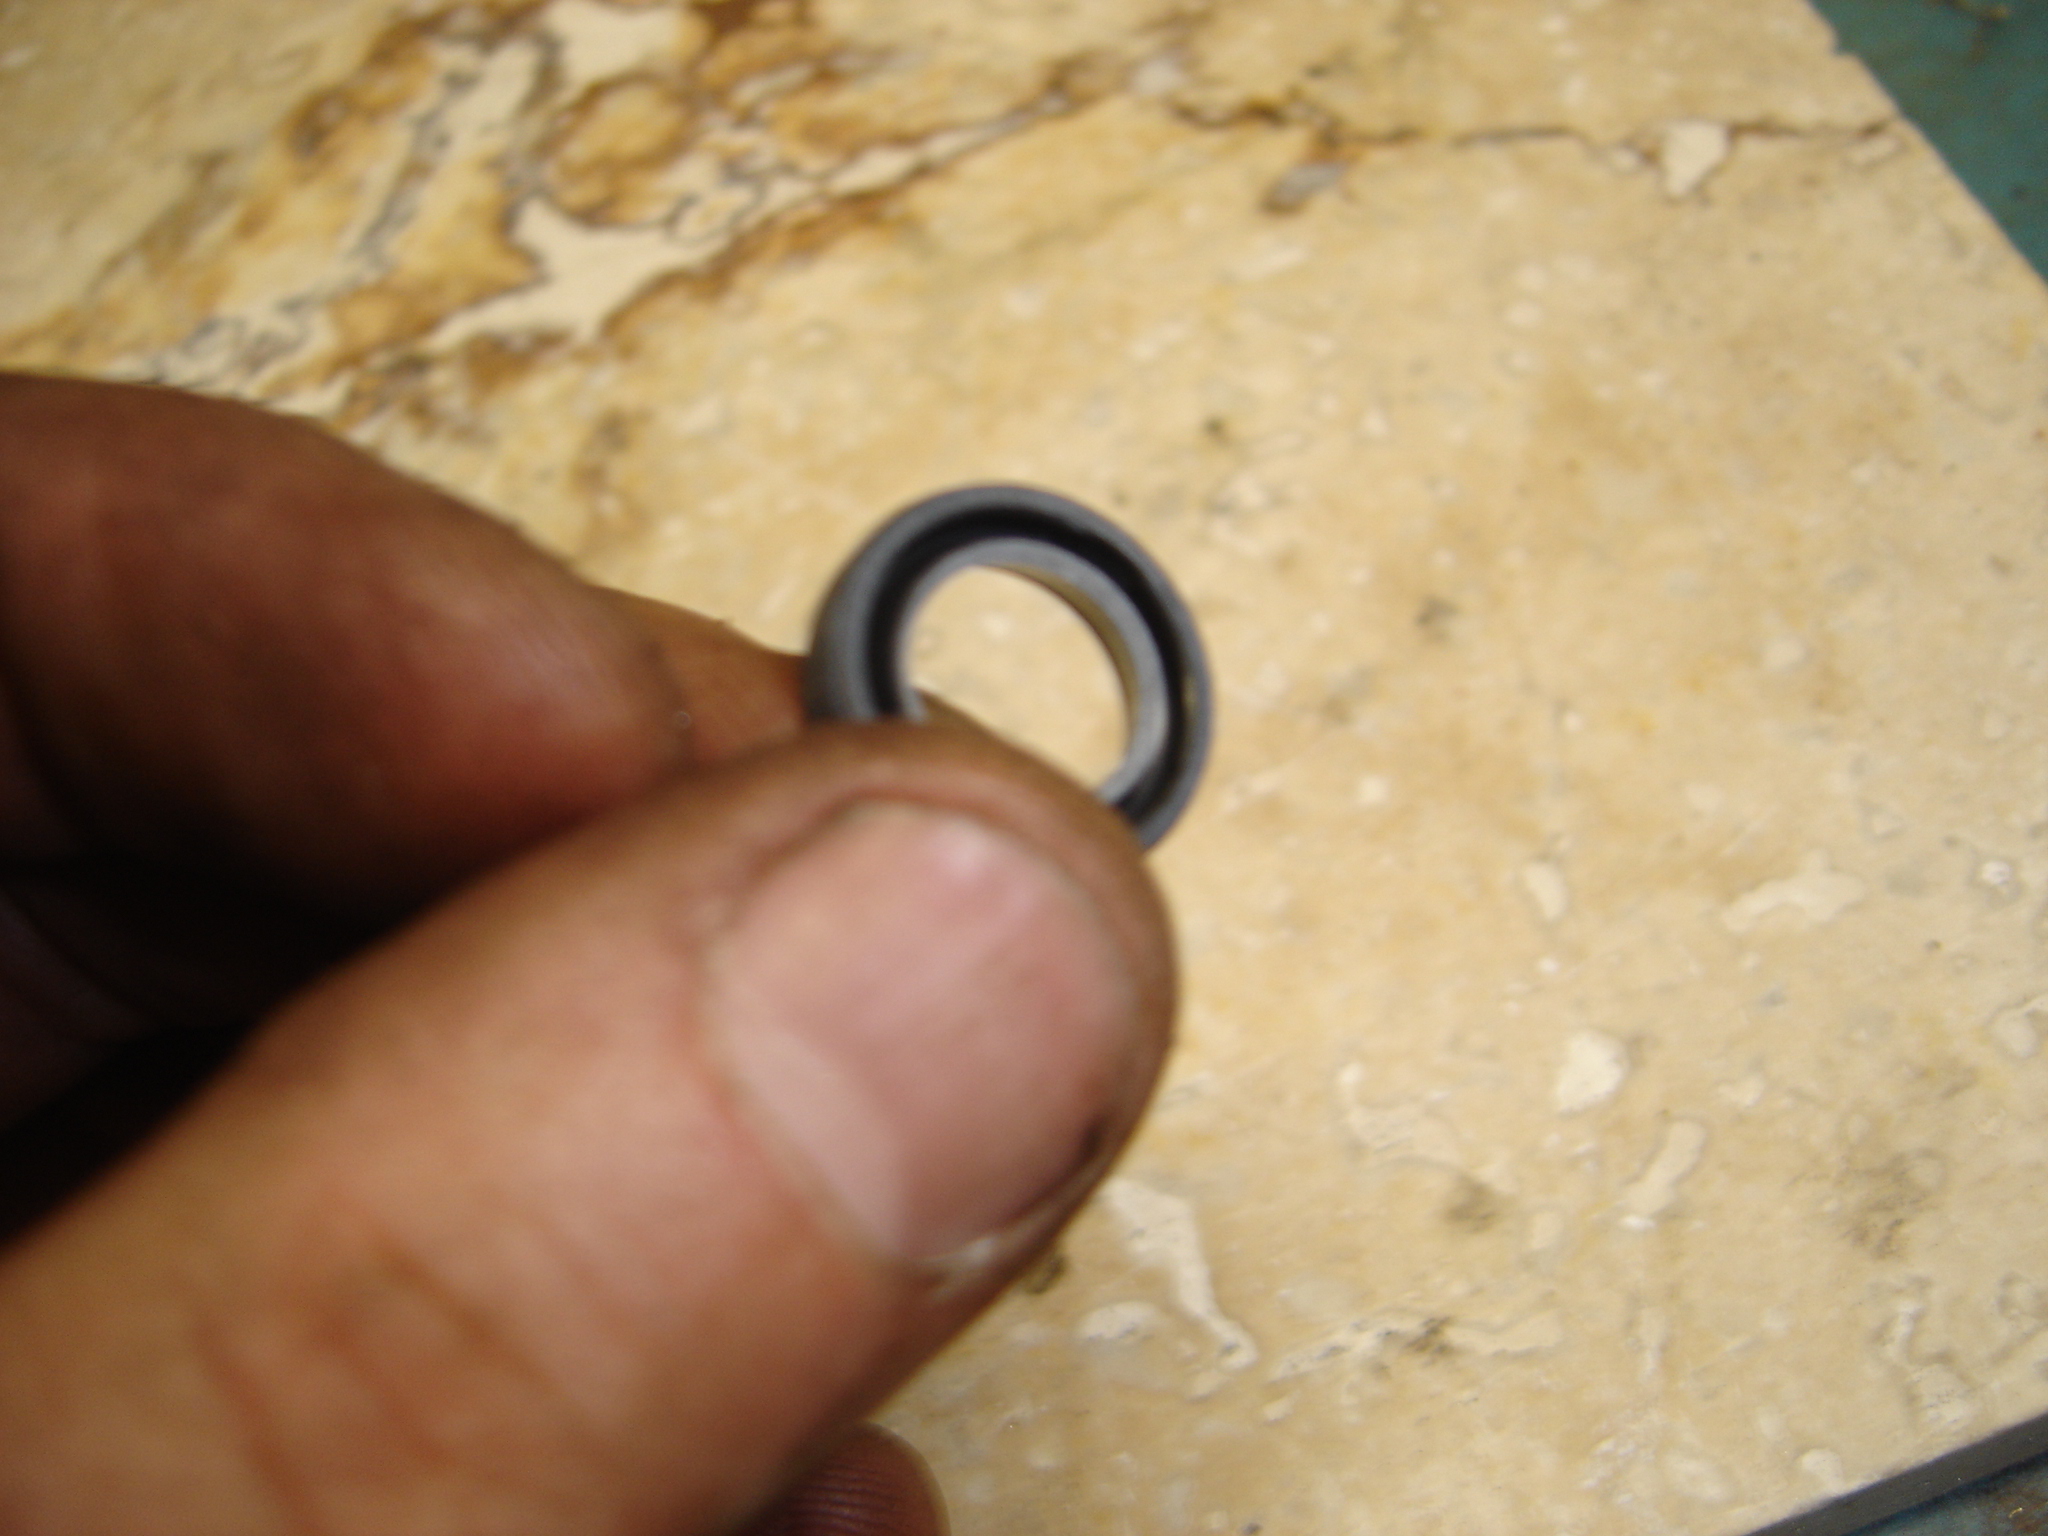
I got the speedo connection leak stopped. After doing what I did I took it for a short blast around my neighborhood, then put clean newspapers under there and they were spotless this morning. Yaaay! New oil seal in the pinion gear housing and an oring on the outside of the housing. My rubber top hat looking washer was still in good shape,amazingly. There is a groove that oil seal seats into too, didn't realize that at first. Soaked it in lacquer thinner overnight then used a wire brush on my Dremel to get down inside and clean it out then I used a deep well socket to drive it down.

 1 point
 -
Looks good. I also like those threaded jacks you're using for jack stands, very strong!1 point
-
The chat room would be valuable for anyone who wants to have a discussion that doesn't need to be archived... I thought it would be good for a Q&A session about the website or an event..1 point
-
1 pointIf I had my way I would off the rails(RR) and have a couple of these going at the same time. My wife wants me to retire and do this instead( lot less grumpy), but don't have a place to work- yet. I think I would like to keep it small and personal . It keeps the owner involved . In Bo's case , there just wasn't anyone around he could find to do this work local. I like being able to just shoot a text and pic to the owner and say-" look what I found today". So when the bills come in there is a story behind it.1 point
-
1 point
-
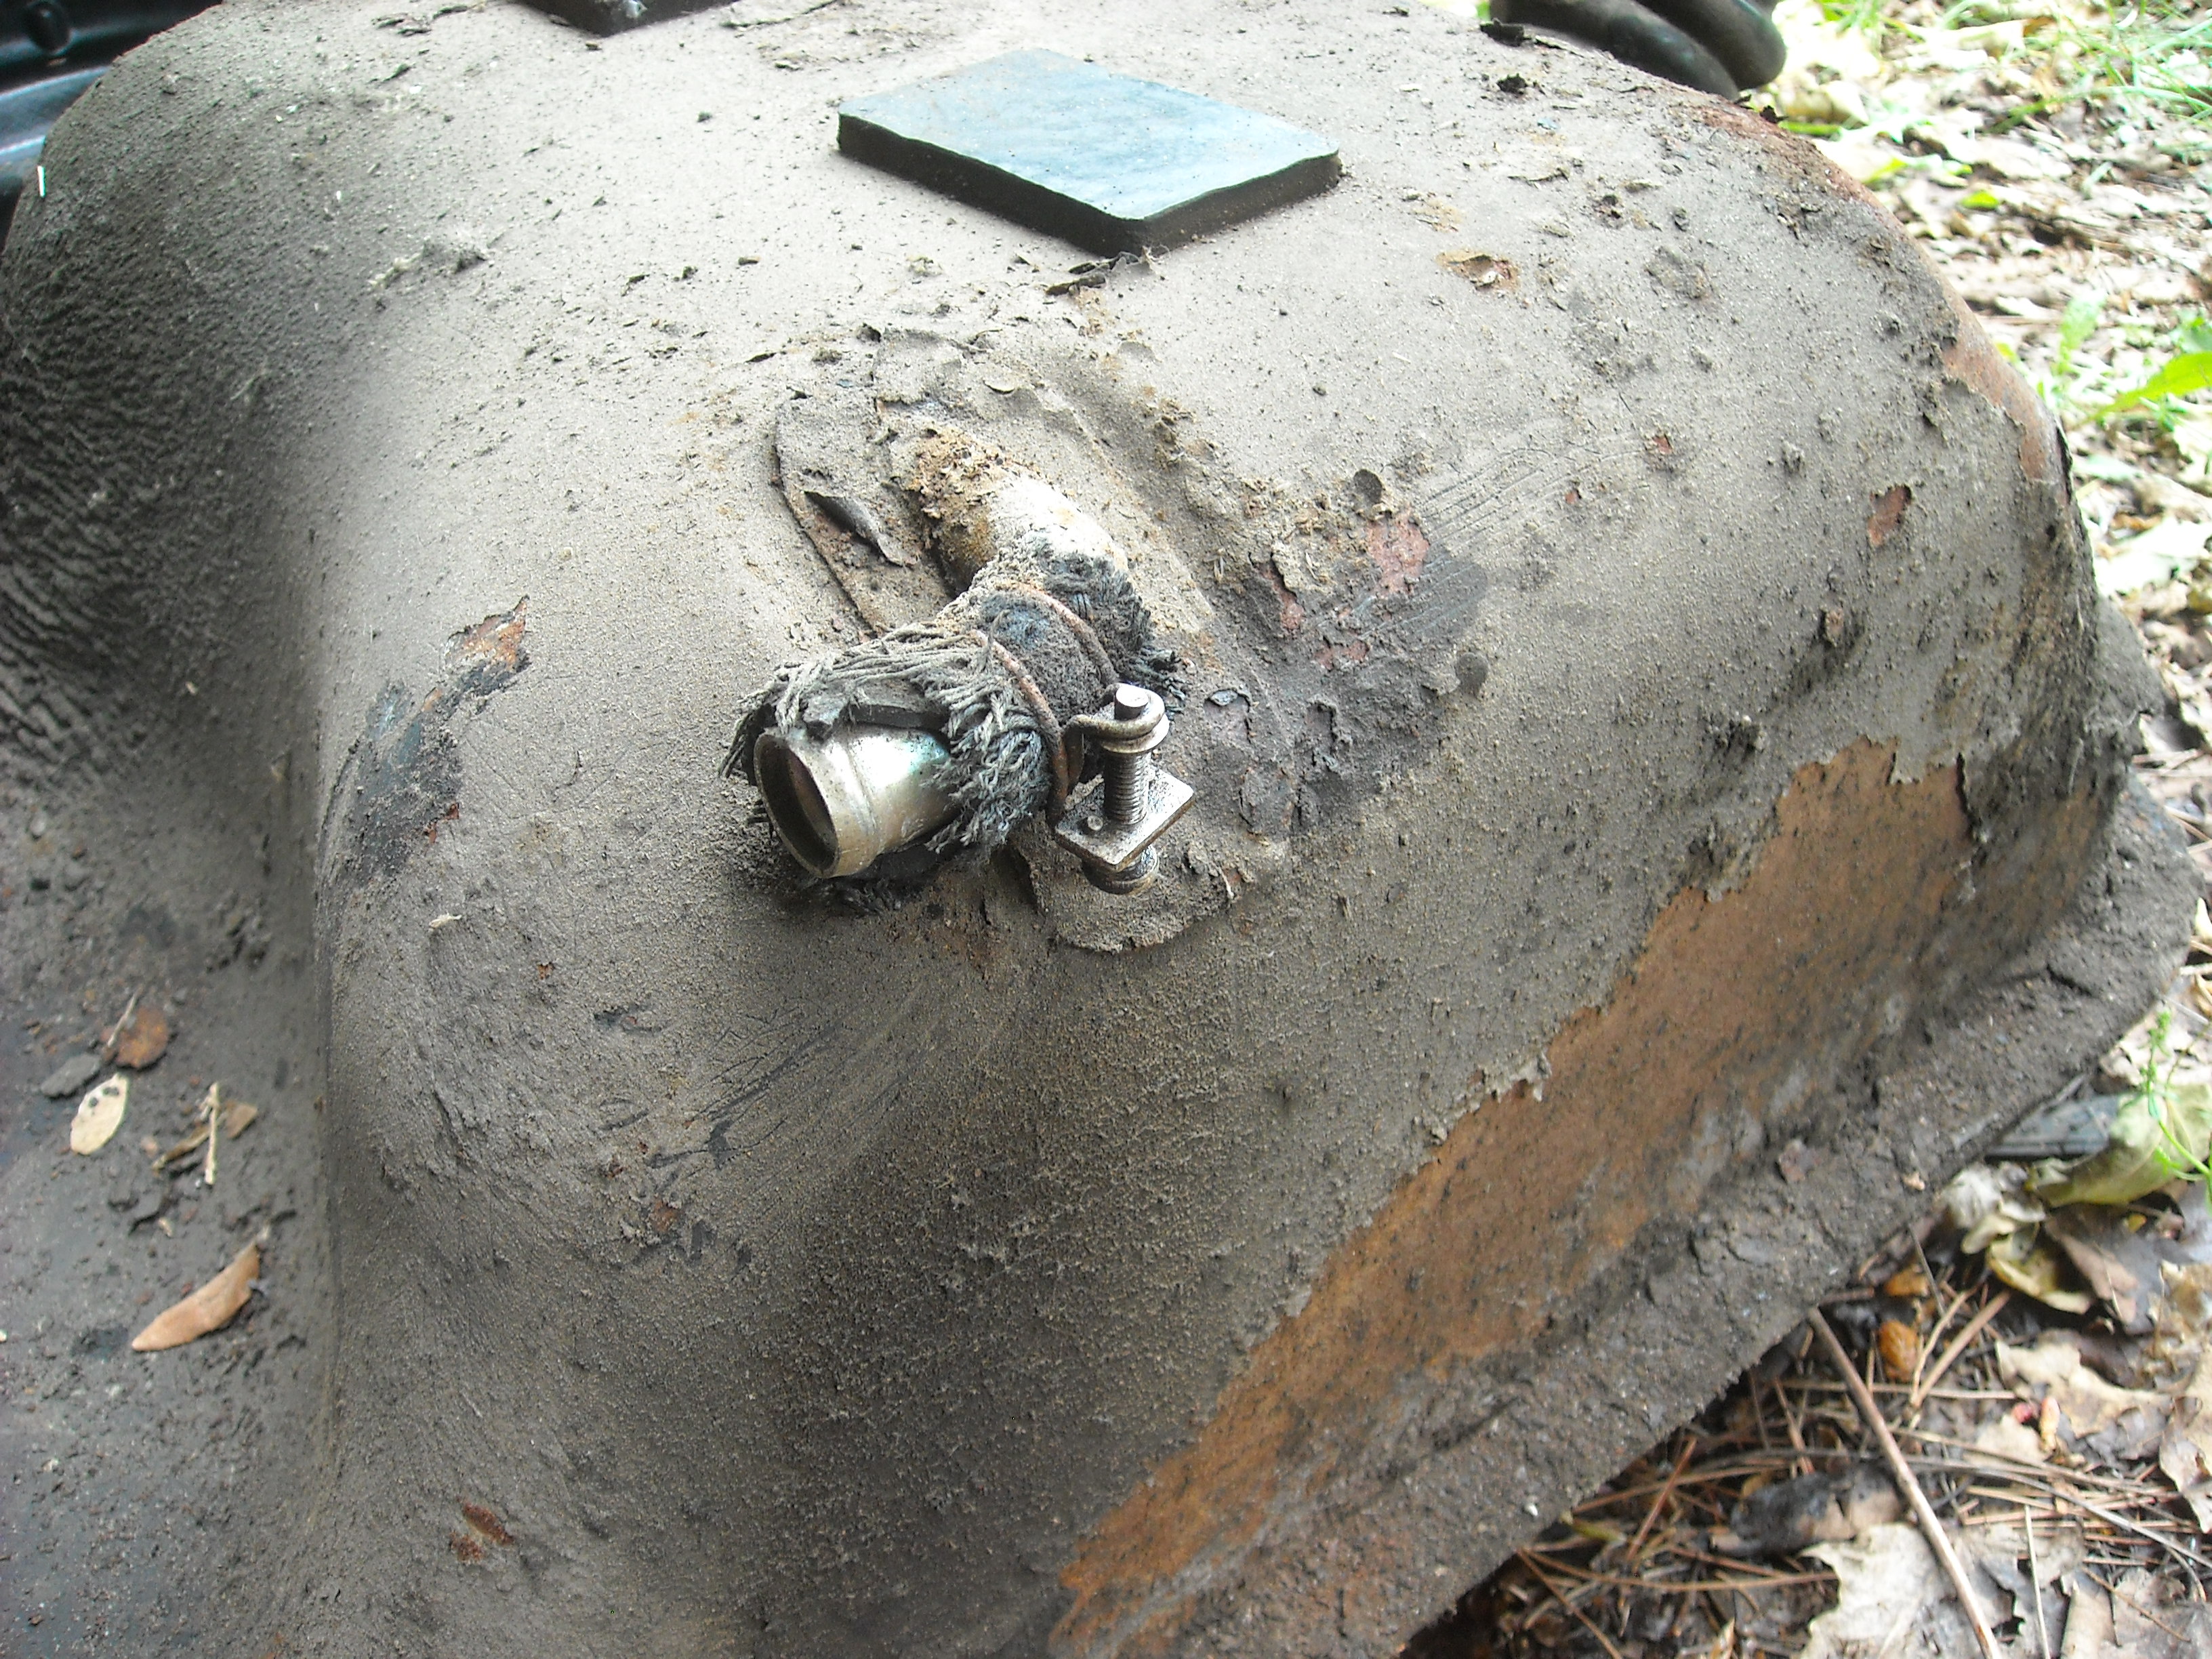
1 pointI wish I had taken some pics of the inside of this gas tank before I took it down for chemical stripping, it was nasty in there. Here are a few pics of the outside, you get the idea.and this is how it turned out, this is the same company that is going to dip the whole car for me. I poured some Eastwood's After Blast, phosphoric acid inside and out to keep the rust off.


 1 point
 -
A small celebratory post is in order. Yesterday marked the 2 year anniversary of owning #8011. It has been a long time since I posted up anything about the car but rest assured I still have it and she still runs. With the warmer weather in full swing and lots of house projects taking up my time, I have not driven it very much. I did make it out to the Austin Cars & Coffee on the 12th. This past weekend I got to meet a fellow 240z owner that lives just a few minutes from me. Over the past 6 months the To-Do list has been growing and it has reached a point I need to take the car off the road for a while and sort everything out. The biggest item of attention is the rear suspension. The car has had a noticeable sag in the rear for quite awhile but the drive out to C&C revealed a kind of rubbing/clunking noise when the suspension is pushed down. So this will get addressed along with getting the heater control cables unstuck, cleaning and greasing the window tracks, and possibly tidying up the radio wiring. One of highlights of last year was getting to meet the original owner of the car. It was great to hear his stories and see that he still kind of cared about the car. I made a separate post which can be seen here -> http://www.classiczcars.com/forums/topic/52547-a-meeting-with-the-original-owner-of-8011/ Another small project I have been working on is the restoration of the series-1 air cleaner I bought. It is still a work in progress but I am getting there. Once complete I will do a full write up on it. Be safe out there everyone and stay cool!1 point
-
Generic directions; Tools needed: 1/2" & 9/16" wrenches and/or sockets, small bottle jack. Step 1, don't get in a hurry and rush the exhaust installation Step 2, refer to step 1 I got excited and wanted to fire that little baby up! I hastily installed it the easiest way which was using the top hole in the hanger straps. Now I've gone back and using the bottle jack am able to tuck it tight up against the car. The mid and S pipe flange is no longer the lowest point on my car. I was about to let the muffler guy do it but working on these cars is my hobby so taking it to someone is my last resort.1 point
-
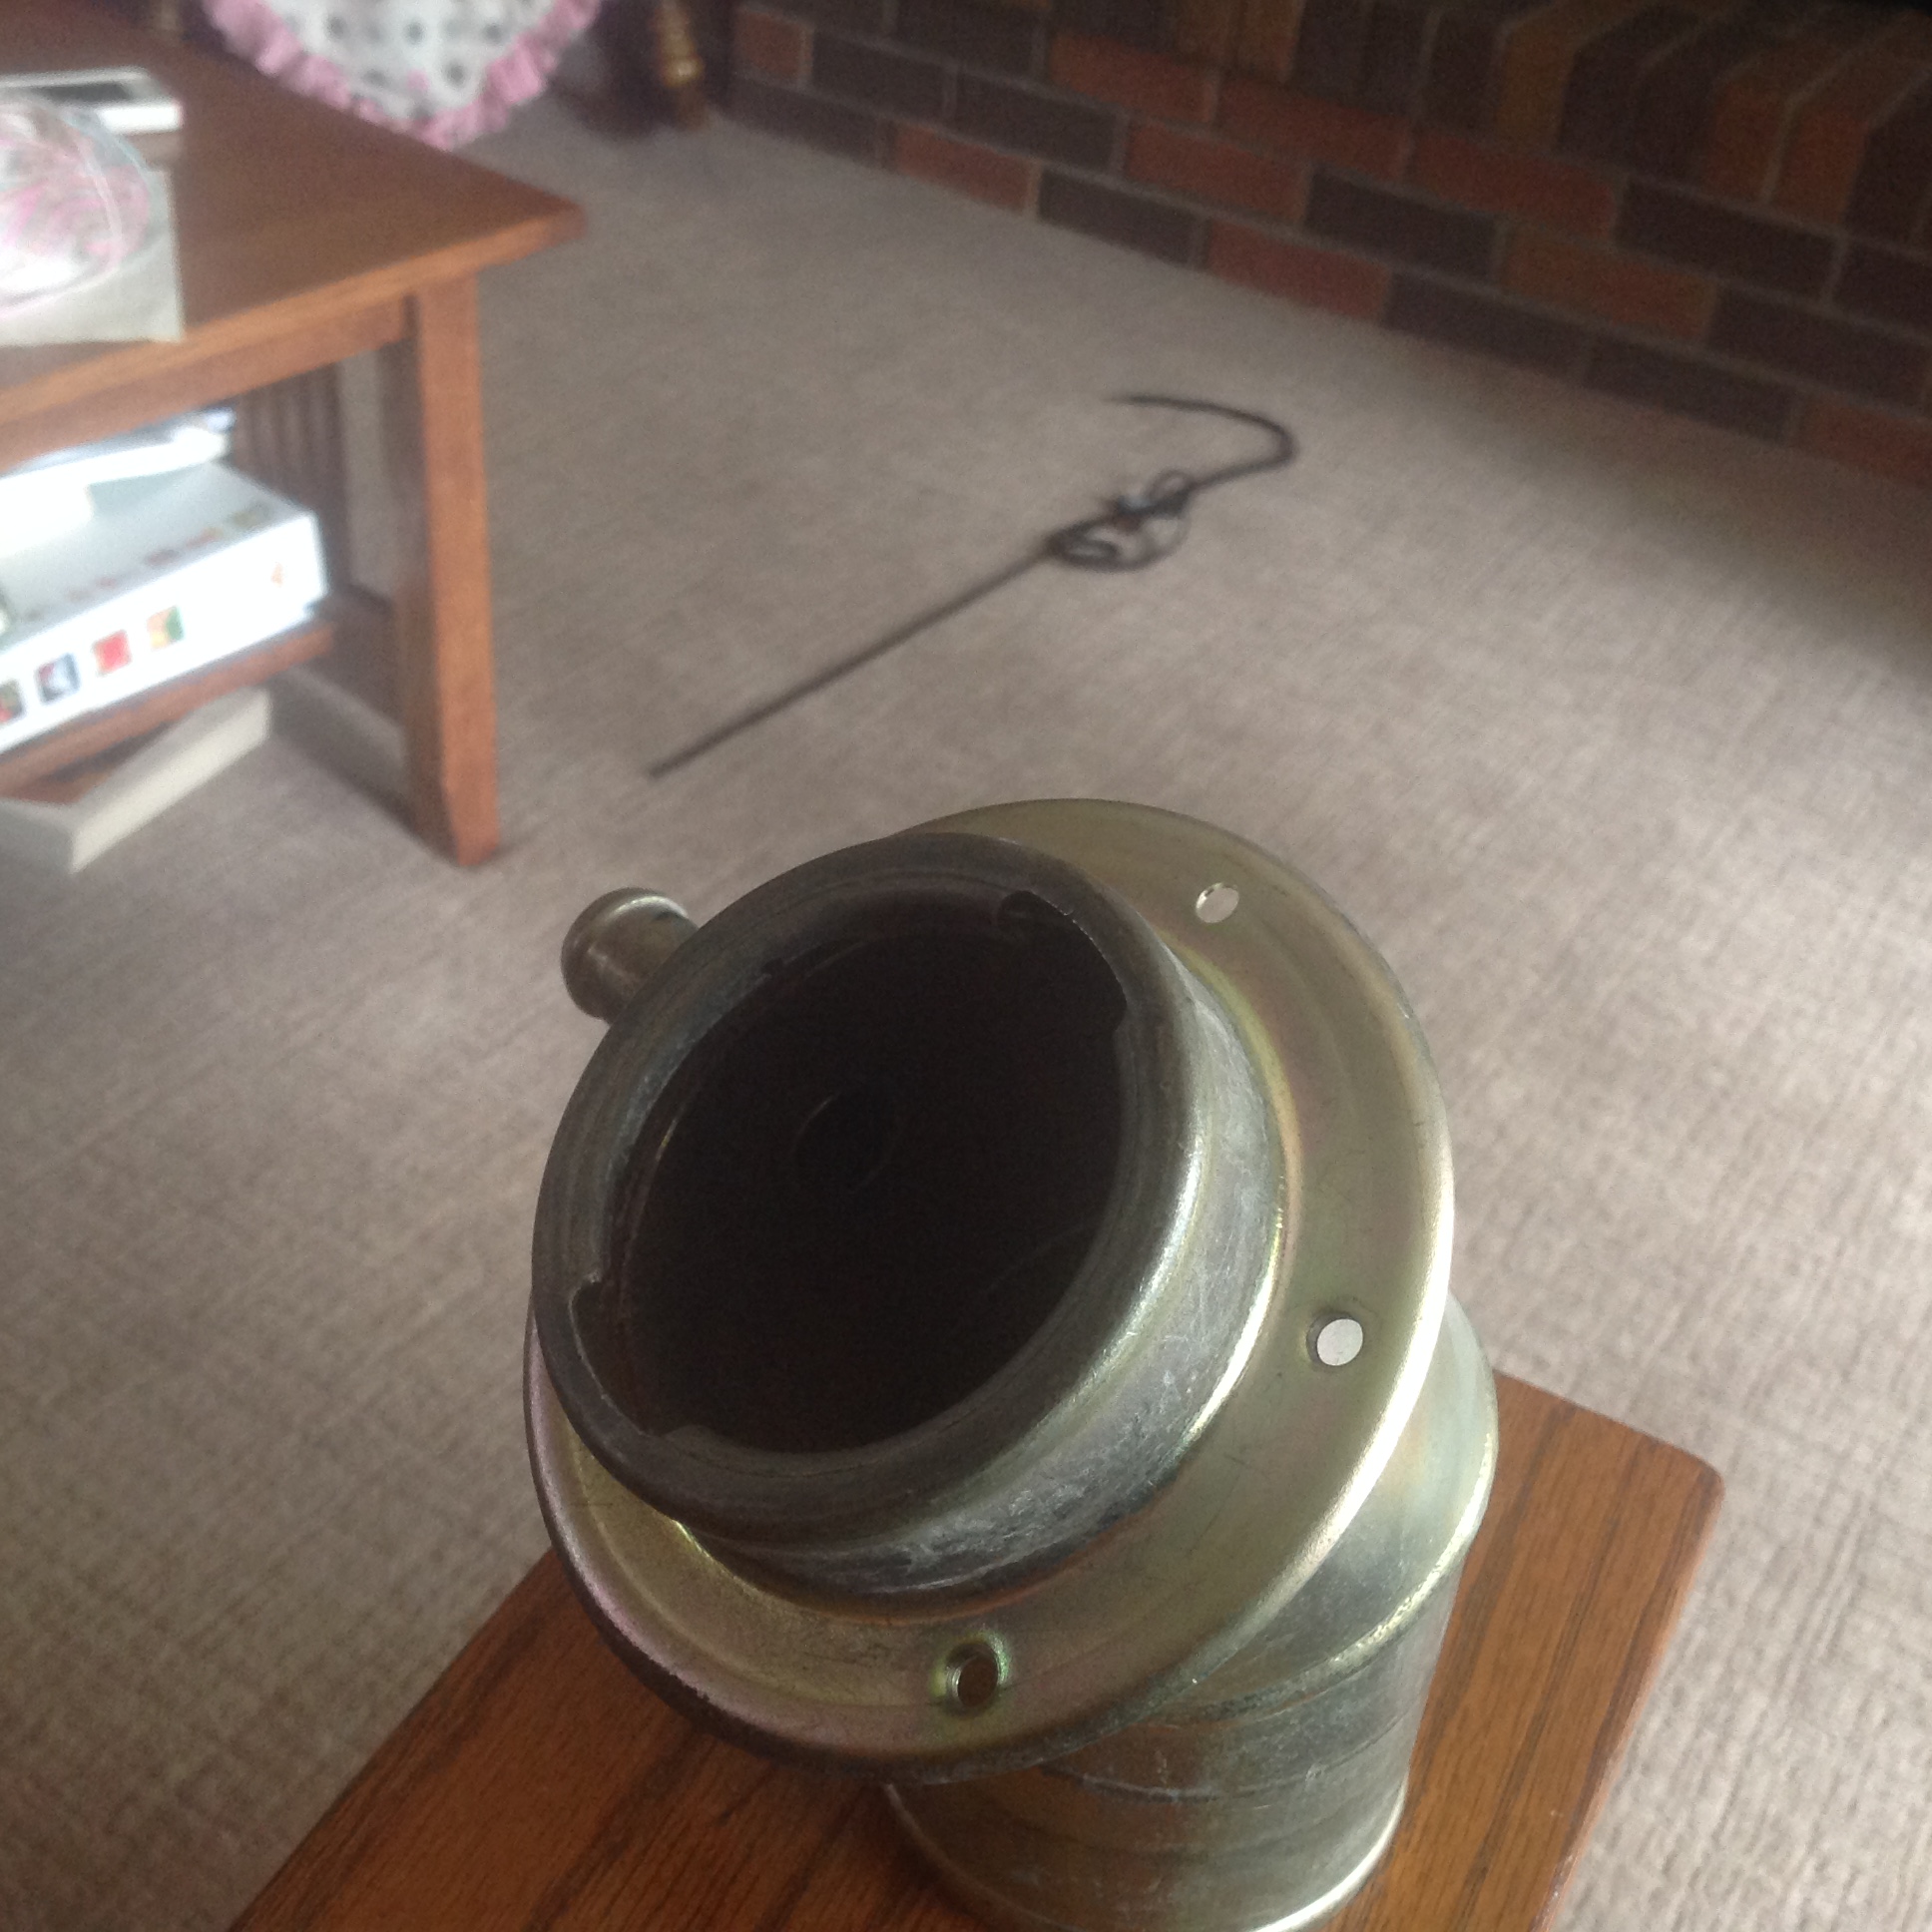
1 pointI've just realized there is a considerable fly in the ointment about my little locking cap solution. Only the 240's have that external filler neck ring that is so easy to remove and apply a weld bead to.. 260 and up has a much larger filler neck like this. There is a unique filler neck for the 2+2 according to the fiche, and the 77-78 models are different again, with the smaller cap and no chance at all of a locking cap. Dang. No way to get in from the end and place that weld bead. However there is a way to make this work, I think a screw/bolt in from the side at the right spot at just the right length would accomplish the same task of providing a stopper for the locking caps tang to hit, just like the weld bead. You'd have to seal that bolt in that hole as well to prevent leaks. Little welding for that, or JB weld.... Getting this sucker out of your car is perhaps the most challenging thing. So long story short, if you have a 260/280 and want me to do the mod, you're going to have to send me the whole filler neck. I only have a couple of these, so cores will be required. You lucky 240 folks can just get a modded filler ring off me. Questions?
 1 point
 -
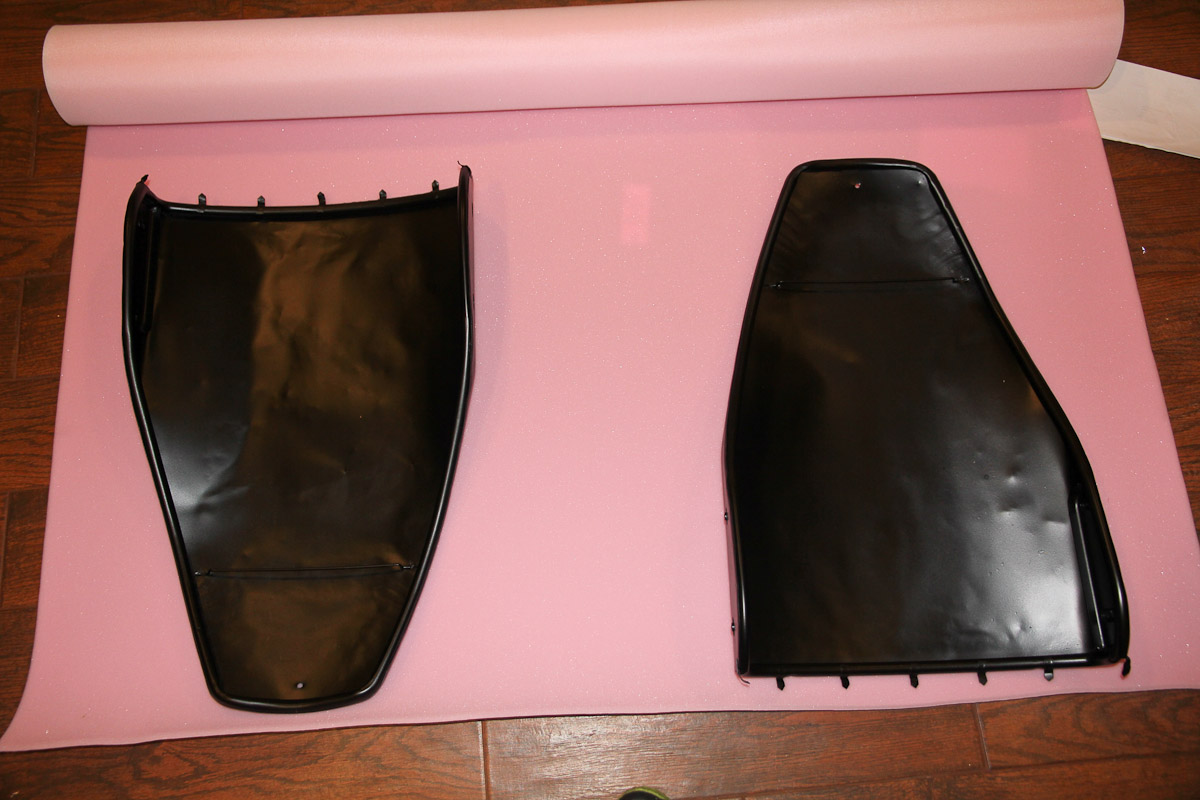
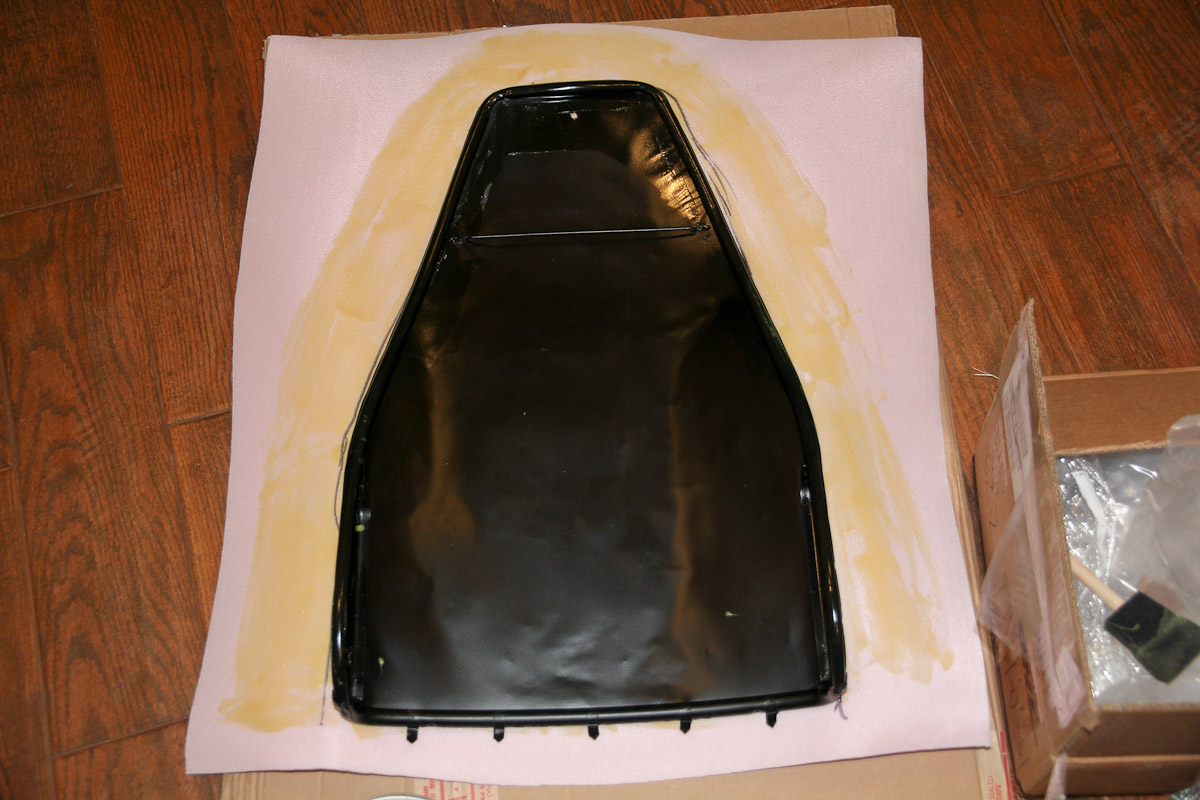
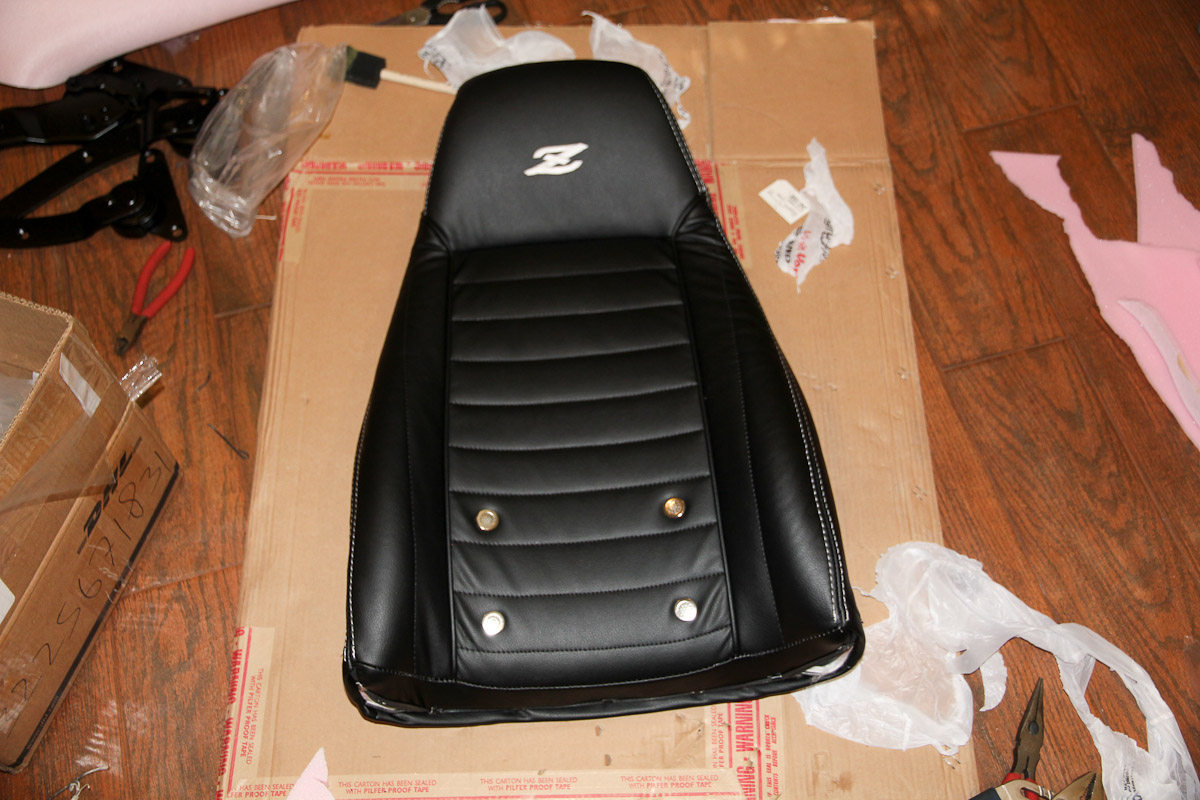
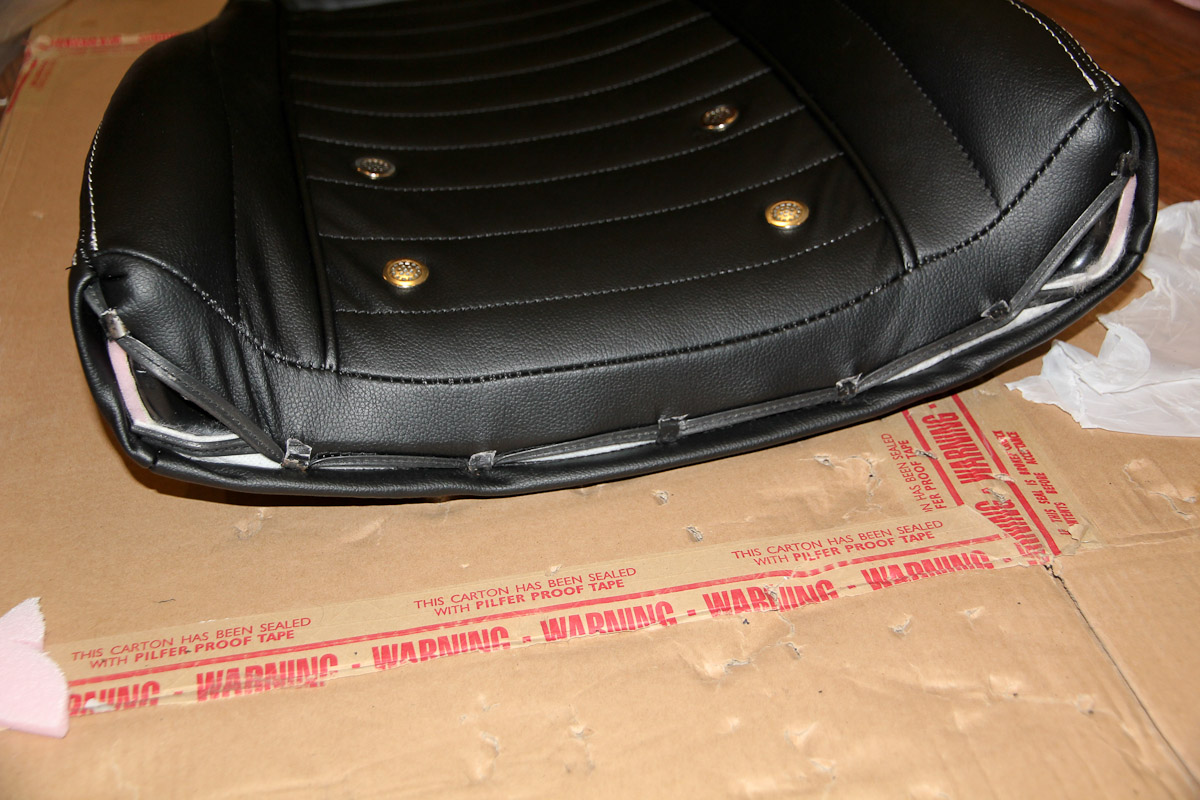
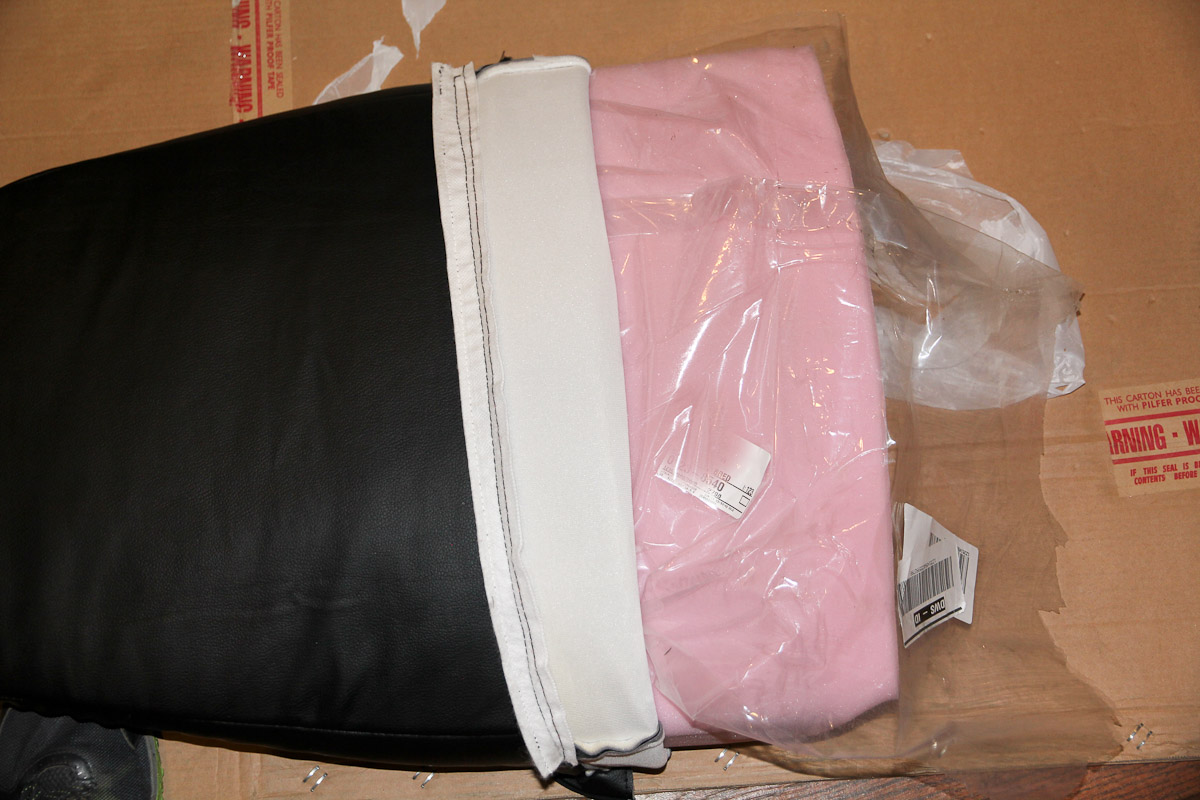
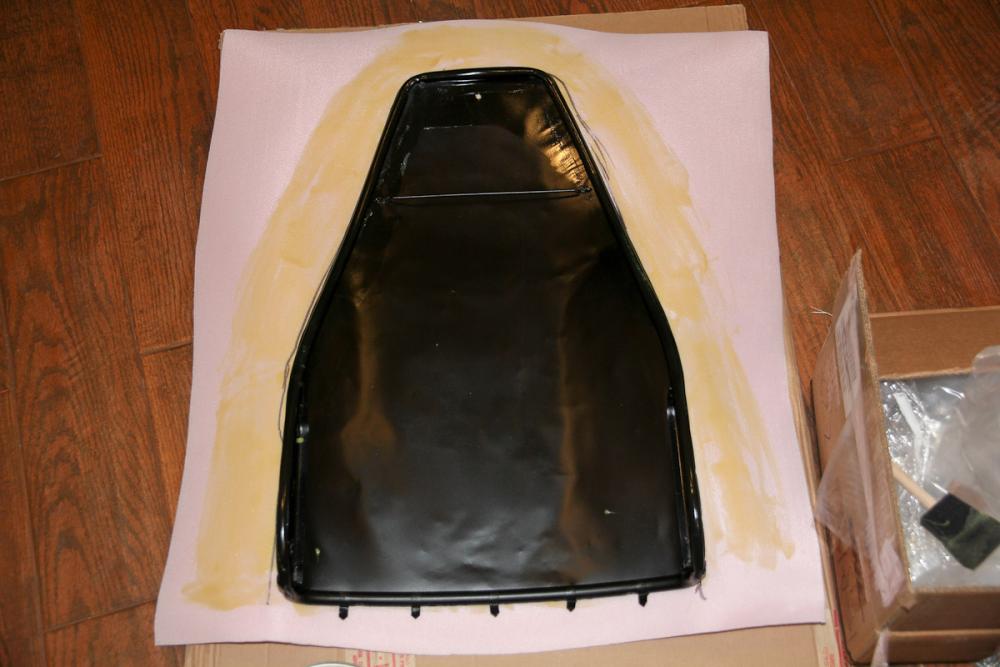
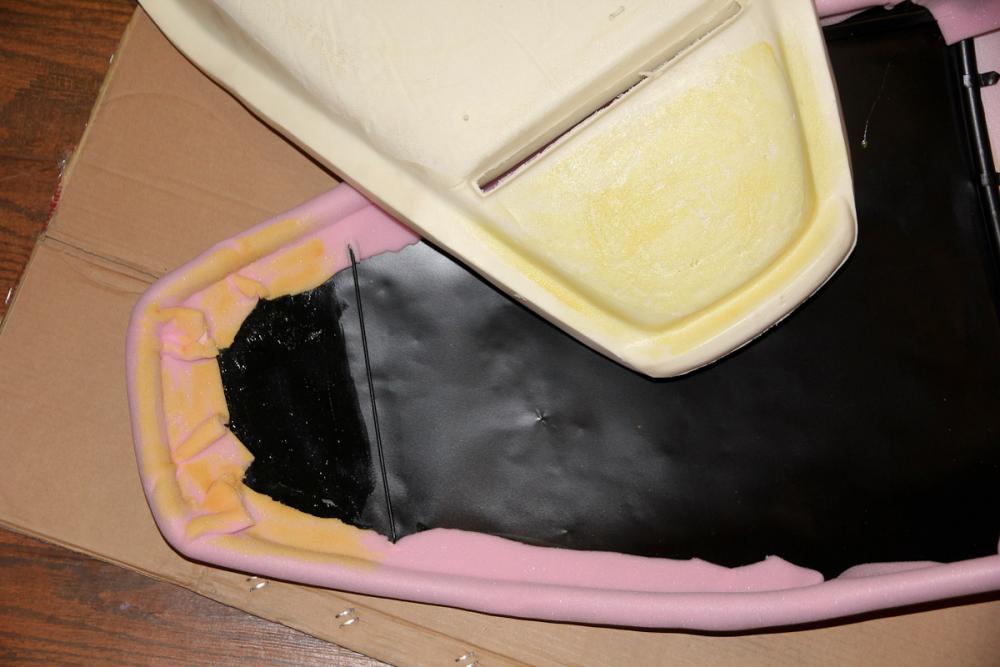
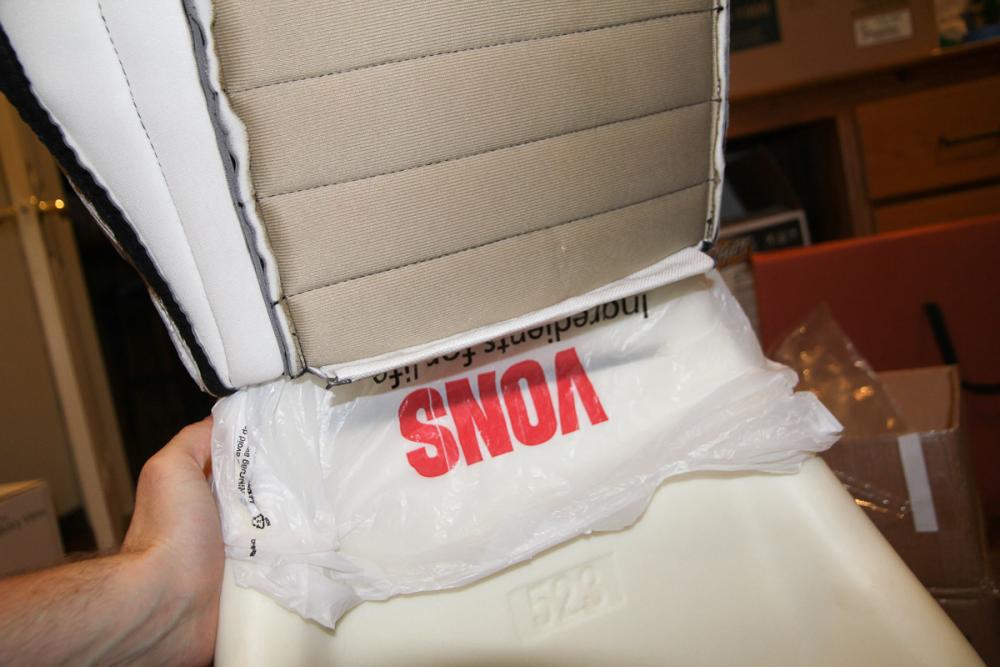
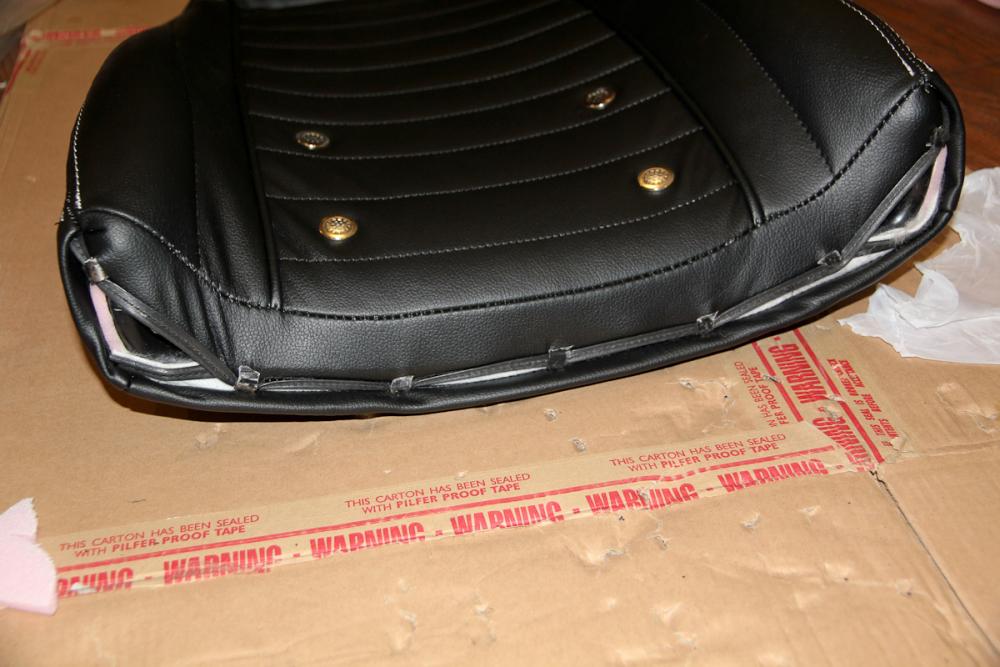
One seat back down, one to go! Special thanks to @Hardway for his excellent writeup on installing these things; I referred to it a number of times. I think the back actually was easier than the bottom. A few hopefully helpful things I did in addition to Hardway's writeup: Glued the headrest foam to the seat back, which kept it from moving around. I didn't glue the rest of the foam, but may try that for the second one. A plastic garbage back on the headrest lets the cover slide on very easily. Cut across the top of it and the bag can slide out after it's positioned. Plastic sheet on the rest of the seat made it pretty easy to slide the cover all the way down. Not really needed on the front face, though. Quite a tight fit when it's all said and done. There's a little more strain on left tangs than I'd like, so I hope things stretch out and relax a bit over time.


 1 point