All Activity
- Today
-
 I've done more research and grounded one of my headlights and that works. I've now moved on to the rear running lights which are not turning on with the headlights. I am getting no 12V send to just the running lights. the breaks, reverse, and turn signals all work fine. looks like im not getting any 12v to the green/yellow. I tried following to C10 but no luck at this point. Im trying to open each connection to clean them but they are extremely stuck.
 -
I am going through my project car and trying to track down why the headlights arent working. The headlights and running lights are not working. Testing the connections i am seeing the the ground has power. While tracing the wiring back and testing the combination switch behind the steering and the hi/low switch crumbled to bits and broke. I am going through the 1977 wiring diagram and trying to understand what goes where but i cant find the short and its useless. can i get a good wiring harness or partial harness?
-
 Where is there a Bimmer?
 -
 Is it Charles ? My memory is short . I’d refer you to my thread on Hybridz . I managed to document a lot on there . I also have a thread on the Megasquirt install there . Ask away about anything you read HybridZ3.2 Build EFI N42 / MN47
 -
 That looks like a nice looking Bimmer on the far end at the shop. Maybe some Apex wheels...
 - Yesterday
-
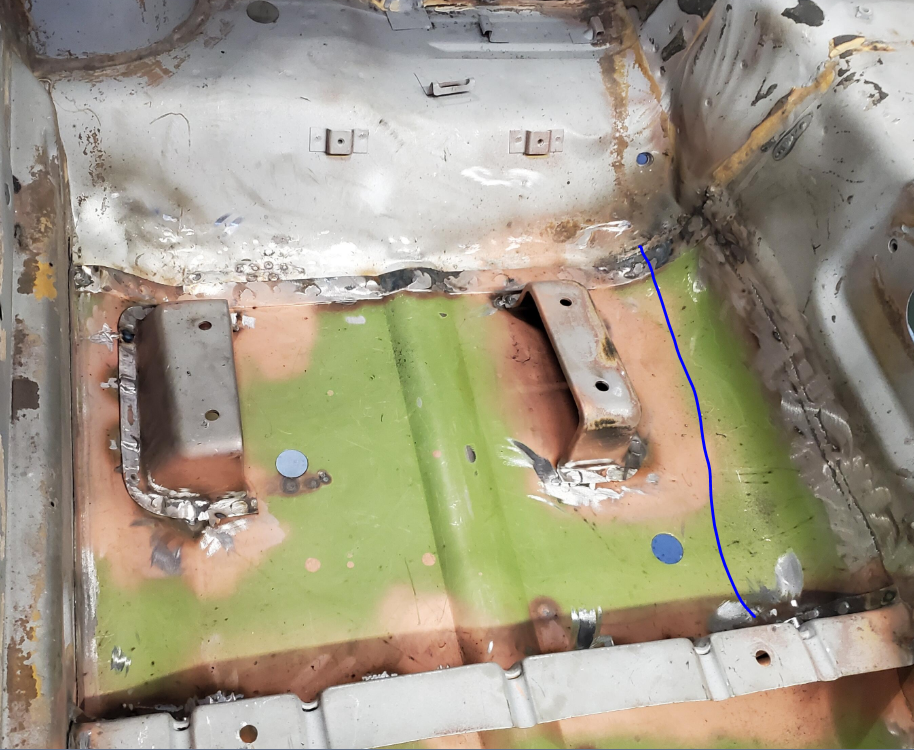
to last, they need to be welded really good and probably not just around the outer edge but somewhere internally to prevent flexing. Flexing there will eventually cause cracks just like the cars get sometimes at the upper rear qtr to roof joint
-
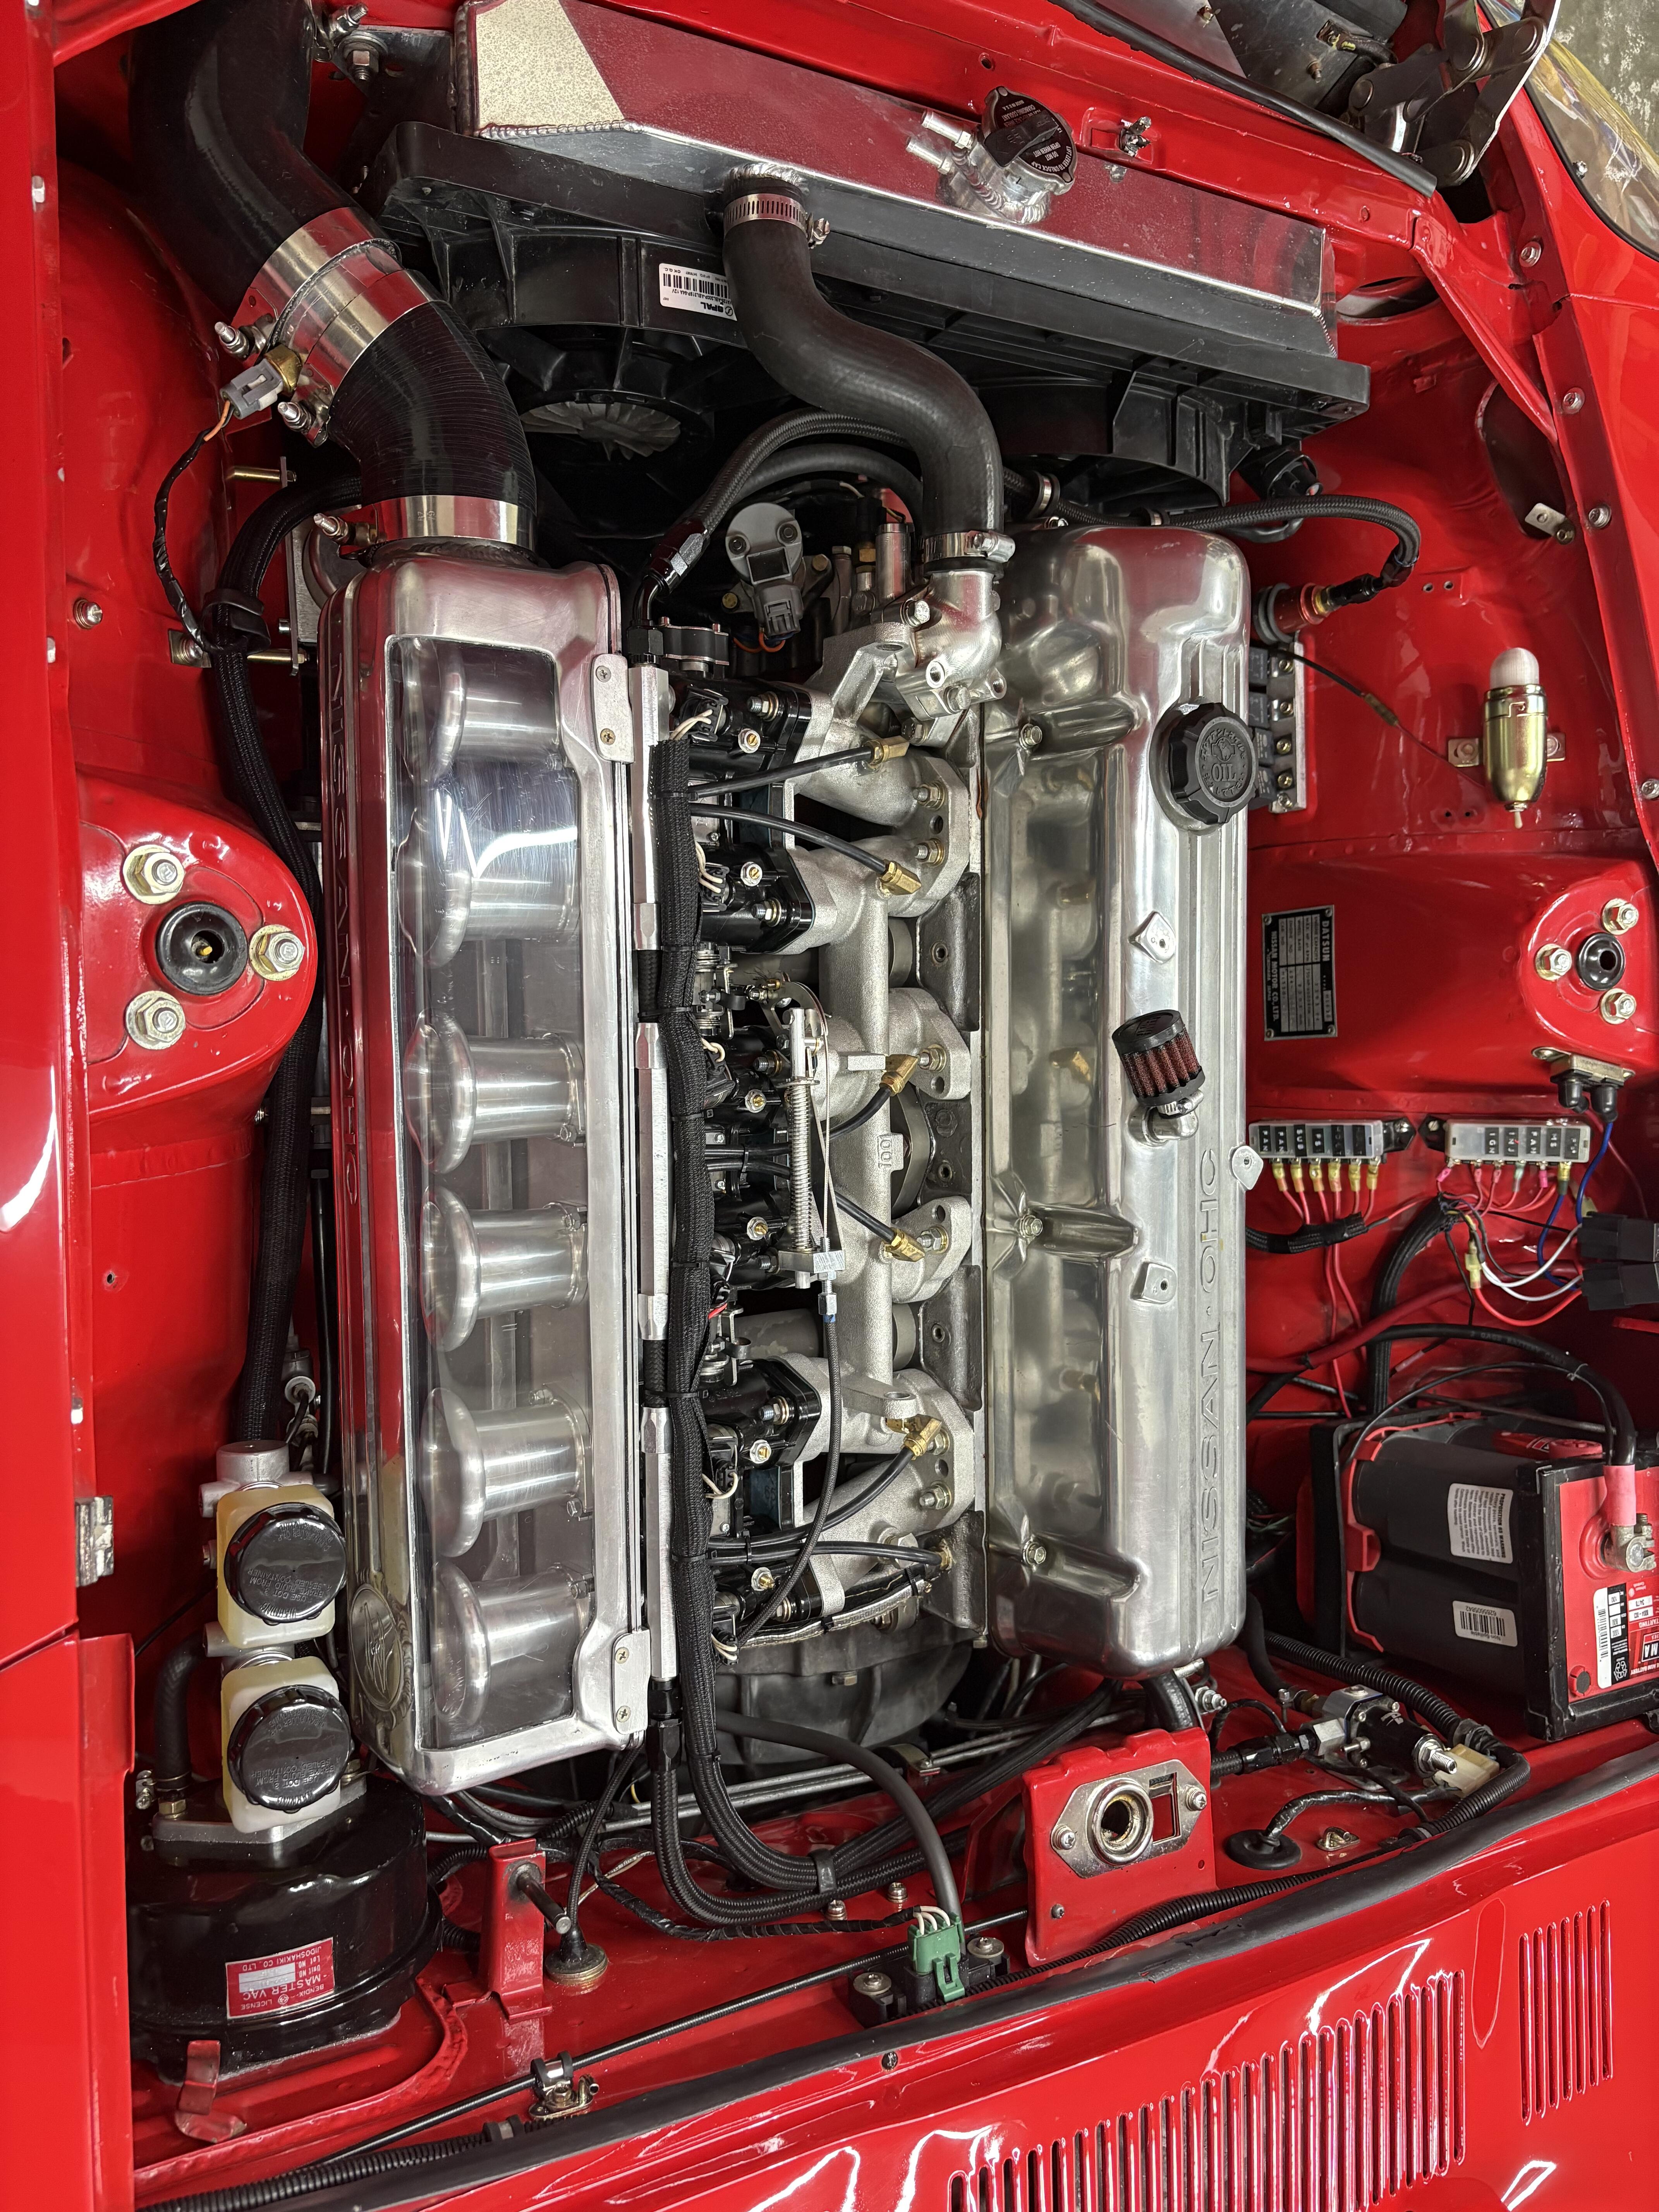
Can you provide some more pictures and some details on the system right now? Still running megasquirt? DIY harness or turnkey harness? Ignition? Coil on plug? Fuel pump and setup? Etc...
-
 Nice-looking property. Definitely what every buyer hopes for when they read, 'Treed lot'.
 -
 I was able to get M4-.7 x 20 oval head screws locally but had to paint the heads with gloss black rattle can. Needed fasteners to hold the A/C control panel on the ICF but no one has oval head thread cutting screws the right size. Ended up getting #6 x 3/4" wood screws which were also painted gloss black. Used a #6 countersink drill bit to prepare the plastic panels I fabricated (pix will follow soon). Looks great when assembled on my workbench and now looking forward to getting everything attached to the car.
 -
 RNM at $25,000. Reserve too high or market too tight with their money? Scary times ahead here in the States.
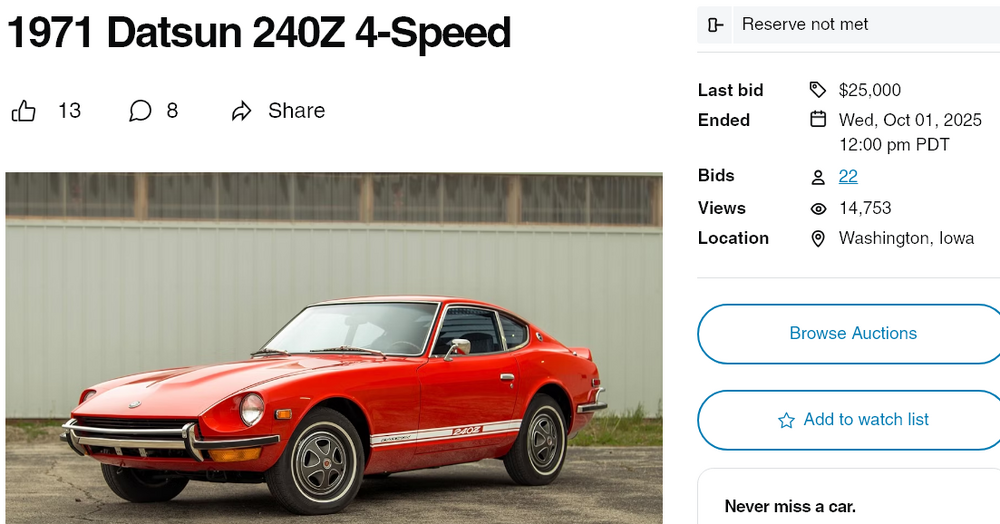
-
 Looks like a pretty nice 240Z. Bidding at $17K with an hour to go. https://www.hagerty.com/marketplace/auction/1971-datsun-240z/0992a21b-6574-49c6-91f2-56f7b6250d67
 -
Damn- 5 year update ?!!! I’ve been thru several induction systems including Protunerz . Now running these FAJS . I’d say this package runs better than anything I’ve had on this engine . The Protunerz ran good but I think the runners were too short and fat . I did manage 35 mpg driving to the Woodward cruise last year with that manifold - that’s at 80 mph -windows down! I’ve been blown away that I’ve been able to get these ITBS tuned in so well . First start it idled at 750rpm . I run the cable linkage which like any linkage has to be dialed in correctly . I was always told that when the engine gets hot the idle rpm will climb , but I’ve got these to idle better than my single plenum . These are 45’s . The stacks are 75mm long . I have not dyno’d this package . Looking back at this thread I can say I was running too much ignition timing . Also blew up #6 piston . I run 28 degrees WOT . Finally got smart and made det cans to wear while tuning . I had some pinging at peak torque . I still run a lot of timing at light cruise - thus able to get lean cruise . I think I got high 20’s MPG going to ZCON . I was still tuning on the fly . Though I ran triple Mikunis before - I didn’t think I would do ITBS because I thought they would be to challenging . They are a challenge but glad I did it

-
 You've already quoted the names behind the business. Perhaps you don't read your own posts? "...just selling car parts..."
-
I’ll have to recheck my setting for my stroker but I think my fan comes on at 185 and goes off at 180 ? I have an ECU so it turns on my fans at a lower setting at 185 and full speed at 195 .
-
 Here's another one on Hagerty Auction closes in a few hours.
 -
Thank you for that information that's great. I personally like the body lines but if done well it looks great. This one was done in the '80s and I'm sure it looked great then but it's had a hard life since.
-
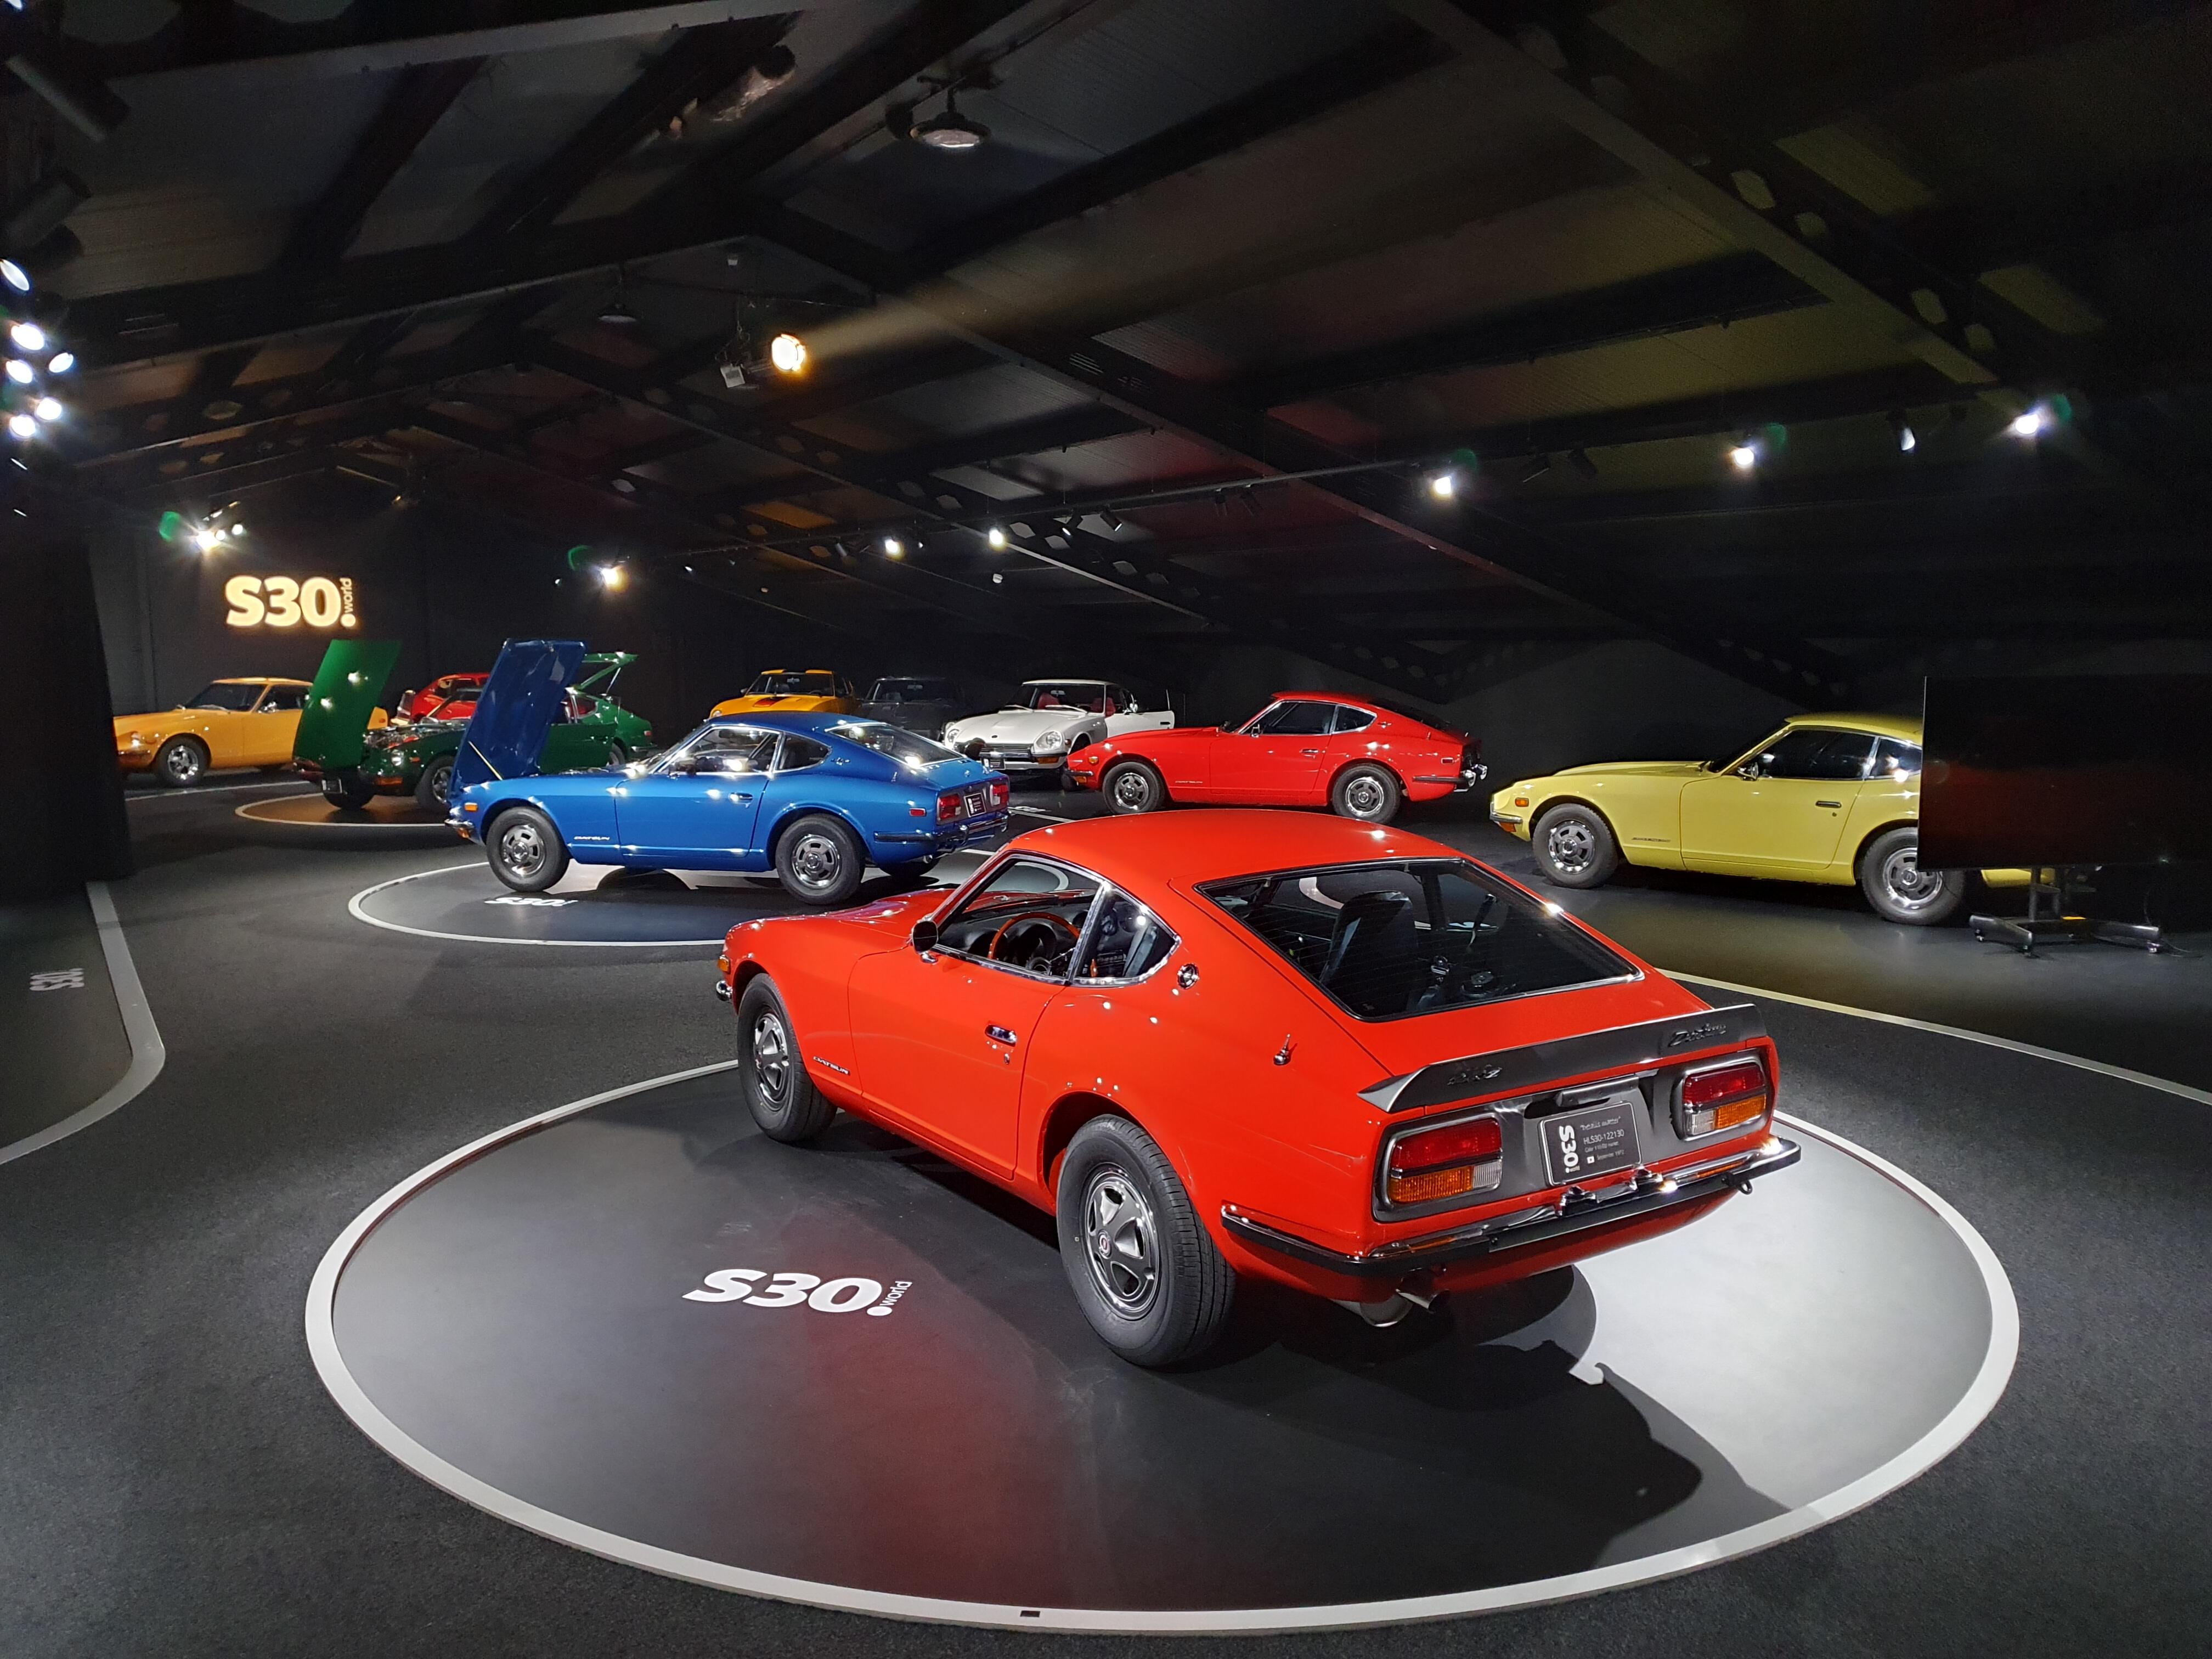
Naaa. I'm just trying to figure out who's running this new Z car parts store. And, as usual, you're ignoring what was written and projecting your own thoughts in order to create an argument. These guys clearly state that they intend to restore the cars to how they were as they as they left the factory. SpeedRoo pointed out some things that were not that, but you just ignored that reality and chose the argumentative path instead. Typical. They're just selling car parts, in the end. Nothing wrong with that, but nothing noble about it either. The Z car market just looked like a profitable one. Good luck to them. S30 World - The place for the S30 familyS30 World | Your online Datsun and Fairlady Z parts shopS30 World offers a selection of premium products designed to enhance your Datsun. Explore our quality parts to restore your Datsun or Fairlady Z.


-
 Last thought... I think that welding the buckets to the fenders and removing that seam line is a great improvement to the looks of the car. When done right, of course.
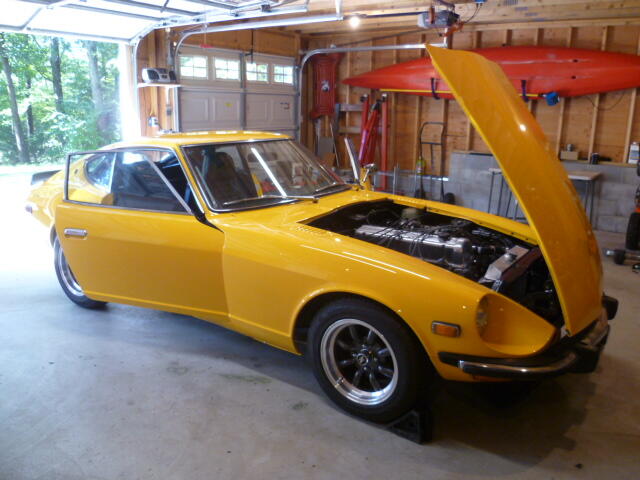
-
The headlights are removed from behind. Inside the wheel well. So yes... You can remove the headlights without removing the bucket. In fact, there is no "maintenance" reason to ever remove a bucket. Only ever removed when doing bodywork on the car. It is my theory that the only reason the buckets exist in the first place (instead of making the fender and the bucket all one piece) is that Datsun could not manufacture the fender that way. The metal is not able stretch and shrink enough to make that possible. I think that if it were possible, they would have made it all one piece from the factory.
-
No. That would be simulation. See how this stuff works? You're already dancing with us on the head of that pin I mentioned. It's getting mighty crowded... Some level of scrutiny is fair, but I can't remember you drilling down into to any other commercial business and their work to this extent. The comment above just makes you look foolish and parochial. You're calling into question the skill of the people who performed work that is clearly to a high standard - visible to anybody who looks at the photos on the S30.World platform - let alone their bona fides? I think they have a right to be proud of the work they've done. Did it ever occur to you that there might be quite a lot happening in relation to these cars which has sailed majestically over your head while you weren't paying attention?
-
im working on my 280z project car and tackling lighting currently. I went to remove and check the wiring for the headlights and one of the previous owners in the 80s decided to WELD the buckets to the fender... He did alot of body work to make the car have very minimal body panel lines and used bondo to smooth everything out. i thought that was just it until i took it off and its stich wedled... poorly at that. ill get them off but not right now. Can i replace without removing the bucket?
-
 Yeah, Im not convinced myself. This is their latest youtube video featuring the shell. As Alan mentioned above at the end of the day a Datsun with a body made in China isnt a Datsun anymore!
 -
 Thanks for the heads up. I will double check the seat mount location next time I am out there. I was thinking it might be the picture angle but won't hurt to check. Thanks!
 -
 Easily fixed at this point.
 -
 The inner rear seat mount looks to be in the wrong place to me. You may want to have them double check.