All Activity
- Past hour
-
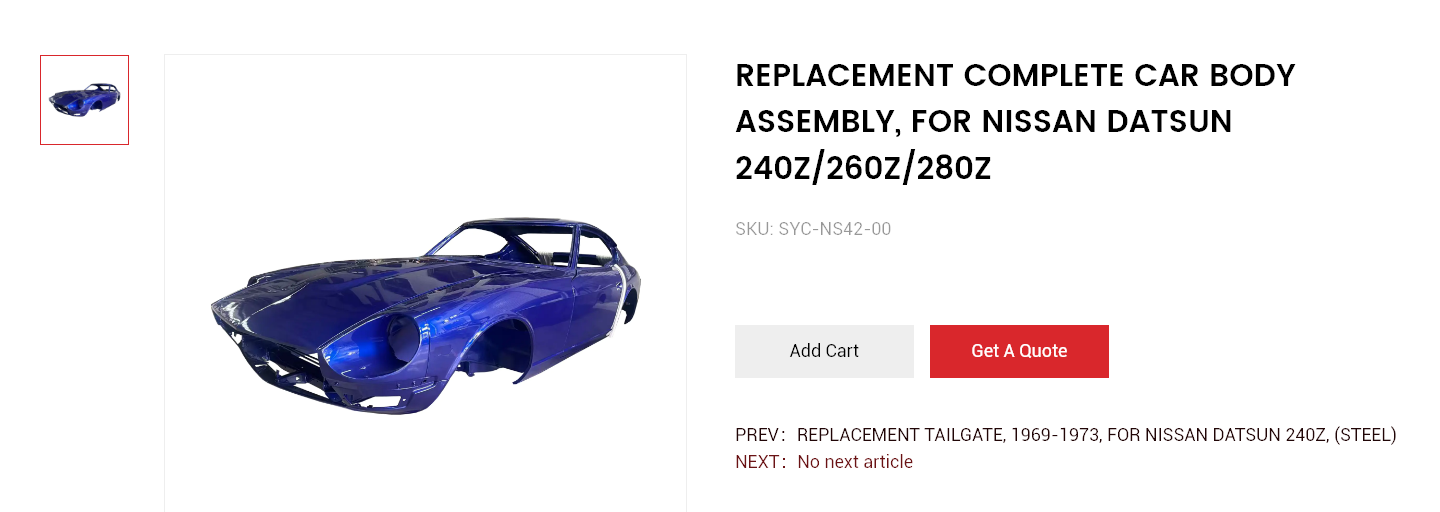
 toolman on Hybridz says that they'll be at SEMA Las Vegas in two weeks. Thought he had an account on CZCC but there are several toolmans listed here. They show what looks like a scrapped/stripped 240Z on a road in the desert. Facing the wrong way if it's meant to be in the States. On a road with odd yellow and white center striping. Combined with that Youtube short above with the cringey rap music, the whole enterprise seems strange. If anybody trys to buy a part from them don't forget about the tariffs. 57% now, could be 155% soon. If anybody is really interested it might be worthwhile to browse other car forums. They have an odd assortment of models shown. Here's one - https://www.carbody.com/product/classic-car/ford-parts/bronco-19661977-parts/ HybridZA COMPLETE EARLY MODEL 240Z BODY may be available soonA Chinese Metal Fabrication Company is planning to unveil a Brand New complete Early Model 240Z body at the 2025 SEMA SHOW in Las Vegas on Nov 4-7. They are looking for Distributors in North America.
 - Yesterday
-
 Sorry, but... a new set of exterior panels does not solve your 'slightly rusty' Z problem.
 -
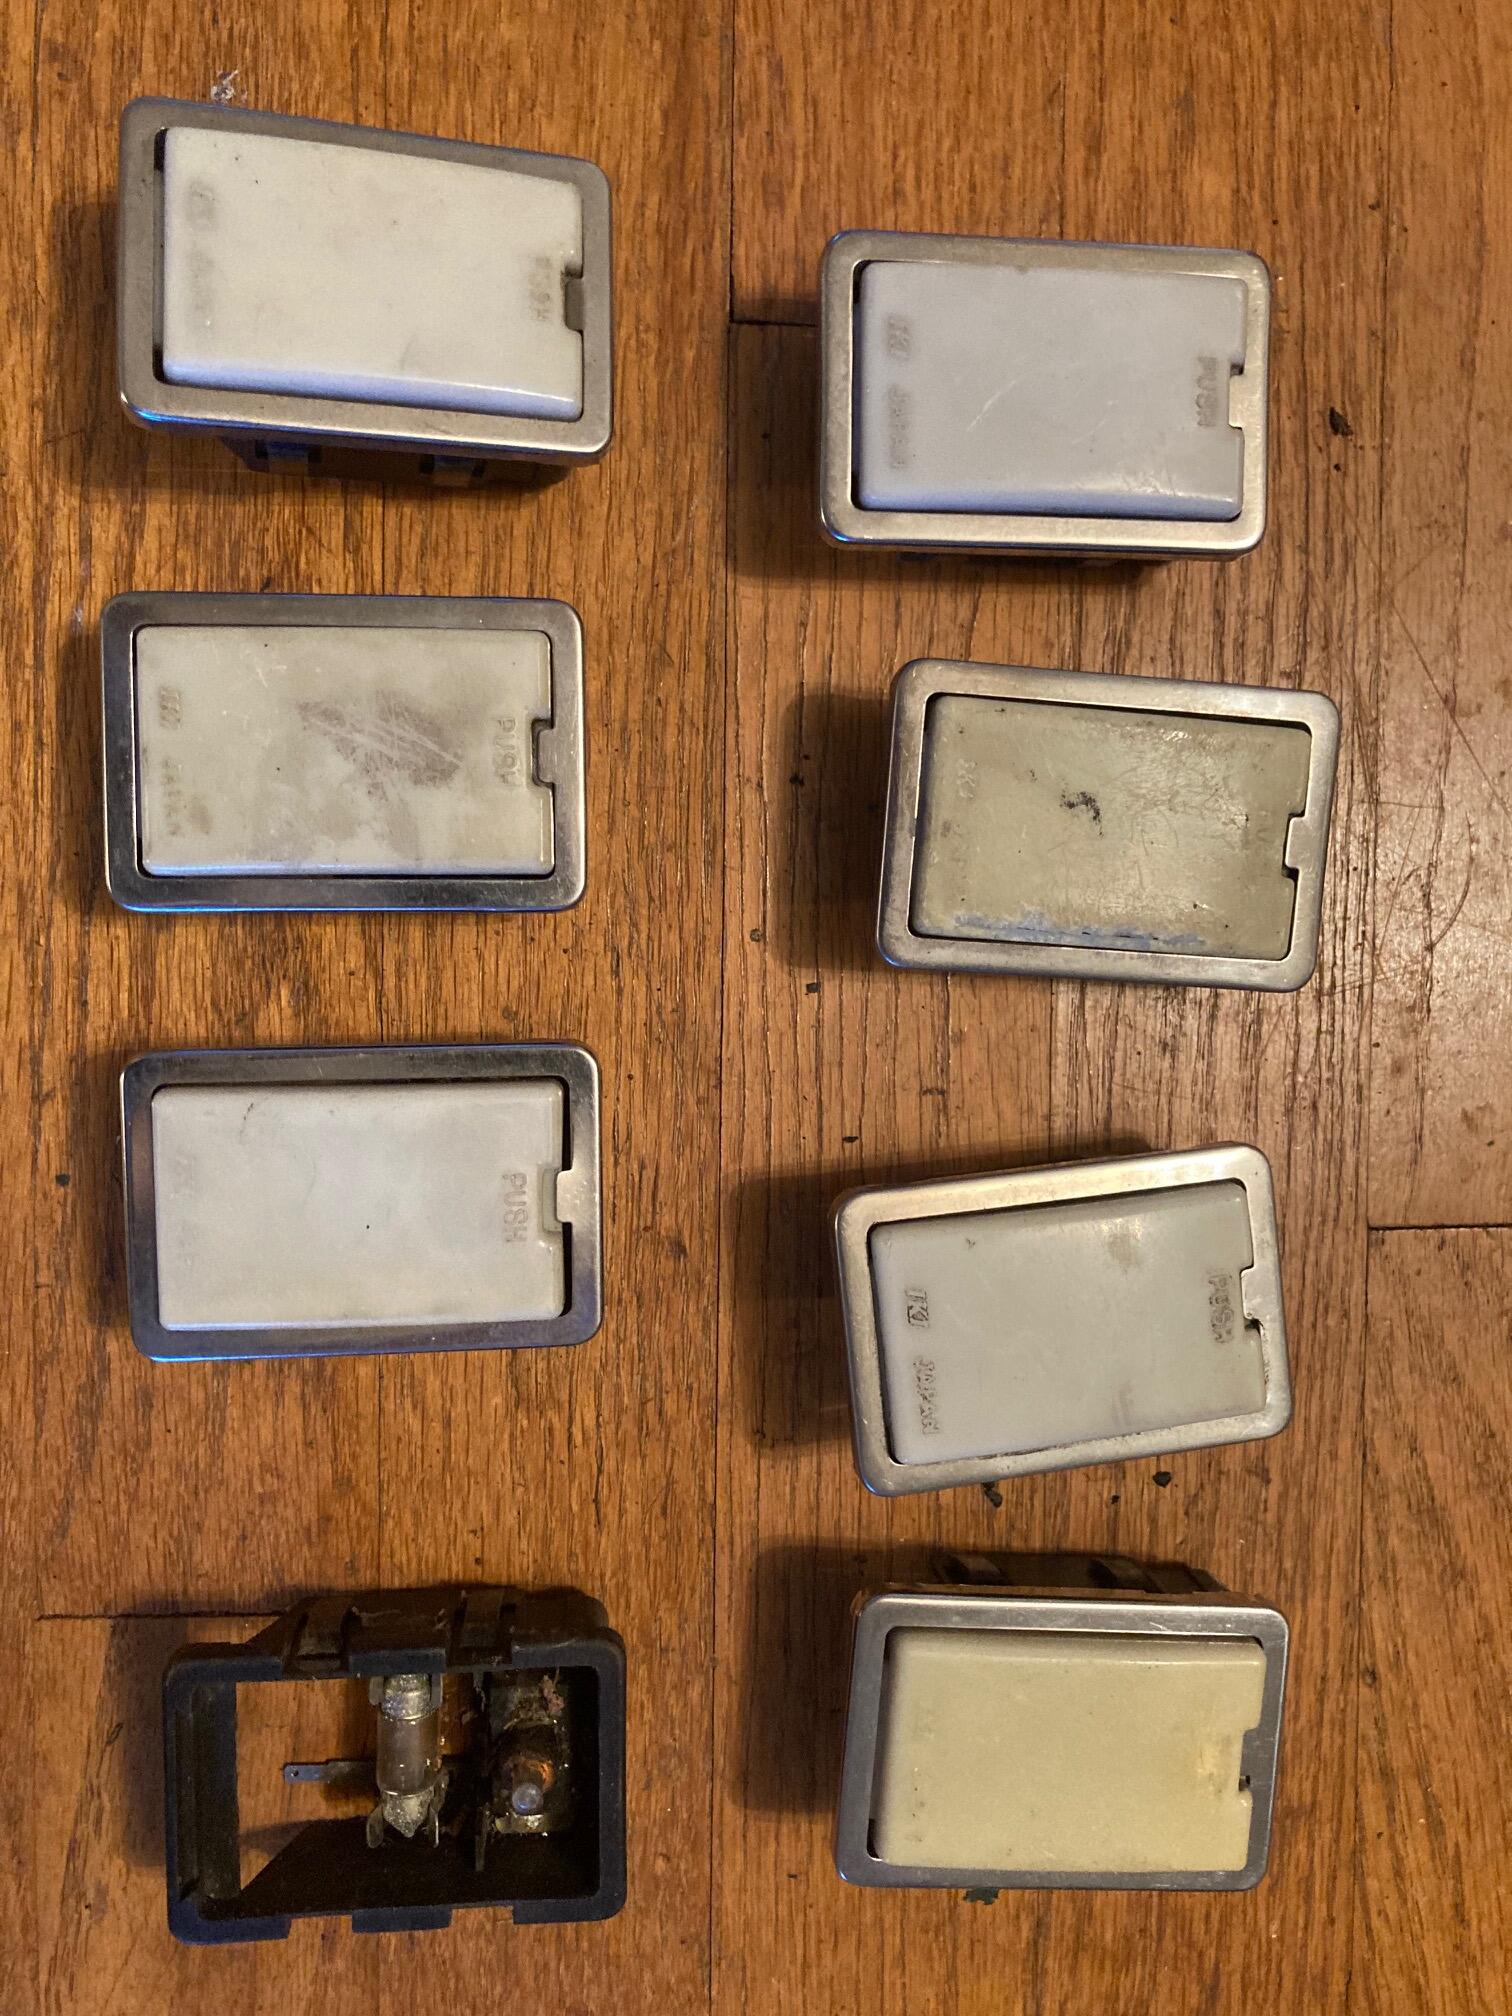
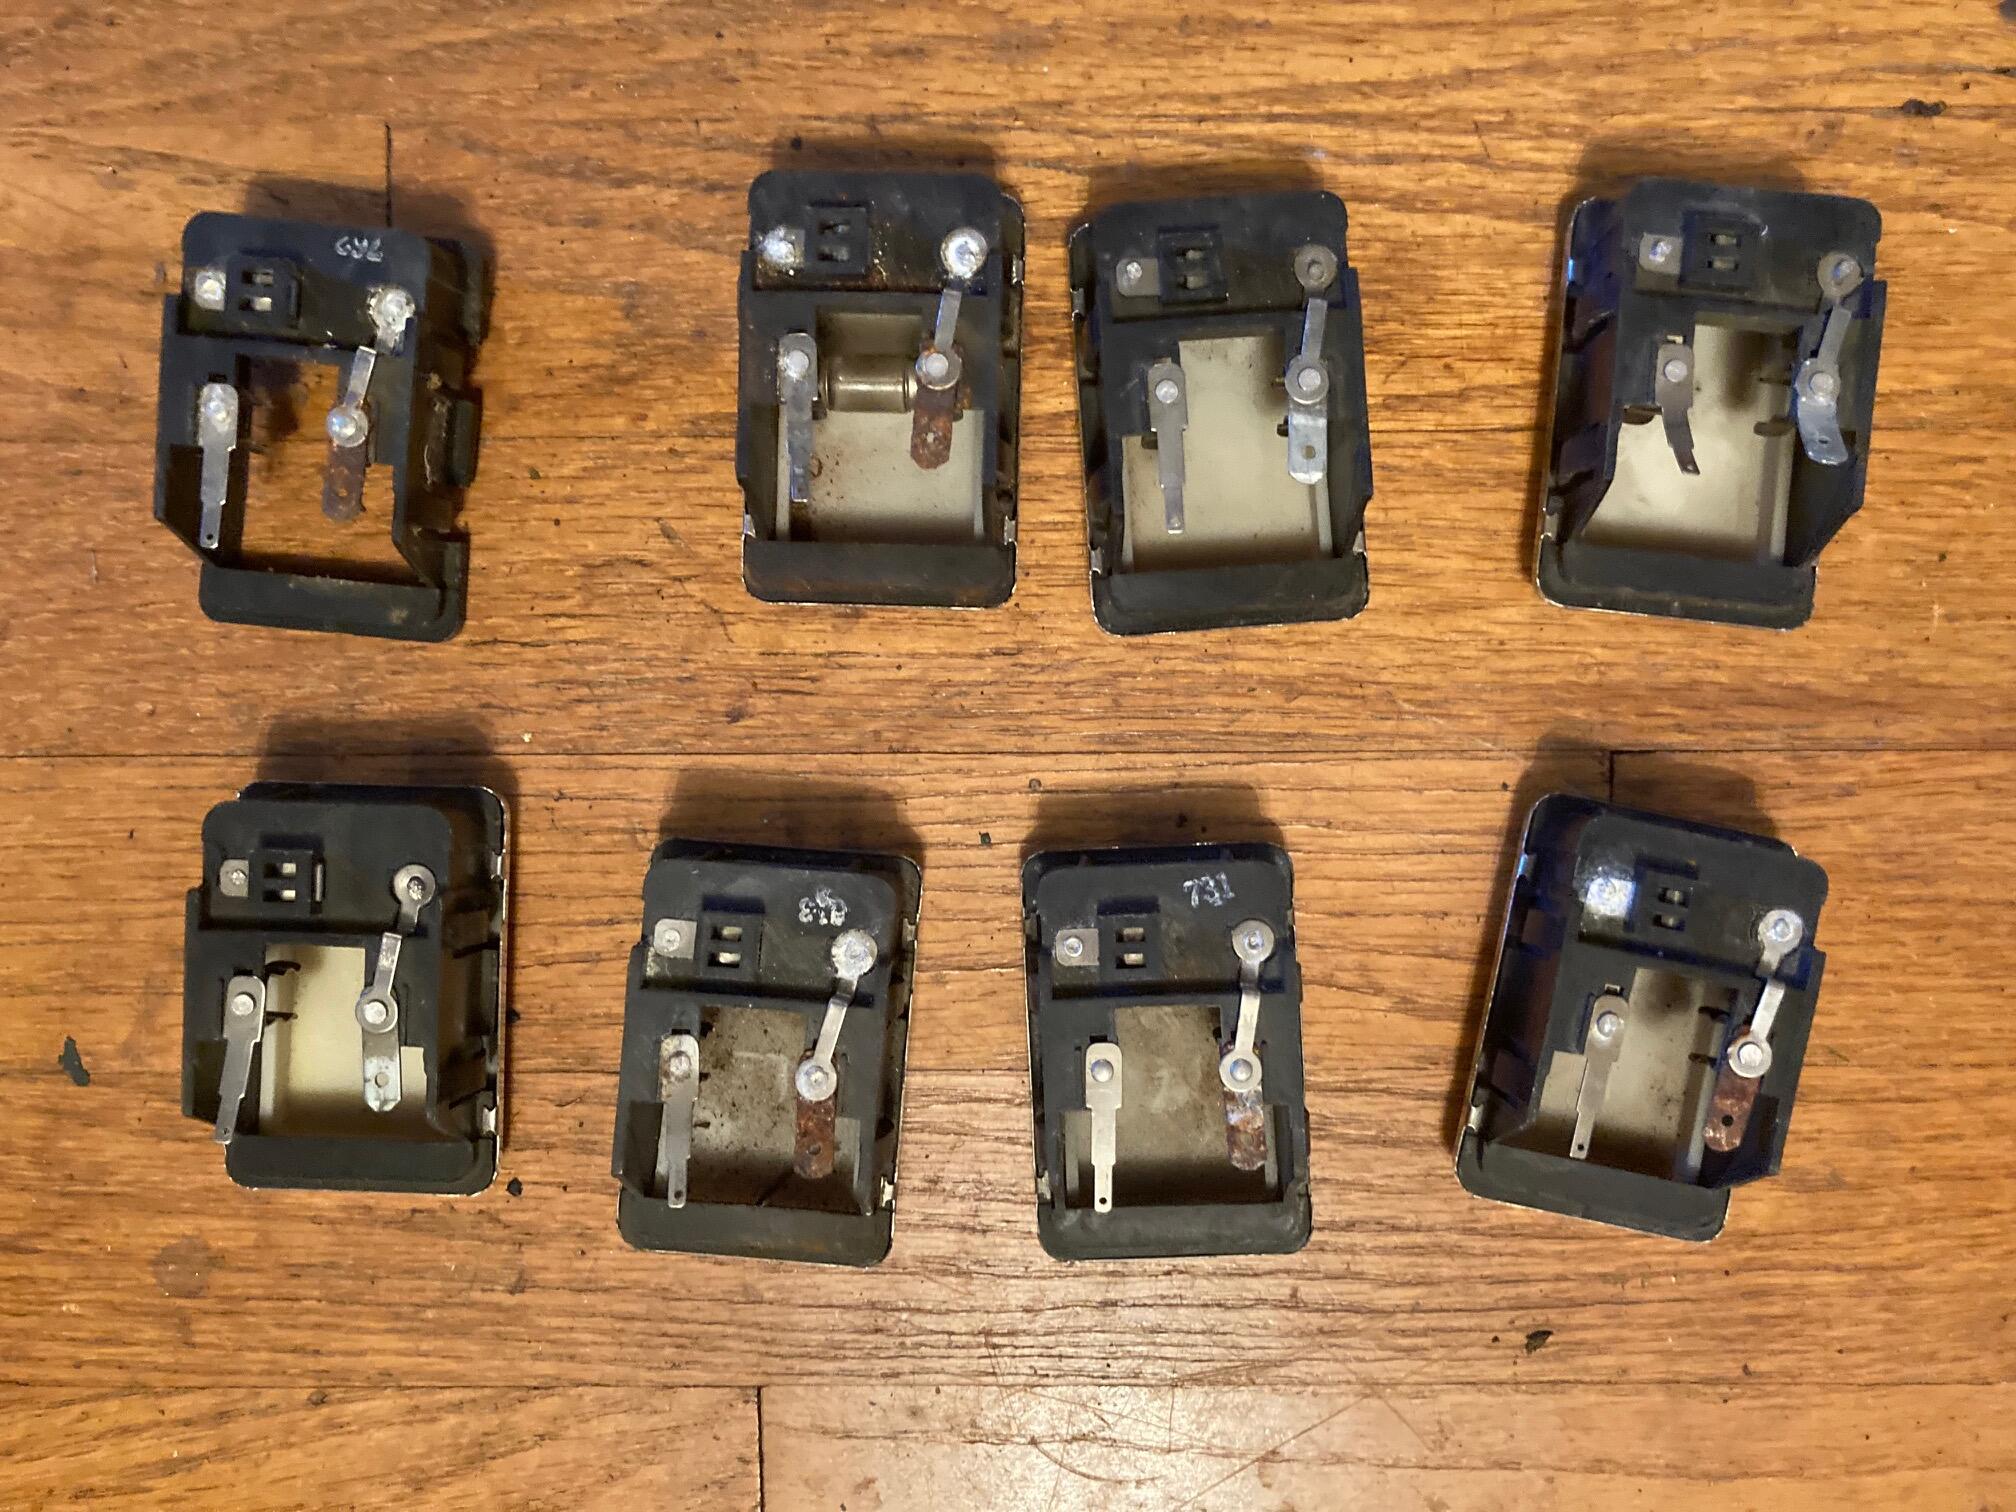
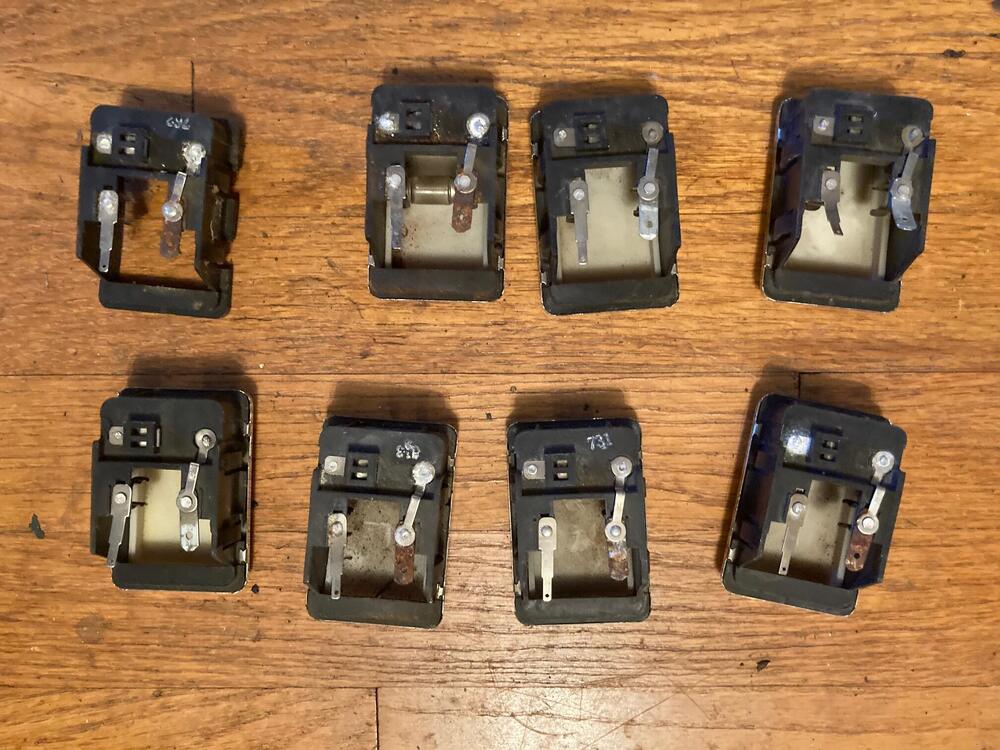
 Looks like I have mostly parts candidates in the hoard. None of then work smoothly.
-
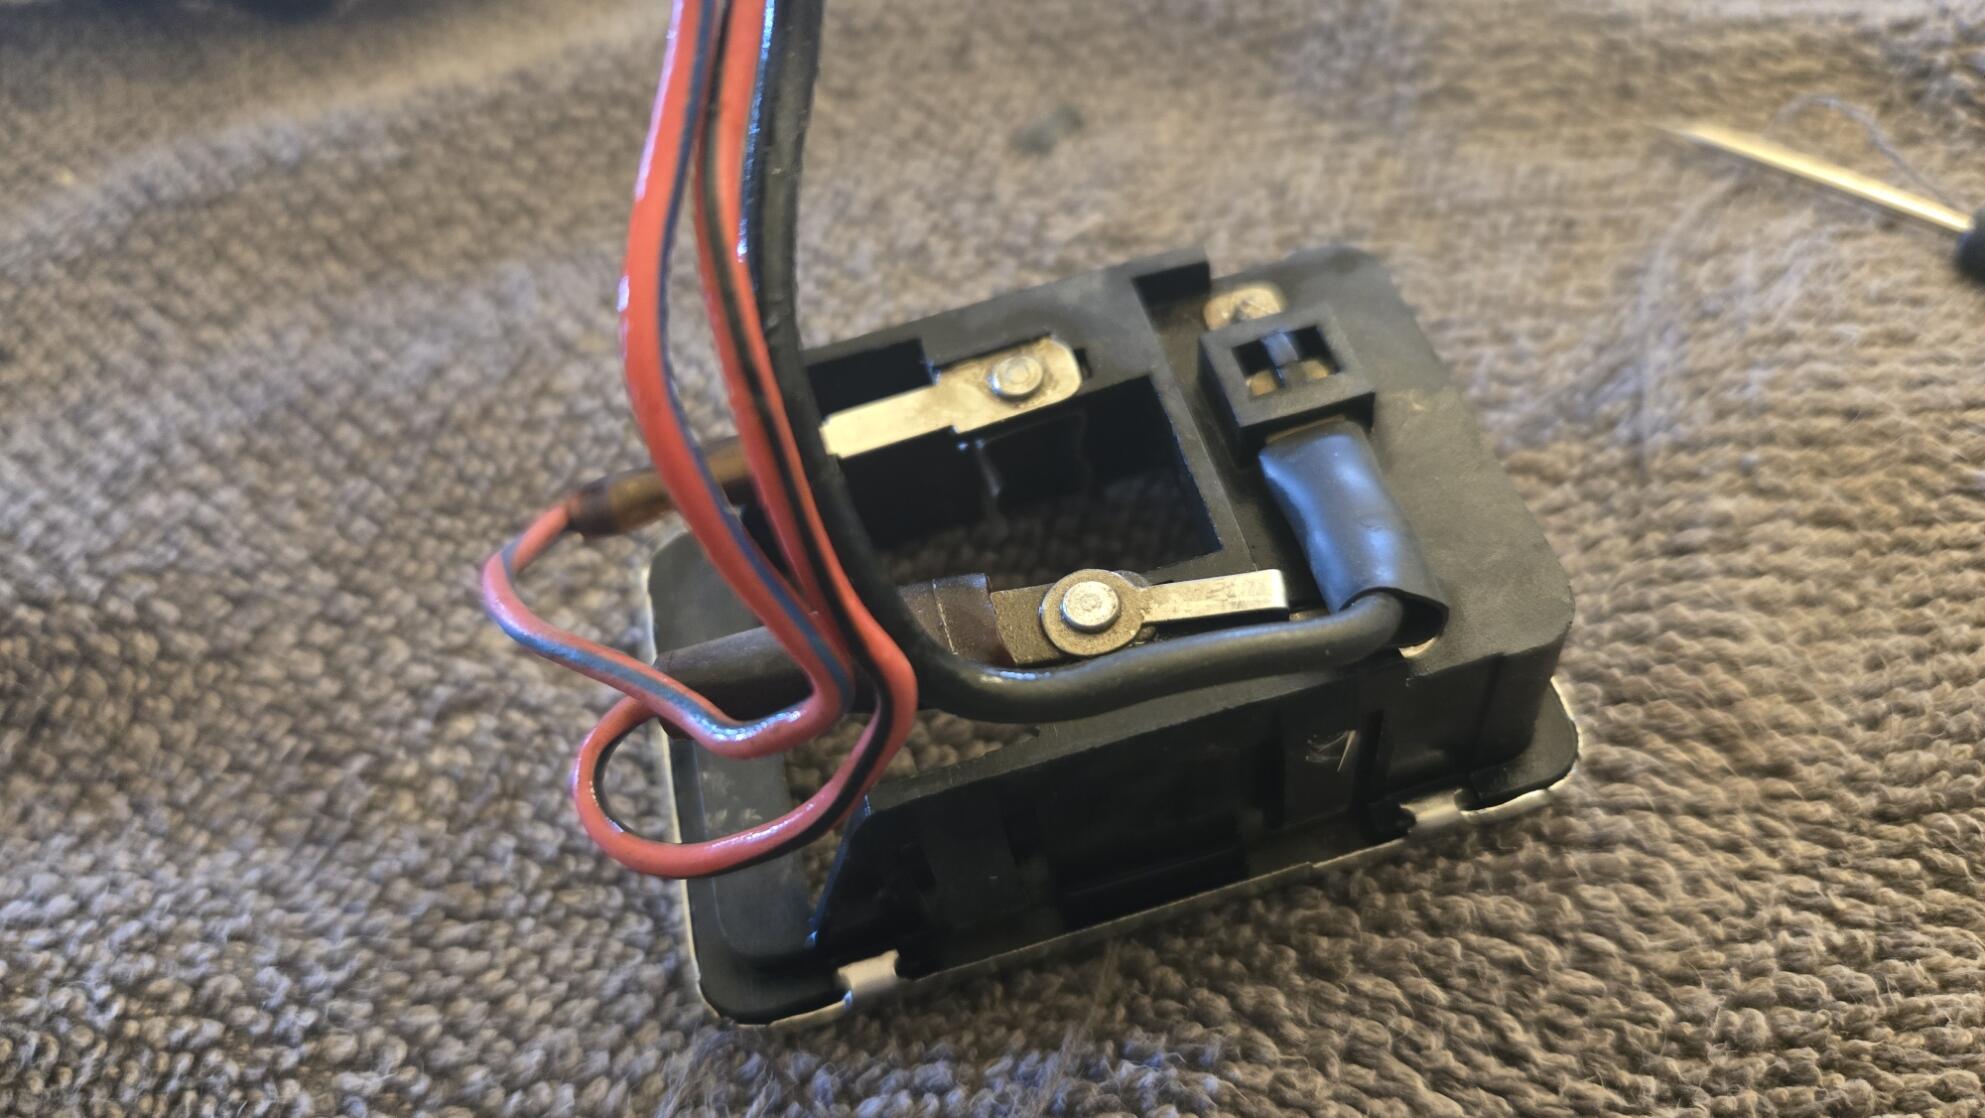
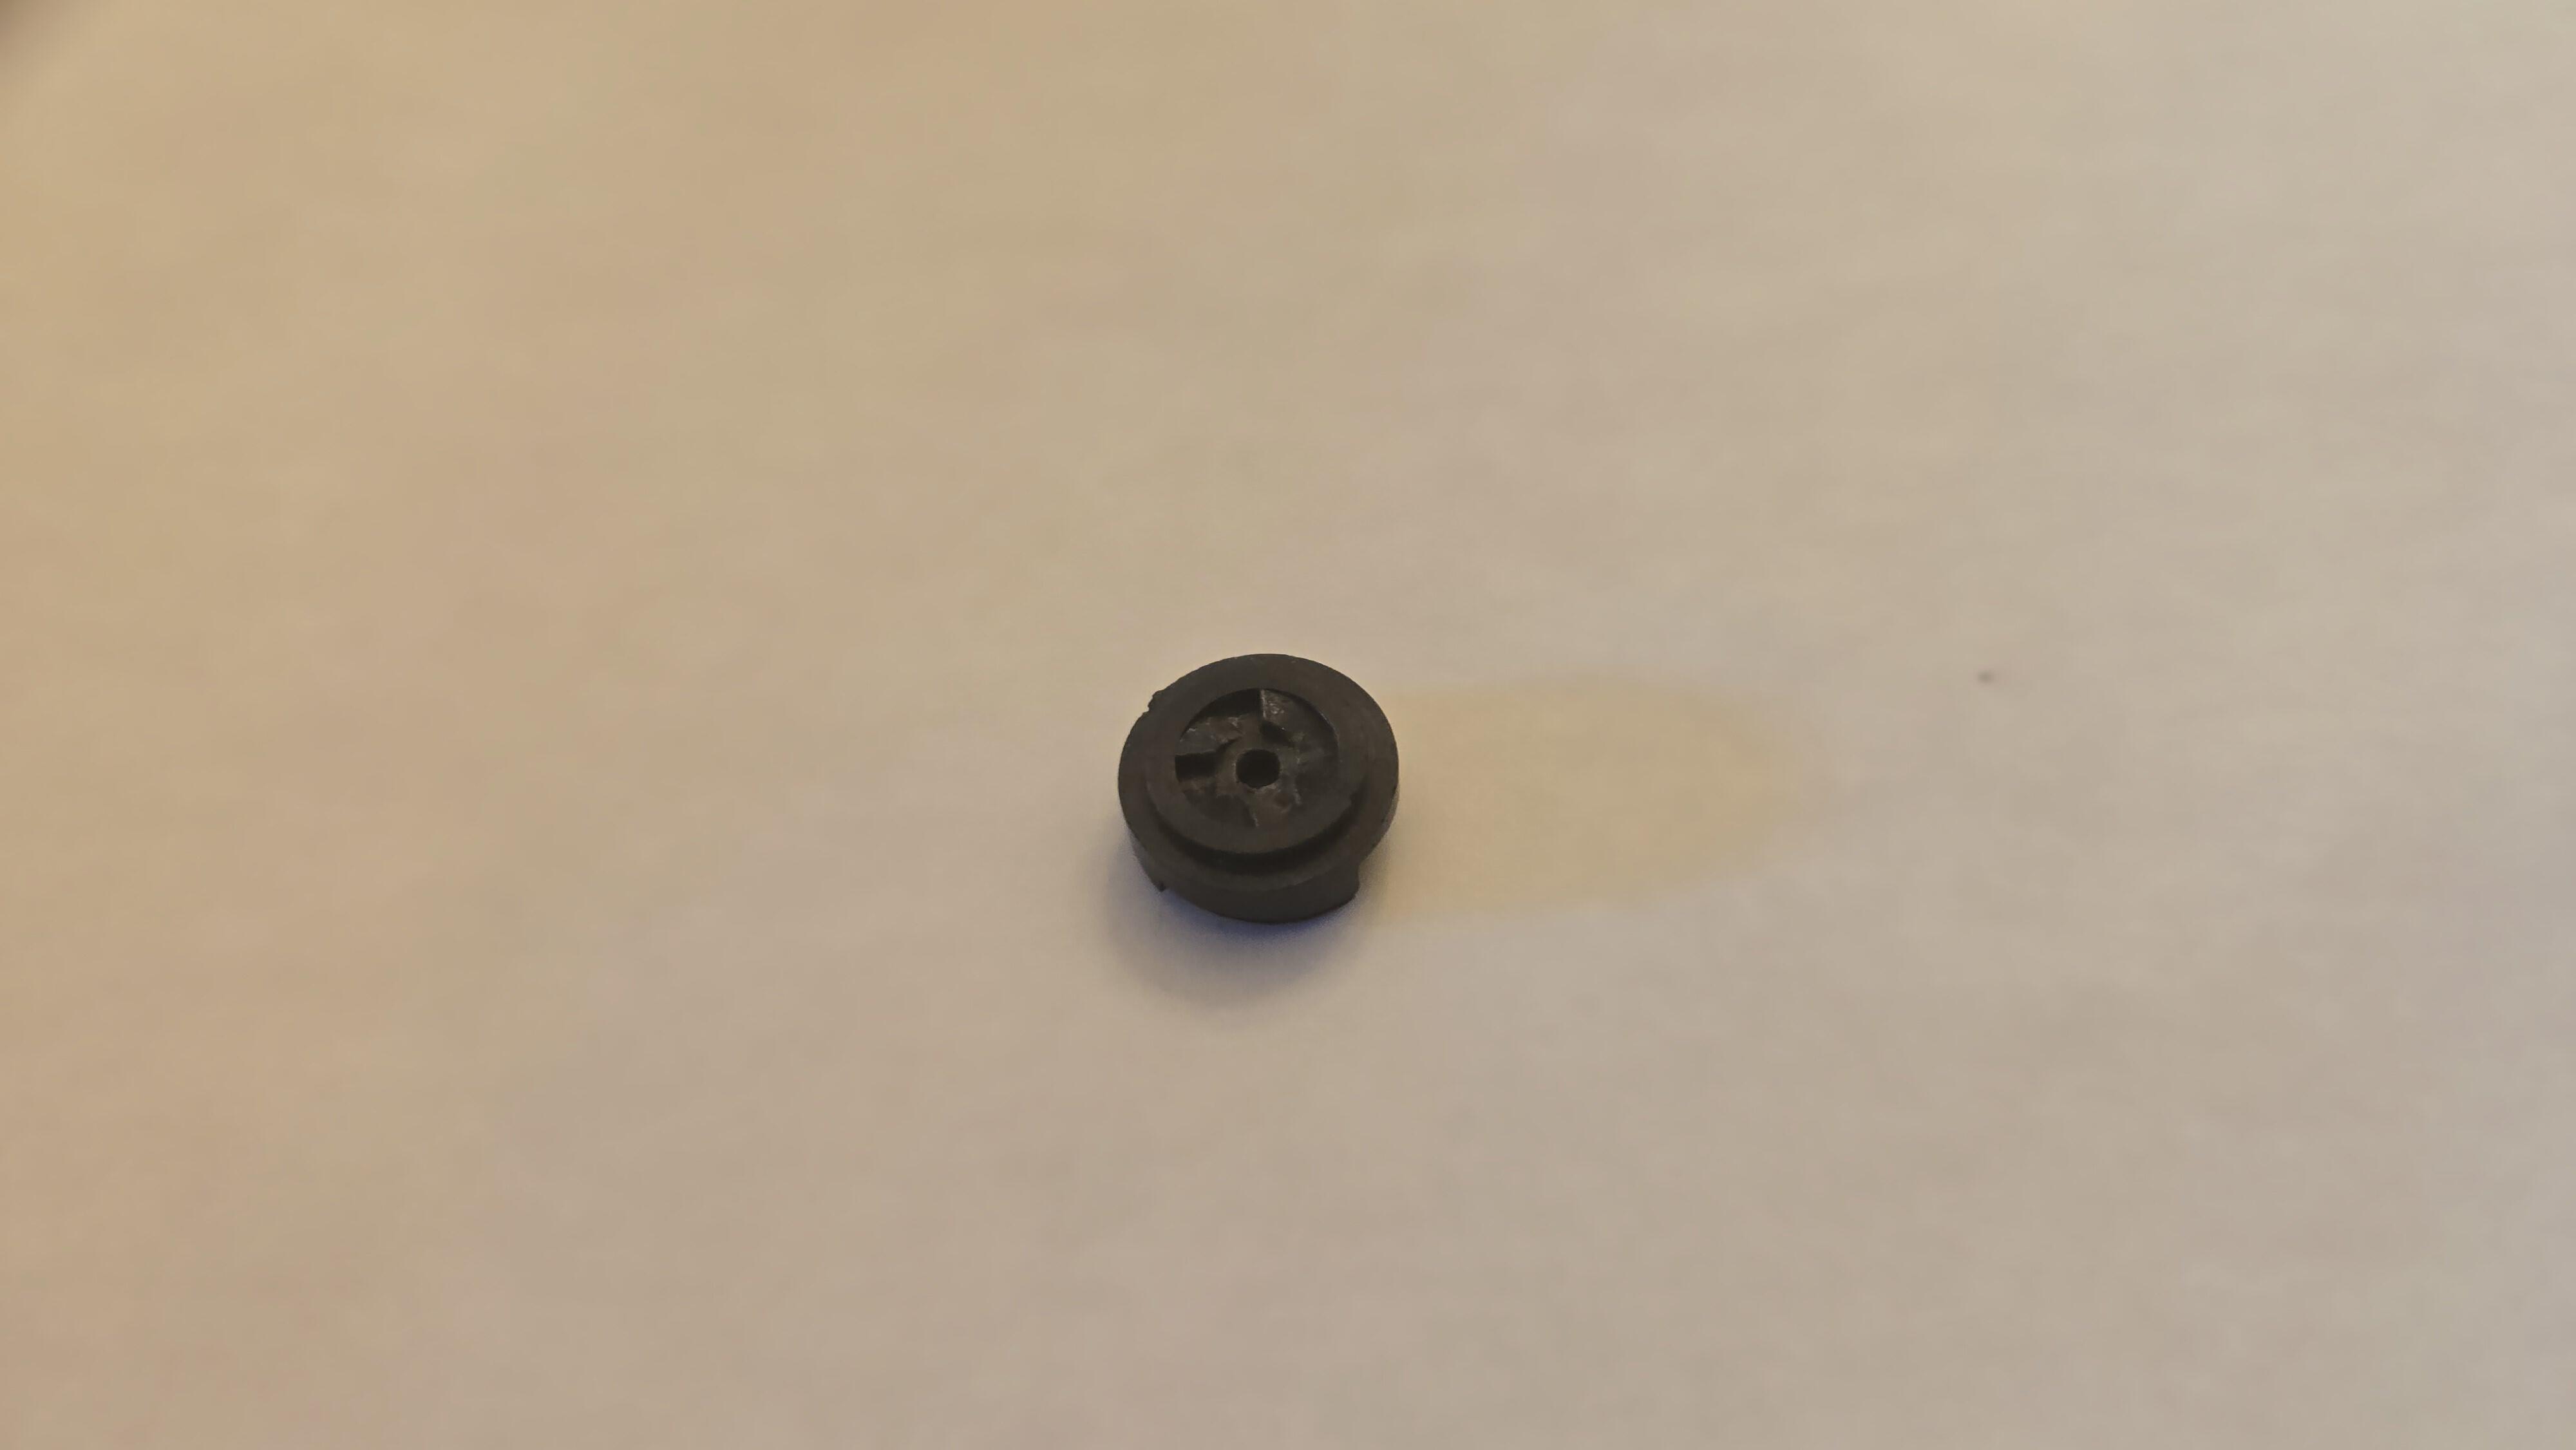
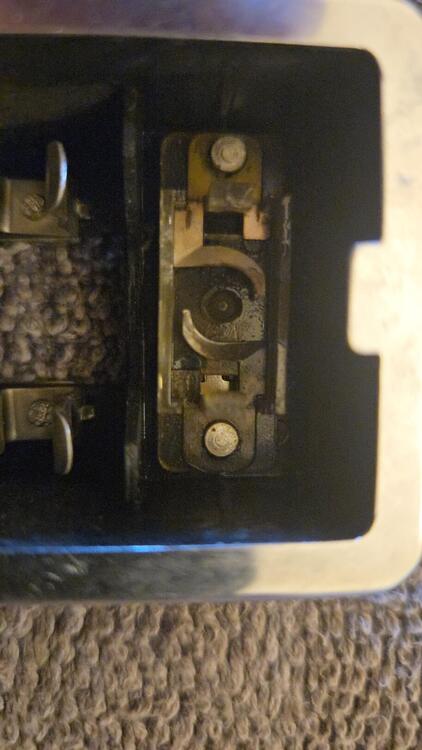
 Here is how this one was wired: Main GND (B) is a male spade that pushes into a female held in that little box. Red/Black (RB) is the GND from the door switches. Red/Blue (RL) is +12V from the fuse box. And they're both female spades. You'll notice that the main GND can be interrupted by the switch and that the RB GND from the doors is independent of the dome switch. Now. To refurbish this one AND try putting it back together - so that it still works...
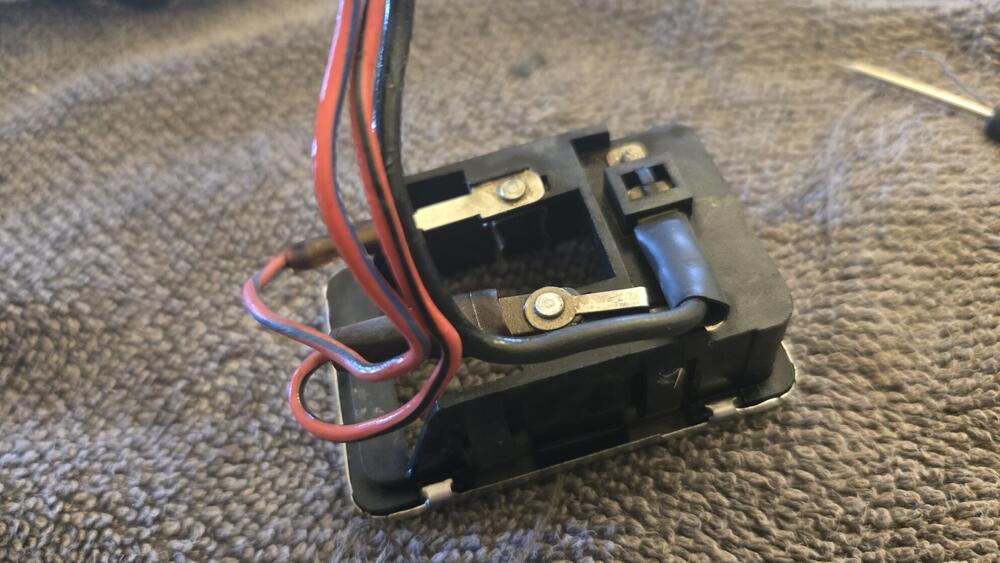
-
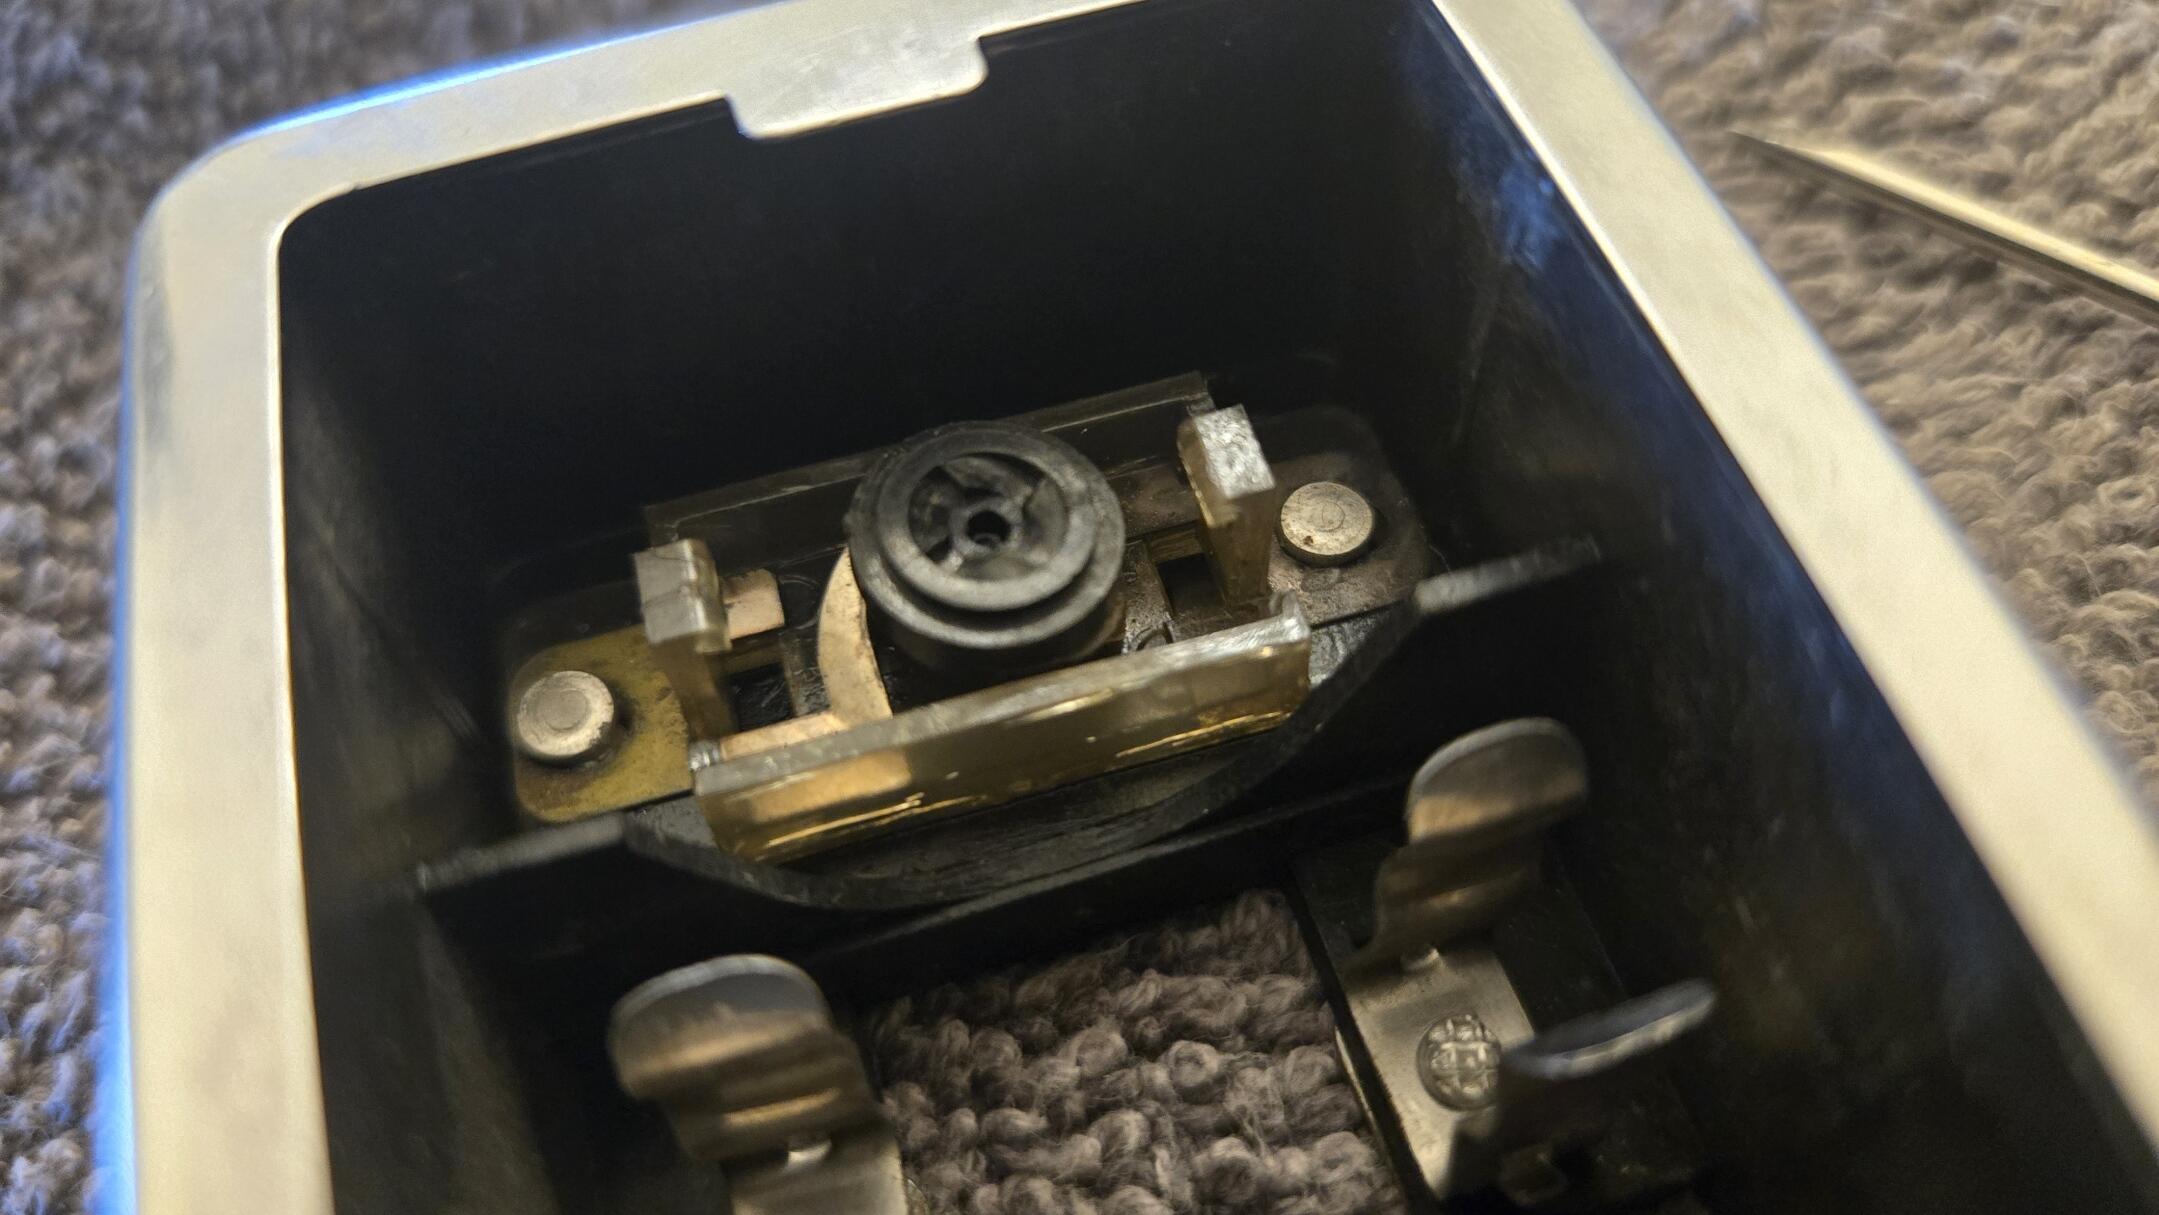
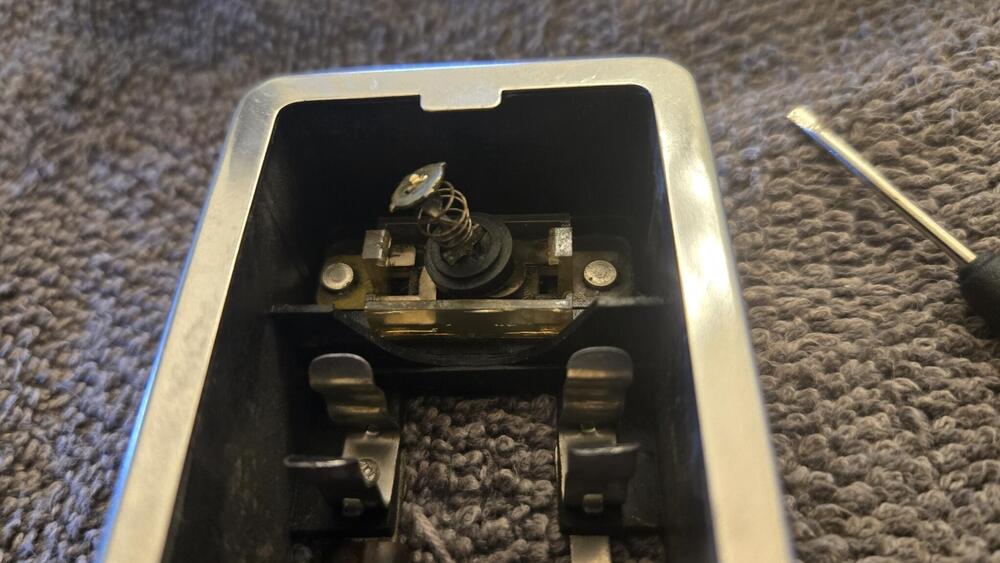
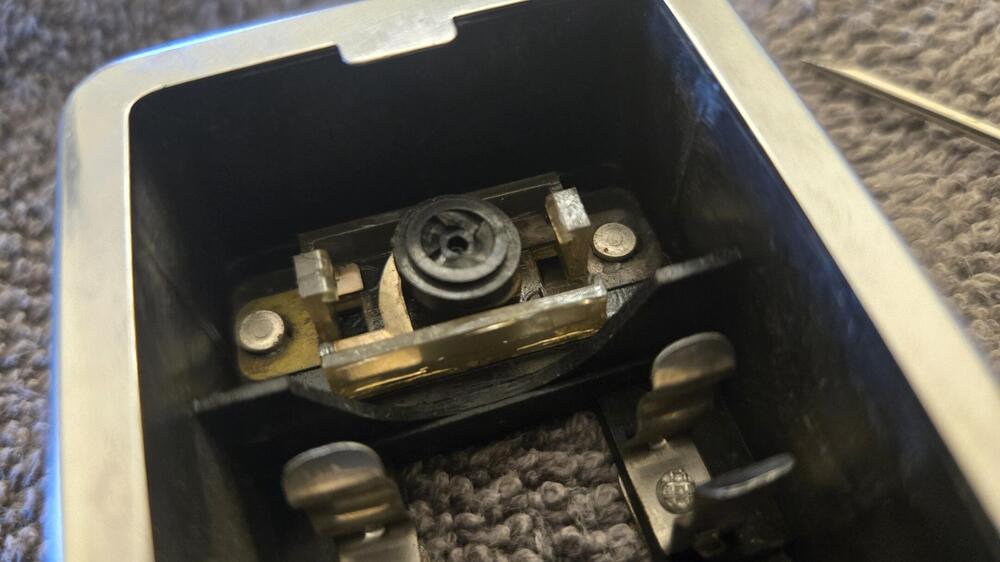
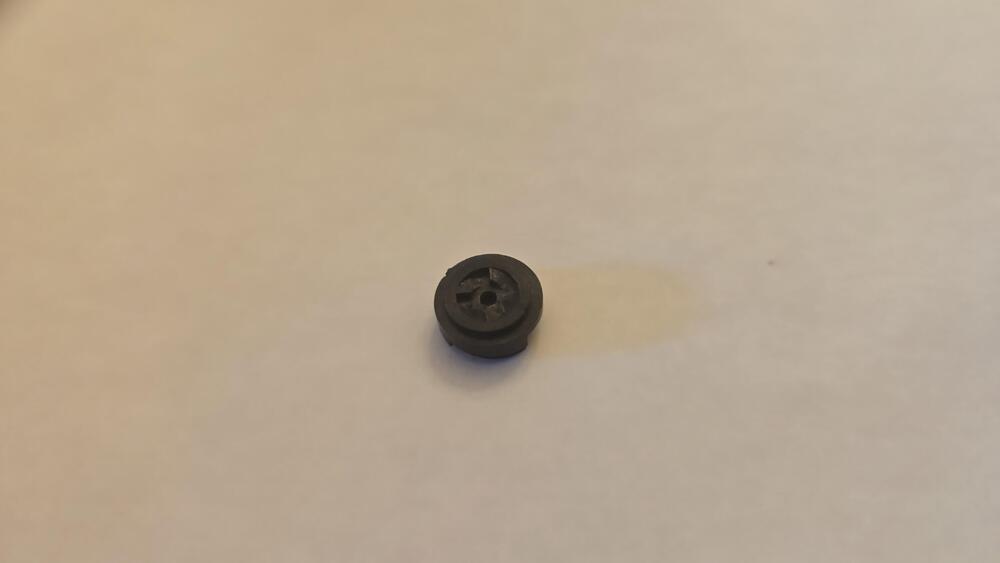
Weird - it's a turn-y switch - it rotates into or out of contact by pressing the button. That little black disc (brass contacts on the bottom side that I didn't take a pic of...) gets turned by the shaft above it. So, it needs to turn freely, have an undamaged top side (the little ramp, triangle thingy's), and the entire mechanism needs to slide / move freely, and all the contact brass needs to be clean. I didn't notice any old grease or lubricant in this one. I was surprised that the "top" was just held on by a couple of clips on either side. Everything is PLASTIC and we don't have very good luck with PLASTIC here in the DESERT, so I was a little nervous. I heated the whole thing up a bit and used an extremely small screwdriver to pry one side at a time. First side was pretty easy - the second was quite a bit harder but eventually the "top" came off and revealed the underlying surprise. The switch is indeed simple and you can test continuity straight through on the rivets both sides or the brass the rivets tie down. Also check continuity through to the bulb holders to make sure corrosion hasn't killed the circuit between the switch and the bulb.

-
I don't see anything unusual other than it has two possible grounds - one that can be provided by the dome switch and/or one that can be provided by the door switches. No one of them interferes with the operation of the other(s). All can be providing (or removing) ground in any combination of the three. The dome light switch itself looks fairly simple.
-
 Tura joined the community
 -
Weak chatbot? Where are the emojis?
-
How many/much replacement parts before it becomes not-a-Z? Is it weight or number or volume or area? https://en.wikipedia.org/wiki/Ship_of_Theseus And, how should the new thing be described? As a restored Z or a replica Z or just a Z, caveat emptor? Somebody needs to "Get A Quote". At least it's made of steel, apparently.

-
 Hold on now people. Let's be positive. We all know that todays body work to repair a rusted z car can take a ton, no..two tons of time and dollars. So let wait and see.
 -
 rblair9 joined the community
 -
 Thanks for information!
 -
hkhctslue joined the community
-
 Yeah, that's fair. It's real Ship of Theseus situation.
 -
 DatsunPandaZ joined the community
 -
 For the BEST rubber in your Datsun door..... simply use.. Rubbers - S30 World
 -
 NunoTT joined the community
 -
That is true, but it could have been converted from auto. I'm just throwing out bread crumbs. Something is drawing too much current. Find the thing.
-
 The pic shows a stick shift in the console so I assume it’s manual. Possibly a chaffed cable touching metal.
 -
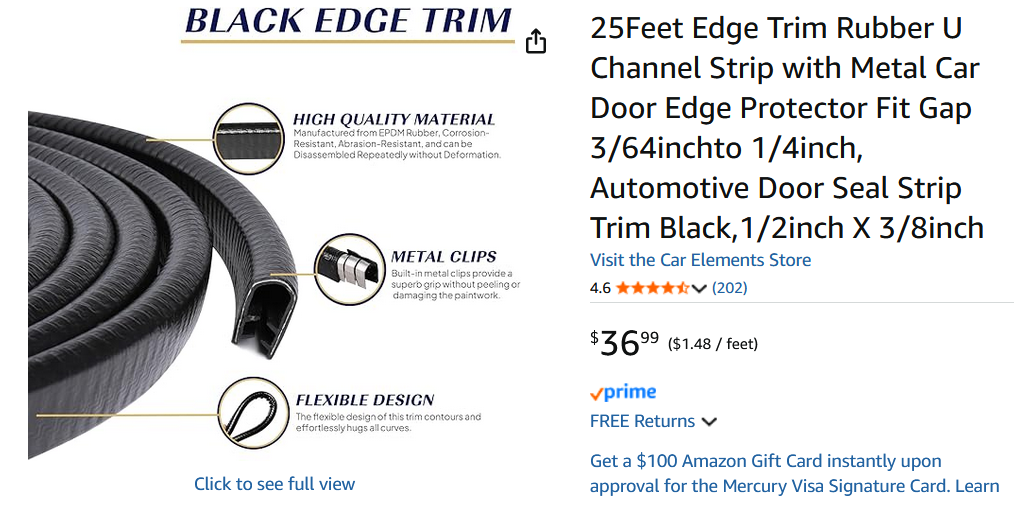
 There are sources for the OEM gripper strips and I bought 25 feet of it on Amazon (nice stuff, BTW, and I used some of this channel, in white, around my interior roof line) before I got my Precision weatherstrip kit and saw the gripper integrated into the door seal. If anyone wants it, let me know and we'll work a deal.
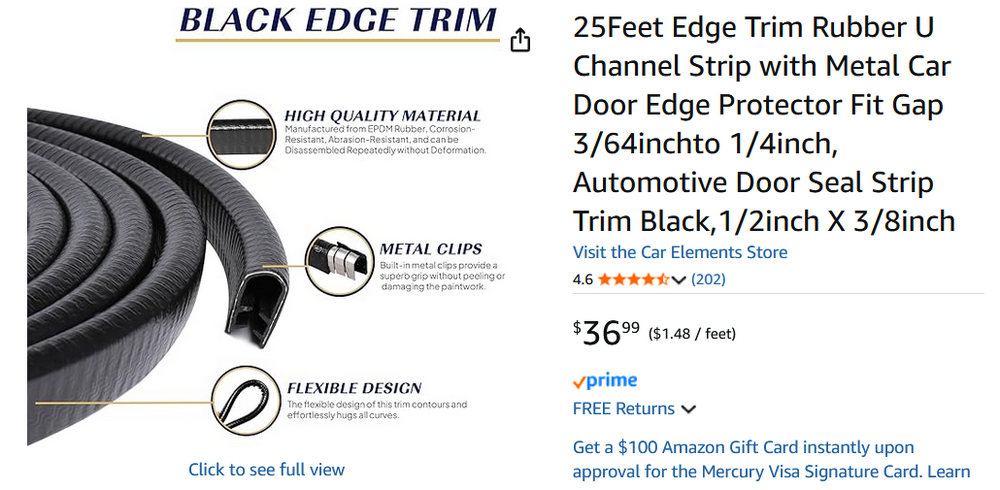
-
I can attest to the fact that the Kia Sportage weatherstrip requires no adhesive (even at the top rear corner of the window) to conform to the shape of the window opening. That's because it uses a more modern design, wherein integrated metal Z-coils replace the need for adhesive or a separate gripper strip. The Kia design also uses a 'lipped bellows' design that provides a more effective seal than the Z's old-fashioned (sorry) cantilevered-lip design. The recent arrival of Z Store's retro-design weatherstripping (i.e. cantilevered-lip design) presents a bit of a dilemma to restorers, because they (apparently?) don't also offer a repro of the gripper strip. If I've got this right, it means that you have to use an adhesive to make the weatherstrip not only conform to the window shape, but also stay that way for some reasonable period of time. If your definition of 'reasonable period of time' is 20+ years, then use just use epoxy and be done with it. Otherwise, I think that 3M's 'old-fashioned' weatherstrip adhesive will do just fine (provided that you read and follow the instructions). It will also offer some forgiveness if you happen to; a) screw up during the installation, or; b) decide, a few years later on, to try something 'more better'.
-
IIRC, there may be something funky about the the cabin light's wiring and switching logic (even one of the terminals is 'different') that requires a special testing procedure. I'm thinking about how the lamp is controlled not just by its integral switch, but also by the door P/B's (wherein toggling the integral switch can override Door Open/Closed). Bottom line: You may not have a problem at all (emphasis, however, on the word, 'may') Perhaps we should ask CZCC's designated electrical expert (Steve ____? ) for some guidance before you add yet another cabin light to your collection.
- Last week
-
 Just posted today on eBay. Make an offer? eBayDatsun 240Z 3 Screw Round-top Carburetors, W/ E46 Manifol...Nissan Datsun 240Z Hitachi 3 Screw Round Top Carburetors, E46 Manifold, with Air cleaner. This set up was removed from a wrecked 240Z. These partshave been sitting unused for a while so will obviously
 -
 PNG Mangi joined the community
 -
Hmmm, that's one switch that I've never taken apart... Now you have me curious. I think I'll see if I have a spare and drill out the rivets.
-
Could AI be smarter than marketers? Better speller for sure.
-
Actually, Amazon added a W.
-
Right you are, Zed Head, as temperature, humidity and the area actually exposed to atmosphere are the critical variables. And, don't blame Amazon for that spelling. It's what is on the cartridge itself. Ah,marketers... Many's the time I've had fascinating discussions with the ones I worked with. Always looking for that "hook" to drive customer recognition and product uniqueness. Sometimes a few weren't securely tethered to reality. I remember one asking if I could replace air with something less expensive. 🙄
-
Put a meter from the fuse exit to ground in continuity/resistance mode and see when the circuit goes open. Wiggle that nest of wires around. If the fuse is blowing it must be because that wire to the switch and lights is shorting to ground. Could be at the switch ( a bad switch) or after it. Or crawl under the car and test the pins on the switch to see if they're shorting to ground when you put it in reverse. Check the wiring diagram to see if any of the things after the switch are shorting to gorund. You didn't say auto or manual.
-
I think it depends on the weatherstrip. I have a vague memory of metal clips in the Kia Sportage weatherstrip. No adhesive was needed. Really though, just put it on and if it's loose put some glue on it. Handling time 10 - 20 minutes, full cure 24 hours for the Windo-Weld (Amazon can't spell). Sometimes marketing converts a problem in to a supposed benefit. They don't actually say that "super fast" is a good thing. Work super fast and you shouldn't have any problems. Forgot to say, cure time probably depends on relative humidity. It's a moisture cure. I remember using a moisture cure construction adhesive on a hot dry day in summer and it took forever to set up. Full Cure Time 24 hr Handling Time 10 min - 20 min https://www.3m.com/3M/en_US/p/d/v000074326/
-
That's 3M's marketing terminology and being a chemist who has worked with one-component urethanes, I know the many variables involved. BTW, I spoke today with a local auto service shop owner who has many collectible cars and has installed several windshields over the years. He advised that the 3M product is what should be used but not to bother with using it in the channel where the glass goes unless the car will be parked outside or driven in the rain regularly. Wick Humble's restoration book also does not advise using any adhesive in this channel during glass insertion. He also advised to place the windshield on the car without first applying the urethane to the weld flange and then to "backfill" the inner part of the weld flange channel with urethane. Humble advises putting adhesive into the weatherstrip's channel before installation and then backfill both the exterior of the weld flange AND glass channels with adhesive once you're satisfied with the placement. Makes sense to do that on the exterior portions so I'll see what things are like when I get to that point. Finally,as for the door weatherstrip, my local guy says to put it in "dry" and only use some 3M Yellow Super Weatherstrip and Gasket Adhesive at the point where the two ends meet up on the door sill.