madkaw
Community Member
-
Joined
-
Last visited
Everything posted by madkaw
-
Keep it or sell it, but I doubt I would weld the holes in the firewall. Find the appropriate plugs to put in there
-
Looks like a wise decision to get away from that header. The flange looked thin and poorly made. You can't go wrong with the stock manifold and it keeps engine bay noise in check vs. a header.
-
Jeff, thanks for all the info and the clarification on these side seals. I'm hoping this will cure my issue and this thread will surely help out others. Jeff, you should consider coming down for the Midwest Z show in Nashville Indiana!
-
I think I get it. I know one end is sharp,and there are two different sides to that sharp end. I guess I didn't even think about the beveled edge being a problem. So the side that has NOT been ground down is considered the sharp edge--so it should go against metal?? Trying to picture it as a chisel.
-
Sorry Jeff, but I read your post and i can't picture what you are describing.I'm not understanding the beveled edge part. I just shoved the seal and steel strip in the block part way to show and verify orientation-it is correct-- right????
-
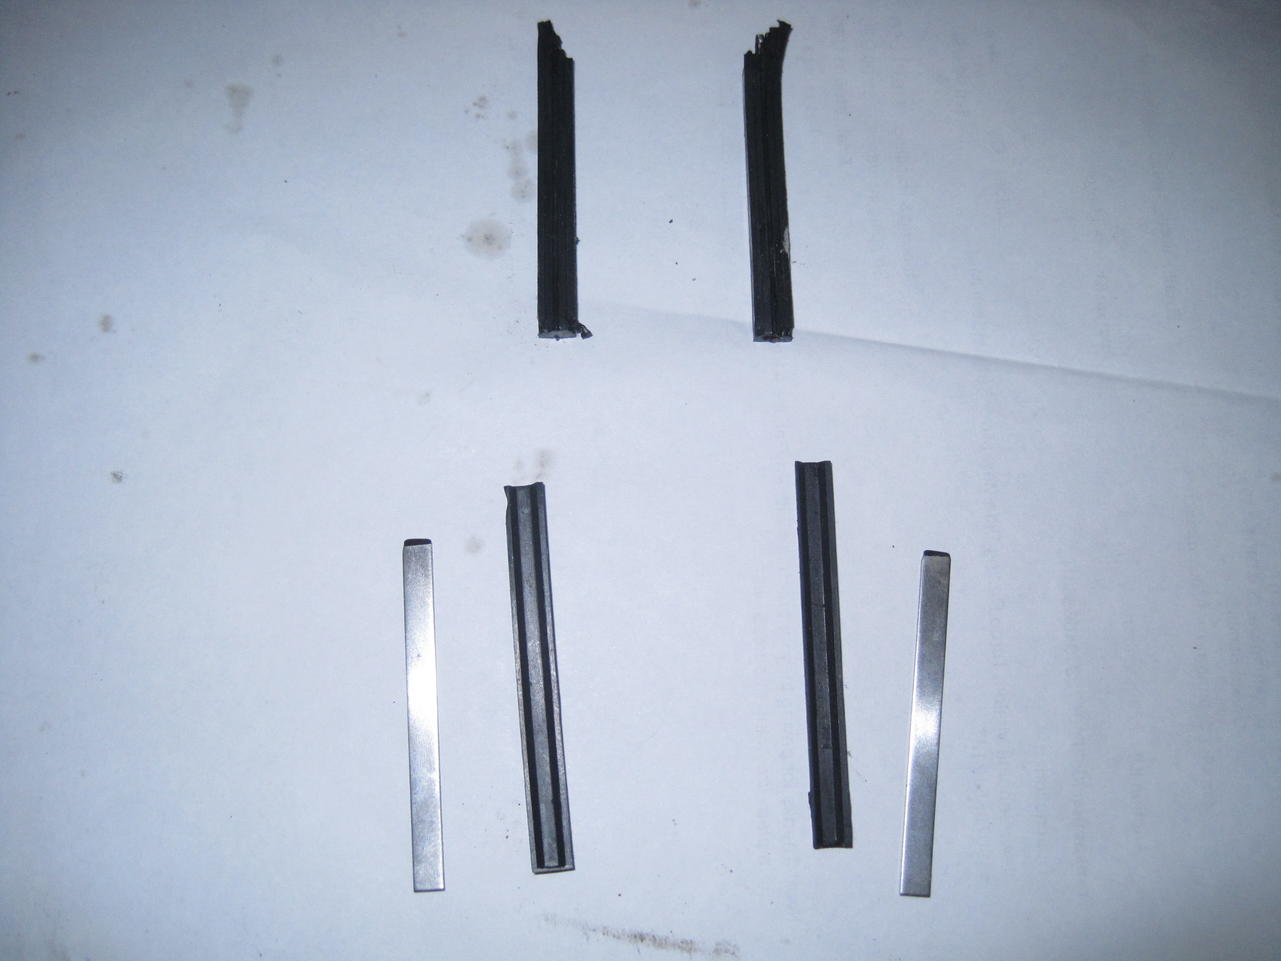
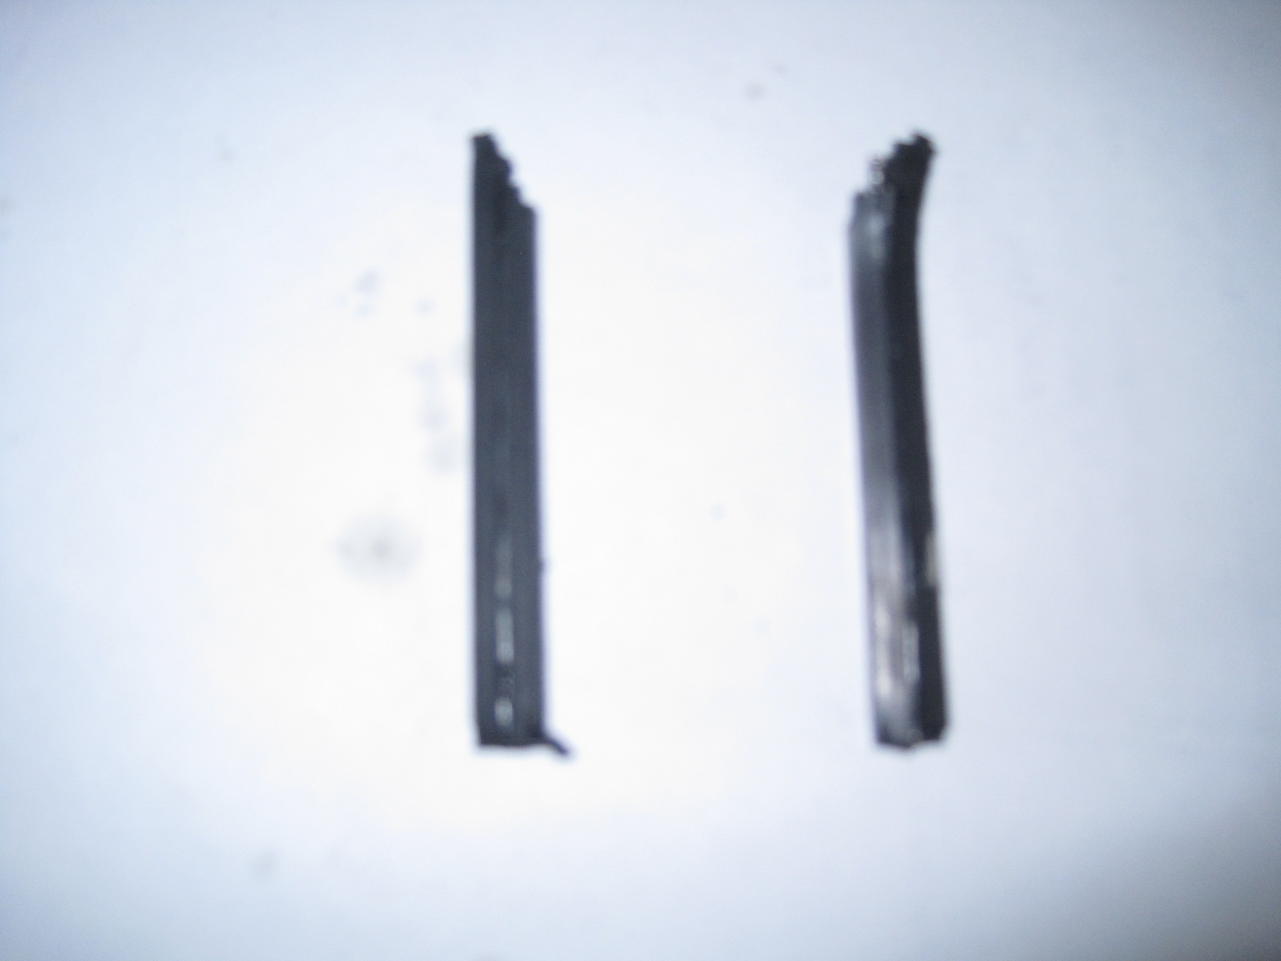
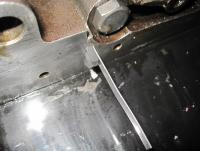
Maybe this thread is too old to get any love, but I will continue on. I took some pics of the two types of side seals. I also hopefully demonstrated the correct way to insert the side seals. I took a lot of time to clean everything out, especially the cavity for the side seals. It is now oil free and dirt free. I squirted brake cleaner up in the hole to get it sqeaky clean so any sealant I put on there will be more effective.
-
-
Well it's time for another attempt at fixing my oil leak. I have been truly cursed with this leak. I have replaced the rear main seal twice, the second time I used a speedi sleeve on the crank incase there was any bad spots. I have replaced the side seals also. I think this is an excellent thread regarding this issue so I will continue my saga here. Got under the car yesterday to find LOT'S of oil everywhere. Big reason was that one of my oil pump bolts was stripped and not holding enough torque to properly seal. I kind of knew that anyway, but blew it off until winter. I pulled the oil pan because I can only assume after reading this thread, and any other thread on this issue, that the side seals are the culpit. The side seals were really tough coming out. I actually made my own puller to pull the main cap, but the cap only came out about a half inch and stopped dead. I didn't want to force the issue with the cap, but it was enough to grab on to the side seals. The side seals were the one piece type and looked symetrical. The reason I say symetrical is because I read about proper orientation of the "lips". These seals had lips on both sides, so I can't see how I could have screwed that up. Also noted was that they were left abit long, I didn't snip them off flush with the cap thinking the gasket and sealer would cover for that. It took visegrips and a small prybar against the visegrips to pull these out. It seems with all my research that folks have had success with both types of seals-imbedded nail type and 2 piece nail type. Some have use sealant, and some not. Some say you have to pull the cap, some don't. Frankly, I am at a loss to what's going to work. I thought the Nissan one piece seal was the answer before, but I don't think it is the seal as much as the application maybe? What exactly is the sealant for? I have also read that some one that didn't want, or couldn't pull the cap injected some sealant into the slots of the cap before installing the seal. In other words, it was important to get sealant at the top of the seal?
-
No problem. I have not considered 4.11 gears-if anything I might go back to 3.70's. With my BW T-5 trans the first 2 gears are low and wouldn't want any lower. It couldn't be easier to do this swap. The STI diff I have I aquired for 350.00$-quite a steal compared to the Nissan r200 LSD. Now the axles are a bit pricey(500.00), but excellent quality and come from our fellow Zers on these sites. Didn't know if you knew that Todd at Wolfcreek is now selling them. Installing it is the same as installing any r-180.
-
I'm running 17x 8.5 rotas with +4 offset and 245/45 / 17 tires all the way around. I'd like to run 275's or bigger in the back. My rears rub on the inner fender-not lip- so rolling isn't going to help. I've already ventured from the stock look, so this is just another step.
-
It will be tough to cut those rust free quarters, but it's going to happen. I only see my wheel size getting bigger, not smaller. I am well beyond rolling fenders now, and I don't want to go to coil-overs. I like my suspension and stance and riding on rubber strut tops. I do really like the ZG look and it should compliment my paint job well.
-
Flares arrived from Japan today-I'm getting nervous before surgery:nervous:
-
Sounds like you are at a crossroads. I would get that e-31 checked out as far as cc and what valves are in there. The new pistons are flattops? You could try the e-31 first since it's redone and see how you make out. I would see how much CC you can get out the combustion chamber to keep CR at the minimum. Then you can do a direct comparison for all of us between the e-31 and p-90.
-
http://forums.hybridz.org/topic/85907-attn-flat-top-28-with-e31n42-head-guys/ This is a pretty good read. Googling this brought up several discussions. Seems like 9.5- 10 is where you want to be however you get there. My car slightly pings at 38 full advance, but the dyno showed the same power at 34- so I didn't need all that advance anyway. Maybe because the smaller piston / combustion area of the L24?
-
http://forums.hybridz.org/topic/85907-attn-flat-top-28-with-e31n42-head-guys/
-
So what block and pistons are being used in this combo?
-
True the earlier head would be better, but in most cases the head needs some work-as in valve guides or seats, so you might as well upgrade to the bigger exhaust valve.
-
I believe notching was recommended to allow more room for the exhaust to breathe around the valve. I notched my block on both sides.
-
I would throw a timing light on the plug wire and turn over to see if spark is there or erratic. Whatever direction one goes, spark needs to be eliminated first.
-
The 2mm gasket will be self defeating. Altering the squish will be just as bad if not worse than running 10 to 1. I would unshroud that e31 to it's limits and smooth out the chambers as much as possible. I guess it depends on what octane you can get where your at, I would think with a decent cam and premium your would be fine. I'm running 9.55 and timing is not an issue. I would think the smaller chambers on the e-31 would also help dter detonation if properly prepared. IMHO
-
I did most of my own work and I had 1500$ just in paint and supplies . I wouldn't expect much for 3500$ I would think quality body work and materials you will be twice that amount
-
You know you dont have to start a new thread about the se subject everytime
-
Looking at those mirrors Jeff, they would have to be mounted far foward on the door - not in the stock location. They tilt rearwards so mounting would have to compensate. That is one reason I went with the Vitaloni, because the stem tilts forward which helps using the stock mounting holes. I didn't want to redrill my door
-
No. I have only one day driving with them and no negatives yet.
-
They stick out there dont they! I wonder if that long stem would cause vibration. You did see my thread on Vitaloni mirrors?