.JPG.cfcada9cf1c1b502df3f5f2f2ca3ff36.JPG)

SteveJ
Free Member
-
Joined
-
Last visited
Everything posted by SteveJ
-
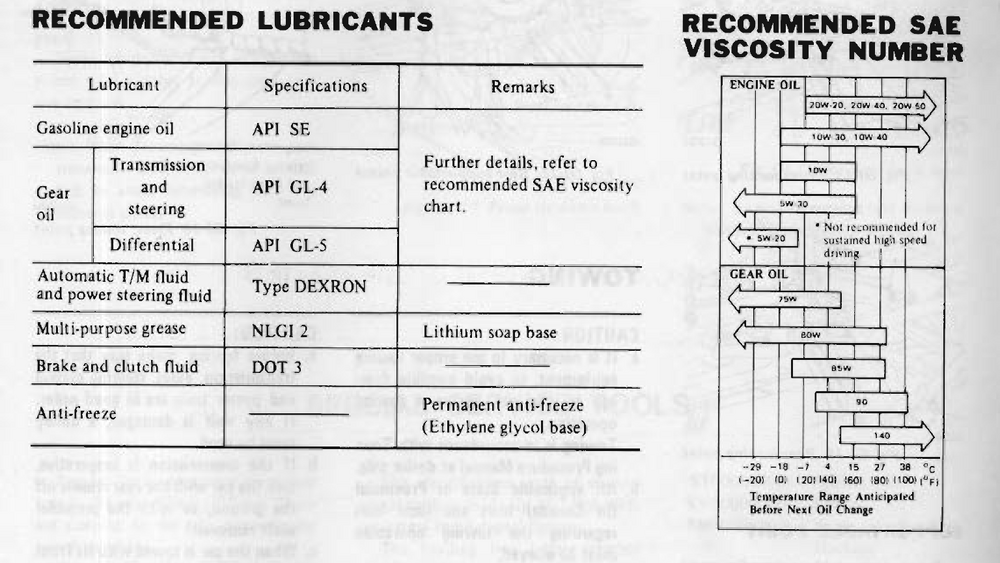
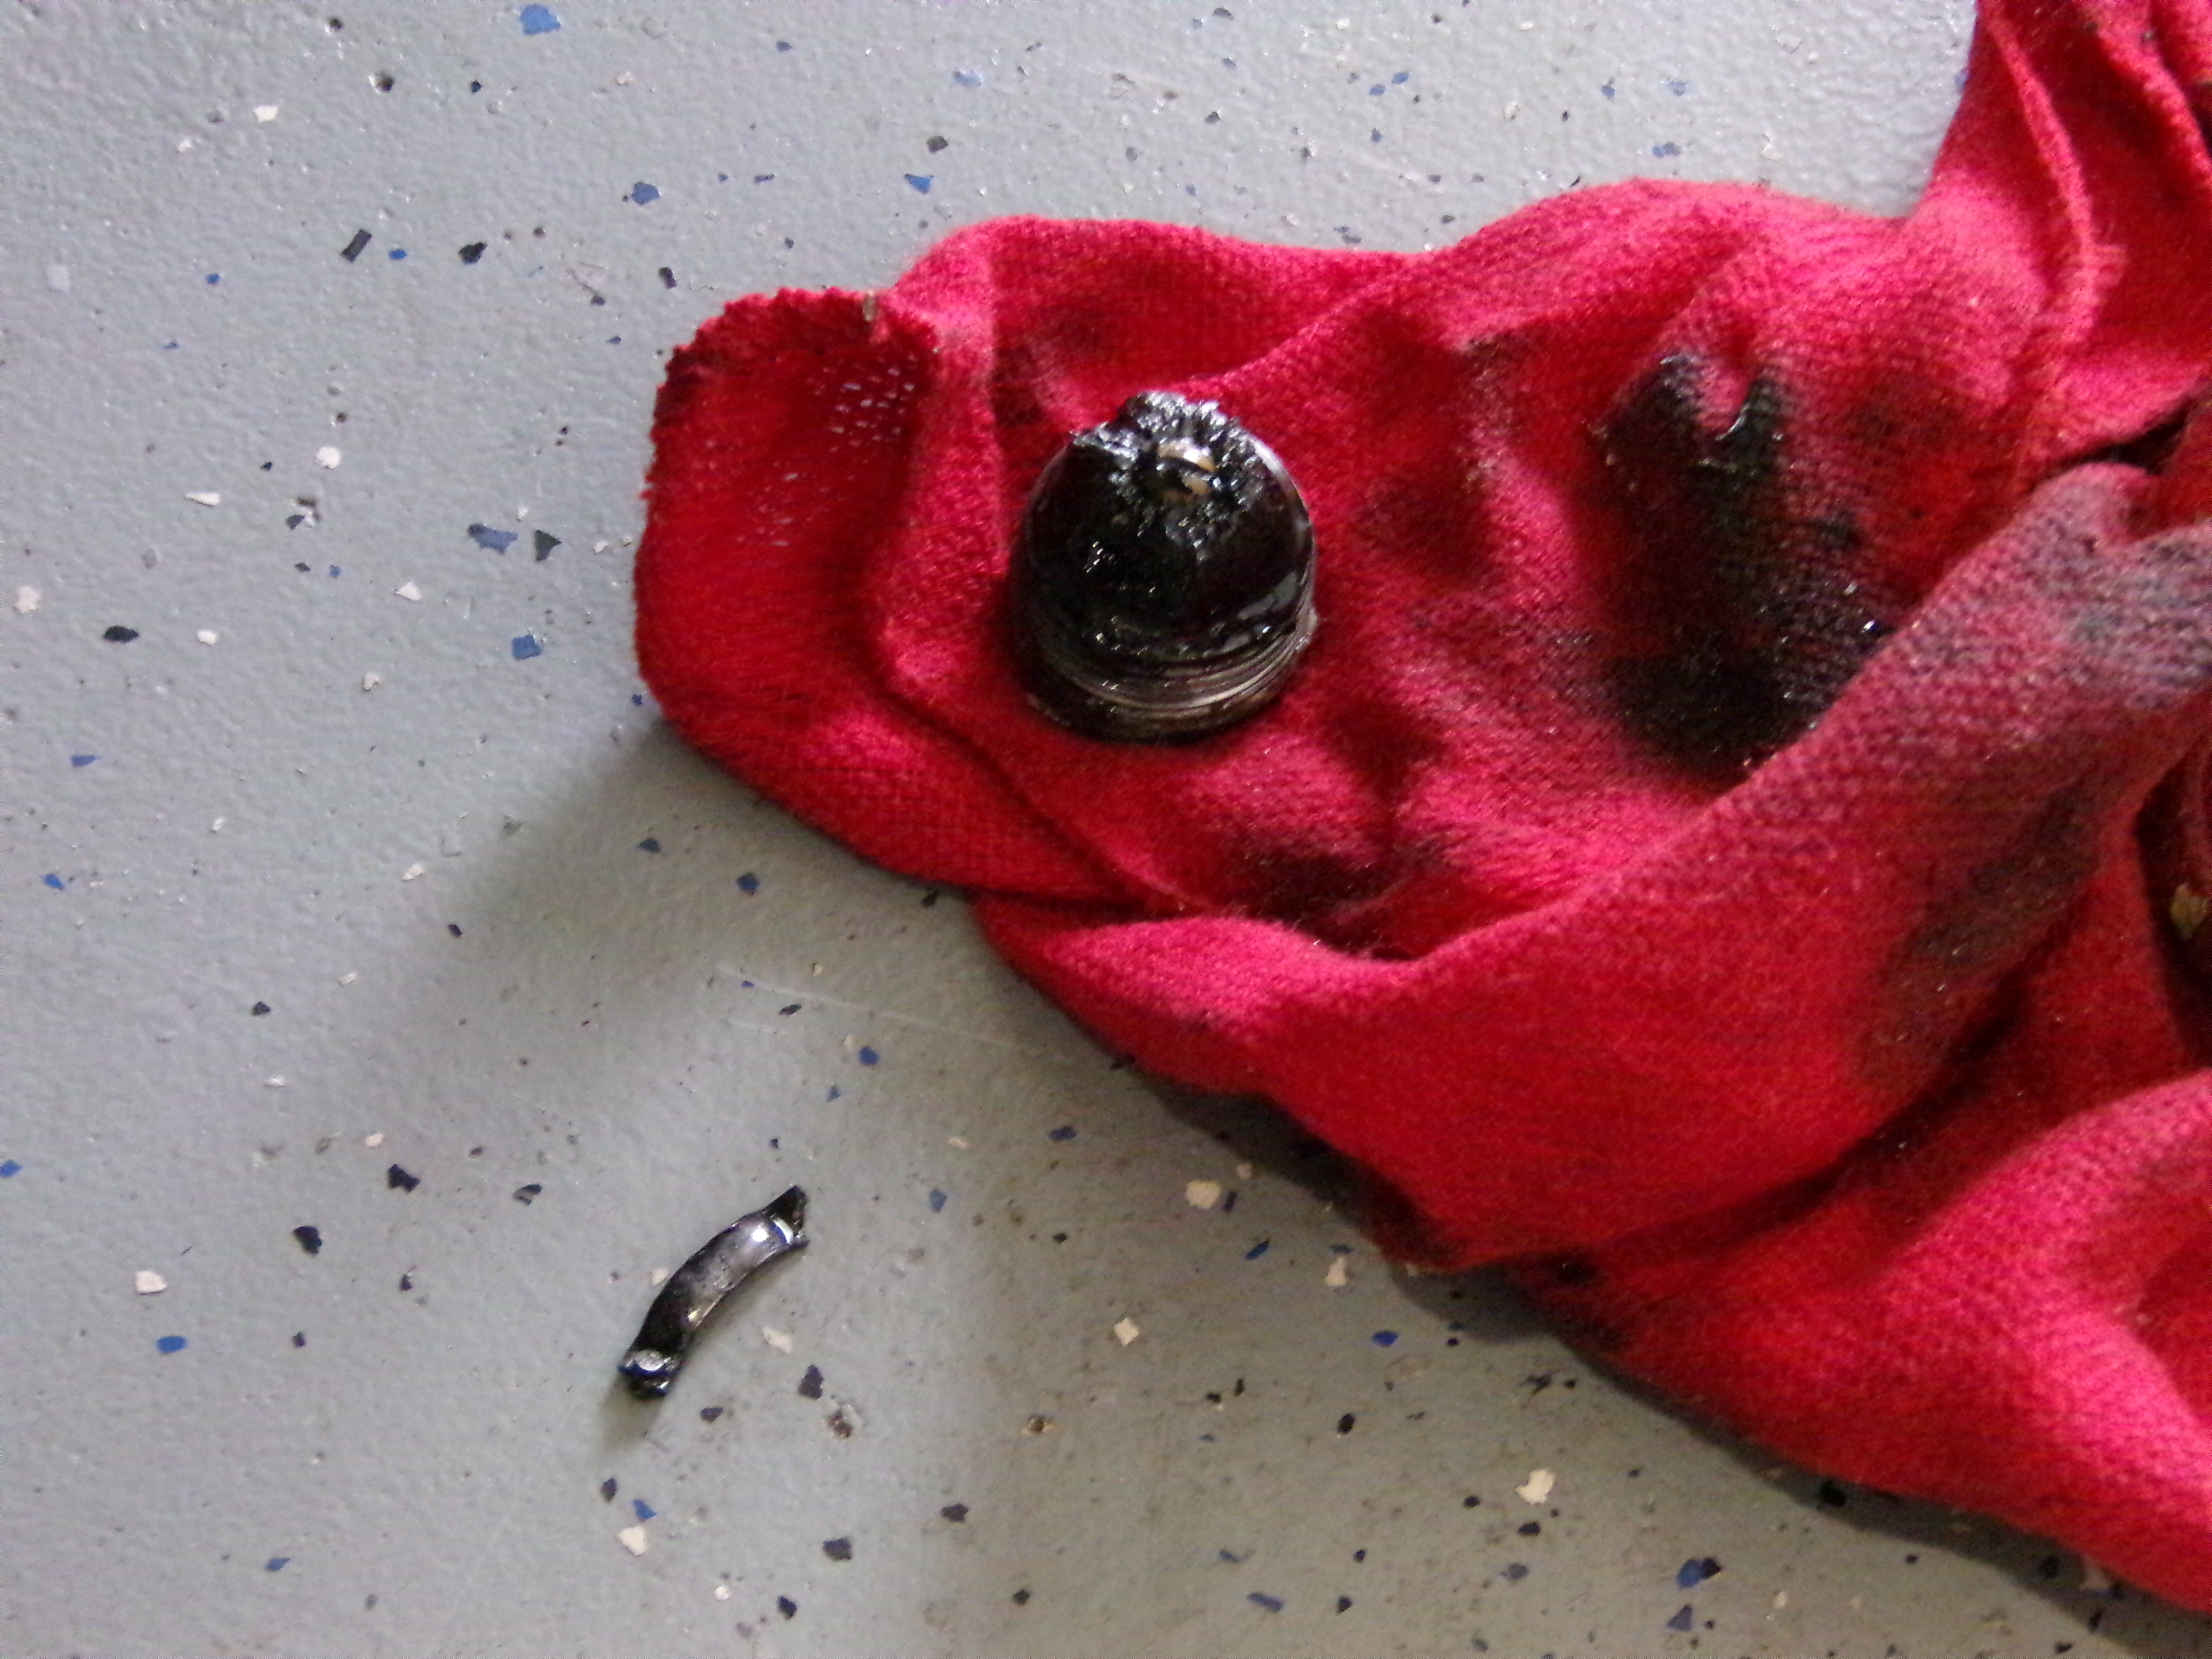
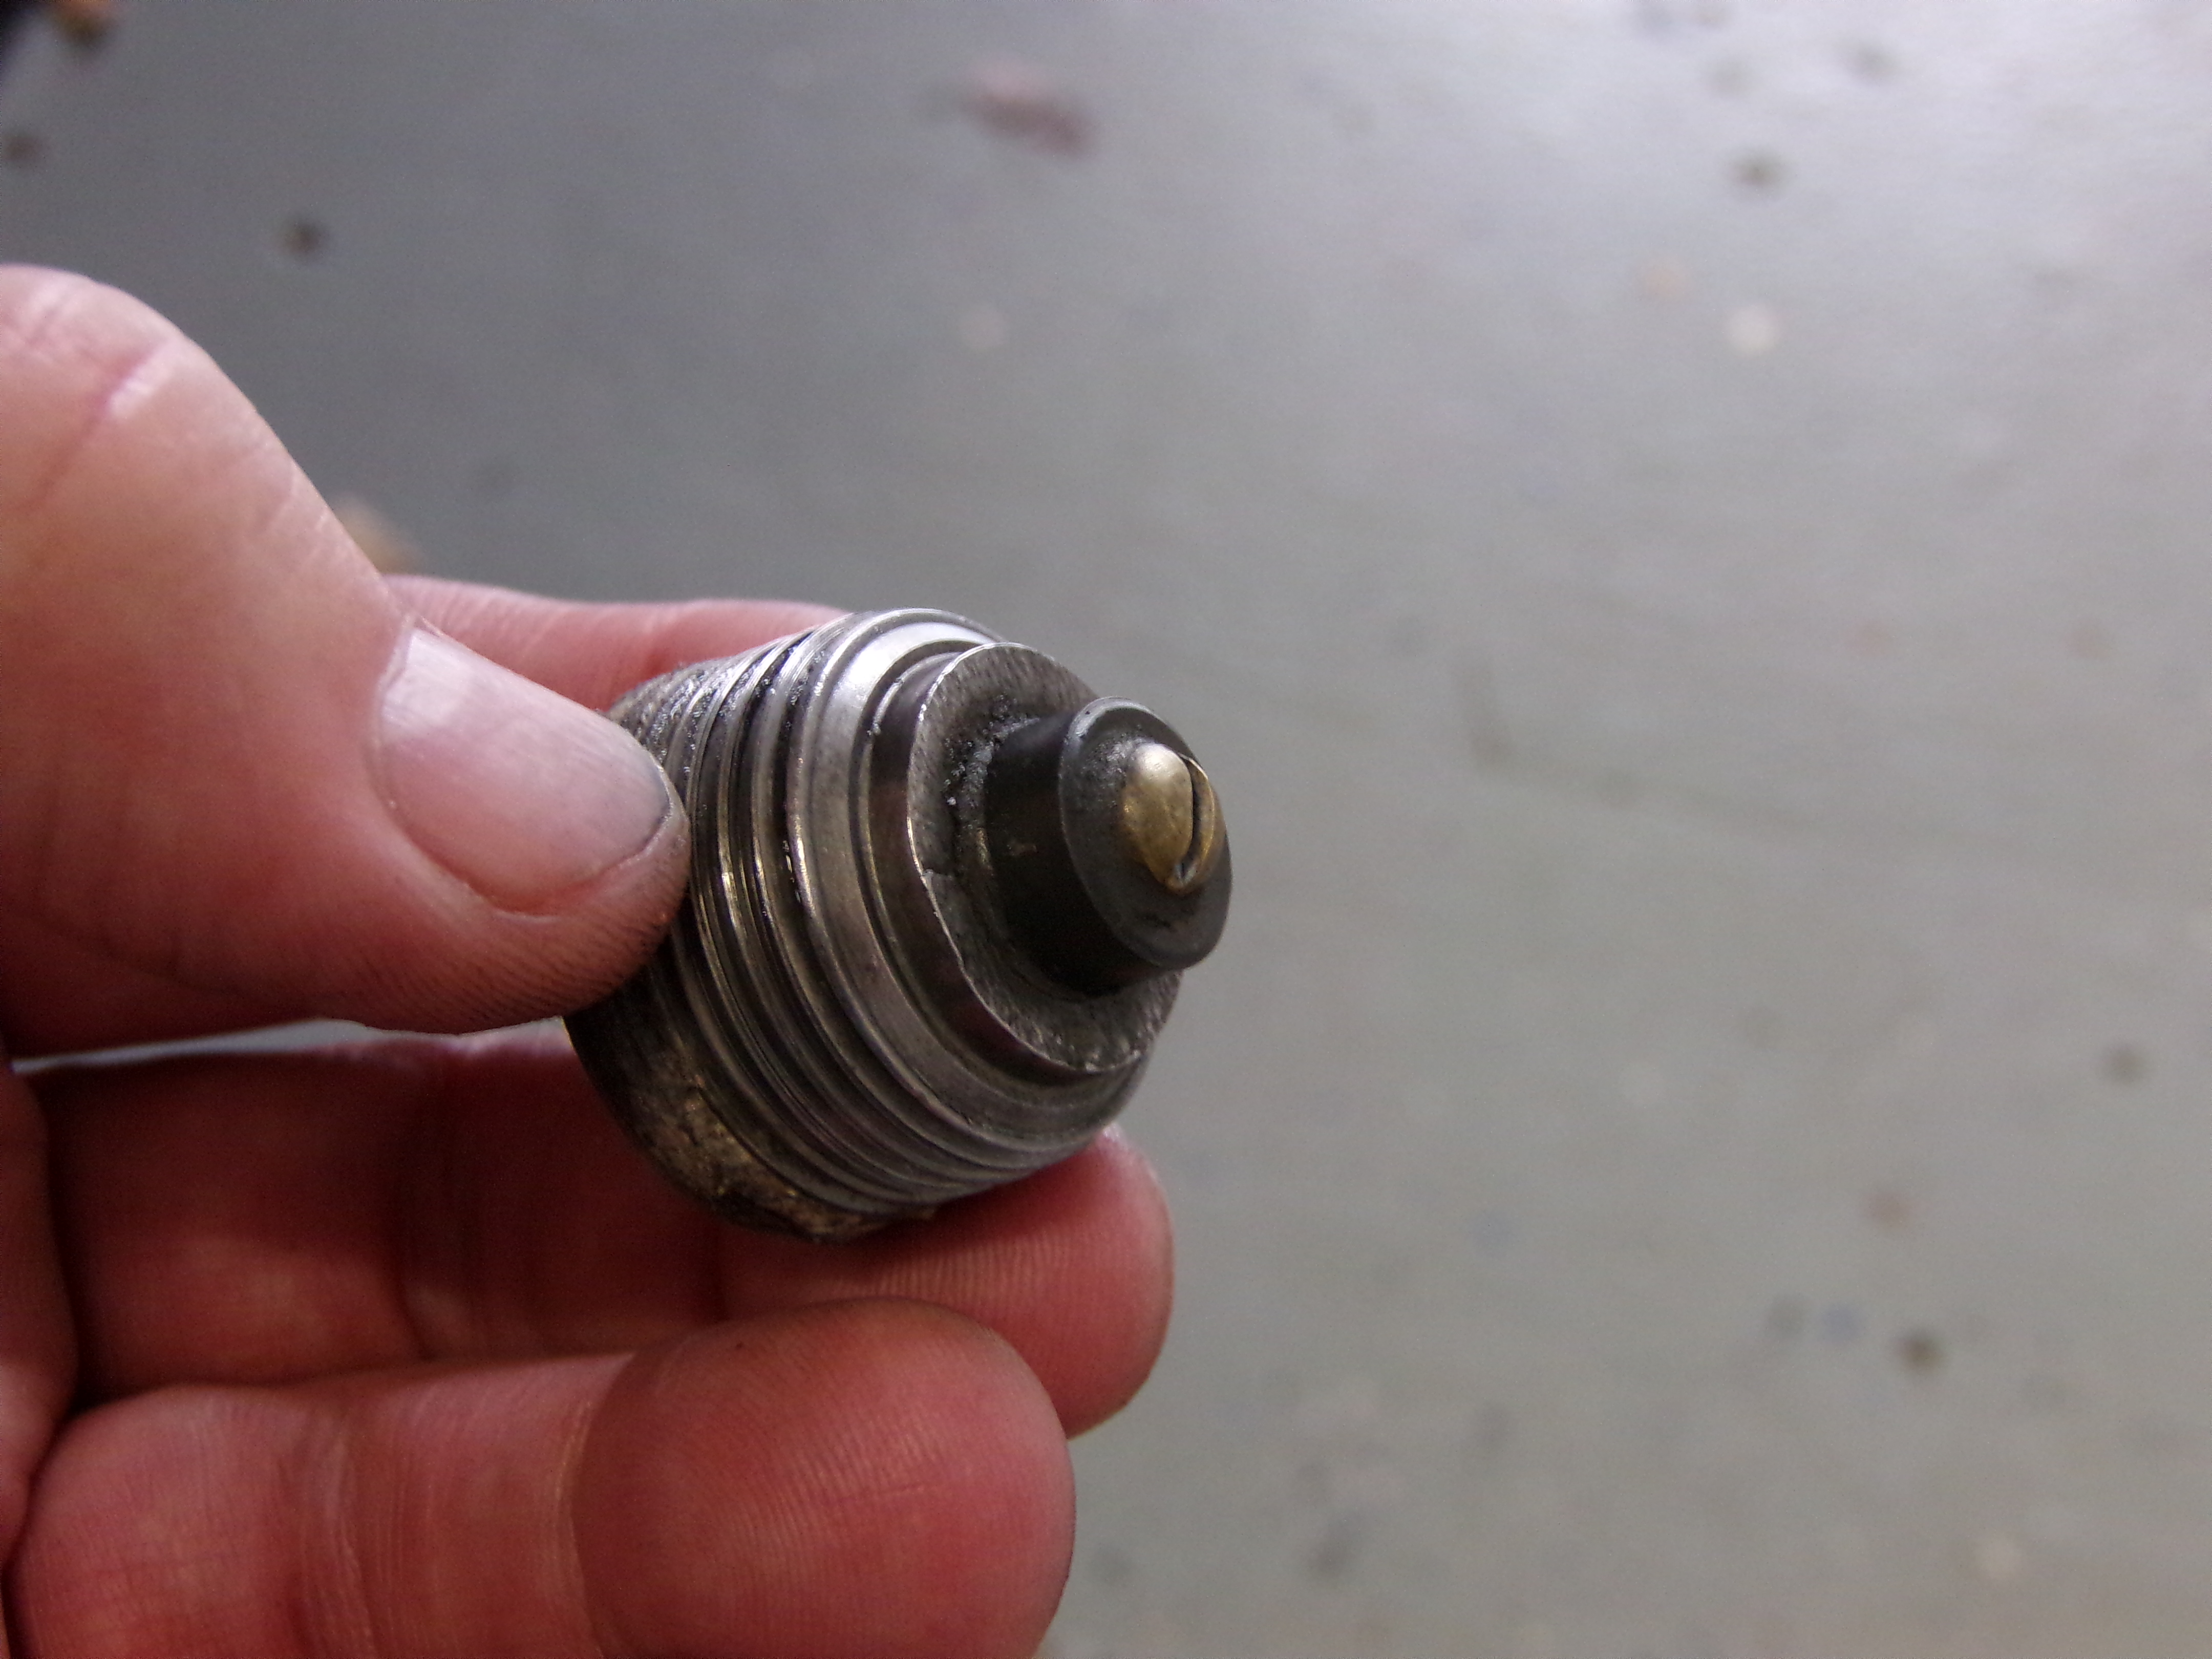
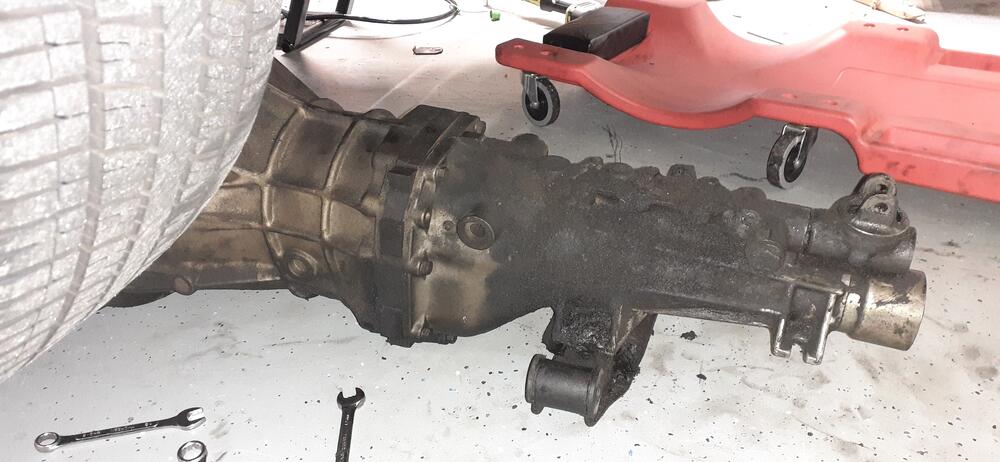
 I pulled the 260Z transmission today. Here's the drain plug. That piece of metal lying on the floor was also attached. I also took a picture after I cleaned it. The oil coming out of the transmission was very pretty, all full of glitter. 😲 Soon I had everything else clear, so I was ready to drop the transmission. All I had to do was pull one bell housing and two transmission bolts. After I finally got the transmission clear of the engine and header, I lowered the transmission jack, and the transmission promptly rolled off the jack. I dragged it out to prepare to install the replacement.


-
Yes, it's a 280Z 5 speed. No, there isn't a new diff at this time. I'll be using the 3.364 rear end. It'll only drop about 500 RPM or so in 5th, but I'll be happy with that improvement.
-
Good to know. I'm doing the reverse soon. I'm dropping the old 4 speed out of the 260Z today if all goes as planned.
-
That's in USD. @zKars posted the CAD price.
-
If it's hardened, it's reasonably priced.
-
Your memory is correct. As for access to the body, if you think about it, the filler neck goes through the fender. At that point, the neck is above the rear floor, so it briefly runs through the cabin on it's way down to the tank. Those two holes shouldn't pull in exhaust, though.
-
So inquiring minds want to know make and model of the bead roller...
-
Different groups of engineers and translators could easily account for different names.
-
Are you referring to this? https://www.nengun.com/fujitsubo/legalis-r-exhaust-system
-
Just for reference, the part number is 28820-N3300. Part #44 here: https://www.carpartsmanual.com/datsun/Z-1969-1978/electrical/electric-unit-switch/section-1/240z-260z
-
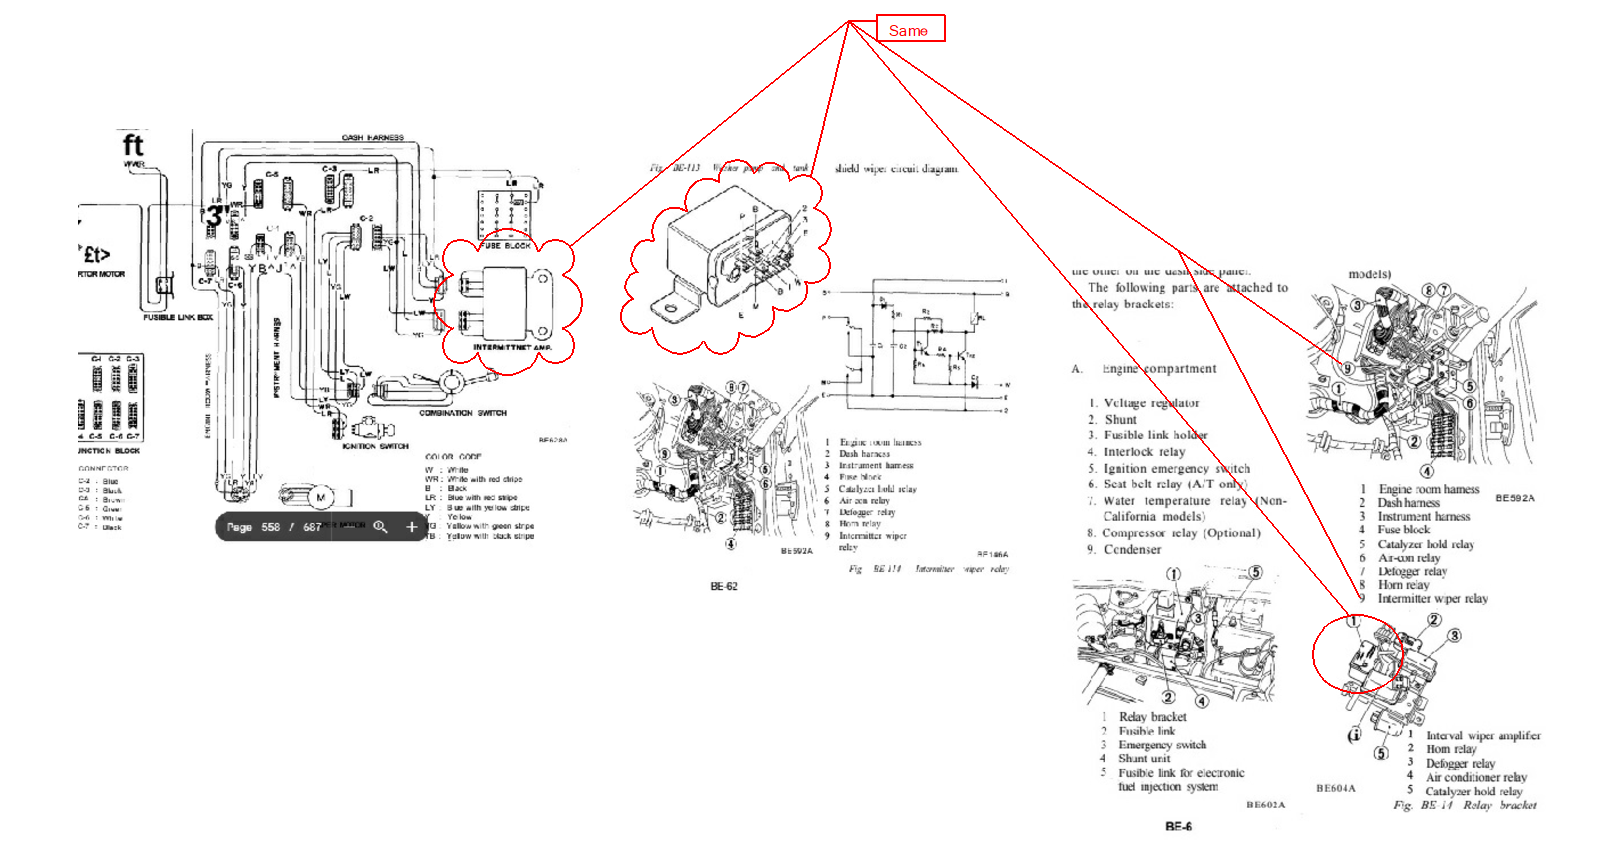
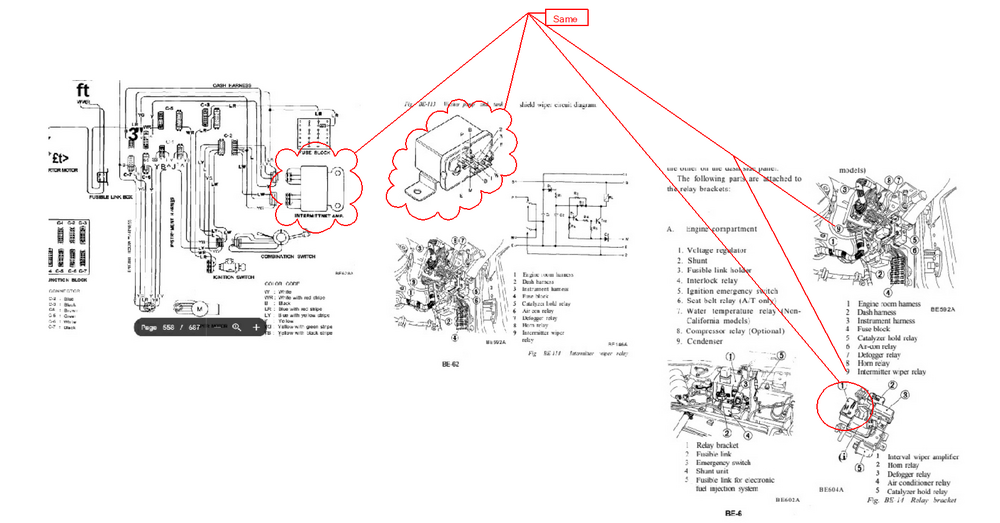
They change the names but #9, Intermittent wiper relay, and #1, Interval wiper amplifier, are one and the same. I hope this clears up your confusion.
-
Well, on the flip-side, they aren't publishing a bunch of articles with bad information. I hear enough wrong information about the Zs at car shows to keep @HS30-H busy with his voodoo dolls all day long. Many times, I reply with, "No, that isn't true," or "That is in the realm of urban legend." On more than one occasion, I have heard that Nissan bought Datsun because Datsun went bankrupt. As for Hagerty, what comes to mind is the last line from Chinatown. "Forget it, Jake. It's Chinatown."
-
Could you put the two diagrams into a new reply? I'm not seeing what you're seeing.
-
I can guarantee going home in reverse was not an option for me. Just listen to the video. There's actually only one clunk in first. I let the car die after the clunk. At least I have the replacement box on hand (280Z 5-speed). I'll probably start on the teardown on Saturday. I'm trying to coordinate with someone I know to make a housecall on Sunday to put the 5-speed in. clunks.mp4
-
If you're really worried, search for closed cell foam. https://www.amazon.com/Trisiki-Insulation-Automotive-Conditioner-Protective/dp/B091GNCK1G
-
If it blocks wind from coming into my house, it probably will stop exhaust from sneaking past your taillights.
-
Lowes & Home Depot. https://www.homedepot.com/s/self adhesive weather strip?NCNI-5 https://www.lowes.com/search?searchTerm=adhesive+foam+weatherstripping+for+doors
-
Same thing
-
I was able to confirm yesterday that the intermittent relay does handle the park function for the wipers.
-
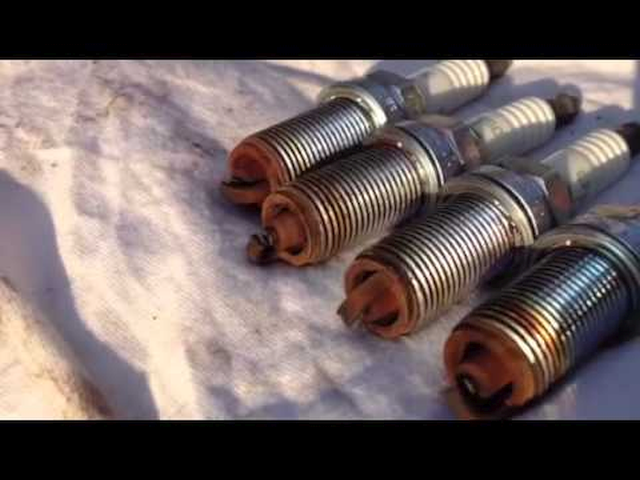
Octane boost fouls plugs. I had someone come over for a tune-up. I pulled a plug, and asked, "Do you run octane booster?" He was surprised I knew, but the plugs ratted him out. Example: Image shamelessly stolen from https://www.e90post.com/forums/showthread.php?t=1162289&page=2 Stabil is a fuel stabilizer and doesn't foul plugs AFAIK.
-
The initial test looked like a scene from a Cheech & Chong movie. Dave? Dave's not here. No, it's me, Dave. I've got the stuff.
-
The ground doesn't pass through the relay either. That's another lie by that diagram. Over the years we have noticed several errors in various Z wiring diagrams. @Matthew Abate found many in the 73 diagram when he went to rebuild his harnesses. By the way, Matthew, I'd LOVE to see your car when it's done. Too bad you live in the land of ice & snow. You may want to look for threads on parking the Honda wiper motor because you may need that with the VAG relay.
-
I think if you removed the relay, you only lose the intermittent function, and Park may be affected. I haven't tested to confirm. While it shows 12VDC+ going through the relay, that diagram lies!
-
I was wondering when someone was going to mention that stuff. https://www.amazon.com/dp/B07CTQ67X9
-
If you got only 8 ounces of fluid from the differential, that was not overfilled. That was underfilled. Underfilling the differential can cause overheating, damaging bearings and gears. You should use GL-5 gear oil to refill. You did not say which differential you have, but here are the capacities from the service manual GI section. The 1.3 and 1.0 are in liters (or litres for our UK & Canadian friends).