dutchzcarguy
Free Member
-
Joined
-
Last visited
Everything posted by dutchzcarguy
-
 Oh.. i see it's a old topic.. i once could buy a 300zx cabriolet/convertible, also done by a american specialist but it was another one.. forgotten the name of it.
 -
Also i bet you had to pay the guy more than 30 bucks.. When you would have bought the meter yourself you had one now to do many many other engines as well.. I also think, and don't get me wrong, someone who wants to drive a classic car needs to have some skill's to work at these old cars.. otherwise it's gonna cost you a LOT in a short time. (Also often garages don't understand these cars anymore. all they want is put an analizer to it.. well good luck there! 🤣 )
-
Hah! I think it was a BROKEN compression tester.. You normally do this in Psi? we do it in bar or ato or KPa. you need to have around 150 Psi on a healthy engine.. so look for a good compression tester.. i bought one many years ago for about 30 bucks.. a GOOD INVESTMENT!!! Take out all plugs, start for about 10 sec. (try to lay the meter so that you can see it come up..) and test them yourself. (And remember, can't do it myself.. does not excist in your vocab! )
-
I haven't read the whole story but do a comp.test .. first cold then one hot and note all findings here.. that would be the day that we don't get an answer!! Together we'll get it out of that engine what is wrong!!! 8 years is rediculous..
-
Haha funny, you know, lots of fun to get some directional tires for your 300zxtt.. and just say nothing to the tire guy.. 8 of 10 times it go's wrong.. they install the right direction but on the wrong side, then they have to take off the tire again and turn it around to get it right on the right side! The last time i had new tires they where from the directional sort.. and you really have to scratch yourself behind the ears.. left forward direction on left and right direction on the right side rims.. and then the wide ones at the rear.. pfff.. believe it or not but there was a 300zxtt ending with the wide rims on the right side and the smaller rims on the left side.. all tires where 225/50zr16's and.. the customer was not amused as it drove like complete SH*T.. 🤬 Most tire guys take off one wheel and put a new tire on.. then they go to the next wheel and put the new tire/rim on there and then go to put a new tire on the 2'nd wheel and go to the third wheel and so on.. if you do this with a 300zxtt you end up with the wide rims on one side of the car... it's soooo much fun!!
-
When putting up new tires... watch the BIG L and R on the RIM's Take a good look at the wheels of the silver one.. those front wheels where put on the wrong side of the car! (Design is a left and a right one!) These non turbo's have 2 different wheels iirc they end on 05 and 10 where the Twin turbo has even 4! different wheels, they end on 05 10 15 and 20! As the rears are wider! (orig. tires are 225/50zr16 on the non turbo and on front of the twin turbo. rear's on the twin are 245/45zr16's ) At "bring a trailer" there is the "wheel police" Haha 🤣 Always making a lot of noise about the wheels on wrong! A Nissan 300zx twin turbo is one of the few cars that have 4 DIFFERENT wheels on!! Even a Porsche 911 does not have that! (as far i know..) This would be a left hand wheel but Porsches have these also on the right side ... 😢
-
?? His pistol is/was under the intake ?? OH you mean the starter was under the intake! Nice place to hide it.. now you have to disassemble half the engine to get to it! pff.. I can understand if your friend wants to empty his gun on such a car-enginedesign..
-
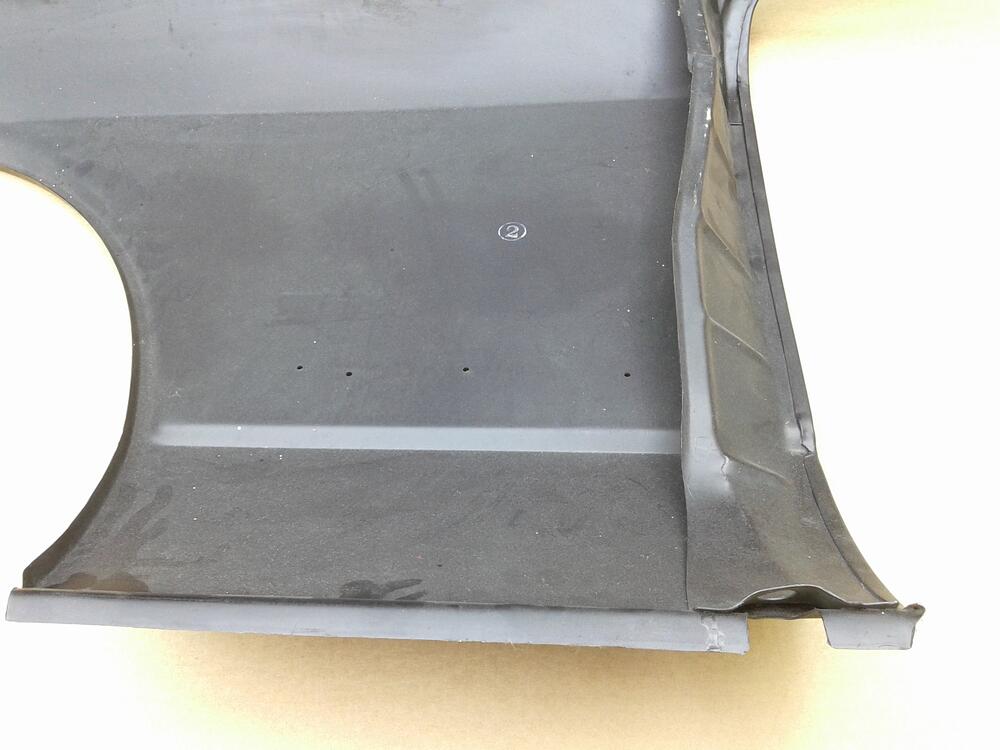
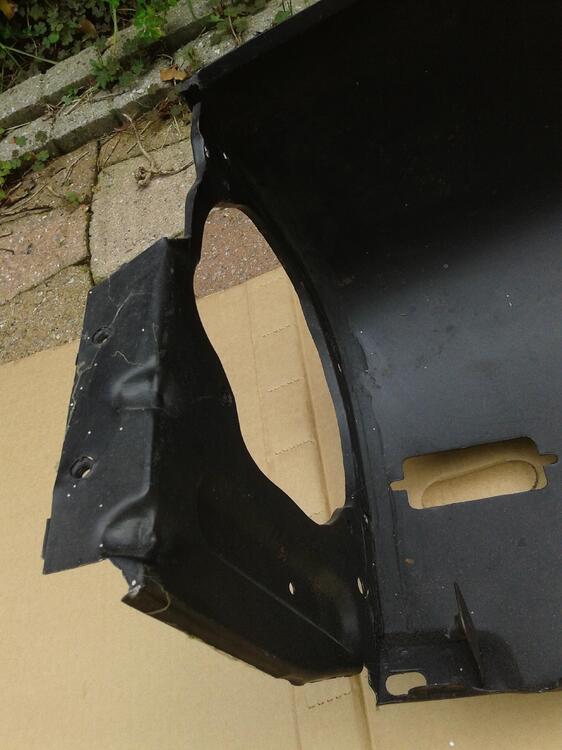
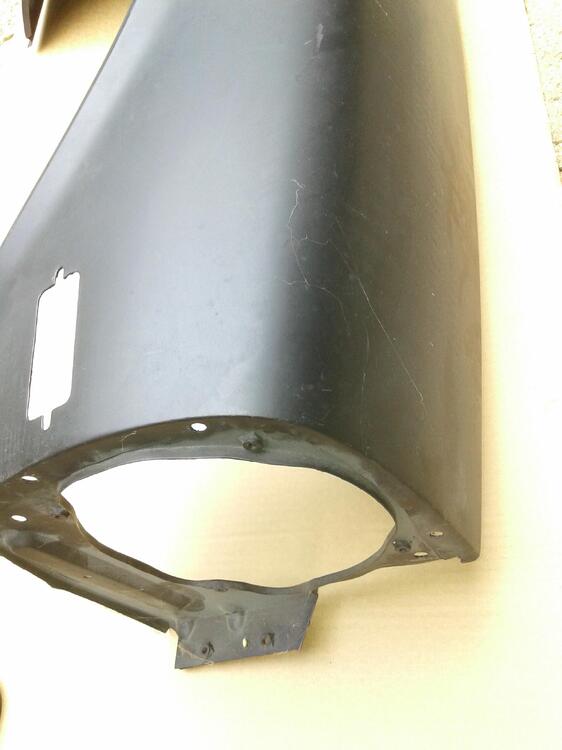
Maybe resurrected classics has found the old templates from the fenders that "black dragon" used to have in theire catalog? If so.. they are not bad.. i think.. These are the black dragon ones. They look like stock nissan parts.. (No longer available) but are copy's
.thumb.jpg.3f3a85fd7c66aae89ea0e404d41ccb54.jpg)
.thumb.jpg.159028ecd5be21fdcef14654bc7a6657.jpg)
.thumb.jpg.864cd72a0074d877b3cf42b24b0056c9.jpg)
.thumb.jpg.a8844dff64cd01b7f49b29a160445f72.jpg)
.thumb.jpg.eb5abe33e97b867fb37f62a21a20e5e0.jpg)
.thumb.jpg.b9f4f2604749fa71737440dc7130274e.jpg)

-
Hey Ferg, I have "fixed" my 240z between 1998 and 2000, i had a accident at work and needed a car as my boss putted me after 13 years on the street.. (I had a company car) and the 240z was a hobby.. it failed in 23 years just twice and it was because of no fuel in it and a under hood light that had a burnt out bulb, and it came back to live through a shaking car and draint the battery! What i want to say: these s30's are one of the most reliable cars there are around. i always laugh when people with " modern " cars have all kind of trouble with theire cars.. As these s30 have a electric plan that fits on a A4 piece of paper there is not much that can go wrong! And when i see what some people have to pay for theire garage bill pfff.. Crazy Money!! 🤬
-
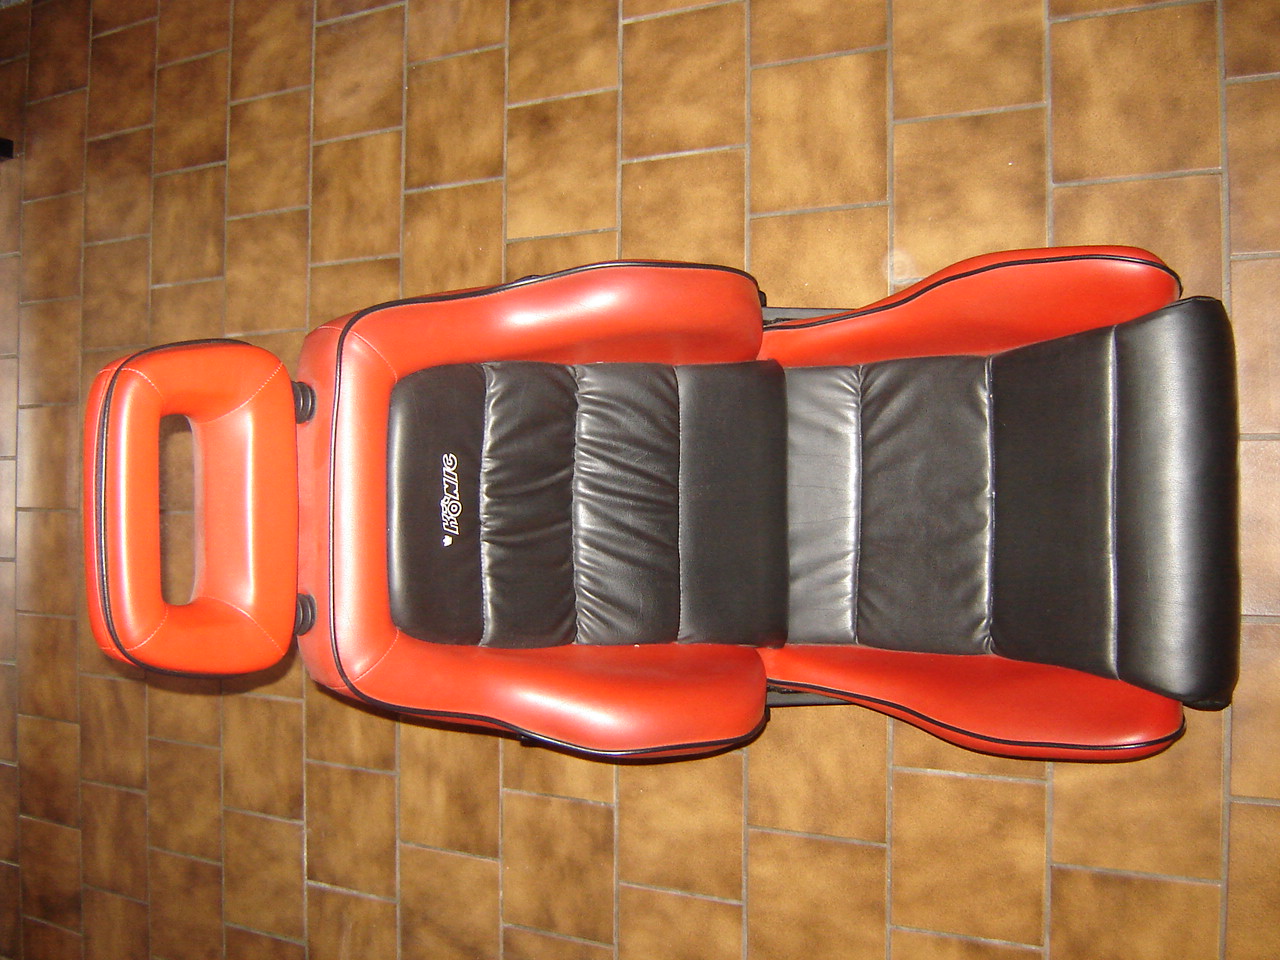
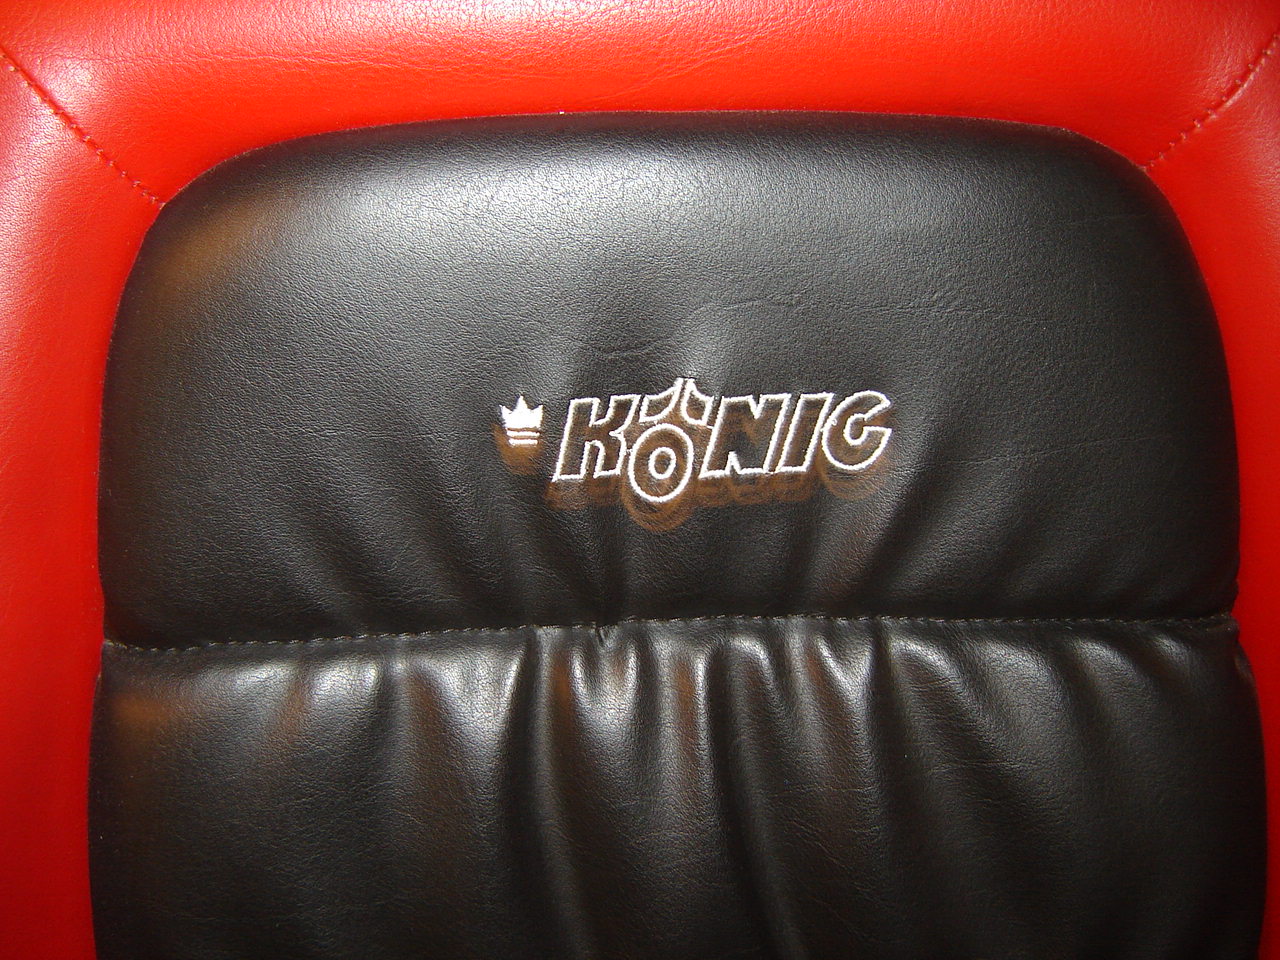
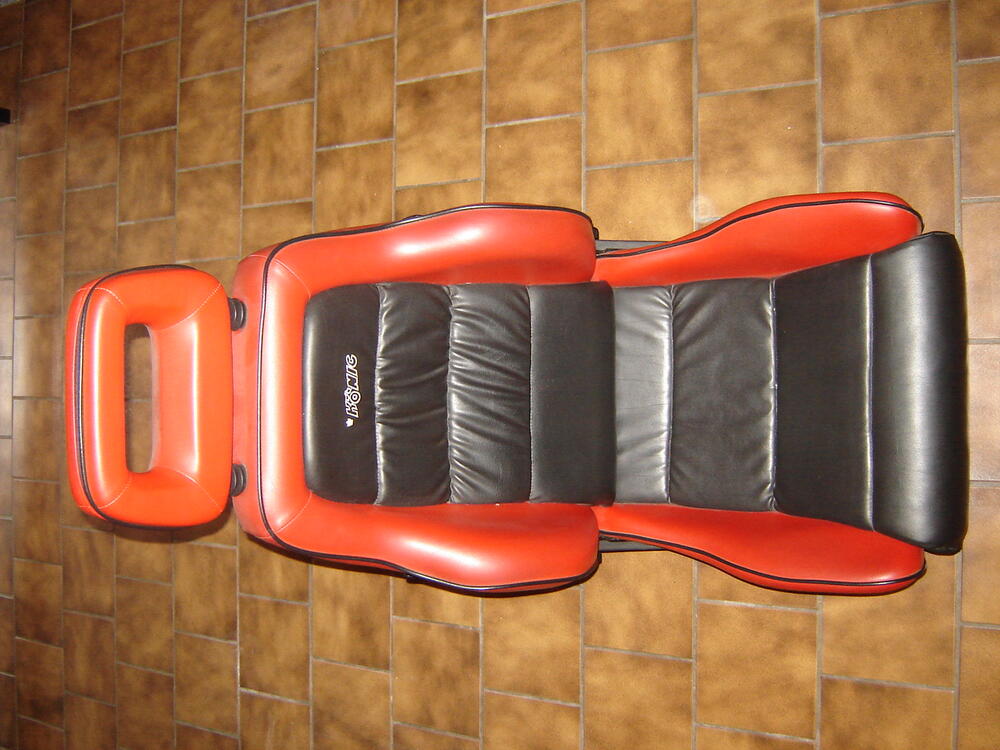
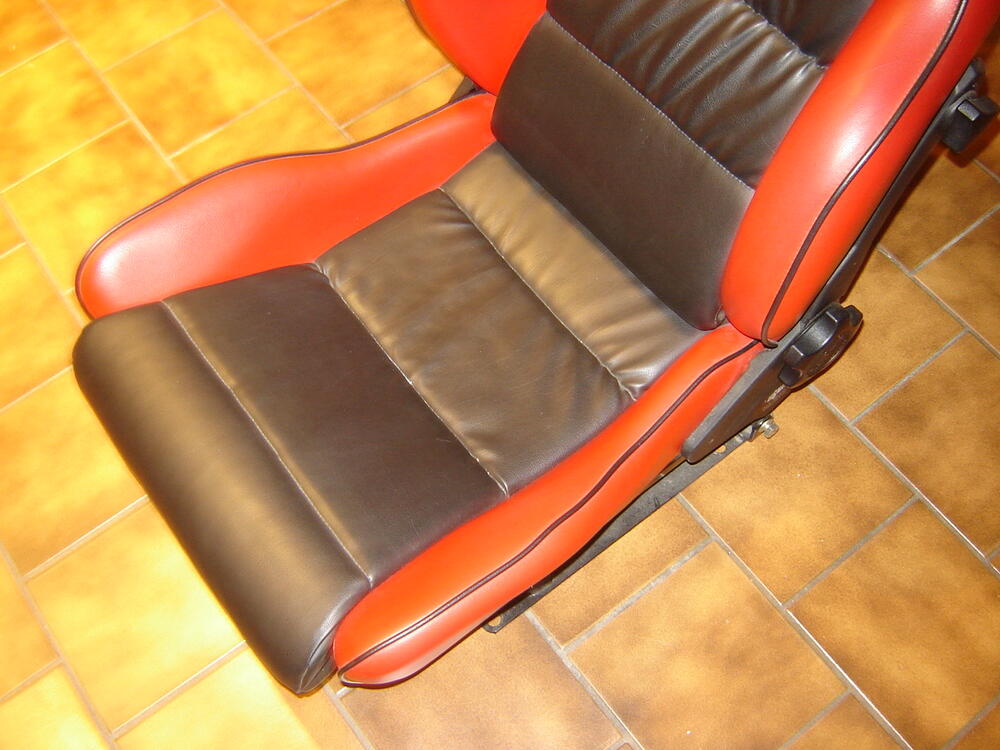
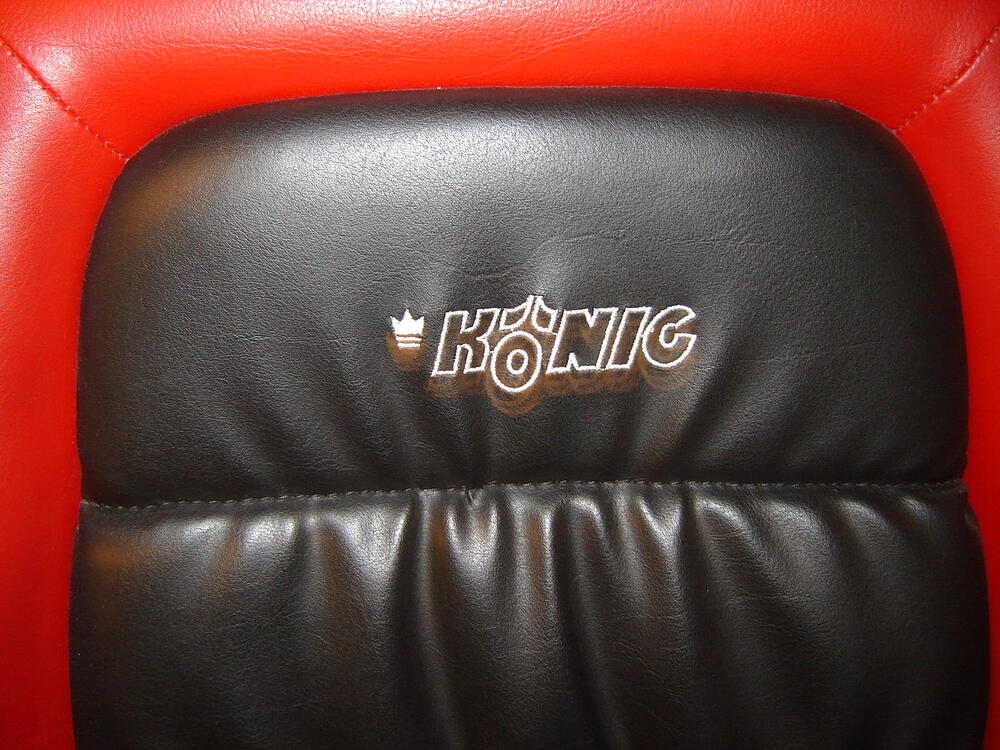
I don't have a big A**e.. 🤣 and do have a "rallycar 240z" set of seats from the german fabricator König.. they make seats for bulldozers and tractors and busses, cars you name it! But i stilll haven't installed them yet.. maybe when i restore the 240z again haha.. Maybe someone sat in them twice haha came out of a showmodell car.
-
Hi, you must be not too big then because i really hated them when driving one time with a friends car.. they are much to high when your over 6 feet. I was hitting the roof BIG time.. Look around on your Crags list or what's it called.. you find something.. look for a seat that's adjustable. I have a special made seat in my 240z and they can be bought for small money second hand overhere.. Just measure the floor to roof and you know what seat will fit there..
-
A simple test to see if your rear hatch seals are doing the job well is some small strips of paper between the rubber and the hatch door.. If you close the hatch and you can easely pull the paper out.. then you have a leak there! 😮
-
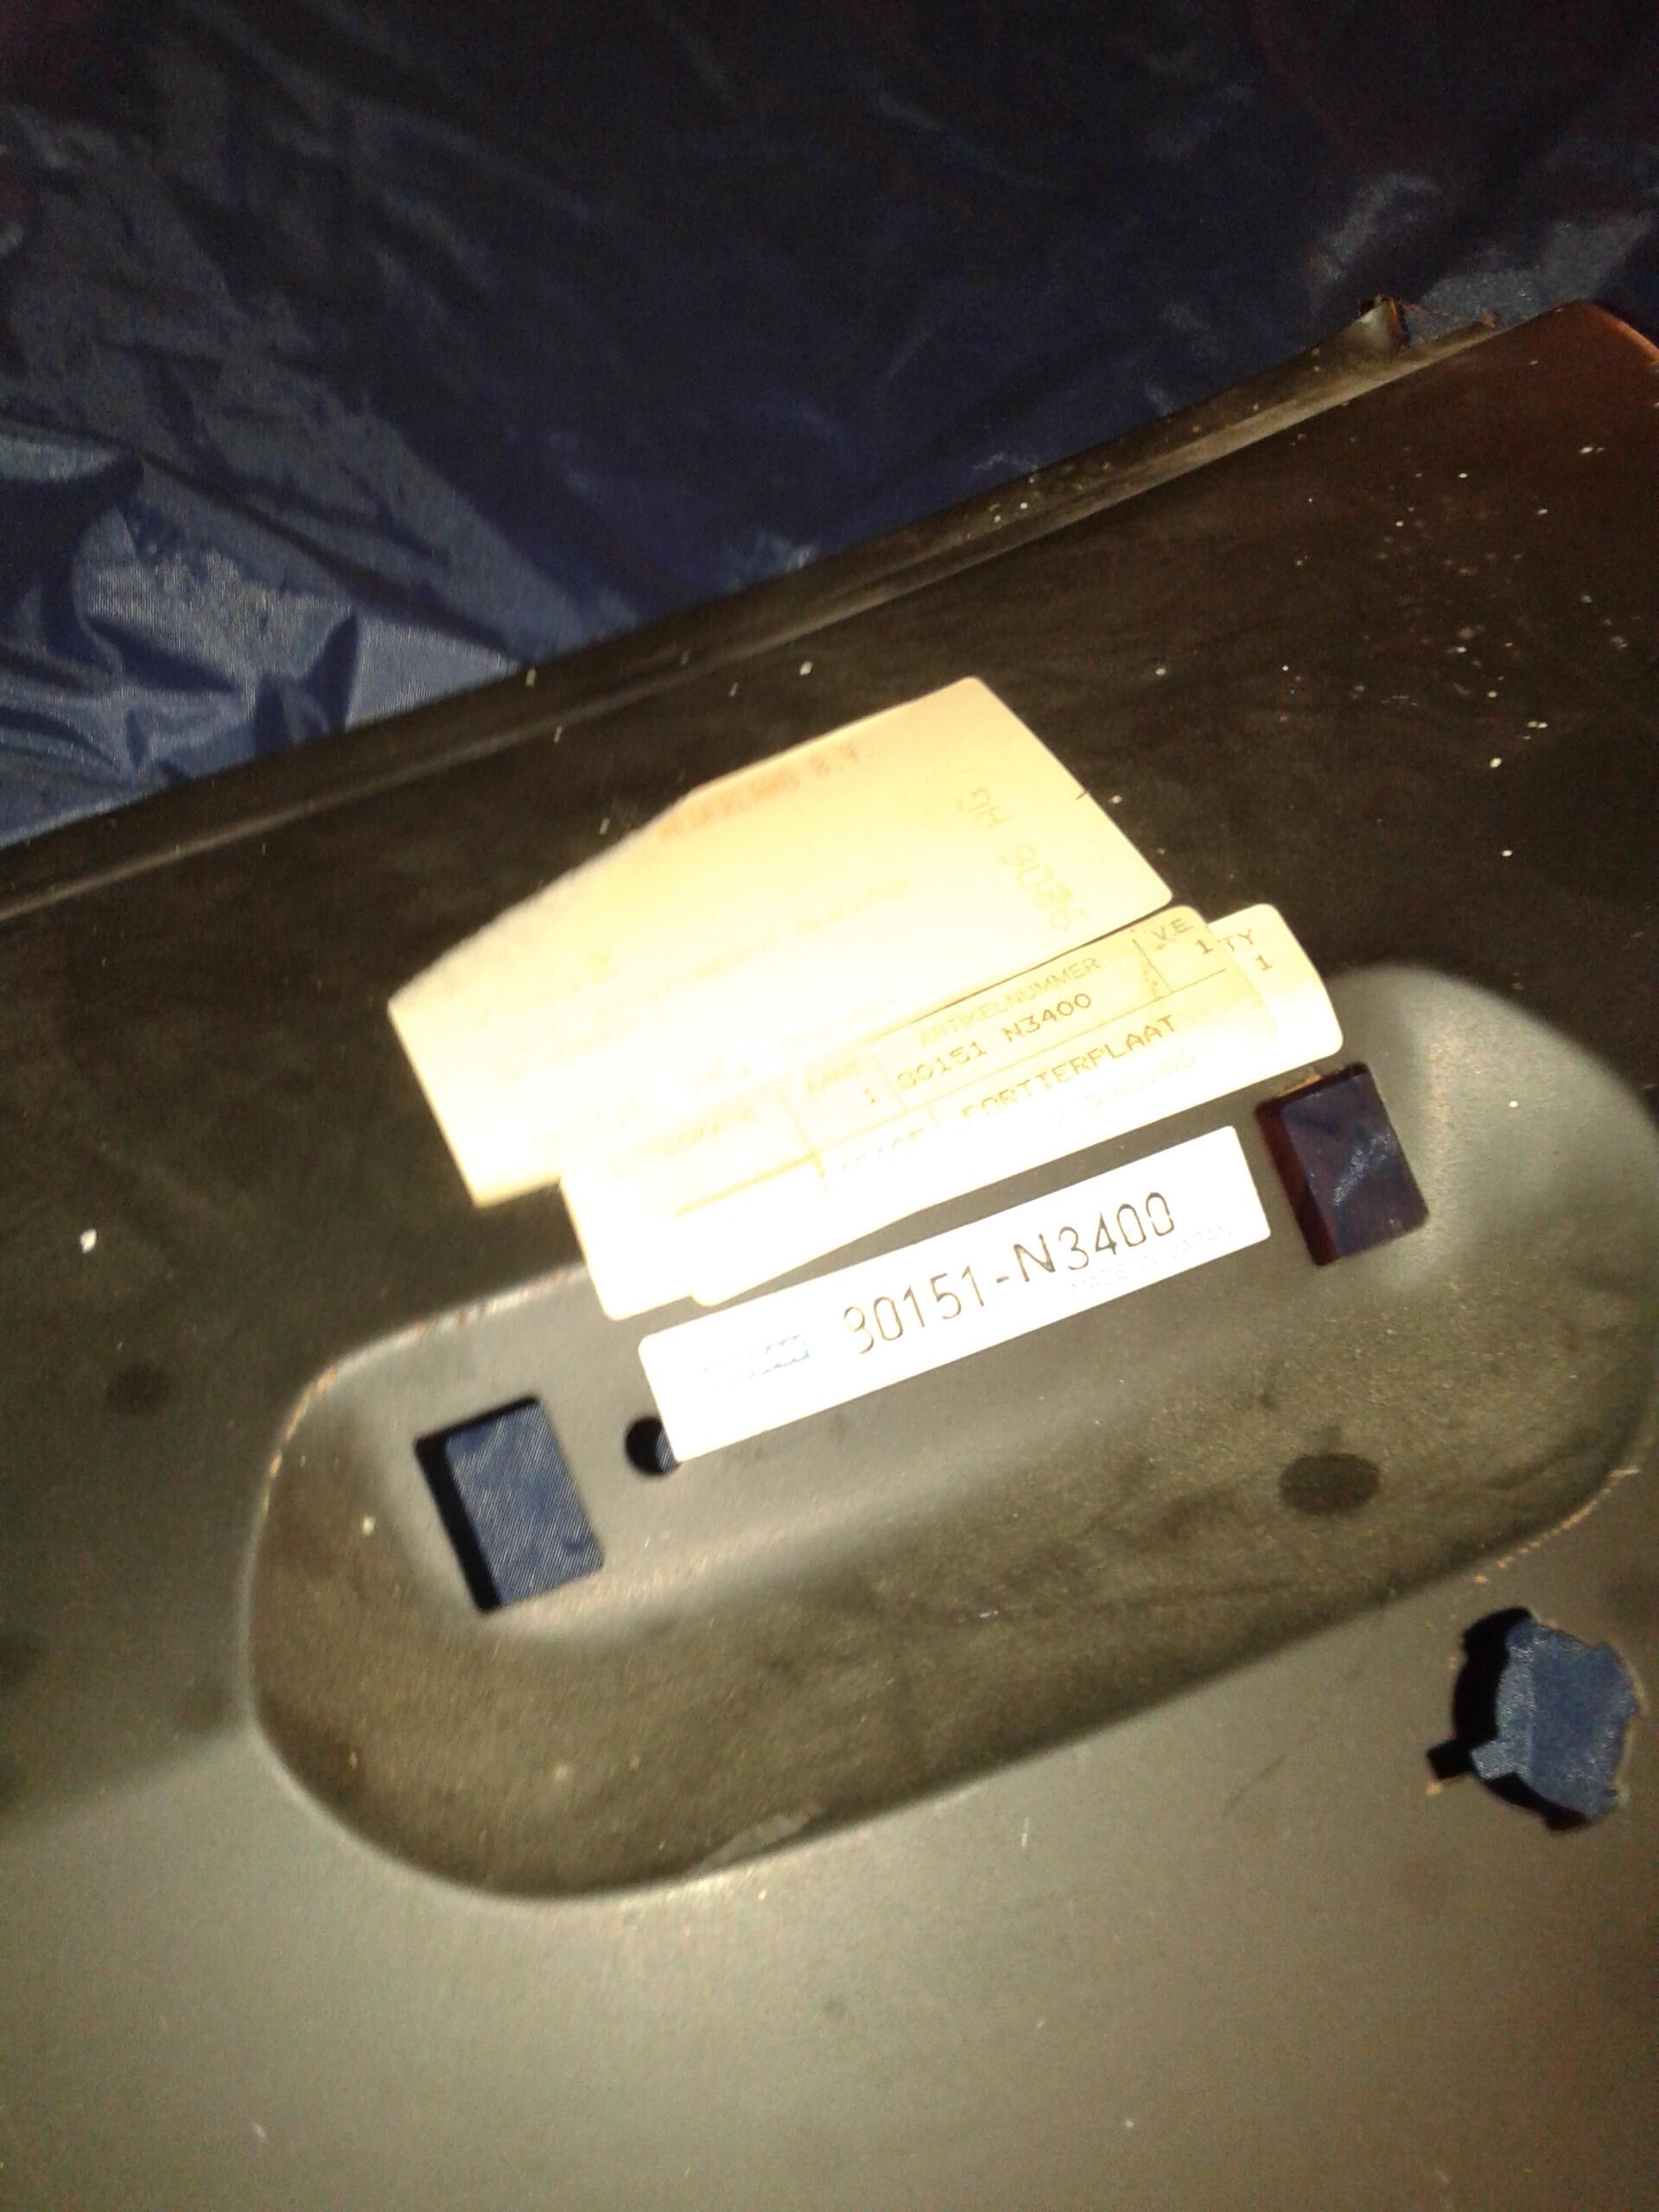
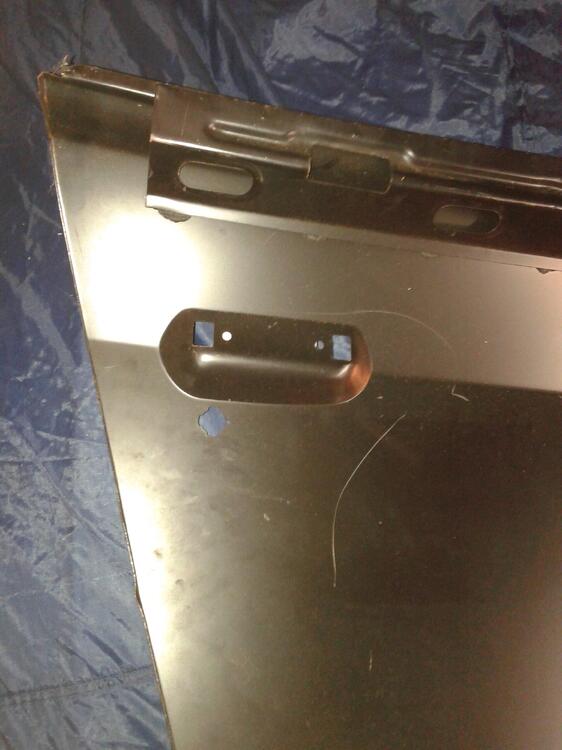
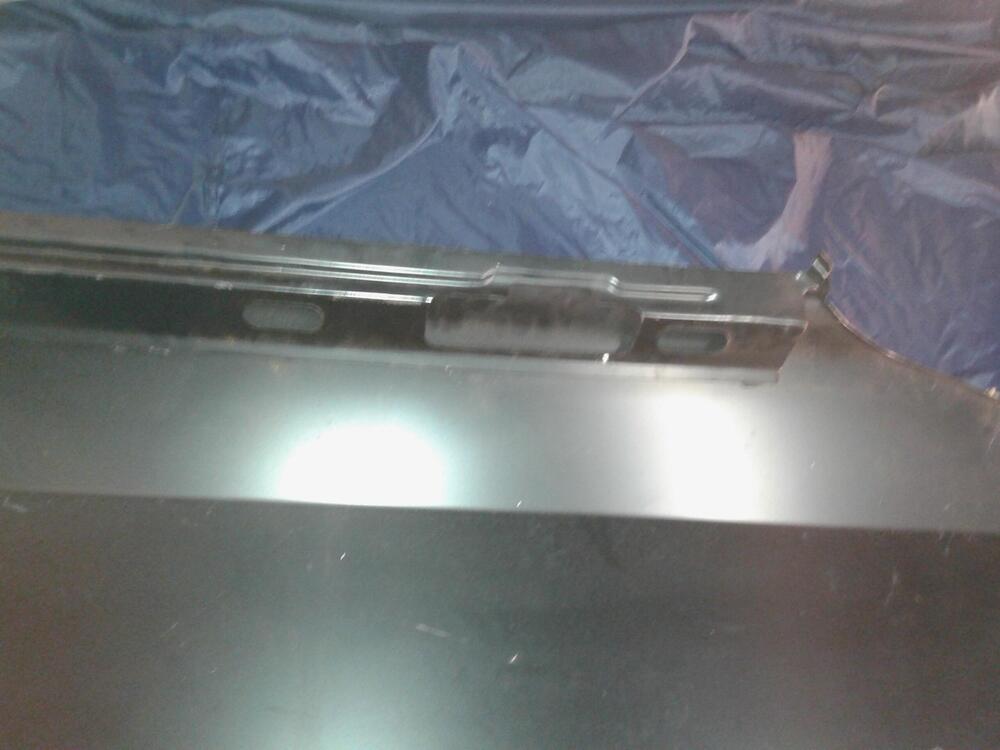
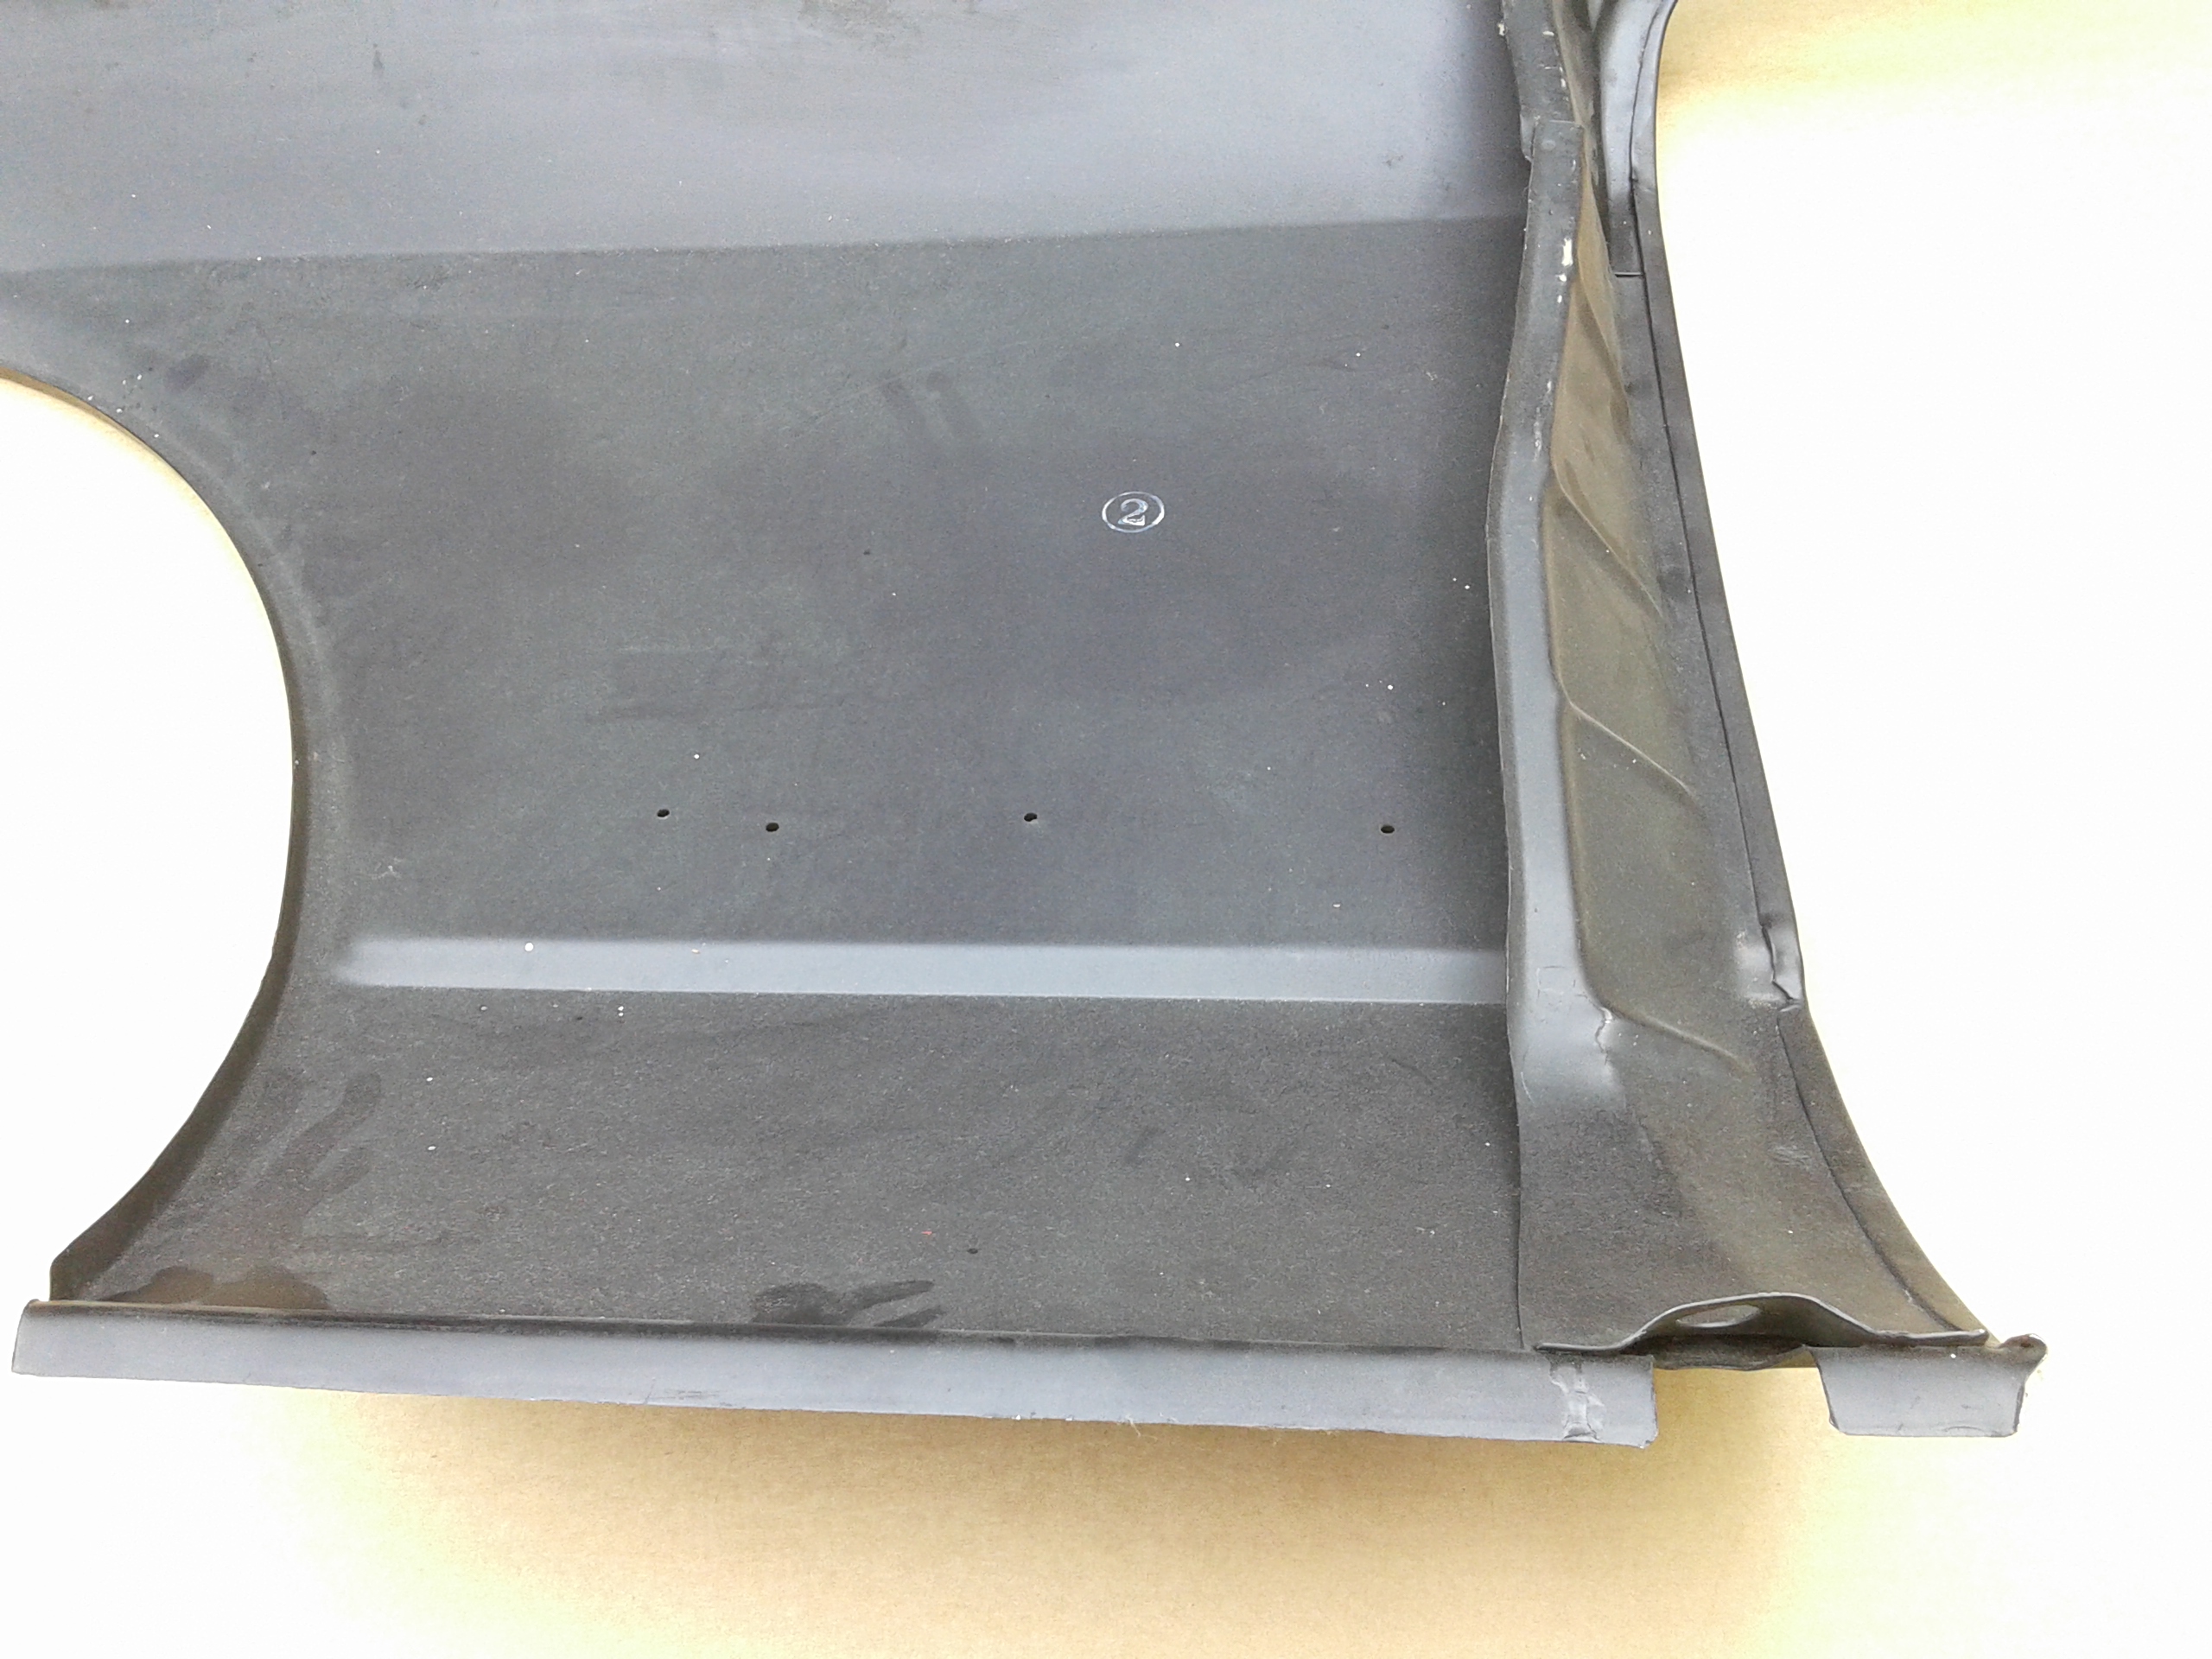
Interesting.. i ask myself as i have the original part.. are the originals also coated in a weld through paint/primer? I know that i have one left skin.. original nissan with the number on it. Out of my (gigantic) foto records/archives .. i believe these pics are from that left side skin.. I hope you can use these to compare.. as i was looking for these in the files pile for 20 minutes at least pfff... 🤢 Watch careful as the top pic's are from the inside!, next one is outside.. (with the 260z partnumber.)


-
Eh..?? Where are they?? Is my computer "kaput"? 😮
-
Often some PO just used bigger fuses and that's catastrophical for wiring.. never ever use bigger fuses and take care of contacts because dirty contacts make heat and distroy wiring harnesses also.
-
On #375 from Restoration of BringaTrailer 240z - HLS30-35883 you see a video of a manual body, and the requested location of the part!
-
Hahaha... A painterdocument of 21 pages long! Well done! Now he knows what to do and what is asked from him! I told my painter... JUST paint the Damn Thing.. and do it RIGHT! I think your car is gonna be one of the best restorations! Kudos to you!
-
Also.. let them know it's a re-useable box, so they don't make a mess of your engine-box!
-
Put the engine on a block of wood, that's under the oilpan edge and under the standard mounts, then put it complete in a box made of plywood and do not use nails but glue it together and use screws to put it all together, make a "floor" part and a "cap" part so they can take it apart and not distroy it. they can use it again to send it back to you. you can screw the top or use bands to keep the floor and top together what ever you prefer! Nice to hear your resto is going well! 👍 Mart
-
A hillbilly way to make it airtight is.. clean it.. (degrease it) then a little drop of oil but only on the middle part. then a blob of silicone or malleable glue over it. When the glue is dried open the valve by hand a few times. Leak fixed.. but this workes only on that side of the carb .. 😢
-
As your parts are "not often seen parts" @HS30-H you can put them also in this topic.. 😉
-
Also on that same attic (in my garage ) a brand new 300zxtt exhaust.. original nissan.. 3 pieces (mid and left and right end piece) i think that's another 3 grand? oeps!..
-
That's part nr: 43 on this exploded view.. if anyone is interessted in a complete nr: 41 set of left and right. brandnew.. i got a set.. 😉 I ditched the original boxes and i have painted them an extra layer of black but they are never used complete front legs.. (sorry not for cheap..) ( Sorry, no pics of them as they lay on a attic over (above) the 4 post lift and has not easy access.. )
-
Yeah, thanks! I took them (the measurements) over.. more or less from the old wheel.. i drawed some lines on my wheel and took a black&decker-powerfile to make the "fingers" turned out to be more easy then i thought it would be.. i got a perfect grip on the wheel.
-
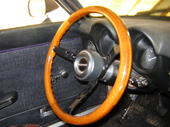
Nice! Looks a bit like mine that i made myself.. (i prefer my light color.) I made a matching shiftknob on a lath from the same mahogany wood as the wheel. Does the wheel have the ridges for your fingers, can't see them in your pic's? You can clearly see the "fingers"in the wheel.. much apriciated as there is no powersteering! It's made of 12 pieces of mahogany wood.. some waterresistant wood glue and some 2 comp. glue to glue it to the steel wheel inside.


.jpg.4f20a9f33f63d542e4b6c421c2106fe9.jpg)

.jpg.3582a873b7cc4ada7ad71d5085219286.jpg)
.jpg.a73f8b765f1ea93648d4adec42c2bc54.jpg)

.jpg.149d7332132c368ef10a4d34a4992ee5.jpg)
.jpg.4a1cf073ff7778094906bb33ea5a7d7a.jpg)
.jpg.8045756d1d983936b4365c836f3380b9.jpg)