inline6
Supporting Member
-
Joined
-
Last visited
Everything posted by inline6
-
I was thinking about the fuel rail, and how it came into play, but didn't recall exactly where the brackets were. Thanks for the pic. If you have a chance to get the dims on the flat washers that go under those T R 7 bolts, please share those as well. I am updating my documentation of all my 240z's hardware which I shared once before in another thread. https://docs.google.com/spreadsheets/d/1Cmnw0F8N7B3VknCzNwGkfN2SGmIHdFJhDjARv3jkxNI/edit#gid=0 I have updated my Excel copy quite a bit as I have been going through all of the hardware that I got back from plating. I have been putting it back in the zip lock bags with my labels of where they go. Though slow, it is going very well. It's amazing how much of the hardware is unique to its location on the car. I will be updating the Google sheet for everyone after I have completed sorting and cataloging all of the hardware.
-
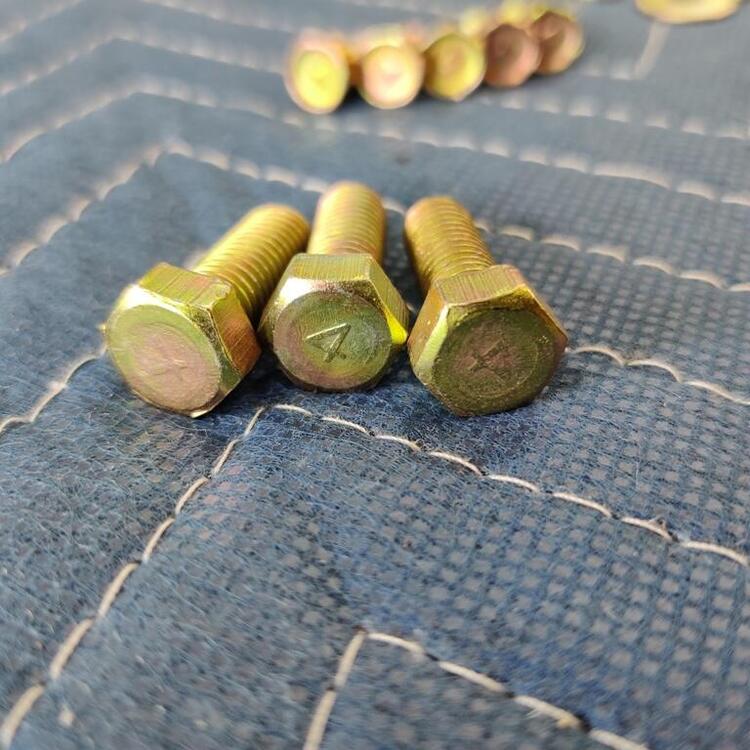
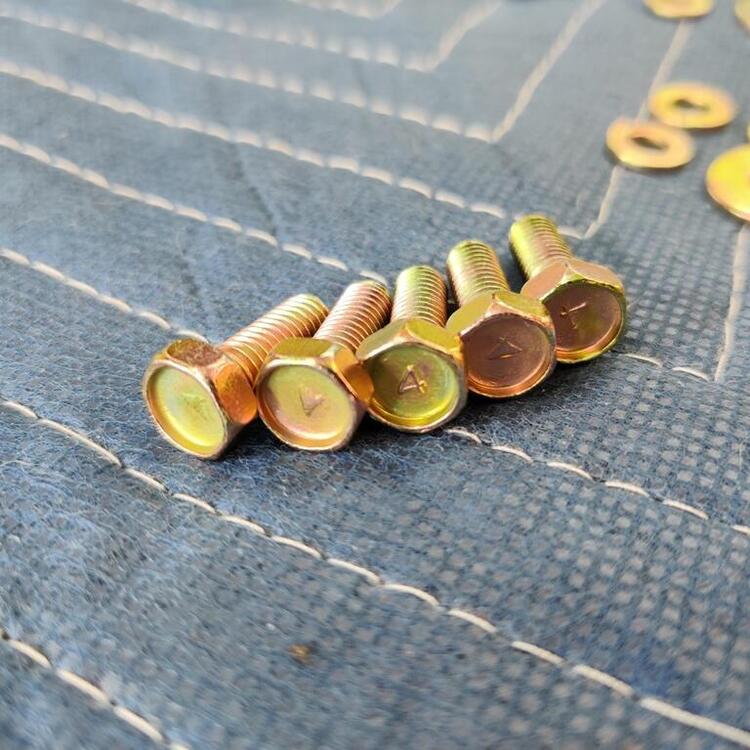
From you picture, I see that of the 6 T R 7 bolts, only numbers 1, 3, and 6 have flat washers. The other three didn't have a washer... of any kind? Do you know if your intake manifold has been taken off at any point? Out of all the hardware on the car, that used by the factory on the intake manifold is most unusual in my opinion.
-
Yes, that is helpful. What is the diameter and thickness of the flat washers used on the exhaust manifold only? Looks like 5 total - 1 front and 1 rear and 3 in the middle.
-
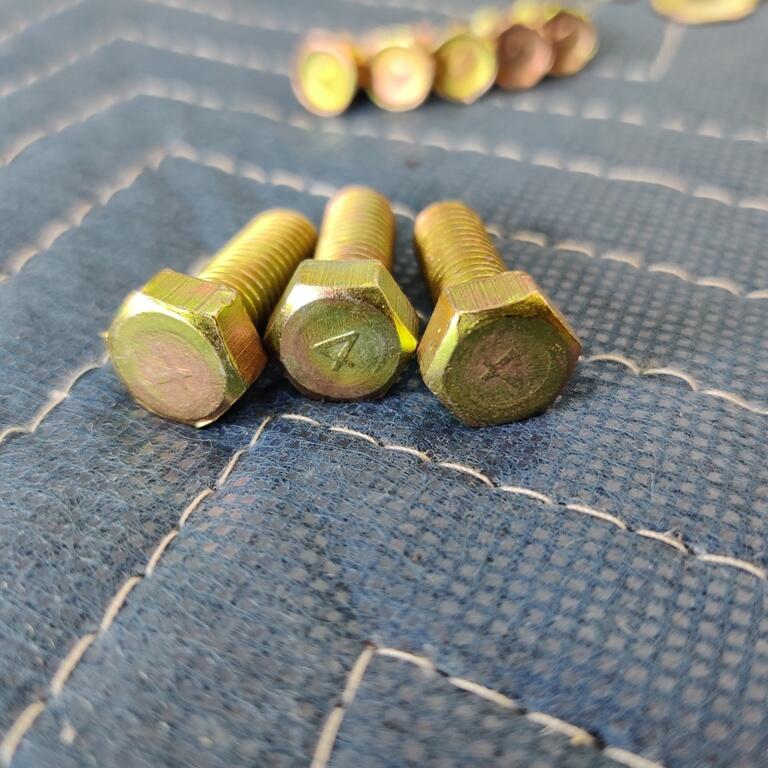
I'd like some further information about the factory hardware used to secure the exhaust manifold and intake manifolds to the head. Can anyone tell me what markings are on the heads of the 6 bolts which secure the top of the intake manifolds to the head? And, should there be flat as well as split lock washers used in conjunction with these bolts? To secure the exhaust manifold to the head (3 points), besides the hex nut and split lock washer, there is a flat washer used. What size OD and how thick?
-
Kinda looks like a fan blade on the radiator fan - odd pic.
-
Well, it came out very nice on your car. For the car I am restoring, I share your observations regarding the factory coating having a really heavy orange peel texture. Raptor liner (it is a truck bed liner), mixed per spec, and as sprayed from their application gun doesn't lay down quite as smoothly as the factory texture, but it is closer than other spray on liner protection coatings. I researched quite extensively before I decided to buy Raptor liner. Additionally, however, I have two videos to provide which I found very interesting and which provide information which may help to achieve a finish like the factory coating. Jump to 20:50 to see the resulting finish for the tintable stuff this guy achieved with the standard gun that comes with the kit and I think 60 psi at the regulator: It is still more textured that the factory stuff, but closer than any other bed liner I researched. That said, here is another video that I found where a guy using Raptor liner over dash parts and achieving a surface that literally allowed the original texture of the dash to show through. I question the use of this product on dash parts, but I plan to experiment with the same, cheap gun, drilled out nozzle, more reducer and less hardener, as well as different air pressures to attempt to get a lot closer to the original factory look. Jump to 11:48: He uses a cheap Harbor Freight HVLP gun with the nozzle drilled out to 2 mm. And he uses 20% reducer instead of 10% and half to three quarter of the amount of the hardener called for, so that the sprayed material doesn't set up as quickly. Finished dash is shown closer to the end of the video. Most of the coating on my car is still in good shape. There are many areas that were impacted at some point, however. My plan is to try to replicate the original texture in those spots as best I can, probably using the raptor gun and Raptor thinned to 20%. Hopefully, I can get a good result there, and then, I want to spray a very thin coating over the existing factory coating using the method in the second video. I hope the new coat won't add any texture, but that it will allow the factory texture to show in the new coat.
-
Can you share any pics of the underside? I've got Raptor waiting in a box. I hope to be able to apply it to the underside of the car I am restoring in a few weeks or so.
-
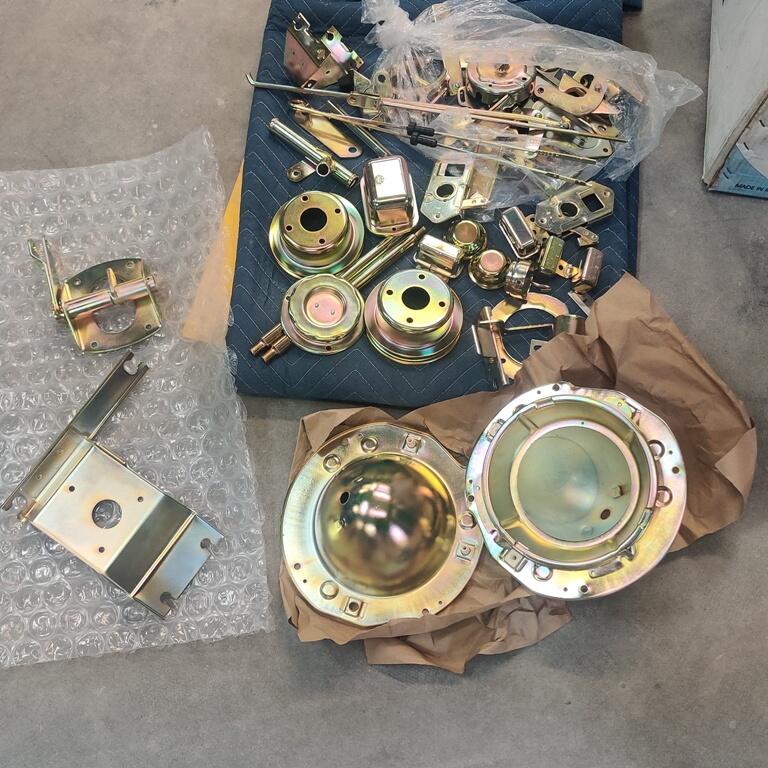
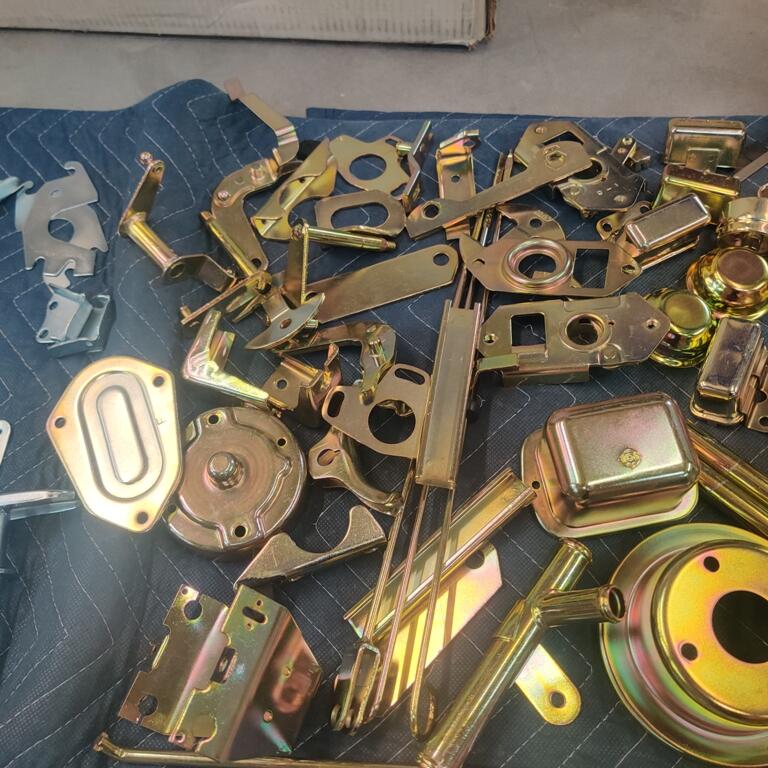
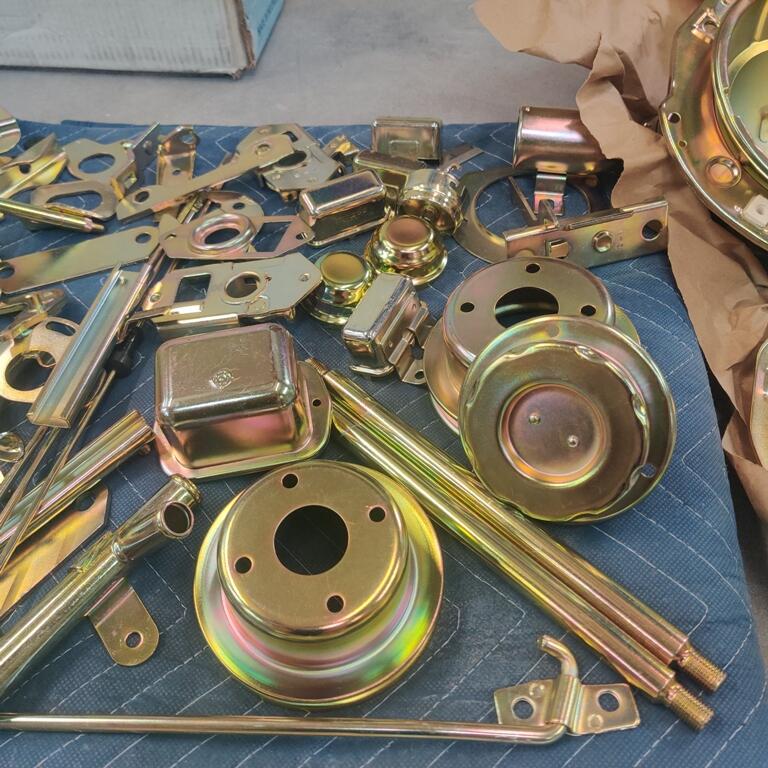
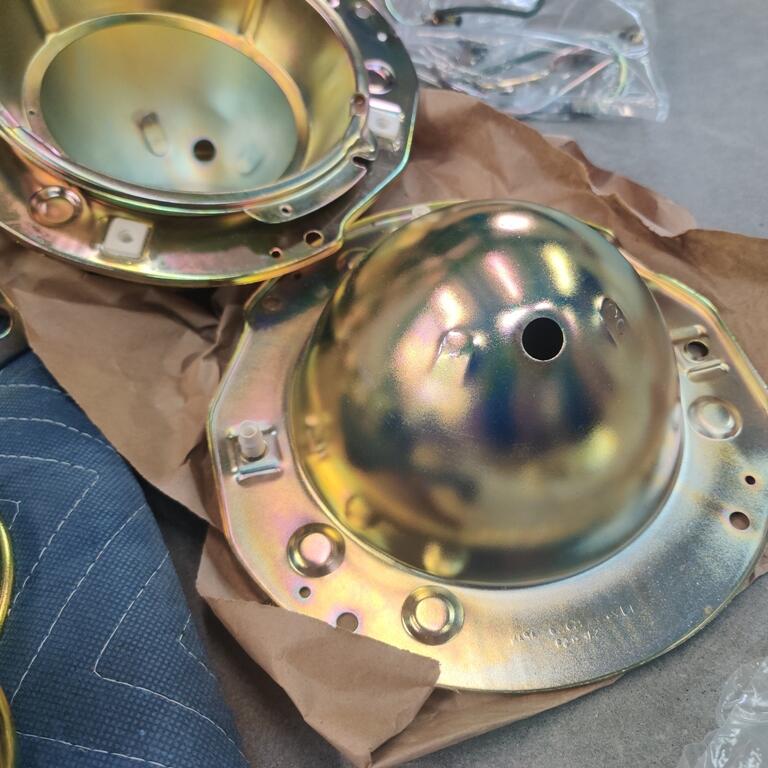
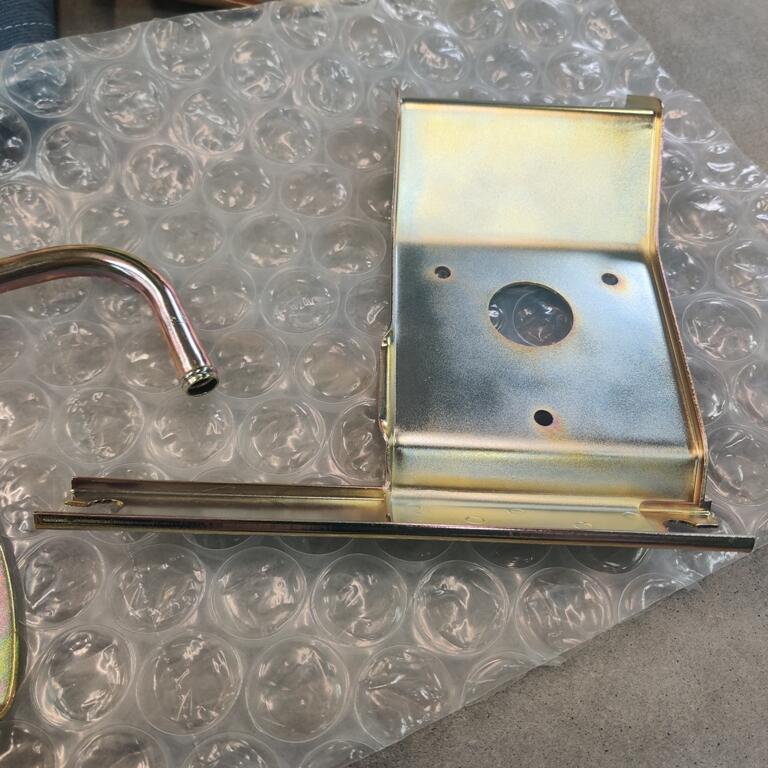
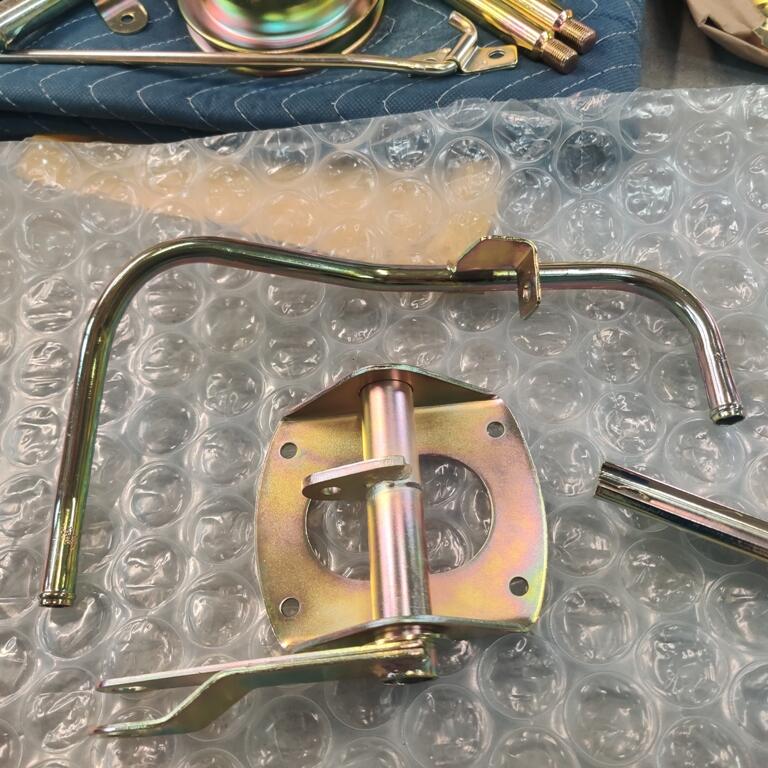
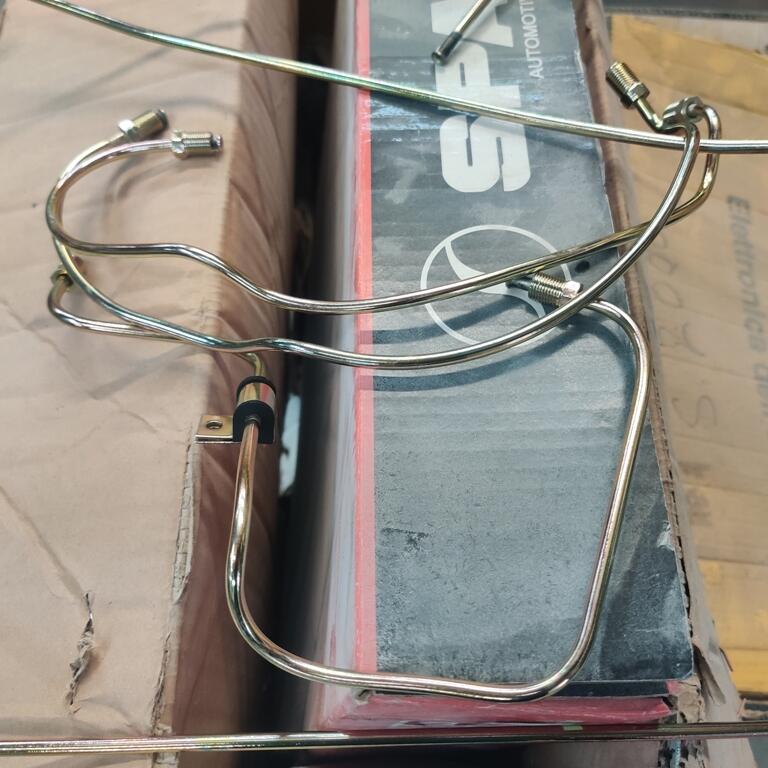
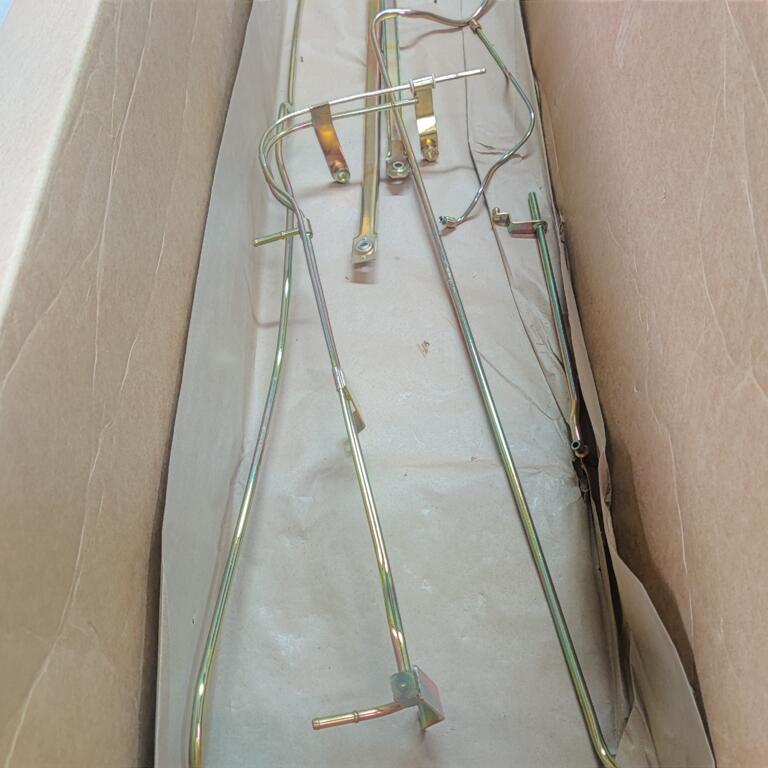
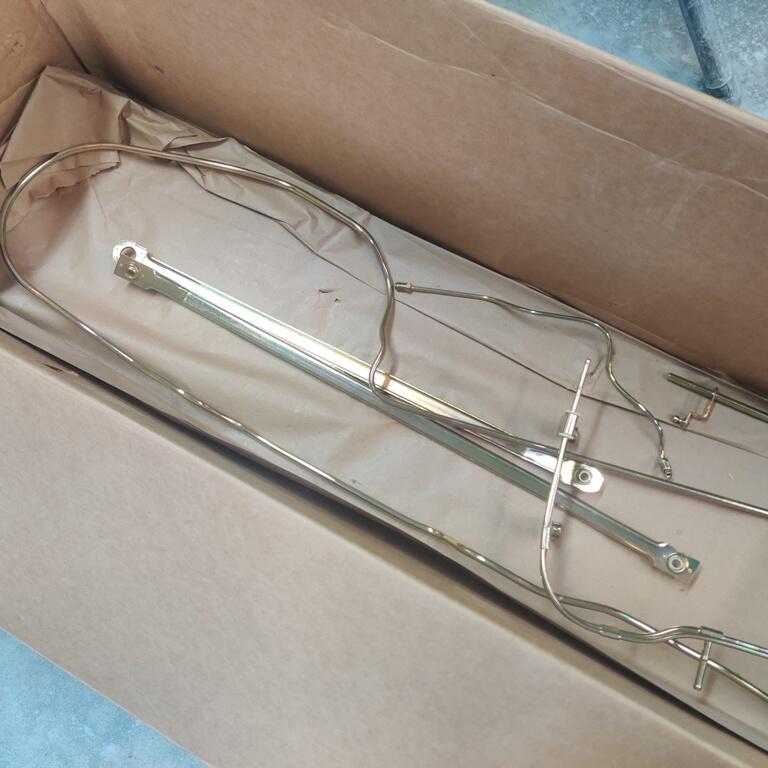
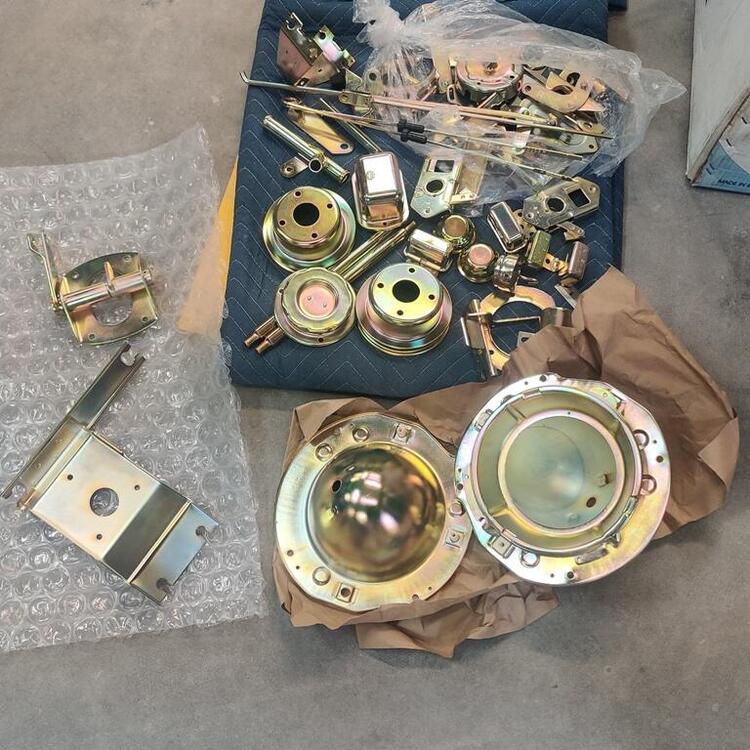
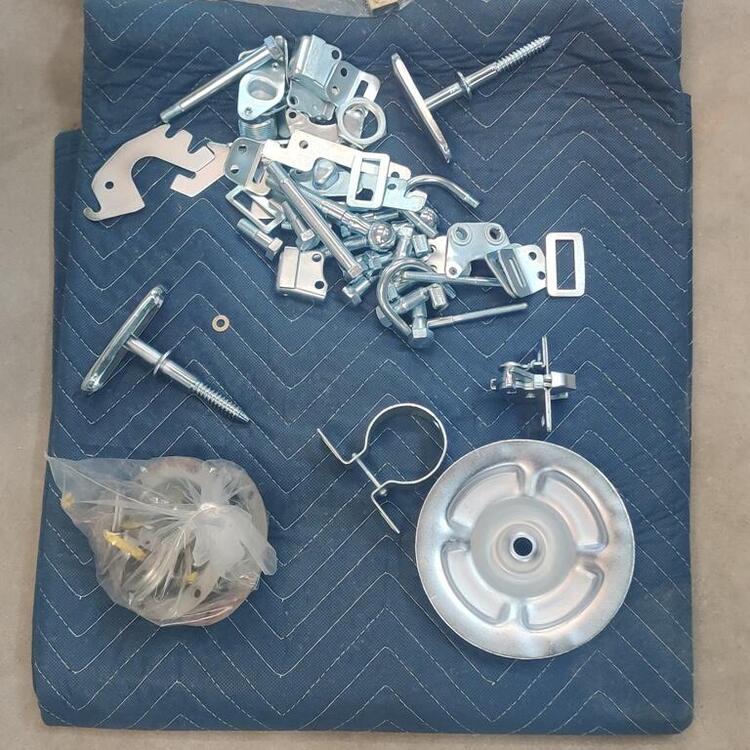
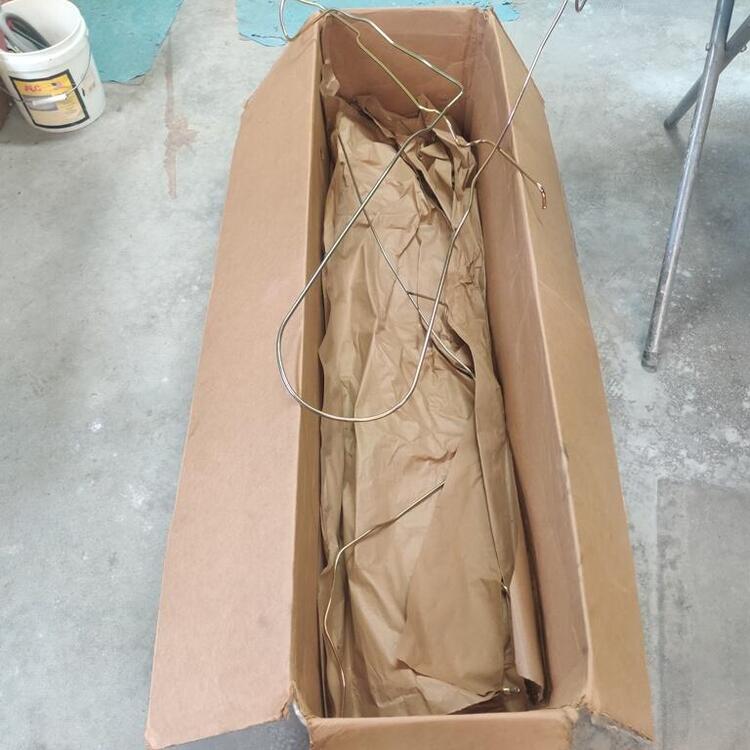
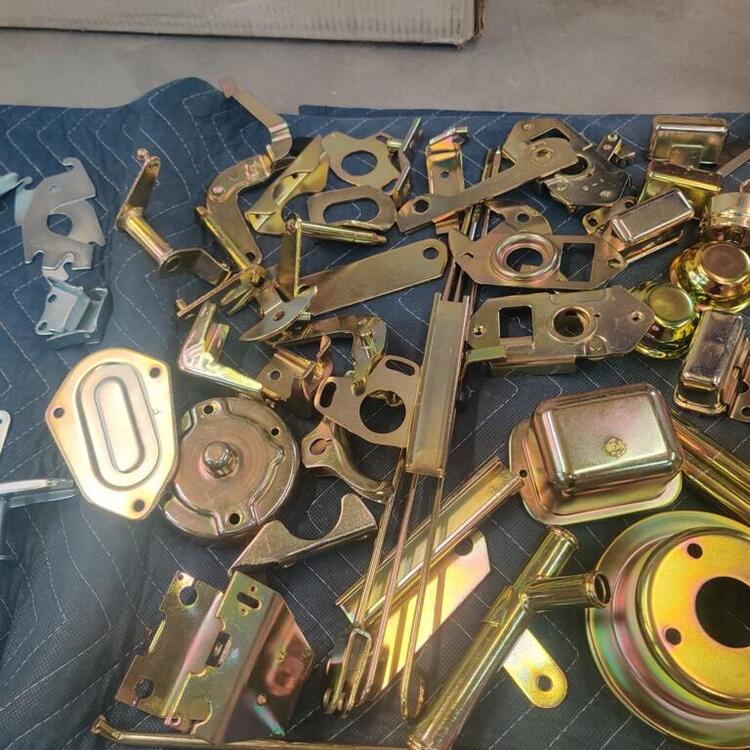
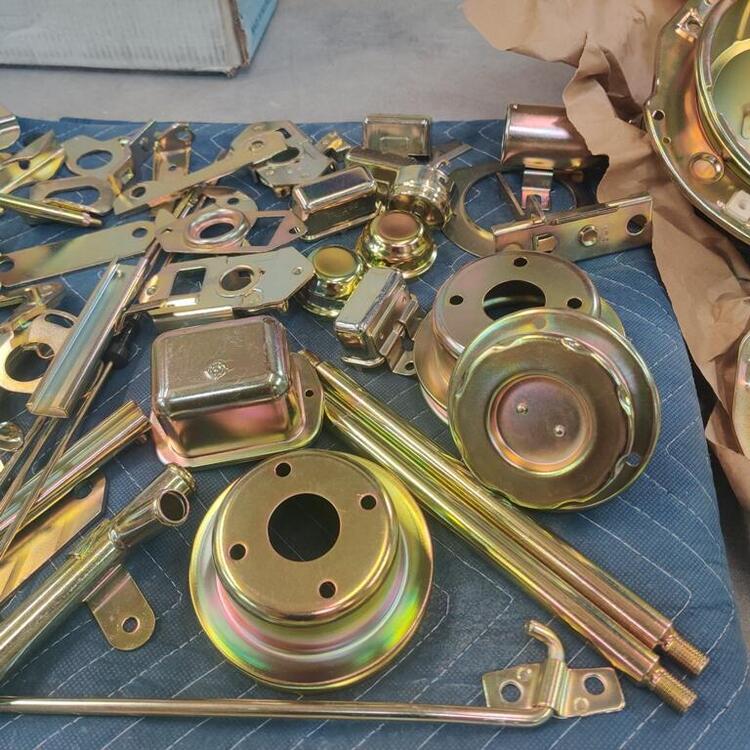
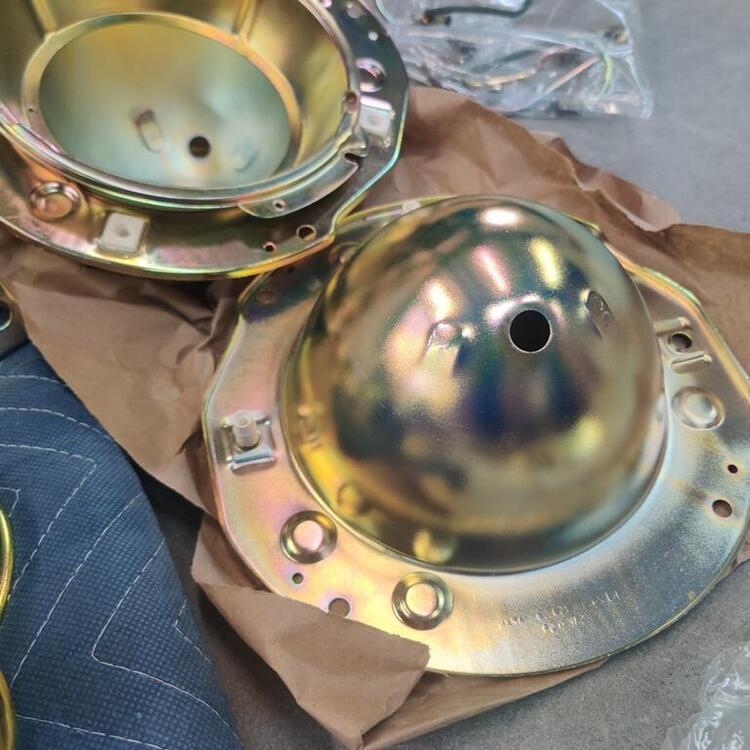
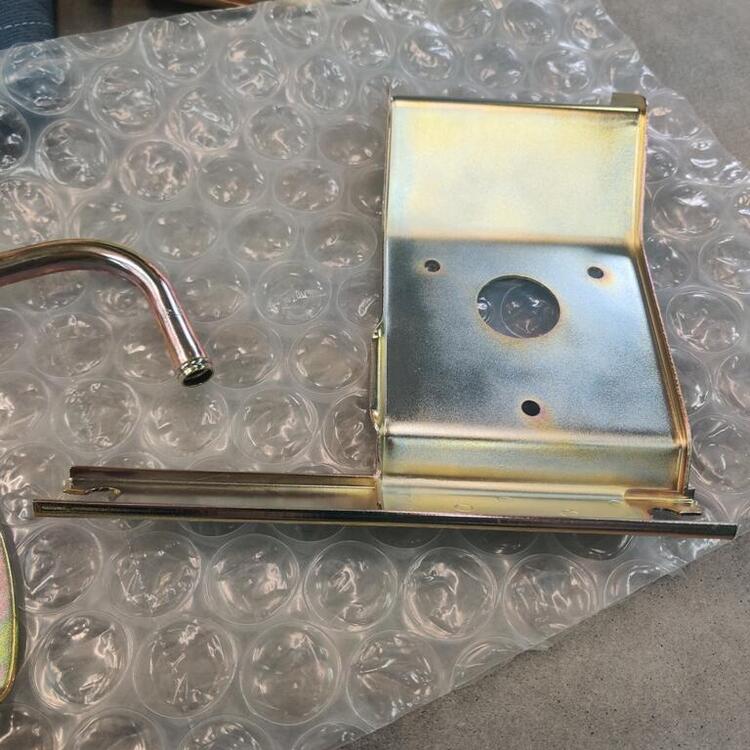
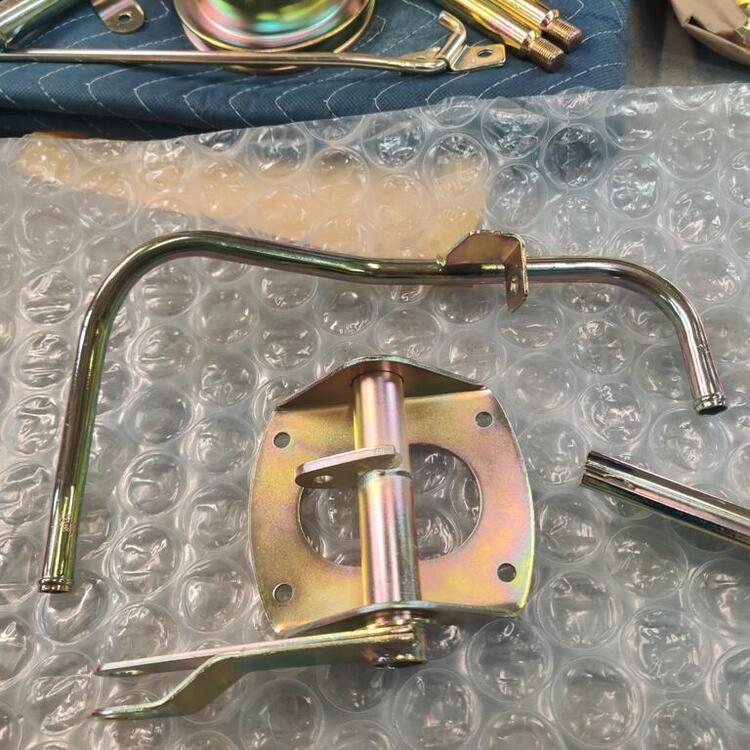
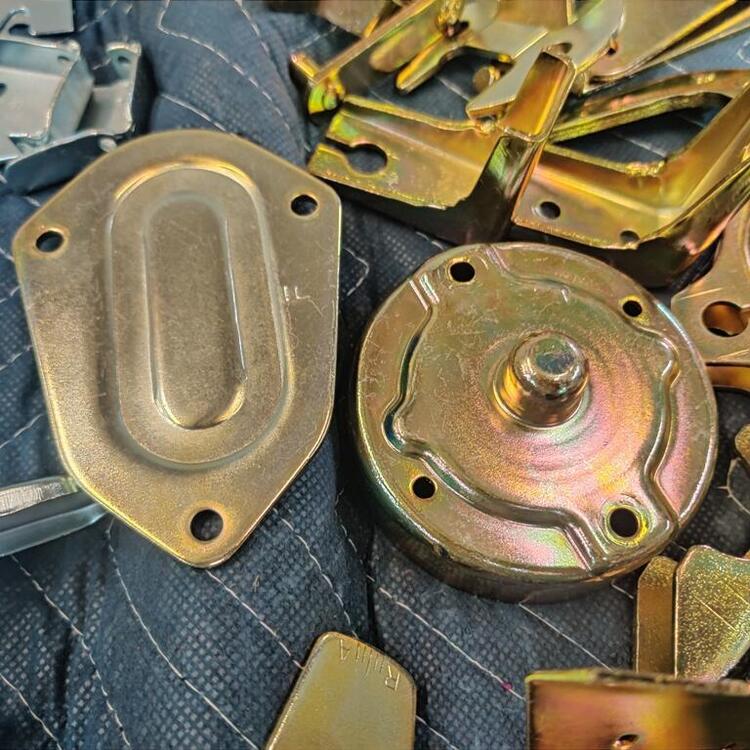
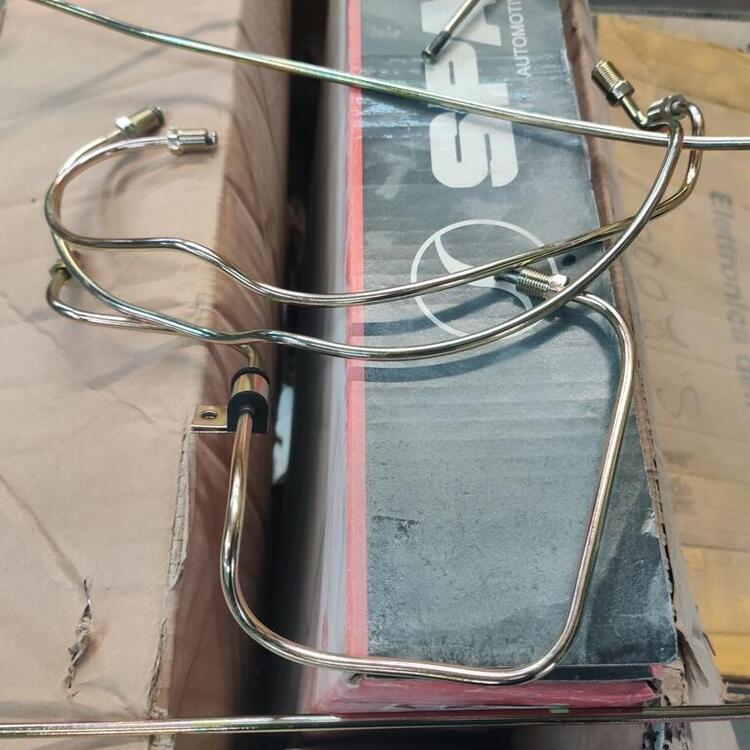
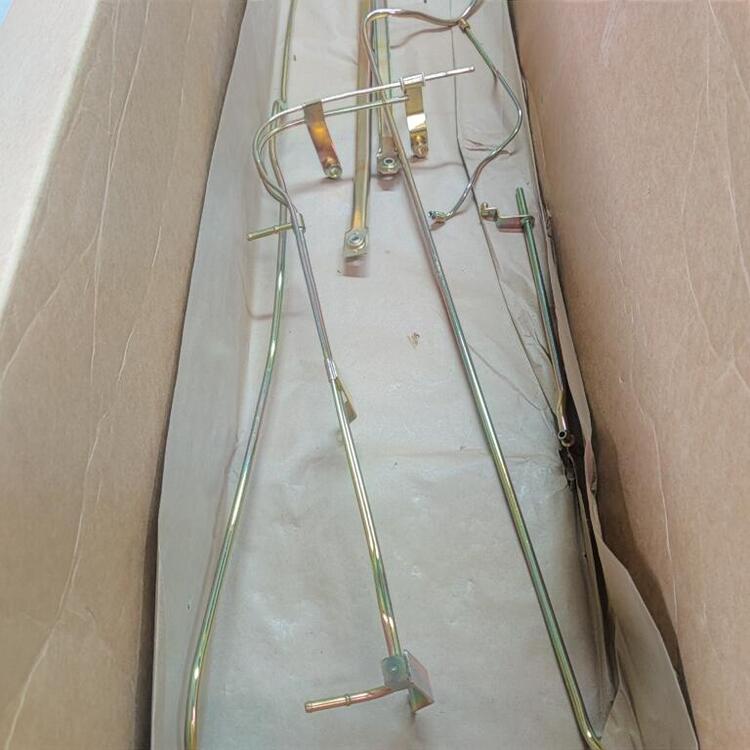
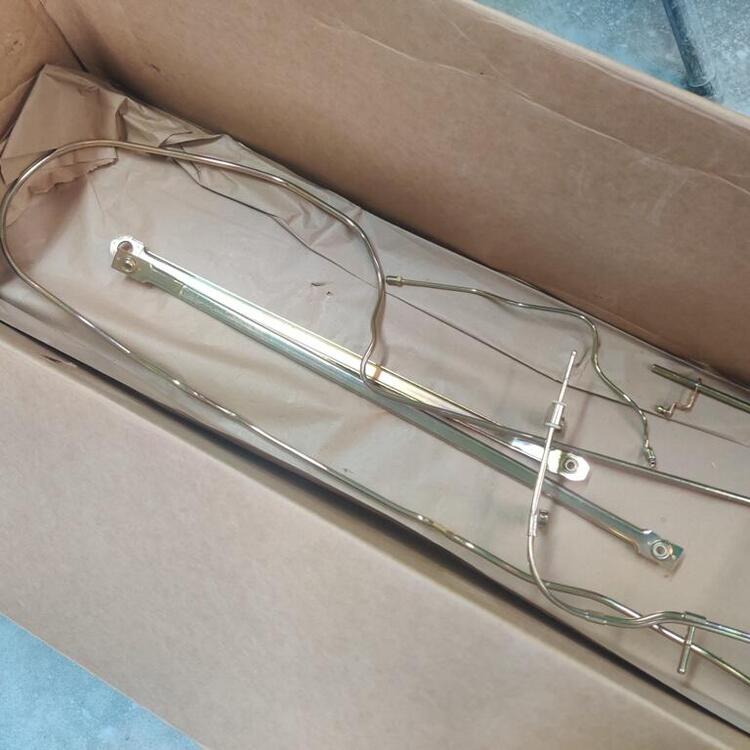
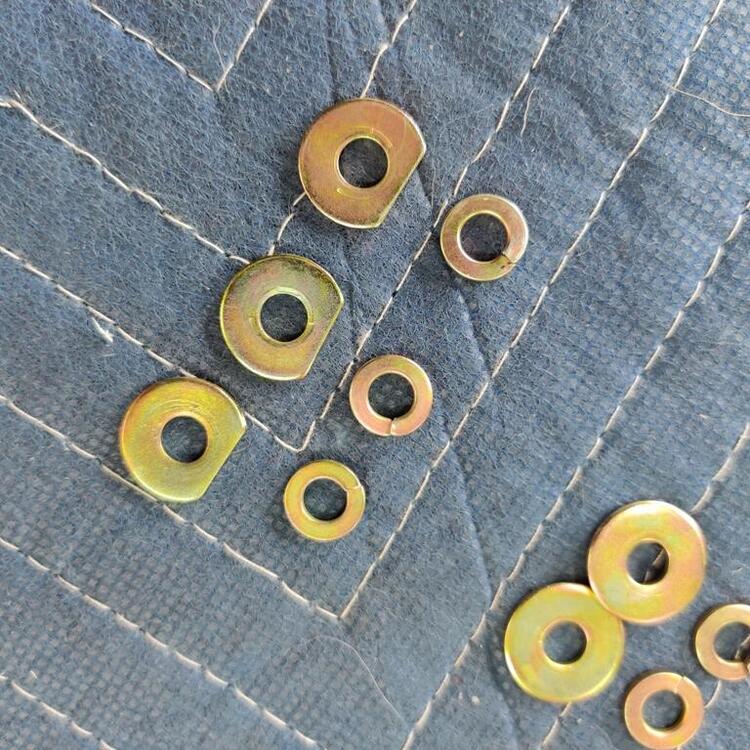
The rest of my parts have been plated - yay! The parts which are yellow are likely to be much more shiny than the finish from the factory. I think they came out quite nice though. Not sure why, but a couple of the hard lines got bent pretty significantly. I think I'll be able to straighten them out, but will likely have to wait until they are ready to go back on the car so I can see how they need to be bent to fix them.
-
I sanded for about 8 hours today. Most of the left side of the car is straight. The right side is not quite to the same quality just yet. I hope that 3 more coats of high build primer in the low spots will be enough to bring the surface up to where it needs to be. I feel like I am closing in on finishing the bodywork - which means I might only have another 50 hours to go! 🤣
-
And now the hood, which is very close to being done.
-
Bodywork is once again under way. In this video, I am checking for unwanted undulations in the surface of the outer panel of the door. With a large panel like this, it can be difficult to get it perfectly flat. I am finding that a suitably coarse grit of sandpaper has to be used (I am using 240 grit) and movement of the sanding block as the area is sanded must cross over from high point to high point "bridging" them. Sanding high points down, and filling low points (with more primer in my case) is how I will resolve the undesired distortion that can be seen in the lower half of this door panel.
-
I'm trying to achieve nearly "perfect panels" on the 240z I am restoring. I had many months where I couldn't move forward because the hardware was off to be plated. Recently, I received the fender bolts, washers, etc. So, I have mounted the fenders. I used close cell foam in the locations that the factory used foam strips on the inner fender support and backside of the fender. Interestingly, this weather stripping caused the flat expanse of the fender behind the front wheel wheel to bow out slightly. Something I have learned with these cars is that the sheet metal "moves" in various areas, either from foam supports behind, or from tightening down the fasteners. I absolutely do not recommend doing bodywork on the fenders or cowl panel while off the car. A couple of videos showing the latest progress:
-
Yes, it is some of the benefit from my car being from AZ originally and kept in a garage in CO for 28 years after that which allowed my clips to survive. Some clips are available in the aftermarket - just fyi as options: Ebay auction 6 for $32.95 and free shipping Vintage Rubber $35 for 12 of them if the page will load for you (it was not fully for me) Datsun Garage (or sub-vendor) $6 something each
-
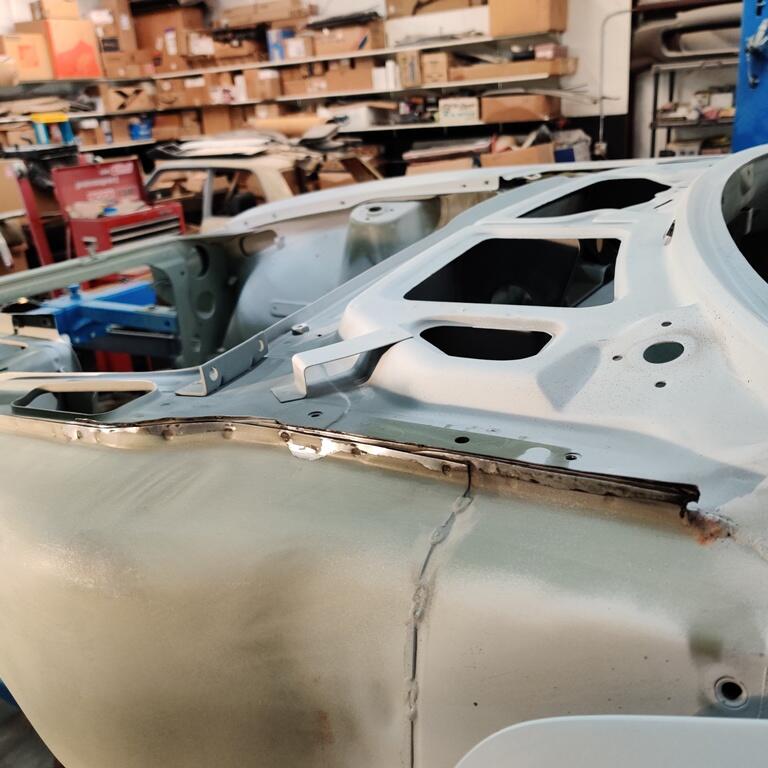
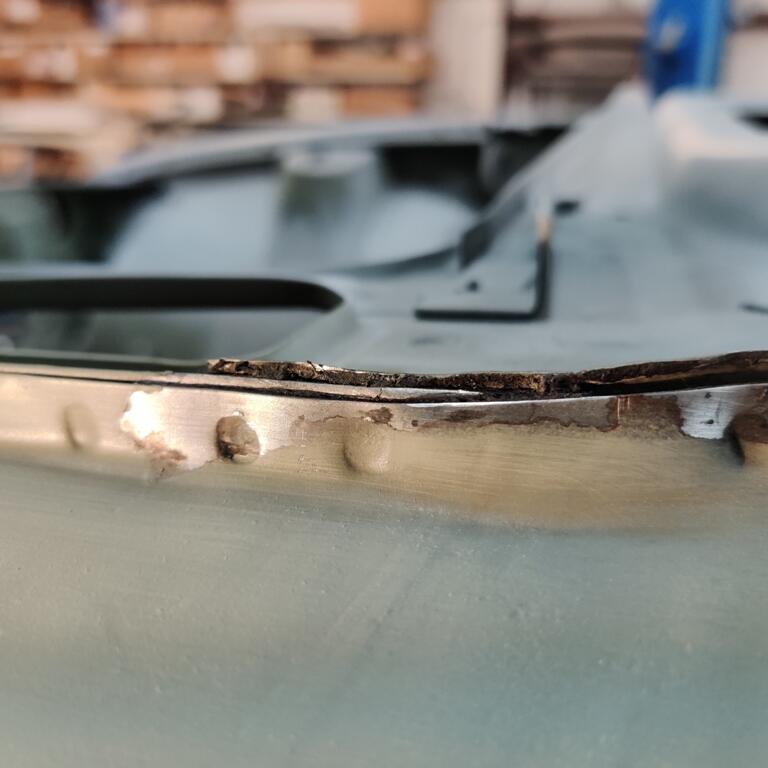
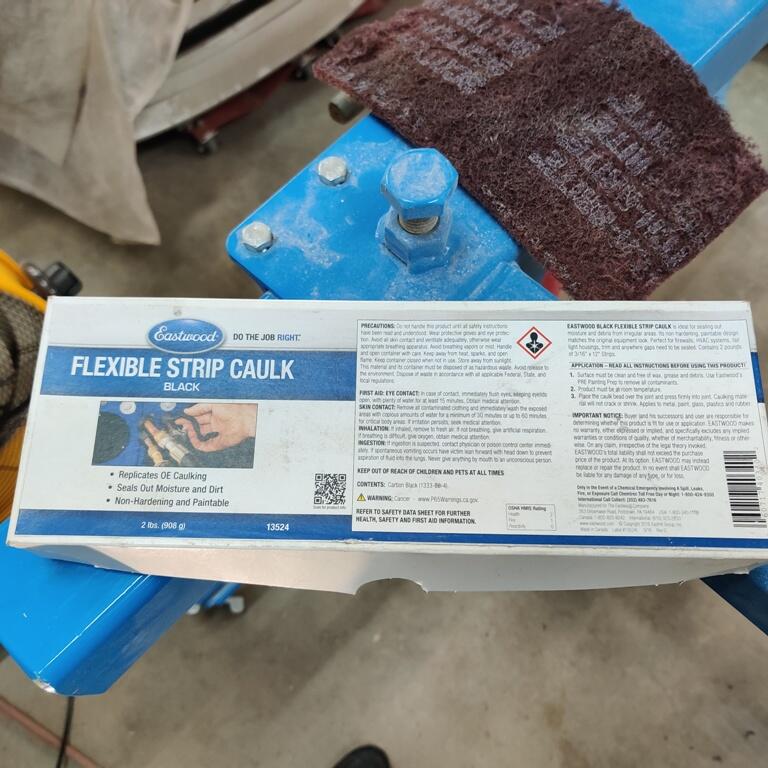
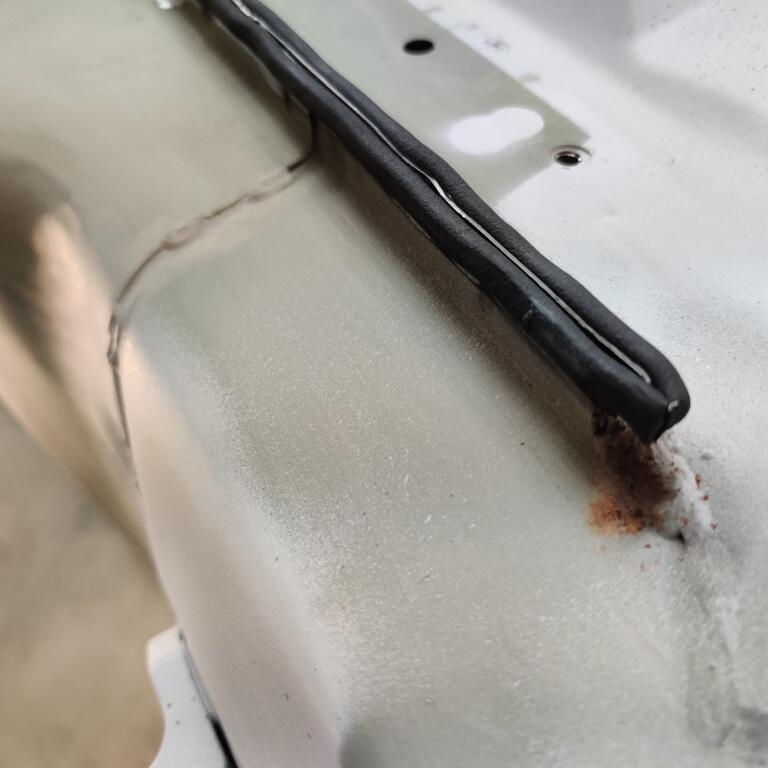
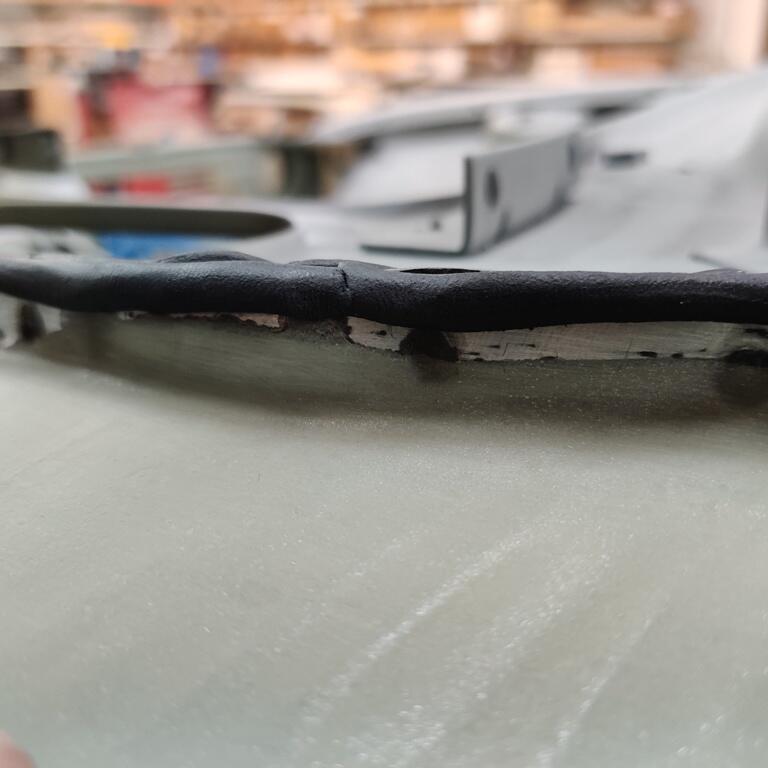
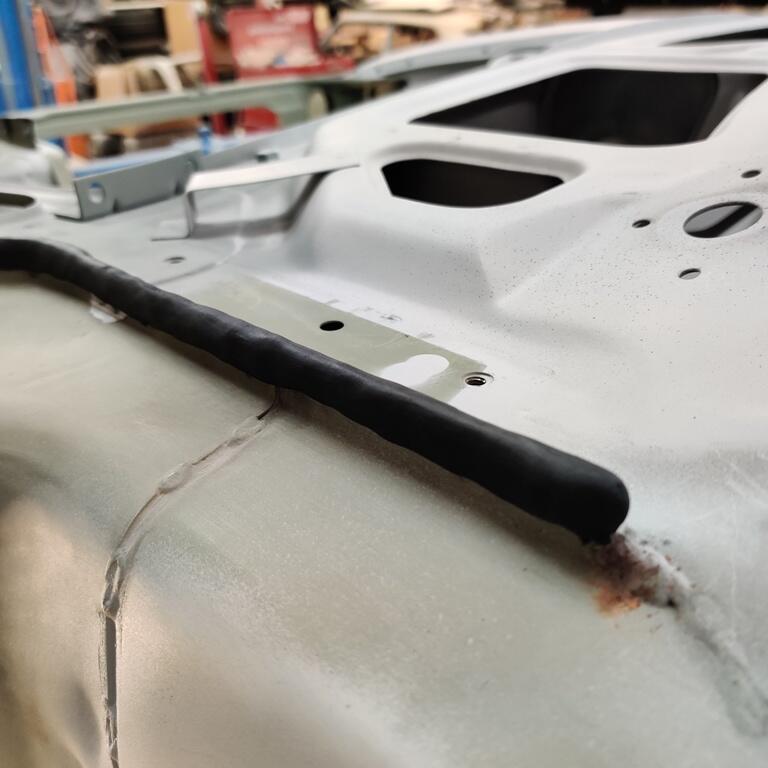
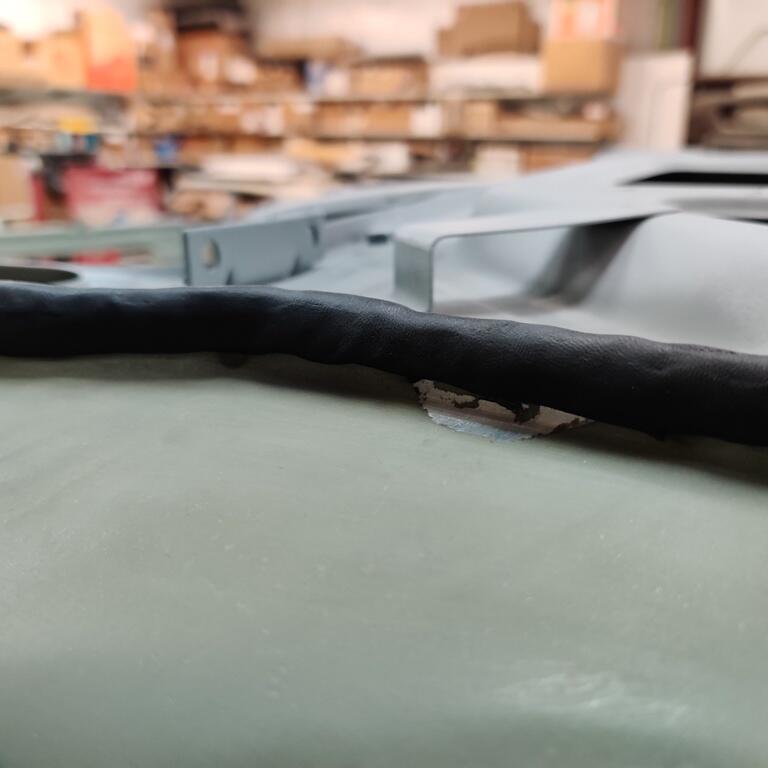
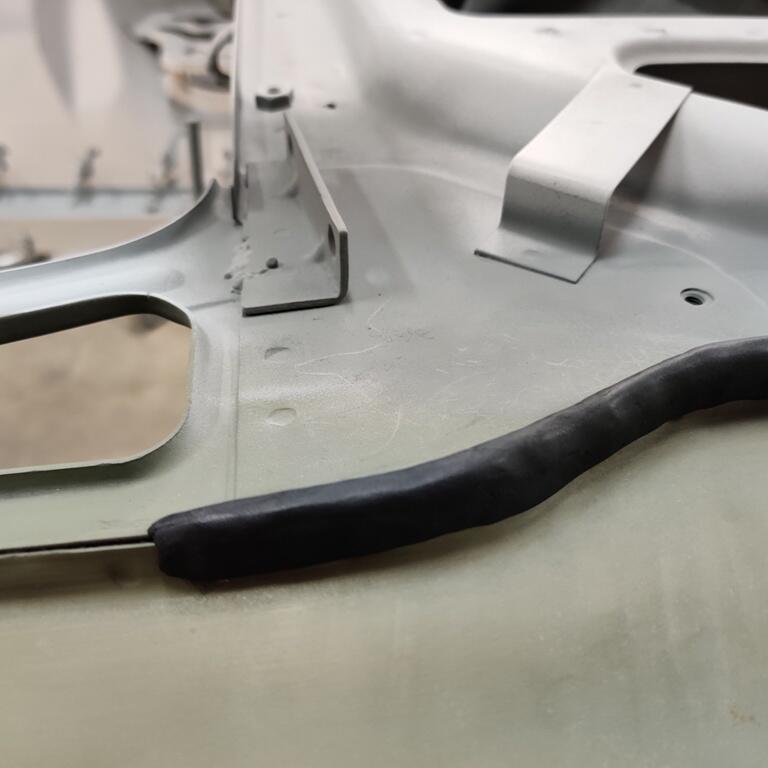
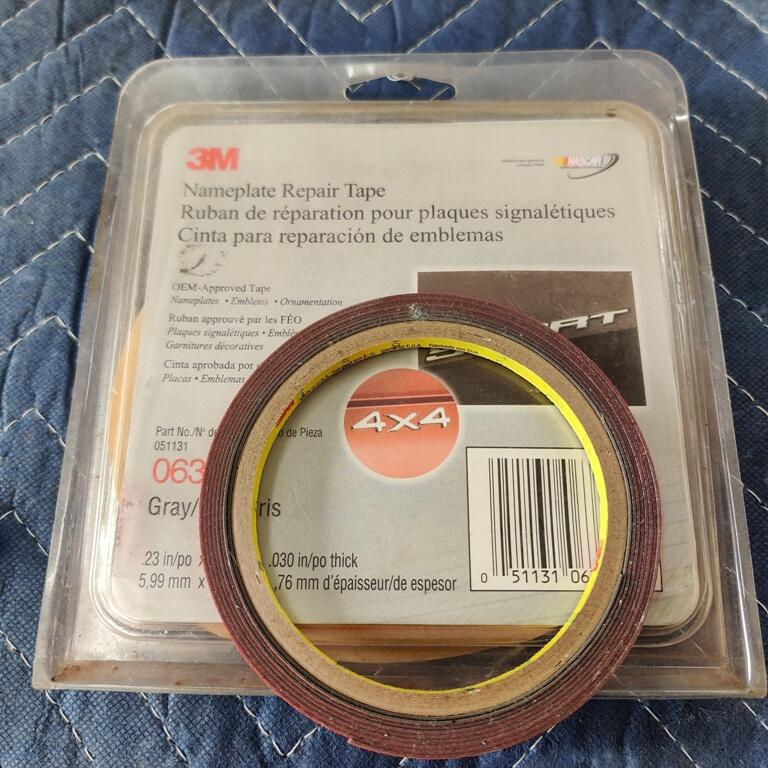
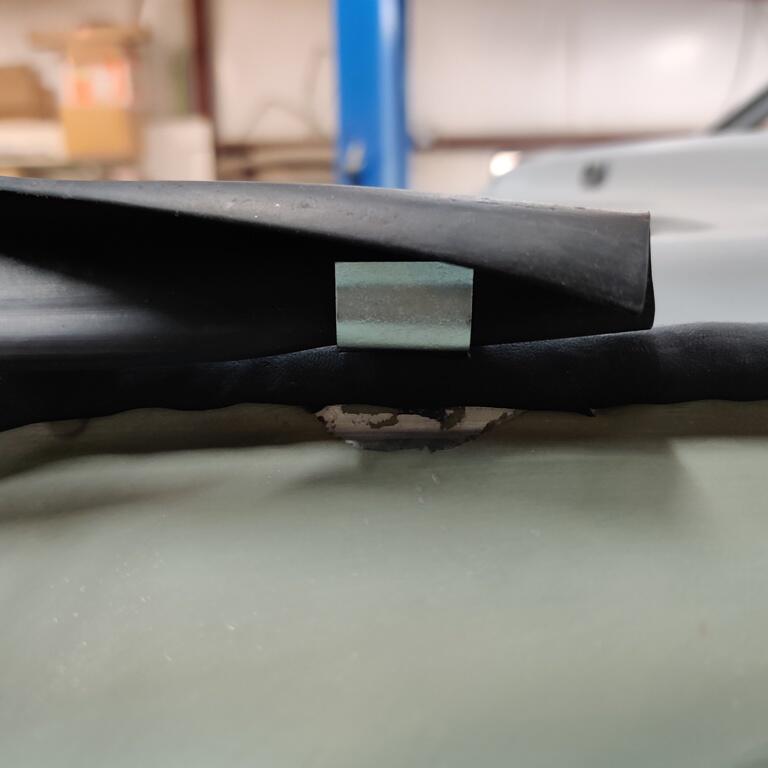
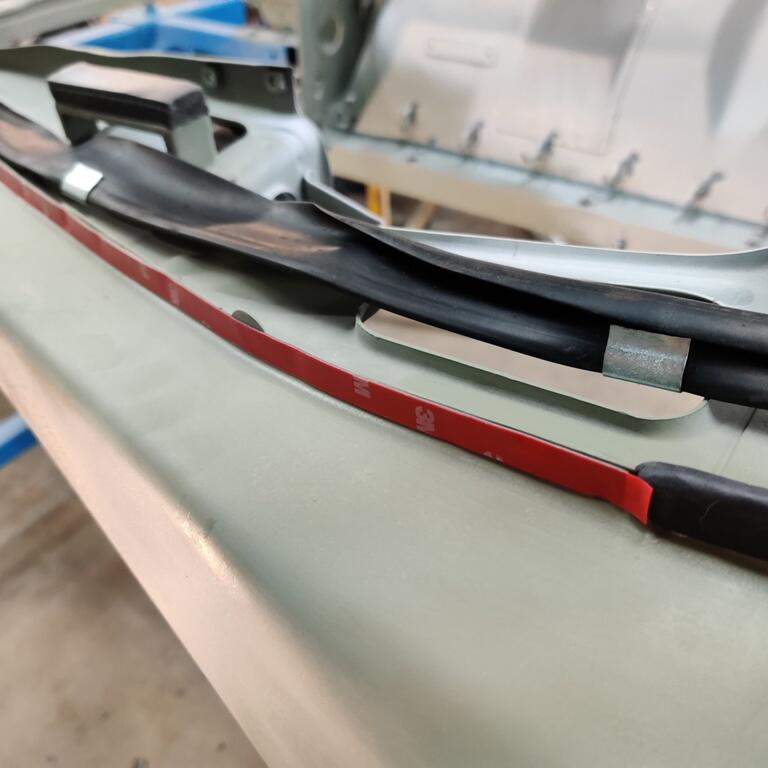
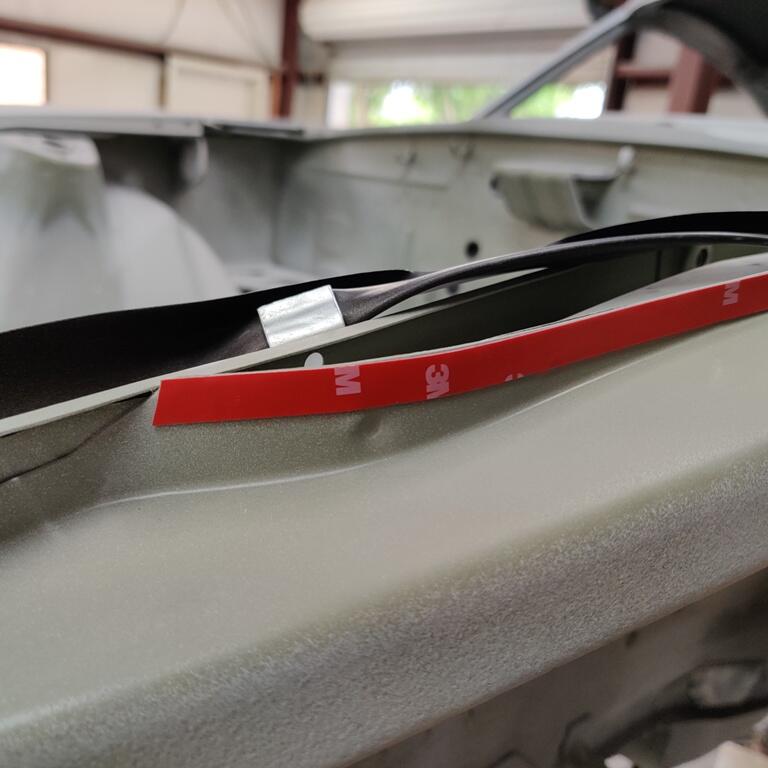
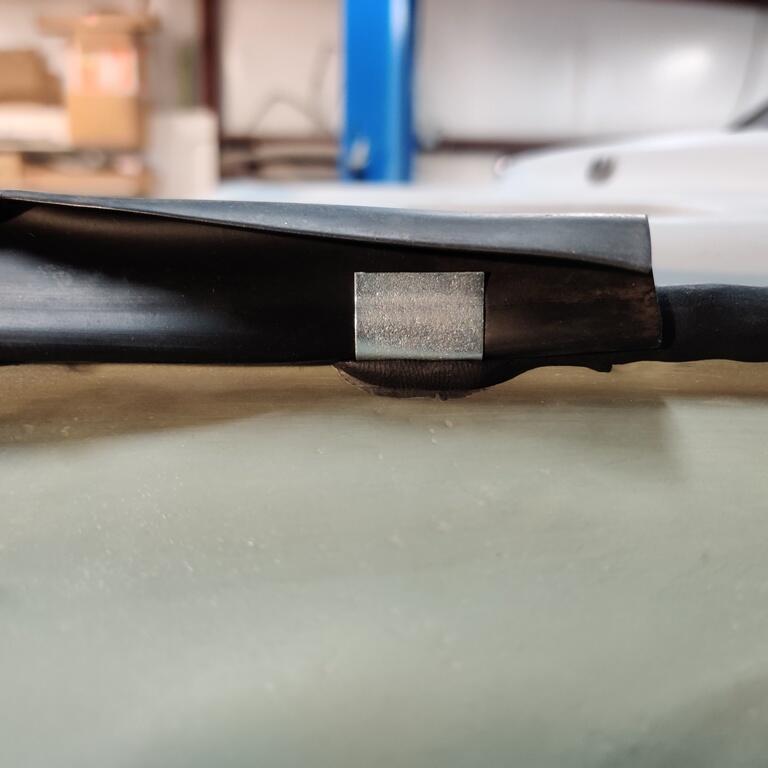
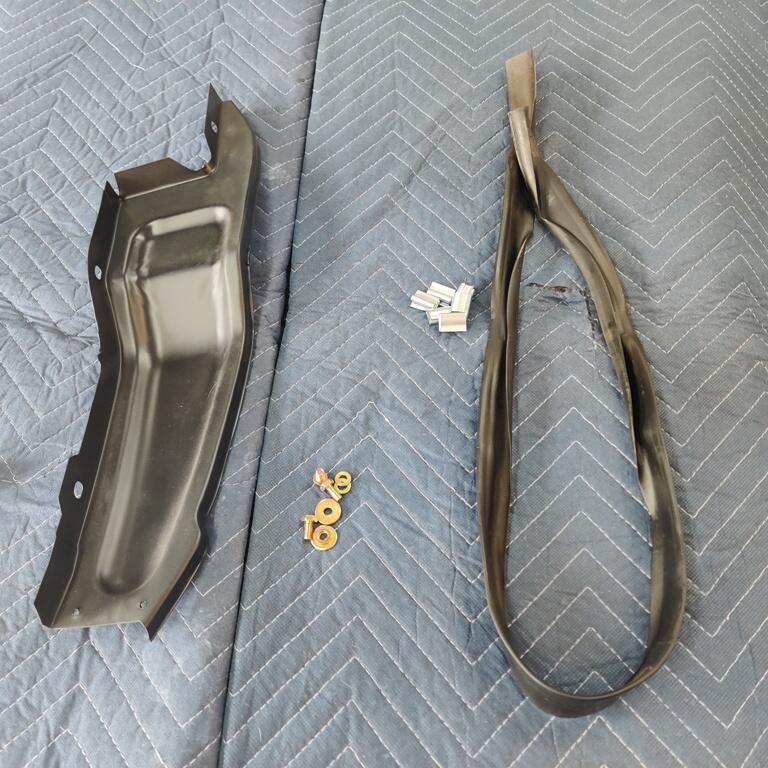
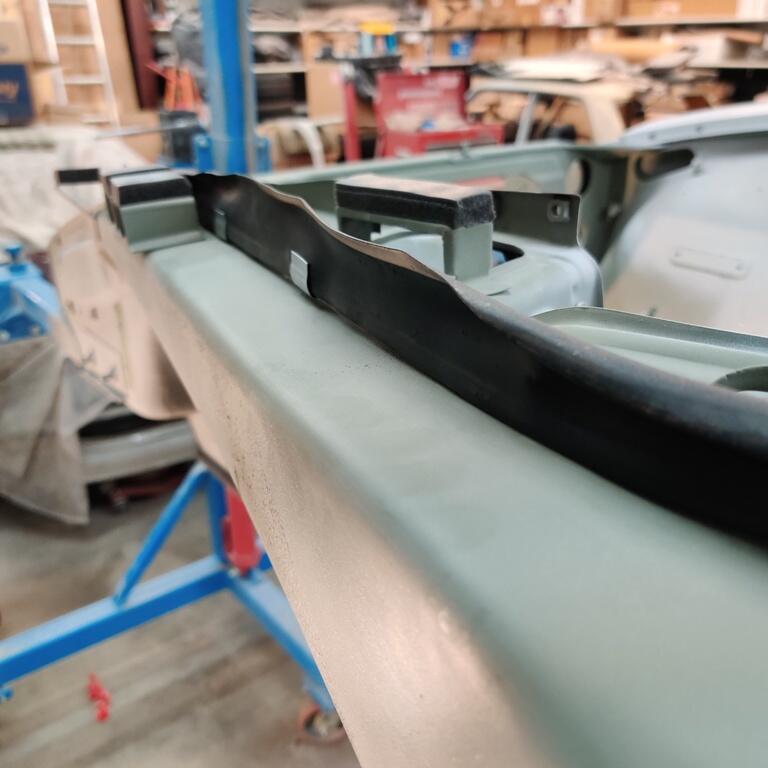
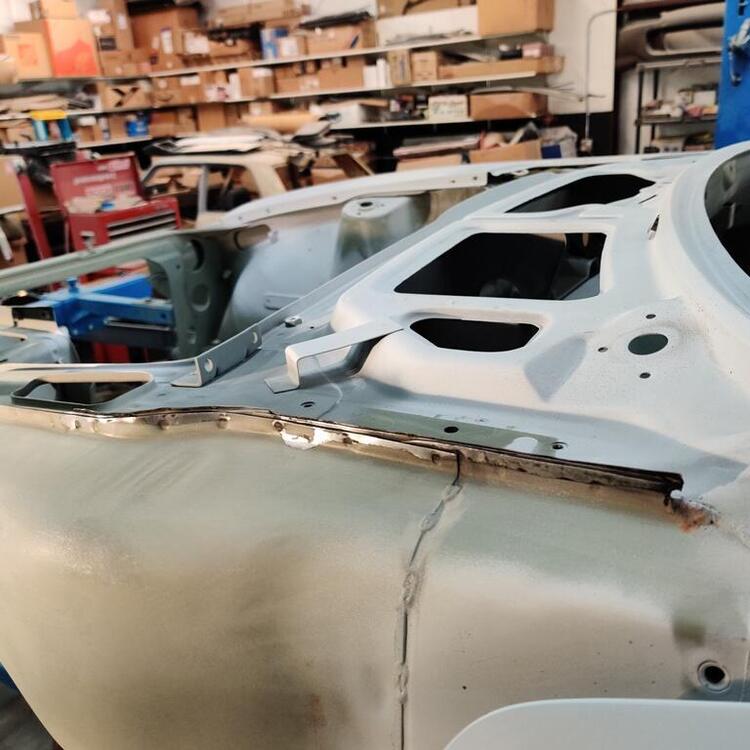
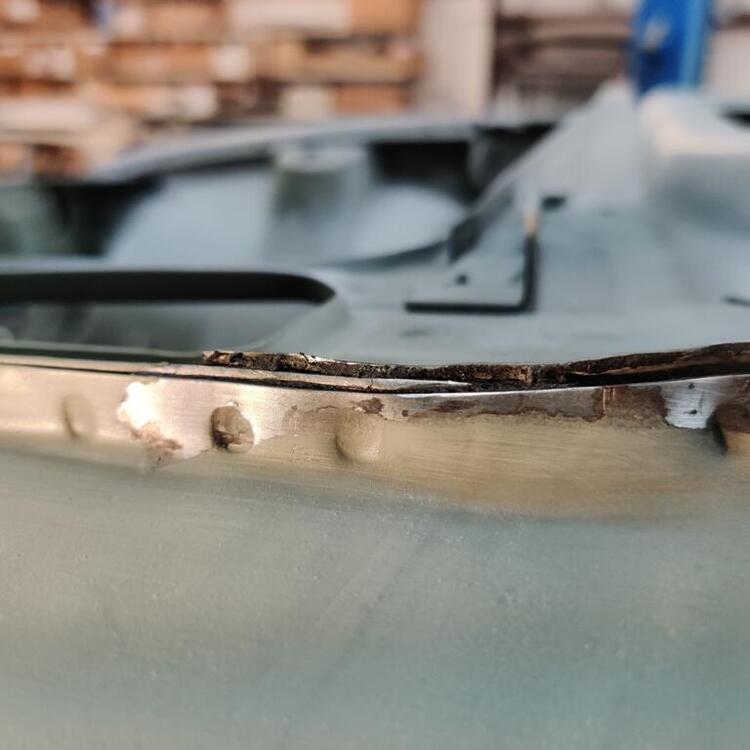
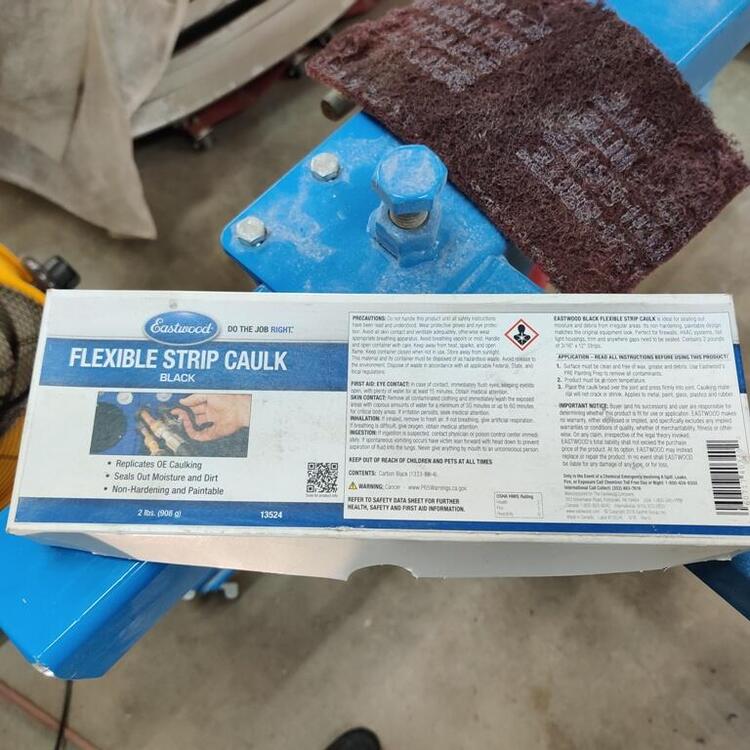
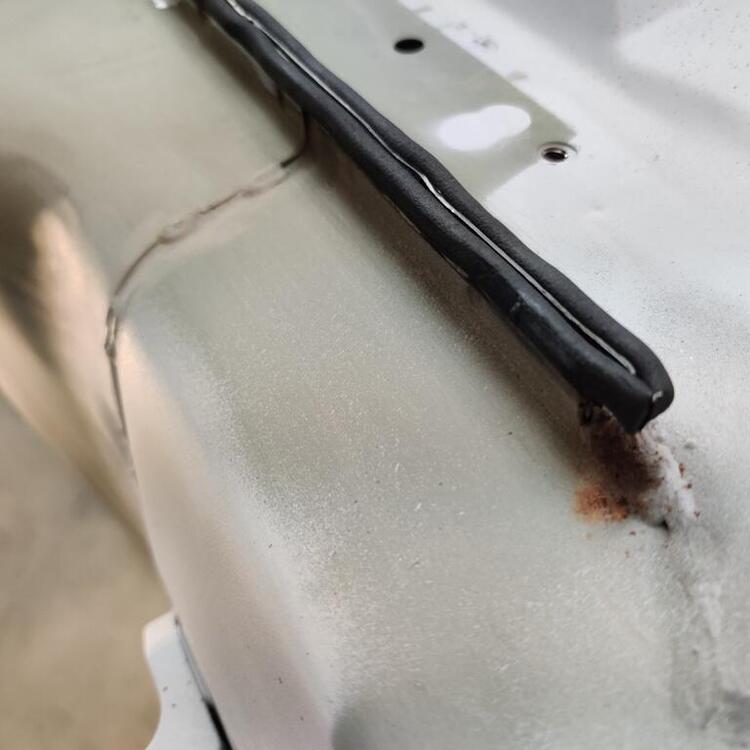
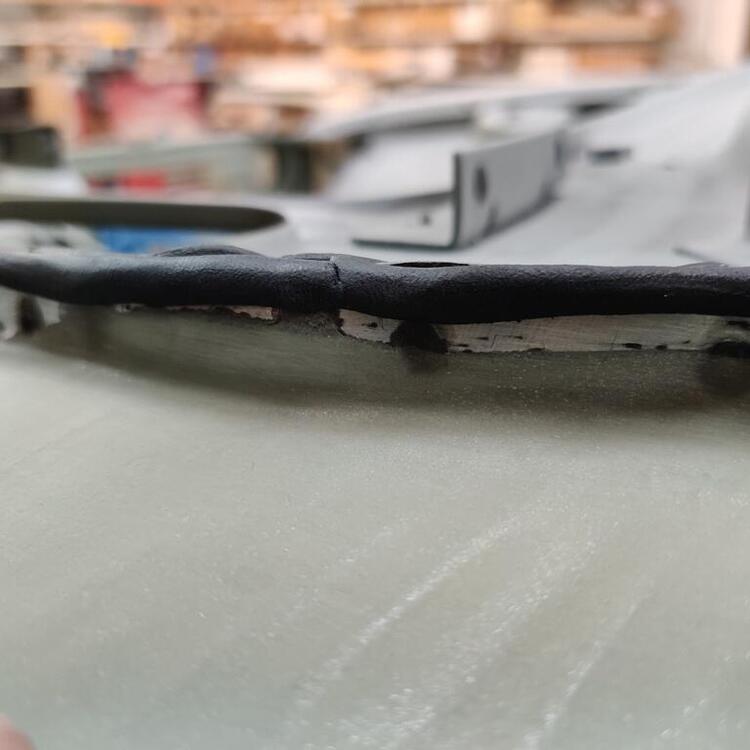
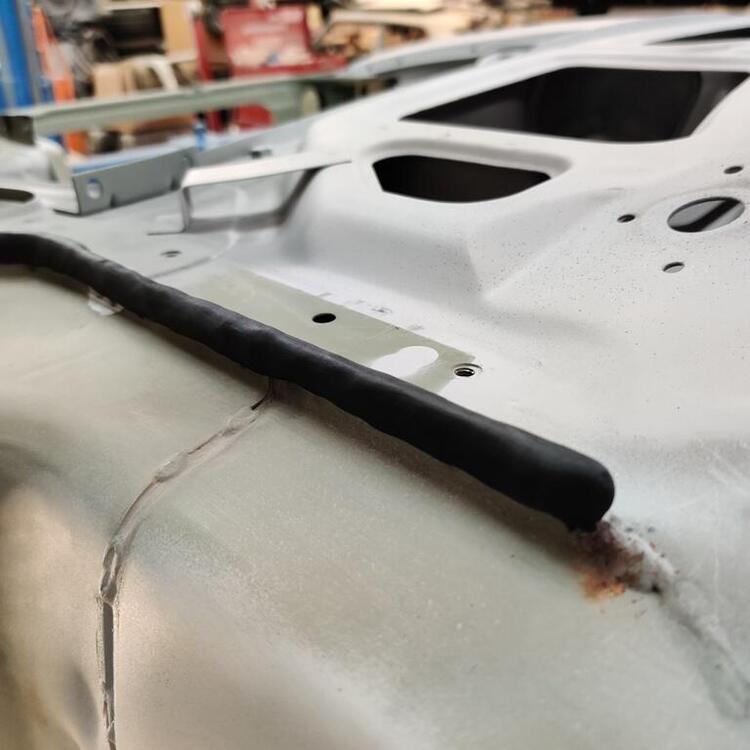
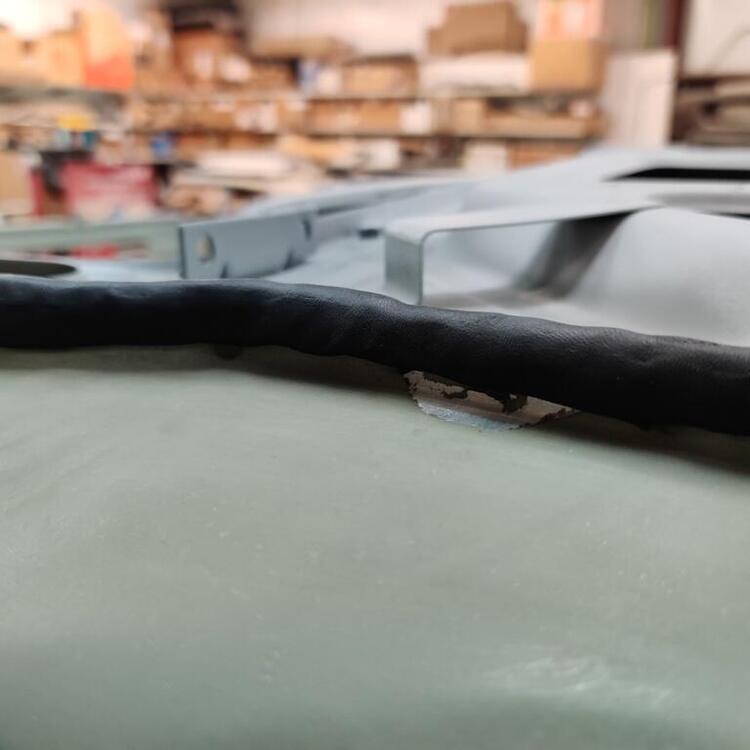
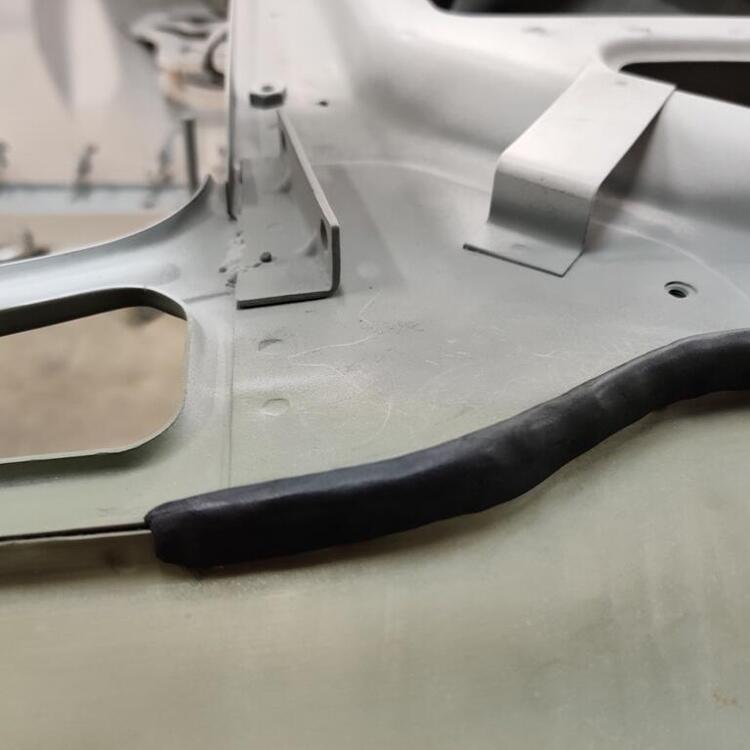
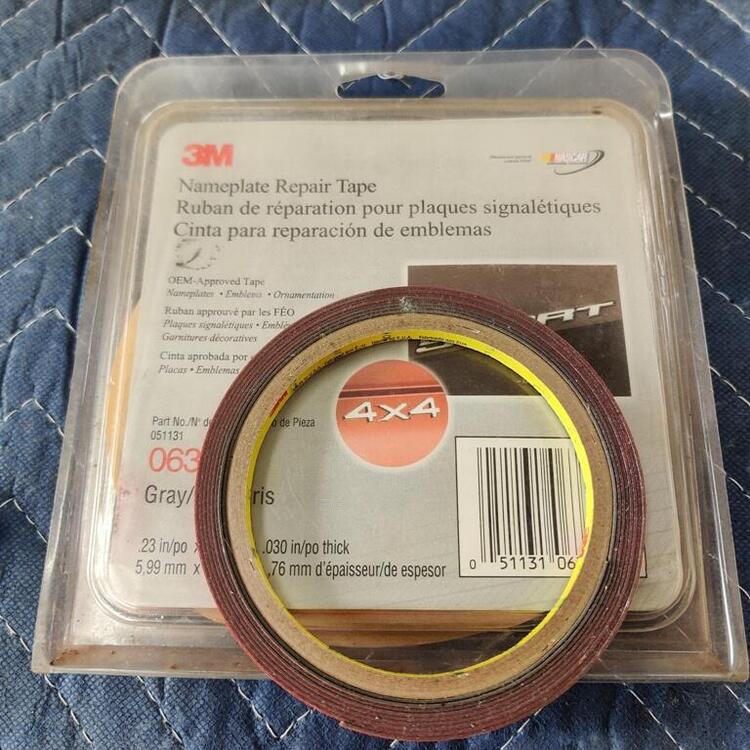
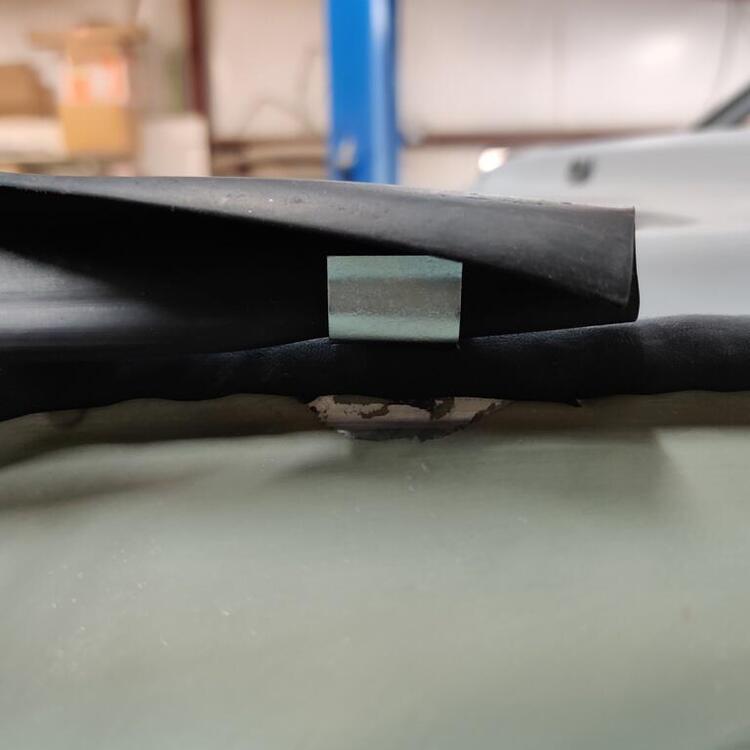
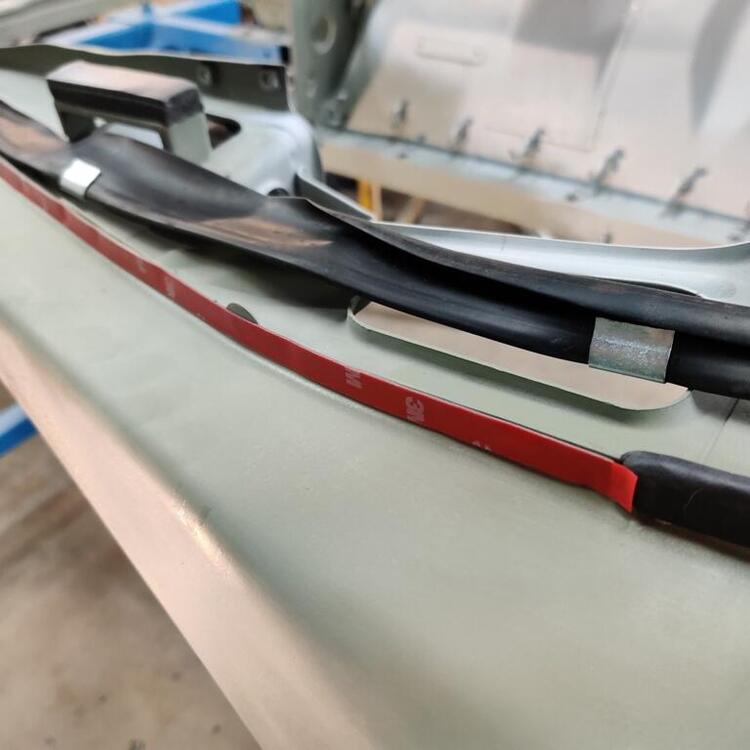
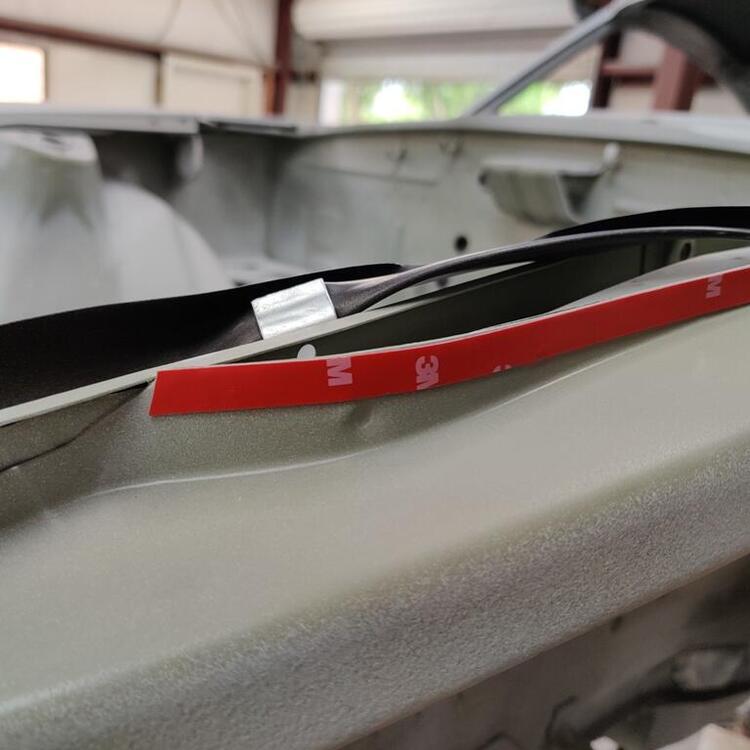
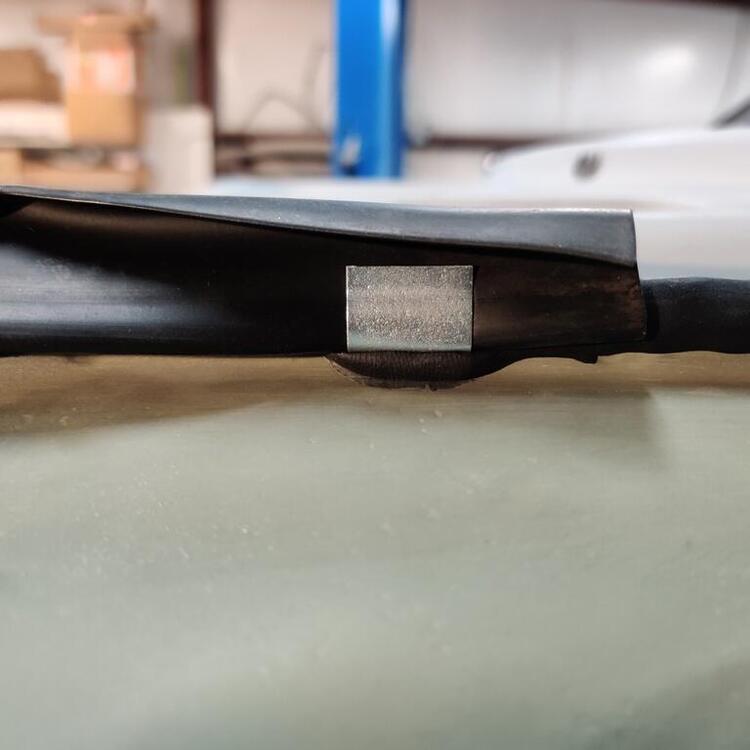
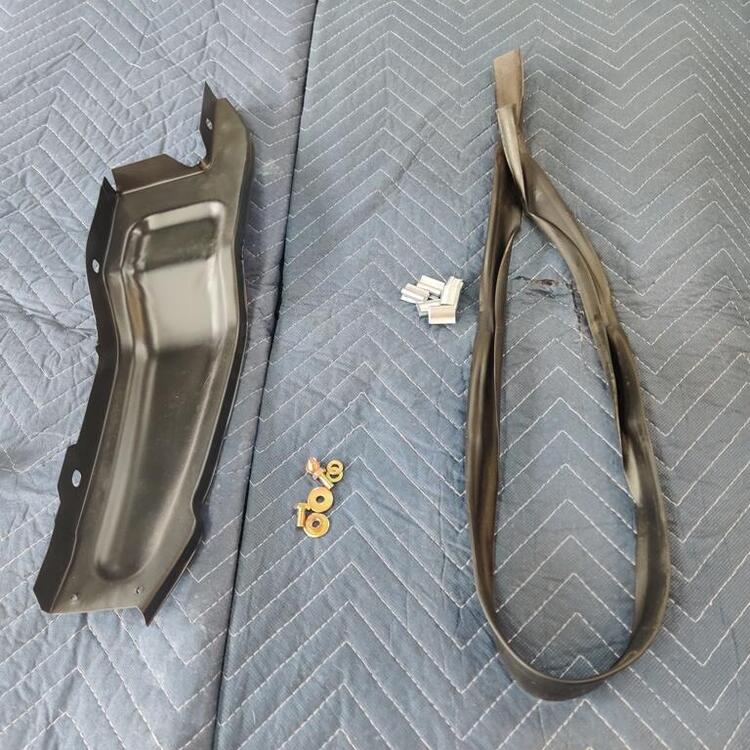
Some actual assembly has occurred. It's been almost four years since I bought the car, and so much of my time has been spent tearing it down, stripping, sanding, etc., but I finally got to put something back on the car! Pics showing the repainted driver side inner fender support, rubber seal to seal against the inside of the fender, along with original clips to hold it in place, and pics of newly plated outer fender hardware: I I'm not sure why the factory put a flexible sealer along the top edge of the pinch weld on the inner fender area, but I replicated it as best I could. It is interesting to note that underneath the old material was bare metal. I scrapped it away and used wax and silicone remover to clean the area. I then used Eastwood Flexible Strip Caulk to replicate the original. I added as many strips as were needed and then hand formed them together in one solid mass to cover up the pinch weld area (third pic is the finished product): Interestingly, you can see that the original material got pushed downward where the clip is located (see third pic here): Something I did that is a bit different than factory - I added some double sided 3m tape so that the rubber seal would be more securely fastened than would be otherwise with just the little "s" clips. In the third pic, you can see the caulk was displaced in a similar way when I pushed the clip "home" into position. The seal doesn't do a particularly good job of sealing the "upper shelf" area from dirt and debris coming from in the wheel well area, but it helps. Maybe with this 3M product the sealing occurring here will be slightly improved. Pic of the product I used, and rubber seal installed.
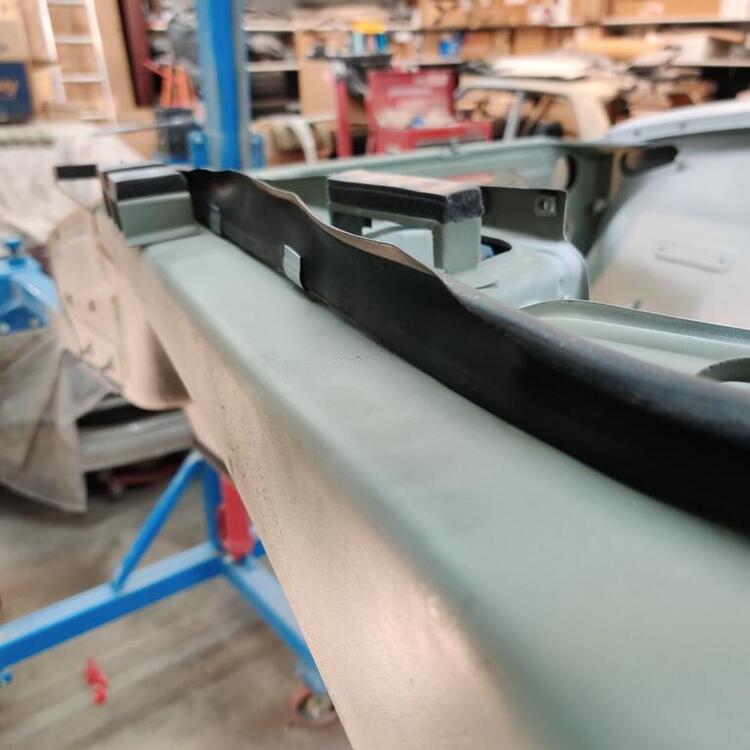
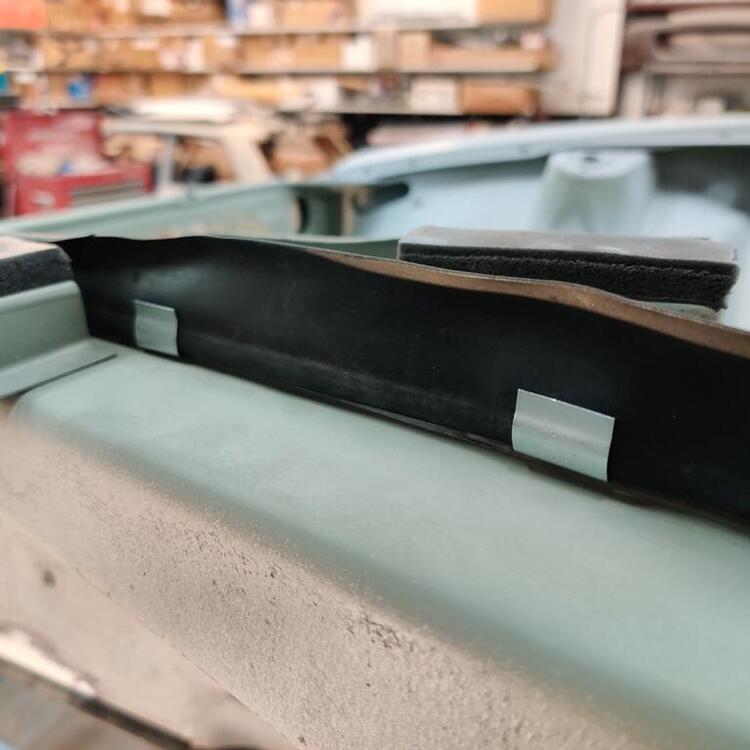
-
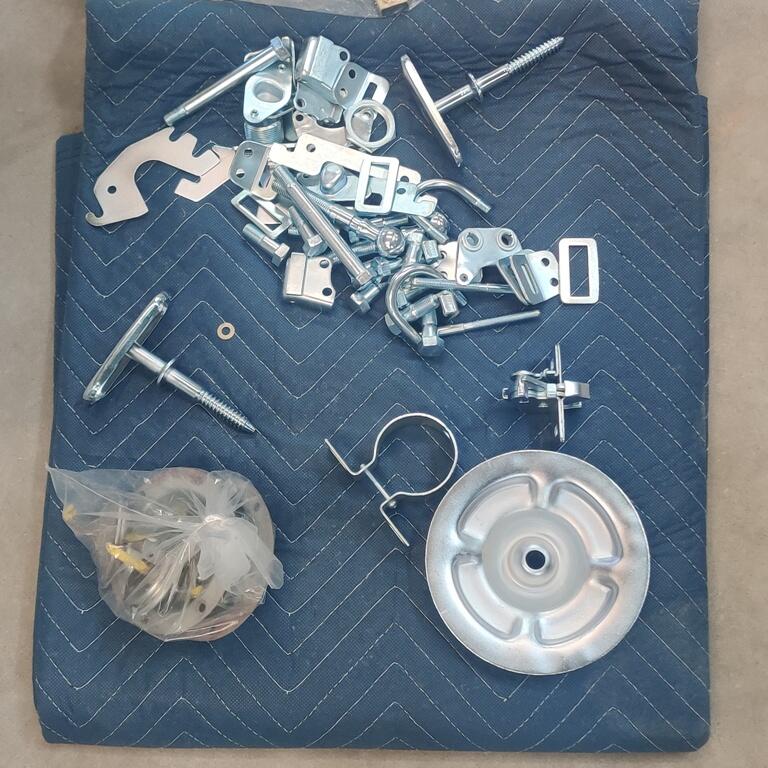
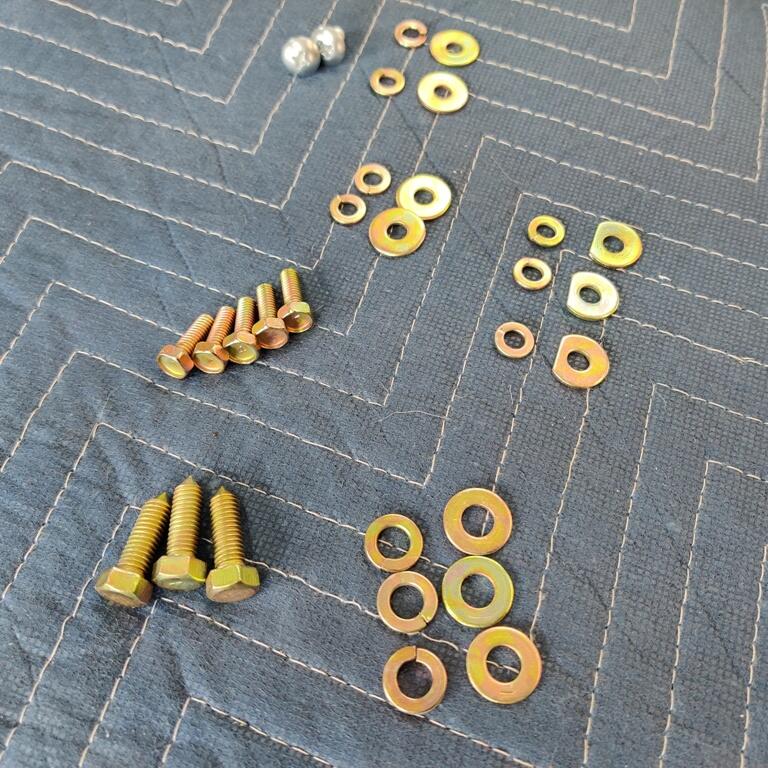
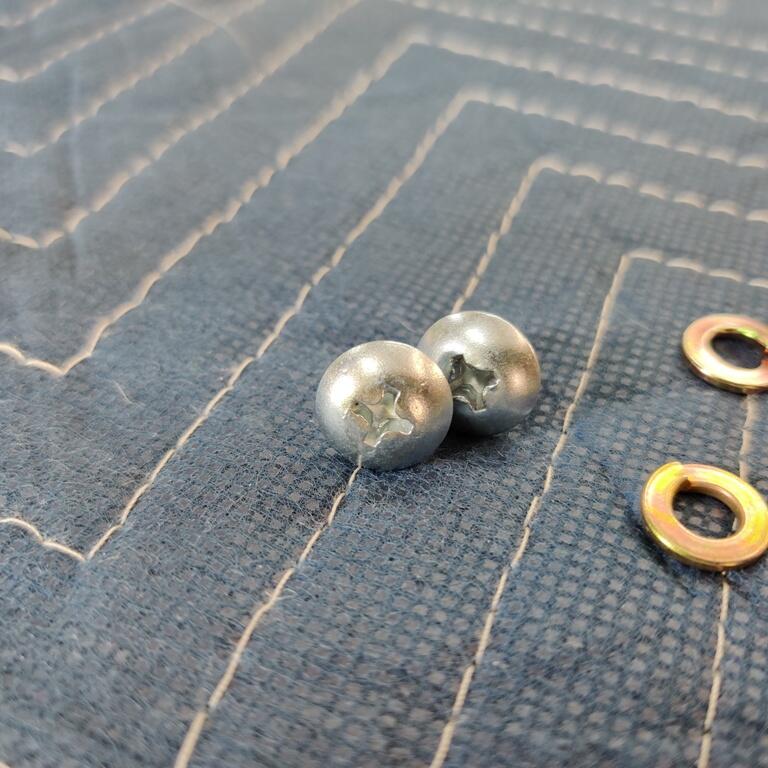
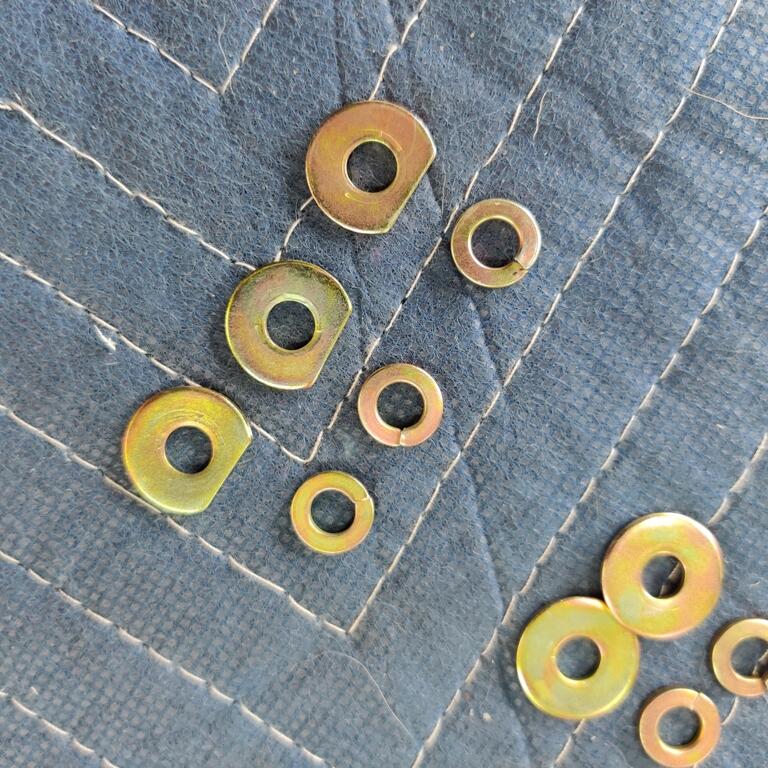
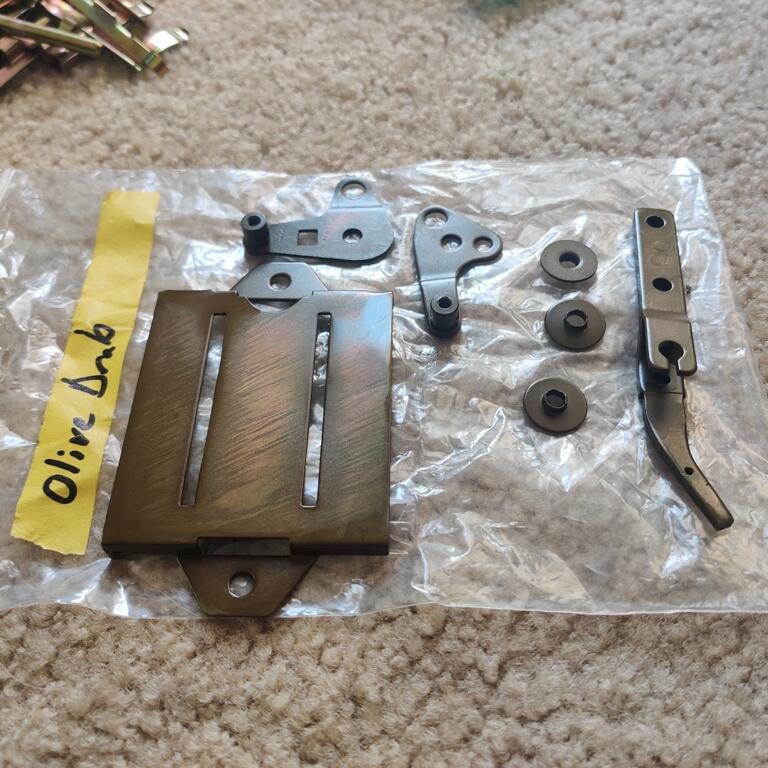
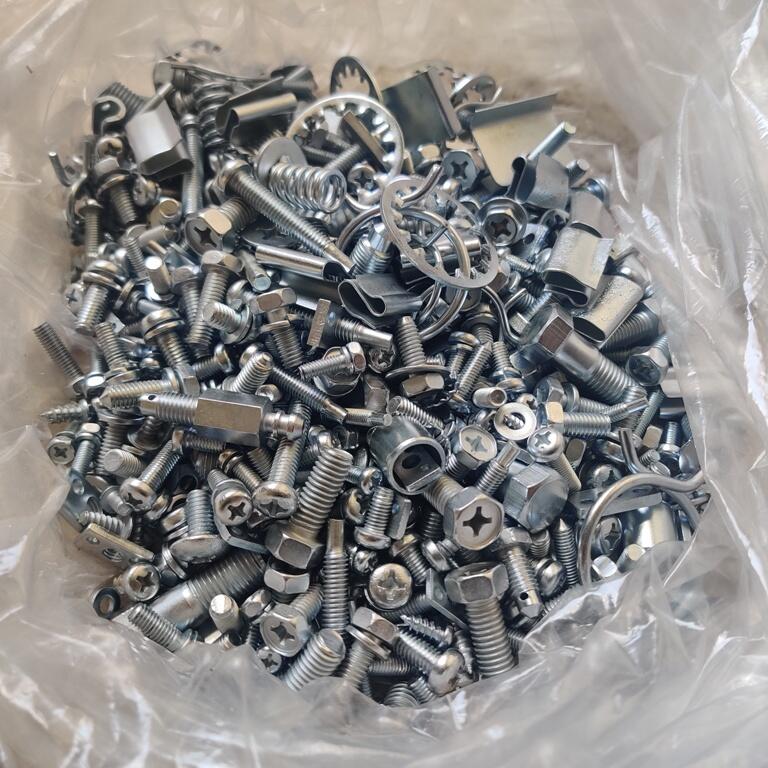
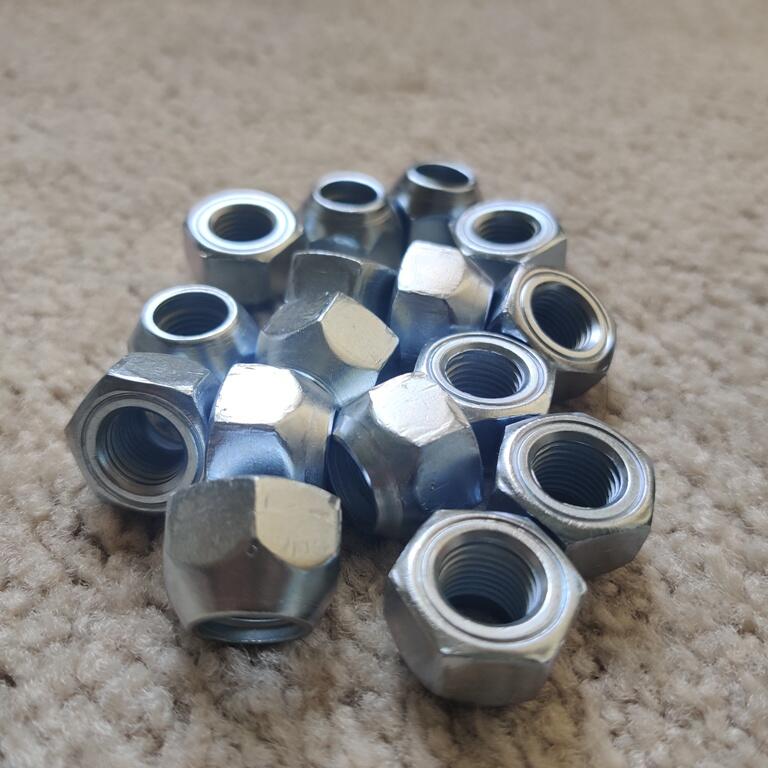
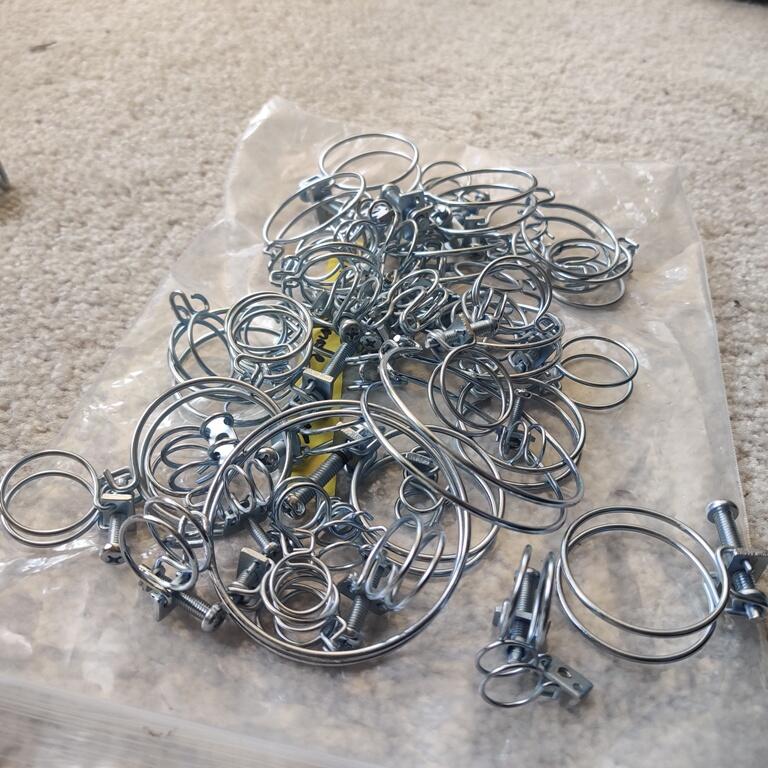
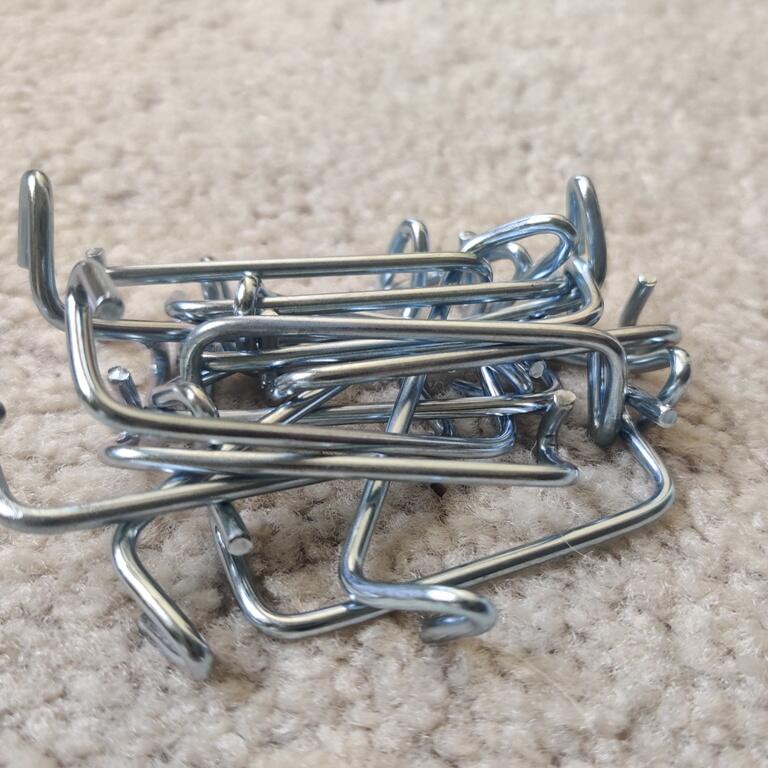
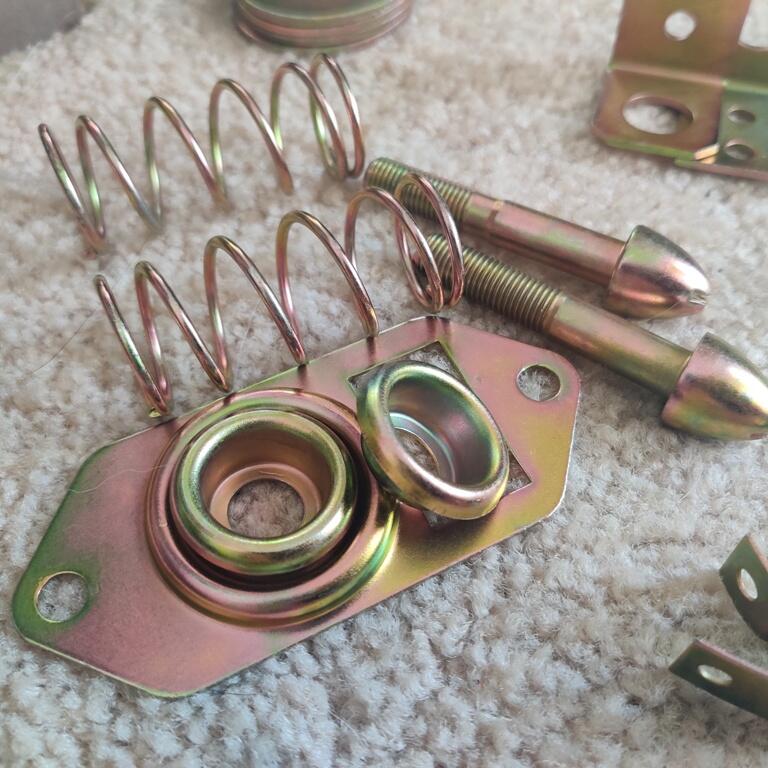
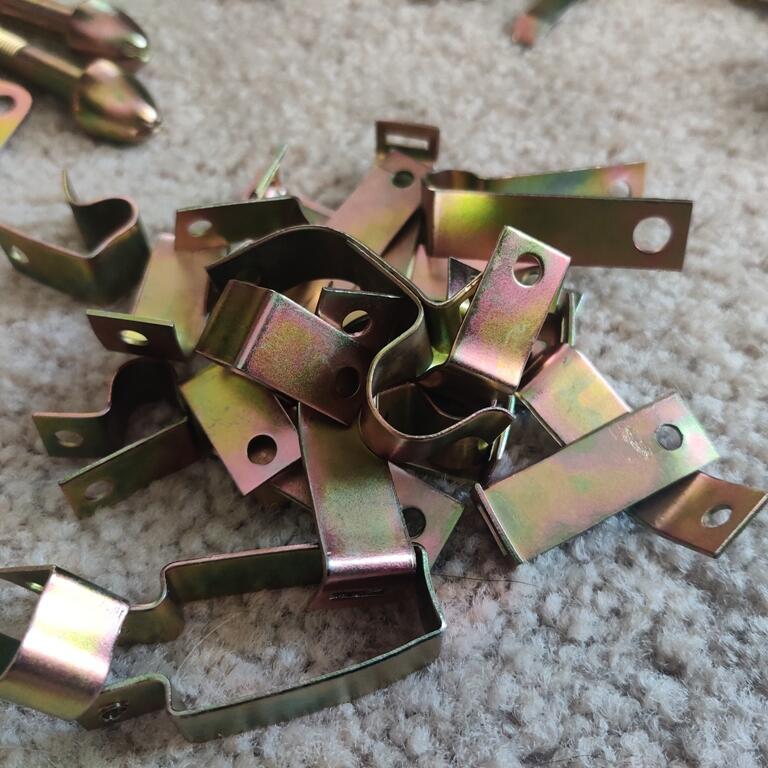
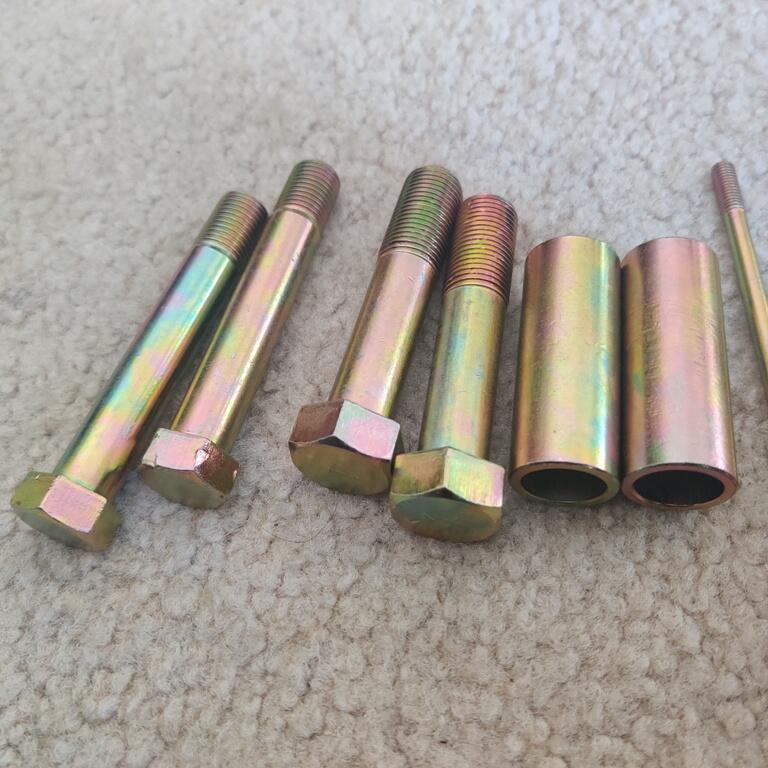
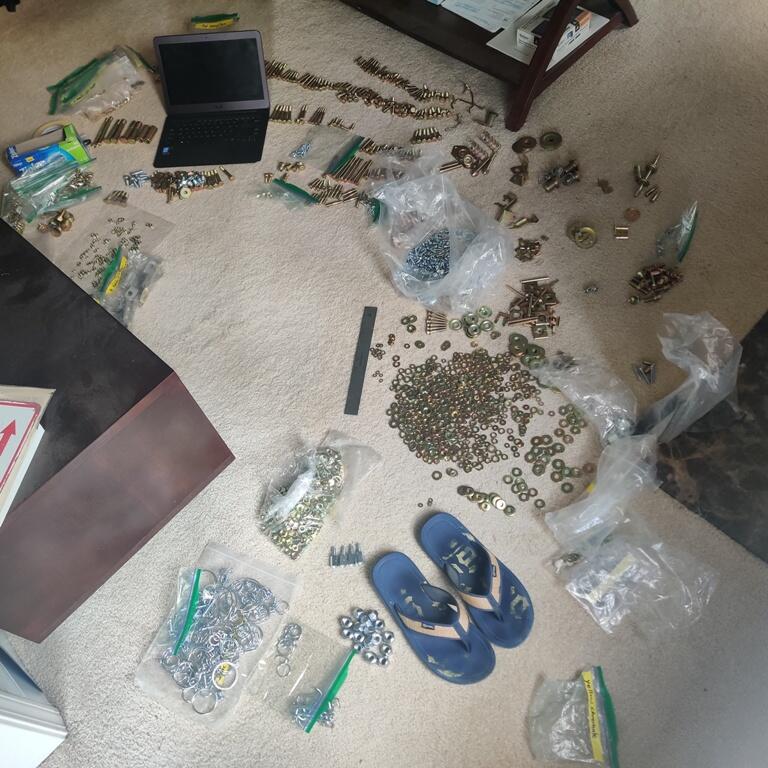
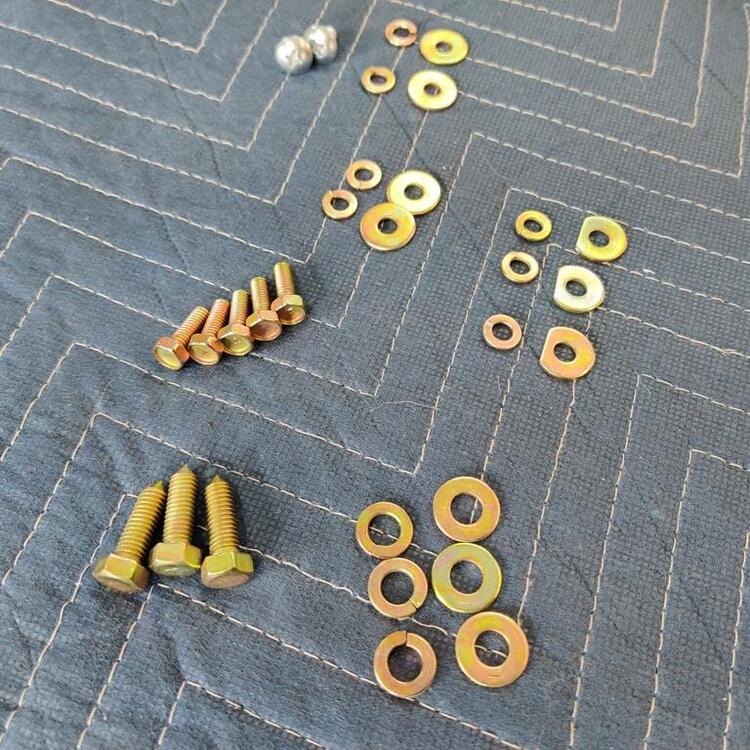
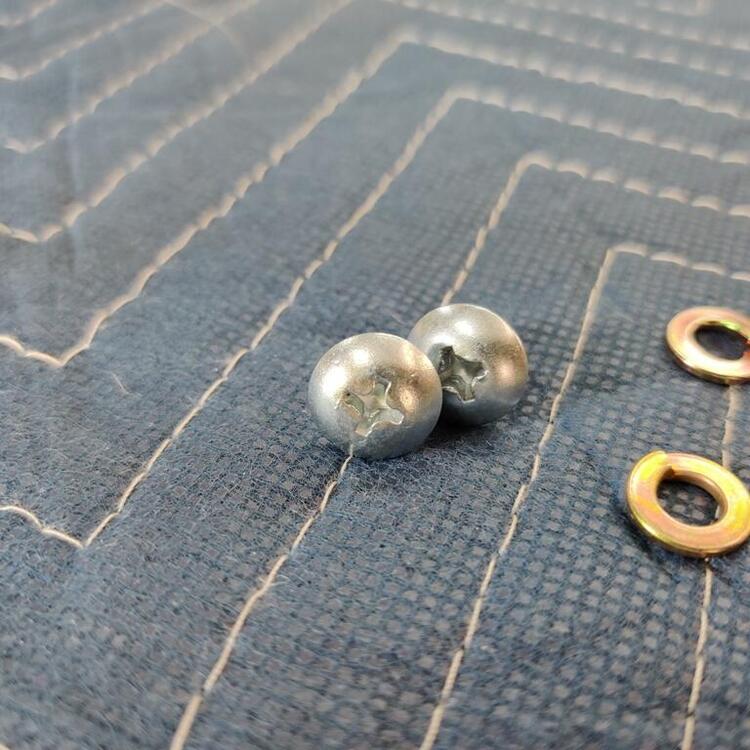
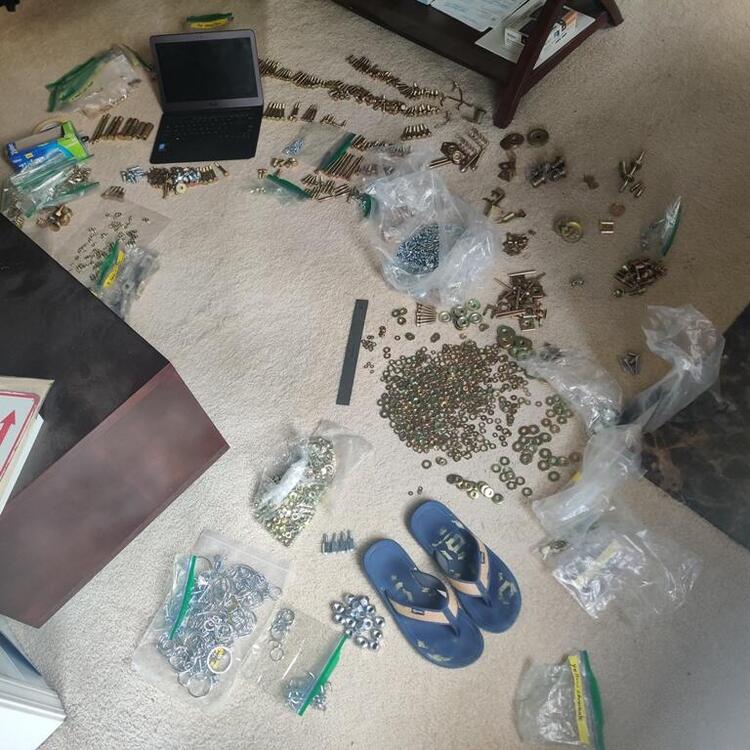
I guess I have taken a pretty long break. Looking back over the last couple of months, the progress has been little and the updates few. I have, however, been waiting on some hardware to be plated, and quite bit of it showed up on Saturday! I spent many hours on my living room floor hunting down fasteners using my spreadsheet and ruler, and putting them back into their respective zip lock bags with labels which identify where they go on the car. I have many hours to go! None of the larger parts have come back yet, but I was in desperate need of the fasteners for the hood, hood hinge plates, fenders, inner fender supports, cowl, inspection doors, and hatch hinges. Especially for the inner fender supports and the fenders, I am proceeding with my plan to do final assembly before paint, meaning these parts will not be coming off the car when it goes to the booth for paint - nor after. Final primer coats, sanding, etc. will be done with all fasteners torqued to spec. The inner fender supports and foam rubber seals push on the fenders when the fenders are bolted in place. The fender panels, therefore, "move" a little when bolted down. To get them as straight as possible, I need them fully secured when doing final sanding. So, here are a few pics. I am pleased with how most everything I have received looks. Part of what is special about this car is how little rust it had. That carries over to the fasteners as well. For me, there is substantial value here when it comes to the fasteners because they haven't suffered the rust pitting that many do. The olive drab doesn't match the factory color well, but it looks pretty nice as the only reasonable alternative I think. I didn't send anything else to get that color - I missed including a couple small brackets, but those look ok as original anyway. Only a small number of bolts do not look as shiny as I would prefer. And for some reason, hex nuts came out exceedingly shiny. I am hopeful that the large parts will come out nice.
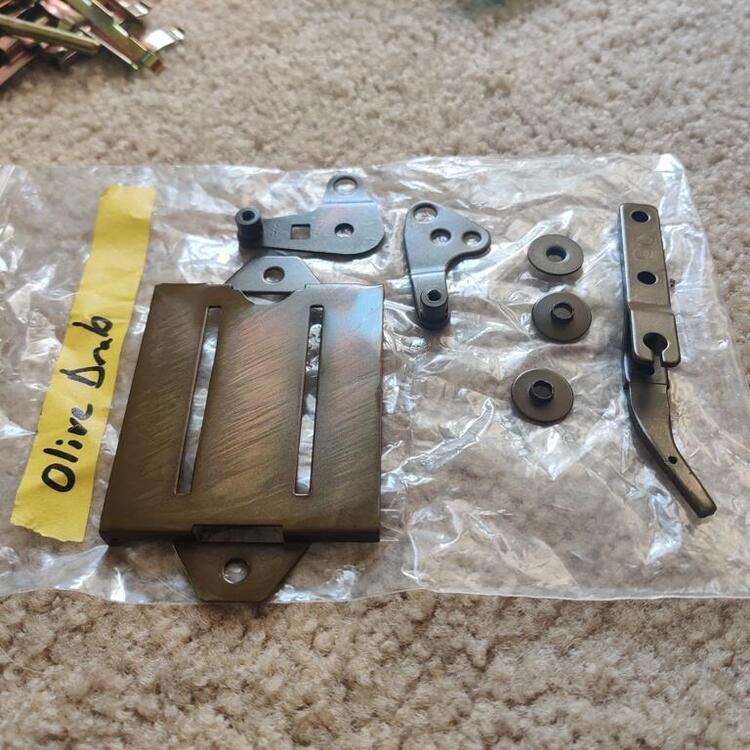
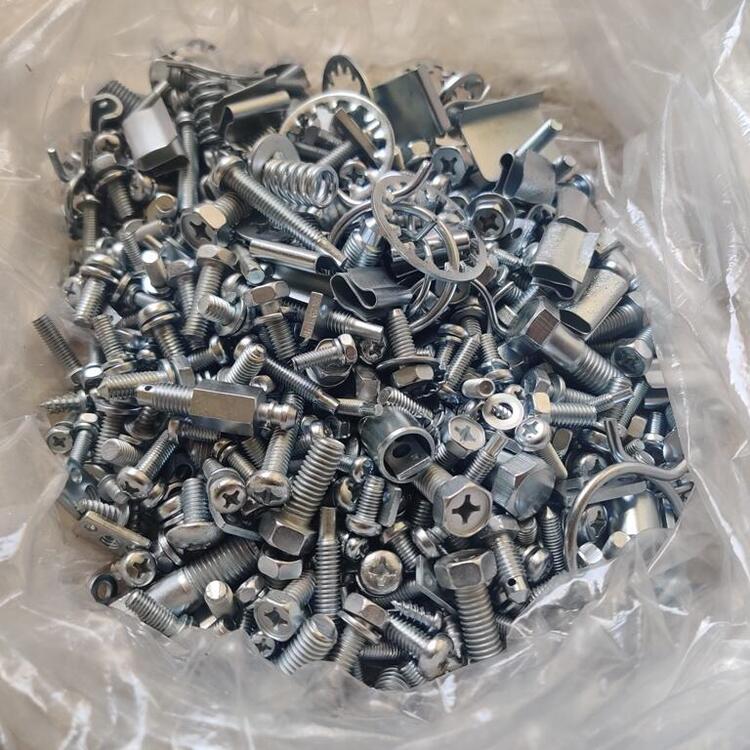
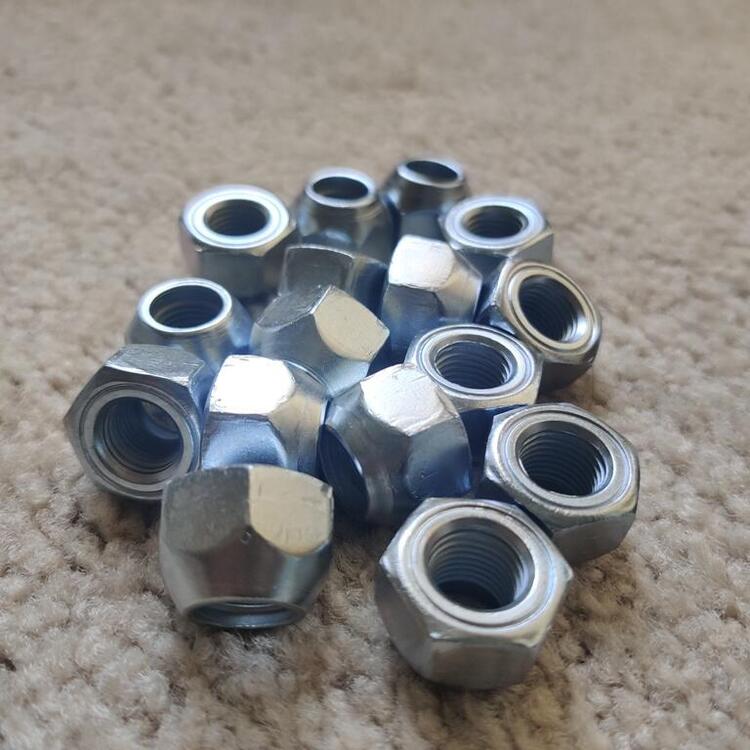

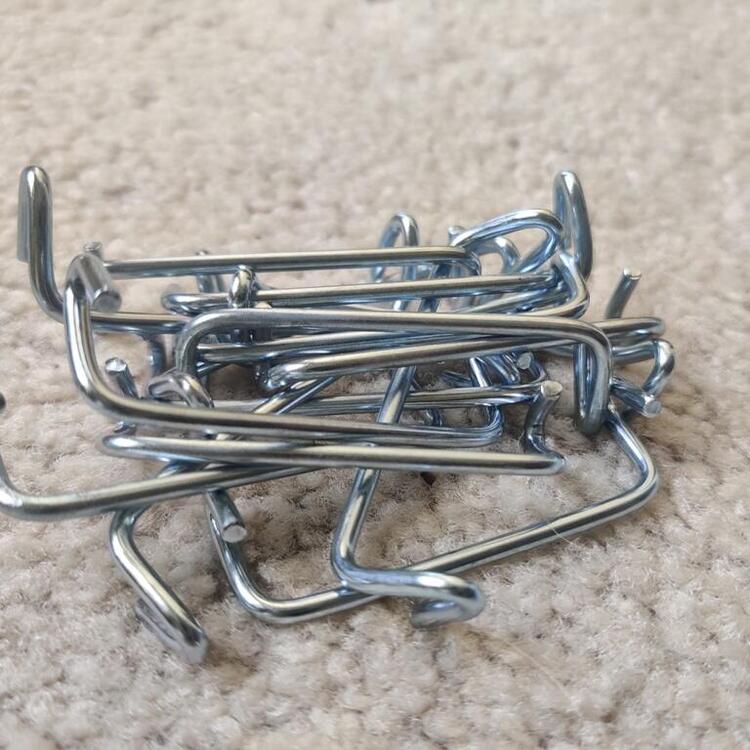

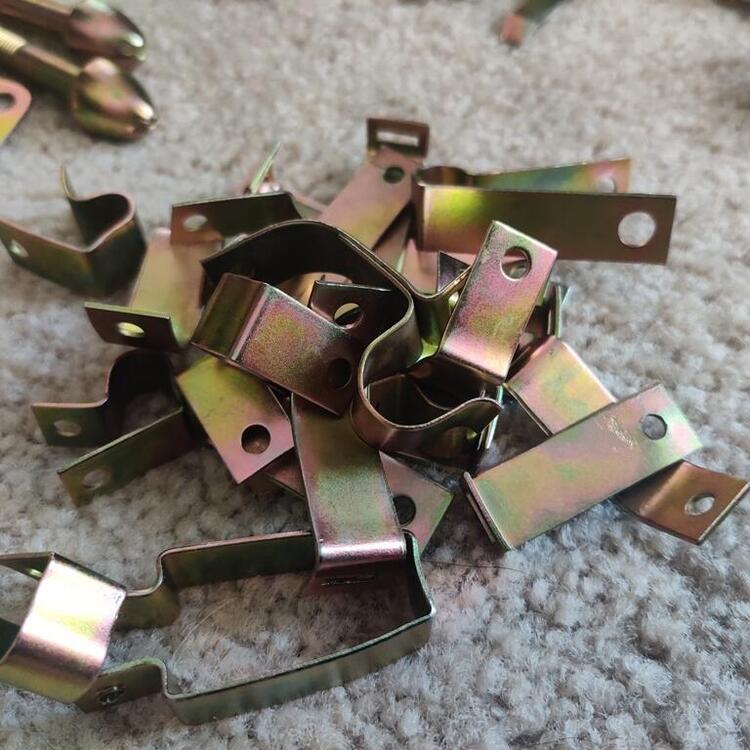

-
Nice - I like that you got the matching plate in place there too.
-
Haha!!! And here is another point that I would like to add to this discussion. I knew about the repro mirrors. I absolutely intend on buying one within the next 4-8 months. Getting back to this another point, however... Who else who would like to have one, but doesn't know they are available? If everyone who would like to have one knew of their availability, and could raise their hands to identify them as such, would the decision to invest in reproducing them have been easier? Would the cost of them come down? I contend that the efficiency of the market isn't what it should be. Pricing is too varied. And information is more imperfect than it should be. At this point in the history of the internet, it should be far easier to find out what is available, and to determine what is a good price for it.
-
Thanks. It is similar to my favorite toy from my childhood - a Remote Control car I had when I was 12: https://drive.google.com/file/d/1j8jiEC7IjXTNtWj_4ekyiU77dE3rFqWe/view?usp=sharing
-
It's been too long since I provided an update! Well, I have worked on the car very little in the last month. I was sick for a couple of weeks with a cold (or Covid19 - who knows) and also injured my wrist in a soccer game (I'm a keeper 😛), and it has been pretty dang cold, so I haven't been spending many hours in the garage. I also was busy (and stressed) with the process of buying another car to add to my collection, however it is not a Datsun, so it might not be interesting to y'all. Its a P car, so if you have interest: https://drive.google.com/drive/folders/11TKy03xPCheKGSkzxDvpRYW0BNLmyCSn?usp=sharing Steve at Precision ran into some equipment issues, so plating the parts has suffered a delay. Hope that the parts are being plated soon. With warmer weather arriving and delivery of plated parts imminent, progress should resume soon.
-
I thought so. I commented about one that was on ebay a month or two back - I think it sold for around $19k (not running). $50k for the one above is not a bargain. But, if you want a rare 240z, it is rare.
-
Is blue on blue the rarest combination for cars delivered to the US?
-
Did Paul ever drive this car? It doesn't say in the eBay description, but my first memory of attending auto racing was Summit Point, WV in about 1975, and I think I recall him being there at that time. And, I do remember seeing the red white and blue Datsuns. I was 5 at that time.
-
Good points. Profit is important. There are lots of factors for sure. And yeah, some of those remanufactured starters are garbage. One of the touted benefits of capitalism is that it is dynamic. Generally speaking, market opportunities will be found and filled with solutions better than the other economic and political systems. In my opinion, another benefit should be better relative market efficiency. I think Amazon is a good example of that. On the whole, they have made purchasing things easier/cheaper/better/faster or some combination. What I find odd, speaking back and more directly to buying parts for Datsuns, is that I have to spend so much time looking (on the internet) through "garbage" product offers (availability/price/shipping cost/time for delivery) to get to the ones that are "good". The market efficiency that I believe should be there (nearly three decades after the internet became a thing) is lacking. I think that is true of more than parts for our old Datsuns, but for purposes of discussion, Datsun parts are a fine example.
-
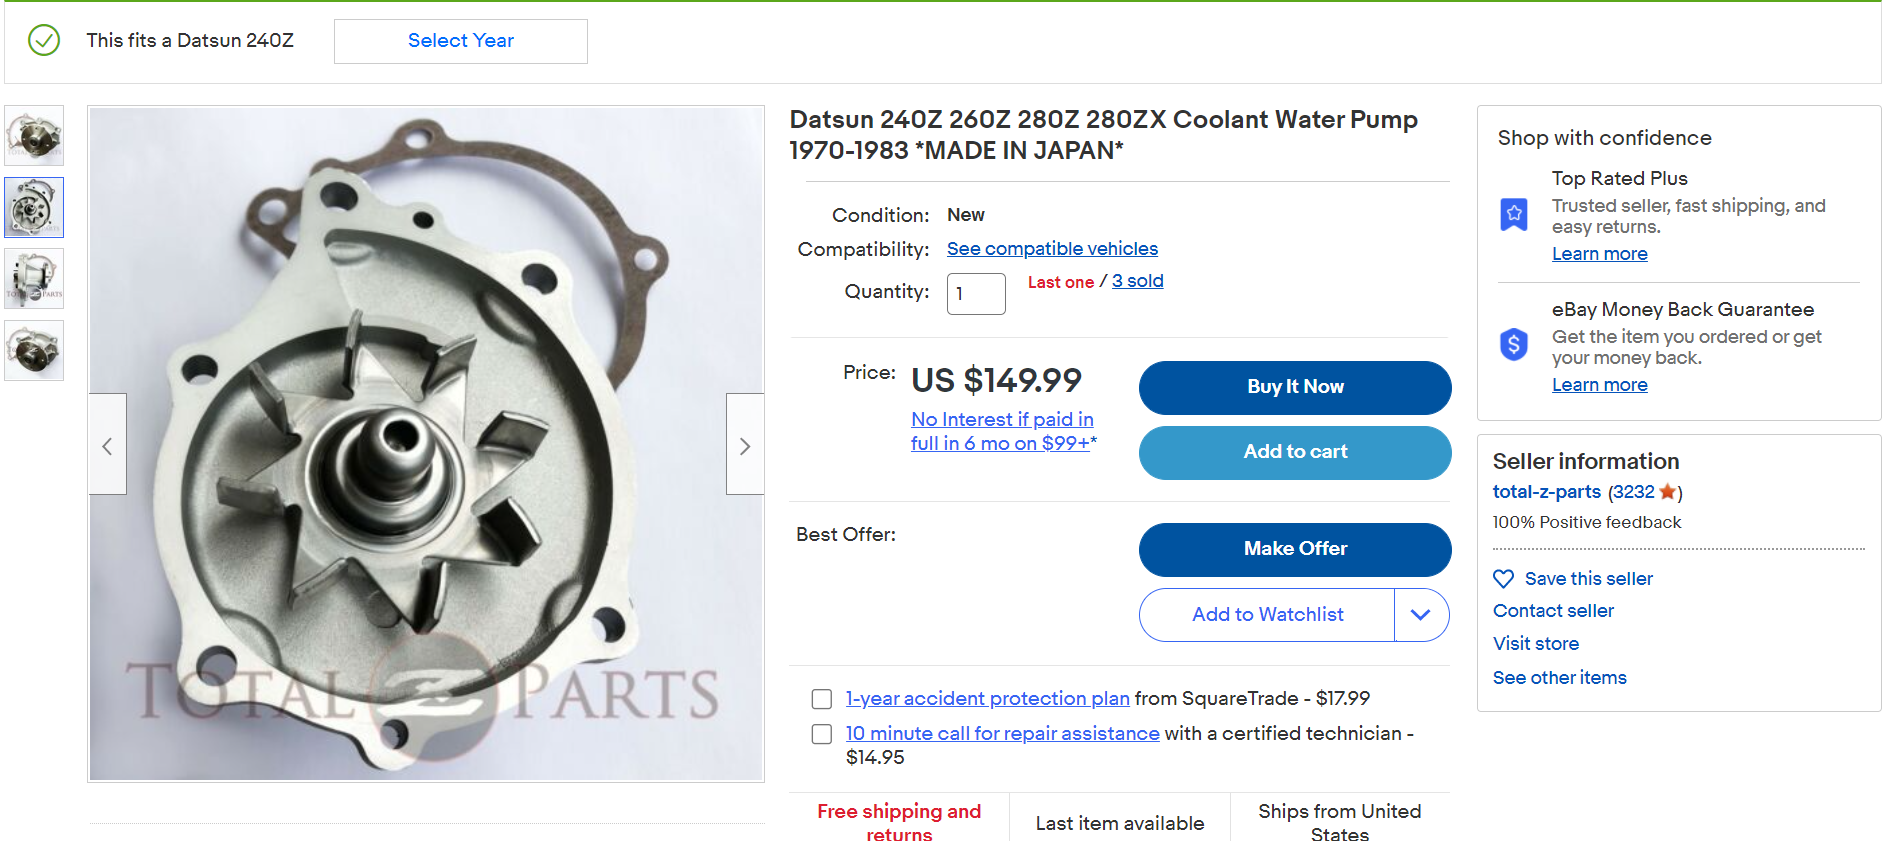
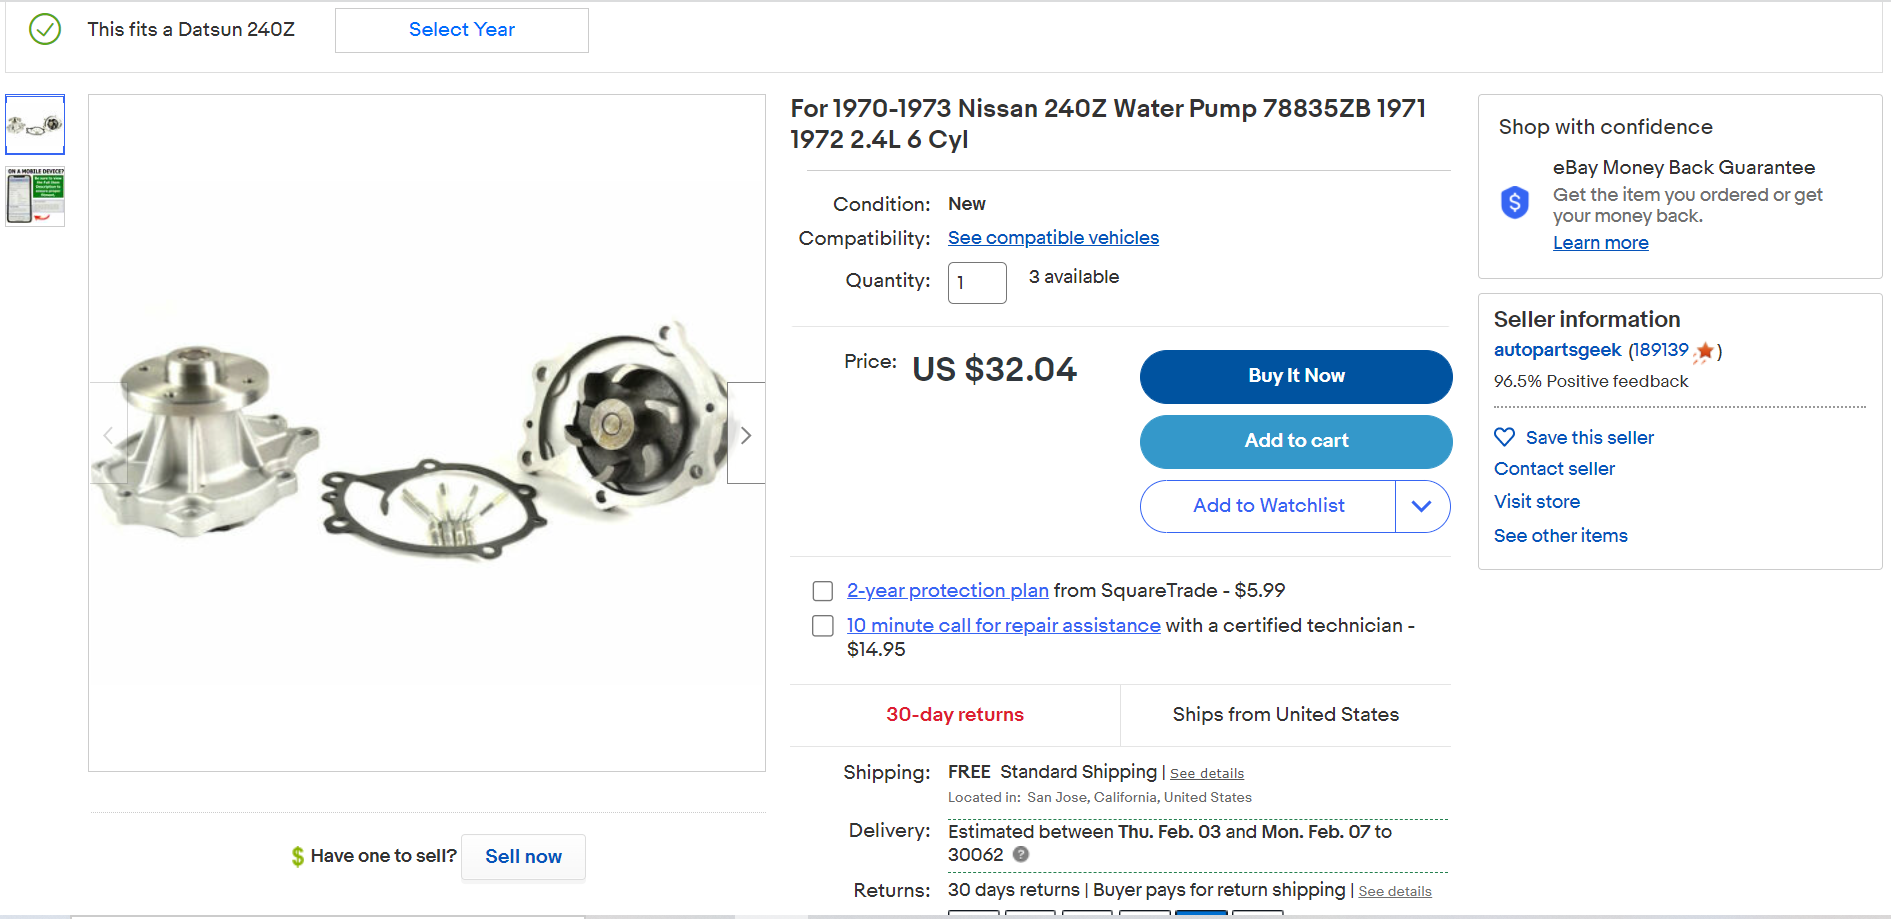
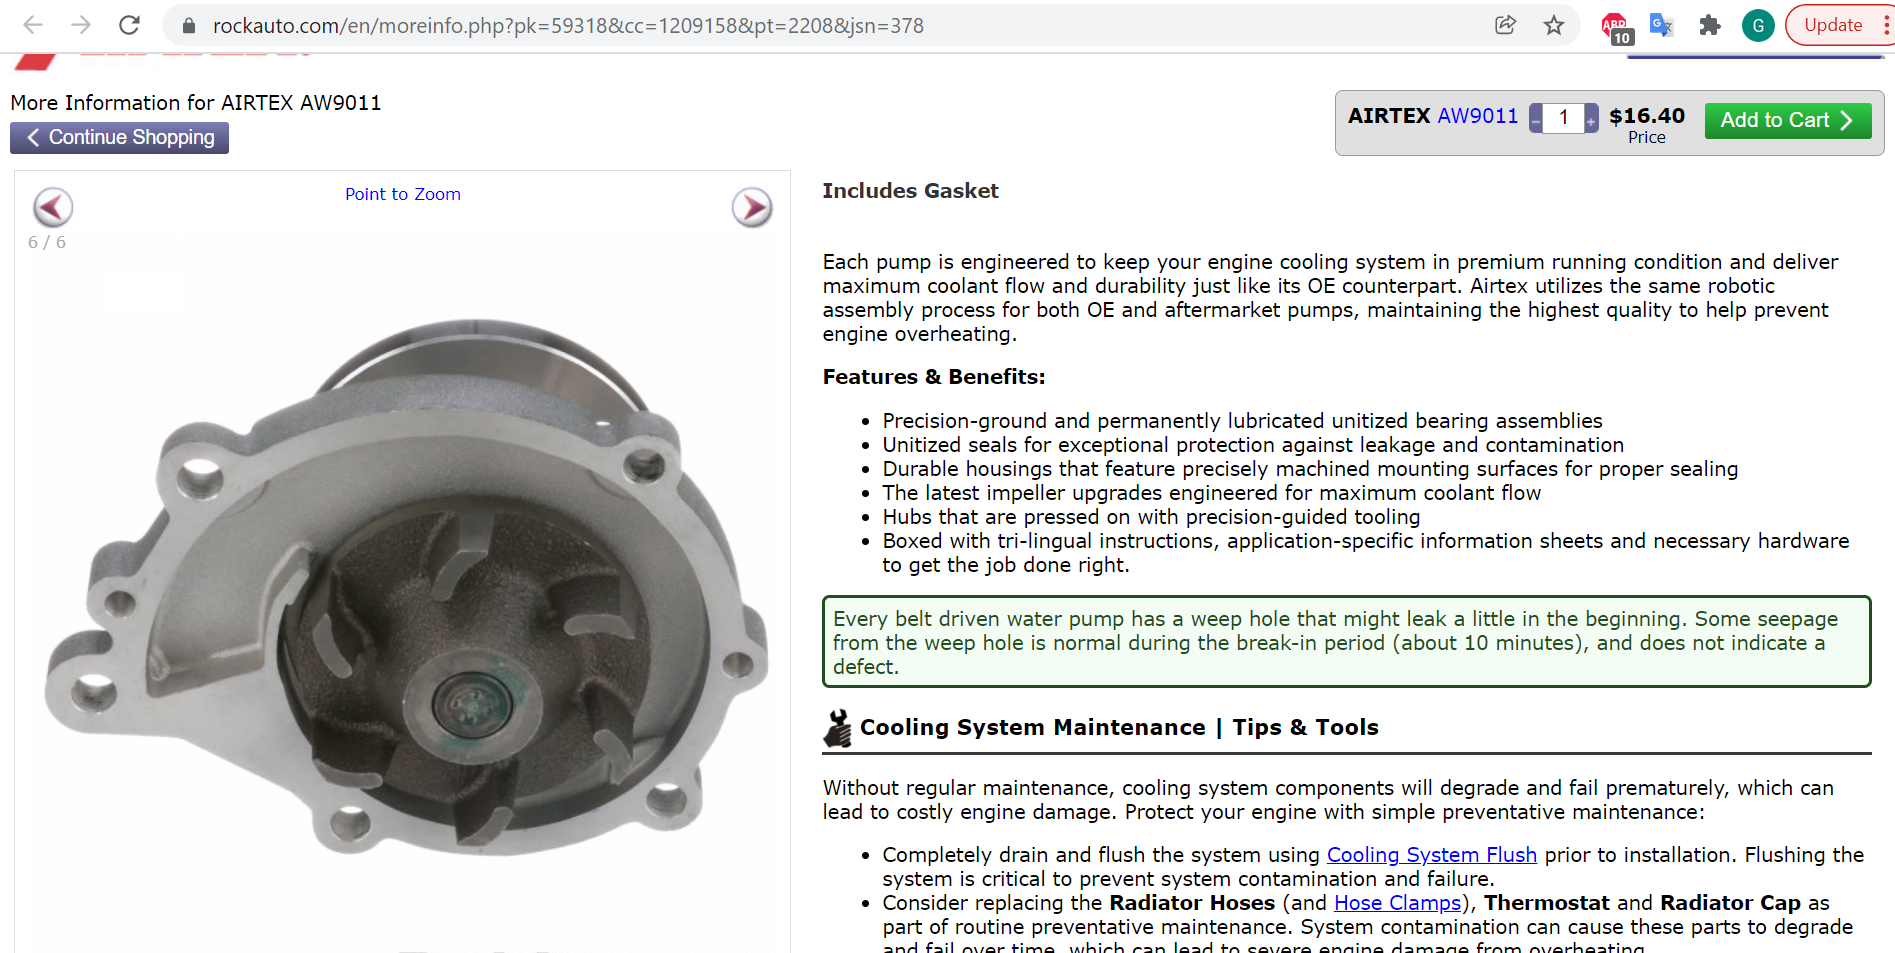
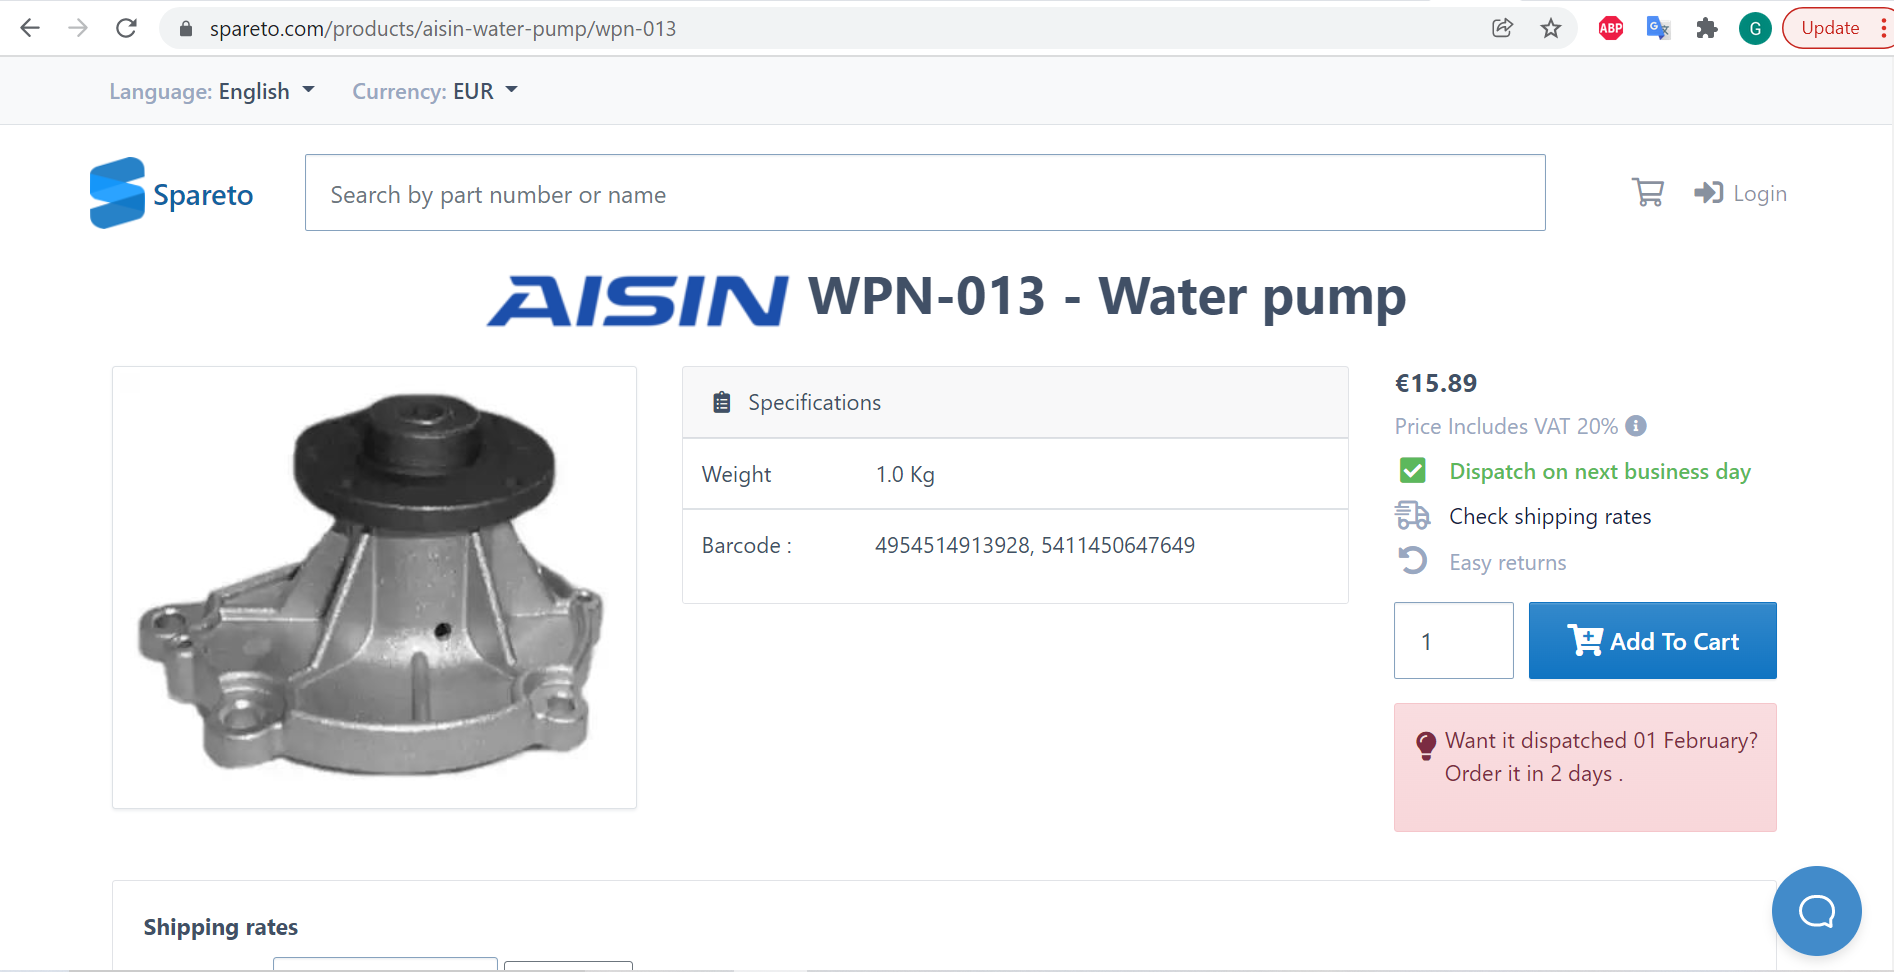
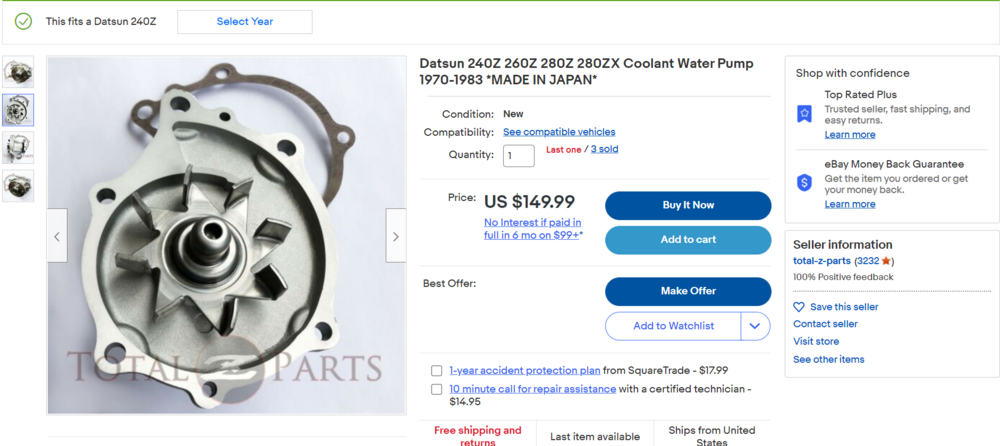
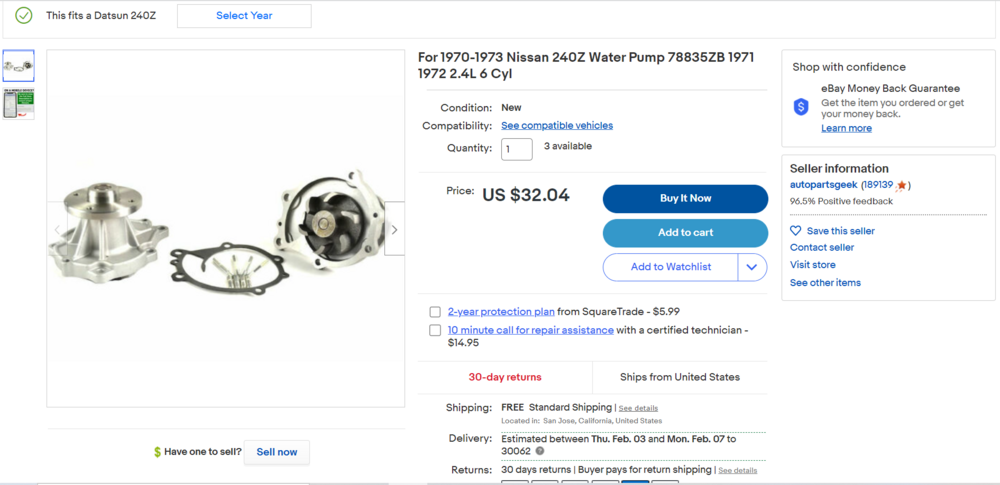
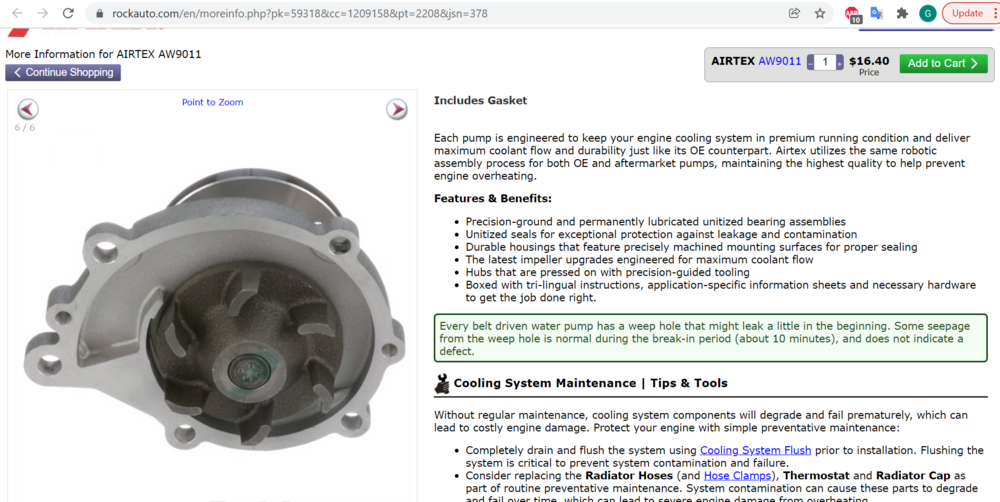
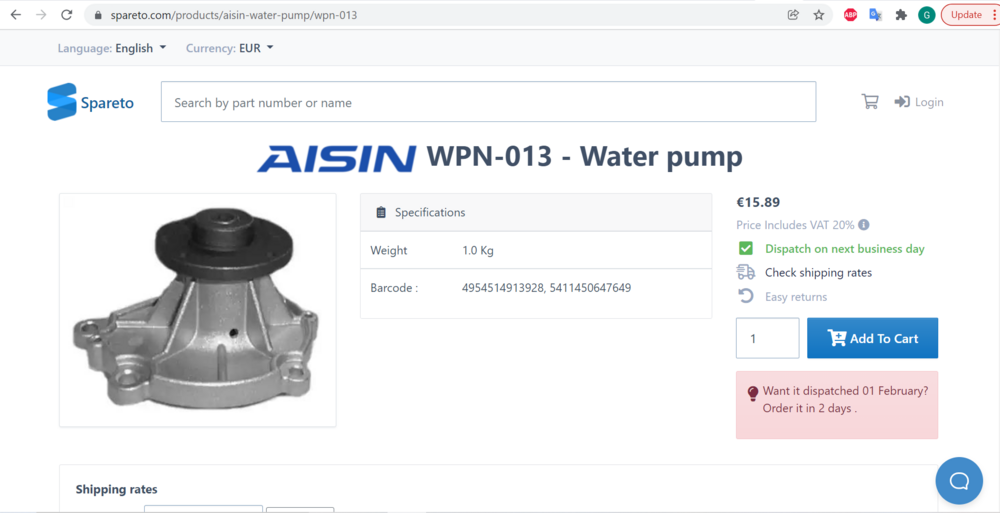
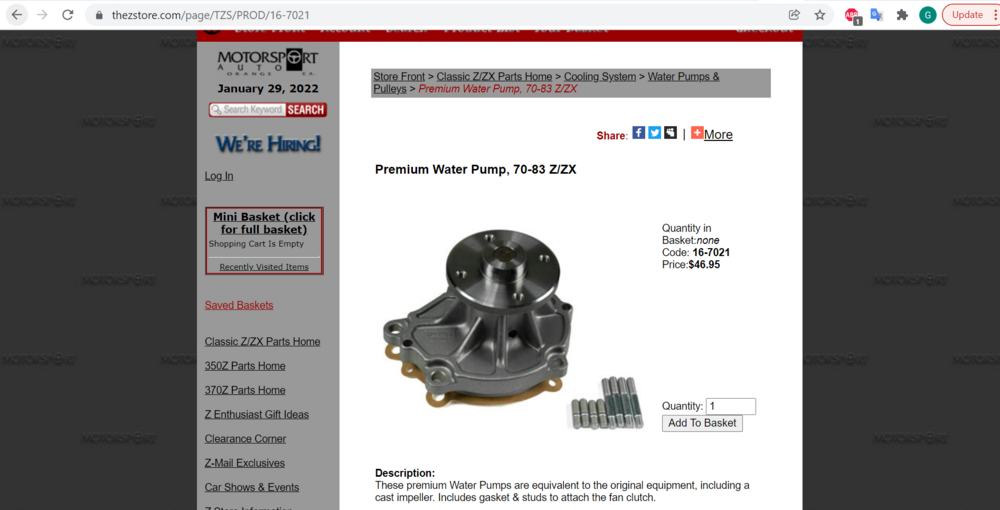
Let's have a look at a water pump as an exercise. Original part number: 21010-E3026. Part number supersedes to 21010-P7589, which is discontinued, no longer available from the dealers in the US. Looking for info on original manufacturers, I came across this thread here on our forum: The Aisin part number is WPN-013. The Aisin has the cast impeller. Looking around online, I found many options, and as expected, pricing was all over the place. Here are are few: 15.89 Euros plus shipping: This one from Motorsport Auto may or may not have it - it is a "premium" water pump - no indication of brand. While pictures aren't always guaranteed to be accurate, "Autopartsgeek" offers on eBay an ITM pump which appears to have a cast impeller for $32 US with free shipping. Rockauto has a couple out of their several options which, according to the pictures, have cast impellers. This "Airtex" is $16.40 US plus shipping. Their price on the Aisin pump is $23.70 US plus shipping. As is typically the case, I find that even the same brand pump (such as the Aisin wpn13) varies in price considerably. And of course, if you look at the more comprehensive list of options, you see even more variation. Take this one for example: Isn't that nice?
-
I have been an avid Datsun enthusiast for several decades now. I have accumulated a ridiculous number of hours looking for parts. I've probably logged thousands of hours on Ebay. I have search Craigslist, even utilizing special Google searches to search different locations across Craigslist nationwide. I have "searched" Facebook, joined Facebook groups specializing in Datsun... I have searched Google high and low. I have found various sites that sell Datsun parts. I have looked through as well as searched many of those sites which I found via Google. I have used Datsun forums, their classified sections, etc. I have used Datsun car clubs, contacts I made via those clubs... I have used Datsun forums, and their classifieds. I am a Datsun parts searching expert. I am sure many of your are as well. So, I'd like to throw a few questions out to fellow Datsun part seeking experts and amateurs alike and see what y'all think. I realize that pricing is a pretty big topic. So, I think a bit more restriction of the discussion would be helpful. Let's not talk about used parts. Let's not talk about parts which are new, but are quite probably if not for sure discontinued and no longer available. Let's just talk about new parts which are not backordered. I think the scope can include aftermarket parts, as long as these are commonly available from more than one vendor (and orders can be fulfilled). And the scope can include OEM Nissan parts, which are brand new, and available from Nissan of North America. Why are prices of these new parts, in this day and age of the internet, so wildly varying from one vendor to the next or from one dealer to the next? Take for example, OEM Datsun parts which are still available as one classification. Why the hell is there such a wide range of pricing for the same readily available part? Are the people pricing them at much higher prices than others idiots? Ignorant? Both? Or, are they the smart ones?