


siteunseen
Free Member
-
Joined
-
Last visited
Everything posted by siteunseen
-
 You removed the needle valves from the equation when you used the vent bungs. I think airing out the air filter and housing then connecting them properly will do the trick.
 -
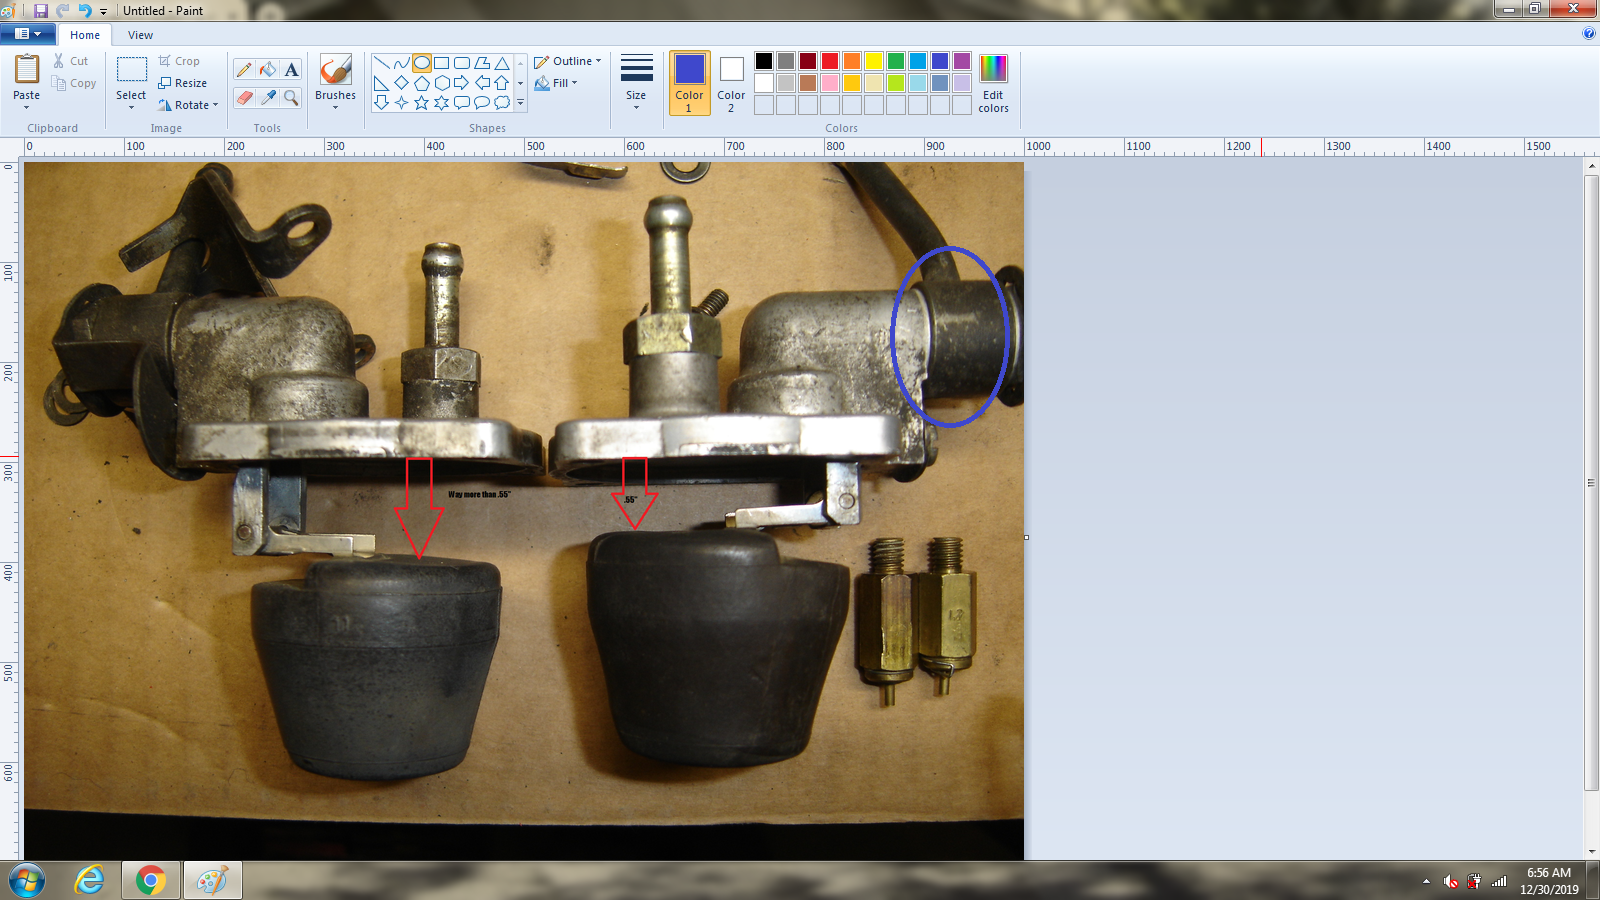
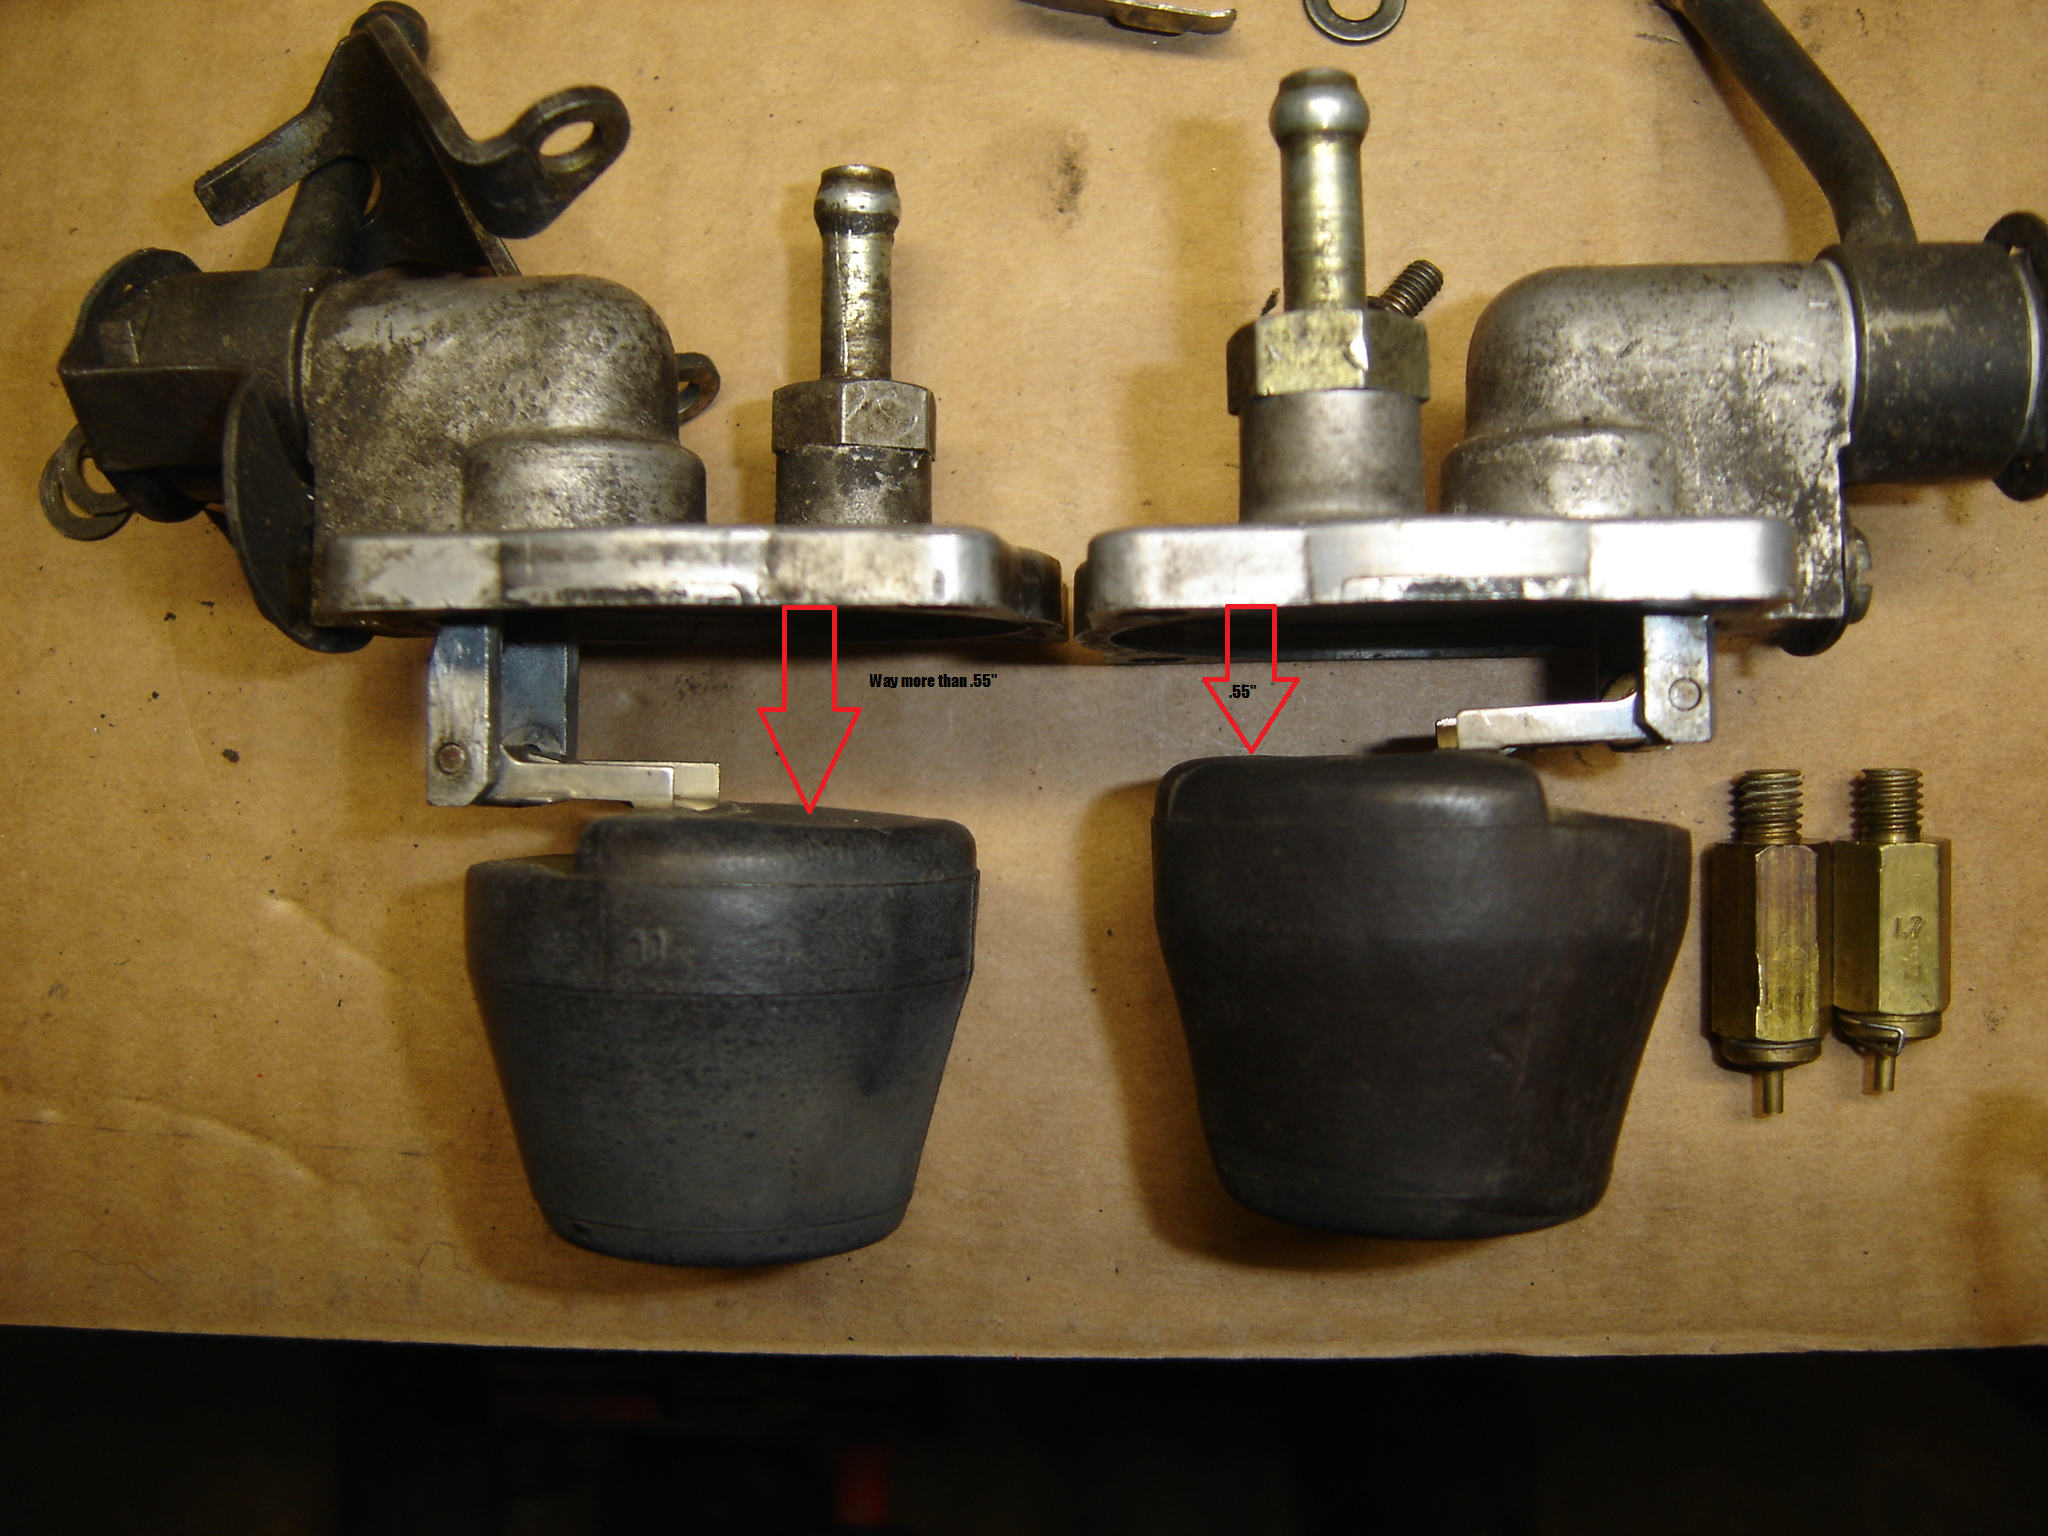
Mine had the longer one on the front carb. I did some reading and used two rear carb lids on my 72. They are both short and much easier to set the floats level. I have extra carbs and parts so it was a no brainer. Let me ask my Sensei @Mark Maras to be sure. I could be wrong but I doubt it.
-
Look below the battery box for corroded hard fue lines. Mine had some small pin holes so I cut them out and ran rubbet fuel hose to the pump. The longer valve goes to the front carb. Think about the fuel level changing going uphill. The front gets low that's why they made them longer/deeper. That's an old pump from looking on my phone. Your a/c compressor is a Yorx and oh what a pain in the butt to remove the fuel pump. If your air doesn't work I'd throw that SOB in the trash when you have to remove it. They make more efficient smaller units now that use current freon. $1,000 though so I don't have air but a nice spacious engine compartment.
-
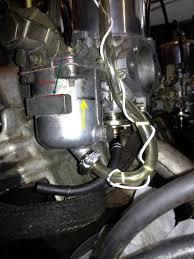
Yep, they are small barrell filters in the banjo bolts right before the float chambers. I personally do not use them. I have two filters before the carbs that do the job. Those small filters are hard to find new and actually they cause a little restriction of fuel flowing into the carb in my opinion and my opinion was told to me by many folks on here and at Z Therapy. Circled in blue in this picture.

-
-
-
-
I'll get a picture of the lid turned where it'll lift up. Connect the hose for checking fuel level to the nipple on bottom where the small hose is connected that goes to the nozzle. Edit: pull the coil wire so it won't try to run off the other carb. You need someone to spin the motor while you watch the fuel level in the clear hose. It should come up to the top of that square boss on the side of the float chamber.
-
-
-
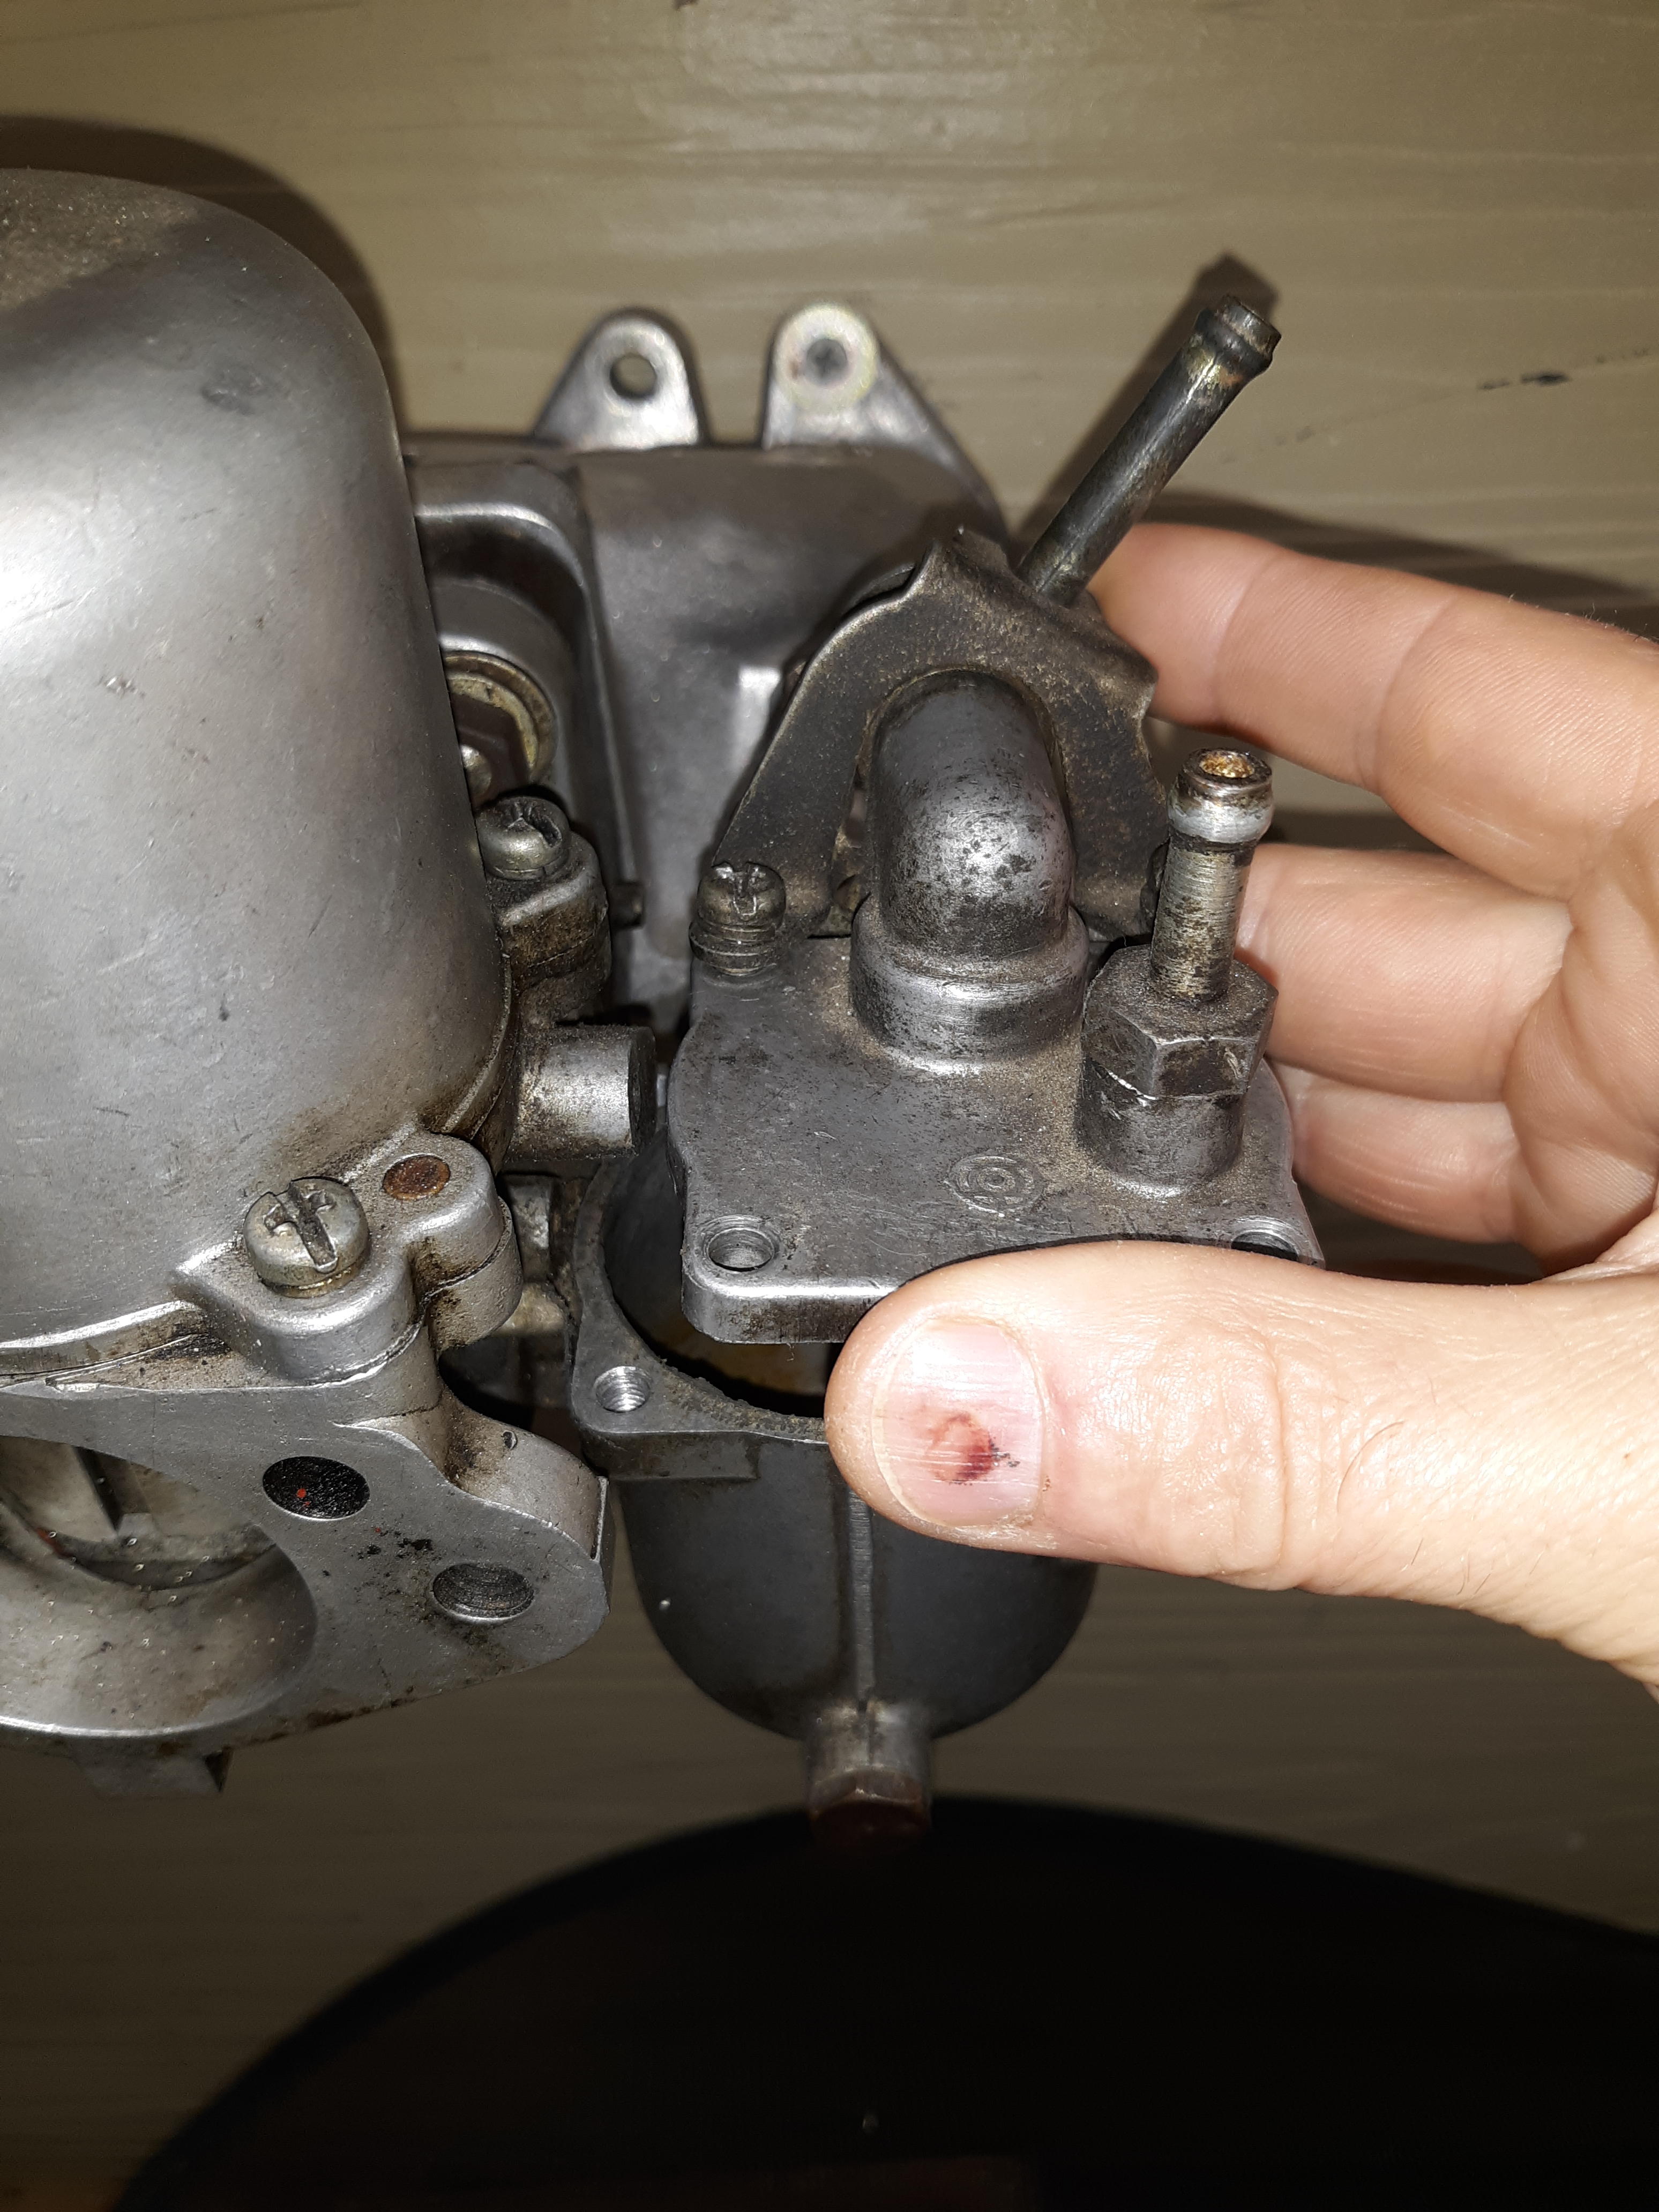
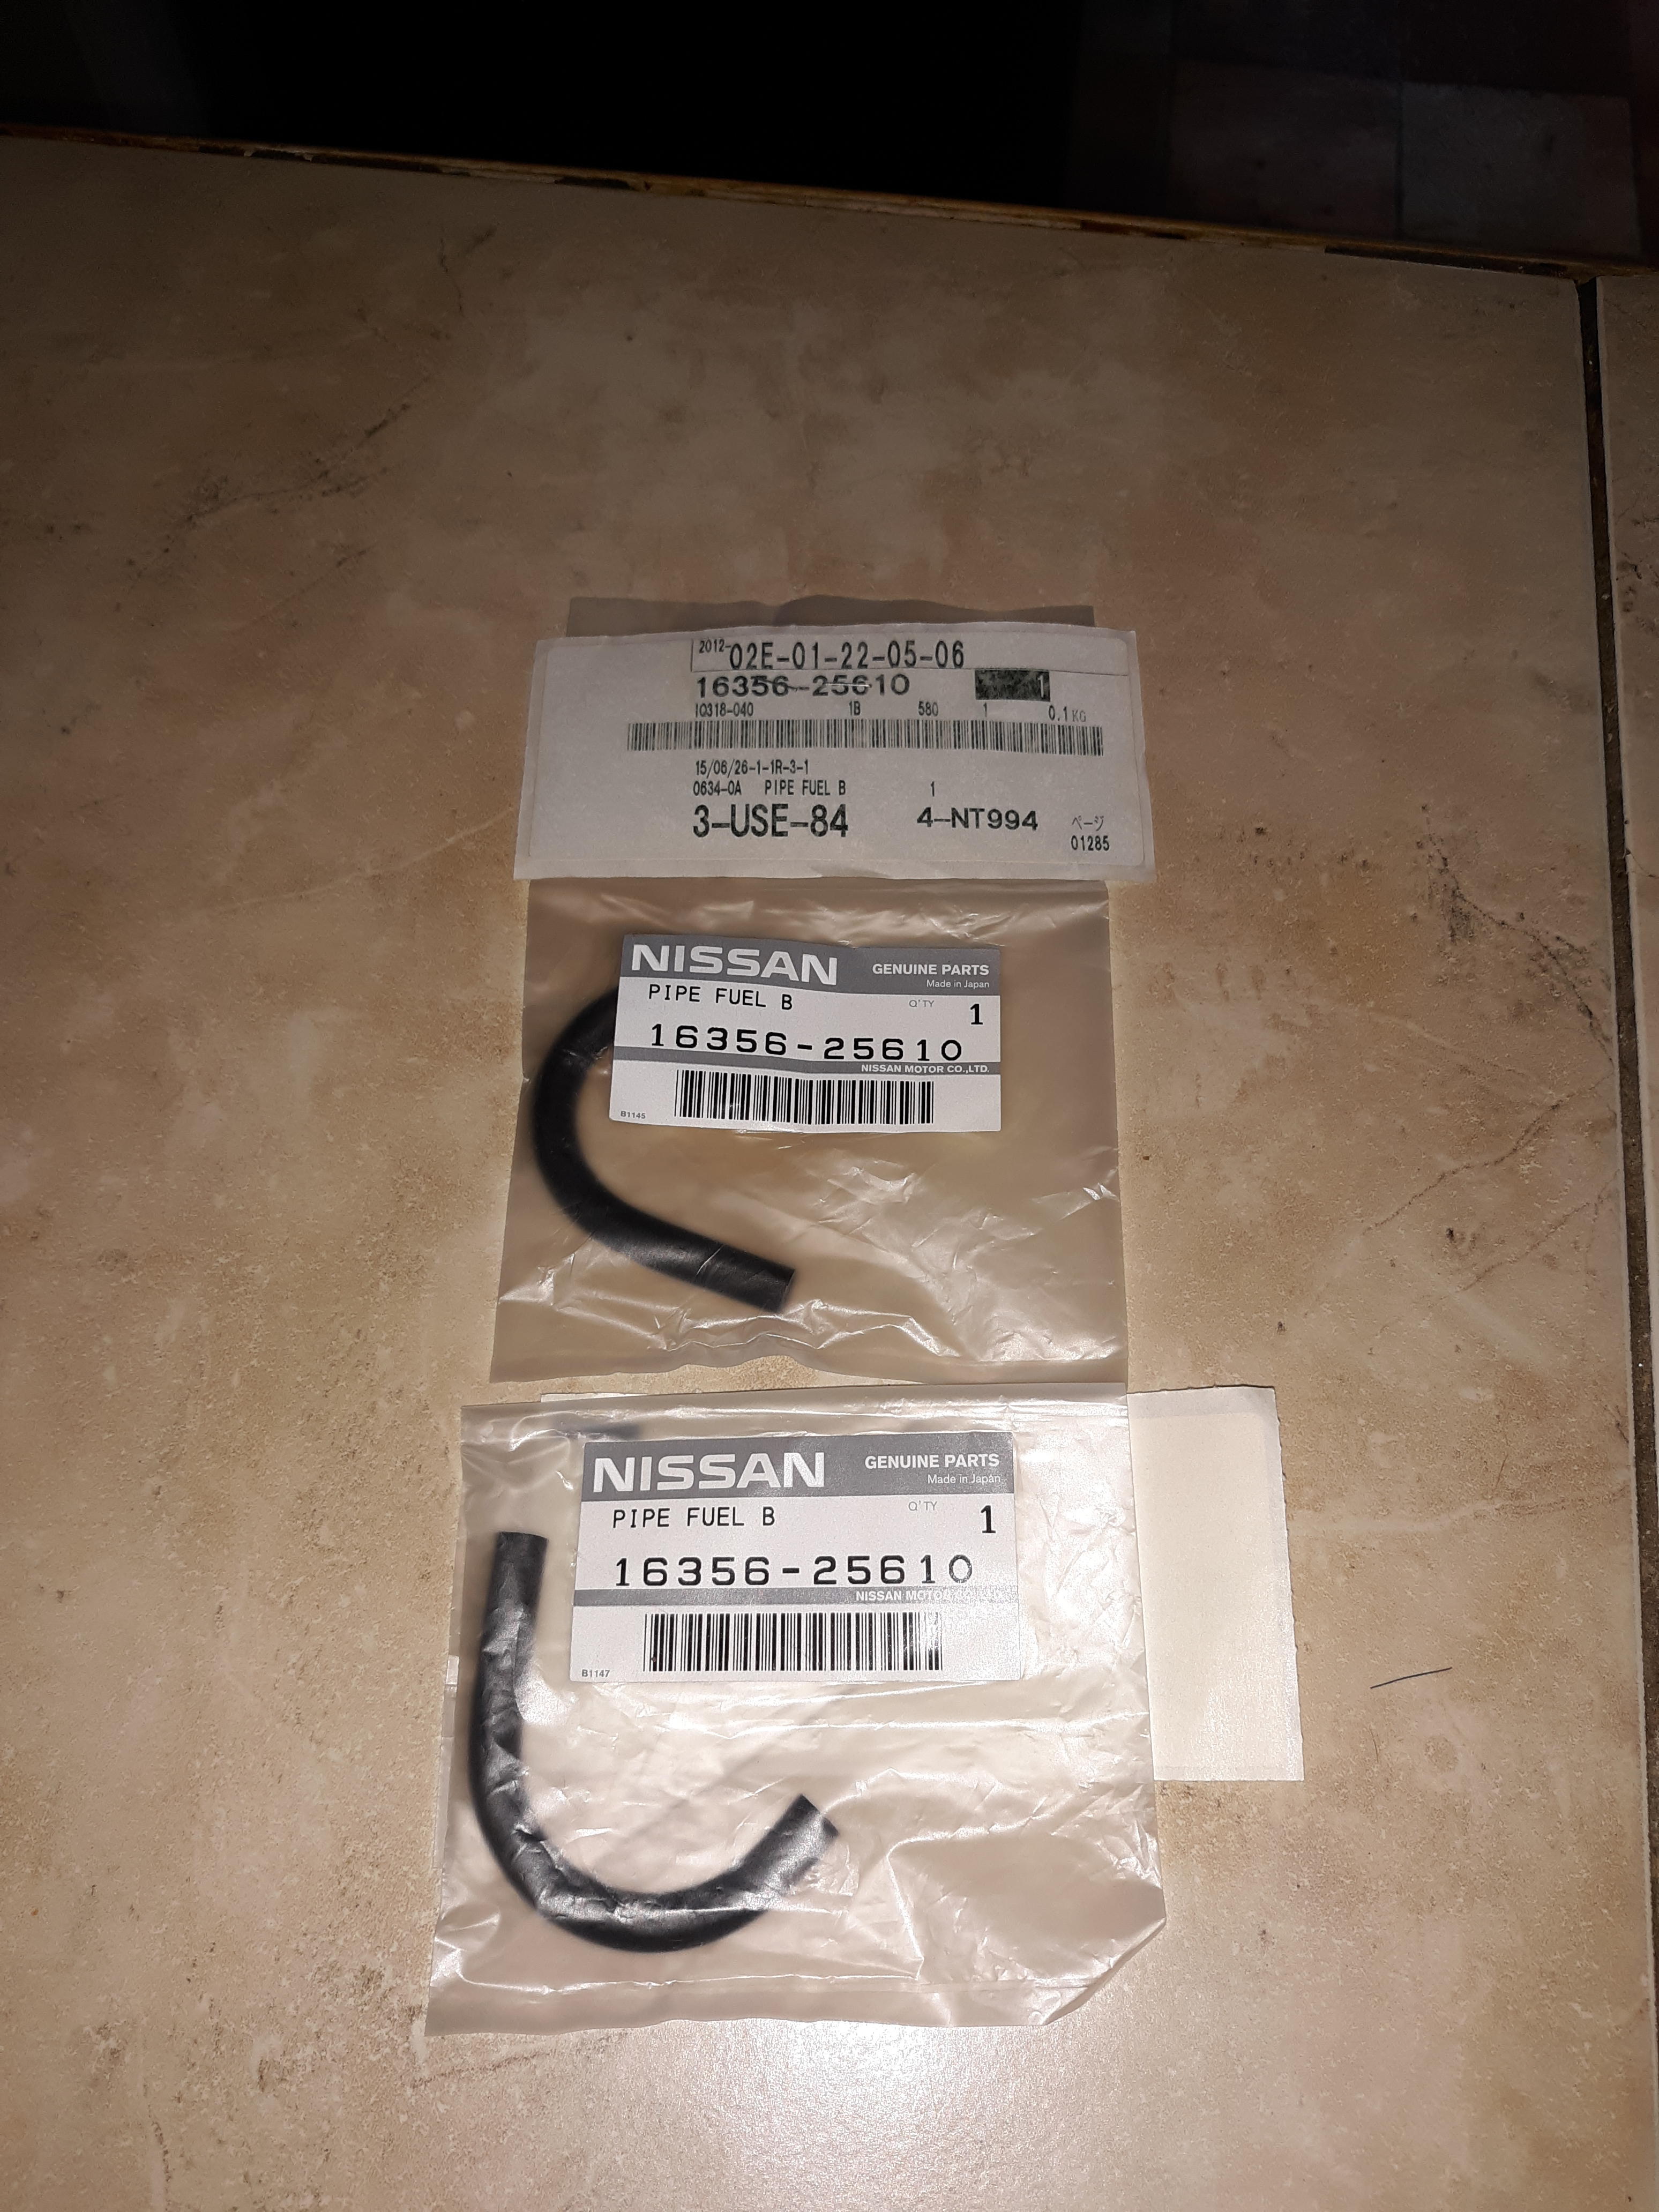
The gas can will eliminate any problems you think may be from the tank. It is almost certainly your floats need adjusting. Take the tops off and let us see a picture or two. I'd like to see what the tang looks like. Some are bent up like a ramp and that's wrong. Your's should look more like a speed bump. There's a way to turn the lids to get them off a lot easier. You'll need new cork gaskets too. Nissan still has them or they did a couple of years ago. I can look through my 240 file and find the P/N tomorrow.
-
You've changed a young person's life. Like Charles said, "good for you".
-
-
My '72 always had an empty fuel filter while idling. My floats were way too low and causing fuel starvation. Since setting them correctly the filter is full. The easiest and quickest way to get a rough idea is use a clear hose off the float bowl nipple. This thread got junked up after about the 4th page but there's some good info in there.
-
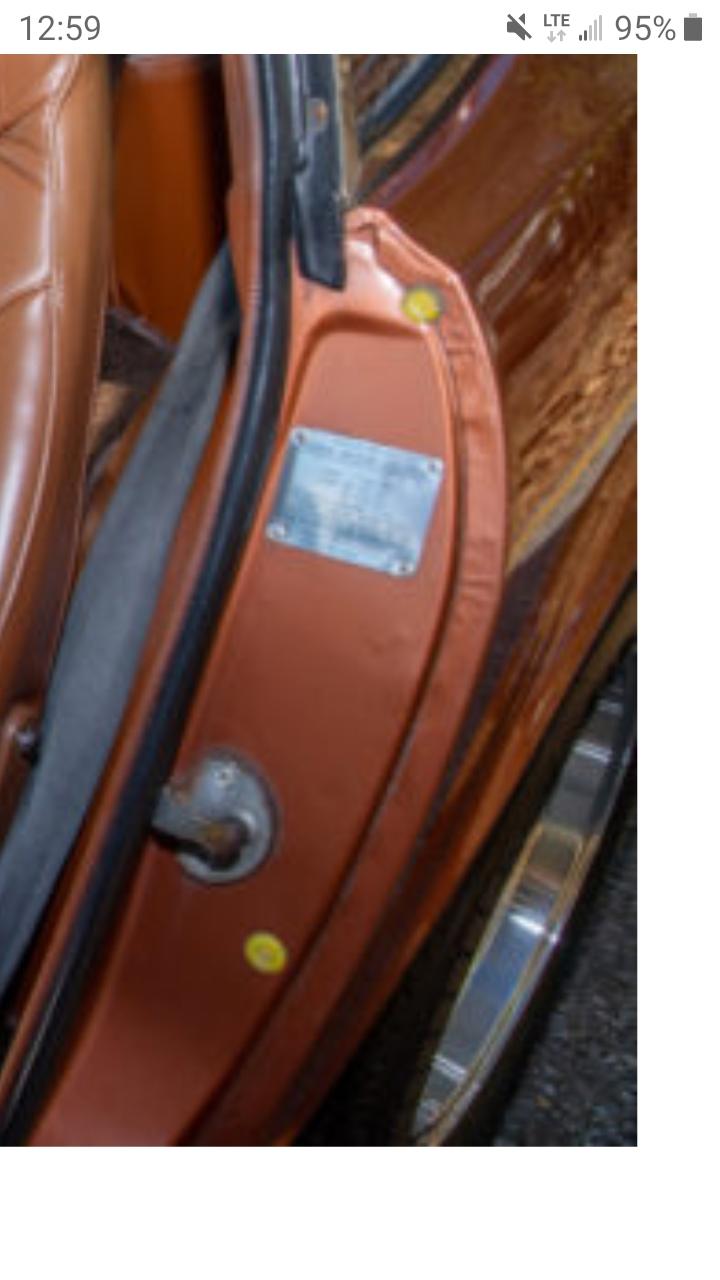
What are those yellow dots for? I've never seen that before.

-
4th that. Barely loosen the nuts and push down until it sits right. Carefully raise the hood and tighten them back down. Don't raise it all the way, just enough to get to the nuts. All the way up seems to "kick it out" a little on my cars when replacing the hood. Mine a outlined now with a scribe scratch although the hood will never be off again hopefully. ?
-
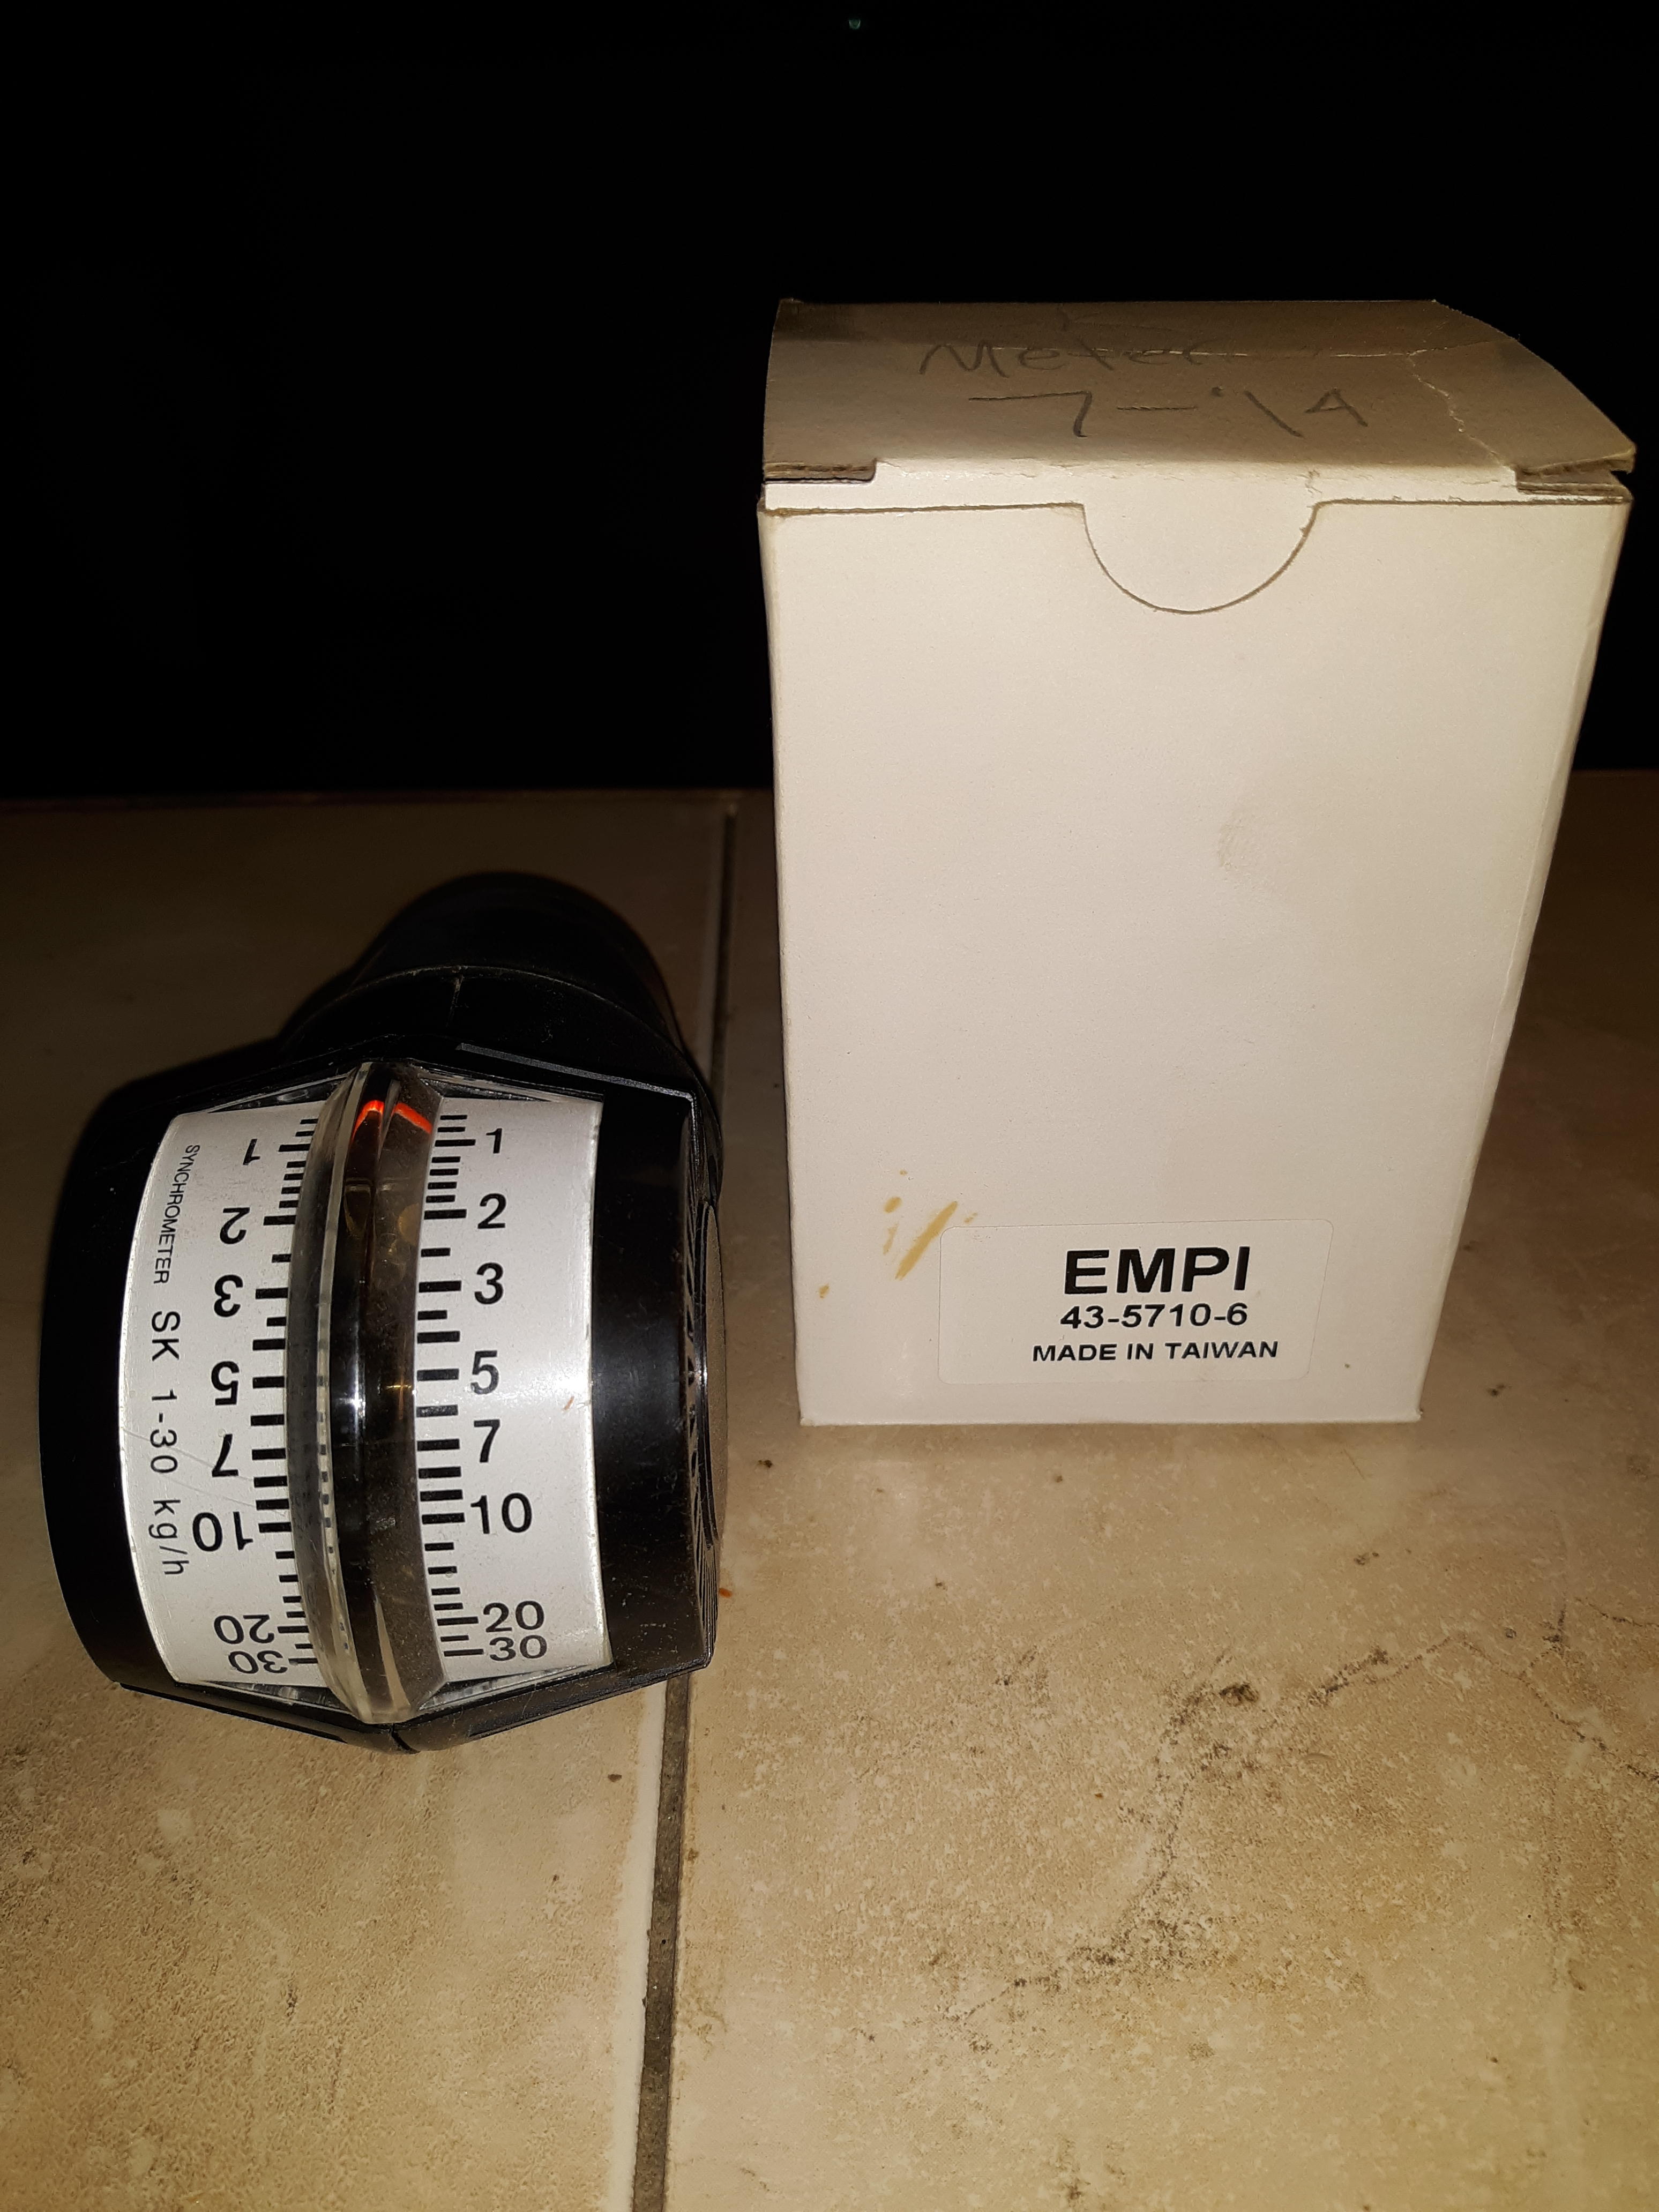
Zcardepot.com has the fuses and probably the right fpr. I bought one from rockauto.com a few years ago for my aluminum fuel rail that only needed one in and one out. Google "280z high idle classiczcars.com" and you'll find lots of things to check like a vacuum leak first off. The accordion rubber boot off the afm to the throttle body is a likely suspect as they tend to crack after 40 years.
-
I was curious to know if his Webers are the same as your picture. He wants a cable style throttle linkage for his set up. Sorry for the intrusion.
-
Is this you too @hatepotholez? Same quandary?
-
Here's a good read on the swap over,
-
Only "one try success" is that steak sauce guy. Sorry...
-
Put a framing square across the bottom of the head when you pull it to check flatness.

-
Classic!
-
I'd say Grannies Map gas would be best, imho.


Important Information
By using this site, you agree to our Privacy Policy and Guidelines. We have placed cookies on your device to help make this website better. You can adjust your cookie settings, otherwise we'll assume you're okay to continue.