Everything posted by Patcon
-
Auto 101 test
I missed 2 The confusing question on air circulation Normally aspirated And the octane one In my defense I went through pretty fast ?
-
78 280z Rear ended...need parts
You can if you know what to buy and what kind of repairs are easiest to make. I know several people in my area that make a living rebuilding cars
-
Exhaust Fell Off...
You might not live long enough to be a Jetson but I suspect you will live long enough to see the other. It is moving along at a pretty fair clip and politicians like the tax revenue...
-
77 @ Copart
If the paint is really fresh than I would say it's worth more than that. It's hard to tell but the hood looks messed up. But that might be dust or some dirt. If the paint is pretty good, I would say it's a 5-6k car
-
77 @ Copart
https://www.copart.com/lot/30360899 Enjoy. They have a BIN of $13,000! It might be rust free, so it could have that going for it. But far from a 13k car. Crack heads!!!
-
78 280z Rear ended...need parts
I see lots of cars like this on the salvage auction. I bought a 330Ci convertible one time that had some slight bends in the quarters. When they put it on the rack and pulled it back they disappeared. Most of those wrinkles on the blue Z would smooth out when pulled back. One of the problems with Z's is figuring out where to pull them from with out tearing seams apart. The blue z's quarters would still need some dolly work but it is fascinating to watch them disappear when they're on the rack.
-
78 280z Rear ended...need parts
Pretty much all modern cars have aluminum or steel bars under the bumper cover. One of the problems with the z is not the bumpers. It's where the bumpers mount. If the bumpers were super strong, the force would just be transferred to the chassis and hatch floor. It would do alot more damage if it were transferred further into the car. Even the blue car above are starting to be viable for rebuilding due to the price of these cars.
- Issues with mobile app
-
Carb Balance
You need to check your float levels and make sure the float valves are working properly. Everything is dependent on fuel level
-
Size and type of rubber grommets on 1972 240z
Start with the size
-
Size and type of rubber grommets on 1972 240z
Yes
-
My best 260Z yet!
Dude! There's a Delorean in there
-
Restoration of my 72 240Z
I thought about that too. Will be interesting to see if you have any shade differences when it's assembled. The paint looks good though!
-
Datsun Z kit car from a VW
Yeah, road rash is no fun. Done that a couple of times.
-
Datsun Z kit car from a VW
-
Datsun Z kit car from a VW
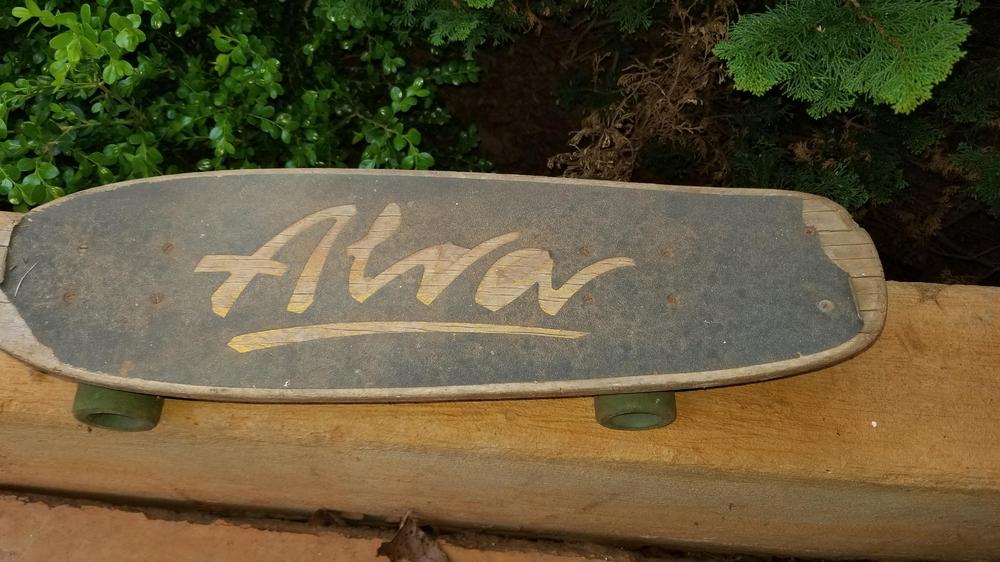
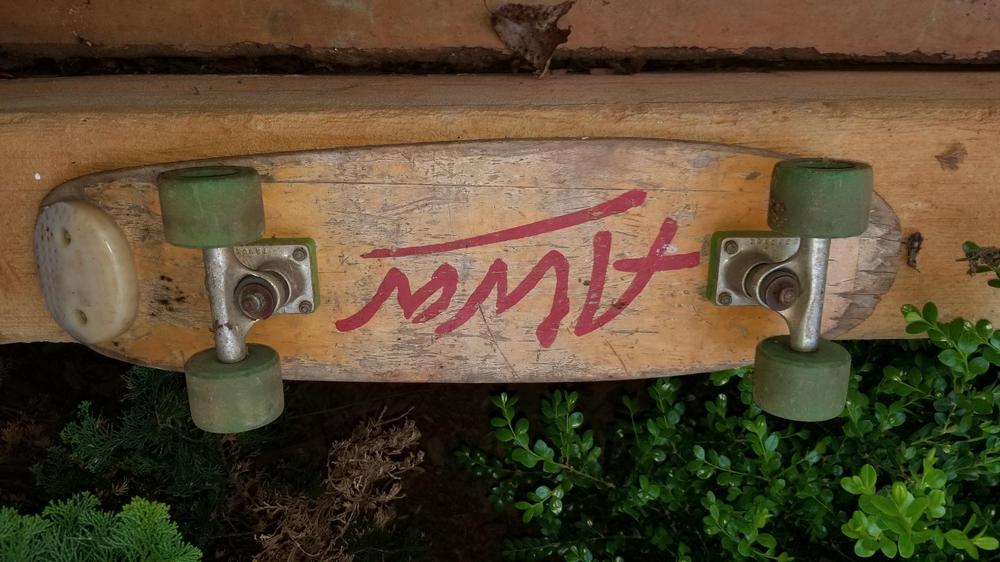
We had both of those. I think I still have an Alva board here somewhere. You can tell the drugs were readily available when you see a car like that!!!
-
240z Transmission Input Shaft Play
Back and forth?? Is that in towards the case and back out or the shaft has slop side to side?
-
240z - fabbing new front rails
My thoughts on corrosion go something like this. After we go to these kind of lengths to restore these cars, most of them will see very little inclement weather and no salt. They survived being exposed to those things until we got them. So they should last a lot longer than the 47 years or so if not exposed to those elements. In addition, most of us will treat the inside of these components and seam seal the chassis that was lacking originally.
-
Help with identification on sitting 280z
Research where all the typical rust areas are. Check all of those. Not having to smog would be a big deal there because the engine condition becomes a very small issue. Rust damage affects the value tremendously.
-
thoughts on broken door handle
As I recall, you have to thread the rod in as you put the handle into the door.
-
thoughts on broken door handle
A few pictures might help
-
Still time to change the colour
I like the 307 better. Since there are no records, only a few of us will know.
-
Looking for 240, 260, or 280zs in the $500-$2000 range.
Me too
-
thoughts on broken door handle
Is the donor from the same side of the car? Can you swap the part from the old door handle to the new one?
-
240z - fabbing new front rails
I'm not sure. One of our engineers want to weigh in? Tapering it together makes all three pieces act like one but I'm not sure of the forces acting on the area. Tying it to the inner wheel well requires that piece of metal to be in tension to prevent the rocker panel (beam) from opening up. You obviously have the skills to replicate the factory design. I think with out more information I would default to the factory design. They would have done it in a simpler (ie. cheaper) way if it had made sense.


 Subscriber


