Namerow
Community Member
-
Joined
-
Last visited
Everything posted by Namerow
-
SEM 'Landau Black' vinyl paint. You'll need to clean the color area carefully (follow the instructions on the can). SEM products can usually be found at local auto parts suppliers. It might be easier (and even cheaper), though, to just buy a replacement lever -- new or used -- that's in better shape..
-
I decided to create a separate, new Topic to better explain the repairs that I did for my 70 Z's ashtray. It's posted (with a few pictures) in the 'Interior' section. More, and more accurate, details about what I did.
-
-
The diameters for the wire and the drill bit were based on my sometimes flawed memory. You may need to experiment a bit (wire and old drill bits are cheap). I'll try to post a photo of my restored ashtray later today. It had broken in the usual way -- the plastic boss for one of the door hinge pins had failed (perhaps due to the over-aggressive spring tension mentioned in this thread). I rebuilt that area using scrap plastic and JB Weld. After completing the repair, the OE spring looked to me like it was going to overload the area. That's what made me decide to make a low-tension replacement.
-
It's quite easy to make your own low-tension replacement spring. Start with a 12" length of regular (non-tempered) steel wire (stainless preferred), about 1/32" diameter. For a forming device, clamp an old 3/32" drill bit in your bench vise. It should be clamped vertical, with the shank (smooth end) exposed and the cutting end clamped. Now take the length of wire and wrap it ~ 1-3/4 times around the drill bit, so that the two legs form a 90-degree angle when the coiled part of the wire relaxes (it may take you two or three tries before you get the finished angle right). Once you're happy with your result, trim the two legs to the correct length. Remember to form the 90-degree bend on one of the legs before you cut away the excess wire. The lack of temper in the wire won't affect the action of the spring. There's not enough flexure created in the coil or legs to take the wire past its elastic limit. I made my own replacement spring this way several years ago and it still works fine.
-
Especially interesting to see how the hinged arm managed to bend (noticeably) along its long axis. If it was just a flat piece, that would be hard to do. The stamped-in kink near the centre pivot point seems to be the culprit.
-
I wonder if the problem here is that the downward force you've applied to the hood has generated not just displacement of the hinge plate but also a slight 'wind-up' (rotational displacement) of the hood torsion bars. After you tighten down the hinge bolts, the torsion rods unwind and the hood edge pops up again. Just a theory. Someone with more panel installation experience can either verify or offer a more accurate explanation -- along with (hopefully) a remedy.
-
Thanks for this update. In the video, the commentator points out that the bigger STP model (VersaSpot) produces a weld dimple that's noticeably deeper (and bigger in diameter) than the one produced by the smaller, QuikSpot unit. He attributes this to the greater clamping pressure (300 lb) generated by the VersaSpot's pneumatic system. I'm going to guess that the QuikSpot's manual clamping system can't generate much more than 200 lb. Flattening the tip profile might create some unwanted consequences for weld quality. Here are a few quotes from a feature article on spot welders that appeared in the Spring 2014 issue of the British auto magazine, 'Practical Classics': ""Welder power is measured in kVA. The higher the kVA, the larger the diameter of weld you can achieve. The points of the arms need to be sharpened regularly to a diameter that creates an effective weld at the given power... The welder must provide enough power the weld tip to melt the material. A 2kVA welder is only suitable for welding thin steel (up to 0.9mm) using short arms. You'll need a 6kVA machine to weld effectively with longs arms on 1.0mm steel." For reference, inlinesix is using a 1.6kVA machine. The Practical Classics article included a photo of the adjustment guide chart for a 6 kVA machine. It specifies recommended tip diameter, clamping force and weld pulse time depending on the metal thickness and arm length. For joining 1.0mm+1.0mm, it recommends that the tips be 'sharpened' to create a flat contact surface of 4.5mm diameter. Recommended clamping force for a 6" arm is 200 lb. Recommended weld time is written as 0,28" (which, I believe, is how certain parts of Europe and Asia write what us North Americans would take to be 0.28 seconds). FYI, 1.0mm sheet = 0.039" (which sits at the thick end of the tolerance range for 20 gauge). ""It is important to bear in mind that the longer the arms used, the less power is available at the weld tips - so use the shortest arms possible to reach around the item that is being joined." "The arms and body of the welder need to be kept cool. A temperature rise equates to higher resistance and a loss of power at the weld tip. Larger welders will usually be water-cooled. With a smaller welder, allow time for it to cool between welds." BTW, the water cooling feature includes water jackets around the arms. In Britain (small country, big population, lots of big cities, robust DIY community), spot welders can be rented by the day. Wish we had that where I live! Looking forward to reading more about your experiences with your spot welder as your build progresses.
-
On the east coast, Bel-Metric in Massachusetts has a wide assortment of name-brand braided hose (mostly Continental), sold by the meter. Prices are competitive. This is a large, well-established vendor with excellent shipping. Huge catalog metric fasteners and hardware, as well. www.belmetric.com The fittings for the S30 vacuum hoses measure 10mm OD. That suggests that a 9mm hose will be the correct size.
-
You lathe guys are always showing off. Not that I'm jealous or anything.
-
Agree. However, my 70 Z`s dash came with that blank socket and I think it makes the dash look unfinished and suggests a base-trim model with missing options. For that reason, I bought a second toggle-type flasher switch, installed it in the blank socket and then wired it to become the ON-OFF switch for a set of fog lights. Given that Nissan included the wiring for fog lights in the stock Dash harness and originally put the cigarette lighter in the centre console, I like to think that I've just tied up some loose ends that Nissan left behind. I wonder whether fog lights were standard equipment in certain markets (Europe? Japan?) and the blank socket was indeed filled in with a second toggle switch (just like I've done).
-
Good catch. My 5/70 also lacks these ribs. Added floor stiffness to better cope with 220-lb + North American occupants? Better strength for side impact crash testing? Doesn't look like it adds much to the seat mounts.
-
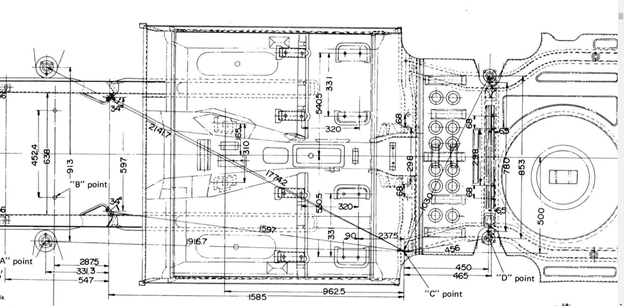
Dimensional placements can be taken from the FSM, Section BF-1, Figure #BF-3, 'Standard Body Dimensions'. The version shown below comes from the 1970 FSM...
-
Probably? it's seems to be the better Nylon.. Here's an interesting read for anyone who wants to learn a bit about engineered thermoplastics. It doesn't specifically mention Delrin because Delrin is the trade name for a Dupont product that falls into the category of 'Acetal POM' (acetal polyoxymethalene). Celcon is a similar product from a different manufacturer (Celanese). POM's, along with PA's (polyamides -- includes nylon) fall into the category of 'semi-crystalline' thermoplastics. From my quick read of the selection guide, Delrin and other POM's might be suspect for the task at hand, which would seem to require: resistance to chemicals (gearbox lube and possible additives) resistance to high temperatures (heat generated by sliding friction) good abrasion resistance Look at the case study in Slide #50, where Nylon 66 with glass-fibre and mineral/bead additives is selected for automotive oil pan applications. This looks like it might be a better solution for the fork friction pads. Just source a typical 'composite' oil pan from the wreckers and then cut out a section that can be used to machine the pads. Thermoplastics - An Engineers Guide to Specifying - RTP Co (USA) - 2014.pdf
-
A lot of us are also interested whether this type of 'non-industrial' grade spot welder can deliver a decent result for joining a pair of light-gauge panels. Perhaps when you take delivery, you can take it for a test run with some 20 and 18-gauge scrap and post some pix of your results.
-
It's been a long time since I last did this job. Obviously, a box-end wrench is preferable to an open-end. You might consider buying an appropriate-length, decent-quality box end and then modifying it to fit. For this job, I think you should be able to get away with grinding the thickness of the box down by at least 50% in thickness. You can probably also get away with taking at least a millimeter off the outside diameter of the box. Hopefully, you'll be able to take it down to the point where you can get it to slip over the nut. You might also need to put a bend or two into the shaft to get the right approach angle. Try not to put too much heat into the end of the wrench while you're grinding away. You want to preserve the temper of the steel as much as possible.
-
Very cool. And all this time I thought they were just random numbers generated by some sort chronological ordering system. I wonder if this means that all of the parts numbers can be deciphered in a similar way.
-
Here are a couple of partial 'master' lists that I found online somewhere several years ago (sorry, no names kept so I can't credit the authors). Warning: This is an executable file, so be sure to scan it with your anti-virus software before opening. It should be clean, but you never know. If you feel really ambitious, you could transport Jim K's notes and pictorial info into the 'Owner 1' list and create a true 'Master List'. S30 Fasteners - Master Lists.xlsx
-
-
I wonder whether a Subaru owners' website might give you some help? It's possible, though, that the limited-slip function can't be bench-tested.
-
Looks like a decent, relatively unmolested car. $12,700 bid with 6 days left, so it may not go cheap. Remarkable that the dash is uncracked. Two obvious areas that will need attention (or not): Battery tray area - hope there's enough good inner-fender metal left to get by with a clean-up and re-spray Passenger-side floor board - another victim of bad jacking practice Of course, you never really know what's going on in the dogleg areas behind the doors. $4700 for an engine rebuild? 38500 miles?
-
I don't think there's such a thing as a, 're-activate dead links' button that can be pushed. More likely, you'll need to contact the original link contributor and ask them if the materials you're looking for still exist. They may not. As one example, the photo links created by one major contributor on this site were lost when his cloud-storage provider adopted a fee-for-access business model. Unfortunately, it's also sometimes the case that the original link contributor has moved on.
-
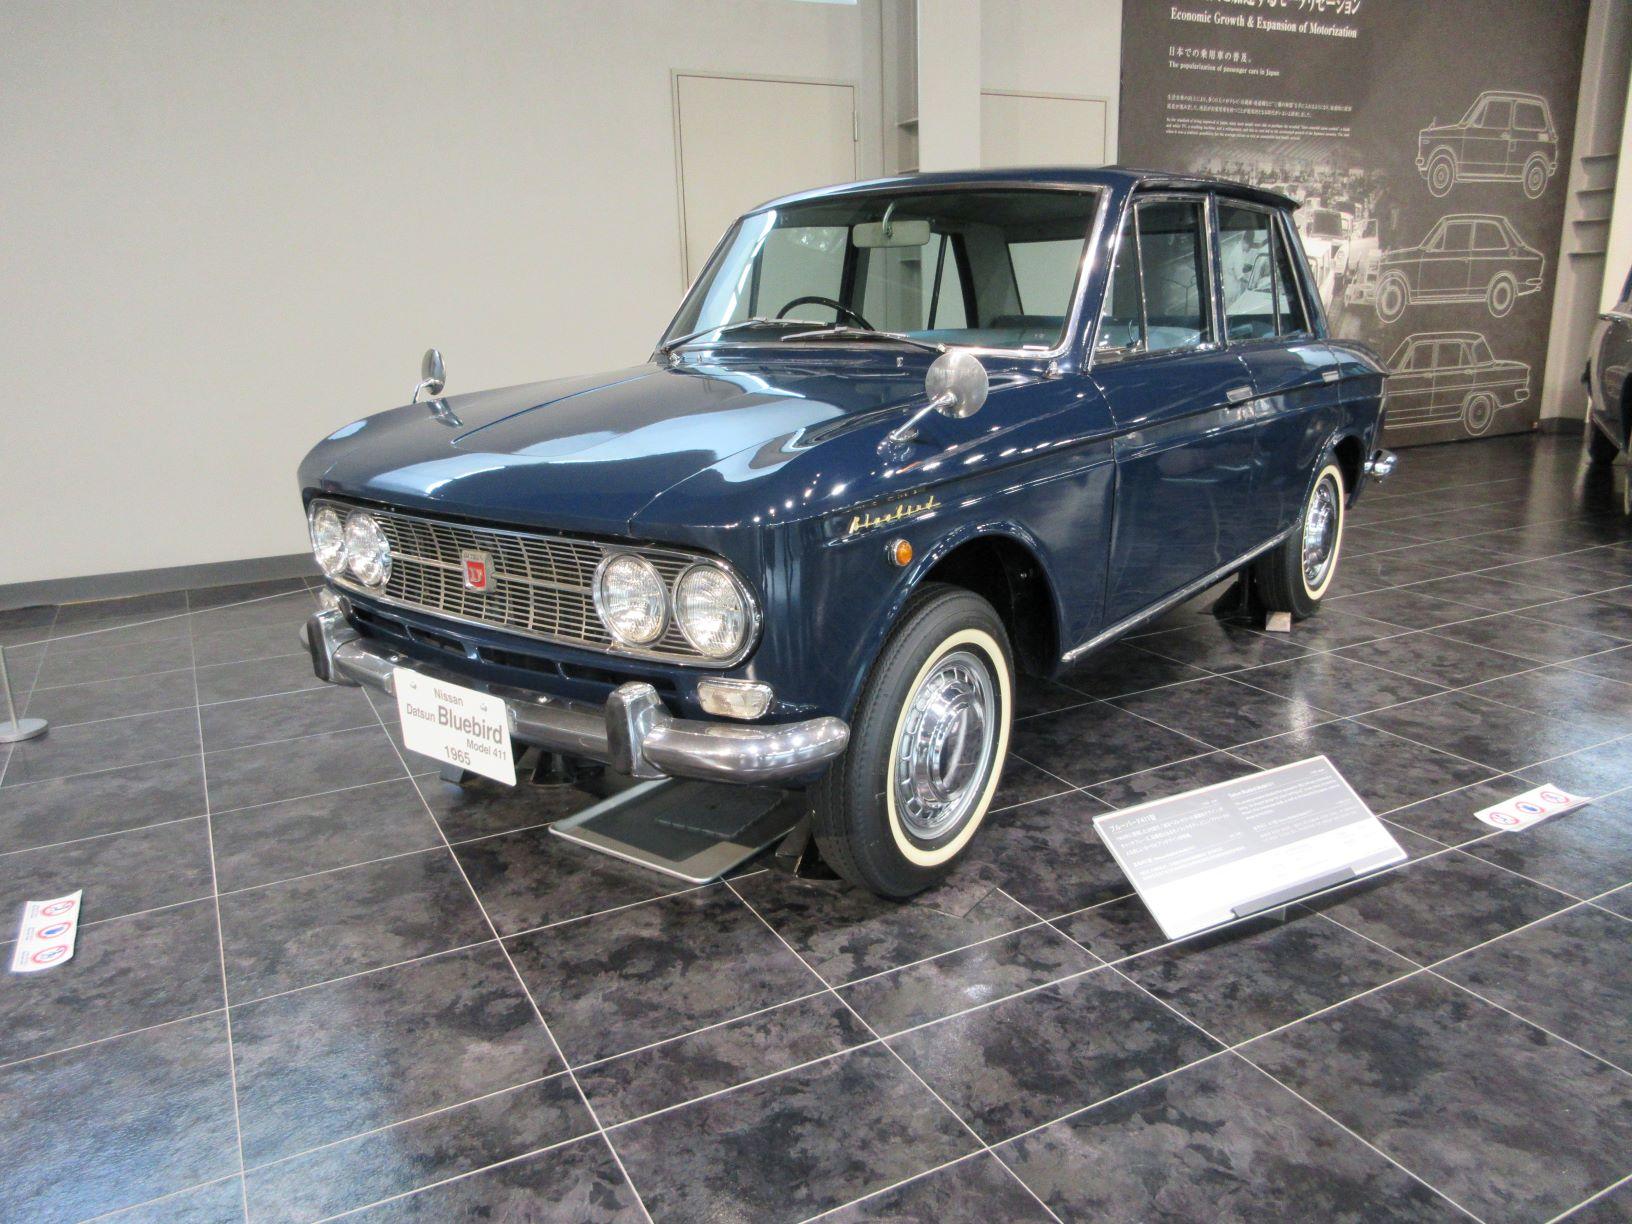
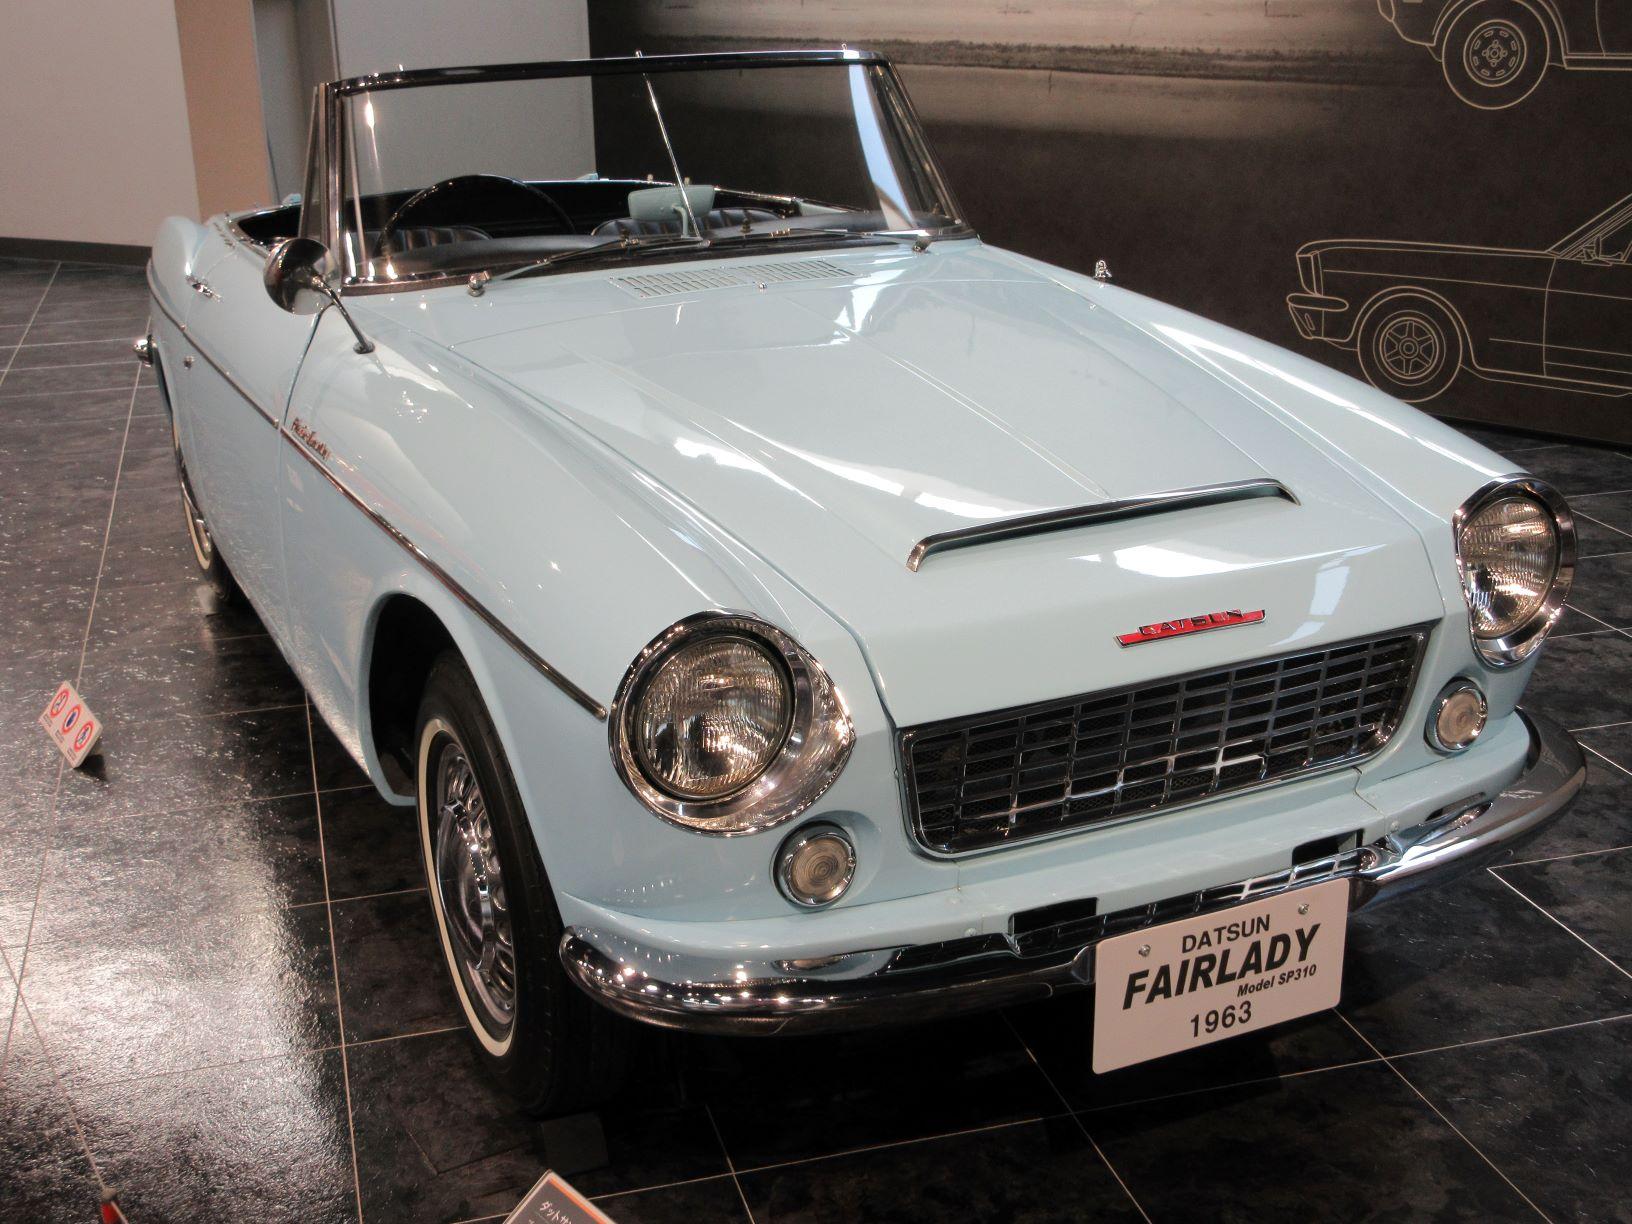
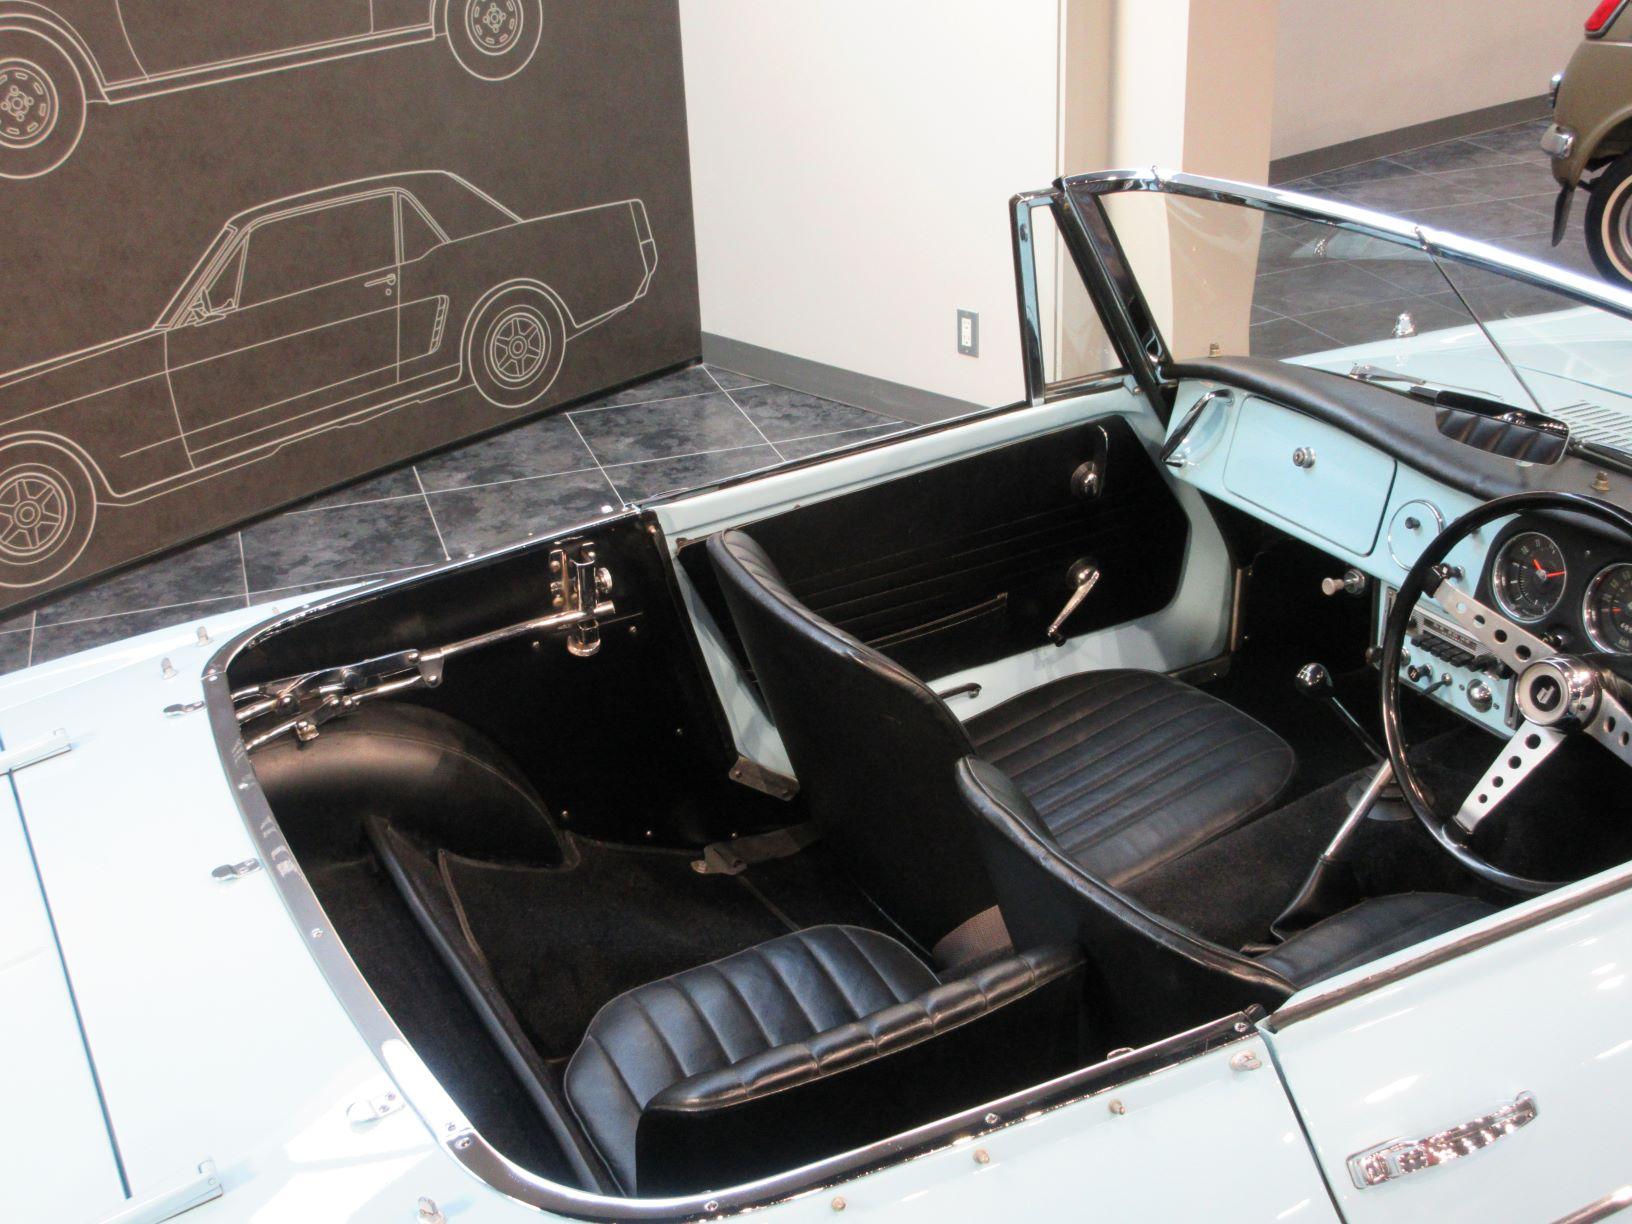
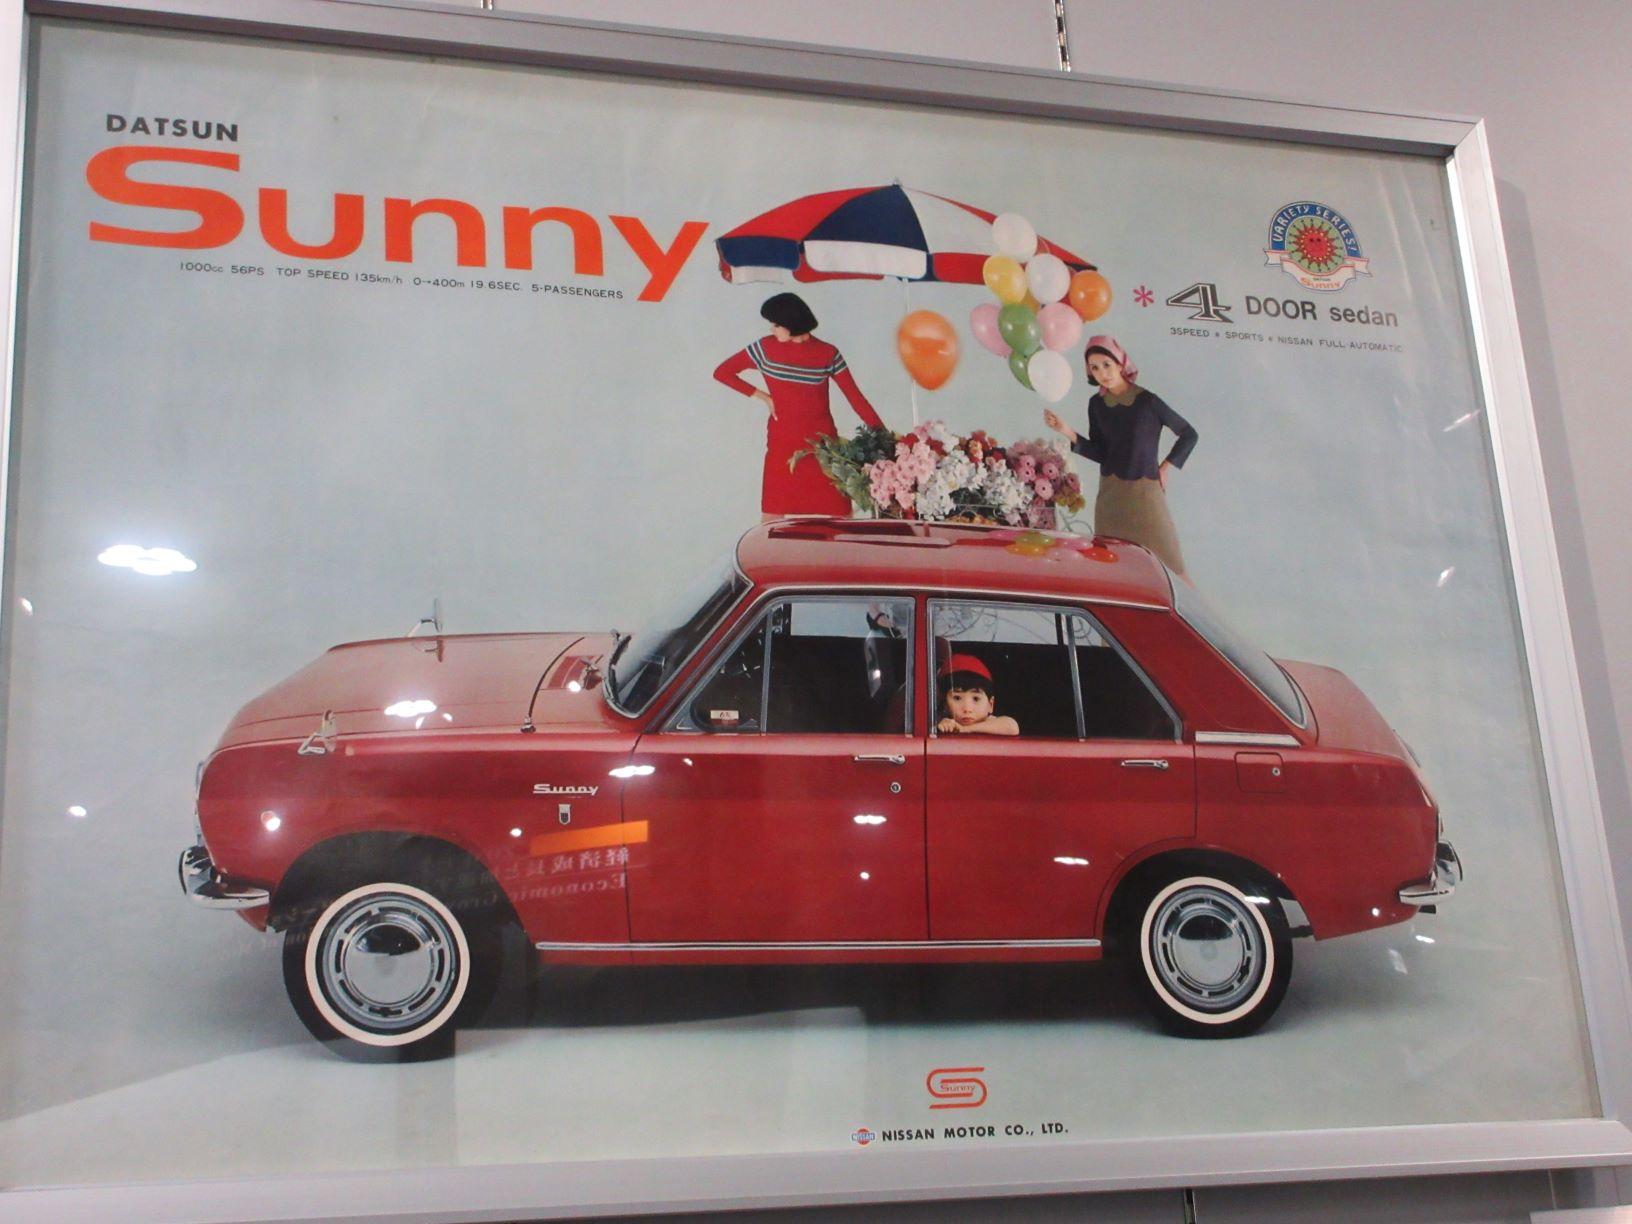
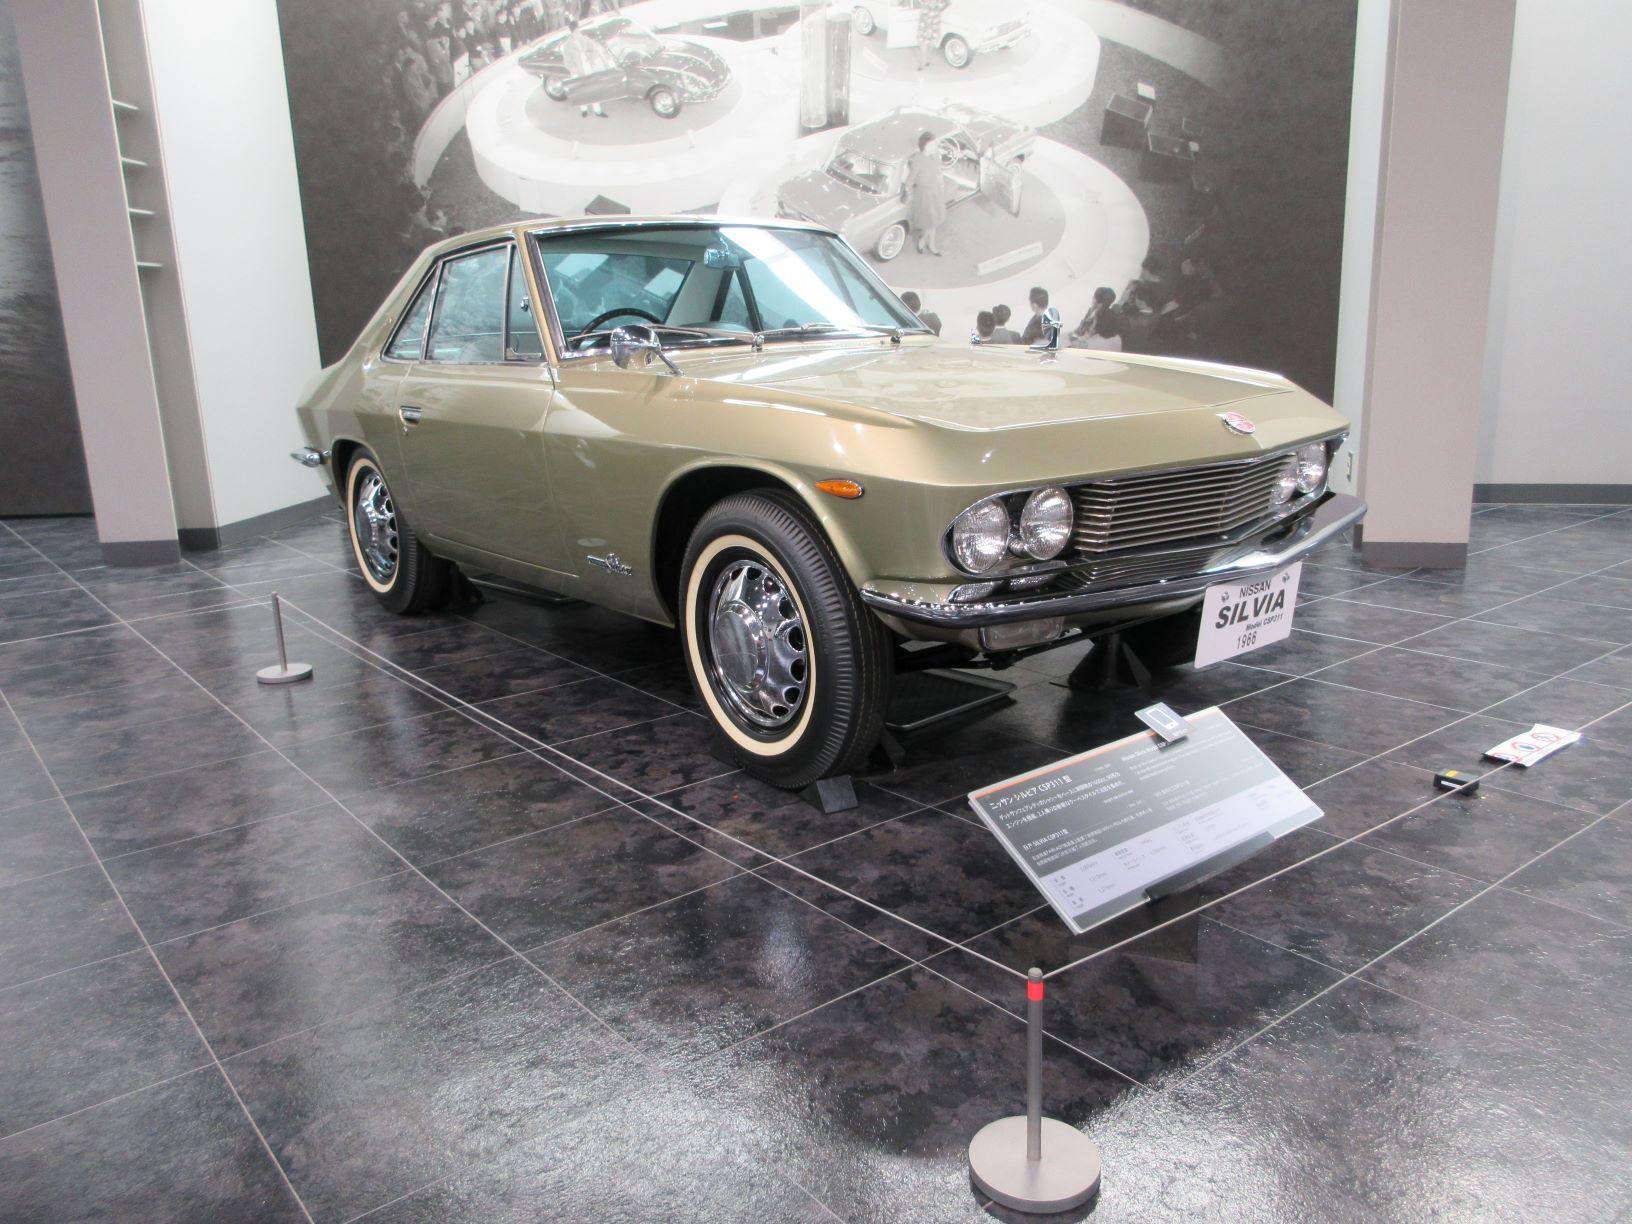
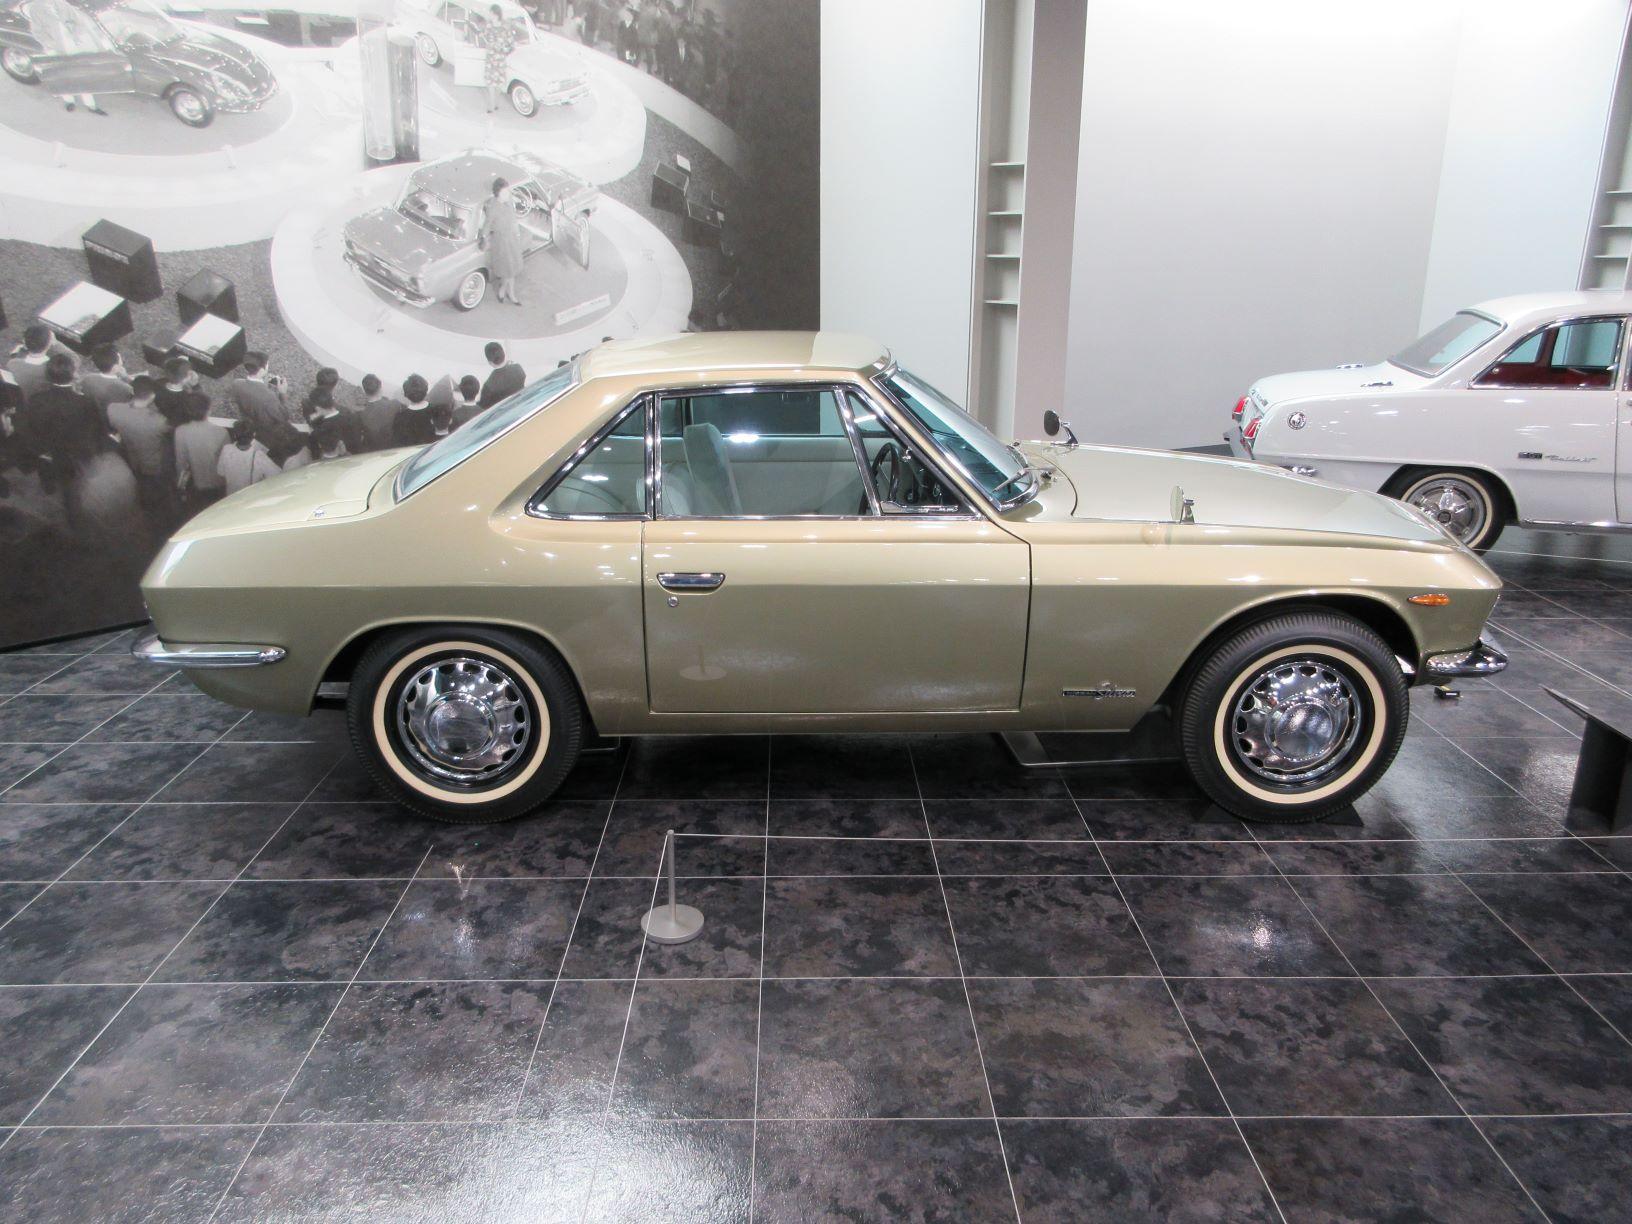
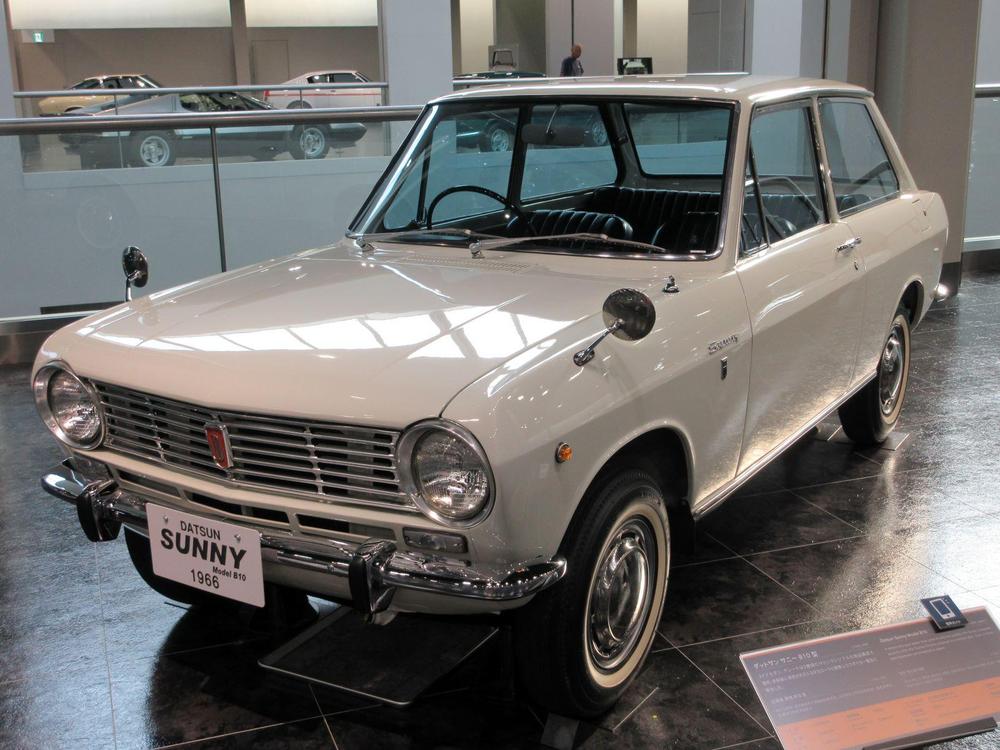
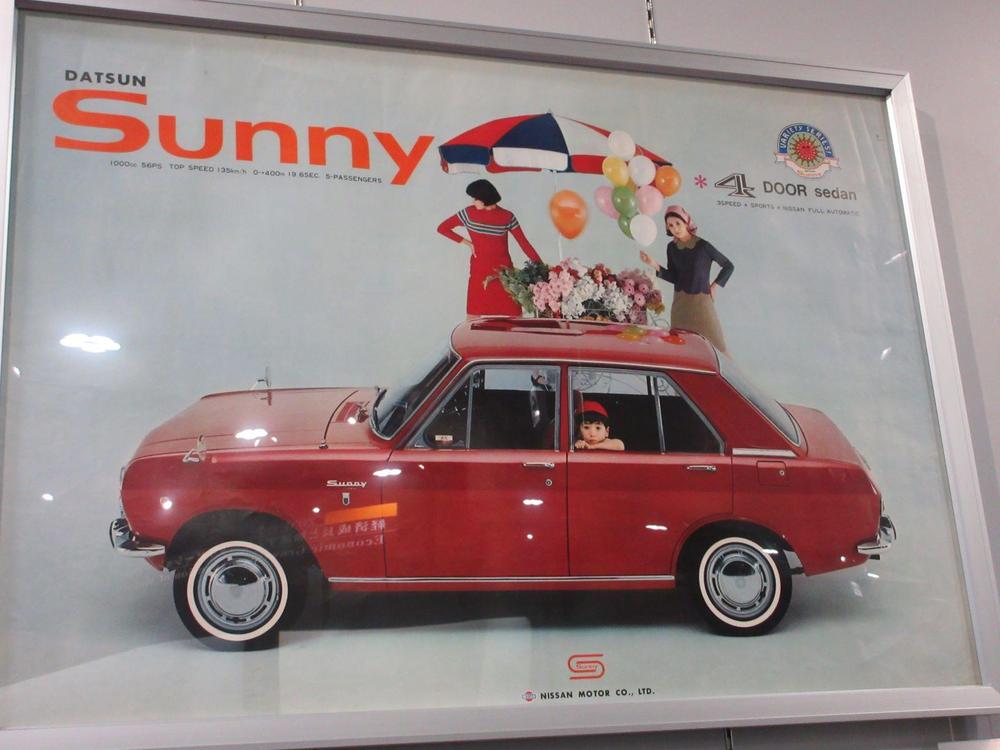
And now, some pix of the Datsuns that are on display at the Toyota museum... This one's a Nissan, not a Datsun, The original Silvia was one of my favourite (Italian-inspired) Japanese designs from the 1960's. Just as for the 240Z, our old friend, Mr. Goertz, claimed to have a hand in the styling of the Silvia too. The car enjoyed a limited-production status, with many of the body panel reported to have been hand-crafted. Apparently only 550 were made. It's elegant... but tiny.


-
Frankly, I didn't even know that Nissan had a museum. Maybe next time. I see that it's located in Zama, which is on the western outskirts of Yokohama. My visit (which I limited to two weeks -- a mistake, in hindsight) was confined to the Kyoto-Osaka-Hiroshima-Nagoya area. I had mapped out beforehand a full slate of things to do and Typhoon Hagibis -- which arrived during the last part of my stay -- meant that I didn't even manage to get to all of the places I'd planned to. The Nissan museum would have required a full day. I'm planning to retire next year and hope to go back to Japan for a longer period so that I can experience more of the country and its people. I would certainly try to fit in a visit to the see the Nissan collection. For anyone interested in learning more about the Nissan 'Heritage Collection', go here: https://www.nissan-global.com/EN/HERITAGE/index2.html It doesn't look to be as elegant as the Toyota museum (more like a big warehouse stuffed with cars and memorabilia), but there's probably no question that it's the definitive Nissan collection.
-
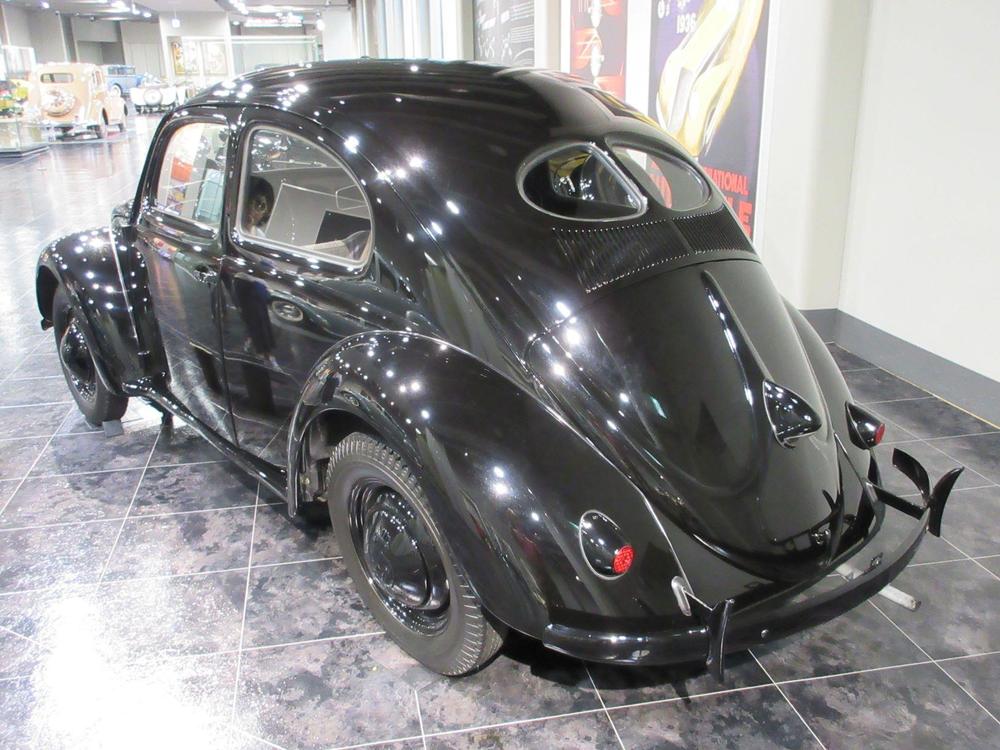
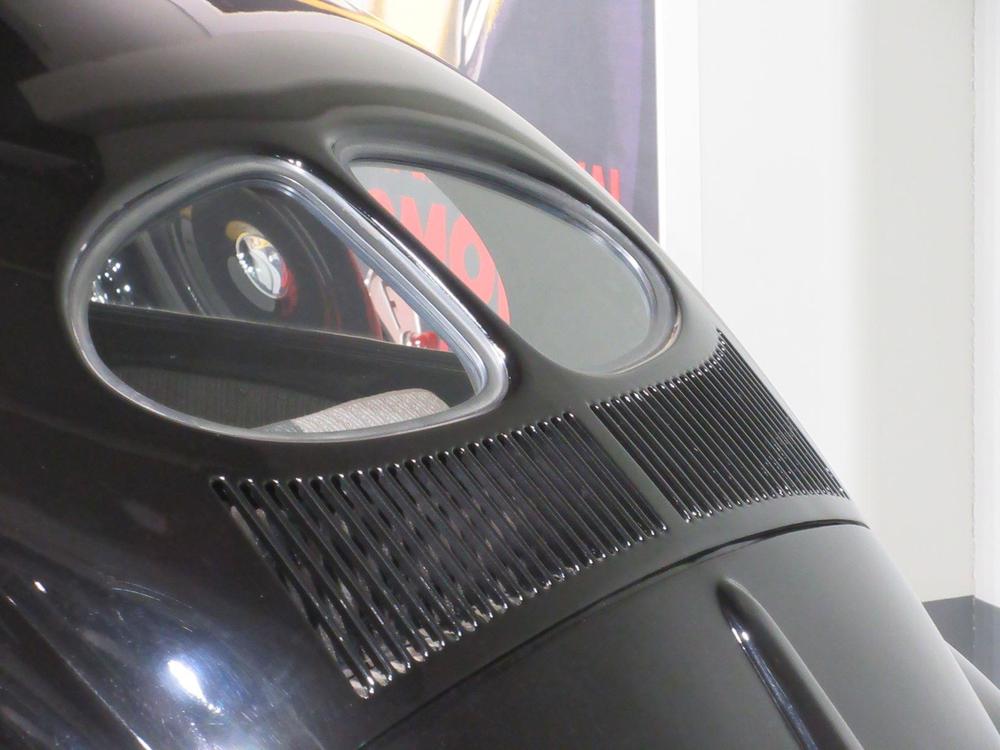
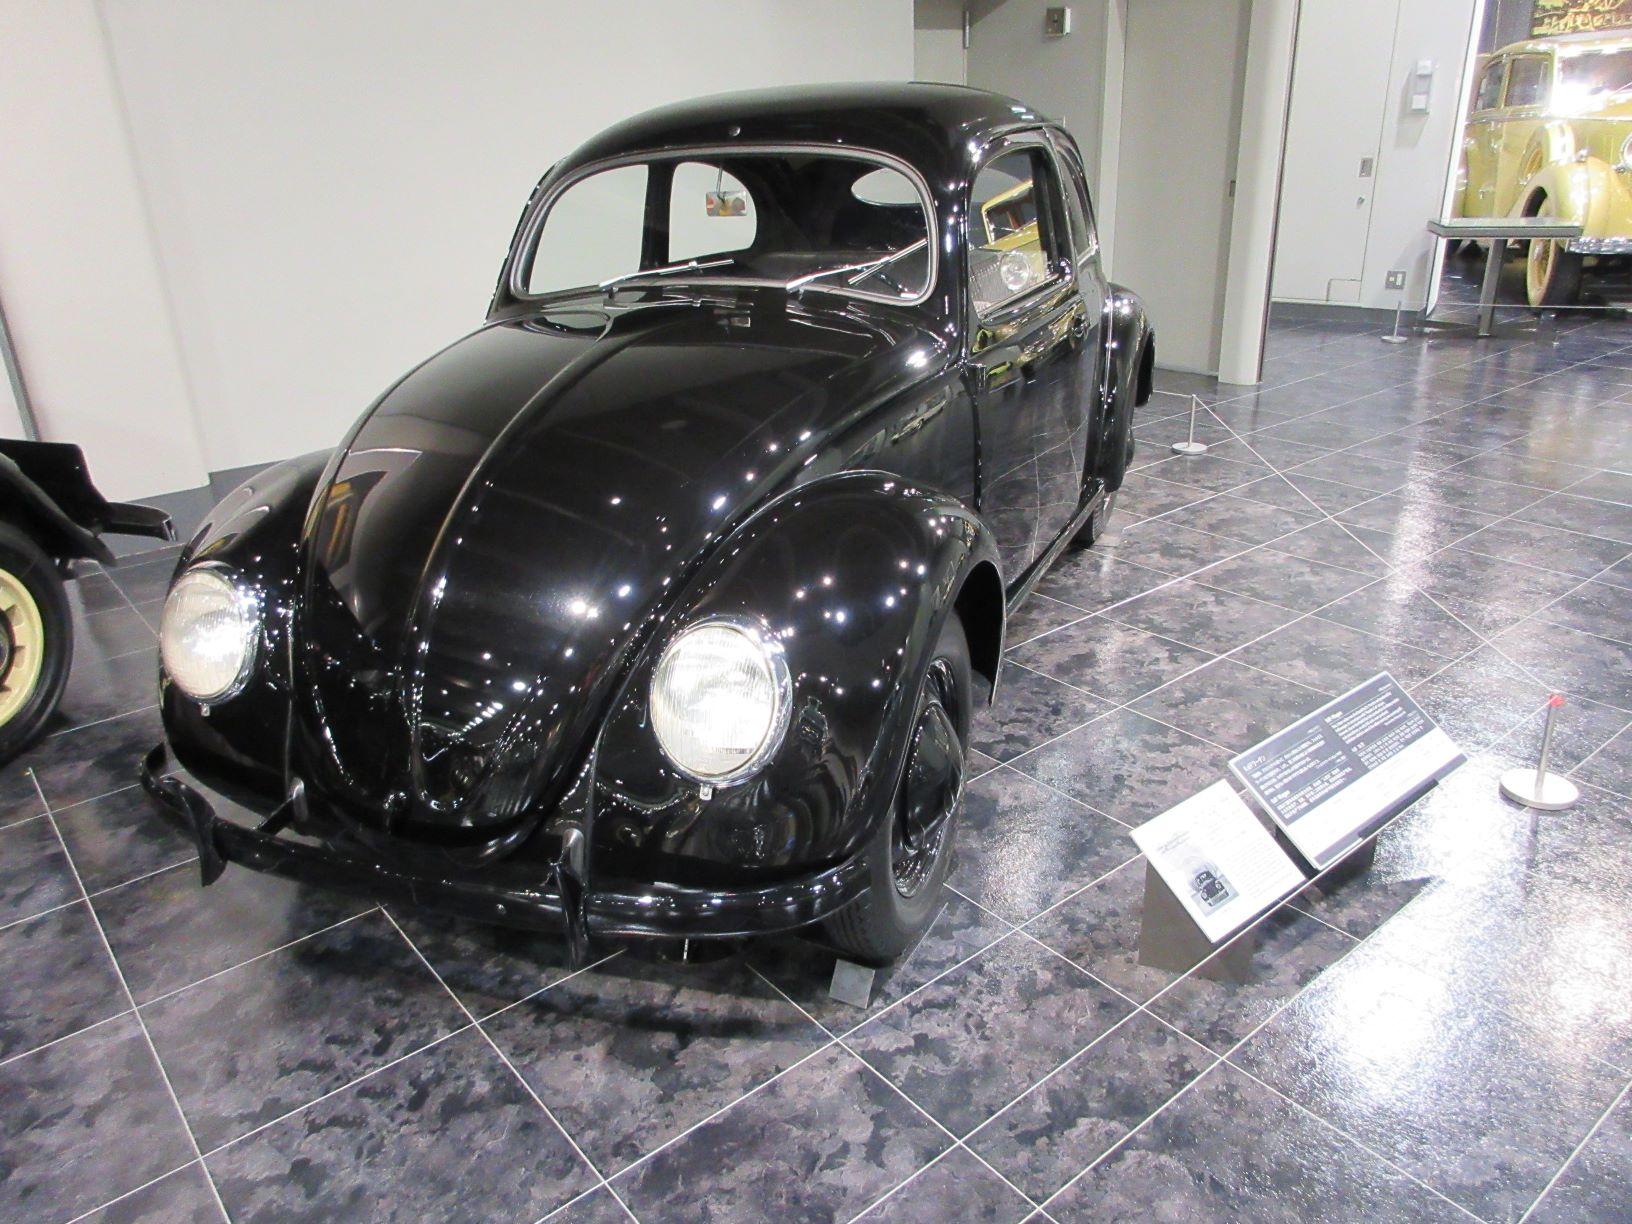
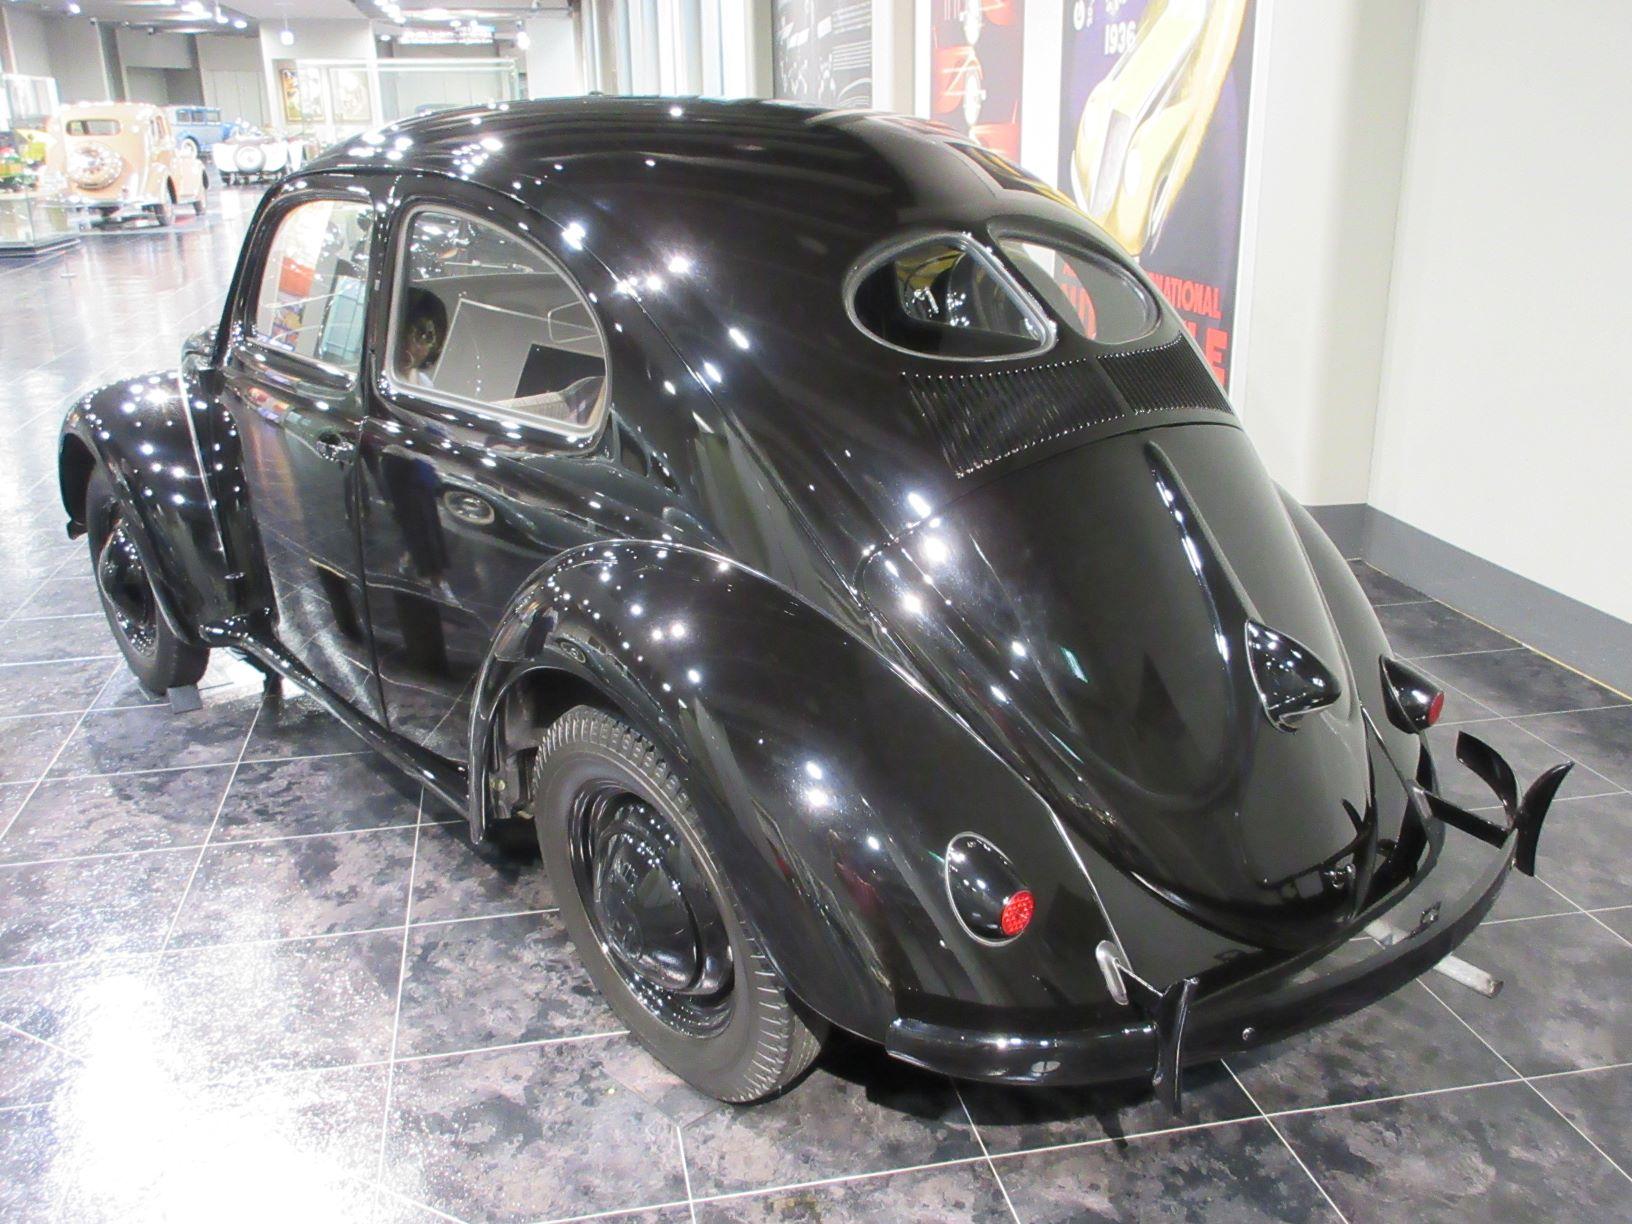
If you liked that one, then I expect you'll really like this one. IIRC from the display placard, this is one of the early production KdFwagen's -- built before the start of WW2. Online write-ups indicate that the production facilities were up and running in the late 1930's, but only a handful of cars were made before the war broke out. At that point, the facilities (and the actual vehicle design) were re-purposed for military applications.