zKars
Supporting Member
-
Joined
-
Last visited
Everything posted by zKars
-
LX-B seats. Rolla Resources on Facebook does them. They take old ones and make new ones.
-
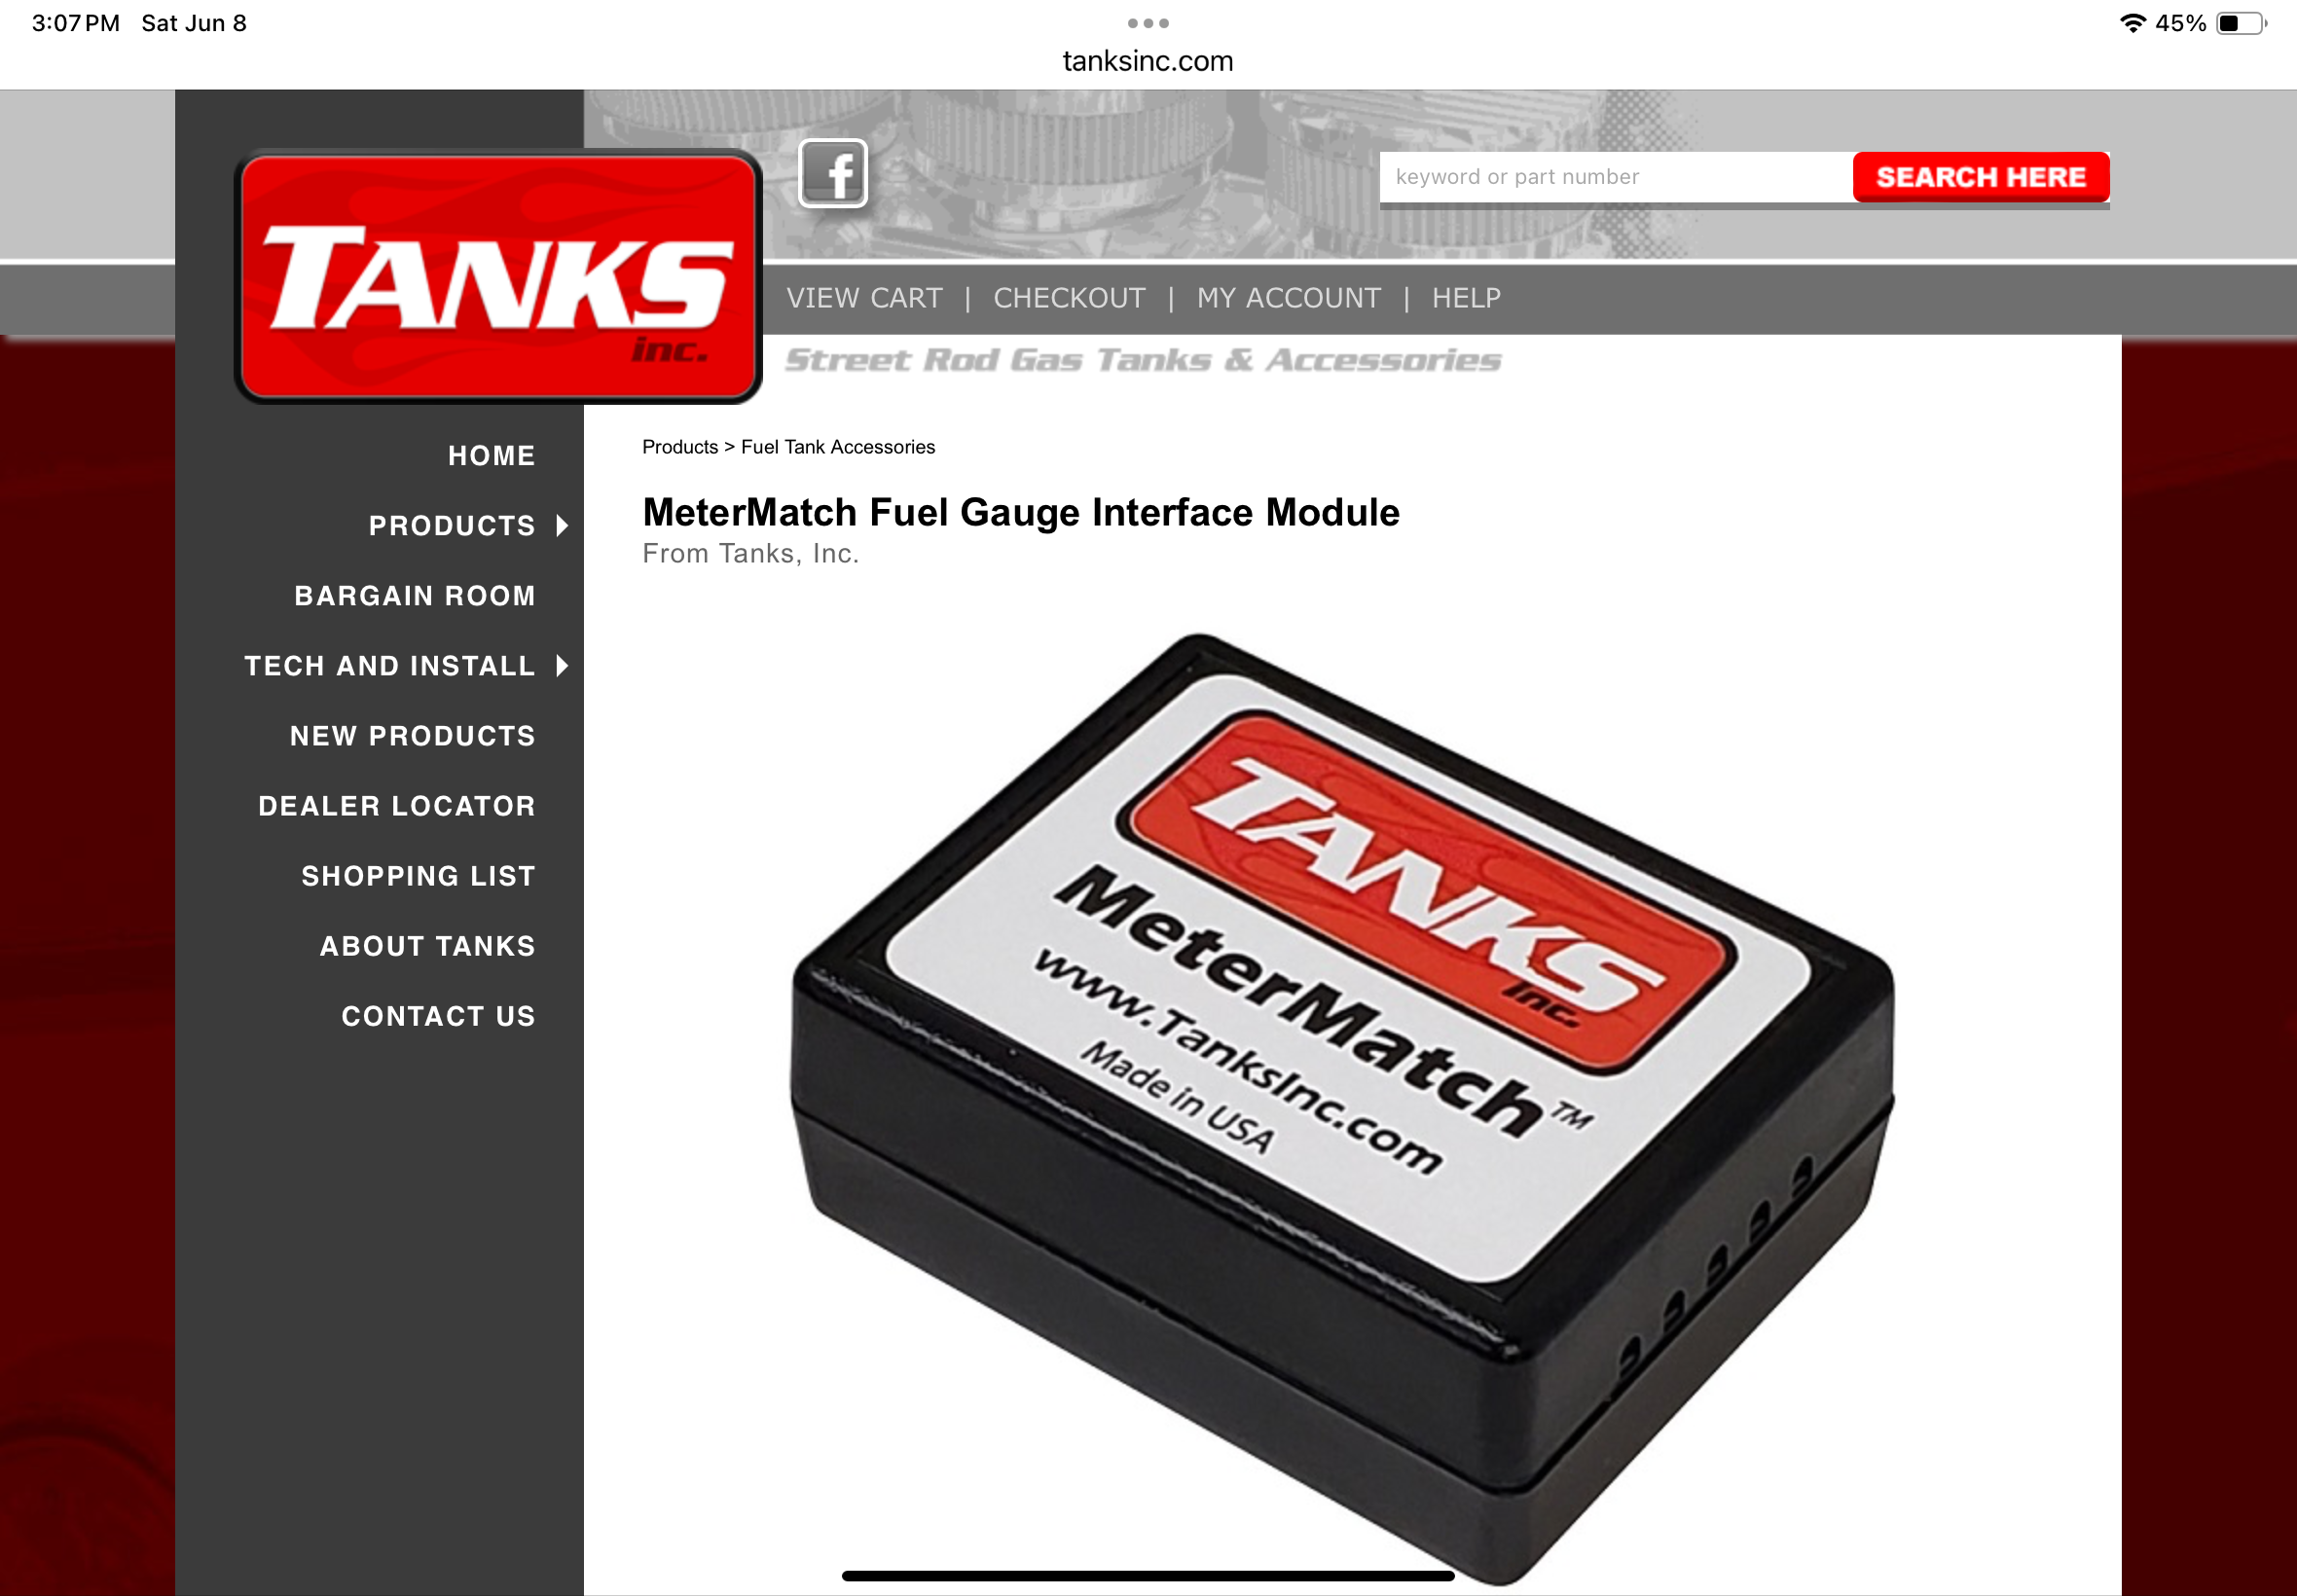
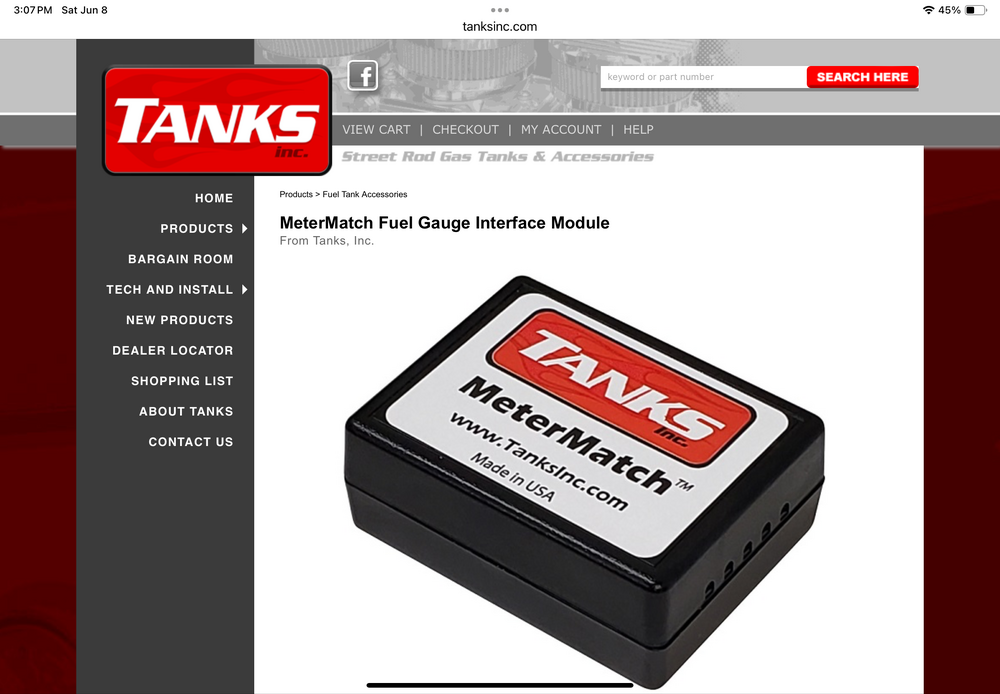
Next up is a topic we are all familiar with to some degree, getting an accurate fuel level reading on your stock gauge. This is true whether you have a stock sender or not! I have a 240-33 ohm (E-F) aftermarket sender in my tank, (90-10 is stock), and desperately want to maintain my stock dash gauge. Gotta keep that special early sweep style 69 510 dash. So I discovered what appears to be the only aftermarket resistance converter/calibrator out there. And it’s a good one. It small, well priced, and VERY well engineered. Highly recommended. https://www.tanksinc.com/index.cfm/page/ptype=product/product_id=748/category_id=-1/mode=prod/prd748.htm
-
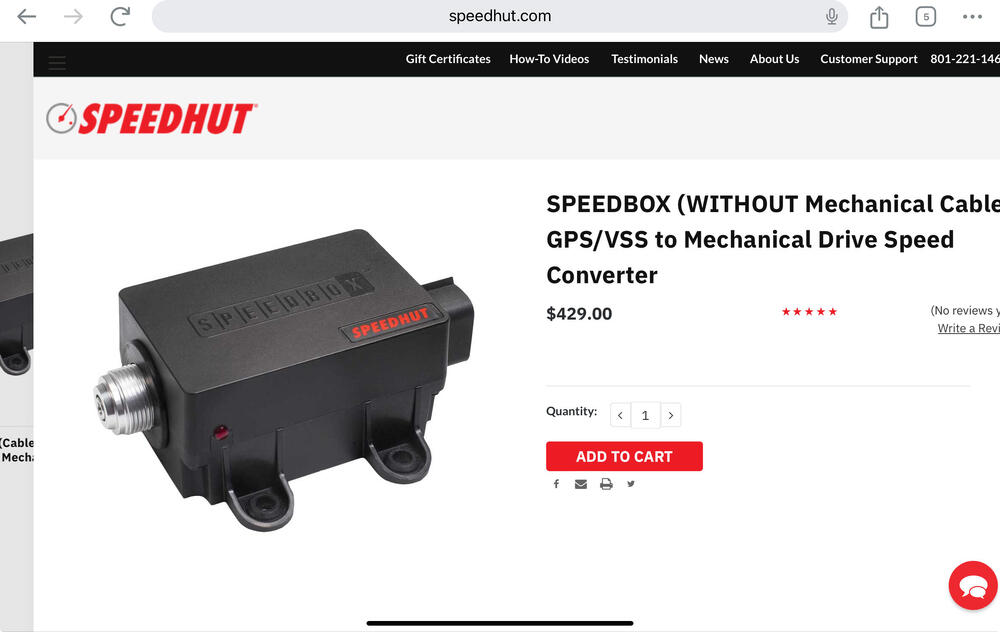
Ok, a few minutes for an update to what’s going on technology wise on the 510 project First, an update on the speedo cable drive. I couldn’t get the Dakota DIgital box to read the VSS out of my ECU for reasons I have not resolved, so I went the lazy route and bought the one from Speed hut that uses GPS as an input. It has been operating flawlessly, EVEN on a recent trip through the mountains (unlike my satellite radio….). While it can be calibrated to any speedo, somehow this work of art managed to read PERFECTLY out of the box on my Metric KPH marked 69 510 sweep style 50+ year speedometer. Maybe the RPM/MPH thing is pretty standard across speedometers….. https://speedhut.com/supershops/speedbox-without-mechanical-cable-gps-vss-to-mechanical-drive-speed-converter/
-
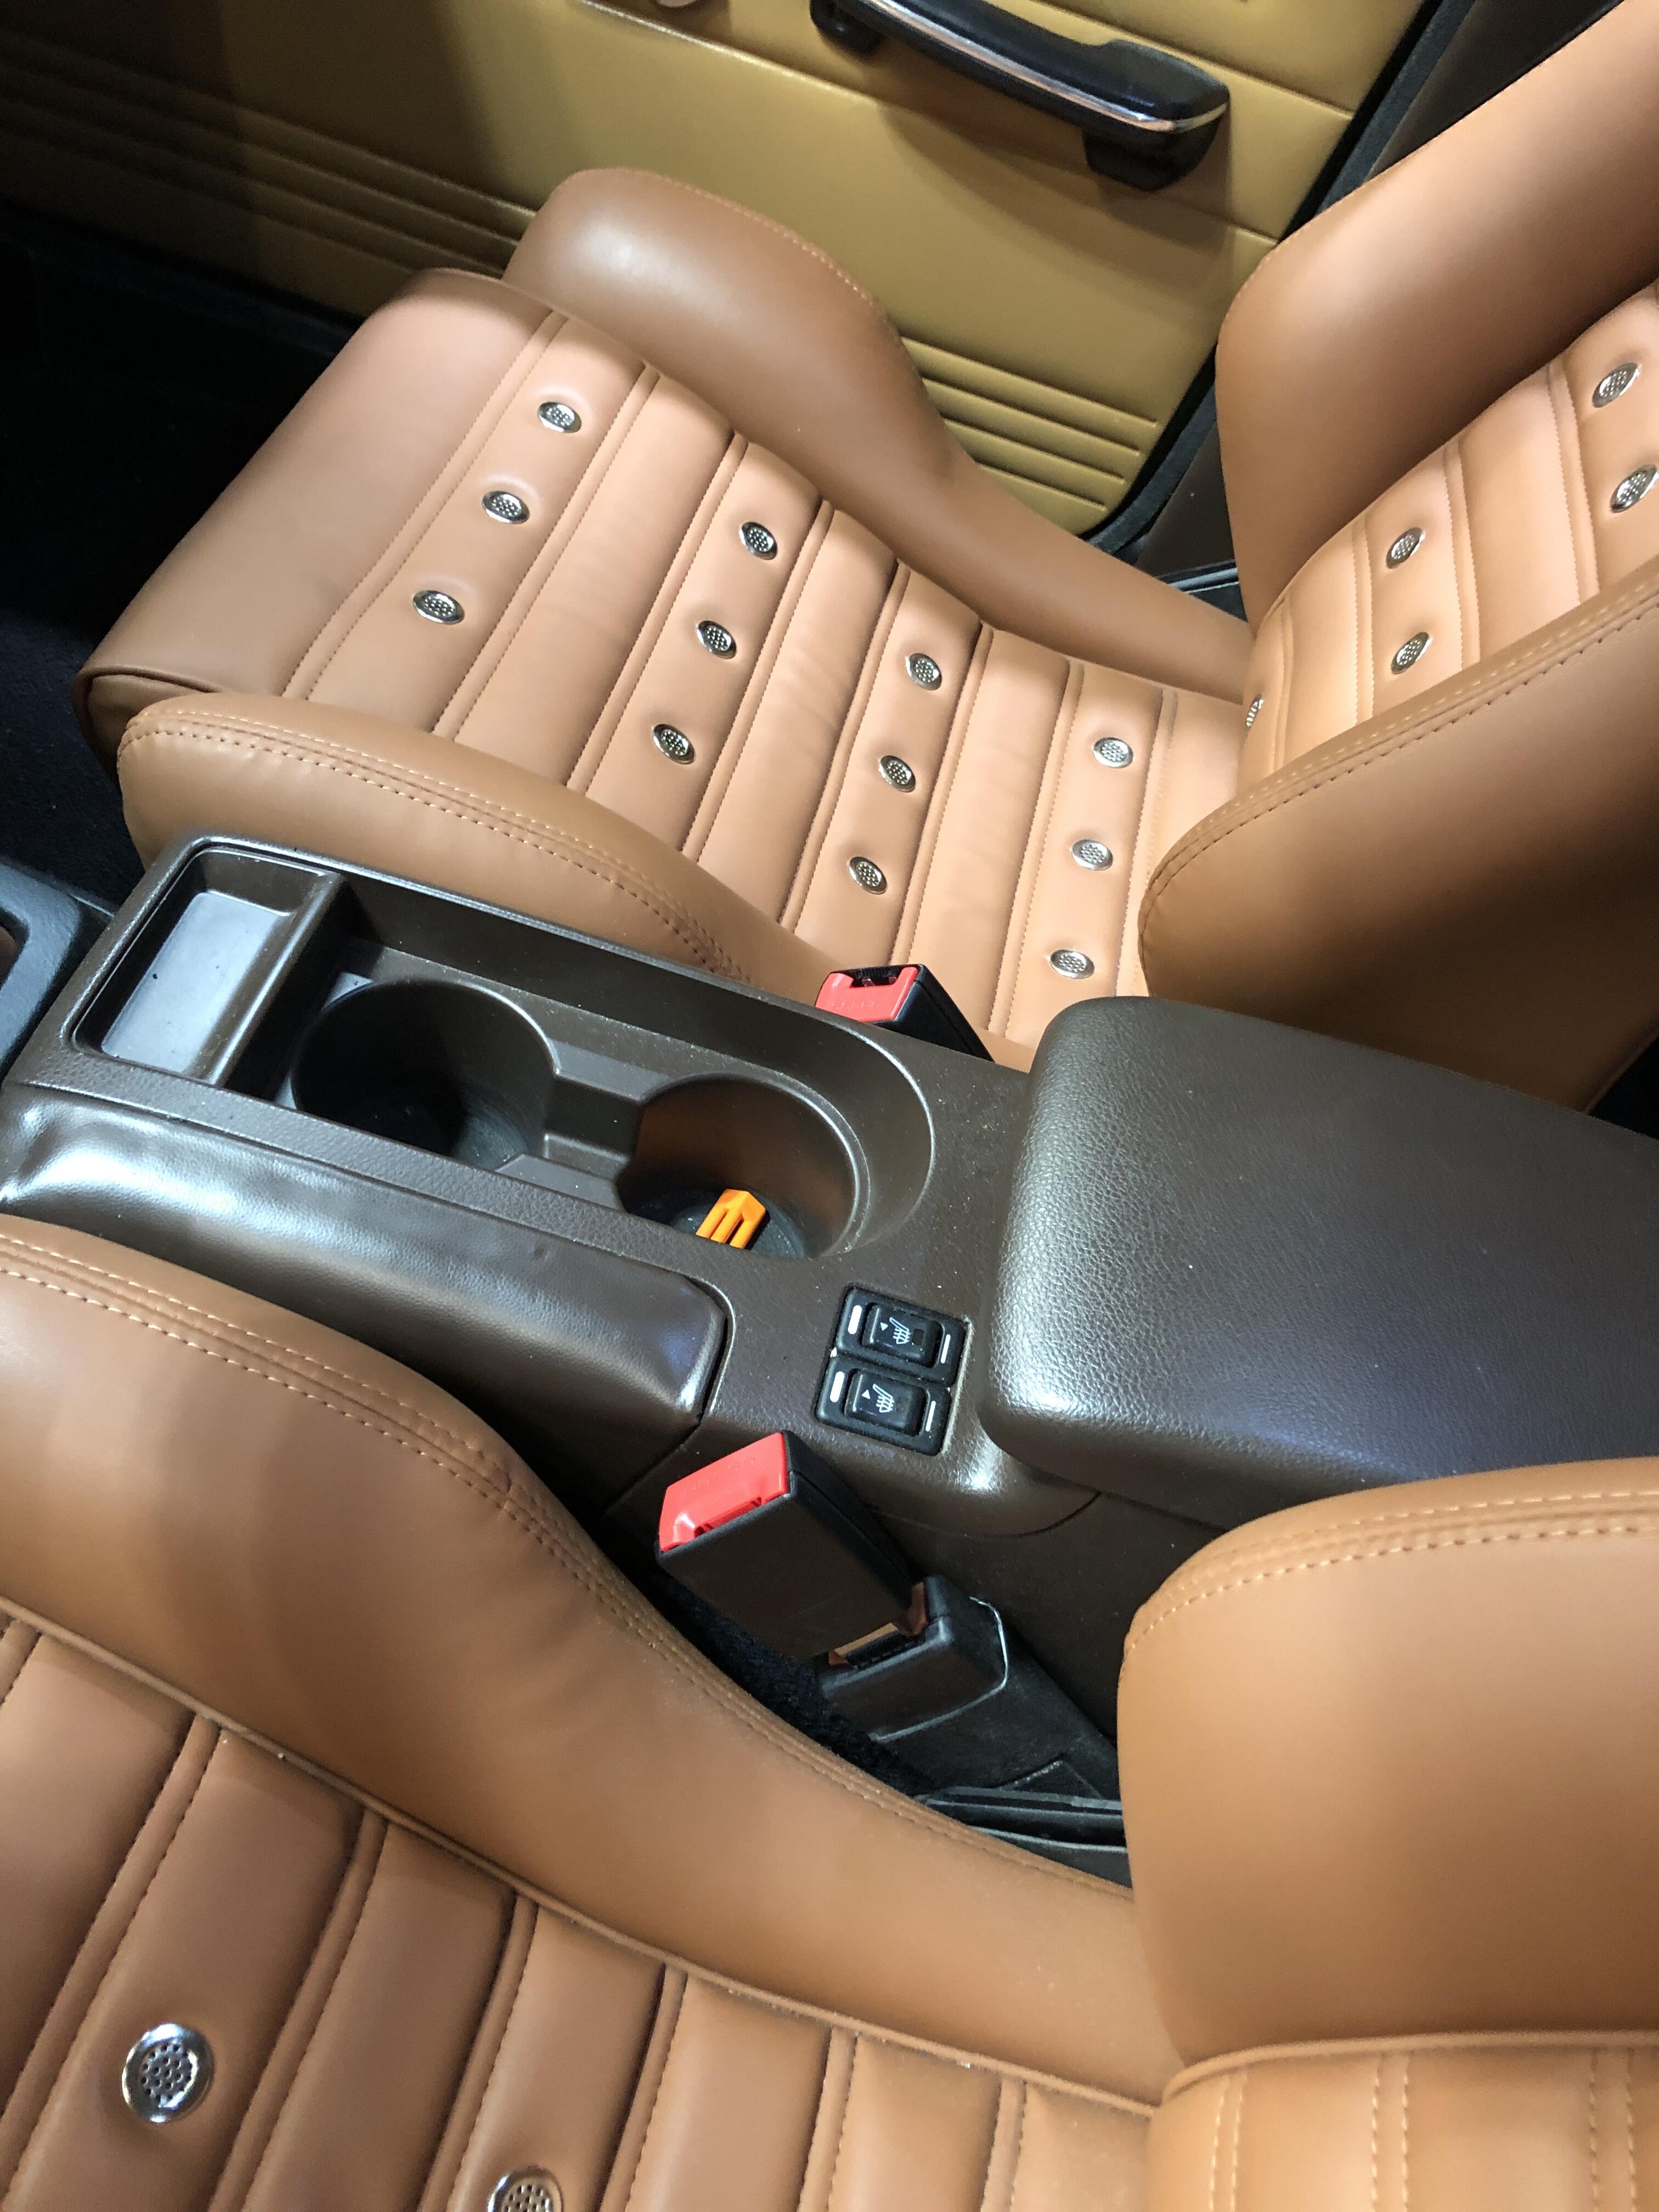
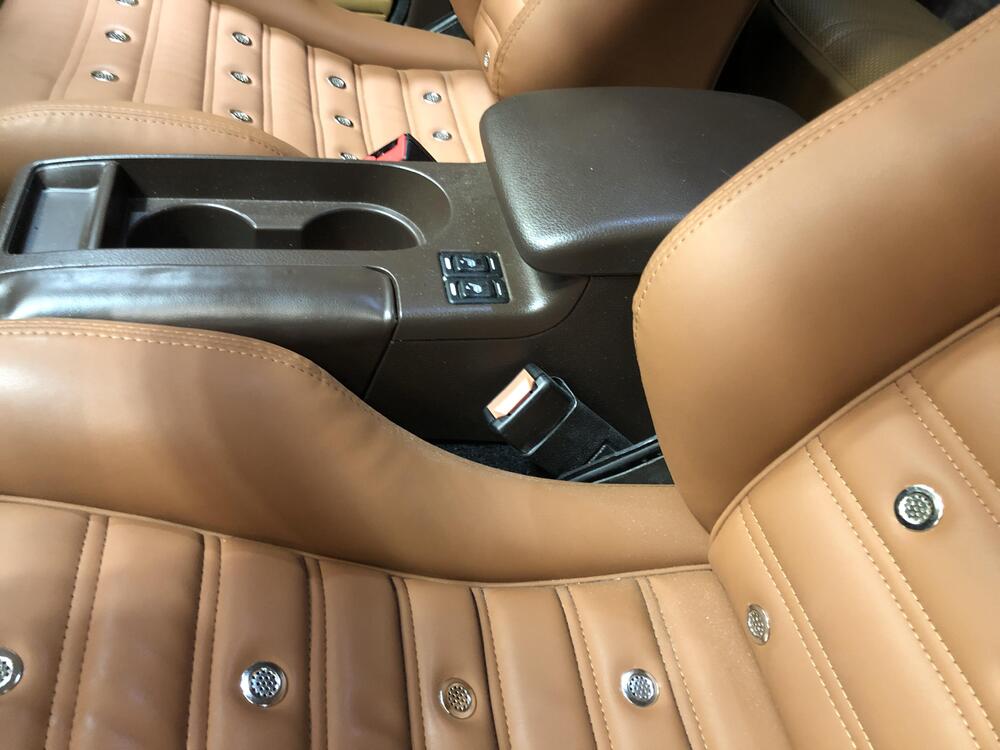
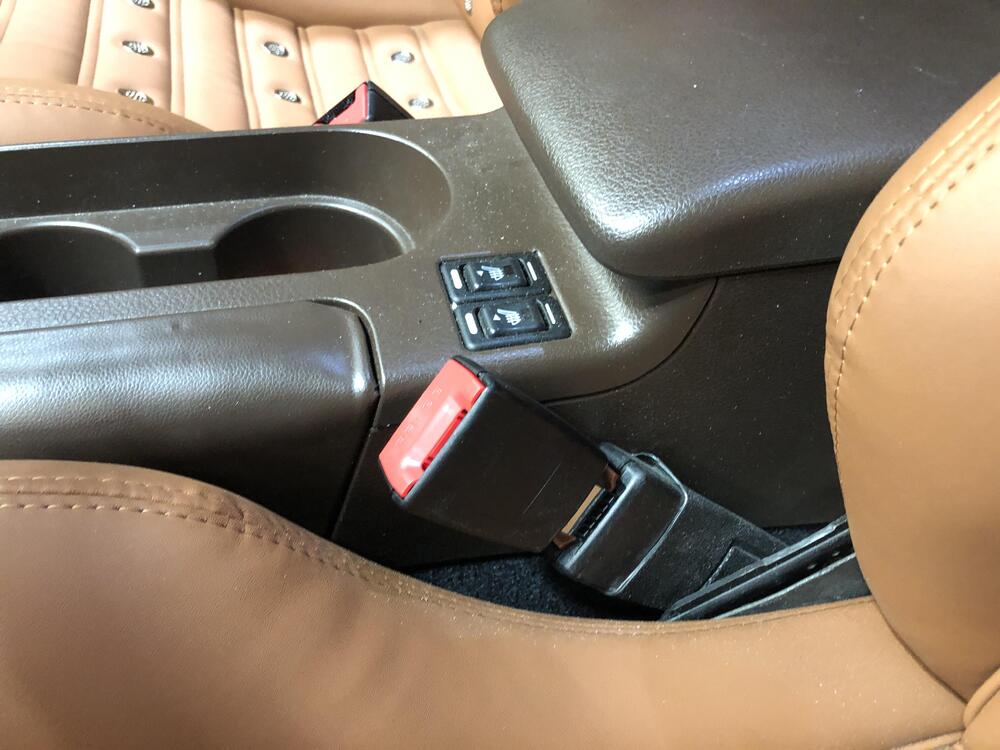
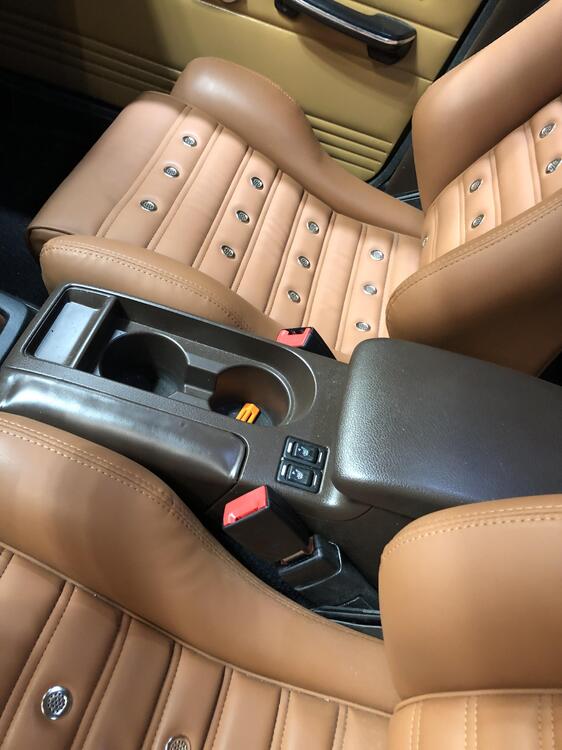
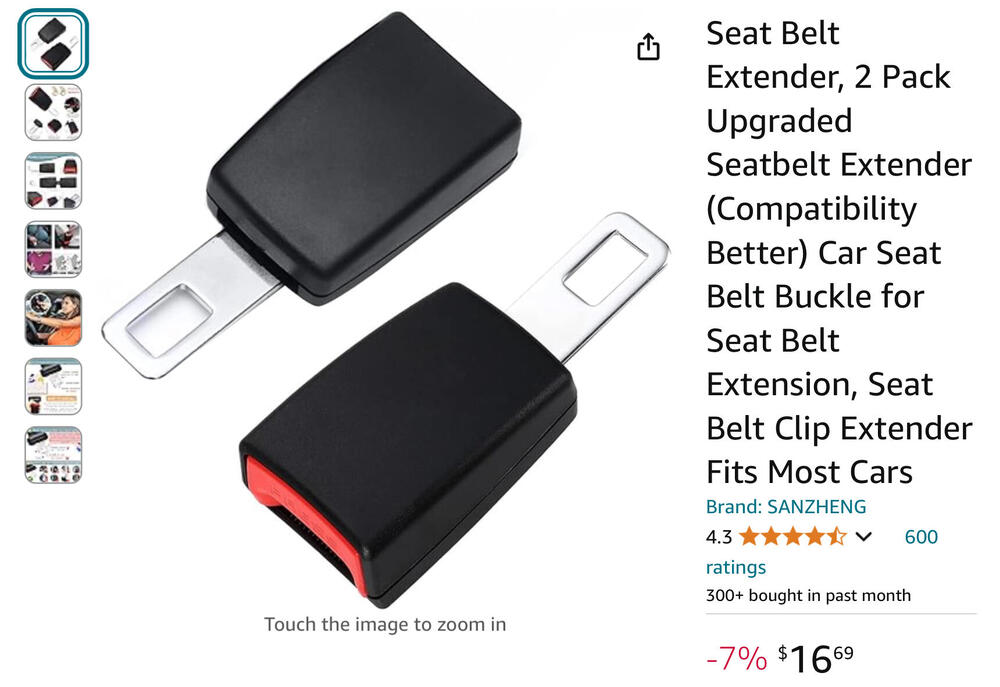
I knew “Seat belt extensions” were a thing, but in a bit of a uncomfortable way for the “circumferentially challenged” shall we say, but did not realize you could get really short ones. Well you can. Here are the proof of the success of these little gems. All $17 bucks worth Another solution to yet another challenge in the custom car world. And check out the pretty seats…

-
Well here we are again. I put some lovely new seats in my 510, and a new console (whole ‘nother thread) and now find it hard to get my hand or finger down between the console and the belt buckle to push the big red button to release the belt. The ol’ thumb will fit kinda backwards and push it, but not without a scrap or rub. So what to do about it? First thought was to add a small extension to the end of the belt where it bolts to the floor to lengthen the mount and get the end up higher. But then, one day while perusing Amazon, there magically did appear, the solution to my problem. No I did NOT discuss out loud giving Google a chance to help me. Did not realize these would exist.
-
Love it! I’ve been tinkering with a cable throttle for a long time for SU’s and triples and this is the cleanest solution I’ve seen. I love the bracket that bolts to the carb mounts to provide the under-carb pull cable mount. Brilliant. Three things to check and be aware of. Cable key seating. If the gas pedal ball position isn’t “just” right, the cable won’t be pulled through the exact center of the sheath it will eventually wear into the sheath lining and will lock up at some point, or wear through. Carefully inspect how the cable moves as the pedal is pressed through its full range of motion. Add lubrication to the cable to prevent premature wear as well. I have had to relocate the ball on the top of the pedal or bend the end of the pedal rod to tweak it into an ideal location. The hole in the firewall on 280’s is larger than the 240, so as you make and sell these, you might have to make a larger OD version of the firewall bushing. SU conversions on 280’s is pretty common. 1.125 comes to mind, but I can check. With the change in actuator arm length, advise to set the pedal stop after installation to ensure the throttle blades are not being stressed at full throttle. Gotta hit that stop just before the blades are full open.
-
I have one as well @GoldAir
-
Have a local here the Vred’s on his 73. They look great and handle well.
-
Not sure if this has been discussed above (to lazy to read every word (but not too lazy to type endlessly here…)) but is the usual “leak” caused by bearing wear or shaft wear or both? Just replacing the bearing is fine, but how are we building the shafts back up to 10mm? Or is the fact that the new bearing have seals now, that these seals now rub on what’s left of the shaft, and maybe at the very edge of where the old bushing touched it which might be still mostly 10mm, effectively sealing it? Which begs the question, are new shafts and butterflies available anymore?
-
McMaster will ship to me, they do it all the time. I just have to be registered as a business. They won’t ship internationally without that check box being ticked. Thanks!
-
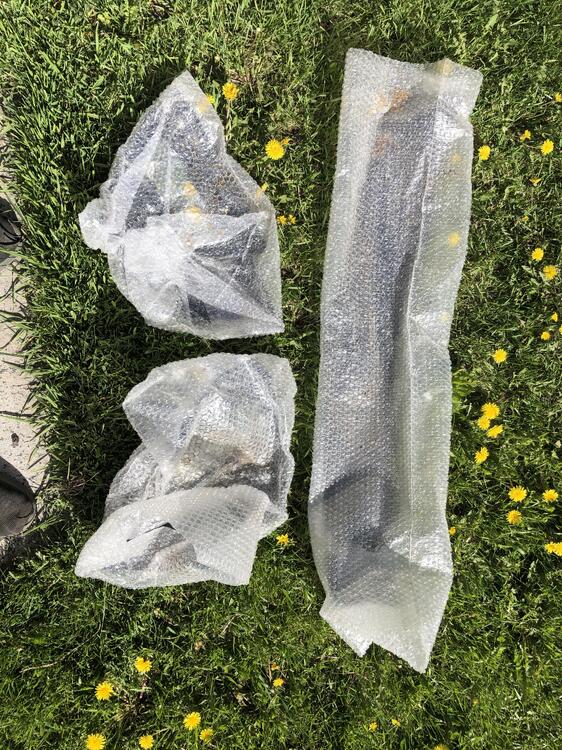
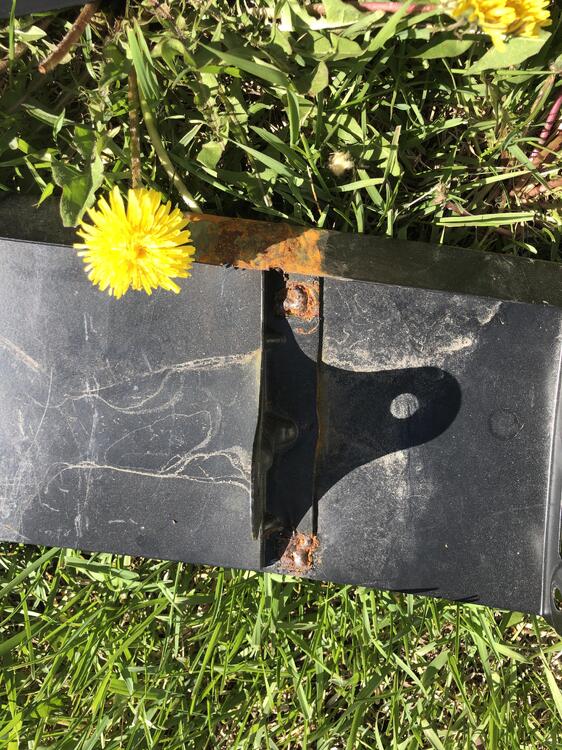
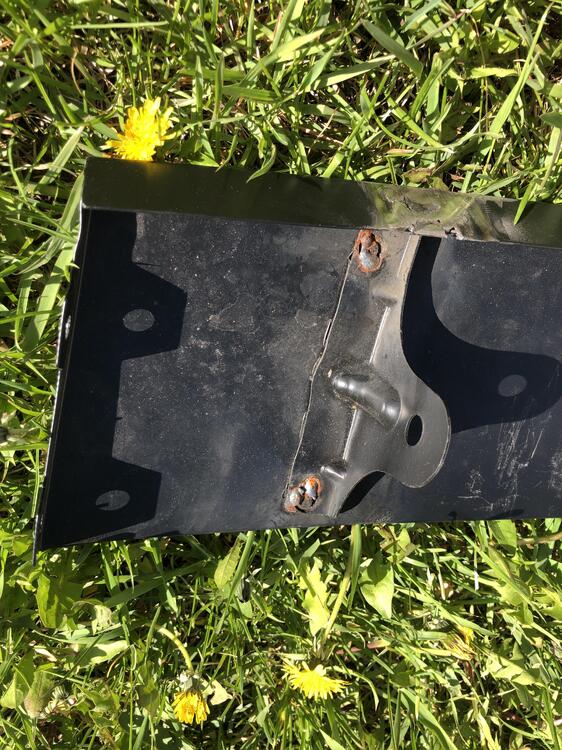
Here are my pictures. There are some welding repairs on the two outer “wings” to account for poor factory assembly. These are raw and only primered, some body work is expected.


-
Sure do. Let me find them and post a picture
-
I have a brand new after market set. I can dig them out for you. No idea what manufacturer they came from.
-
-
Anyone brave enough to reveal a source for said 10mm ID sealed bearings?
-
When dapper was first selling their LED bulbs and housings, I bought a pair. The size of the bulb backing (I think it had a fan!) and its ballast box DID NOT FIT in the stock housing. I made a bulge using a ball peen hammer to make them fit, trial and error. No fun. The lights are amazing I have to say. As mentioned above, there are LED bulbs for generic H4 housings available now that fit just fine in the stock cans, so Dapper is just covering there products to ensure they fit in S30’s. Still, it’s nice to have a source for replacement housings, which even come with new aiming screws.
-
https://www.viatrack.ca/
-
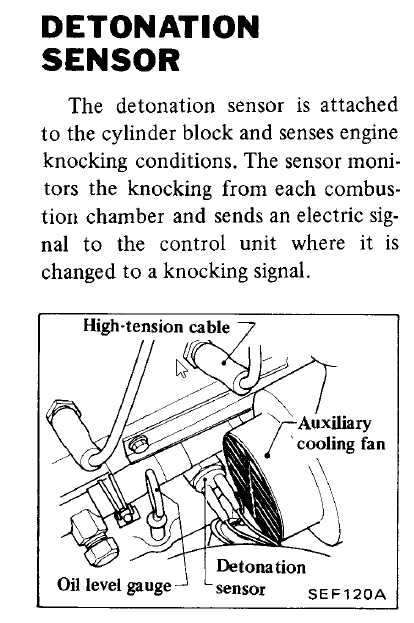
https://phormula.com/knock-frequency-calculator/?fbclid=IwAR1dO8_Qw8lferQVBmn7h66PiqEi3_FtGA5hvaXtLDI-7r5ed6ihA8VfxeI All of the aftermarket ECU vendors (Haltech, MegaSquirt, etc) that support knock sensor inputs have some documentation related to the subject. At least you can see the input screens and review what types of inputs are needed. It’s all about finding the frequency band where knock occurs on your engine. And mechanically about putting the sensor where it can pick up the noise properly. Engines that never had knock sensors don’t have convenient places to mount one in the “right” place. You have to get creative sometimes. You can’t just duct tape to the side of the block. The only knock sensor on an L series is on the 82-83 ZXT in the block just below the head.
-
Comments pertain to simple water tight areas Flat clean even surfaces, new gaskets, proper bolt torque = no leaks. What the heck you think rtv in there is gonna do? LEAVE when you tighten it down is what it’s going to do. WHY?!?!?!?! Old cars, less than even flat surfaces (gotta stop using a razor blade to scrap with, sheesh…), LITTLE RTV ain’t gonna hurt. Any excess gets squeezed out. Gasket won’t stay in place while you put the (fill in the blank), add some adhesive glue stuff to stick it there. Ain’t no downside to a LITTLE. Gobs of squeeze out on the inside is your only danger. L I T T L E people! (Apolgies to the vertically challenged.)
-
Right. Ball
-
All I seem to remember was I used a bearing intended for a router bit guide and spot welded it to the pedal metal more or less centered in the hole I drilled to hold the bearing. Since then I’ve just welded up such worn holes and re=drilled the 8mm or 5/16 hole. Good for another 50 years I’d think. I mean a press fit of the bearing might be good enough too, it’s trapped by the brake/clutch fork where the pin goes through if it does come loose.
-
https://www.carpartsmanual.com/datsun/Z-1969-1978/engine-240z-260z/carburetor-240z-(l24)/from-jul-72#1 It’s part #40, good luck finding it…..
-
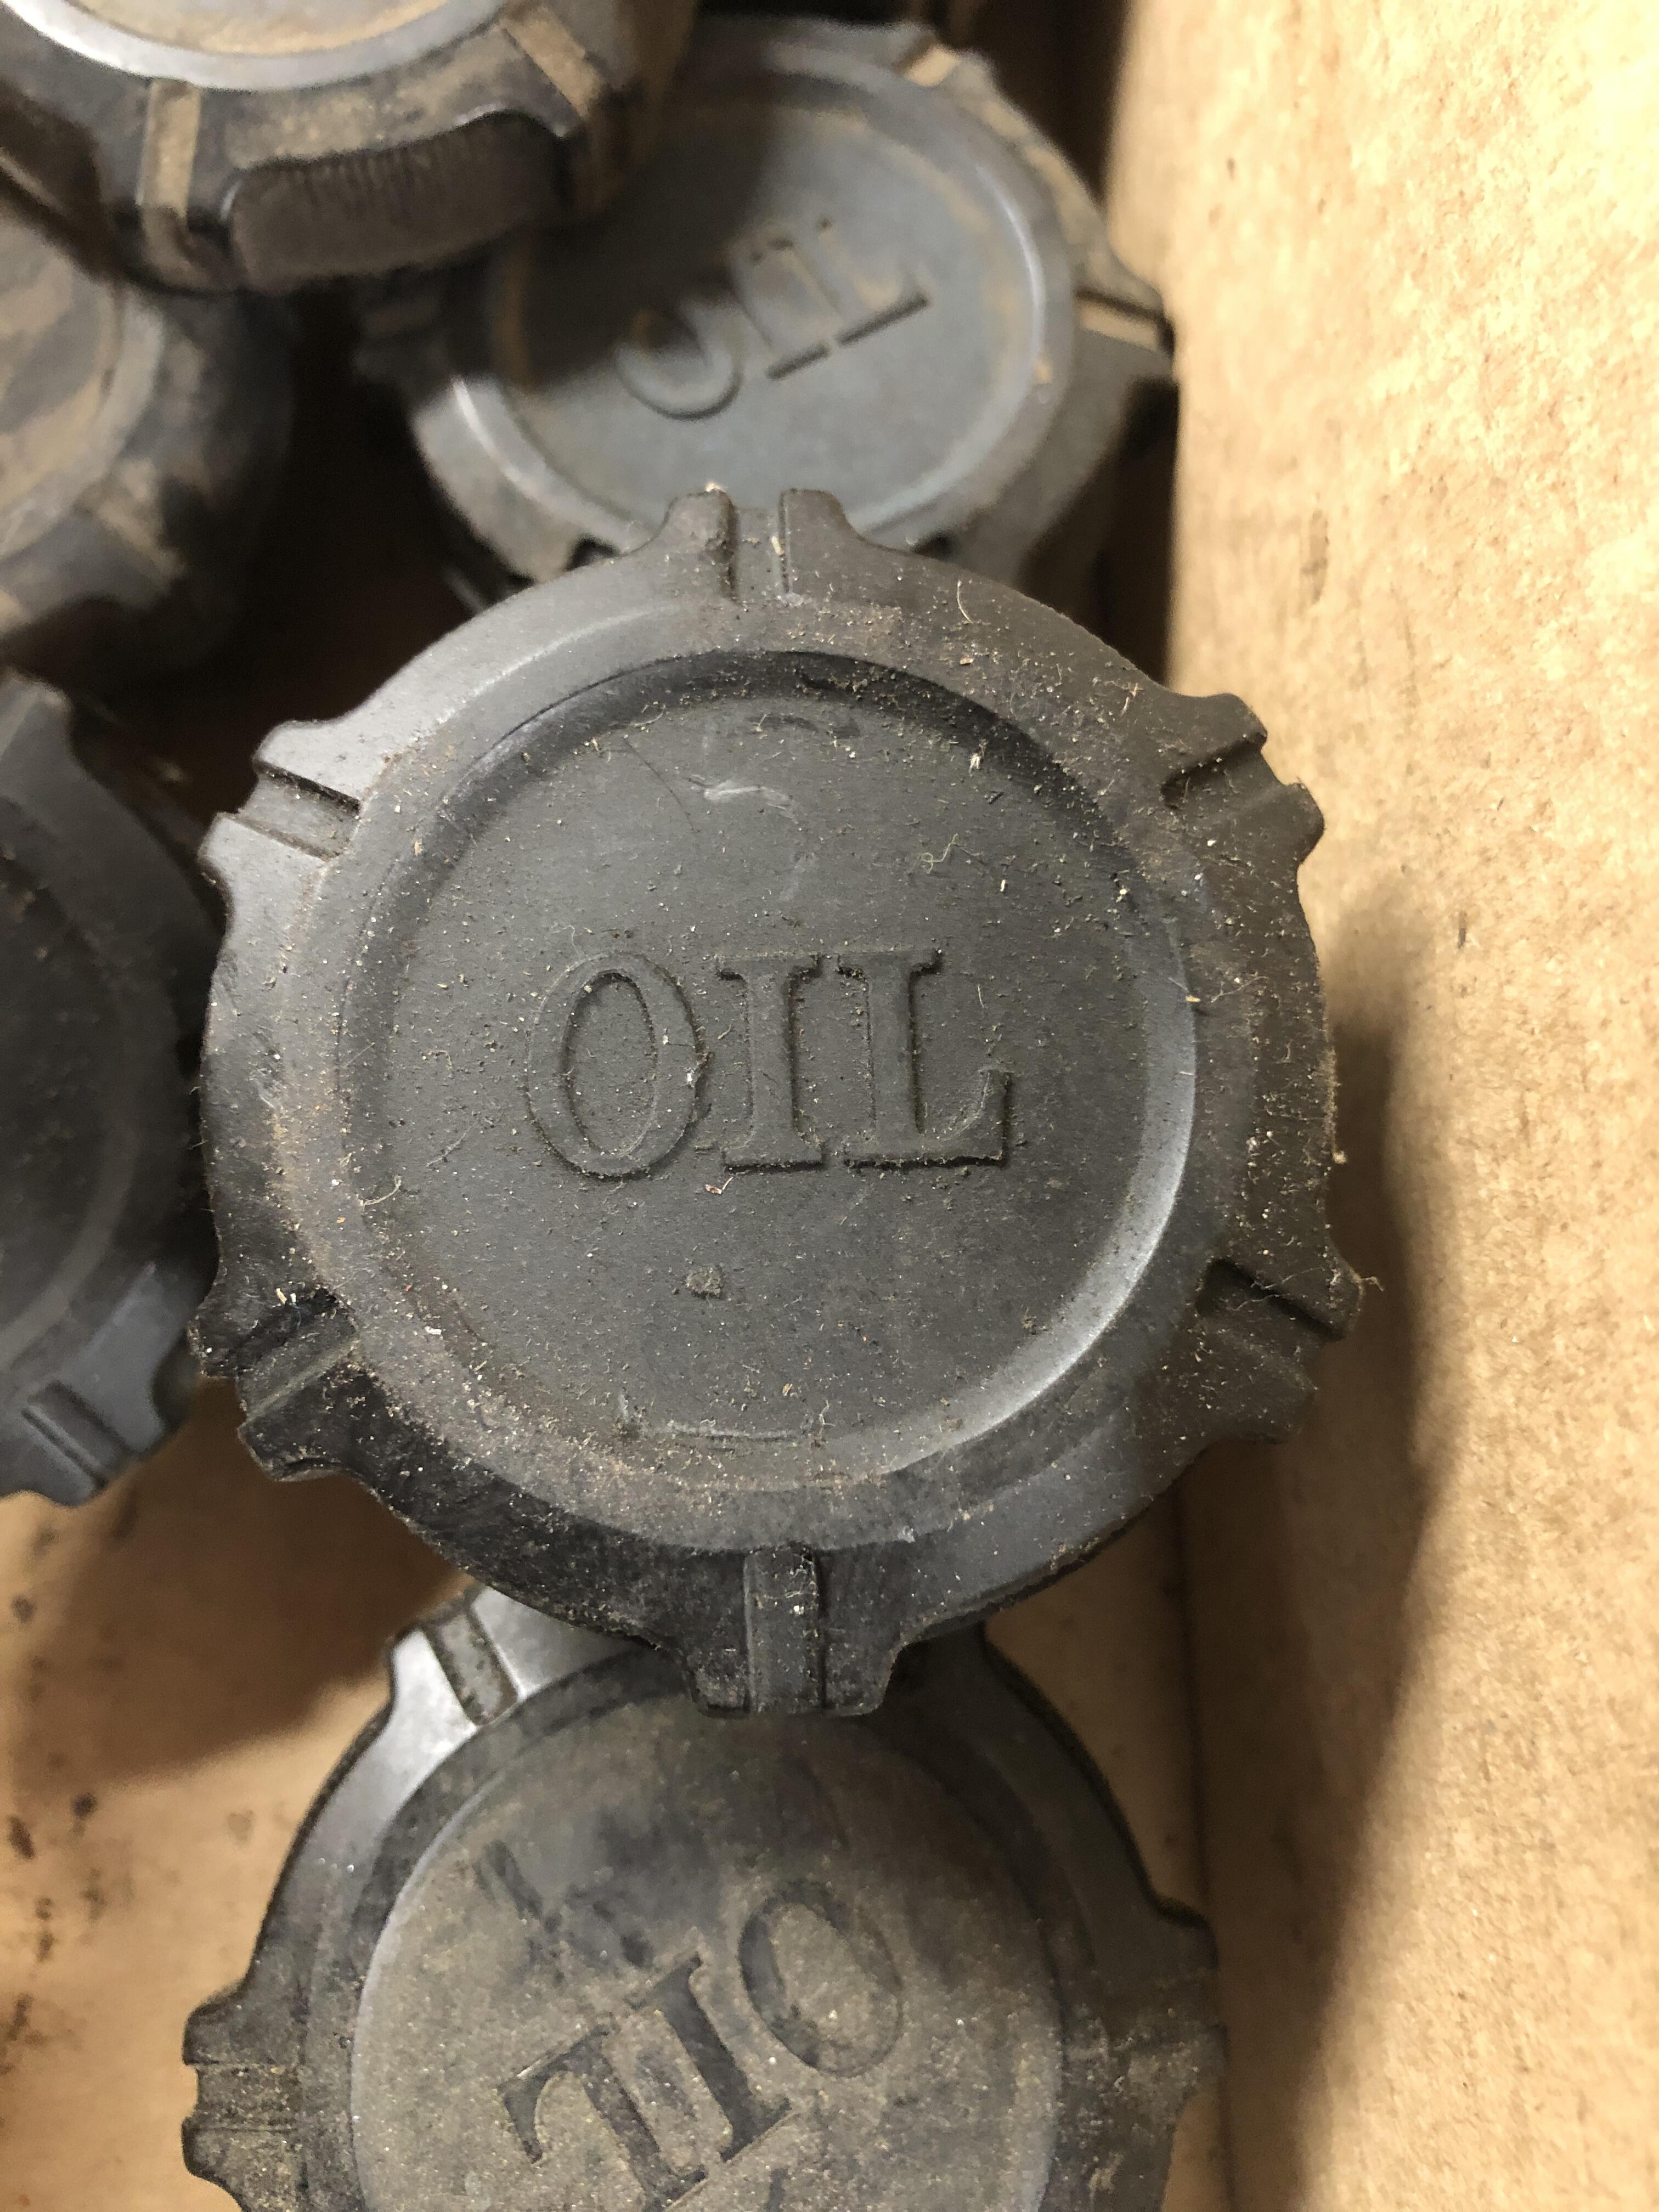
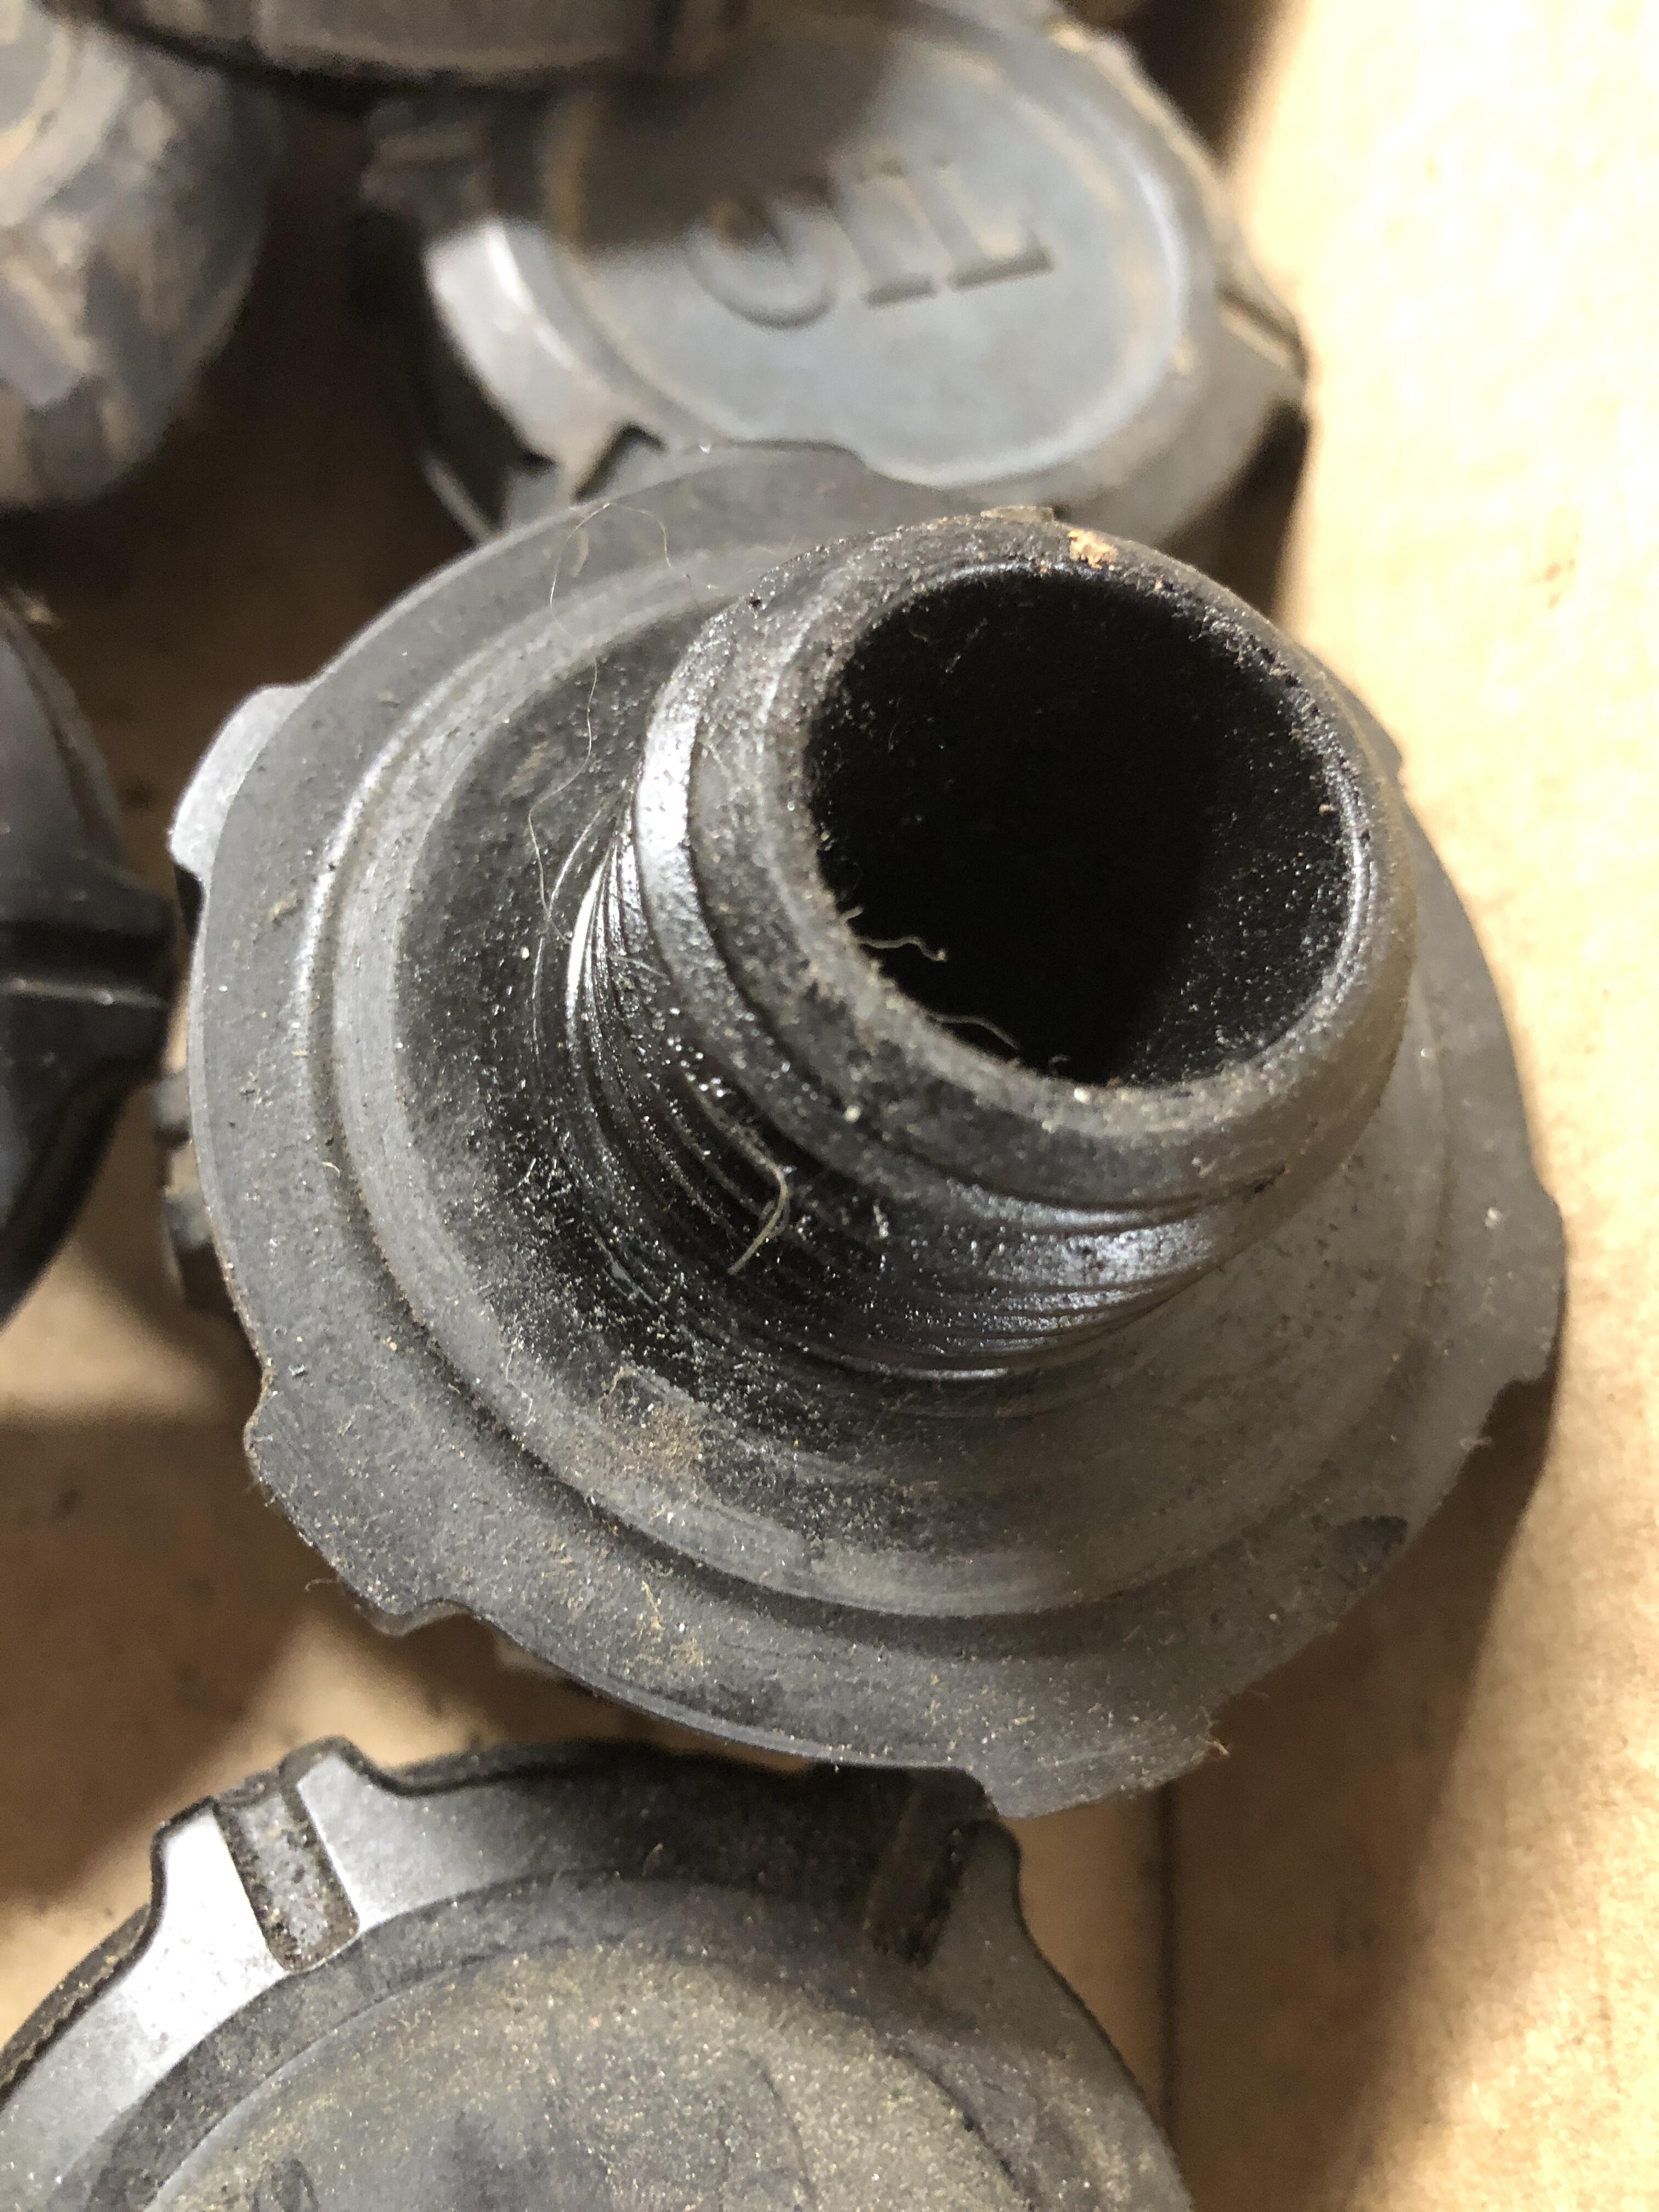
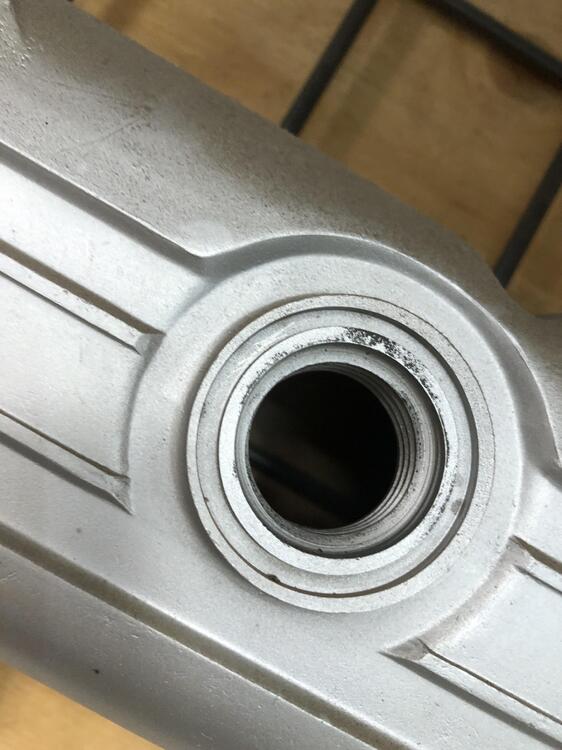
O-ring groove in the early 2400 cover
-
My collection of caps (4 kinds), indicates that all the ones that say simple “OIL” require no gasket on the cap, and fit valve covers that require O-rings in the provided groove around the fill opening on the cover. All others, Elephant or otherwise, use the stepped flat o-ring gasket discussed above. A few of mine had that gasket inverted. One had two gaskets, all had at least one. Most were quite hard, though none were rock hard. None were dry split or deteriorated to the point of obvious leakyness. I only included pictures of OIL cap and it’s back side showing no groove like all the others that take the step gasket.


-
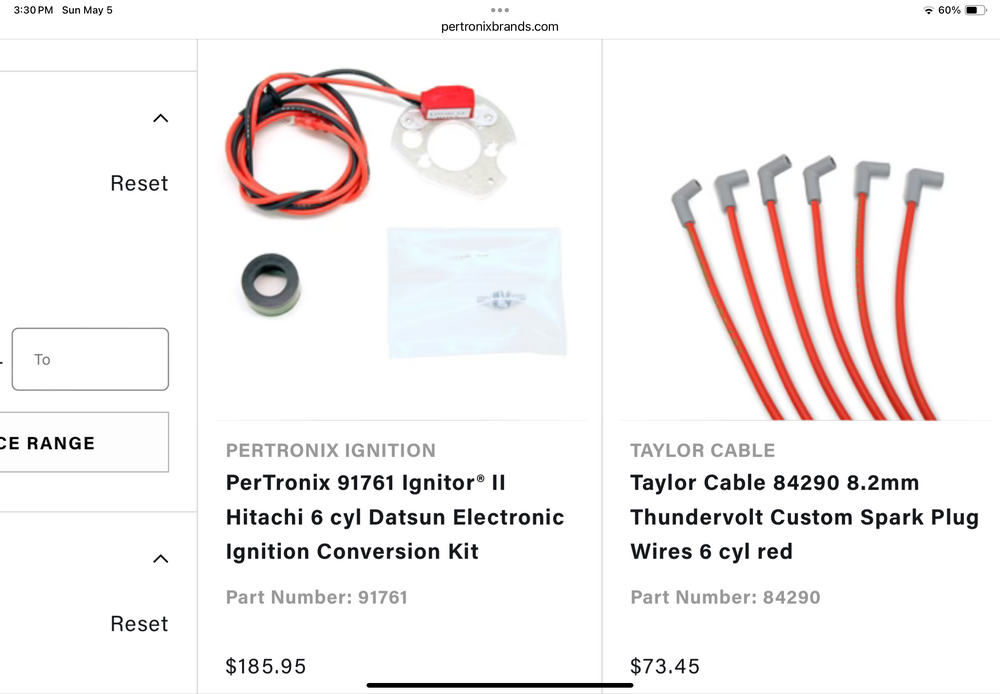
I heard the rumor once that the “old” or initial Pertronix are prone to the burn out if left on issue, but the later models don’t have that problem. Pertronix I vs II. Searching I see lots of references to I vs II comparisons, but not Datsun 1761 related. Pertronix web site does however list a “II” for 240z. PN 91761. 1761 is the old version one. So I suggest we get the 9 version from now on. $185 vs $135 of course There is also the L4 equivalent, 91761 vs 1741. They also list replacement modules for both in case it does blow up so you don’t have to buy a whole new kit.