Leaderboard
-
w3wilkes
Free Member8Points979Posts -
JDMjunkies.ch
Free Member7Points640Posts -
conedodger
Free Member7Points12,628Posts -
Captain Obvious
Free Member5Points10,111Posts


Popular Content
Showing content with the highest reputation on 08/29/2025 in Posts
-
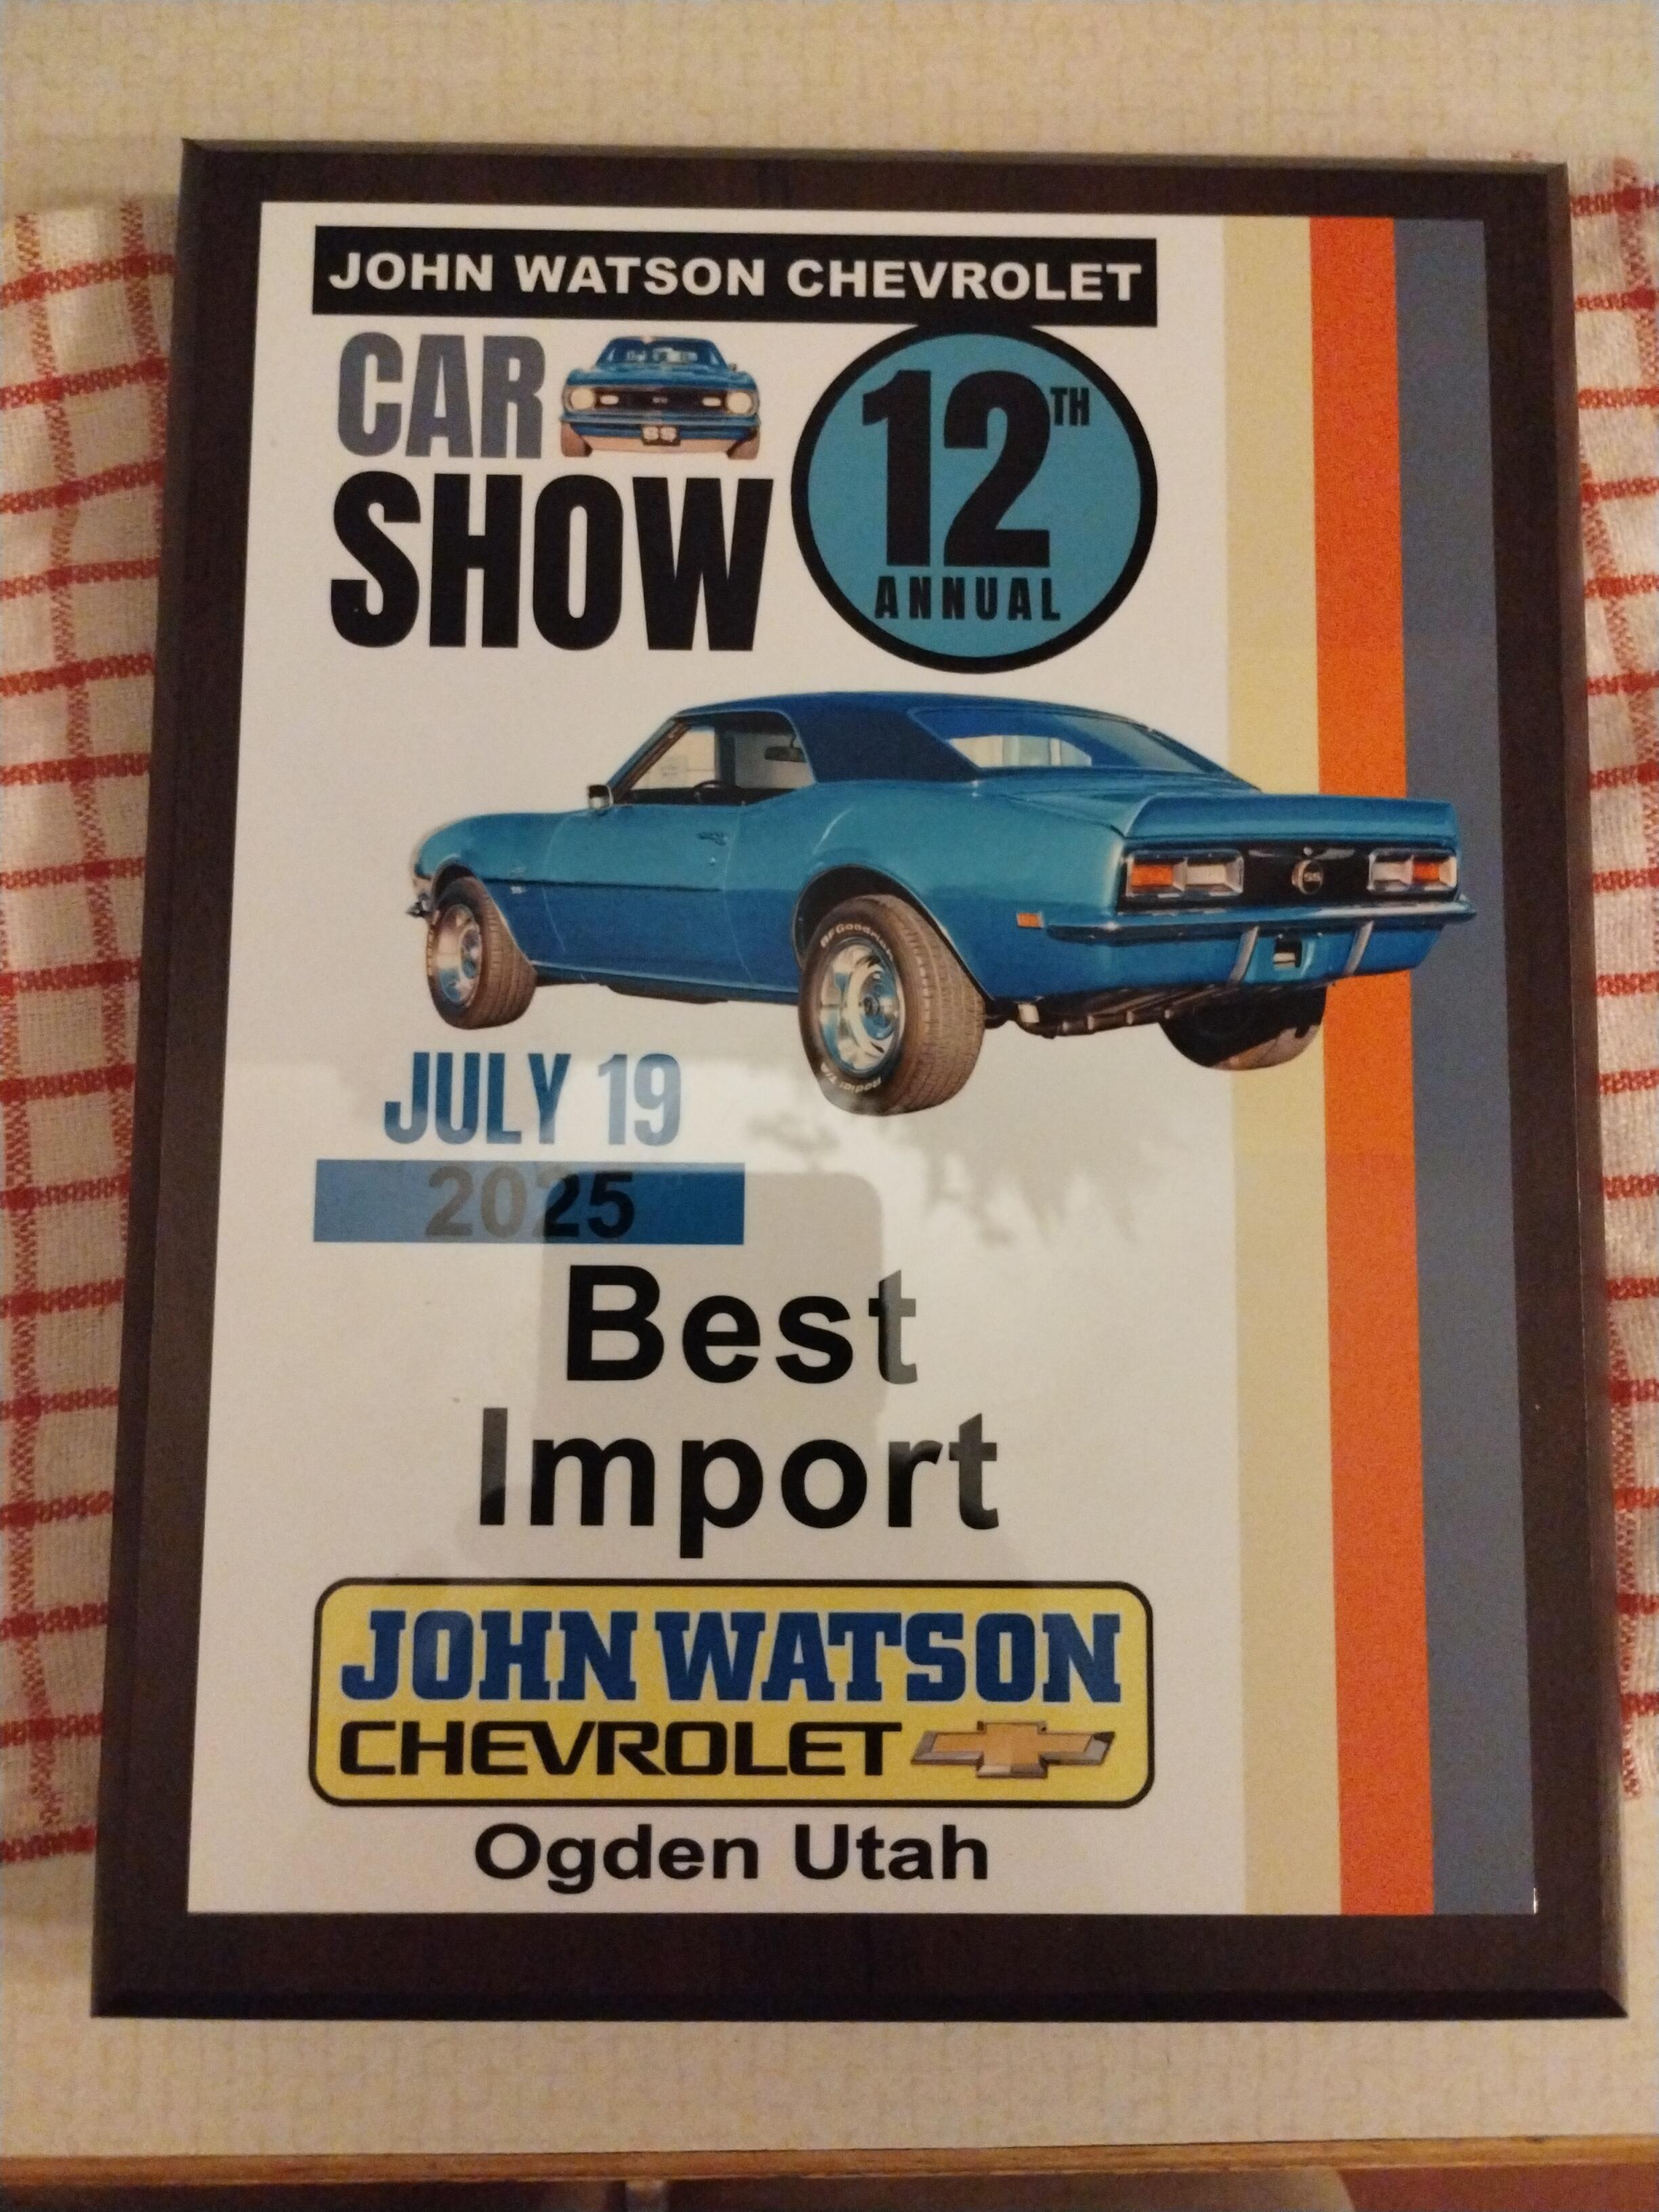
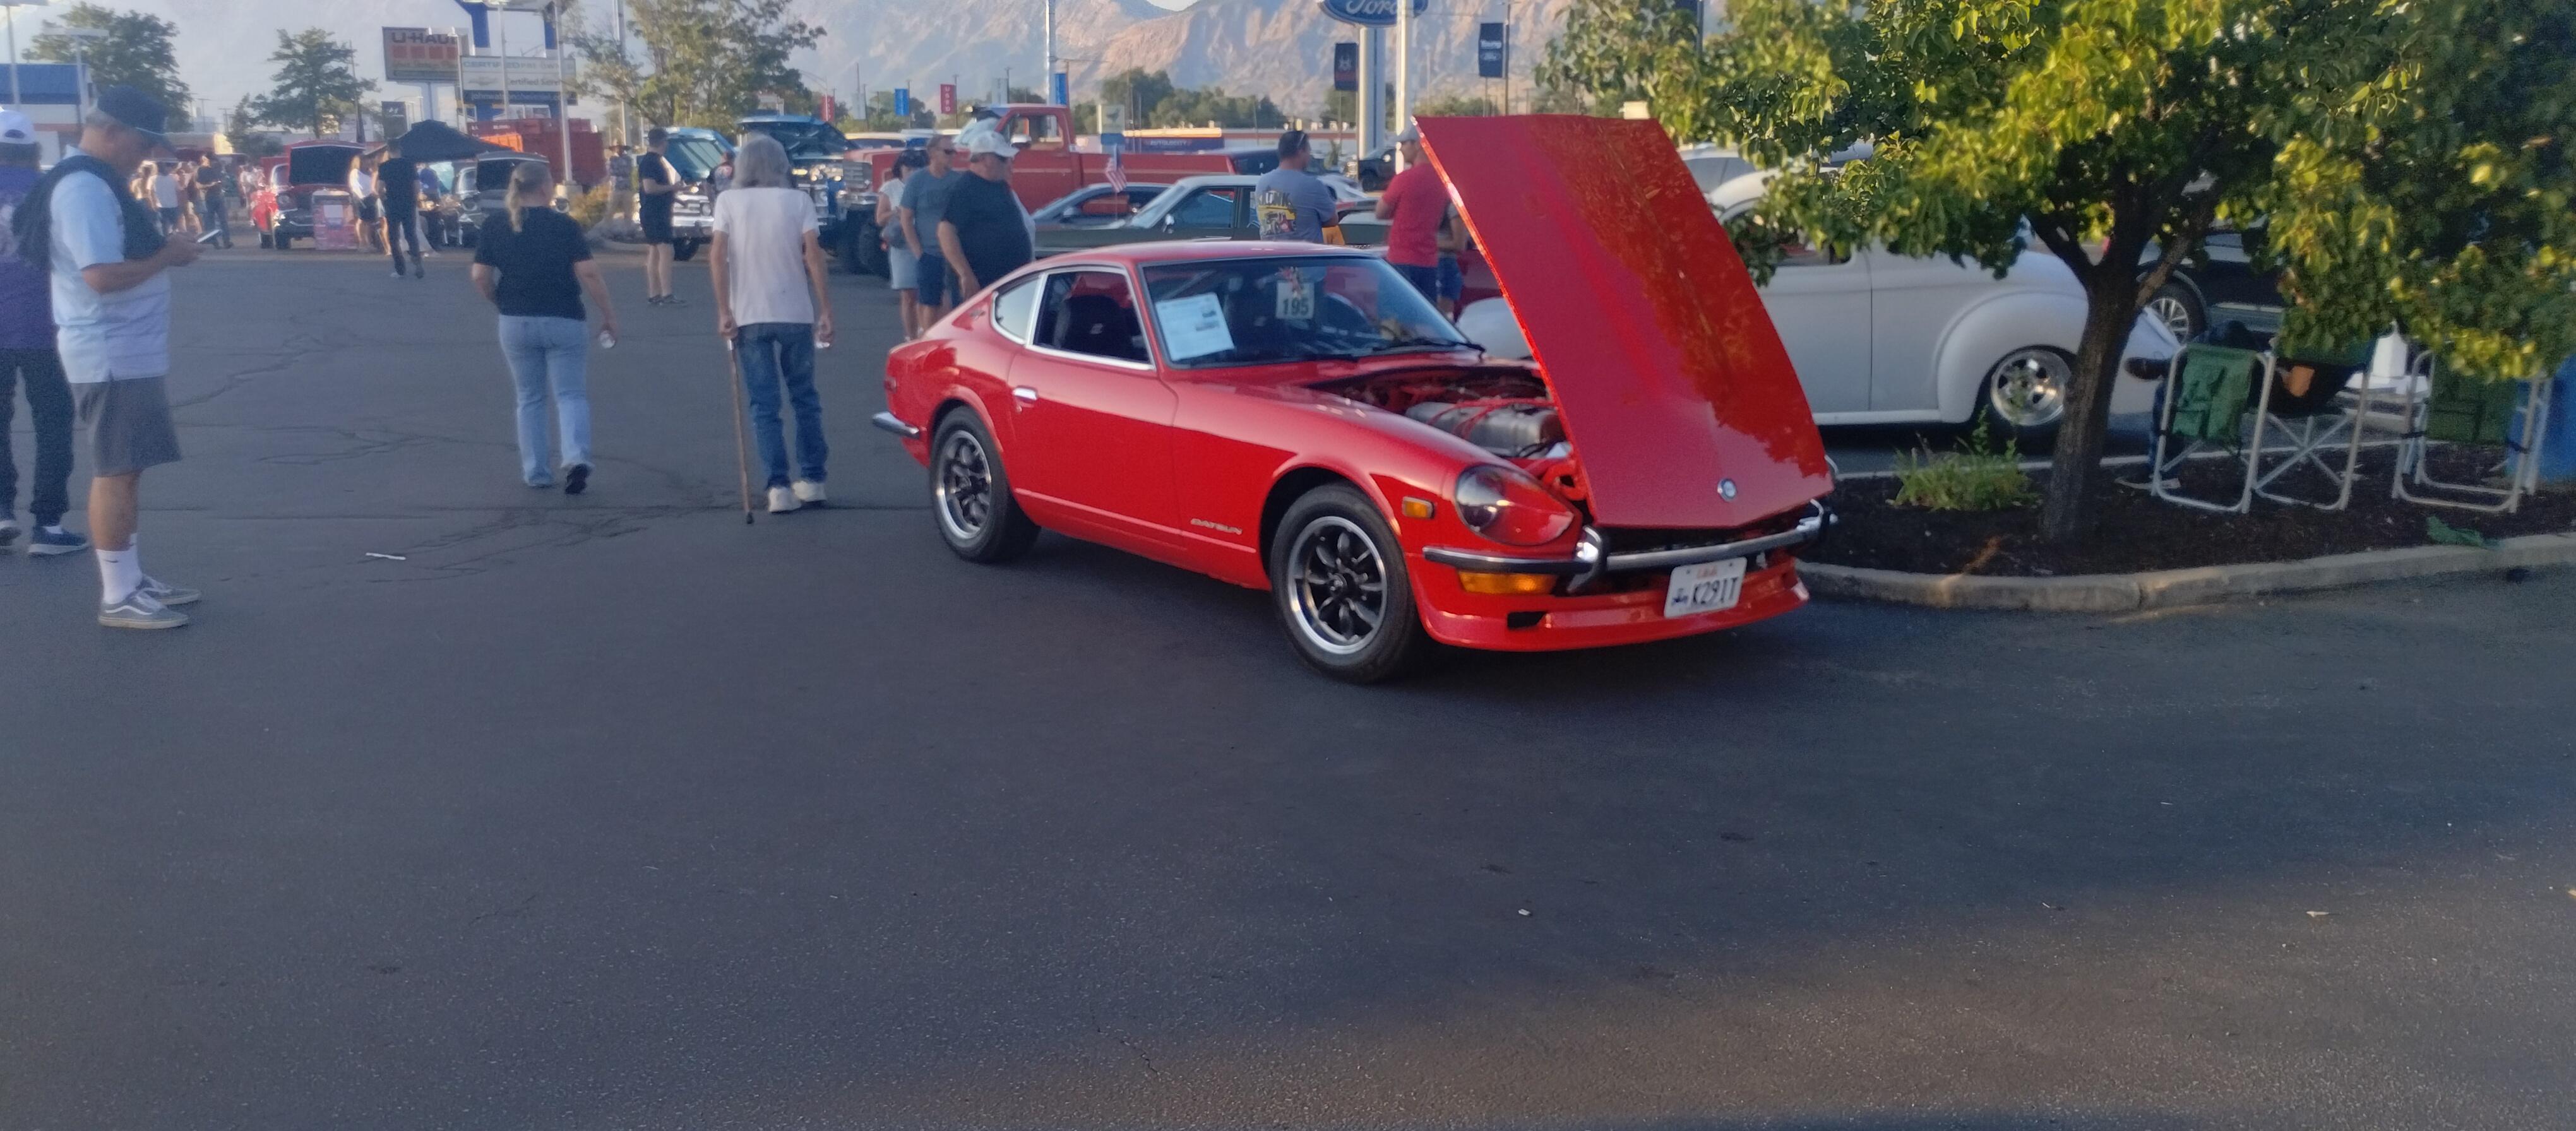
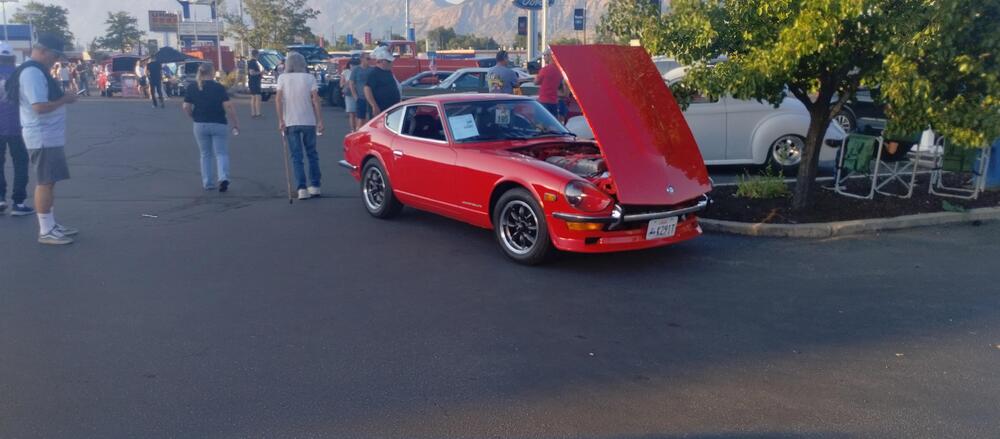
7 pointsTook the Z to a show at a local Chevy dealer. When I pulled in the dealership owner said "We never see these cars, I want you parked at the entrance".

 7 points
 -
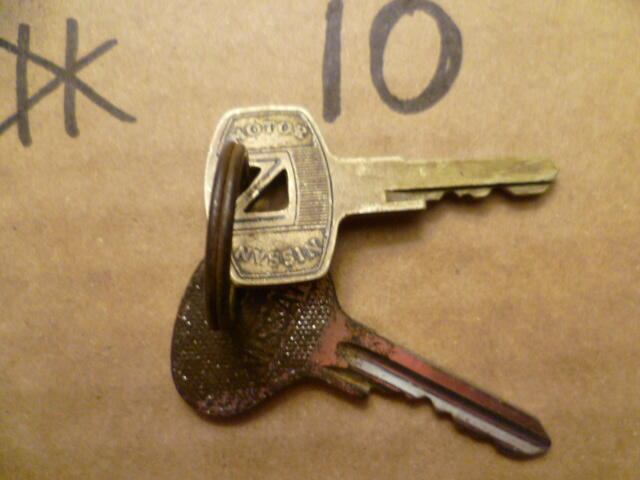
3 pointsSure I'm open to suggestions!! The T/C rod stuff looks fine. They are snug and there is rubber in there. And about the locks... Early car single sided keys, and yes, he doors, hatch, and even the glove box work!
 3 points
 -
Time for another update: I spent the last couple of days in the Workshop and installed all the hood alignment parts, so the body shop can properly align the hood. I also put back all bolts to the body panels, since they were missing after I had to remove a lot of things for alignment and rework. Not much to see, but all panels are now secured for transport. Slowly, but steady, t starts to look like a complete car again. Well - there is still a lot of work. Next, i decided to test fit the side markers, just to be sure the holes are still correct. I assembled to mock-ups from various used and NOS parts which I had. And installed: (Note plastic wrap on the NOS lens, to protect it) Now the big project. The rear spoiler. As you can see, the inner bolts are missing (compare holes with the missing bolt, left): I thought it had probably rotted away in the past, so they just removed it. That made me want to drill back a hole to install a new one, but it seems the previous owner just cut off the previous bolts and the metal part was still inside the spoiler mounting position. Luckily, I was able to drill out the remains of the old studs by starting with a very thin drill and then working the size up until the original 4mm: I made myself some new bolts from some M4 screws: While sanding off the area to glue back in the new bolts, I found a crack underneath the various layers of bondo, primer and paint, which the spoiler has collected over the years: Now also that glue-remains on the inside made sense:, which chipped off like nothing, once hammered: I was able to clean the whole area And then glue both the crack and the bolts back in with some two-component epoxy glue: The result is not bad, if you ask me. It appears to be quite strong, too: Next, I wanted to get back the holes for the original emblems. After sanding the areas, I finally found some black dots, which is probably black filler, which they used to fill the original holes: While trying to tap-mark the holes for drilling, the black filler bits just popped out. So I only used the drill to clean the holes to correct size. Lucky me :-) And the Emblems can go back again, as intended from the factory: Last but not least, I spent quite some hours today to sand off those dozens (!!) of layers of filler, primer and paint from all the years. You might wonder why? Because in some areas the paint and filler is so thick, that the spoiler almost has a different shape. I'm almost done, but still need to spend a few hours. But it appears I was able to save another Original part for the car, and I hope I can install it back soon...3 points
-
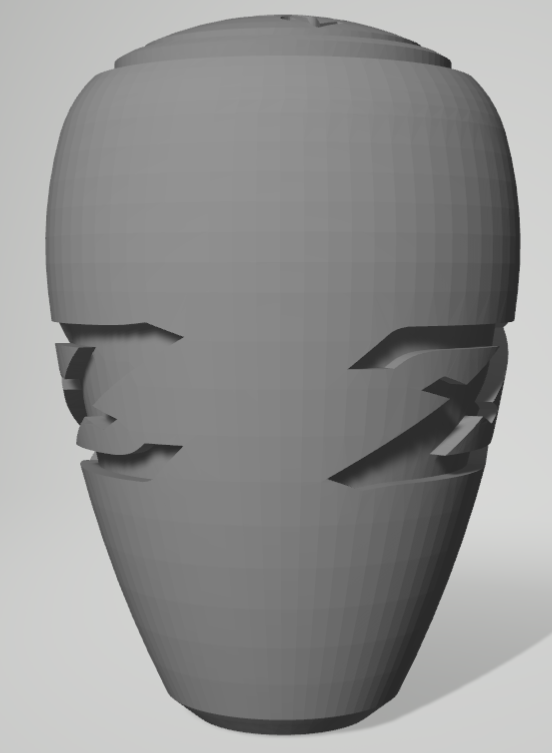
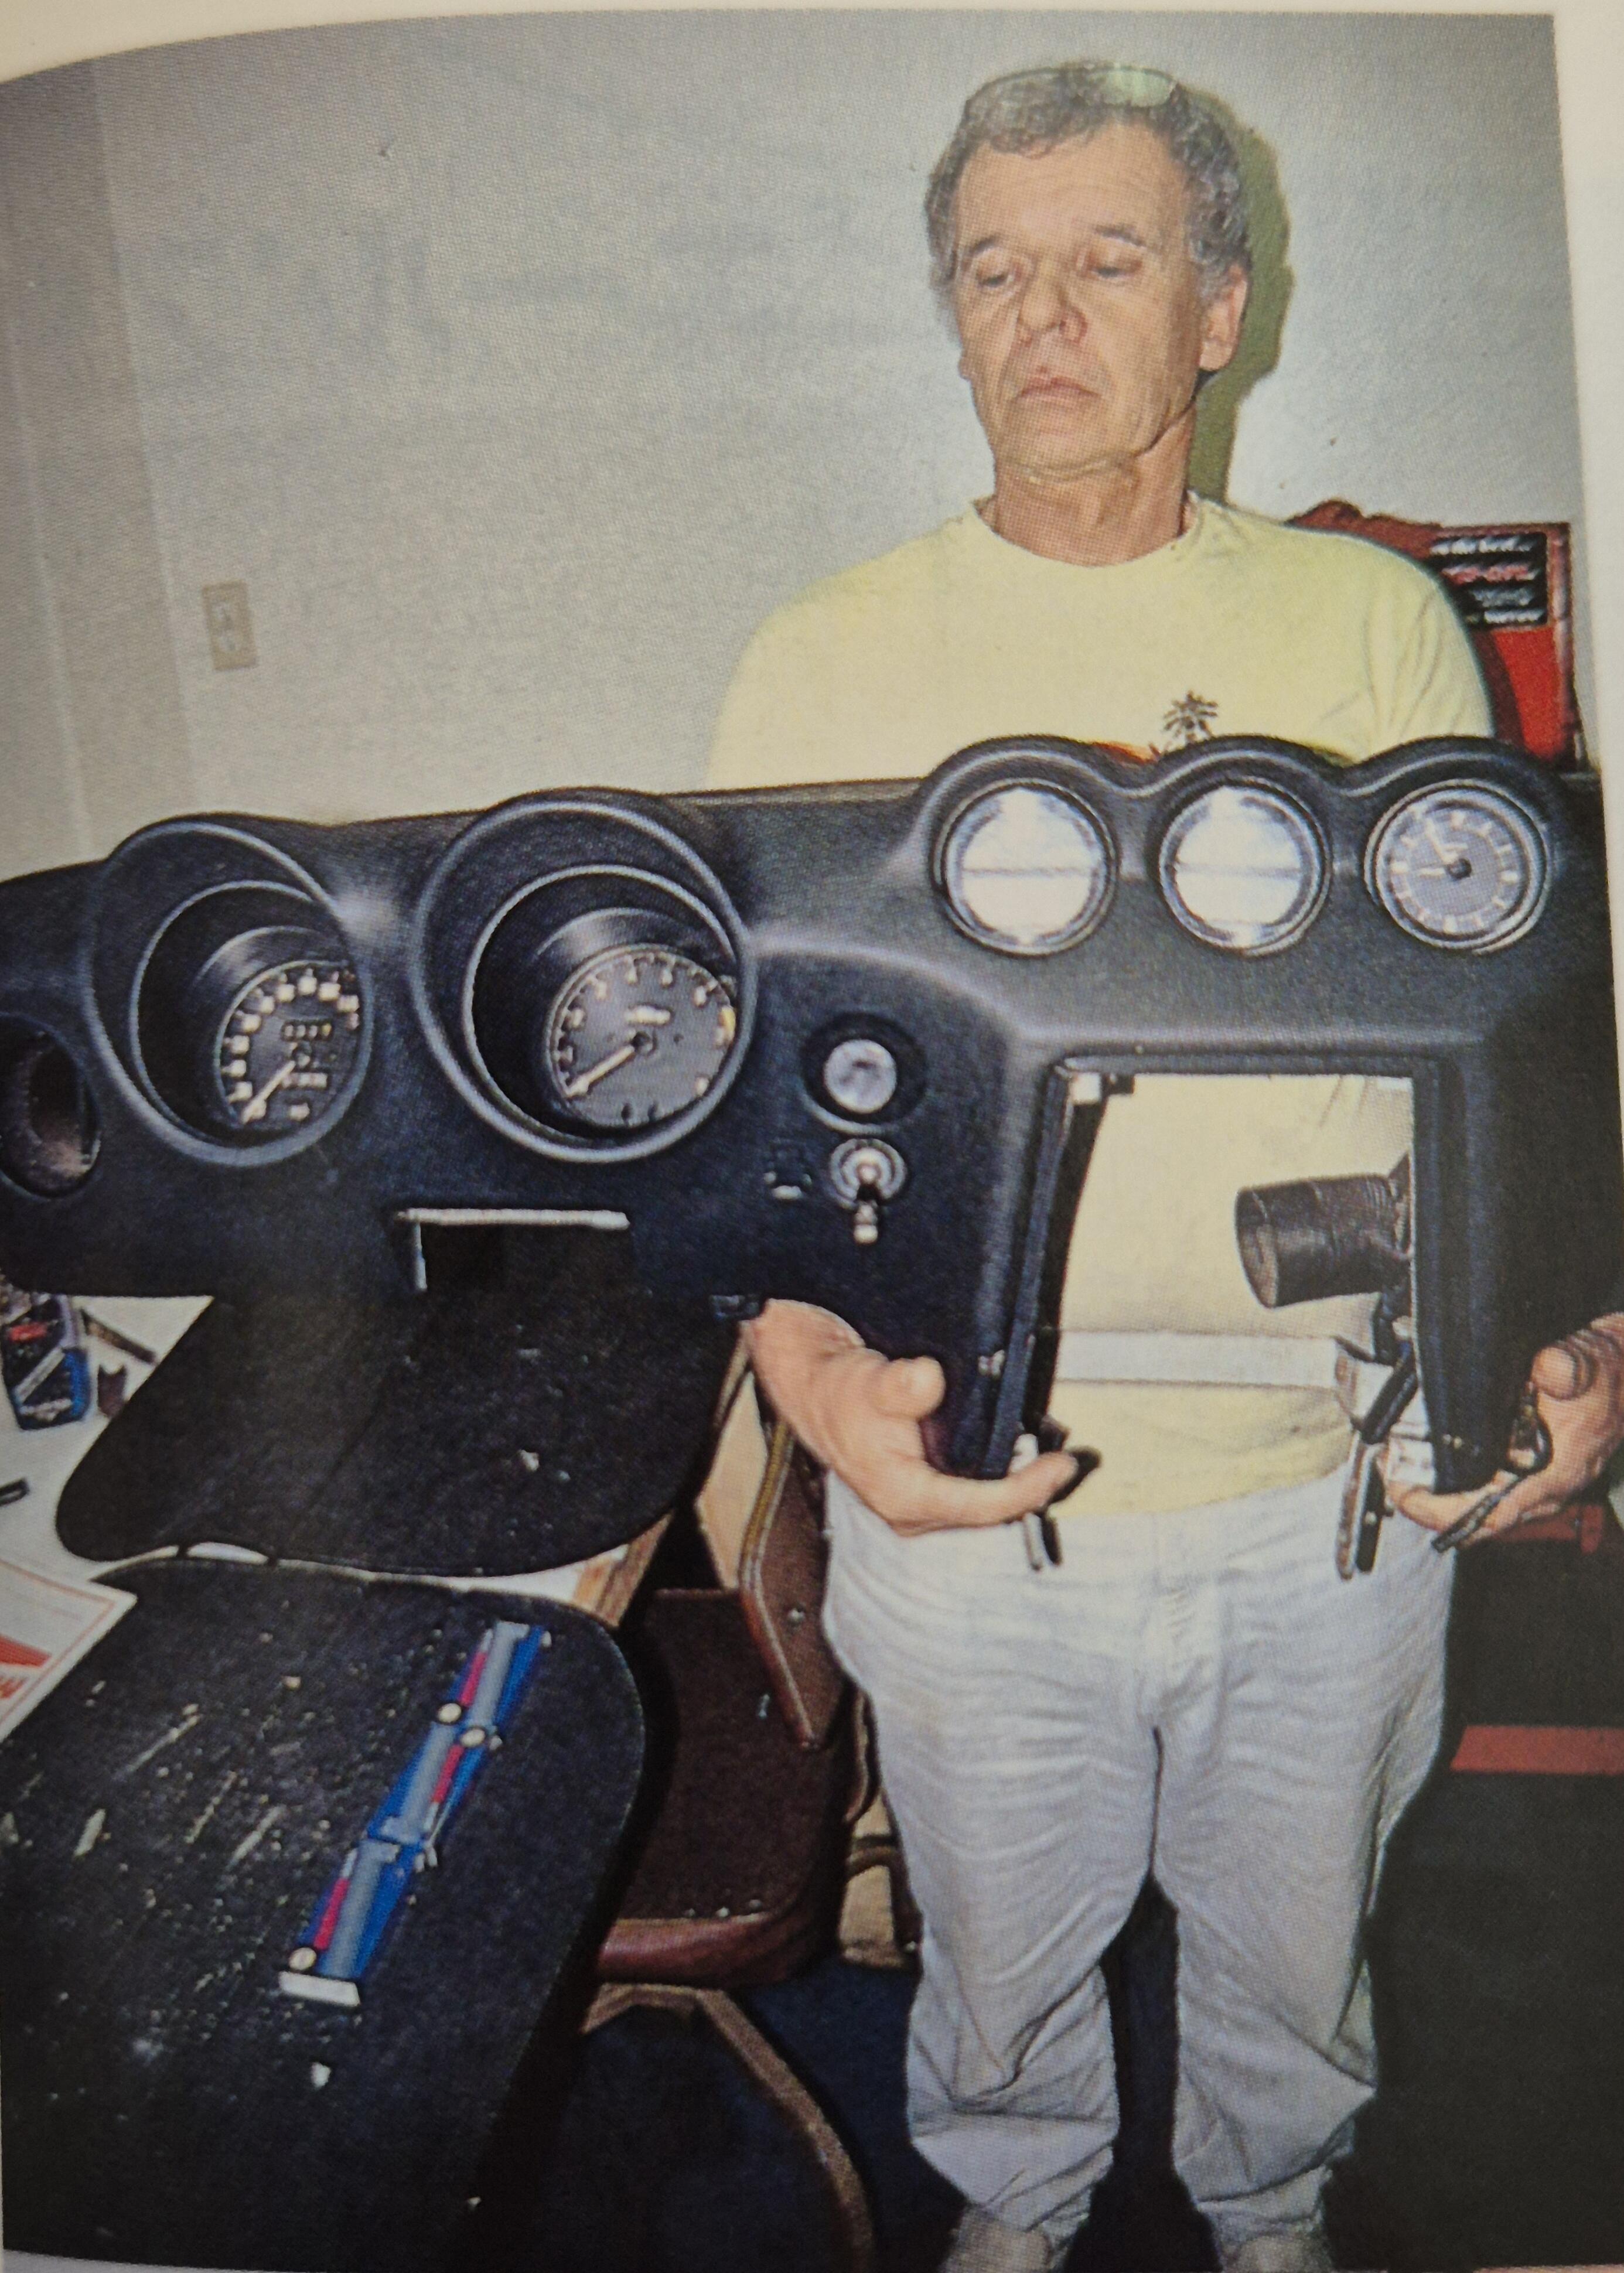
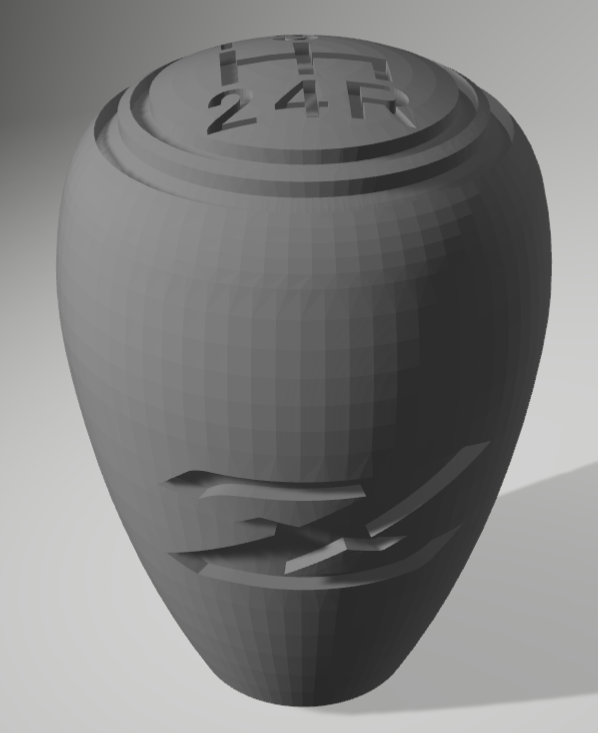
2 pointsBeen playing with metal laser sintered 3D printers lately and wanted to create a stainless 240Z gearknob. Went through a number of iterations and ended up with this design. It's the same size and shape as the original 1970 240Z 4 speed one. Will be running the first metal prints next week, will be interesting to see how it turns out. 3 Z logos are engraved on the main part of the body, the original gearchange pattern is enlarged in size to print more cleanly than the original smaller one.

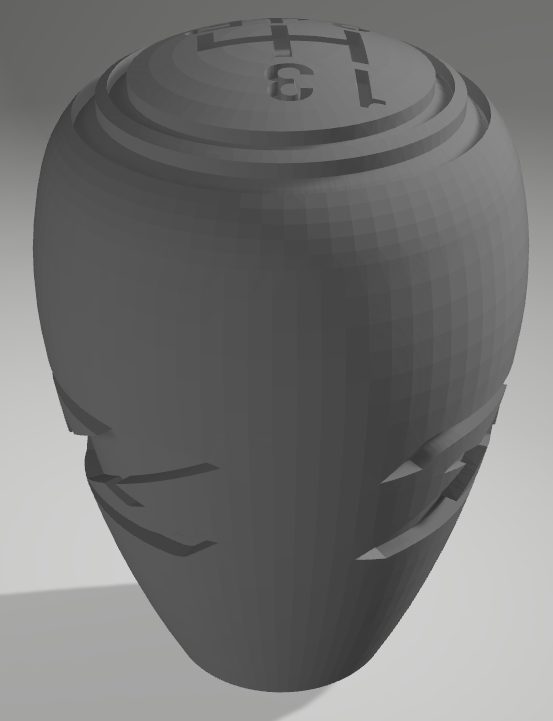
 2 points
 -
2 pointsMy Dad would tell you after all the hard work you've done now it's time to "skin 'er back and let the loose ends drag". His way of saying you're ready for this.🍻2 points
-
2 points
-
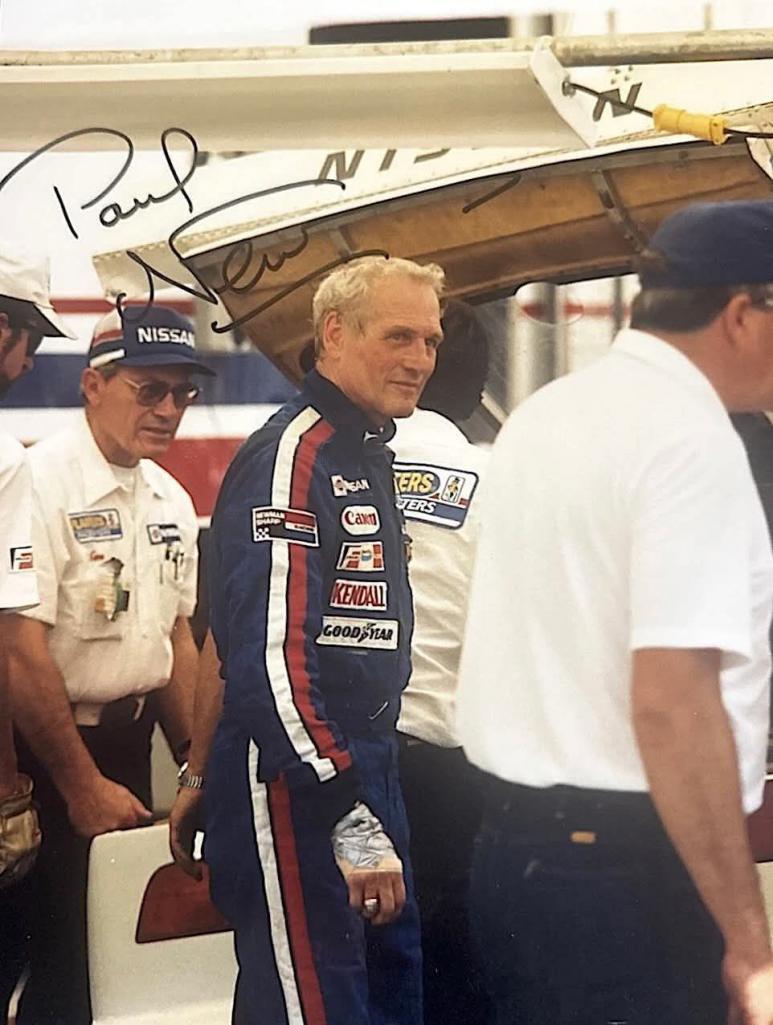
2 pointsHello, I'm a new member here as of today. I've been driving and enjoying the ride for some 40+ yrs I worked (more like moonlighted) on the Restoration Program for Pierre in 1997 at Pierre Z Service Center in LA. I worked on the Rick Cole 240Z Car, that was auctioned in Pebble Beach which at the time was the first Japanese sports car to ever roll across the auction block. We used the best pieces and parts from approximately 15-20 Z's in the build cycle to recreate one Z car. That was the time of my life, building 240Z's by day and DC-9's by night working 16-18 hrs a day. Pierre, for those that don't know was co-driver to Paul Newman at BSR back in the day. One Saturday, the Shop went up to Willow Springs to test and to let off some steam. I was shown the racing line around the Streets of Willow by Pierre in my then stock 77 Coupe and how to actually drive a Z on a road course at speed. I will be forever thankful to Pierre and Daniel for the opportunity of a lifetime. Cheers,2 points
-
I think we always lose control of it. All we can hope for is that science fiction is just that.... fiction. Star Trek ("The Ultimate Computer" for example) Matrix Terminator I Robot Ex Machina1 point
-
1 pointWelcome! Here, have a photo of Pierre as a tip of the hat. You spoke well of him, as have many others:
 1 point
 -
I never lock my 12/70 240Z. It's garaged almost 100% of the time. When out it's for a show or cruise night or visiting friends. There's nothing in the car that really worries me and I'd rather have it just stolen than having someone break a window to get what they're after!1 point
-
I'm sorry Zed Head I can't allow you to disparage me. You're FIRED! 🤯
 1 point
 -
Over the last few weeks, various envelopes with small stuff arrived from all over the World. Time for a little update: First i got this cool Nissan "Automatic transmission" flyer, which explains the new NissanMatic transmission for different cars, including the S30. Then i got a nice Z-3 Service bulletin, which was missing so far. My man Jerome sent me a few documents. Which included a Swiss market 240Z brochure. But also a "Nissan Autographic" magazine (I believe this was either a customer, or internal Employee / dealership magazine) with News about the company from around the world. And then this useless but interesting sheet from "Asbest Technik", the then Swiss importer for Akebono brake parts. Which lists the official spare parts for various Datsun Models, including the 240Z: As shown in the previous post, my man Florian sent me some nice goodies. One is a spare (NOS?) rear number plate piece A broken (but still good for trial-fitting) upper number plate light, And some cool die casts of a sunny Pickup and new CTR. And today a small delivery from Japan. Aside from some number-plate bolts for my EK9, It also included this Rally collector's set of ChoroQ cars. I'm not really a collector, but these went for a superb price and I liked them so much, I had to get them. I also got a Japanese Nissan Shizuoka dealership price list from 1975, which includes the S30. Not really useful, but good to put them next to my JDM Fairlady Z brochures. And last but not least, another Service bulletin book. The Z-6. I soon have the full set, I think. Only a few issues are missing. That's it for now. I hope later today and tomorrow i get some work done on the car again...1 point
-
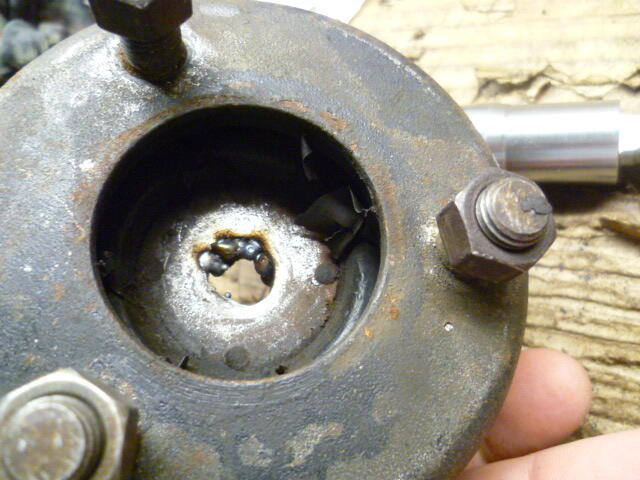
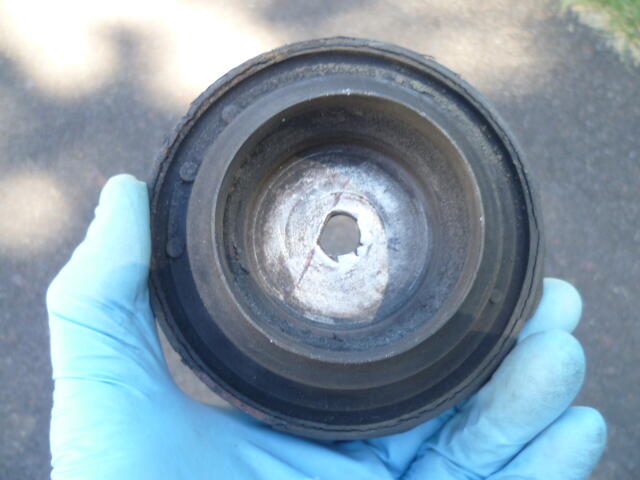
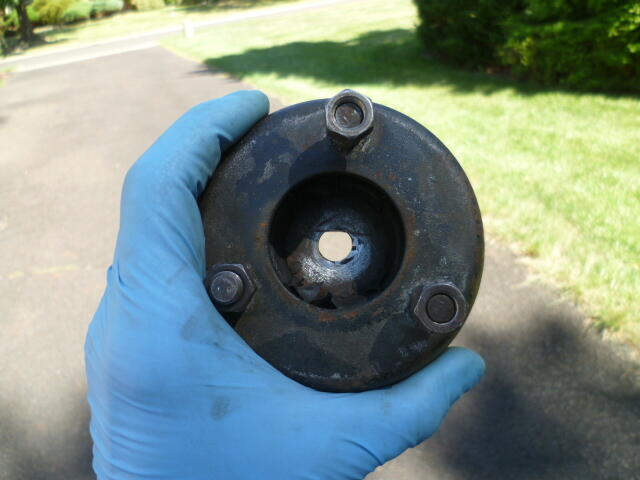
So with the help of some kind generous people from here on the forum, the front struts are back in the car! Here's a recap... I "welded" a couple dots down inside what was left of that "D" shaped hole. Isn't pretty, but doesn't have to be. All it has to do is keep the strut insert shaft from spinning while you tighten the nut. Hard to weld down inside that pocket, but here's what I did: Then I filed the hole back into a "D" shape and ground off a little bit of excess proud of the surface, and in the end, I have this: When you get the contrast right with backlight, you can get a decent look at the "D". Remember, all it has to do is keep the shaft from spinning: So with that crisis averted, put the struts back together. Put 'em on the car, reassemble and bleed the brakes, and I'm back to where I was two weeks ago*. Hahaha!! * But now I have struts that work.
 1 point
 -
It has been a serious while since I was able to put some actual work in the car. I had some urgent projects on the house to complete, and then I managed to injure my hands, but now I'm back at it again. First, I had to re-install my tank. Since I sold my new fuel tank including rubbers and straps at the Japanclassic, to help somebody get is car running again quickly, I had to wait for a new one to arrive from S30.world. Unfortunately, new straps are currently not available anymore, so i had to go through my set of existing straps to get the best ones for temporary usage: First i had the rubber insulator blocks installed on the tank: And then had it all wrapped to avoid scratches on my brand new tank: And then everything installed. Thanks to my new transmission hoist, this was a lot easier than last time. And last but not least, i had the drain plug installed, which comes with the tank: Next? Front end work. Ever since I had my wobbly bent EU spec front spoiler installed, I was wondering myself which route to go. EU-spec corner valances with the mounting holes for the spoiler, but no holes for the Lower turn signals or other way? After thinking about it for a while, i decided to take the best of both worlds. Some might call it sacrilegious, but I decided to go what appeals the most to my eyes. US spec lower turn signals, but EU-spec front spoiler (which also helps stabilize the car and is not just for the looks). My original thinking was that the US-spec corner valances need to be modified with that "loose-nut" mounting brackets for the lip, but when checking my EU-spec valances, i realized that on the corner valances (unlike the center valance) there is only a simple hole. So the modification of US-spec valances to fit the EU-spec spoiler is simply to drill a 5mm hole in the right place. To get the right place, i made a nice little template from tape. Transferred it from the EU- to the US-valances, and drilled / cleaned it. Unfortunately, I found that on the LH-side somebody had previously drilled holes in the wrong places, for whatever reason. Probably they had some different spoiler installed? I'll leave that to the bodyshop. So everything set to install the spoiler completely? Almost. As you can see, the brackets on my worn out spoilers are quite bent. Some were even completely missing or "fixed" with a bit of backyard-engineering: After I bent all the existing brackets in a more-or-less correct position and installed it back on the car, i have to admit it looks quite good, even though it's still just a completely temporary mock up. I also had my replica US-spec turn signals installed (I will look for some good OEM-ones, as these lack the mandatory E-stamps on it). Which made the iconic, but also a bit ugly, EU-spec turn signals obsolete. Even though I don't think the look is too bad, I always have the feeling that they were just slapped on the car in a hurry, and are held on the bumper with only one nut, so they always look a bit off in their position and are hard to get it right (see previous photo). So I had them removed. The US / Japan spec turn signals always looked much sleeker to me, fully integrated under the bumper. Like intended from their designers. So for the moment, I'll stick to this setup. But I might change back to full EU-spec, if required. During this work, I was also able to fix two previous issues with the front bumper alignment, which is great too. From my point of view, the front-end (everything in front of the radiator support) is completed now. Next I'll focus on some other points. My 2-do list is getting smaller, and I'm happy with every task I can check off. I expect DHL ringing on my door with some nice stuff from Japan every moment, and i have some more things on the way here, so expect another update soon.1 point
-
I have some urgent projects around the house which I hope to be able to finish in the following days, but I hope after that I have loads of time for the Z again. So this will be a very quick update: I got some nice documents from Japan again: The first one is the "Z-2" Service Shuho Book, which is the equivalent of the English bulletins. They have become quite pricey recently, so i stick to focus on the most important ones, but when Z-2 (introduction of the Automatic transmission cars) showed up for a reasonable price, i made sure to get it. Here's my collection so far. There are plenty more, which I hope to add to my collection whenever they pop up for a good price. The second document is the December 1973 Nissan sports option catalogue for the HS30 "240Z". It's probably the most extensive one, which is 12-pages strong. It focuses on the HS30 Fairladies only, which means most of the listed parts also fit my HLS30 car. The other catalogues are either much thinner, or focus on a different car (Z432, for e.g.) or a whole range of Cars (240 / 260 / 280Z). But basically, it was a good price and missing in my collection, so that's why I got it. I hope for more updates, soon, I have some things planned... And I have some very cool things waiting to be picked up by me, or on the way here...1 point
-
Over the last few weeks, i did some small things and collected a lot of stuff again. First, I exchanged my US-spec front lower valance. Before: And After: Euro spec valance: In case you're wondering, what's the difference? The euro spec has the additional mounting holes / nuts to install the Euro spec front spoiler lip. Here you can see the two side-by-side: This allowed me to temporary test fit my wobbly, worn-out, cheaply-repaired Euro spec front spoiler lip: I still need to change the corner valances to euro spec ones, but also the lip needs a replacement, as this one is beyond repair. But at least I could see how it will look: People often say they're impressed with what I'm able to find for purchase. But this time I even surprised myself. You might remember the Eaglemoss Fairlady Z Kit that I bought a while ago and came with a bunch of magazines? The set has dedicated folders / binders to put the magazines into. I always had two missing, so some of the magazines were stored "loosely". Luckily, I was able to find two unused Folders for exactly that kit in Japan: So all the magazines are now nicely stored: And my book shelve / archive looks much better :-) I also bought a small lot of vintage Datsun (Switzerland) Stickers. Some of which I haven't got yet in my collection: Then I also got a bunch of Documents: First, the Datsun Sports 311 Introduction Bulletin from 1967. Theoretically, it has nothing to do with my 240Z project. But with this car the FS5C71A transmission was introduced The original Overdrive transmission, used in a similar (albeit slightly different) configuration in the early EU-spec 240Z. To find information about it is a bit tricky. So when I saw that this booklet has more details about it, which I haven't seen before. I had to get it: Speaking of transmissions, I also got the Japanese Nissan Transmission service manual from 1974: This one includes the later FS5C71B transmission and some general information about Nissan transmissions, which is not found in the 240Z specific documentation: And then i also got another issue of the "Nissan Star", Swiss customer magazine from 1990, which always has cool insights into Nissan from those days: More to come soon.1 point