Leaderboard

 Subscriber


Popular Content
Showing content with the highest reputation on 10/20/2024 in all areas
-
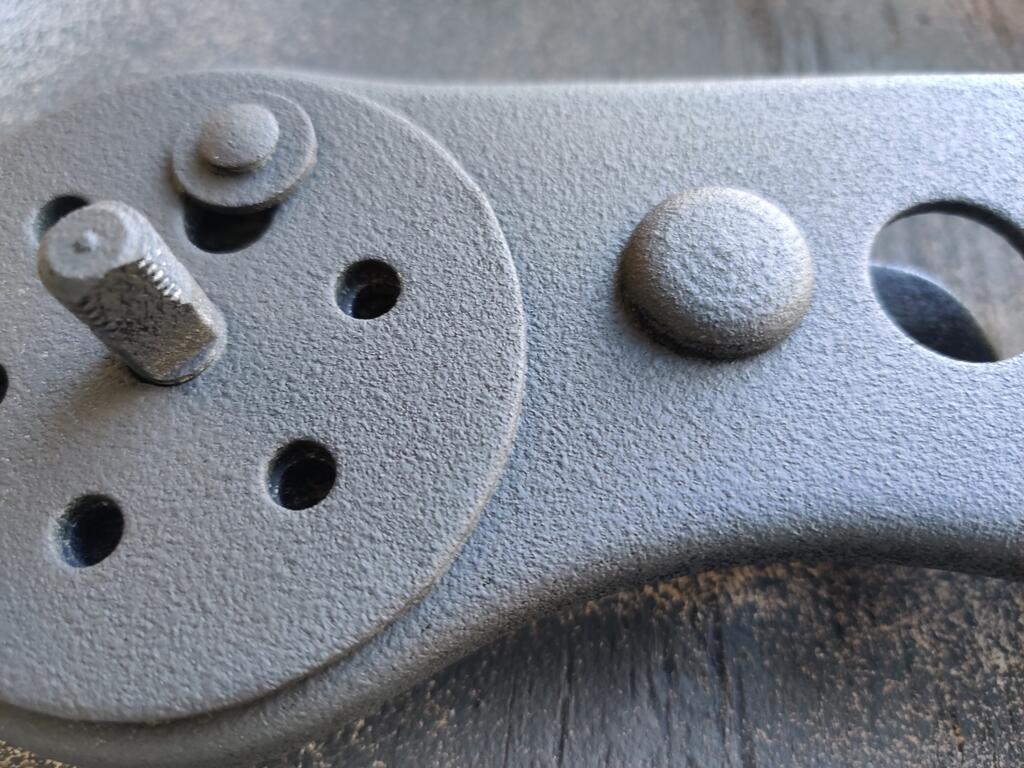
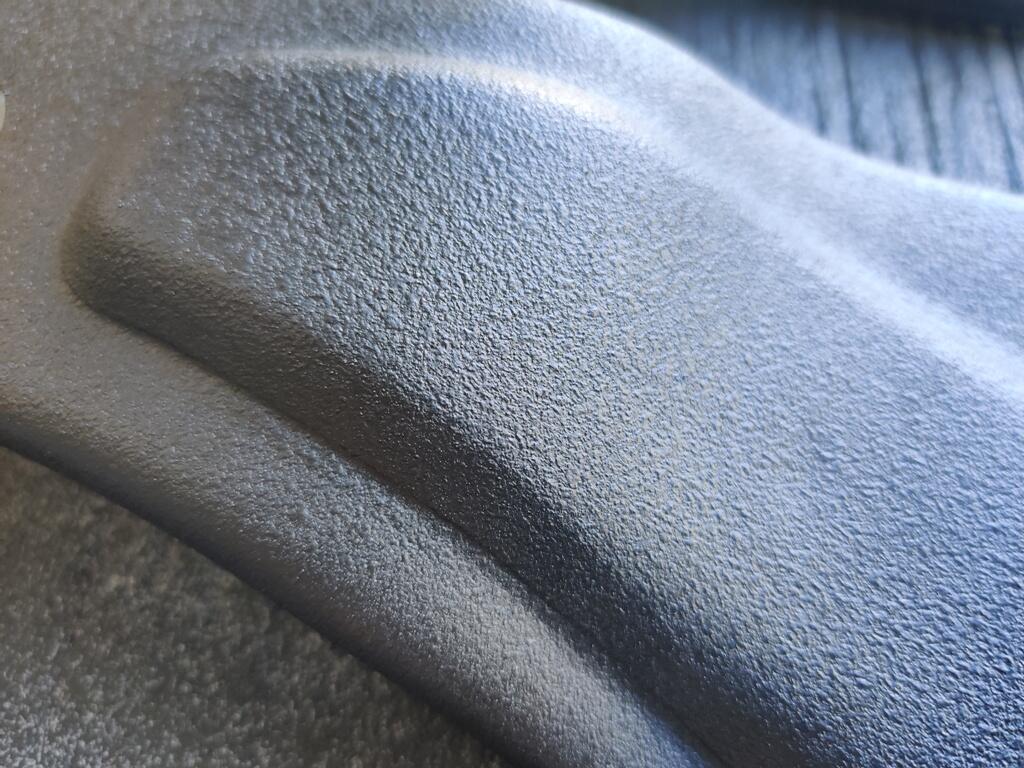
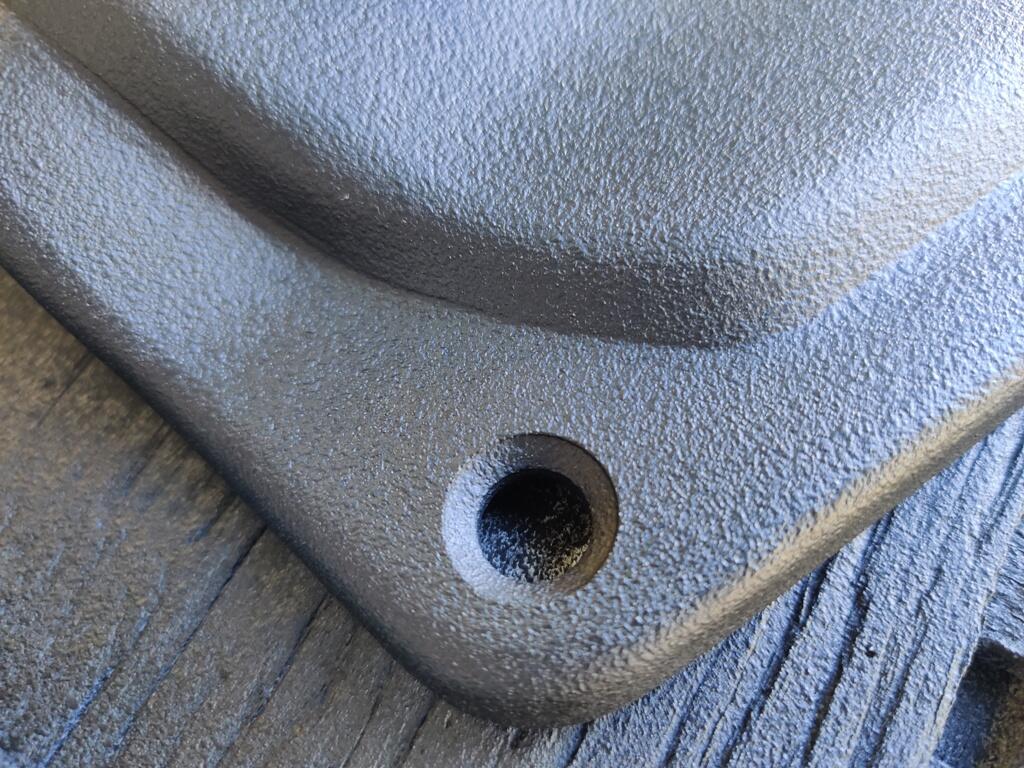
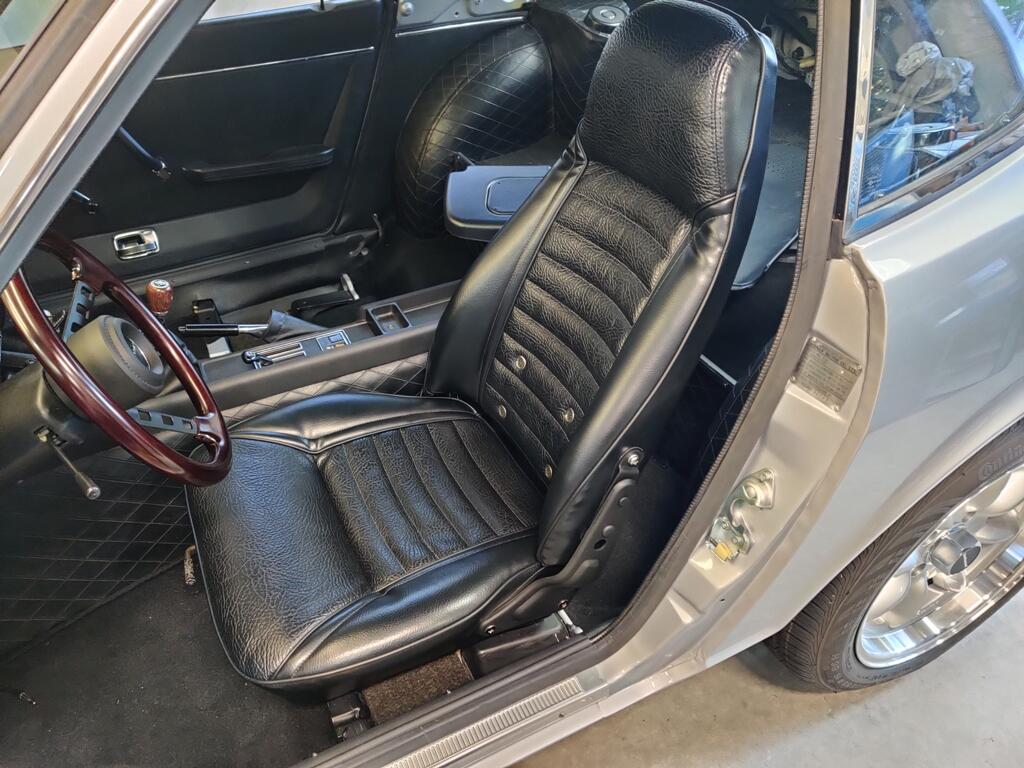
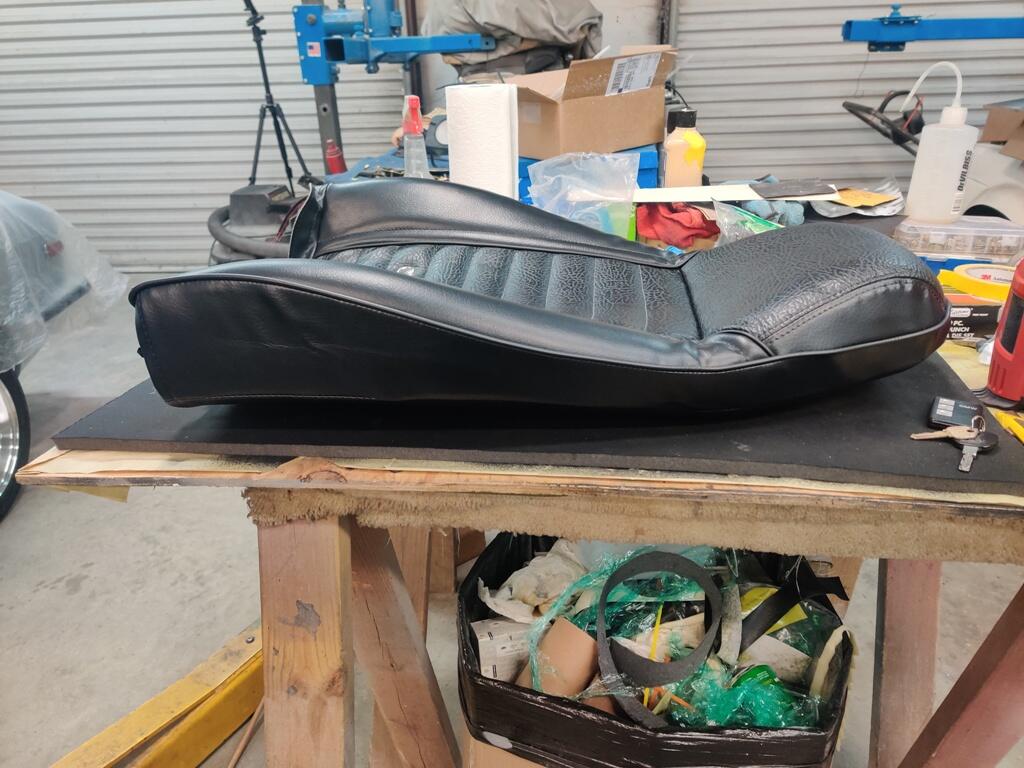
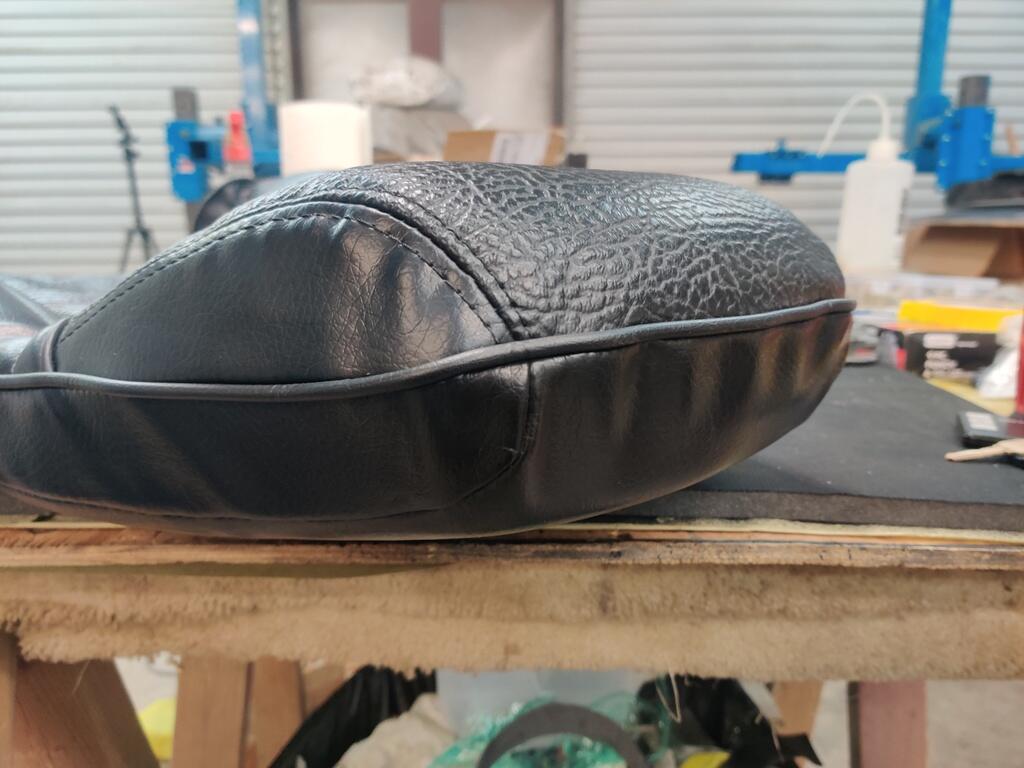
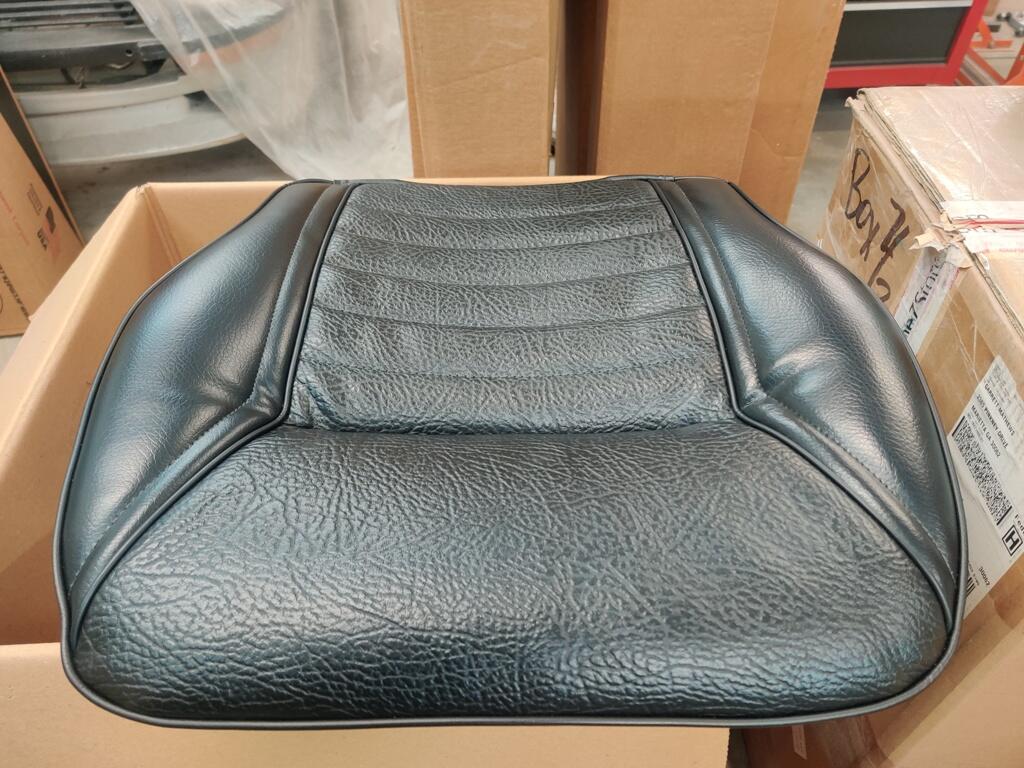
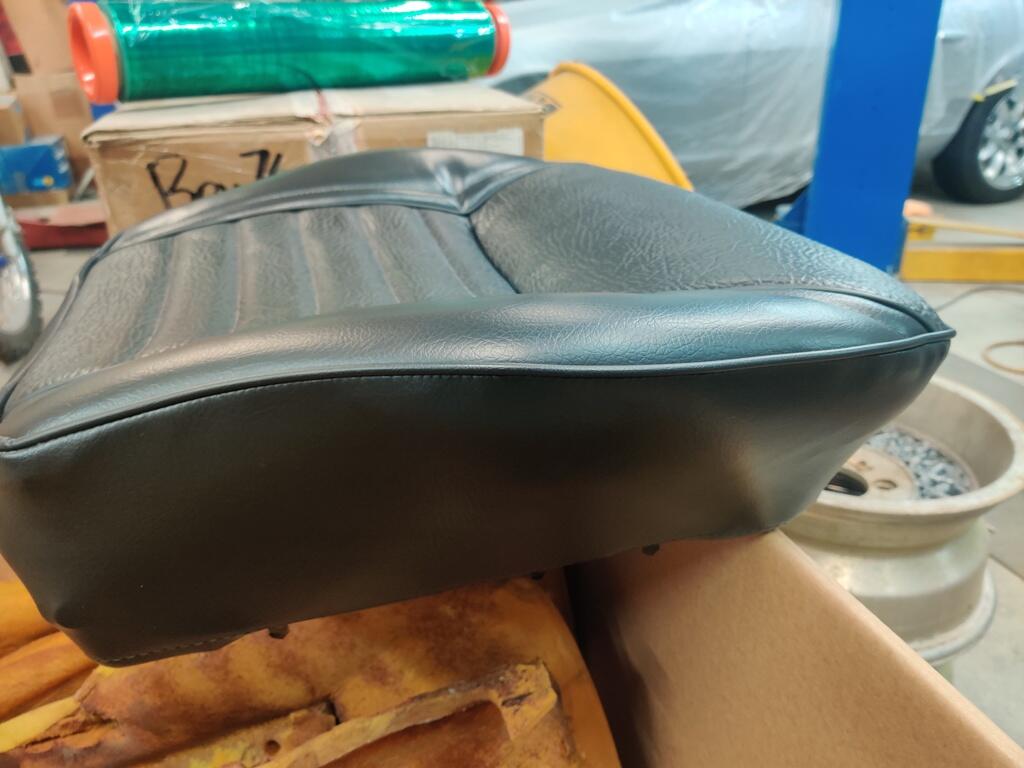
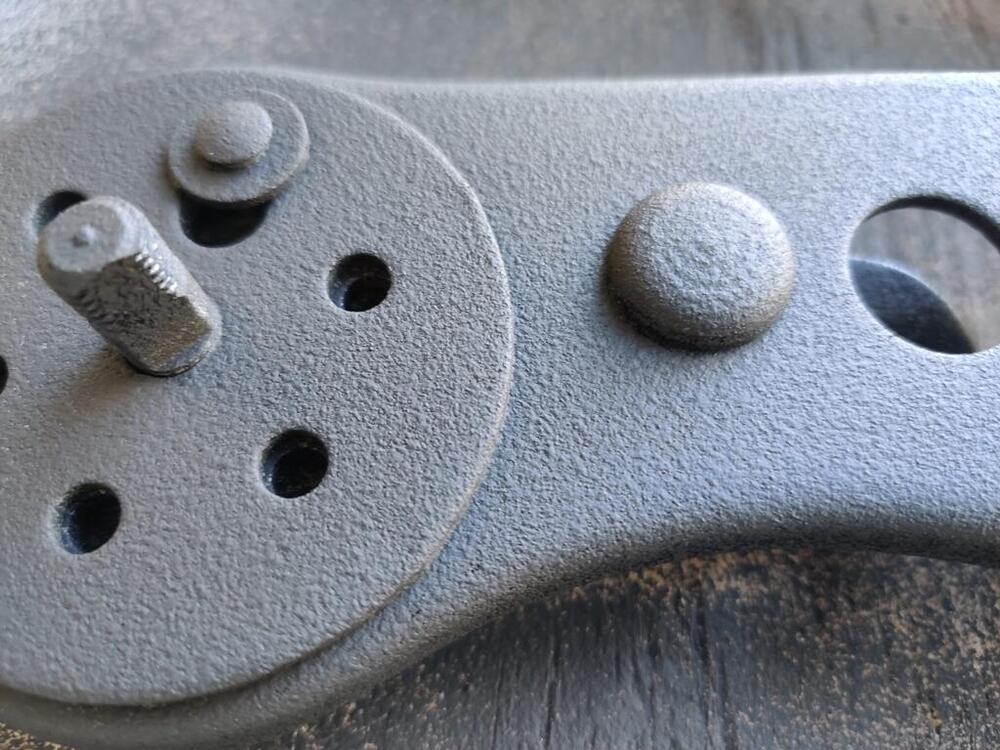
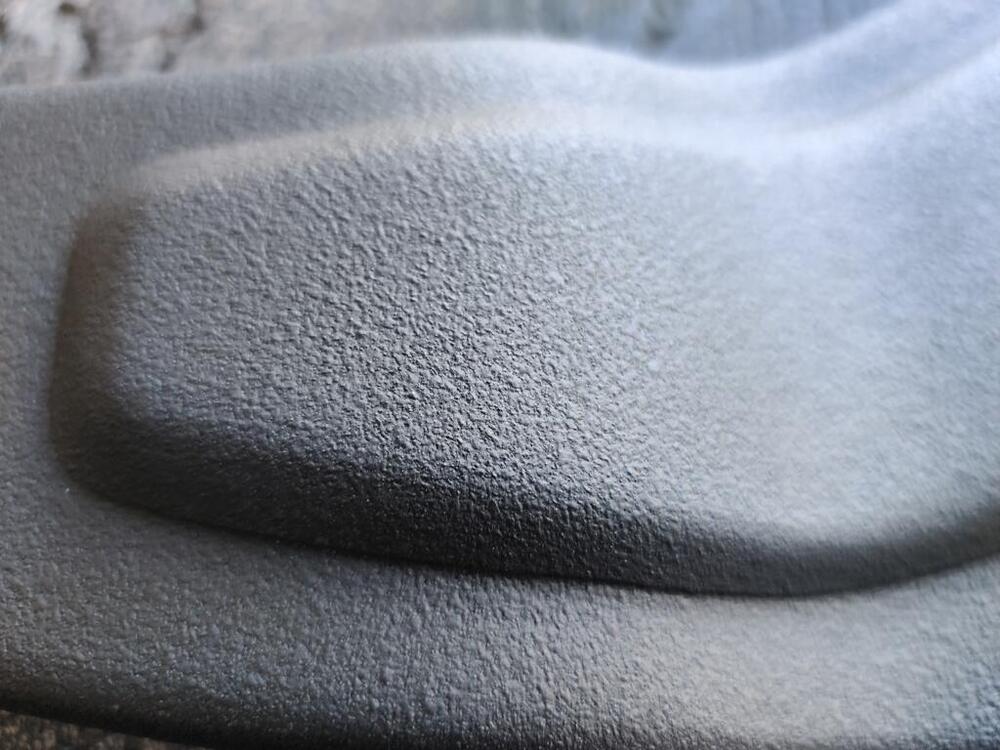
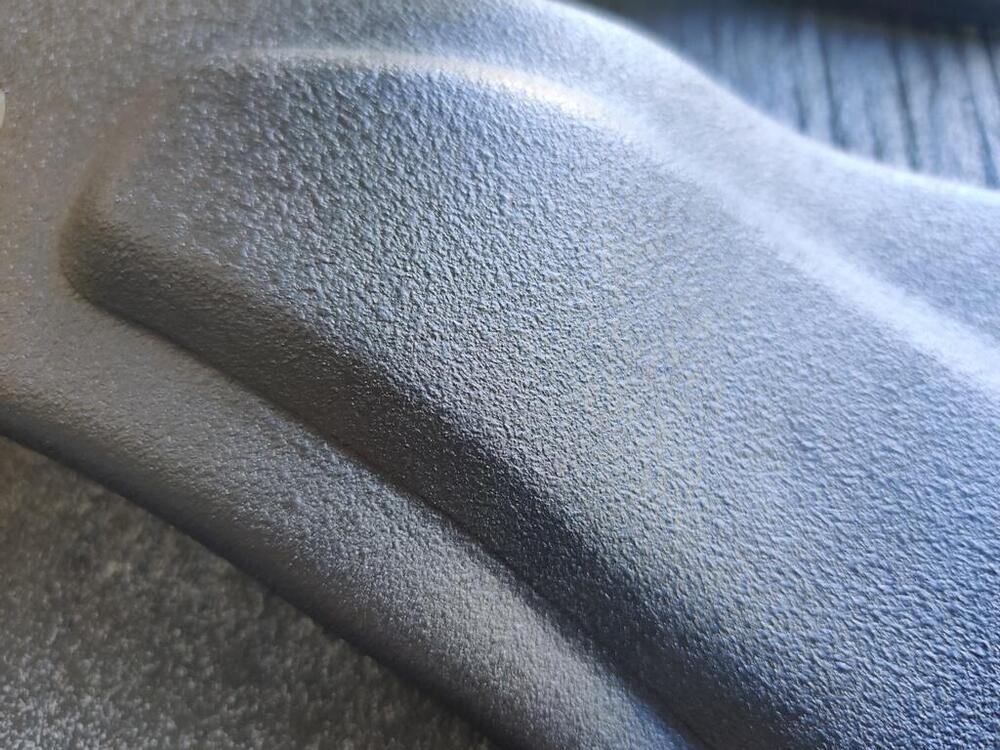
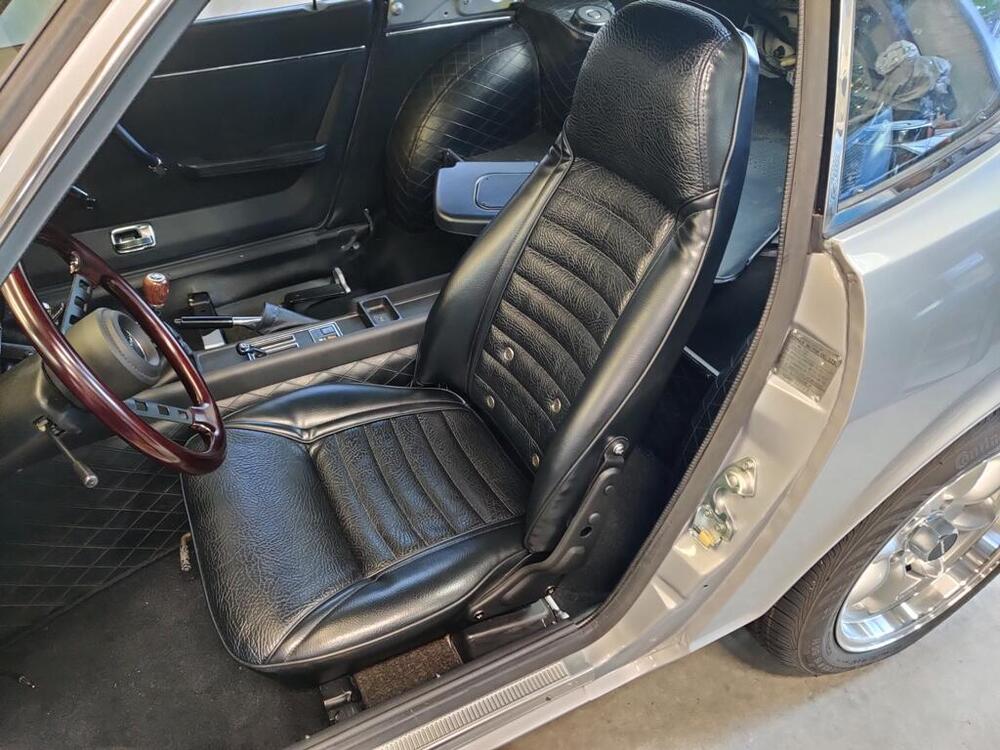
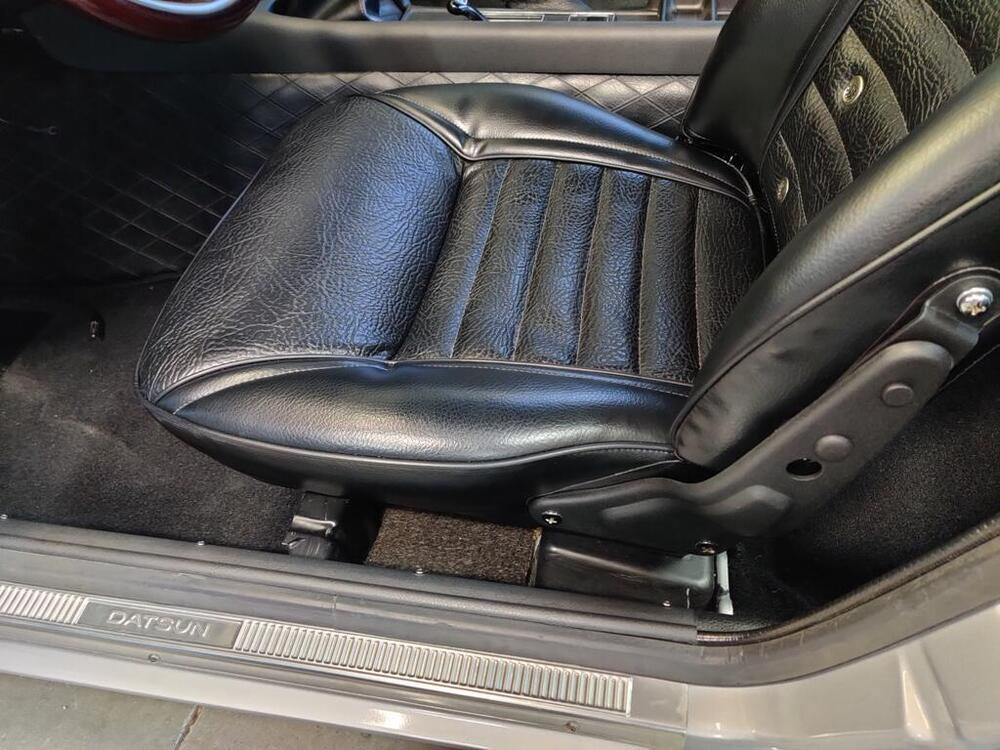
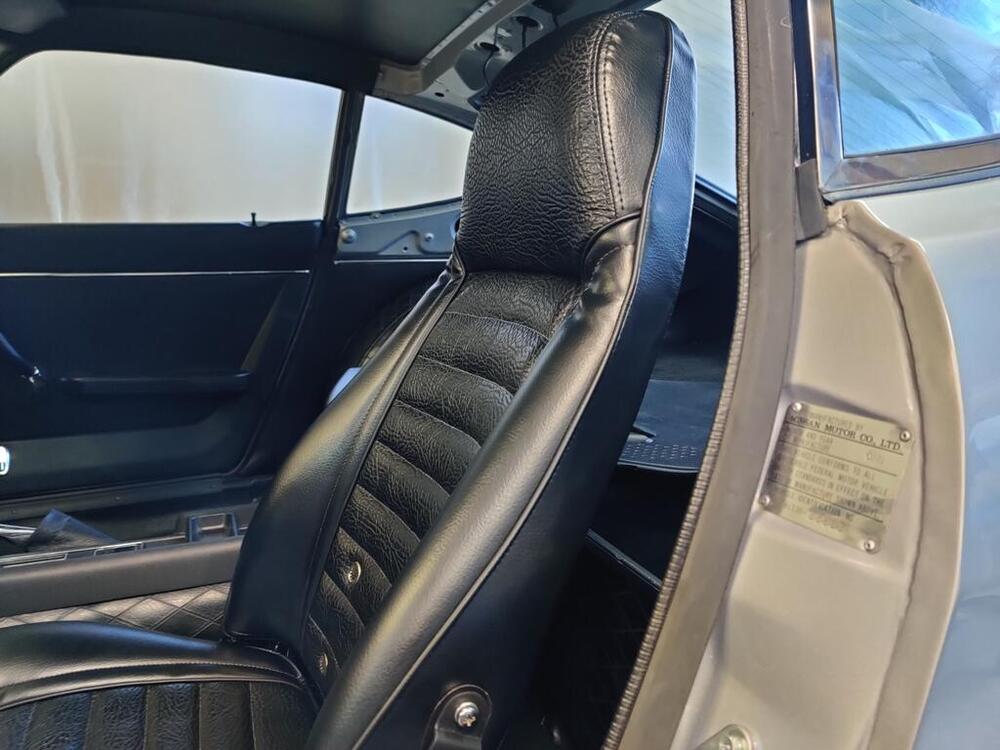
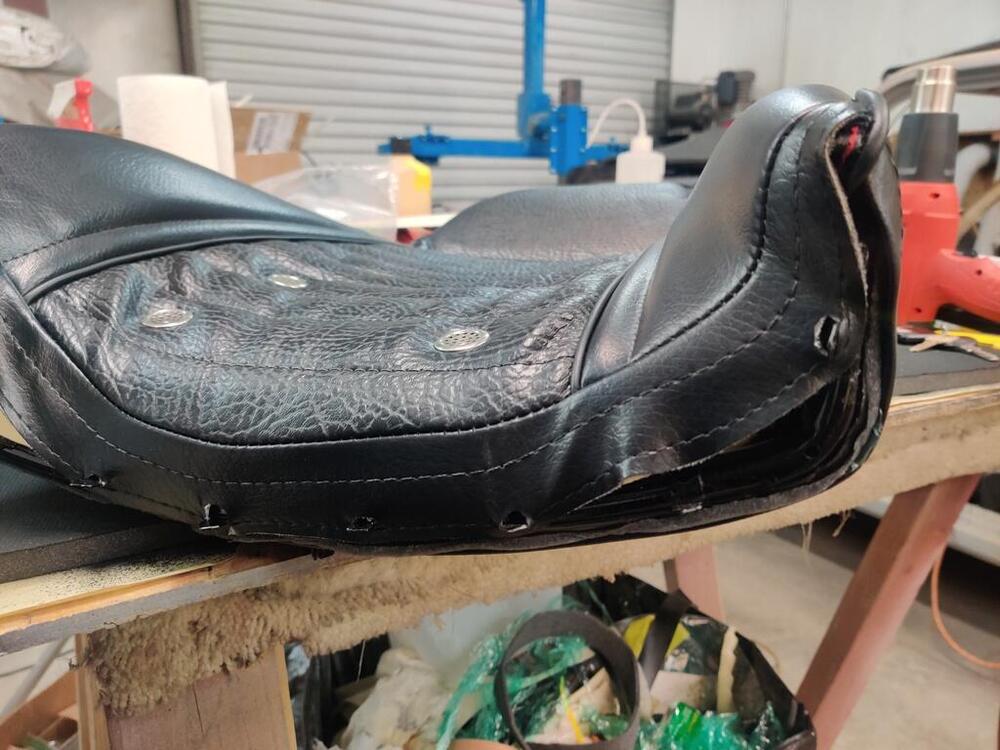
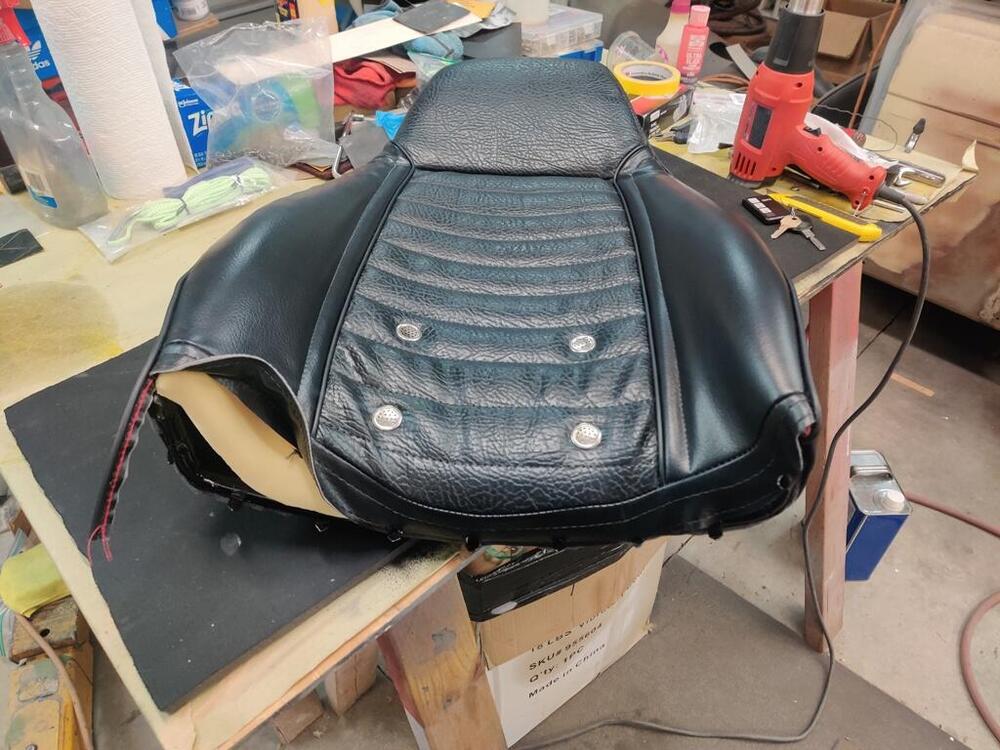
I was able to get one seat finished today! It was difficult to get the seat back upholstery stretched enough. Putting the seat back in the sun and working the material down the frame, as well as from back to front around the side bolsters, I was able to get the front flap on all the hooks. I also was able to run a piece of wire inside the bottom loop on the back side. The hooks now hold onto that wire which runs the length of the rear vinyl piece. Everything is nice and tight! When bending down the hooks, one of them was fatigued and broke. I ground away a spot weld and removed the old hook. I made another from scratch and drilled a hole in it so I could attach it to the frame with a rosette weld. It was tricky welding this with the upholstery on. I used a wet rag to protect from splatter. Thankfully, all came out well in the end - the hook I made is the last one here in the second picture. I also finished the seat brackets today. I had painted them gloss black when I sprayed a large number of parts a while back. To finish them properly, I scuffed them with green Scotch Brite pad, and then used the same SEM texture paint I used on the center console. I shot this at a distance of about 2 feet. And again, sprayed a satin coating on top of the texture, as it has to be top coated. I have never sat so high in a Z! I may have to remove the two plastic spacers under each seat - we'll see. I think I will try to get the car moving under its own power tomorrow - pretty exciting! All I have to do is check the hard line fitting for the clutch and brake system, add fluid and bleed those two systems. Oh, and torque the lug nuts to spec!


 3 points
 -
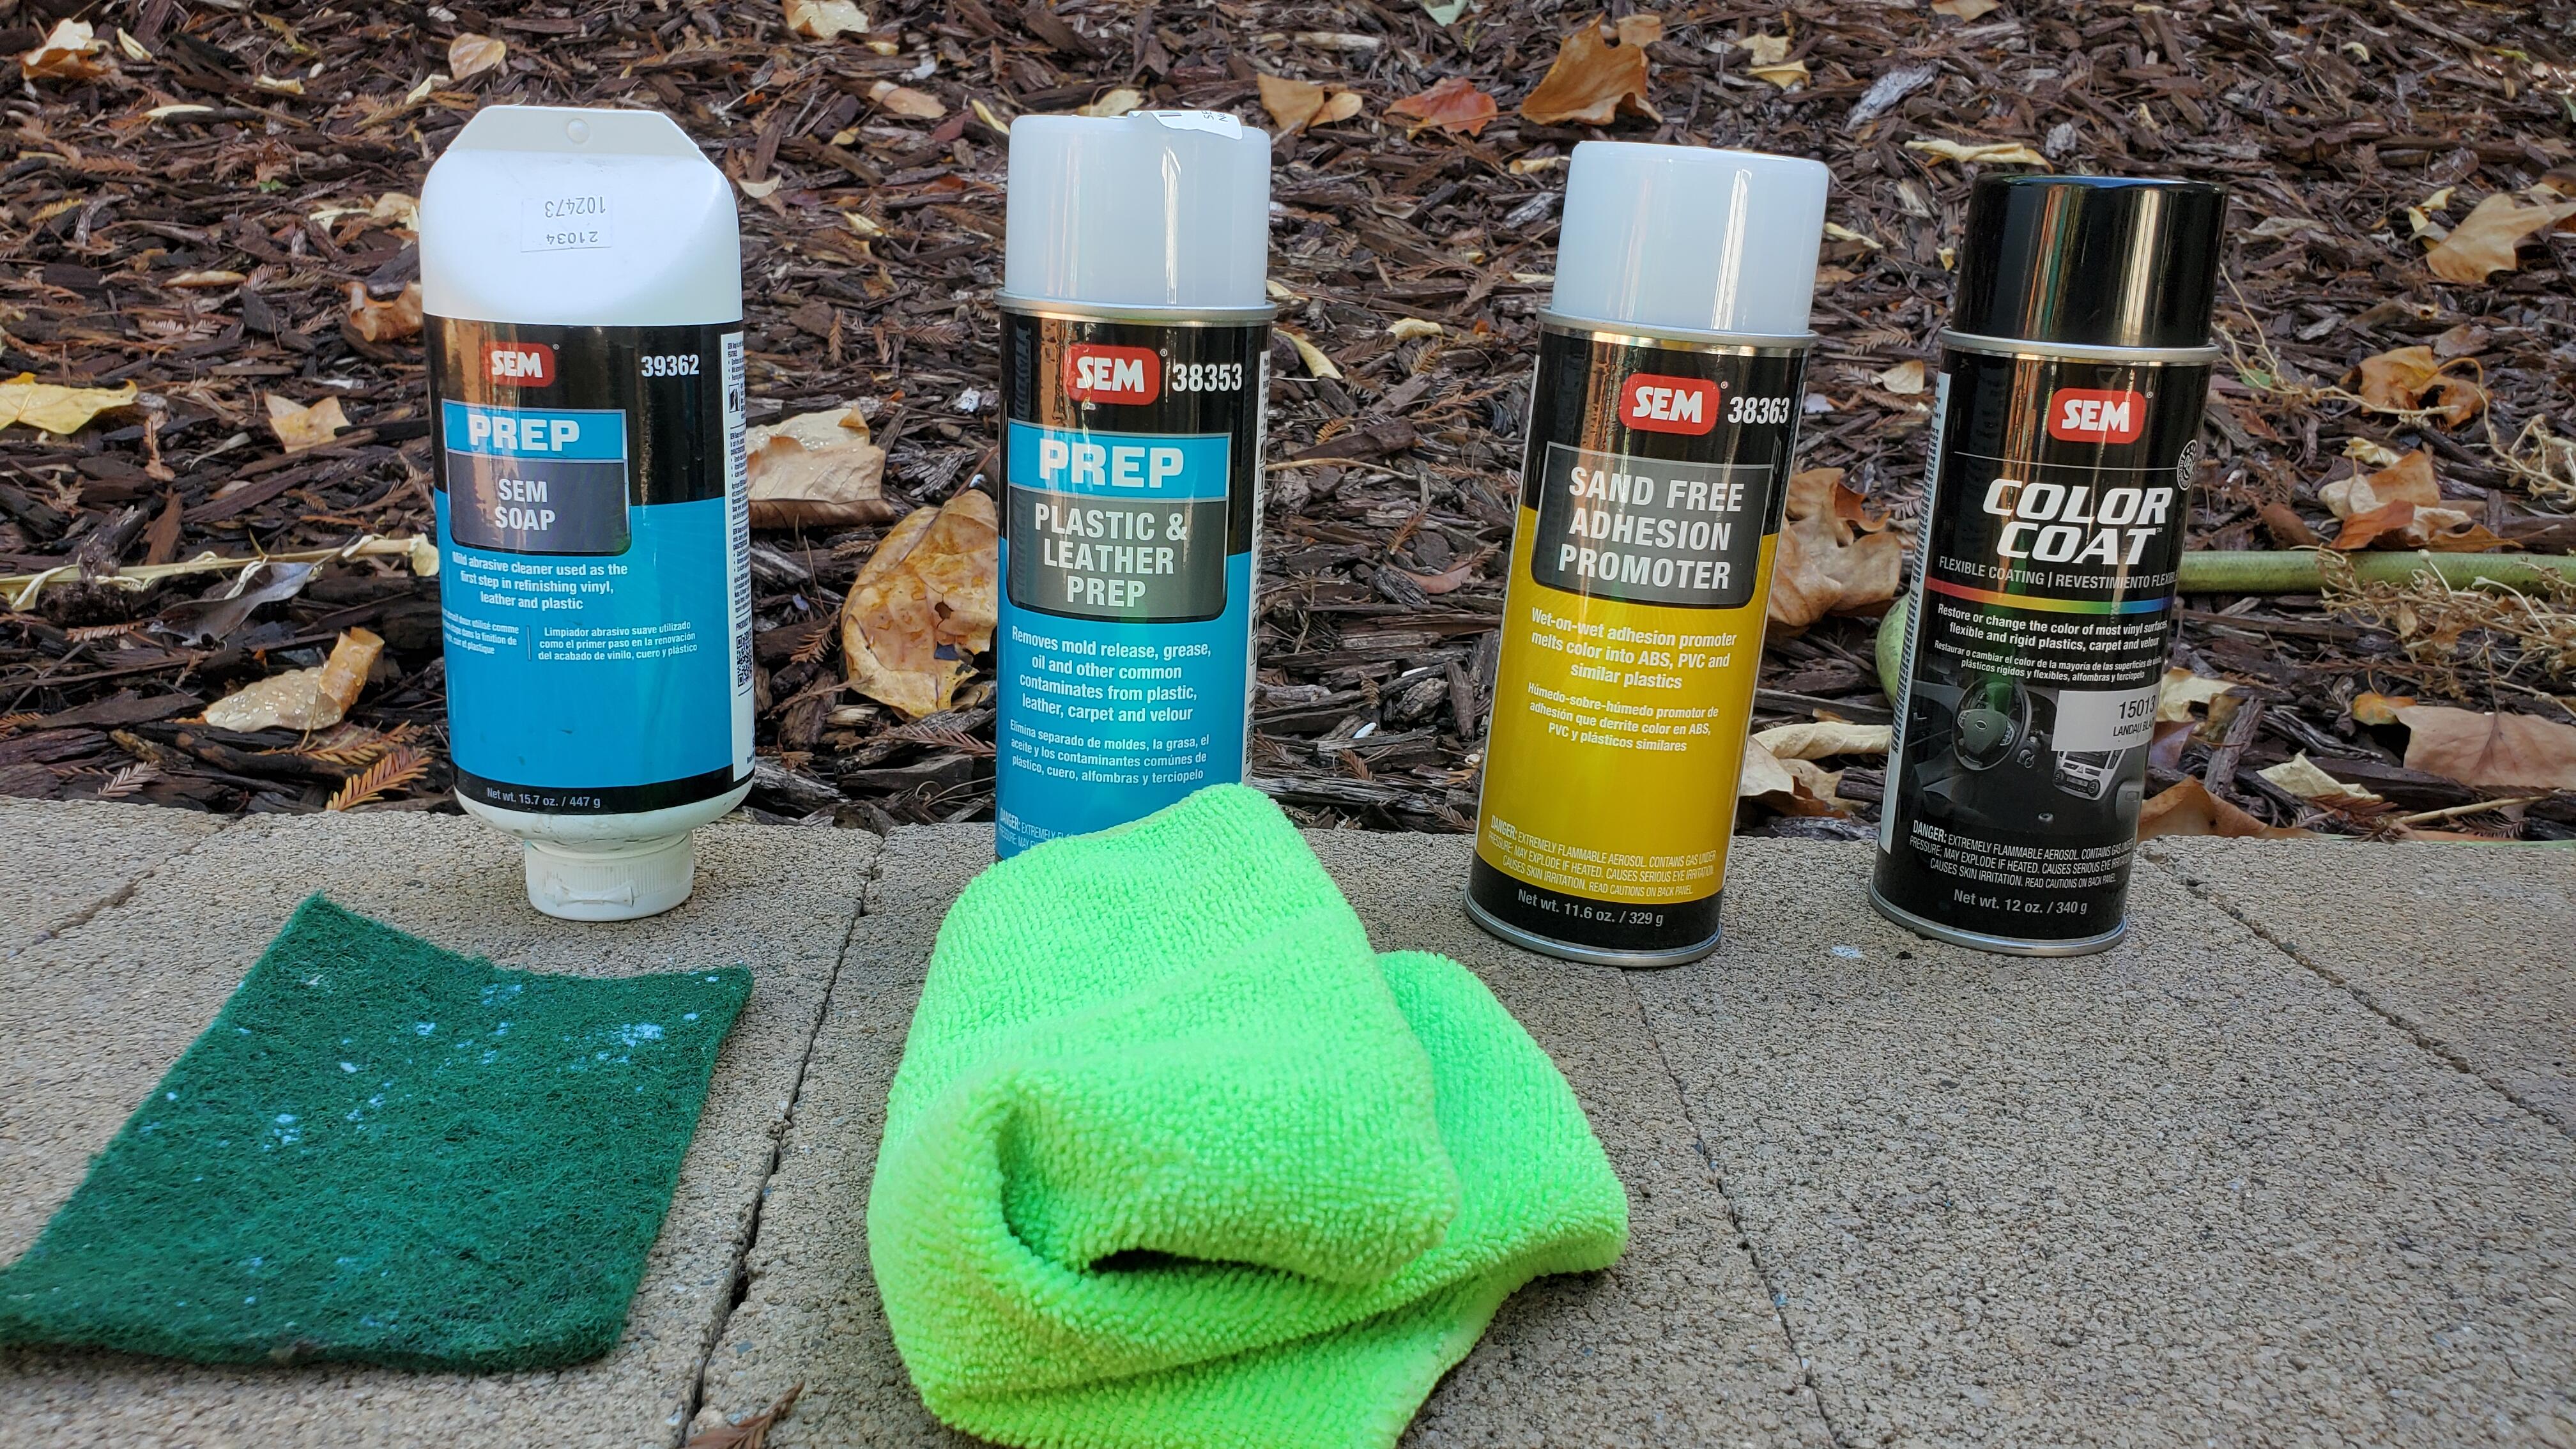
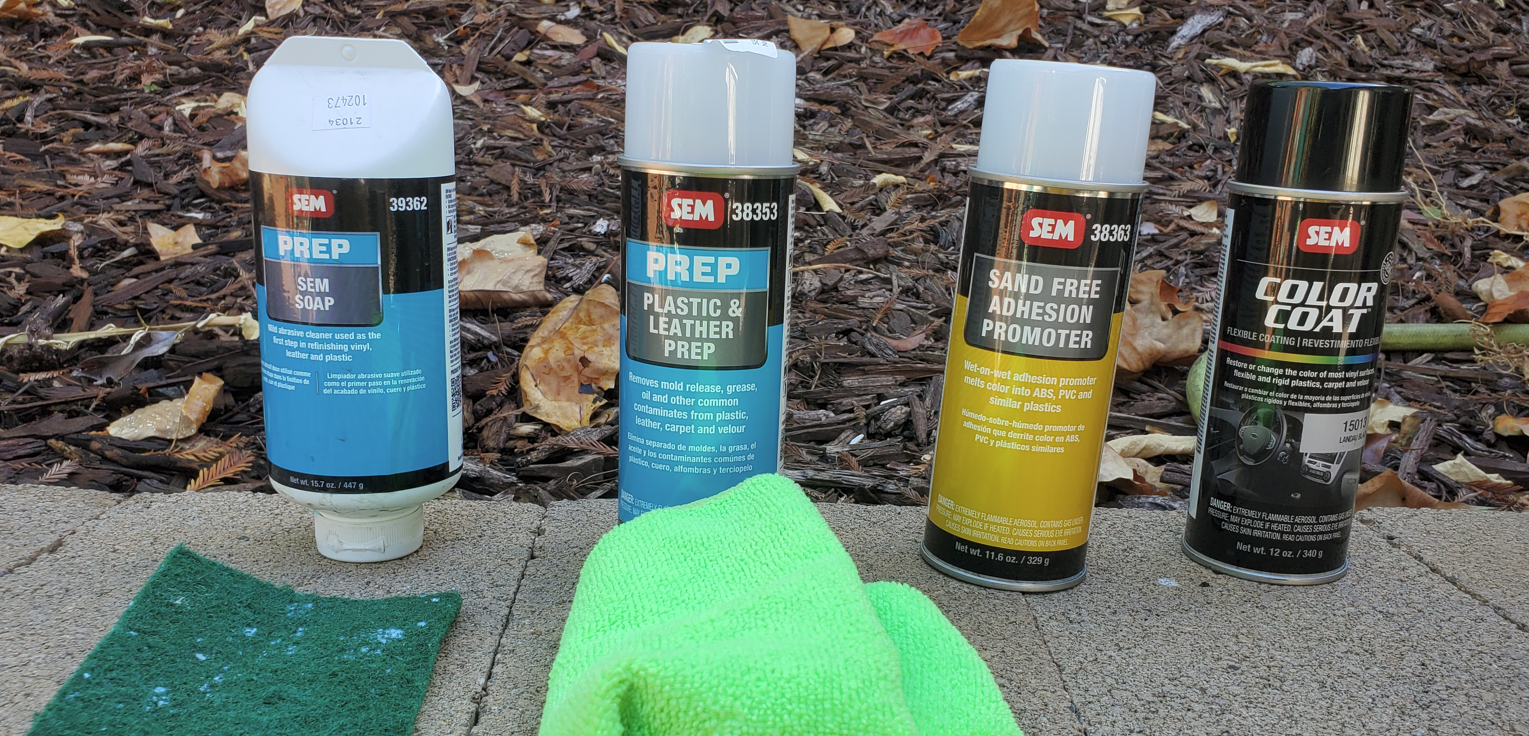
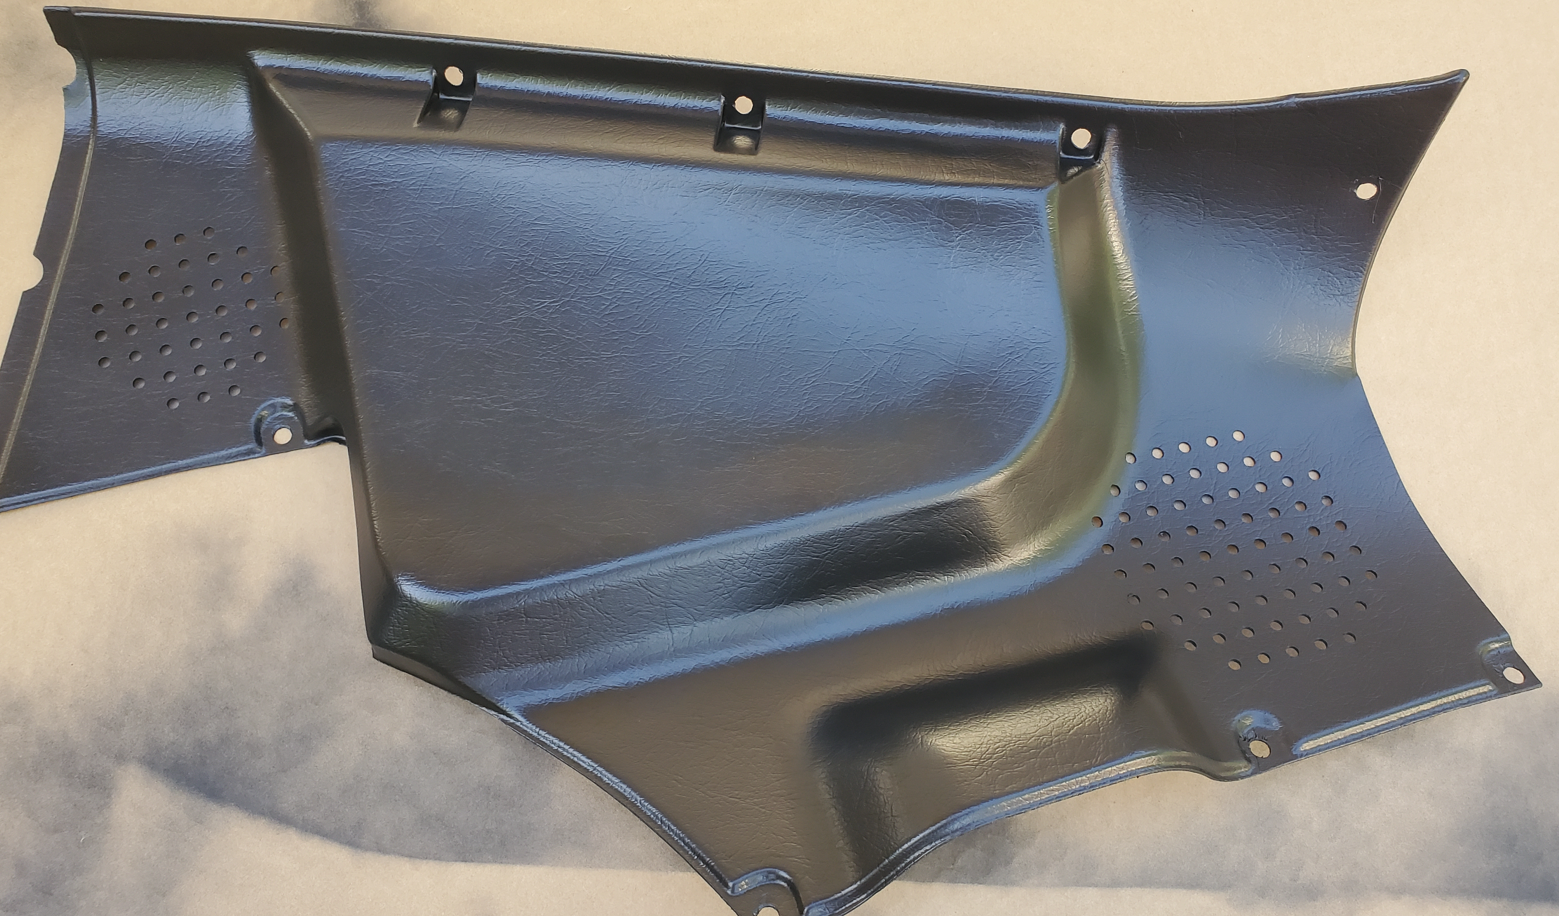
2 pointsI finally got around to doing the plastic trim and tried this rad paint alongside the traditional SEM way. The SEM way was much simpler than I had imagined and the results were fantastic, practically factory fresh. I followed this demo from the product https://semproducts.com/product/color-coattm-mixing-system/system#product-videos I just did one of the rear panels and it literally took me 20 mins from start to finish and that includes total drying time and ready to install. Sounds crazy, but really it was that easy. If anyone still needs to do this here are the products I used I started from left to right, hosed it and washed it with the soap and pad. Dried it then wiped it down with the plastic prep and it quickly evaporated on its own. Then a quick thin coat of the promoter and quickly followed with several light coats of the landau black. Below is a picture of it fully dry, this is not still wet it literally dried in like 60 secs basically bonding to the plastic.


 2 points
 -
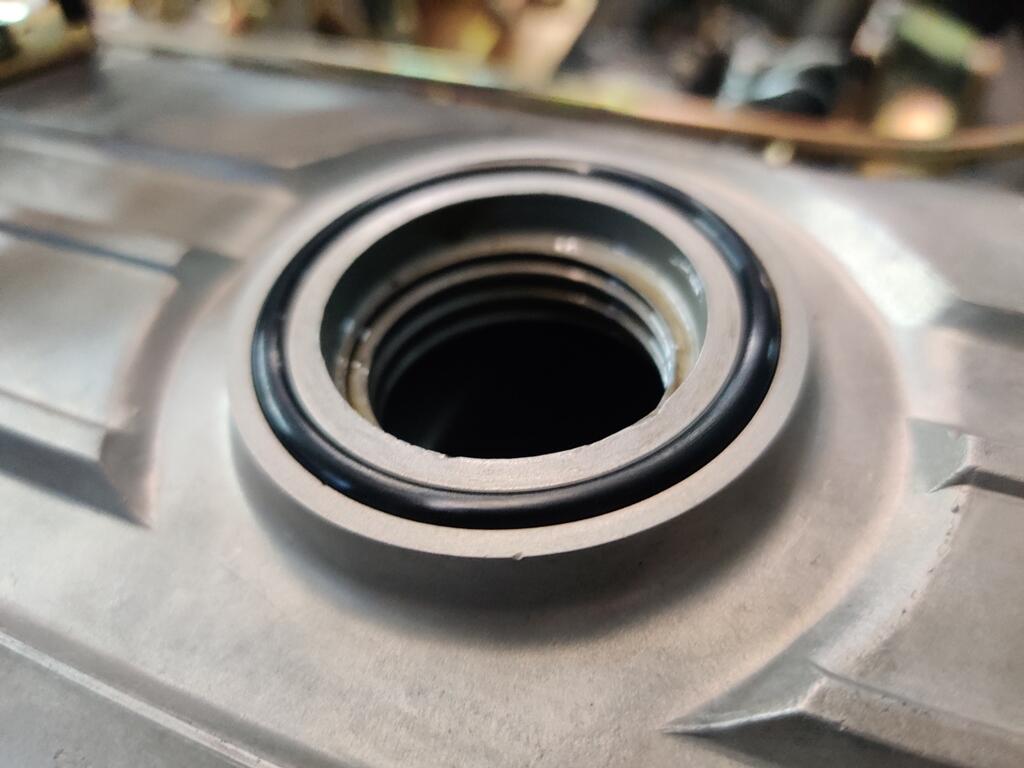
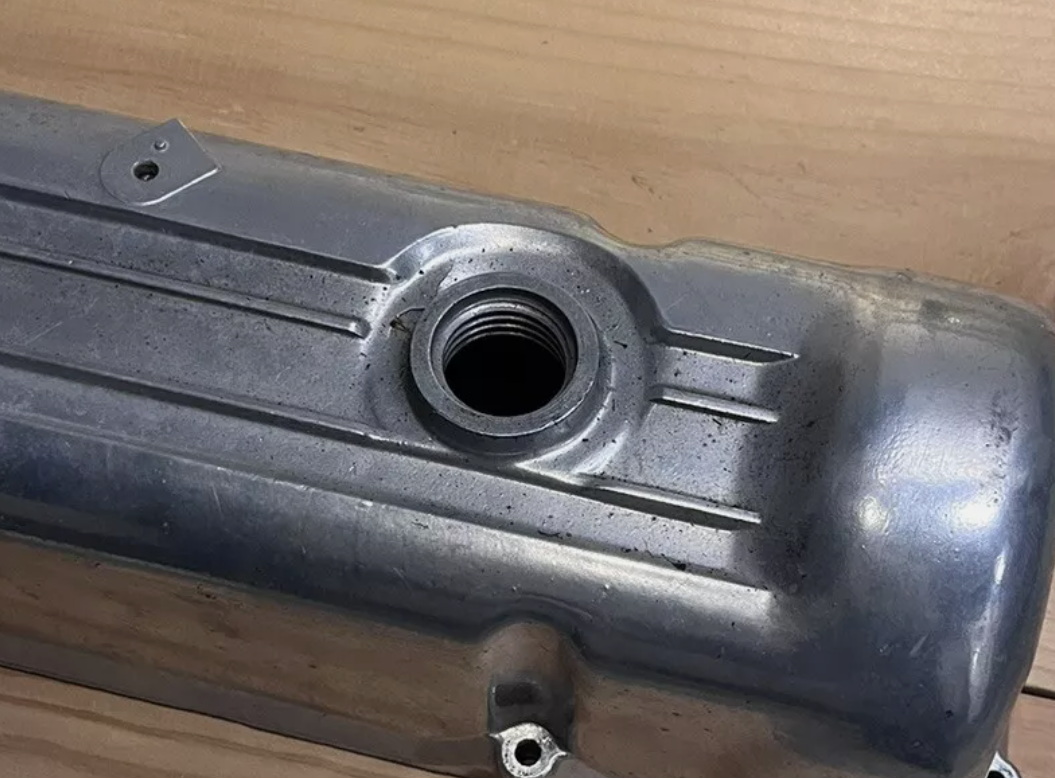
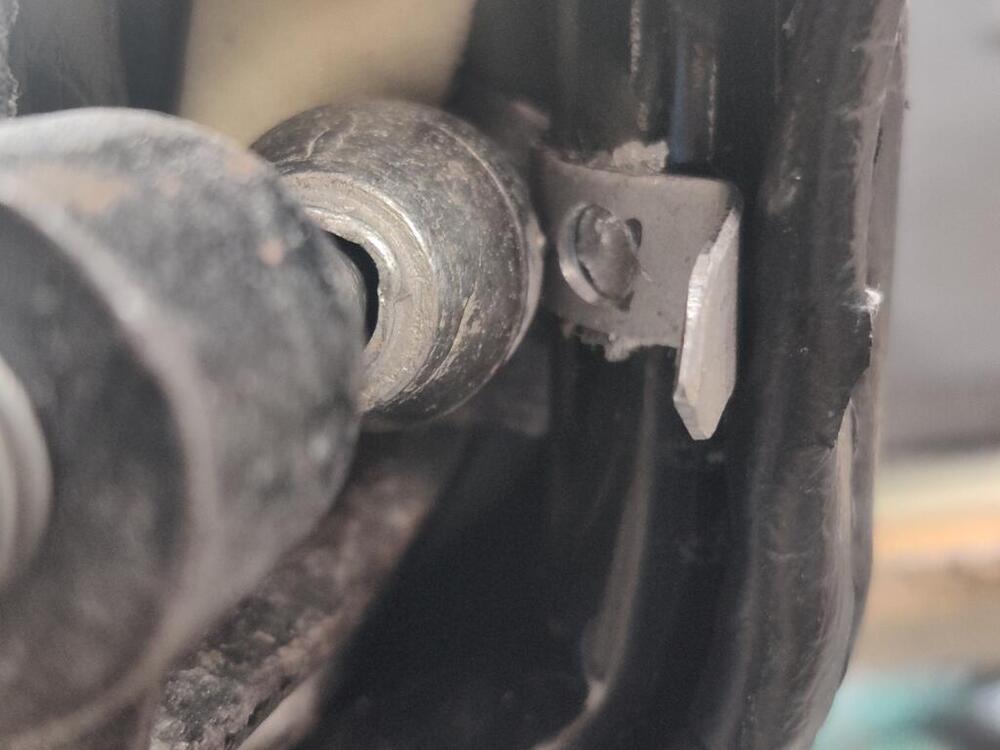
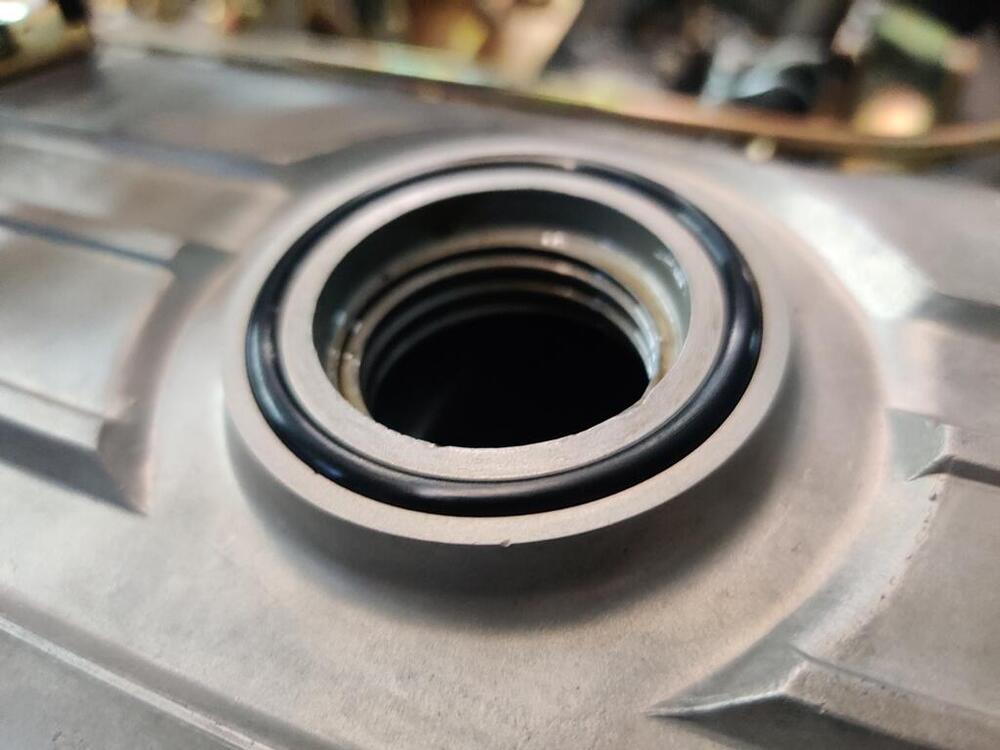
I didn't realize this difference for the 70-71 cars - the valve cover utilizes an O-ring to seal against the oil cap. I was able to get one (had to buy 100!) that fits very nicely! Later Z cars have a rubber gasket on the oil cap instead.
 1 point
 -
1 pointYour comment about wrongess is wrong. WRONG! Just kidding. Actually cgsheen's comment was only partially WRONG!. Disconnecting the condenser is a good idea. The points won't "burn" immediately. And the part about grounding (shorting) is RIGHT also. Commenting about somebody's wrongess almost always goes wrong. Like this post probably will. Right?1 point
-
11.3cm L x 3.1cm H x 3.4cm W 3mm thick metal. Use these anti vibration mounts which can be cut down to a square shape. https://www.amazon.com/EASYEAH-Mechanical-Silent-Blocks-Compressors-M10x28-40x30mm/dp/B0D5JKBT44 I use a m10 thread PEM stud cut down to fix the damper to the bracket. https://www.pemnet.com/products/product-finder/hfh-m10-15zc/1 point
-
1 pointDon't fixate on the condenser. In fact, remove it until you get your spark problem sorted. It's job is to help eliminate radio noise, not make the coil spark... But, you can see from the above schematic that a bad condenser can permanently or randomly GROUND the coil thereby negating the operation of the points. You don't need it (you may want it, but you don't need it...). If you remove it while troubleshooting, it's one less variable. (thanks for the comments and correction - edited the above to make a bit more sense)1 point
-
1 pointWe saw quite a few Z's here in Arizona (and coming from California) that previous owners had "sun roofs" installed during that era when they were a thing. After 20 or 30 years the "sun roof" leaked - and no replacement parts. So we did a few roof skin transplants from donor Z's. If you remove the roof with the underneath skeleton intact you can drill the spotwelds on the donor from the bottom (drill the underneath skeleton to separate the skin - thus leaving the donor skin mostly unharmed. Drill the damaged skin (or skin to be replaced) from the top thus leaving the roof skeleton intact on the project car. Cutting at the junction between roof skin and quarter skin is fairly simple once you remove the body lead (melt the body lead out) that covers this junction. And it's a great place for your weld when installing the donor skin since it's going to be covered with fill. With the A pillar, the replacement skin will only require a small weld that's easily ground down and smoothed in - if you remove just the damaged skin (or skin to be replaced) and leave the skeleton and pillars intact on the project car. My advice is to remove the roof so it can be used as a donor in this manner. Plus it leaves the quarter panels intact.1 point
-
1 point
-
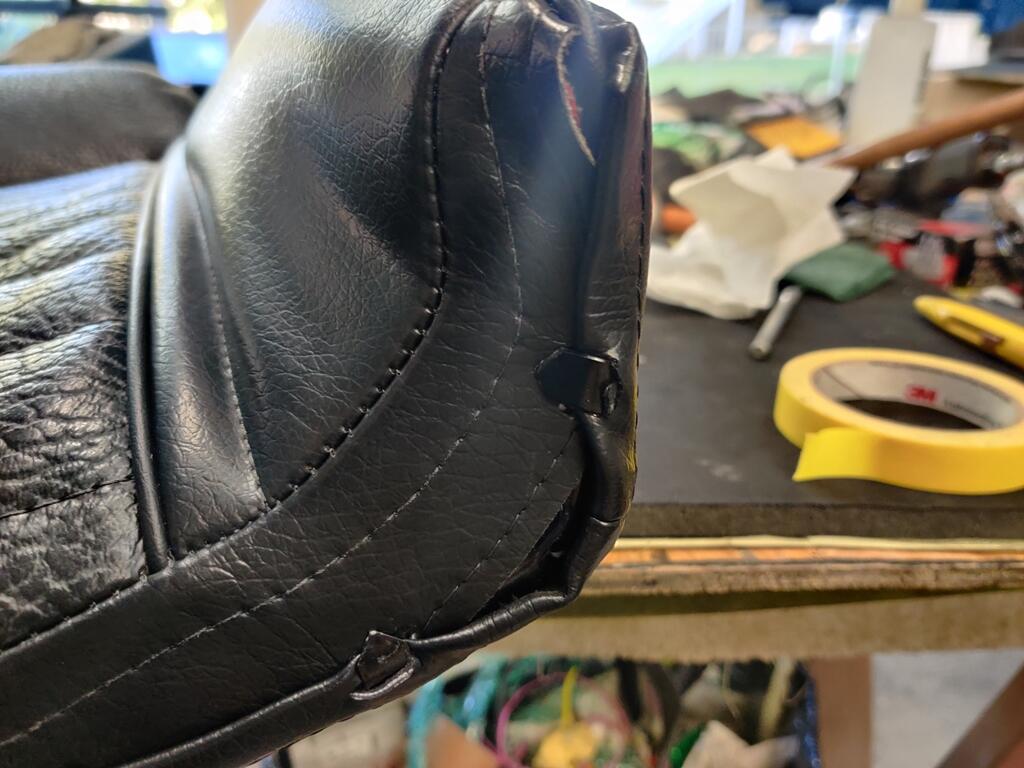
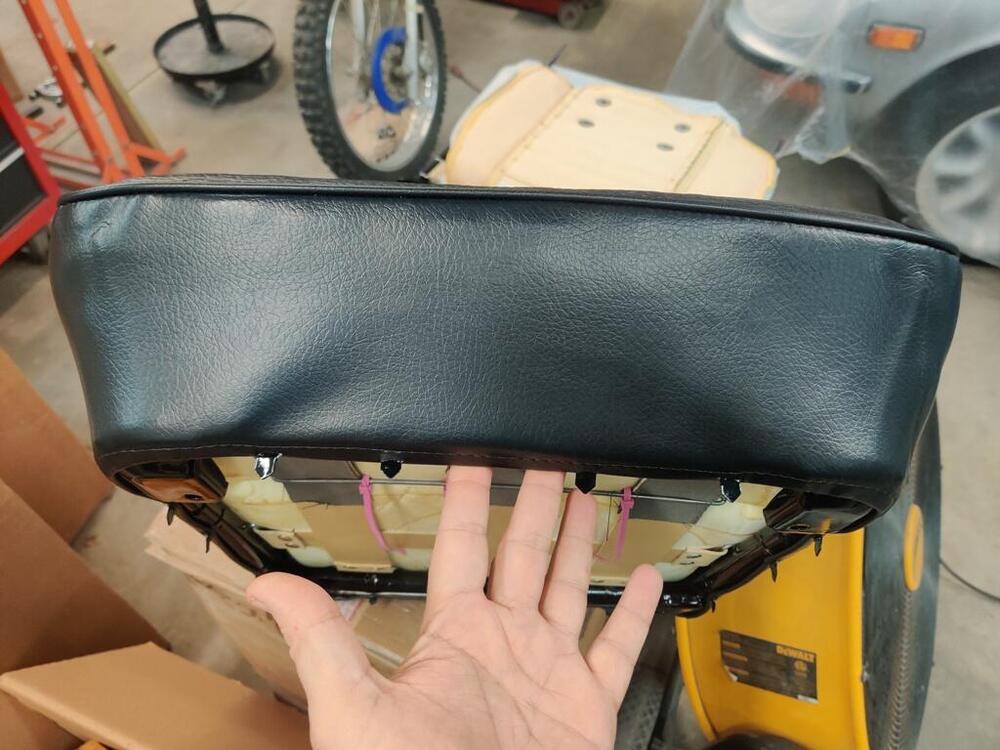
Some pictures from where I left off last Sunday: It was a battle to get the front edge of the upholstery down far enough to engage the hooks on the frame. As you can see, there is a stitch seam that the hooks are catching. If that stitching wasn't there, the vinyl would simply tear all the way through. The hooks were originally hammered down towards the front surface of the seat back. In order for me to progress this far, I had to bend the hooks to point out from the frame at 90 degrees. When the hooks get bent back down finally, they will again point towards the front surface. If I did that right now, the vinyl I have holding on the hooks would simply slip off. So, it is important to note that the only thing that holds this front vinyl from slipping off the hooks when you tap them down to their final position, is the back vinyl part of the seat back upholstery. When the back vinyl portion gets pulled down over the hooks, and they are tapped down toward the seat front, the back will not be able to slip off. The only reason the front won't slip off will be due to the front vinyl being put on first, and thus it will be trapped under the back part... with the back vinyl portion unable to work loose from the hooks. What I also notice is that the back vinyl does not have any cord, or wire running through the part where the hooks will go through. Because of the high amount of tension, and the fact that "the back has to hold the front also", I am going to run some wire through the back, bottom edge. It is stitched there, so I will be able to run wire through the loop that has been created when the bottom edge was folded over and stitched. With the hooks engaging the wire, the full length of the vinyl material will be holding the seat upholstery to the frame, not just the tiny portions of vinyl which are in engaged by each of the hooks. To get the back upholstery to where it is now, I had to use the sun to warm it up. While I was doing that, I put the seat bottom in the sun last Sunday also, and it really helped improve the look and fit of the vinyl upholstery on there as well. I still only have zip ties holding the seat bottom upholstery down to the frame but they are pulled all the way tight, and I am satisfied with the final look here. So, I will put on the hog rings and remove those, and tap down the metal hooks on the frame to finish out the bottom upholstery installation. Trimming the excess "bar" off of the foam front of the seat bottom was the right call: Hopefully, it will get warm enough today (sun is out) for me to continue.


 1 point