


Leaderboard
-
KenFirch
 Subscriber
 3Points271Posts
 -
Captain Obvious
Free Member3Points10,081Posts -
inline6
Subscriber1Points1,282Posts -
JDMjunkies.ch
Free Member1Points637Posts


Popular Content
Showing content with the highest reputation on 08/15/2024 in all areas
-
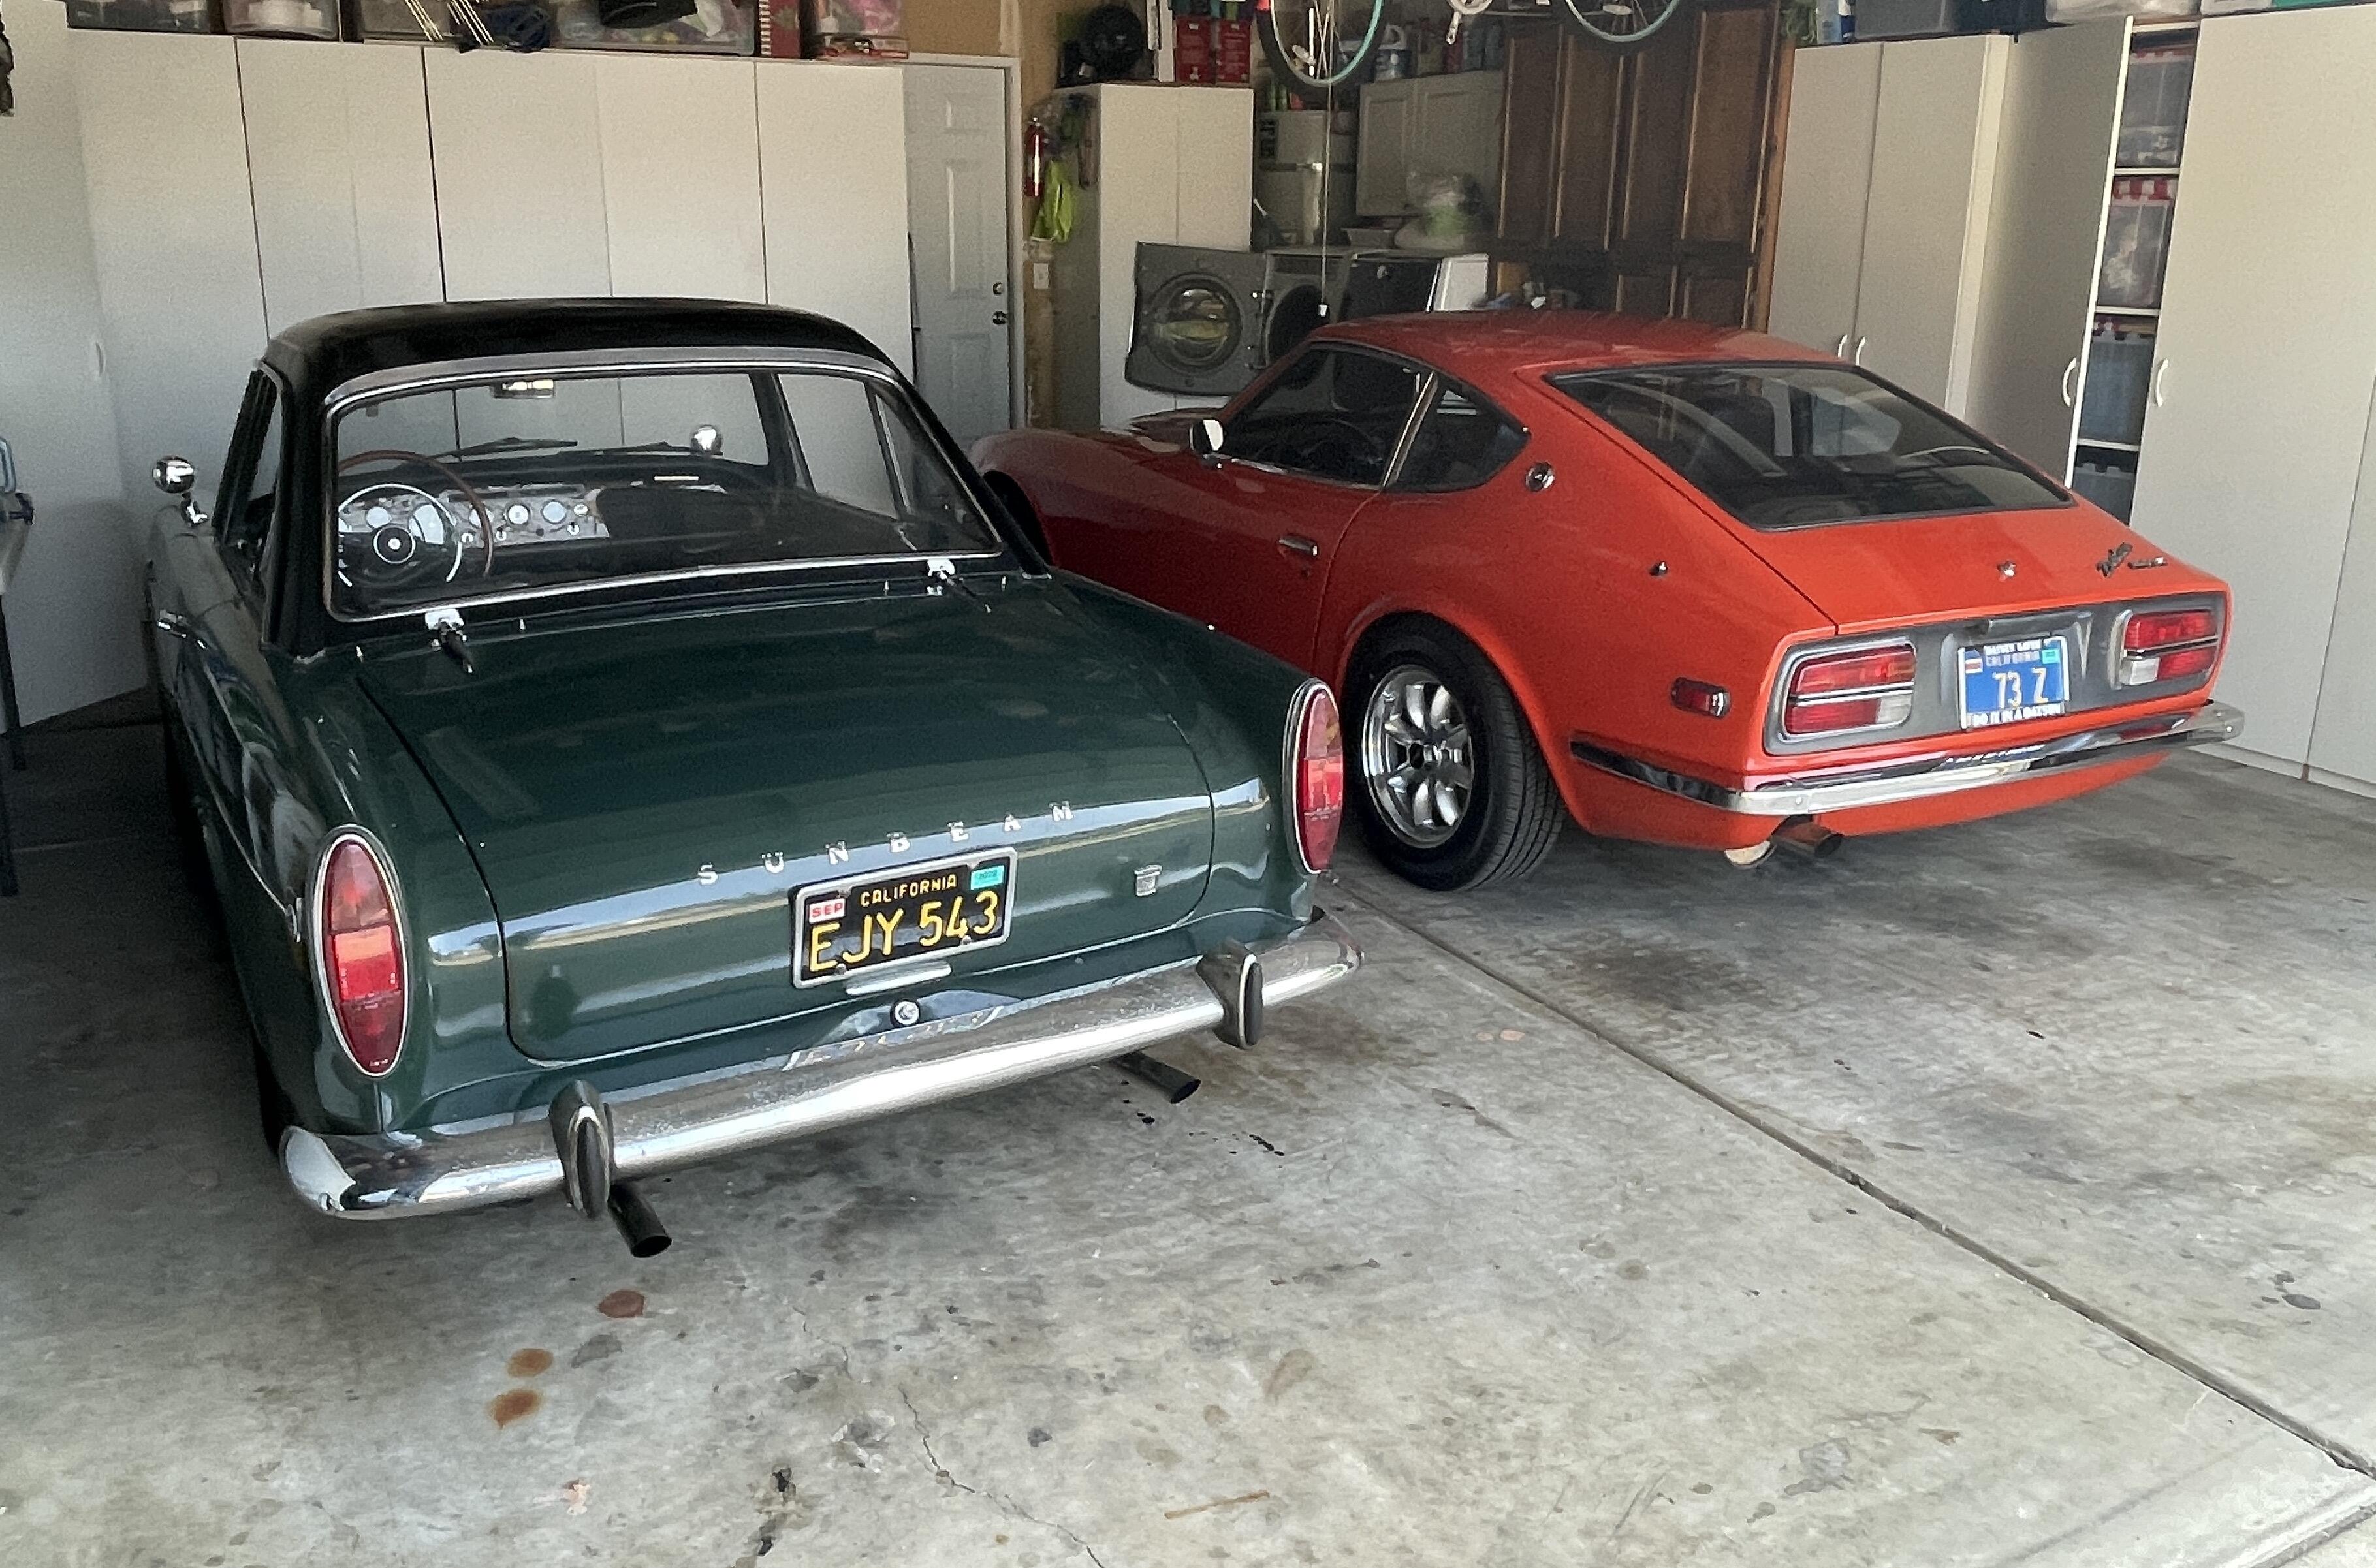
3 pointsOn mine a 1" wrench fits on the air galley fitting to hold while breaking loose the valve. Maybe try some heat too, and a second pair of hands. I tried for a few years to keep my 73 Z stock, working smog pump, new check valve, exhaust manifold, etc. Never could get it to run good until I plugged the air galley intake, it ran so much better. I removed and boxed all the smog stuff up, eventually went with a header a few years later.3 points
-
2 pointsOn your first question - The old valve should operate like the new one. You should be able to blow through it towards the exhaust galley, but not in the other direction towards the air pump. Your old valve is presumably stuck shut. Second question - There should be no link between the operation of that valve and mixture. The pump is supposed to push fresh clean air into the exhaust stream downstream of the cylinder. The cylinder already fired and pushed the spent charge out on the cylinder by the point where the pumped air is injected. Anything injected into the exhaust stream at that point shouldn't affect mixture (or drivability).2 points
-
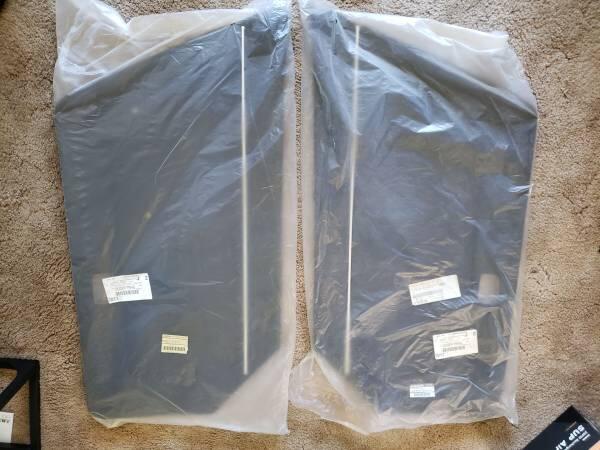
These just popped up on the local CL. $800 https://seattle.craigslist.org/see/pts/d/renton-nos-datsun-240z-door-panels/7775534769.html

 1 point
 -
1 pointCool. I didn't think they were hardened, but had to bring it up just in case. Nice work.1 point
-
1 pointHS30-H I learned of the similar Jag bleeder last night while researching the Sumitomo. It appears to have also been used in some Studebakers like the Avanti. A post on a Studebaker forum suggested just cutting off the tip of a modern bleed screw to create one. The Jag screws, at least the one I found a reference to were 3/8" 24 thread although they also used a 3/16-inch ball. Captain Obvious The treading was a little messed up on the original bleed screw, possibly from being over tightened but the caliper's threads seemed to be fine. The old screws were tightened to the point where the flat tip was deformed by the ball bearing. I just came back from the makerspace where I modified a pair of bleeder valves I had on hand. The photograph shows from left to right, an unmodified bleeder, a modified, and the original. The original likely had a flat bottom when new but was damaged as mentioned above. I decided to mill a shallow 3/16-inch diameter concaved surface to secure the ball instead of just making a flat surface. This was likely unnecessary. I then spun the 3/16 end mill by hand in the caliper where the ball seats to clean it up a little. I might try and assemble this and see if I can draw a vacuum with the valve closed to test for leaks.
 1 point
 -
The 240Z / S30 Center console is in many cases broken or has been "modified" over the years, but until now there was no good replacement. At least not to my knowledge. JDM-Car-Parts had a limited run of hand made items, but they never reproduced them again. Since all of mine had a certain damage, i was always looking for a good replacement. After having being really happy with the Resurrected Classics front grille, i recently saw they now also released a Center console that fits my 1972 car, so i got myself one. The overall shape and fitment seems very good. i found some smal, hardly noticeable imperfections, but then realized you'll also find those on the OEM center consoles. On the inside they're stlightly different, mainly because the fastening points are made from reinforced, milled plastic bits, rather than small fastener-points, which often brake: They claim that the material and pattern is like OEM, but it's somewhat different. the rear one is the Resurrected Classics one and the front two are OEM. First of all the OEM are full had plastic, while the RC one seems to be some plastic, covered in some kind of vinyl. It feels soft, almost like a modern, slightly padded center console. And as you can see it's pretty glossy, got some kind of blue-ish coloue touch and feels different. The fact that it's probably the only reproduction at the moment, makes it ovciously the best one, but i'm almost sure that soon another manufacturer will come up with a reproduction closer to OEM. However overall i'm pretty happy and it will do for the time being, unless i find an OEM on ein good condition... Oh, and i got some more of those stickers. And the seller added those to the package, which are nice:1 point
-
When you get the horns back, look for my video I did on horns. It may aid in reassembly. https://youtu.be/oOHLgH1o-oE?si=Cle_9Ey2BWmjFxZU1 point
-
The next episode is out. I searched on an off for days and weeks to find an undercoat that would look like the original stuff - I wish I could have known about what he used before I did my car. Anyway, read the description also - interesting info there.1 point


