Leaderboard
-
Captain Obvious
Free Member13Points10,081Posts -
HusseinHolland
Free Member4Points1,031Posts -
.JPG.cfcada9cf1c1b502df3f5f2f2ca3ff36.JPG)
SteveJ
Free Member4Points9,646Posts -
conedodger
Free Member4Points12,513Posts


Popular Content
Showing content with the highest reputation on 07/13/2024 in Posts
-
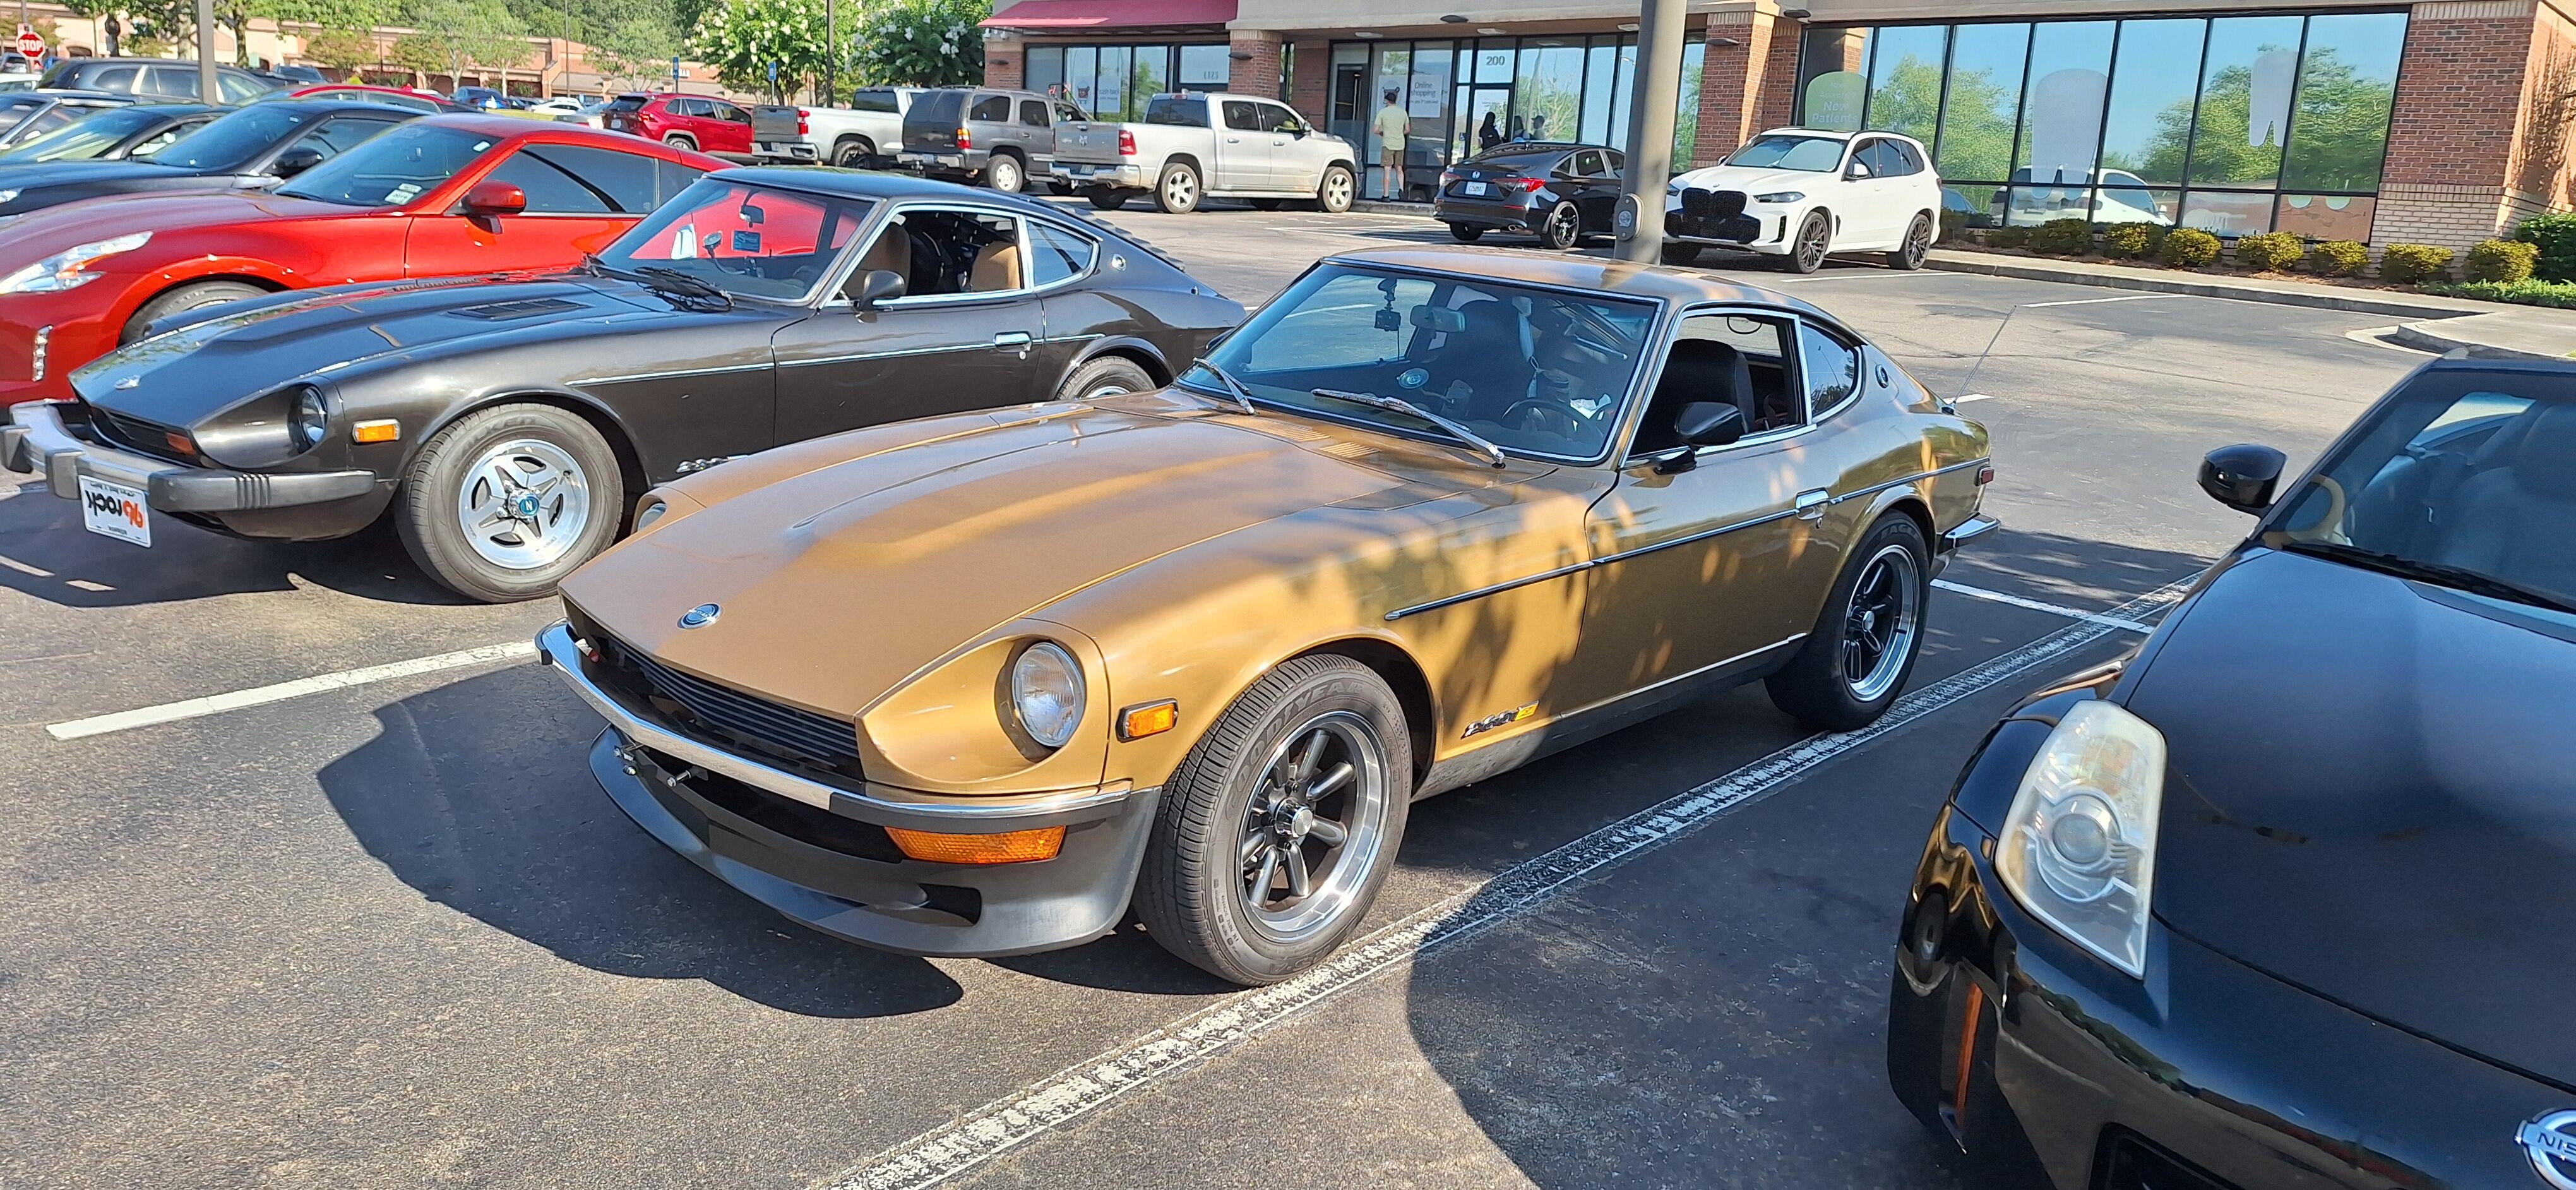
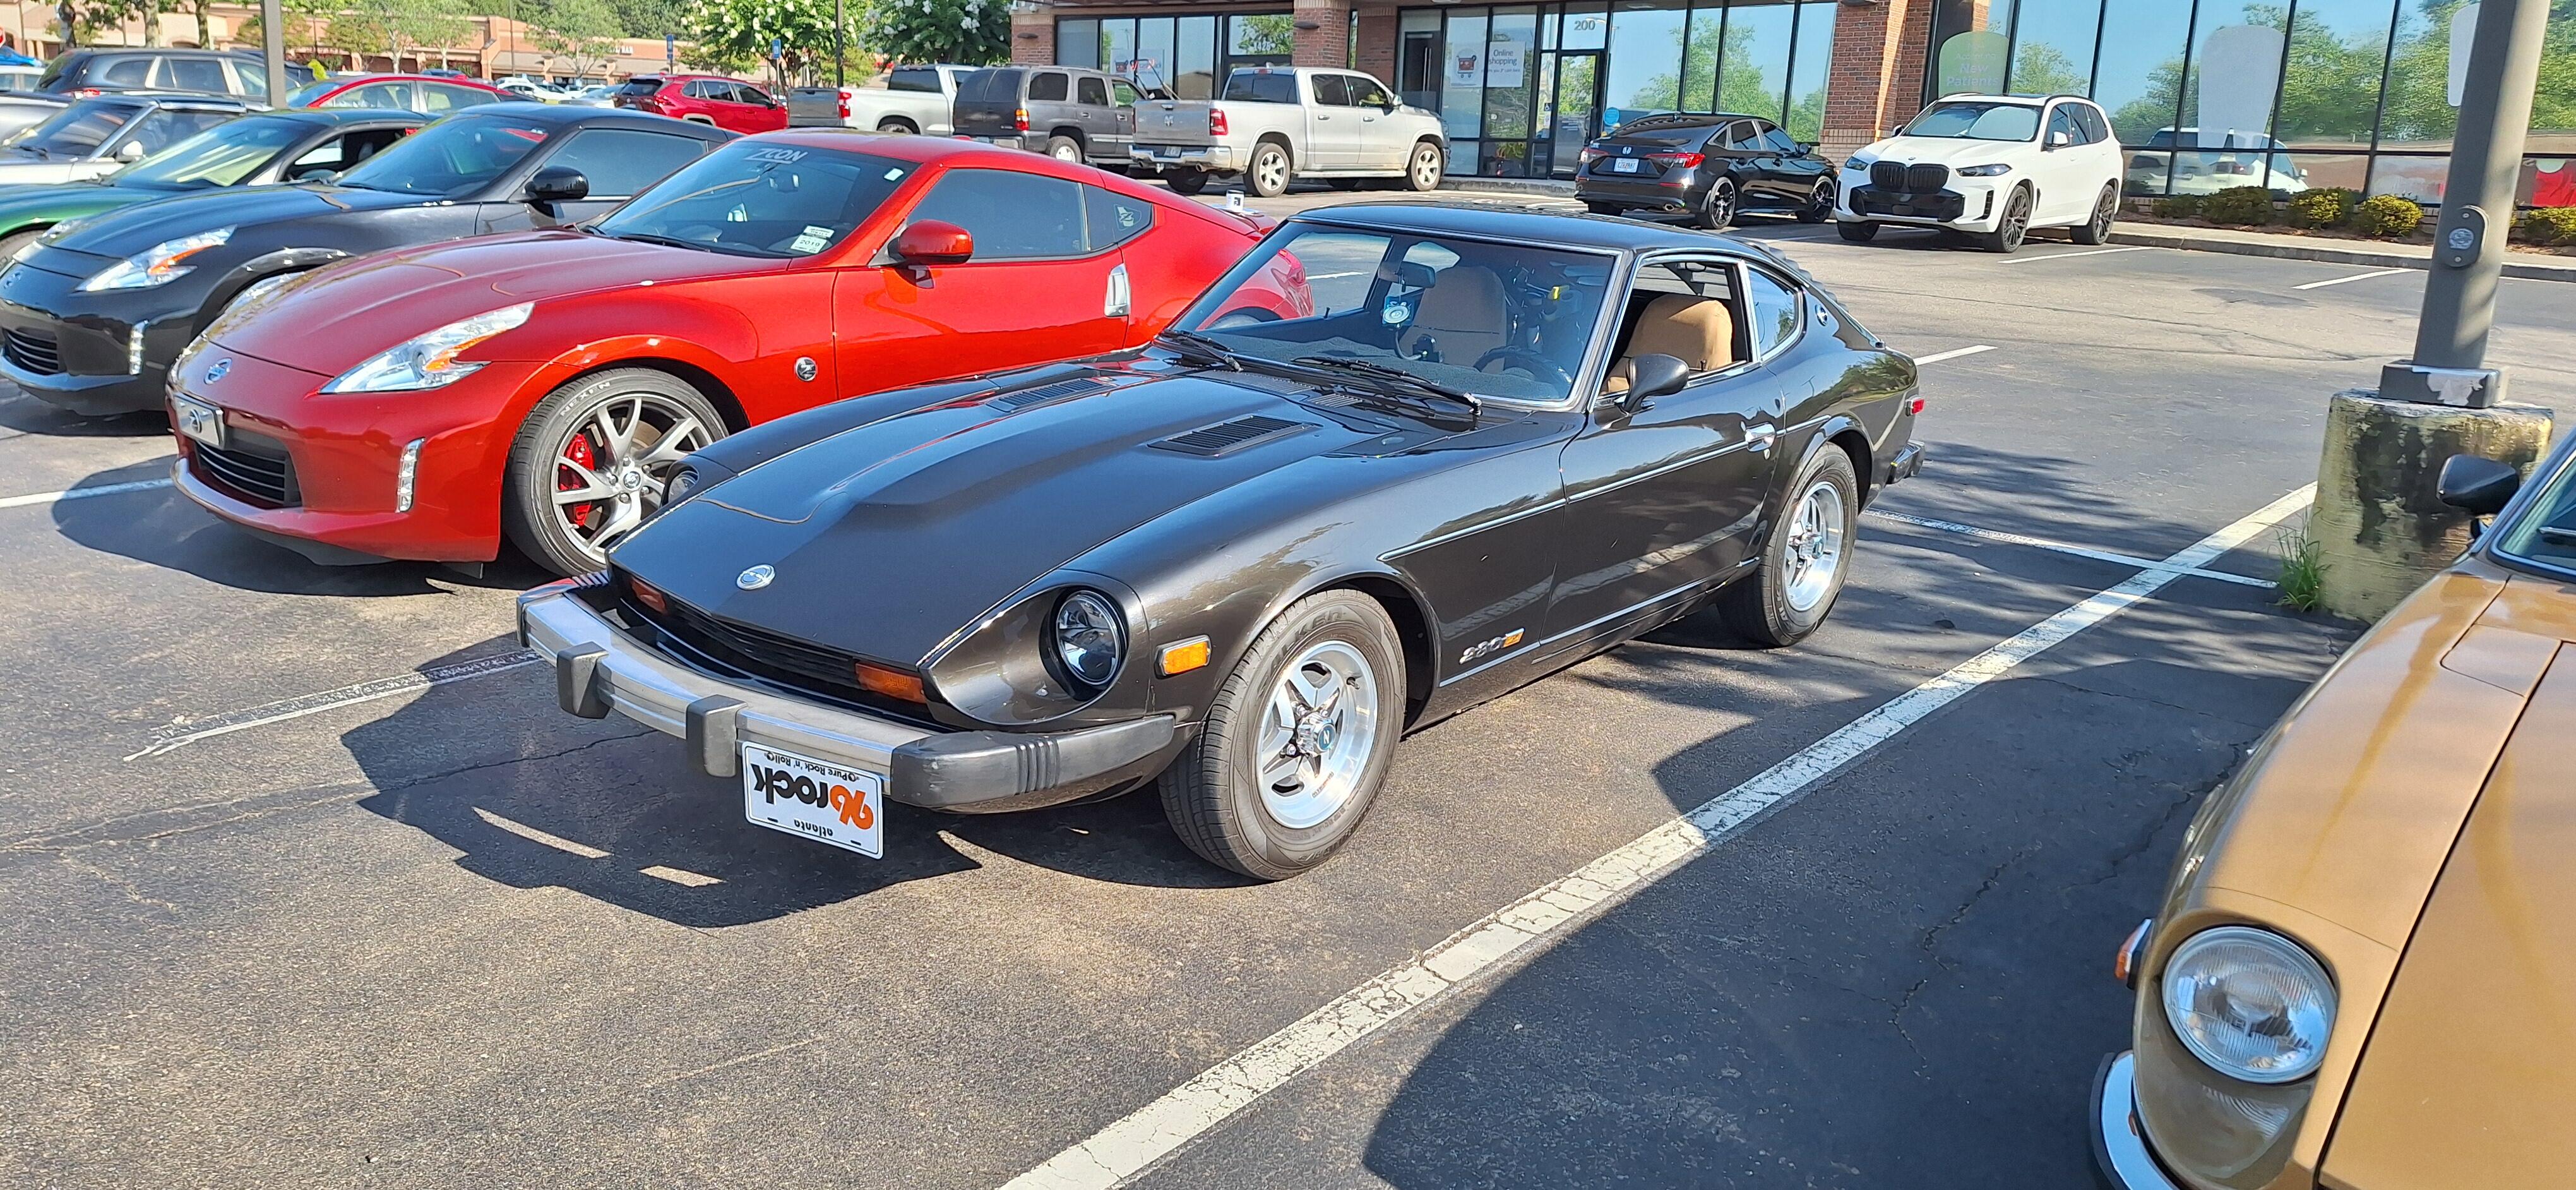
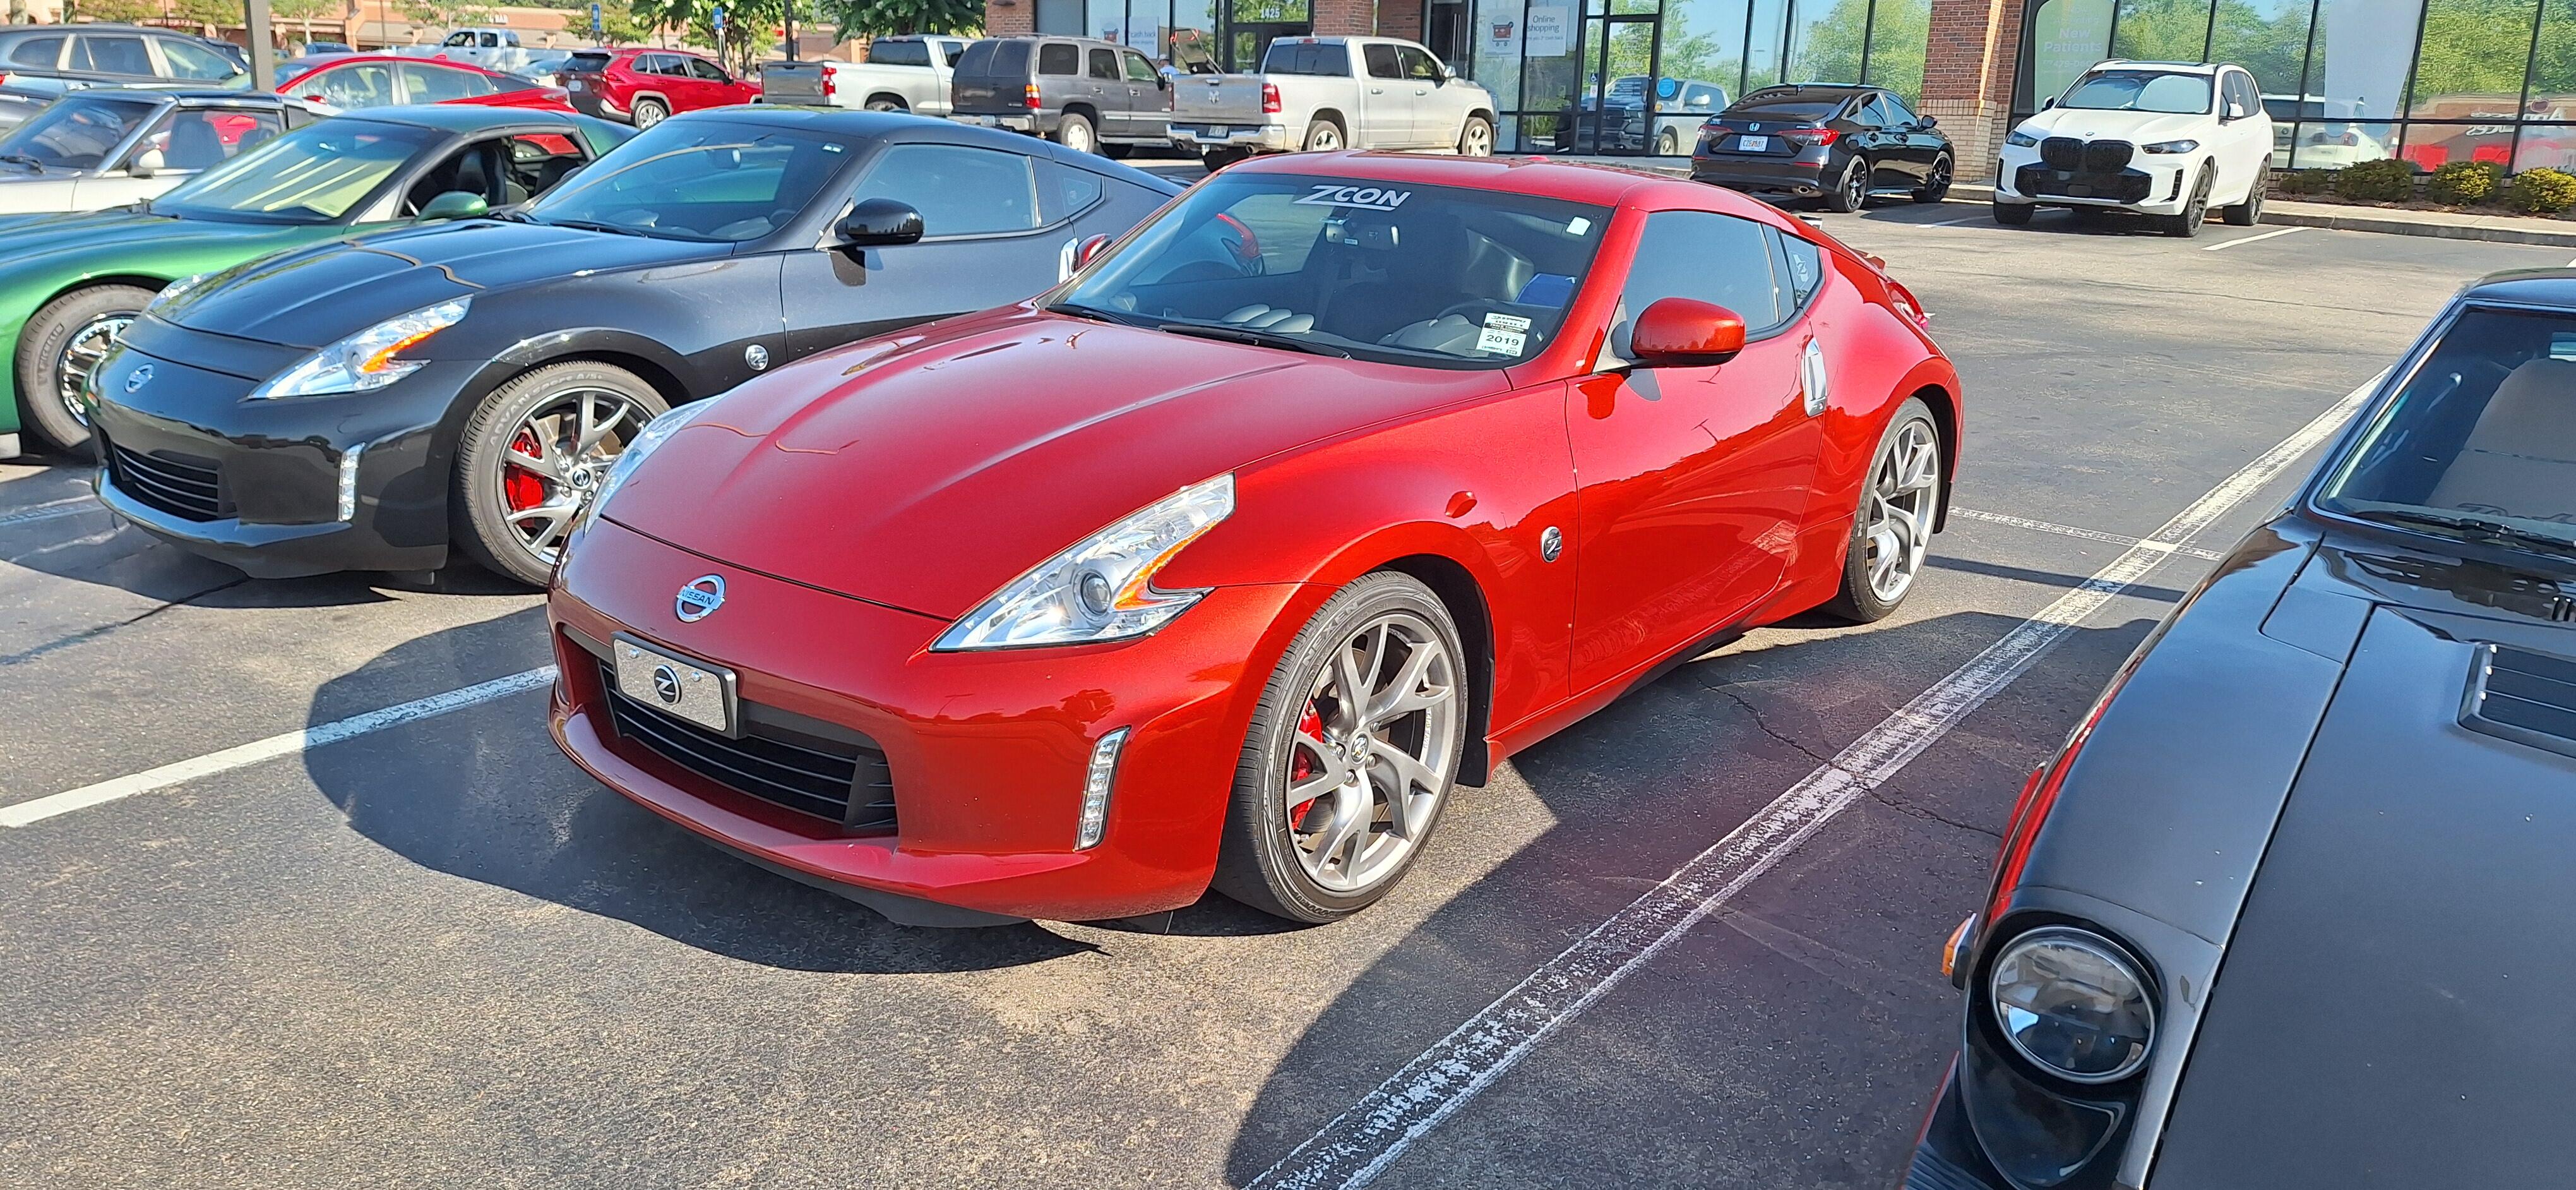
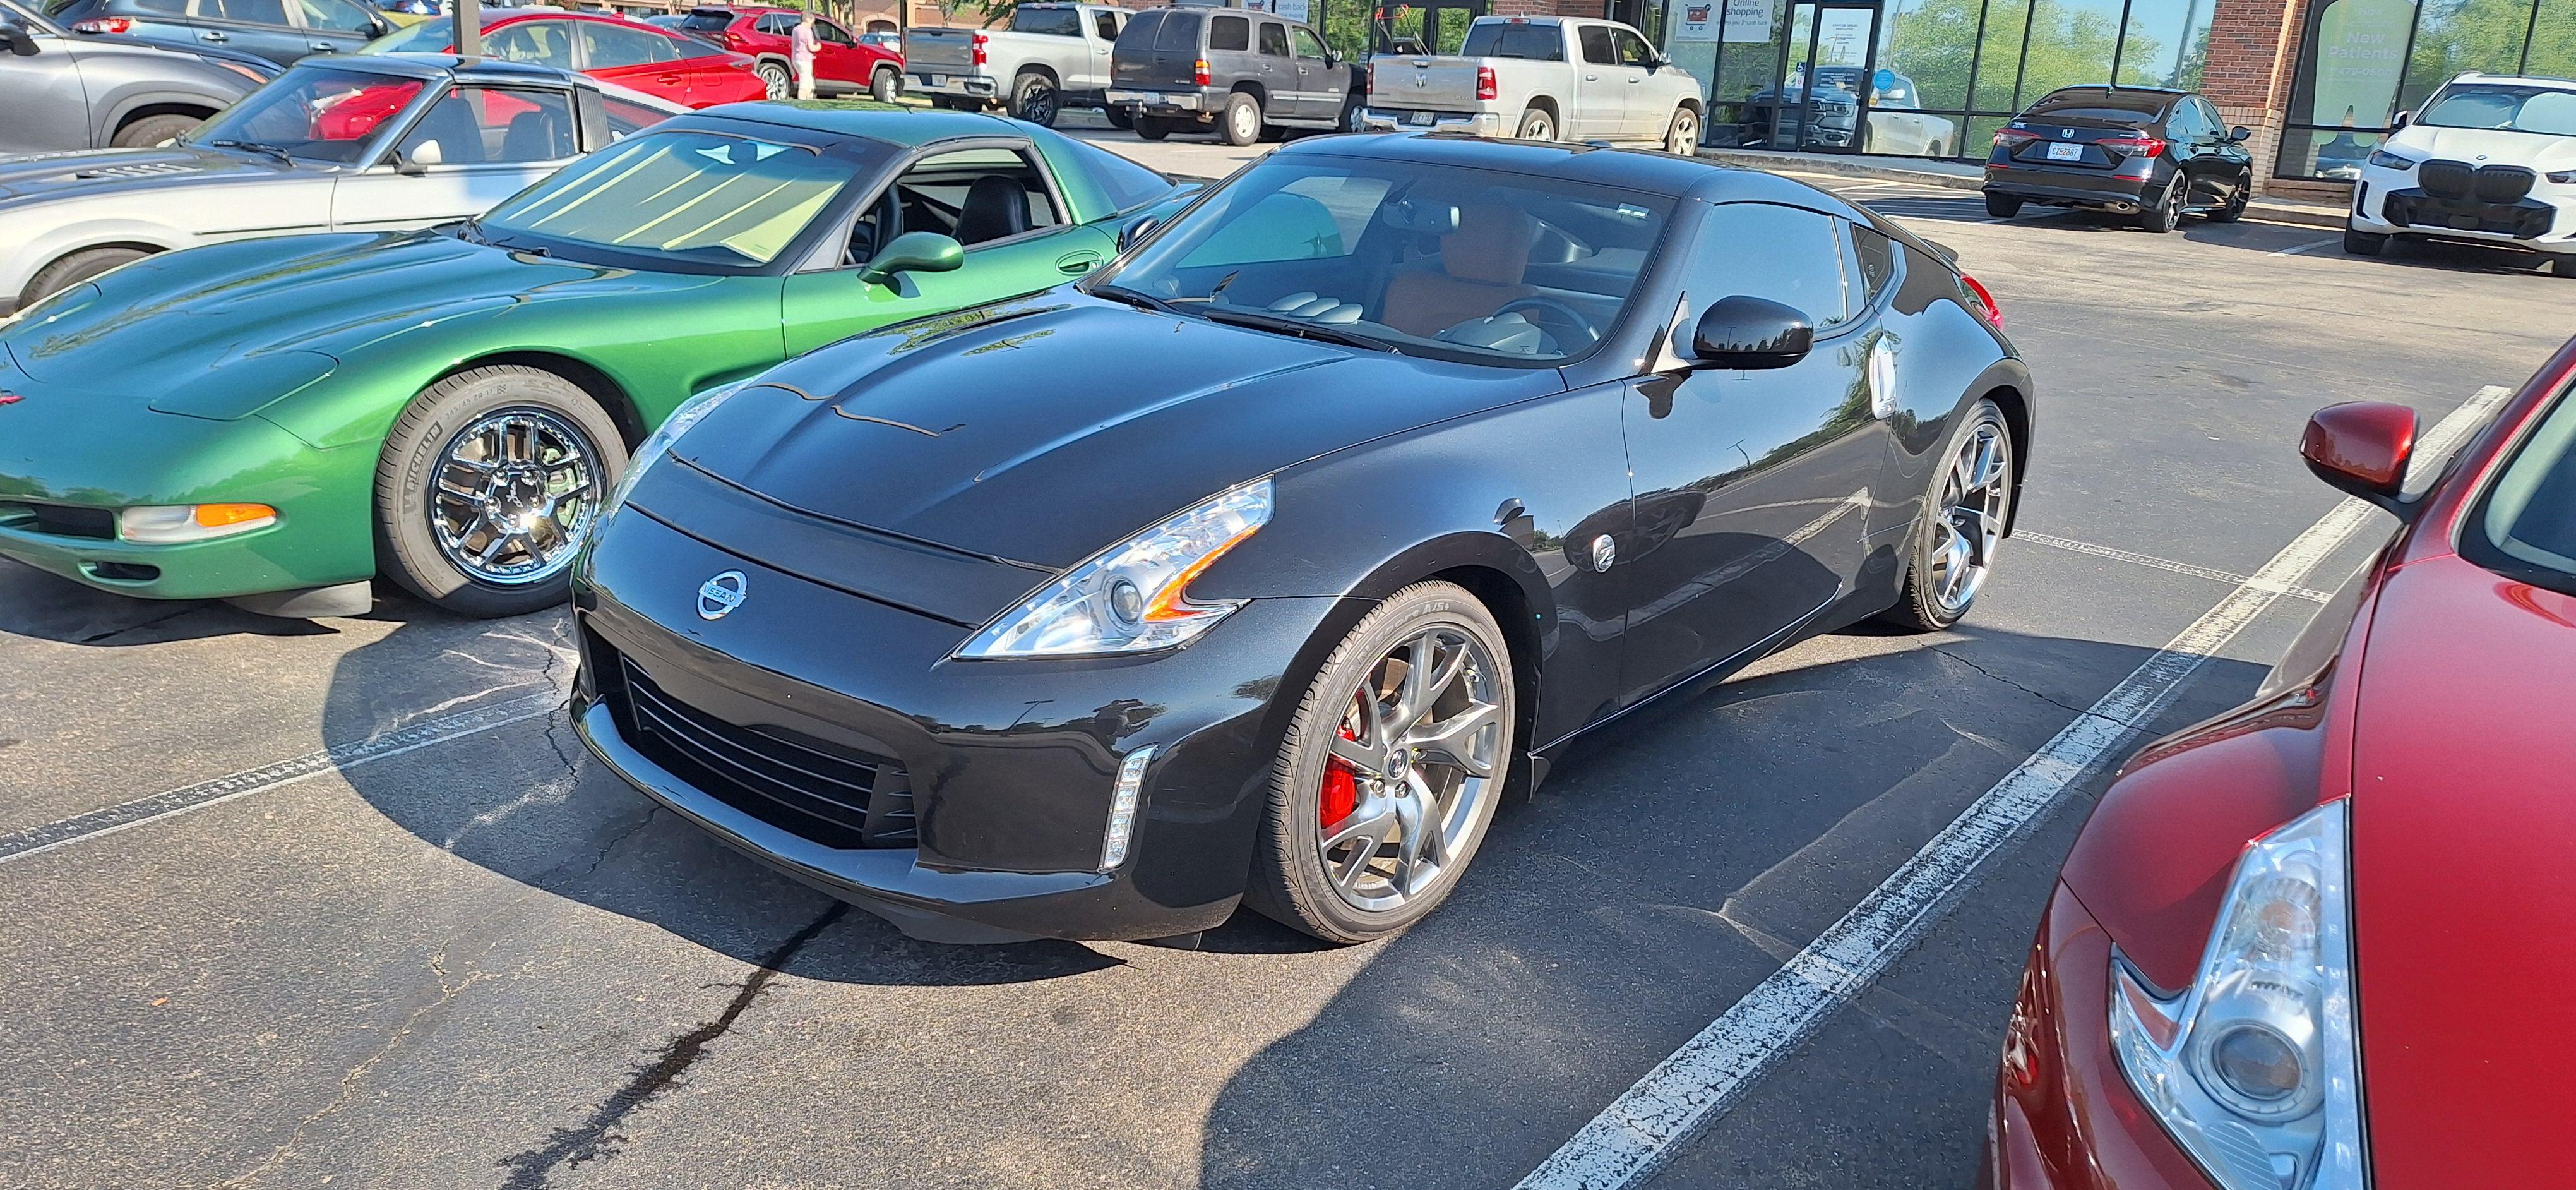
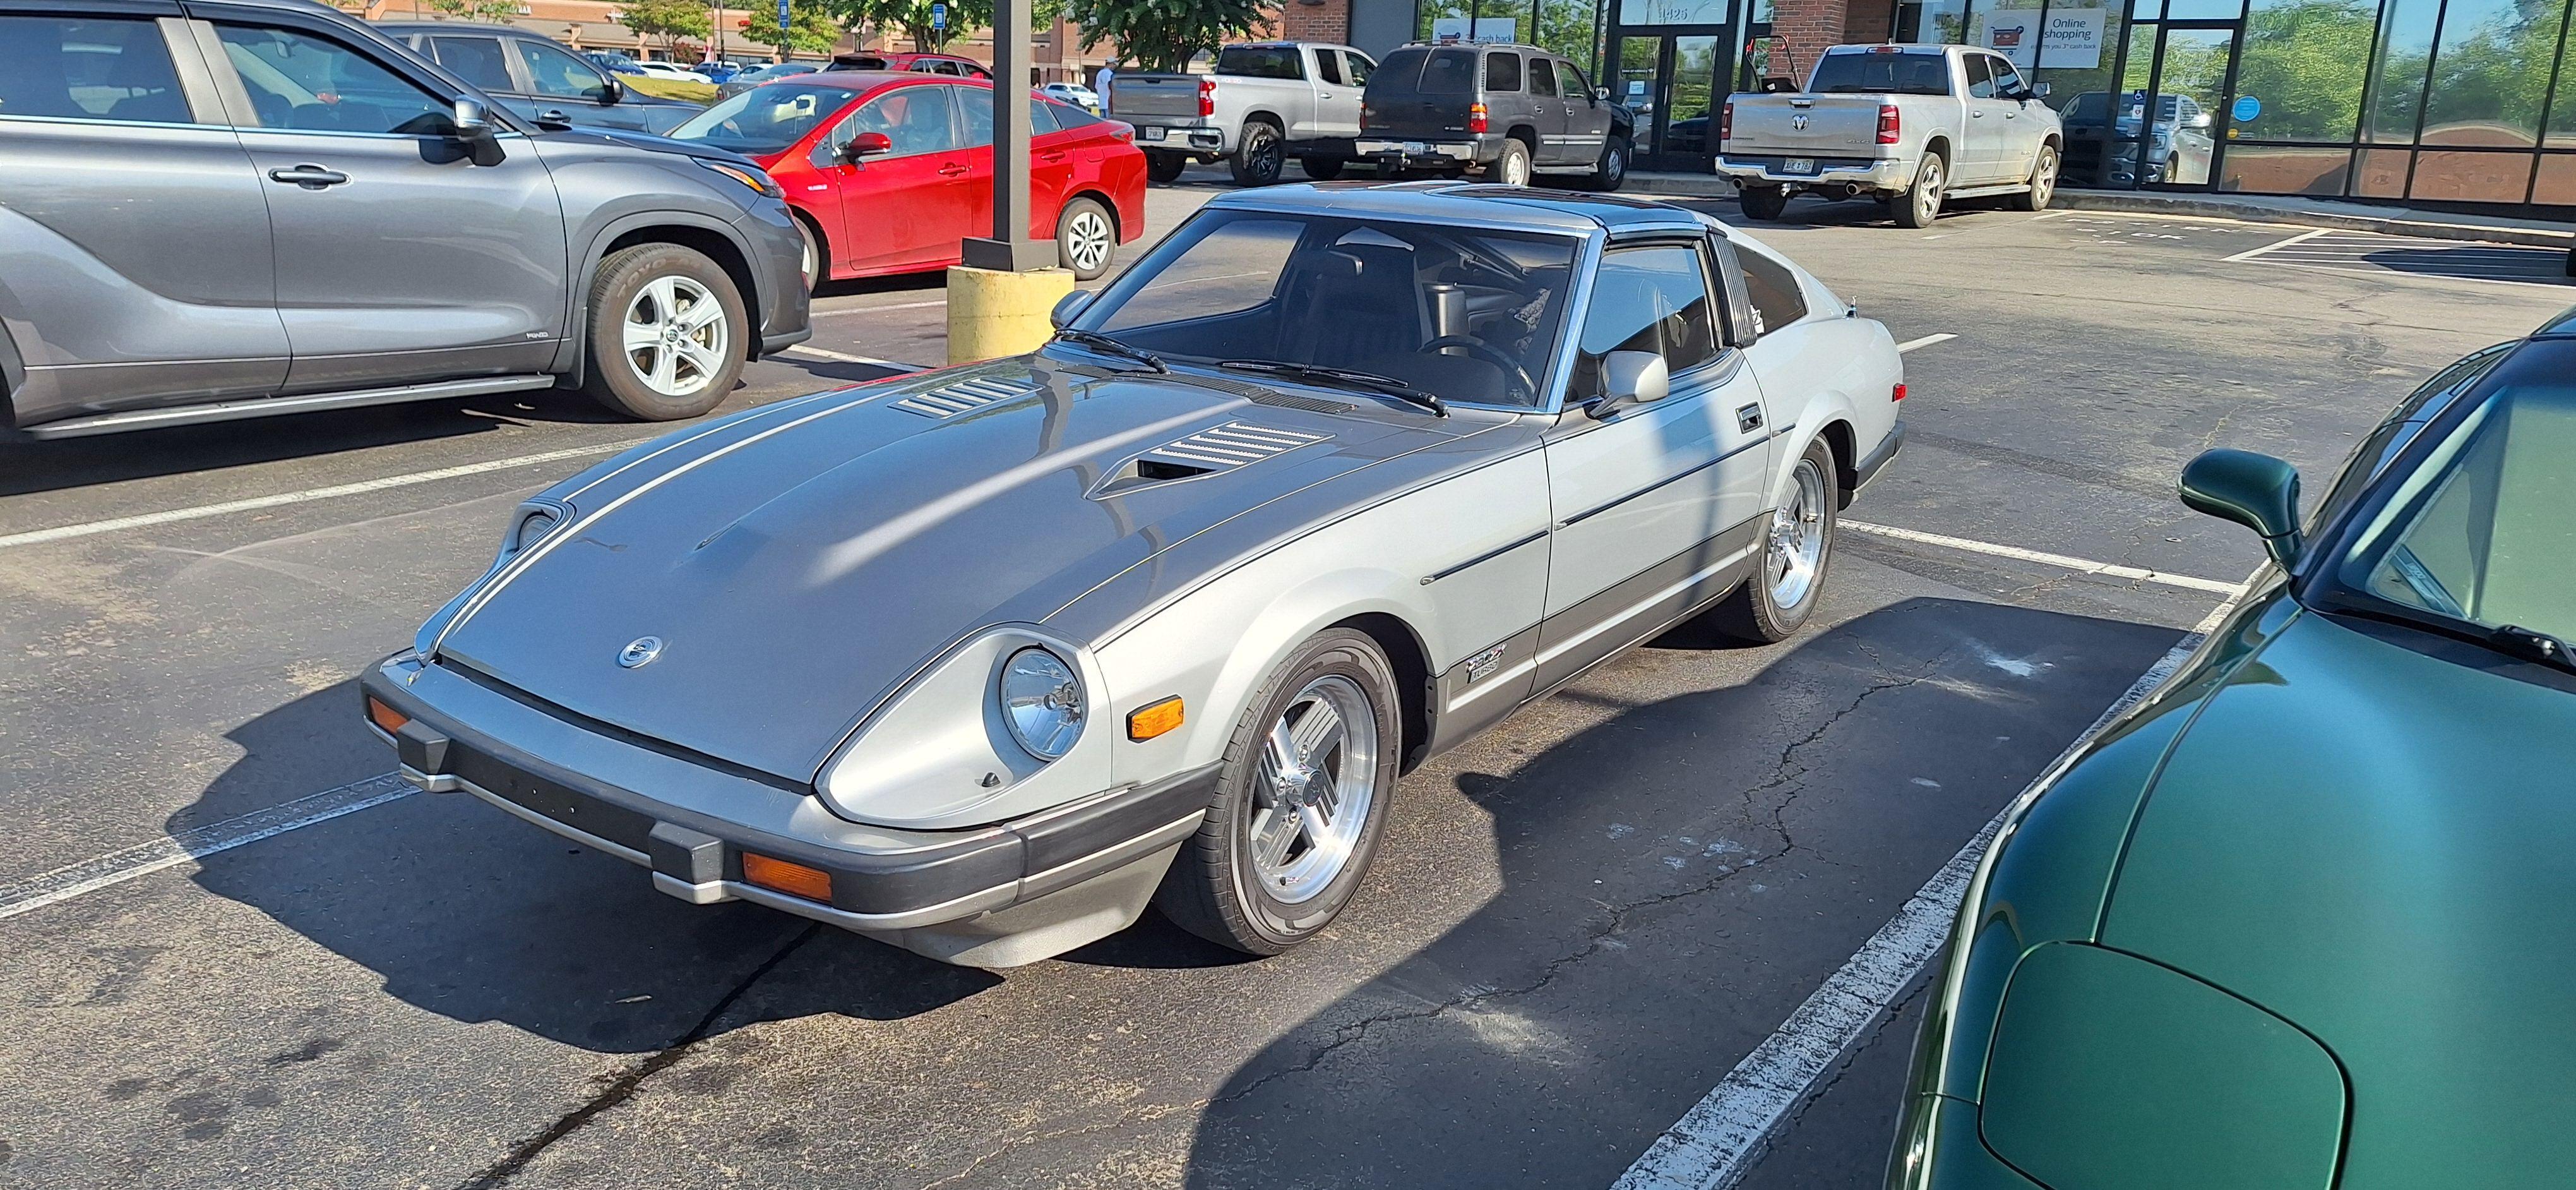
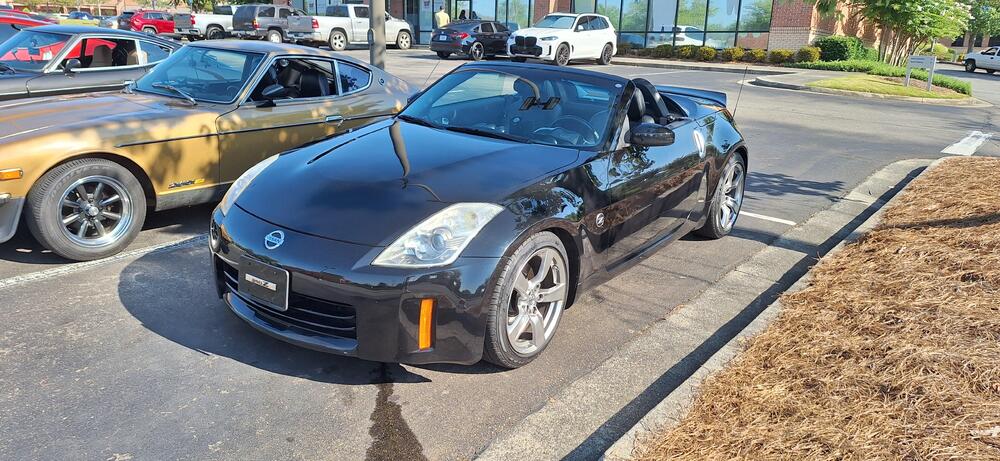
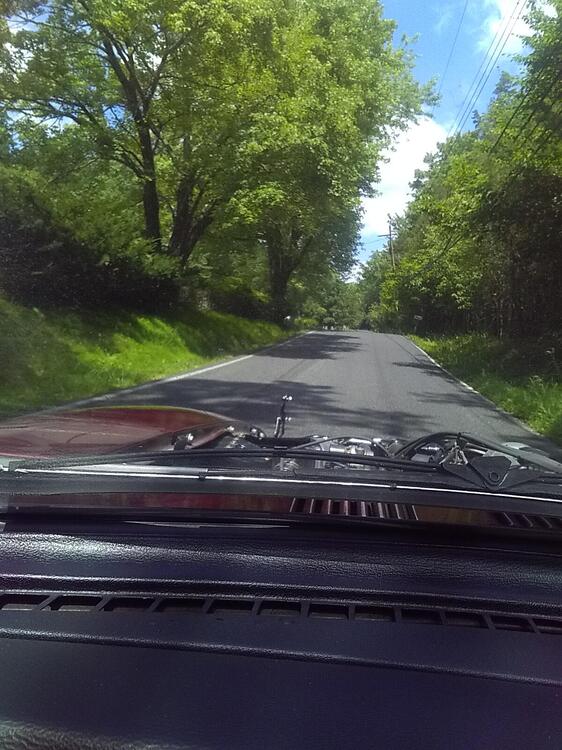
We had a club drive to a BBQ place and later to a winery. The GZC refers to this as a wine & swine drive. Here are some photos from before the drive and at the BBQ place. With temps in the 90's, I opted to return home after lunch. I almost forgot to mention that @Tirnipgreen was able to join the festivities with us, though he skipped the initial drive.


 4 points
 -
4 pointsI used the rope stuffed in through the spark plug hole method. I didn't trust that my tired old rings were up to the task of using compressed air. I wanted something of positive volume in there. Besides... I work slow. And the rope doesn't care.4 points
-
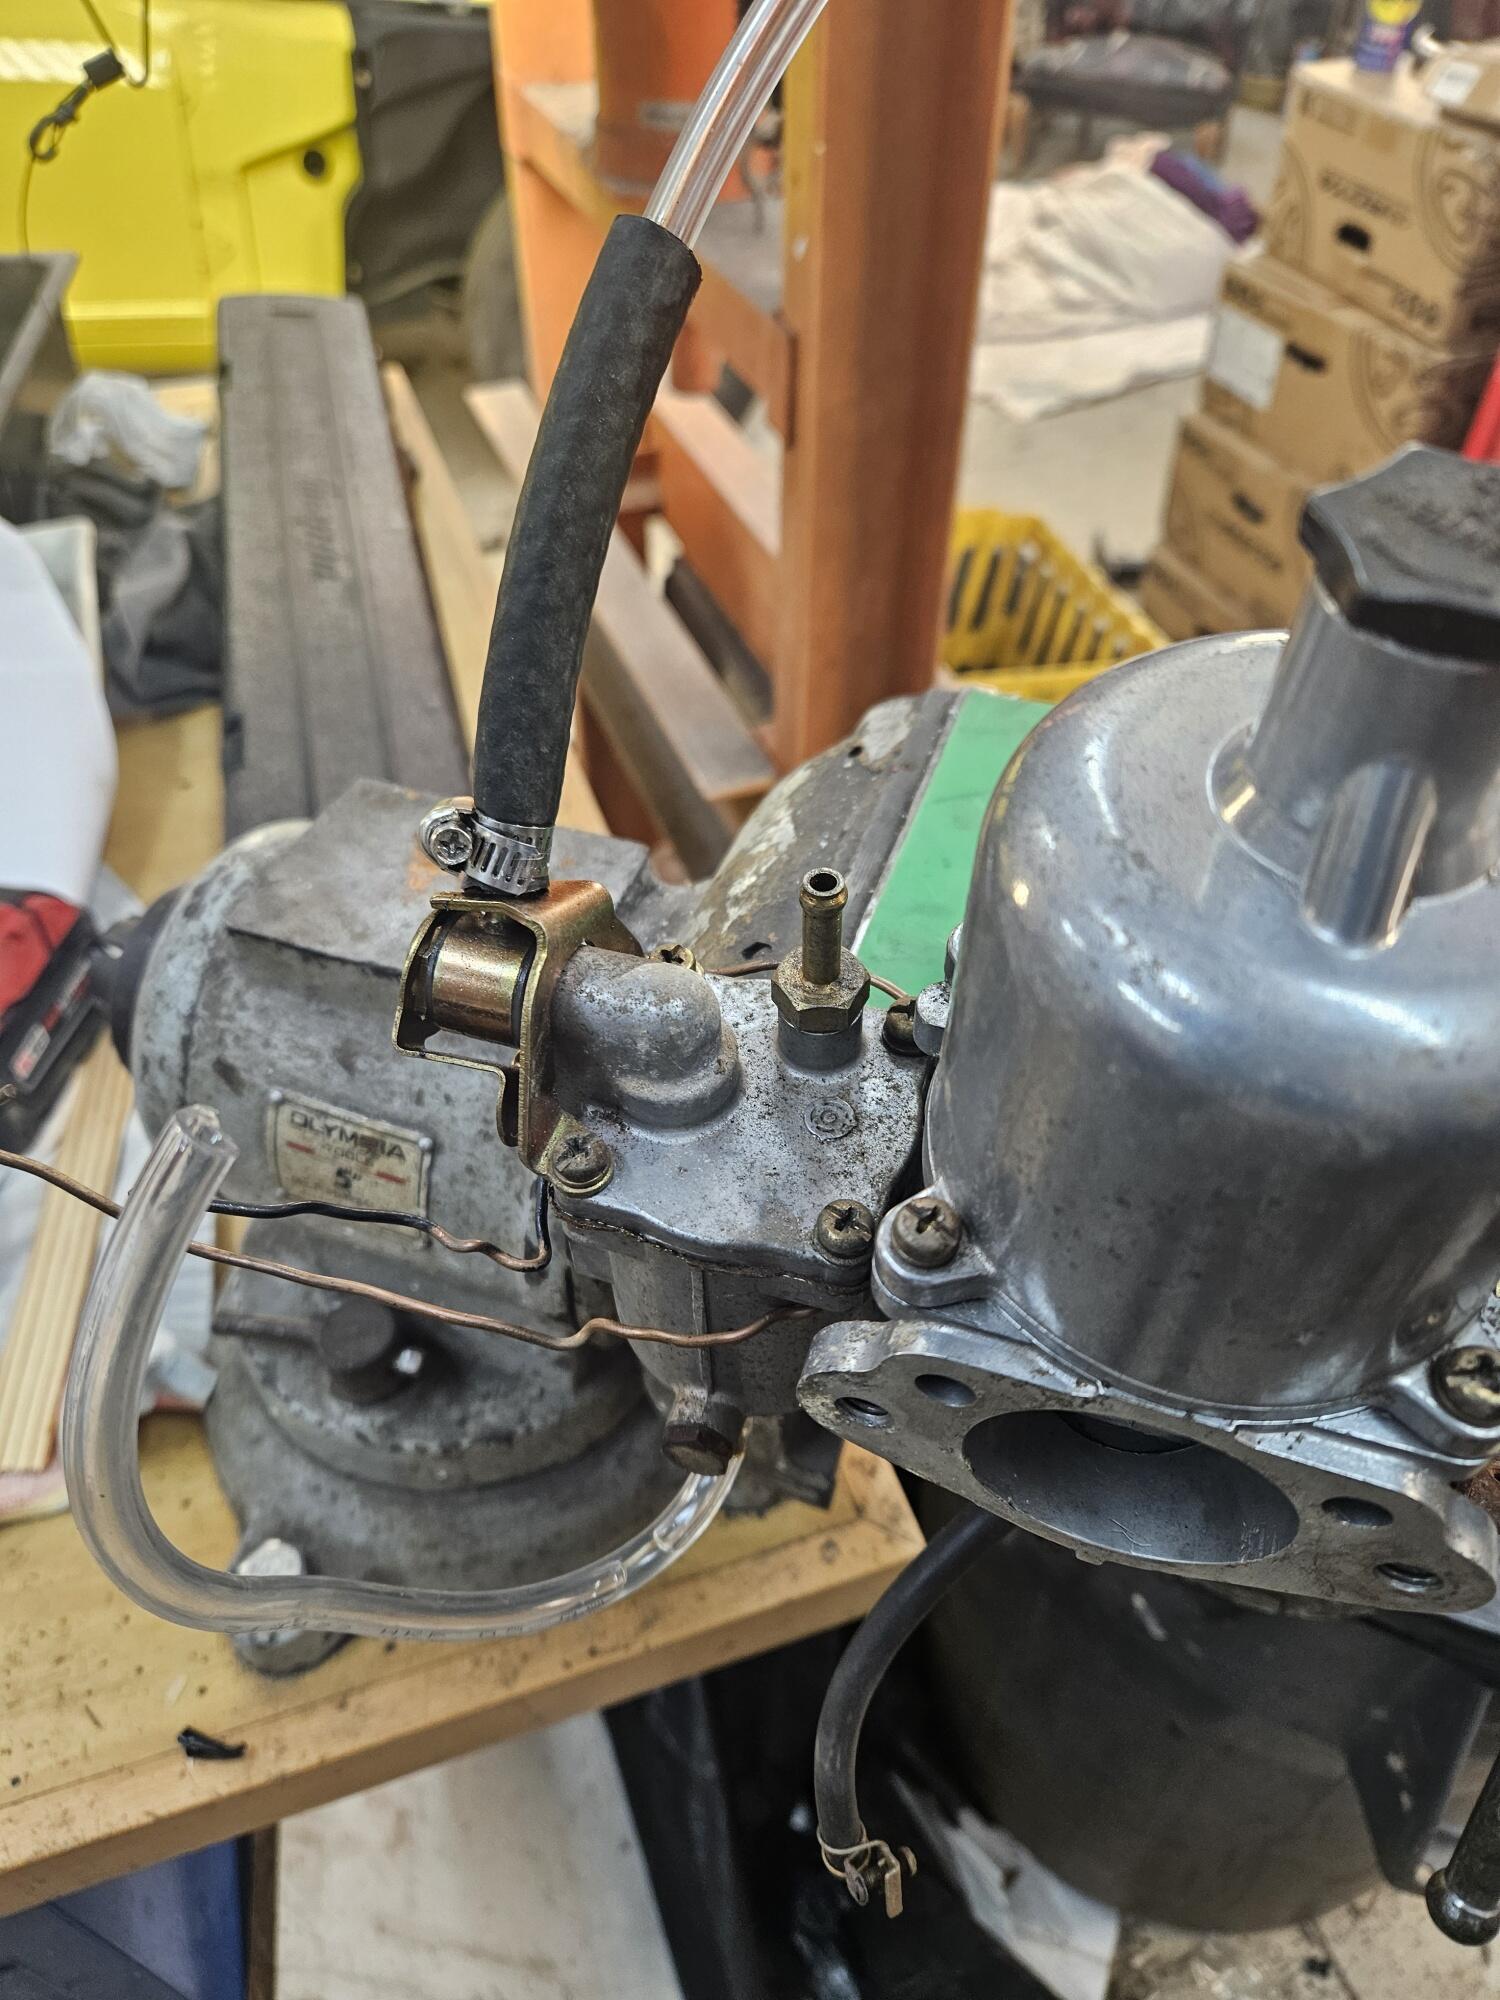
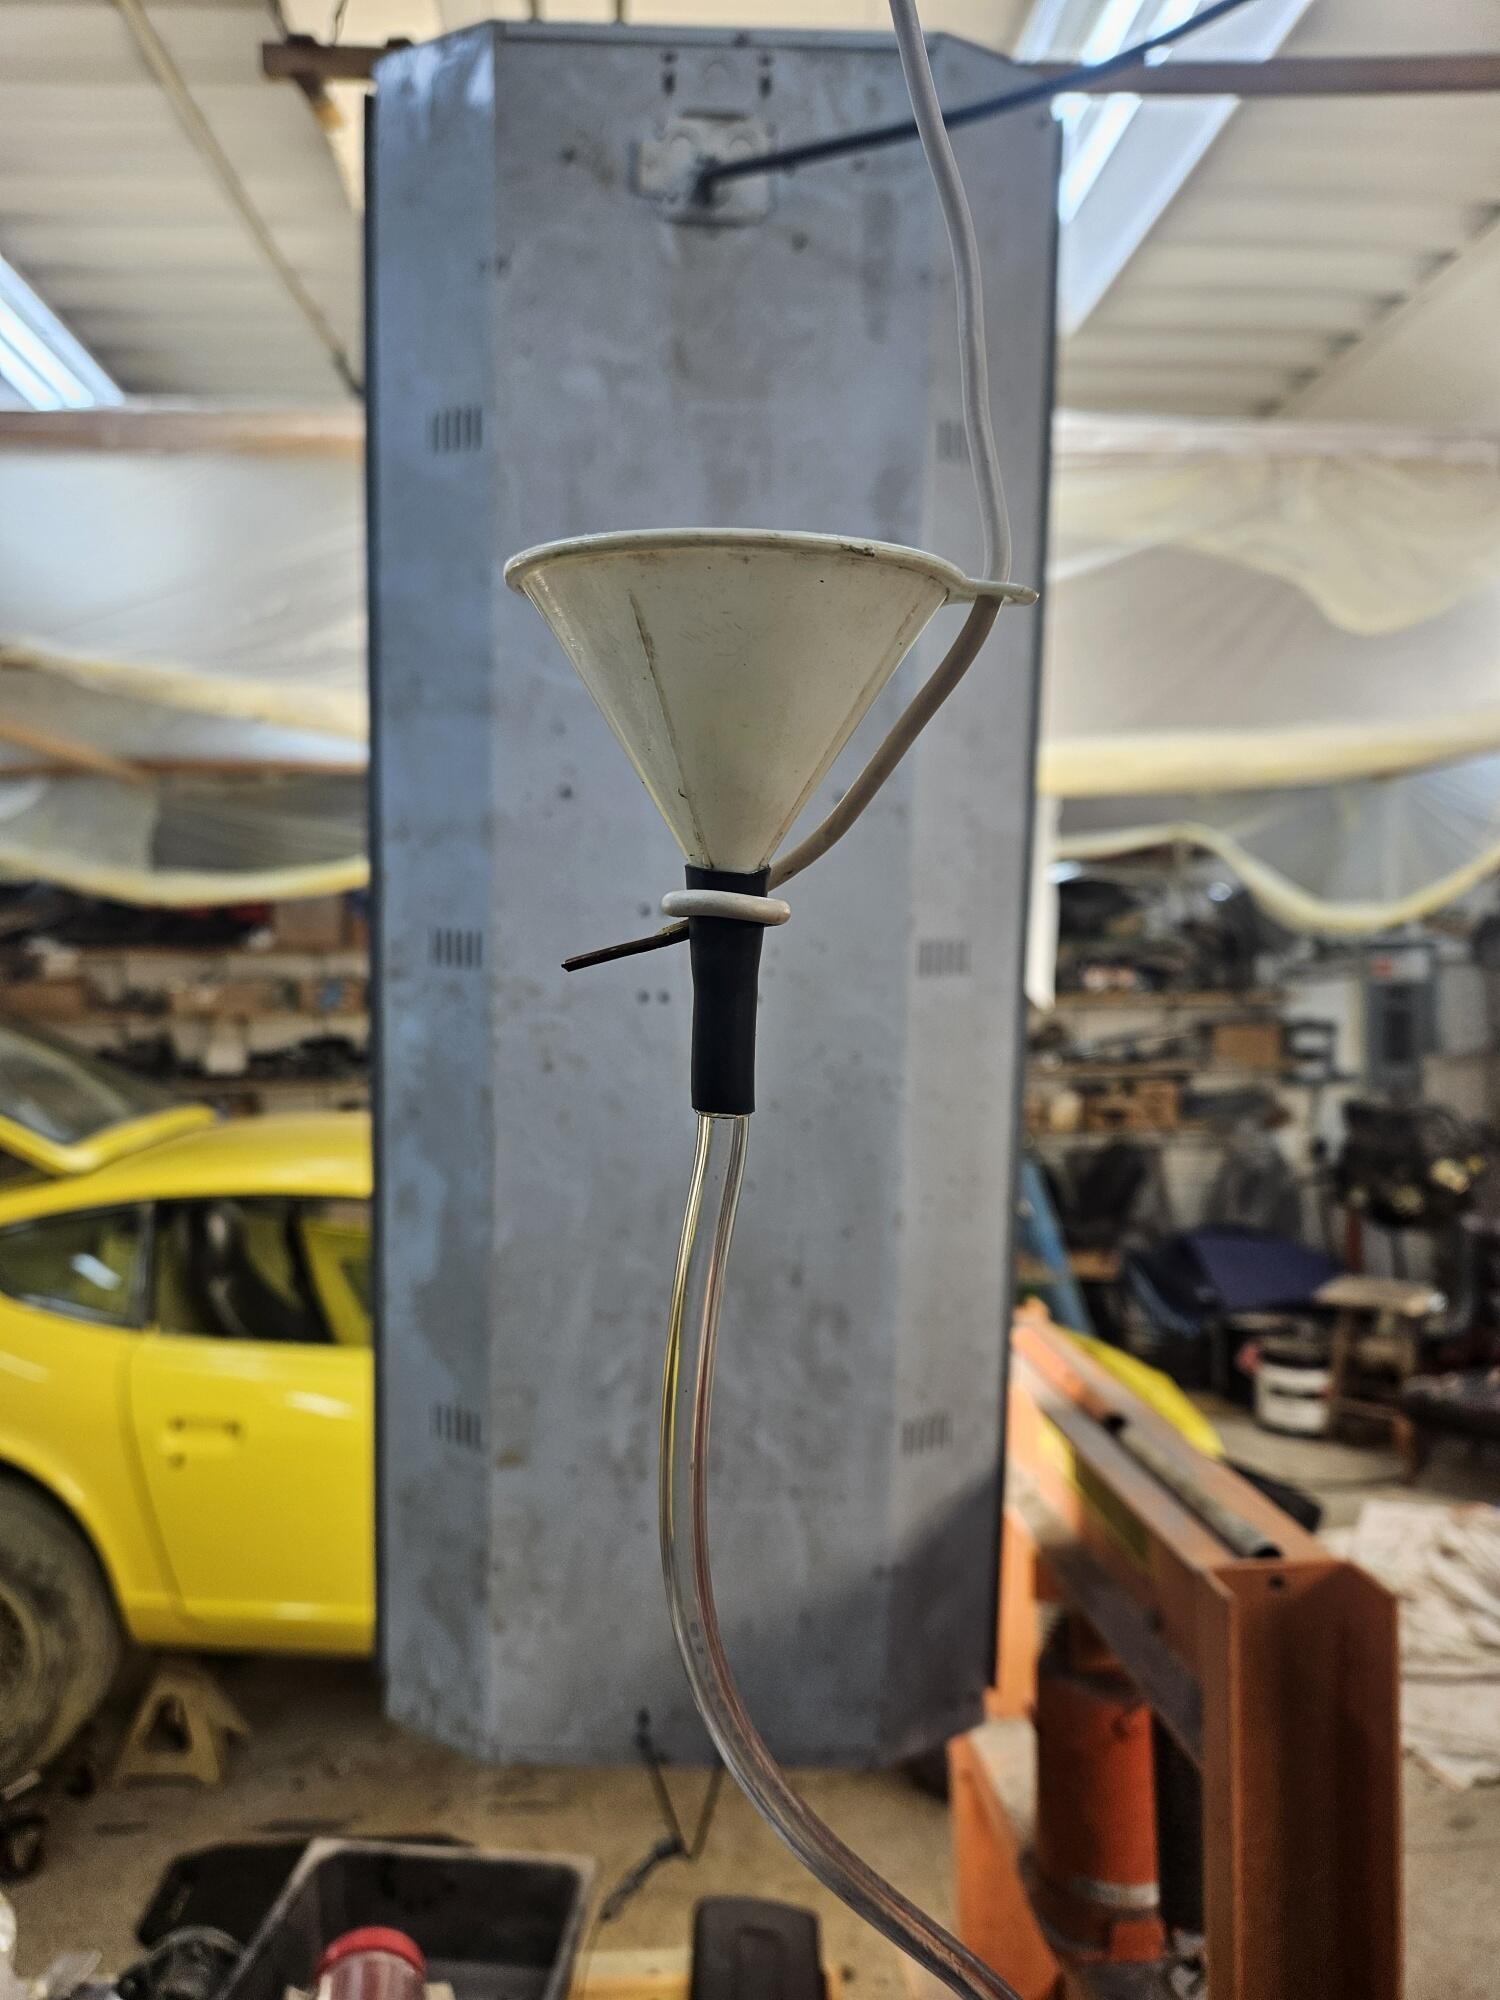
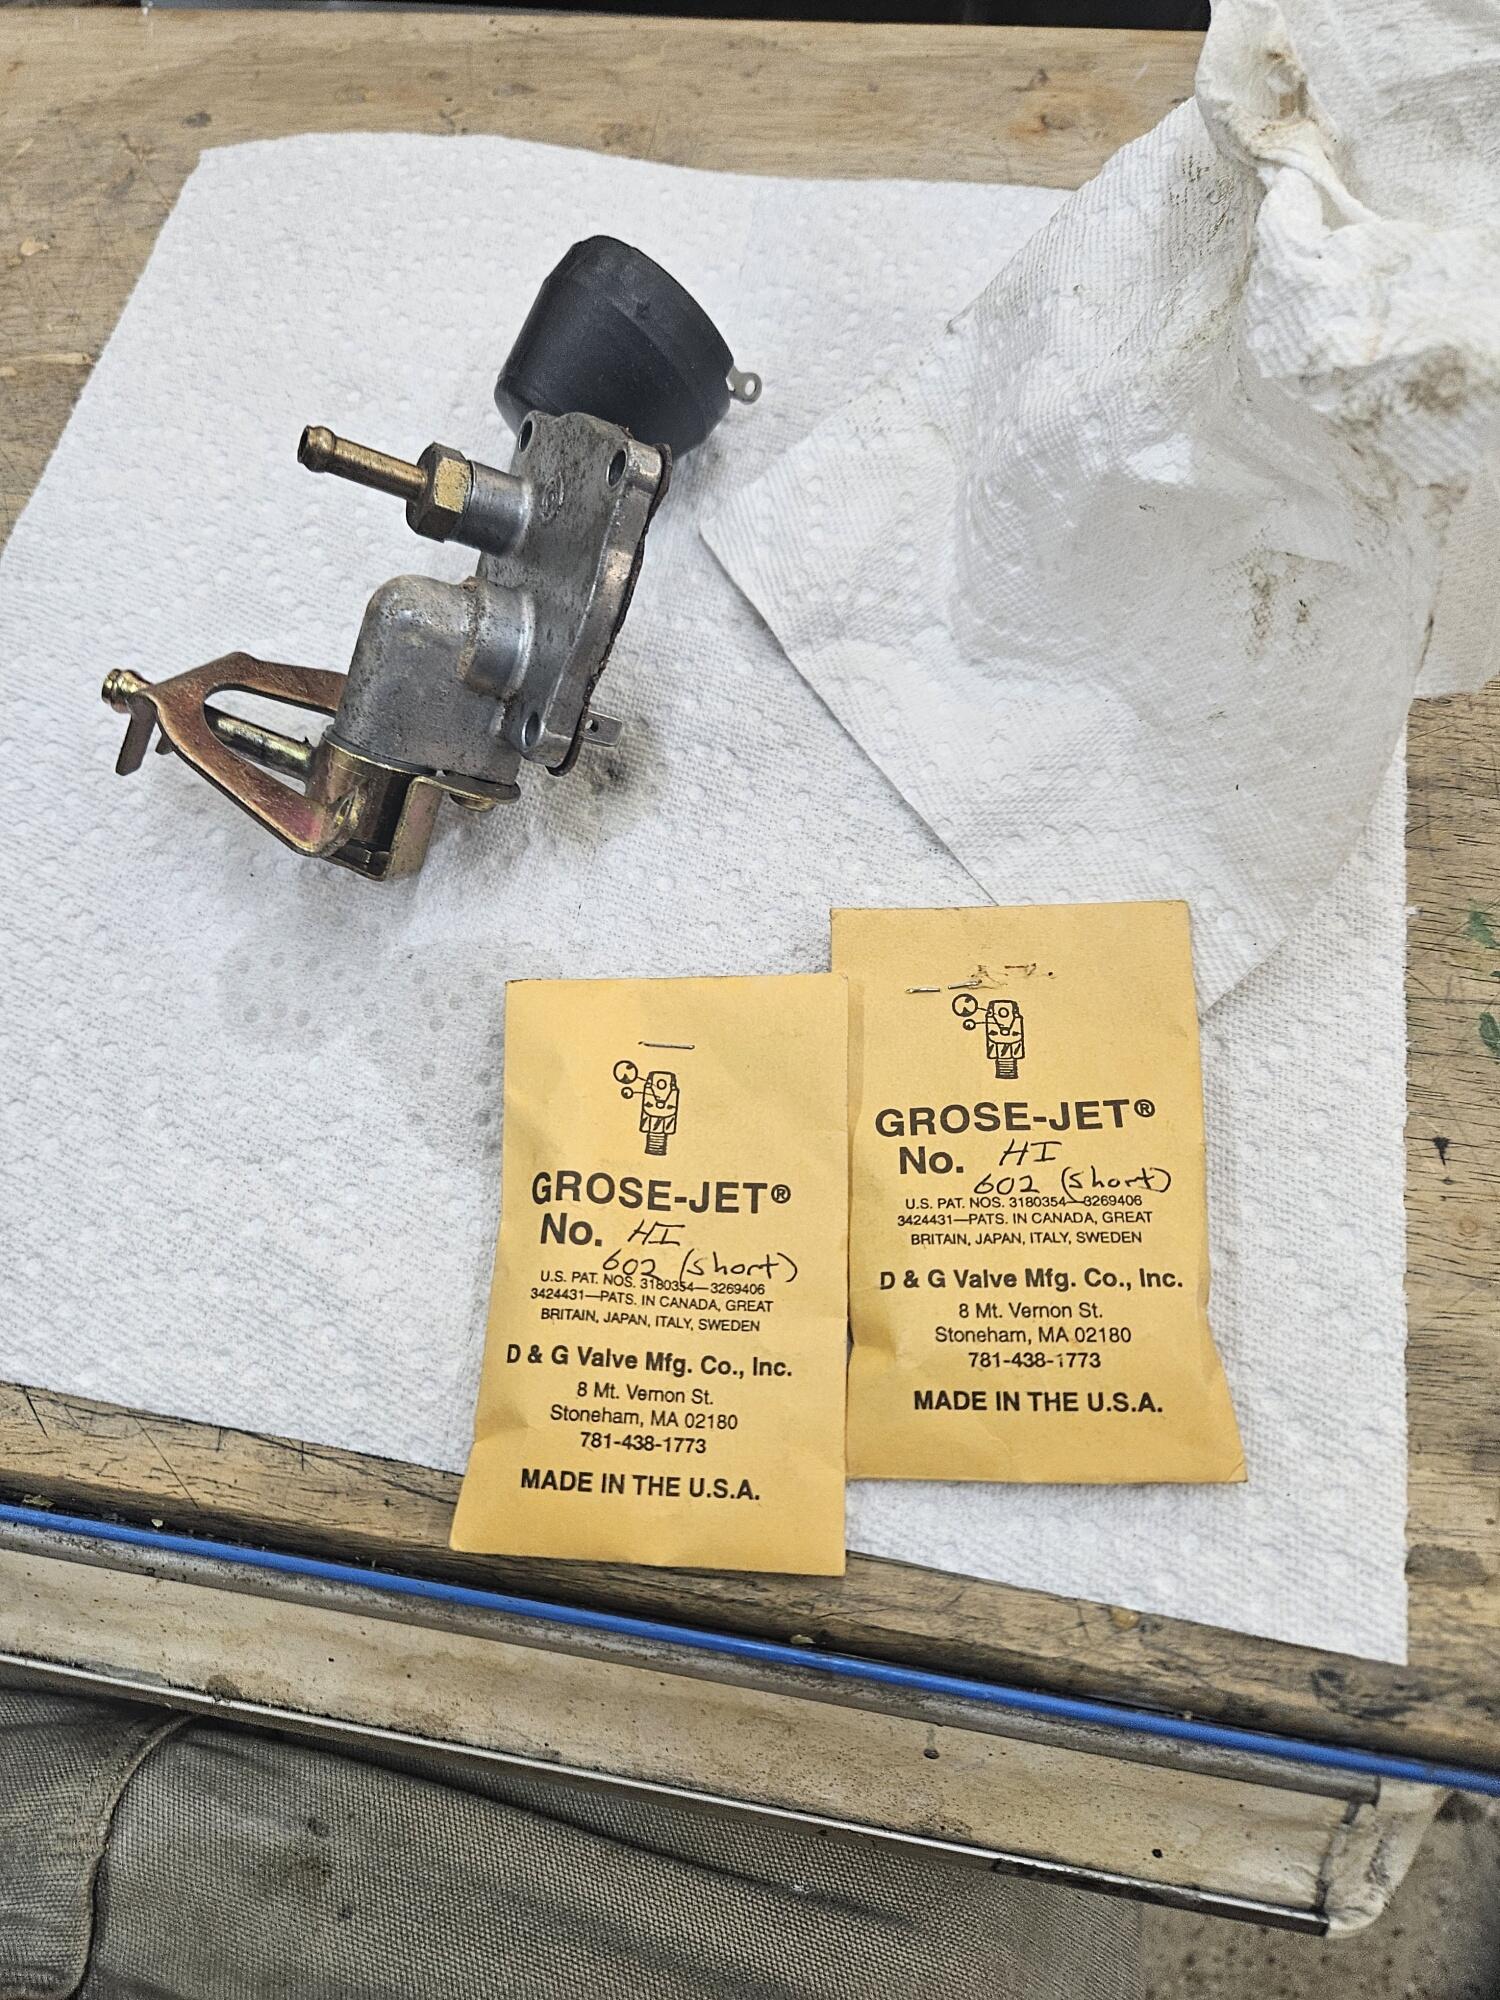
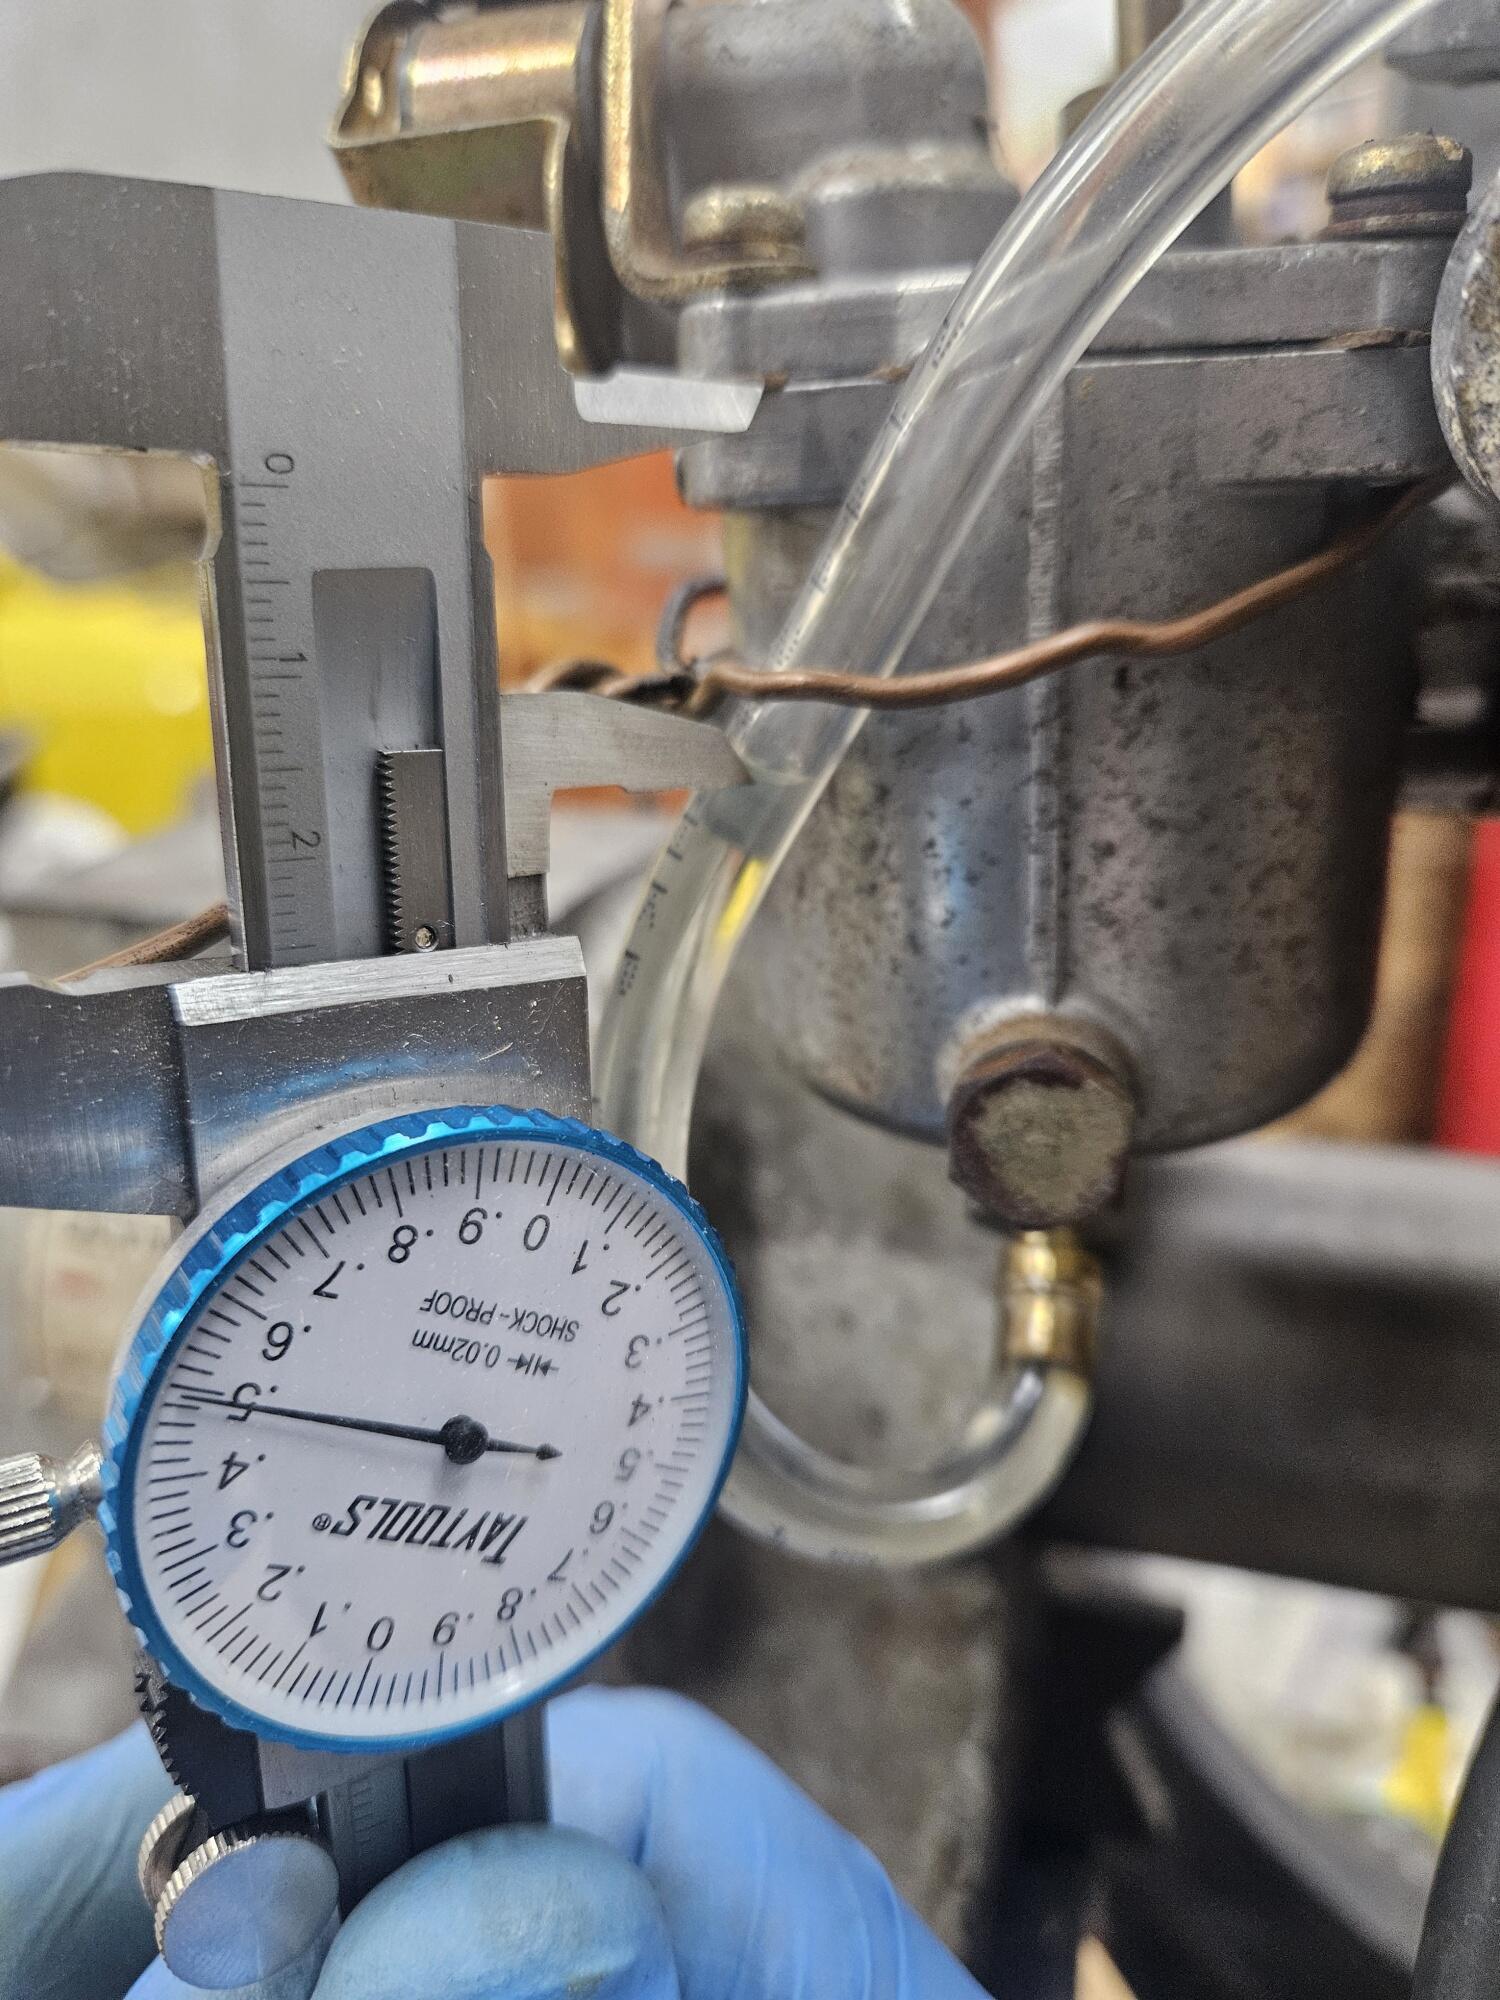
3 pointsWork on float bowls today. I've been procrastinating on this for a couple of days I tried to use an electric pump I have but it overwhelmed the needle valve. So I rigged up this Mounted the carb to the vise. I found out late the esiest way to do this is to chuck a piece of all thread up in the vise and bolt the carb body to the vise using the all thread like an intake manifold stud. Pulled the feed line off the bottom of the bowl and added a short section of clear line turned up by the bowl. Then this funnel I connected to the clear line with some heat shrink I was having problems with the needle valves not sealing well. Turns out I had some new Grose jets on the shelf. Bought them 5 years ago... Both set about 25mm down from the gasket line After testing the clear line can be lowered to drain everything into a container. I used gasoline to try to be accurate


 3 points
 -
3 pointsSounds like the right solution. I'll be doing that with mine when I get a chance. Other than that avoidable (but disconcerting) issue, my installation of your kit is working really well. My old linkage was sticky enough to make driving in town somewhere between embarrassing and impossible (it was really fun the time or two I drove it without a muffler). It's now a joy to drive it. I went out for an hour or so this morning and was in heaven. I came home and told my wife it was time for her to come for her first ride in the car. That's partly a result of the improved throttle, but mostly because of a slightly ugly, but very successful seal job I did on the hatch, which has all but eliminated exhaust fumes in the cabin. I'll post a couple of pictures of that in the build thread. Thanks Ken!3 points
-
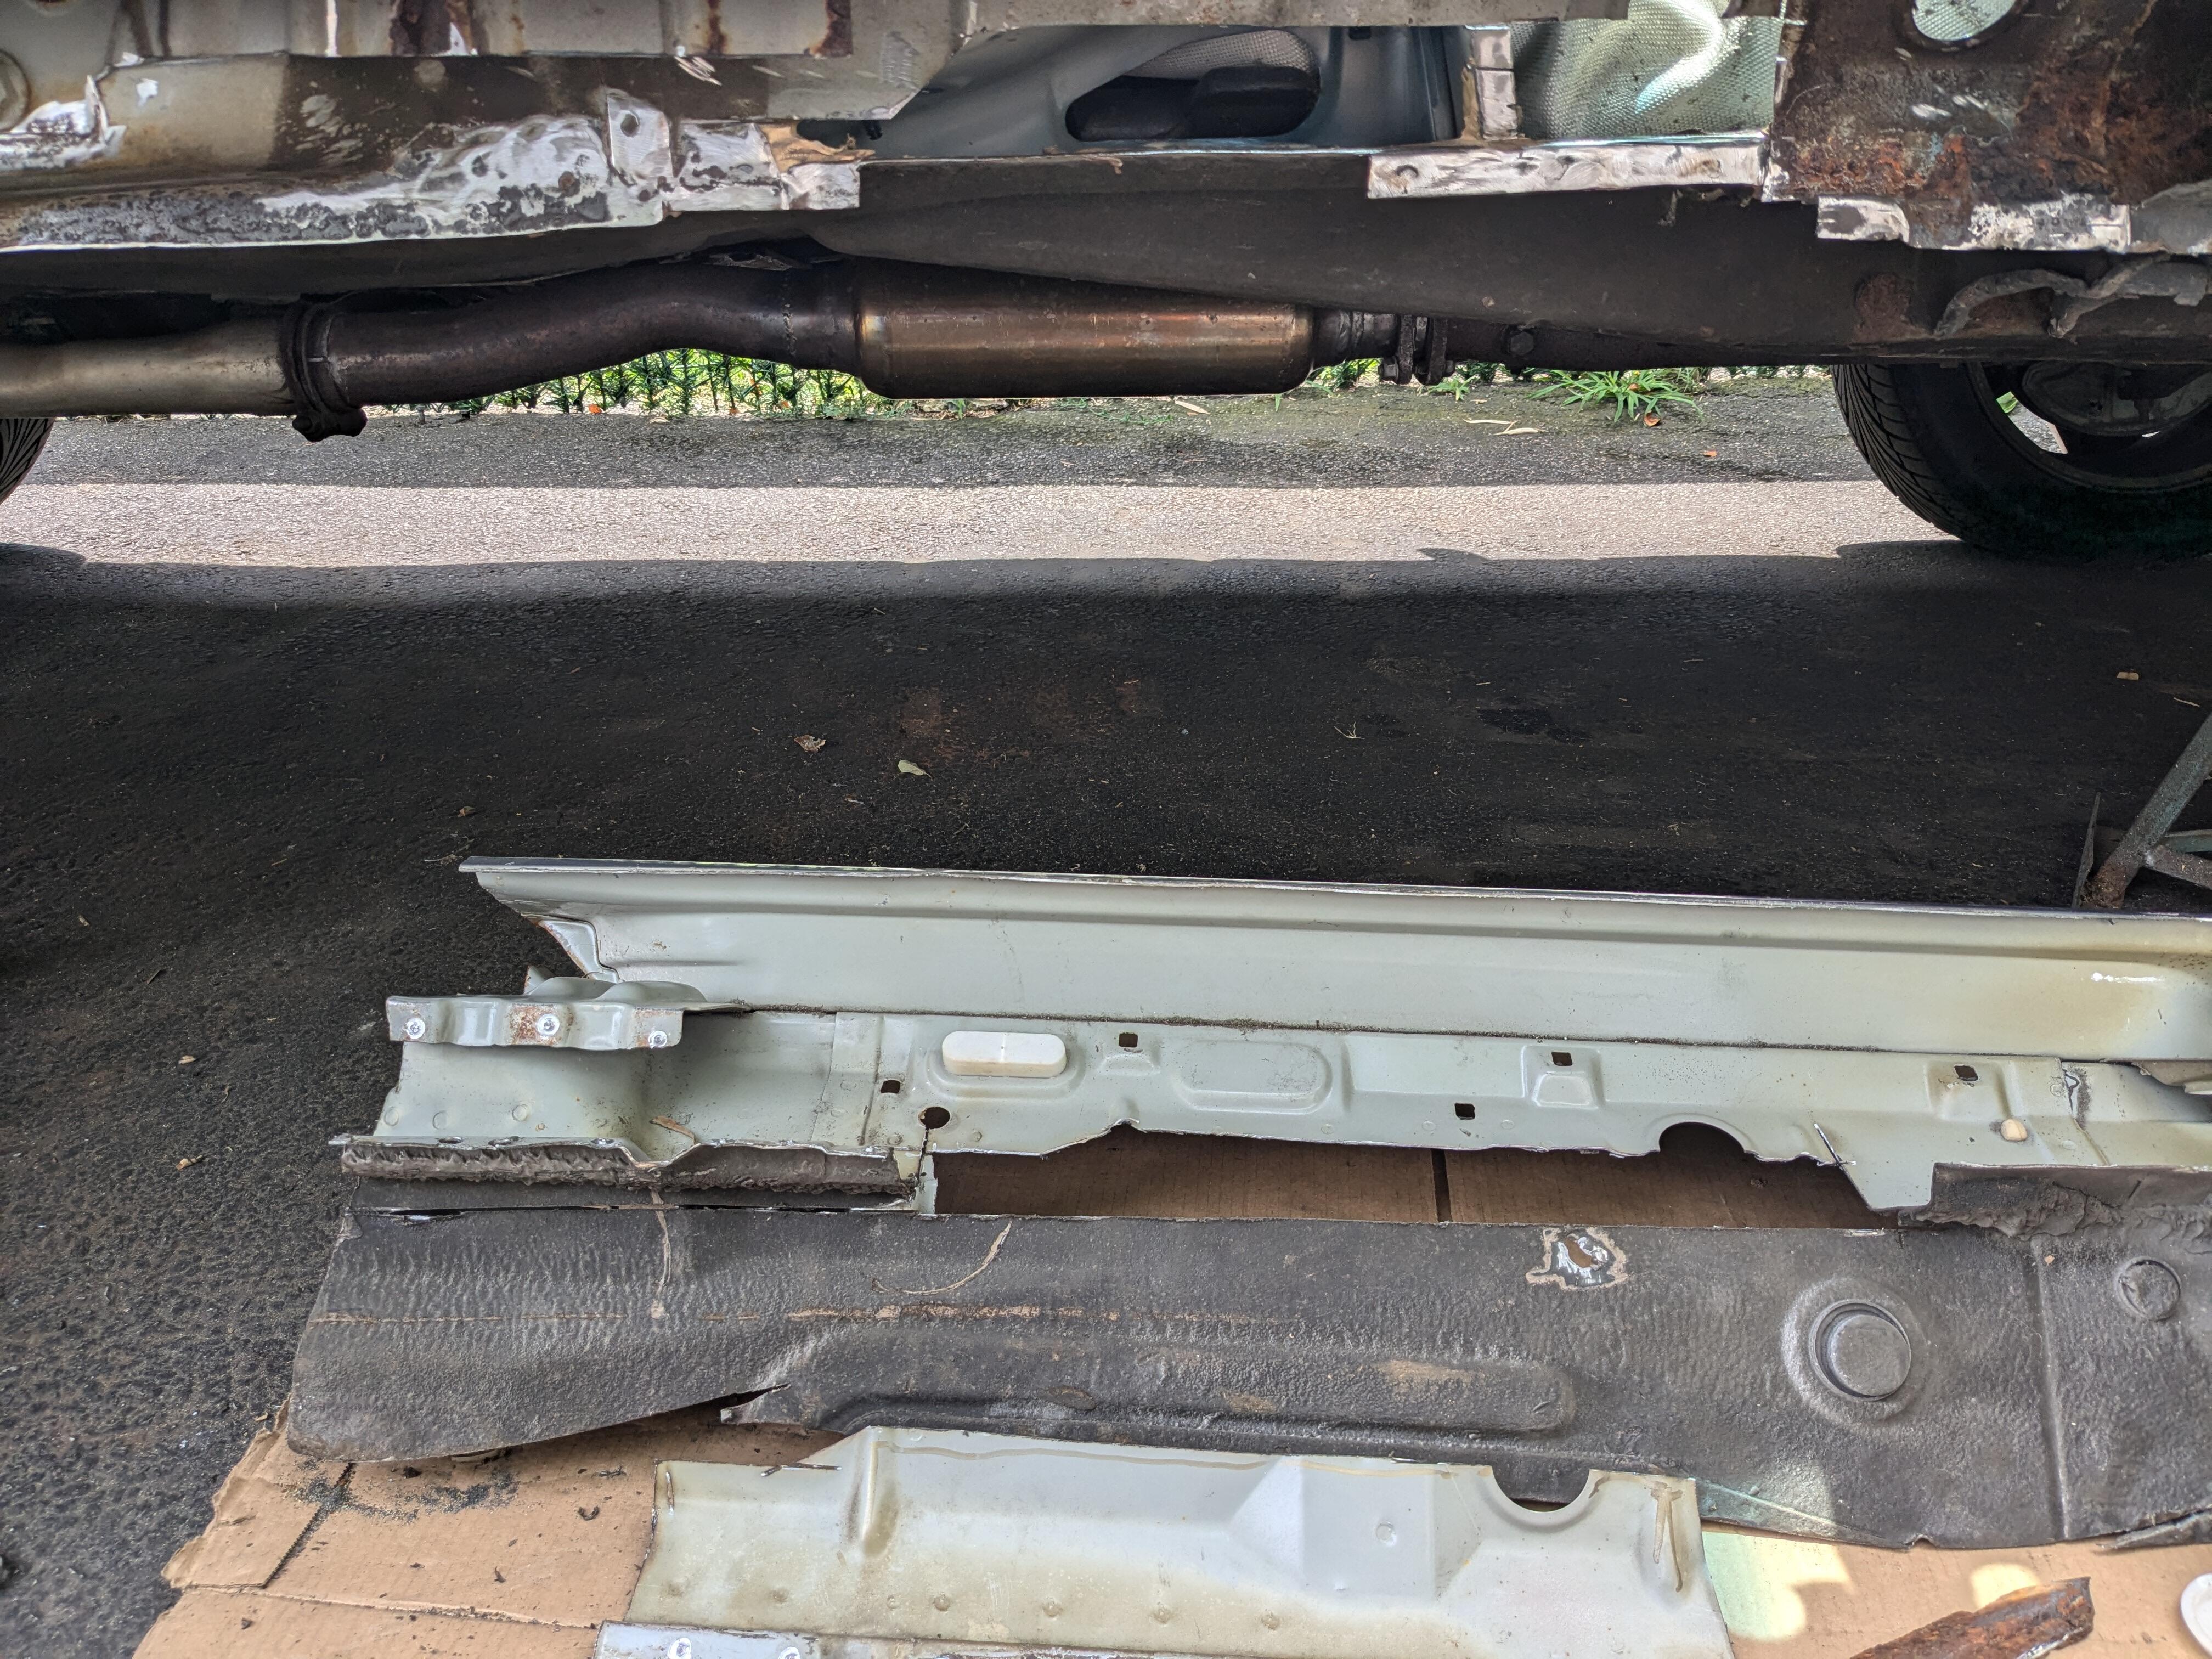
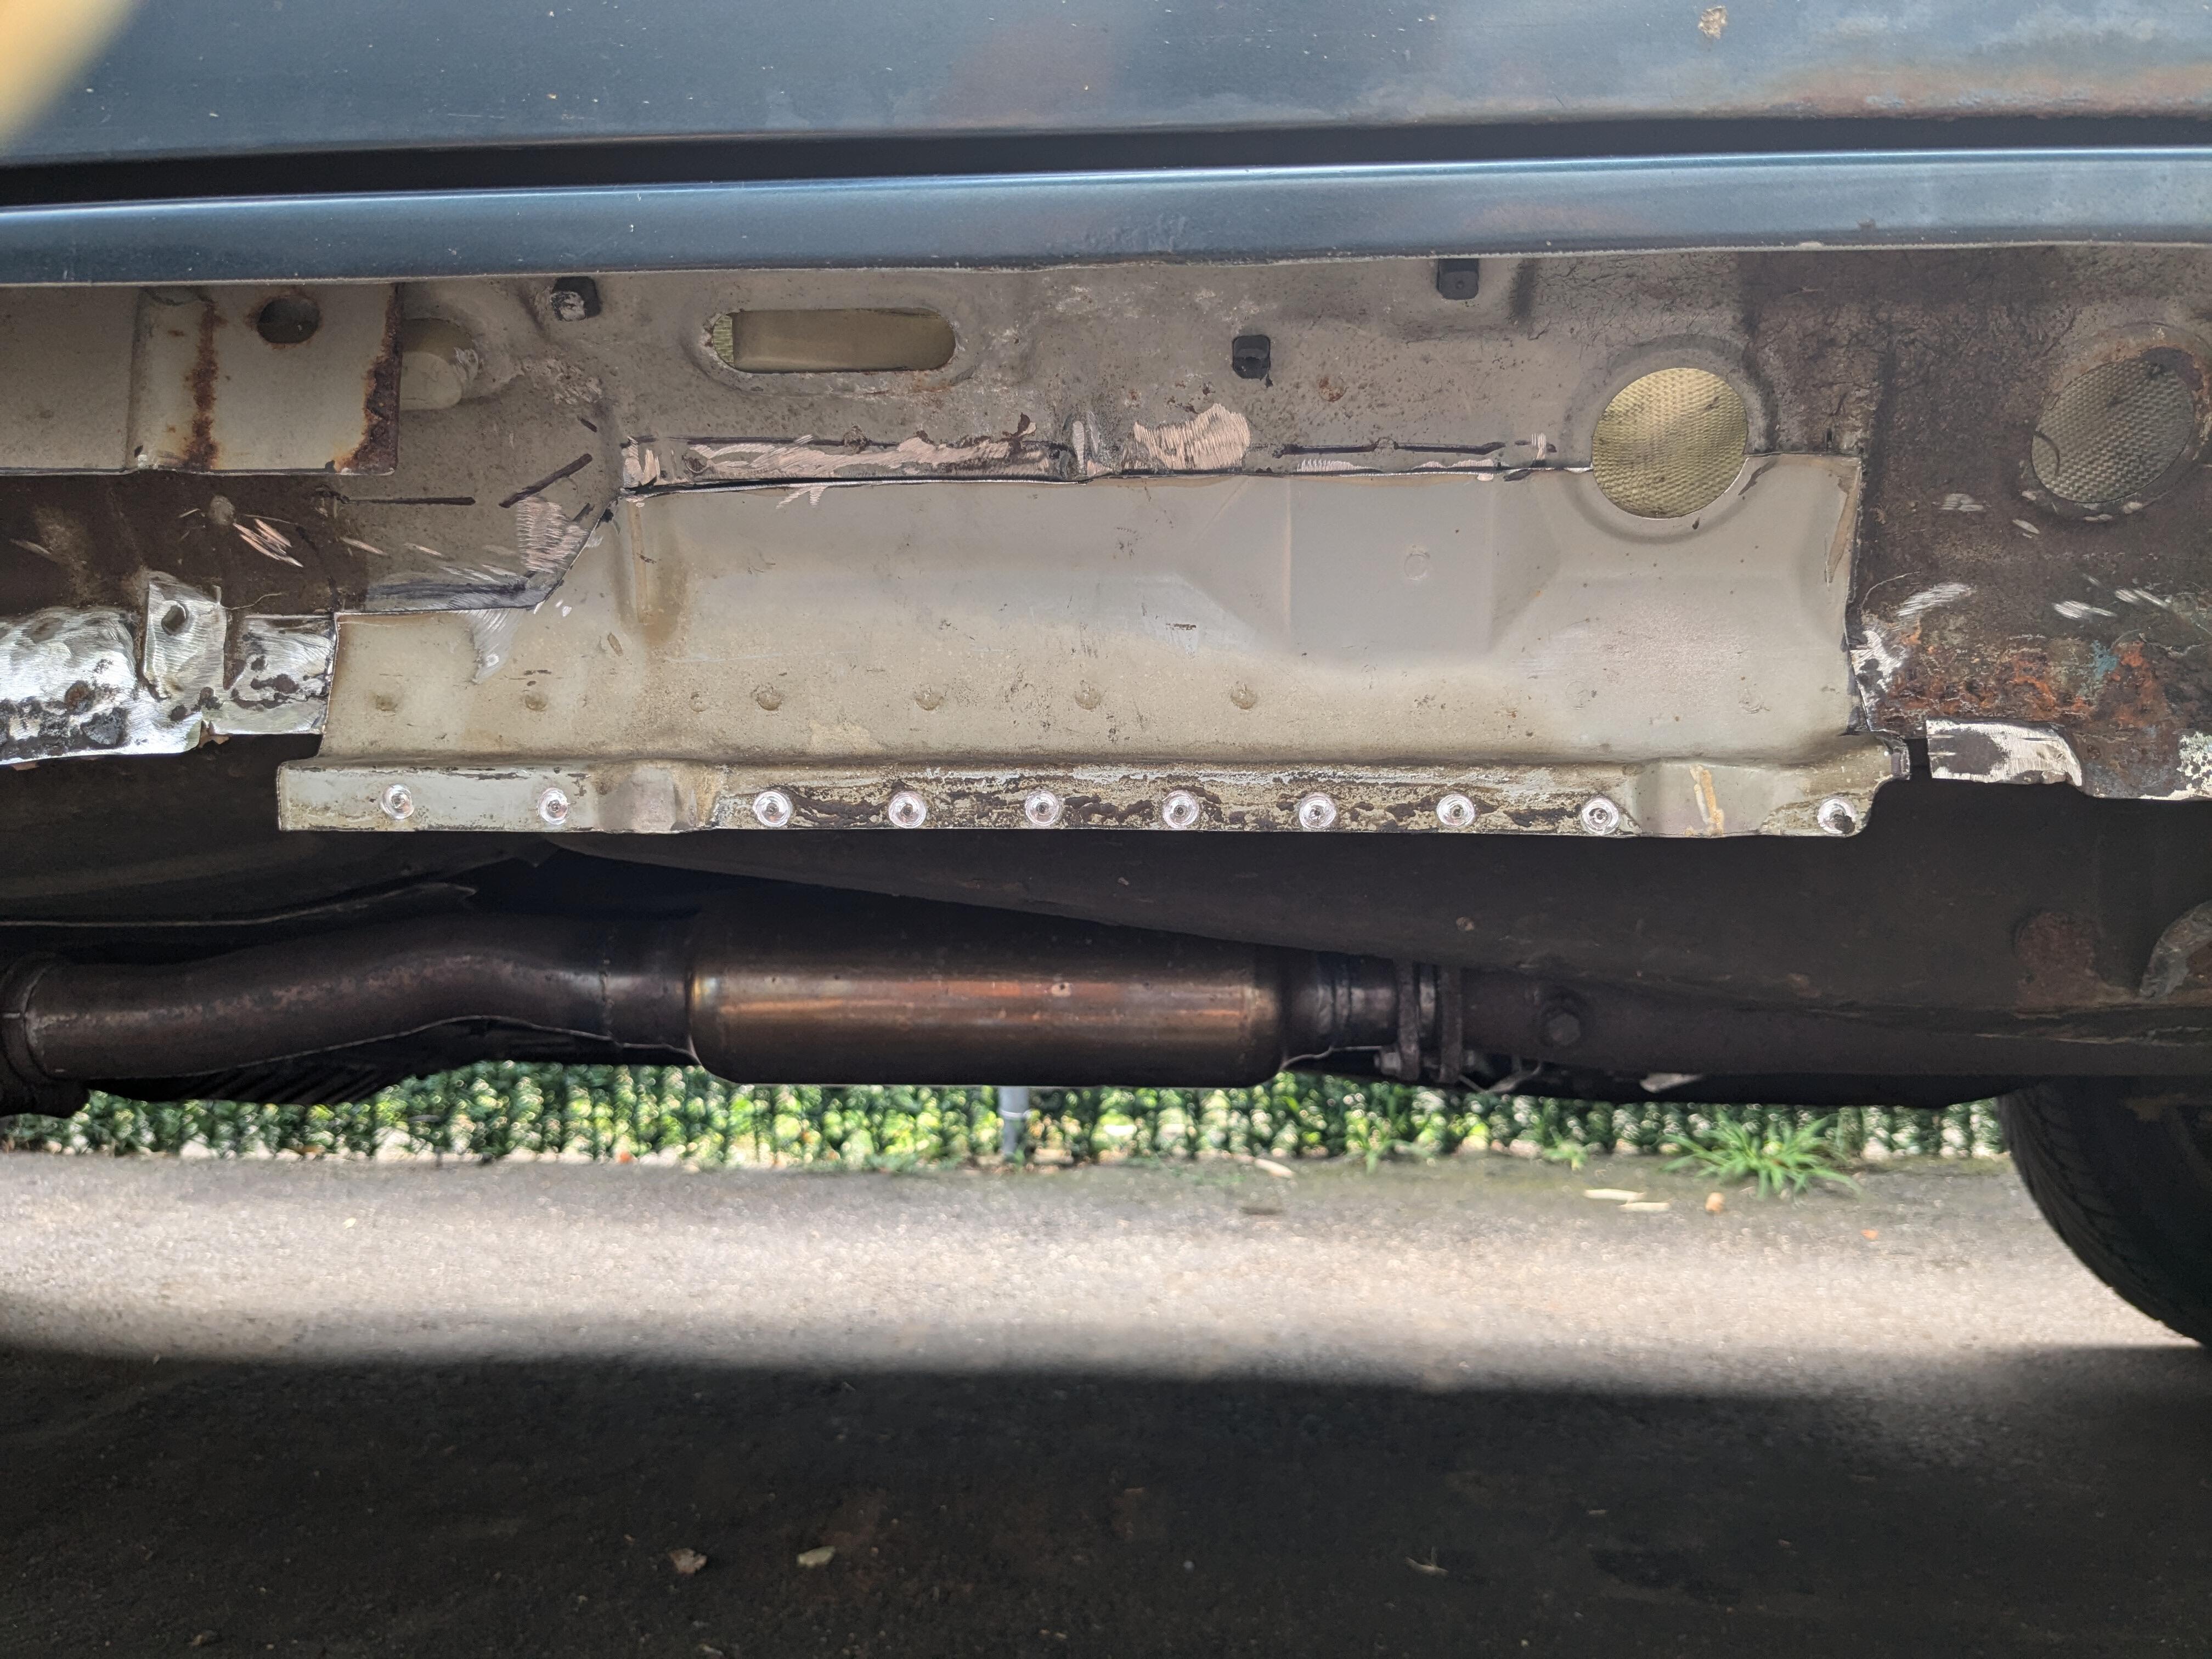
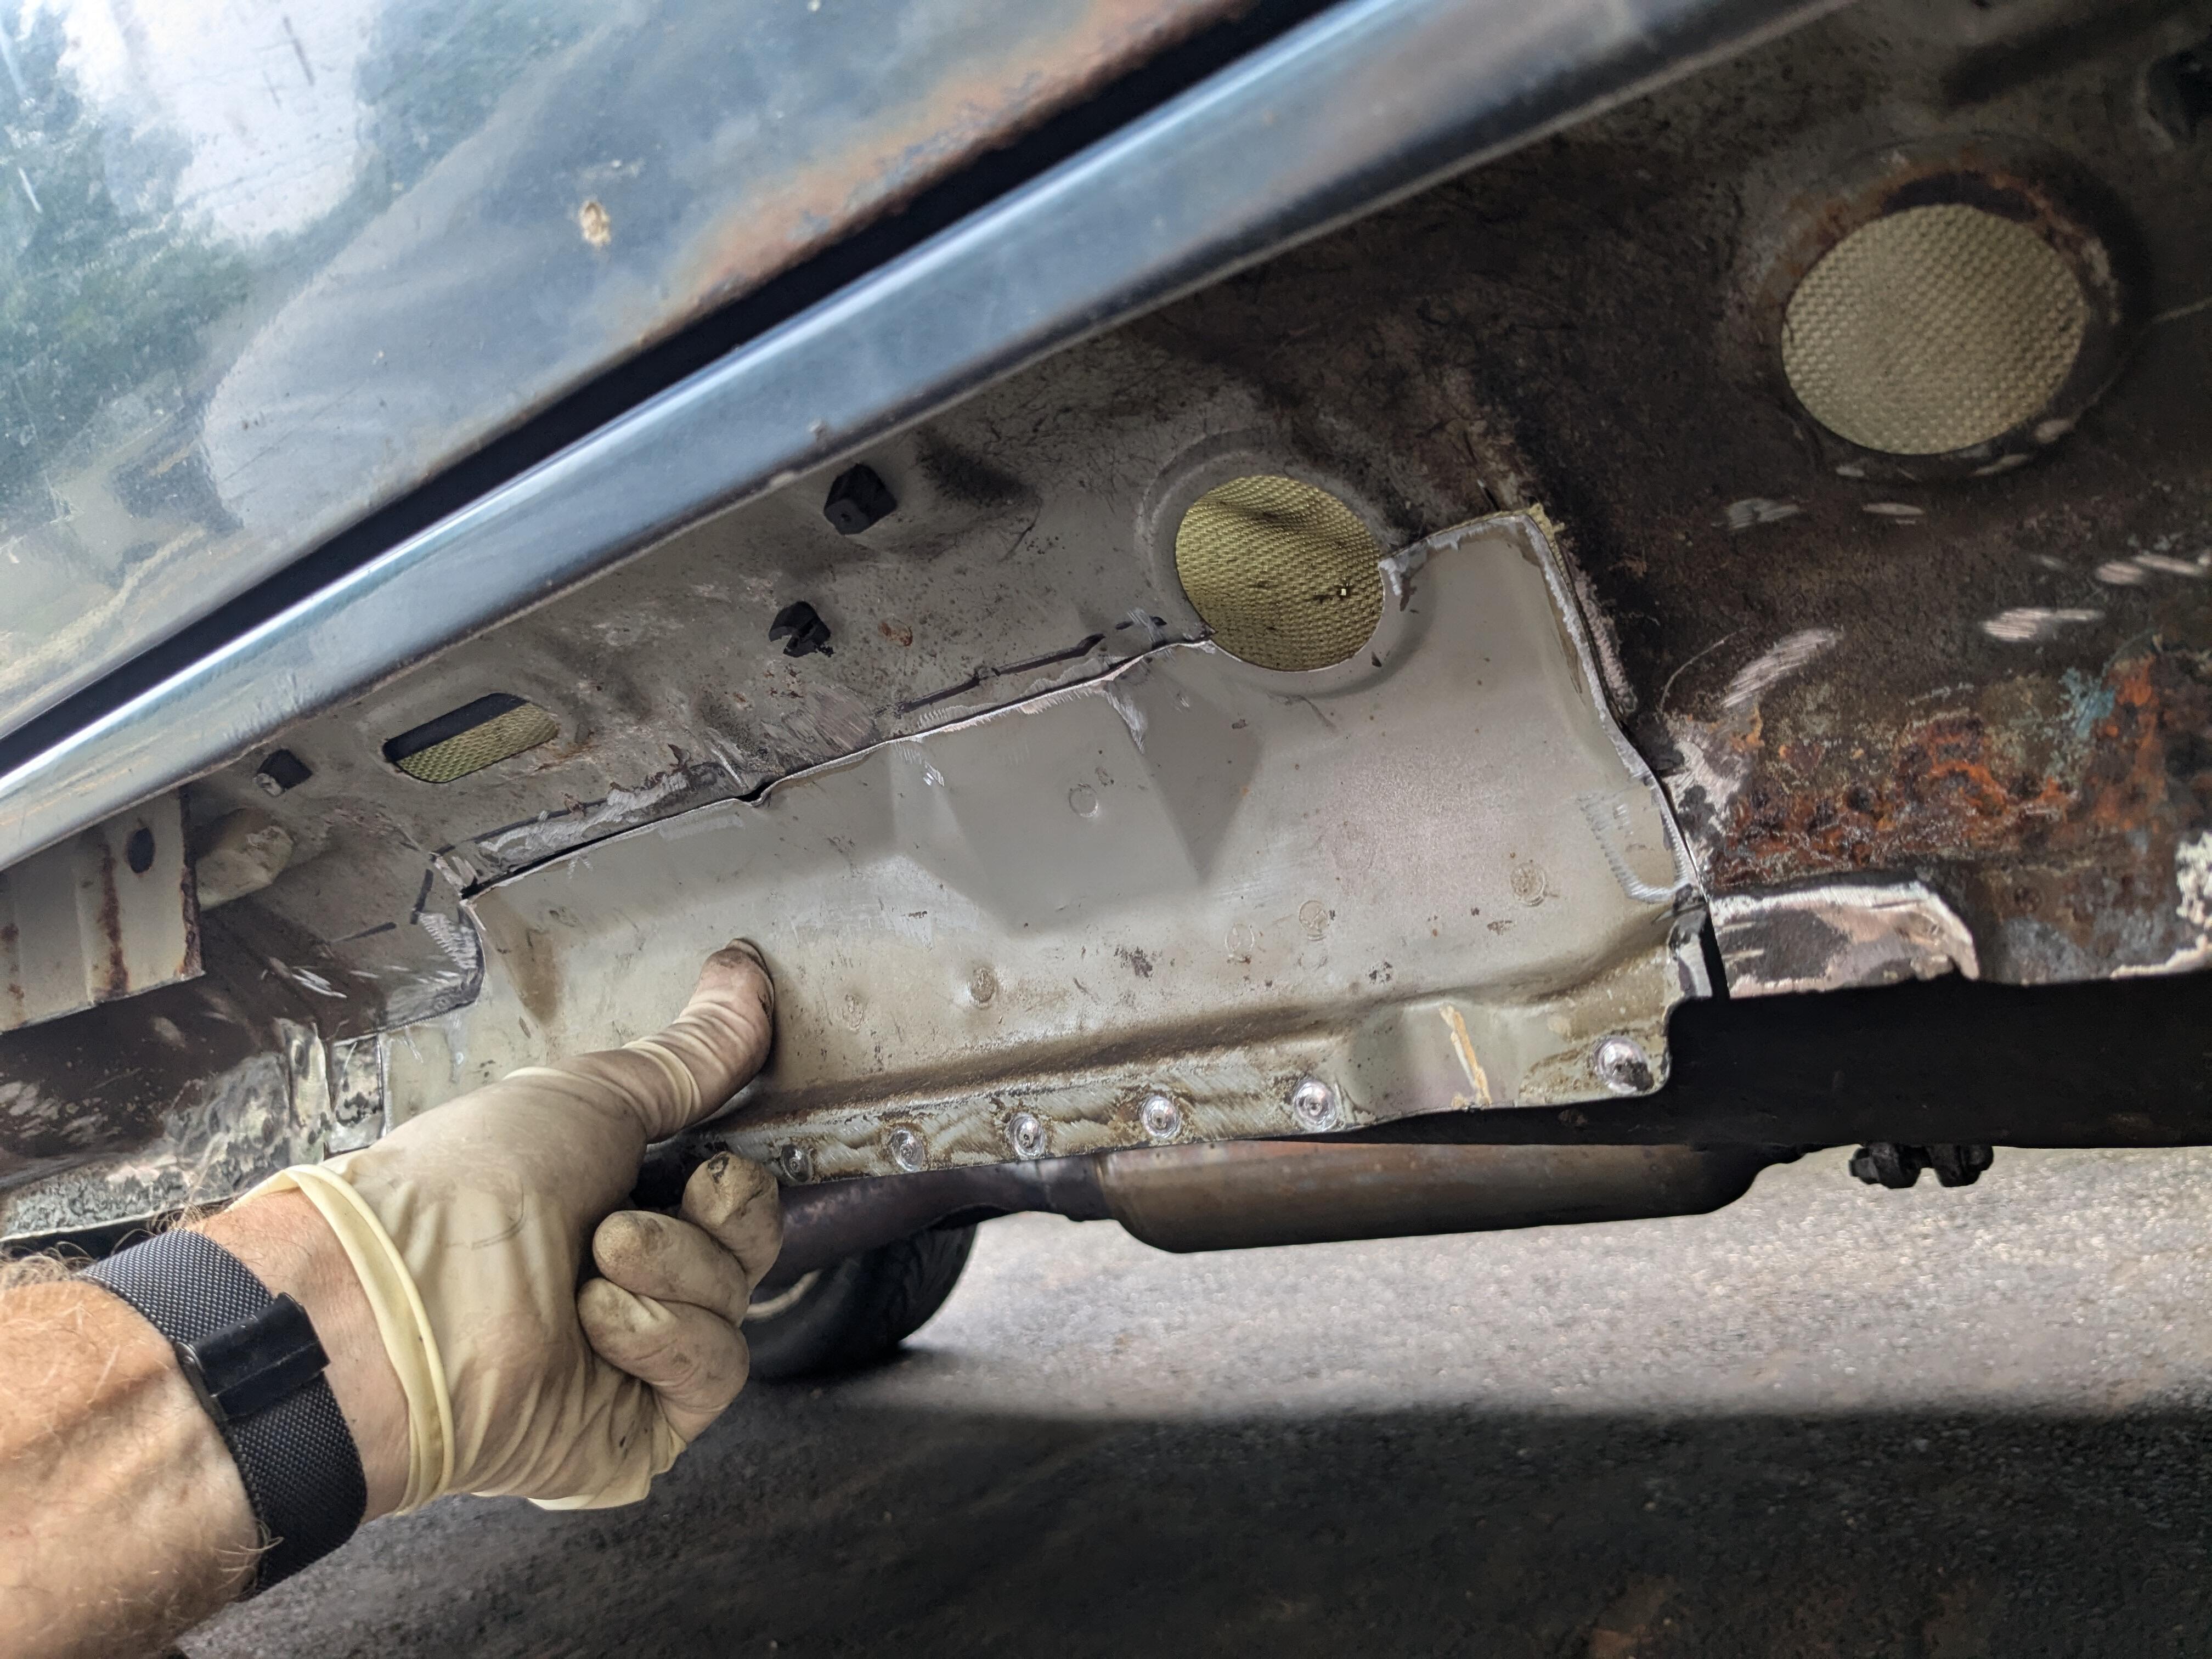
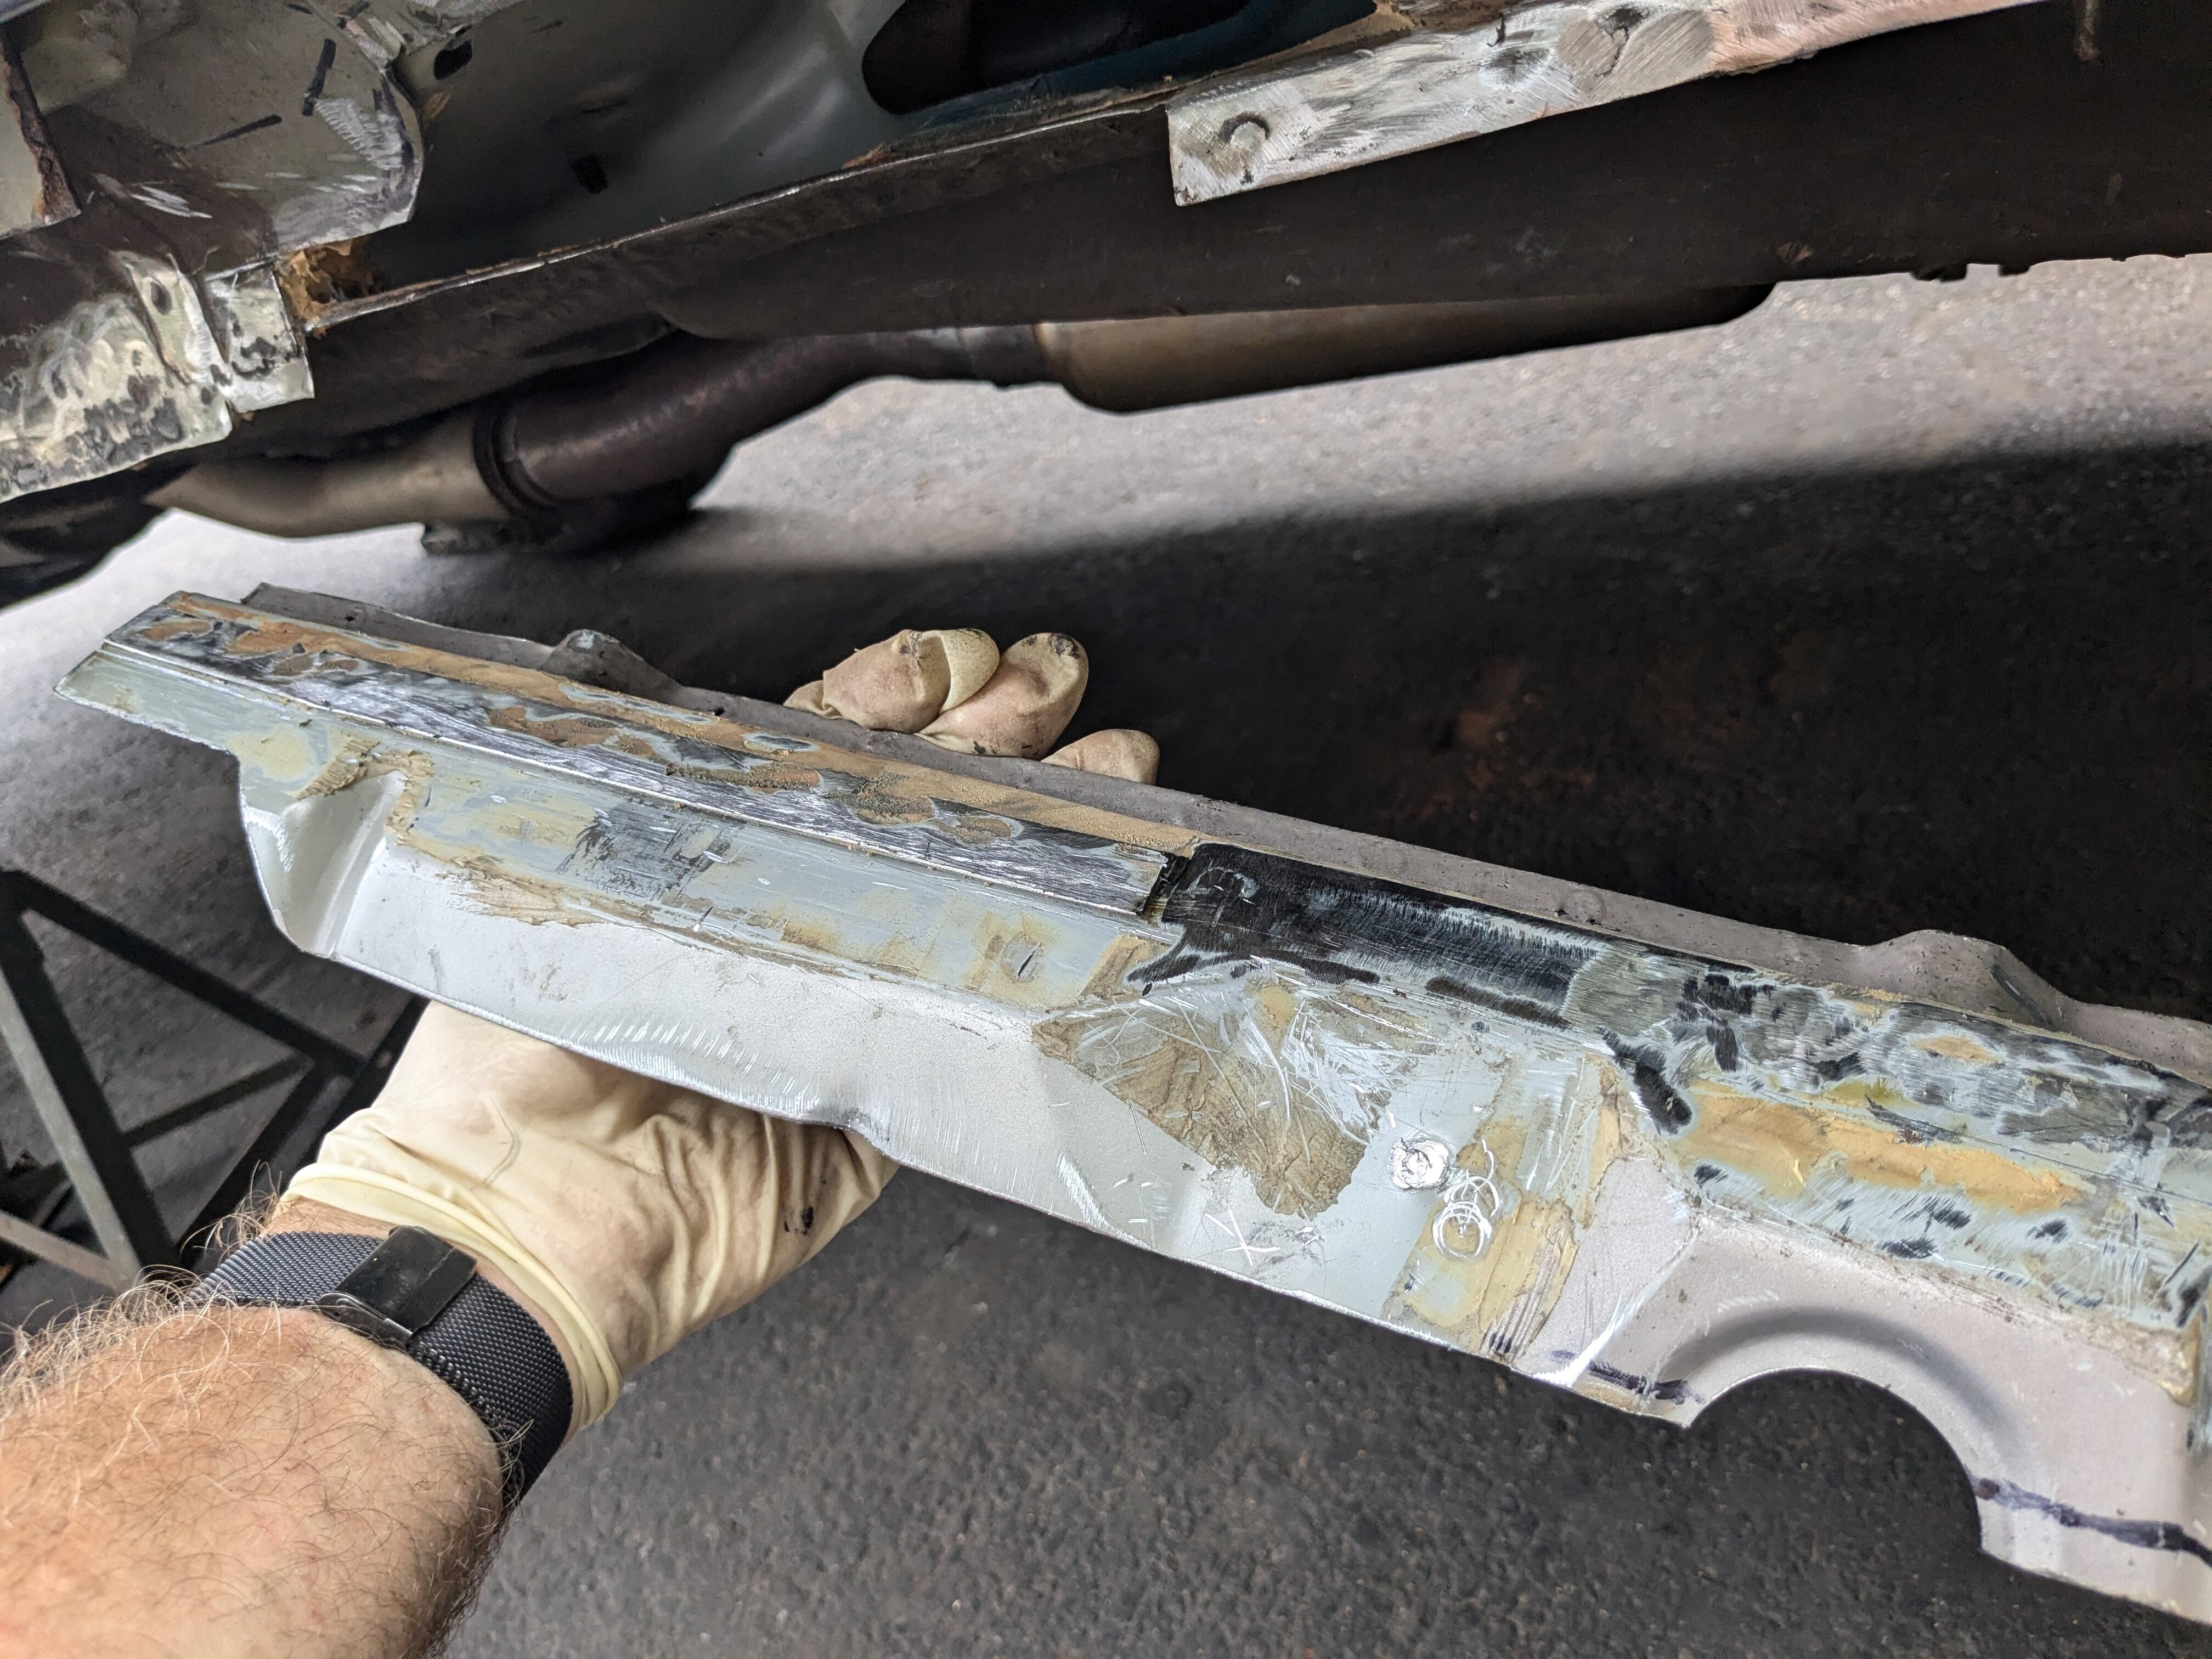
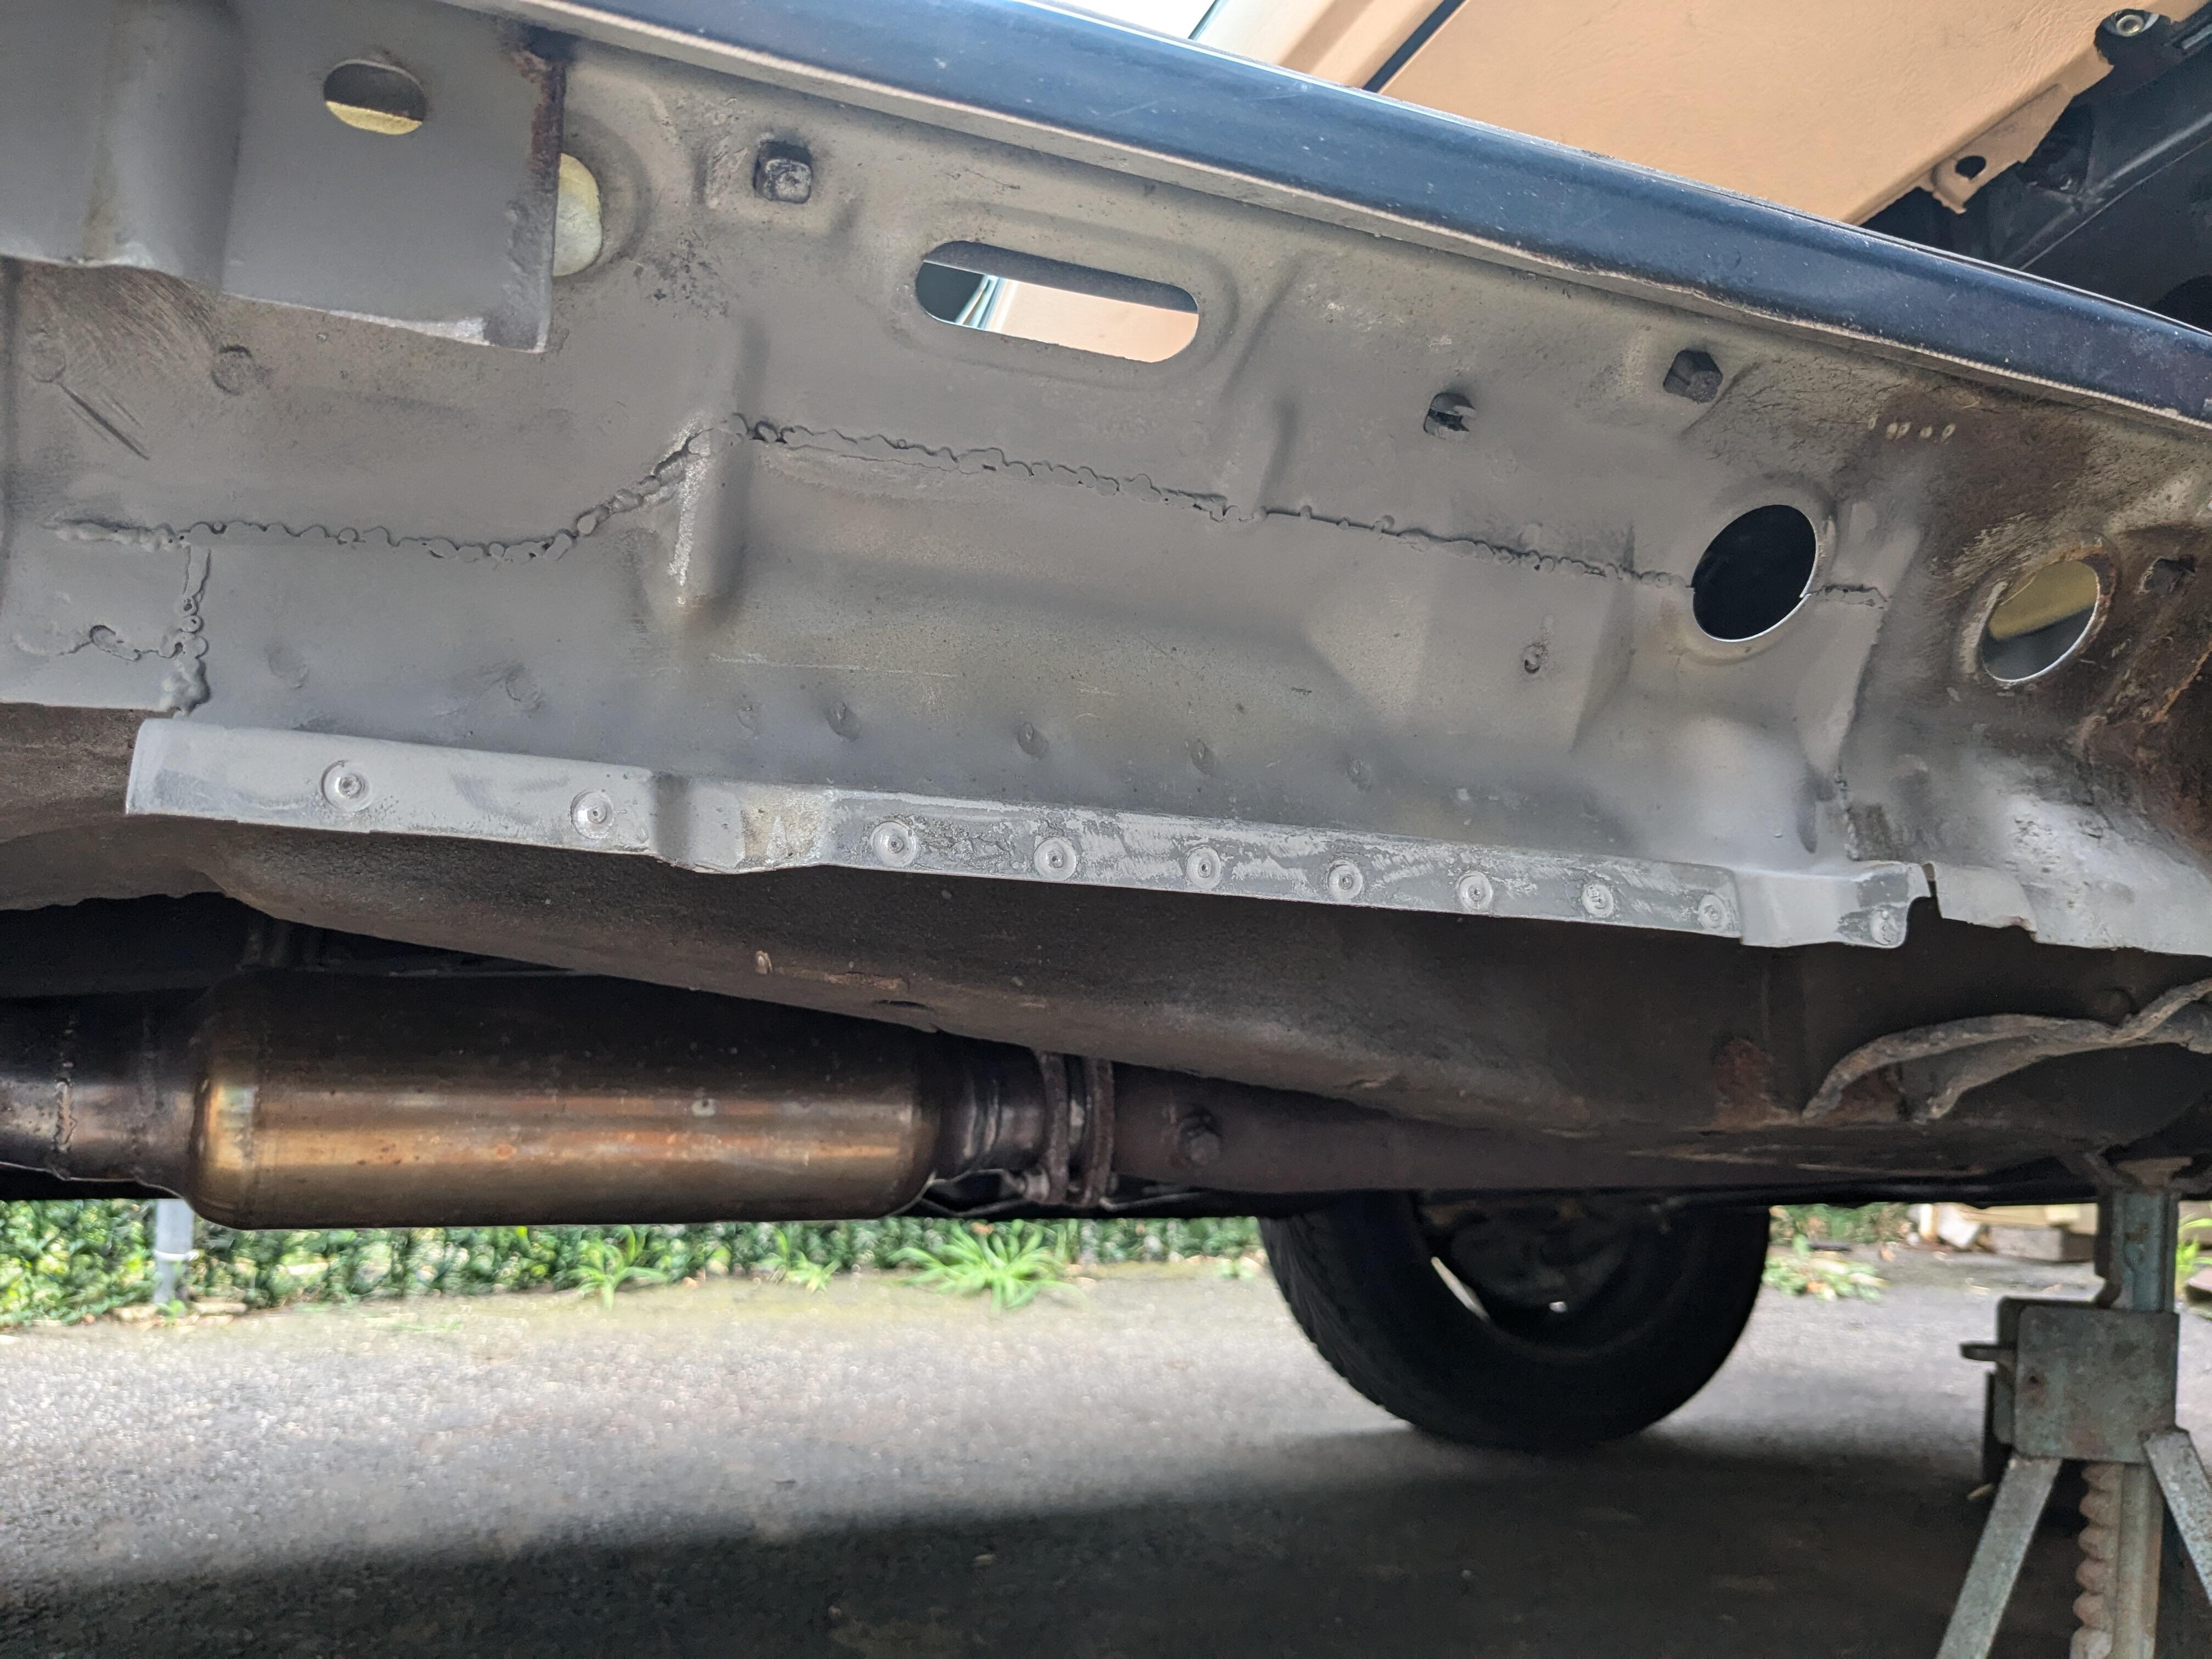
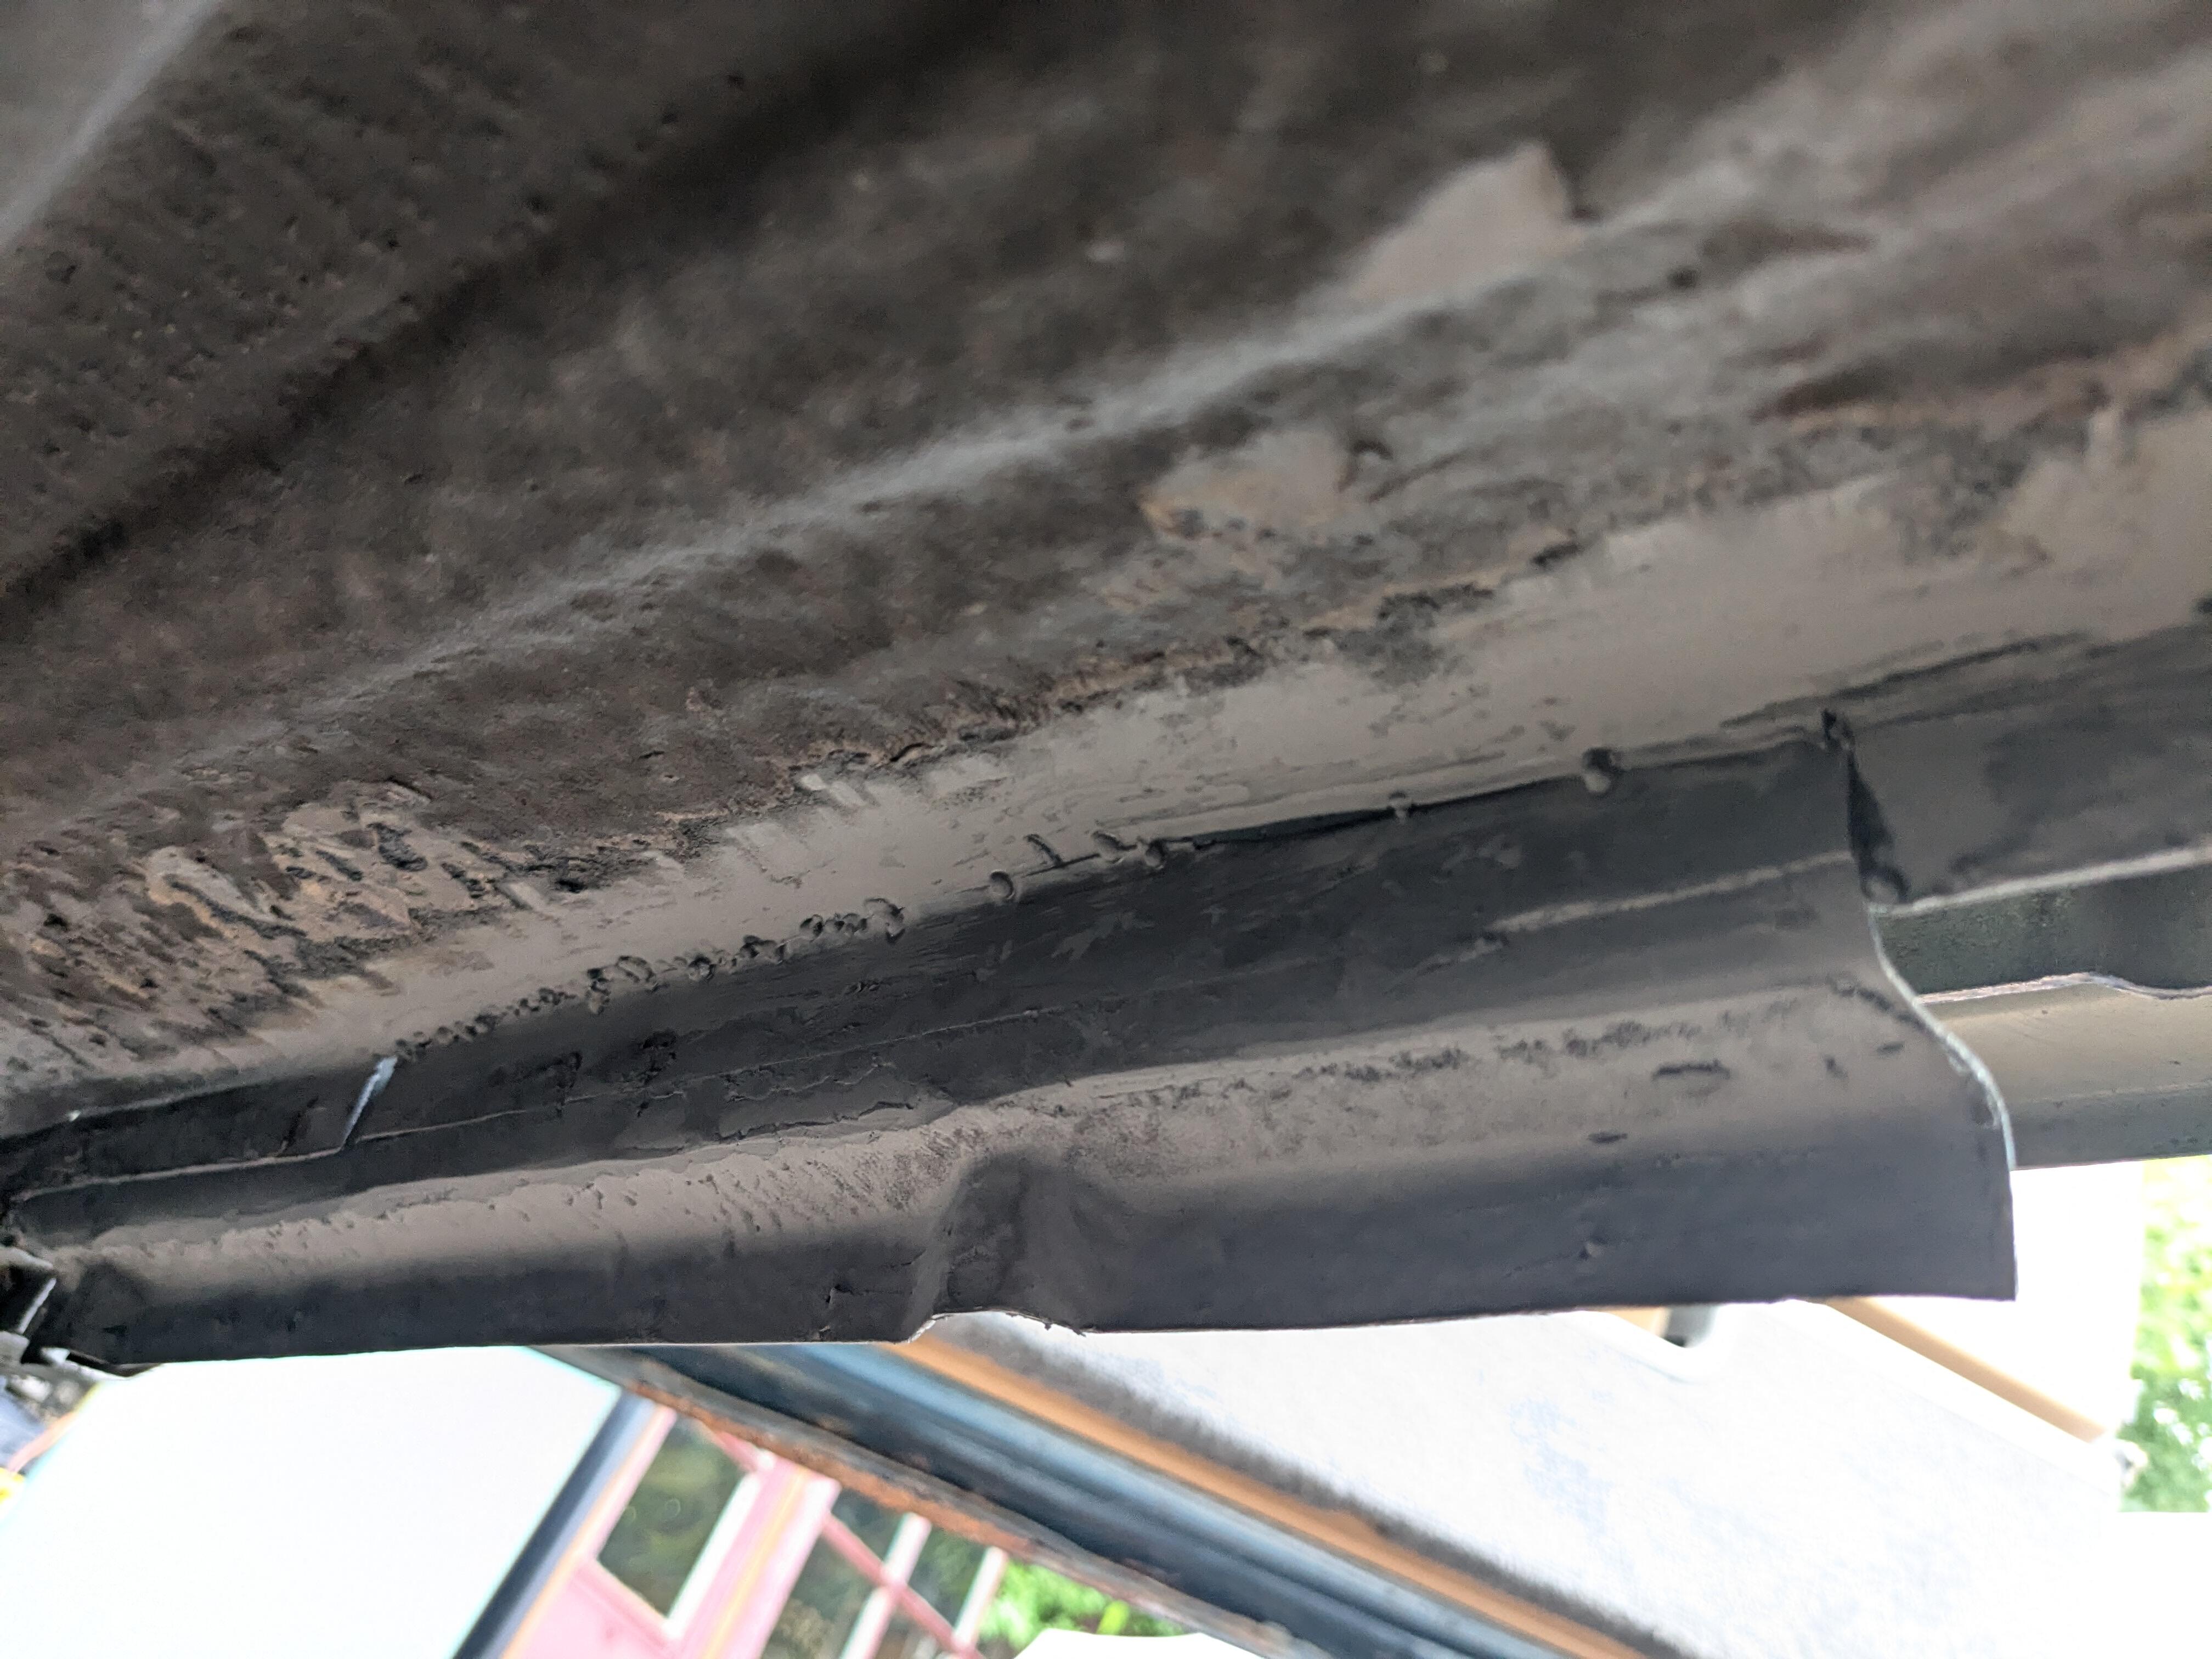
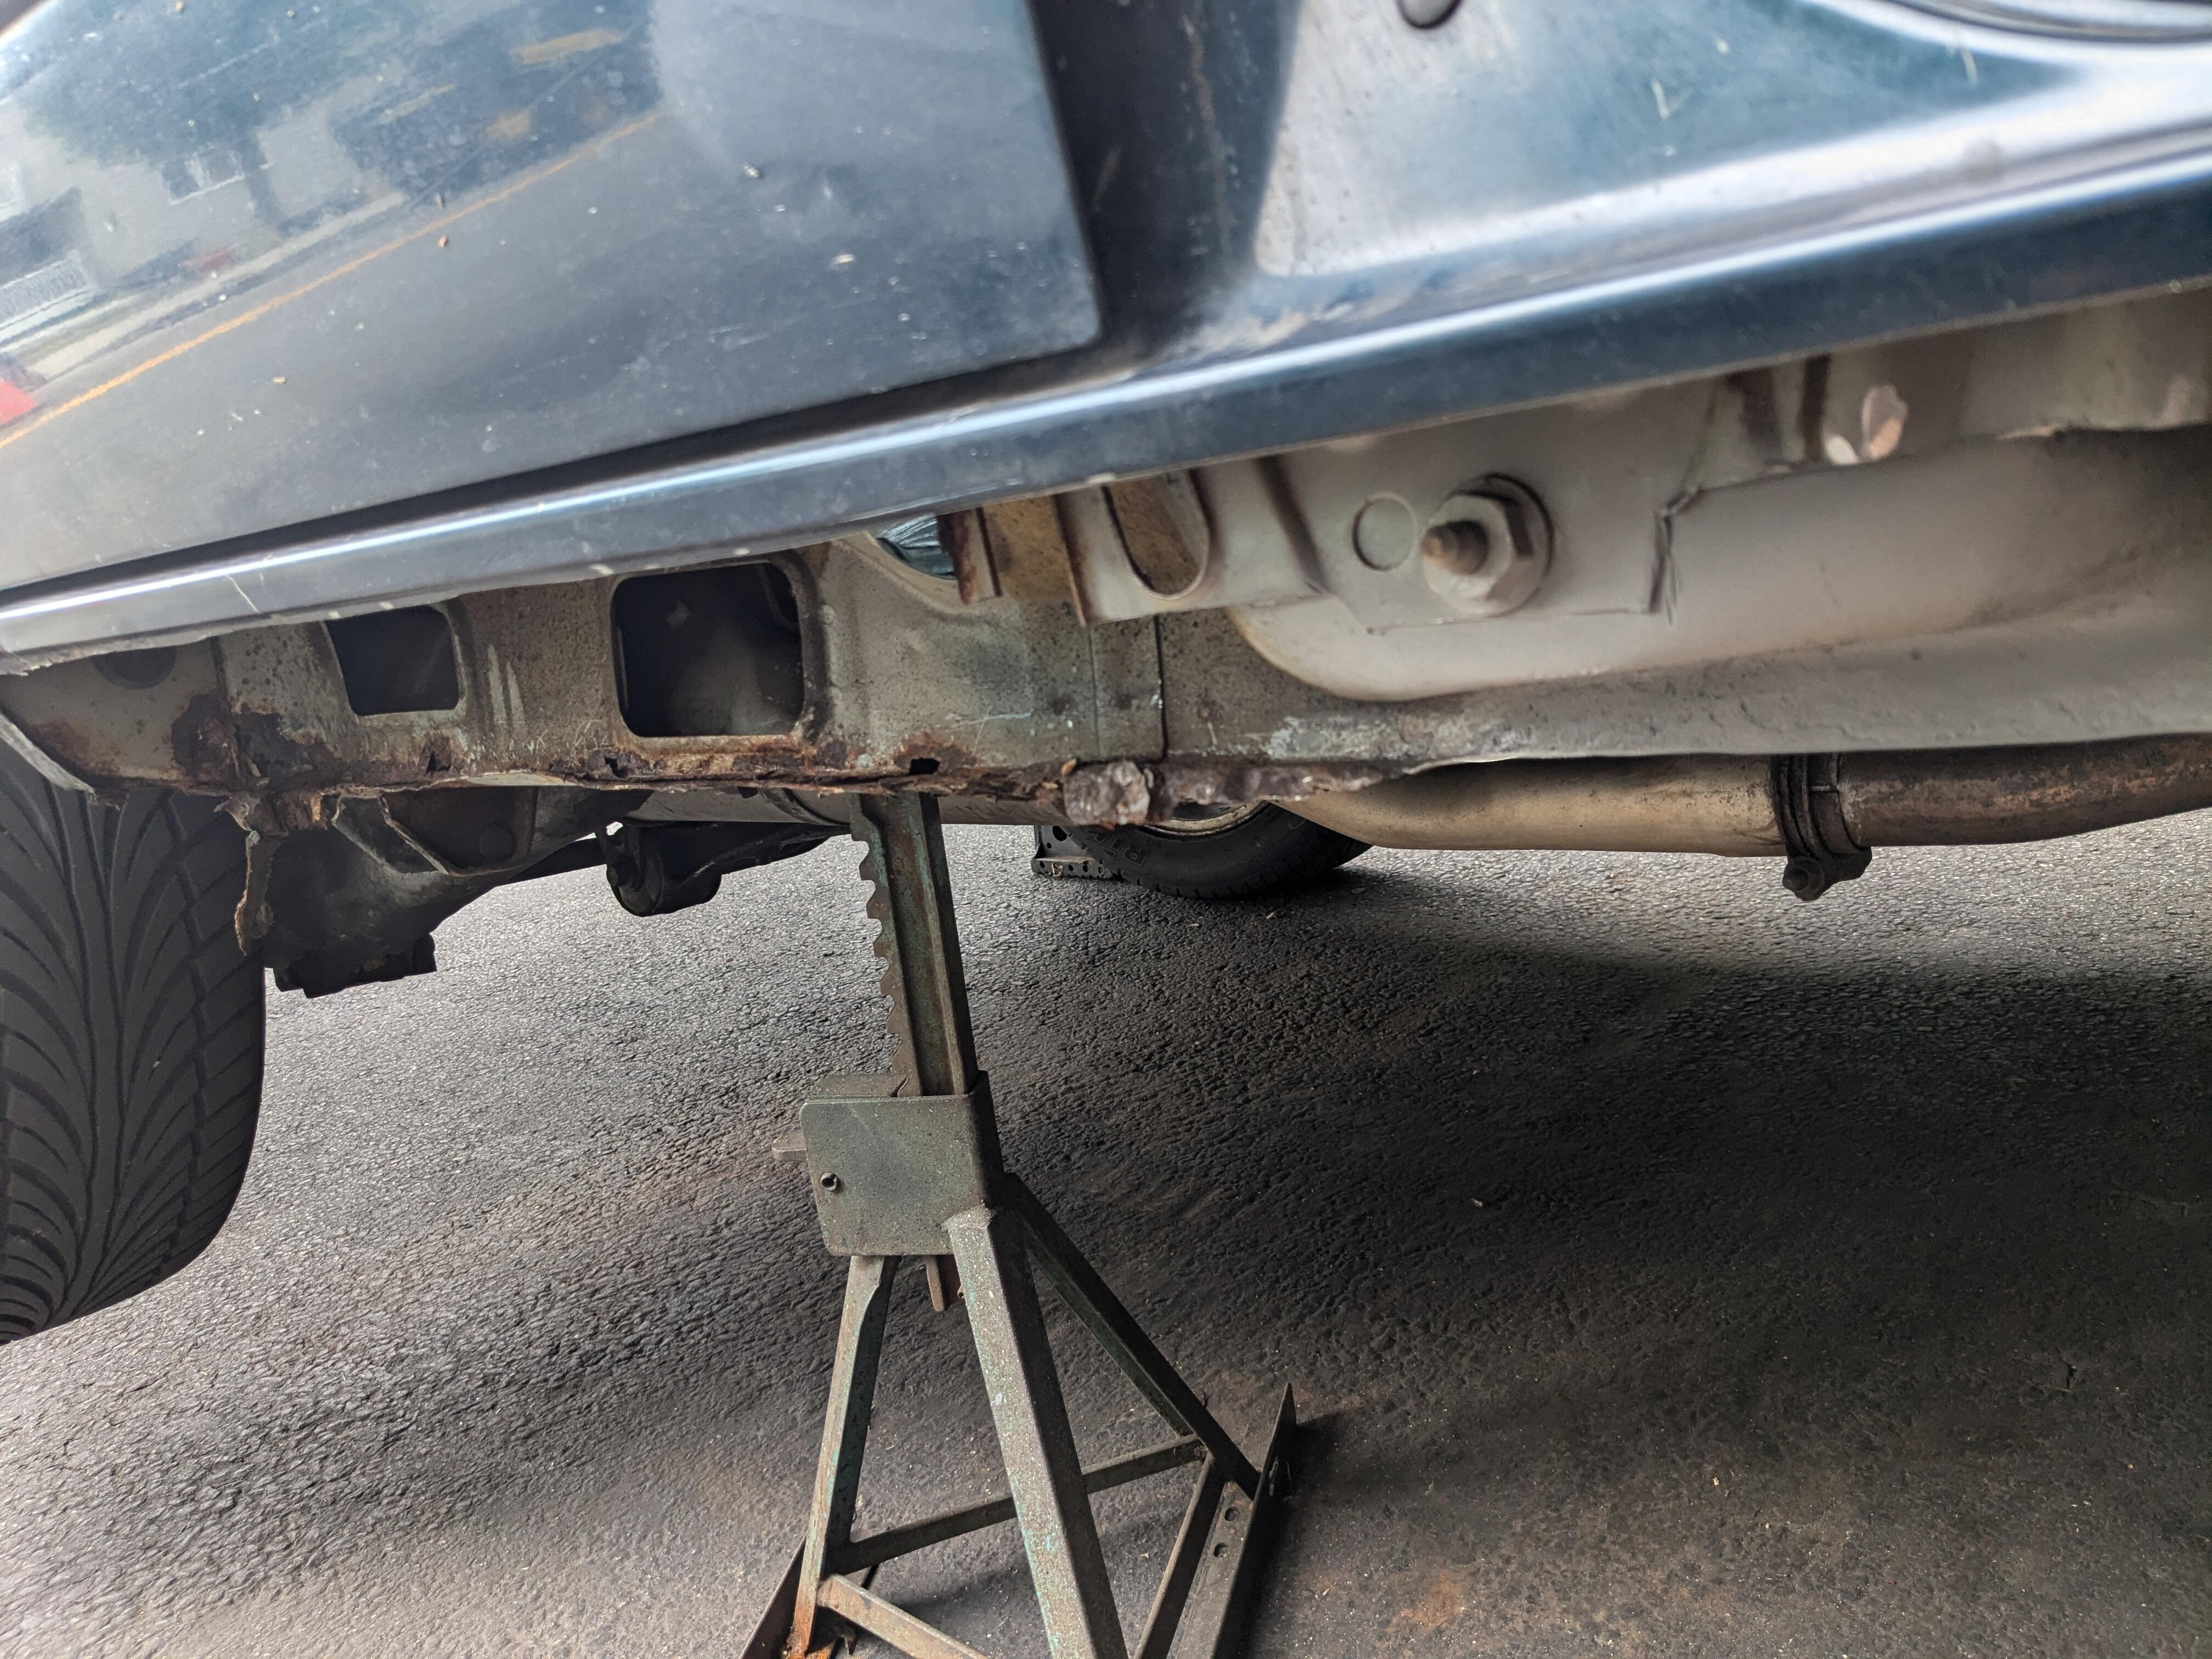
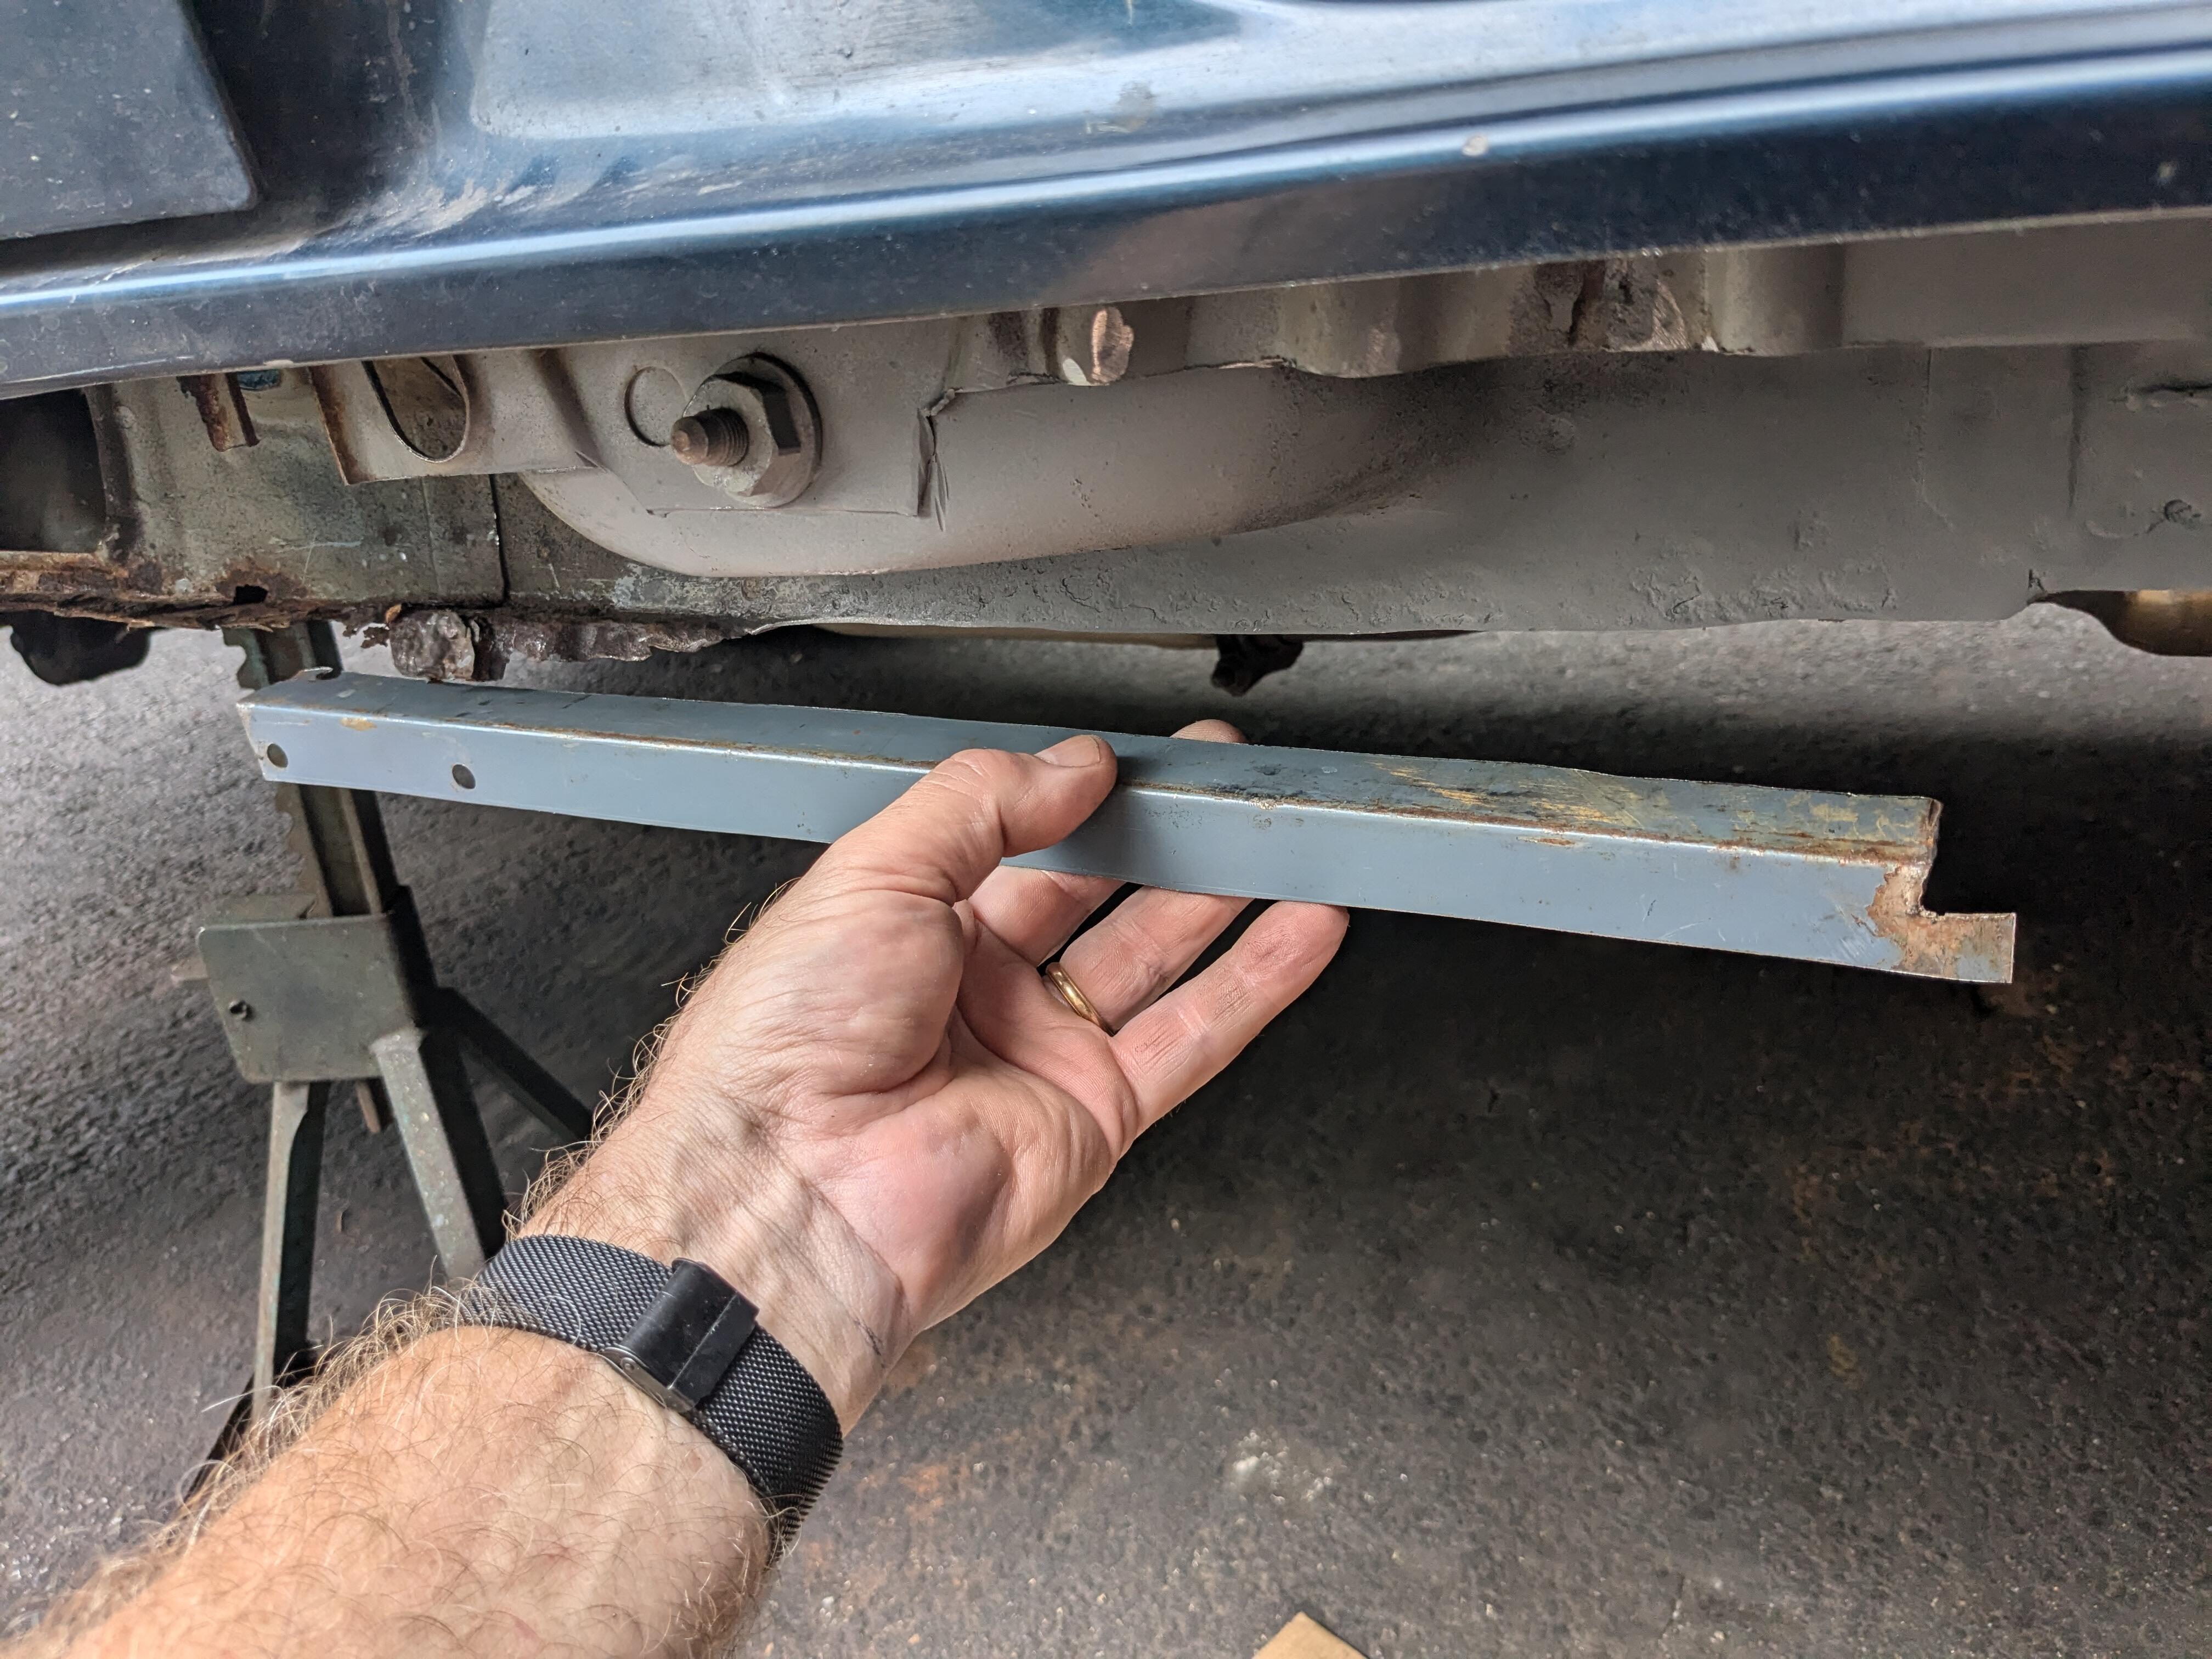
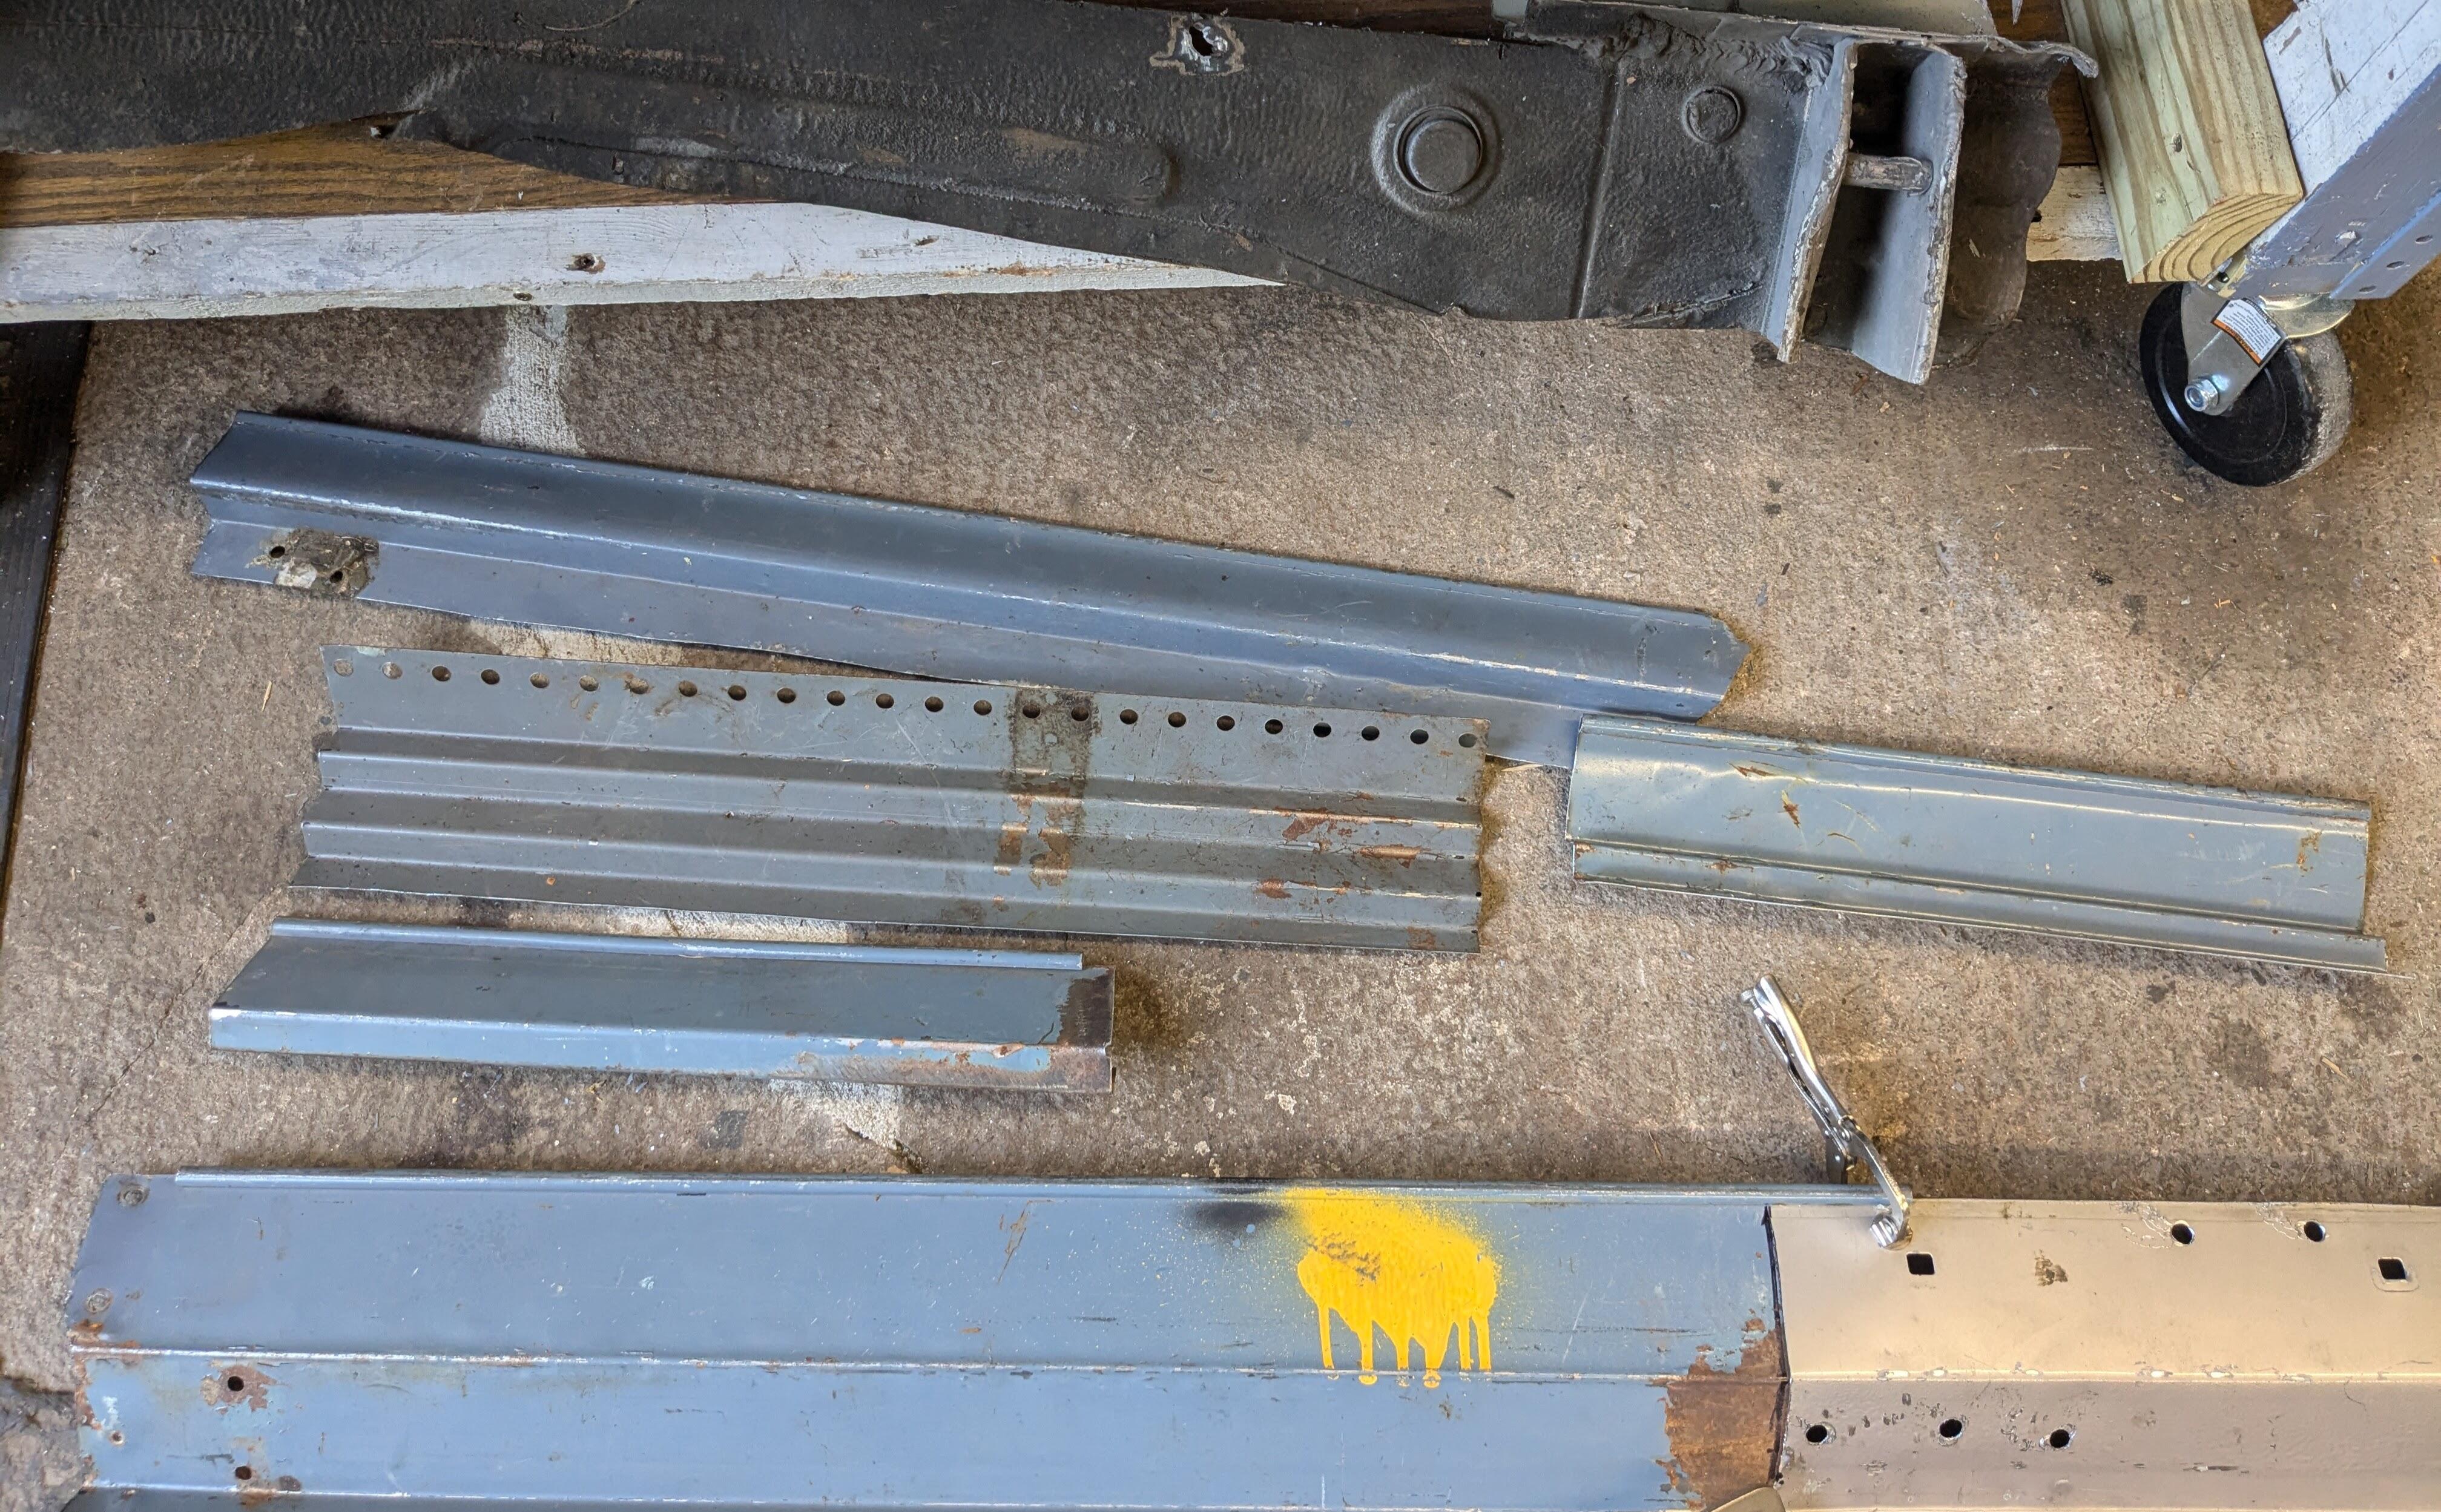
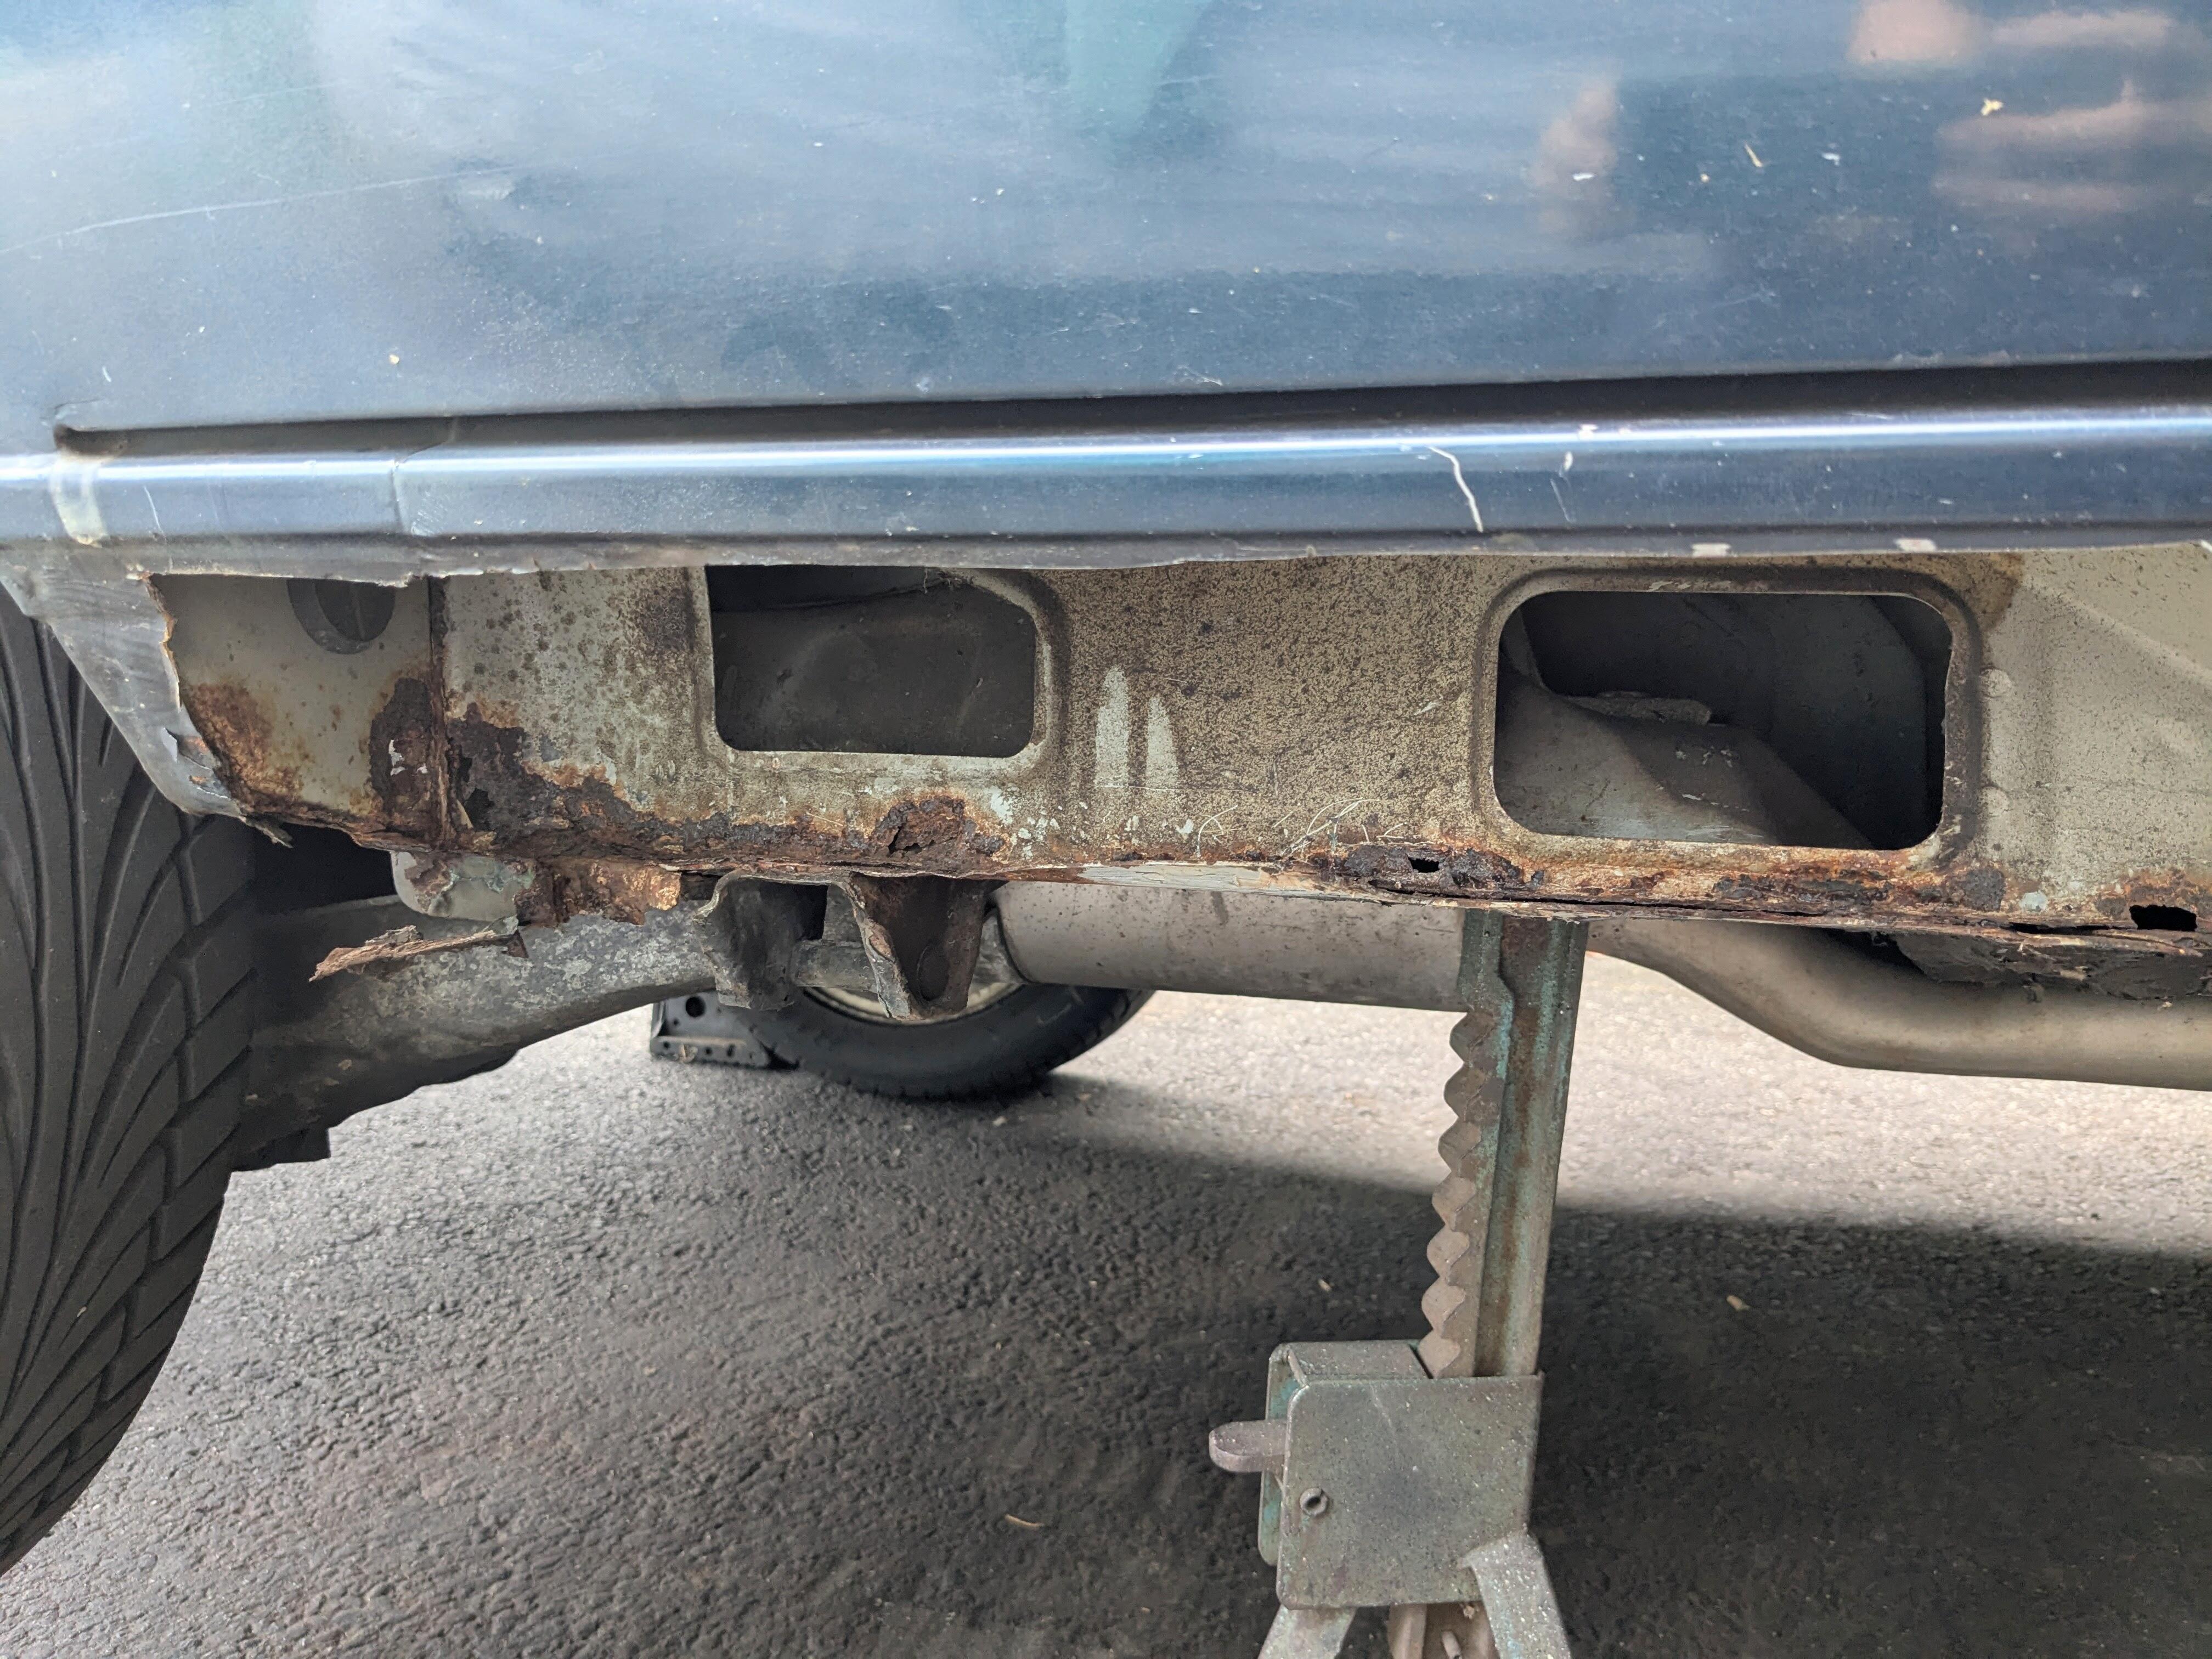
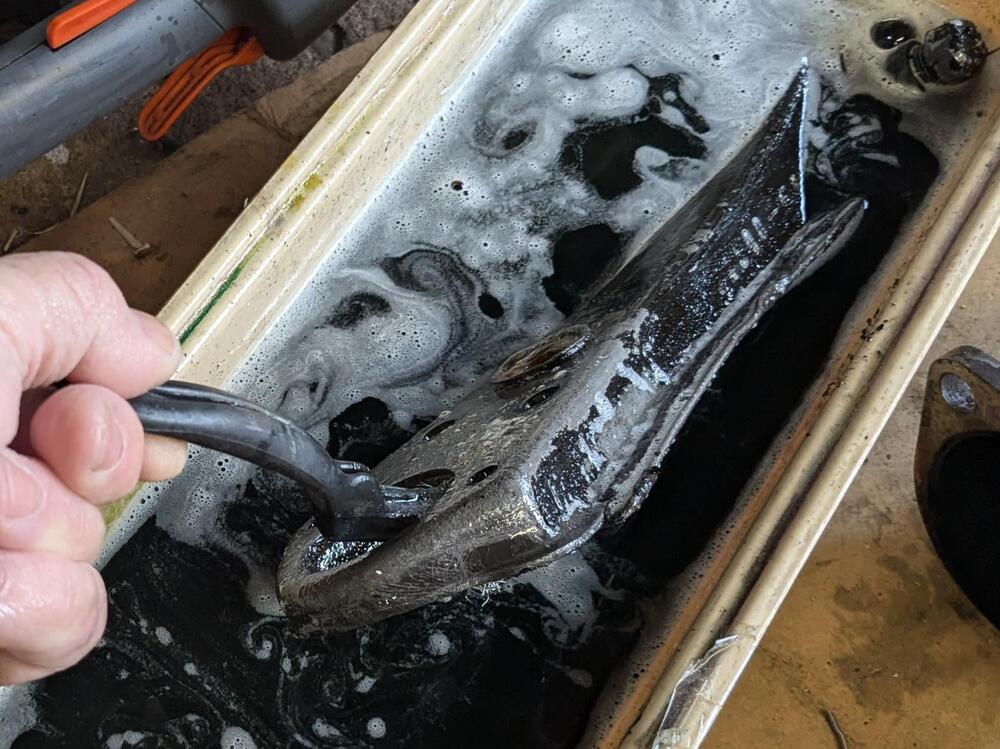
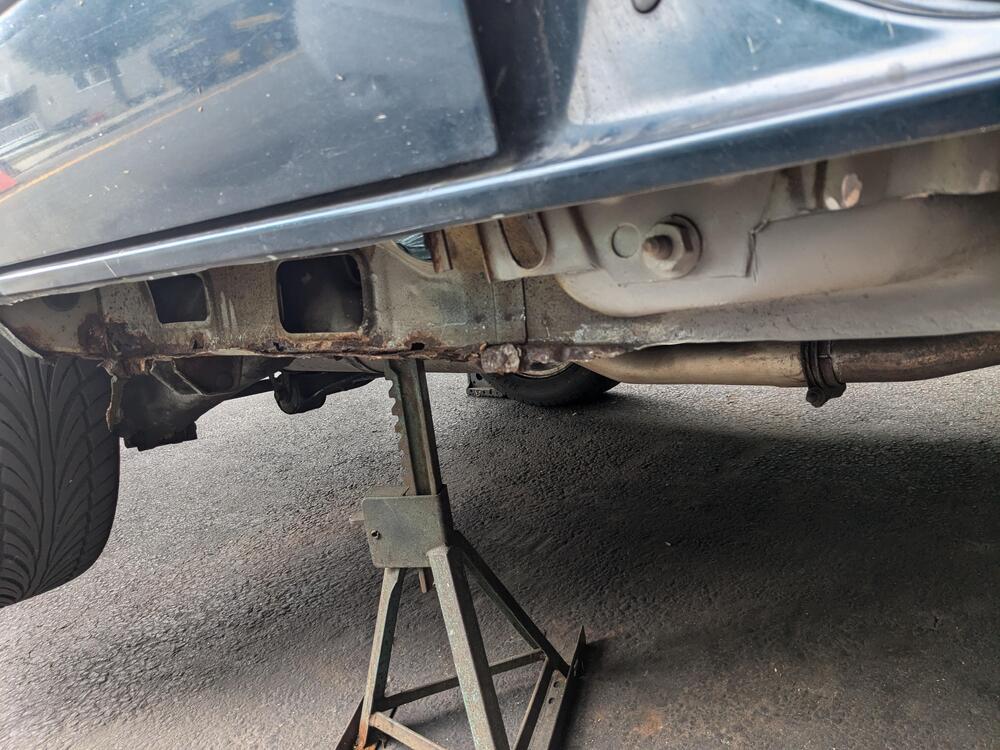
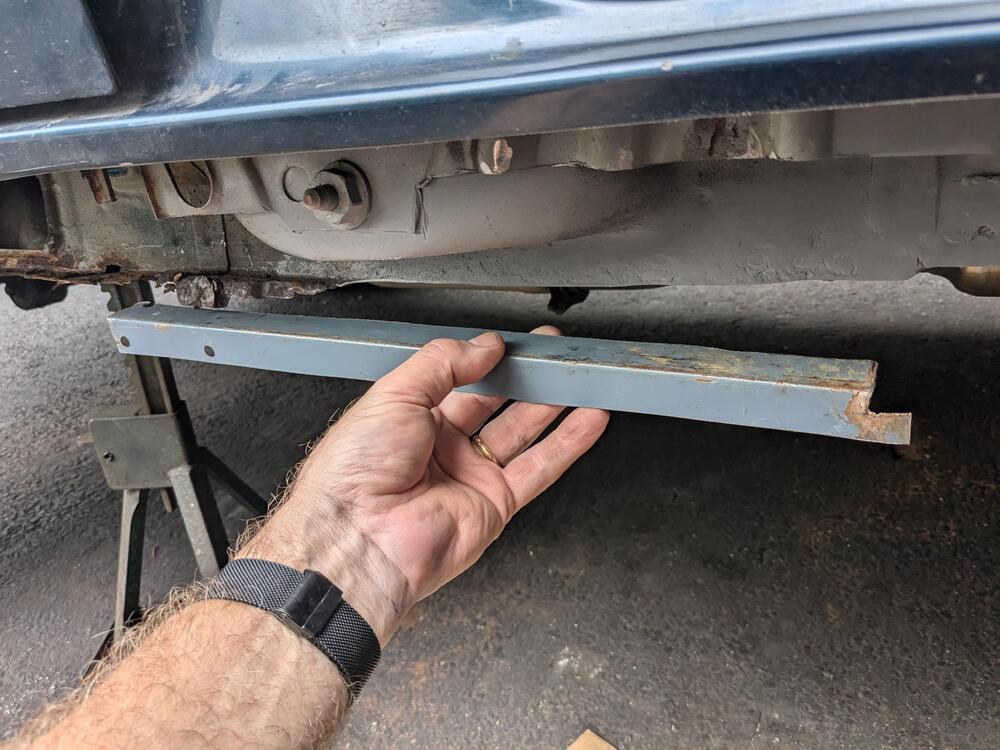
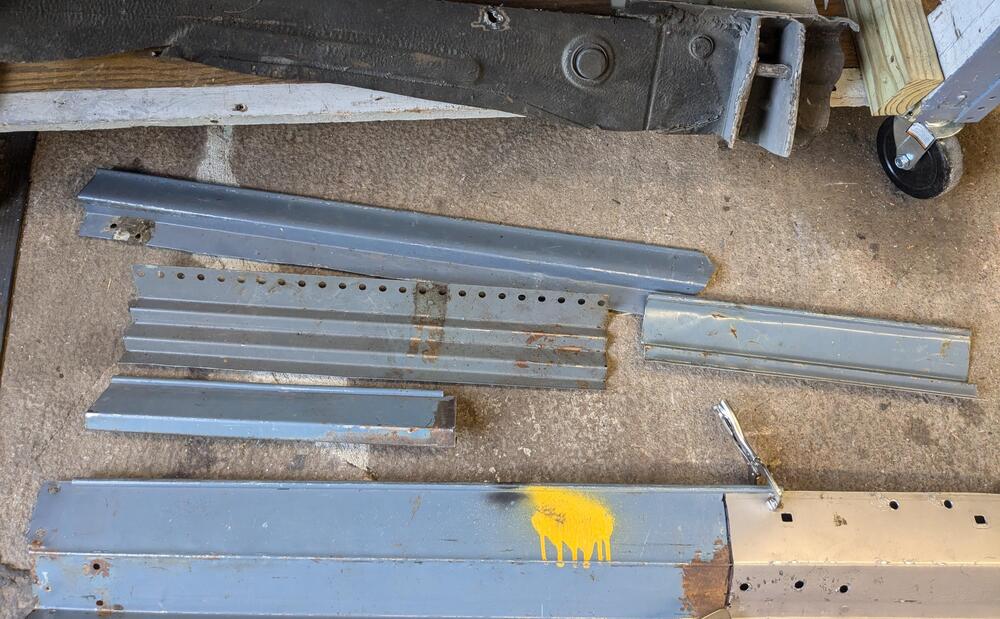
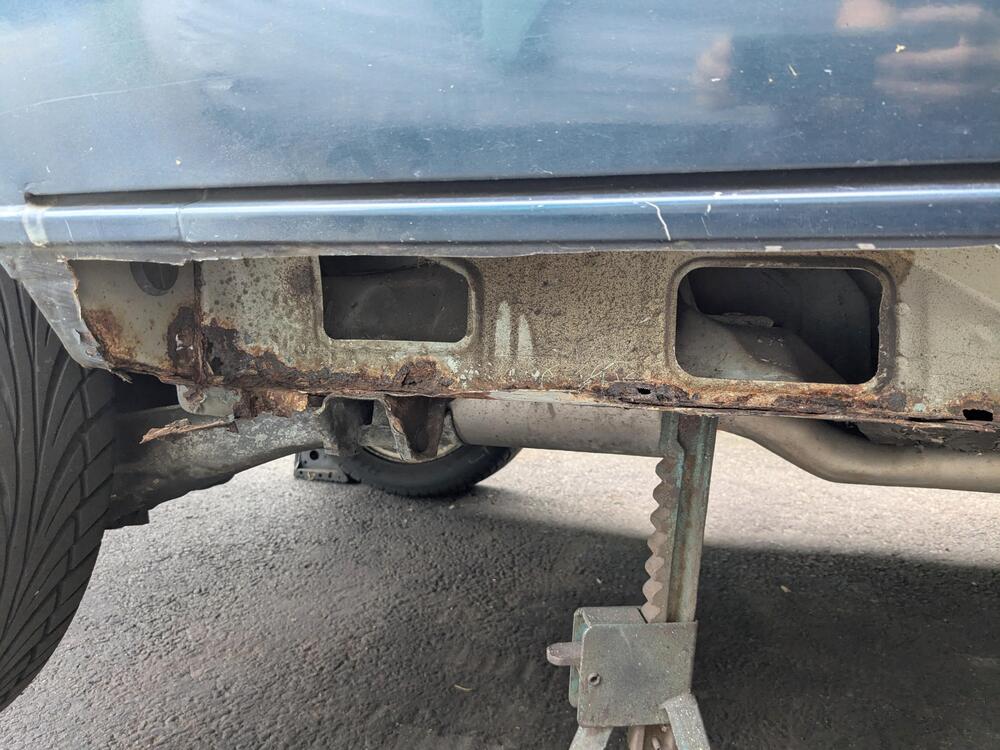
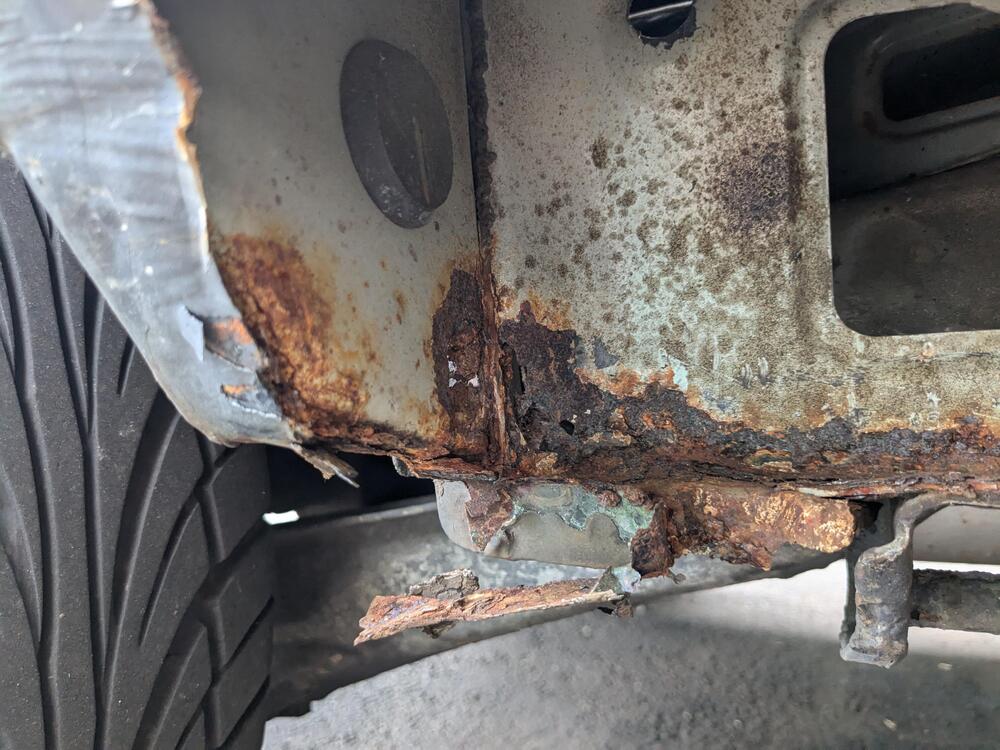
Weather moved around - didn't rain all day as predicted - so, I was able to get started on fitting and welding in the first repair section of the inner rocker Cut out back to solid metal on th car- made Initial cut of filler piece Test fit. The drop in sill to rocker lip is perplexing - I don't see a stagger like this at the front of the driver's side after some back & forth - I left a section of the floor lip that coincides with the area I had to remove mostly welded - rain is coming back so I primed it all with weld-thru zinc primer. Lip alignment seems OK now. Just a slight step at the front Just tacked on the underside where the floor pan had to be welded The remaining rearward inner section should be possible with just plain "L" or possibly a dogleg section I bent a range of options on my friends metal brake. Lower piece will be the rear rocker section repair section I have that was cut from a parts car only goes as far as the pillar The rear section is a little hairy towards the jack point & behind were the tie-in to wheel arch happens. Once all this is addressed, the rocker skin can go back. Acid soaking a spare set of 280Z front control arms to remove excess rust. I need to modify these to fit the Apex Engineered front subframe. Didn't want to cut up the originals which are far too nice a condition to modify TUS-11a UJoints finally came - hopefully tomorrow I'll have time to install one.


 3 points
 -
The last 3 Lightweight Fords recently offered on BAT failed to meet reserve. Also, the bidding was less than vigorous for these rare, and in my view very cool, cars. Indeed the market has softened.
 2 points
 -
2 pointsAre you really sure you lost that much oil? That's an awful lot!! Especially under normal driving conditions. Typically intake valve seal leakage is worst when coasting and the intake manifold vacuum peaks. But under normal driving conditions, that doesn't happen all the time, just sporadically. I'm going to throw out a scenario.... You checked your oil before you started your motor and went on your drive. The level looked good. However, unbeknownst to you, the night before, your anti-drainback valve on your oil filter leaked and some of the oil typically held in your filter drained back into the crankcase. Then you went on your 50 mile drive and checked your oil shortly upon returning. At that time, you found you were about a half quart down. I would propose that it may not have burned away, but maybe just shifted locations? I've seen this scenario occur and just trying to get to the root issue before you go stuffing rope everywhere.2 points
-
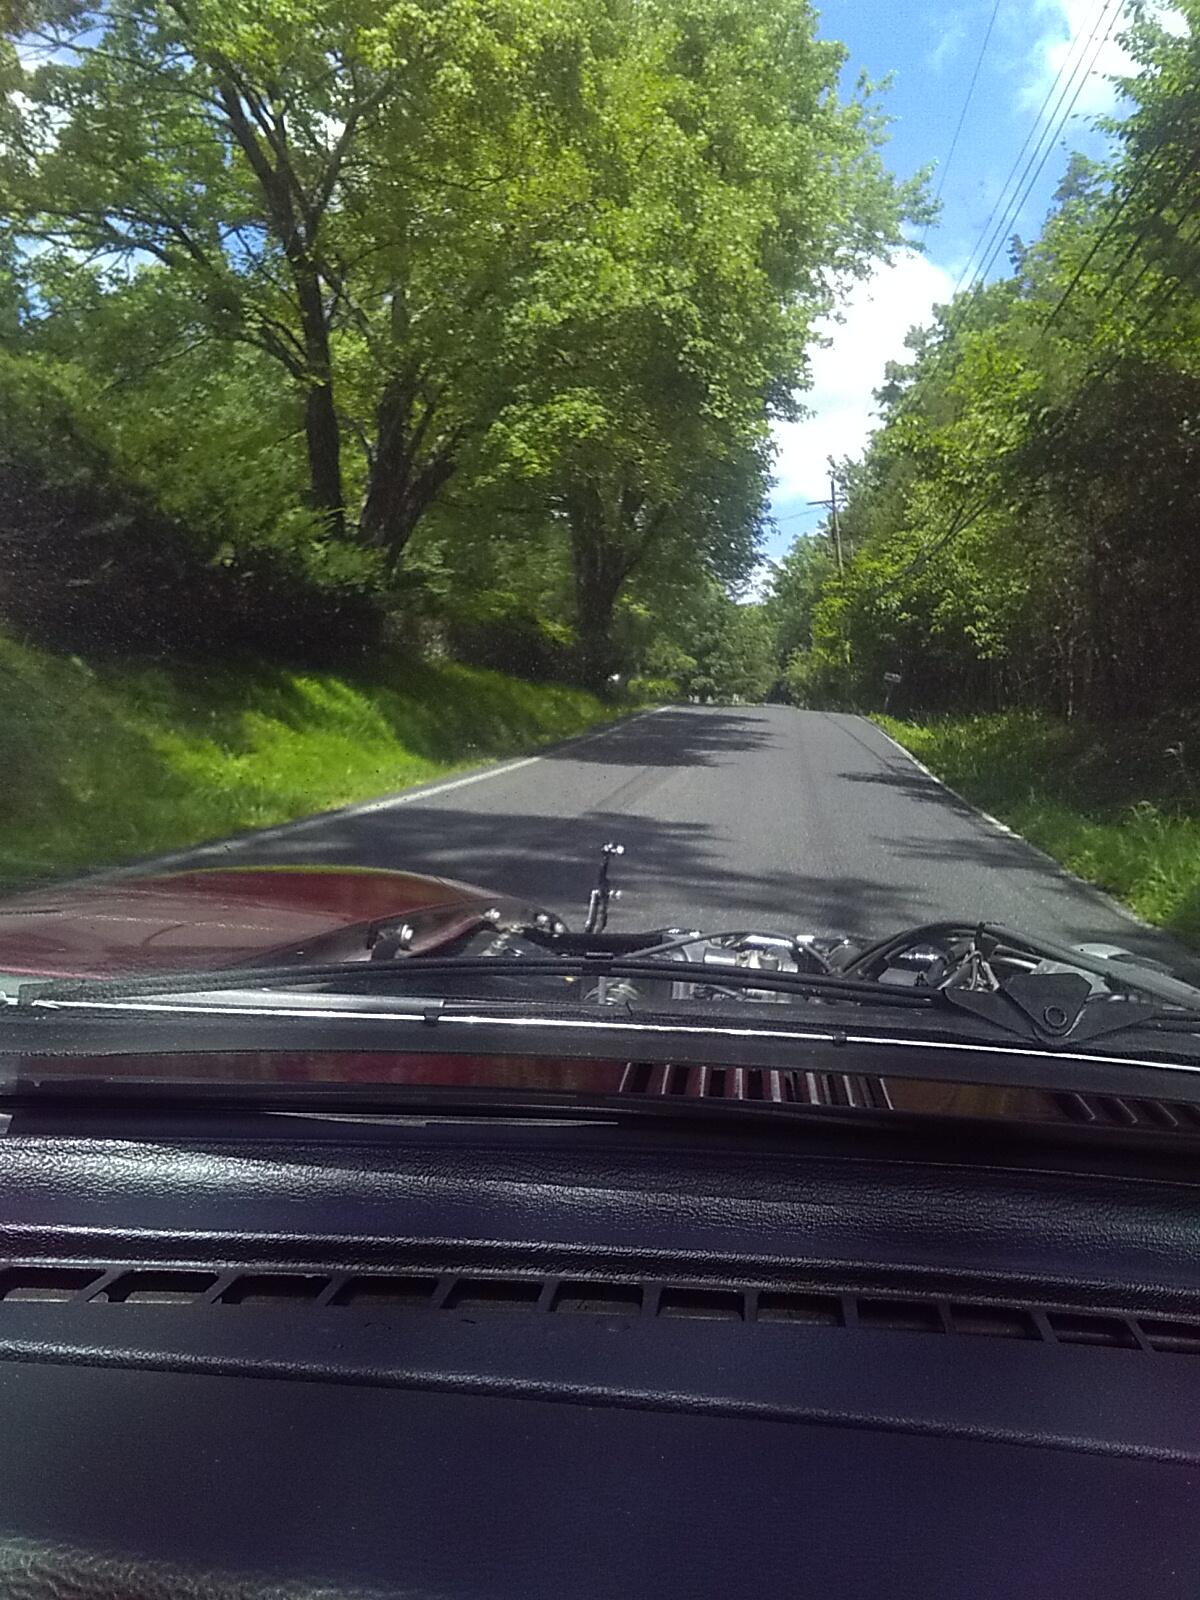
I believe this is what @Zed Head refers to as "hooning" Did I say that right?
 2 points
 -
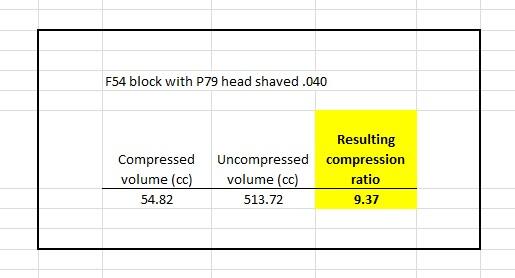
I did calculate it as I designed the concept, but I don't remember the number. I'll dig up my notes and see what I was thinking. I don't think it was in the 10's. I think I was aiming for mid to high nines. I probably should have had that info handy before I posted that pic. Sorry.2 points
-
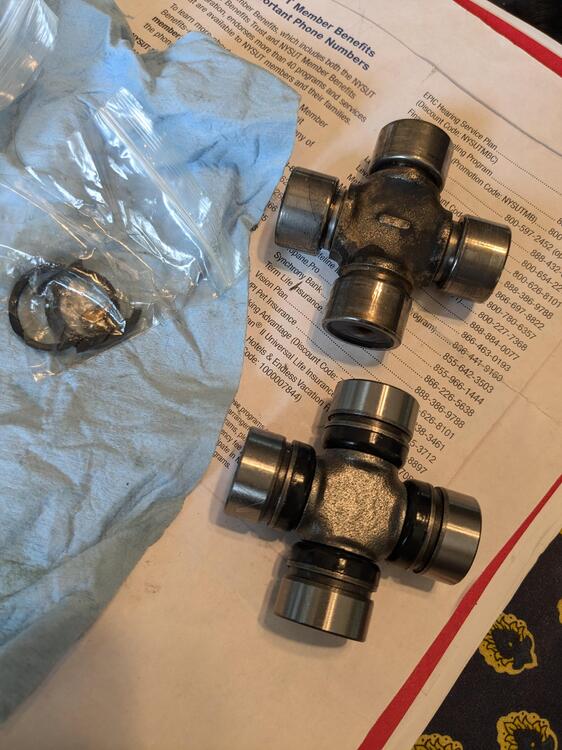
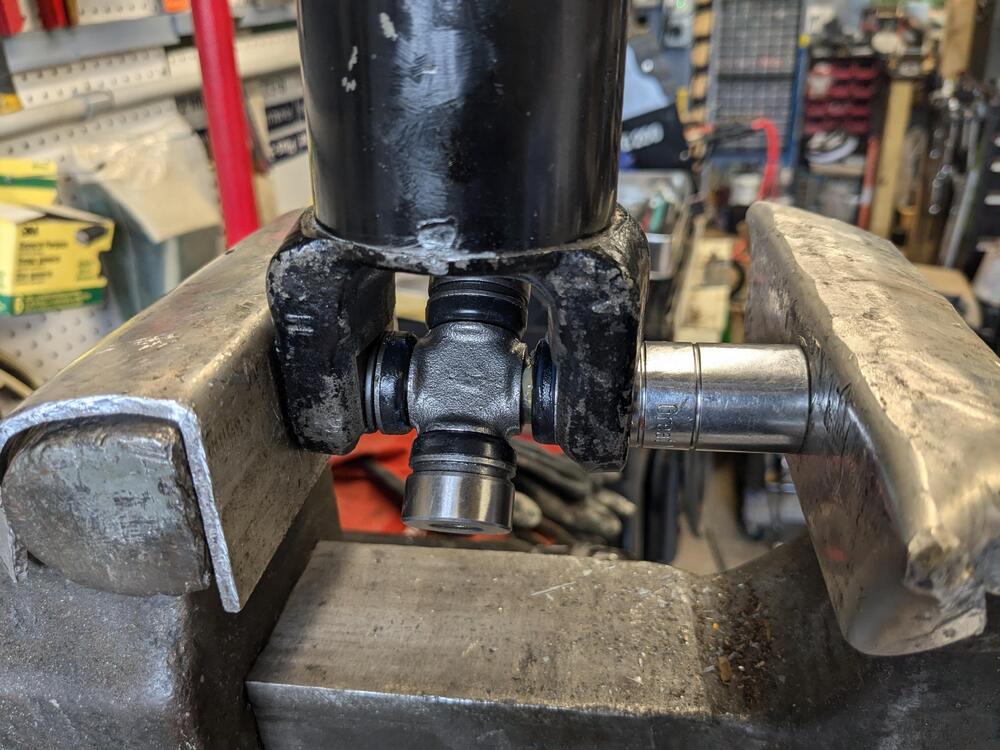
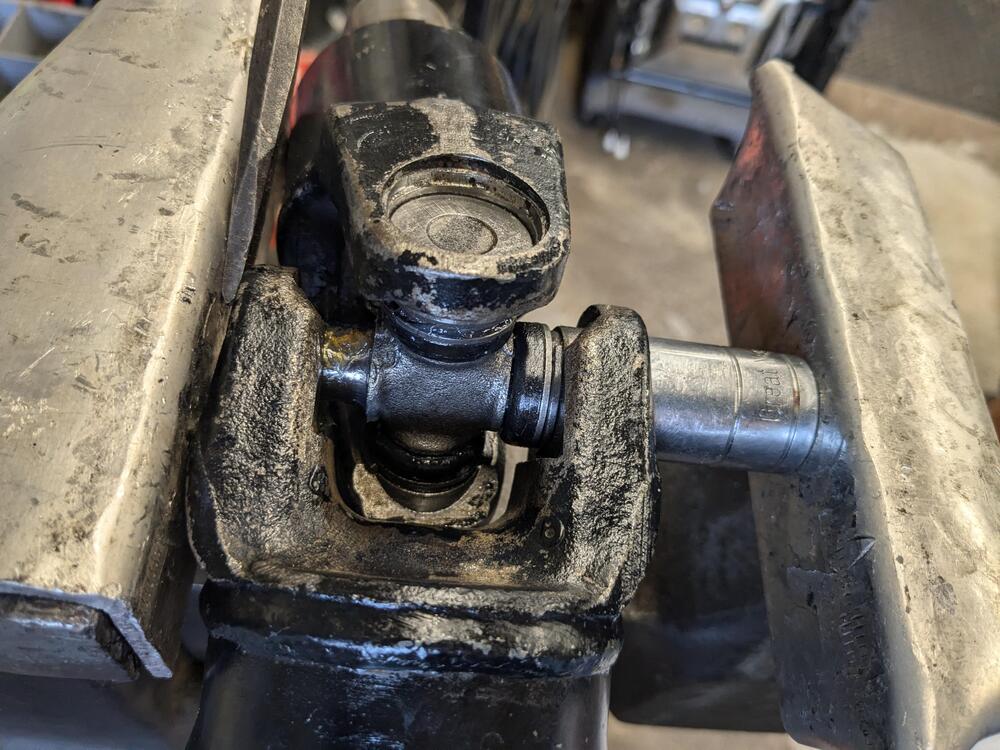
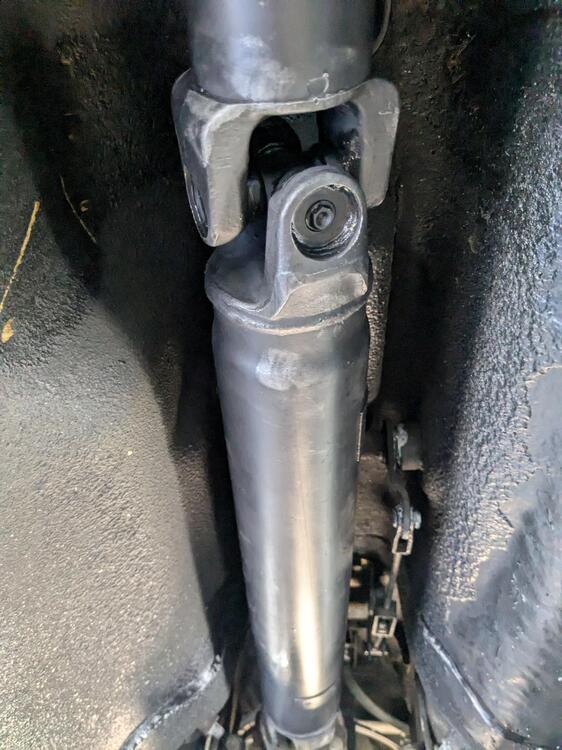
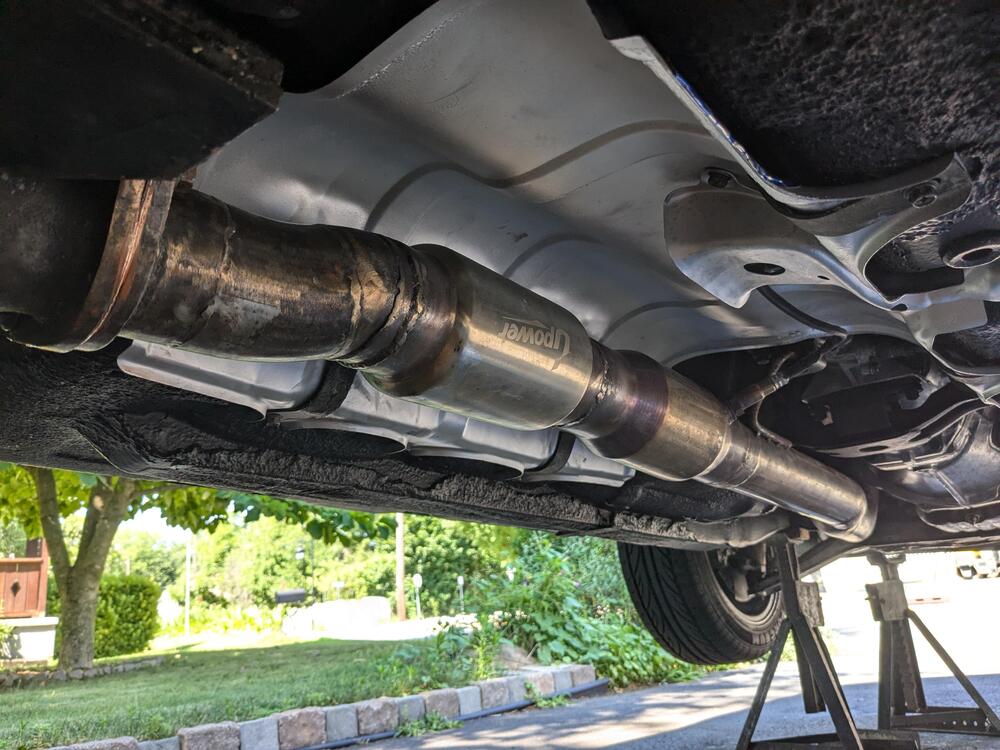
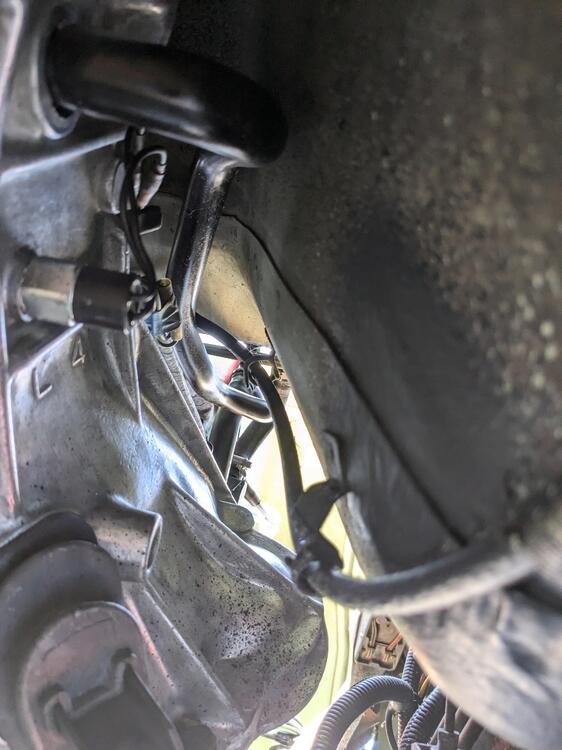
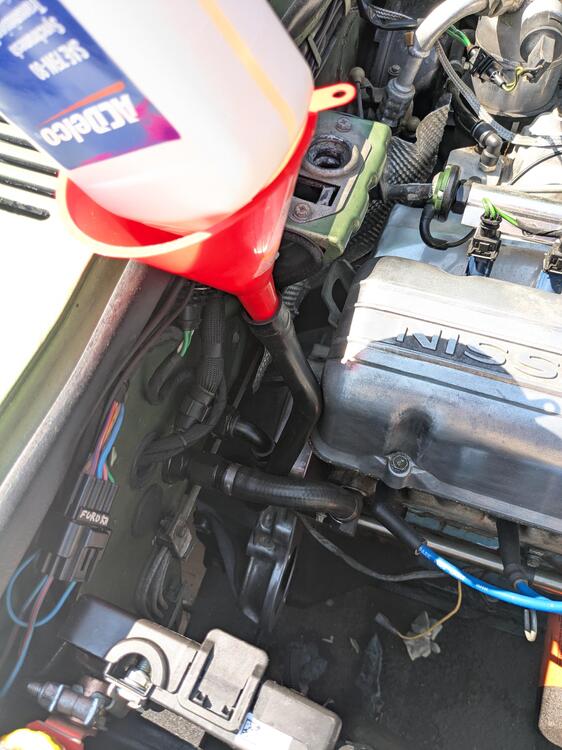
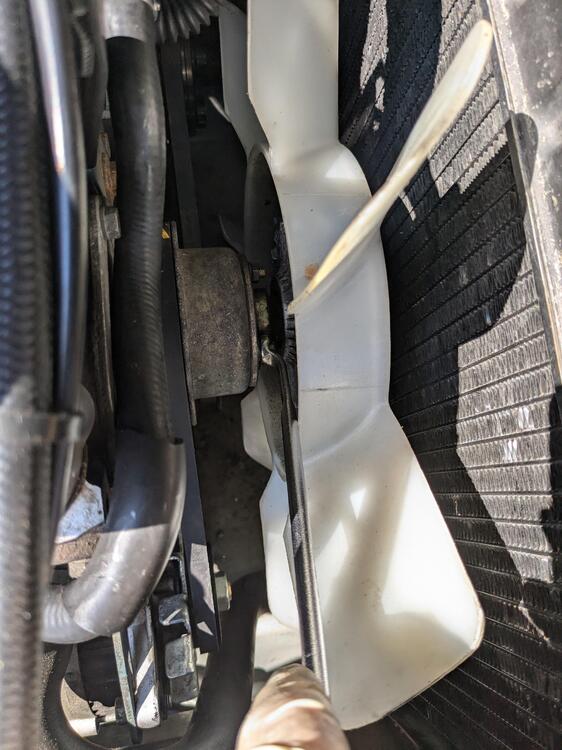
Installed the correct U Joint (TUS-11a) today, and then reinstalled the prop shaft, heat shield, exhaust, starter, fan clutch & throttle linkage at the firewall. Also added an OEM 5 speed shift knob. Driving it around a little - it definitely feels nicer than the 4, and doesn't make the horrendous noises of my worn out 4 speed. 3rd is a little whiny below 4K rpm though. No idea how many miles were on the trans. Installed the joint in the yoke first. Started with one cup pressed in enough that the circlip could be installed, with the cross set in so the needle bearings don't walk, then set & pressed the second cup in just enough that the circlip fit in the groove Then I did the same with the prop shaft, set one cup in deep enough to set the circlip, then did the same for the last cup. Normally I'd just tap the cups in the way I remove them, but since the initial opening of the yoke has a step in it from the staking, that doesn't work very well ( I tried that first). After the joint was fully installed I just tap each yoke in the open vice jaws to relax the yokes after pressing, that makes sure the cups aren't tight or binding in the yokes. It felt perfect. Prop shaft back in Heat shield on exhaust on Trans filled - only took 2 quarts (started dripping at the end of the 2nd quart. I was surprised, as I thought these took more than 2 quarts to fill Fan clutch back on ( I had removed it as it was mentioned the engine dropping at the rear could cause interference).

 1 point
 -
Driving around with no hood is "hooning"? I should read deeper into the thread but that's a beautiful picture.1 point
-
I'm glad I have the garage space for my two without putting my mother out.1 point
-
1 pointThank you for the thoughts Captain Obvious. I do think it's burning the oil. I did not check the reading on the dipstick before I did my first 25 mile ride but the last time I had checked, at most 10 or 15 miles earlier, it was about full. When I checked after that run it was noticeably down into the crosshatched area. The next morning before the 50 mile run, I added no oil and rechecked the dipstick. It was sitting about 65 per cent to the upper end of the crosshatch. I actually had a good reference point using the number stamped on the back of the dipstick. After I got done the 50 mile ride I checked the oil and it was below any of the crosshatching, checked it the next morning, and again just now, and it's a little below the crosshatching. Assuming the crosshatch area represents one quart, I've actually lost the better part of a quart. There's no oil on the engine or the floor. I'd think if it was leaking into the clutch, I'd have clutch issues and no smoke. Granted a rear view mirror is not the best measurement tool but I am surprised at the amount lost because I really only saw very visible smoke starting from stop lights and some of the times I tried heavy acceleration or deceleration. I did ride it pretty hard, shifting at higher RPMs, etc. As noted in an earlier post, the smoke does not seem to occur while the engine is warming. The two mechanics I showed the plugs to both used the term blow by and felt the valve area was the place to start. I figure, no matter what, oil has to be coming from around the piston or through the valves so $100 and my time to do the seals (maybe live to regret) is a good first step. If it doesn't solve the problem, time for plan B. Dealing with valve jobs or rings is likely out of my league. Thanks again for the help. Is there something I could be overlooking?1 point
-
So I went back and found my notes. I was aiming for about 9.4 compression ratio. I'm running an F54 block with stock flat top pistons and a P79 head that has been shaved .040.
 1 point
 -
1 pointI use a wire at work called Elgiloy that is easy to bend, then becomes resilient when heat treated. I think different wires react differently when heated, so you would need to know what you have. Wire that I use for tiny springs, are heat treated. They require patience to bend as they are brittle and can only be bent one time.1 point
-
1 pointI'm no materials guy, but my expectation is you would certainly not want to temper a spring. If the wire is already malleable enough that you could cold form that wire into the spring shape (without snapping the wire because it's too brittle / hard), then tempering would just remove the springiness of the spring. It would be an ex-spring.1 point
-
1 pointFWIW, I fitted a 185/70 to my OE steel spare wheel and it is an exact fit in the spare tire well, the spare tire cover fits nicely into it's original position. As an aside, for anyone running aftermarket wheels there is a possibility that that the lug nuts may not be a good fit against a OE steel wheel so place a bag with a set of OE lug nuts in with the spare tire.1 point
-
Your place was a hammer farm back in the old days?1 point
-
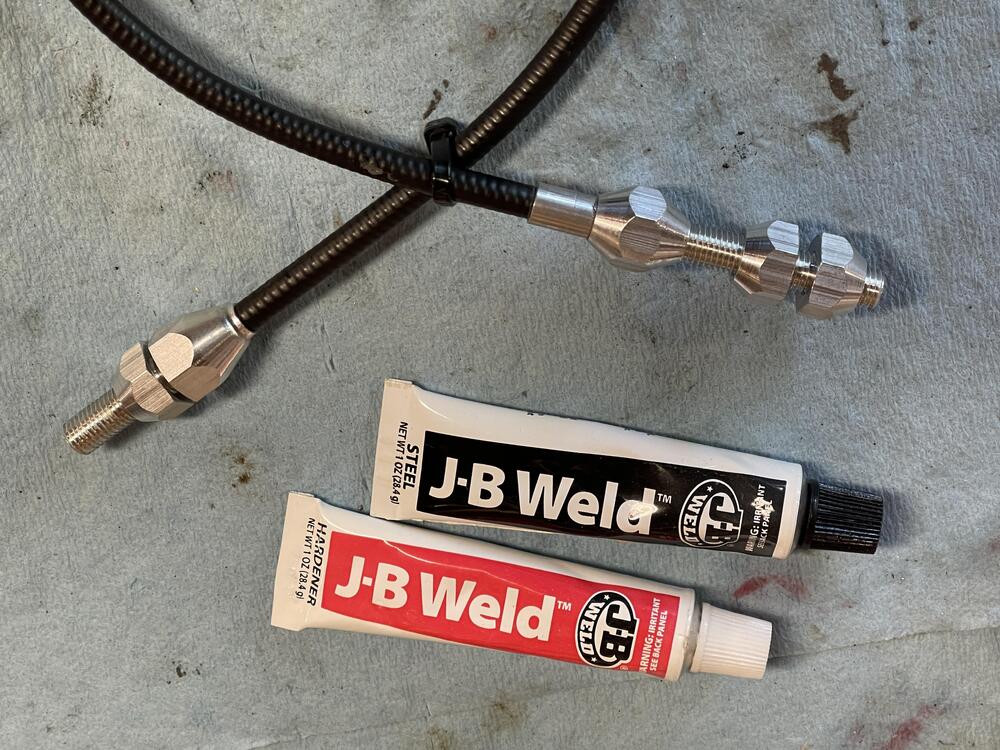
1 pointI replaced my stainless Lokar cable with the black Lokar TC-1000U, I now think it's the best choice. Someone mentioned that when he manually blipped the throttle from the engine side, the cable ferrule dropped out of place at the bracket. I honestly never tried this on mine while working on this kit, but obviously would be necessary while balancing the carbs, or just playing around. The problem is when you push the cable (instead of pulling with gas pedal) back down the sheathing, the gas pedal spring is resisting and ferrule moves out of place. Worse, the engine can't return to idle. Not good. And if you're using the stainless one, it's a pain to get those little frayed strands back inside the ferrule. The black version is much easier to get back together. But, it shouldn't happen in the first place. The firewall side is crimped around the sheathing and isn't a problem there. I called Lokar Tech, but they couldn't offer a solution since they only make a kit for the 4 bbl carb on the 240Z, and just said it wasn't installed correctly. Whatever. So, the fix is to glue the sheathing to the ferrule with some sort of epoxy glue. I used J-B Weld. Two areas, the sheathing to the ferrule, and the ferrule to the aluminum adjuster. Apply to outside surfaces so no adhesive gets inside center hole when assembled. Wipe off excess and let dry throughly. Problem solved, blip away.

 1 point