Leaderboard
-
conedodger
Free Member9Points12,513Posts -
HusseinHolland
Free Member3Points1,031Posts -

Mike
Administrator3Points23,065Posts -
inline6
 Subscriber
 2Points1,282Posts


Popular Content
Showing content with the highest reputation on 06/19/2024 in all areas
-
3 points
-
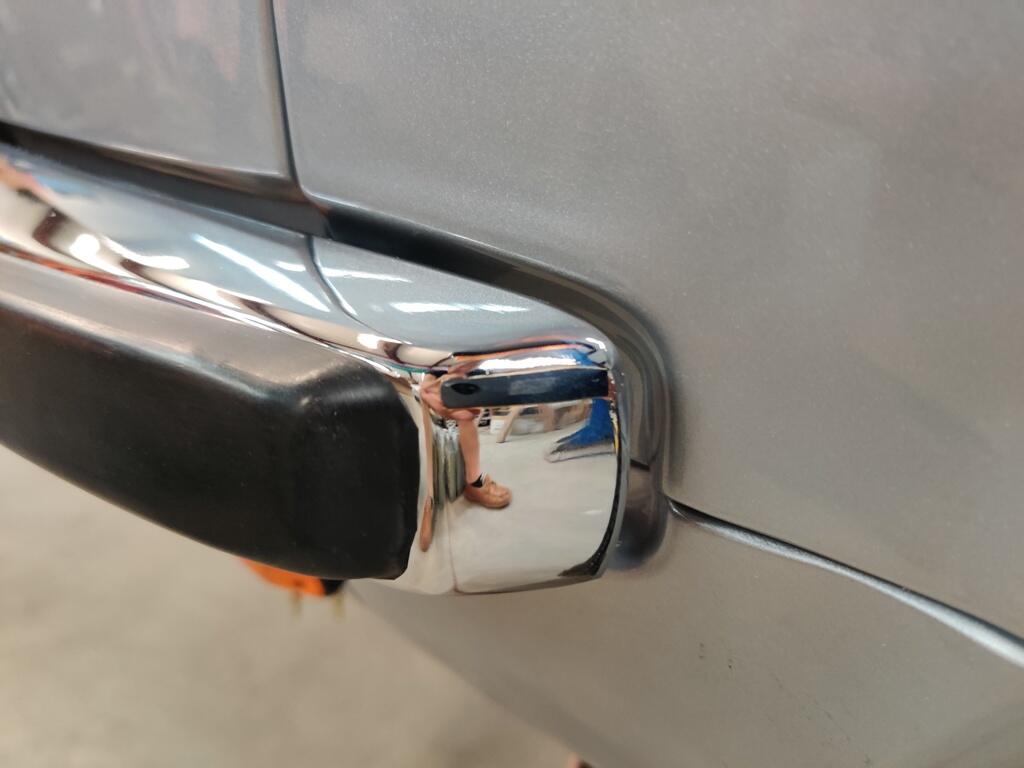
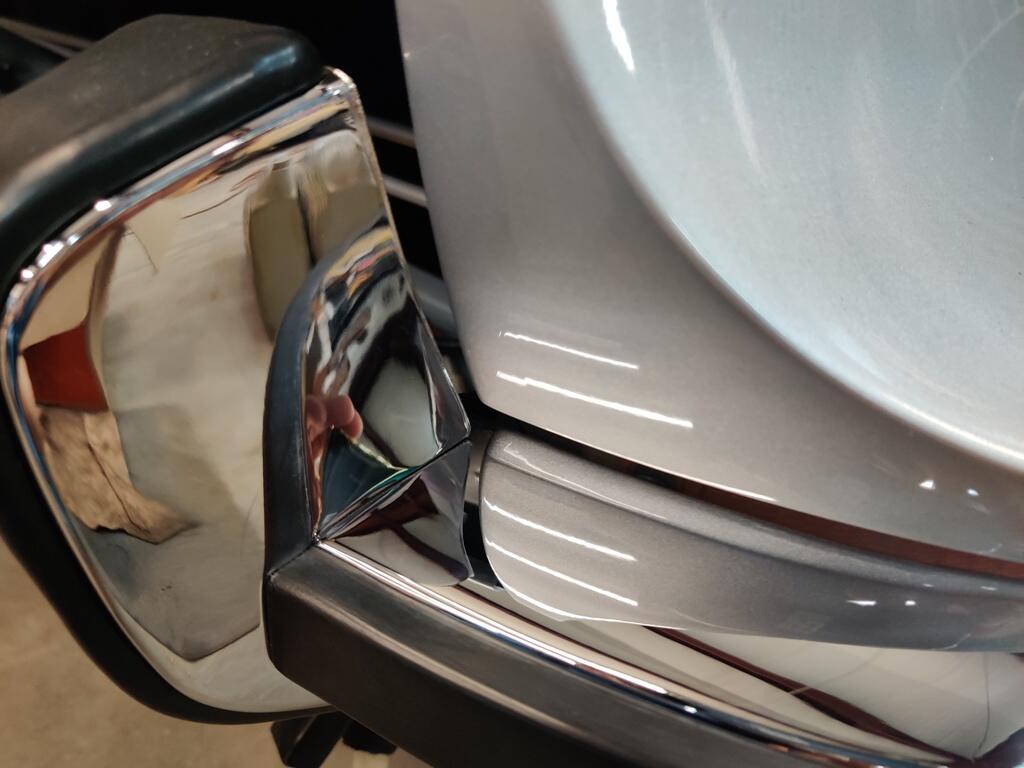
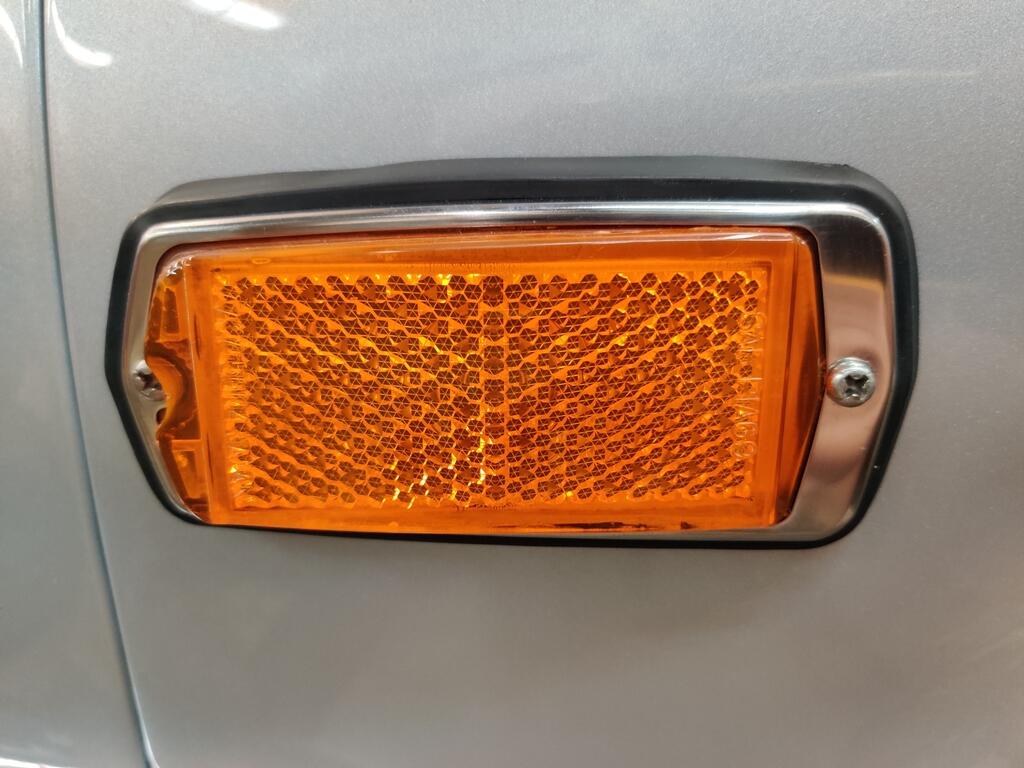
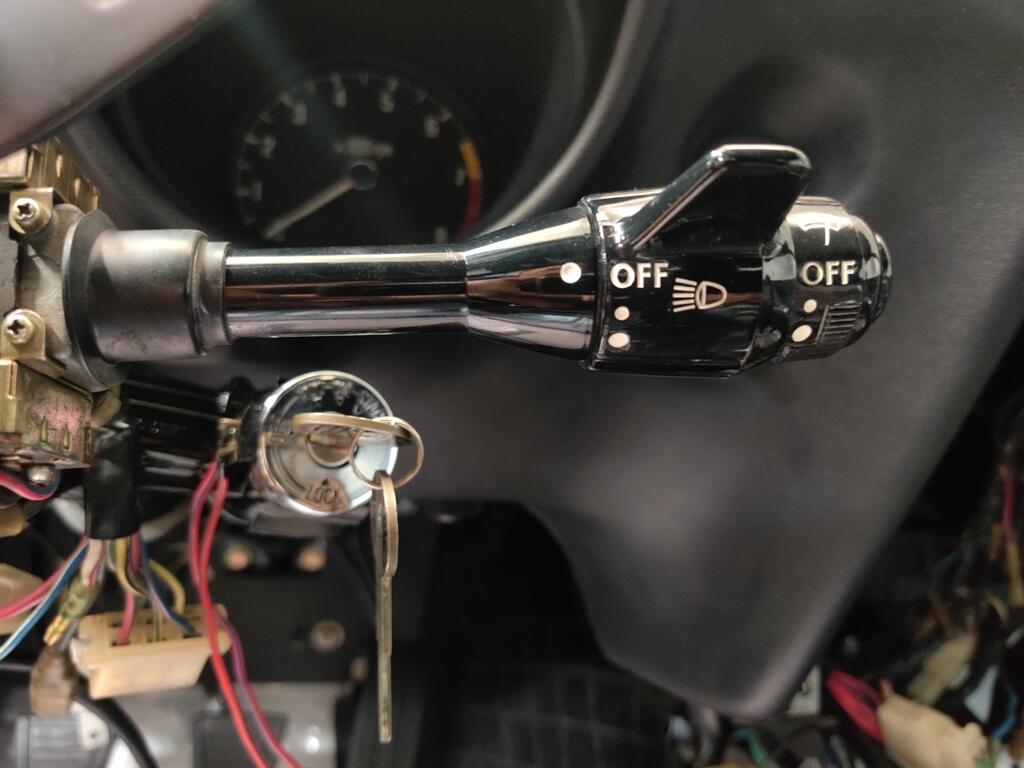
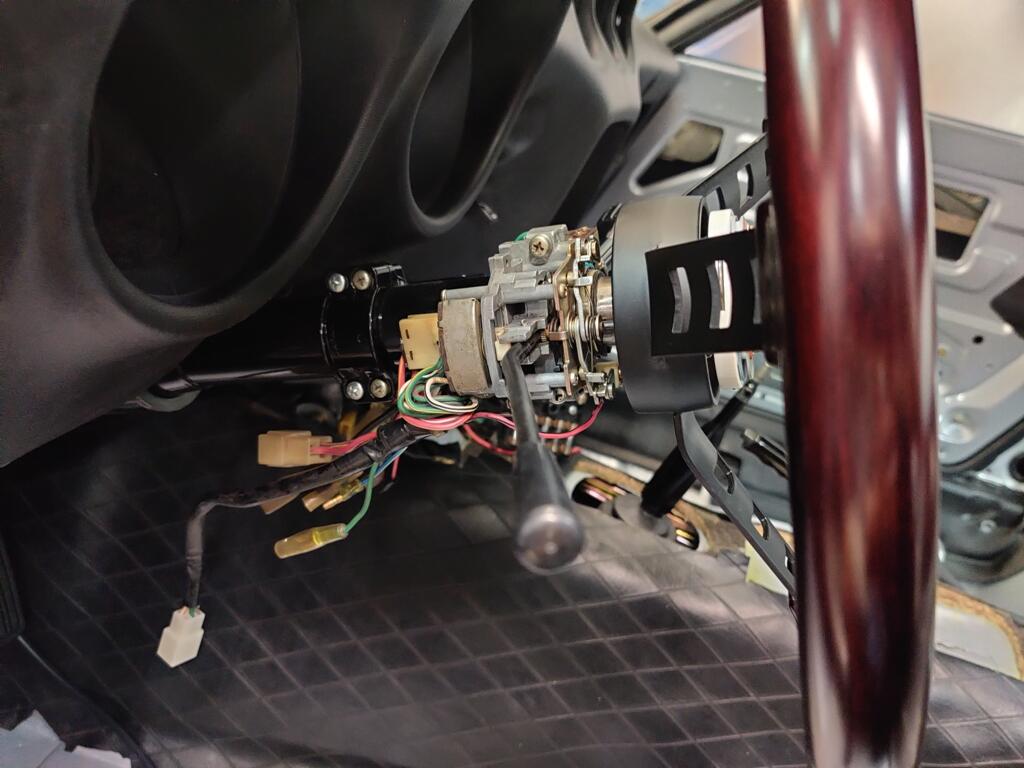
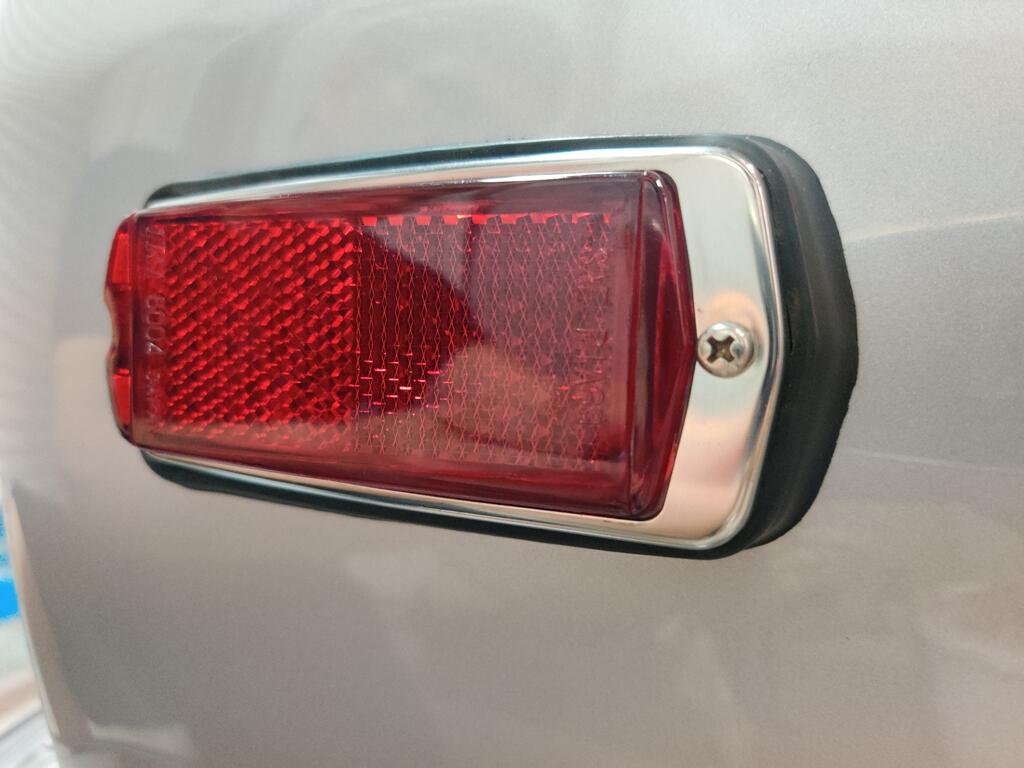
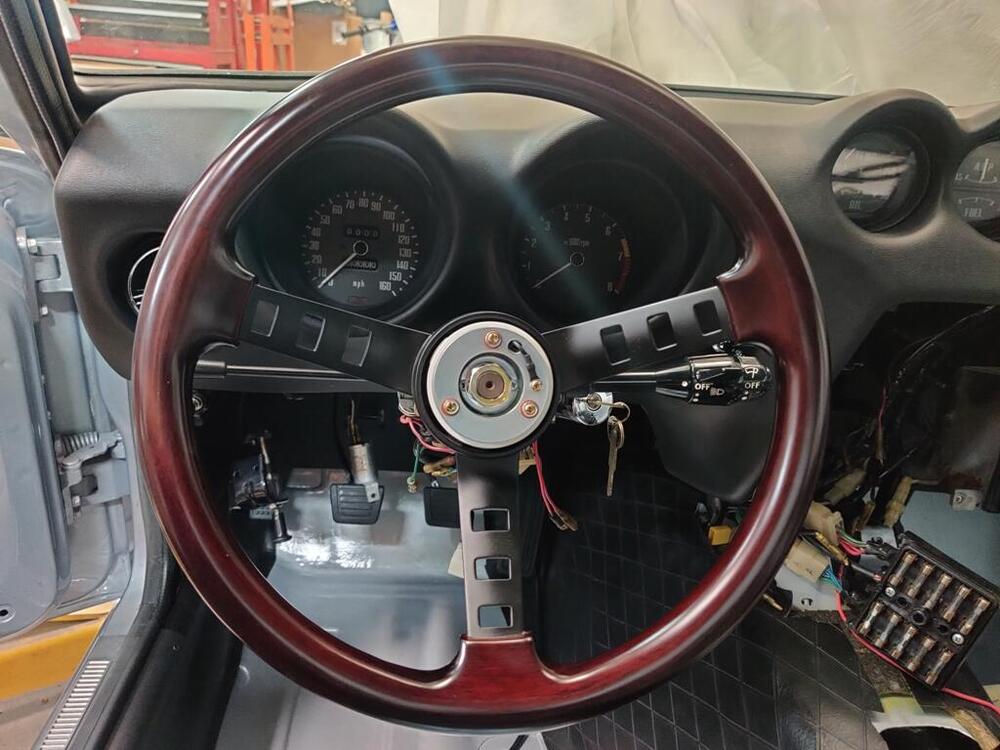
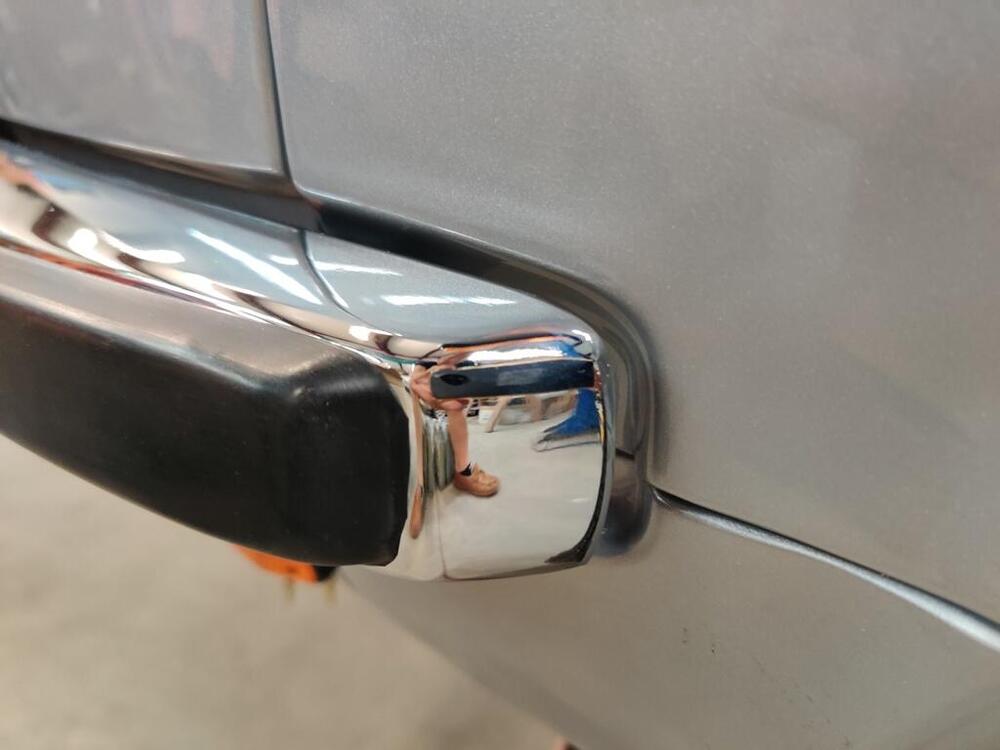
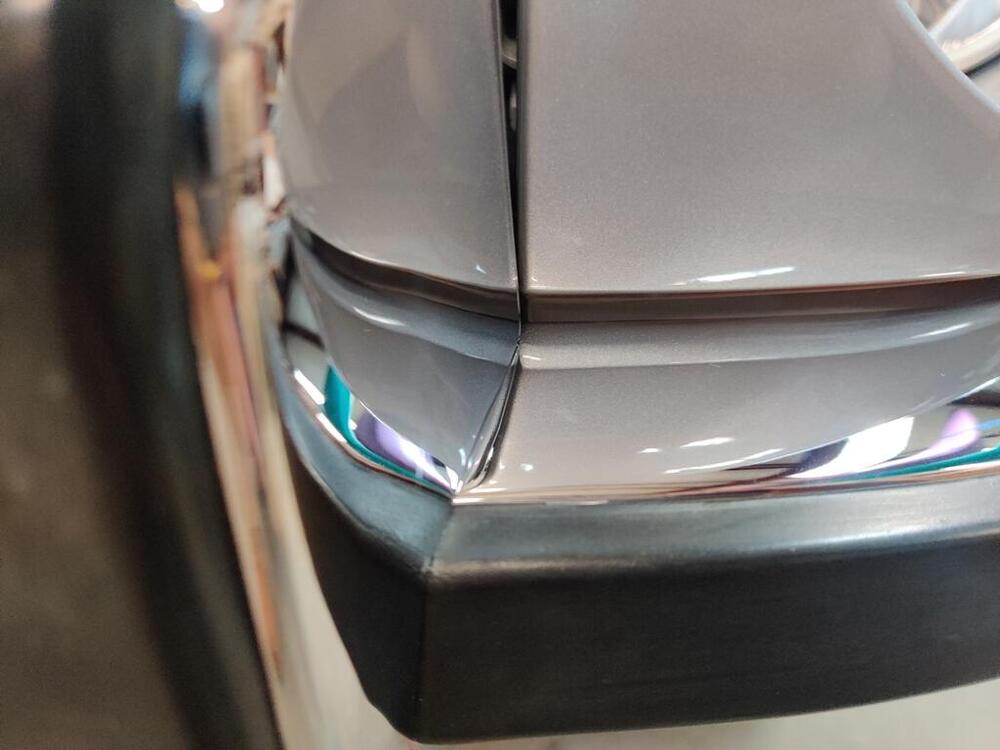
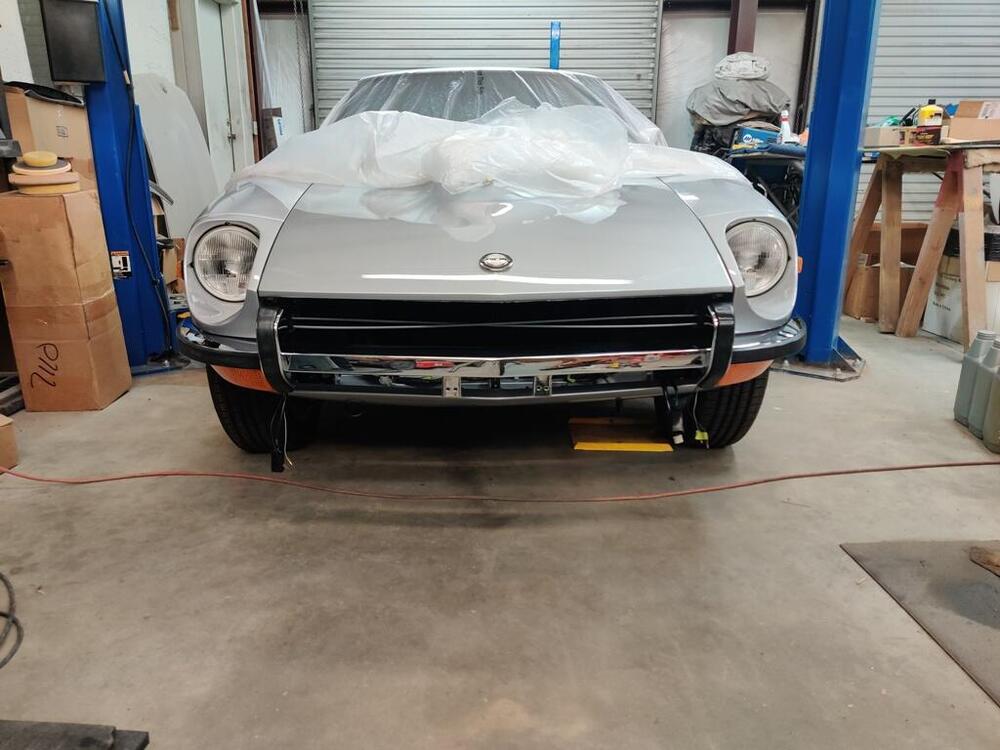
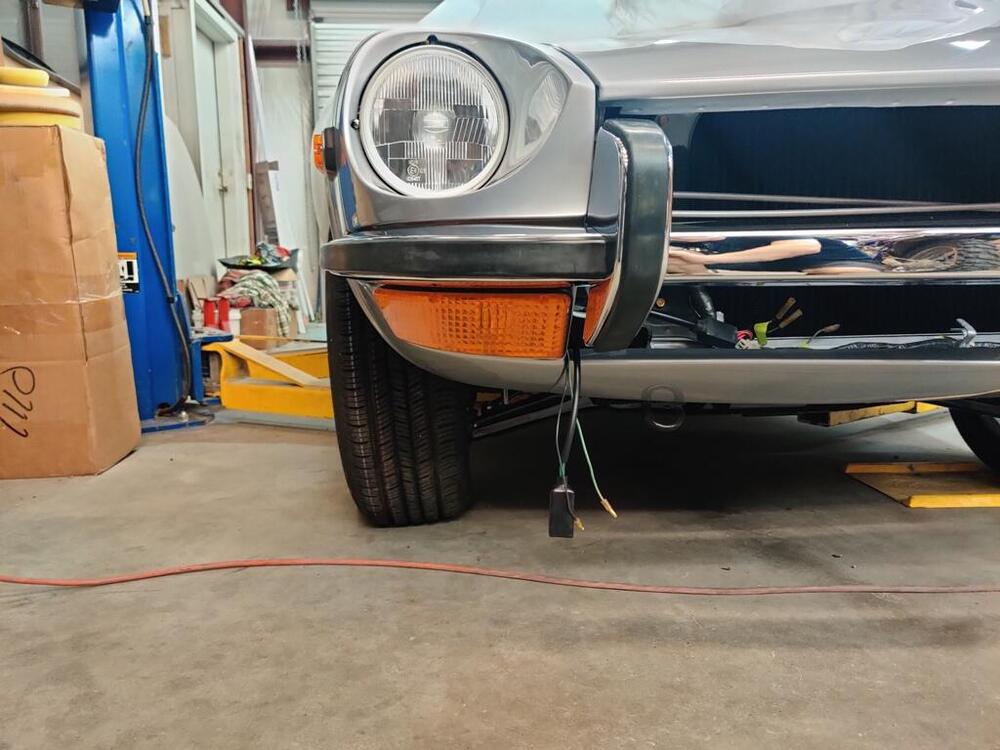
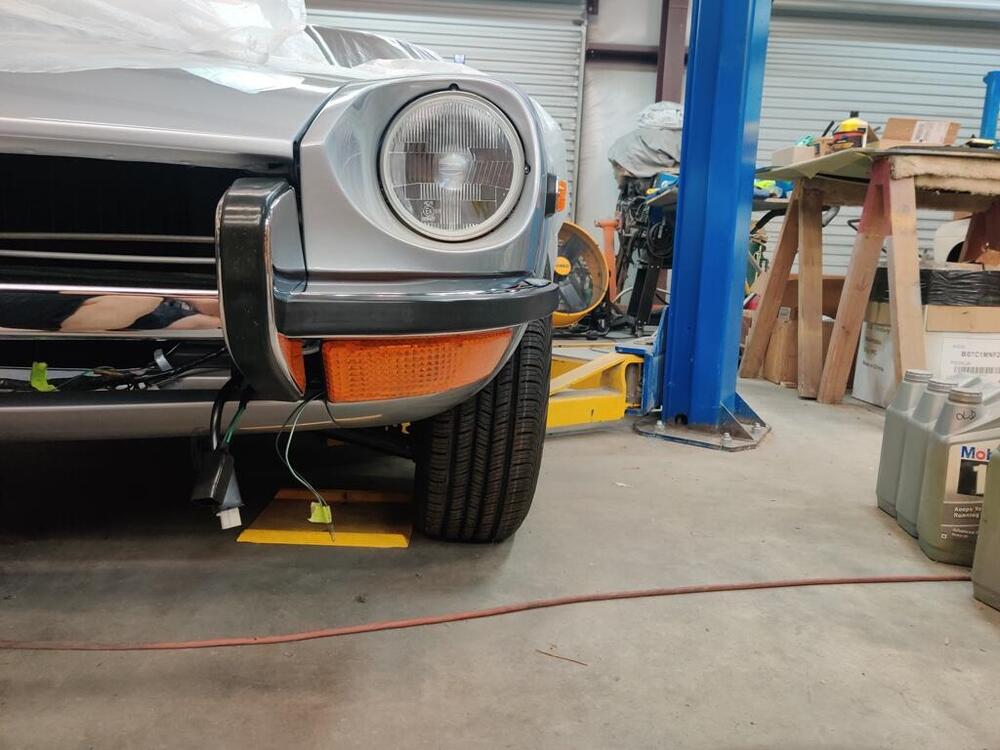
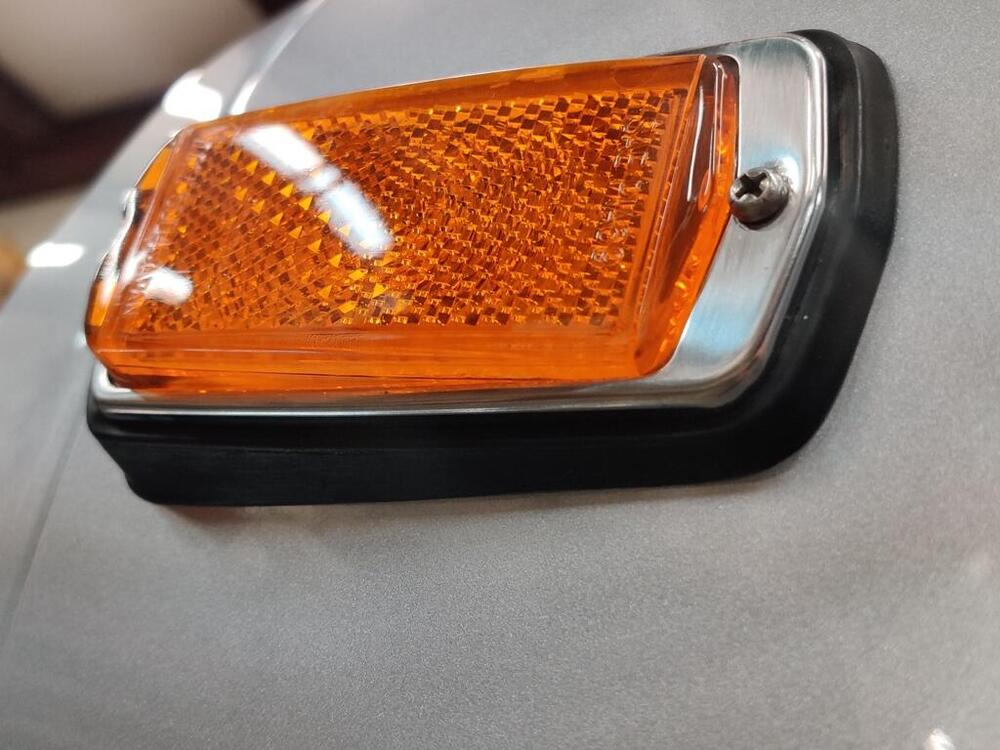
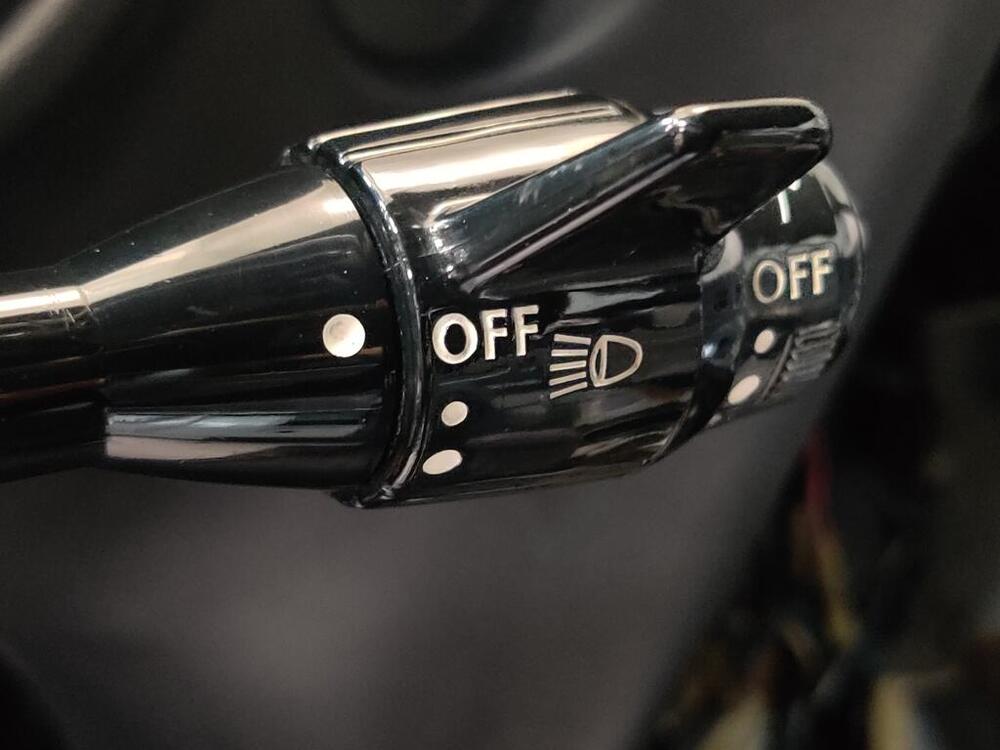
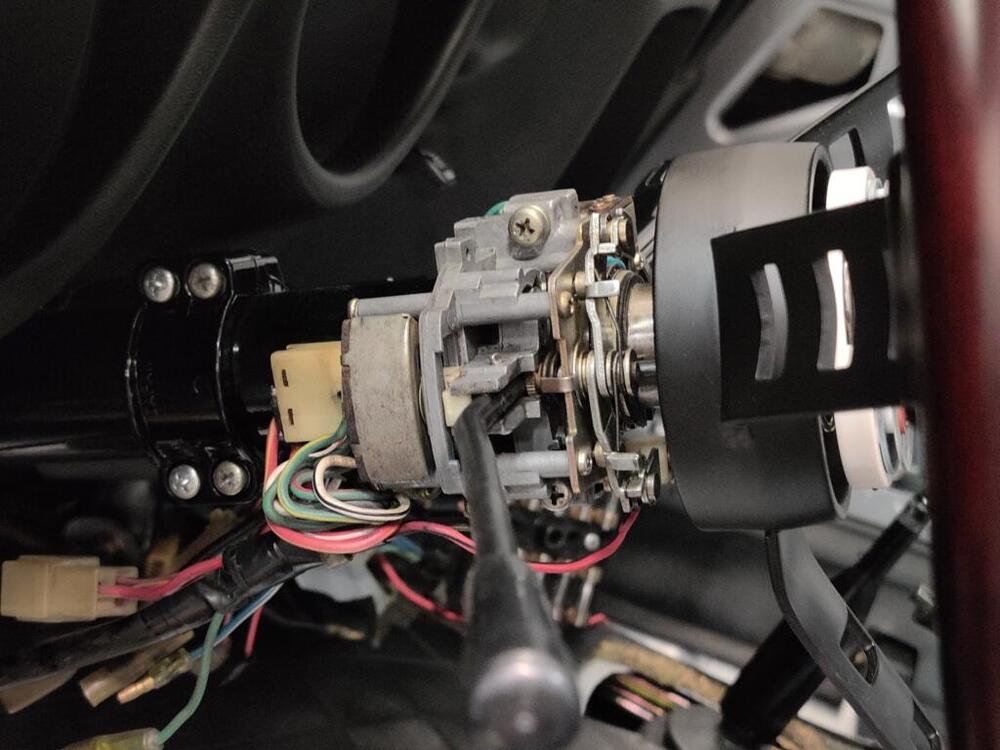
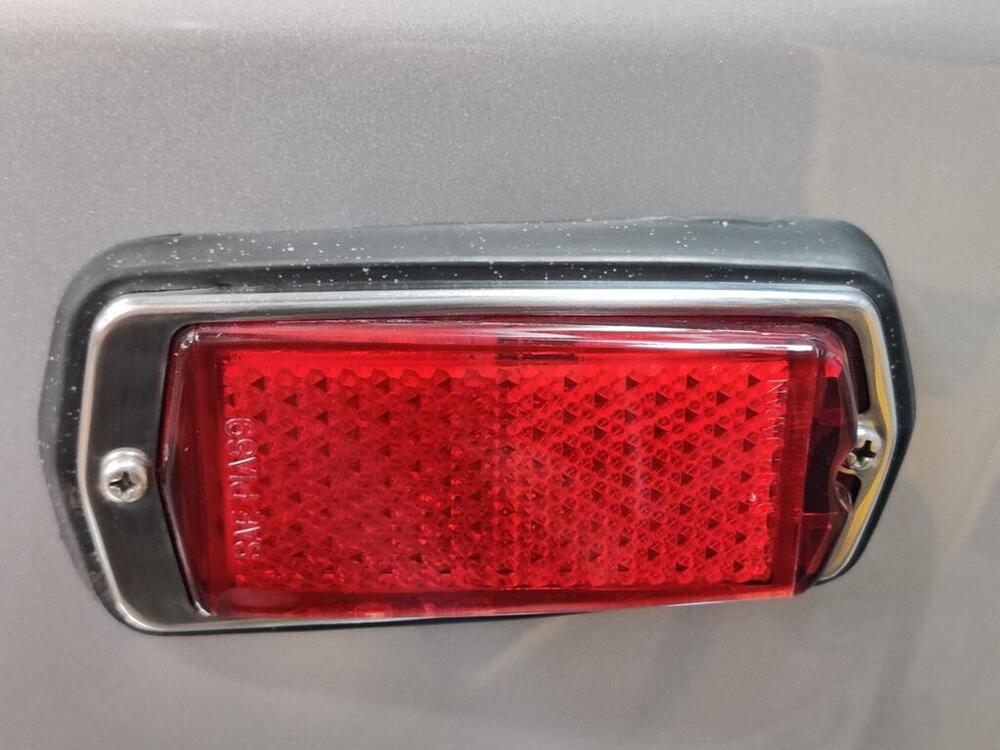
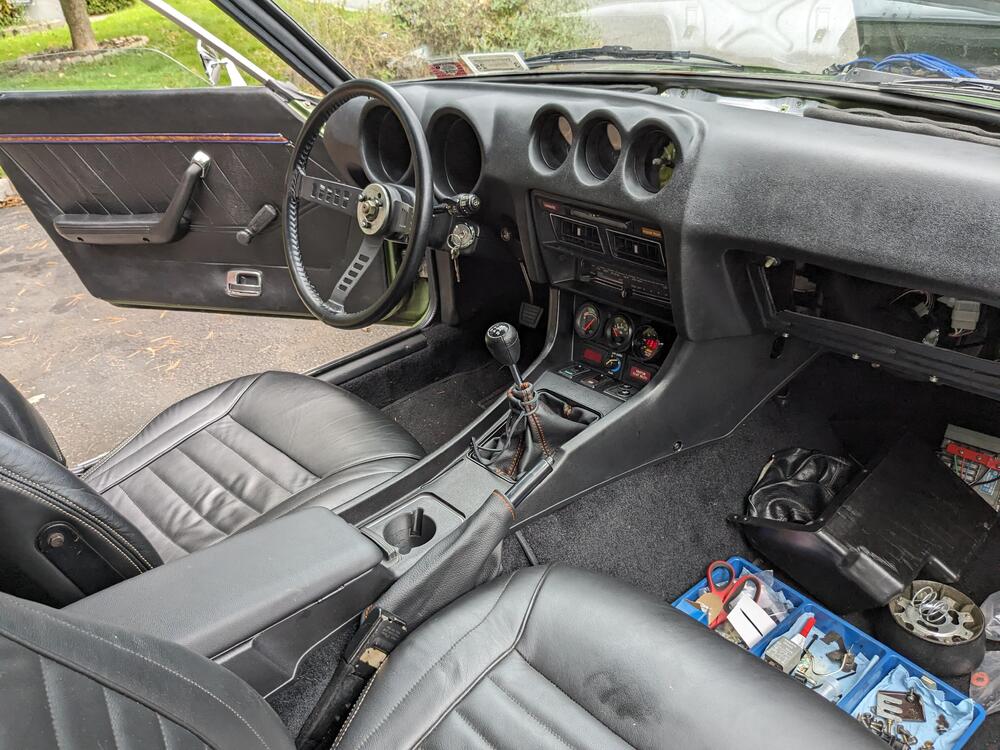
The front bumper is now fully fitted. One thing that is odd to me is how the over riders fit. The natural fitted position of these is such that a minor tap is likely going to push them into contact the fiberglass head light buckets. I've only taken the time to look at pictures of a couple other 240z's and it seems to me that the correct fit aligns these just inside the grill opening. I also am unsure what the correct depth of mounting the bumper is. I have room to slide it out a tad if that is more correct. The way I have it now, the closest part of the over rider to the body is at about 1/4". When setting the bumper height, I went for an even amount of space above the front turn lamp and below the body recess in the headlight bucket - "centered" in the recessed area: I like the replica competition steering wheel. It is a little smaller in diameter than the original, which I like. And it has a thicker grip diameter, which is nice also. However, it has less dish (so less depth). Without a seat to sit in, I can't tell if that will be an issue. I don't want there to be an ergonomics issue where hands and arms don't fit comfortably when my feet are the right distance to the pedals. Because it has less depth, the rim sits further away compared to the stock rim - I'd say about 1.5 inches less depth. And because of that, the turn signal stalk has to be bent back some. When I put the wheel in place, the end of the stalk was only about one and a quarter inches from the back of the rim. That is not enough clearance for free hand movement on the steering wheel. The distance between the stalk and the stock steering wheel is about 2 and 7/8" inches. I think after bending the stalk a bit, I have about 2". I will give that a try and adjust further if necessary. Replica competition wheel with wood rim... rebuilt headlight combination switch... cleaned and polished surfaces Turn signal stalk depth... cleaned and rebuilt turn signal switch assembly... Front side marker Front and rear side markers after cleaning polishing and installation


 2 points
 -
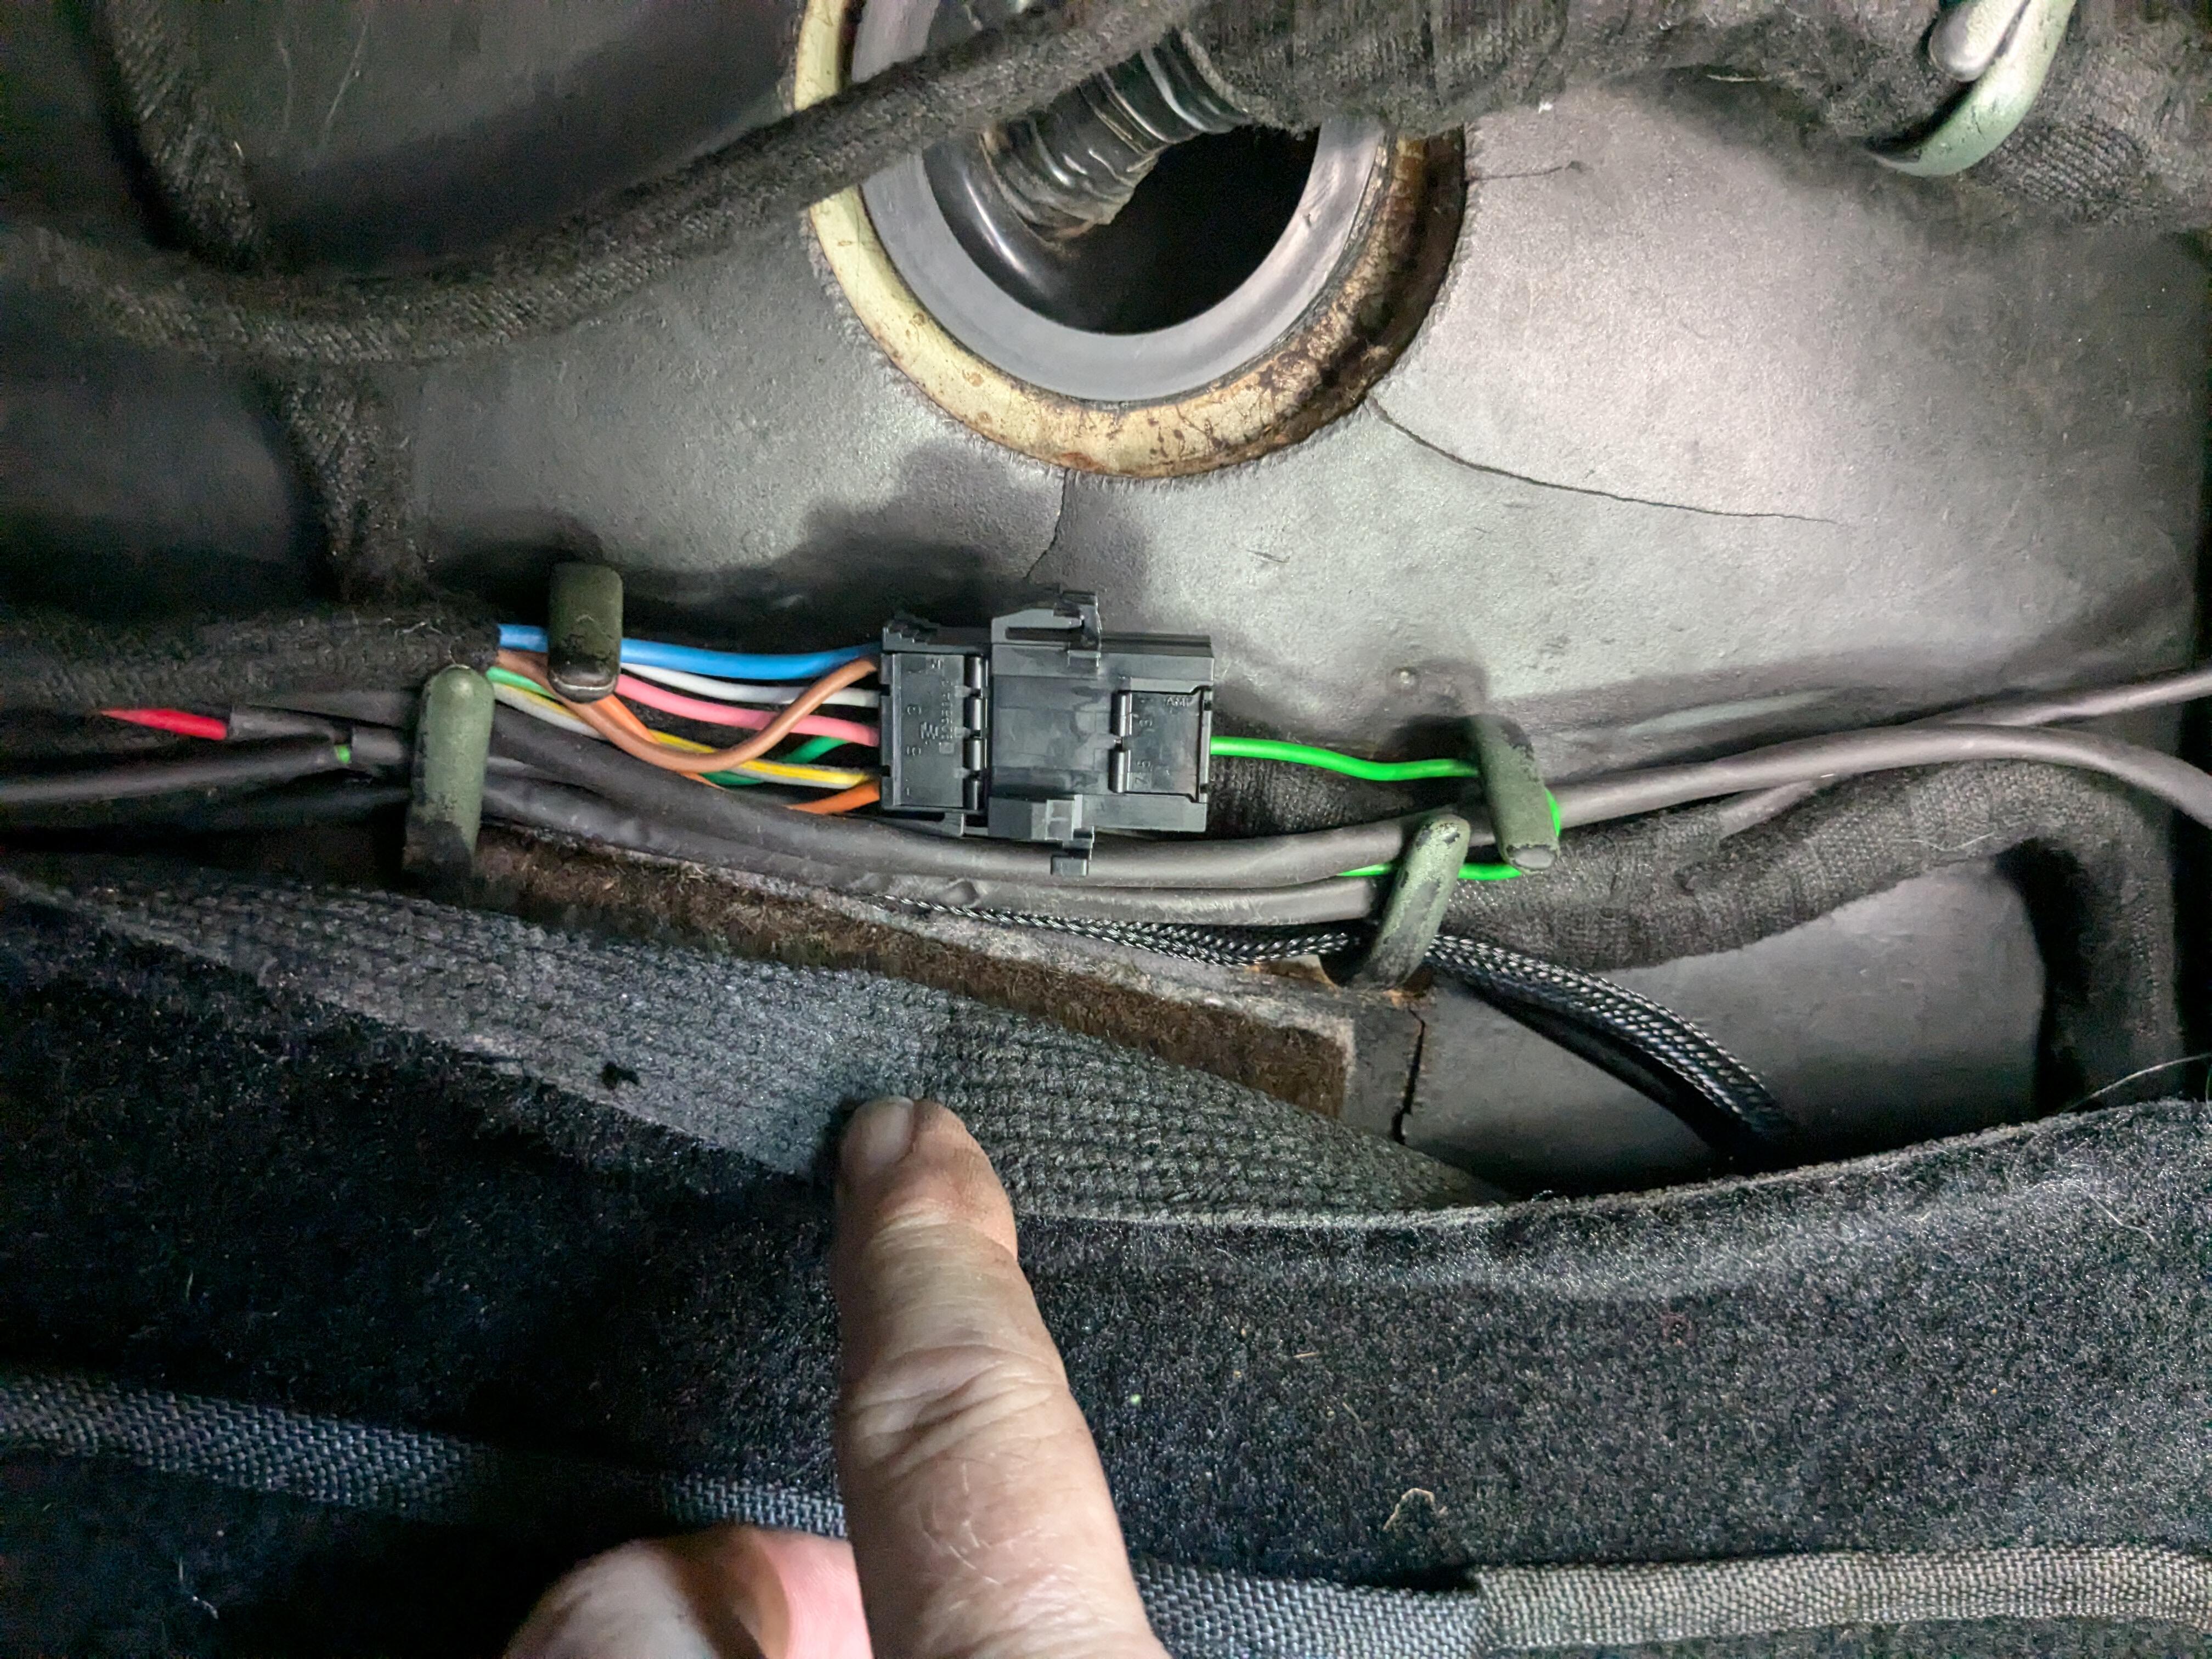
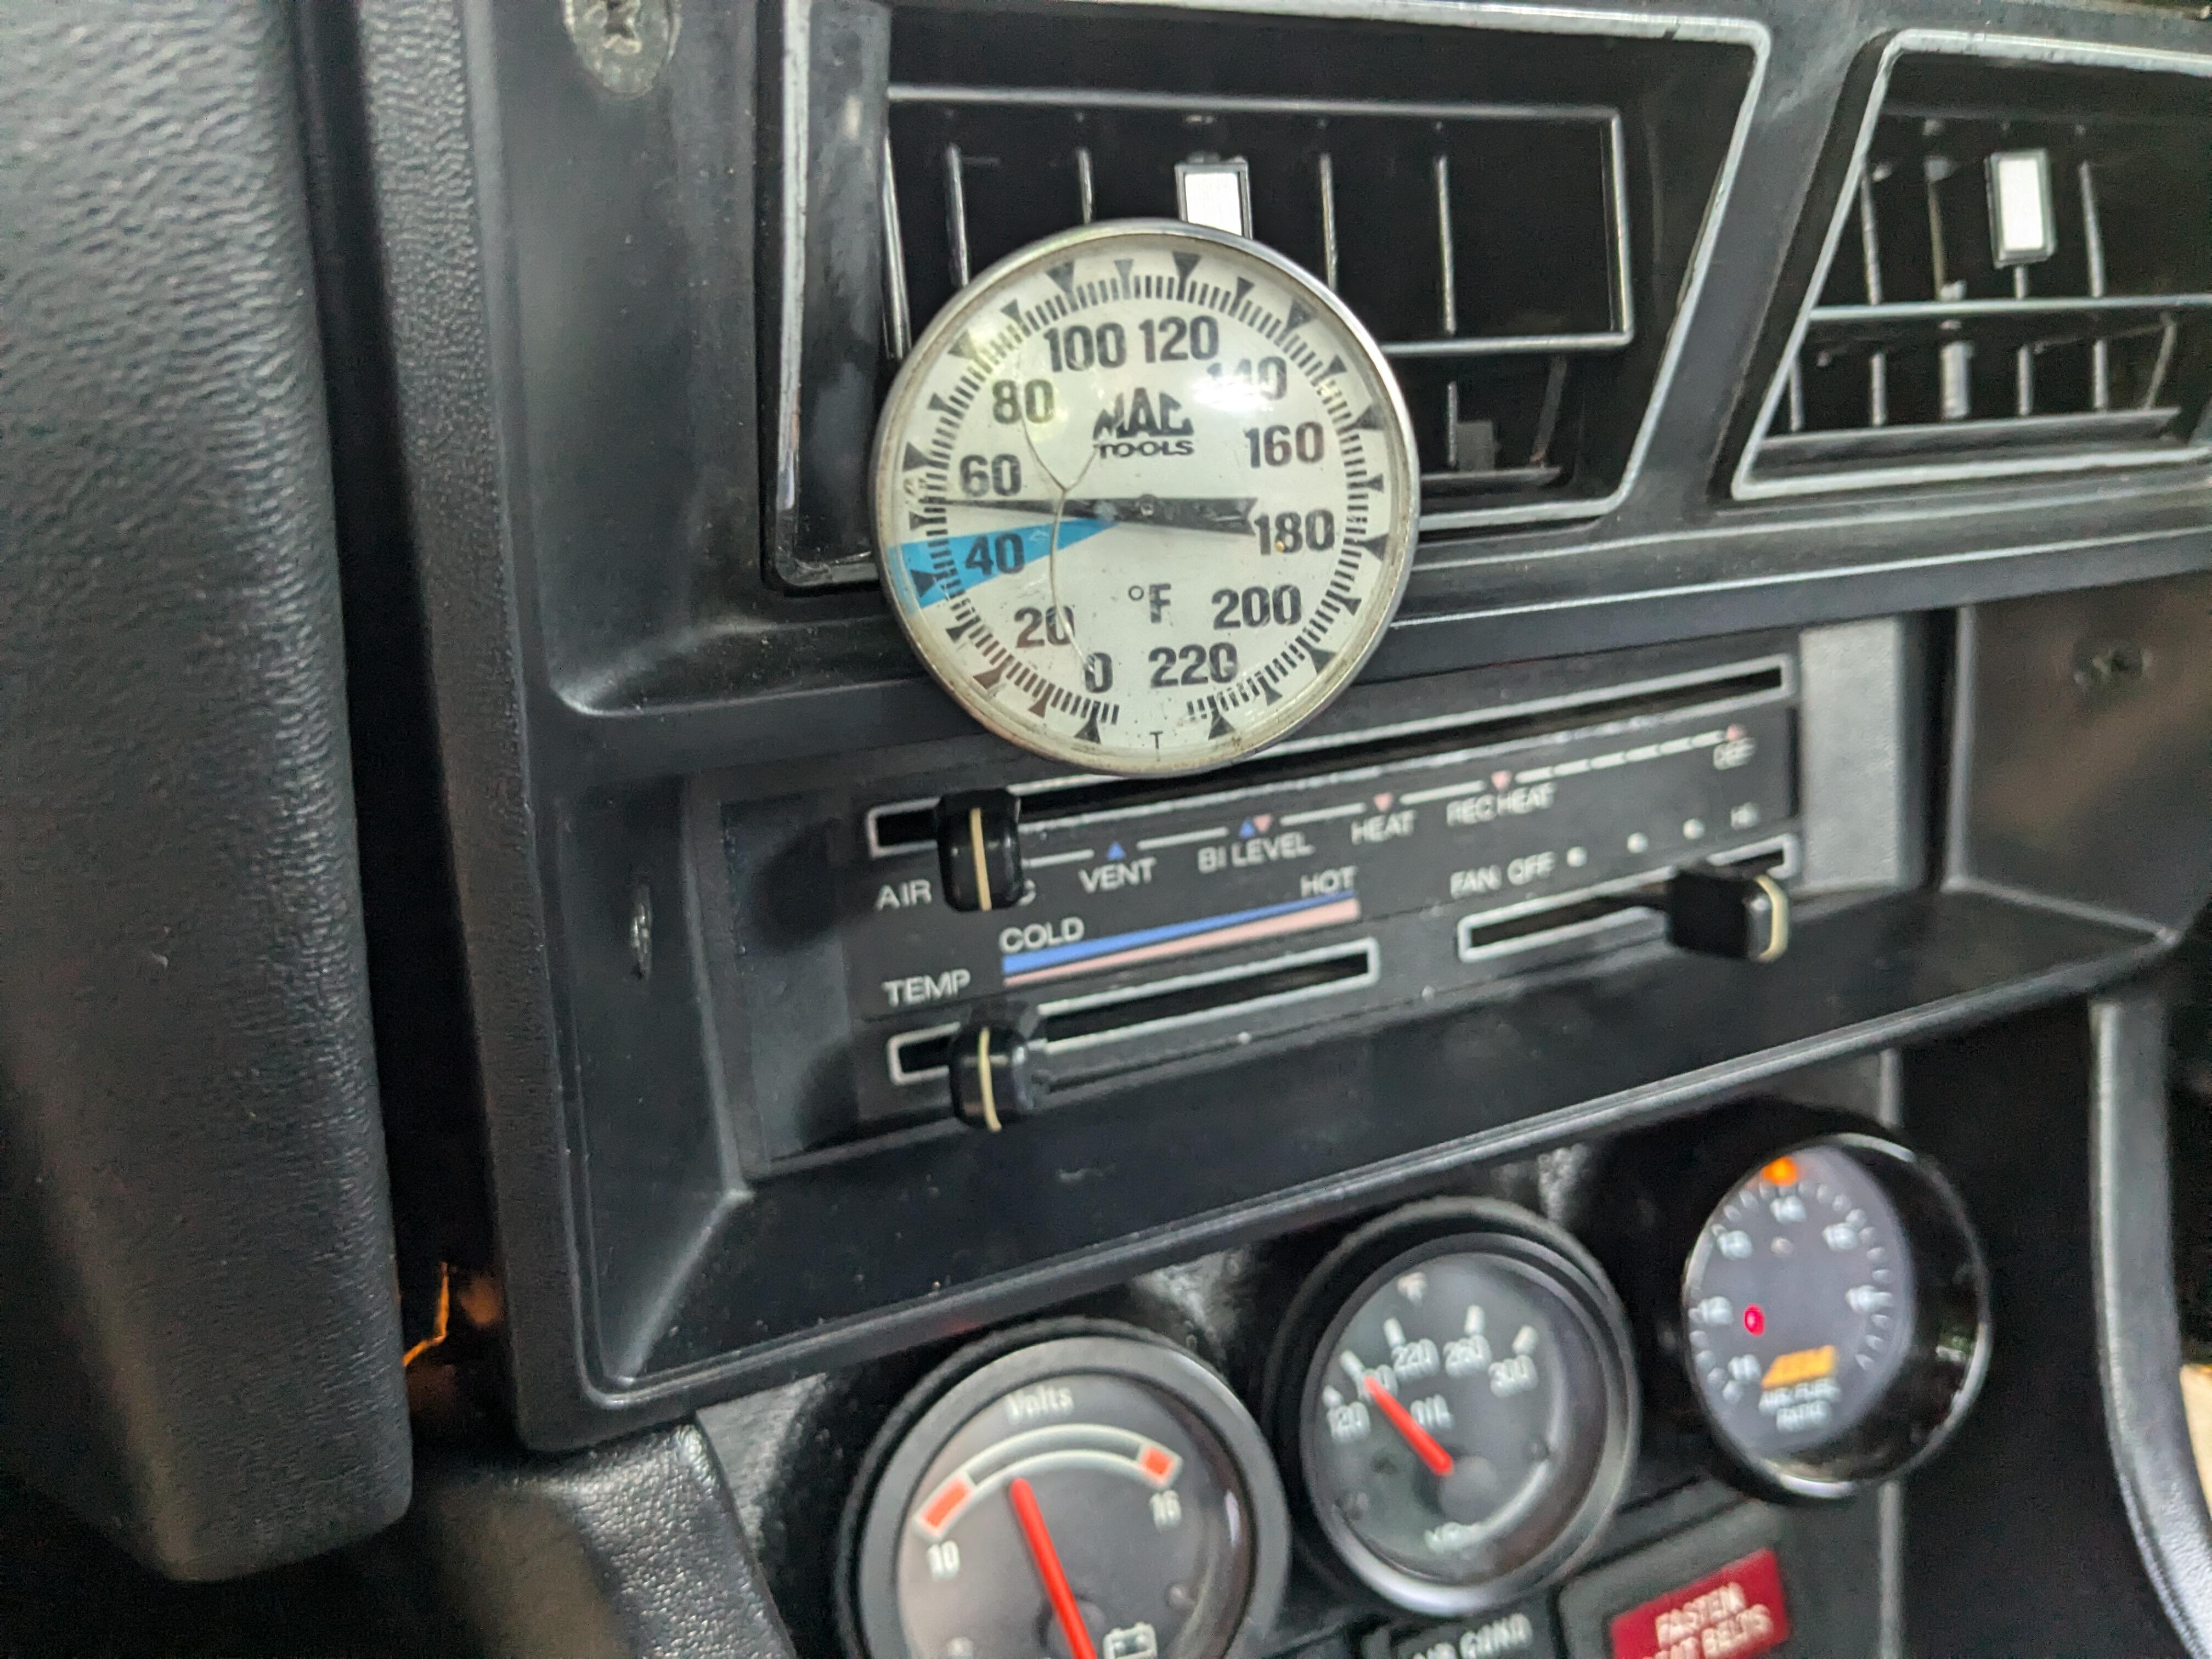
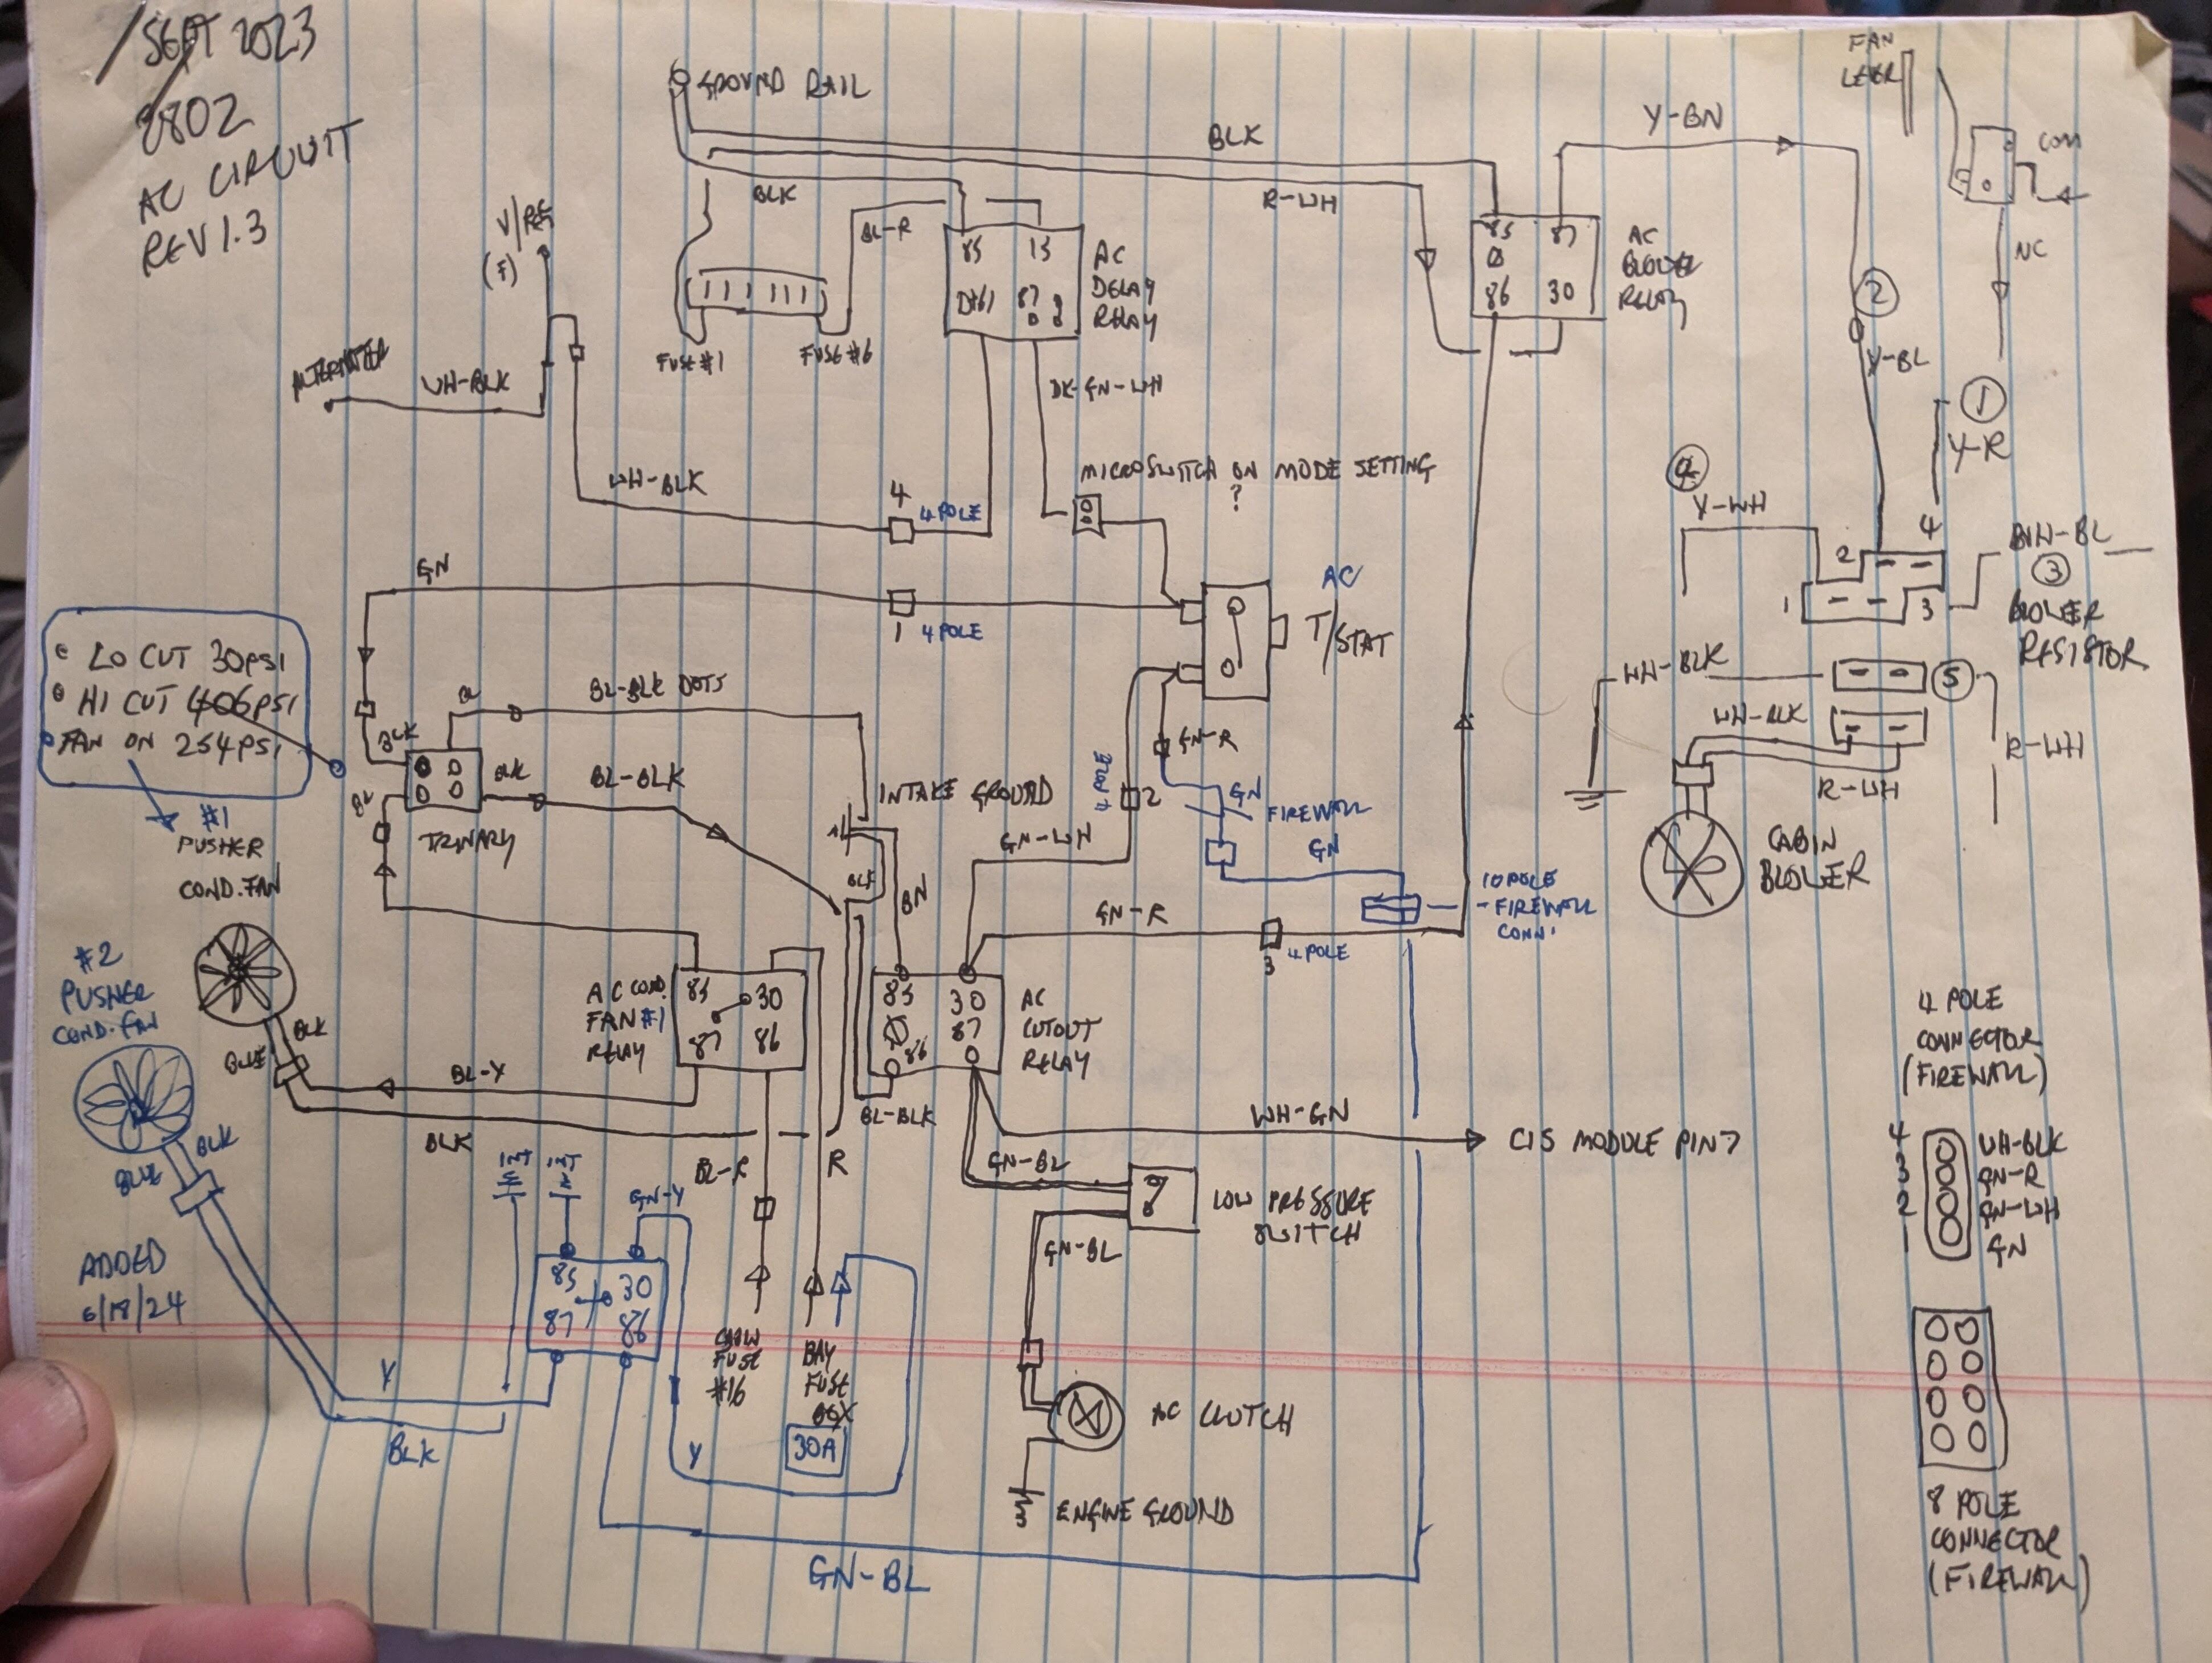
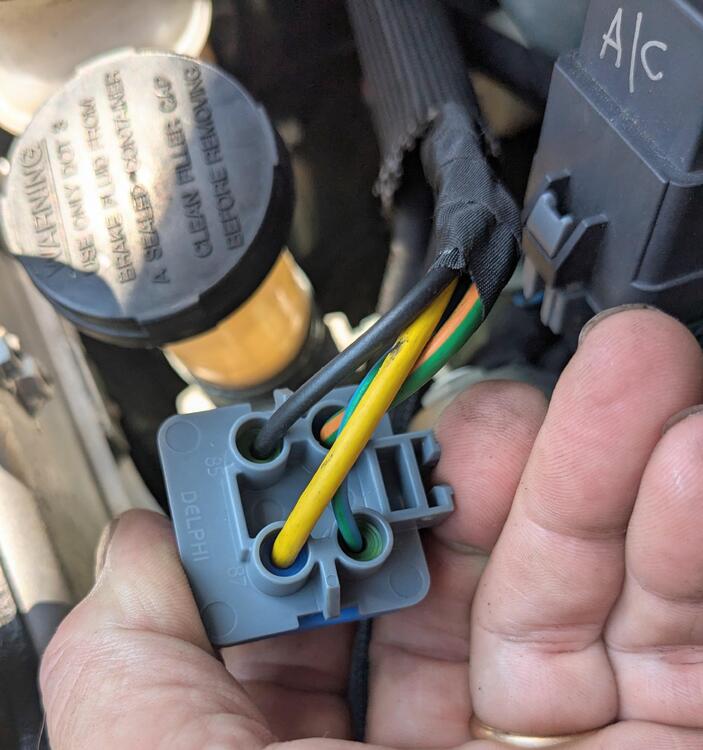
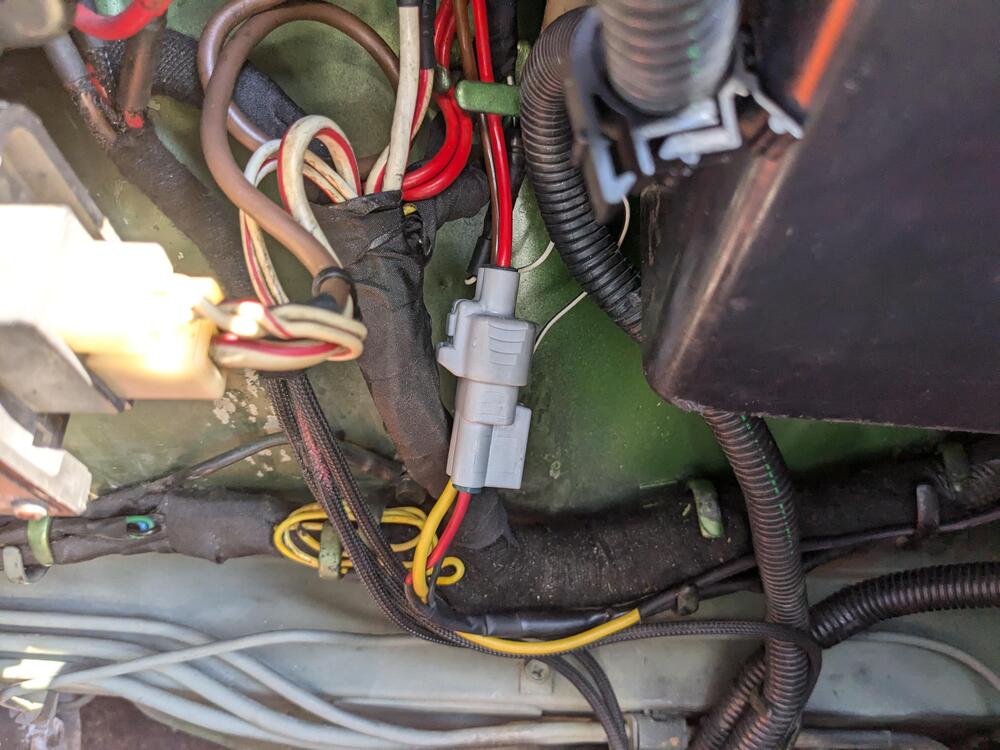
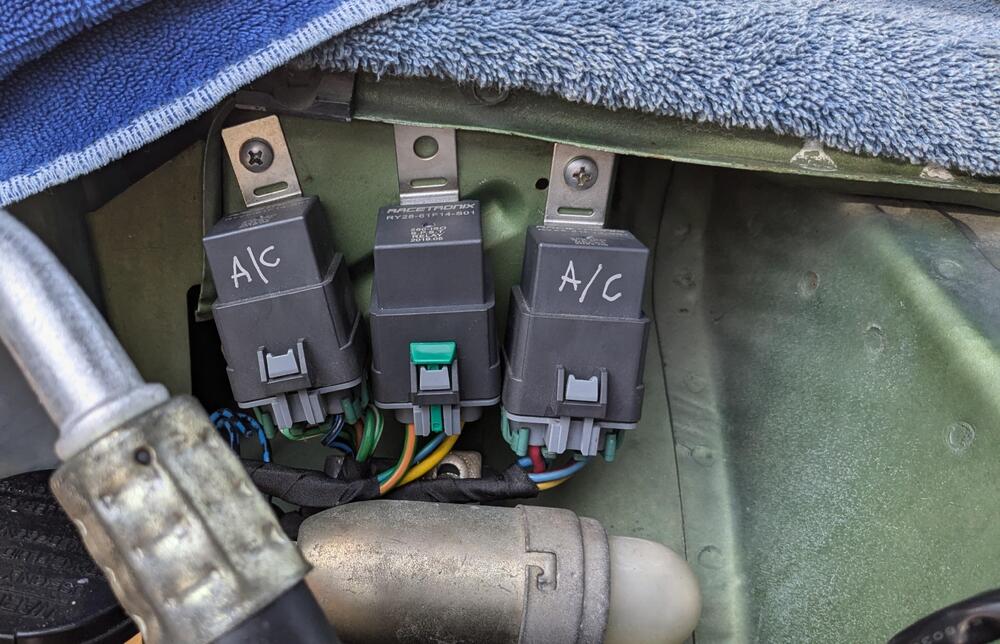
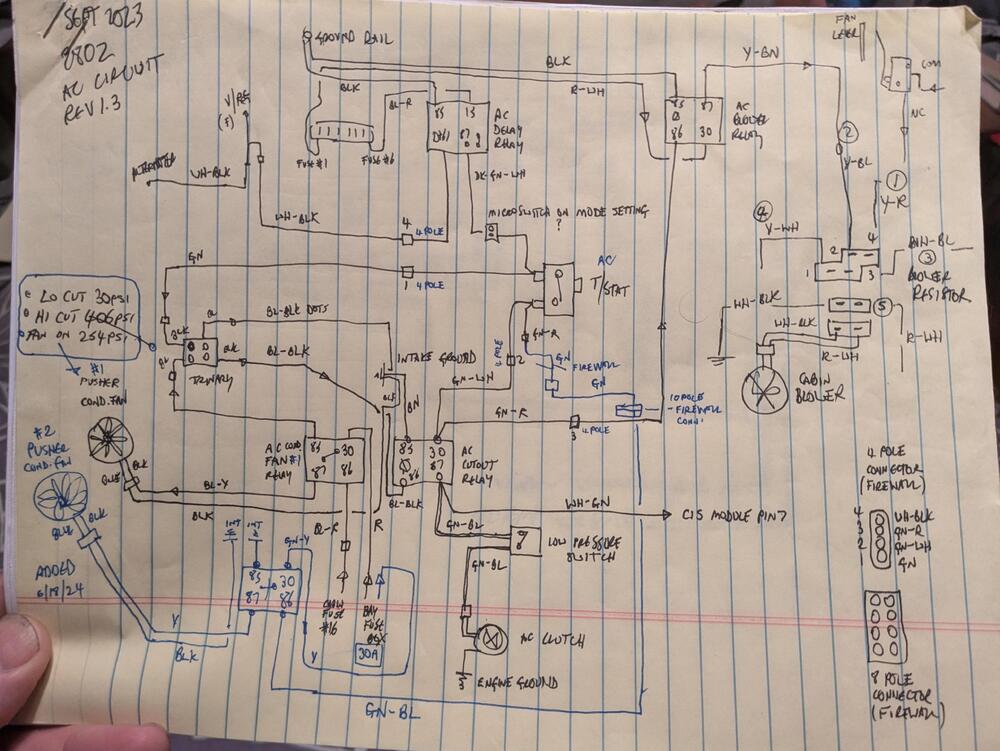
Did the wiring for the 2nd fan. Took awhile. I ended up running a completely new circuit instead of tapping into an existing. Relay connections Racetronix SPST (Delphi components) relays fused power (Y) Switched power from AC T/stat (Gn) 90ºF outside - duct temp 55ºF, not bad. I do need to recheck the system pressures. May need a little more freon (R134a)


 2 points
 -
1 pointAlmost a Country Music Classic....except no mention of the girlfriend leaving, a doublewide mobile home, and a dog that died. Otherwise, GREAT!1 point
-
nice fix! interesting about the diodes, when I looked at the schematic. At 1st I thought they were for flyback voltage spike protection from the coils, but the way they are wired it seems more like just a reverse polarity protection (looks like coil current is blocked if reversed voltage applied). If that diode works I wonder how come peeps keep frying ECU's when connecting up backward? Maybe I am not looking at it right... Ok so Pin 4 on the ECU is NOT diode protected (gets 12v when in "start") and Pin 47 also gets a shot from "Start" CSV which goes back to the ECU as well on pin 21. this is a 1975 fyi. on my DIY 300zxt harness I did NOT use them (diodes) as polarity protection but did wire in P with the coil for flyback protection. Just have to not get stupid when connecting the battery.1 point
-
1 pointI wish all you lucky rascals a great day! My dog is laying beside me I bed and that makes me happy. I can't imagine something that could tell me happy fathers day. Enjoy the day Dads!1 point
-
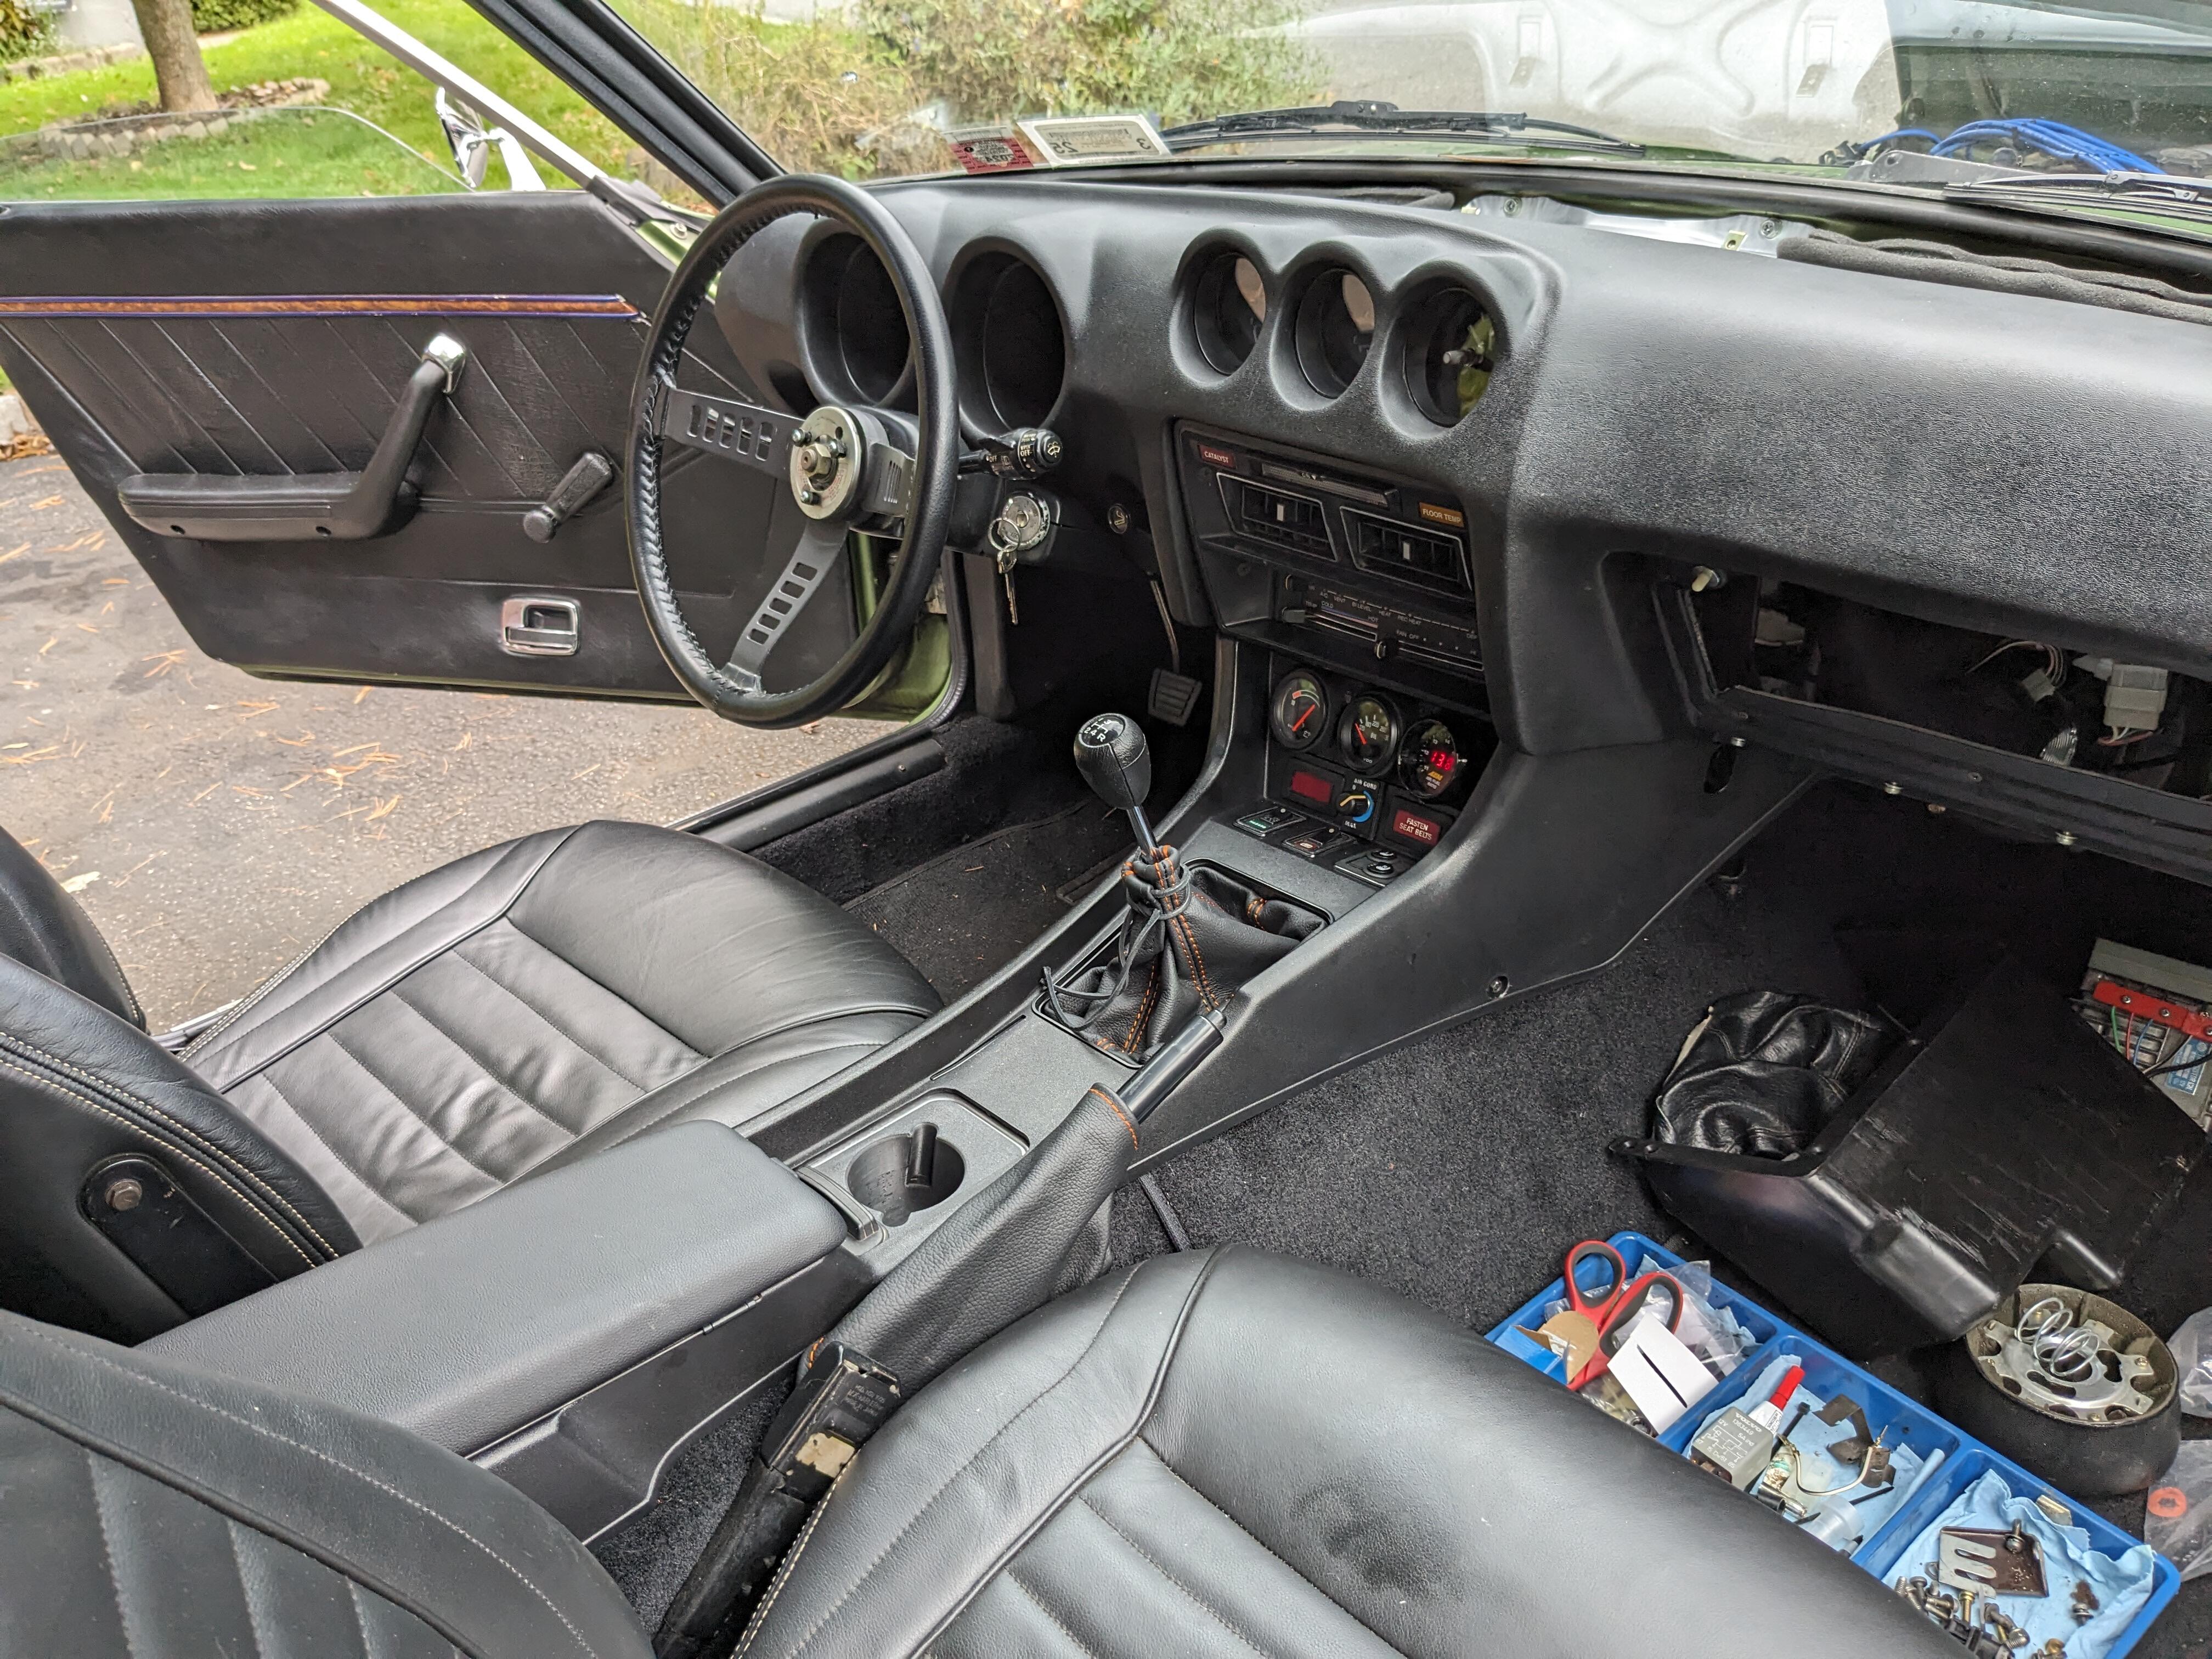
Painted & reinstalled the dash vent panel today, and put the steering wheel back. No horn pad, as I don't know yet if it's centered exactly. Can't drive it until the new clutch slave arrives & replaces the blown out one.

 1 point