Leaderboard
-
HusseinHolland
Free Member14Points1,031Posts -
inline6
 Subscriber
 5Points1,282Posts
 -
Richie G
Free Member3Points254Posts -
Patcon
Subscriber3Points11,142Posts


Popular Content
Showing content with the highest reputation on 10/27/2023 in all areas
-
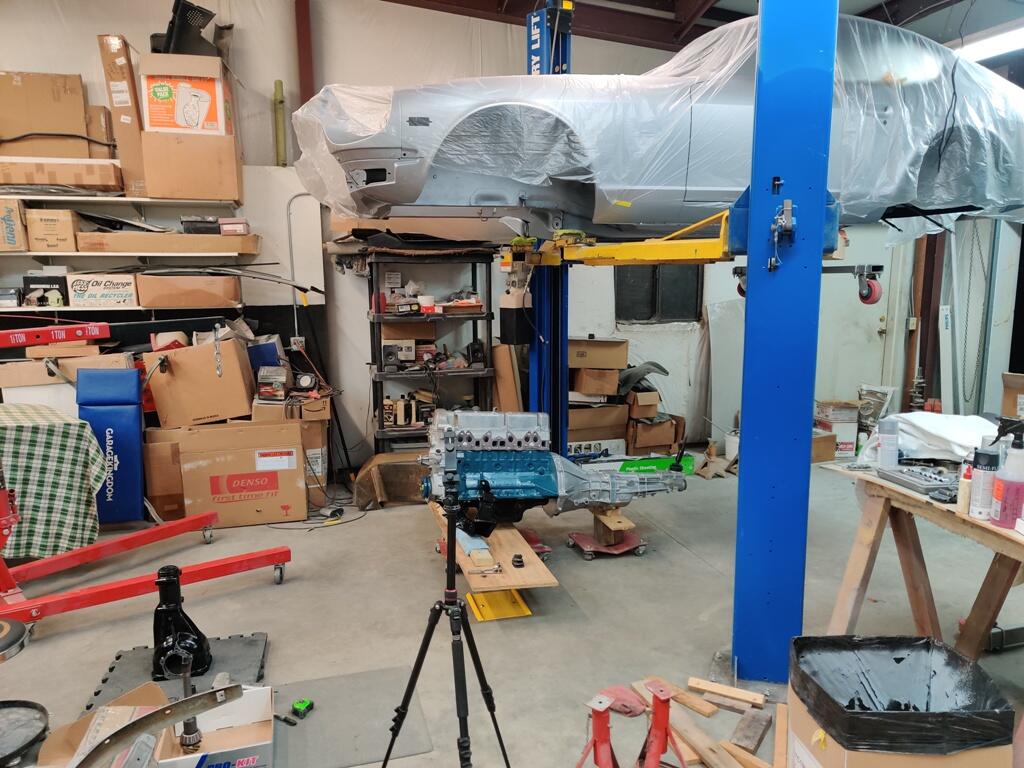
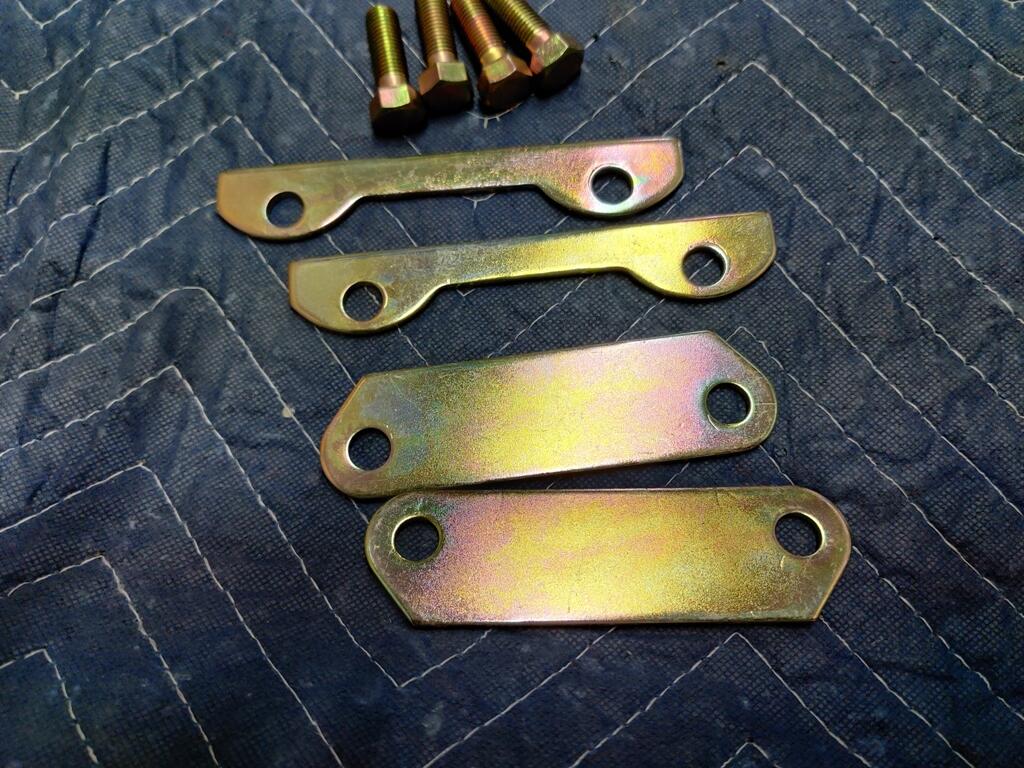
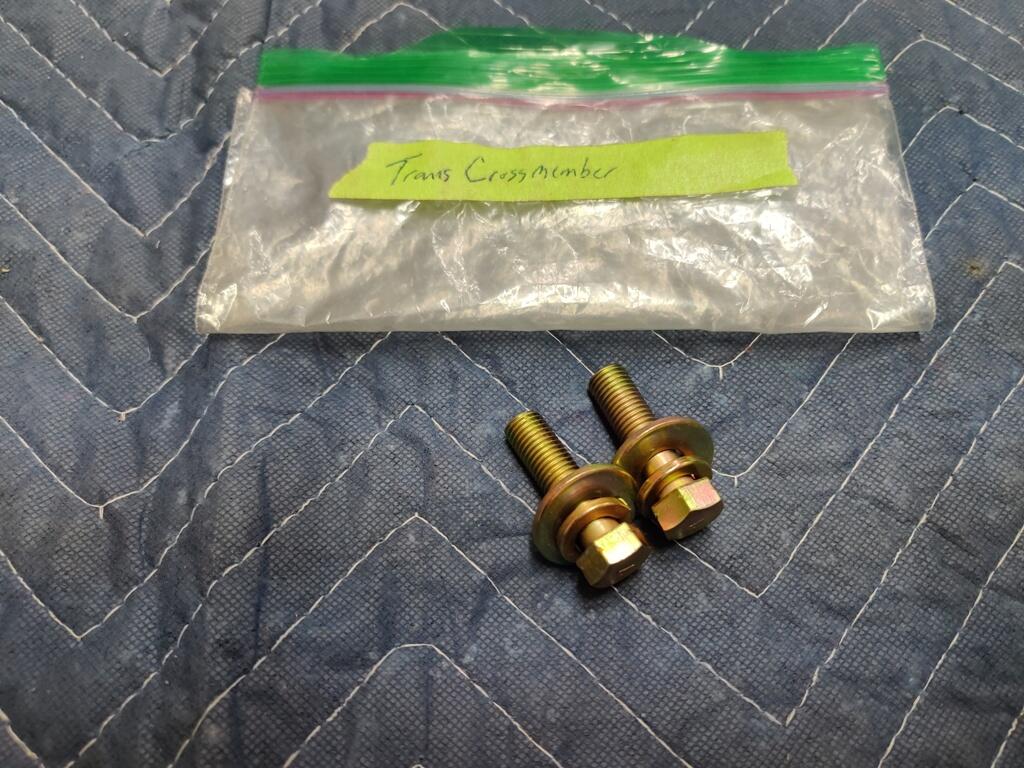
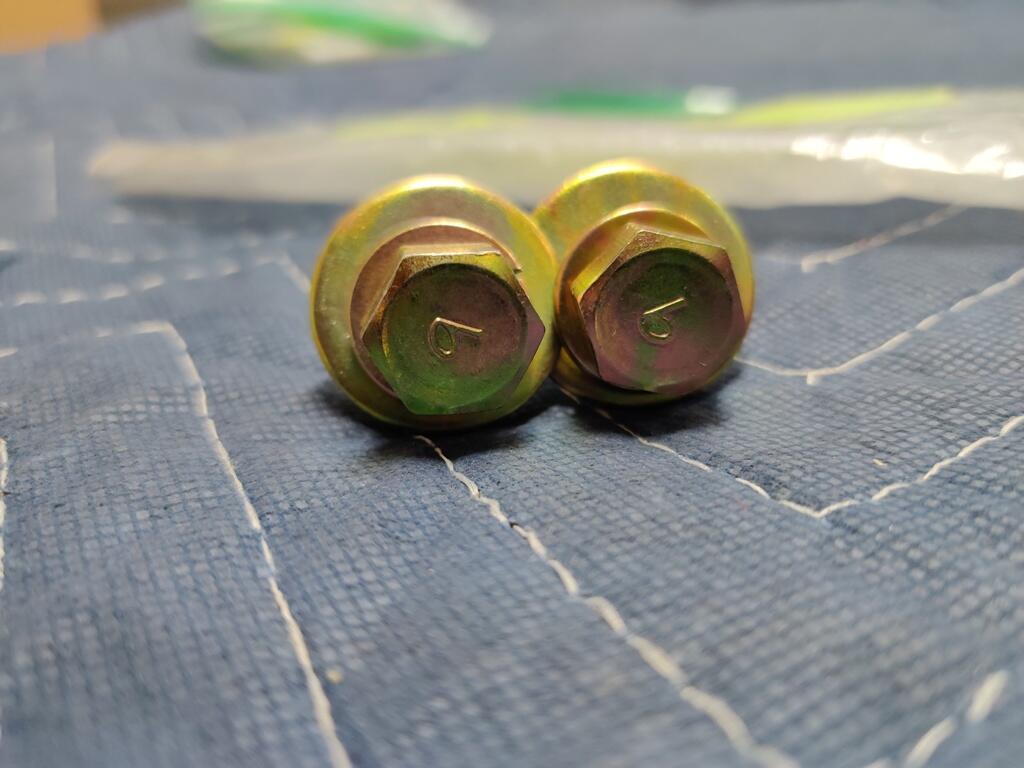
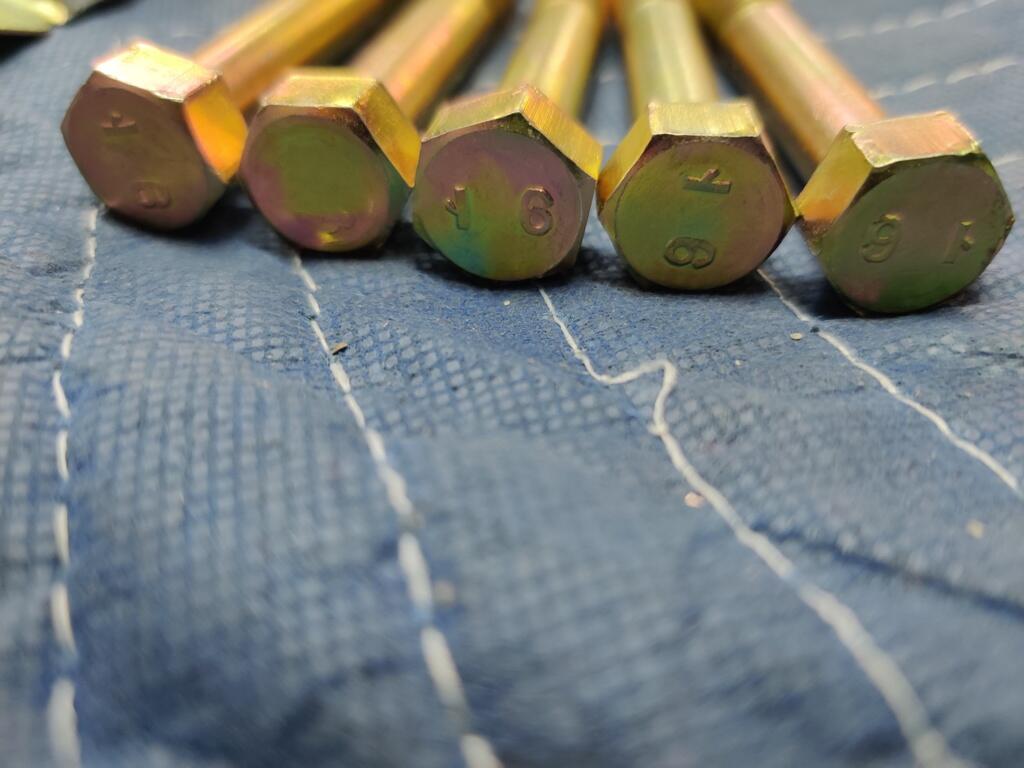
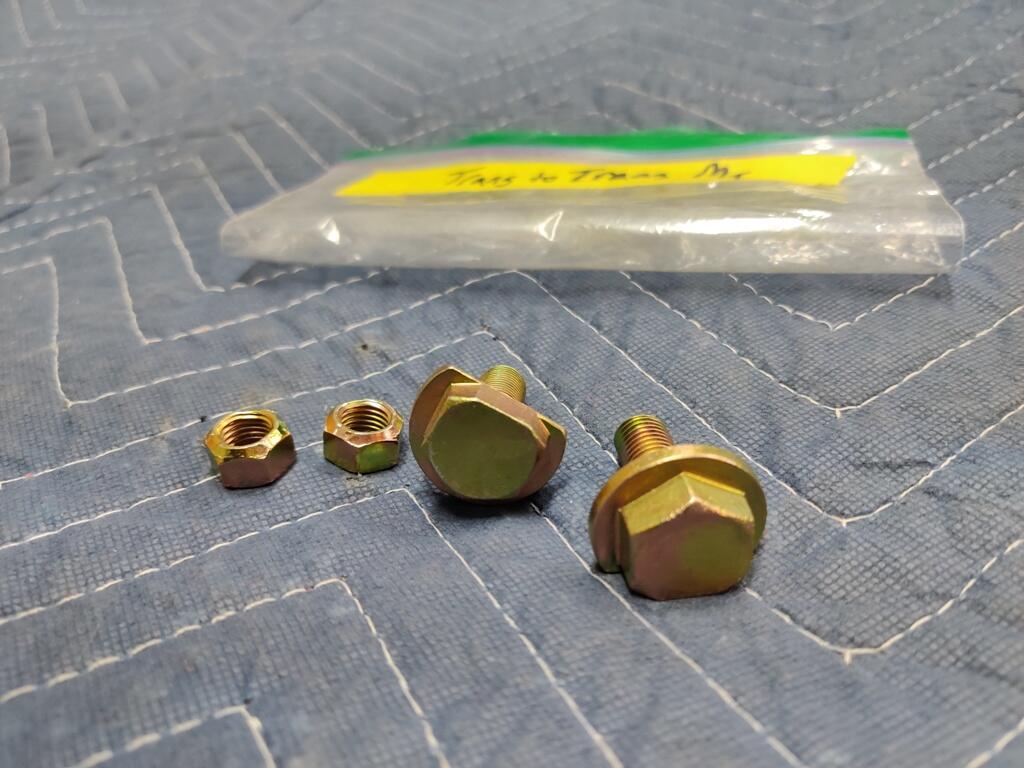
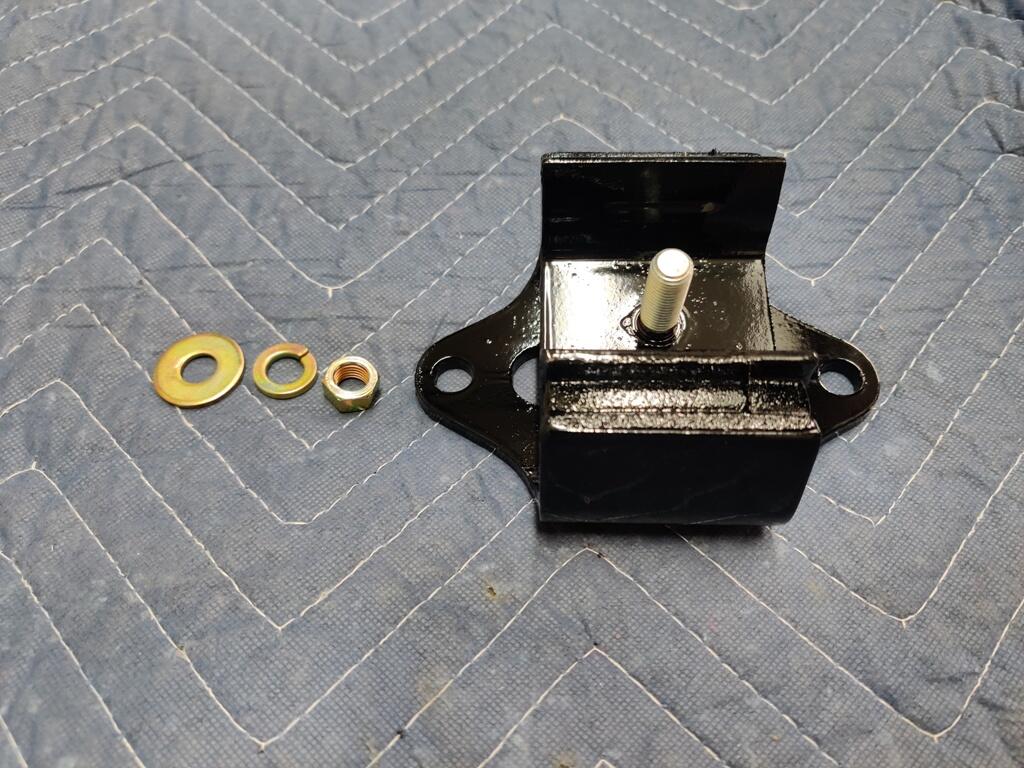
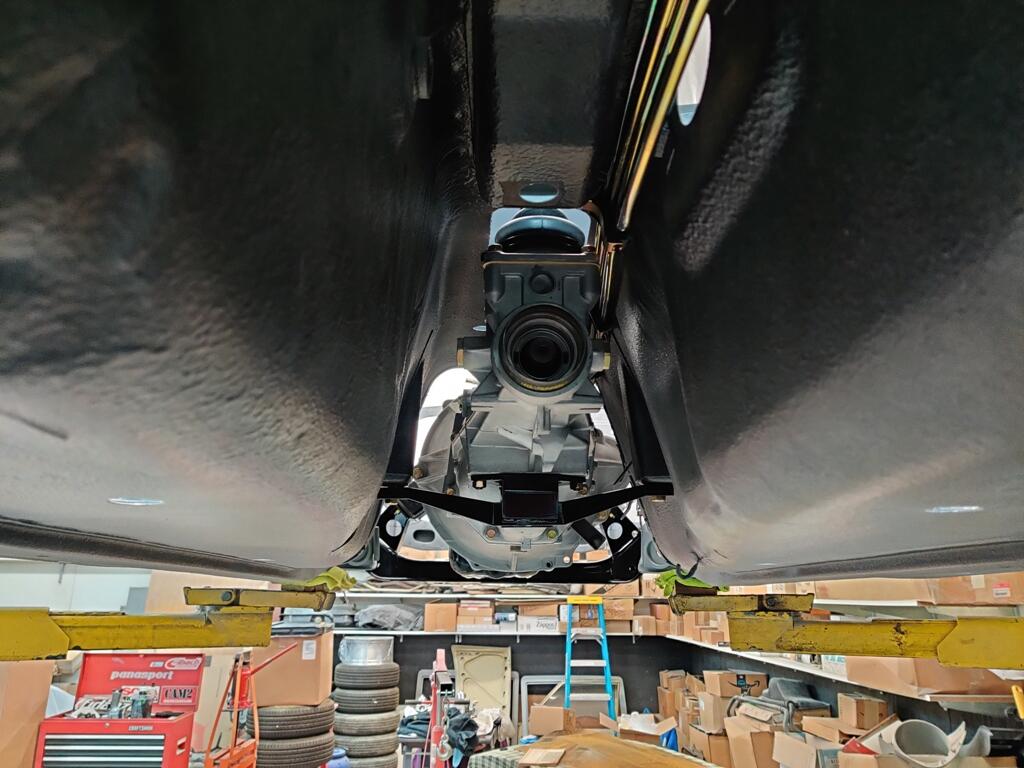
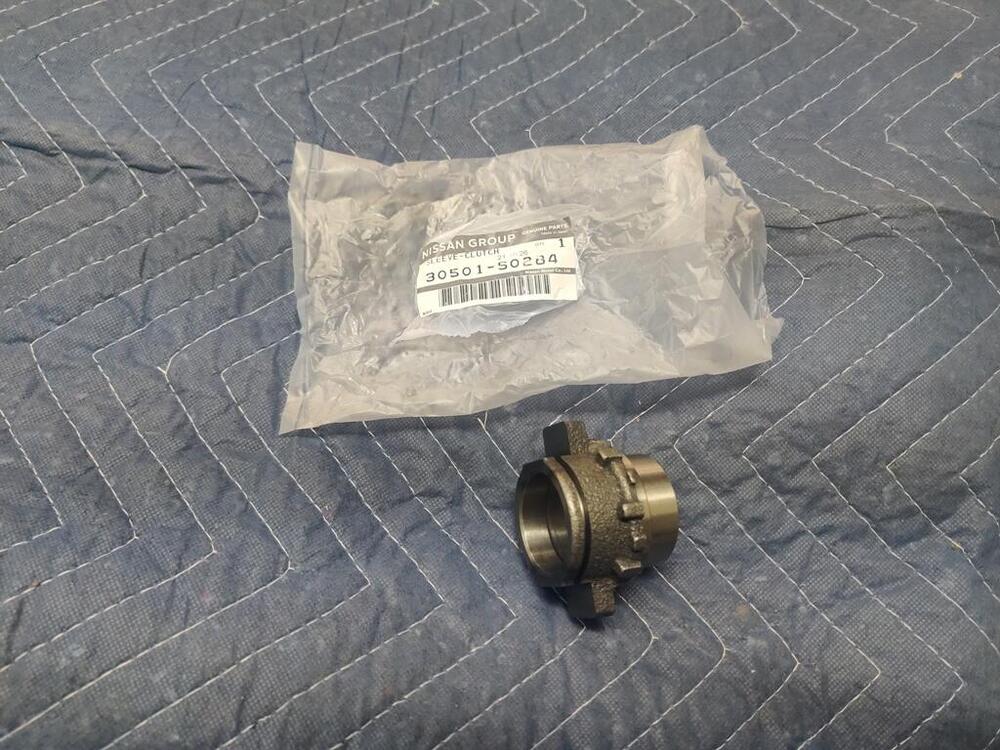
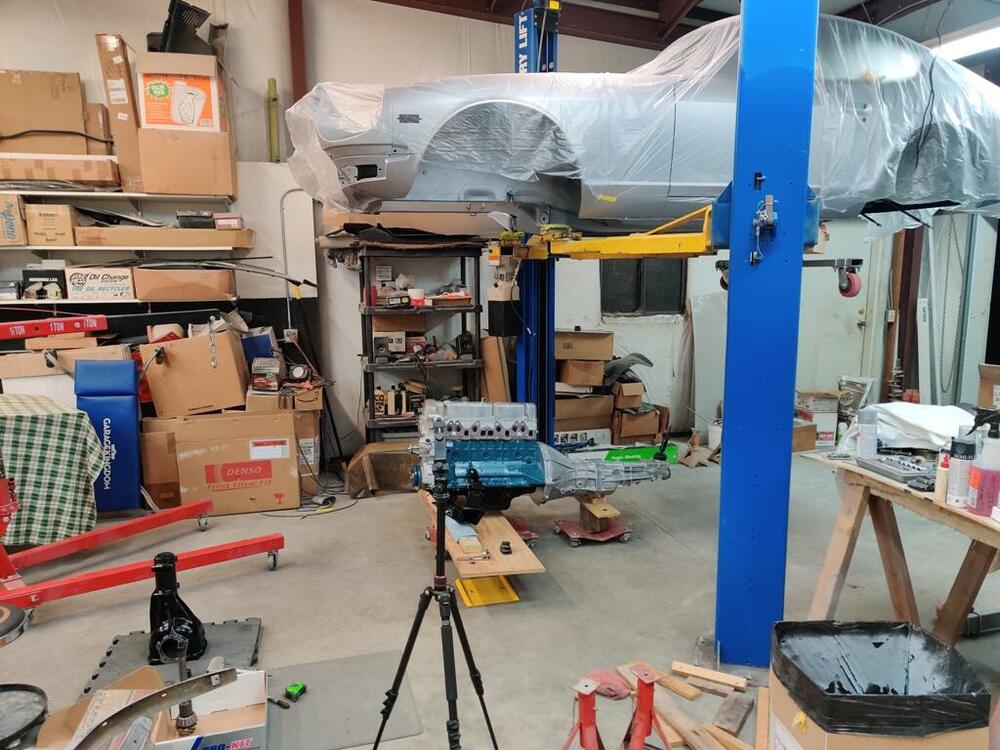
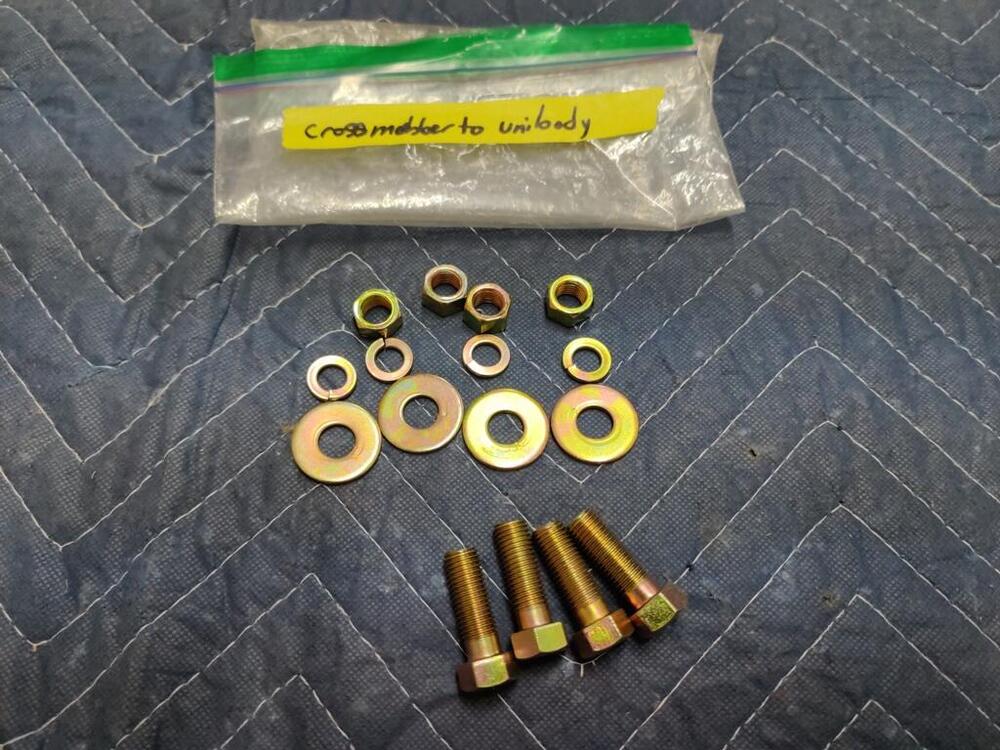
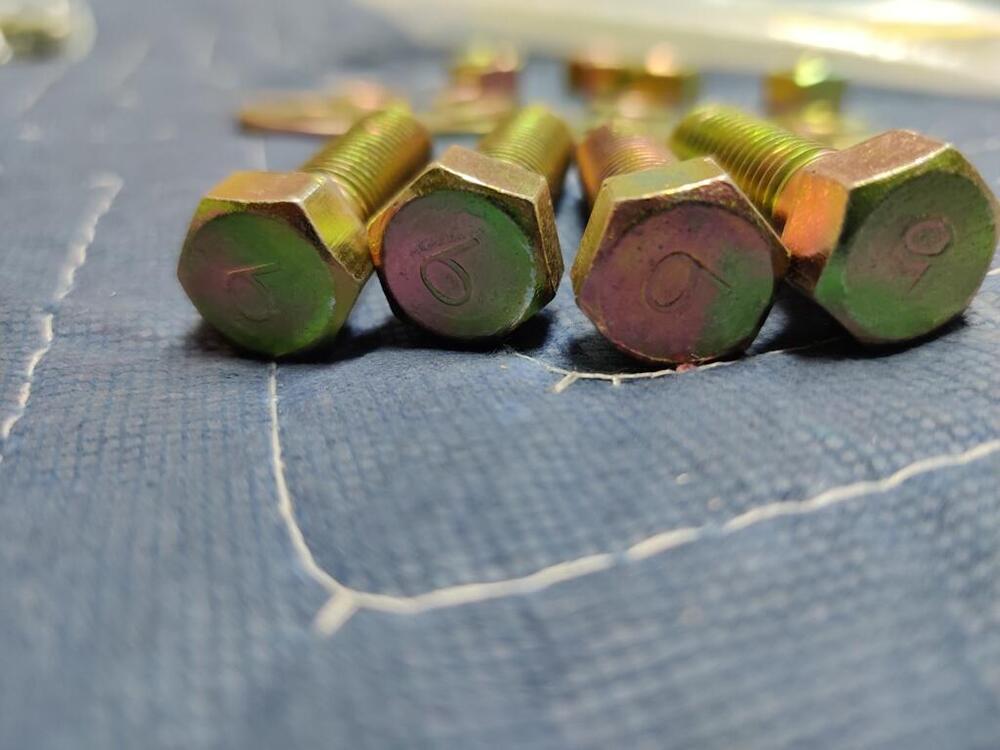
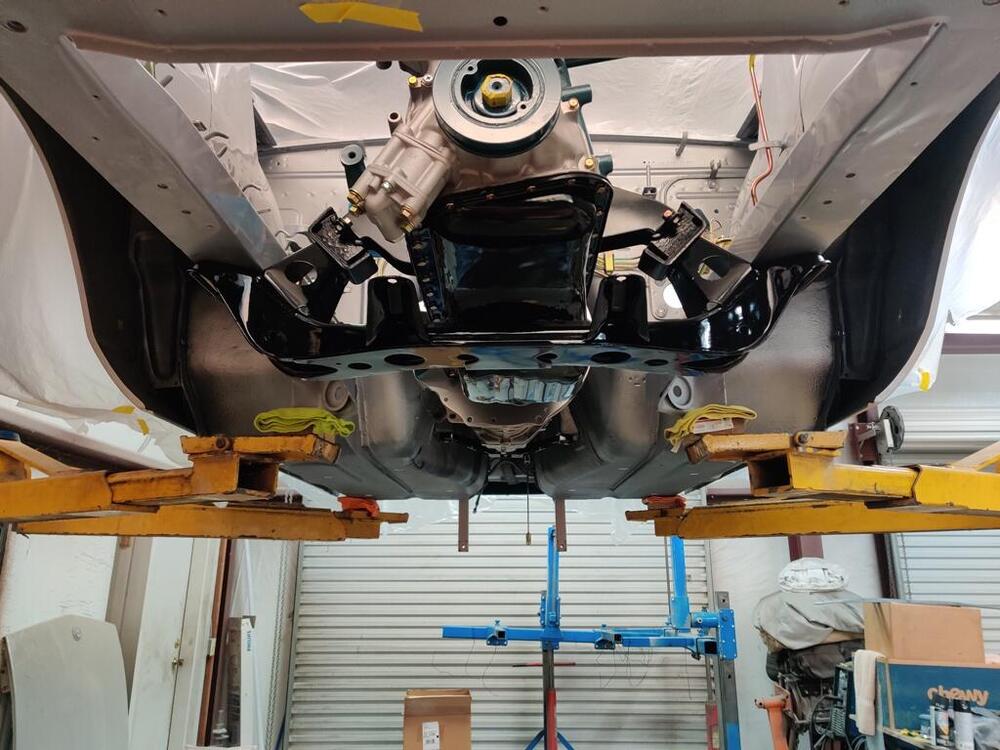
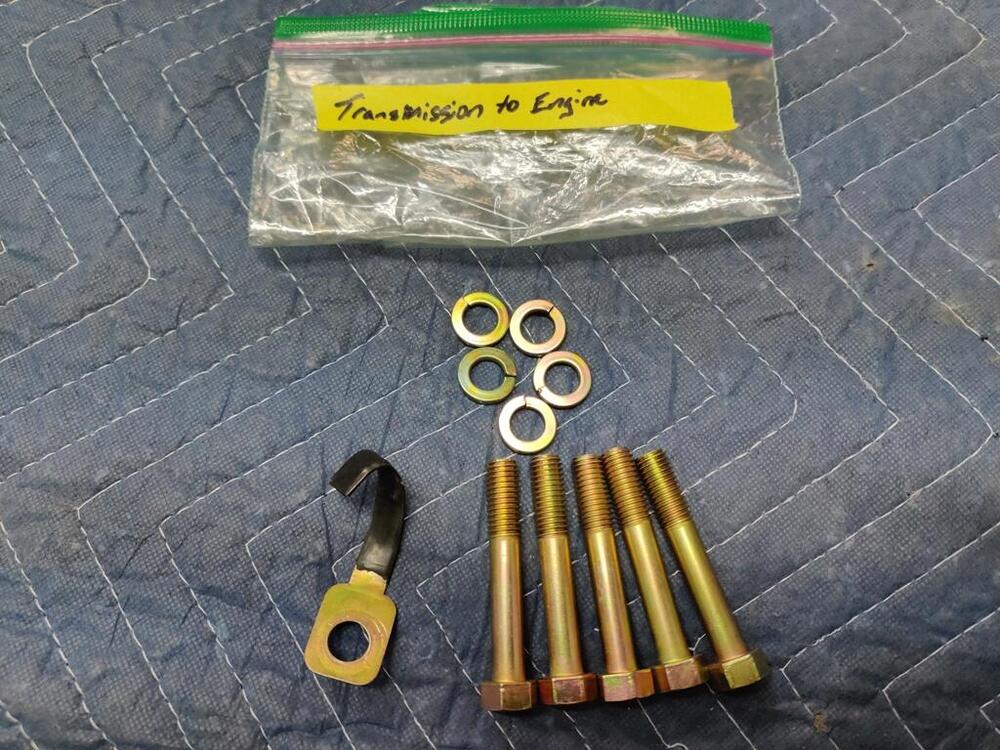
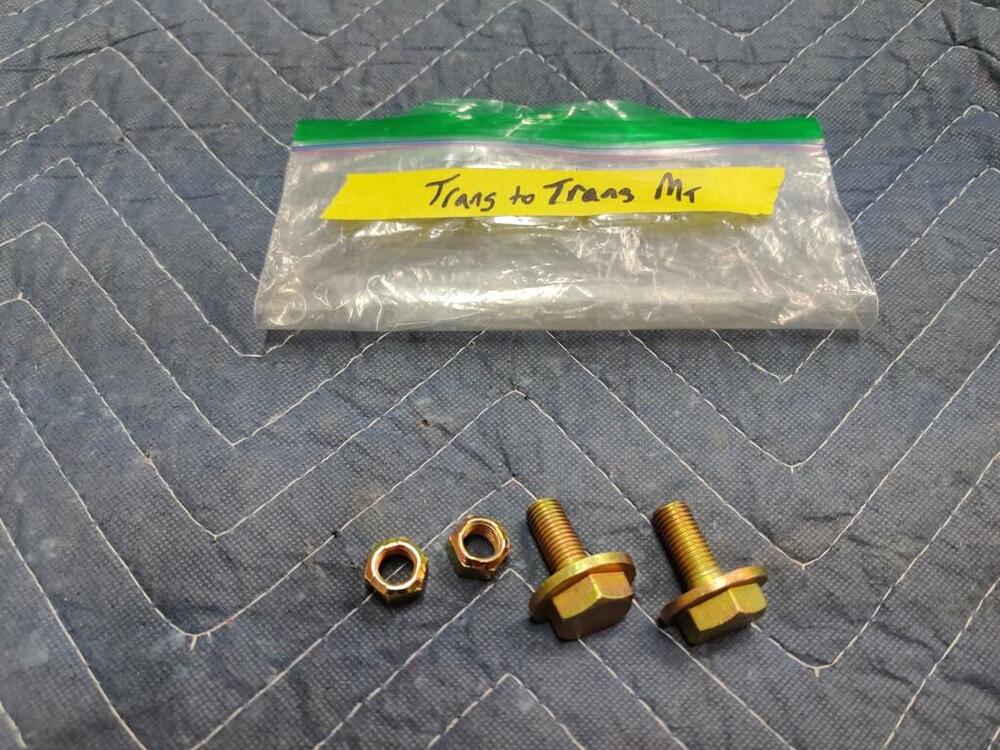
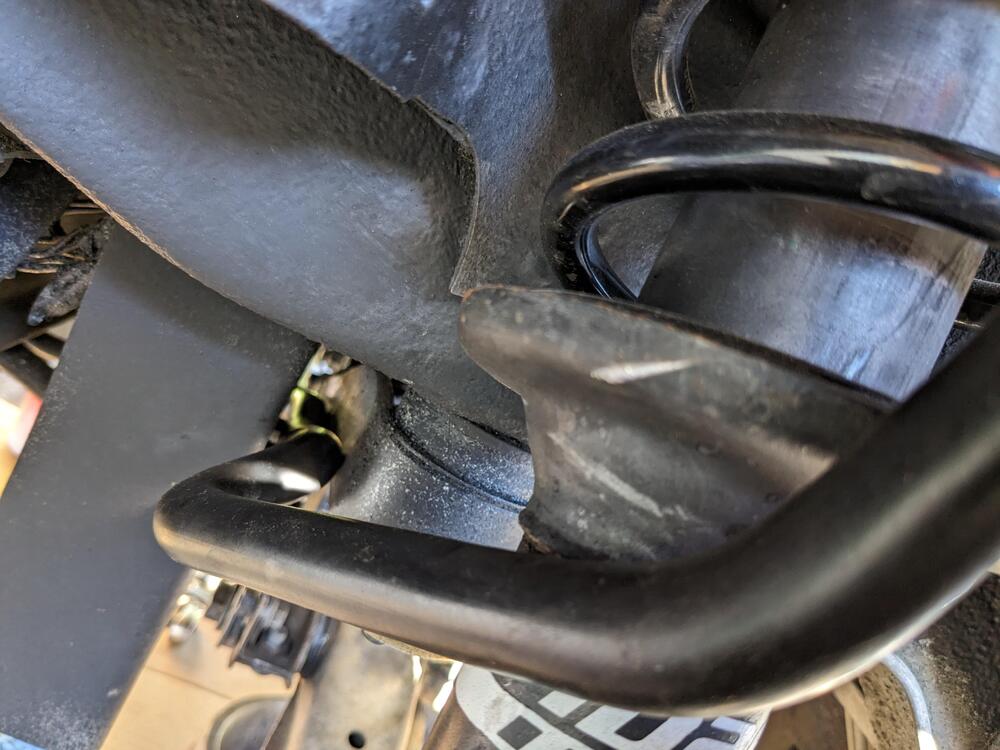
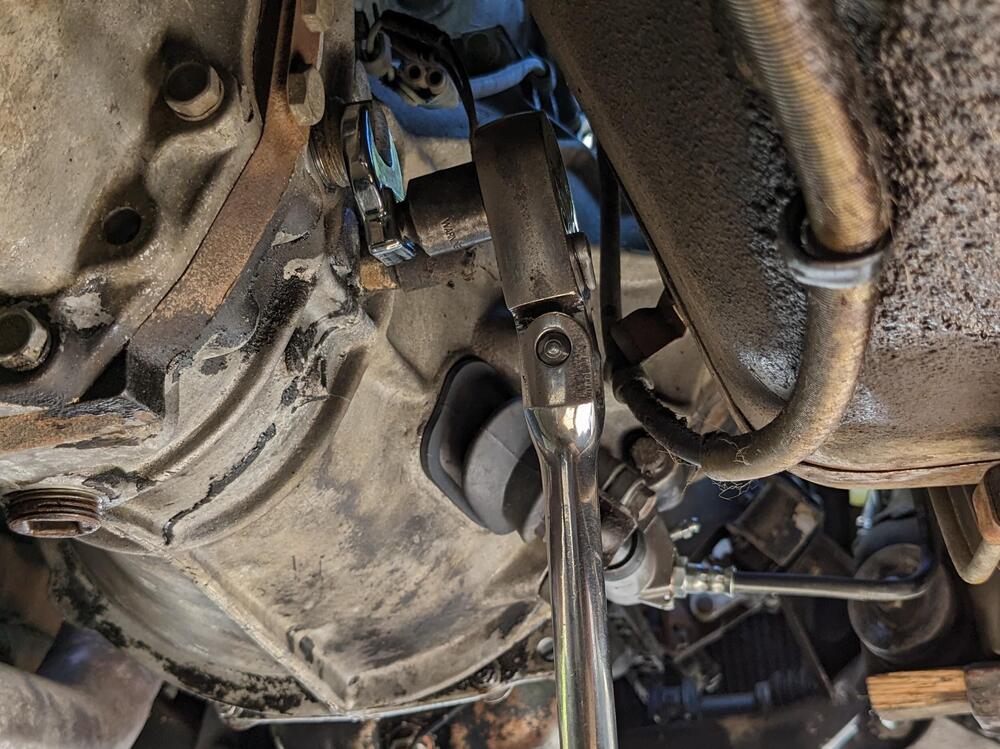
I was able to find the time to swing by a local Nissan dealer and pickup the throw out bearing collar I ordered last week. This is the short collar - correct for use with a 240z clutch assembly: re I got new springs for that collar and the clutch fork as well for good measure, and I ordered a speedometer drive gear assembly. The one I ordered has a red gear to match the 4.11 diff. gear ratio. The throw out bearing was the last thing keeping me from installing the engine and transmission in the car... so, I did that tonight! It was a bit tricky to maneuver everything. Engine and transmission are sitting on car dollies, with wood stacked to get sufficient height and stability for mating up with the car body coming down from above using my lift. Having the assembly on wheels was important for alignment with the car body. I shot some video, but it sucks. Those Youtube people have talent. I will explore editing them and see if I can salvage anything worth viewing. Front crossmember hardware: Transmission to engine and transmission mount hardware - one of the transmission to engine bolts is extra. It only requires 4: The engine is in!


 5 points
 -
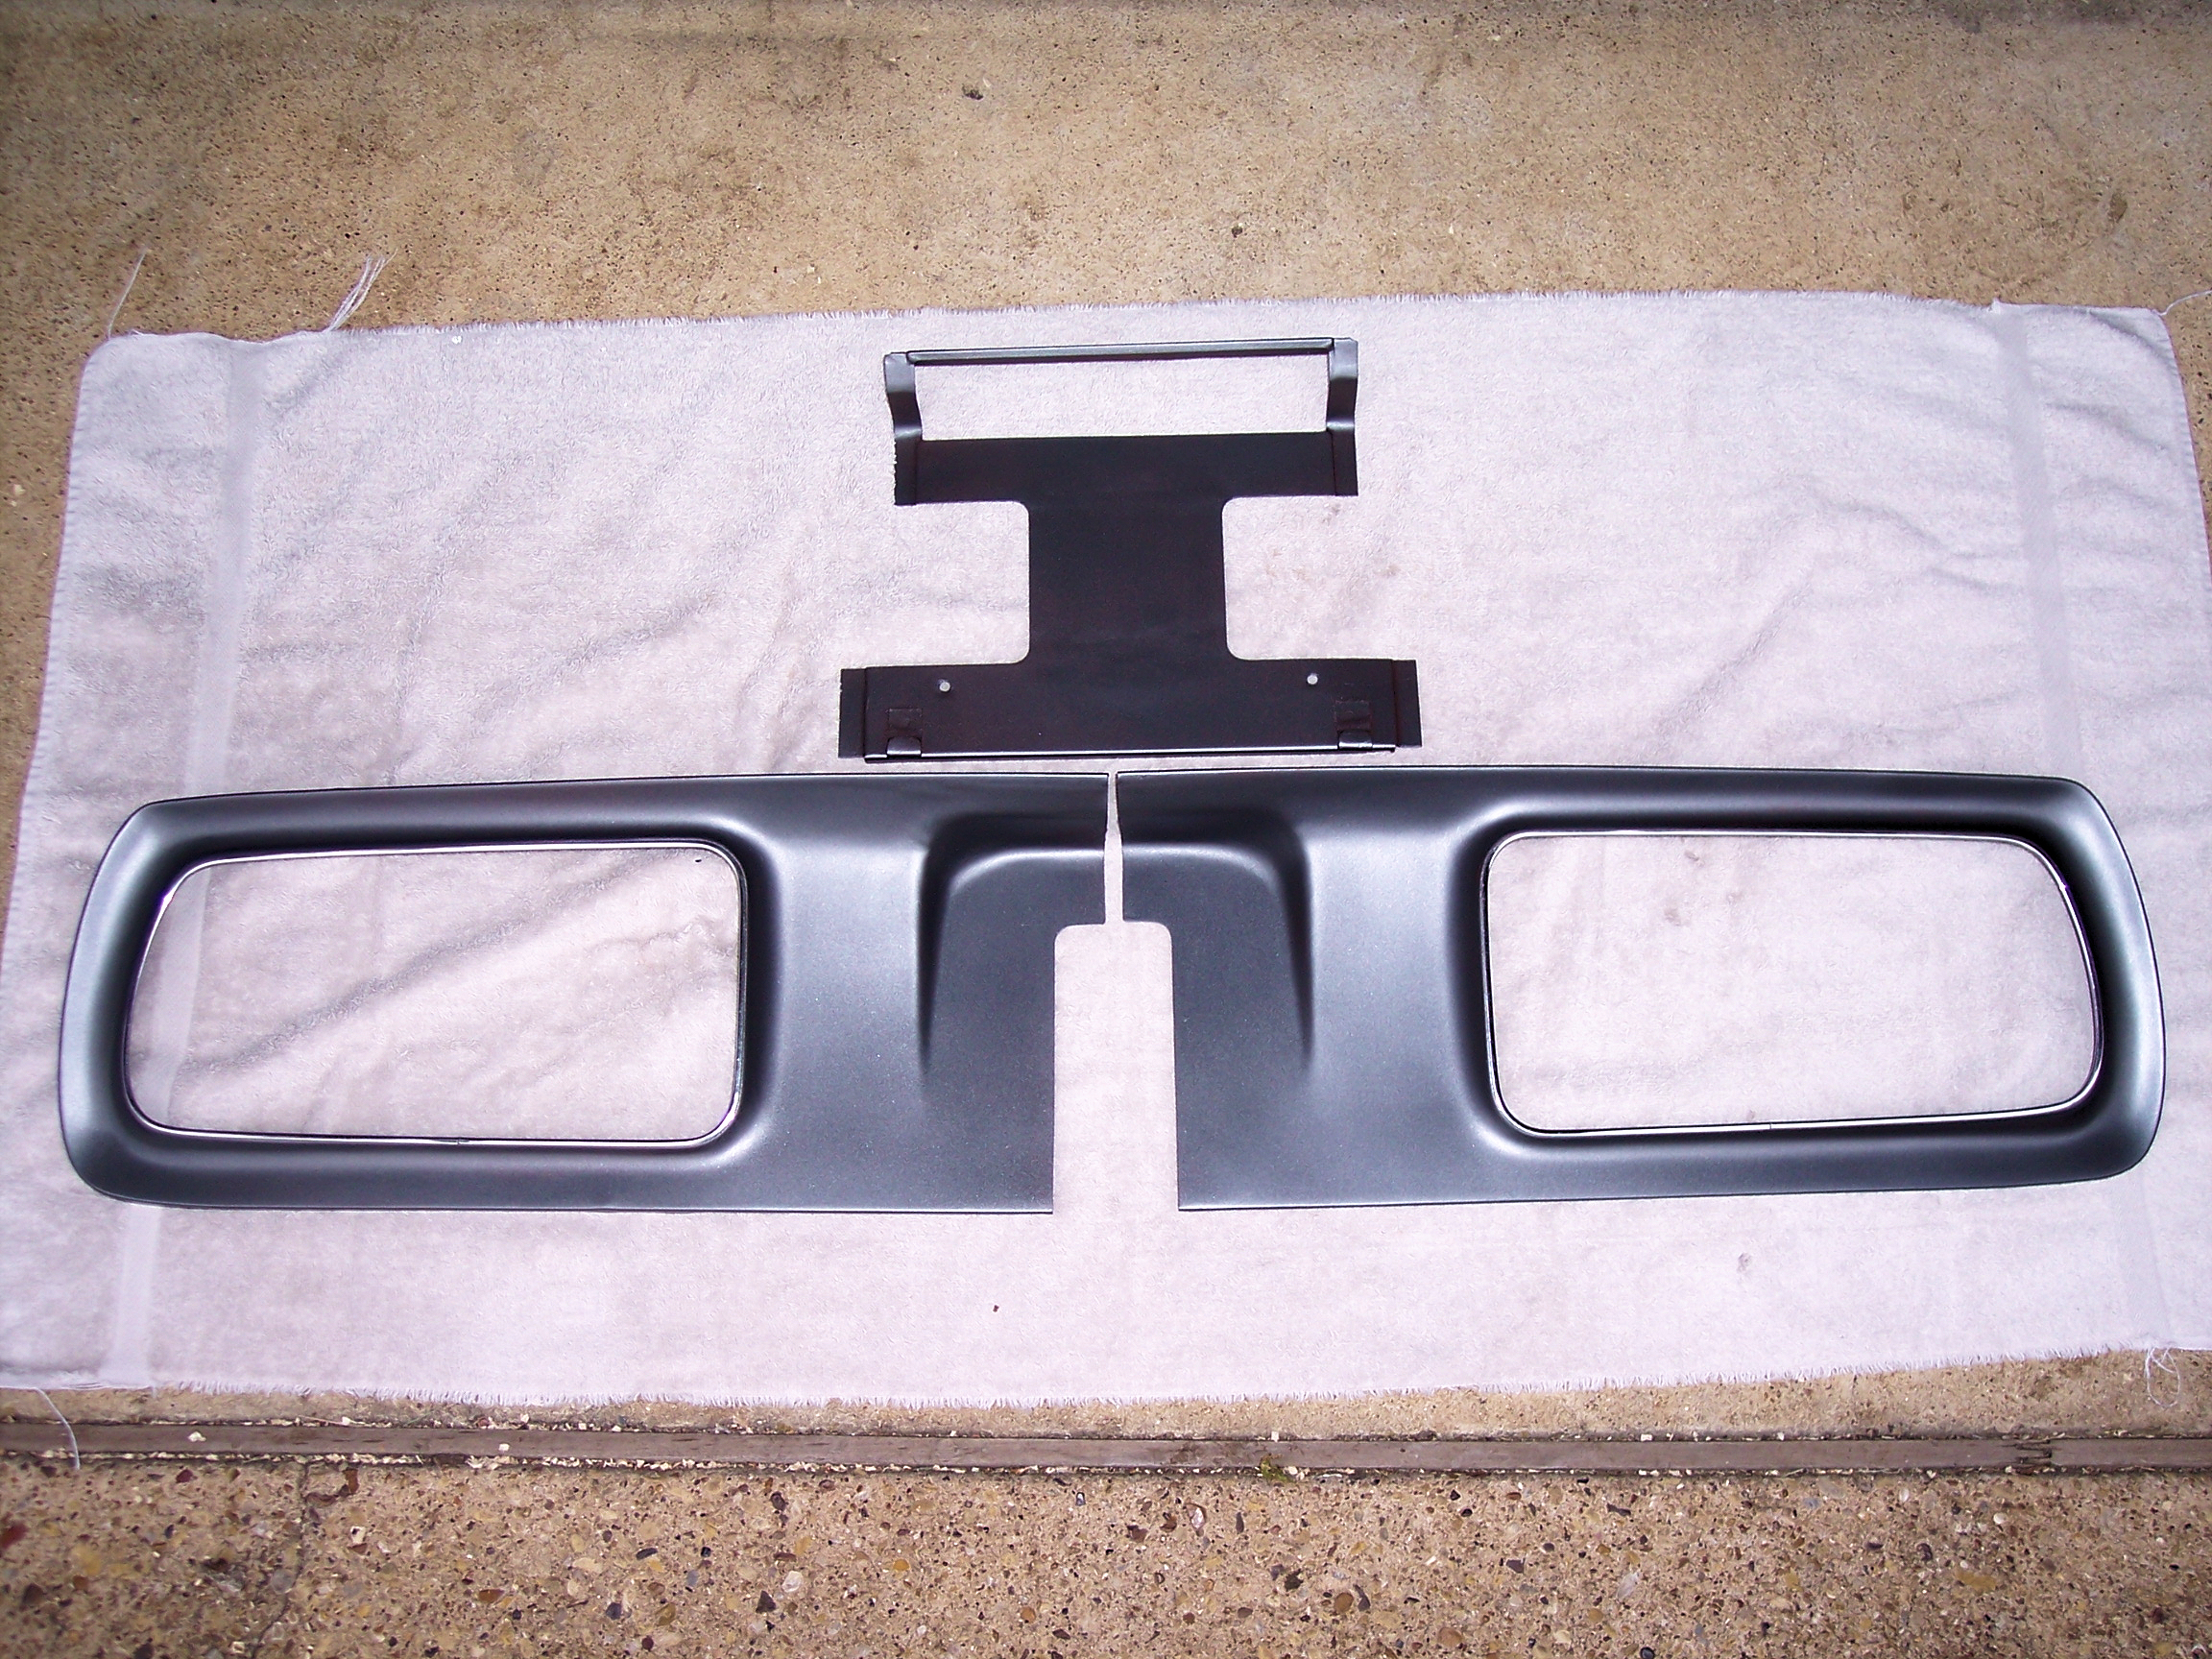
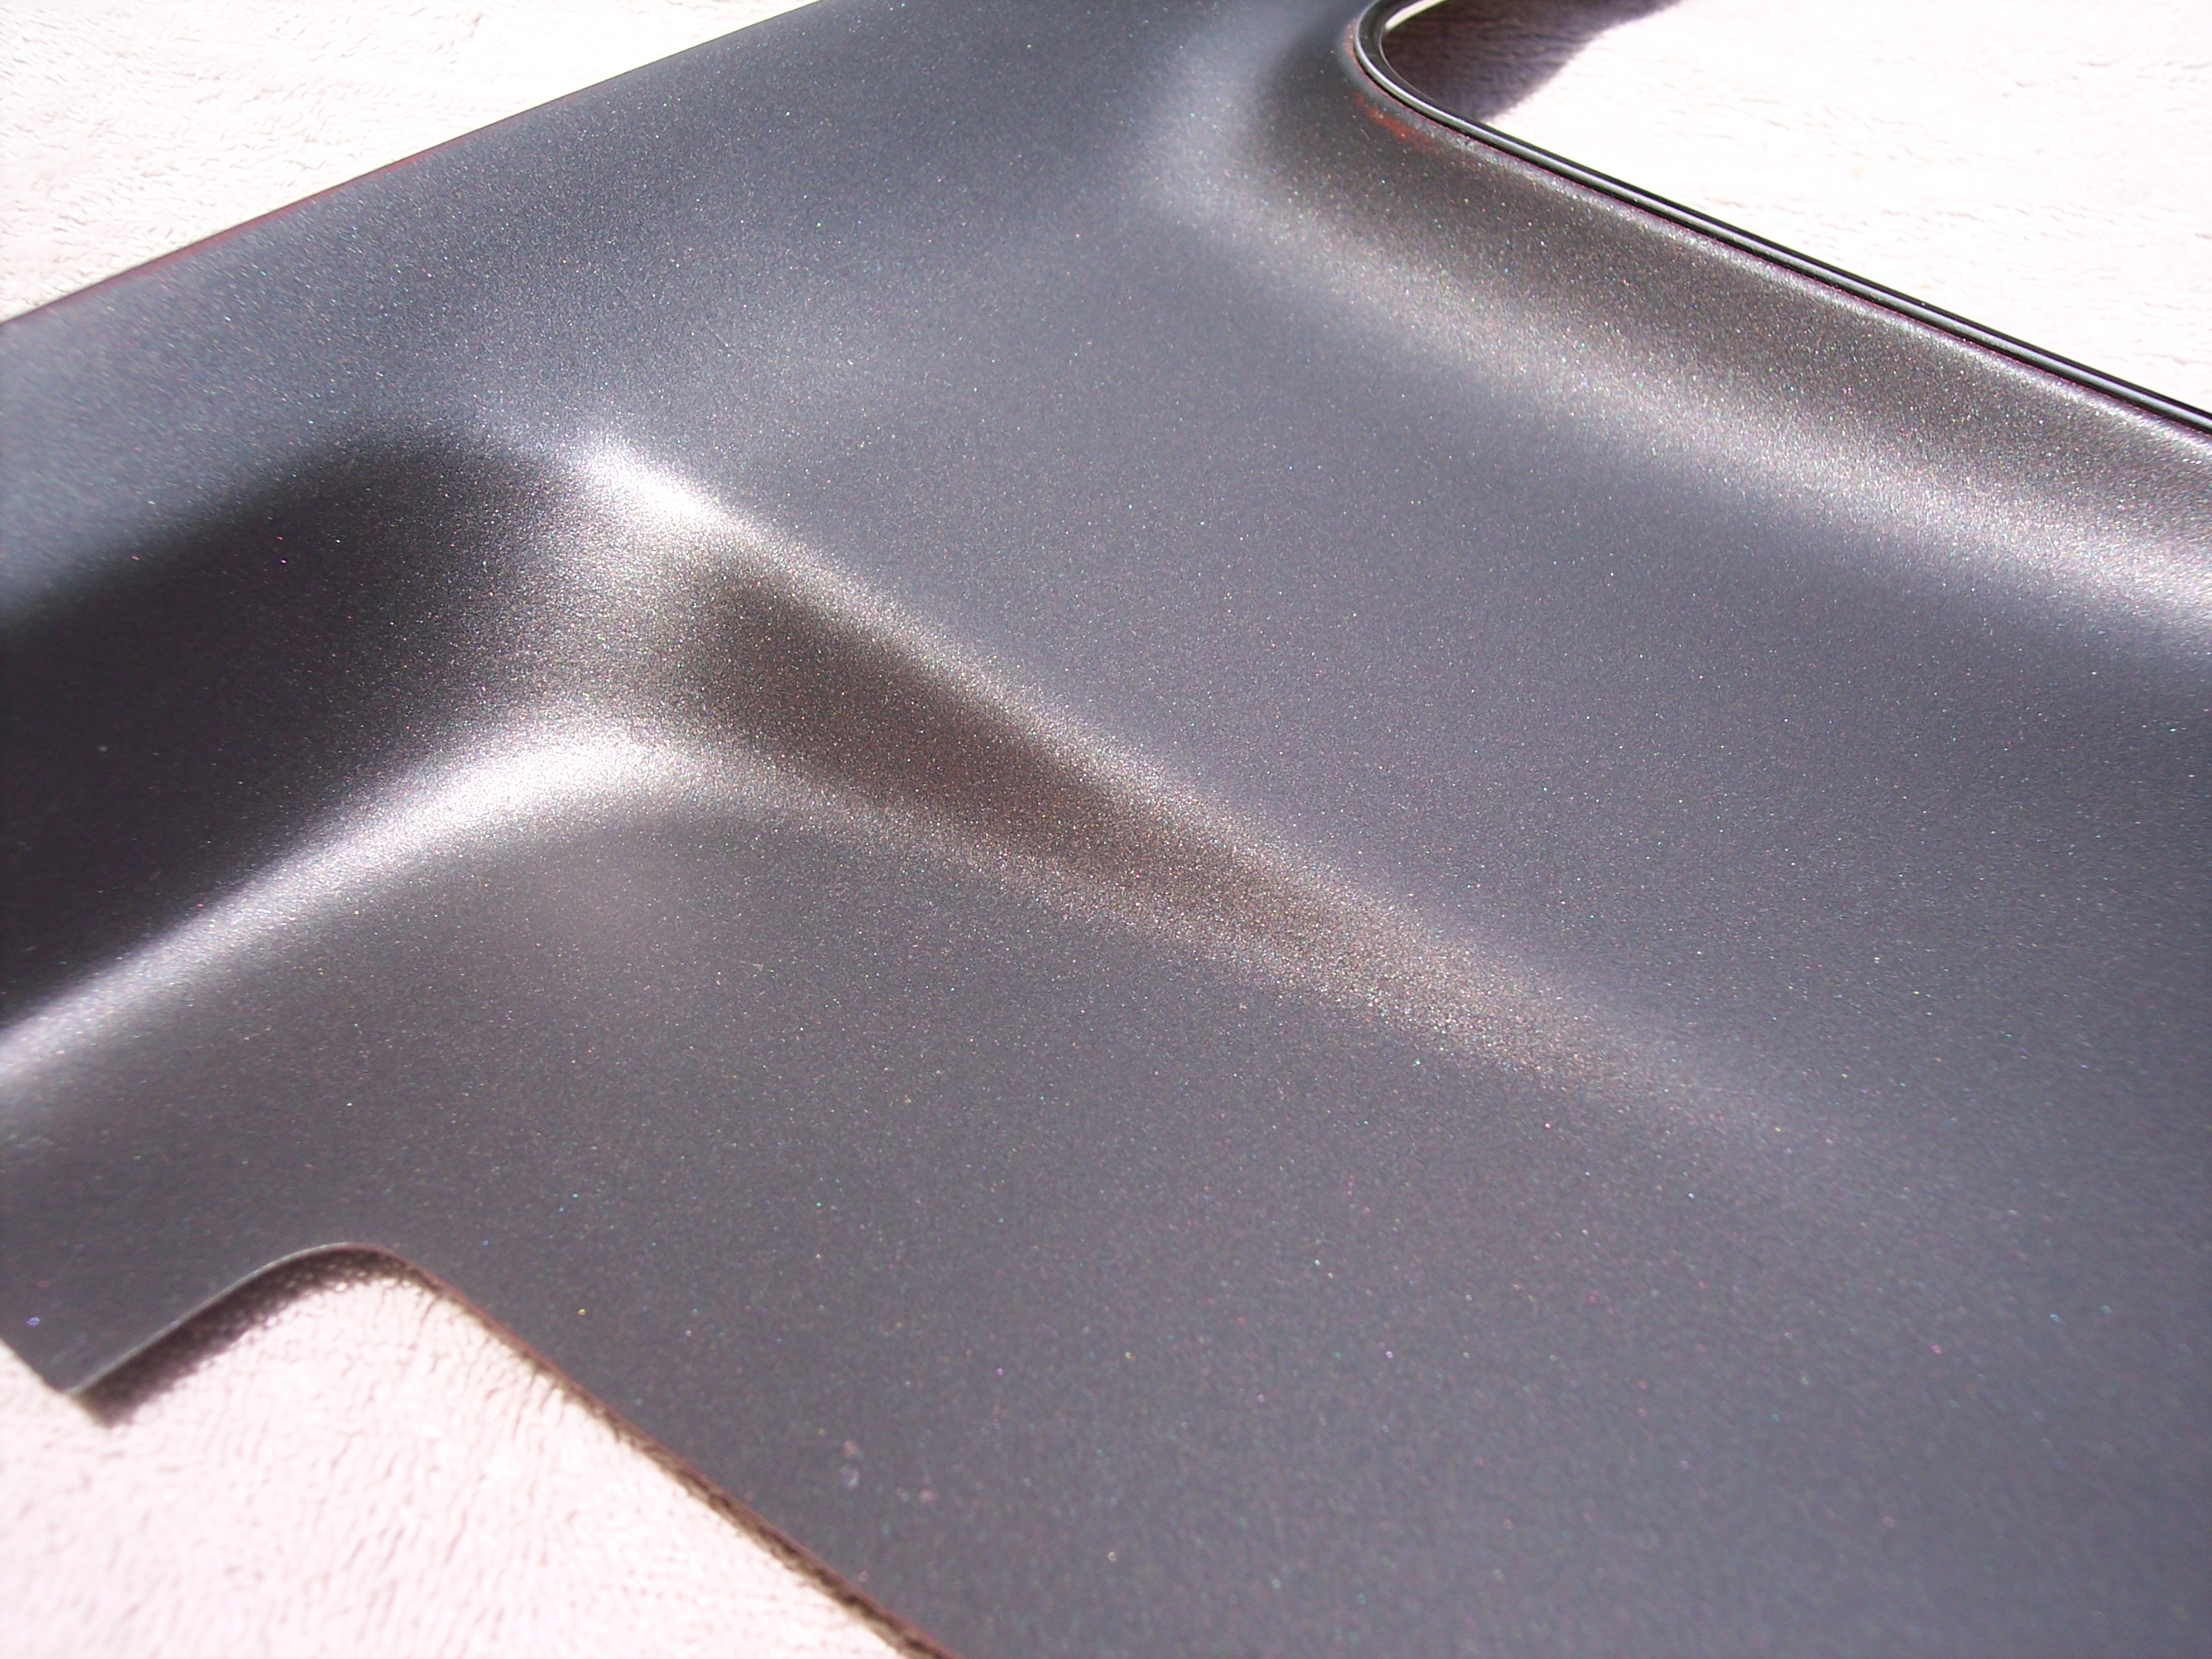
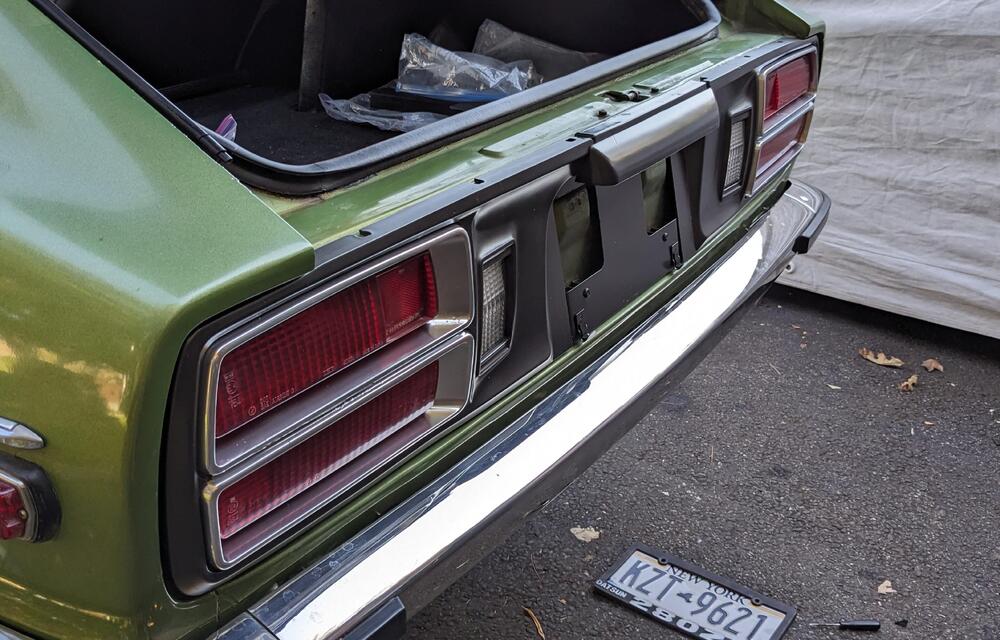
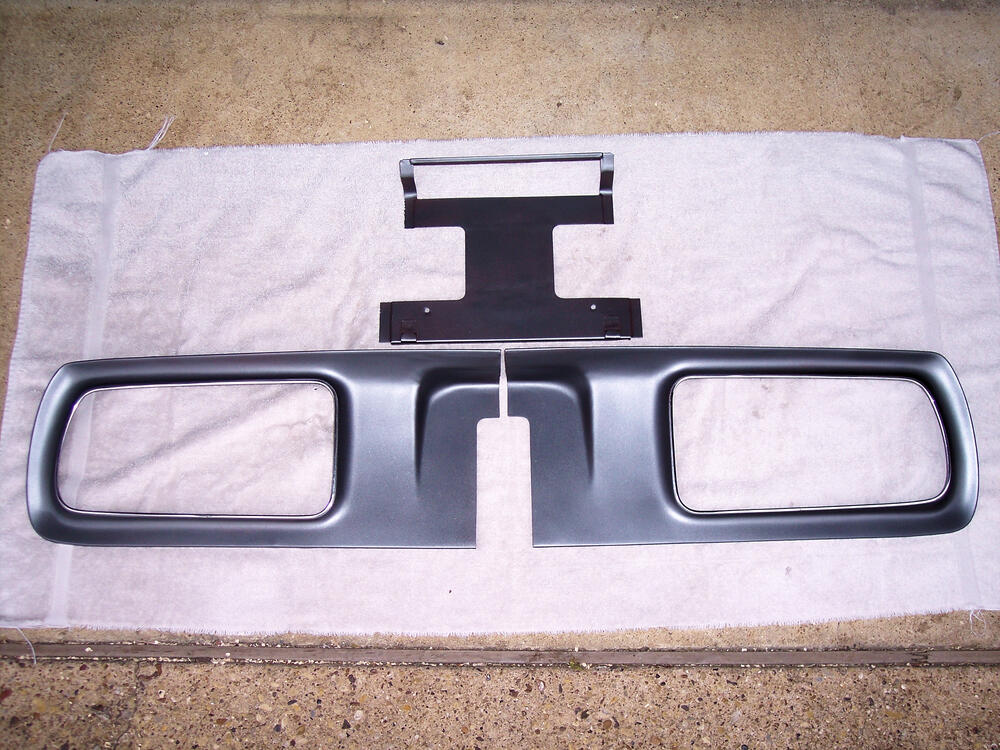
5 pointsTest fitted the panels - still waiting for the gaskets before I actually install them. They (the chrome areas) look pretty rough up close. Still better than they were.

 5 points
 -
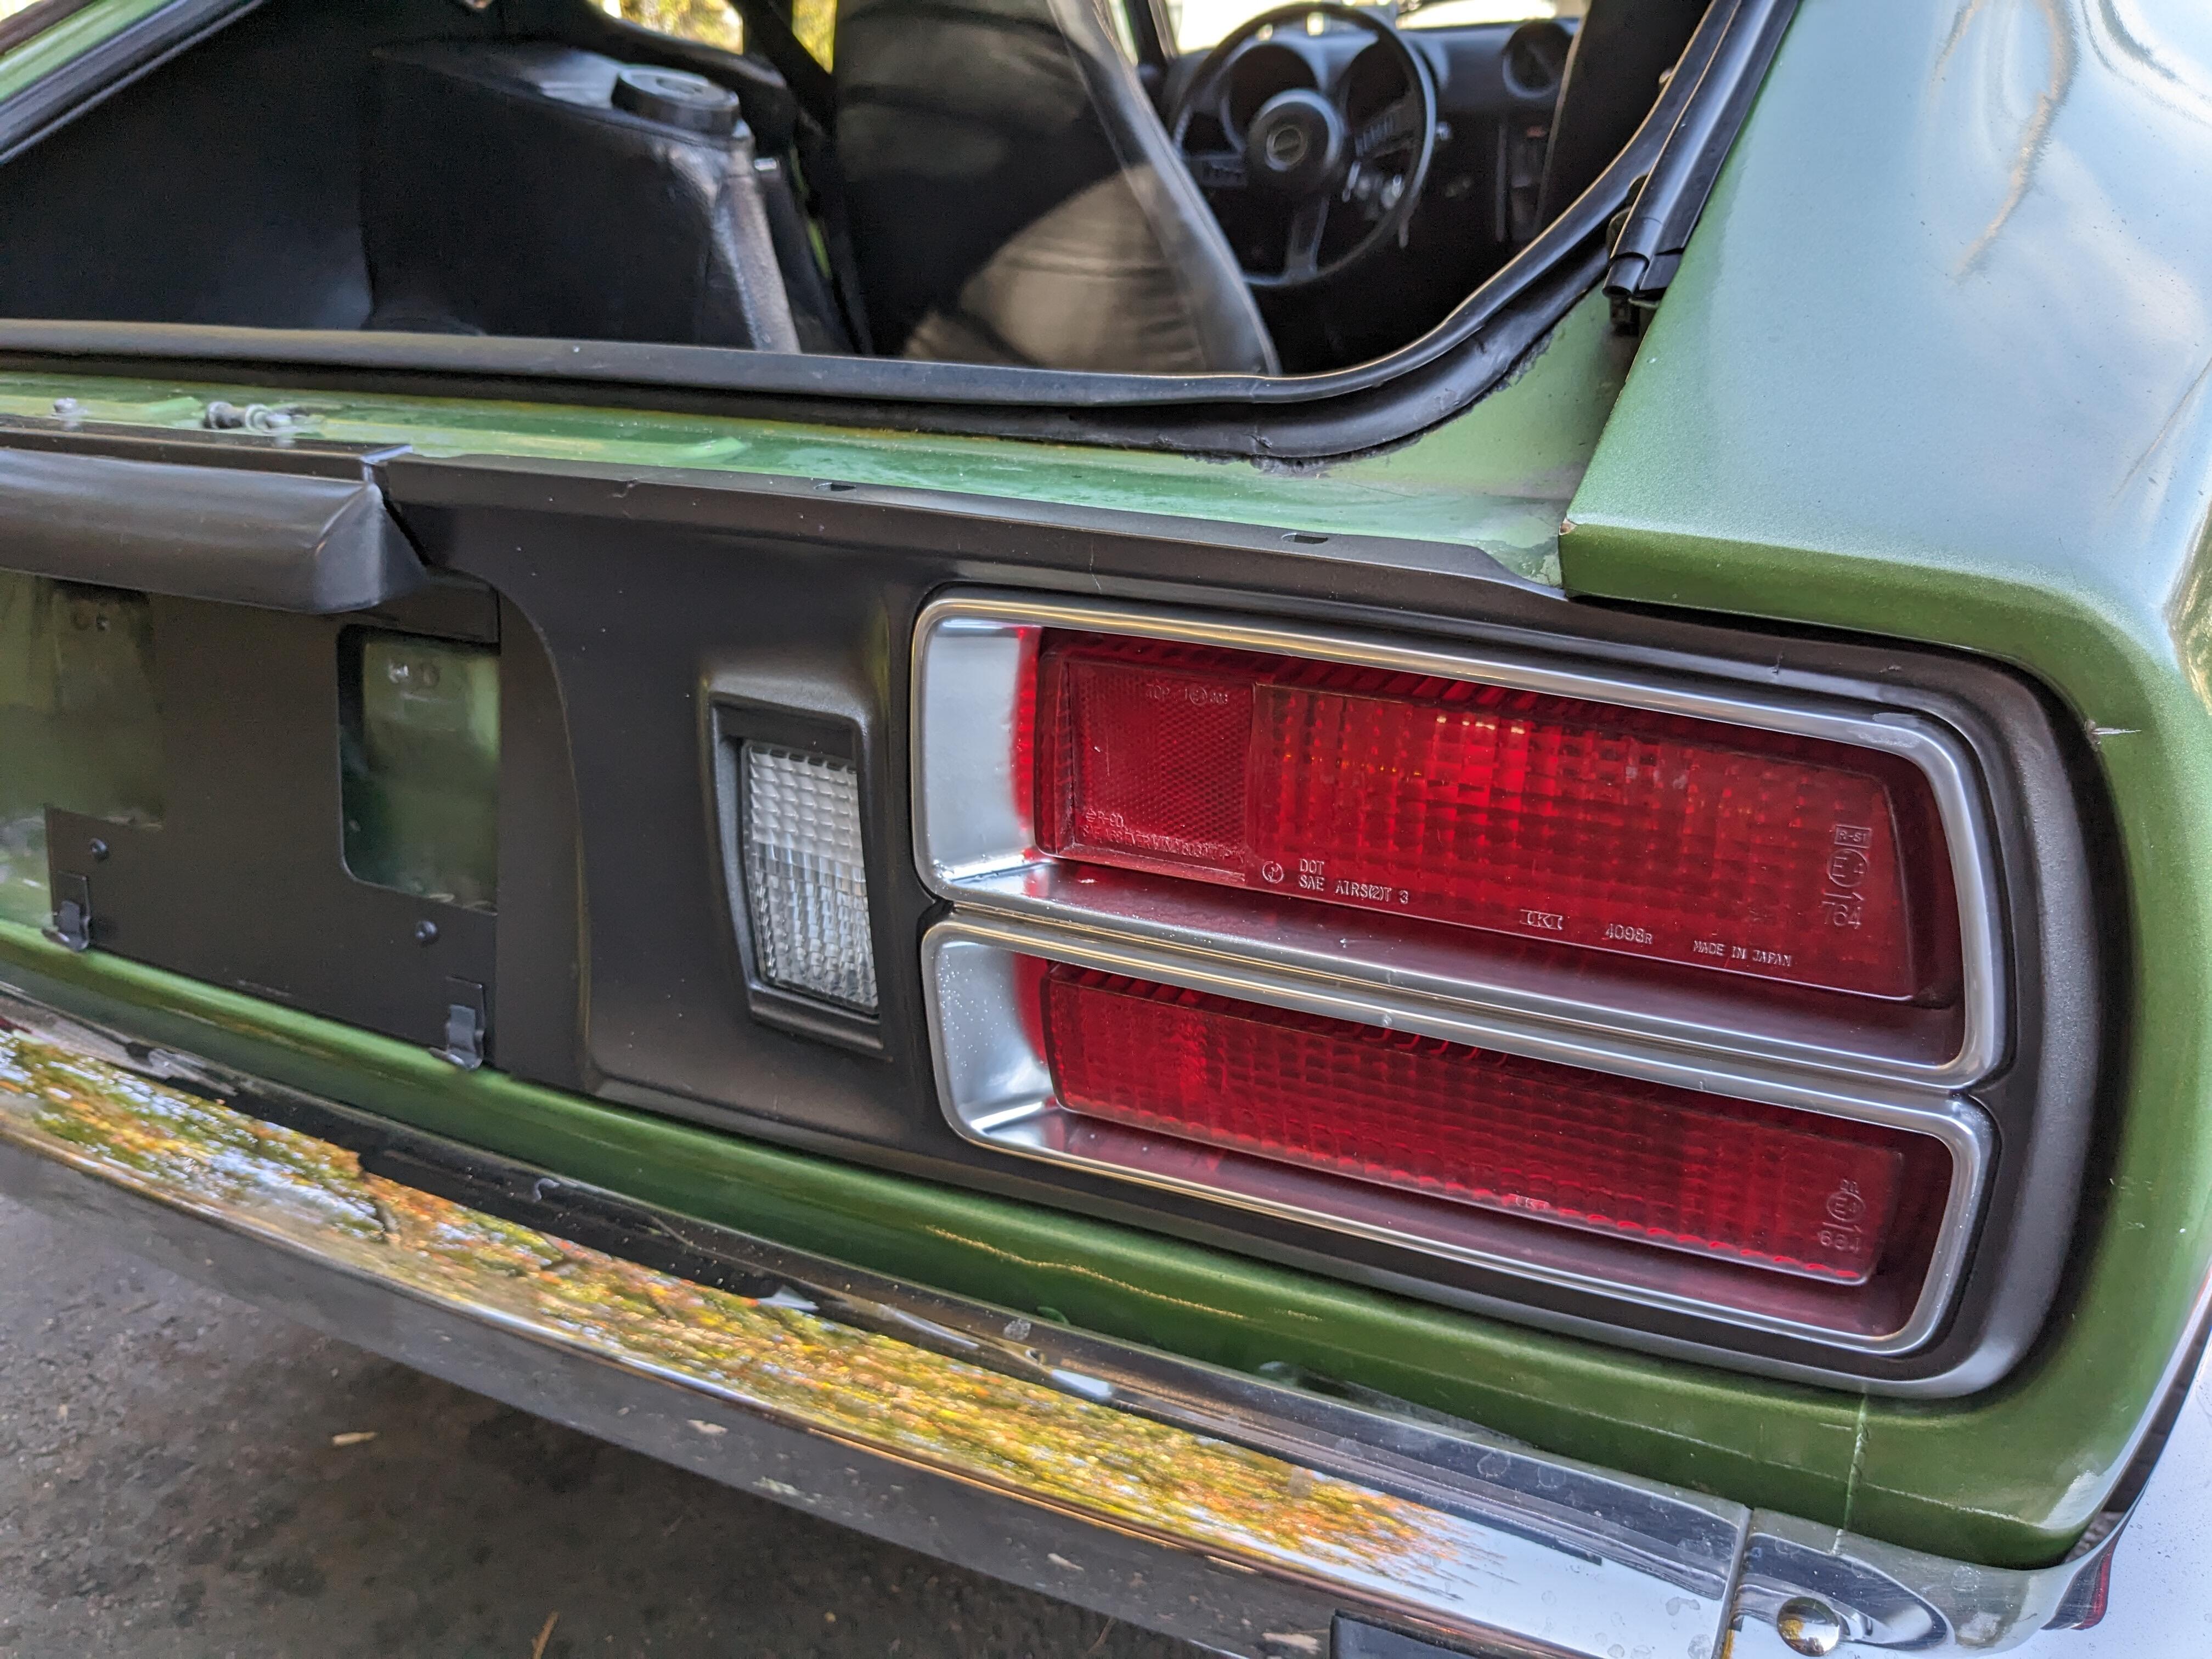
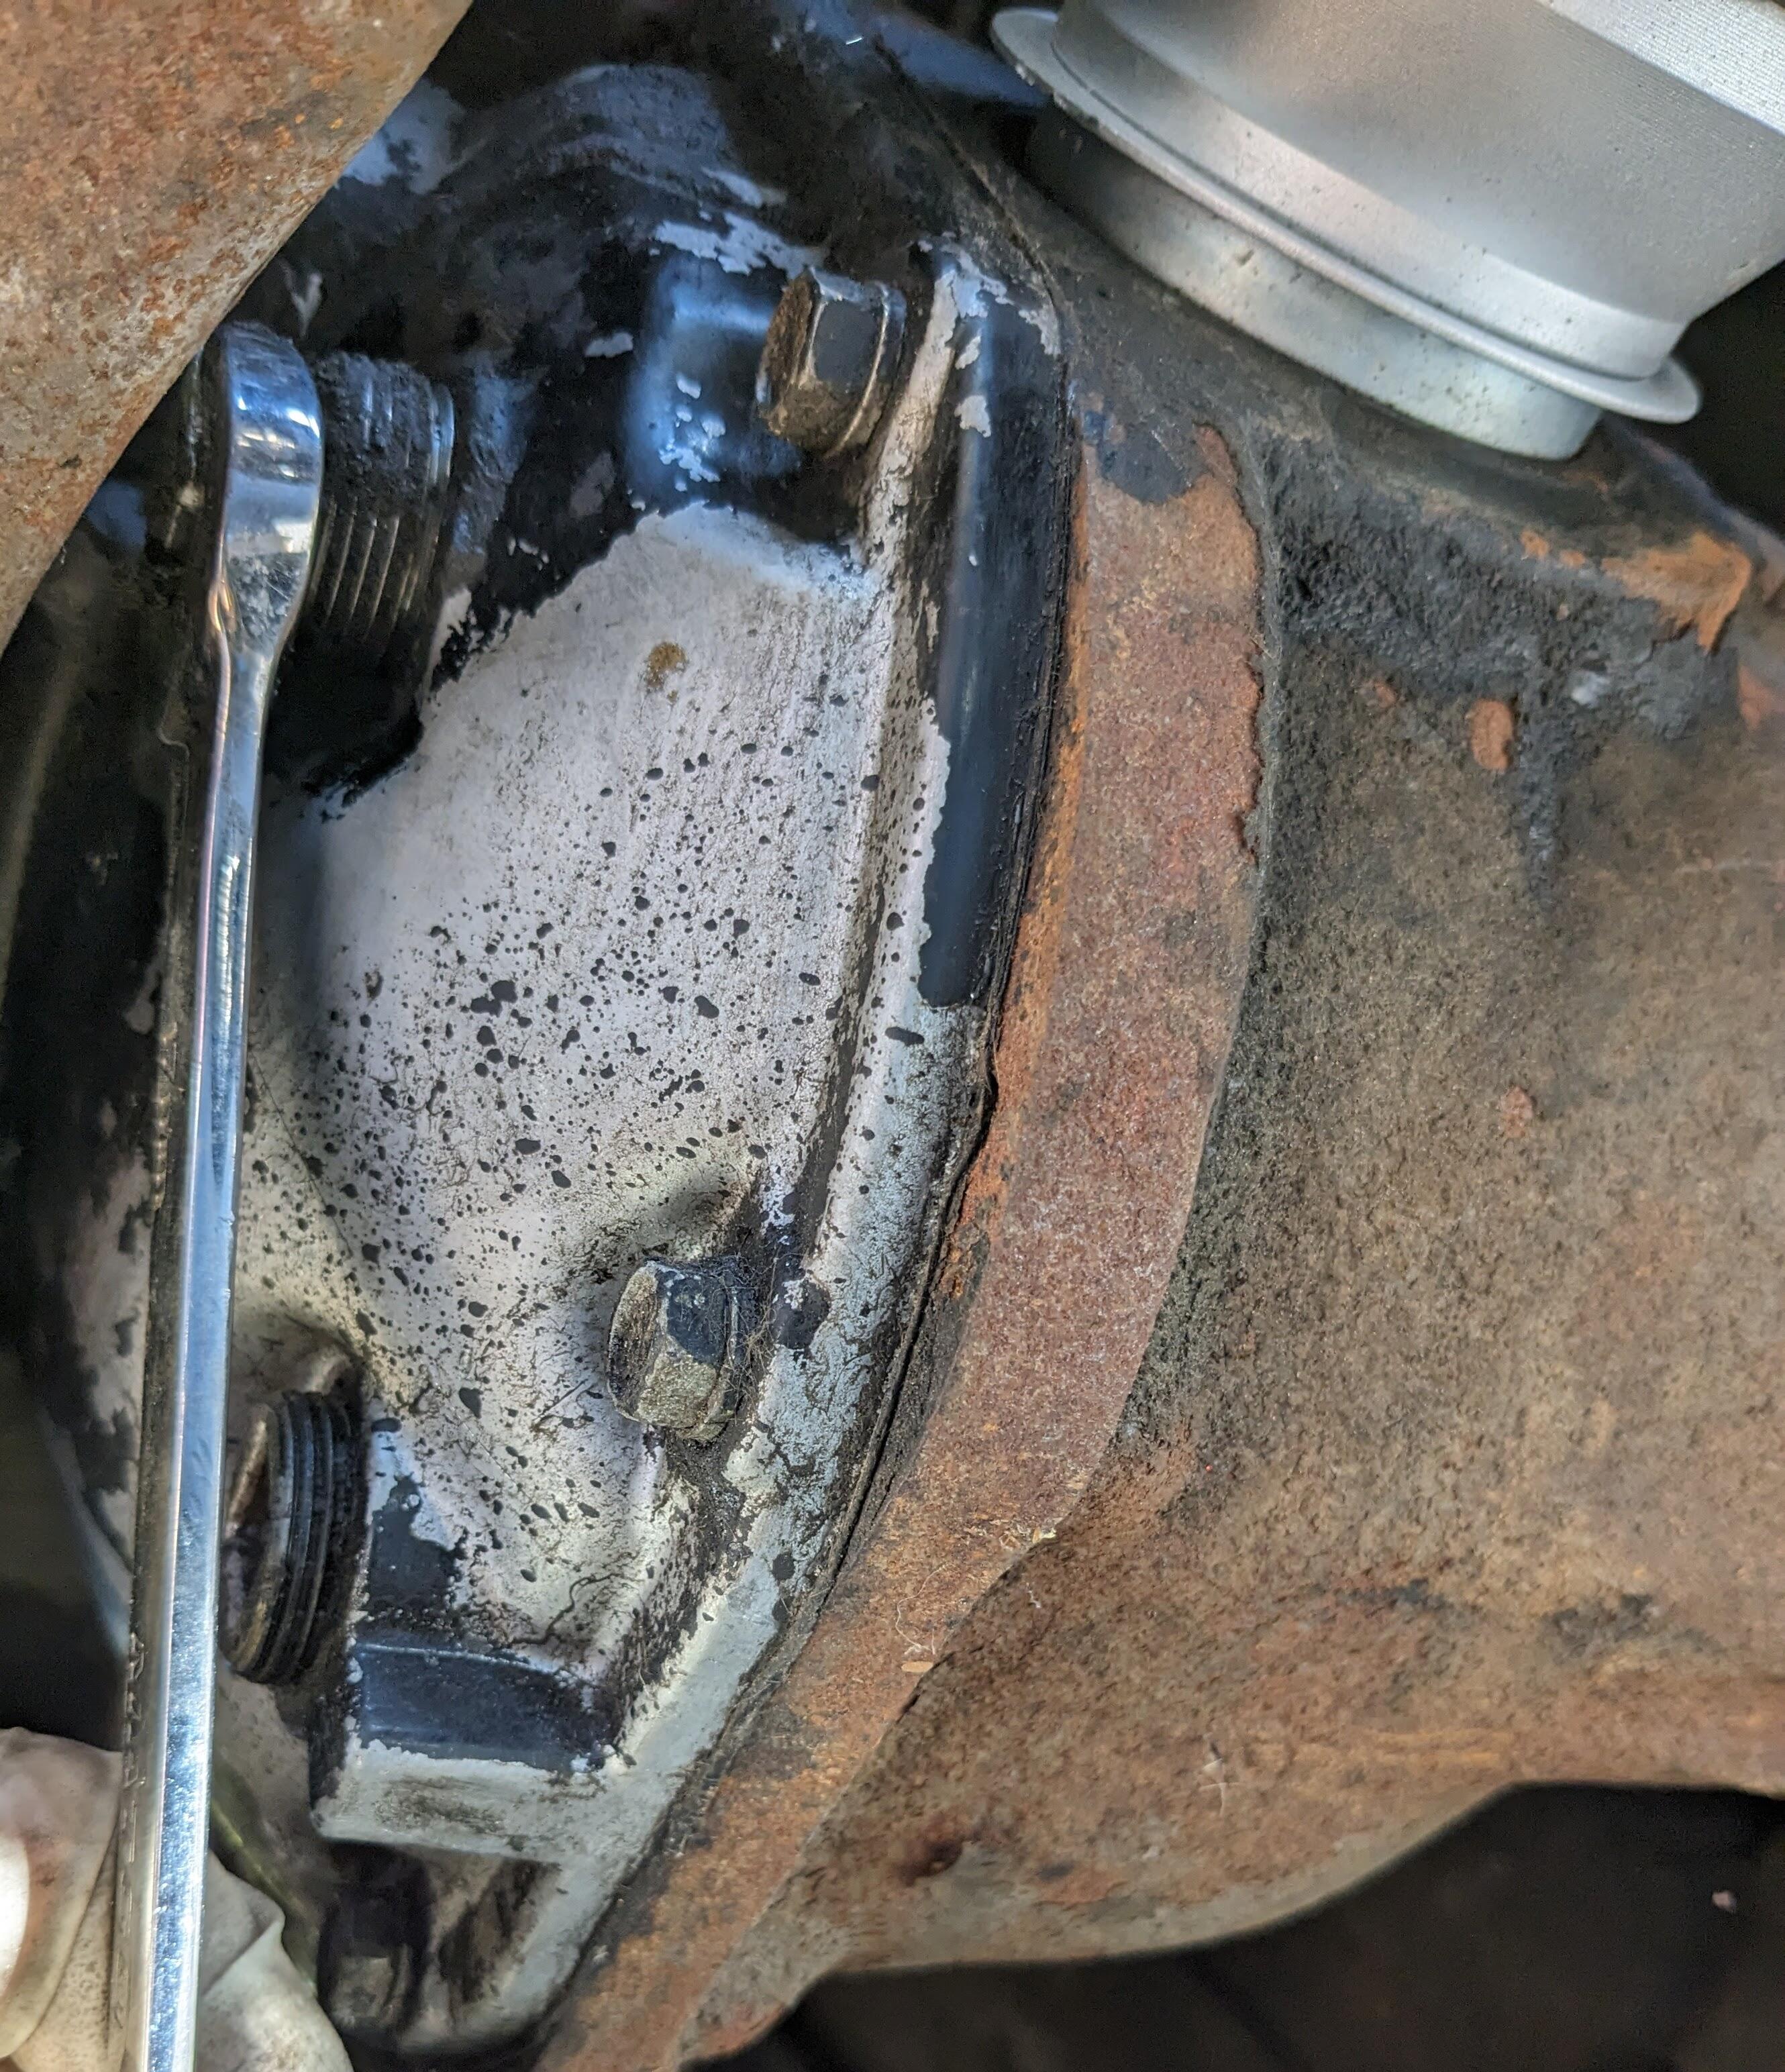
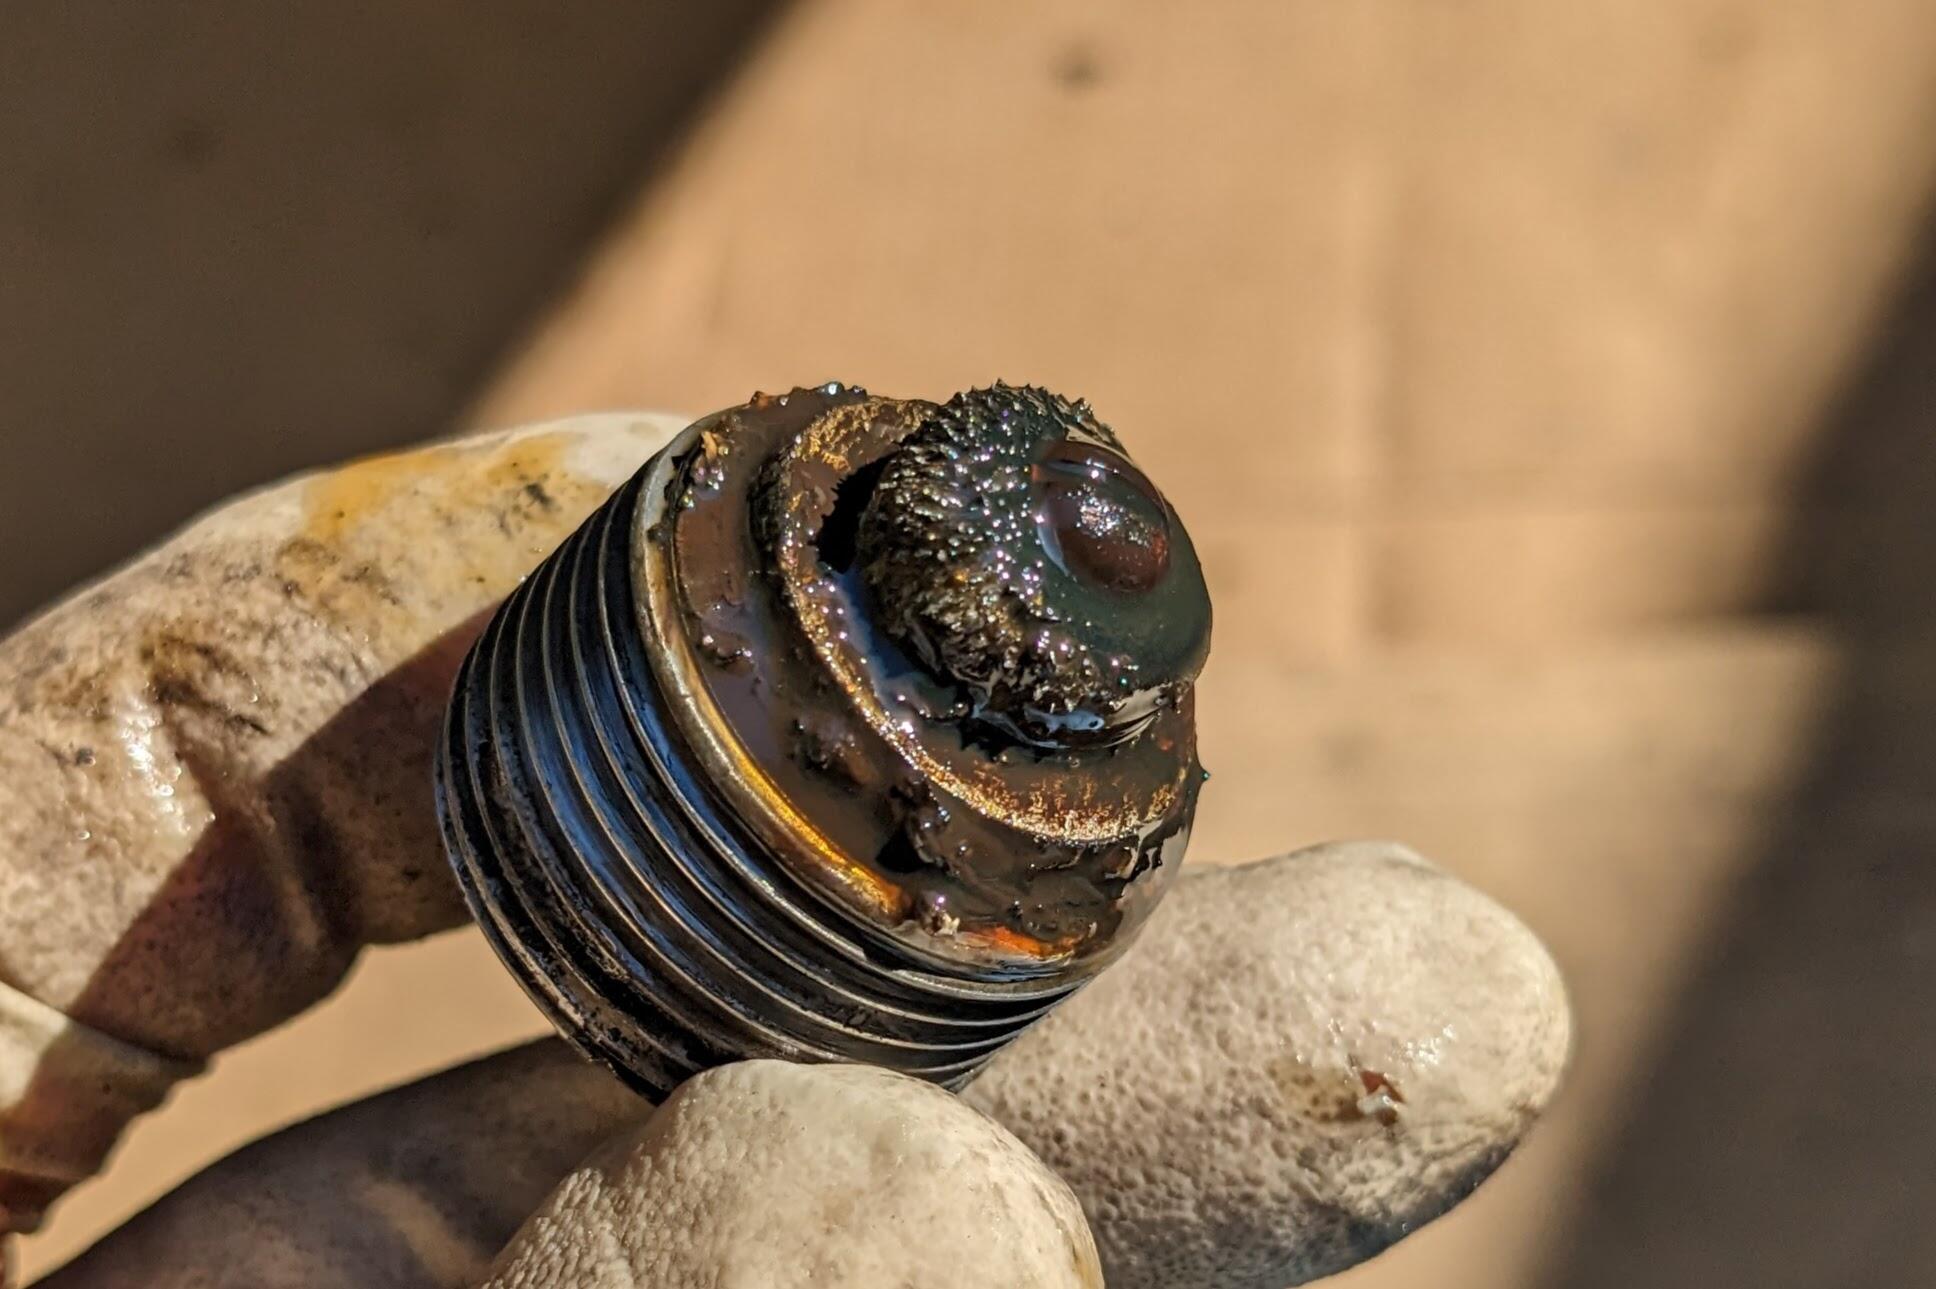
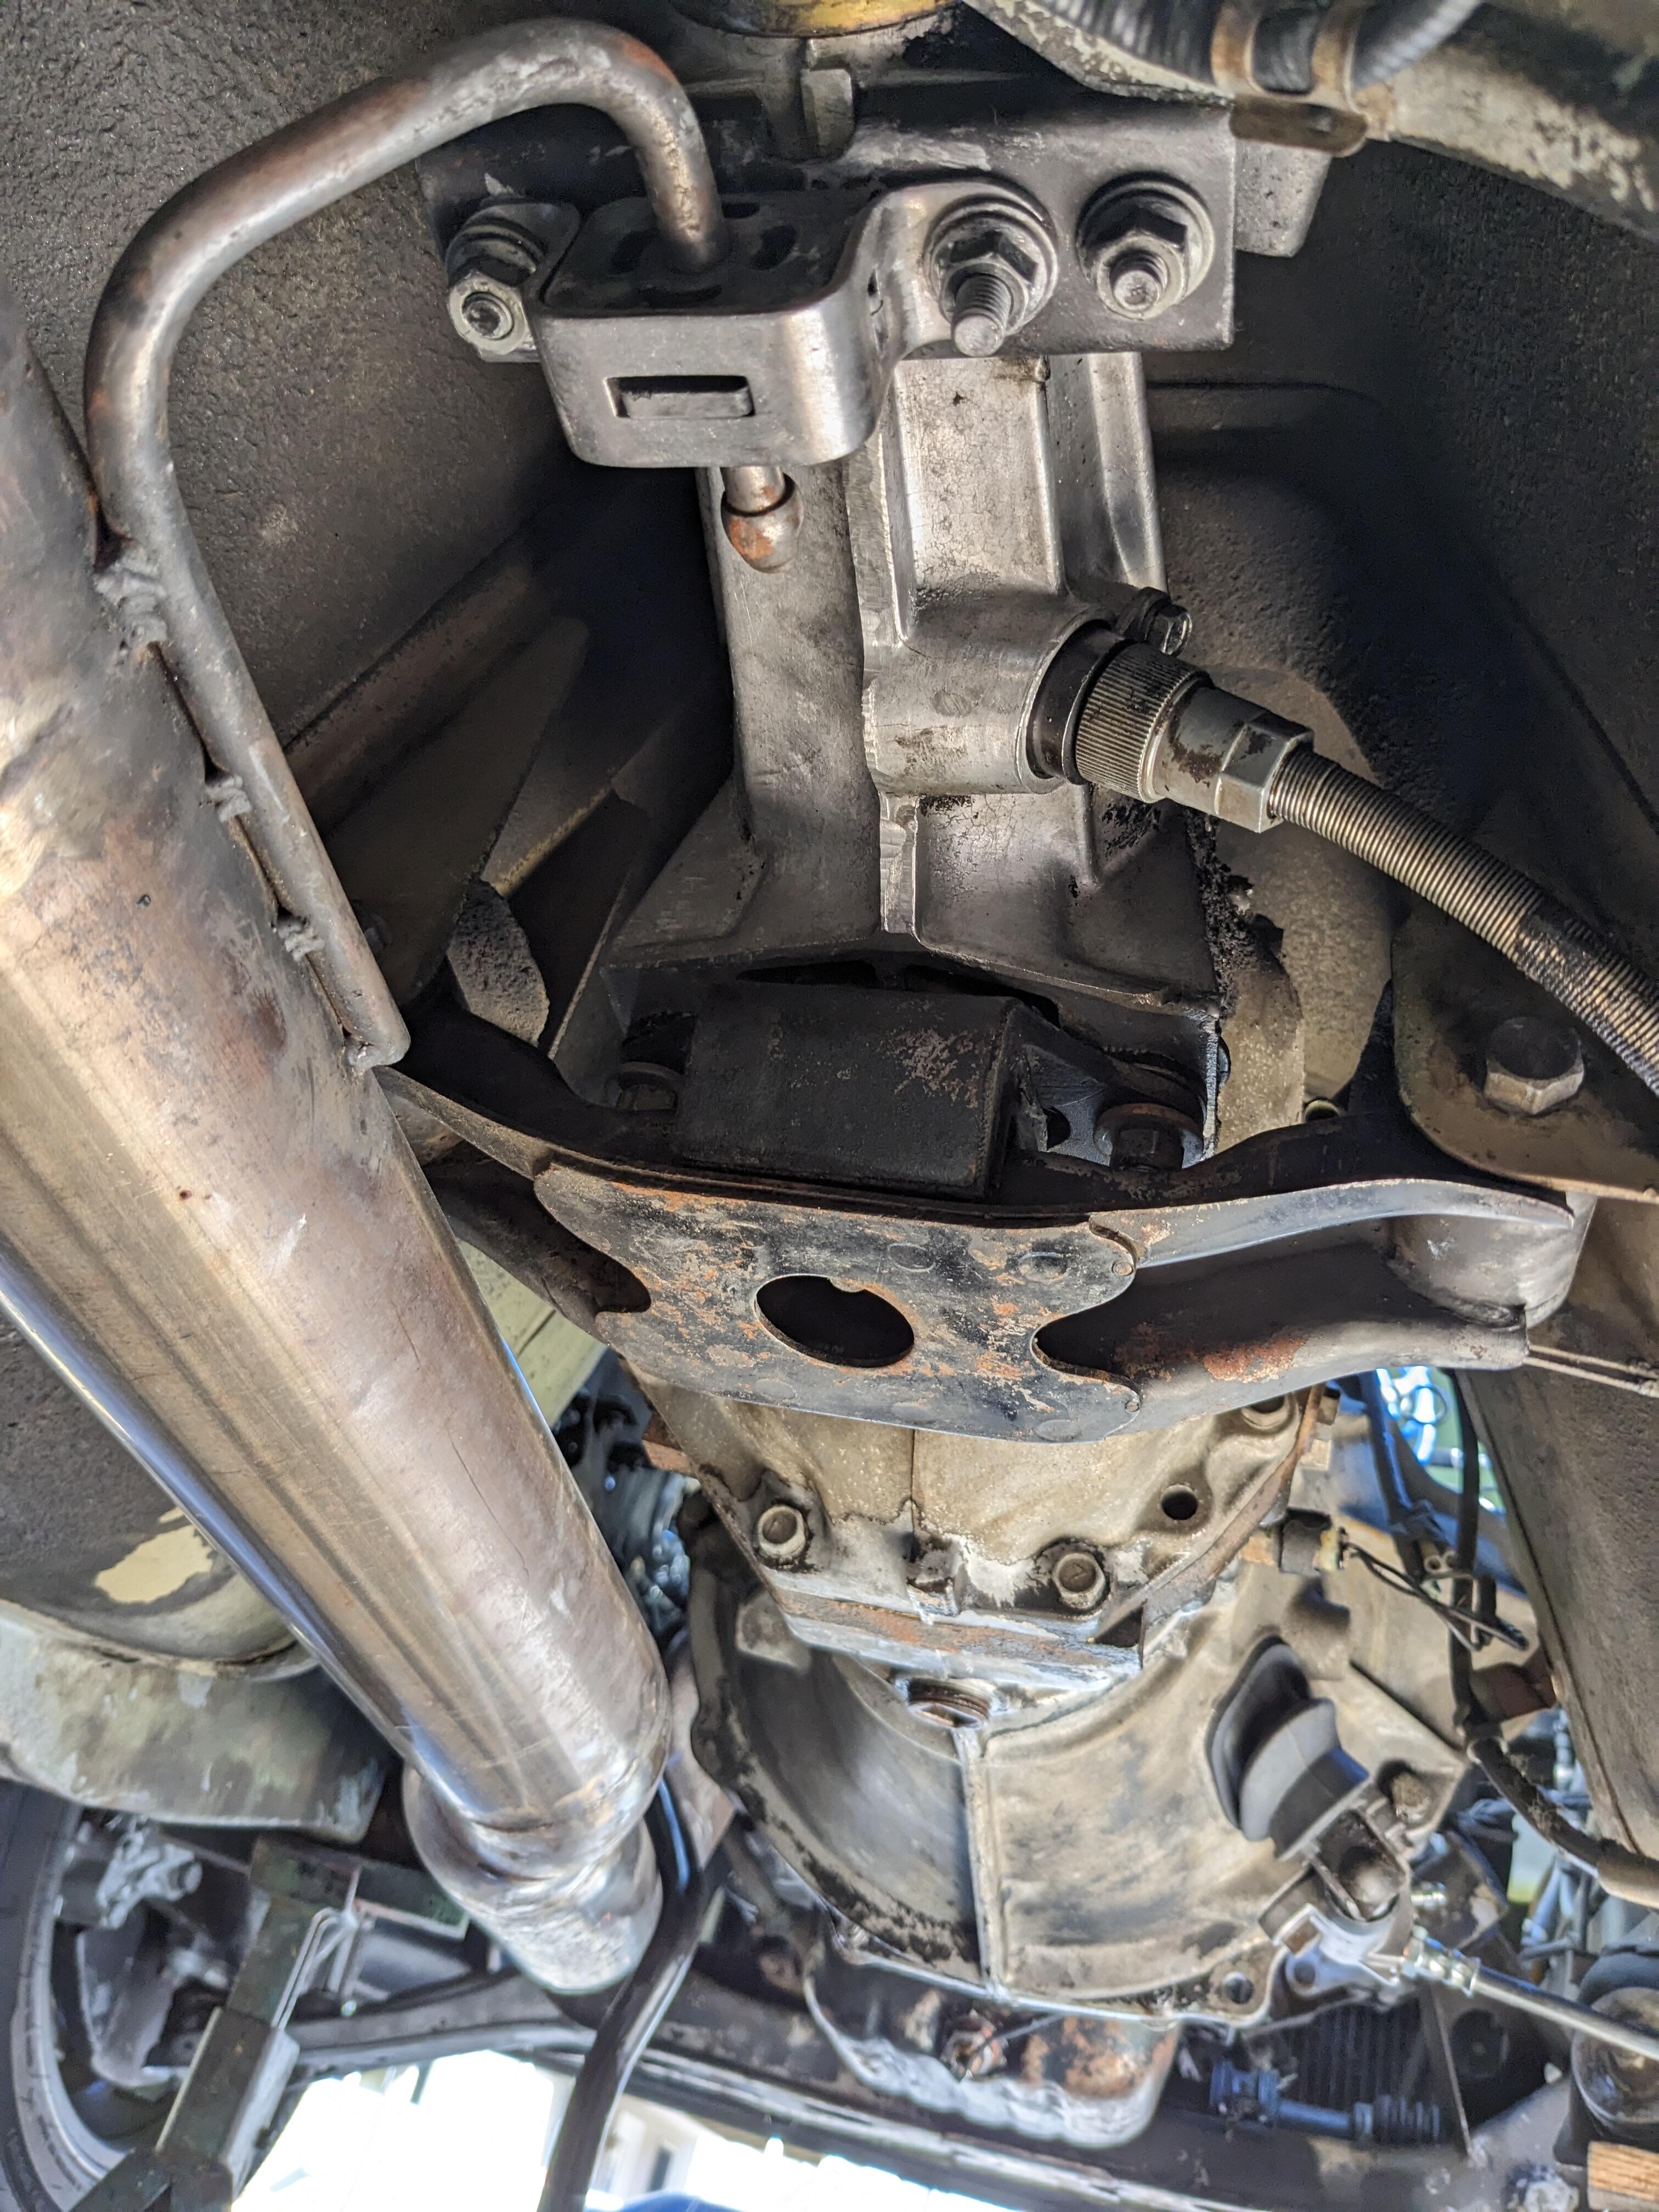
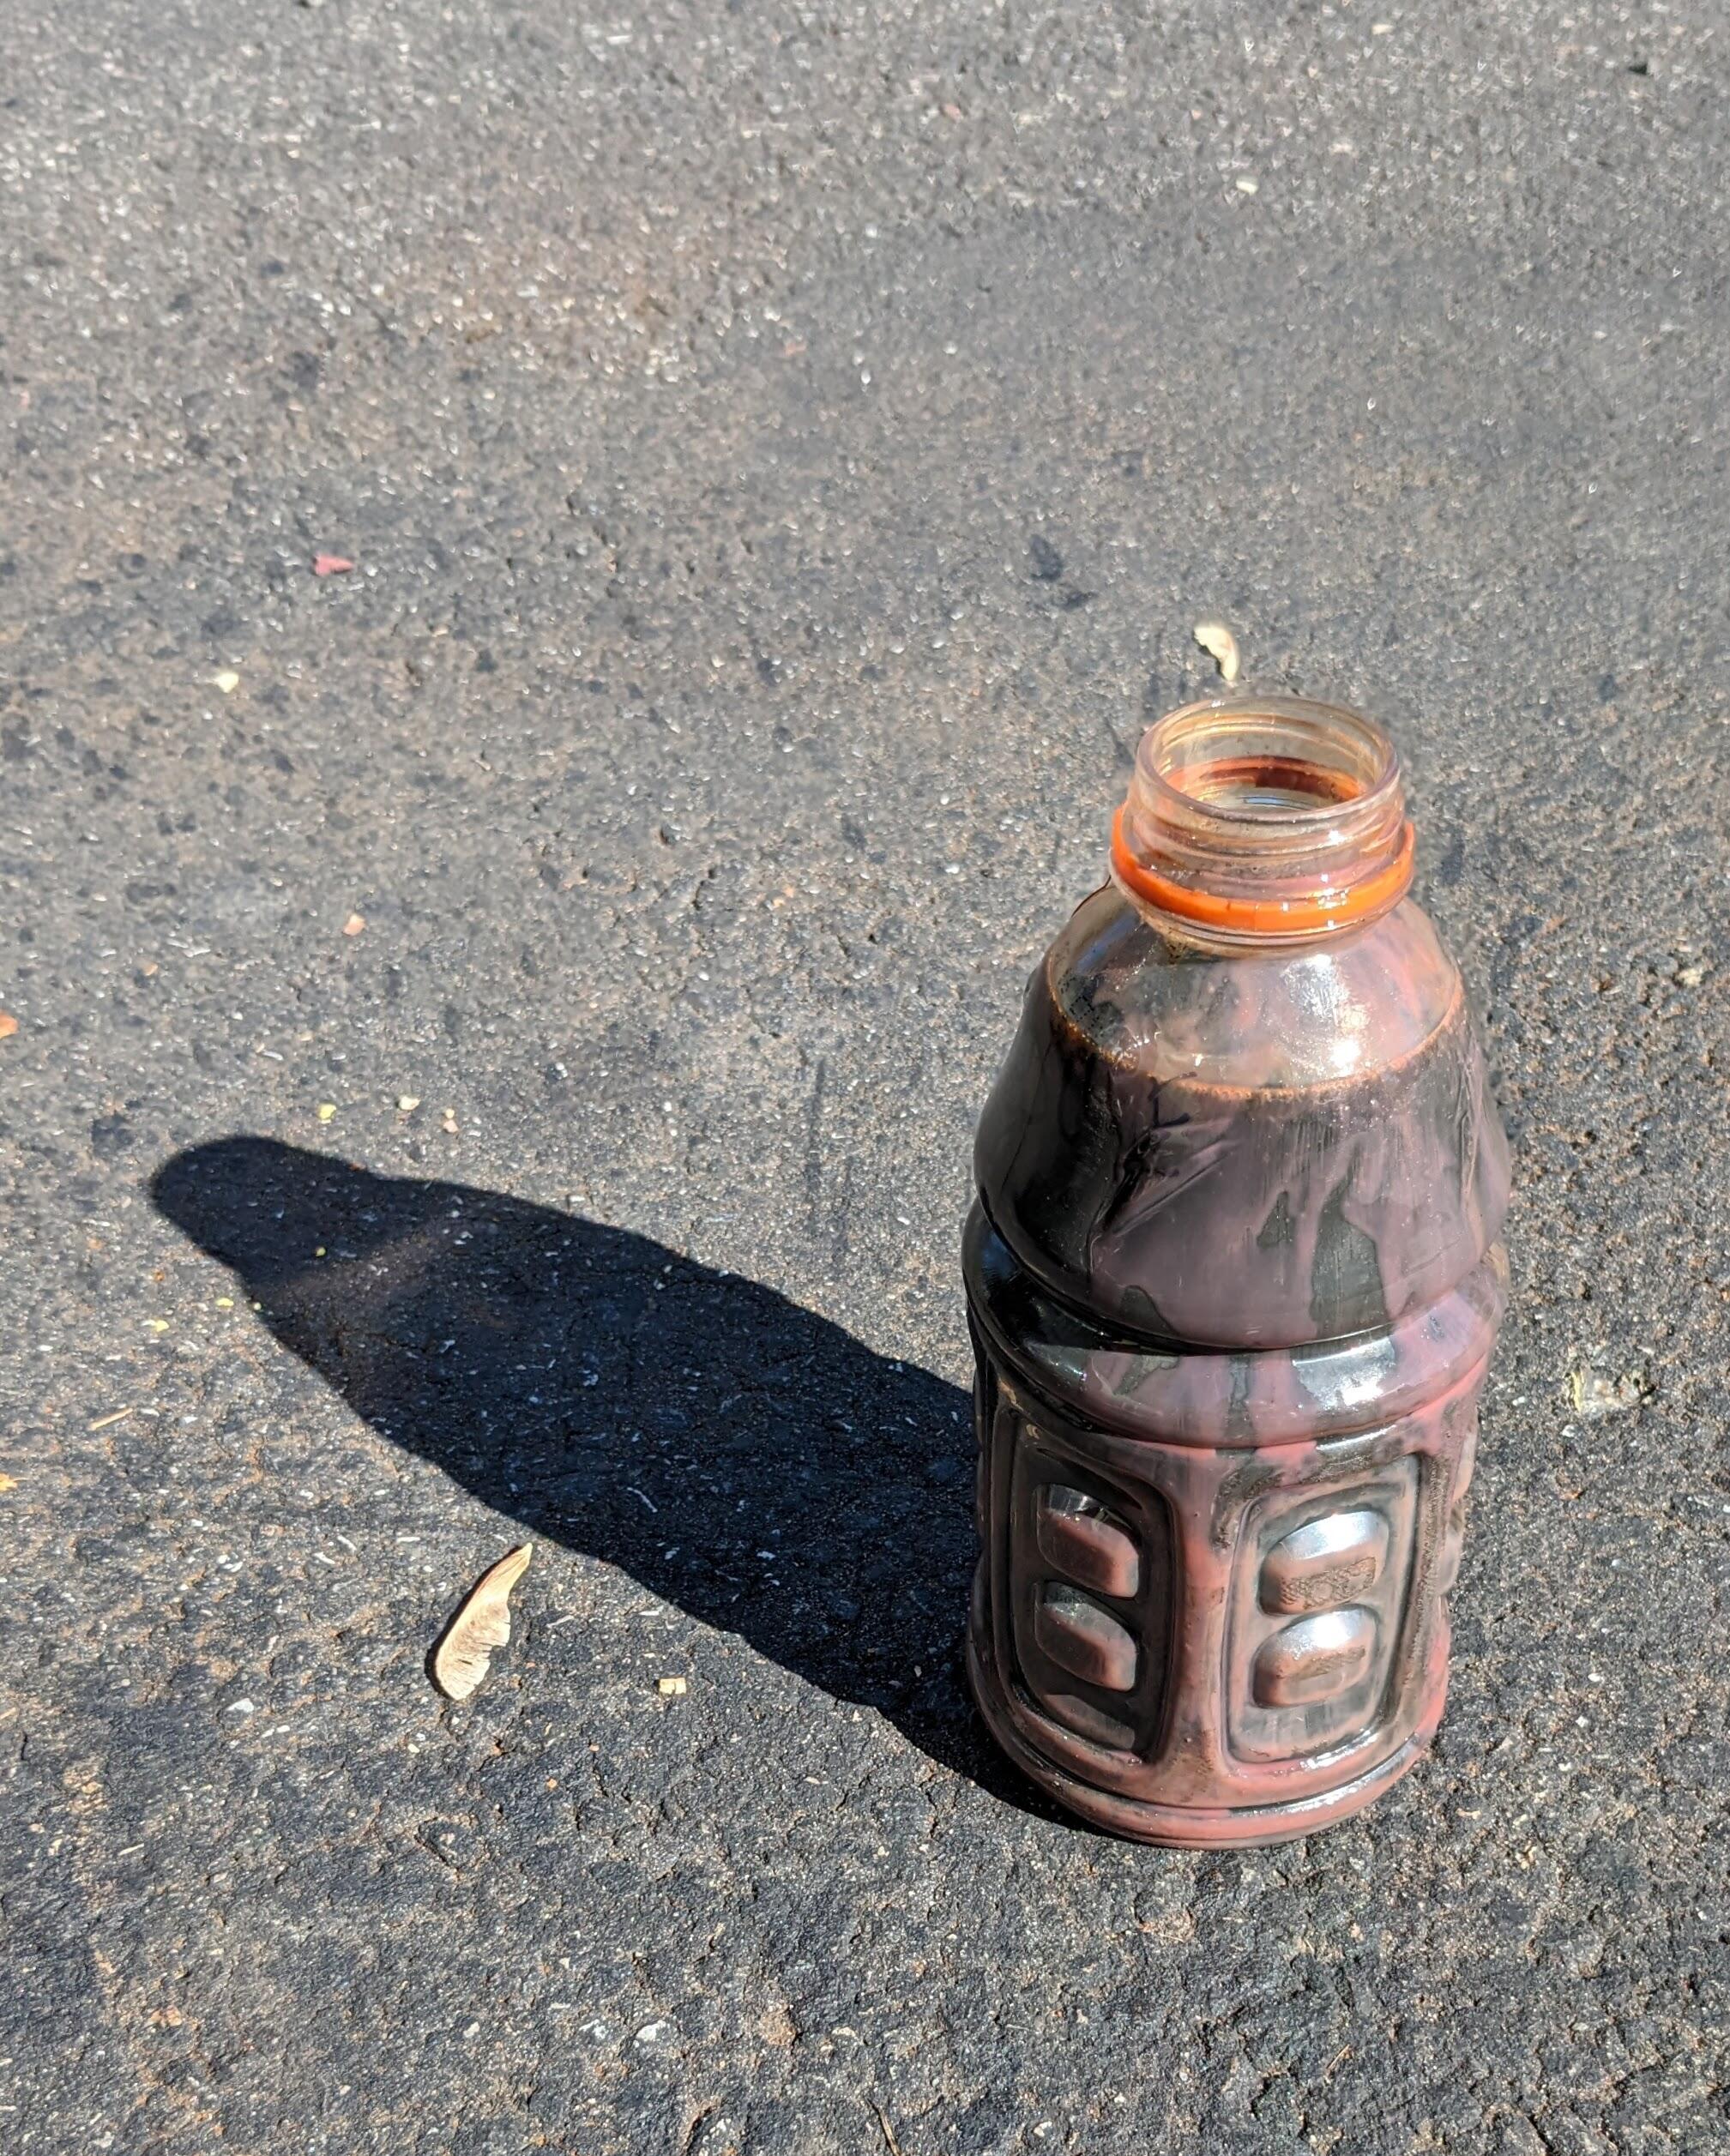
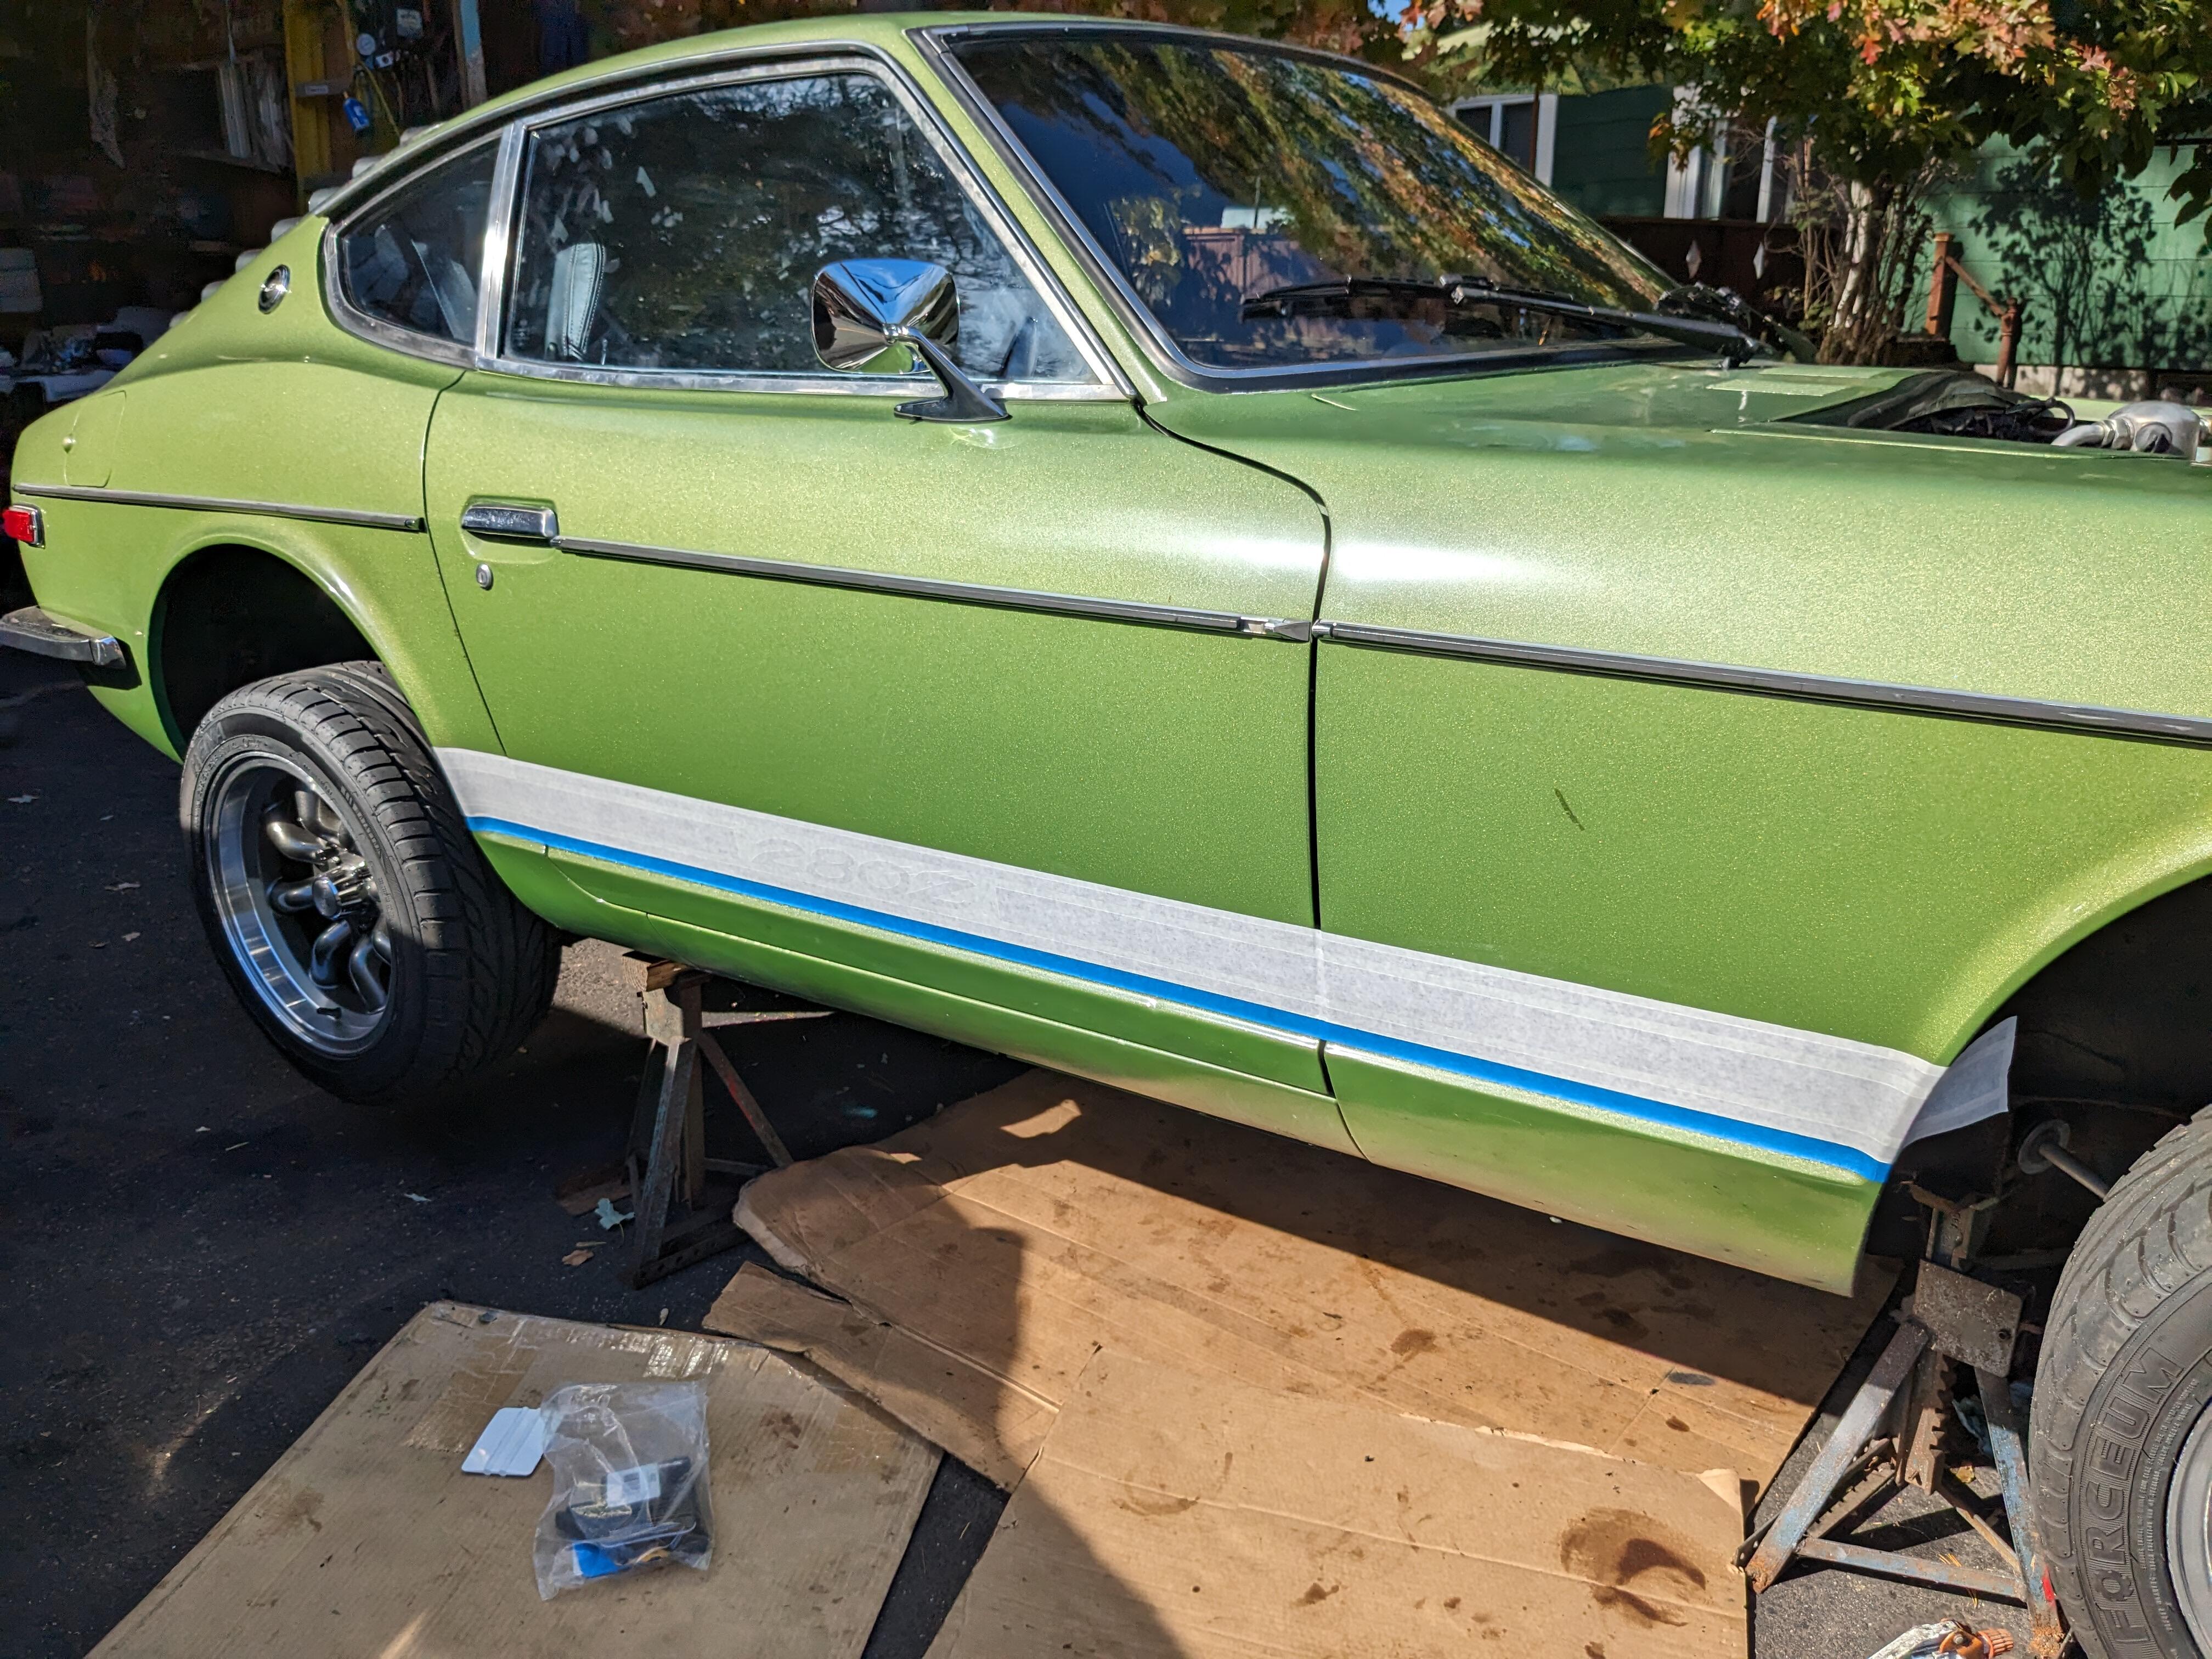
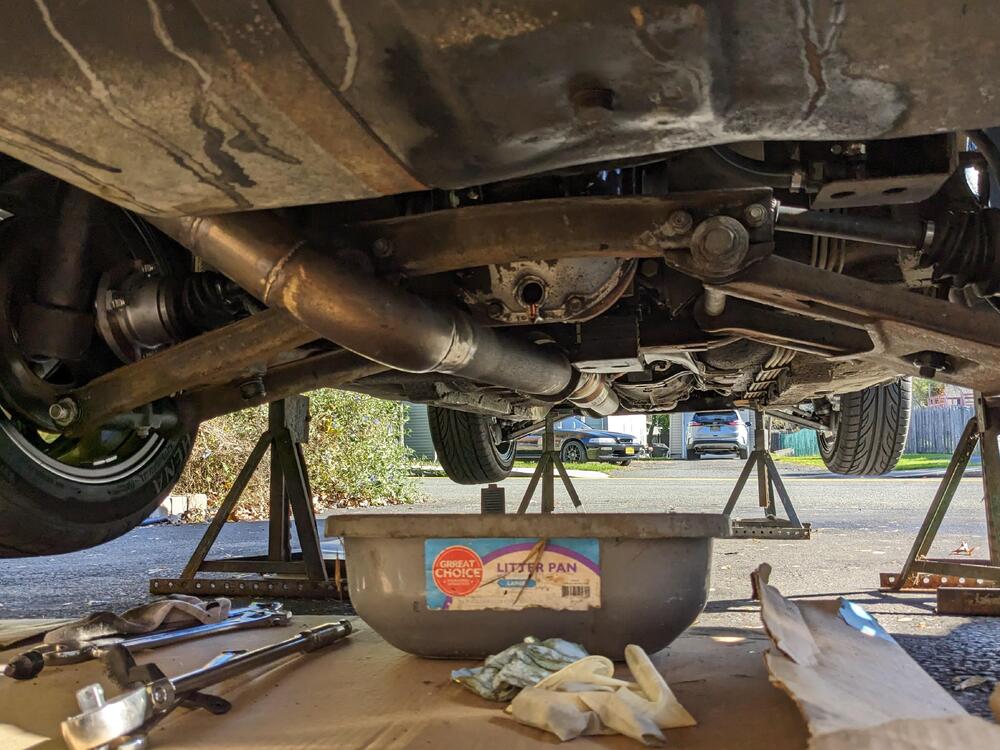
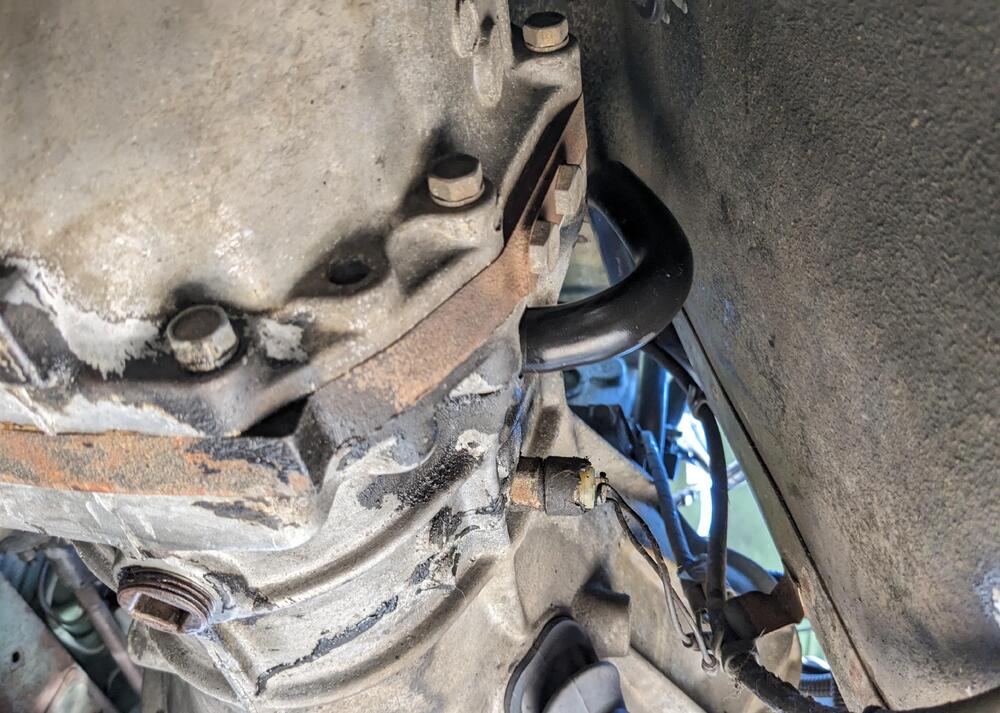
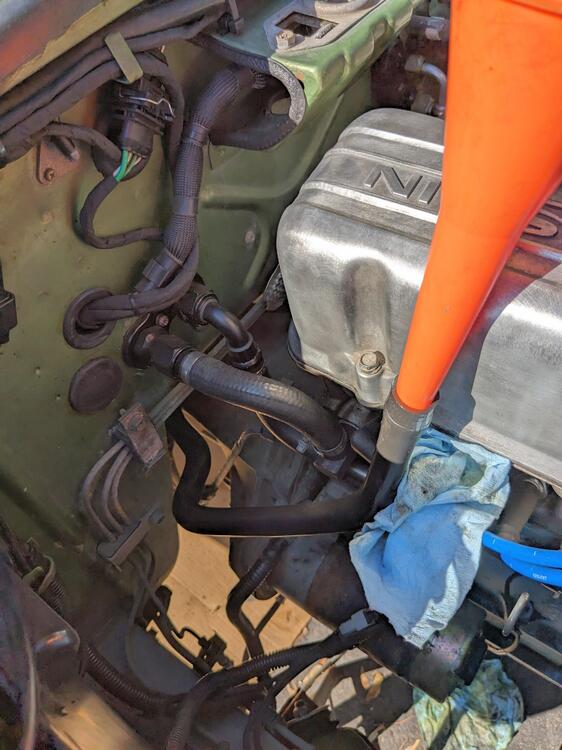
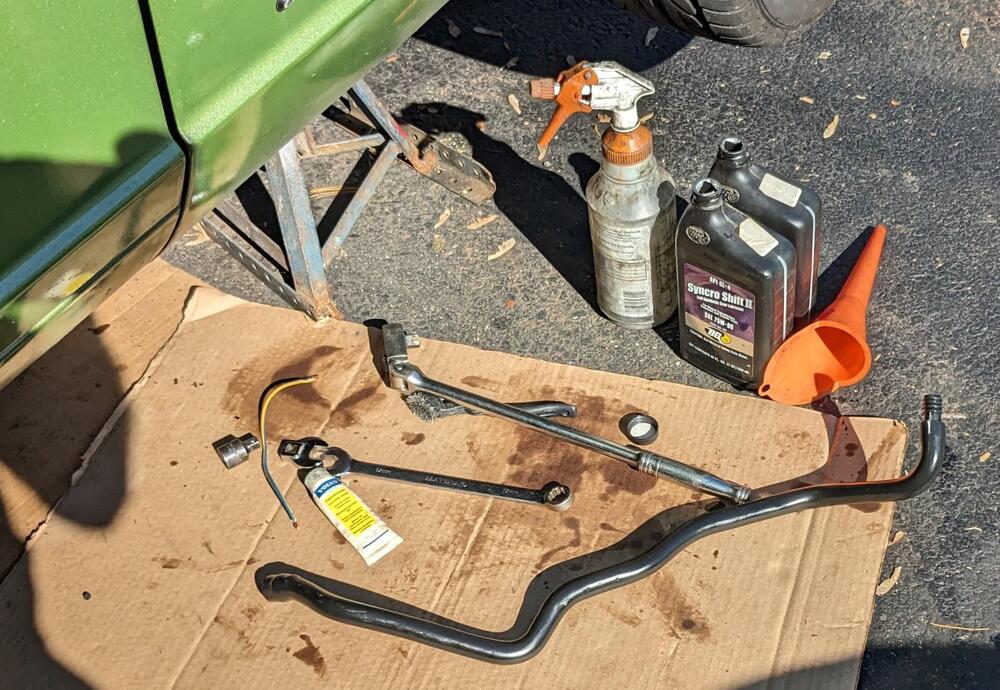
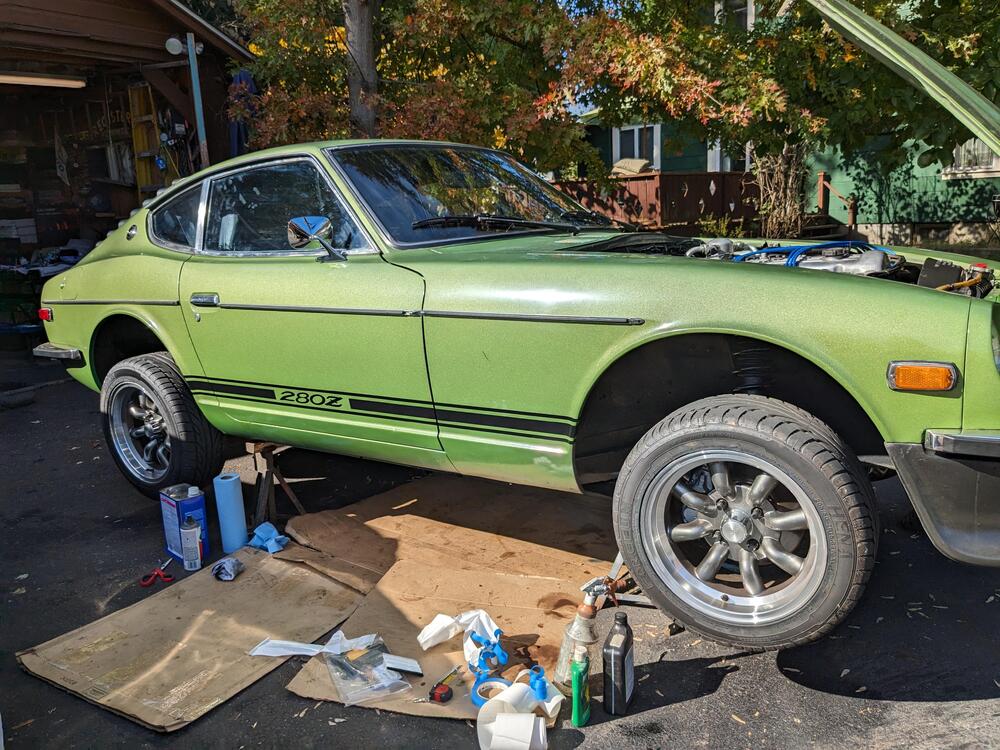
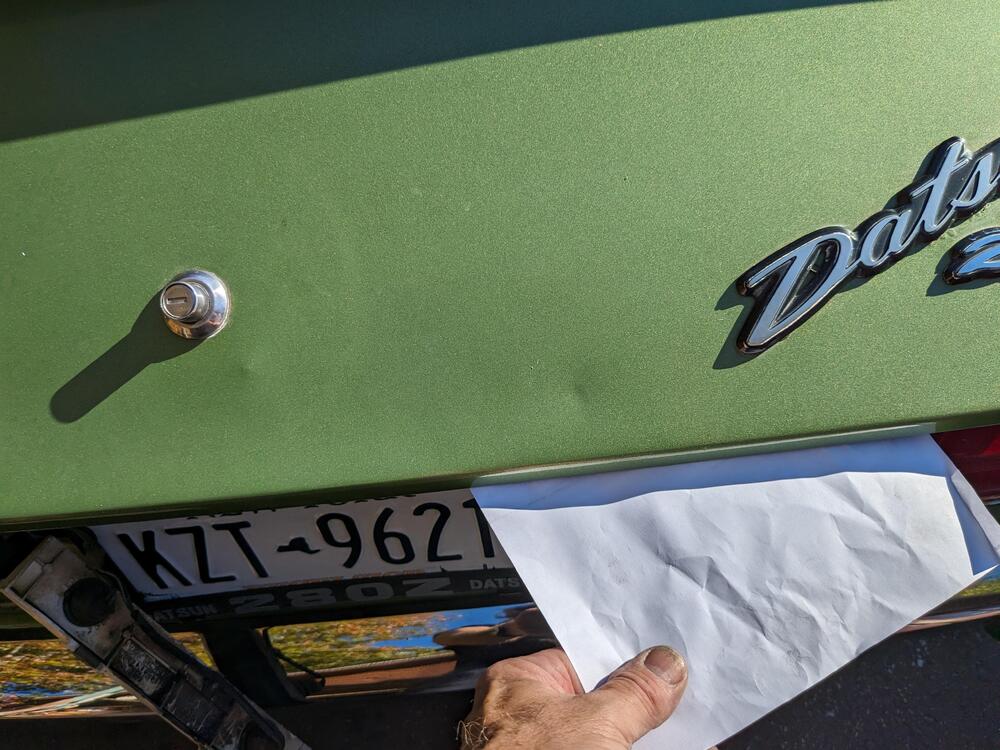
4 pointsI was nervous about doing this today - given the posts talking about difficulty of removing the plugs. I used a 17mm crow foot w/the 1/2 drive ratchet on the trans, 17mm wrench with another wrench hooked over it for leverage. Both came out without any real drama. diff drain - some metal particles I used my trusty transaxle fill tube- it's a crankcase breather hose from a 90's Volvo Diff took about 1.2 quarts (GL-5) before it started coming out the fill plug trans Trans took 2 quarts (Gl-4) - just started dripping out the fill plug with that only got one quart out of the trans Found that the reverse light switch is dead - easy to test since I had it in the air While I had the car in the air, and the temps are back in the 70º range, I got the side decals on.


 4 points
 -
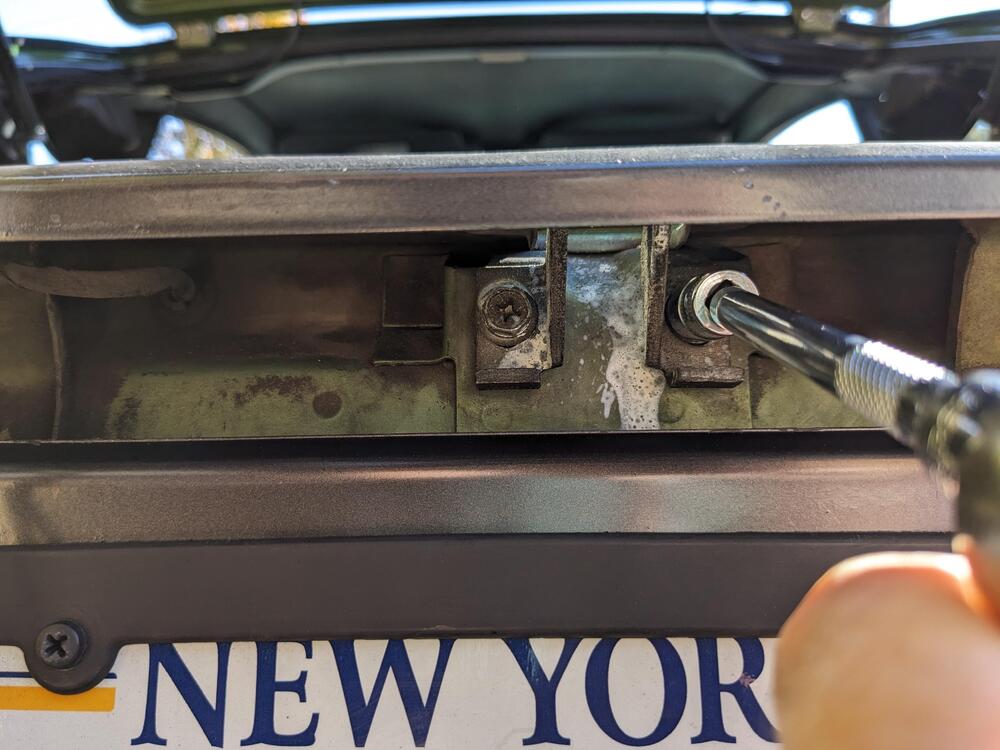
Followed grannyknot's directions - much better now, no more slamming required. I did have to make it a touch tighter than I wanted, to make sure the horizontal seal was snug against the hatch - don't want any fumes sucking in. Paper pull test to check
 4 points
 -
2 points
-
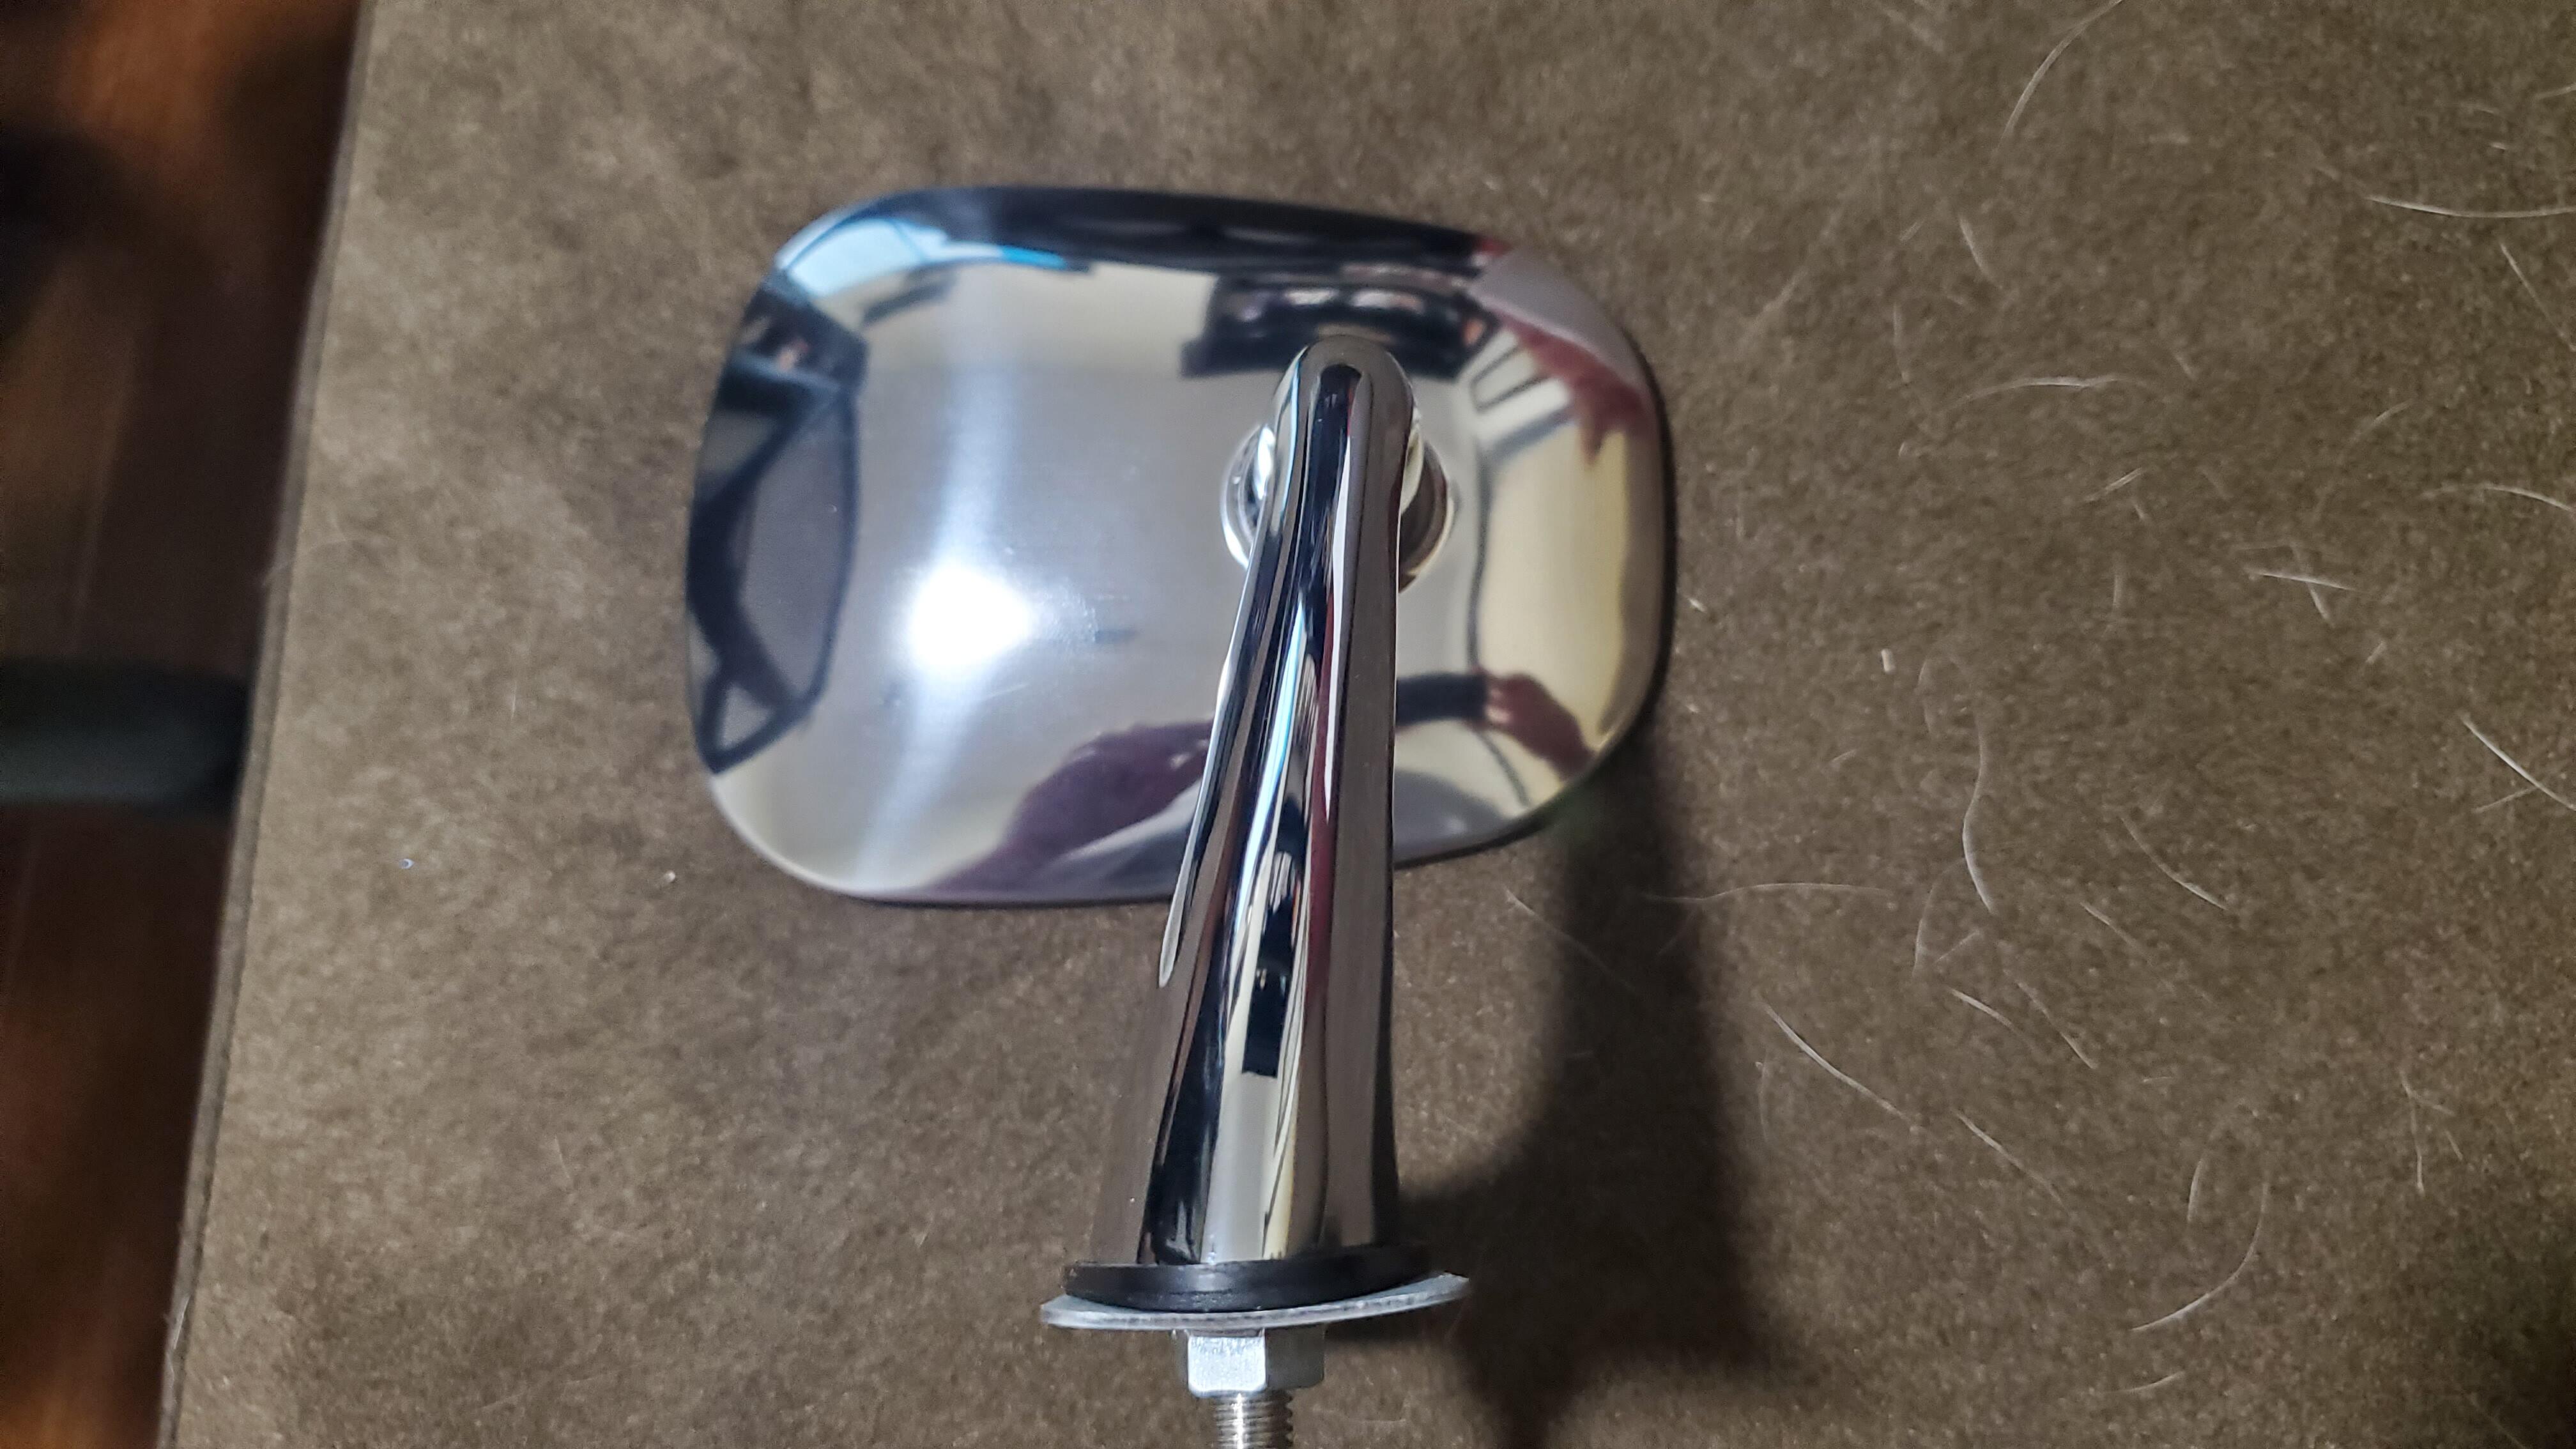
Ok, so like many of us I have been dealing with a previous owner that put a driver side oem mirror on the passenger side. As expected looks close, but useless for actually seeing anything. Well I was contemplating getting a friend to 3d print a new "base" so the stalk would align correctly when you flip the glass around. i was digging through some old posts here about the angle of the stalk etc and came upon this one: and down about halfway was an ebay listing from 2021 showing this mirror and what intrigued me was the RH and part number ending in 2 rather than 1. So i worked out a deal with the guy to get the last one he had even though as @Patcon you wrote "noticed his ad stating won't work on the passenger side". Well my thinking was if this truly is a RH made mirror for those markets then what they mean is the same as what we deal with, you can't buy 2 and flip one to the other side. So i took a shot and BINGO! it actually leans towards the glass a perfect match to the typical driver side ones most of us have. I was so excited to post I forgot to clean my wife's cat hair from the couch! So moral to this story is if you look for that part number you can find the RH OEM mirror, it just takes some luck.
 1 point
 -
I'd say that's less like a shameless plug and more like a helpful offer.1 point
-
1 point
-
Try to find I believe a N42 manifold from a 75 model Z.1 point
-
Thanks for the tips... much appreciated. I'm going to dive in and give it some love. There's a shop in Pasadena (Miller's Sports and Imports) owned by a guy called Skip that works only on Datsuns. Planning to swing by there next week.1 point
-
1 point@KenFirch i was able to yes. I left the glass all the way up and if you are skinny enough like me you can slide your hand / forearm in and reach it. For me I used the largest hole closest to the front of the door right below the small window channel and the mirror itself. I reached in horizontally as if i was trying to reach for the lock side of the door on the bottom. Once the arm was in i just rotated the elbow until my arm was 90 degrees up right under the mirror. Single bolt with a small driver and was good to go.1 point
-
Don't hesitate to reach out to me if you need a hand. With enough notice I can drop in on a weekend to give an extra hand.1 point
-
1 point
-
1 pointI put in my old Hella H4's (from the X1/9) with the LED bulbs Steve recommended. One of them has water damage, so I ordered the Kioto H4 housings while they are still available, at such a good price. housings came out smoothly, no snapped or stripped hardware. I didn't order new gaskets, so I cleaned & lubricated them for reinstall Comparison of sealed (low) beam to LED

 1 point
 -
When I started buying the 6.2mm & 2.8mm connectors, I stocked up on the terminals, too.1 point
-
1 pointRichard that's awesome. For the license plate when I first showed it to my wife she jokes around and says most people will think it's farty not forty1 point
-
1 pointIt sounds like you are satisfied with the color, just not the gloss. I agree - way more glossy than OE. Try this: Dupli-Color HWP106 Wheel Matte Clearcoat. That will get you back to a OE-like finish. These are done with a different product for the color, topped with the Wheel Matte Clearcoat.
 1 point