Leaderboard
-
HusseinHolland
Free Member6Points1,031Posts -

Dave WM
Free Member3Points3,591Posts -
motorman7
 Subscriber
 3Points2,228Posts
 -
Captain Obvious
Free Member2Points10,081Posts


Popular Content
Showing content with the highest reputation on 08/07/2023 in all areas
-
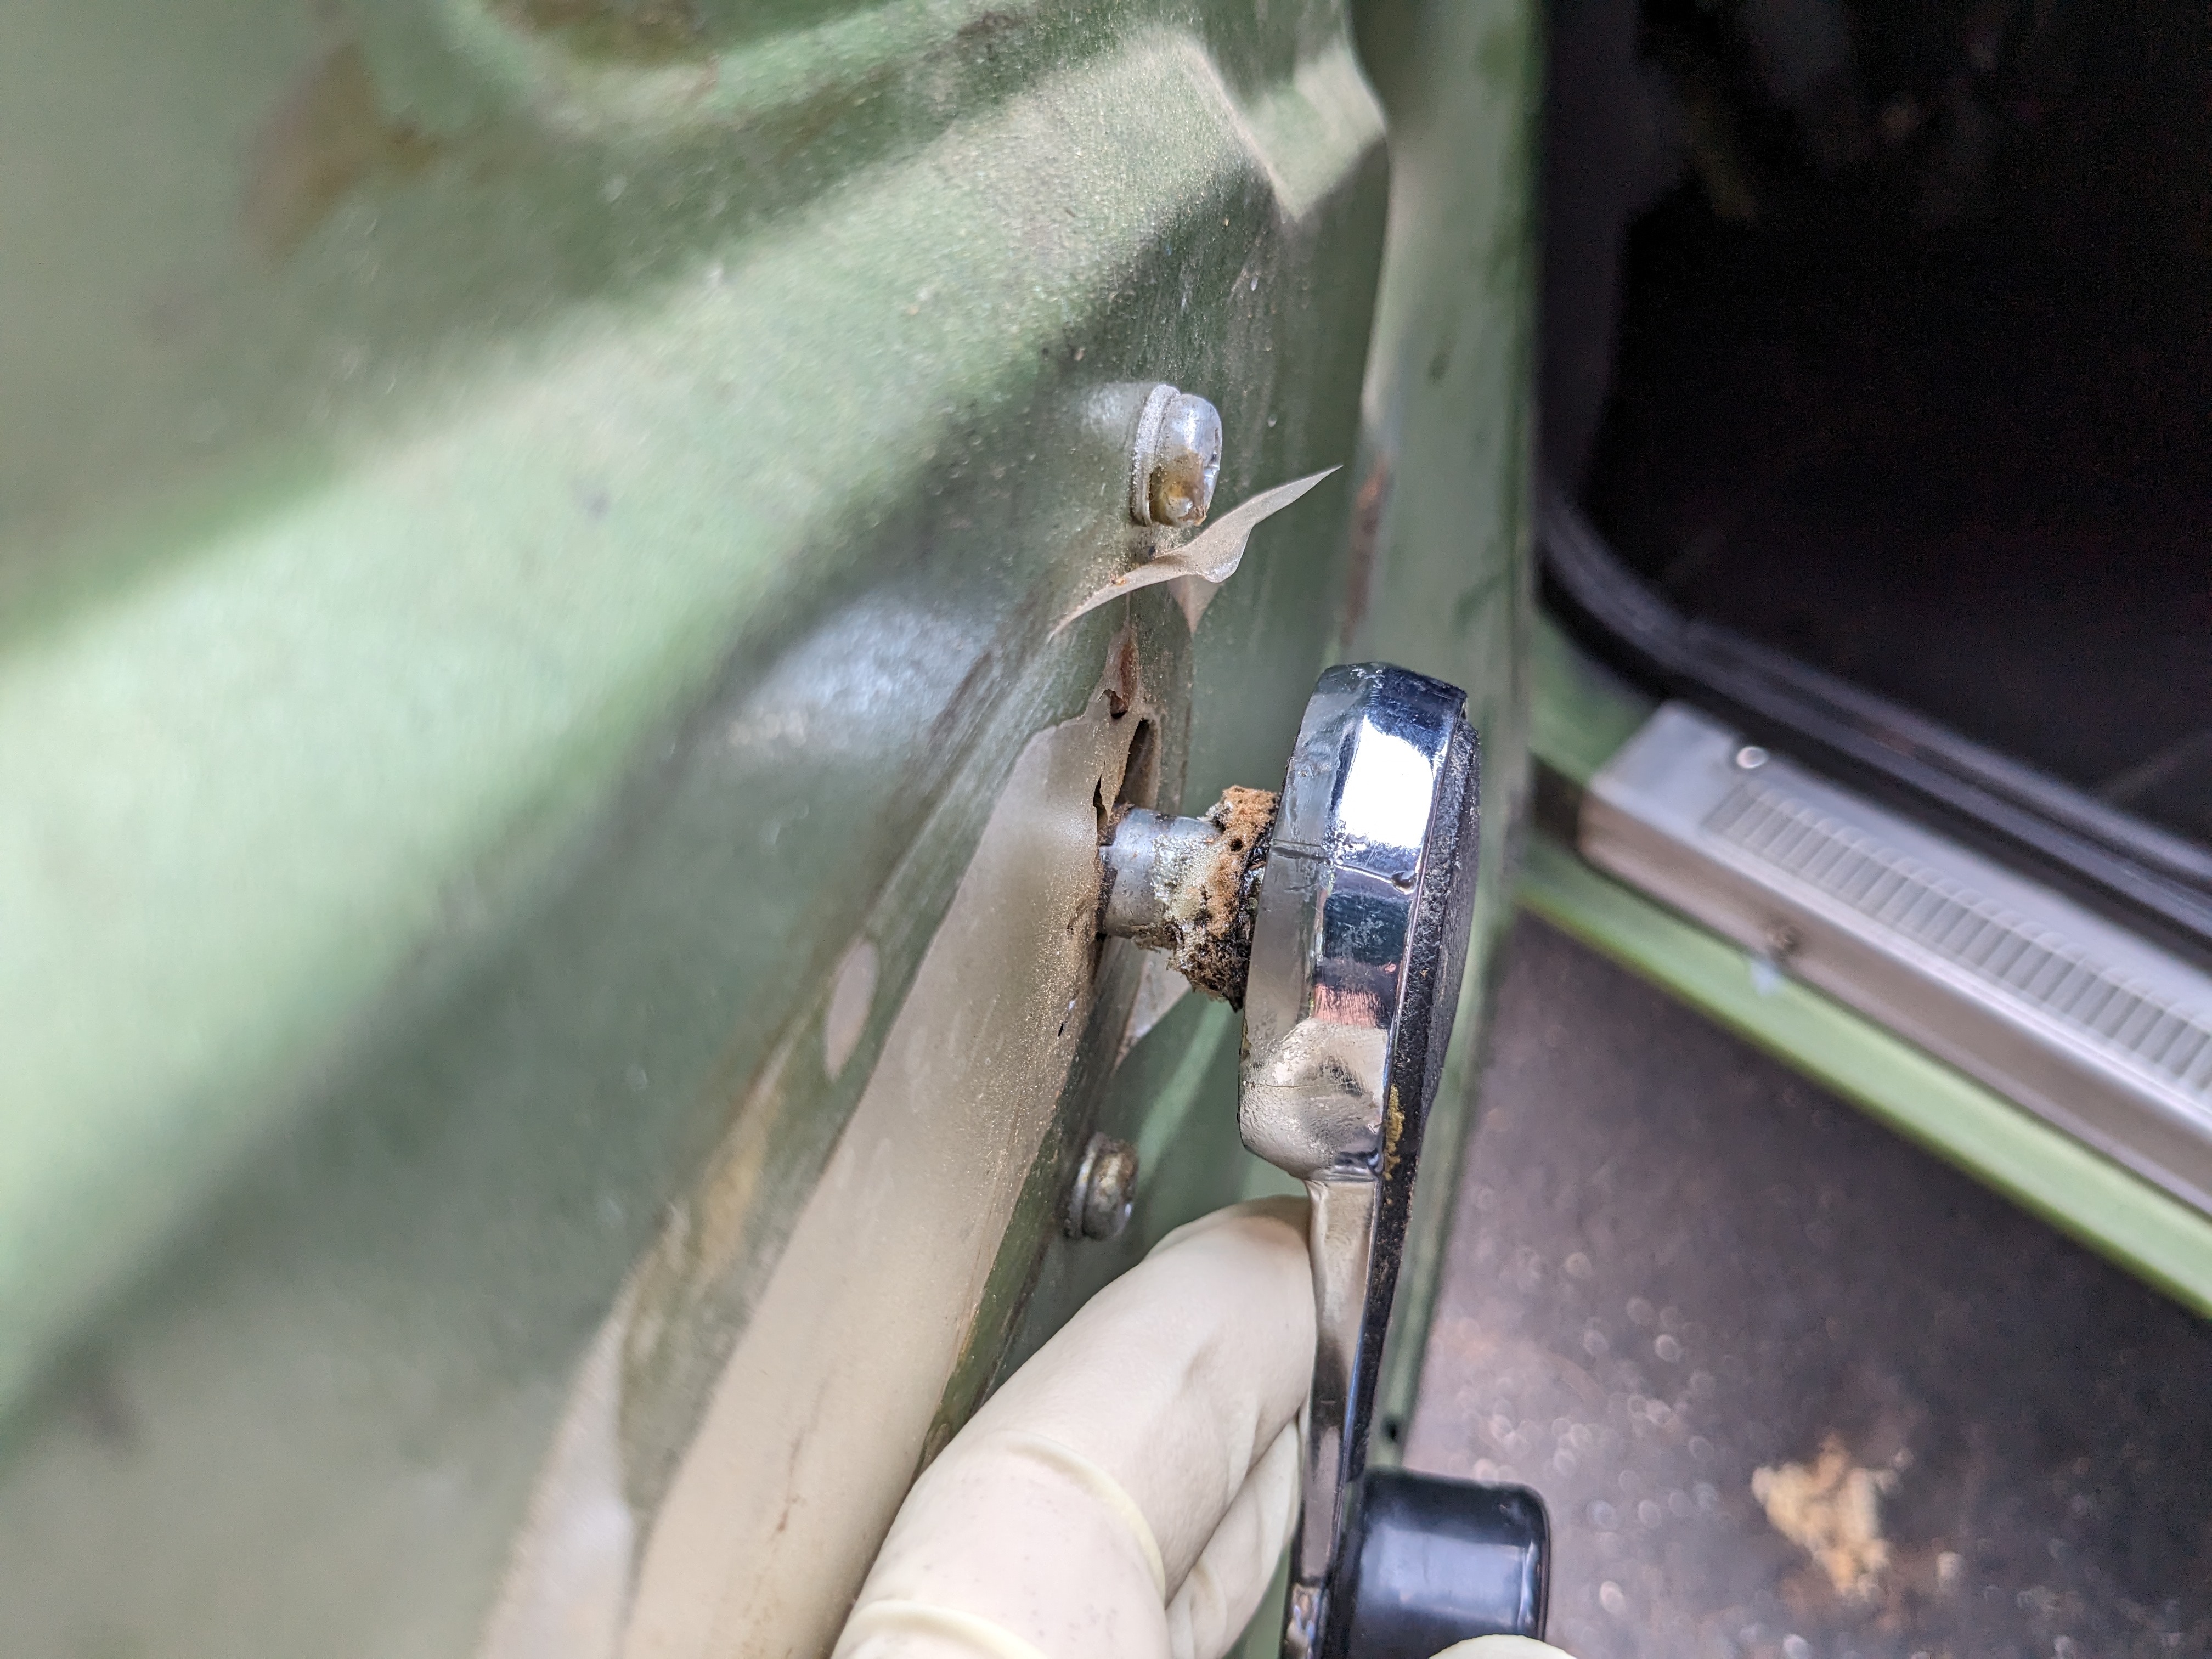
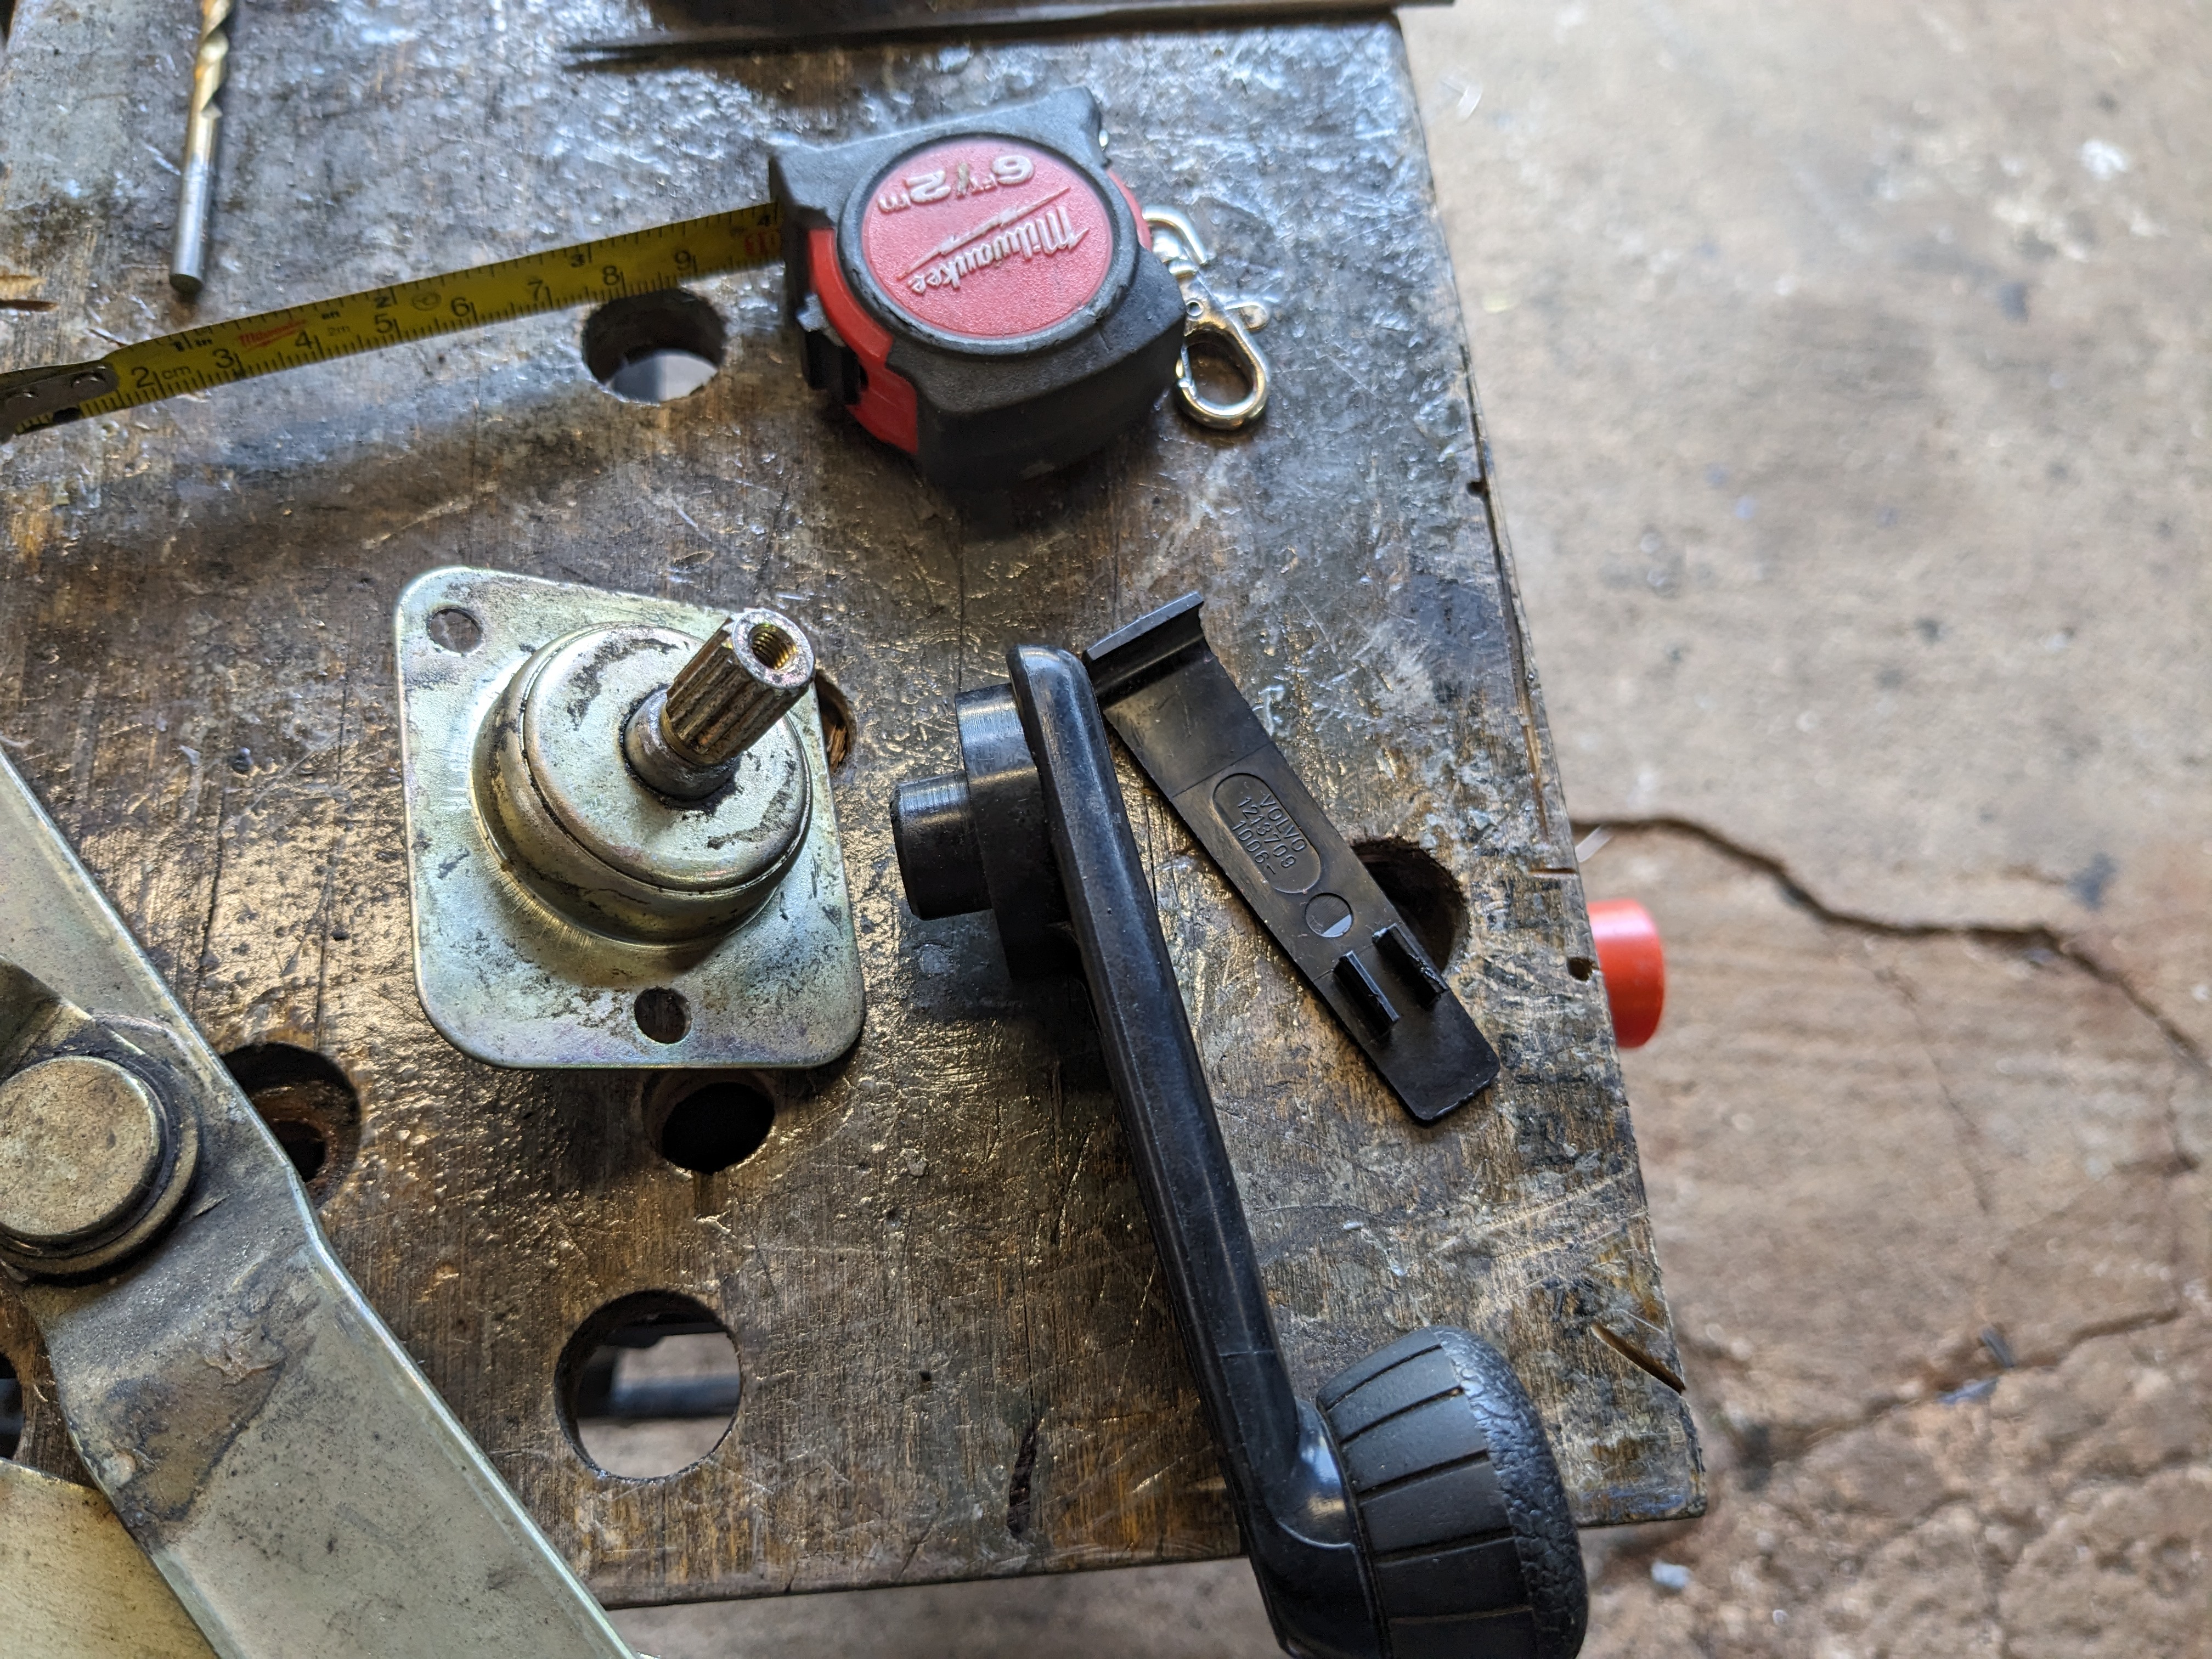
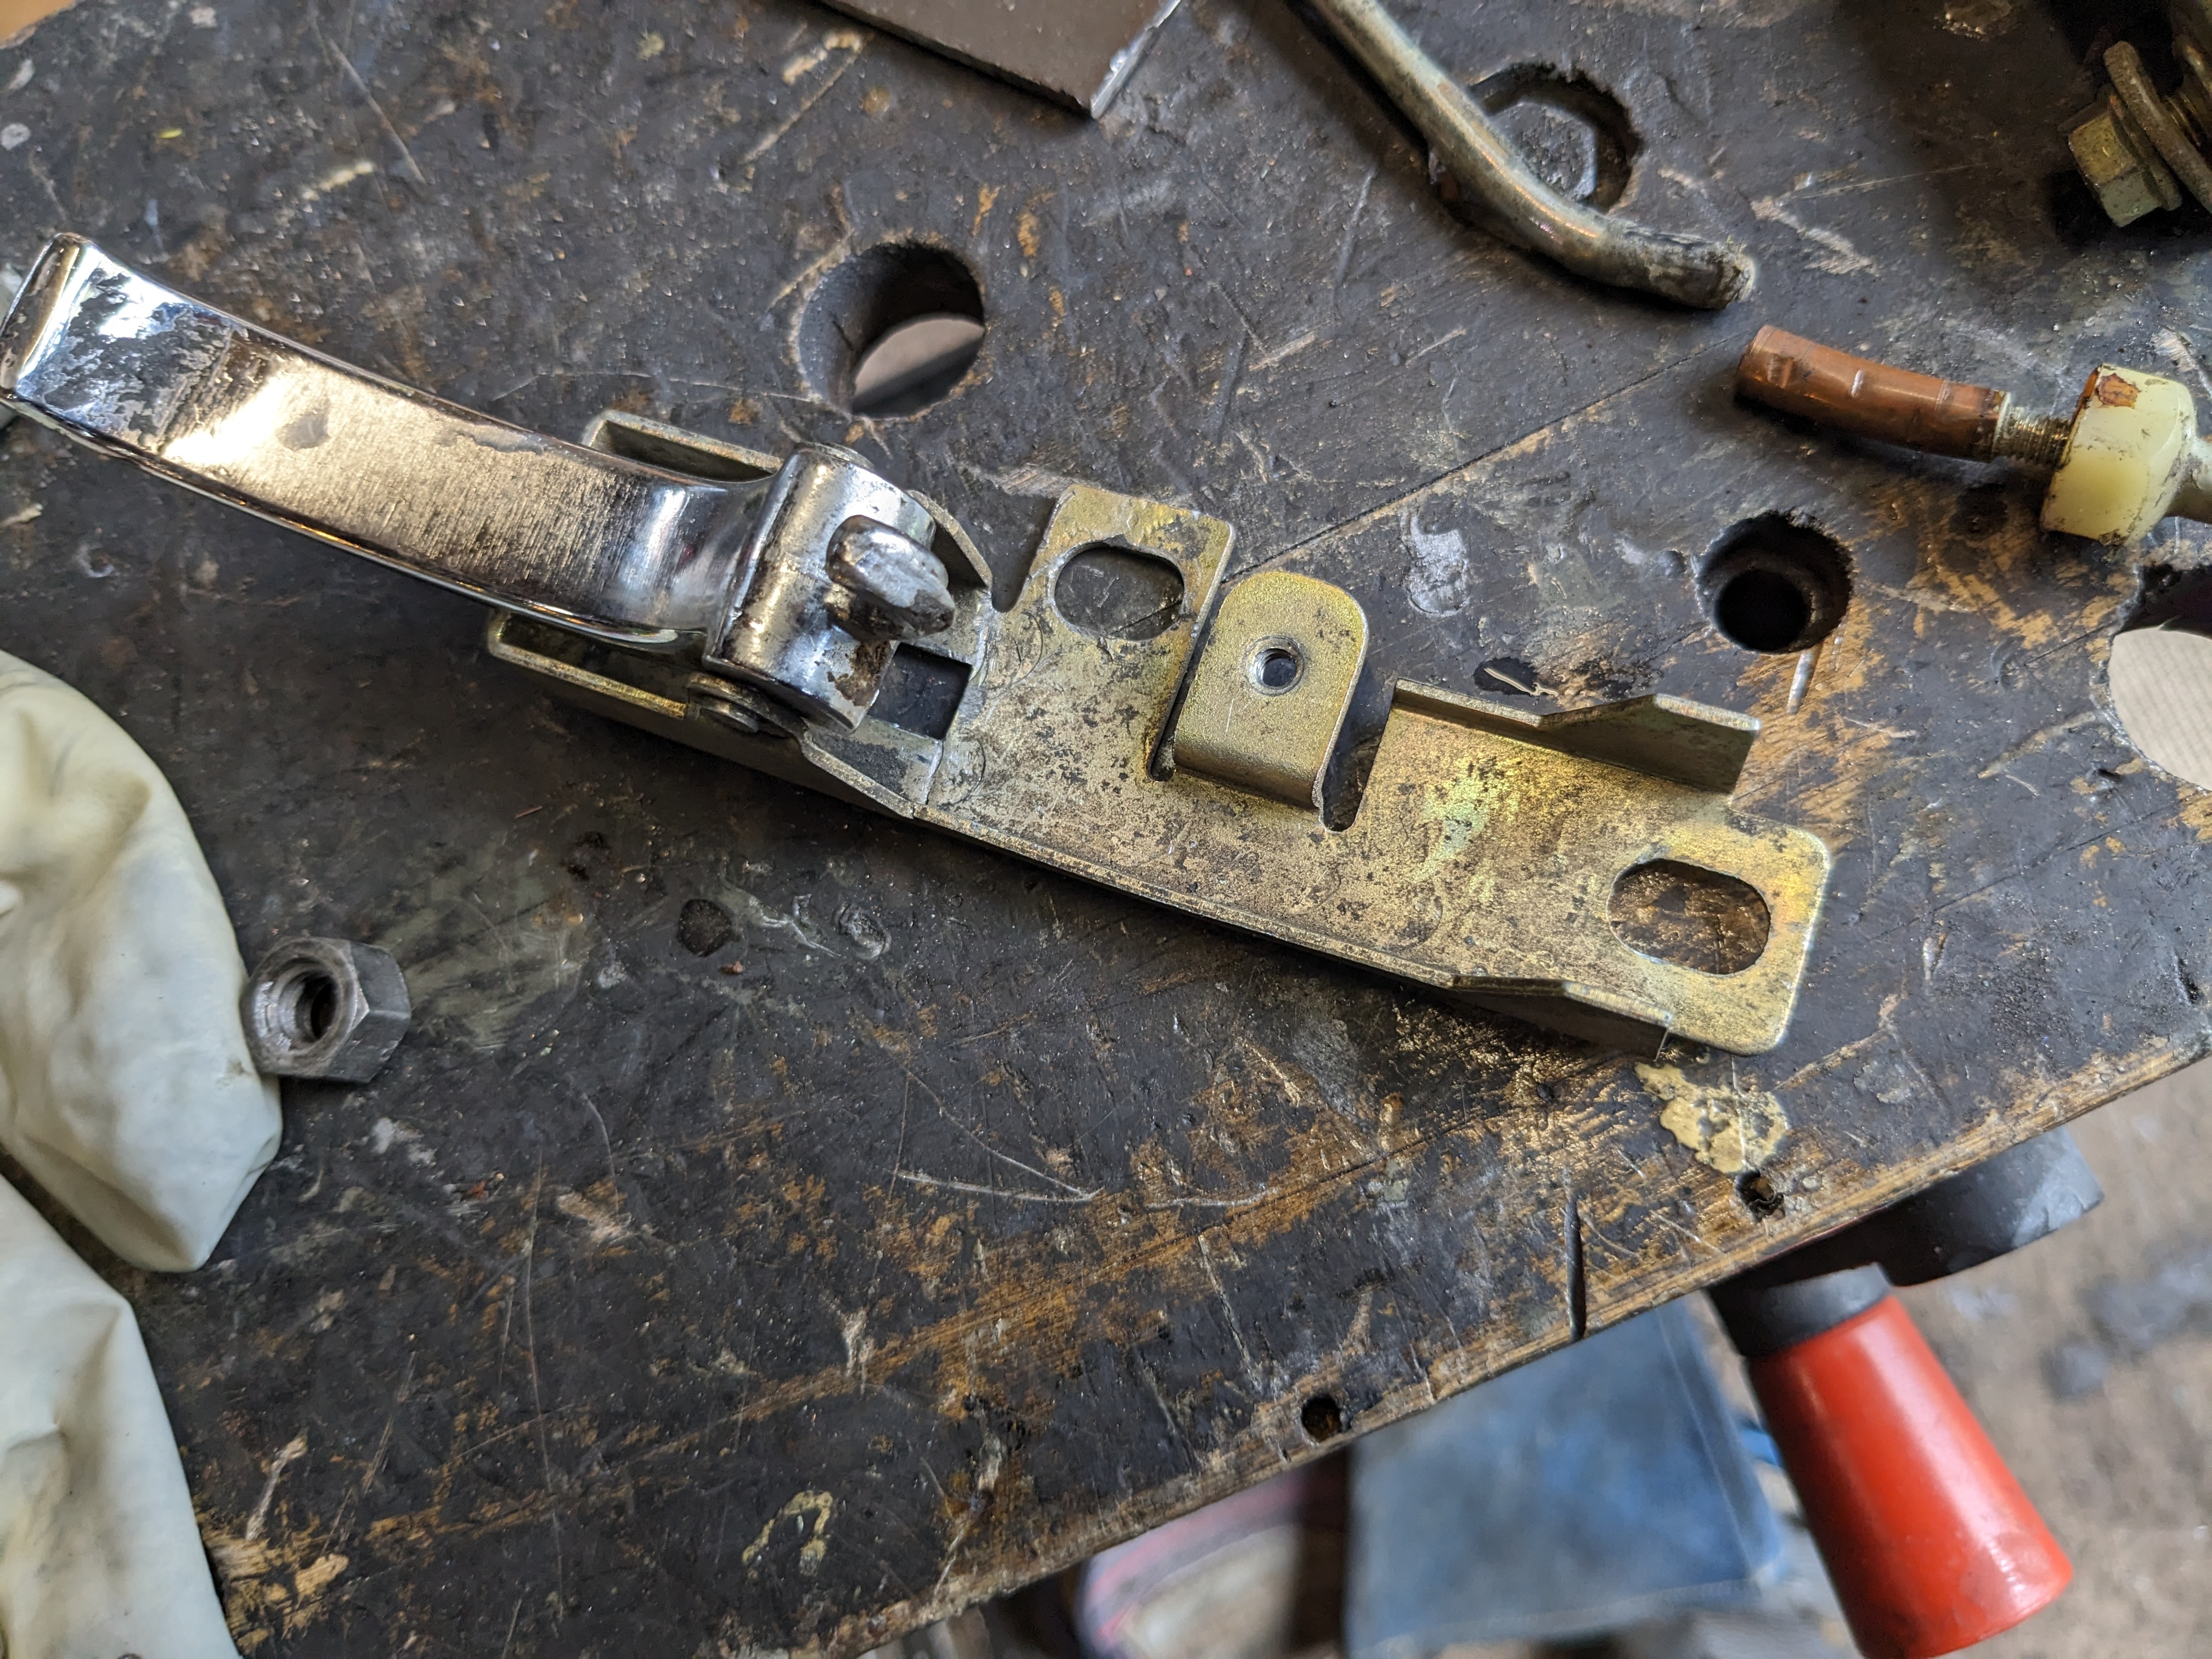
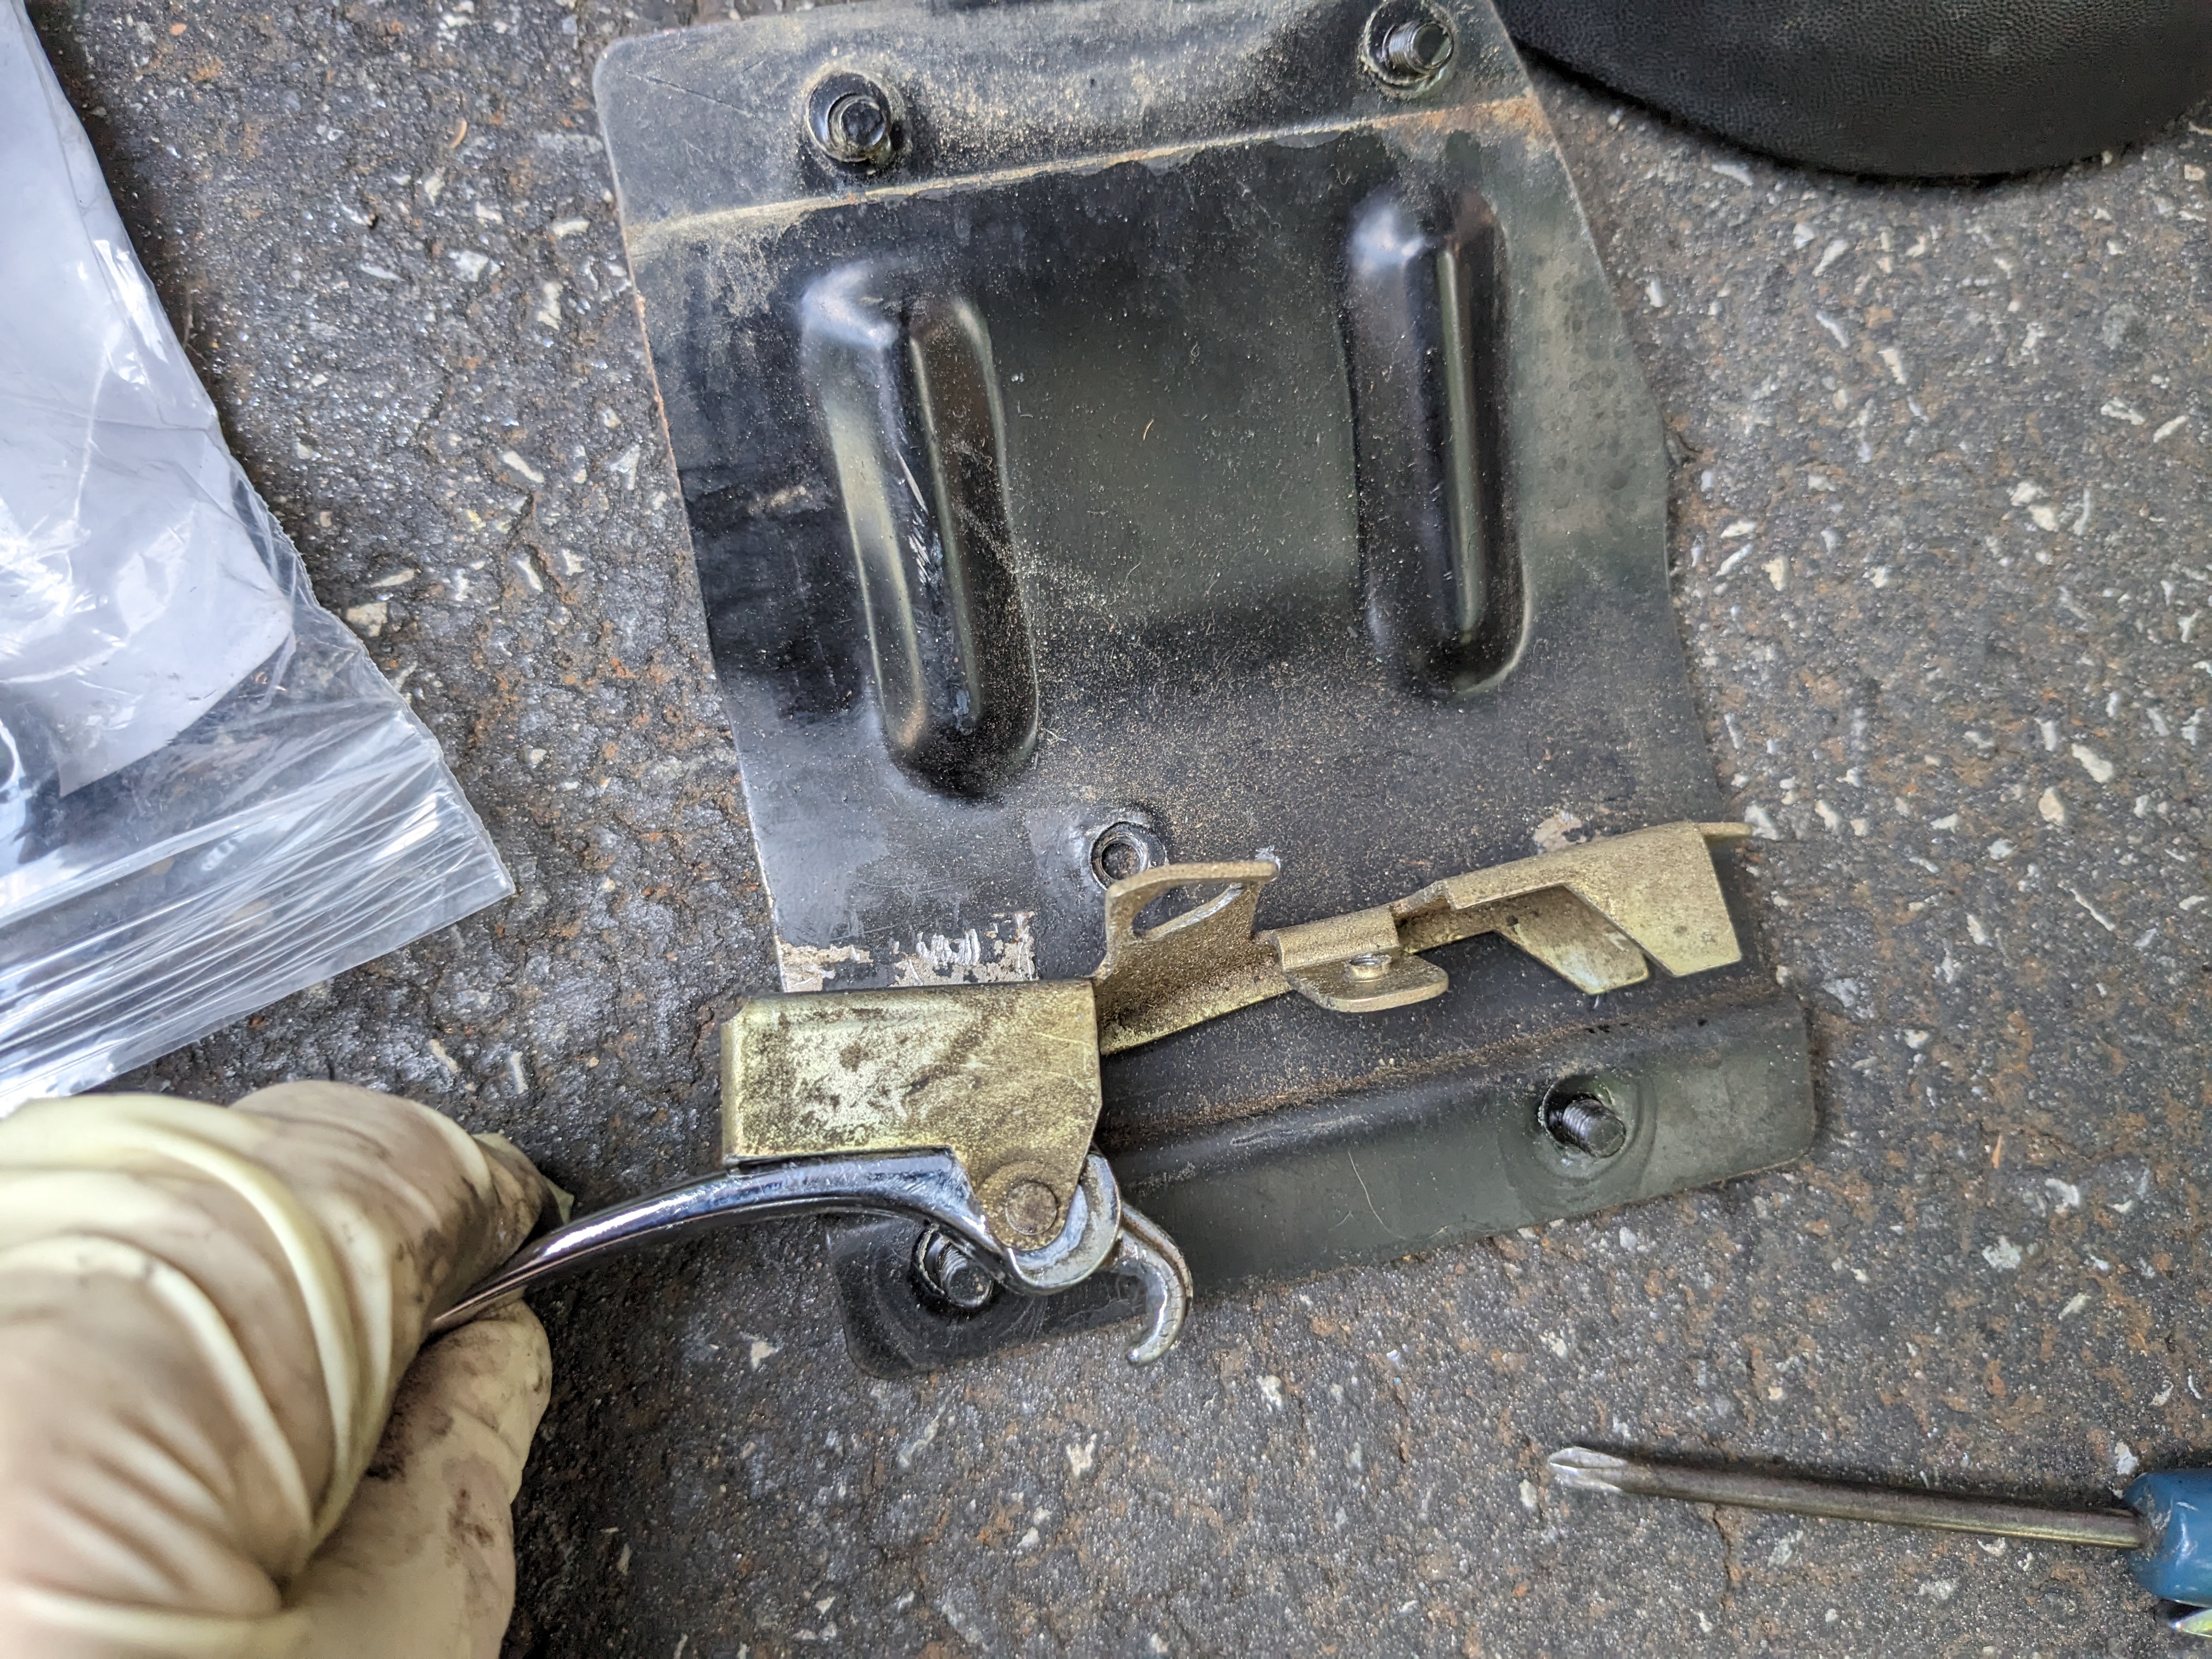
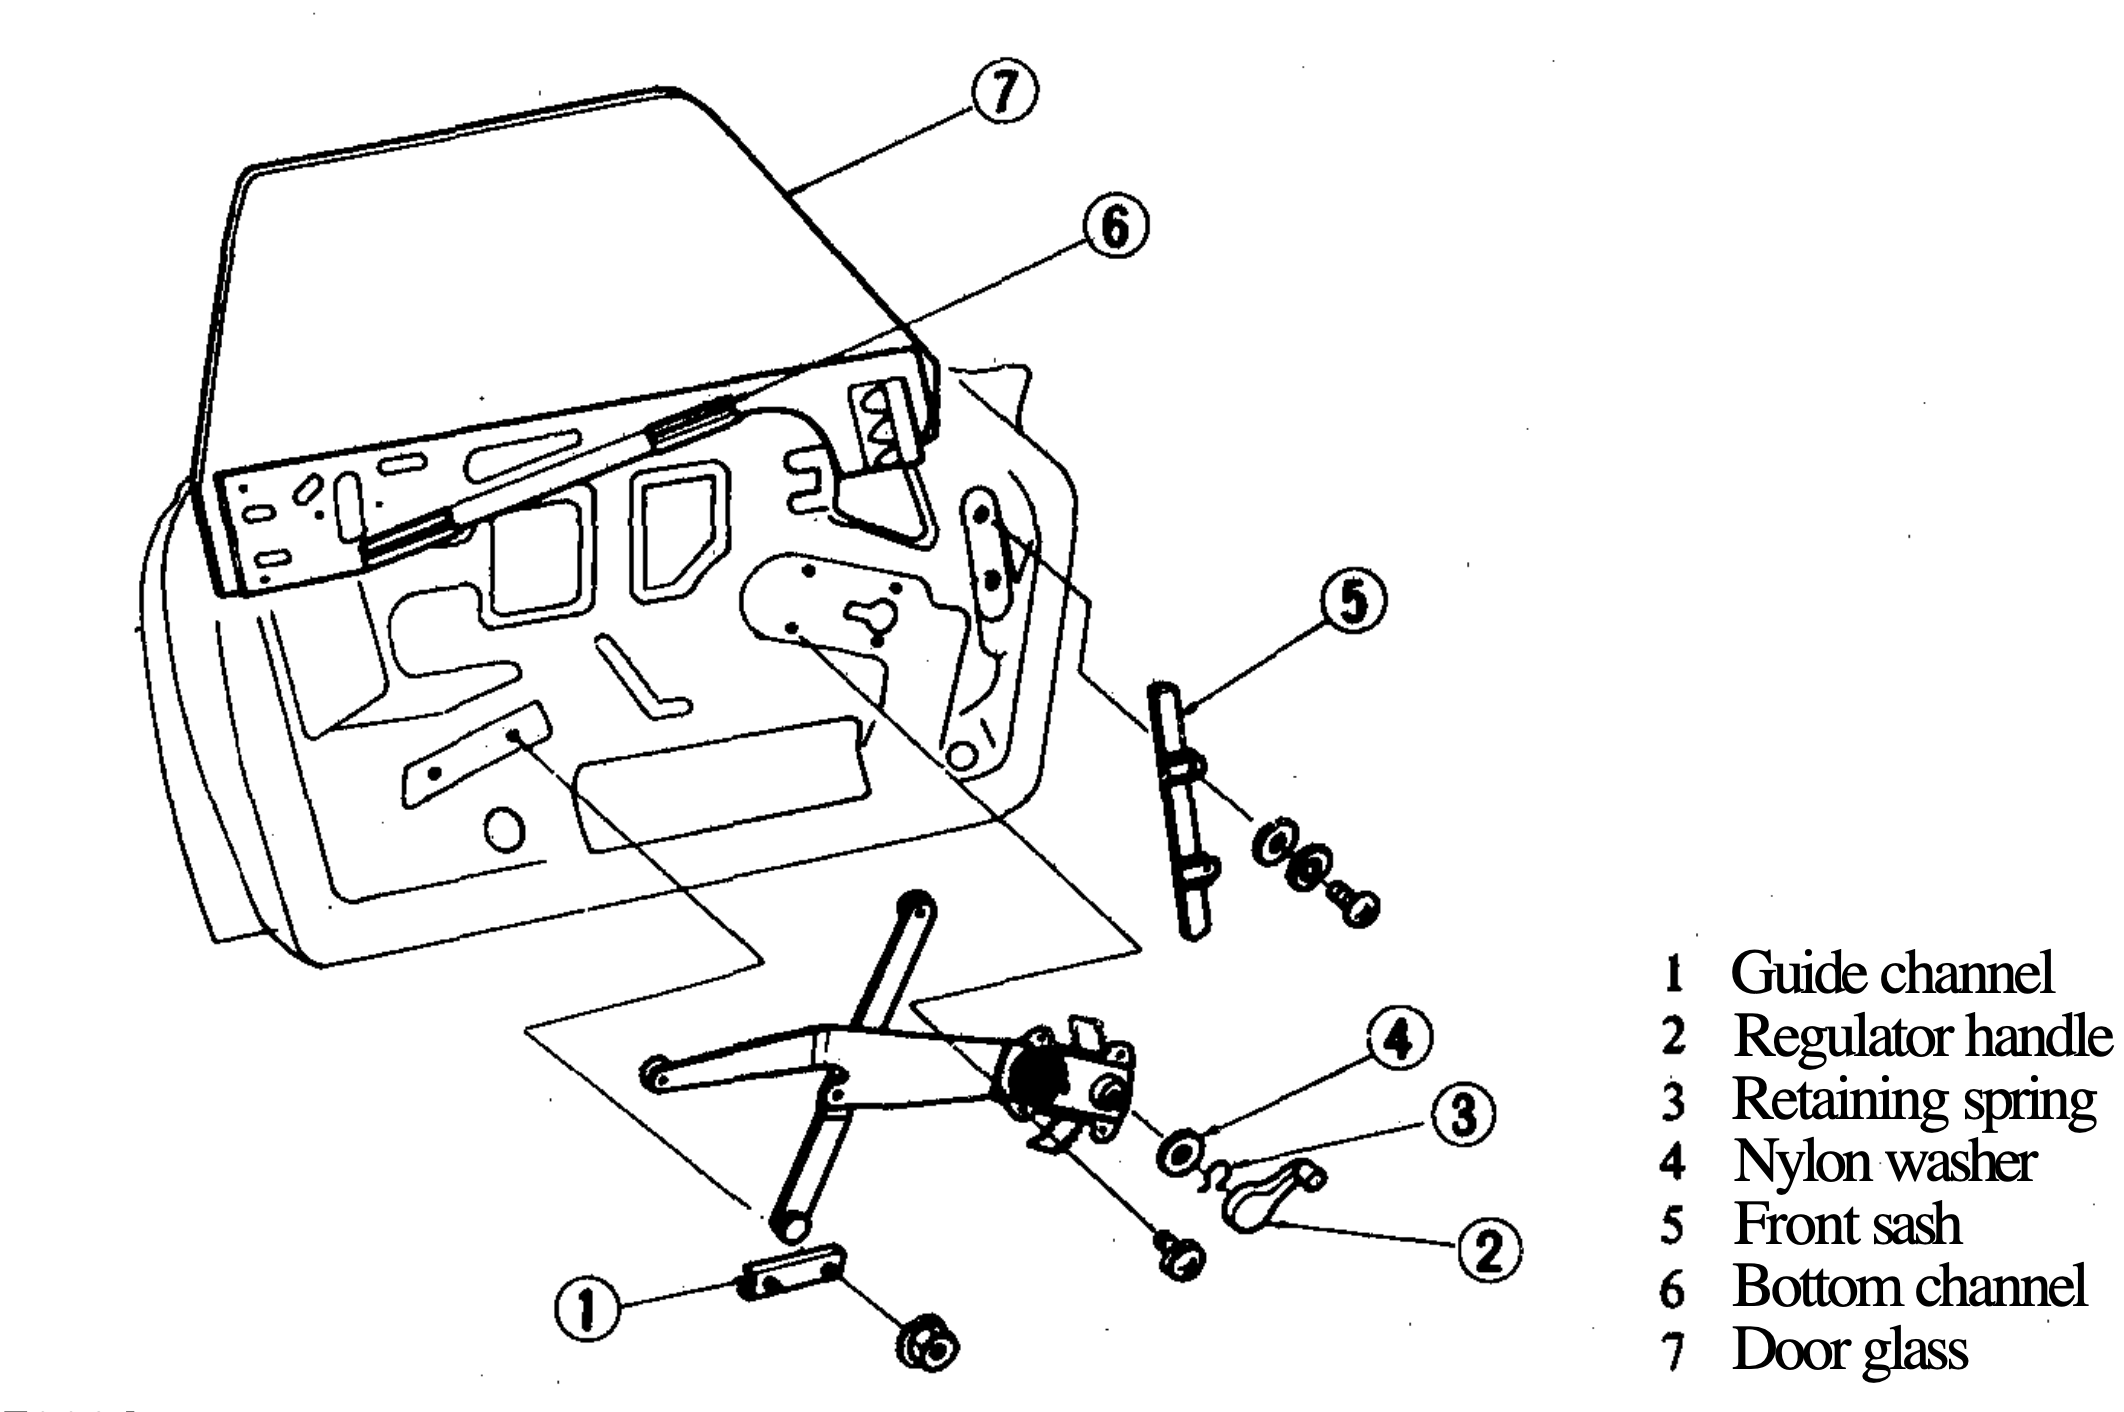
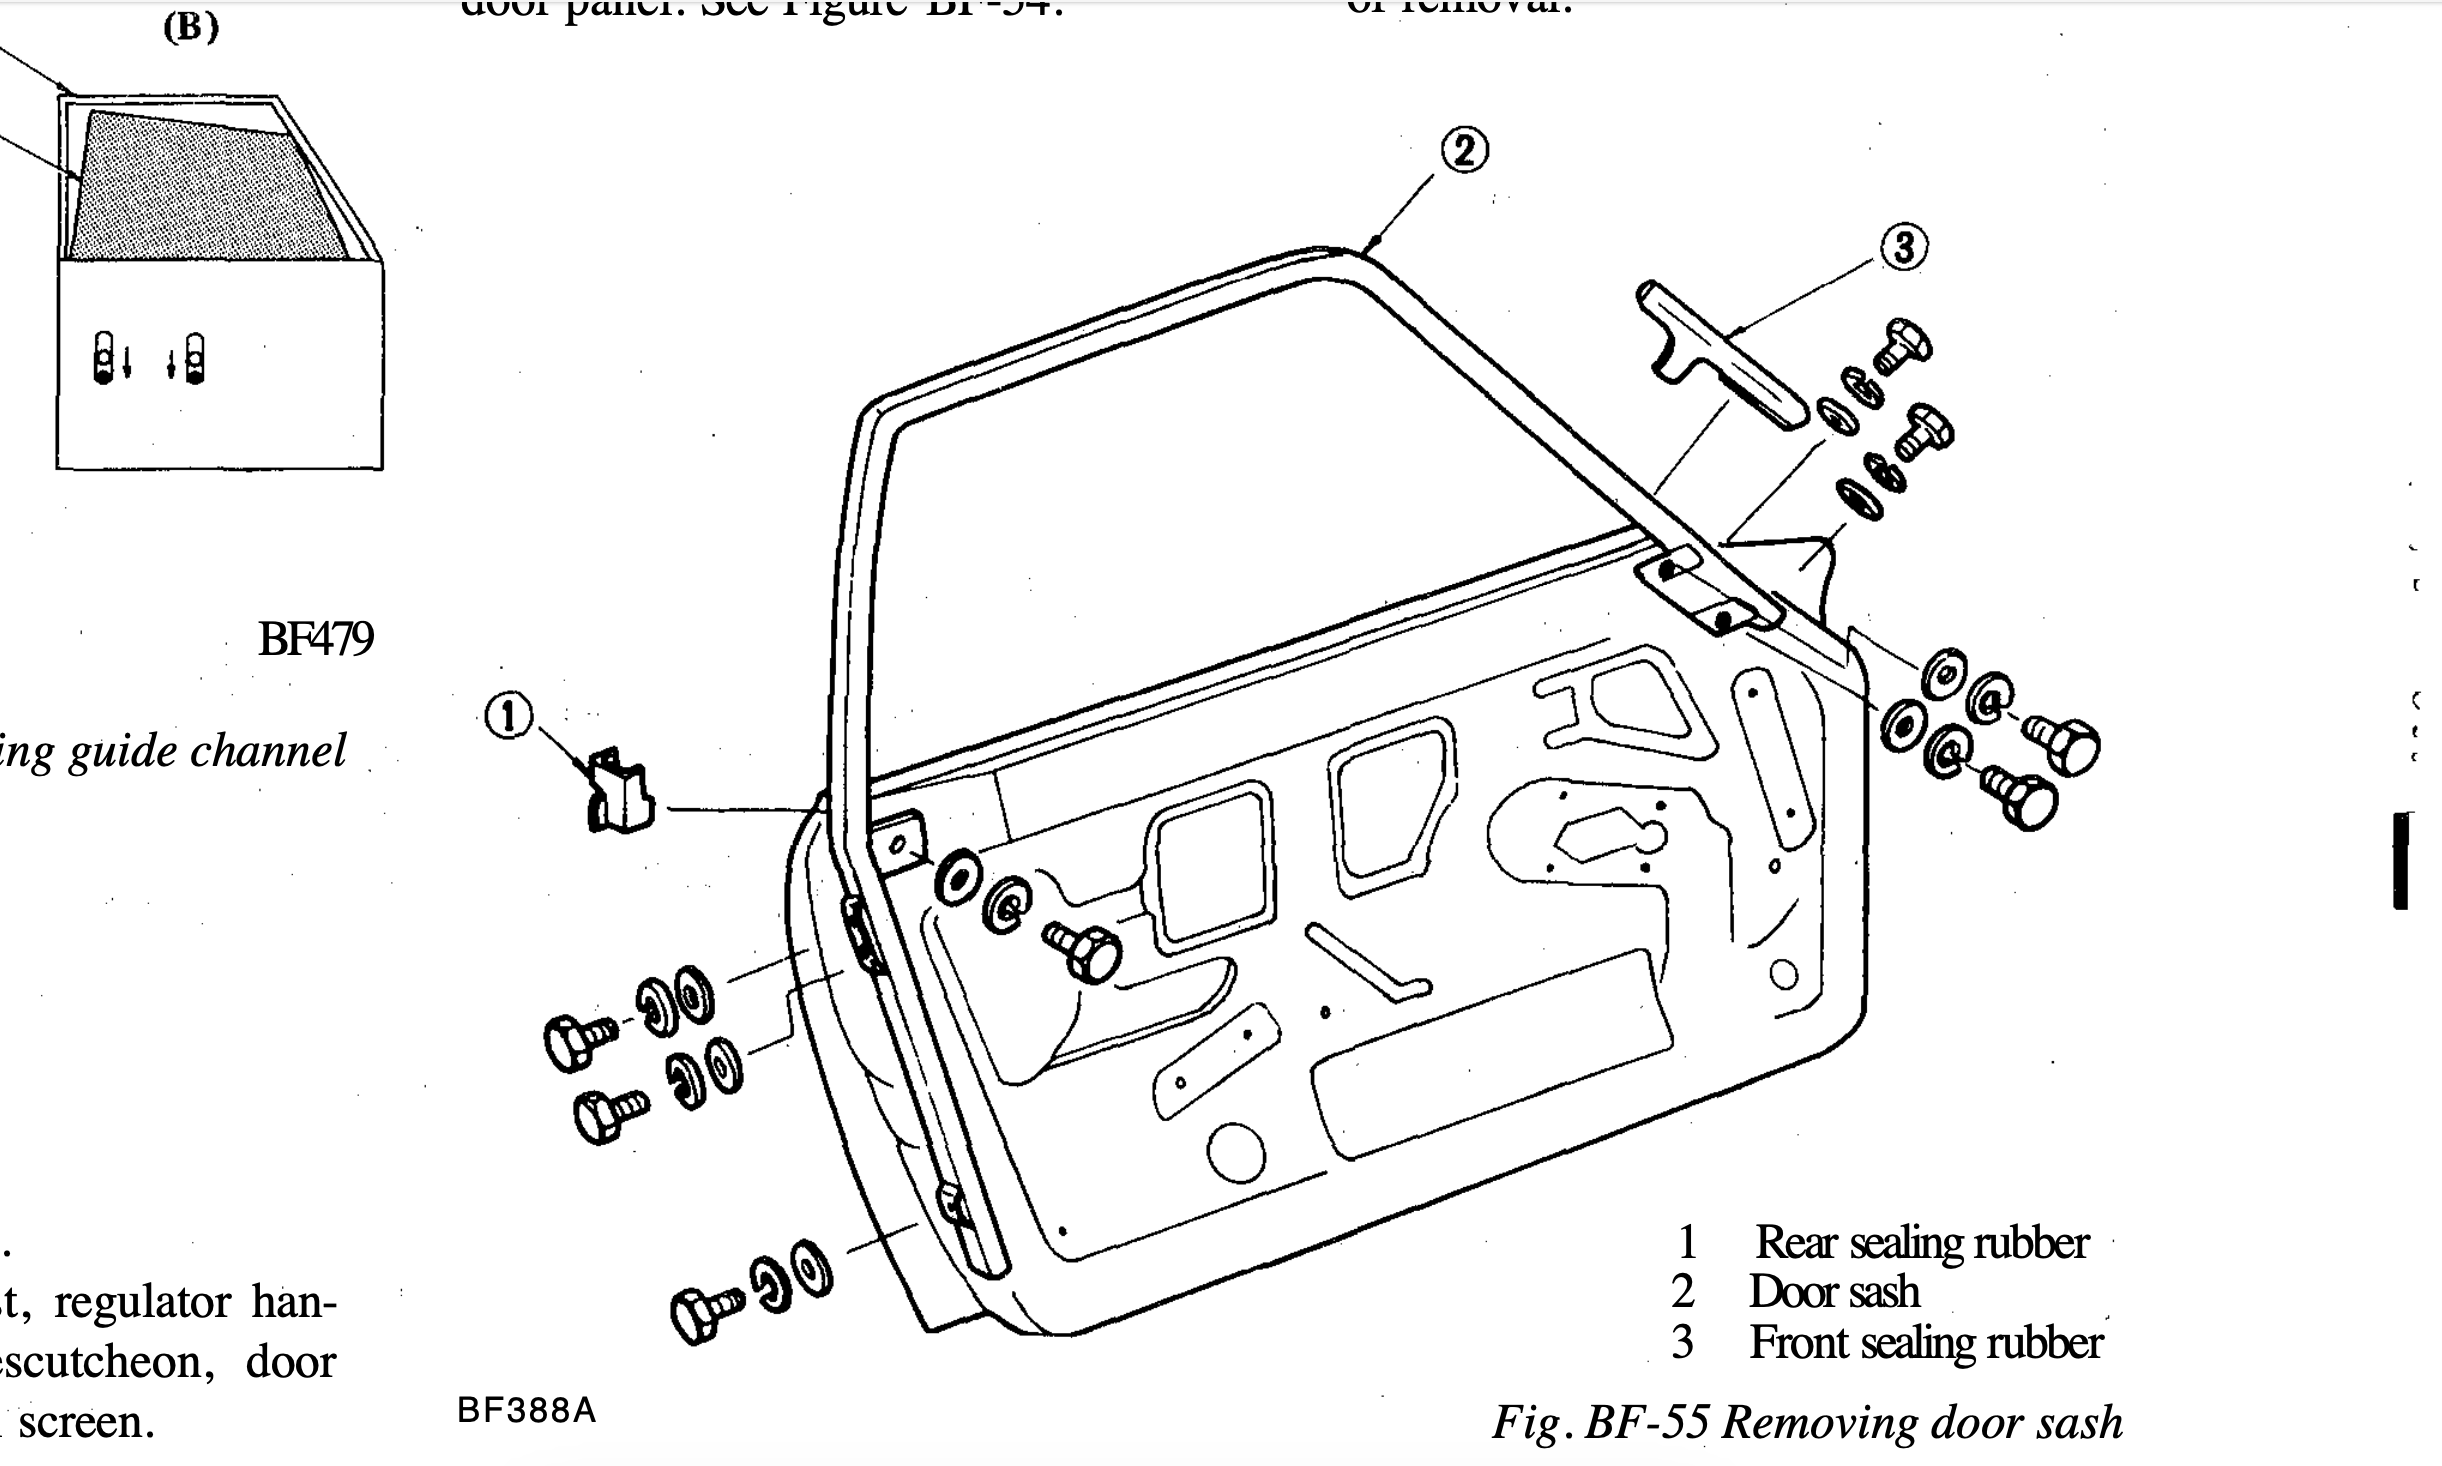
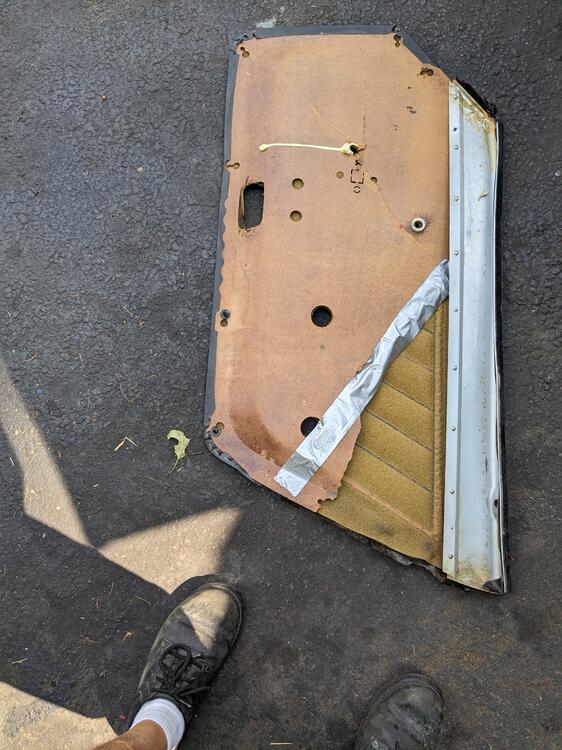
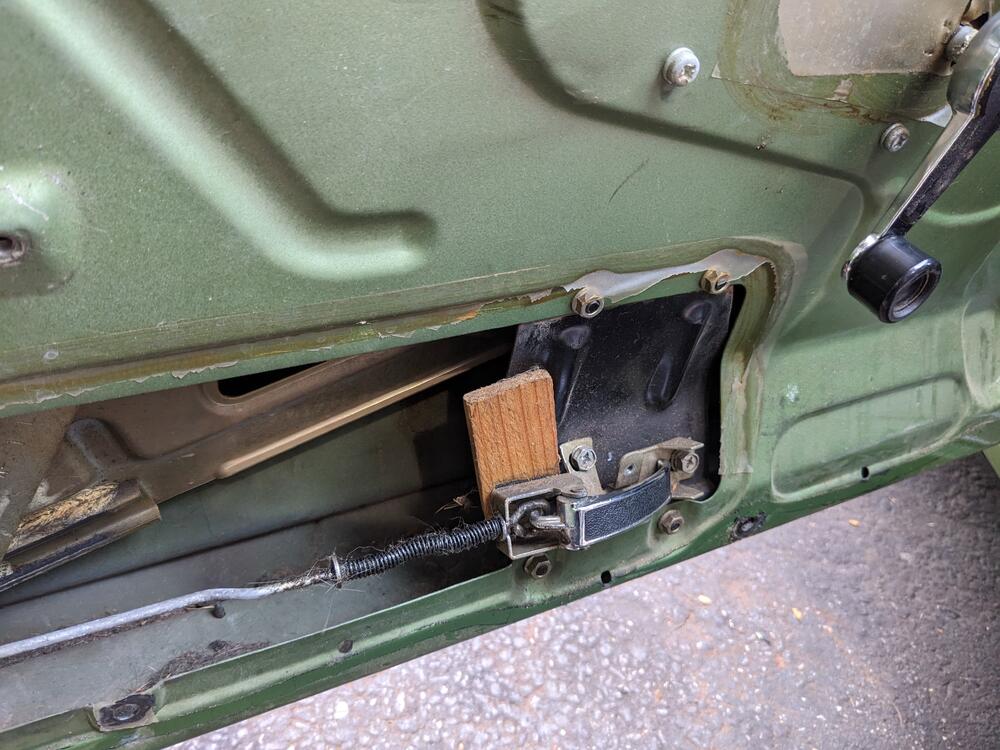
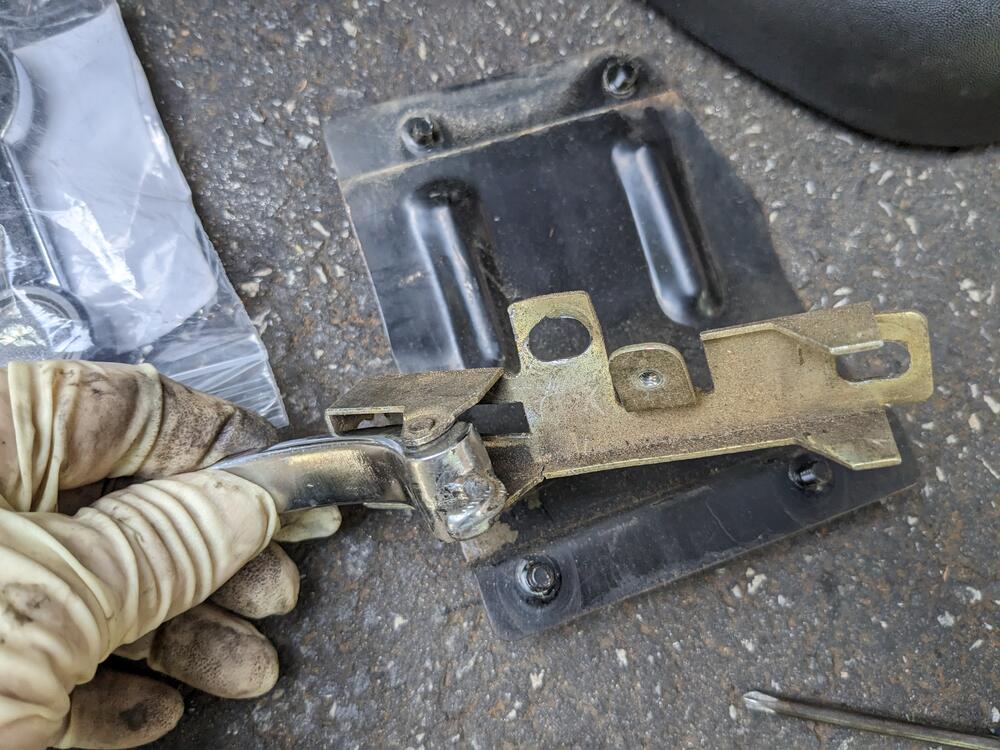
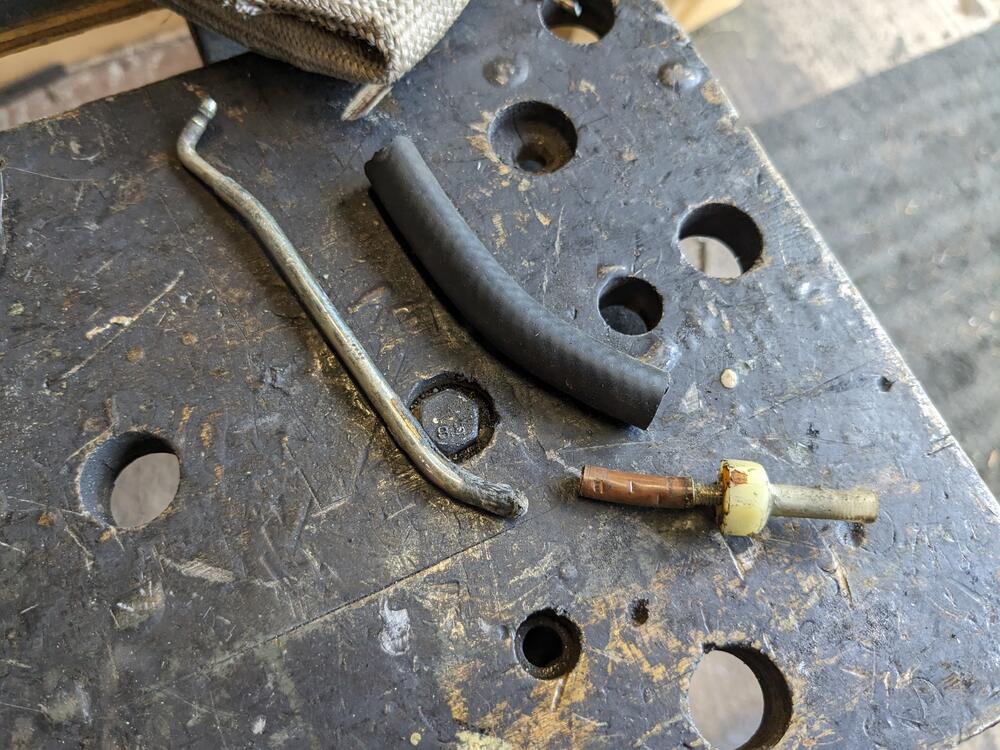
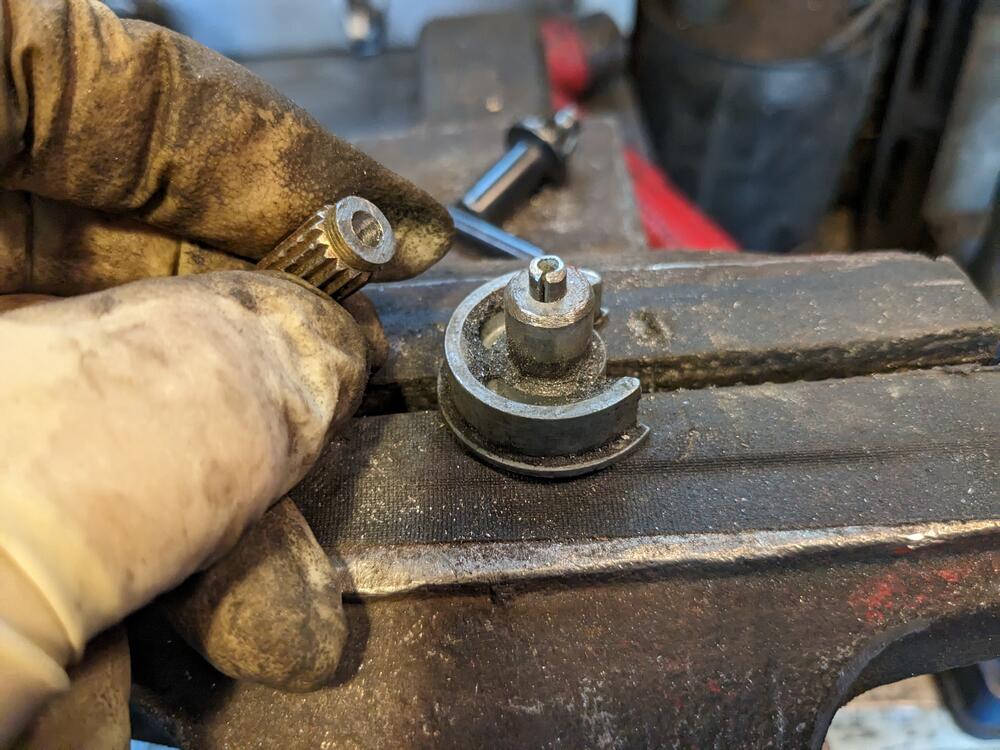
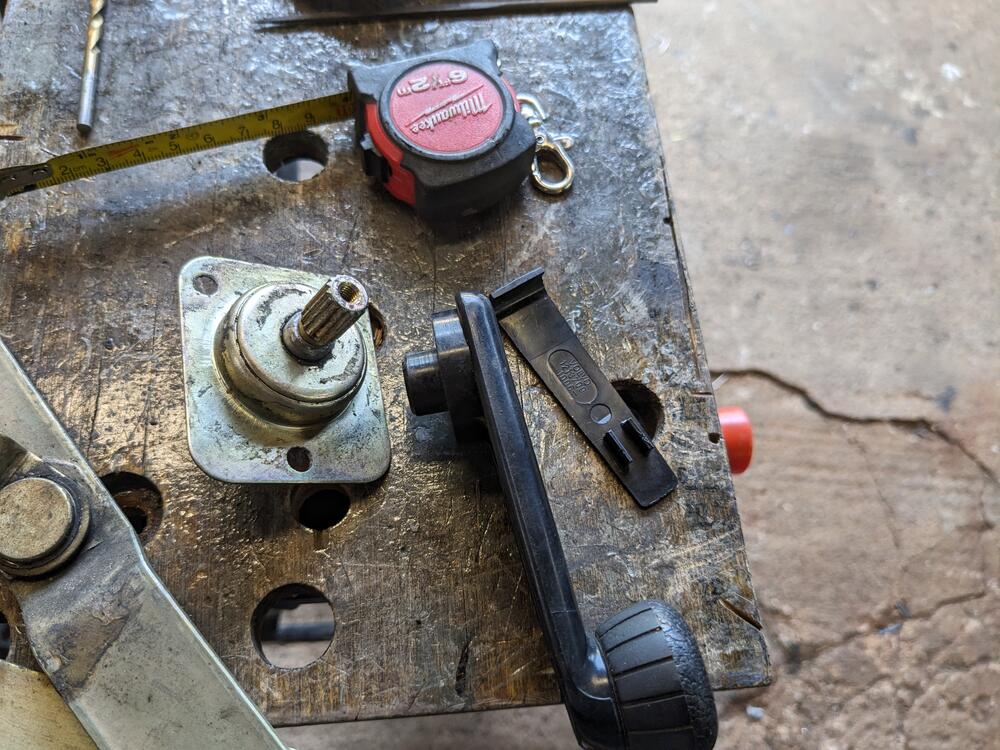
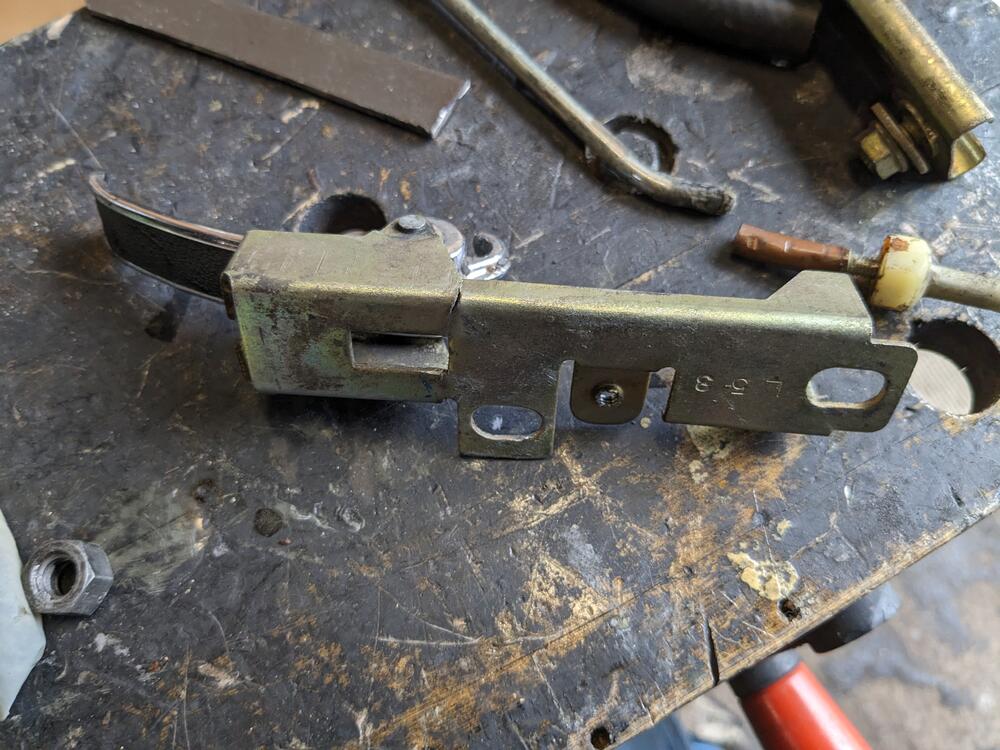
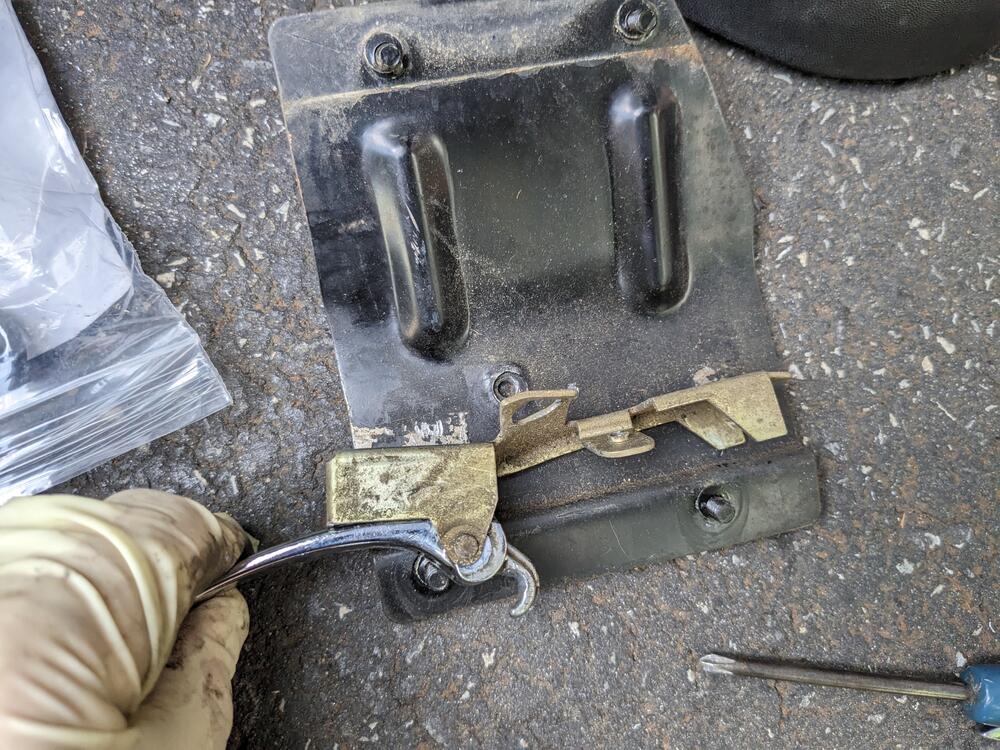
Took the driver's door apart today to change the door glass channel. I already knew the door panel was a problem, and that something funky was up with the inner release handle. As far a I can see, the only rubber in the door is the glass guide & the rear molded seal, (front outer seal I've already done) which I have coming tomorrow. First problem was that the window crank was epoxied to the winder Botch repairs here Release plate is cracked & distorted. release rod for outer handle is also a problem. I'll weld the rod. release plate straightened out - have to weld the stress crack & reinforce the plate The spline section of the winder crank was buggered, so I cut it off & prepped a replacement spline section from a 240 (Volvo) window winder drilled both pieces & used a roll pin to join the pieces before welding, which I will do tomorrow. Volvo crank is screwed in place once attached, no more spring clip to worry about. Crank winder plate rivets were drilled out to remove winder.


 3 points
 -
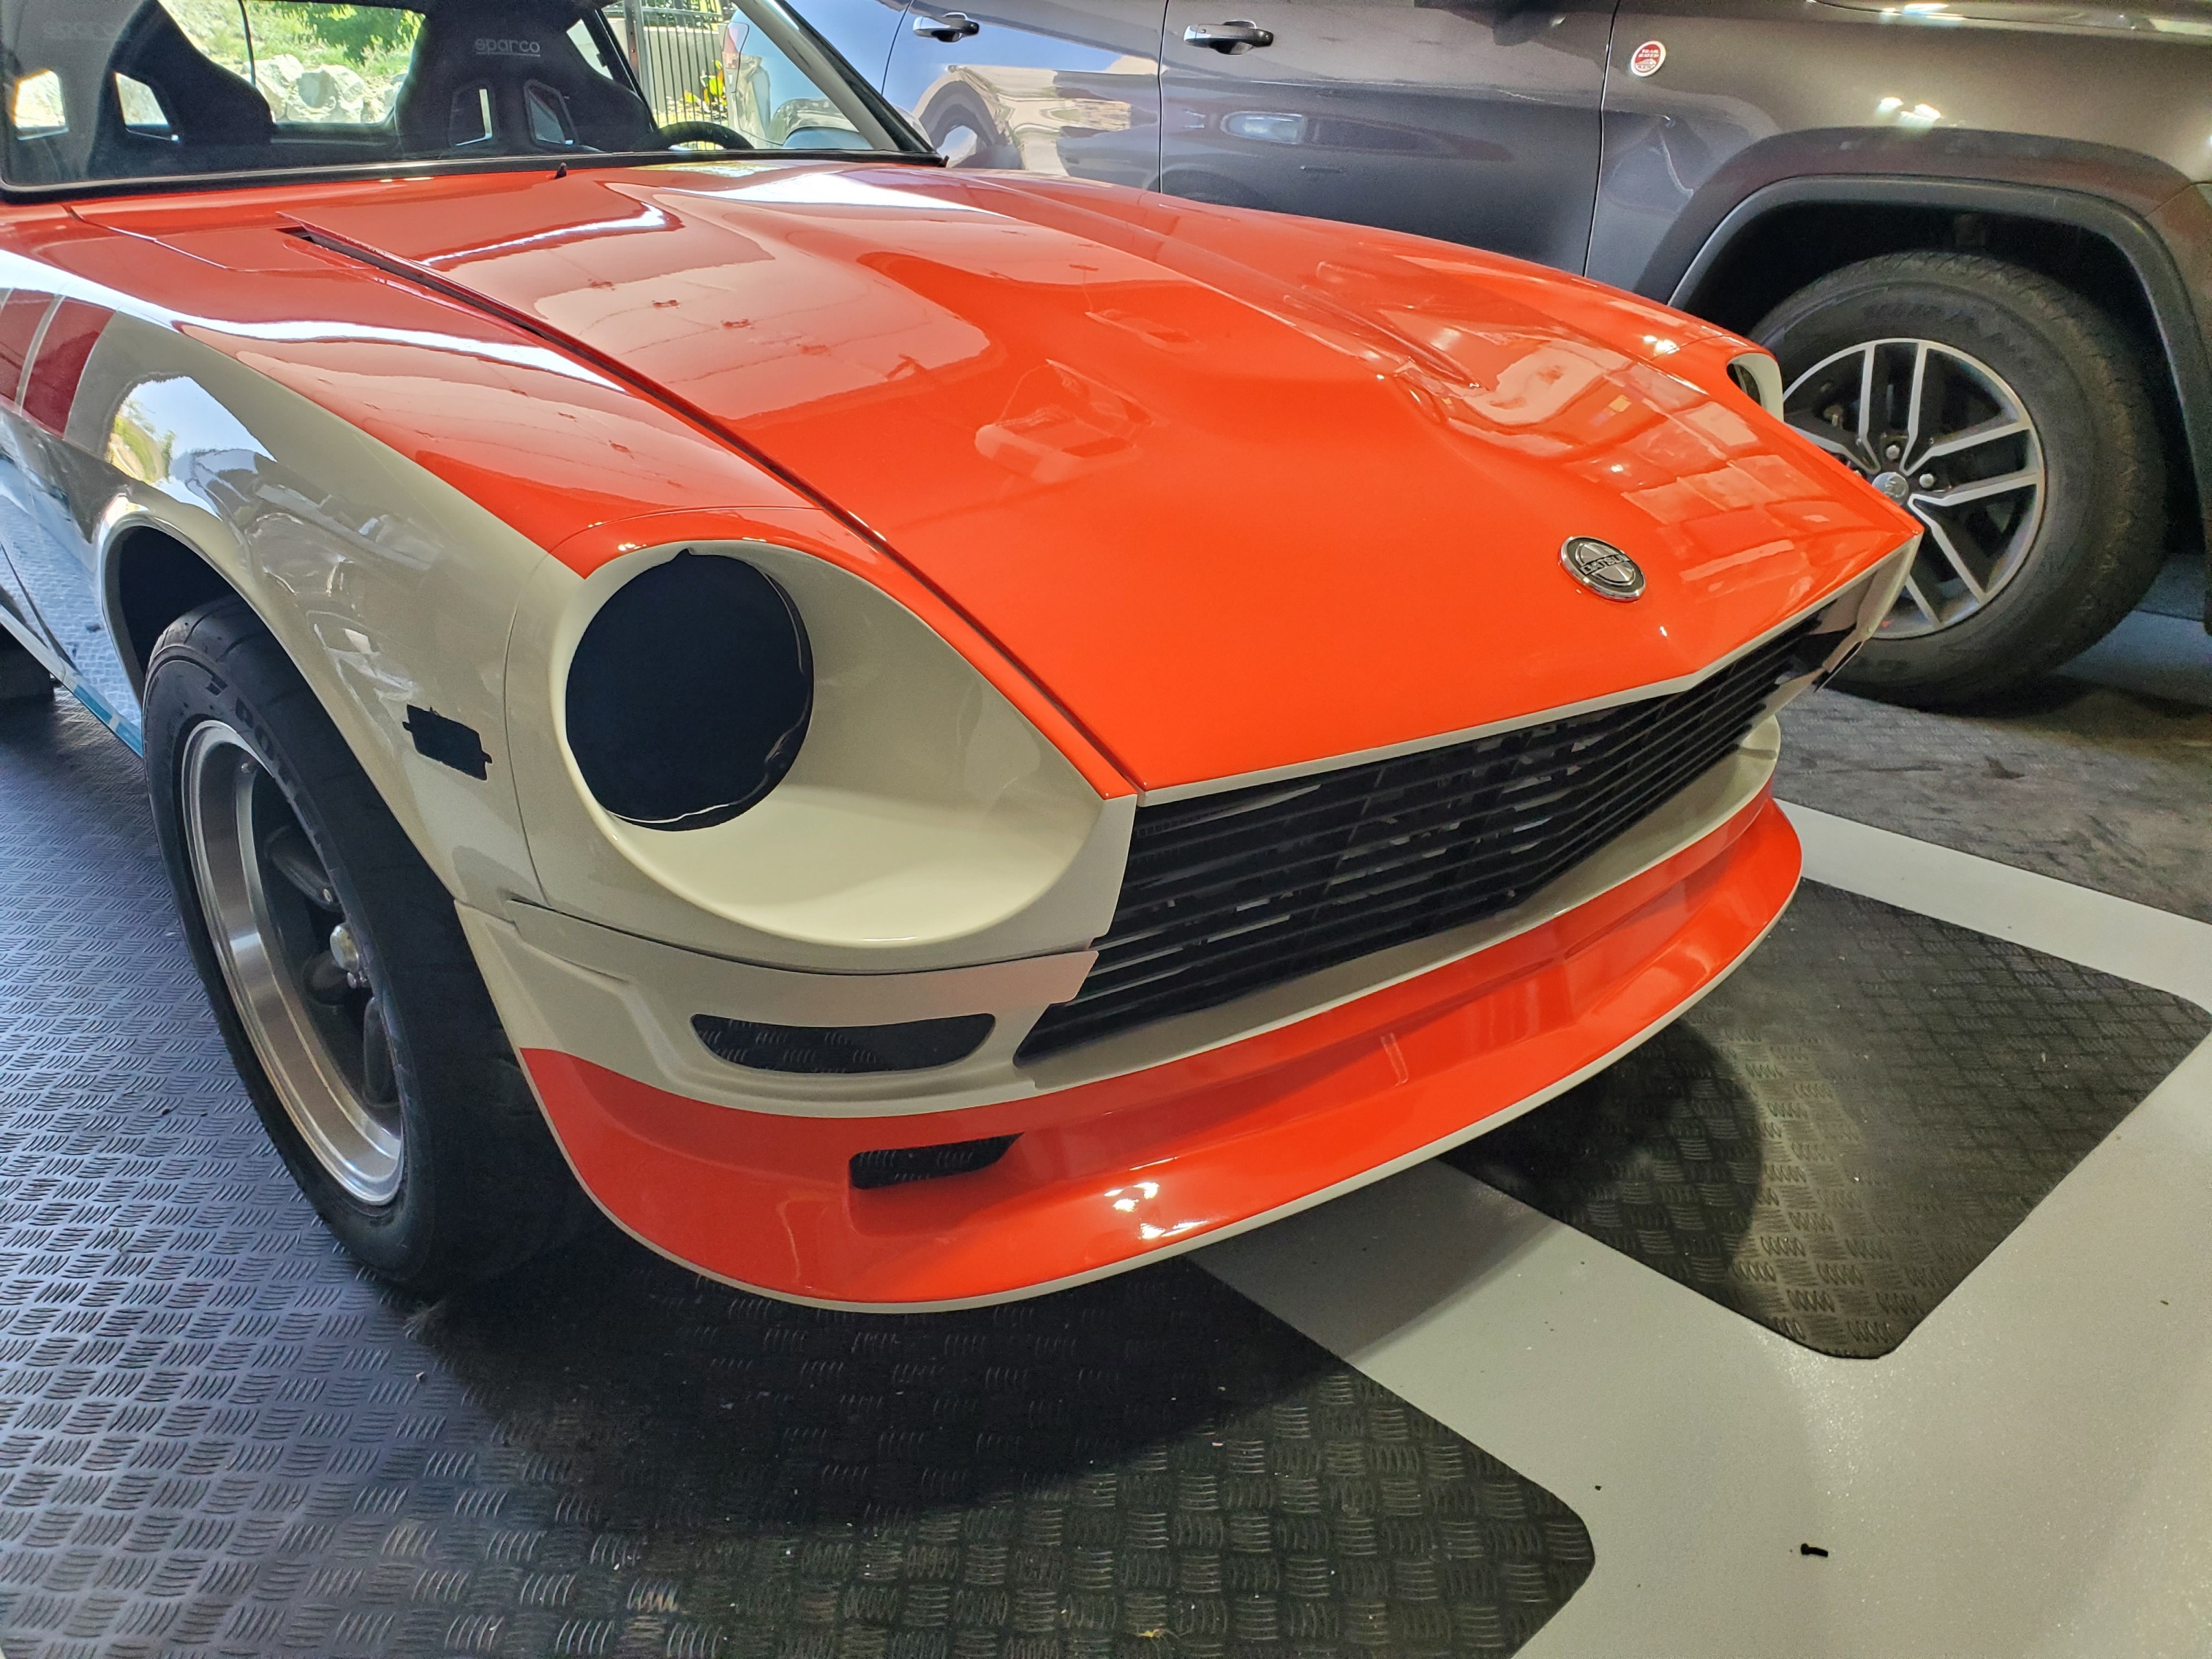
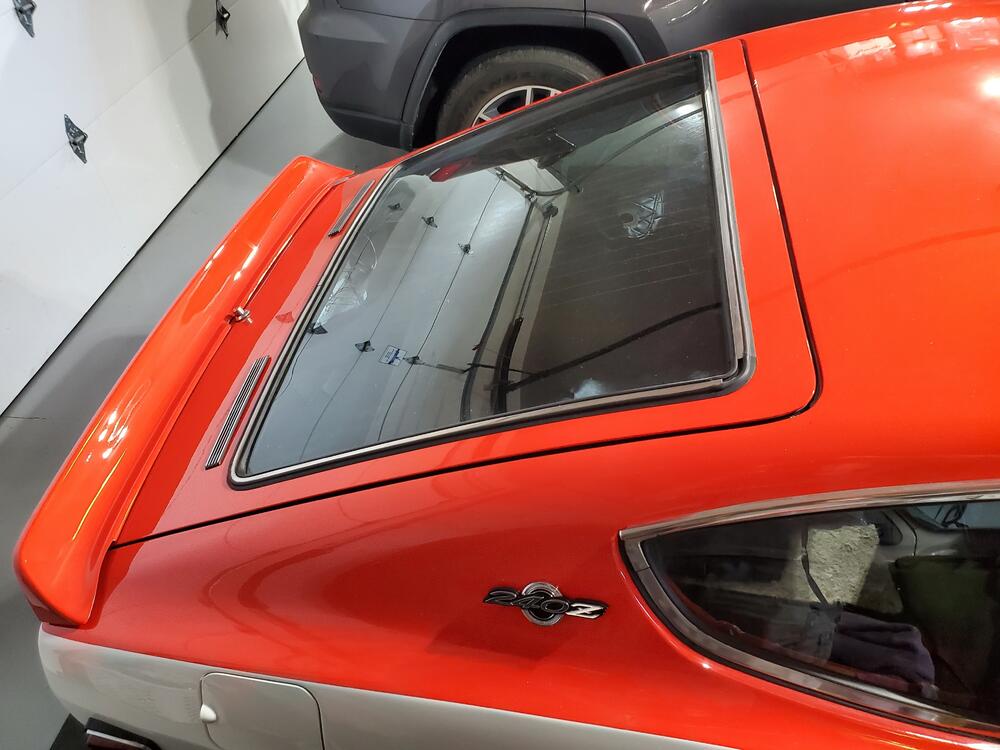
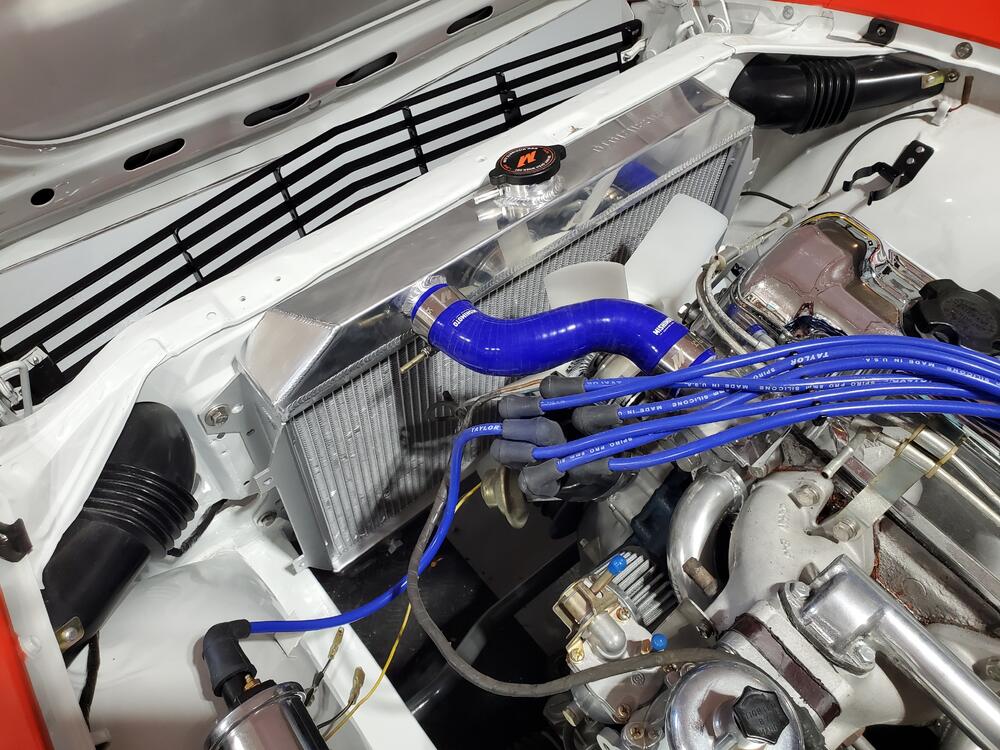
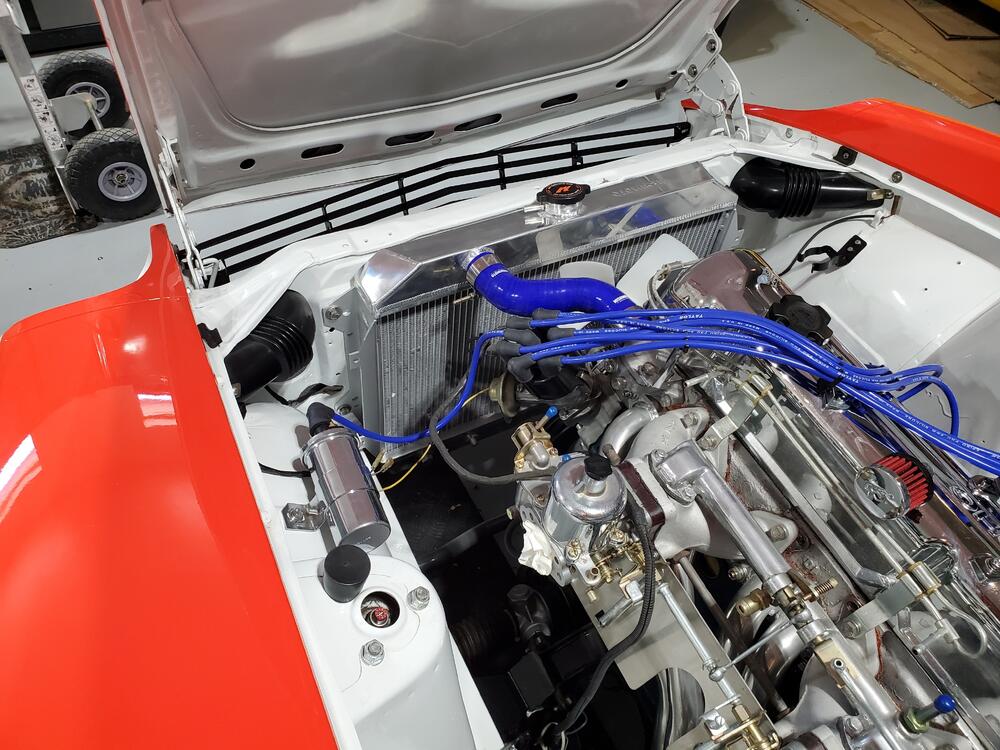
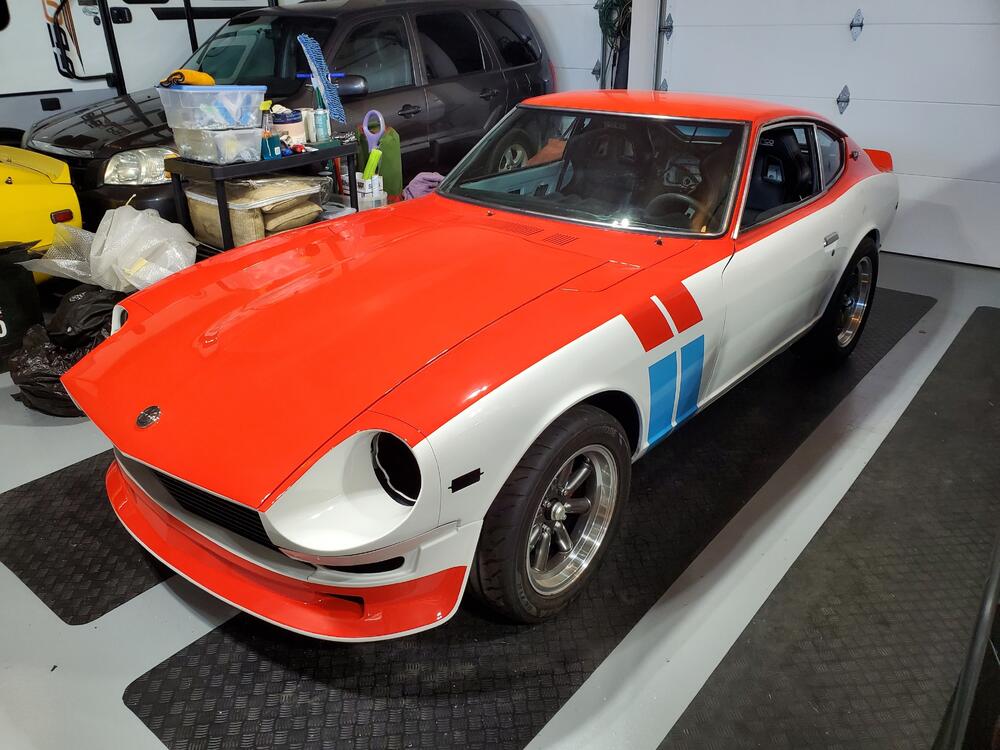
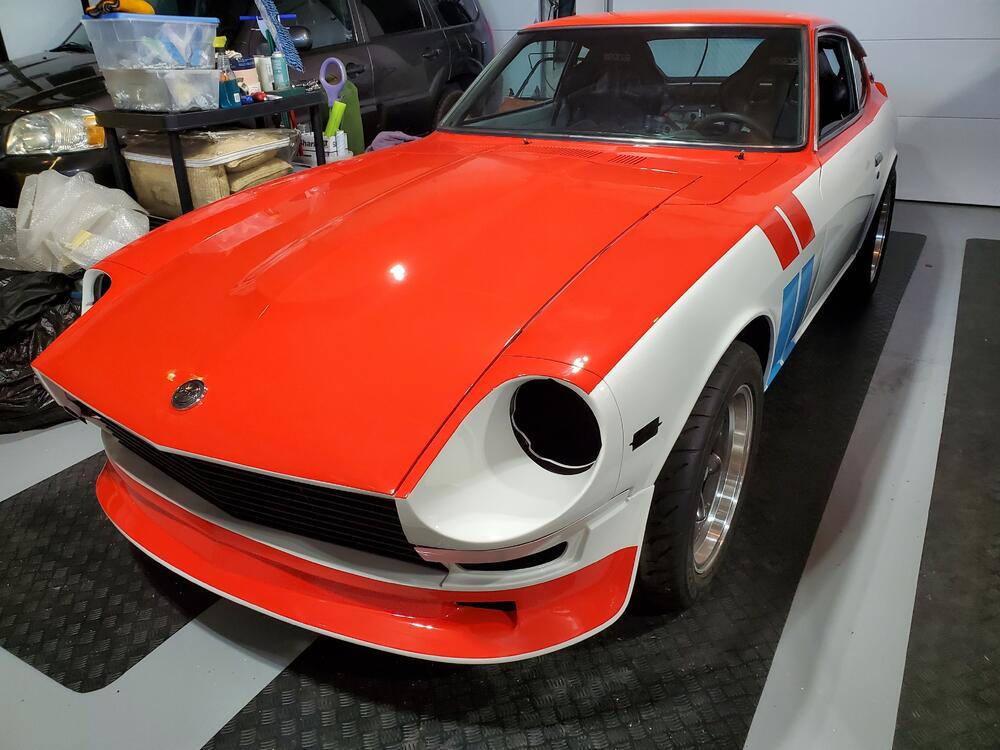
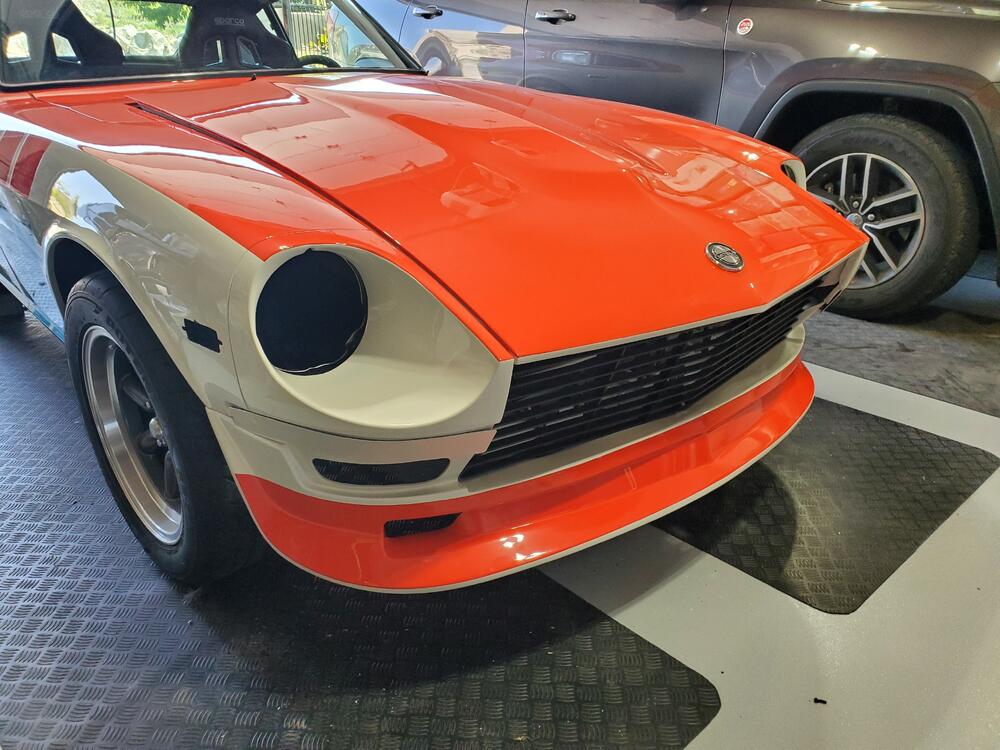
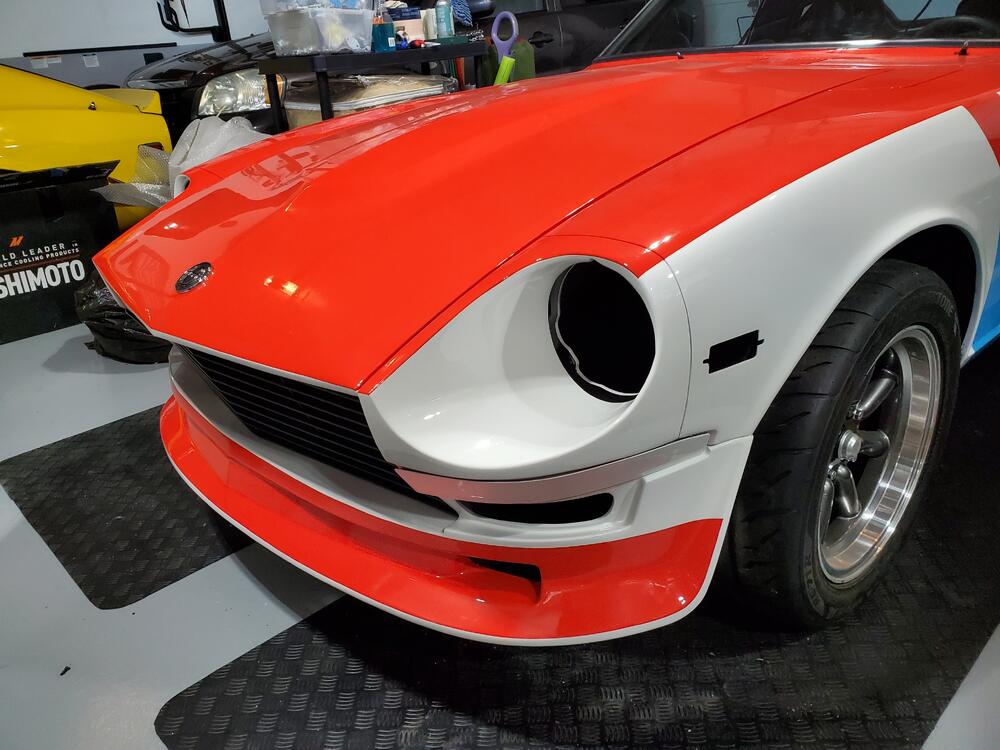
3 pointsCar parts arrived, so I am now continuing the assembly. I installed the rear hatch vents, the spoiler and internal hatch cover. Installed the radiator and temporary install of hoses (clamps are a little on the large size and will need to be revisited). Also installed the front air dam, Skillard grill, and bumper deletes. I wish I could say that it all bolted together perfectly, but such was not the case. The rear spoiler was fairly simple as were the vents, however the front air dam and grill are a very close fit. The grill has about a half inch clearance from the body at the top, however, the air dam is line to line with the grill. Also, on the grill, the lower support in the center required some modification as the slot was not long enough to engage the support. I had to drill a hole a bit below the slot in order to get full support. Also, the grill comes stock with just 3 support points, 2 upper (one on each side) and 1 lower in the middle. There are two lower side mounts on the front clip that are not used as the grill has no features for these. These would be nice as they would help with alignment of the grill. Below are a few pics.


 3 points
 -
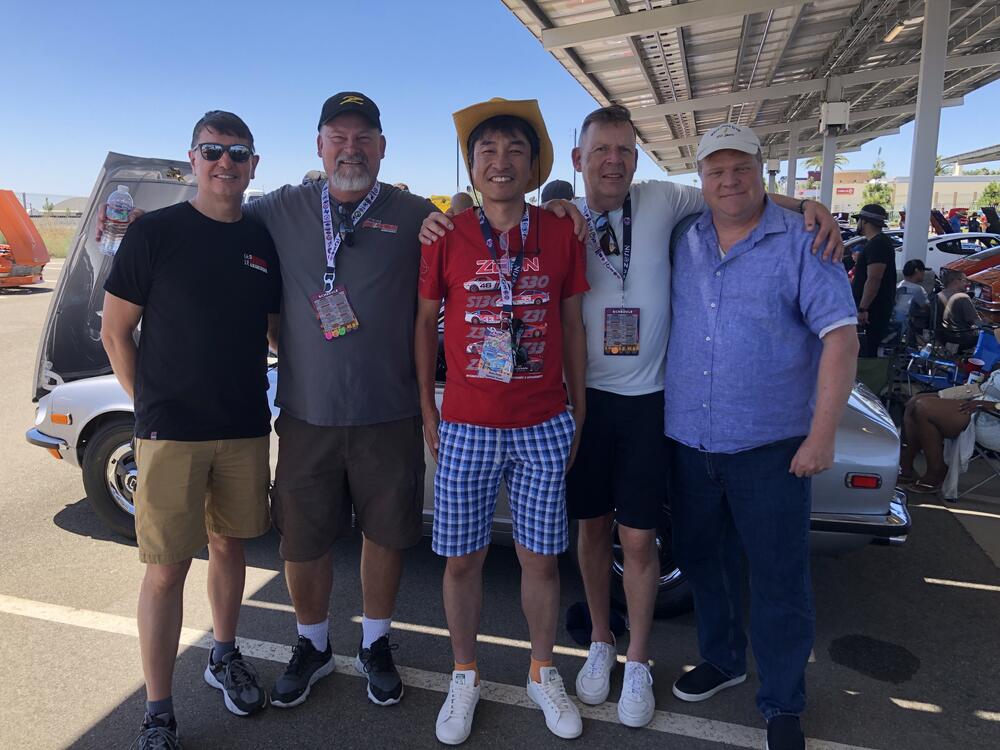
2 pointsHi, I had a blast!! I am so glad that we got to see each other all at once. Alan, we talked about you a lot. Kats
 2 points
 -
2 points
-
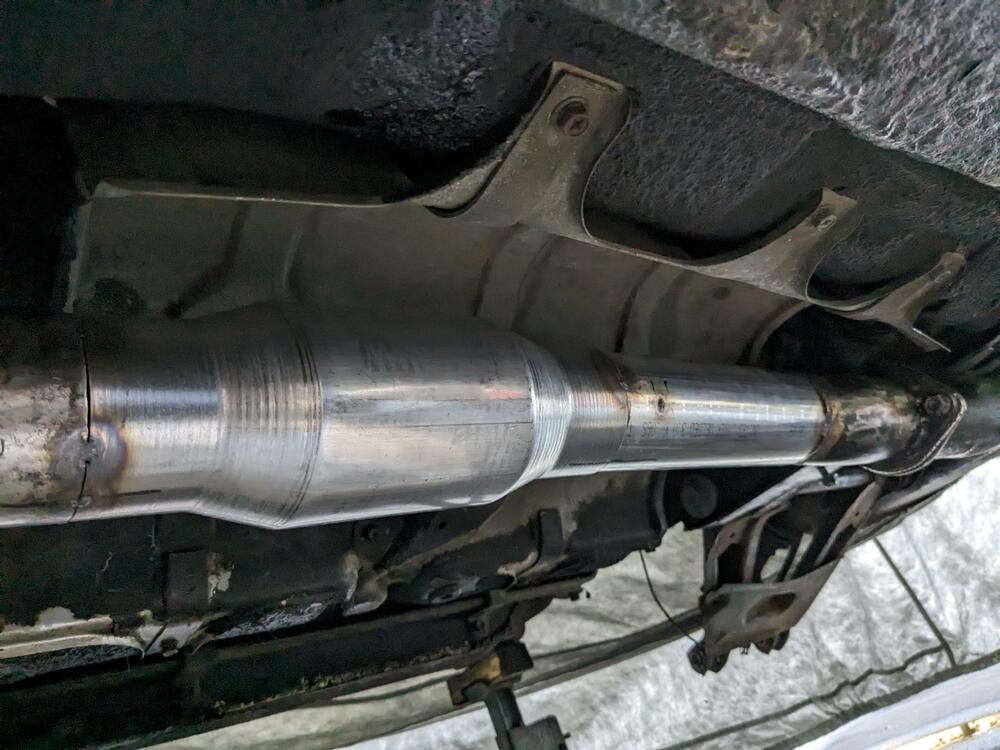
All Volvos from 2000-on use it in the driveshaft tunnel & under the rear cargo/trunk floor above the rear muffler. I saved the sections from an 2004 S40T5 AWD when I stripped it for converting my C30T5 to AWD2 points
-
2 pointsI just installed the Excedy 240mm (6030) kit. I reused the collar that was in there with the autozone 225mm (looks like the pressure plate in the above pic). The pressure plate was quite a bit thicker than the one that came out. It all worked out fine, I will get some measurements on another collar that I have, that was very close to the one that I ended up using. It looks taller than the one in the pic above. The Excedy seem to be a touch lighter in feal, and much smoother than what came out. I used to get a tiny bit of chatter if I did not feather the clutch just right when starting off from a dead stop at low rpm's. The 240mm Excedy has no hint of this. I also check the pilot bush with the alignment tool, the old one had a lot of play, so I pulled and installed the new bush. It was so tight on the tool that I could not extract the tool with the pull ring, I had to use pliers to pull it out. Took two tries (removed and reset the pressure plate with the alignment tool pressed in more fully) to seat the bell housing. I used guide two pins, trans in gear so I can turn the output shaft, a trans jack, and still it was a bear.... I did check the input shaft thickness with a micrometer to the alignment tool just to make sure it would fit, it was a hair thinner so I know it would fit the bush. While in there I replaced the rear main seal, as it was leaking there.2 points
-
1 point
-
1 point
-
Yeah, BMW uses sheets of that stuff and i squirrel away when I find it, just thought you might have found a source of virgin heat shield.1 point
-
1 point
-
1 pointInspired by all those here that helped me resolve my issues with my Z and get her running normally again: https://www.youtube.com/watch?v=Vl_2uqYW6FM1 point
-
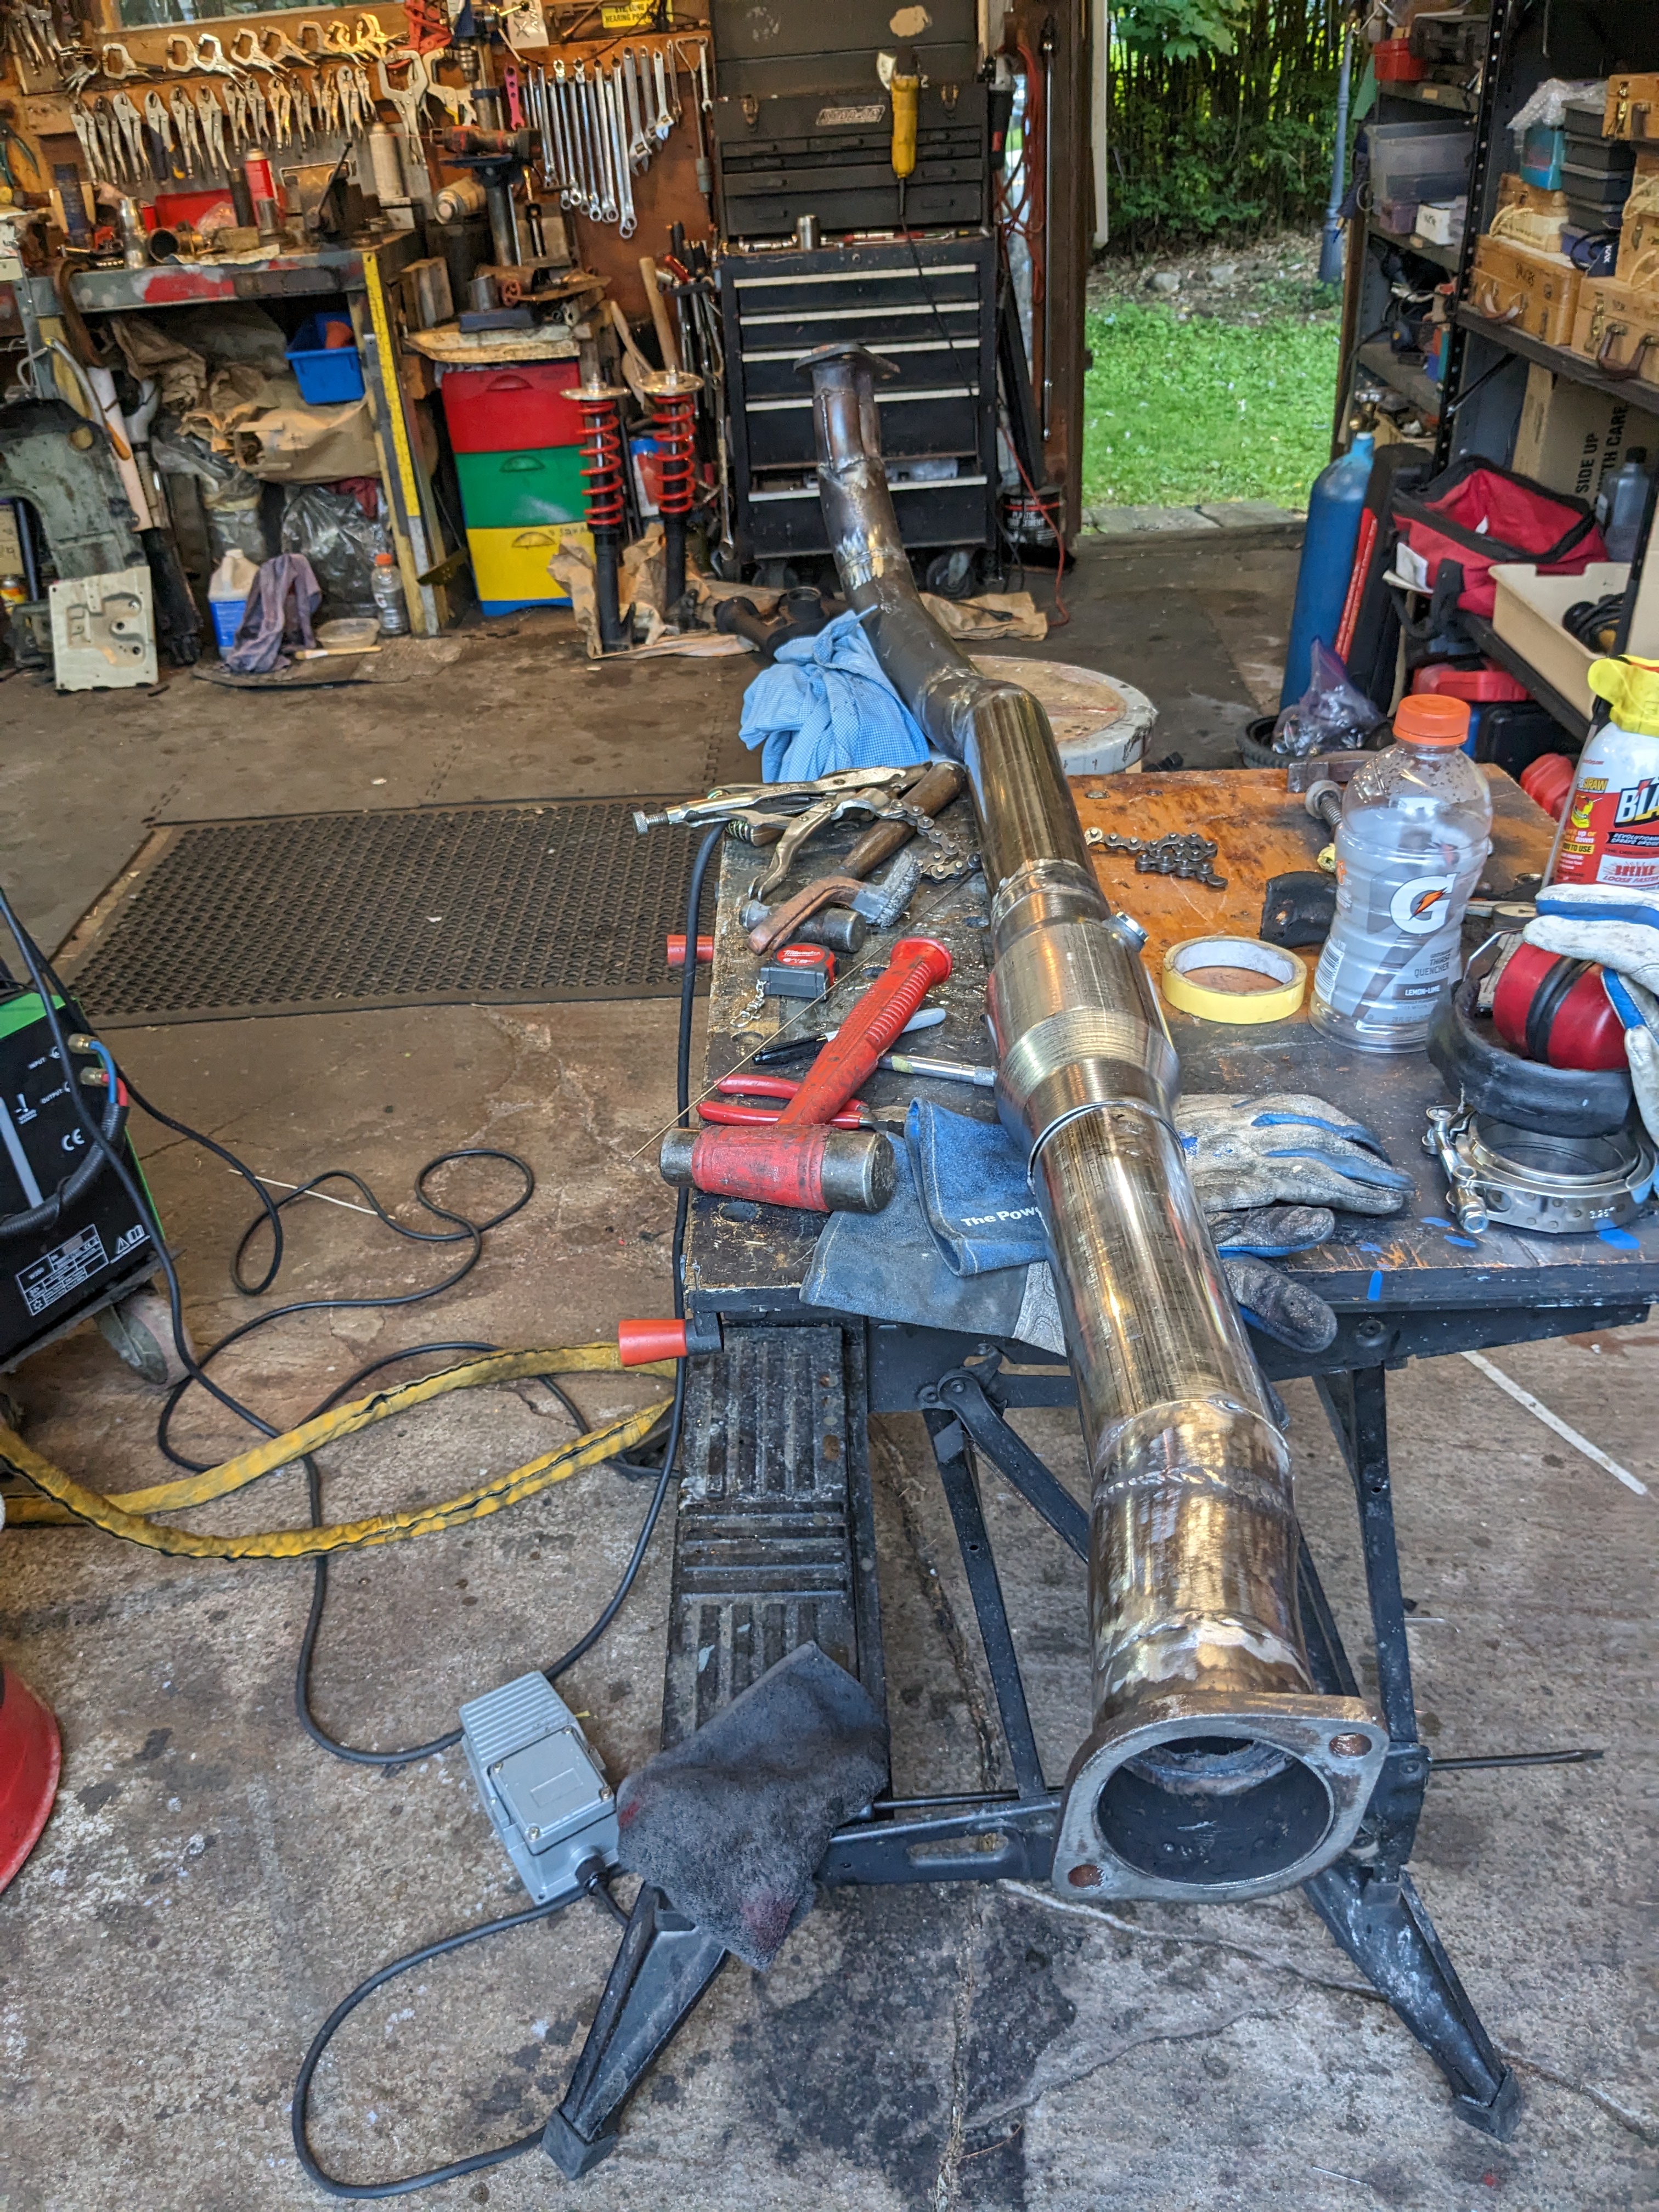
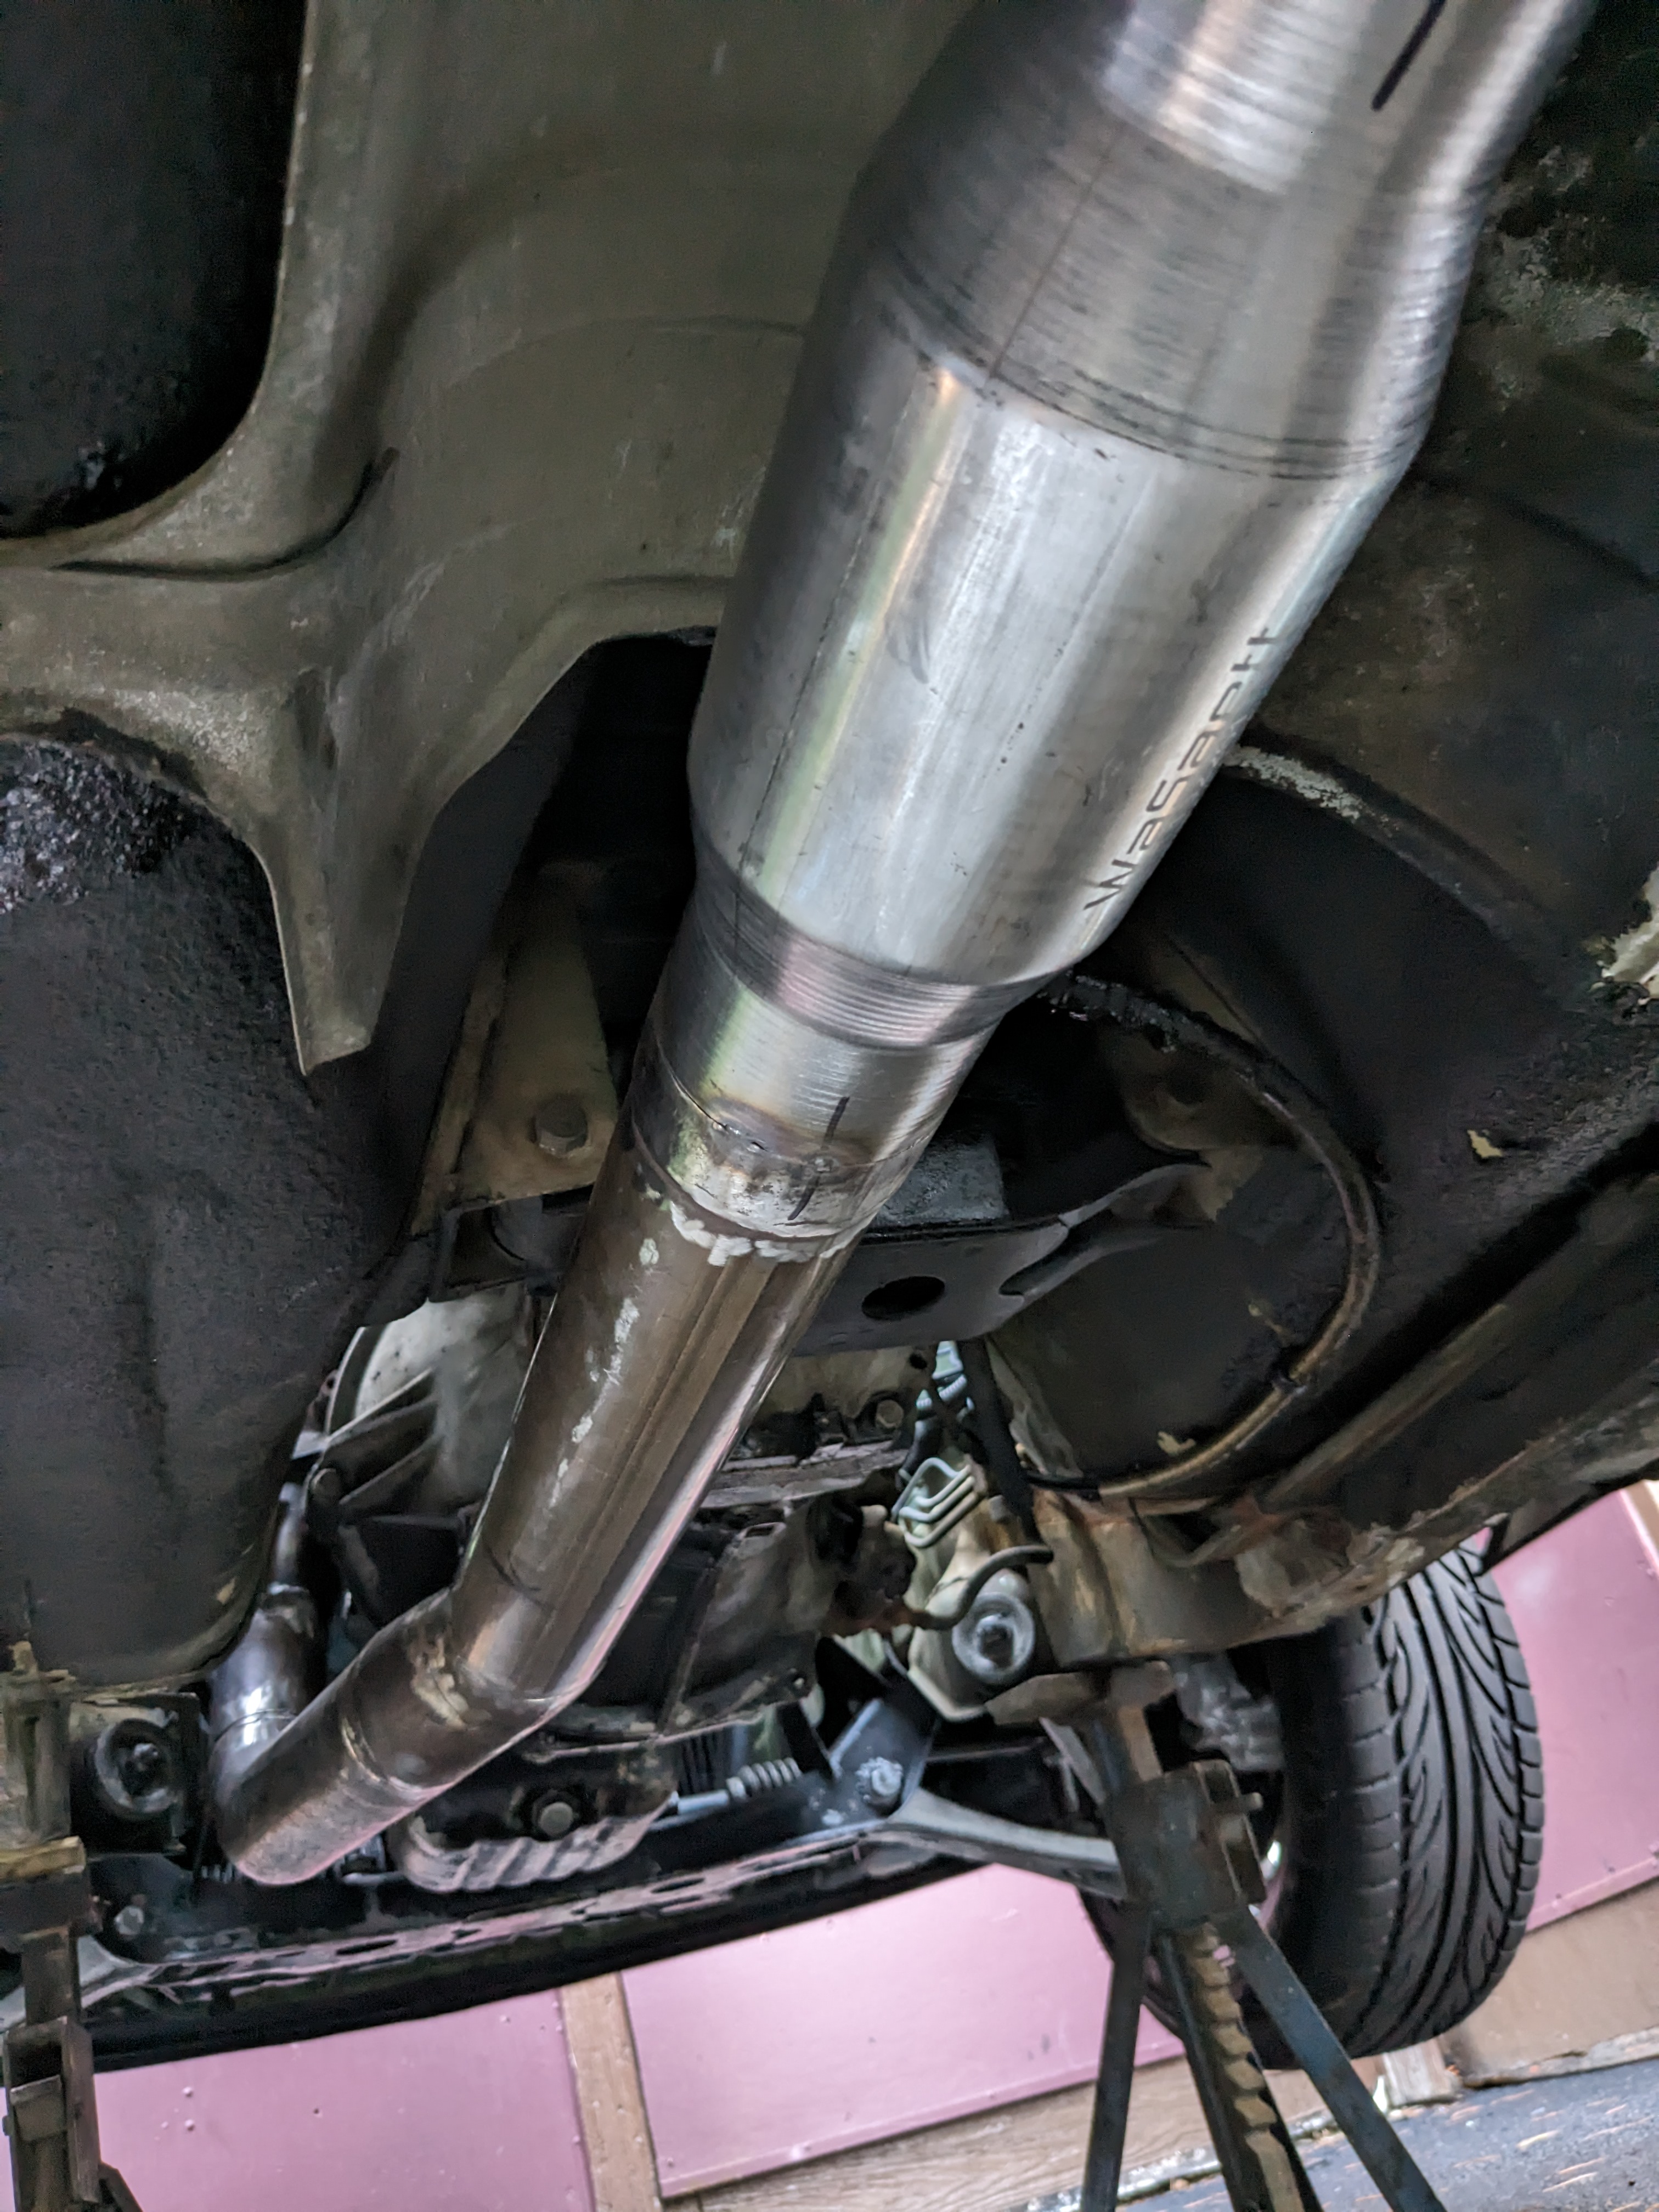
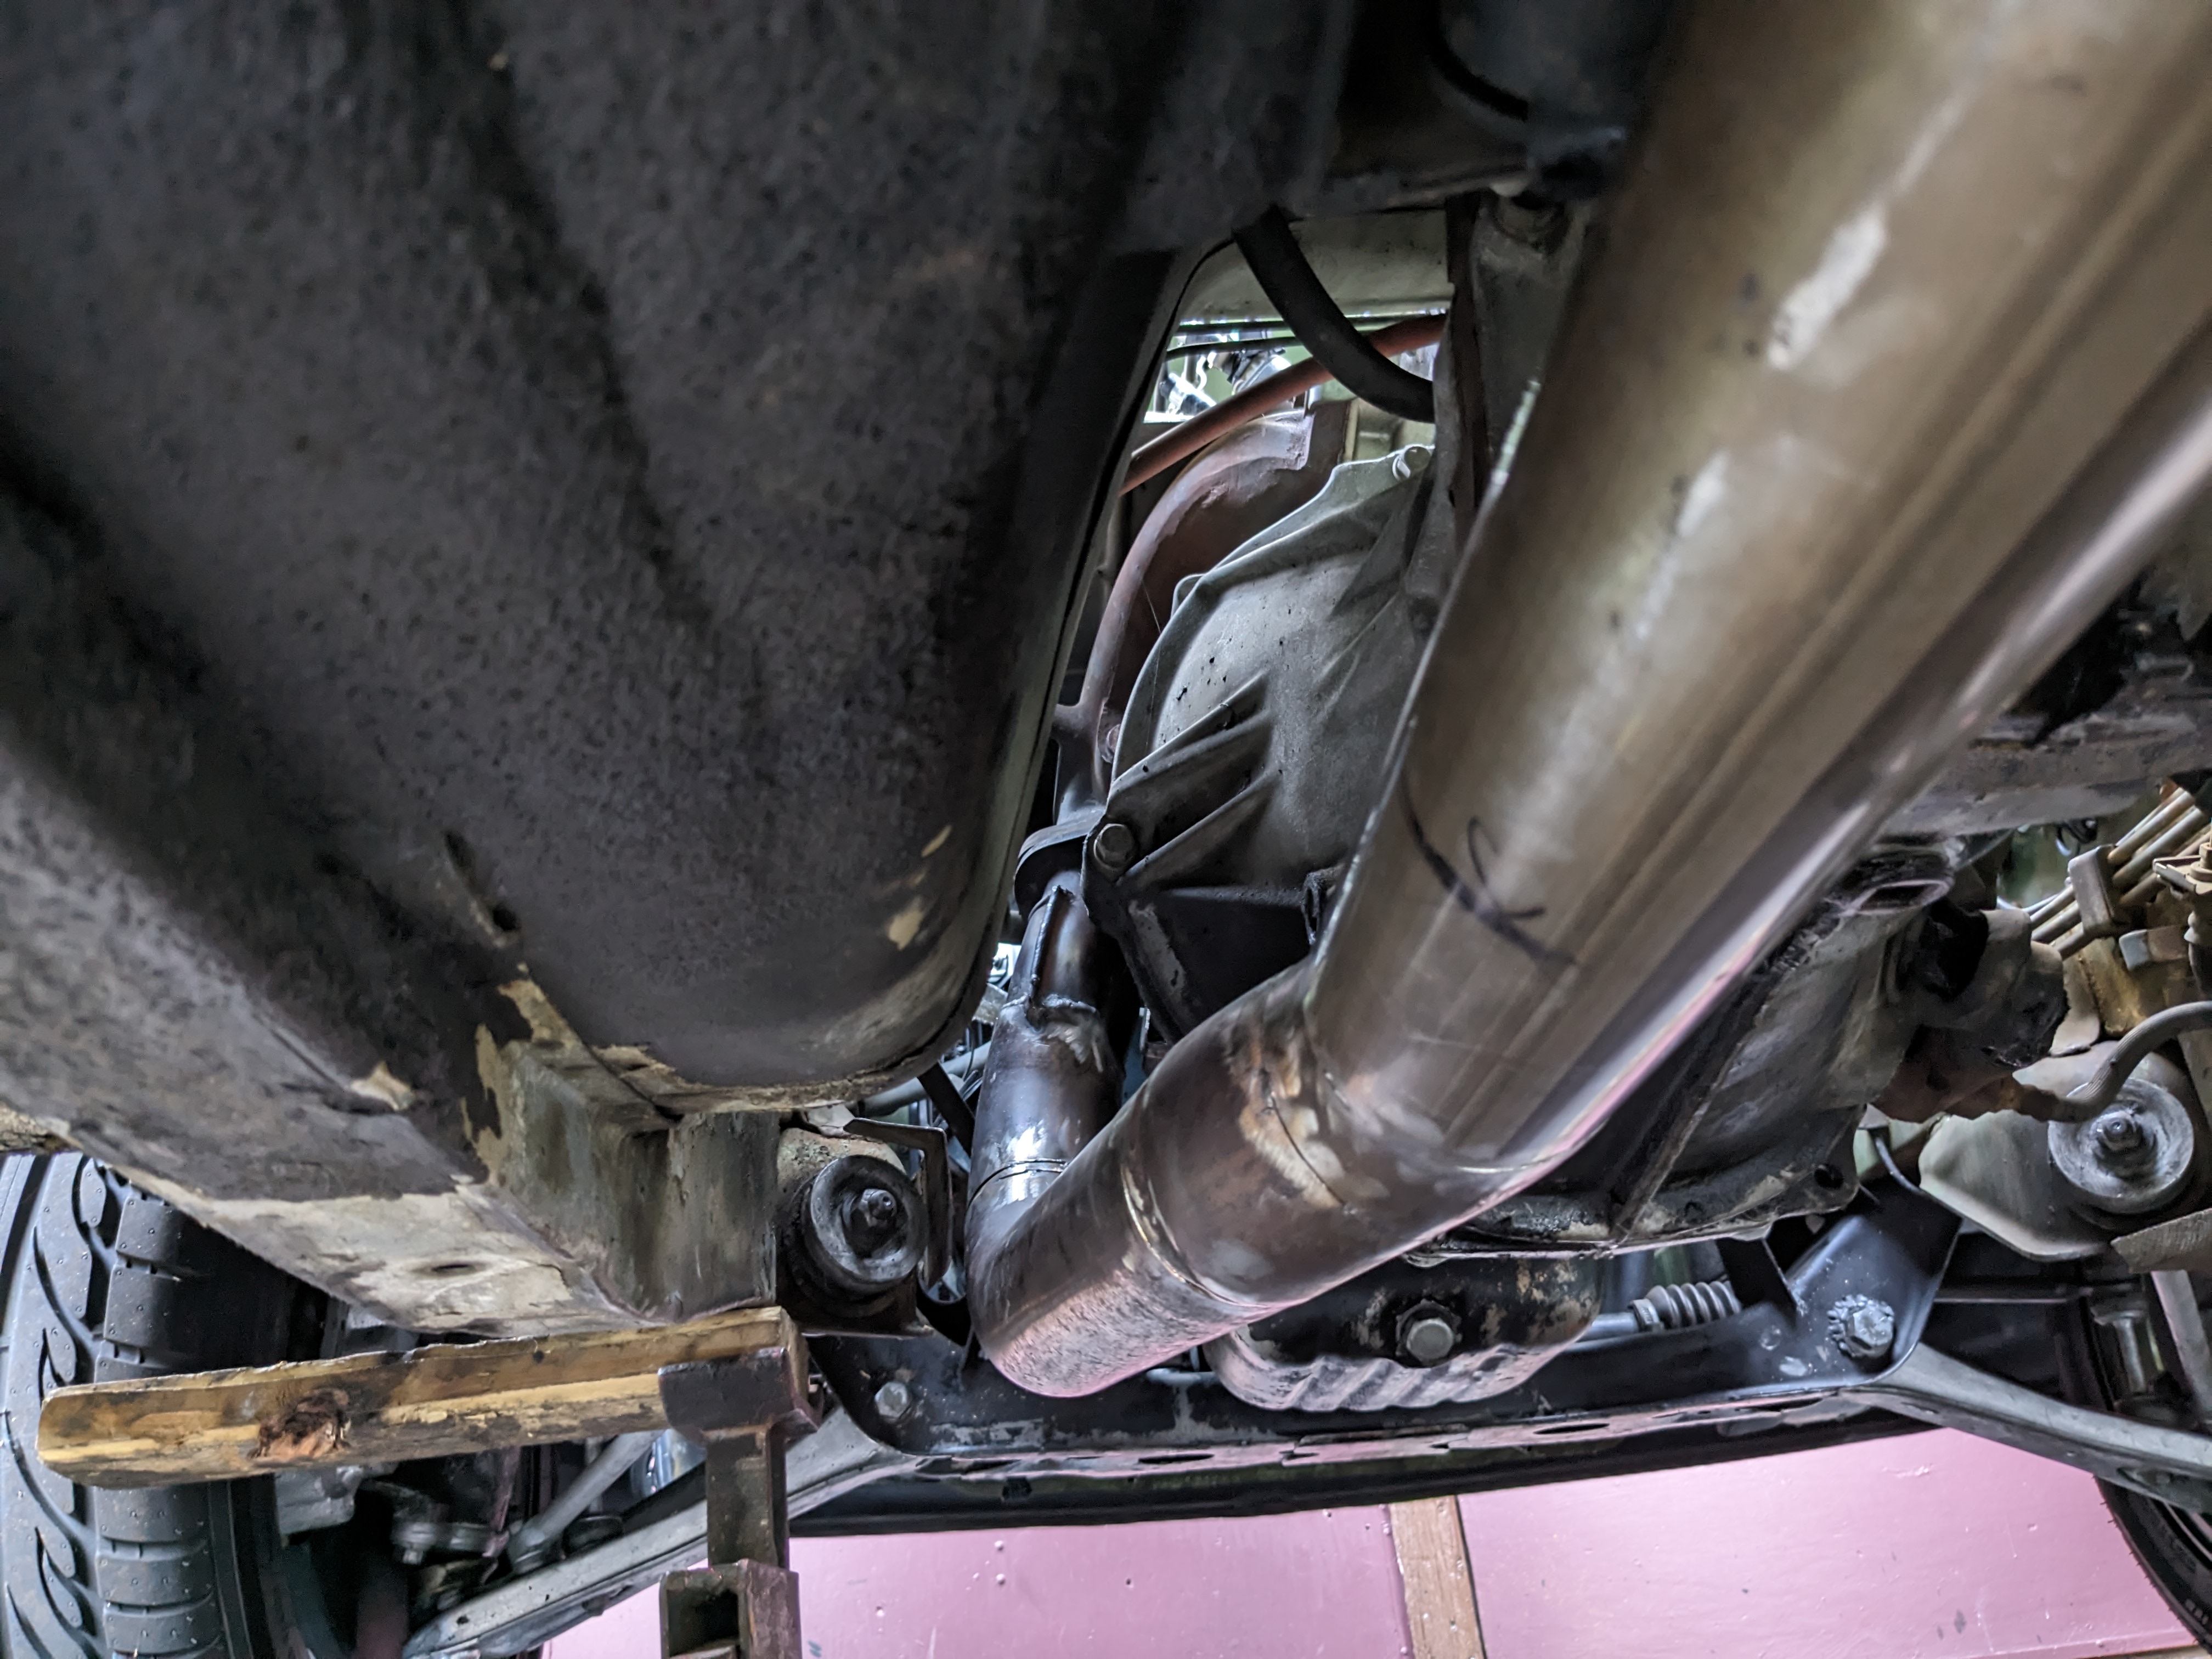
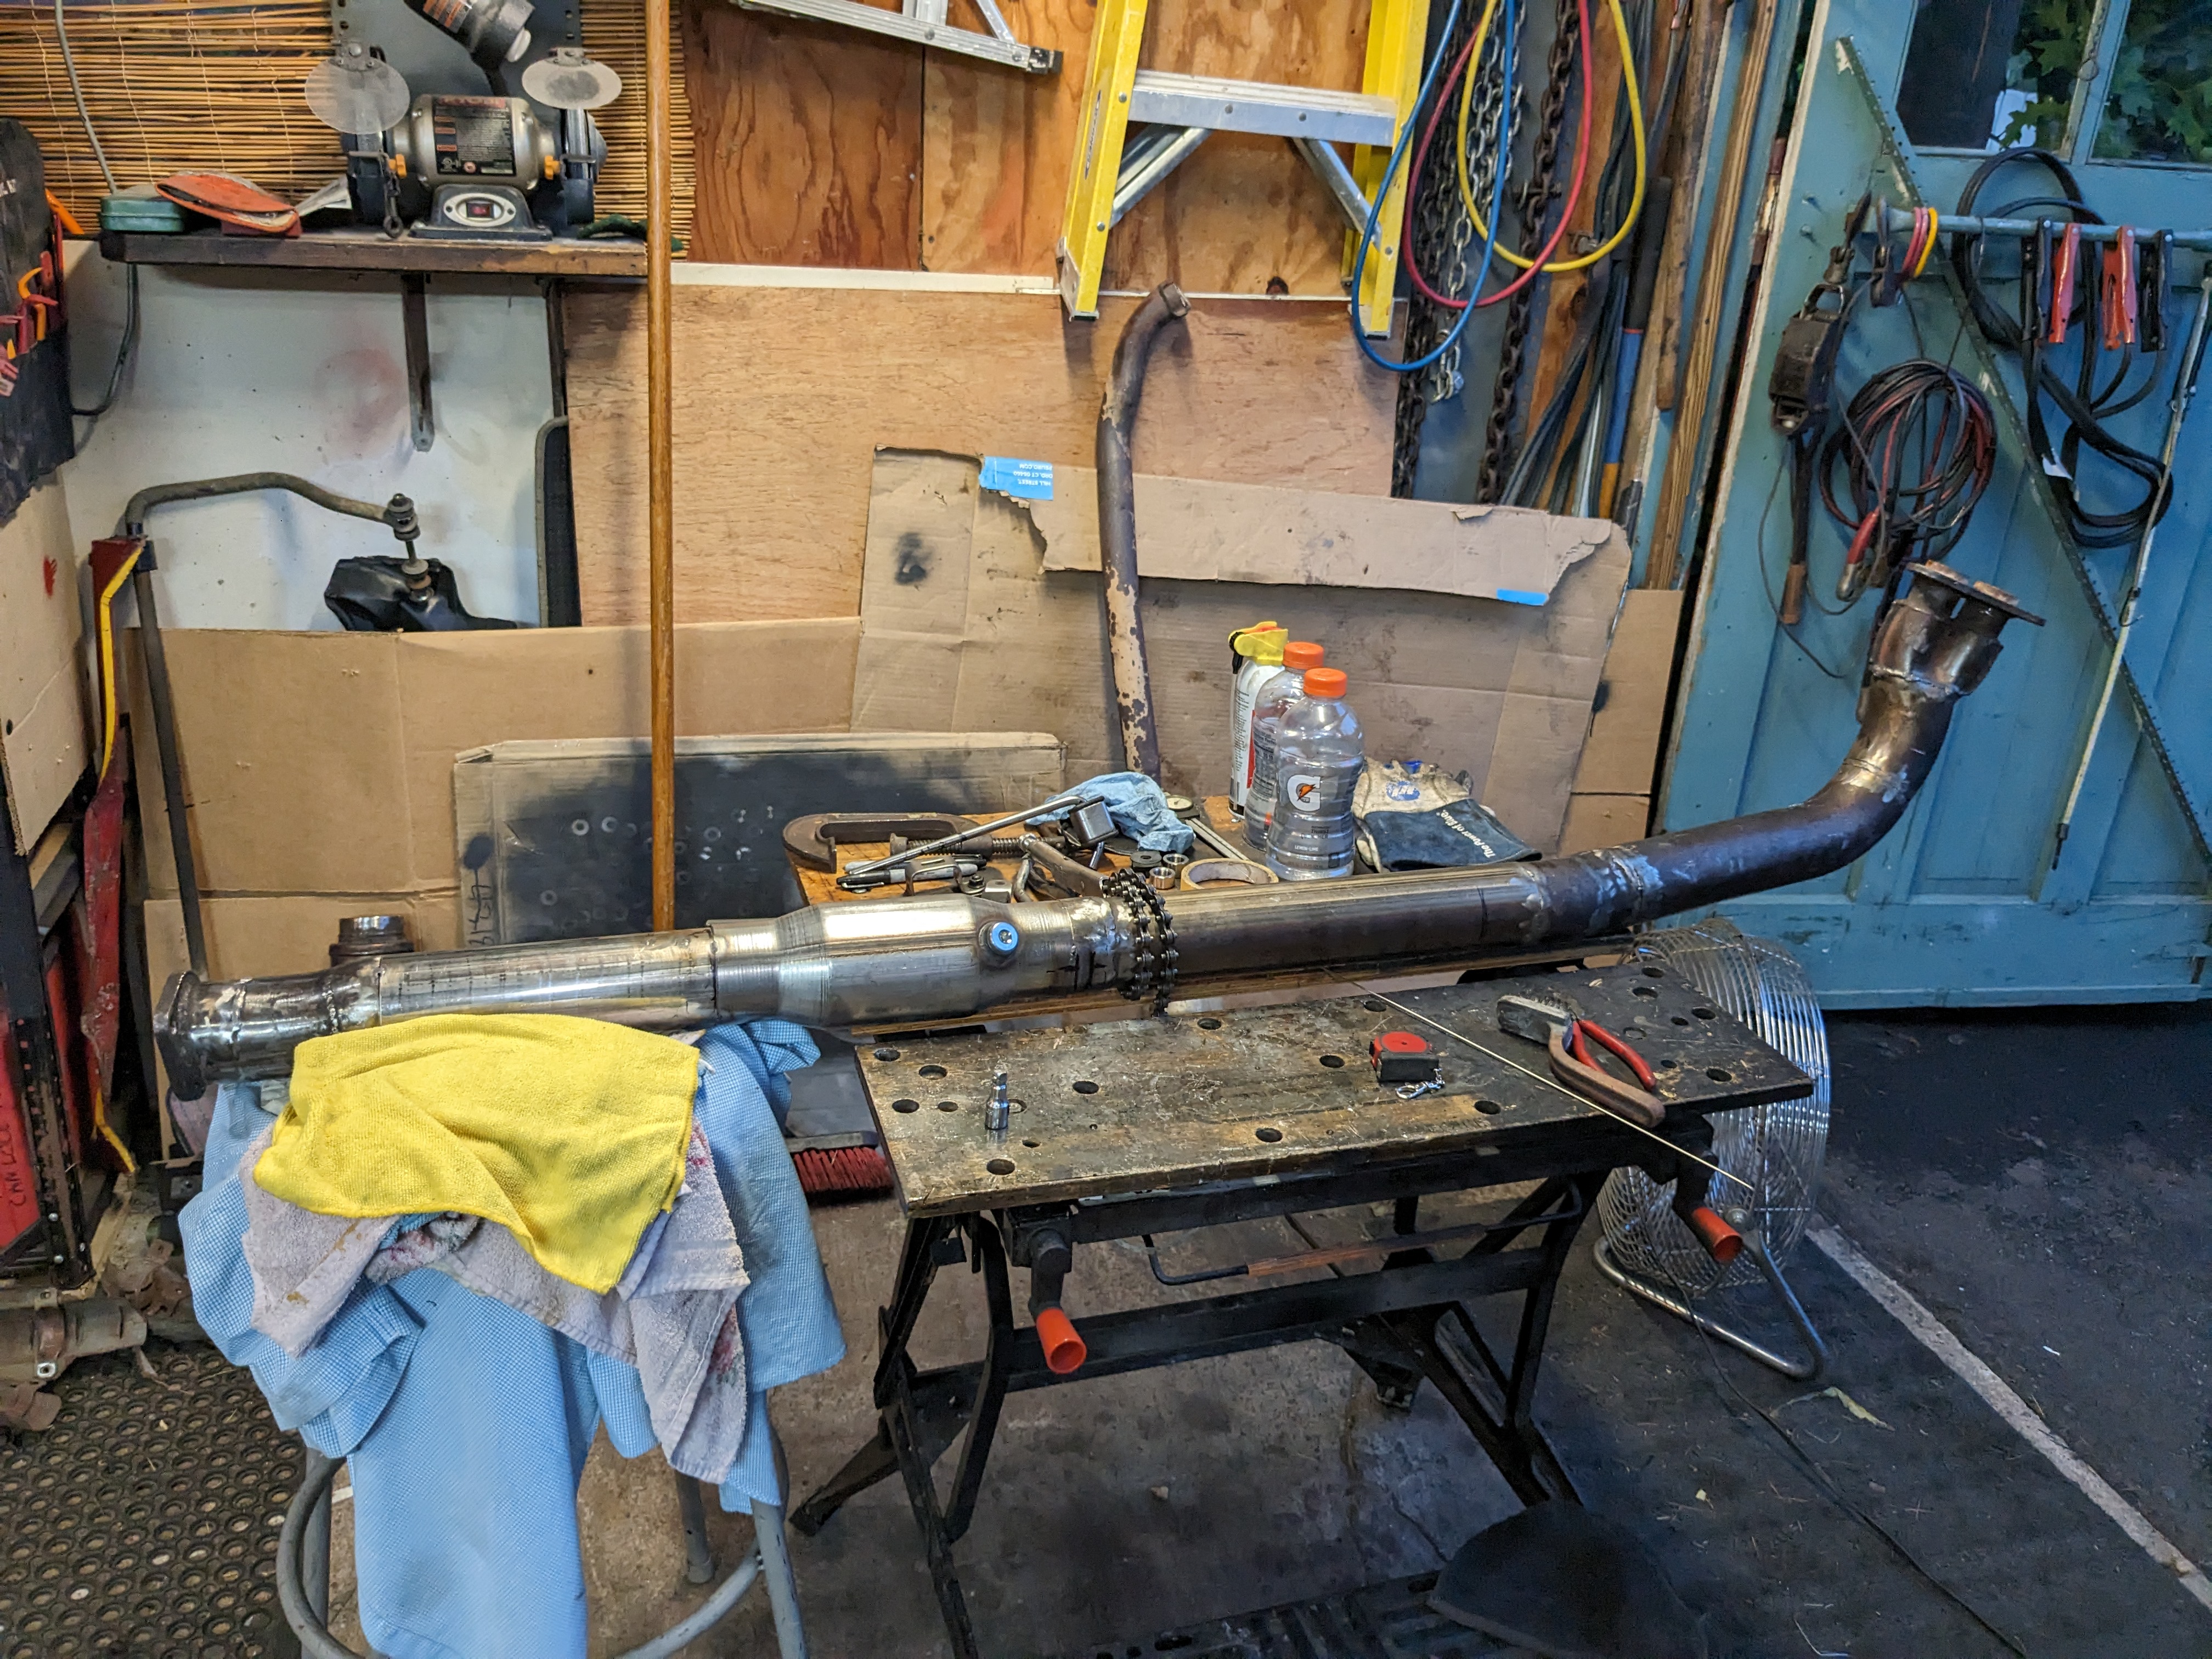
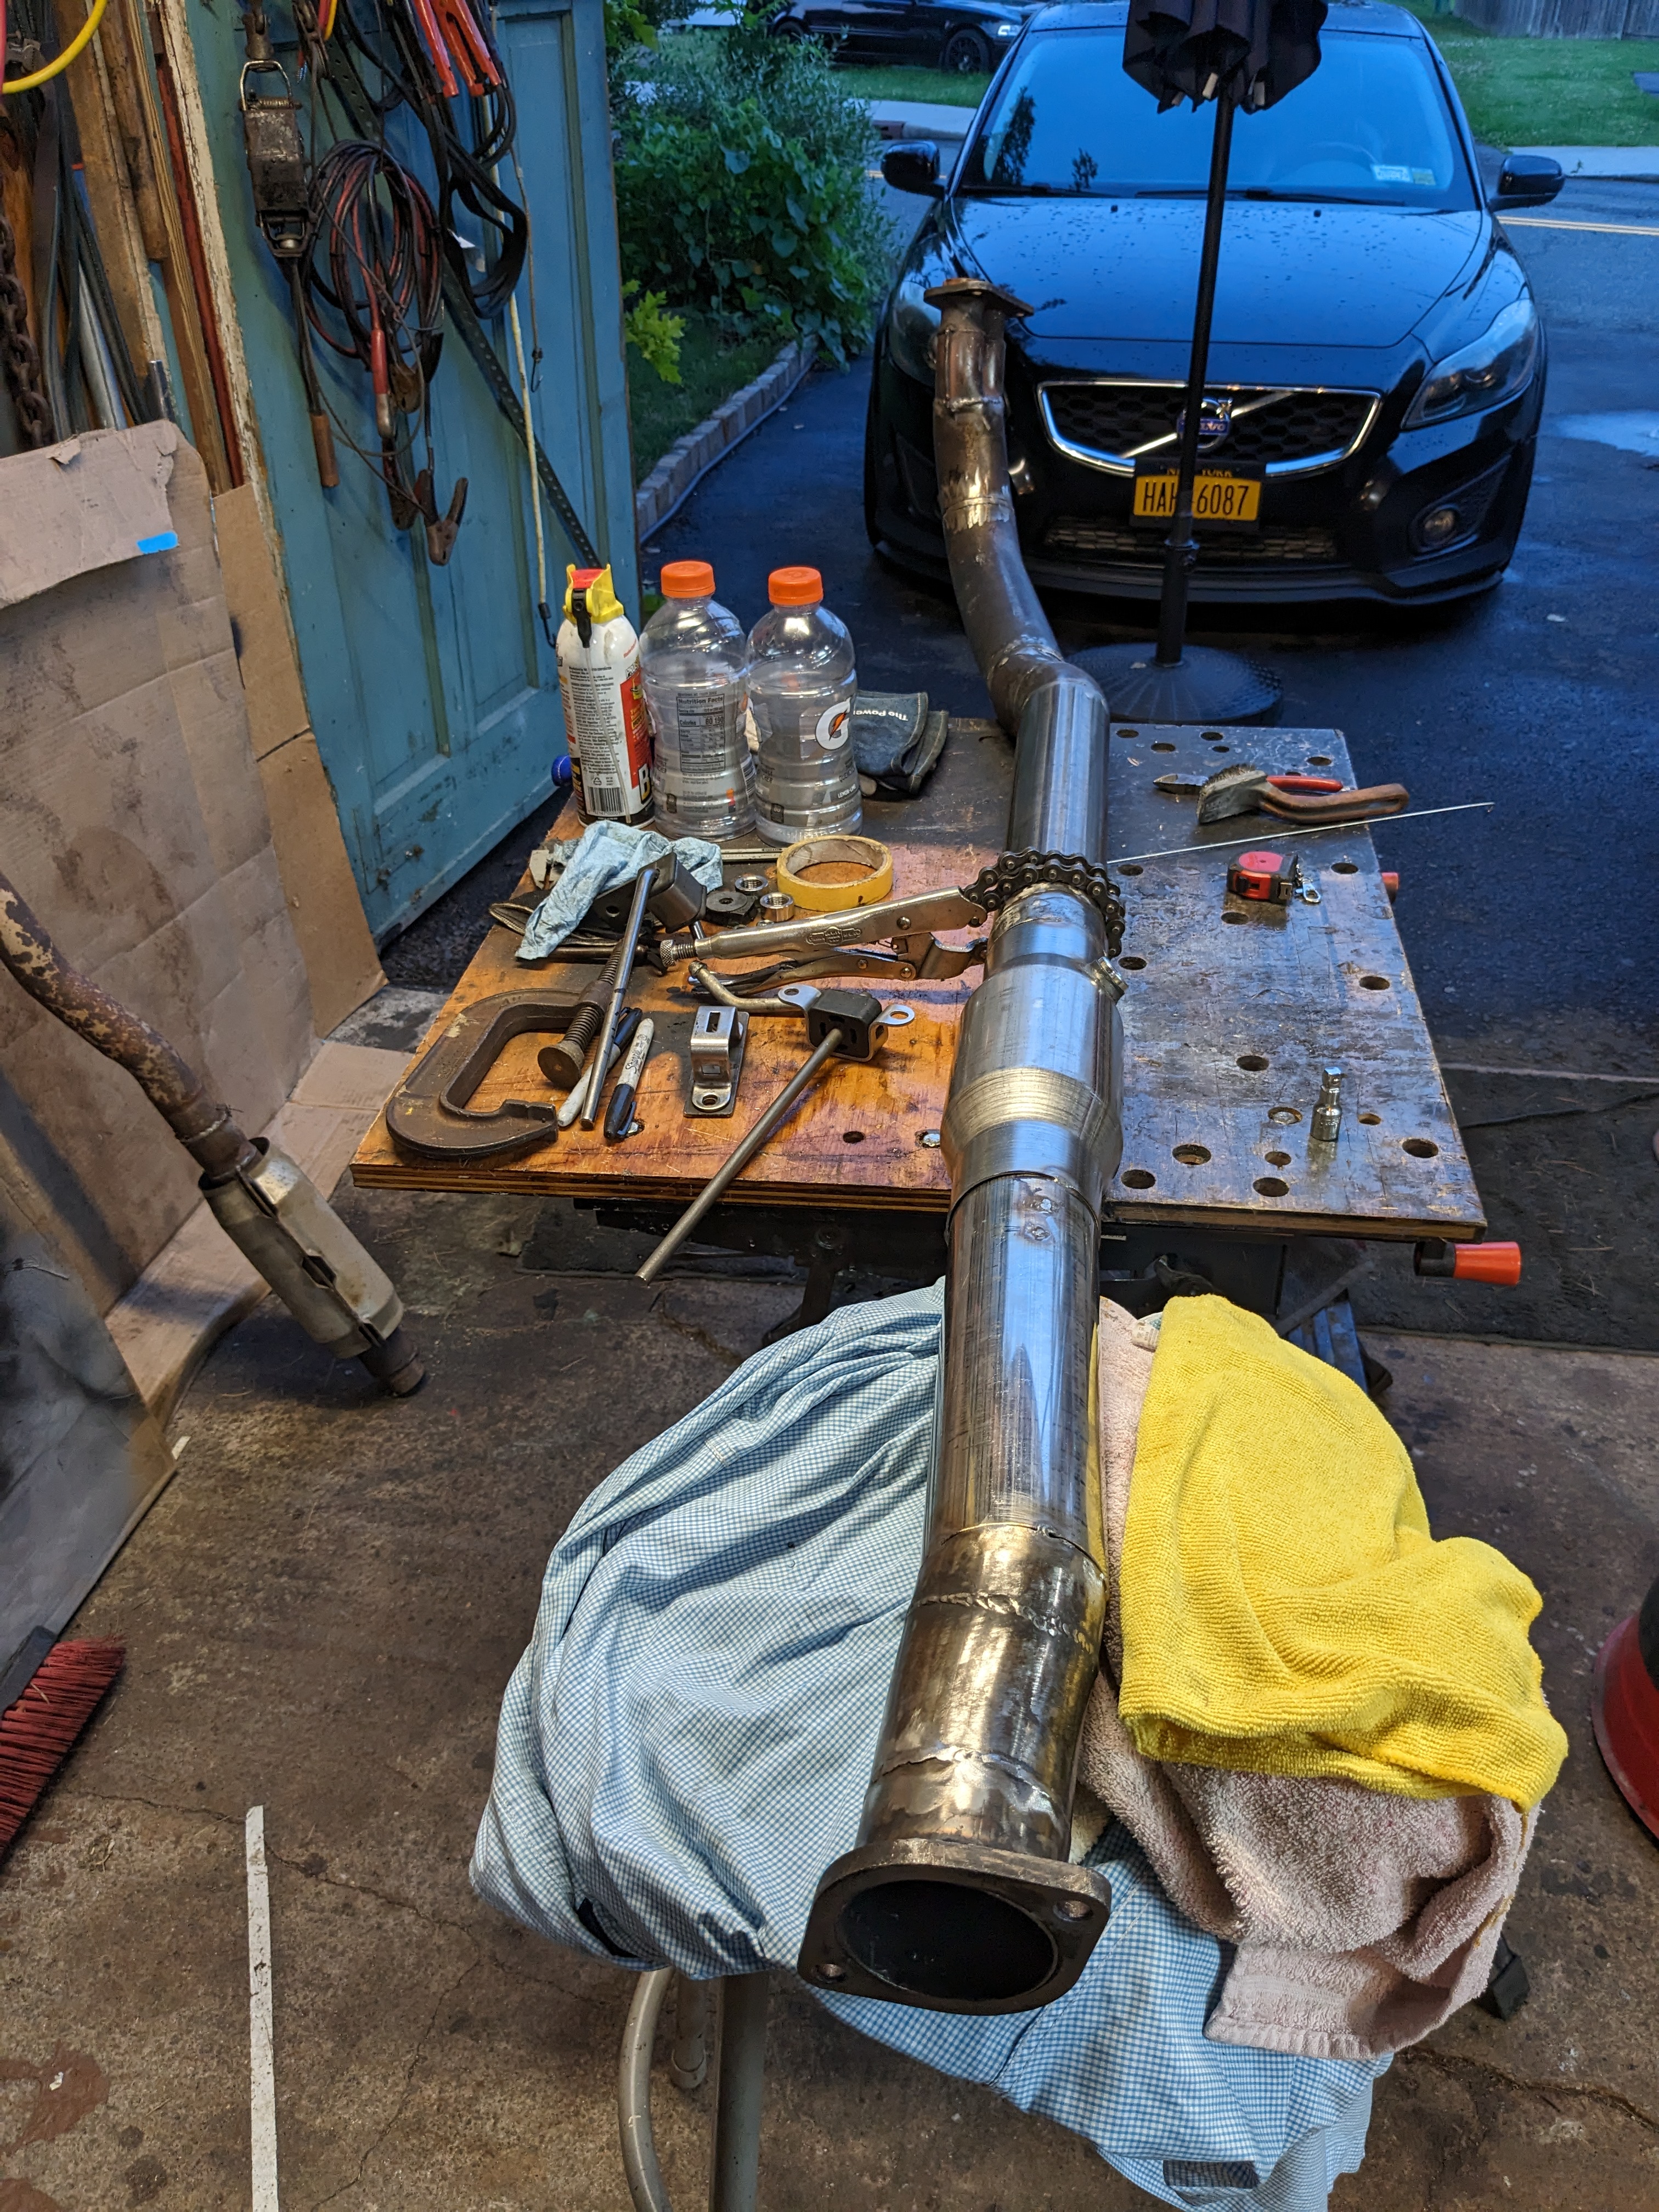
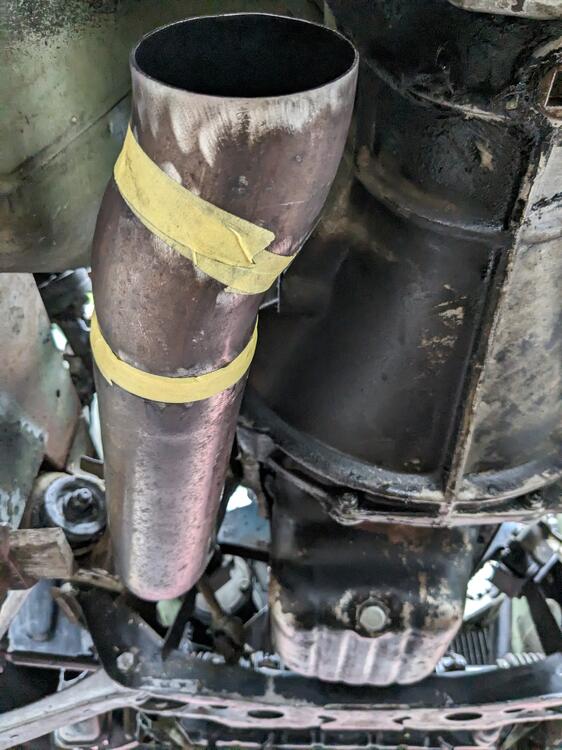
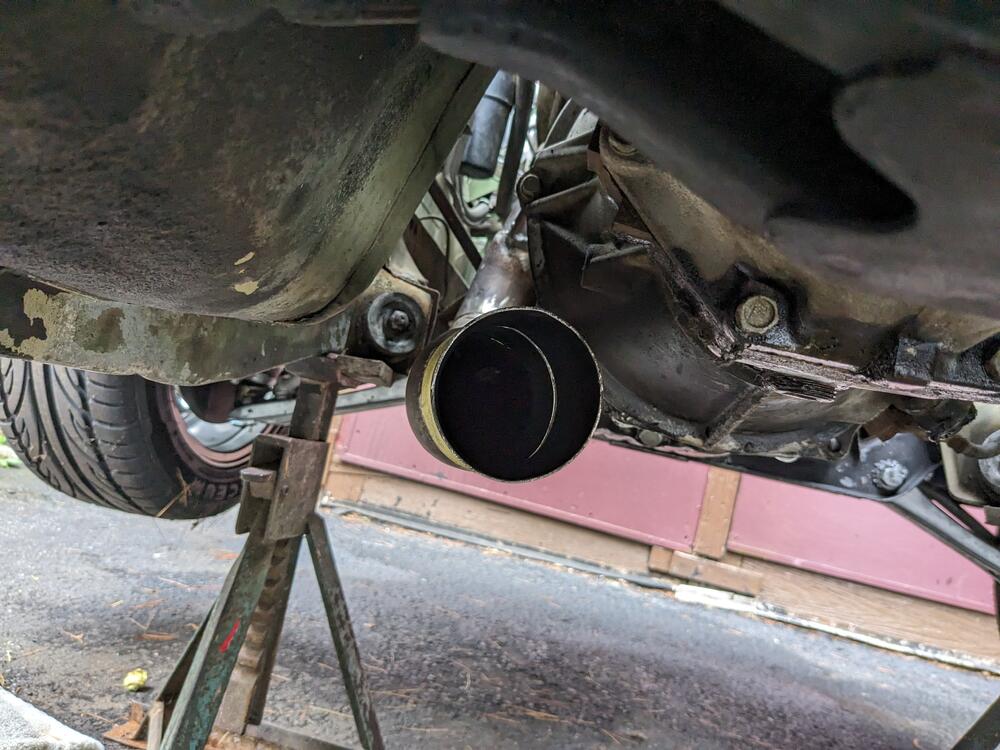
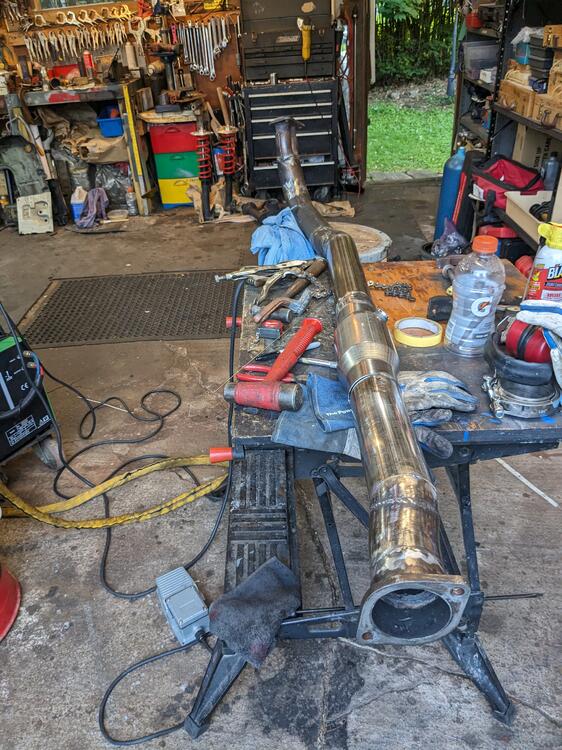
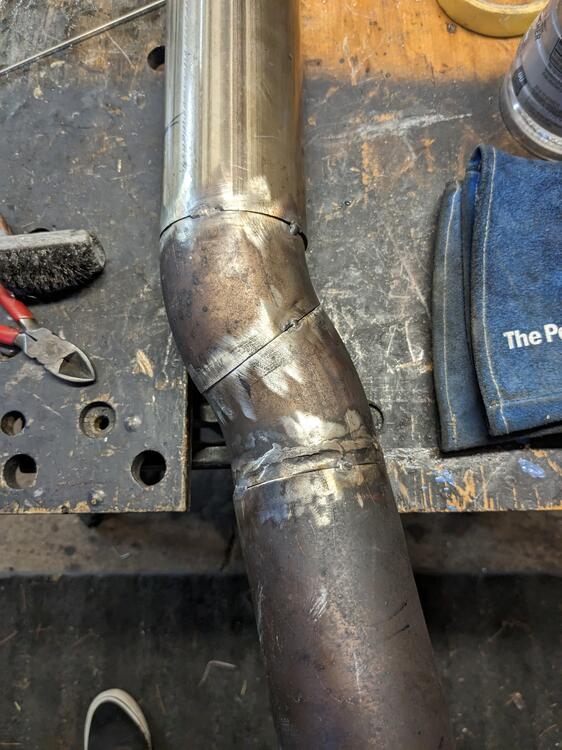
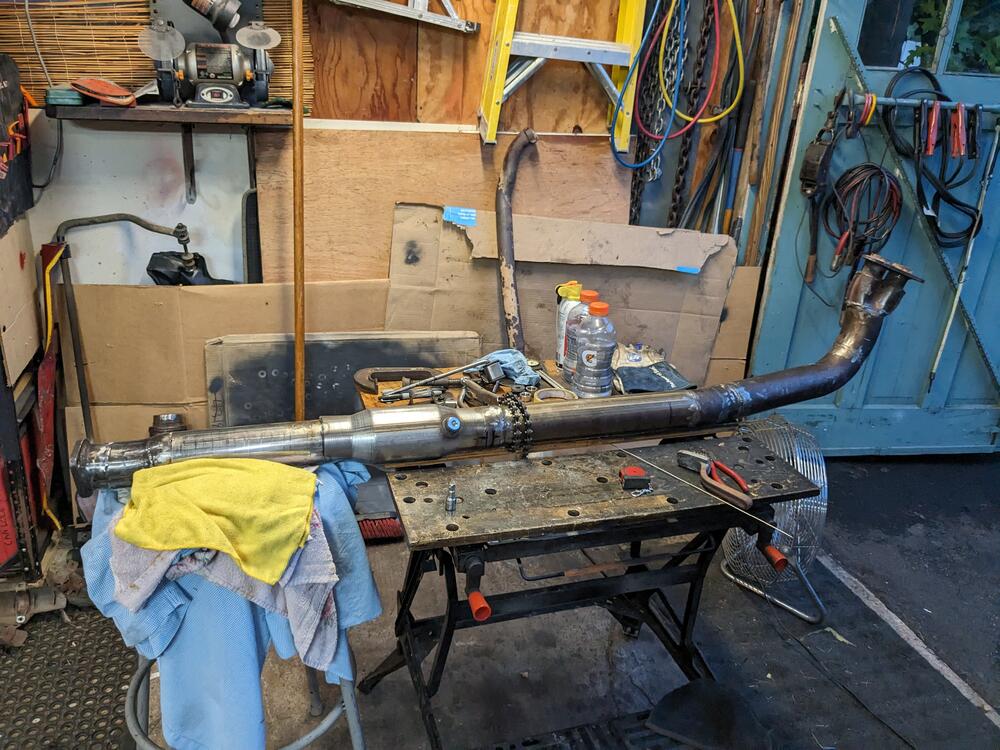
Got the rest of the front section figured out. No room for the 3" resonator though. Added a dogleg to get good alignment with the rest of the front section added a straight section off that, into a 3" cat, then another 10" section into the mid connection good clearance all around fitted the cat behind that 10" section between cat & dogleg into 3" flange removed again to tack rear mid section re-installed one more time to figure out the hanger off the transmission case, then removed. Now I have to seam weld all the junctions


 1 point