Leaderboard
-
HusseinHolland
Free Member5Points1,031Posts -
conedodger
Free Member5Points12,513Posts -
Captain Obvious
Free Member4Points10,081Posts -
Patcon
 Subscriber
 1Points11,142Posts


Popular Content
Showing content with the highest reputation on 05/07/2023 in all areas
-
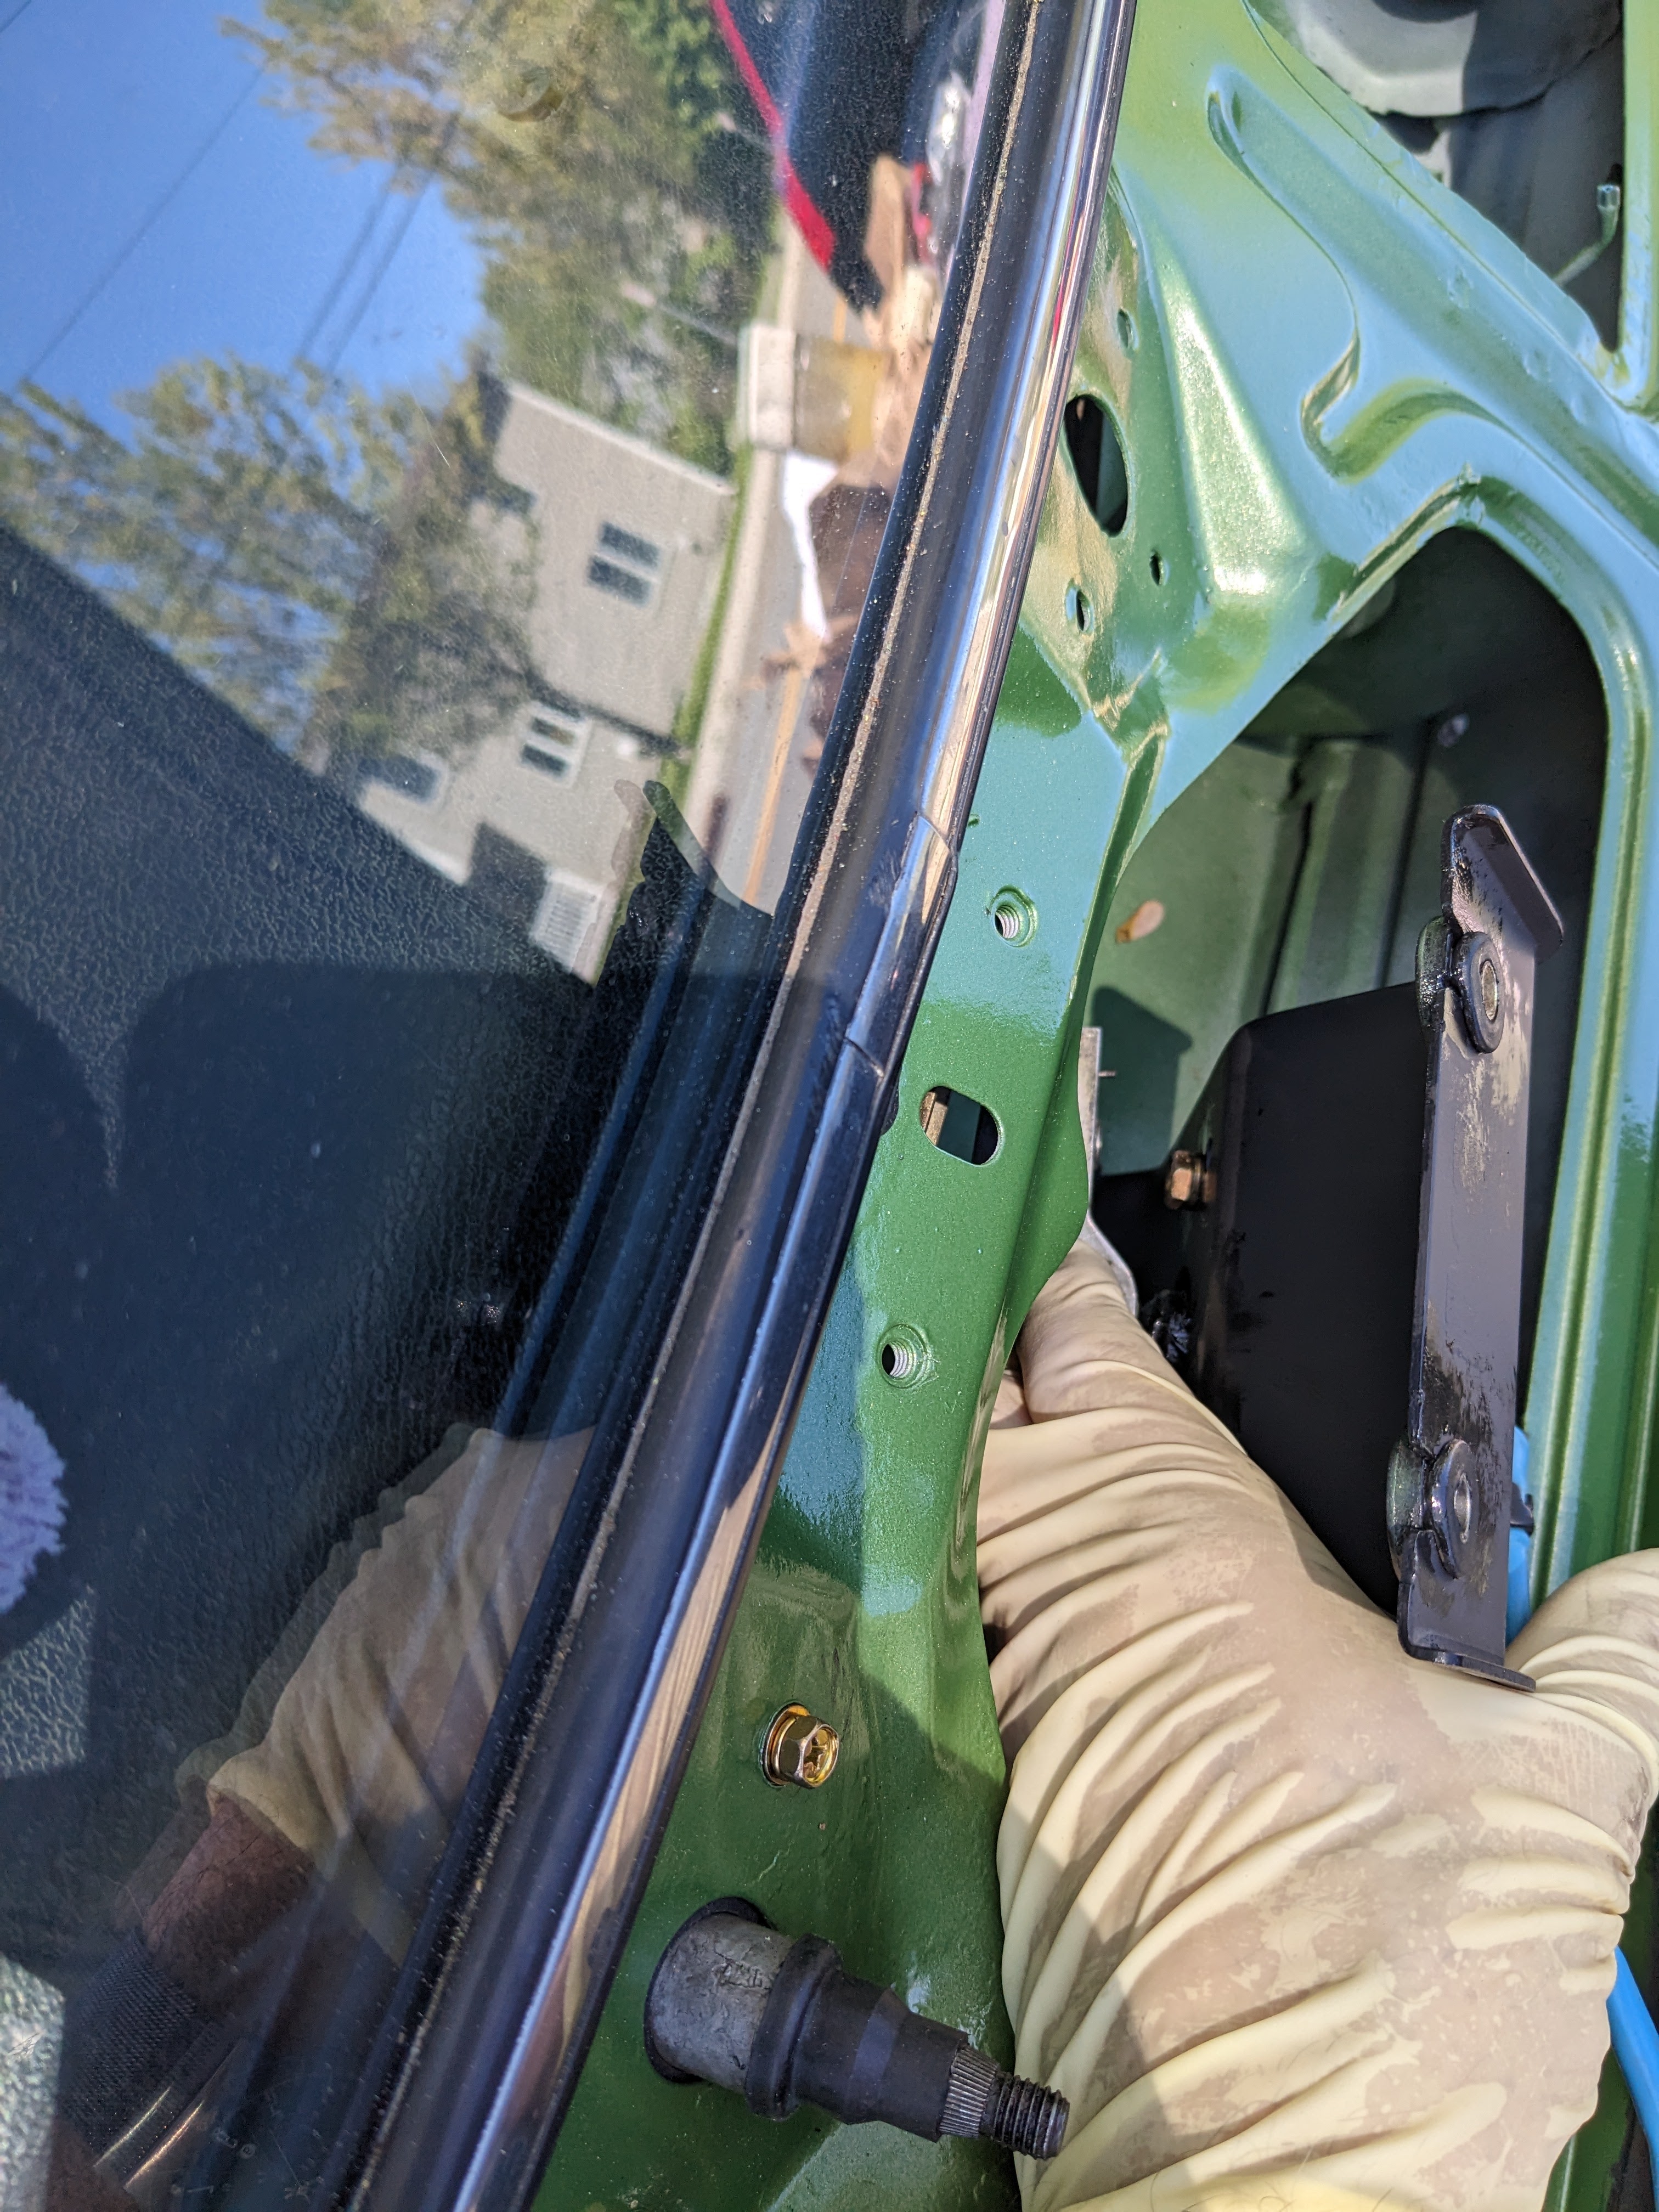
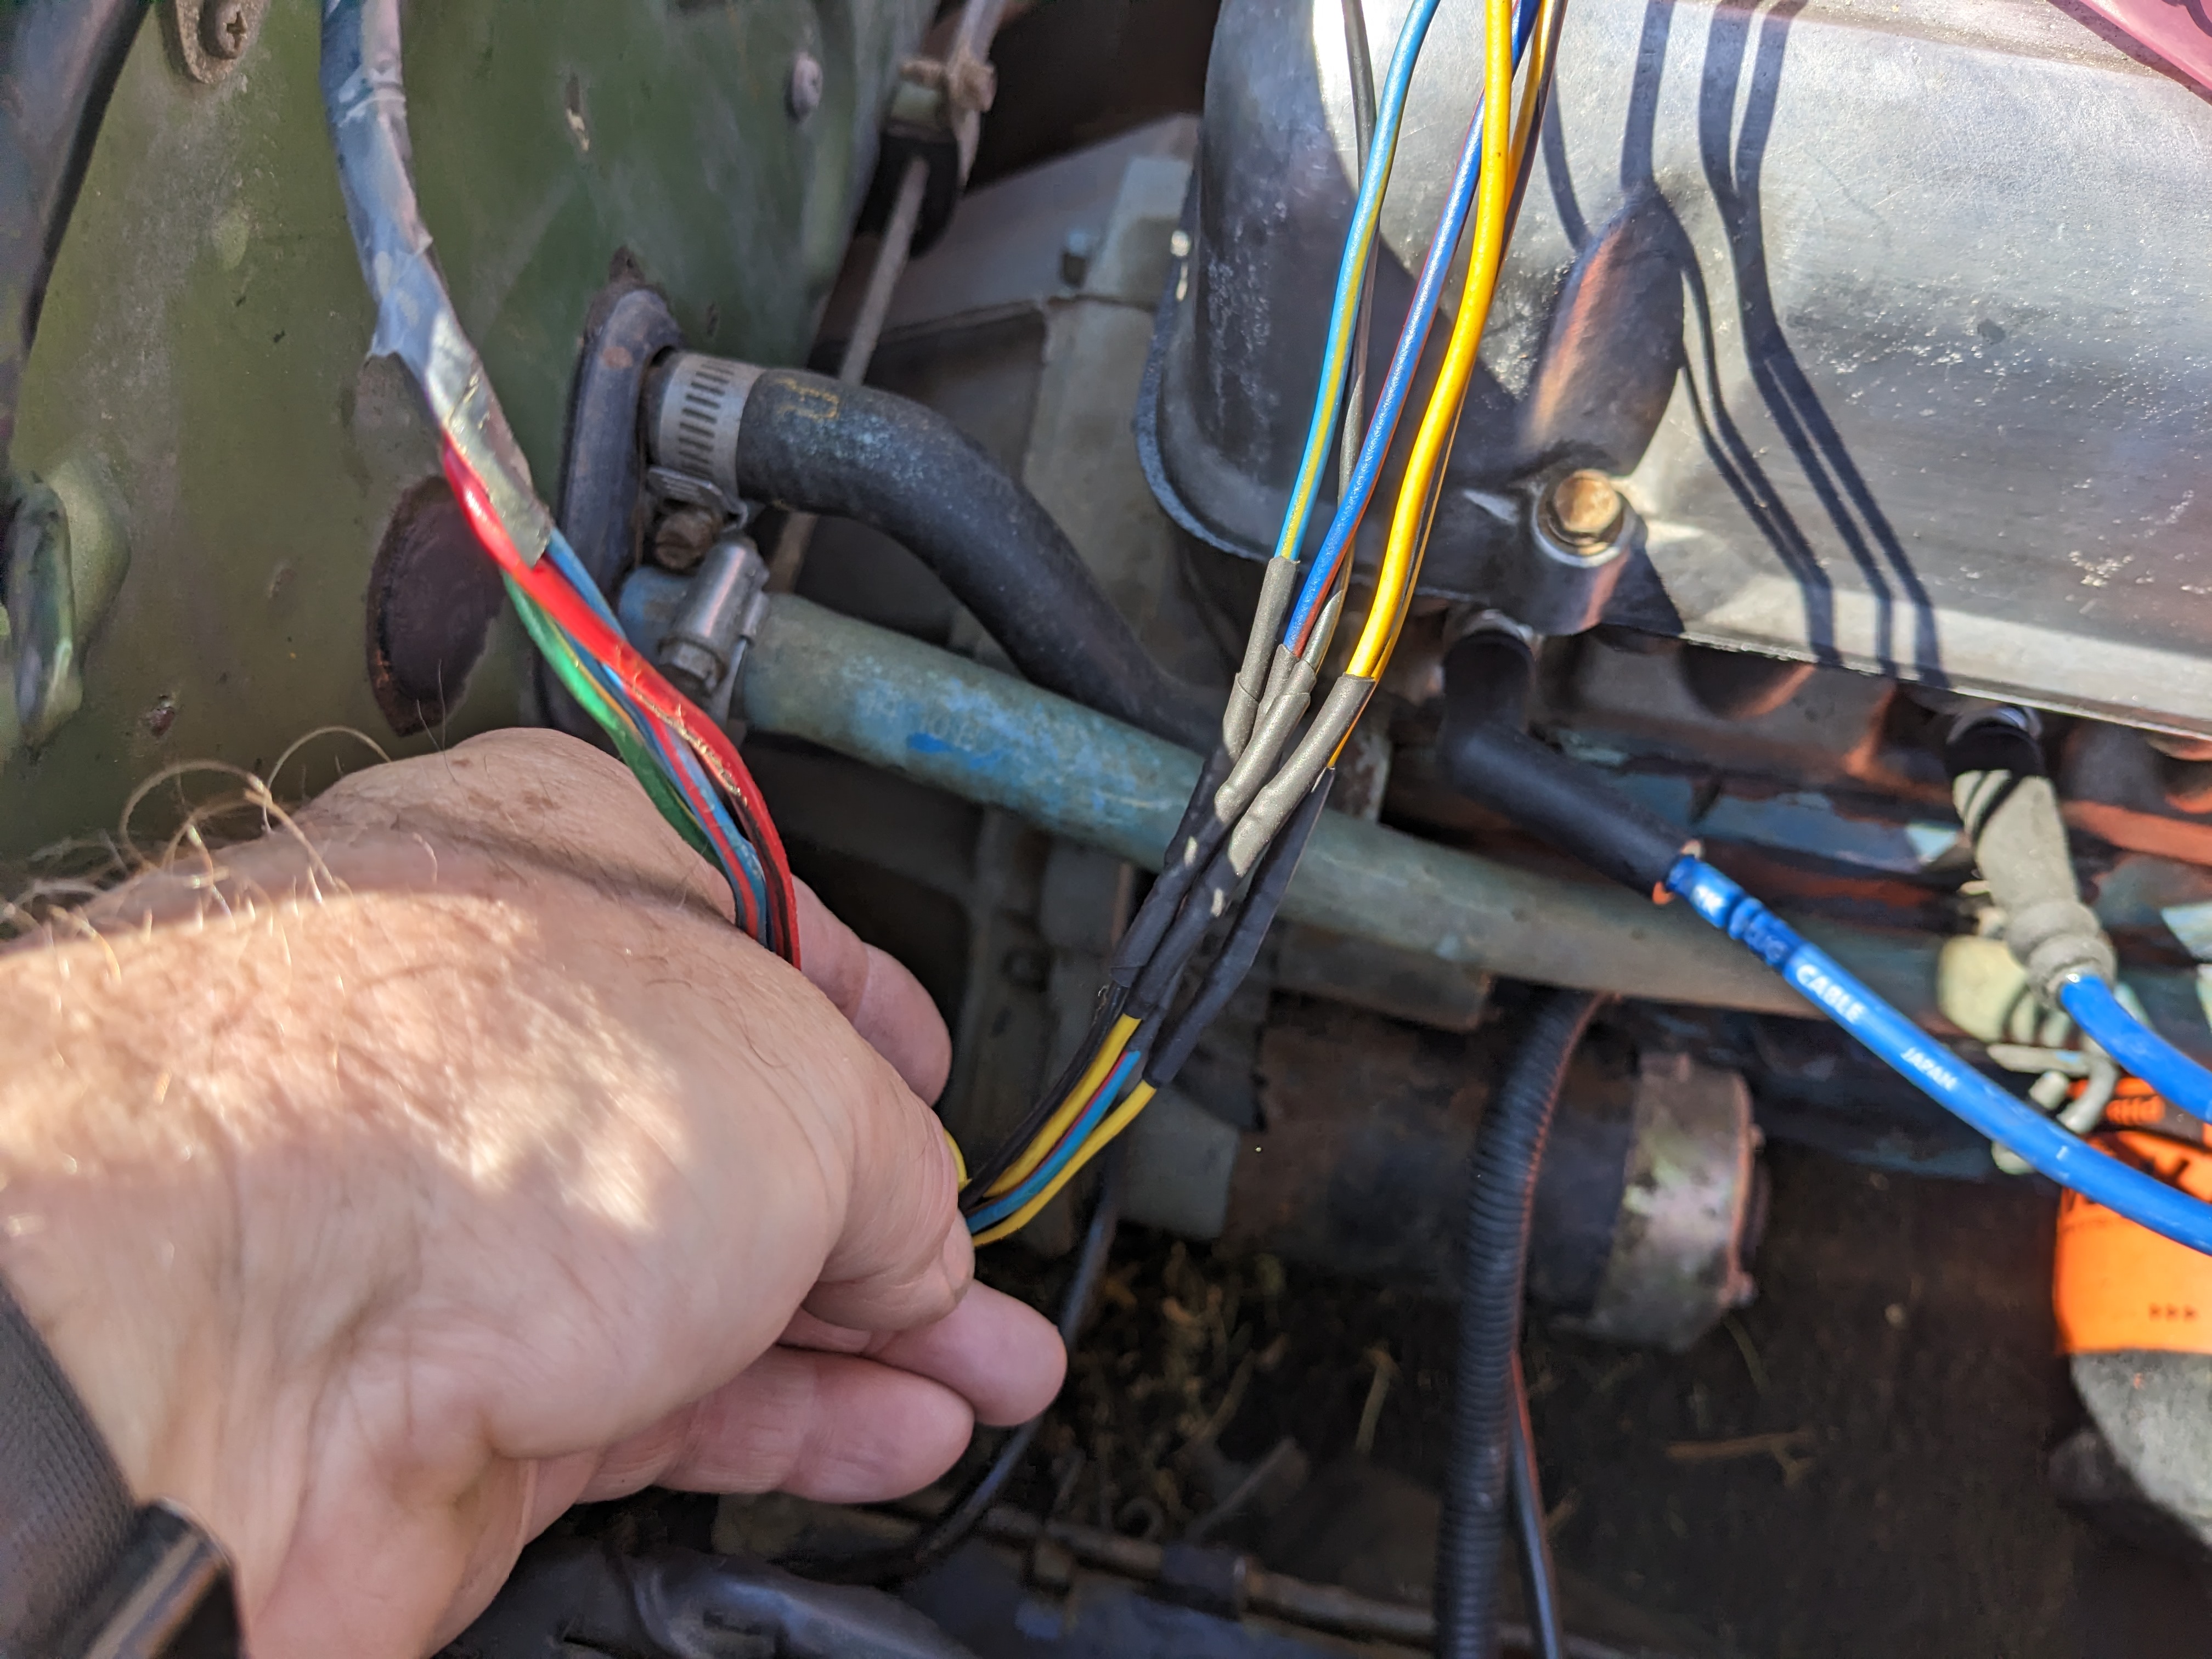
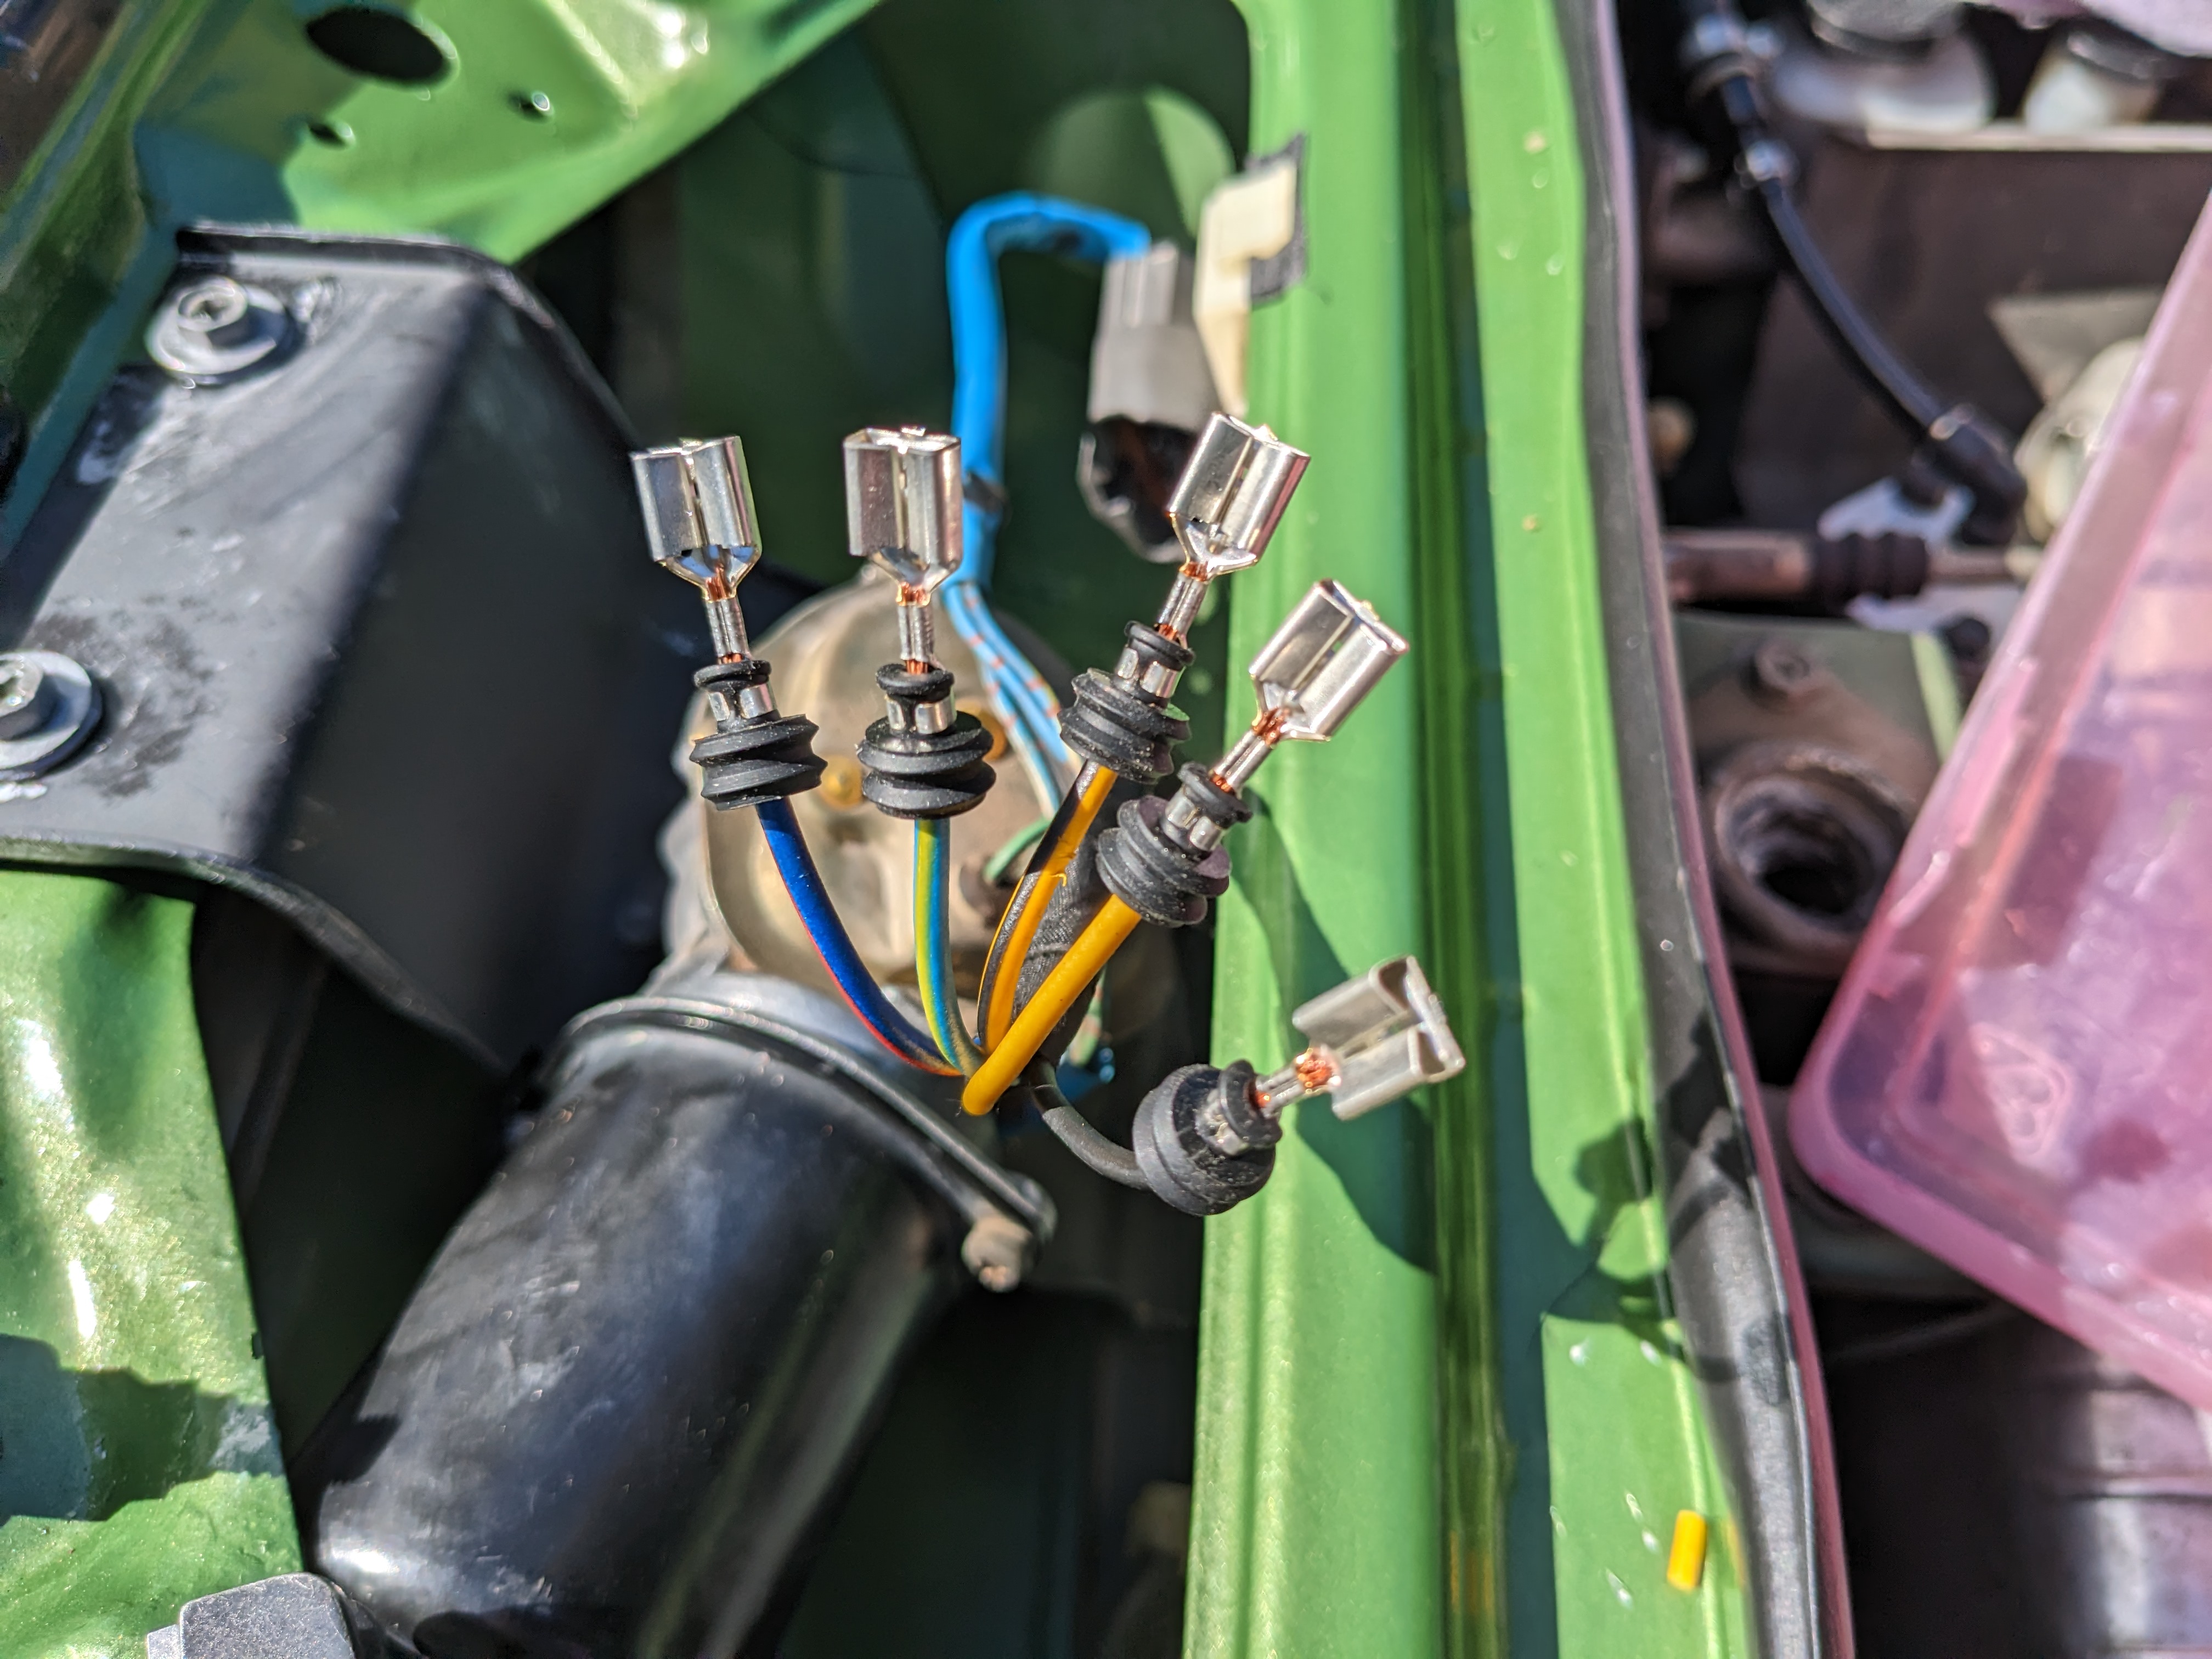
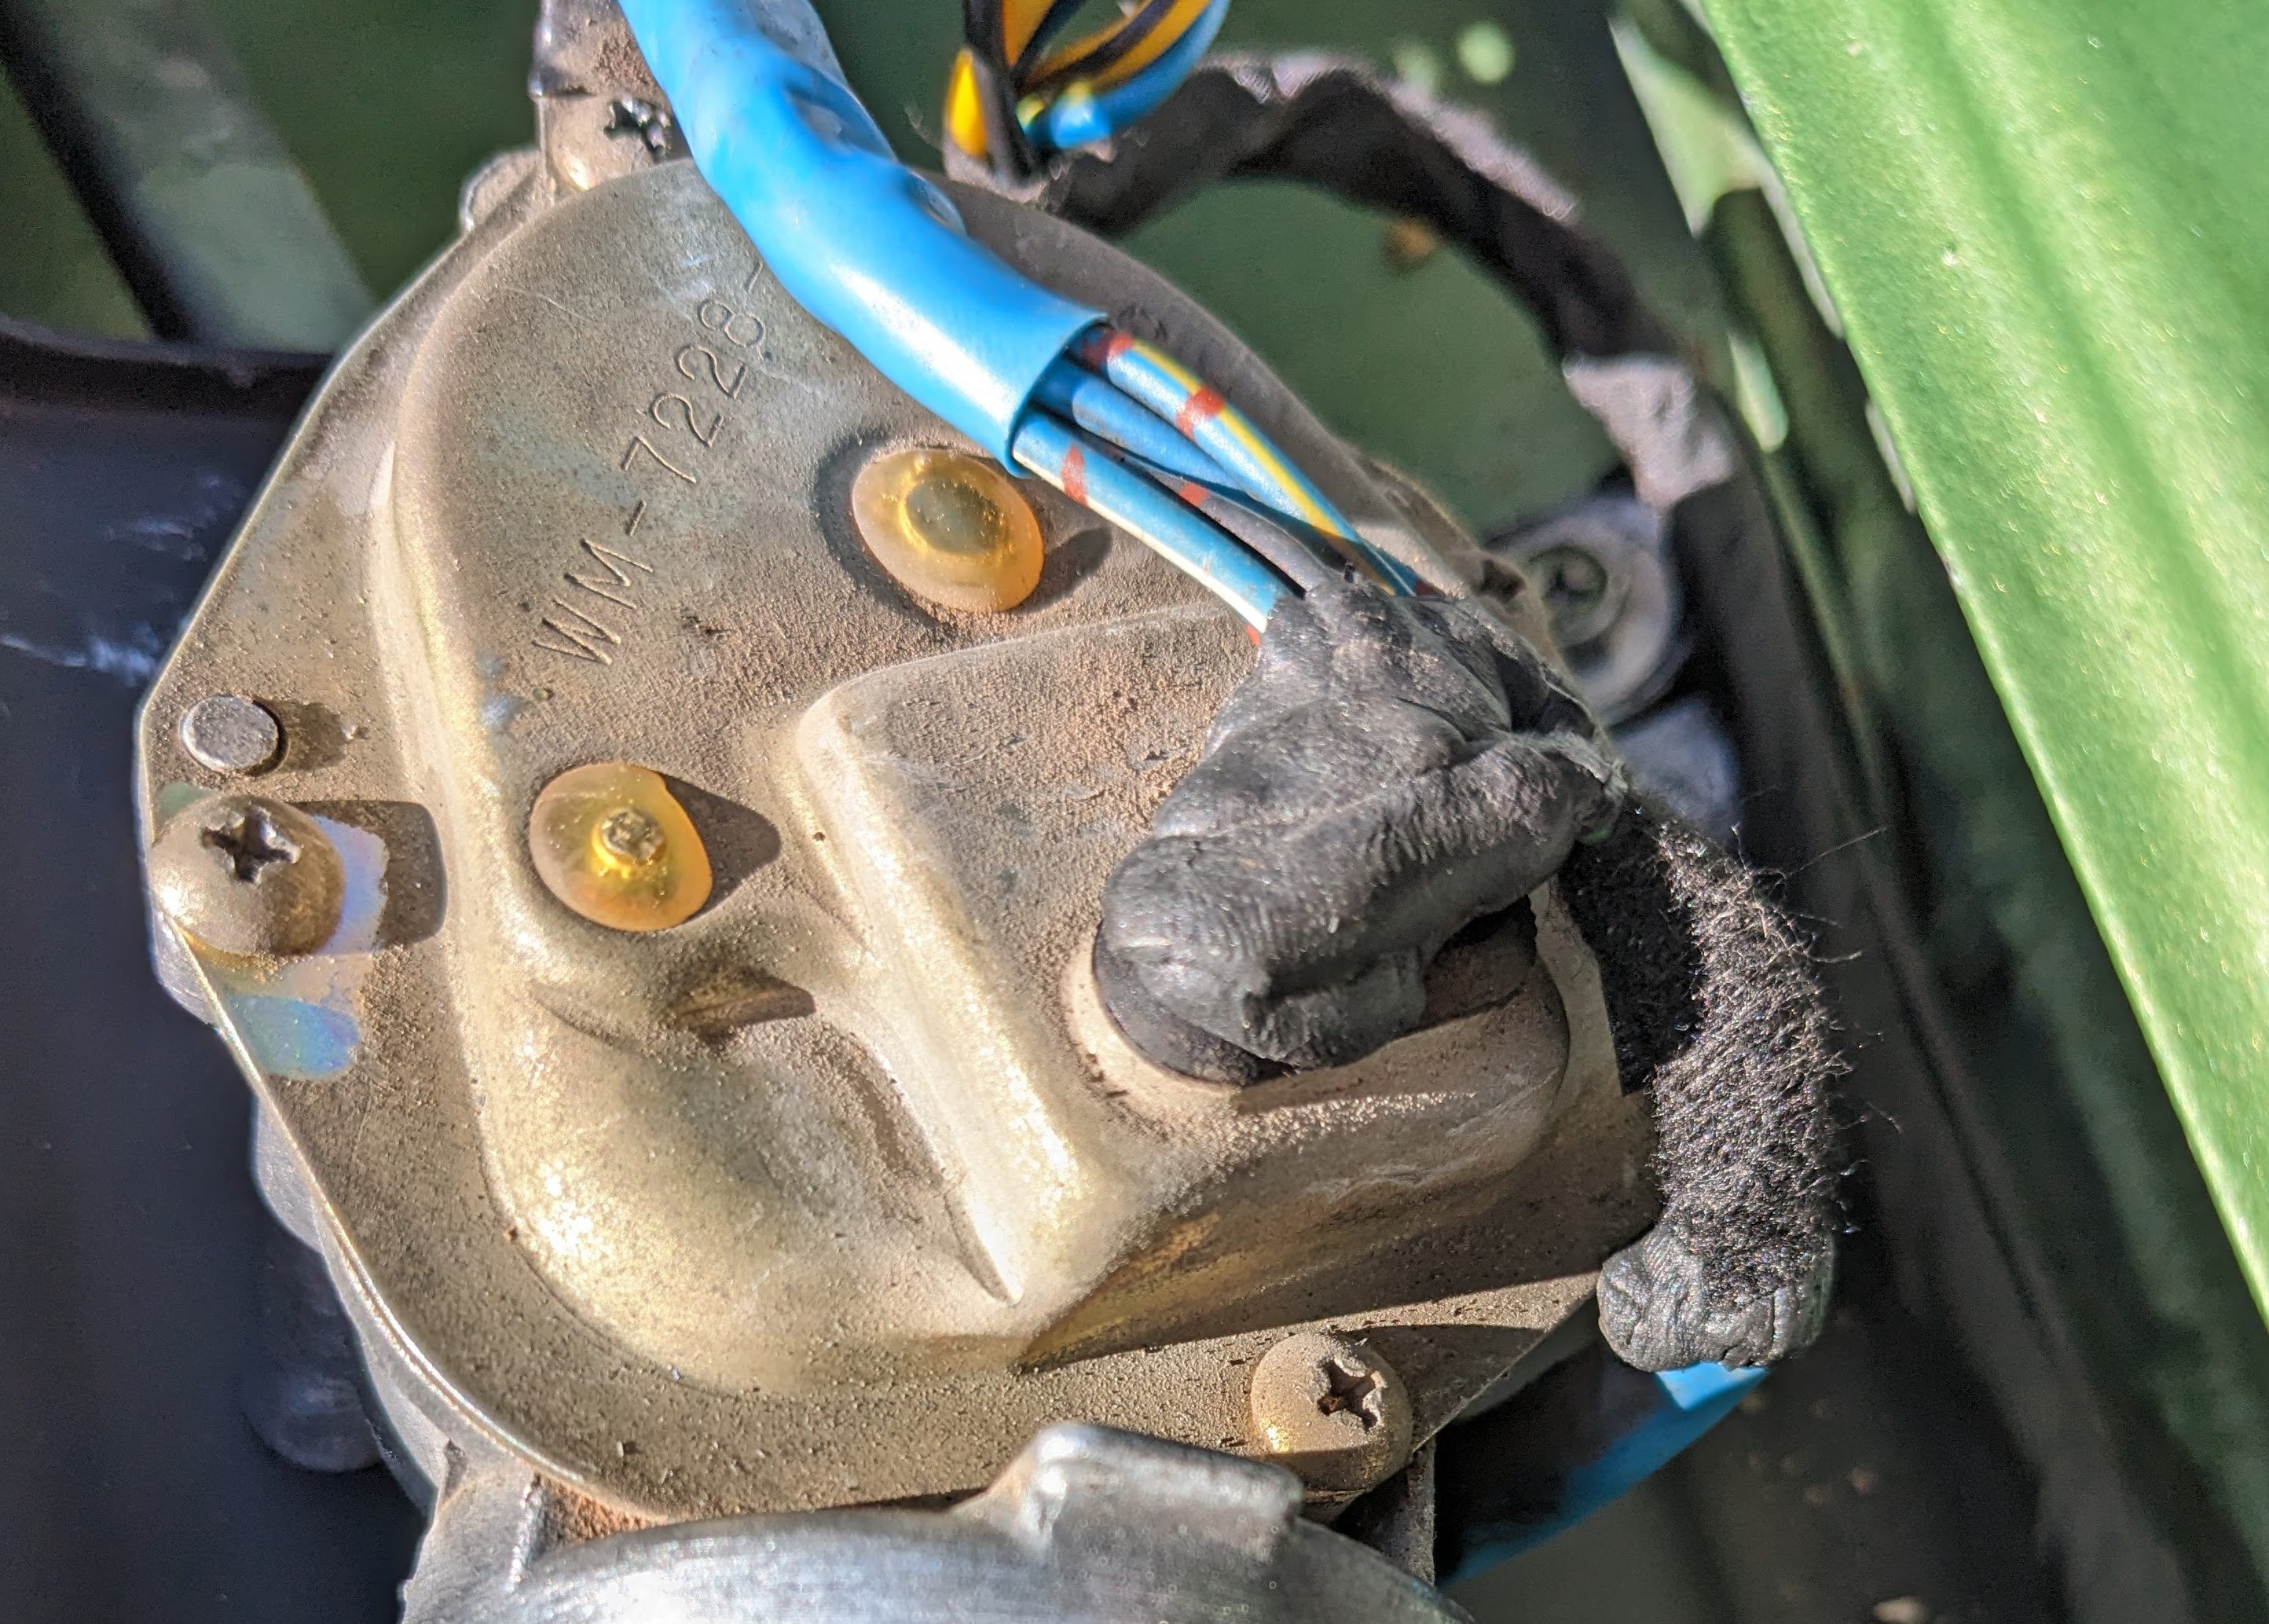
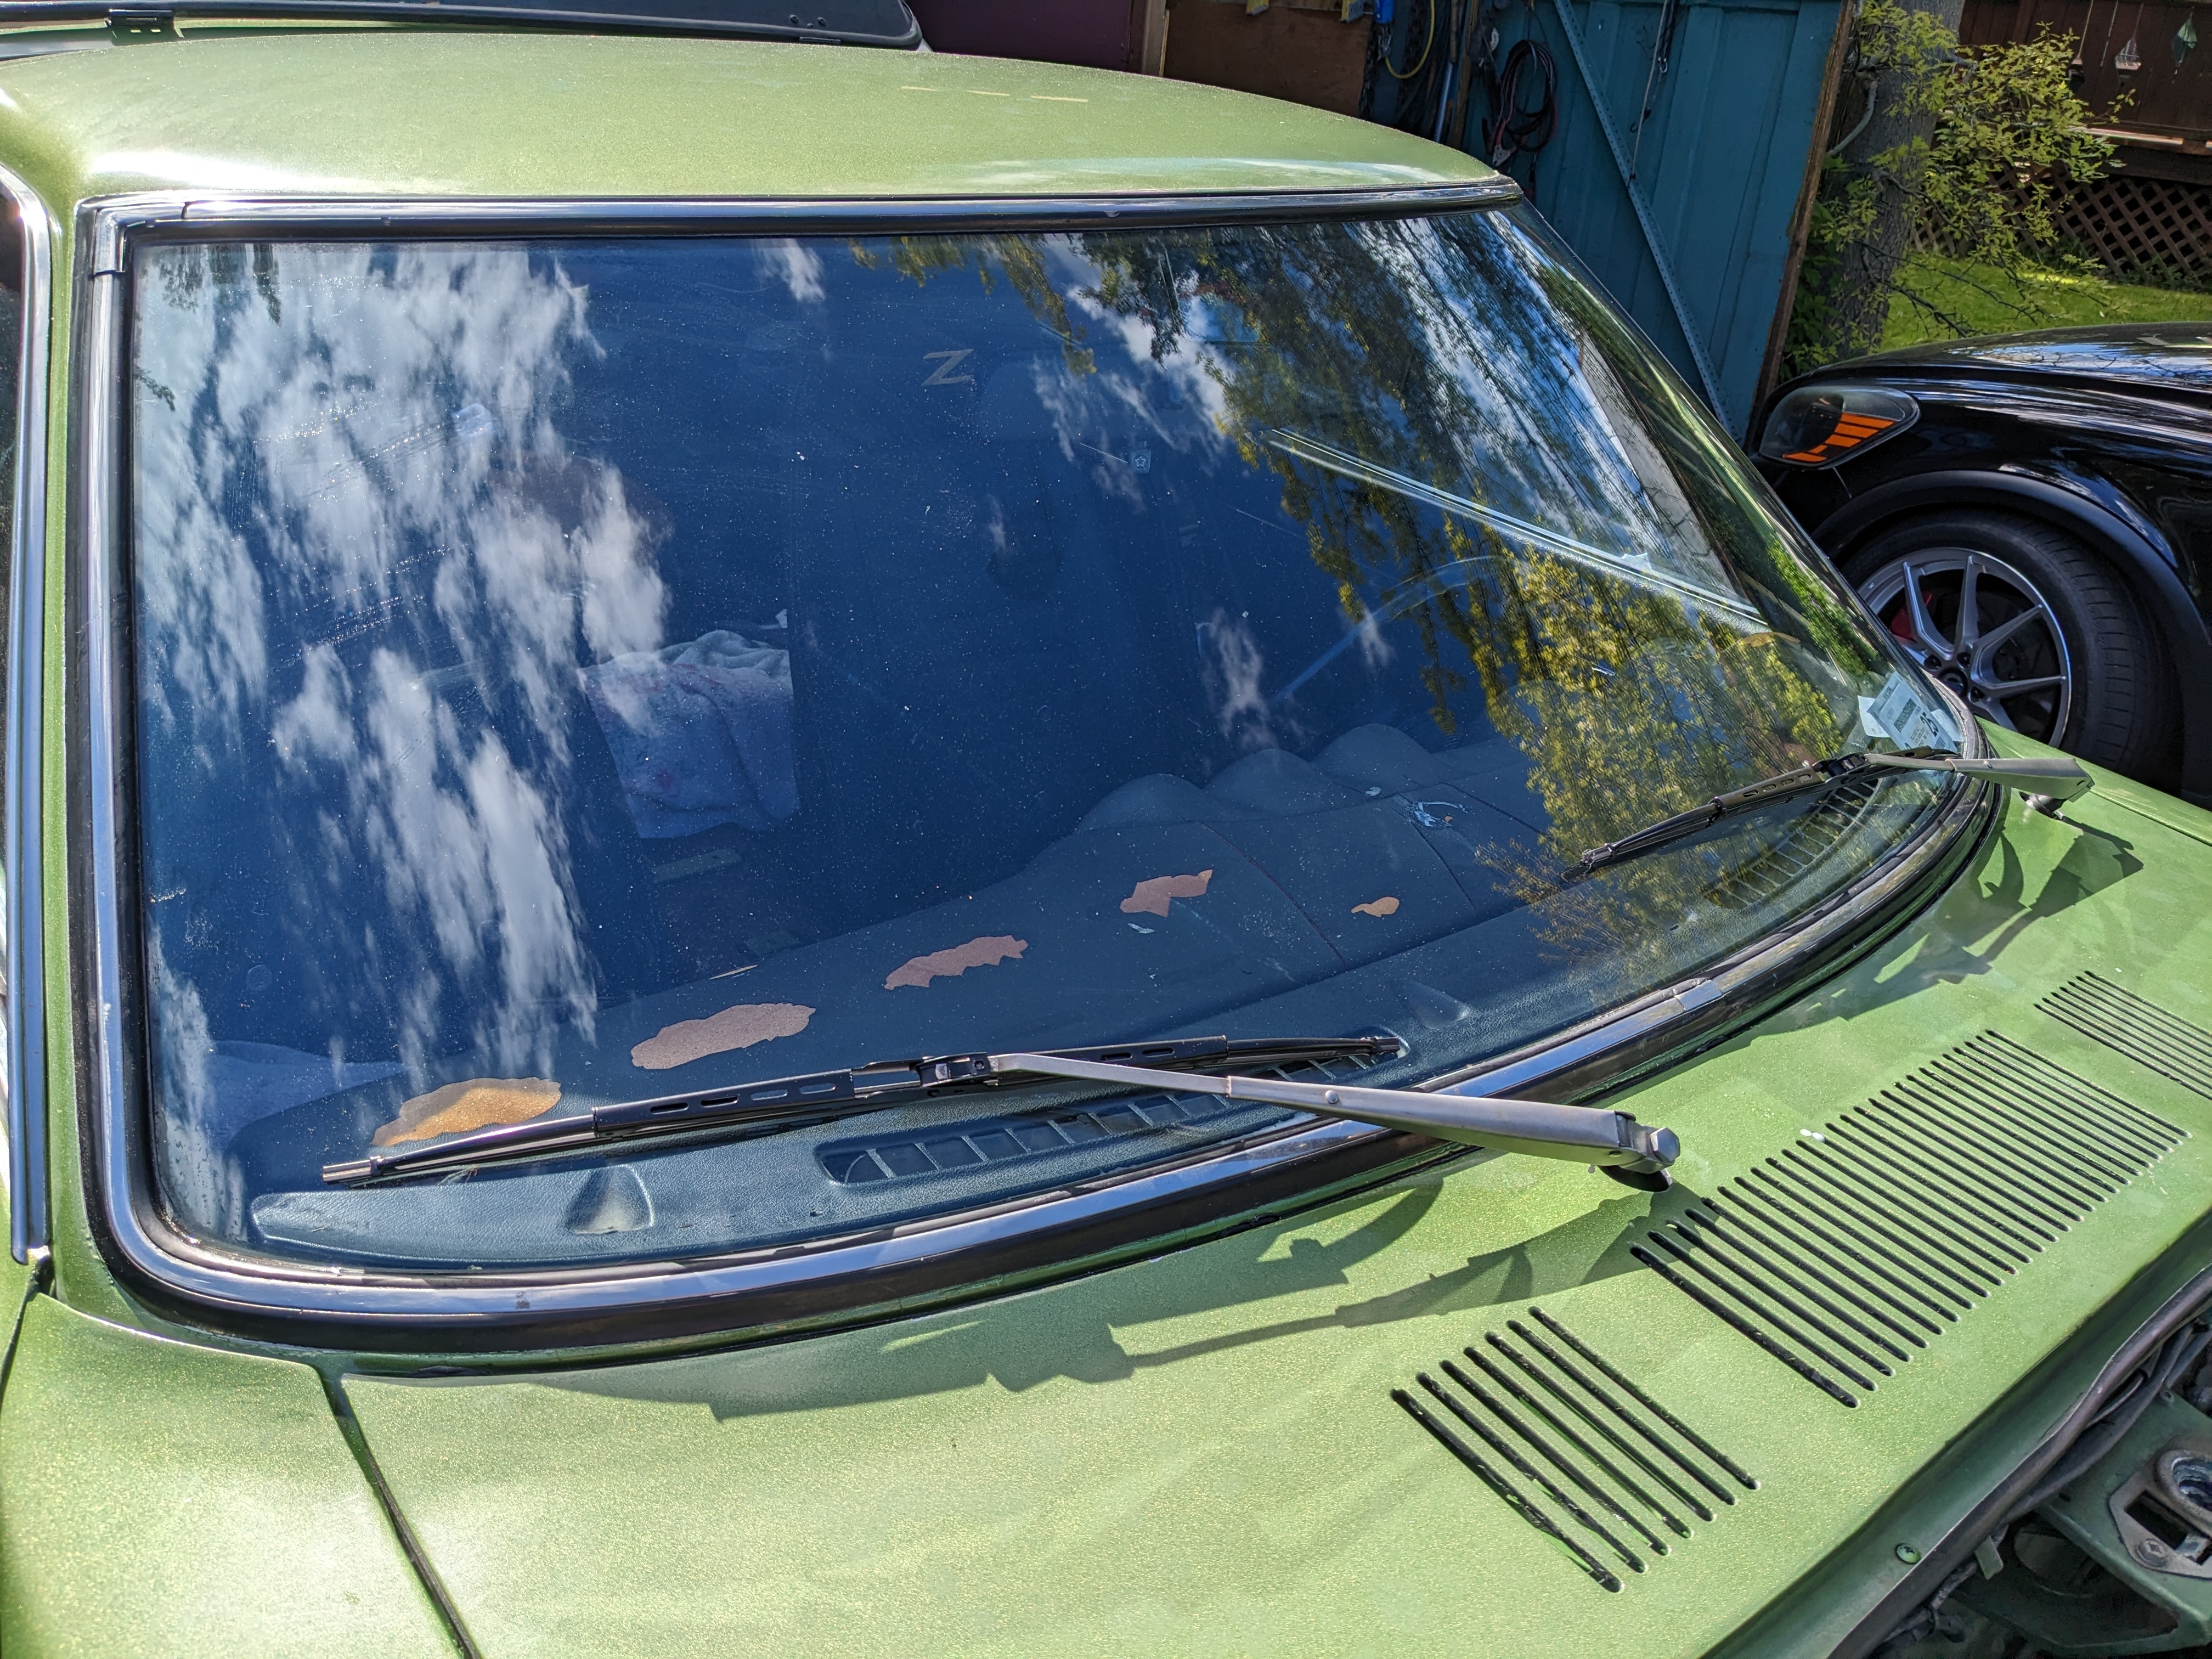
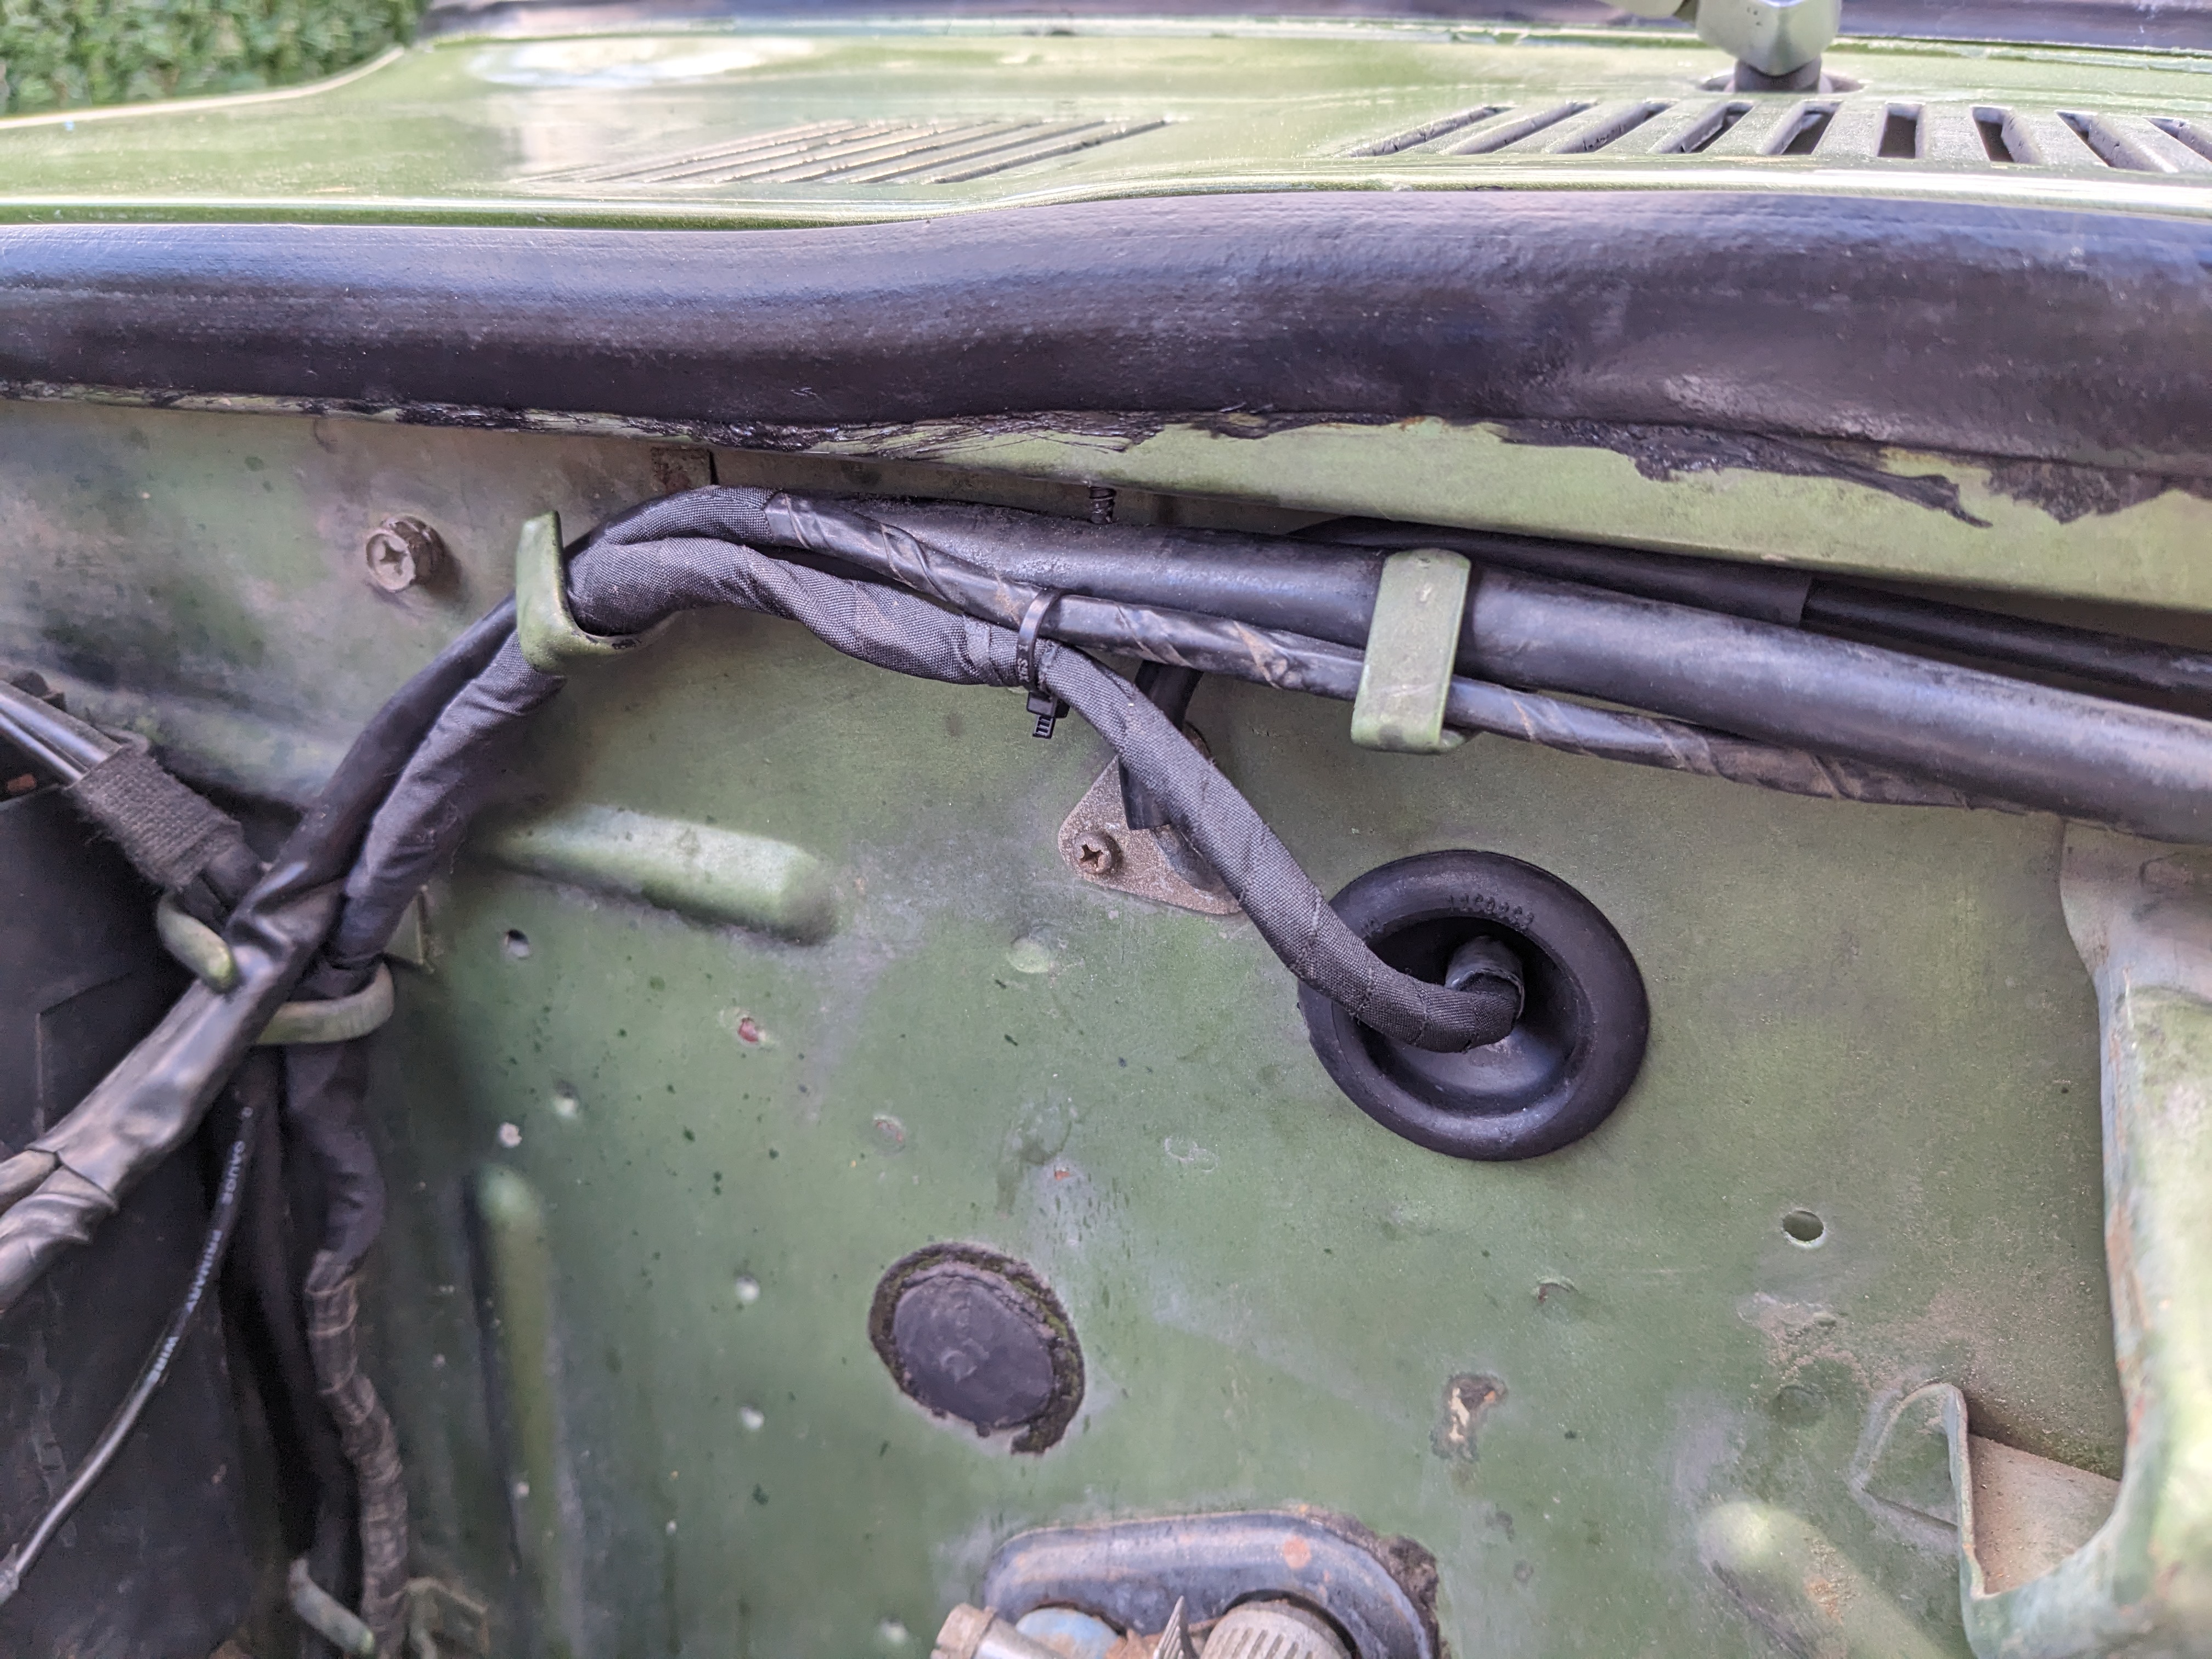
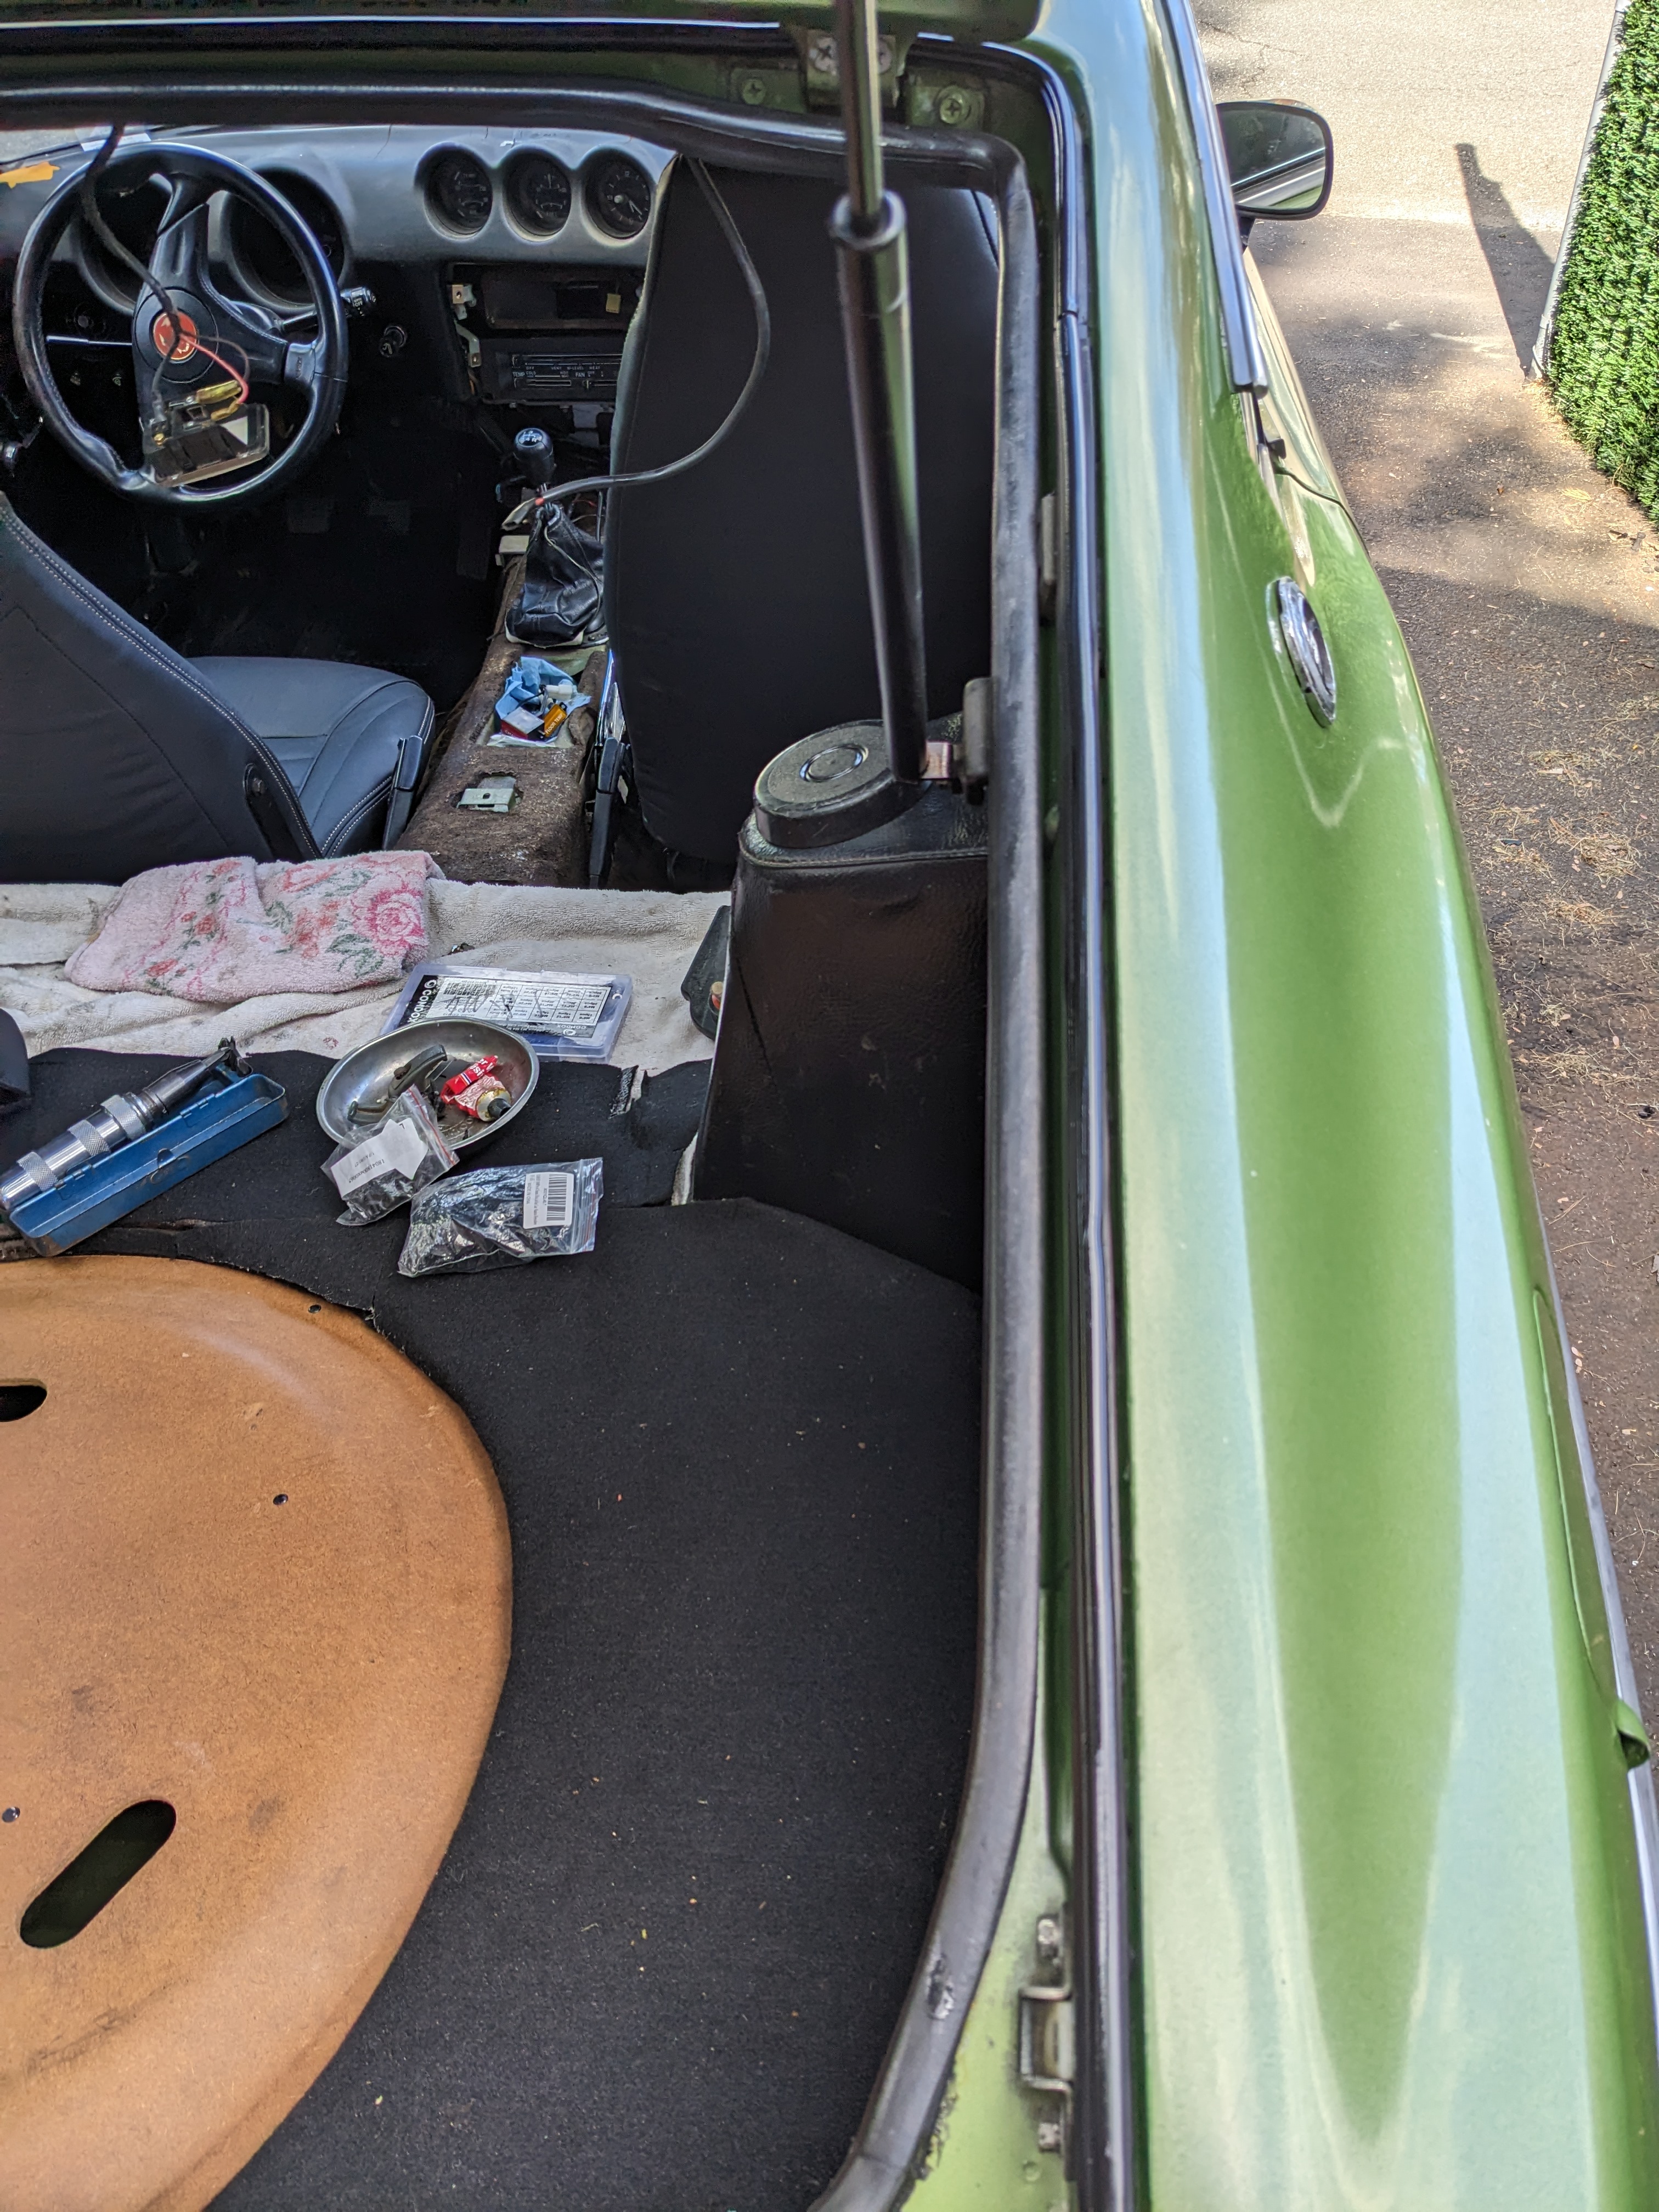
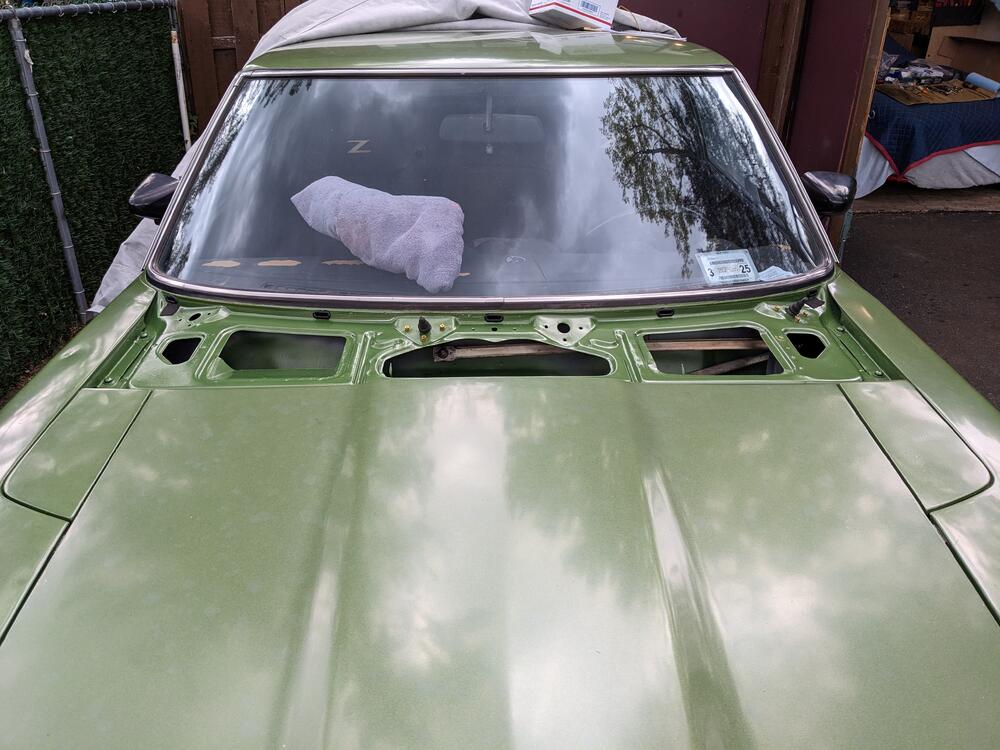
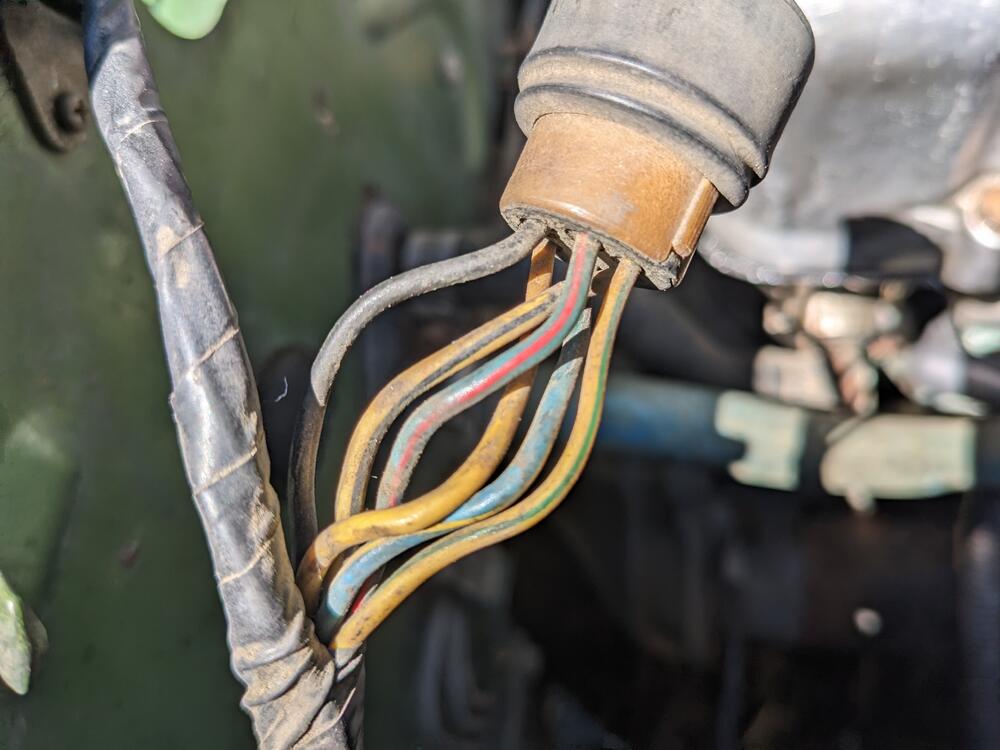
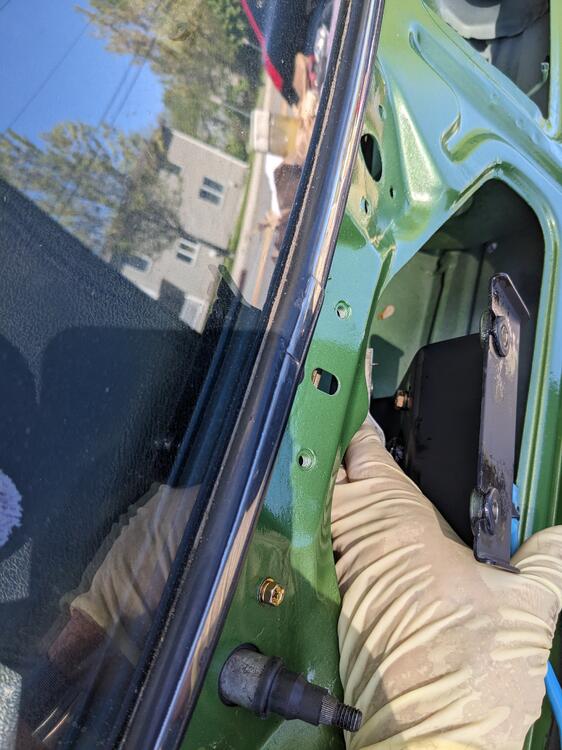
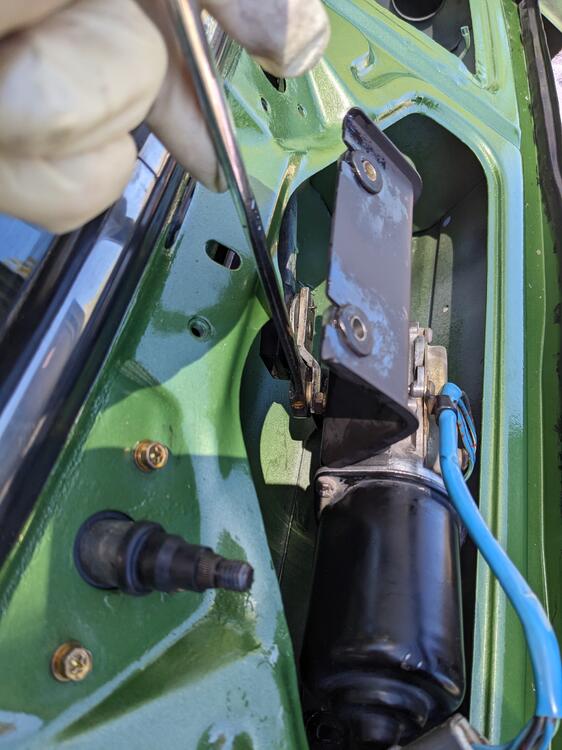
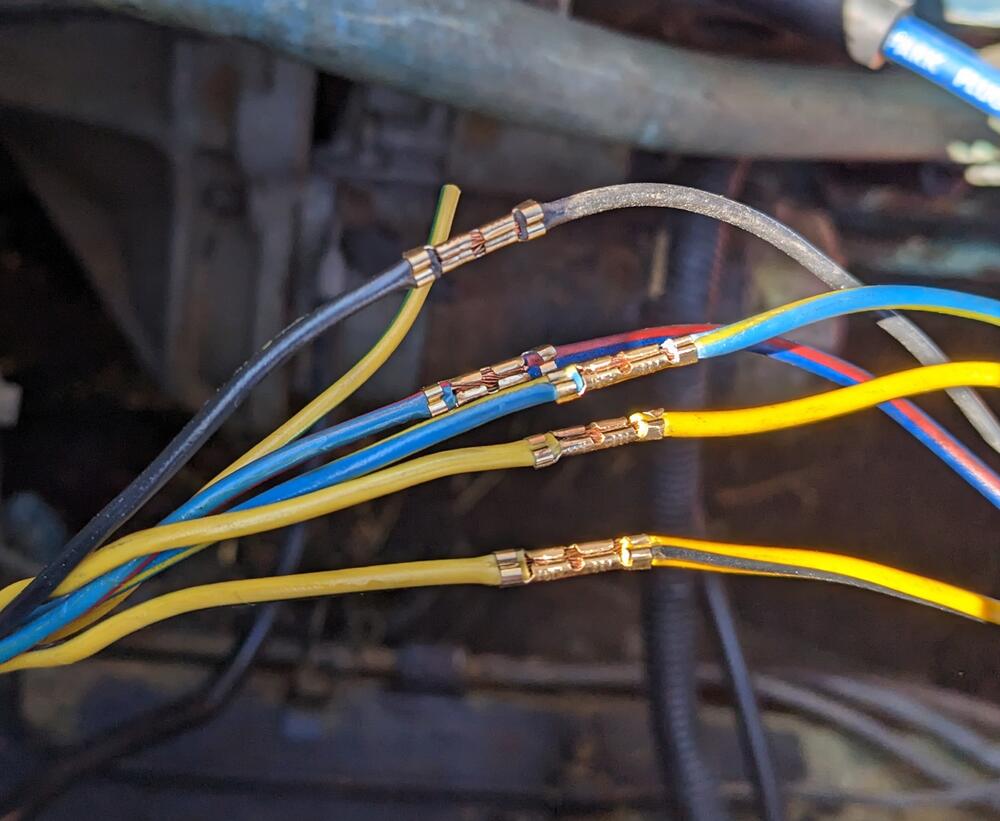
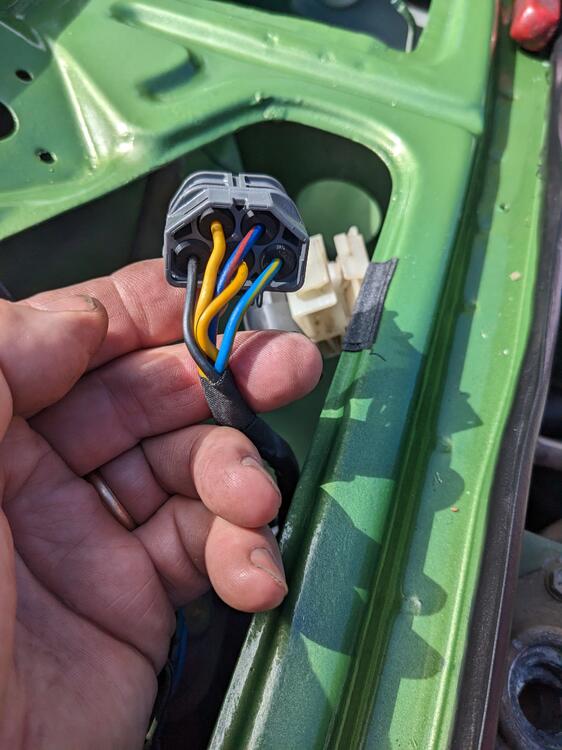
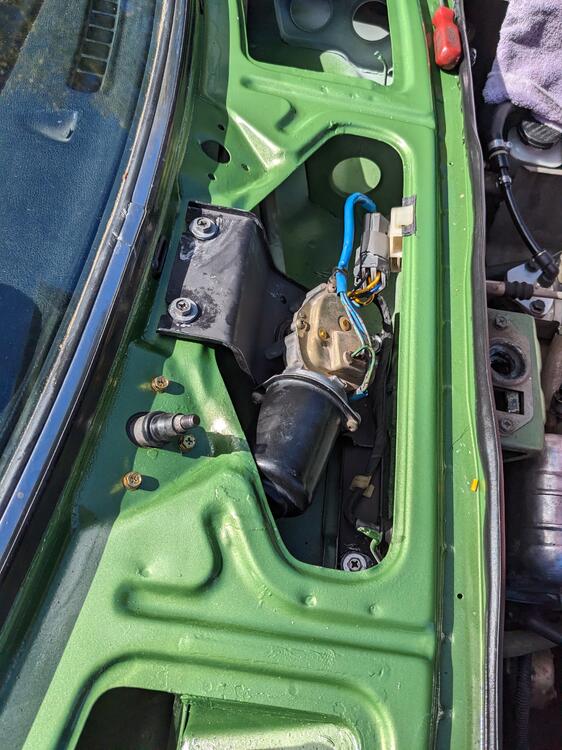
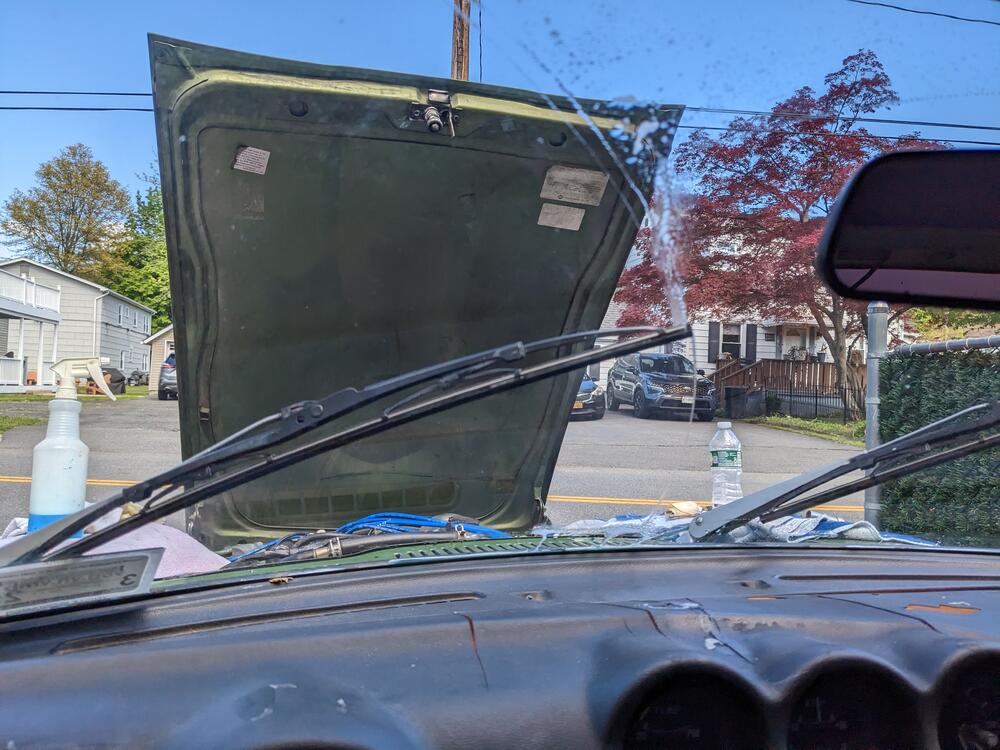
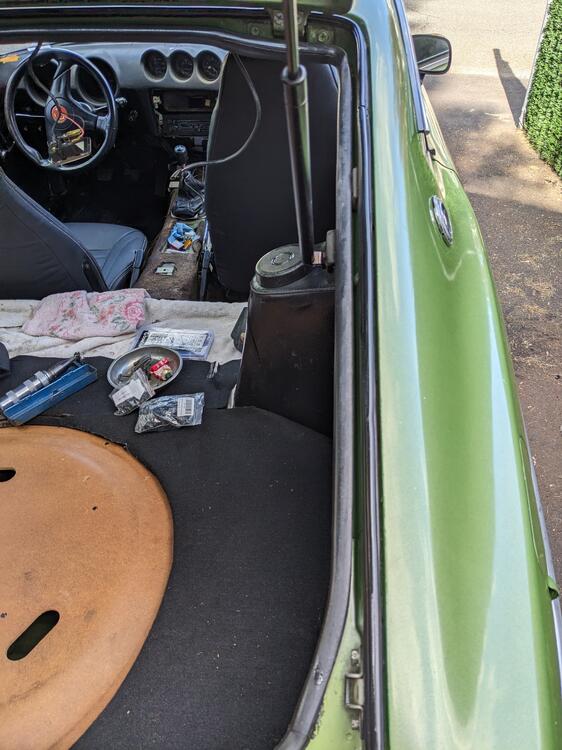
Got the bracket & motor back in the cowl, and rewired for the Honda Motor. I found that one hand can be fit behind the bracket from the right side to get the linkage arm nut back on the wiper motor. I decided to cut off the Datsun connector as those small pins just seem iffy for the load of the wiper motor, given their antiquity. I added lengths of same color wire to extend the stock harness through the cowl, used a Volvo firewall grommet, and then added the Honda (Yazaki 58XS) connector and female pins. BLK, BLU-R, Y,Y-BLK, BLU-Y. Y-G is unused. Solder joints are a bad idea - so I bought a large number of crimp splices some time back. Color-keyed wiring came from my old 80's X1/9 parts car. I removed the entire dash harness before junking it. double shrink wrapped I noticed that there is extra weather-strip glue under the seal - I'll have to get that off I attached the wires without the harness first, to just check the mapping from Datsun to Honda indicated in the earlier post The wipers worked as they should - interval, low and high, parks as it should, so I put the wires into the connector Moved harness routing over to the left & clipped it to the cowl lip Put some butyl over the harness feed throughs, since I don't have the plastic sheath for the whole affair arms & new 18" blades installed checked the washer nozzle adjustment


 3 points
 -
2 pointsFunny... For the exact reasons you mentioned is why I thought the Seall-n-peel was a better option. I wanted something that would NOT bond (was NOT a glue), and I wanted something that took up volume instead of adhering two items together. My thoughts are if the foam alone is not sealing, it's because the foam is not thick enough, not compliant enough, or has taken a set and isn't spongy enough anymore. You don't need the foam to stick, you just need it to take up the gaps. And if the foam alone won't fill the gaps, then you need something with volume, not stickiness.2 points
-
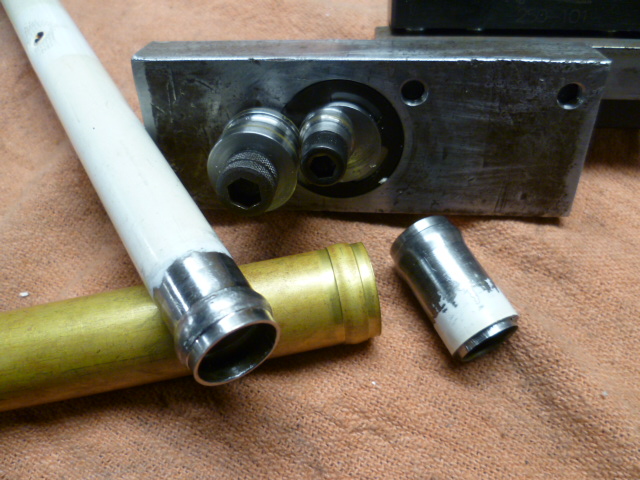
Actually it's easier than that - I heated the shafts until lightly glowing red , then dunk in used engine oil bath & leave them until completely cool. Makes a hell of a smoke cloud. New upper bulb seal arrived (@jfa.series1) , so I finished up the hatch outer drip rail sealing. I used a short section of washer fluid hose to join the bulbs
 2 points
 -
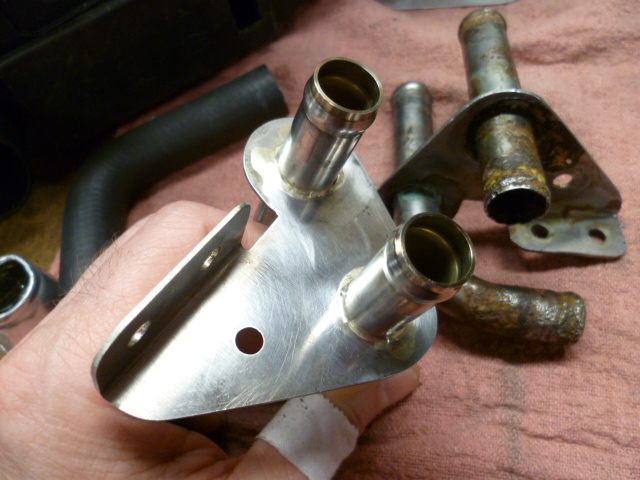
And since I can do pics again, here's my solution to the bulkhead feedthru. Not as glamorous as what you did, but more stock-ish. I made a stainless version of the original feedthru. Used the bead roller for this too. New stainless version with old crusty original in background:
 1 point
 -
Wonder if my picture posting problems persist. Let's find out. Here's my cobbled together bead roller for when I was messing with the tubing: OK, so I can post pics again.
 1 point
 -
1 pointI had a Pontiac GTO in my early days and knew several guys with Firebirds. I'd heard of the Pontiac Sprint 6 but never knew much about it. Found this article today. It's an OHC but the cam is in the valve cover. Pretty crazy. It was a big engine too. 250 CI versus 146 for an L24. Straight six with a Quadrajet. https://www.hemmings.com/stories/article/inside-the-sprint-six1 point
-
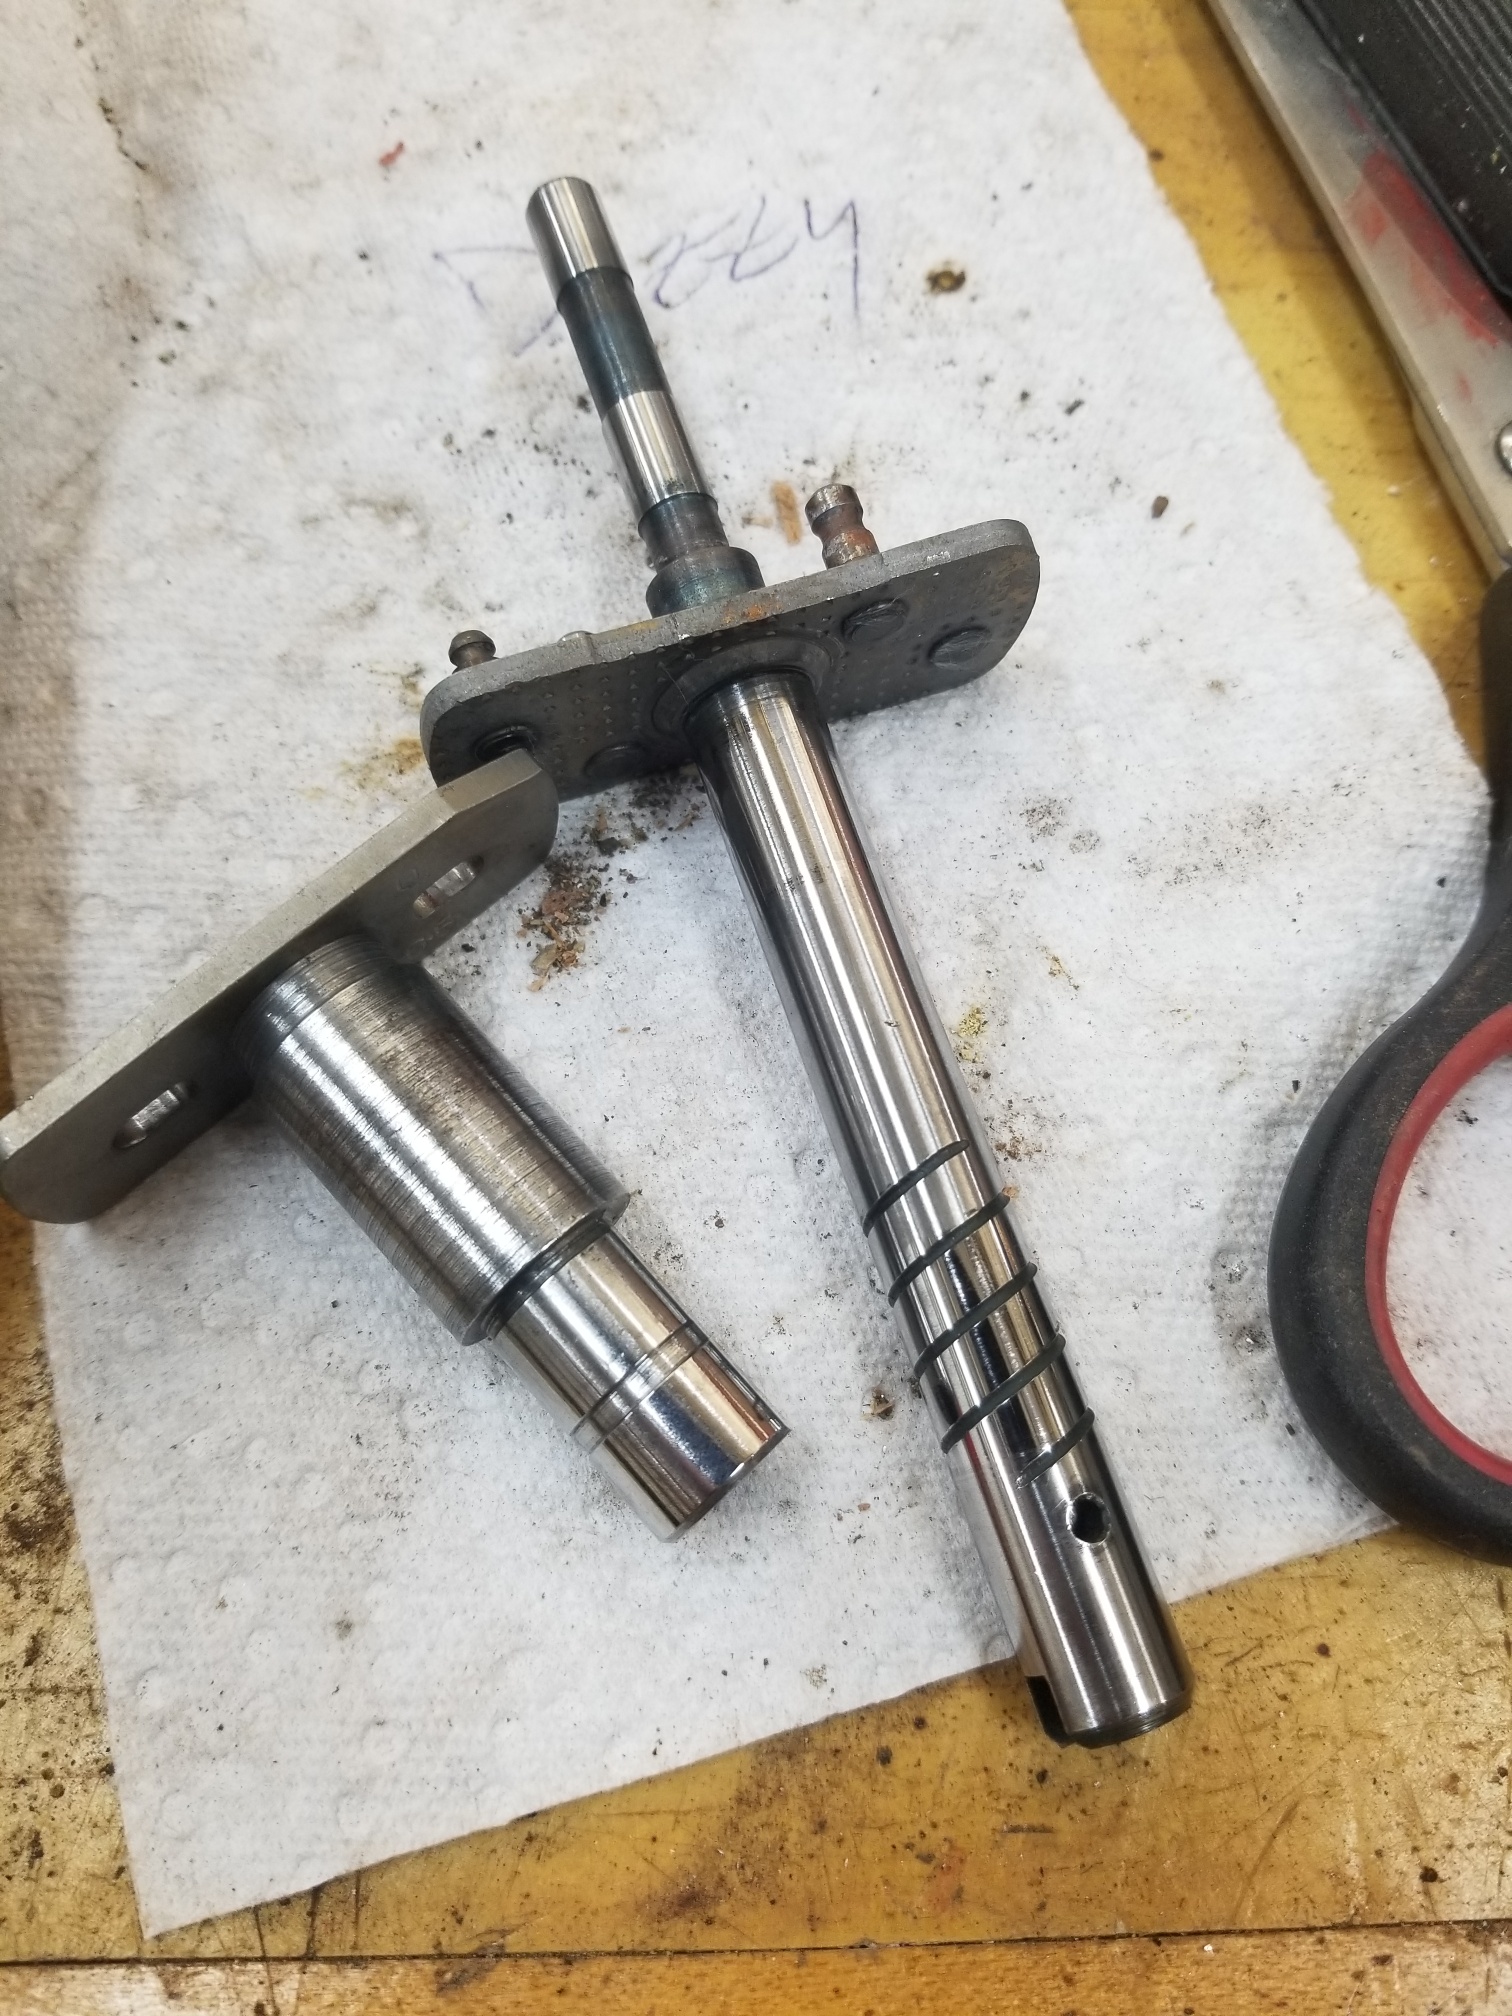
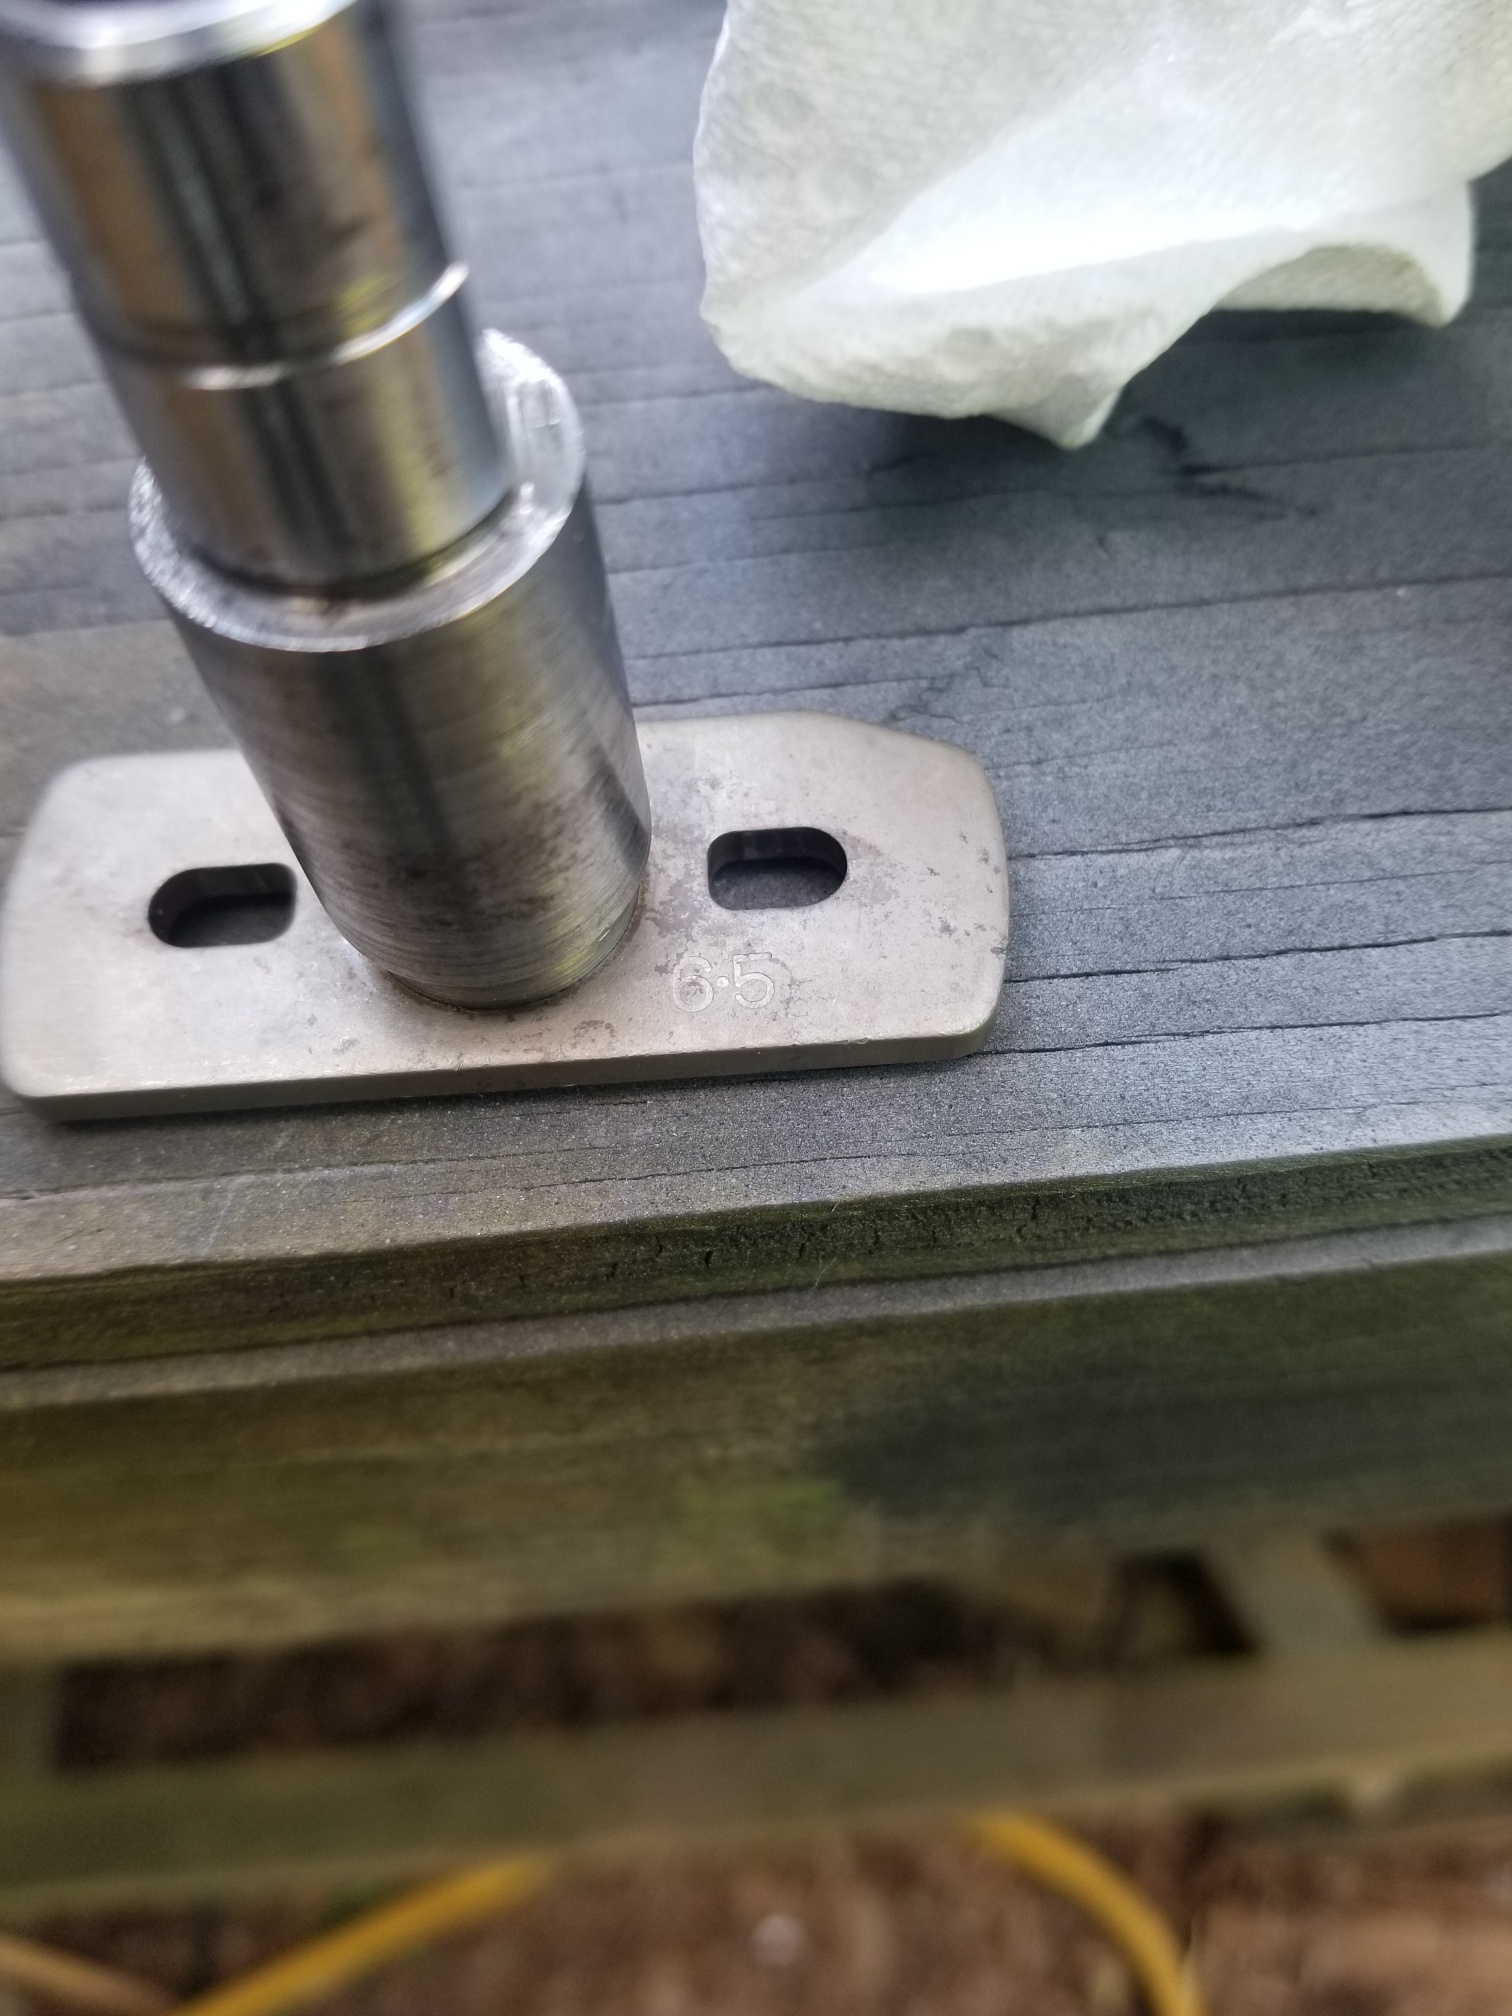
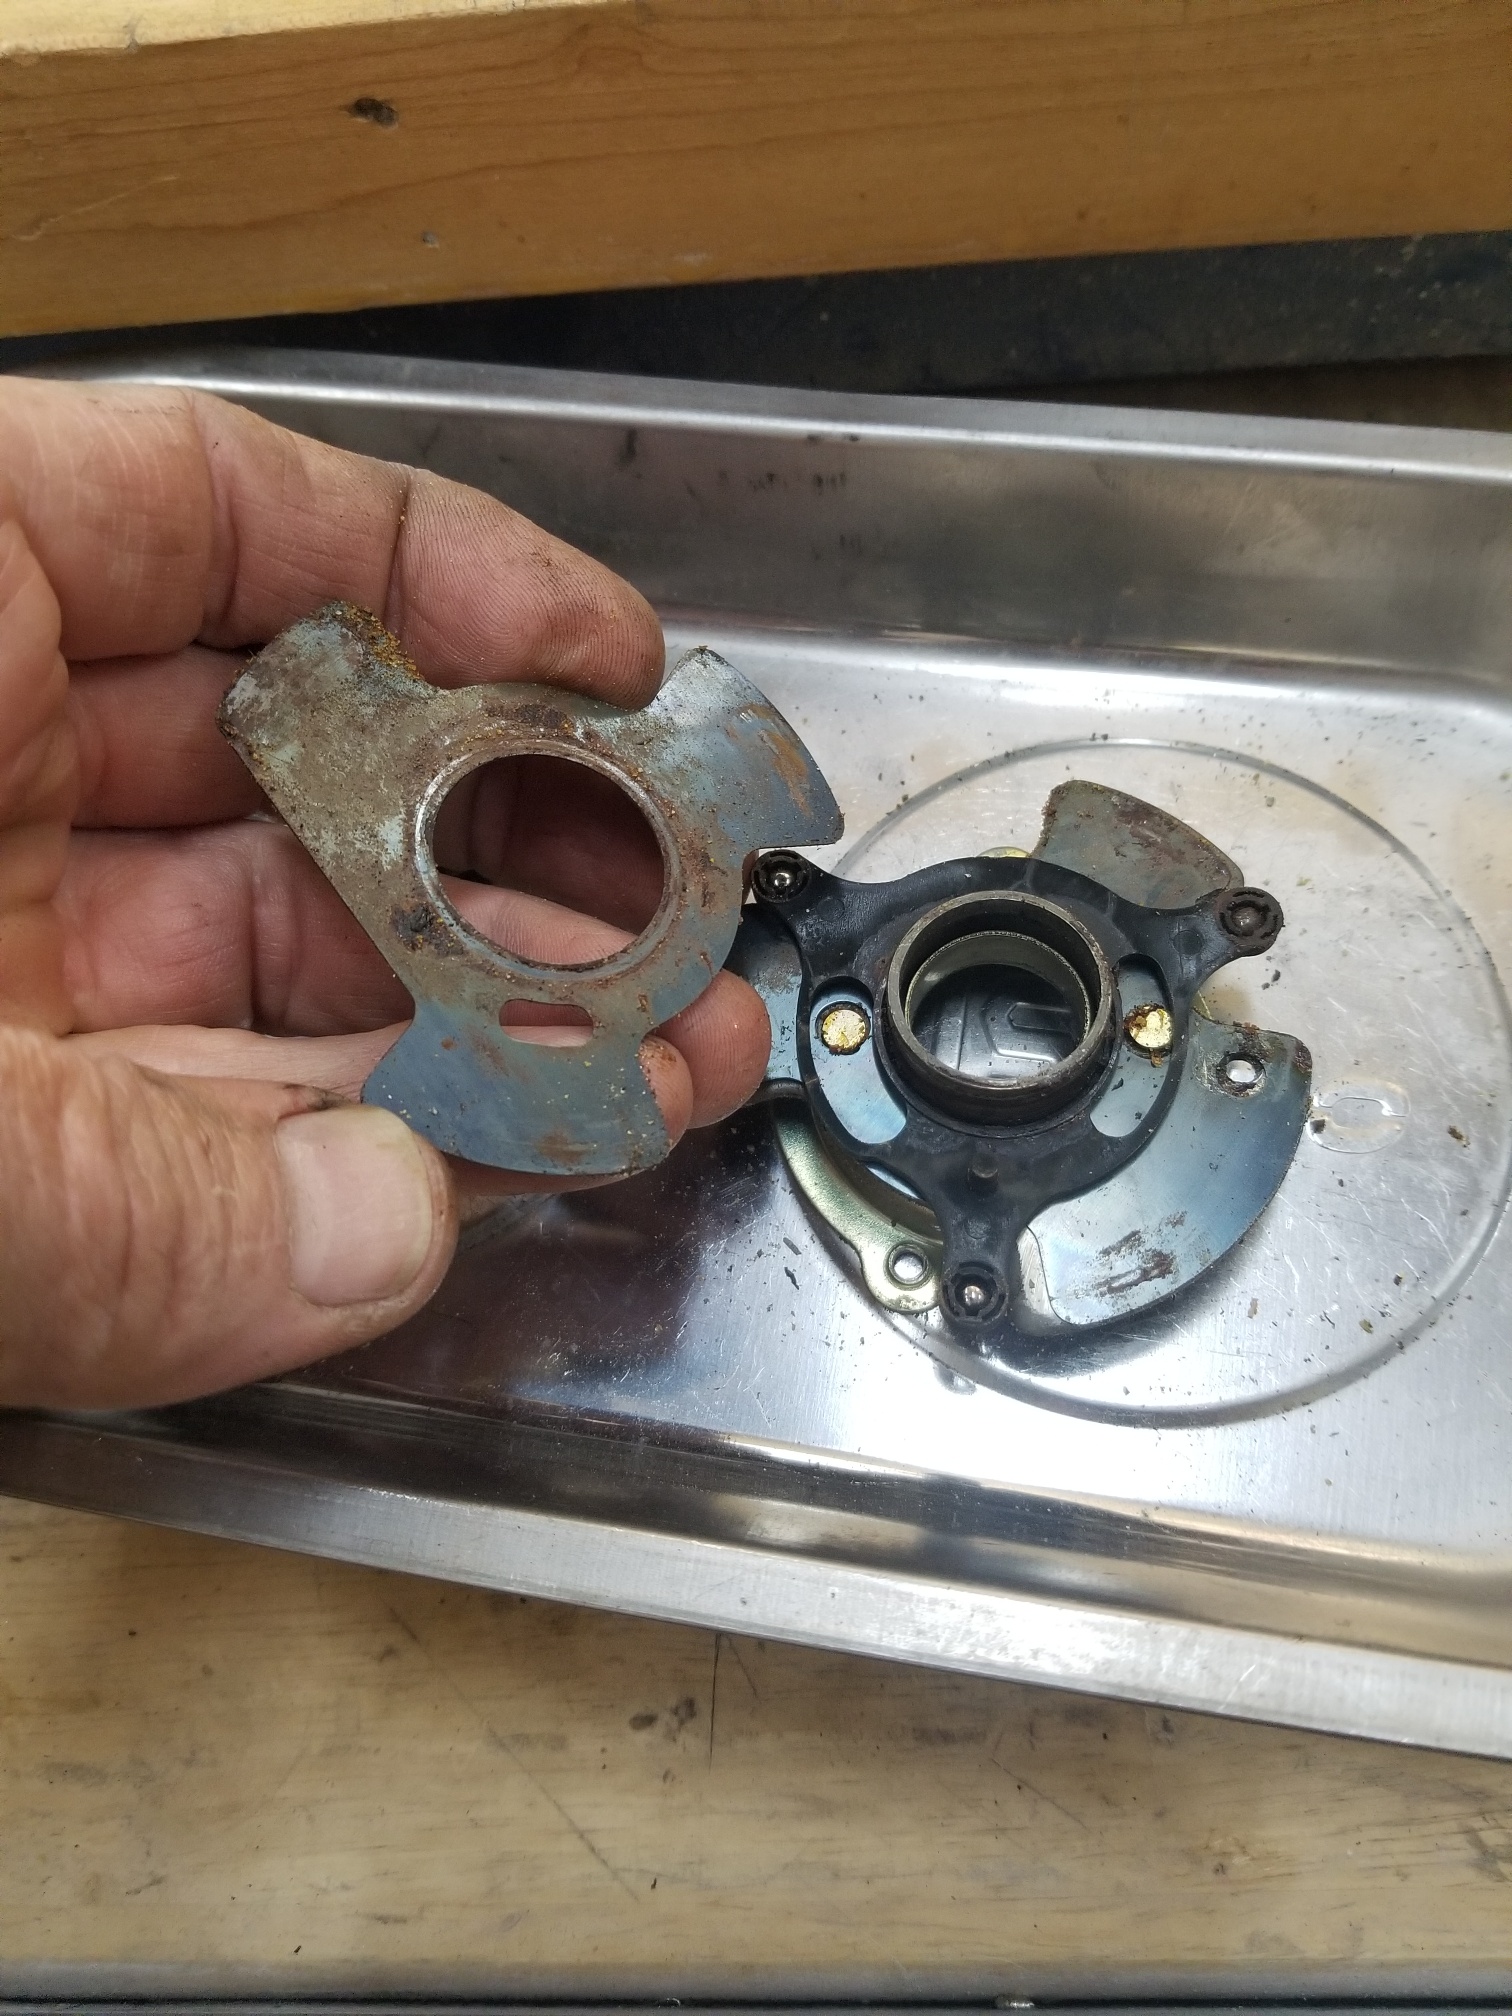
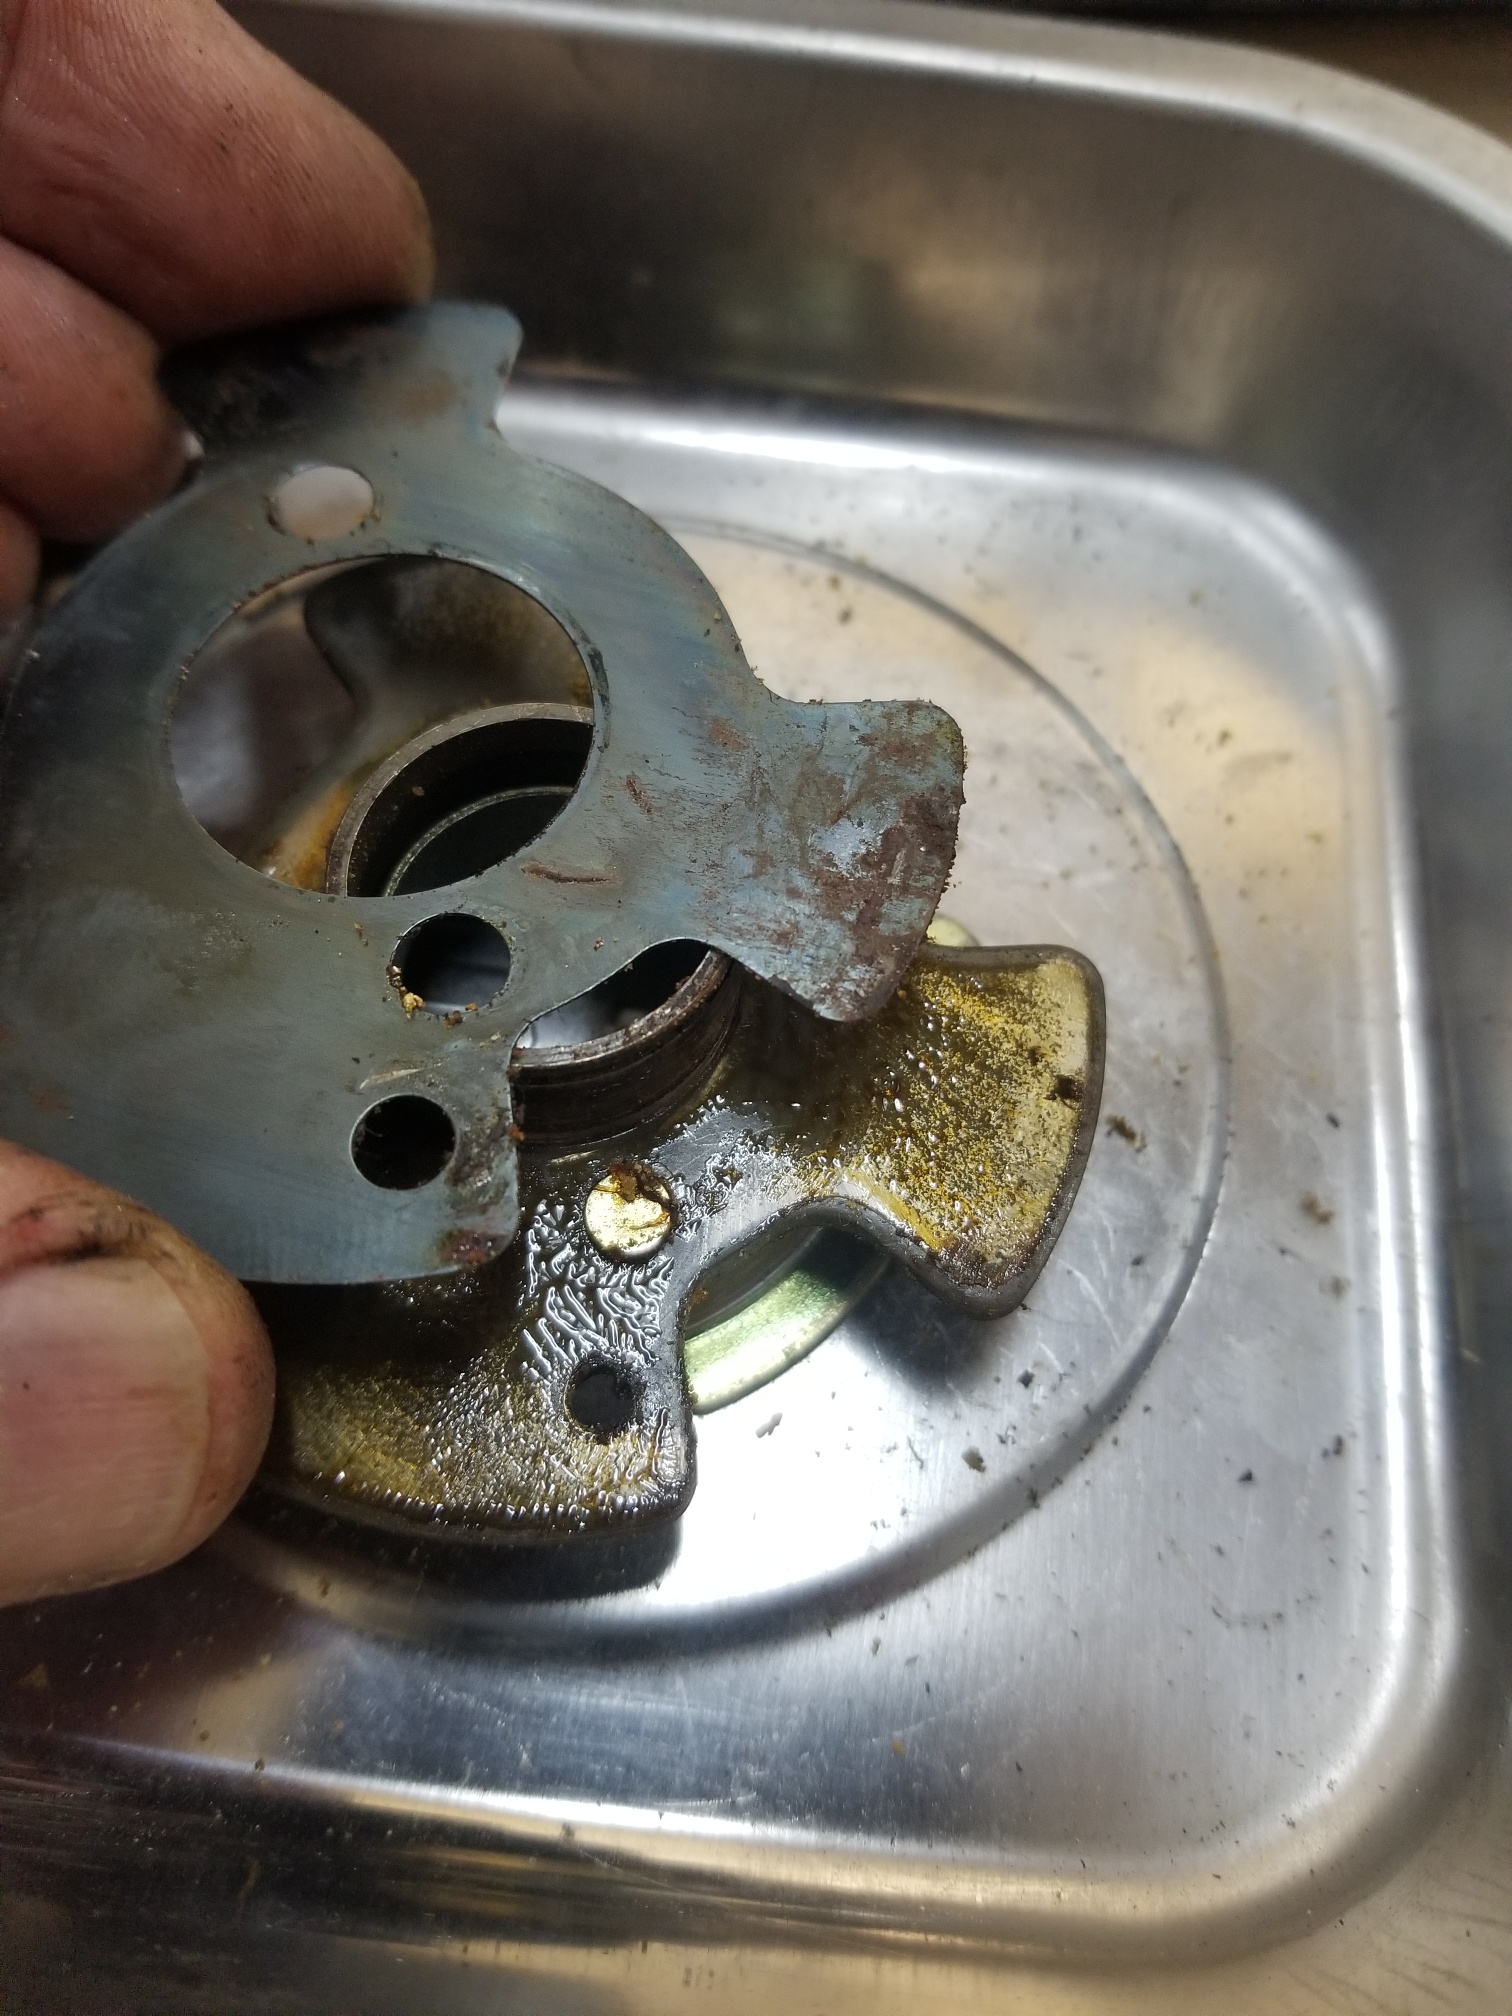
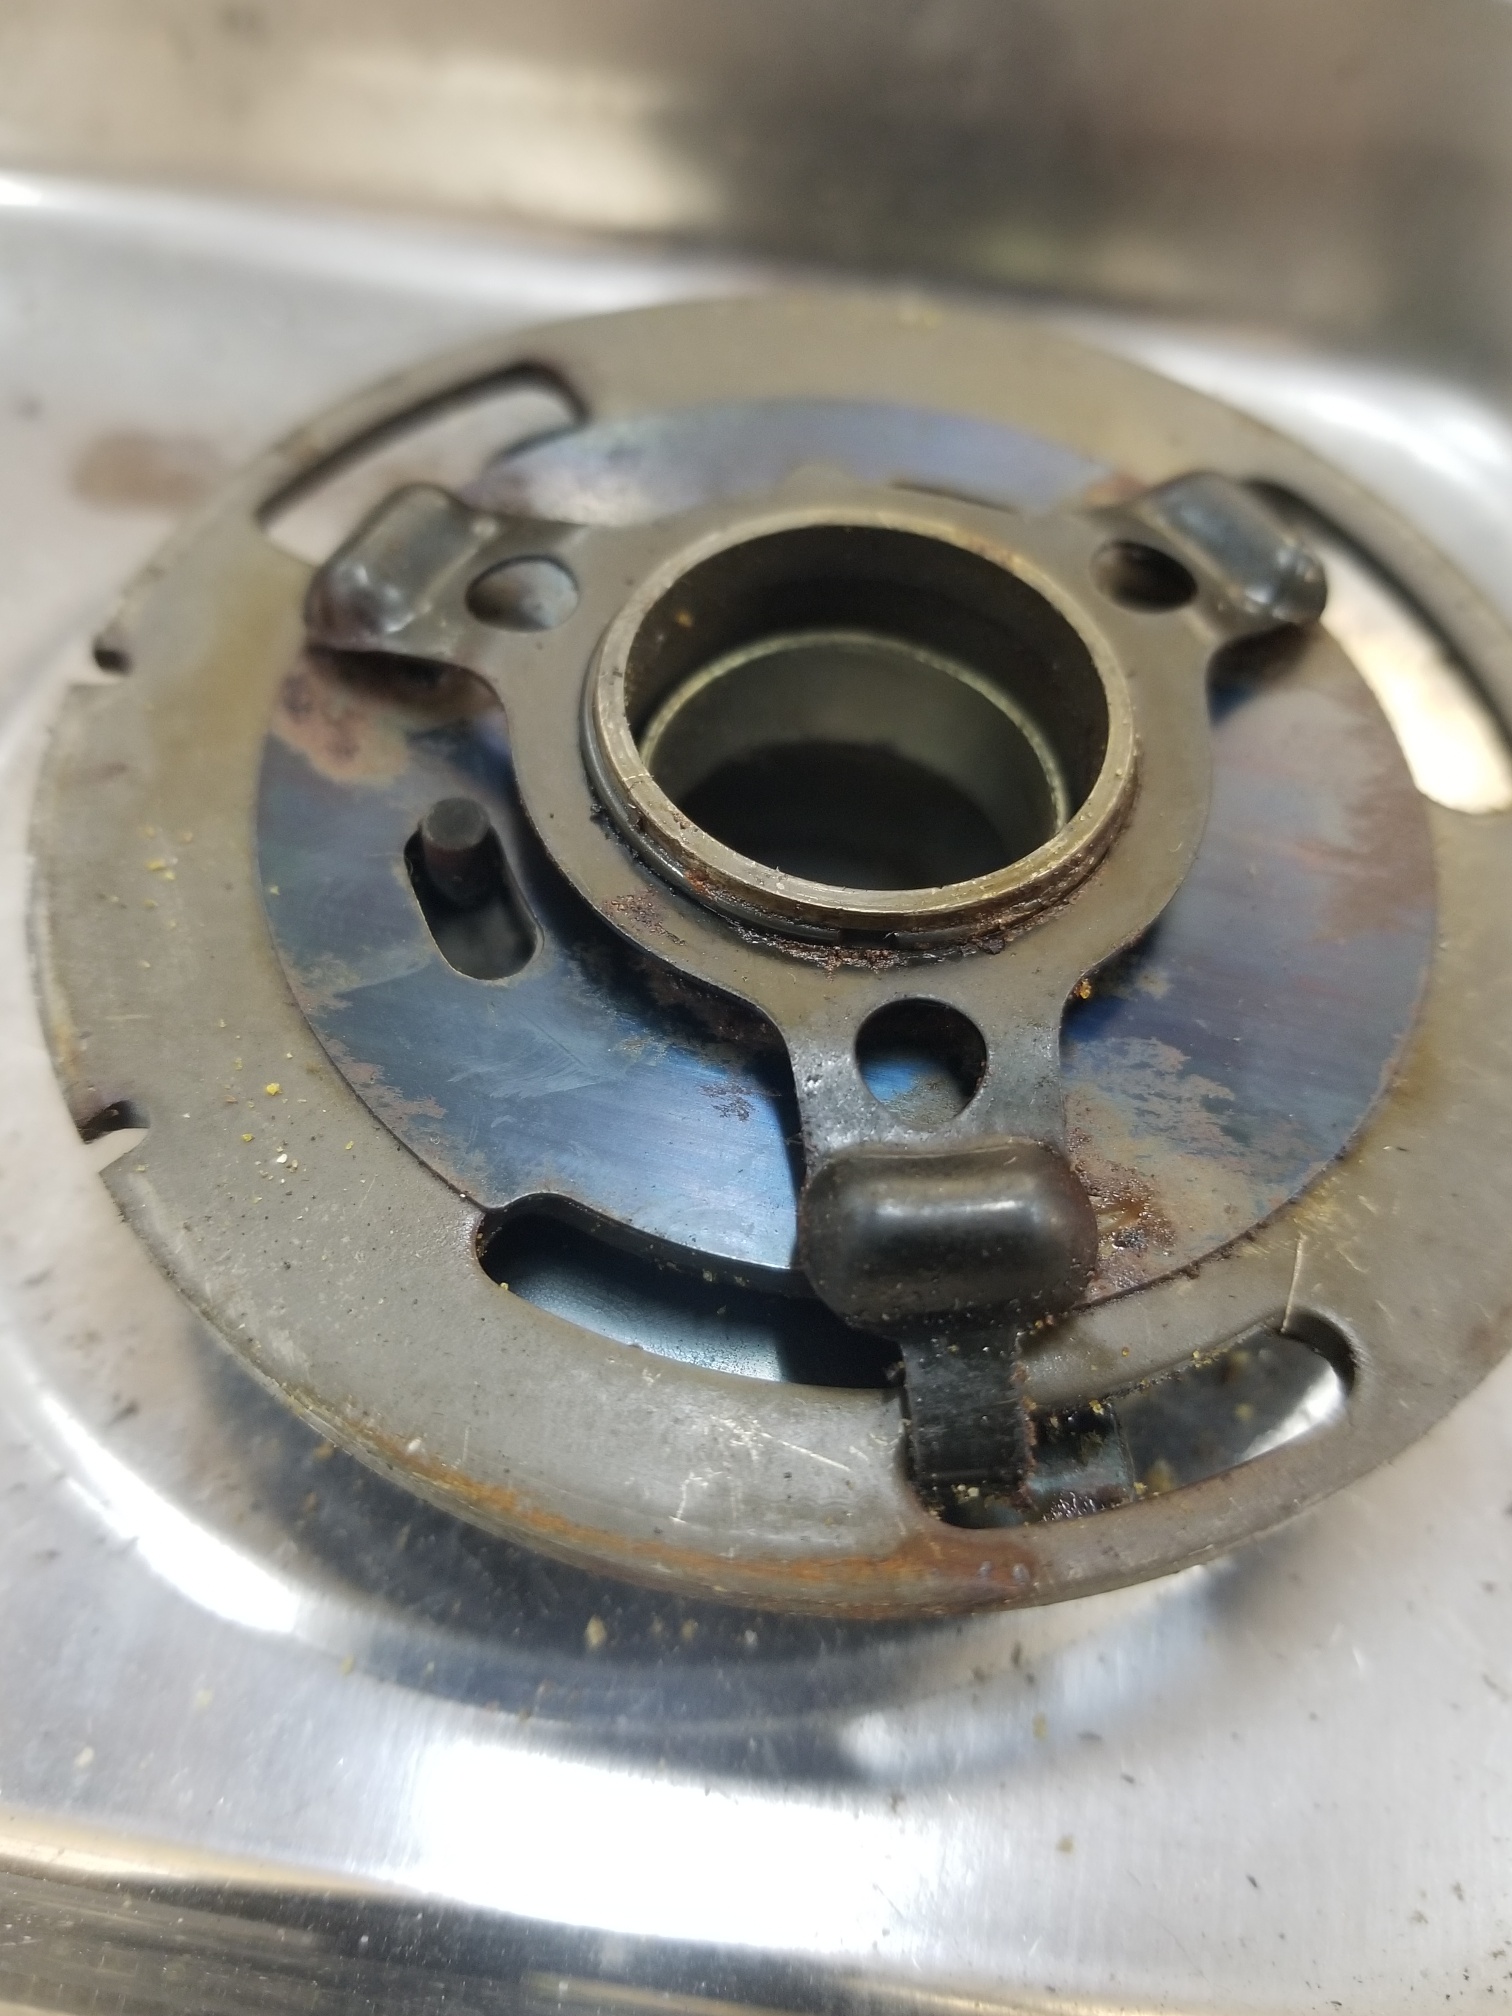
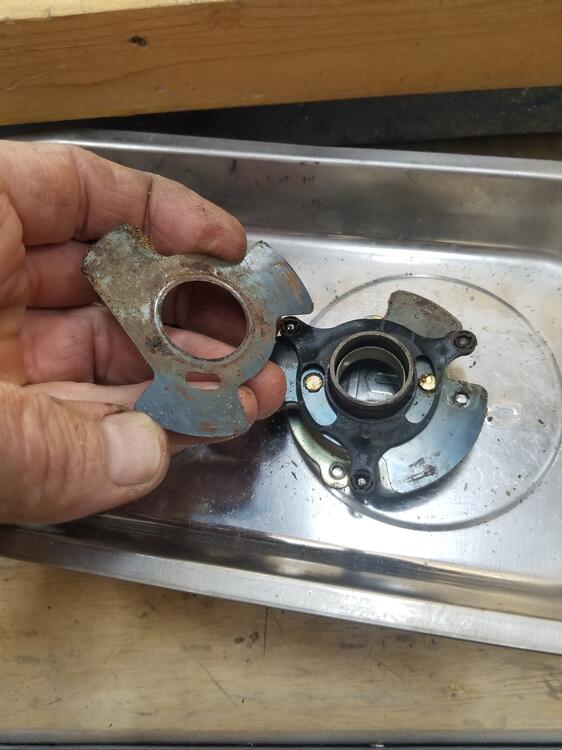
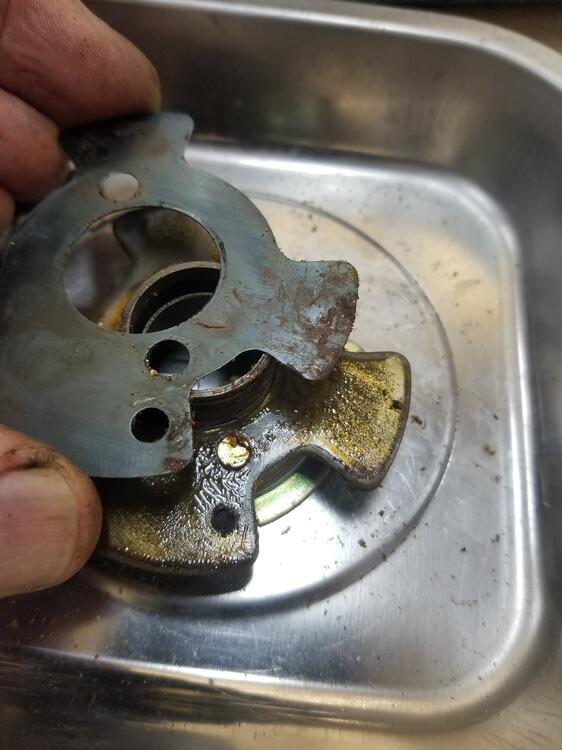
1 pointWorked on the dizzy some more. Got the advance shaft disassembled and polished the shafts. It would appear the mechanical advance is going to be 13d? Disassembled this part too I took lots of pictures! There are several little details that would be easy to miss on reassembly Might work on this part some more tomorrow, we'll see...


 1 point
 -
1 pointThe initial test looked like a scene from a Cheech & Chong movie. Dave? Dave's not here. No, it's me, Dave. I've got the stuff.1 point