Leaderboard
-
Patcon
 Subscriber
 3Points11,142Posts
 -
S30Driver
Free Member2Points1,580Posts -

240260280
Free Member2Points4,442Posts -
theguppies
Free Member2Points93Posts


Popular Content
Showing content with the highest reputation on 12/22/2017 in Posts
-
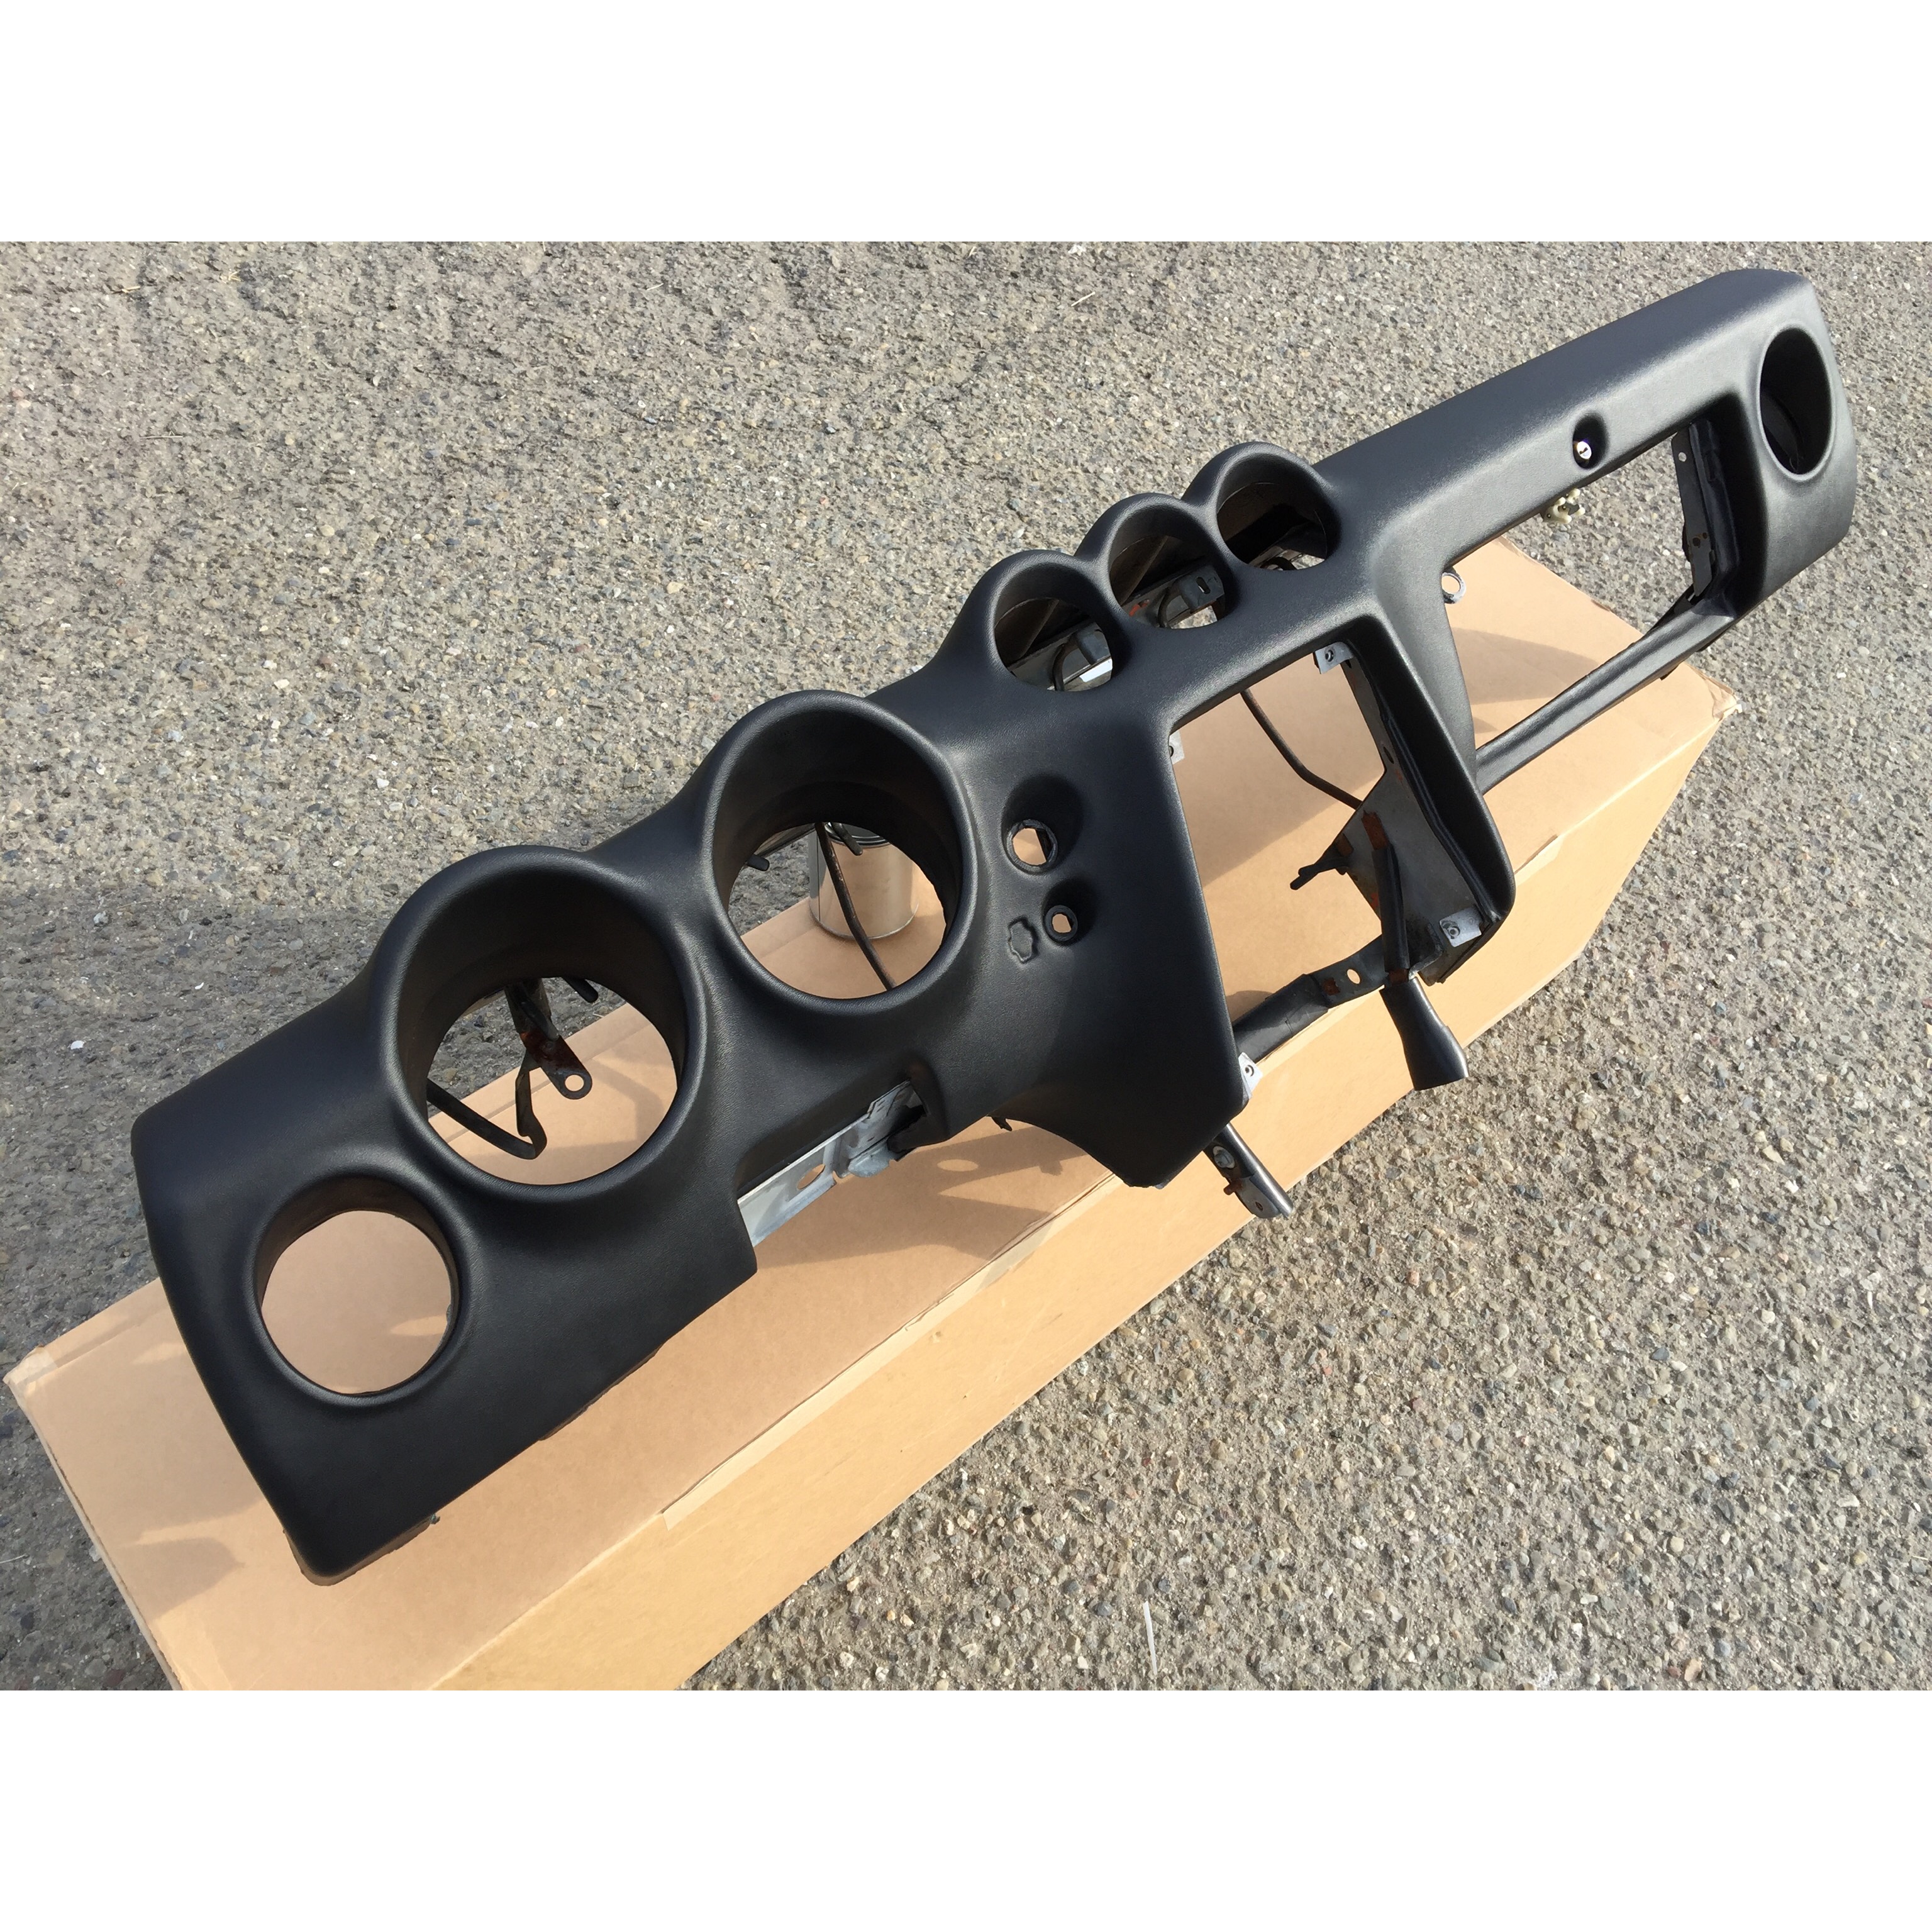
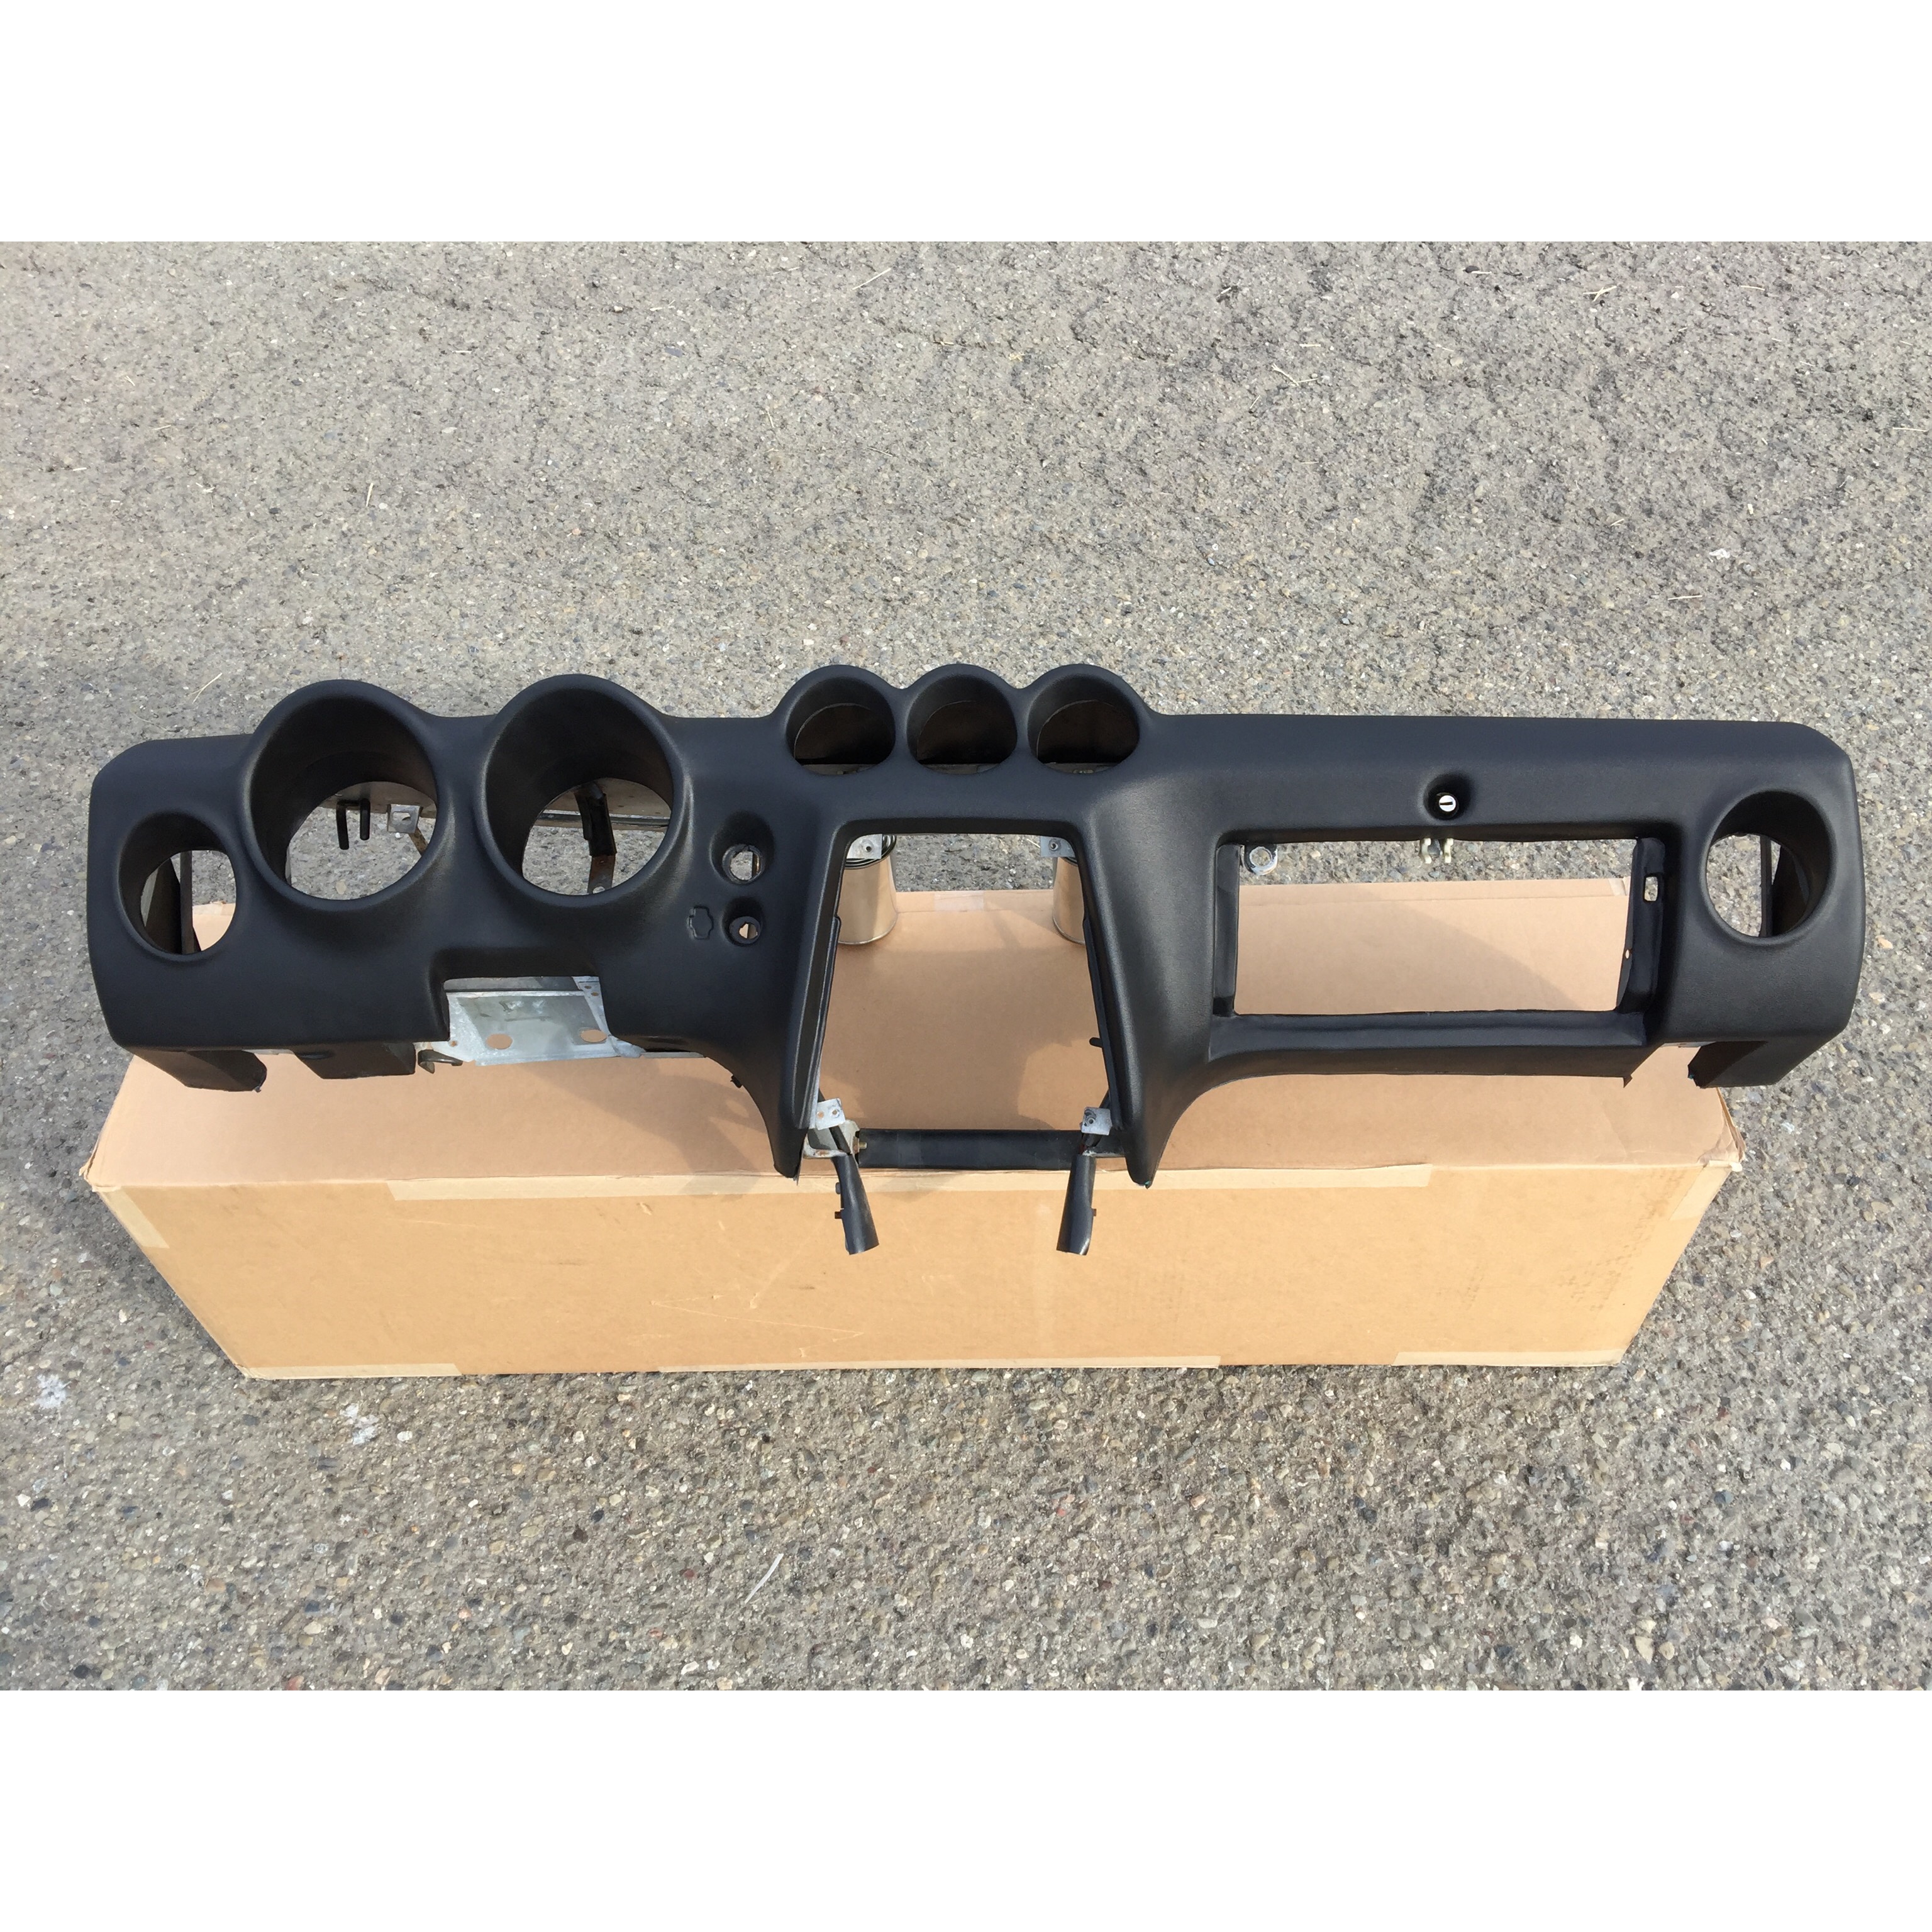
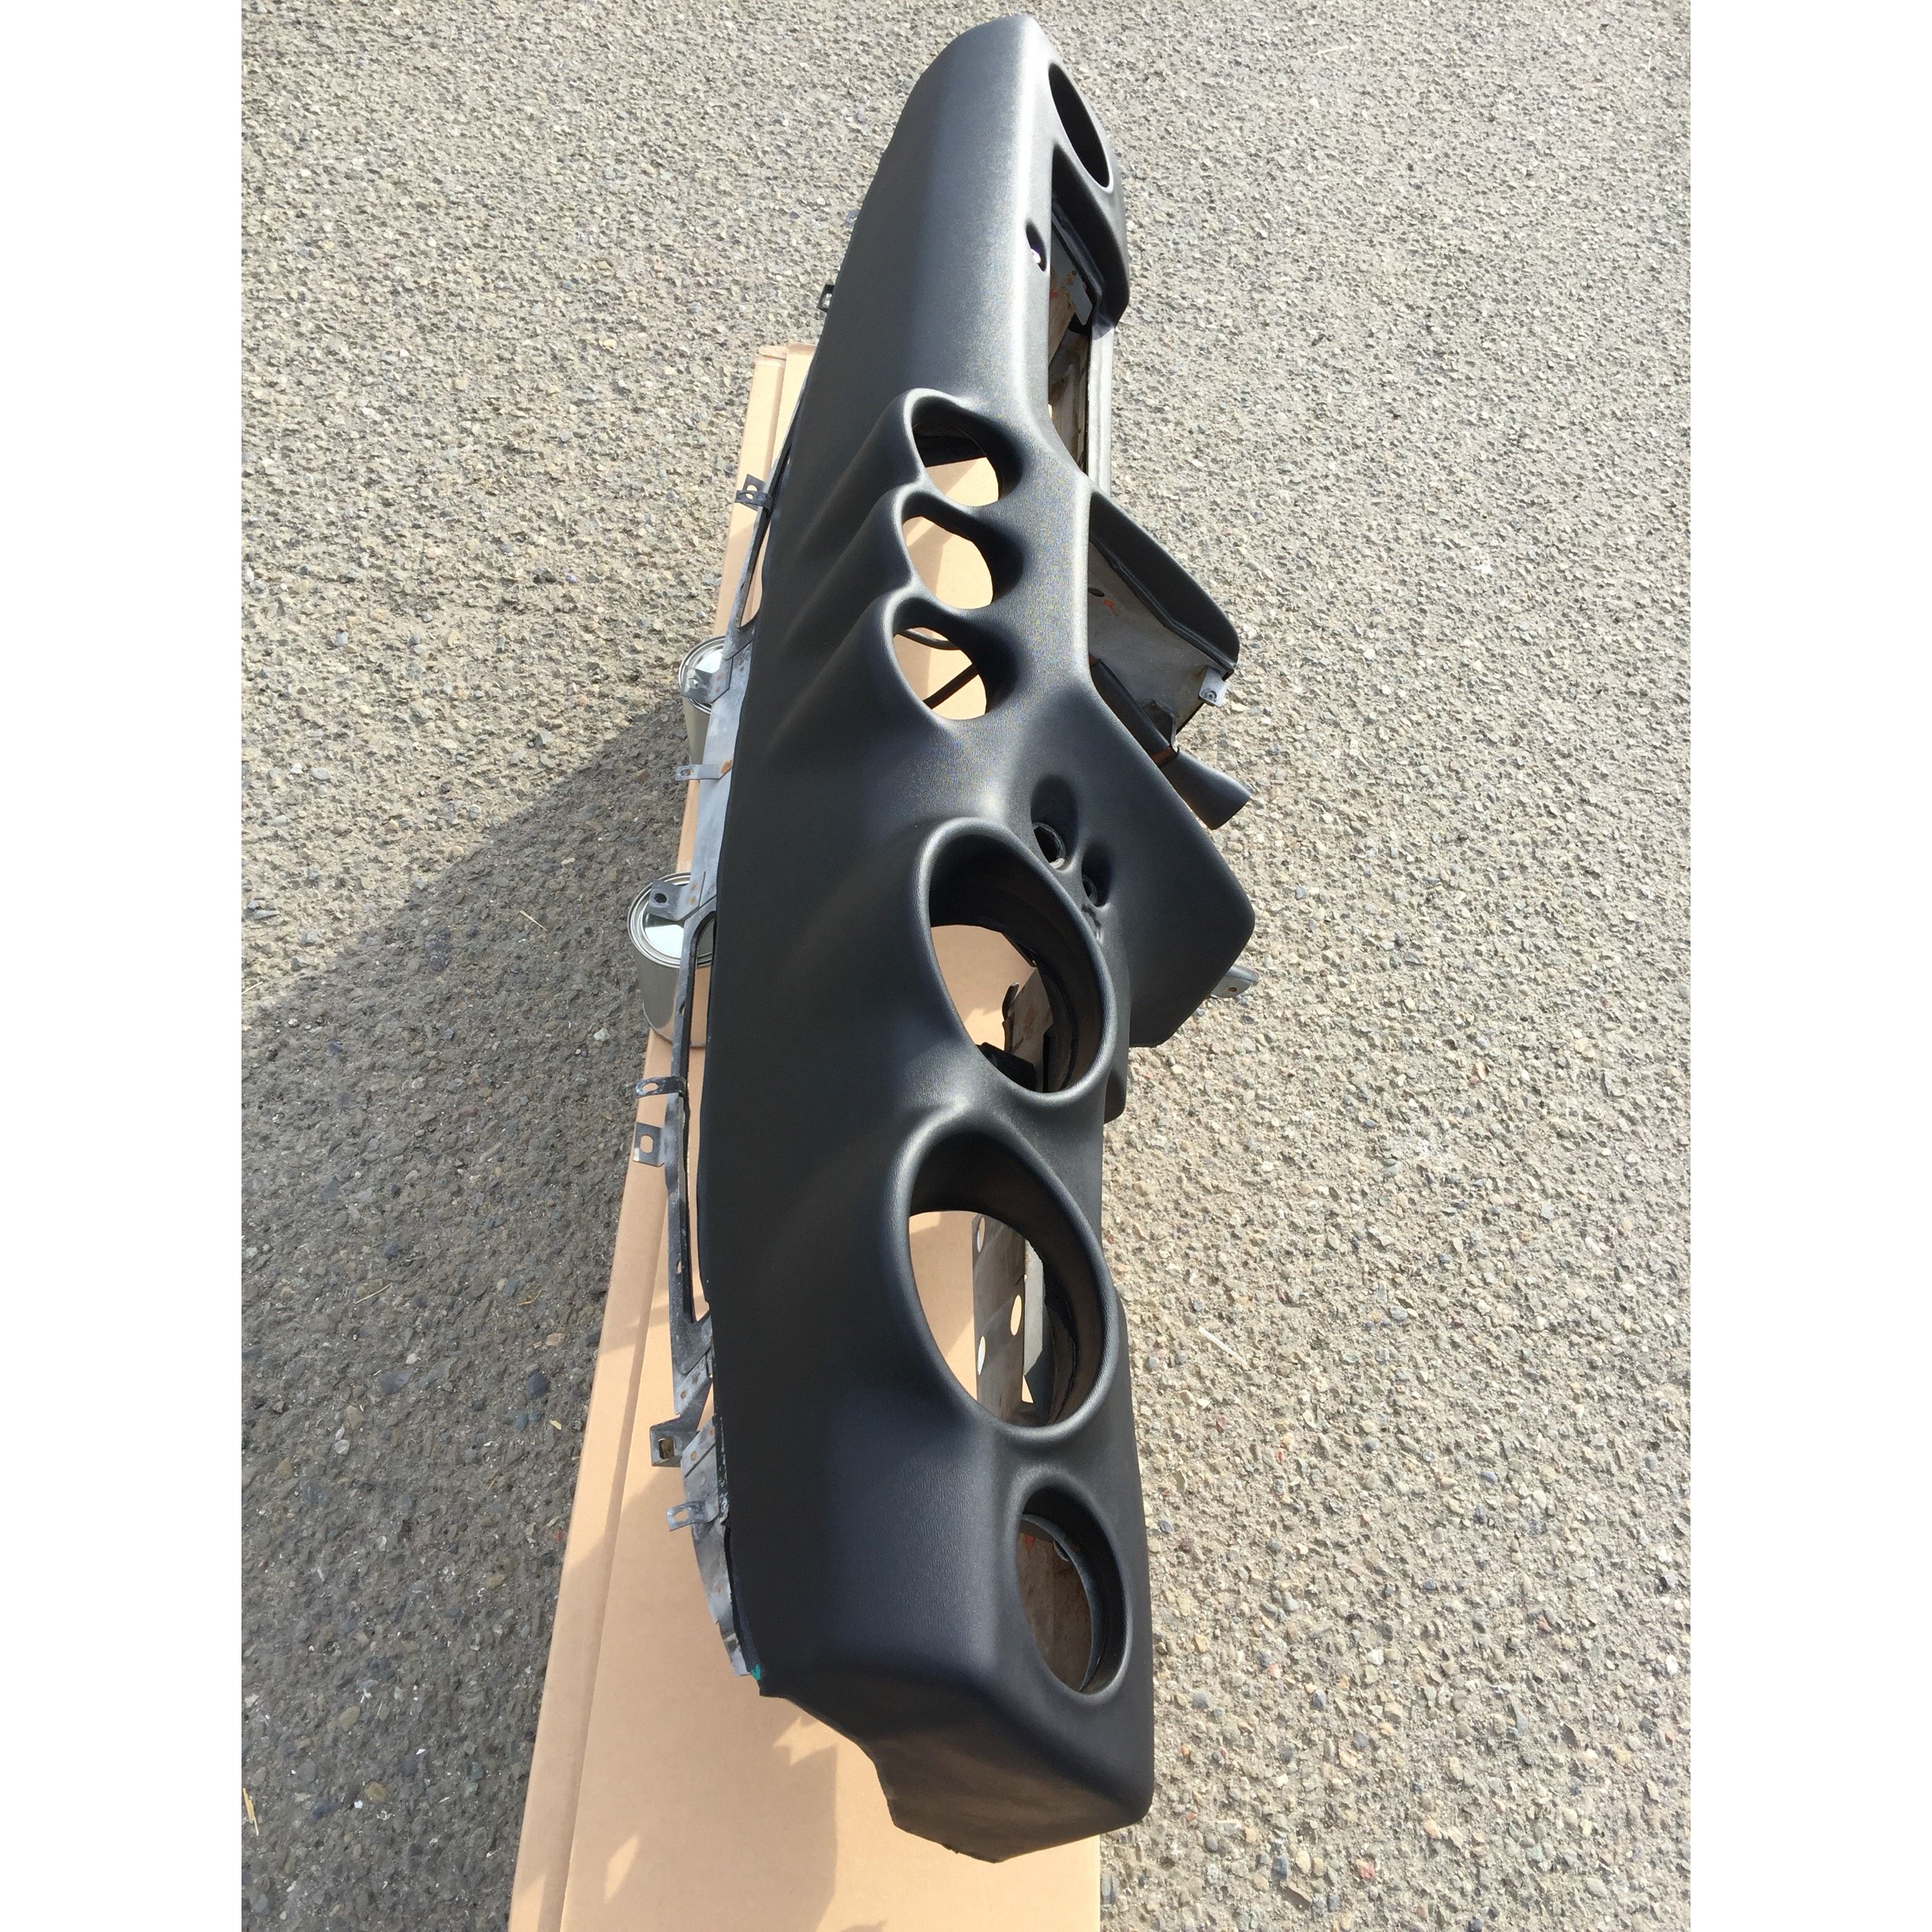
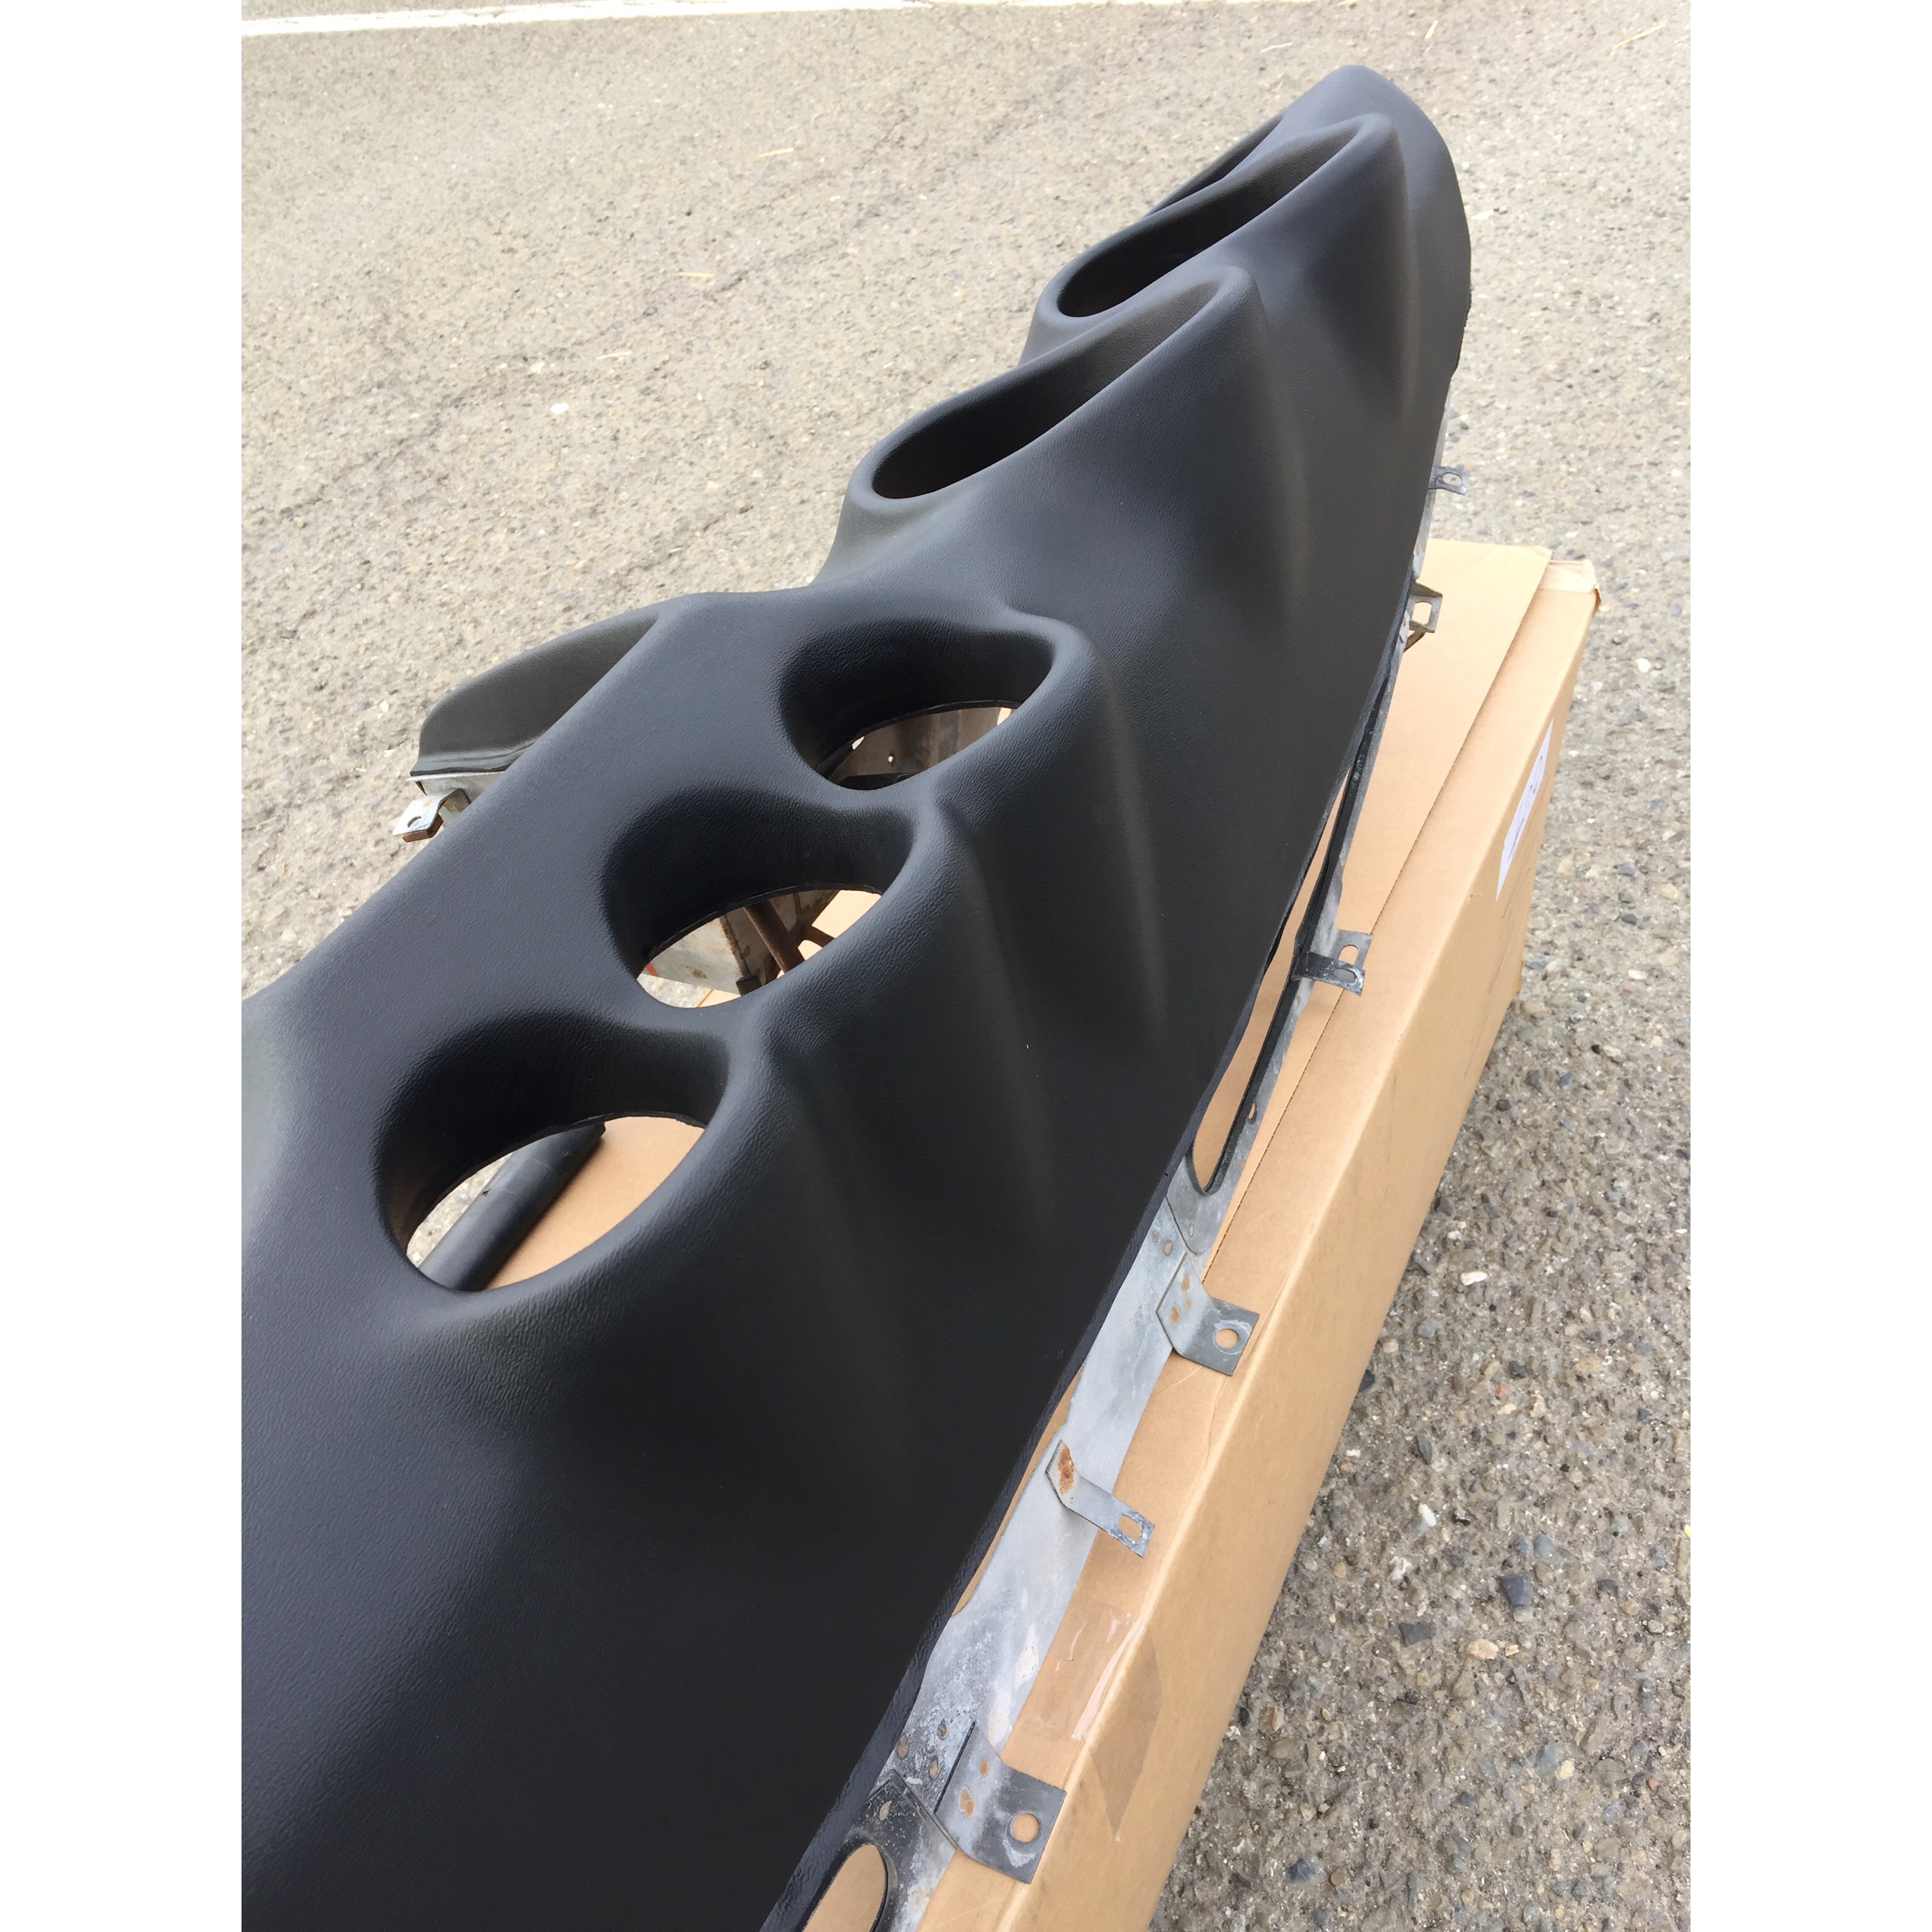
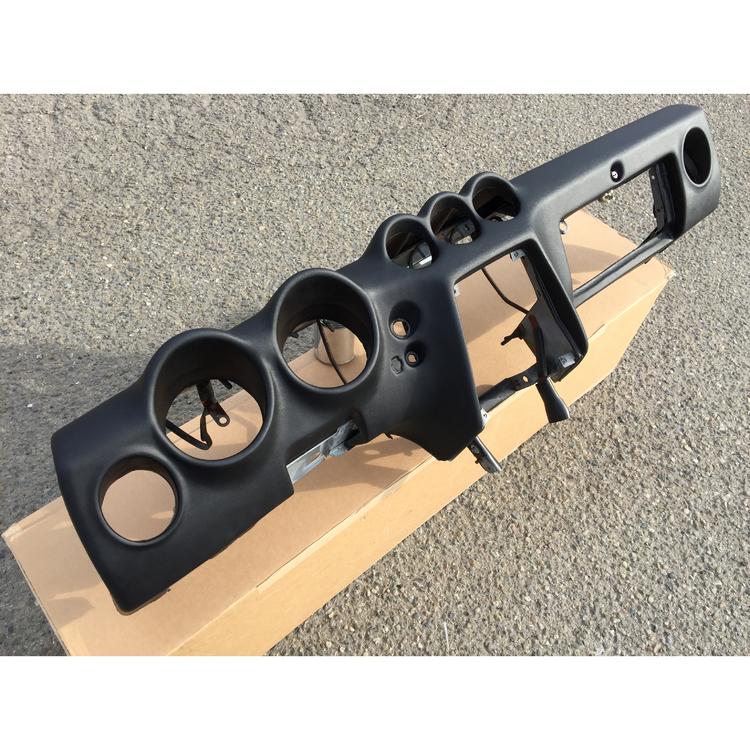
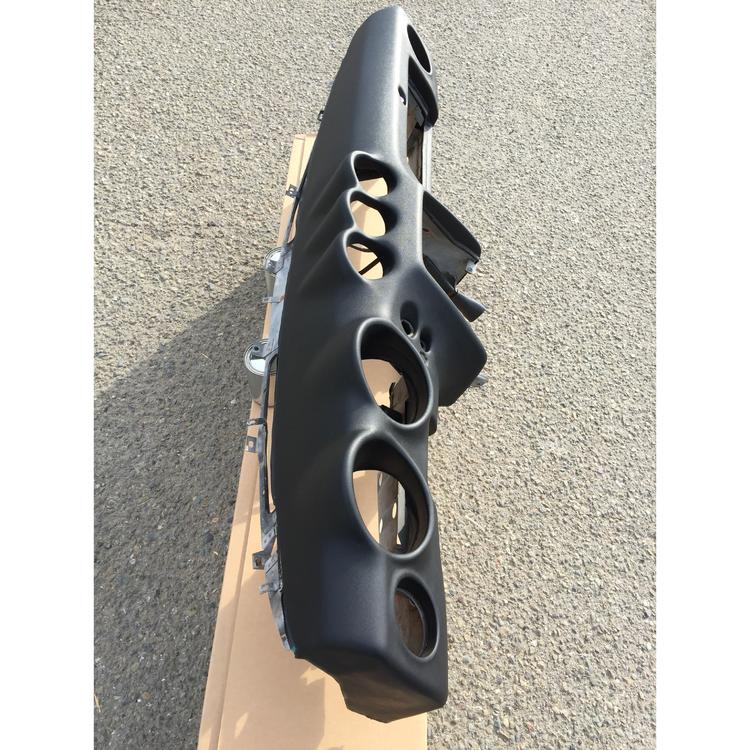
2 pointsThanks @w3wilkes for posting this up. I'm Hung Vu and it has been a while since I last visited this forum. Currently, I'm working on the website and hoping to have it out shortly. For the meantime, communication will done via, Facebook, Instagram (@vintagedashes), and email vintagedashes@gmail.com Feel free to ask any questions you have or send me an email. I will respond back in timely fashion.


 2 points
 -
I love stories with happy endings near Christmas ...2 points
-
1 point
-
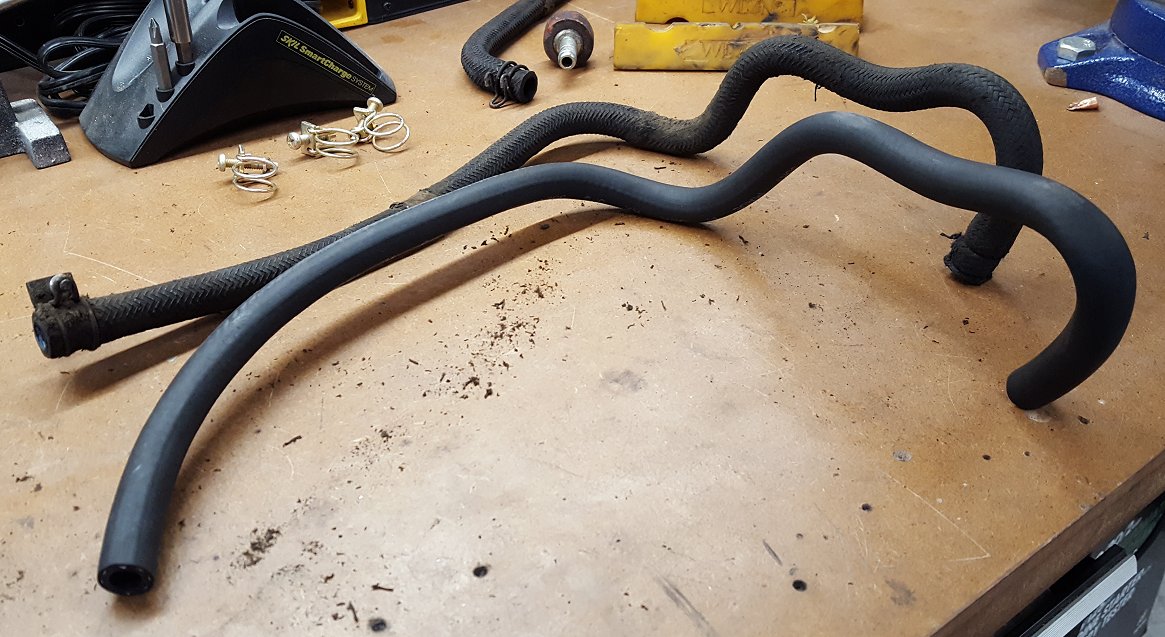
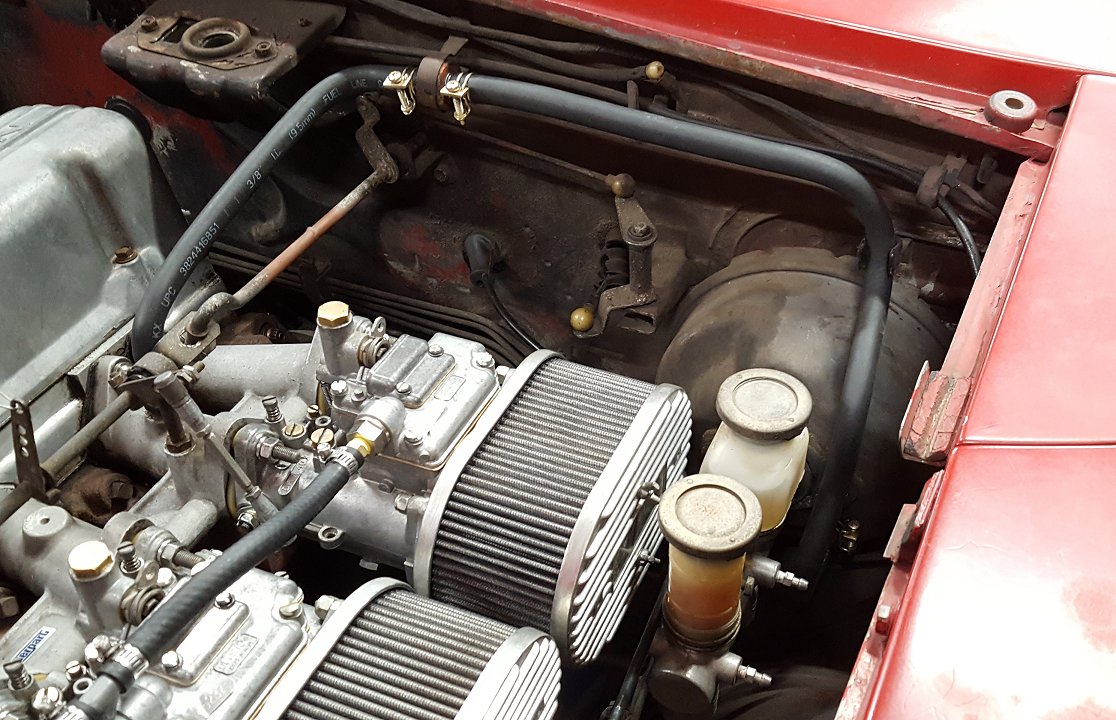
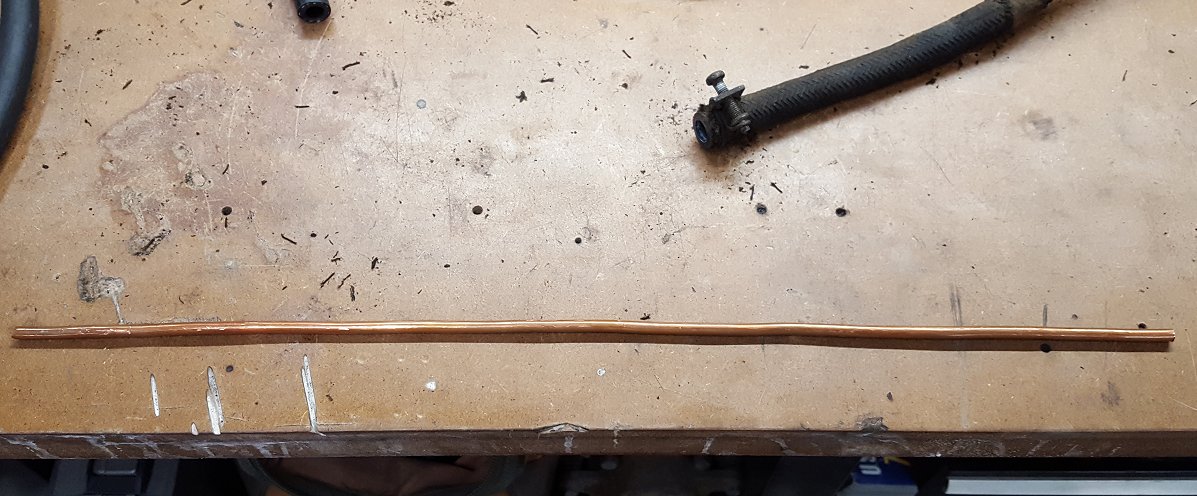
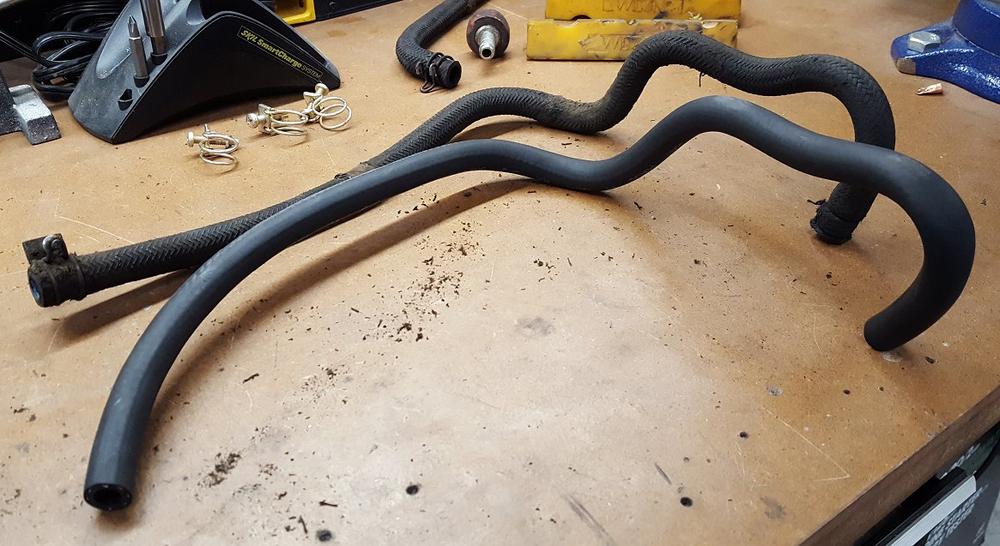
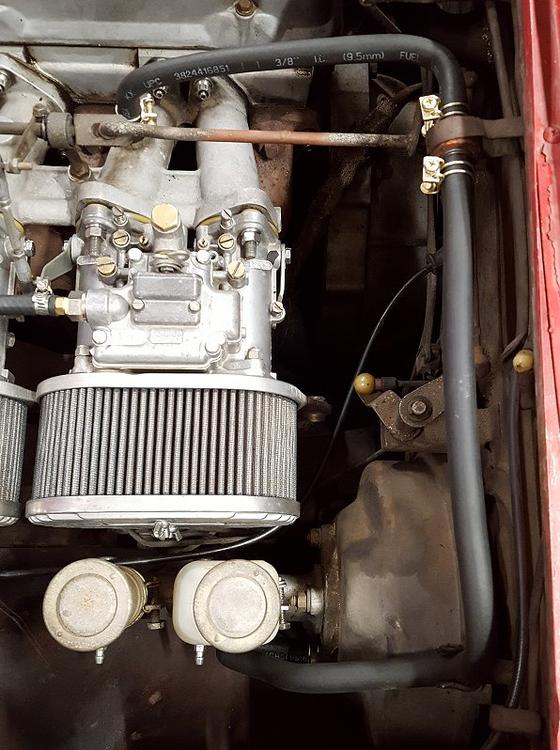
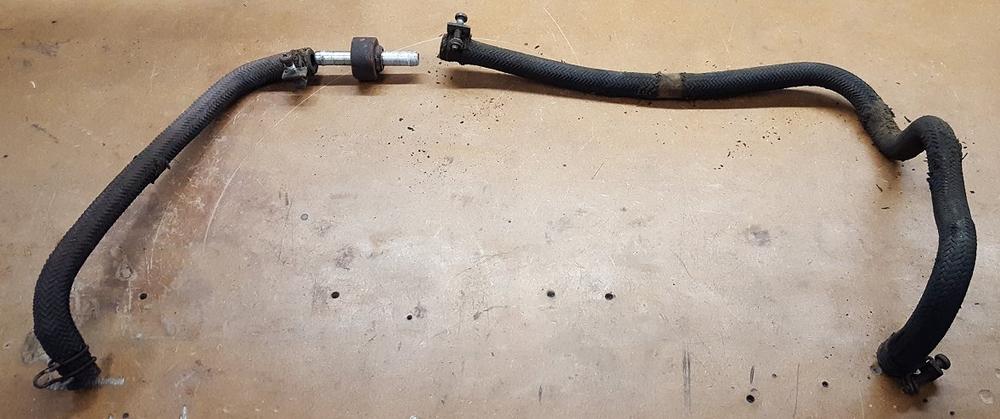
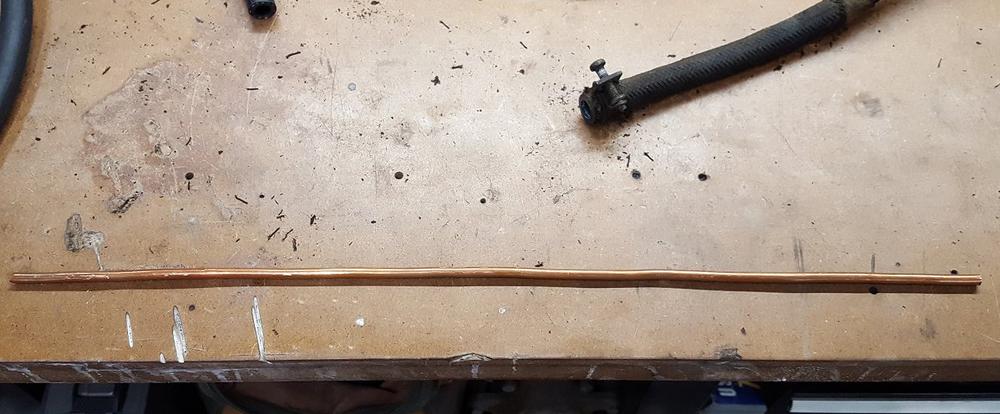
Last night I resolved something that has bothered me ever since I started working in the engine bay... the absolute sorry state of the brake booster vacuum hose. Every time I touched it or breathed hard near it, more of the deteriorating braided fabric would crumble off or leave some part of my skin or clothing dirty. This is no surprise since it is the original hose and I am sure many others are dealing with the same issue. Leaning on the replacement hose experience that AZ-240z made me for my series-1 240z, I knew I could make a new one on my own. I pulled out some solid copper wire I had laying around and straightened a 16" piece of it with my bench vise. I inserted the copper wire in to some 3/8 inch fuel vapor hose and started bending. After about 10 minutes I was pretty happy with the overall shape. I left both ends a little long so I could trim them to fit once they were on the car. I did the same for the smaller hose and used a piece of 4" copper wire at each end to accomplish the bends. With the hoses on the car I did some trimming and adjusting so they fit right. While I was at it I installed some freshly yellow zinc plated original style hose clamps to add a little bling. The end result is not factory or restoration accurate but it is worlds better than what was on the car and fully functional. A few things to note from my personal experience. This was actually the second booster hose I made. When I did the first I used 24 inches 1/4" copper tubing which is much easier to bend and I recommend it over the solid copper wire. However, 24 inches was too much and I had no way to cut it down or push it out once I had formed the hose. When pushing the copper in to the hose, make sure you push it in far enough so it does not interfere with the ports that each end will go on to. That is why you really only need 16 inches of copper. Of course this makes bending the curves on the ends a little challenging but it is do-able. The best part of this project is if you completely mess up, the cost to try again is minimal. Additionally, you are saving yourself a lot of money over buying some pre-molded hose unless you truly need restoration caliber hoses, in that case be prepared to pony up. Next up is my modified choke cable project. Stay tuned and Merry Christmas everyone!

 1 point
 -
1 pointWhy can't you register it in another state? what prevents you from doing that?1 point
-
1 pointWhy are you going back to the 4 speed? Why would you go back to an L24 unless it's the original block? Most people would consider this as a downgrade unless you are going for a purist restoration.1 point
-
1 pointYou should come to Canada. The laws and rule are now based on how one feels rather than on truth, science, facts or what the majority think. It is even becoming more insane than how South Park portrays Canada.1 point
-
1 point
-
1 point
-
I think this was mentioned in post #6... but what do I know?1 point
-
I cannot say how grateful I am for everyone's help. That was it. I cleaned that ground and it fired right up after getting all the air out of the fuel lines. @Zed Head, I'm definitely going to do like you suggested and check everything now. I'd rather not have this again. Thank you so much everybody, I hope you all have a very merry Christmas.1 point
-
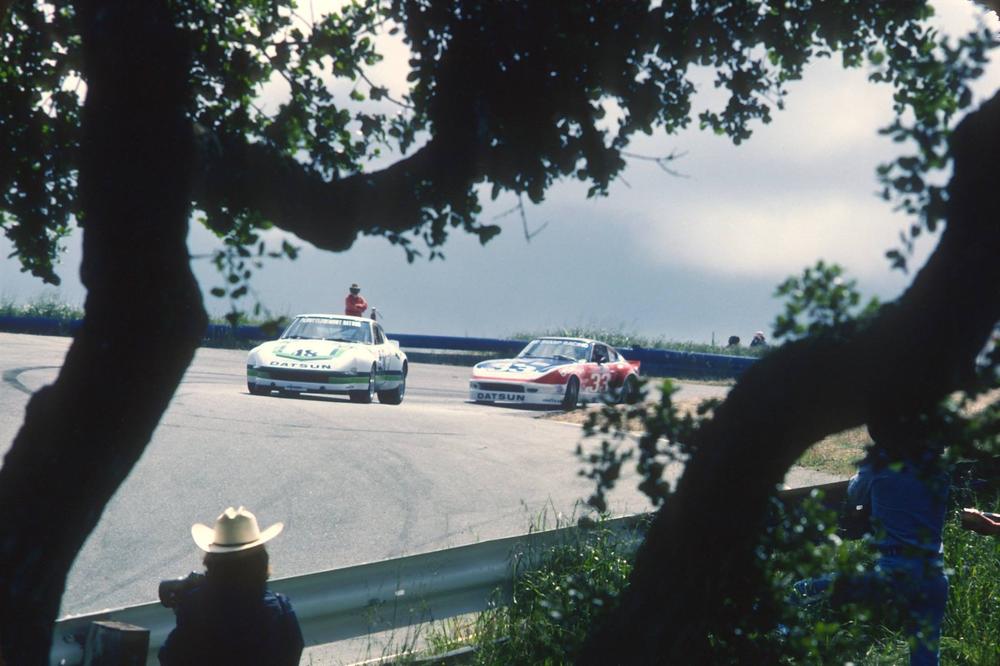
Leary leads Posey 1978 - Laguna Seca top of the corkscrew...
 1 point
 -
All of the clips sets that have been purchased so far have been shipped out. I have PM'd the buyers with their tracking numbers. I realize many of you may not get around to installing them for awhile but when you do, please post up some pictures and feedback as I would love to see how they worked out for you. Thank you again for your purchases and support.1 point
-
1 pointI know that there will probably be a large backlash from the community but its my opinion and experience on here, so don't get all hot and bothered from this. I was looking at a rear disc upgrade for my 280z (240sx brakes upgrade). And the price seemed ok enough that it prompted me to buy seeing that most people had good things to say about the company. While I was at it I purchased the 1" Wilwood tandem brake Master cylinder also so that I could put good power to the new brakes and see some improvement. I waited the 5 odd days for it to arrive in KS and did a check on all the parts and pieces. I immediately noticed that there were 2 left side calipers. And not one of each the right and left. This didn't make any sense since there were the correct adapters for the calipers, but not the right calipers themselves. I called Edan and asked if he could ship out the correct one and I would send the extra left one back. I also asked that he ship it same day since I needed this project done over the weekend to goto work on Monday. He told me that he couldn't do that, which I felt was very crappy. since he was the one that hand packed it he said, and made the mistake but wouldn't provide me with excellent customer service by covering for his mistake. I shipped back the caliper and waited another 5 days... Drove a rental car until the next weekend rolled around... I get my caliper complete the swap and decided to tackle the master cylinder since the lines were already filled with air. I removed the check valve springs and such and noticed that one of the seats for the front brakes had a gouge in it. and where it seats in the outlet also had a gouge, like it had been dropped or forced into place, crushing it slightly. I didn't know if it was that big an issue, so I proceeded to install it. sure enough it leaked under pressure. I thought maybe it was the hardline. So I replaced it. still leaked. Emailed him asking if he could send me a new one and then I would switch them out, send him back the defective one. Edan said that he would have to see if Wilwood would give him one in exchange and all this. --------------------------------------- As an update he is sending me a replacement wilwood MC and cover the shipping for the returned part. So its nice that we could work something out.1 point
-
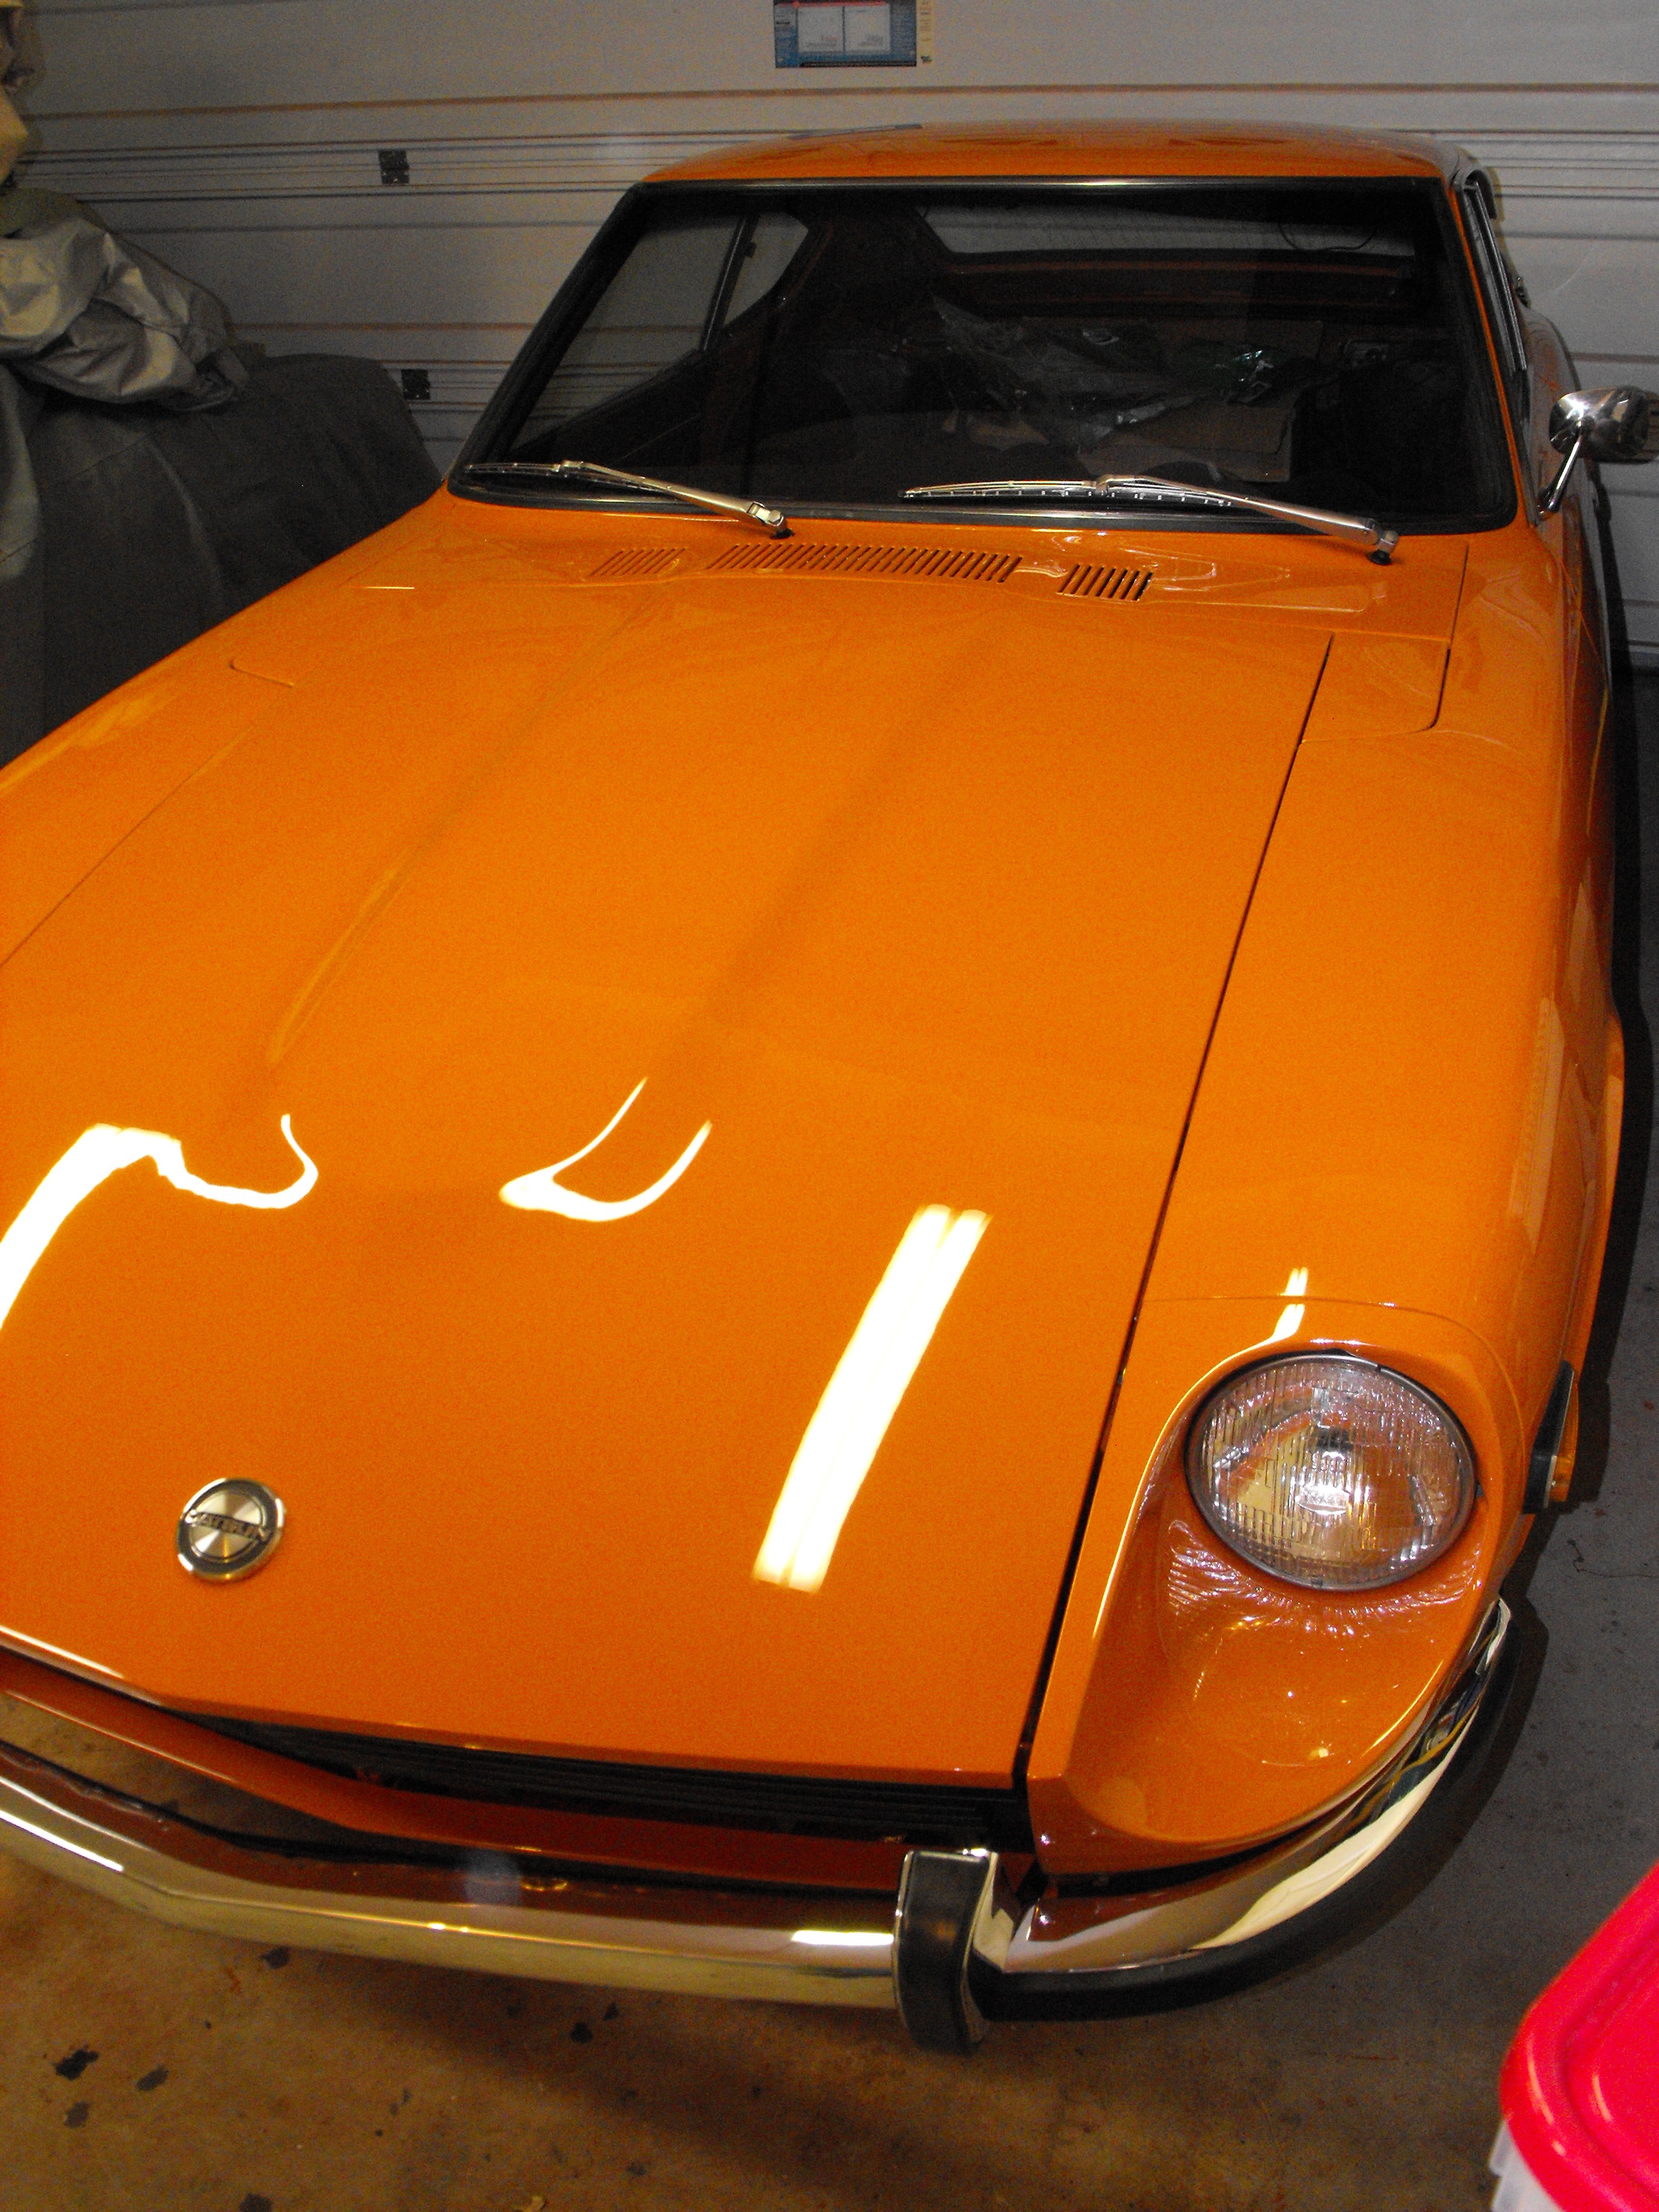
1 pointGot the windshield in. That was a piece of cake and took just about an hour from start to finish. Wife helped out a bit on the install. The more challenging item was the stainless metal trim installation. It goes pretty well if you use Windex to lube everything up and then roll the windshield rubber over the edges of the trim. Also got the windshield wipers on, love those things. Now its back to the interior.

 1 point
 -
1 pointWhat are you using for power supply? What are your plating times? Dip times? Are you using Blue Chromate? You could always post up your experience and methods in my Caswell thread for posterities sake1 point
-
1 pointHey guys, I'd like to speak up on this issue because Silvermine is a sponsor of this site. I have talked with Edan many times and feel that he is a reputable vendor and will treat you fairly. I encourage you to work with him over the phone and finalize your project before posting a final review after it's all complete. Thanks.1 point