Leaderboard
-

siteunseen
Free Member5Points15,115Posts -
Captain Obvious
Free Member3Points10,081Posts -
Mark Maras
Free Member2Points3,719Posts -
ksechler
Free Member2Points544Posts


Popular Content
Showing content with the highest reputation on 10/23/2017 in Posts
-
3 pointsThe early Z's used a simple vinyl covering on the A-pillars, but in 77 they switched to a screw retained plastic trim A-pillar cover. Well Datsun must have messed up some dimension somewhere because the plastic trim covers often crack due to the stress of tightening the screws. On my right hand side, I had one of the screws pull through. Cracked the plastic mounting hole clean off. My first attempt to remedy the situation was to simply buy another used pair somewhere off some forum. Unfortunately, the donor pair I bought not only had the same problem, but it was even the same screw, same location. This meant that I couldn't even use one side from my original pair, and the other side from the donor pair. It became clear that this is a common problem and it's not just me. With that in mind, I took matters into my own hands. Here's what I started with. My right side. Completely cracked off mounting hole in the lower position: It's supposed to look like this. Here's the other side where the screw boss is still intact: Figuring I had nothing to lose, I put a piece of tape over the hole on the visible side: Crosshatched the plastic on the hidden side: Taped a short length of small diameter cardboard tube where the mounting boss should be and filled the moat with epoxy: Gave it a day to cure, peeled off the cardboard, and using a dremel and some hand filing, I contoured the new boss to fit the into place on the car and drilled the hole for the screw: Countersink the other side for the screw head: Used a small brush to paint the exposed epoxy: And after the paint dried, the repair is nearly invisible: So I also figured that since I'd already seen two broken bosses, I would take the opportunity to reinforce the remaining ones which had not broken off (yet). I crosshatched the area and blobbed on a generous amount of epoxy to support the posts. And while I was looking at everything, I also noticed a couple small cracks starting to form along the edges, so I made a couple metal splints and epoxied them into place as reinforcement. After all this work, these things should be good for another forty years. Here's one of the splints next to a reinforced mounting boss: Installed back in the car, and I know it's the little things, but I don't have to look over at the right side of the car and see that missing screw in the cracked off mounting boss! Happy Happy!3 points
-
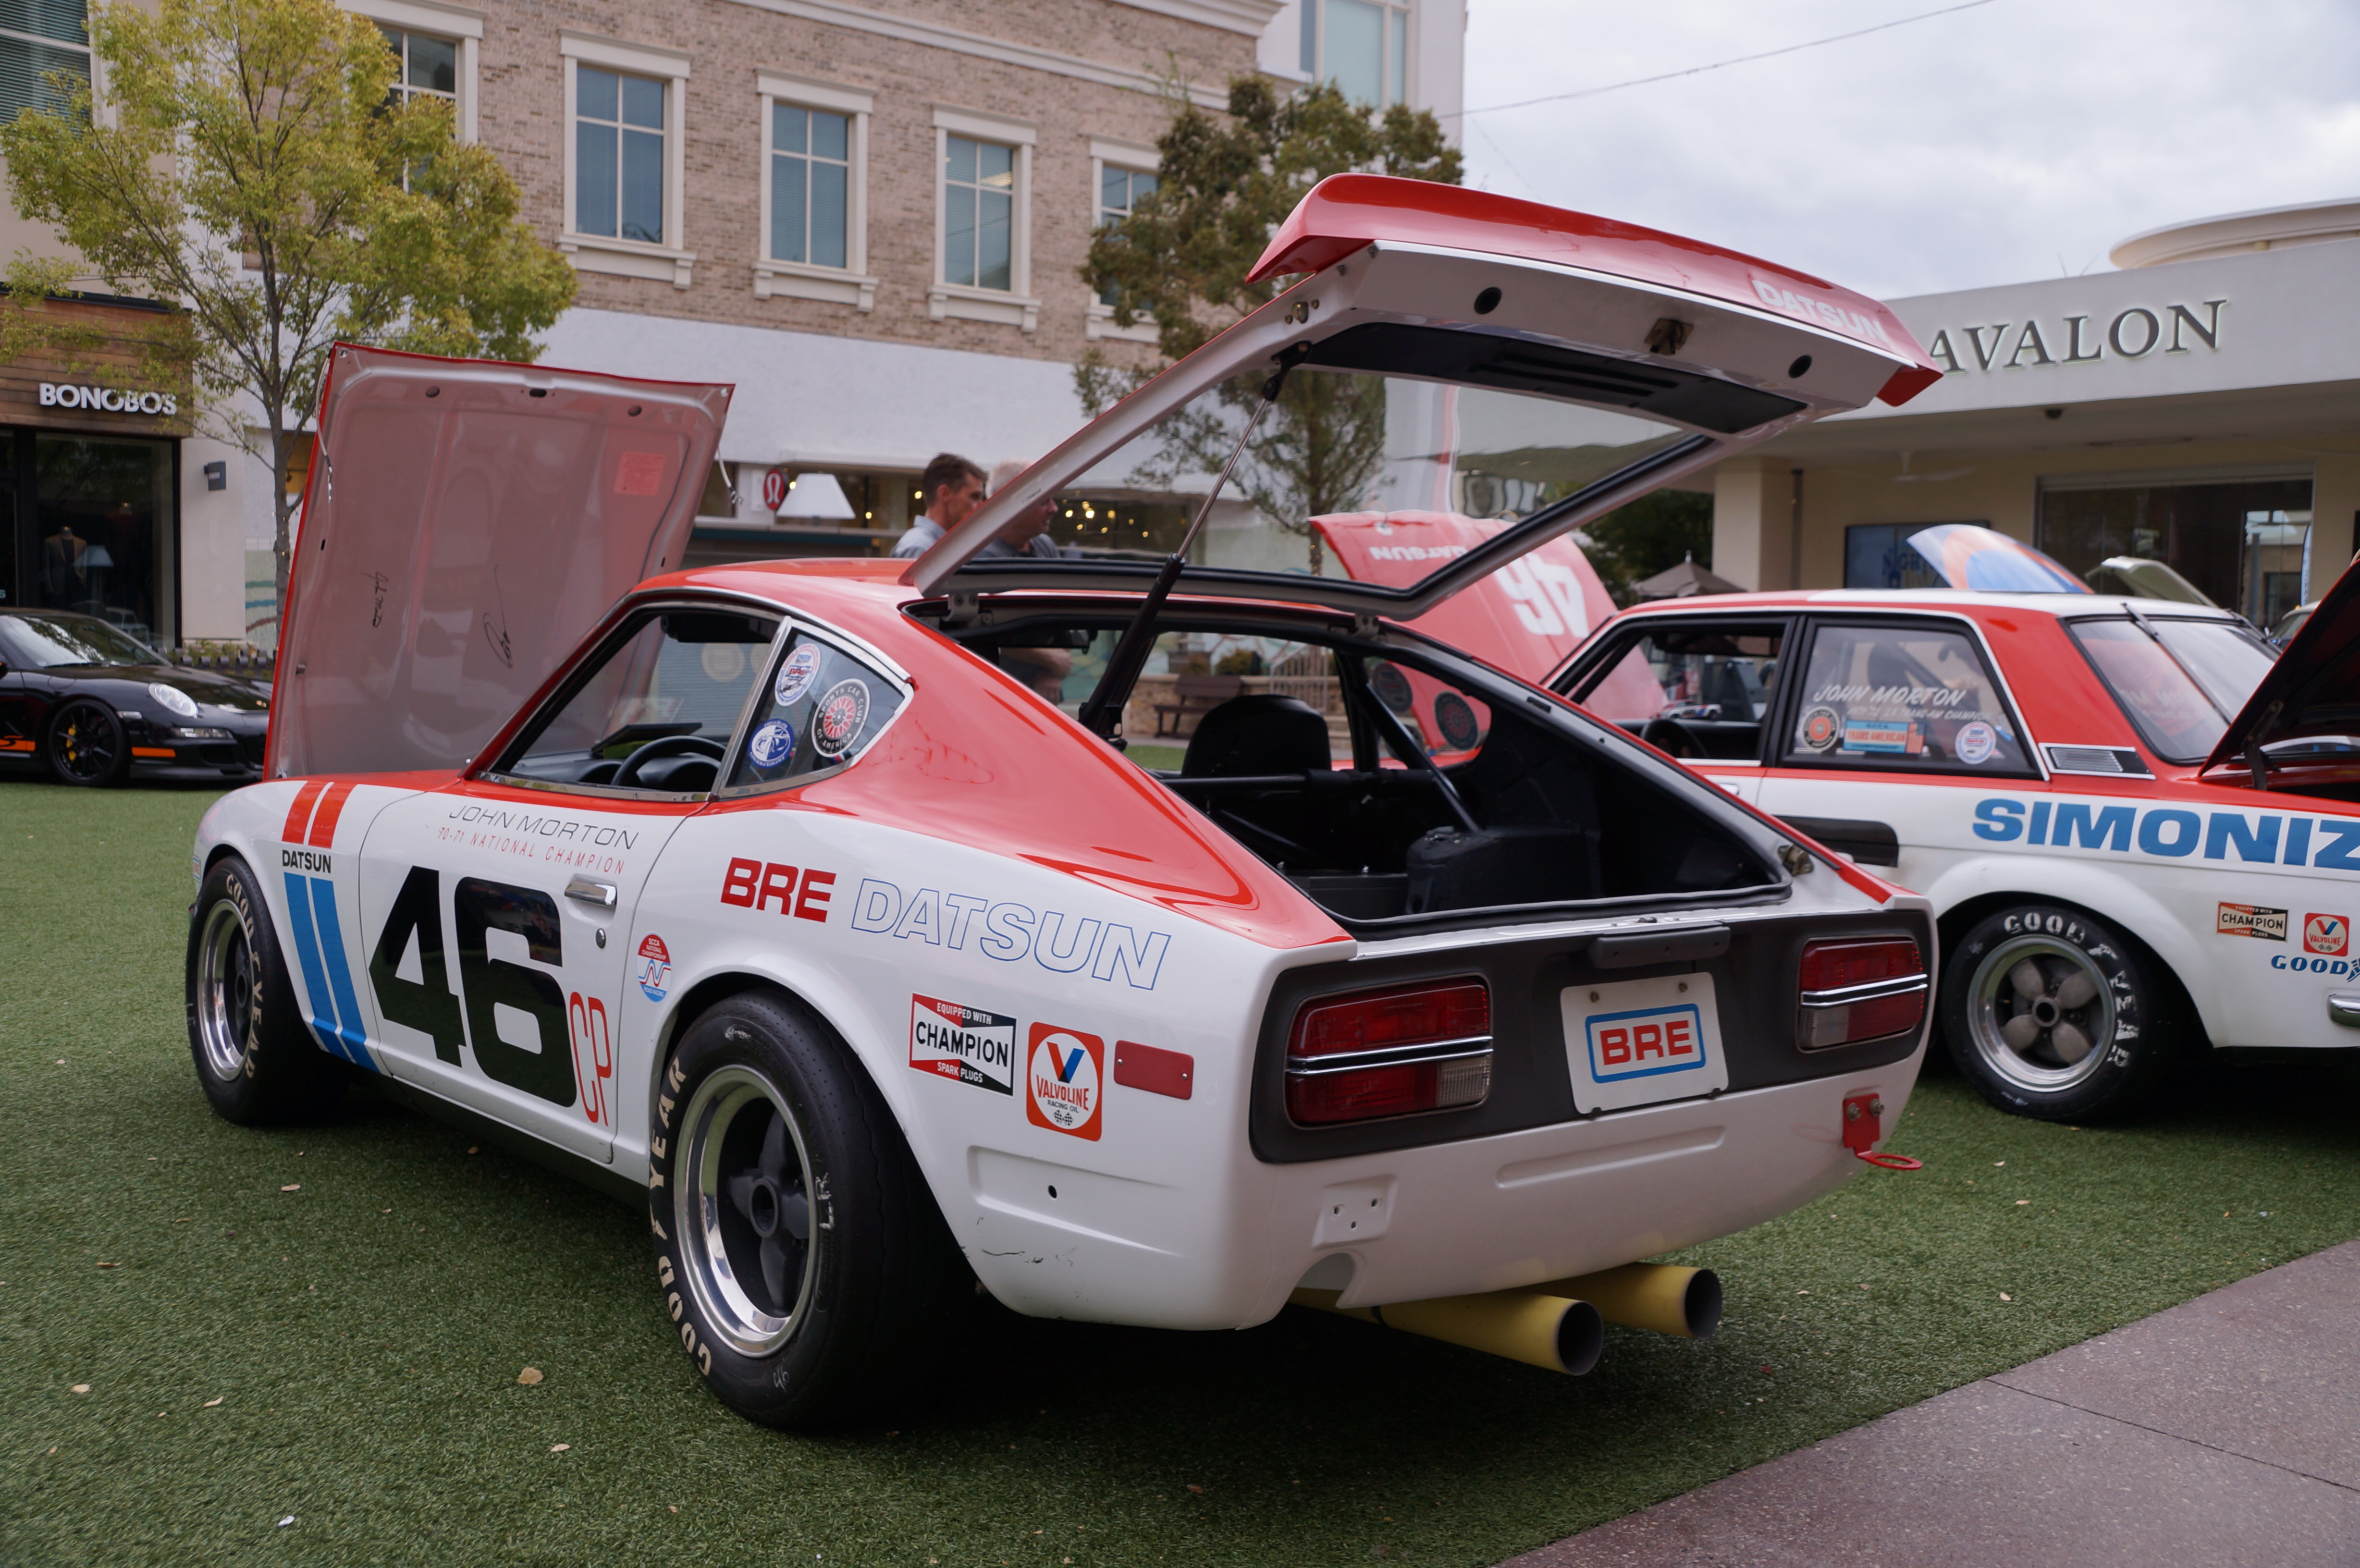
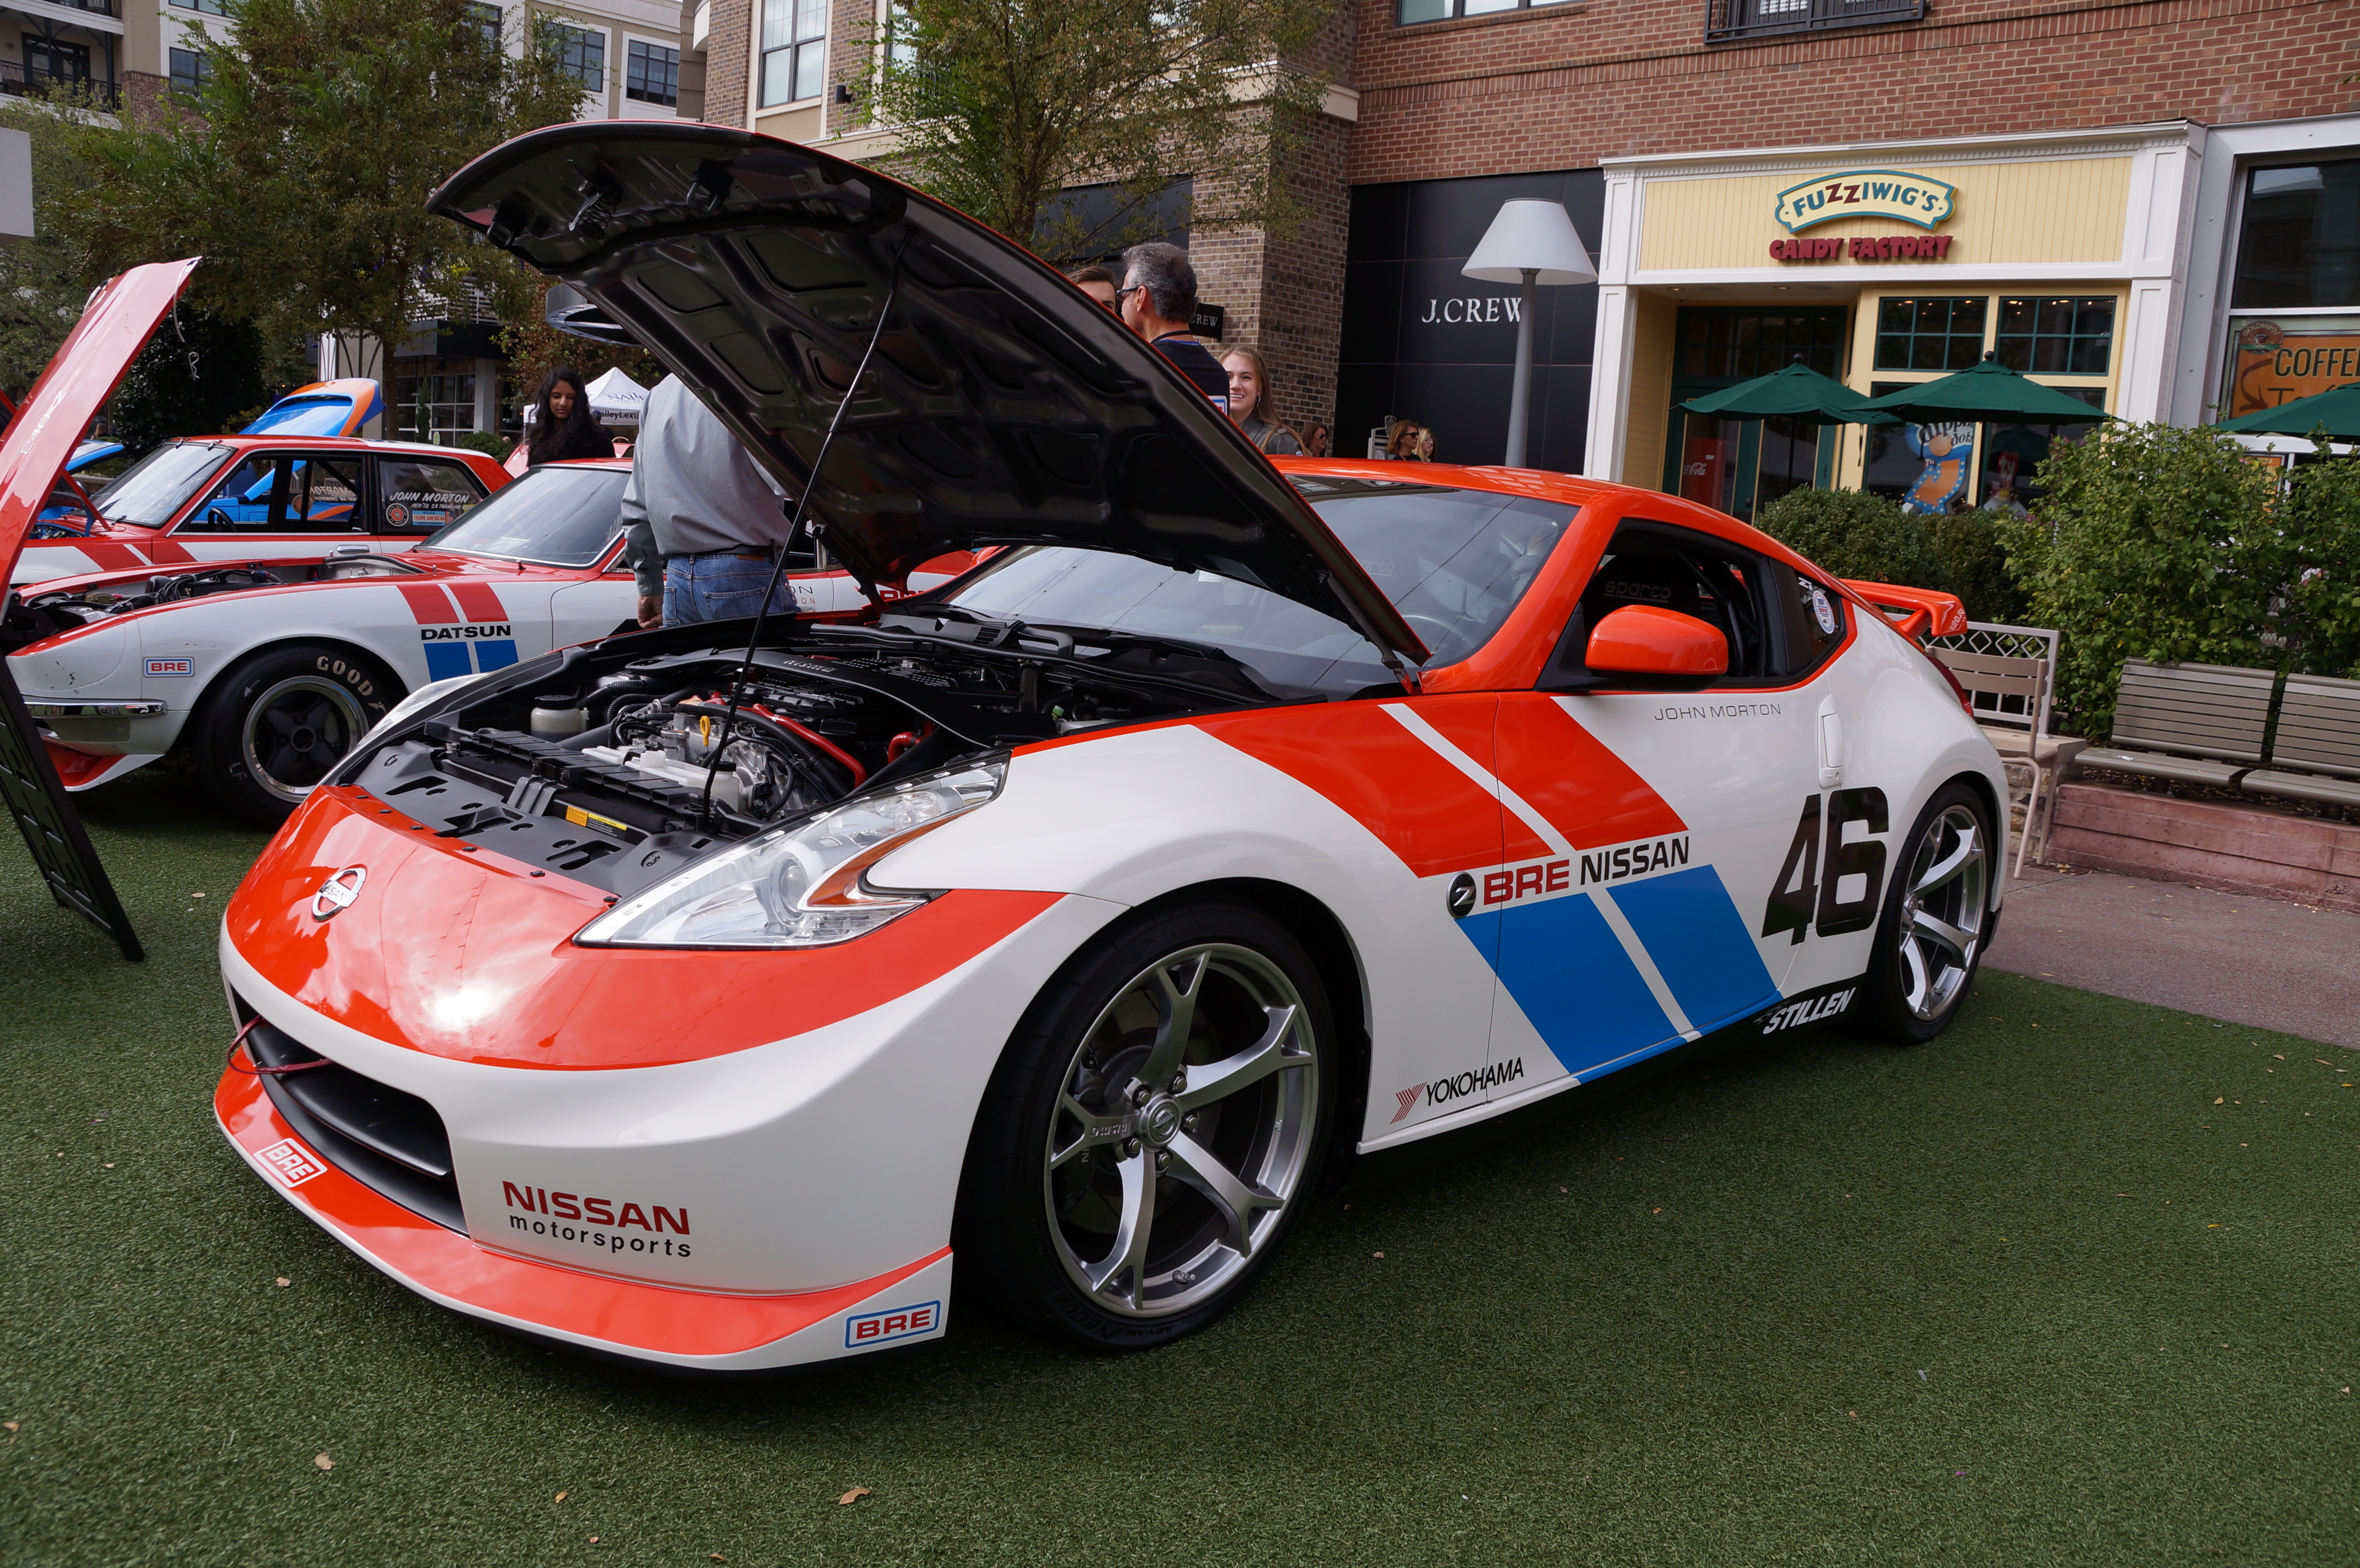
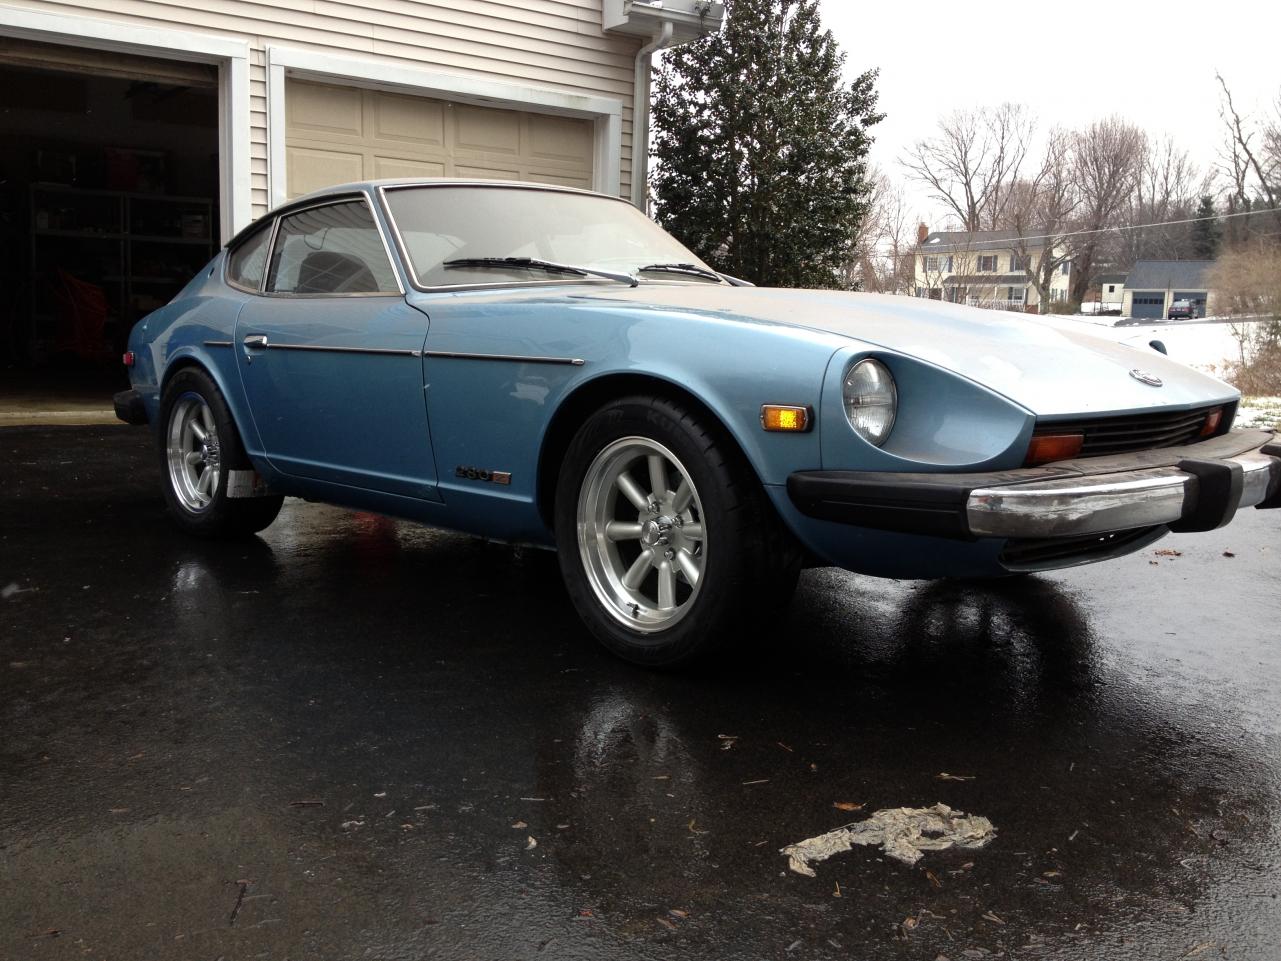
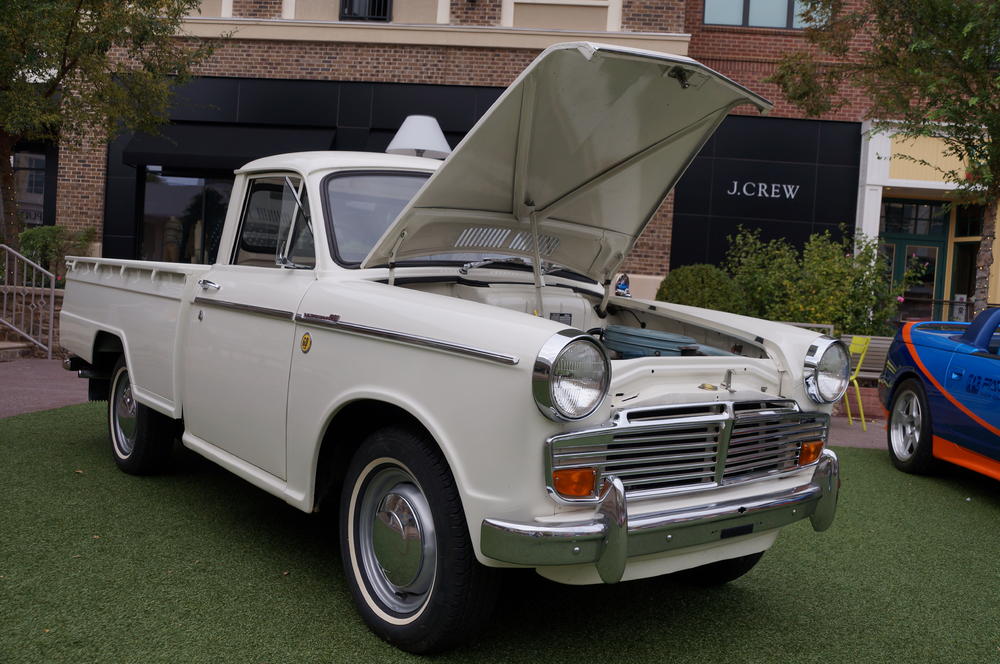
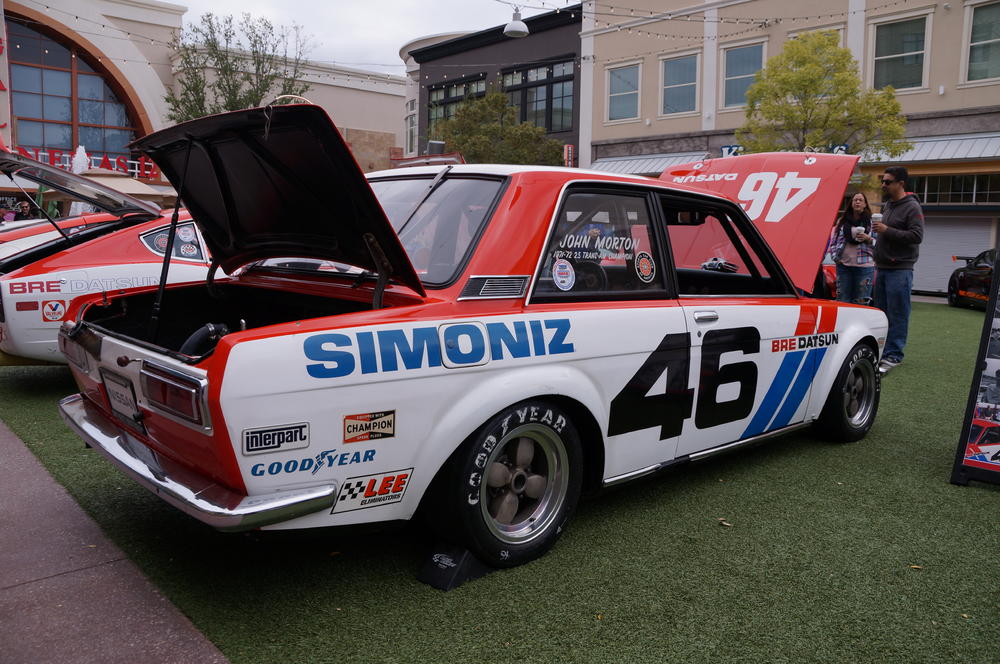
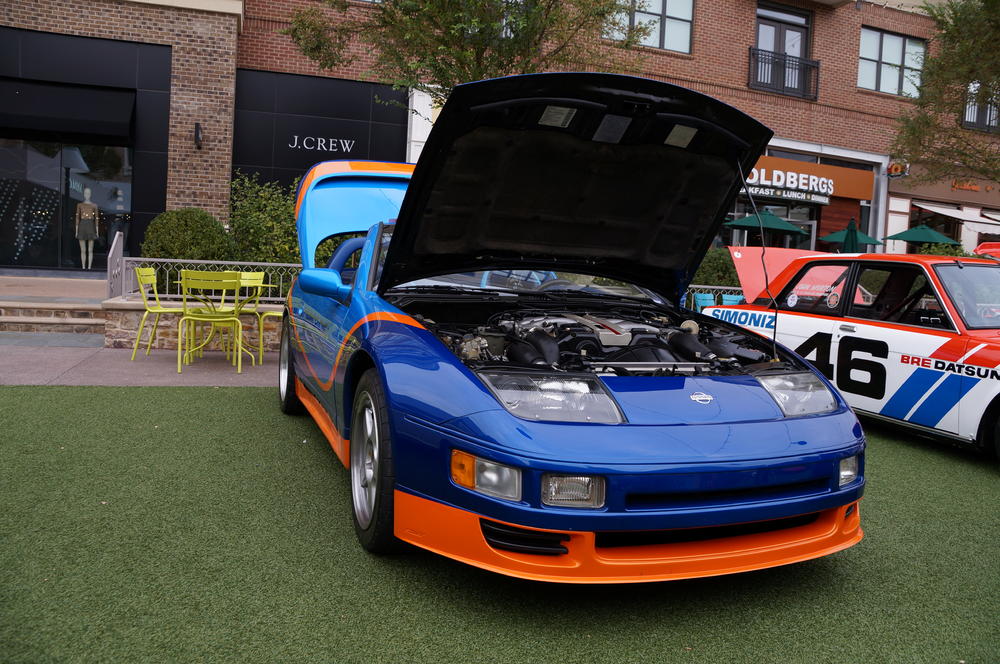
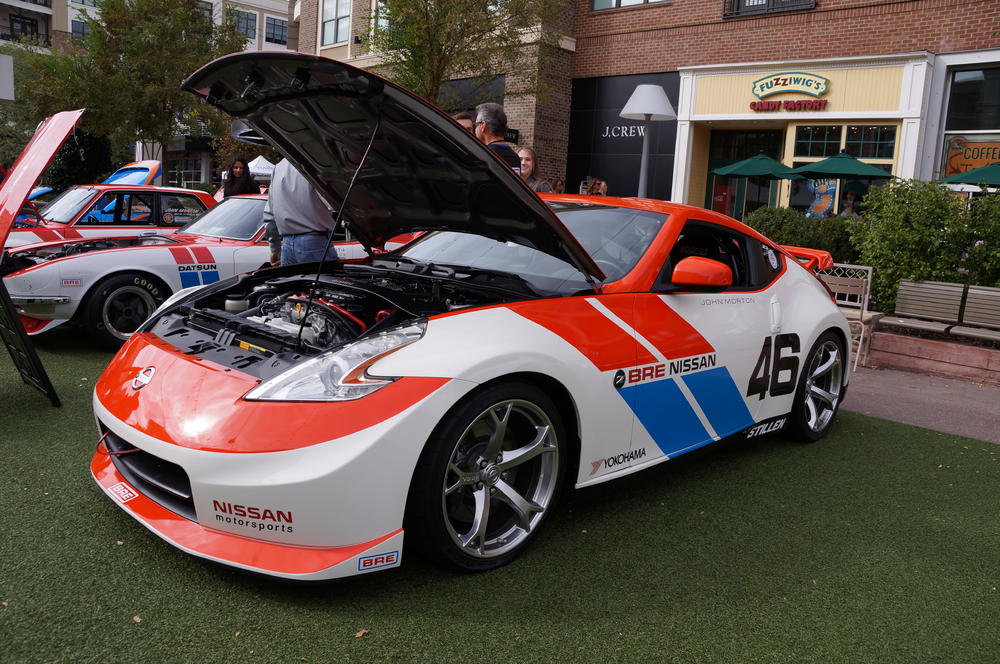
I drove the Z to spend the day at Festivals of Speed. I got to spend my day taking photos and hanging out with friends who brought out some great classic Datsuns/Nissans.


 2 points
 -
2 points@siteunseen, as long as you've brought up sweet sounding hybrids, I thought about your lawnmower when I saw this. You might want to upgrade. https://m.facebook.com/story.php?story_fbid=838645199628824&id=8386312296302212 points
-
2 points
-
1 point
-
1 pointHot damn! Man, I didn't even realize it. I thought he was cracking an old man joke (which certainly applies)... Thanks guys!!! m1 point
-
1 pointI think the missing step and cause of the metal warping during welding is that Jeff is not "planishing" the spot welds as he goes. Just like the metal shrinking technique that Jeff used to fix oil canning, each spot weld shrinks the metal when it cools and creates little stress points at each weld. If you grind down the spot welds (after each pass around the repair area) followed by a little hammer and dollie work, you relieve the stresses in the spot welds that cause metal warping to occur. Repeat after each pass. The issue is that it takes a lot of extra time and work and sometimes a little judicial panel beating and filler is much faster/easier. Simply "google" planishing for the details.1 point
-
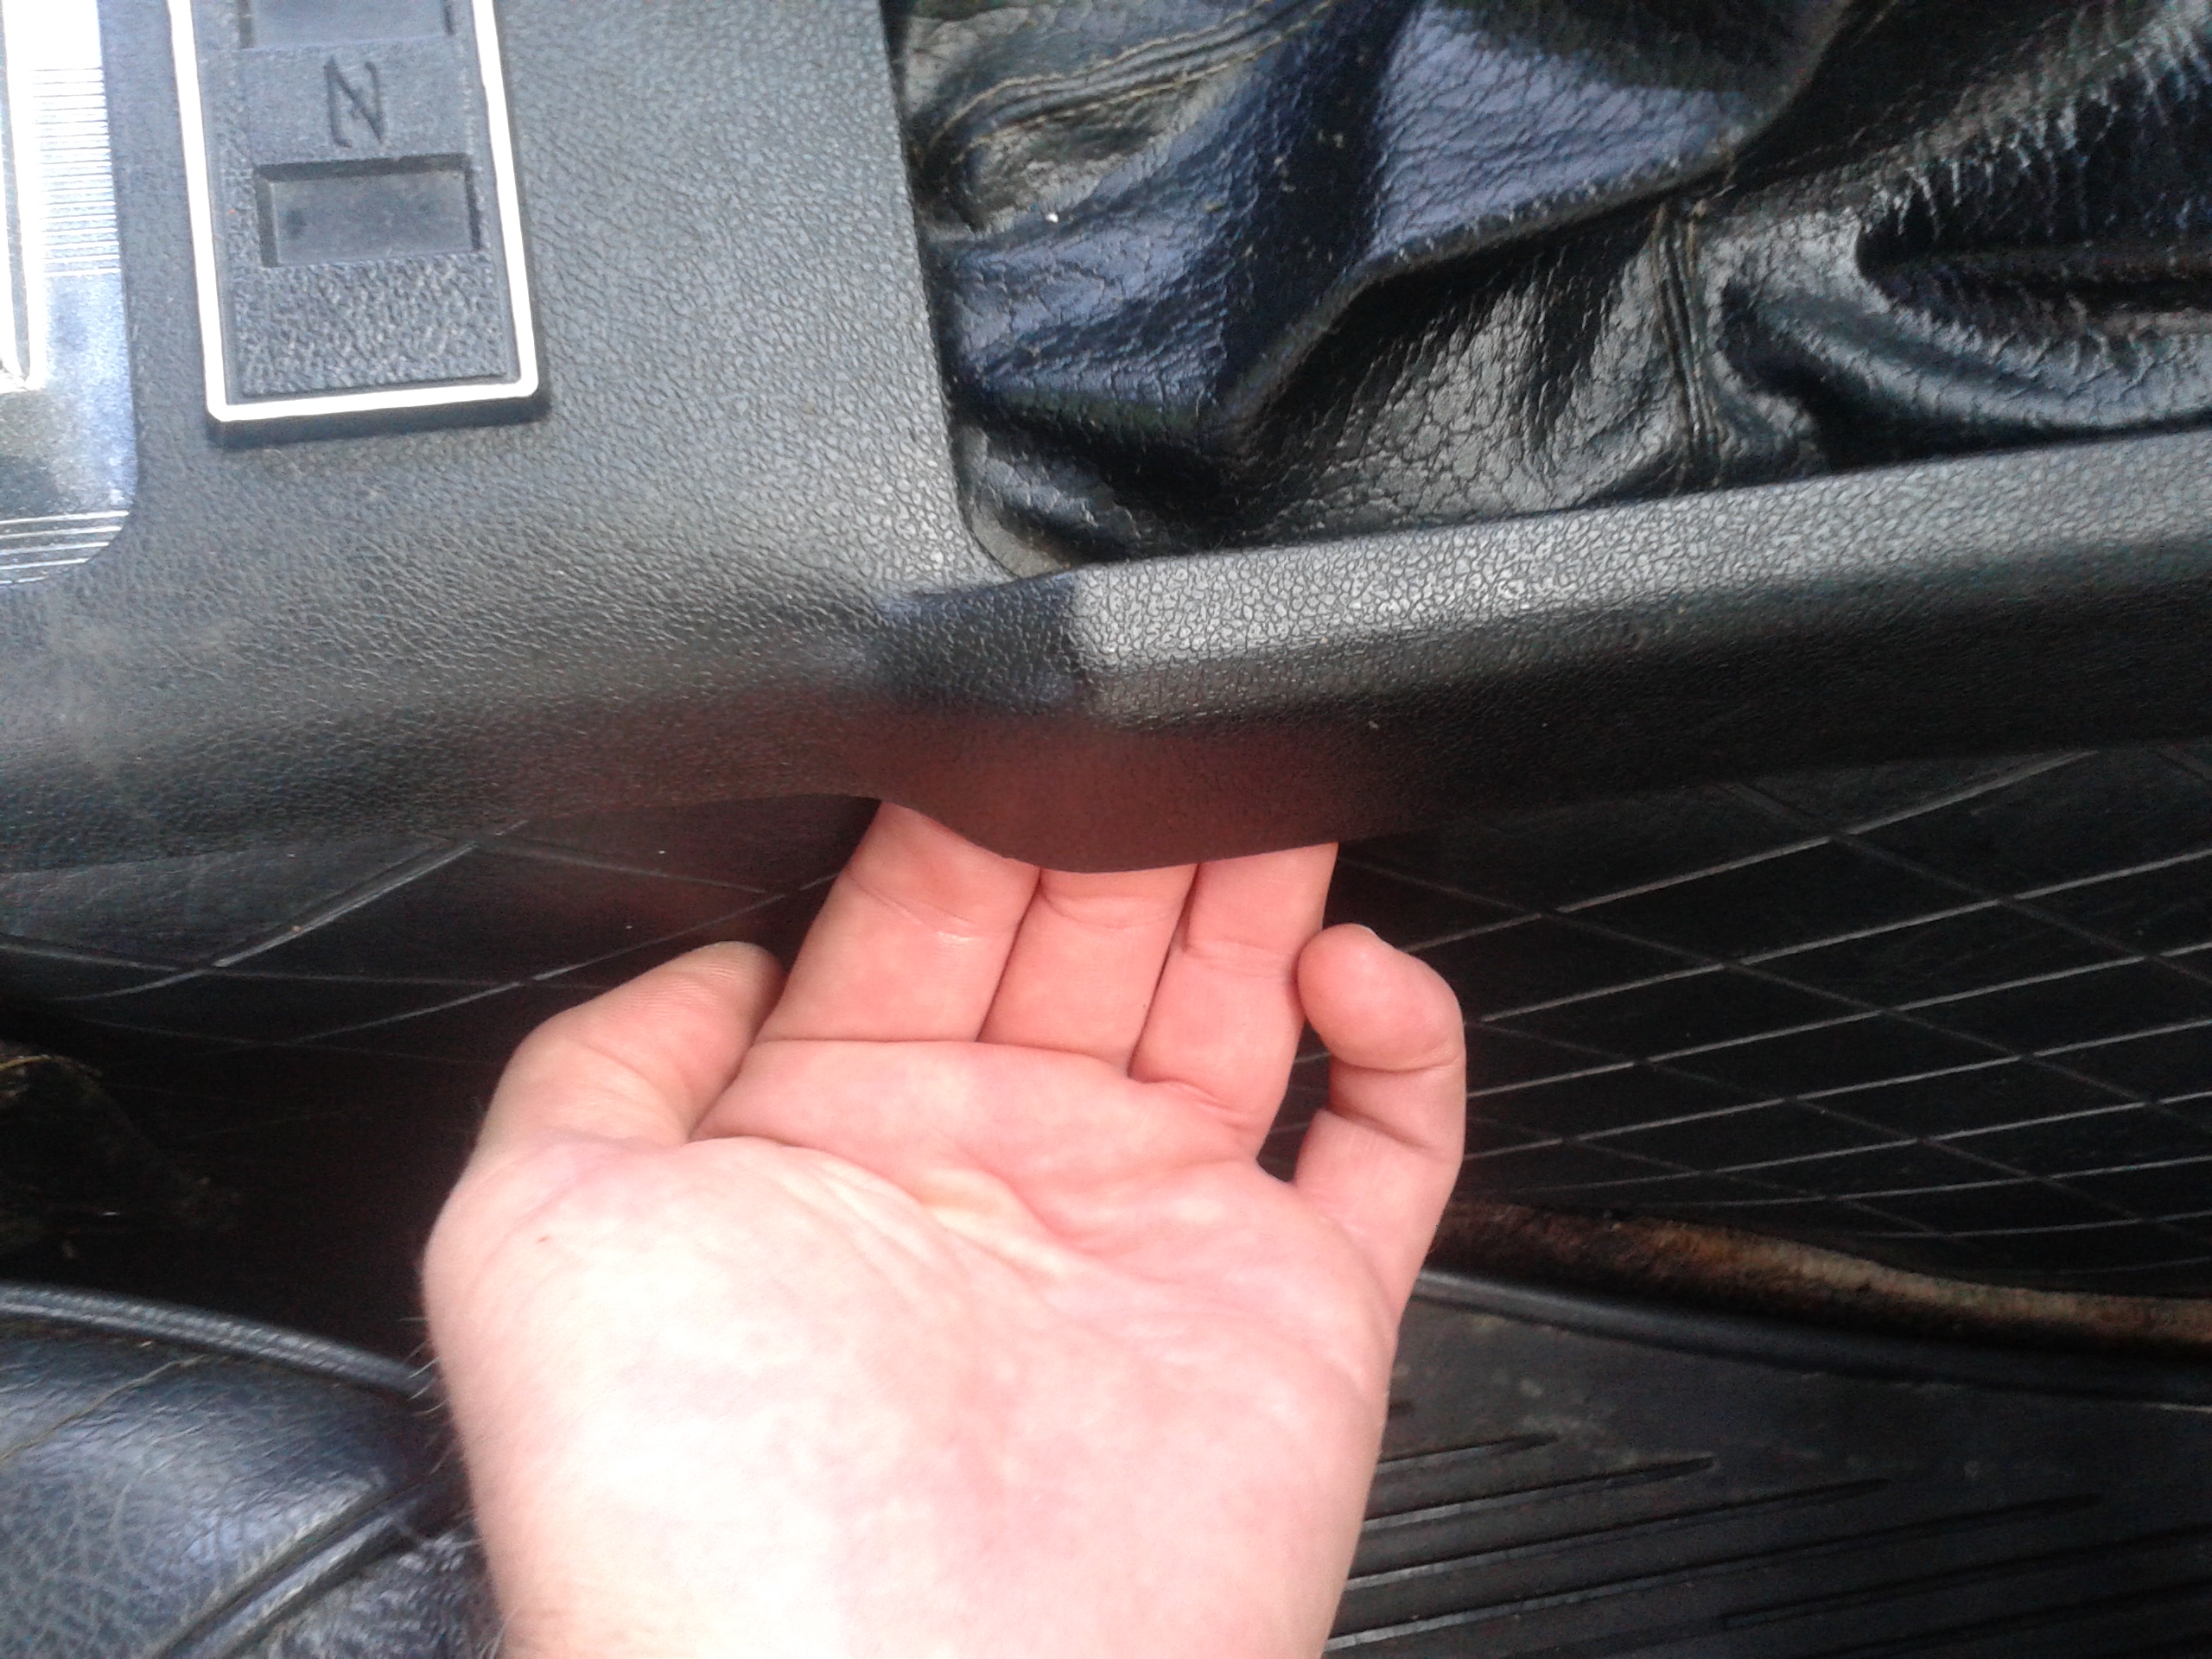
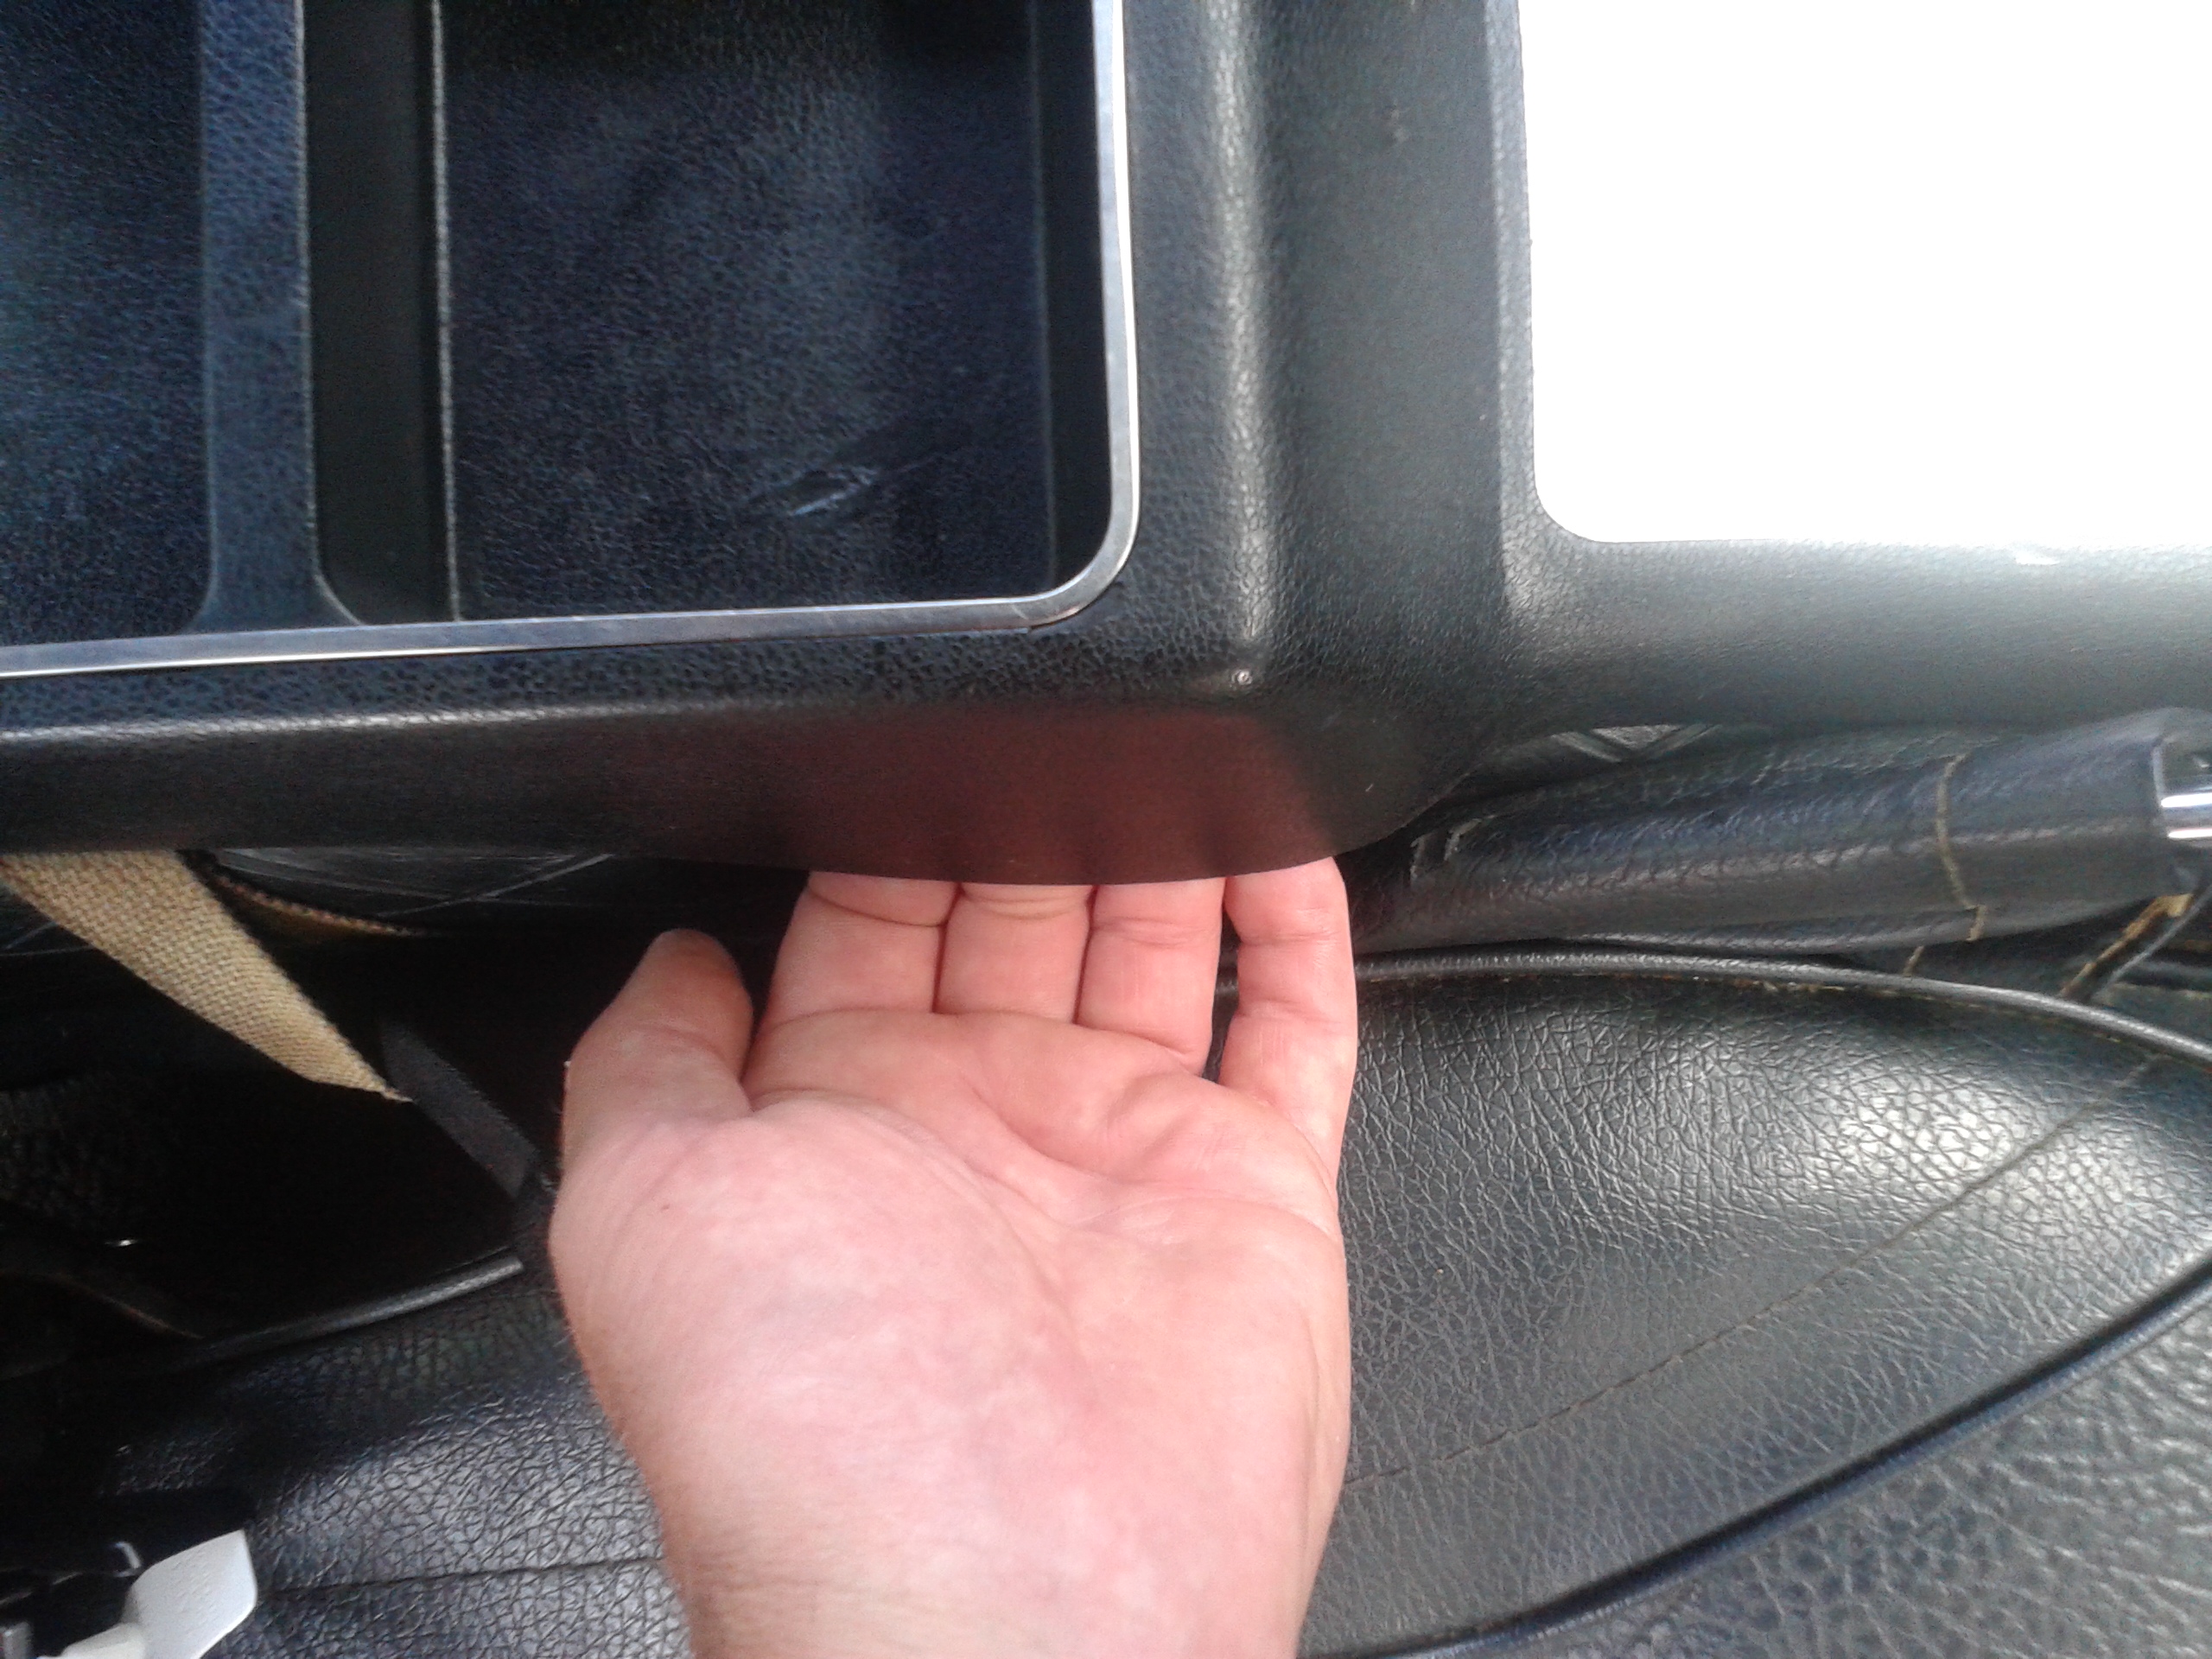
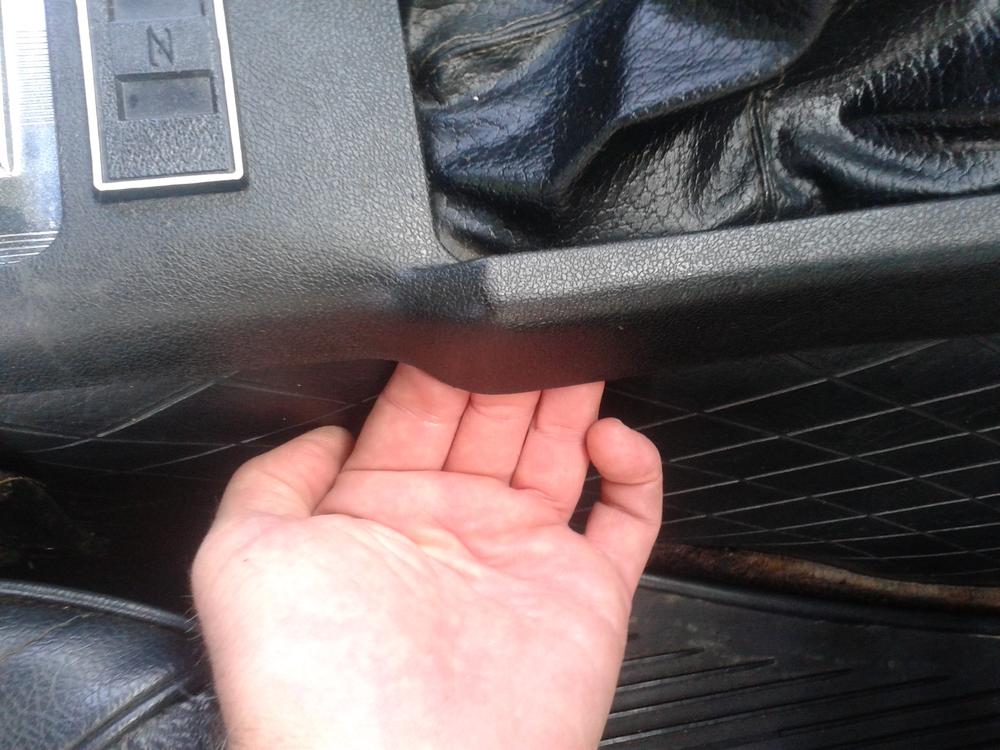
1 pointWhy are there humps on the passenger's side of my console? Is eveybodies like mine or do I have the wrong one? I can't figure out the purpose.
 1 point
 -
1 point
-
1 pointThe retainer has (had) a rubber ring around it, smooth on the upper side and dot-gripped (octopus-like) on the underneath. The T-handle should have a rubber cover on it too, but they rarely survive...1 point
-
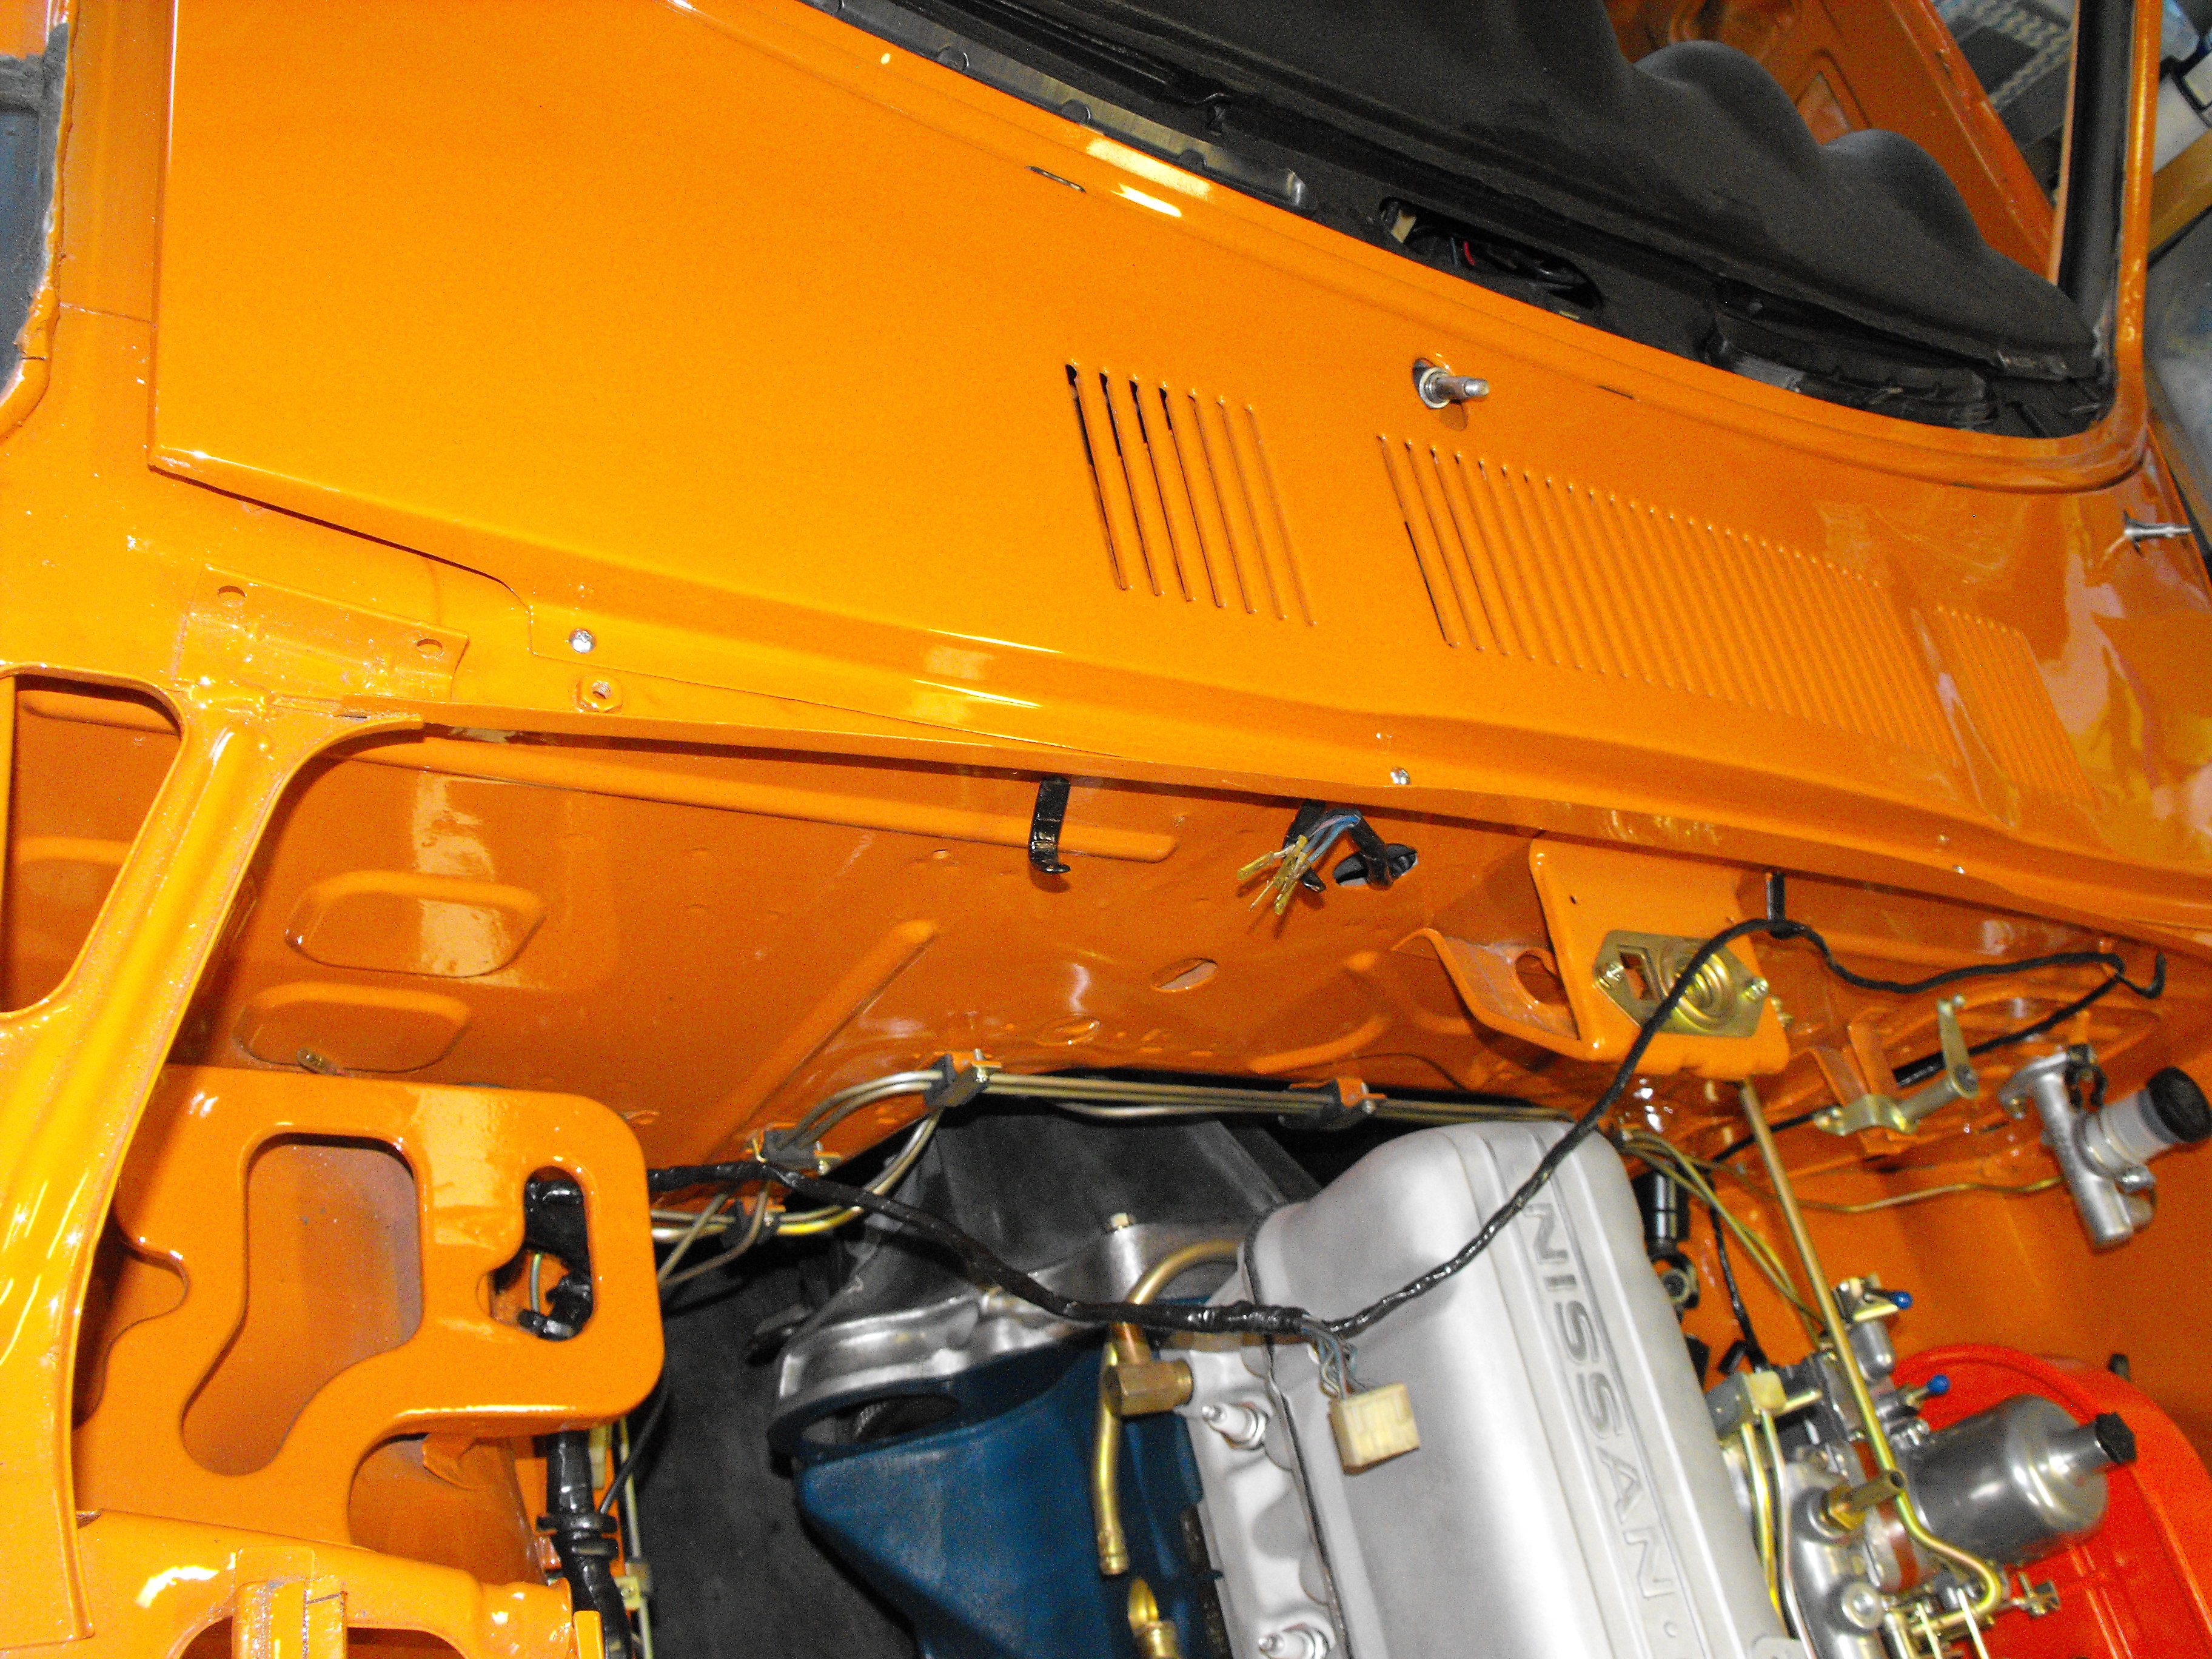
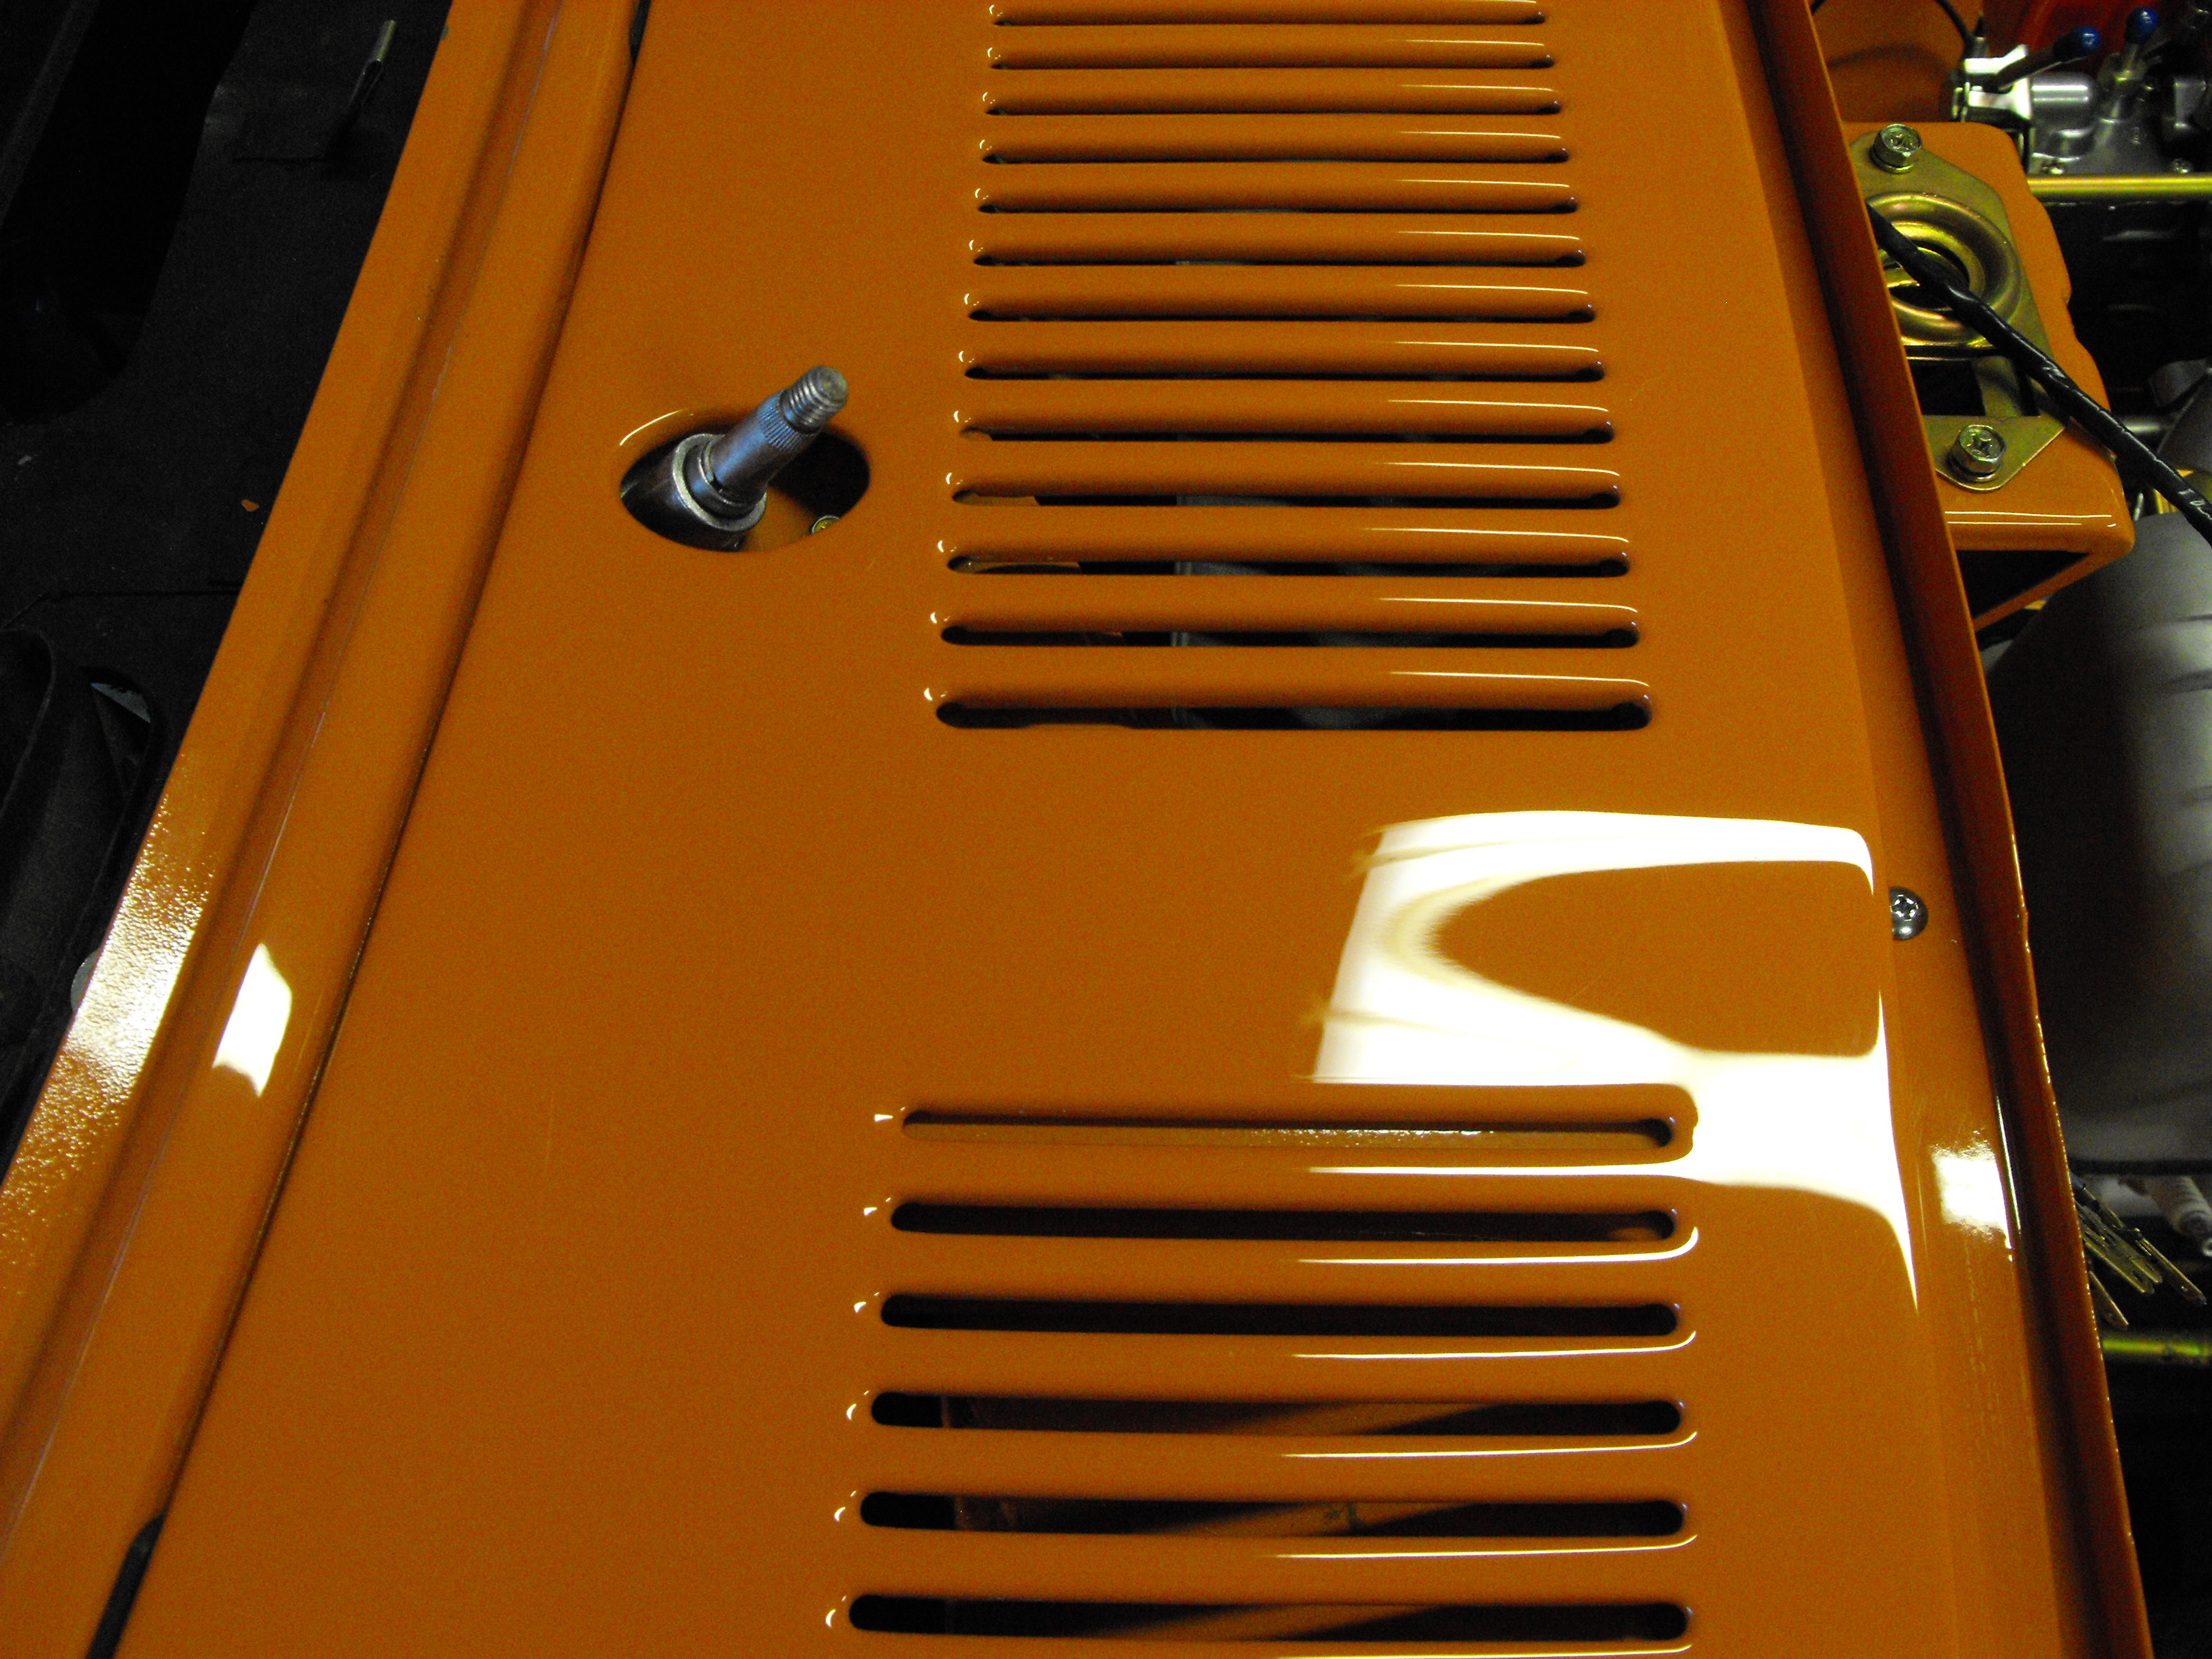
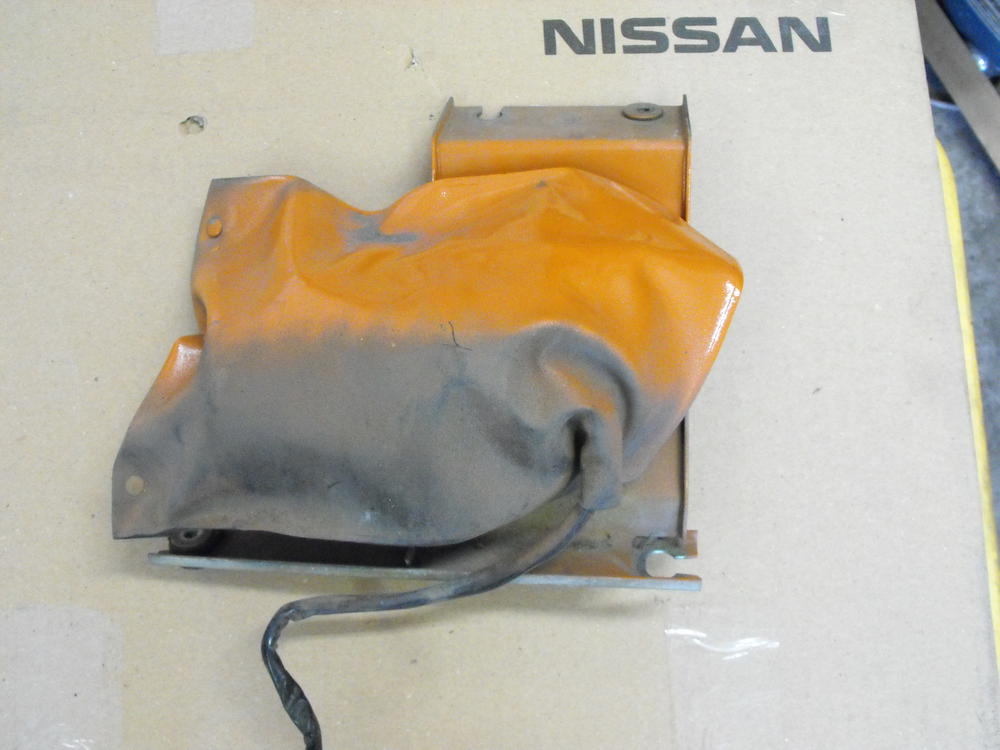
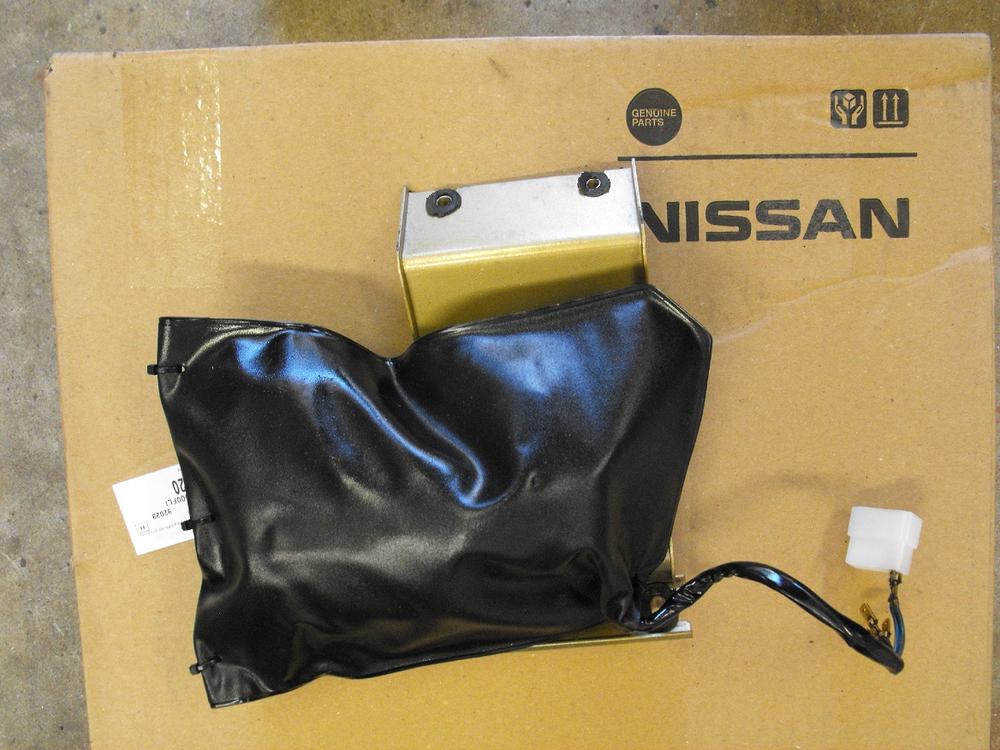
1 pointCleaned up the wiper motor today. Put a new cover on and replaced the connector housing. I used tie-wraps instead of the plastic rivets. The original rivets could not be salvaged. This is one of those things that is not visible on the car, but you know it is there. Installed wiper motor and wiper arm assembly Also installed the cowl and front valence. Cleaned and painted the front grill. Installed that as well. Pics are below.


 1 point
 -
Went for an early morning drive. Killed more bugs than Orkin. Washed it up good to. Nothing (almost) makes me happier than a shiny Z car.1 point
-
Routine fall leaves check in my new to me 71 at nearby Bear Mountain State Park NY. 12/71 2.6 block E88 heads triple weber 3/2 Mallory Abarth Tokico 1-3/4 sways1 point
-
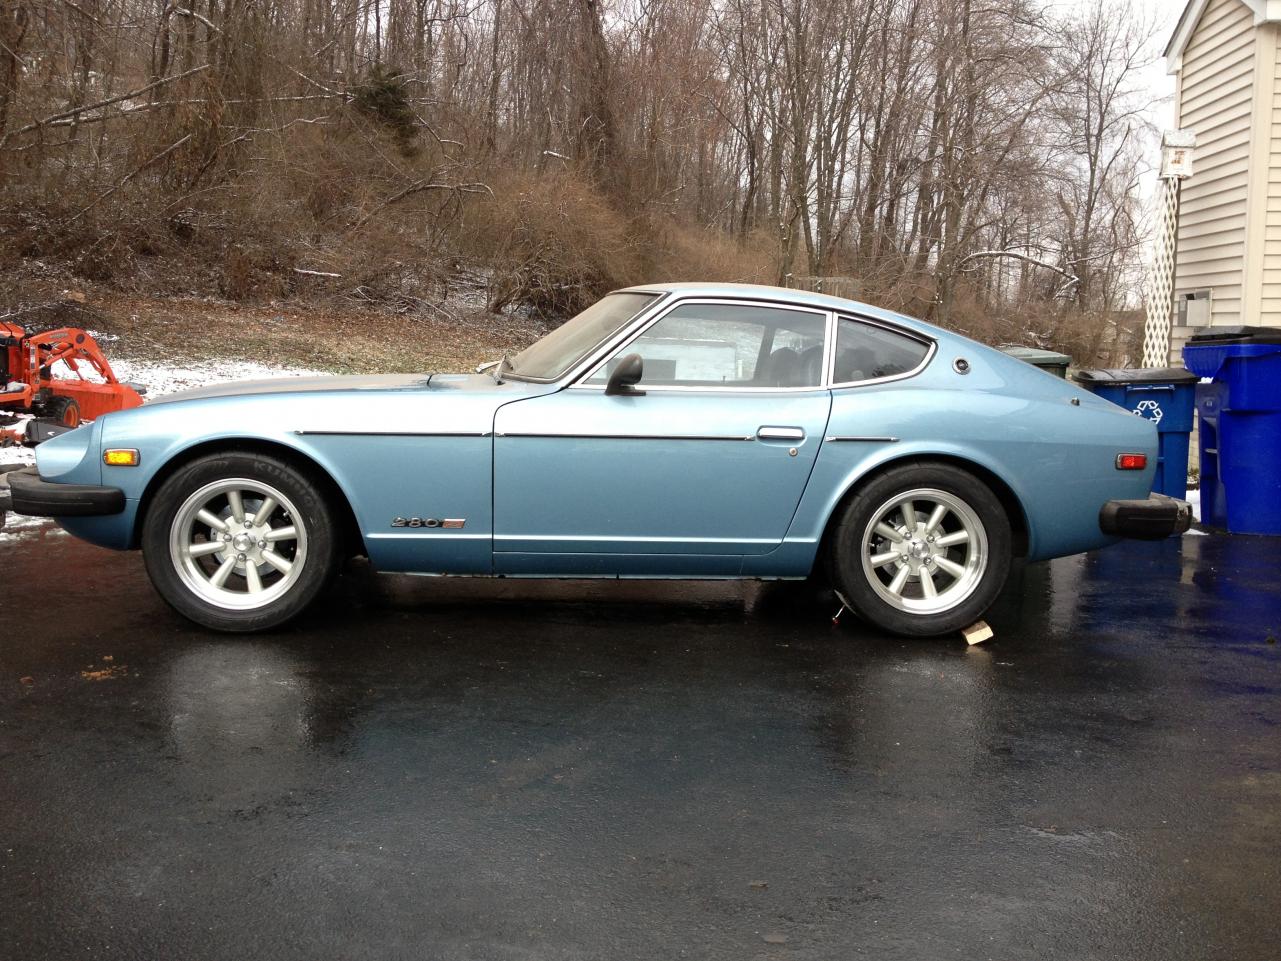
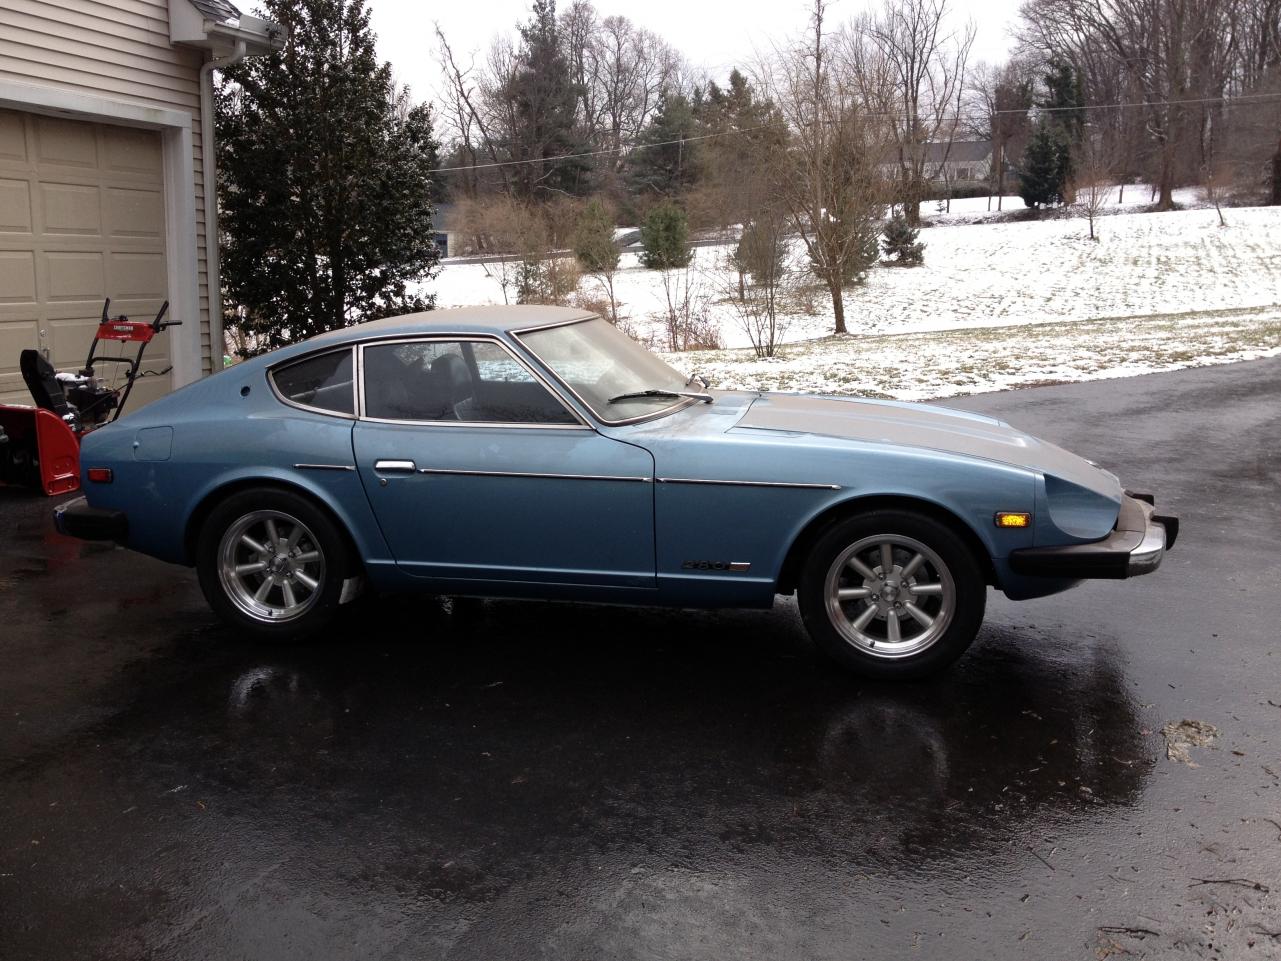
They had good reviews and to quote a wise man, "They look great and have an aggressive looking pattern."1 point
-
Alright, here are a few pictures of the car down on all 4 wheels. Specs: Konig 16X7 wheels, zero offset. Kumho 225/50/R16 tires. The rear tires rub the fender and I will need to roll the lip. The front tires rub the lower valence which will require some trimming. Neither is a big deal or completely unexpected.


 1 point