Leaderboard
-
disepyon
Free Member2Points121Posts -

Zed Head
Free Member1Points19,317Posts -
sweatybetty
Free Member1Points1,119Posts -
oemz
Free Member1Points167Posts


Popular Content
Showing content with the highest reputation on 10/25/2016 in all areas
-
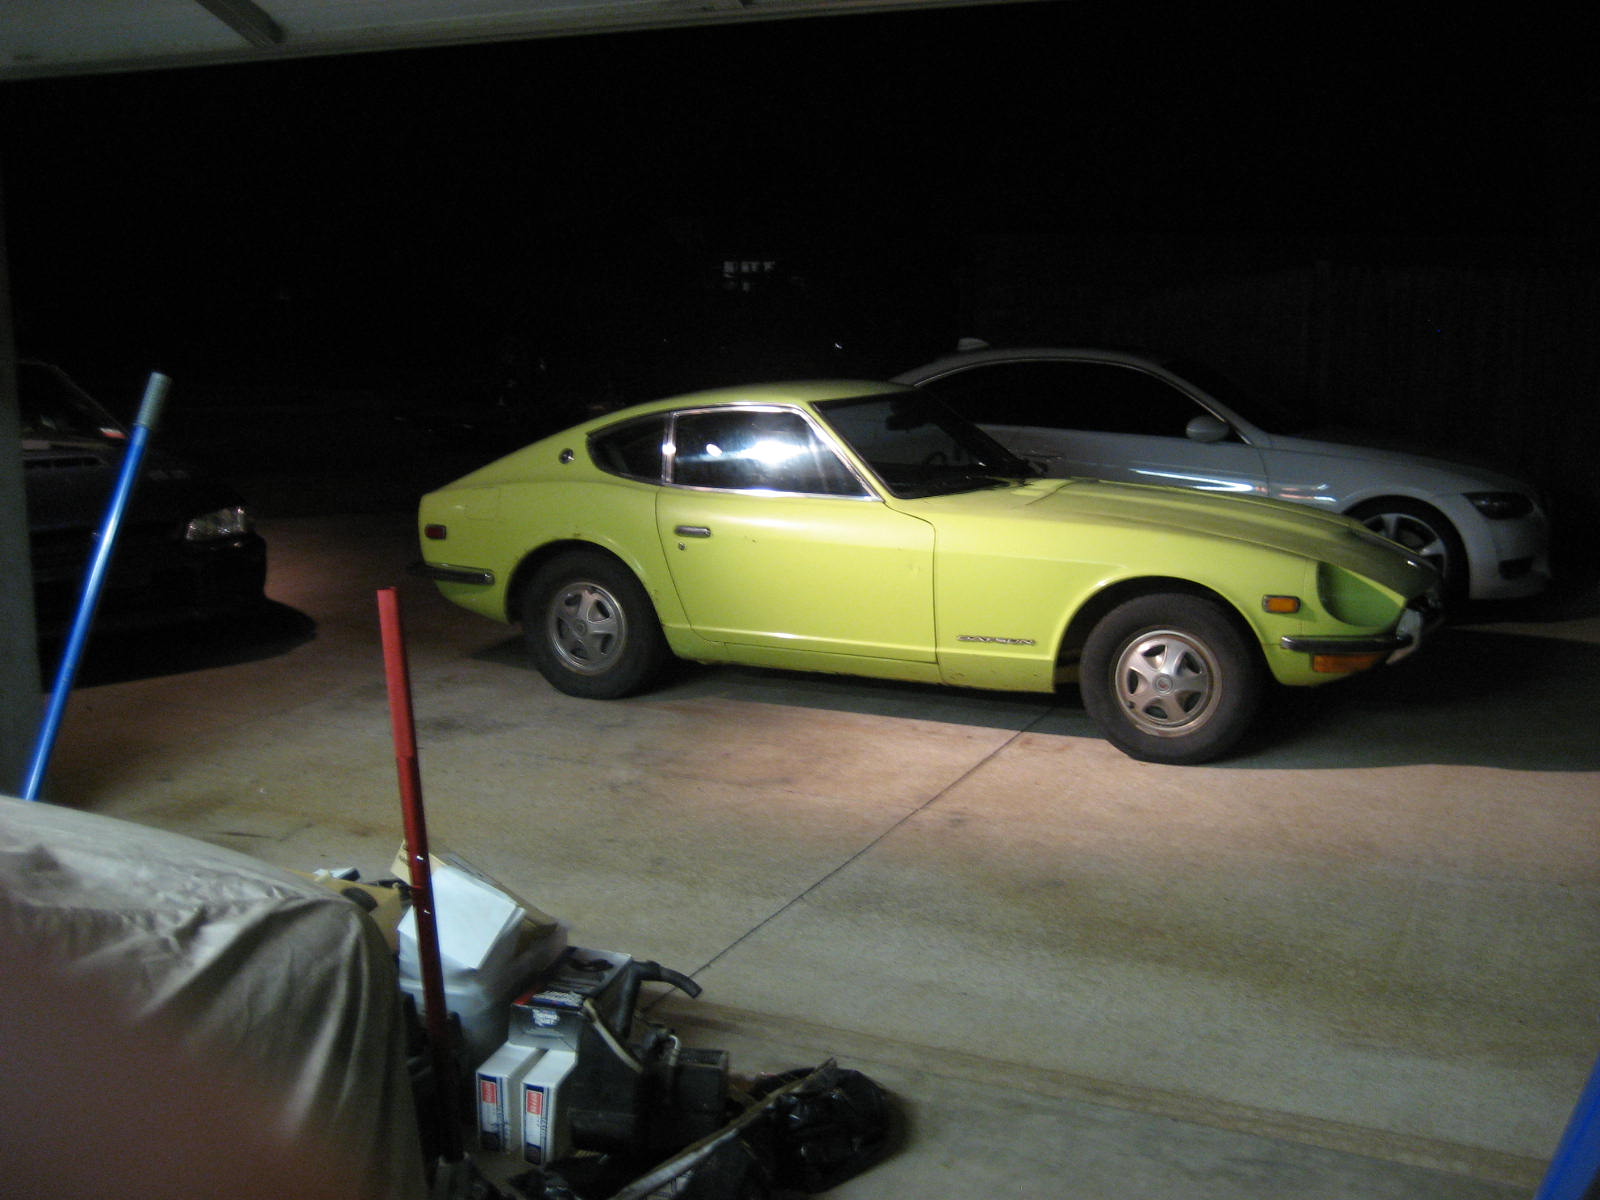
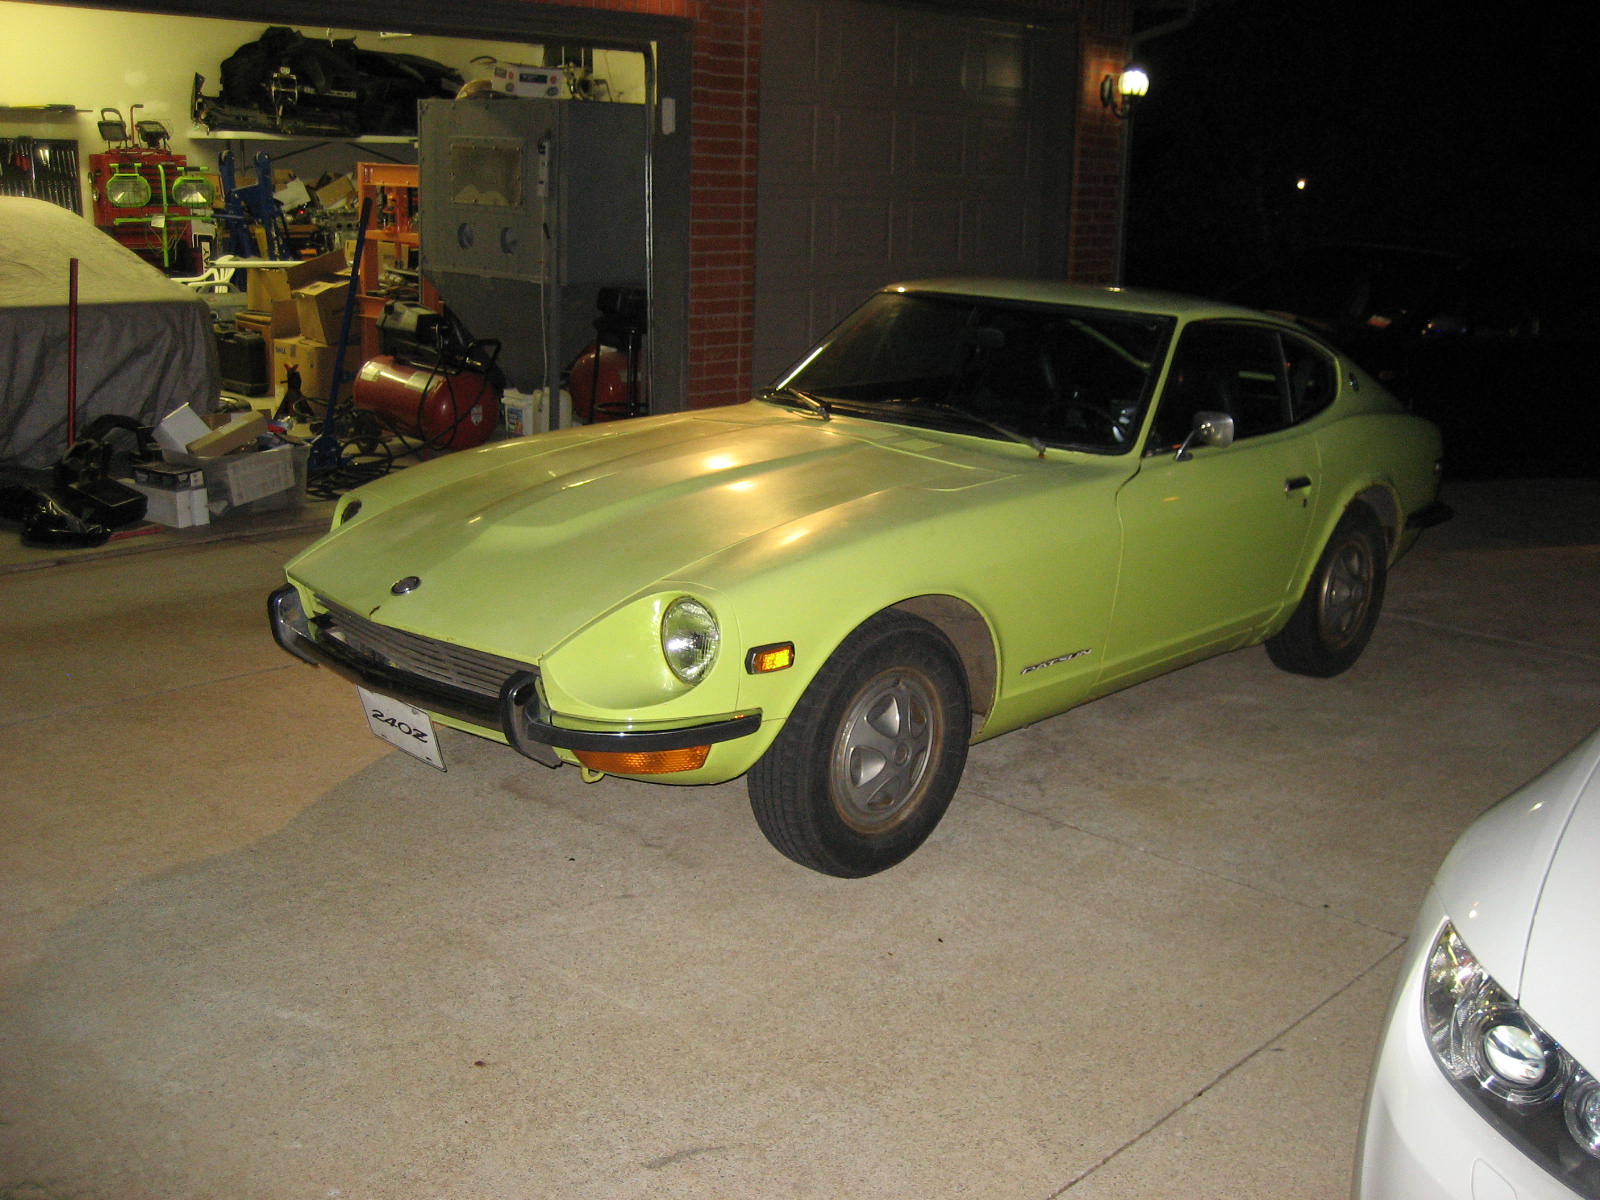
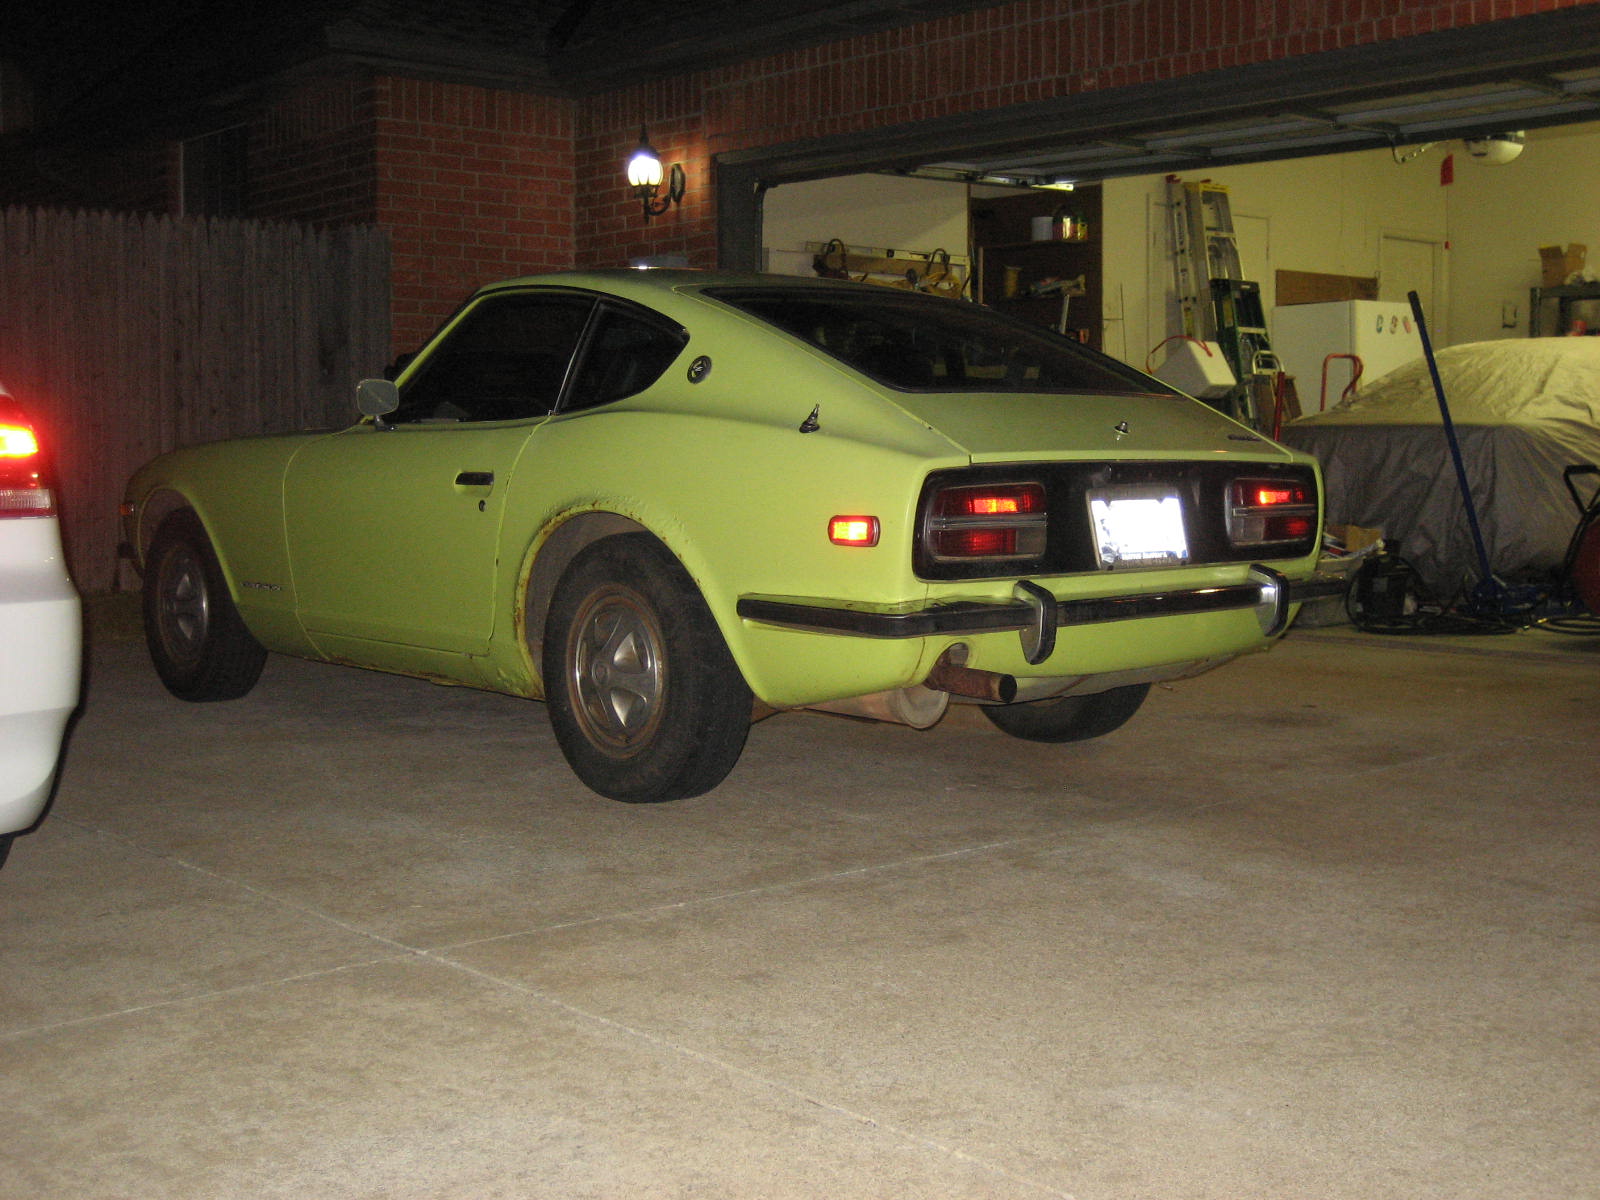
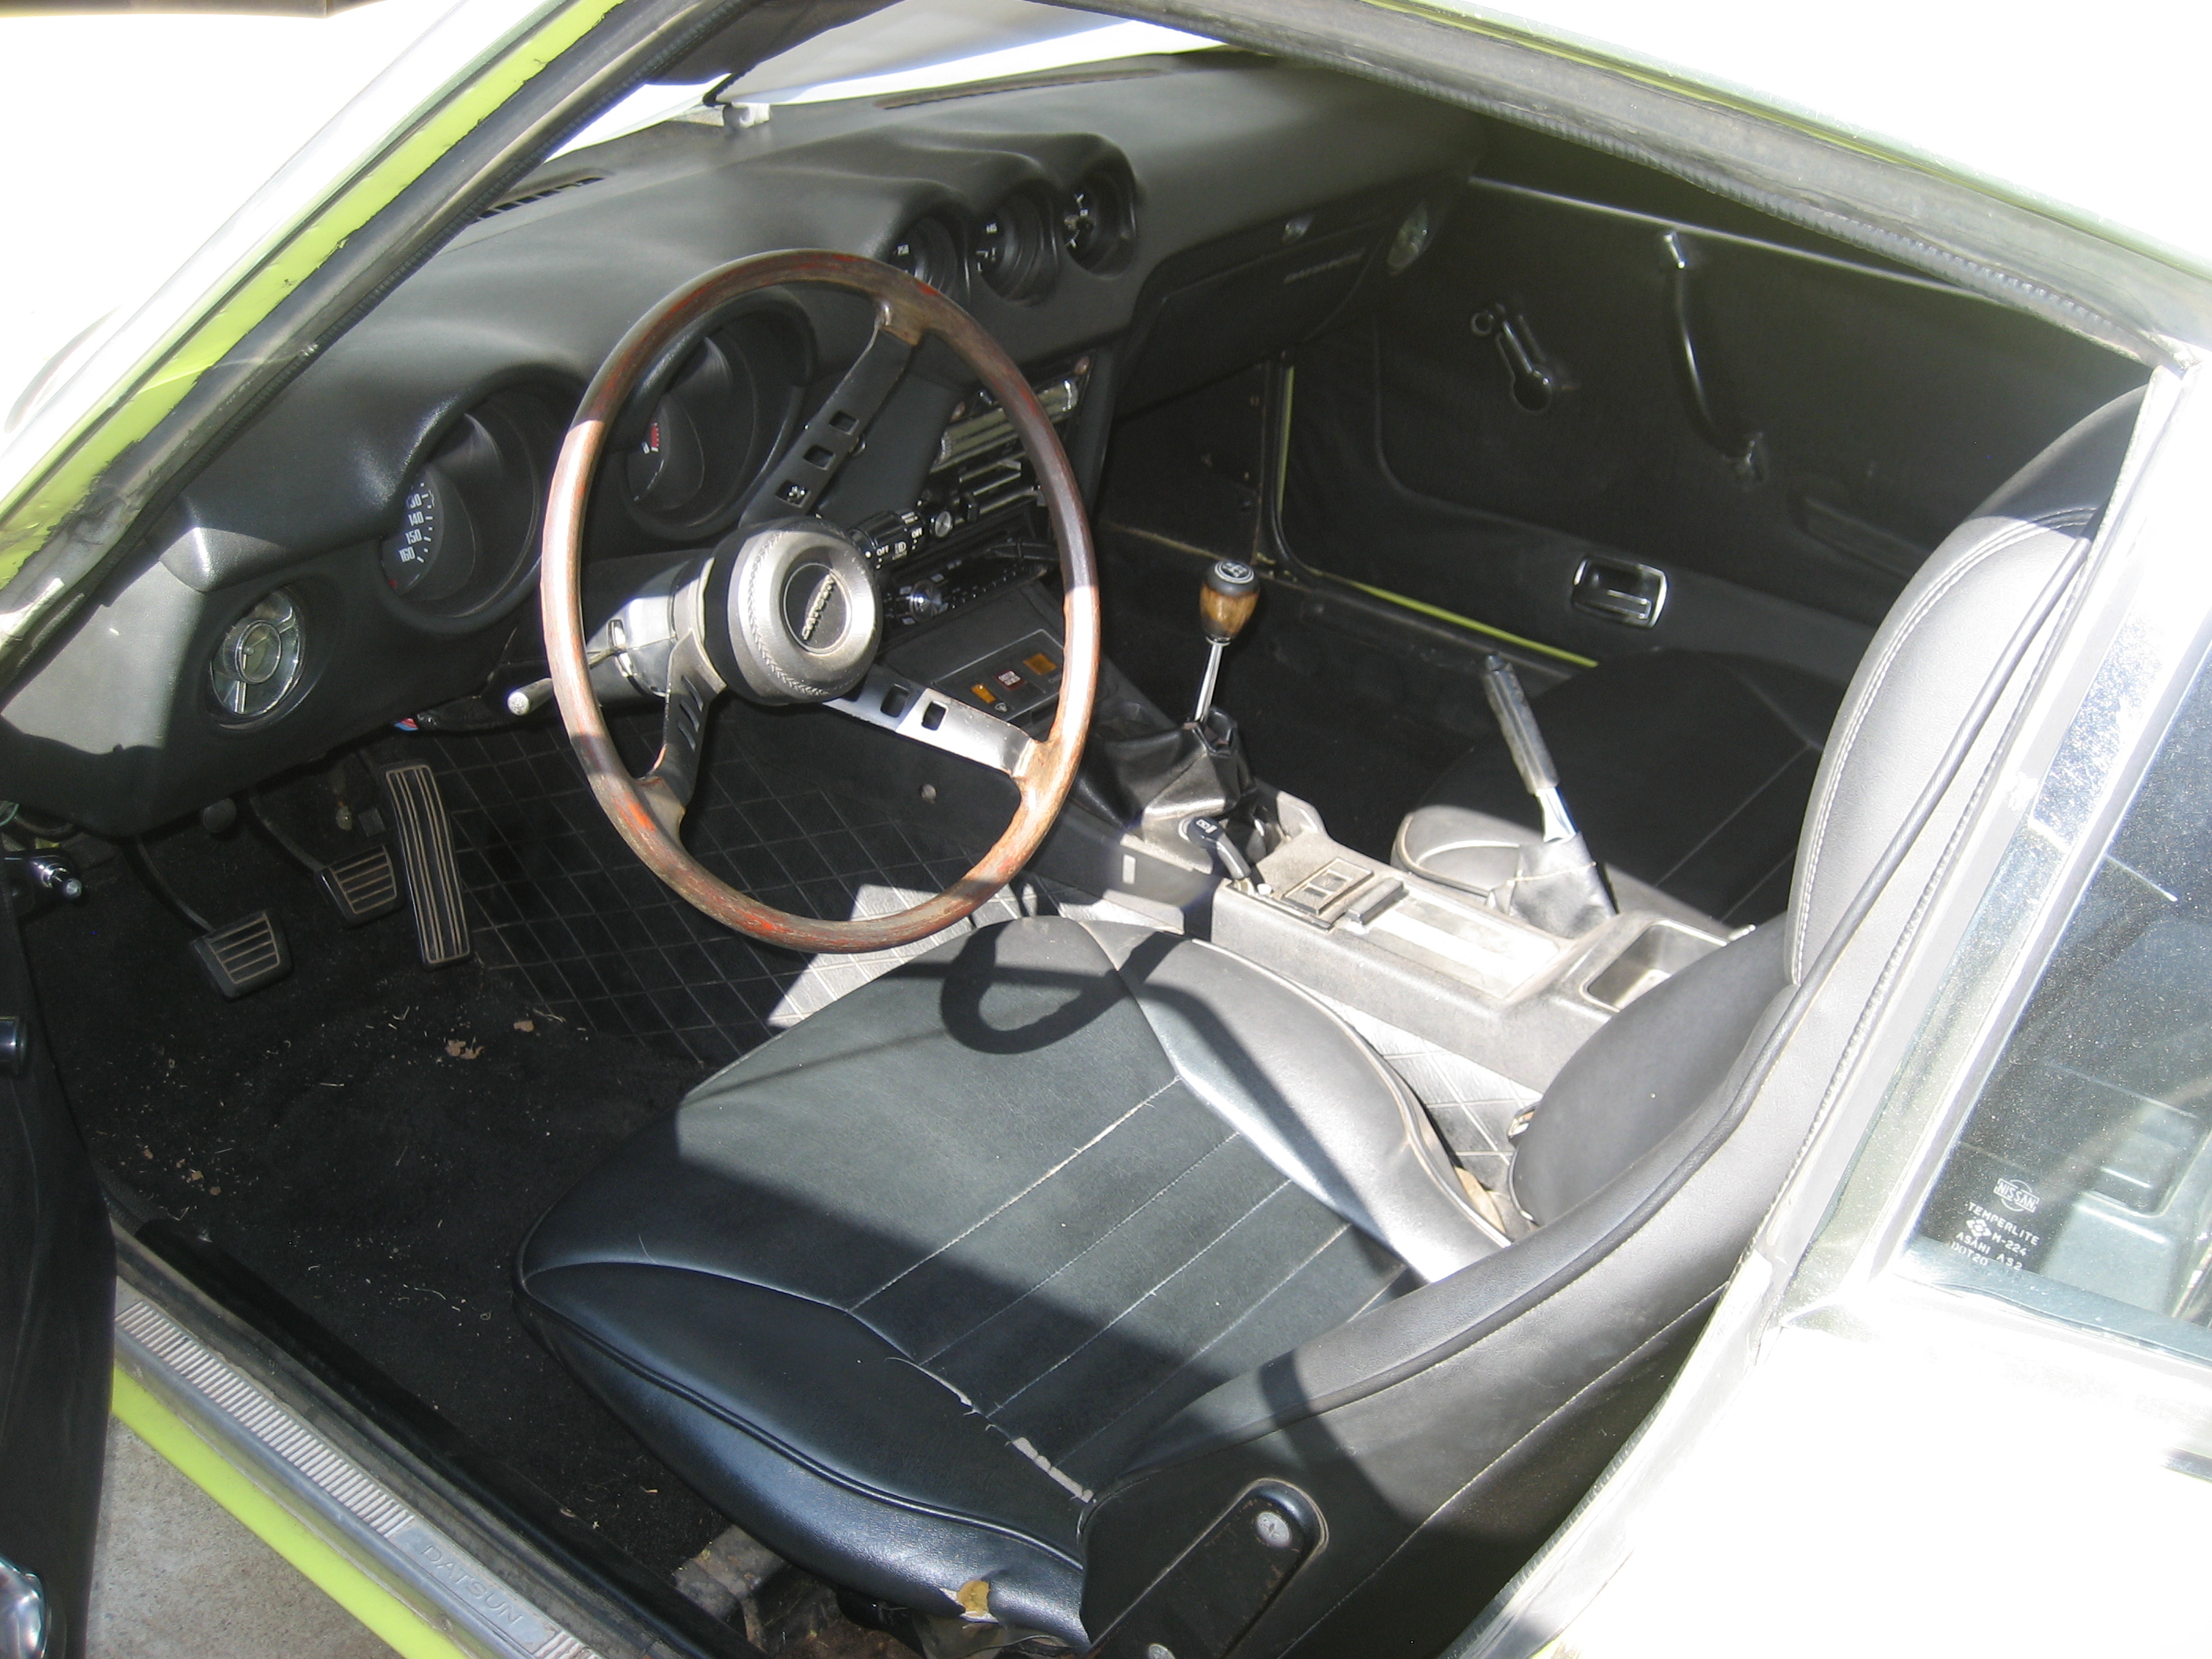
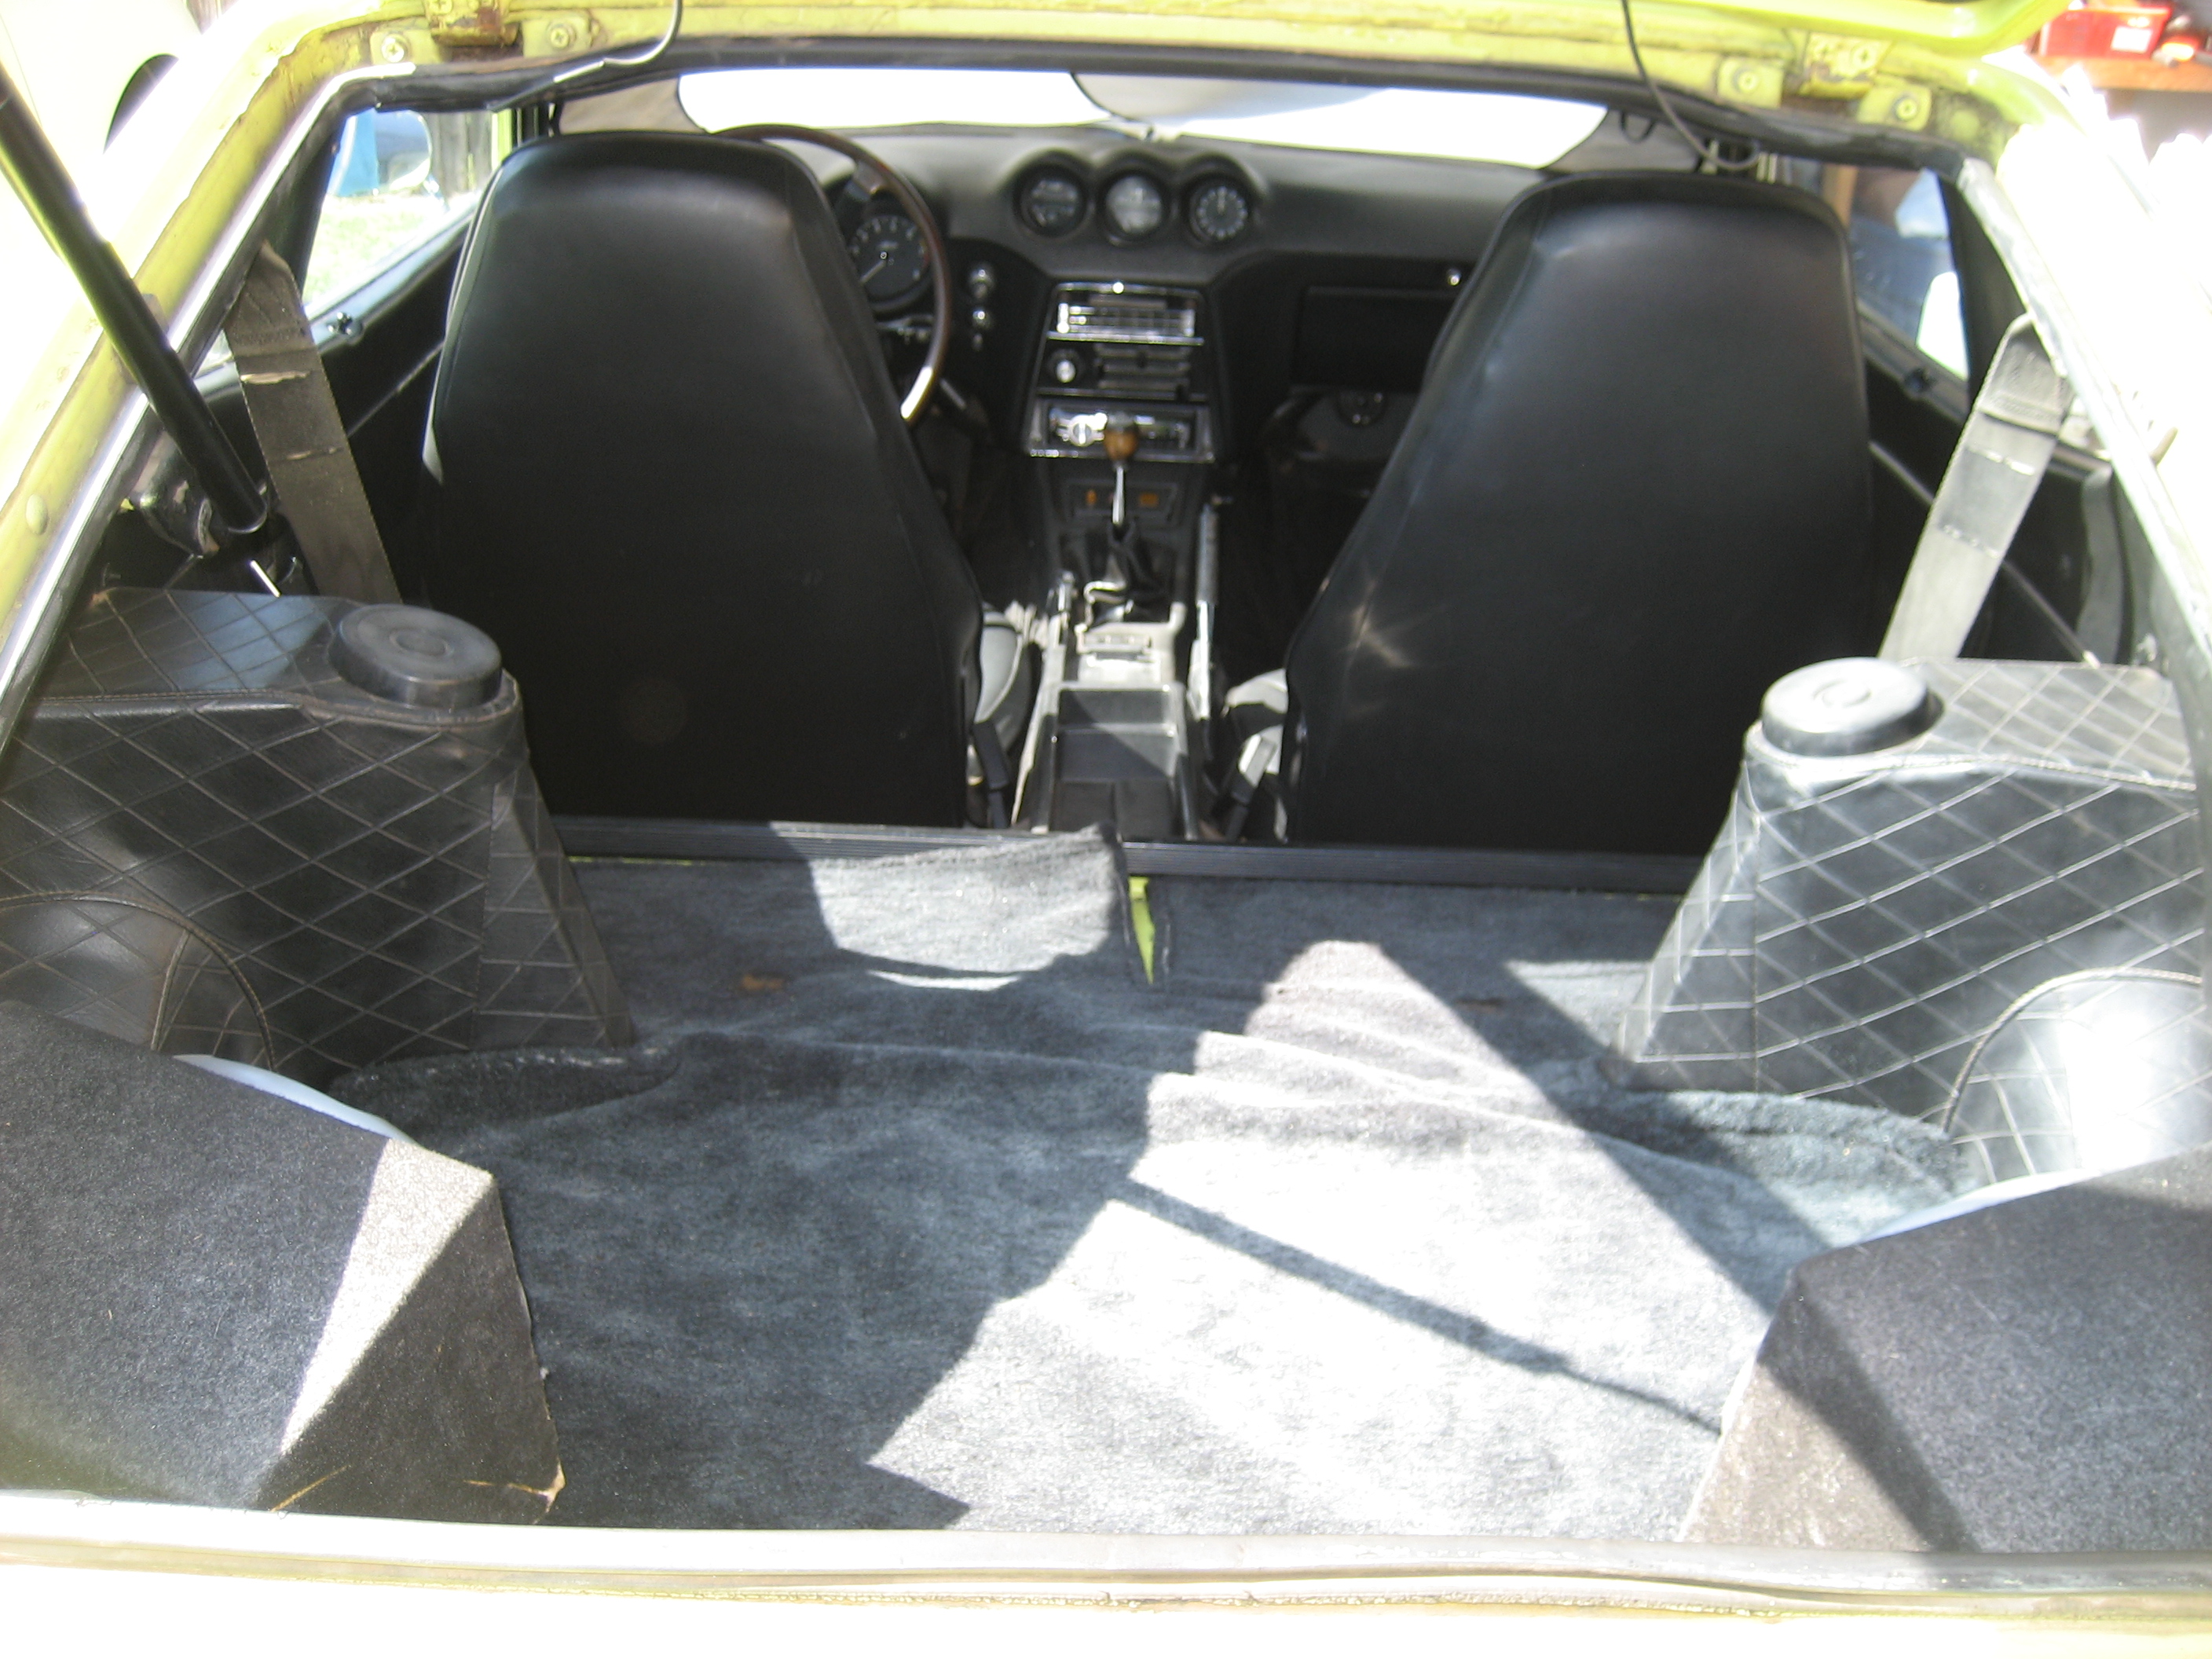
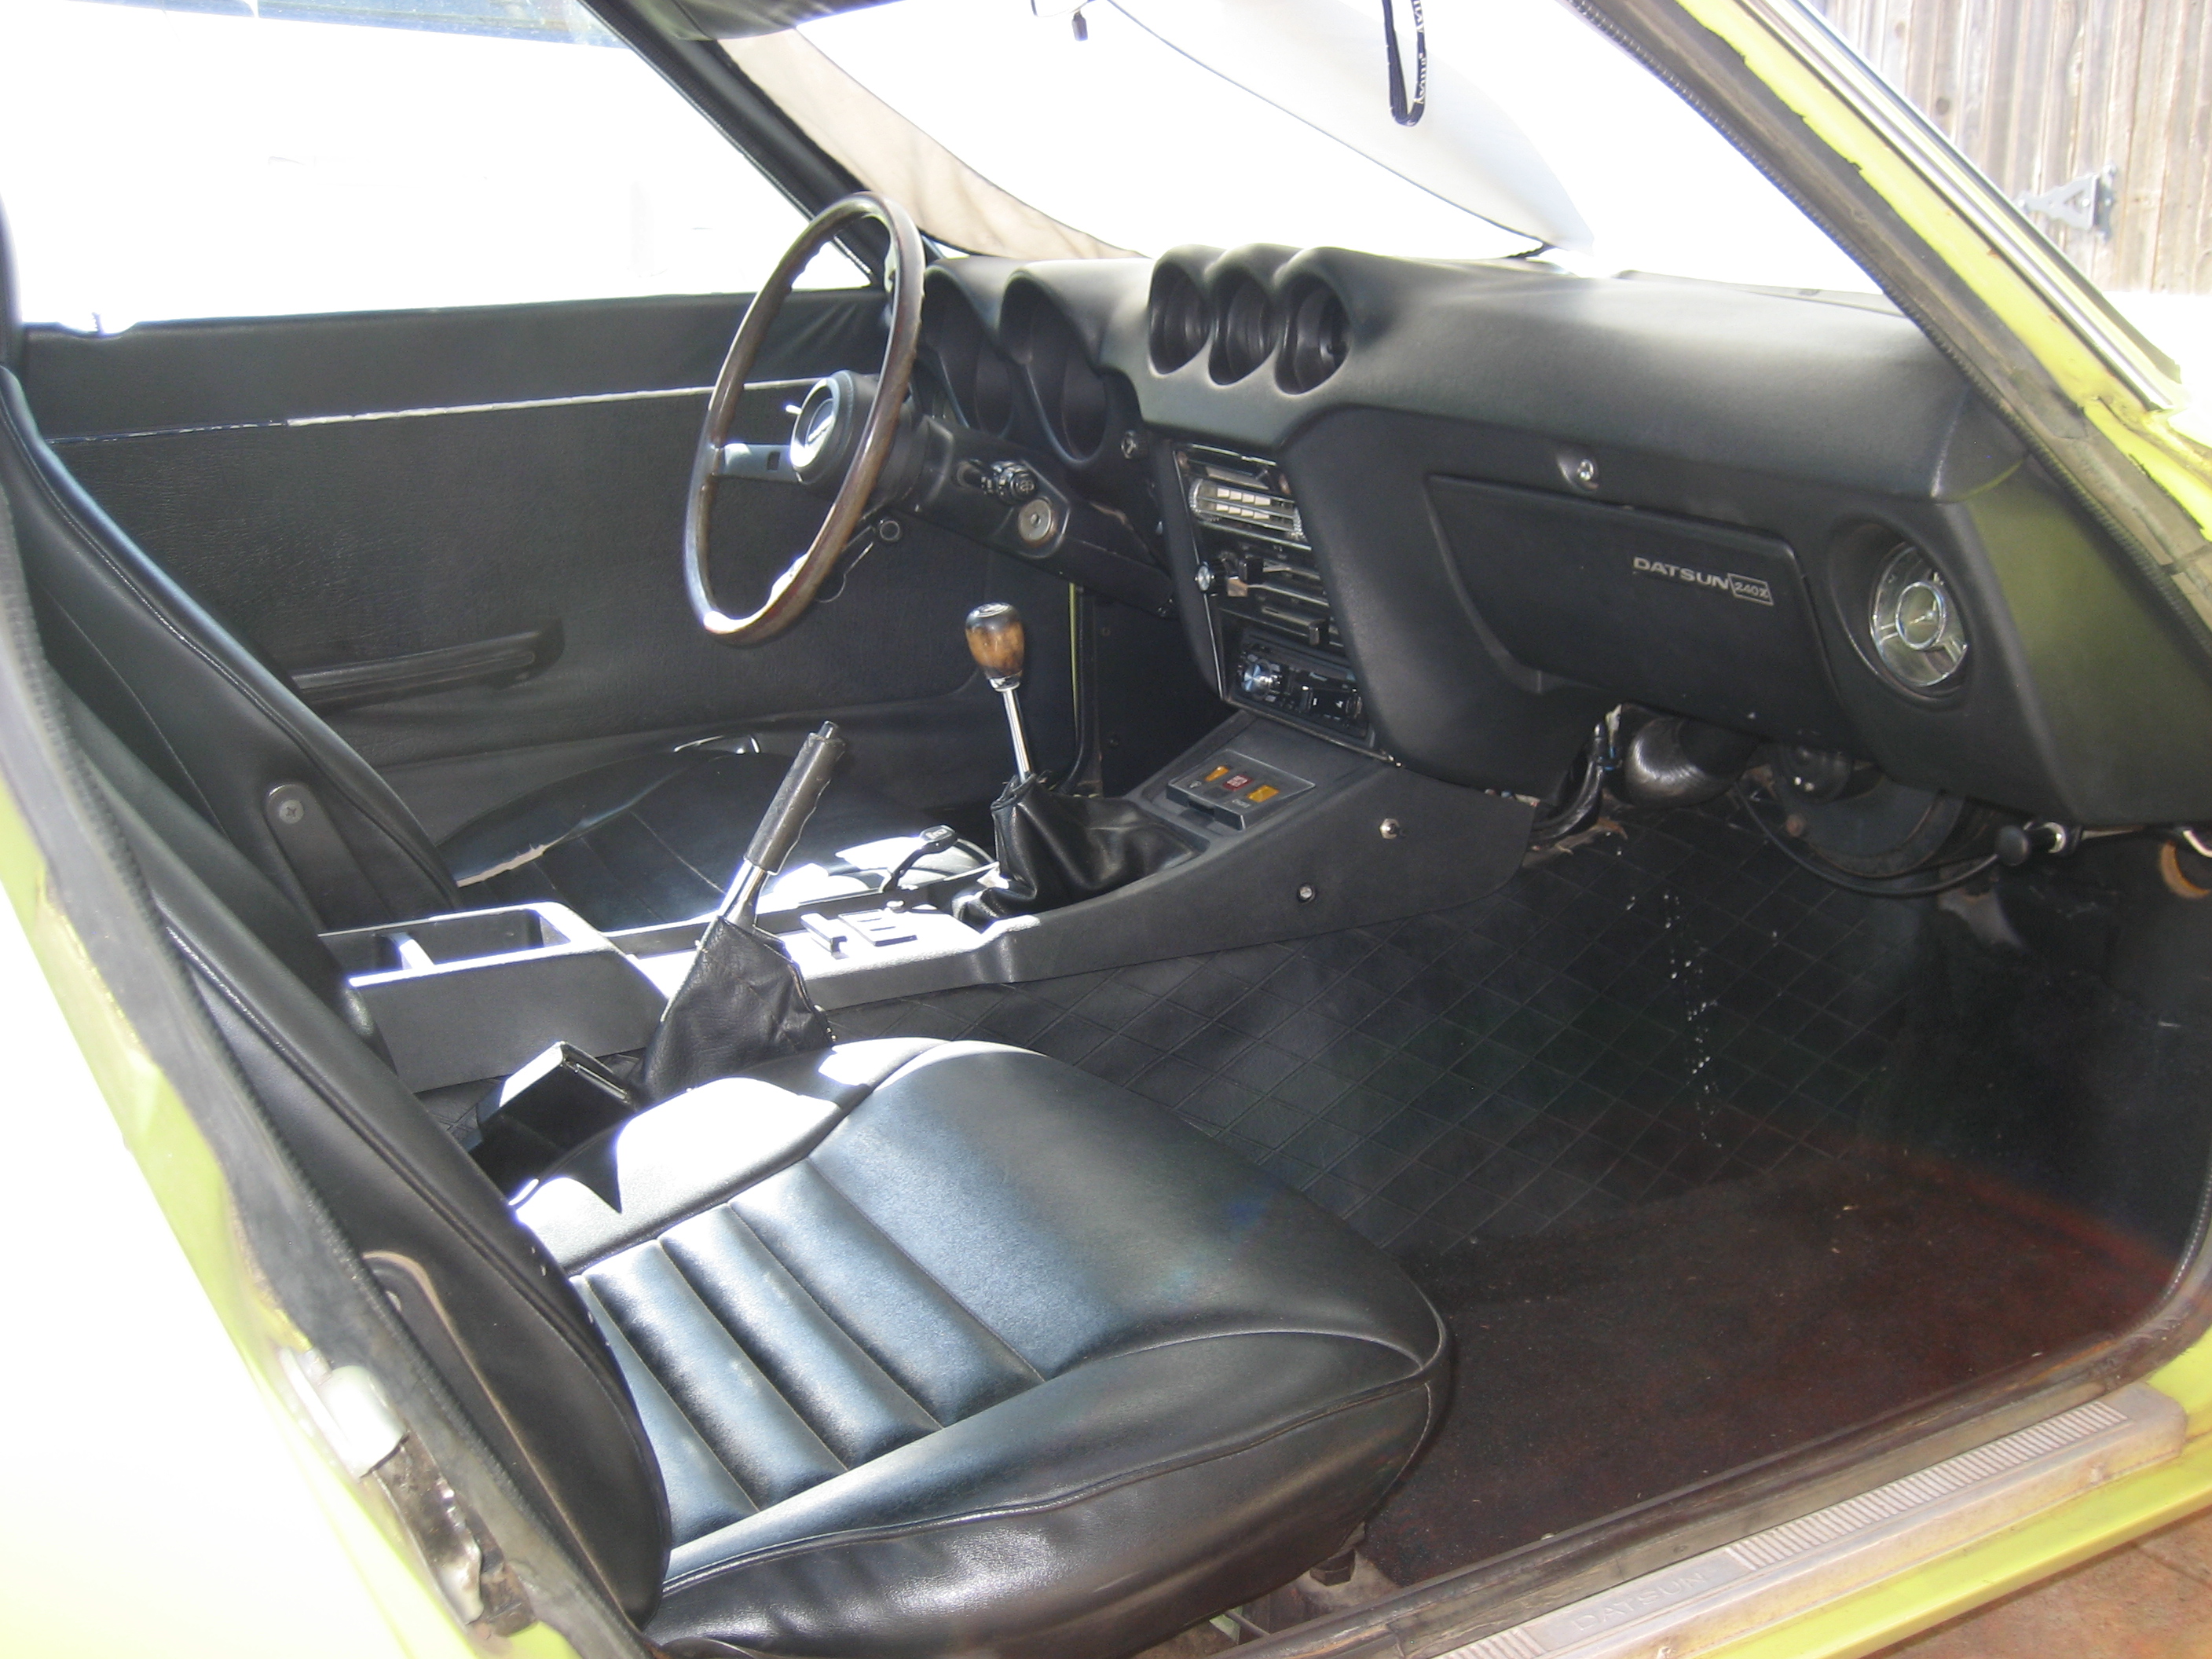
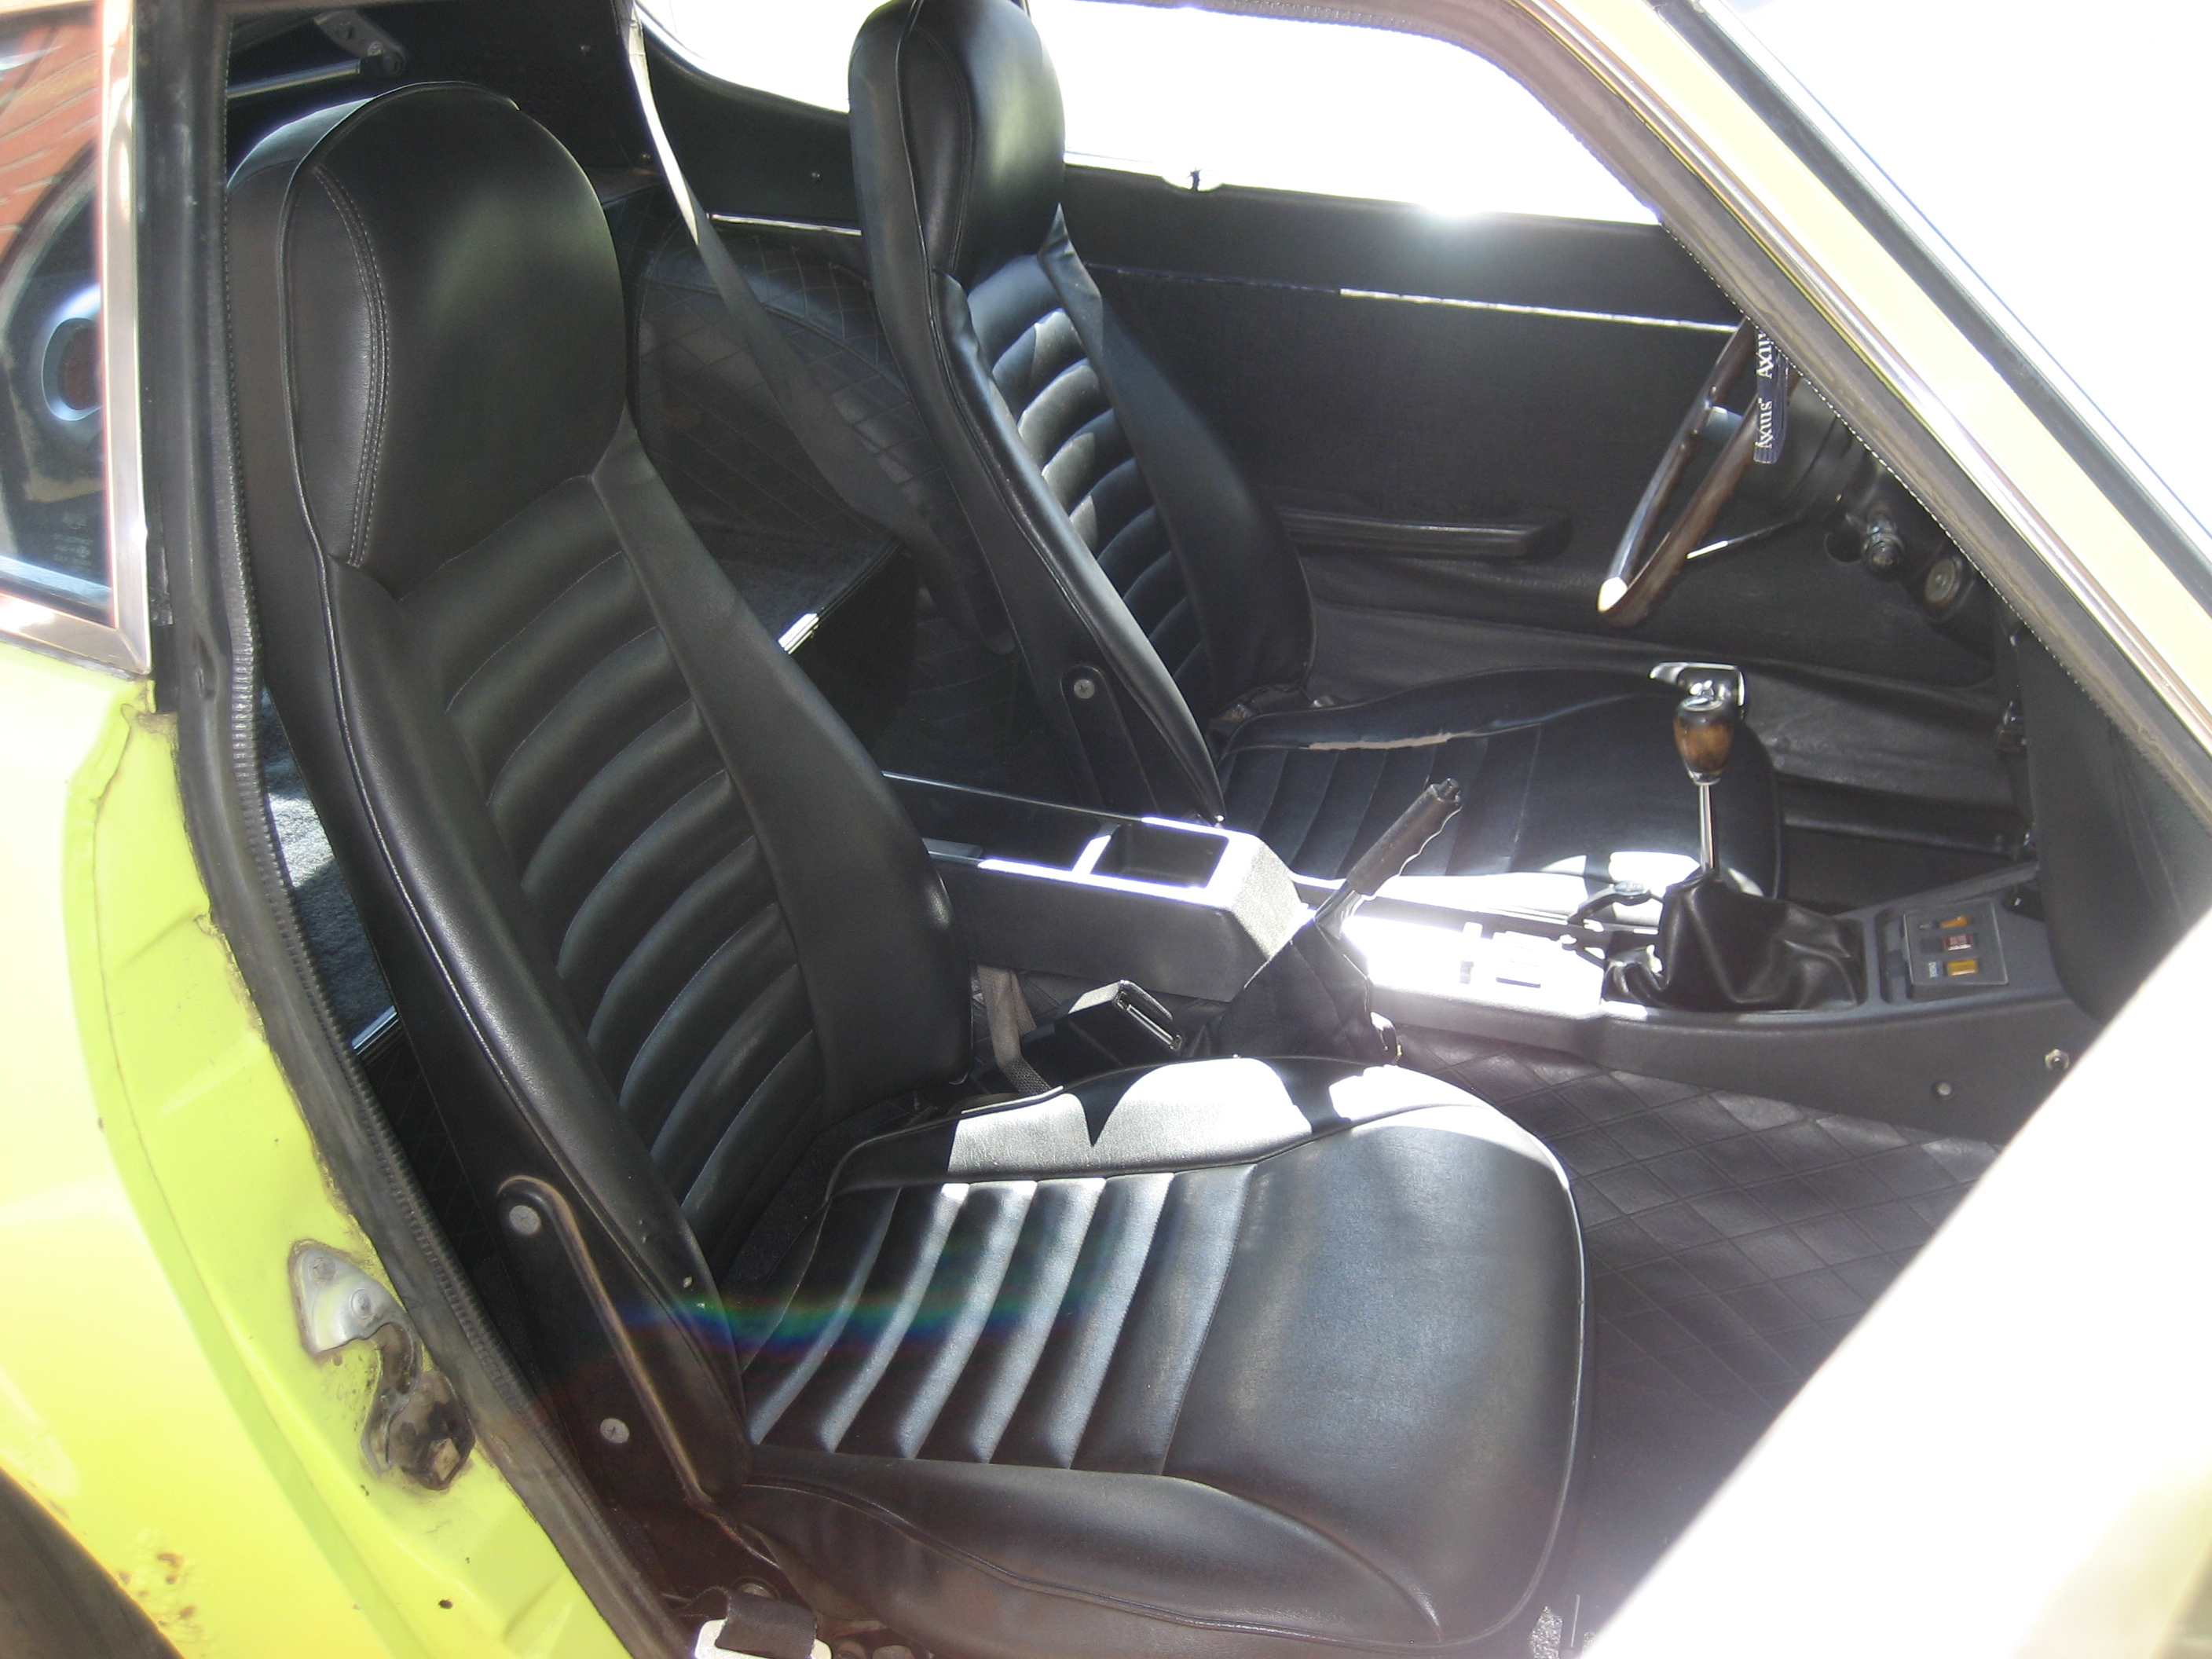
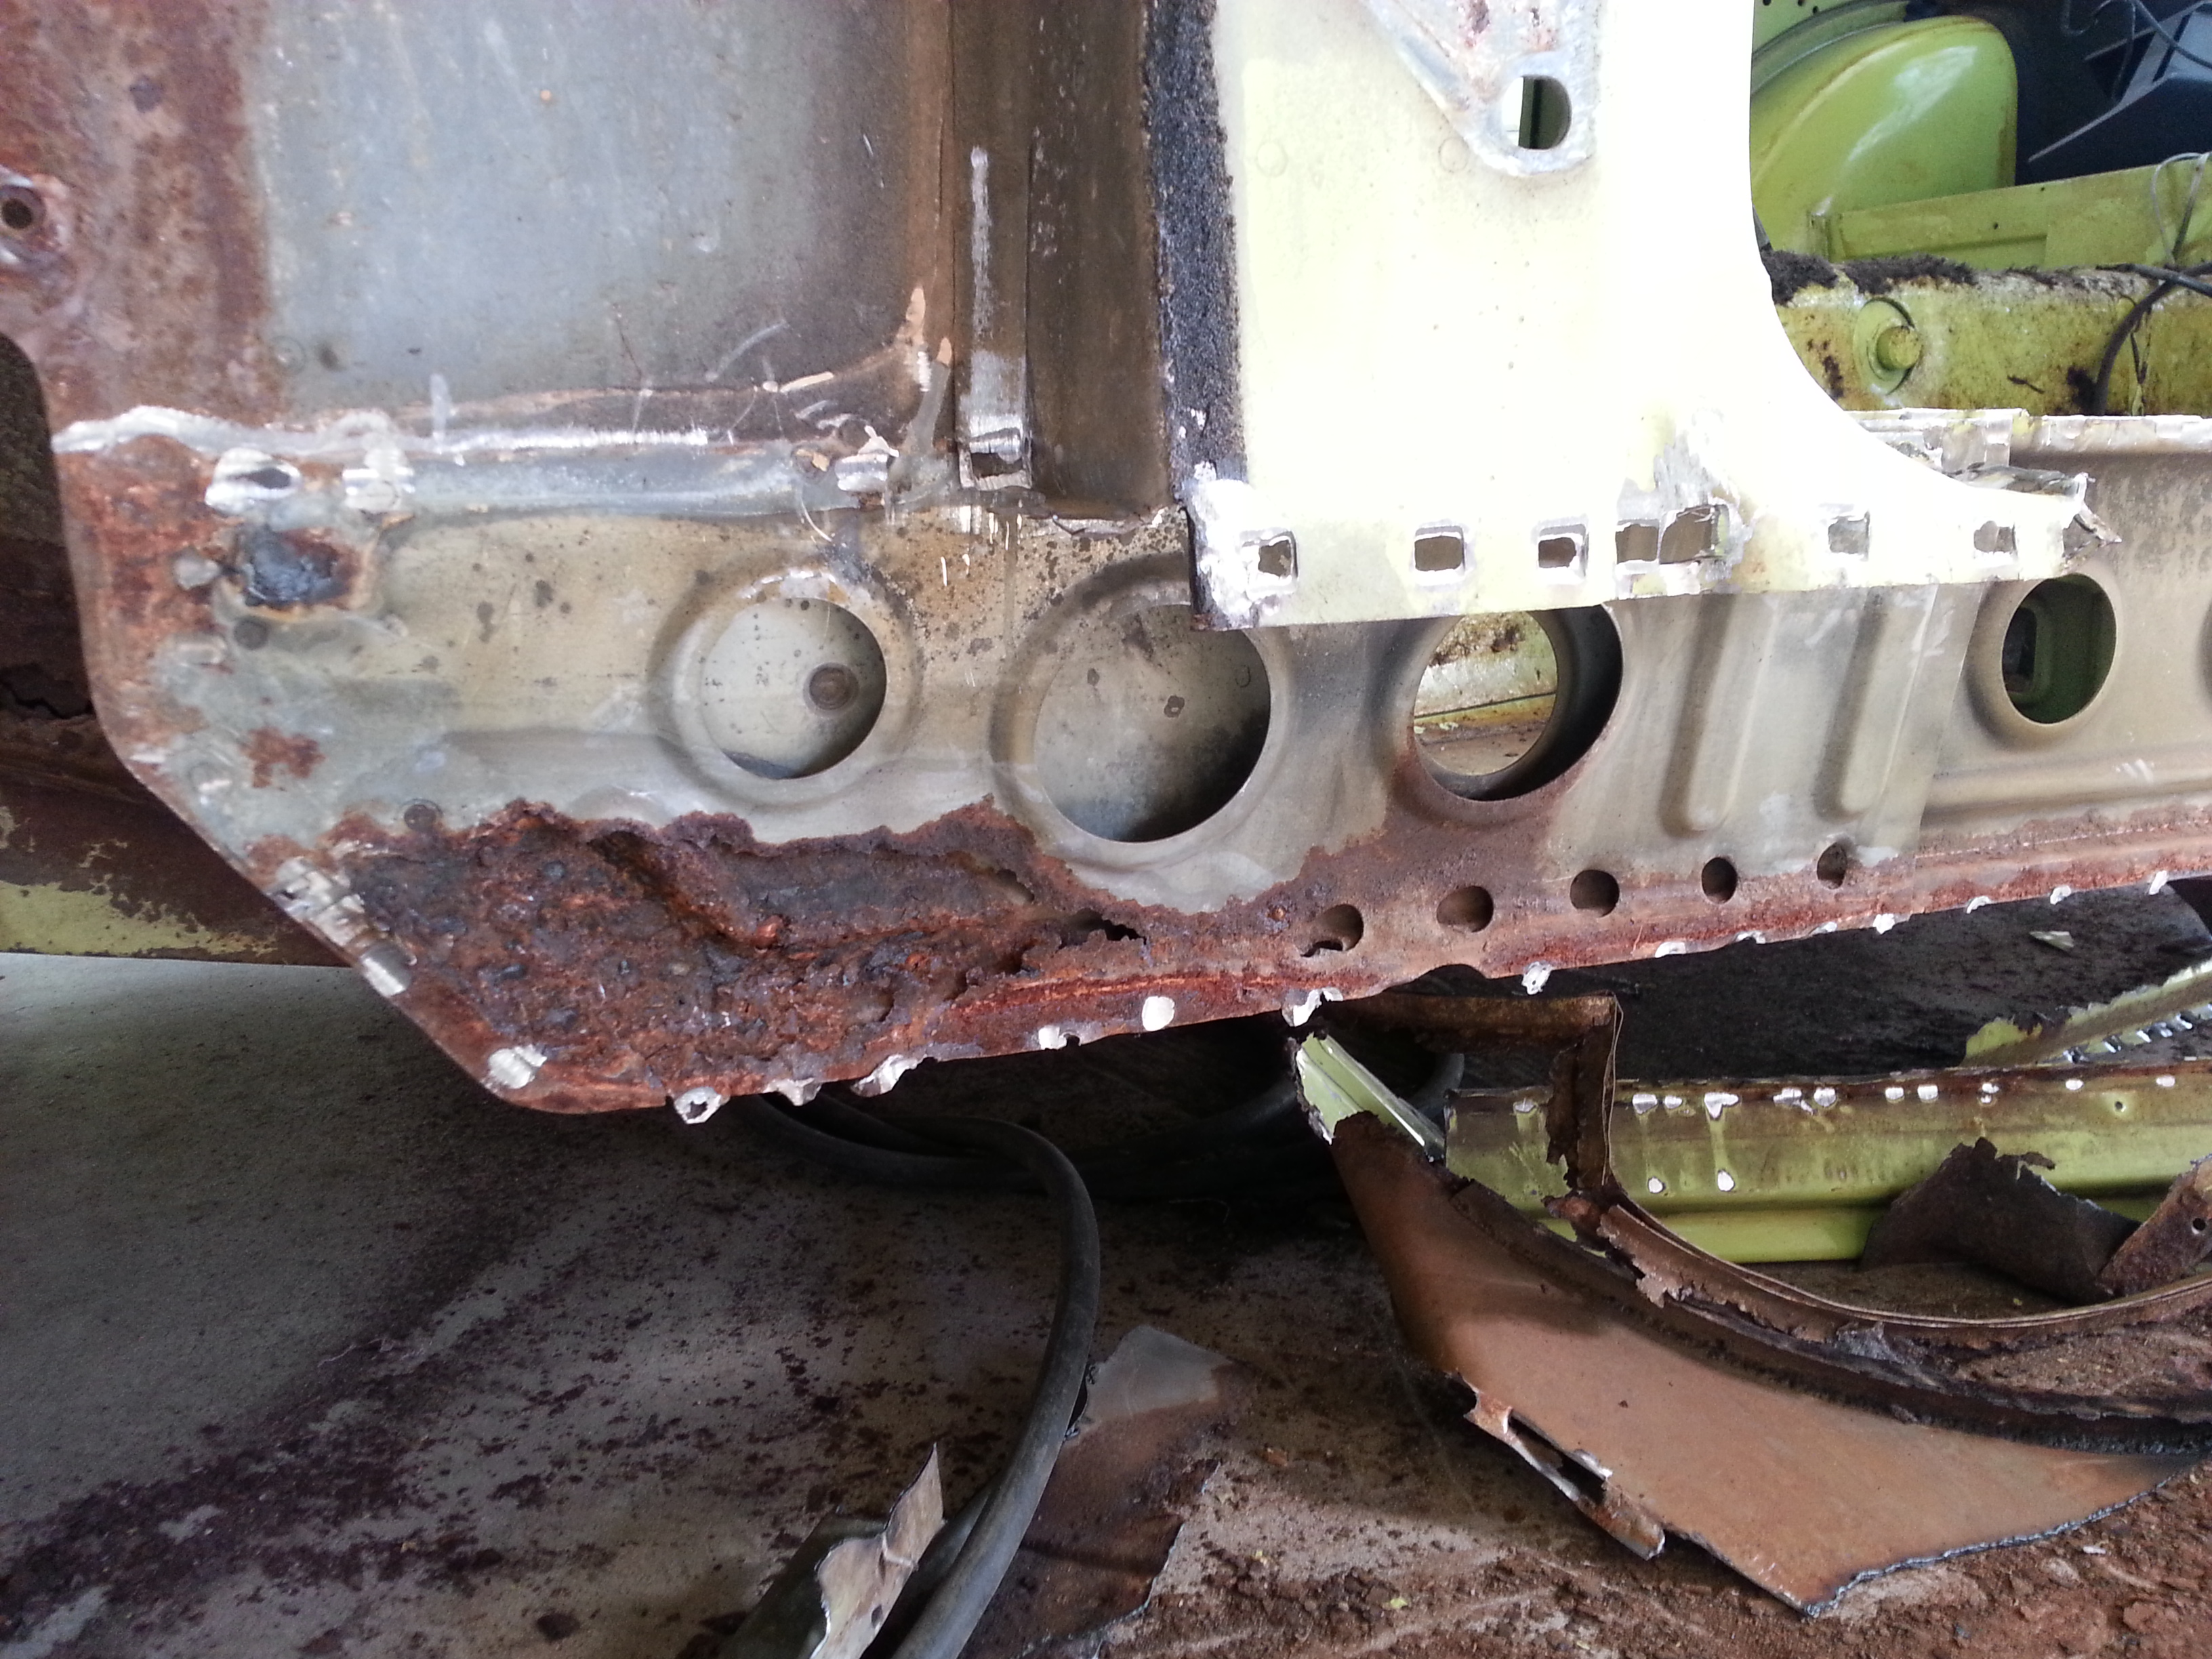
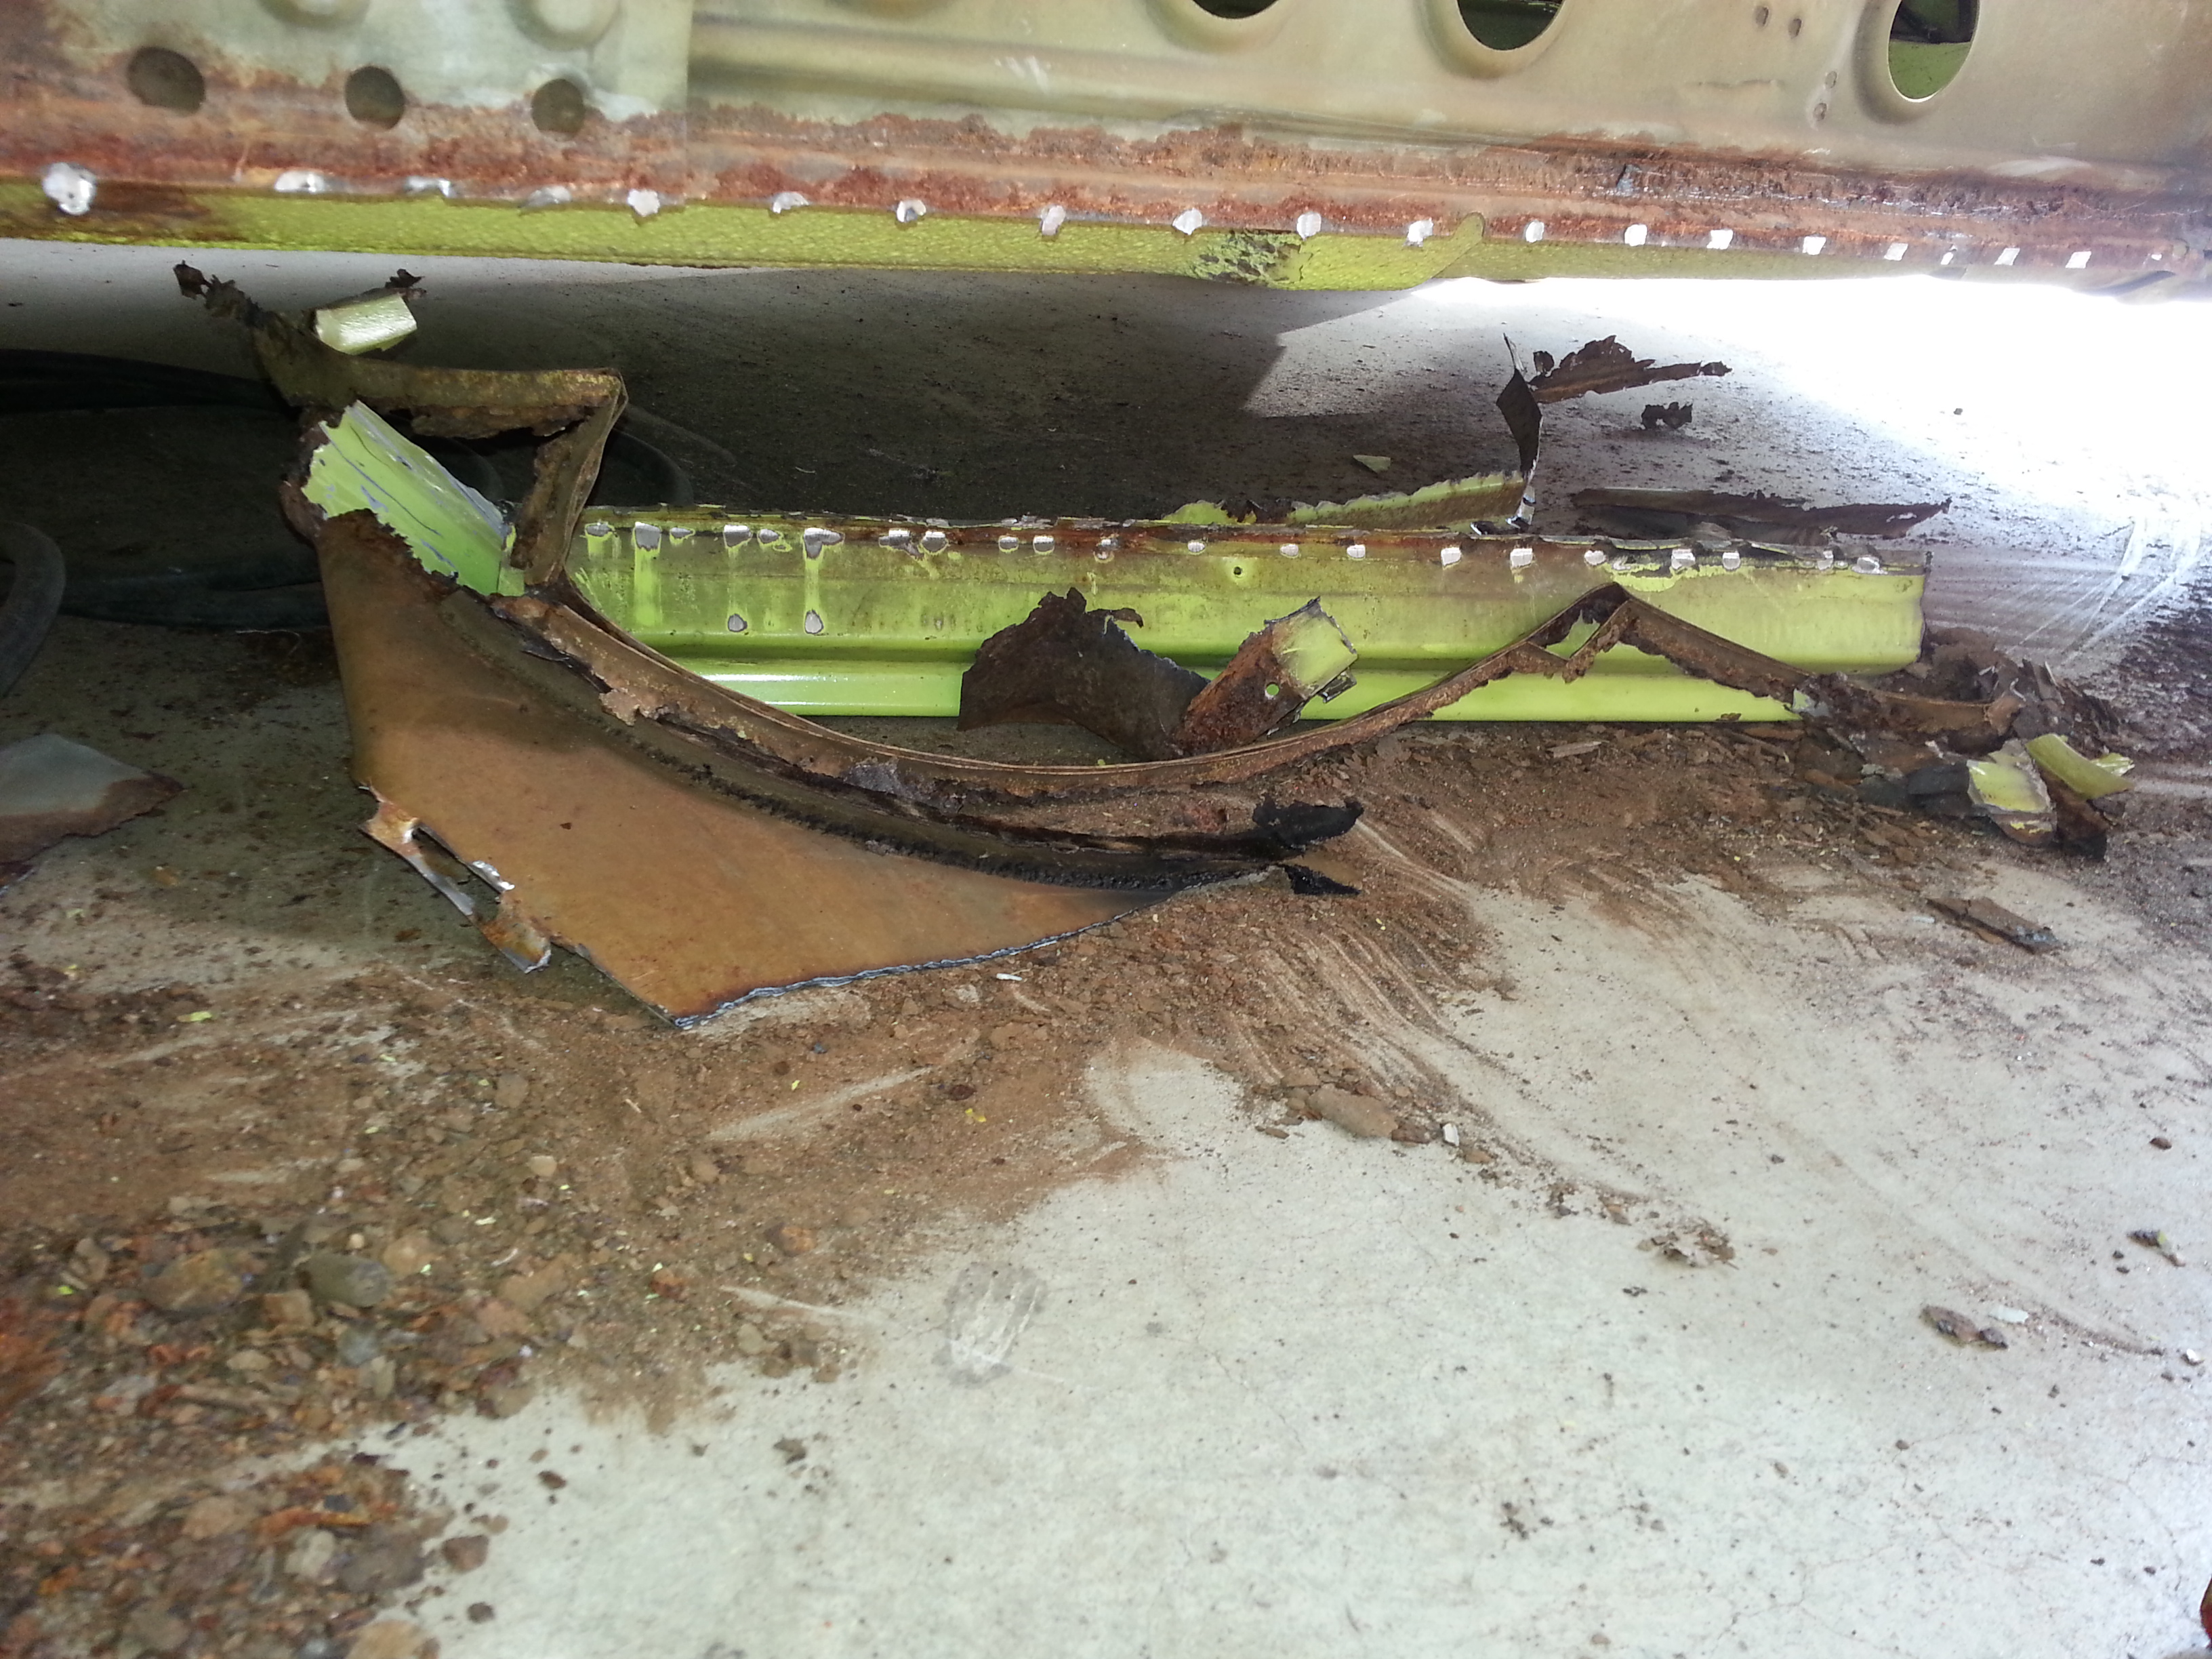
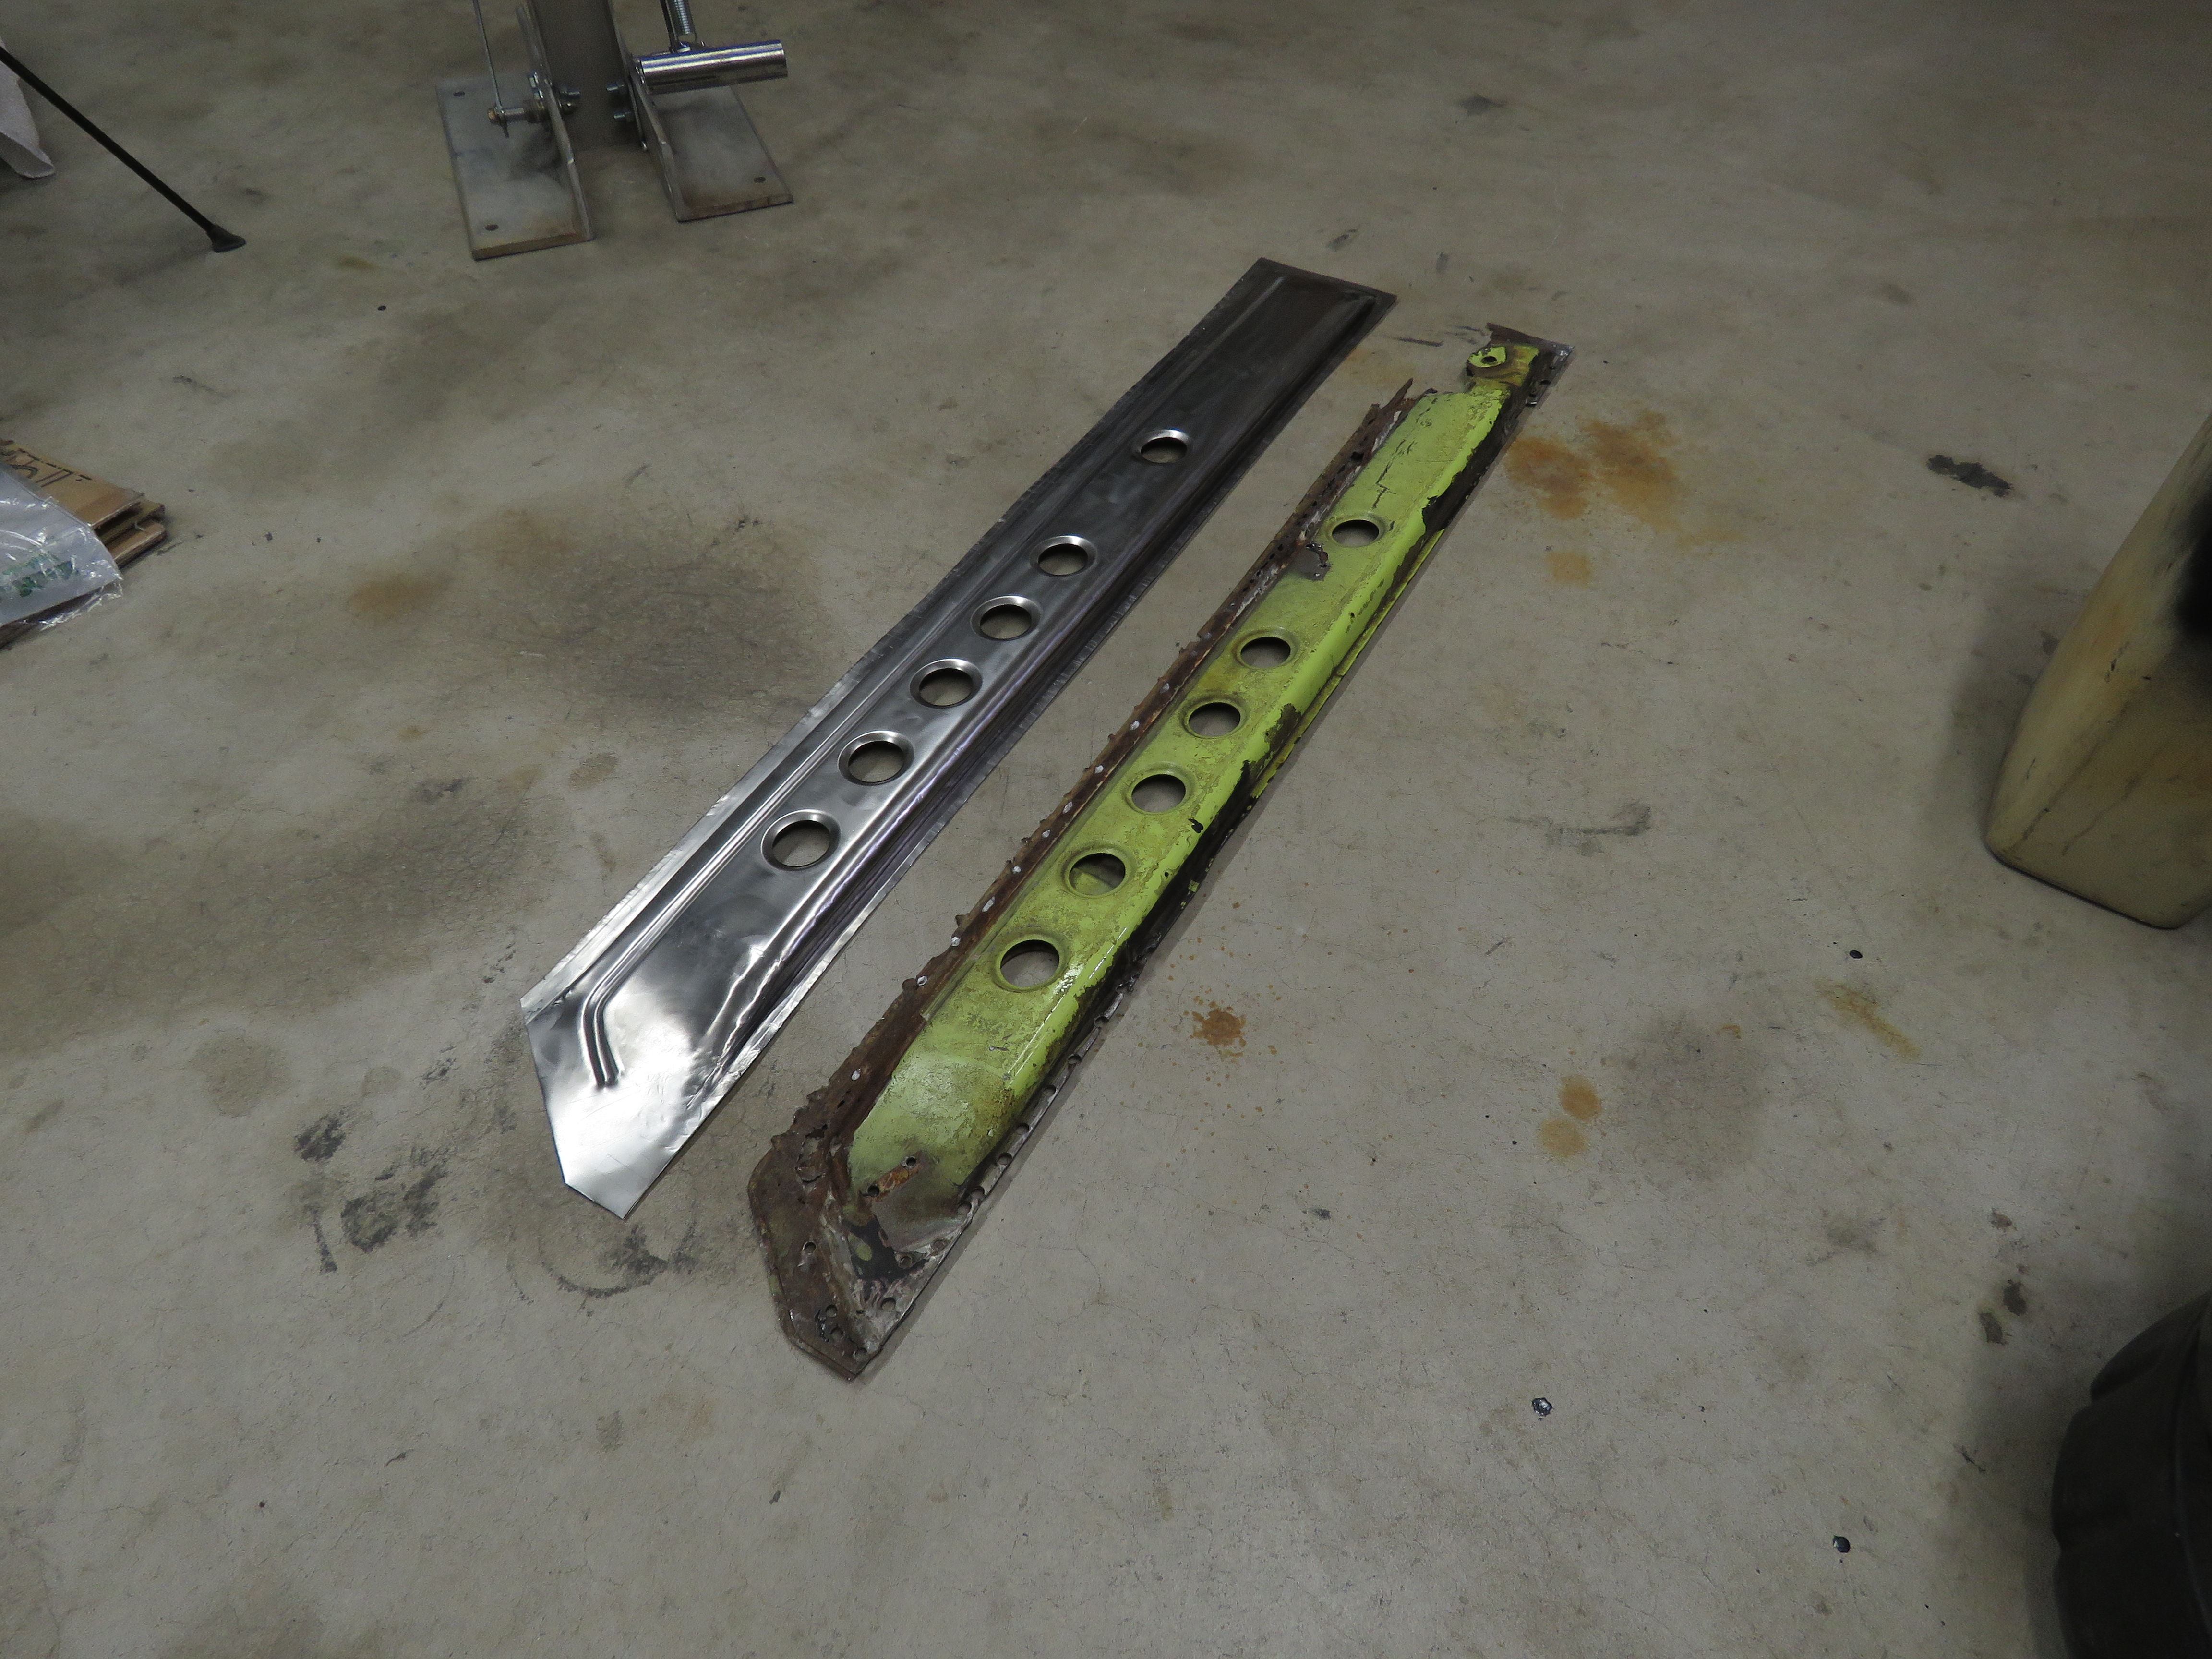
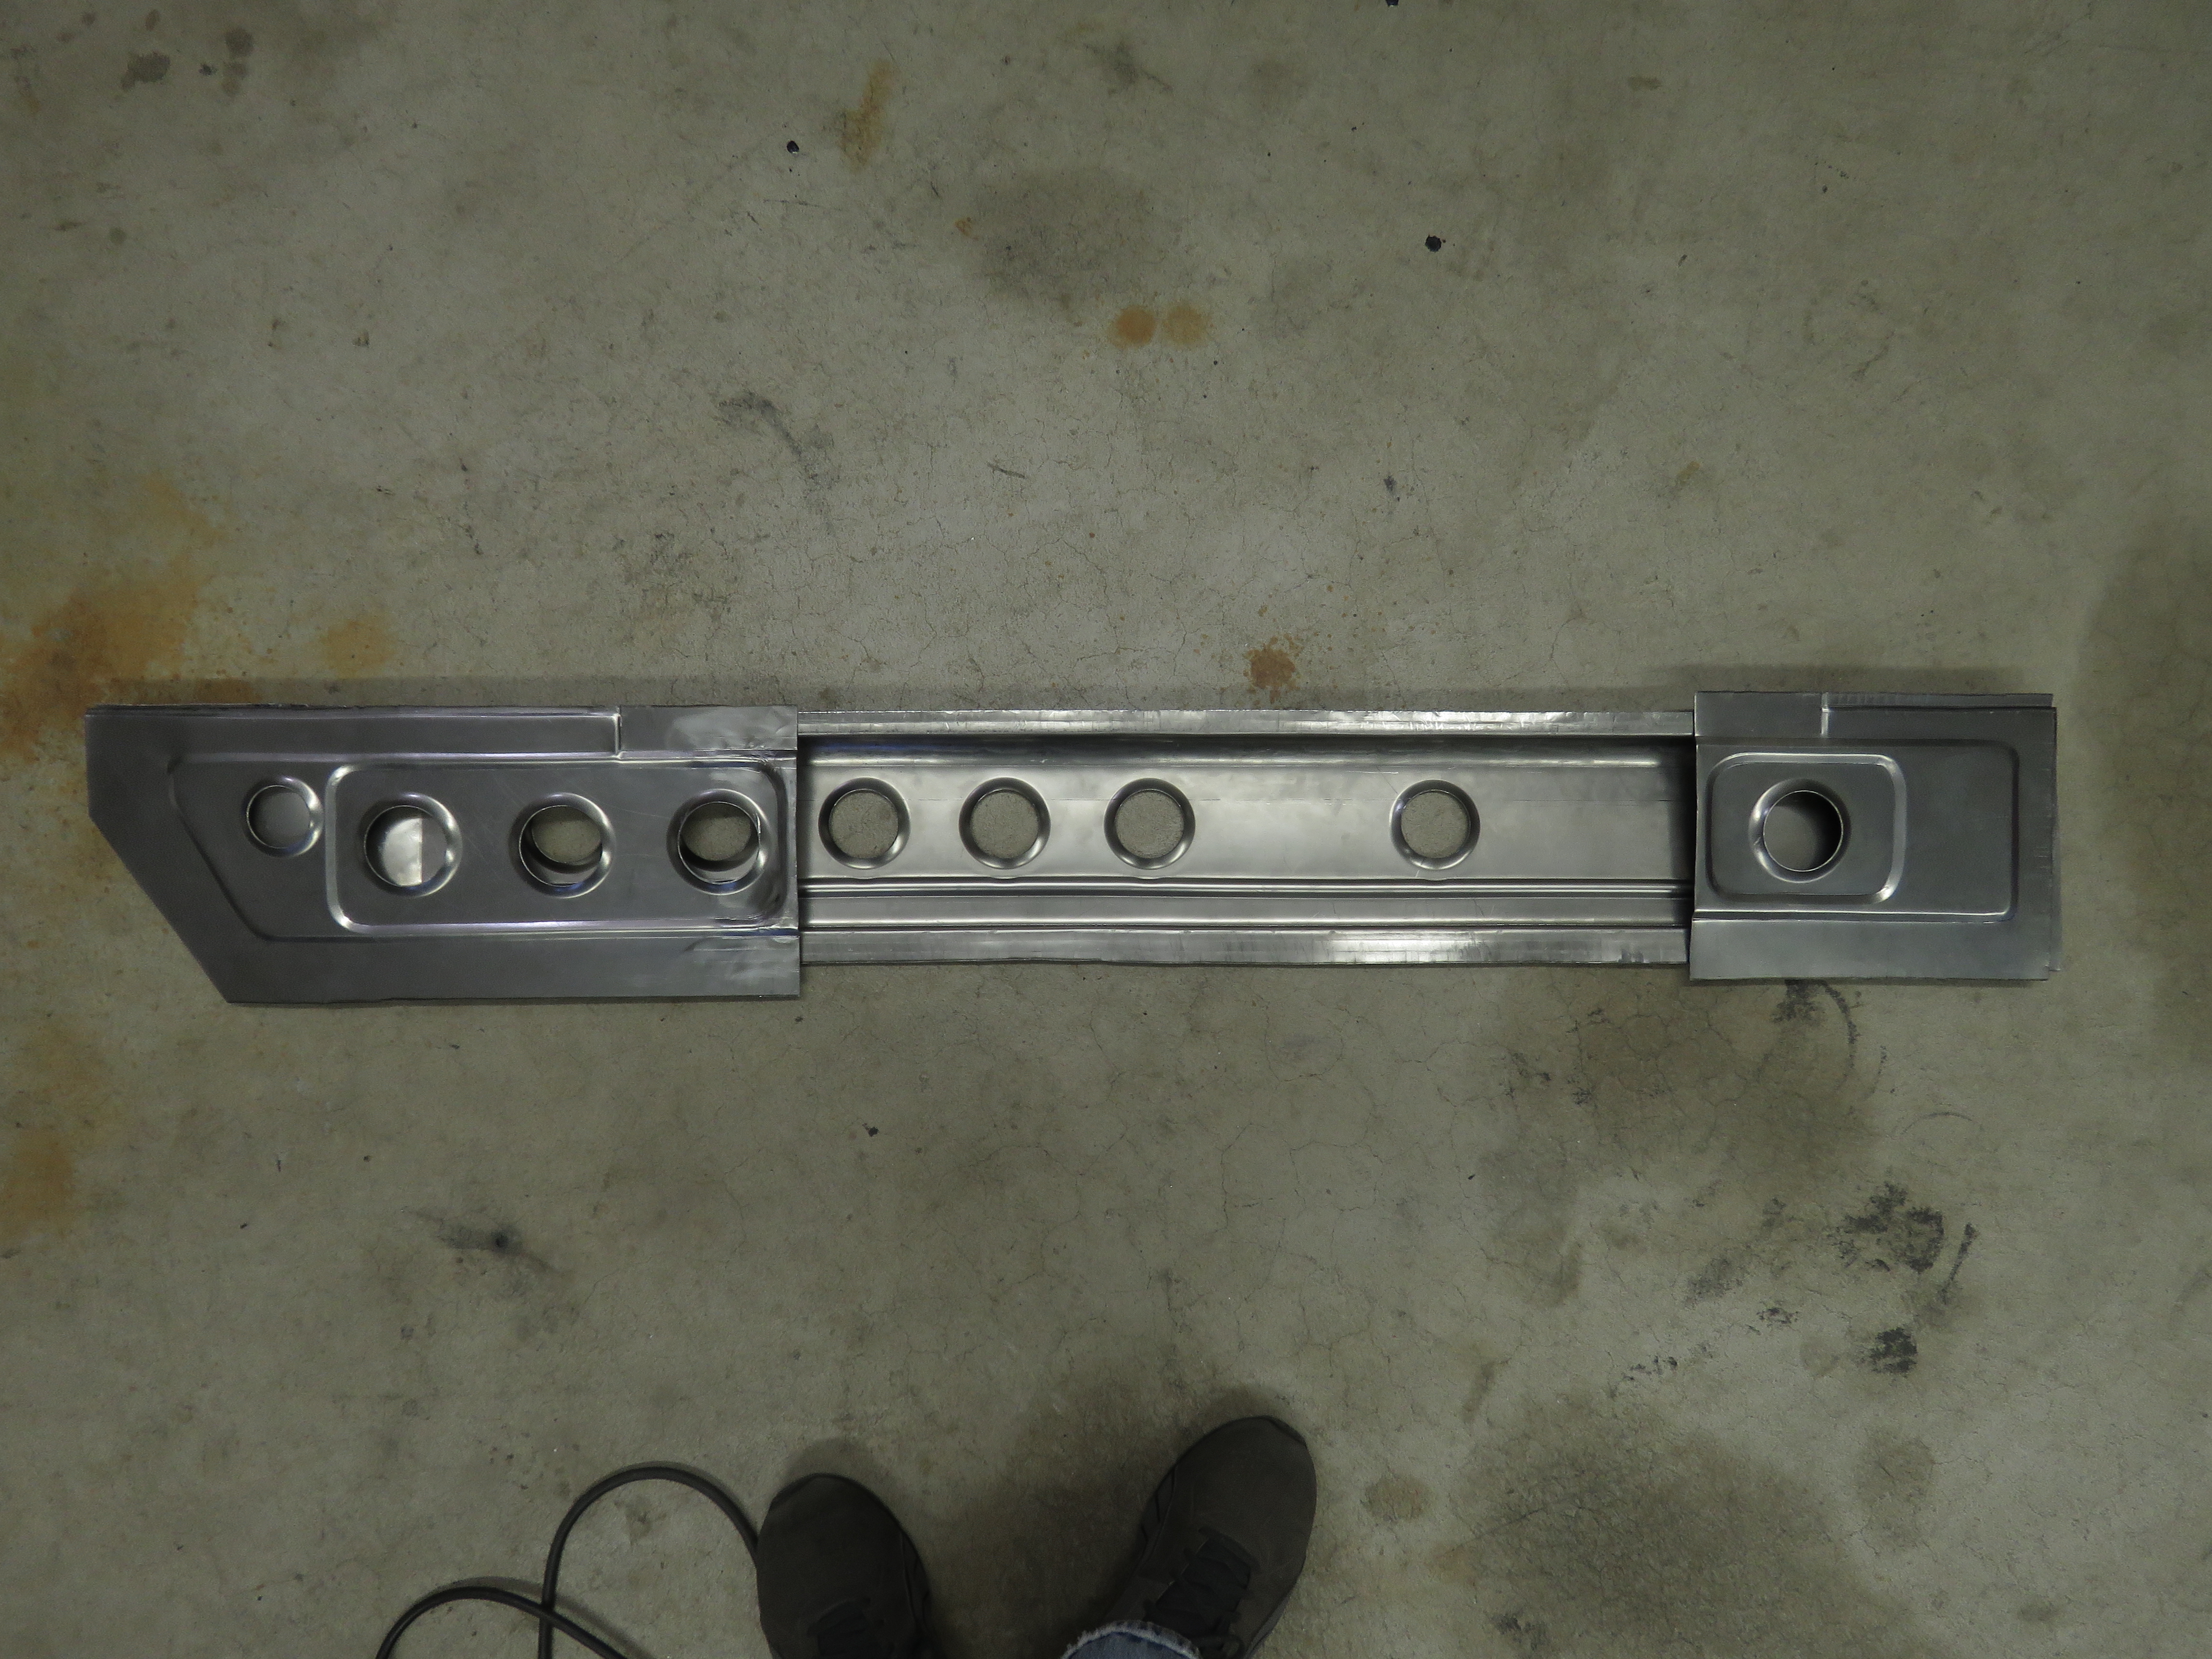
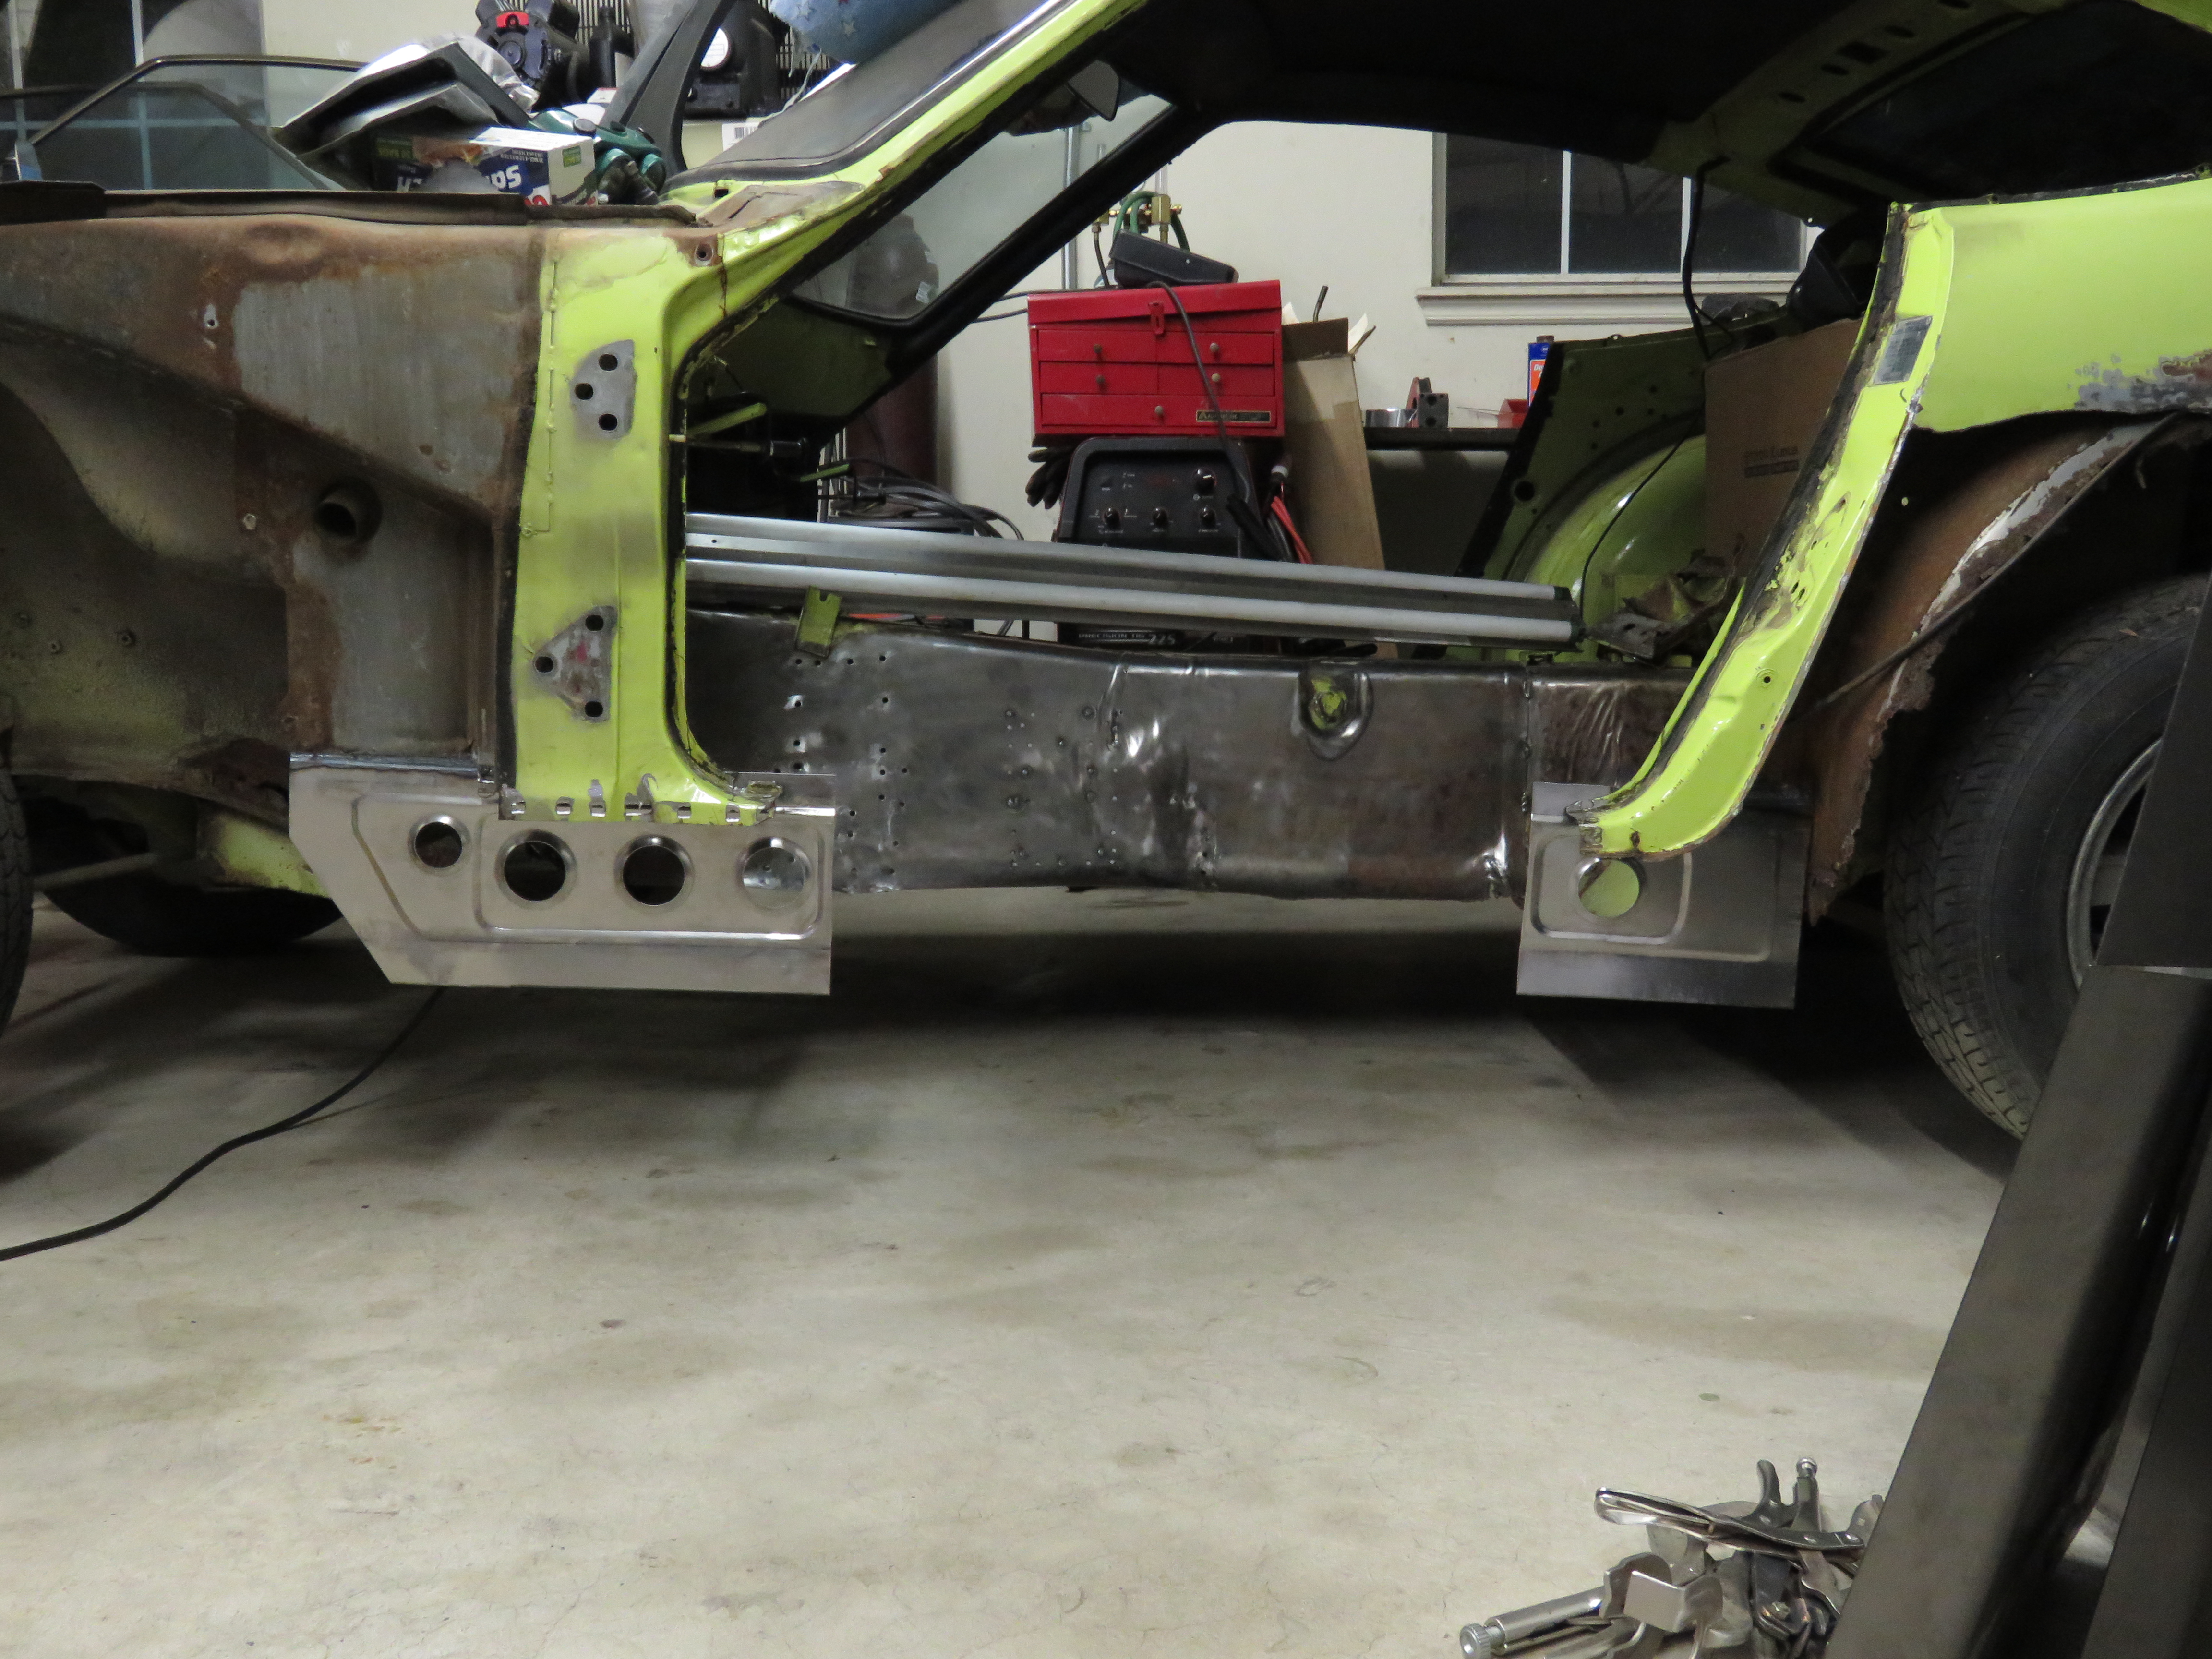
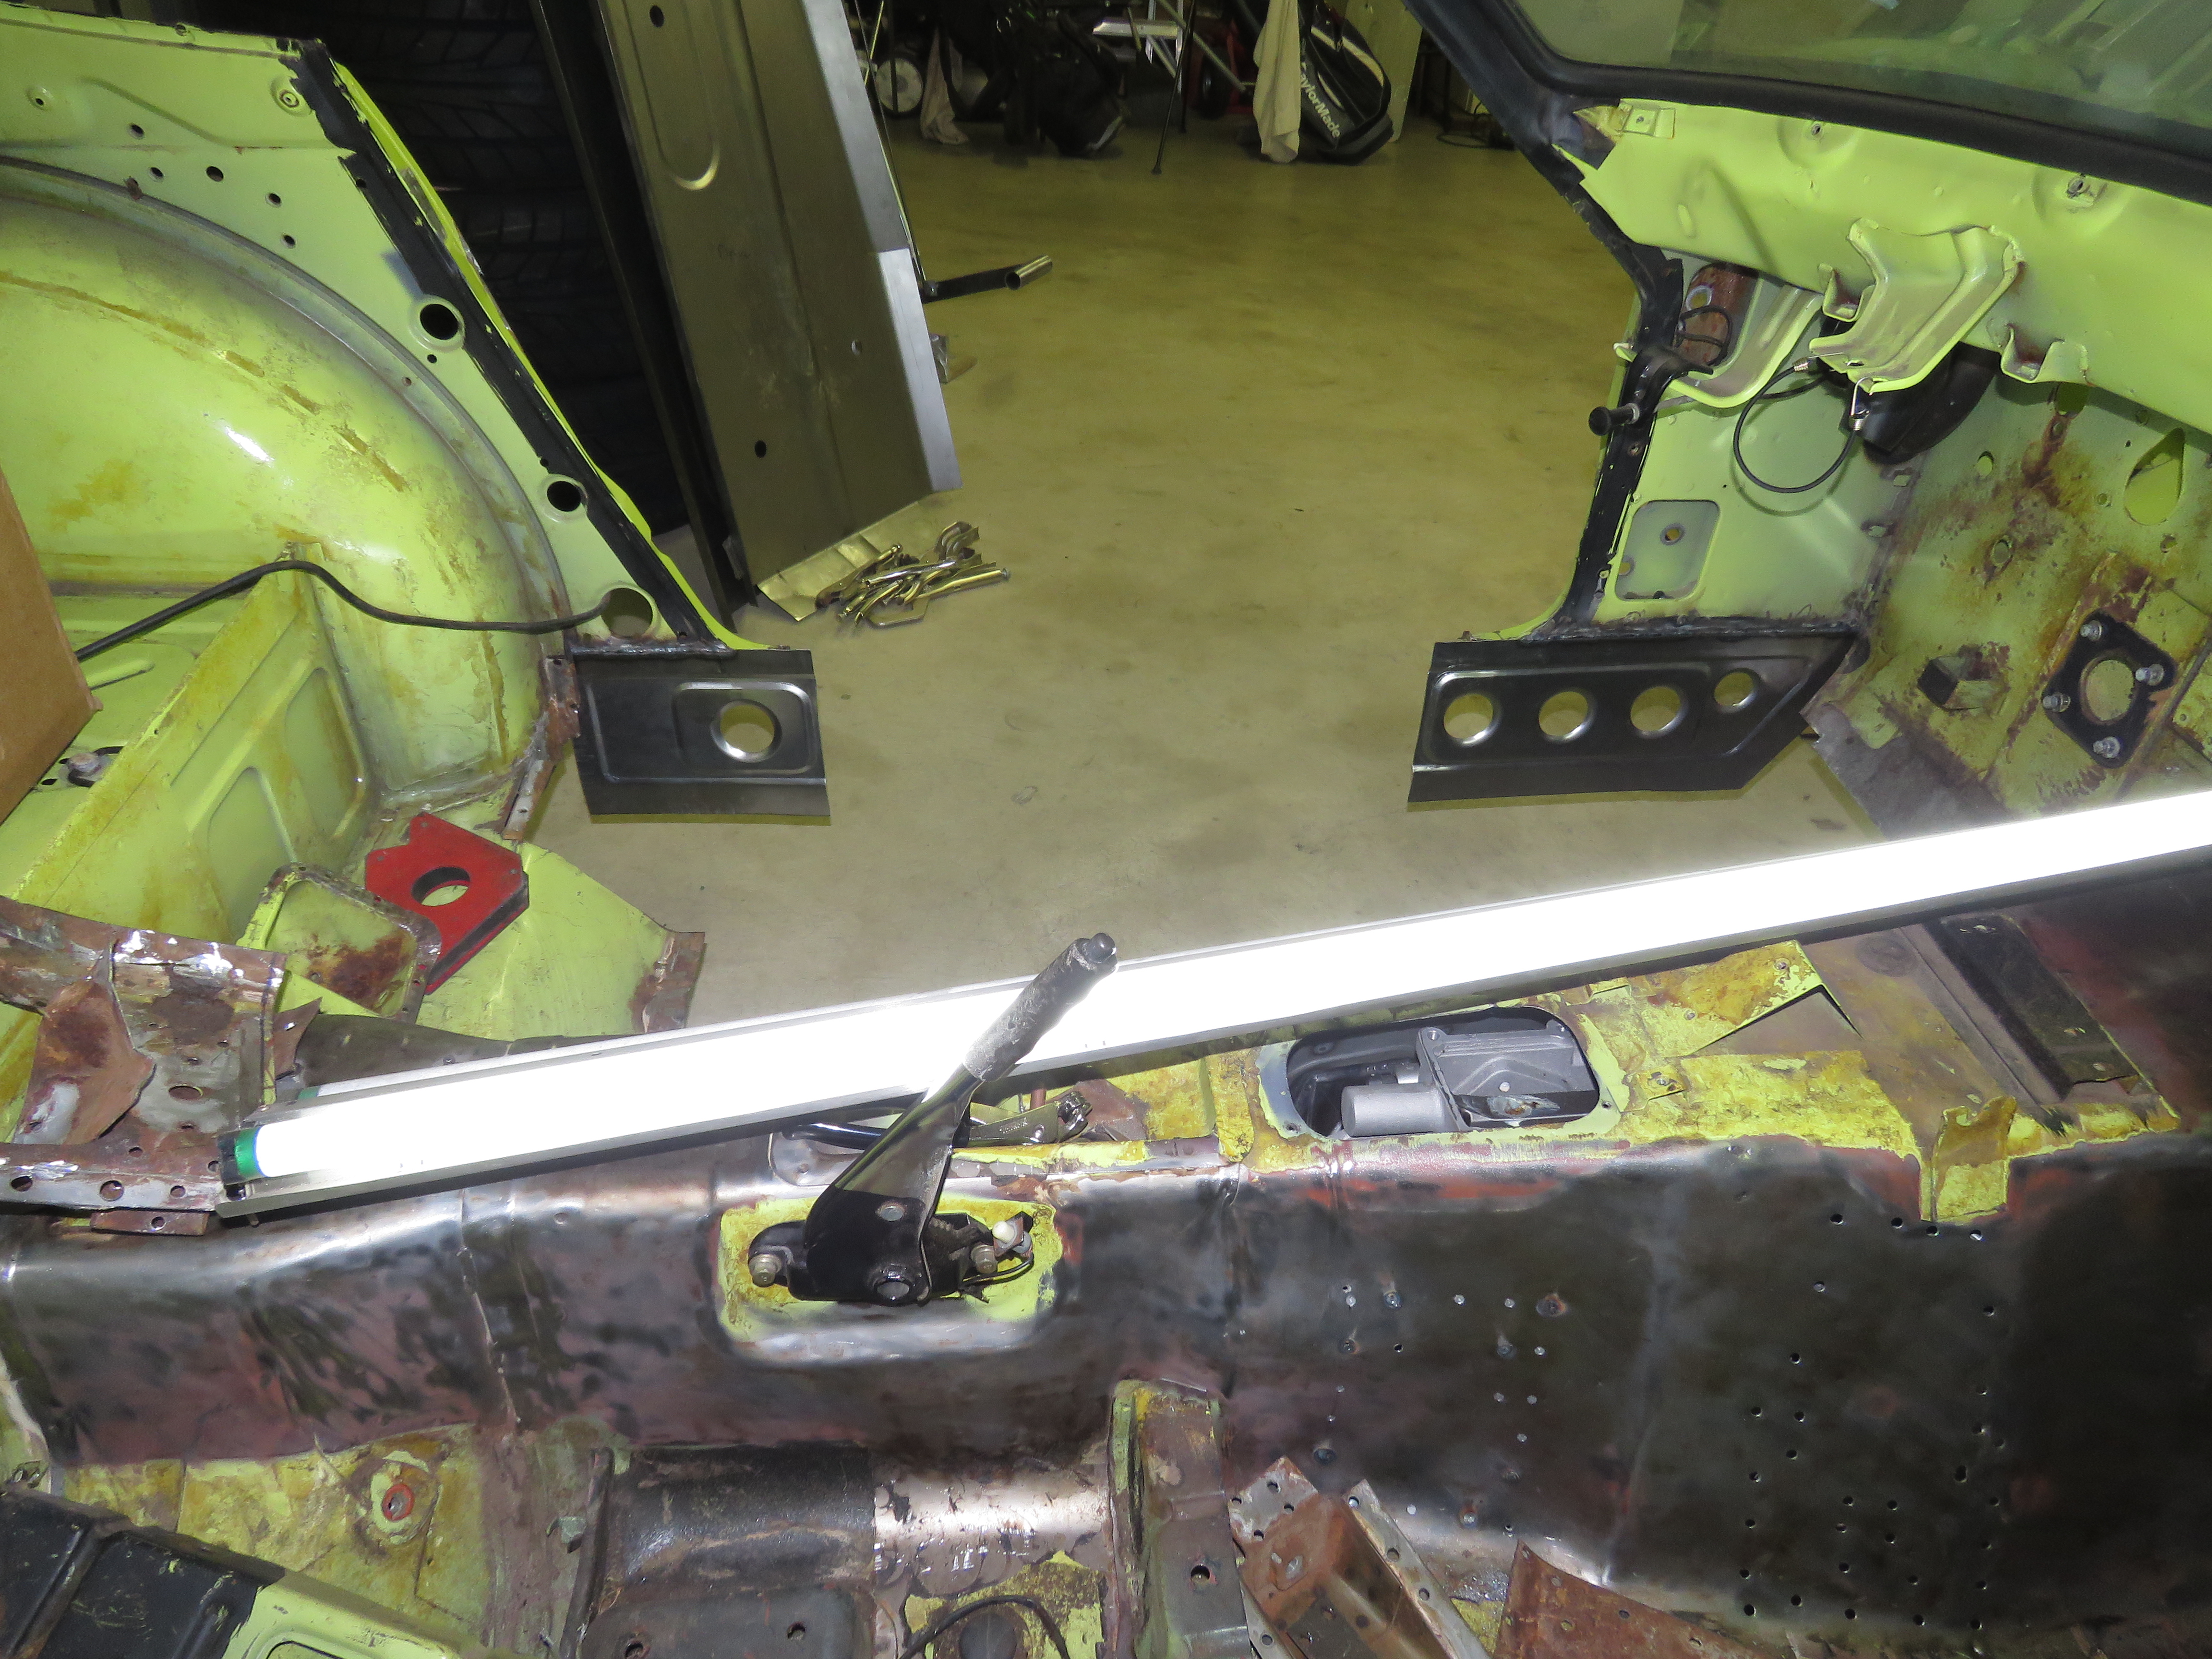
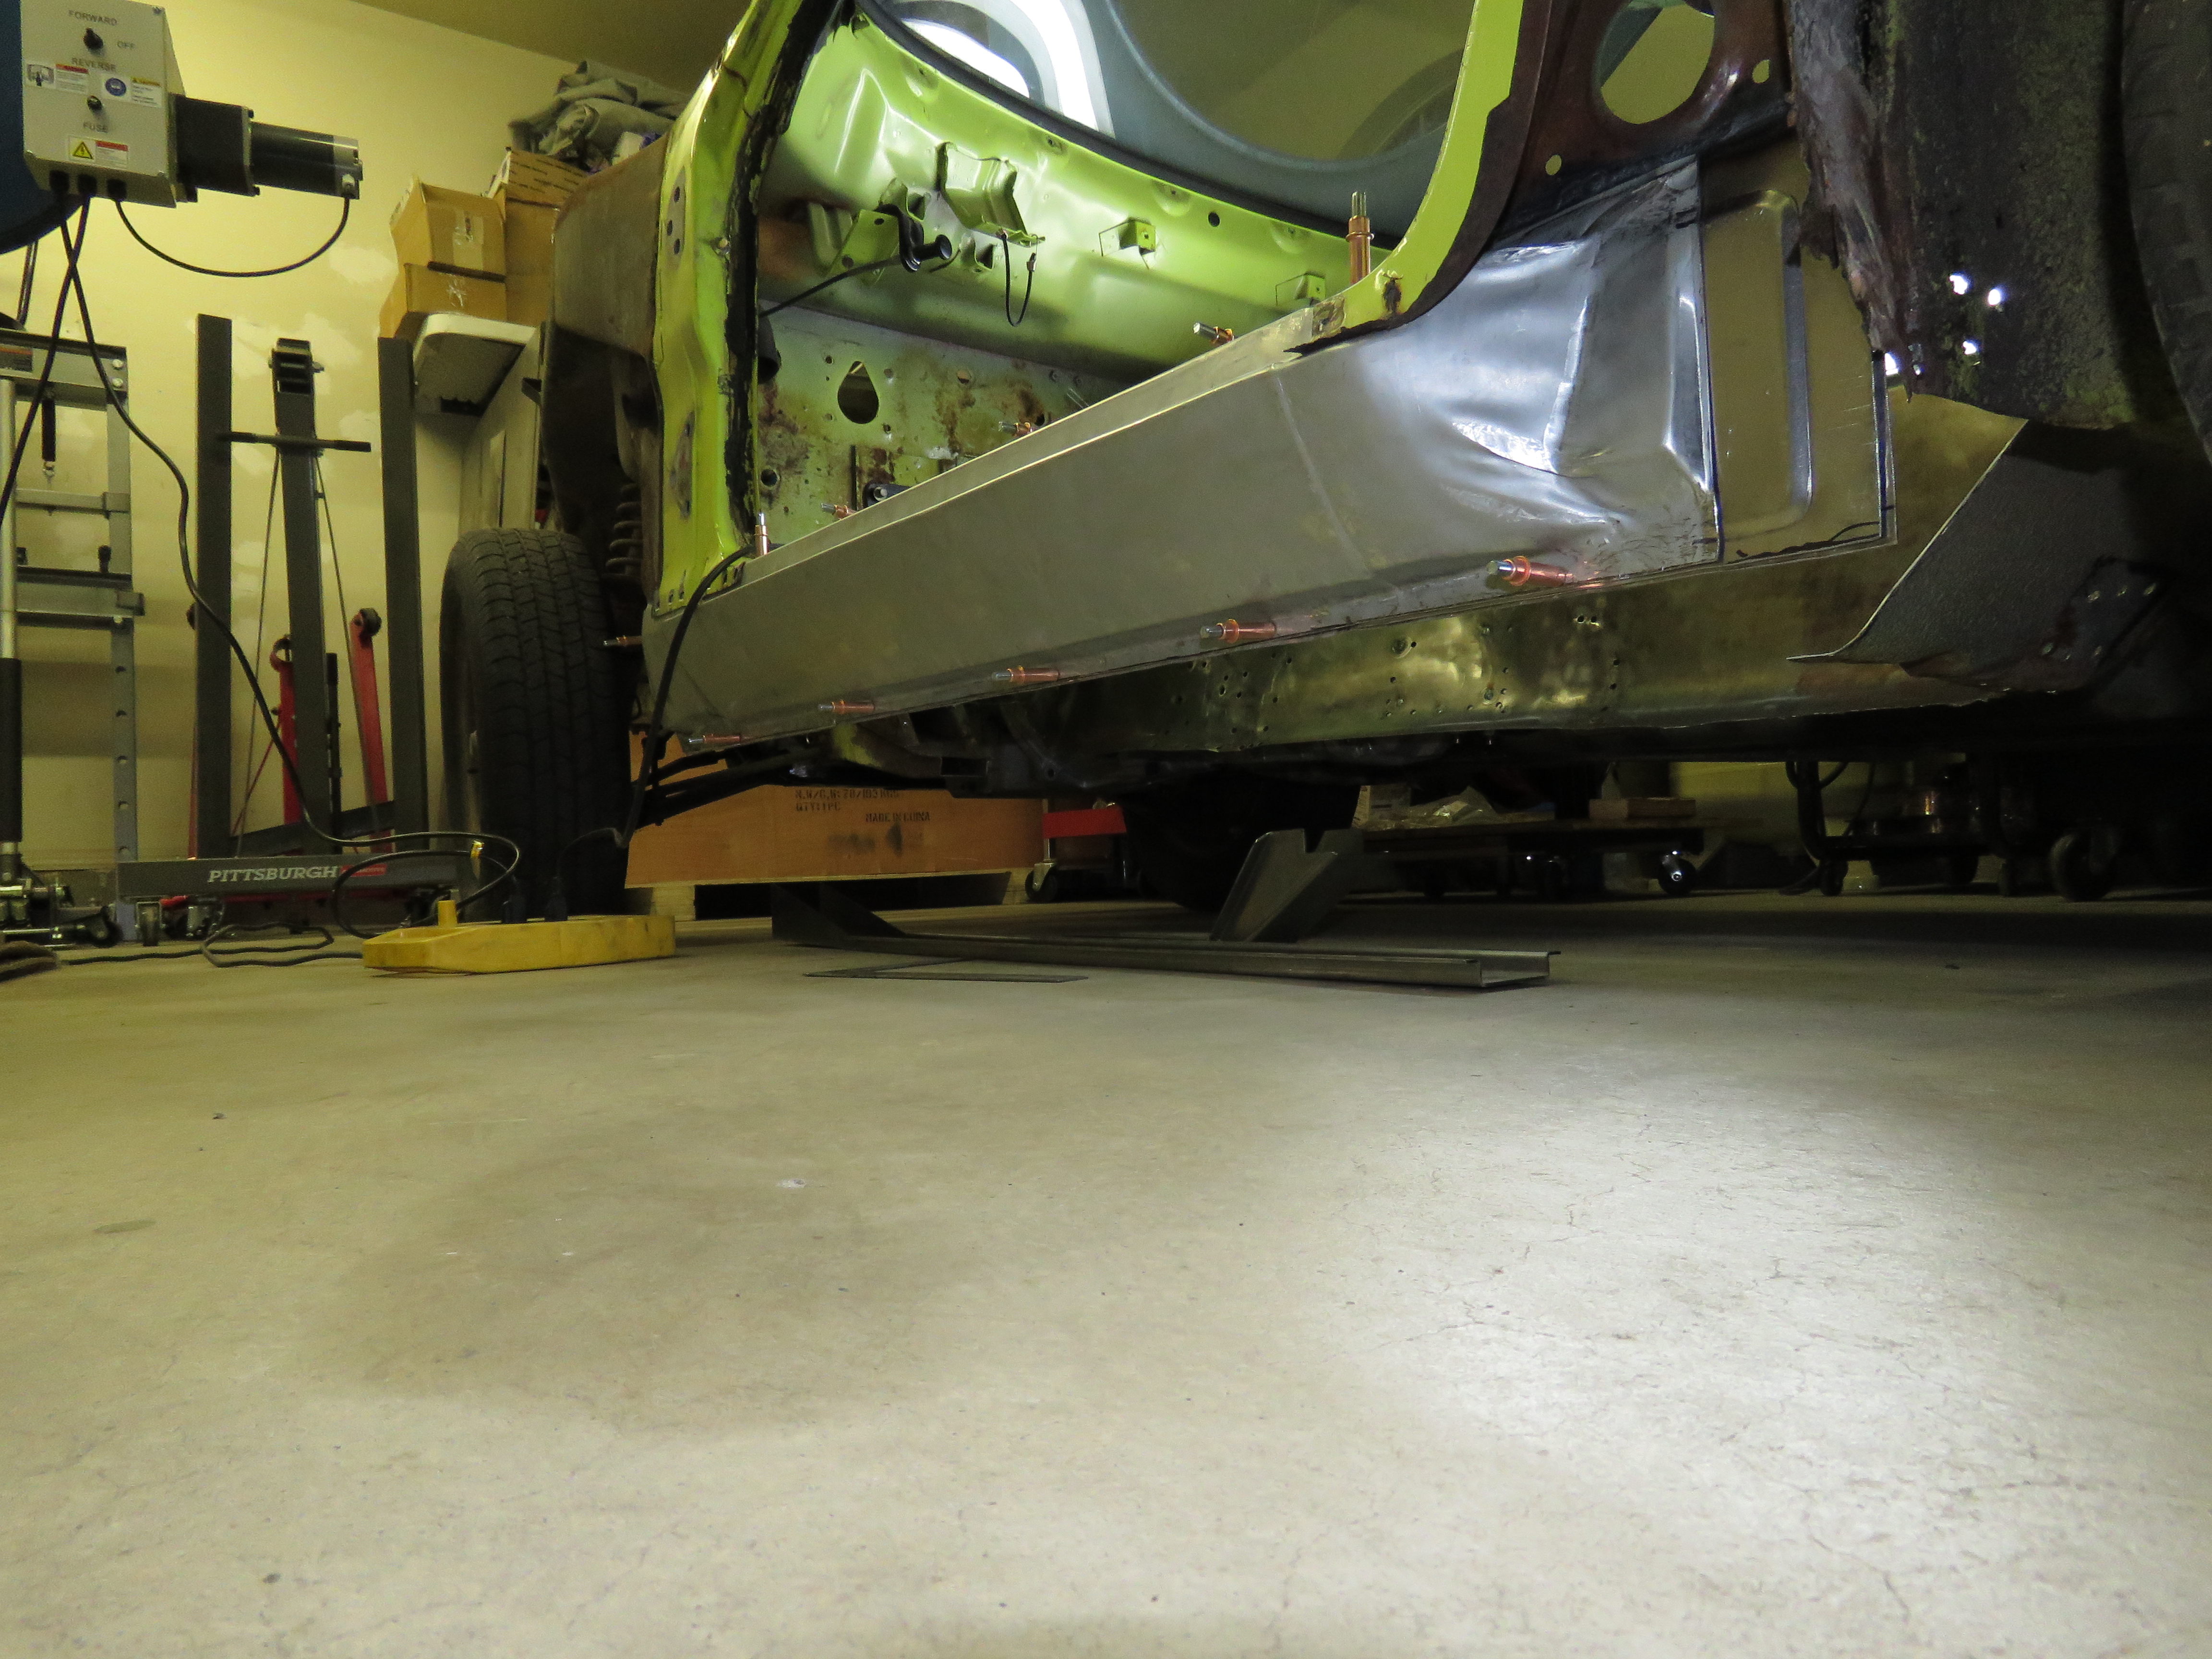
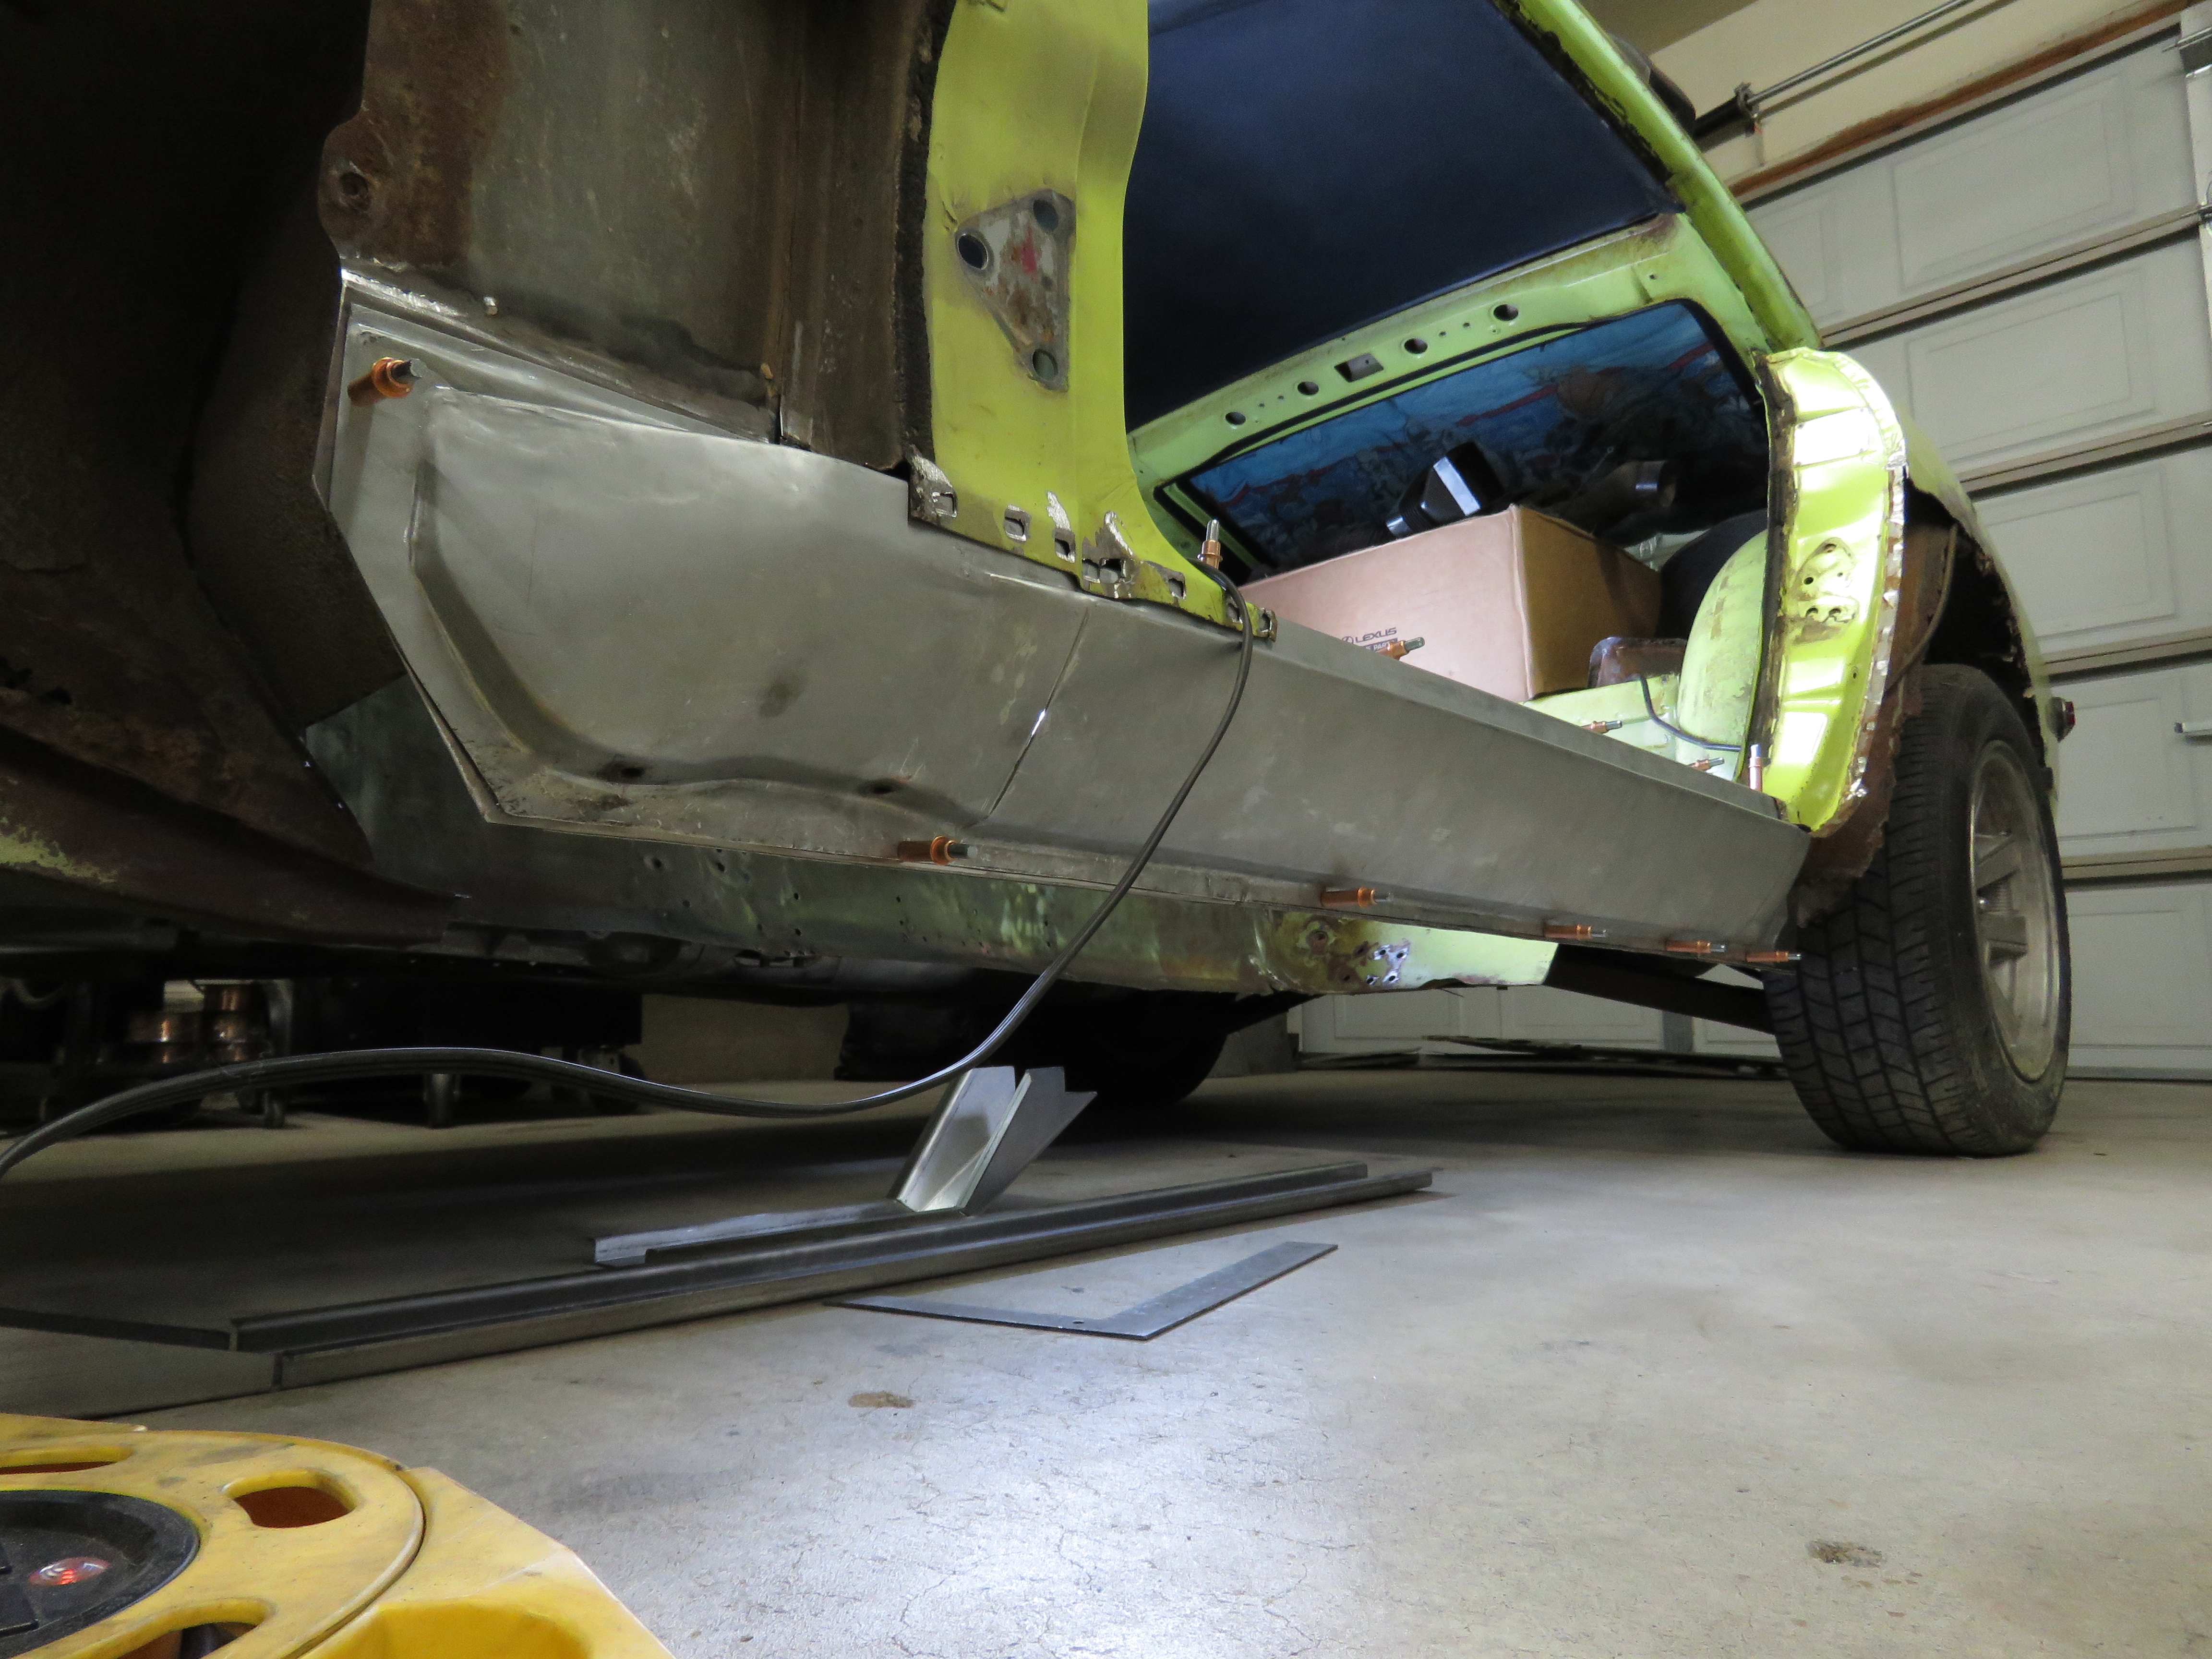
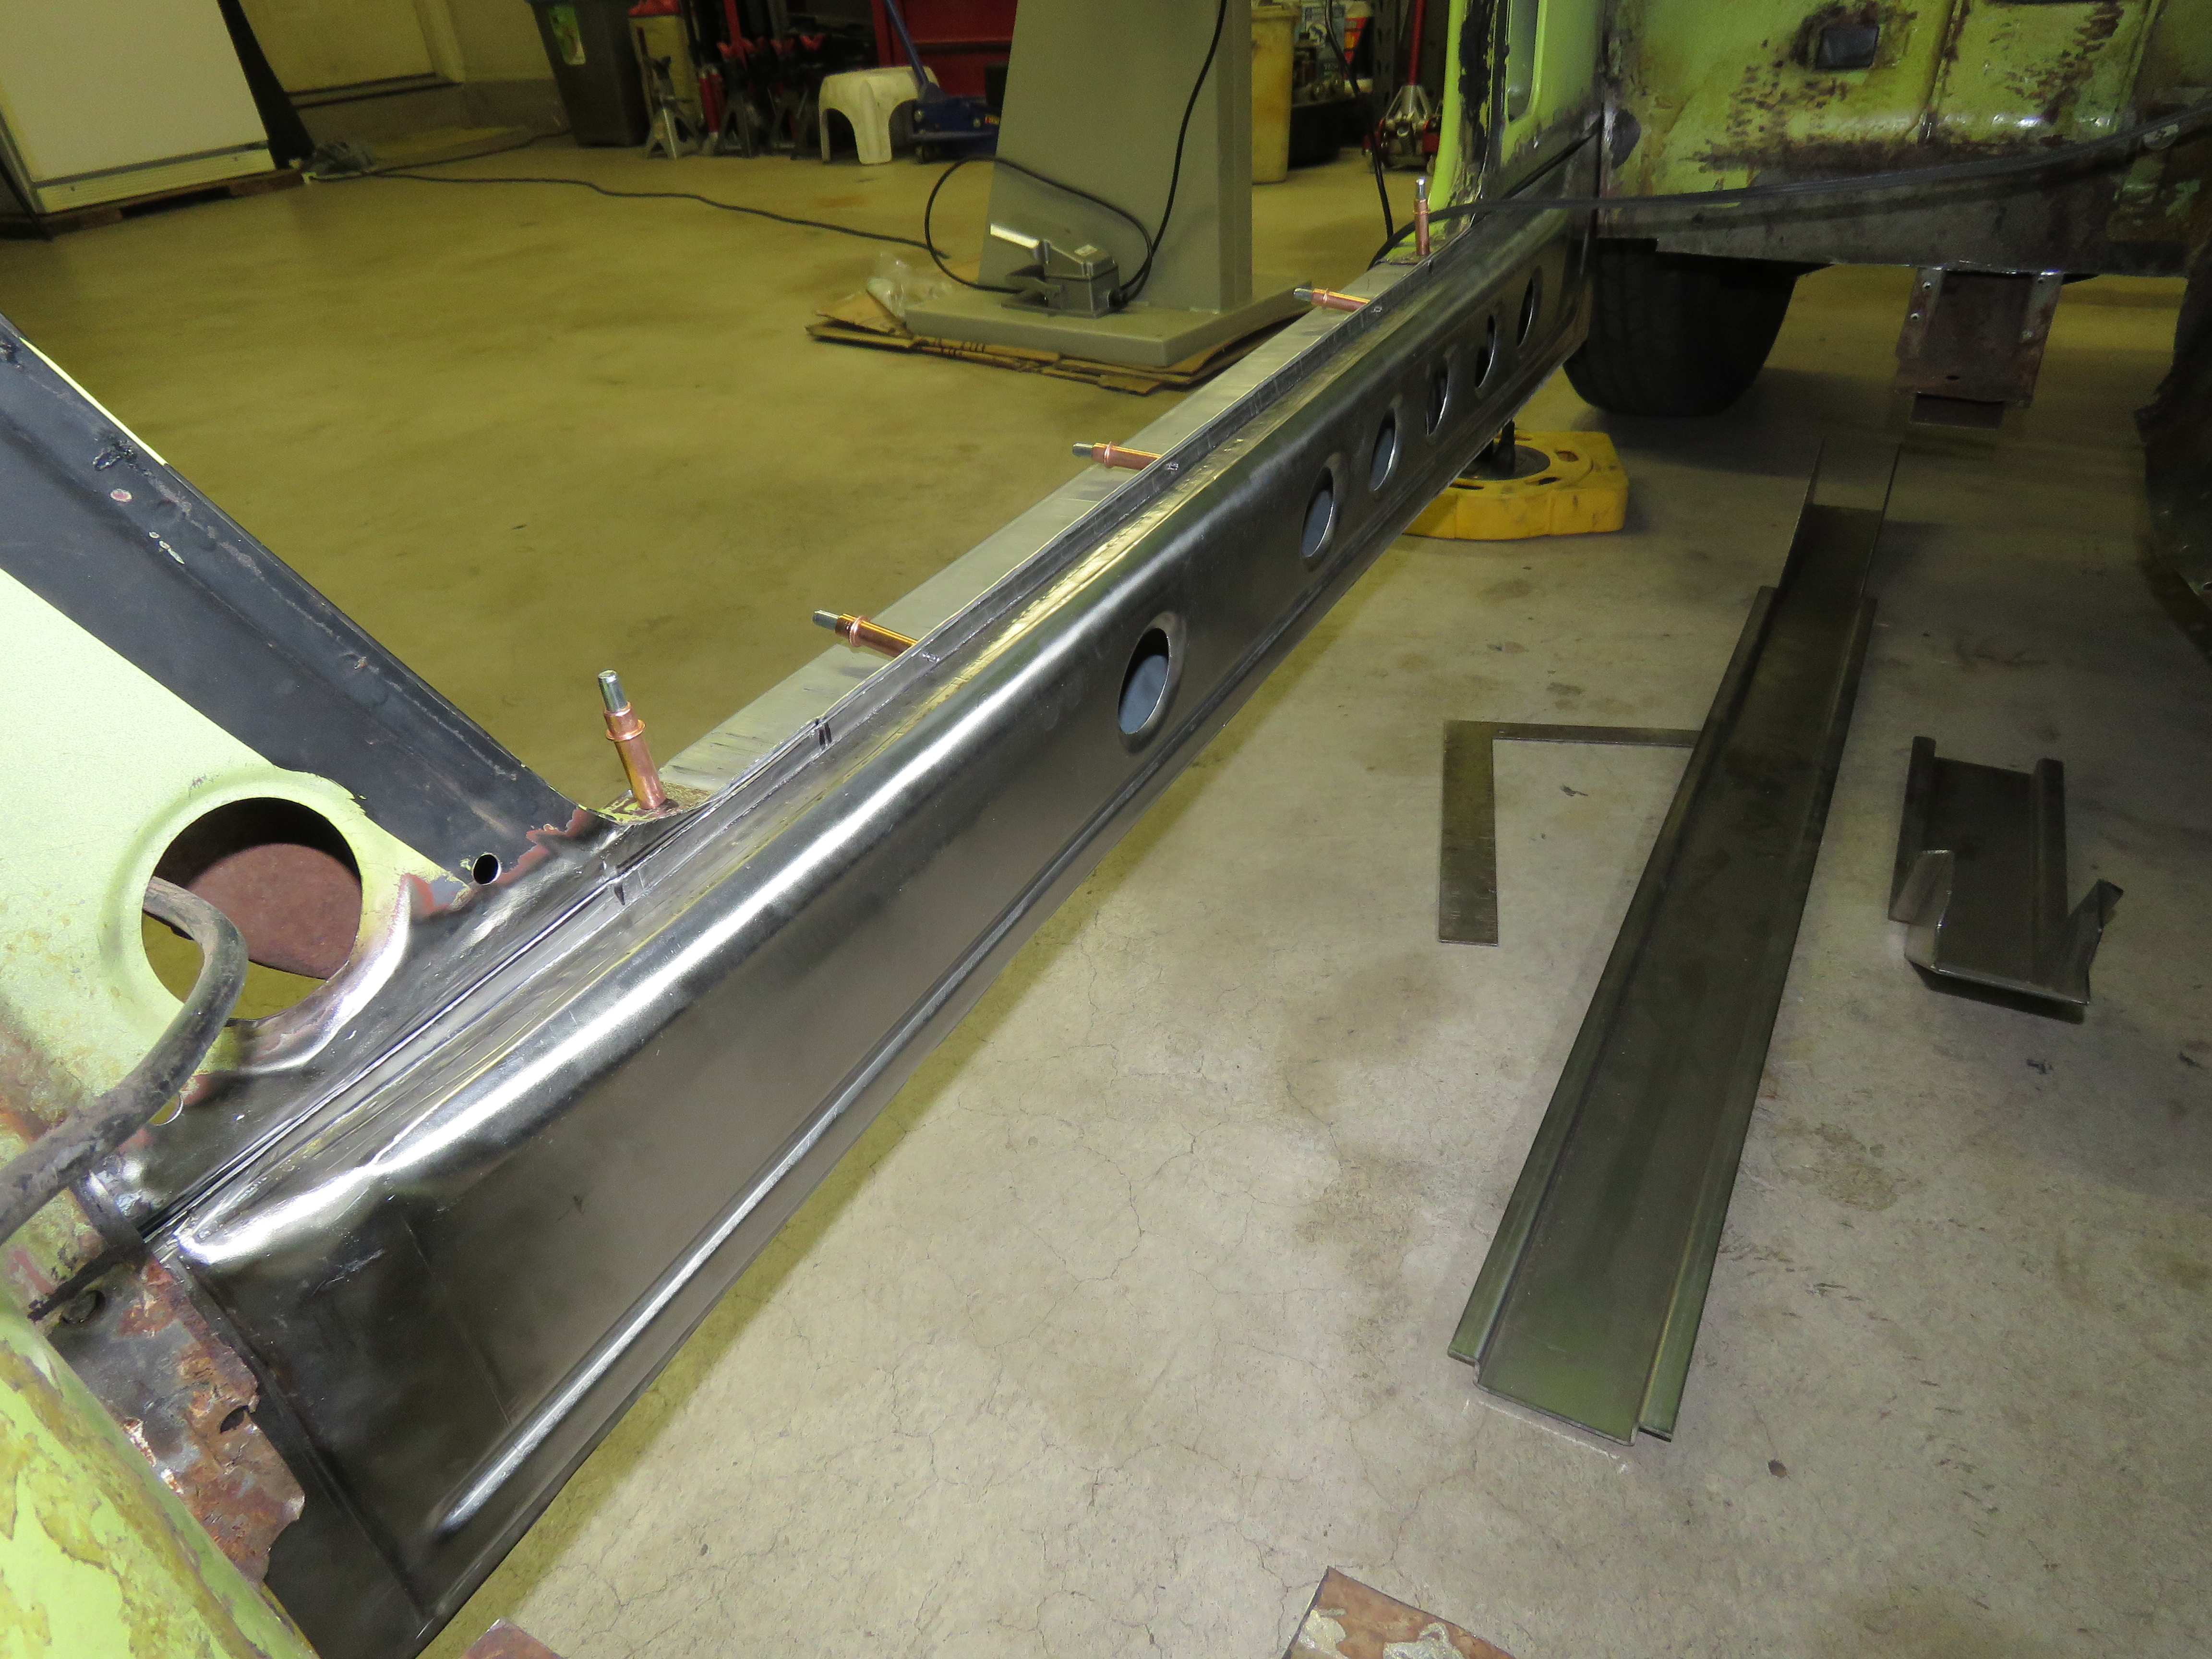
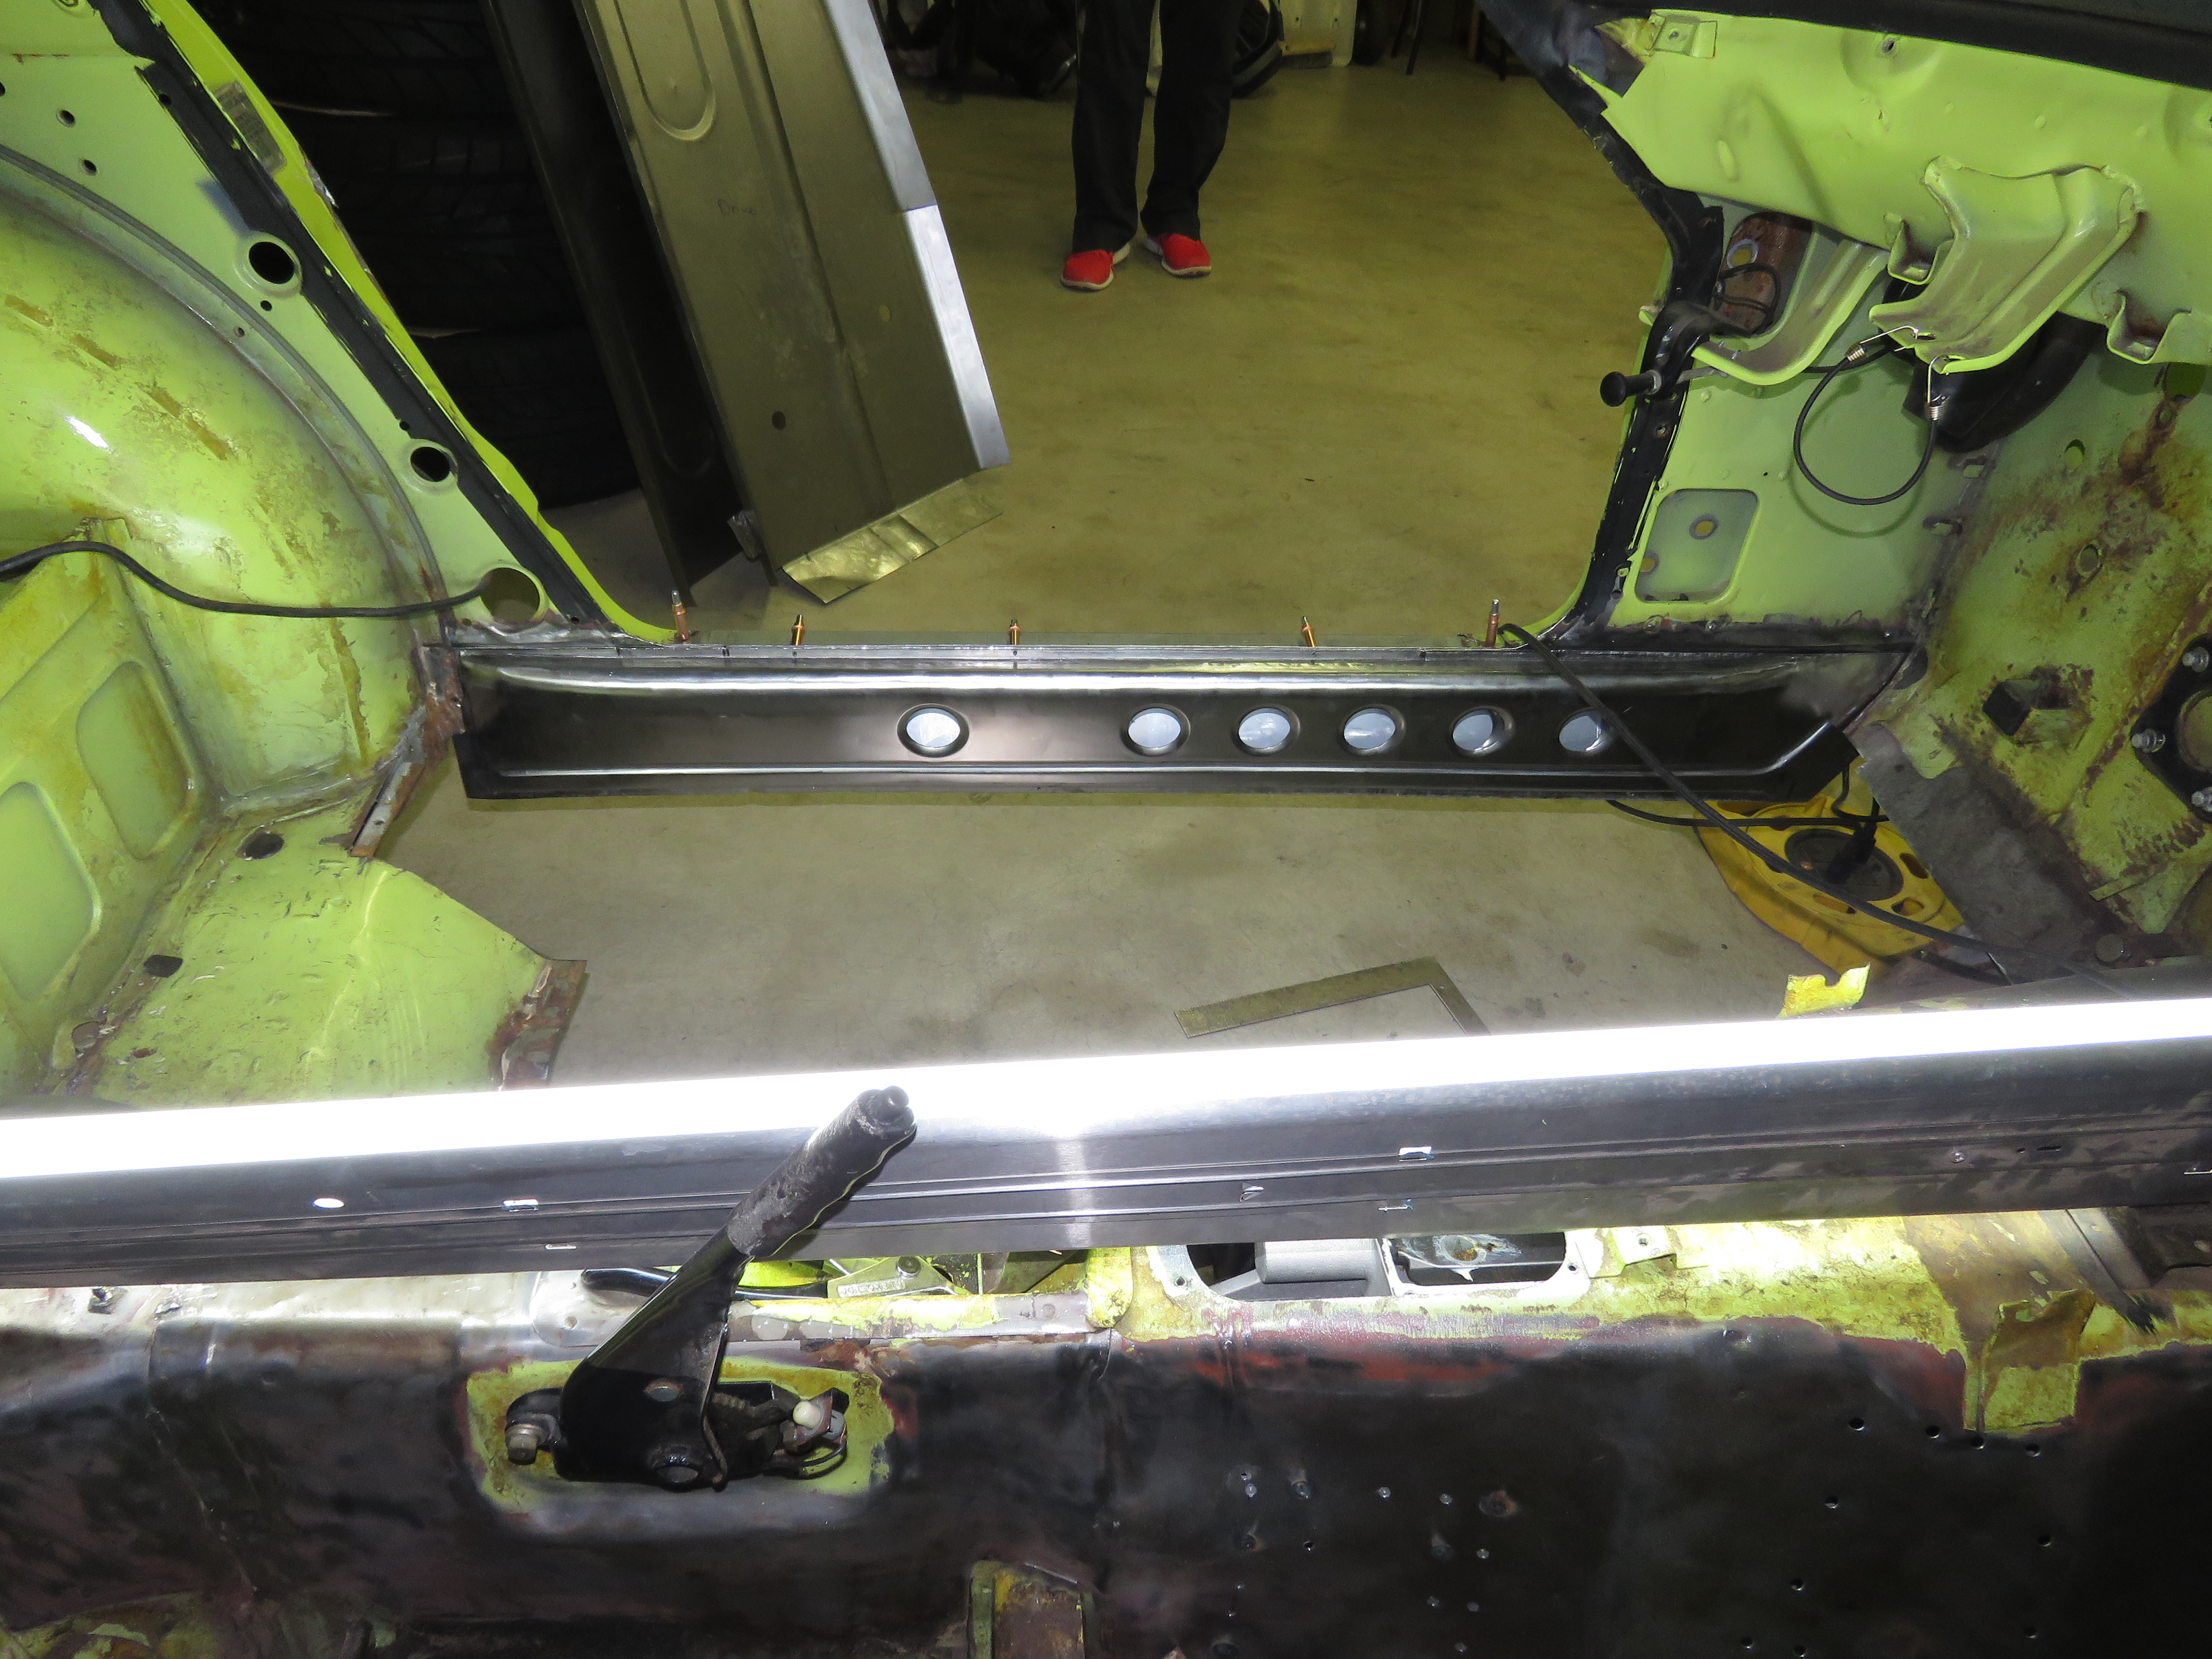
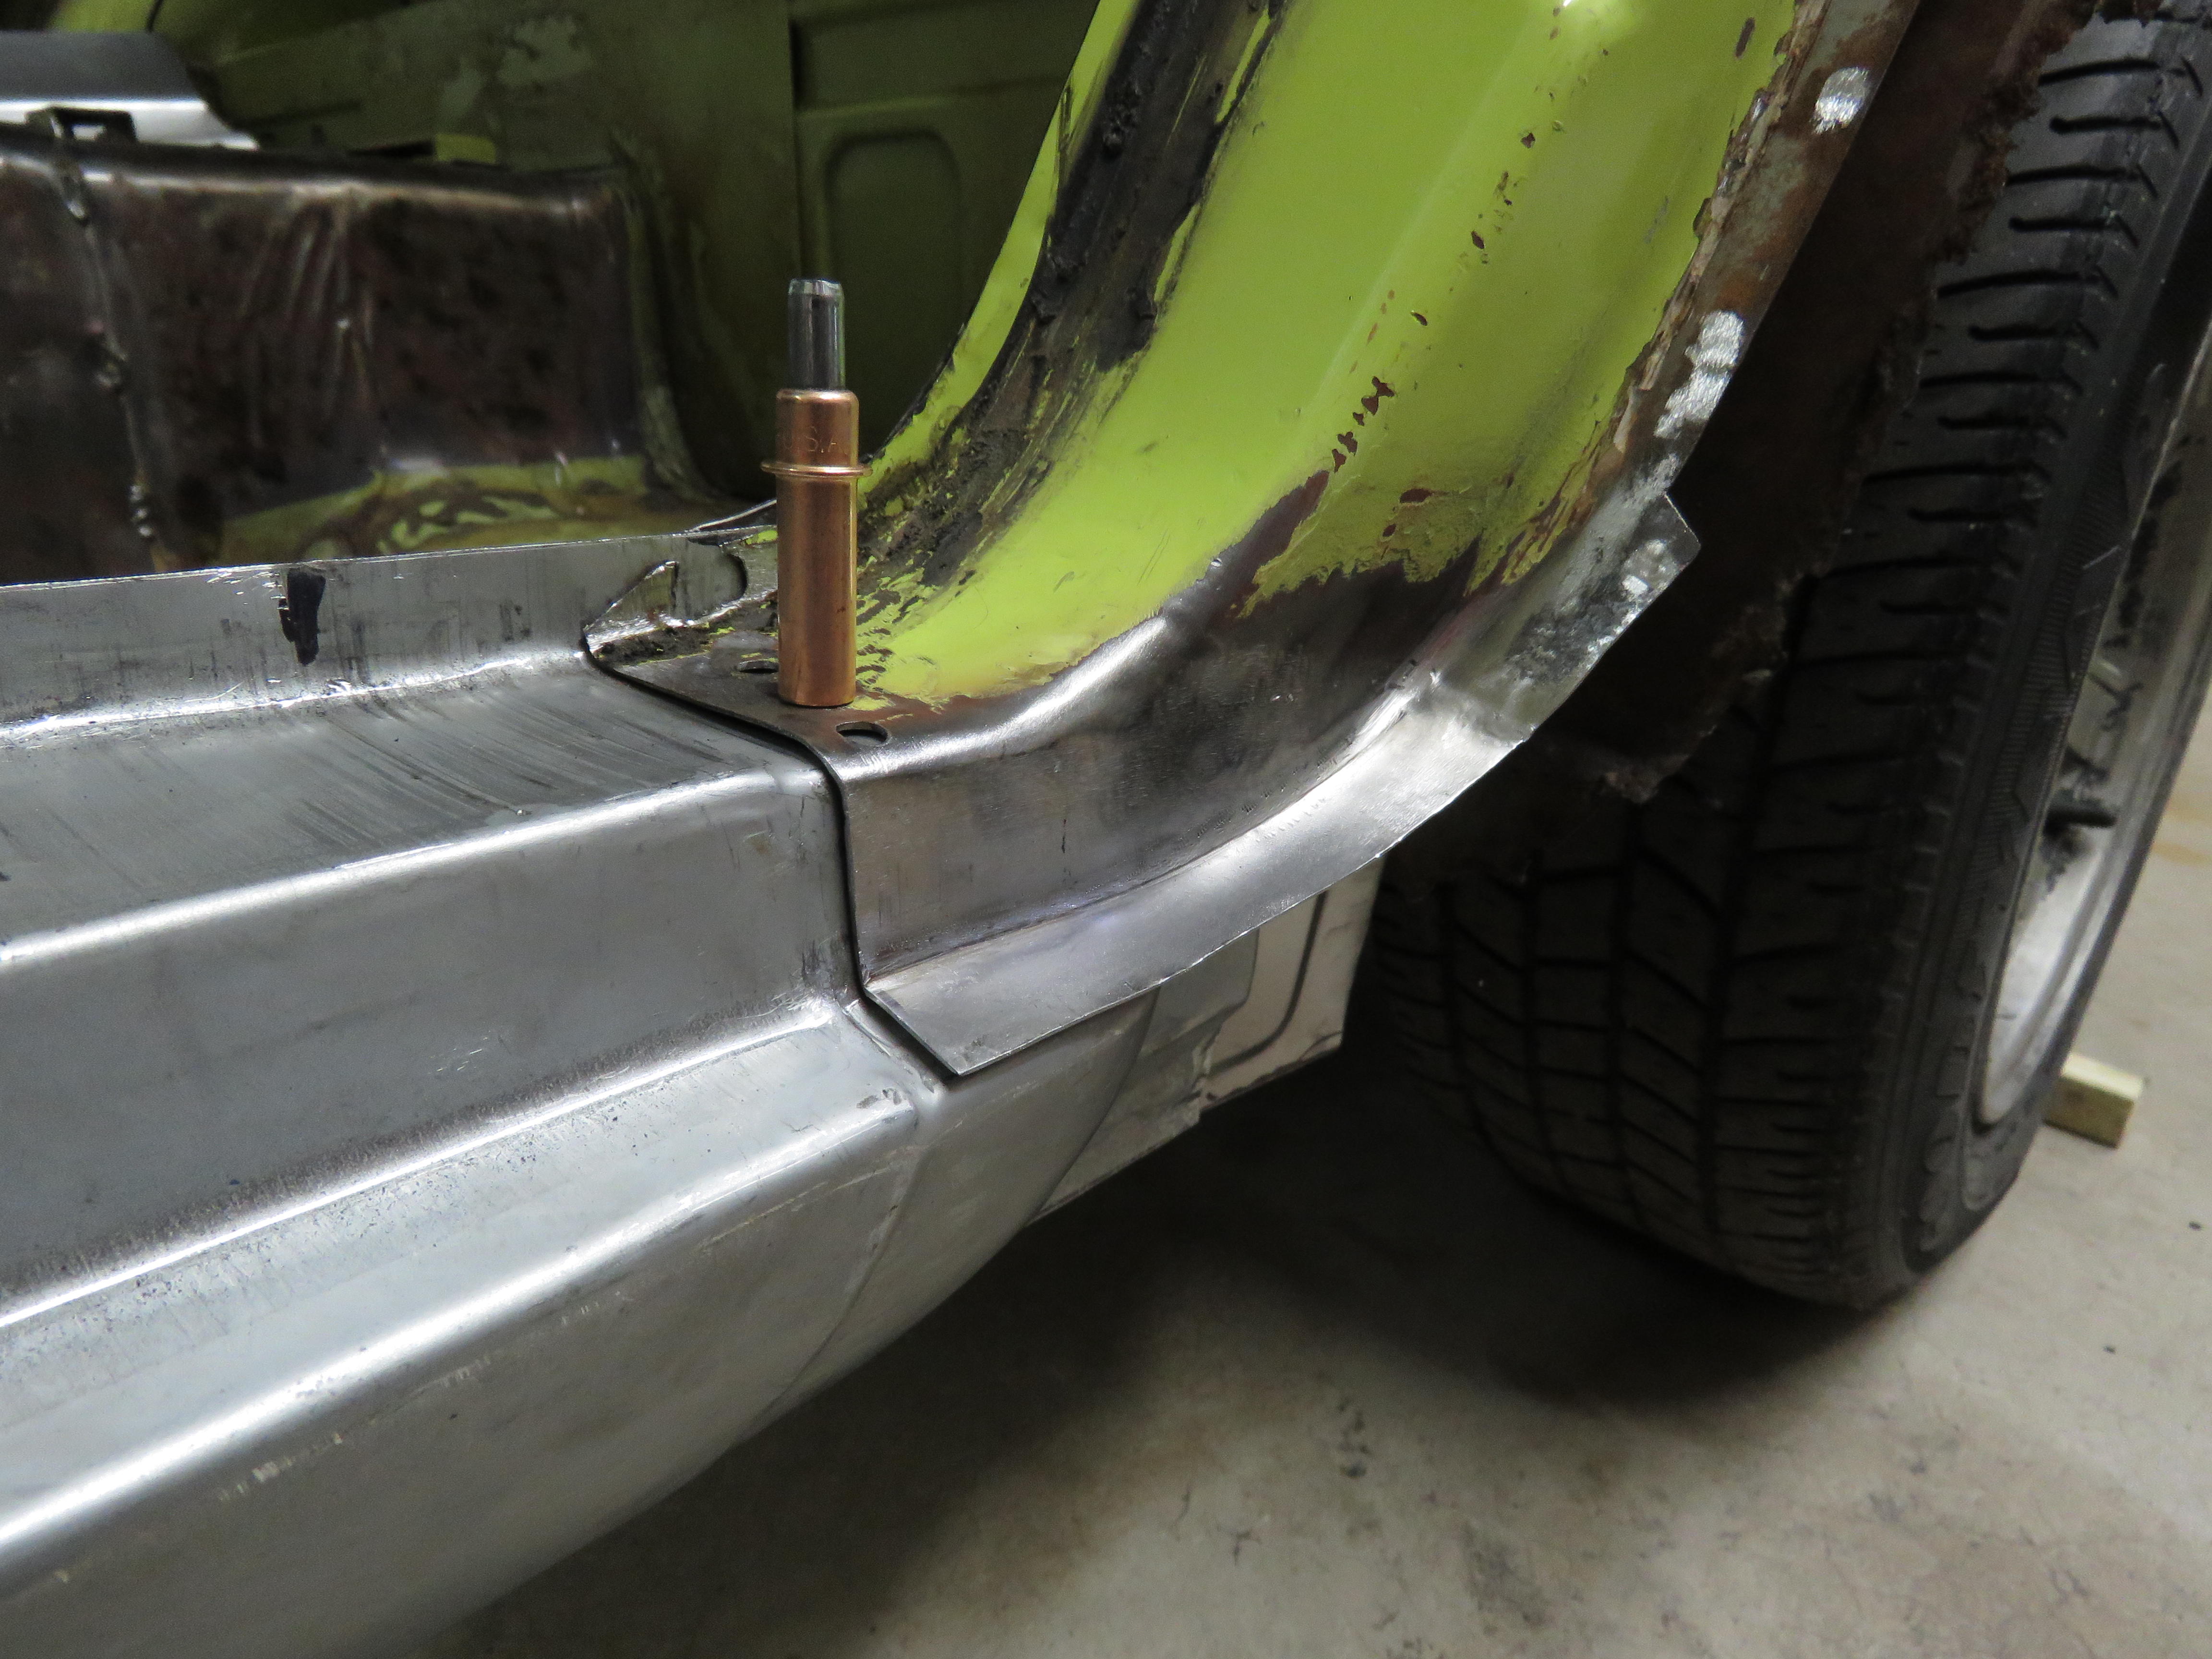
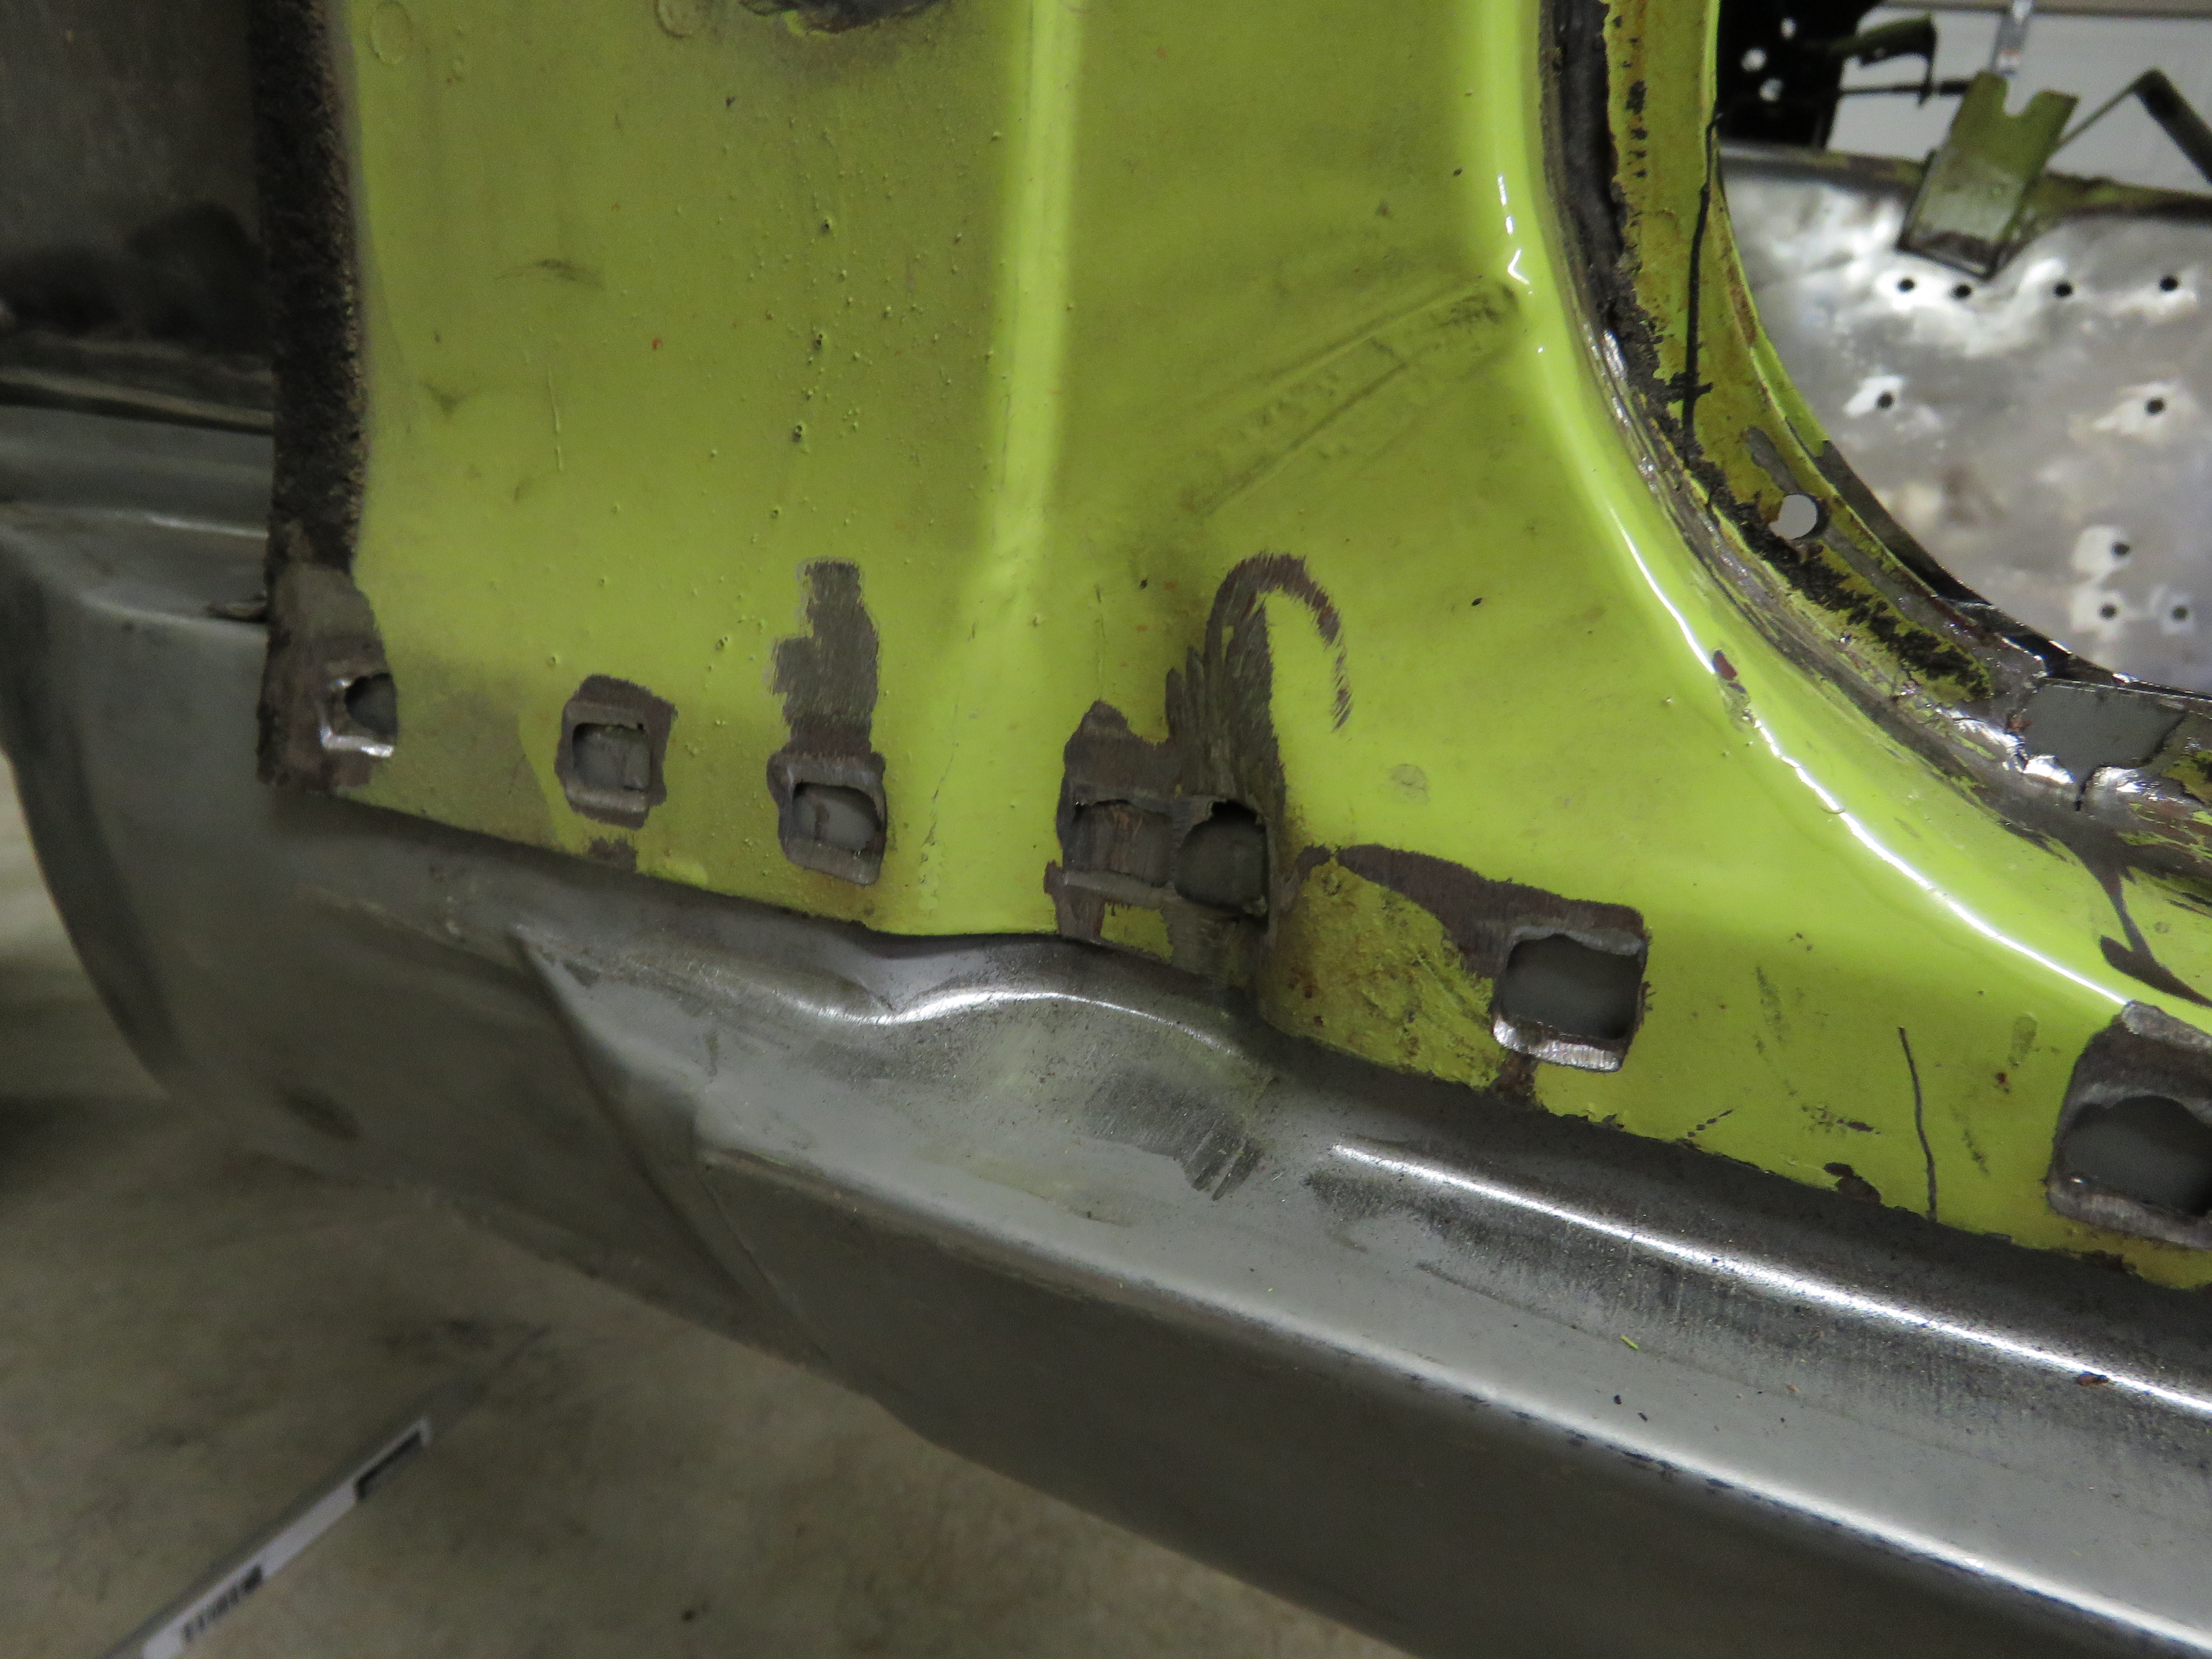
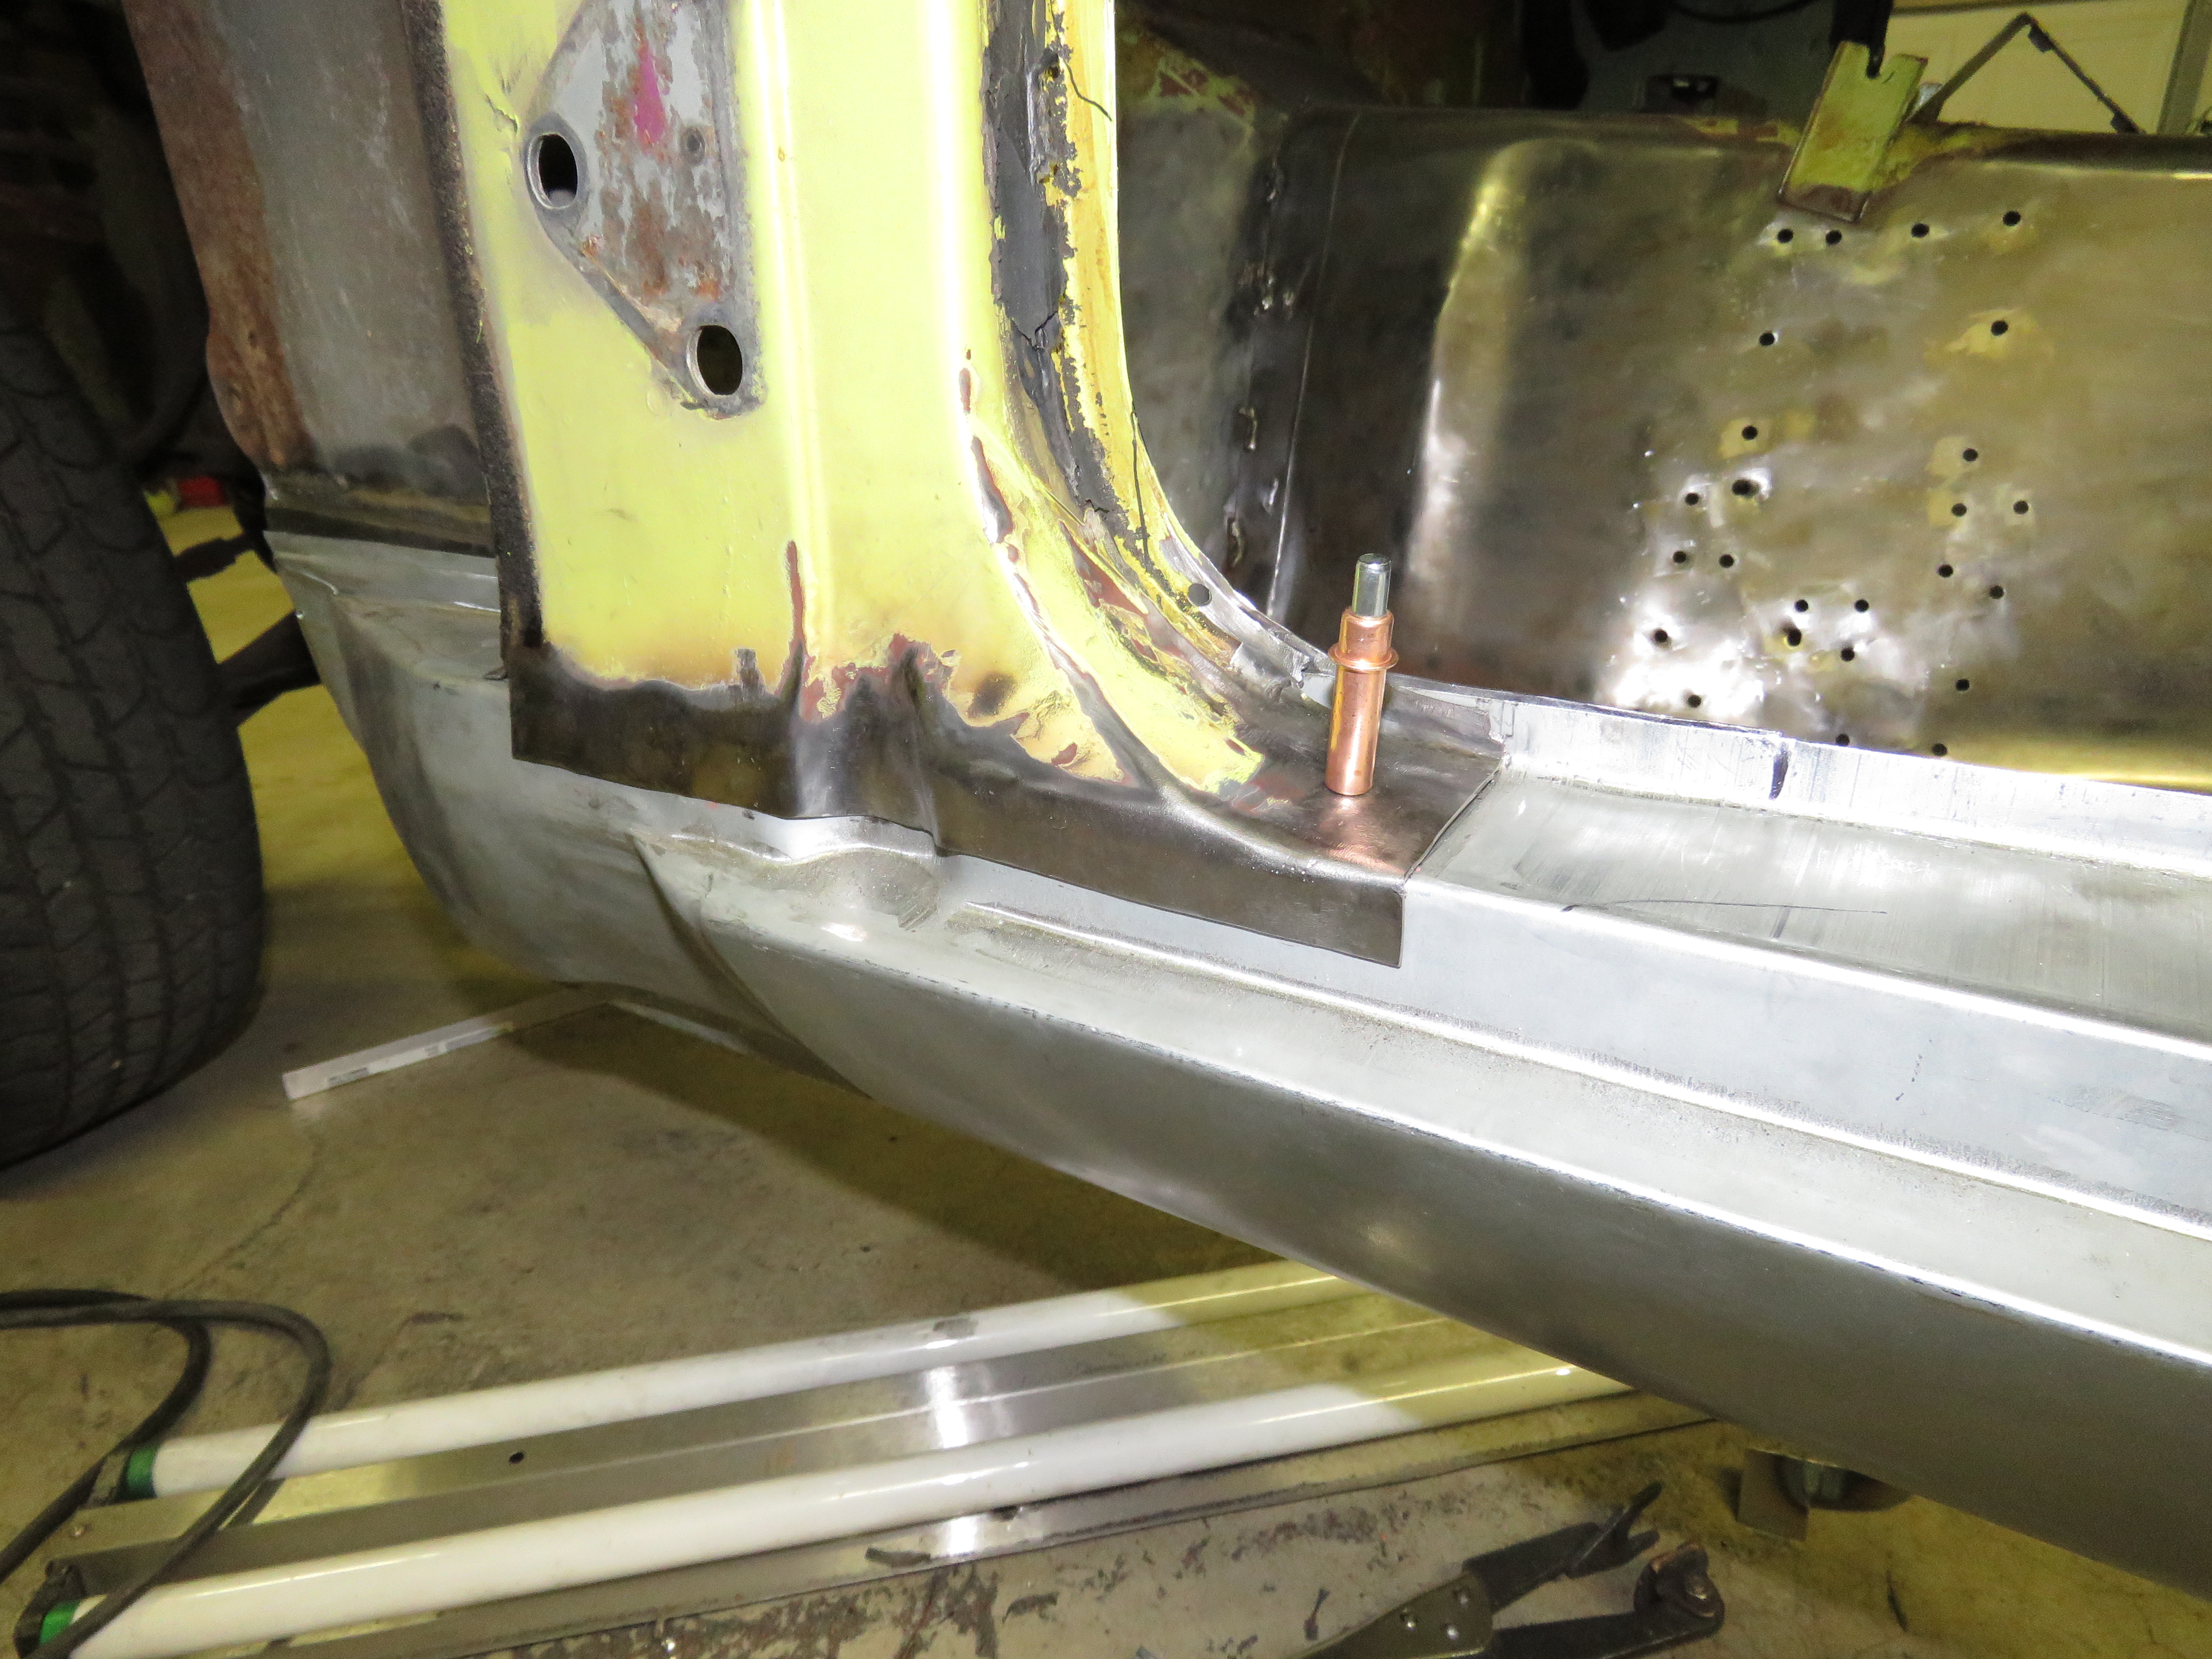
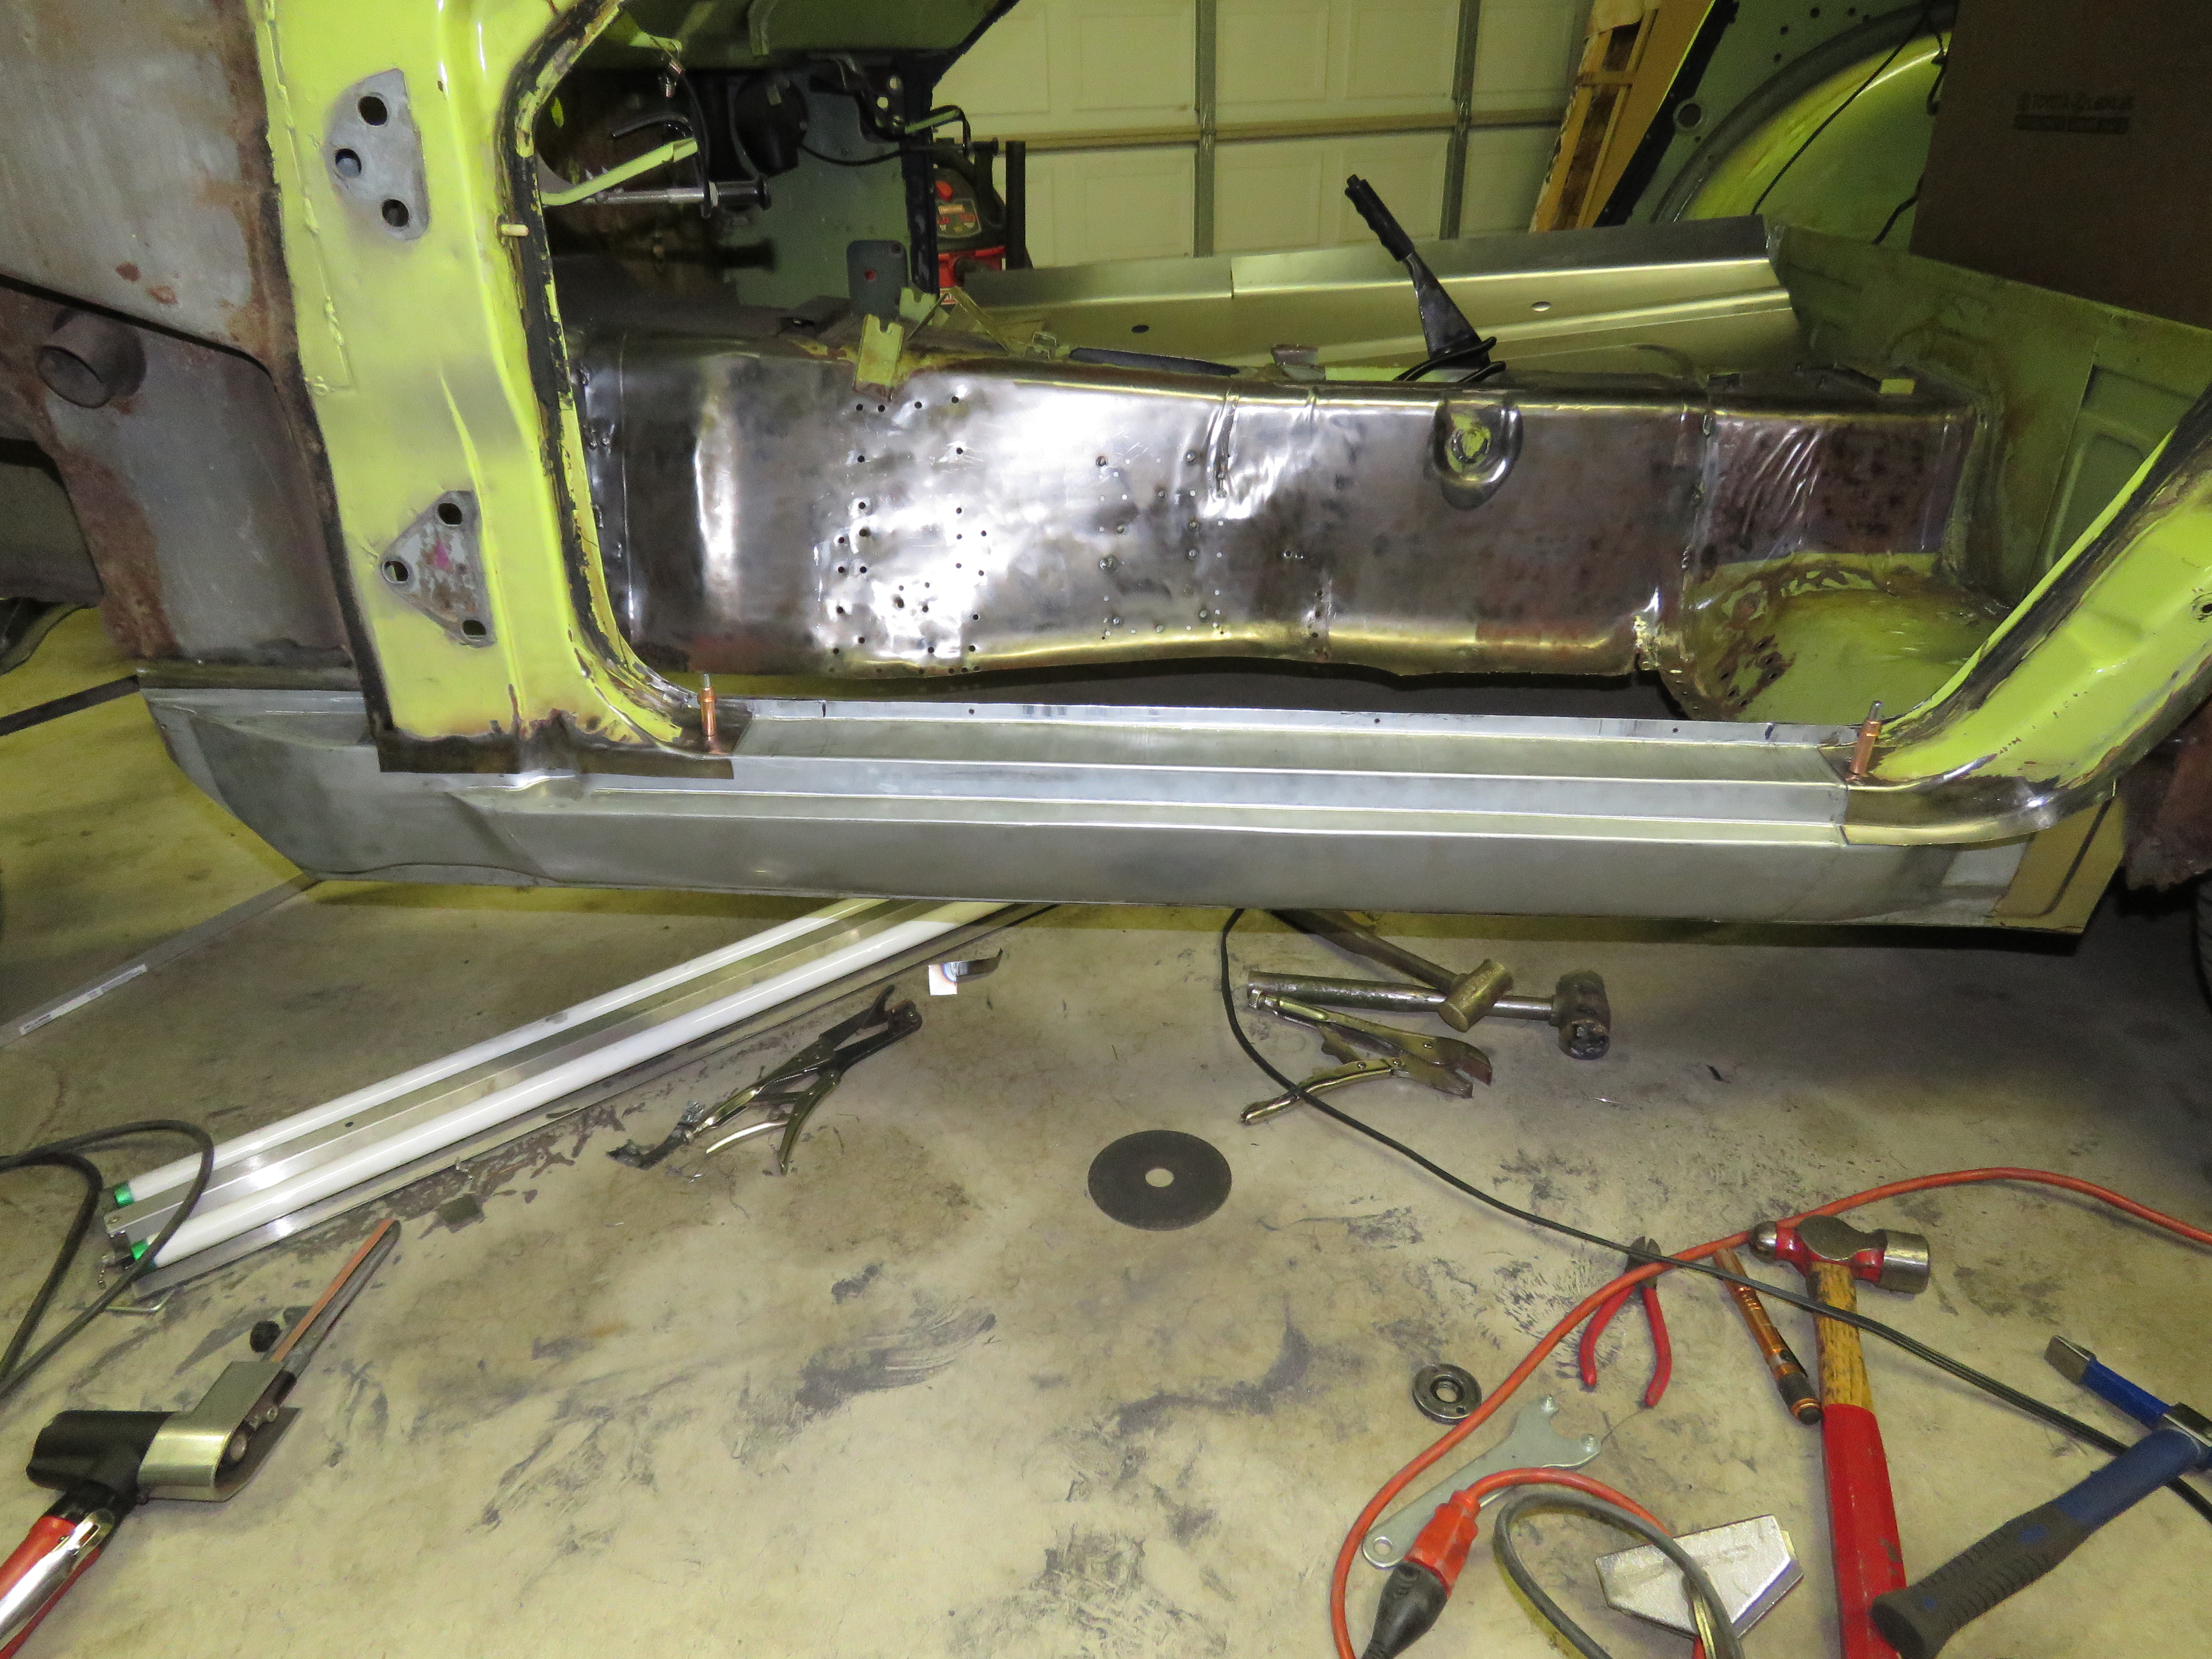
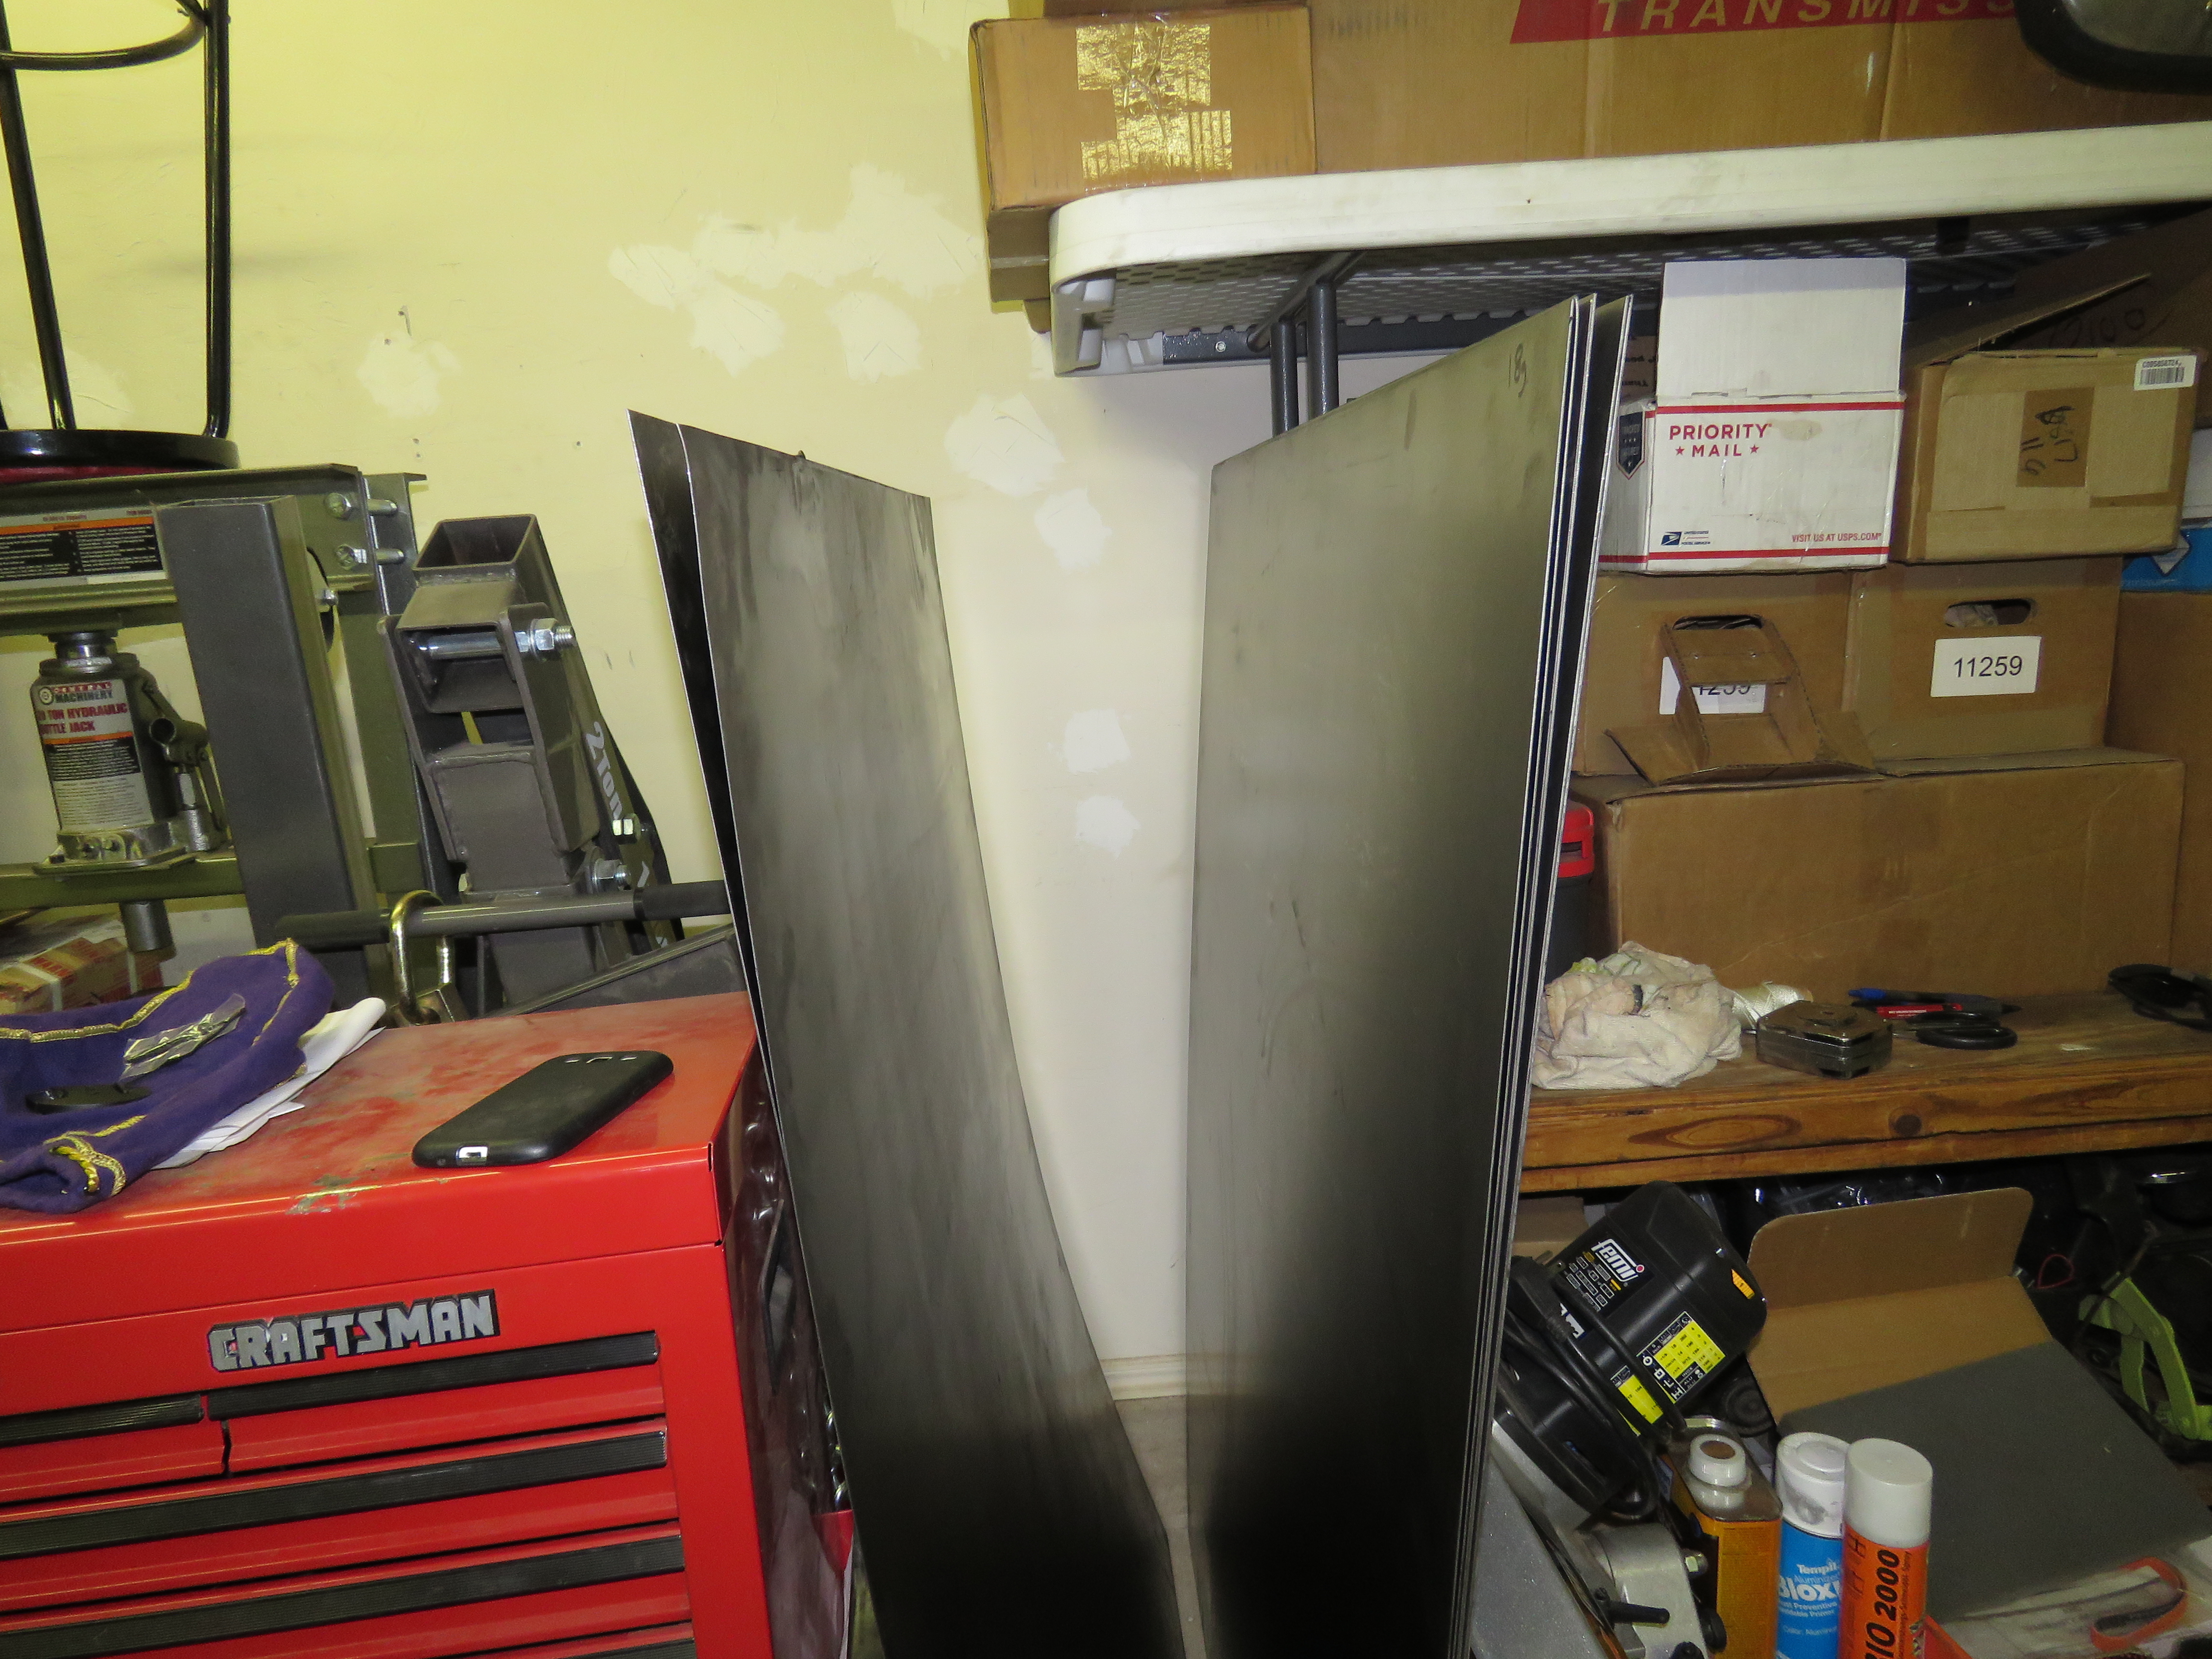
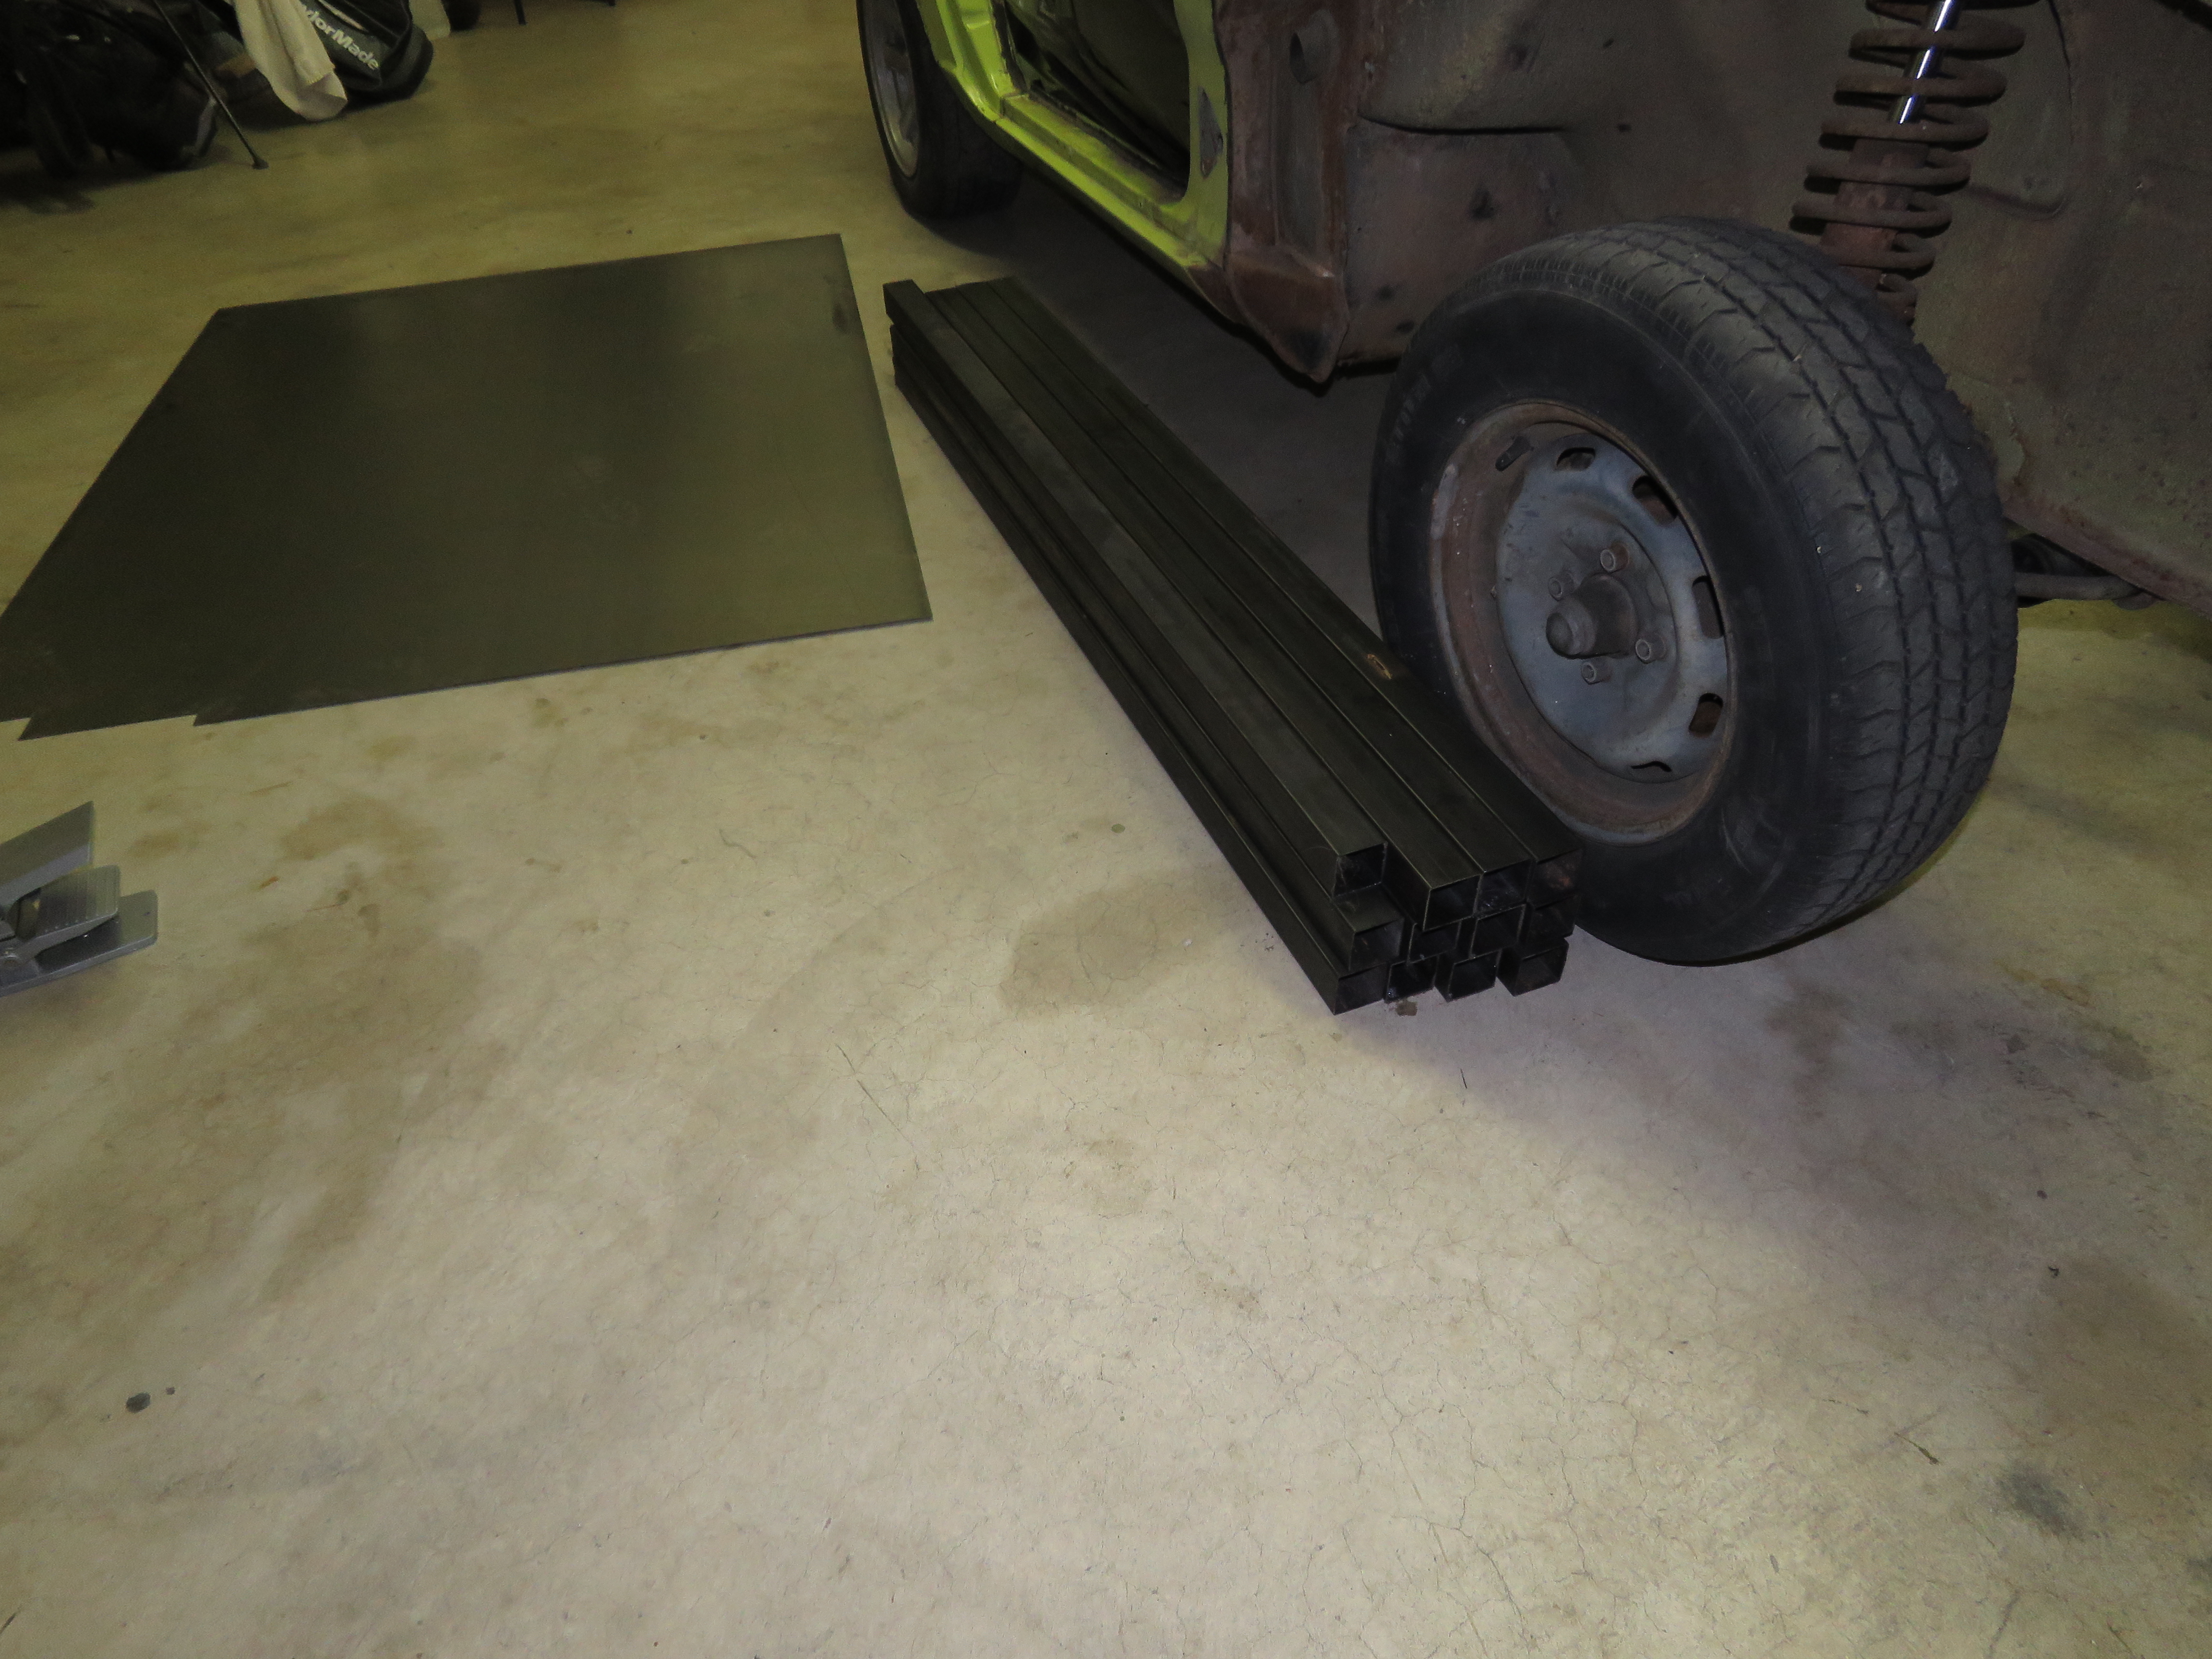
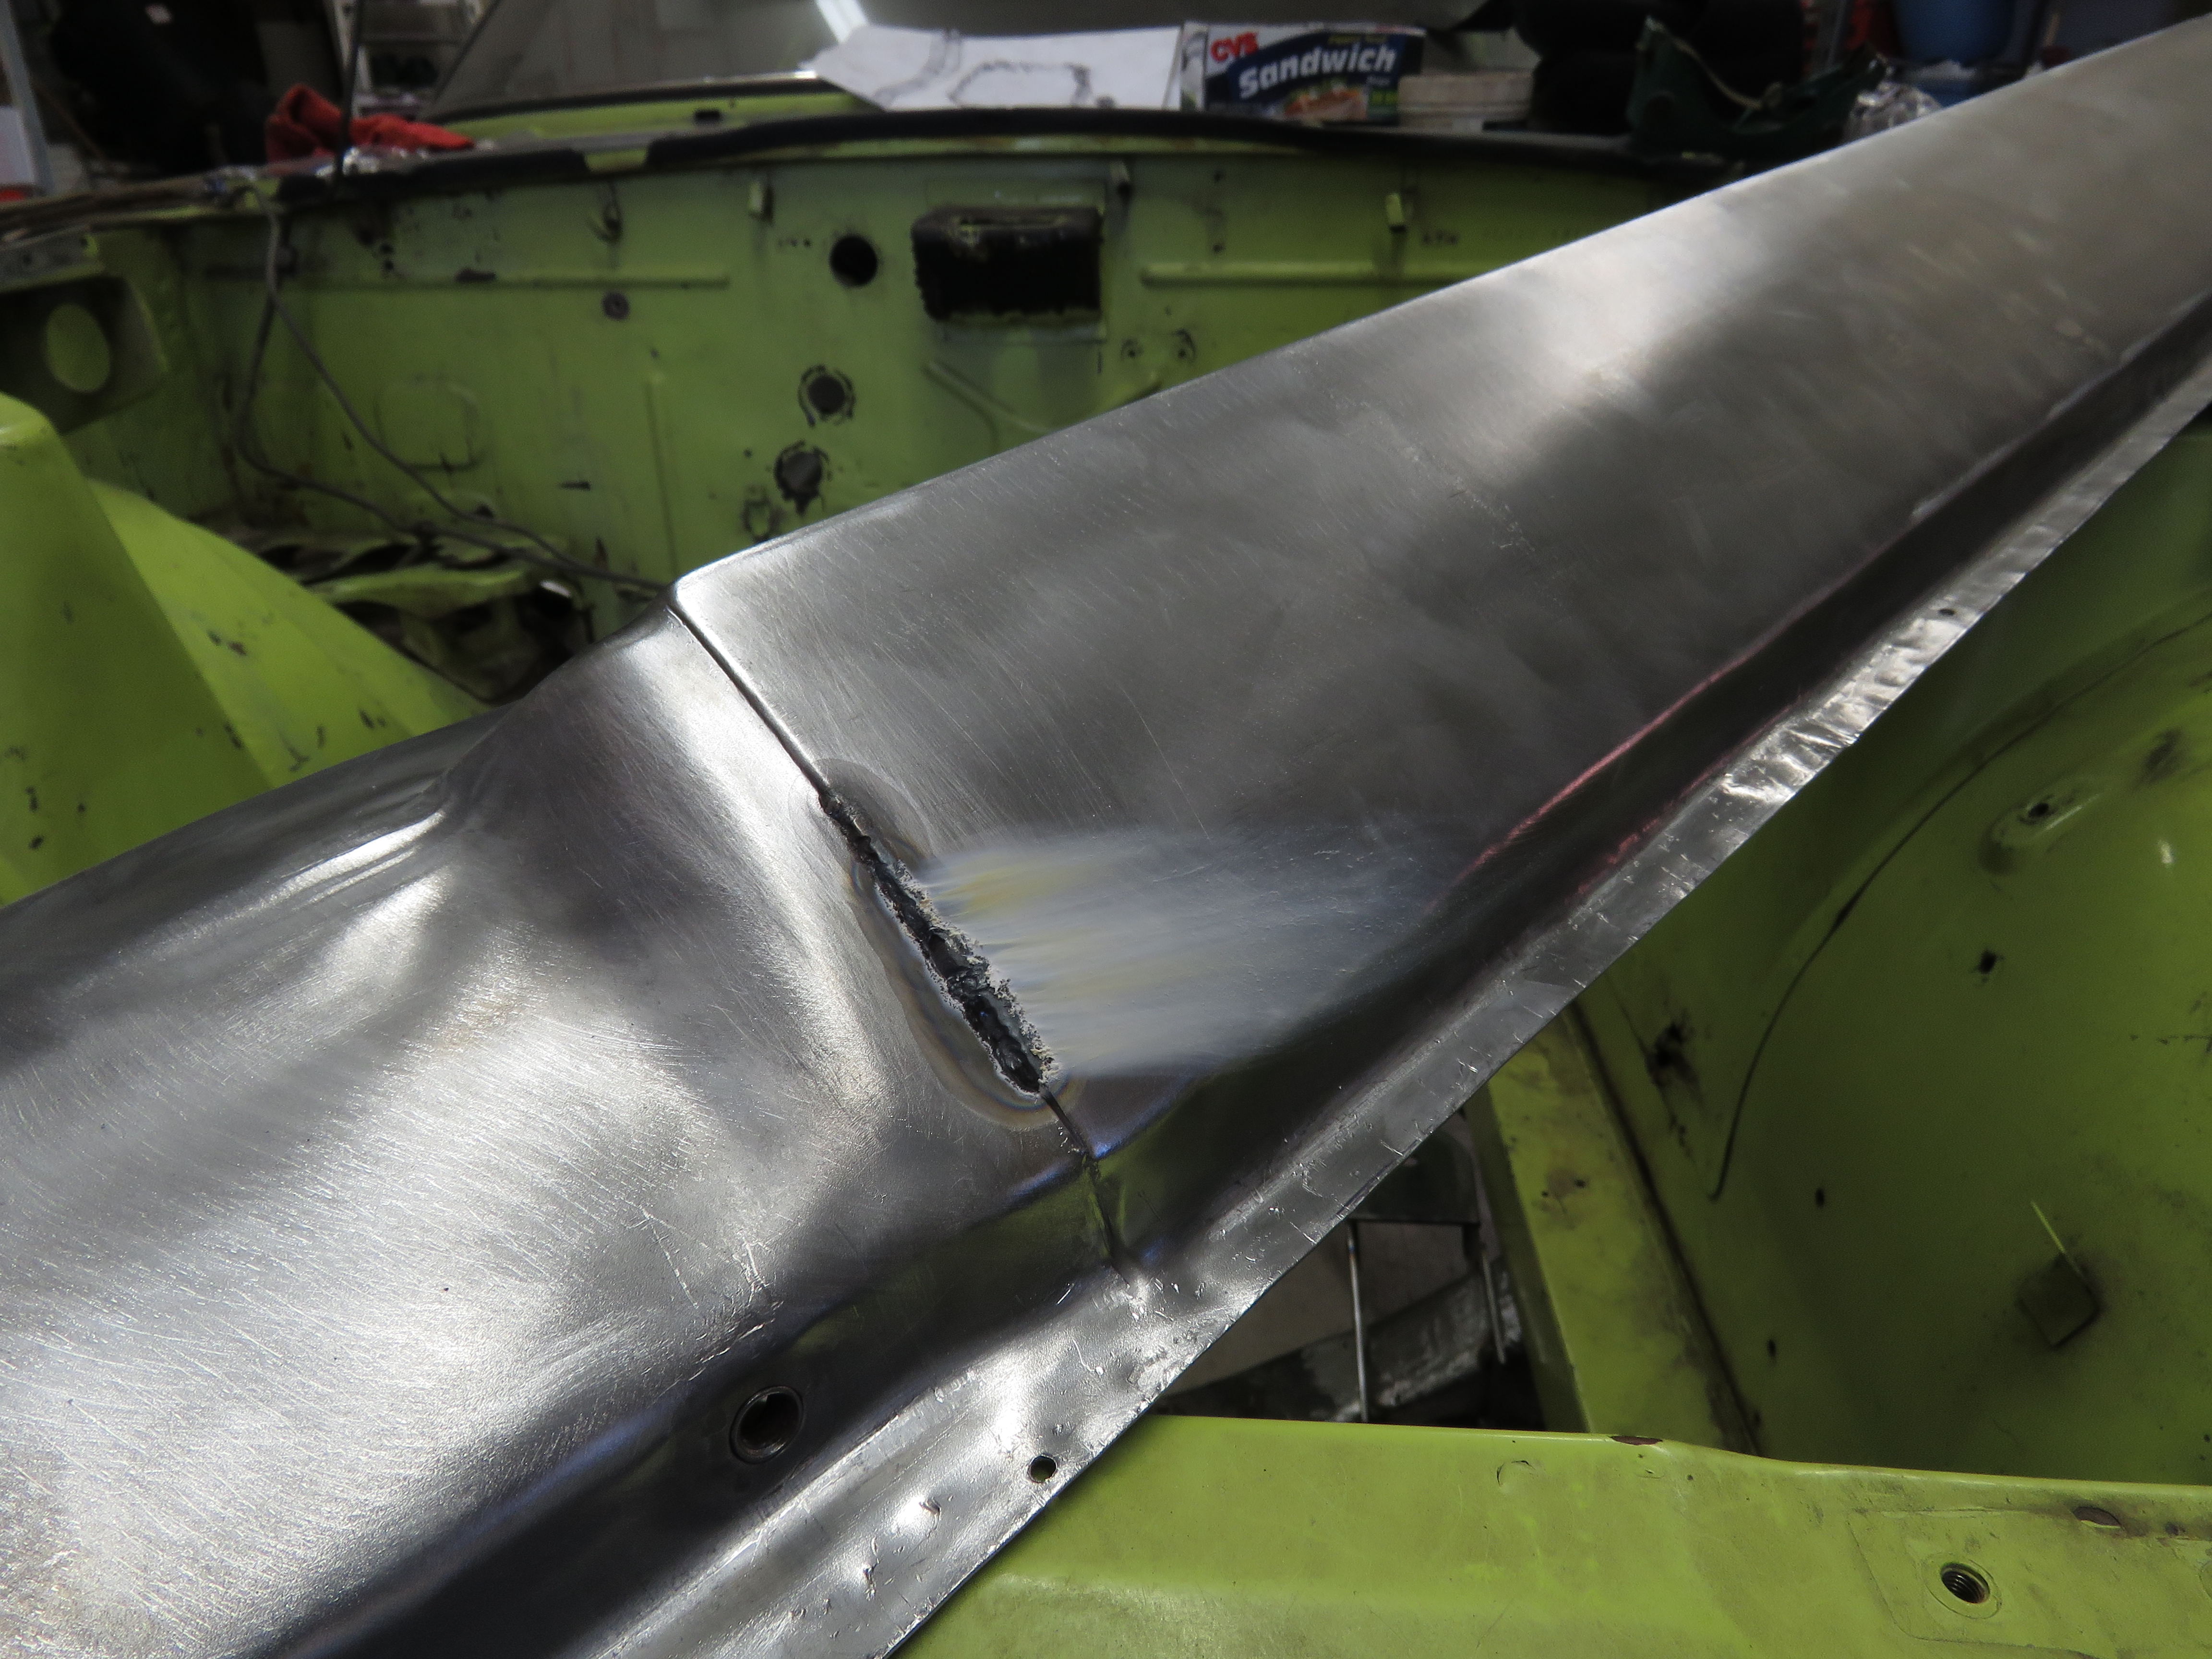
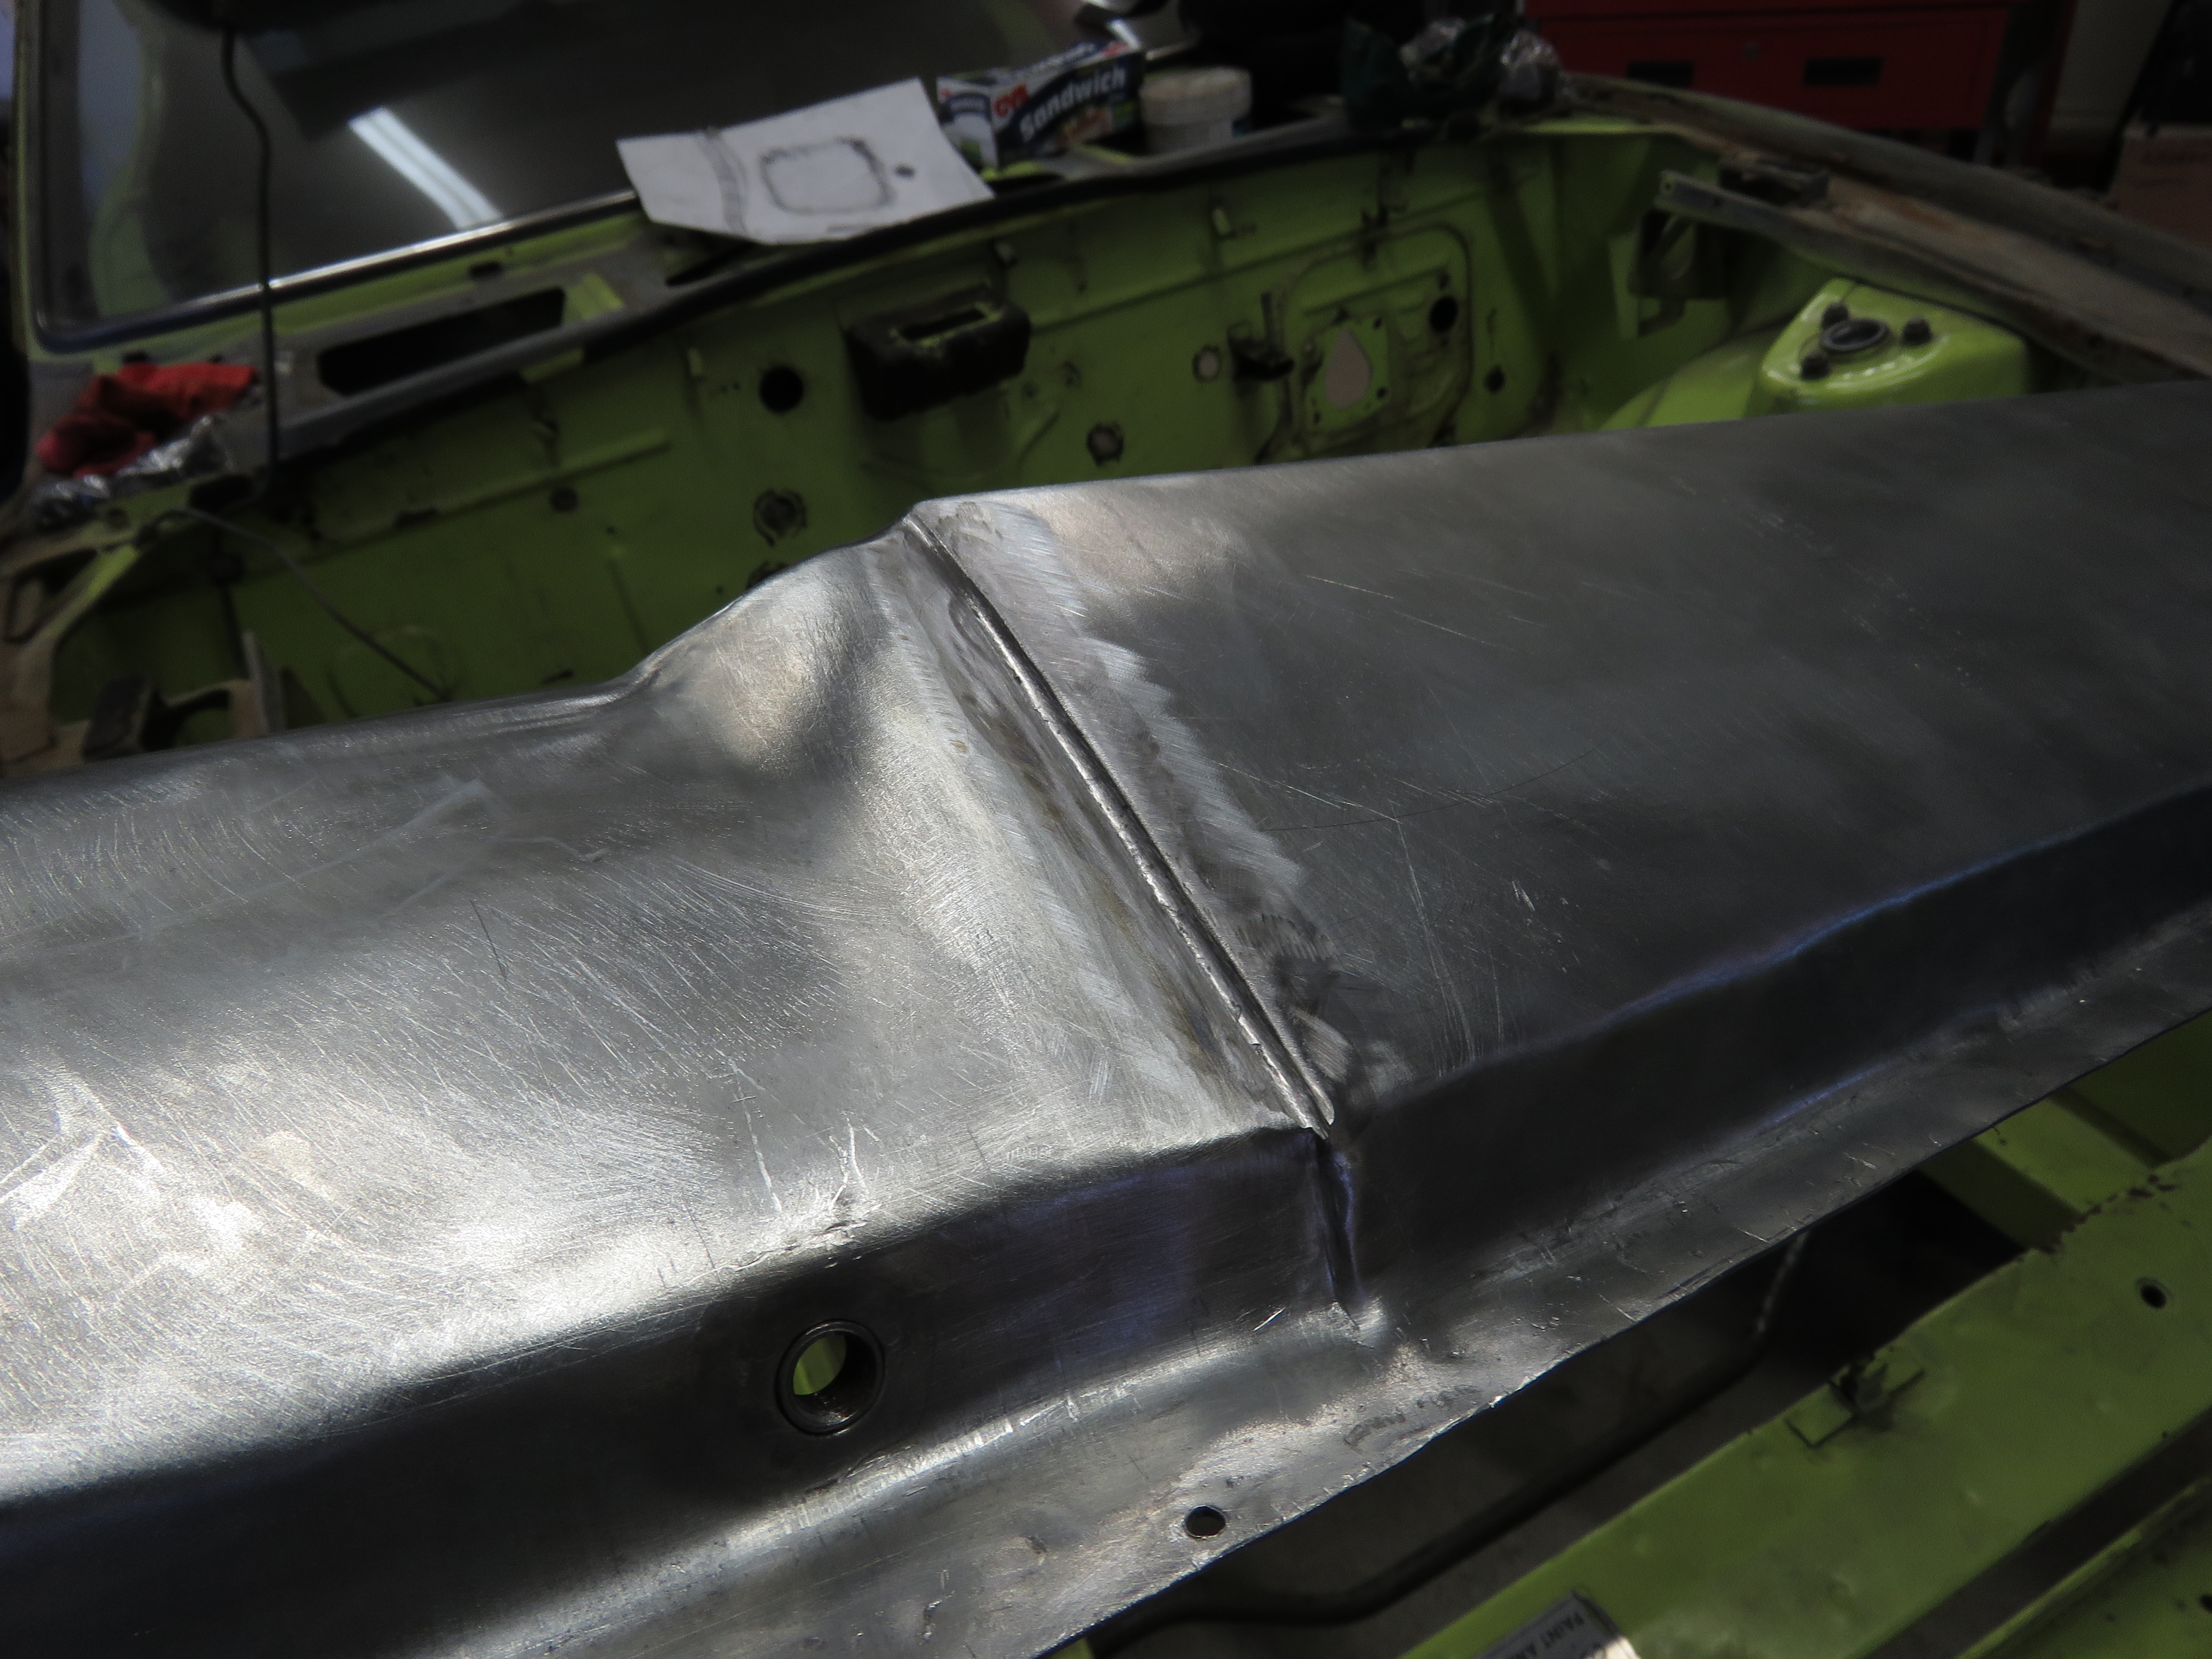
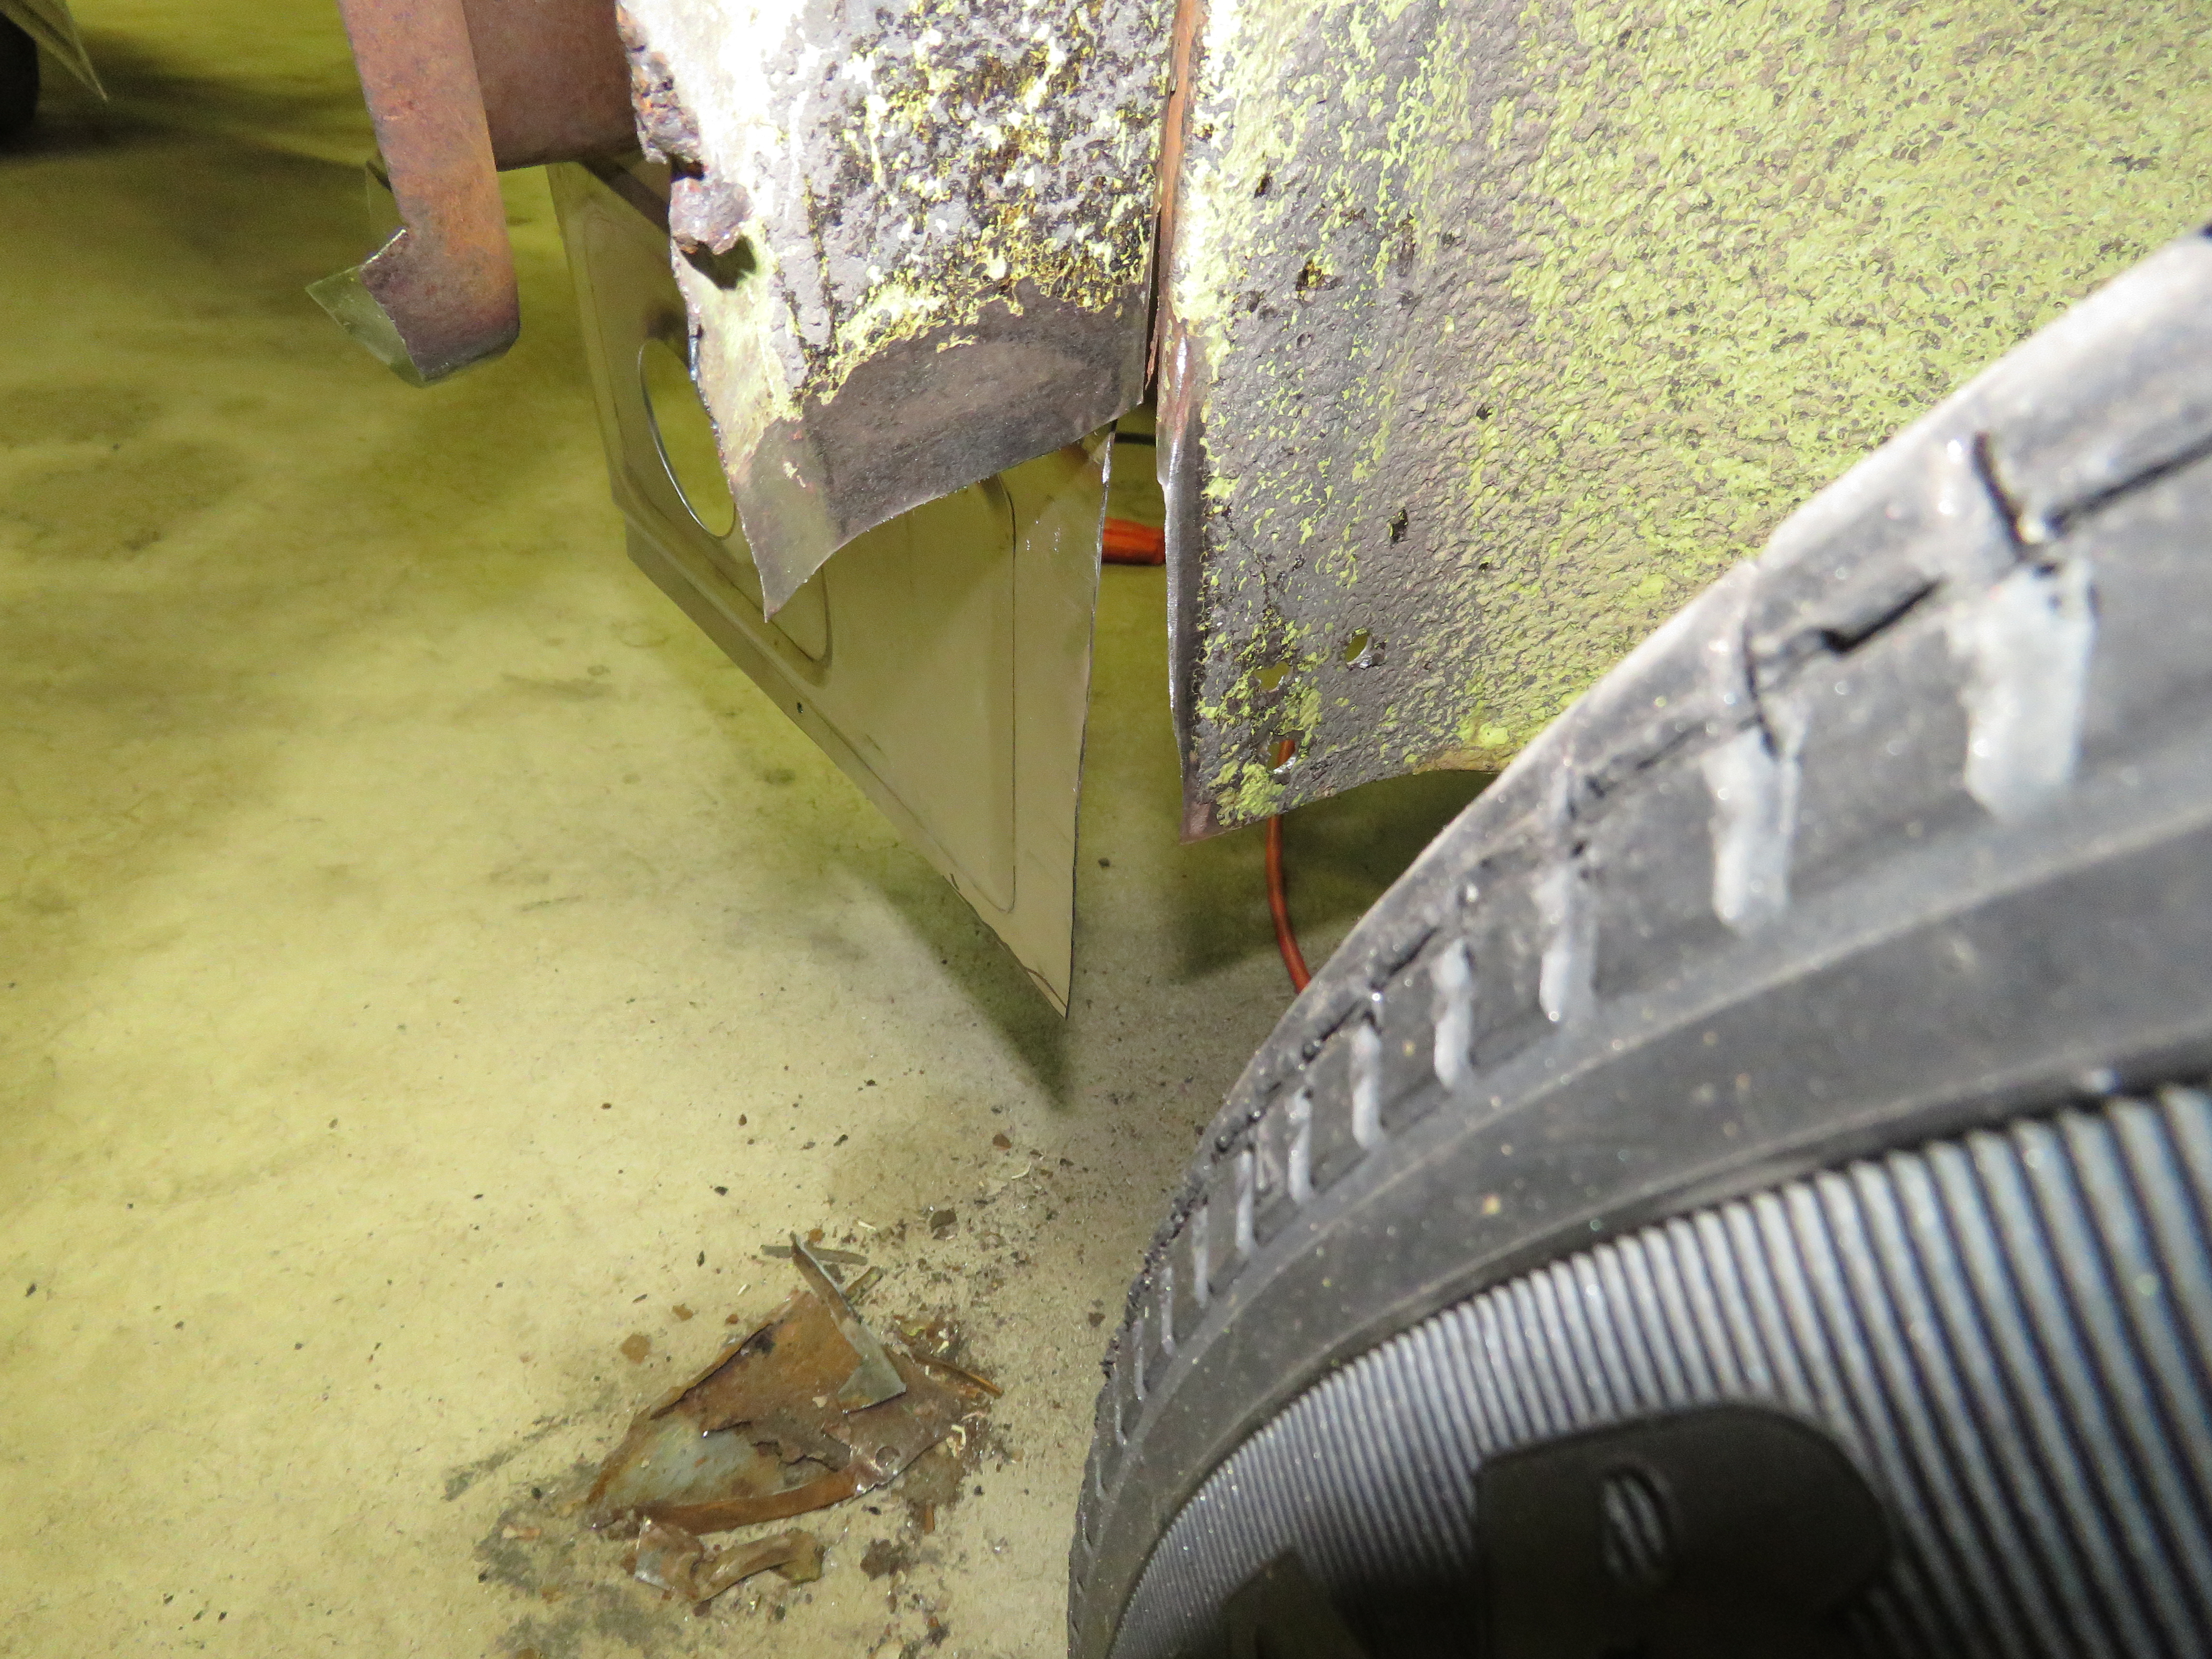
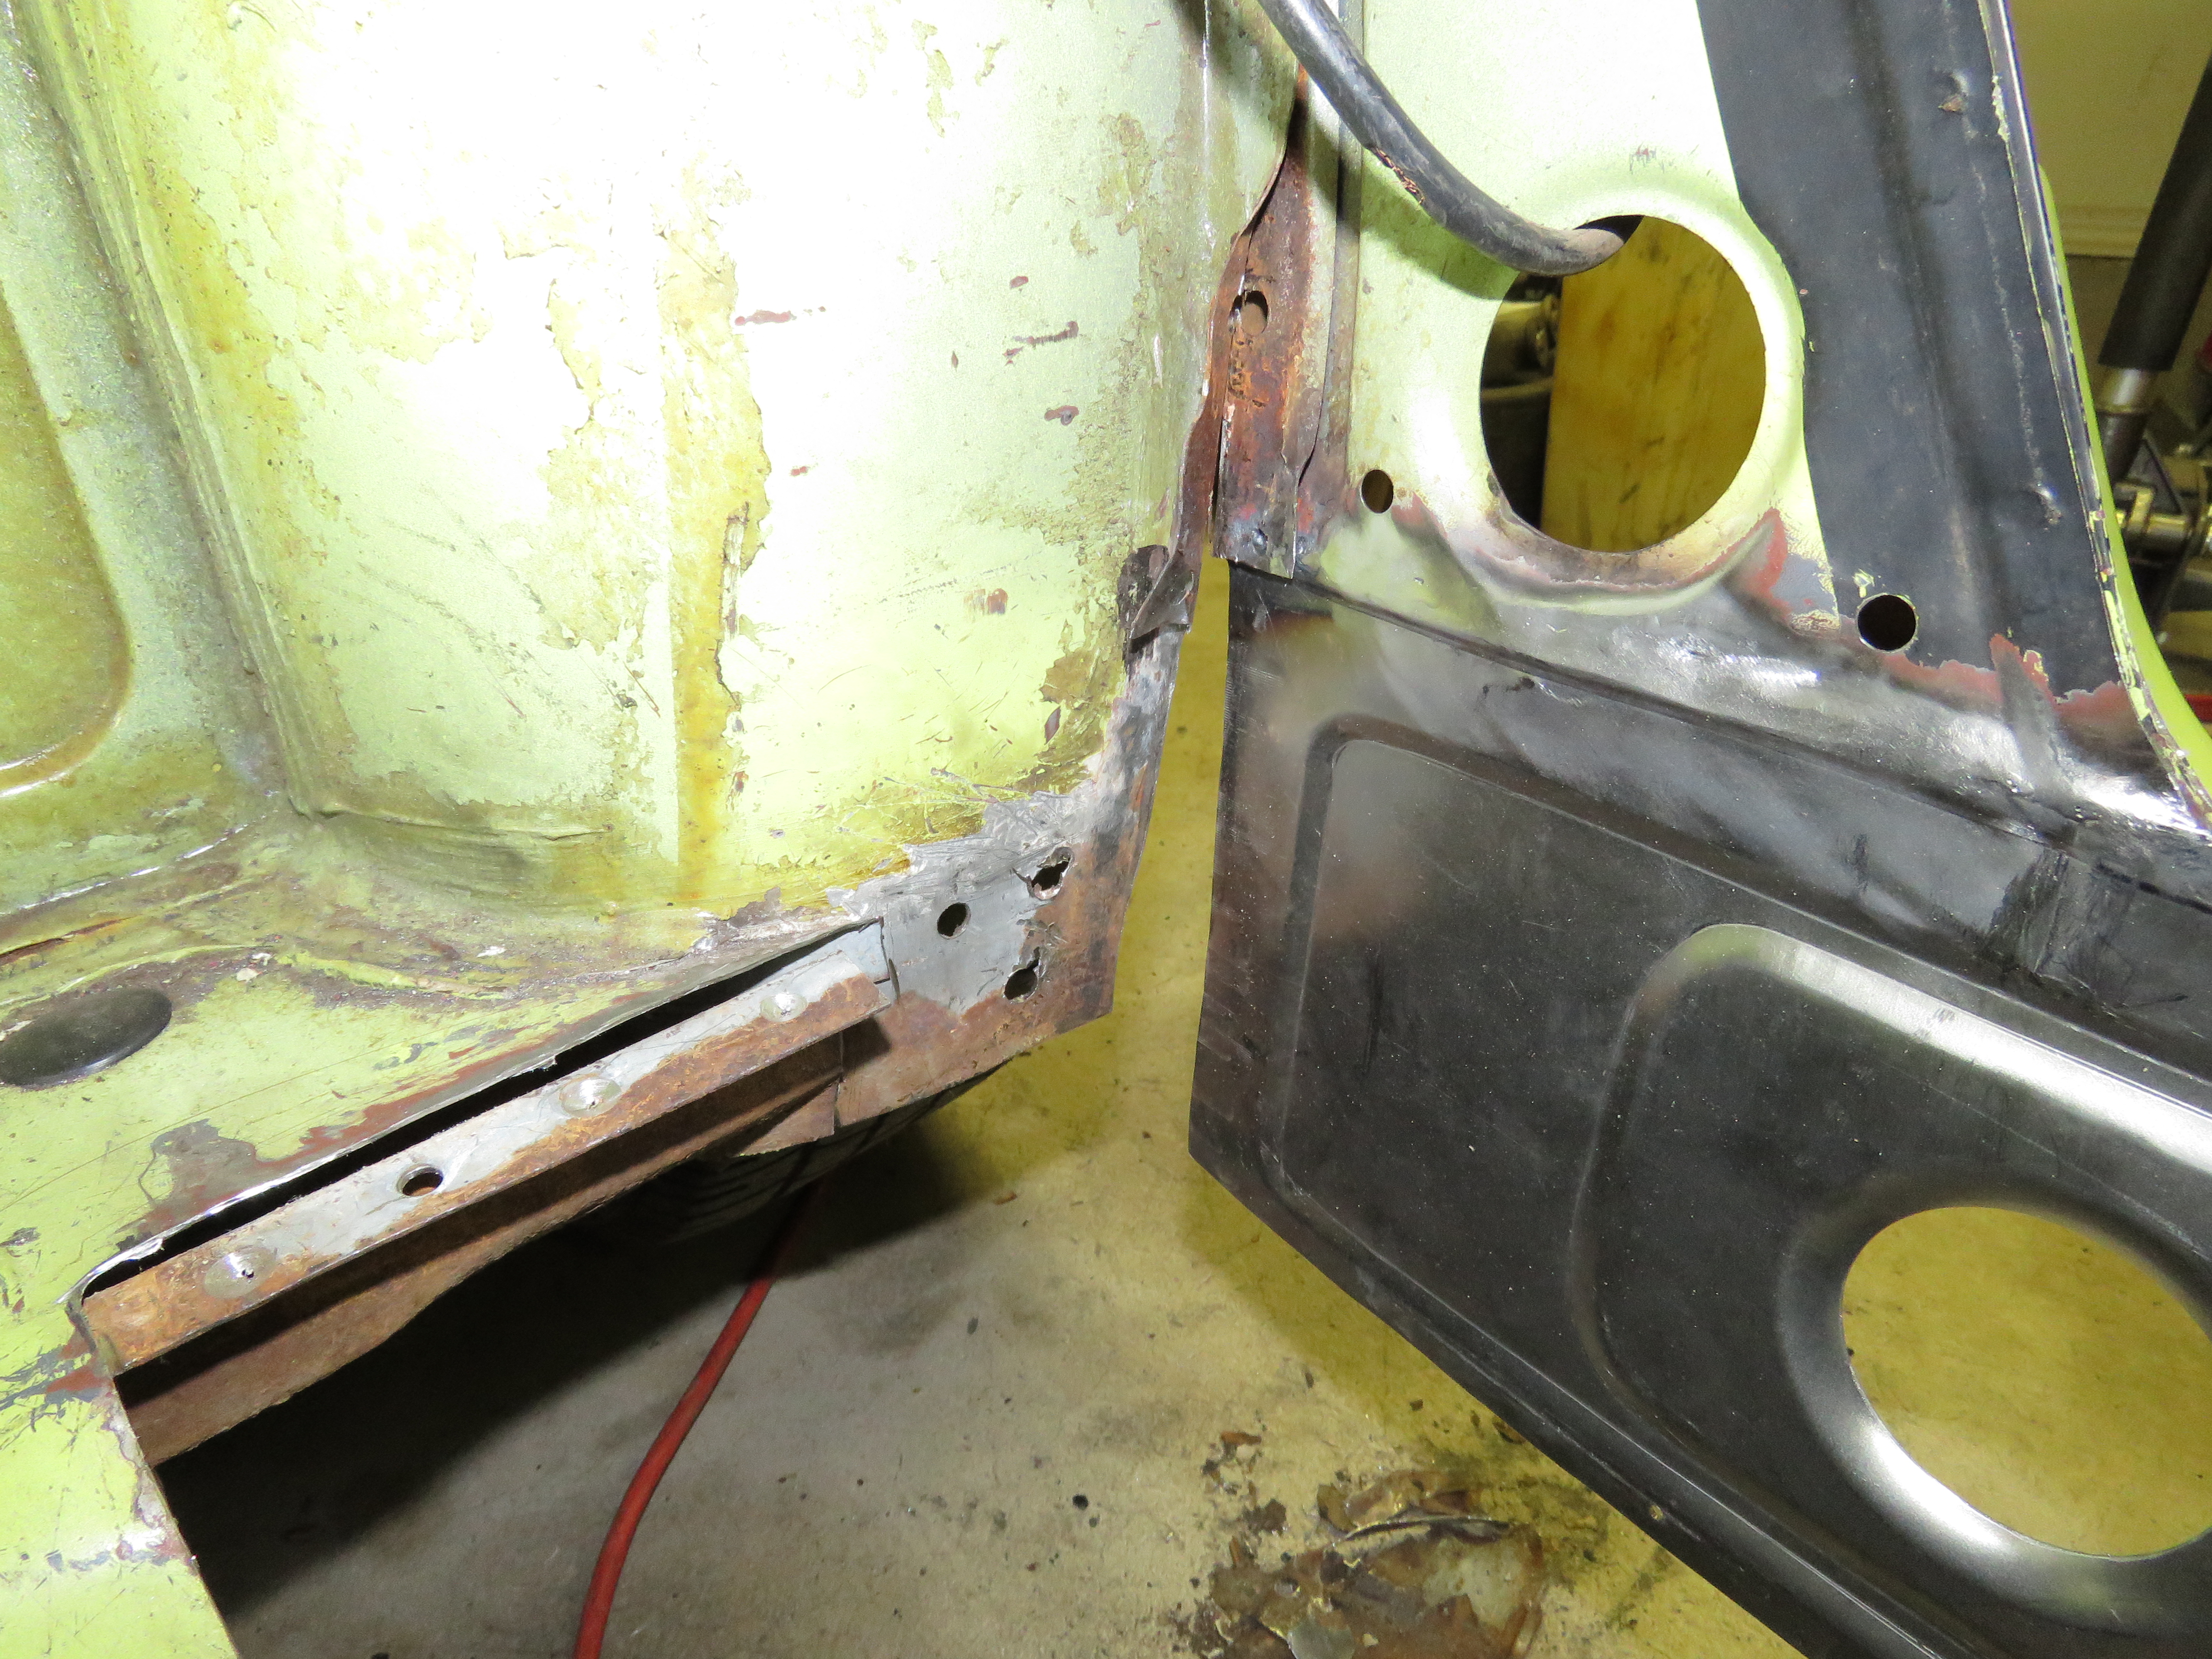
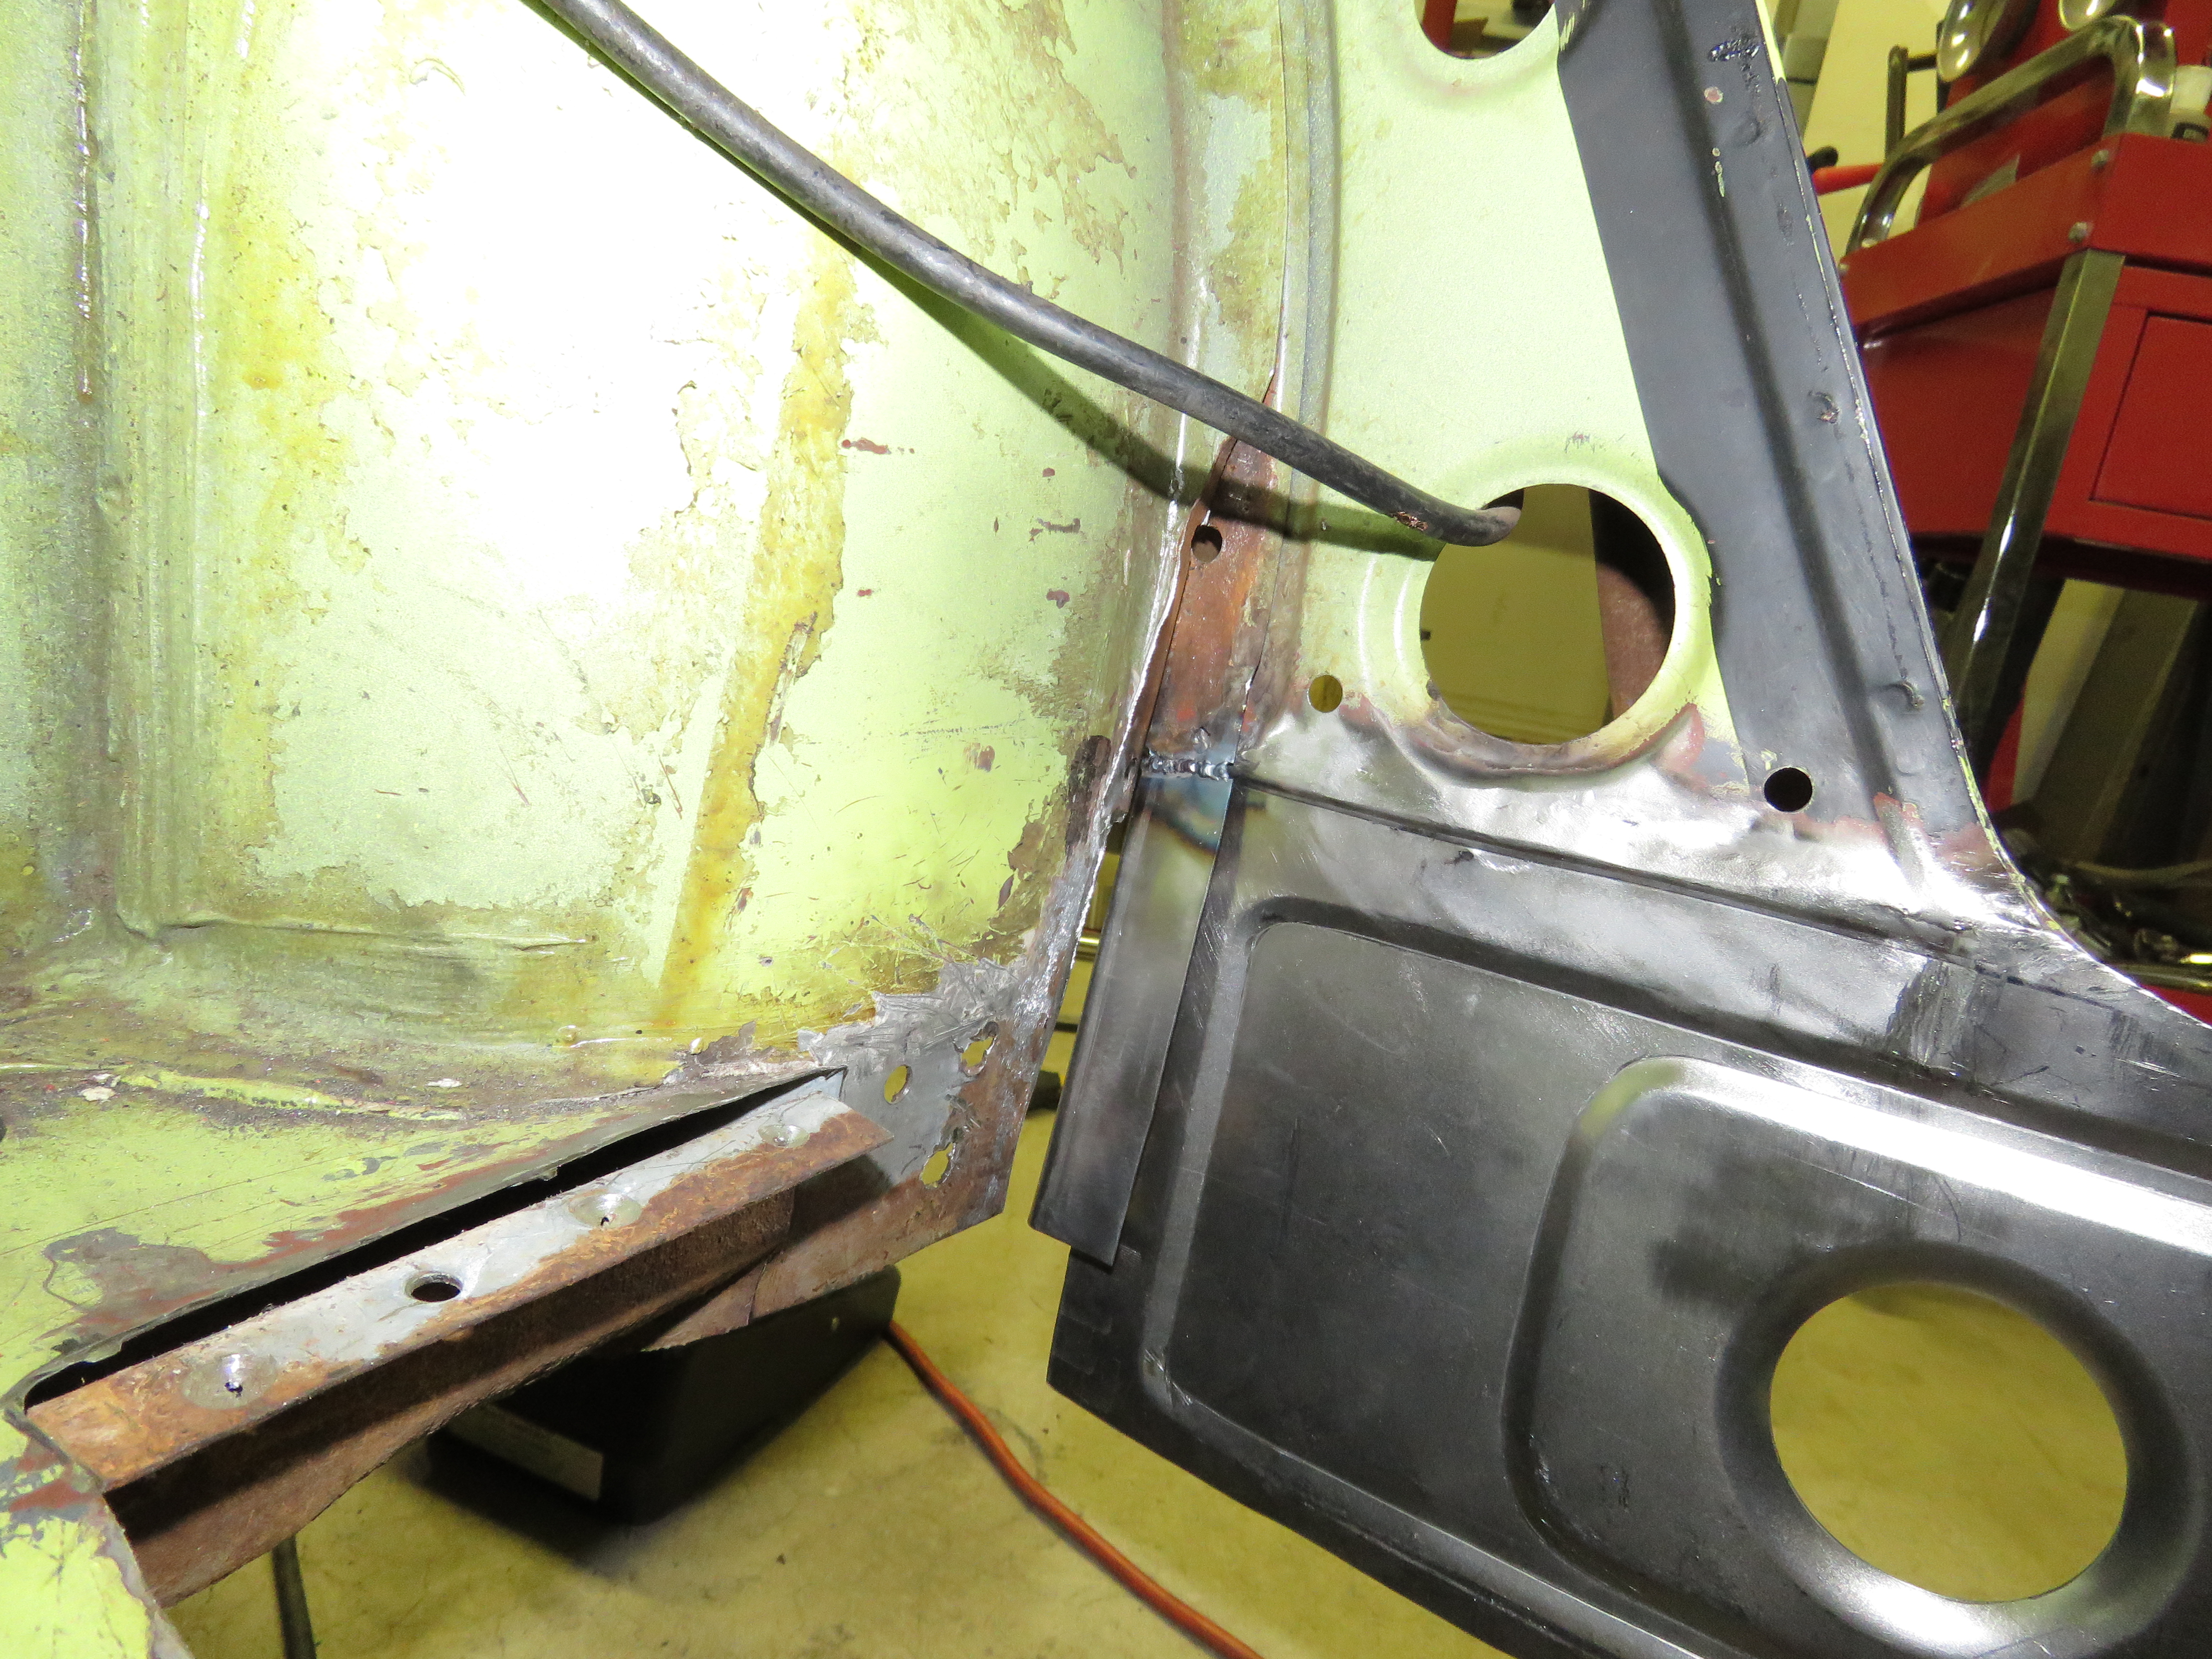
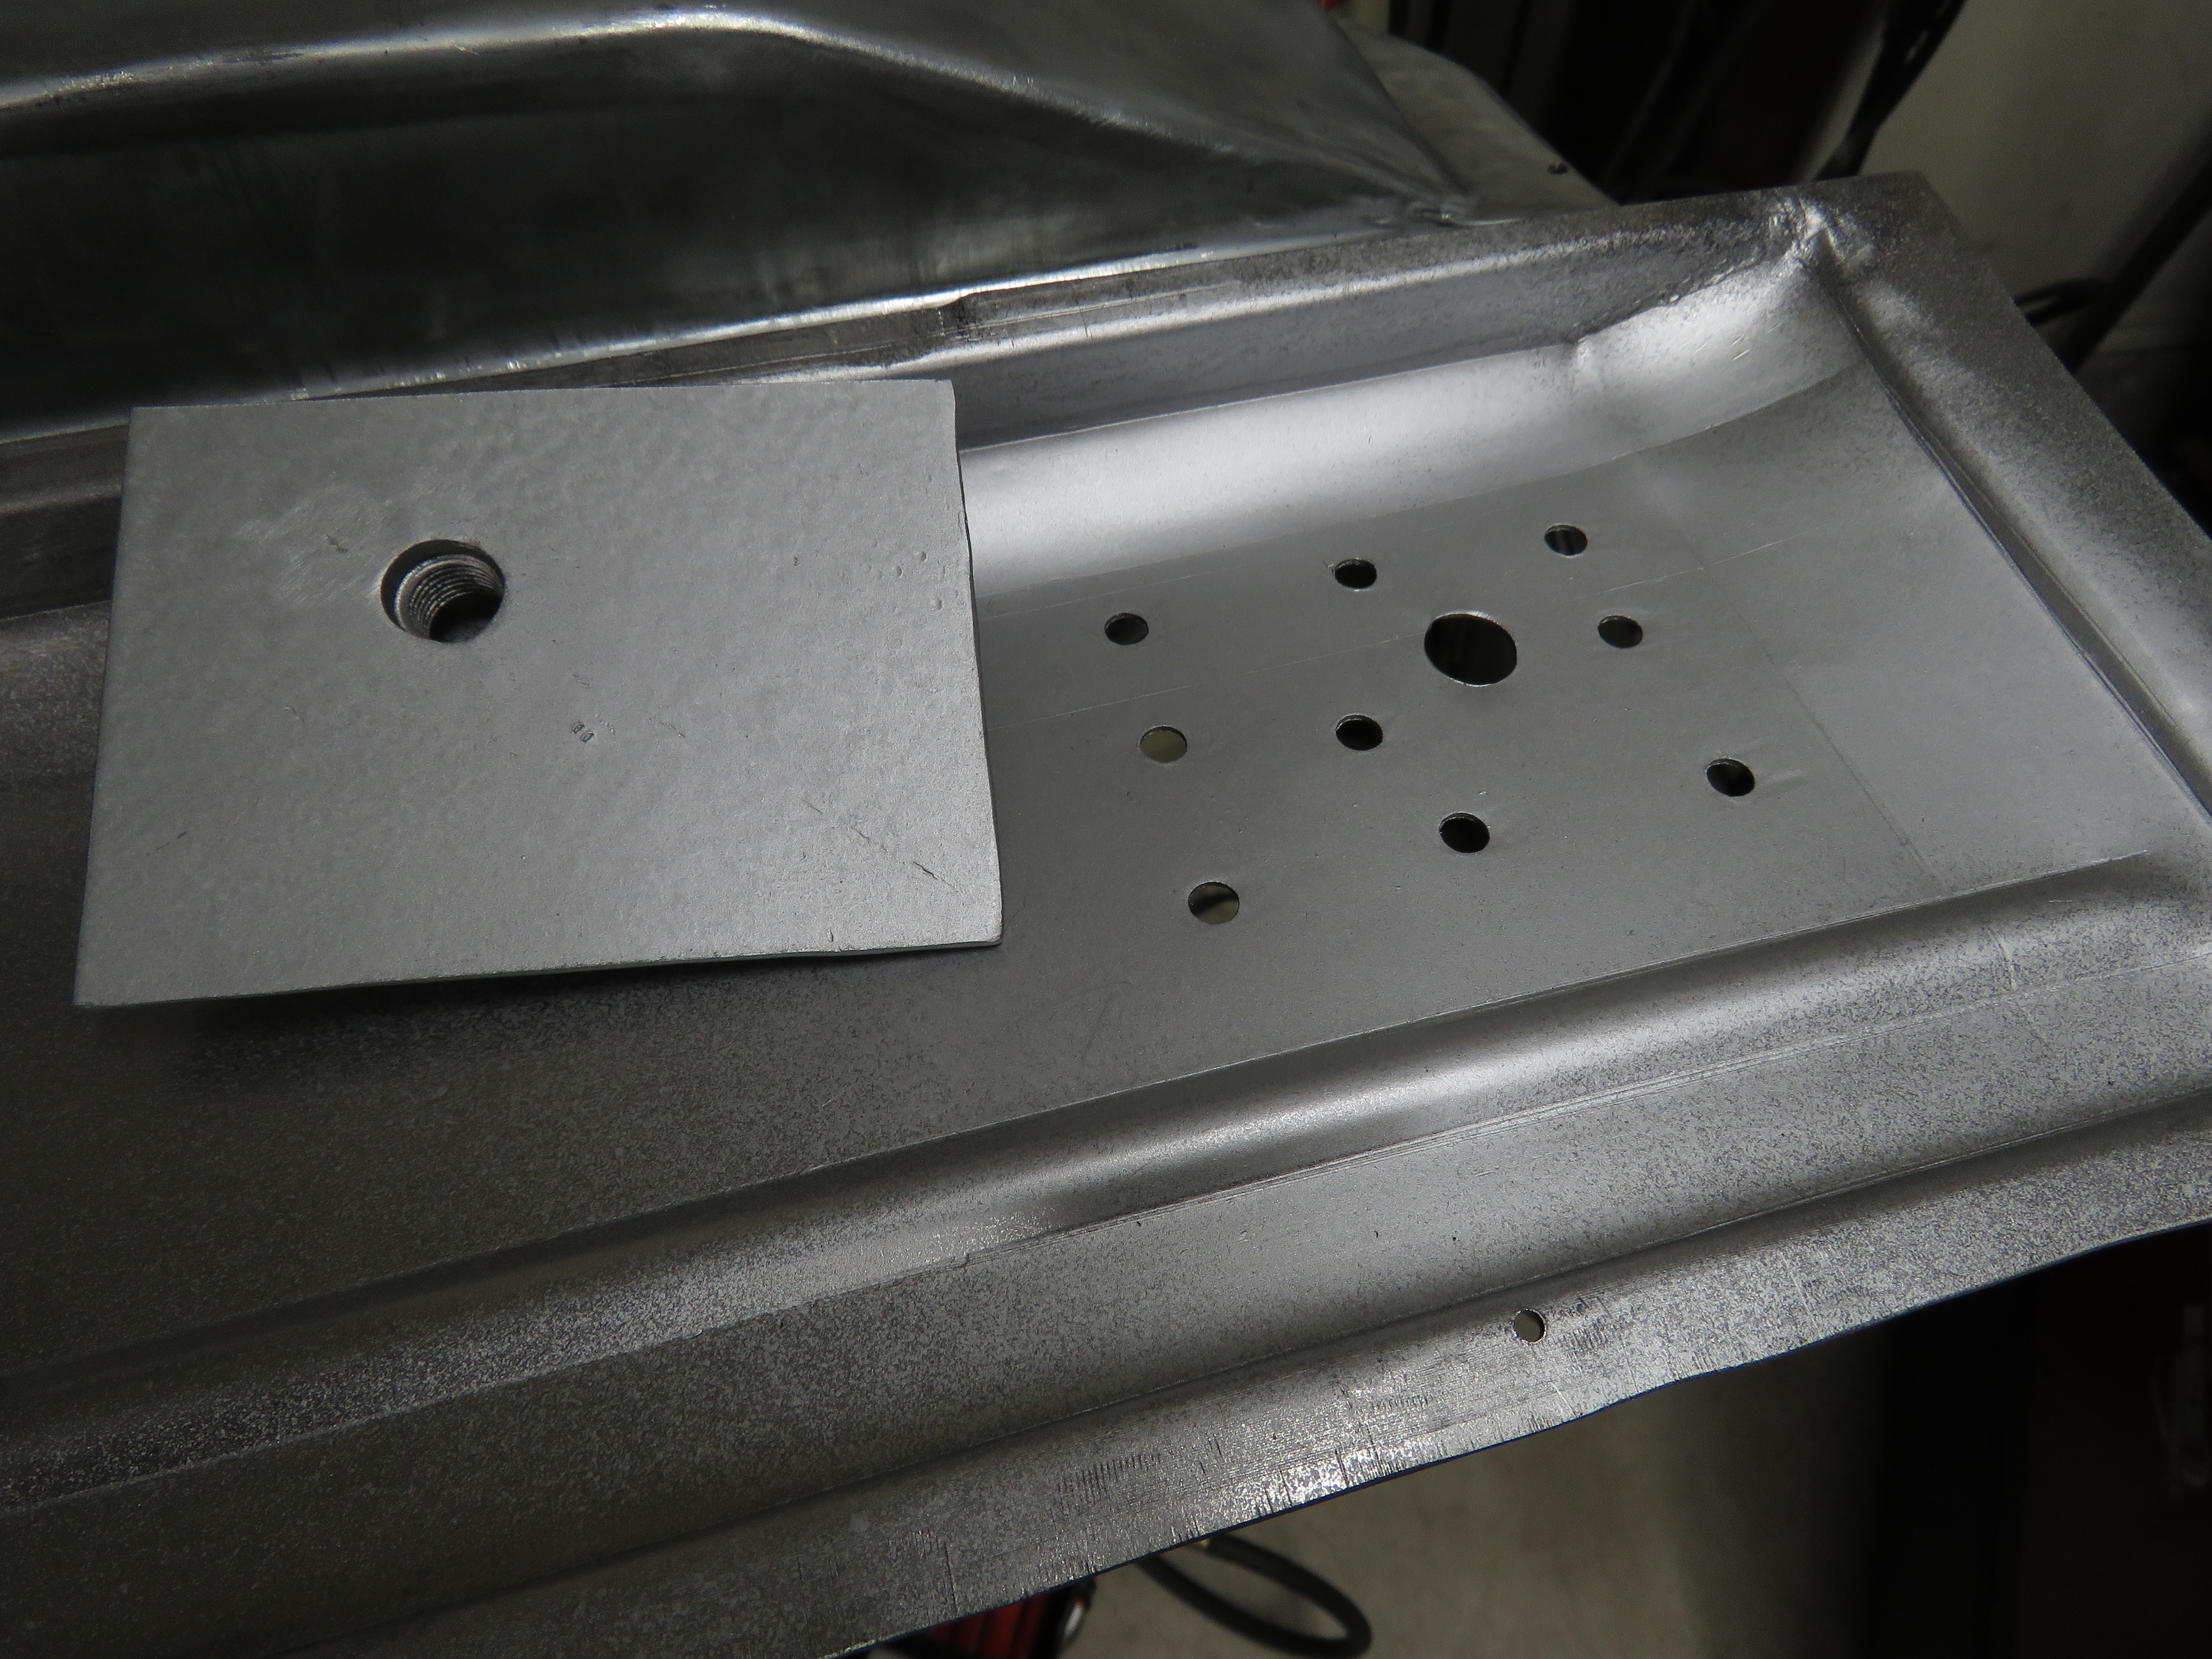
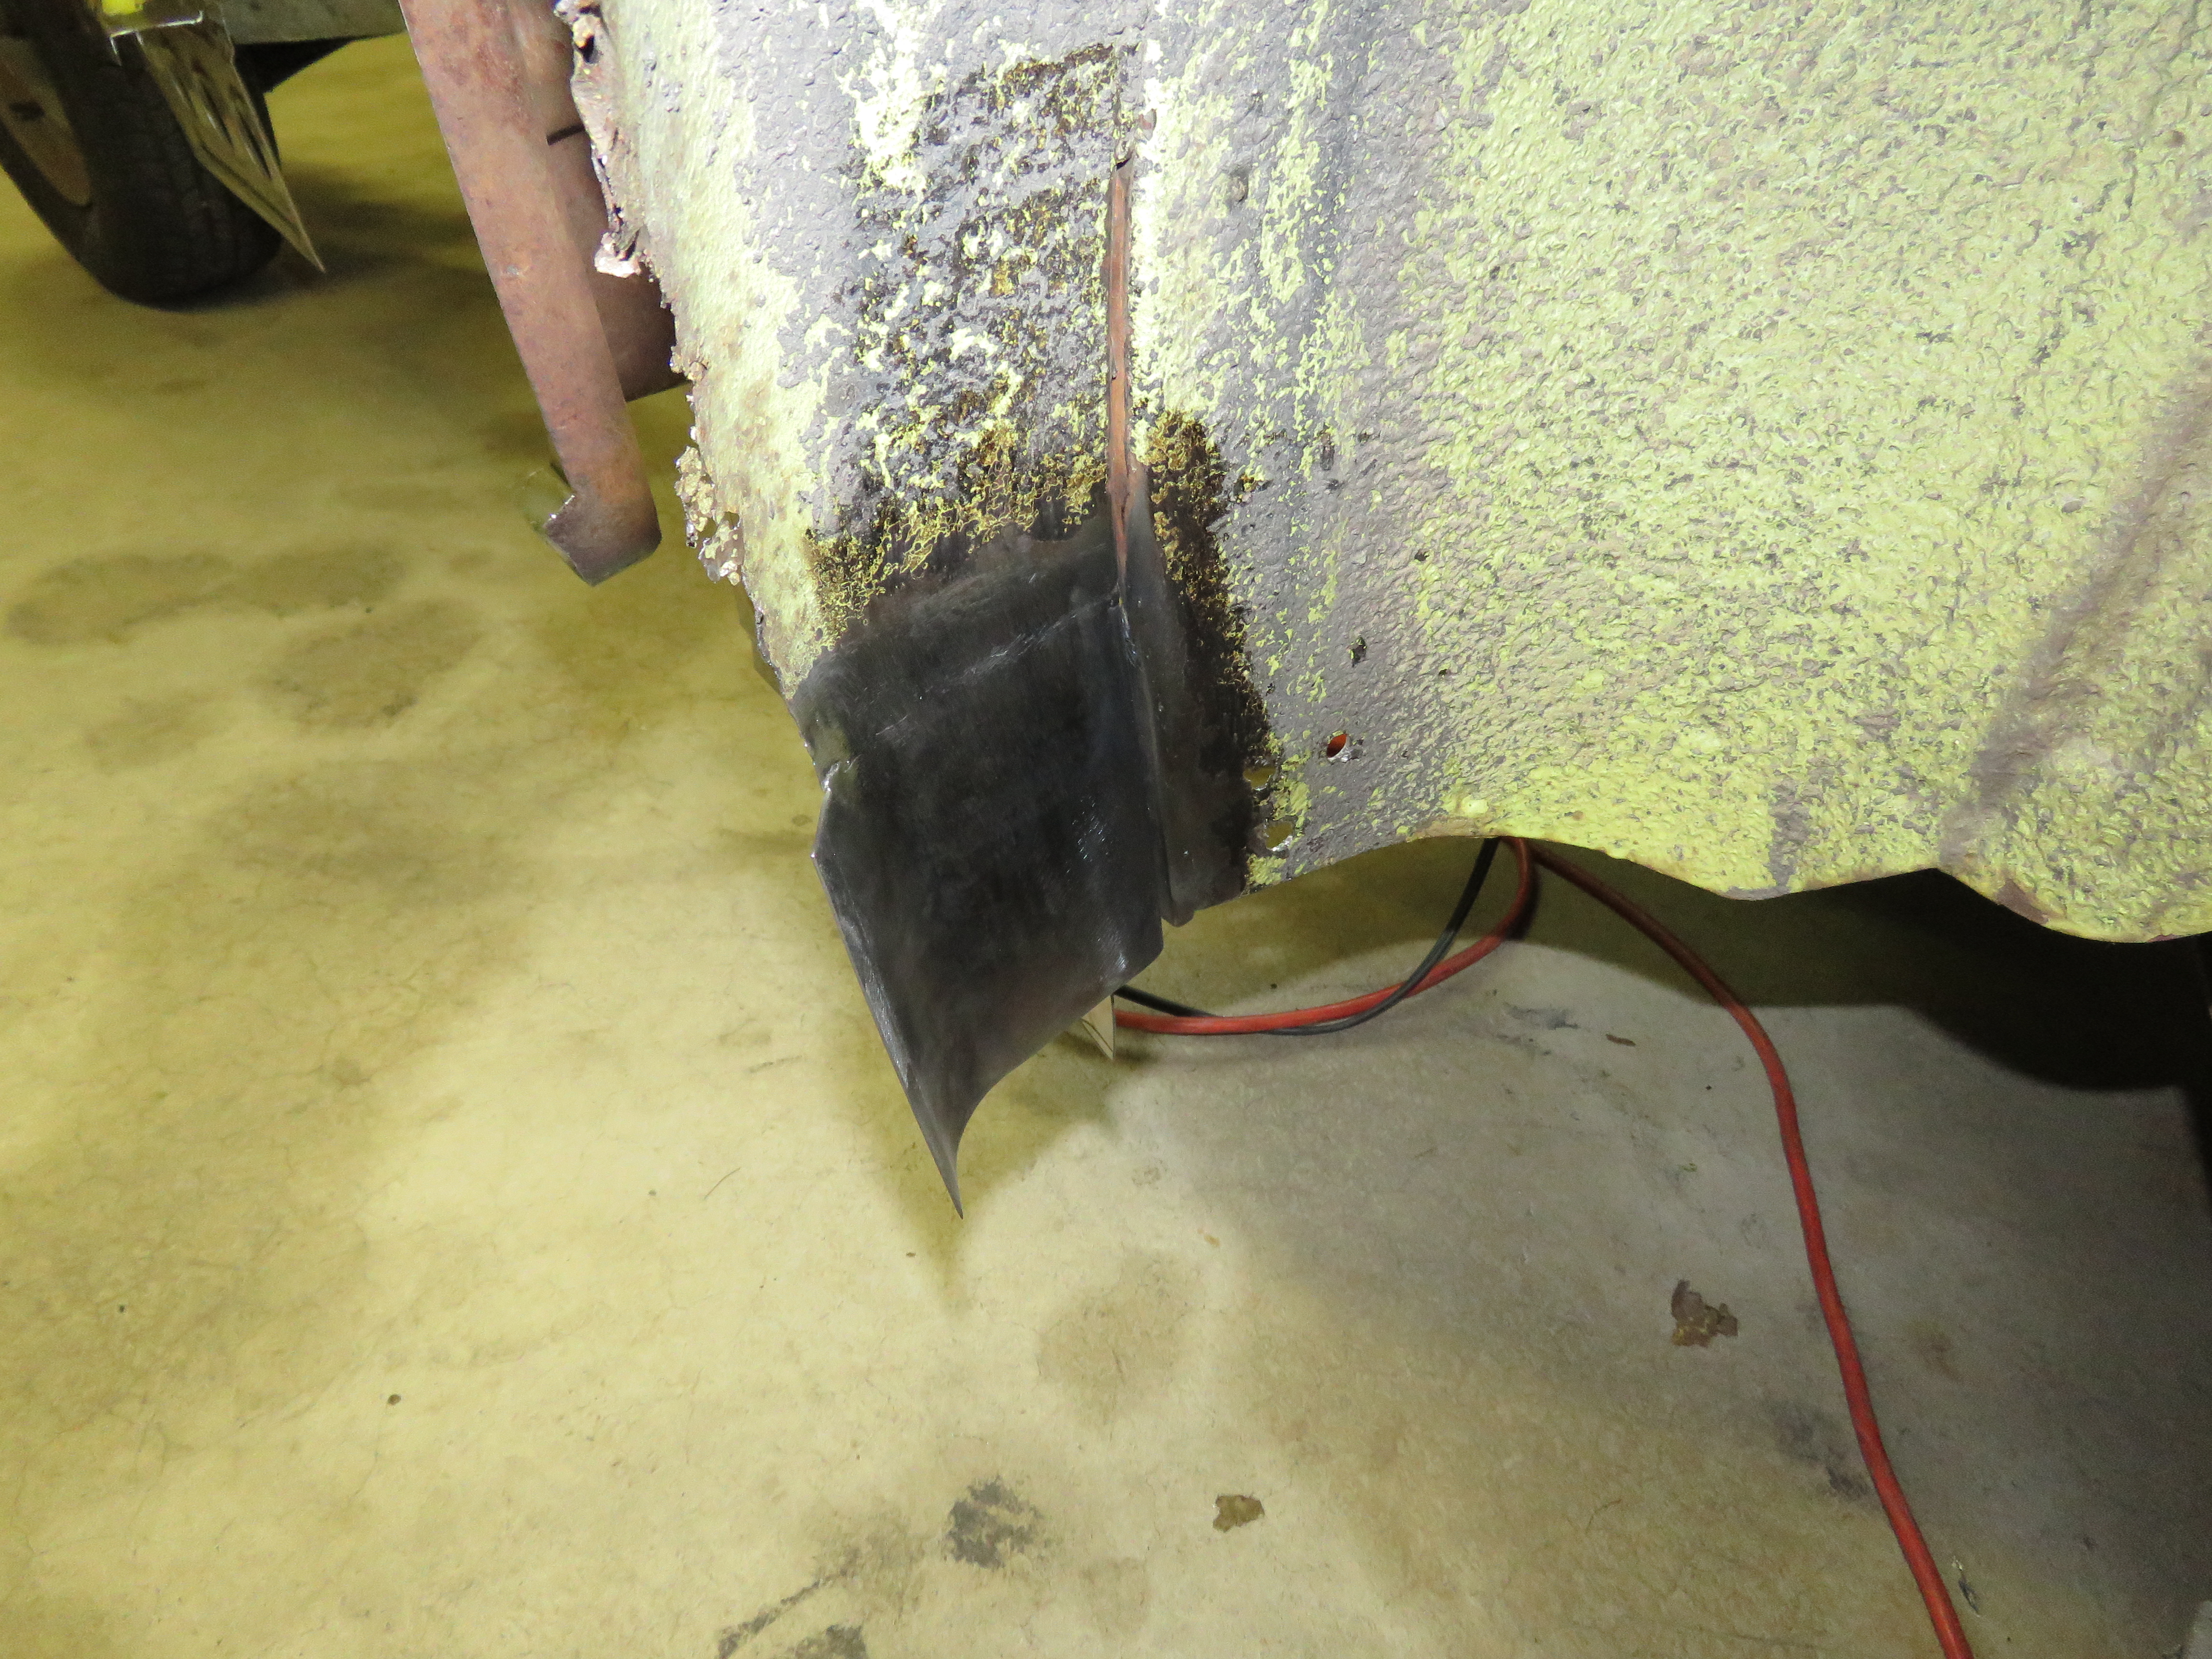
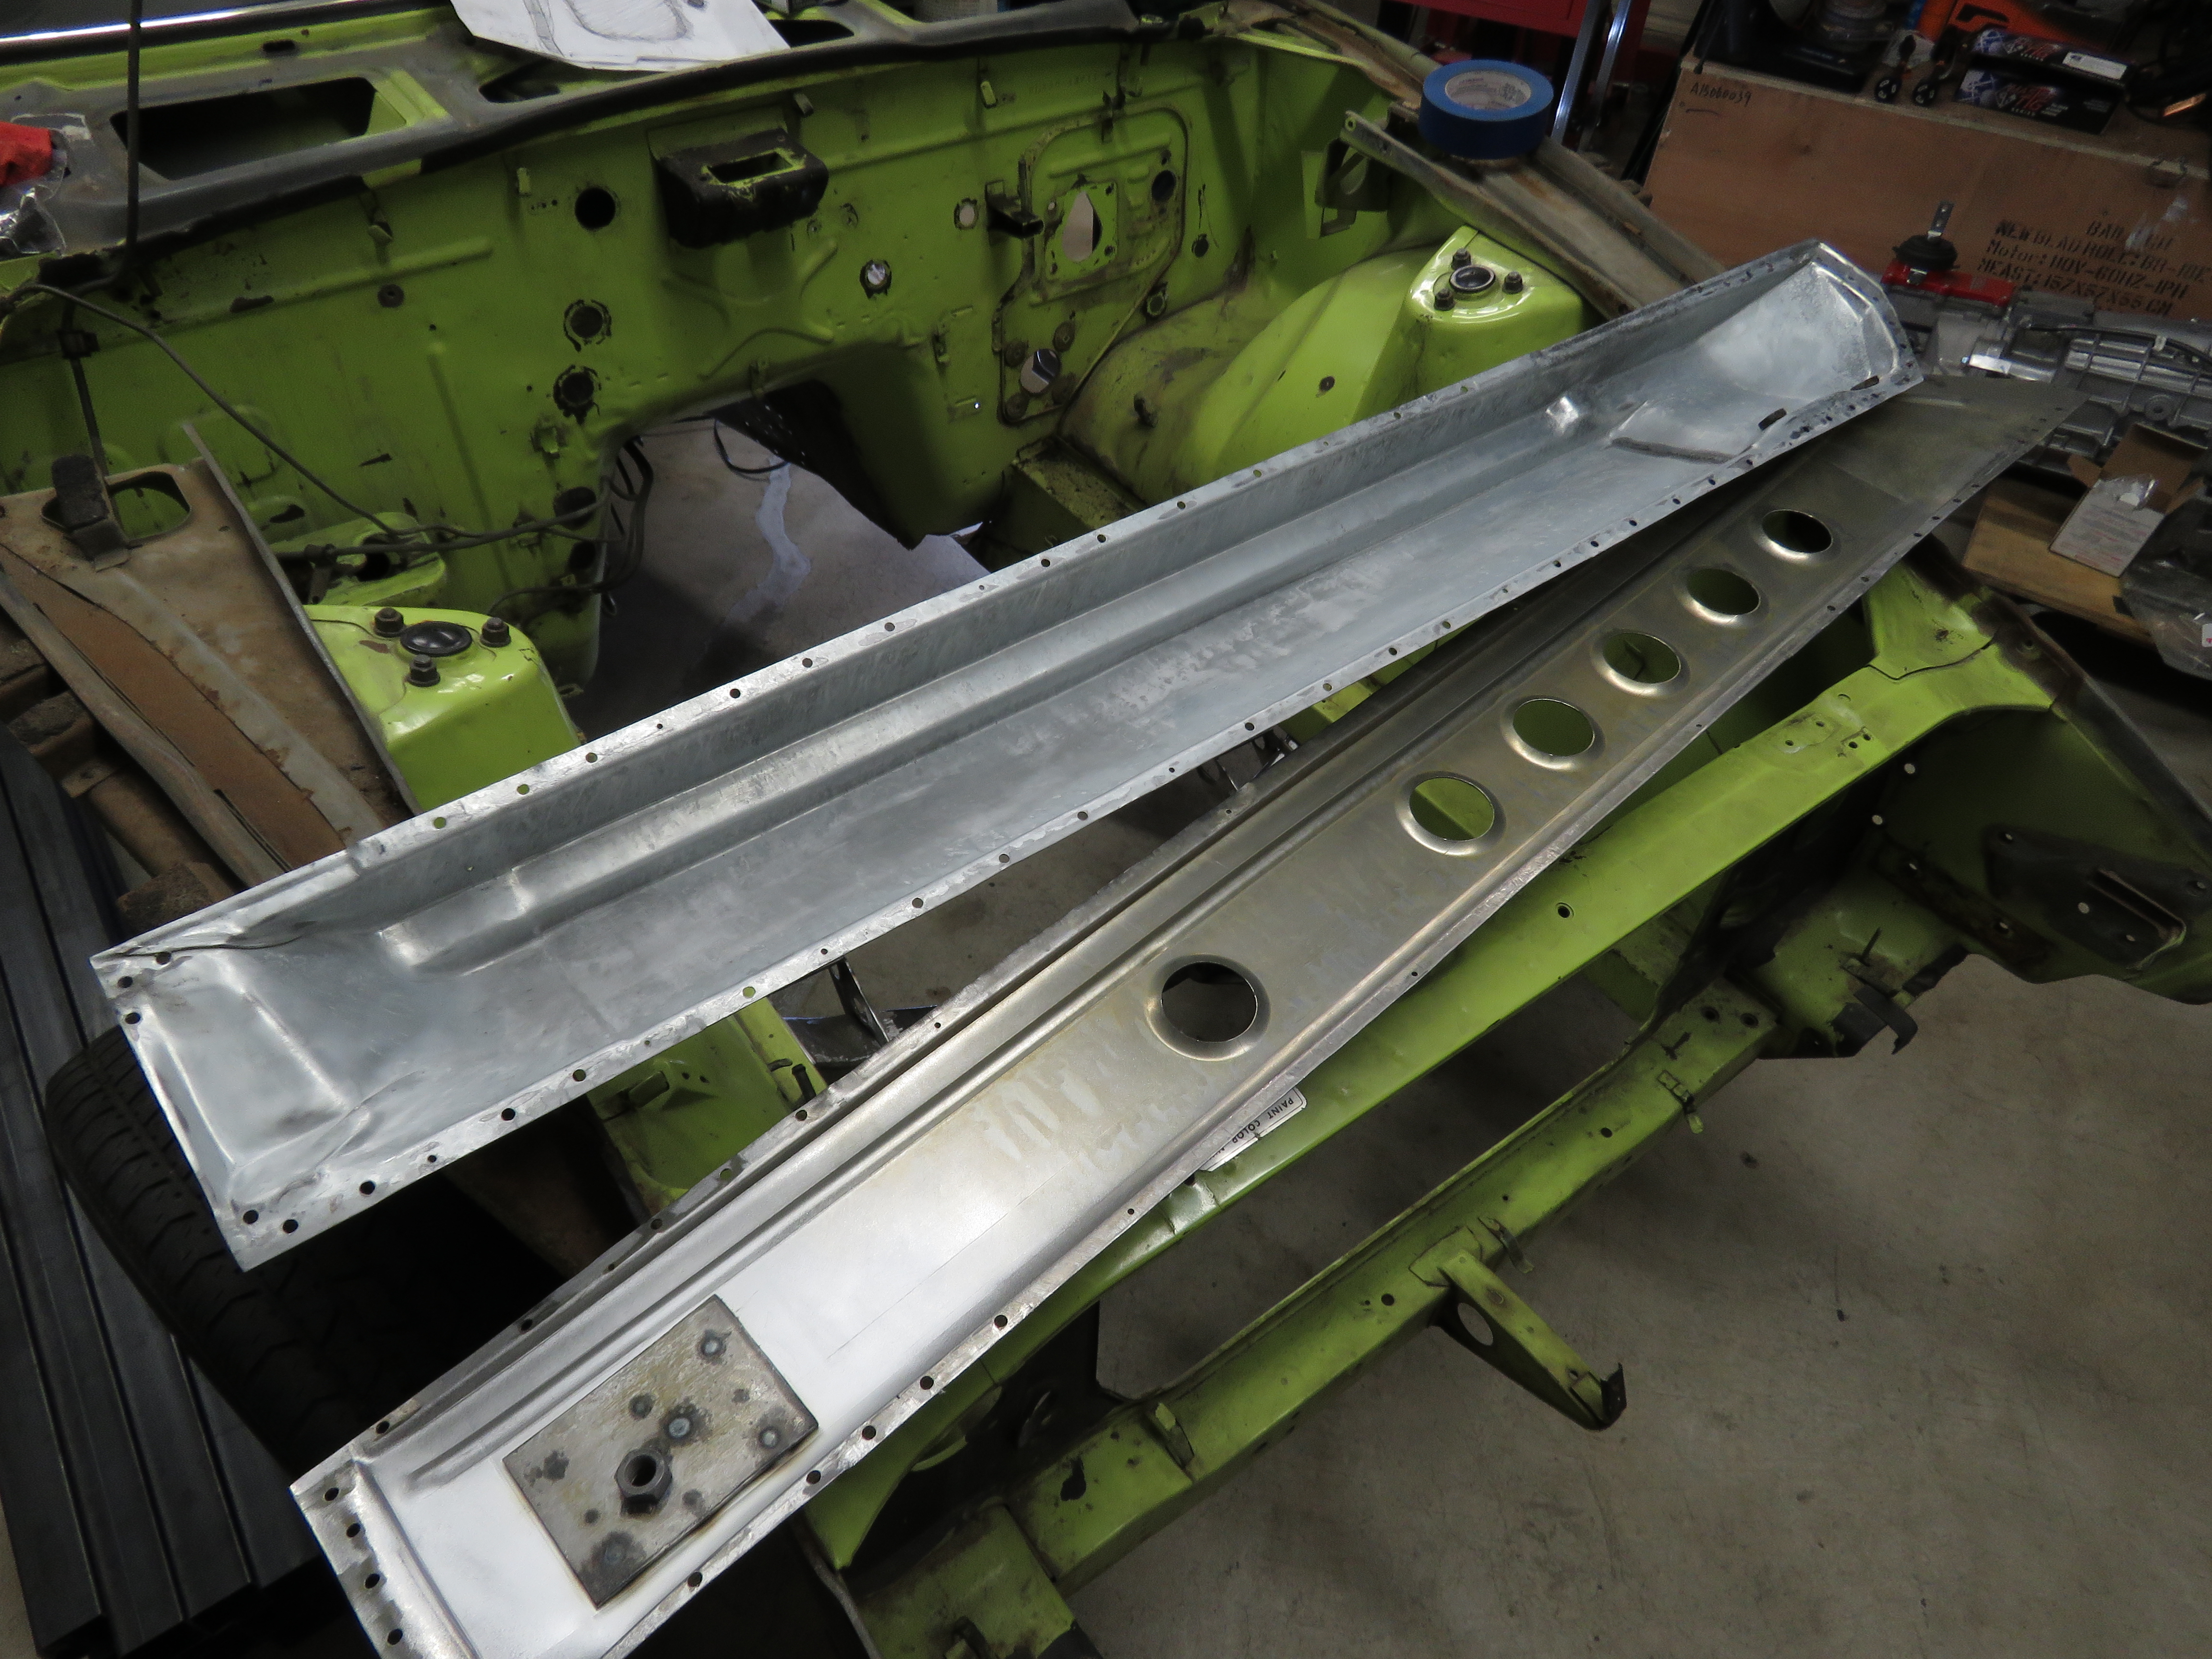
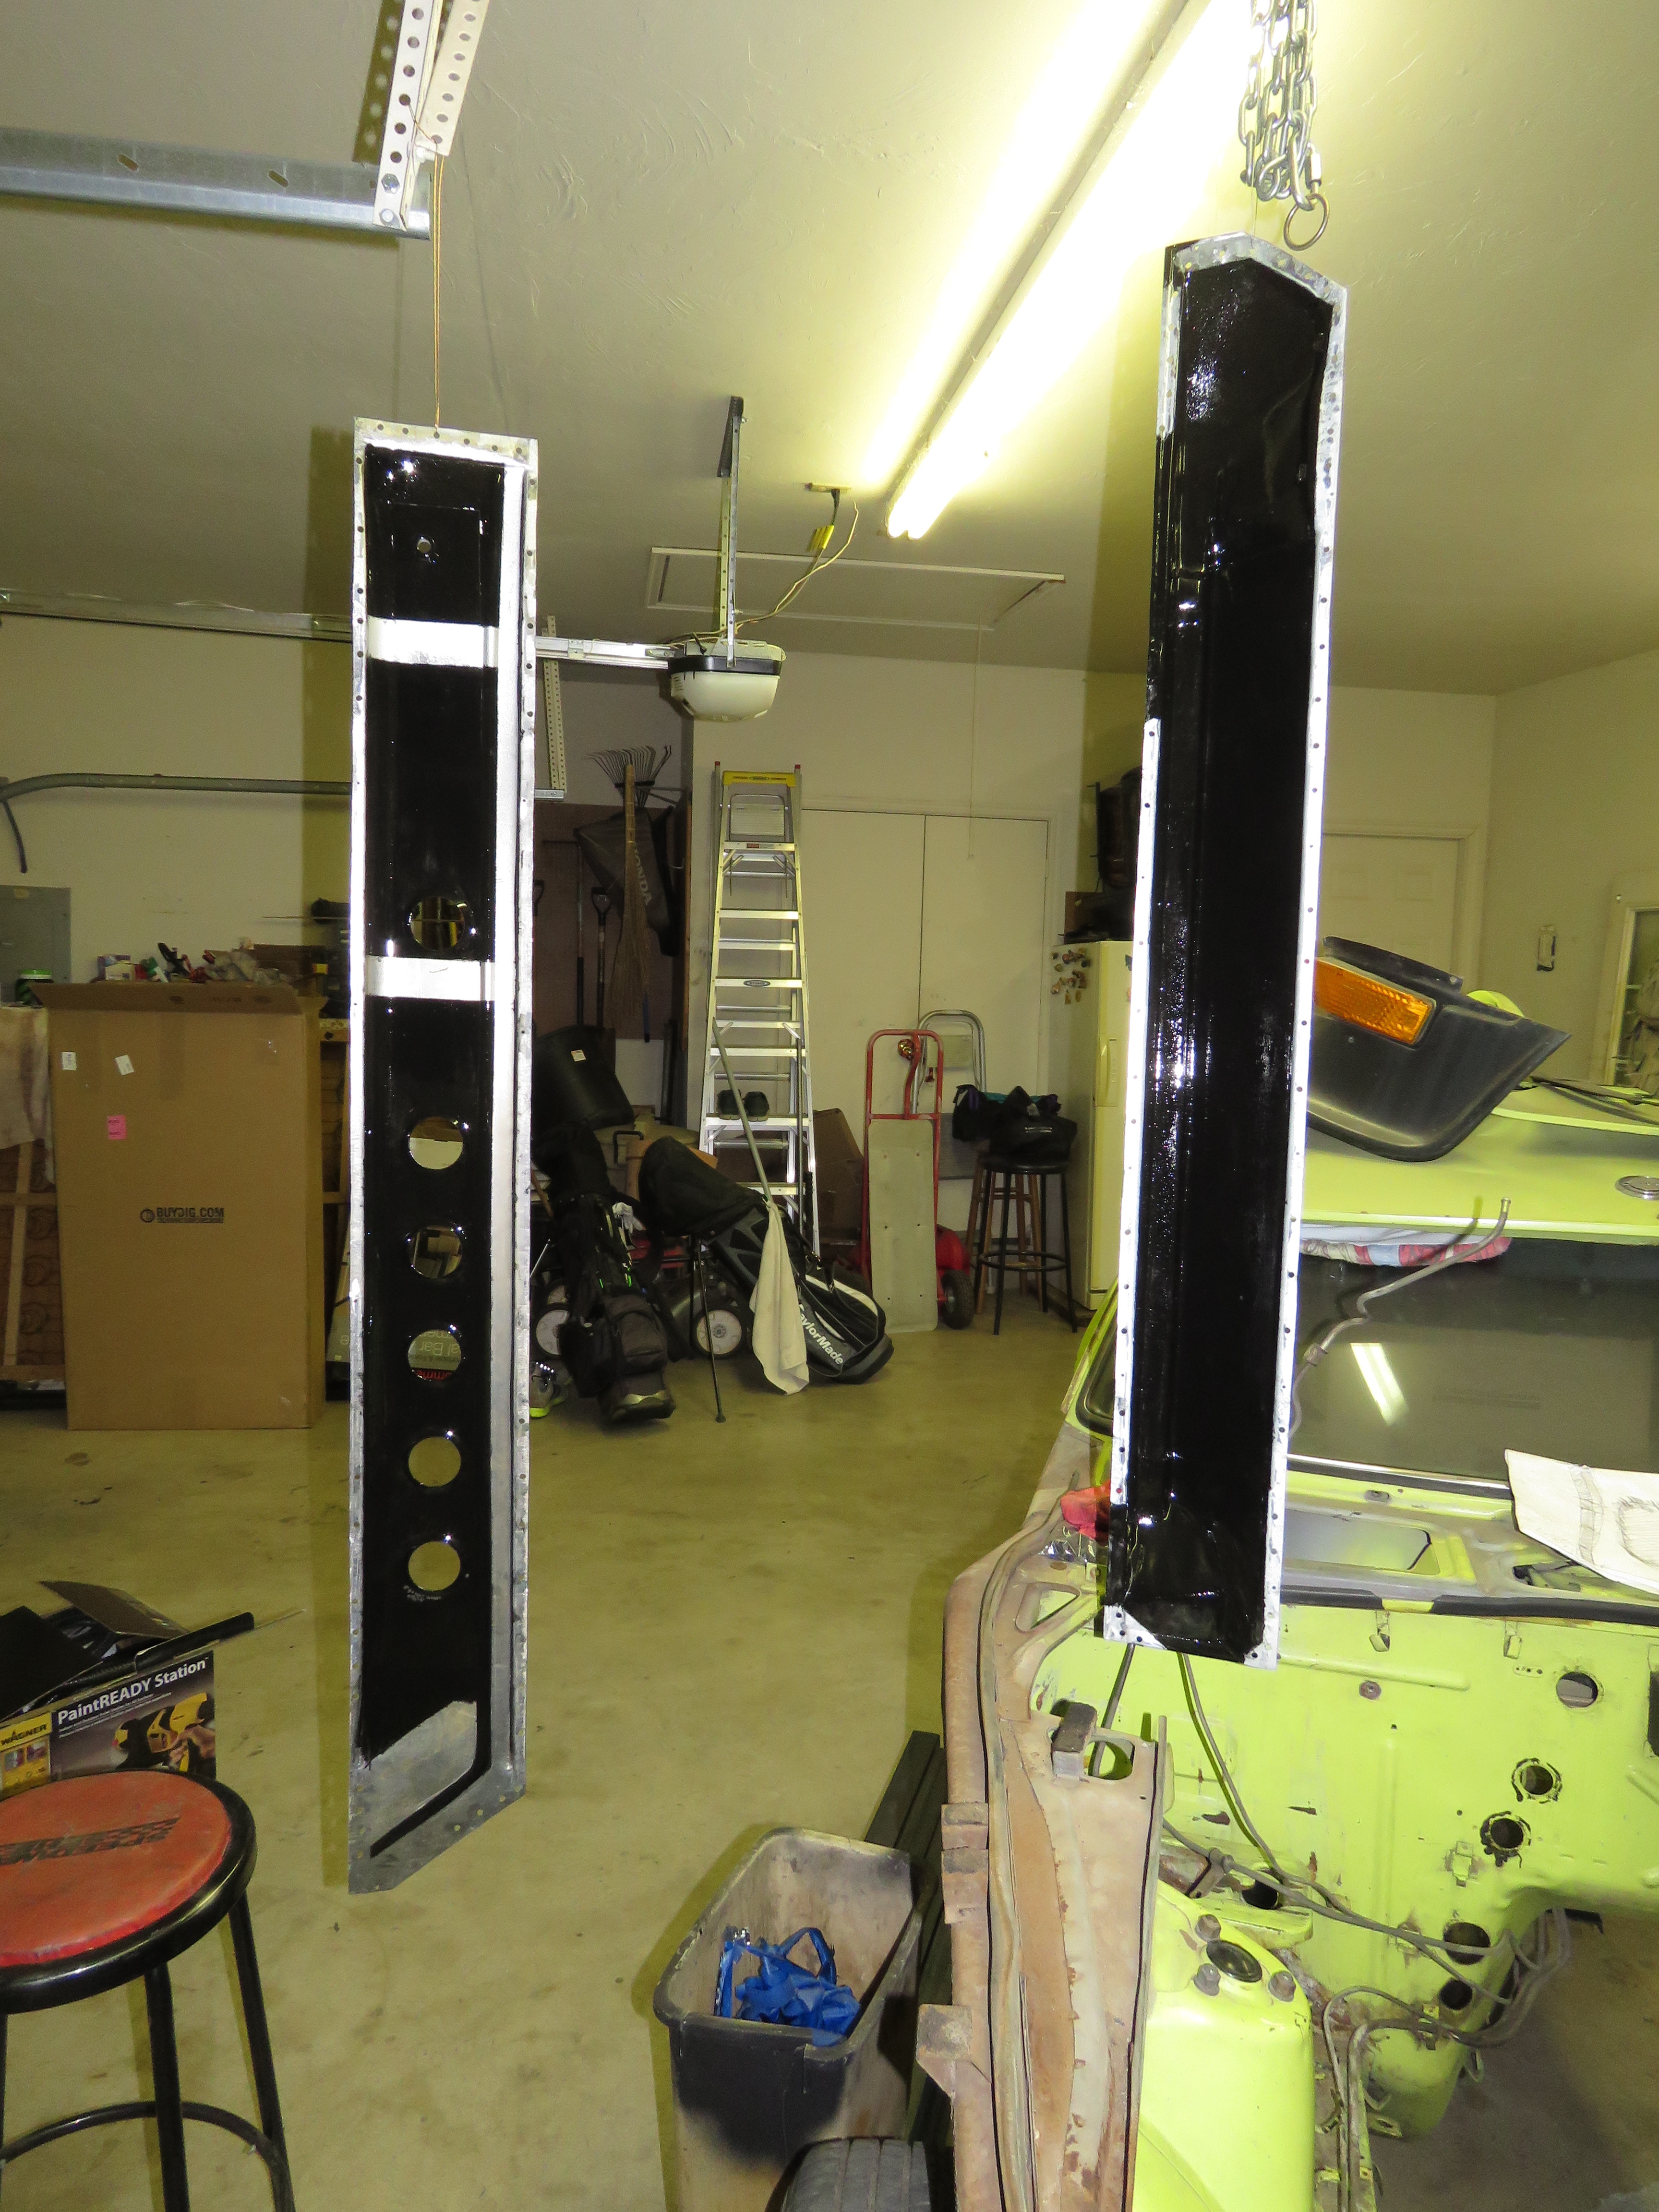
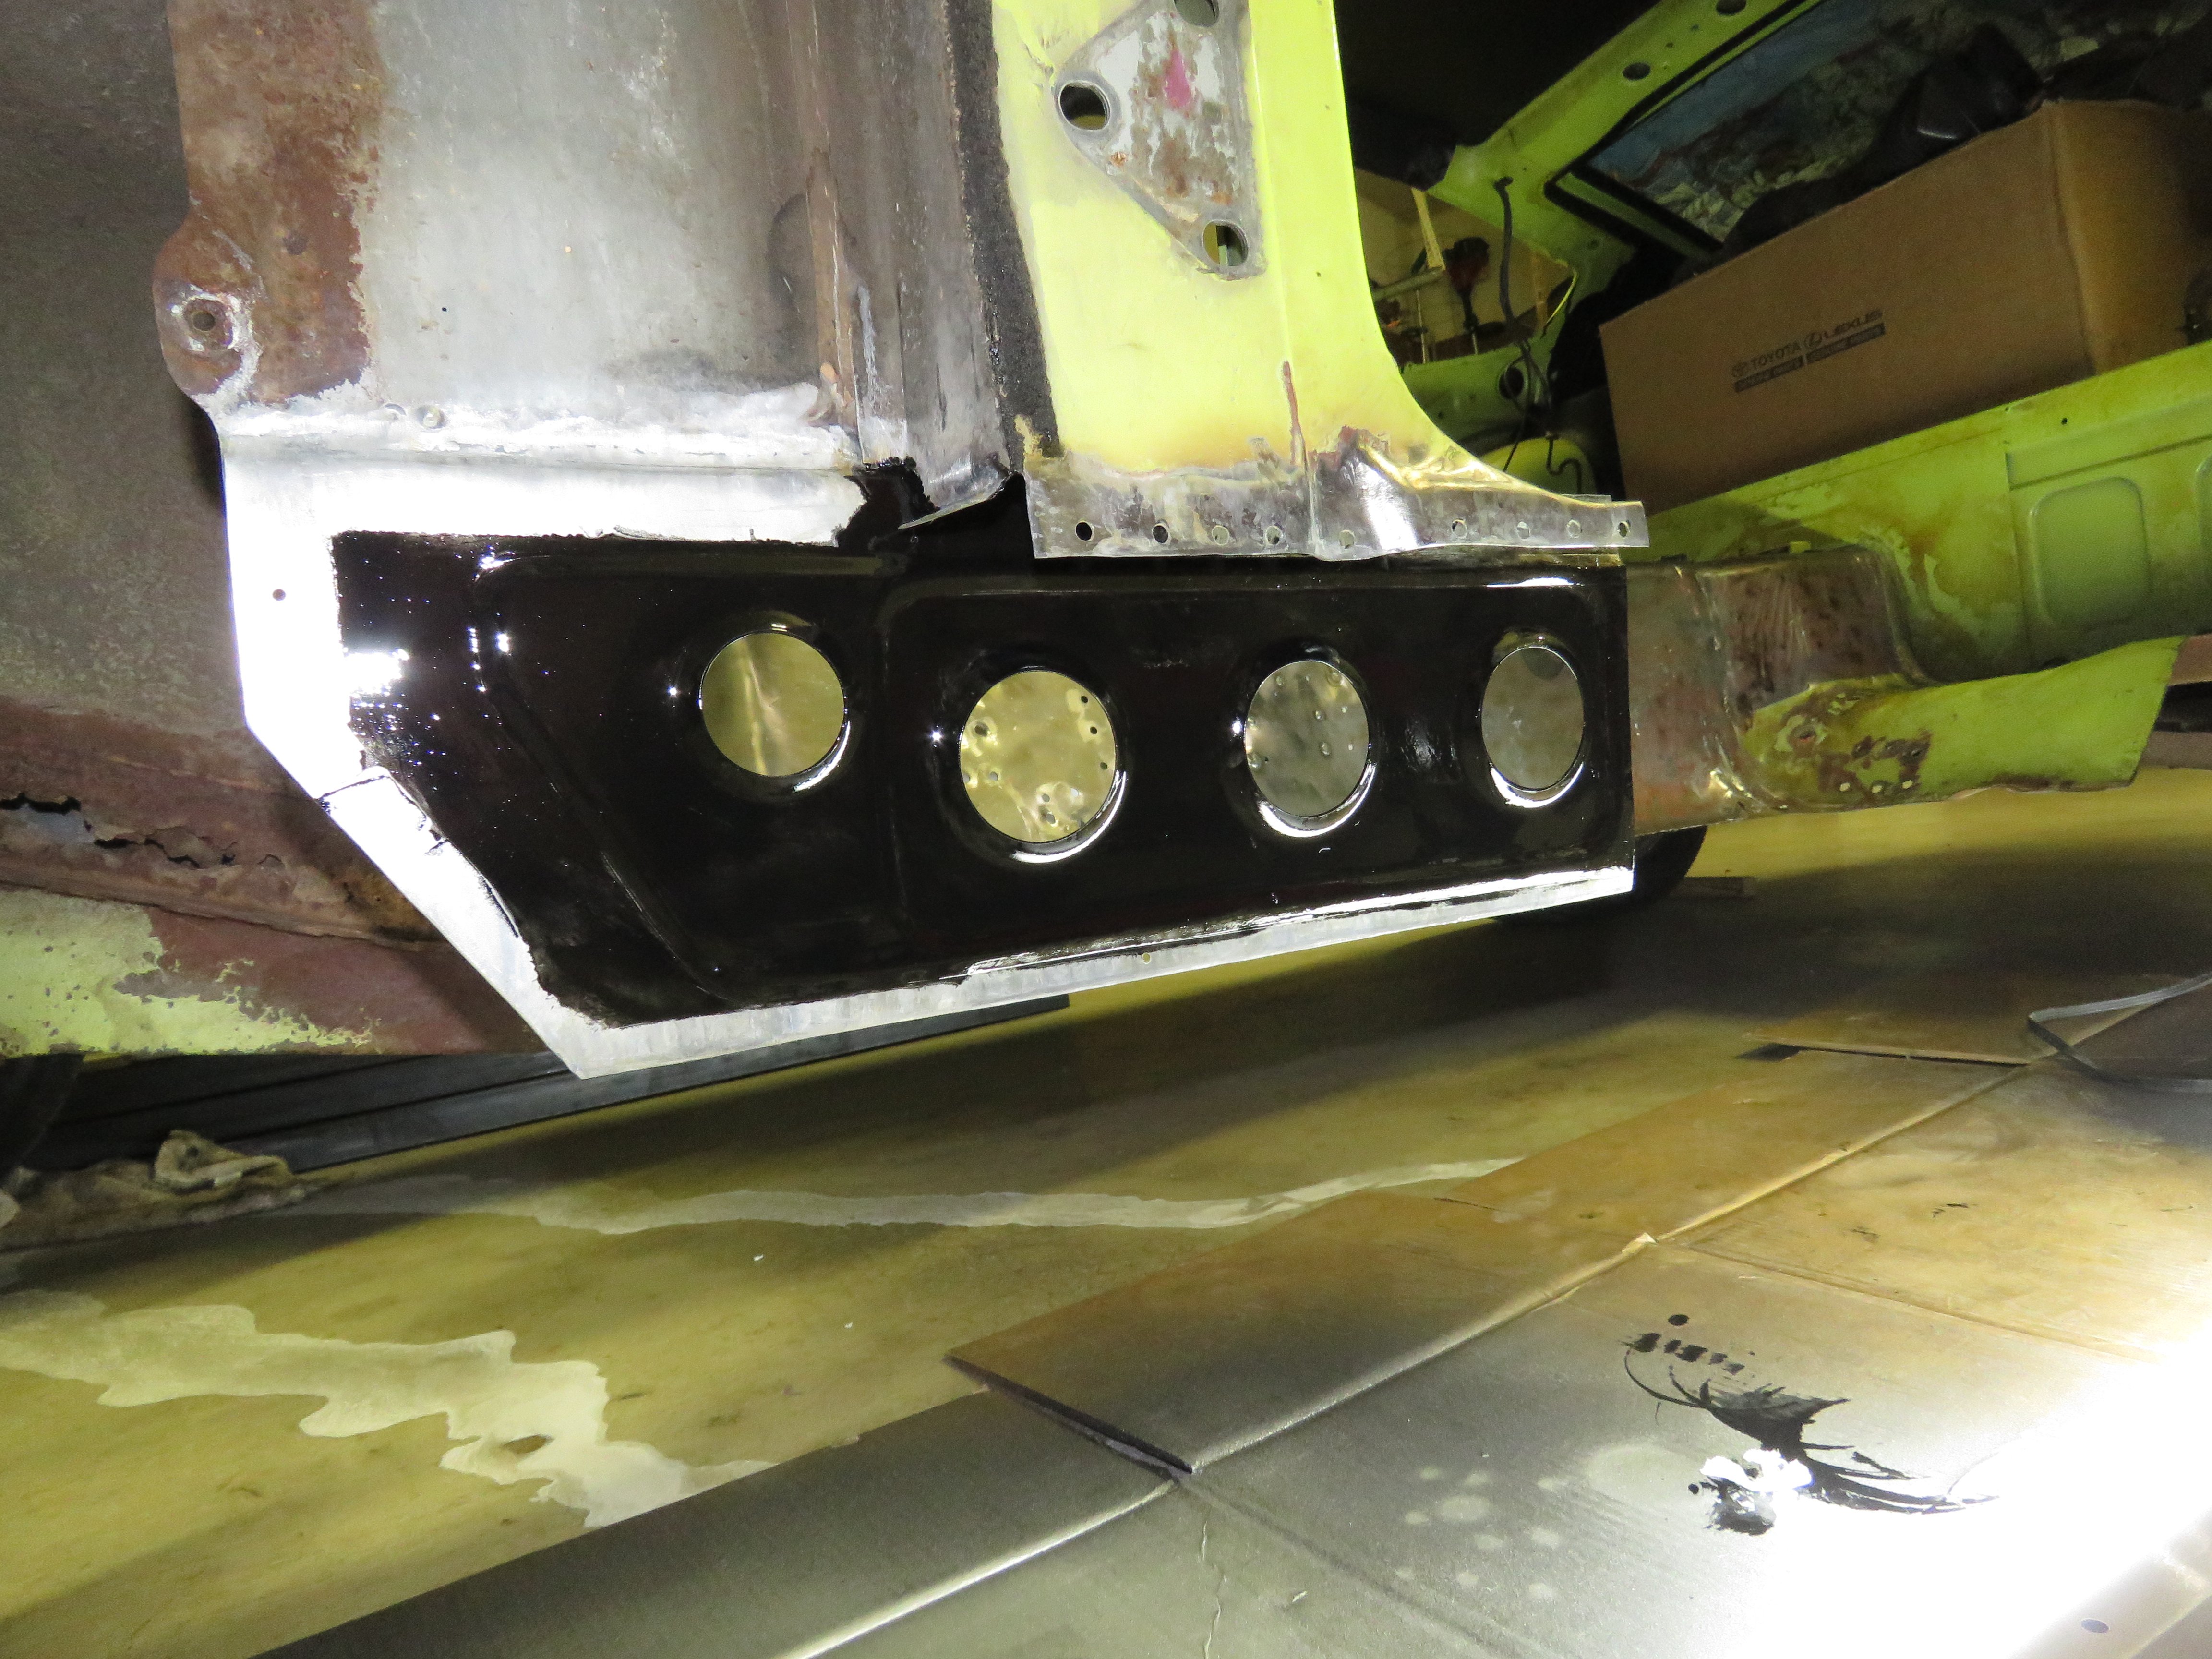
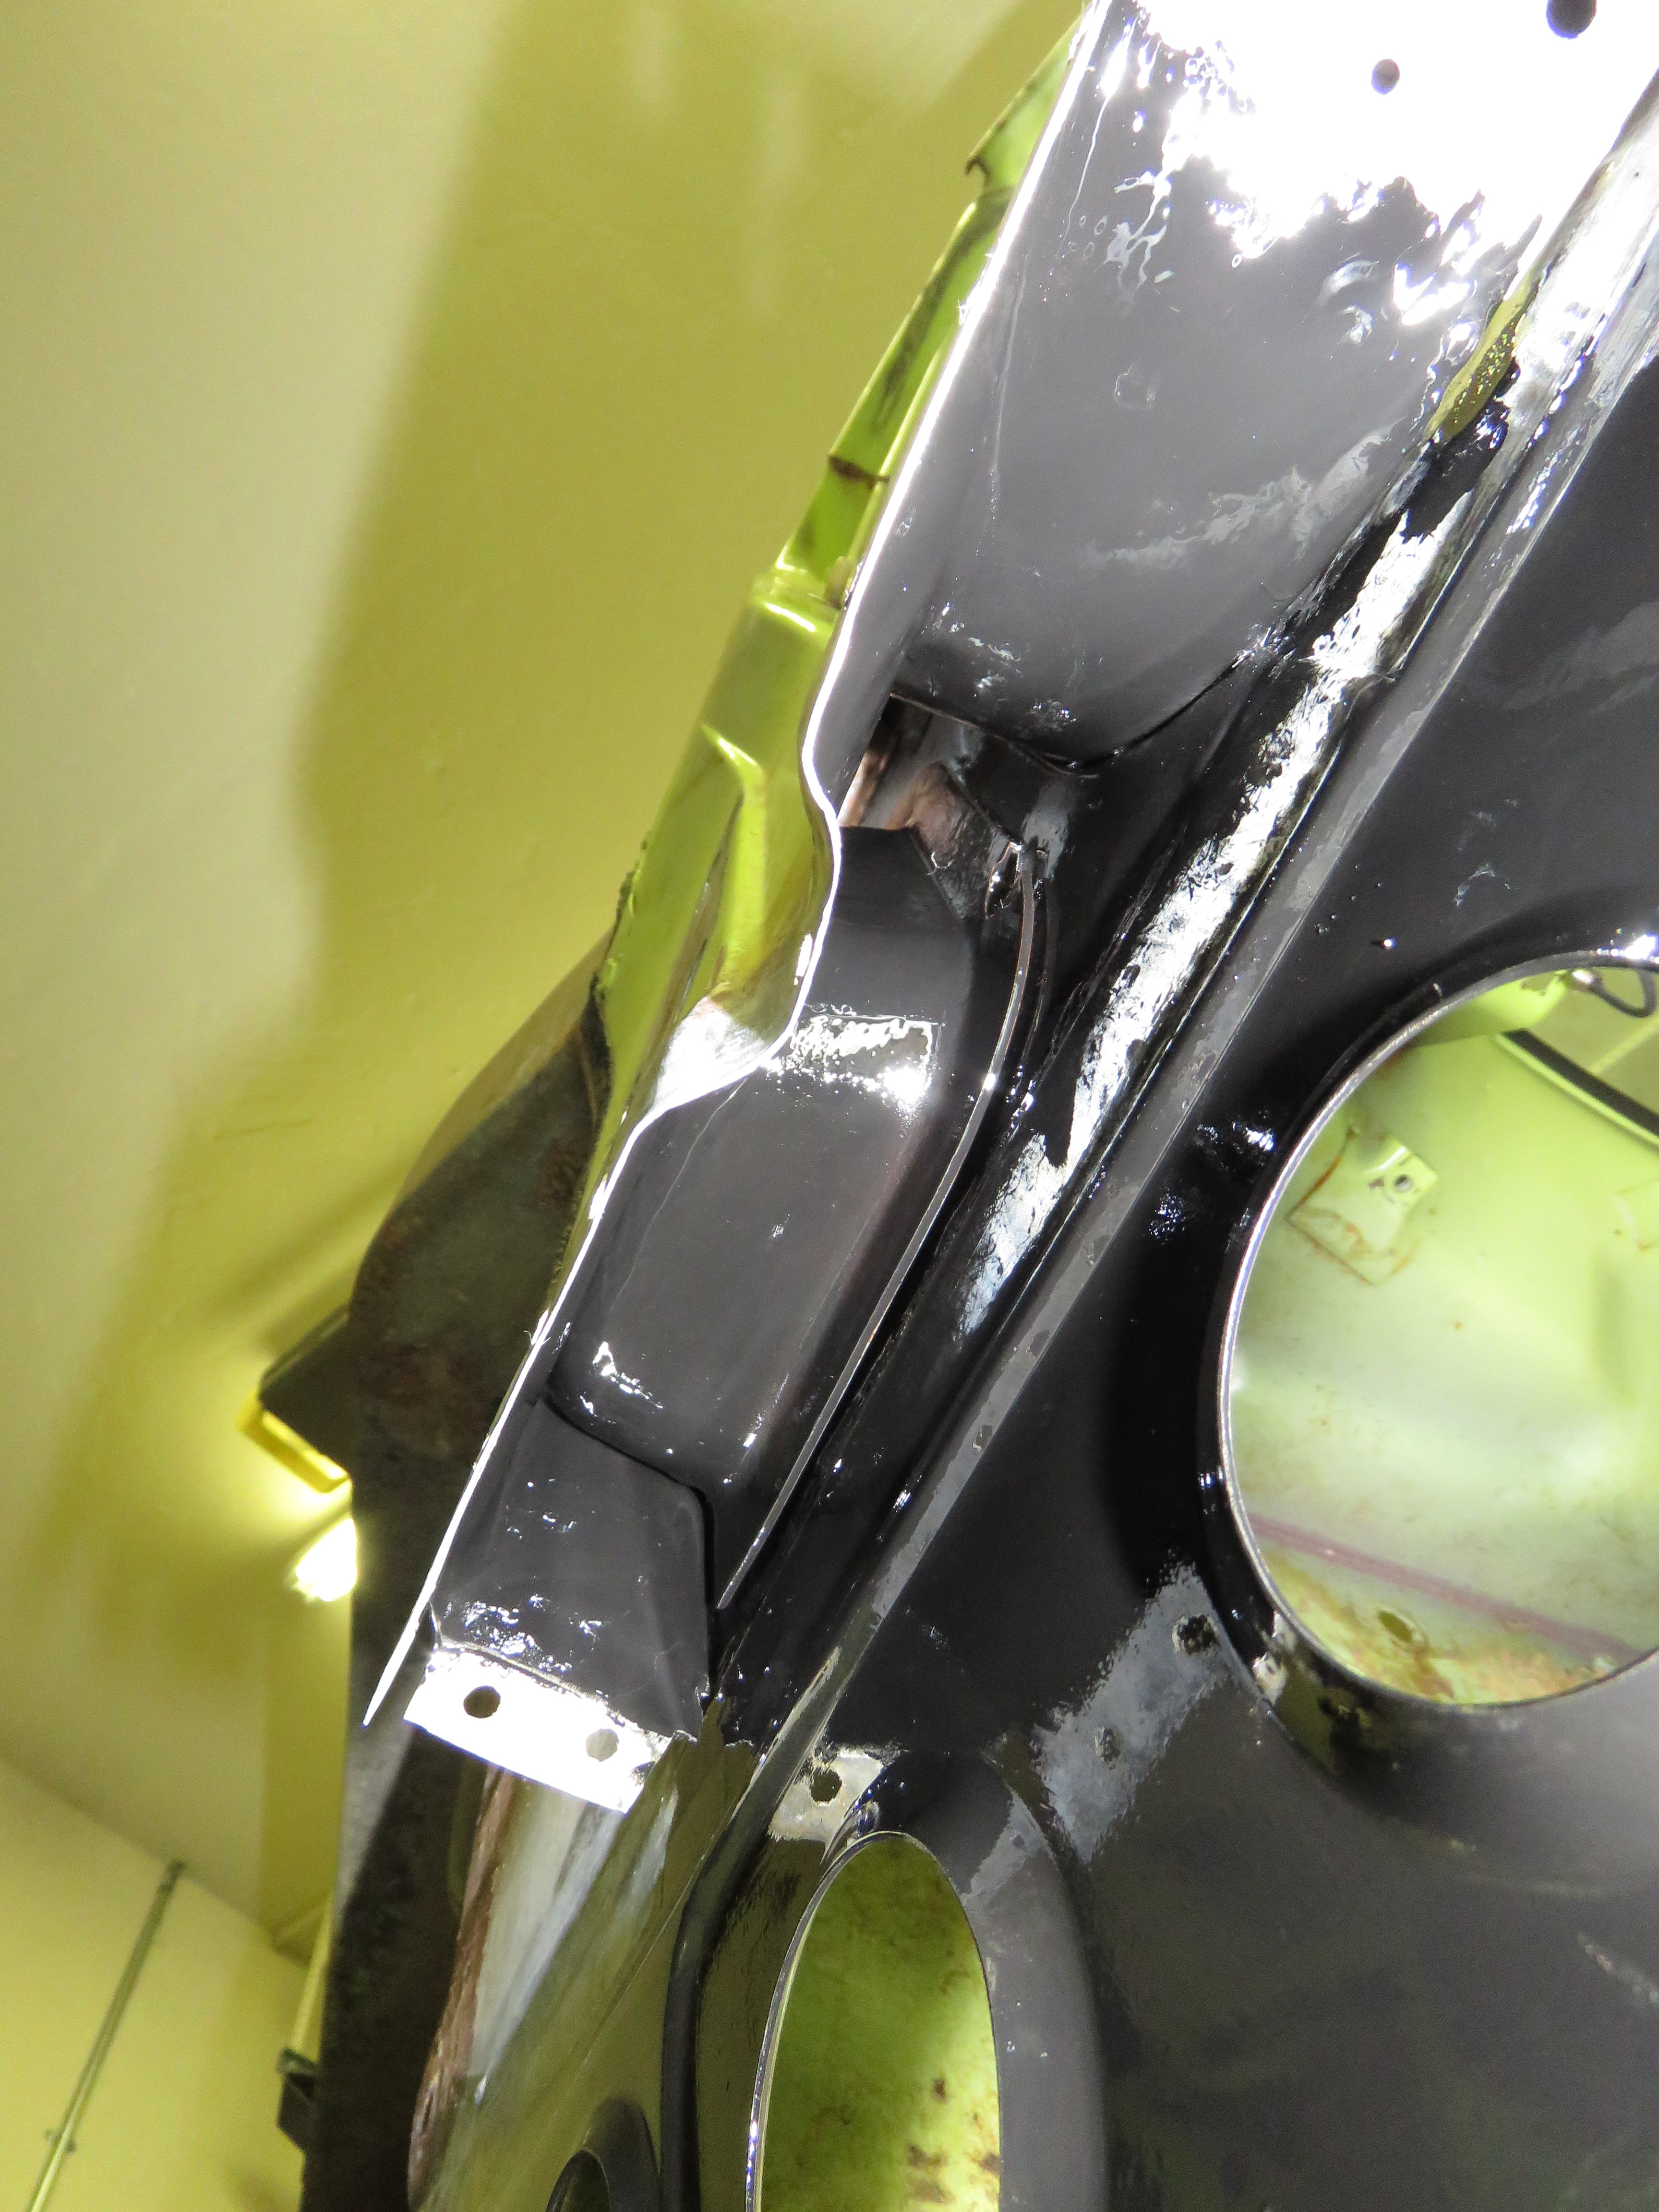
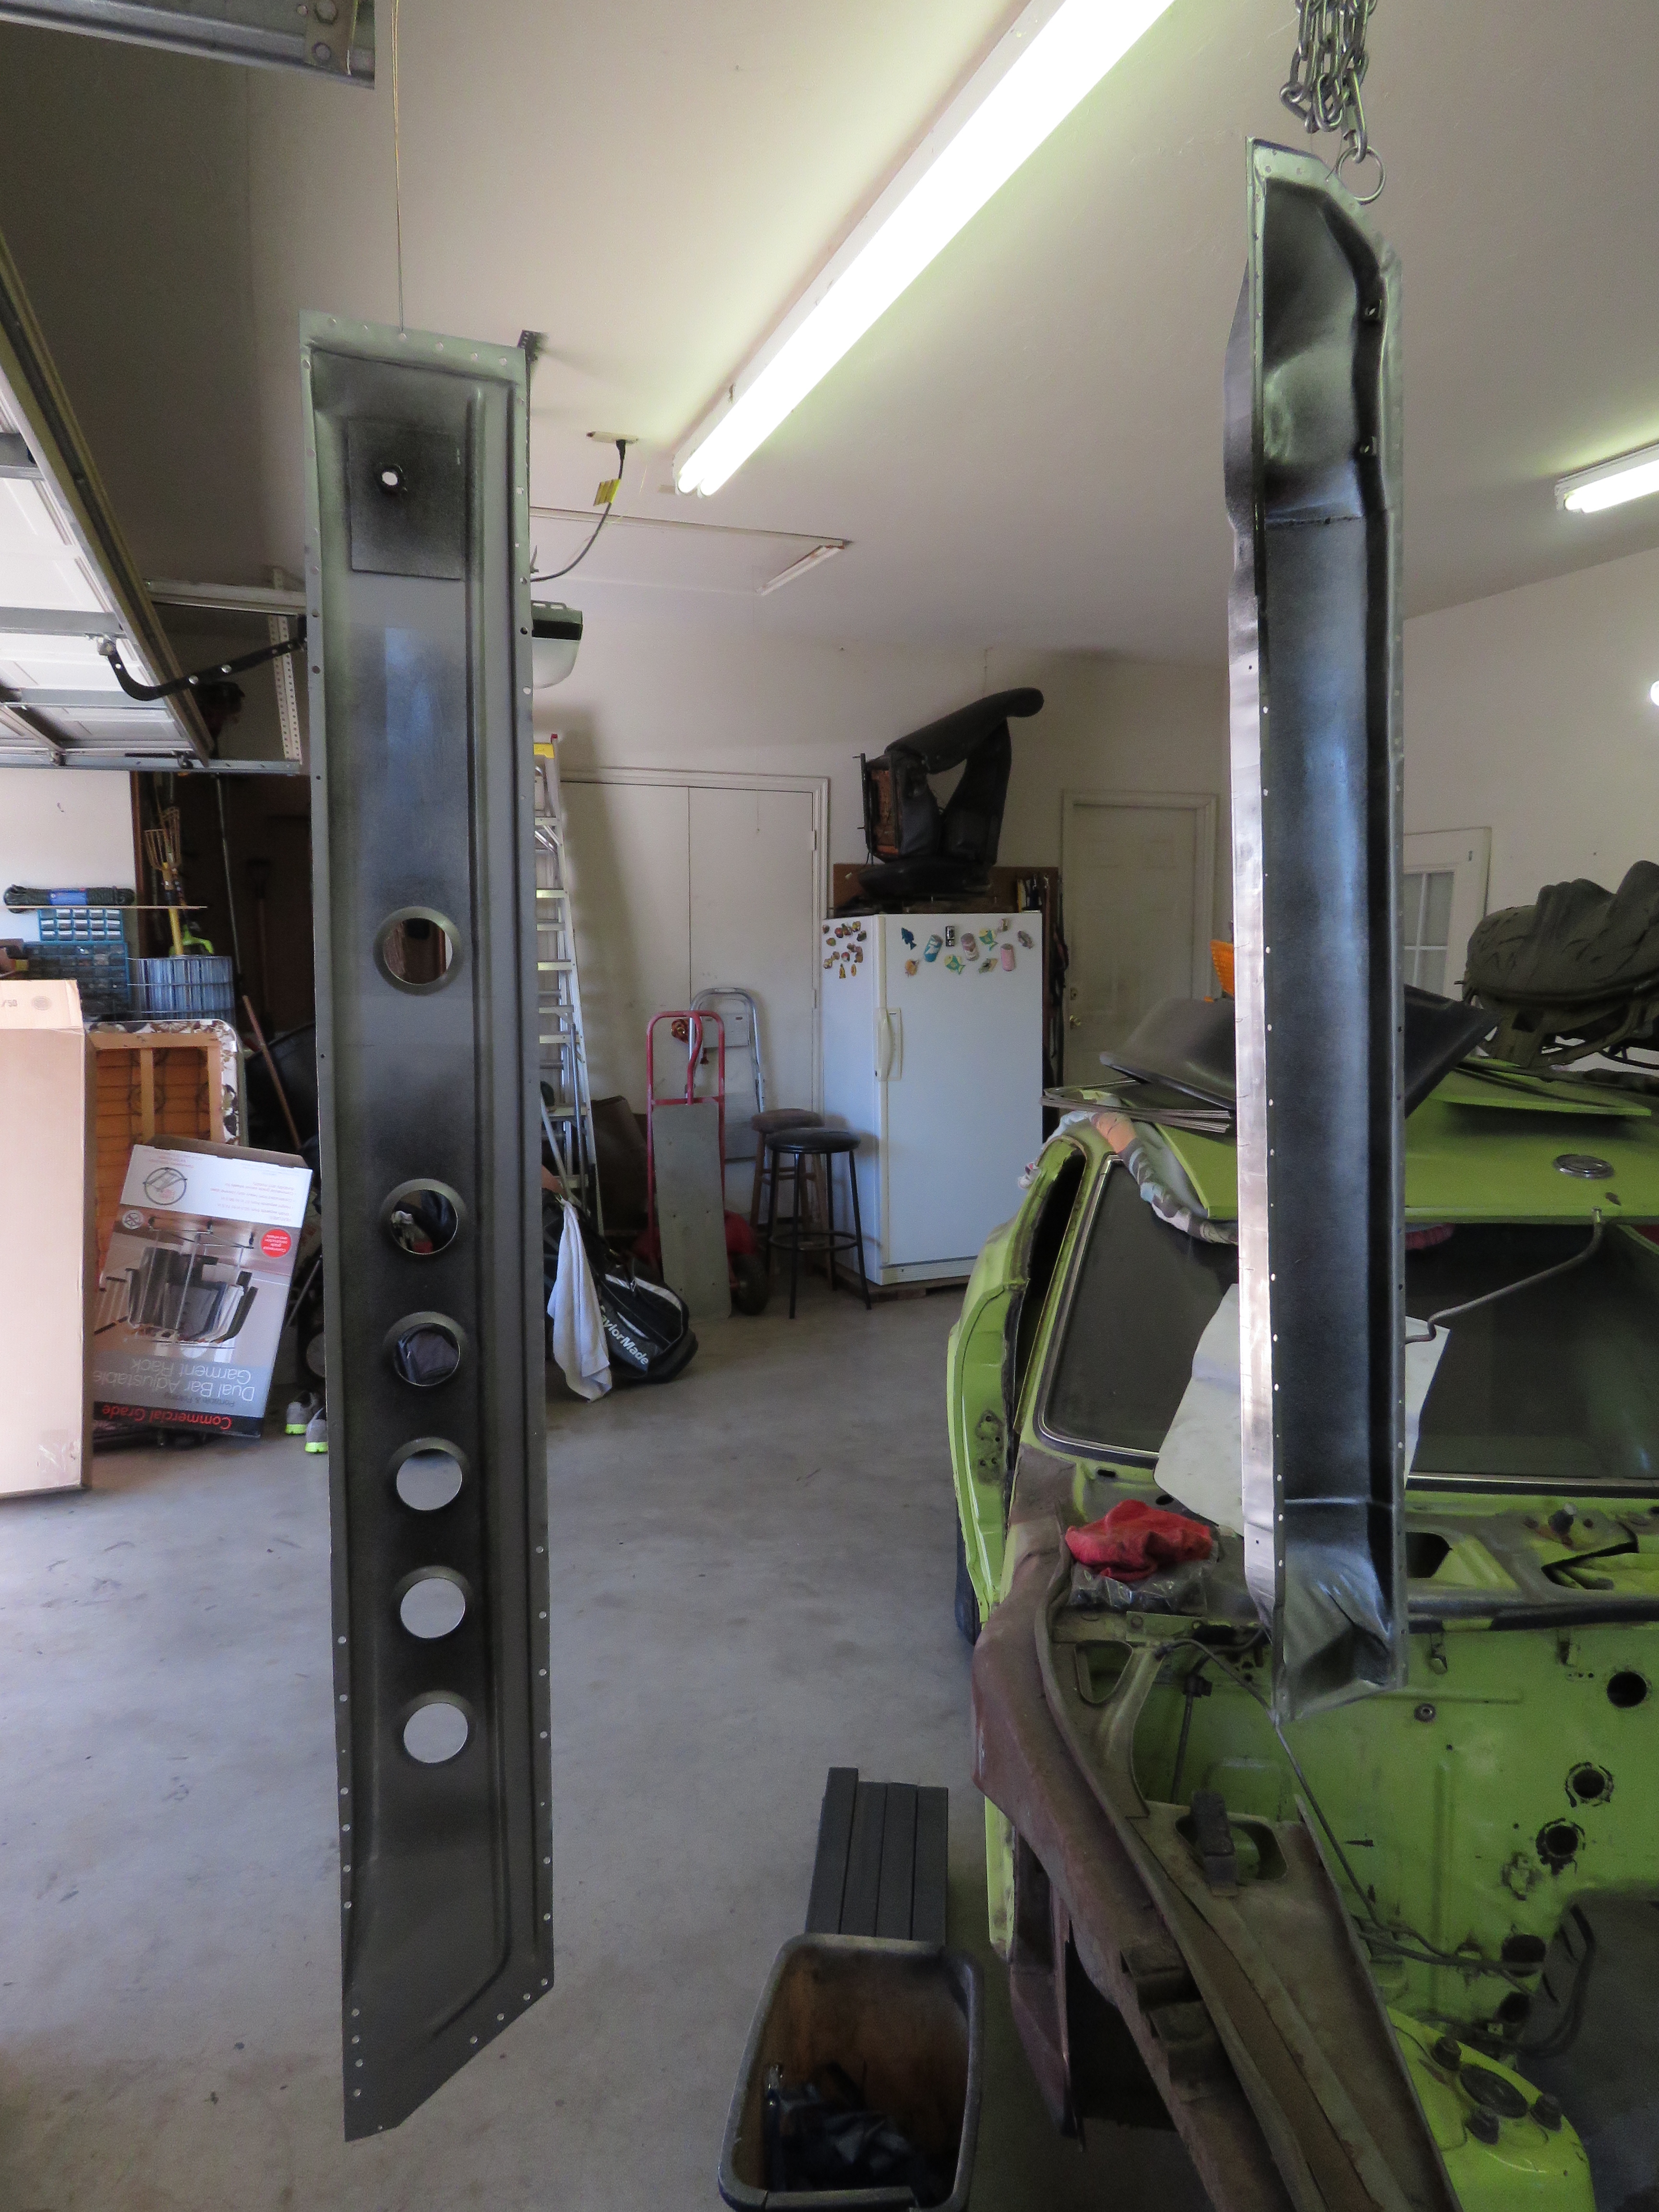
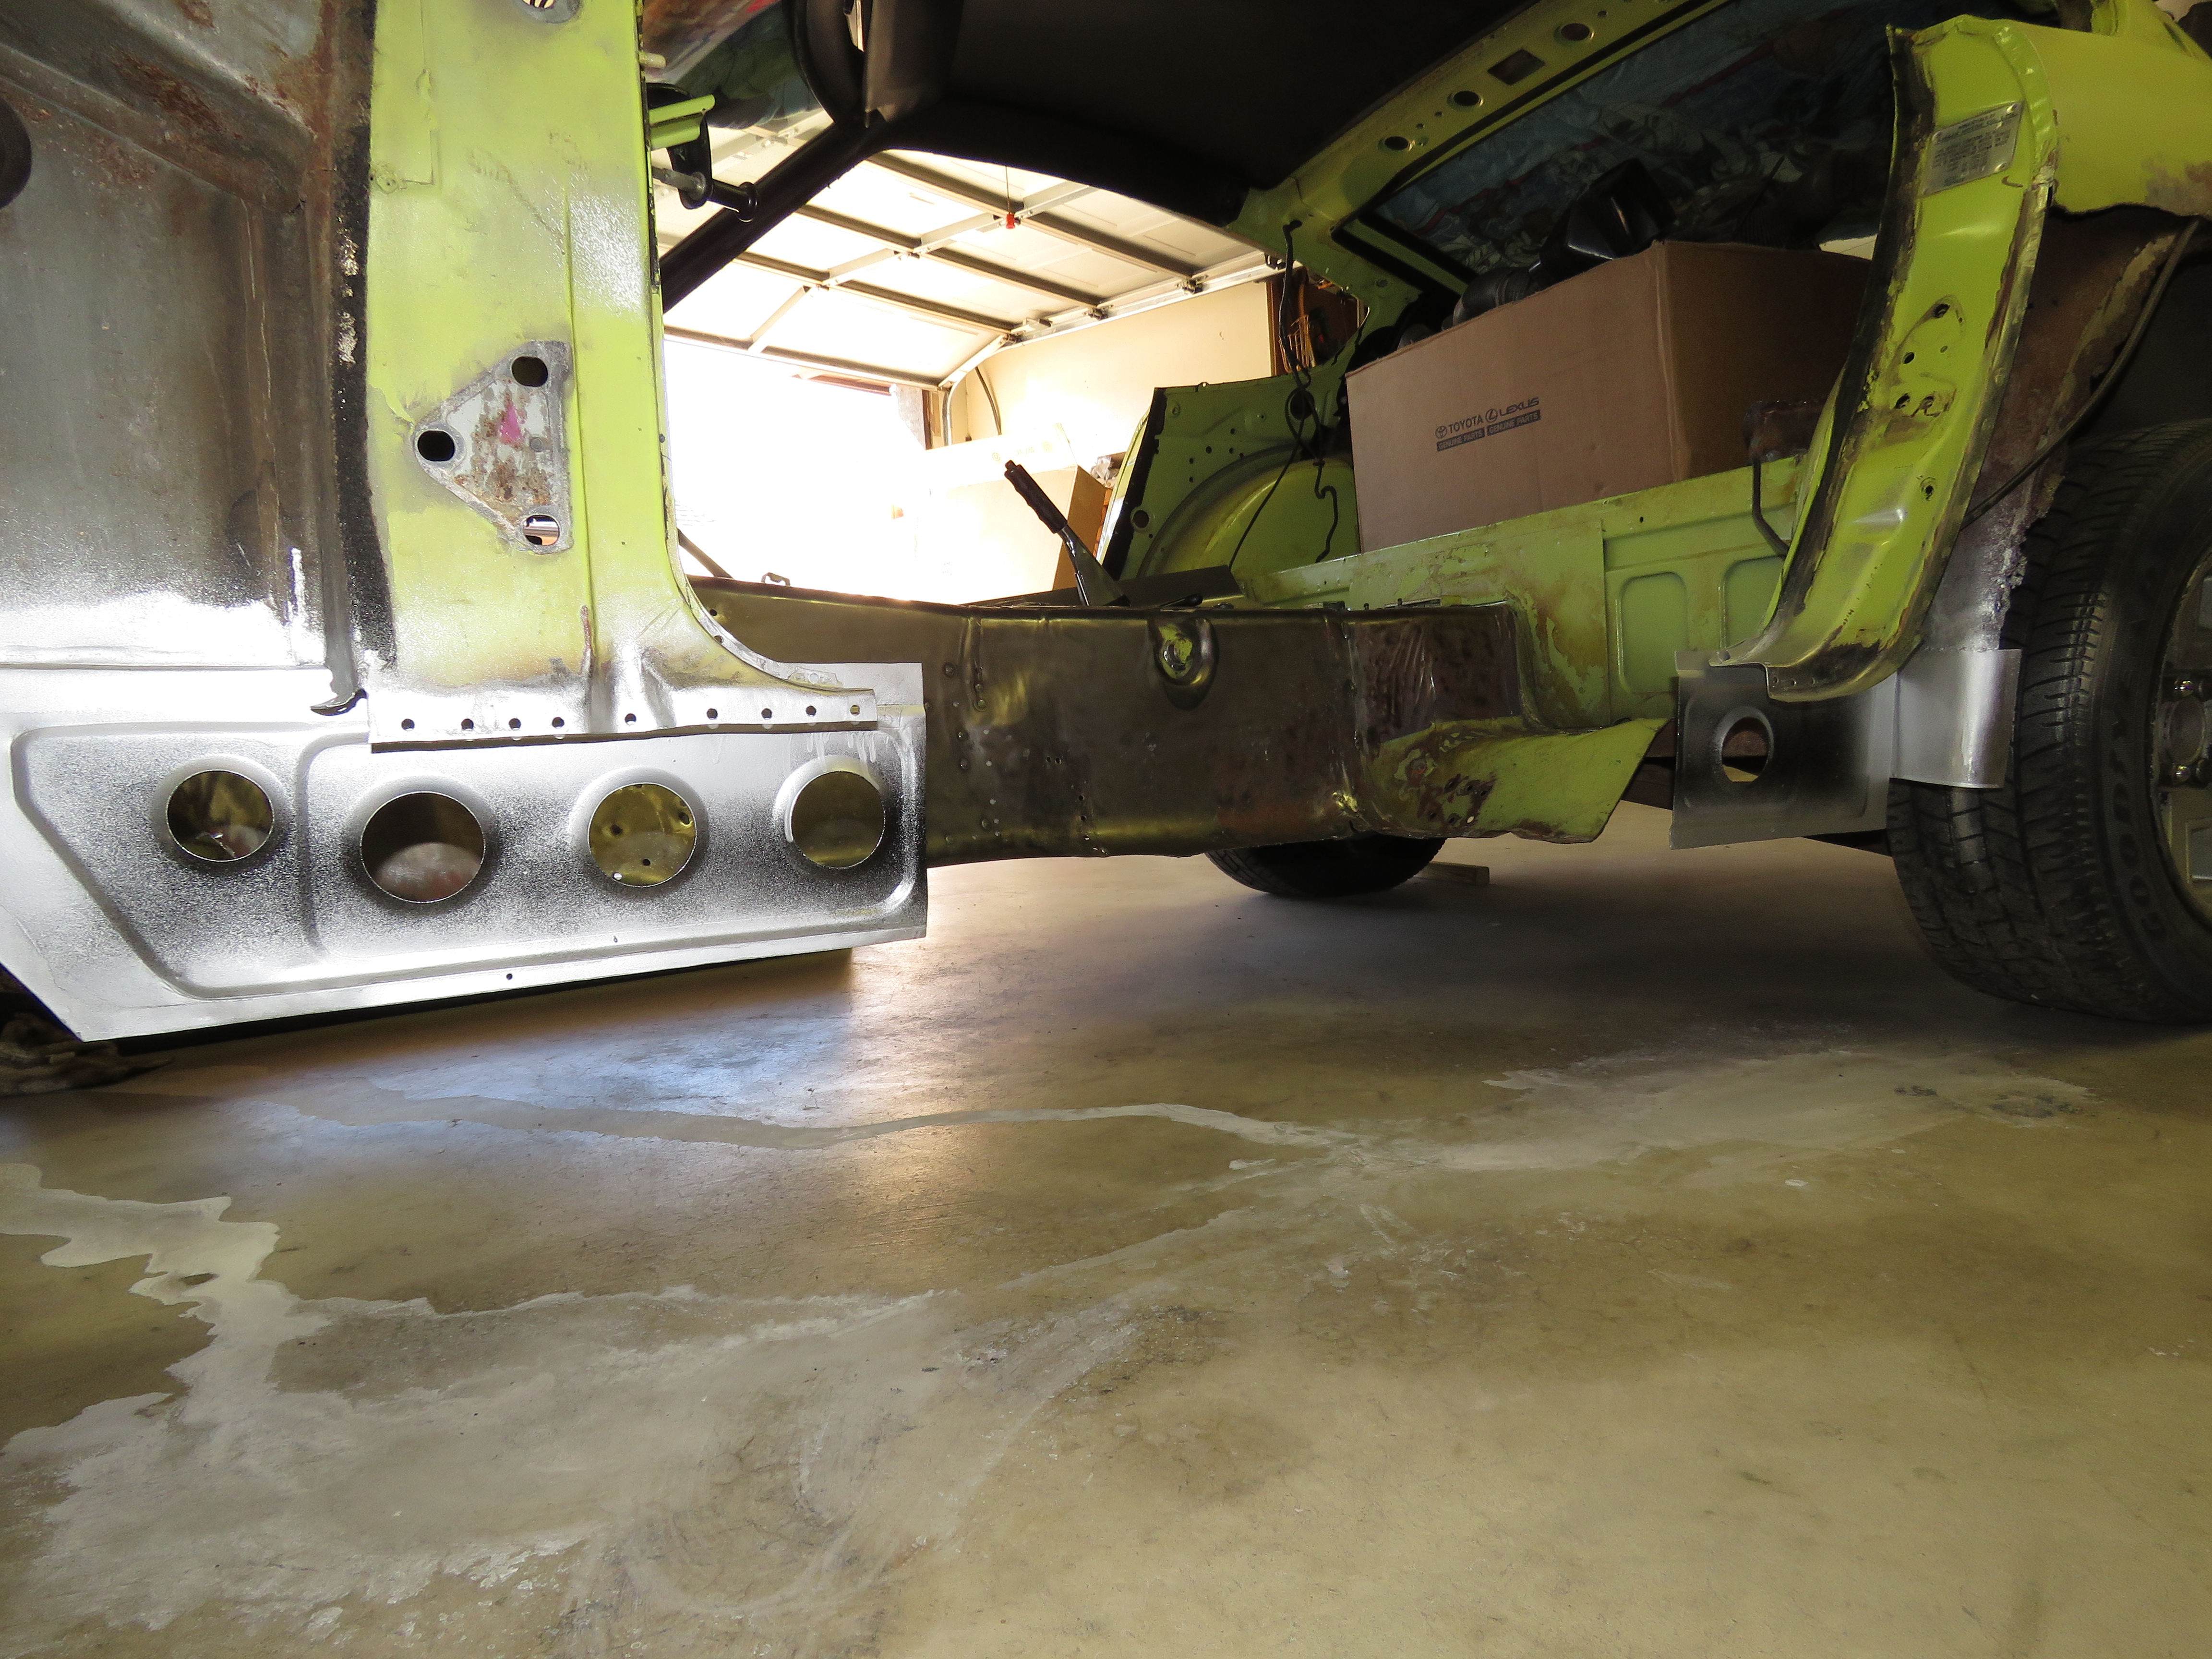
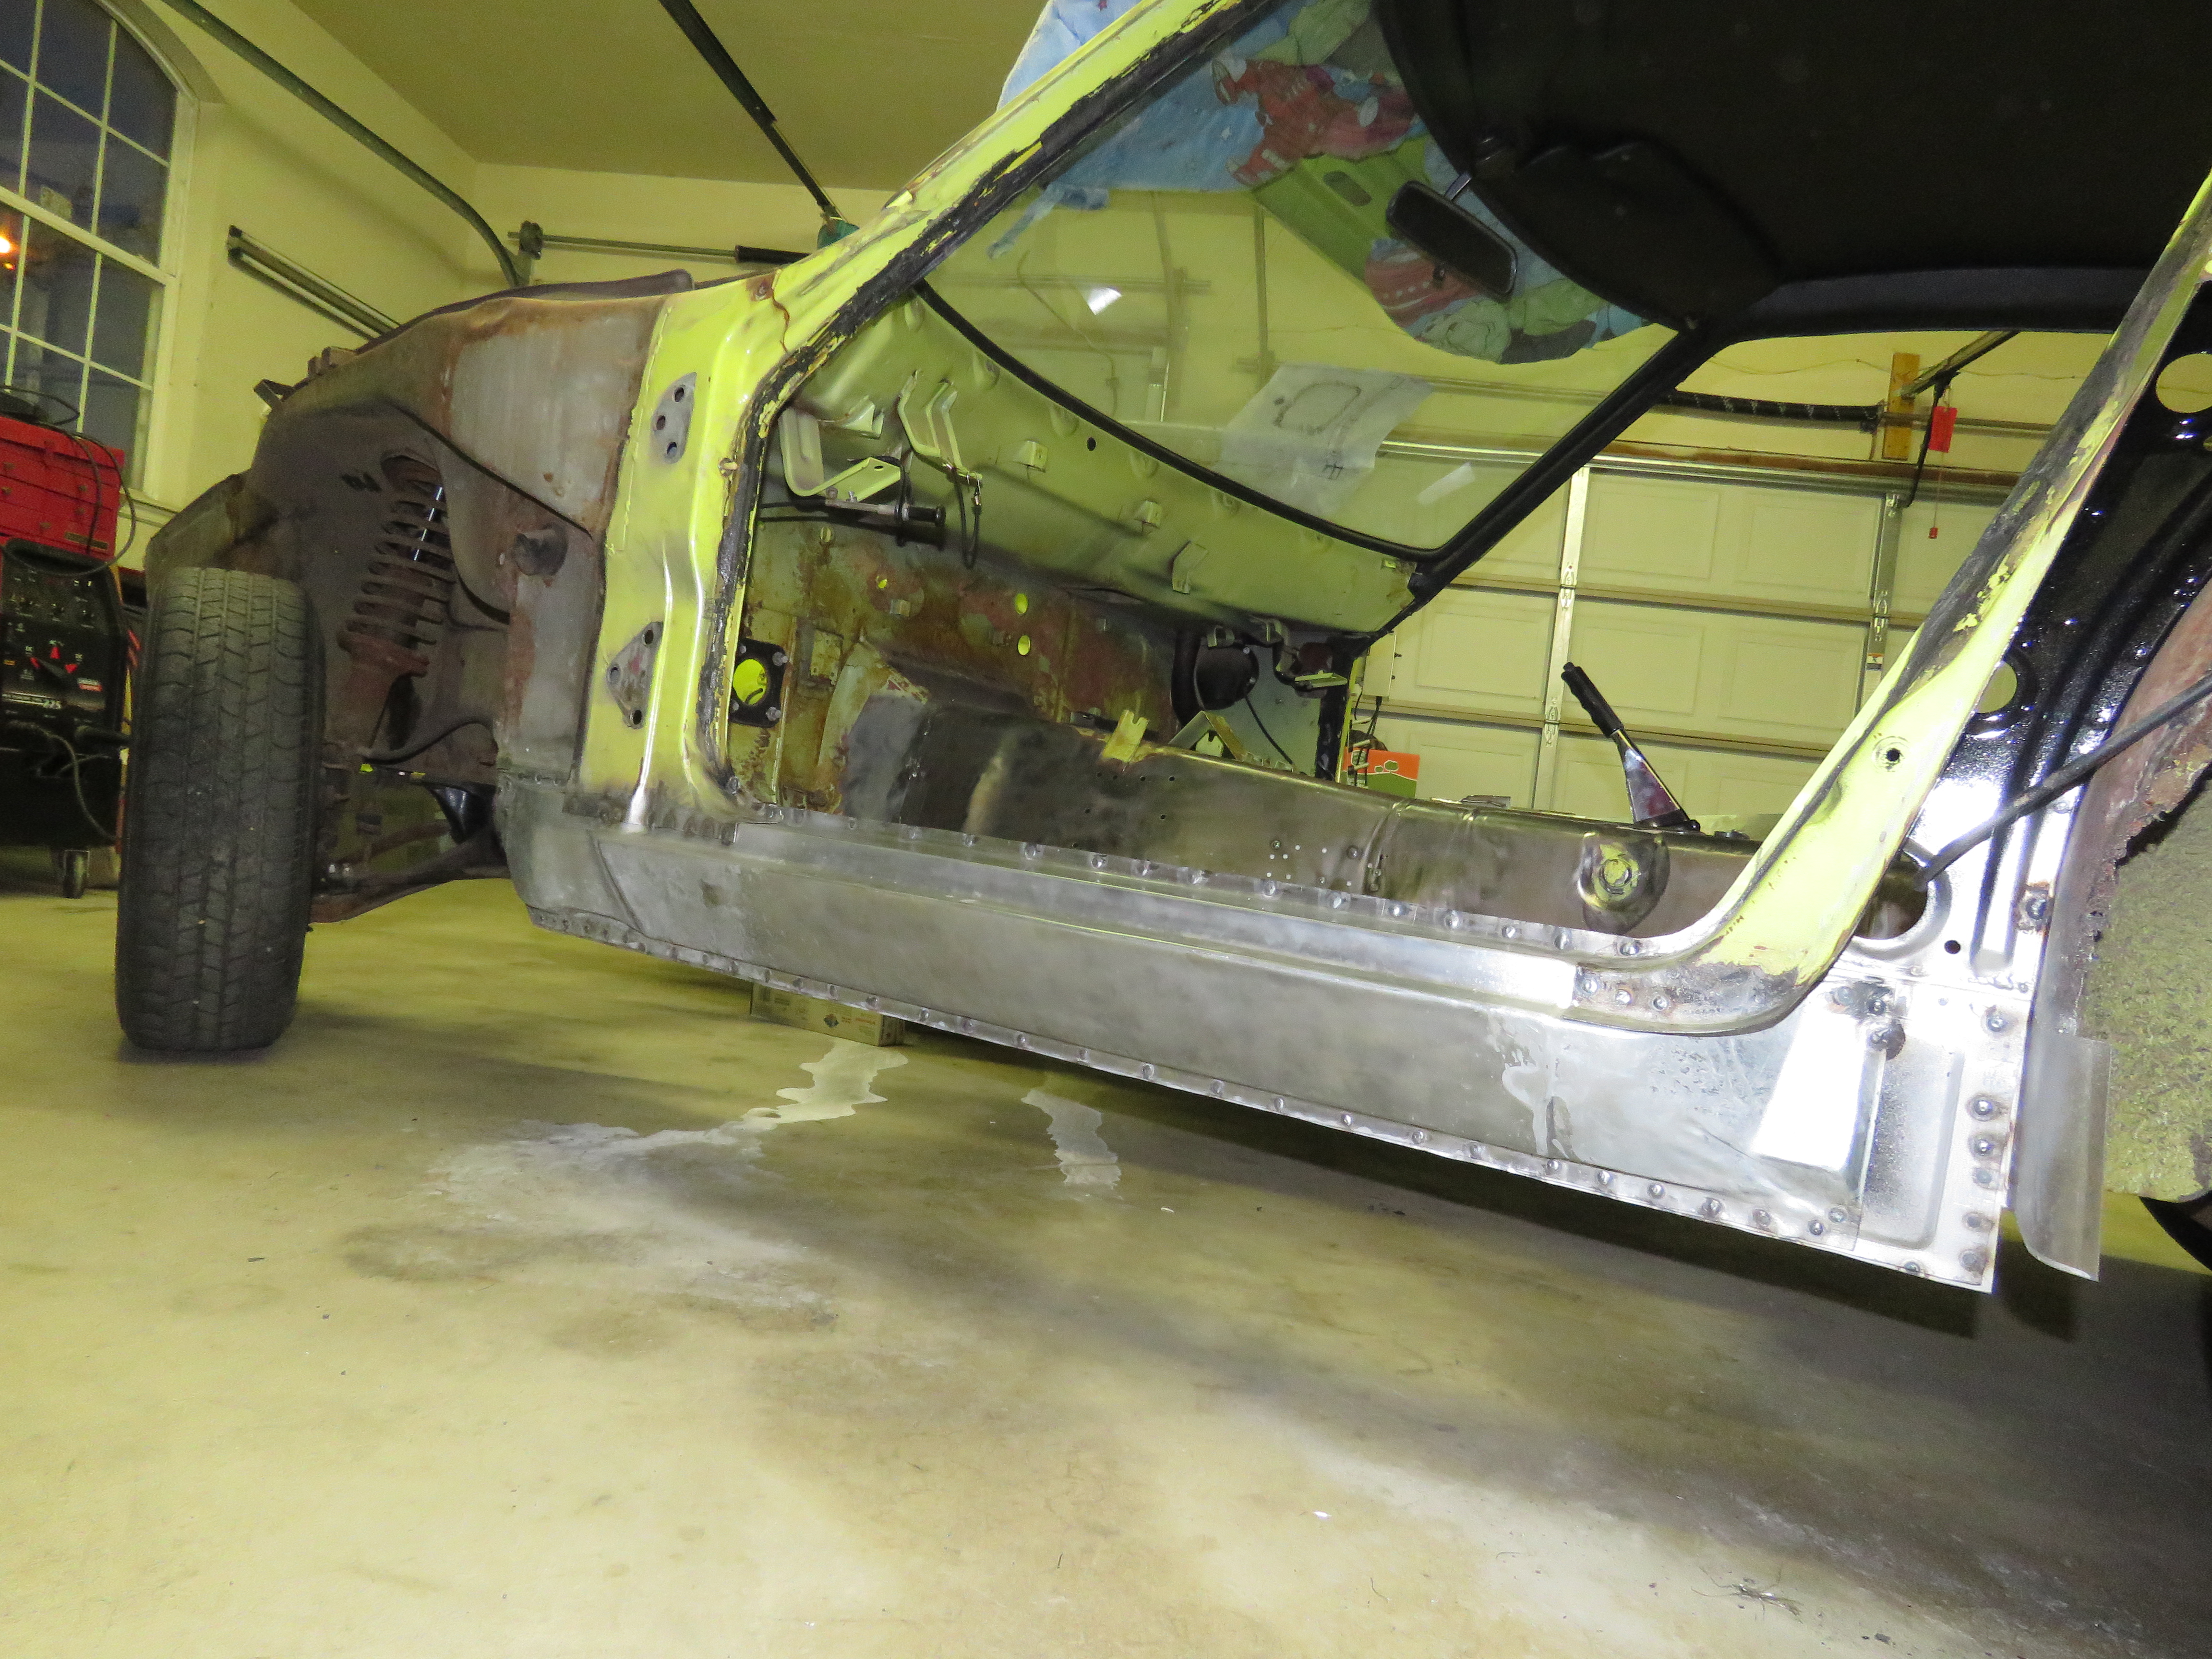
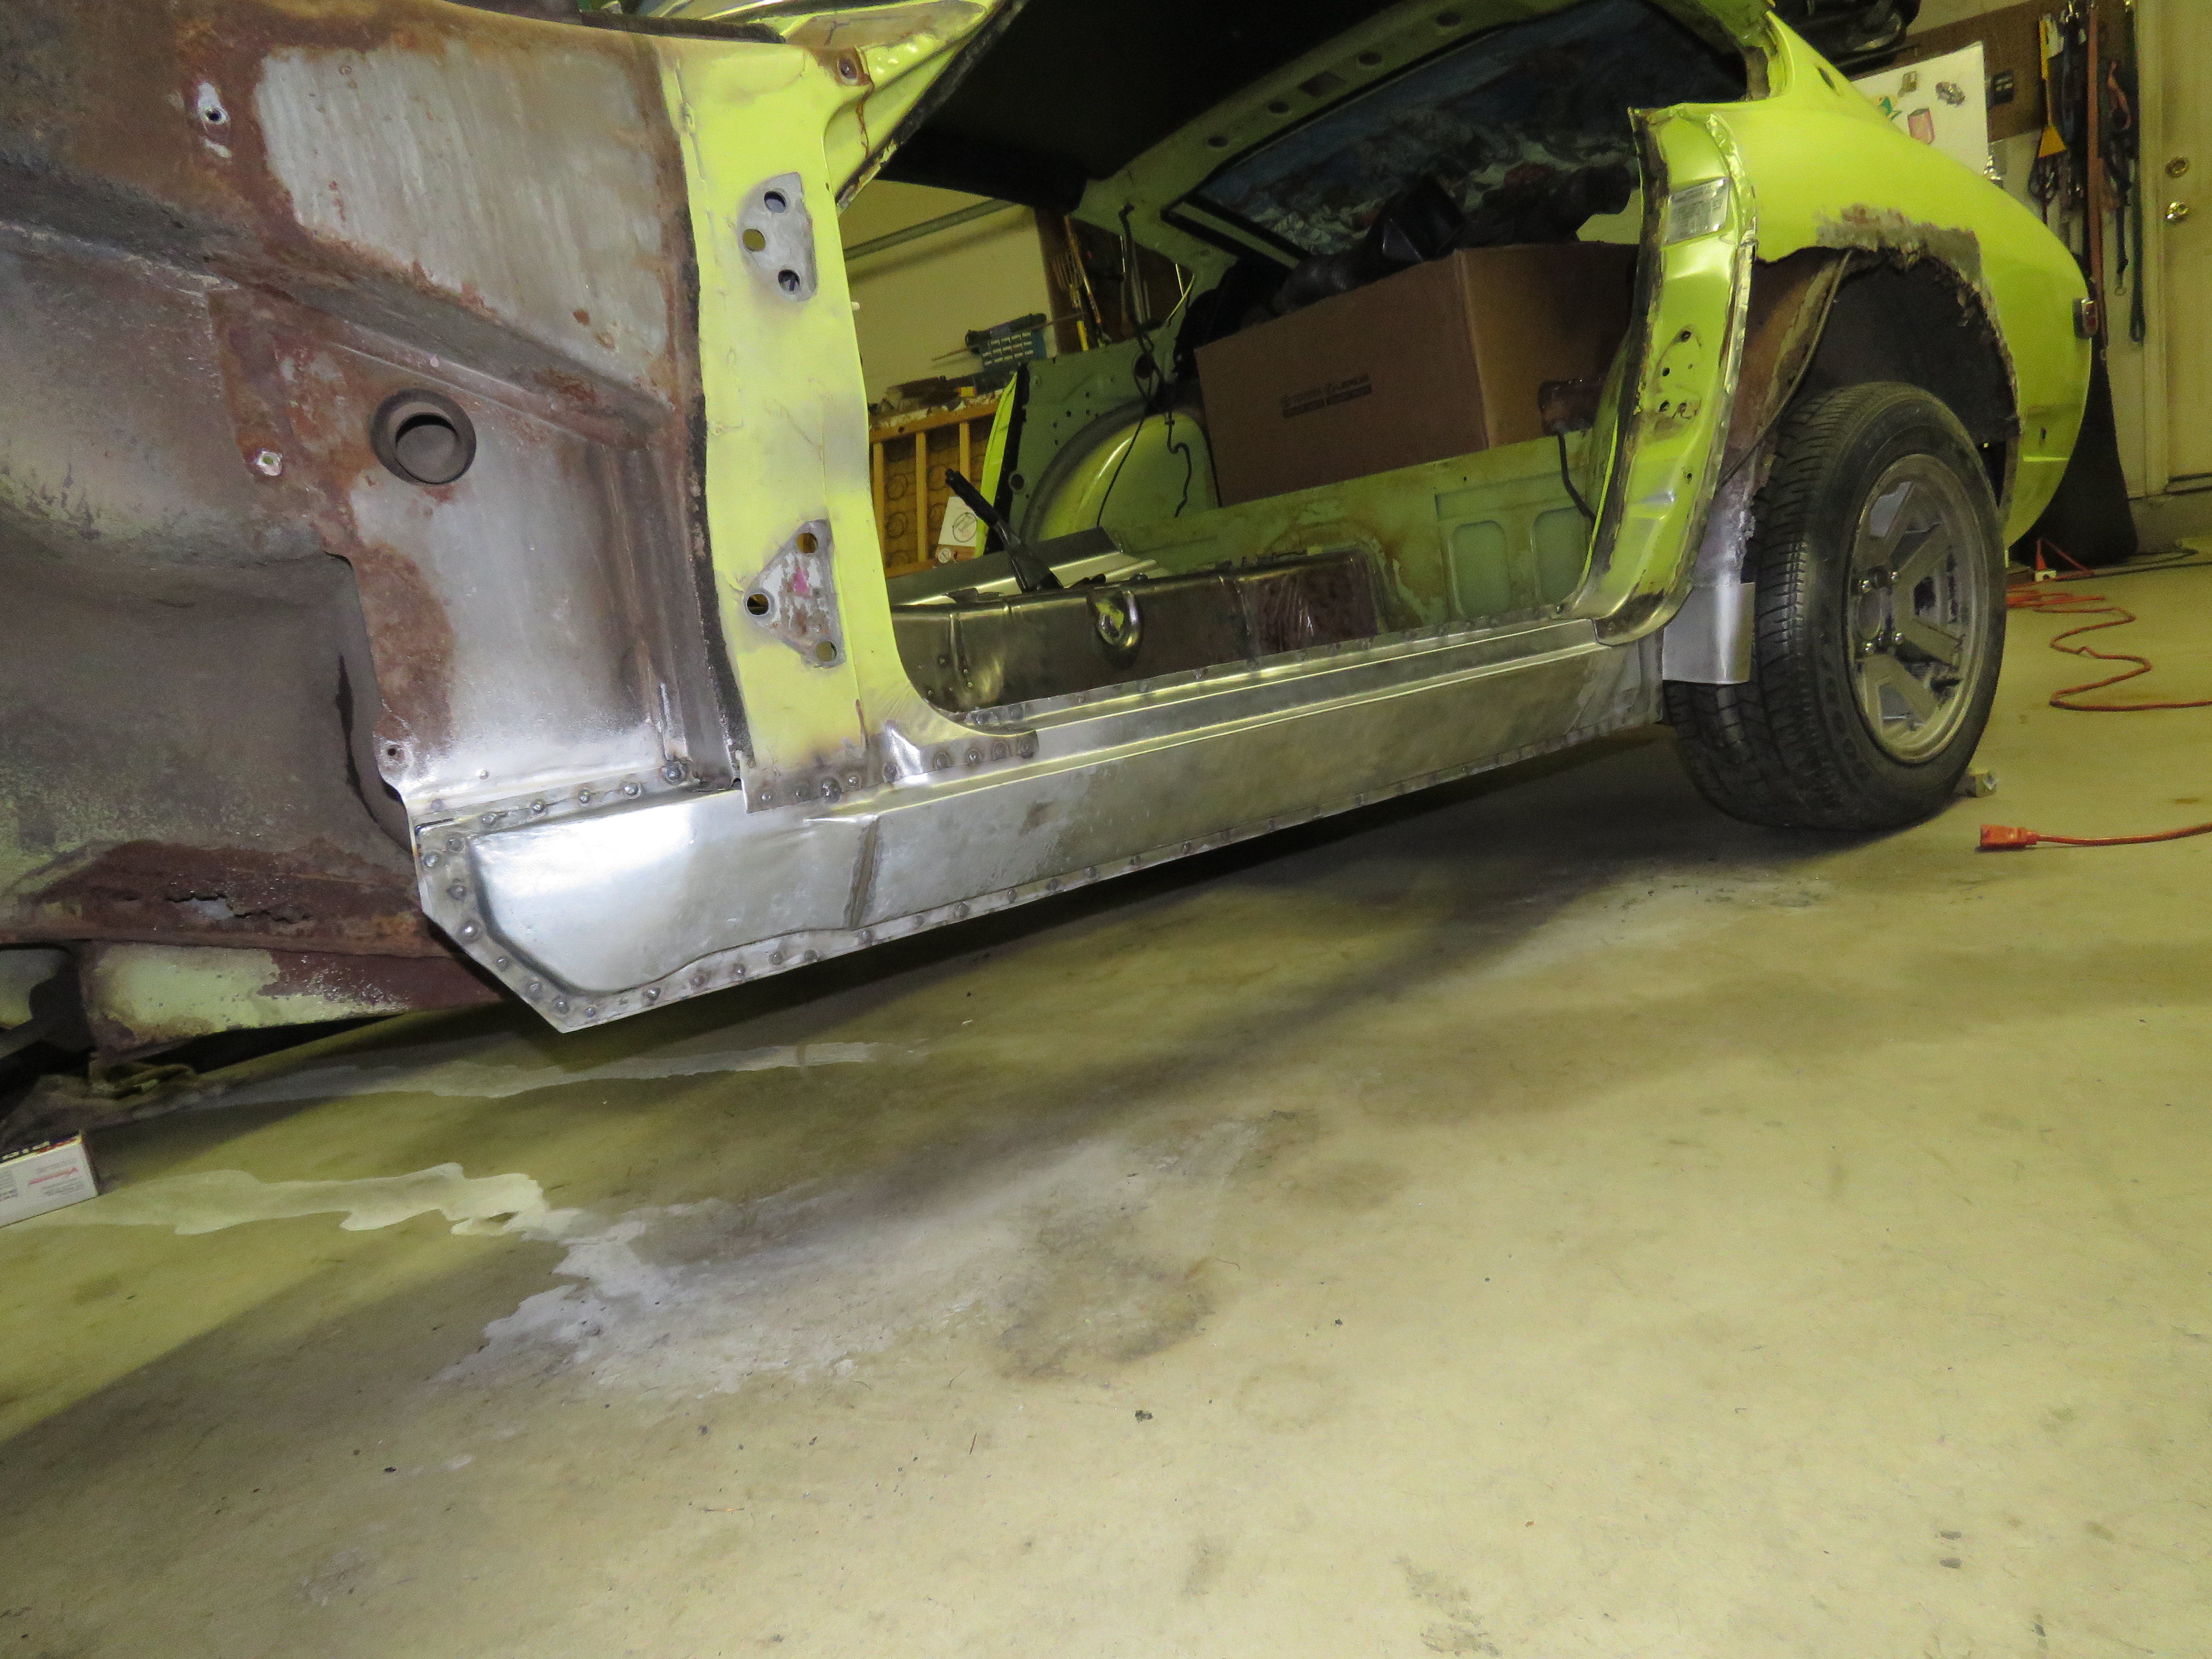
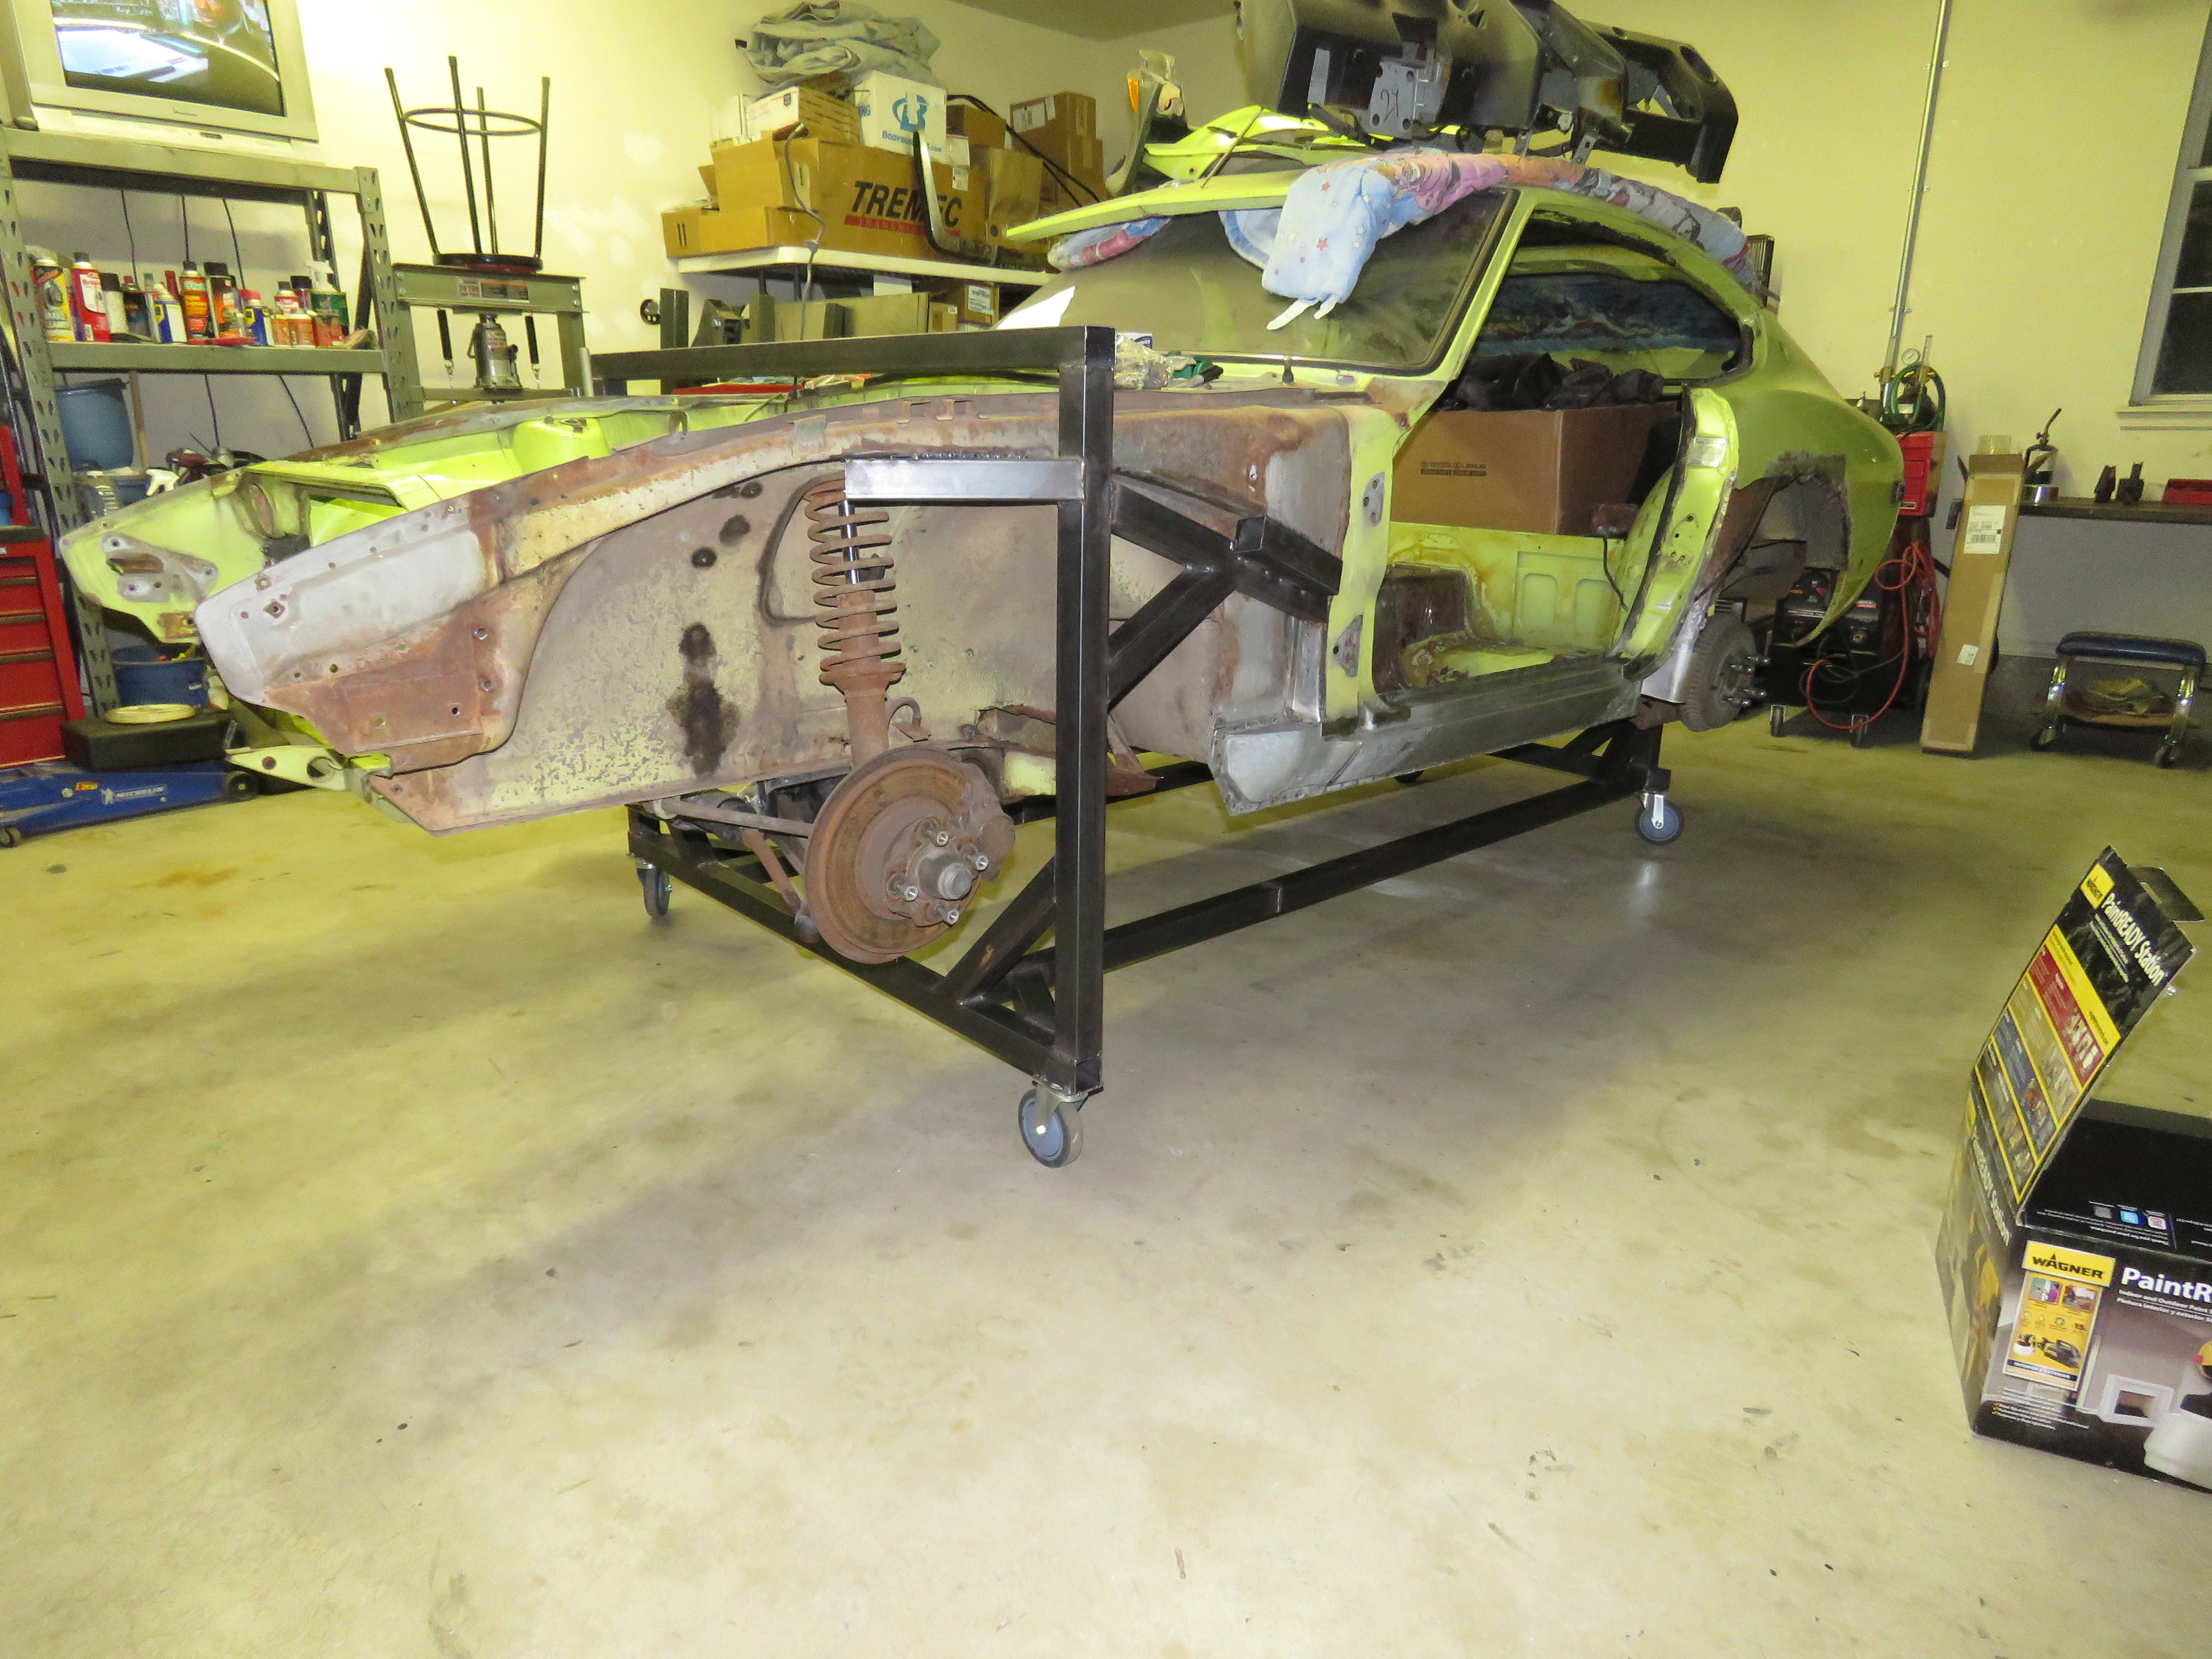
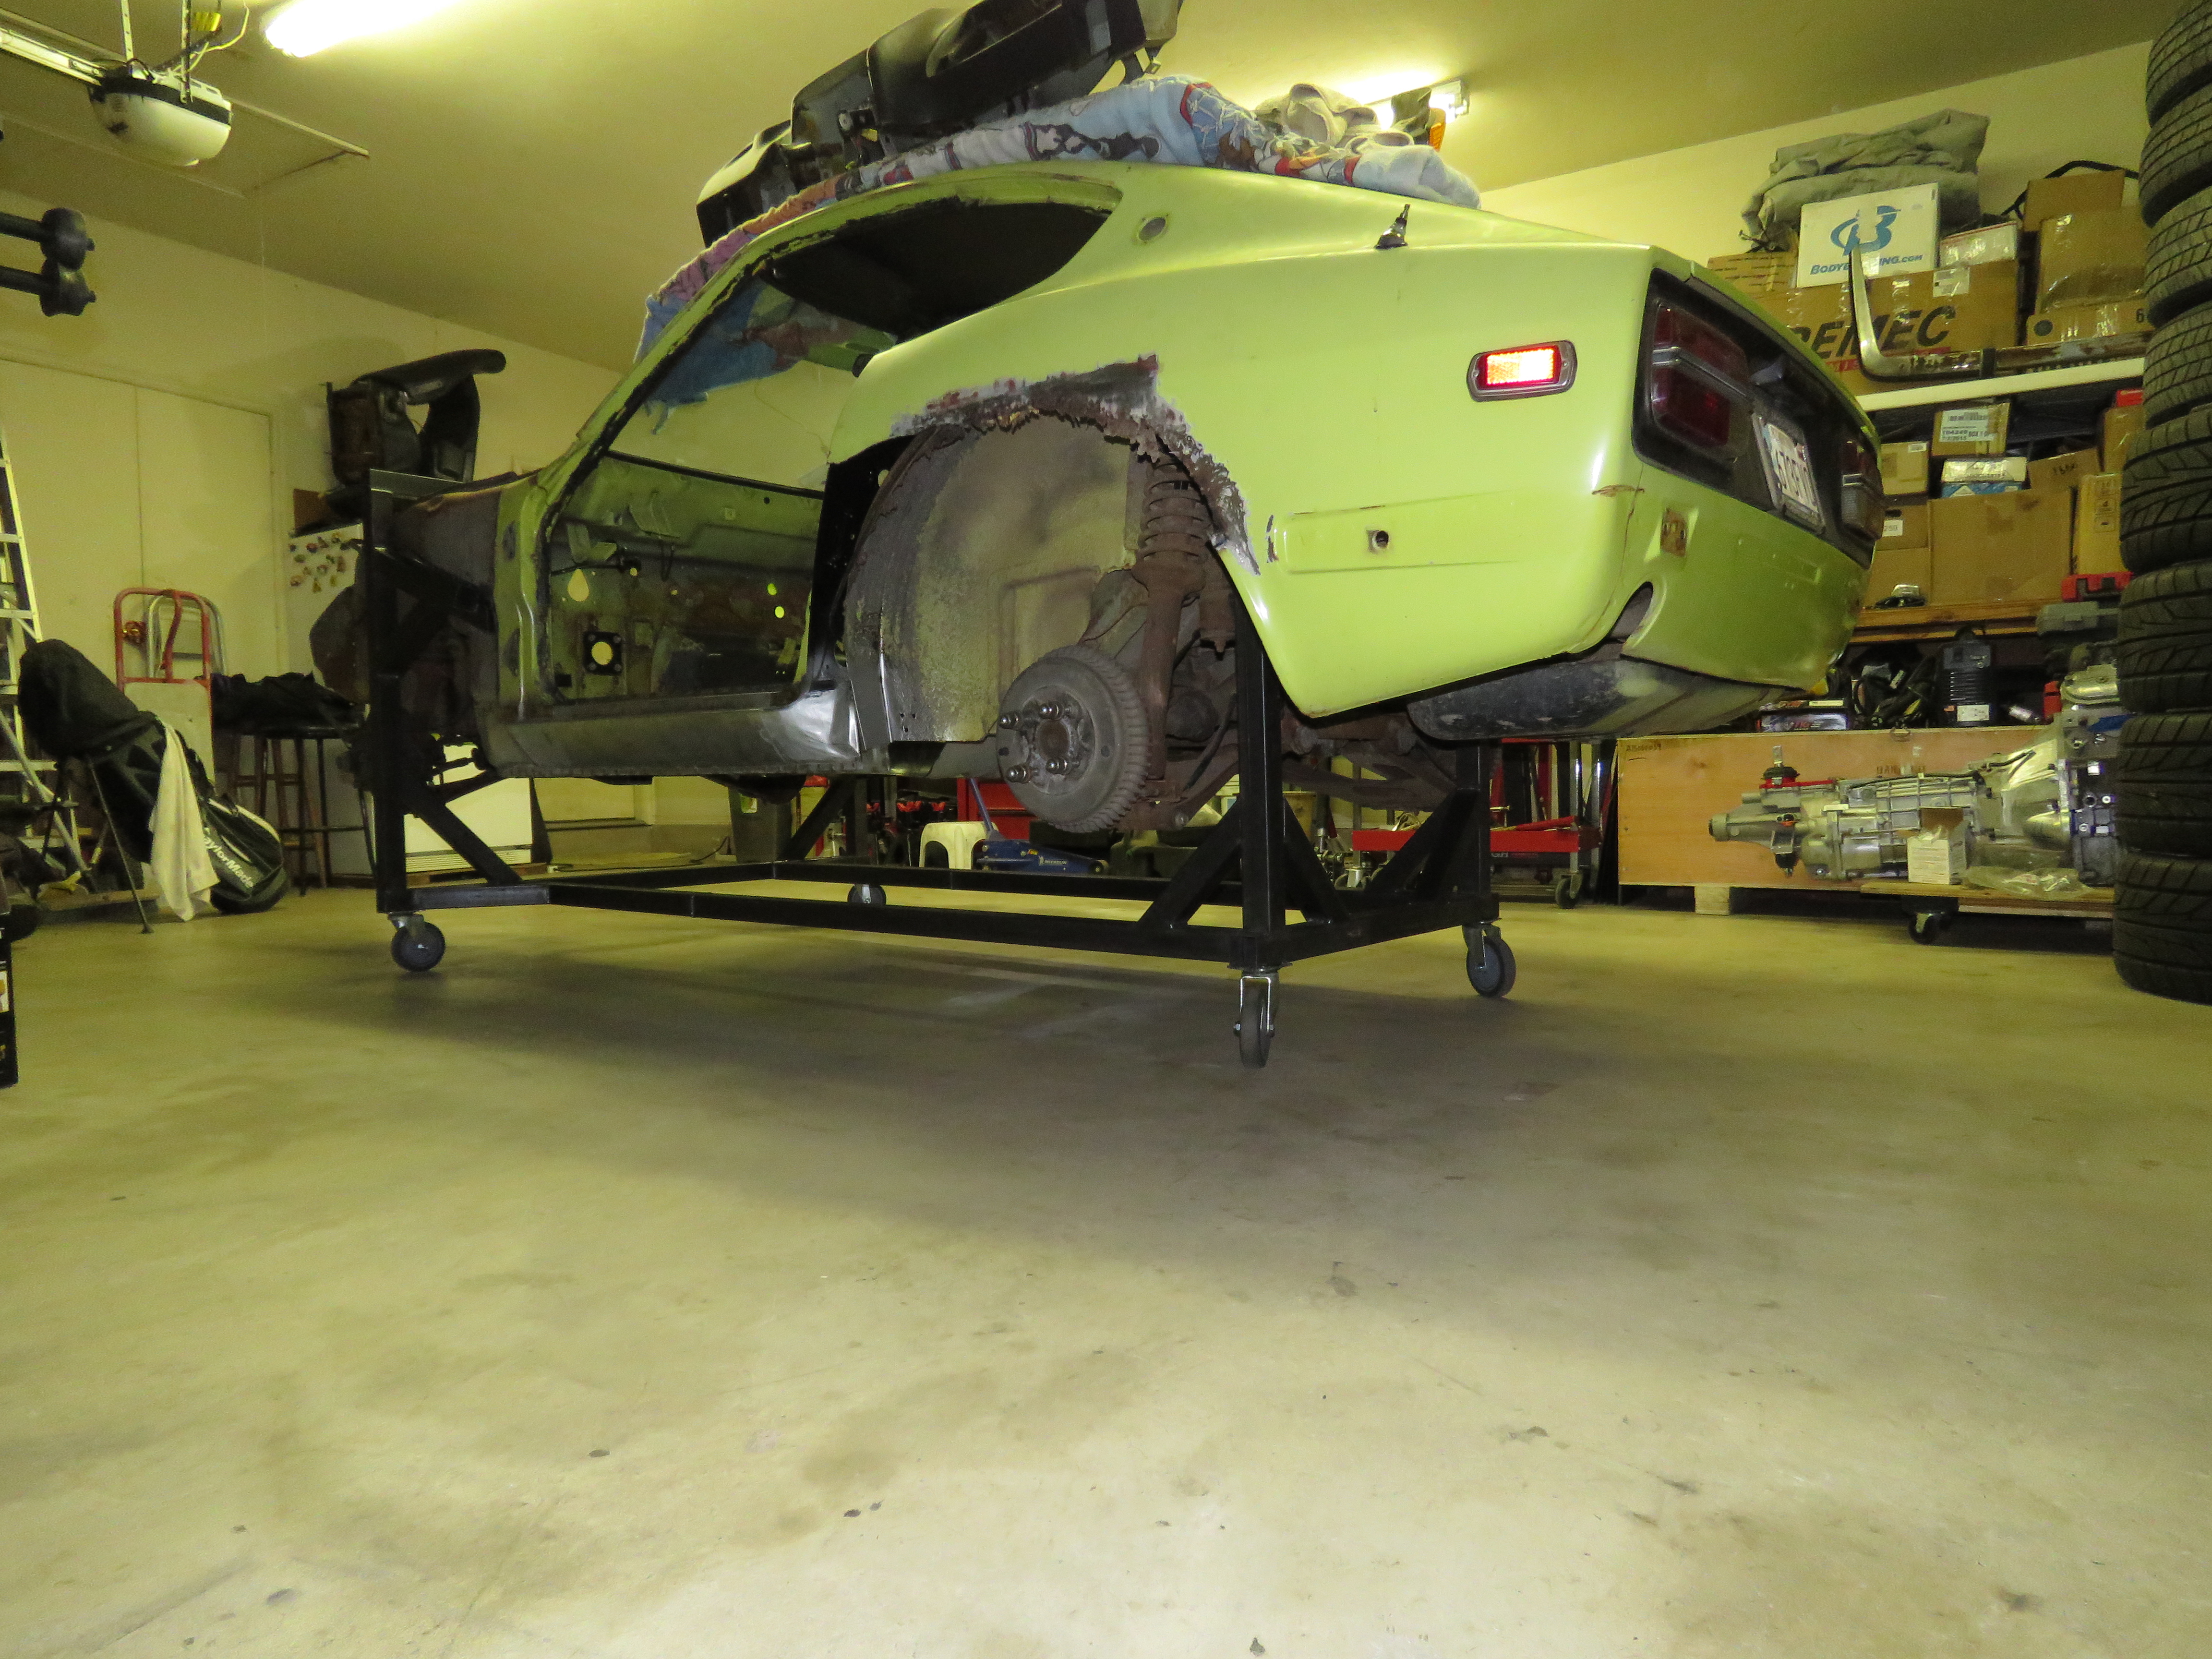
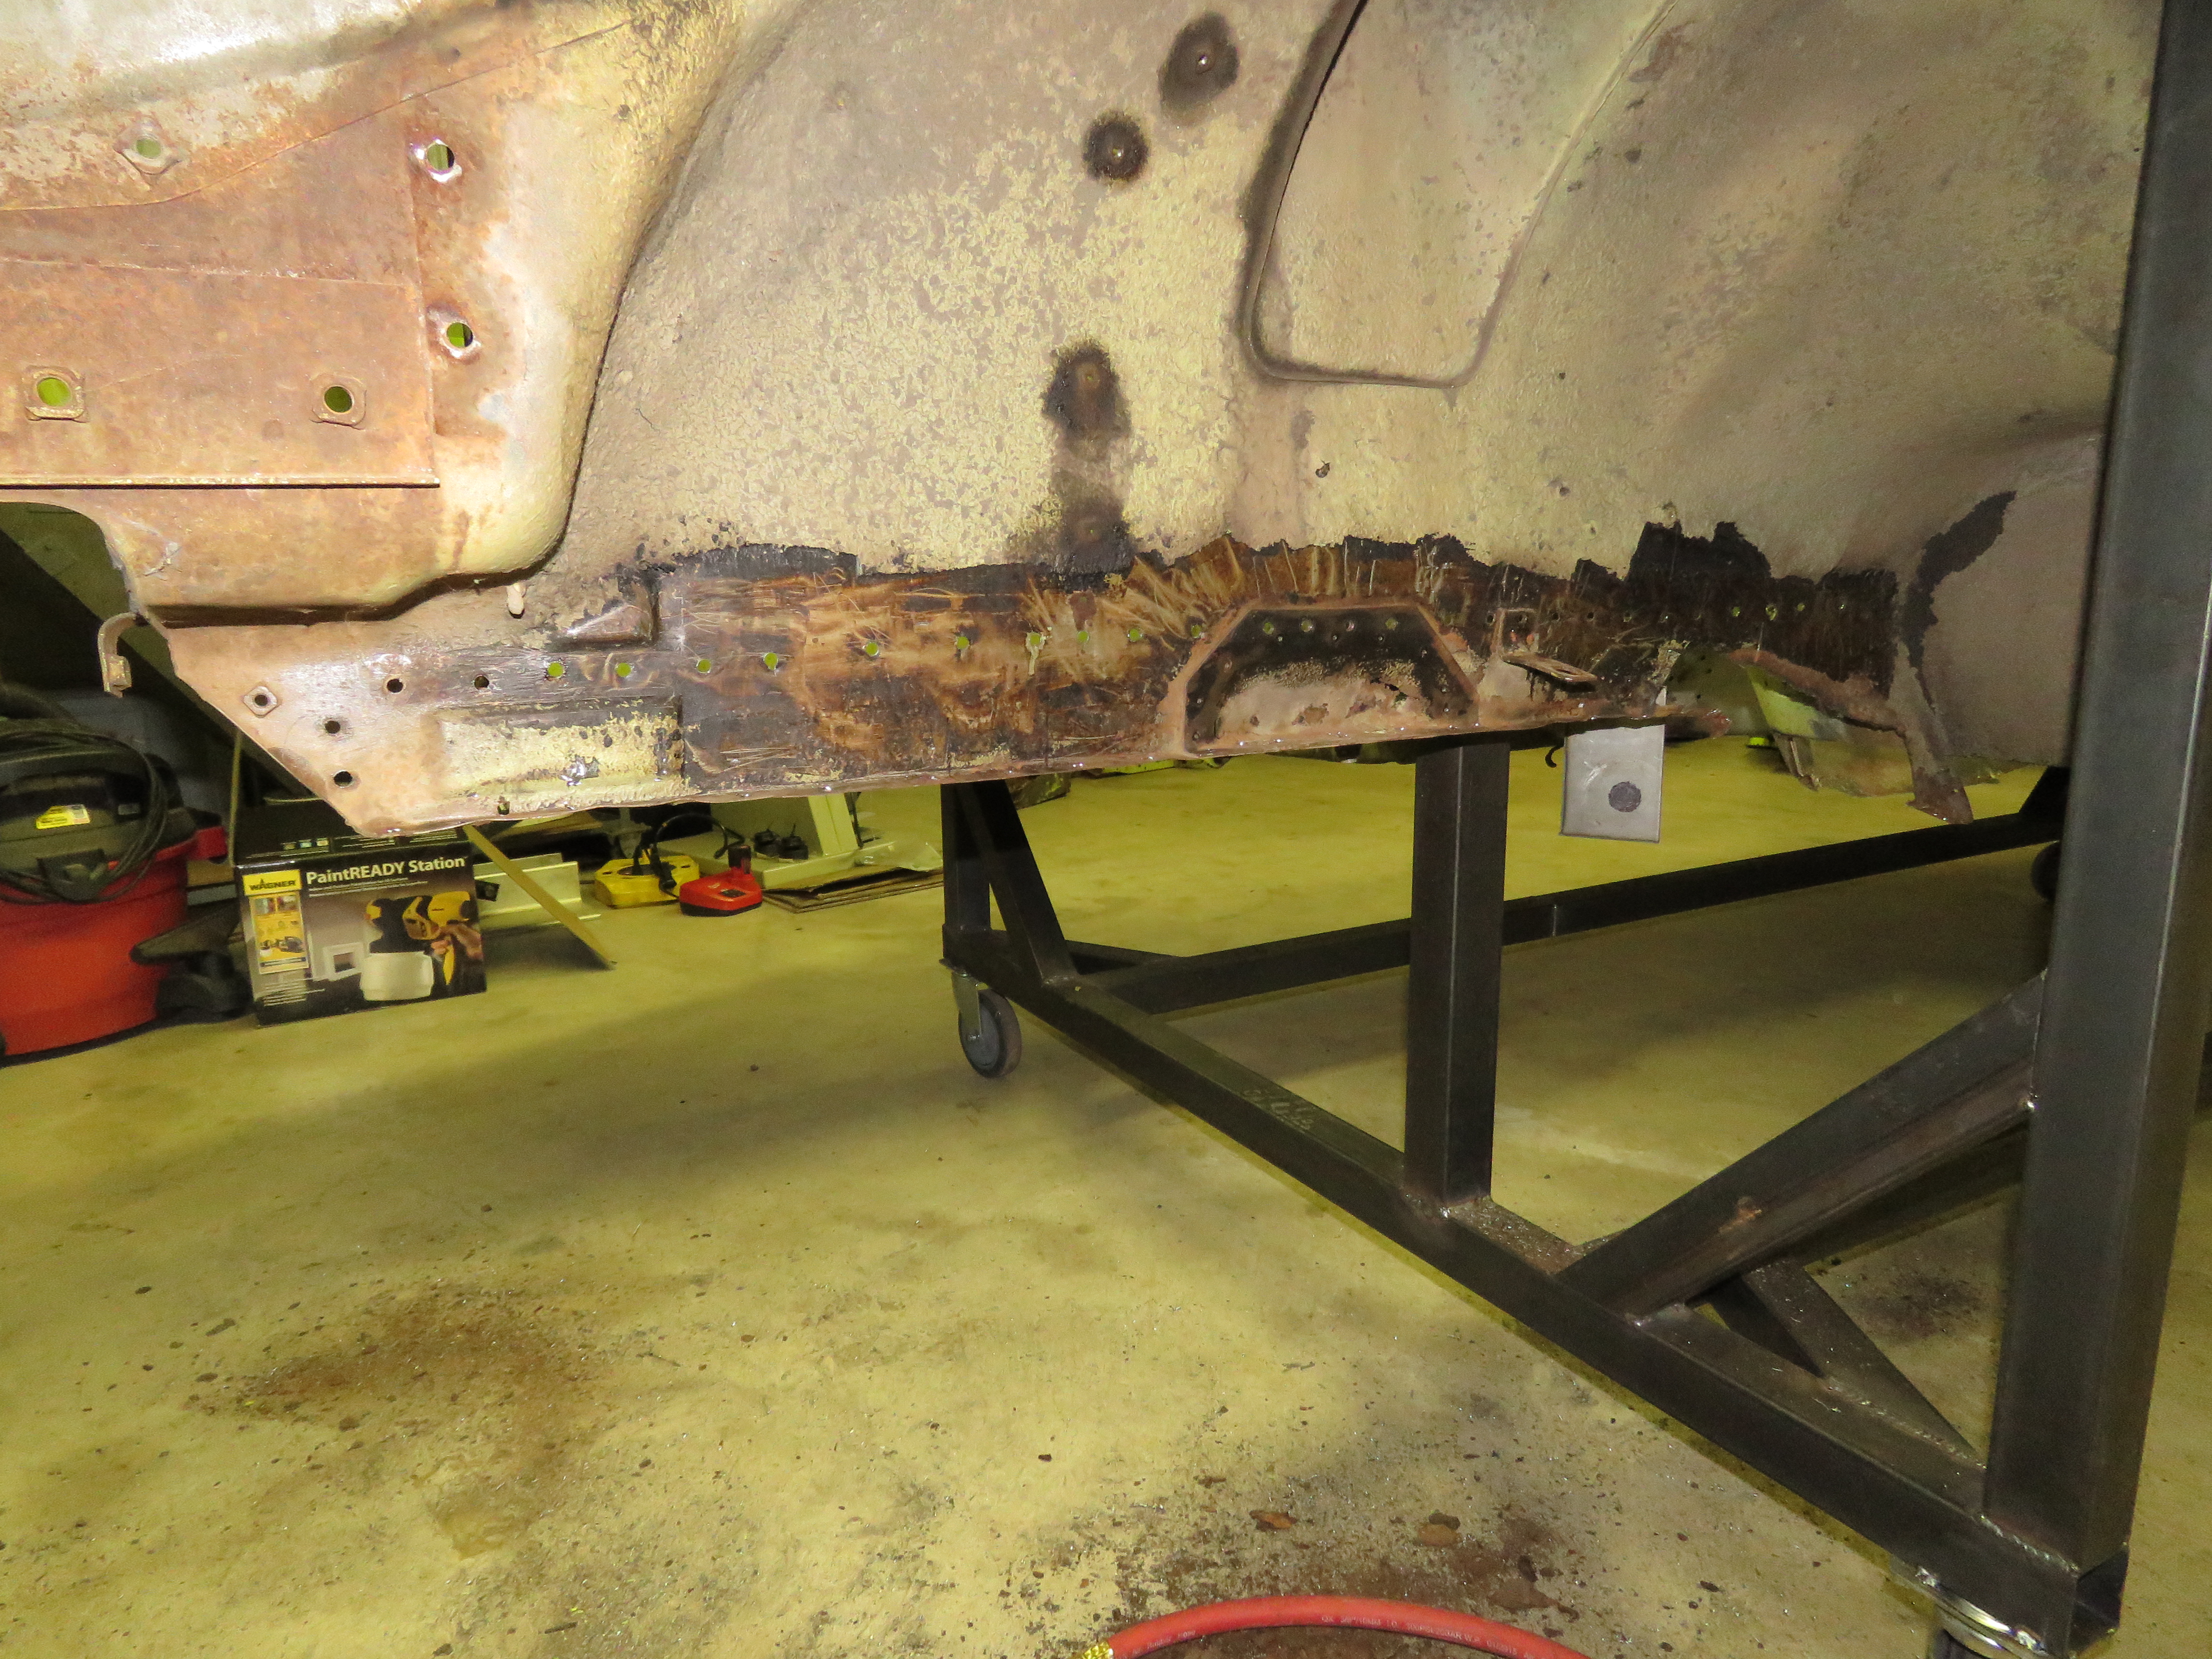
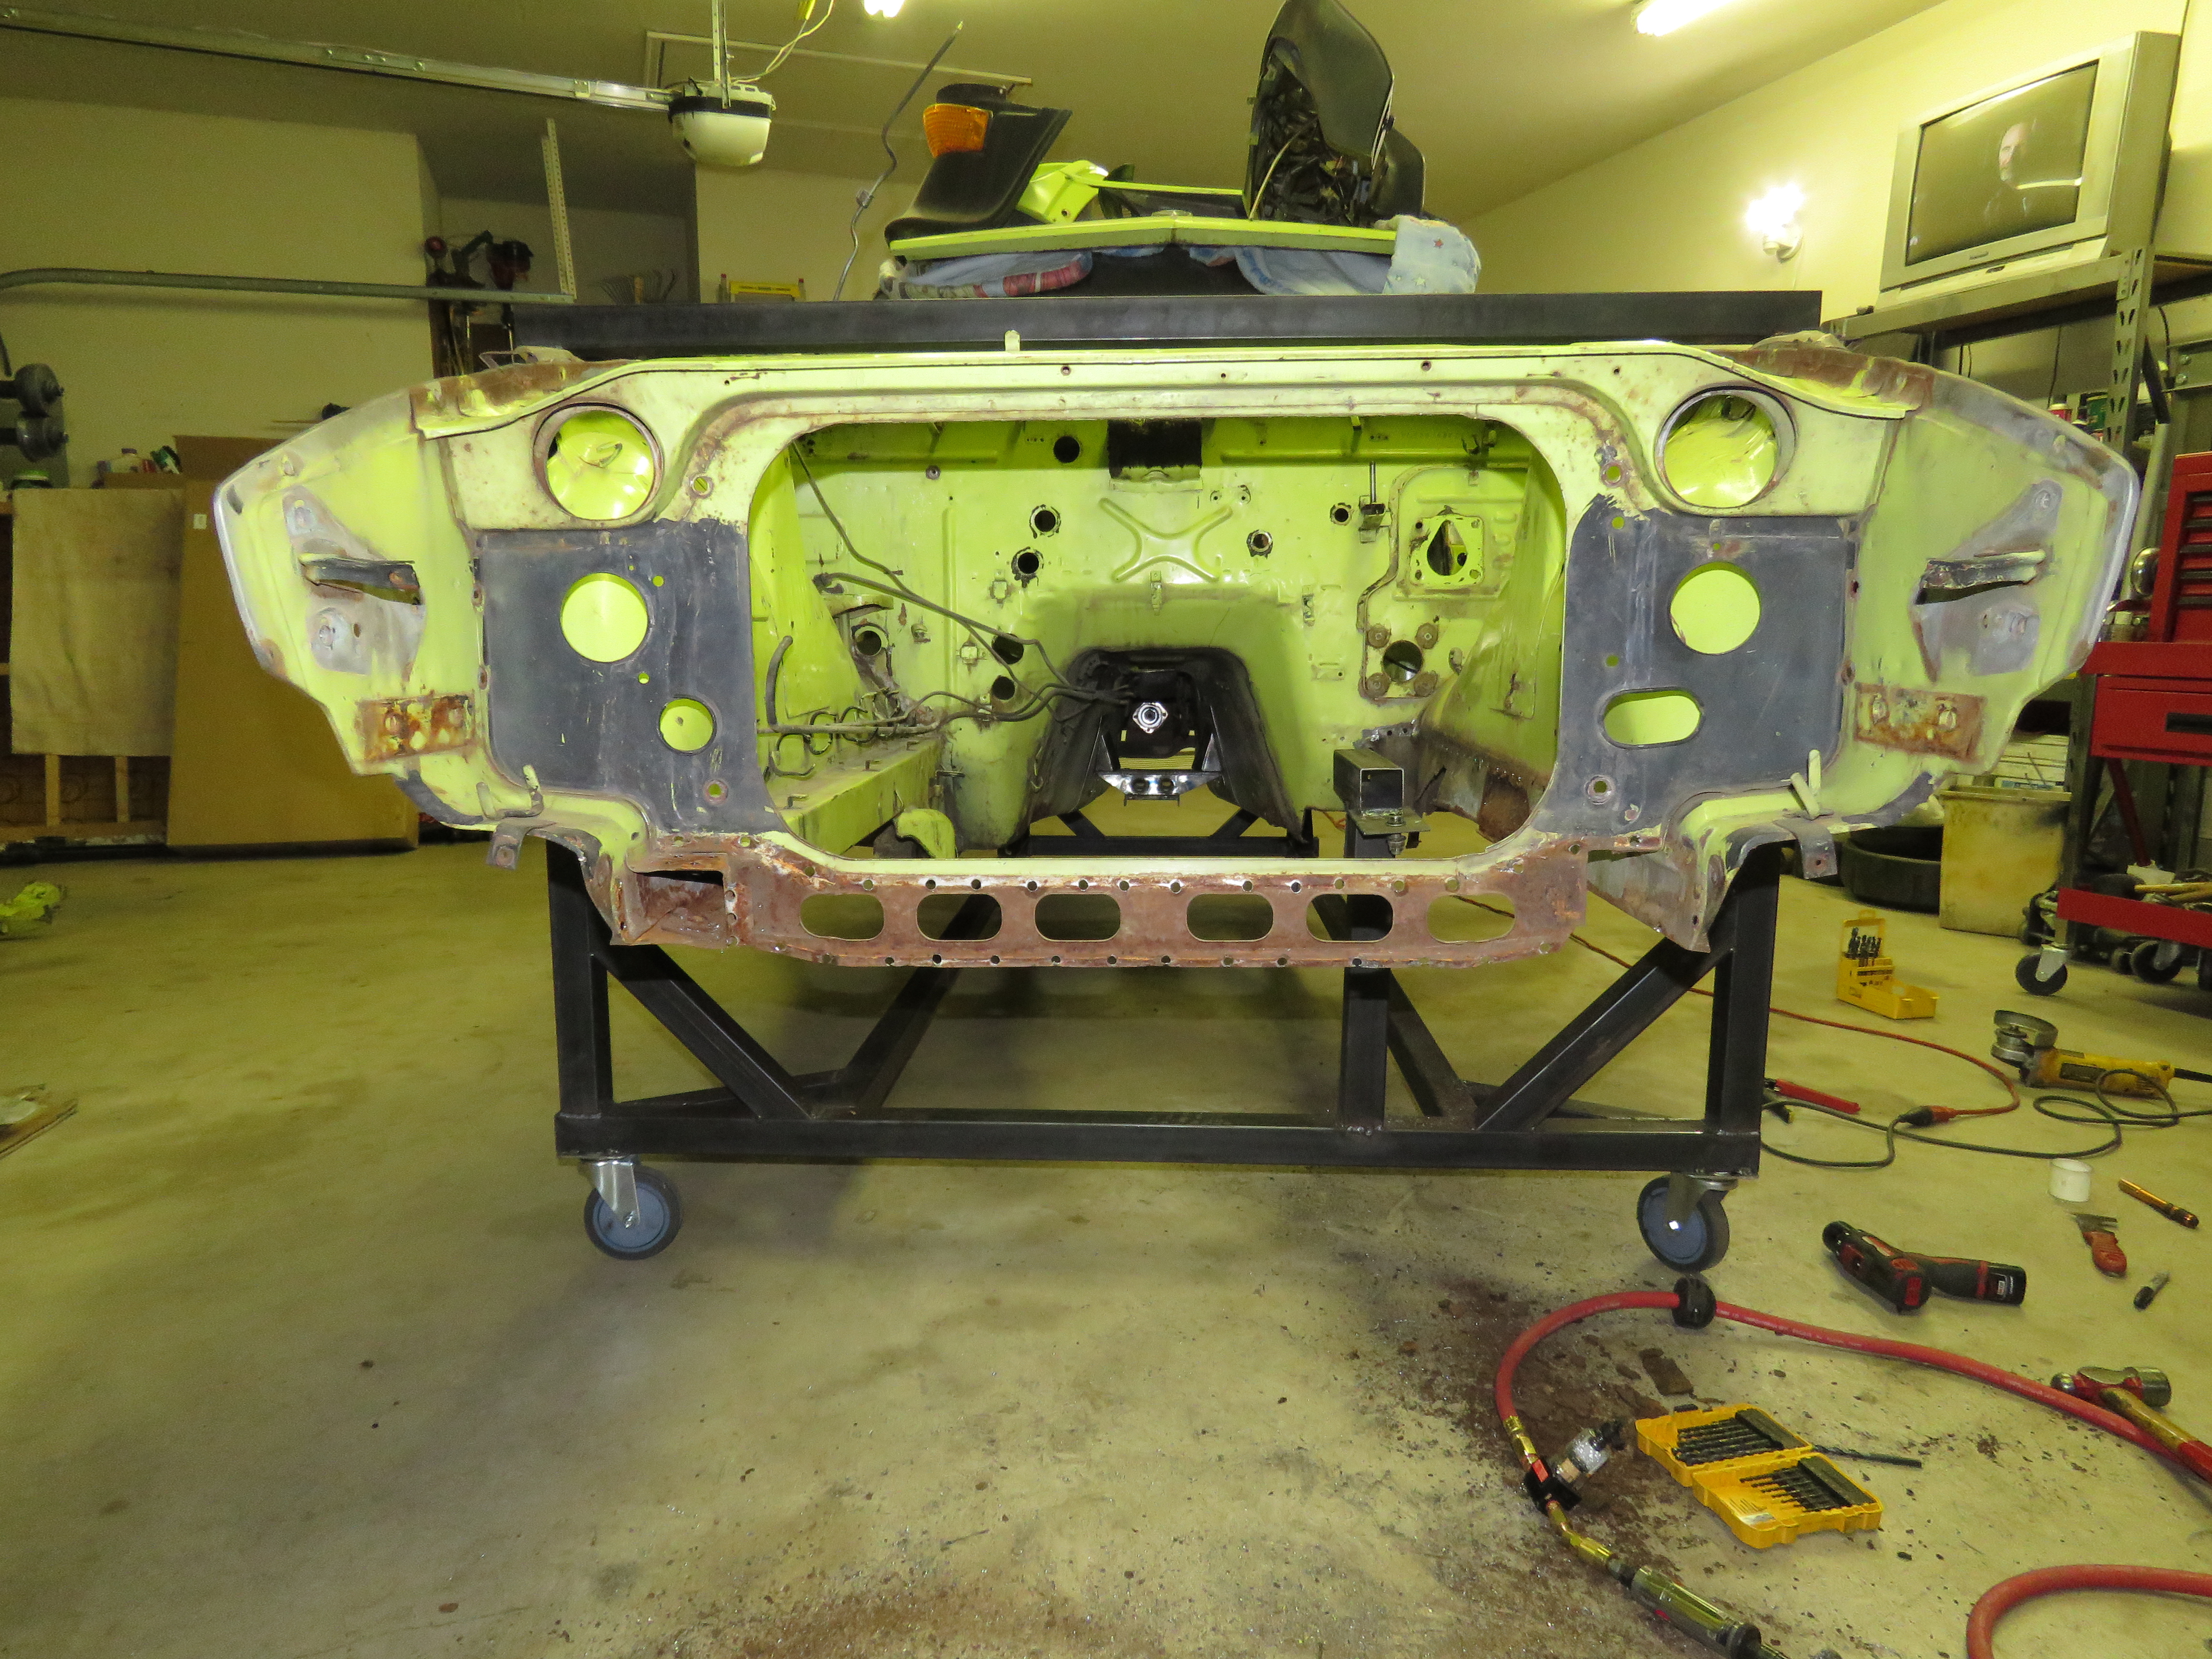
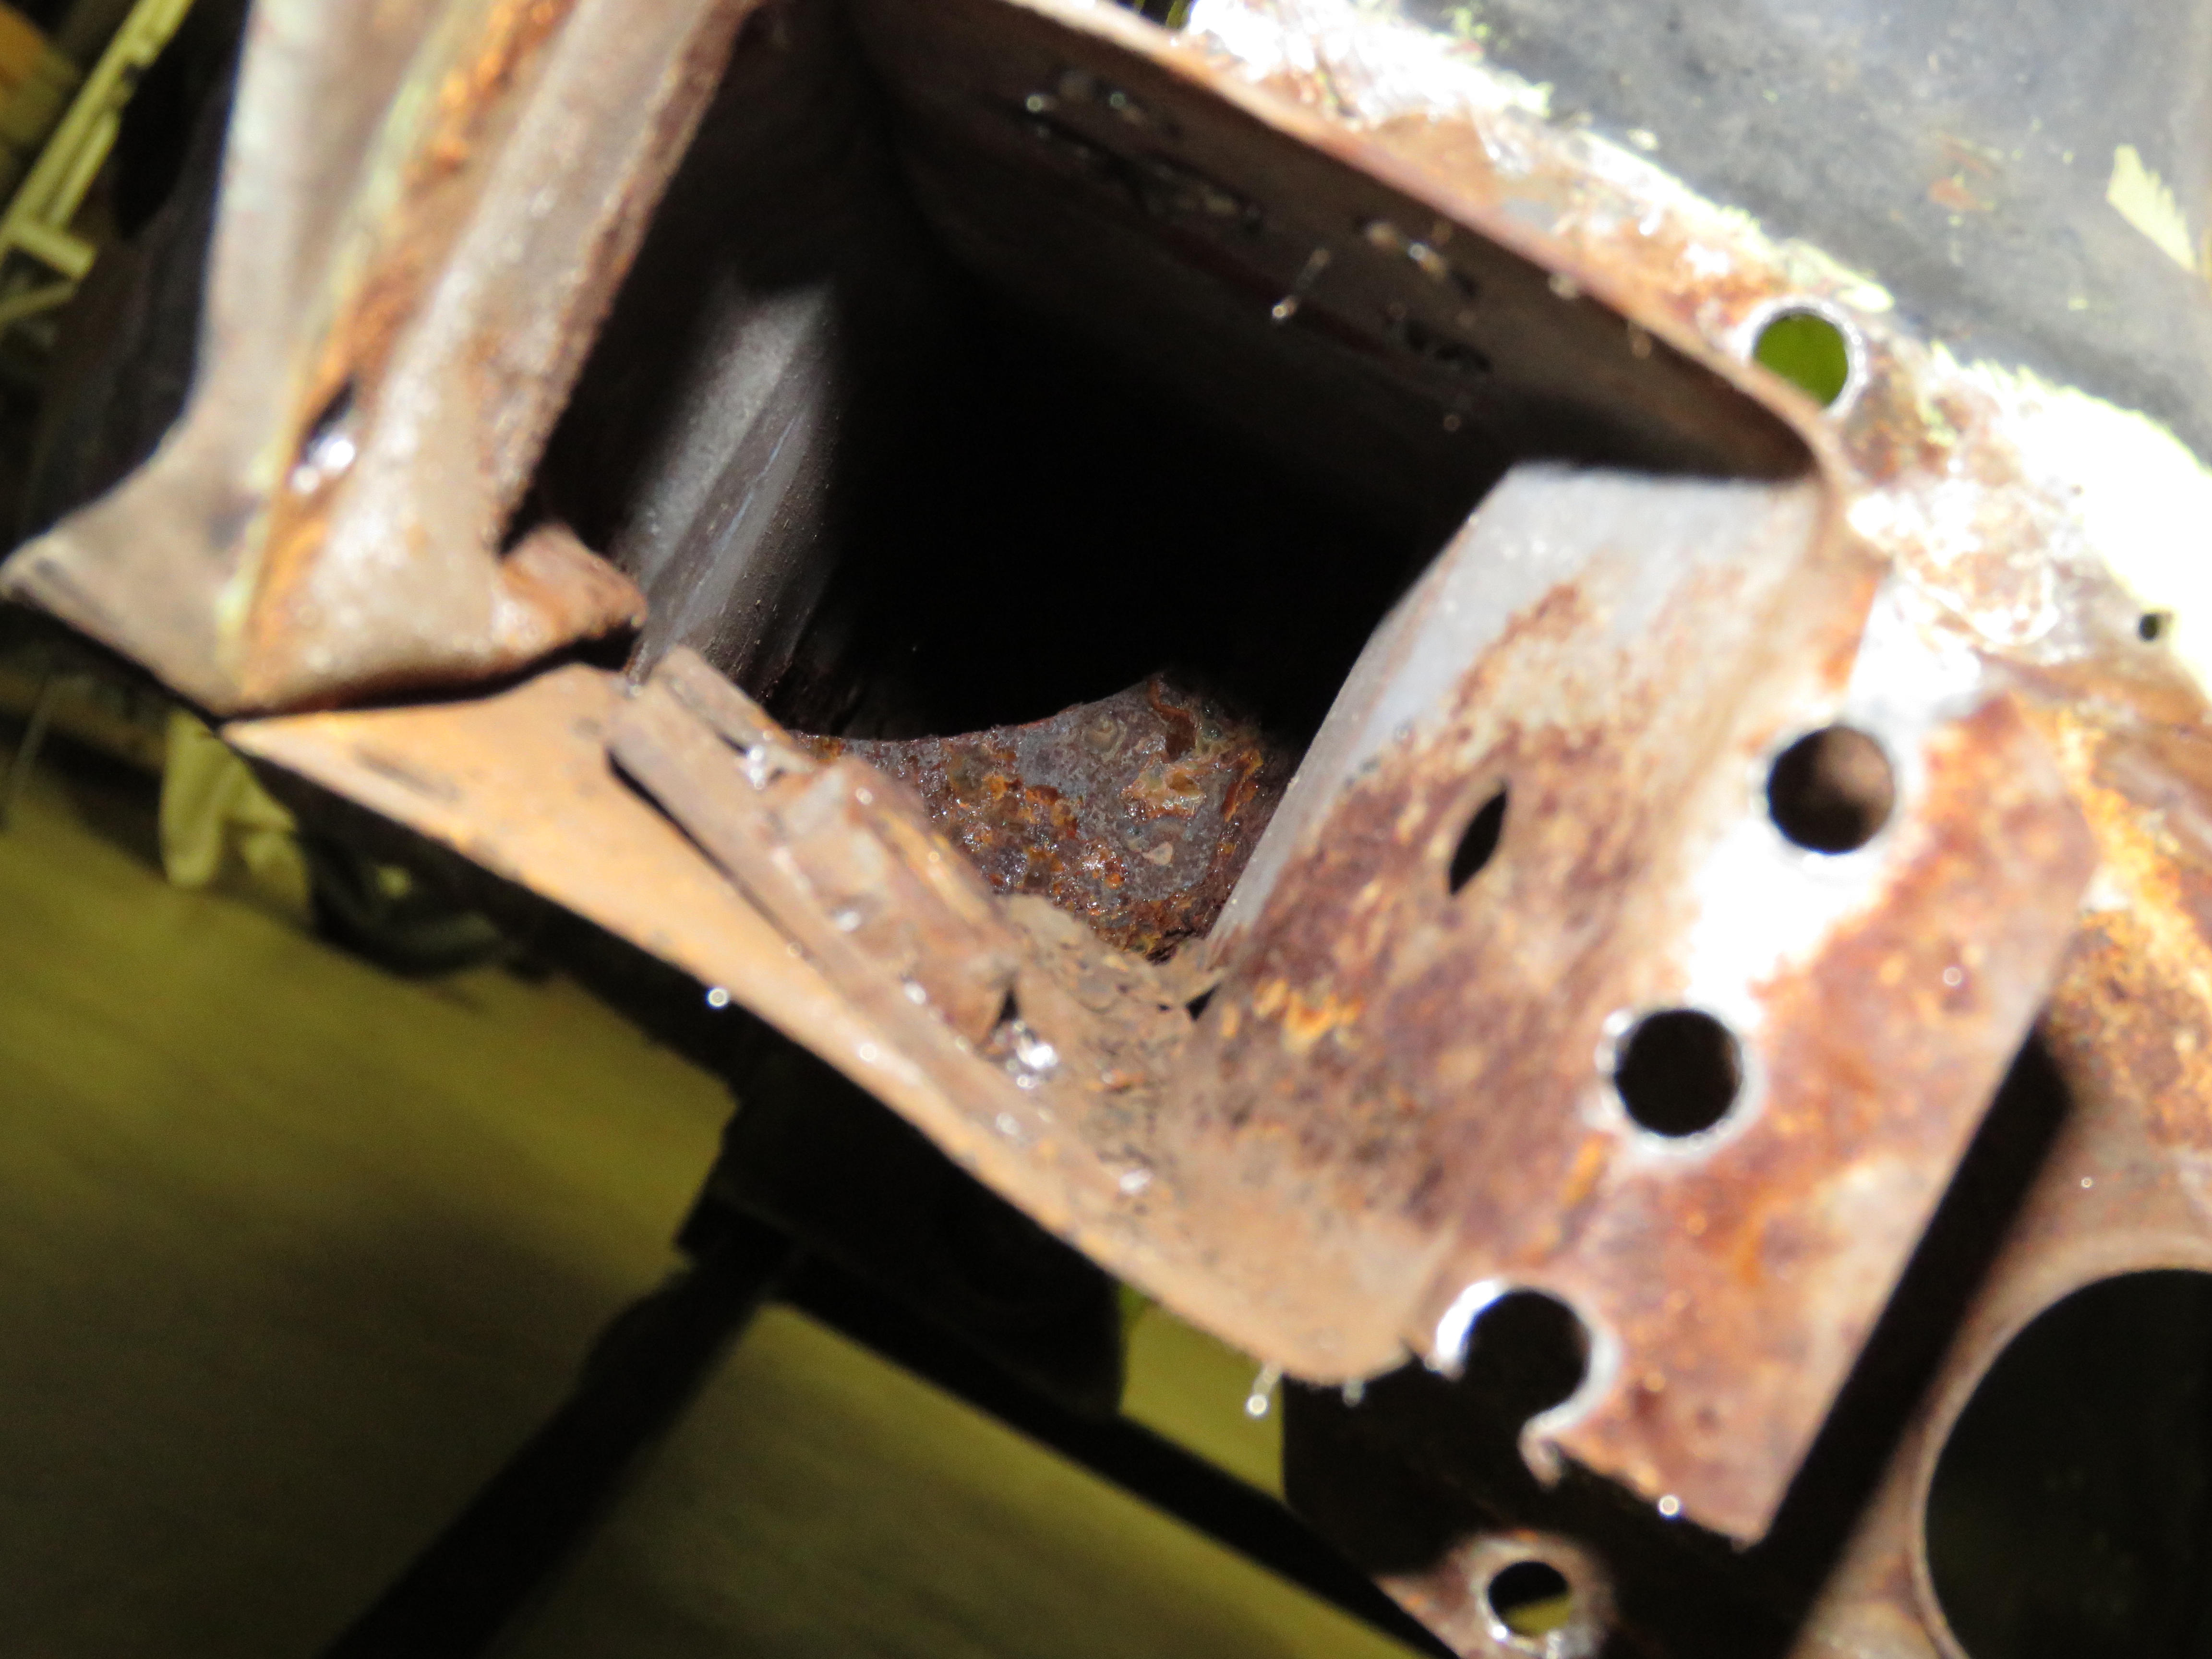
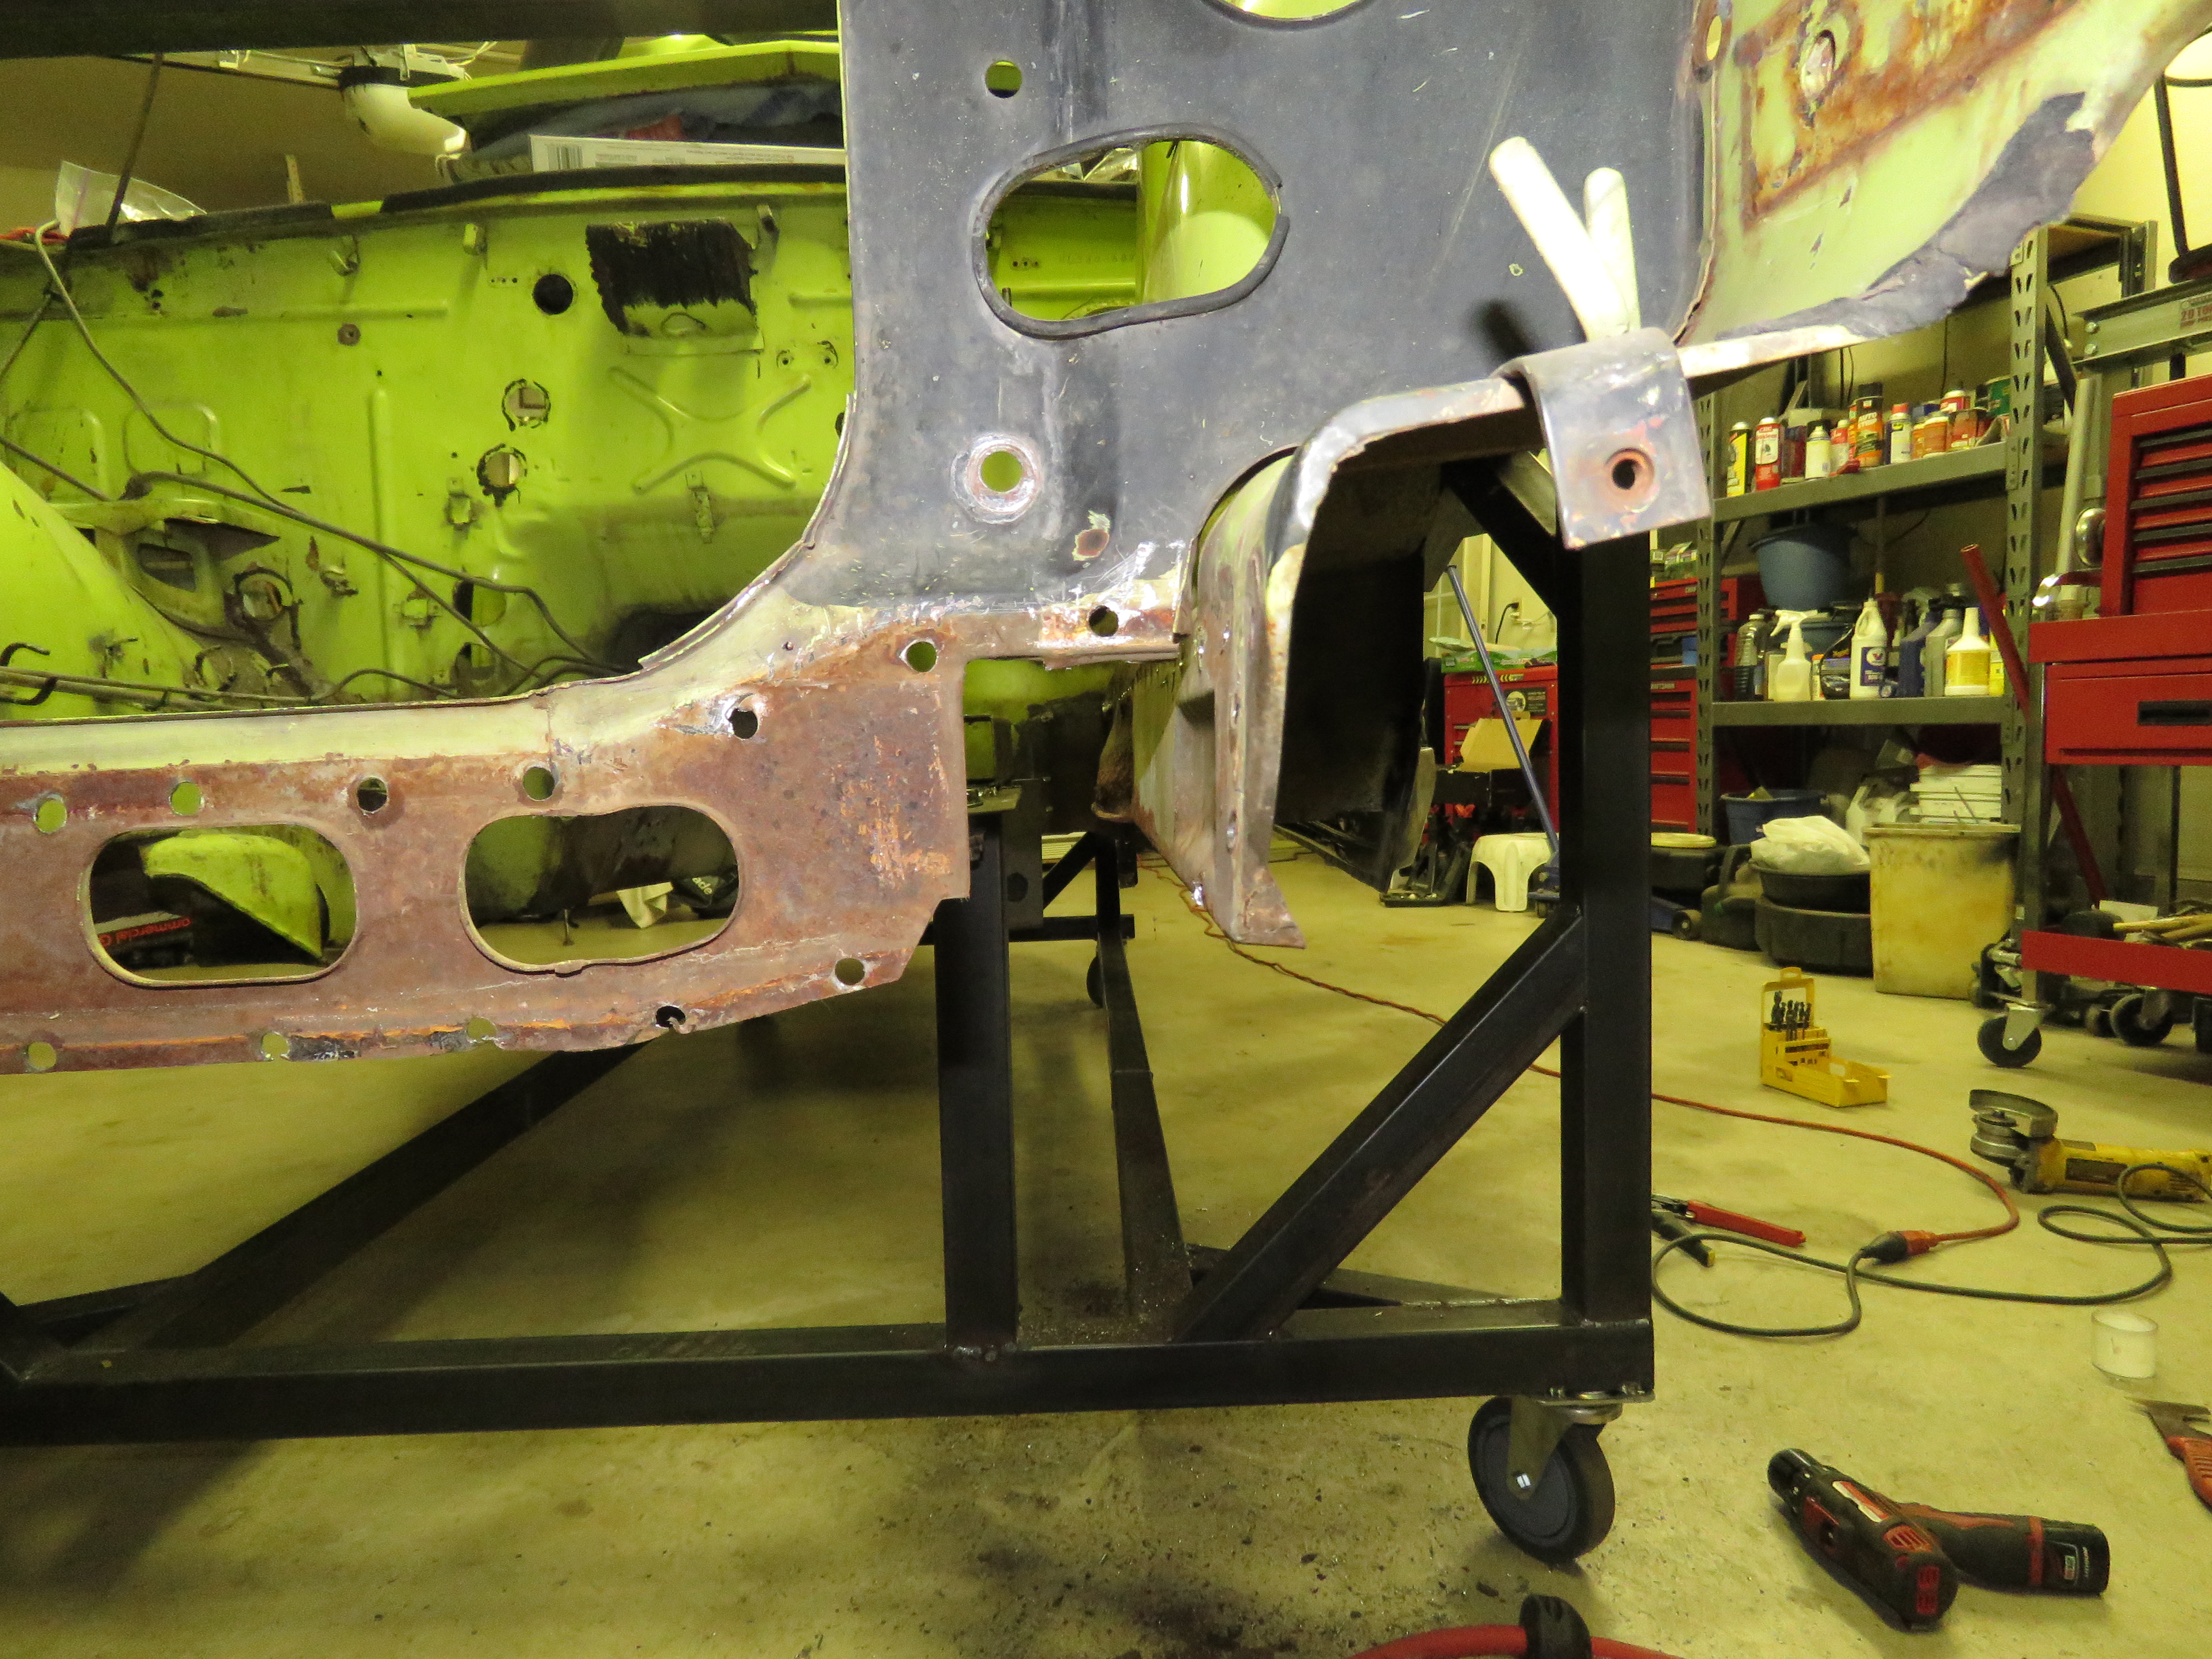
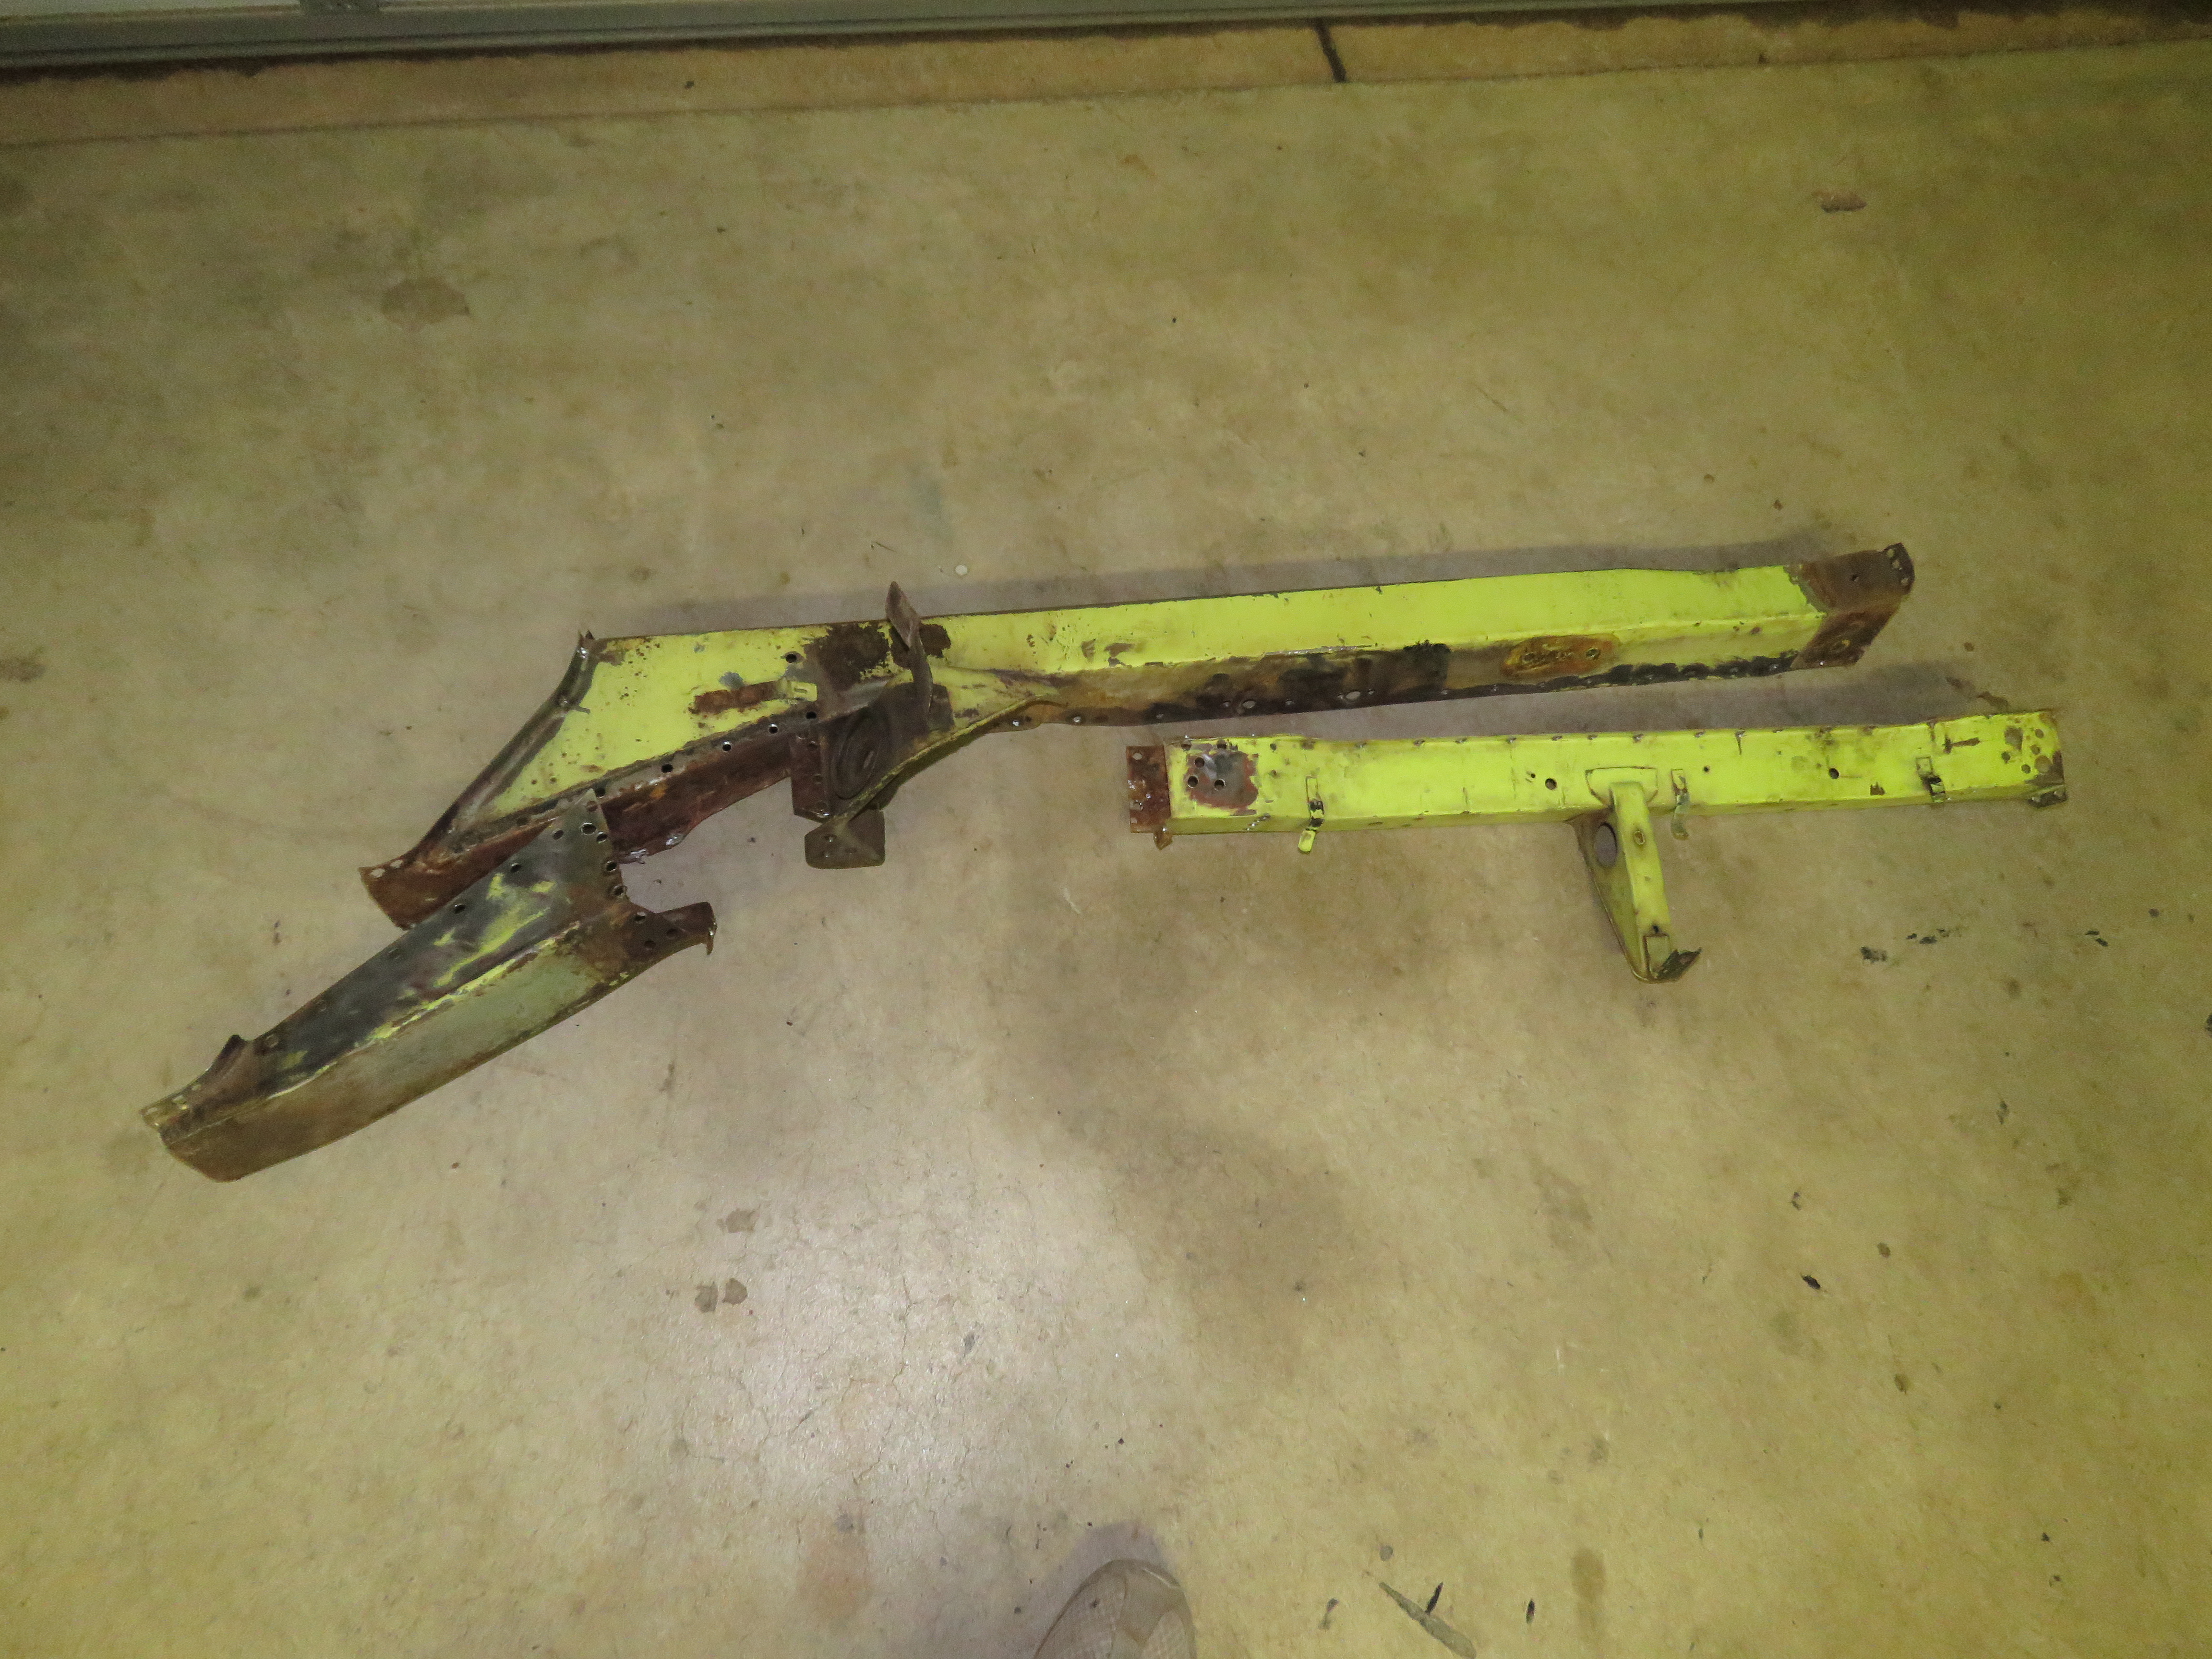
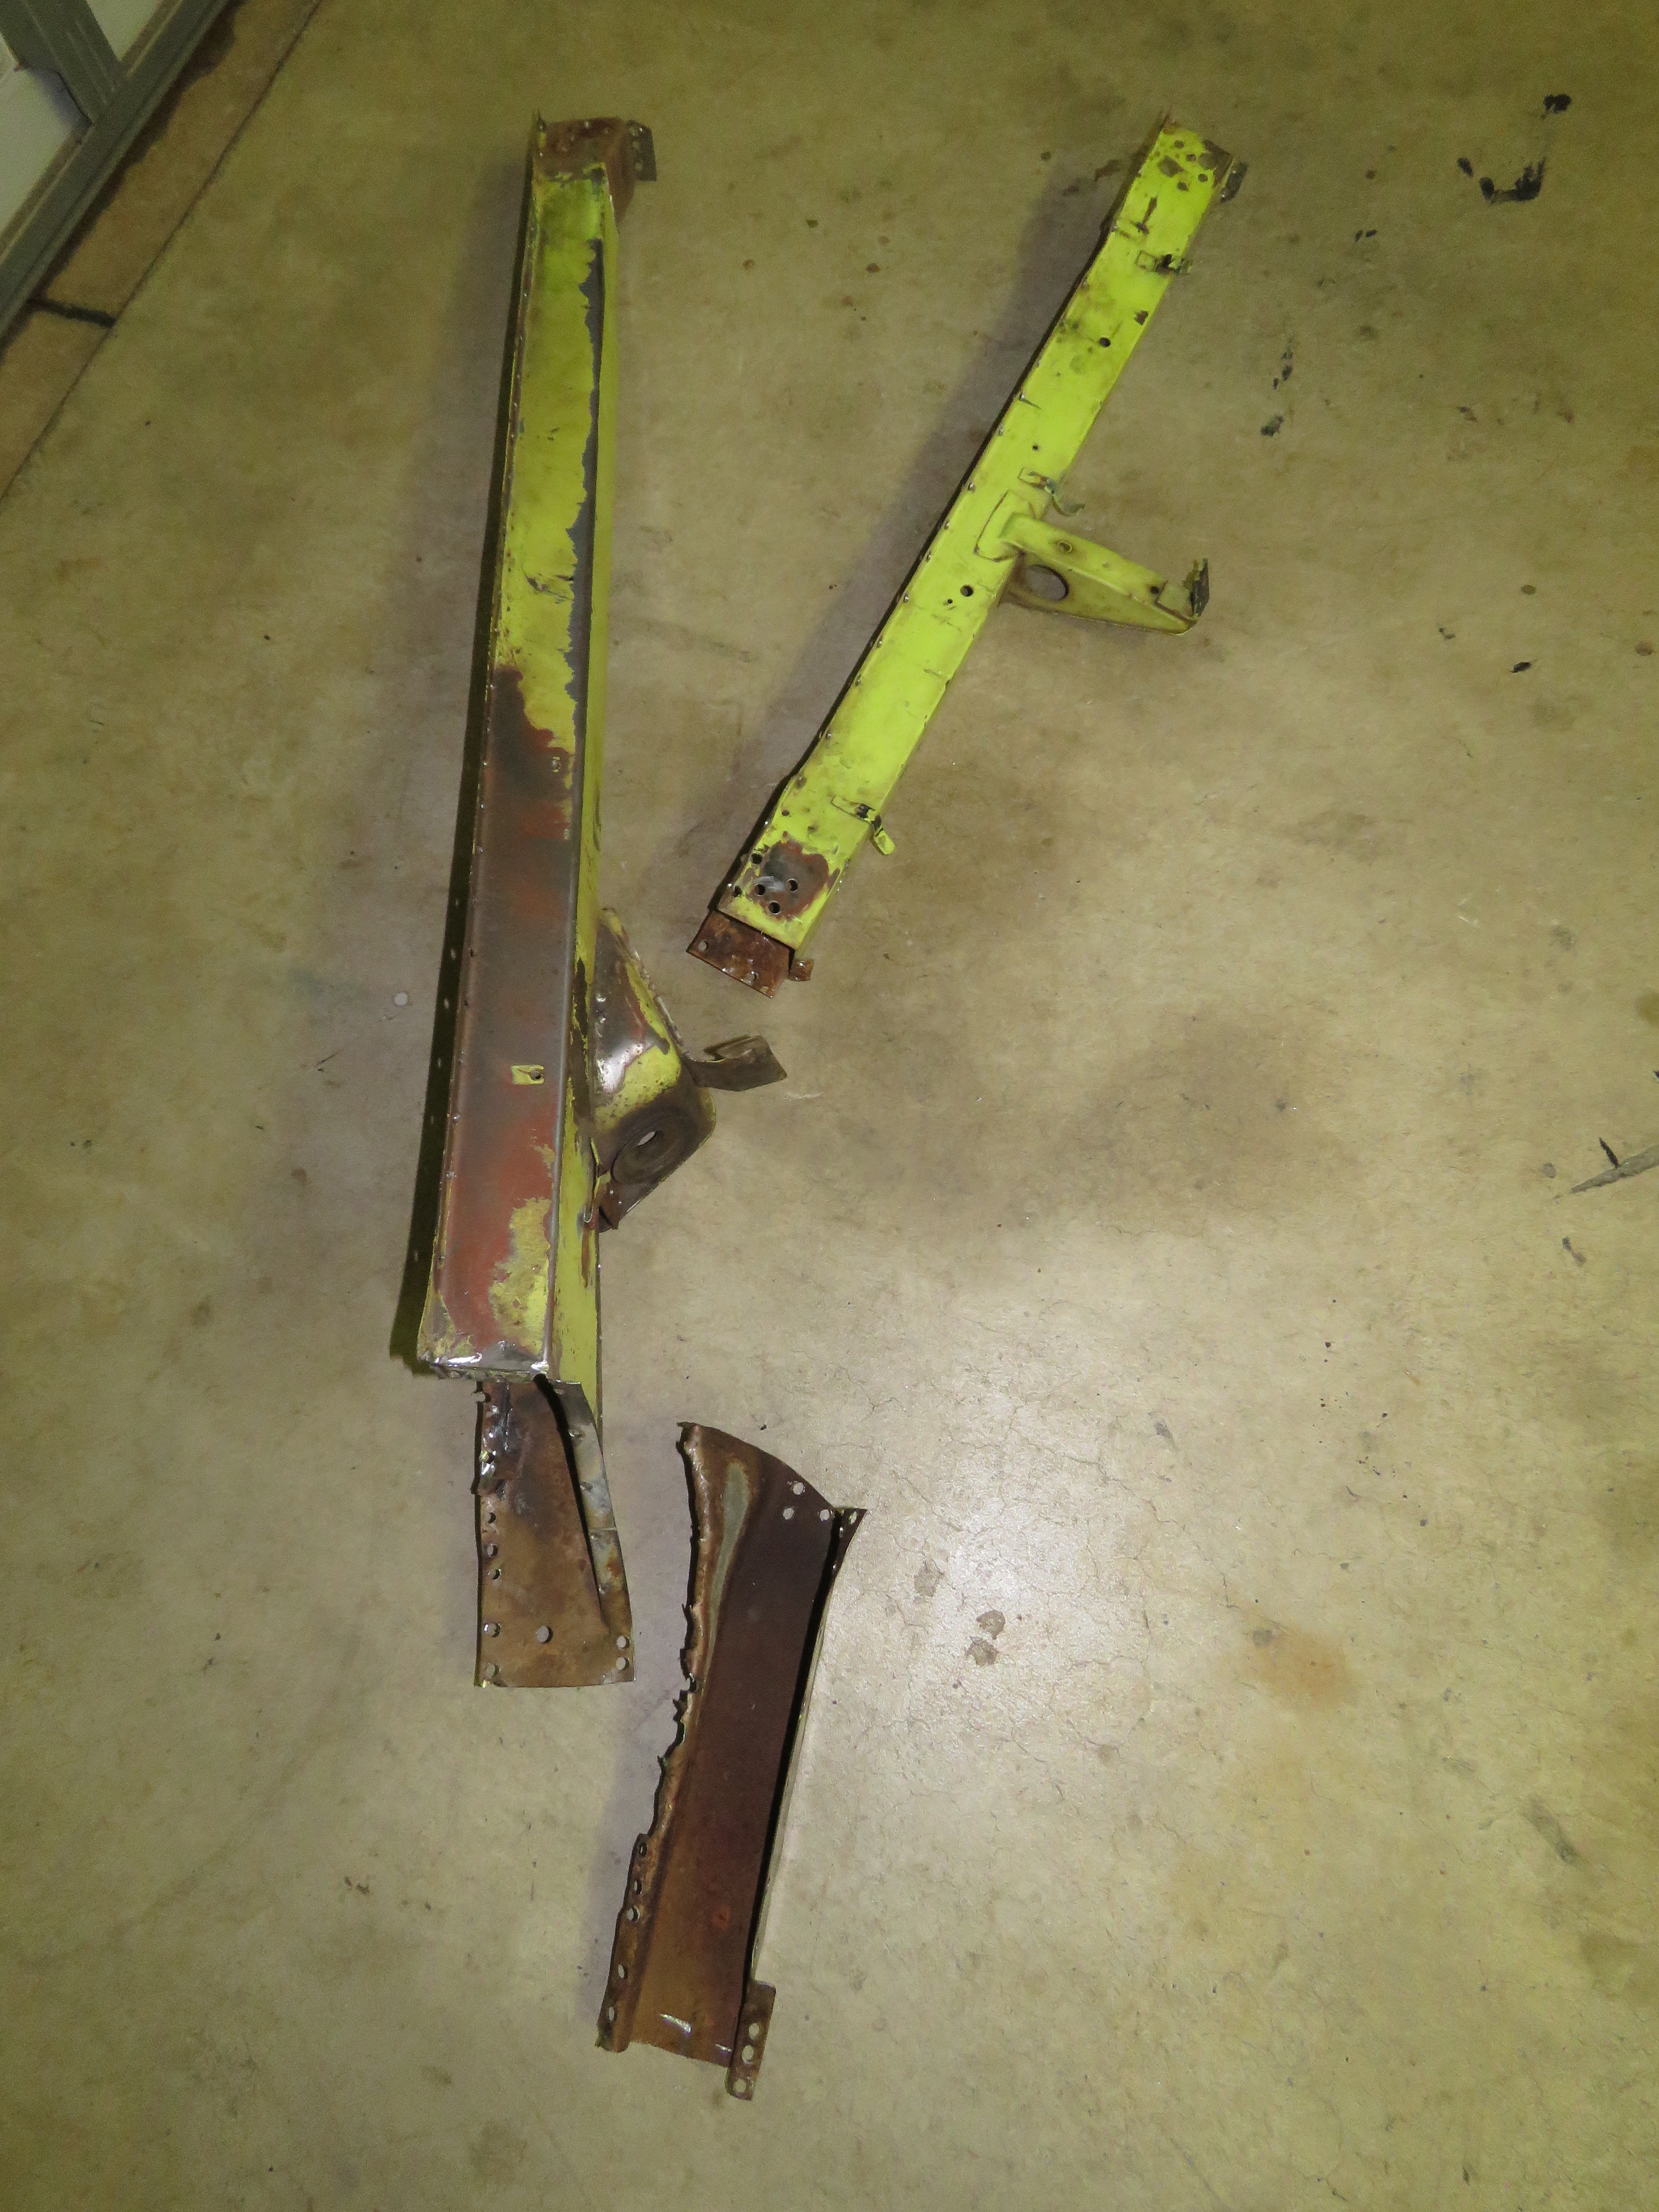
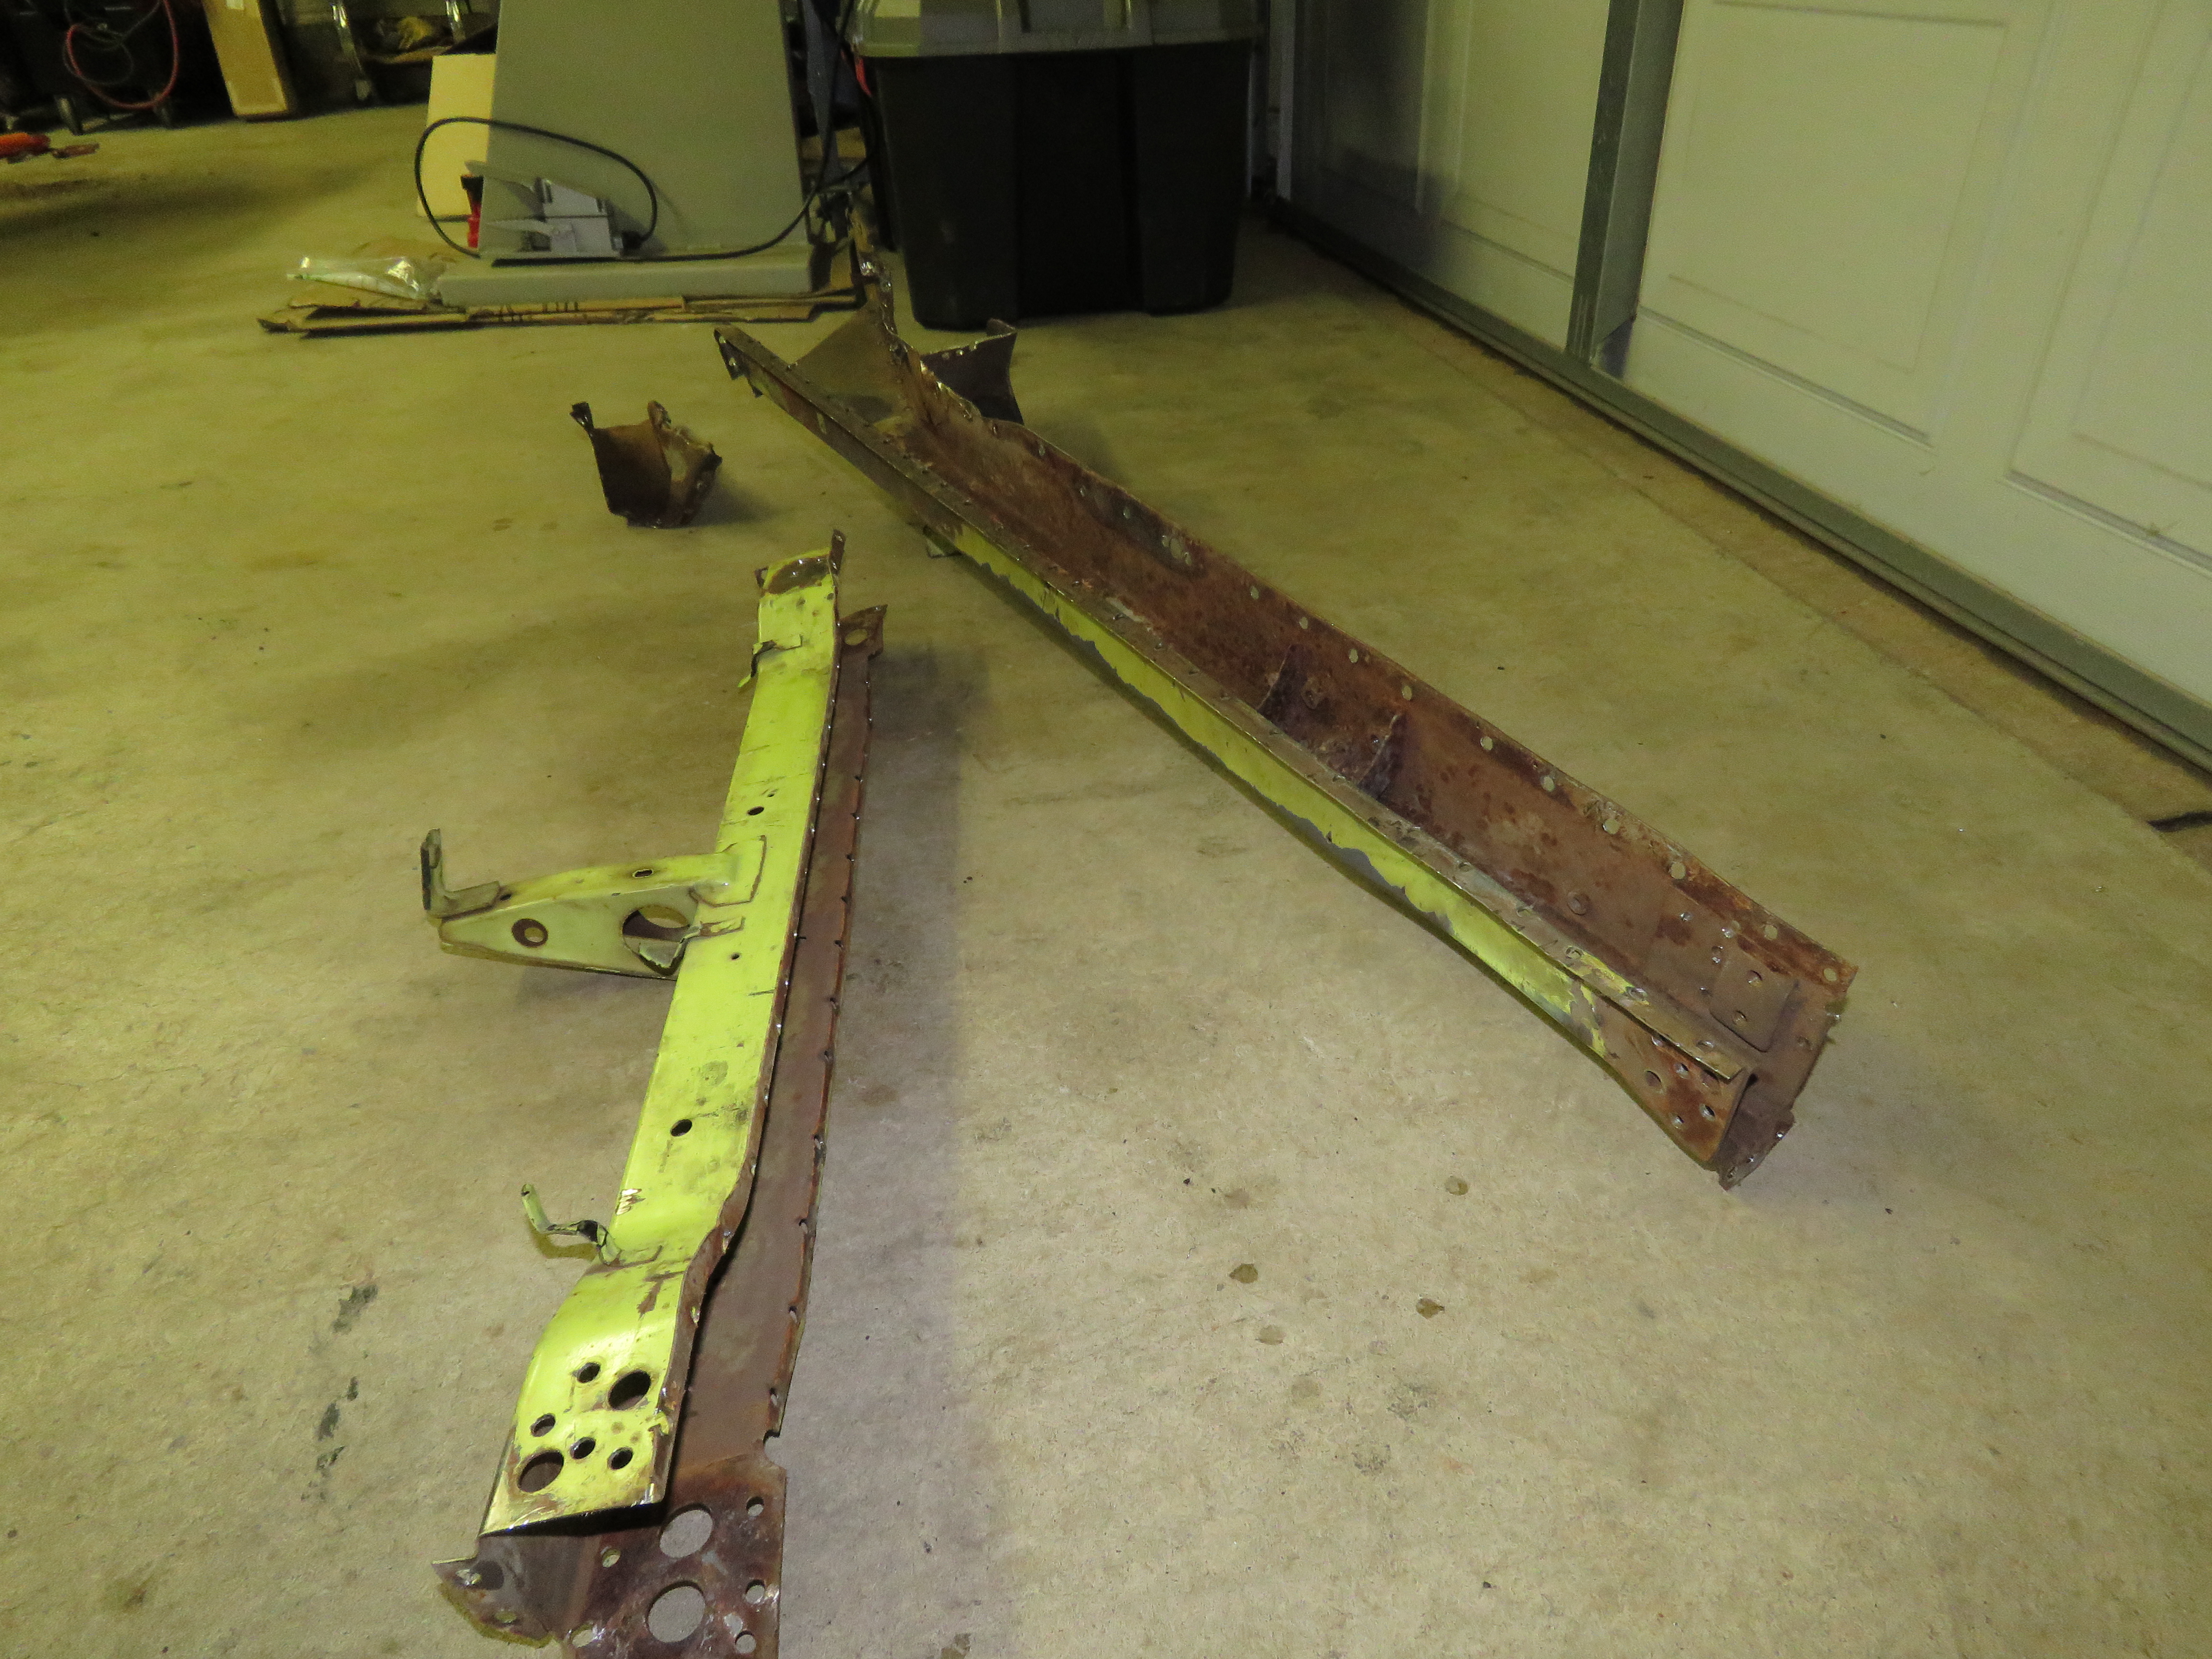
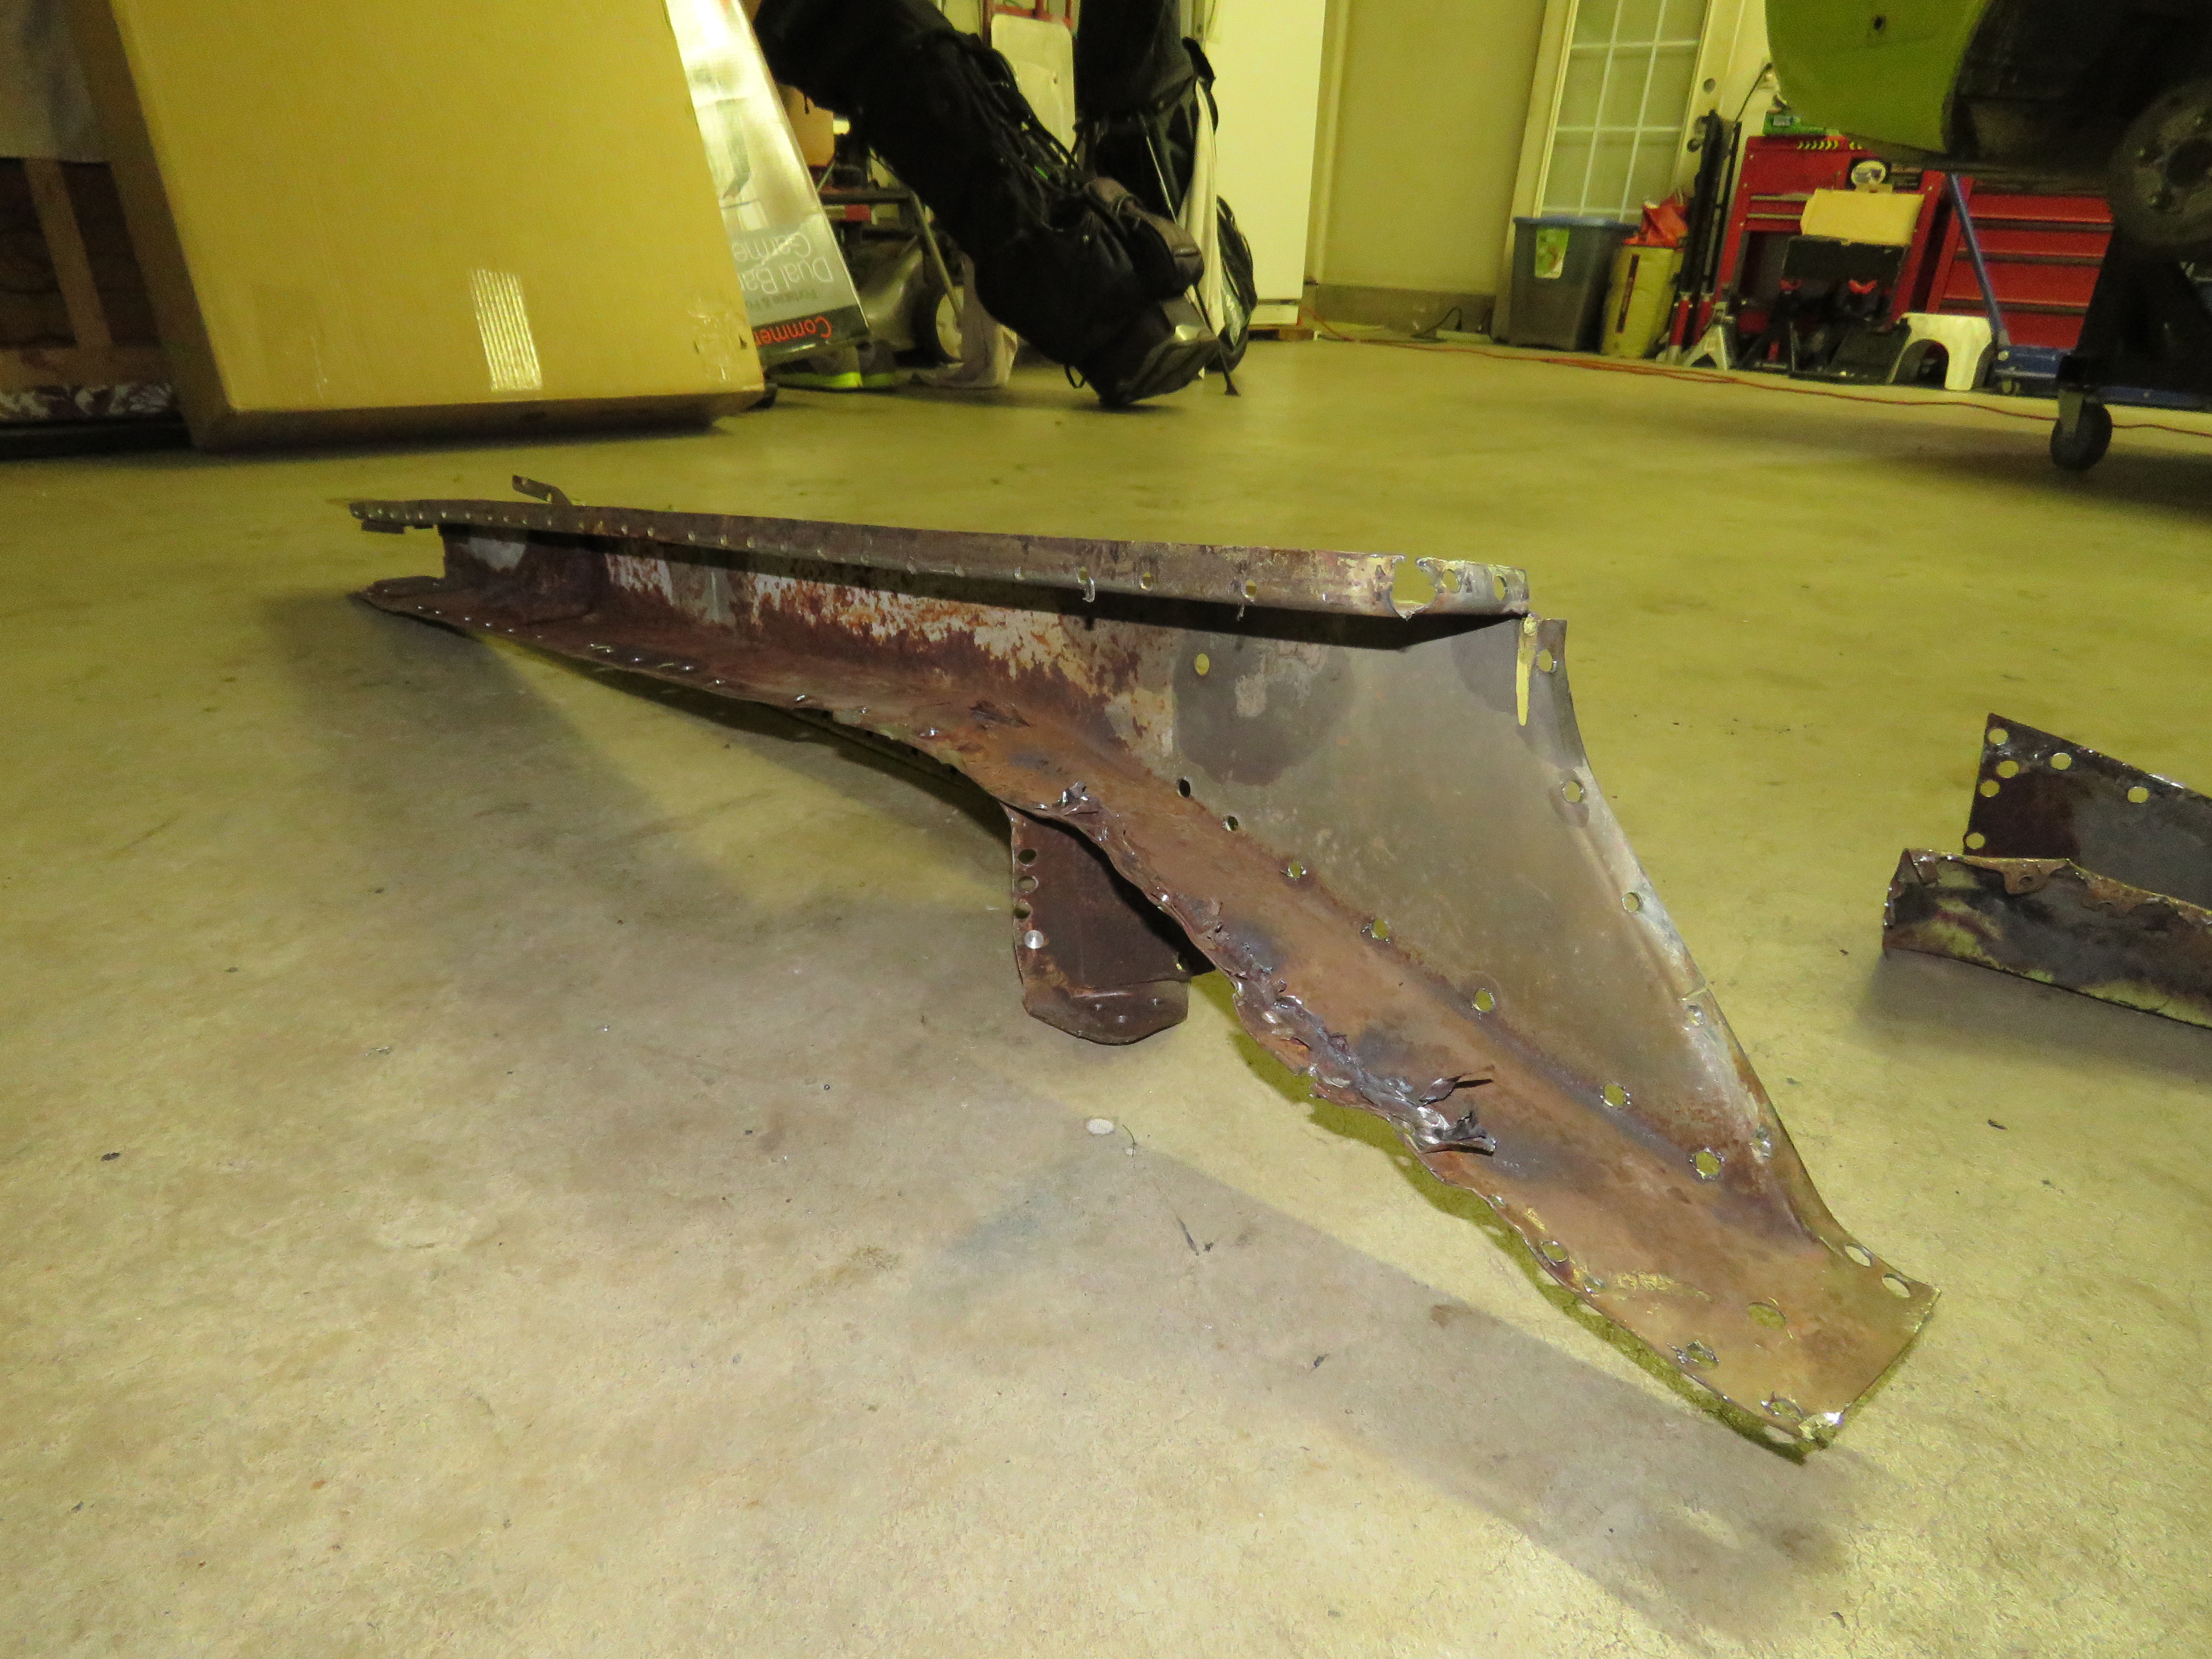
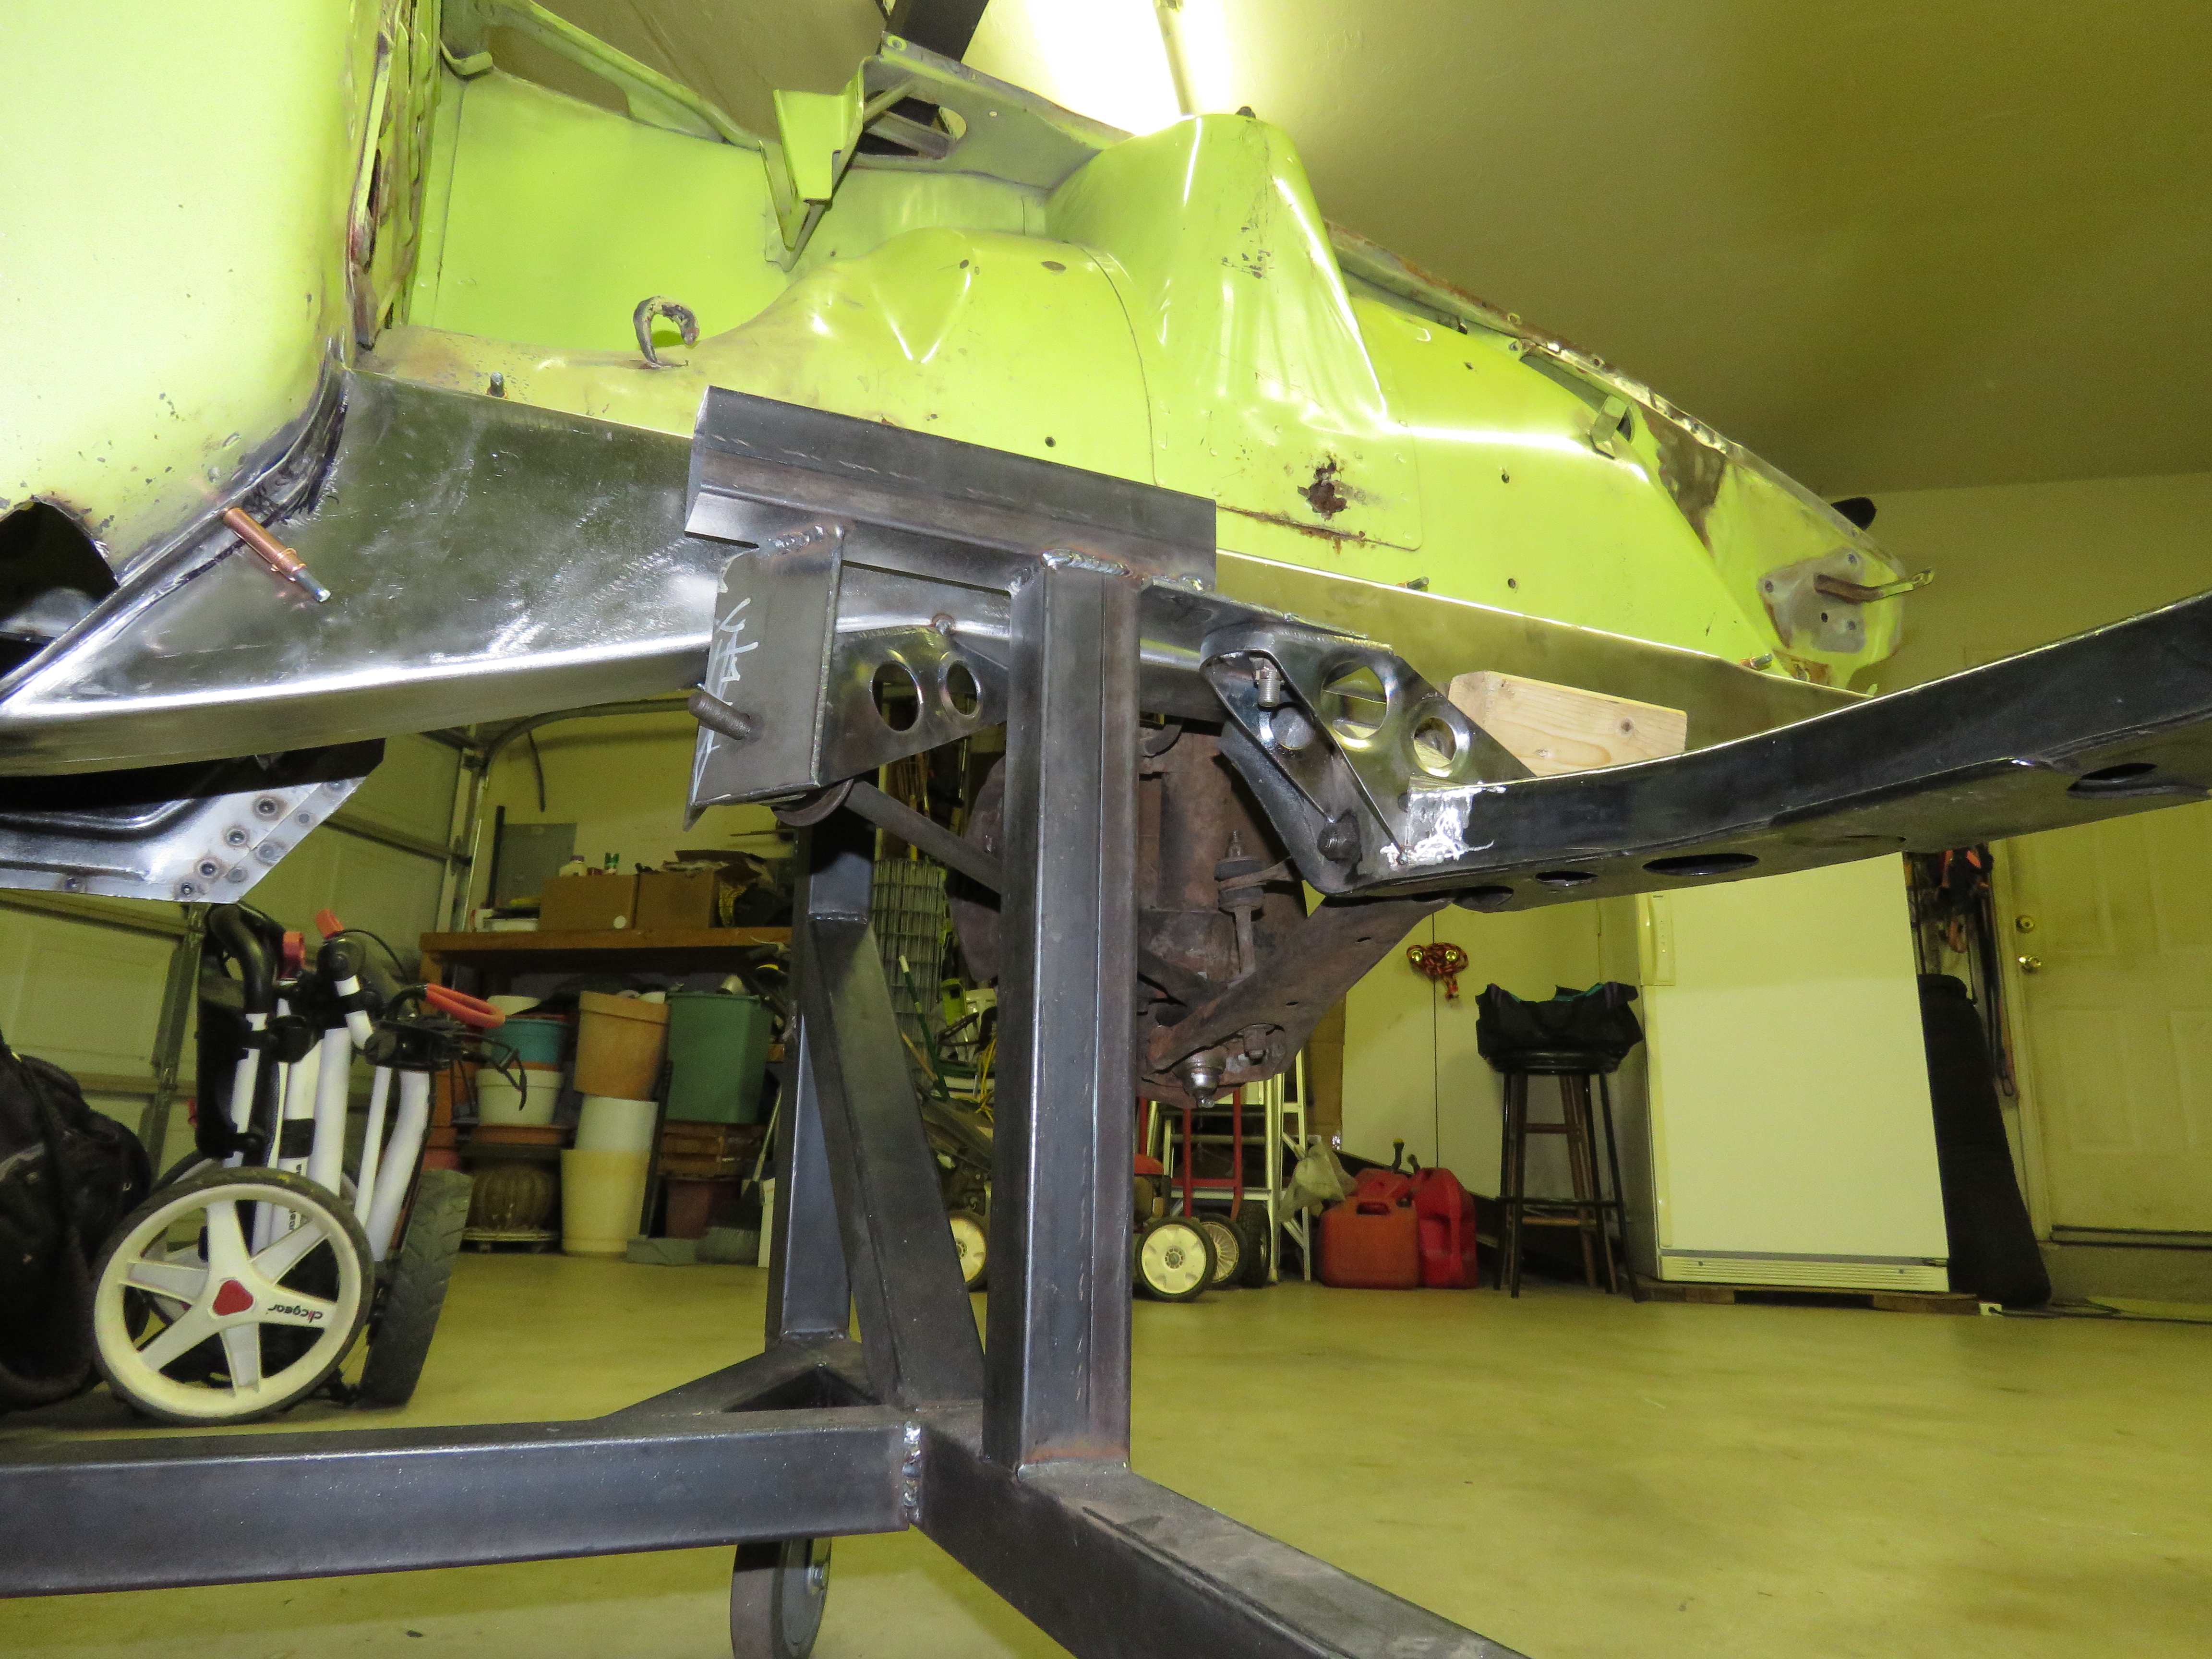
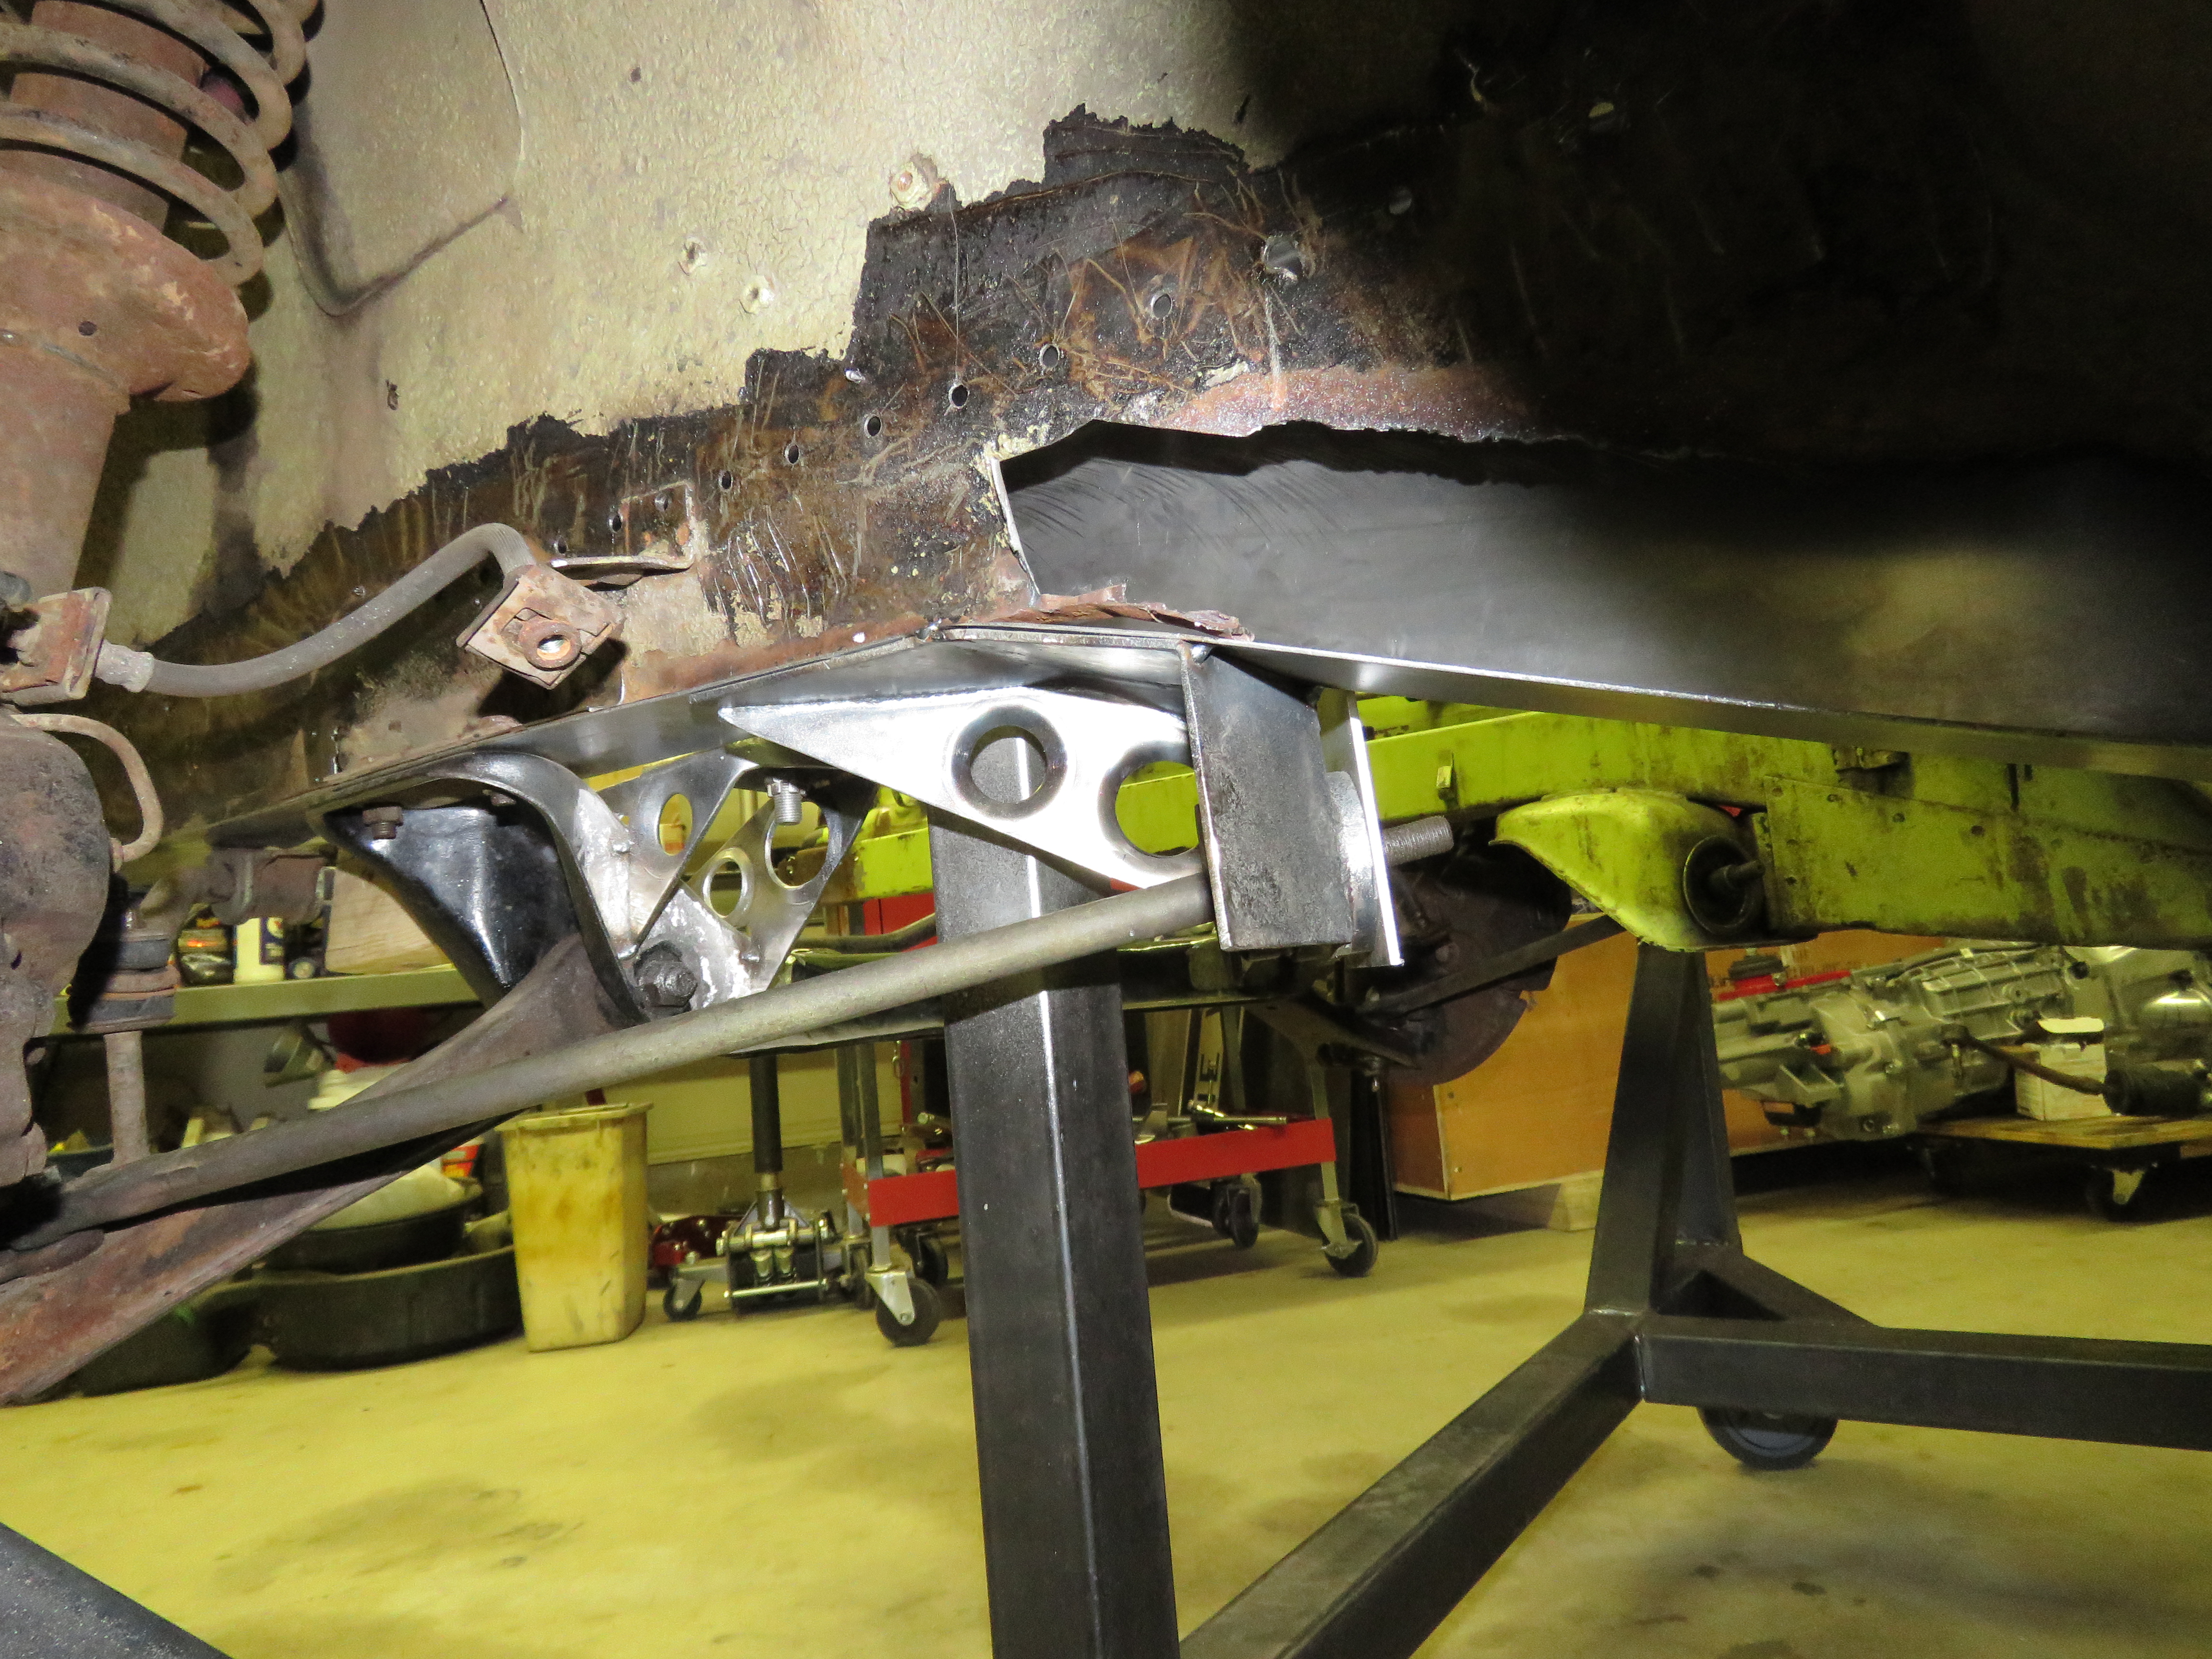
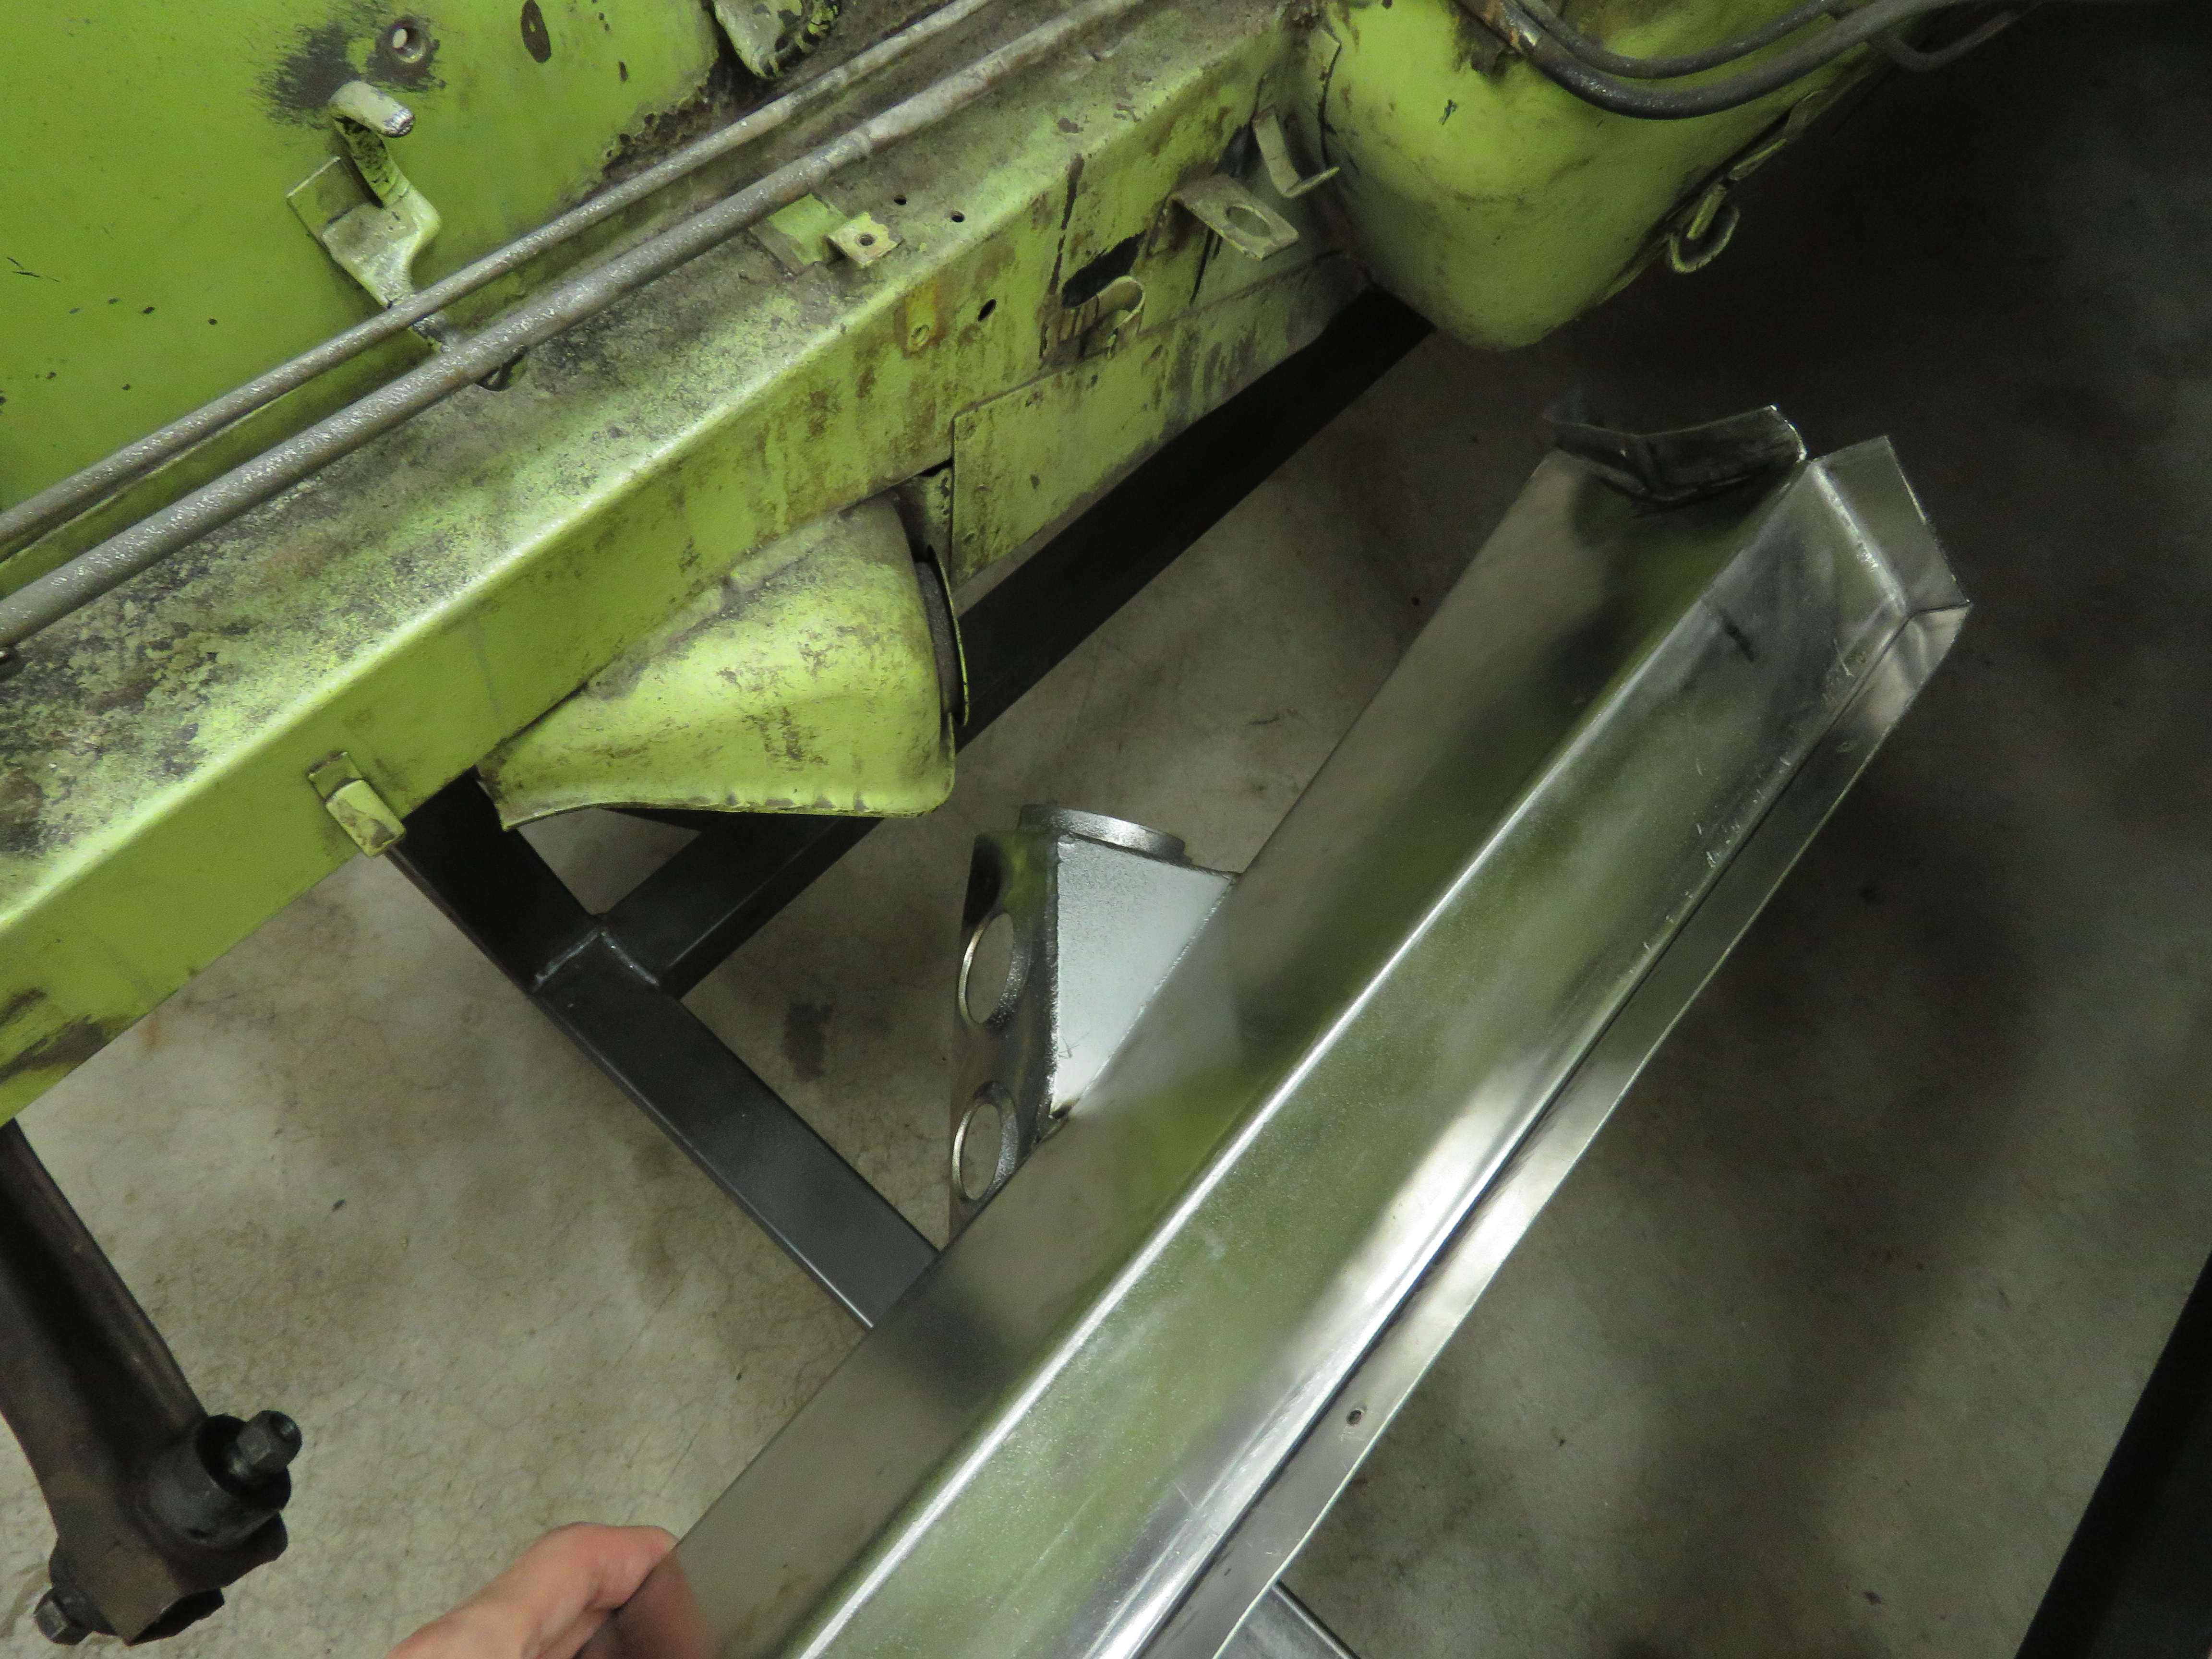
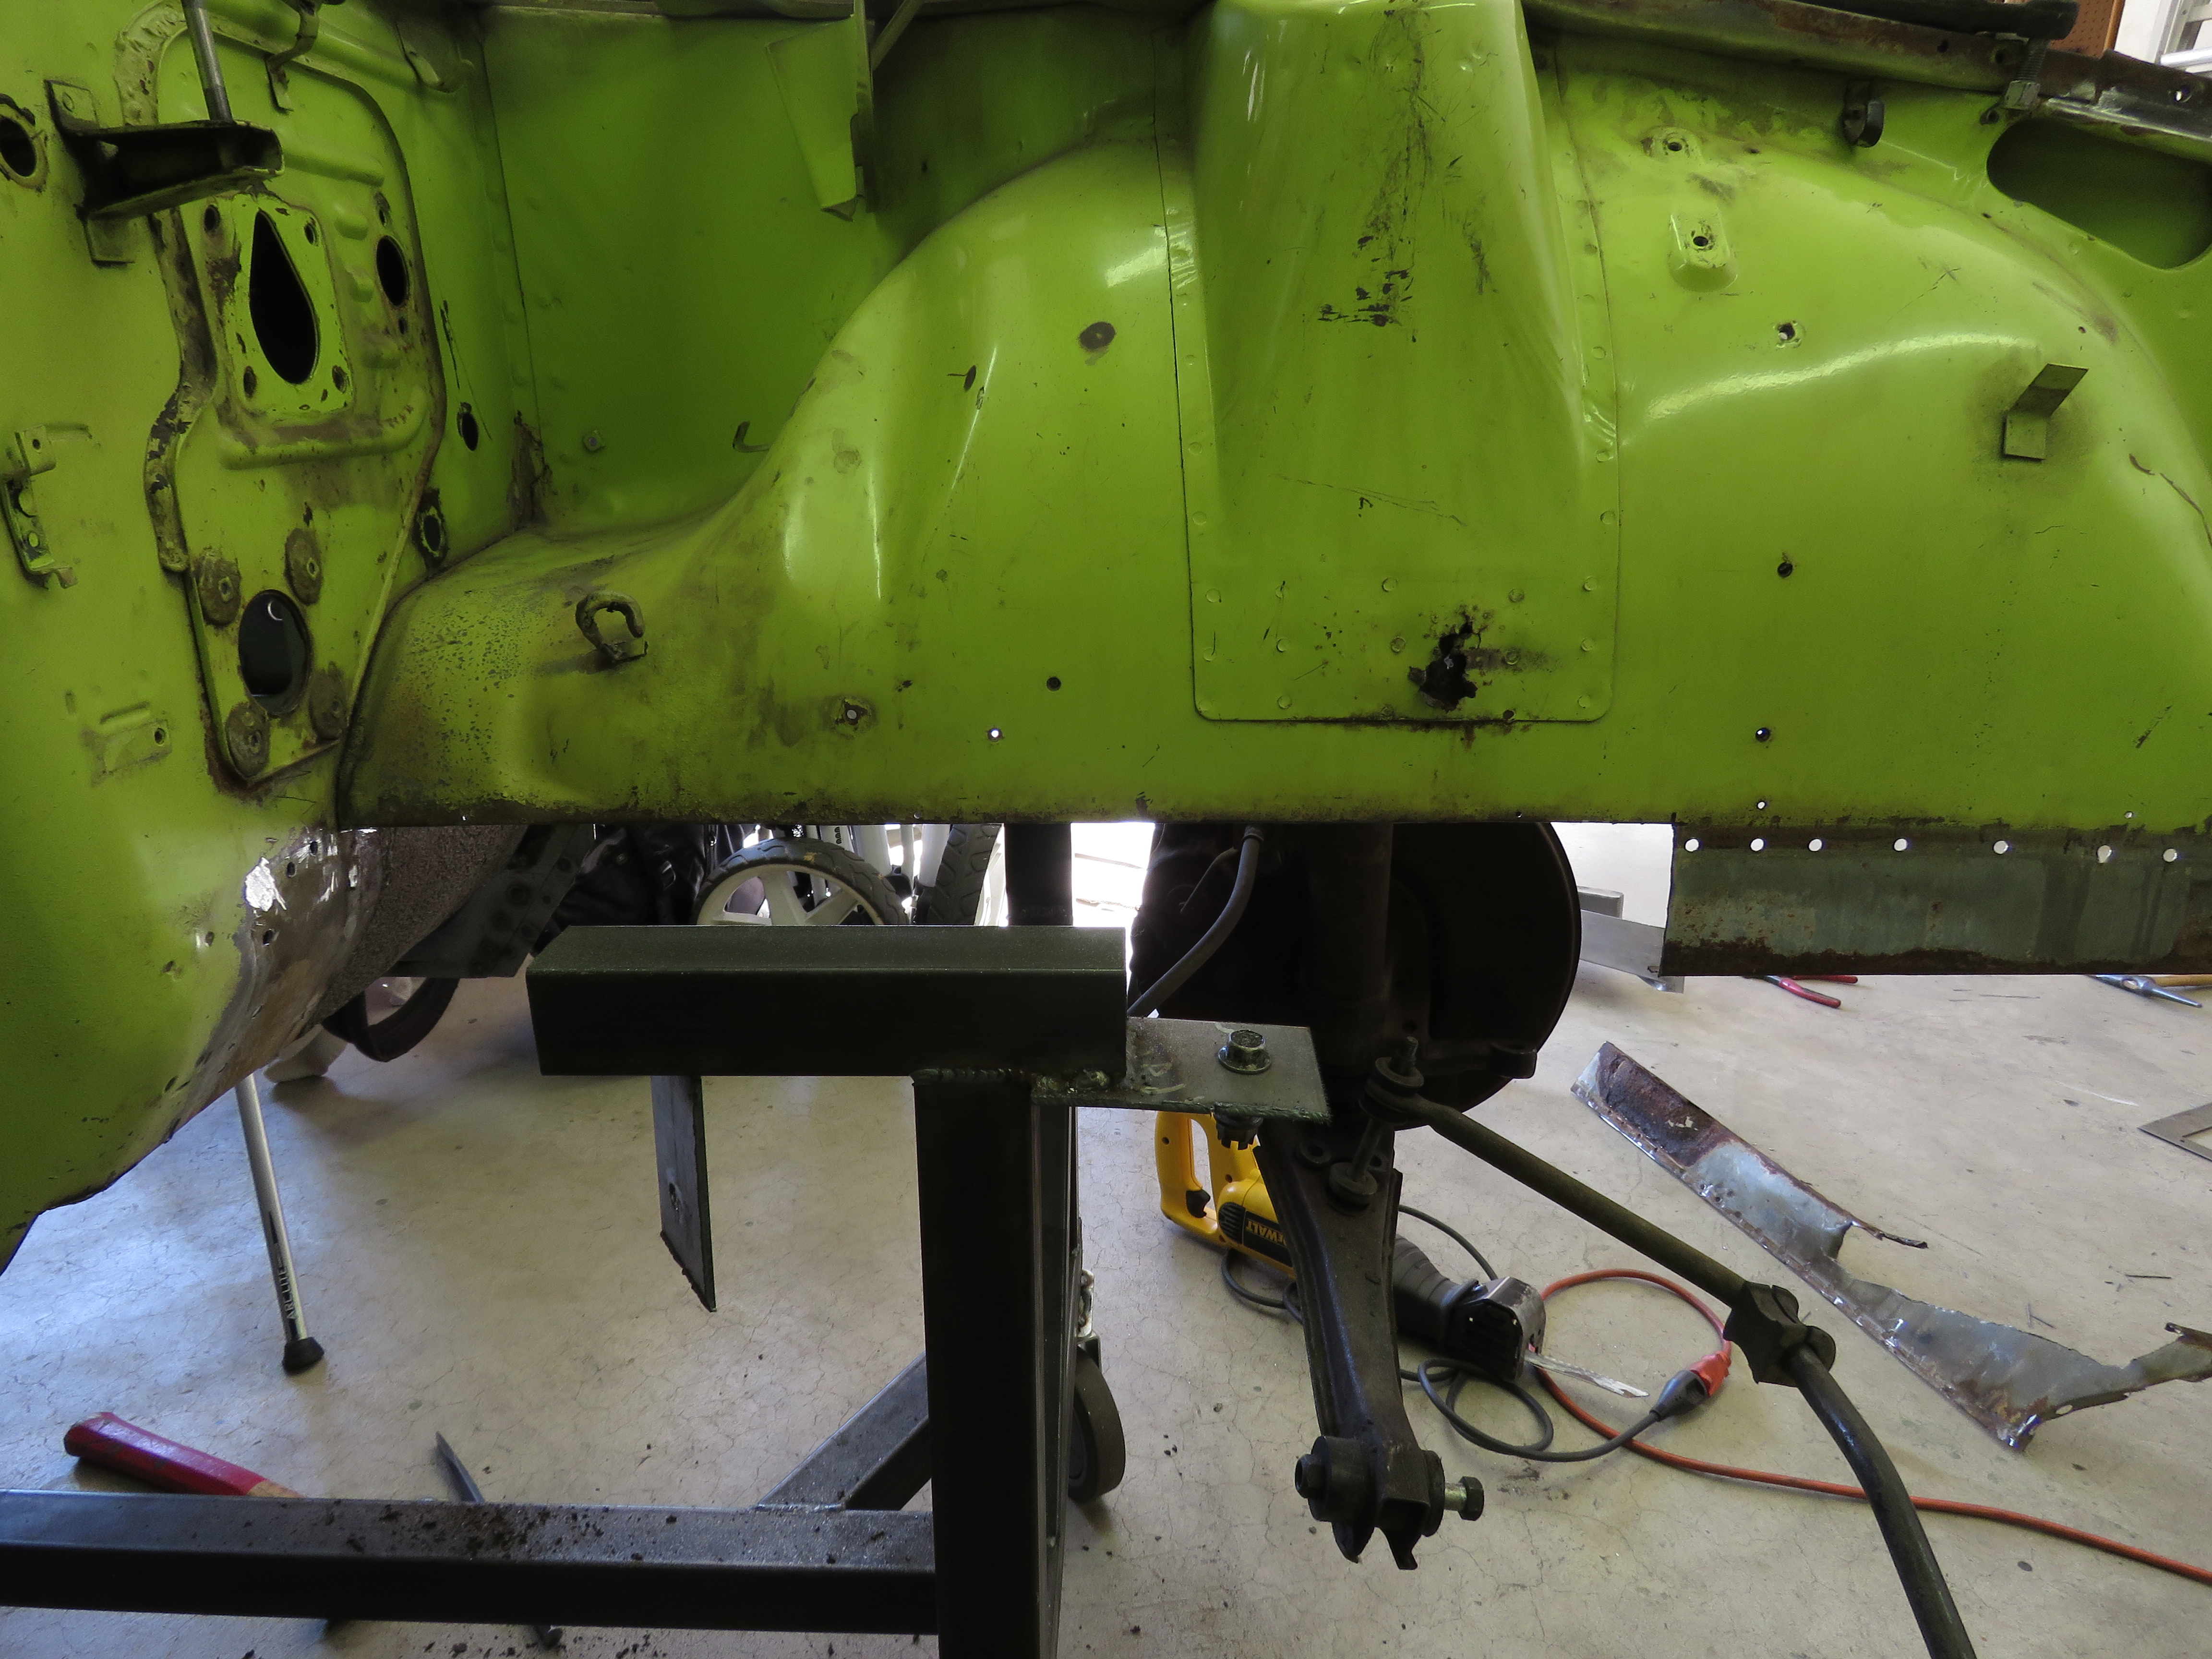
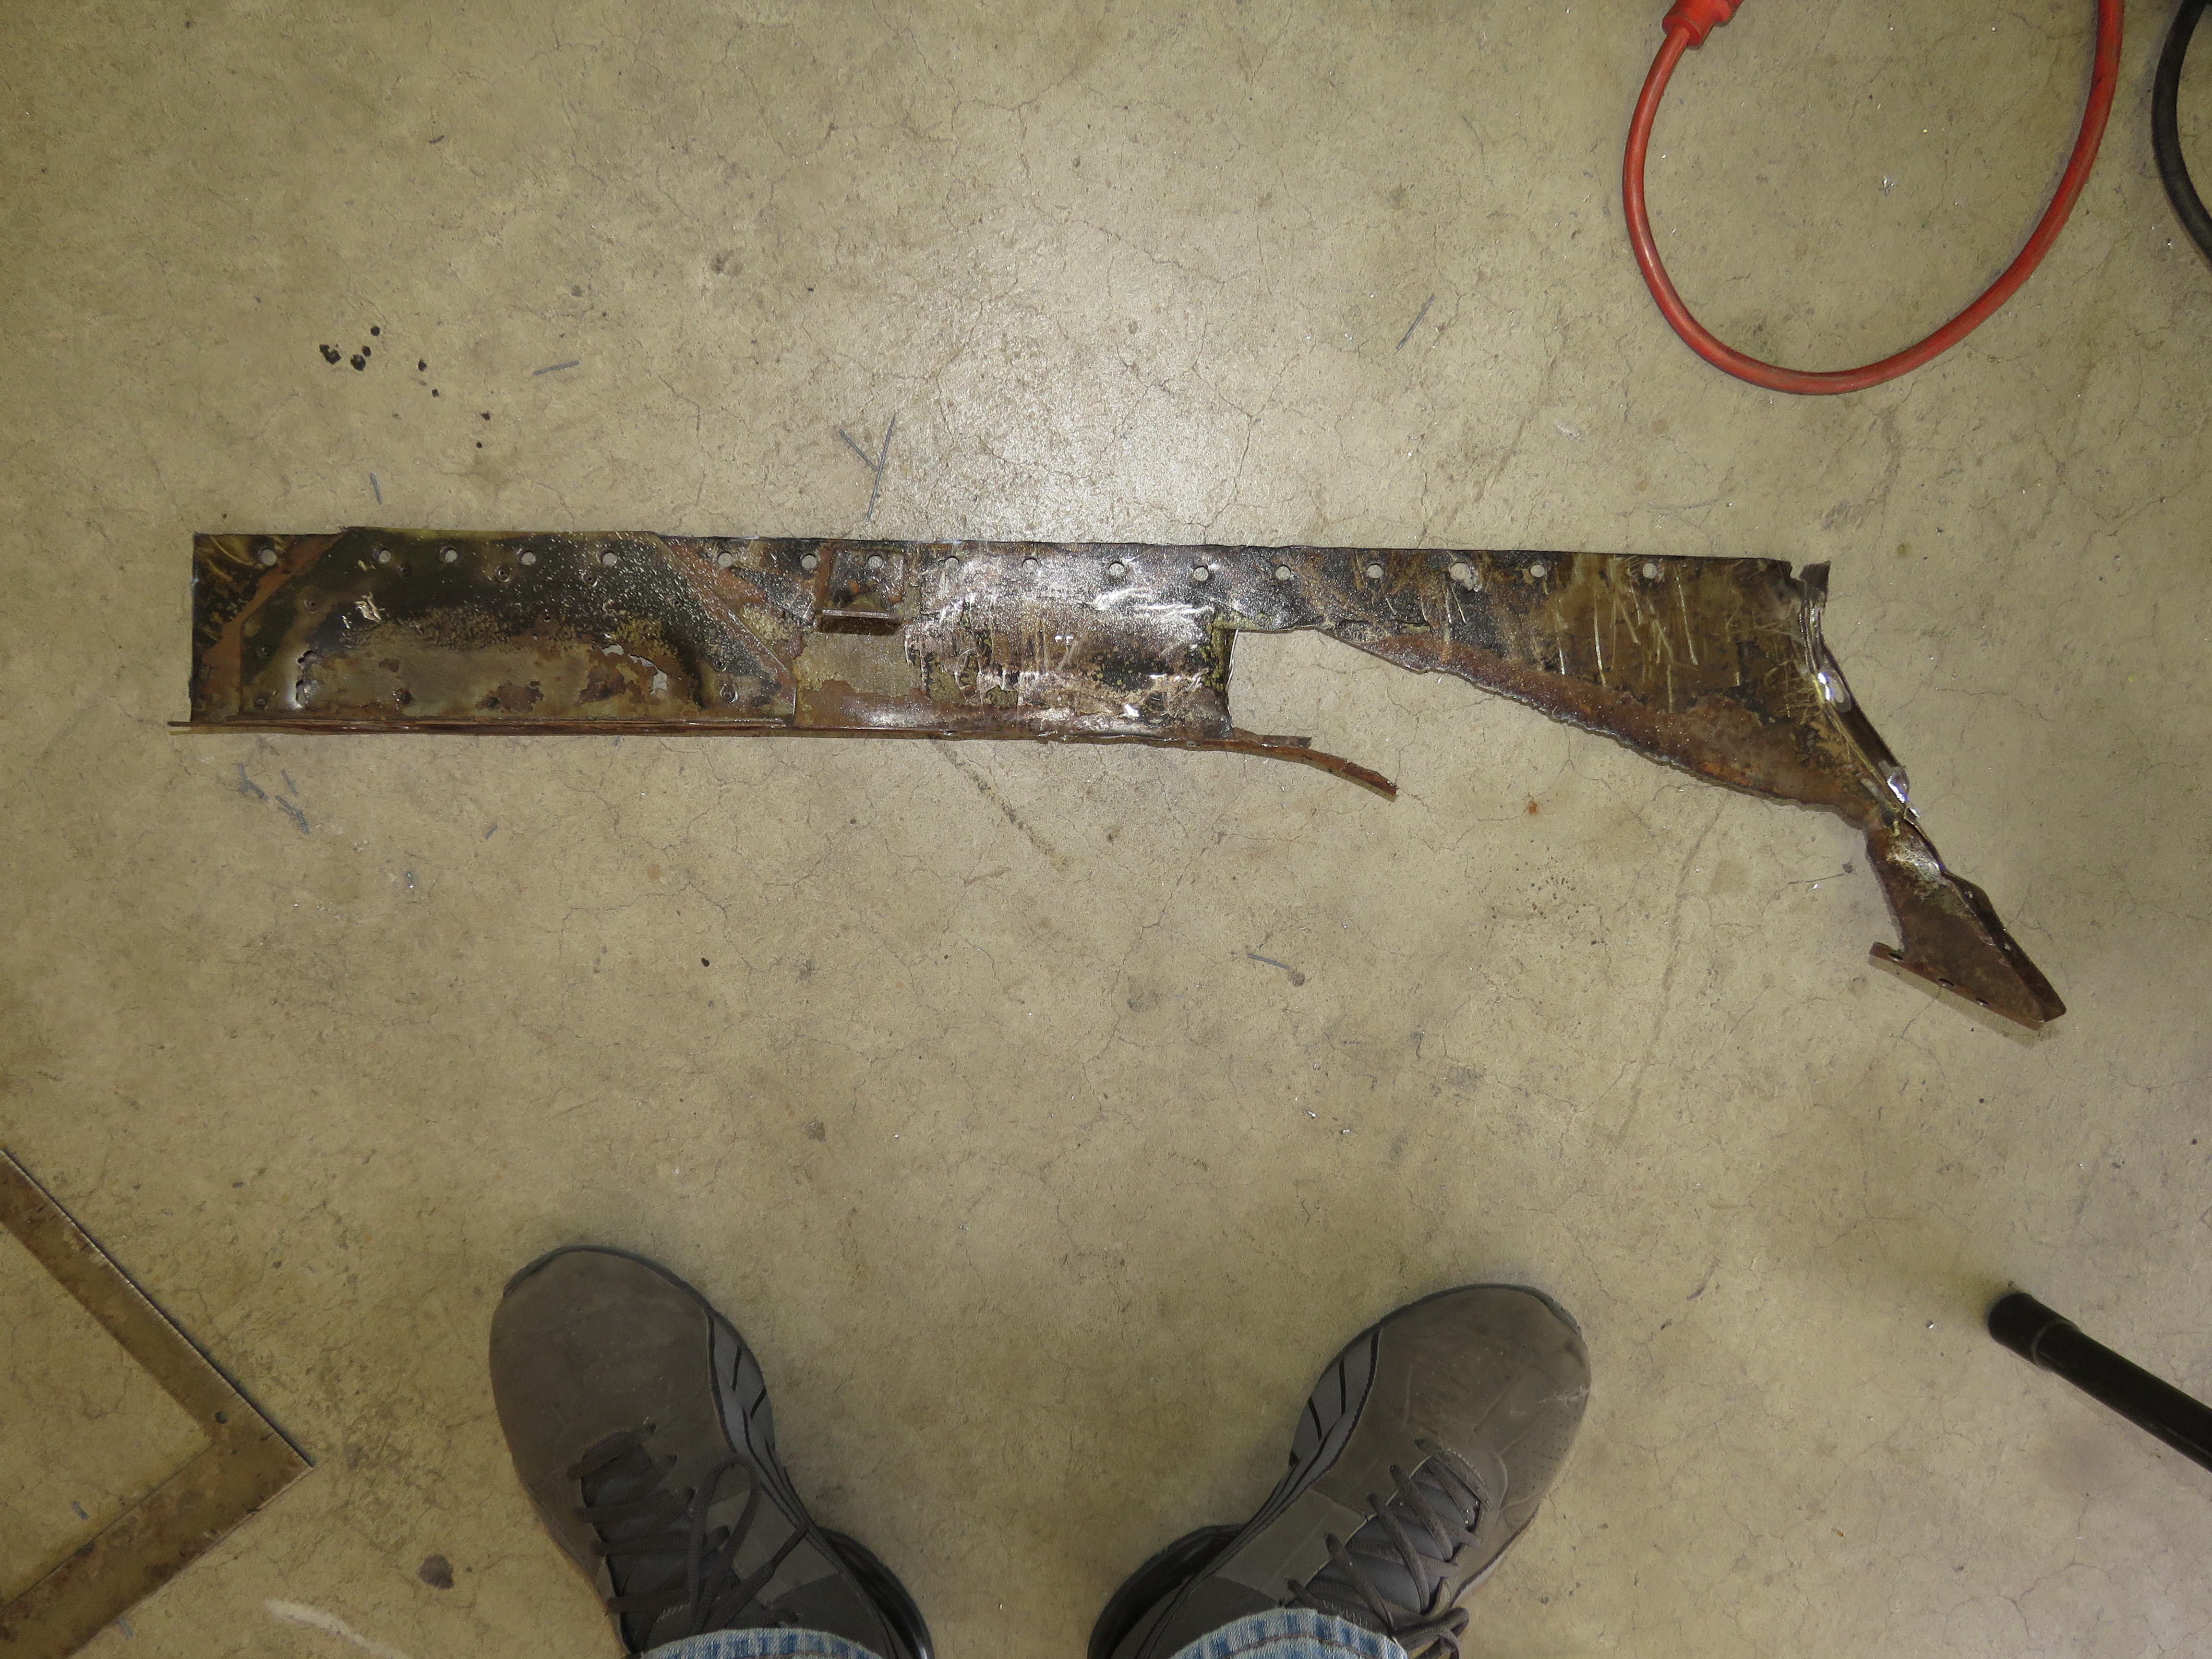
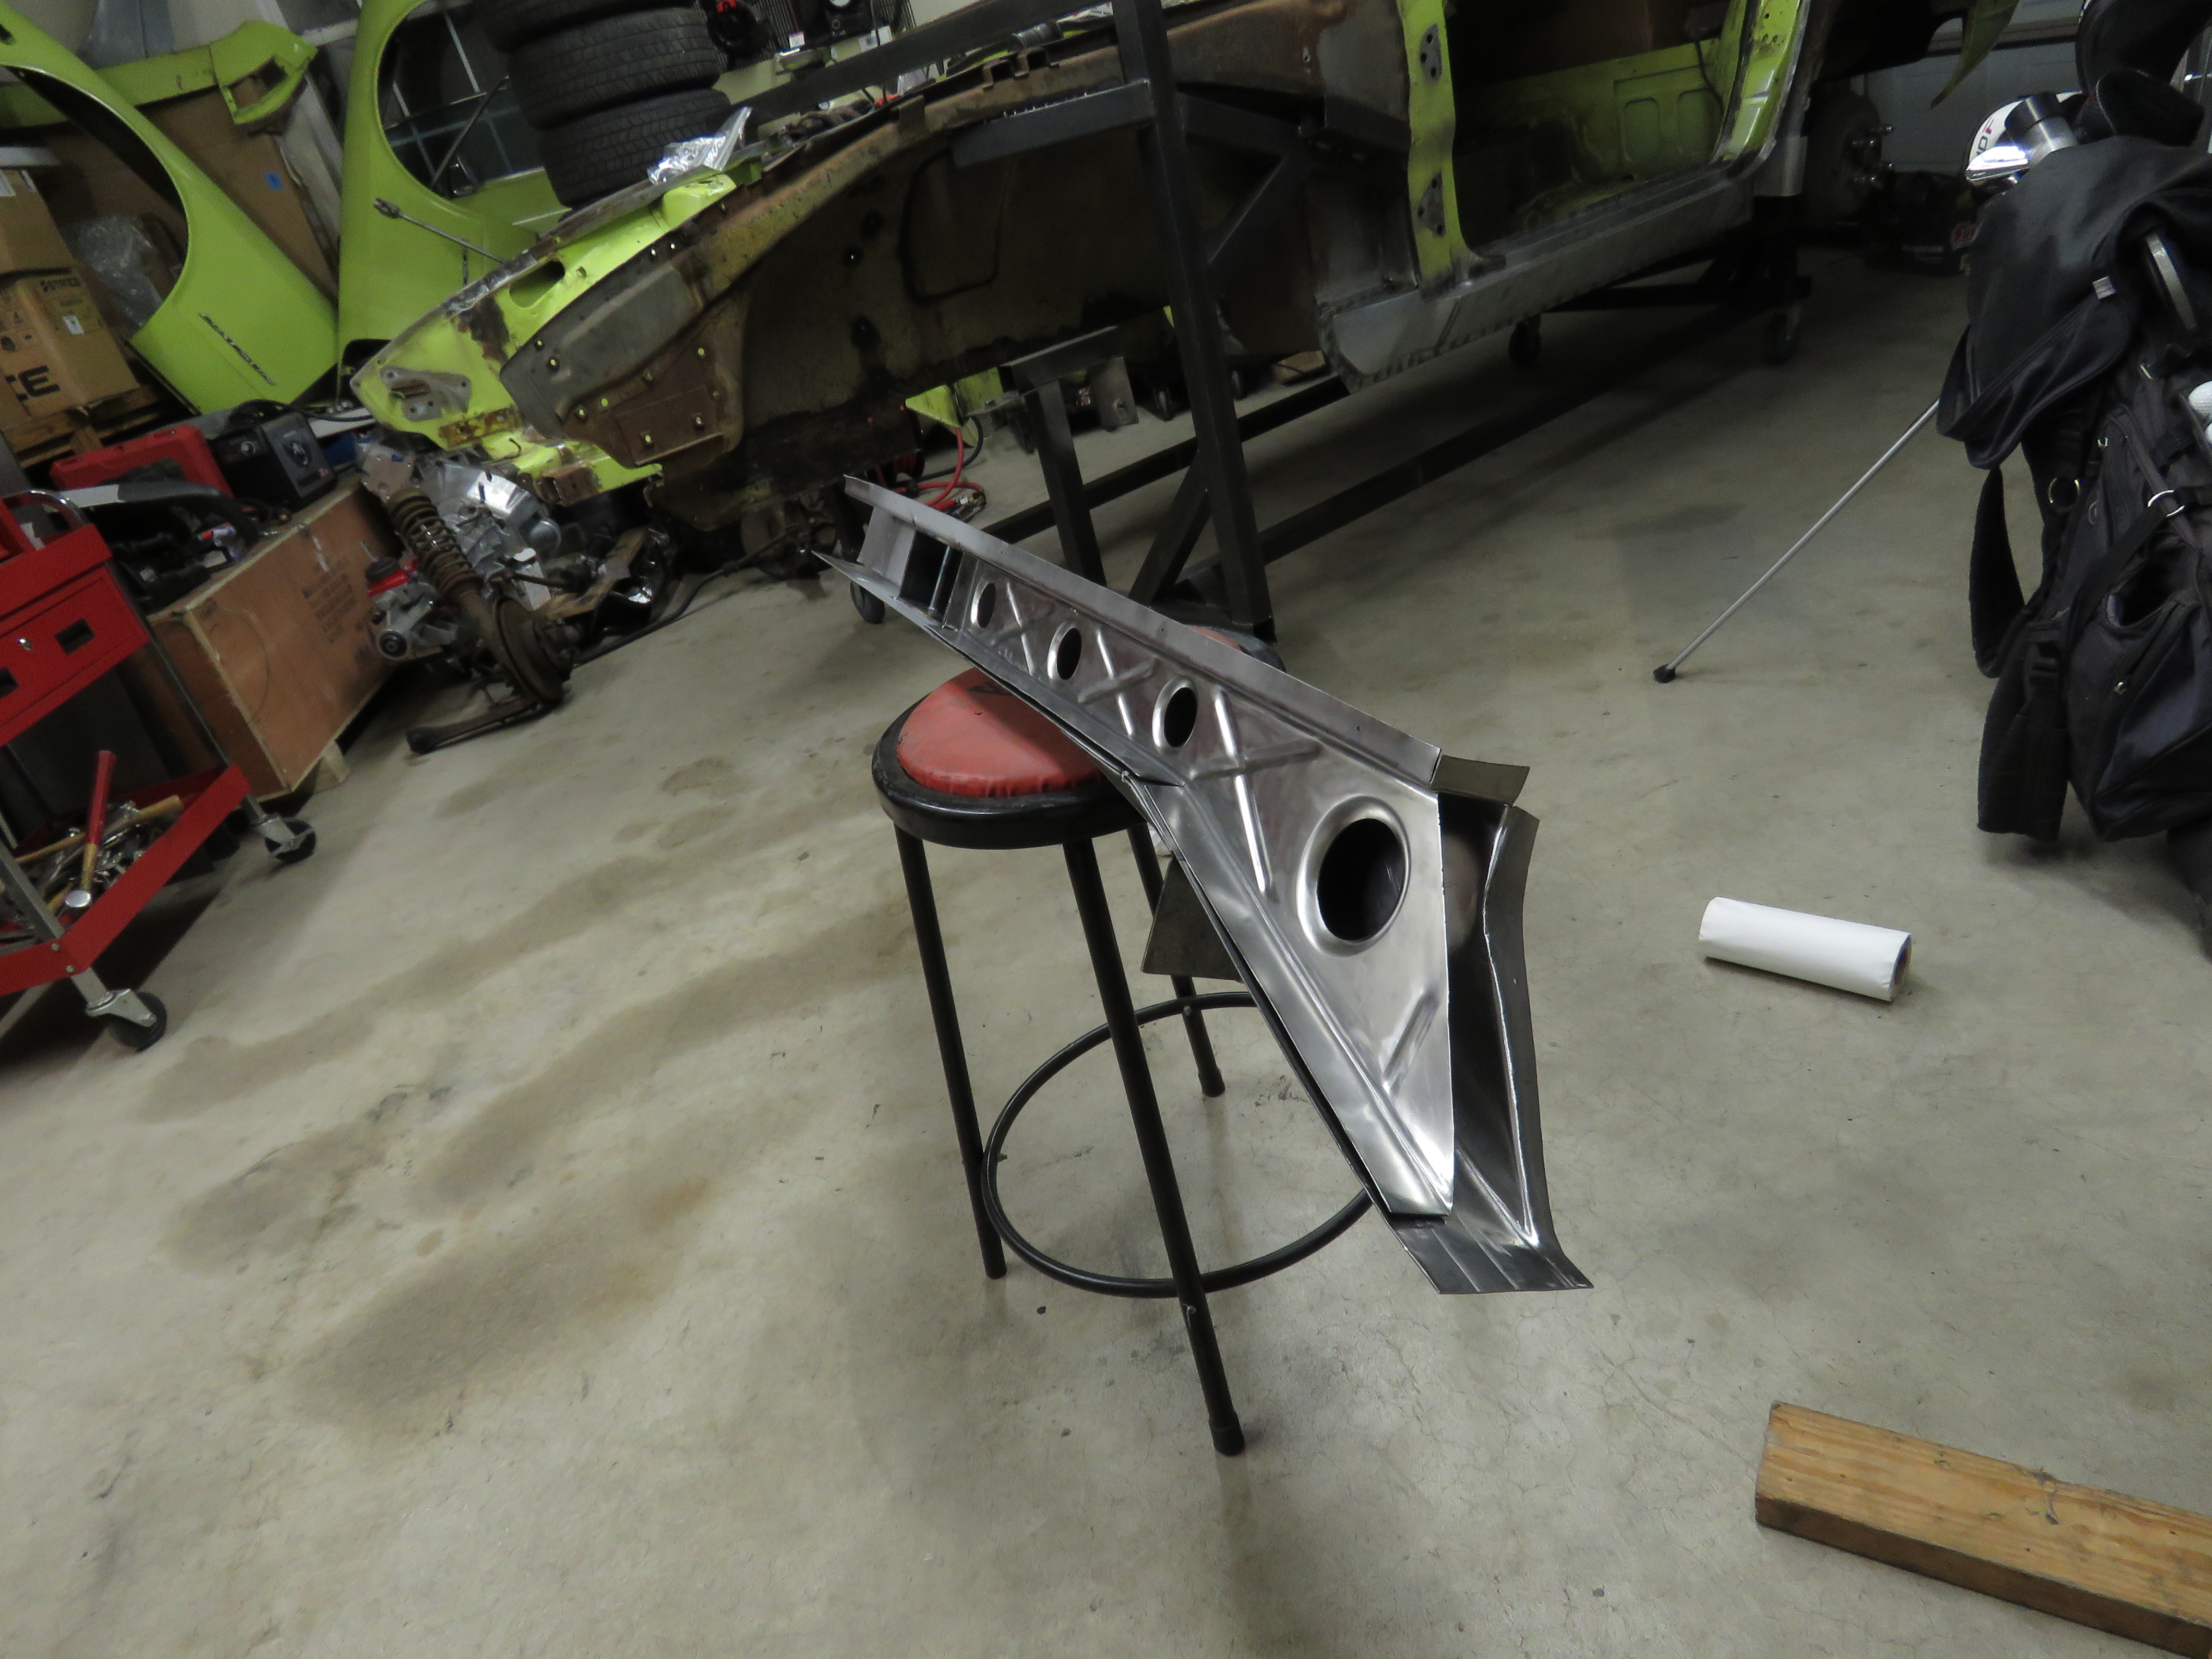
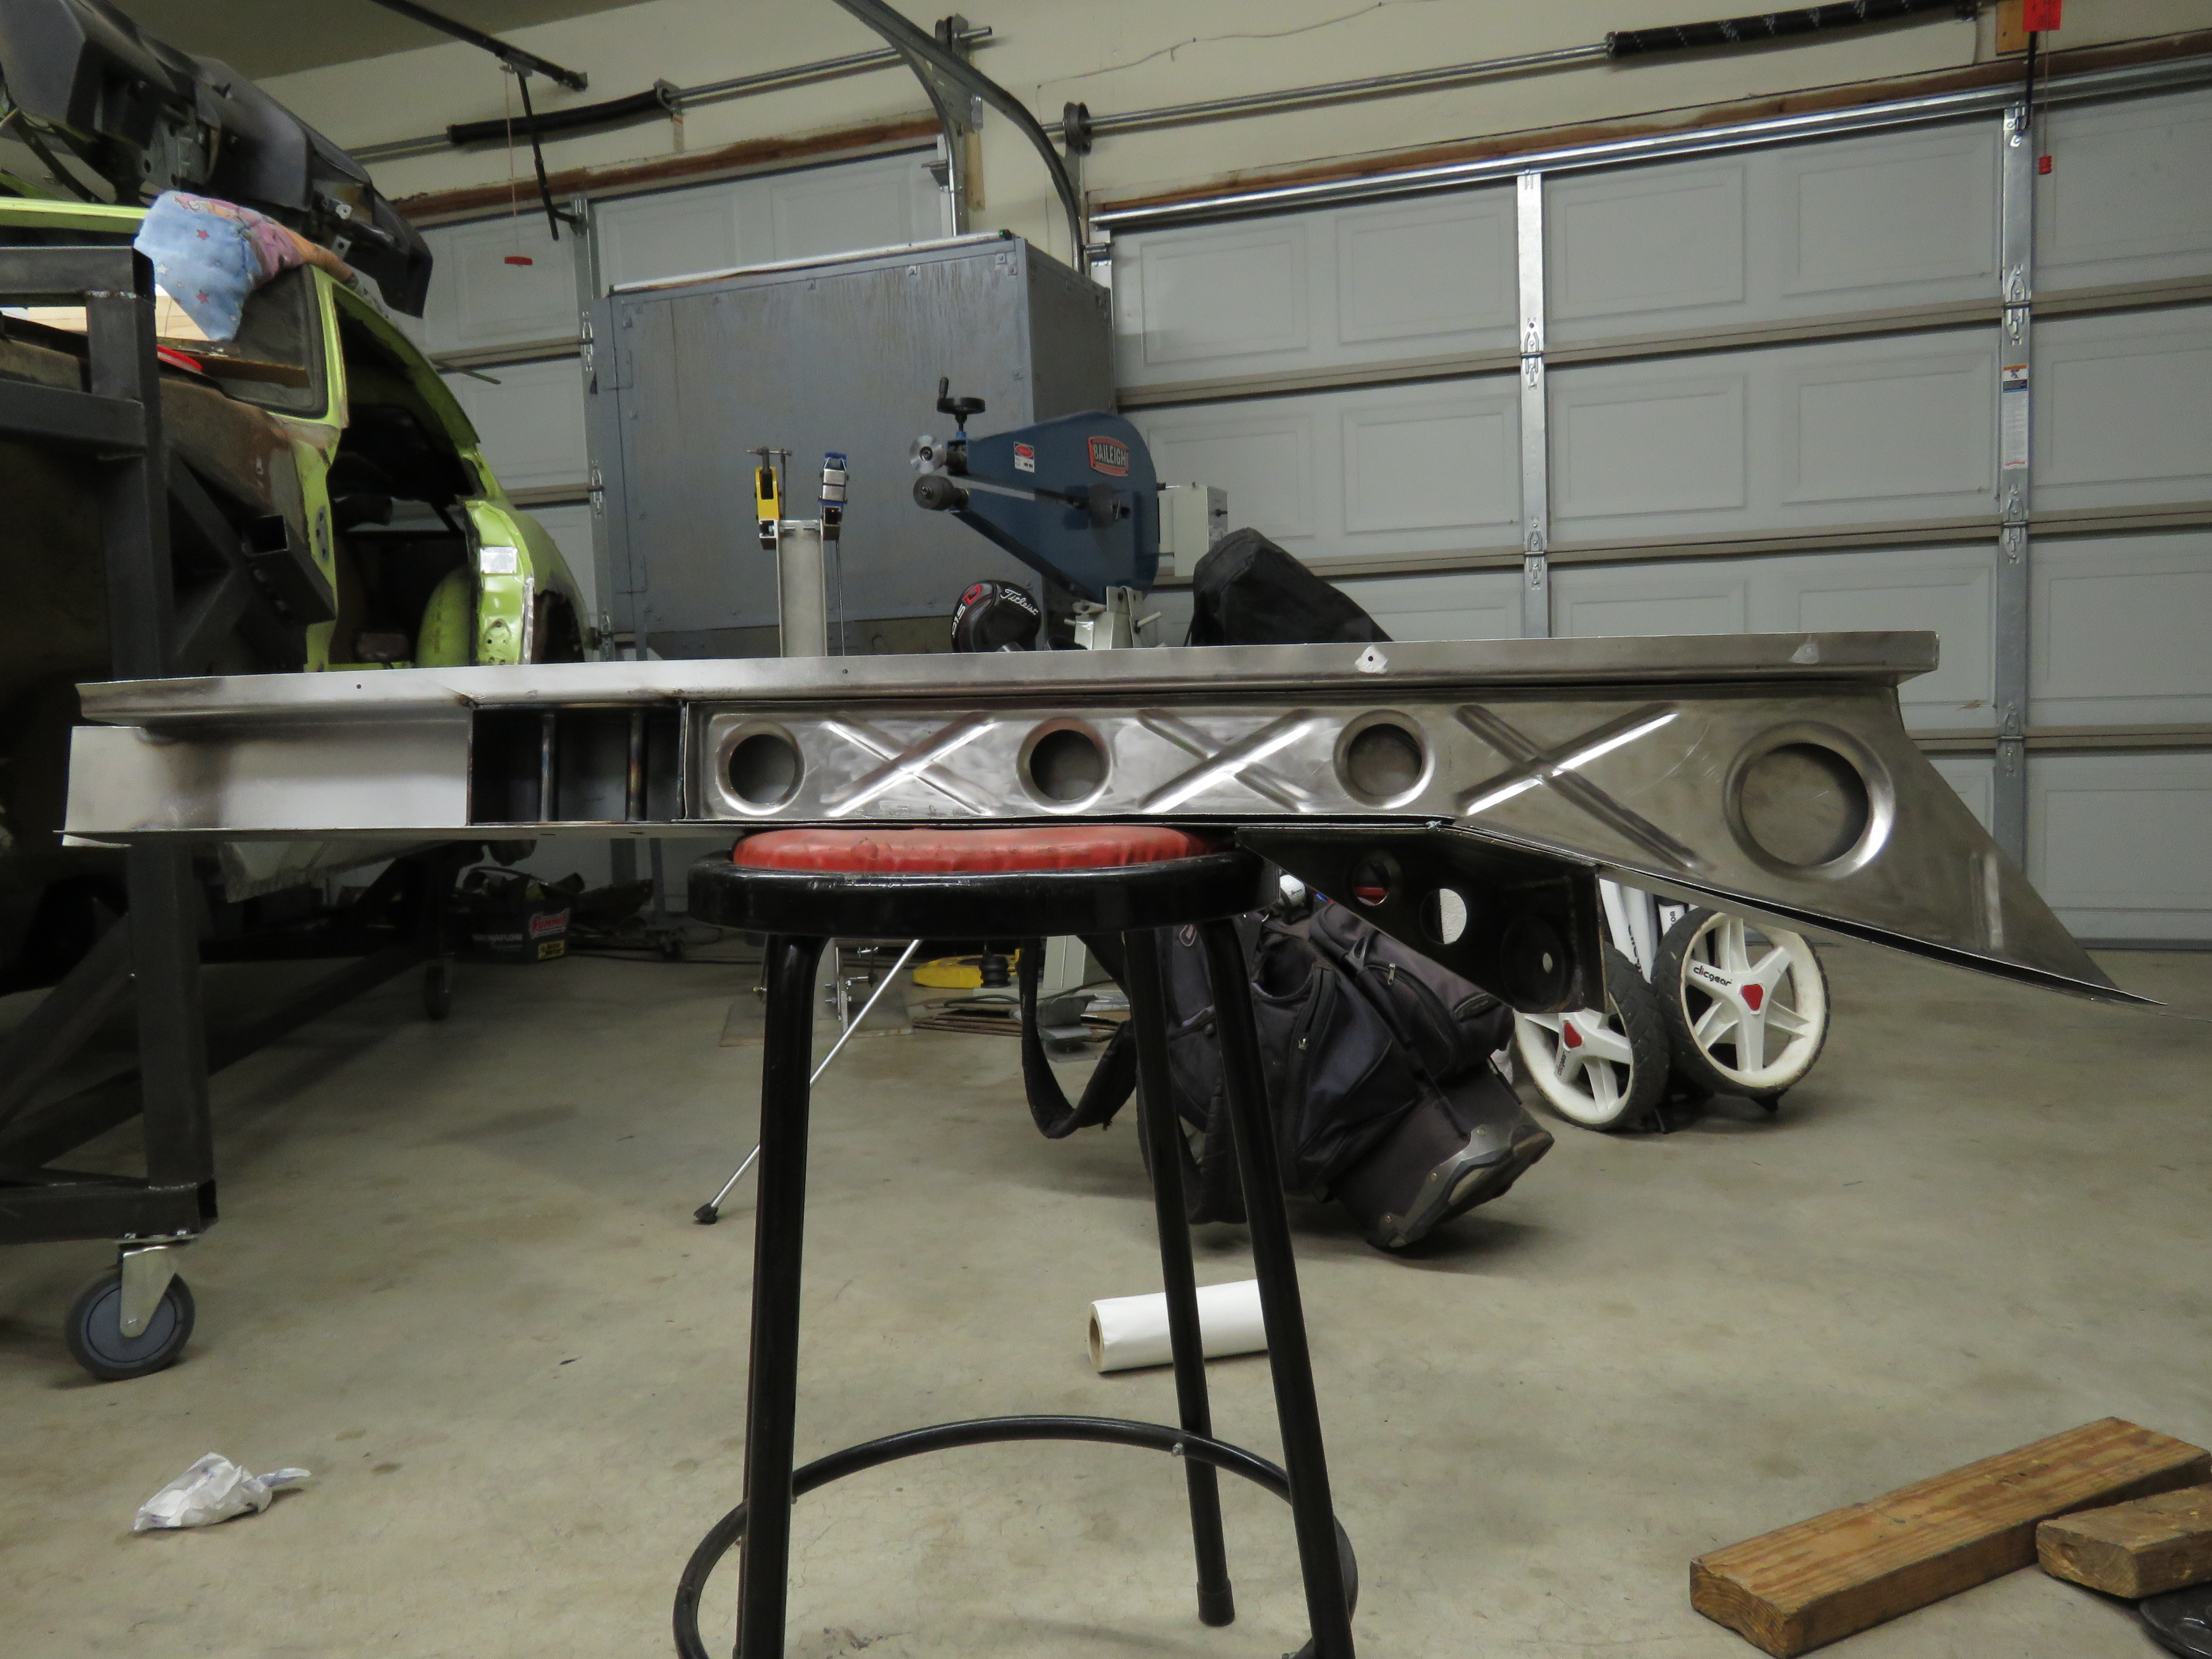
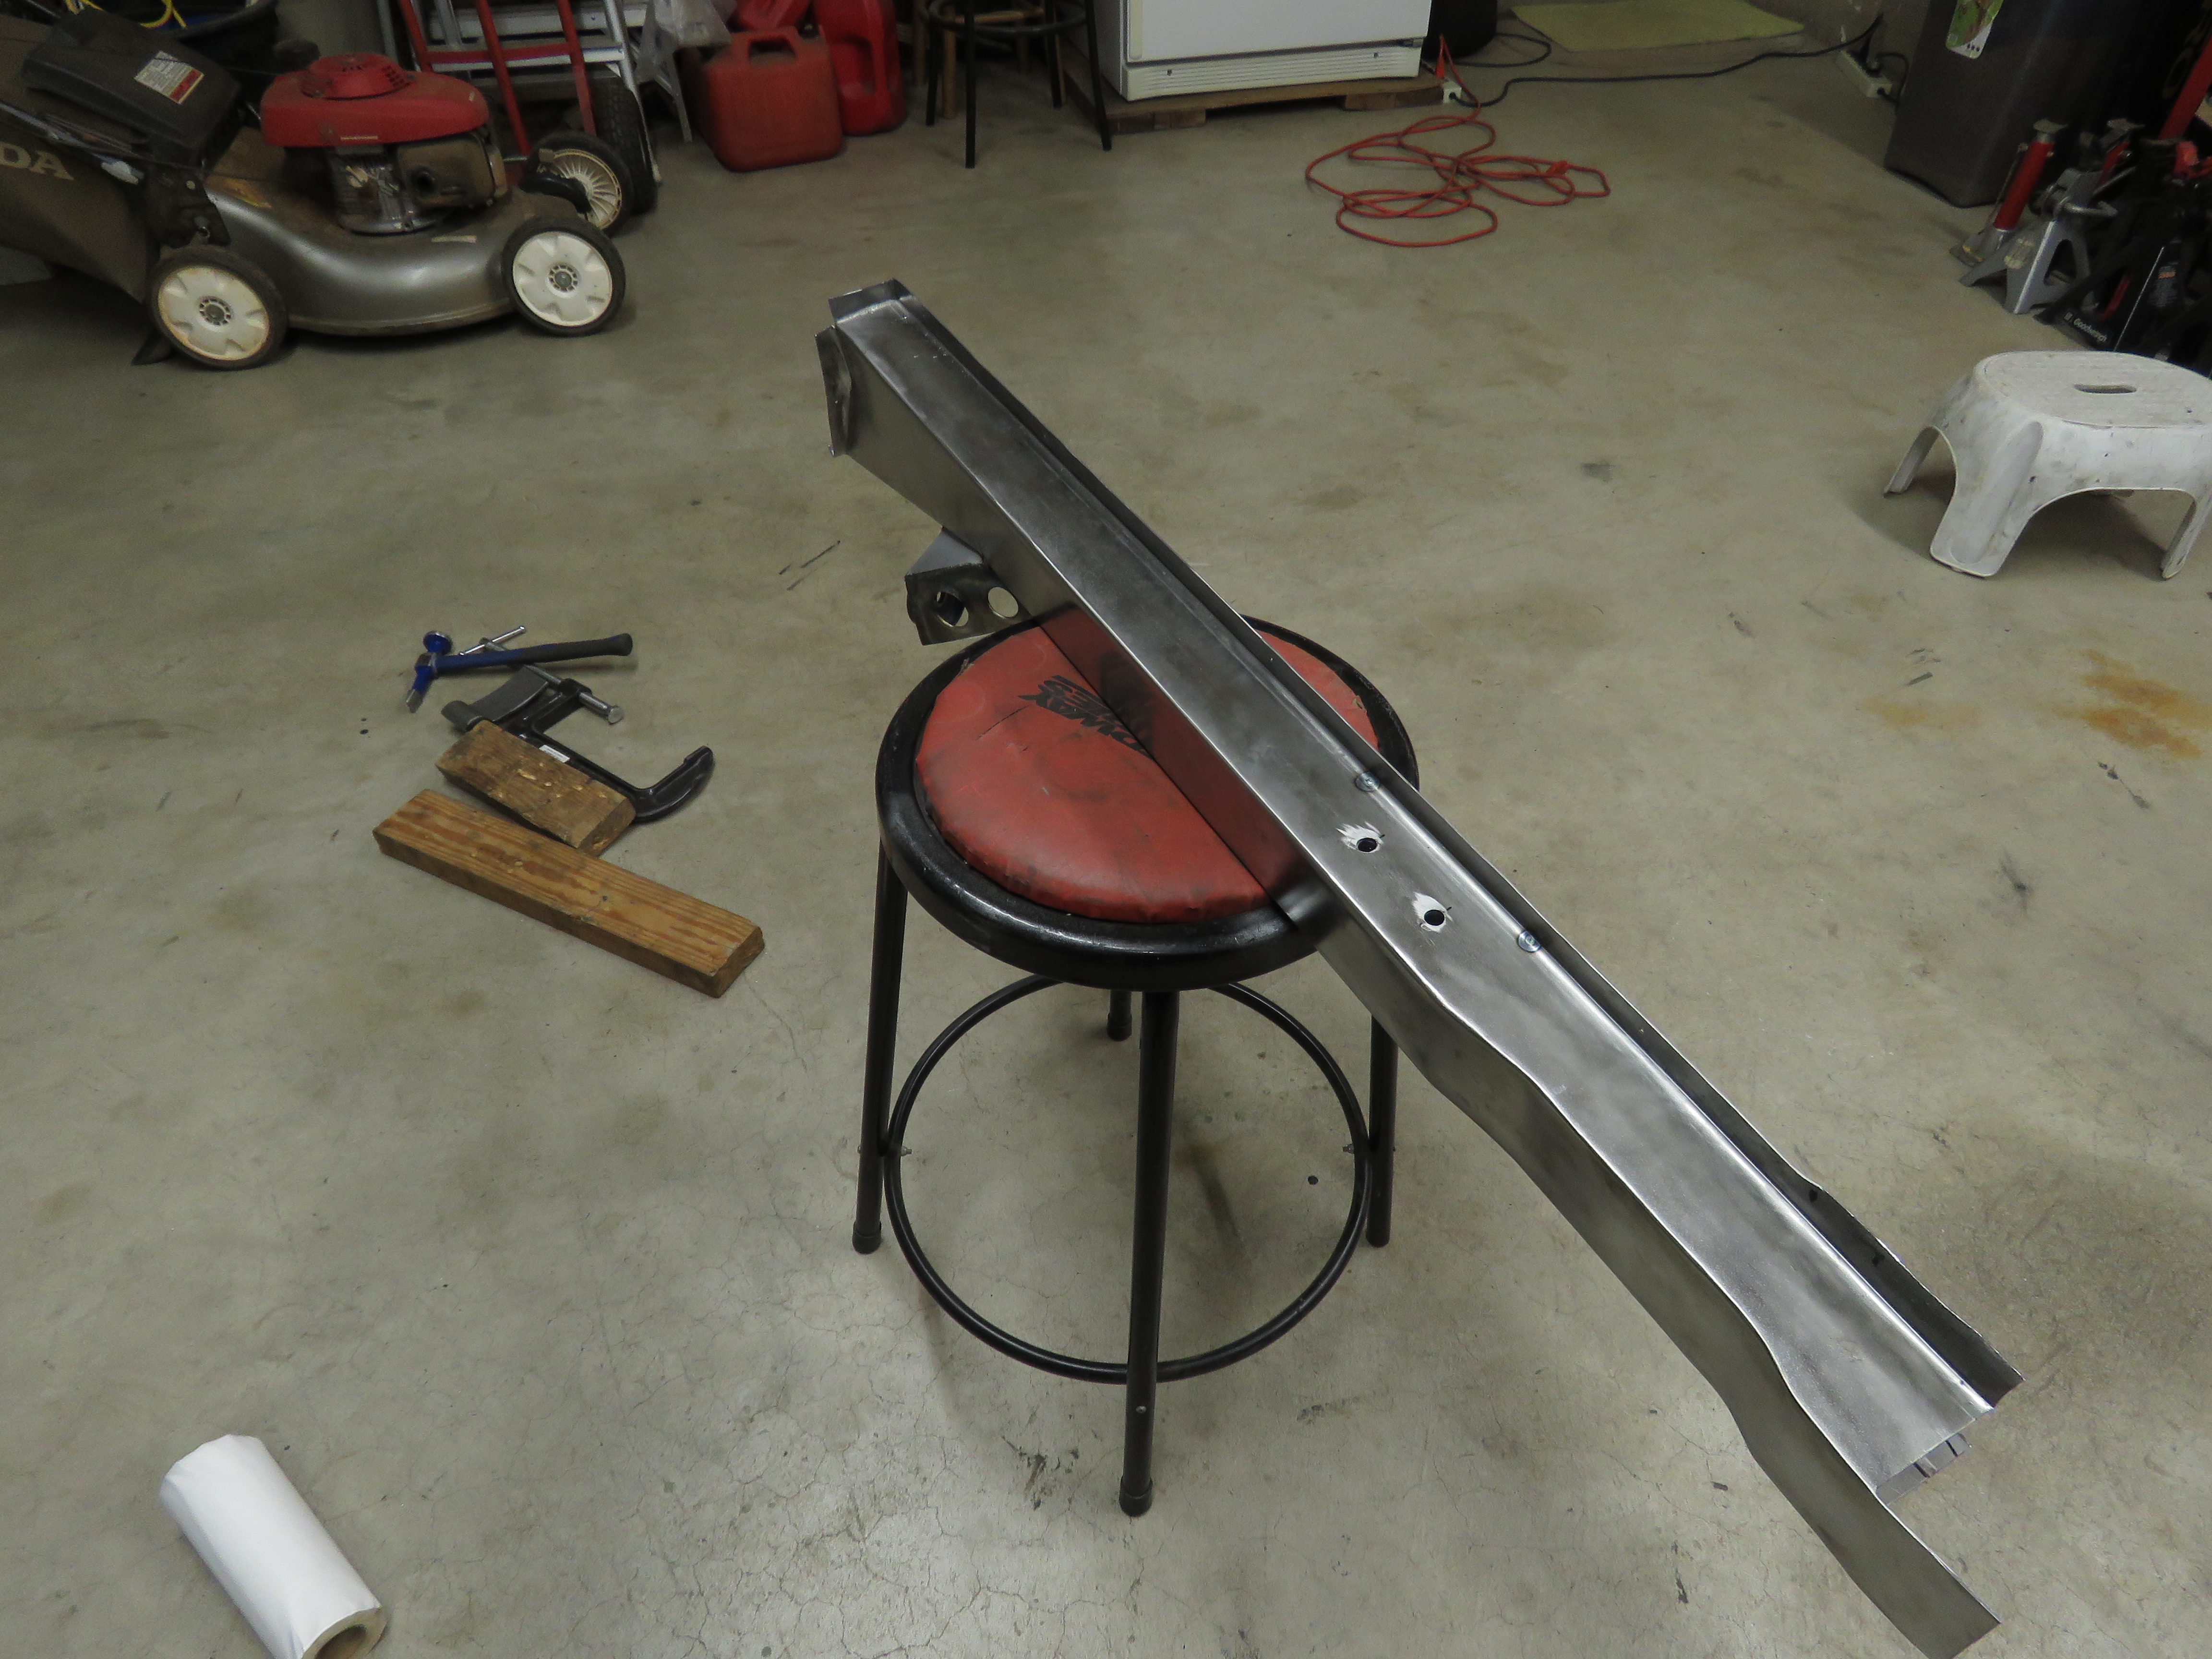
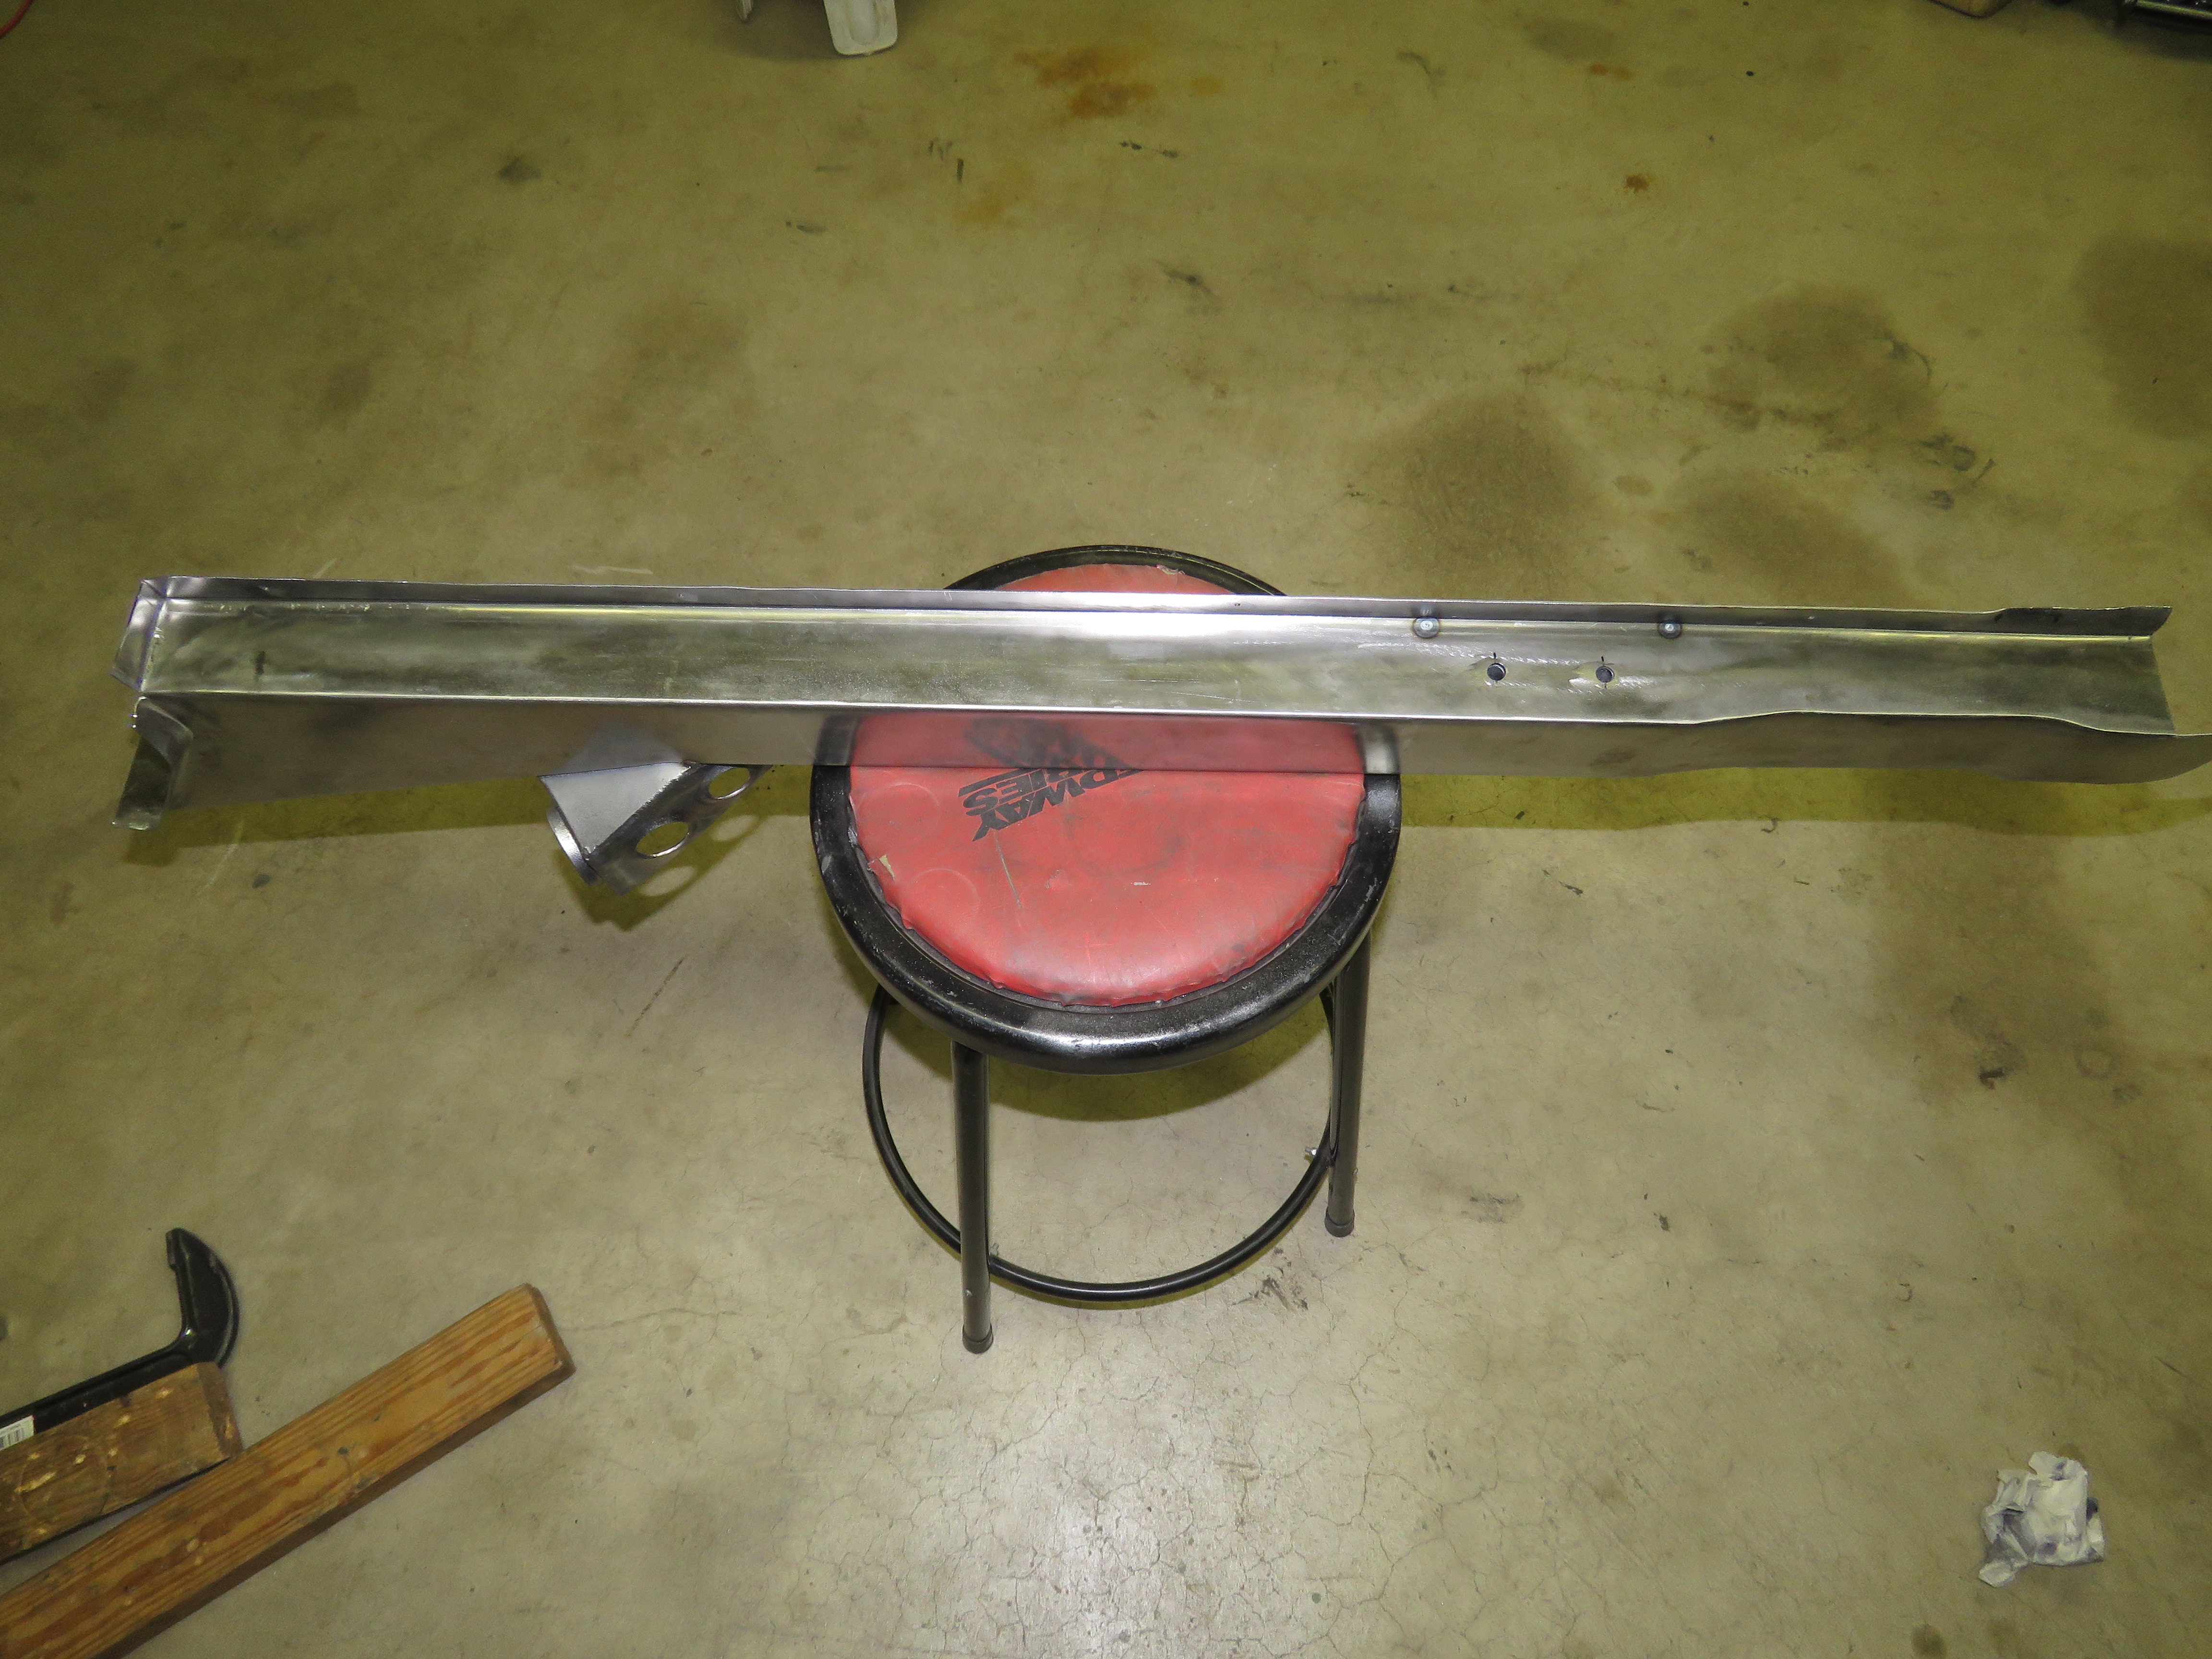
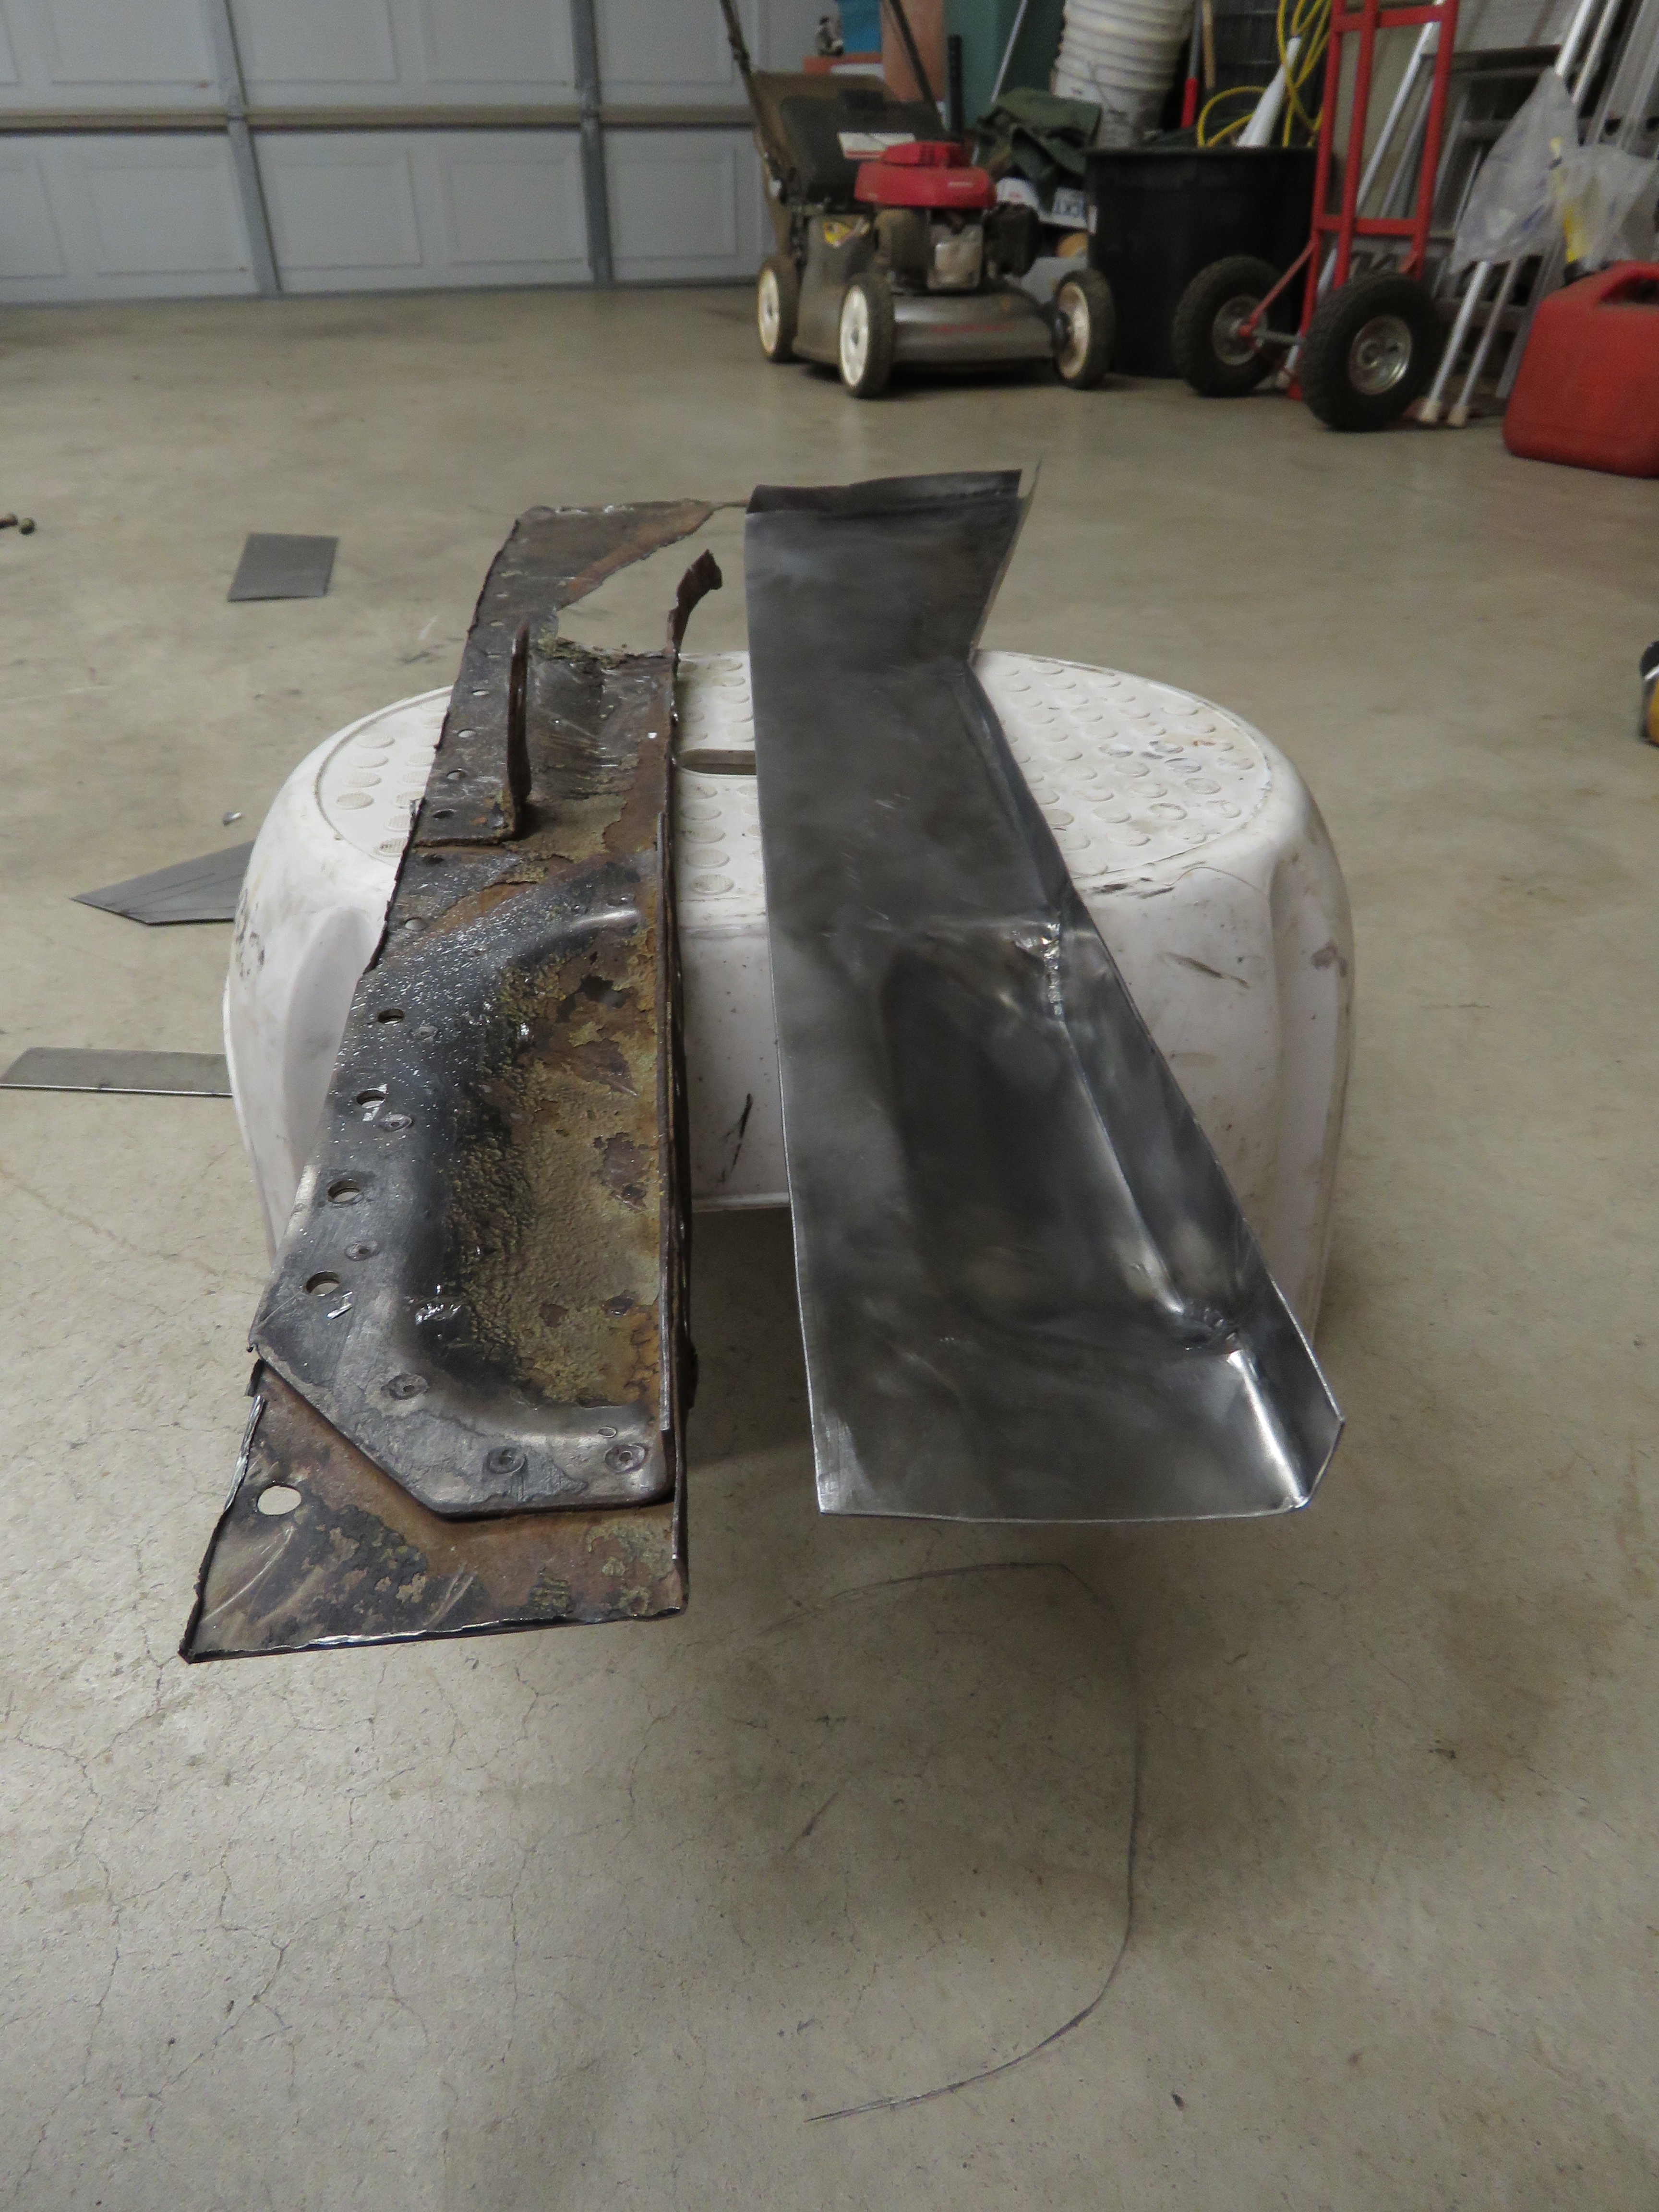
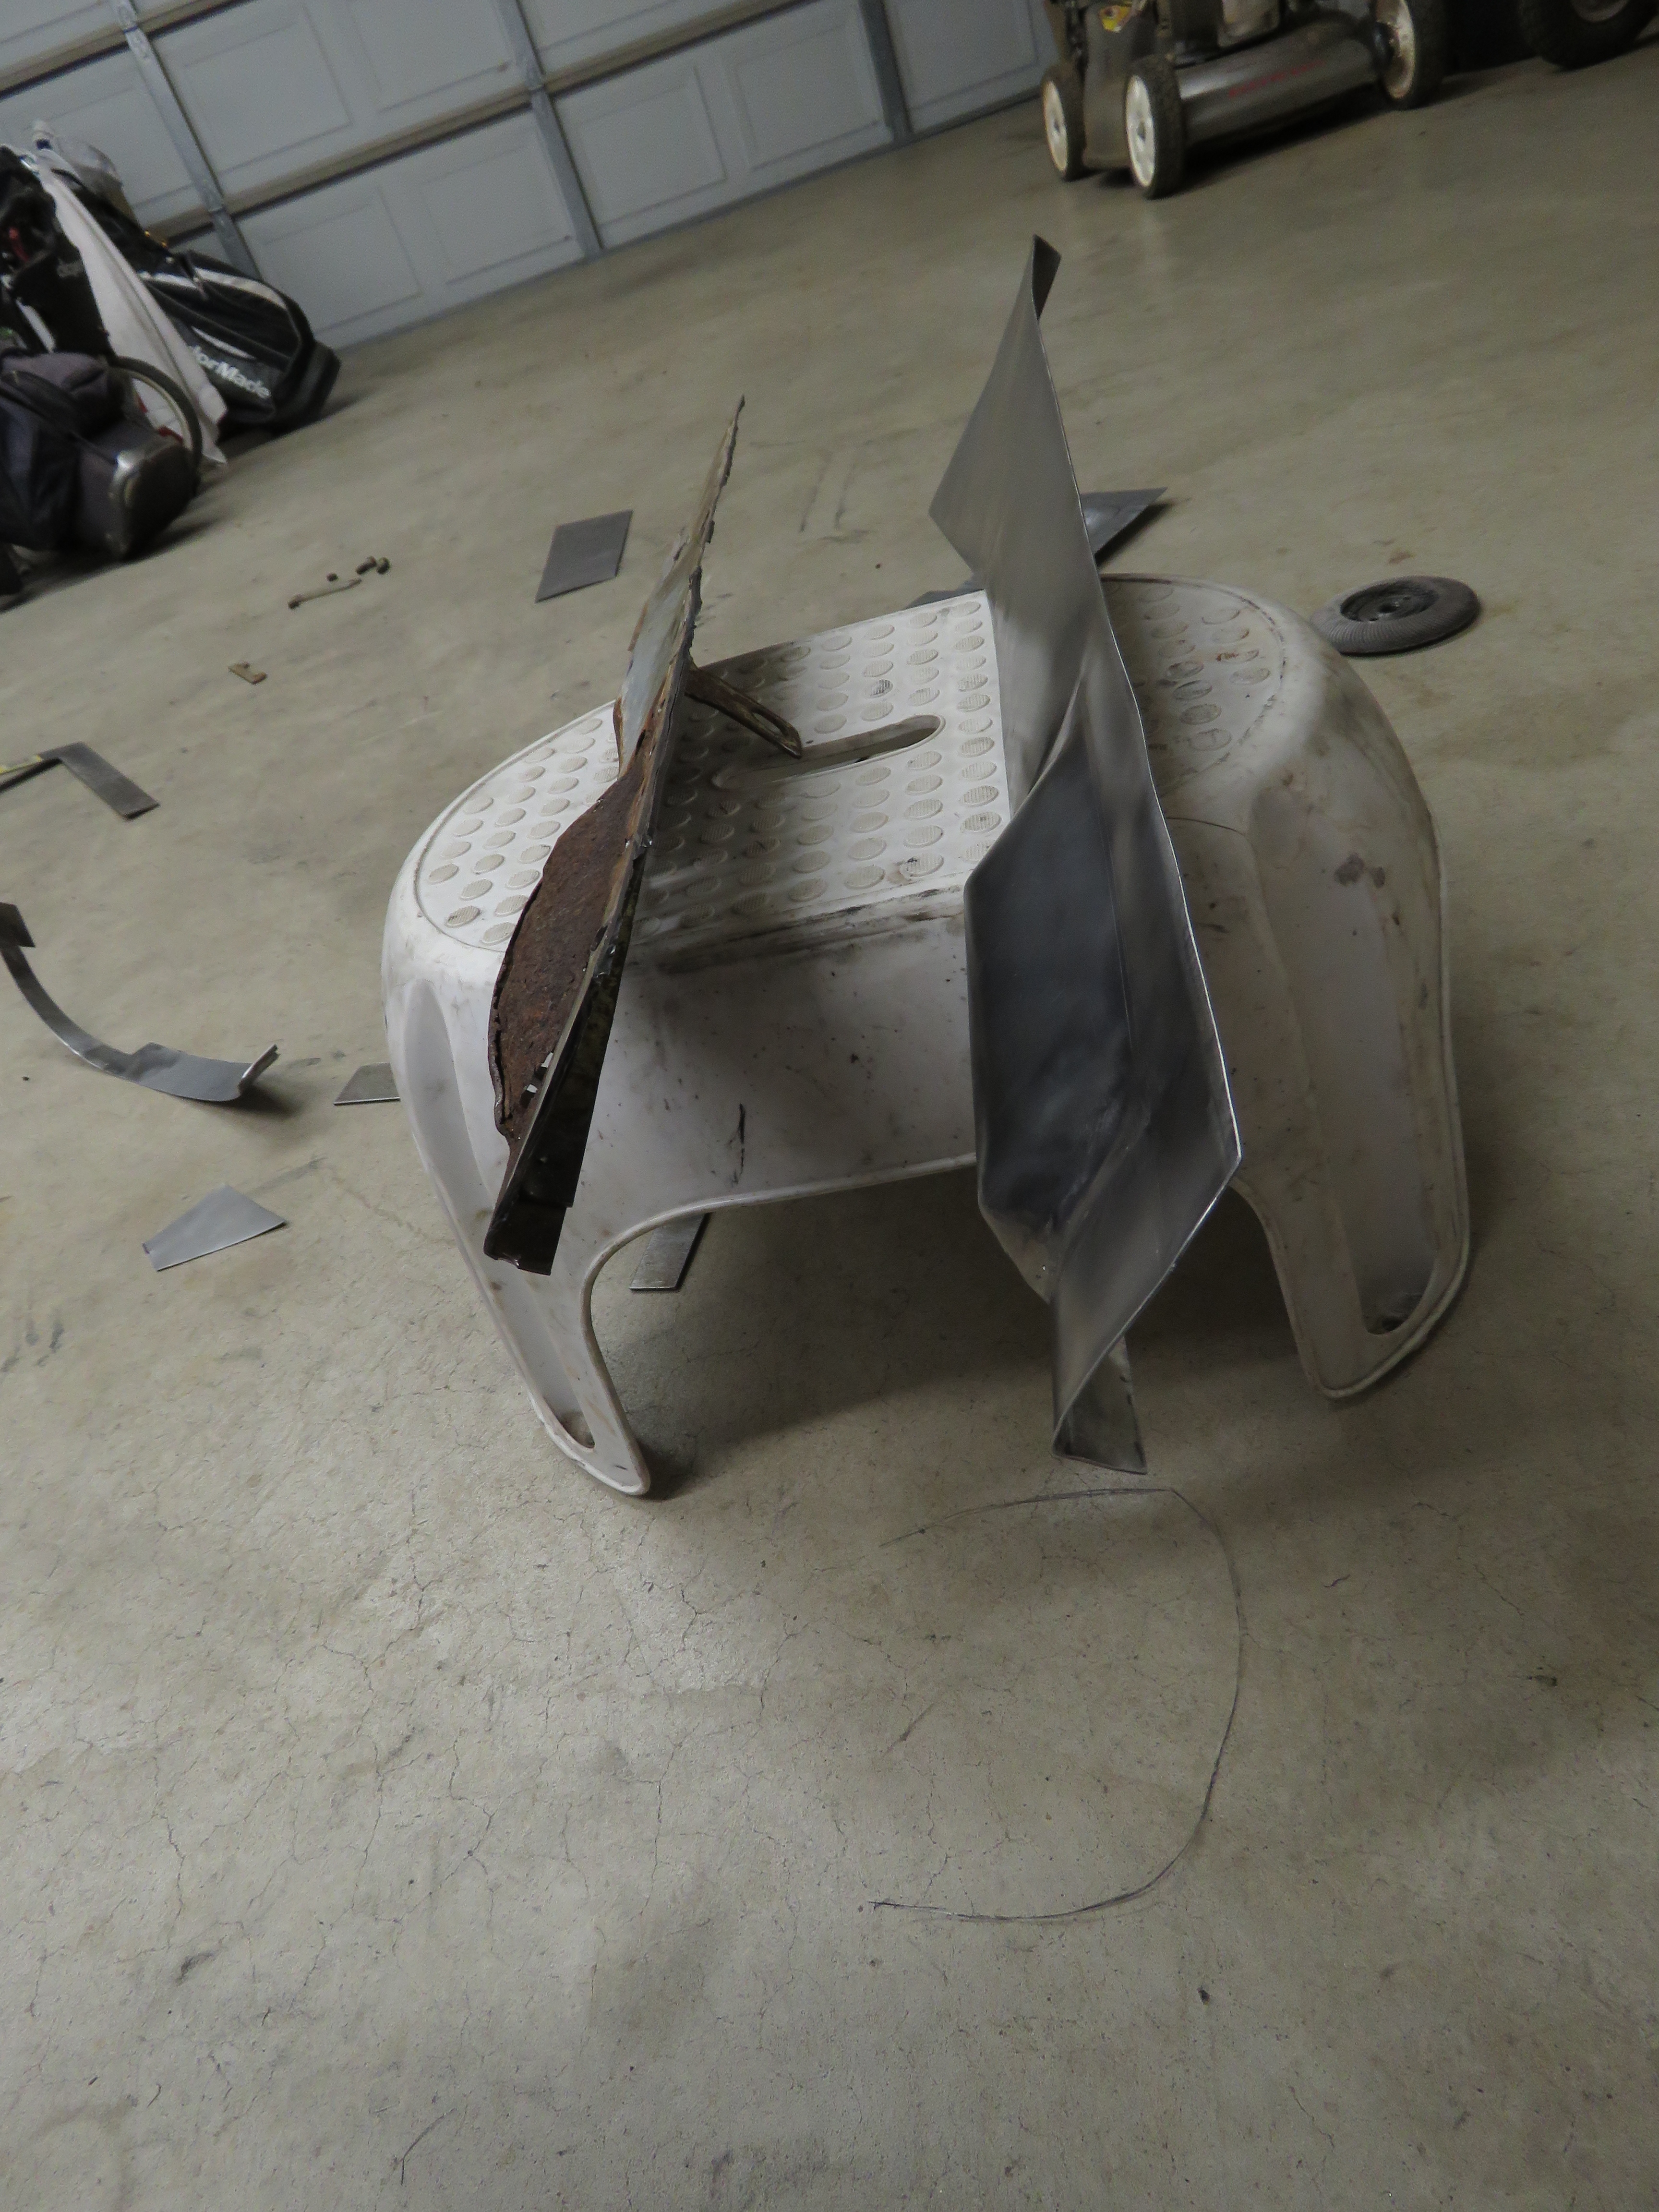
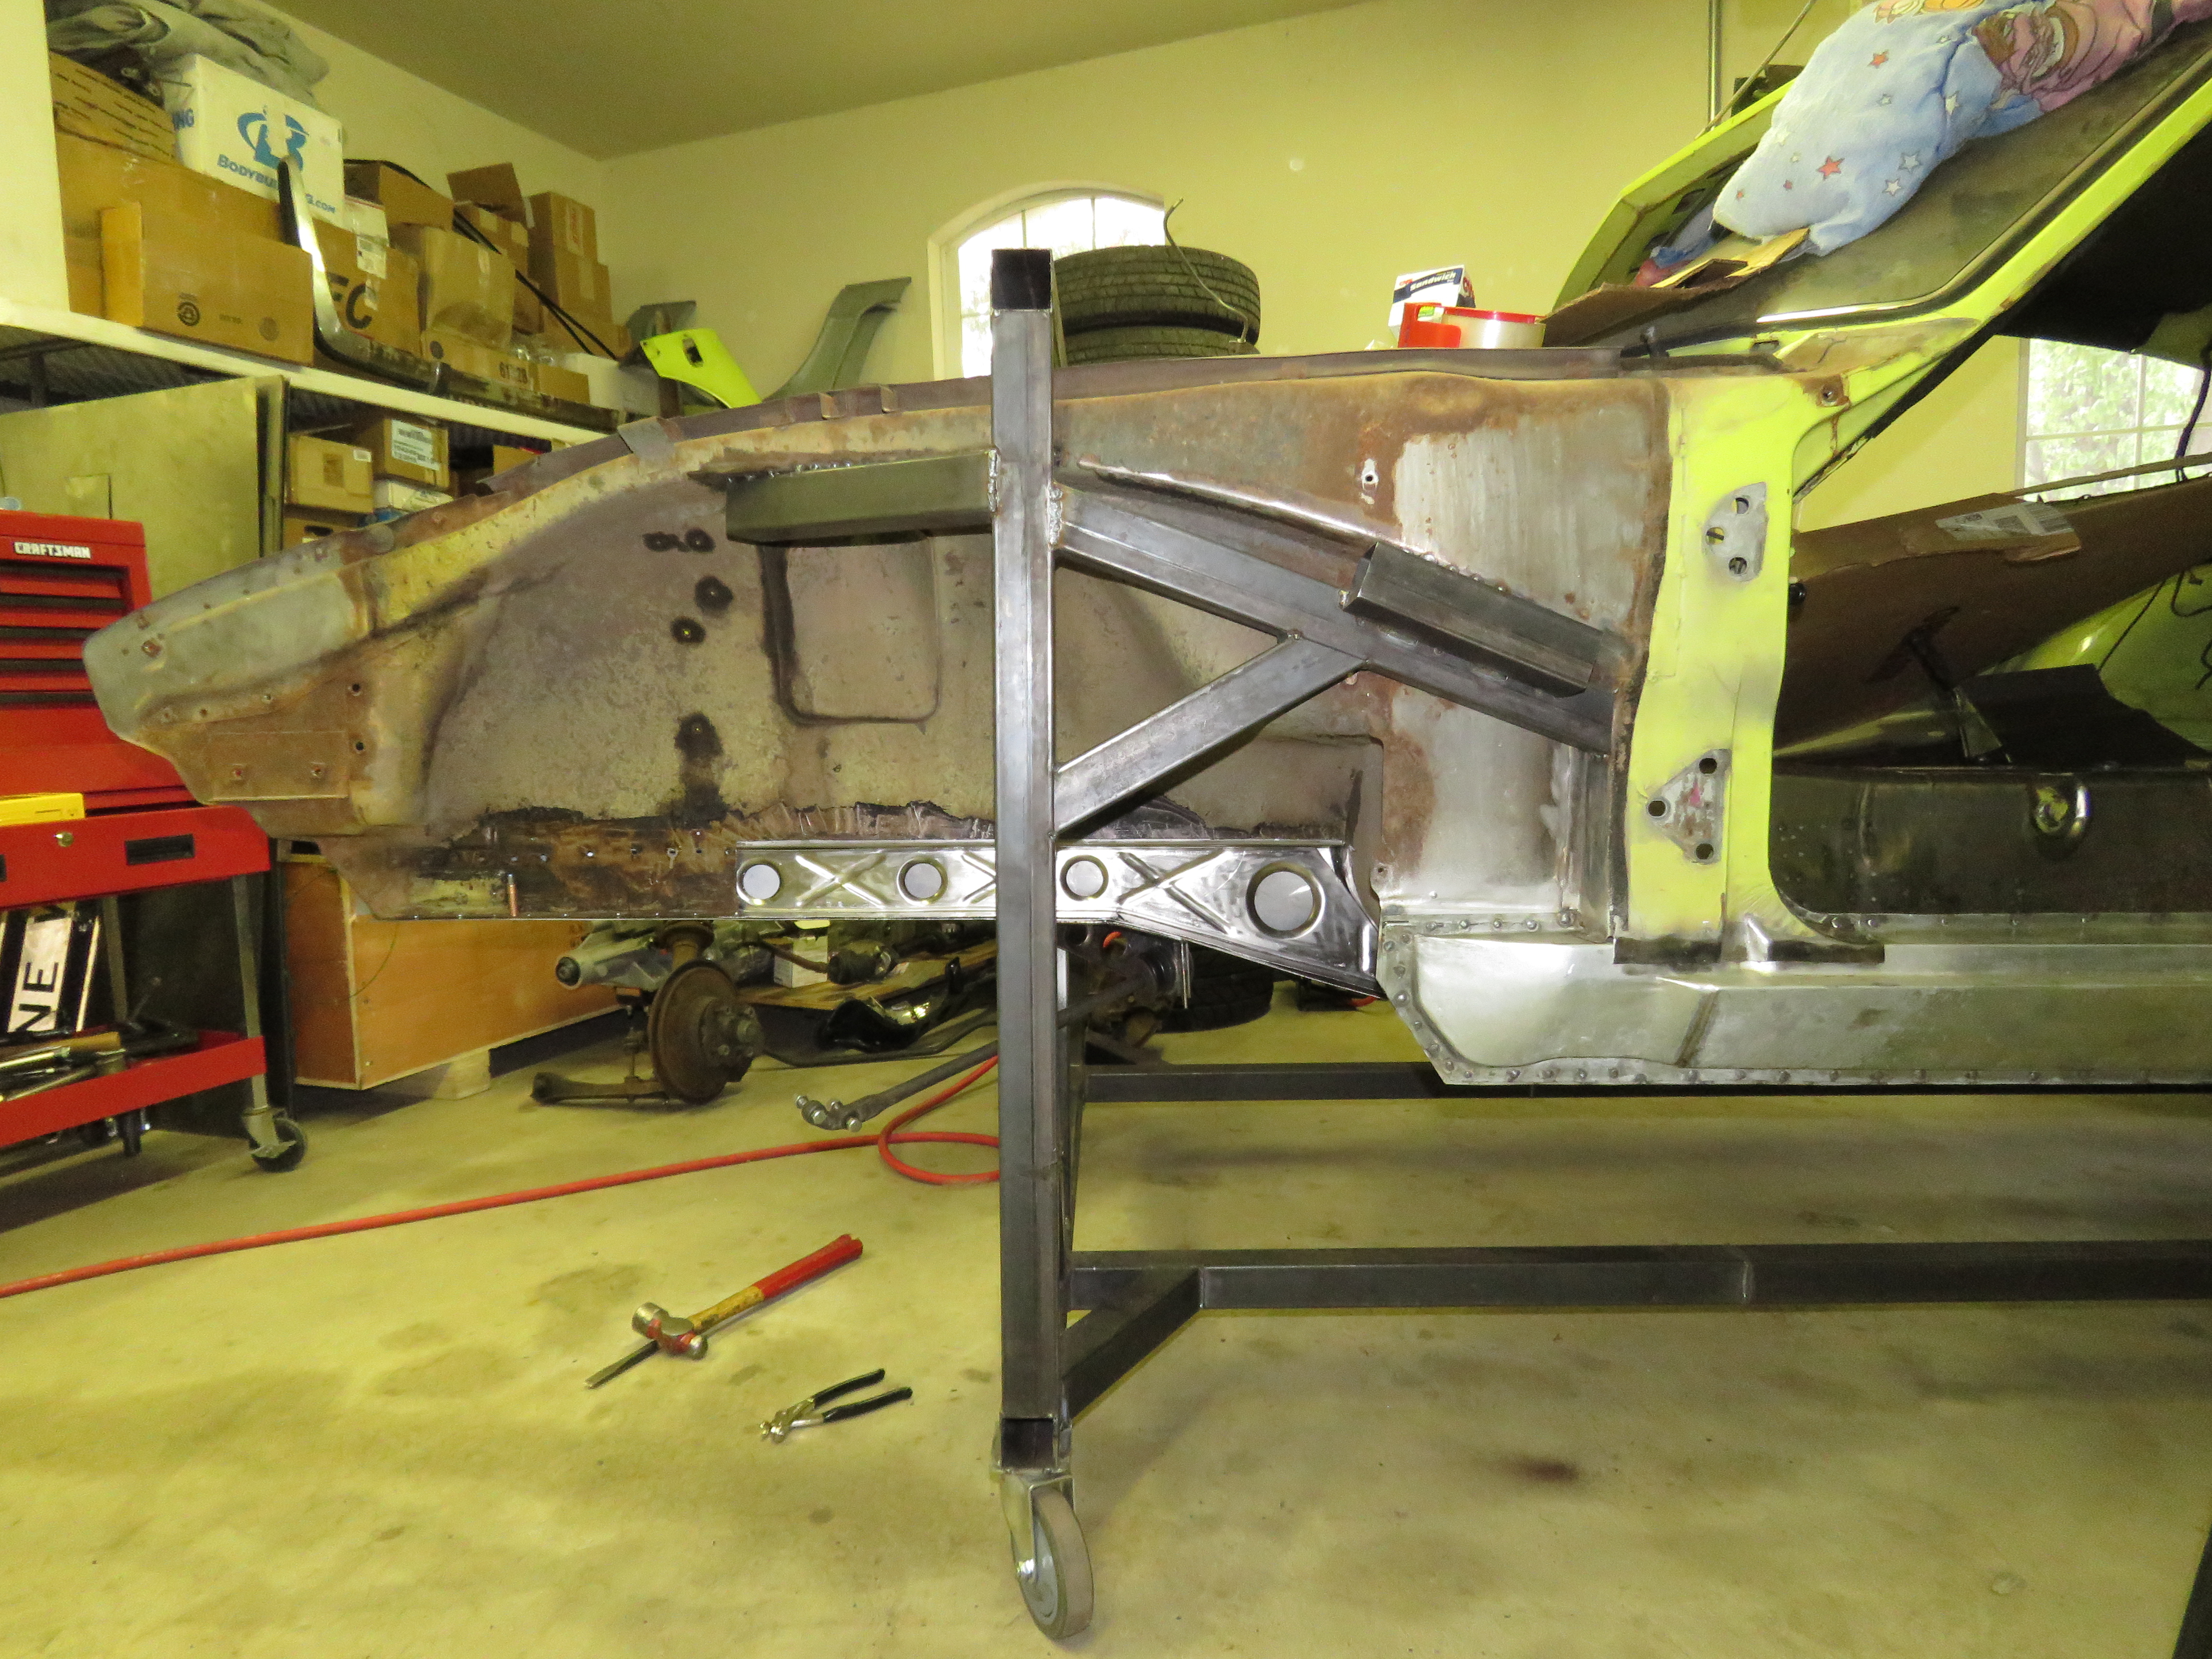
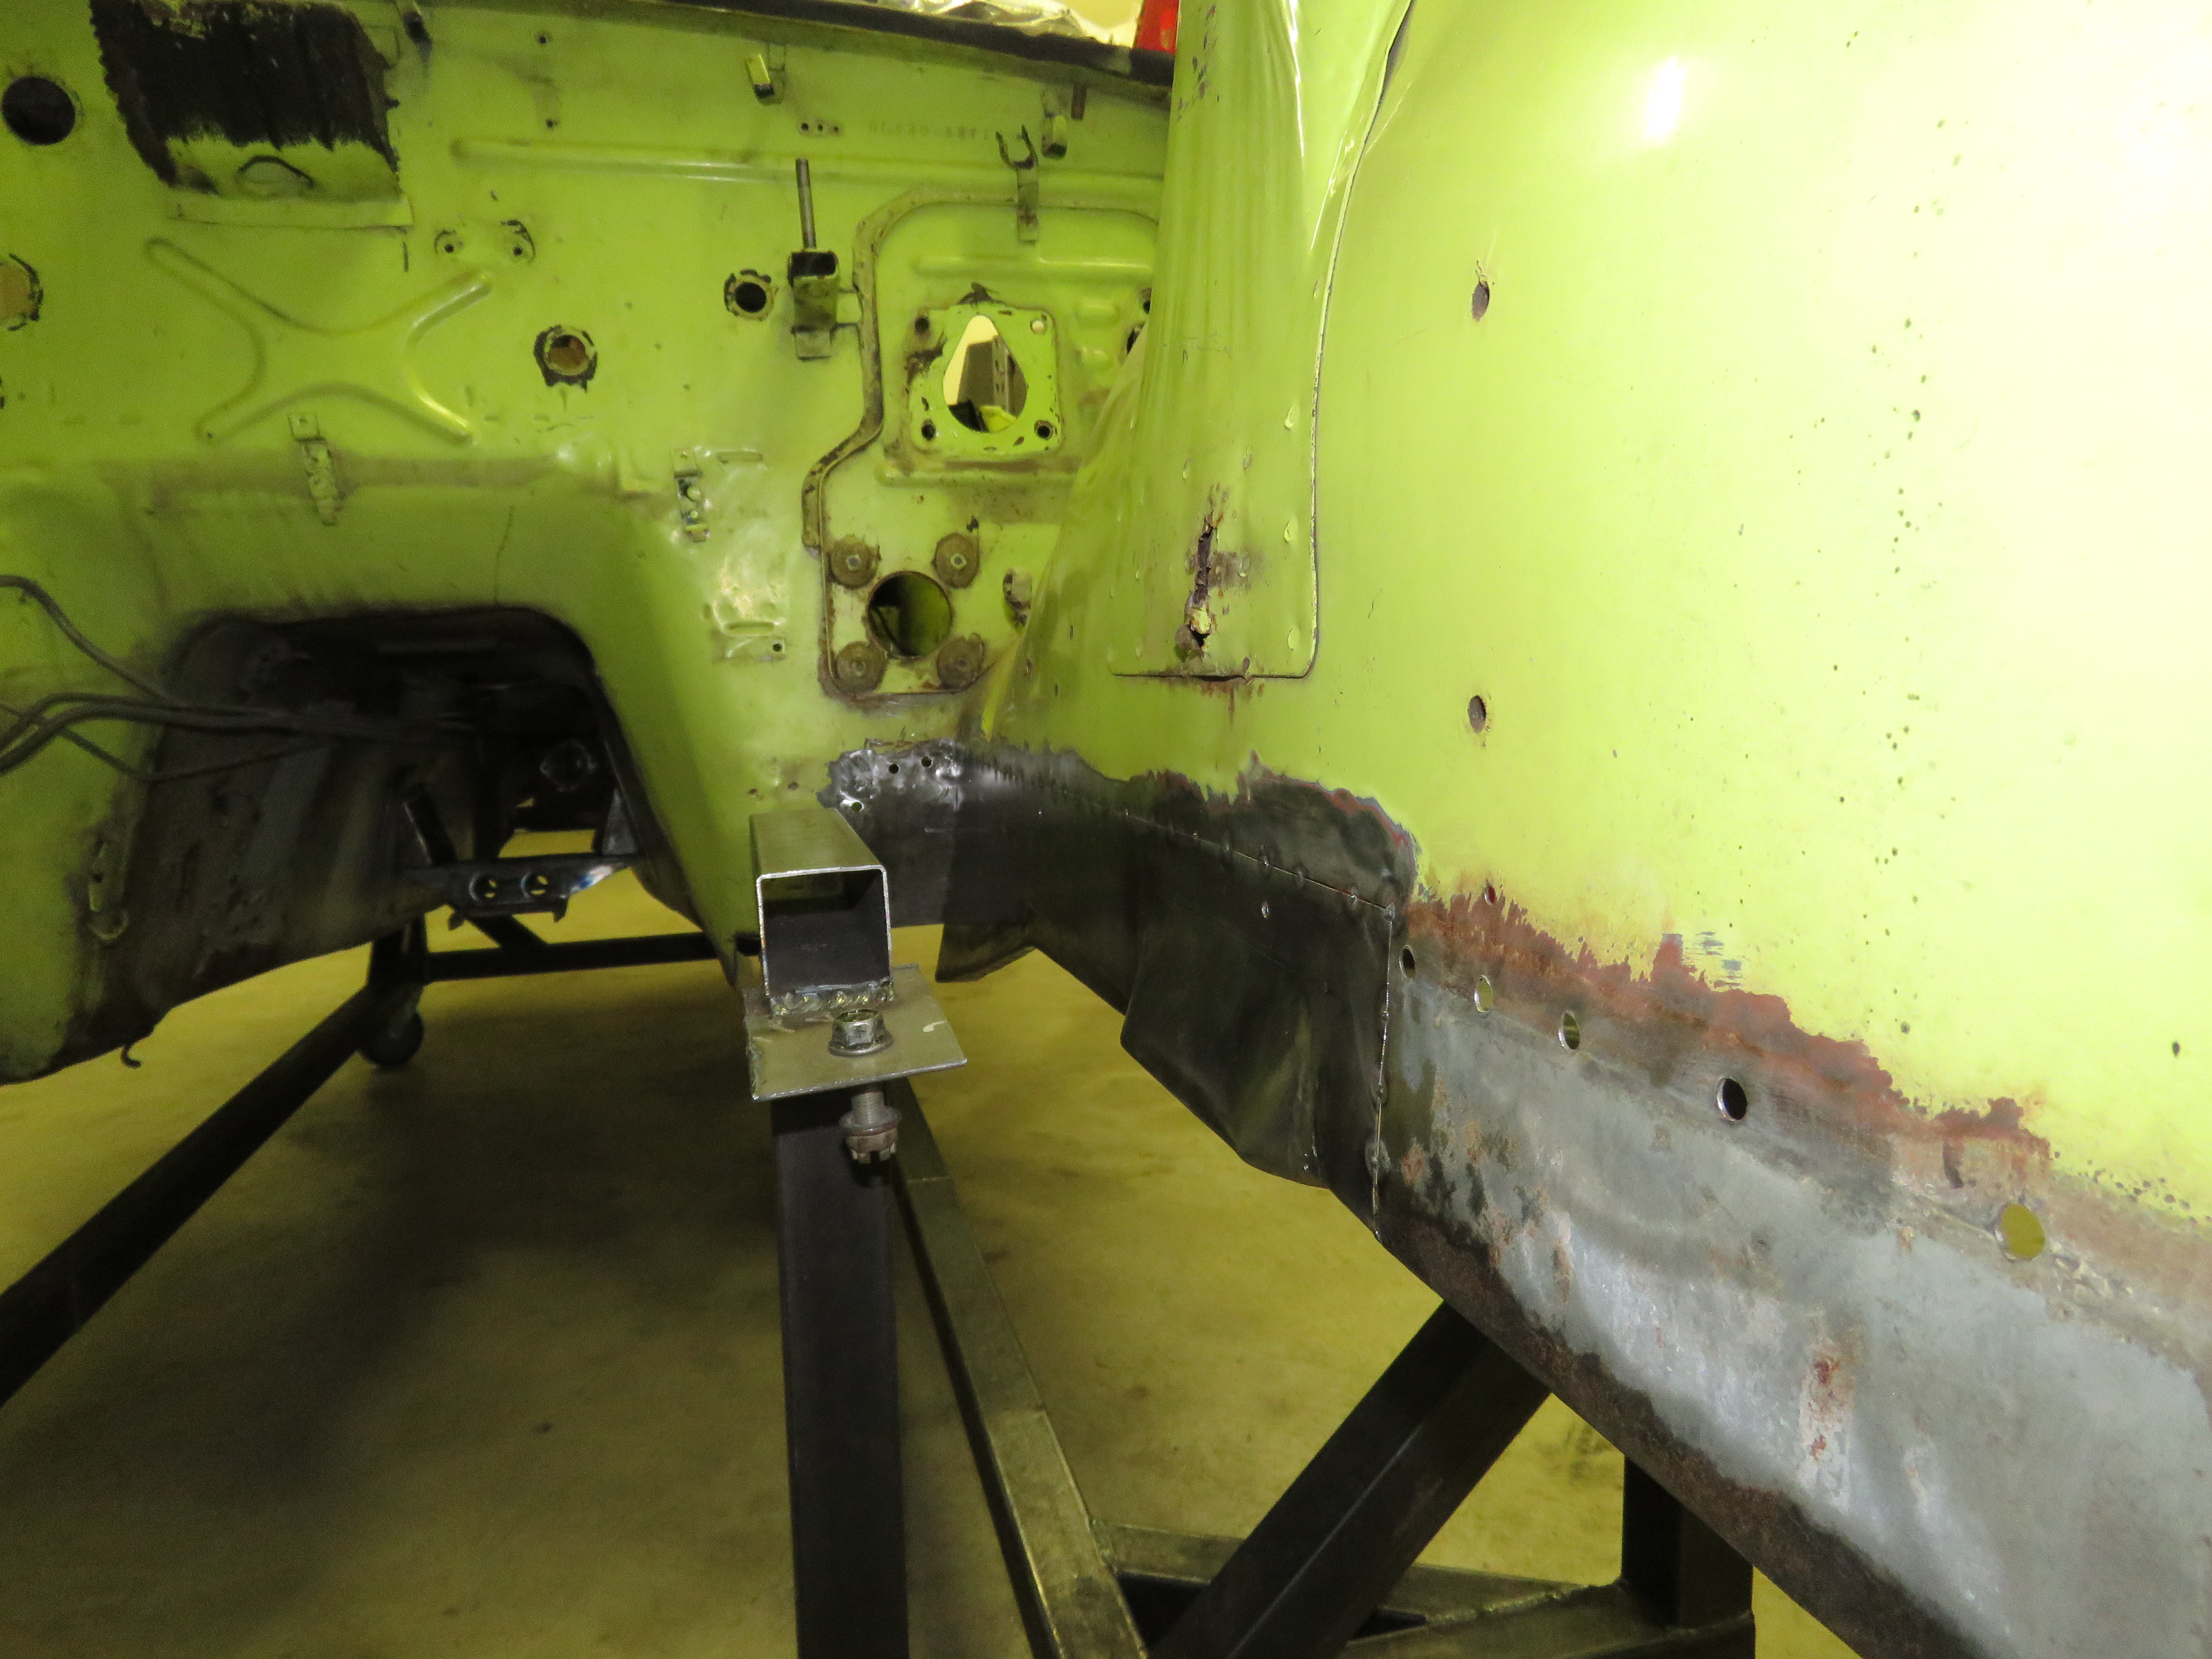
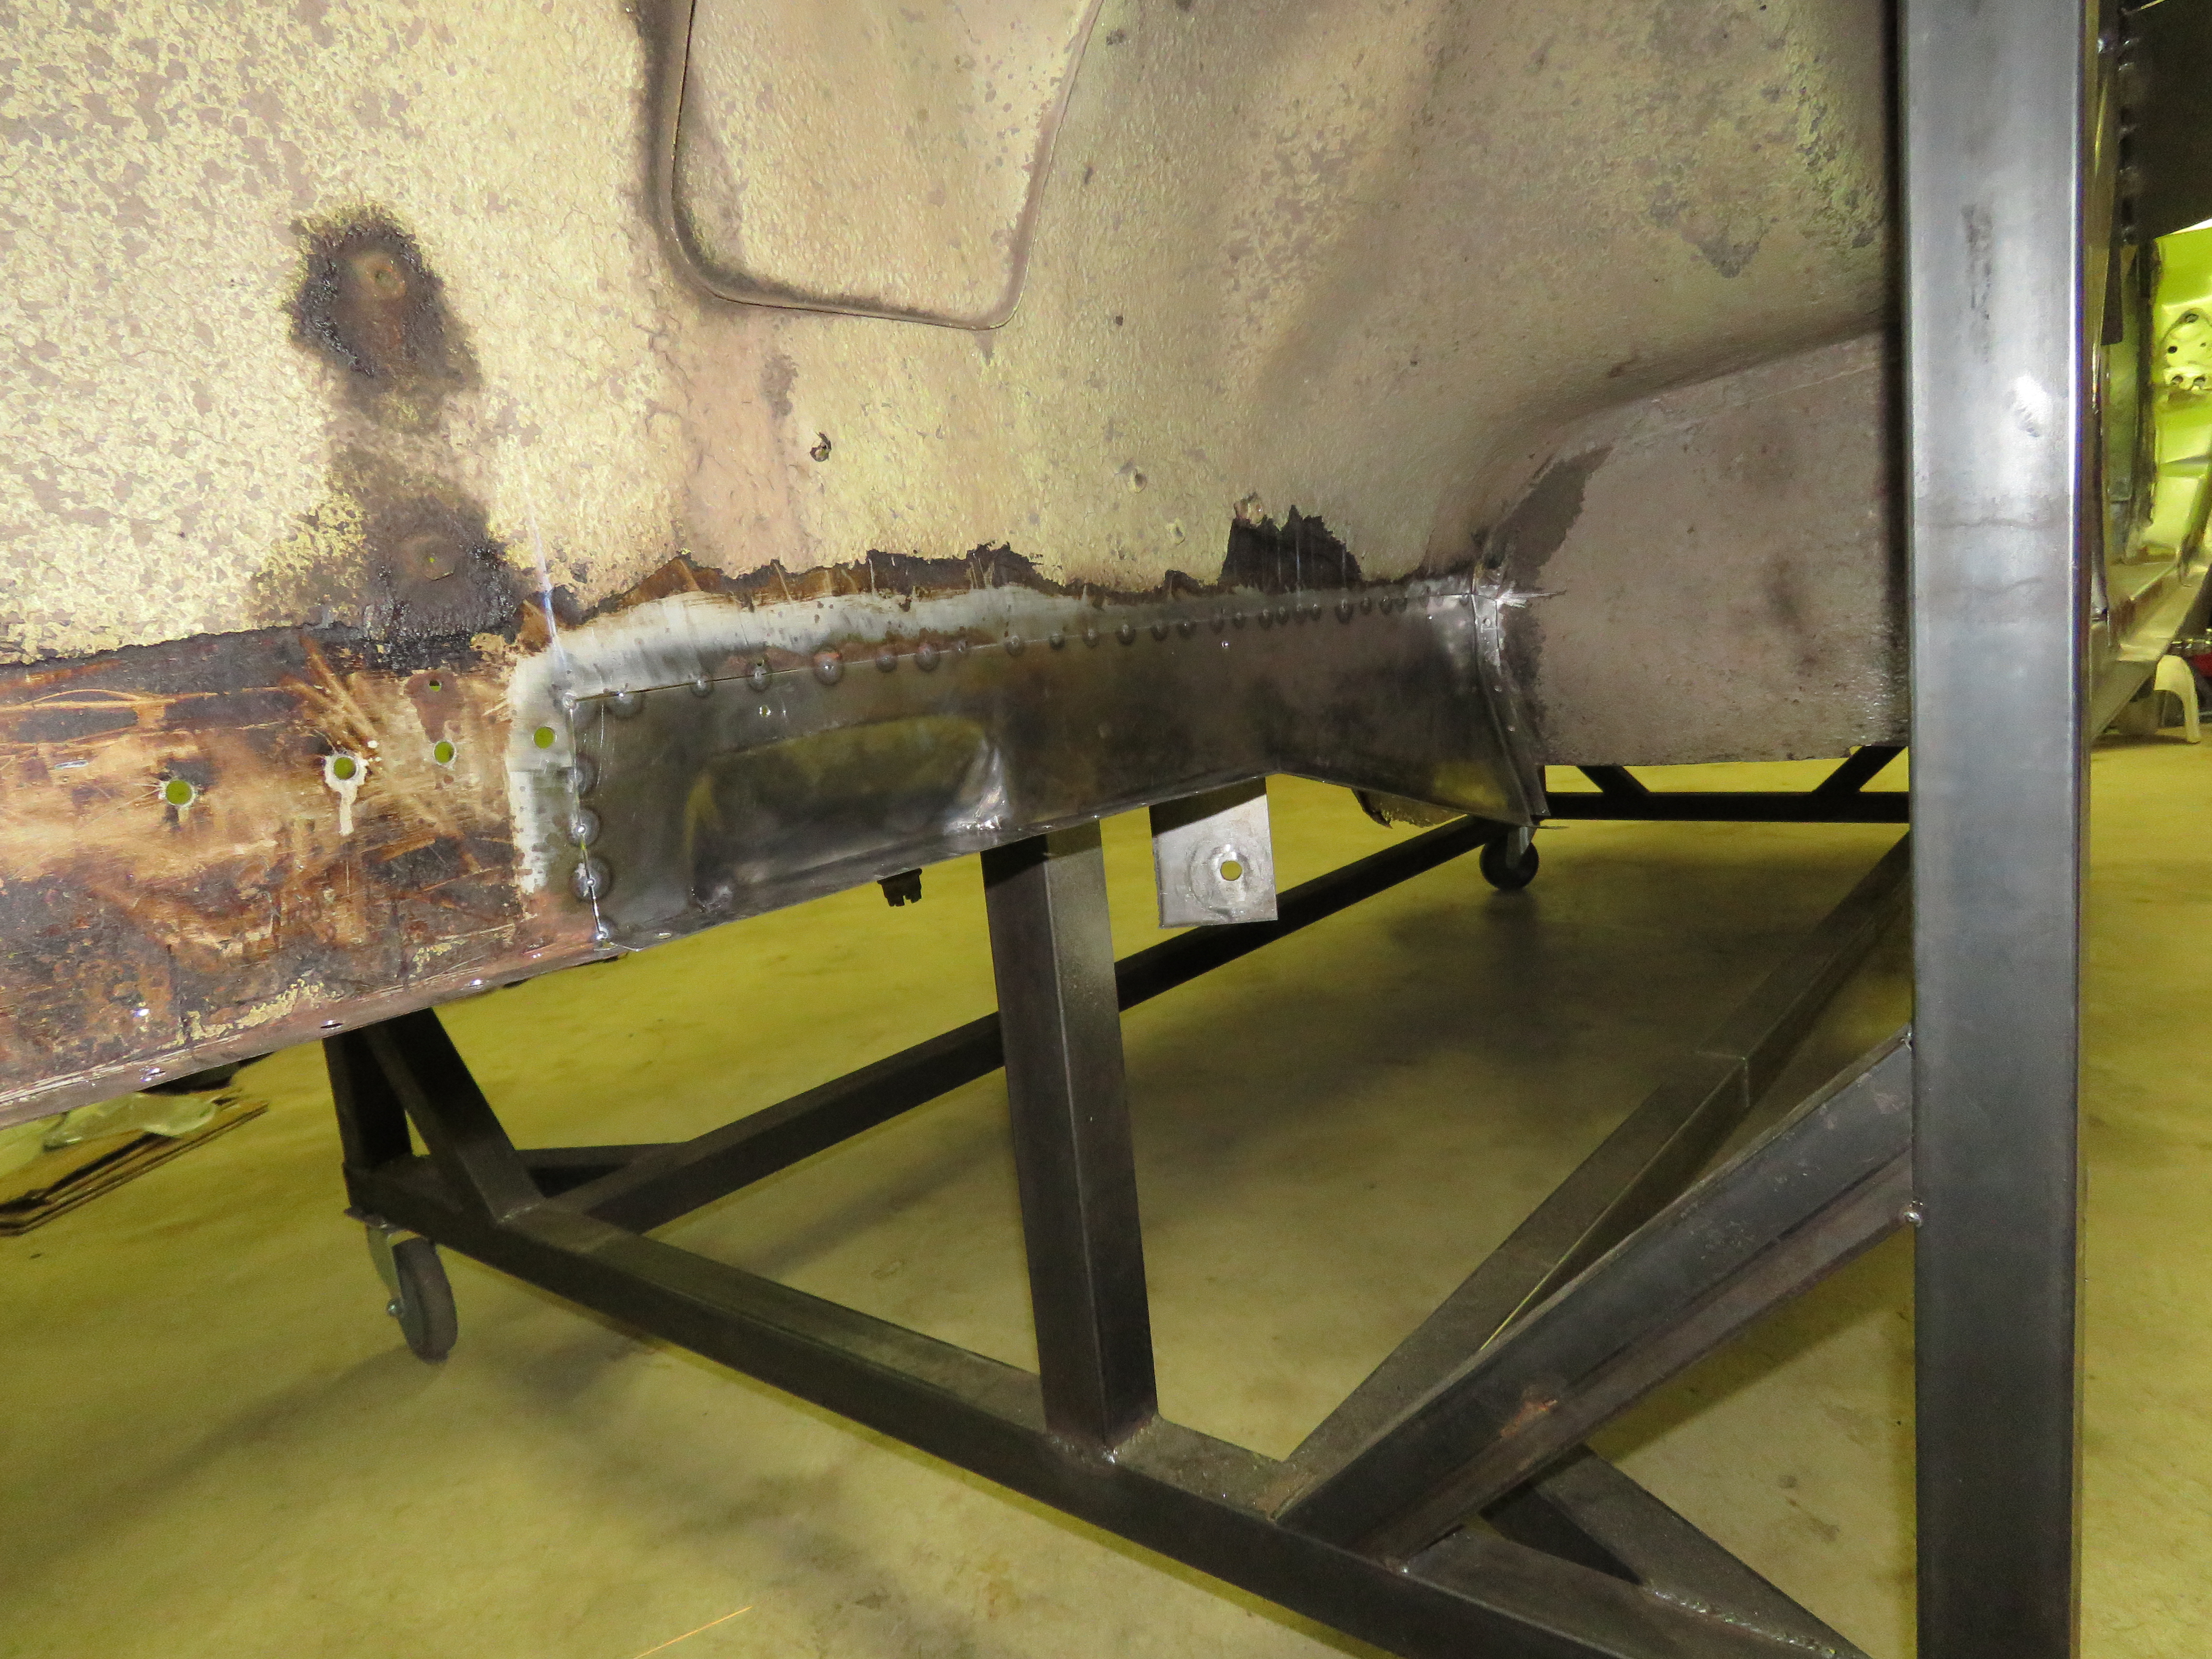
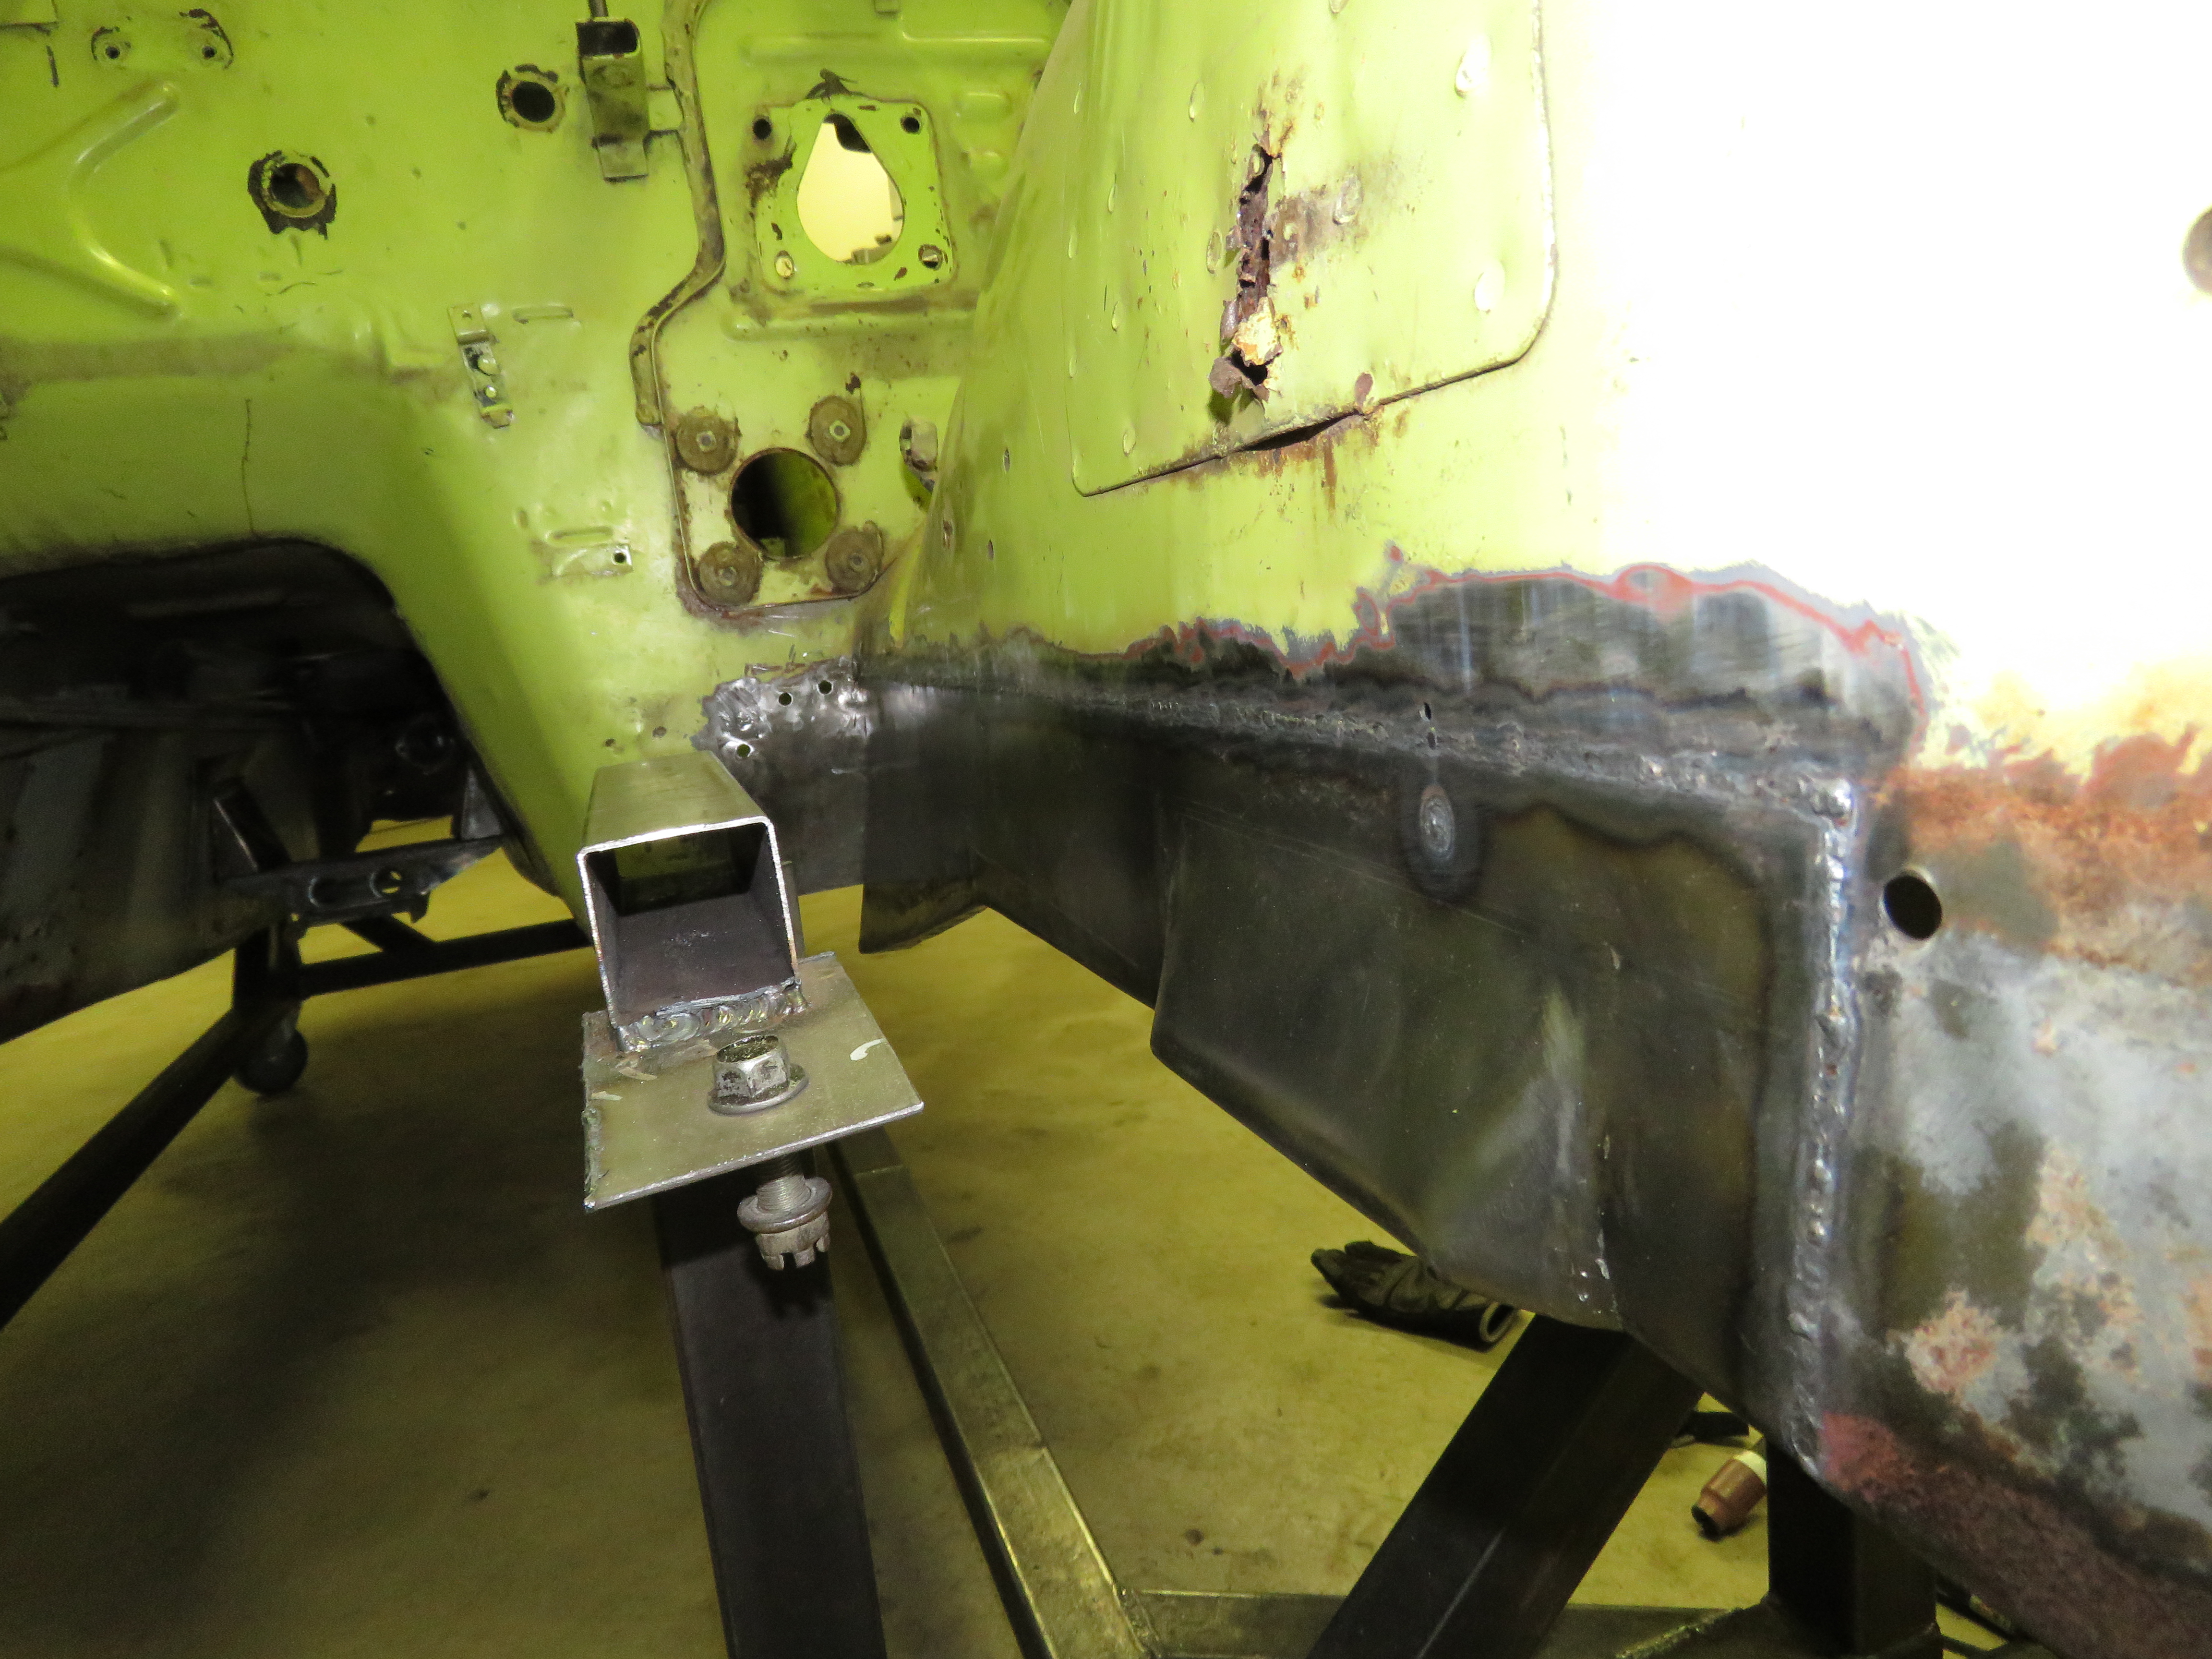
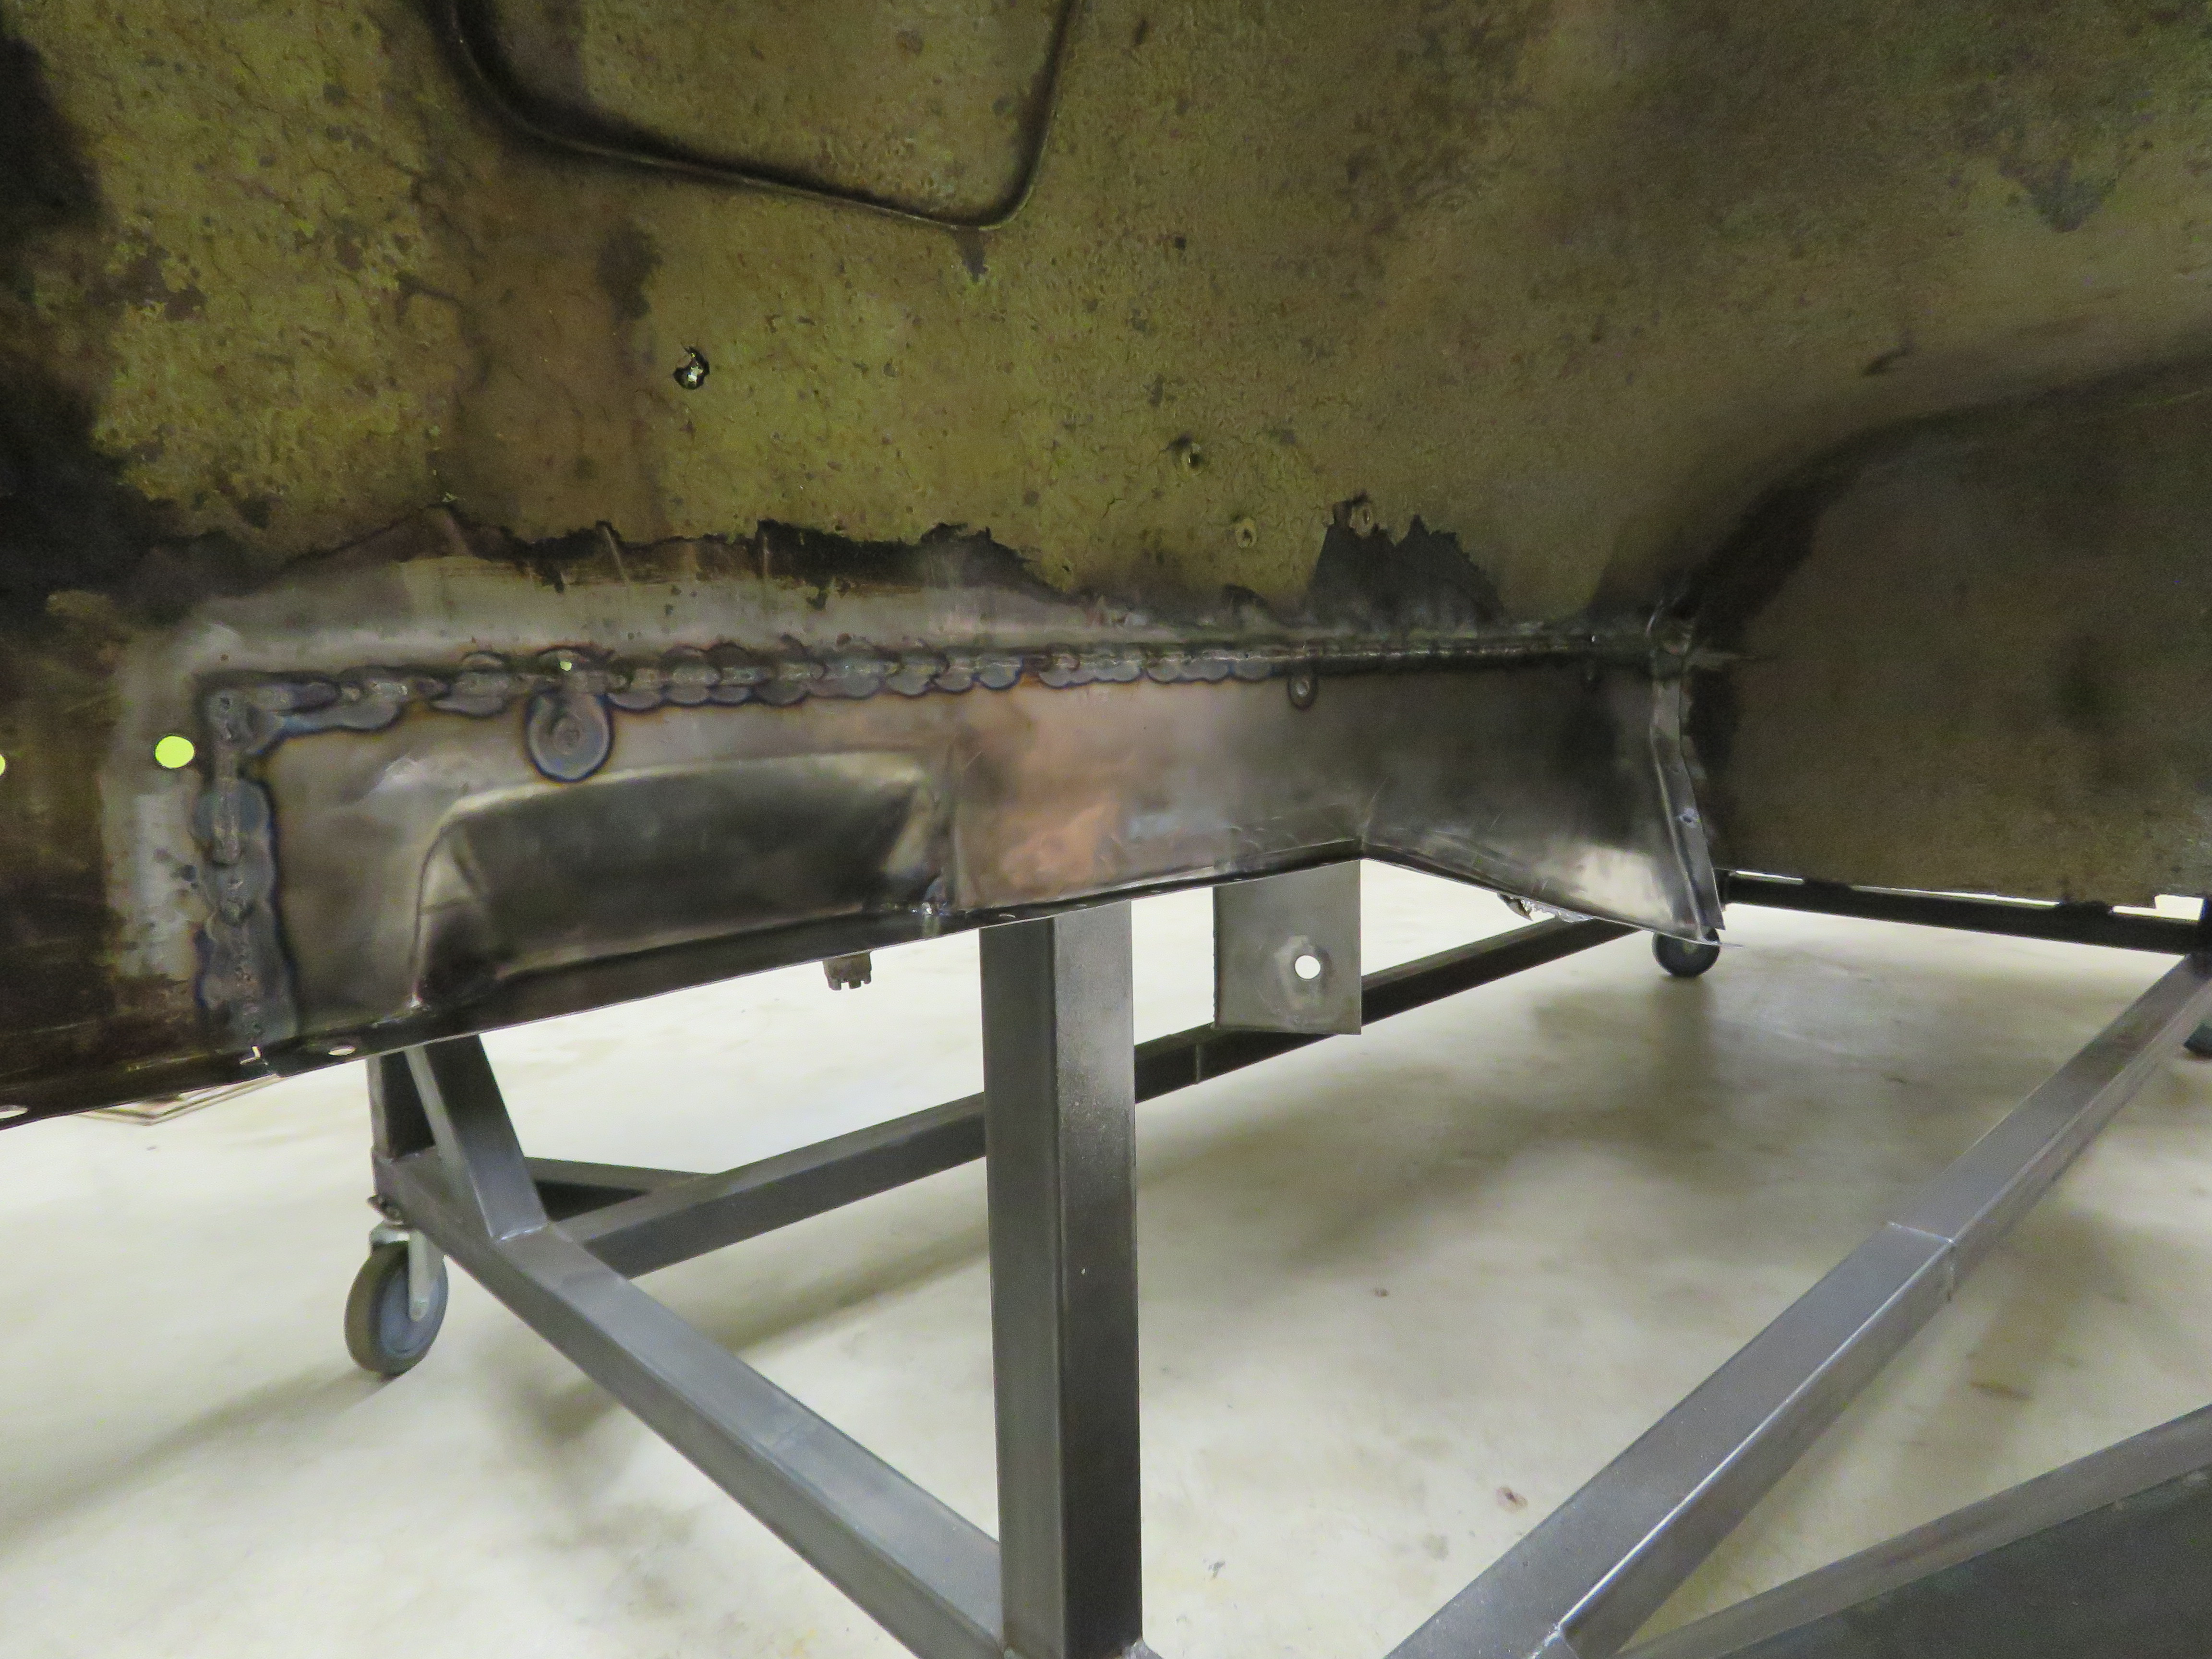
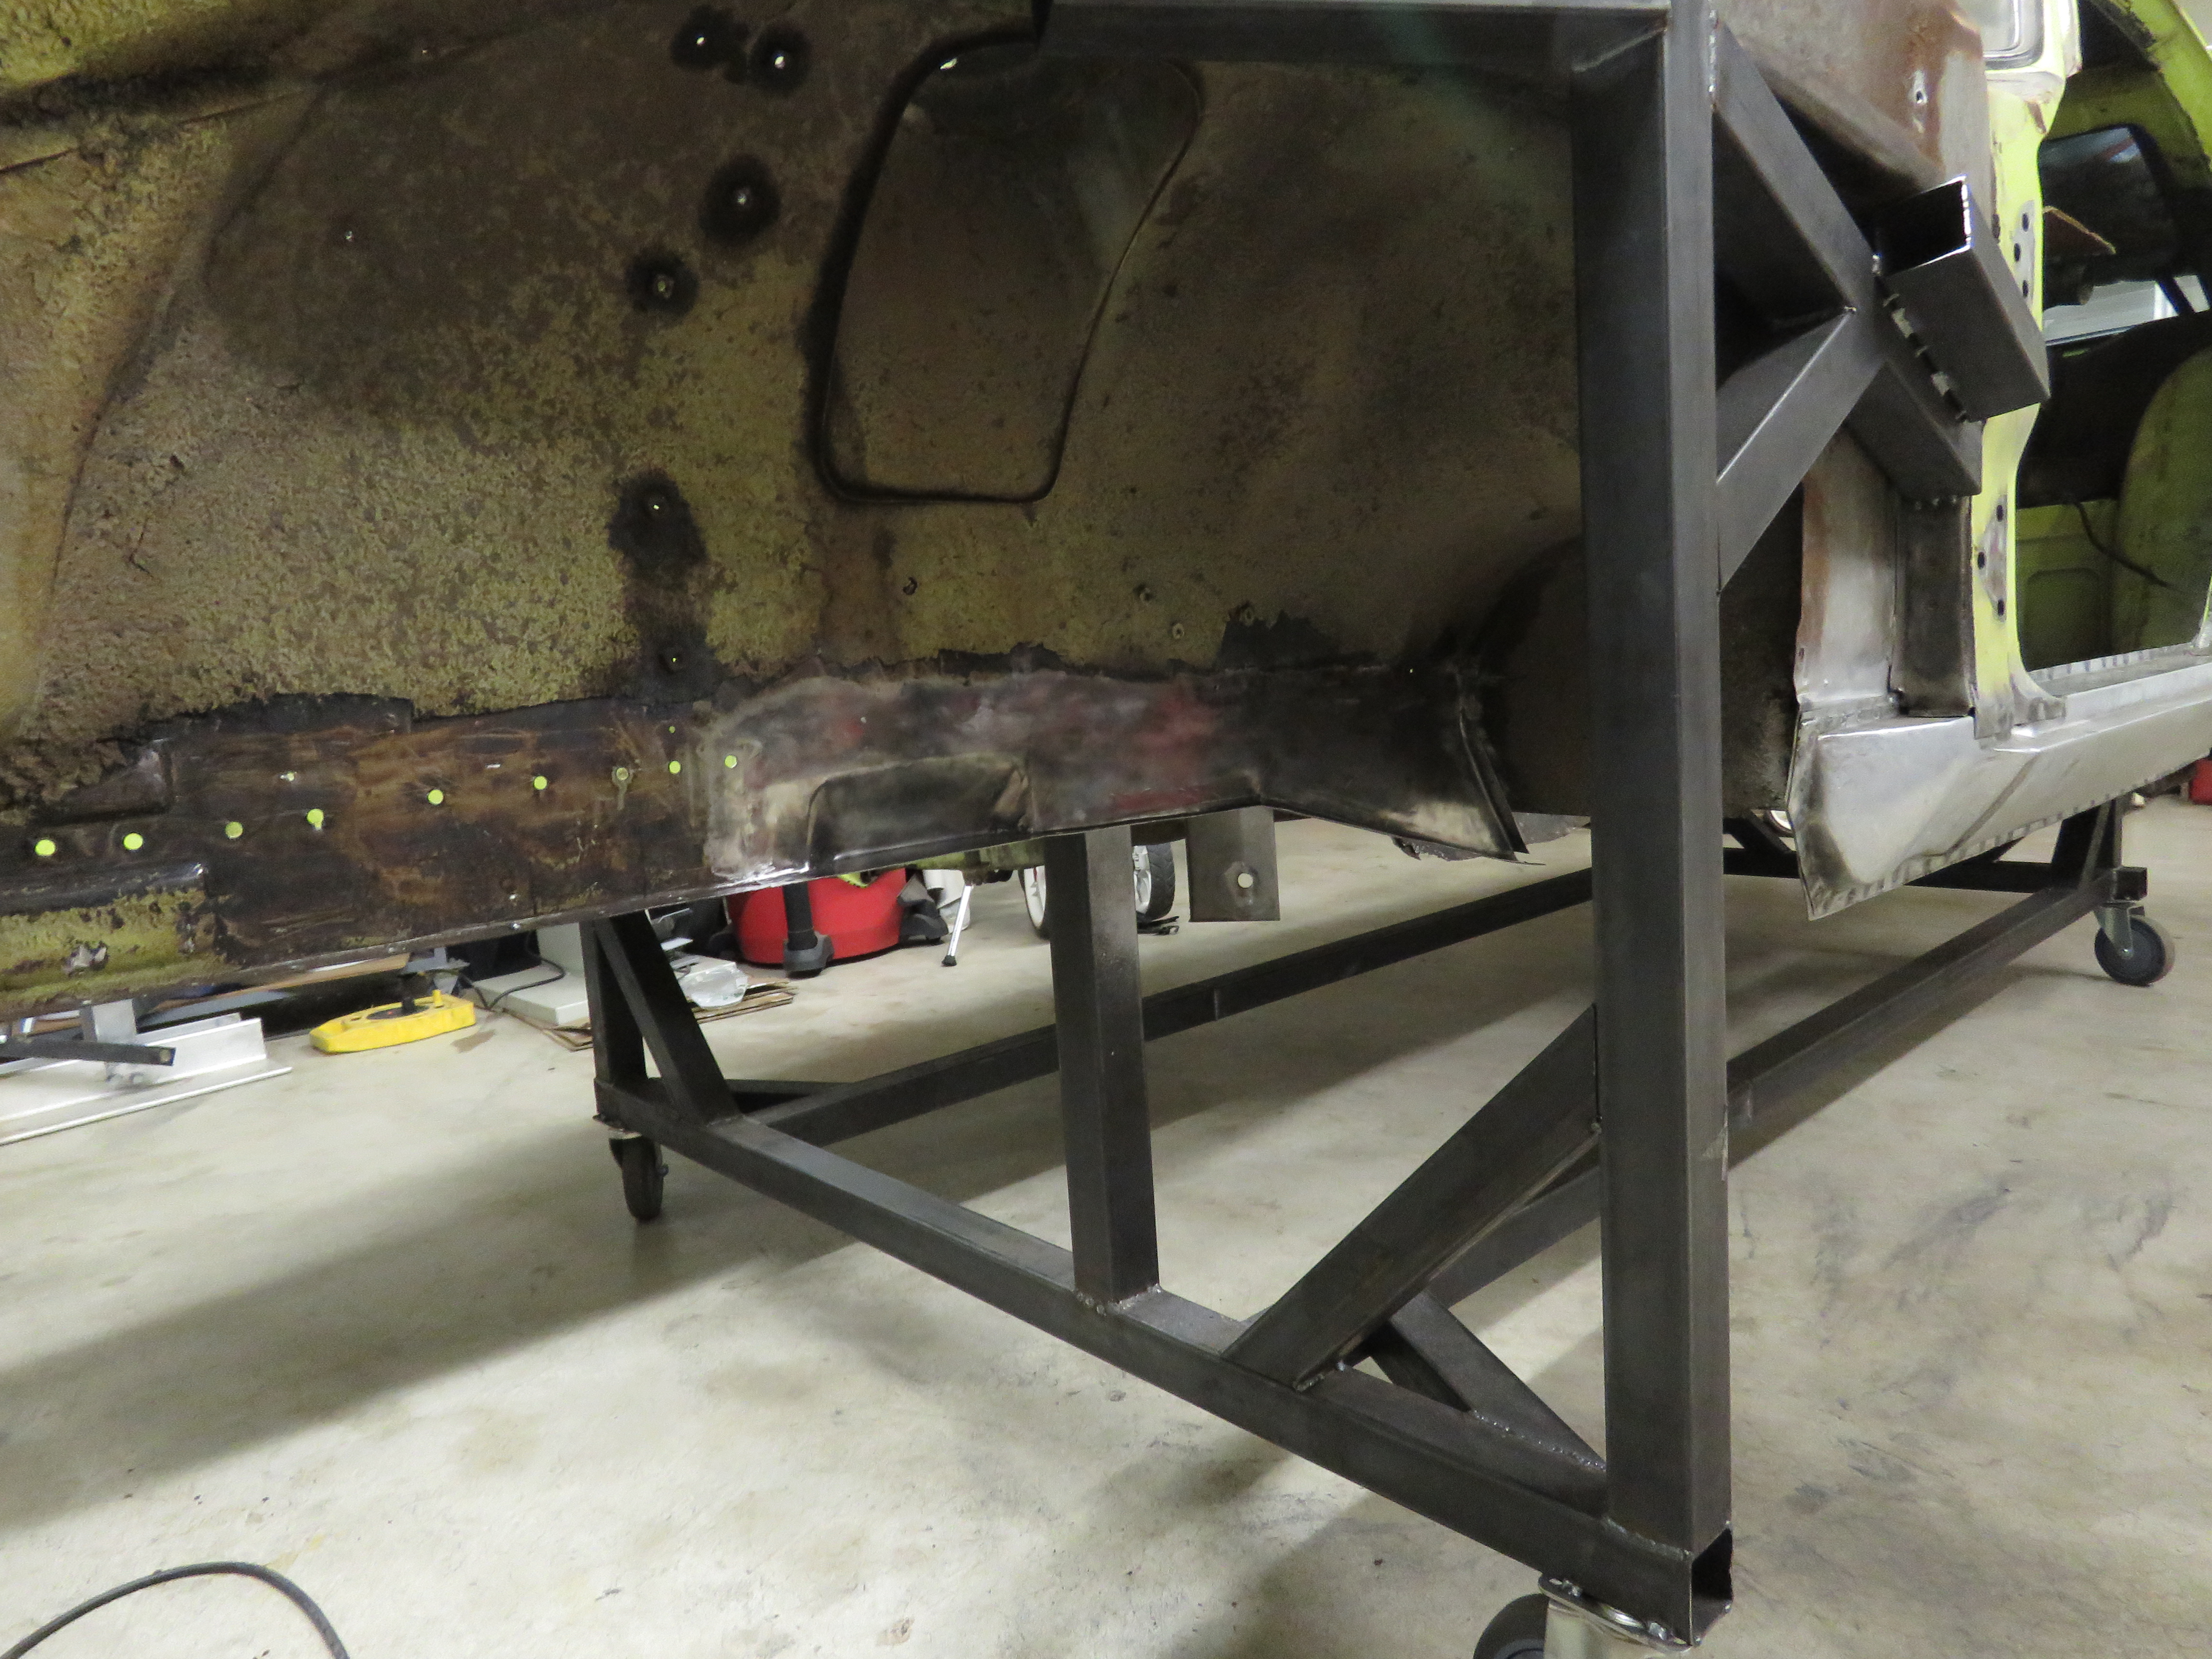
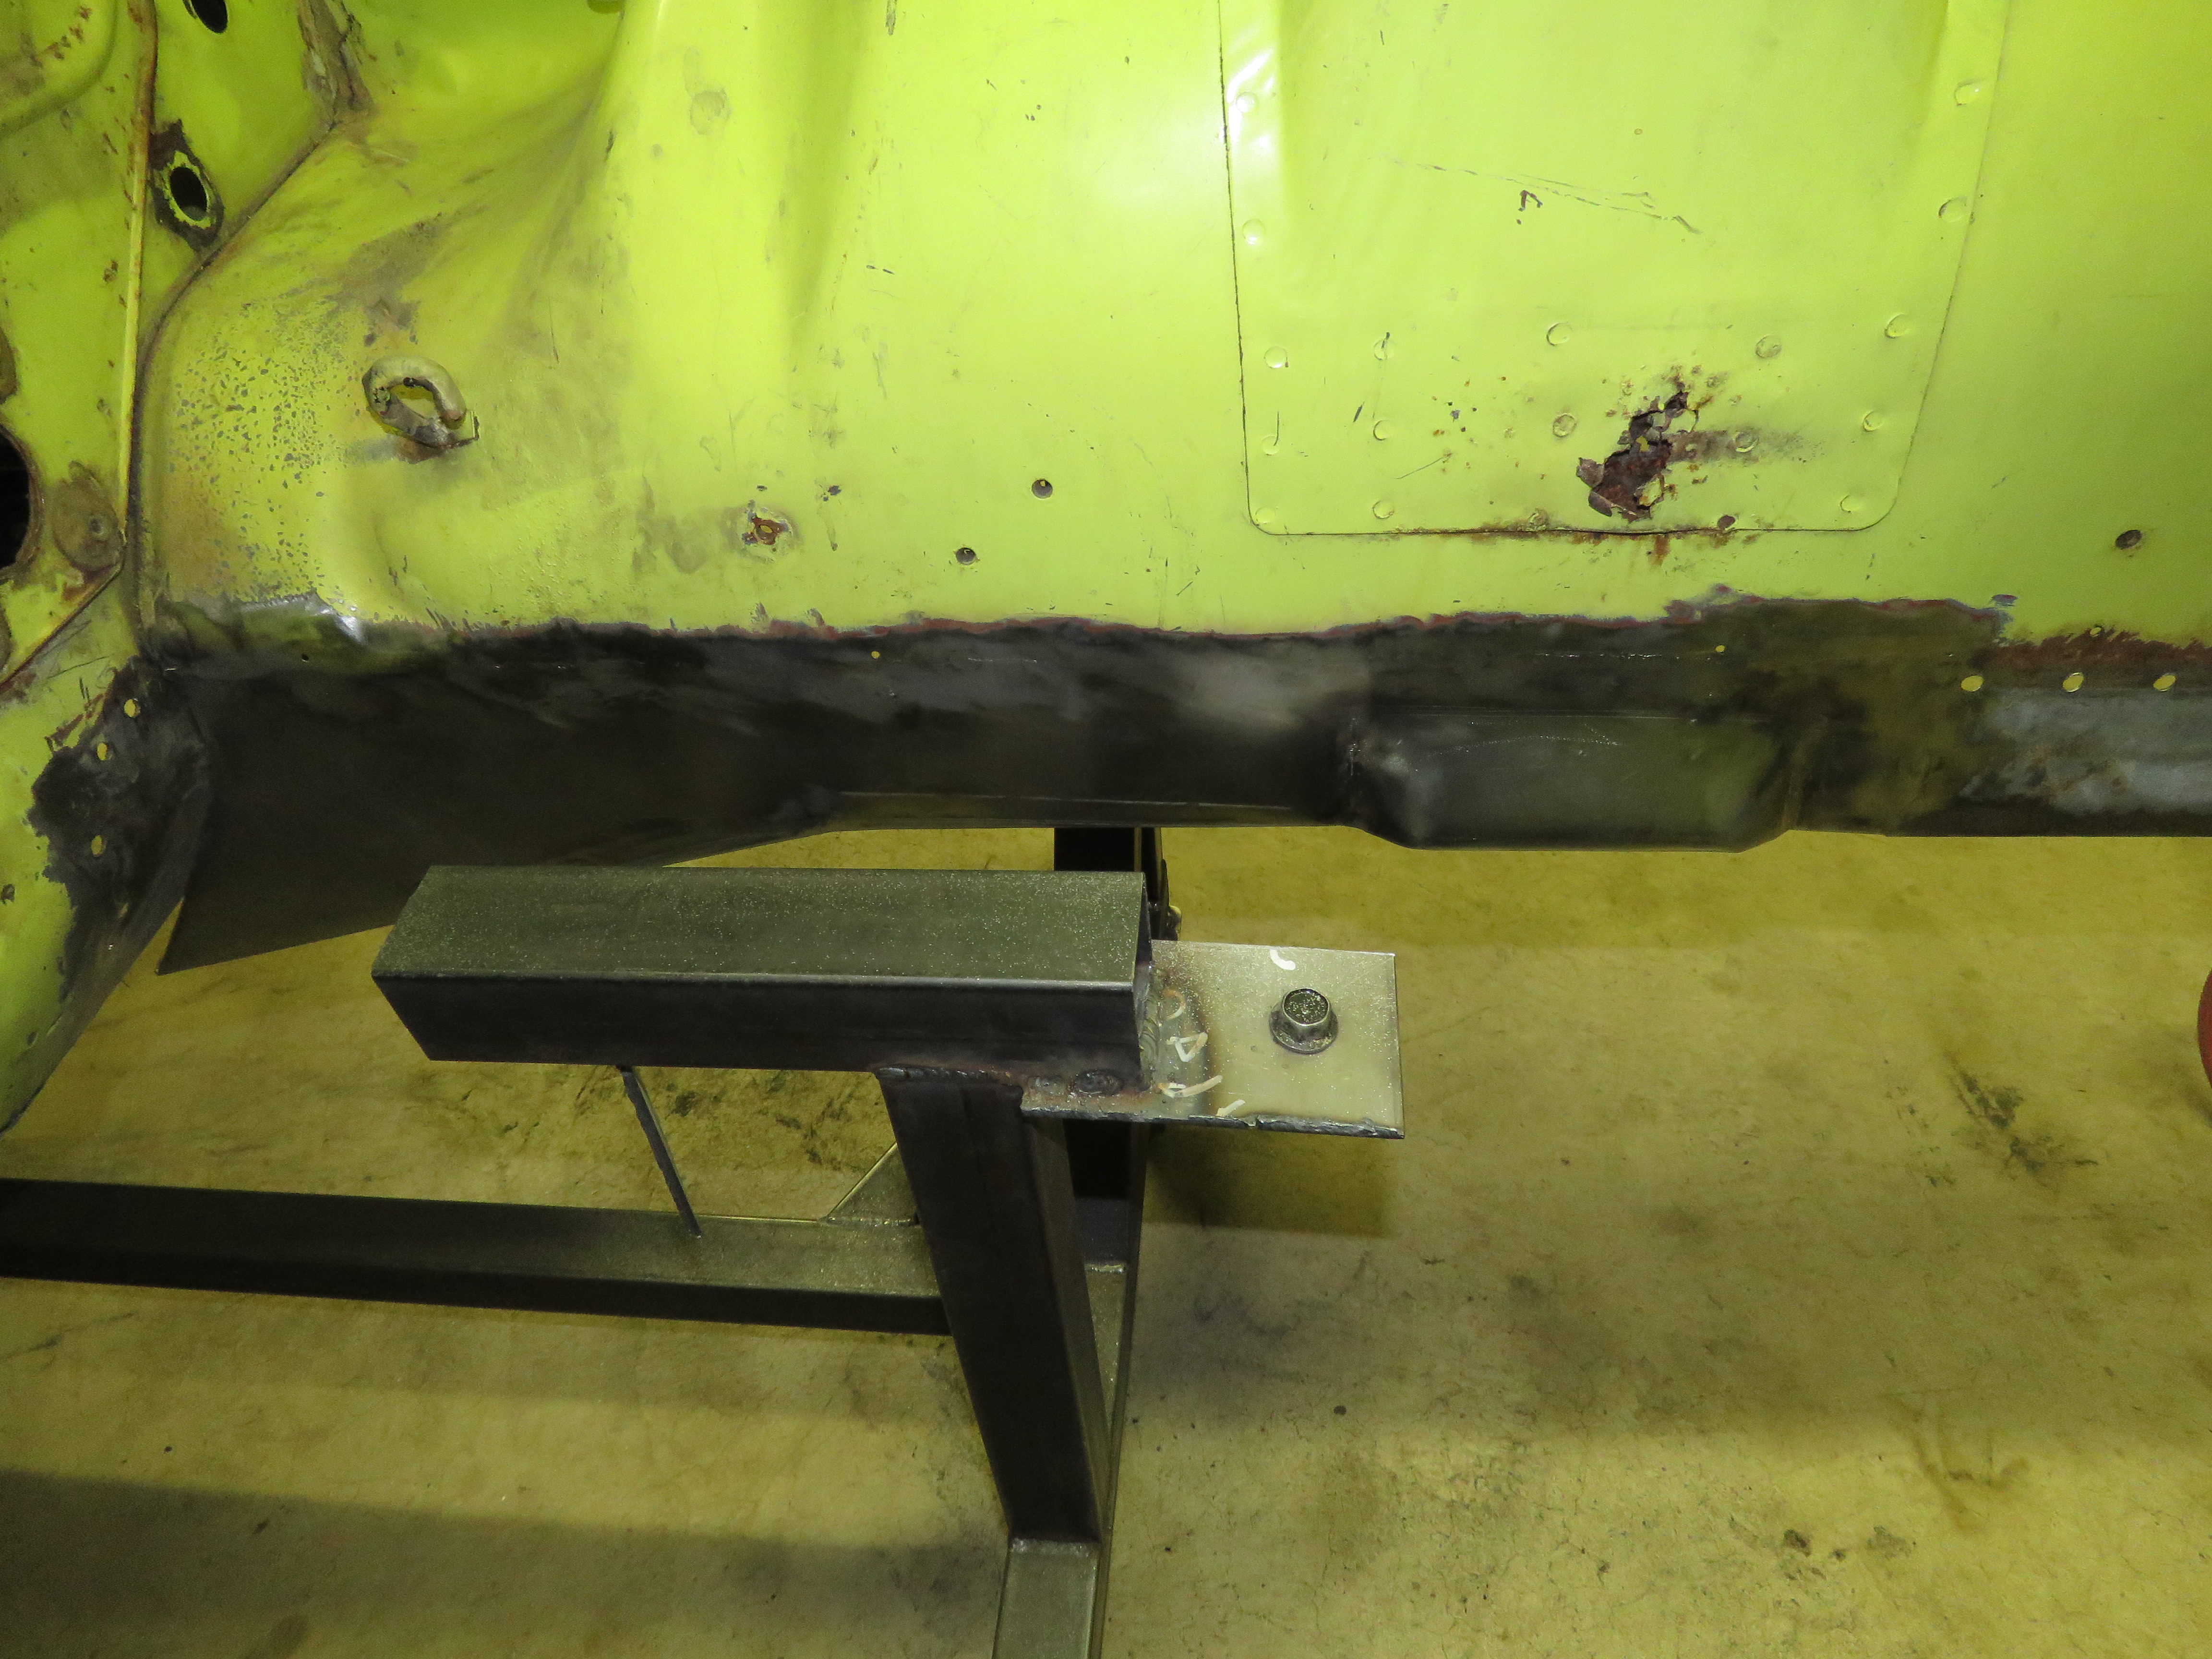
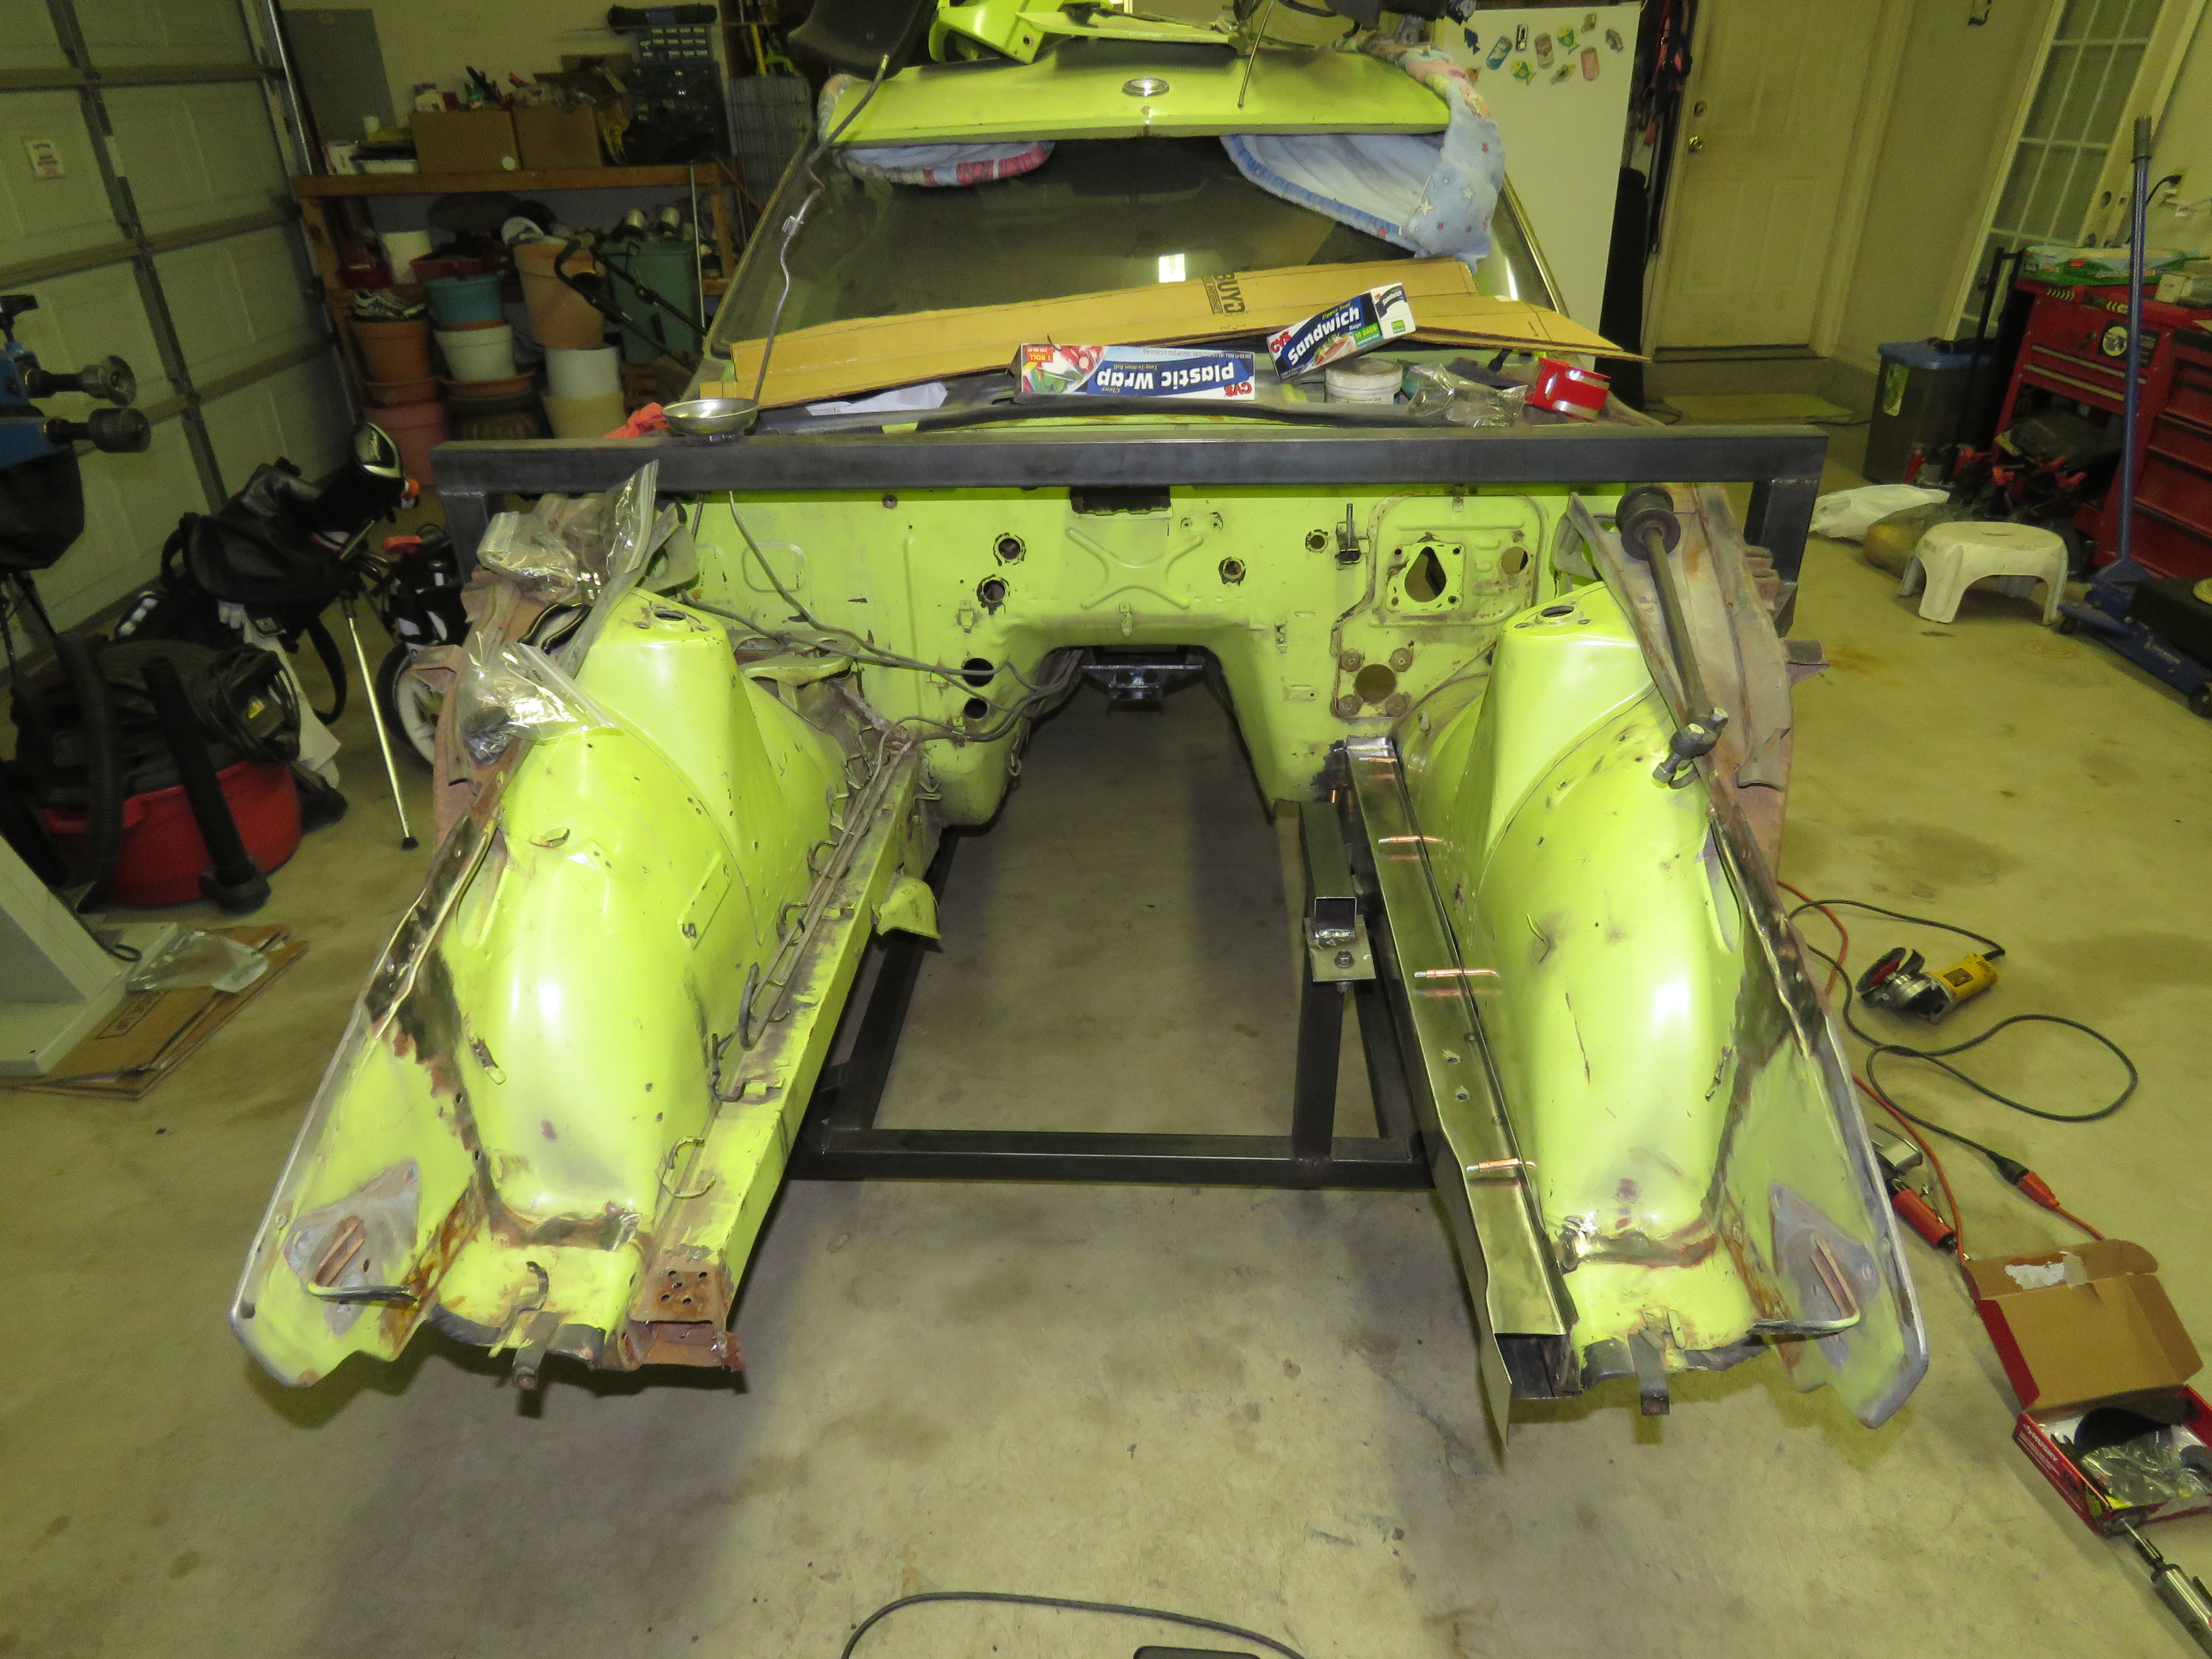
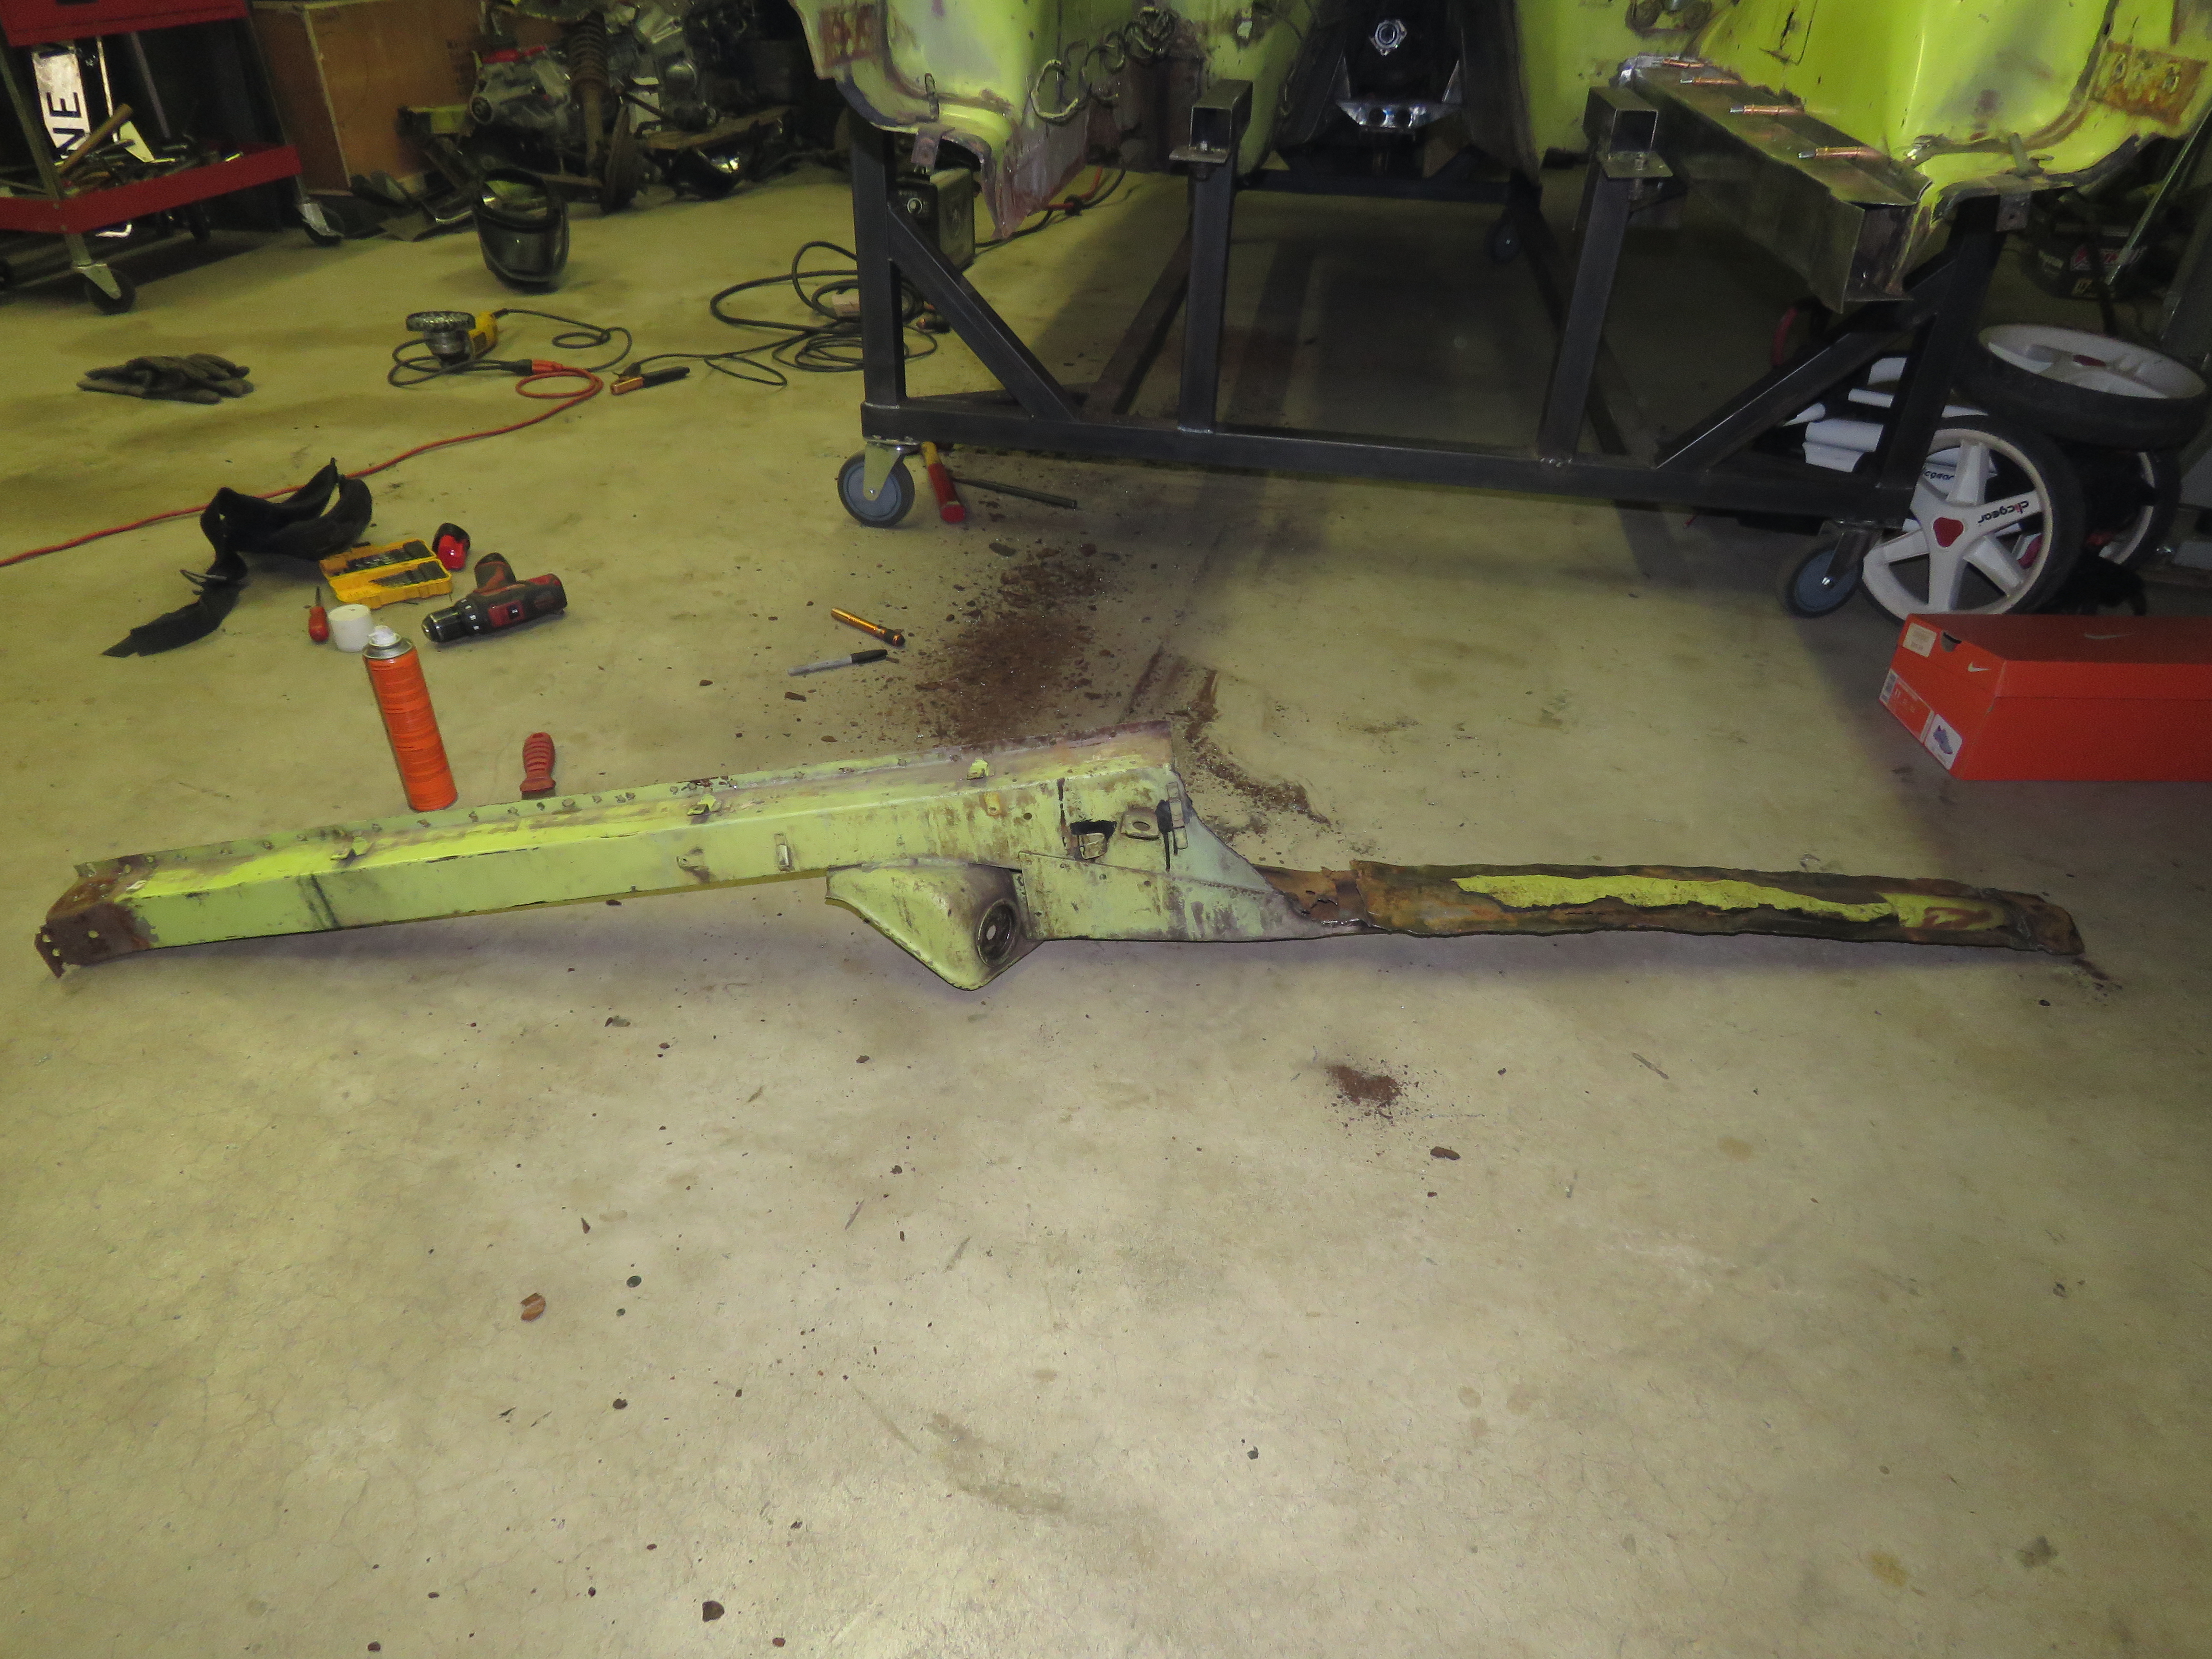
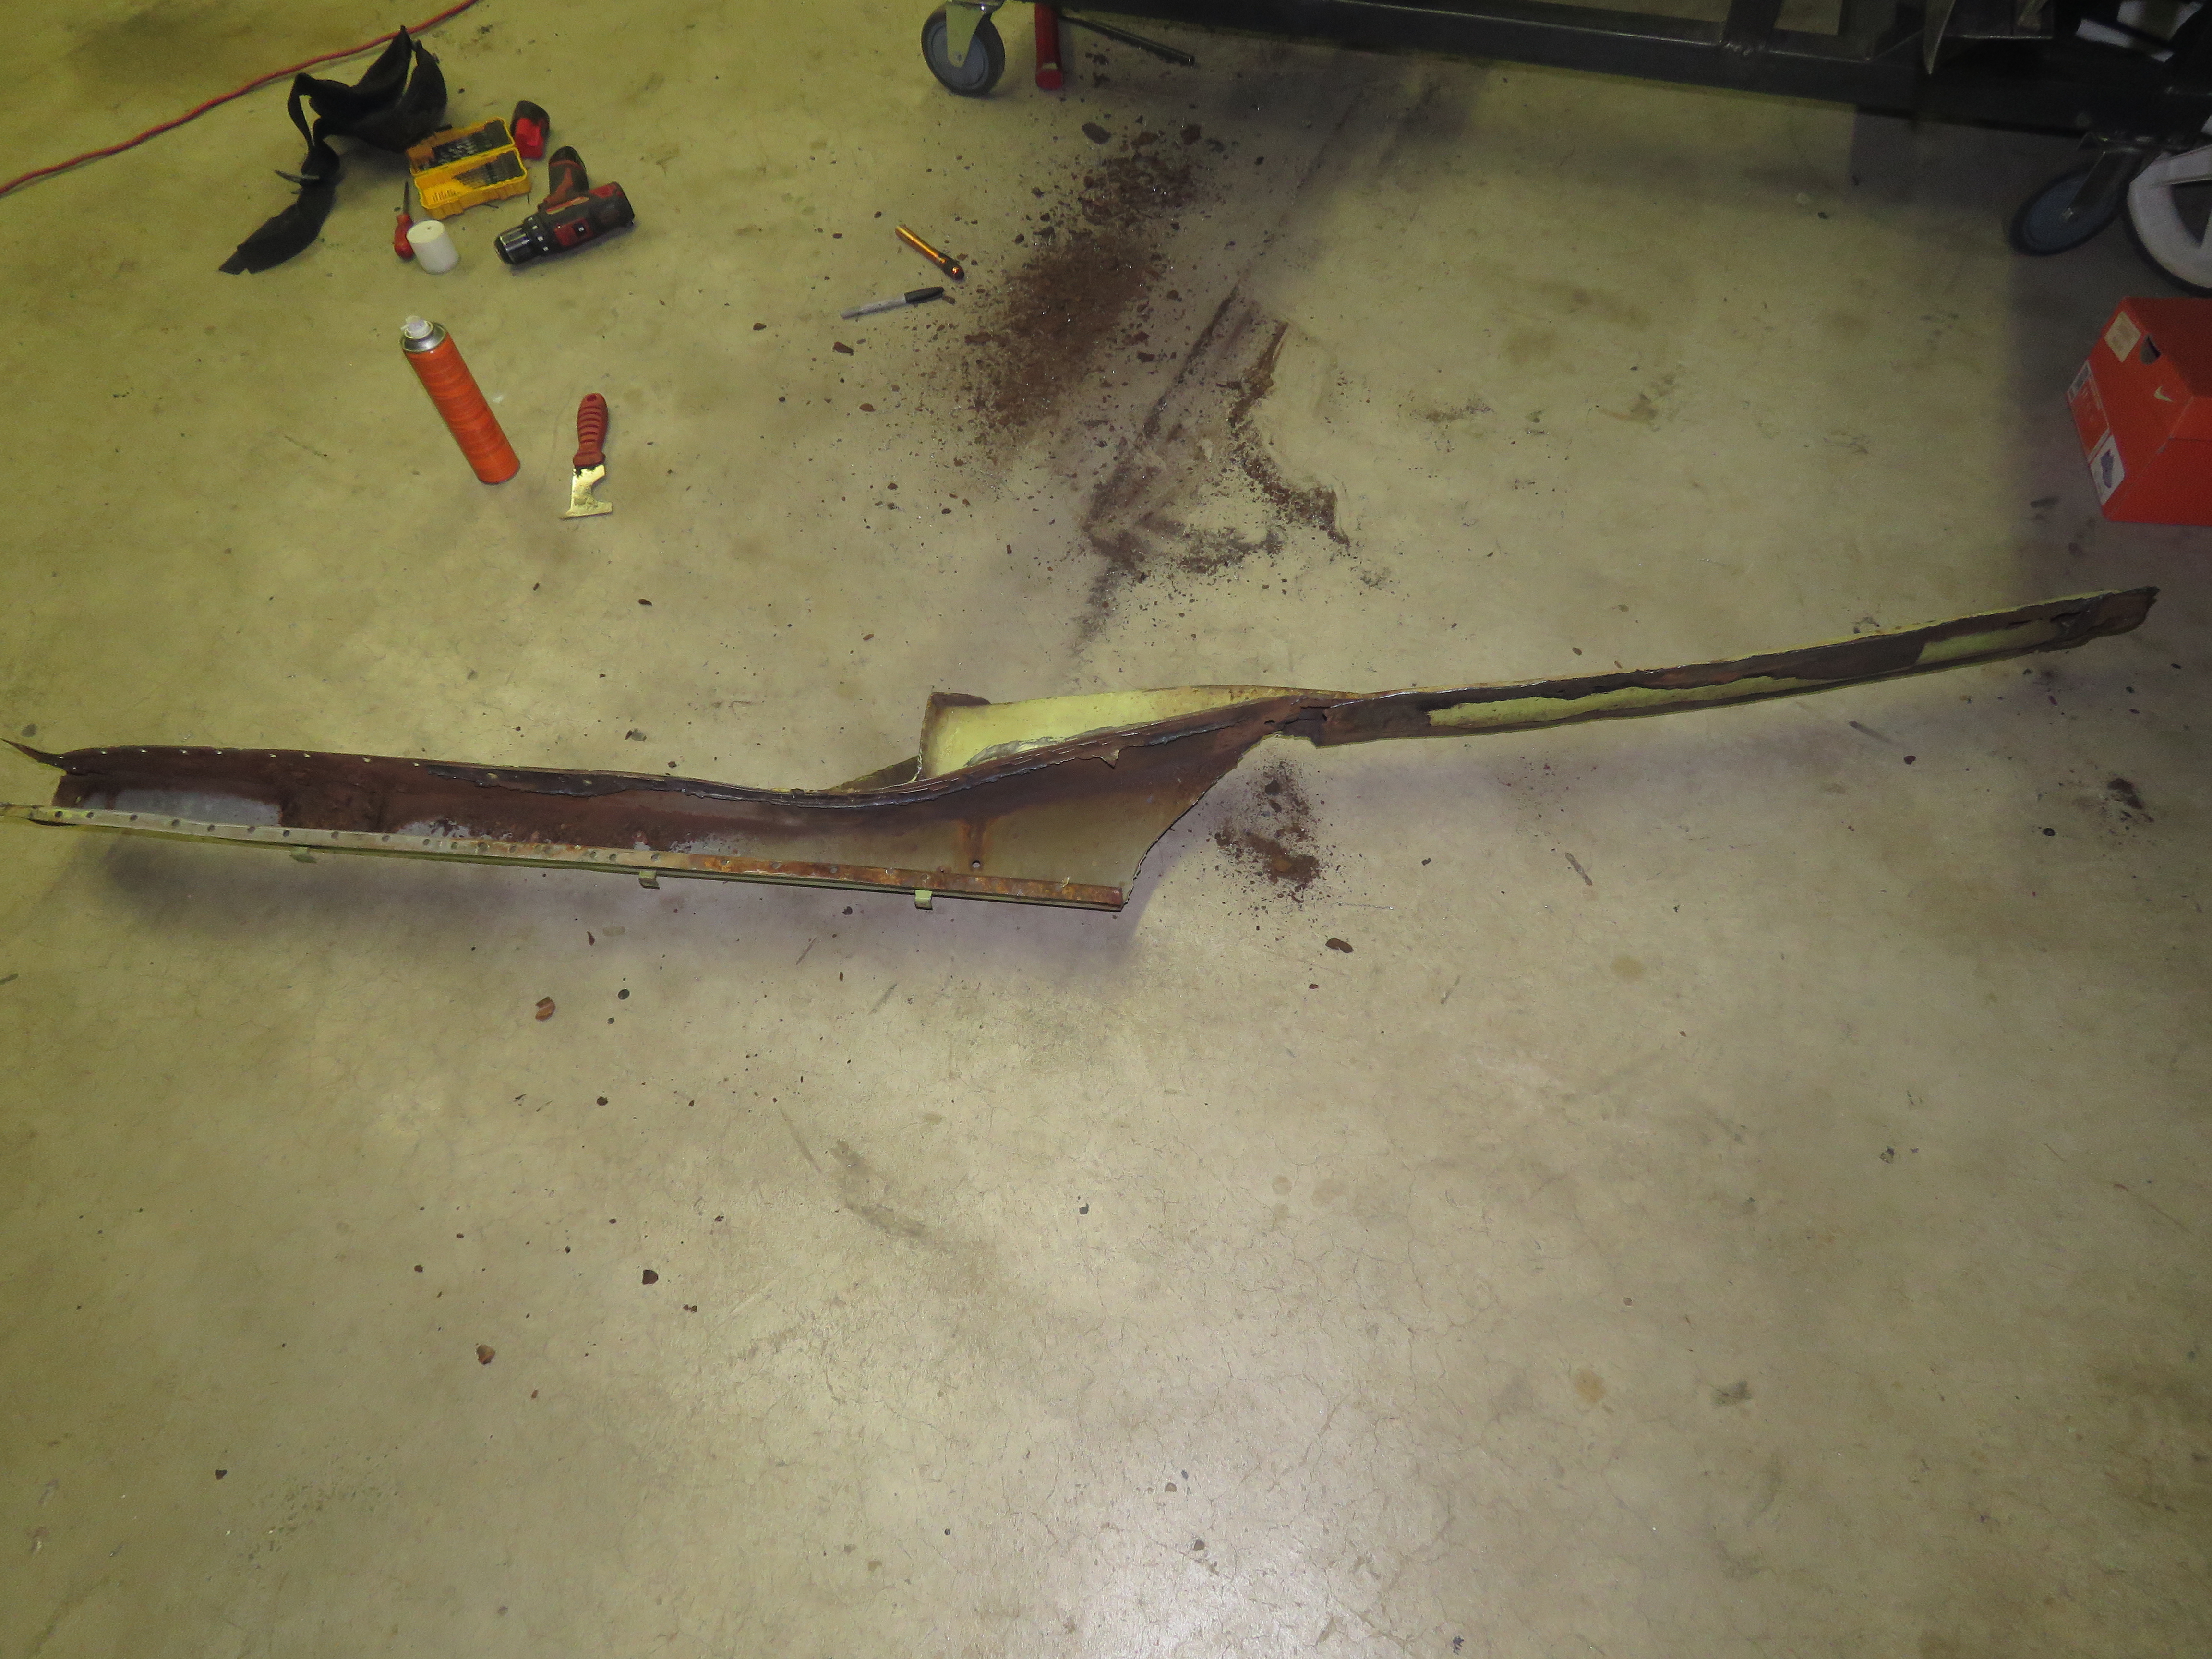
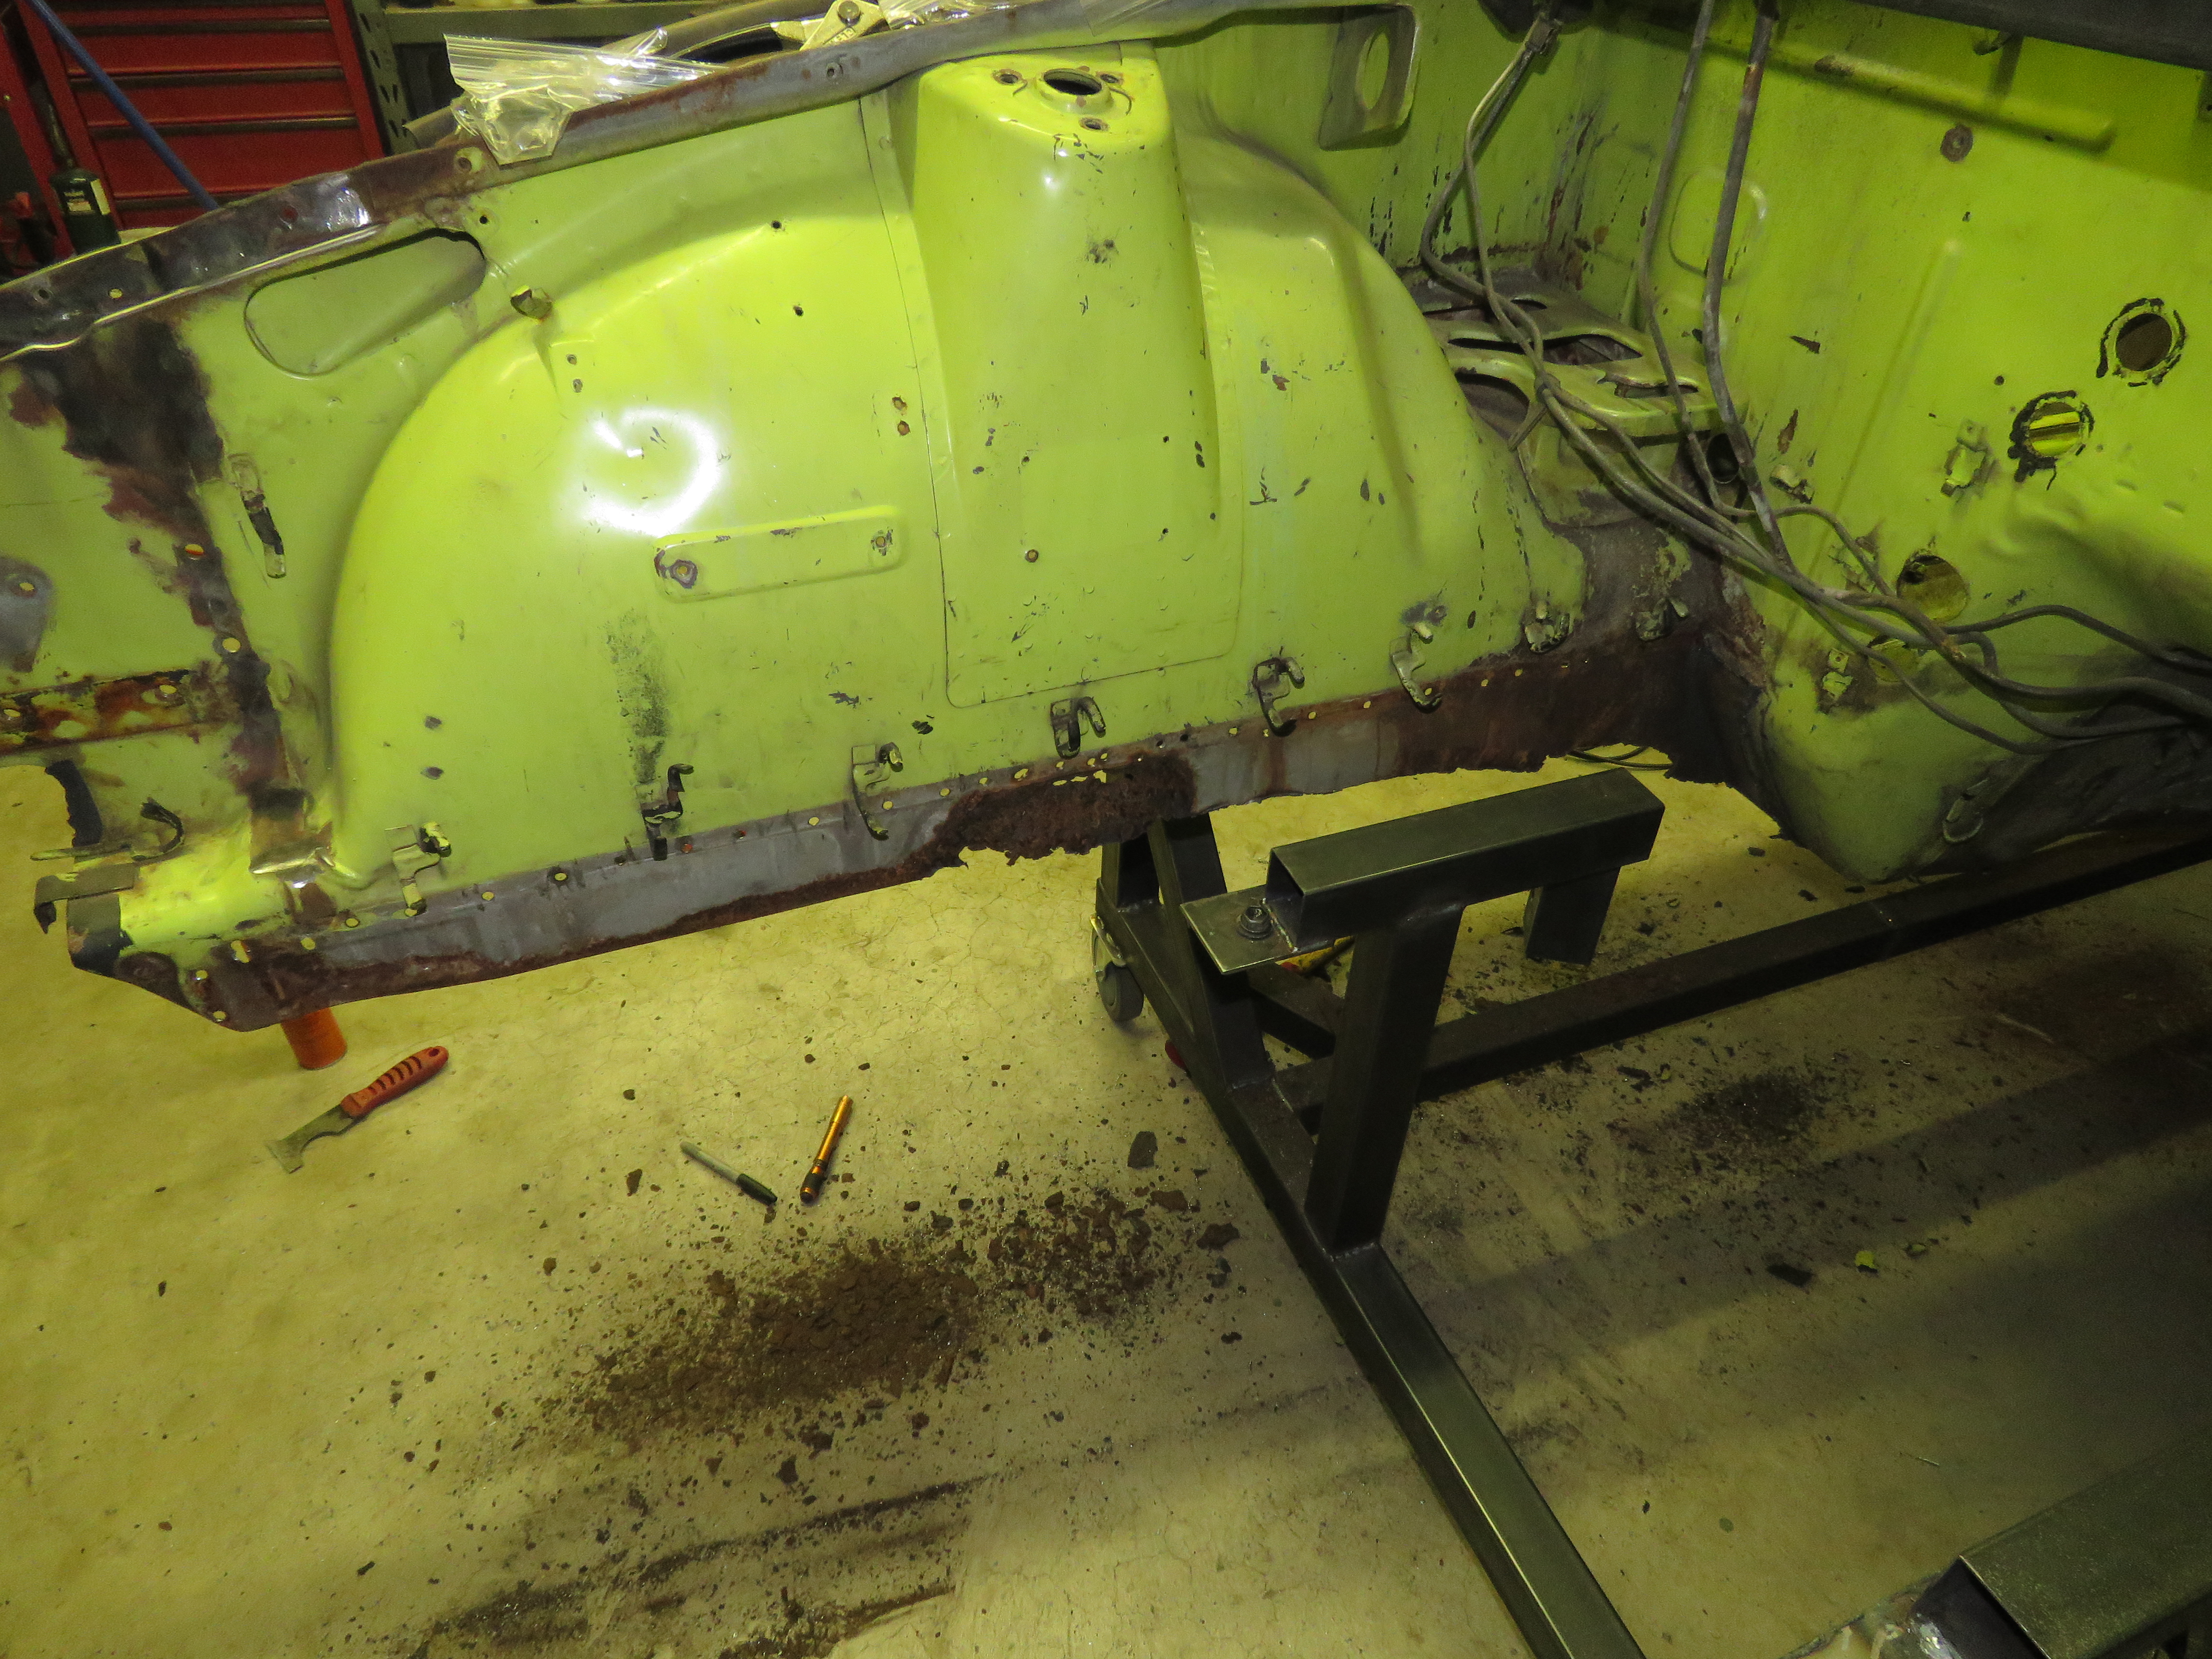
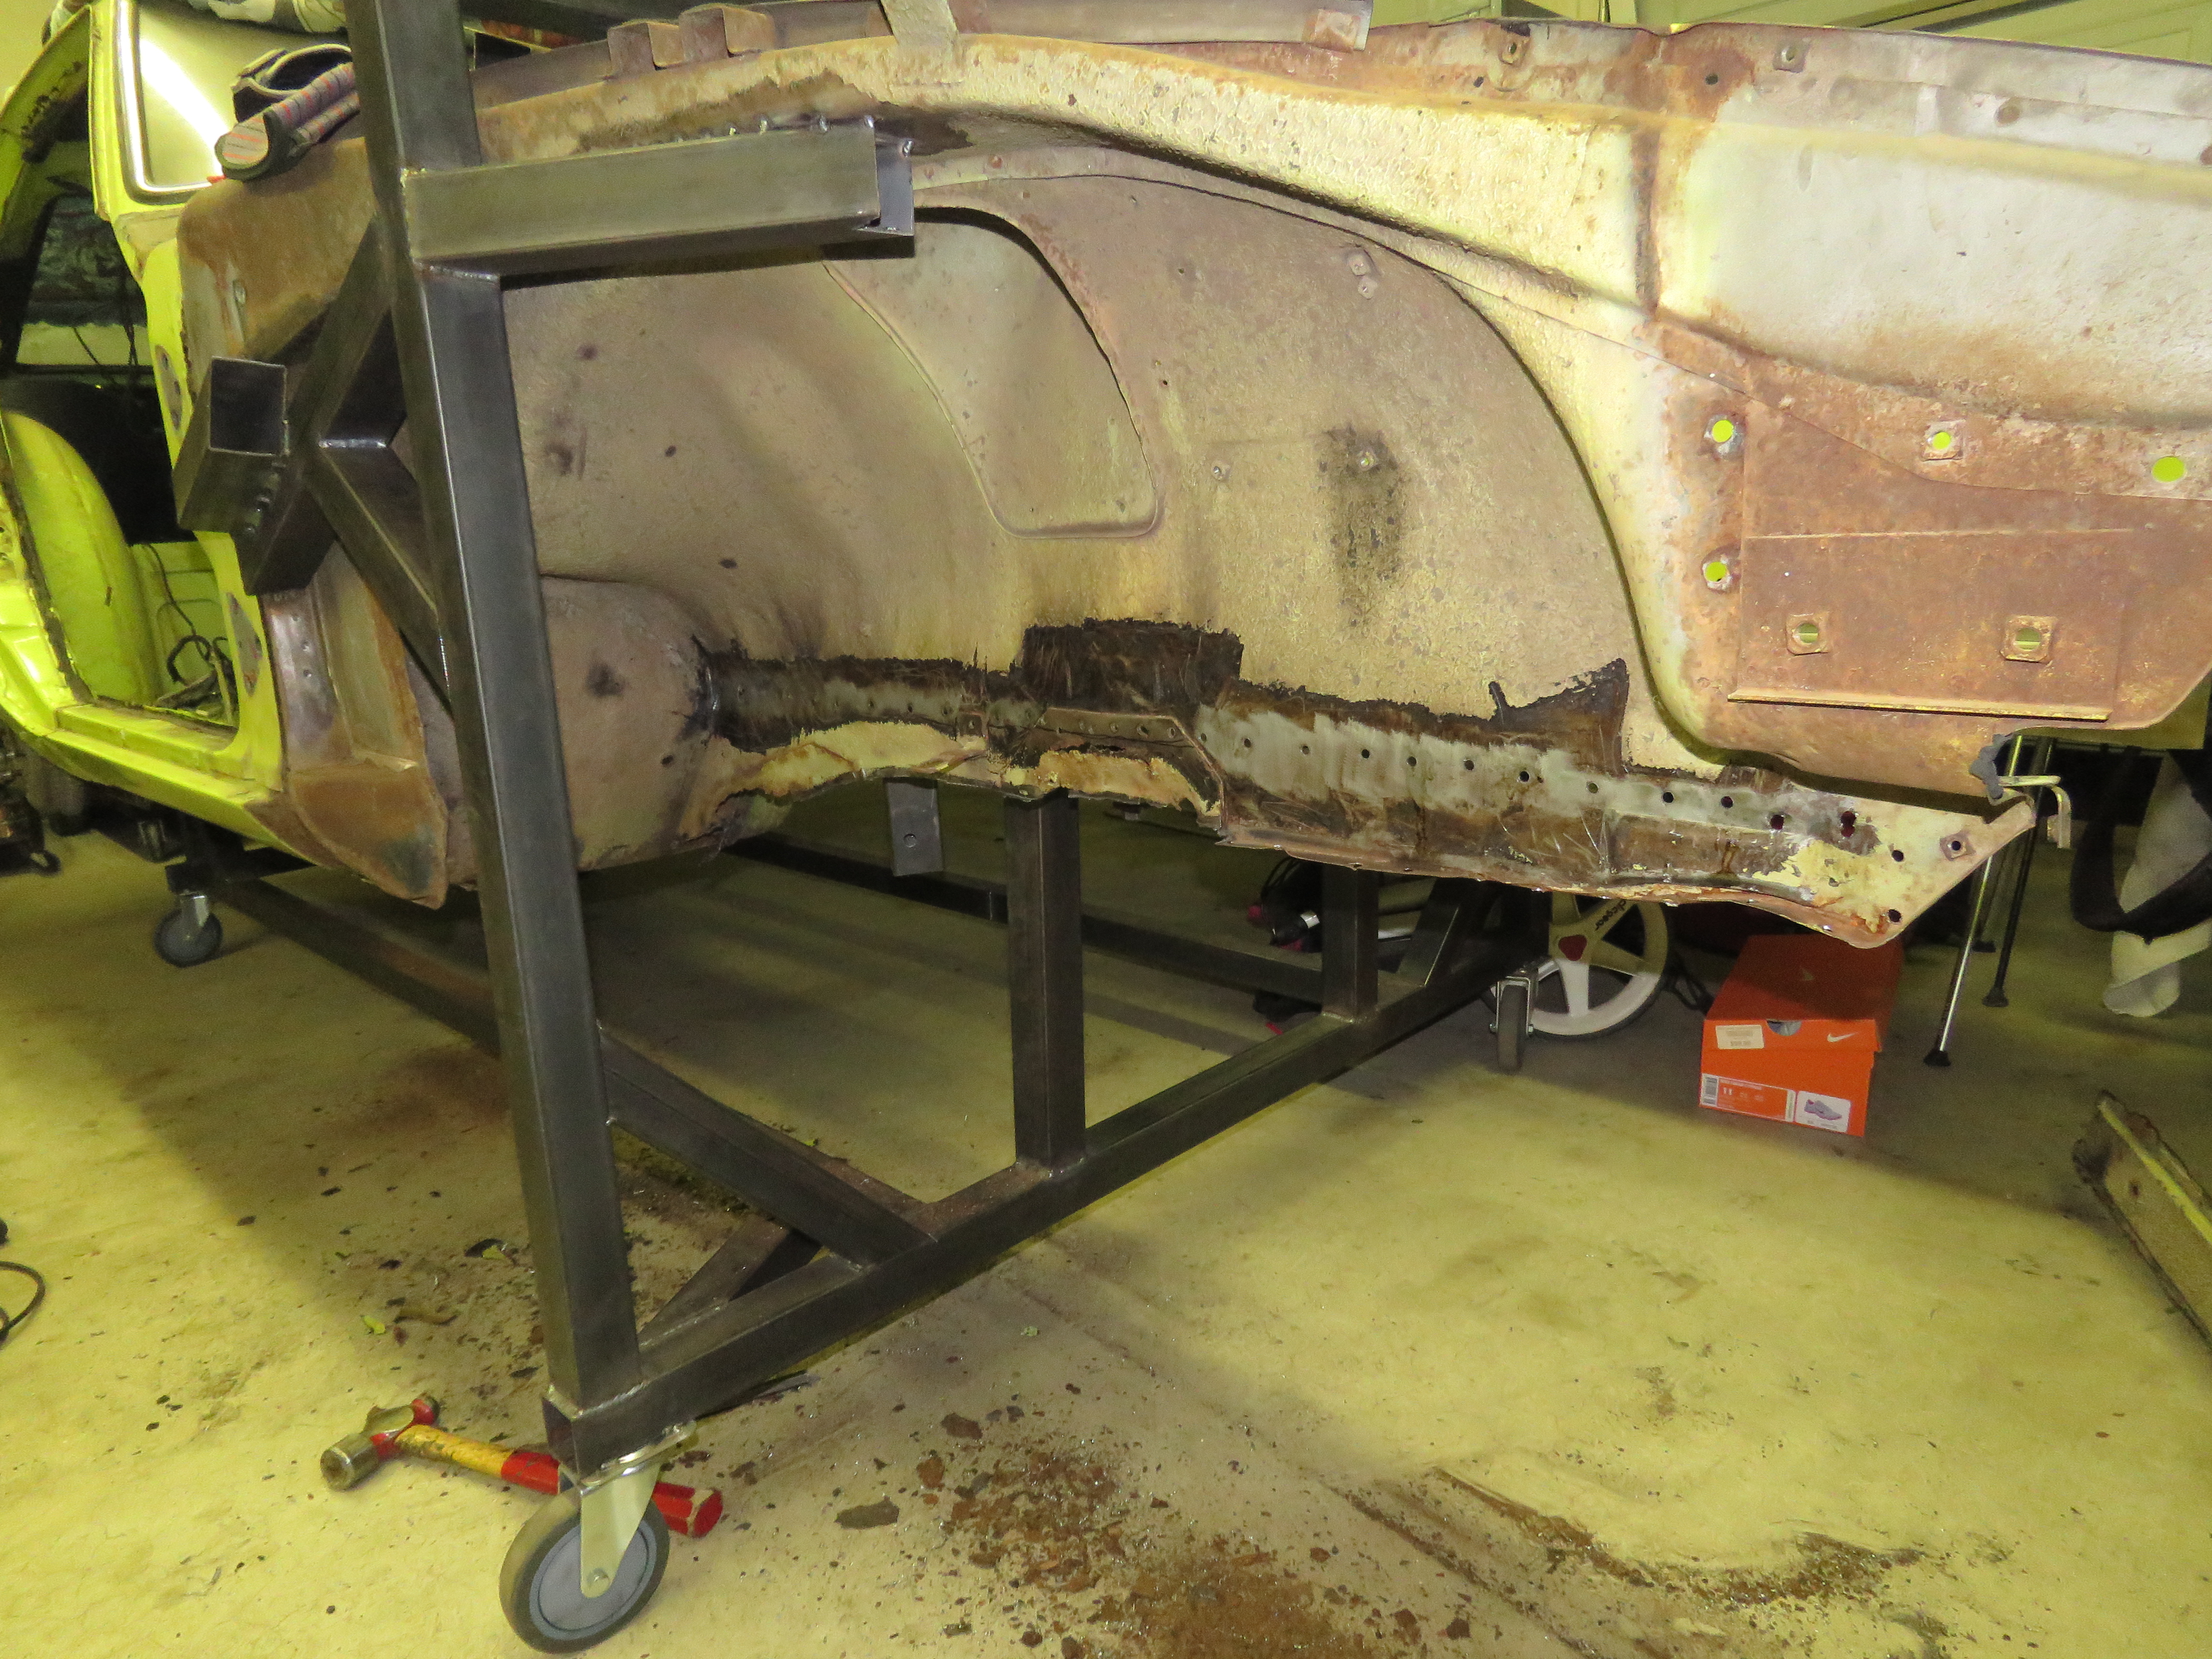
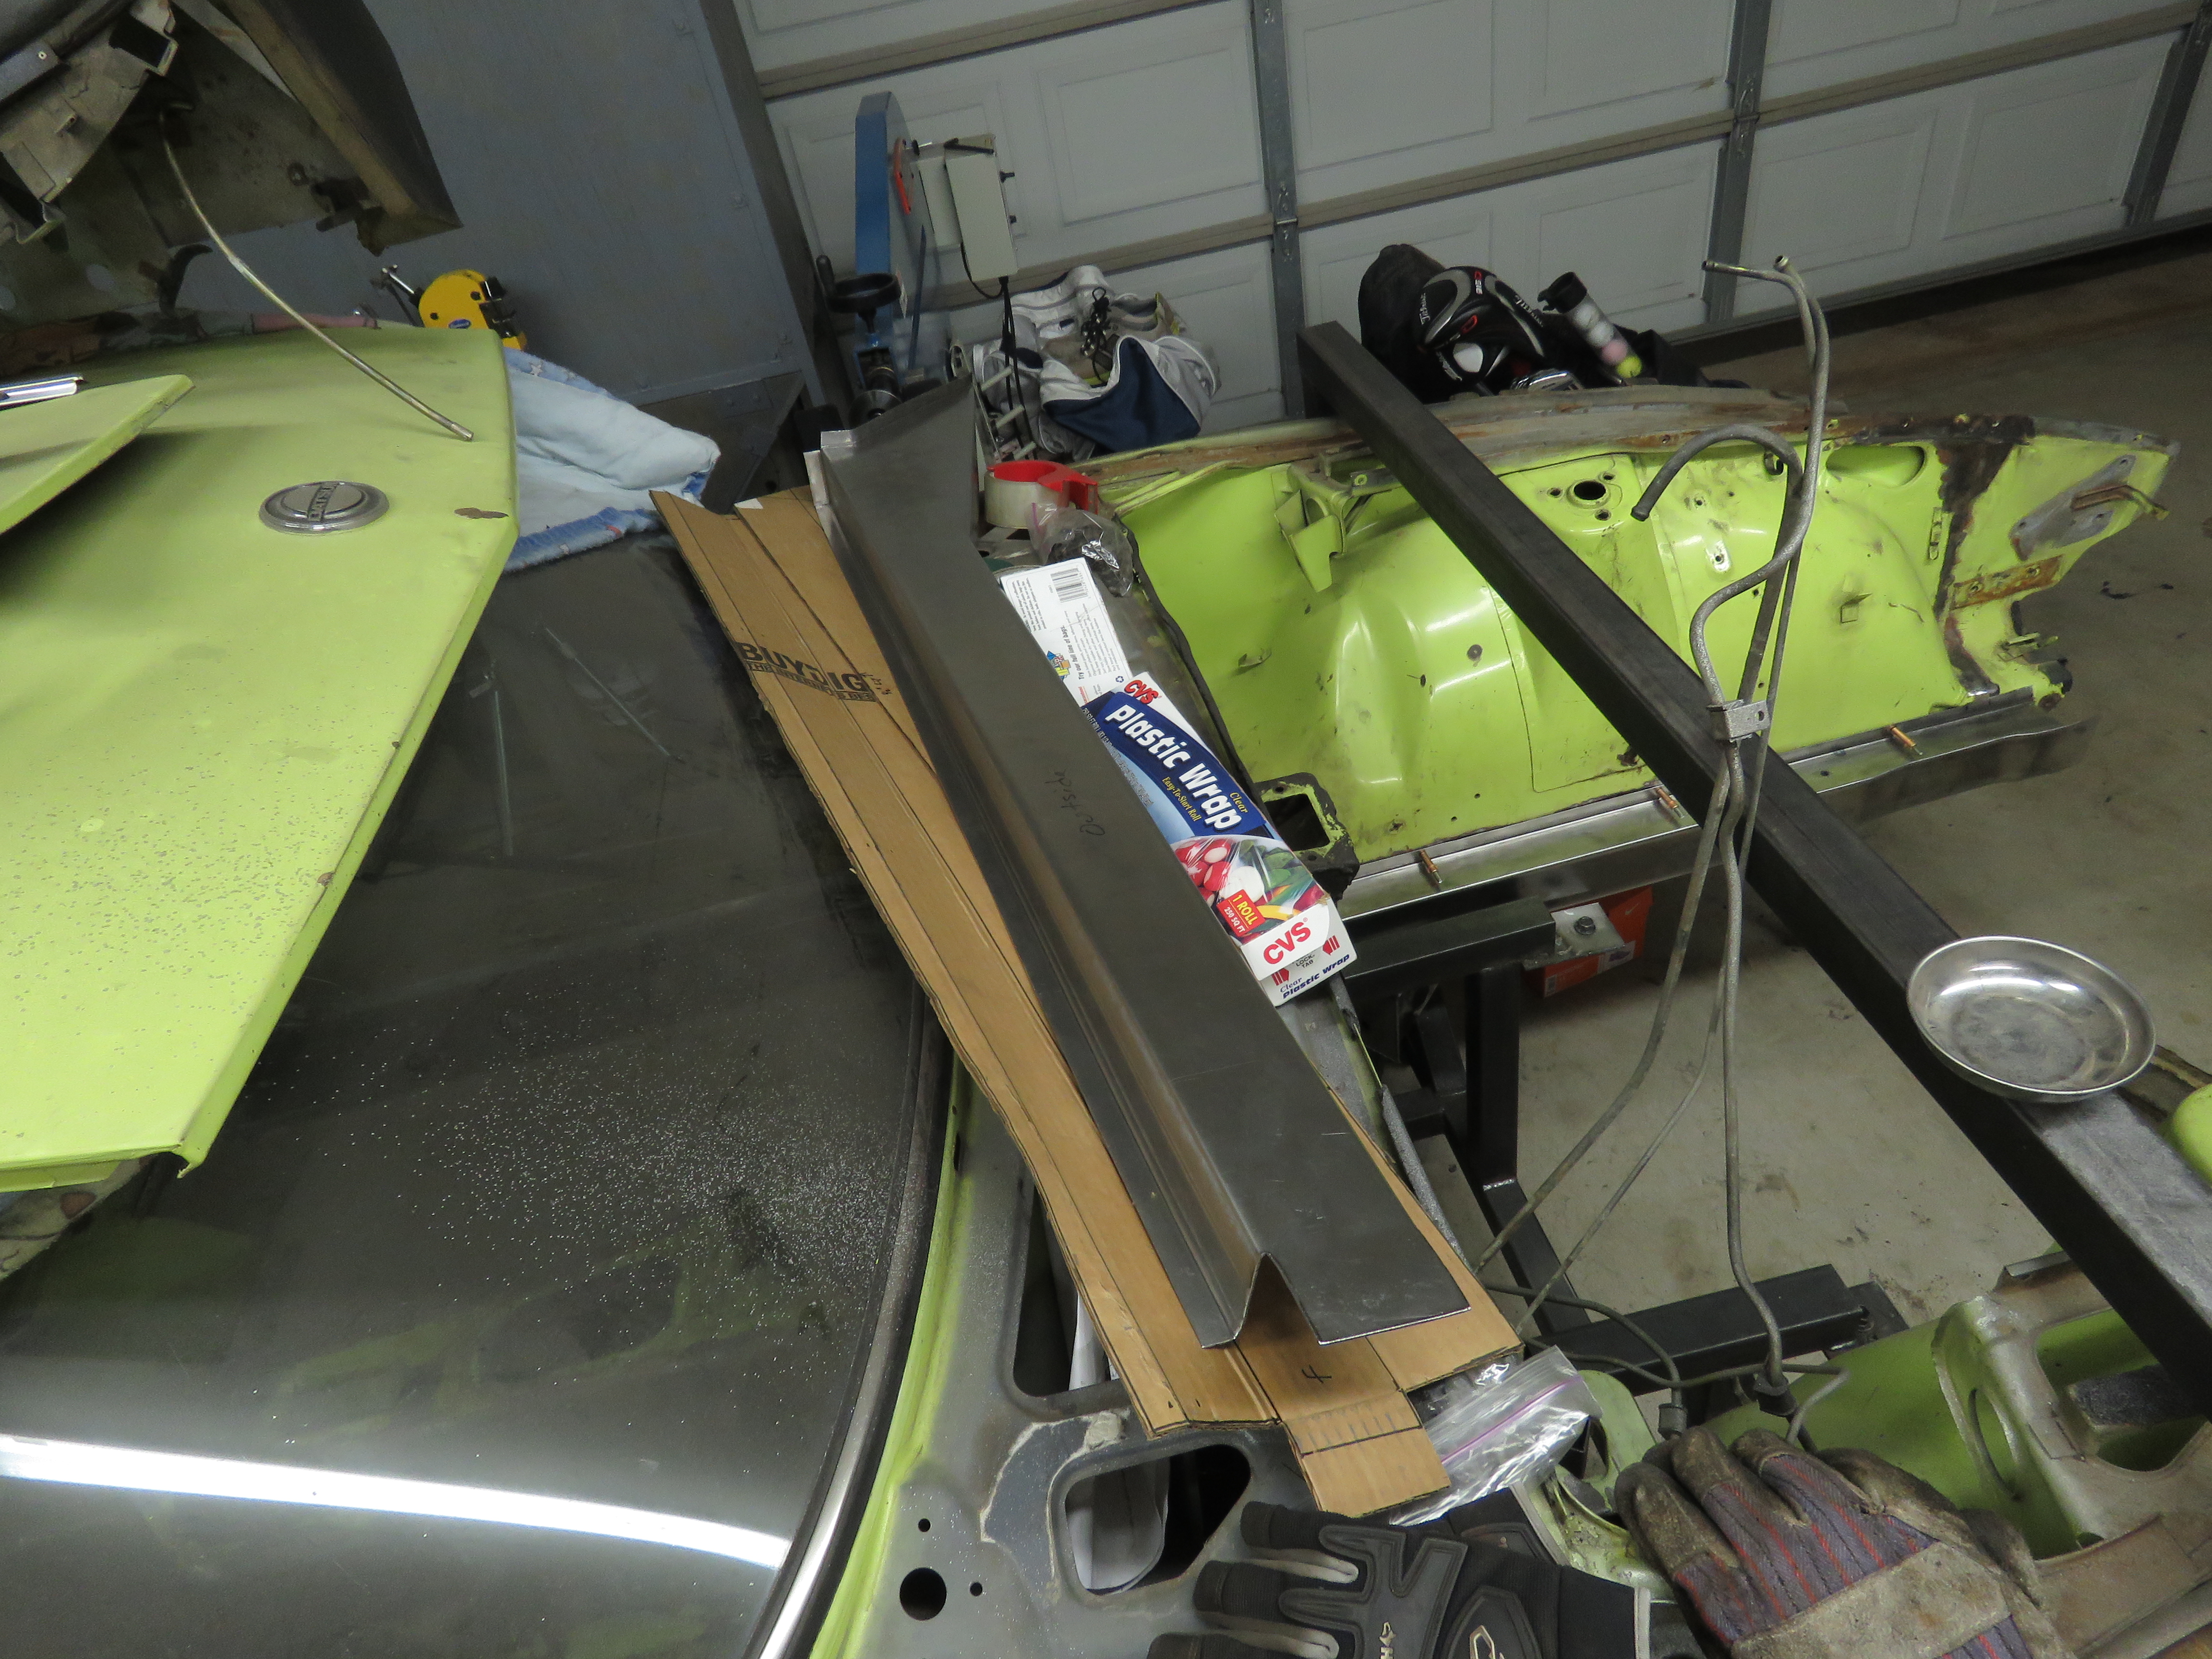
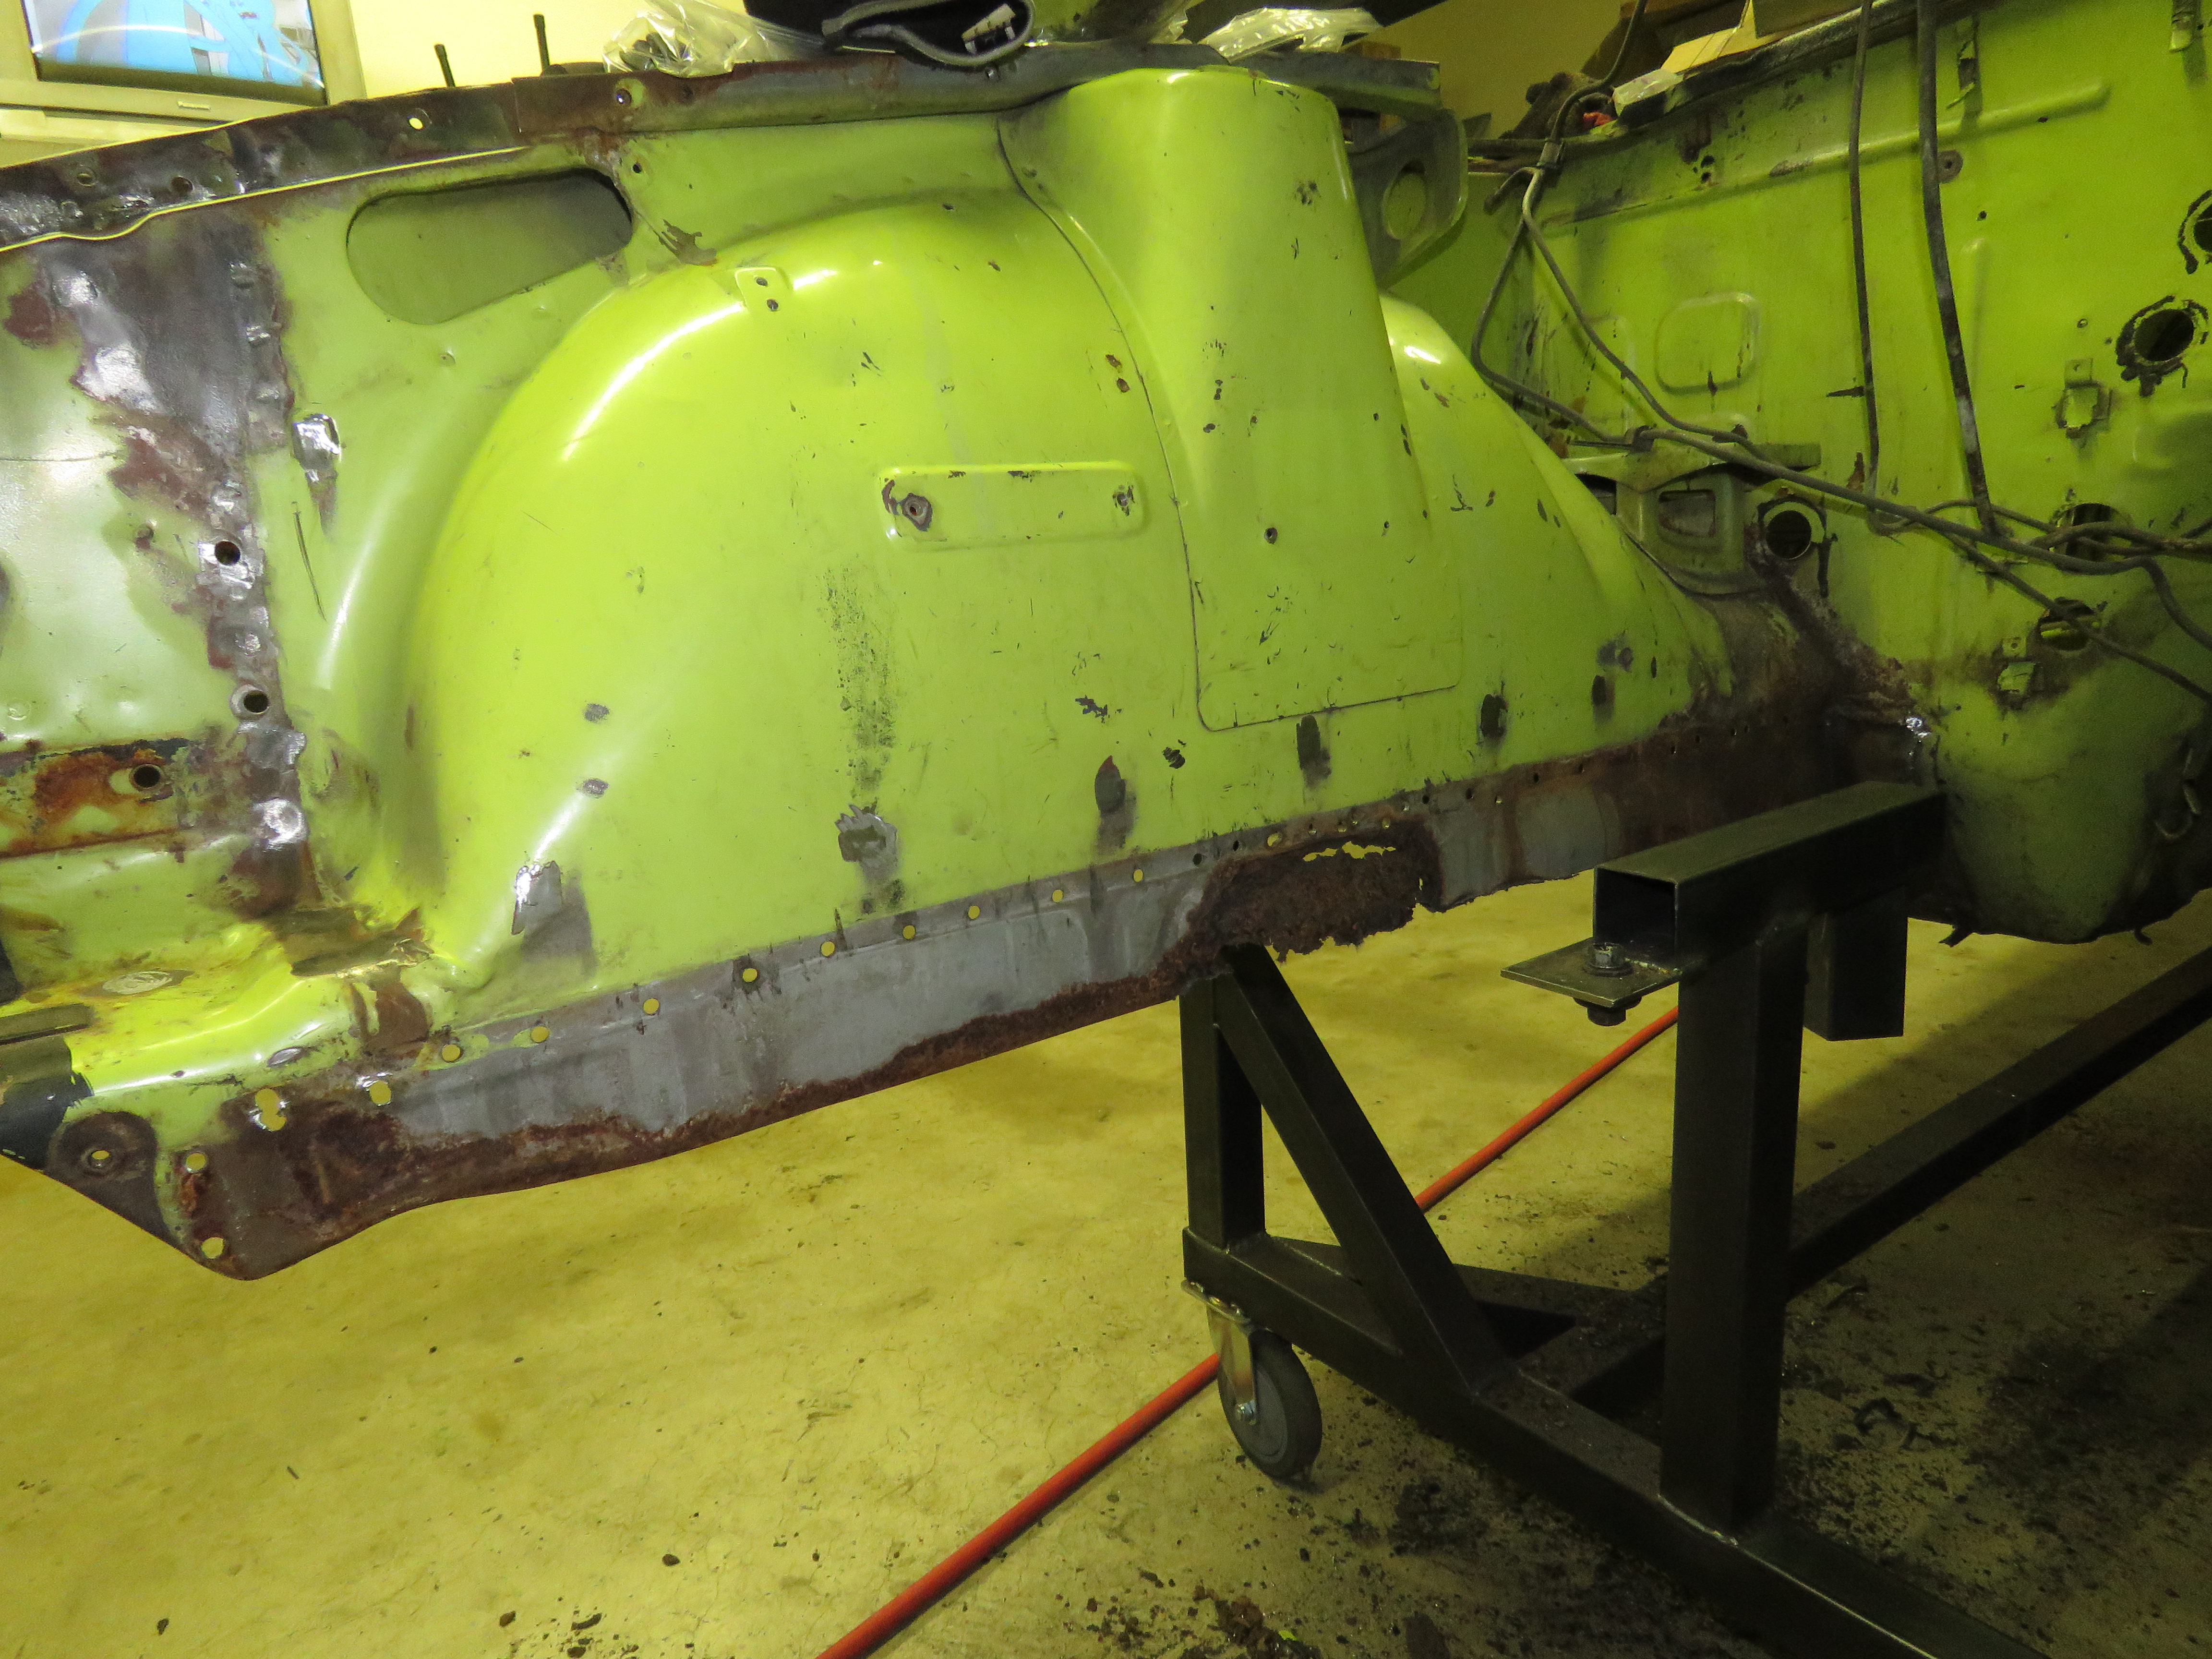
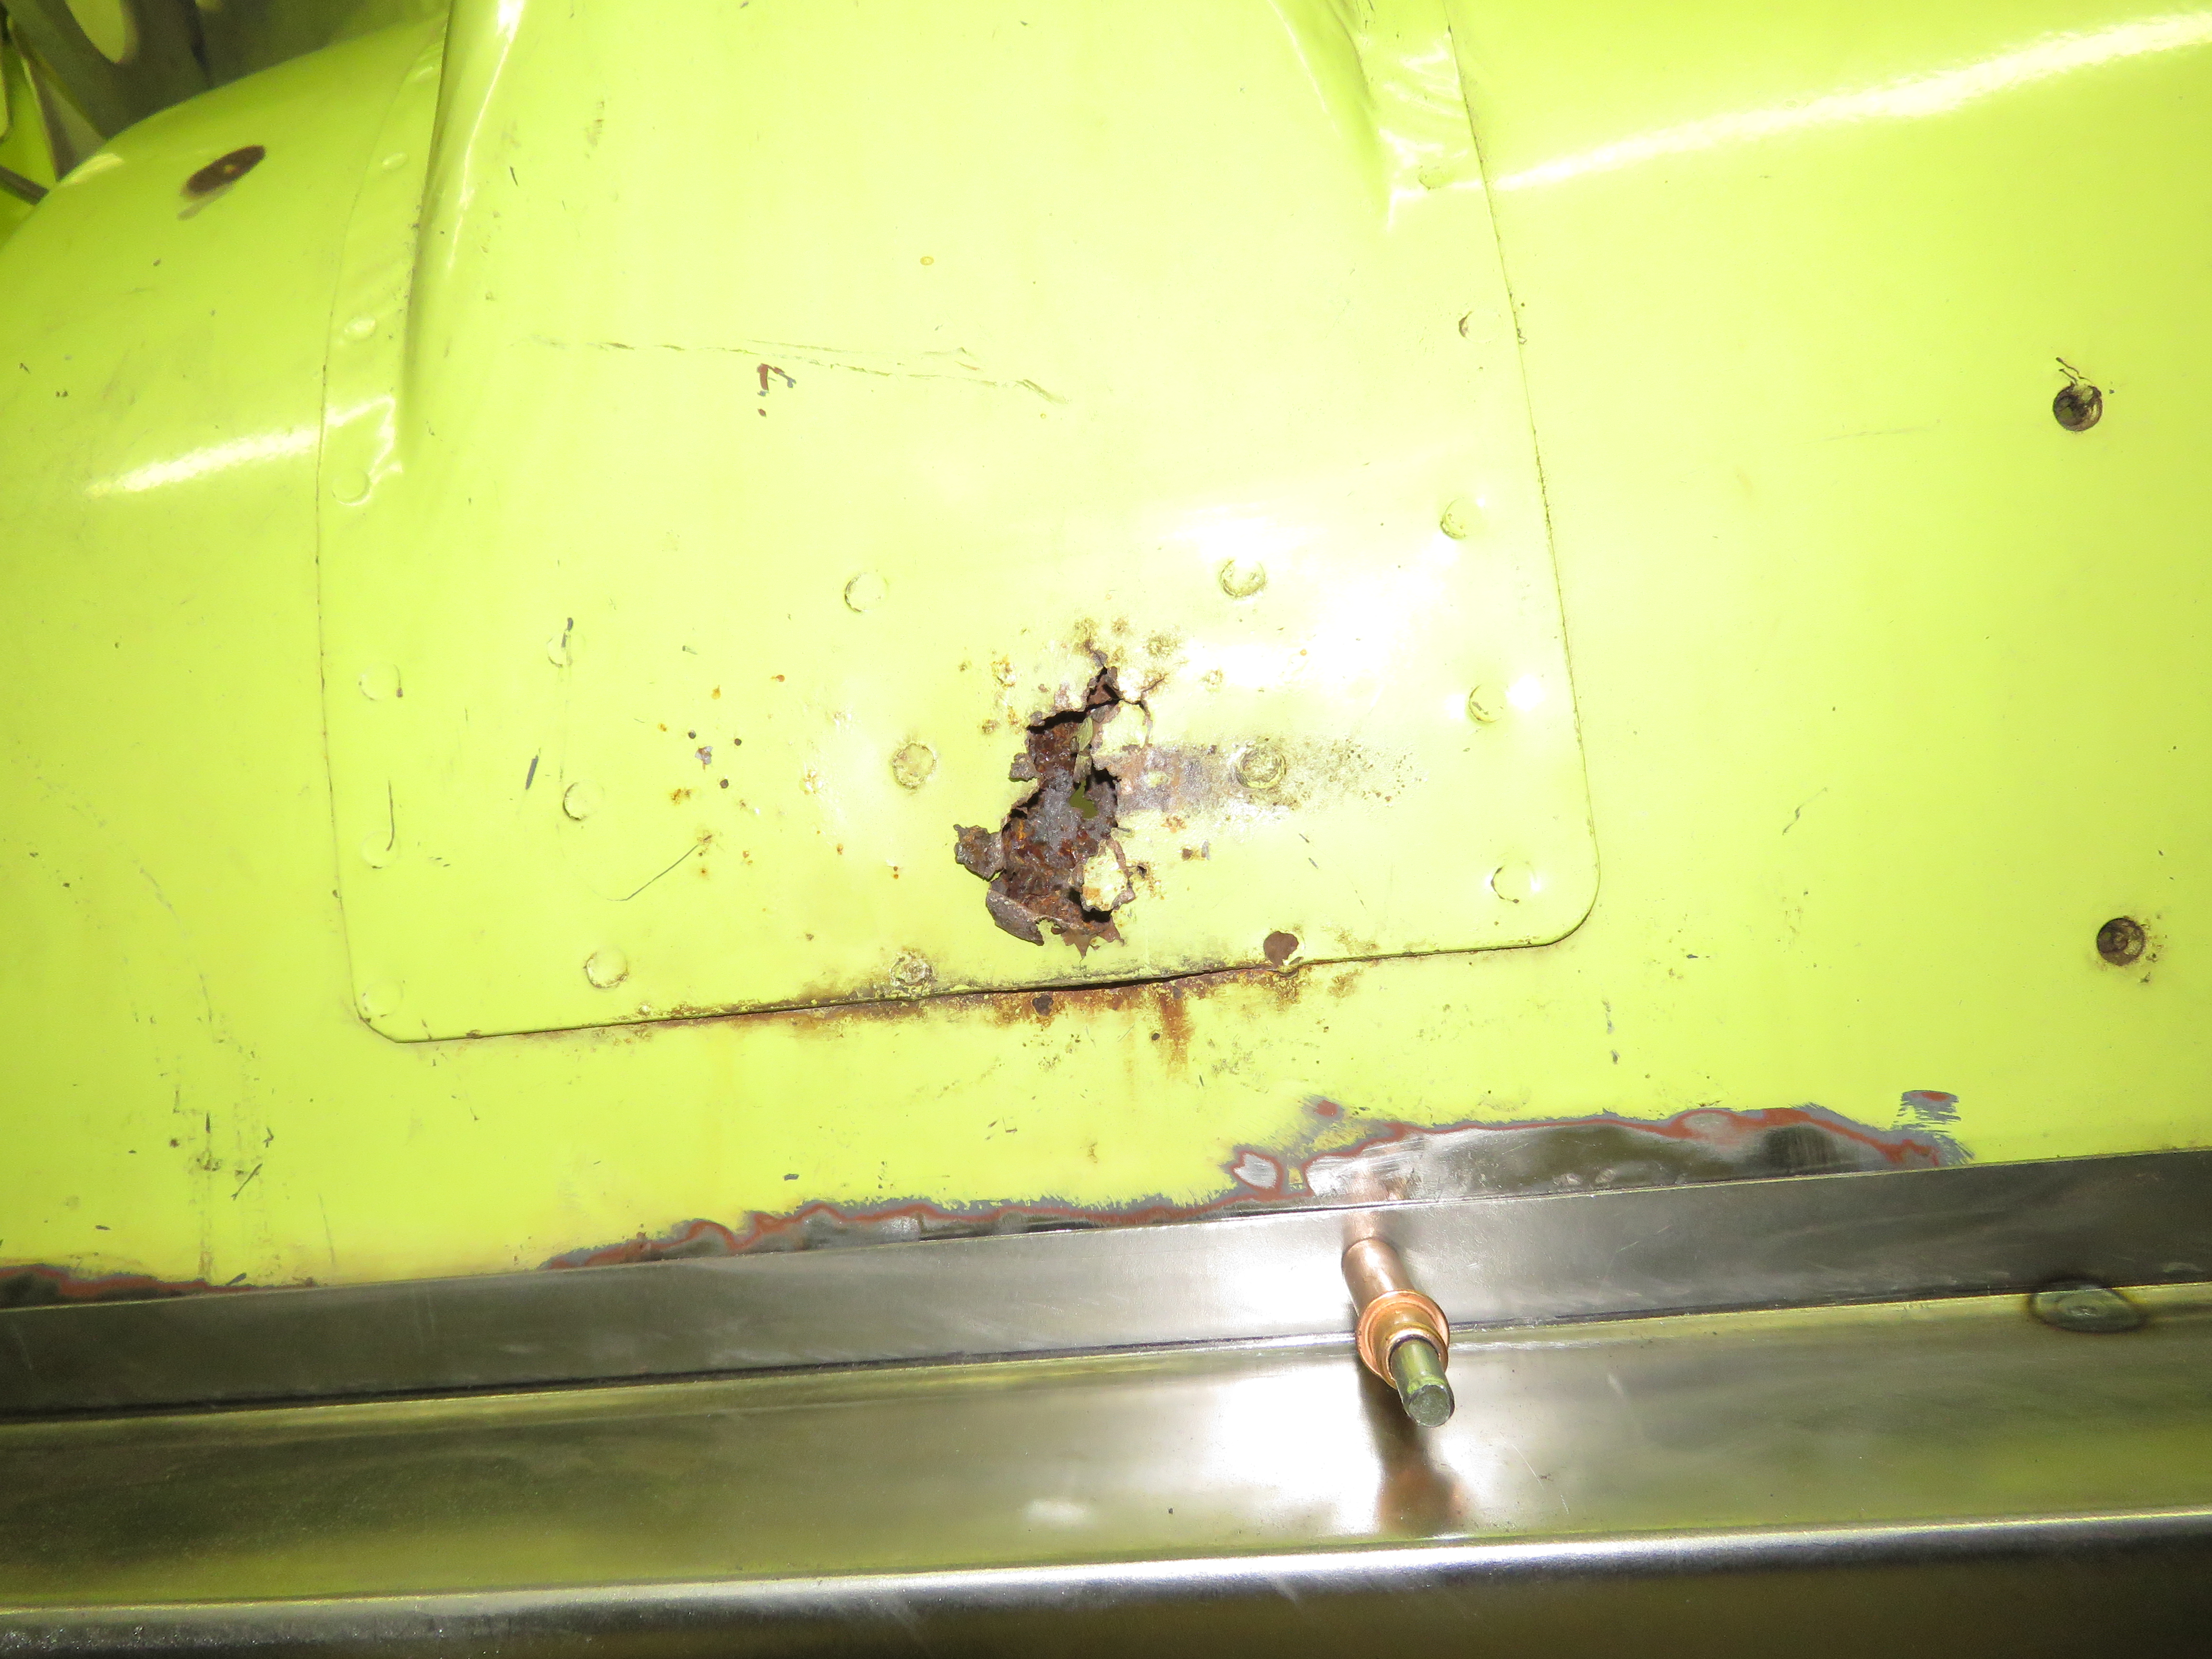
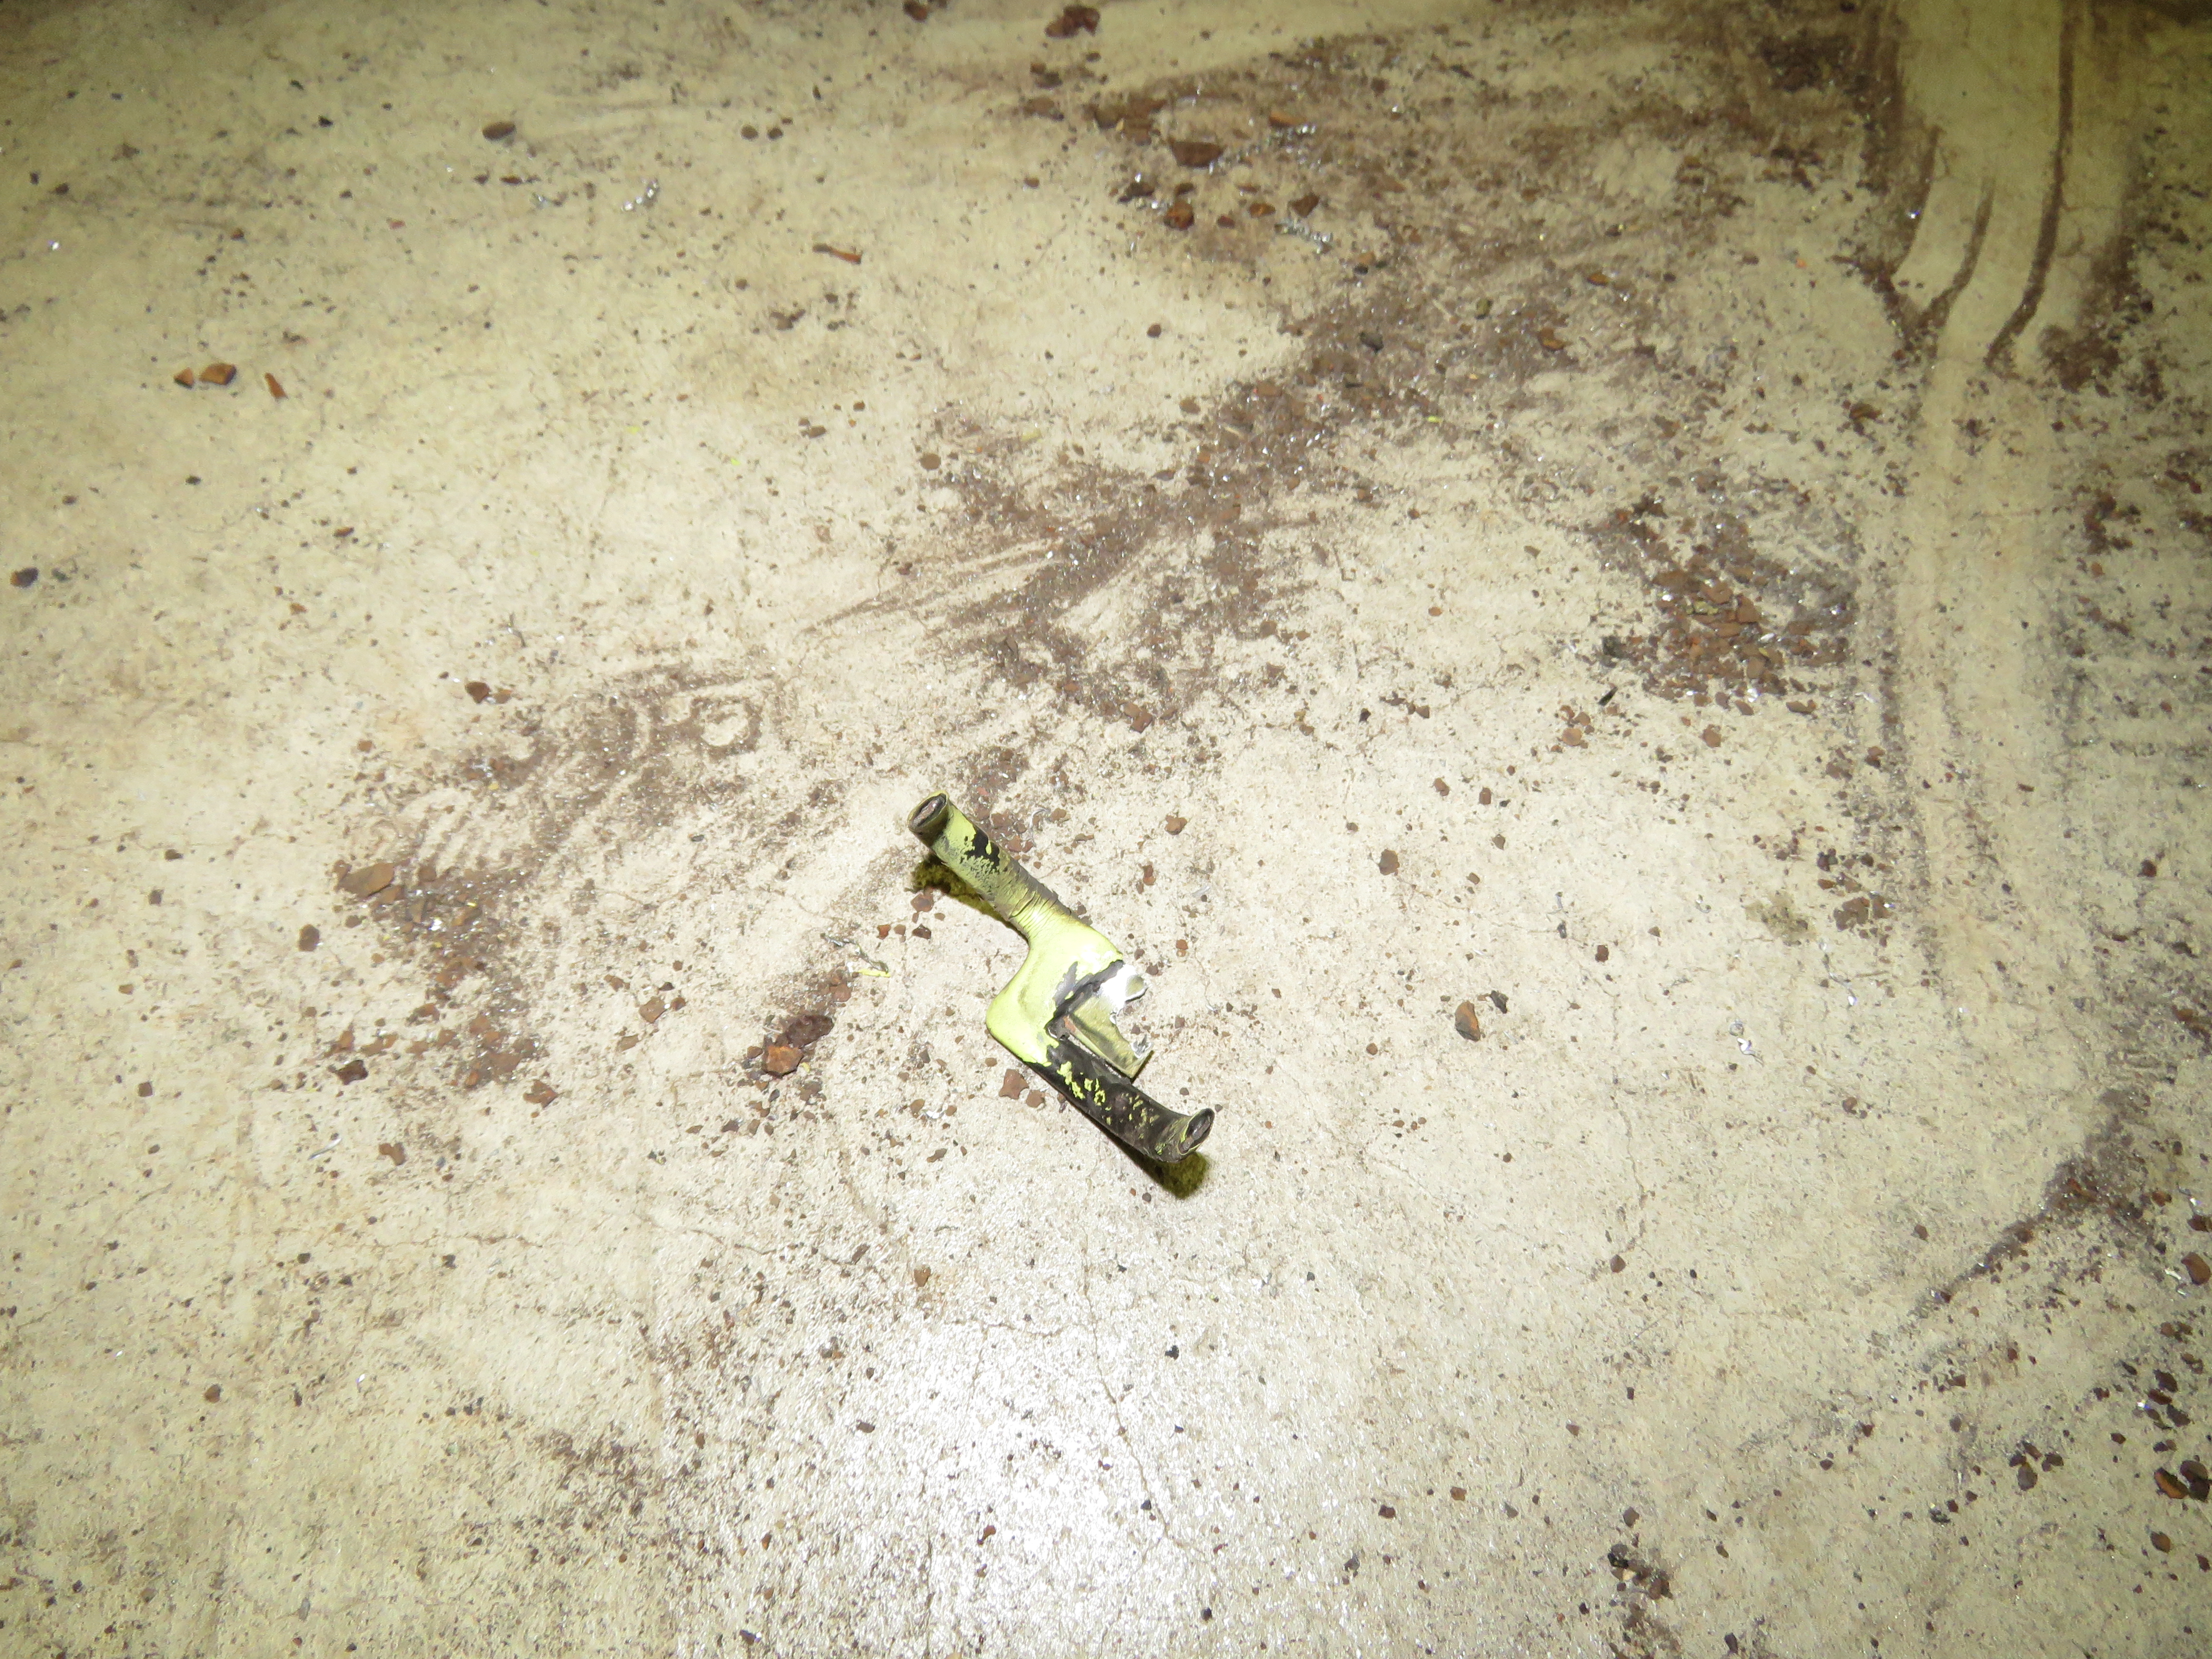
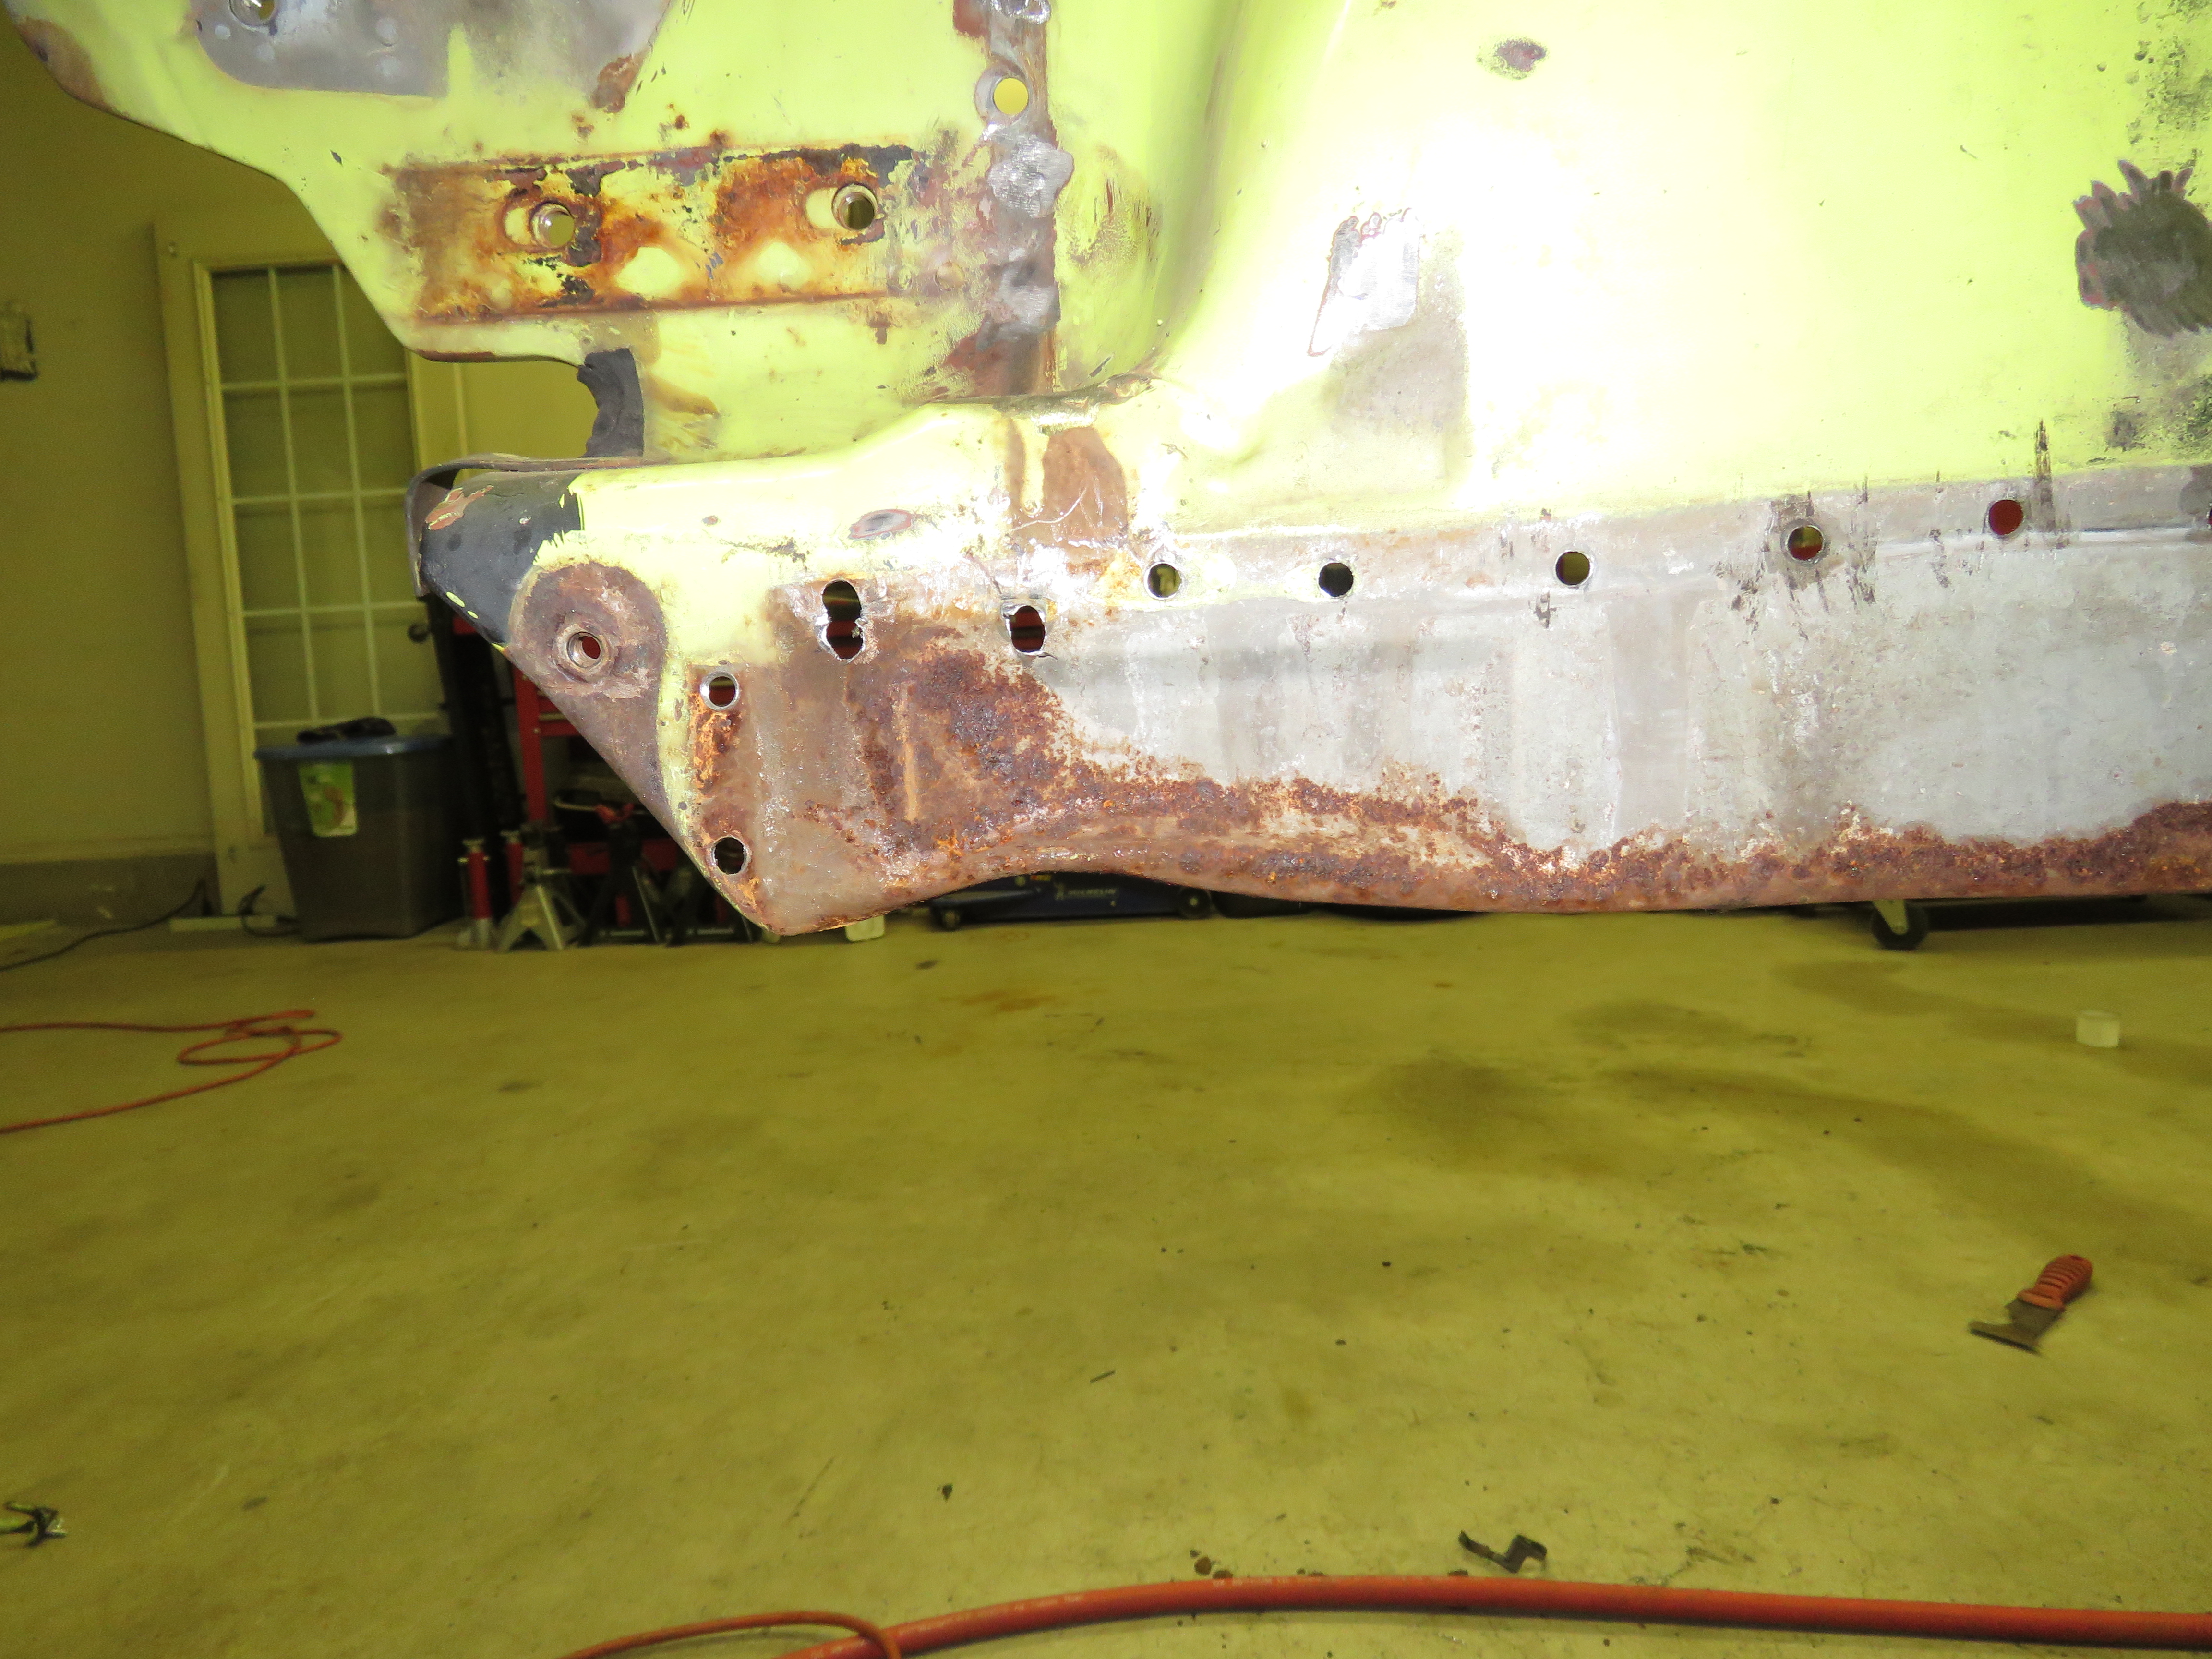
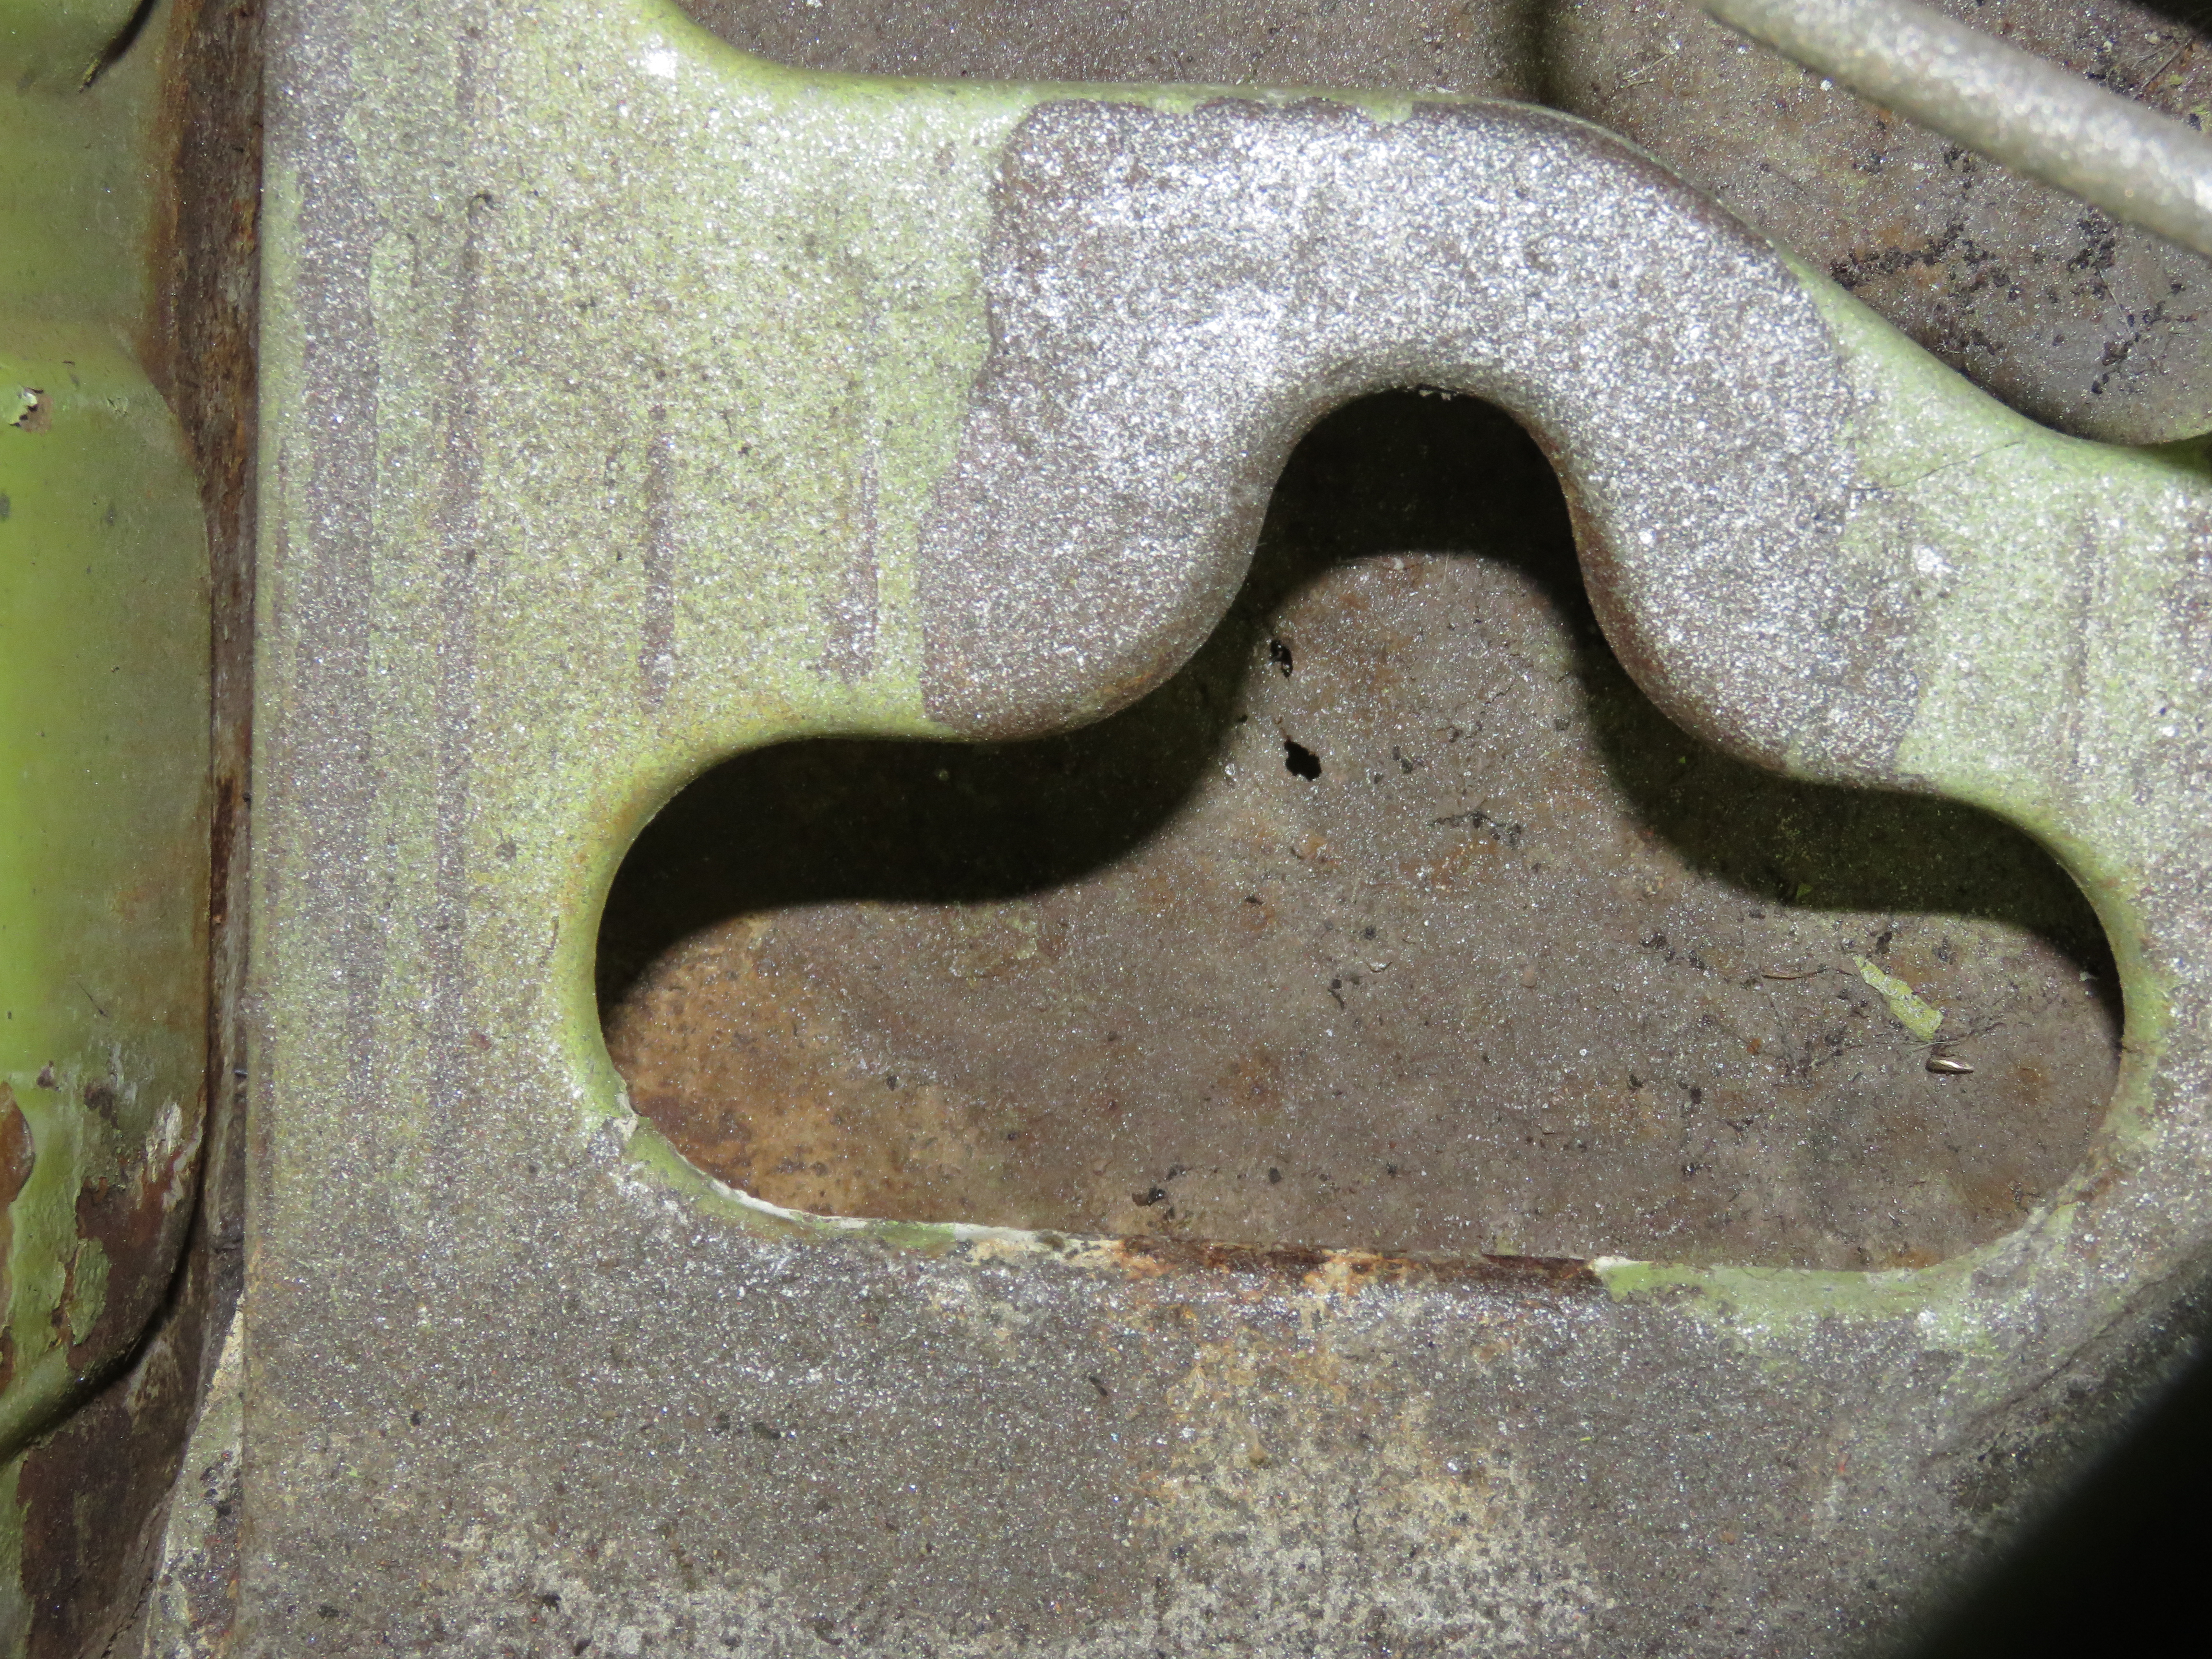
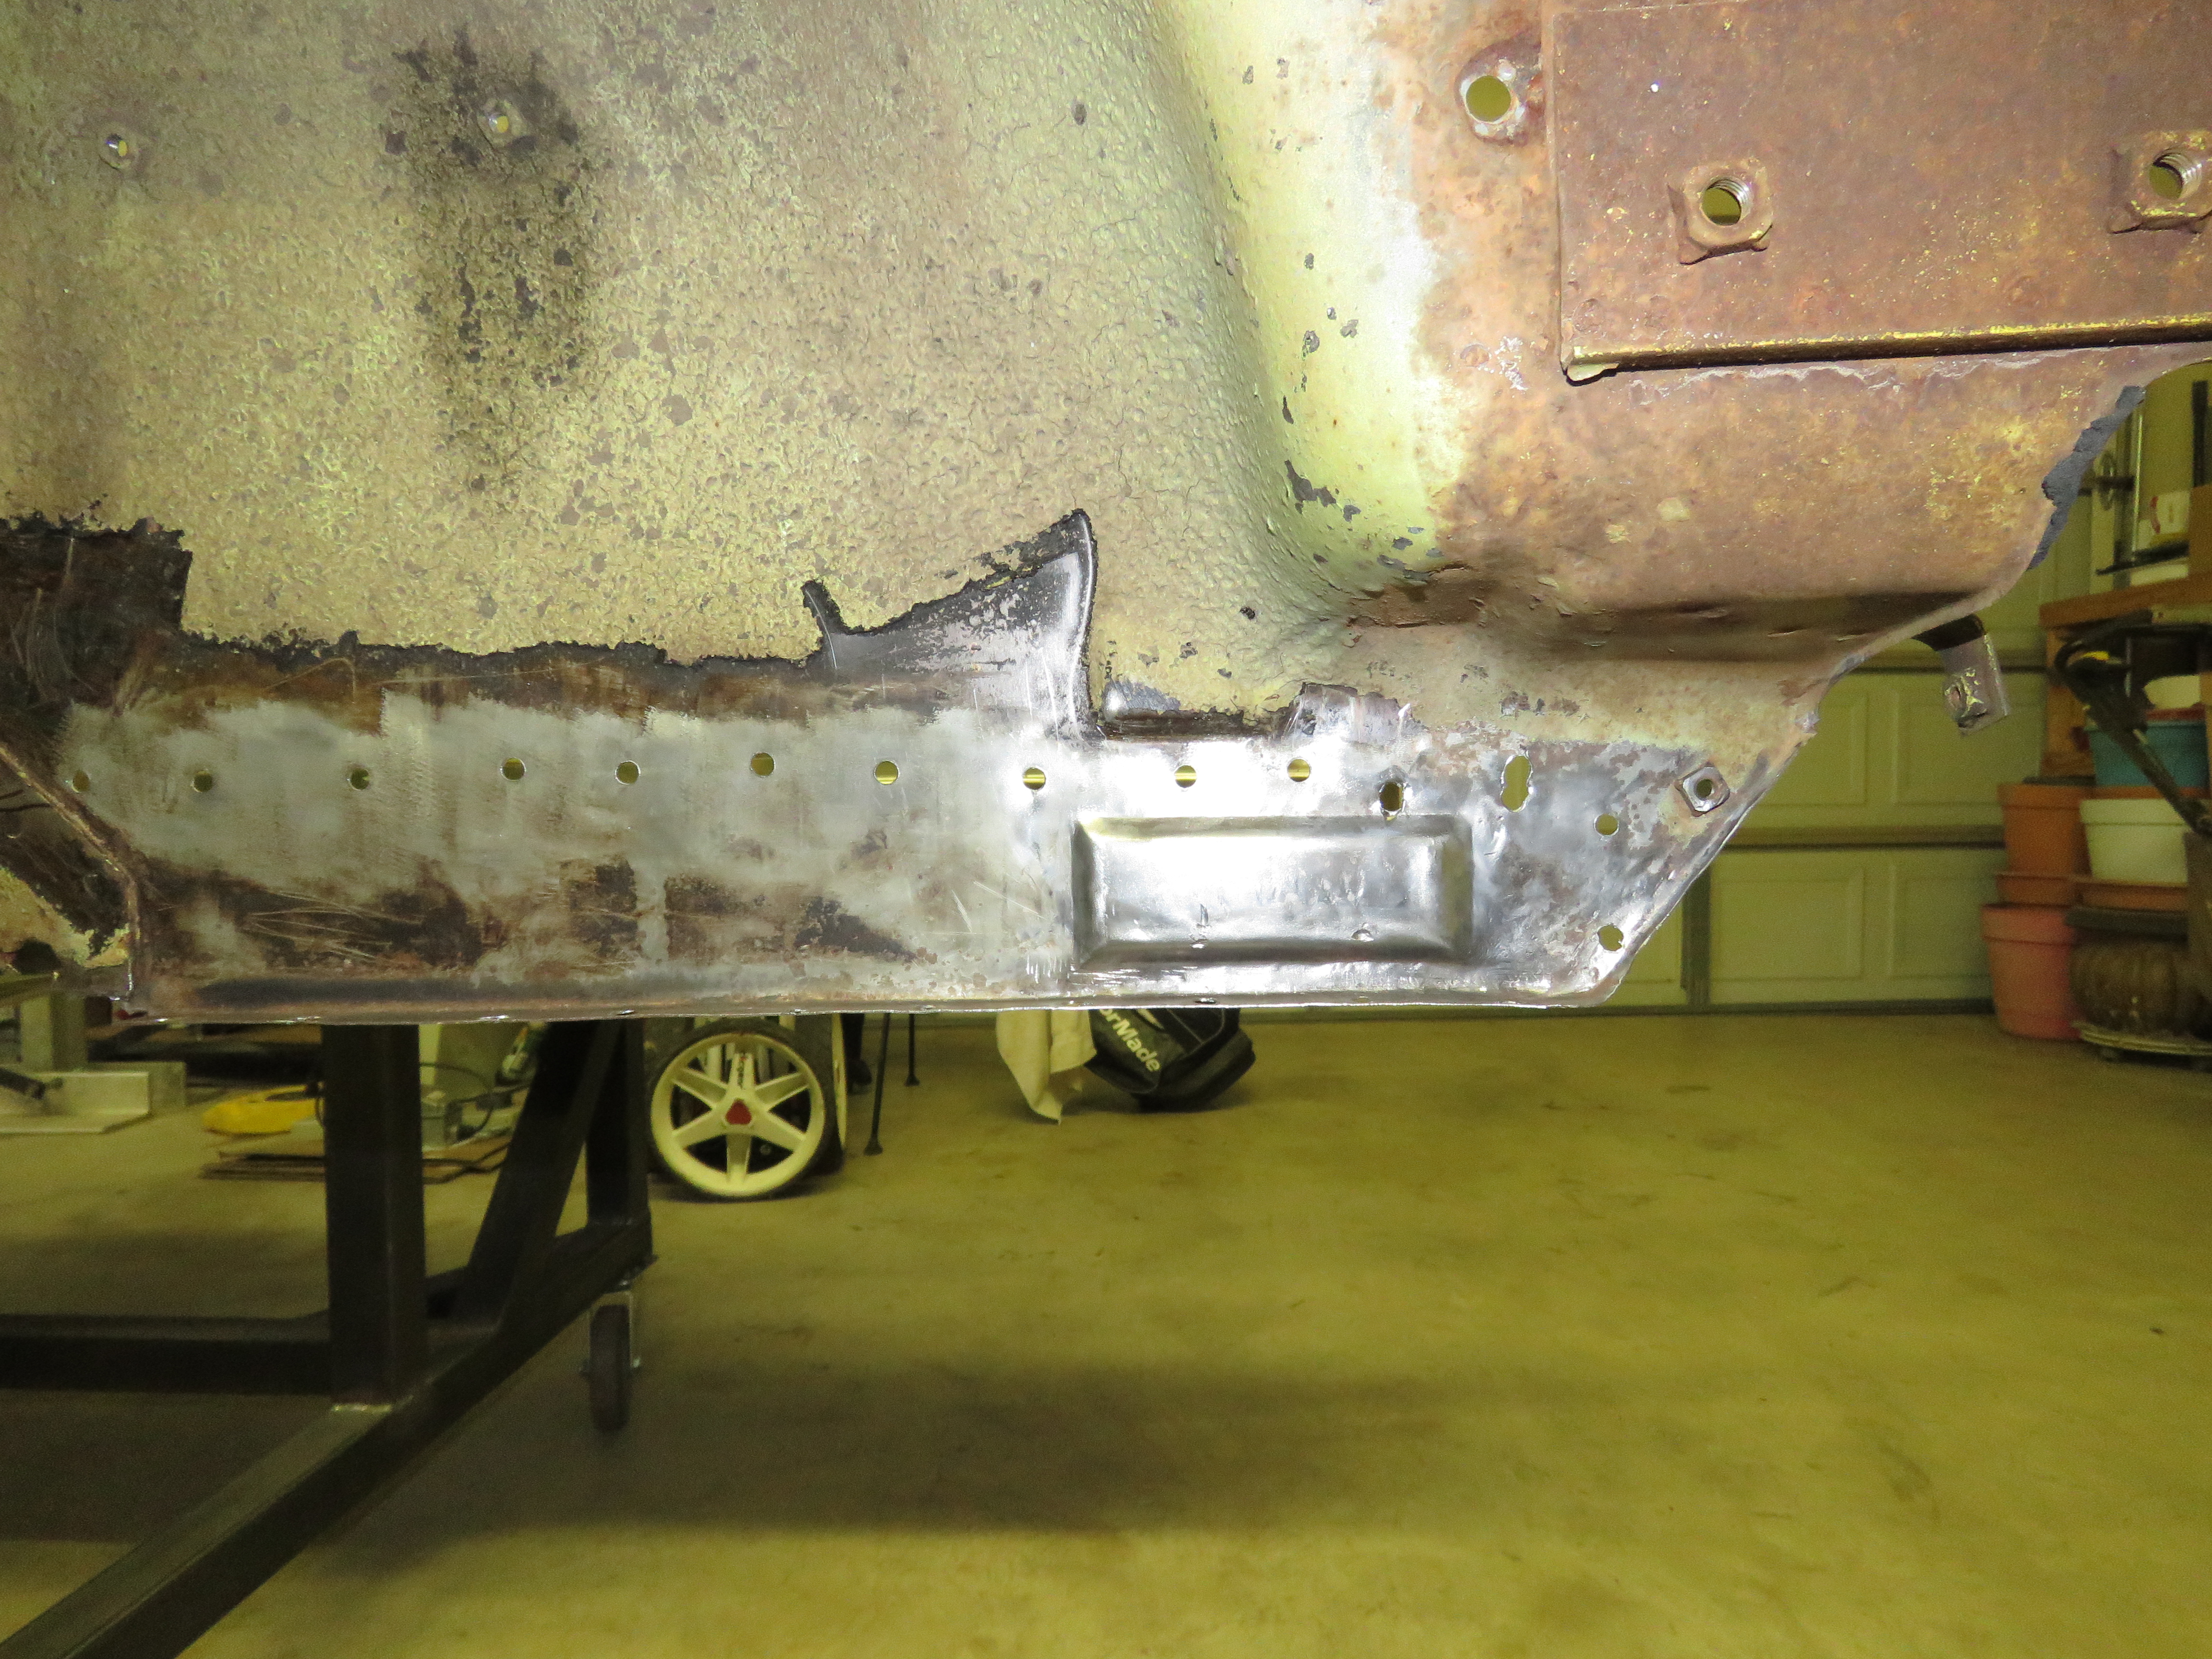
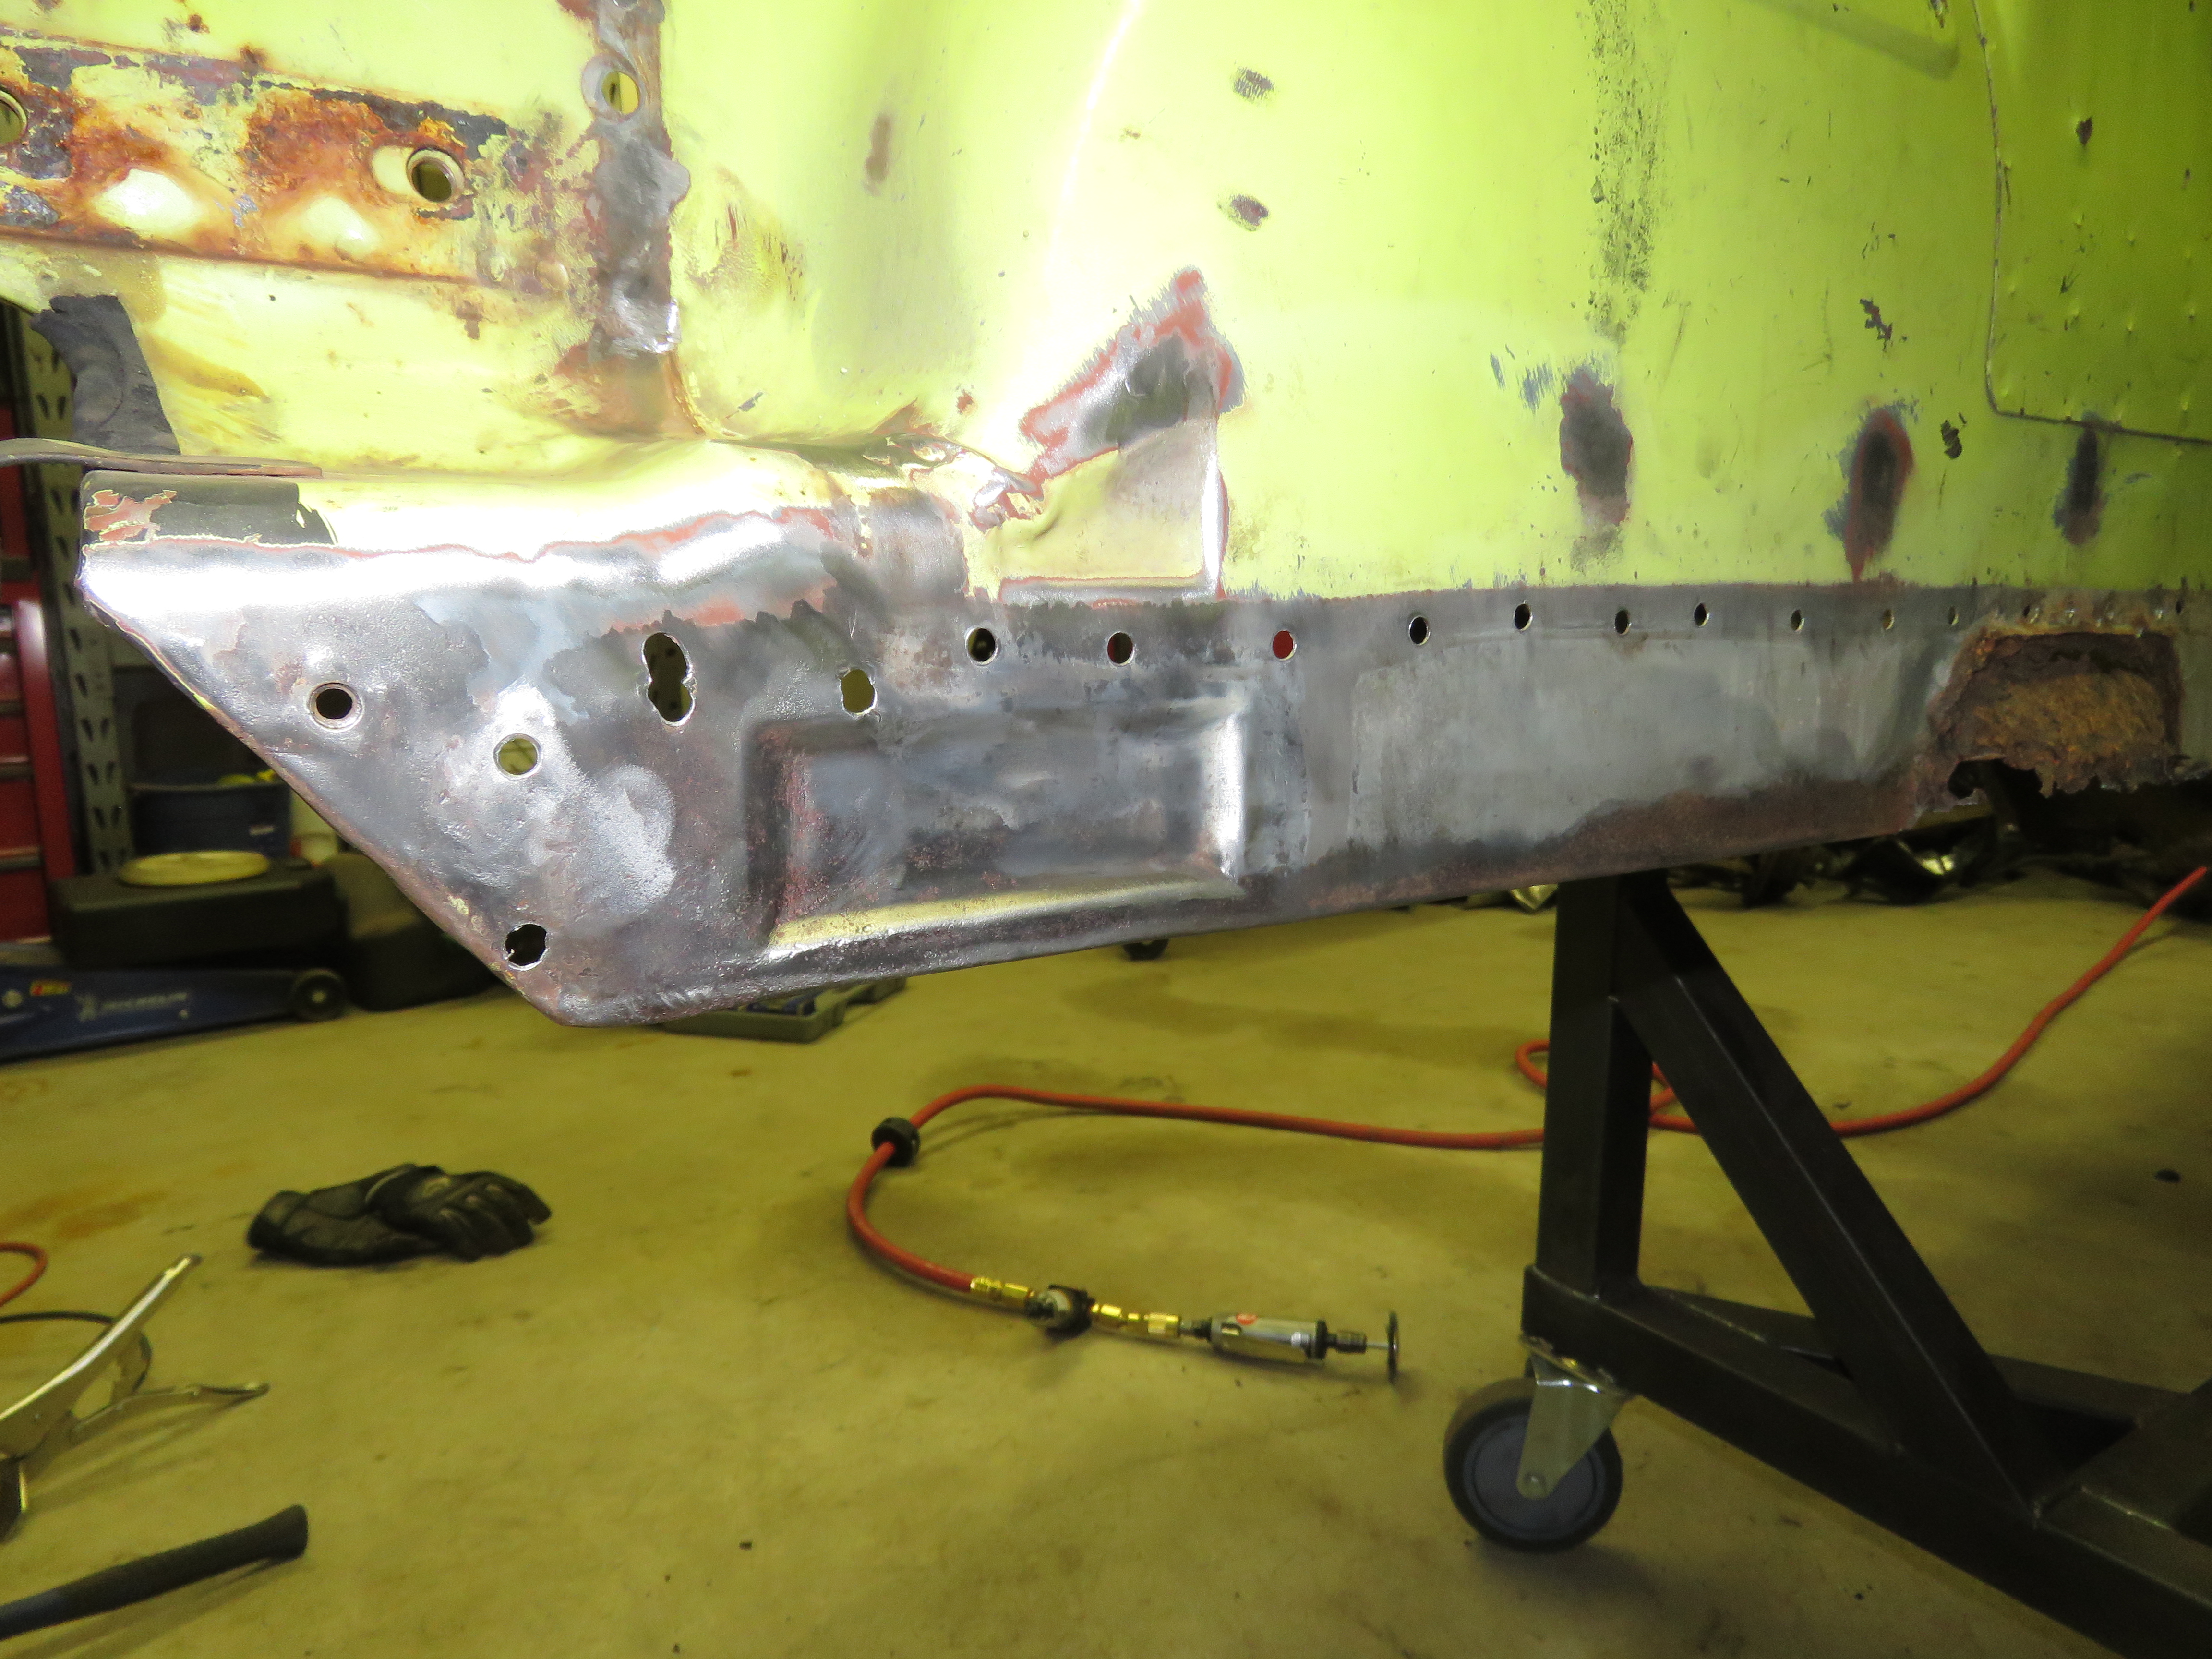
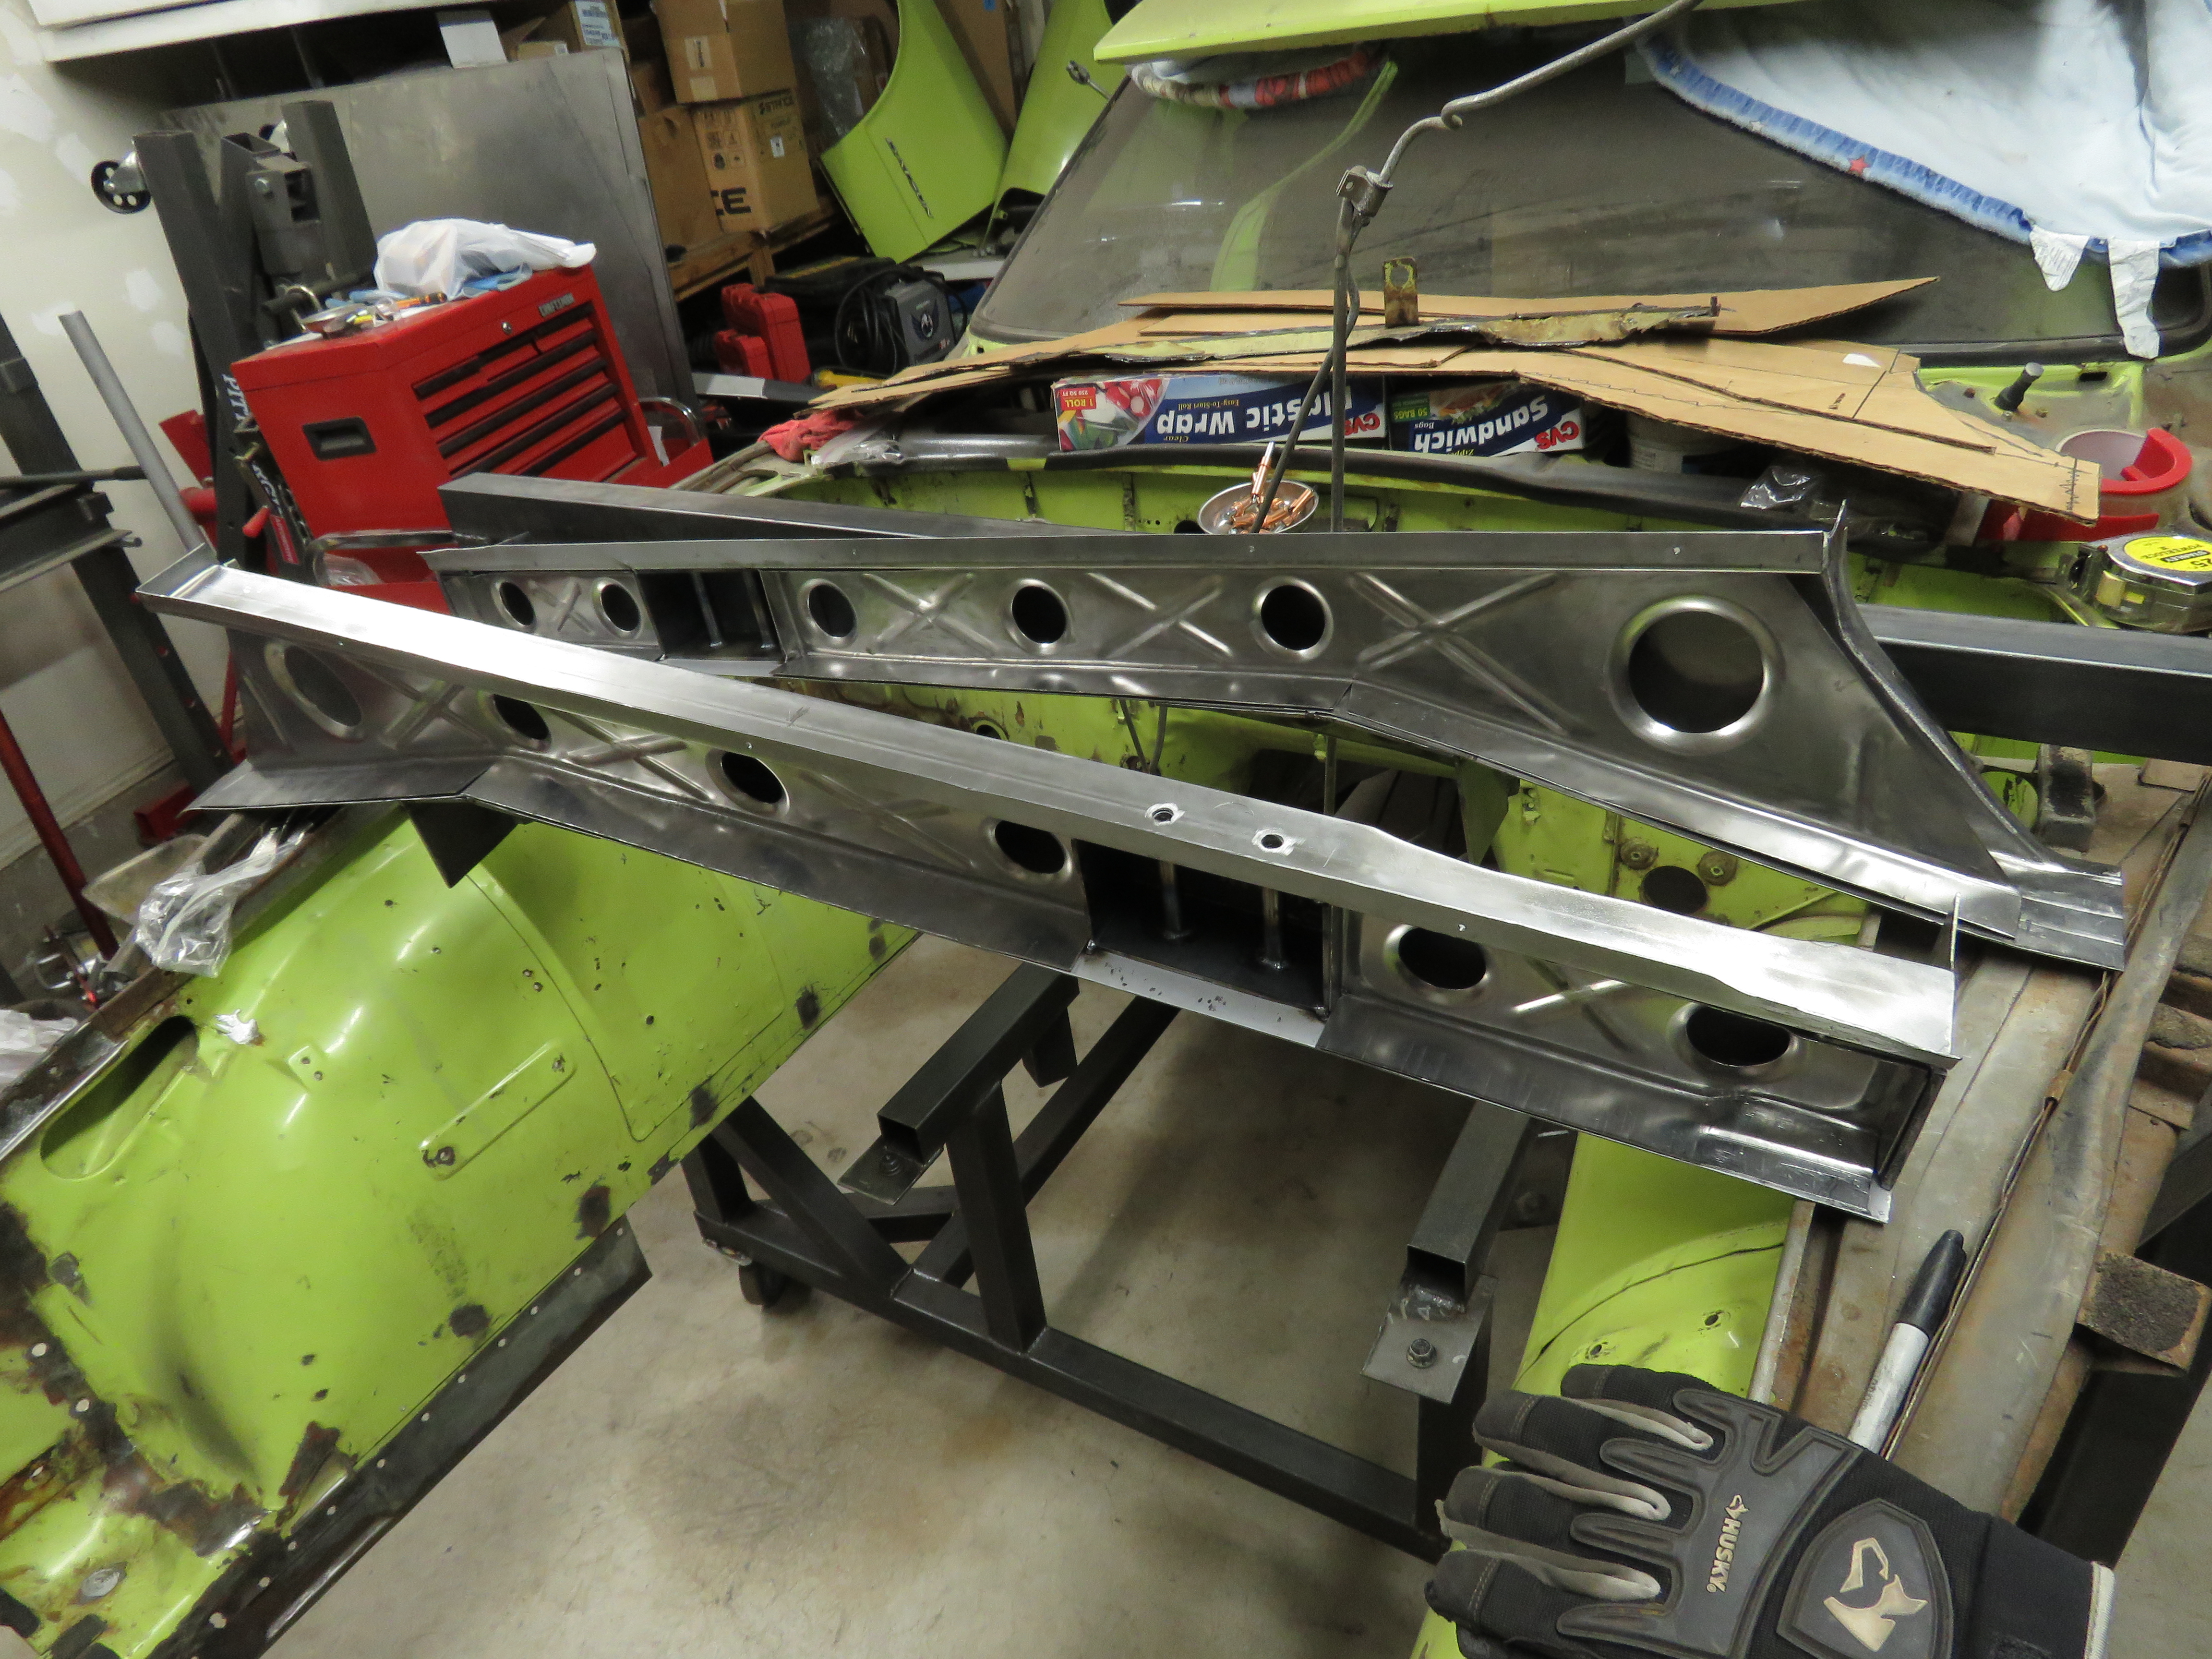
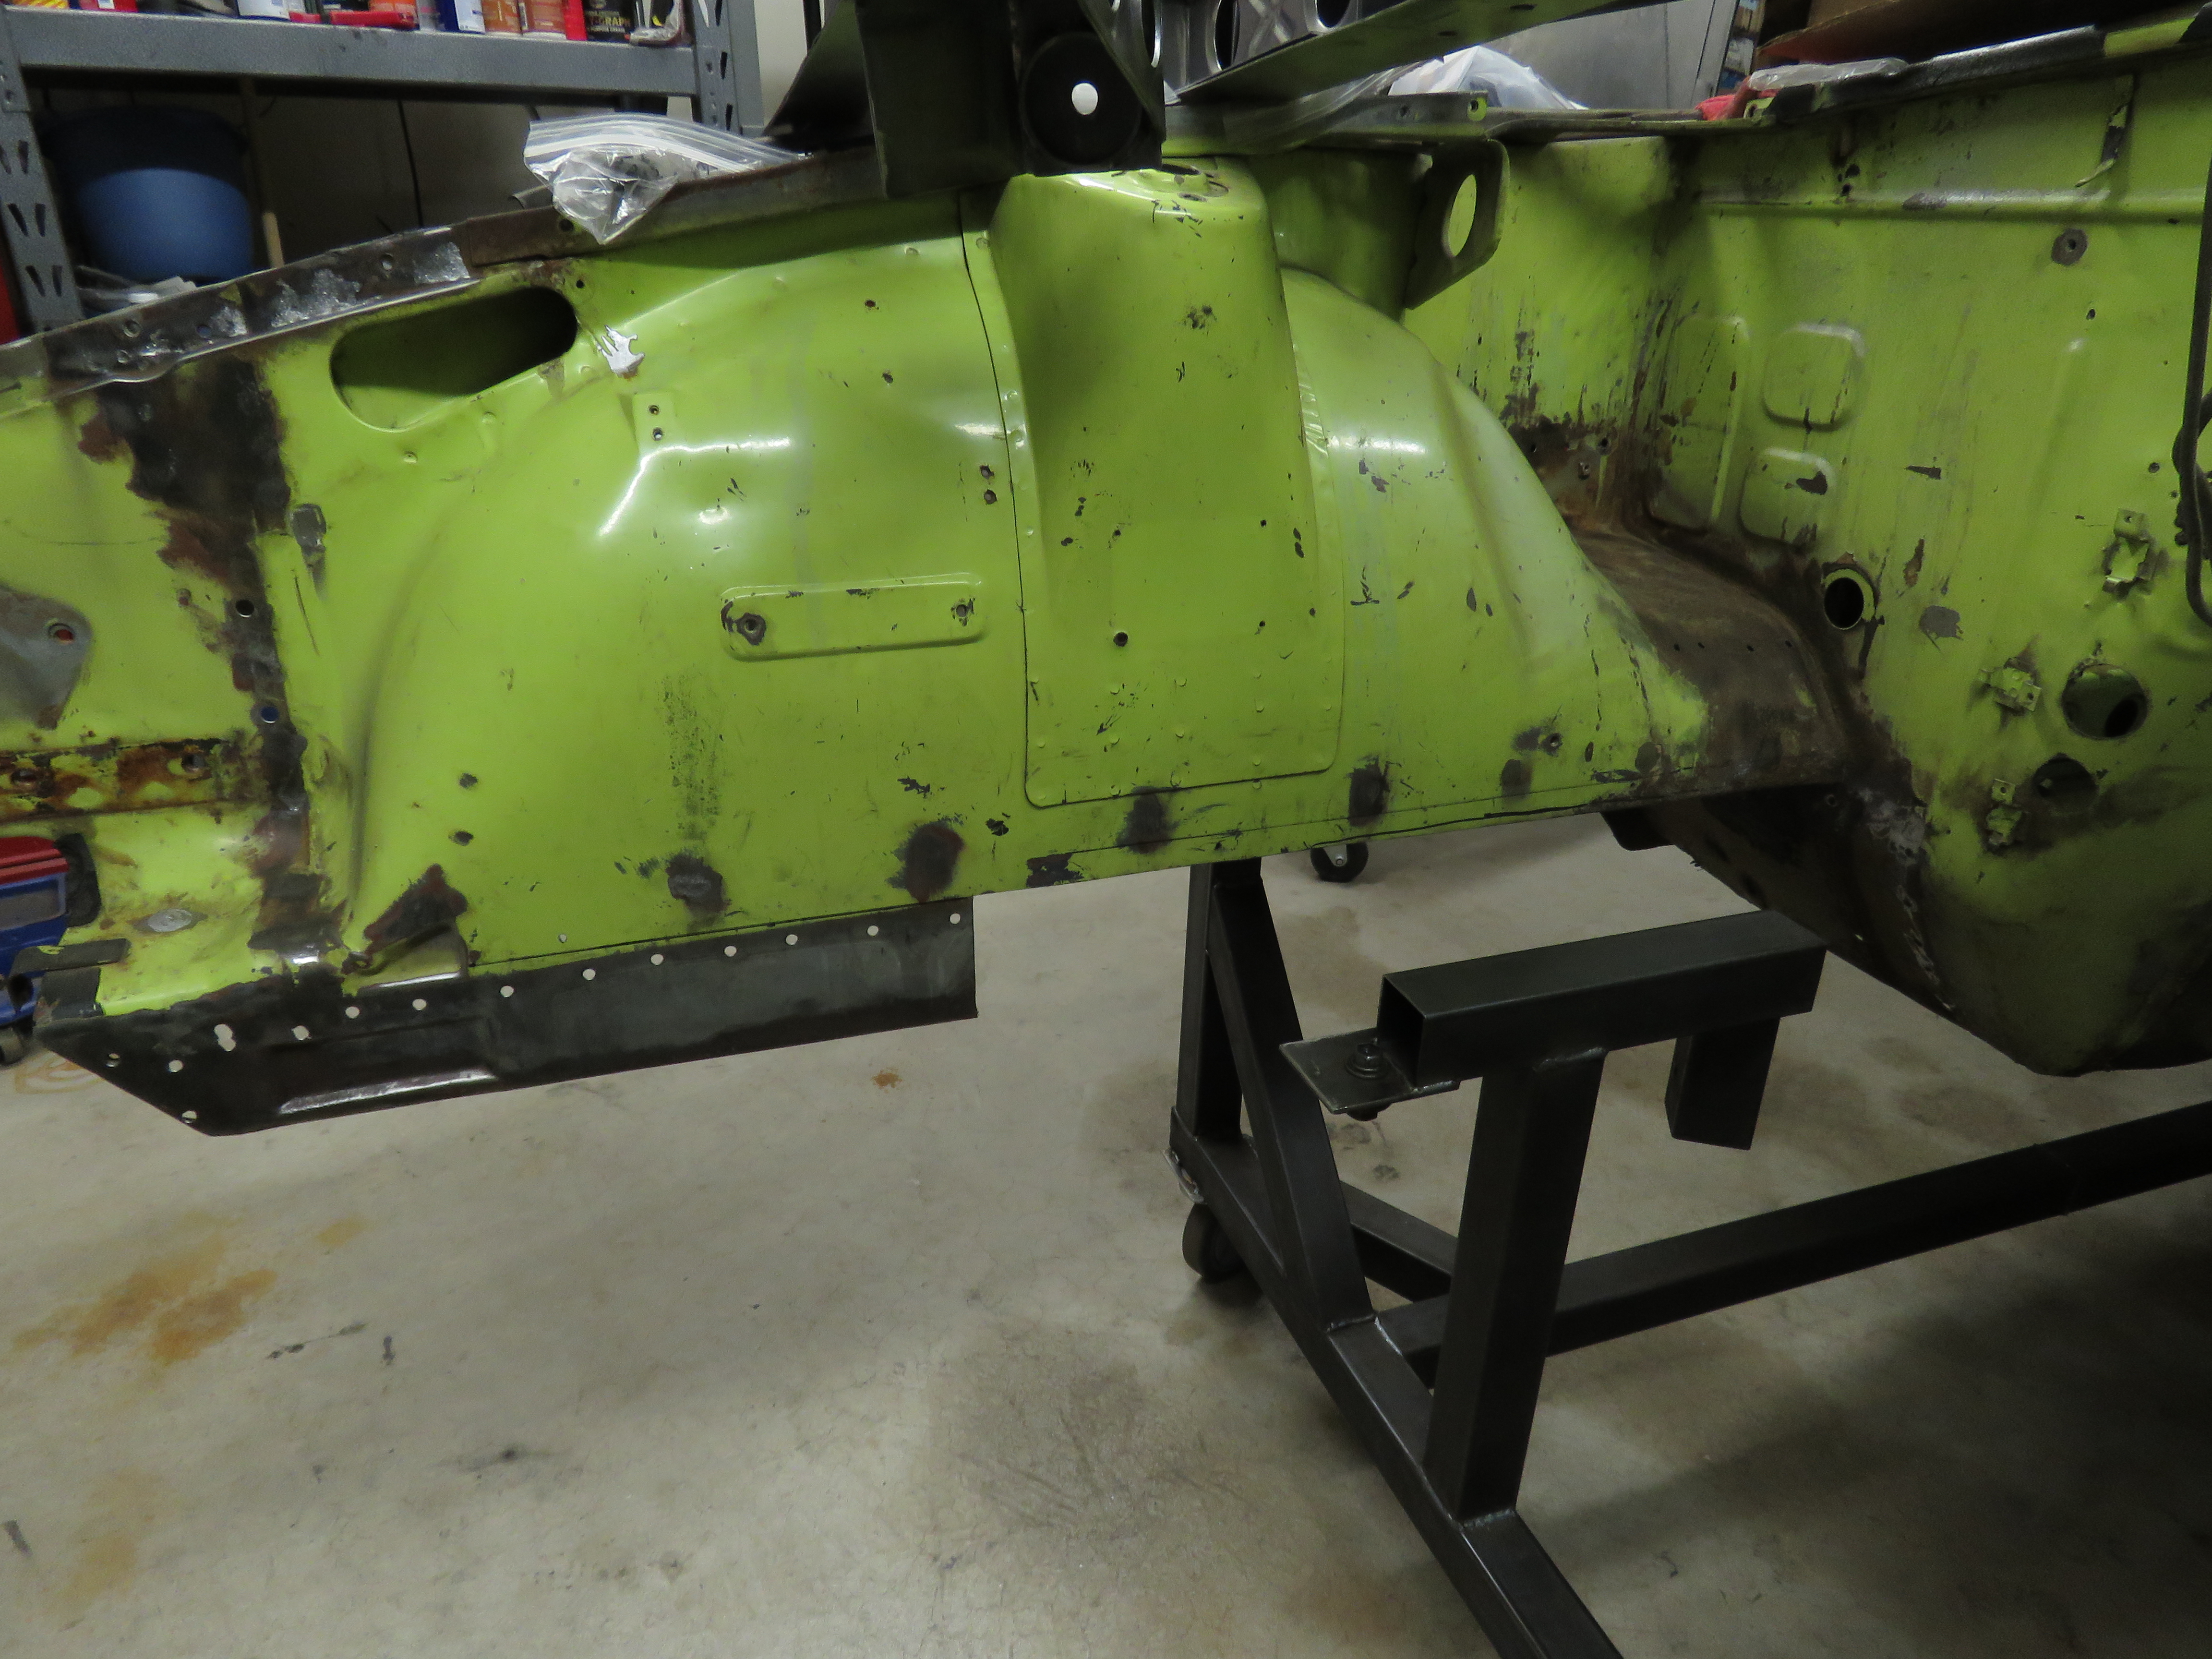
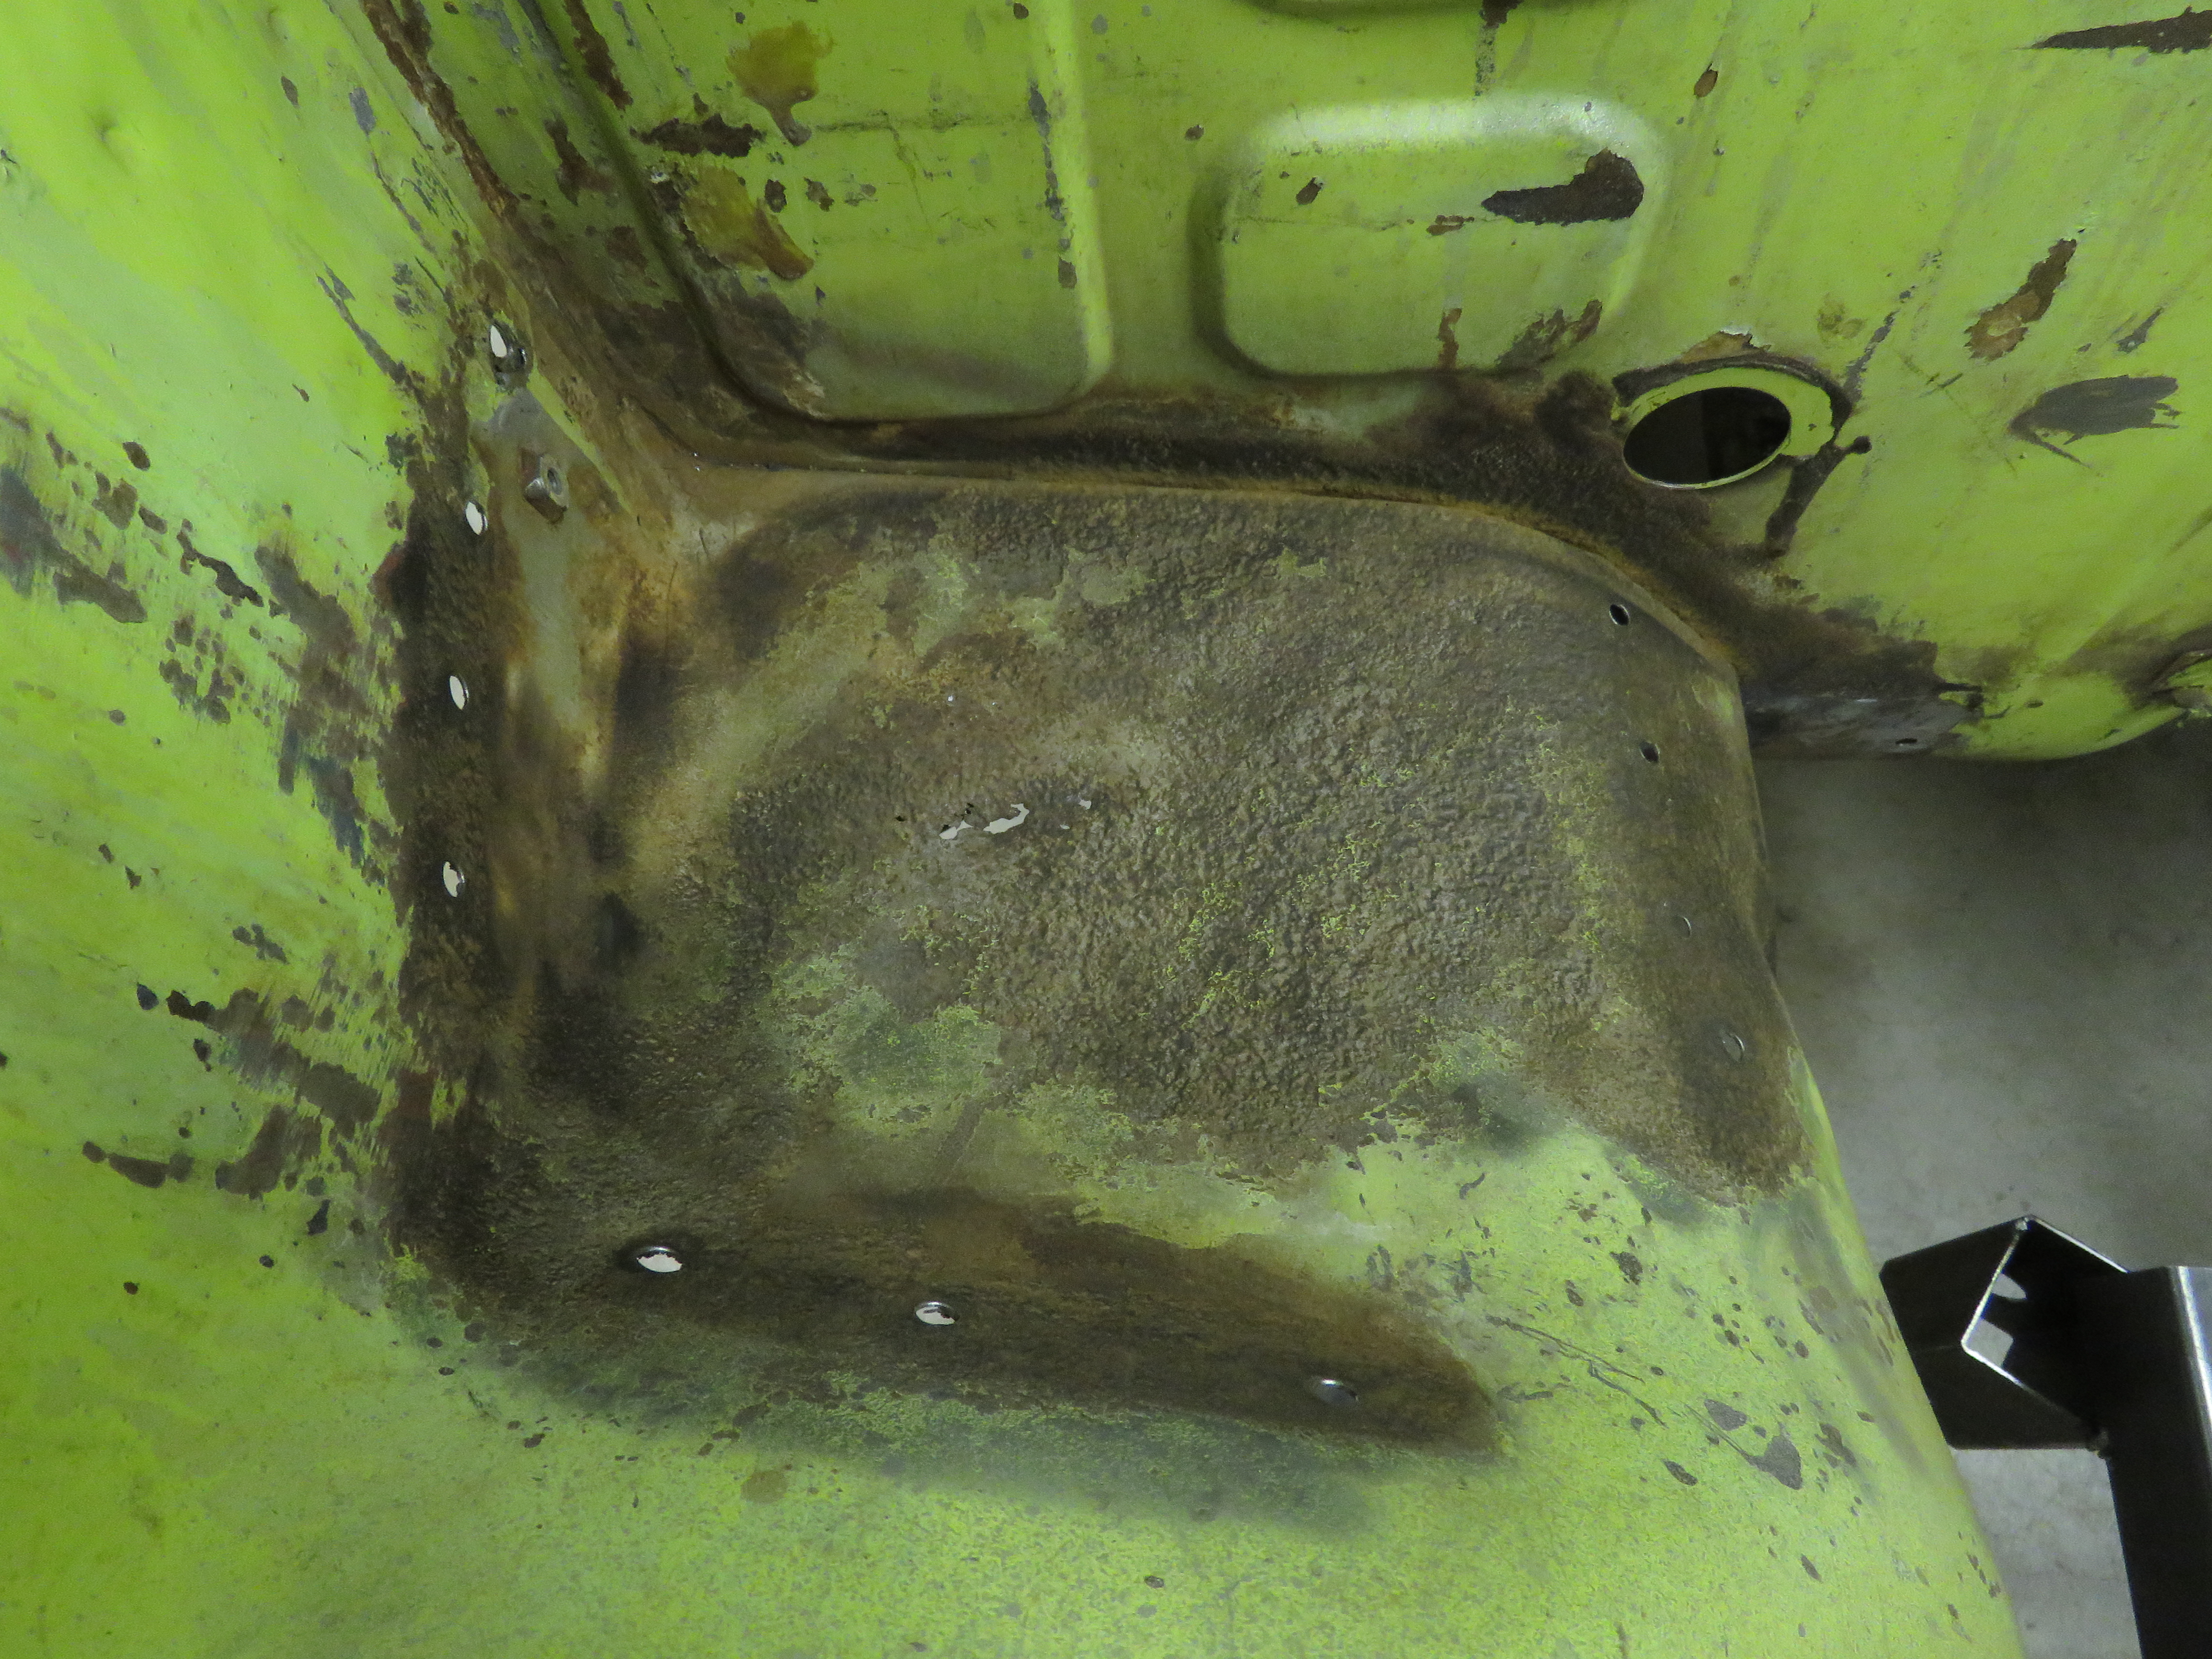
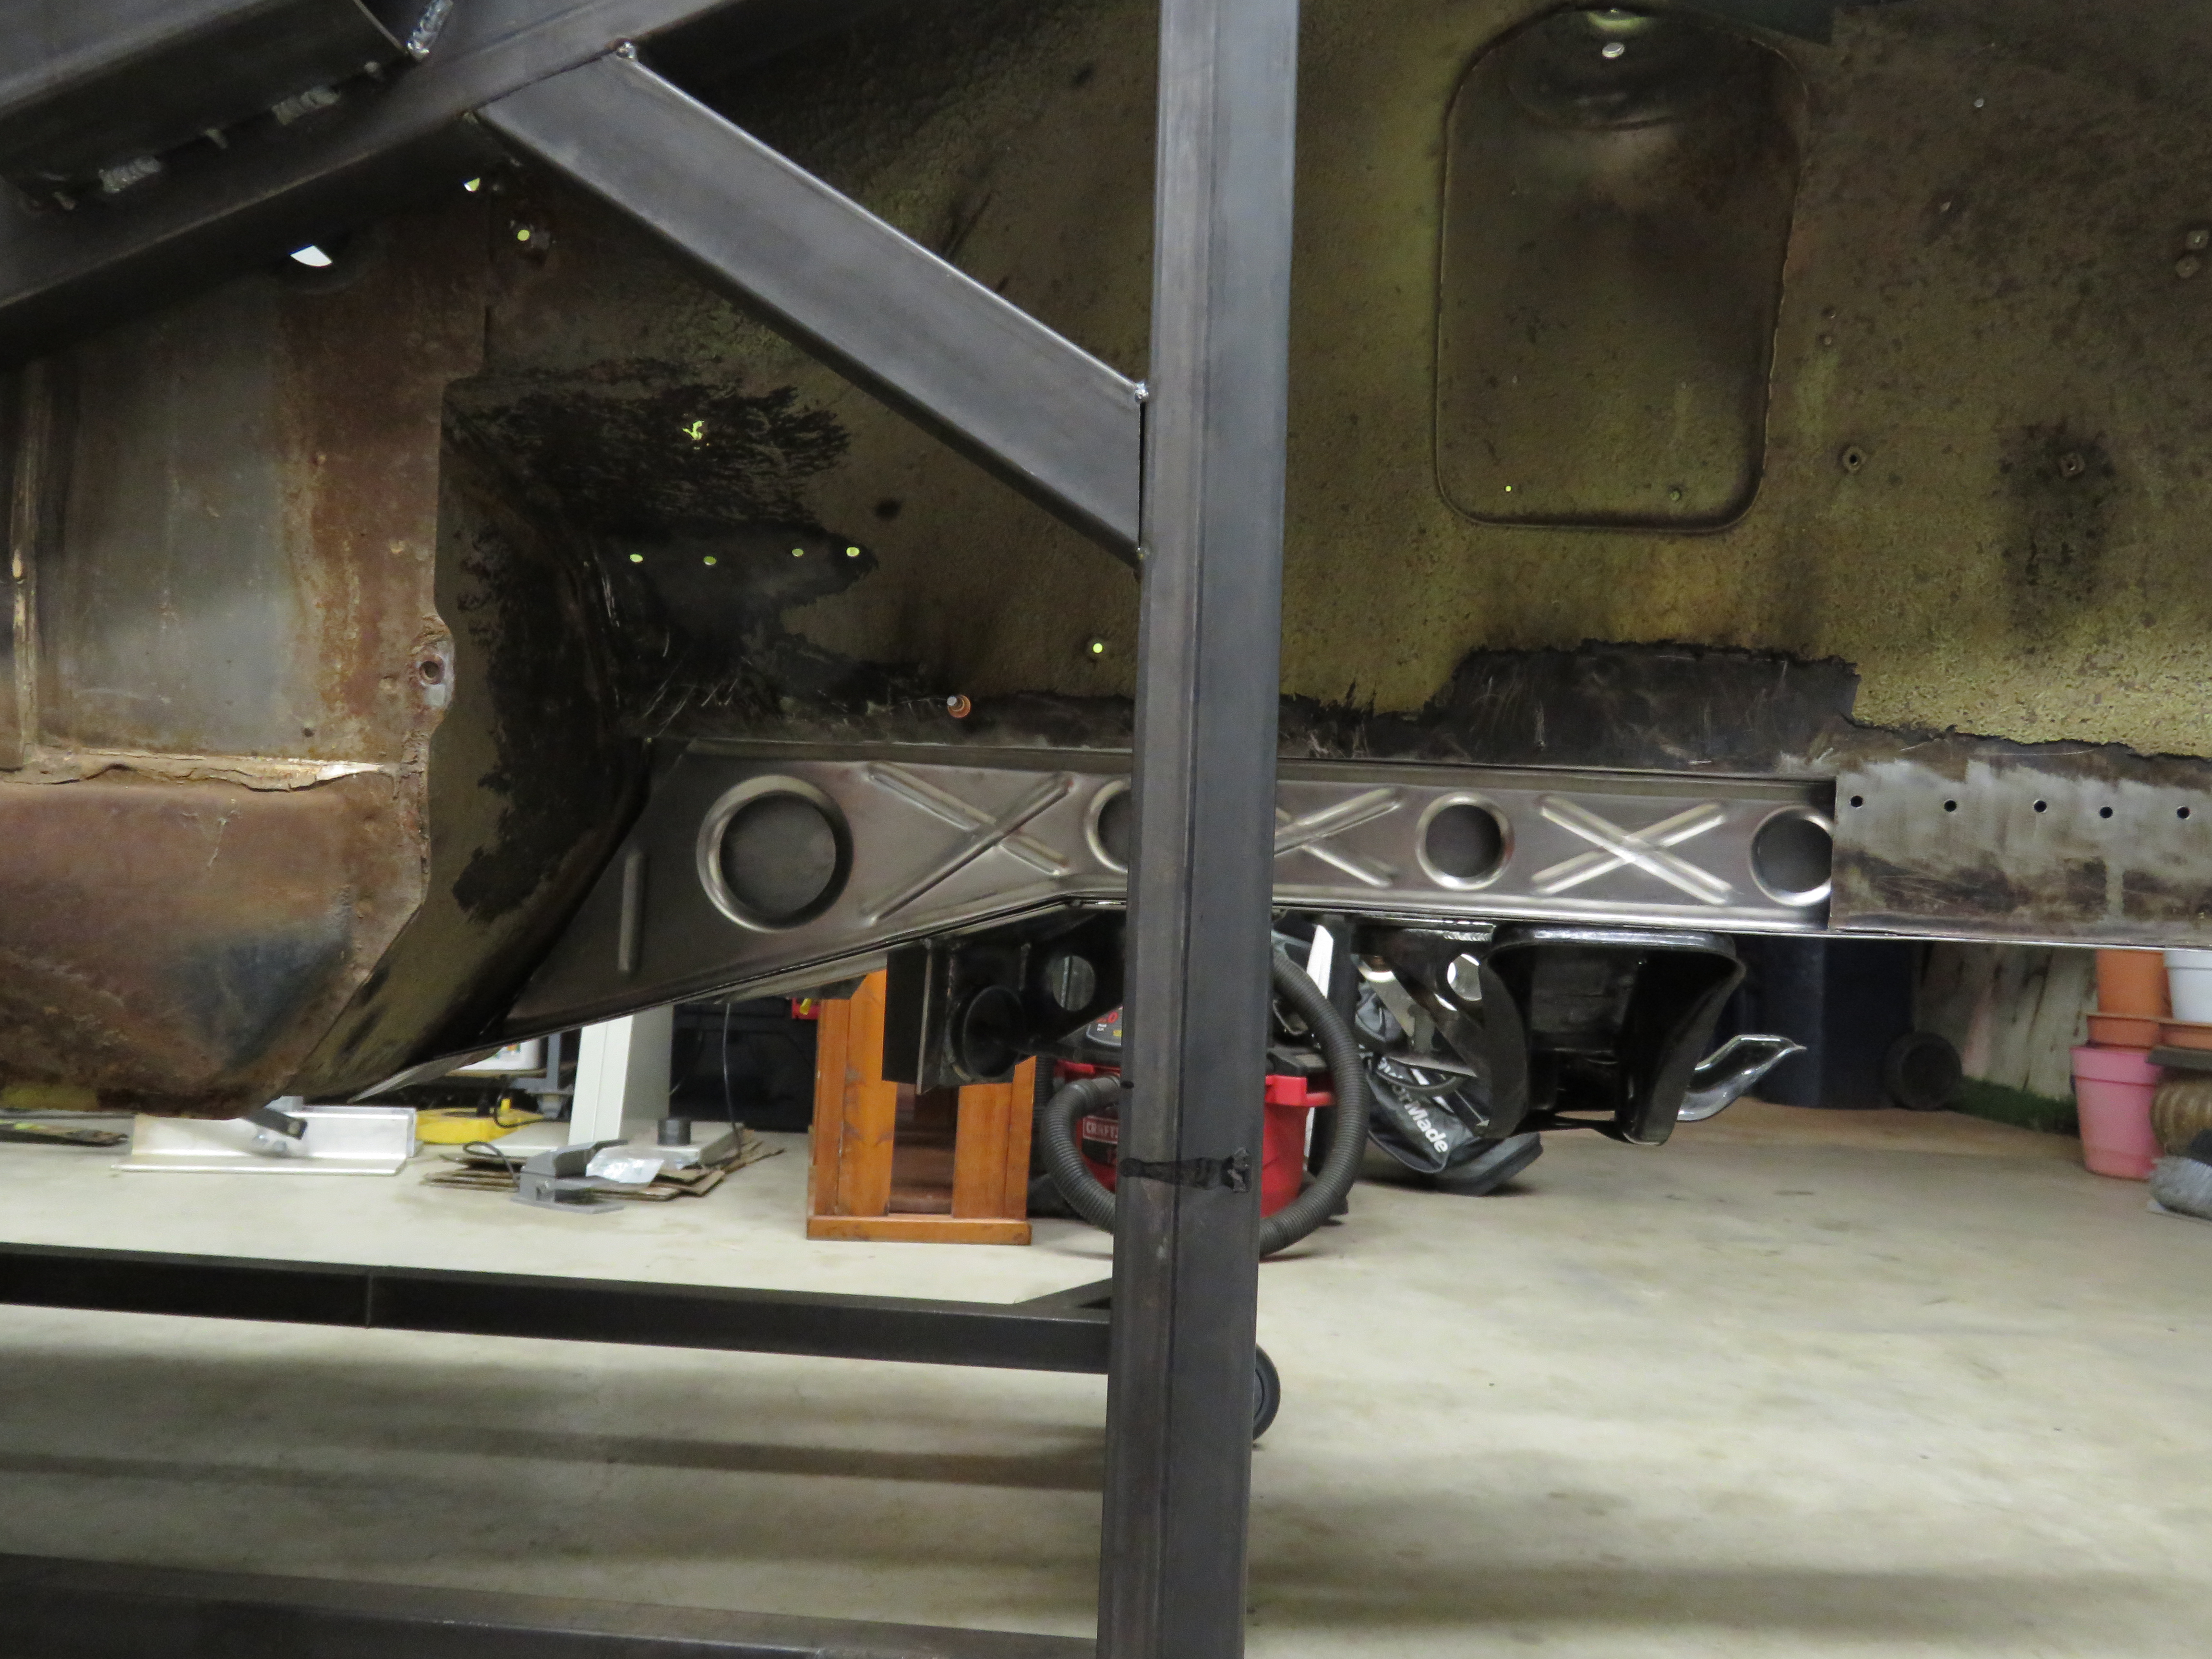
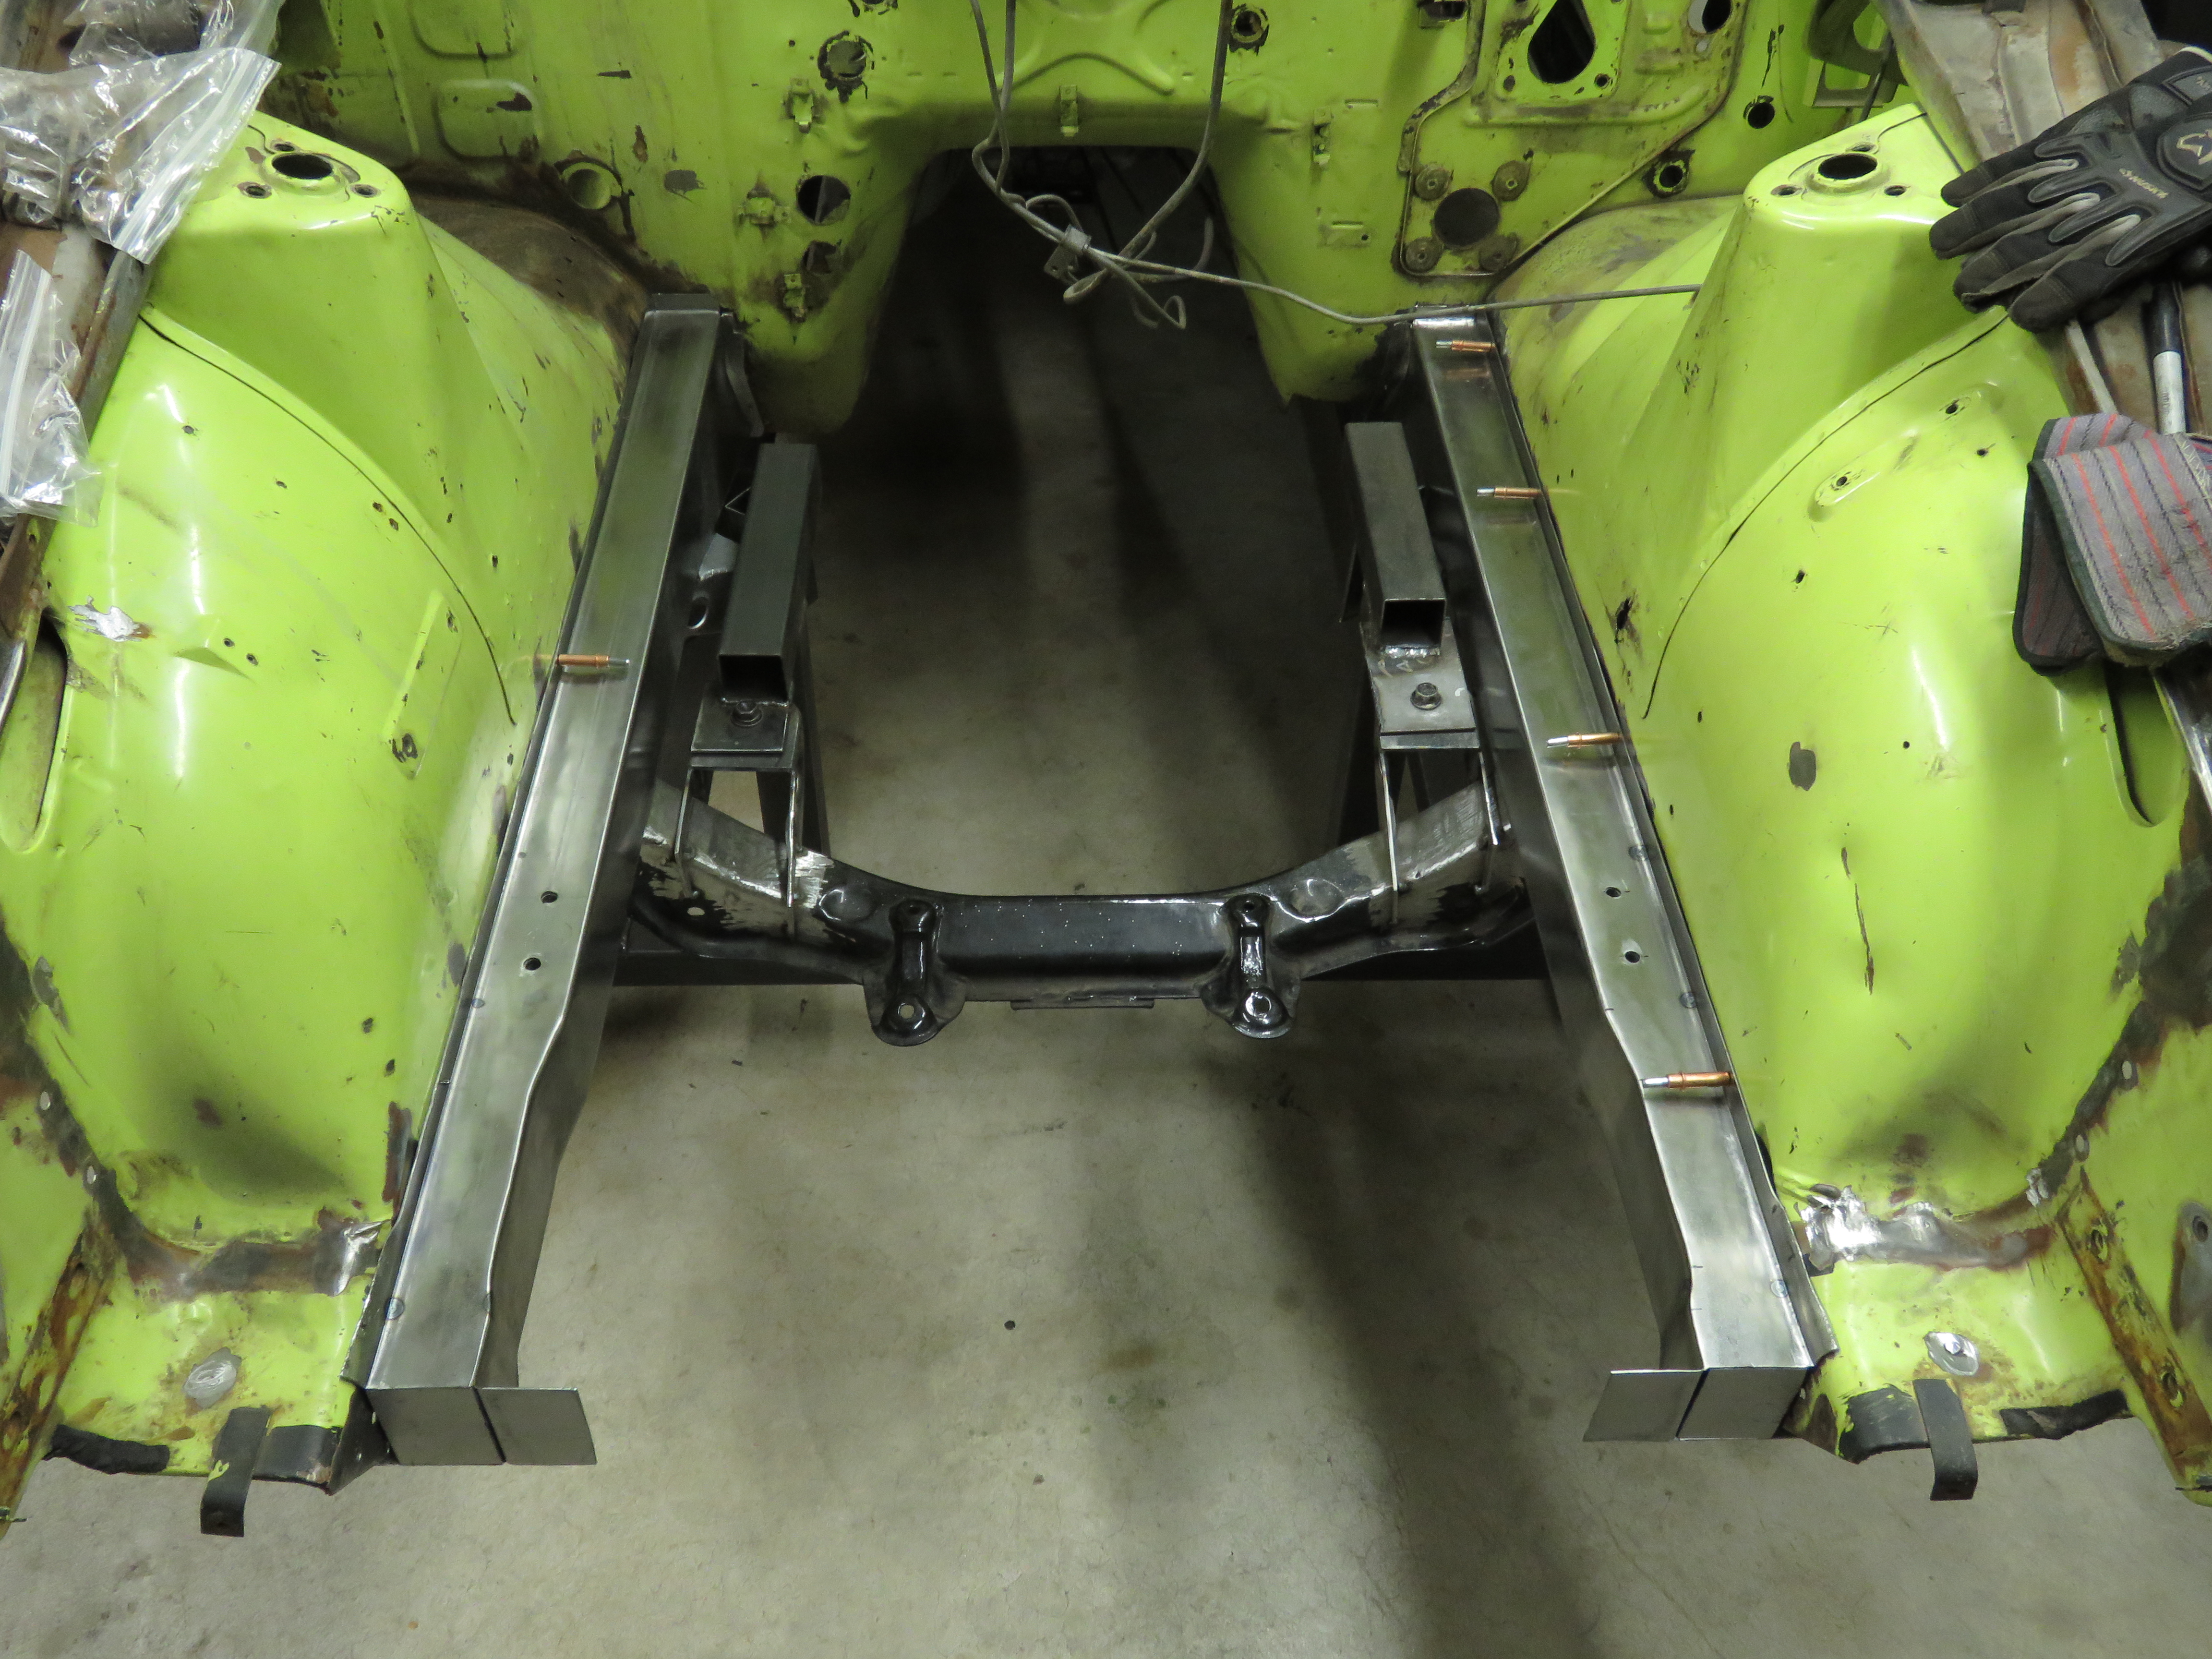
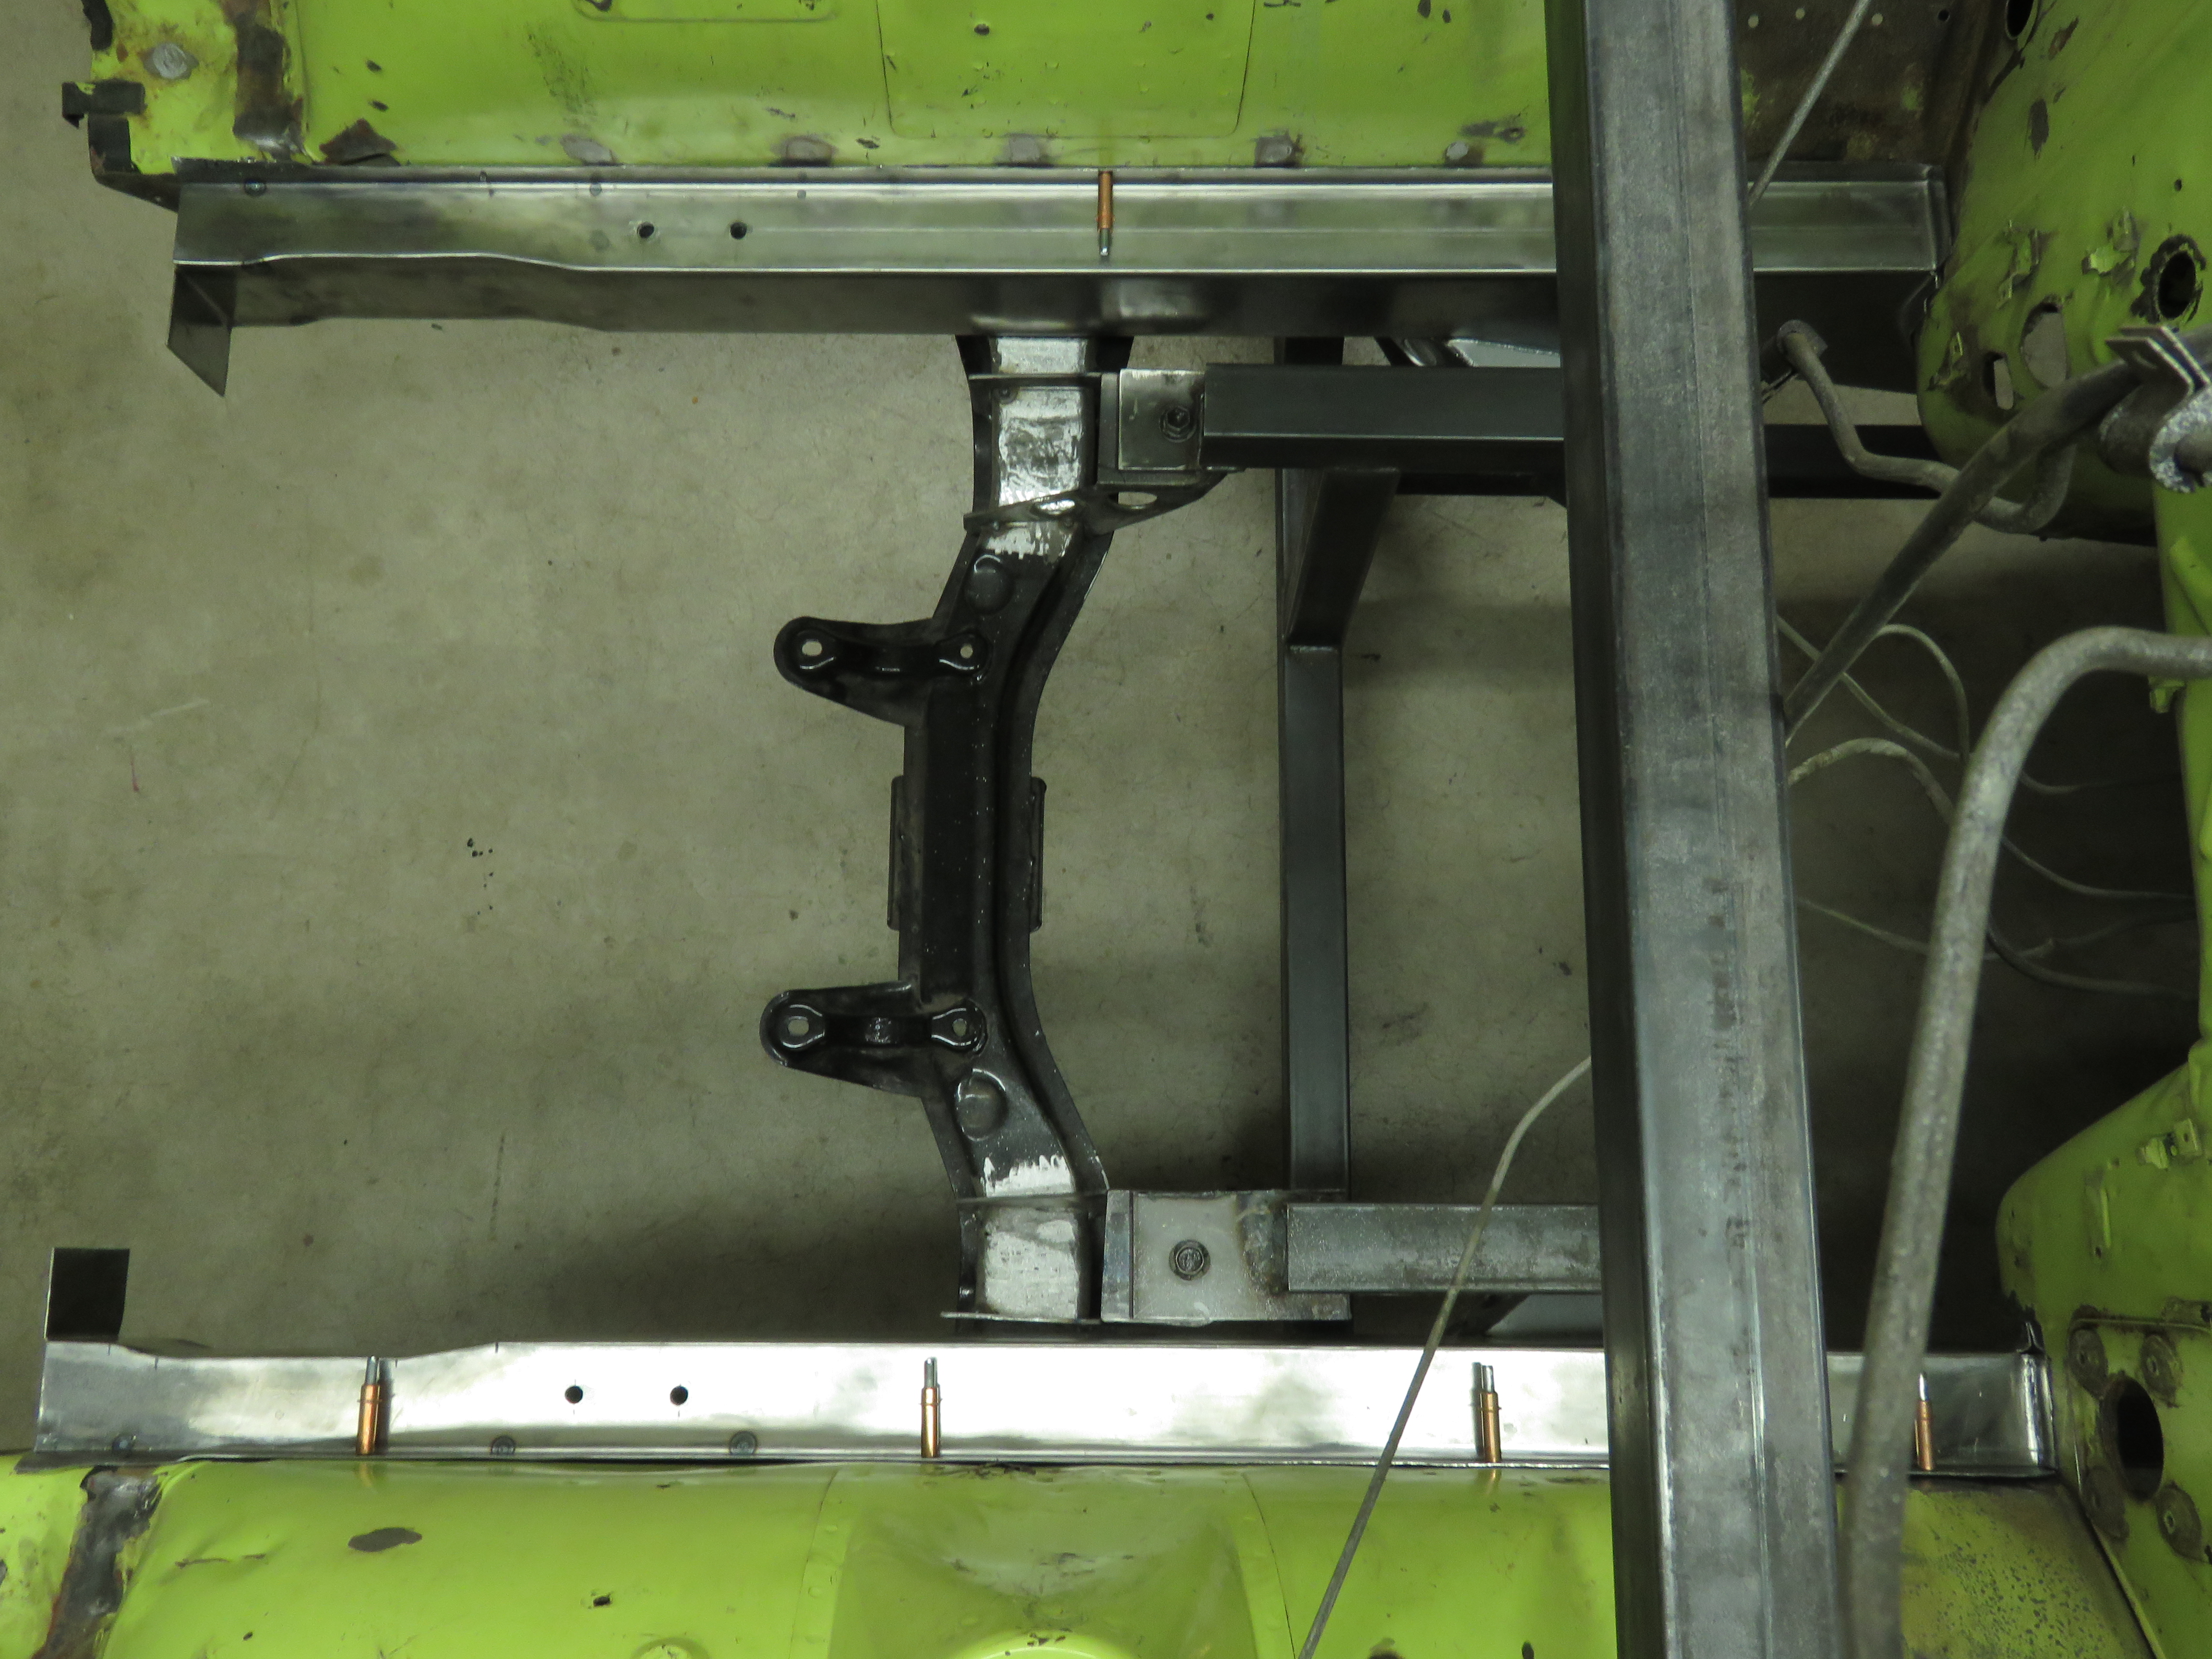
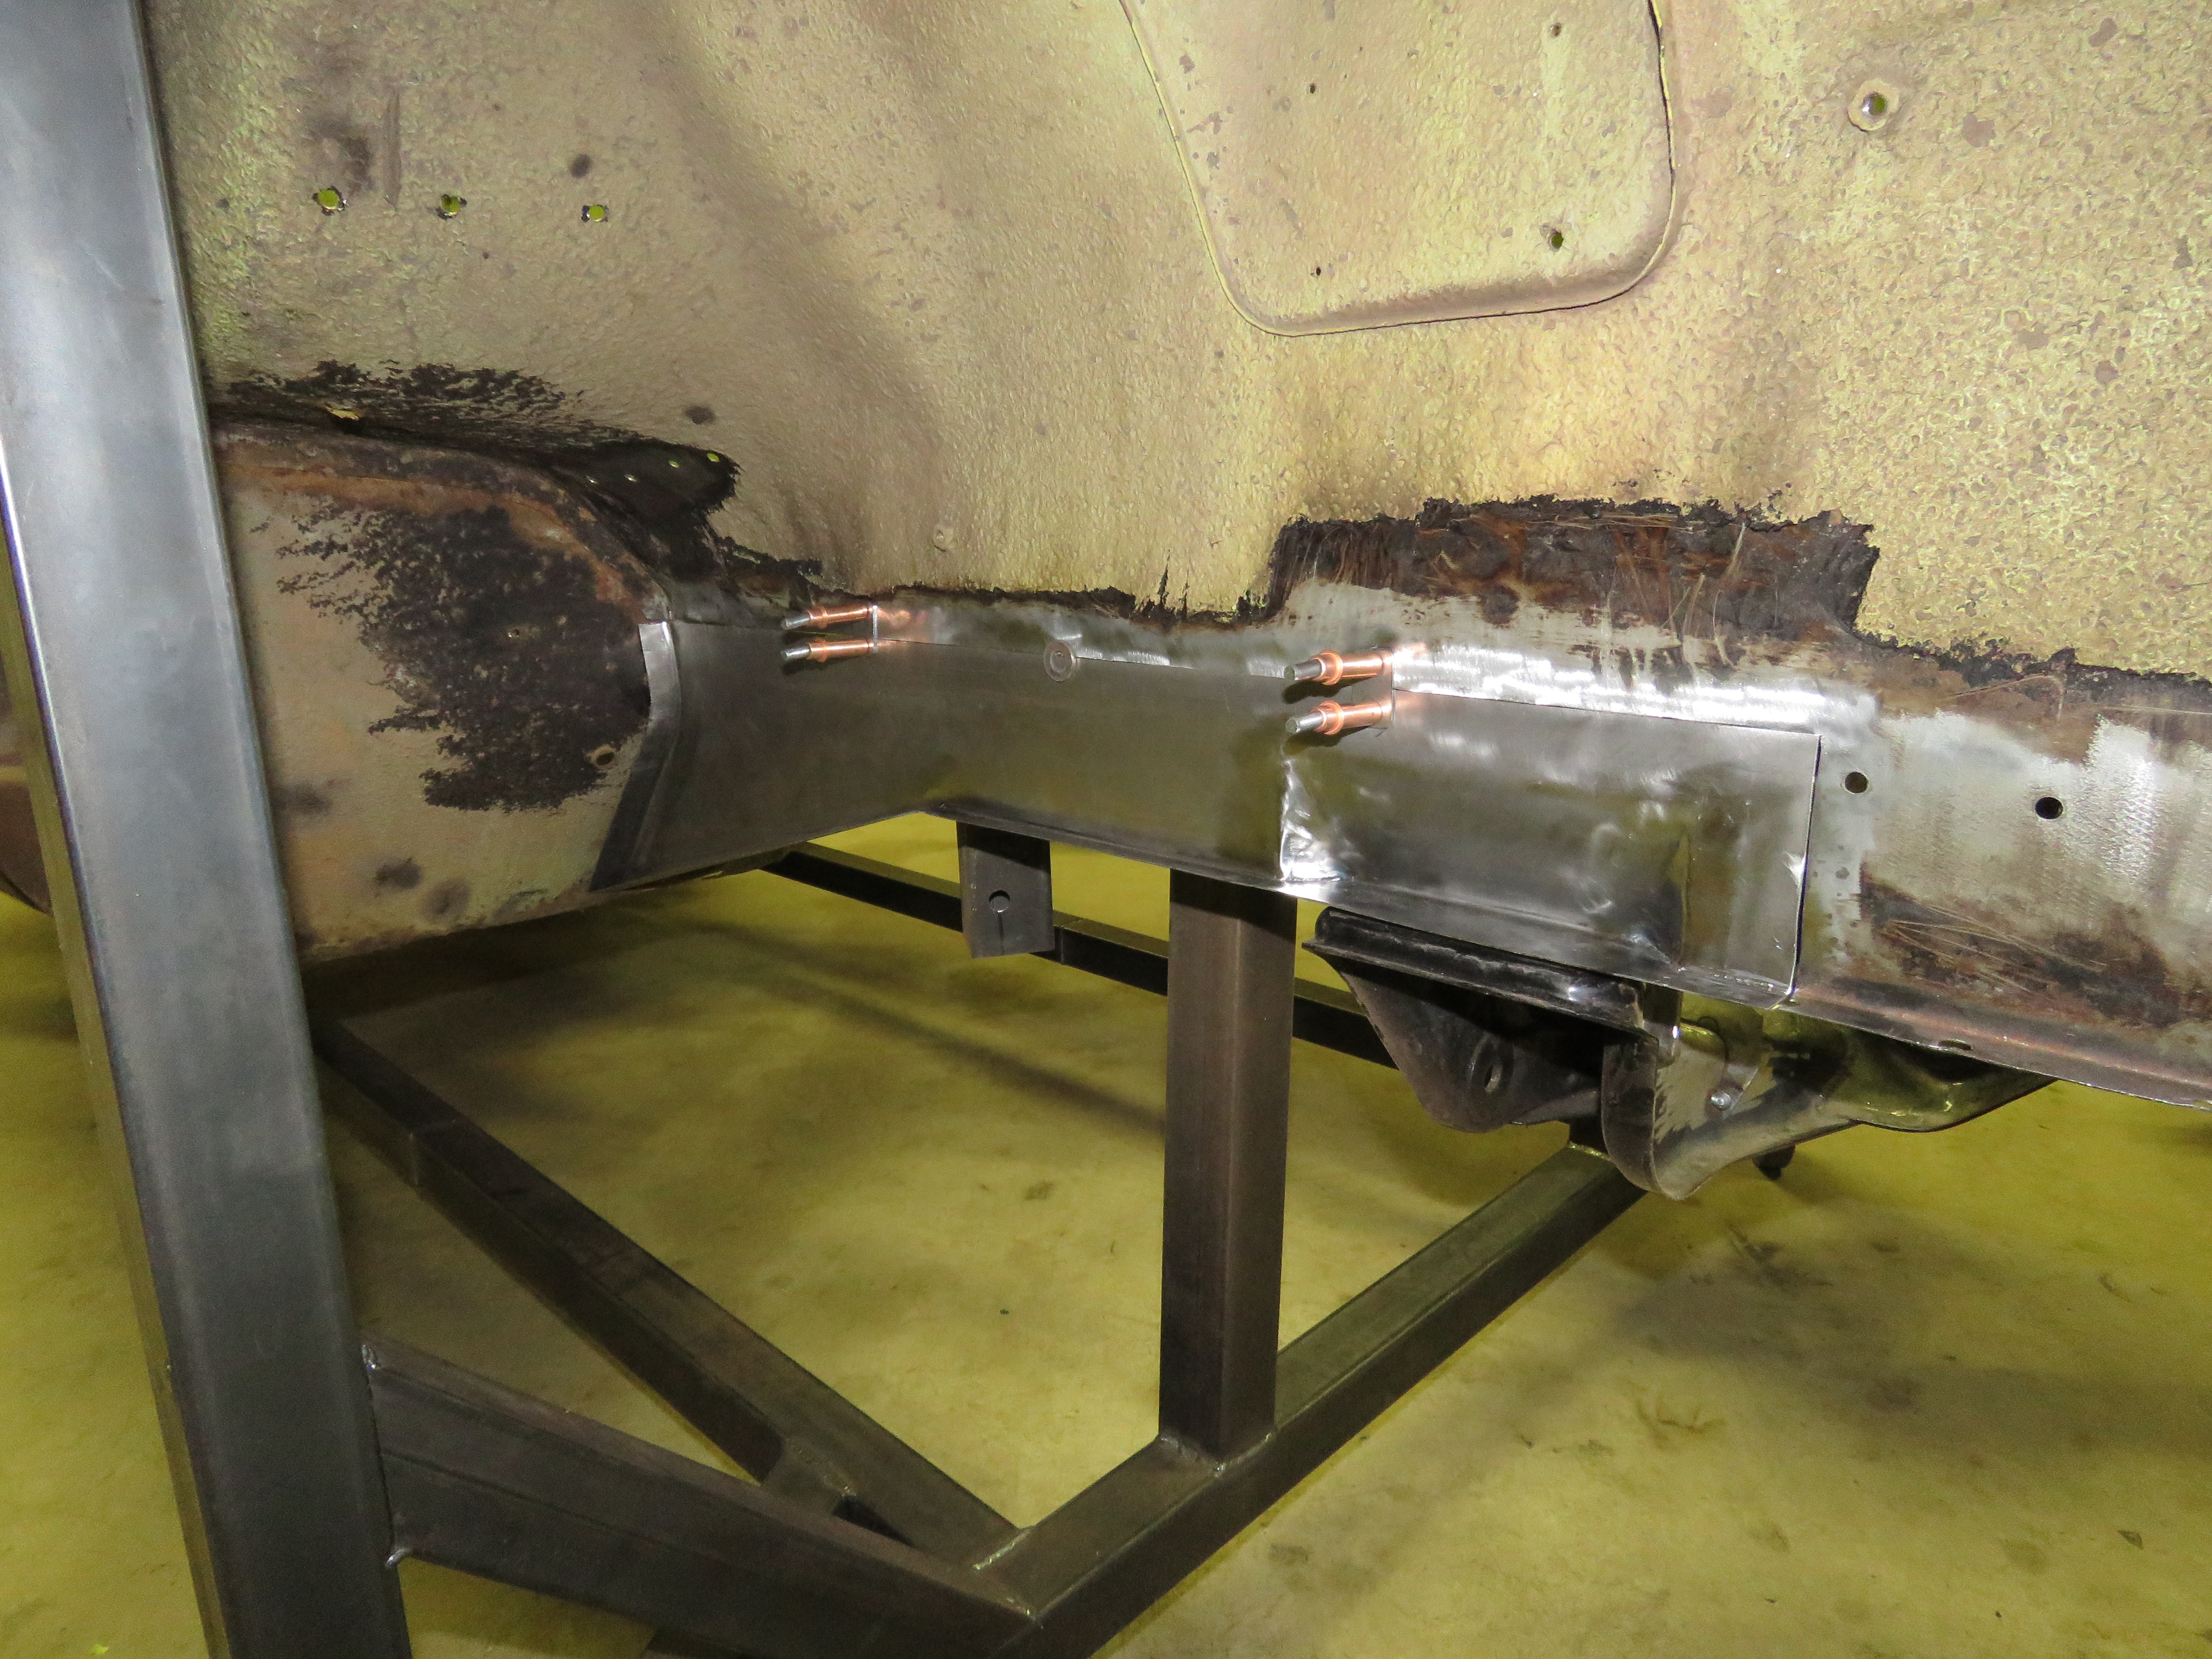
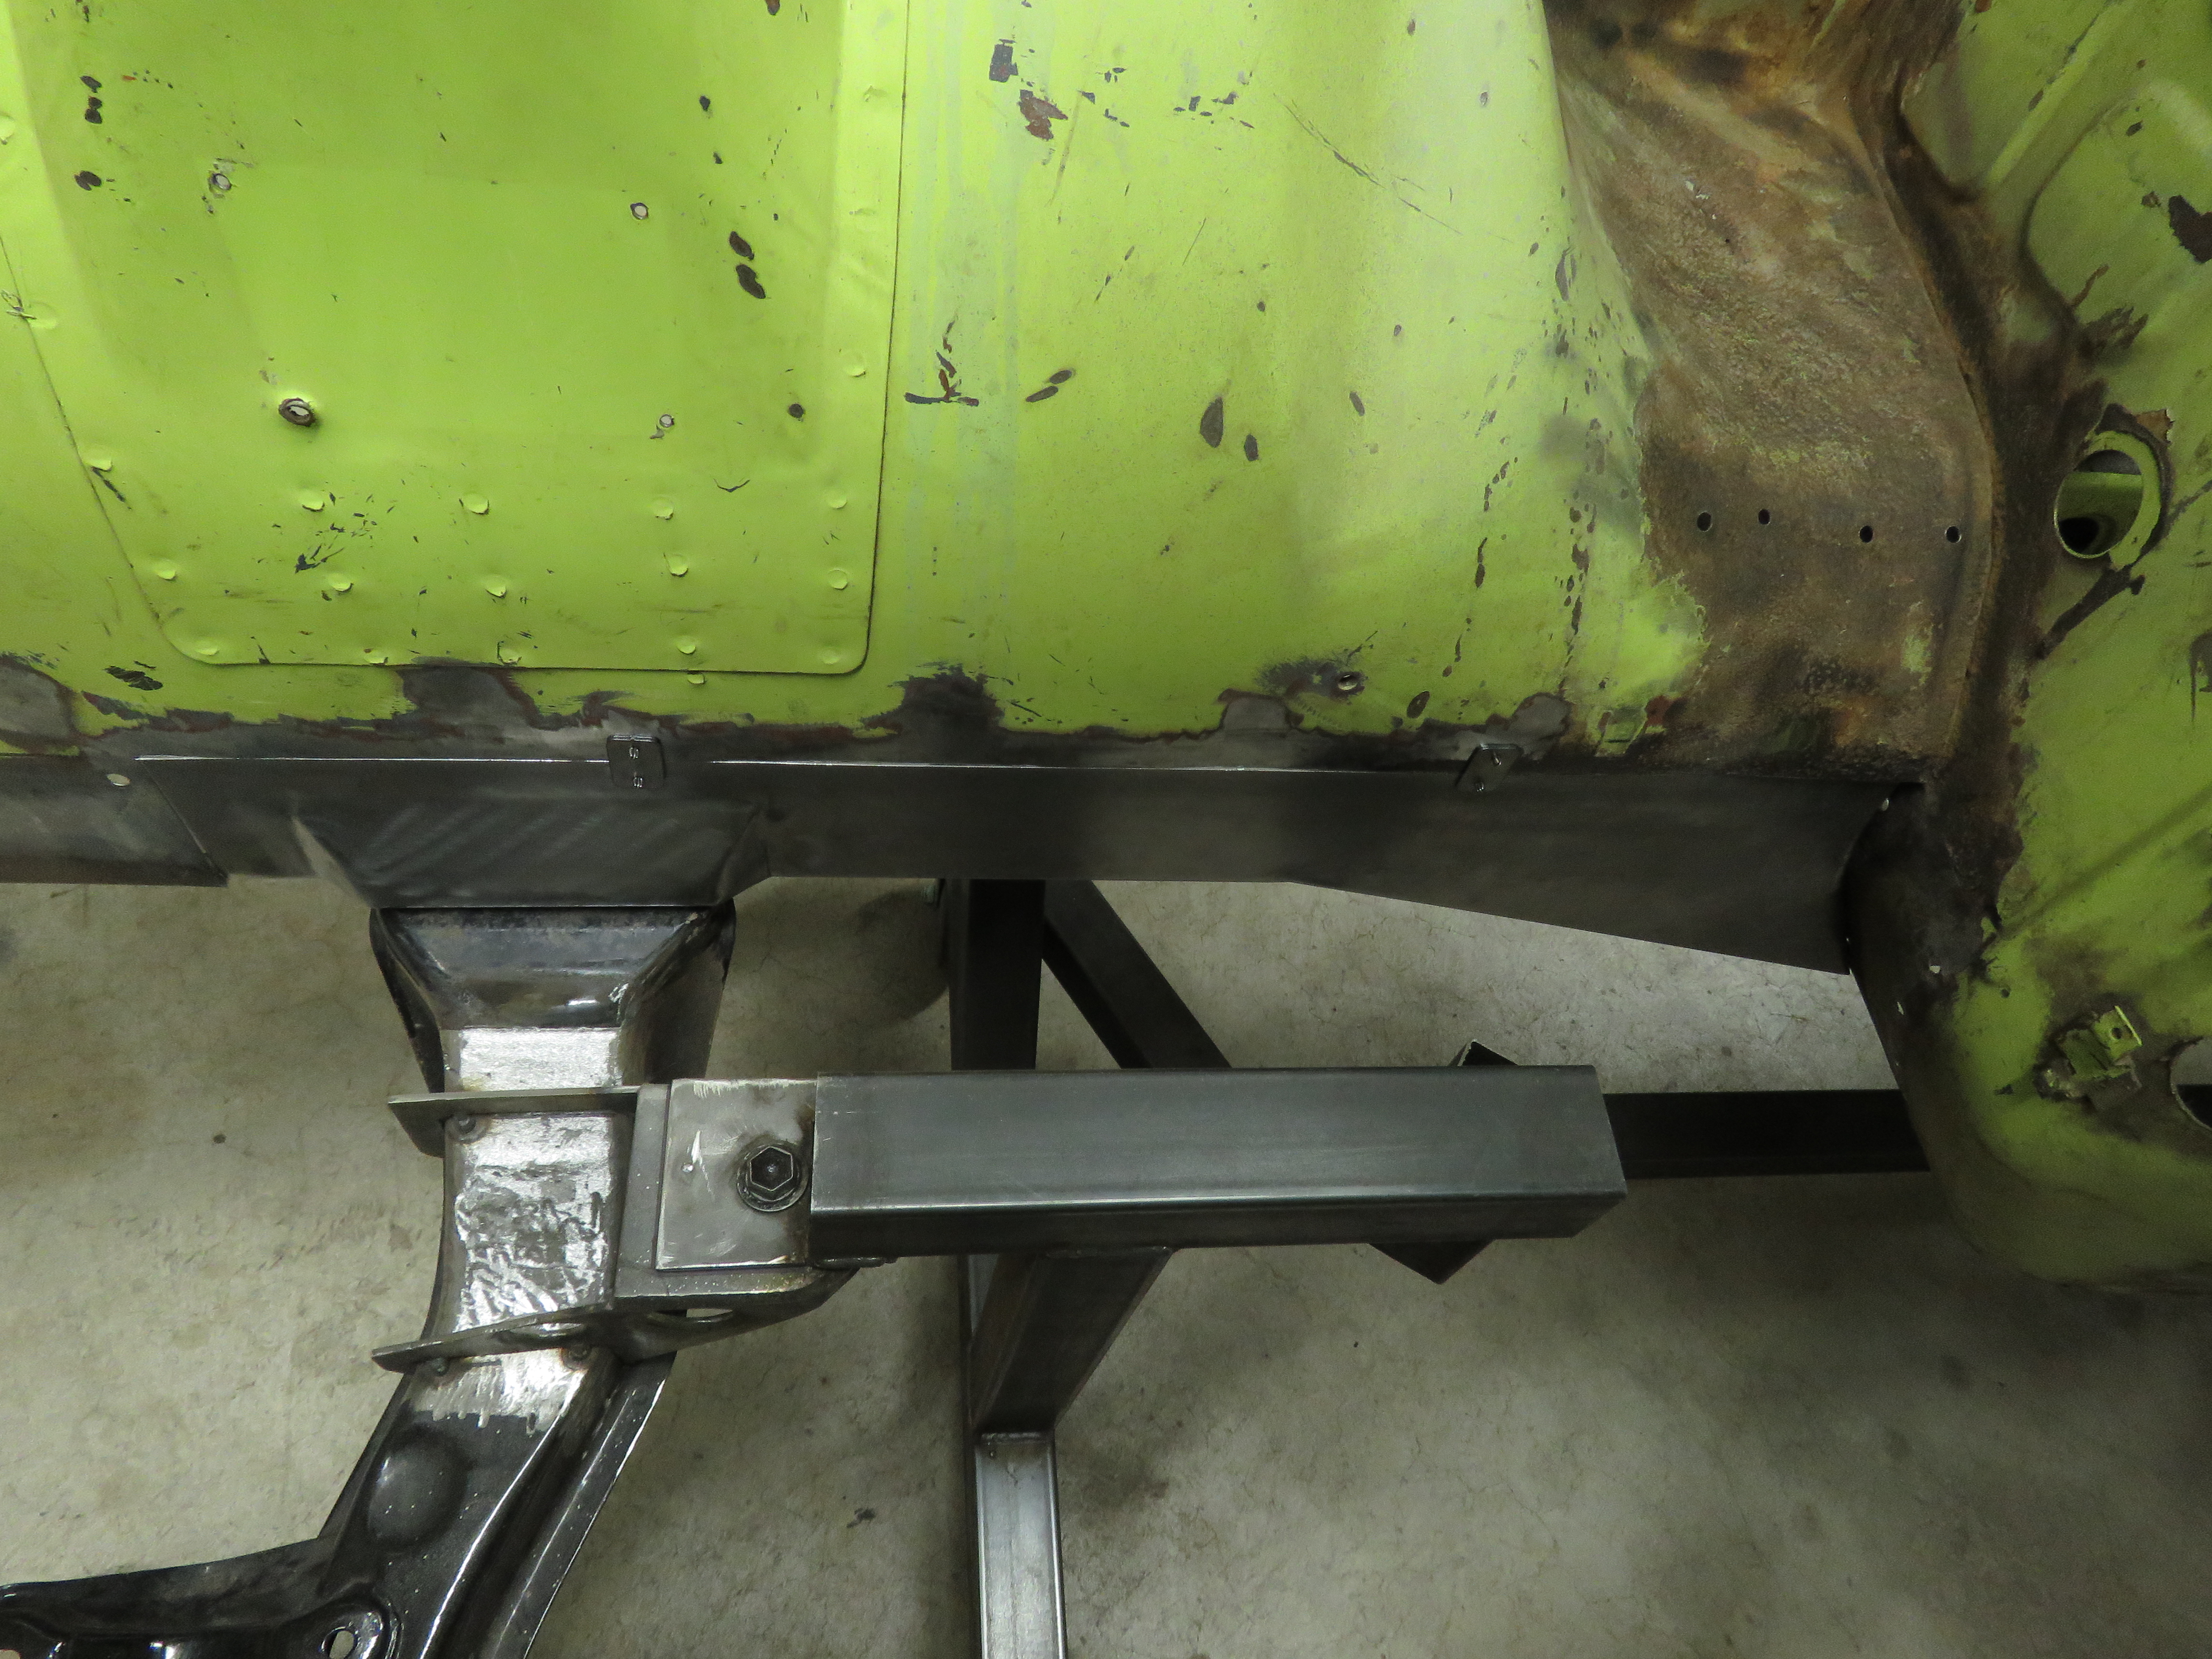
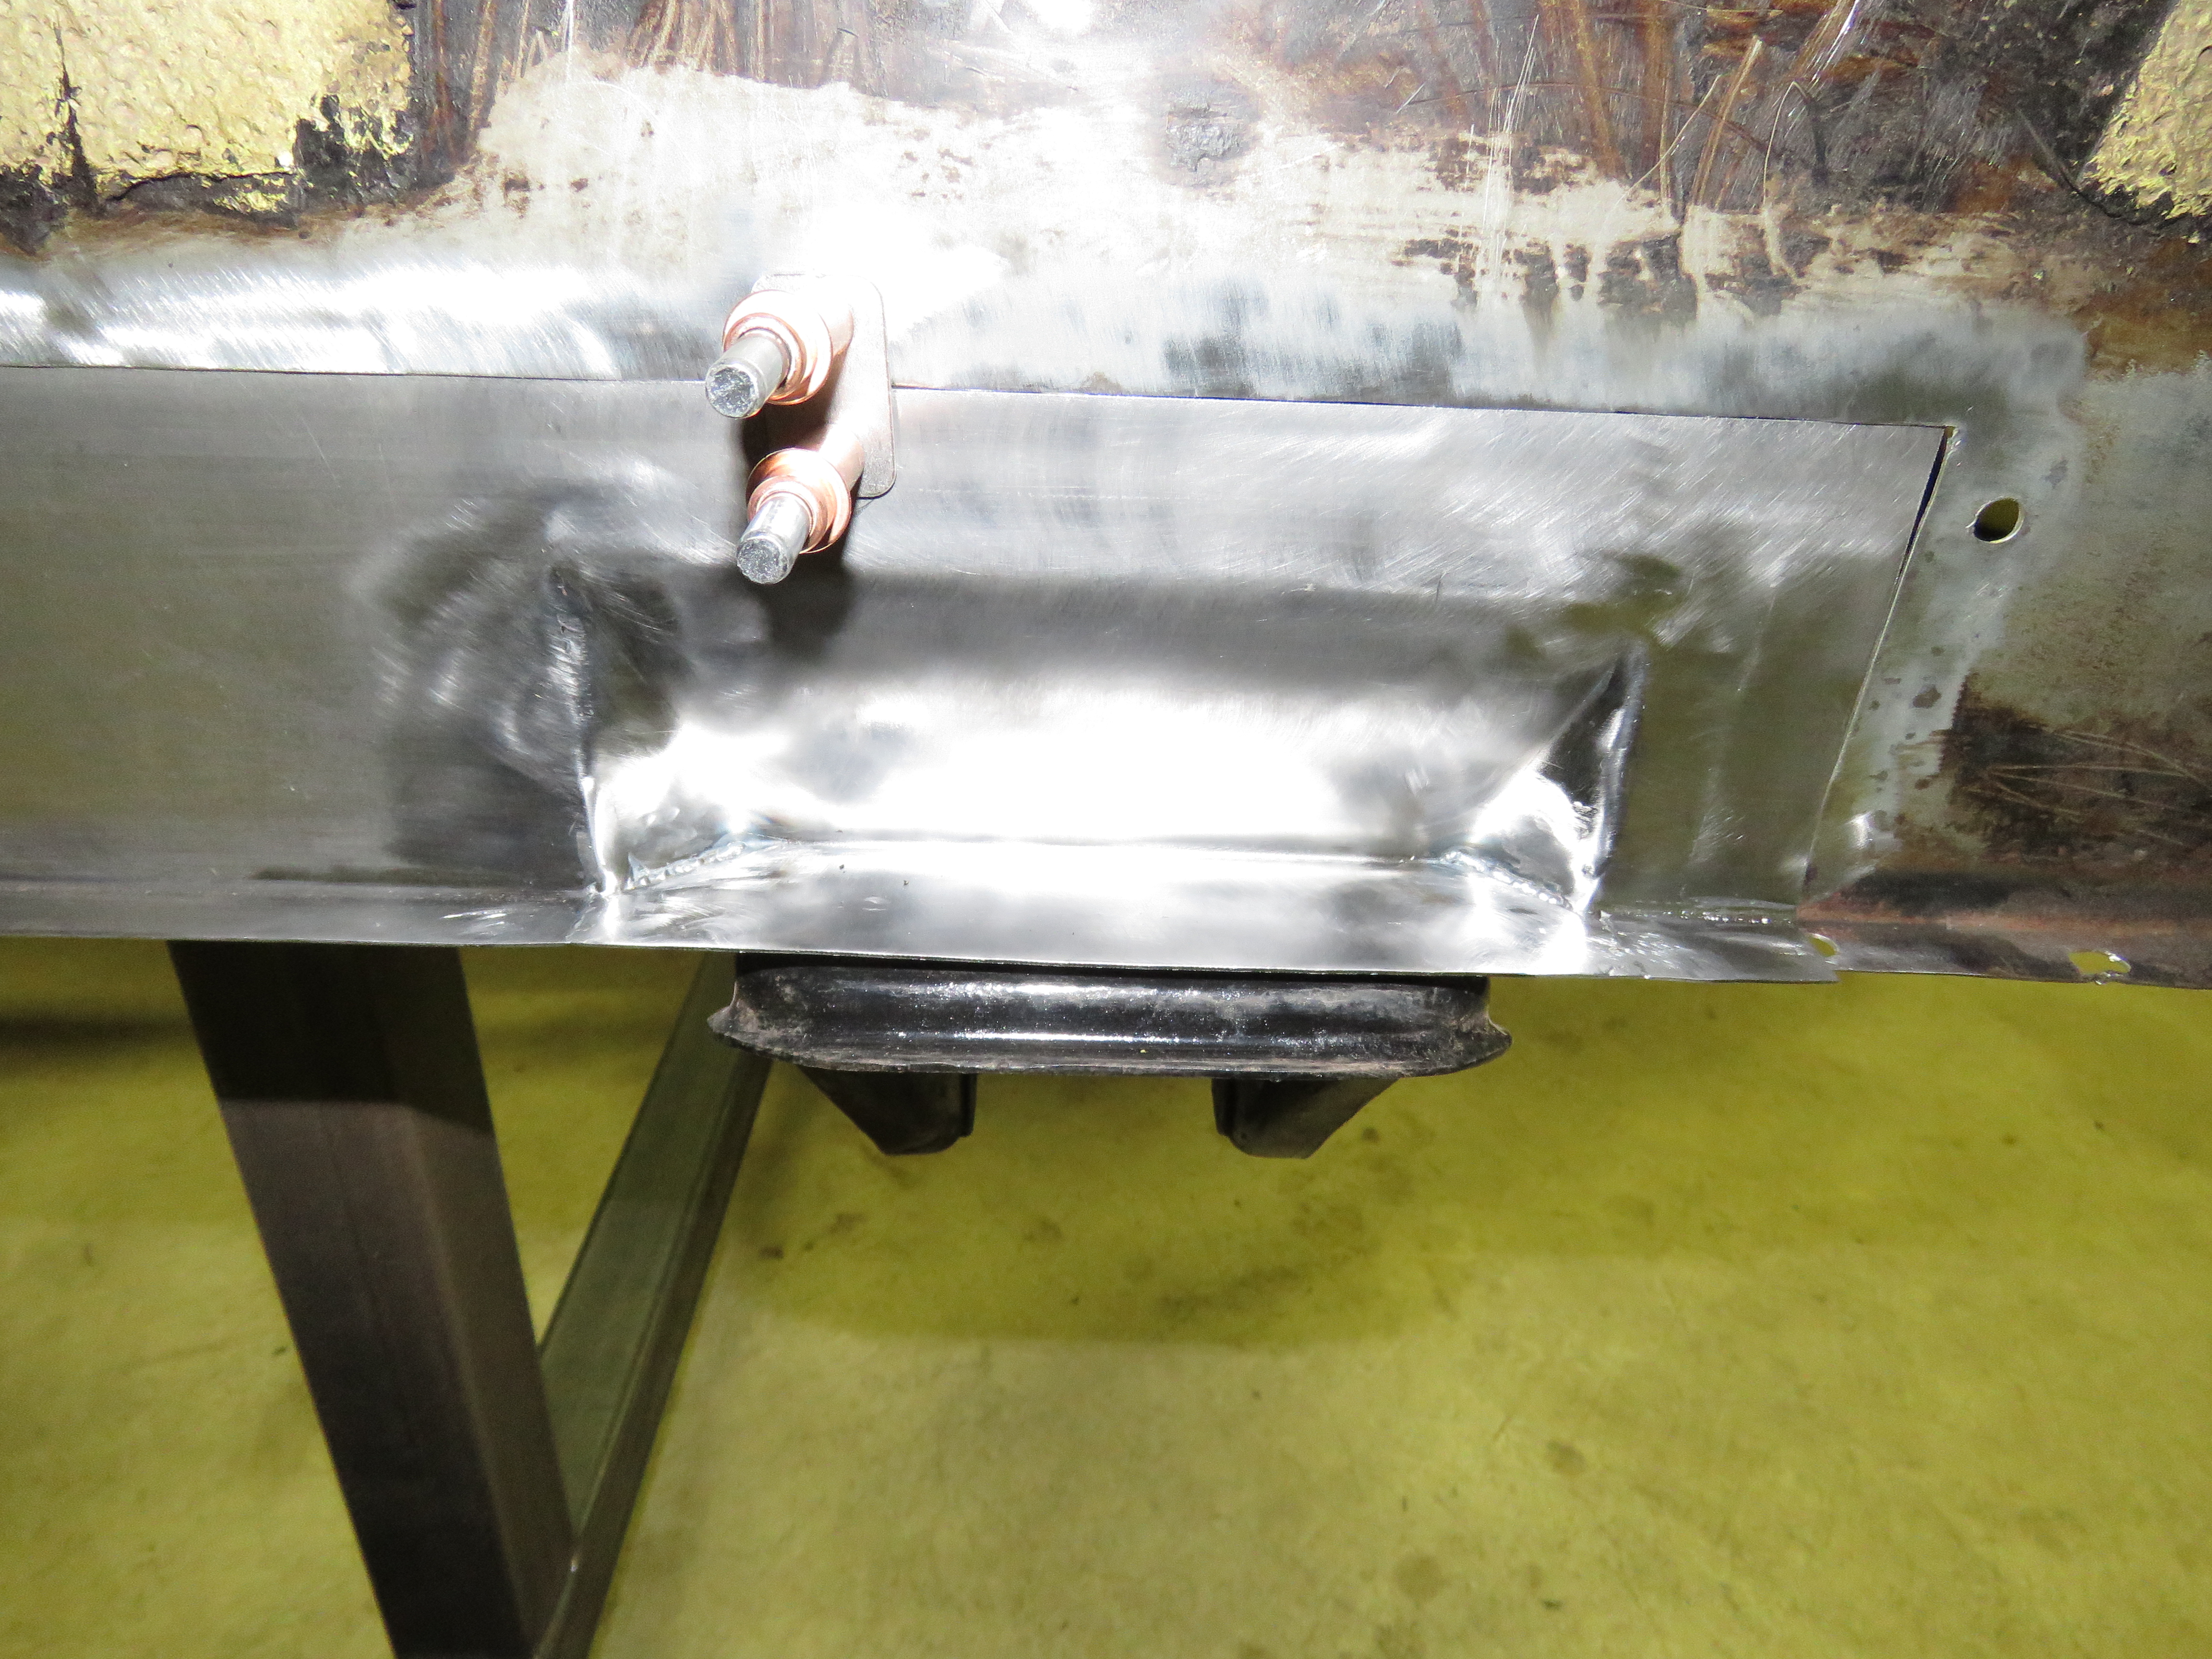
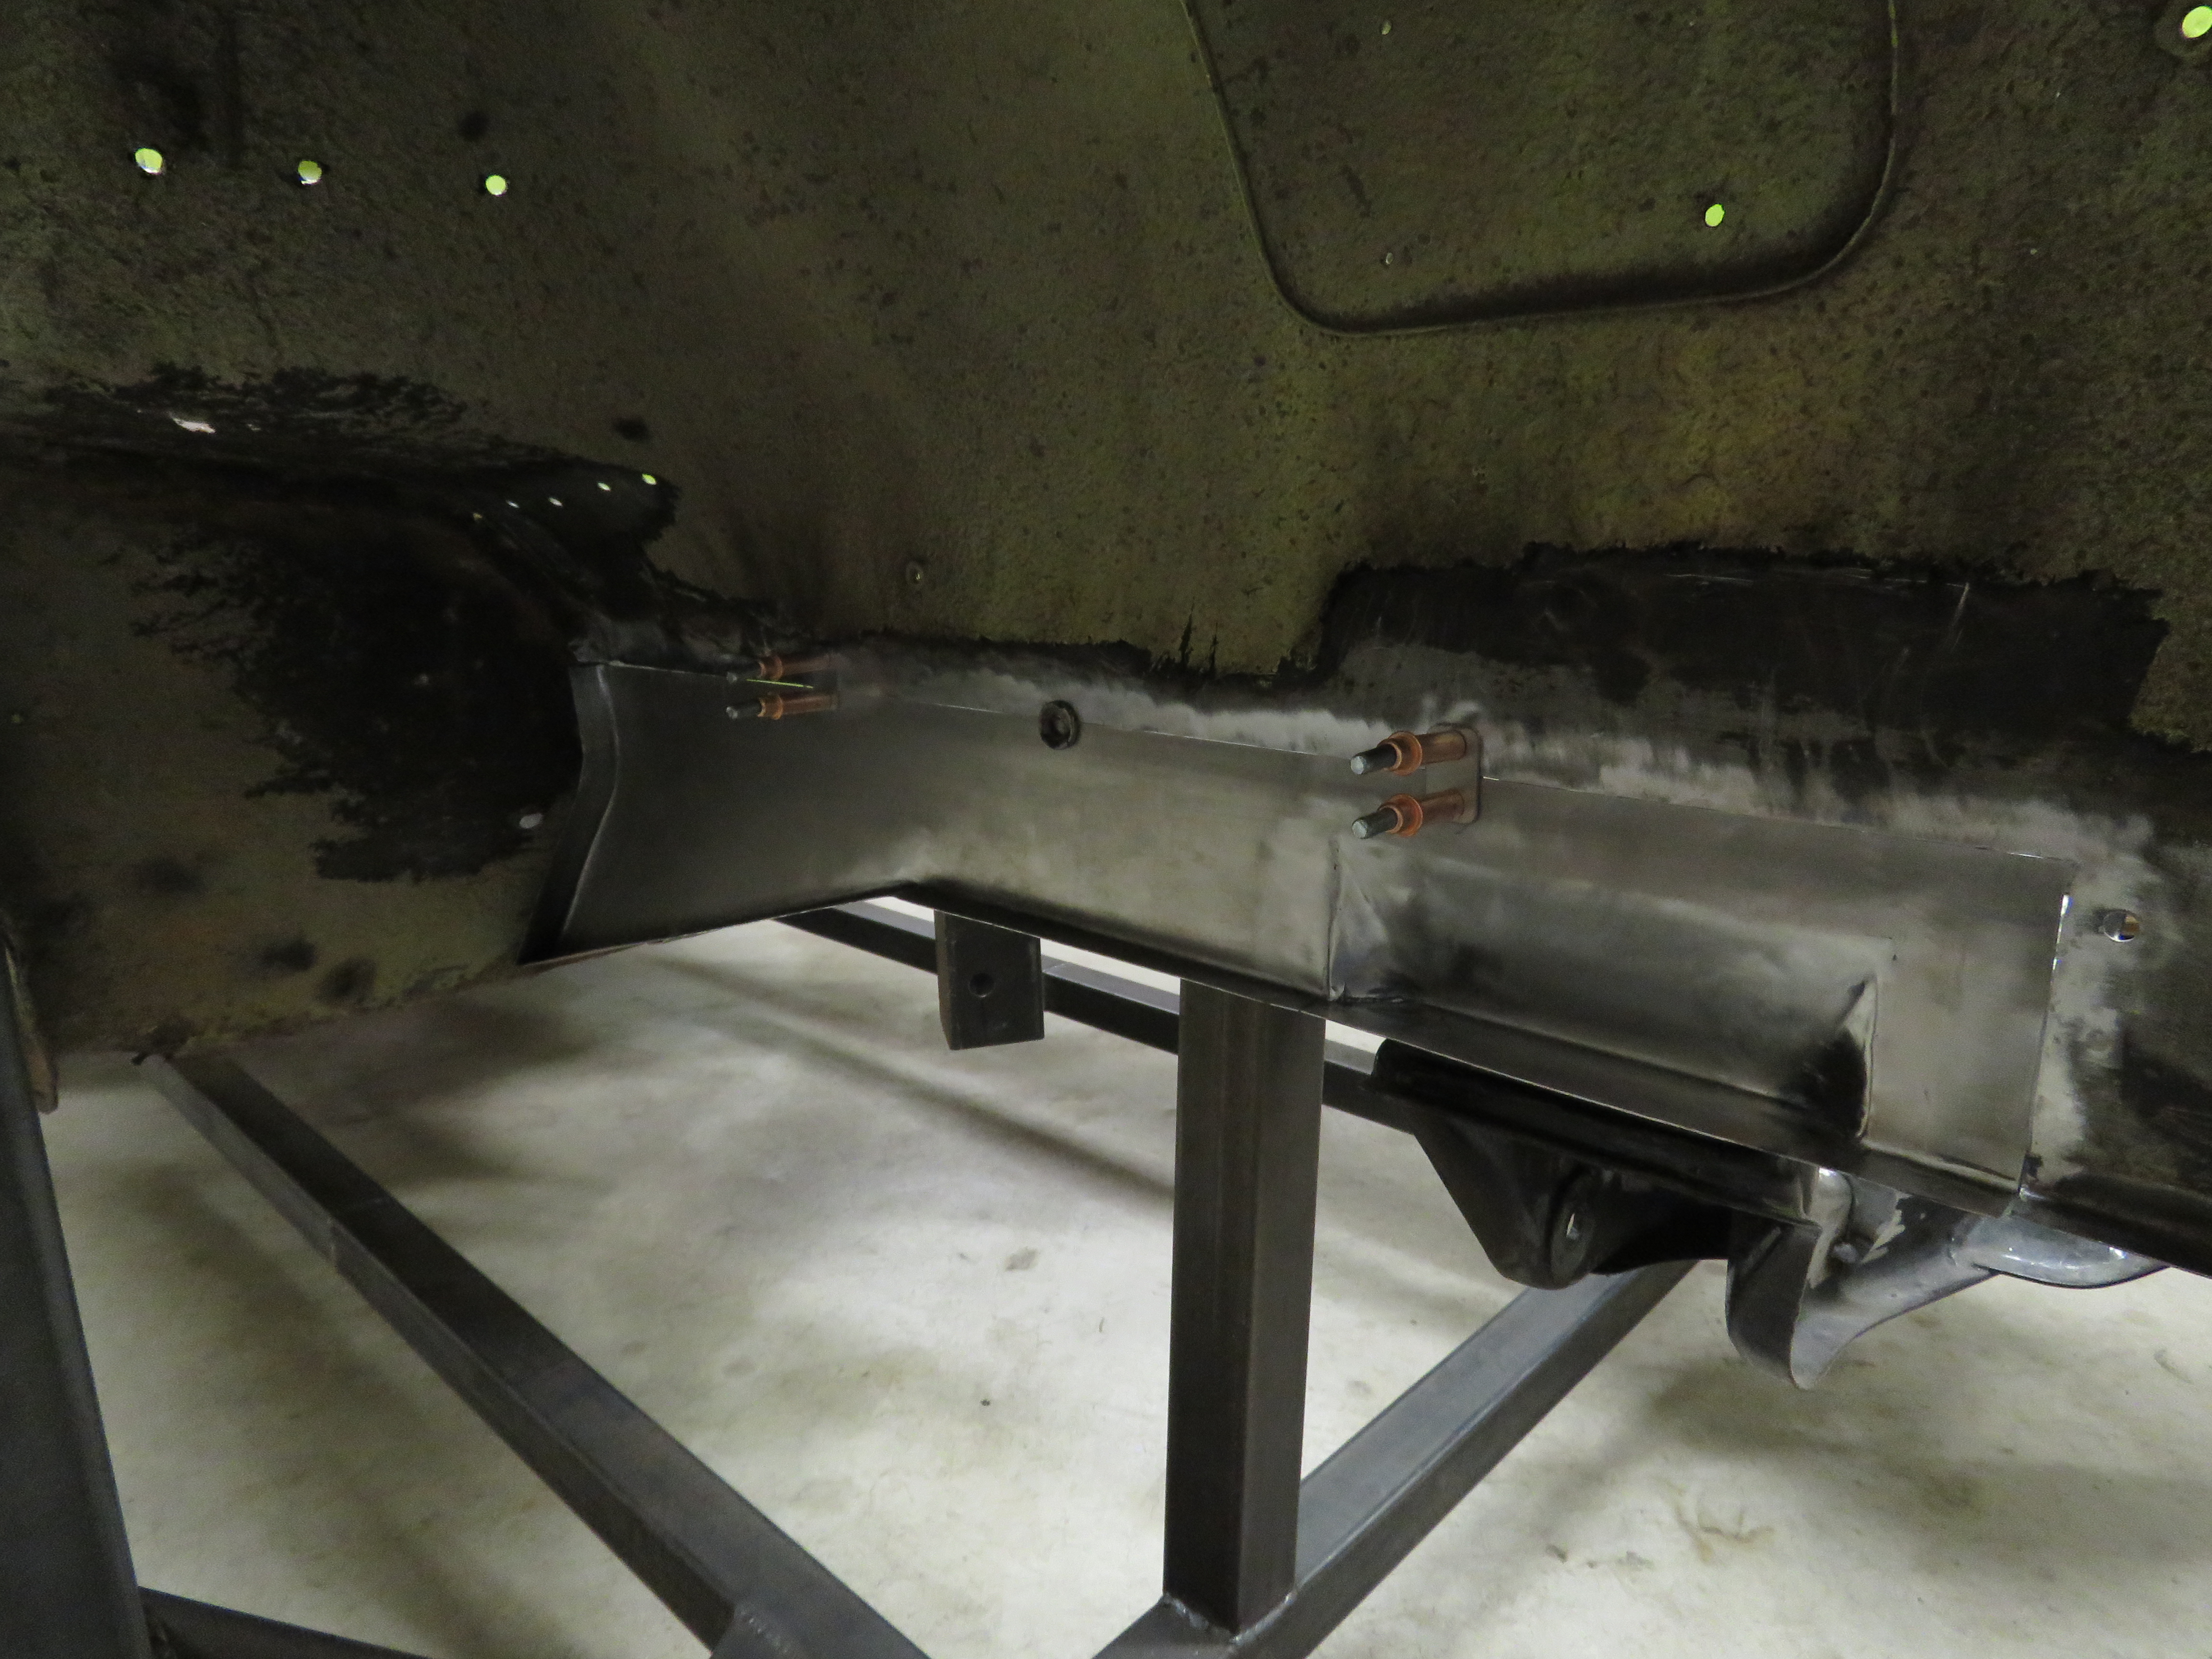
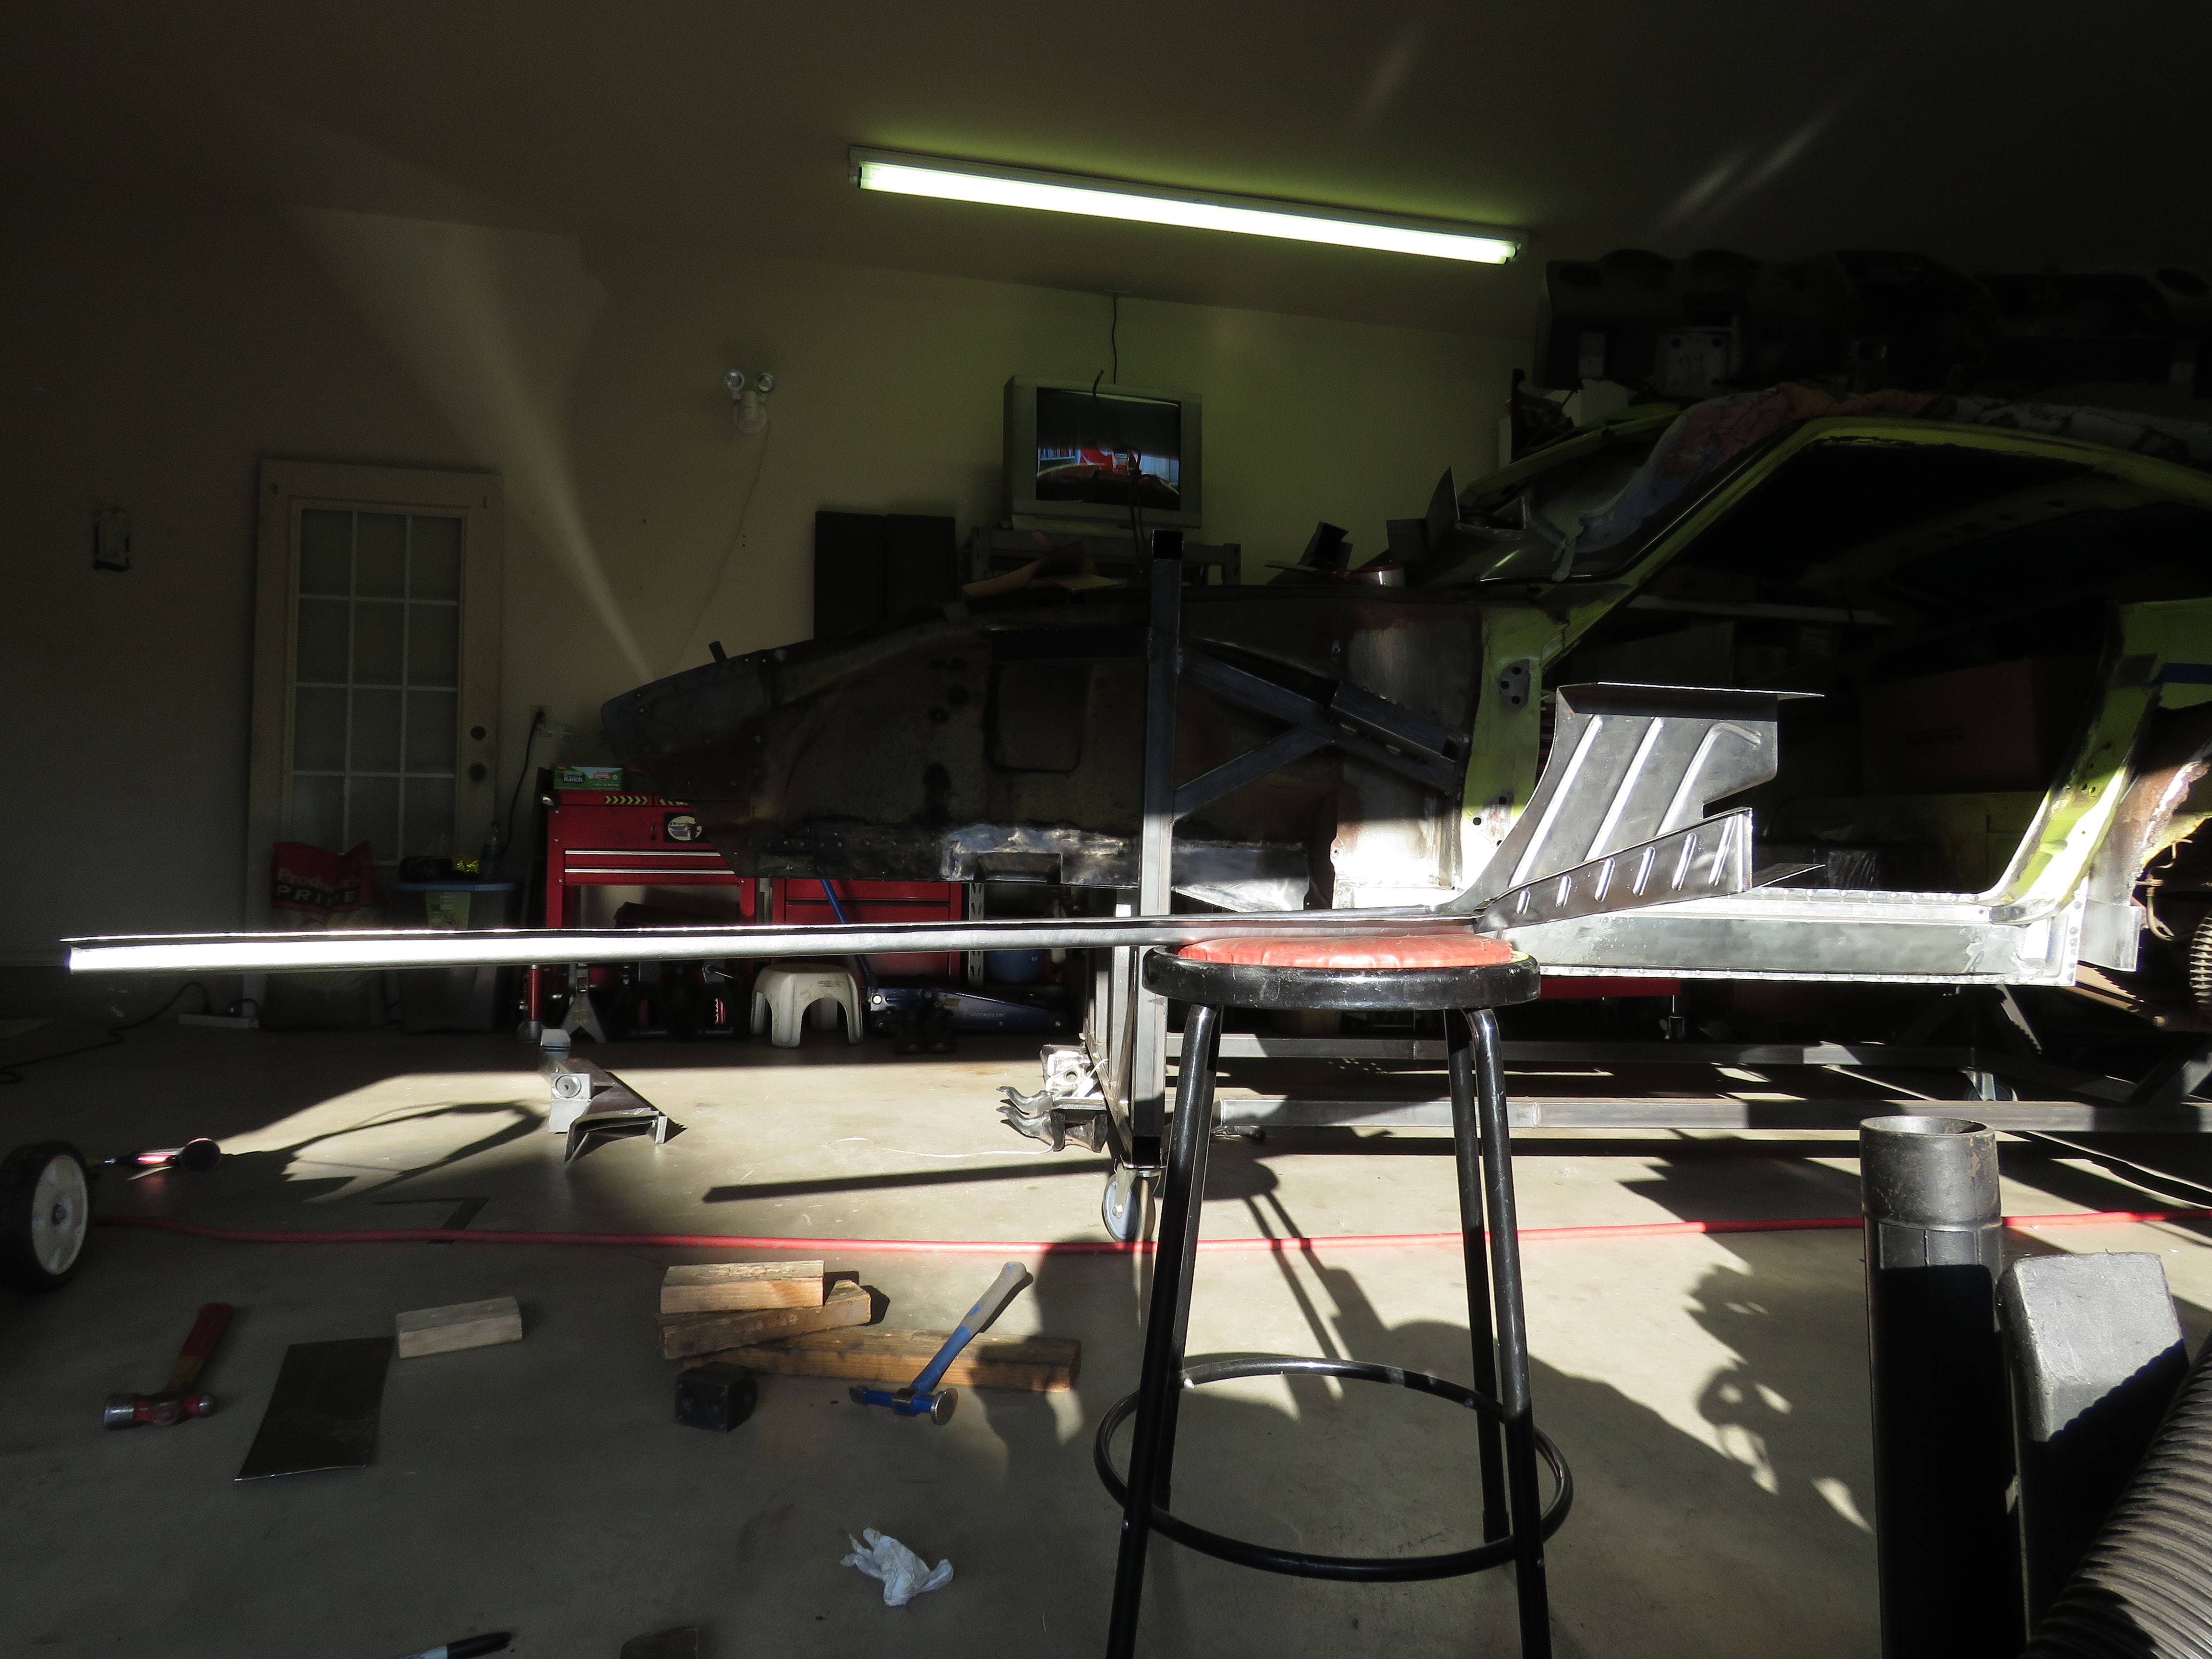
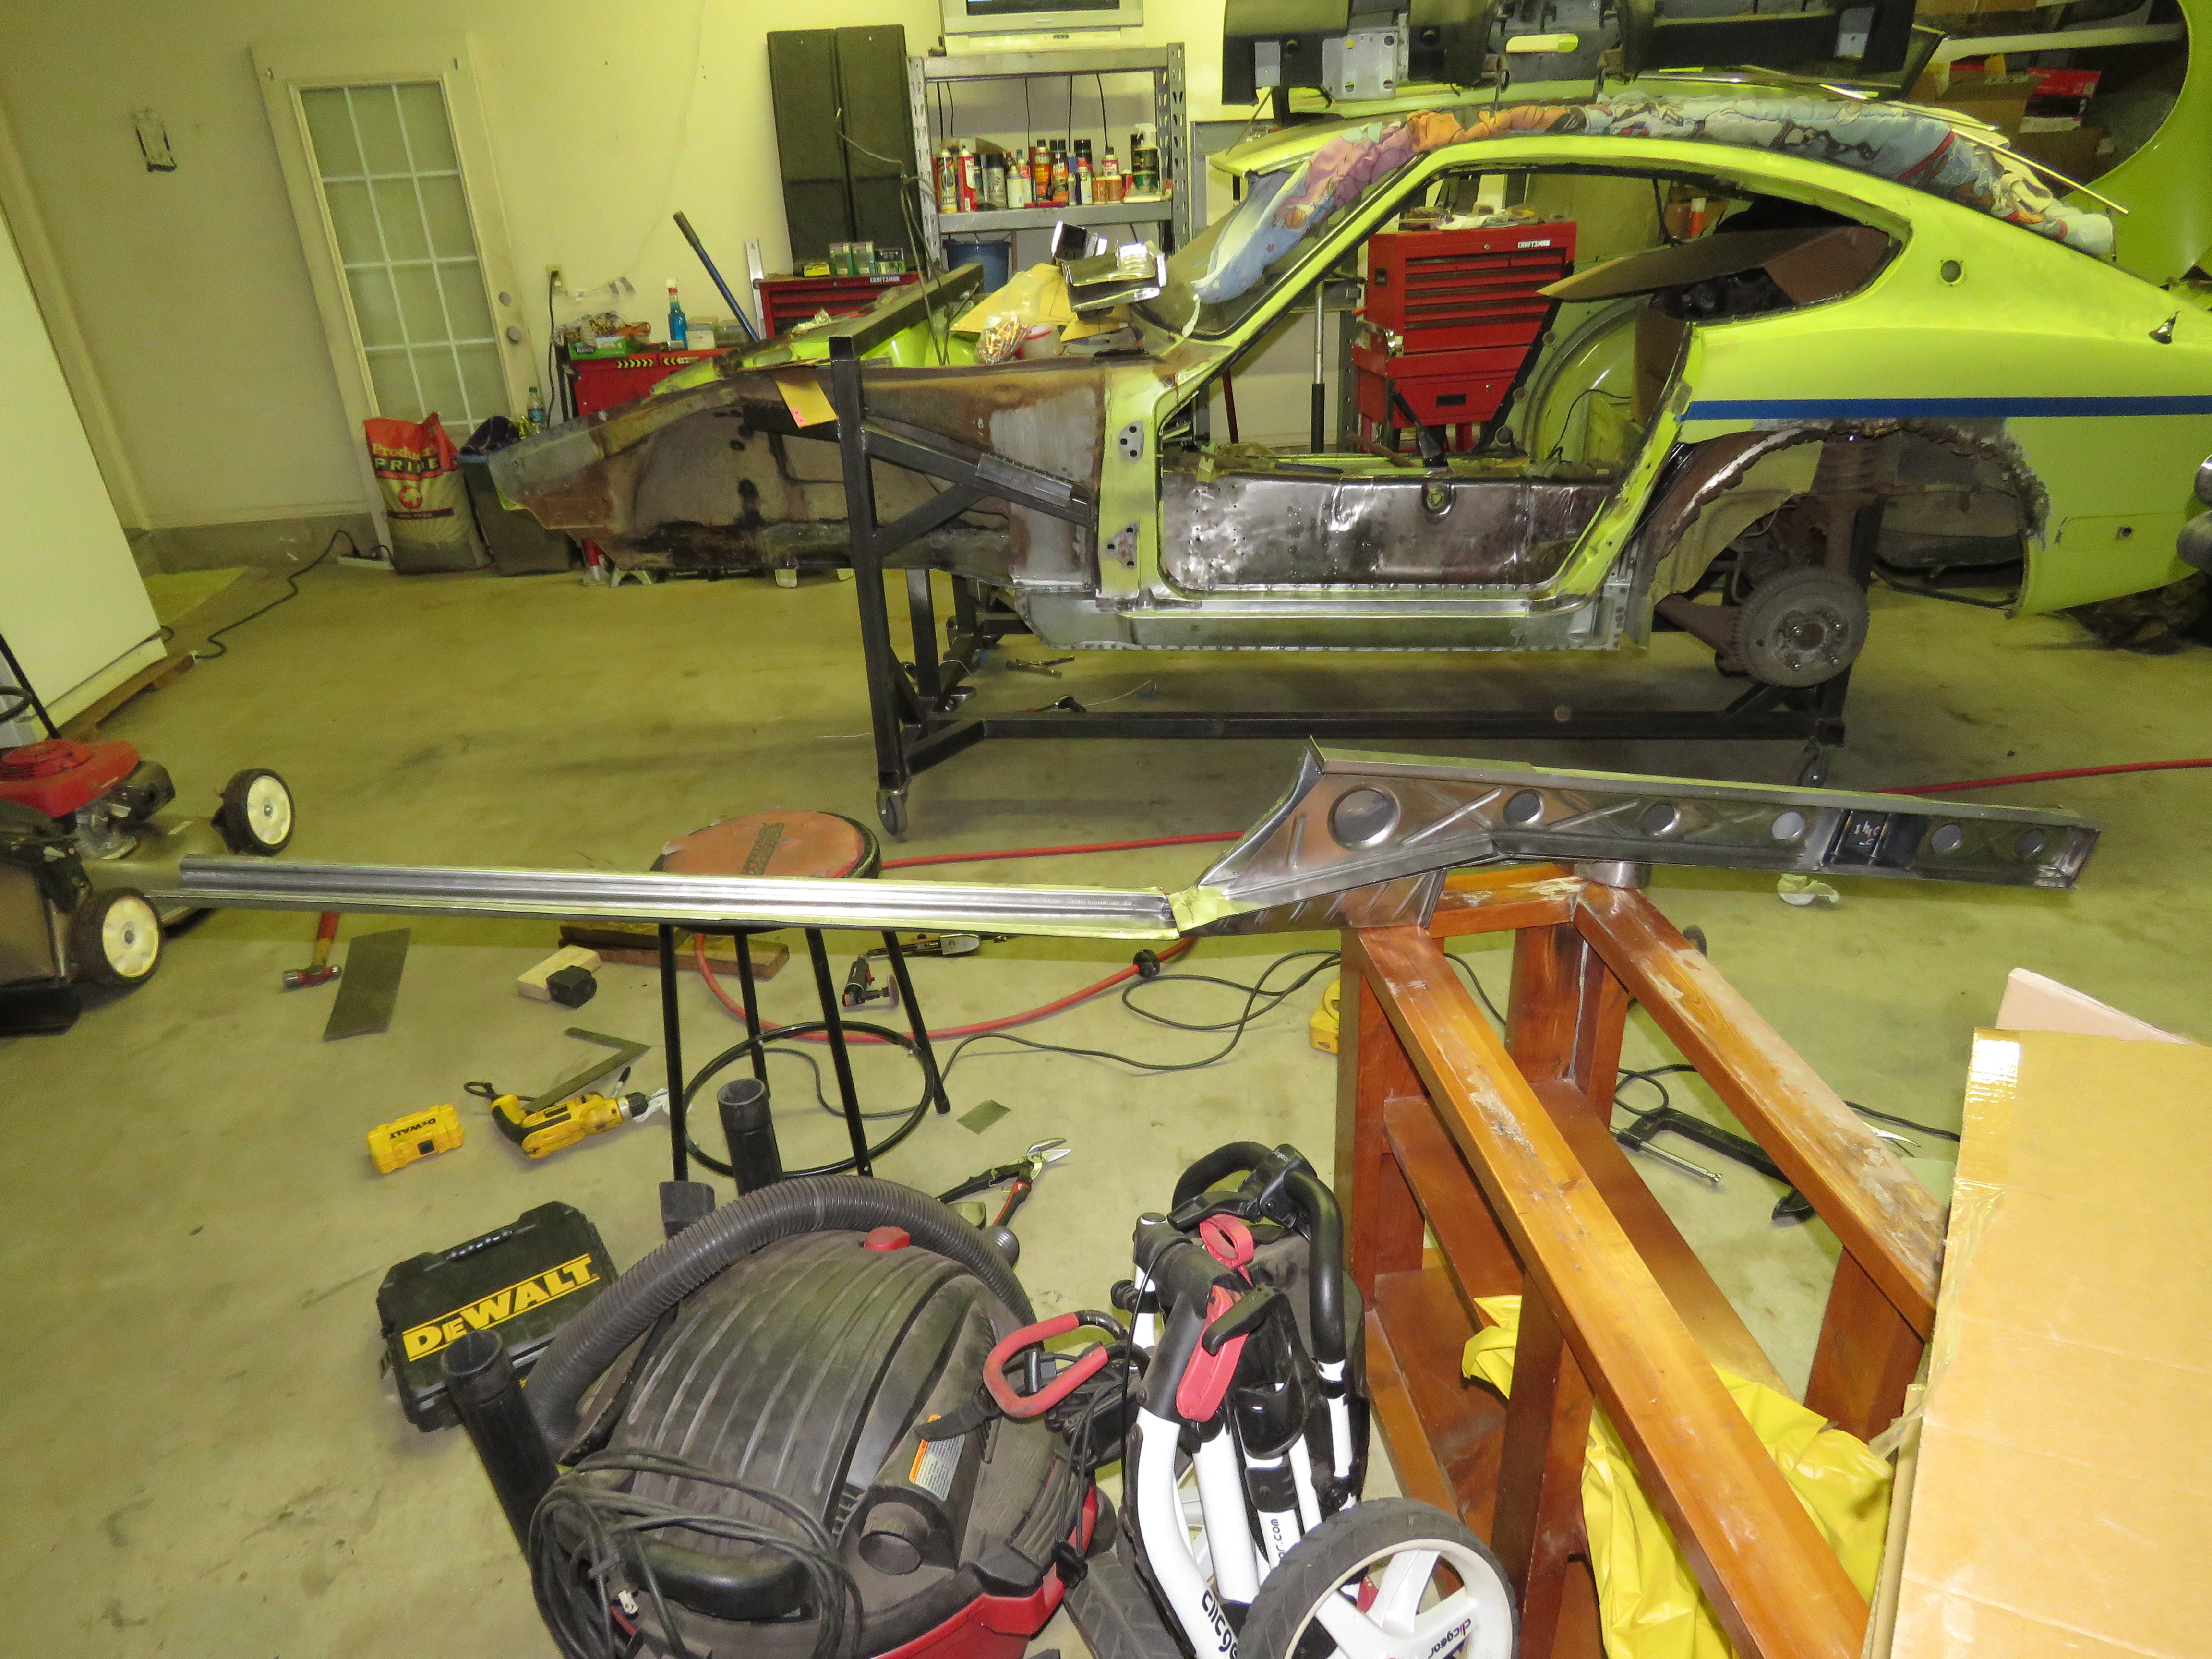
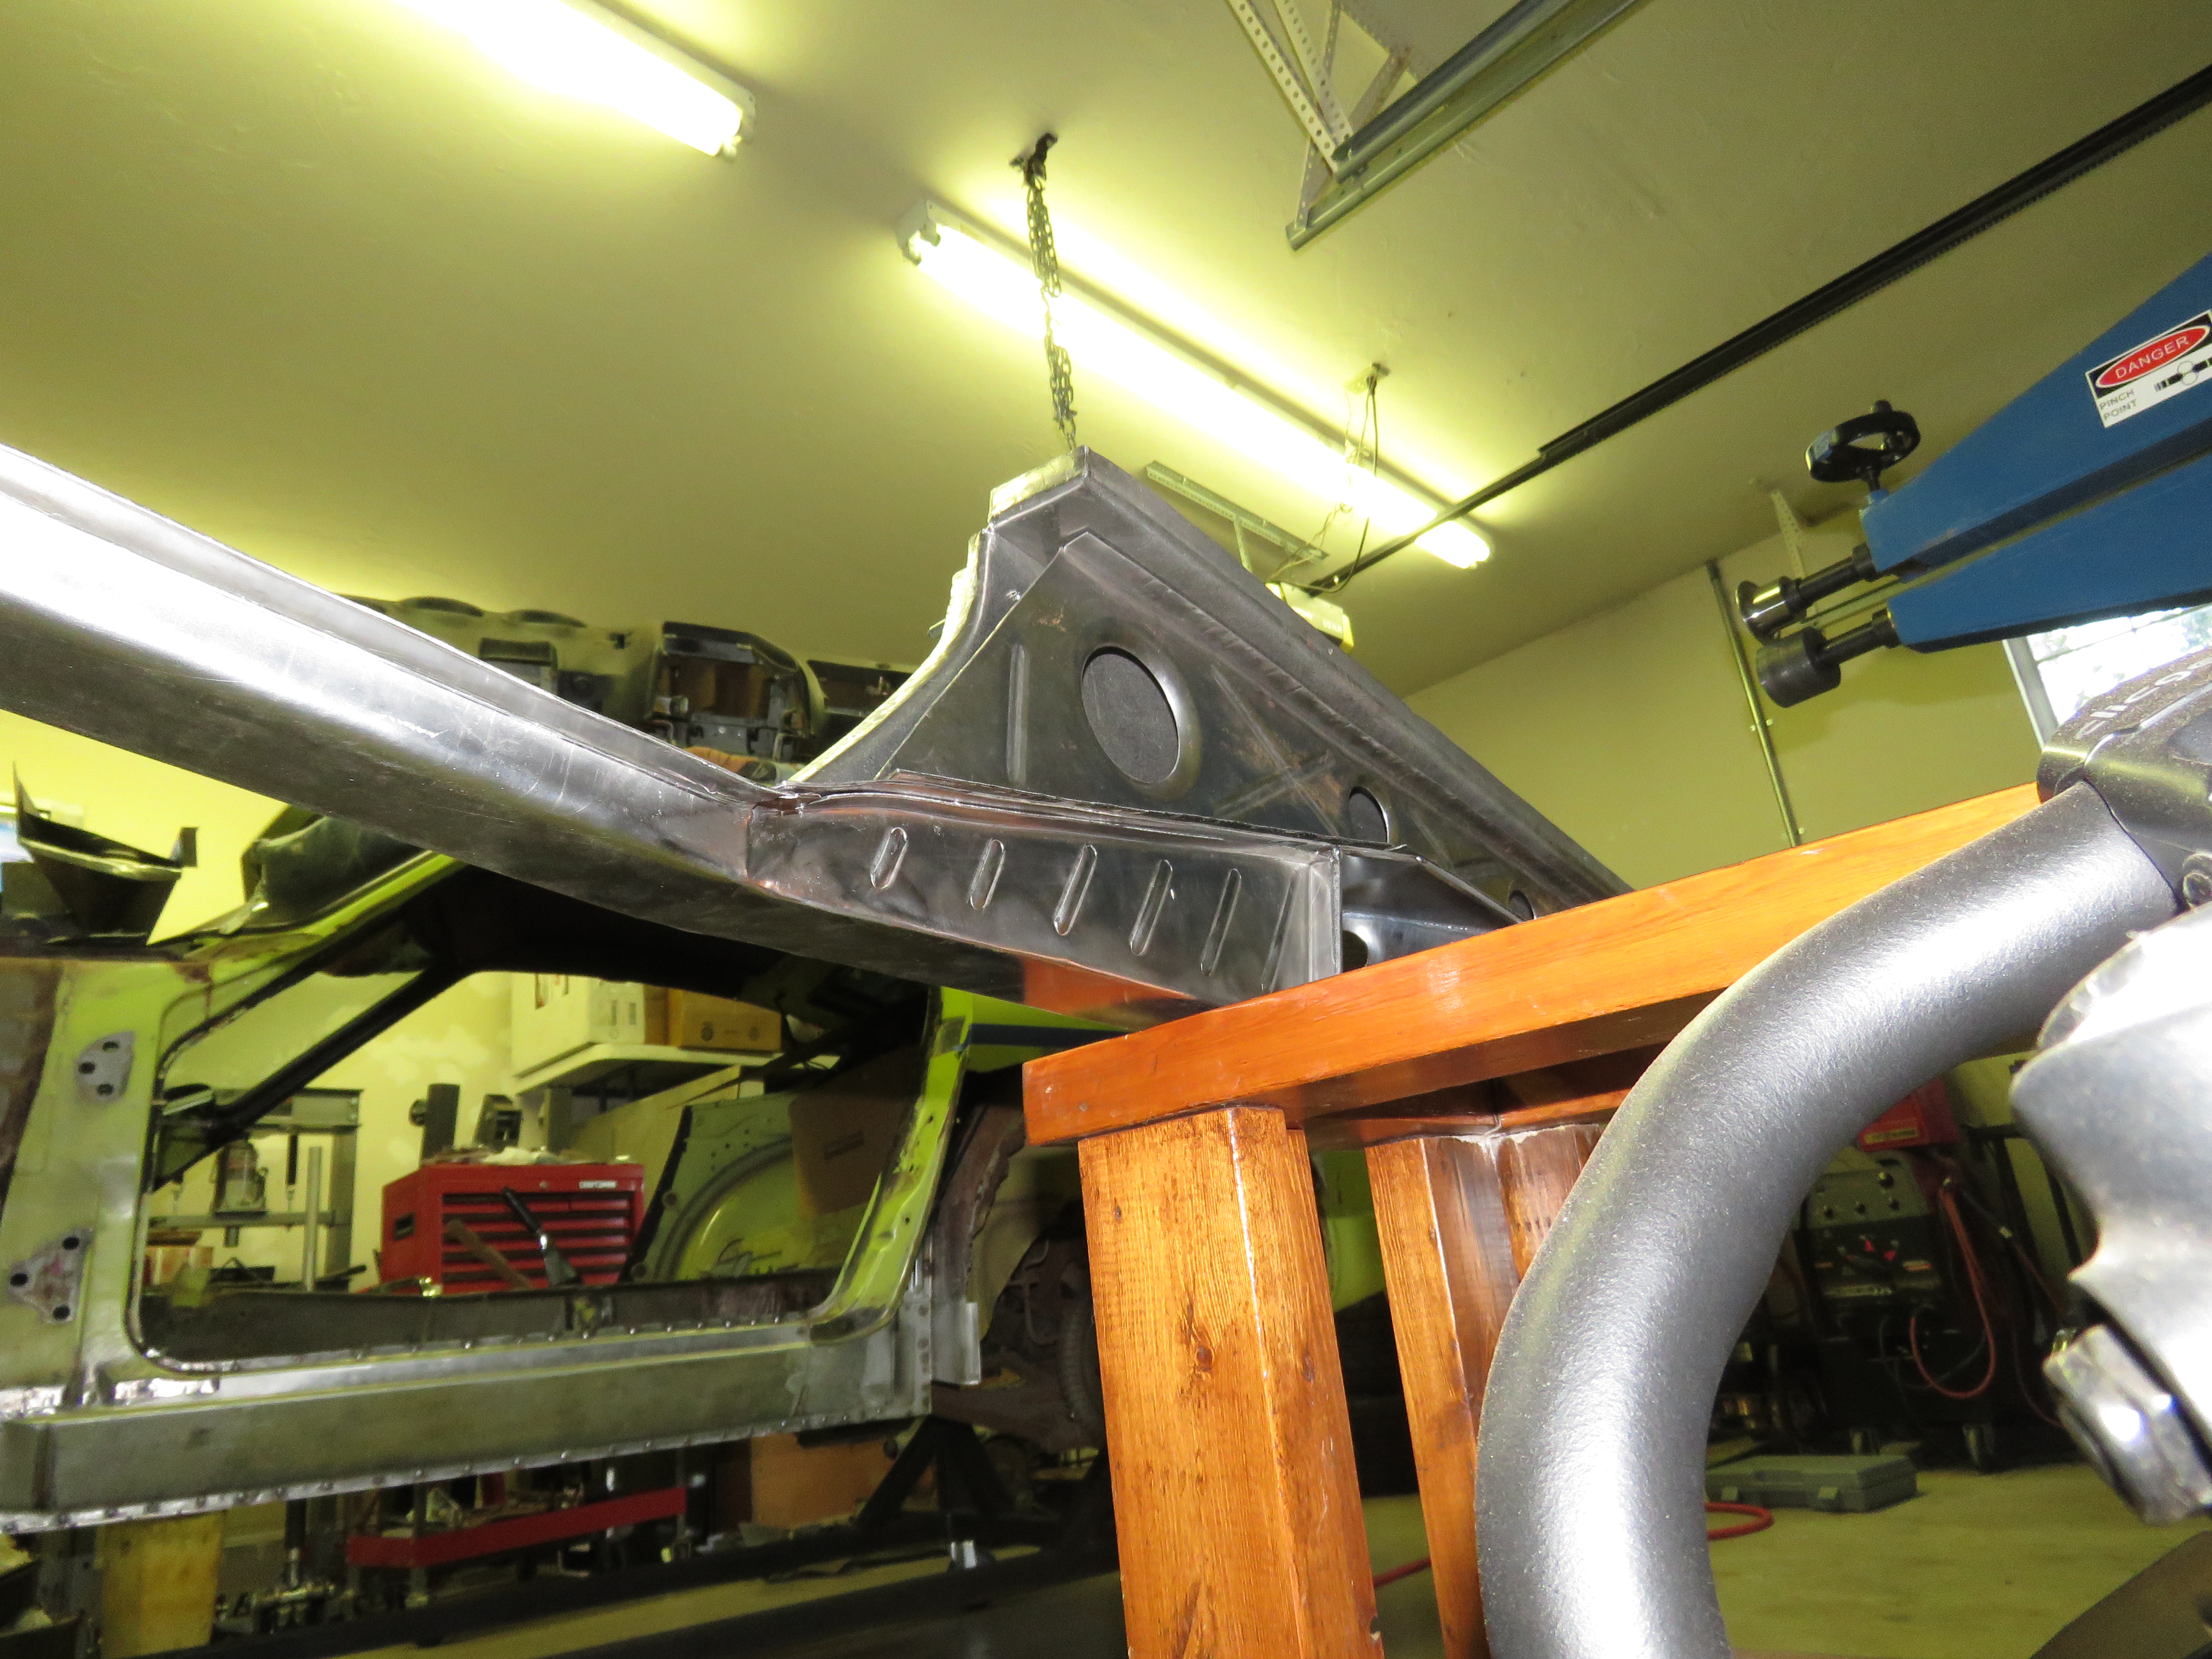
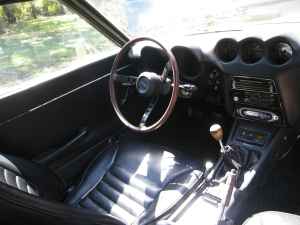
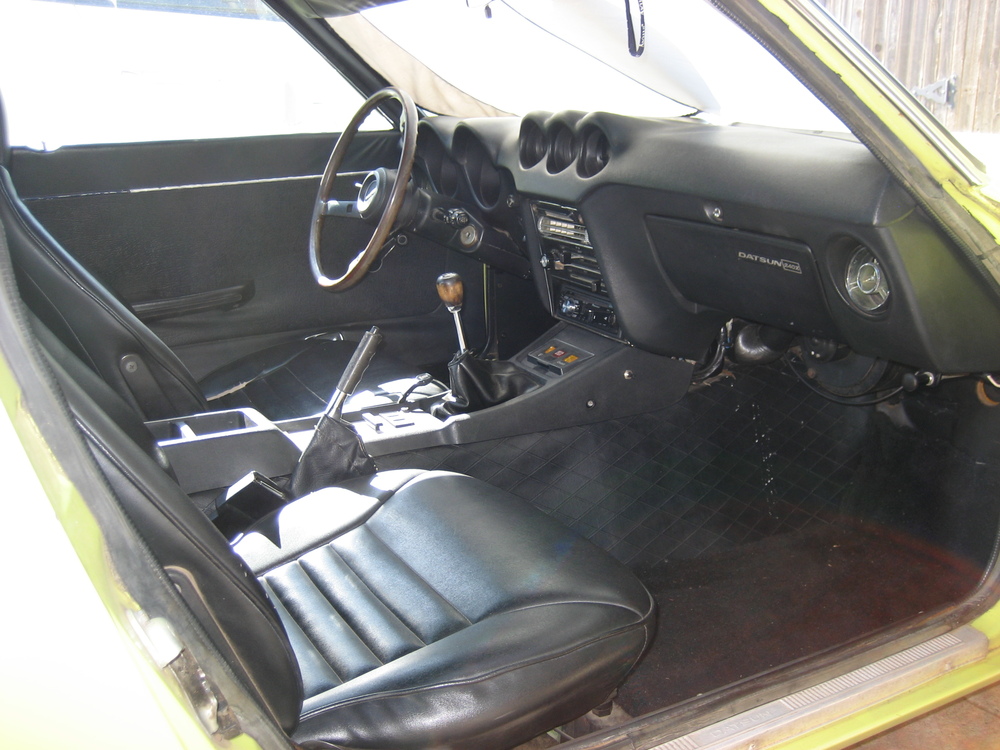
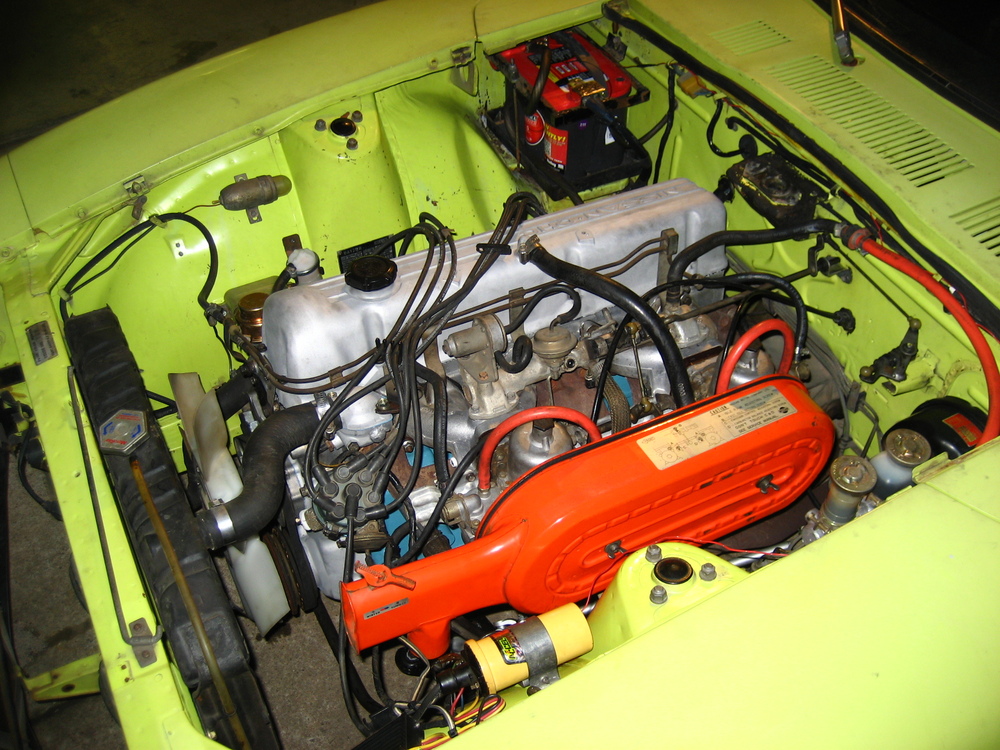
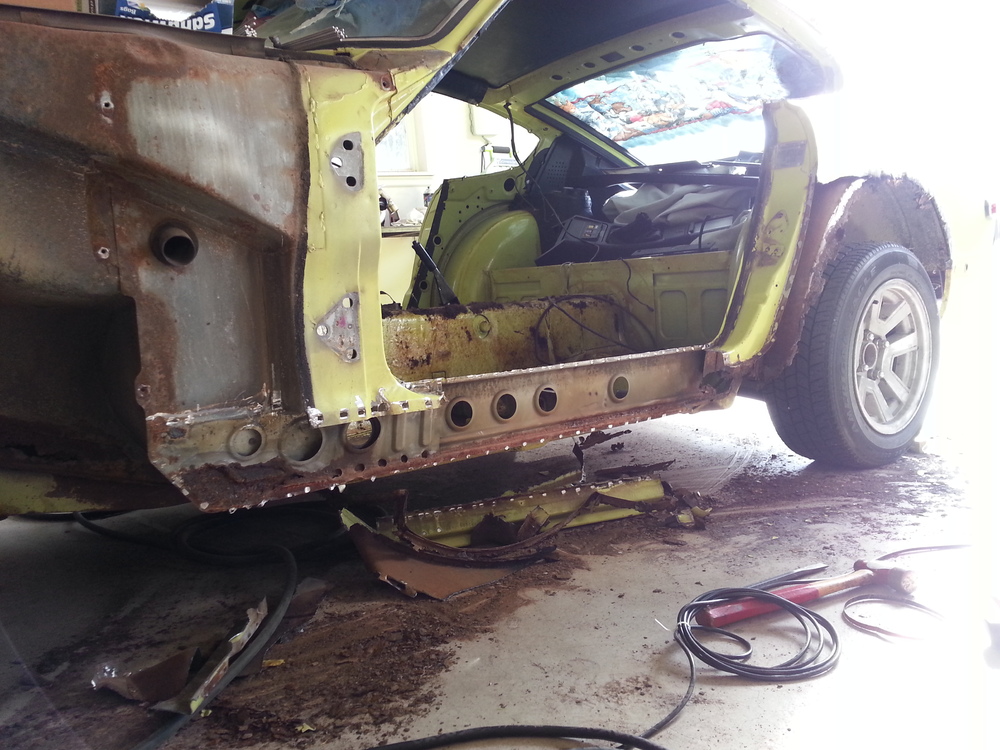
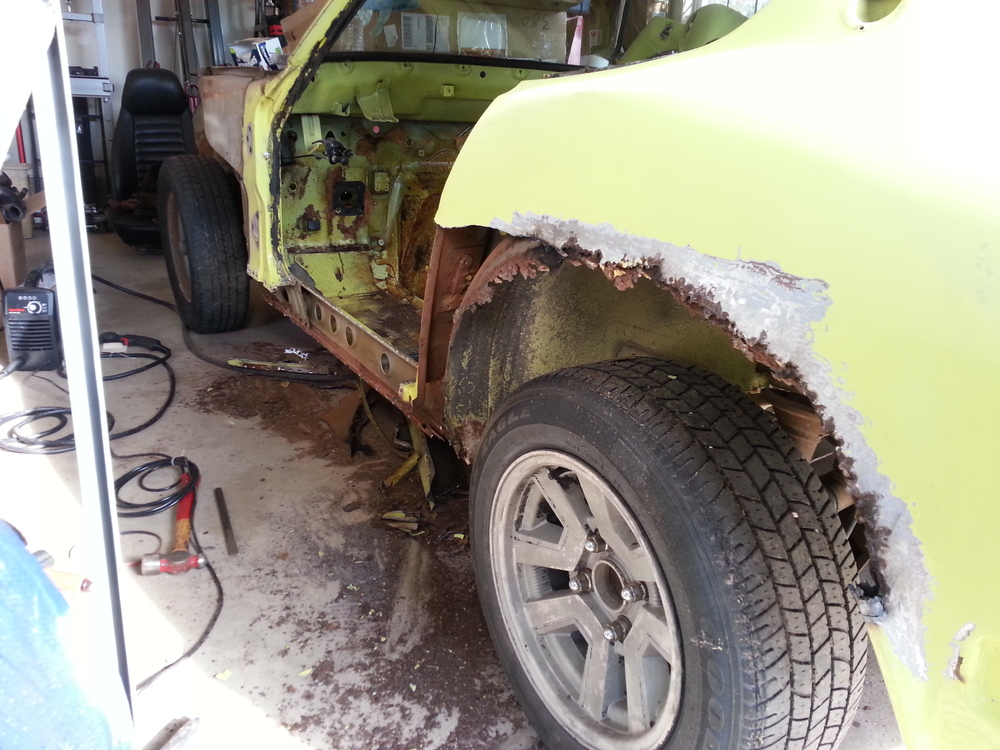
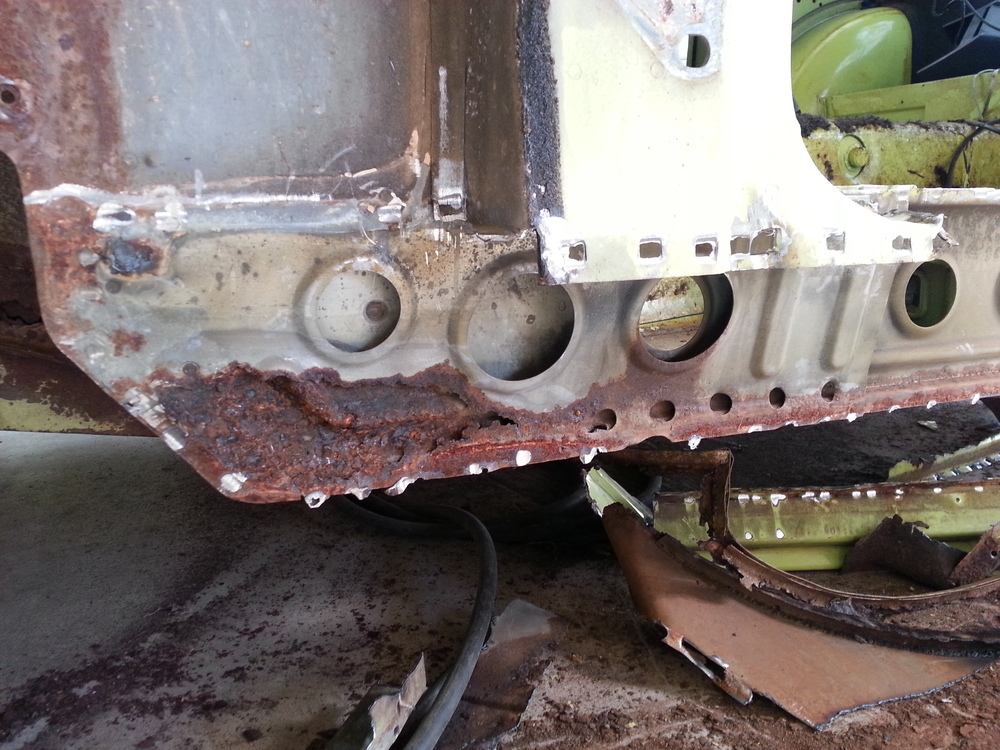
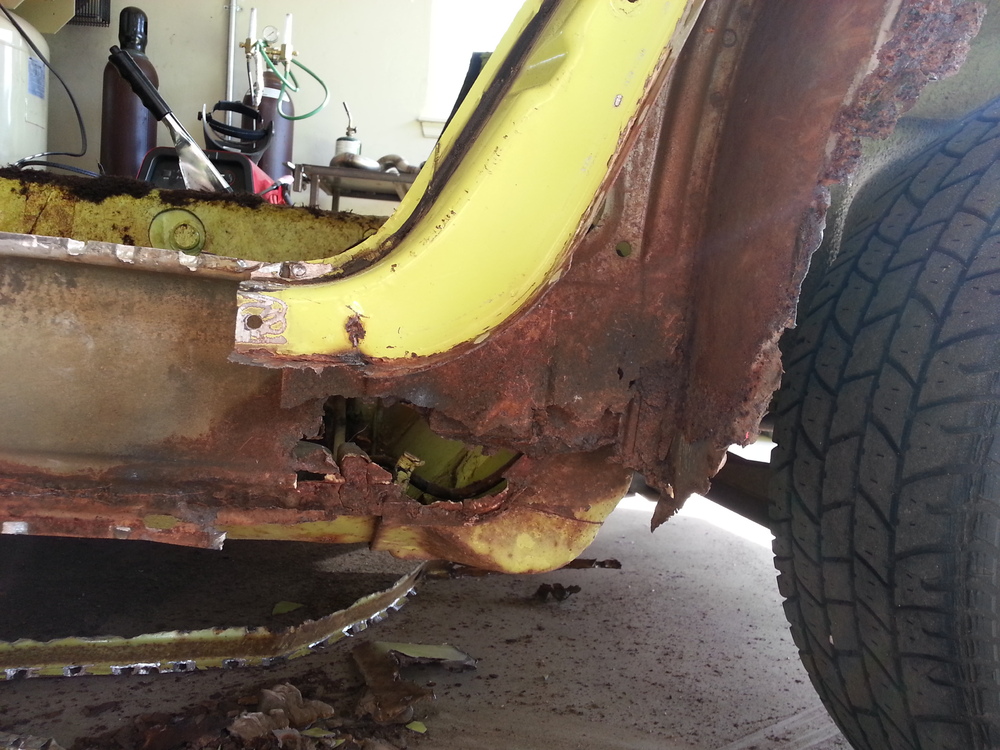
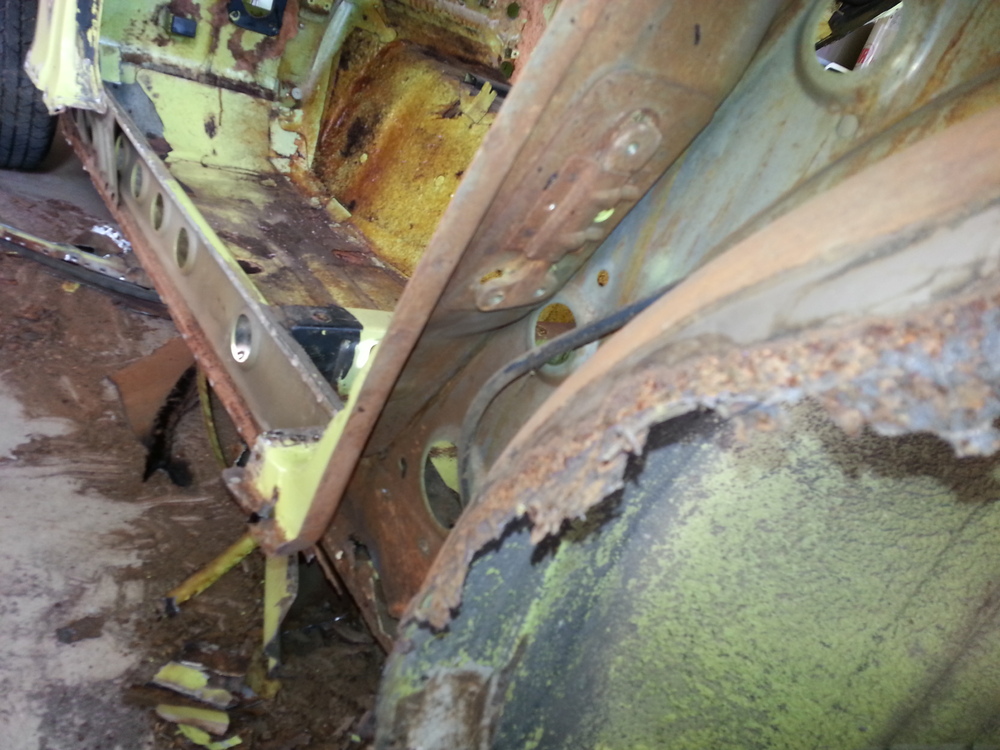
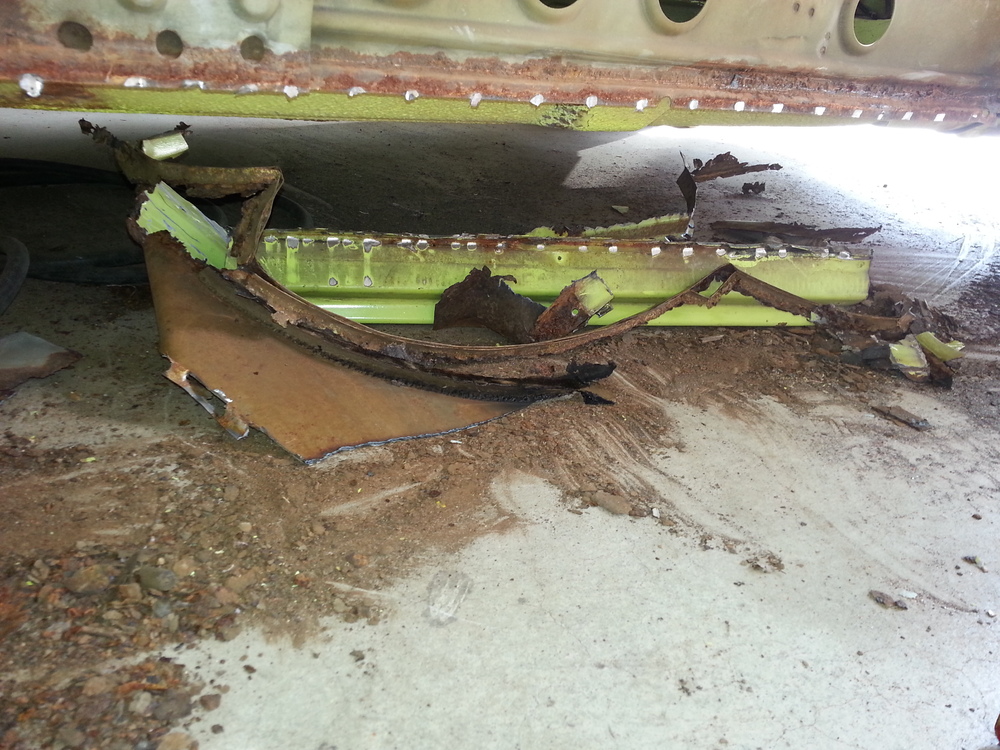
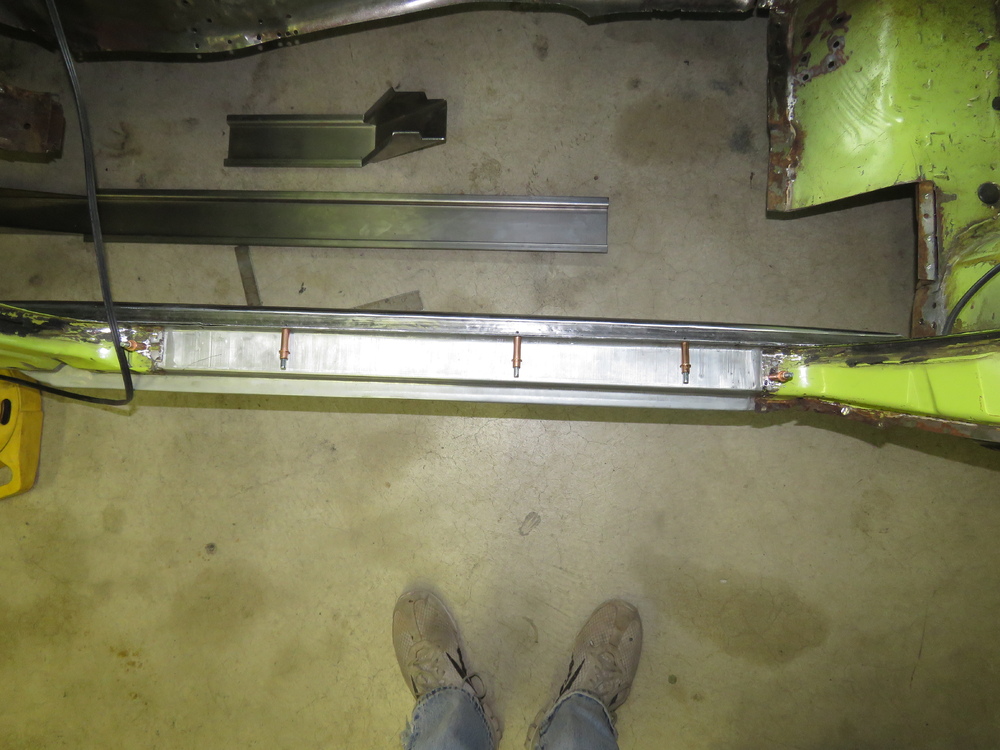
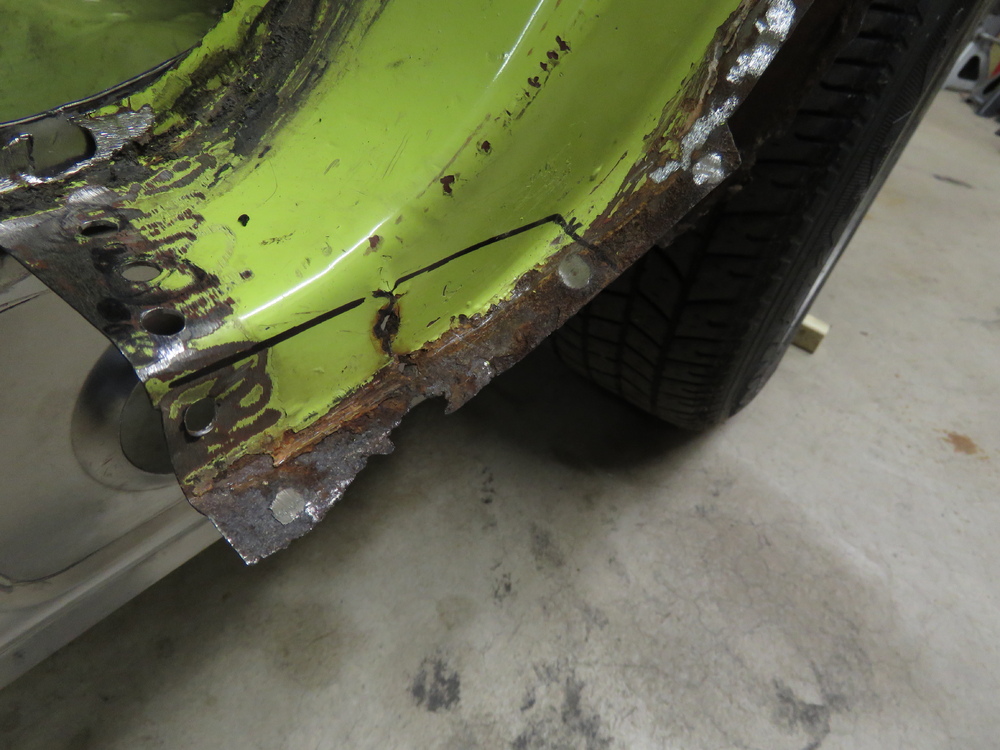
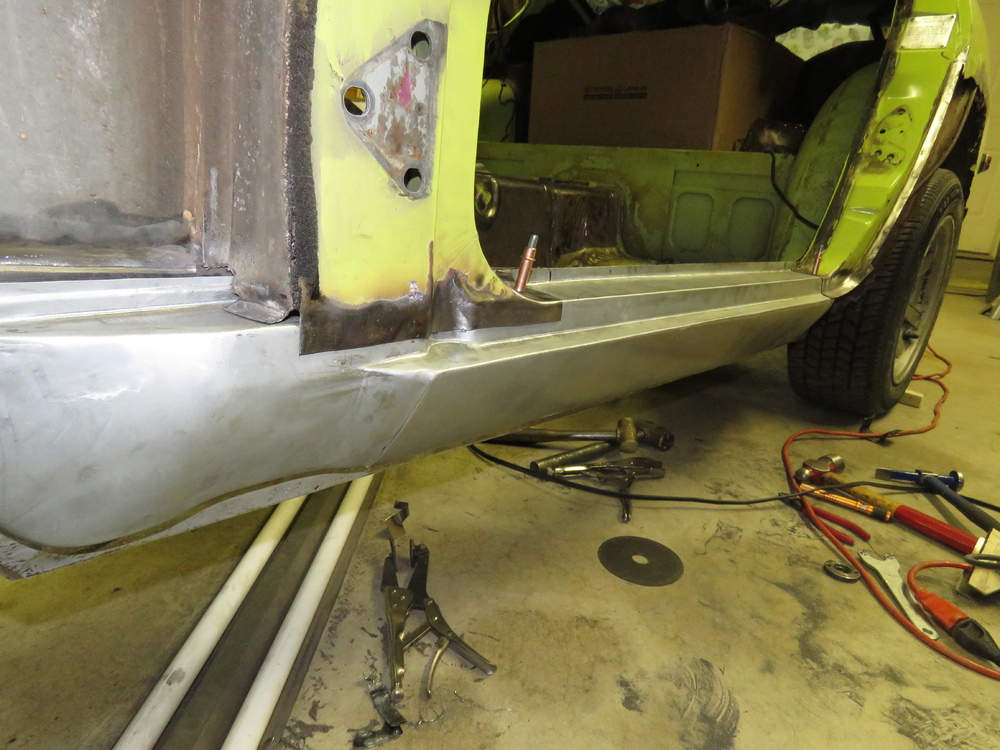
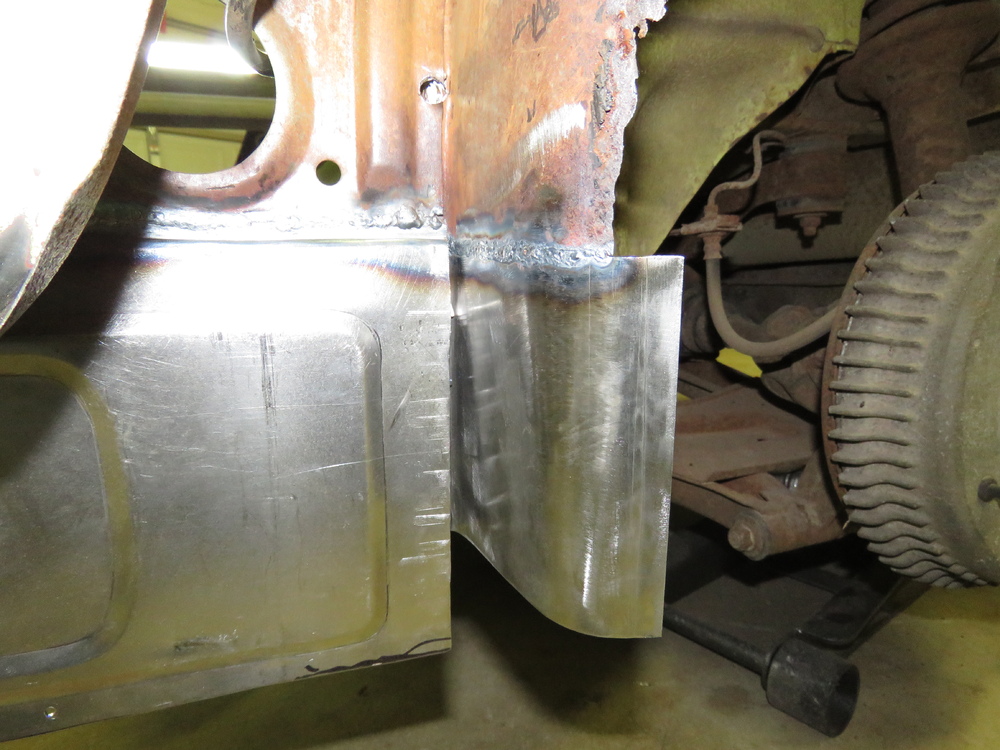
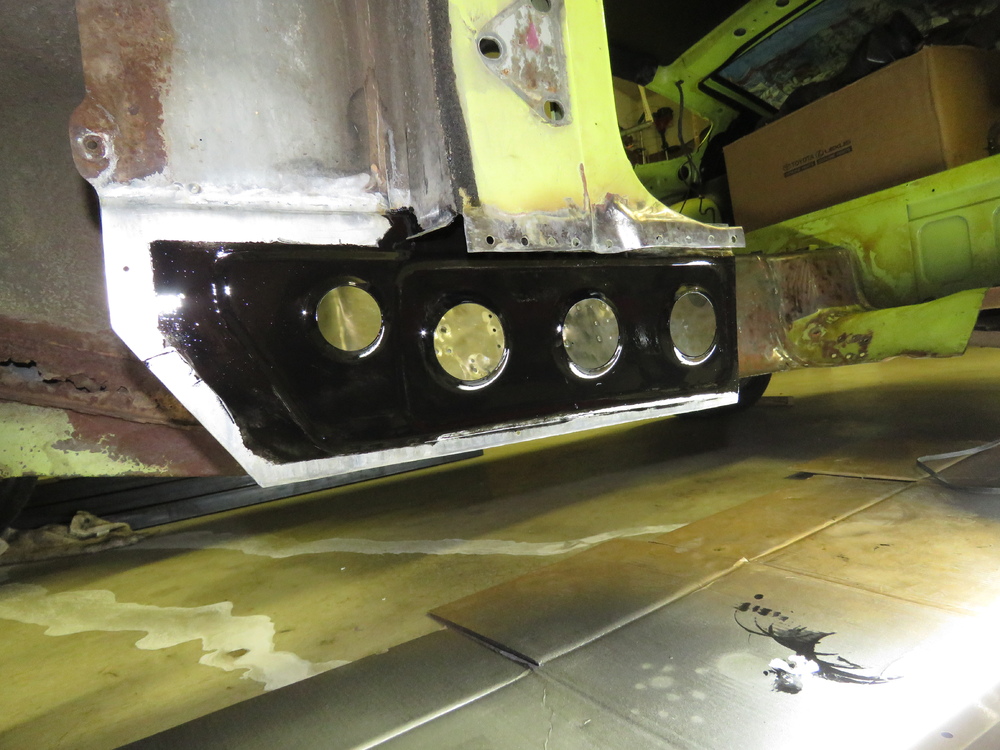
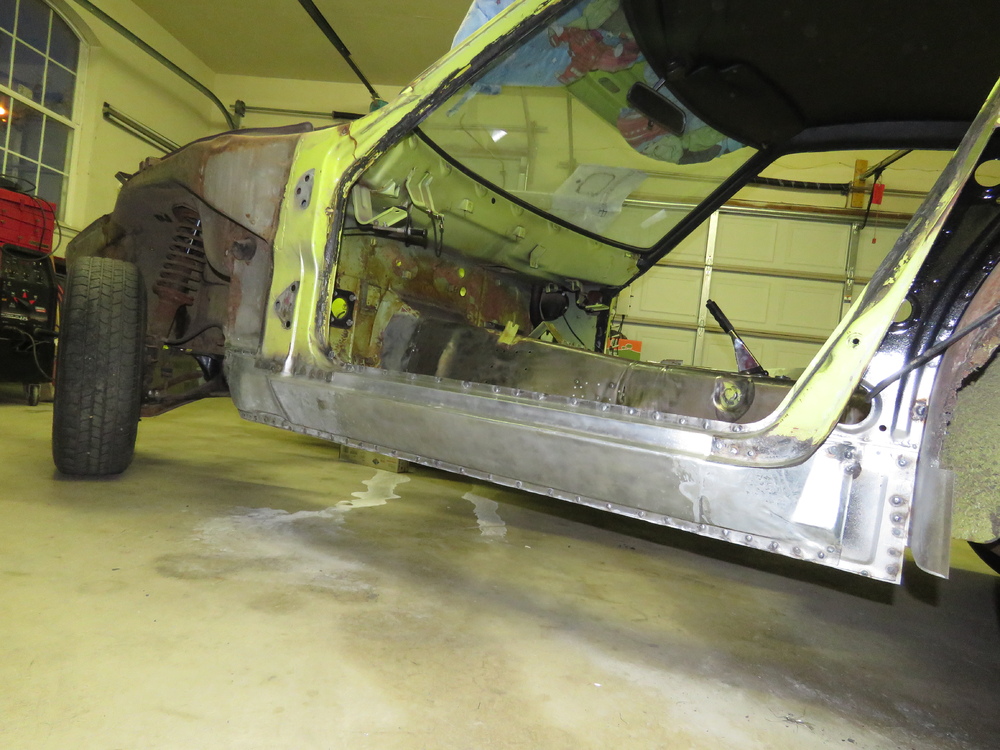
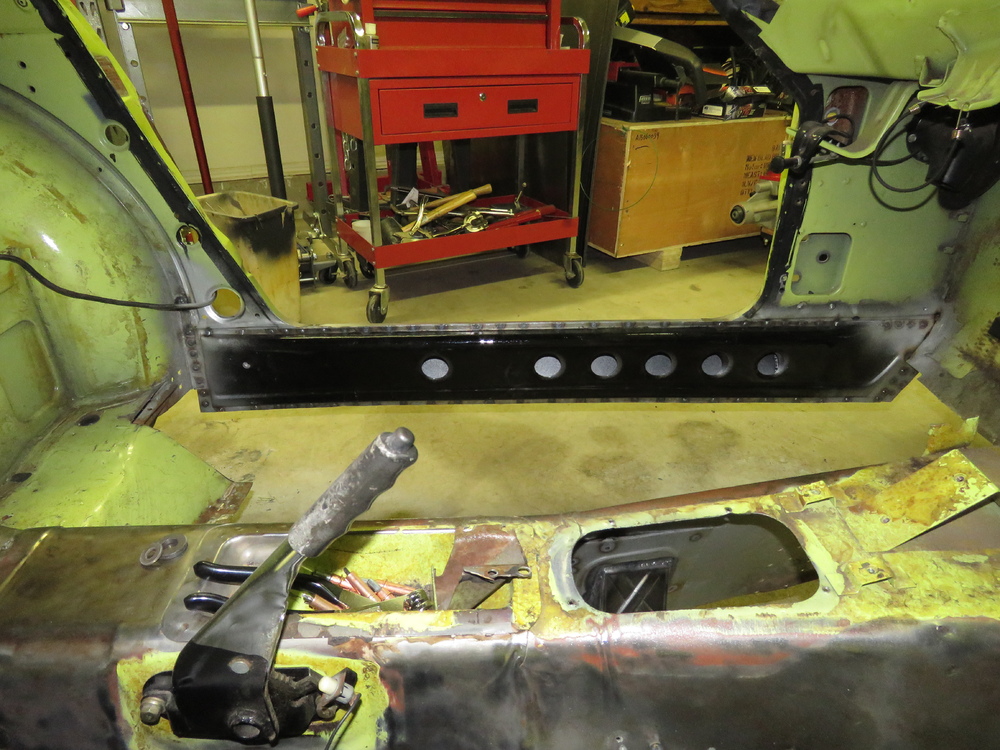
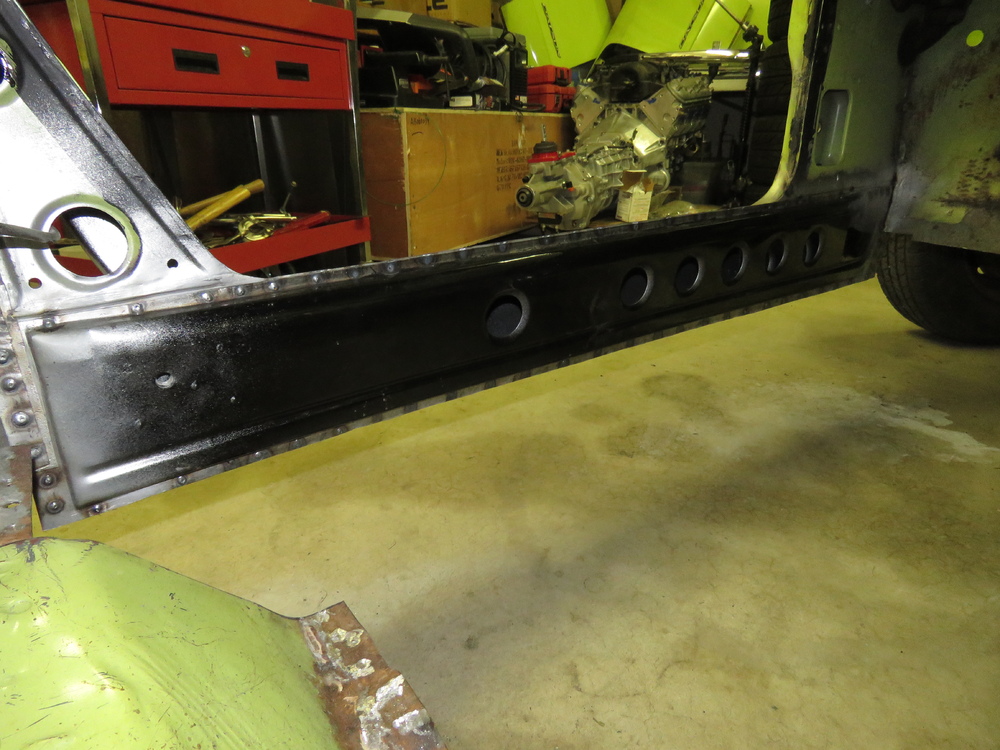
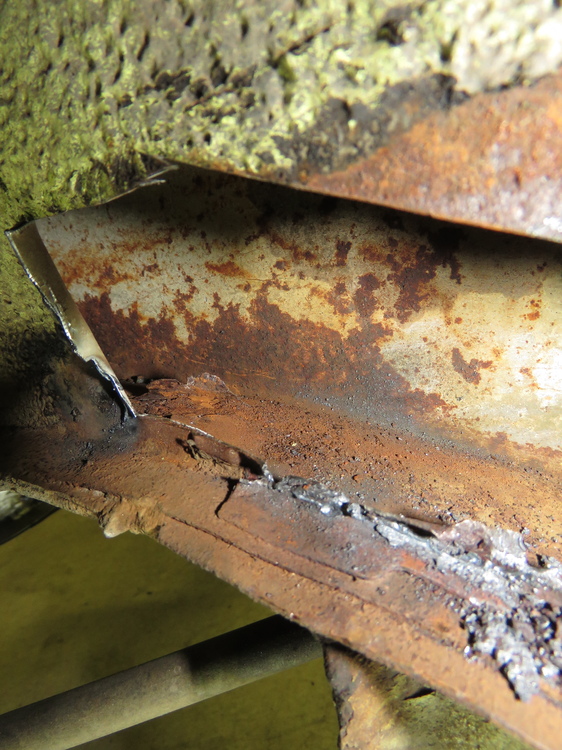
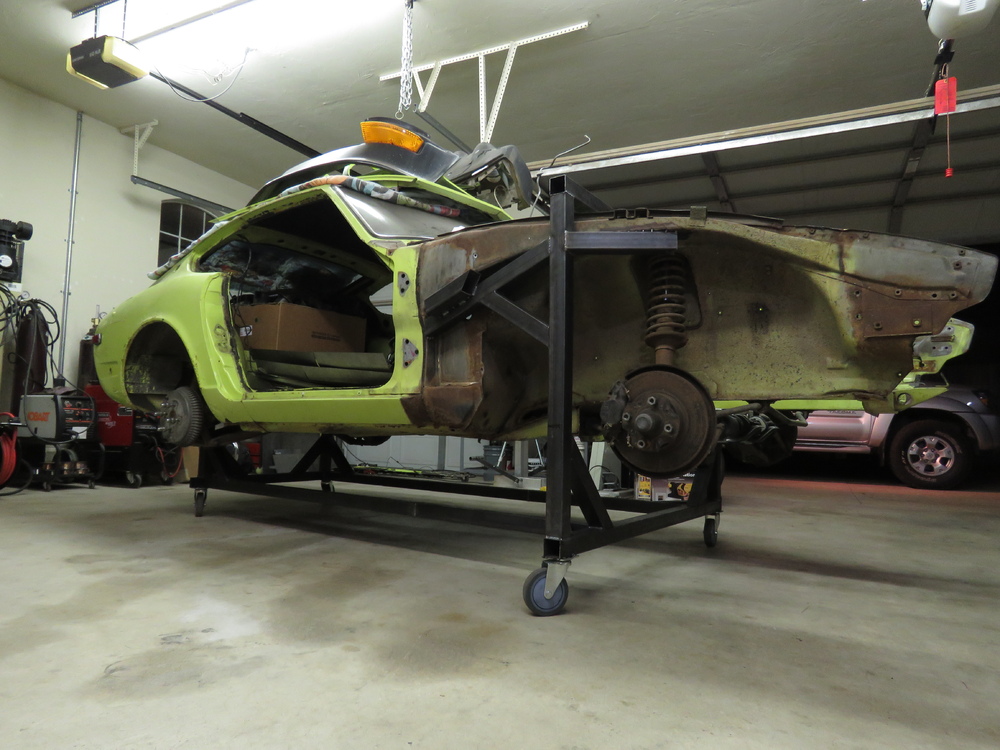
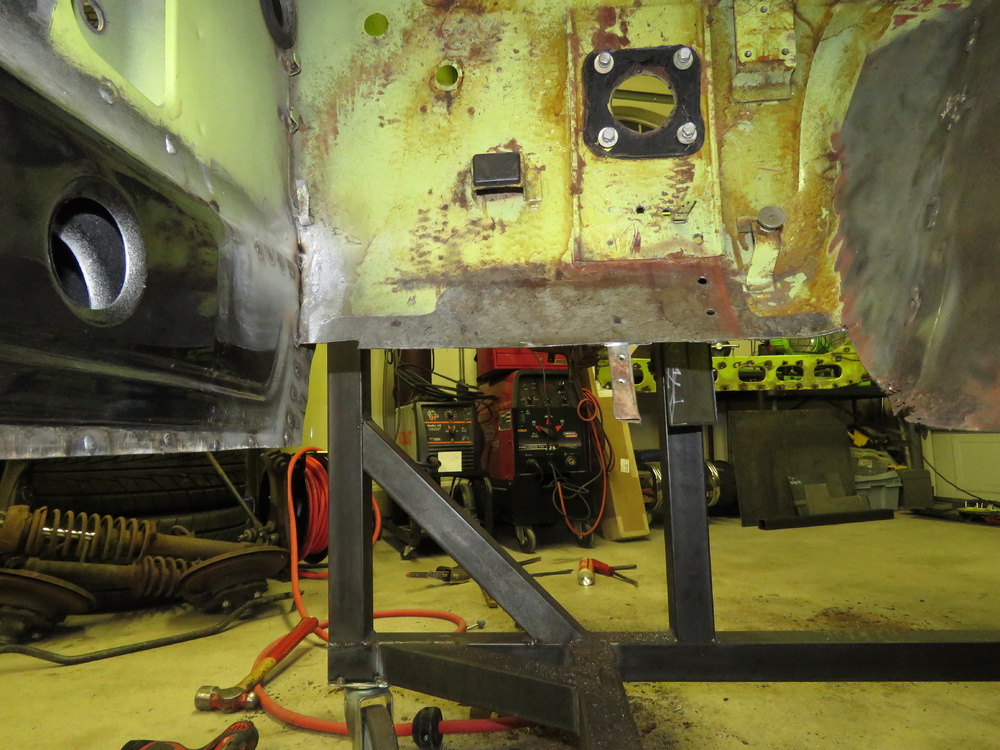
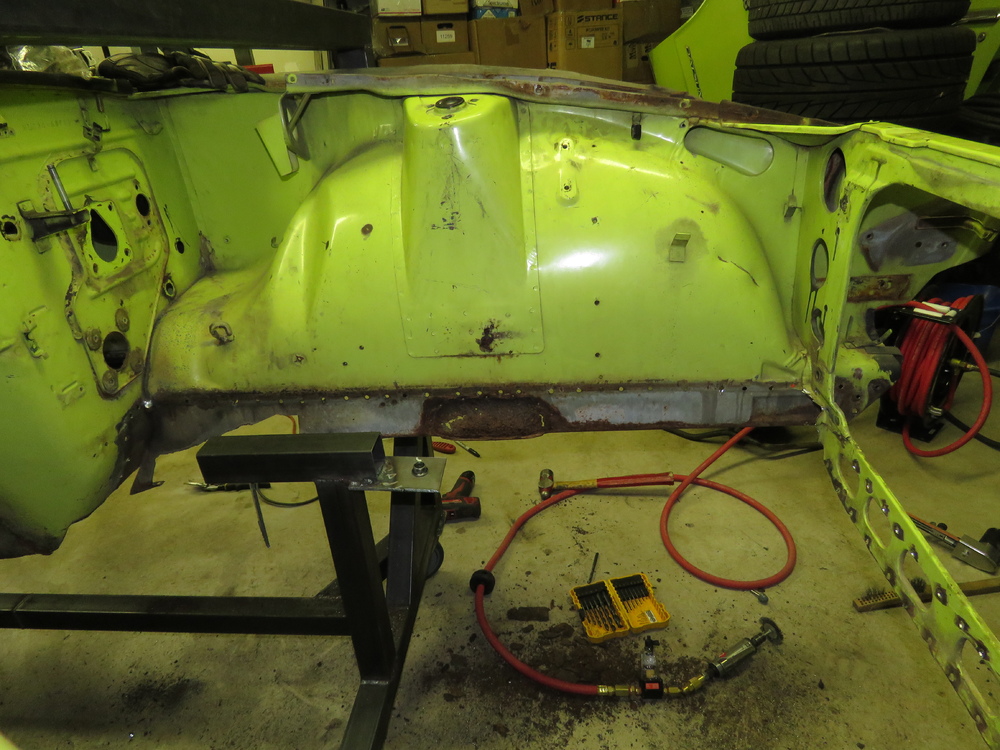
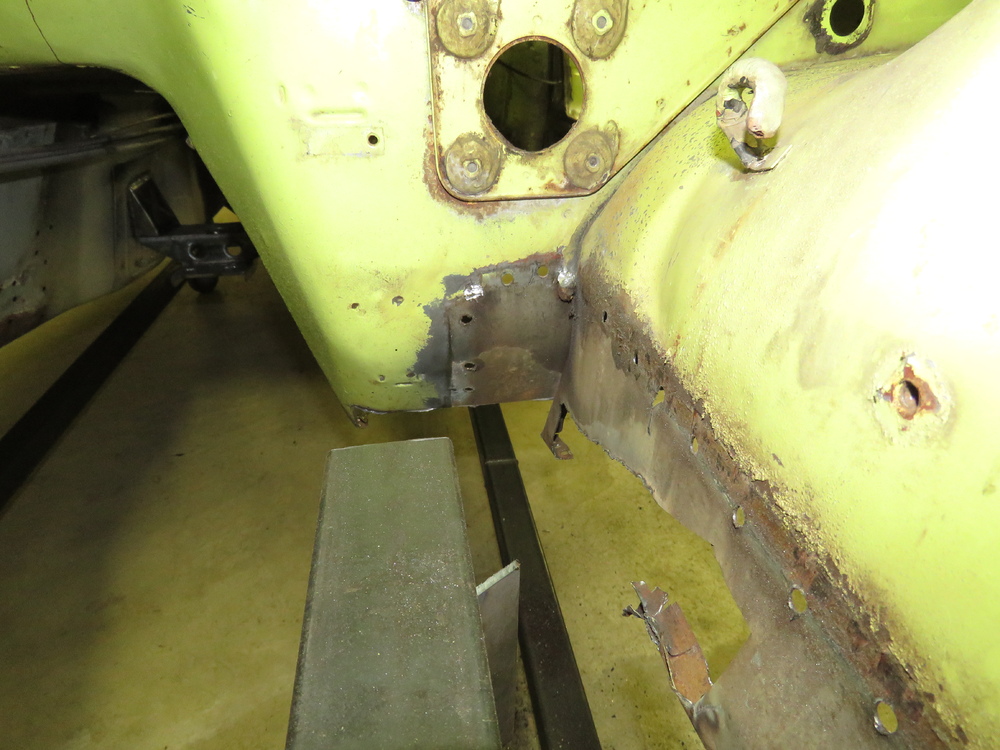
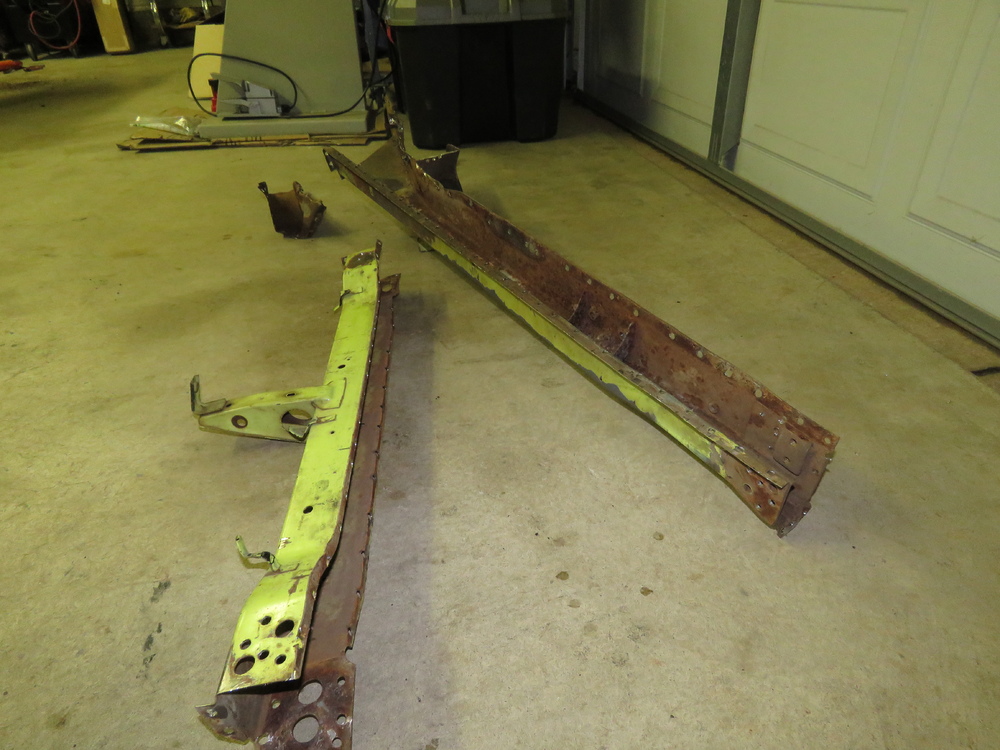
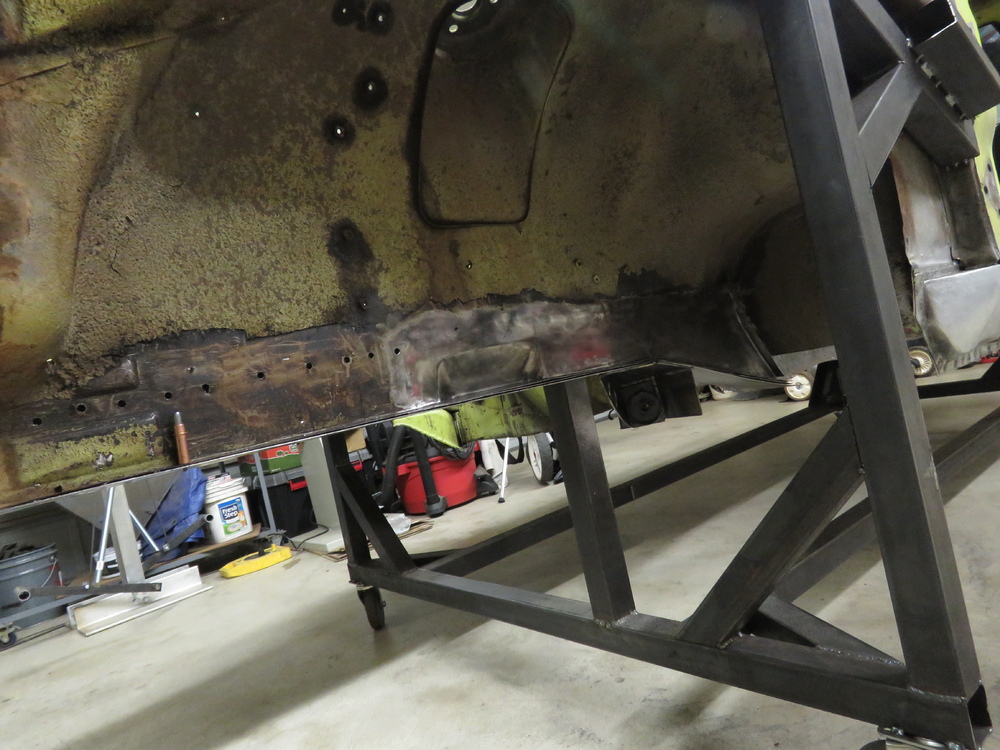
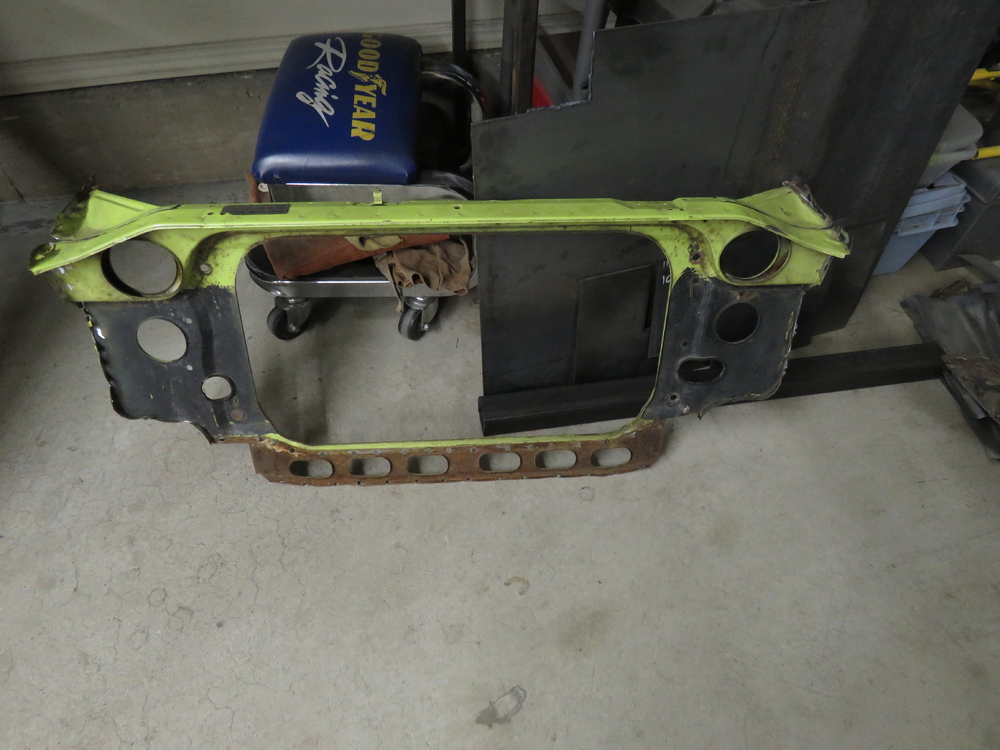
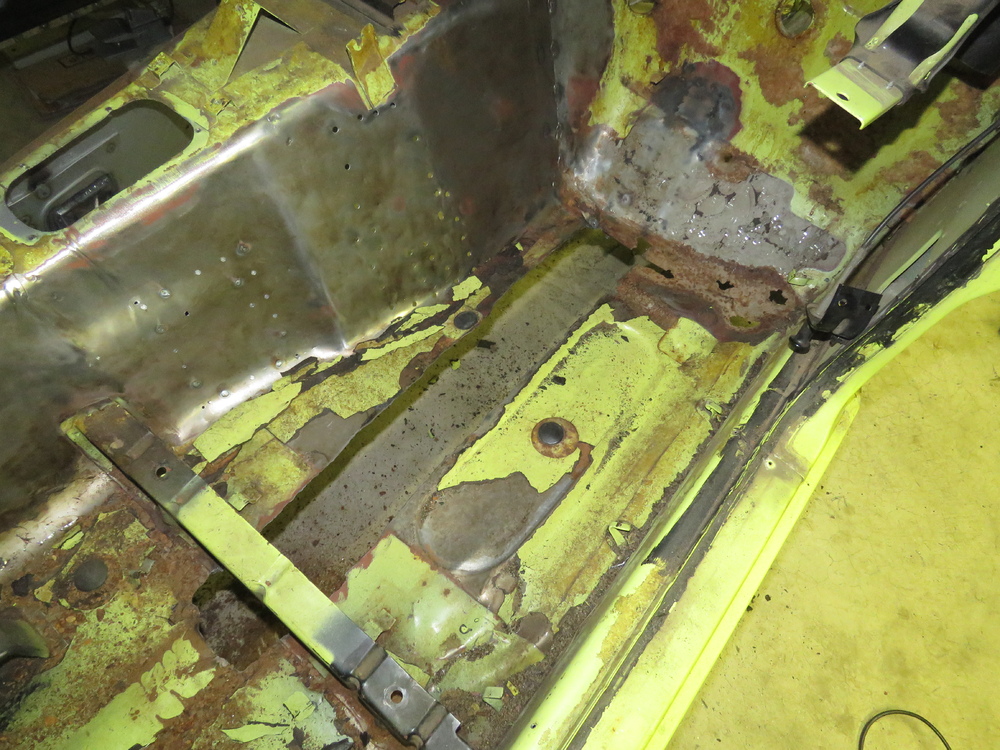
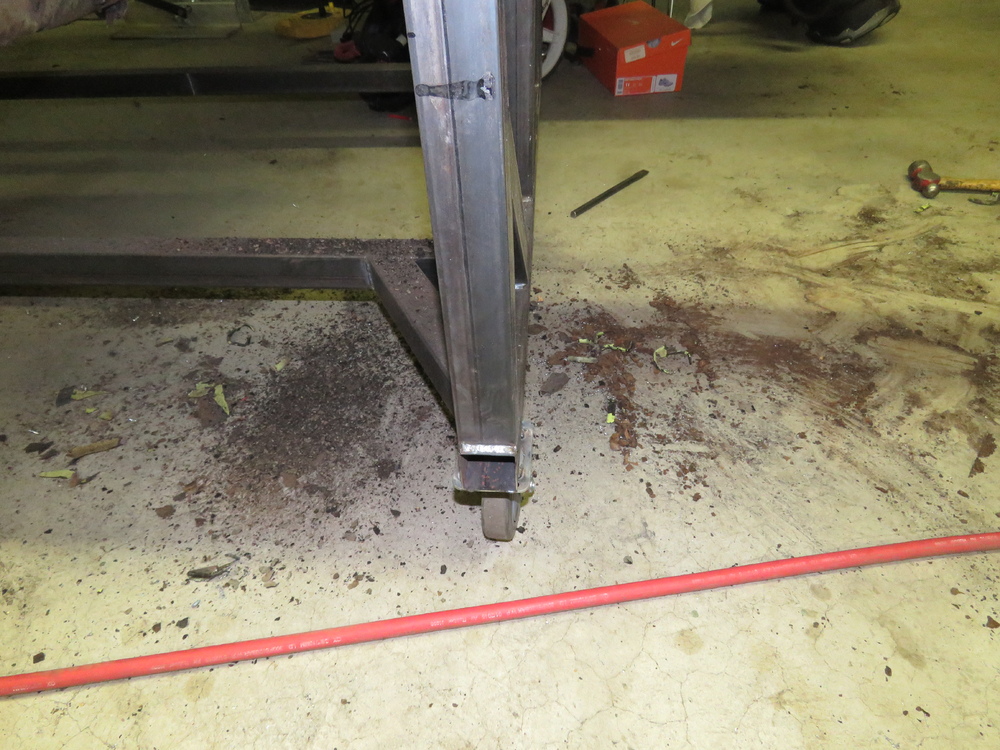
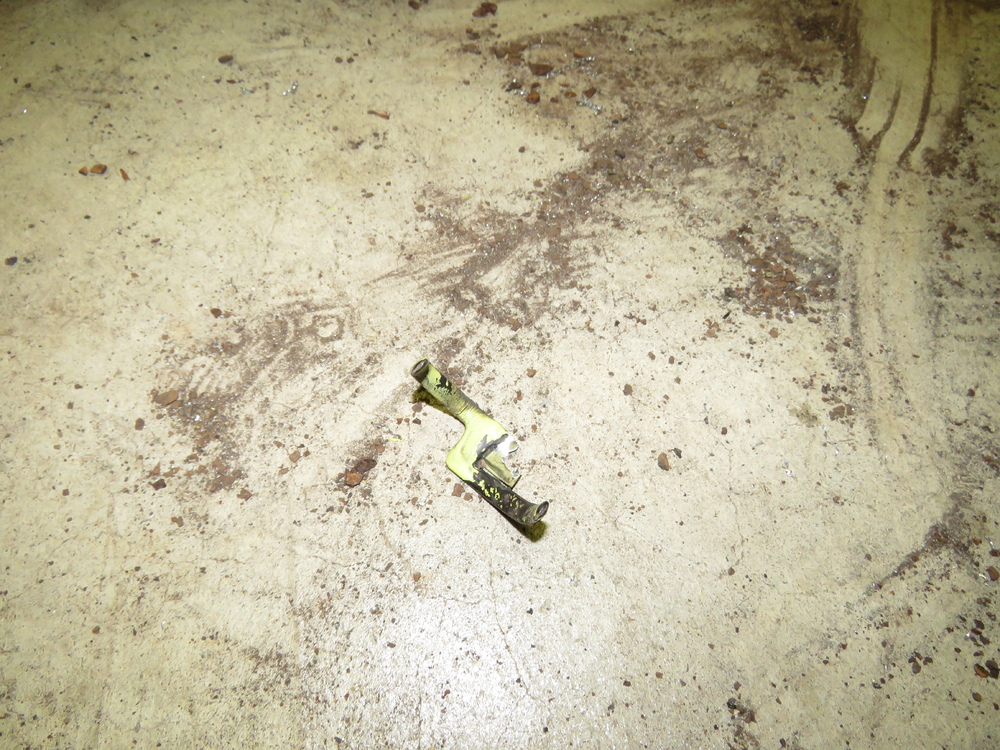
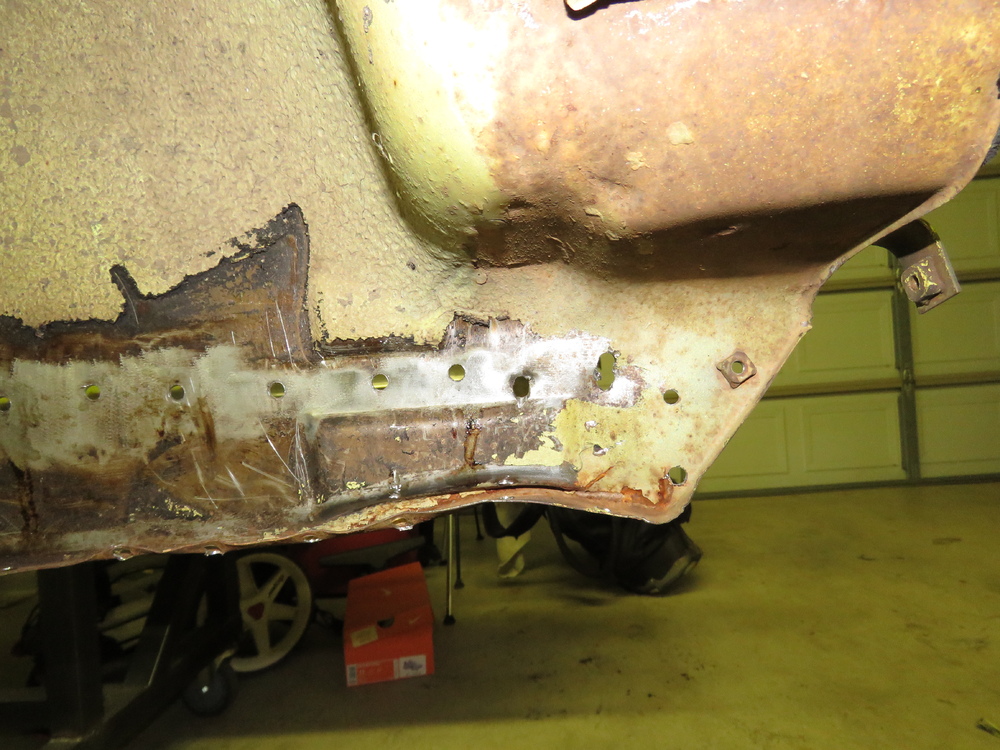
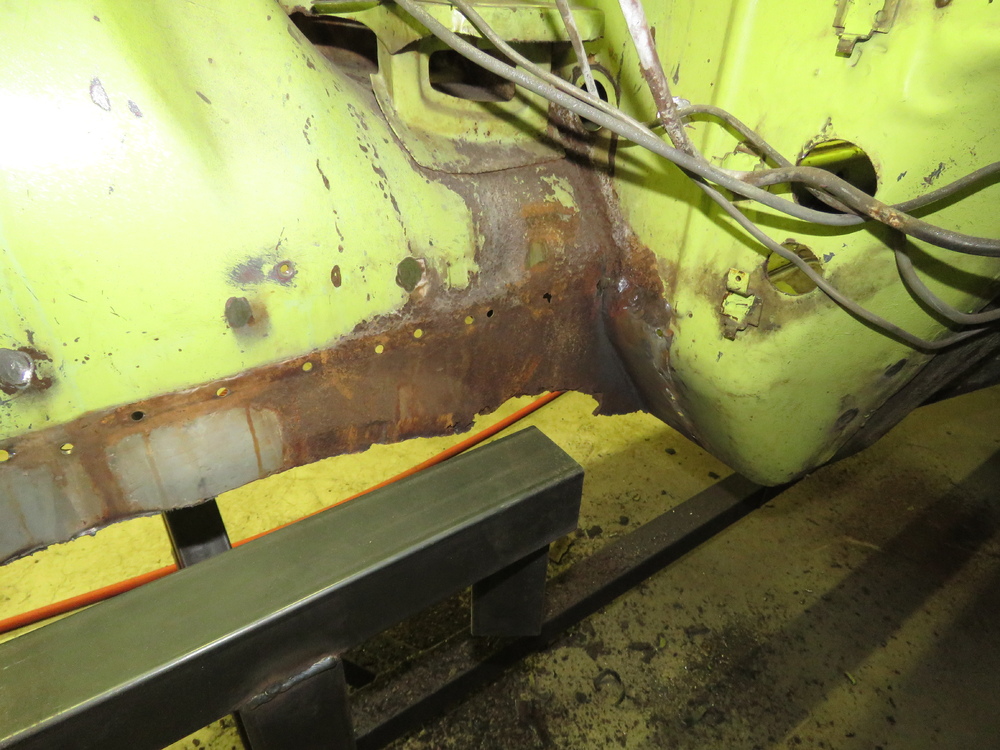
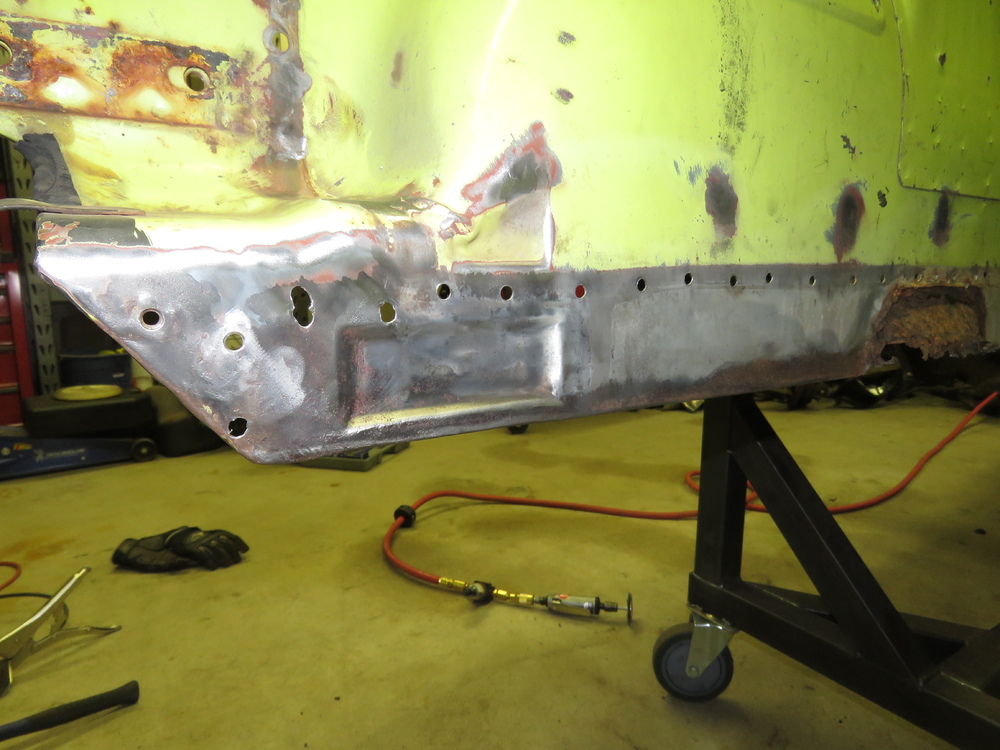
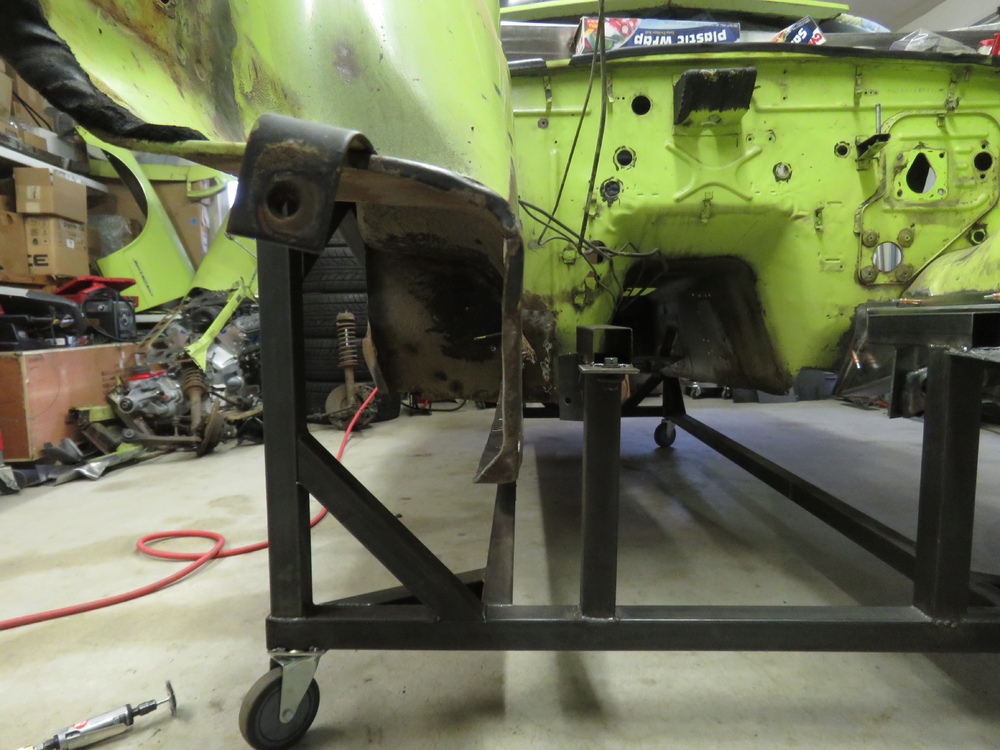
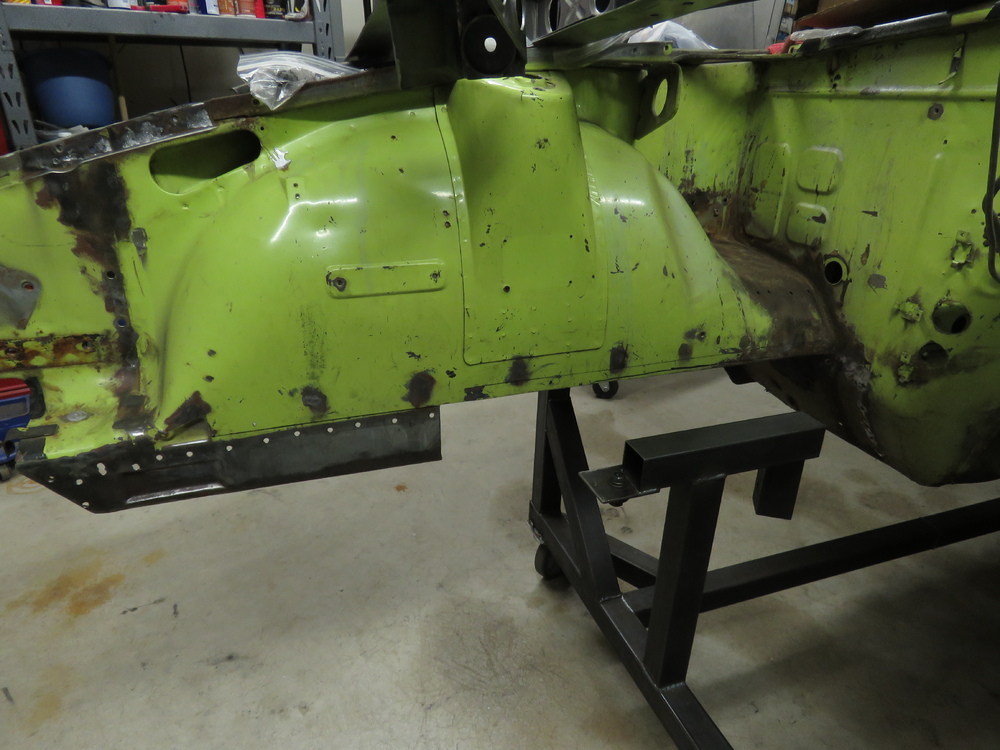
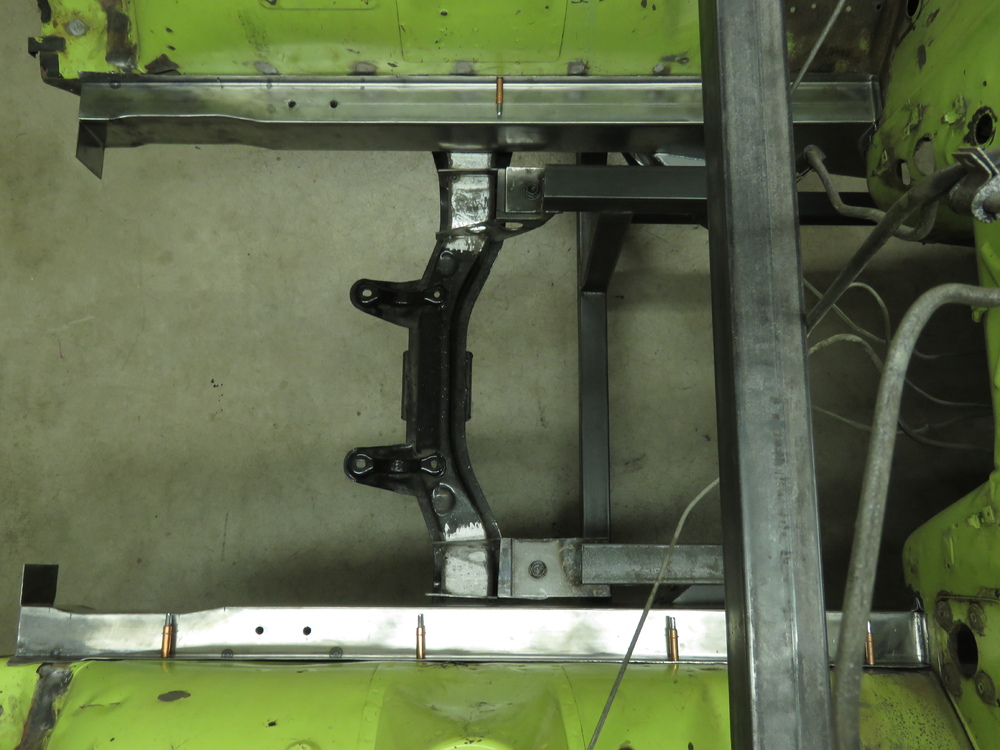
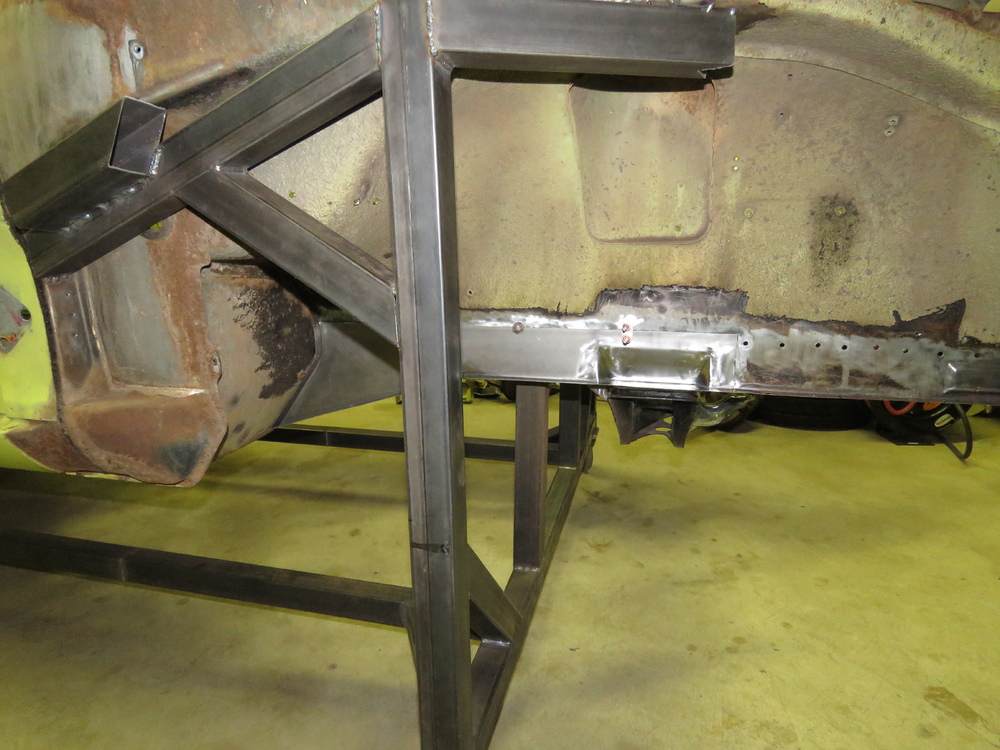
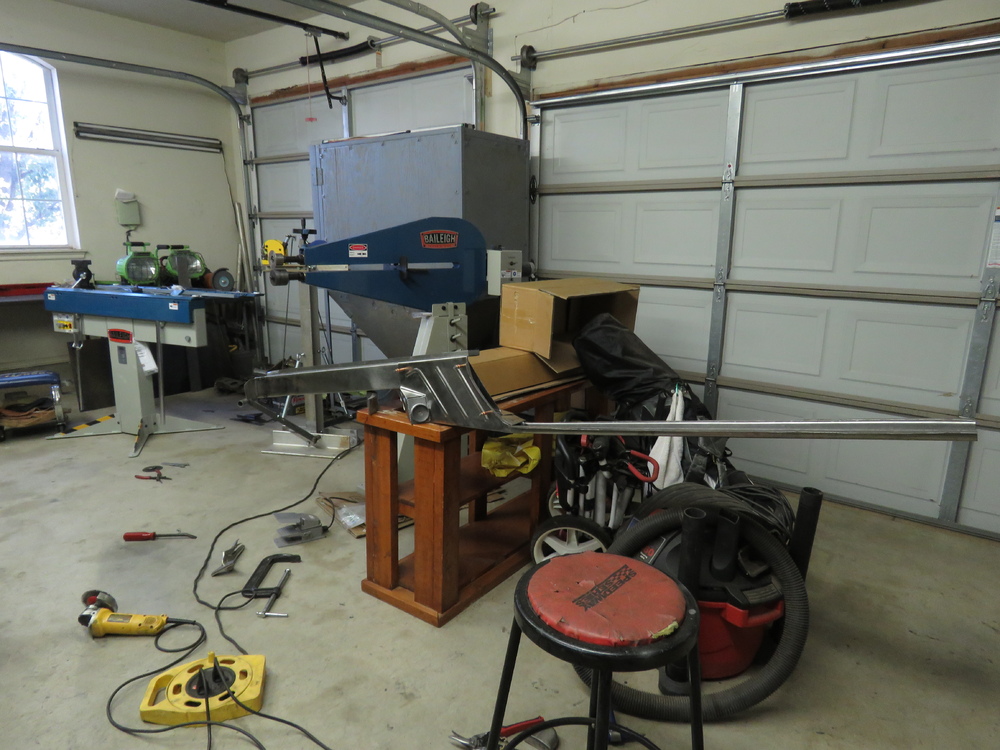
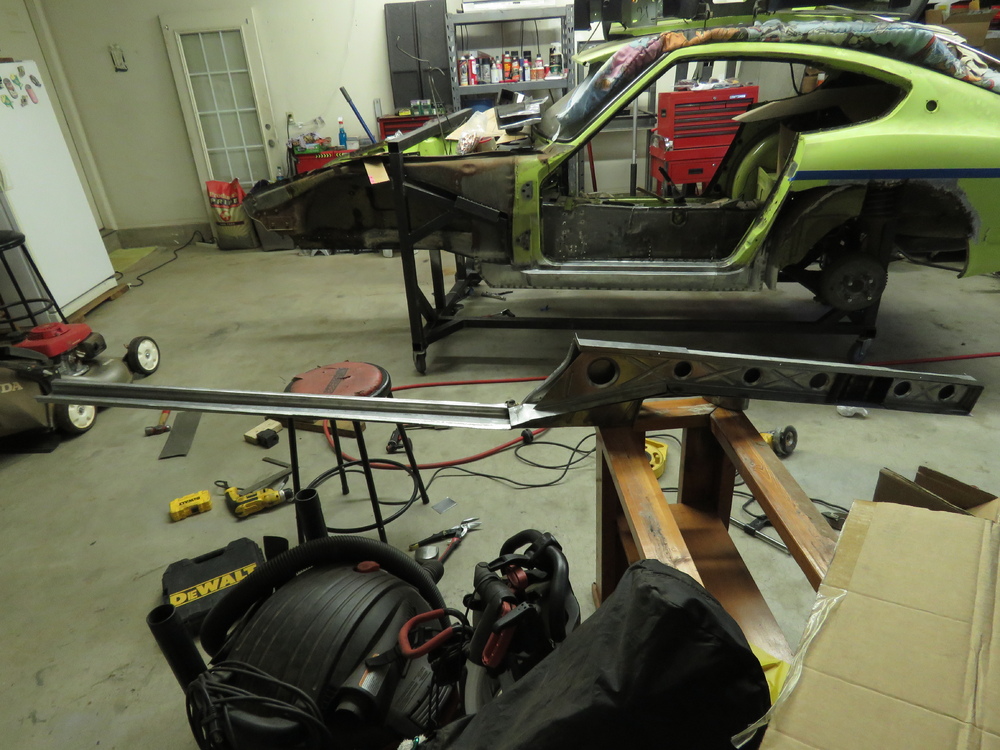
1 pointFigure I would contribute to this Forum with my experience on the I had no idea what I got my self into 240Z project. Maybe it will help others restoring their Z or thinking about it. Bought my 240Z back in 2010 or 2011, cant remember, from a student that went to the same college as me. I remembered seeing him drive the car around campus and was in ahhh every time. I usually saw him driving it same day of the week in one my classes seeing out the window during class session. Every time I wasnt able to focus on the class discussion. One day when I was browsing craigslist for Datsuns because I thought I was ready for one, I saw the same car. It was like a calling to me, SAVE ME!! Purchase price was $1,700, tried to talk him down, but his father was there during the transaction and wouldnt lower it. Well anyways, dont want to drag out this intro to long, I had no idea how bad condition the car really was. Well maybe not as bad as some of the projects I see around on the interweb, but still pretty bad in my opinion. I am doing an LS1 swap, because of that I will not show progress or pictures of that since this forum is a purest forum and dont want to start any conflicts with anyone, I think... I dont let me know if its alright and I will. What I will show for now is the rust repairs I've been working on the past year or so. Pictures: These are pictures of the craigslist ad. Pictures of when I got it, over the years. I fixed random stuff and the engine to keep it running. Interior was pretty good, few stuff thats bad here and there but over in good shape. The owners I bought it from clearly had no idea on how to work on cars, had to fix a lot, and I mean a lot of there work. Summer of 2015, Started tearing into it, repairing rust Started with the driver side rocker area. Got to start somewhere... I Will just post nothing but pictures from here, they kind of described what was going on. To much to talk about right now. Just ask me any questions, and I will try my best to answer. I will give a briefing though. I was going into this project thinking that only the common rusted areas will only need replacing and then I can move on to work on the engine, suspension, wiring, etc. to get the car going. I was dead wrong. All I had been doing mostly is making replacement panels for the rusted areas. I originally bought some of the replacement panels/rails you can buy online, but I was disgusted on the poor fitment (I will not name the companies, but will upon request). I cant believe everyone in the Z world has been putting up with crappy replacement panels offered by these companies... Because I did not like the fitment, and I didnt know anyone locally that does this kind of work, I went on my journey to learn how to shape metal, I already knew how to weld, but shaping metal is a whole different domain in the metal world. I am actually glad because I have learned so much, and it is actually fun to metal shape. The panels I made arent perfect, but I will say they fit better than the said panels you can buy online. Also I came to the mind set of this being a learning curve project for gaining experience metal shaping. Enjoy the pictures!! Next set of images will be on next post... Work in progress with getting images up.


 1 point
 -
Okay! so what will be your recommendation to solve this? Just replace the metal fuel rail with a normal fuel hose and clamps?1 point
-
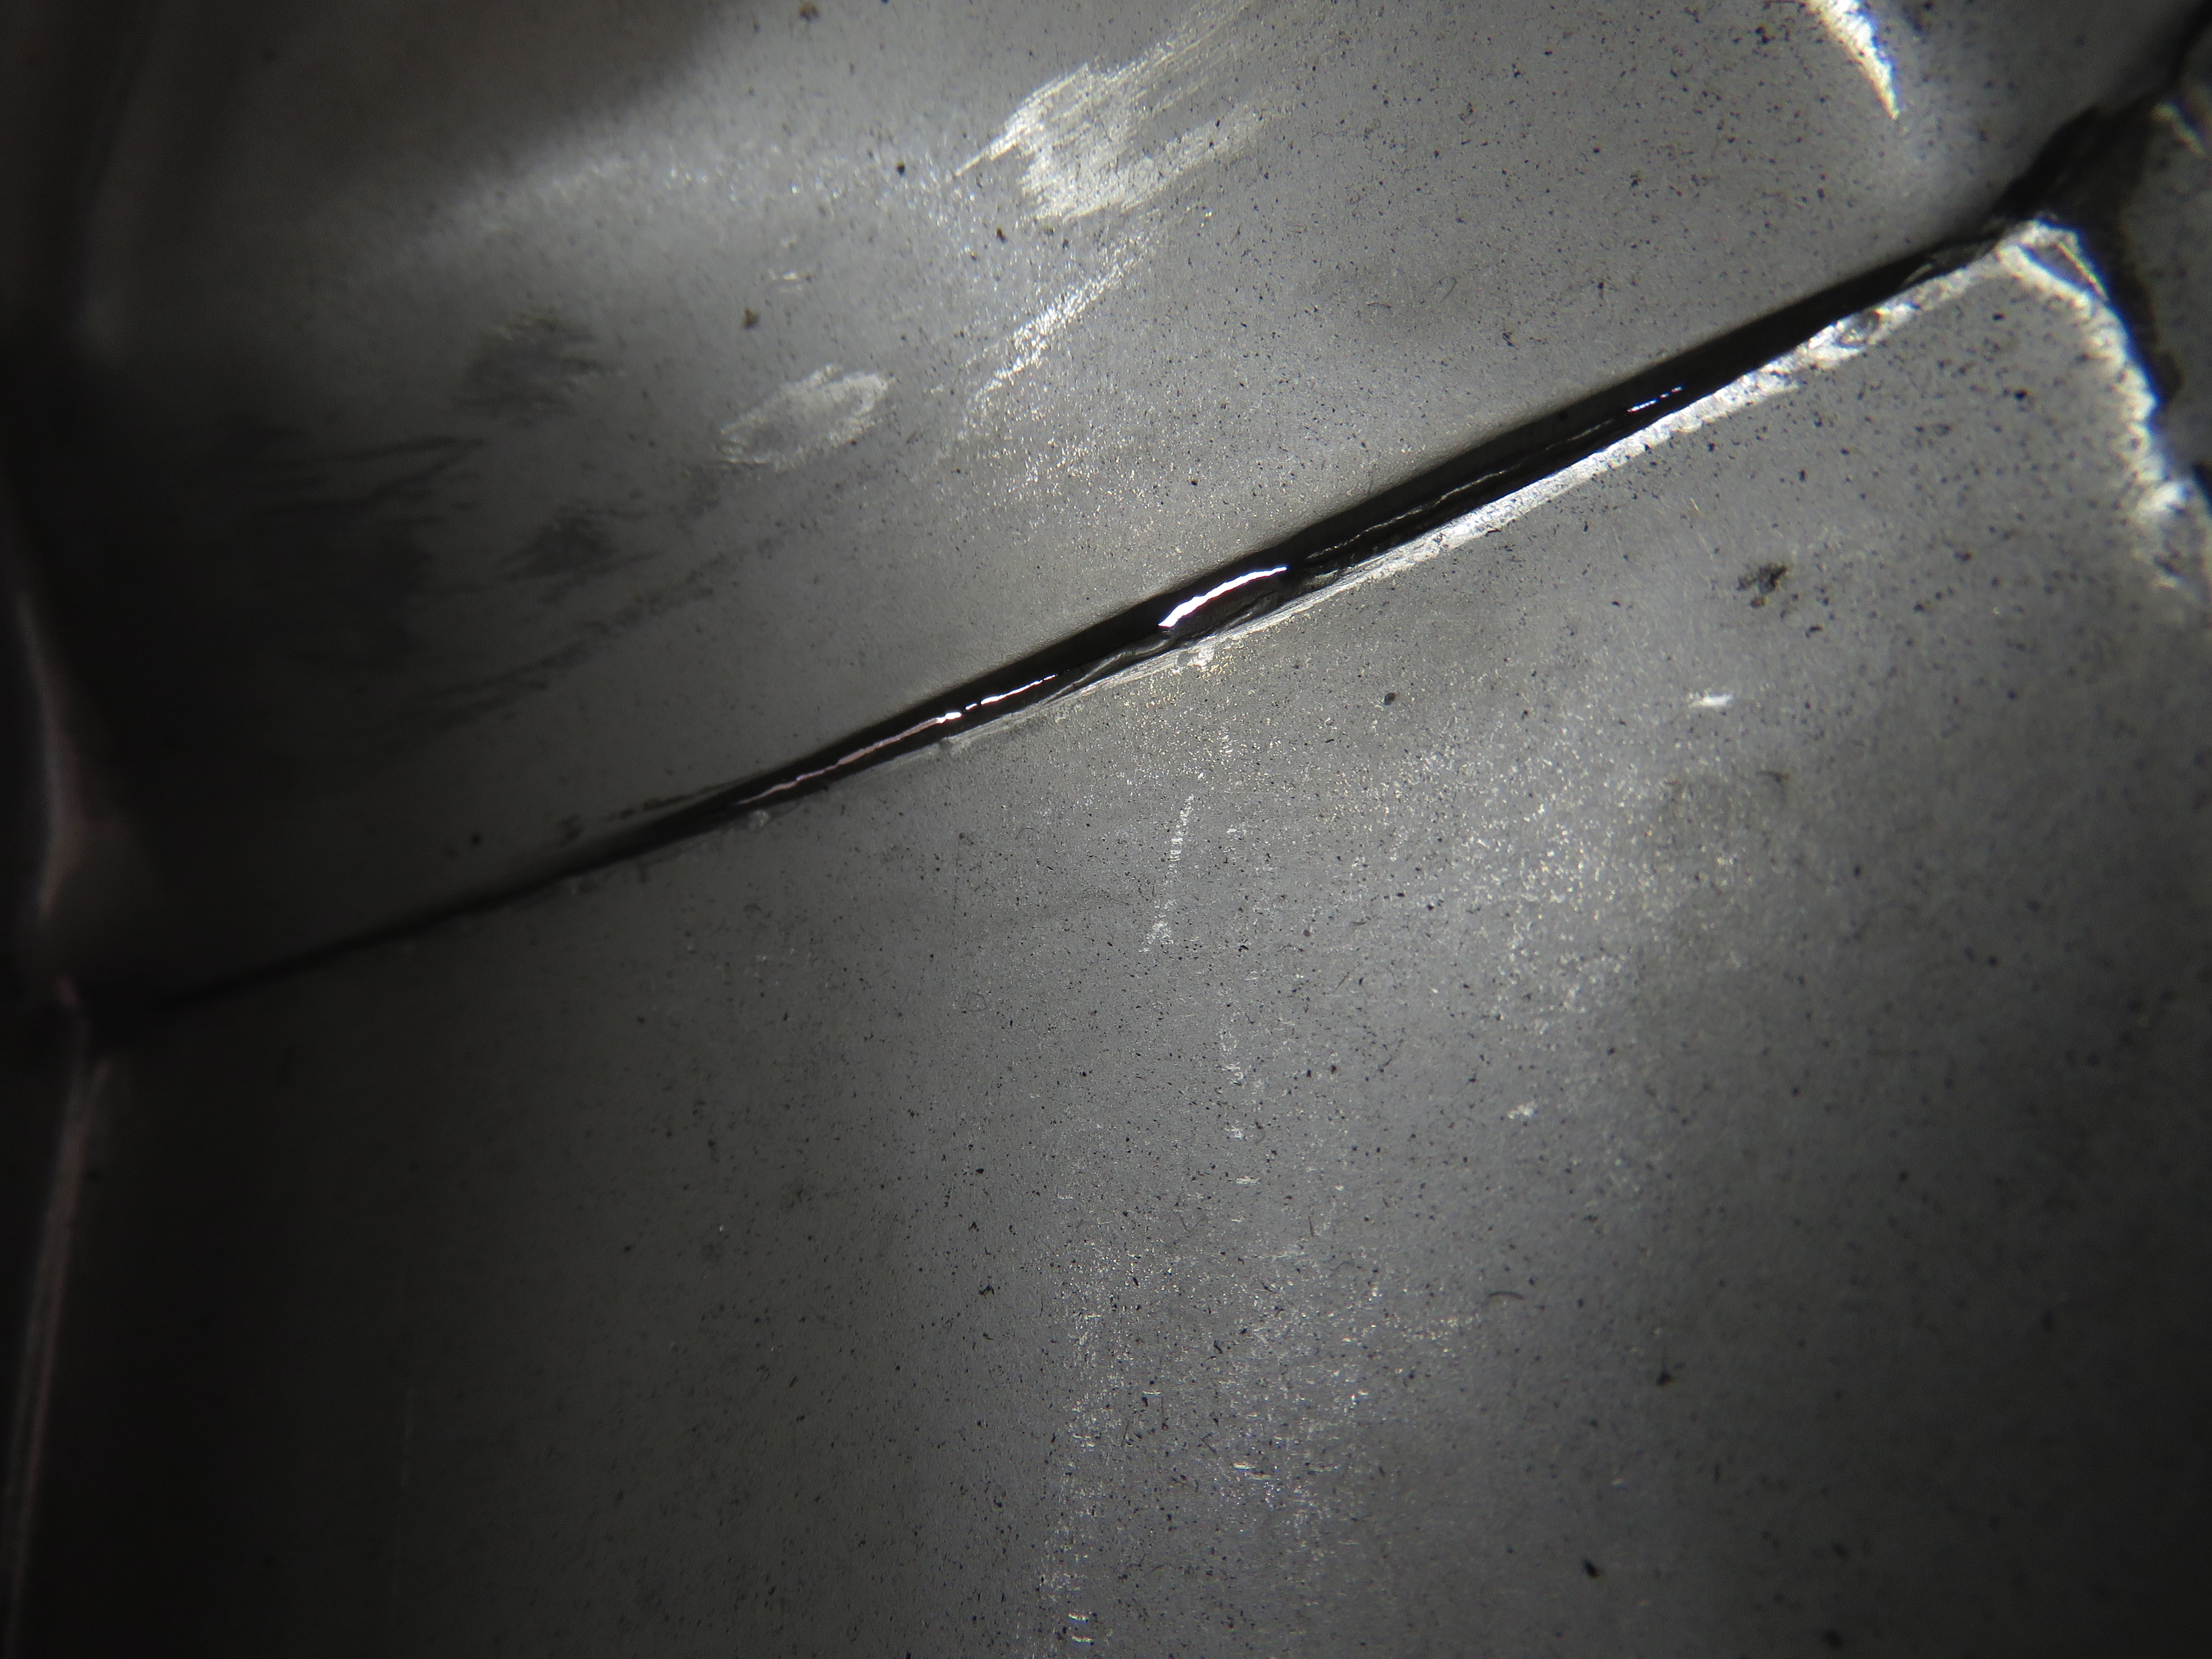
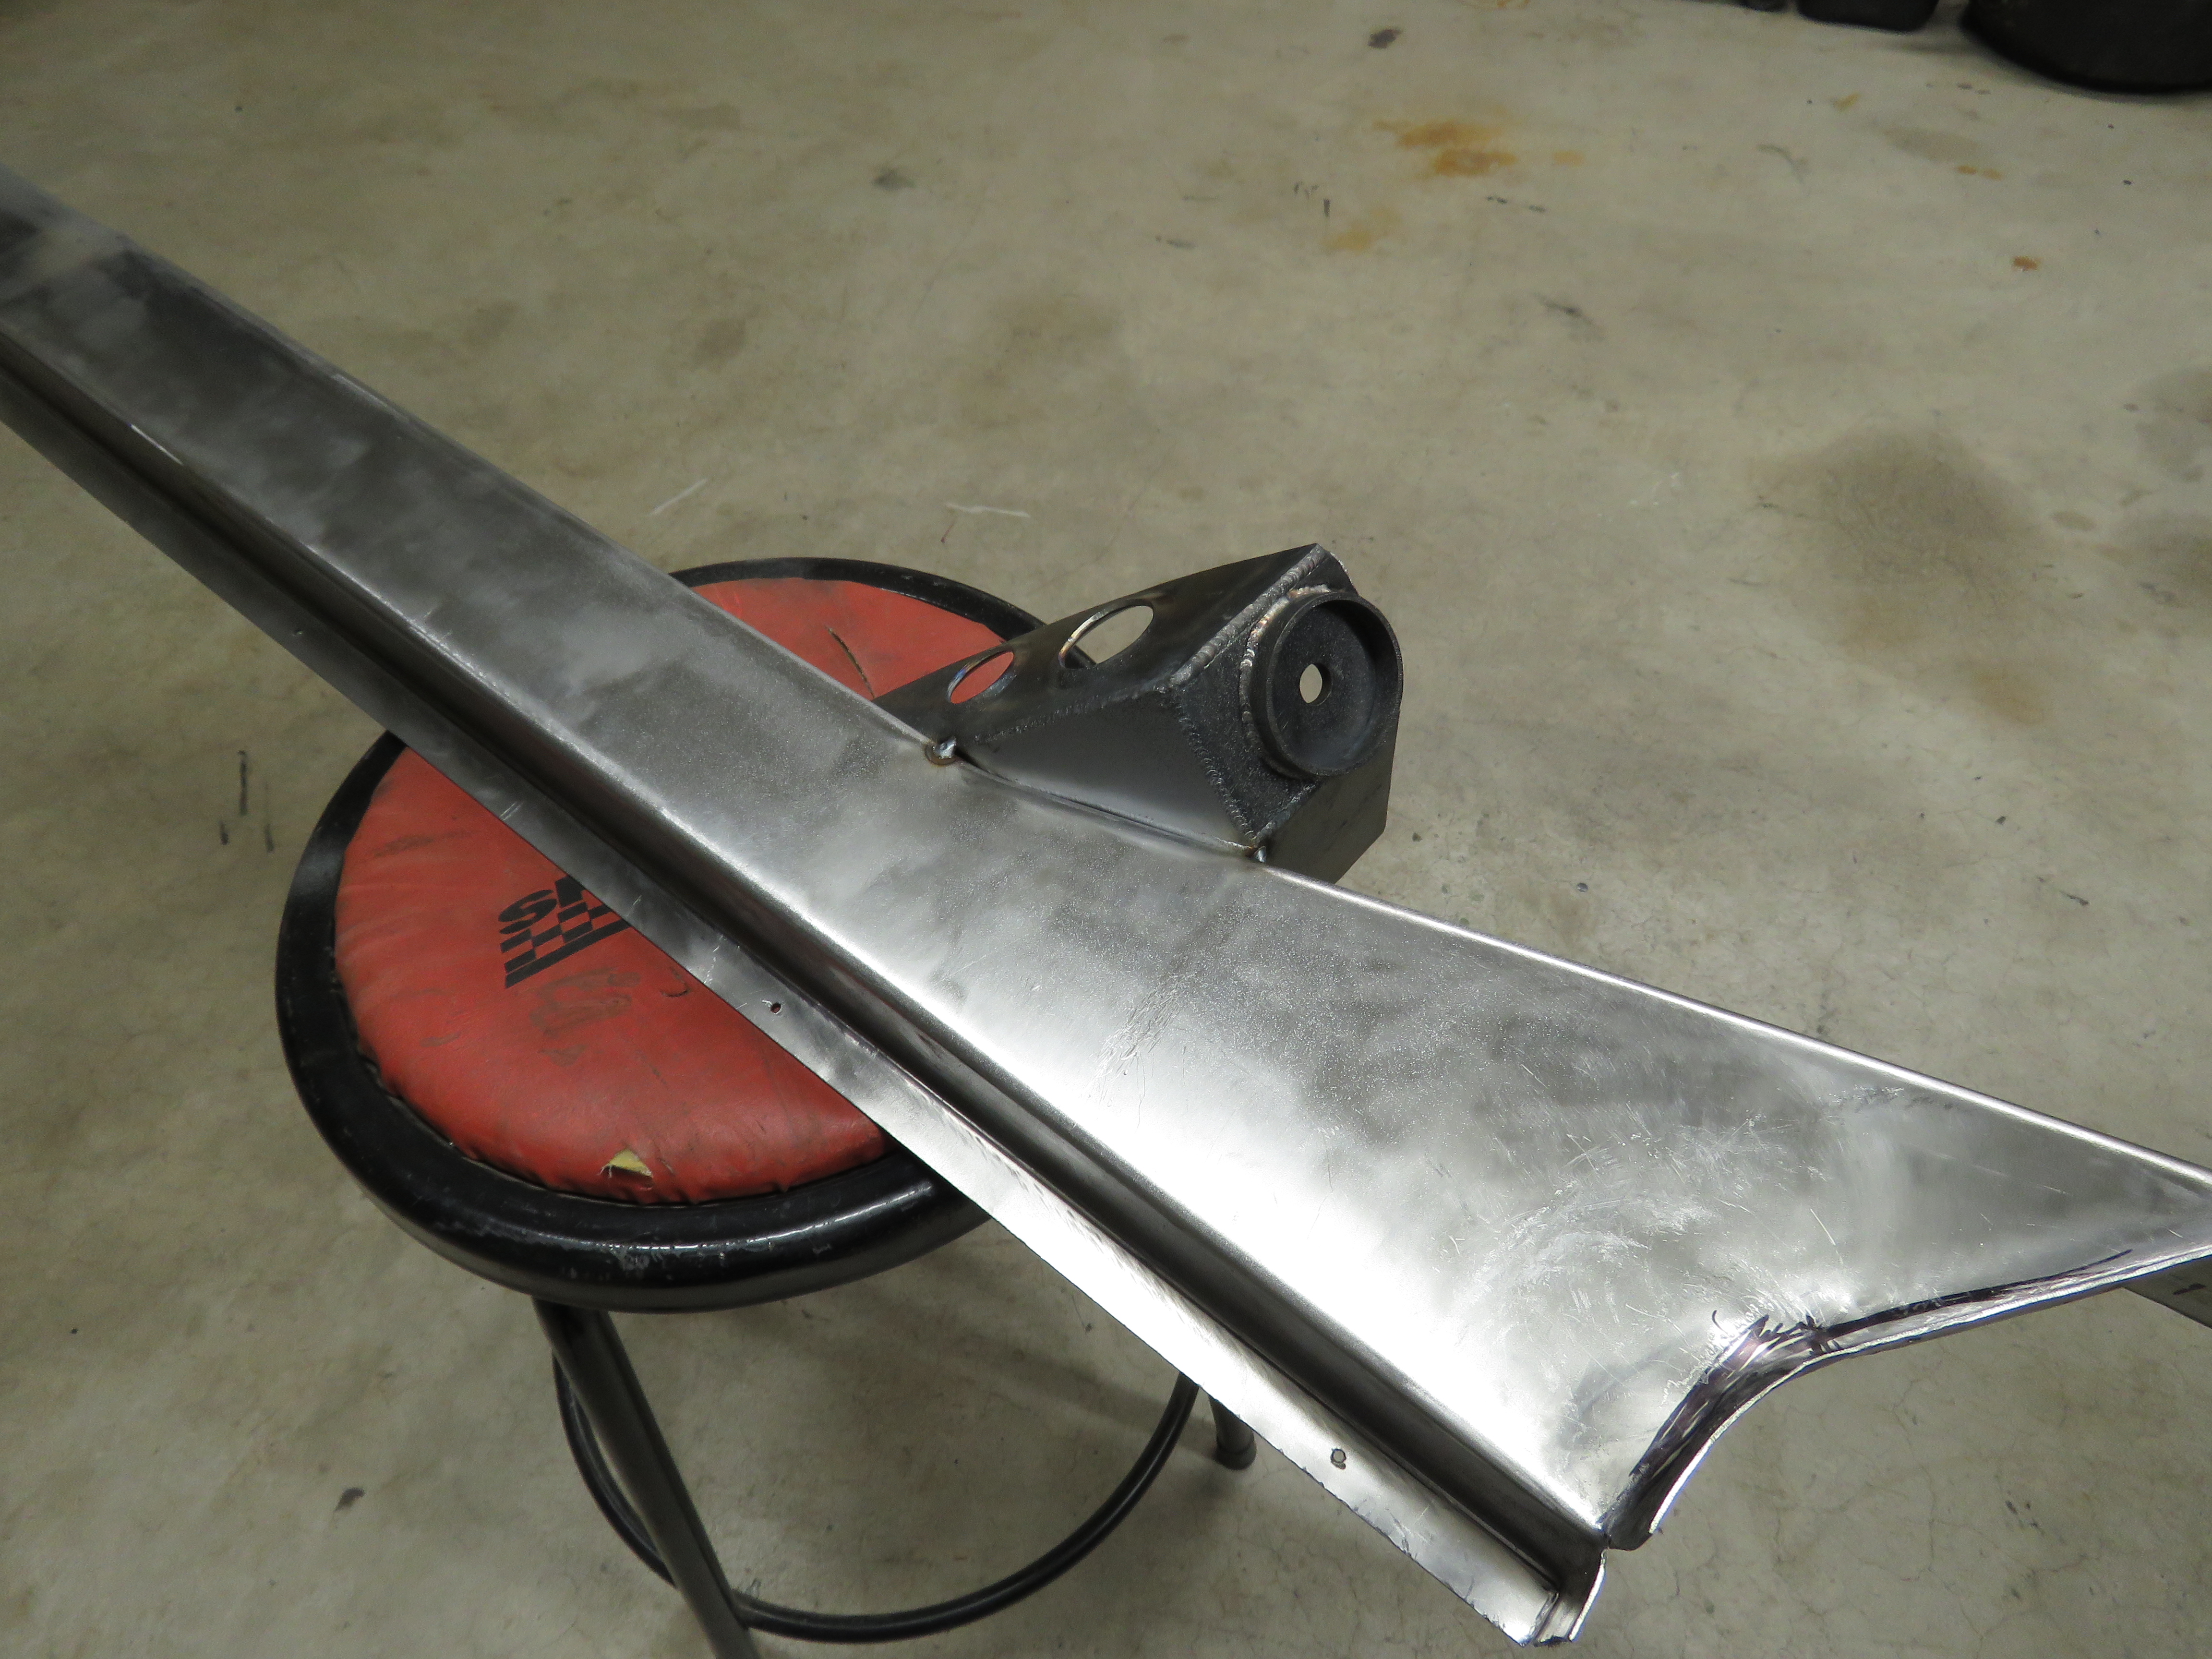
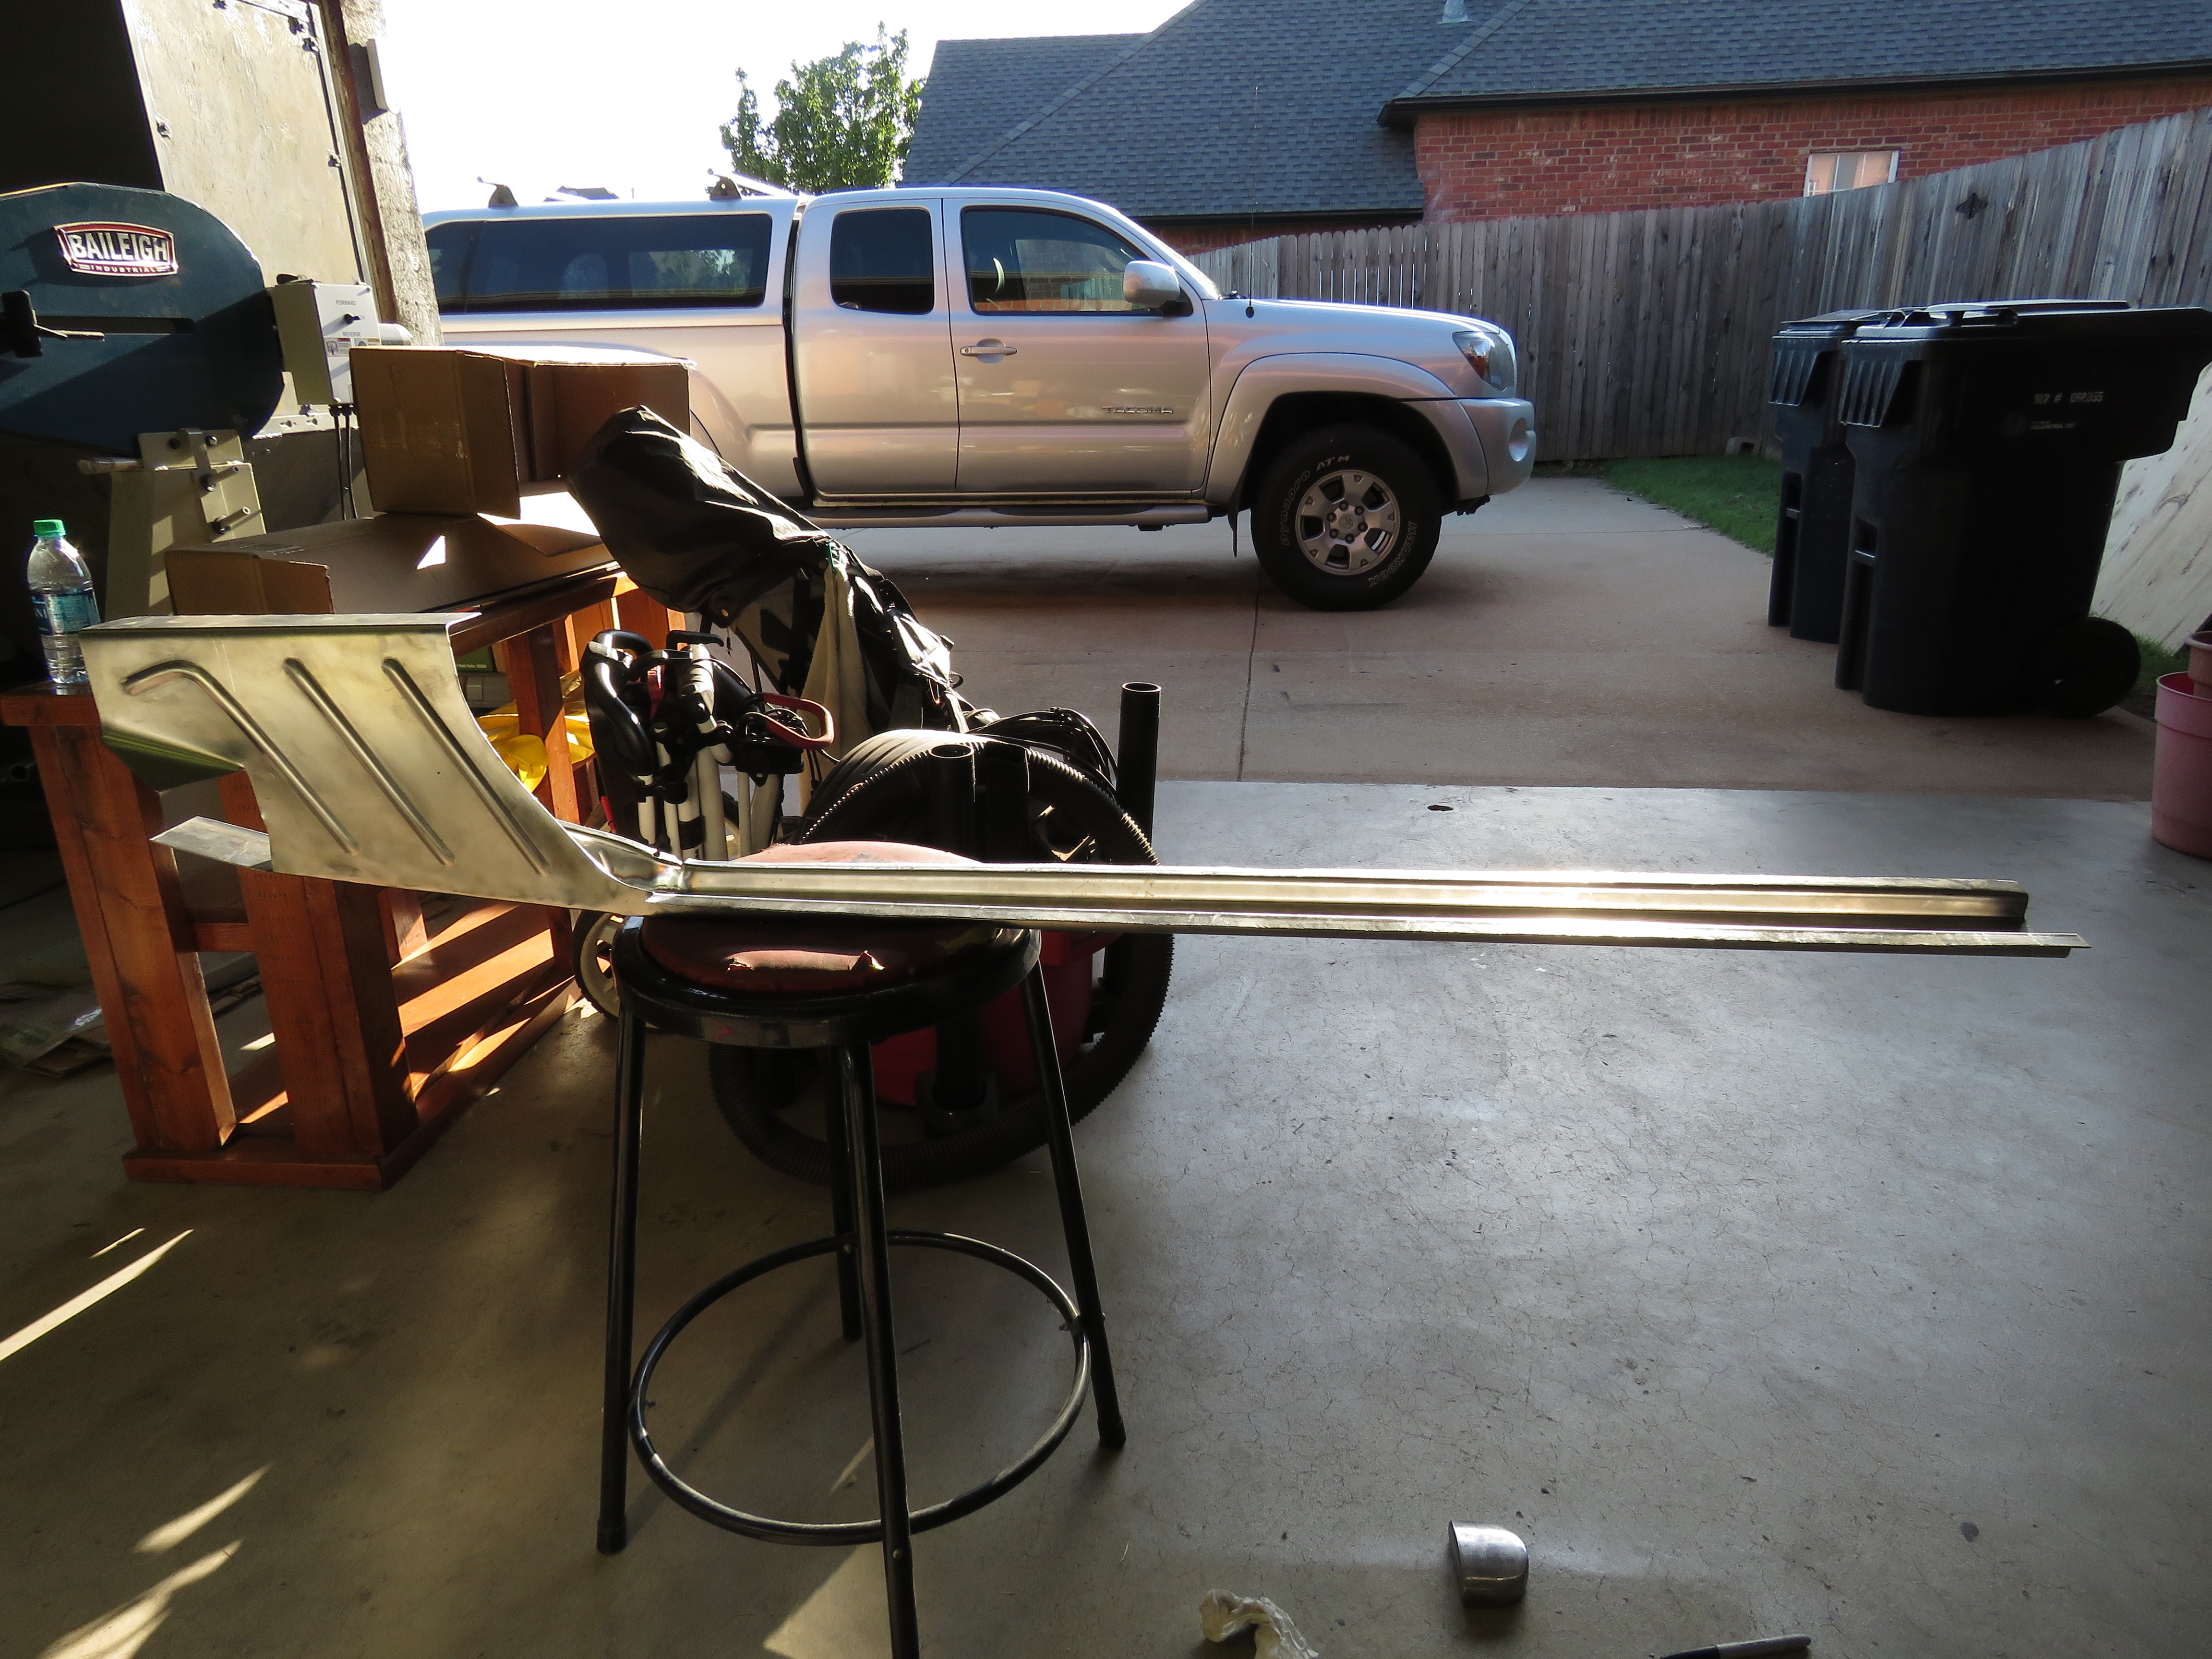
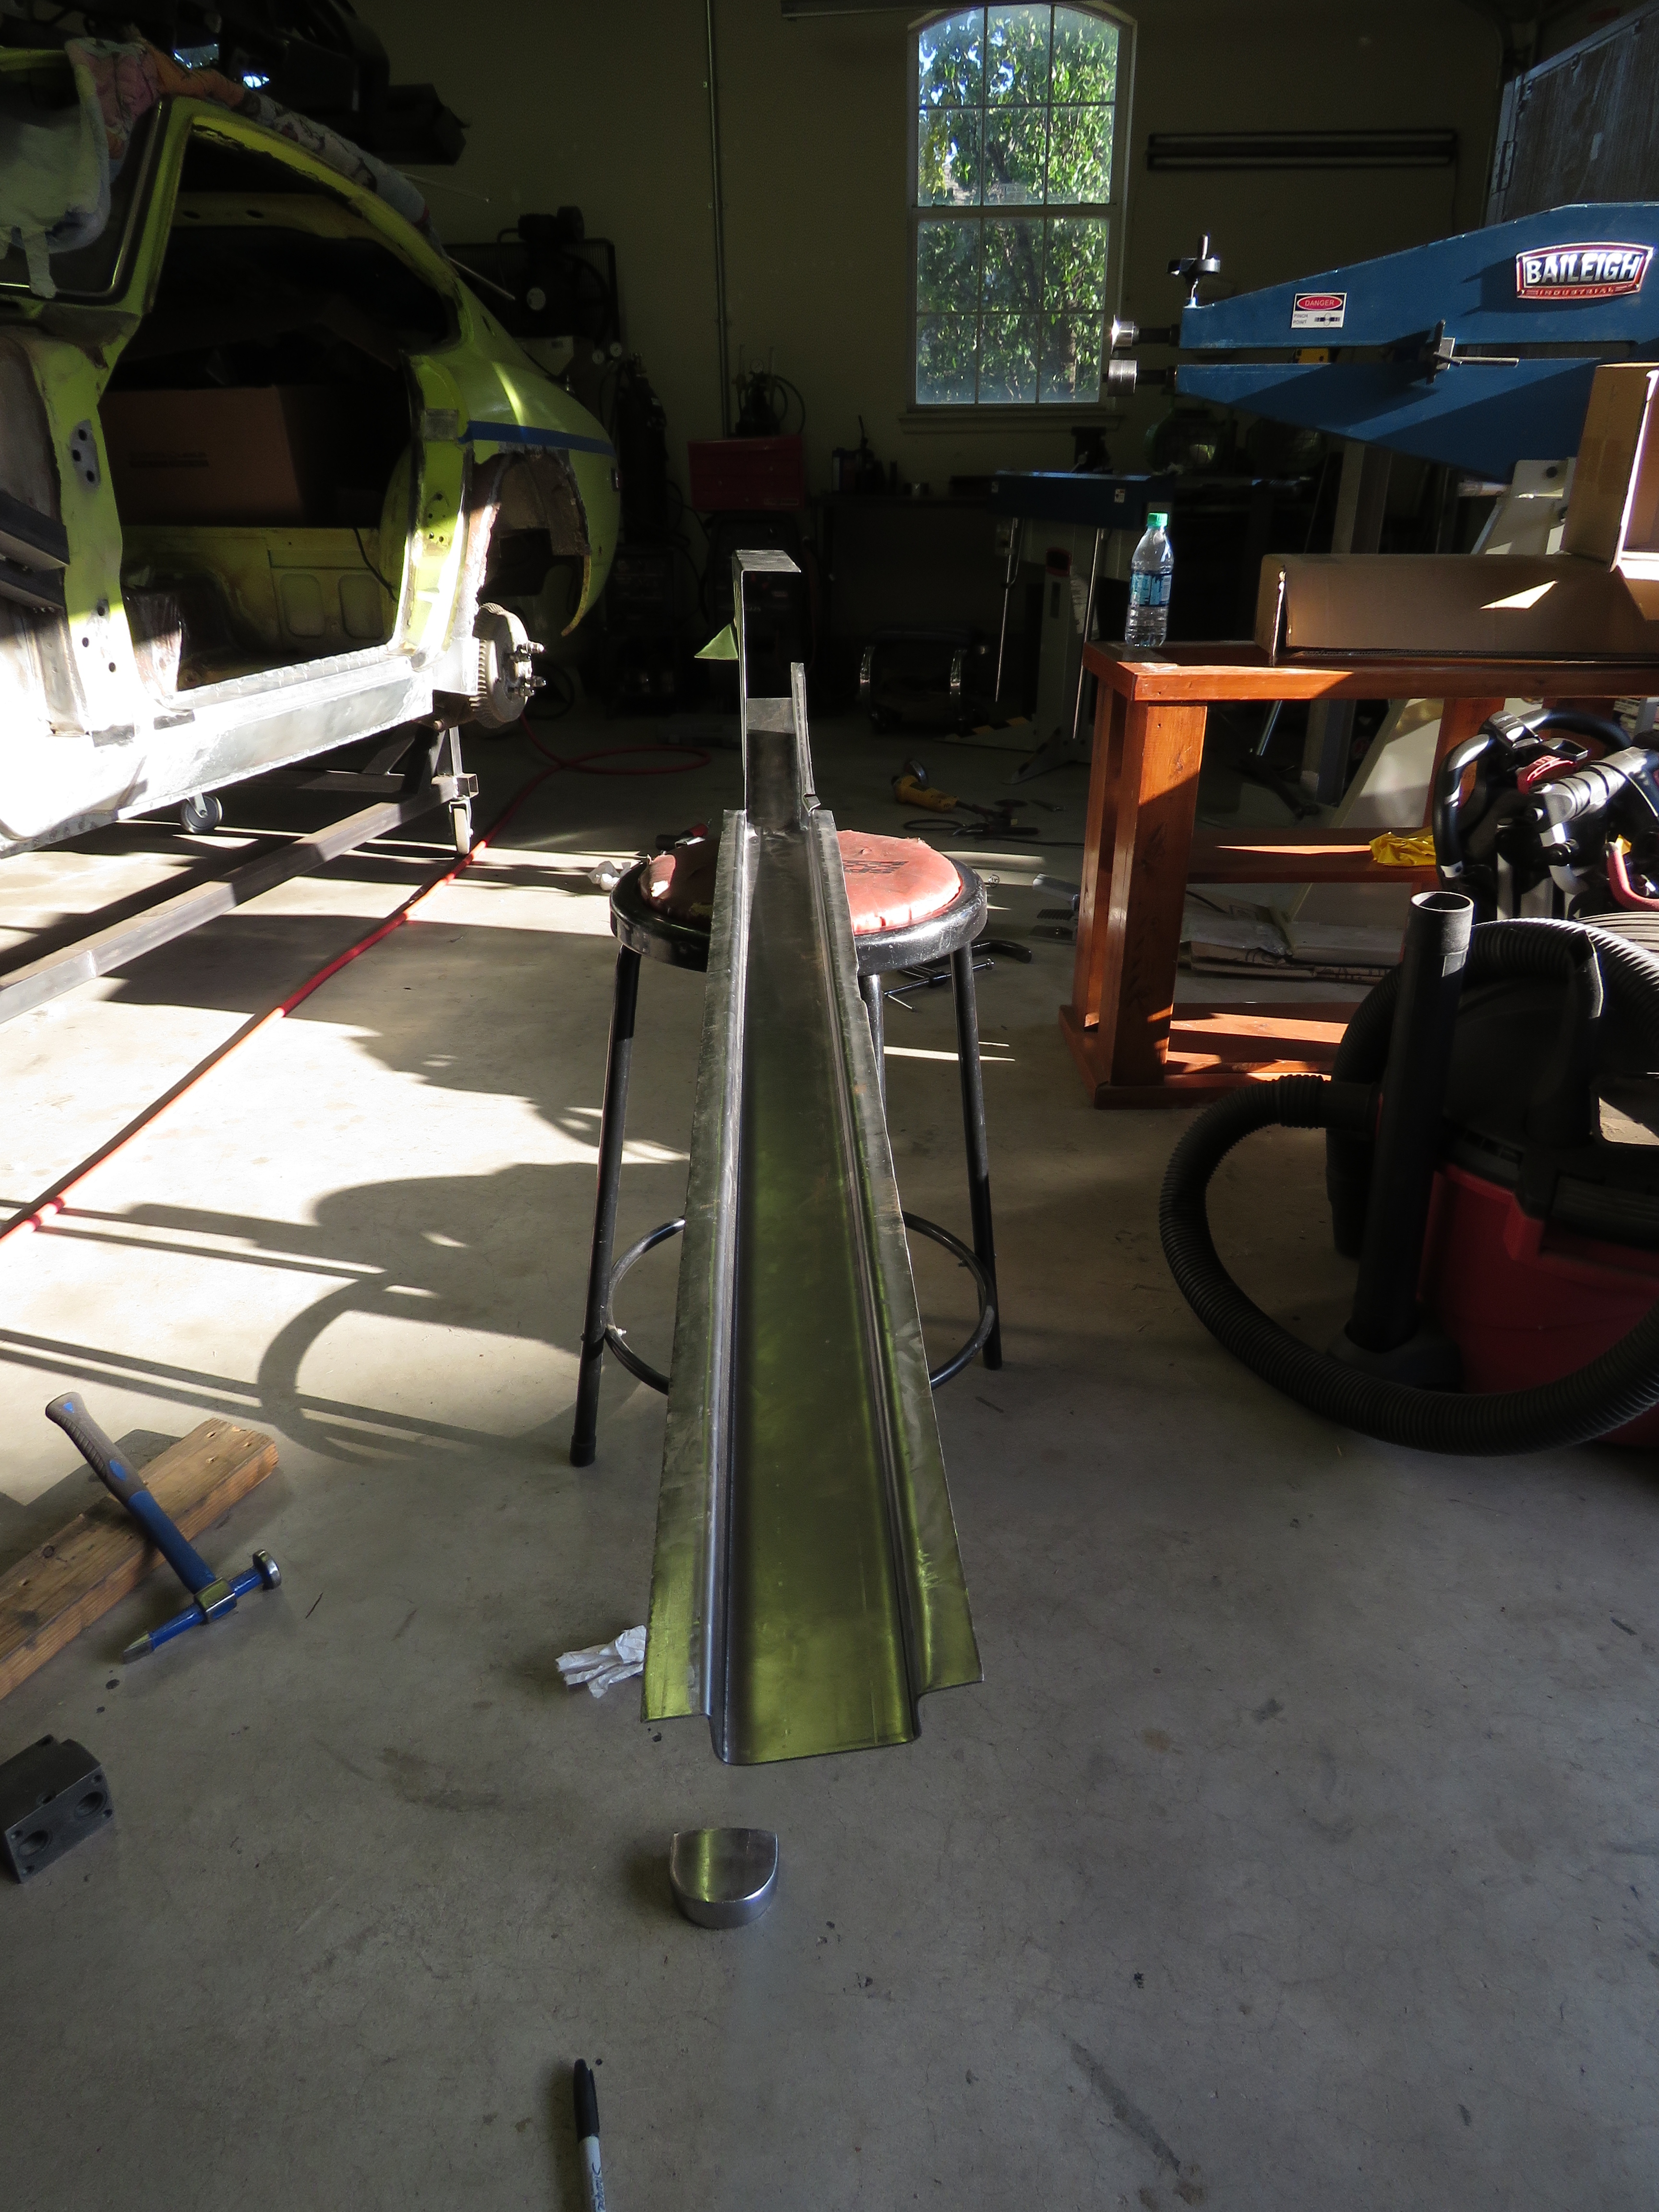
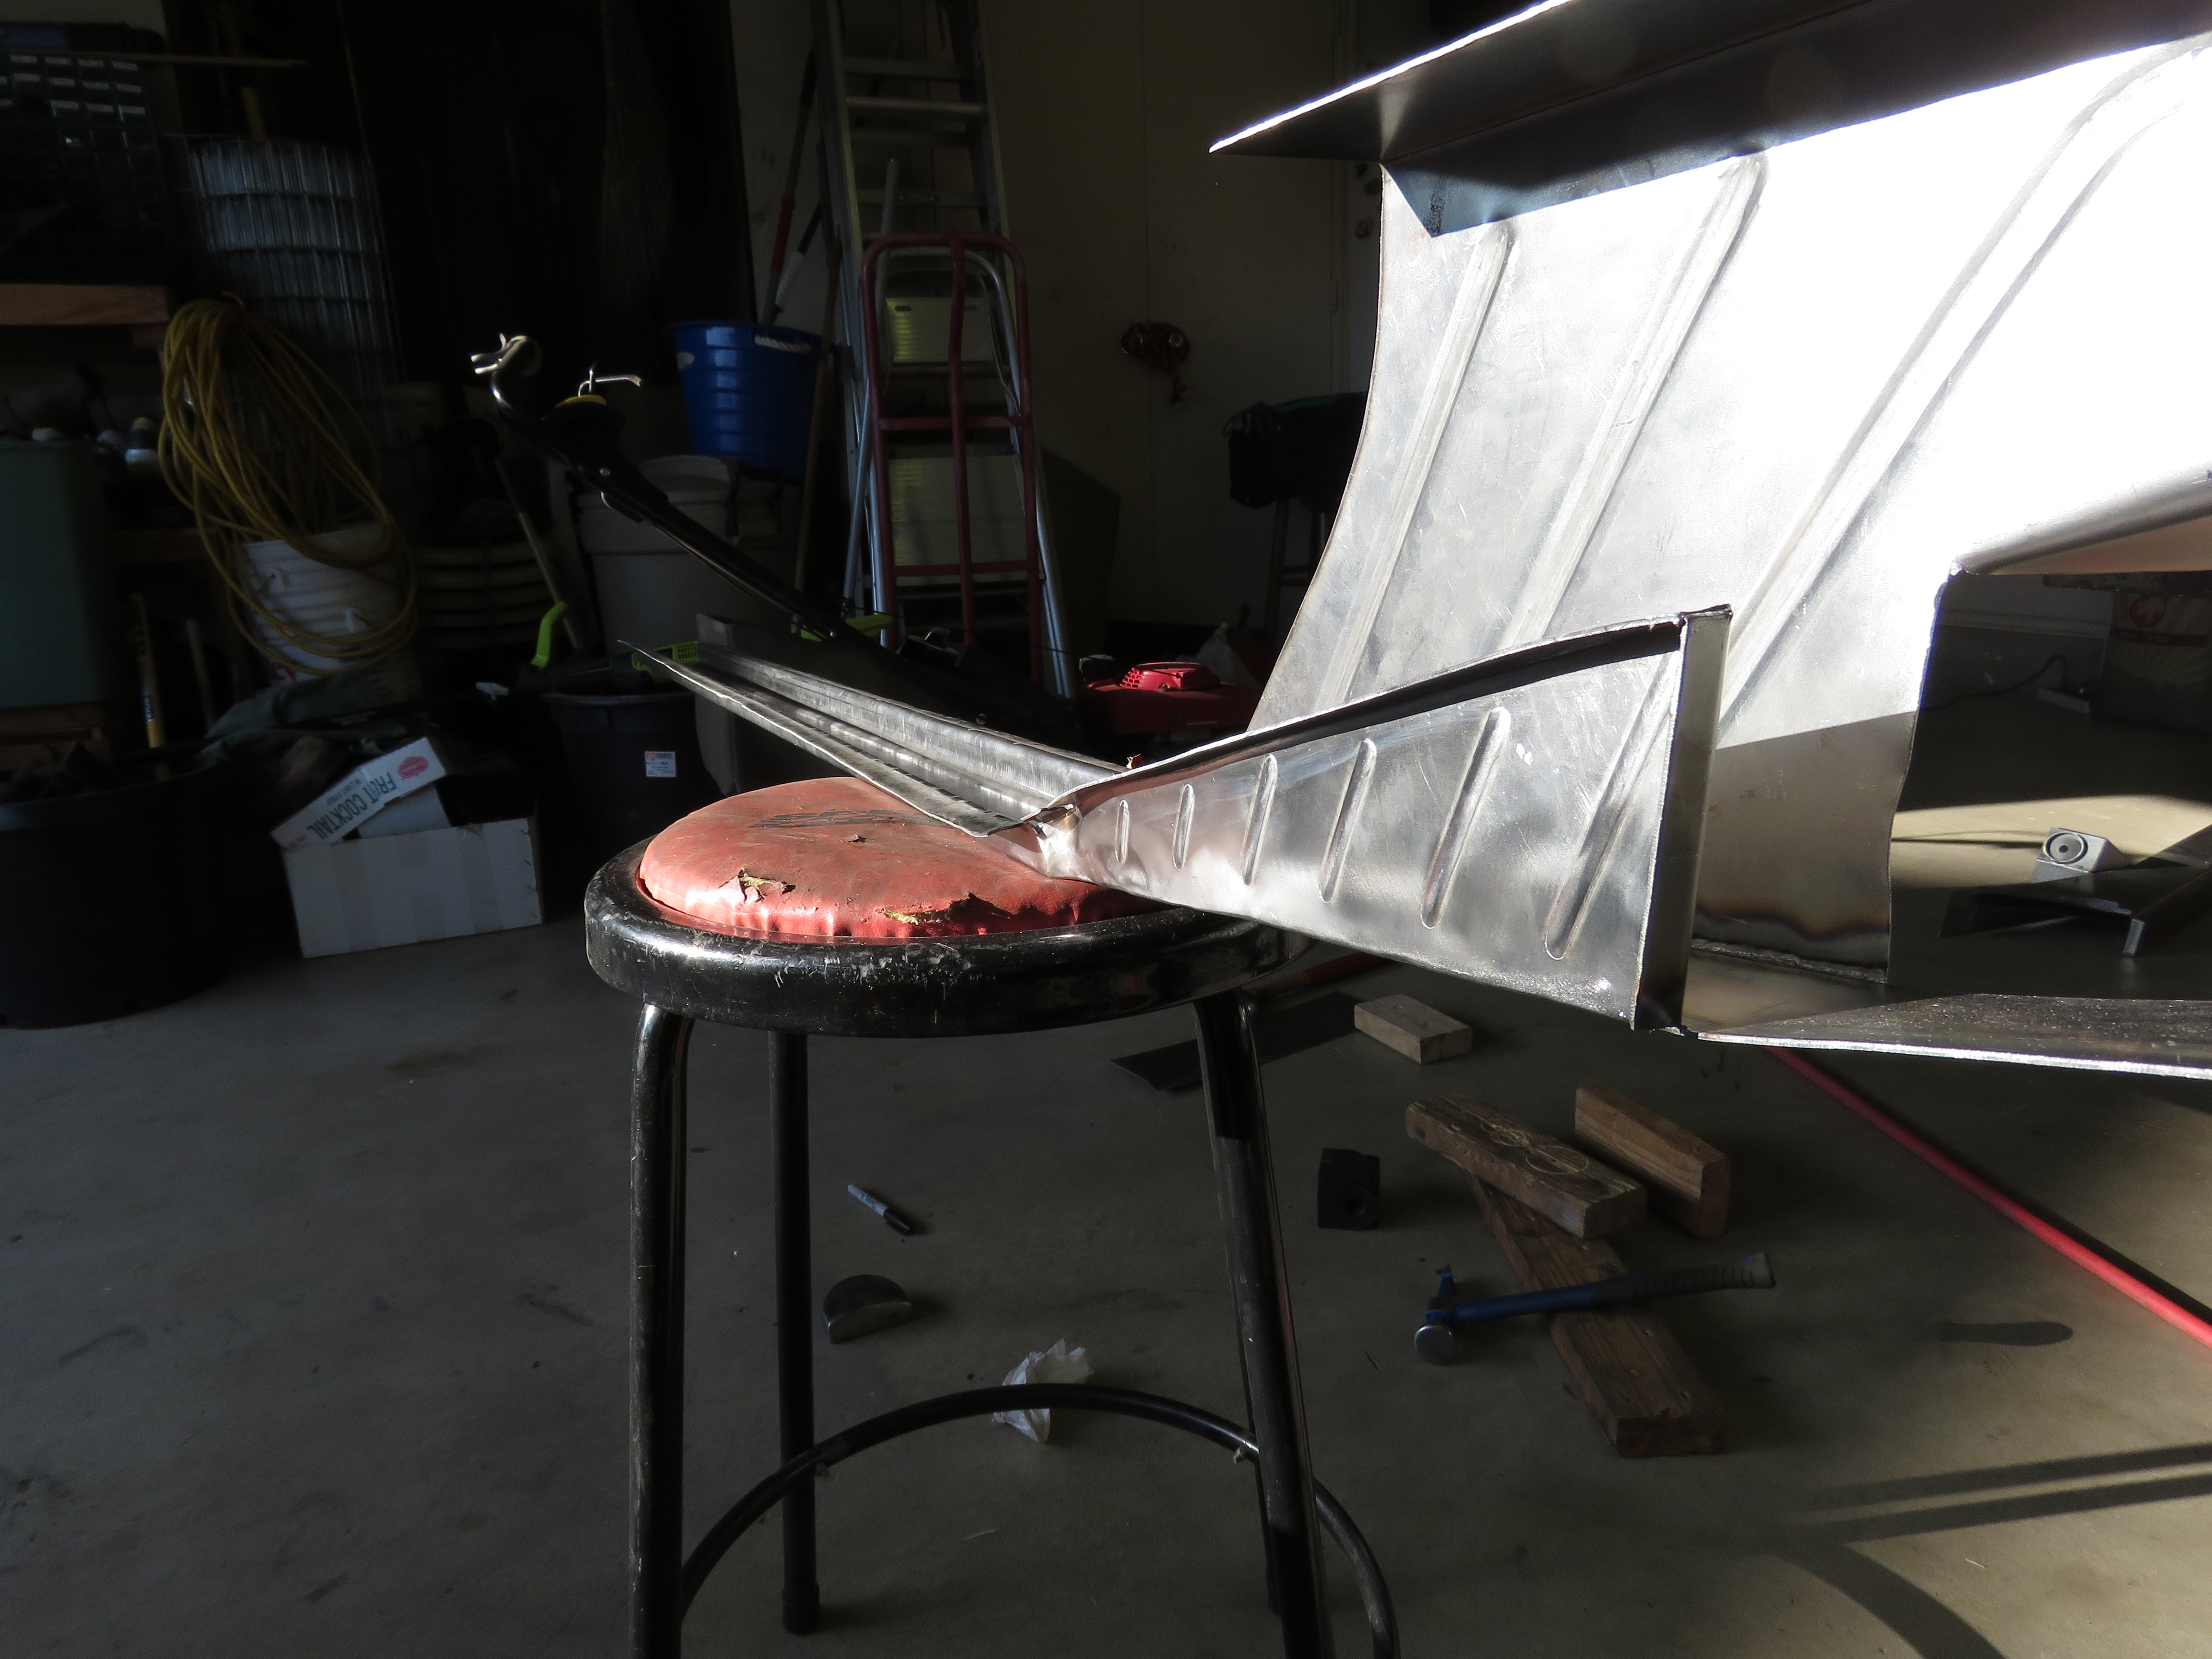
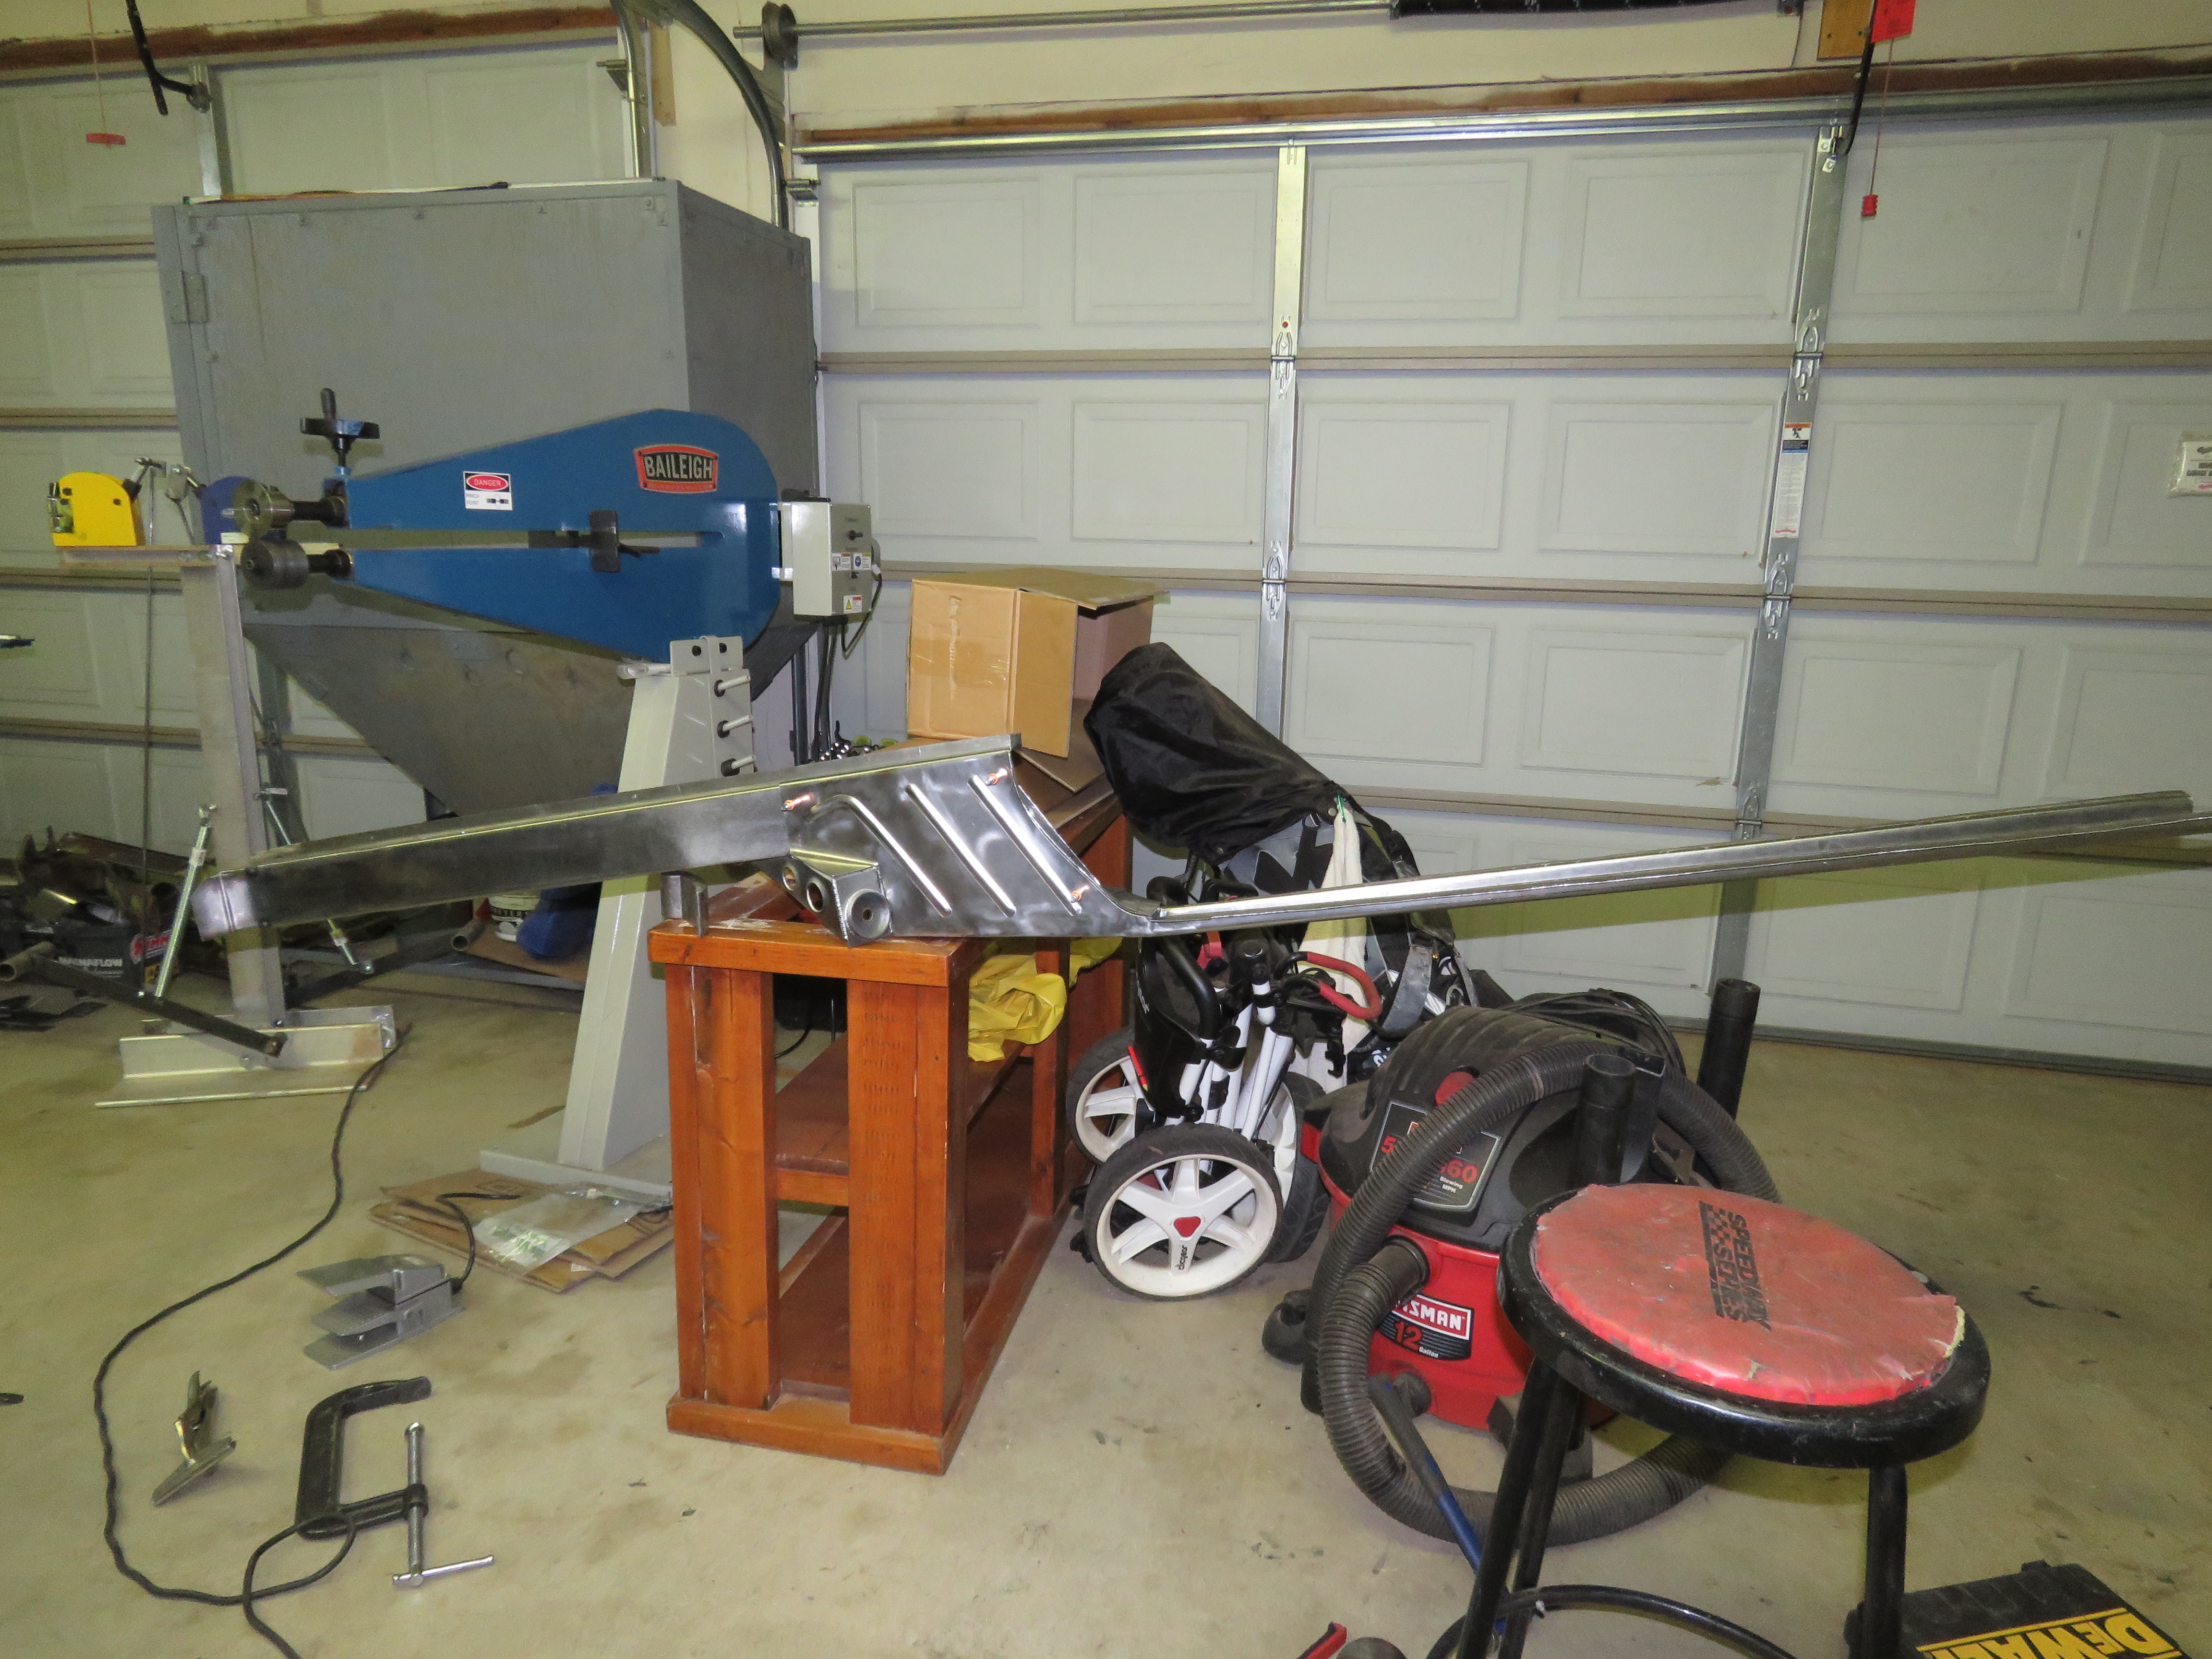
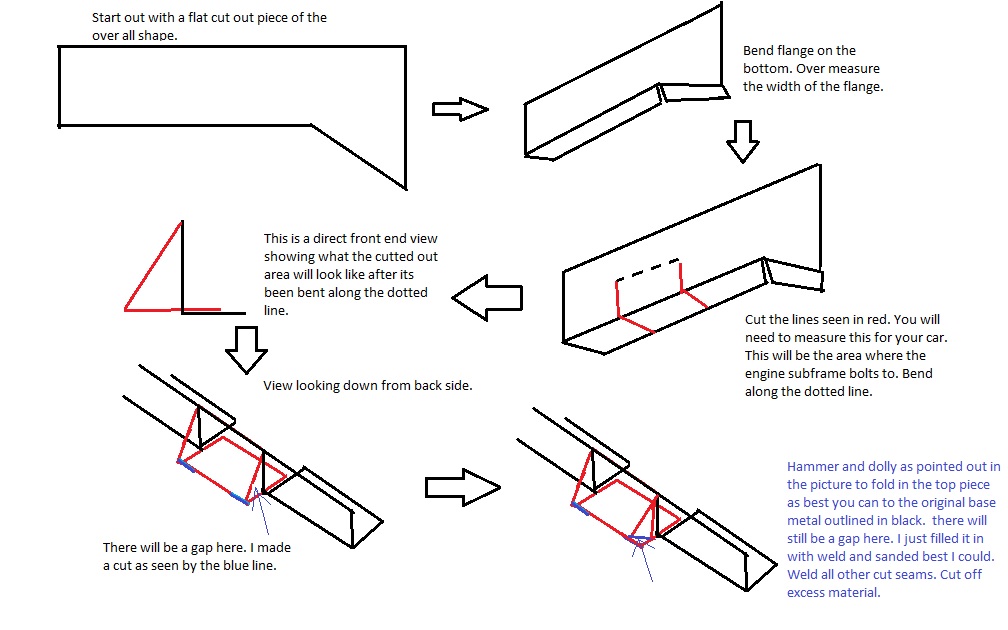
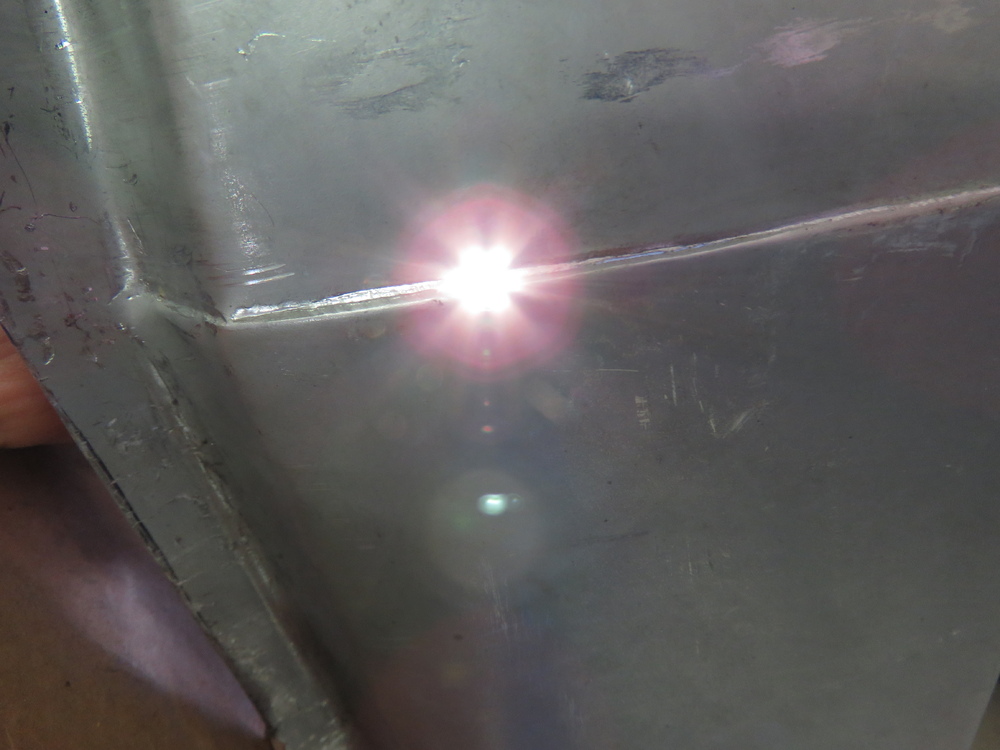
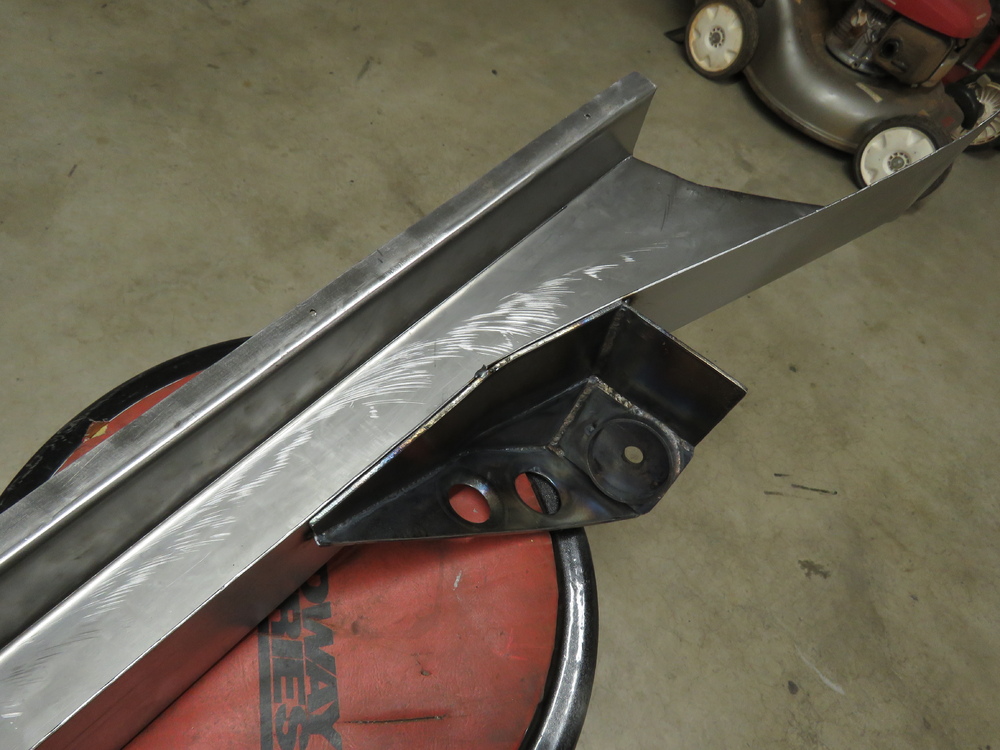
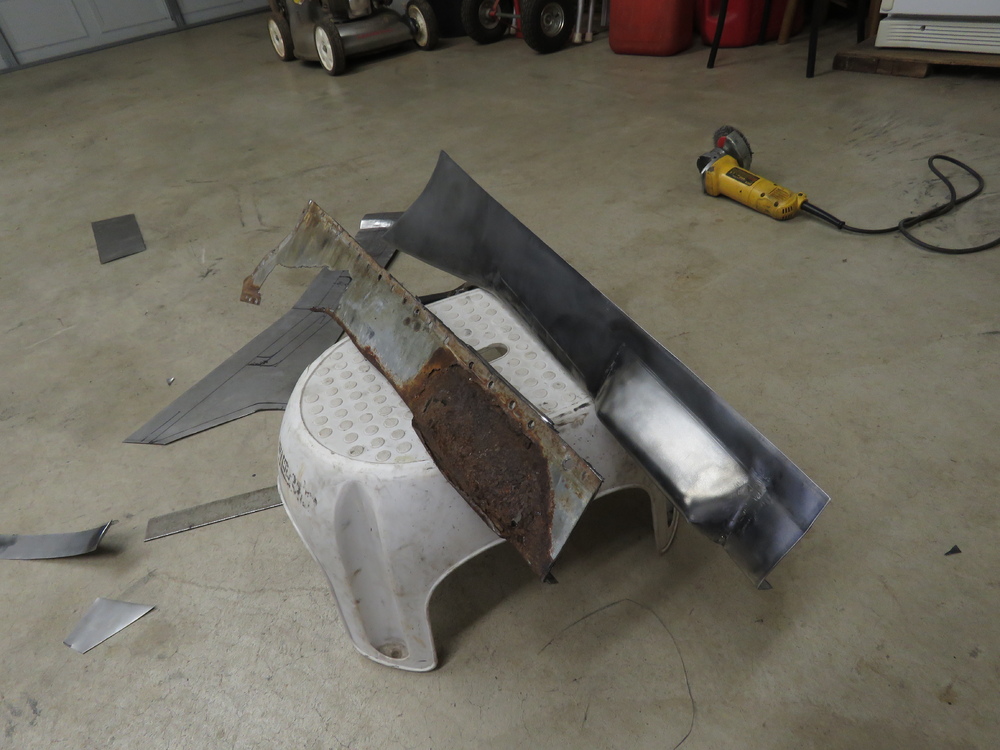
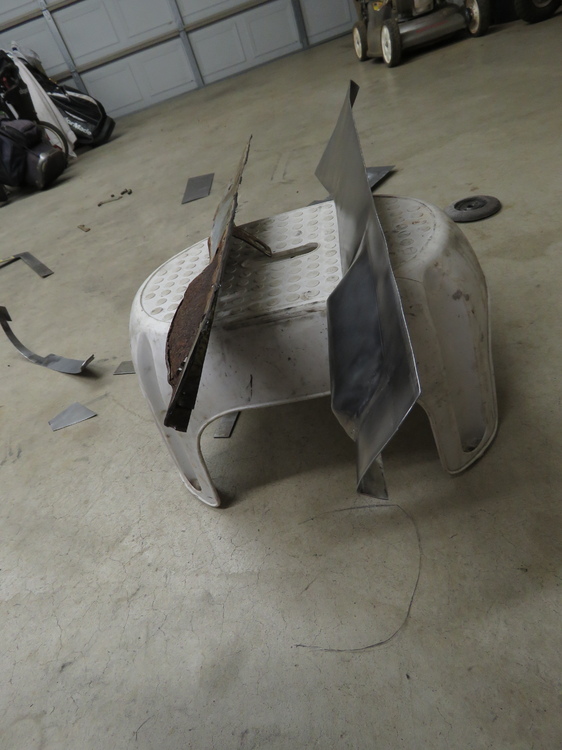
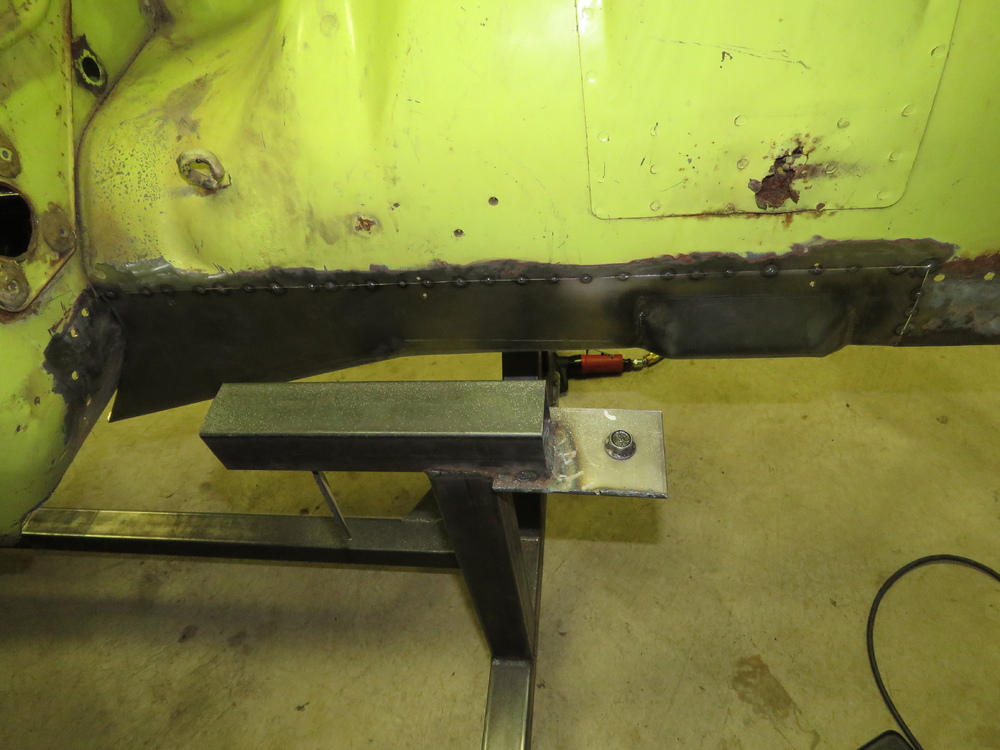
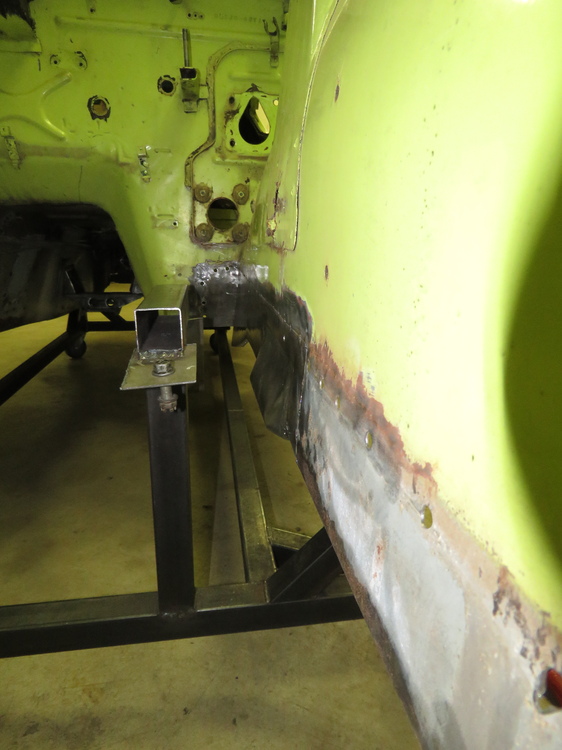
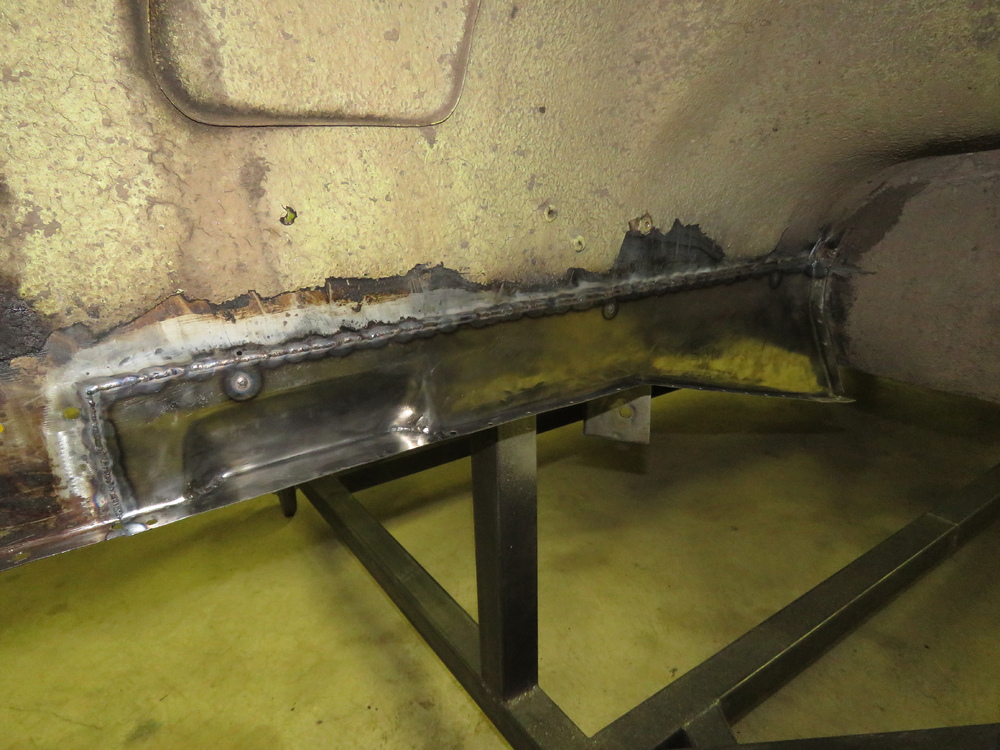
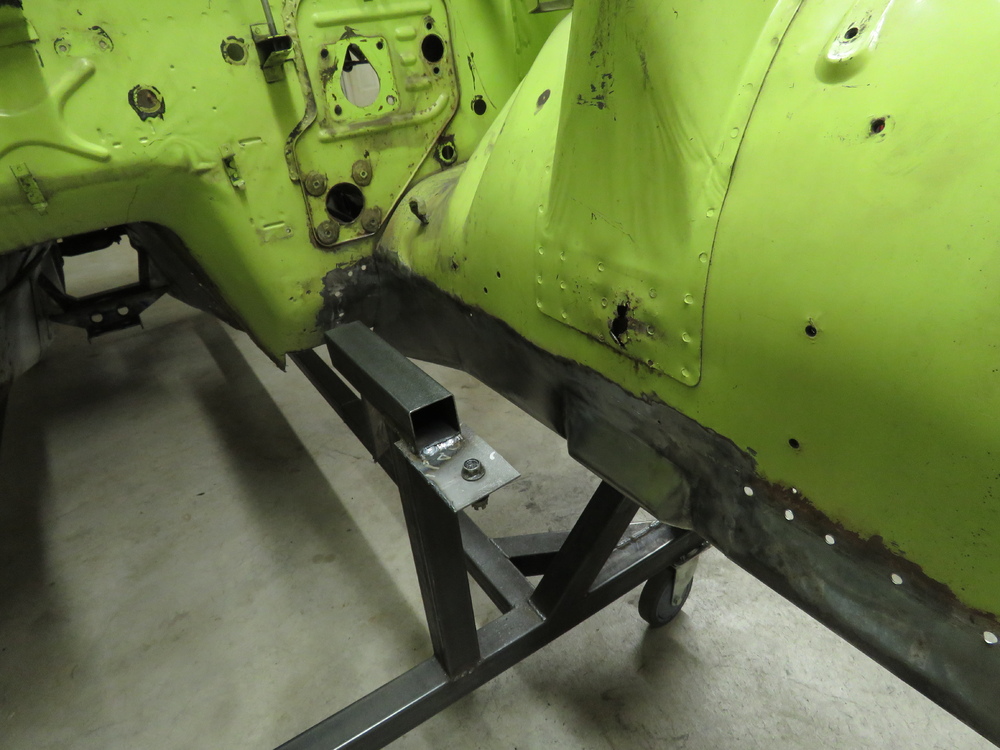
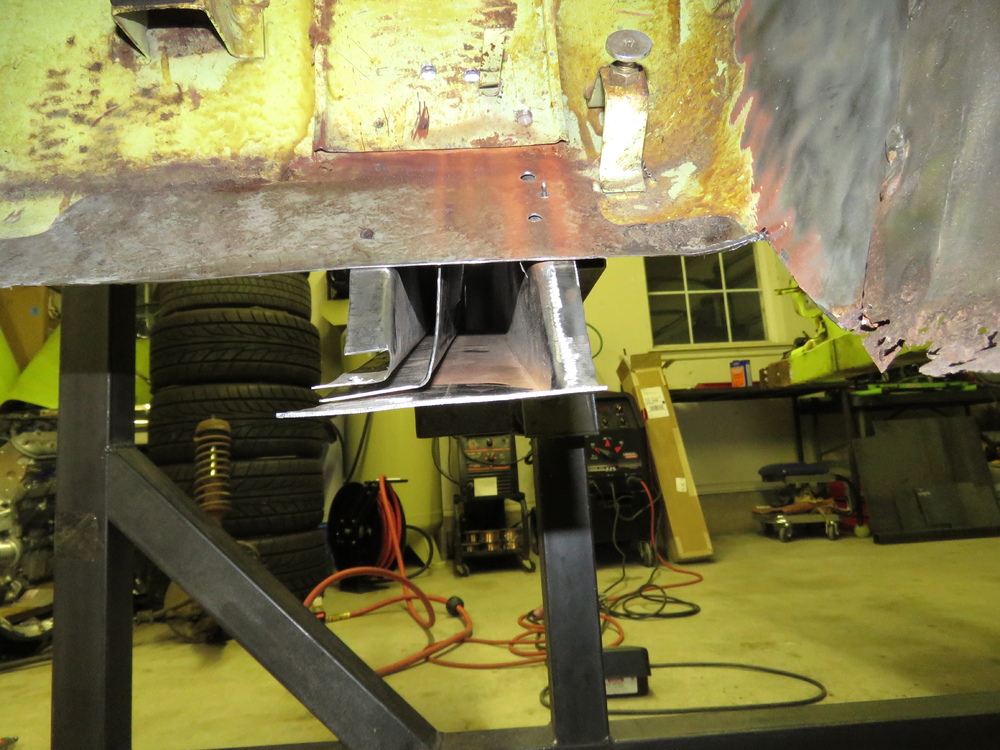
1 pointMade a quick guide. This was how I did it. Took the easy way out by cutting and welding, didnt want to fiddle around forever. Probably better ways of doing it, feel free to chime in anyone, Id like to learn other ways too. Depending on how original you want to make it to the stock piece, you could probably make a male and female mold out of wood (hard wood of some sort)/maybe cement, or other hard materials able to carve into and using a press, press the sheet metal into shape. Could also hammer it into shape and use an english wheel to smooth out the hammer indentions, which I didnt have at the time. Though My english wheel experience and knowledge is still at beginner level. Hope this helps, let me know what else is needed.
 1 point
 -
that cloth is a double edged sword. it can also keep the fuel hot1 point
-
Everyone told you to do this. Did you do it yet?! Nothing will change until you change something!1 point
-
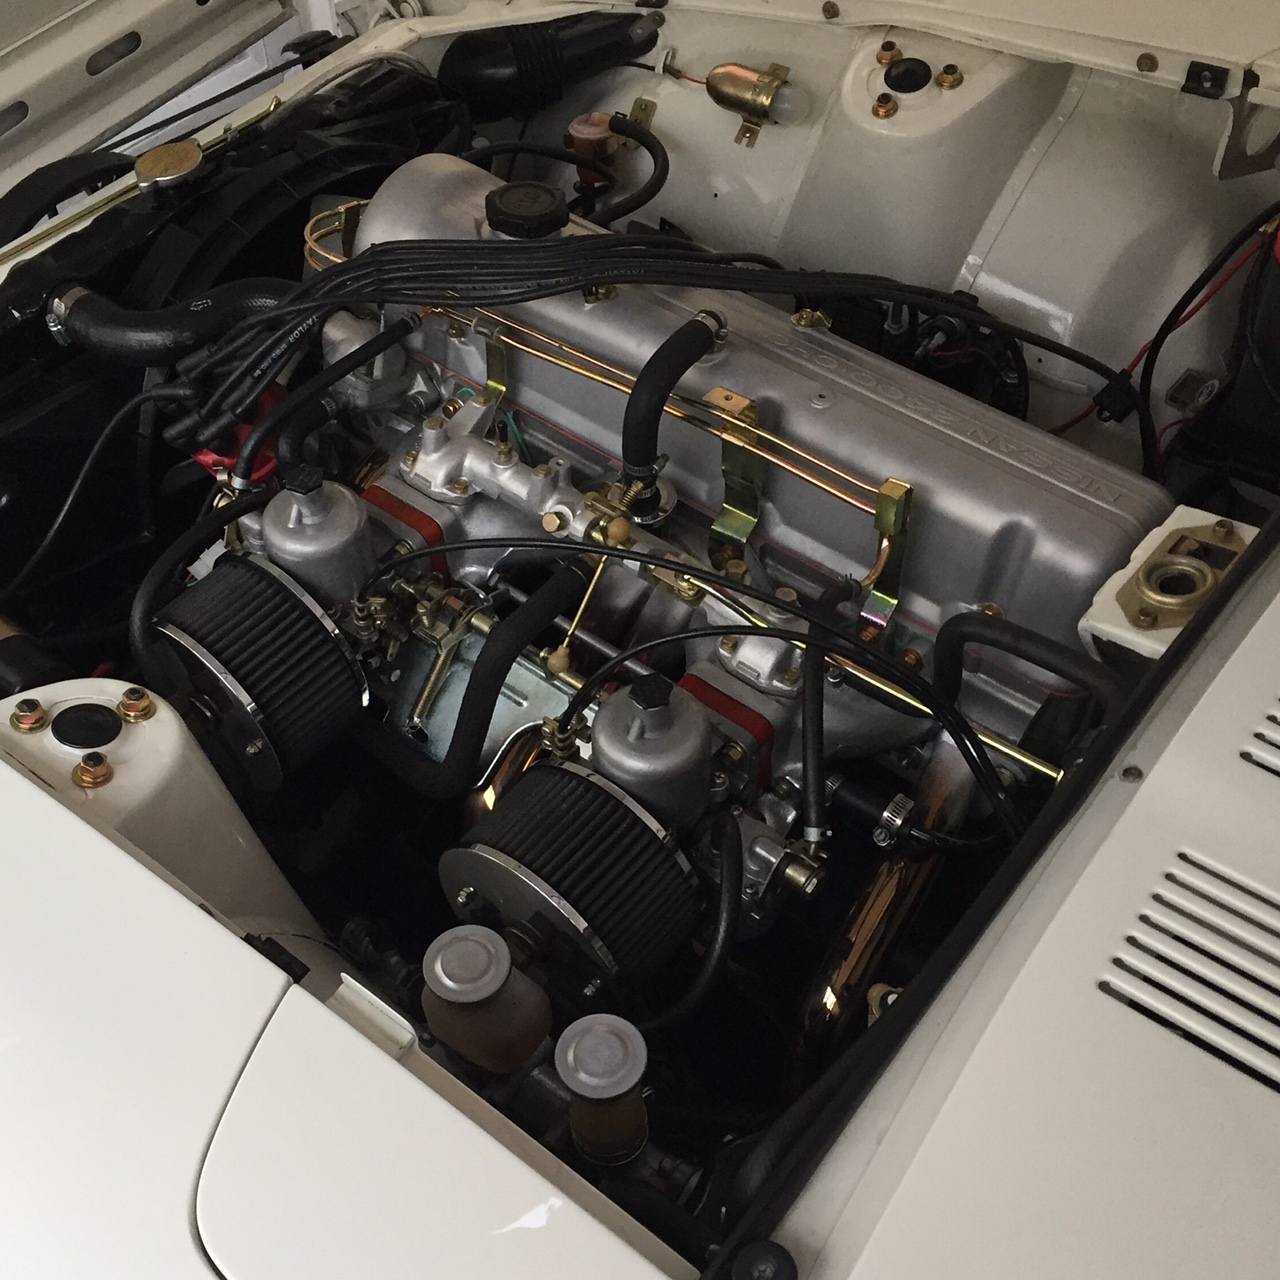
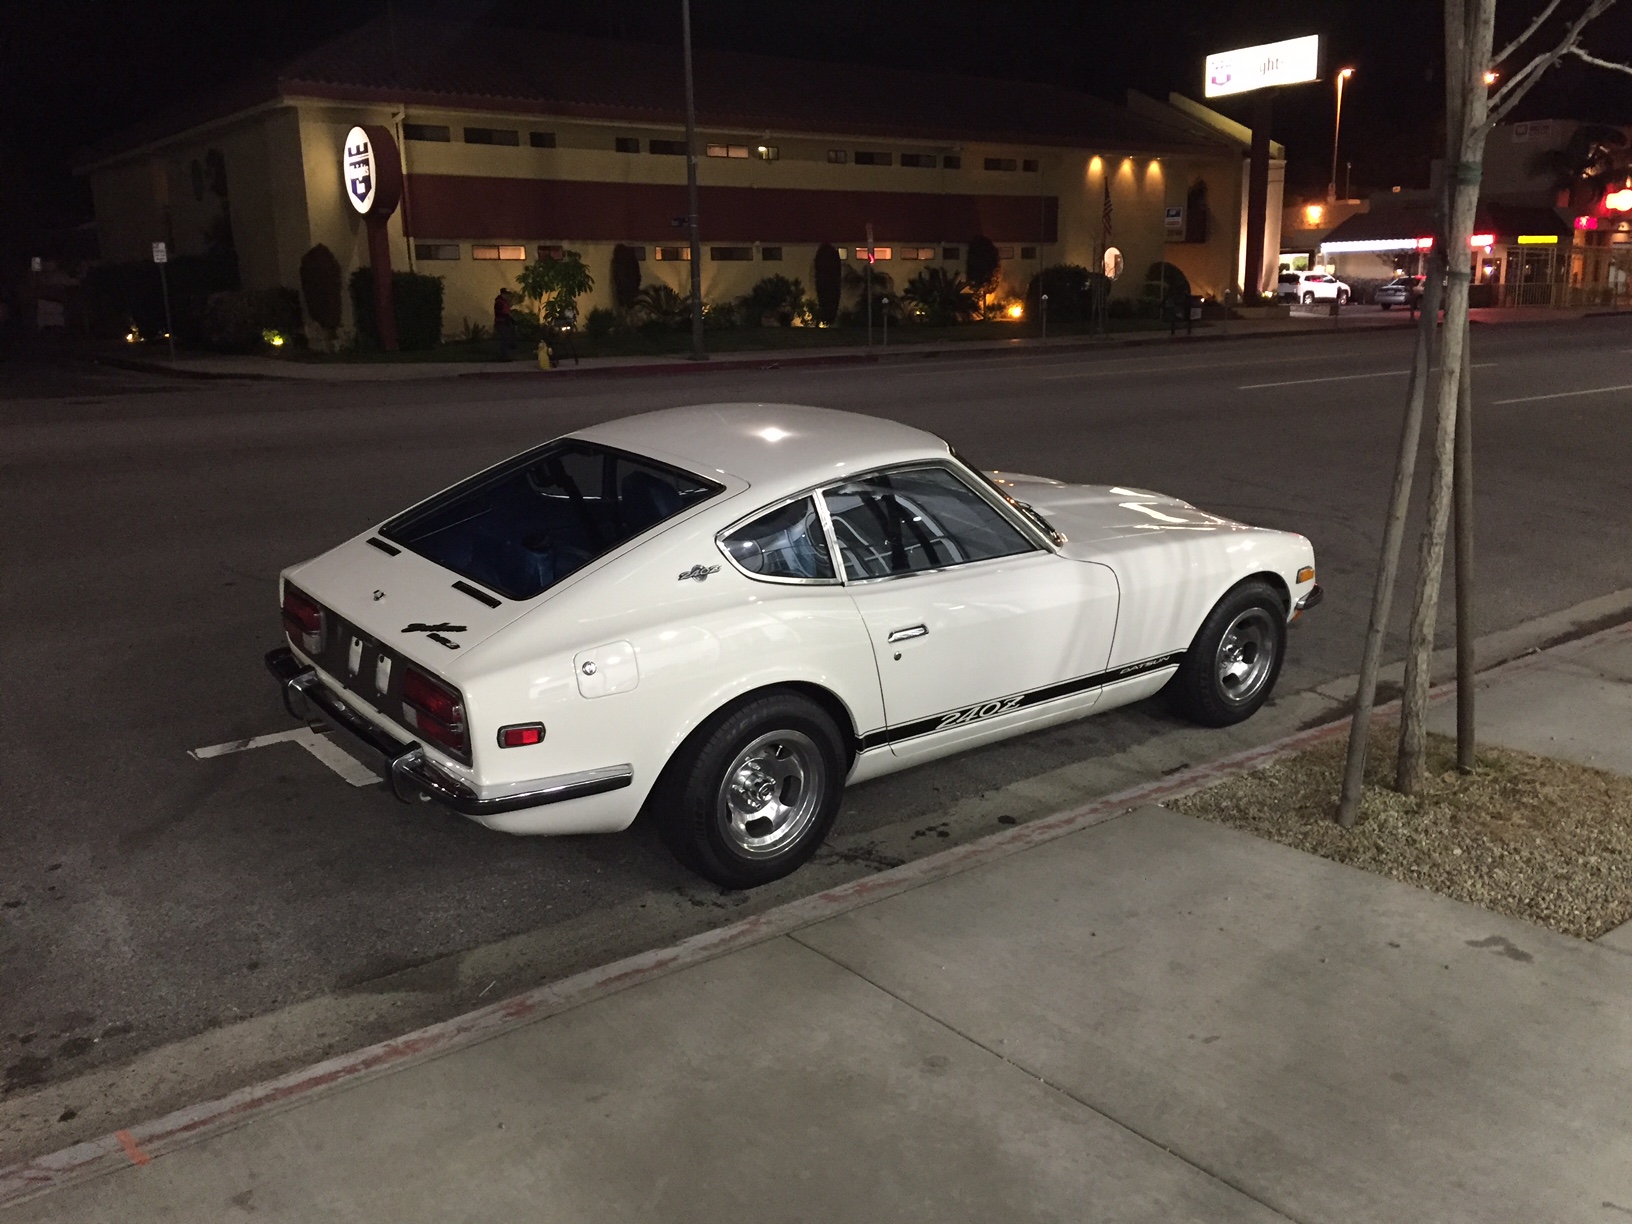
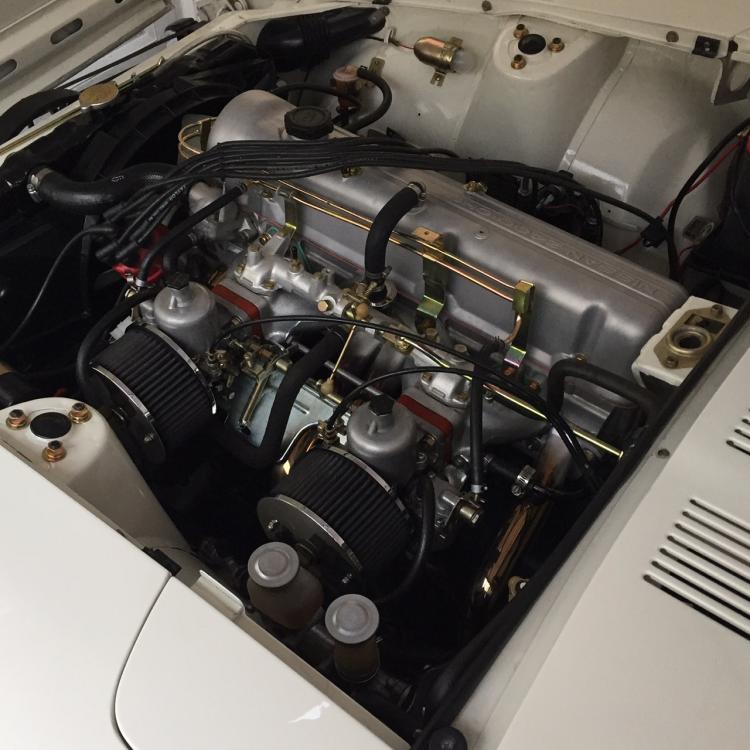
Yes, the marks in red are correct. I agree, it was best to change them out. The car used to belong to a member here, see link below. I purchased the Z in January, on Ebay from the person who purchased it from the member on this board. The car is now slightly different cosmetically from the link below. I replaced the aftermarket mirrors with a brand new, correct, driver side only unit. I've been mostly focusing on the engine bay and changing things to my liking as far as performance and the aesthetics of it. It's not a matching numbers car because it threw the #6 rod through the block prior to my ownership. The car was very well restored and I really lucked out on the purchase. Here's a picture of it now and one of the engine bay since my ownership. I replaced the MSA exhaust system with a Full Fujitsubo header and exhaust system, de-chromed the valve cover and wet blasted, re-plated hardware, and obviously the rockers and lash pads. I have a set of brand new old stock complete 40mm Triple Mikuni's i'm planning on installing next week so I'm very excited.
 1 point