Leaderboard
-
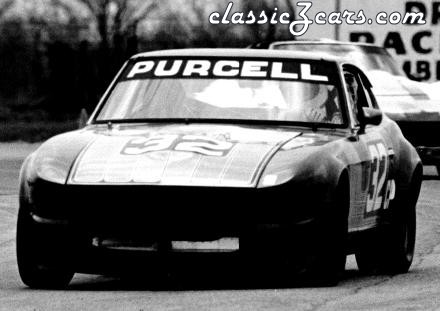
JLPurcell
Free Member6Points1,670Posts -
sweatybetty
Free Member3Points1,119Posts -
S30Driver
Free Member2Points1,580Posts -
Getnjgywitit
Free Member2Points12Posts


Popular Content
Showing content with the highest reputation on 09/04/2016 in all areas
-
if i have to take something apart that may have parts that go flying, i put it inside of a 1 gallon zip-lock bag. the bags are easy enough to see through, and will keep the parts from flying.3 points
-
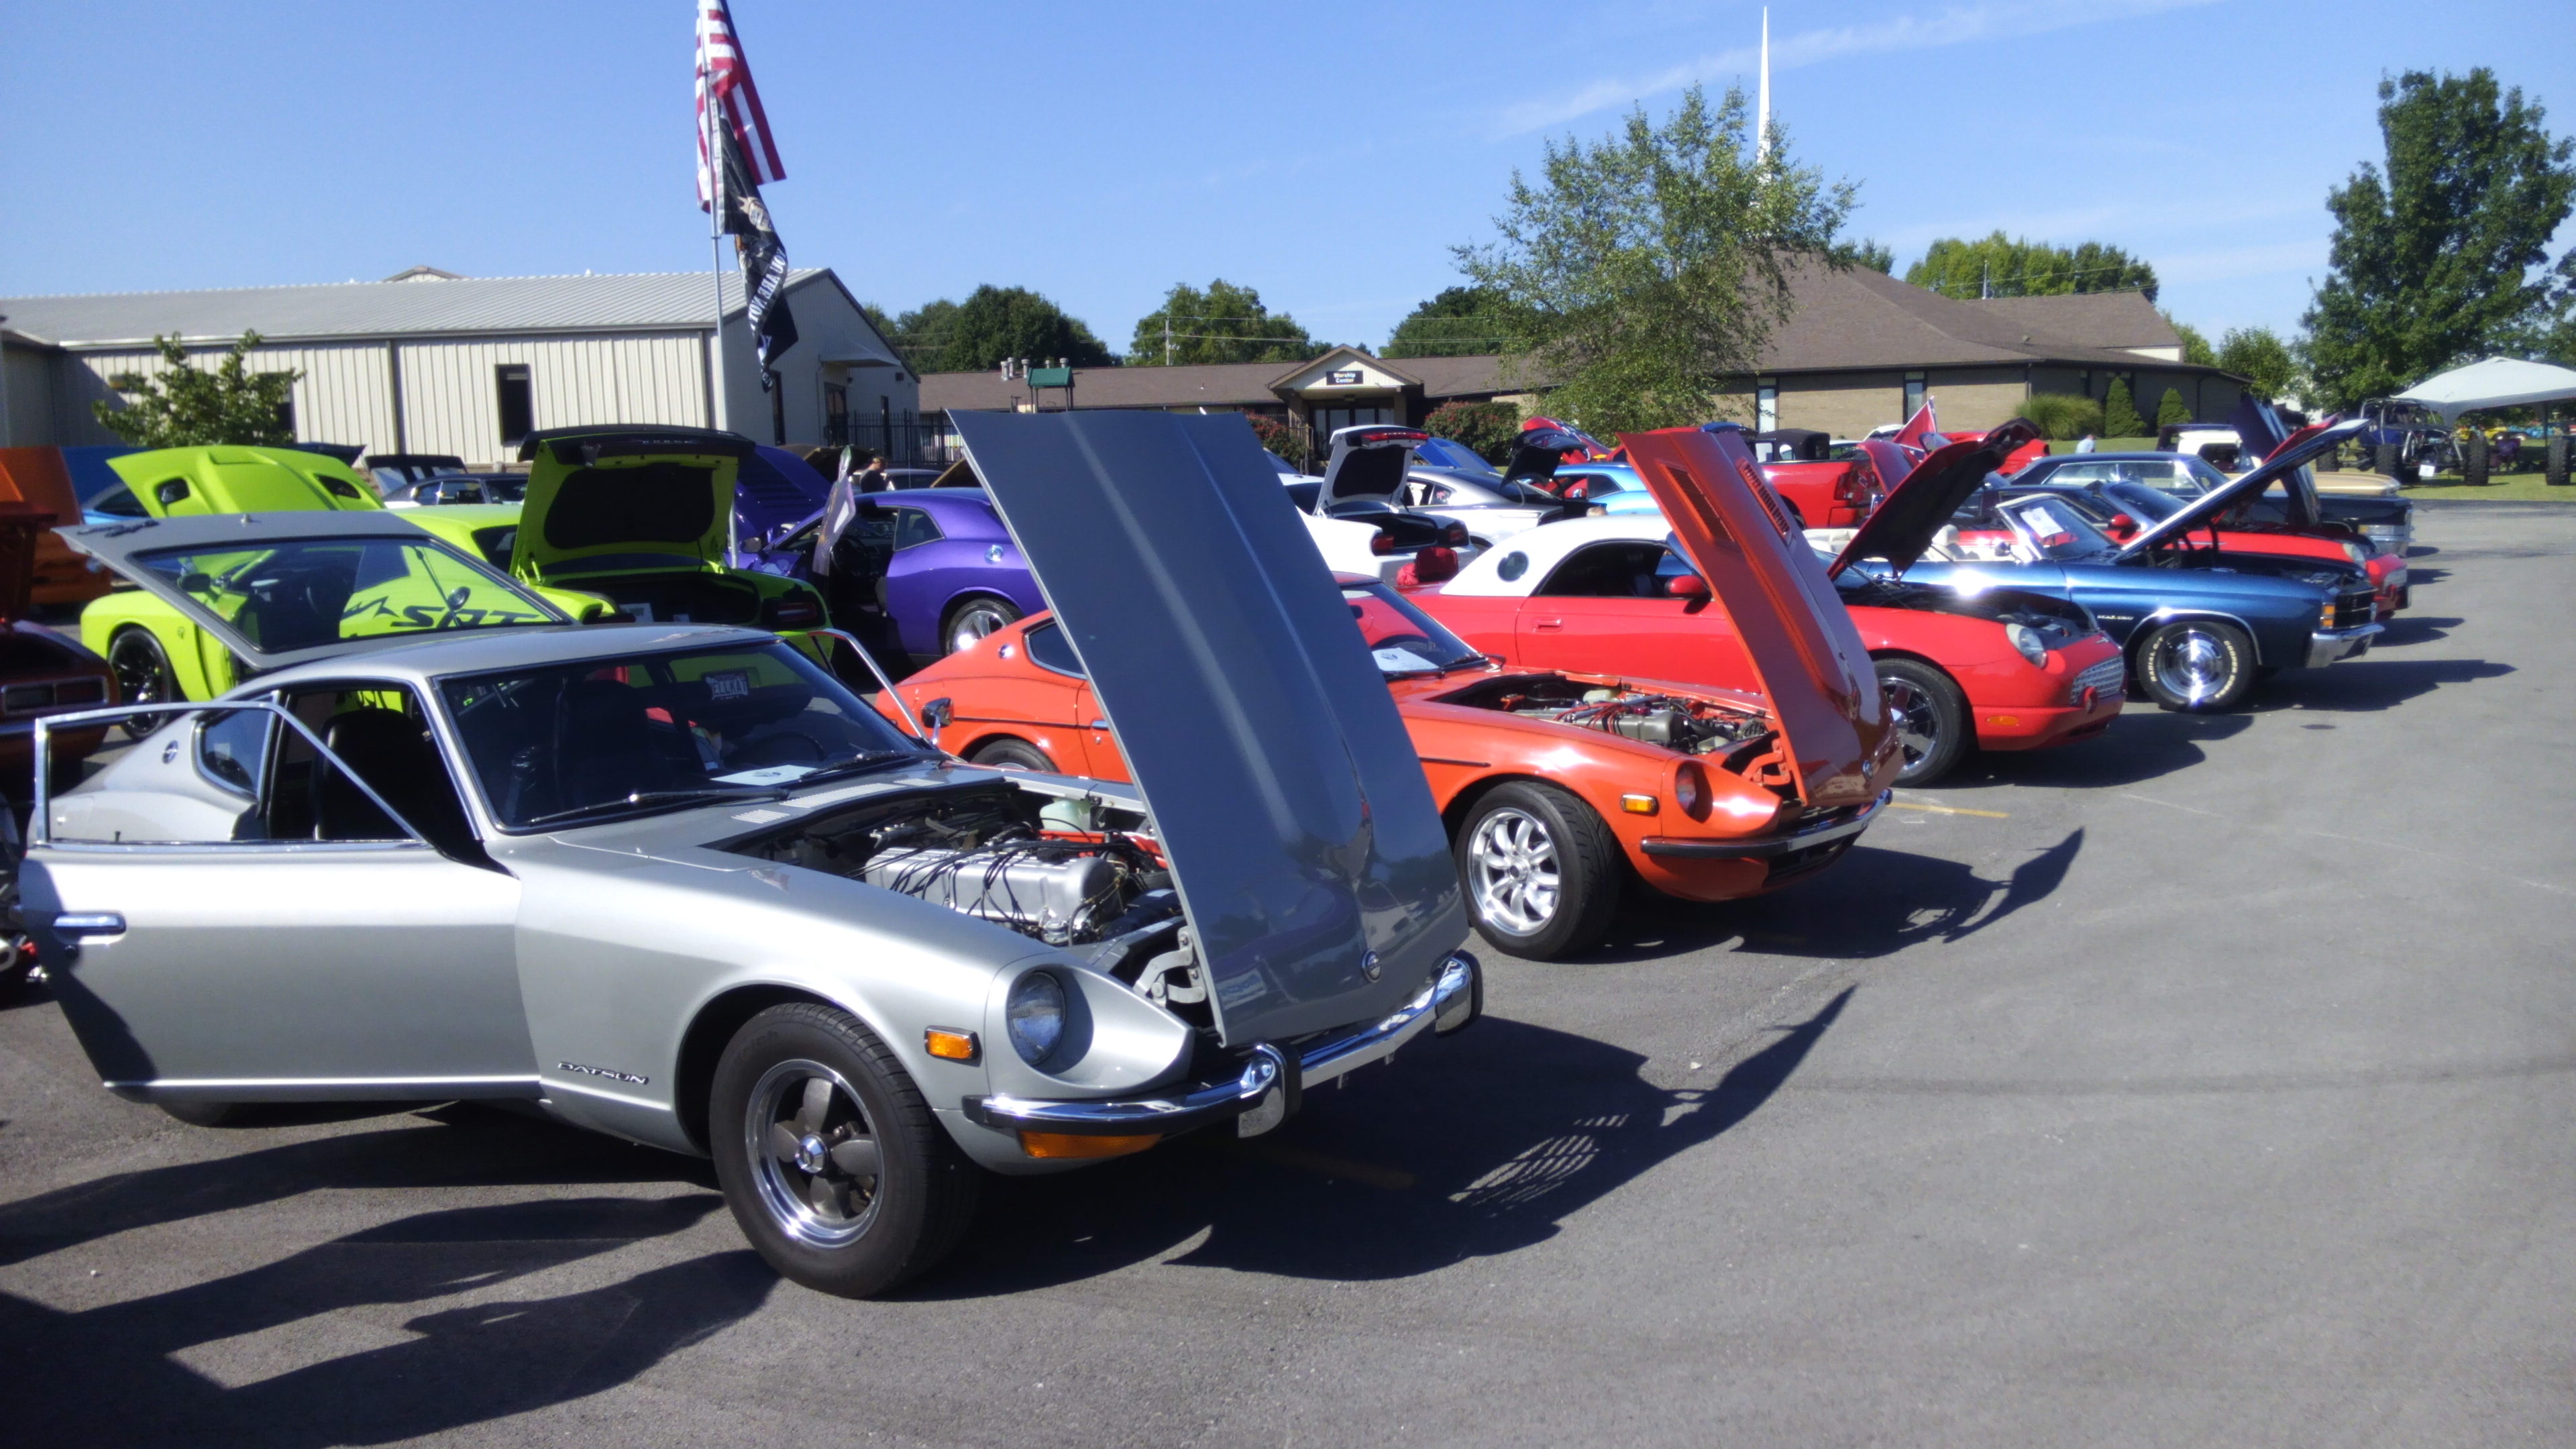
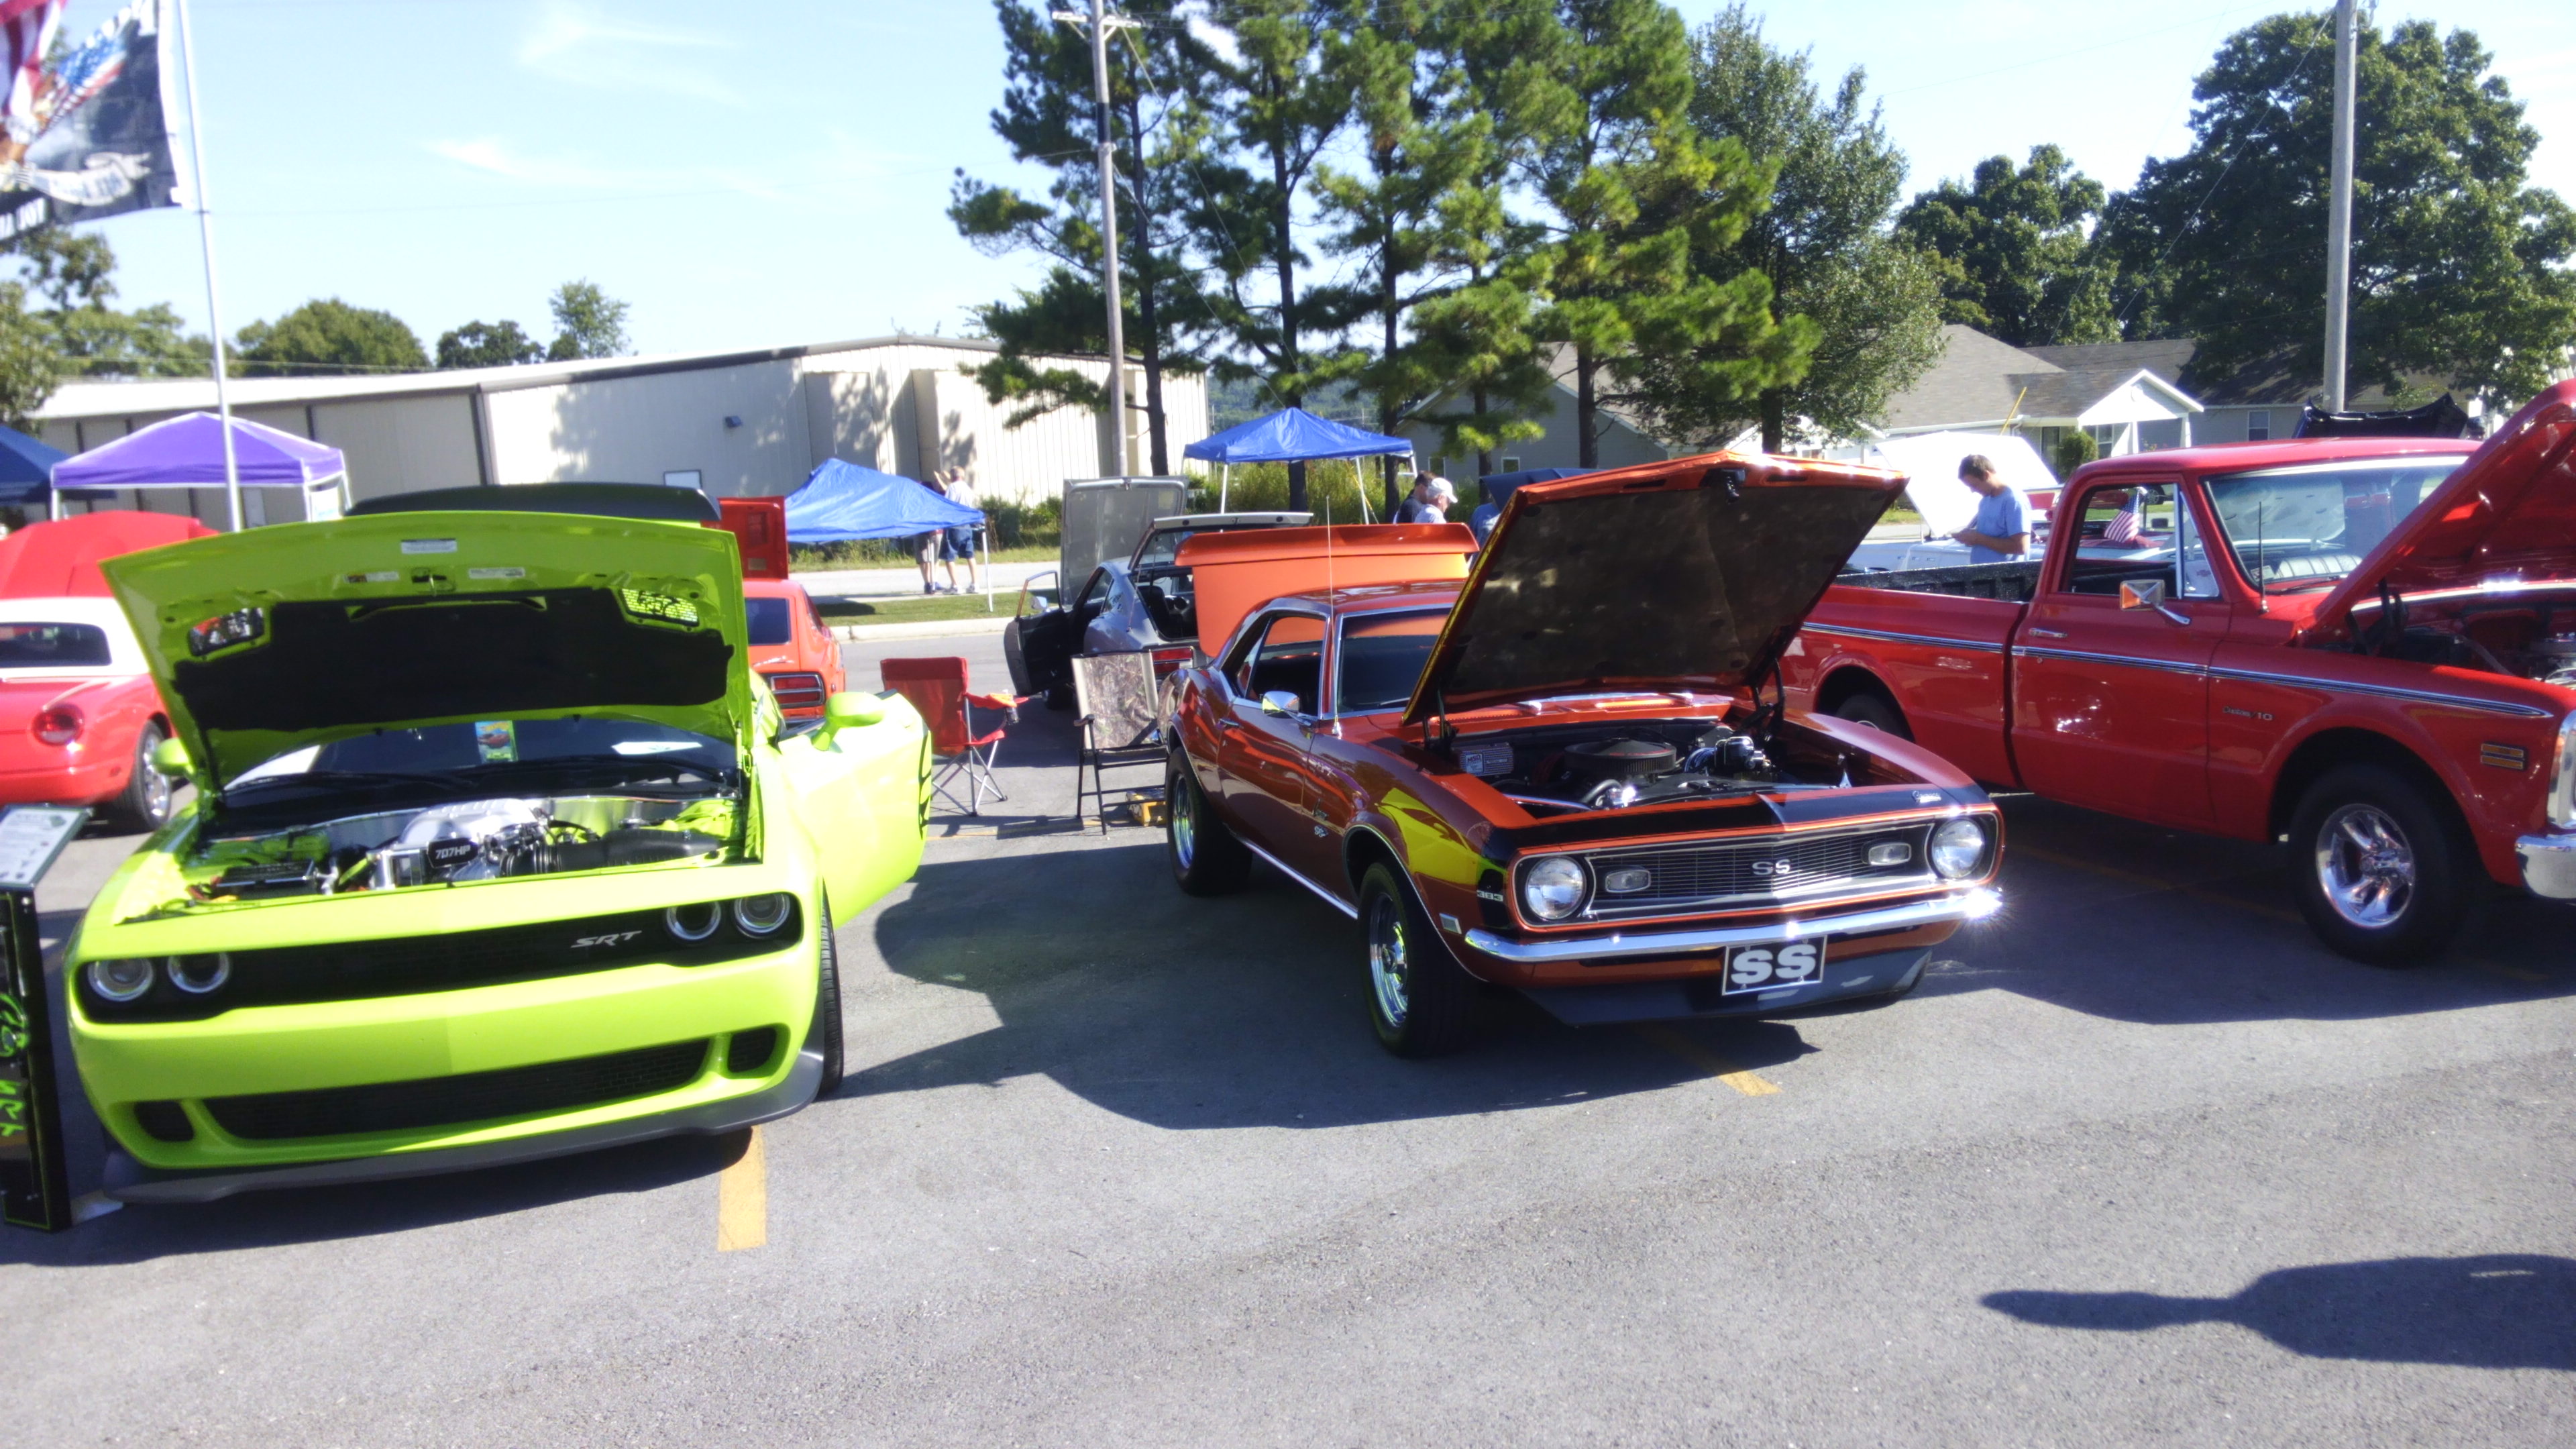
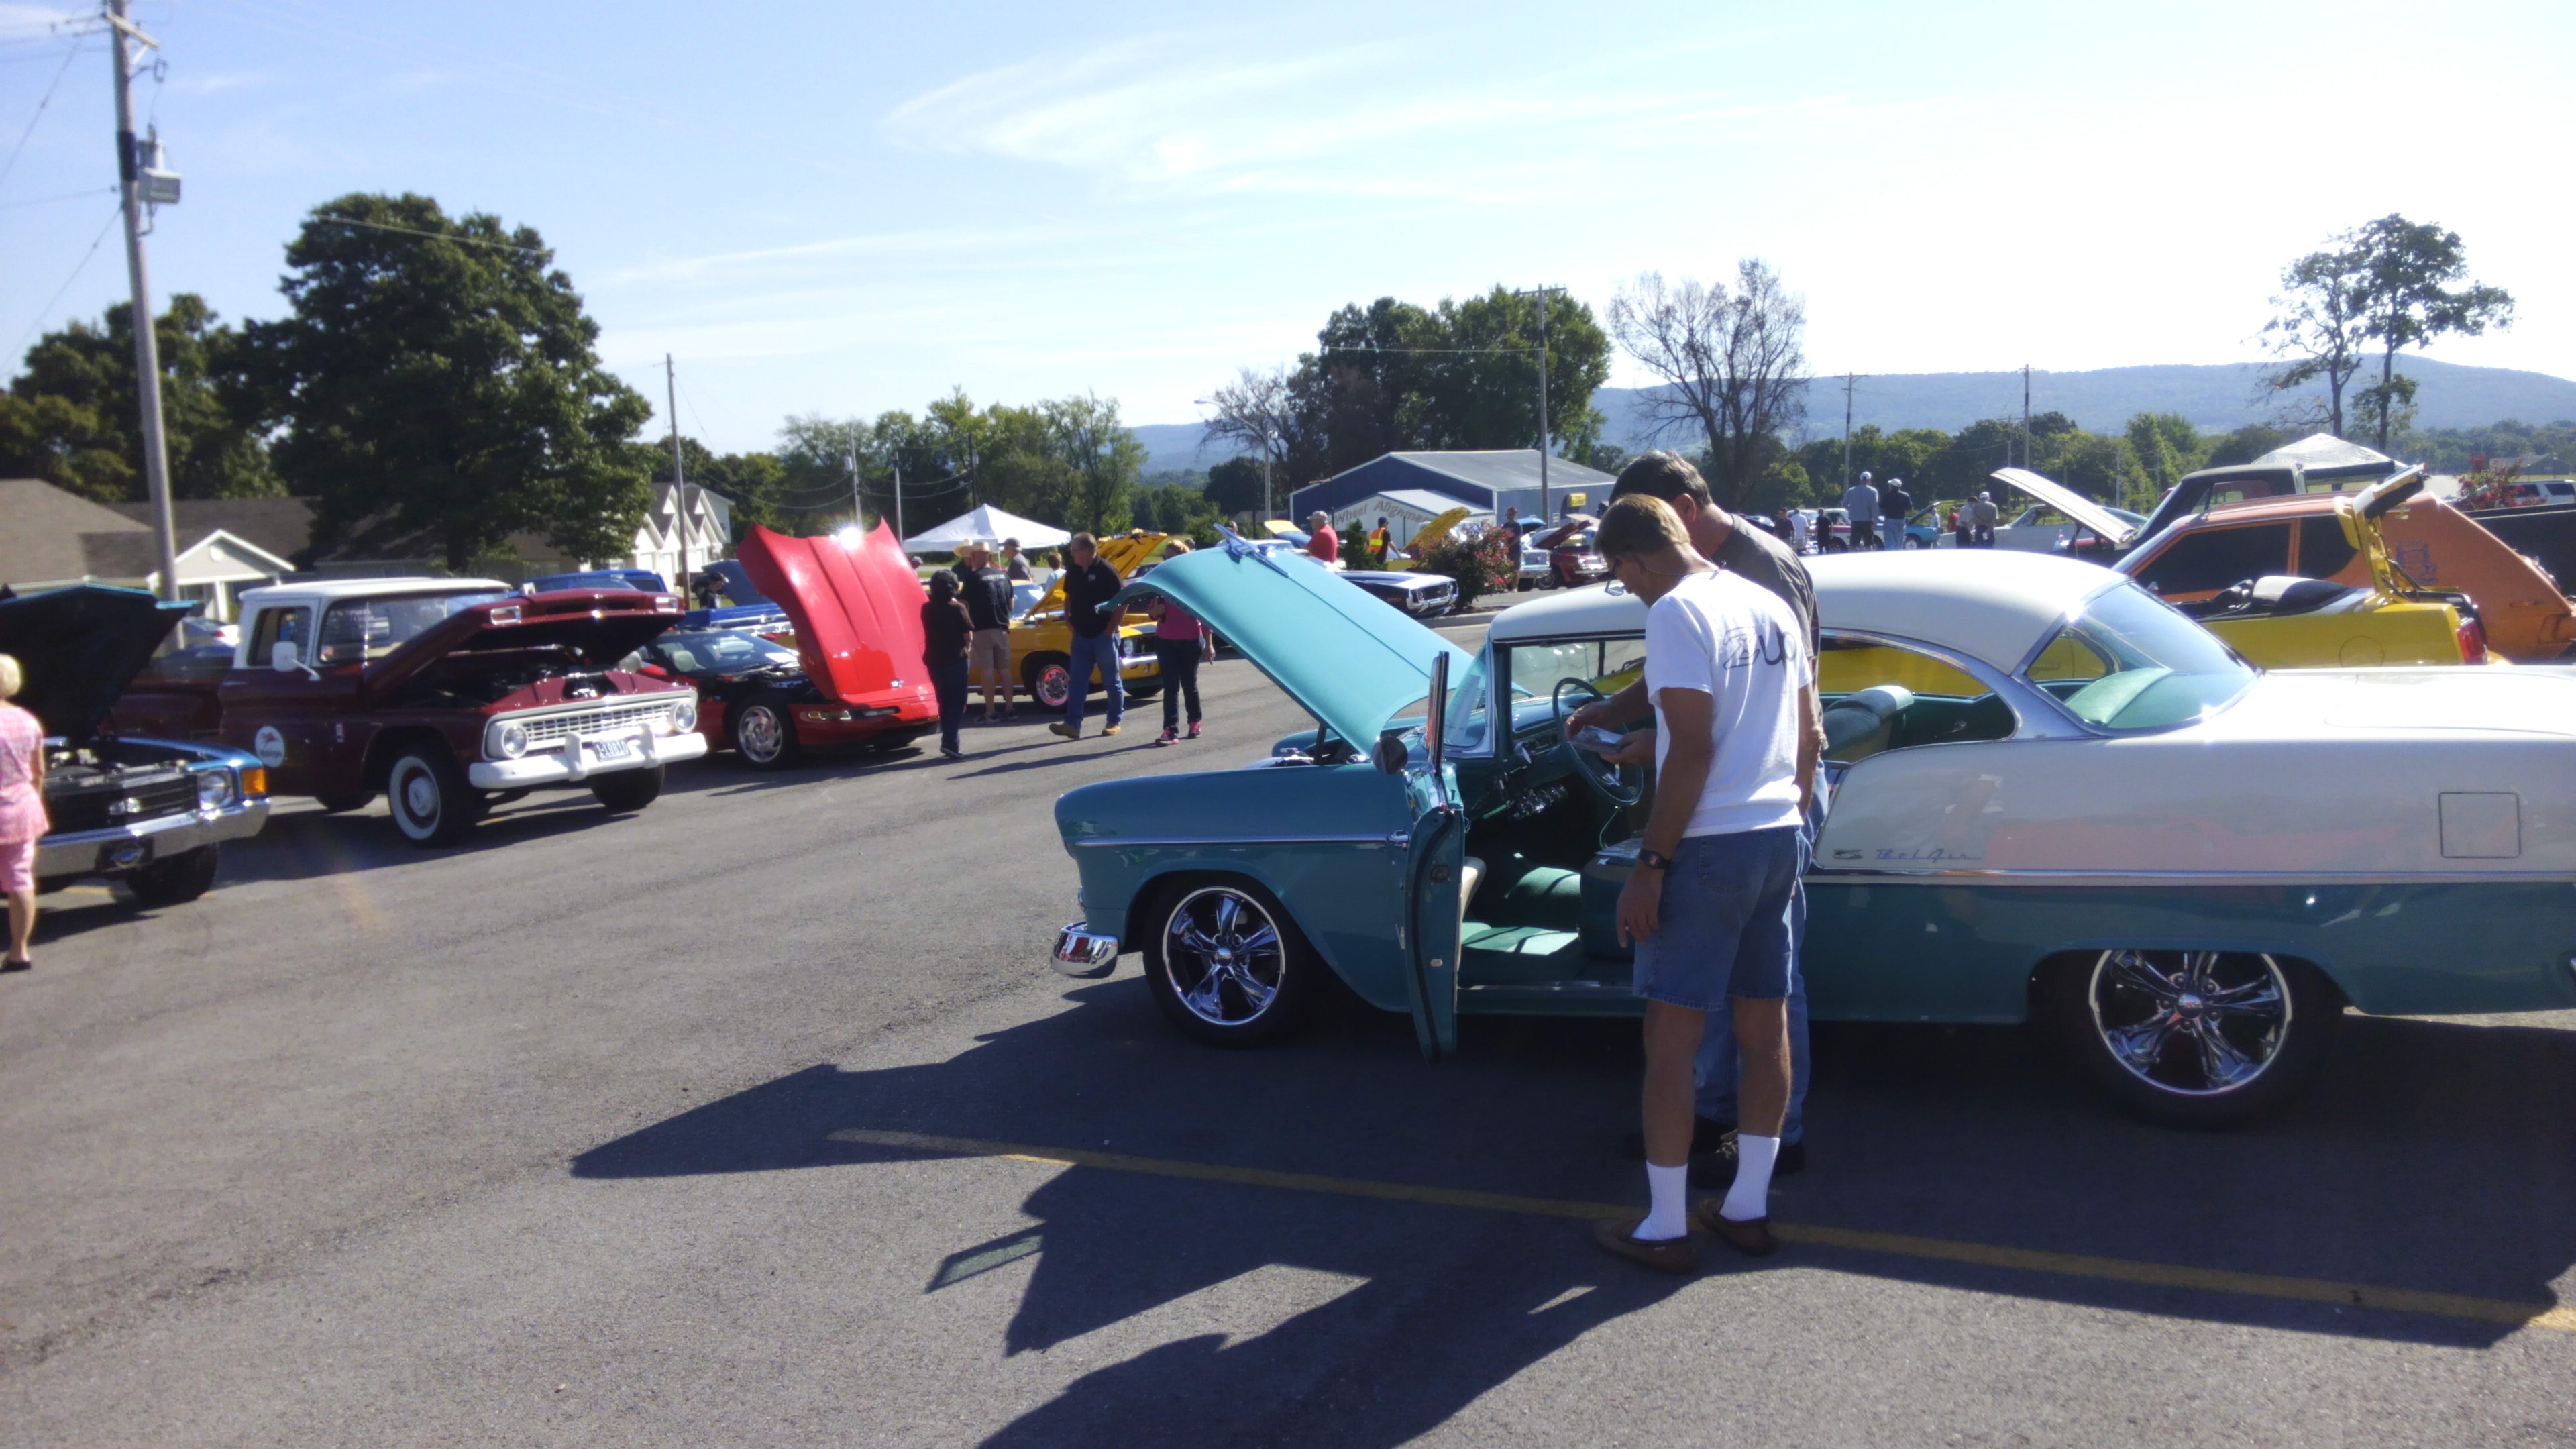
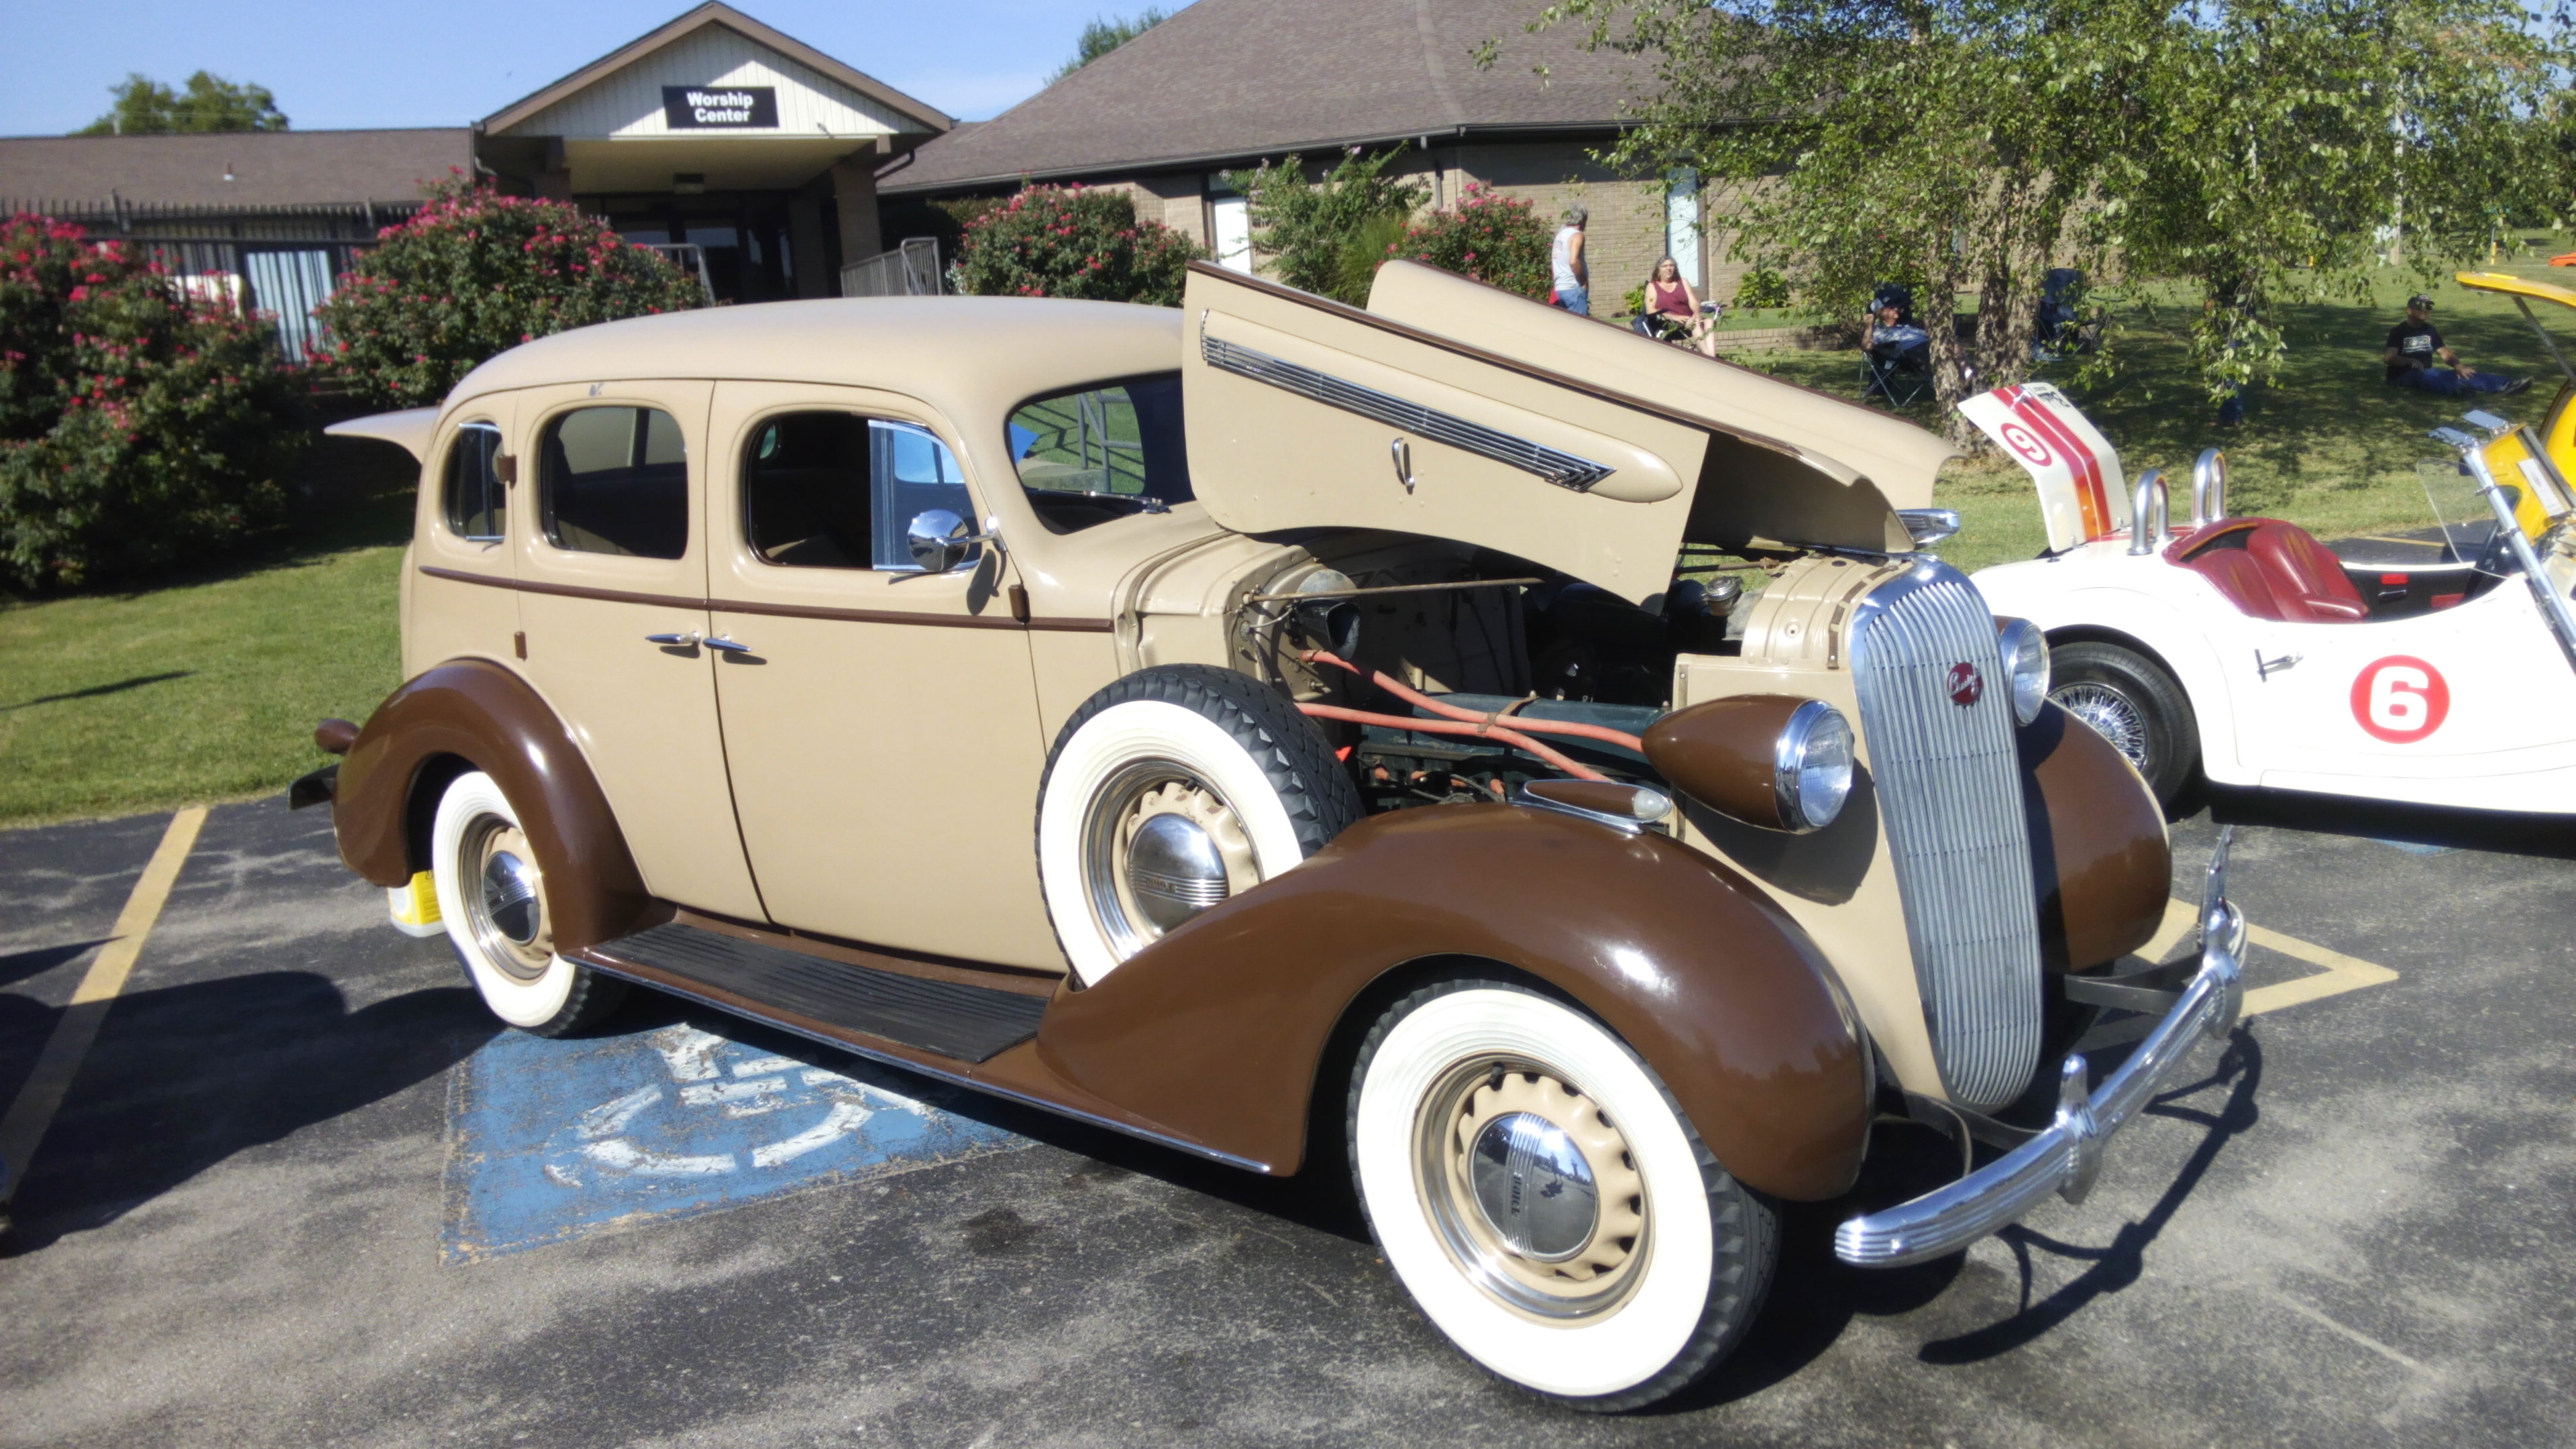
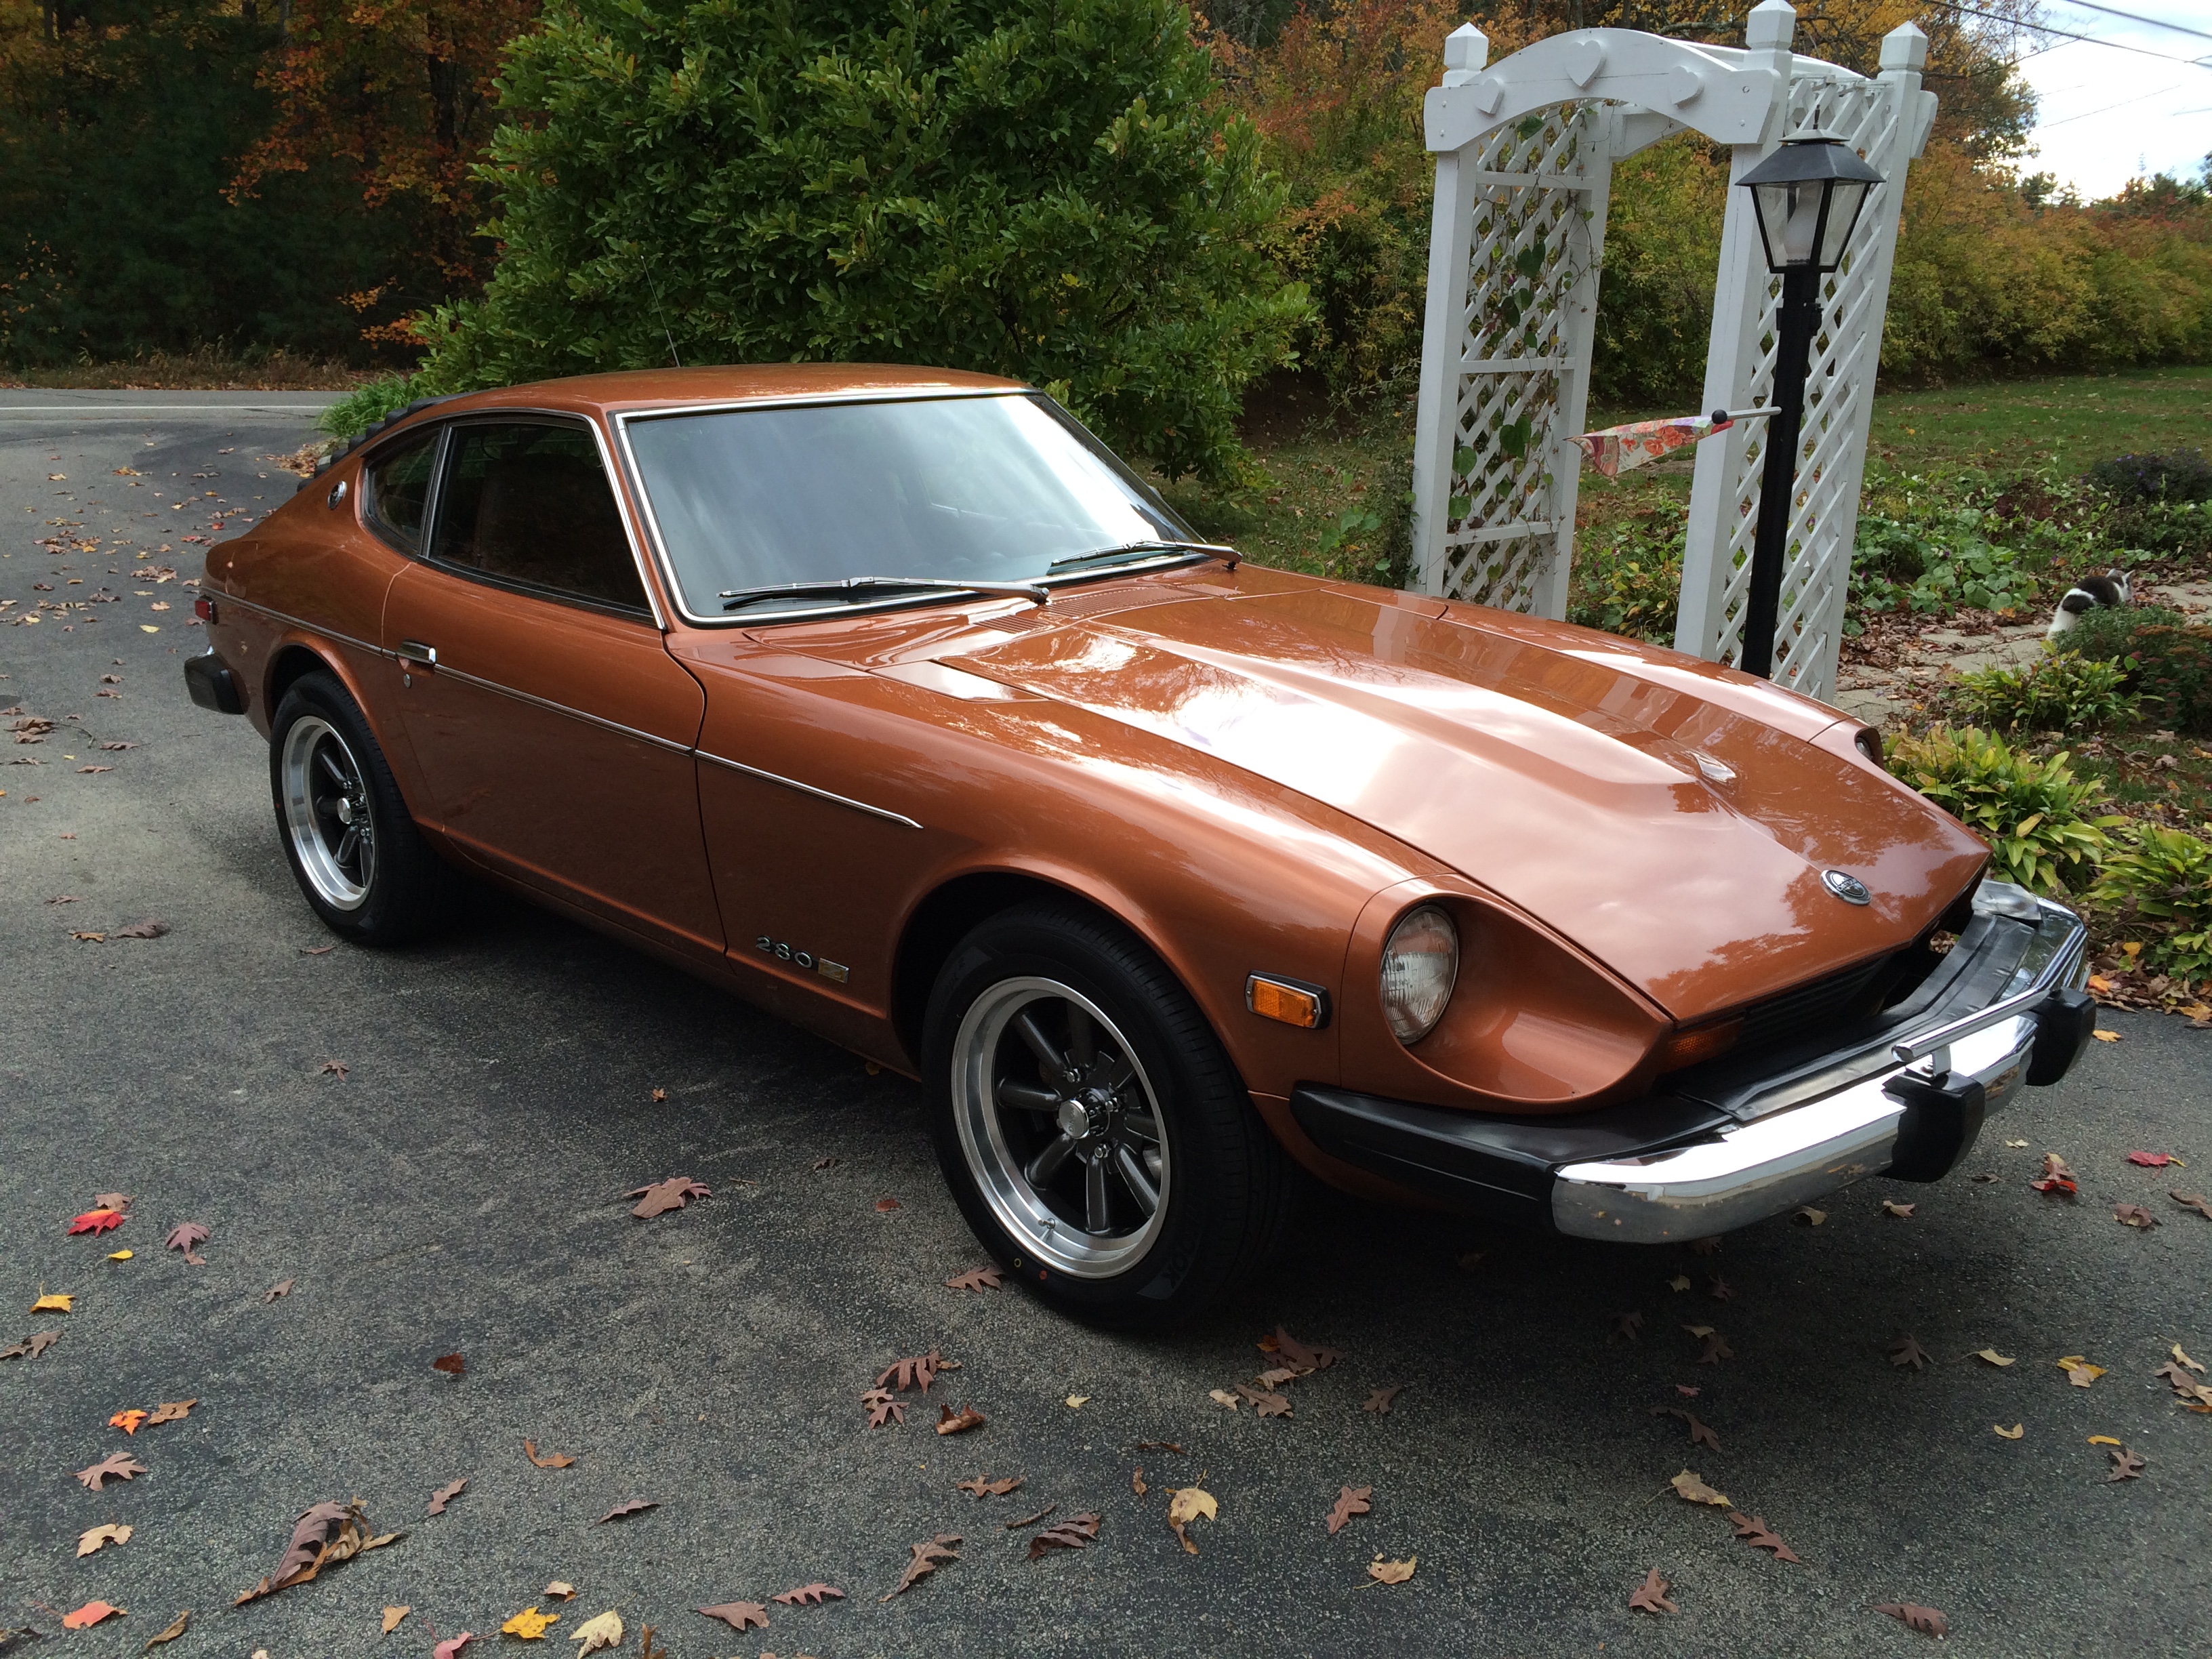
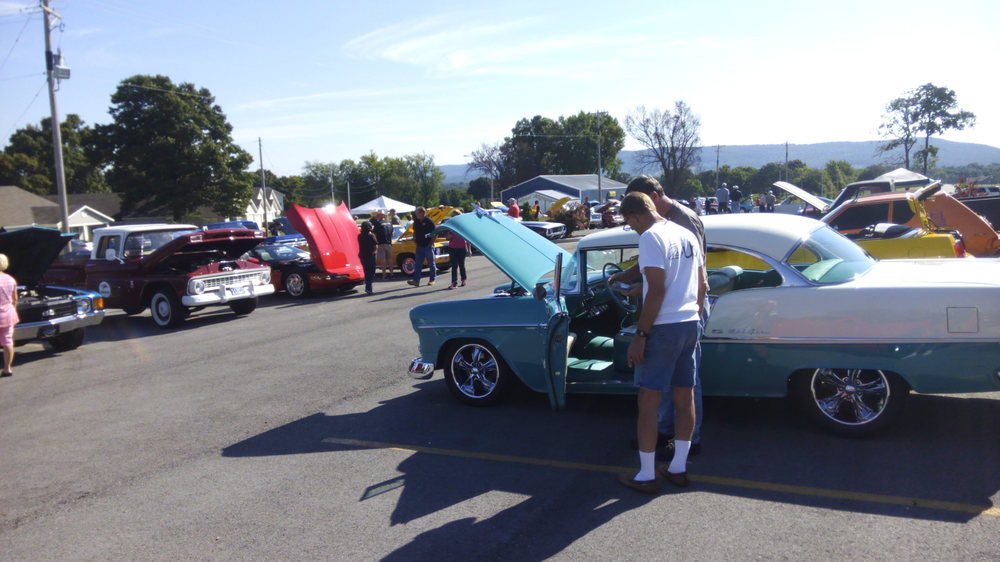
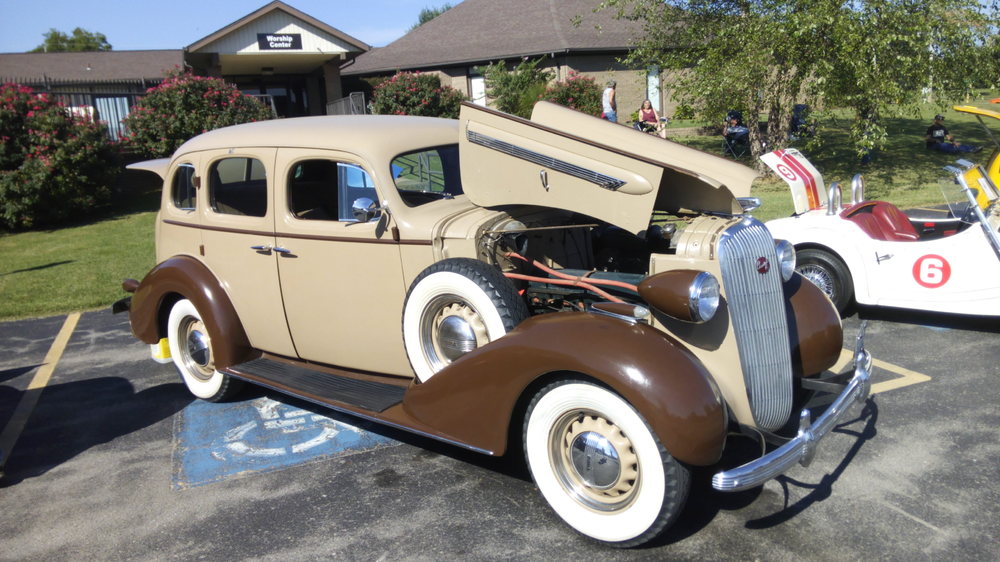
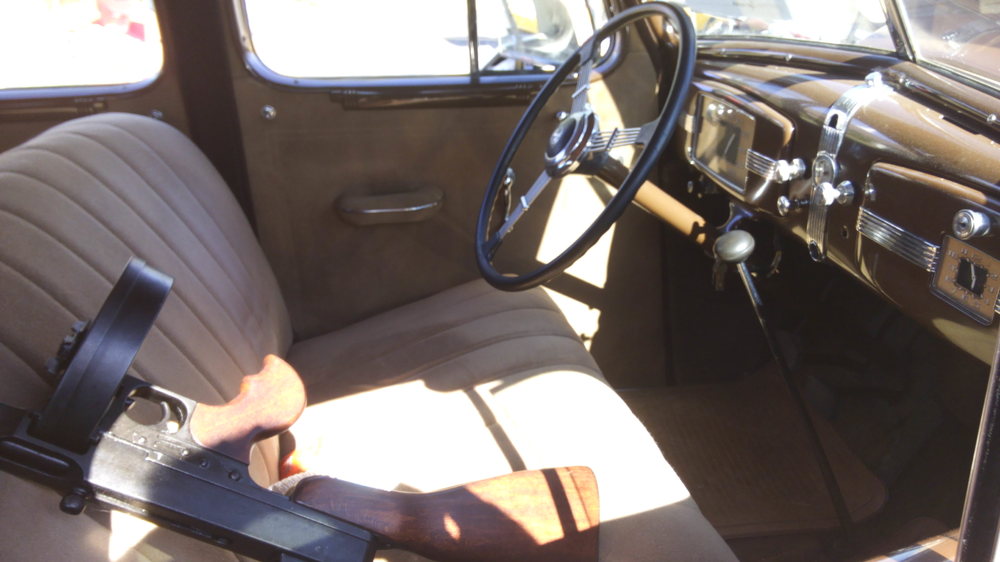
Attended the 5th annual charity car show here in Prairie Grove Saturday with Zup. A very nice event with some gorgeous cars all across the spectrum represented. Nice turnout on a beautiful day with about 80 to 90 cars. The import section was dominated by myself & Zup (the only 2 imports). When the votes were all tallied .... appreciation of the judges for Zup's beautiful Zilver 240 took 5th Place! Congrats Jim! (and thanks for the victory beer) A highlight of the show, was meeting Duane, a owner of a very nice modified 55 Chevrolet sedan. he is a very knowledgeable guy, and raced against Paul Newman back in the day. His car I believe won Best in Show. Zup & Duane (Old School but reliable theft deterrent)


 2 points
 -
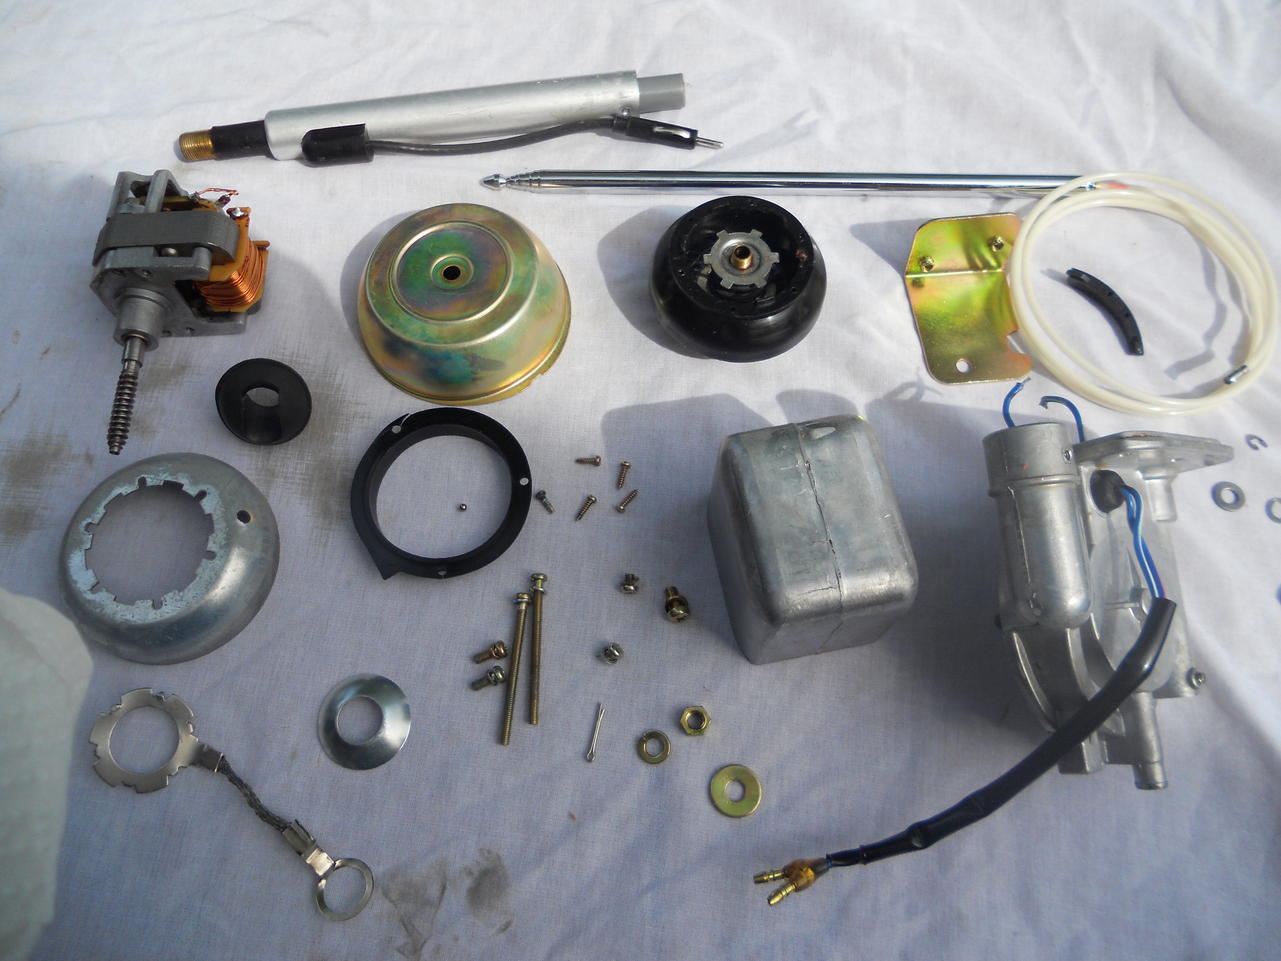
1 pointI am sure members are aware that in my list of projects to bring my restored 72 to the next level I wanted to find a NOS bullet tip antenna. That has proven to be difficult but in my quest members donated or sold me donor antennas:D for parts and I was able to find enough good parts to complete a restoration of an antenna which is the next best thing. The finishing touch came when a member offered me a NOS mast. I hope the following will help other members in the position of wanting a good working original antenna.
 1 point
 -
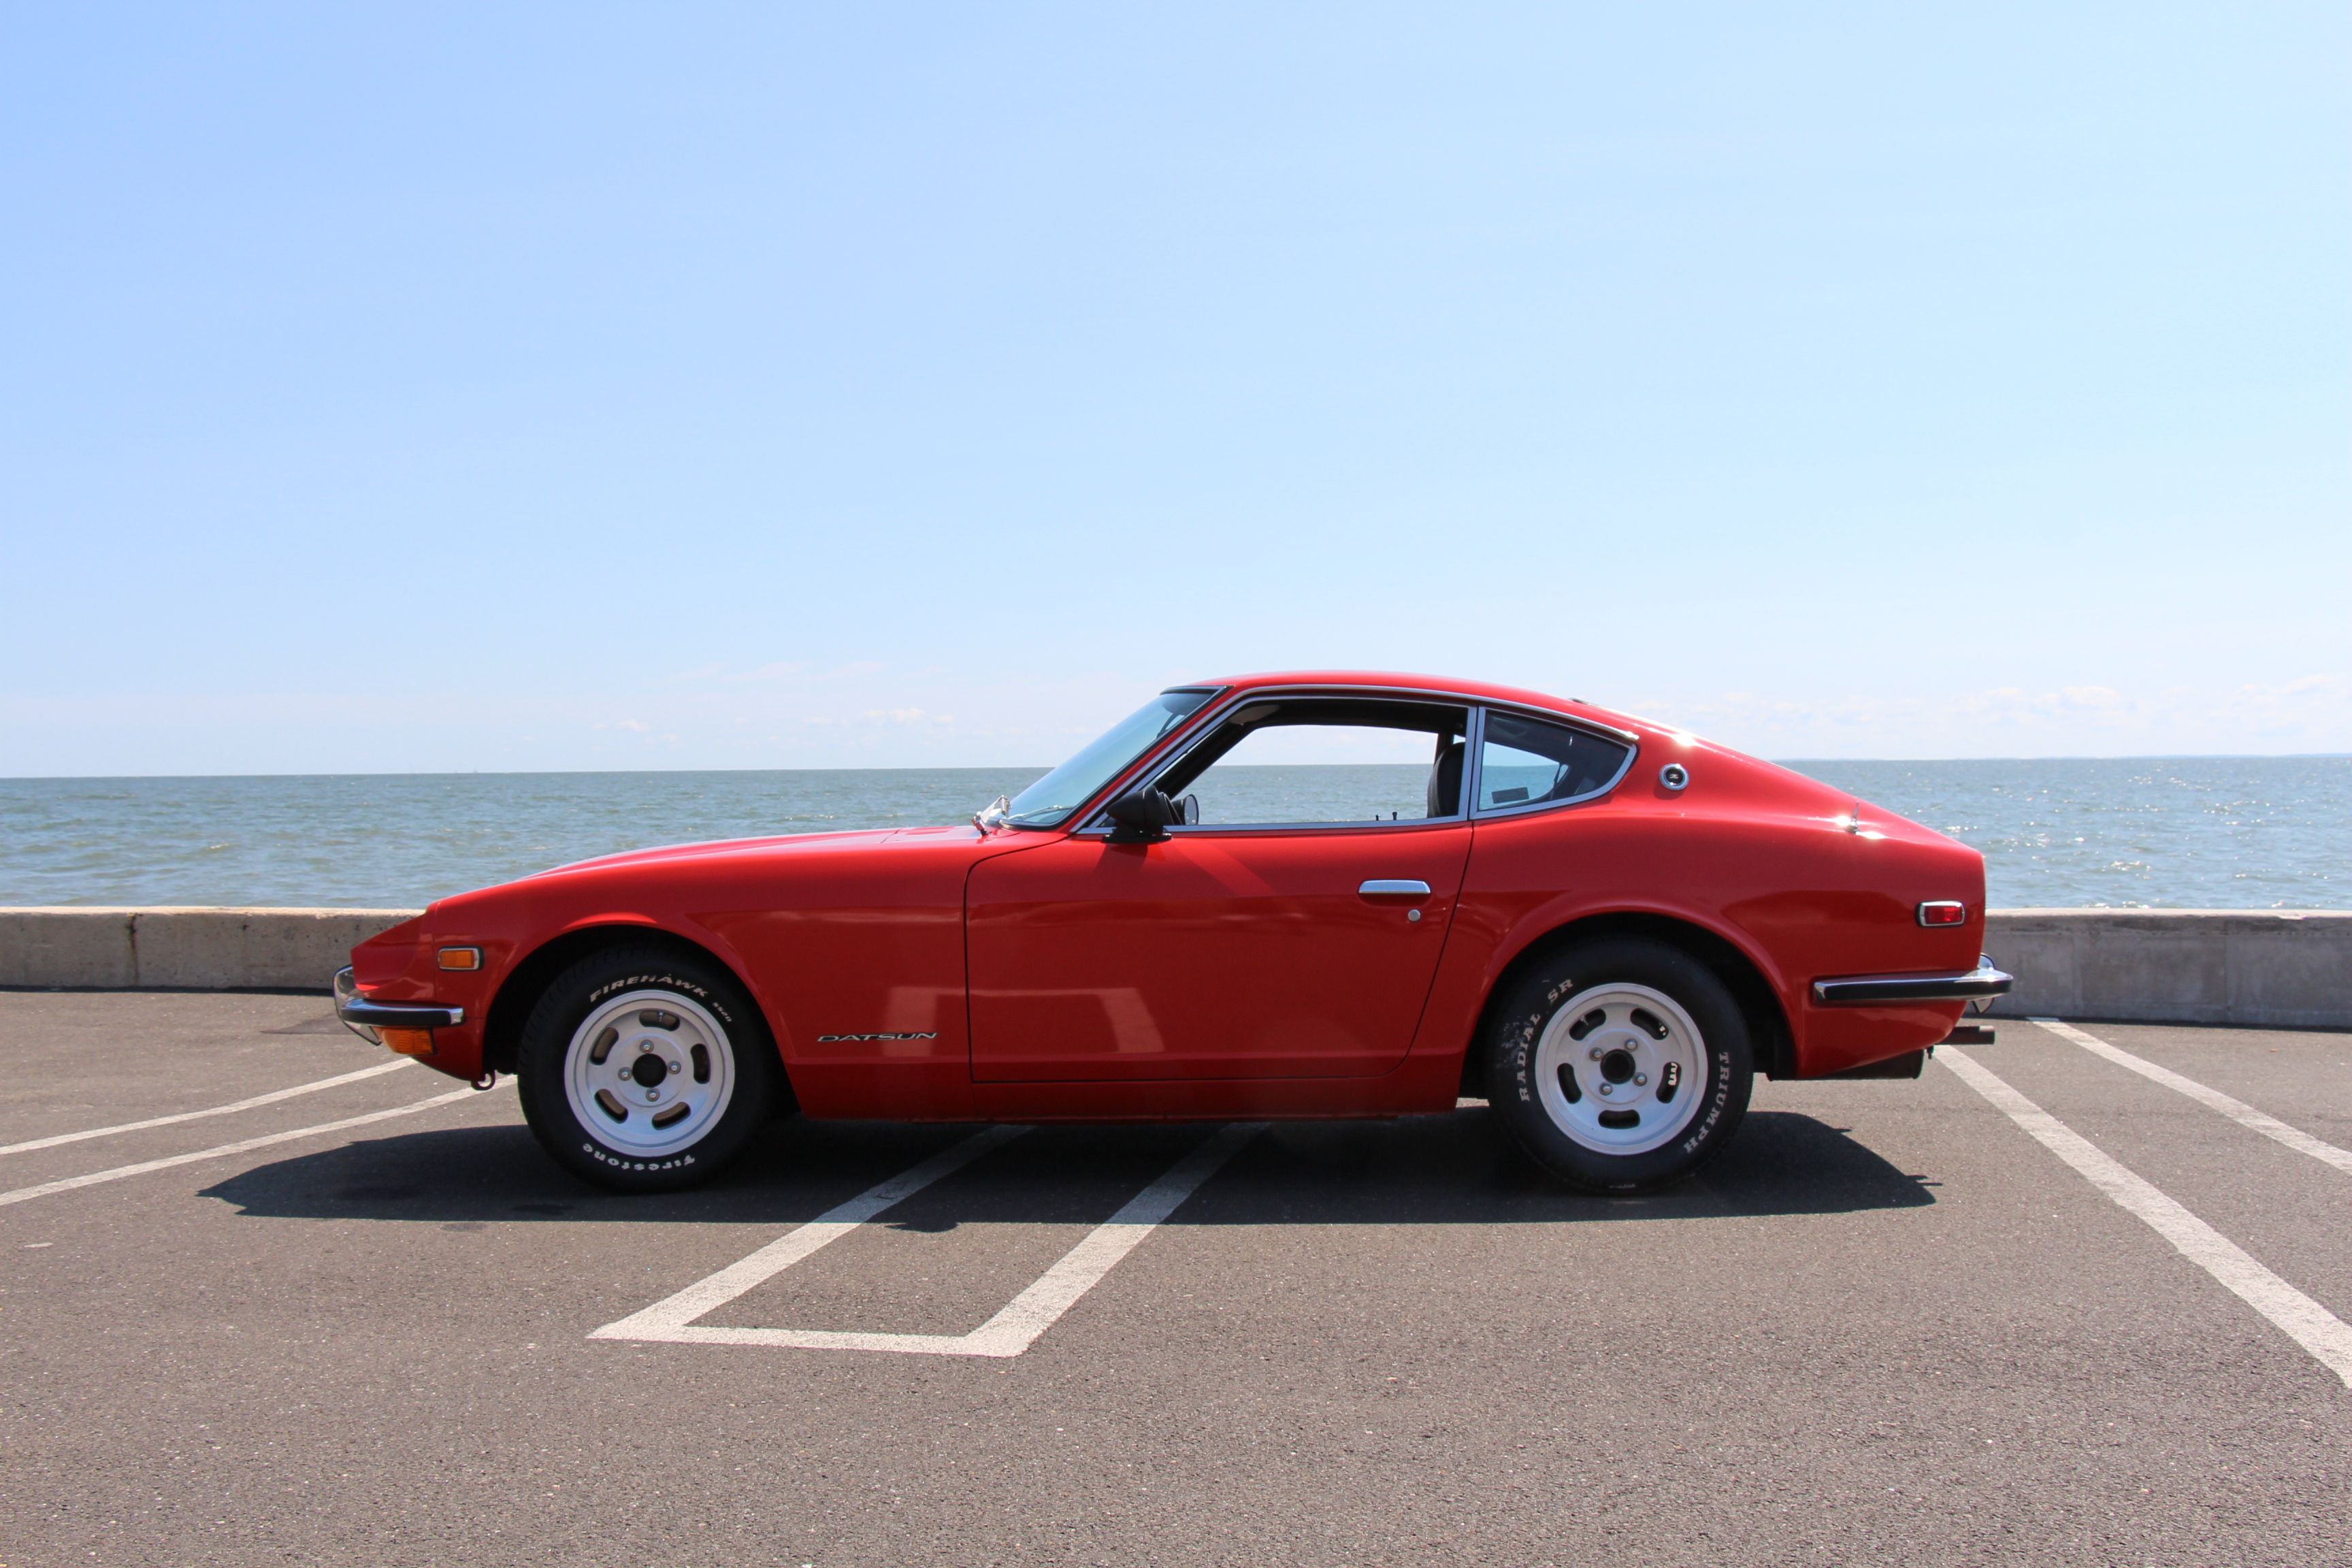
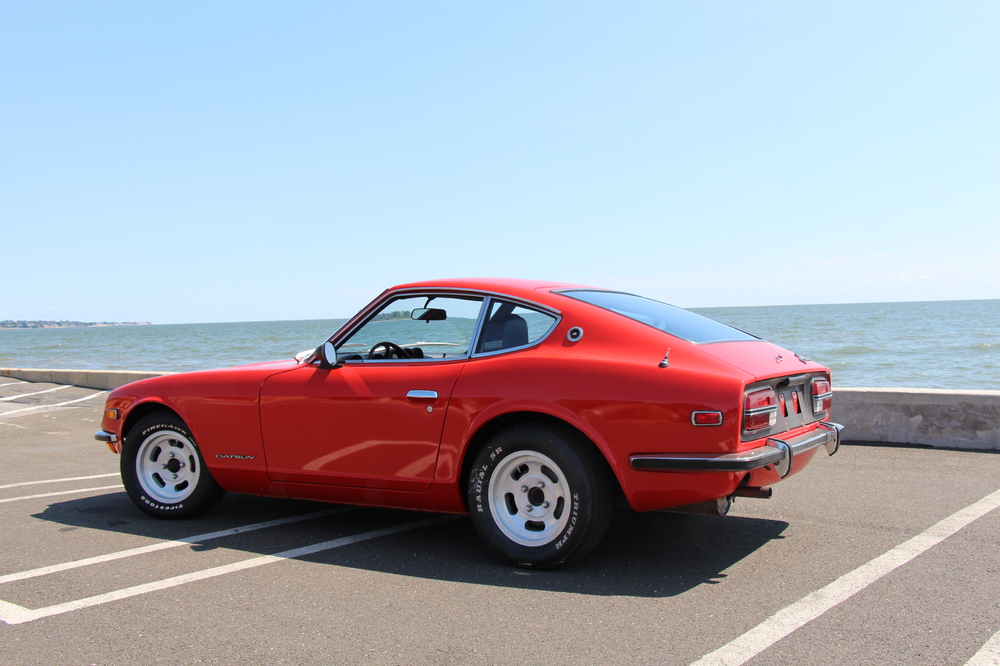
1 pointGreetings Fellow Z enthusiasts! I've been lurking ever since I purchased my 76 280Z about this time last year. I figured it was high time I finalized my account and joined in. You have already been very helpful with various posts and how to articles. I really enjoy being a part of a dedicated and enthusiastic community of like minded individuals. Attached is a picture of my new (to me) toy. She is a 1976 model year 280Z (manufactured 9/75). This was a very well taken care of one owner car. Aside from a few unique touches the previous owner had installed she is a true survivor with original paint, motor and interior. I've been refreshing some wear and tear items with either new or used factory parts. I am on the look out for a few items and will likely travel to Carlisle PA next year. Not many parts to be had in New England. Cheers! ~MattS
 1 point
 -
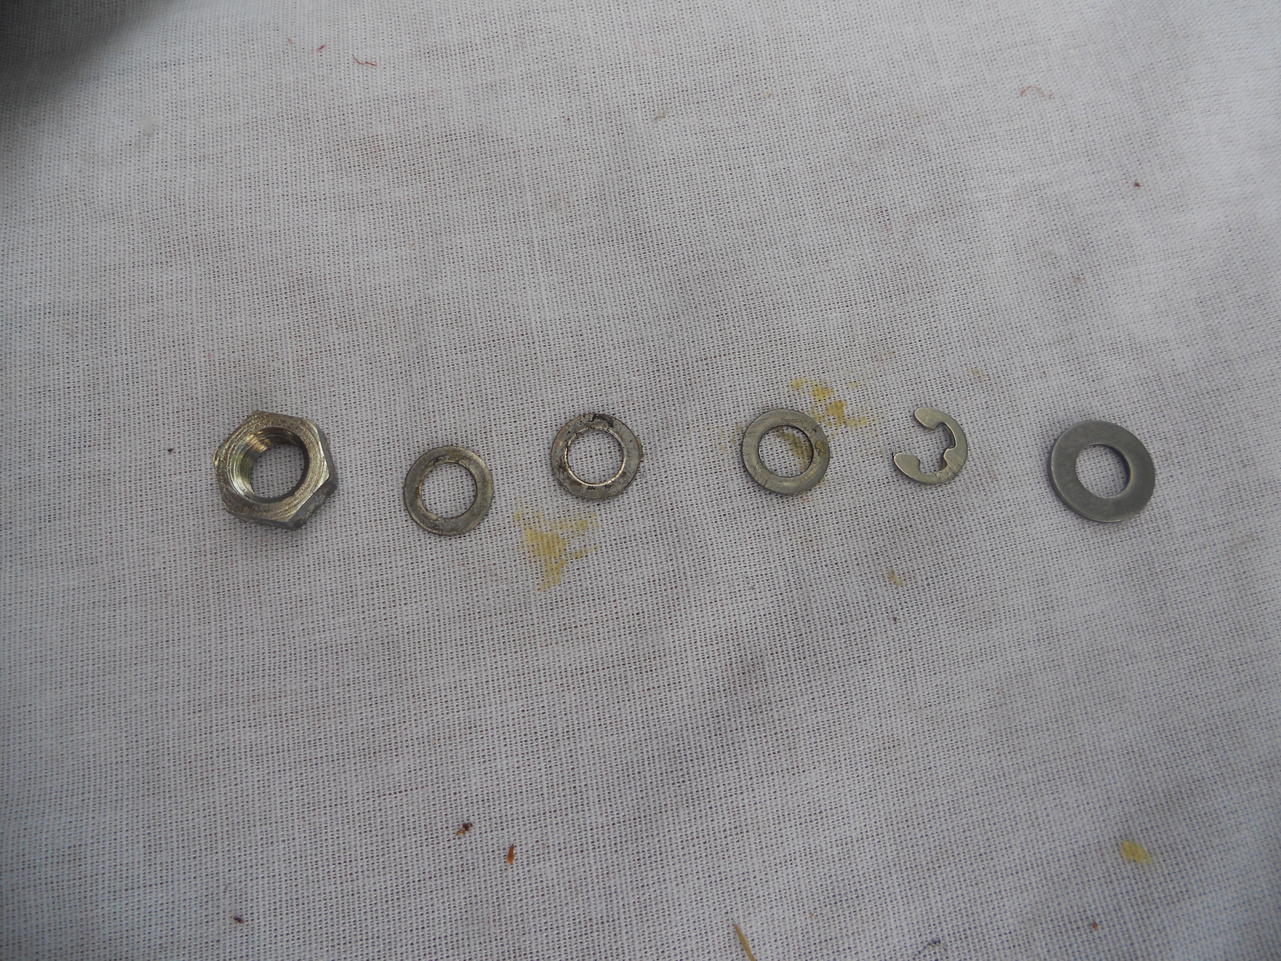
1 point23 cents at Ace hardware. Called a K-clip I think. Keeps the shoulder belt attached to the lap belt. Had to file it down a little on both sides to make it fit.1 point
-
That would be it! Thank you all for the warm welcome! I just picked up a 5 speed for it yesterday an have a pile of new parts sitting in the spare room that my wife can't wait to get out of there. The transmission is in the garage at least! Hahaha! The car needs some work. The gauges don't work properly, the center consul needs some freshening up. The suspension needs to be sorted, it vibrates and bounces all over the road. But I think I'm getting all the right parts to fix that. Sent from my iPhone using Tapatalk1 point
-
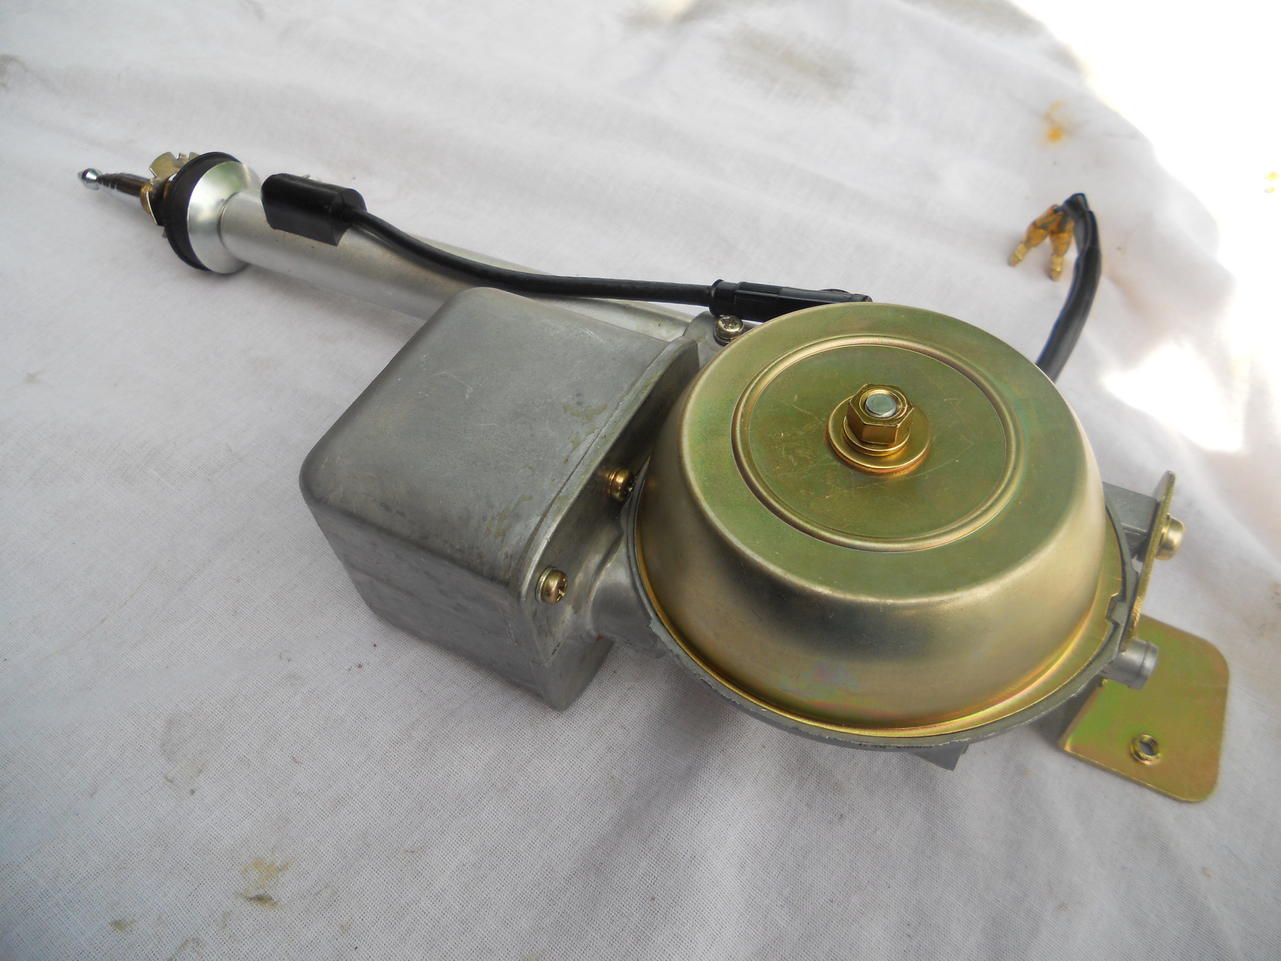
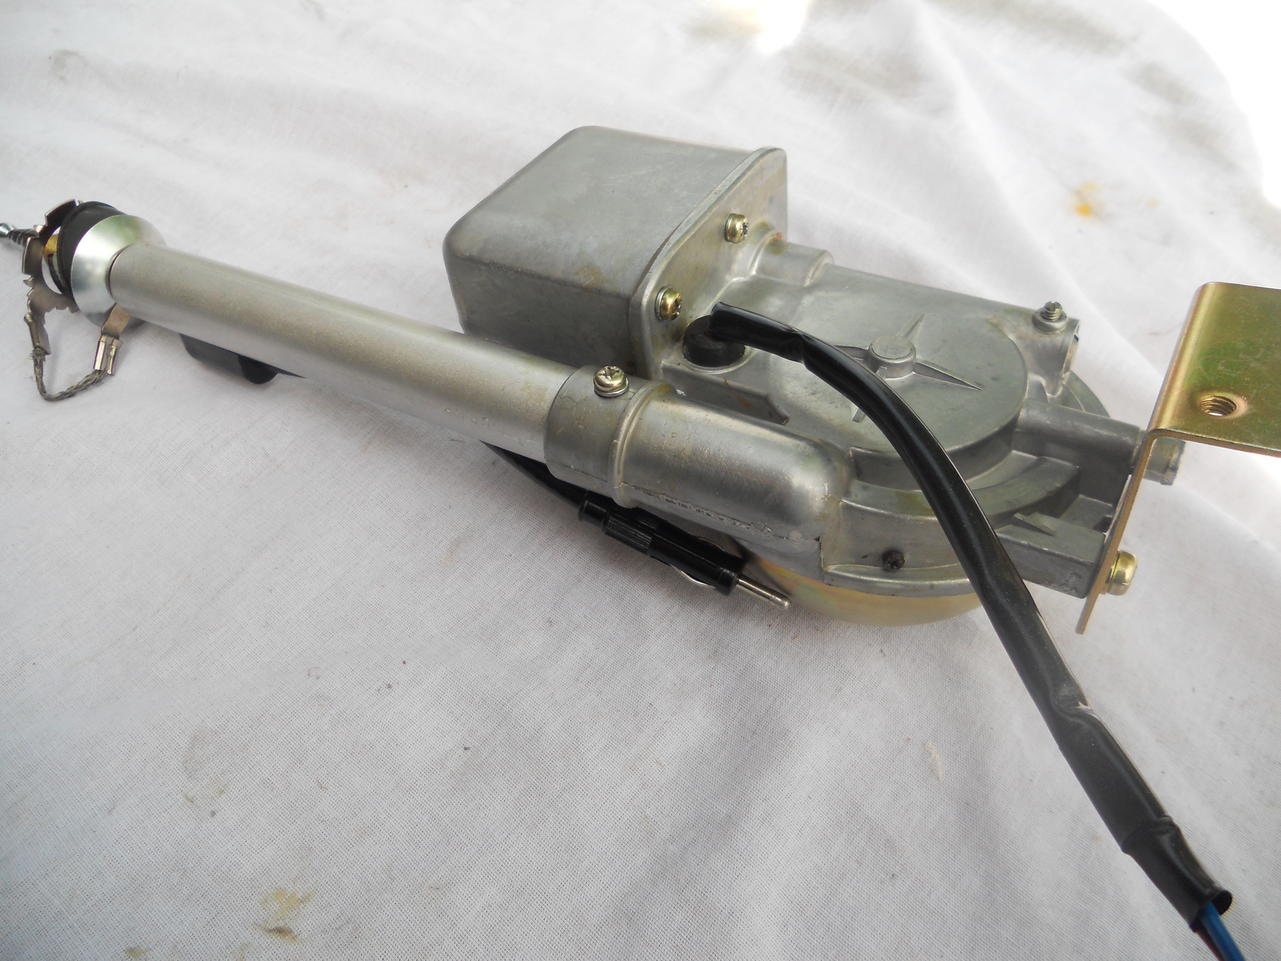
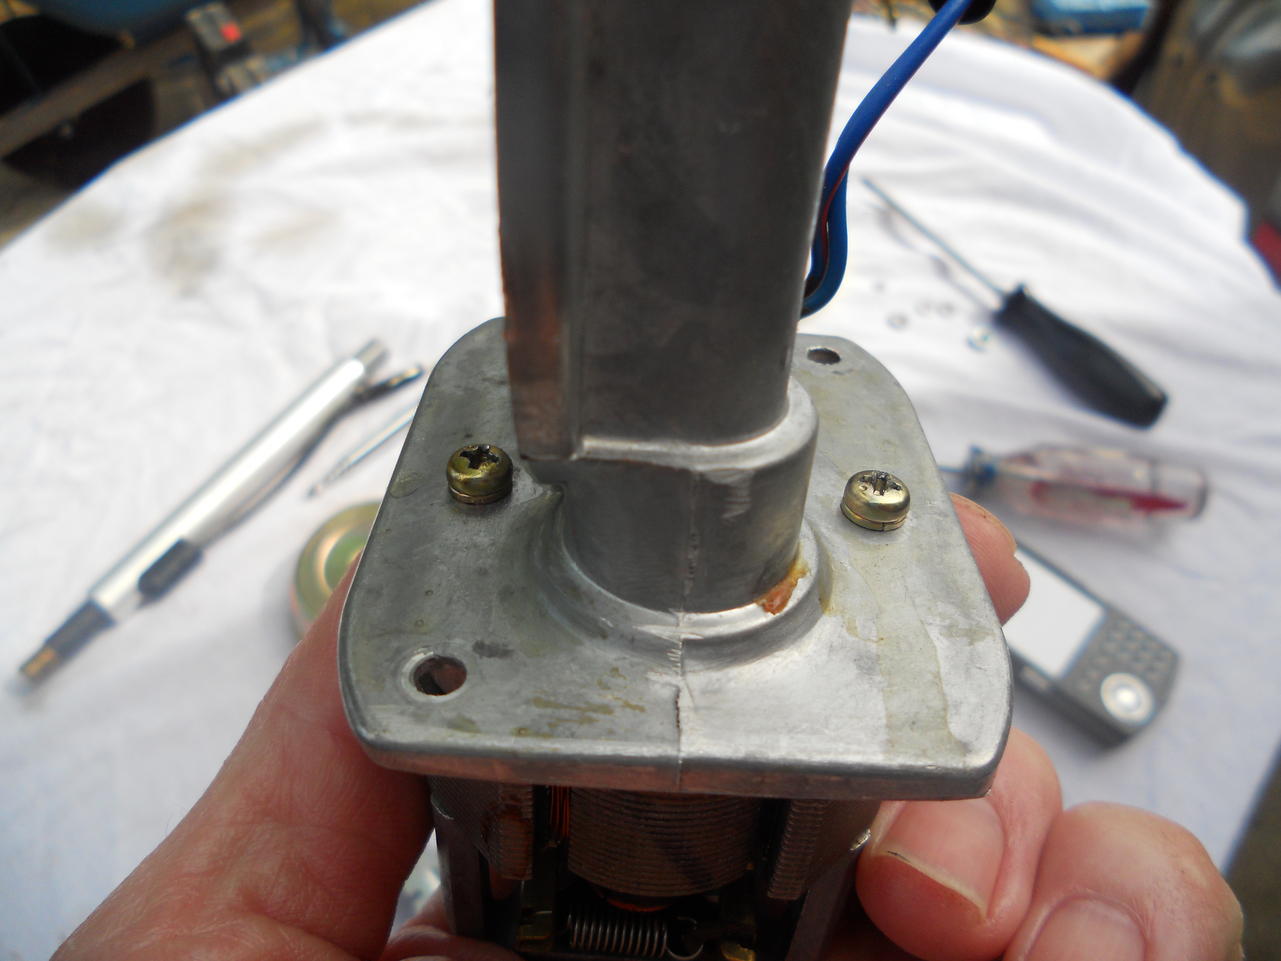
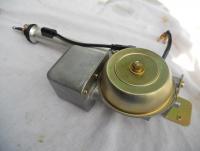
Yep, the motor is self-grounding thru the case and the attached bracket at the bottom that bolts to the body with a wingnut. The two power leads are for the up/down action of the motor. The motor can easily be tested out of the case with a ground wire clipped to the frame and power applied to each lead. I have a spare Harada motor in excellent working order if one is needed.1 point
-
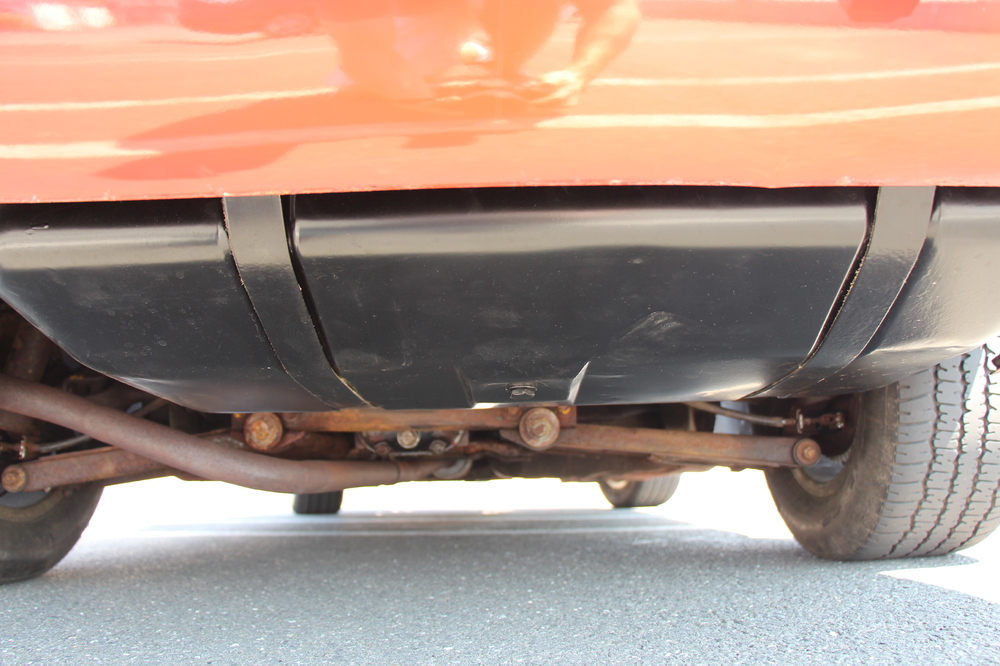
1 pointThe car is back on the road, and feeling really good. Almost a year after purchasing I have buttoned it all back up. There were no real "modifications" to speak of except the springs/struts, mostly reconditioning everything to good working order. Thanks everyone for all the help and suggestions thus far. I'm sure we are just beginning Here are the things I did in the last year: Brakes: - New MC - New front calipers/pads/bridges/hoses - New rear cylinders/hardware/bridges/hoses Fuel: - Reconditioned gas tank inside and out. Por15/Red Kote - New flexible fuel lines everywhere - New vent hoses, to OEM spec - New fuel pump (mech) - Fuel filter/G2 inline fuel filter at the back (overkill with reconditioned tank I imagine) - Reconditioned Fuel gauge sender Ignition: - Original points still in place for now - Fully rebuilt carbs. Stripped down to individual parts/plated/rebuilt with ZTherapy bits. - New OEM air filter Cooling: - Original fan/clutch/radiator. Works well with no leaks - New hoses all around, new water pump, new T-stat and housings, original Temp sender Drivetrain: - New fluids for everything/ oil filter. - New clutch master/slave/hose - Original U-joints and half shafts. (seem decent enough for now) Suspension/Steering: - New Stagg struts all around - Vogtland springs - new balljoints/tie rod ends/bump stops/strut bearings - New front control arm bushings (have TC bushings I may put in shortly) - Original bushings still at: Steering rack, rear control arm, and TC. - 14" Slotted wheels and tires from a friend. - Aligned (they couldn't balance the tires because of age sadly) Appearance/Cleanup: - Removed original AC unit and hoses/ passenger foot well unit. - Cleaned up undercoating all over engine bay. - Clean up carb bodies/valve cover/head as best I could. Future plans include: - Drive Drive Drive - Double checking fuel levels in carbs and making sure its tuned well at high rpm. - Few interior bits that are aged. (Shifter boots and such) - Front air dam - new exhaust with a better note. - New battery if necessary. - Work on tightening up front end clunking


 1 point
 -
1 pointI think many of us have battled with this issue including myself. I've gone from bushing-less adjustable race suspension that handled incredibly well but shook my teeth out, back to pretty much stock rubber where I still like how the car handles. the only mistake I made along the way was using shorter springs but not realizing how much shock travel you lose resulting in jarring bottoming out on not very big road bumps. I'm now a total fan of Weld on coil overs. Also watch where you put polyurethane. Just say no on the moustache bar, trans and engine mounts. These have nothing to do with suspension and everything to do with noise and vibration conduction to your arse and ears. I'm also quite perturbed how modern cars manage to have the softest compliant rides but also out handle me with one finger on their power-assisted leather steering wheels.1 point
-
Here's a link to an article in EngineBuilder.com that provides some great insights into the difference between the fuels that are sold today vs. those which were the standard back in the day when the original Z's were designed and used... http://www.enginebuildermag.com/2013/11/impact-of-todays-fuels-n-carbureted-engines/ Among other things, there are some interesting points raised about fuel volatility and ethanol drop-out and the implications these fuel characteristics have for long-term (or even shorter-term) storage of vehicles with vented fuel systems. The EngineBuilder.com site looks like a great resource for owners who like to pursue performance improvements for their stock engines.1 point
-
Hello everyone! I'm Mike, the new owner of the 1971 240z from the Mecum auction. I went in wanting to buy the 1970 240z and I stopped bidding at $24,500 and the reserve wasn't met. It was a beautiful car and I would have been a bit worried to drive the car. The 71 automatic that I ended up with needs some work and I'm ok with it. I won't feel so bad if it gets a rock chip in the paint from driving it. I'm looking forward to learning as much as I can about these cars! Sent from my iPhone using Tapatalk1 point
-
1 point
-
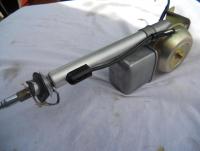
1 pointAll that it left to do is install the assembly cover, retaining bracket and the interior mast shaft parts (grounding assembly, metal half ball and interior half of the rubber mounting ball). Note: I will be using the current exterior shaft retaining parts currently on my car. They are as new and I have not been able to find extra of those parts in usable condition. Once final assembly was complete I lubricated the mast (silicone spray) ran power to the antenna and did some fine adjustments to insure smooth operation. I hope this post will help other members in the future.

 1 point
 -
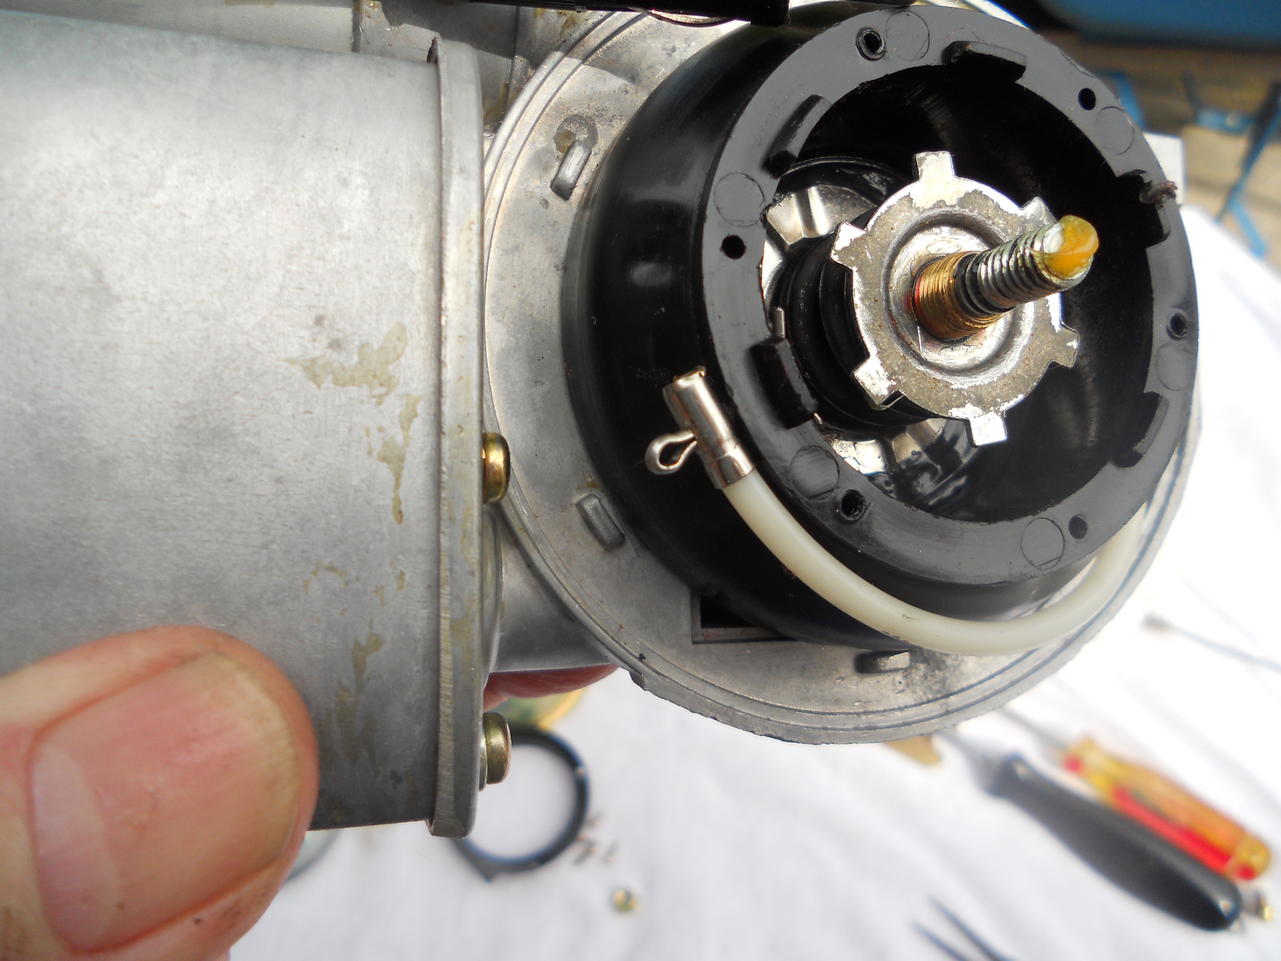
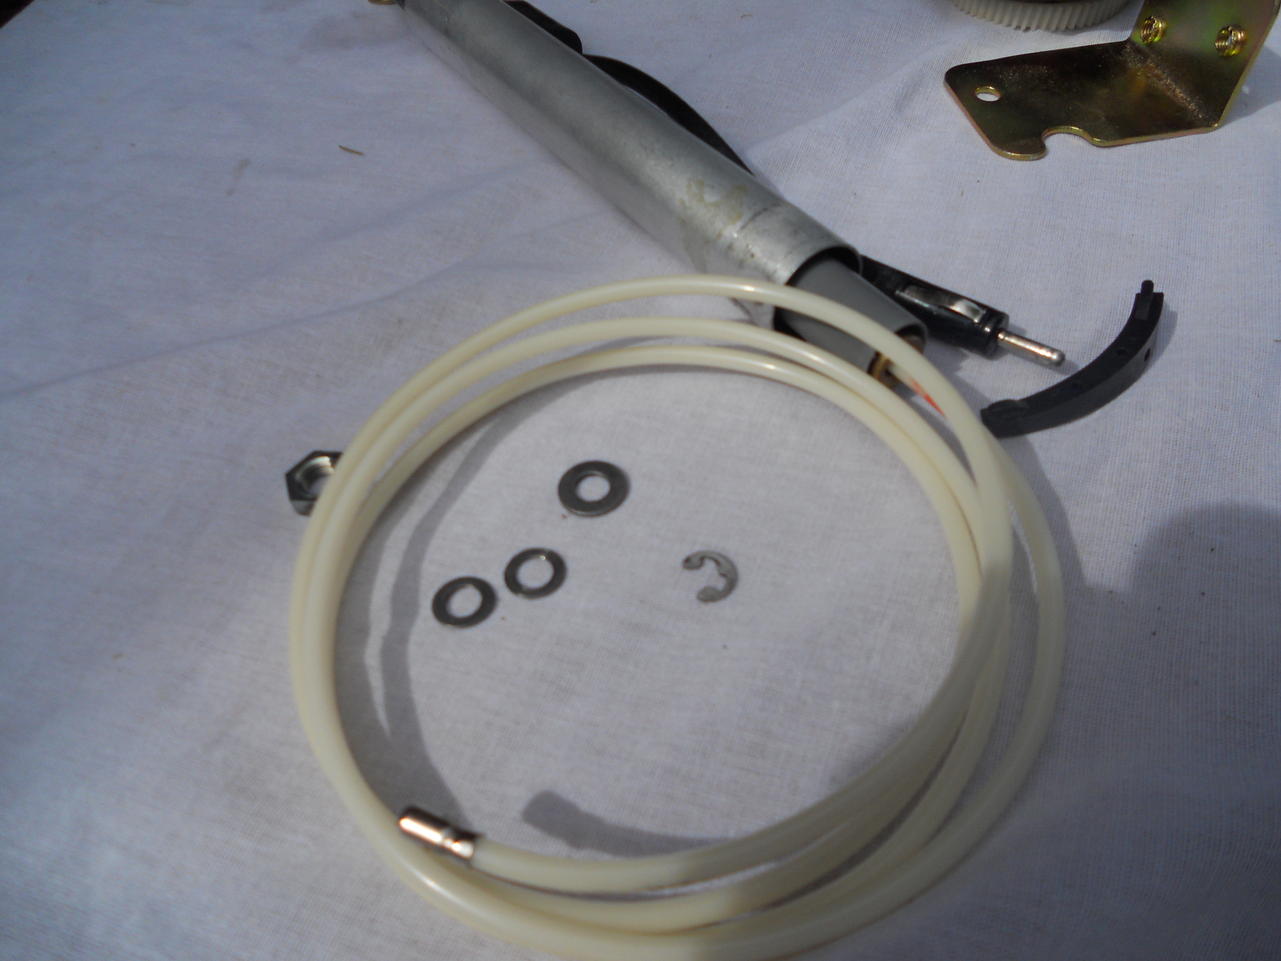
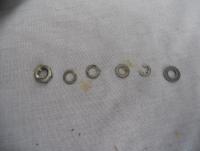
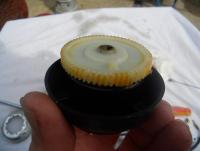
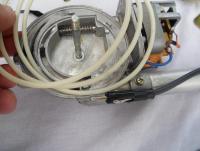
1 pointThe next step was to install the gear and clutch assembly. I almost forgot to install the black plastic cover prior to installation of the clutch assembly. It simply snaps into place. The order of the fasteners is as follows. First the retaining nut them 3 shim washers, then the retaining clip followed by the spacer washer. Apply grease to the gear, shaft and surface at the base of the shaft. Install the clutch unit, screw on retaining nut (do not over tighten), install the three shim washers (apply grease to them), then the retaining clip followed by the spacer washer (this can be installed later). Once the clutch assembly is in place you can pull out the antenna mast as far a possible to allow for the end of the nylon line to be attached to the clutch assembly using the cotter pin. Once this was complete I installed the metal cover / guide over the clutch assemble then ran power to the antenna fully retracting the it.
 1 point
 -
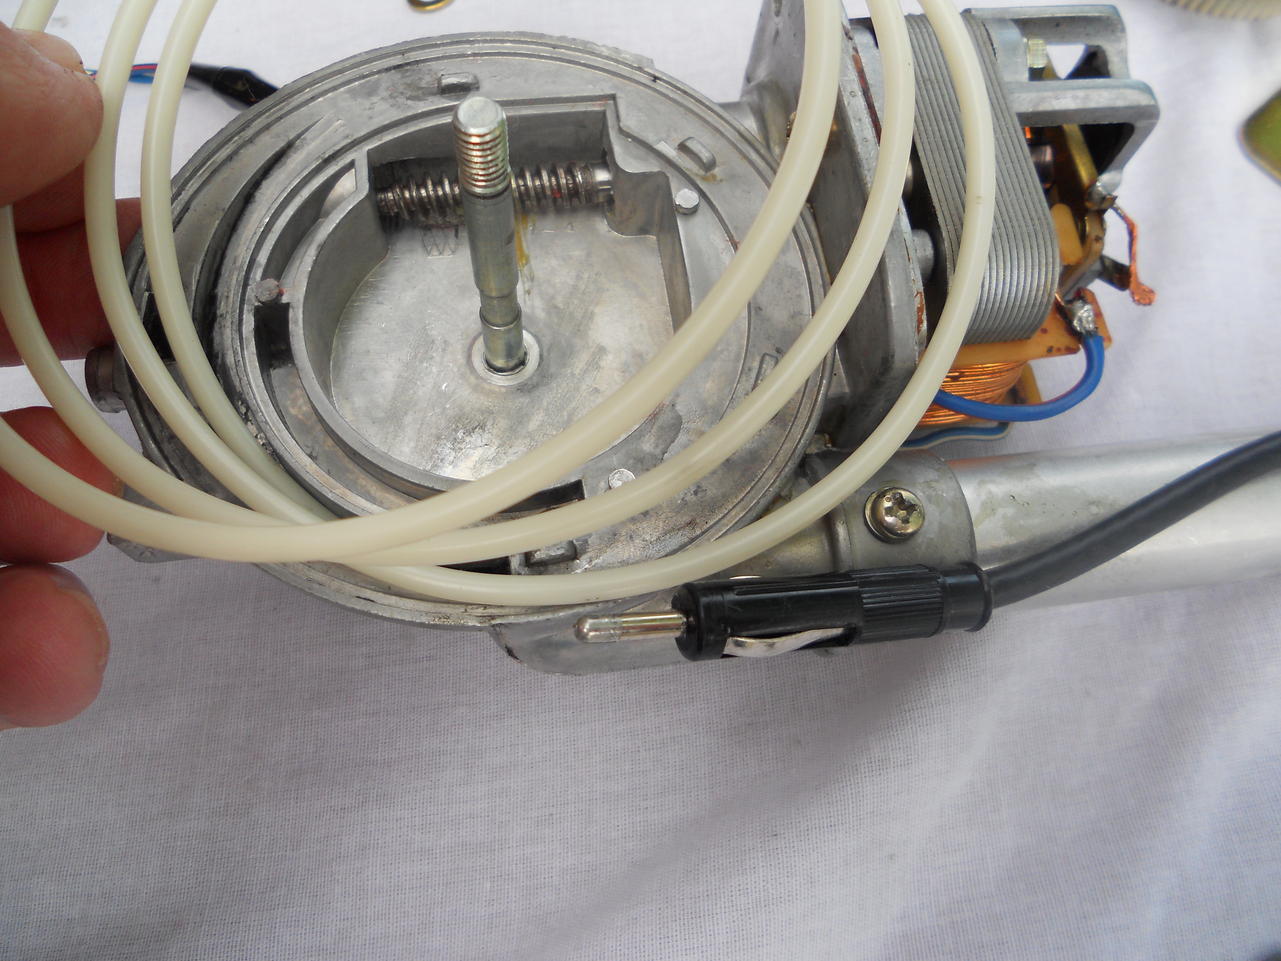
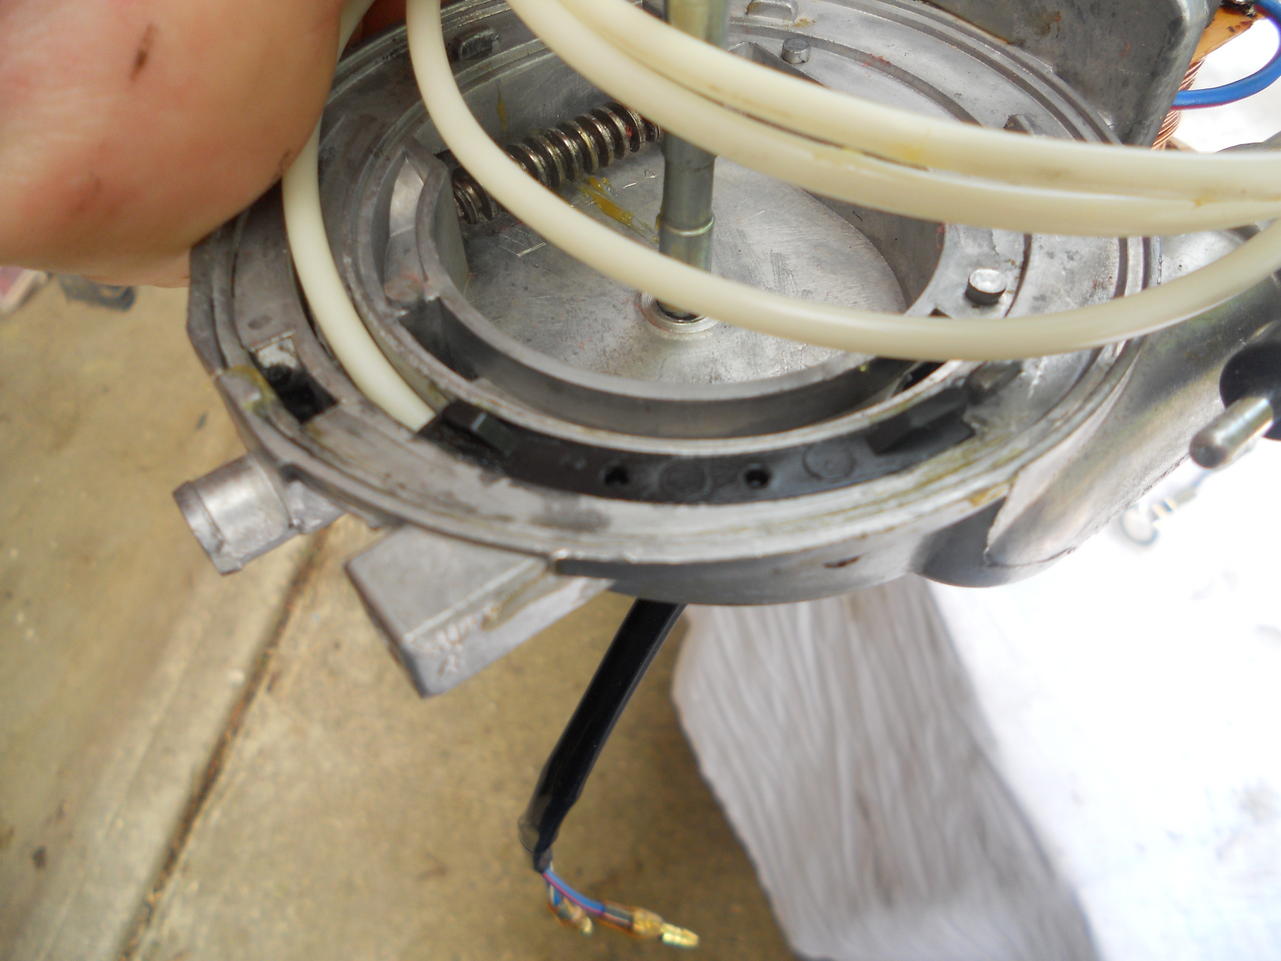
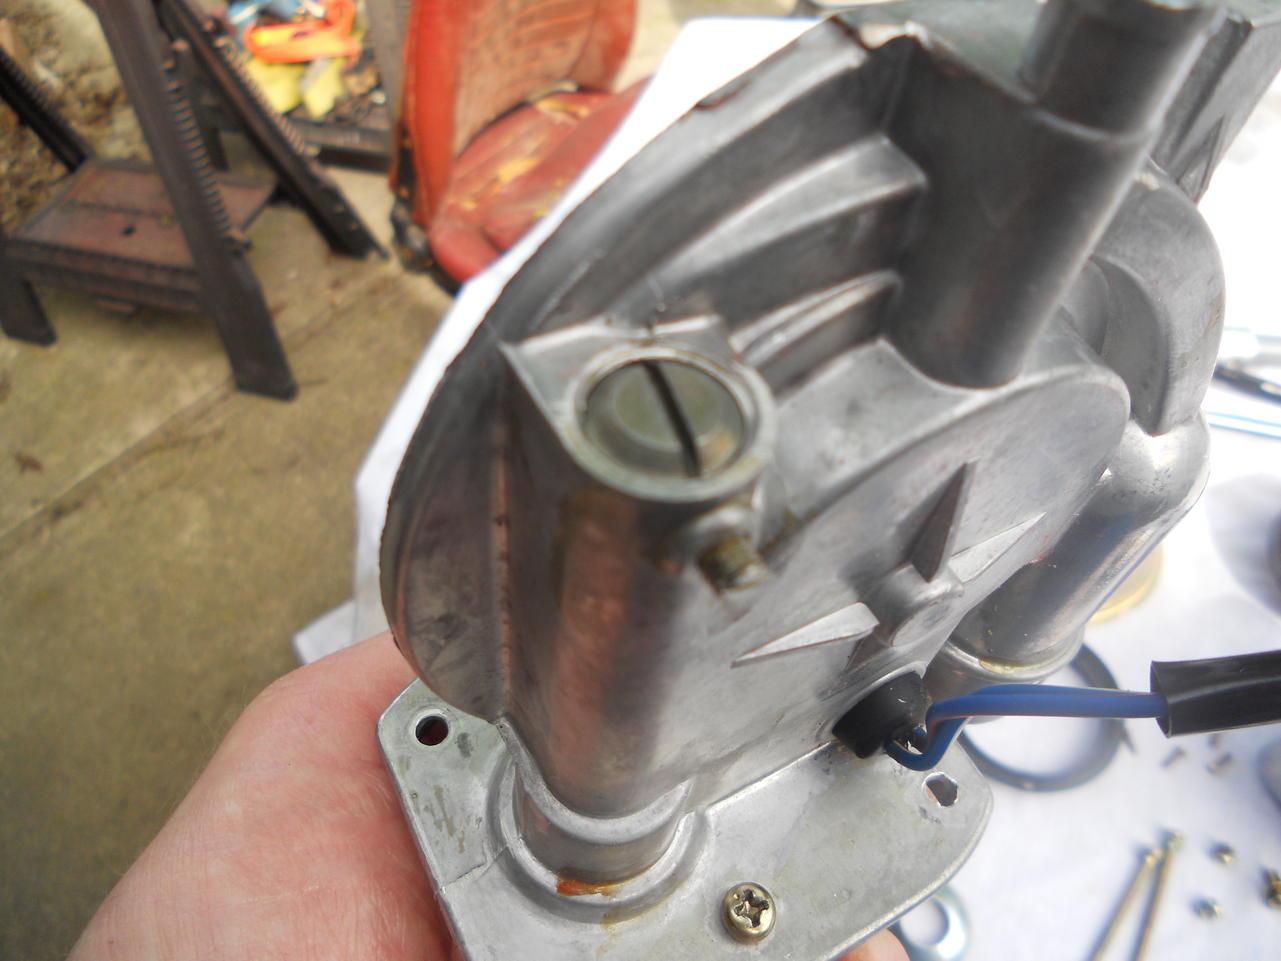
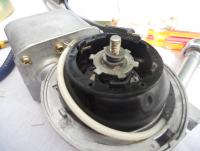
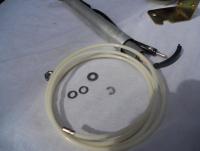
1 pointI then installed the NOS mast in the housing shaft and ran the mast nylon drive line into the gear housing and installed the two retaining screws to hold the mast and housing in place. Next I installed the plastic guide and retaining screw and then I installed the motor housing (cover). Note: I applied a small amount of sealer to the base to protect motor from moisture.


 1 point
 -
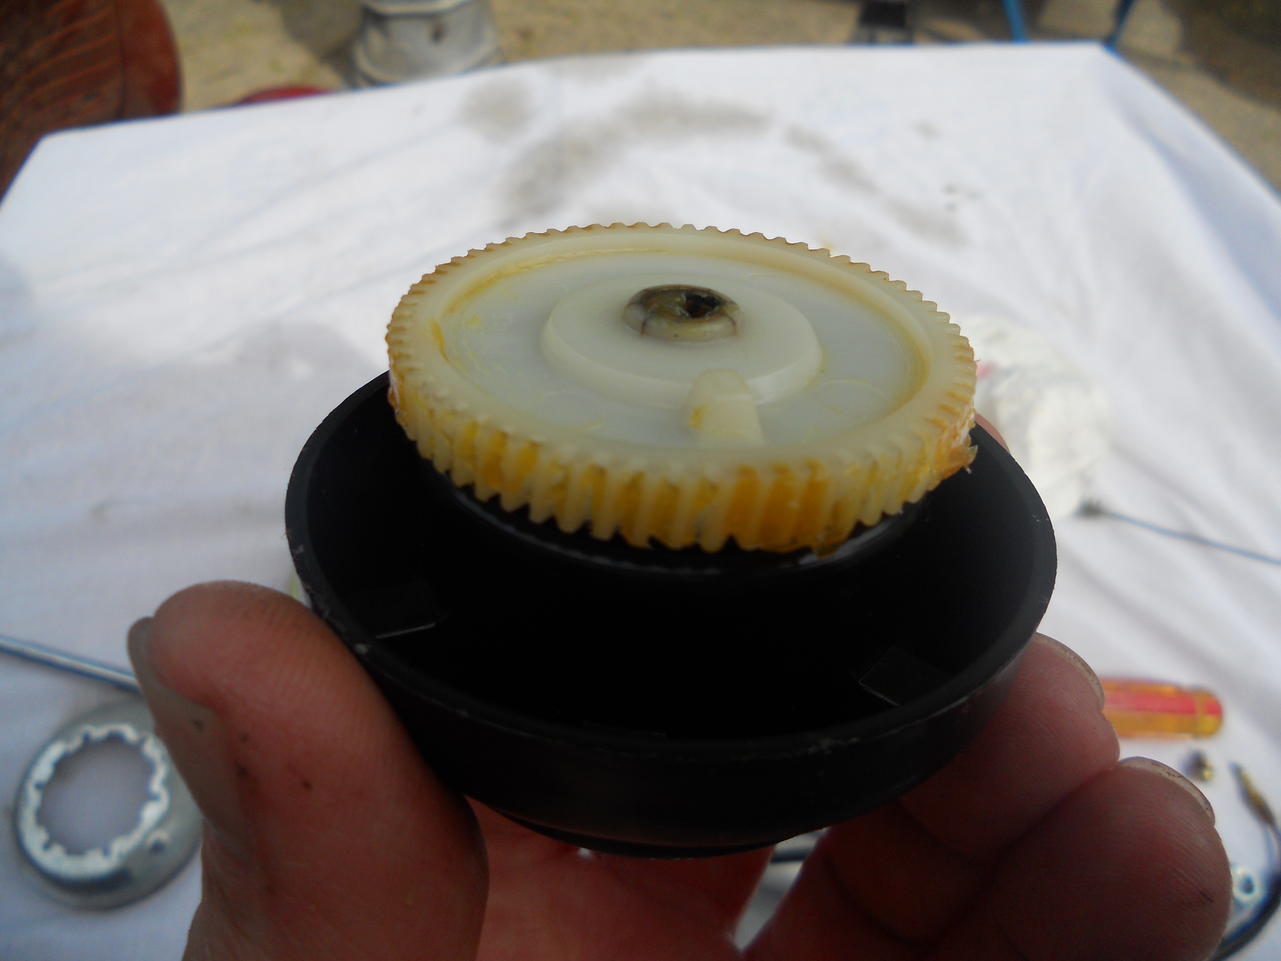
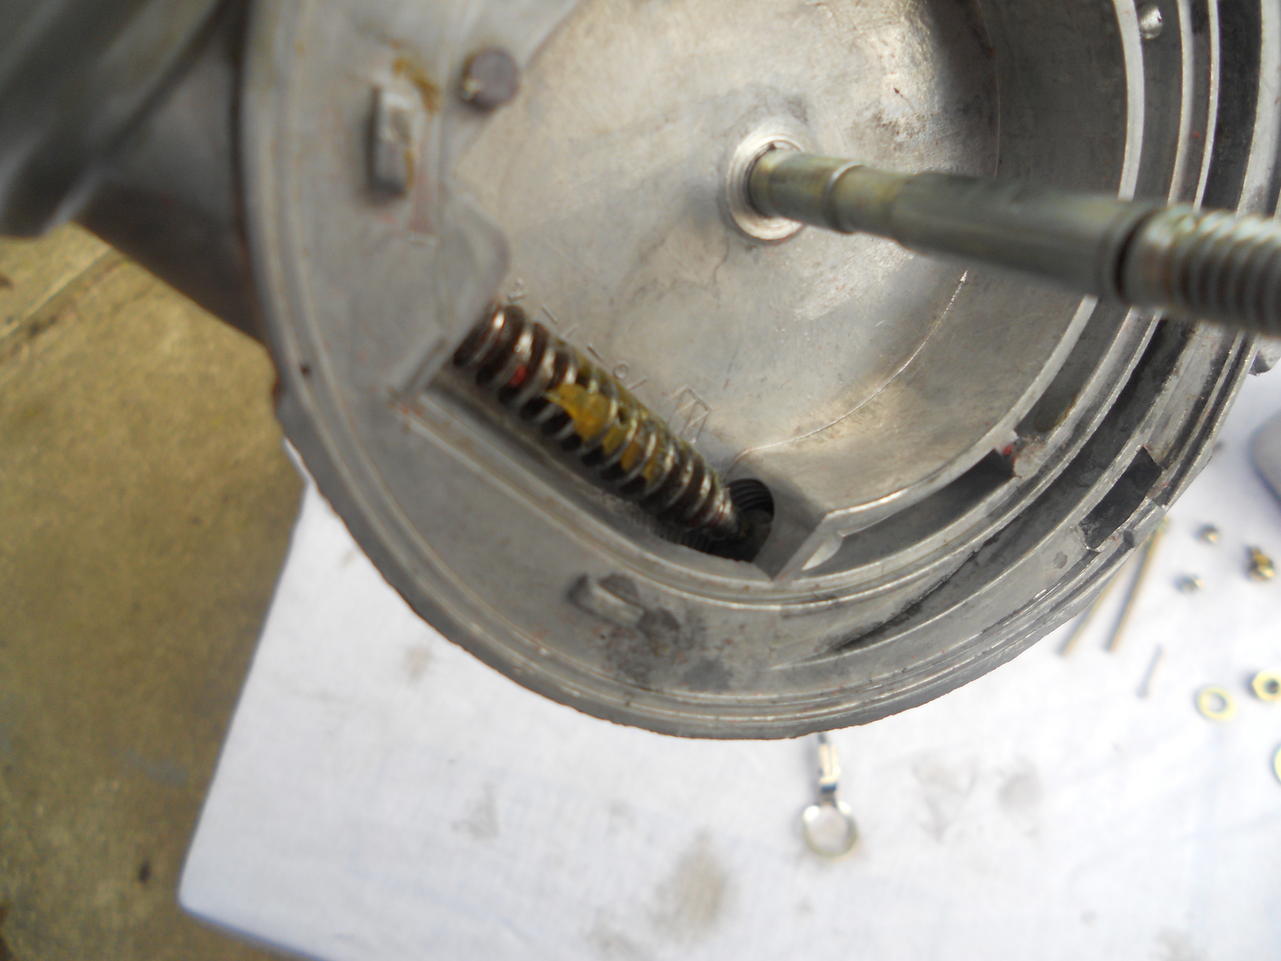
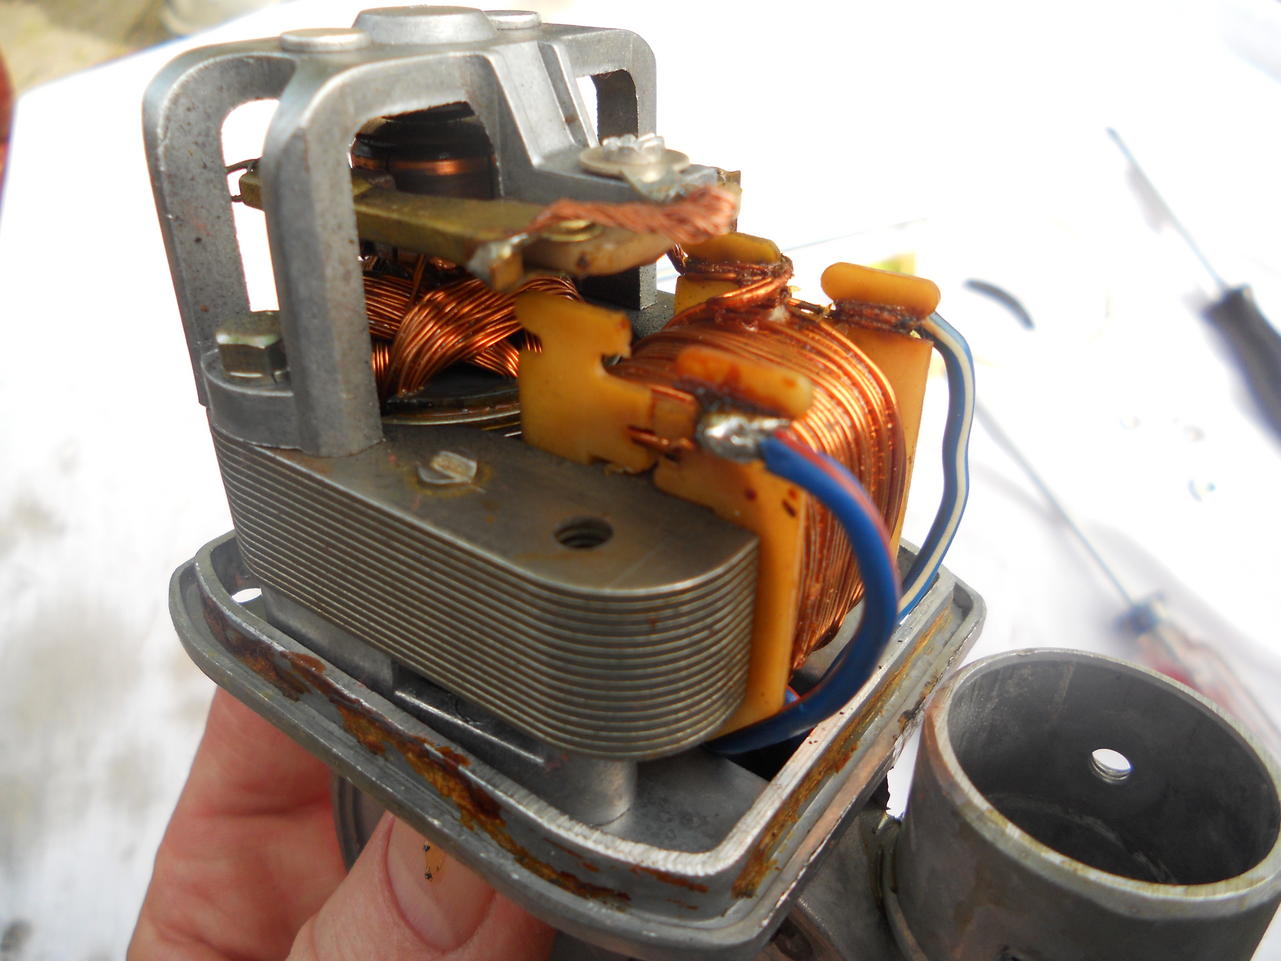
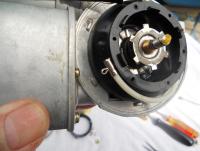
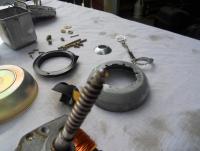
1 pointI first took the gear housing and installed the electric motor and drive gear. Note the small bearing on the end of the drive gear. The bearing needs to be lubricated with grease (also hold it in place on the end of the gear). Make sure to loosen the adjustment screw on the housing prior to tightening down the motor. Once motor is in place and tight the adjustment screw can be adjusted. Next the wires will need to be soldered to the motor. The red and blue to the open housing side of the motor (left) and the white and blue to the closed (right side). I then rand a test and fine tuned the adjustment of the tension on the adjustment screw and tightened the set screw.

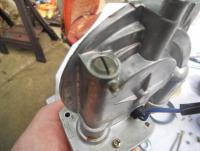


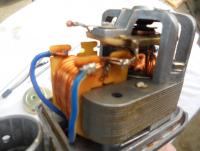 1 point
 -
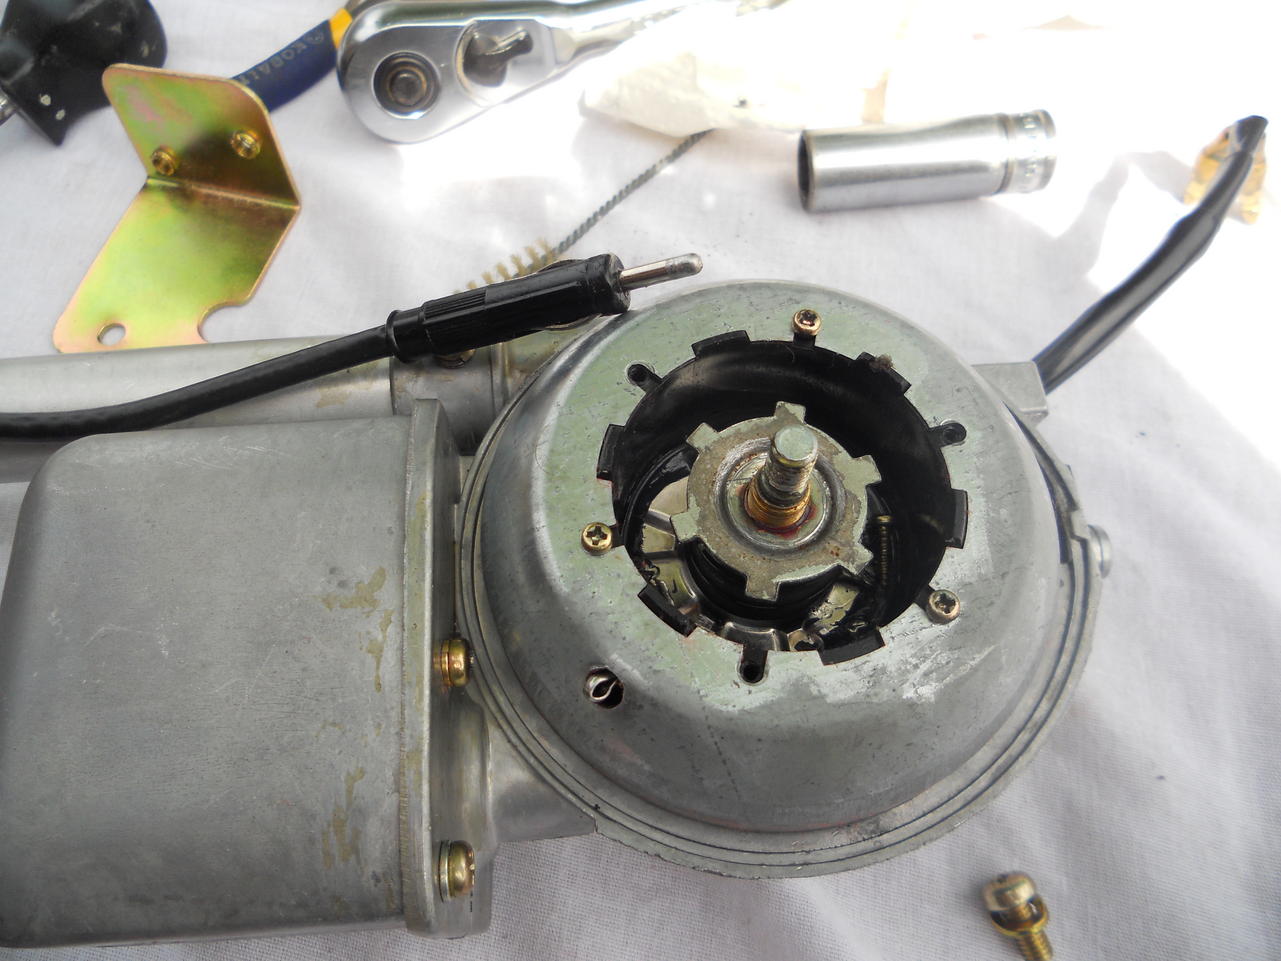
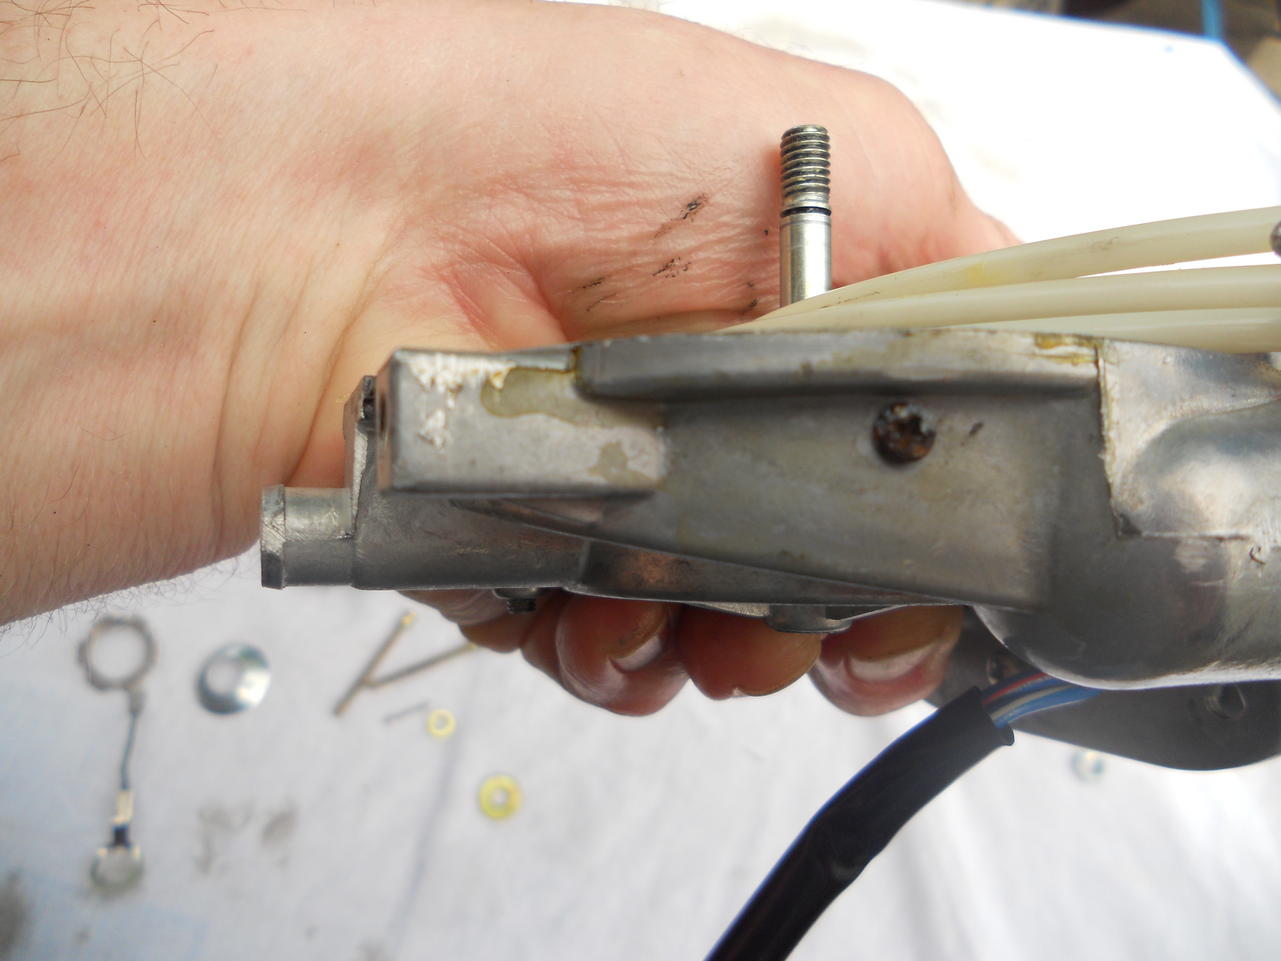
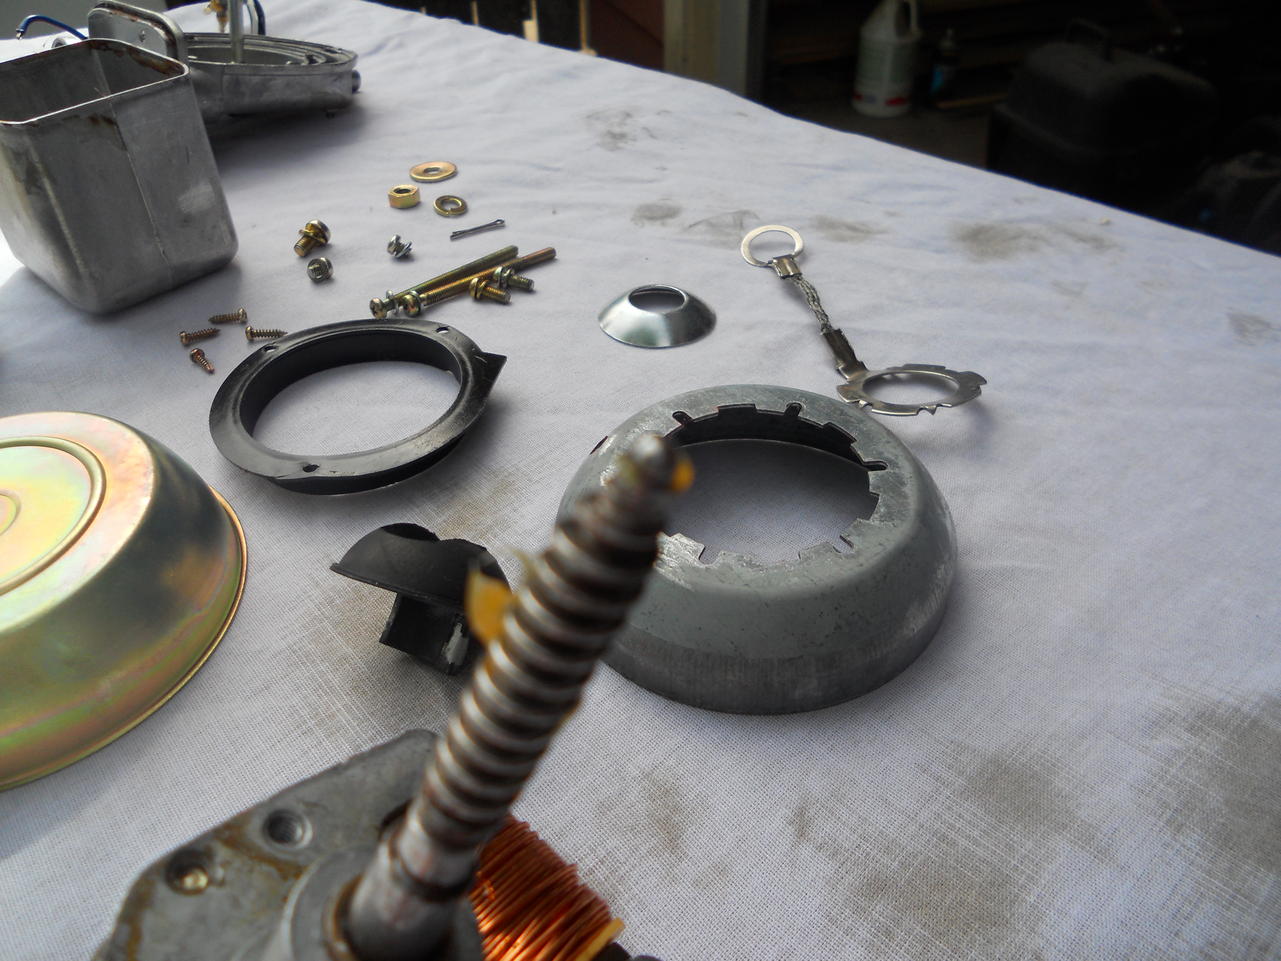
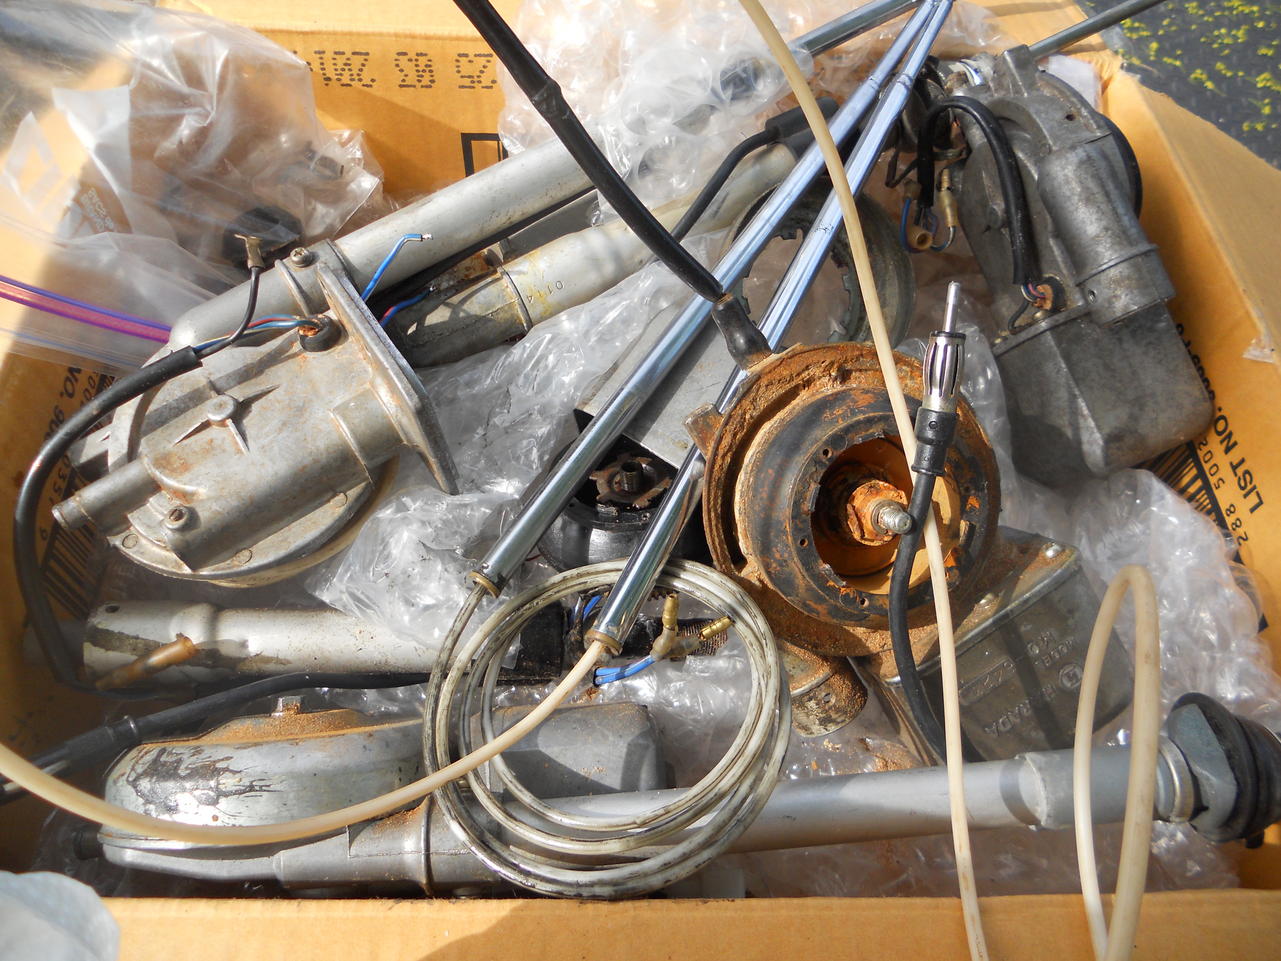
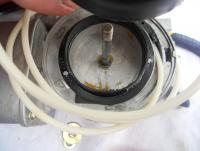
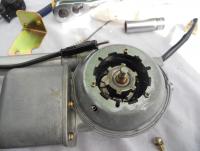
1 pointIn an earlier thread I documented the process of having fasteners and other metal parts zinc plated. At that time I had some antenna brackets, covers and fasteners plated which helped complete my antenna restoration. First I collected a number of donor antennas in a variety of states of disrepair. From this I was able to glean enough good parts to complete my antenna restoration. All selected parts were cleaned and prepared for assembly.

 1 point