Leaderboard


Popular Content
Showing content with the highest reputation on 12/02/2015 in all areas
-
1 pointThat should work good. My first car was a 1976 280Z. It was a nice car, until one night, after closing down a bar, a friend and I were doing some high G-force maneuvers and I launched it into a low earth orbit. After it landed on a curb, it was so bent, I had to sell it for salvage. 30 years later I found my 1978 280Z. That one gets treated like royalty!1 point
-
1 pointI have several and I am working with Ryan at Zcardepot to have them reproduced and made available again.1 point
-
1 pointThe only place I know of where the carpets are pre-cut for the metal tabs and have the snaps already installed for the firewall is Chester and Herod: www.autockckms.com They were the original suppliers of carpeting for the 240z. Back when they were first introduced into the US market with rubber mats NOT carpet Chester and Herod was selected as the provider for these cars to satisfy the demand for carpeting. They have the original patterns and after purchasing a set for my 73 240Z I found that I was satisfied and happy to have the original suppliers carpets in my restoration. The base carpet set is loop type and many would say is not very high quality. Nonetheless it is very close to the original, which wasn't very high quality either. If you want to upgrade the quality you can get wool---but it is considerably more expensive. If you give them a call talk to "Jim". He has been there from the beginning and you can discuss exactly what you want and order free samples if you need to do so. Jim D. "Zup"1 point
-
The number of views stays at zero until someone posts a comment to the thread.1 point
-
1 pointIn post 57 you mention you have a 1" difference between left and right although the method is a bit unclear. Are you sure you have two 240Z insulators. They look similar, but the 280Z is 1" higher. That could explain the difference.1 point
-
1 point
-
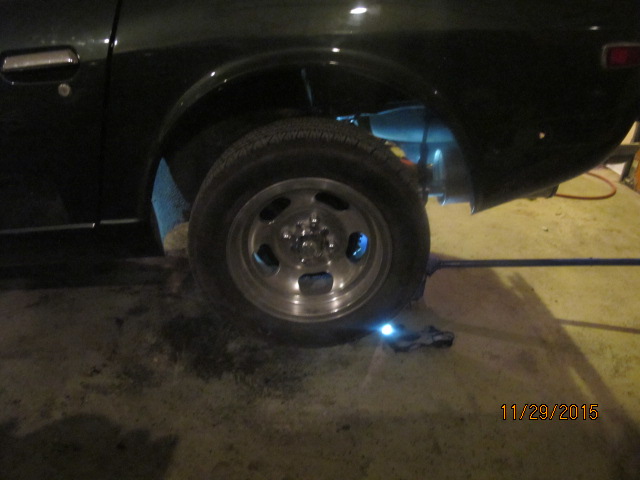
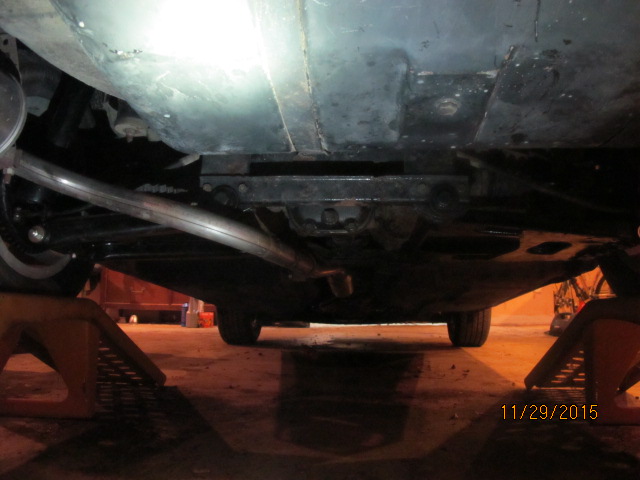
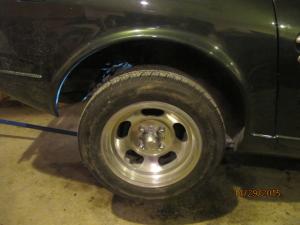
1 pointI was planning to stay out of this, but what the heck... This post (that I quoted) established that the frame (chassis) is ok. That is unless it is rusted out and is sagging when loaded. That would be fairly obvious, though because the door gaps would be affected and in the extreme case the doors might not even open. So check the chassis off the list. There are two posts that in my mind narrow down the search considerably. First, look at these pictures: It's pretty obvious to me both sprung and unsprung the passenger wheel is higher that the driver's side. The only way that is going to happen is if the struts are different lengths. I suppose that the bushings could also cause this if you tightened them wrong but you said this problem was there before you changed the bushings and springs. My suggestion is to take both strut assemblies out. Shine a light into the strut tower and make sure there isn't anything jammed in there and then measure the height from the center of the axle to the top of the strut mount insulator. Obviously they should both be the same. If they are you should check the damper and make sure they are the same on each side. Then the springs (but I don't think it's the springs because the unsprung height difference). One thing that you might not know is that the MSA strut mount insulators are 3/4" lower than the stock ones. So, if you have two different insulators...

 1 point
 -
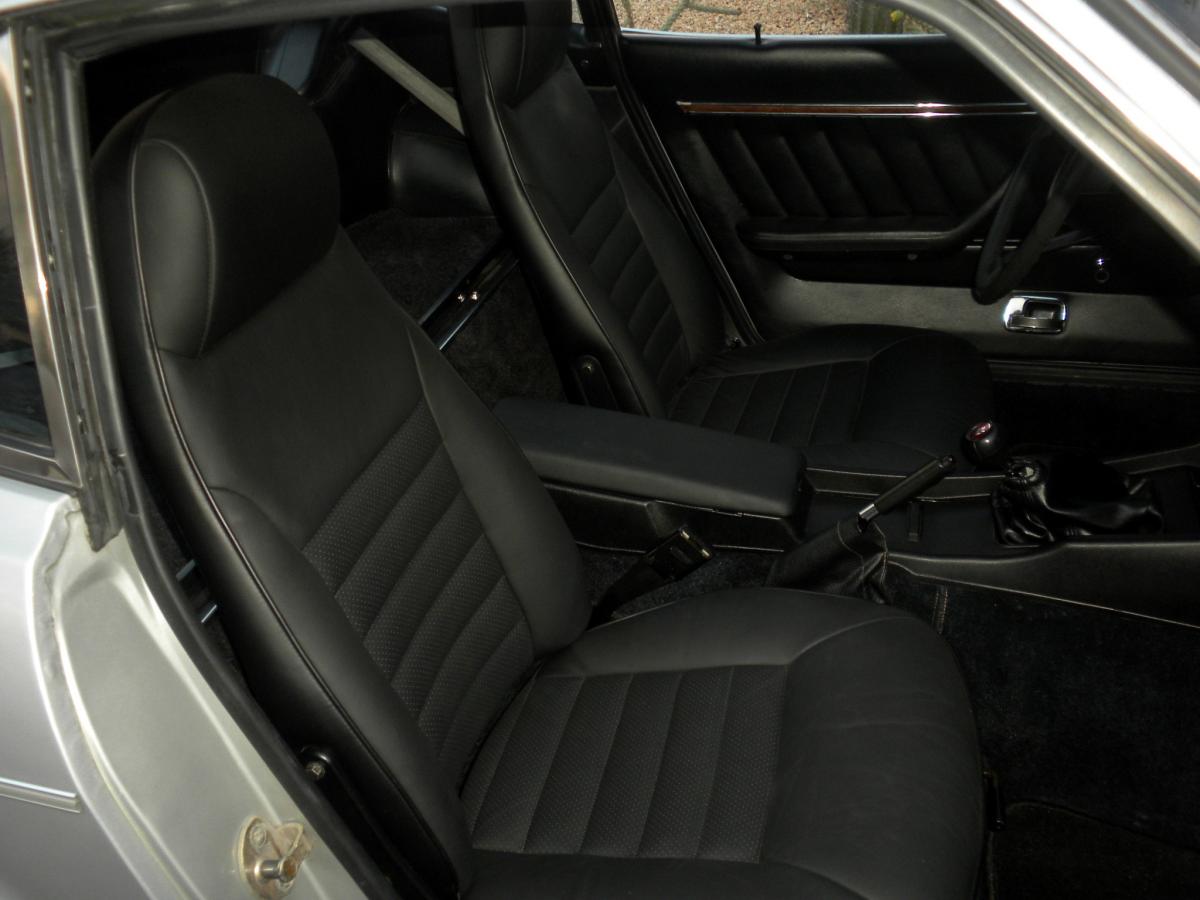
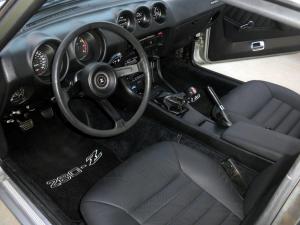
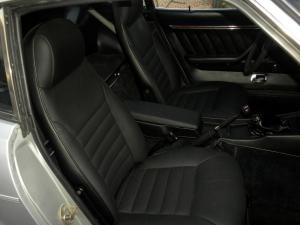
Here's pics of my seats. A local upholstery shop did them in black Ferrari leather with perforated leather inserts. They did them from scratch - no kit.

 1 point
 -
1 pointIt looks like "after adjustment" in the FSM. So #1 should look like "before adjustment". Implying that your #2 hole is as good as you can get between hole #1 and #2 choices. Are you sure that the tight side of the chain is tight? I always have a tendency to over-rotate the engine while watching the damper pulley mark. Then if I rotate the engine backward, I have to turn the timing chain sprocket backward also, independently, to get the chain's tight side tight again.1 point
-
1 pointGet everything set up for #1 where you know everything lines up correctly. Then stick your chain tensioner securing tool in there, take out the cam bolt and spin the sprocket around to #2- done!1 point
-
1 pointI don't have access to the Honsowetz or Bob Waar "How to Modify..." books for tech support at the moment but this is accepted practice to gain a little more low-end grunt at the expense of high-end power. To be safe, cycle the cam by hand first to make sure everything is as it appears and there's no unexpected resistance.1 point
-
1 pointWhy are you using number two with a new chain? Number 1 is the standard position for a new chain. Positions 2 and 3 are to accommodate chain stretching as it ages and wears. With the crank at zero degrees and the bright link on the marked lug of it sprocket, the second bright link should line up at about 2 o'clock on the cam sprocket. Align the number 1 cog at about 2 o'clock engaging the second bright link. Mount the cam sprocket on the cam and the number 1 hole should be at 12 o'clock. As the chain stretches, valve timing retards. Positions 2 and 3 advance the valve timing 4 and 8 degrees respectively to accommodate for the stretching. When the valve timing is late while at position 3, it is time to replace the chain.1 point