Leaderboard
-
gwri8
Free Member5Points1,385Posts -
EuroDat
Free Member5Points3,309Posts -
FitmentKing
Free Member1Points22Posts -
Captain Obvious
Free Member1Points10,081Posts


Popular Content
Showing content with the highest reputation on 10/21/2015 in all areas
-
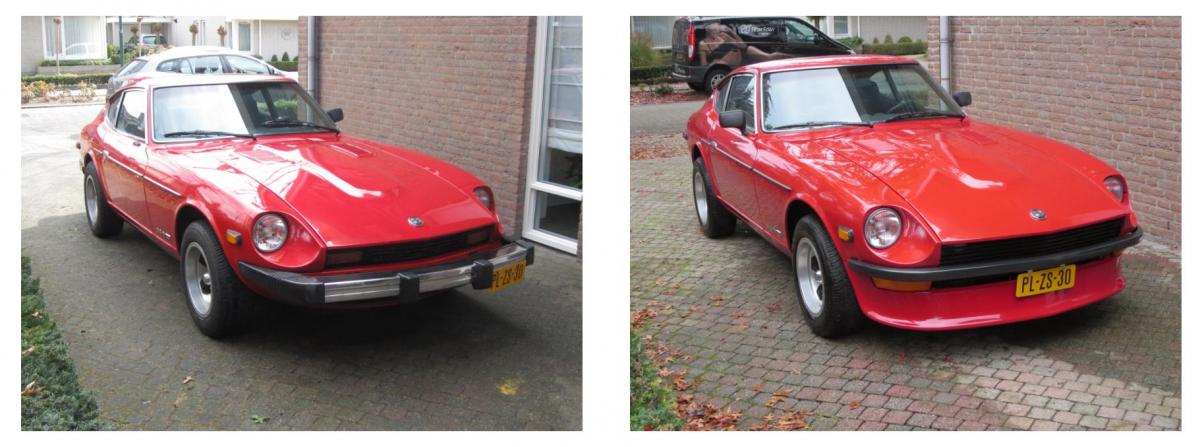
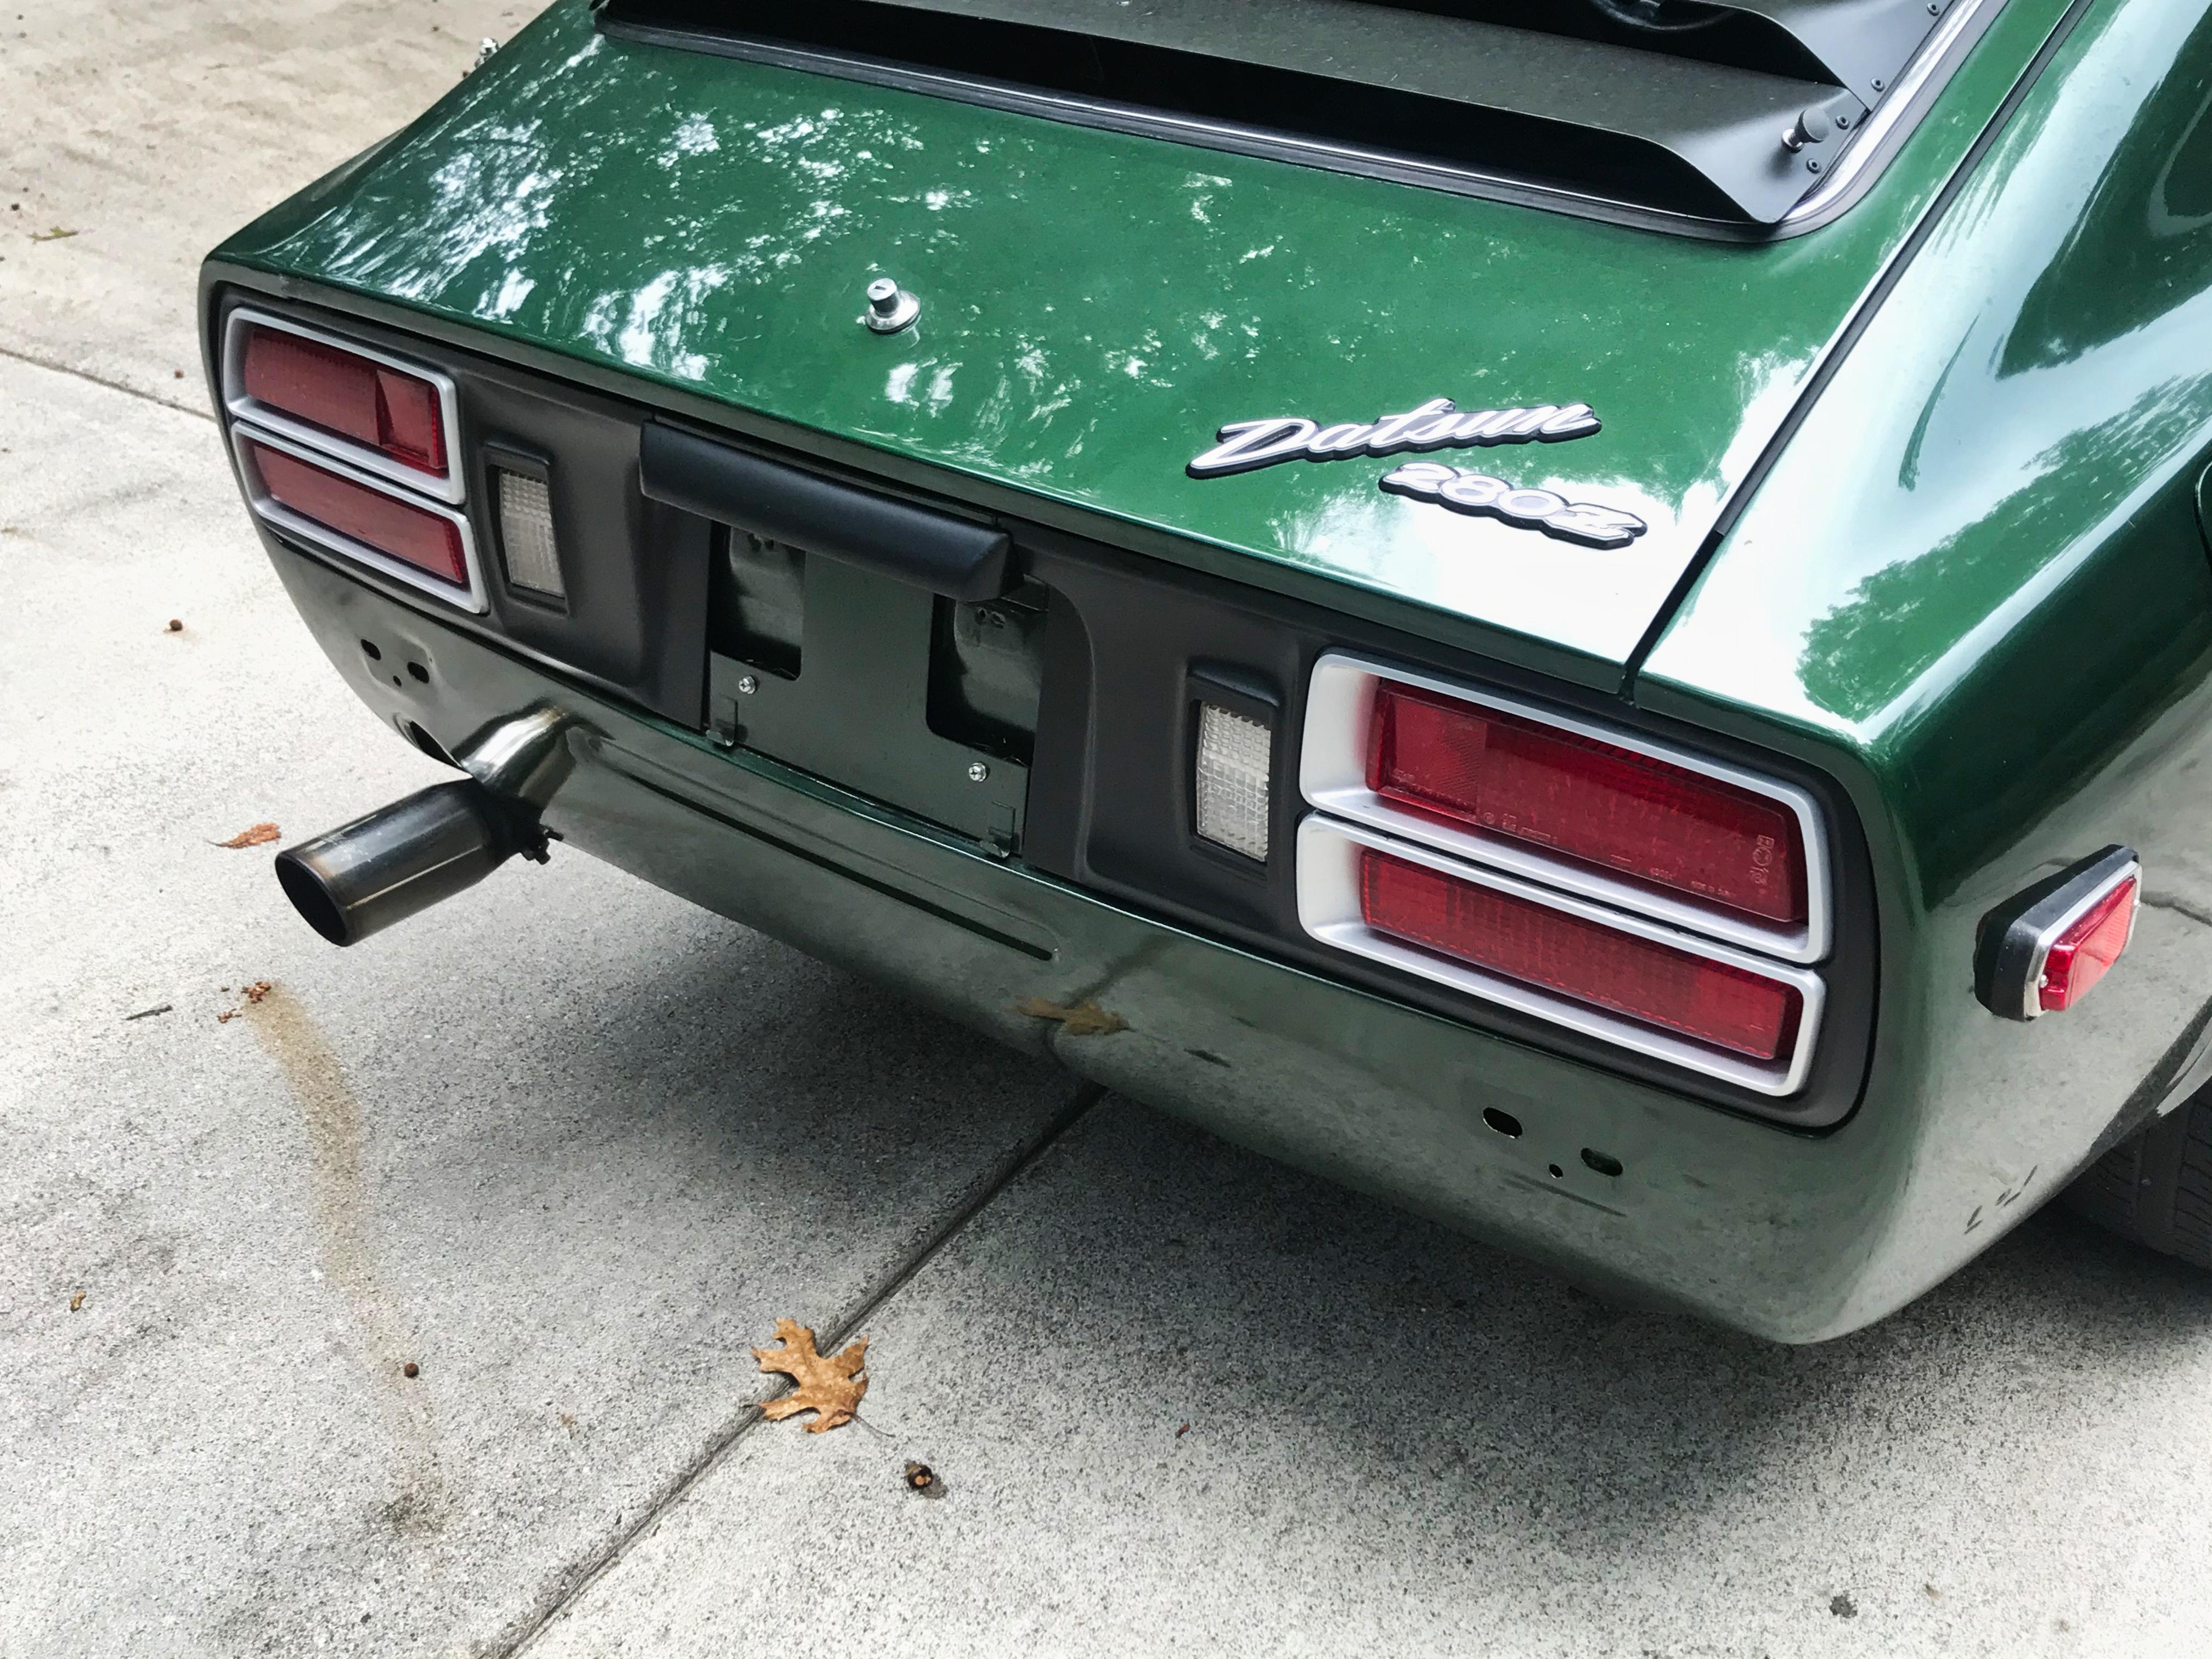
2 pointsUpdate: Paint is on! Went with the original color the car was born with, 240 Green. My painter used Sherwin Williams paint with about 3 coats clear. These teaser shots are while it is curing for a couple of days in the sun. Once cured, He's going to go over it with a wet sand them going to buff off a coat of the clear. Anxious is not a word I use very often, but today I am .2 points
-
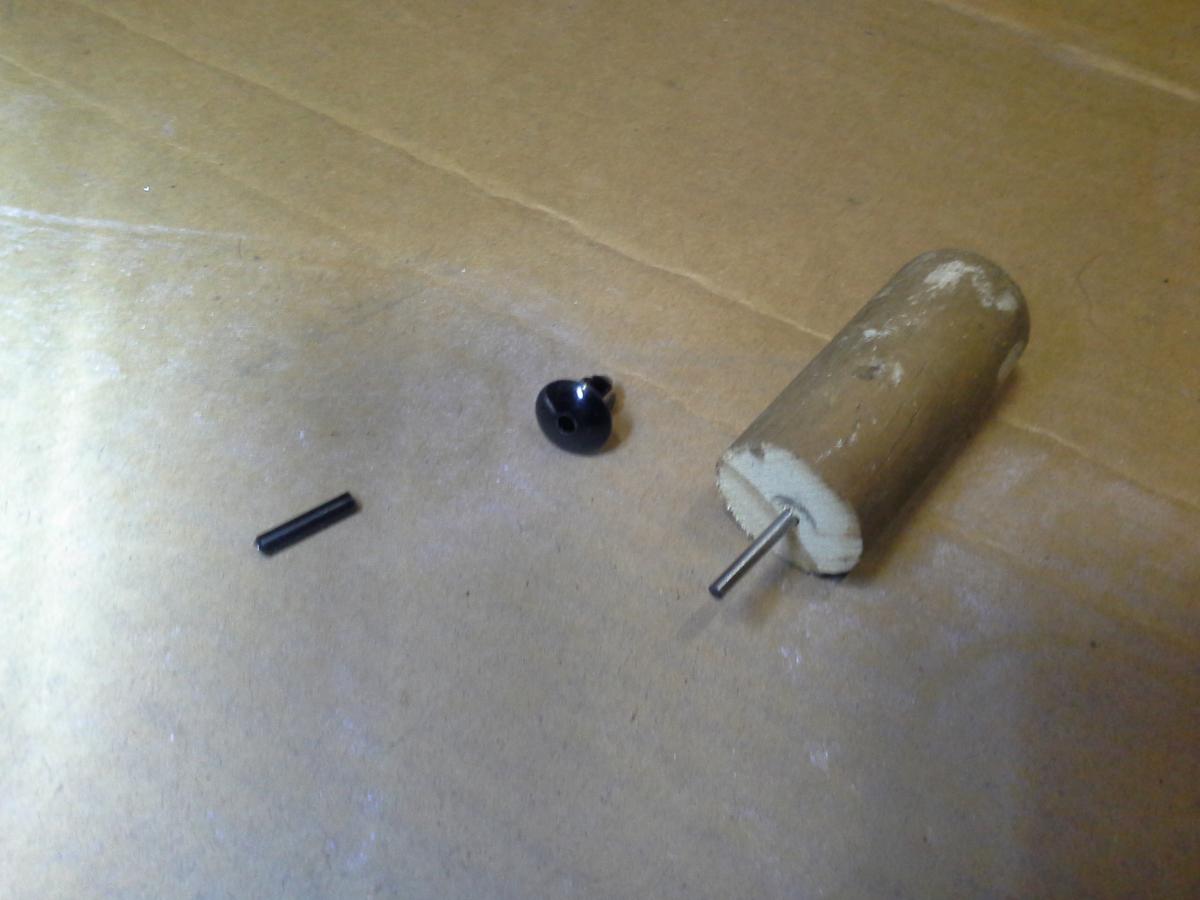
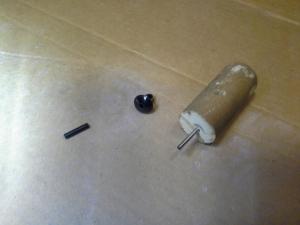
To get the rivets I made a simple tool by sawing off the end of a broom handle. Drilled into the end of it with a drill bit. The drill bit must be a smaller diameter than the locking pin. Use that to push the pin through. And Pop's advice with the vacuum cleaner works well. You can find the nissan pin on e-bay of from nissan.
 1 point
 -
I like the white ones best. Like old timer nurses wore. And they really do help my varicose veins. When I don't have the money for a new set, I put the old ones over my head and hold up the ho's store.1 point
-
Installed a 2.5" exhaust with a MagnaFlow 3 days ago, went back today to add a resonator. No drone and a nice deep sound when I get on it. PMG1 point
-
A little off topic, but I've gotta ask. Cliff, are those very comfortable?1 point
-
1 pointThat's what I was thinking too. I have some smog pumps but they're at my other garage. Hmmm...I bought an engine 3 months ago that might have a smog pump on it and it's here. I'll look after work to see if it has the hole. I think the engine is a 1972. Chuck1 point
-
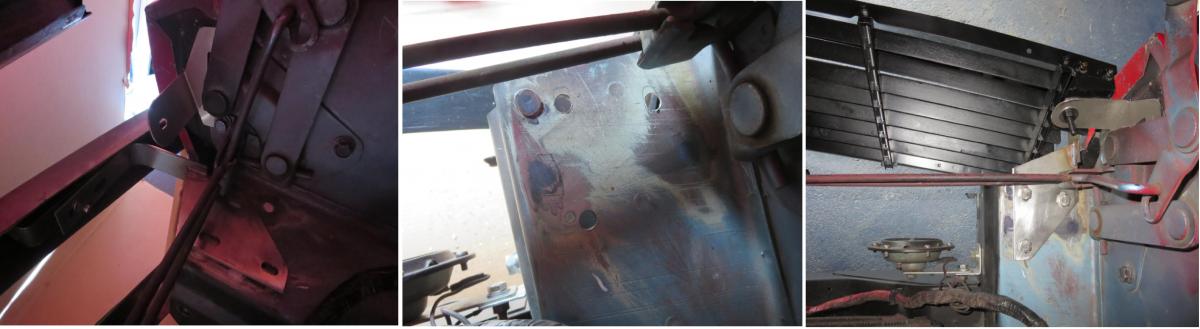
1 pointI wish he did engine compartment plates for the 280. Mine was missing when I bought the car..... (wait for it!) Previous owner took the (removable) aluminum plate off to paint the car and never put it back on. Car changed ownership and I thought it looked weird to be missing that plate, so I grabbed one off a wreck and screwed it to the car. Engine compartment plate doesn't match the rest of the car and it's going to be some mystery for the next owner of my car. Just like Sweaty's.1 point
-
1 point
-
1 point
-
Its's been a while and I finished it a couple of weeks ago, but my fuel pump gave up and kept me buzy. This is probably one of the last weekends before it goes into hibernation and I took this photo when I came home. and here is a before and after. Im planning to have the brackets made from stainless steel. Most parts are now aluminium so I could make adjustments. If anyone is interested in a set, let me know.

 1 point
 -
1 point
-
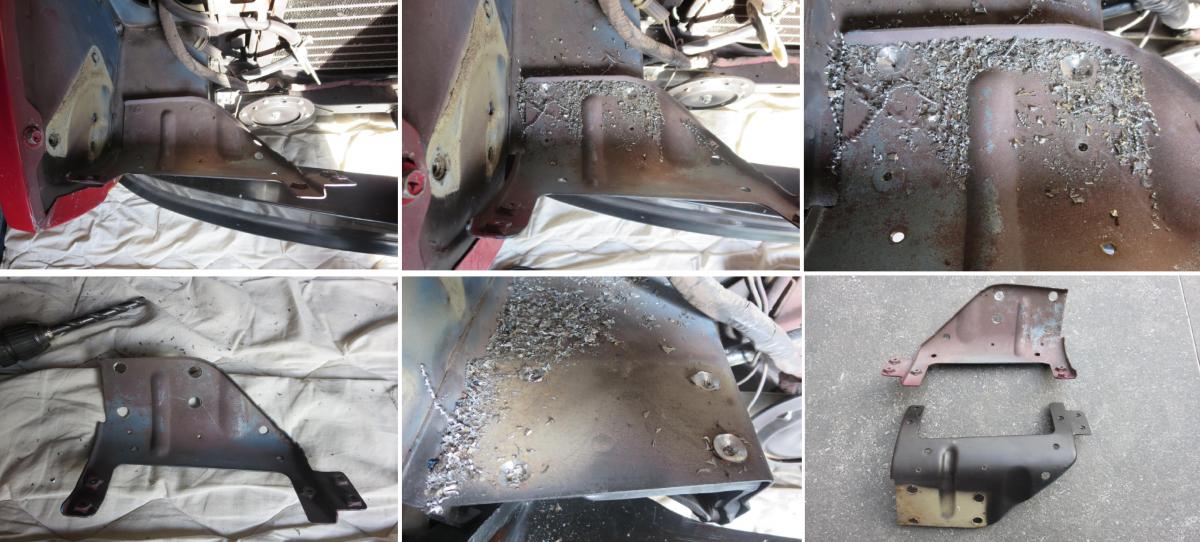
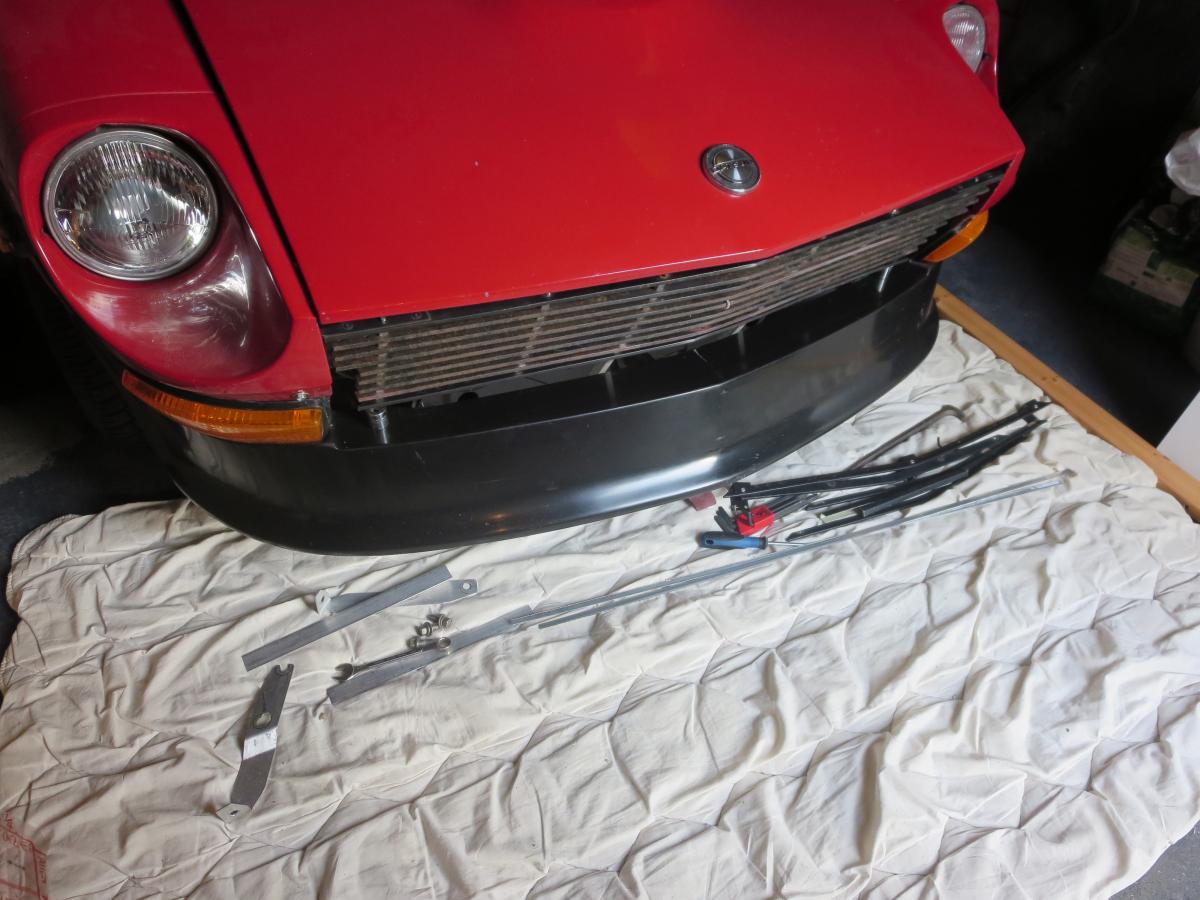
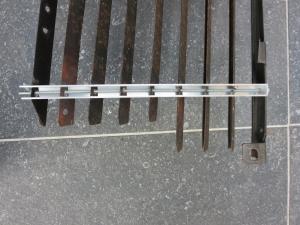
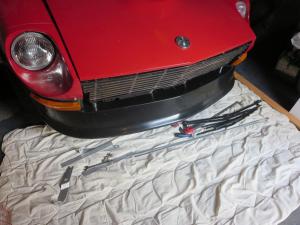
Its been a while, but it been just too bloody hot to work on the car lately. I've had the bumper brackets a couple of days now and decided to brave the heat and fit them today. All the brackets so far are hand made and a little shabby here and there because I have been making corrections, redrilling, rebending etc. The final brackets will be cut with a laser and look a lot better than these. Just need to make the same adjustments in the dxf files. The bumper brackets are made from 3mm, but the final brackets will be 4mm. The 3mm would be ok for fibreglass, but I think they would be too flexable for the chrome or stainless steel bumper. Fitting the bumper bracket. Still need some washers and painting here and there. That will happen when it comes apart for the final brackets. Everything back together. If anyone is interested in a set, I plan to cut a couple of sets (while Im at it). A kit could include: 2x Bumpers brackets with ss bolts and nyloc nuts. 2x Grill top mounts. 2x Grill bottom (side) mounts. 2x Long vertical bars for the grill plus M3 bolts and nyloc nuts. (These are to convert the grill from 7 to 9 bars and lower the 240z grill centre anchor to connect behind air-dam) 2x Side vertical bars for 9 bars plus M3 bolts and two extra nuts for side mounts. 2x Brackets to mount the horn. (On the 77-78 the horns were mounted on the bumpers shock) Everything except the 4 verticle bars is made from Stainless steel 304, bolts and nuts are A2-70. The 4 verticle bars are aluminium. Instruction how to get there (without all the experiments I went through).

 1 point
 -
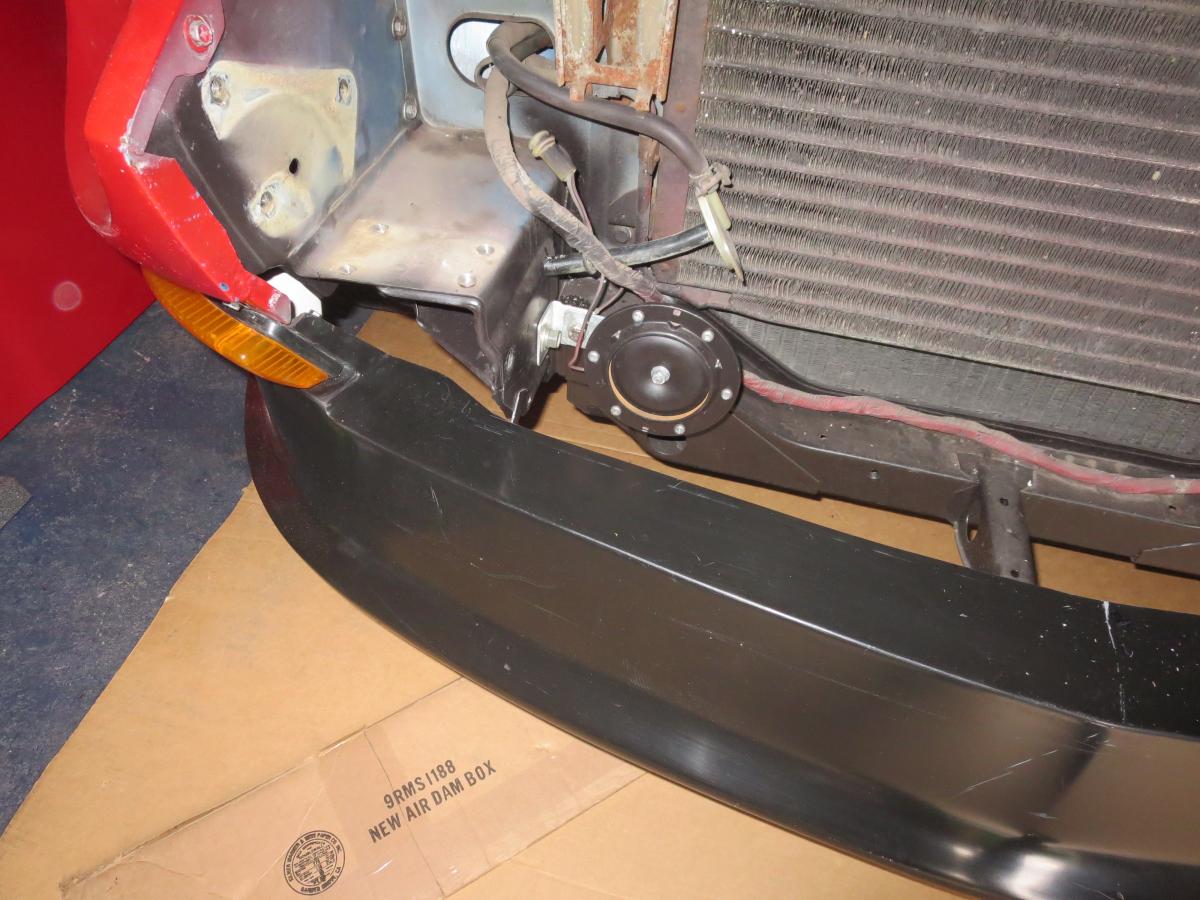
Removed the old turn signal supports today. I managed to get them out without butchering them, so I can reuse them if I ever decide to go back. Now buzy making new brackets to mount the grill. Charles, Here is a photo of the back of one of the vertical bars. Chas

 1 point
 -
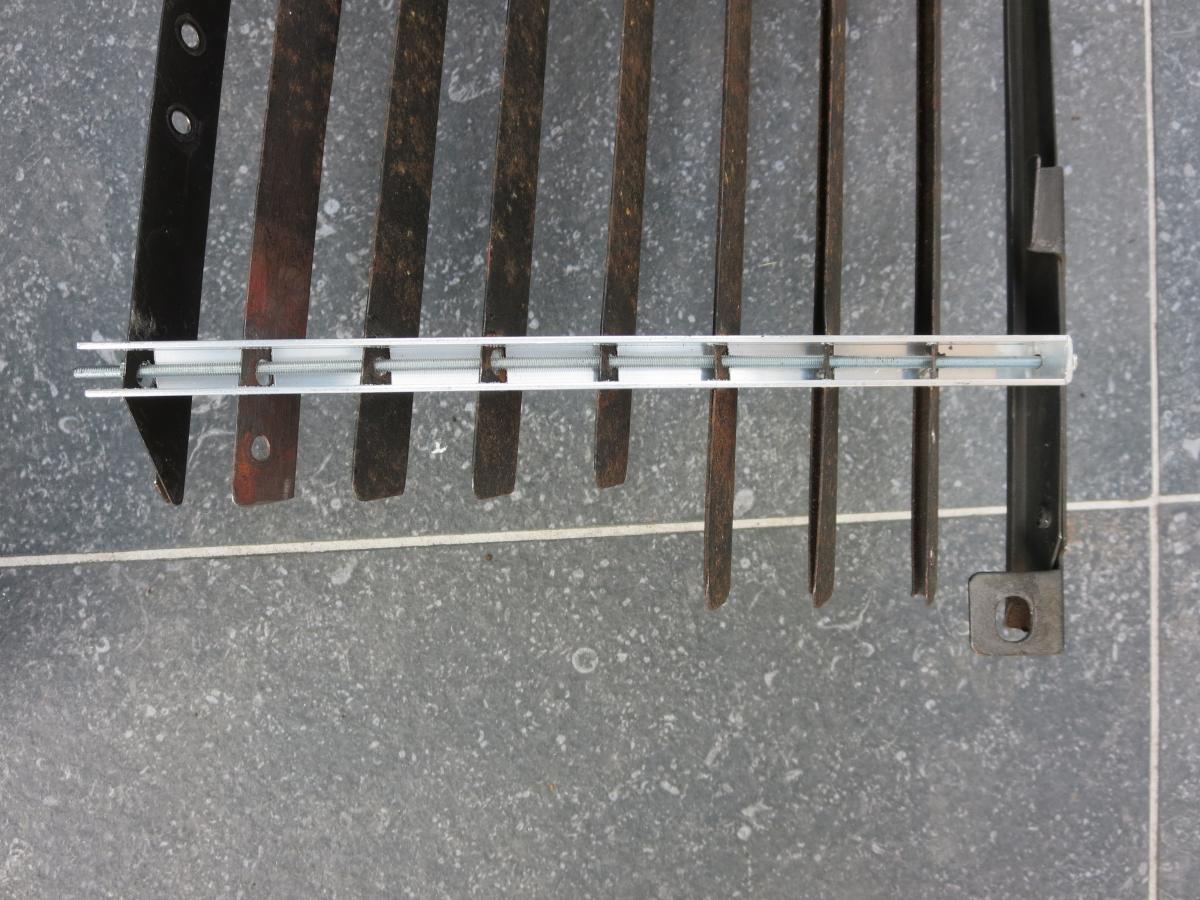
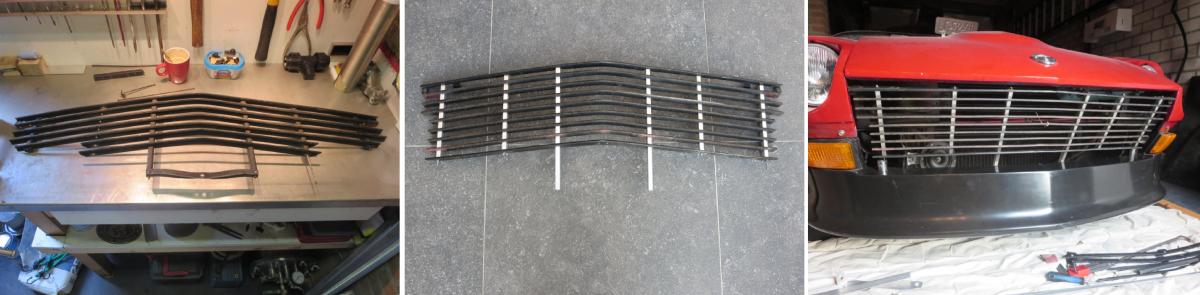
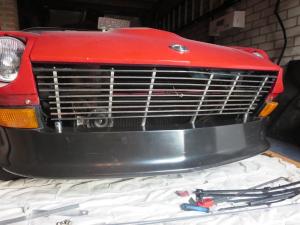
I revised my grill again today. Spent most of the afternoon making new vertical bars so I copuld extend the grill all the way down to the airdam. It won't work with my bumper brackets in the present situation, but Im planning to move then out to the 240Z position. To add the extra too "long" bars I needed to remove the top bar from the little grill under the 280Z bumper. Second was to try and repair the old top bar from the 240Z grill. Someone drilled extra holes in it and it was bent up a bit. I heated it red hot to straighten it and flatten the indentations for the vertical bars. Here are the "custom" parts I made to extend the grill. Here are some pics of the grill and a trial fit in the car. Its held in place with some wire. The two centre vertical bars will attach to the frame mounting where the old 280Z grill under the bumper mounted.


 1 point