Leaderboard
-
bvolken
Free Member4Points44Posts -
Hardway
Free Member2Points1,332Posts -
hr369
Free Member2Points1,240Posts -
240260280z
Free Member2Points5,426Posts


Popular Content
Showing content with the highest reputation on 11/28/2014 in all areas
-
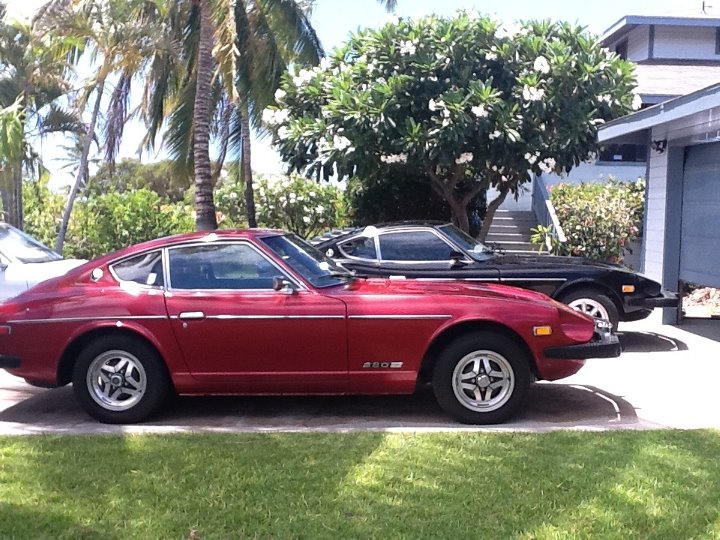
3 pointsI finally got around to moving my blog into a real website. I'm trying to go through my photos (over 2,400 photos, 6.6GB) and document what I've learned. I've got a bunch posted, I hope some of you can find it useful. 240Z – Carburetors240Z – Changing Instrument Lighting240Z – Choke Cable Repair240Z – Electronic Points240Z – Fuel Tank240Z – Generic Wiring Troubleshooting Checklist IN PROCESS240Z – Half-Shaft Rebuild240Z – Heater Blower Motor Replacement240Z – Multi - function Switches (Hazard, blinker, ignition) IN PROCESS240Z – Parking Brake Refurbish240Z – Power Door Locks240Z – Refurbish Tail Light Assembly240Z – Removing Window Cranks240Z – Replacing oil seals on R180 differential240Z – Seat Rebuild240Z – Speedometer Cable Replace240Z – Toyota Disk Brake Upgrade240Z – Windshield Washer Pump Replacement240Z – Wiring Harness RefreshGeneral Tips and Tricks3 points
-
2 points
-
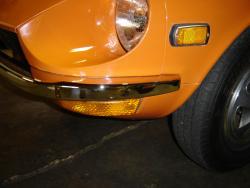
1 pointHere they are! Y'all better get these. Cyber Monday $306 each plus shipping which isn't bad at all, $63 for both from Connecticut to Alabama. I got them so close I don't think a playing card could slip between the bumper and body. Both sides pulled in perfect too. Rear is next but I'm going to paint the tow hooks and need to get some stainless carriage bolts to put the 3 pieces together. Not going to use the old rusted ones. Thank You Dave Patten @ futofab.com.


 1 point
 -
1 pointI've been looking at this for quite some time, just hesitant to pull the trigger... http://www.ezcarlift.com/1 point
-
I have an upcoming project that may require a tach and speedo removal. Will have to attempt a calibration at that time. As for frozen calibration controls, I also had a problem adjusting the voltage regulator on the oil/temp gauge. It was a matter of 40 years of corrosion at the pivot point. Once broken free, the control moved as expected.1 point
-
As Blue said, the factory tachs have an adjustment. It is a trimmer on the back of the tach. Use a thin flatblade screwdrive to make the adjustment. You might need to remove the tach to get good access. The wires are long enough to run the car with the tach loose. Use a known good service tach and adjust the factory tach to match.1 point
-
1 point
-
My 76 tach shows a steady 200 RPM too high, when compared to my meter. It's a Fluke 115, I use DC hertz to measure, then do some math. I've had my tach dash jump around and misbehave with a new ignition module,even though the engine ran fine. An extra condenser on the negative wire brought it back to life. The tachs seem sensitive to noise. They don't need much "signal" to work, there's actually a 2,300 ohm resistor inline with the coil, on the 76. Your 240Z tach uses the positive side though but may still be sensitive. Maybe a new condenser or an extra on the circuit would help damp some noise.1 point
-
1 pointBRILLIANT POST!! Wish I'd seen it before I did my lenses. I added a link to your post on my page.1 point
-
Those are great tools! You can accurately read rpm as well as advance the timing light to read the mark nulled to 0 on the scale at the damper pulley. The cable is long enough to read rpms from the passenger compartment while driving ... works great when also reading the O2 in the passenger seat in real time road tuning.1 point
-
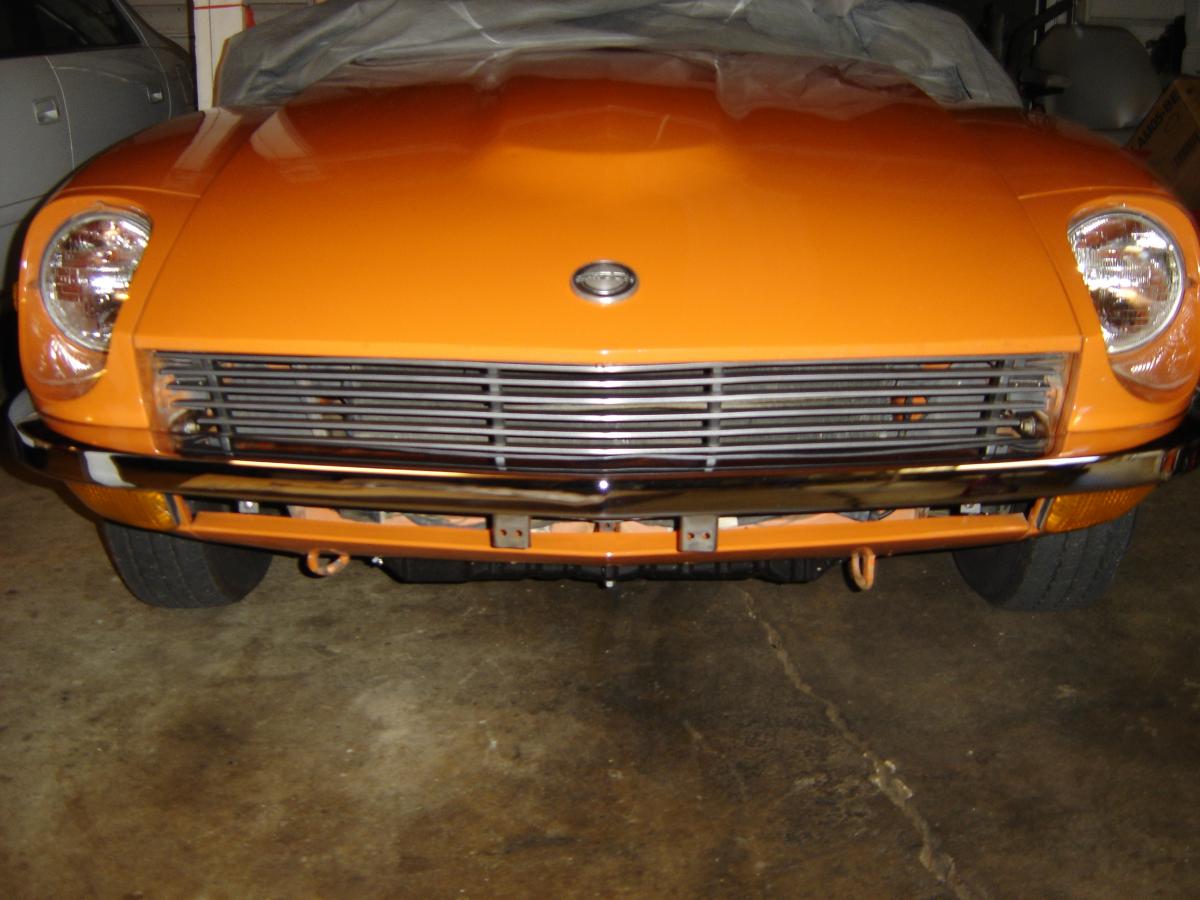
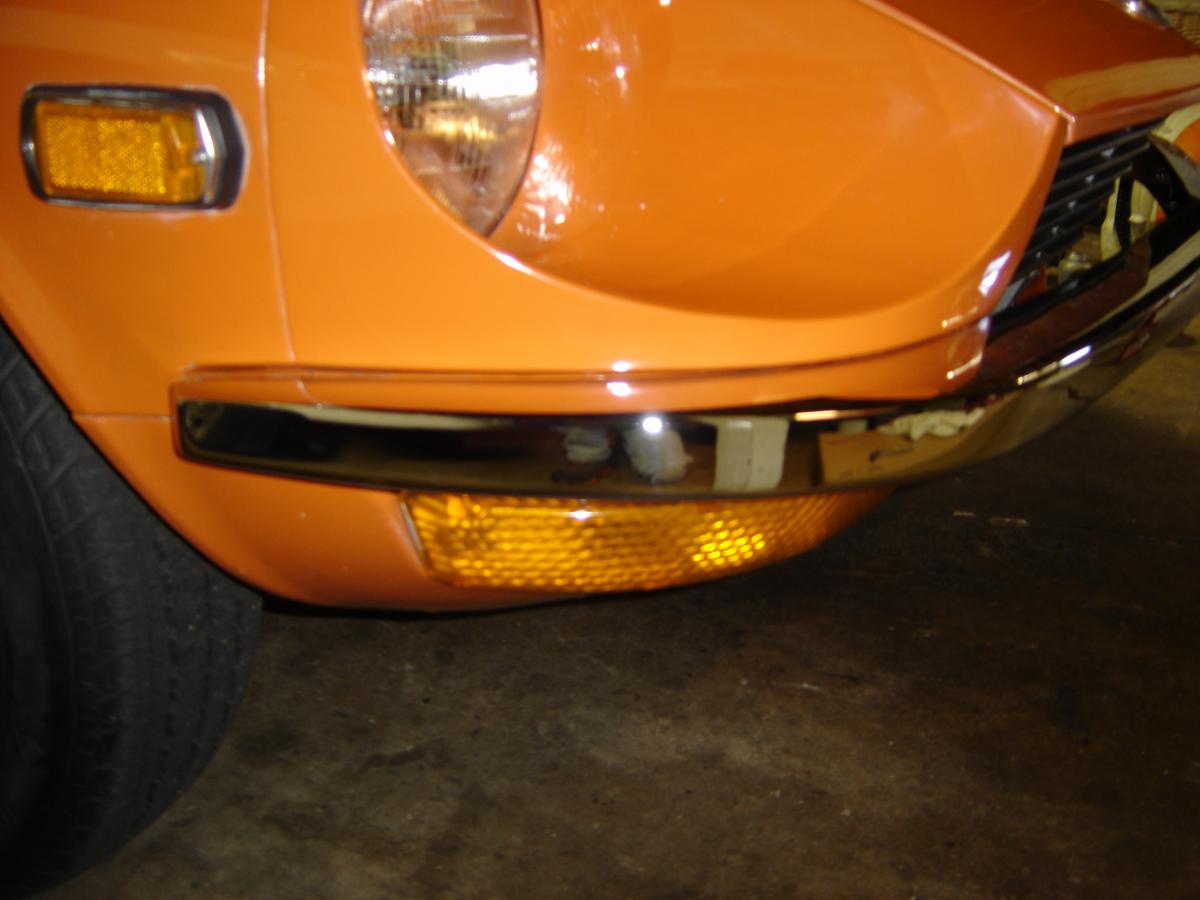
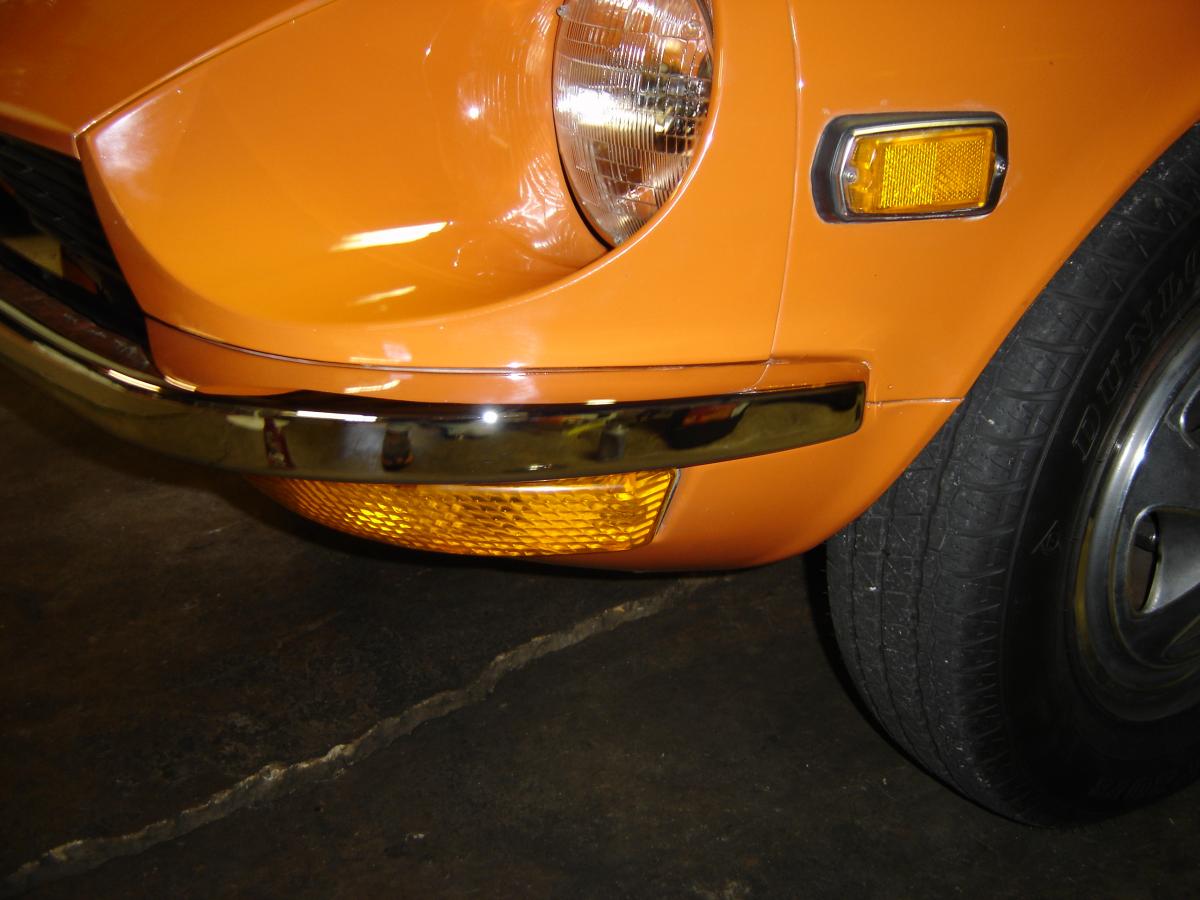
I got the new bumper guard strips installed and got the bumper back on the car. In the grand scheme of things the strips are a small piece but in my opinion they have a very high impact as they help complete the front of the car and give it a correct look. I know a lot of people don’t like the bumper guards but I have always been a fan of them and glad they are now looking good on my Z. That is all for now. With the holidays upon us I don’t see me doing much else to the car. Depending on how things go I may start looking in to getting it painted in the spring. For now, I am just happy to have it and enjoy it. Happy Thanksgiving everyone!1 point
-
After a few shots of PB blaster the old bumper guard strip nuts came off. With the bumper on the table I decided to put a little elbow grease in to it using some Mothers Billet polish to try and make the chrome look a little better. This stuff is a bit expensive but the results never cease to amaze.1 point
-
1 pointHere is a thought... All you guys with Tie Down Hooks on your 240-Z's know one thing for sure... The Selling Dealer's service department didn't do it's job. They were supposed to be removed by the Dealers prior to Deliver of the car to it's first owner. Not really a part of the car - they were packing fixtures, much like the plastic wrap on the door panels or around the seatbelts... The Tow Hook on the other hand, was actually part of the car.. and was to be left in place for delivery to the end consumer. So if your 240-Z came from the Dealer without it's rear Tie Down Hooks... it was delivered as intended by the Factory. So.. for Pure Stock Class... if you leave the rear Tie Down Hooks in place for show - then IMHO you should also leave the plastic covers on the door panels, the seat belts wrapped/bagged, and the hubcaps boxed in the rear... along with the Pre-Delivery Inspect Report (not filled out of course)... FWIW, Carl B. Carl Beck Clearwater, FL USA http://ZHome.com1 point