All Activity
- Past hour
-
 Screaming dimes!
- Today
-
 Good morning deanhuff, Can't answer your question as I just don't know. However, if you're like the owners of the vast majority of old cars and only put a few hundred miles on your Z per year it isn't really an issue. Of course if your comfort level requires a lead additive by all means feel free. If you've recently acquired a Z I strongly suggest 1 - cold and hot valve adjustment 2 - cold and hot cylinder leakage test 3 - new valve cover gasket (the absolute best is Nissan which is still available from your local dealer under P/N 13270-Y7010) Cheers
 -
 will do. thanks
 -
 matt74 joined the community
 -

-

-

-
 Hope everything is dry now and your leak is all fixed up!
 -
 That sounds like a great way to spend the weekend! For a bonus the weather was nice too.
 -
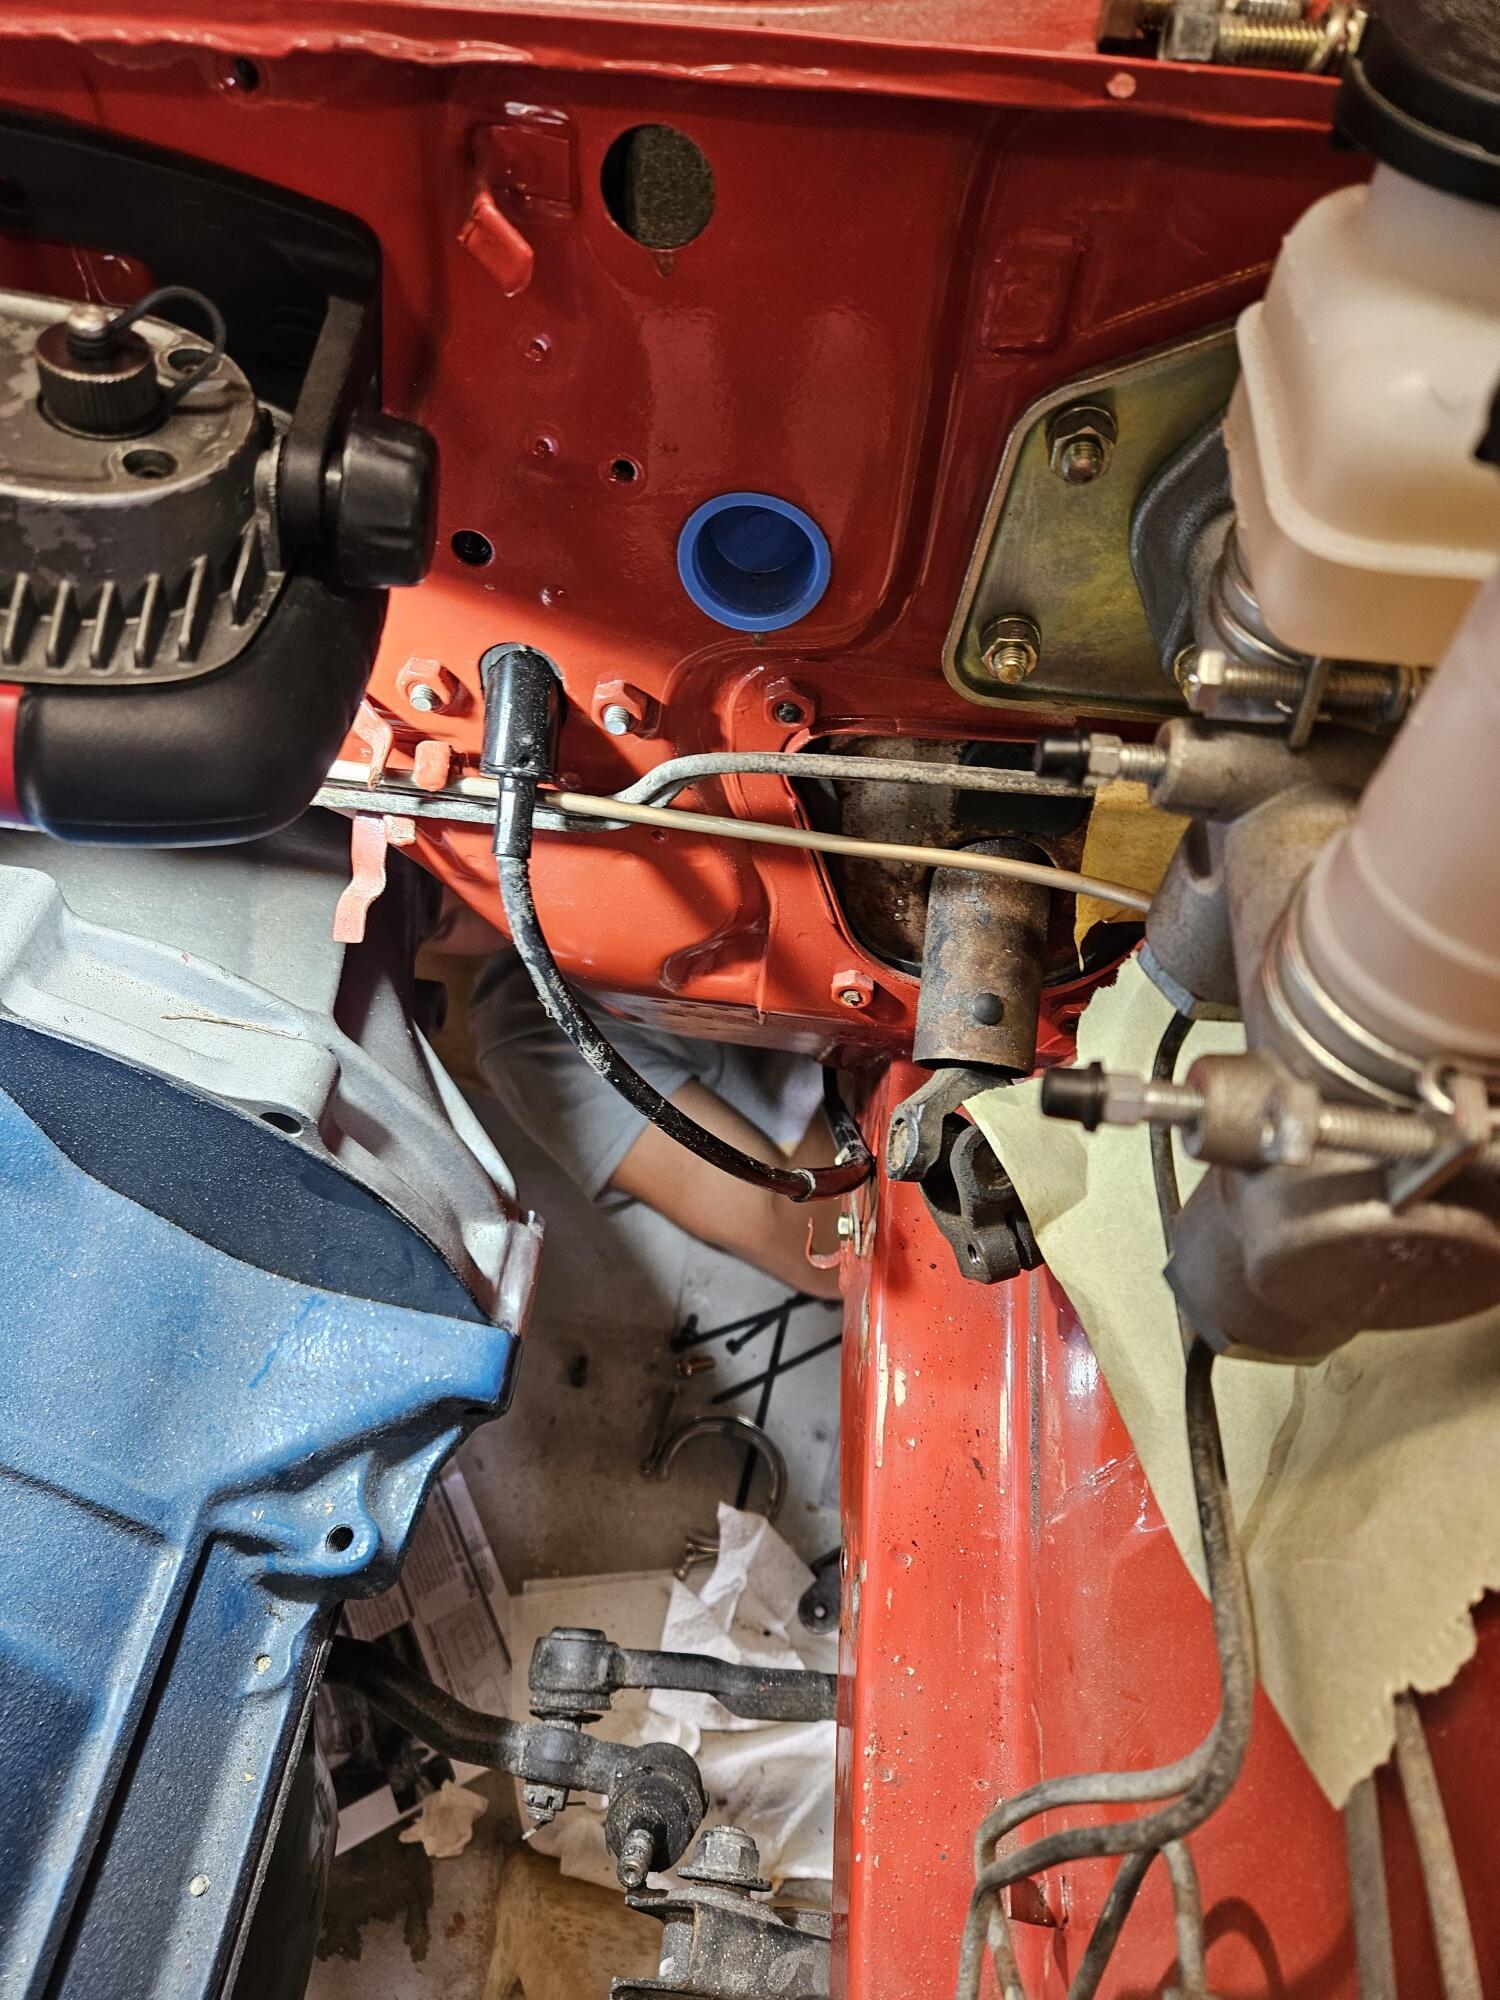
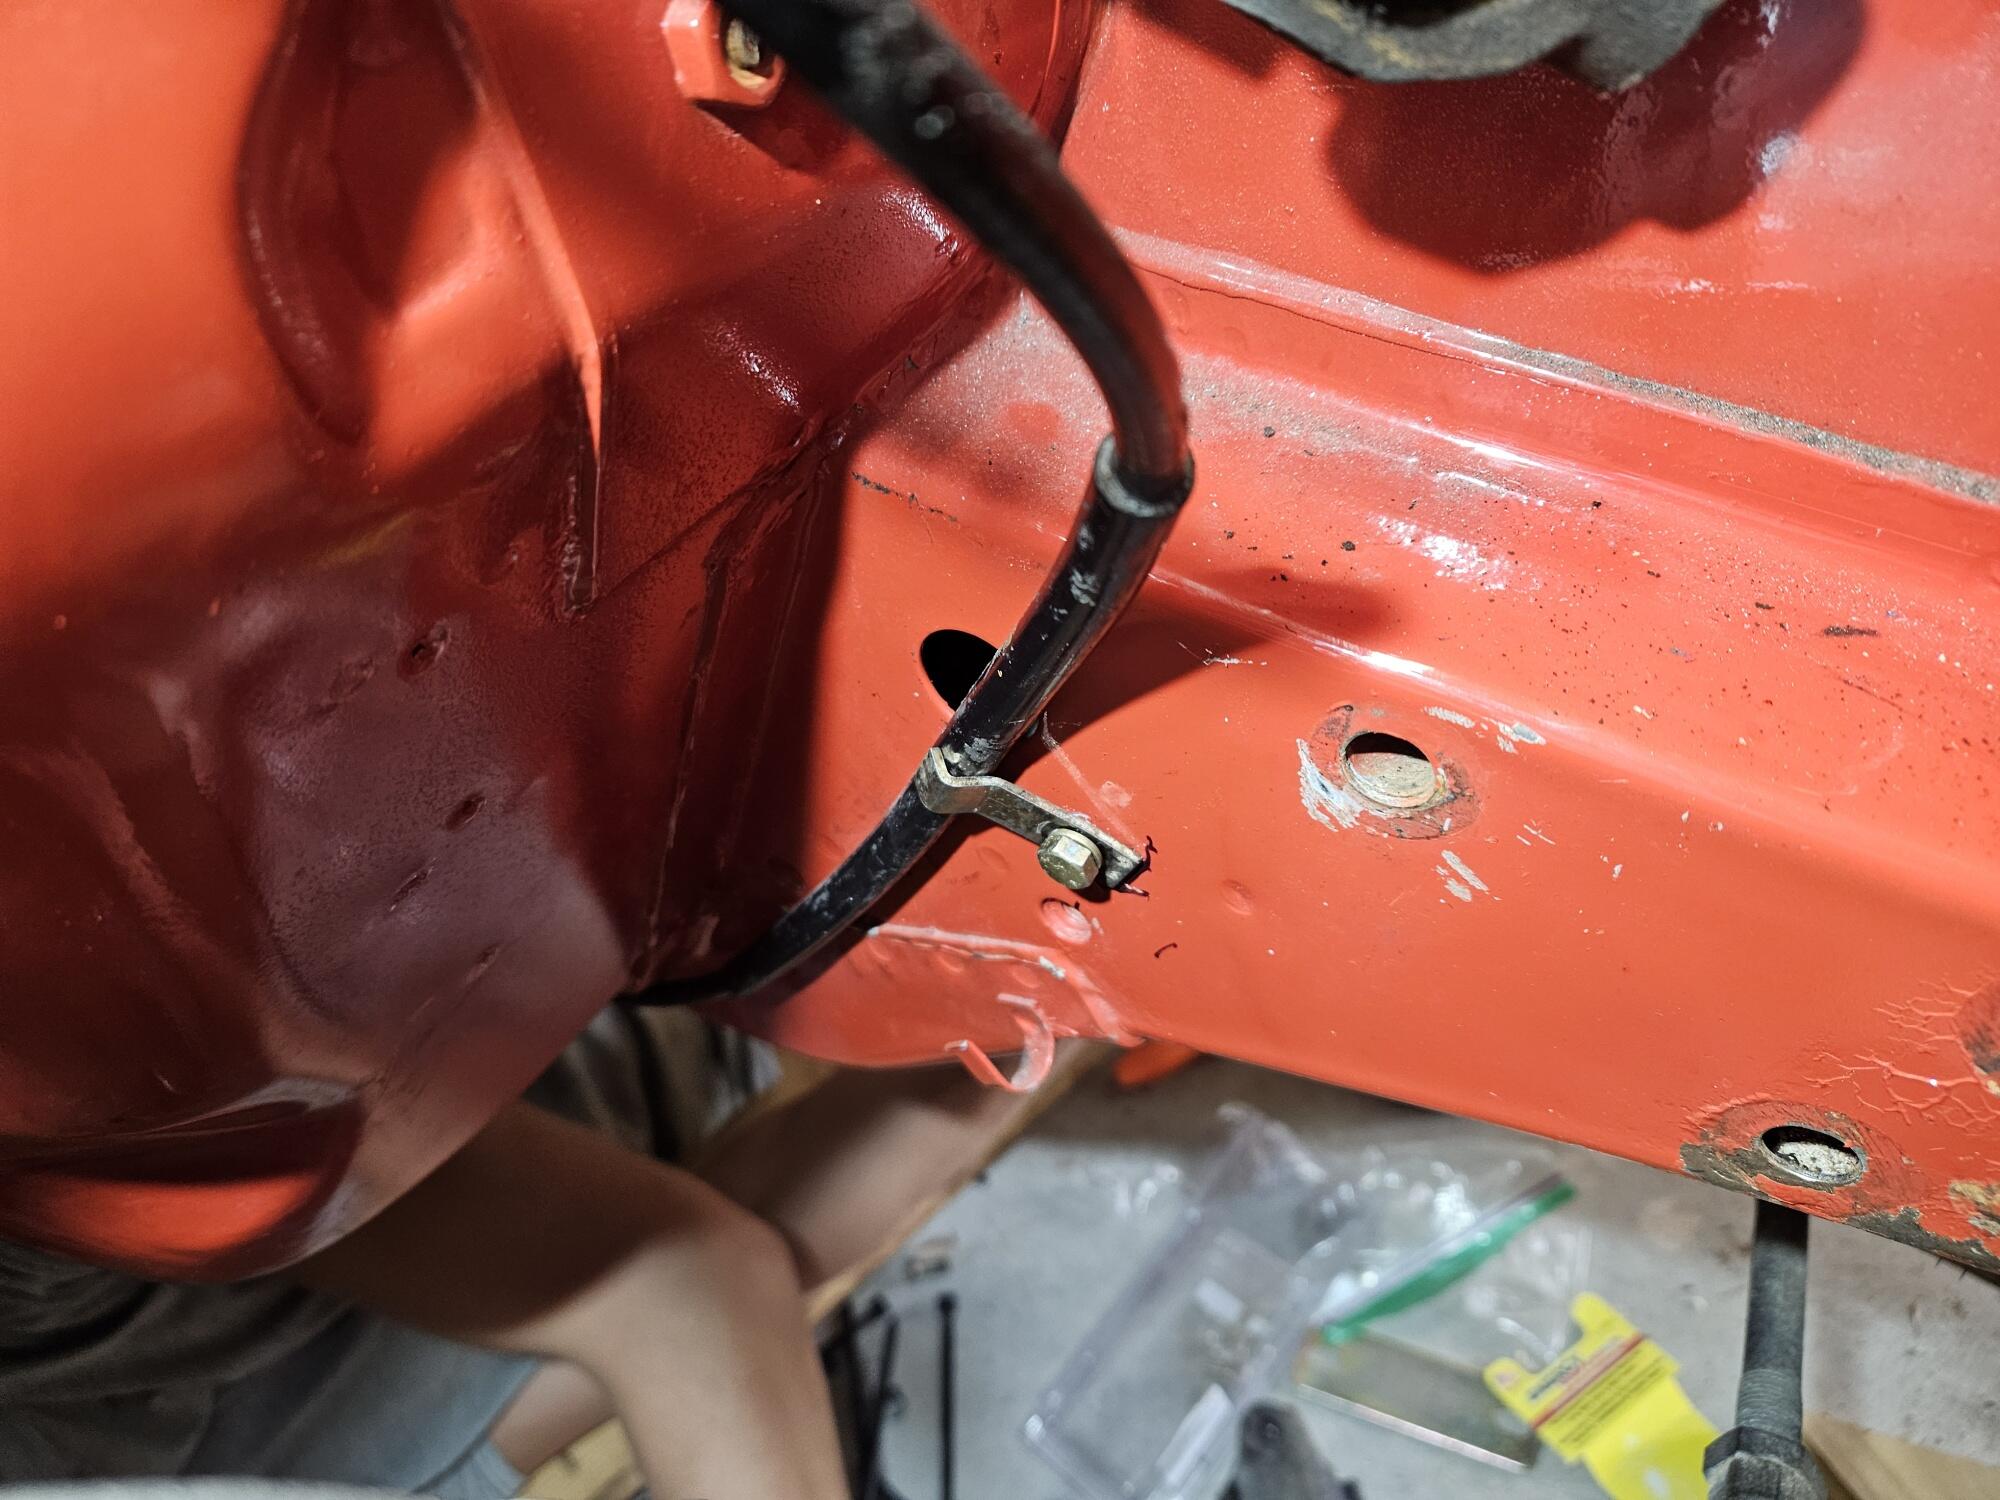
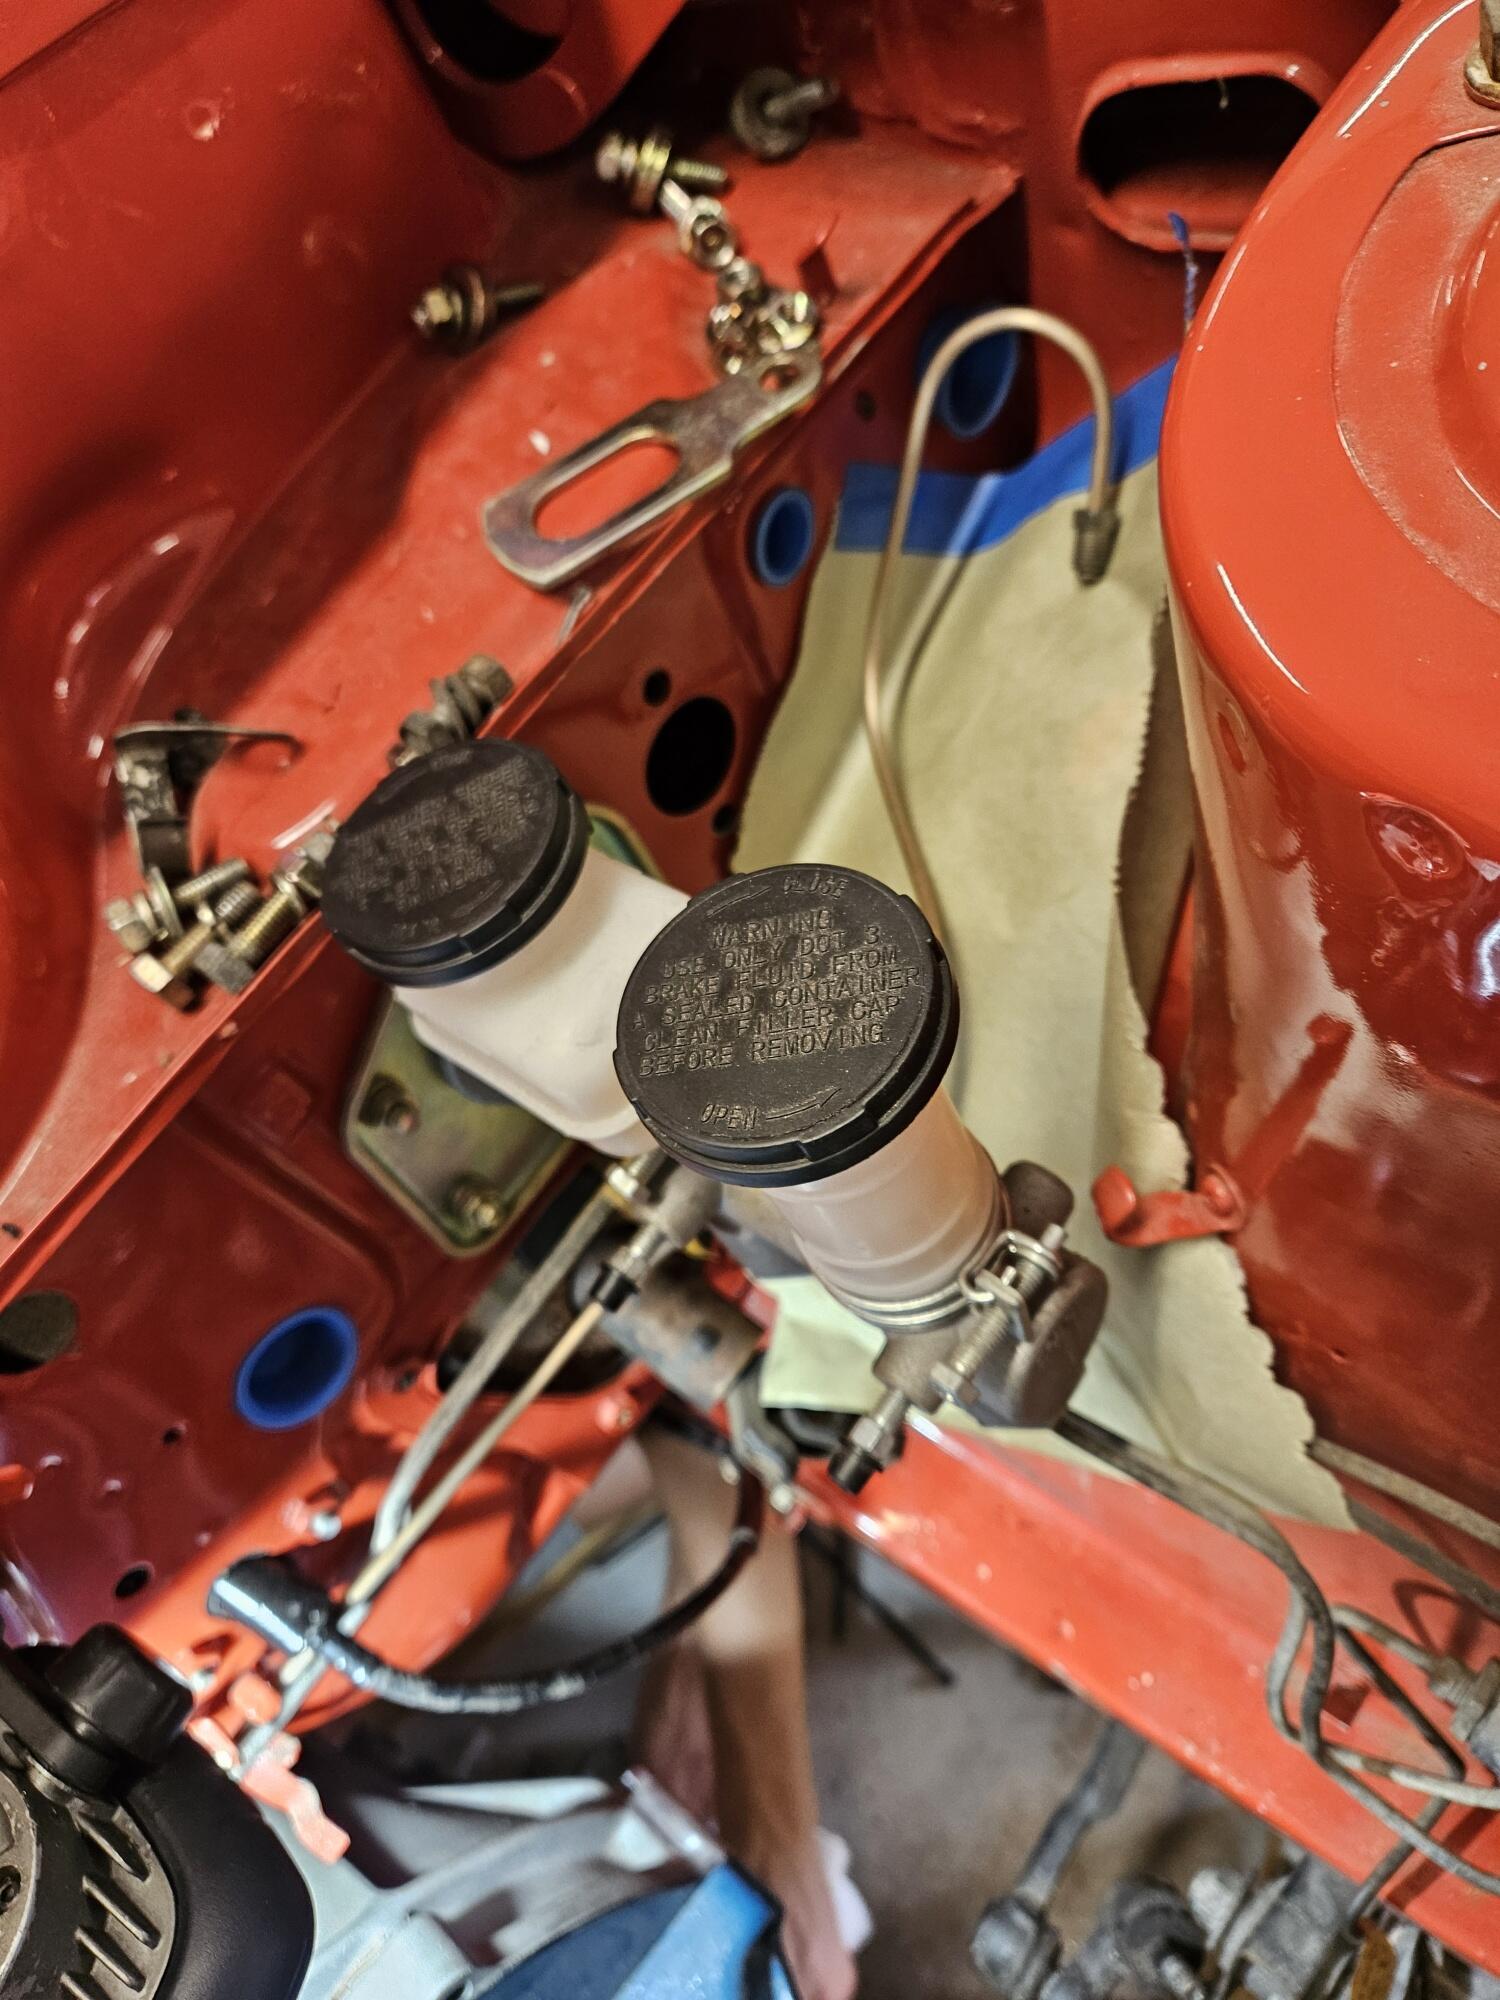
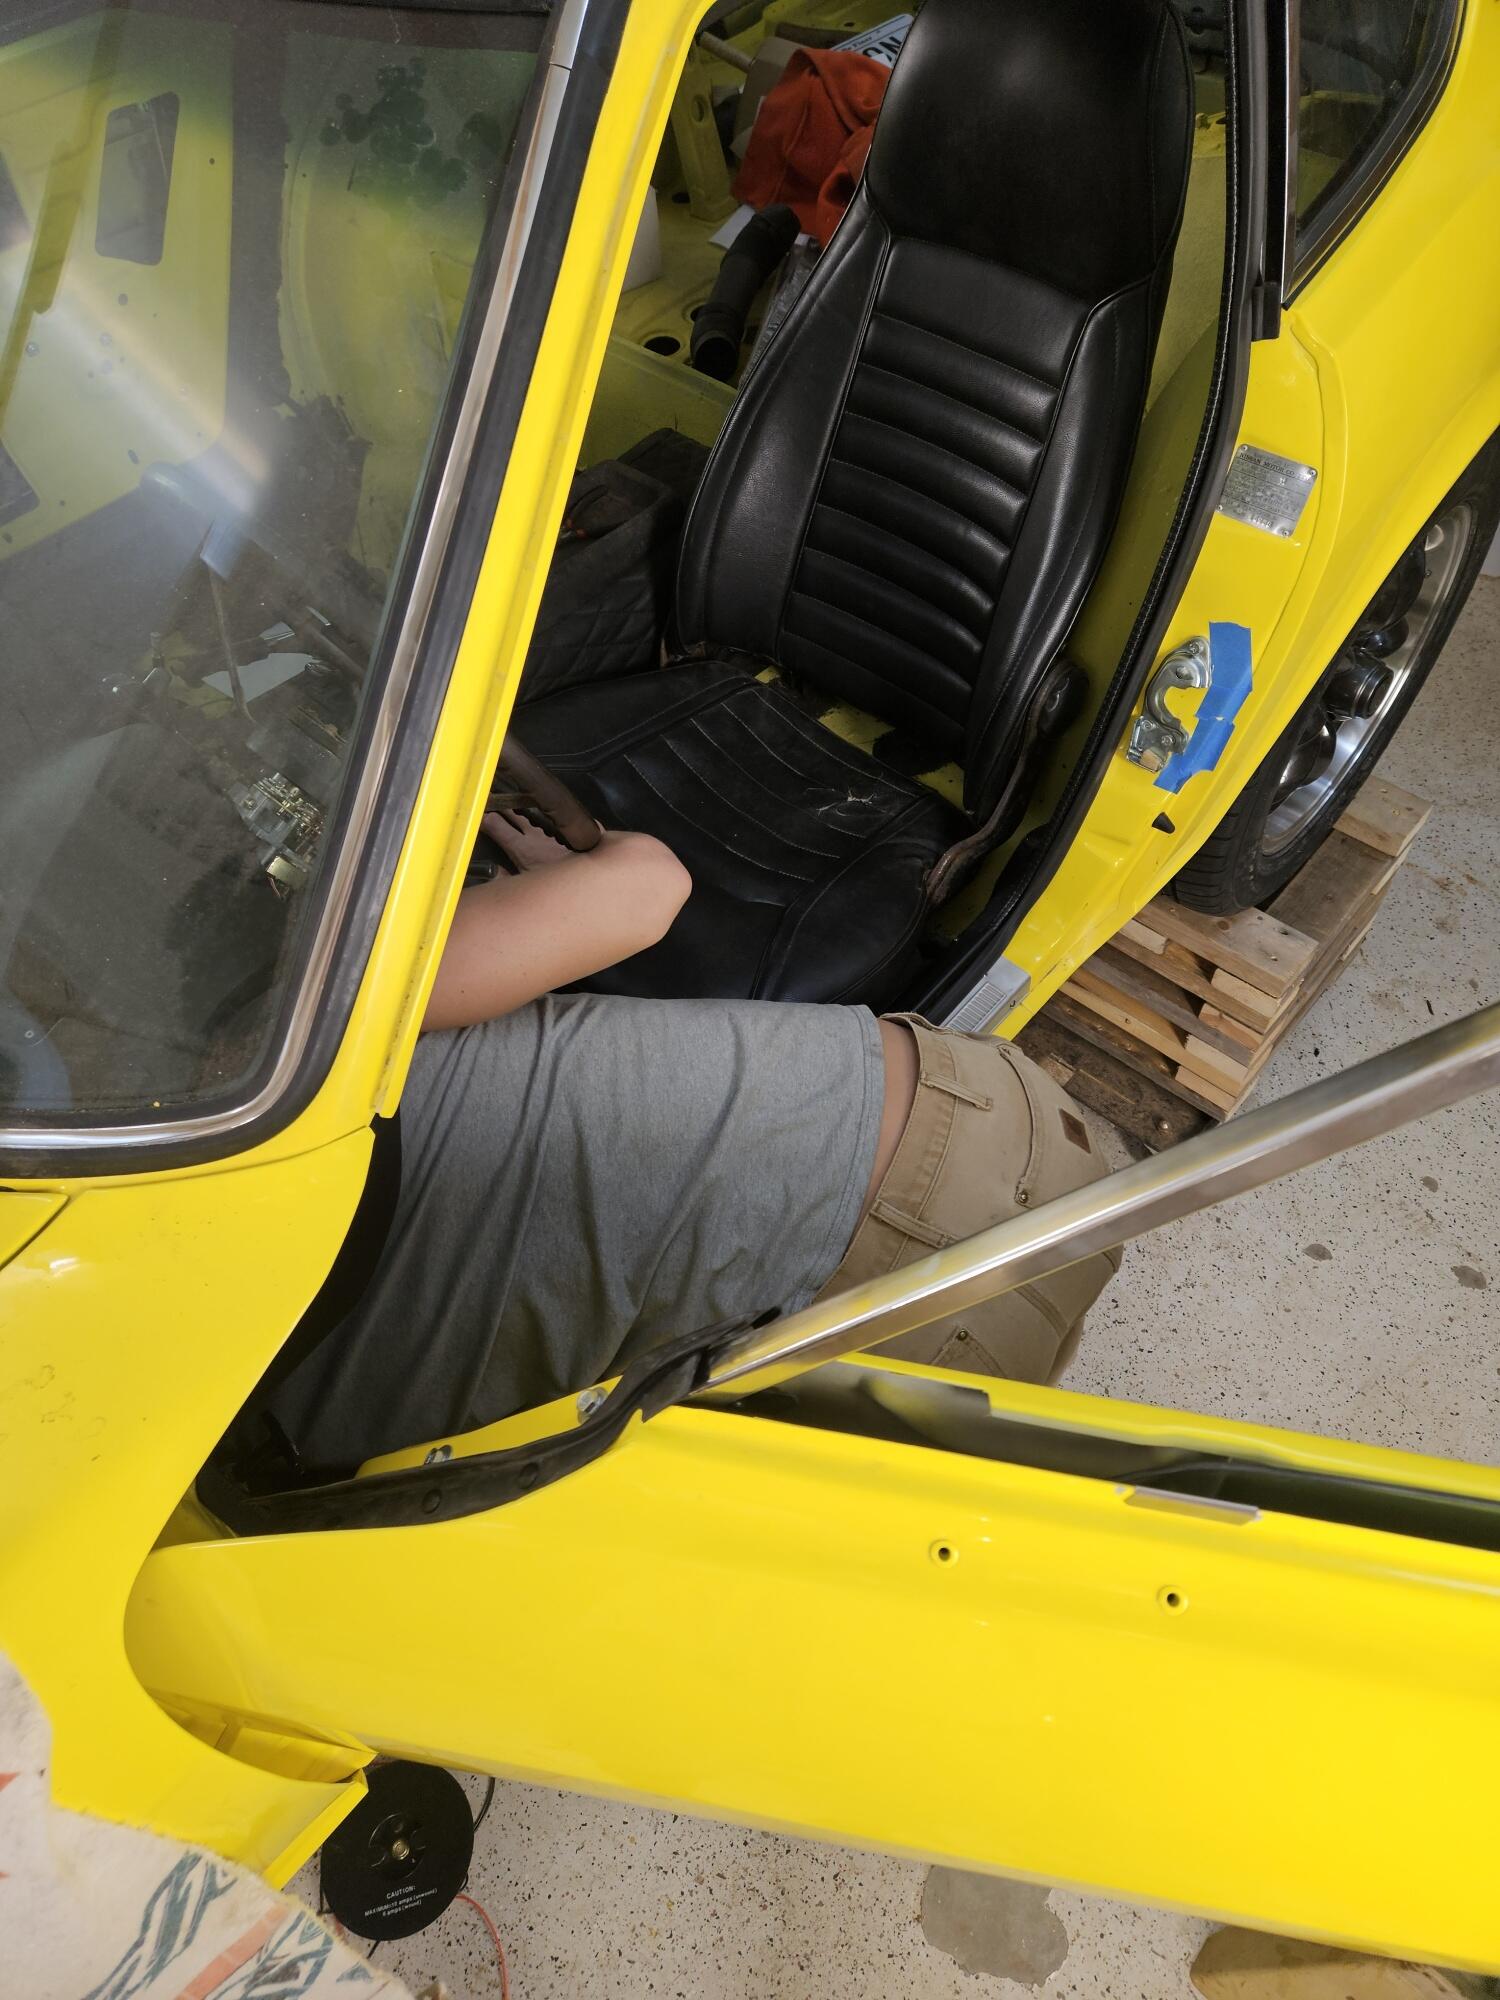
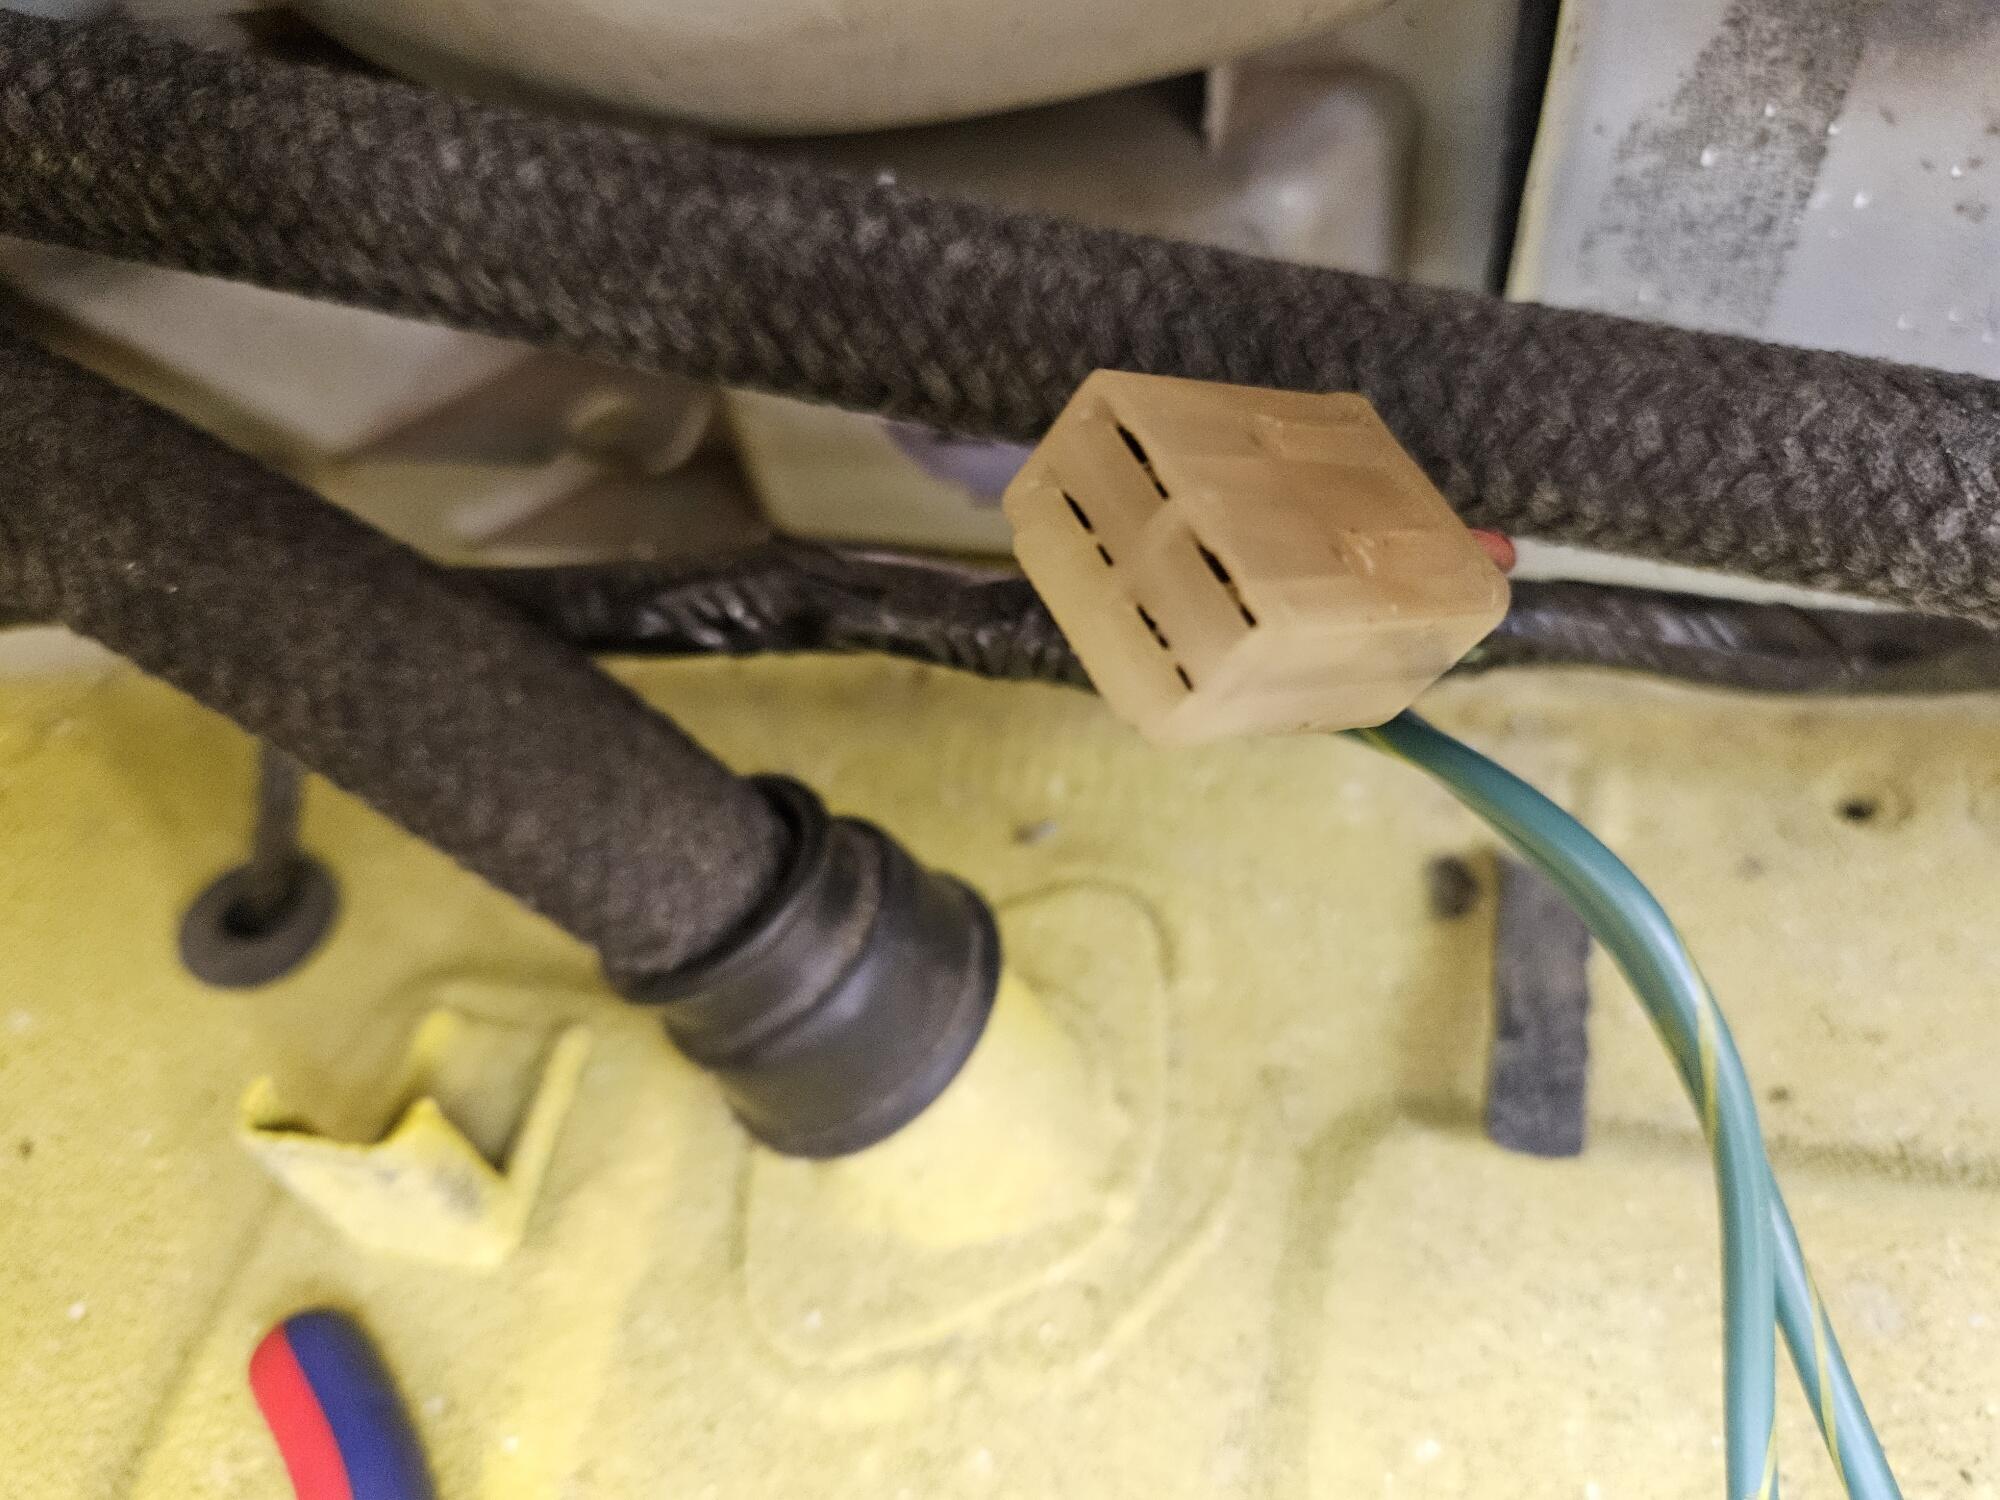
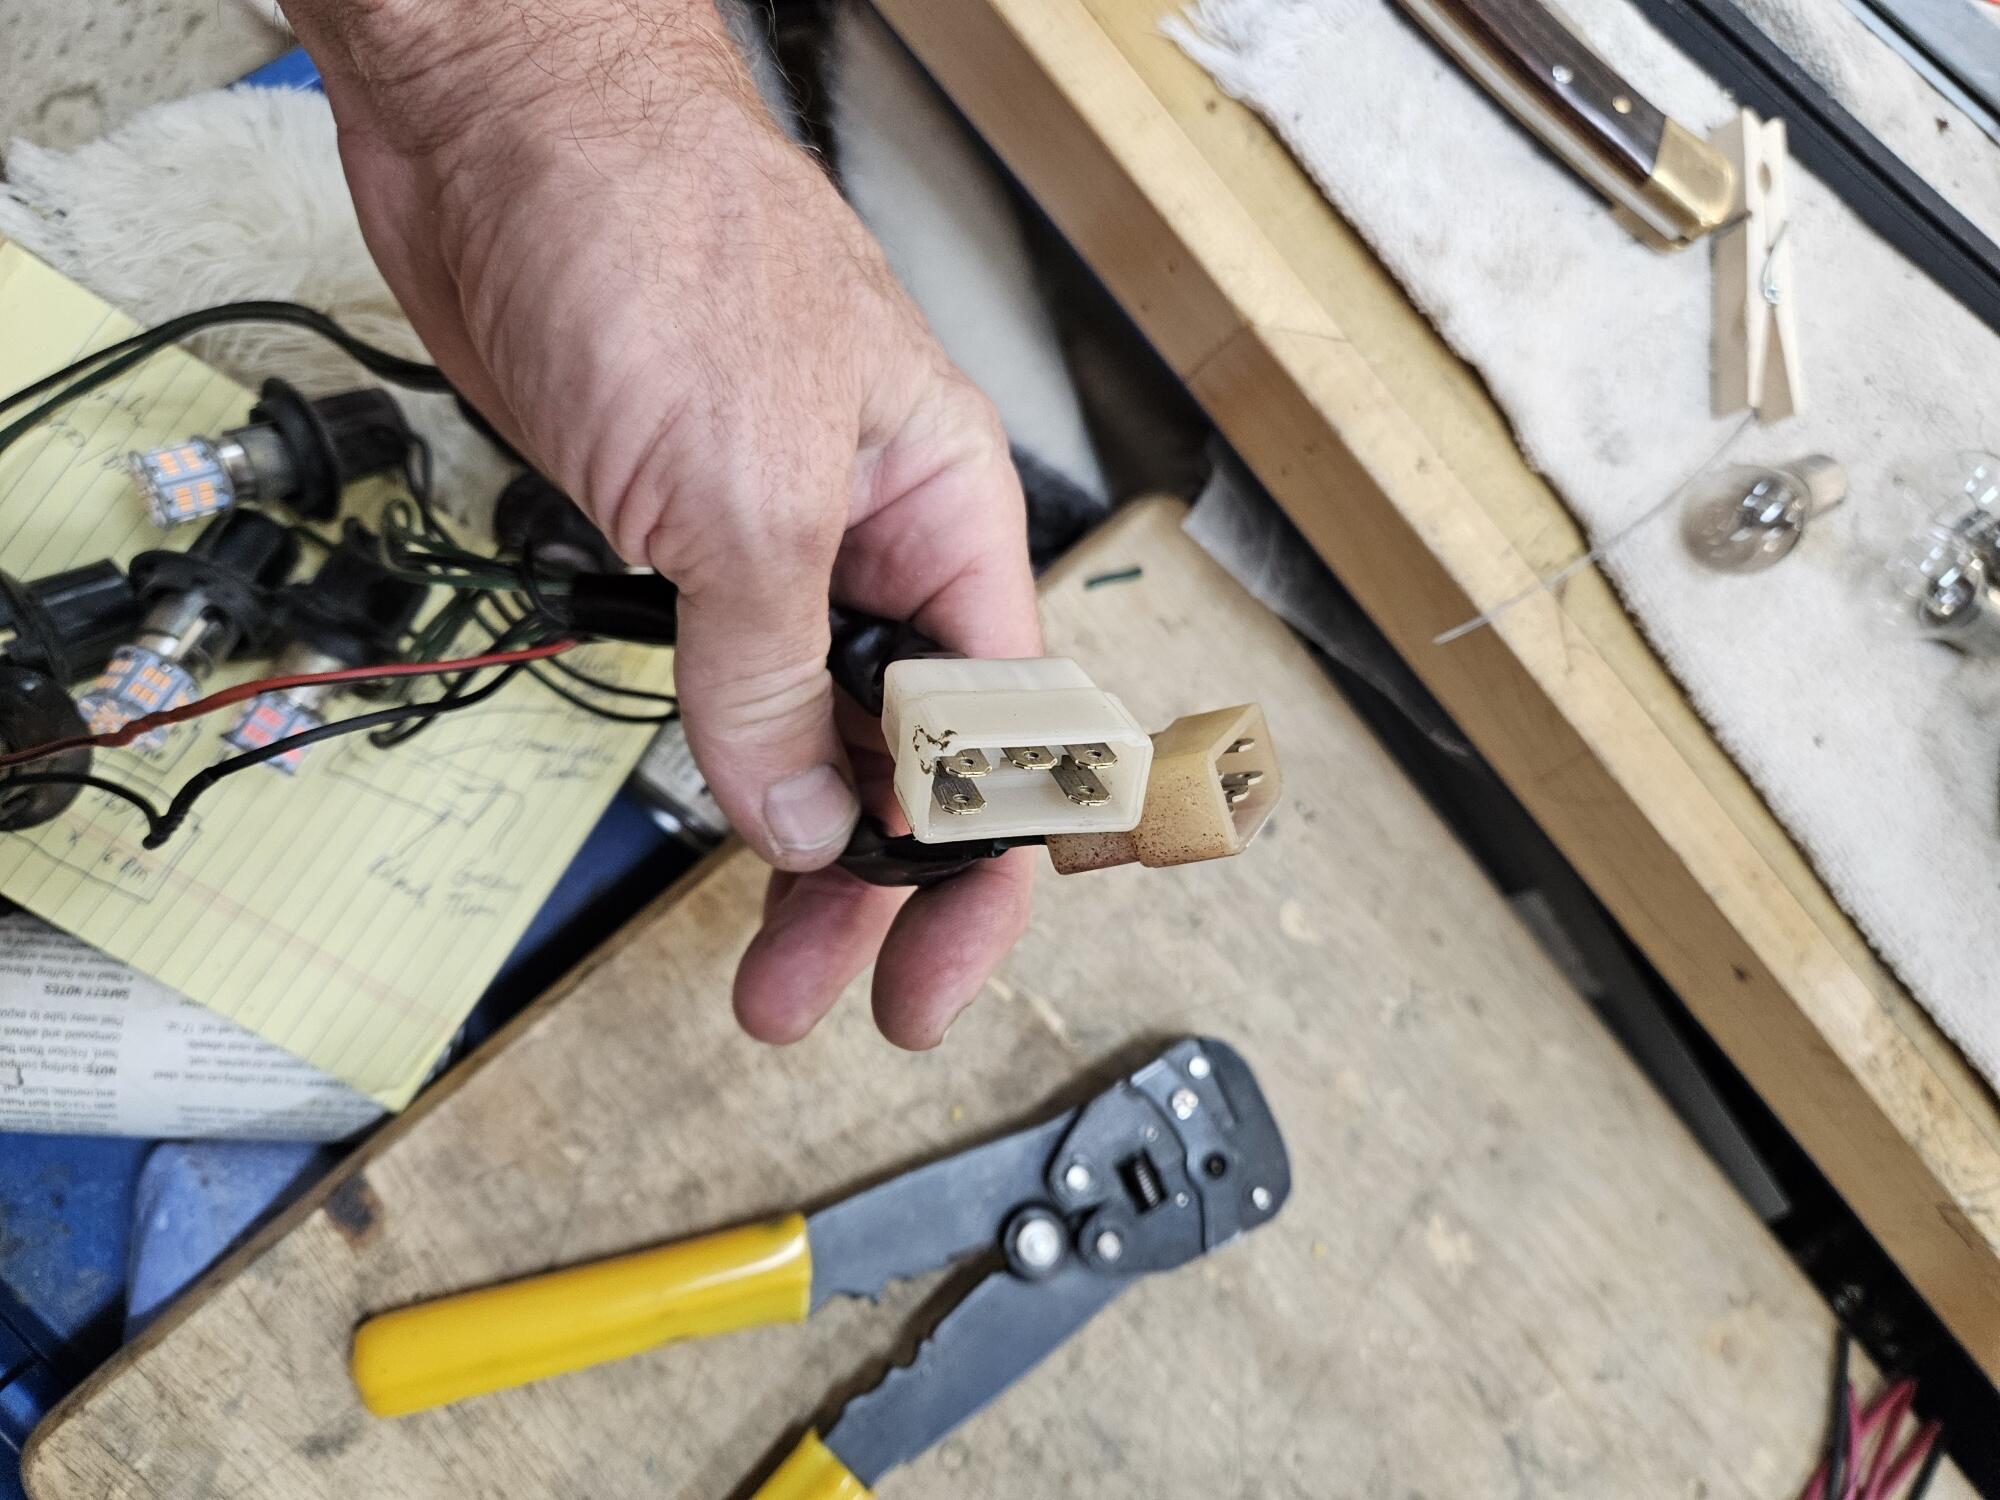
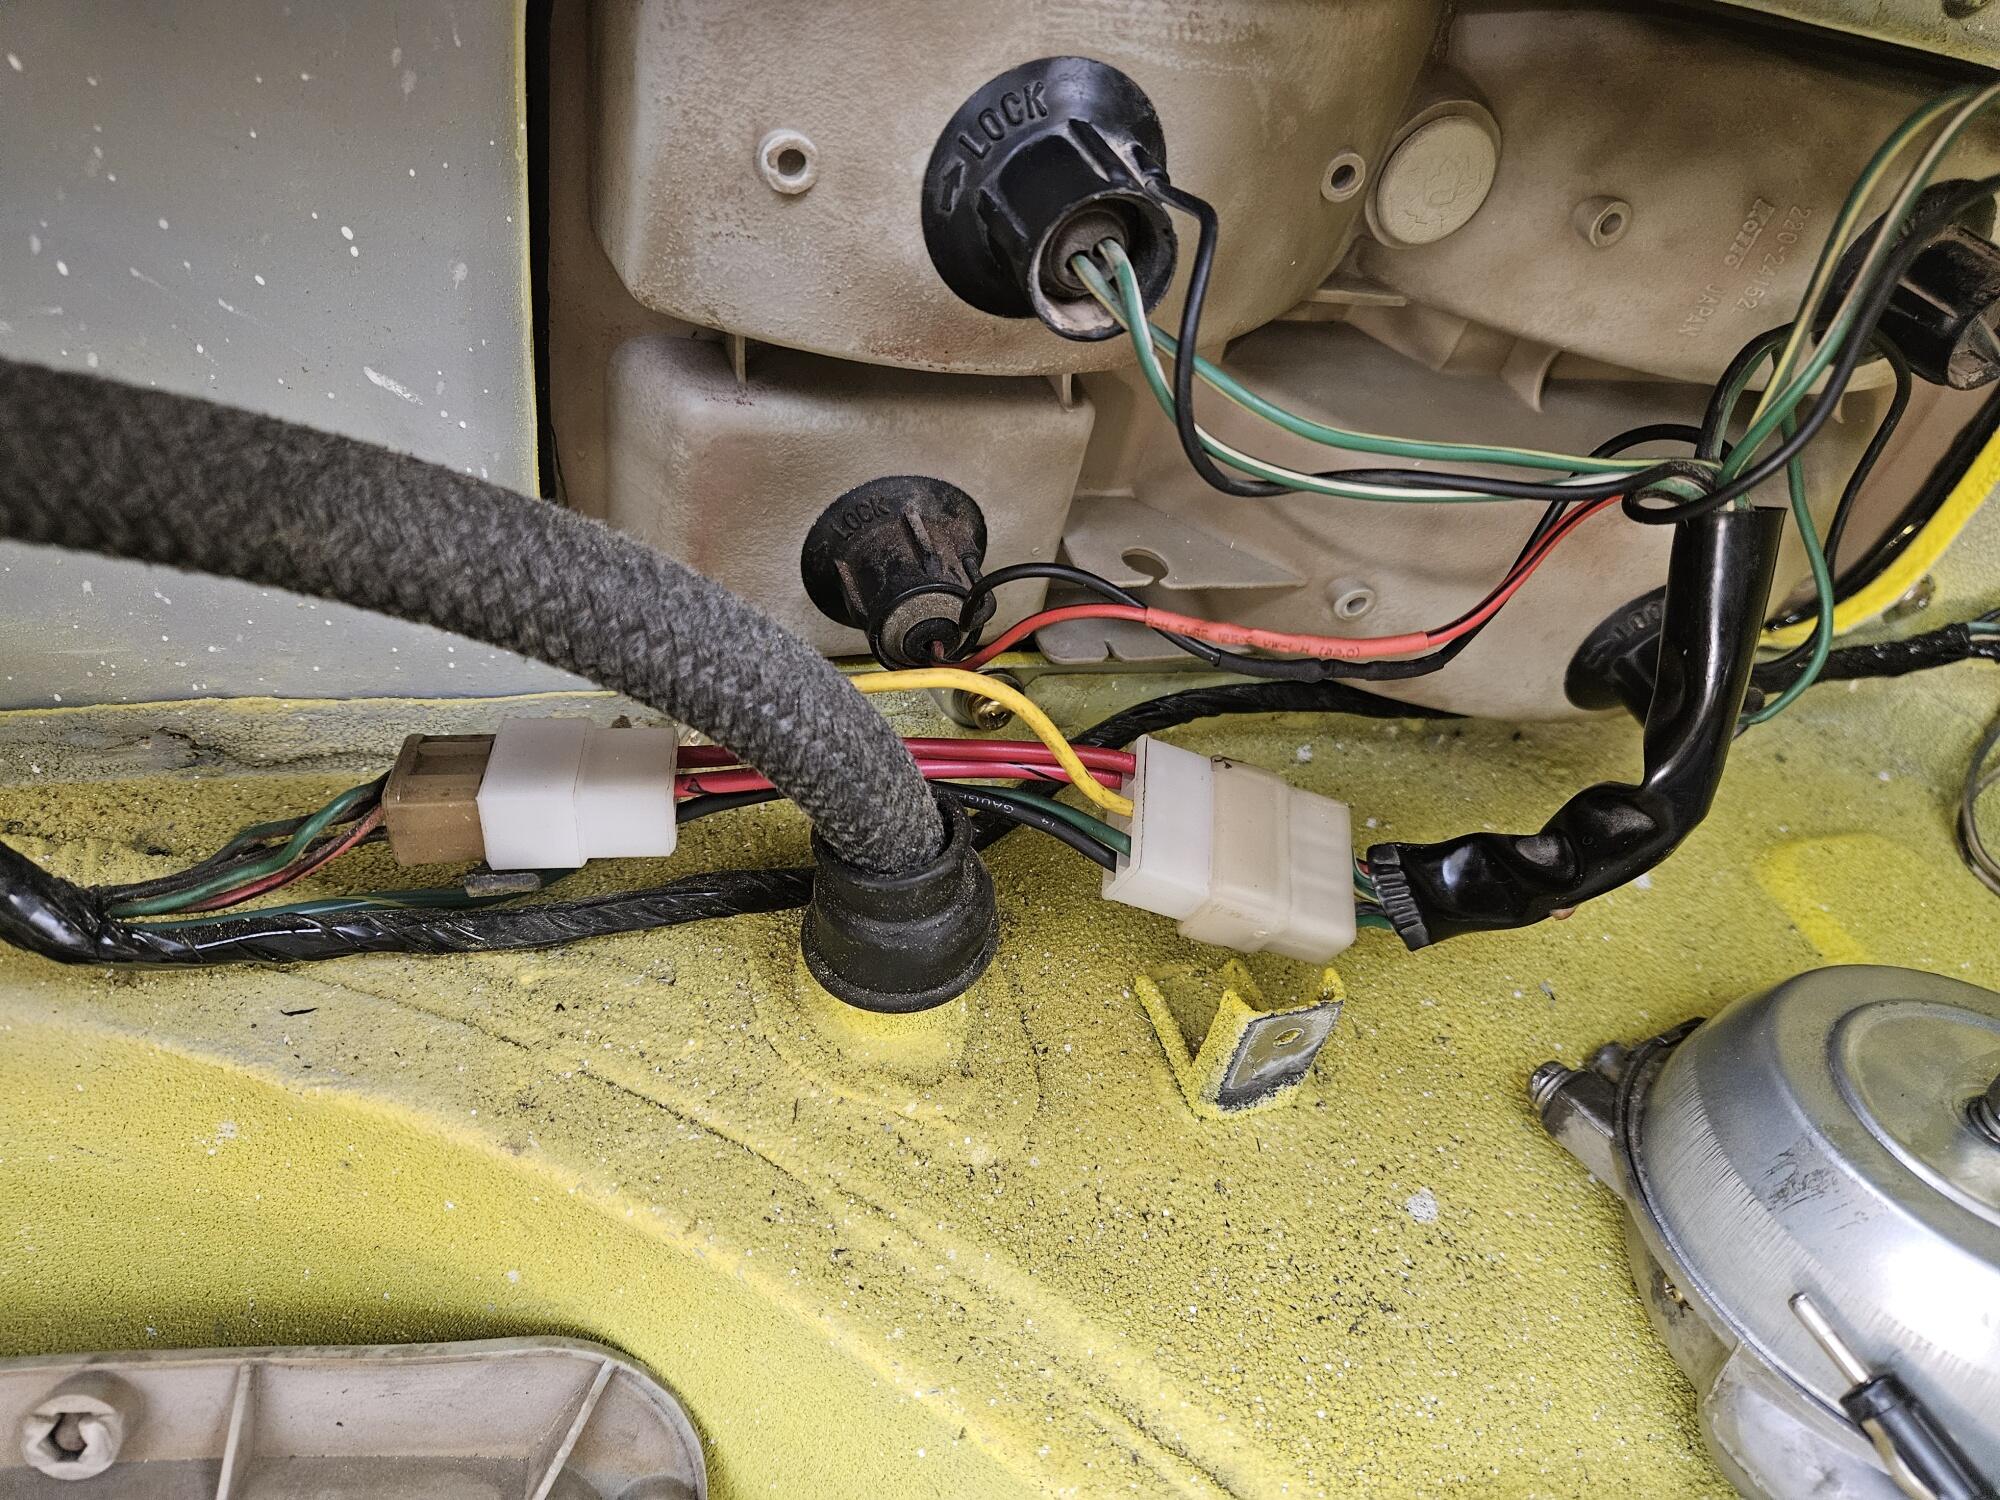
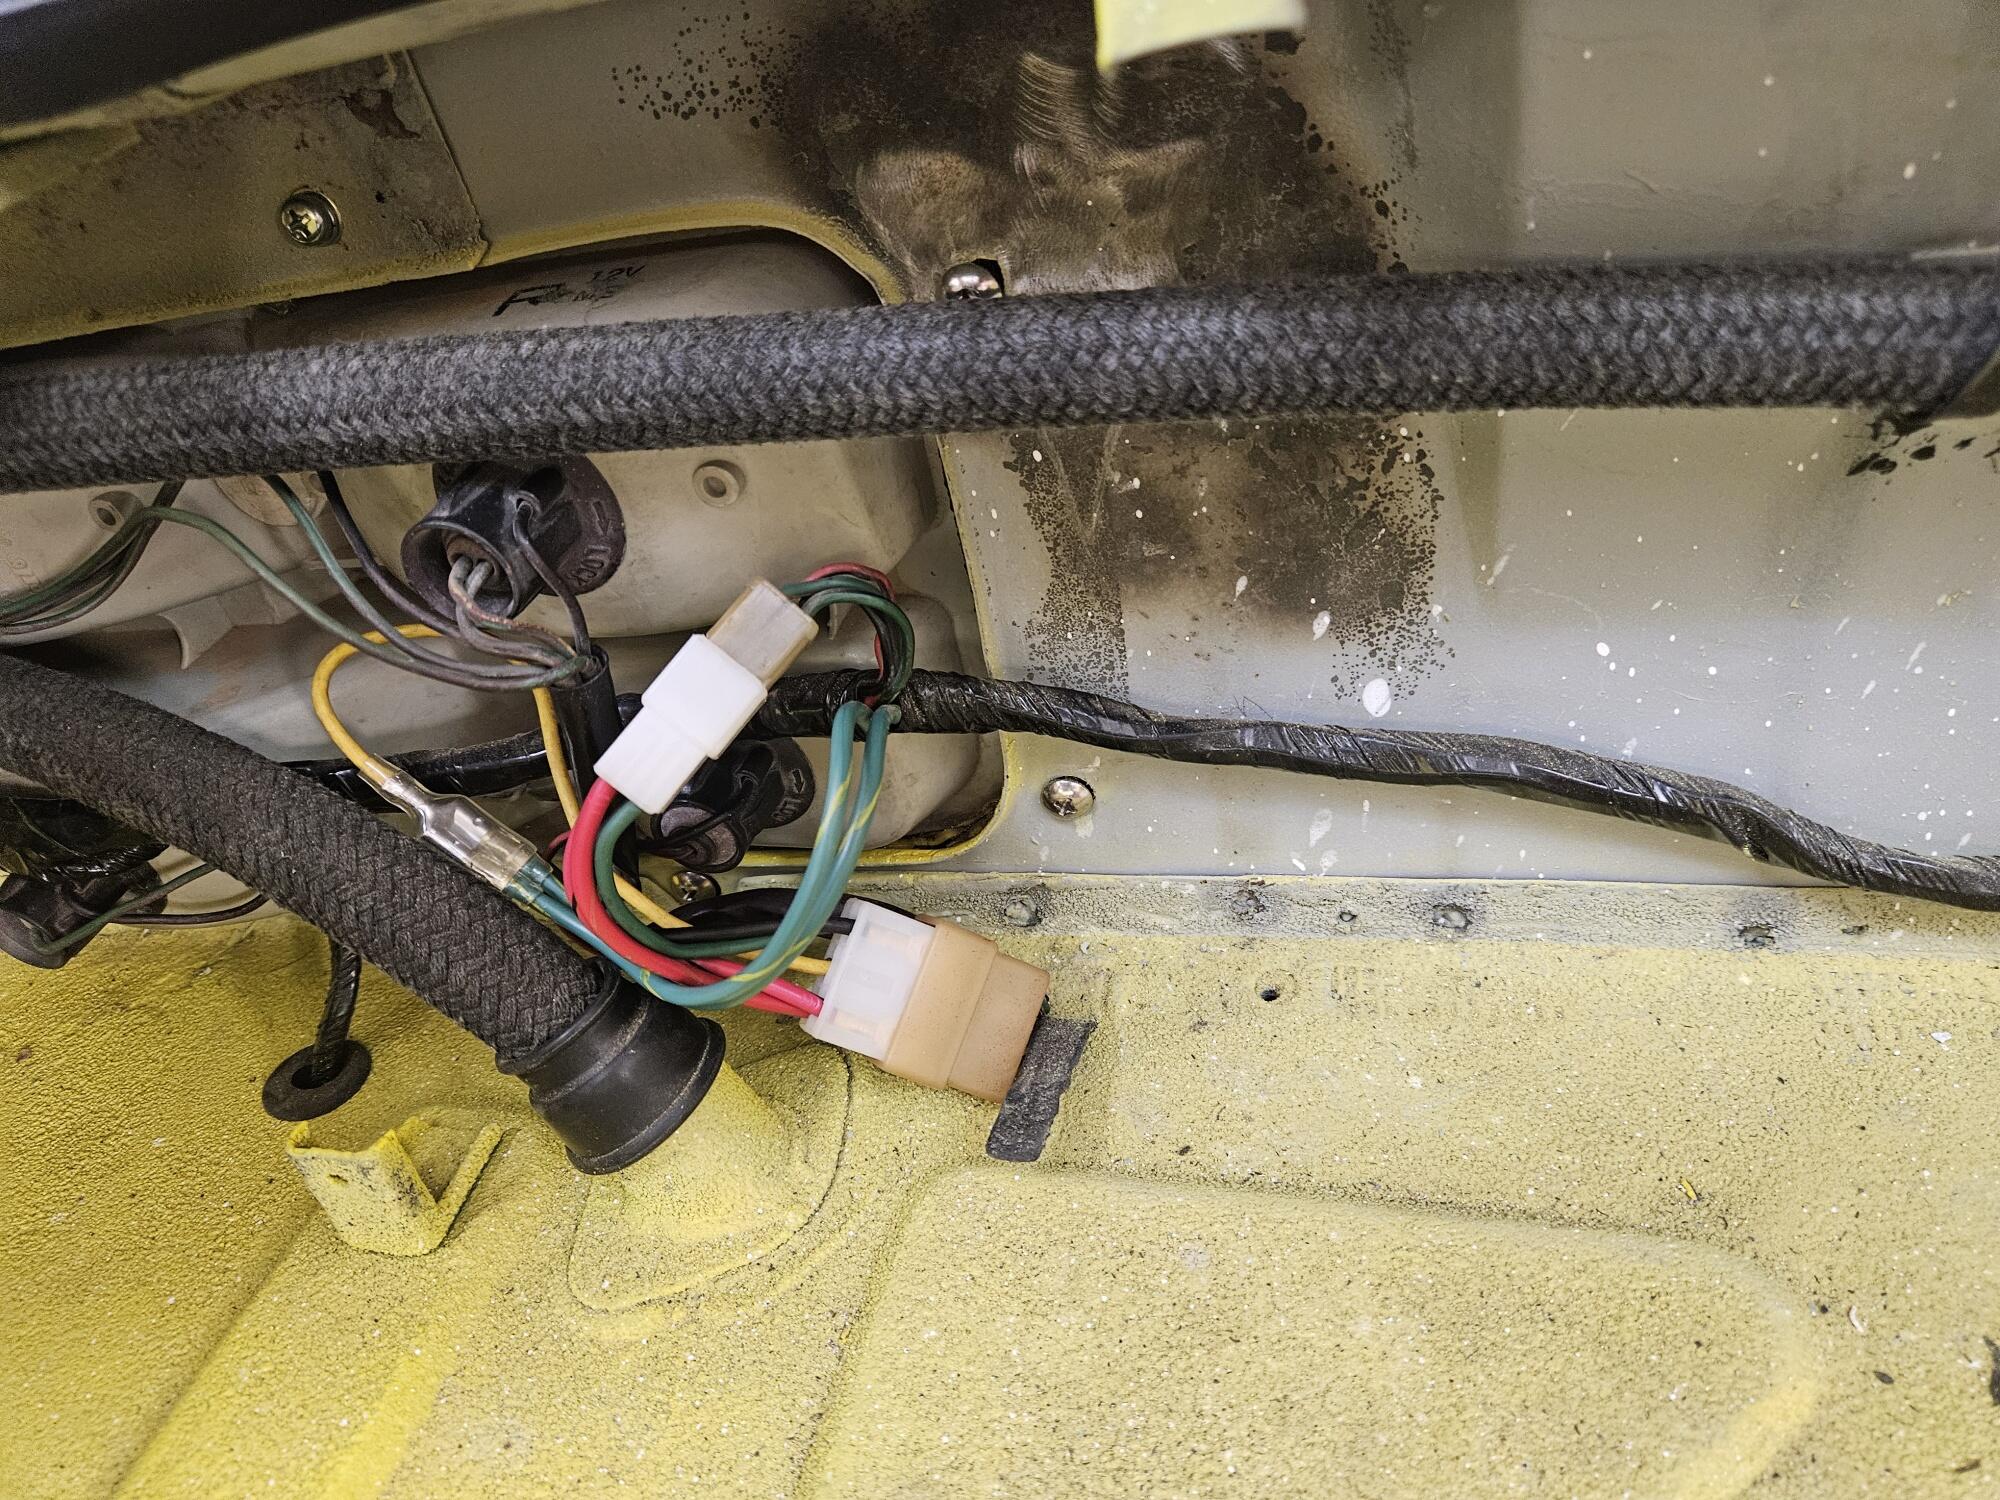
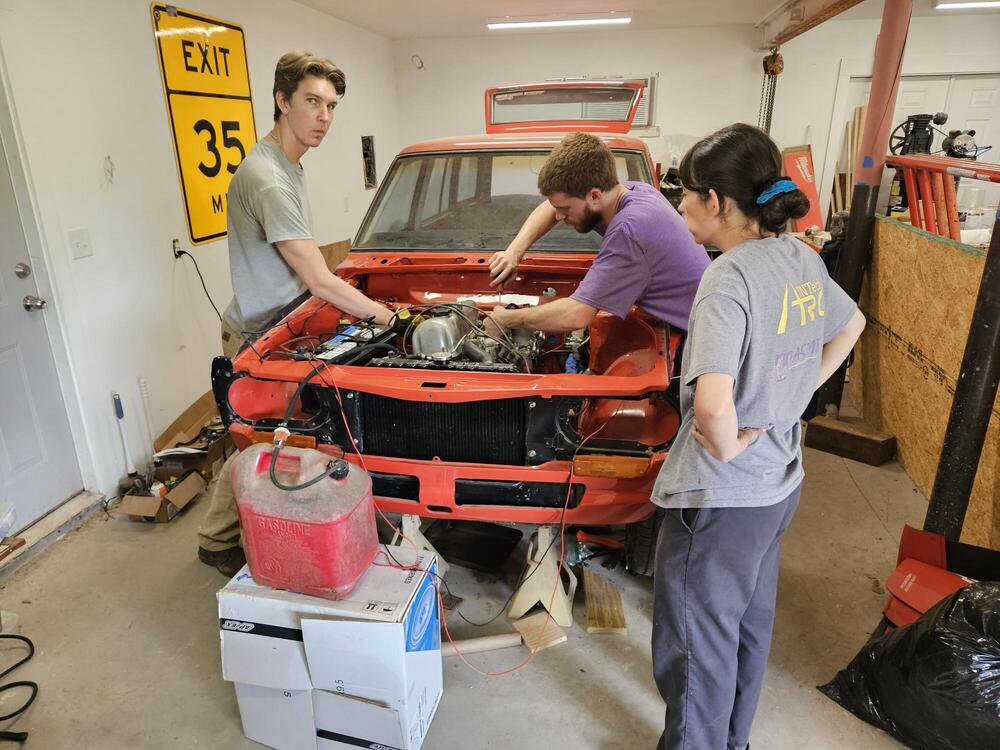
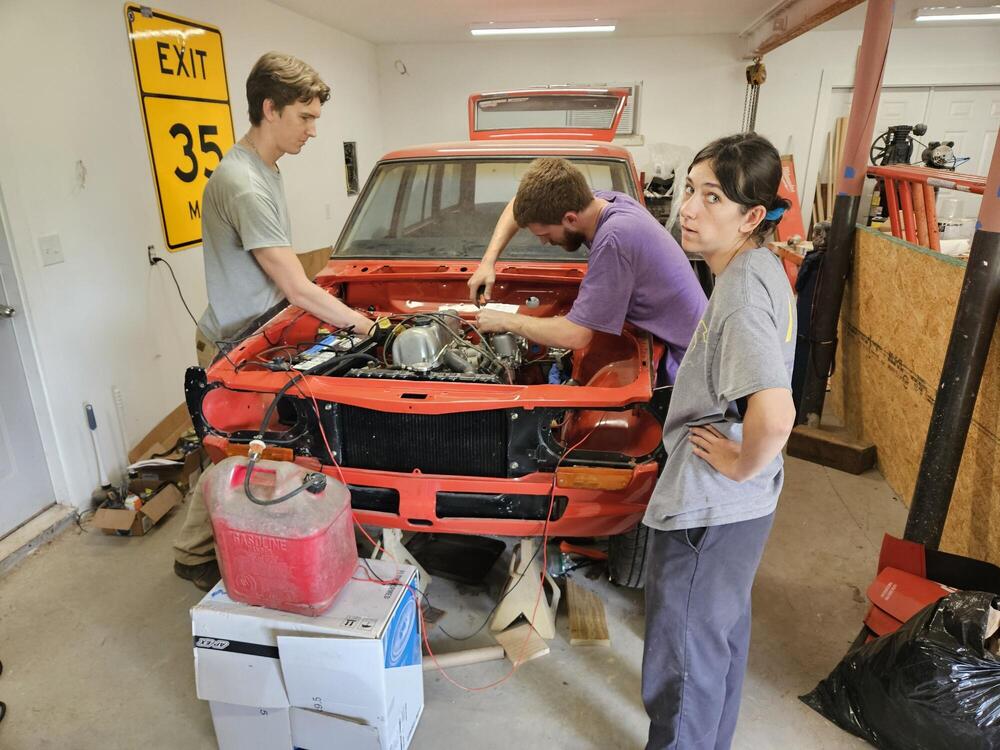
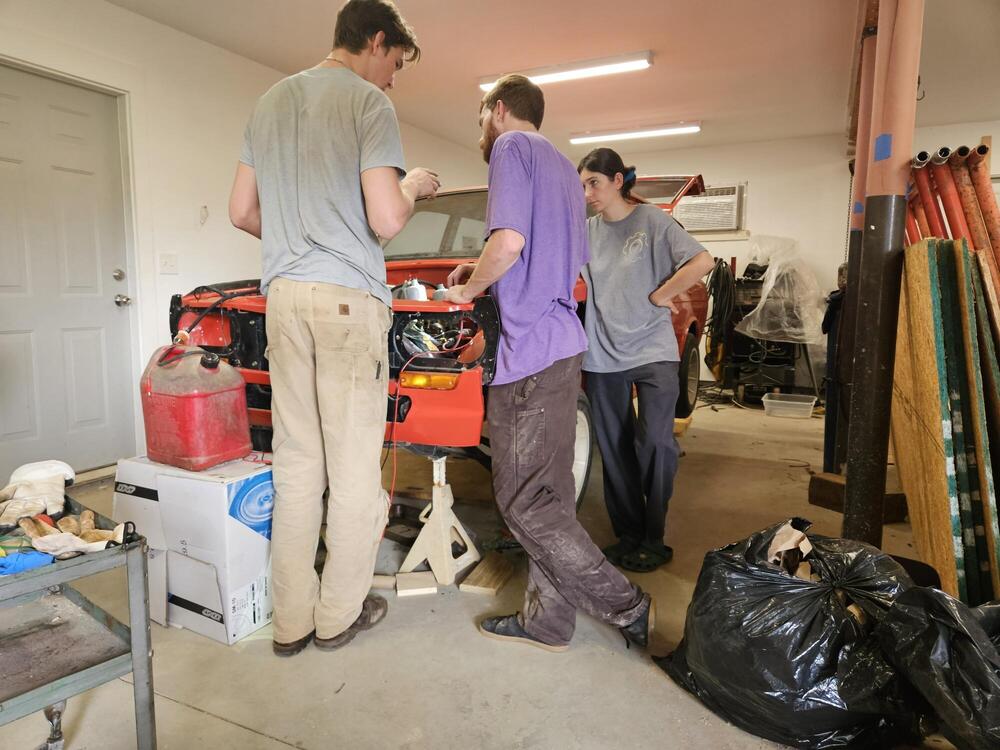
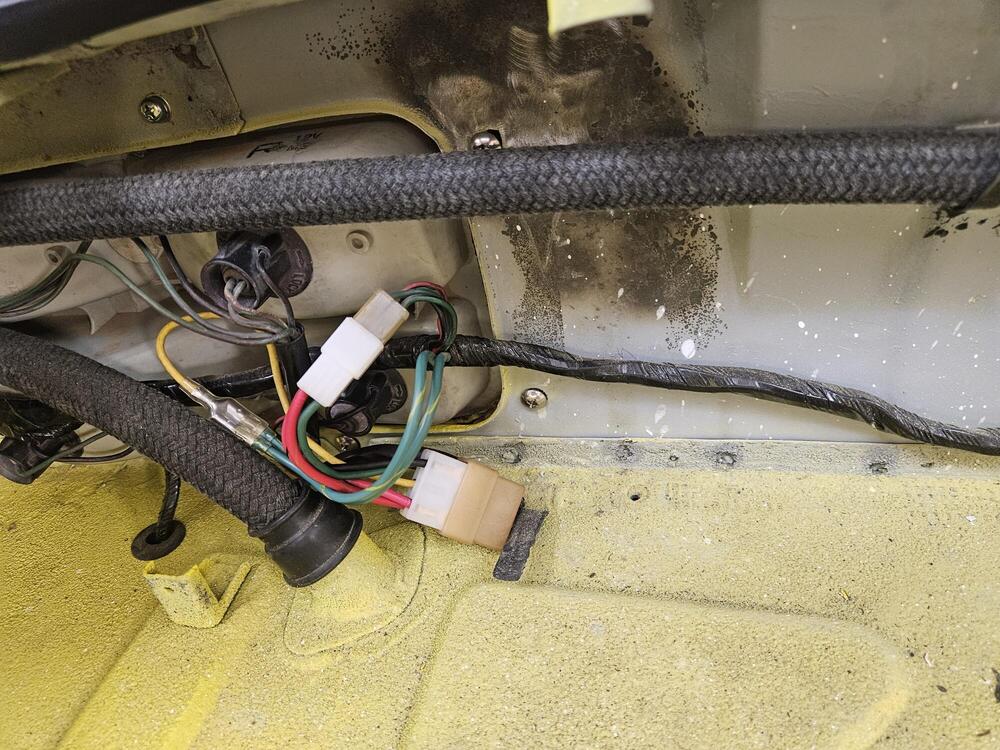
We talked Cody into working on his car today instead of Lily. So we went over to the other garage and put as much together as we could. Pinned the parking brake cable back from the exhaust replaced the clutch master line and the clutch master The we hung all the exhaust, made up fuel lines to the carbs, primed the fuel pump, Rigged up an ignition system and some temporary power. I need to get the engine bay harness sorted but I can't get it done yet. We got fuel to the carbs but have no spark. Coil ohm's out good. We replaced the matchbox on the dizzy but still have no spark, so I ordered another cheap one off Ebay. It will be here later this week...


- Yesterday
-
We checked the timing. It was about 14 with 32 or so all in Here are my mechanics Morgan is home from school for a few weekends and her boyfriend Mark was here too. They're all good with tools and willing to help


-
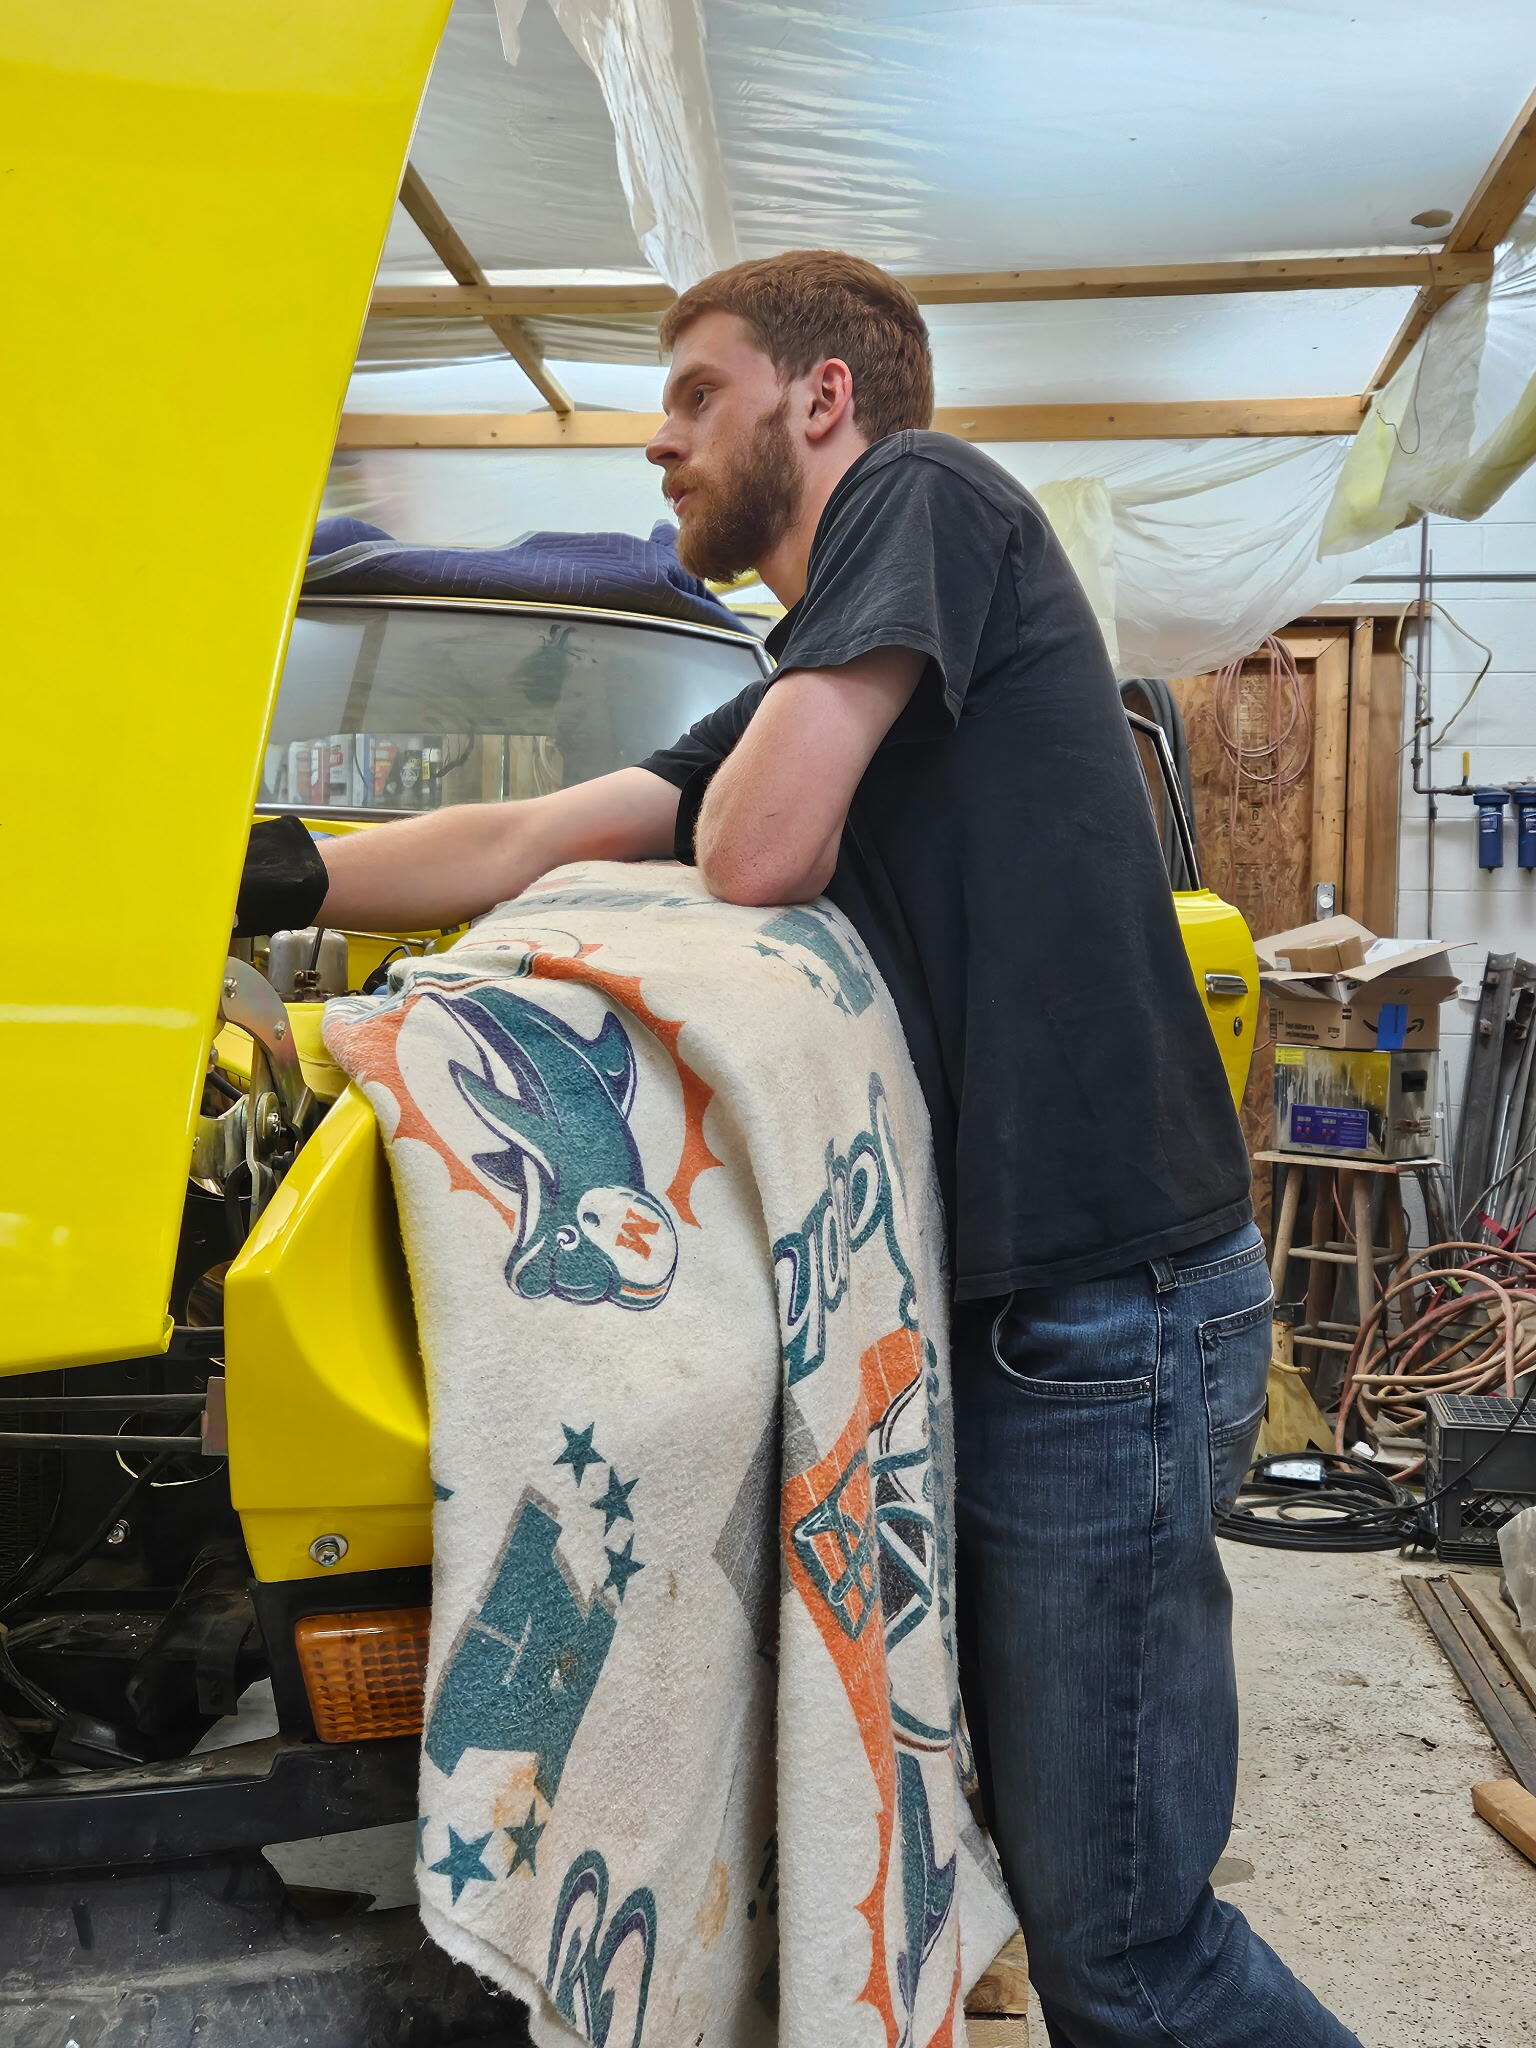
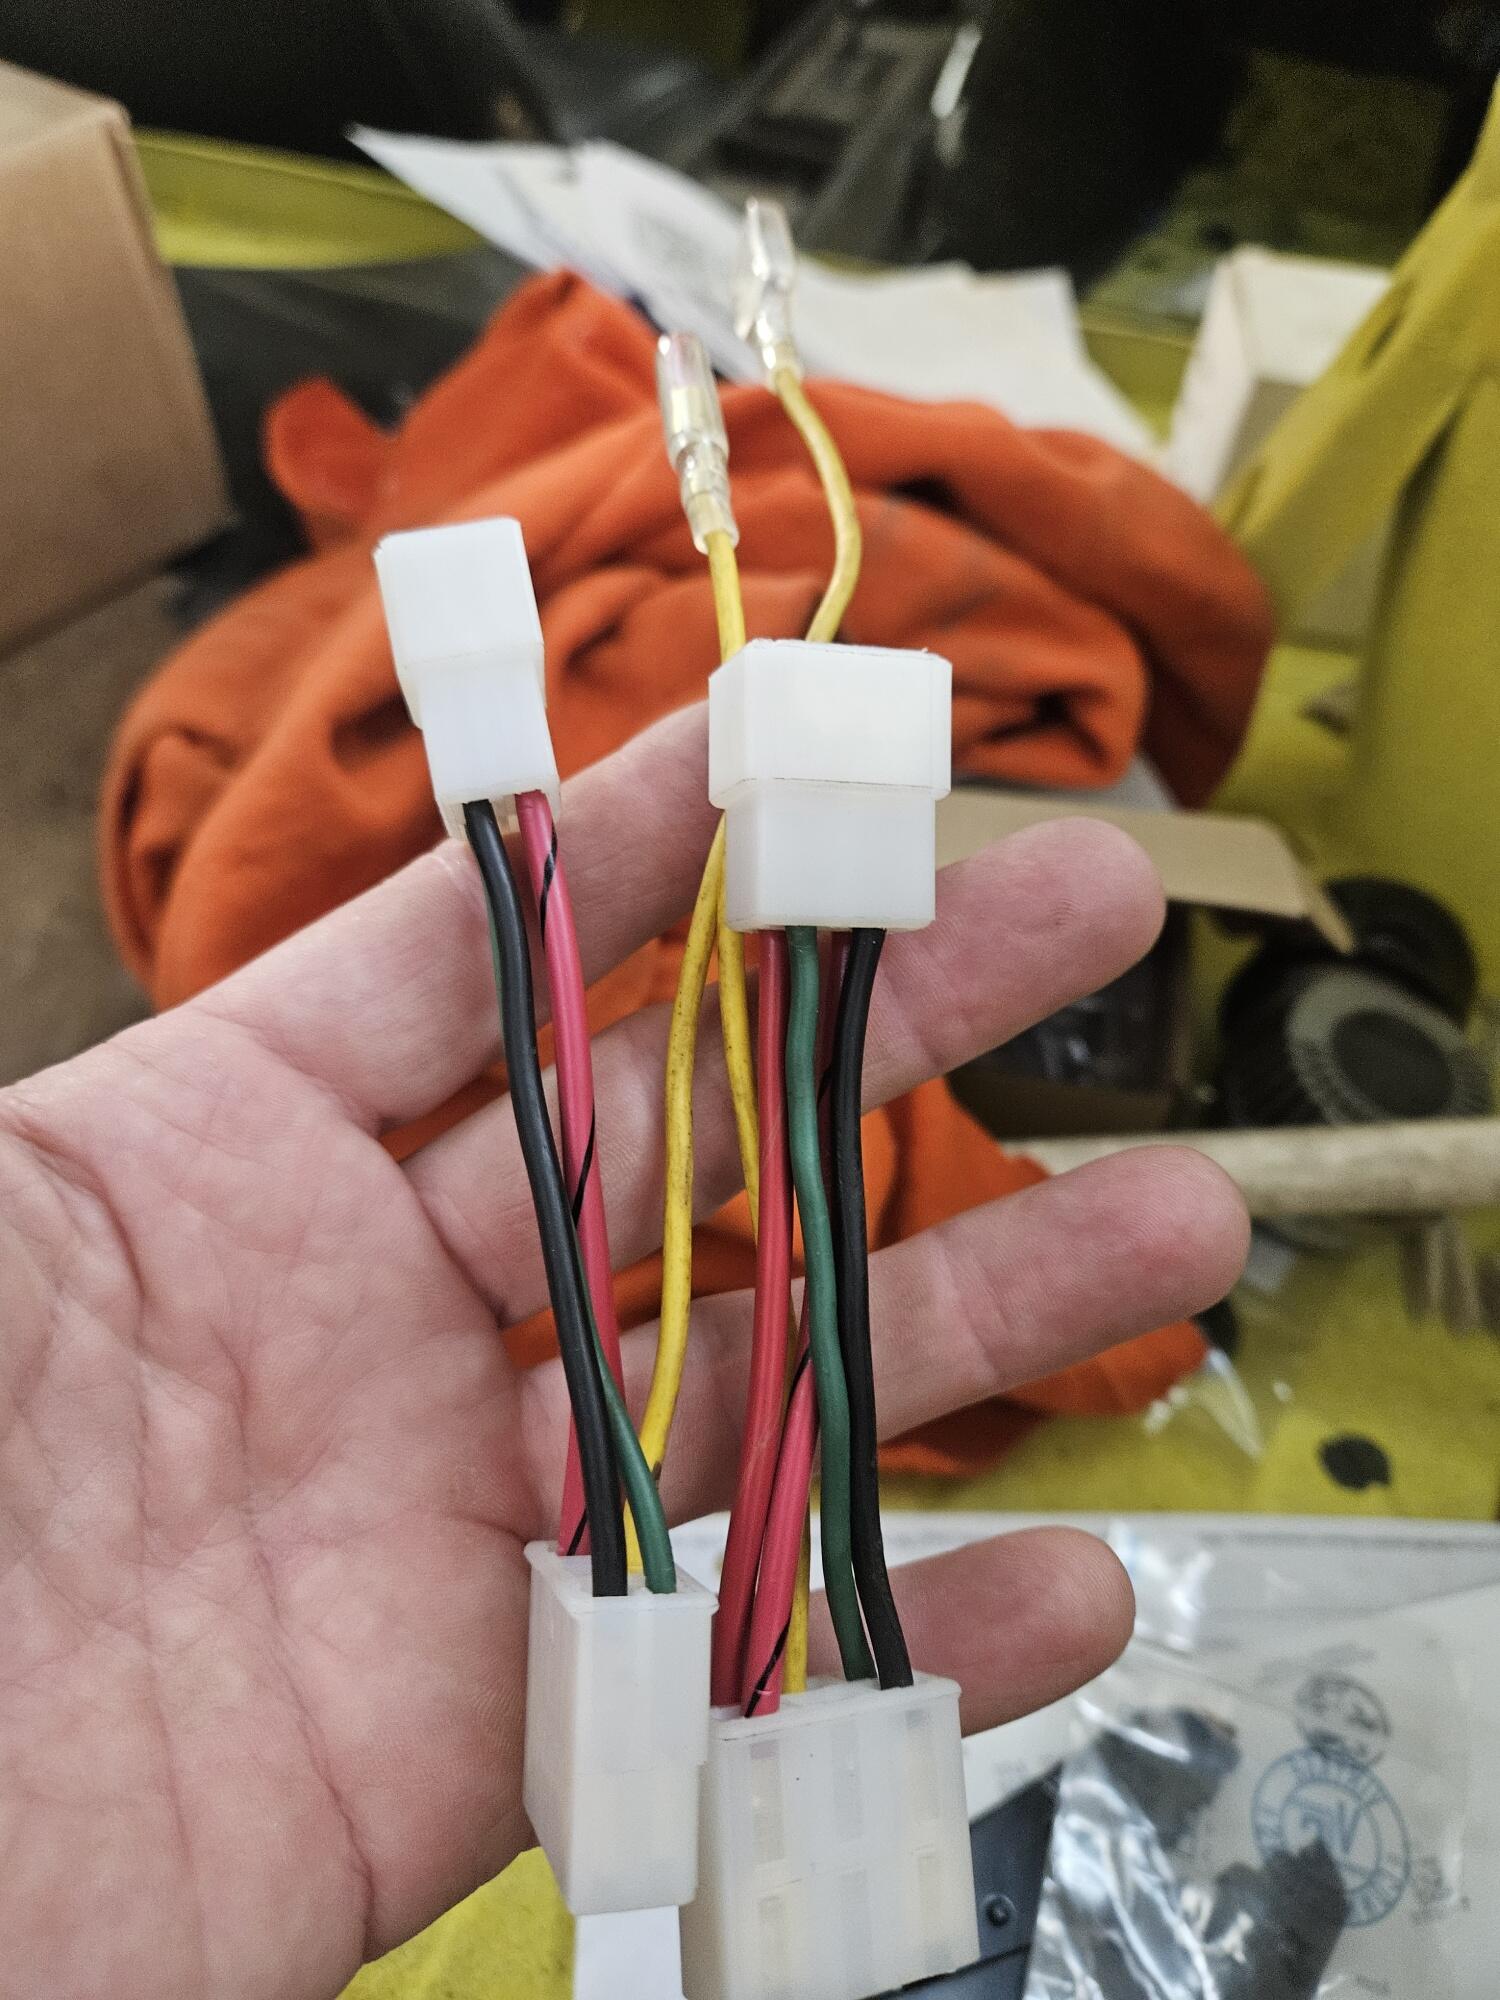
Cody has been back from Fla for about a week. He finally got a break. We had a short family vacation and then spent all weekend working on cars! He spent 3-4 hours tracing the turn signal circuit. In the end we switched back to the original hazard switch and that made everything light up the way it should. The flasher was bad but I have a new electronic one to use. We also made short jumper harnesses to go between the US harness and the JDM tail lights. The green and yellow will come from the brake switch at the pedal and then it should all work appropriately. We also got the car fired up yesterday. I bought a cheap L6 electronic dizzy off ebay. I swapped it in for the old match box dizzy and it fired right up. I guess the matchbox went bad the last time I tried to fire it up because it sort of bumped over for a sec and then no spark. We'll see how long this dizzy lasts Ordered a reverse switch for the transmission and that may be sorted. Need to sort power for the blower fan and some odds and ends electrical and it will be close to ready to test


-
 Yup, I now recall the hood was pranged and repaired many years ago.
 -

-
-
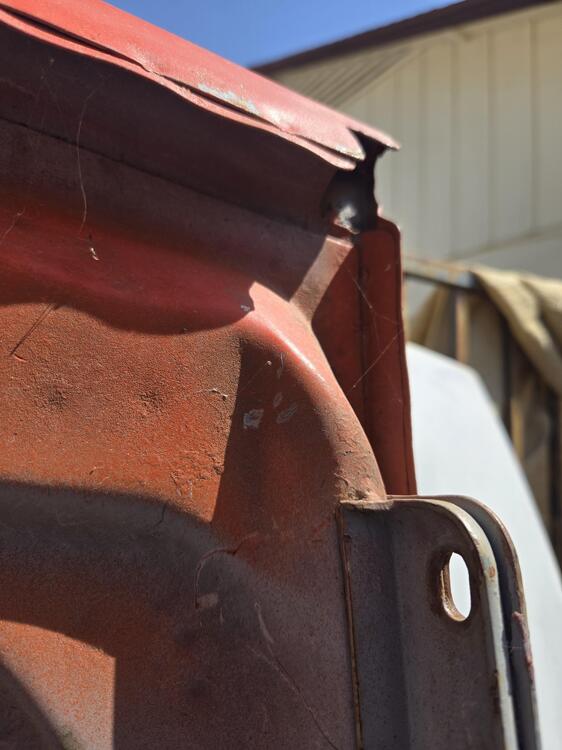
My hood looks more like that ^^^^ on the inside
-
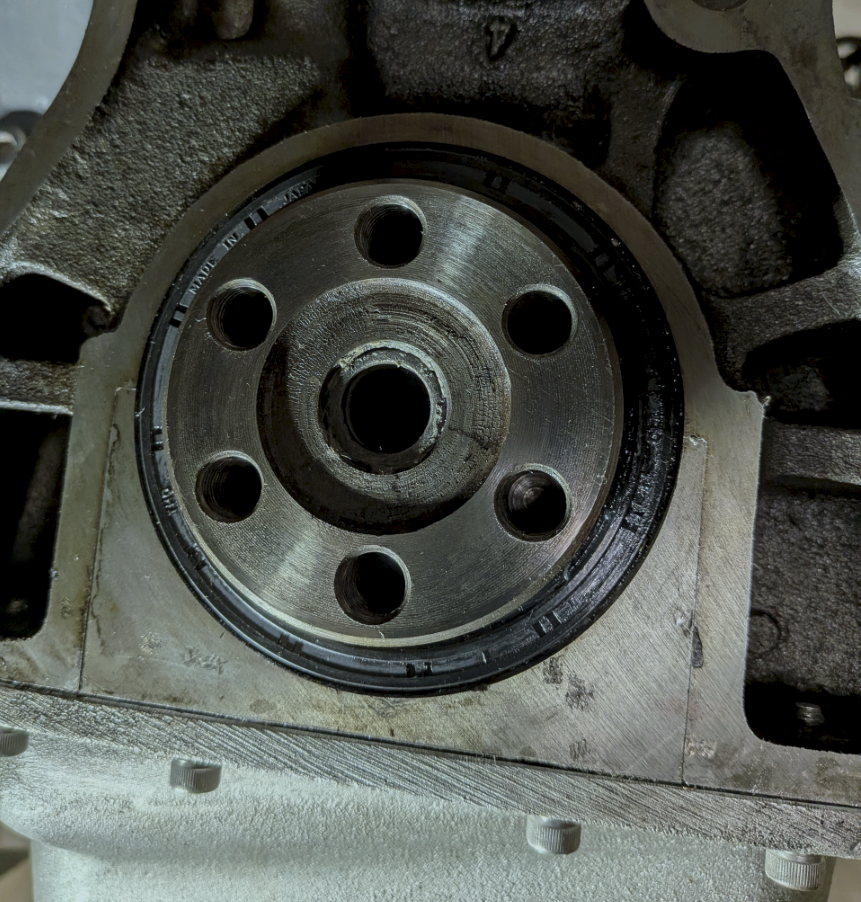
 I tried using the sharp punch tool/screw extraction method while removing the seal. It immediately moved sideways inside. I was able to use a hook tool to extract the seal out. If anyone is interested, I found a plumbing part at Menard's that can be used for the installation. It is called '4x3 Red Bushing Con, SXH SDR35 SW' in the Plumbing section. Its inside diameter fits nicely over the crank. Once the seal is positioned, it was easy to tap it in. I had to dremel inside a little to make sure the 'tool' sits flush: Thanks to everyone for your input. I lost my clutch alignment tool from the Exedy kit, had to order a new one at O'Reilly's.
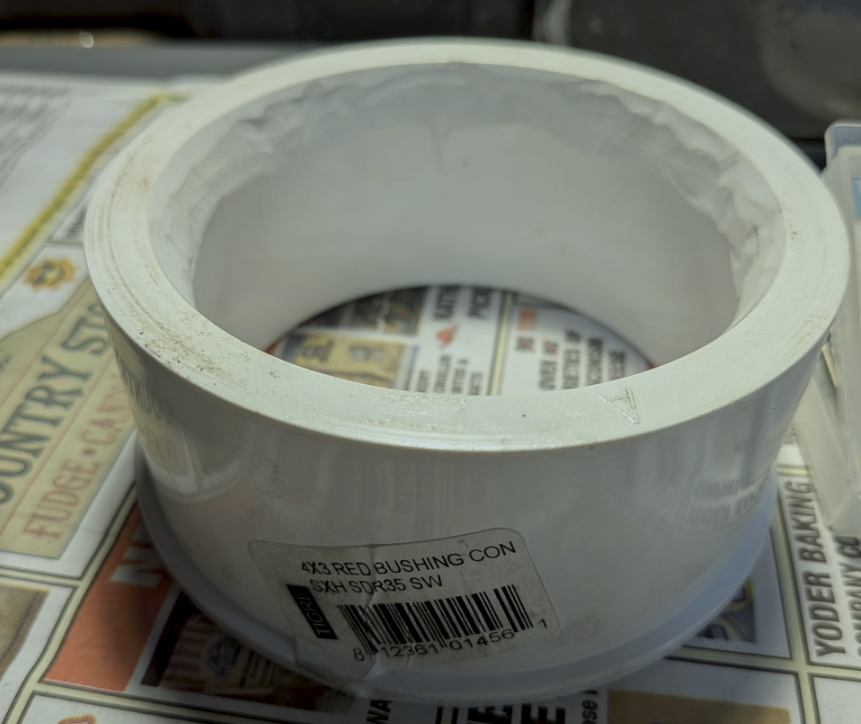


-
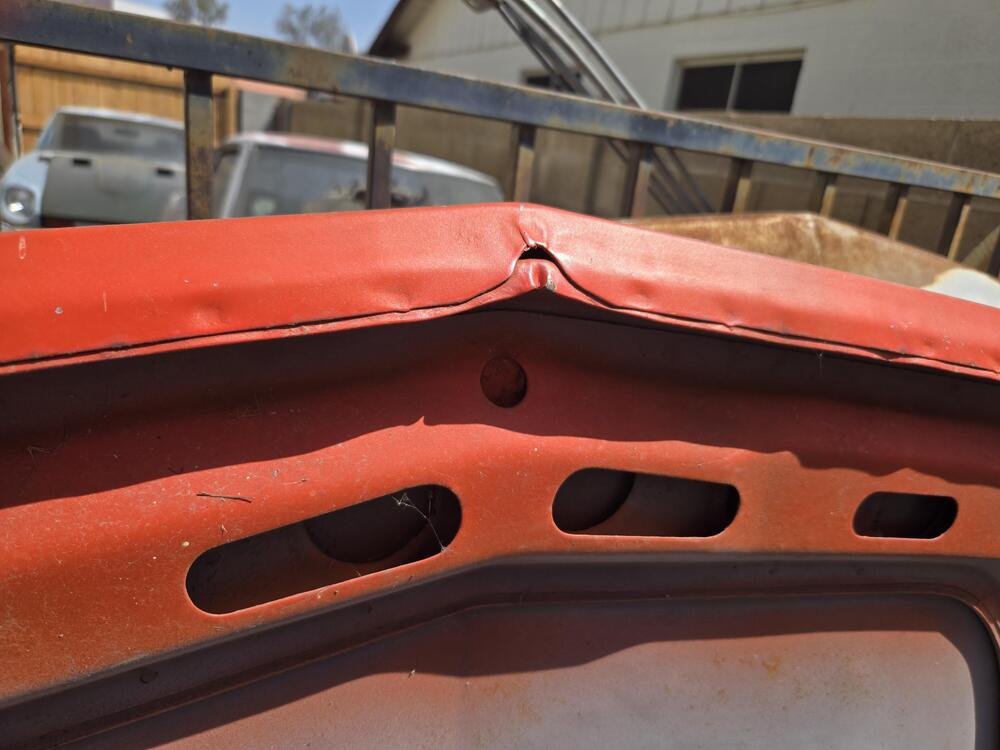
 This one is close to real.
 -
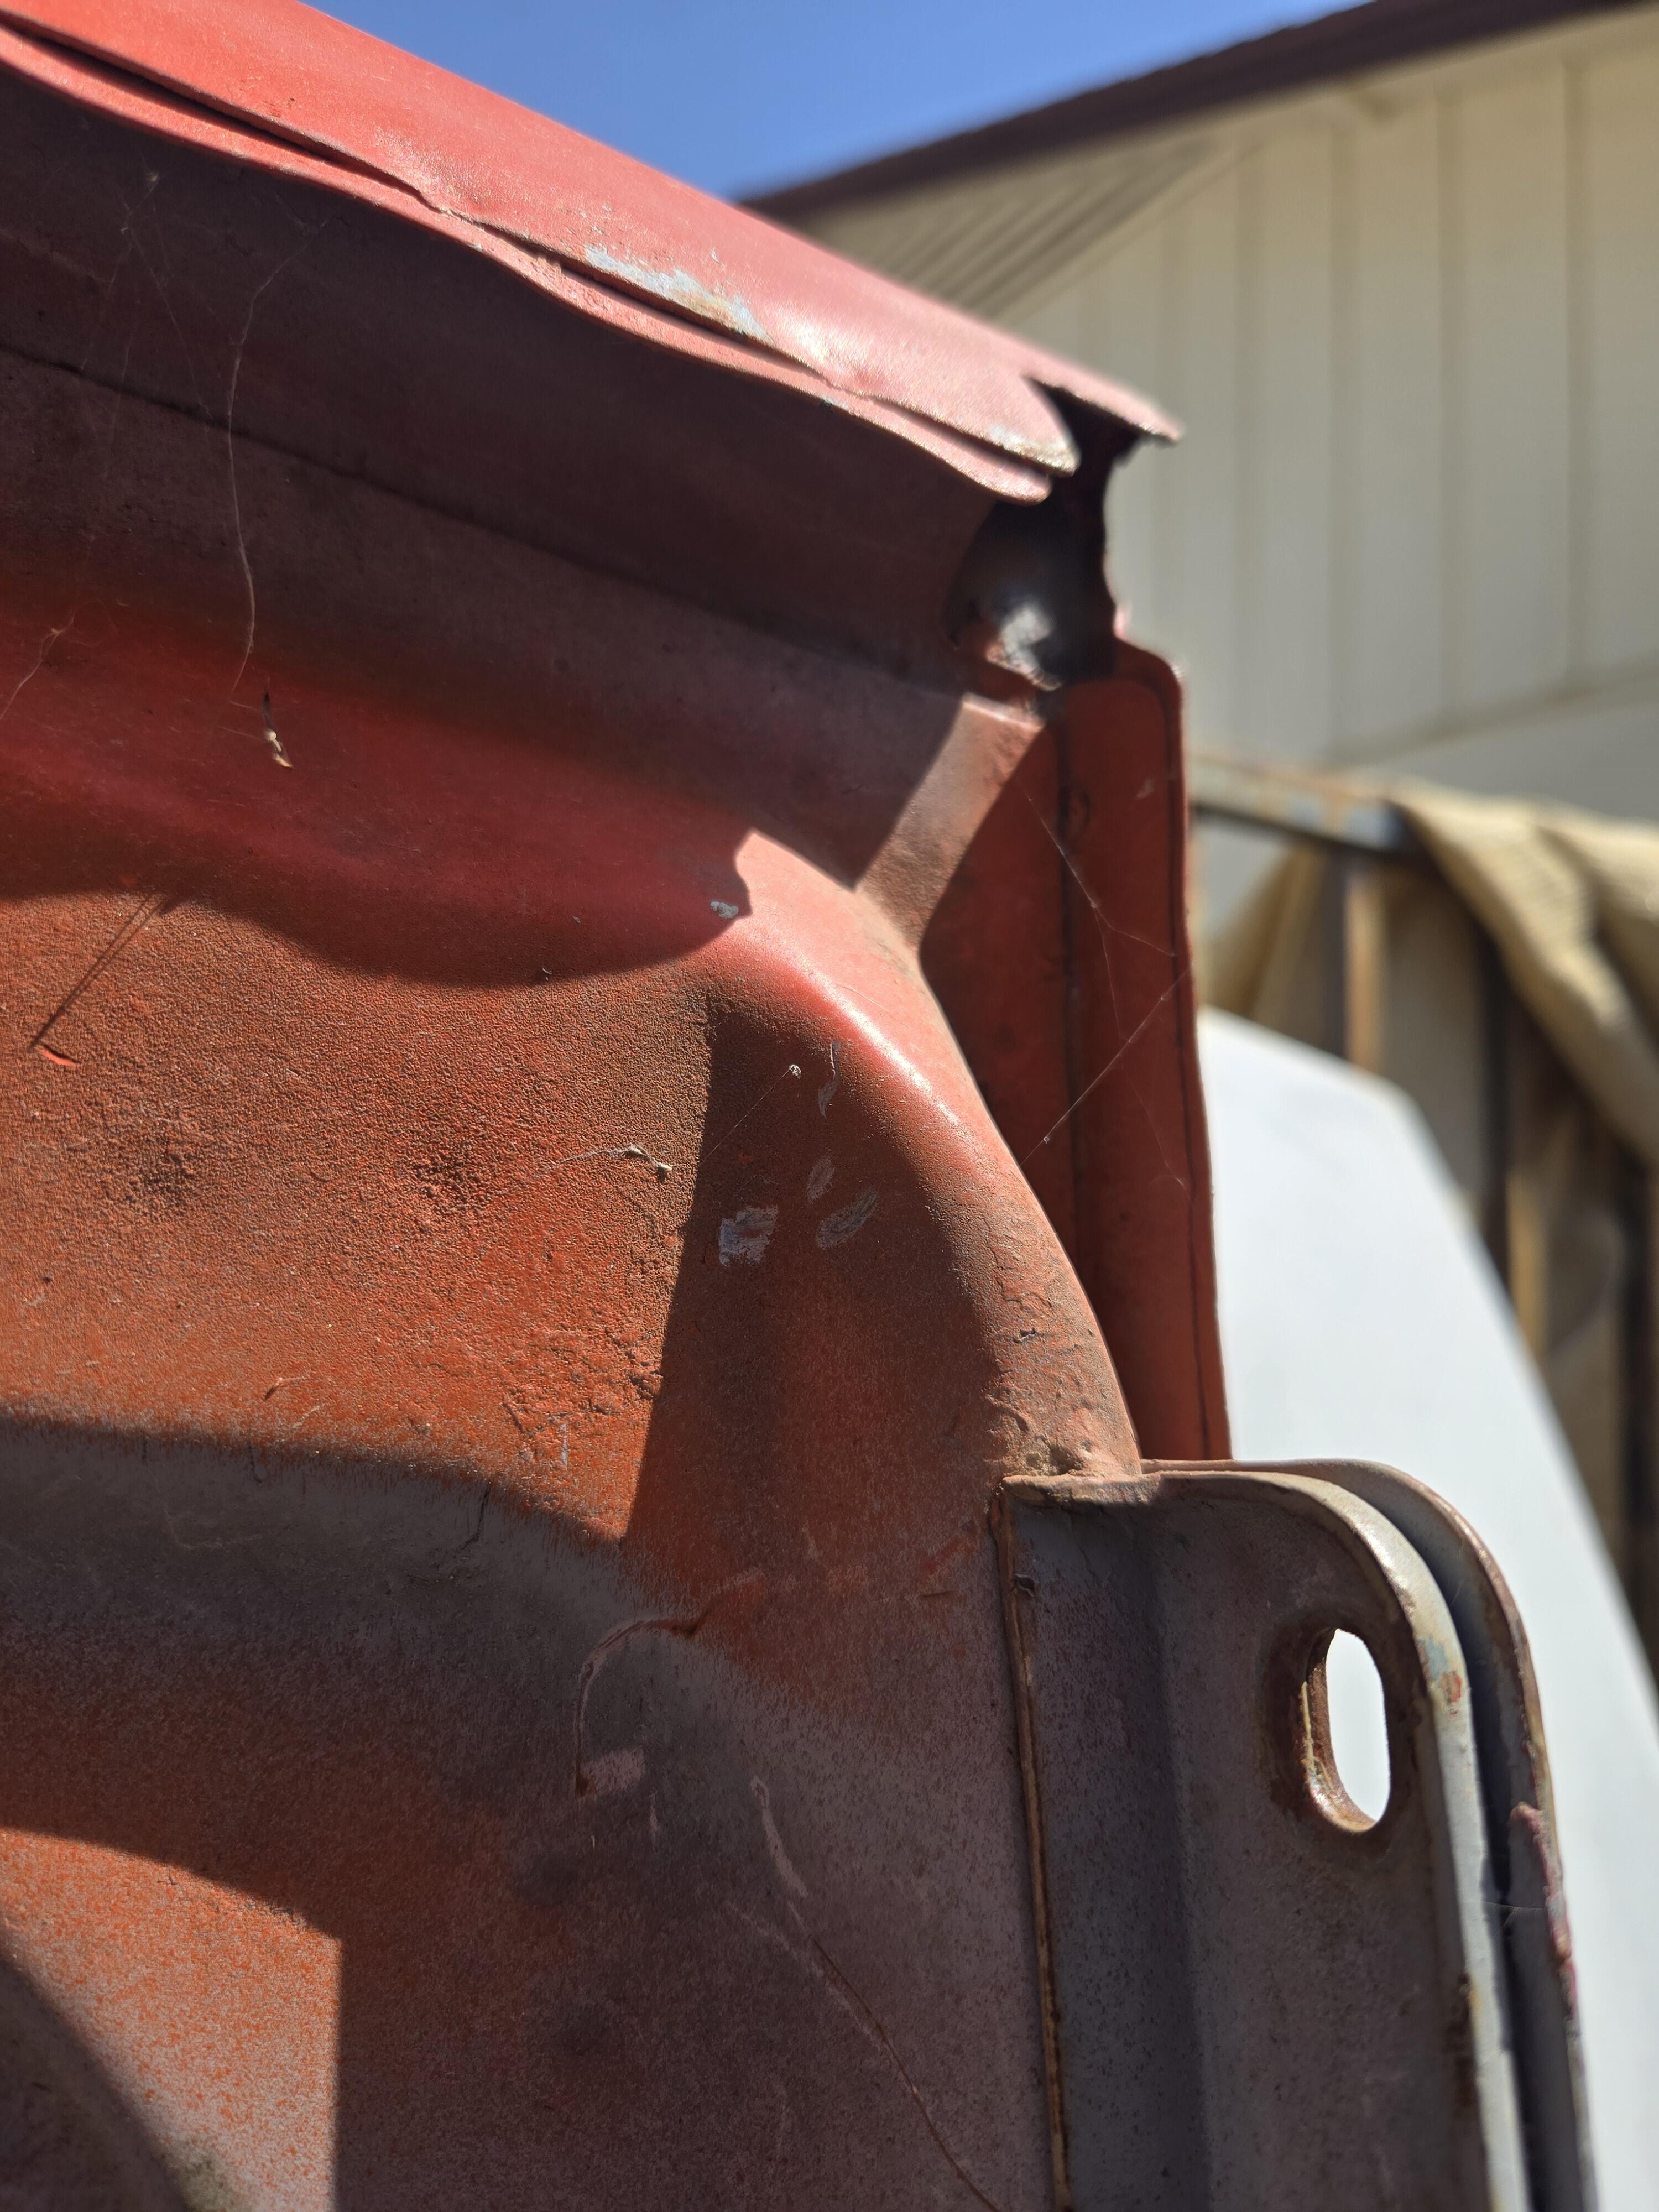
Uncrunched hood: Good point on the tip, correctly wrinkled steel, spot welds visable. (factory paint on this one)
-
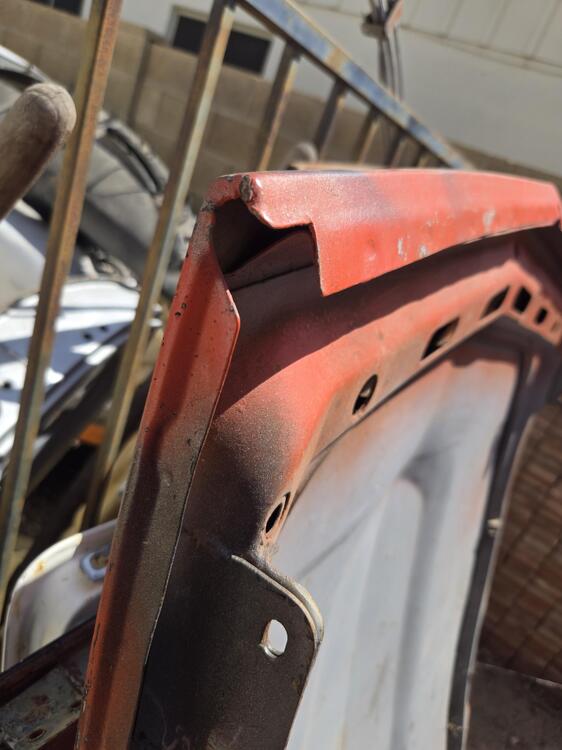
Sorry. This is a NOPE. Point of hood is wrong, no spot welds noticeable, way too smooth - it's been filled...
-
-
The seal needs to be flush with the back of the block. It will go deeper, ask me how I know. Had to order another one from nissan🤦♂️
-
 @zspert , do you know if the heads for the program cars had hardend valve seats installed as part of the rebuild? What I'm really wondering is, should I be running lead-free additive in my car?
 -
Thanks! You are right, aviation permatex is a sticky substance.
-
Sometimes new seals come with some little dabs of lube already on the inside lip. If yours did not, you can just use motor oil, or my favorite... silicone grease. As for the outside surface, I would do the same there. Motor oil or silicone grease. I wouldn't use anything that sticks like the aviation permatex. In my experience, the outside of the seal has significant interference with the hole you press it into. In fact, I've had to hit them harder than I was comfortable with just to get them seated into place. If your experience is like mine, you'll be thankful for the slippy on the OD, not the sticky. Use your old seal as a protection ring to tap your new one into place. And make sure the new one is square when you are done.
-