Zup
Free Member
-
Joined
-
Last visited
Everything posted by Zup
-
@Terrapin Z So sad to see my cars sibling in such condition. They are only 3 digits apart. Zilver's Vin is HLS30-167424
-
Rich, Emotion---not logic. Love---not money. You've set a new standard, beyond the honorable Mr.Wick Humble. Your documentation of this restoration is Z reference material for all time. Do the book. We will buy it.
-
Welcome to CZZC @riverstonefly! Beautiful SC! Yep---your new prospective mistress will be a less costly lady to keep. There are quite a few Porche owners, some from this forum, that started out with Z cars. You are going the other way! It's a fact---- I've had more Porche owners come over to me at the gas pumps and start a pleasant conversation than any other car owners---another this past weekend----never had a Vette owner do that!
-
Workin' on it---baby steps and waiting.
-
-
Beautiful work Jerry! I'm sure the owner will be very happy with your efforts and you should be proud of your workmanship. Steve's contribution with the needed rubber parts is invaluable. Now--- if we could just find a supplier to reproduce the antenna masts! First, I called Harada of America and spoke with a company representative about "re-producing" the masts. He knew of the antennas (an image of one is on their website) and allowed as how the company is still quite proud of them historically, as they were among the first retractable units. http://www.harada.com/en/innovation/history/1960.html#inner_contents He explained that a "reproduction" did not fit Harada's business model. A polite, but very firm "No." Then I sent a PM to Kats requesting he contact Harada in Japan---which he did and he posted the result. Another dead end. Contact with the right small Asian manufacturer of these telescoping tube mast assemblies could result in a reproduction that is exact and affordable.
-
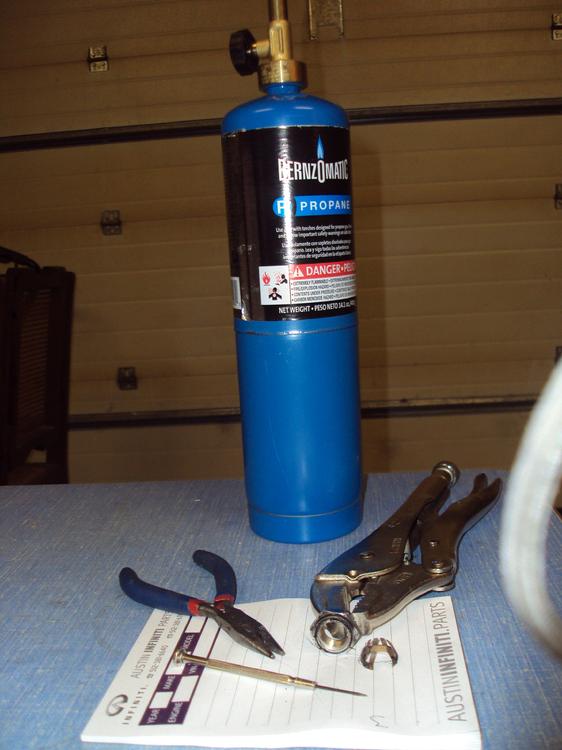
So ---- to remove the fingers from the nut--- Our old friend Mr. Heat, visegrips to hold the nut and needle nose pliers to remove the "fingers". The small screwdriver is to clean the groove in the nut of the torched plastic that remains once the "fingers" have been extracted. Heat the nut until the plastic starts bubbling and give the "fingers" a tug with the small pliers--it will come right out. Stringy bits of melted plastic too. Hold the "fingers" in the flame again and it will burn off all the remaining plastic. Repeatedly heat the nut and scrape away the molten plastic from the groove until it is all removed. Squeeze out a gob of black weather strip cement. Using your small screwdriver or a toothpick, twirl up the cement and apply it to the groove. Place the "fingers" on the end of your pinky and insert it into the plastic cone. Check to make sure that it is centered and carefully place the nut over and apply light pressure as you confirm that the fingers and the cone are fitting into the groove without being off center or deformed. This might take a stab or two to get right--- but no worries--just back up and go through the steps again without applying any more cement. It will still be sticky enough to seal the cone. Finished assembly---not as beautiful as Jerry's truly restored pieces, but it is what I had on hand to demonstrate Many Thanks! to Steve Nixon for the opportunity to do this His rubber bits will help restore your antenna to a long life of operation and pleasing appearance.


-
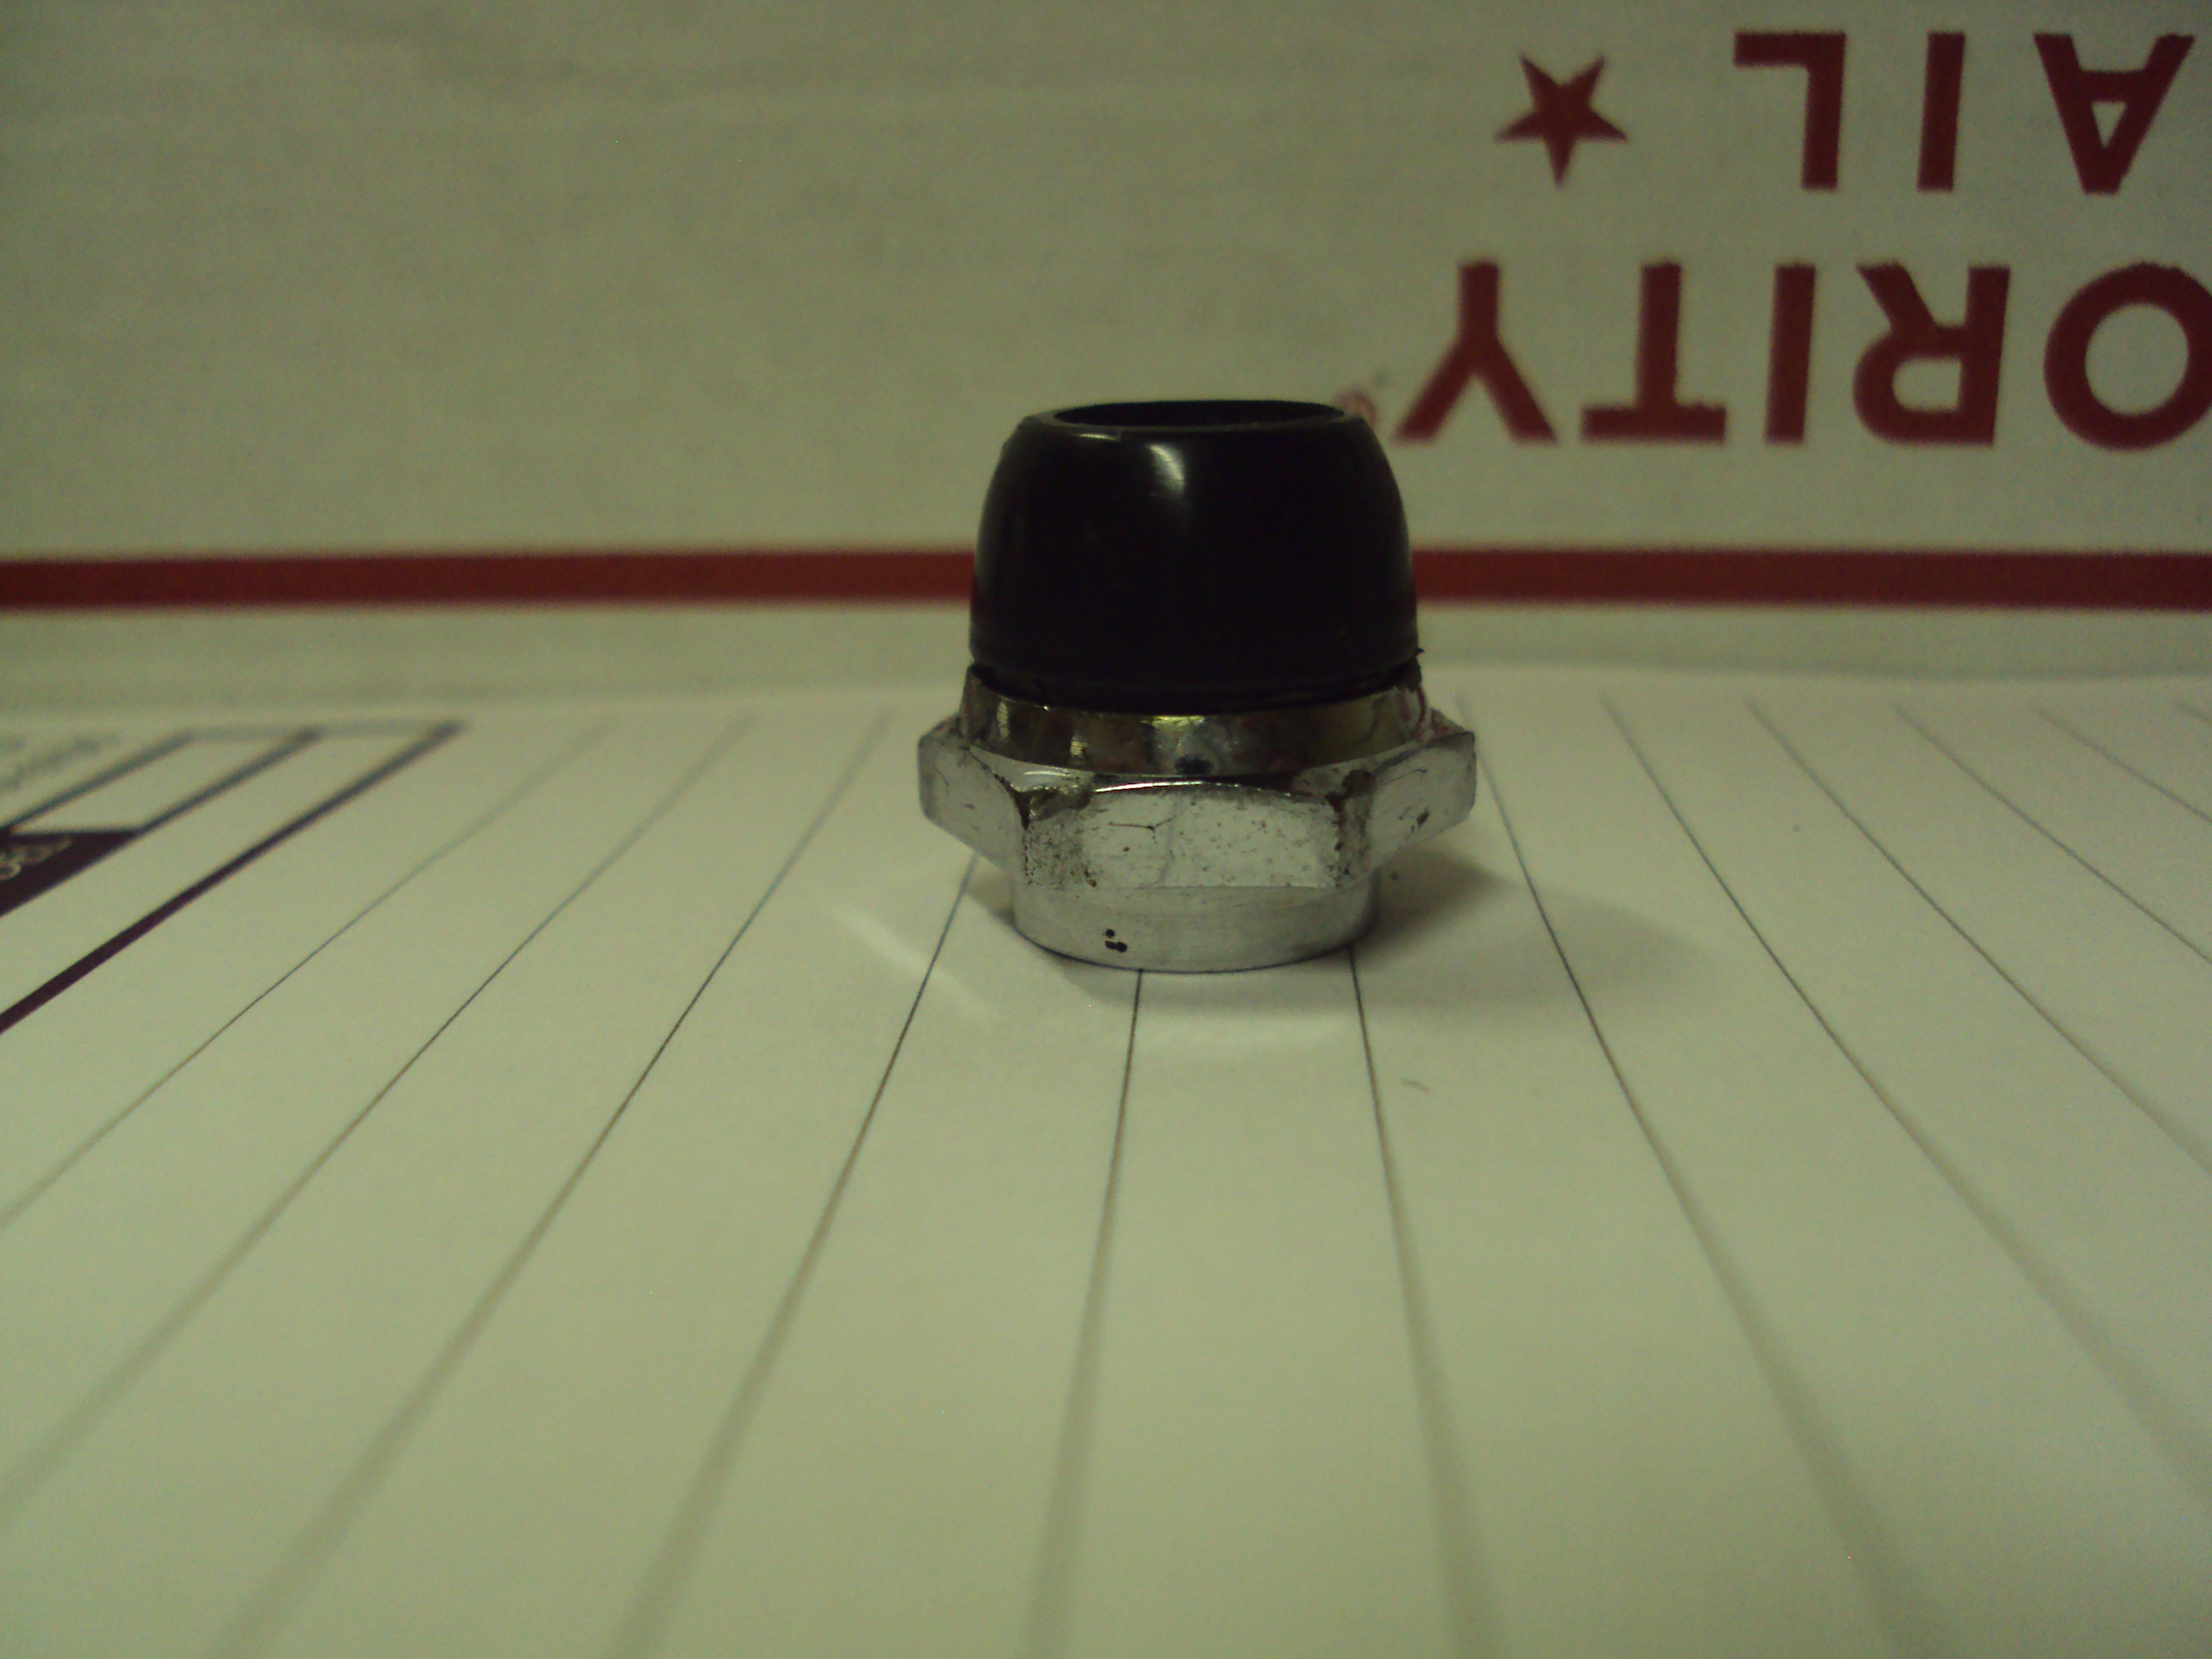
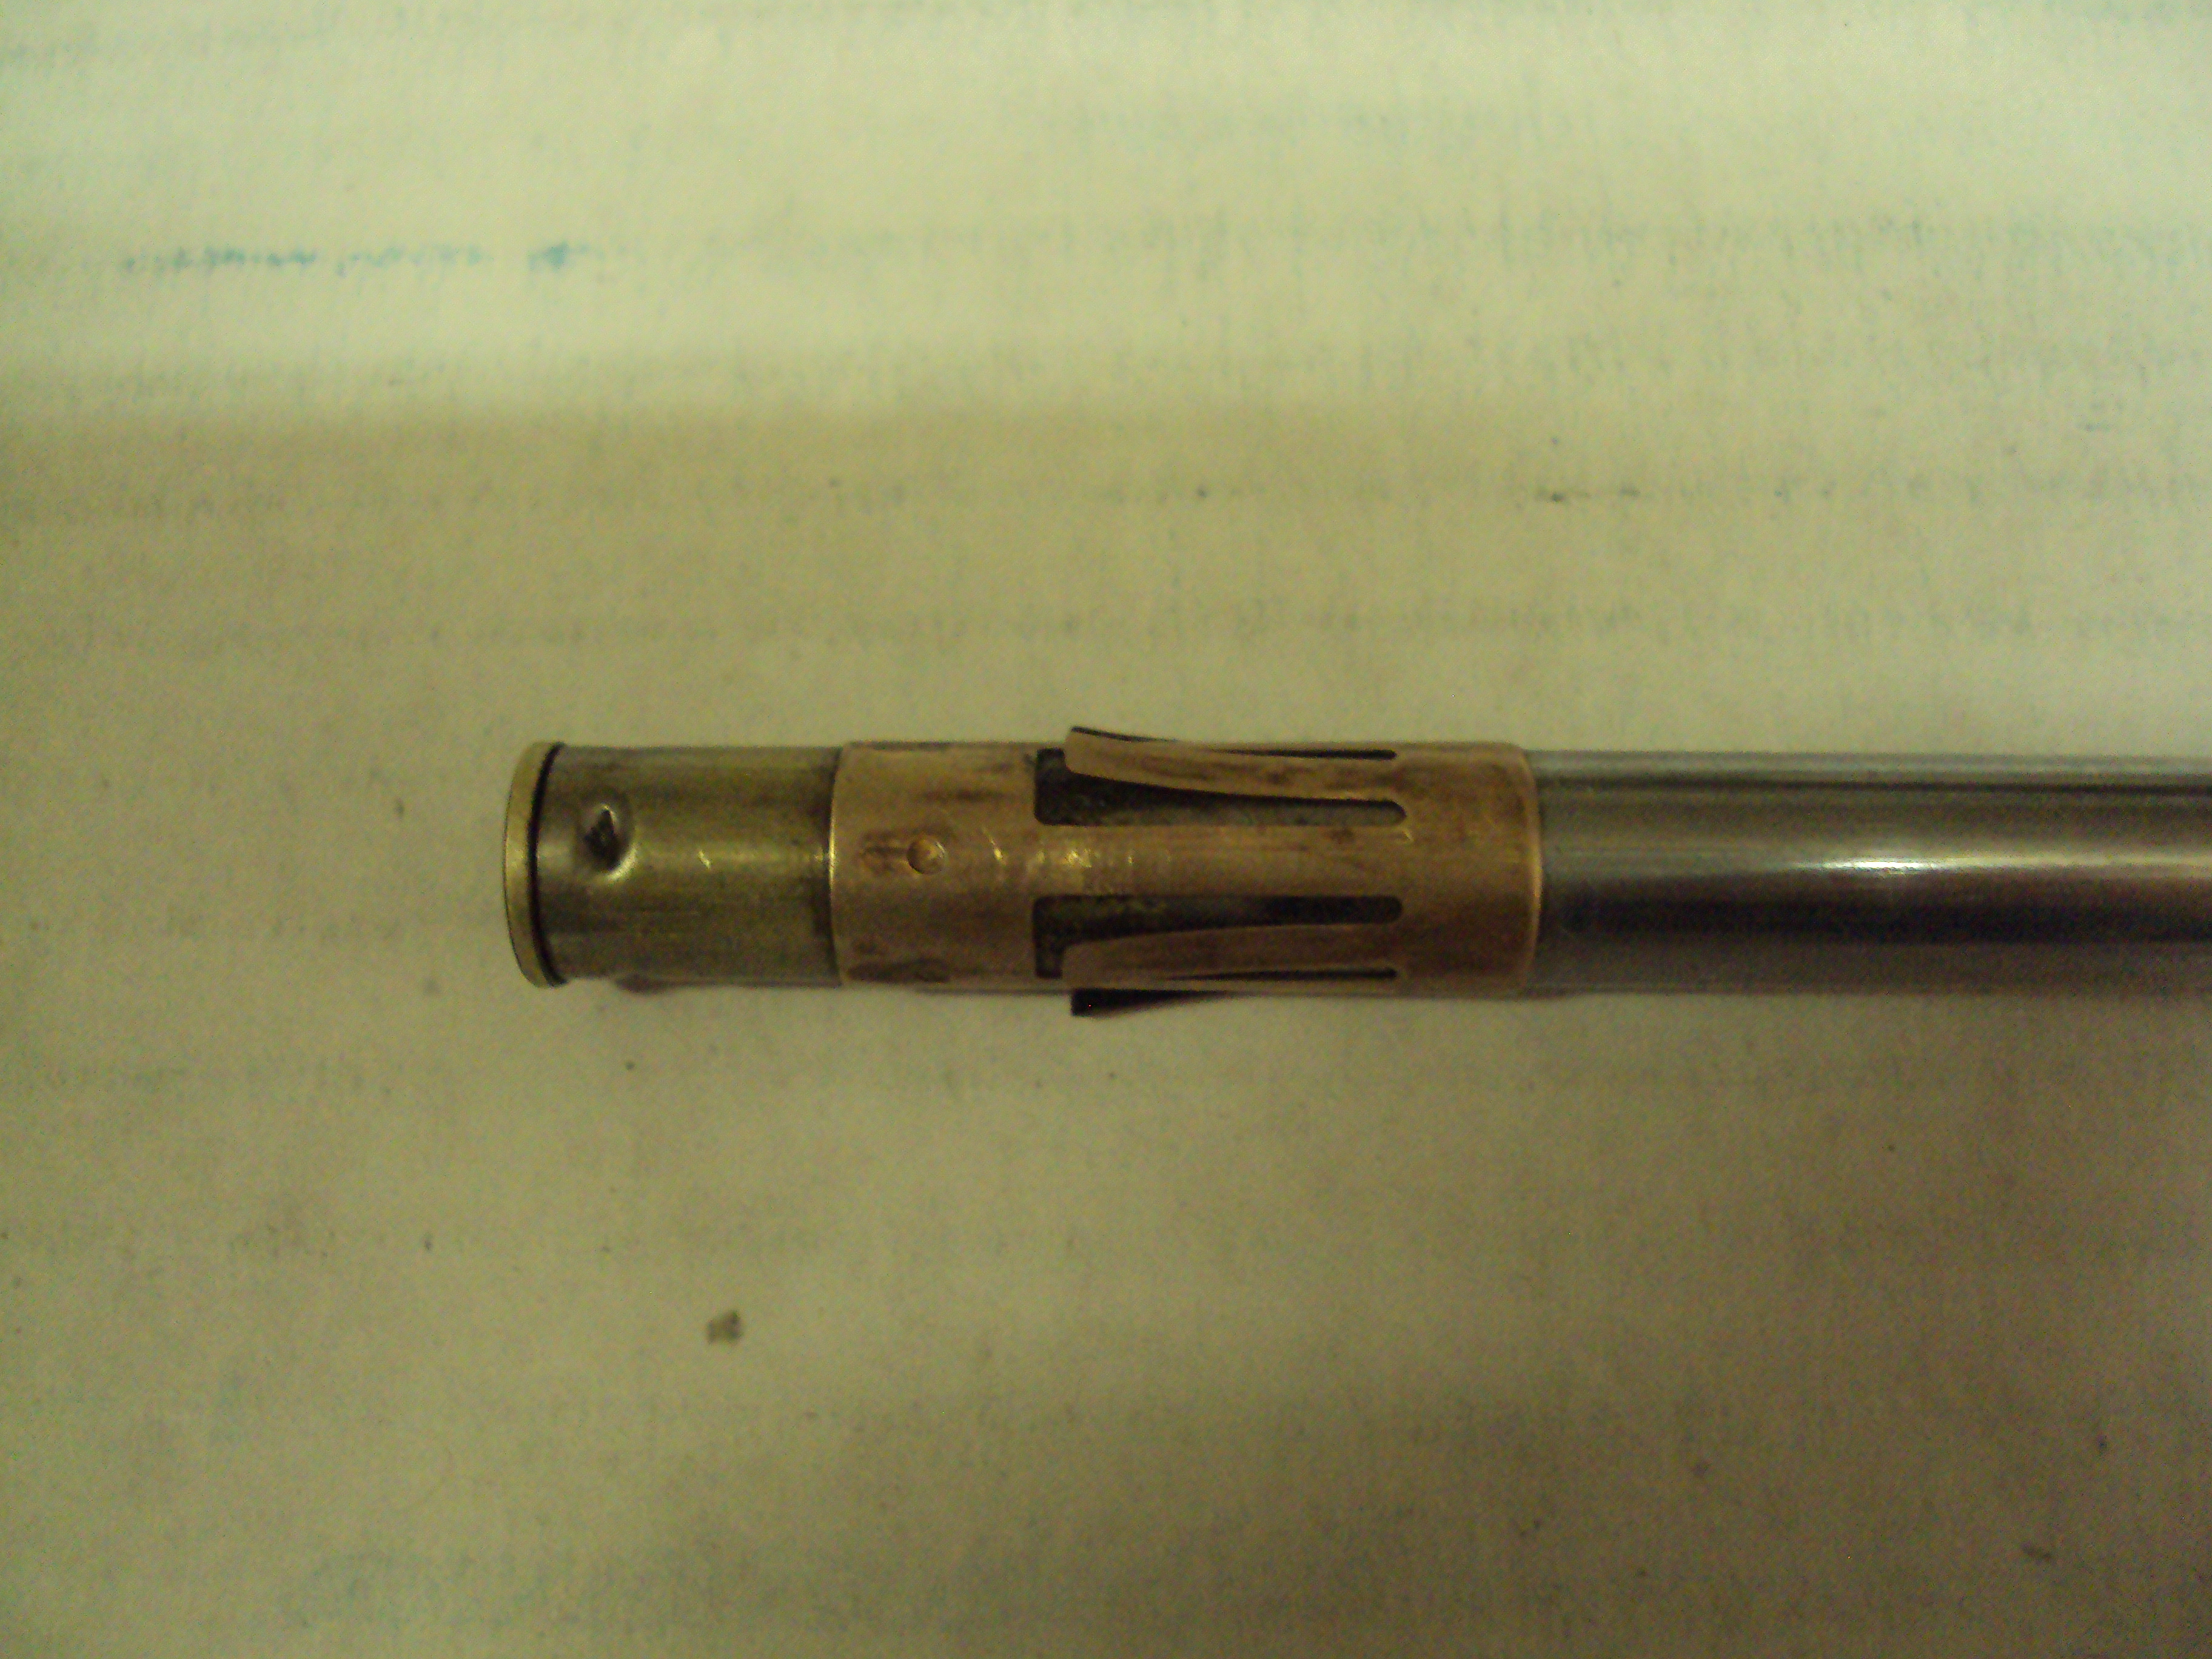
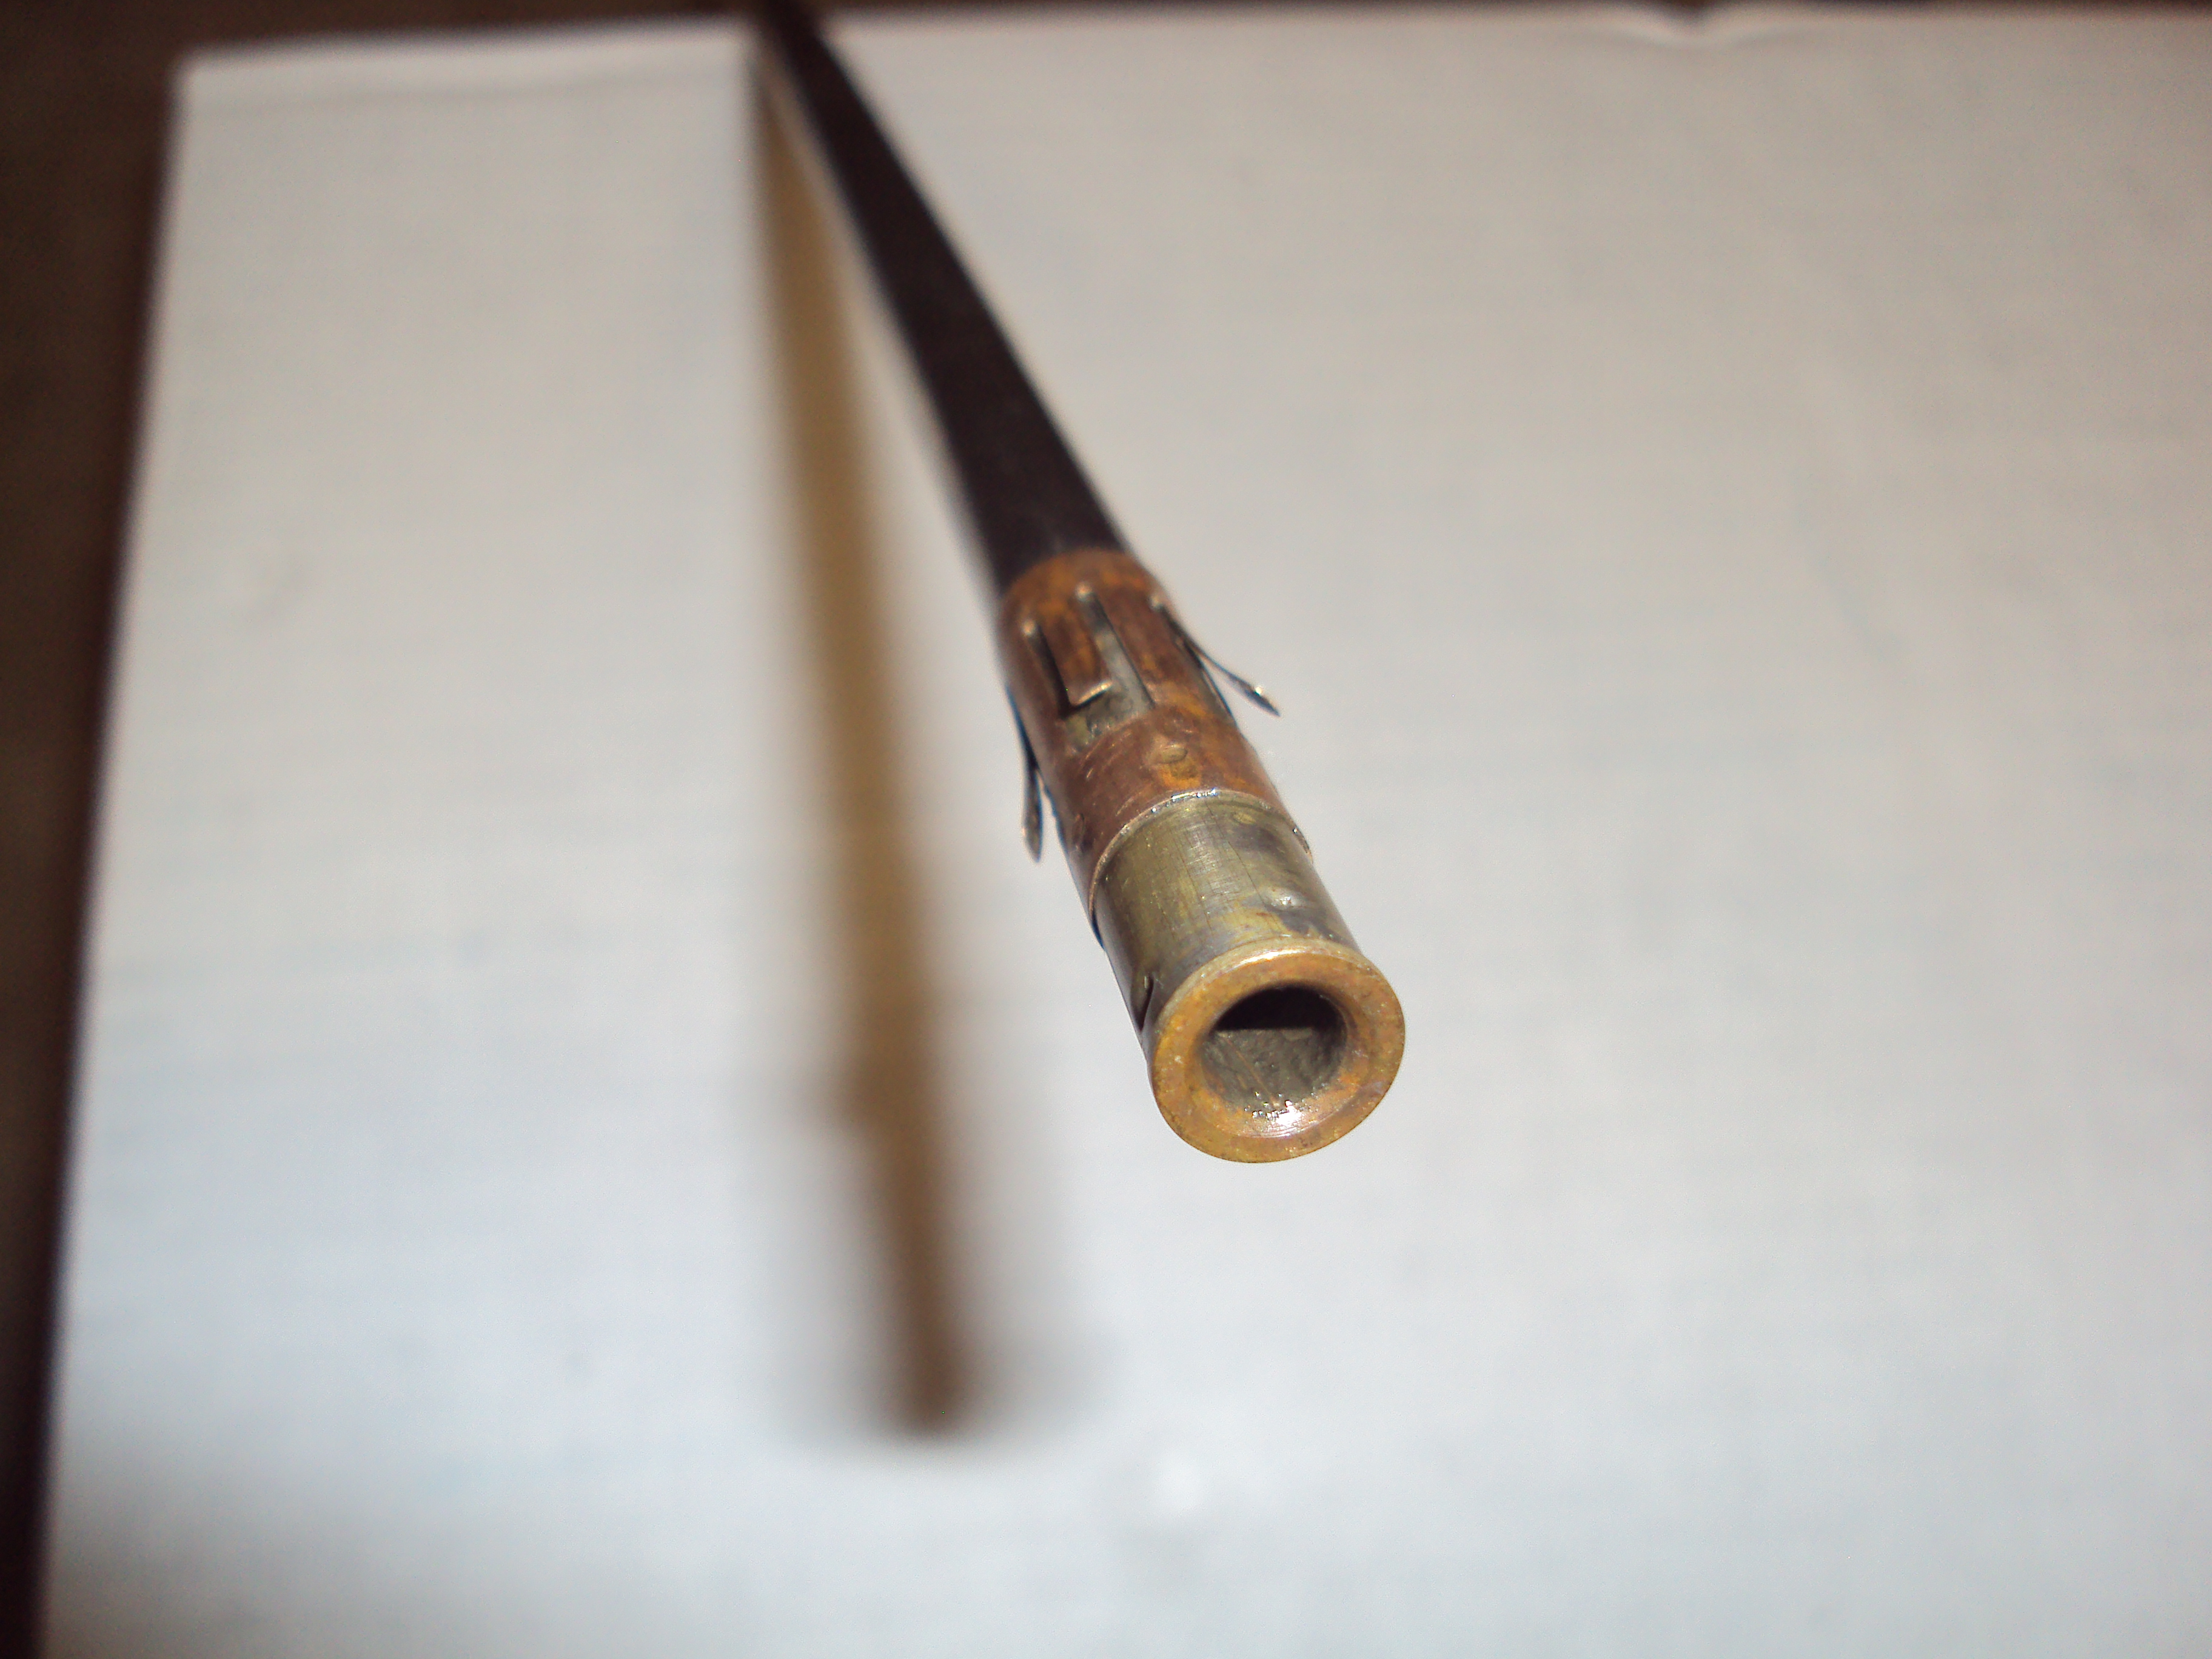
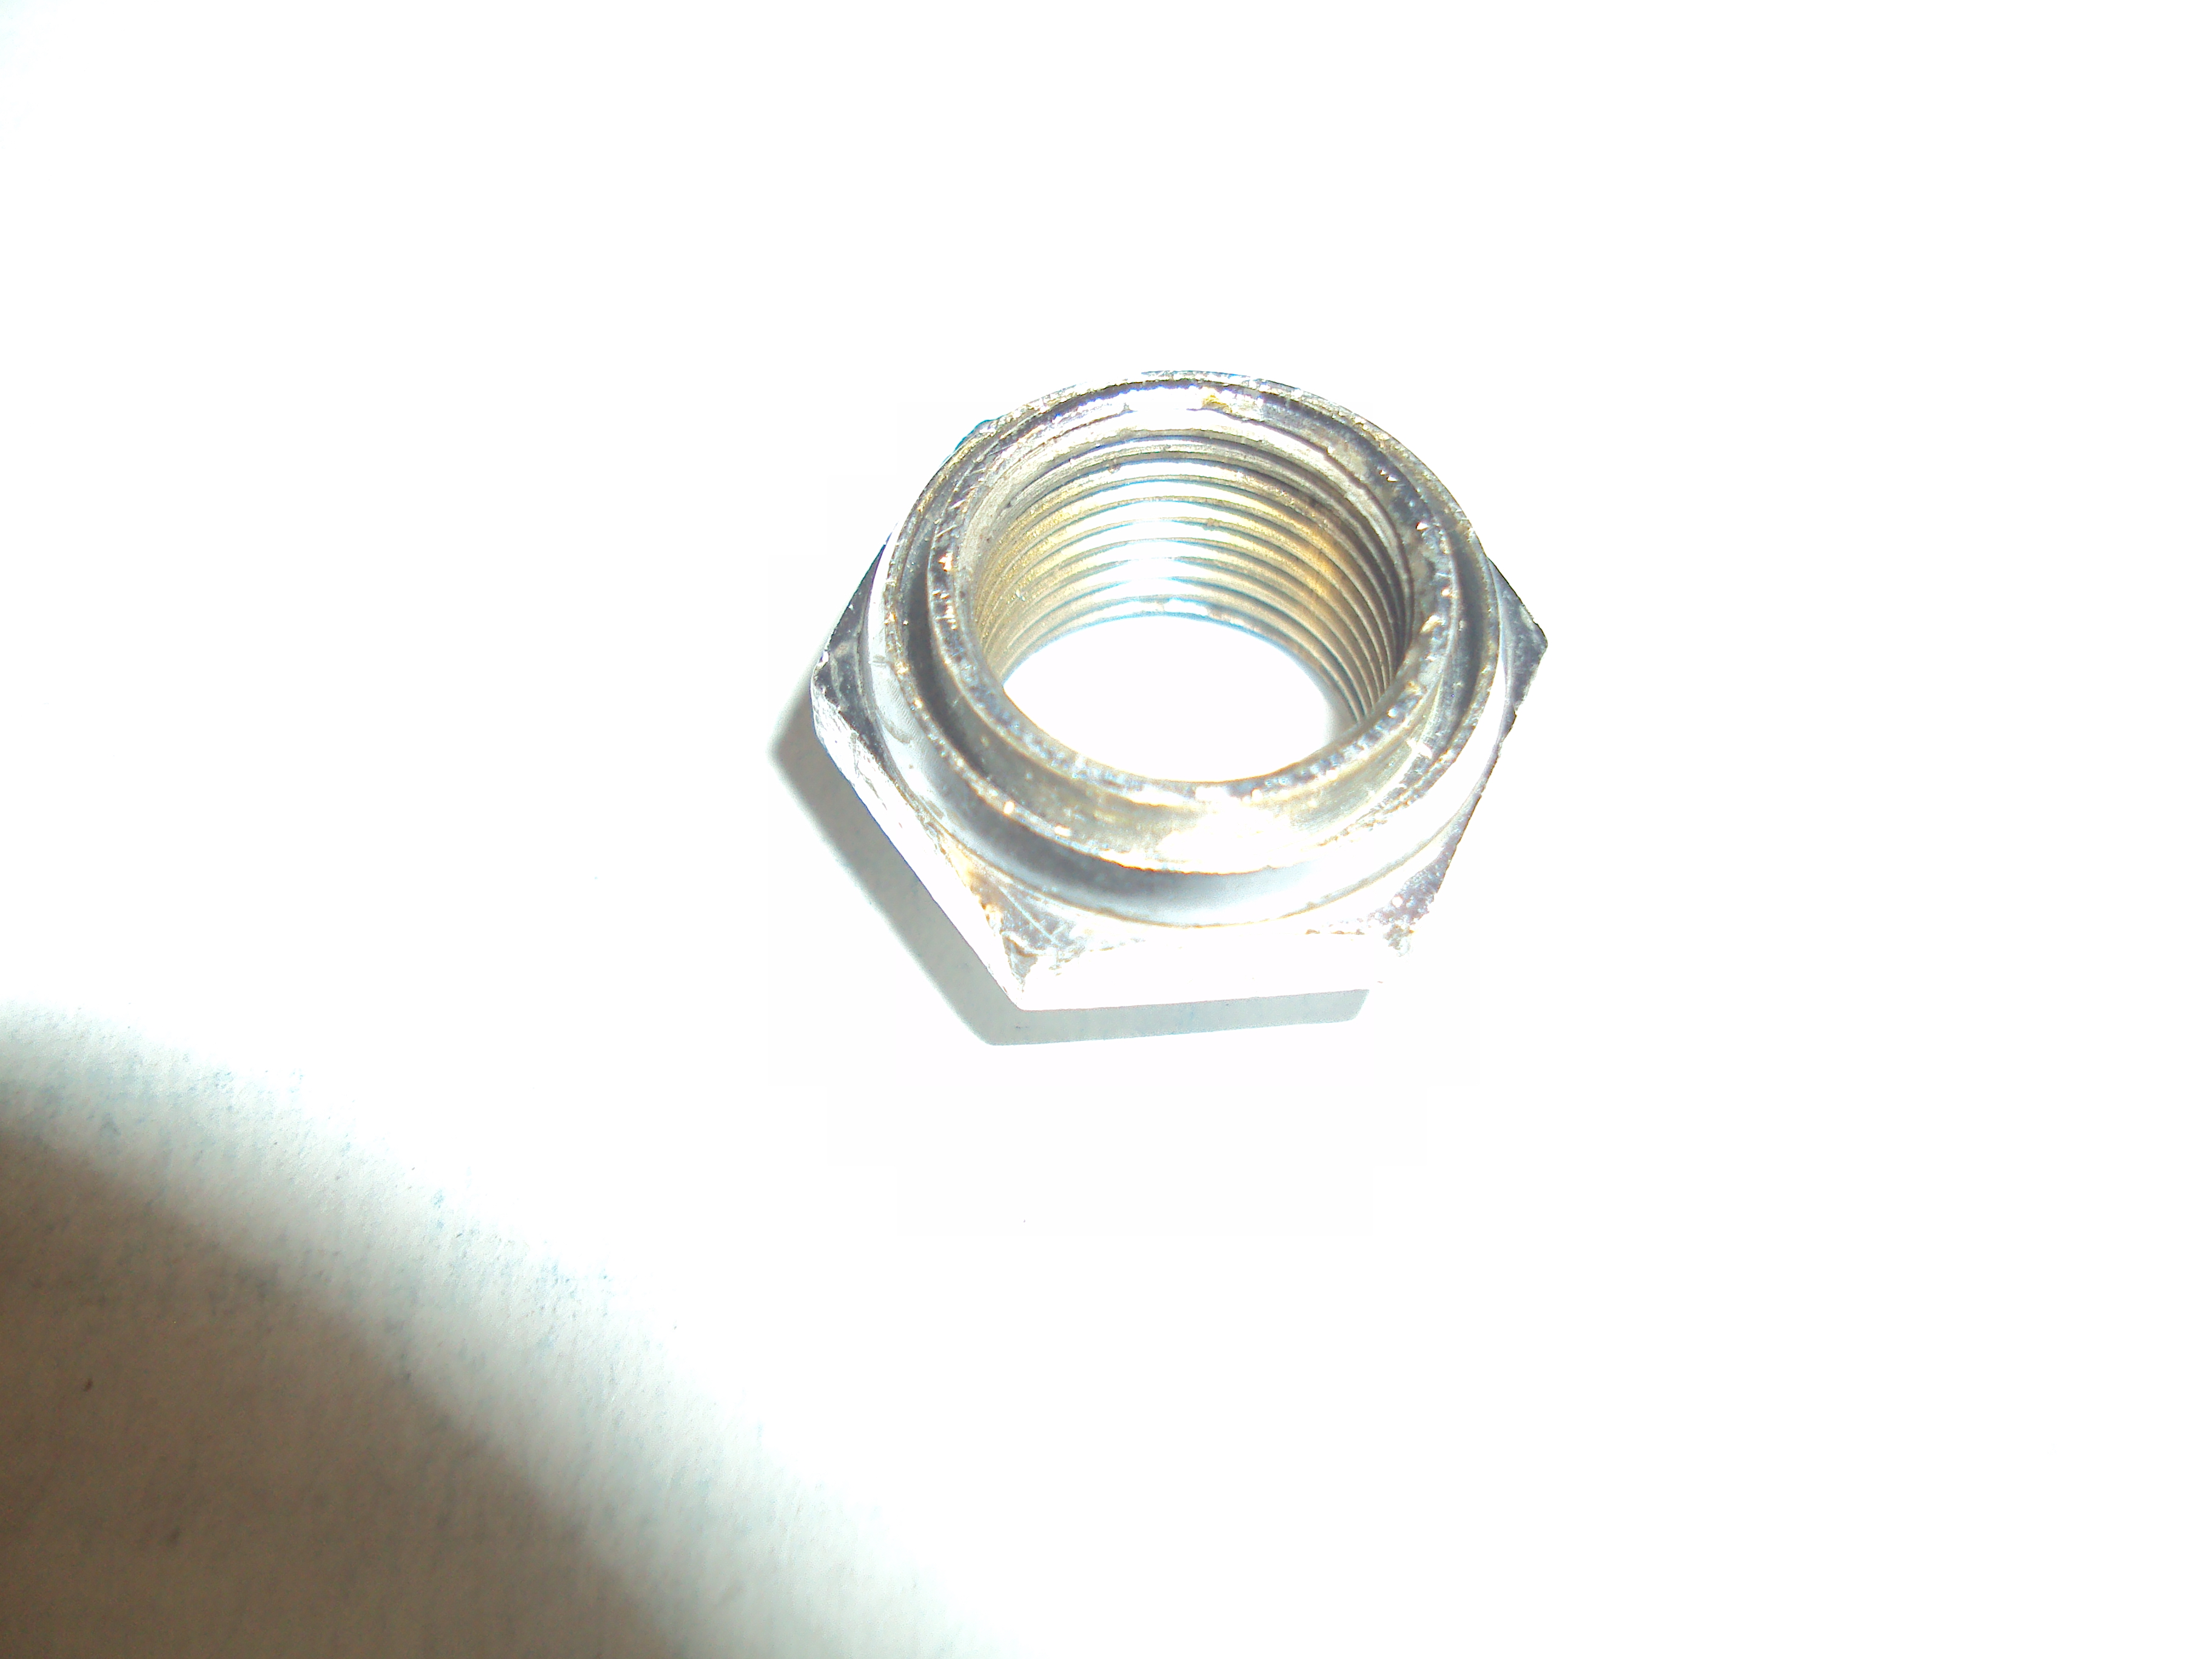
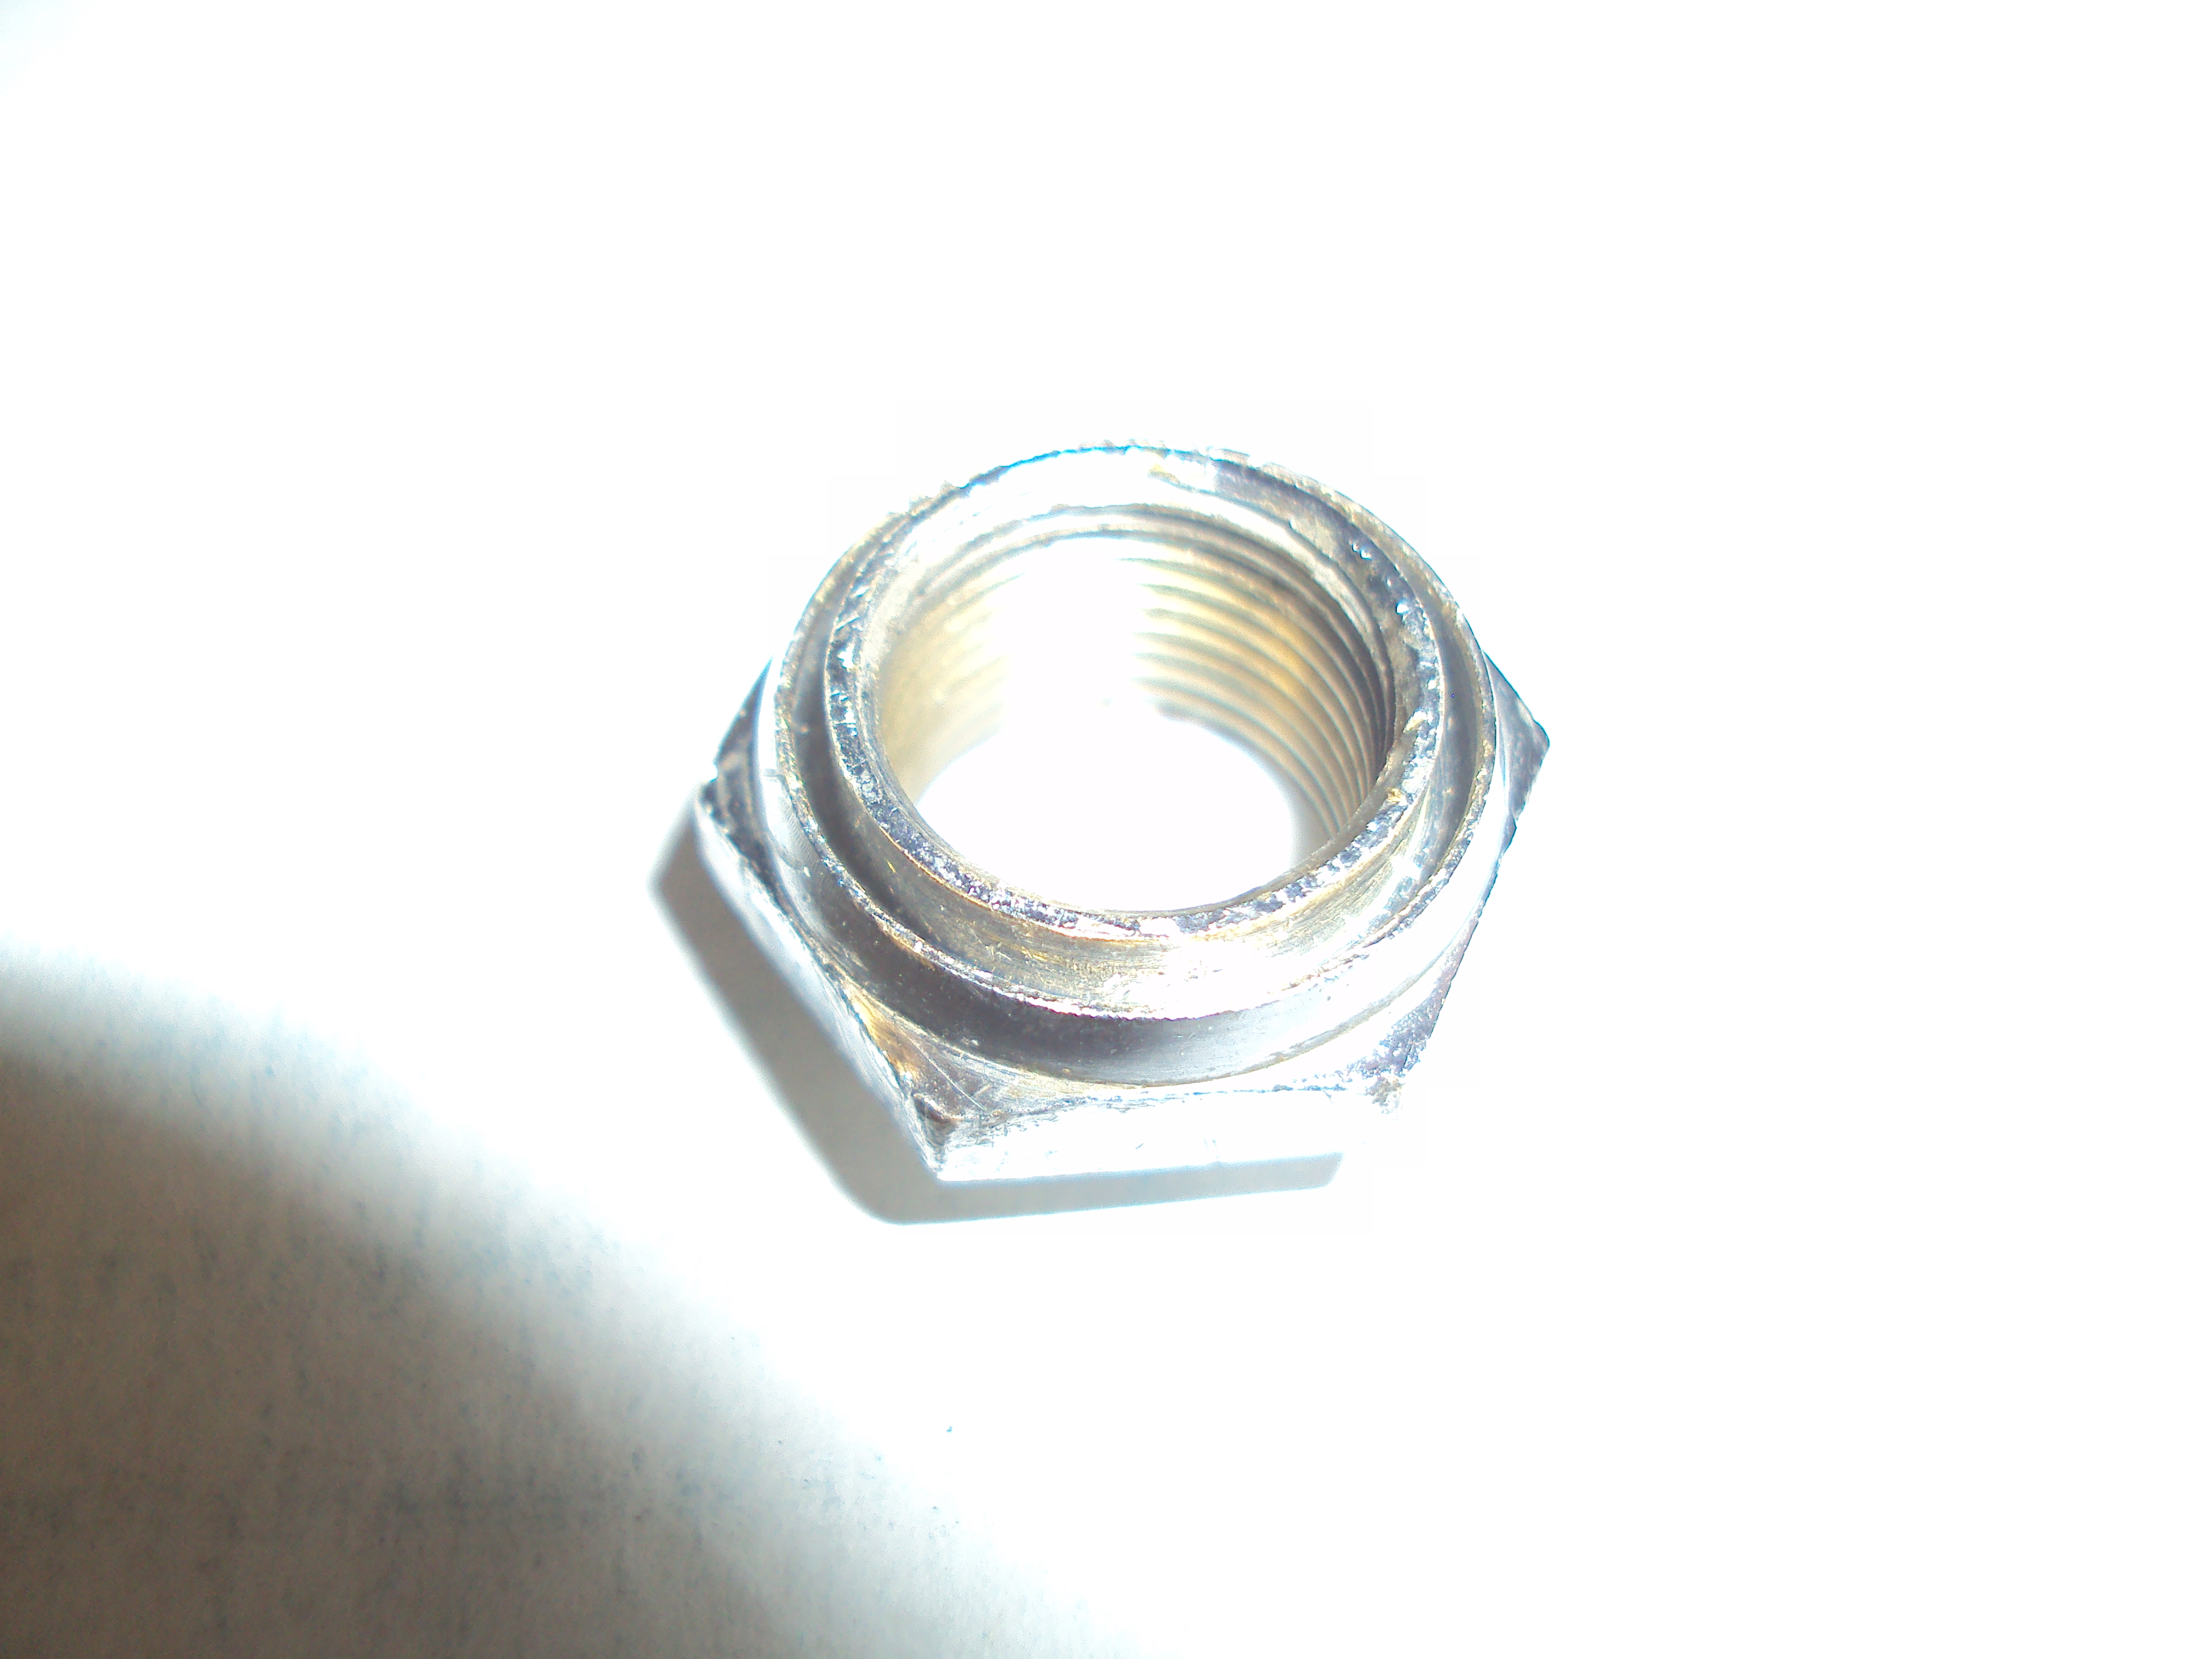
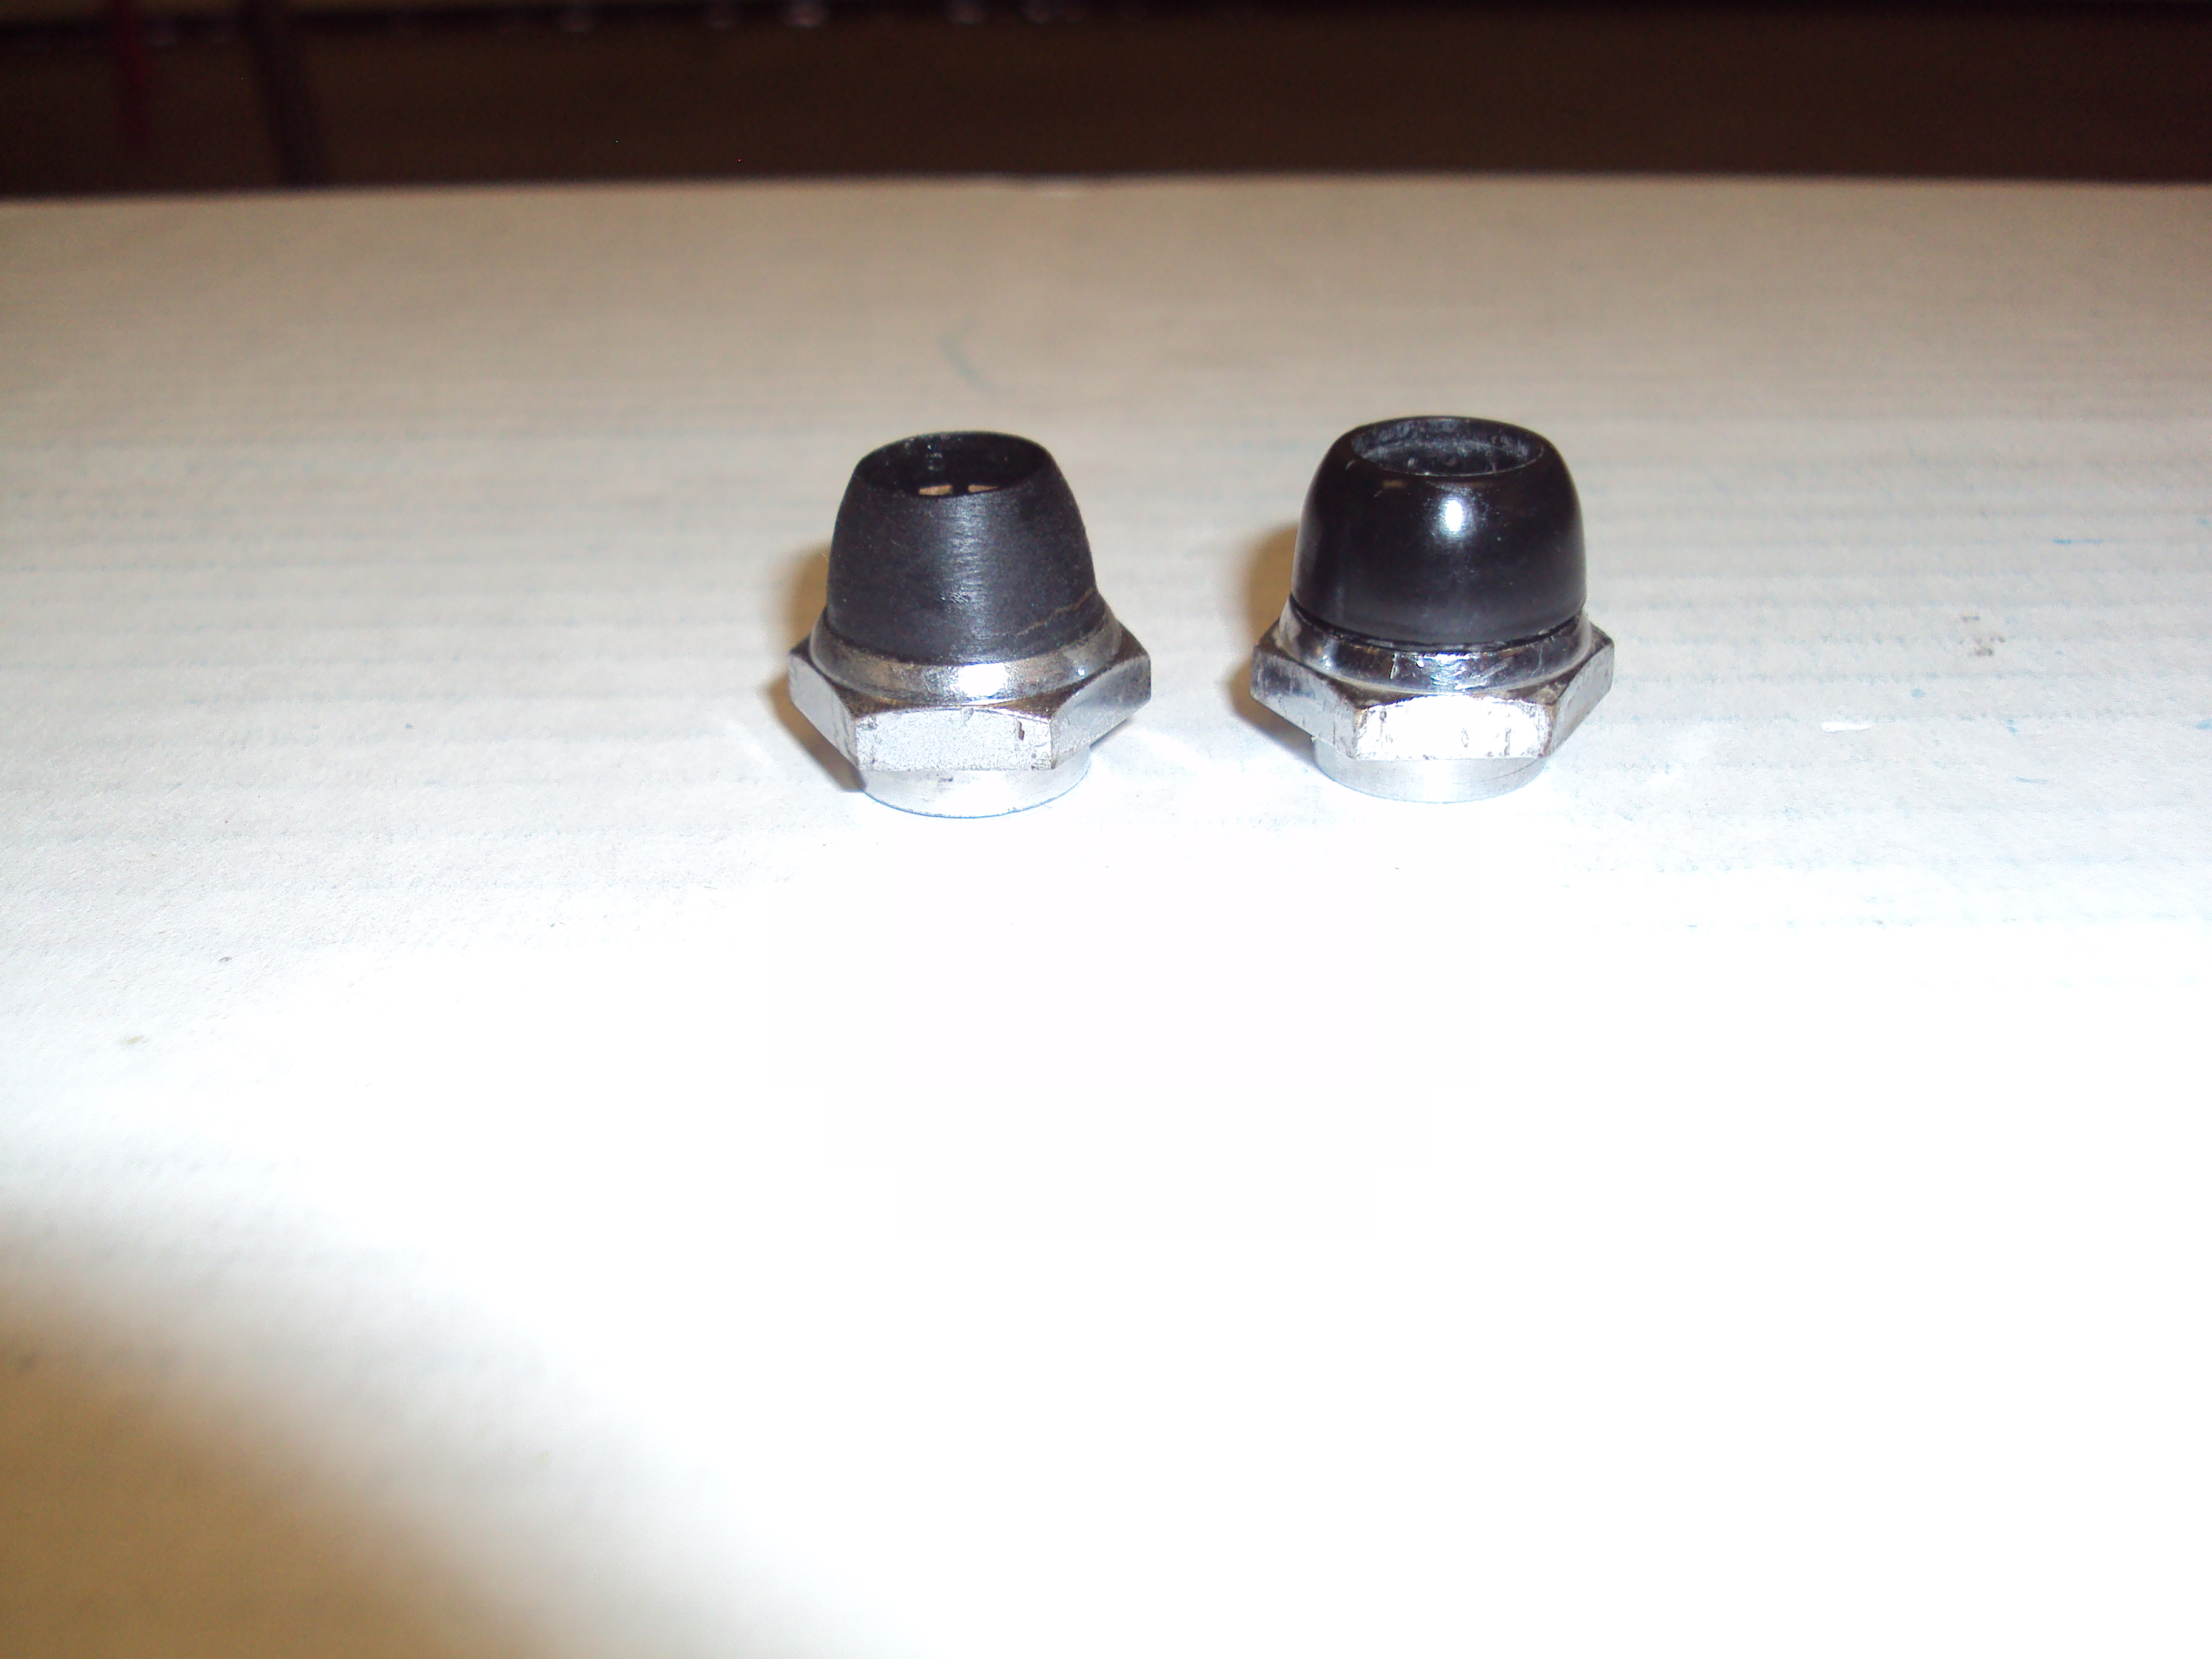
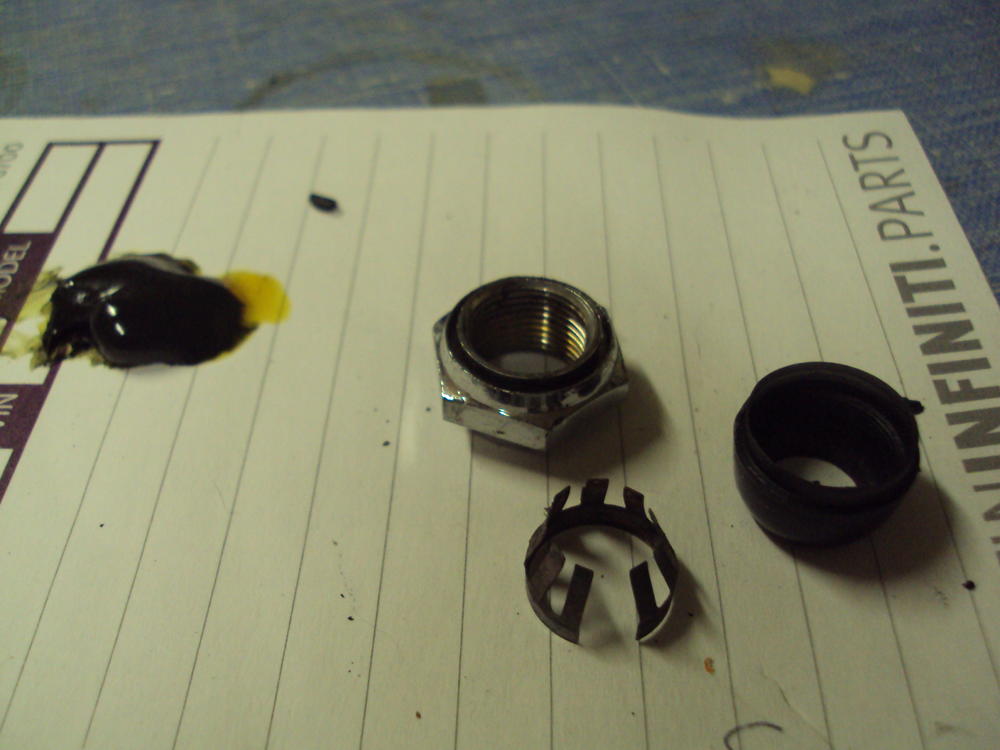
Everything @Namerow said above is true. With the finisher nut completely removed there is signal which did not, in my experience, break-up or become static-y. For those that have "missing antenna nut fingers" take heart----your antenna will function without them. After an extended drive at varying speeds and over rough roads, the "fingerless" nut reception sounded completely normal. I agree with Namerow that the "fingers" in the finisher served more than one purpose. They help give durability to the plastic cone material as it would withstand side flexing better, would assure another electrical contact, as well as center the mast. Attached are a couple of photos of the innards of the mast section showing the typical copper or brass "spring fingers" which slide along each section as the mast telescopes in and out which maintains signal continuity. Next are a couple of photos showing the cleaned finisher nut where ALL remnants if the plastic cone have been removed from the groove in the nut. (sorry for the photos---not easy to get a clear image--) Next are photos of an original finisher nut on the left- and on the right, Steve's finisher cone dry fitted to the nut---it fits perfectly with only a very slight undersize to the diameter of the groove--- Steve's cone is made from a modern plastic and should last a long time. The profile is slightly different from the original, but it is quite close. The robust thickness should help with durability as well. More to come once Jim Smirlies arrives today to assist----


-
I am of the opinion that @Namerow is on to it. I'll try to clear some of this up tomorrow morning.
-
I would hazard the guess that it is a protective guide to ease the installation of the replacement boot so that the boot is not scarred. The narrow end covers the threads/ end of the assembly---the funnel expands the boot. How IT is removed is unknown. Is IT very soft? Maybe it can be collapsed and withdrawn from the small end of the boot.
-
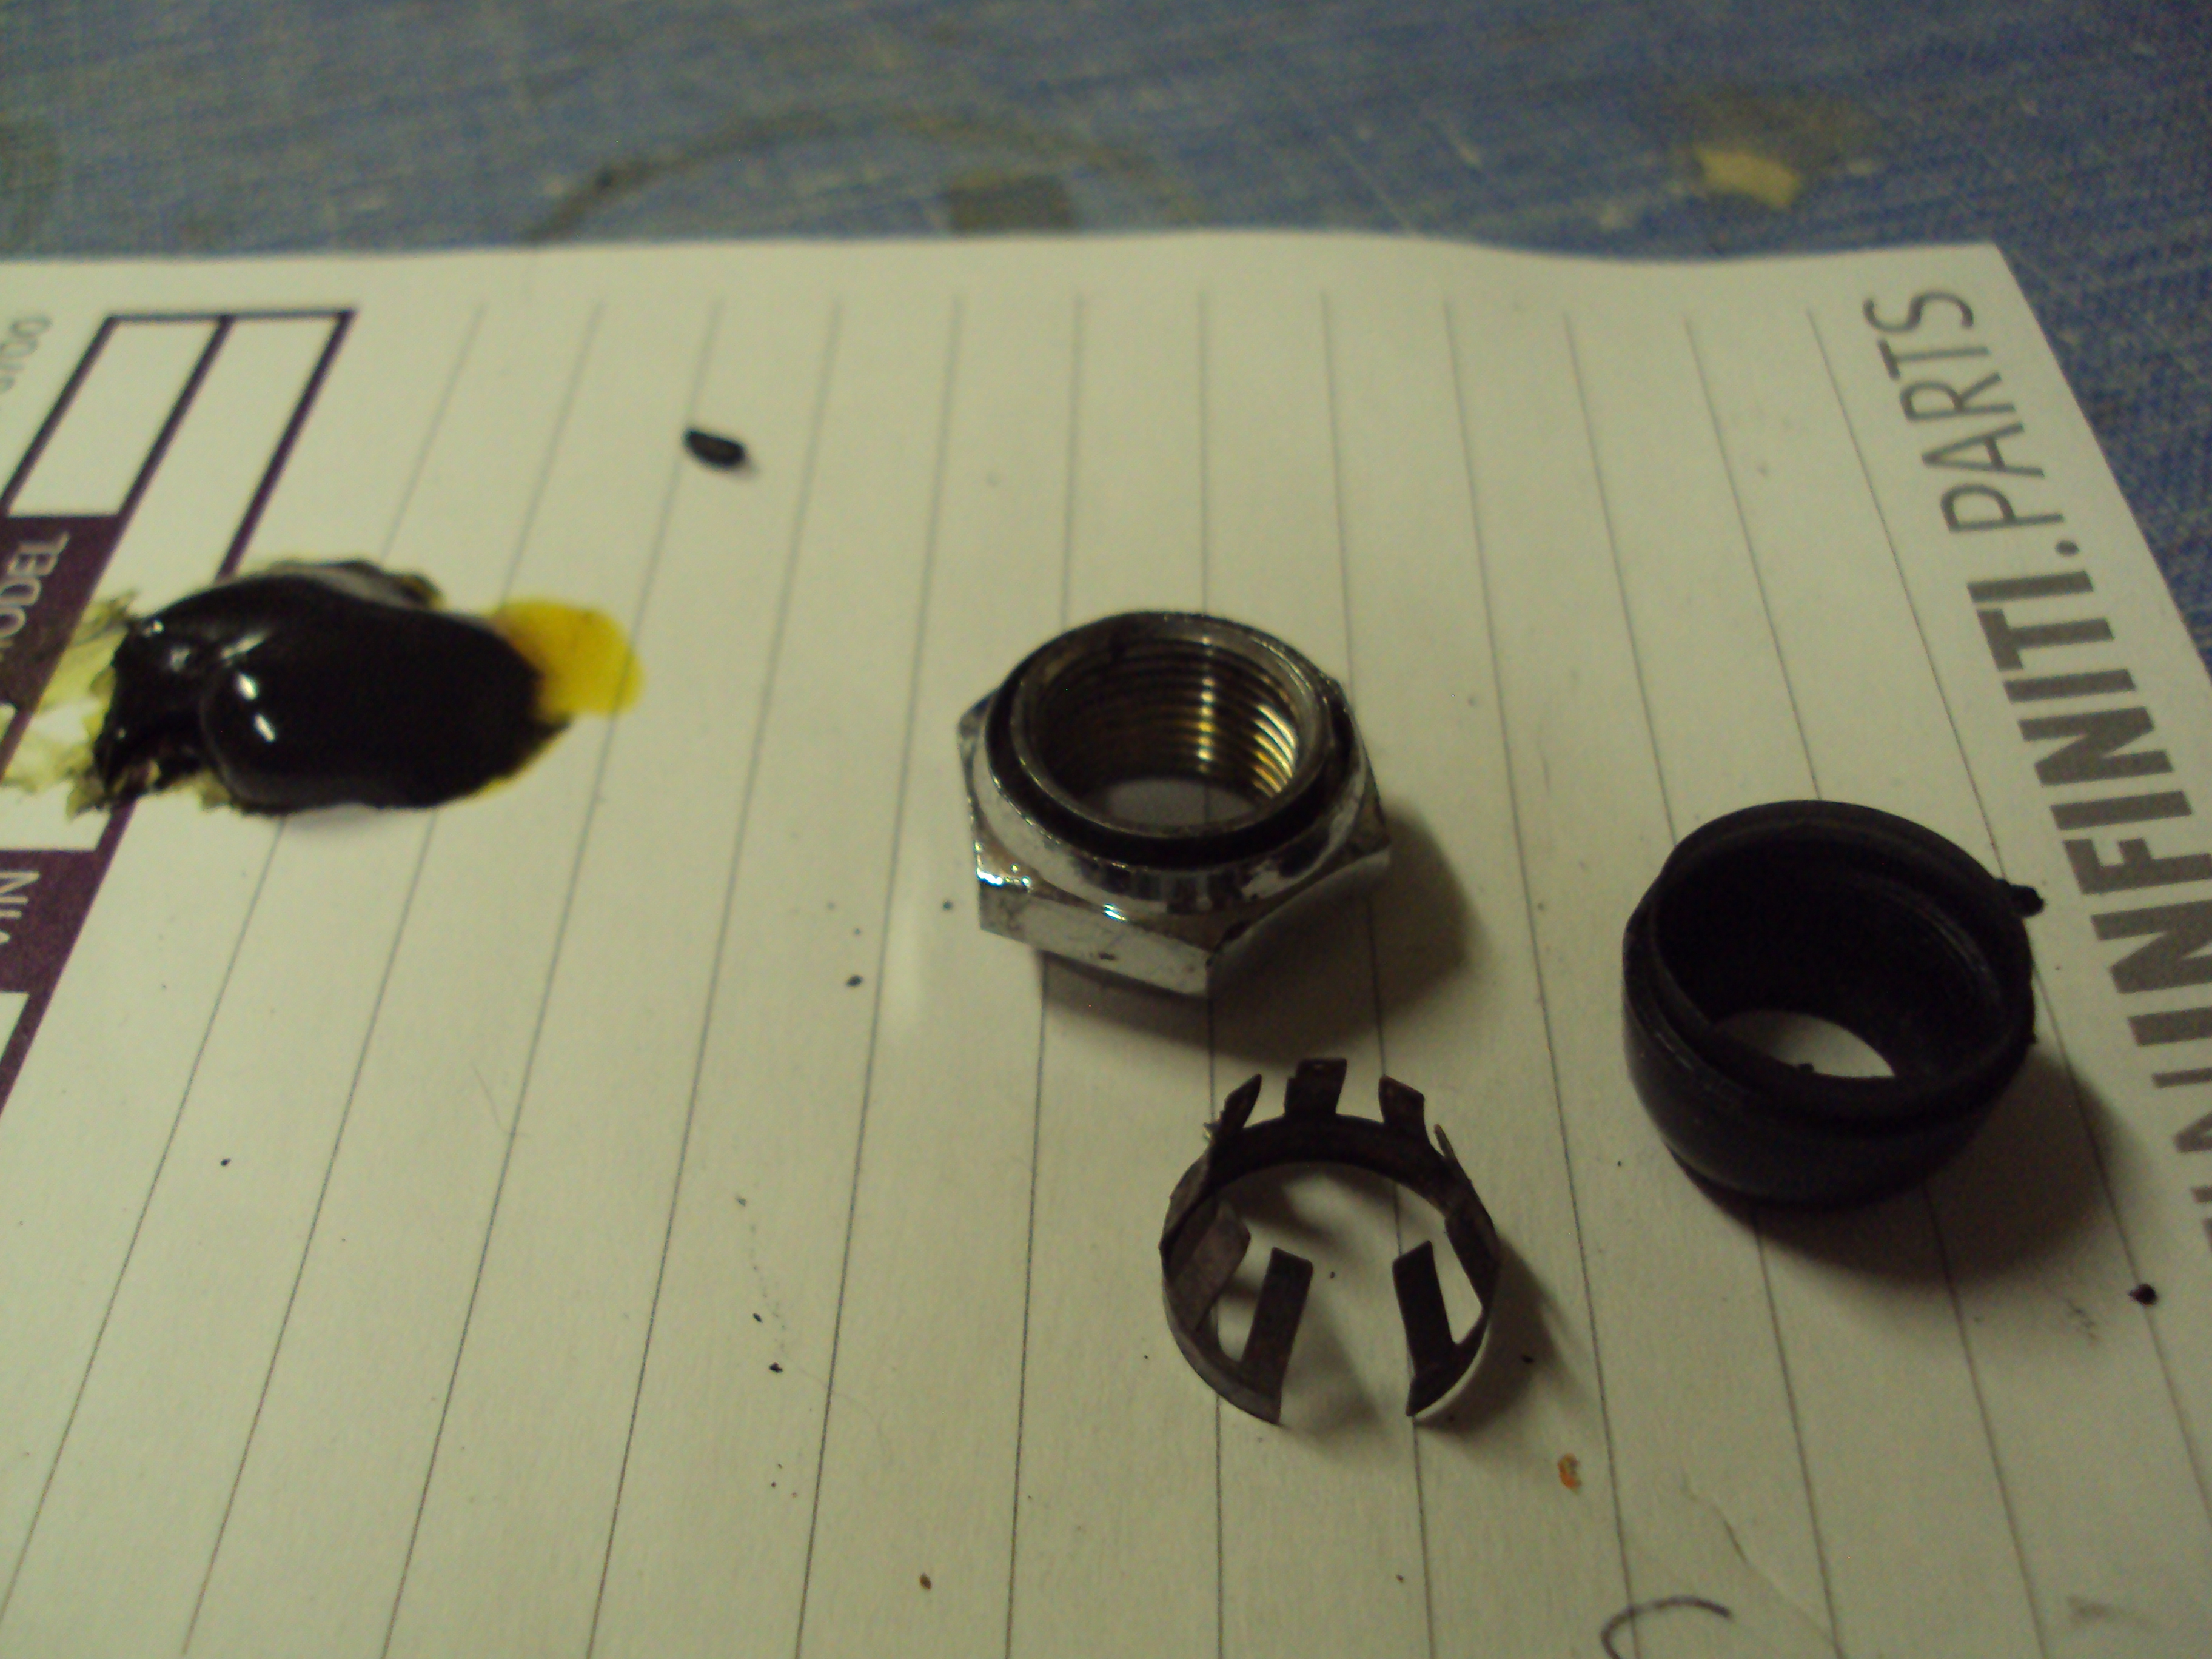
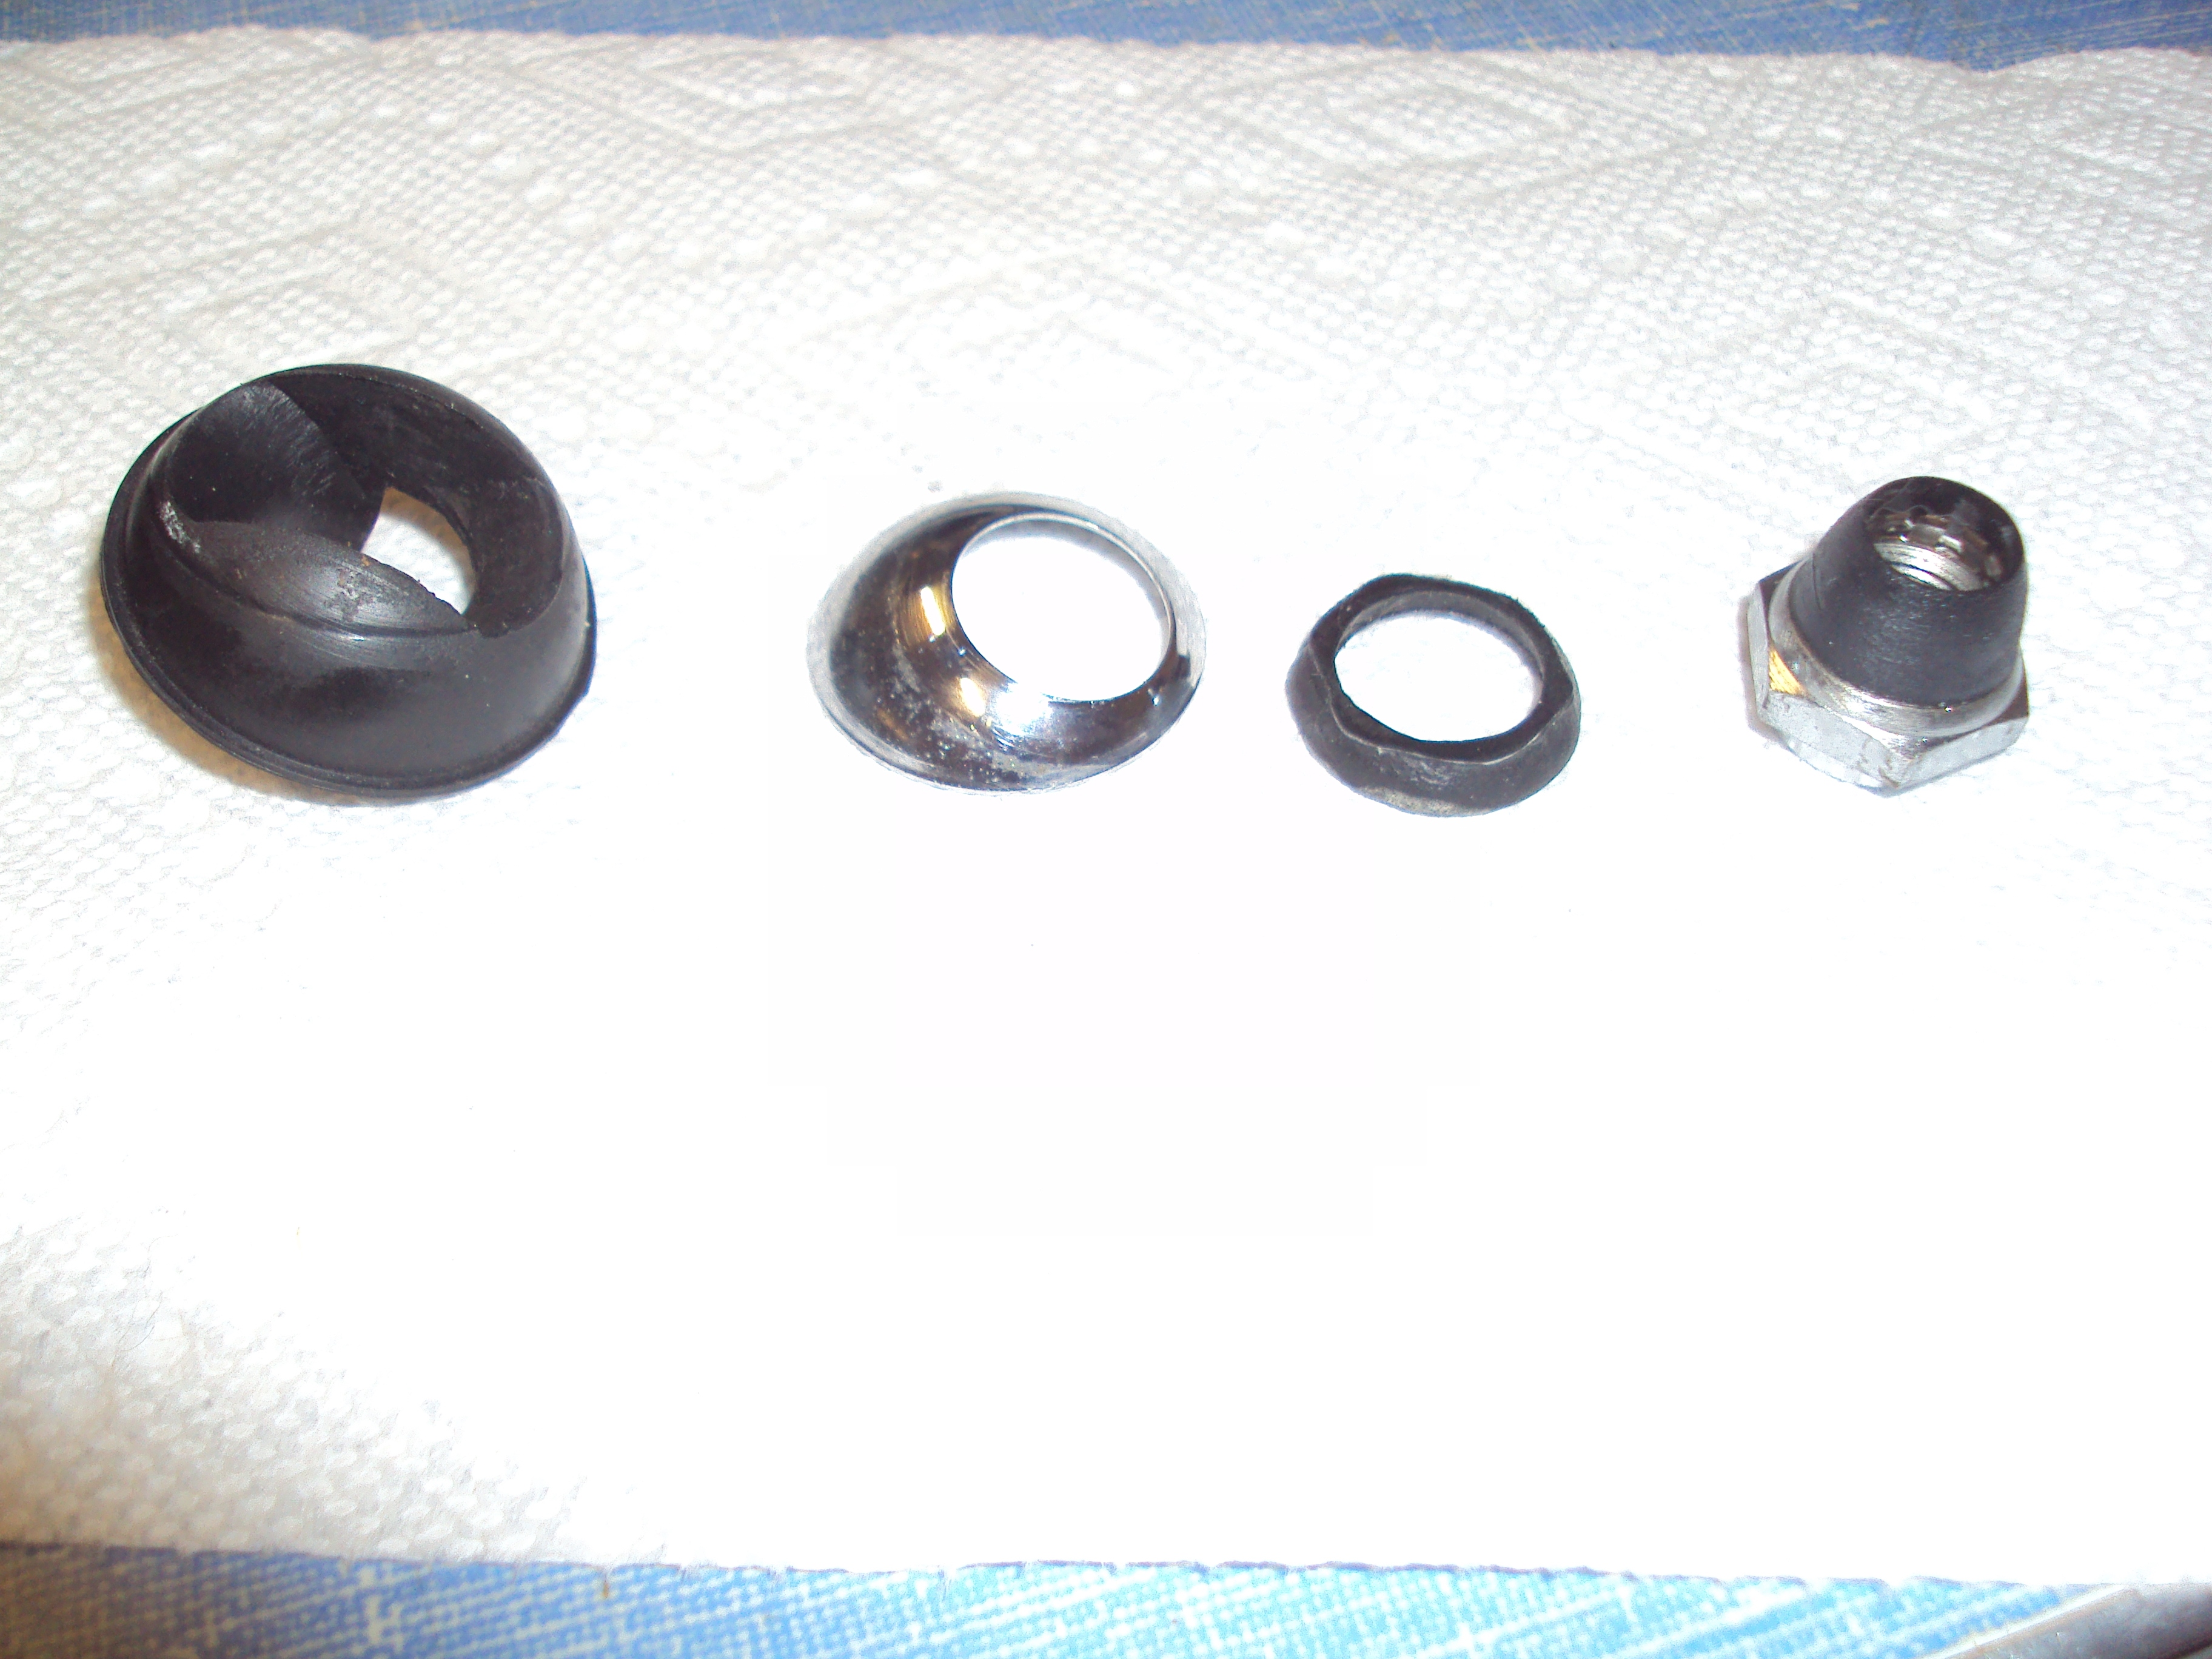
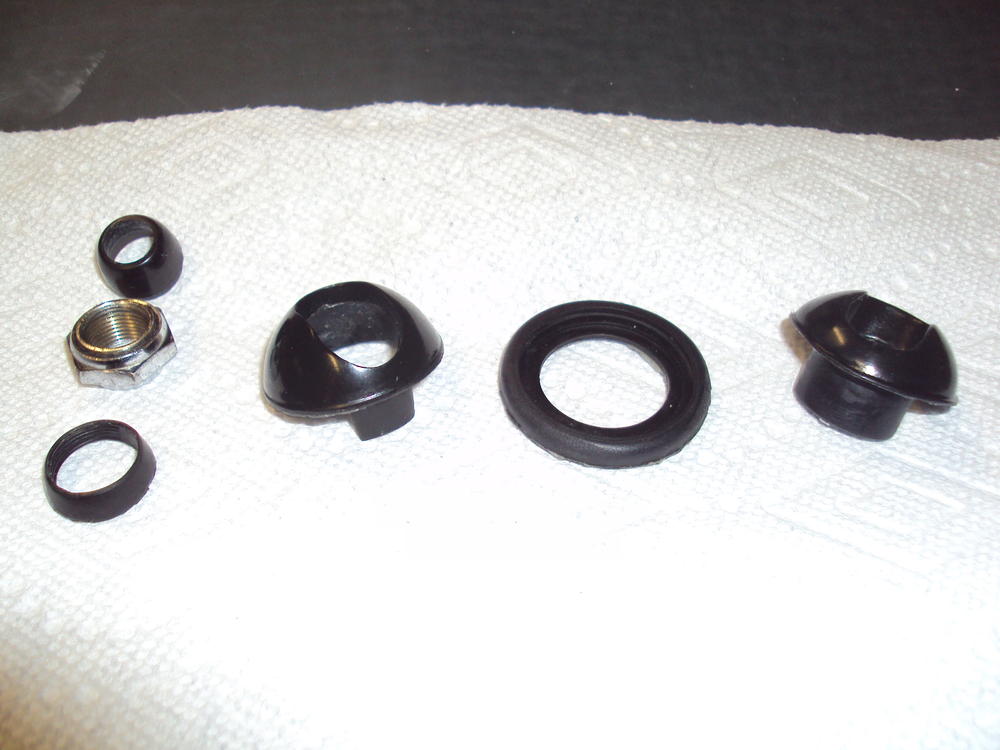
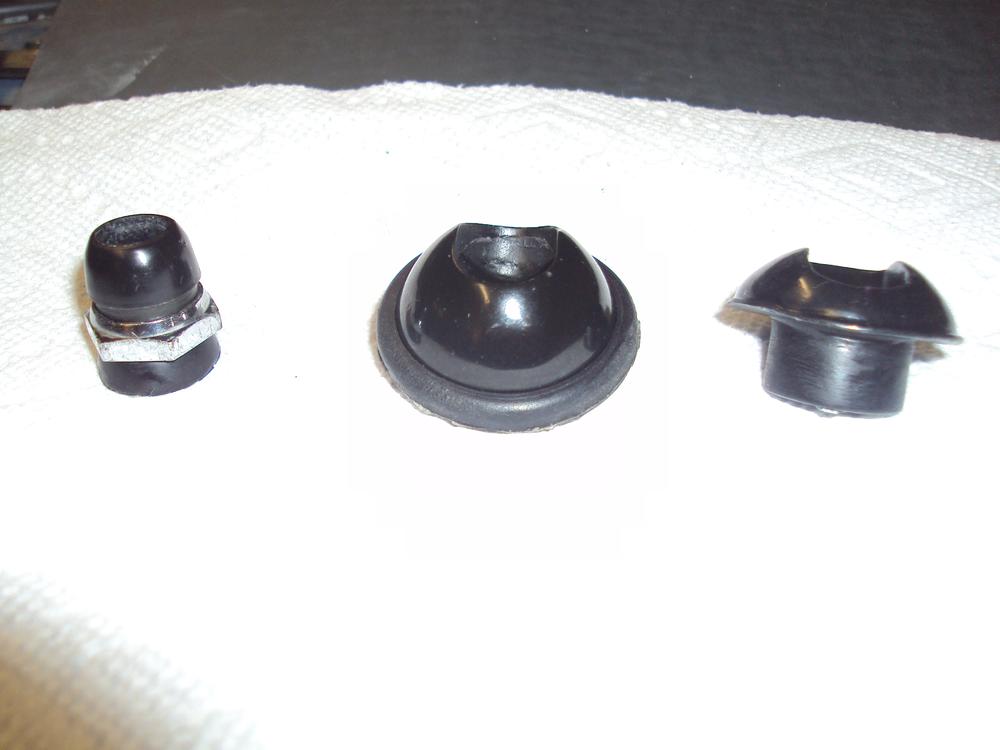
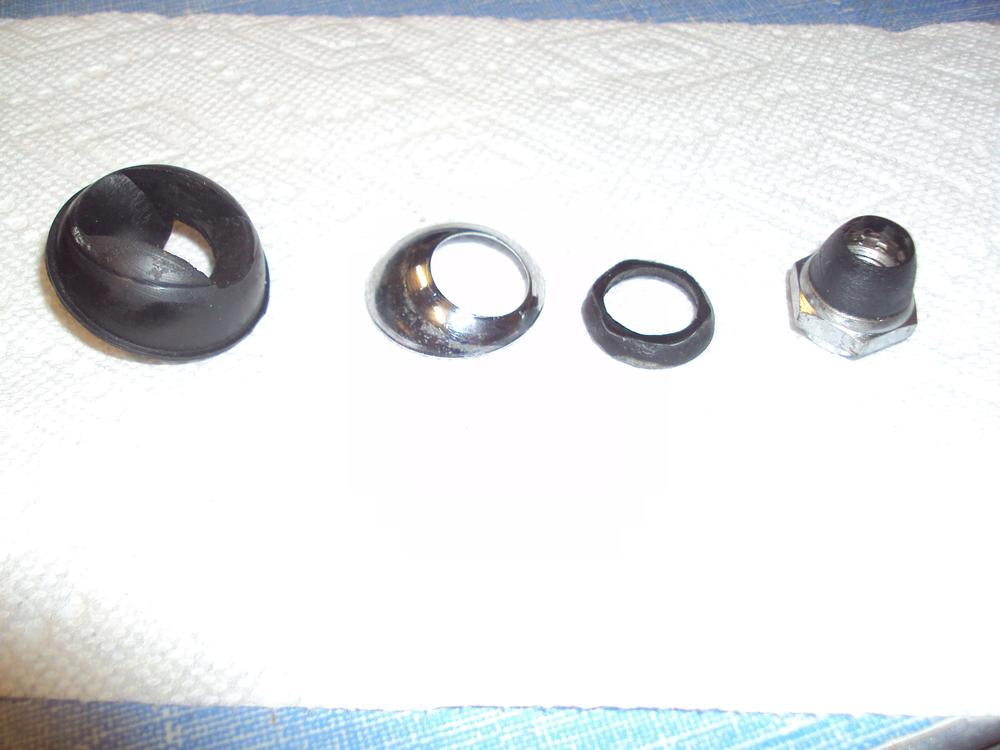
Rubber bits from Steve Nixon for the antenna restoration arrived today! Here they are shown with the finisher nut I am using as a test. Left top is the finisher nut cone---beneath is the demo'ed finisher nut and the nut lower seal. To the right is the upper "plastic" ball, the mast assembly to body seal and, finally the inside quarter panel lower rubber ball. The parts are very accurately produced---another testament to Steve's skills! This photo shows the parts in assembled order. You will notice there is a gap between the shoulder of the cone and the upper surface of the finisher nut. More on that this weekend, as we try to complete an installation process for a proper fit. Stay tuned.......
-
Excellent work there Jerry! I'll post up regarding the rubber bits once they arrive. Thanks Steve!
-
@theguppies The last photo shows a glove box door in the opening. Is the glove box door included to give continuity to all of the visible exterior surfaces? The original glove box door was in two halves--an inner and an outer. Does the purchaser provide the inner glove box door and you provide the outer?
-
-
Good photos Charles!--it's a fairly subtle difference in the script and the pointiness of it. We had a discussion of this quite some time ago---I'll see if I can find it and post it up if so. Seems club member Arnie was a contributor to that thread.
-
There is another piece to this assembly that often has deteriorated to the point of it missing altogether. Just below the finisher nut is a rubber washer that fits between the finisher and the polished stainless steel cap that covers the top of the rubber or plastic ball. This arrangement: This rubber washer seals the space between the bottom of the finisher nut and the polished stainless cap. It has a concave profile that matches the curvature of the polished cap. All of the examples that I have of this part are not in very good condition. They are serviceable and could be used for a pattern if needed as they are intact,--- just somewhat weathered---- as you can possibly tell in the photo above. While I would like for Steve to reproduce the balls, I feel we should also explore the reproduction of this piece. On another issue: As everyone knows that has tried to find one---NOS antenna masts are not available or affordable. Almost all of the antenna motor and housing assemblies that I have were found to be restorable to working condition I have been trying to find an "off the shelf" aftermarket antenna mast that would fit the original antenna assembly. I have tried a few and although they are close to fitting they are not close enough. They need to be 10 mm in diameter and the closest I have gotten is 9 mm. There are manufacturer's of masts in Taiwan and Hong Kong that make these masts very inexpensively when purchased in lots of 100 or more. I would propose that we gauge interest in reaching out to a few of these suppliers (including Harada-- the original supplier) and see if they could "re-produce" a proper mast. It might come in at less than the hundreds of $ they currently bring! Anyone interested? Zup
-
Send this car to @motorman7
-
-
-
So does this Z have a name yet? Maybe---- Pegasus
-
-
Hi Rich-- Could you take another photo showing the orientation of the open part of the tow hook in the photo above?
-
@Bonzi Lon Did my day good to see you post! How the hell are you Bonzi??? Have missed see you at Branson for a couple of years now and hope you are o.k. That roof offer still stands!! Jim Daniels Zup
-
Zilver, Zup, Fiona and S30Driver wish you a HAPPY NEW YEAR everyone!! May 2018 be the best year ever for you all!
-
Well Jim 2 made it up here and his prediction is 100% accurate. 18* for a high and the coffee is iced! Probably sounds like a heat wave compared to @Namerow @zKars @240260280 I'd prefer @motorman7 temps---